PlayStation 4, PlayStation 5
The Quarry Collectibles Guide
Game Guide
The Quarry Collectibles Guide
Welcome to our The Quarry Collectible Guide. There are a total of 72 collectibles to find in The Quarry of which 40 are Clues, 22 are Tarot, and 10 are Evidence. Below is the chronological order in which you can find all 72 collectibles items. You will need two playthroughs to collect all 72 collectibles as Chapter 2 will have you make a choice of path that will lock you out of a tarot card or two clues.
1st Playthrough (Meddling Kids!)
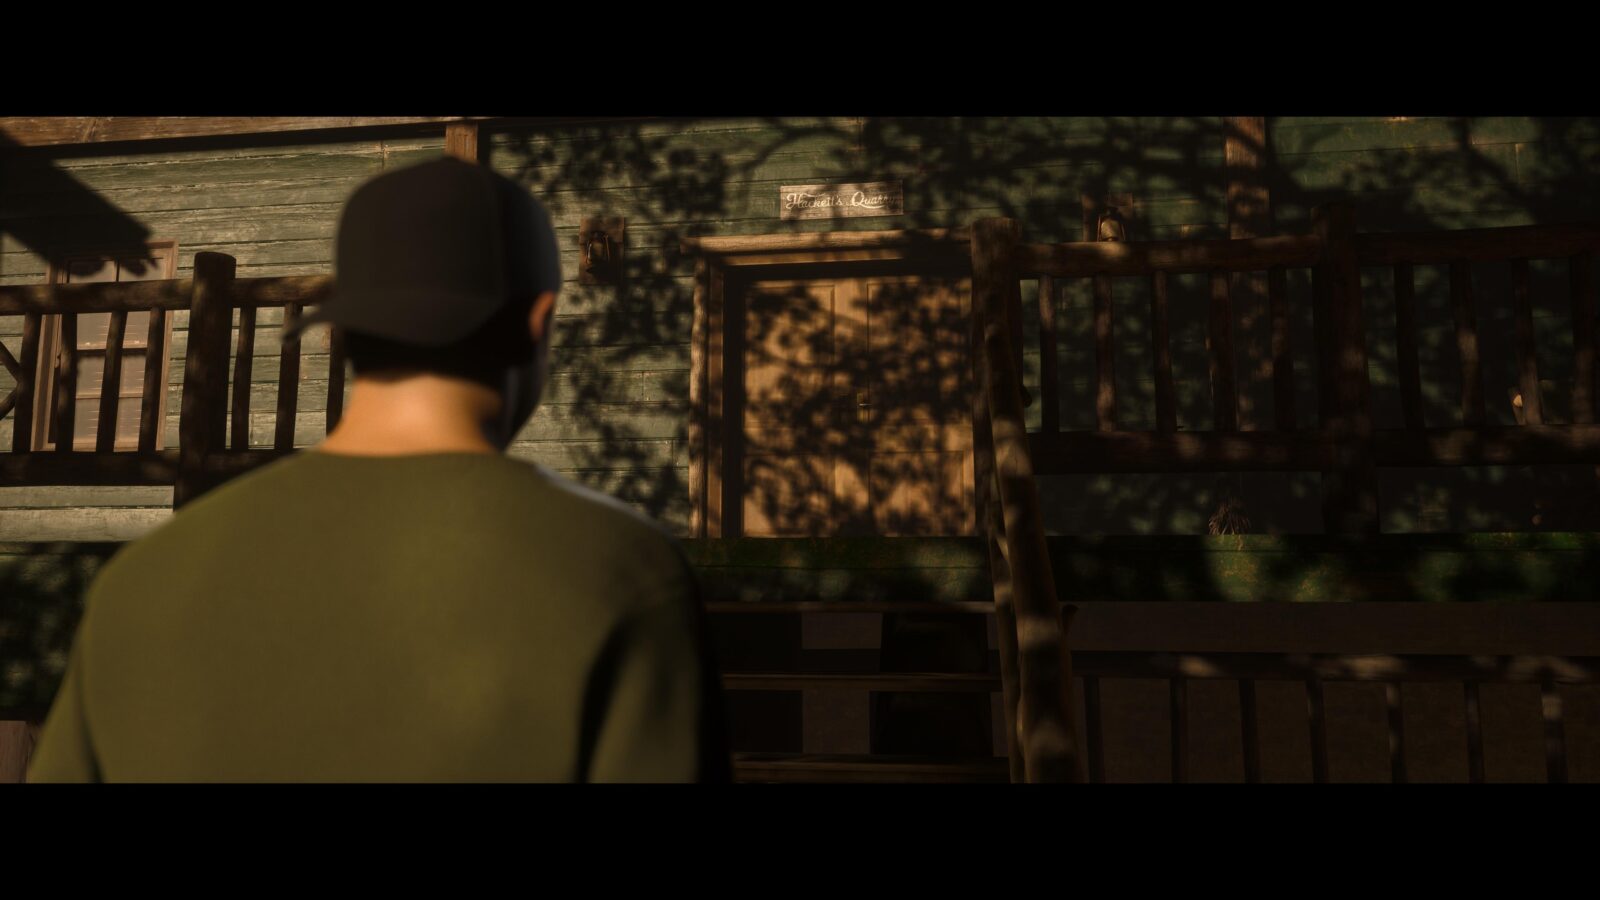
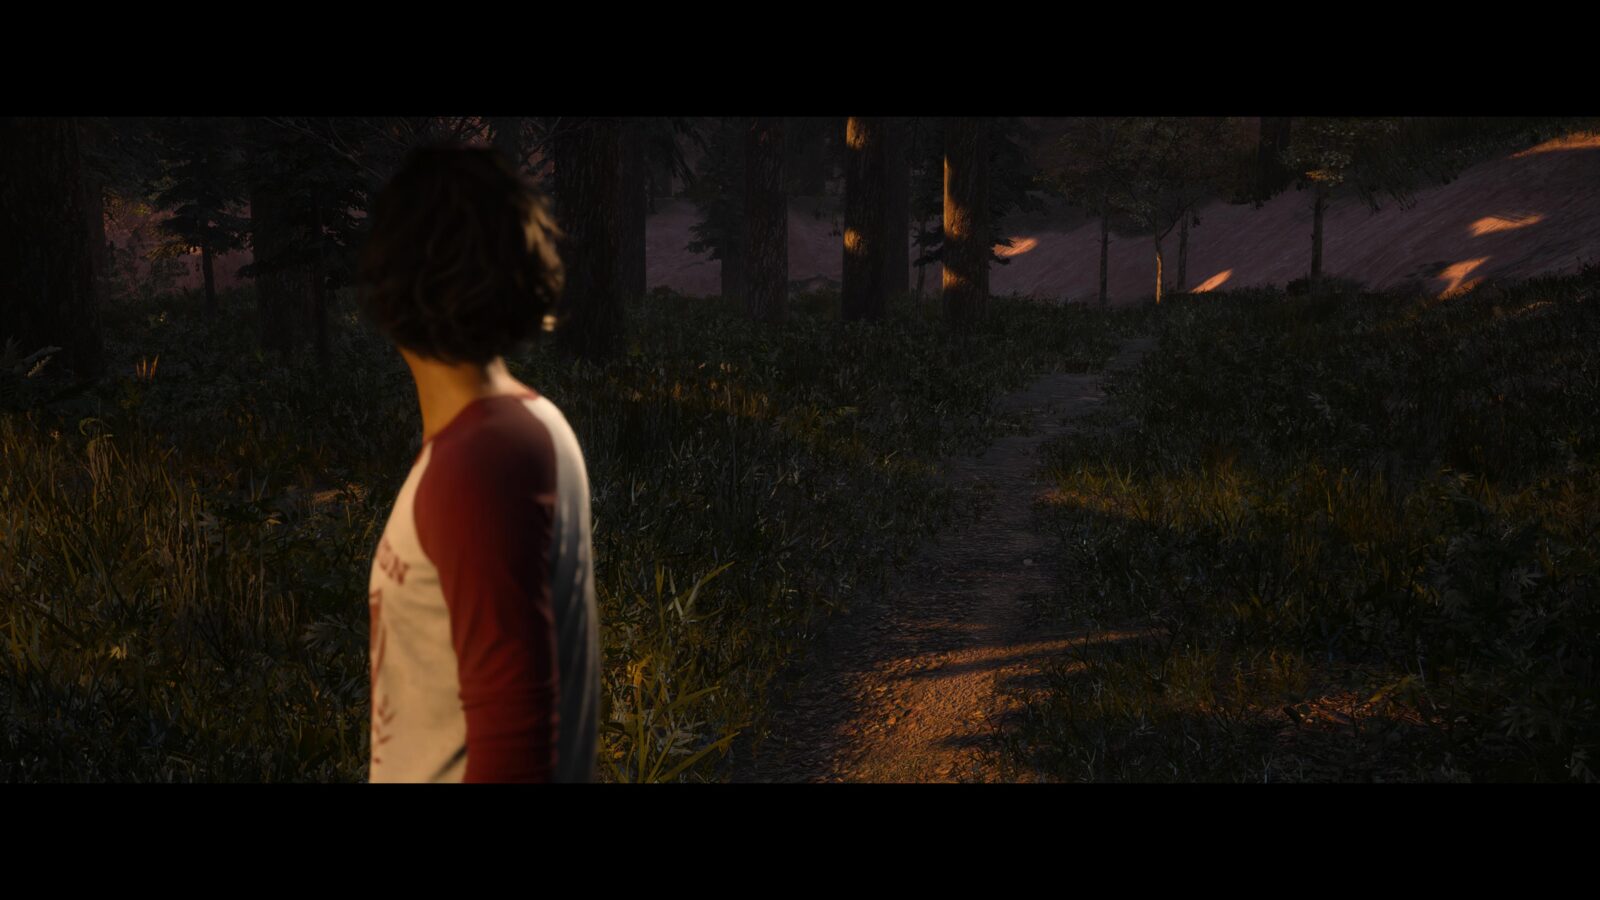
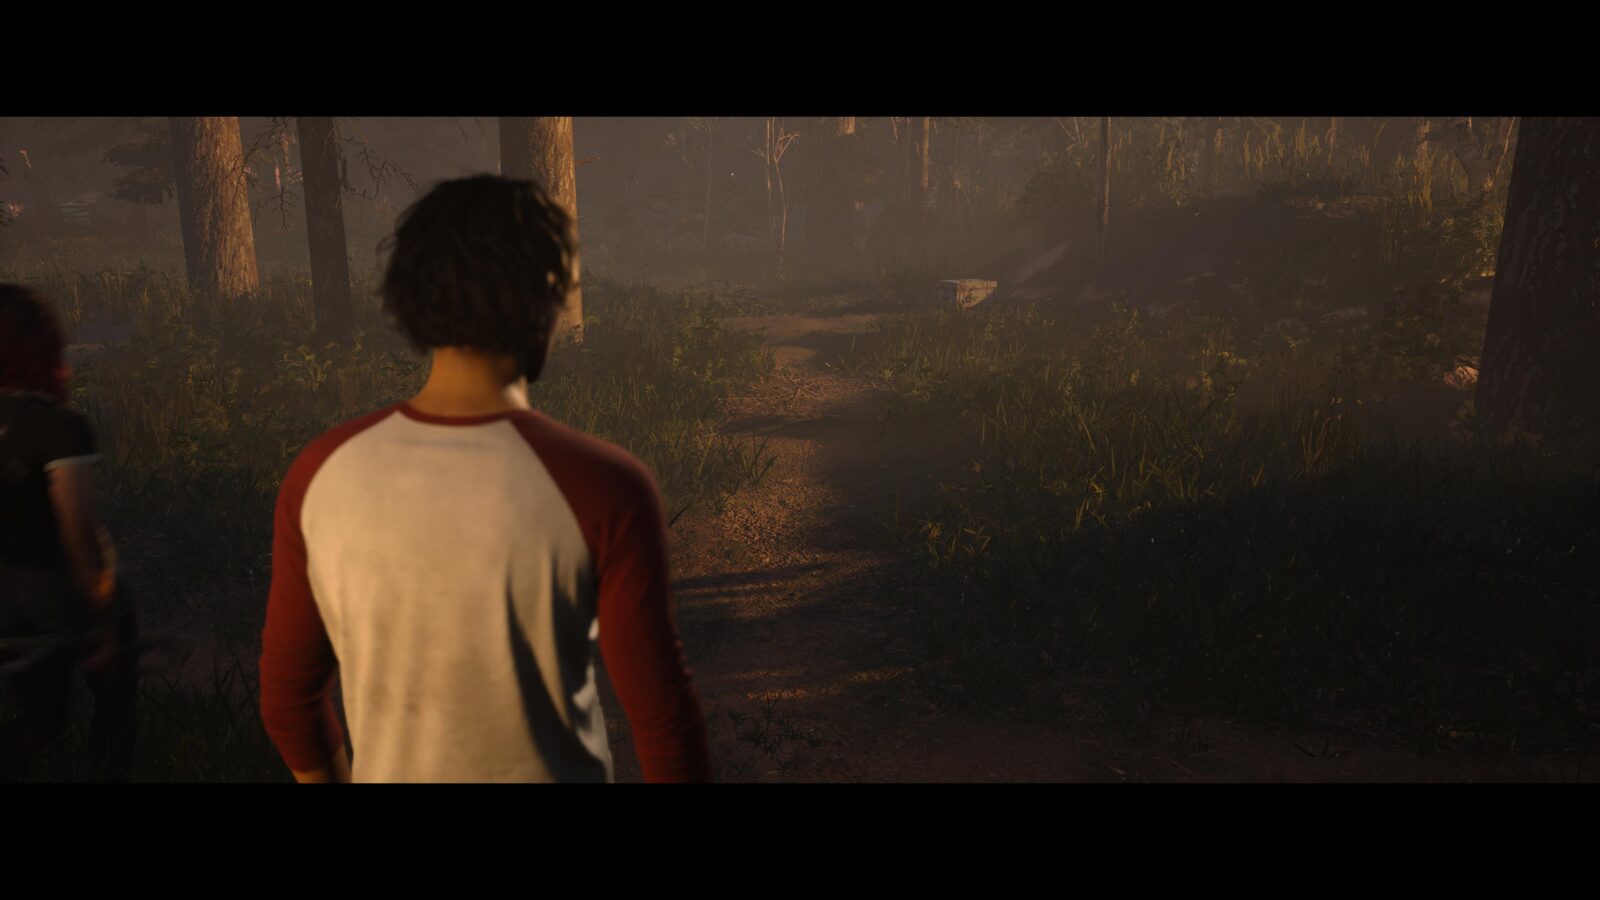
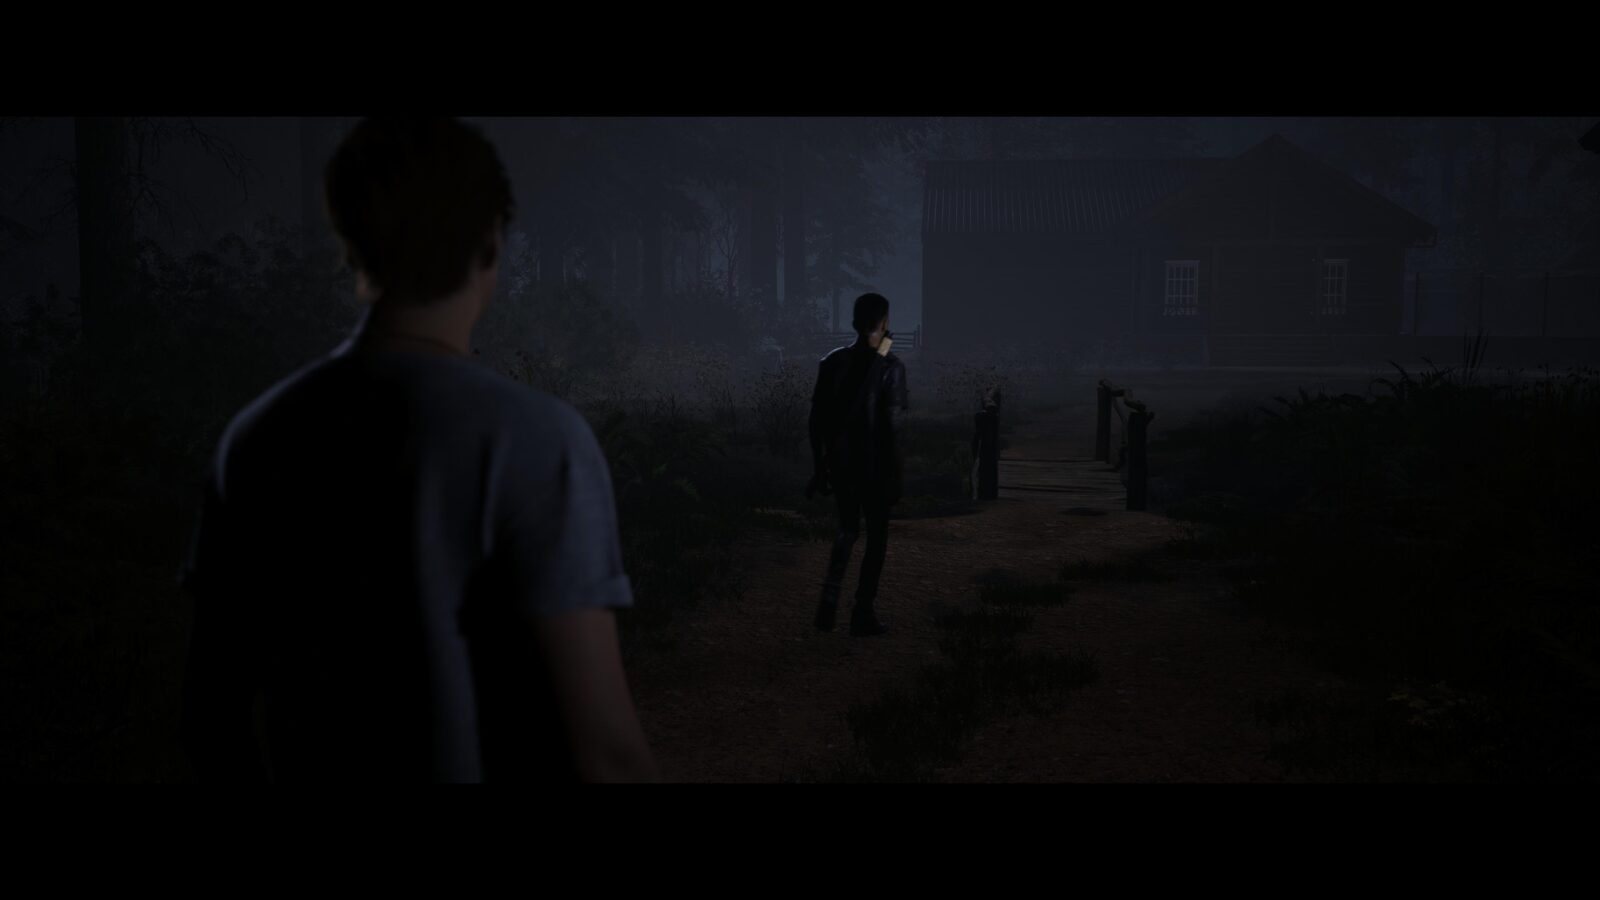
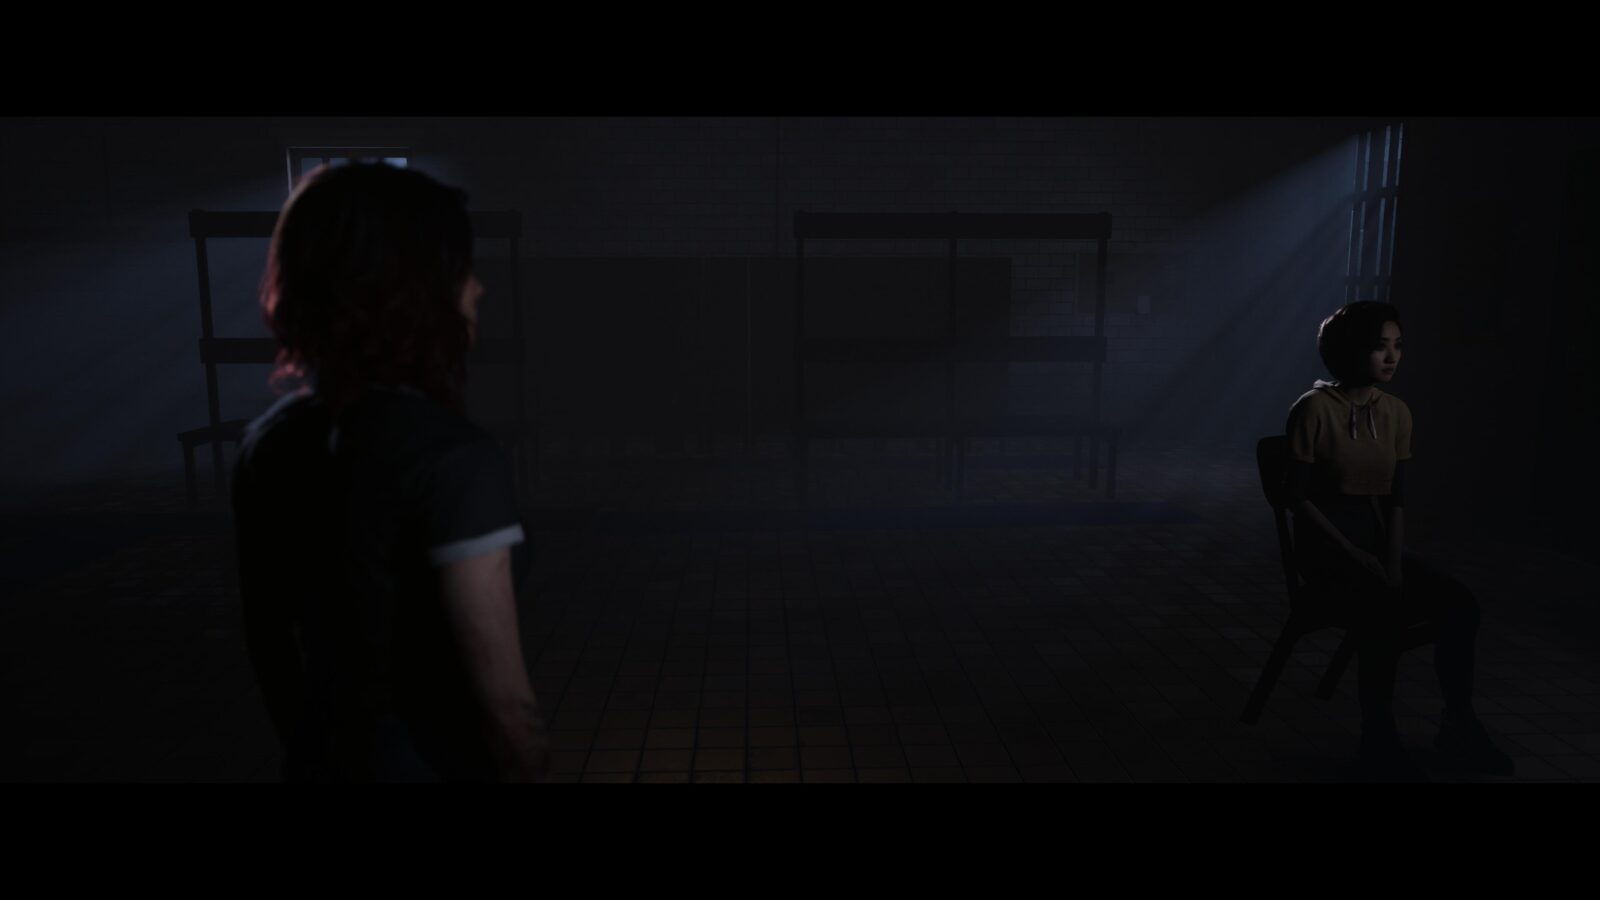
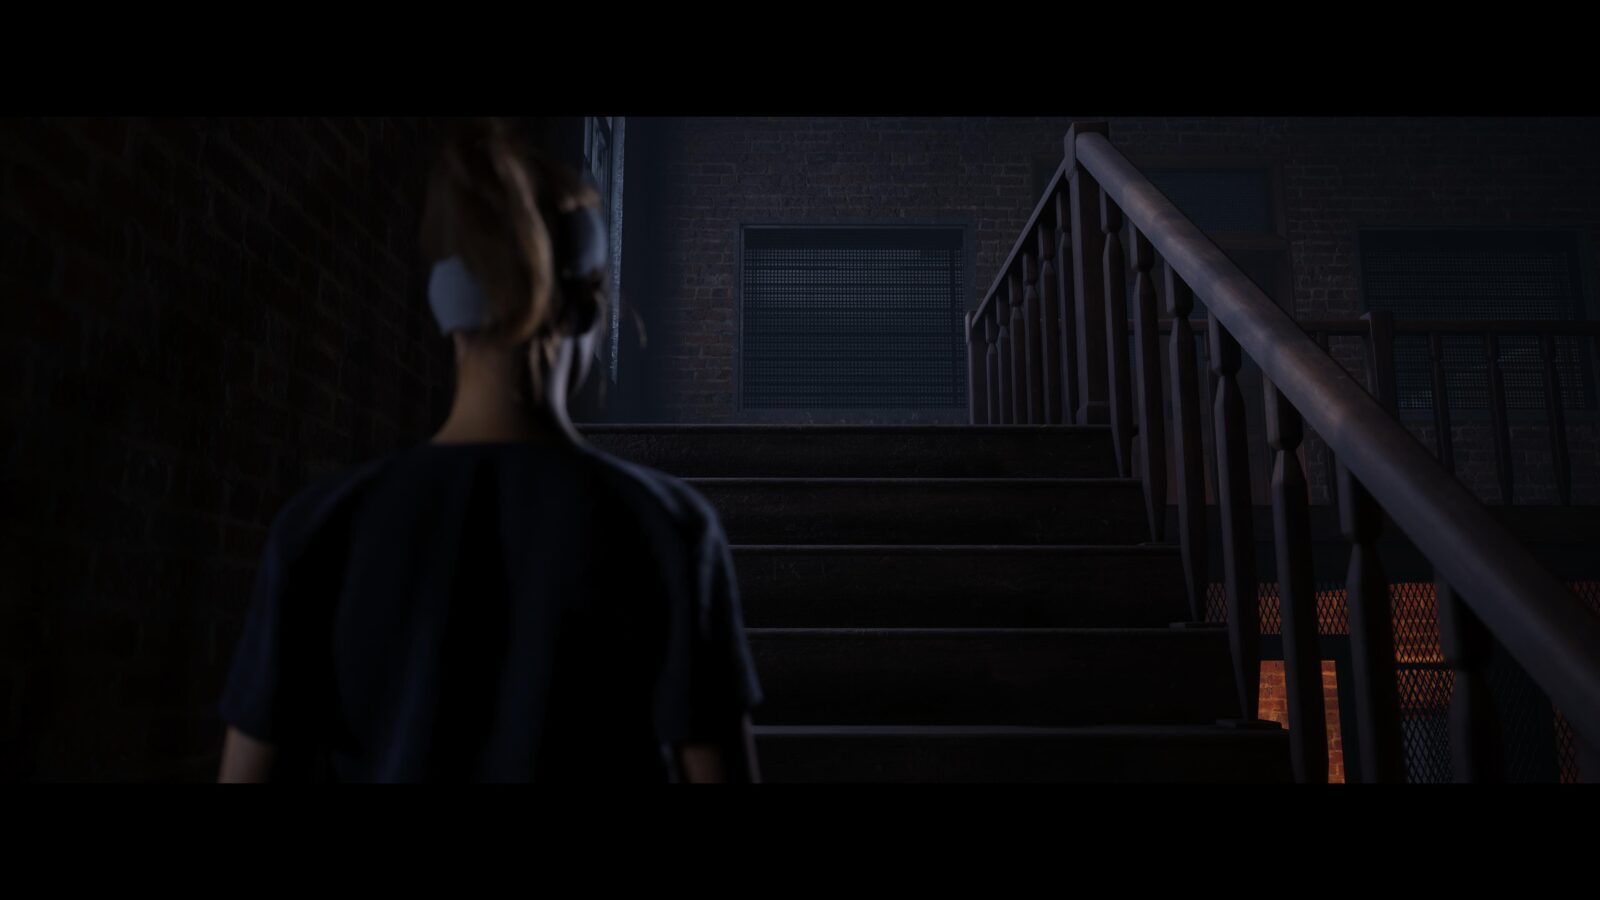
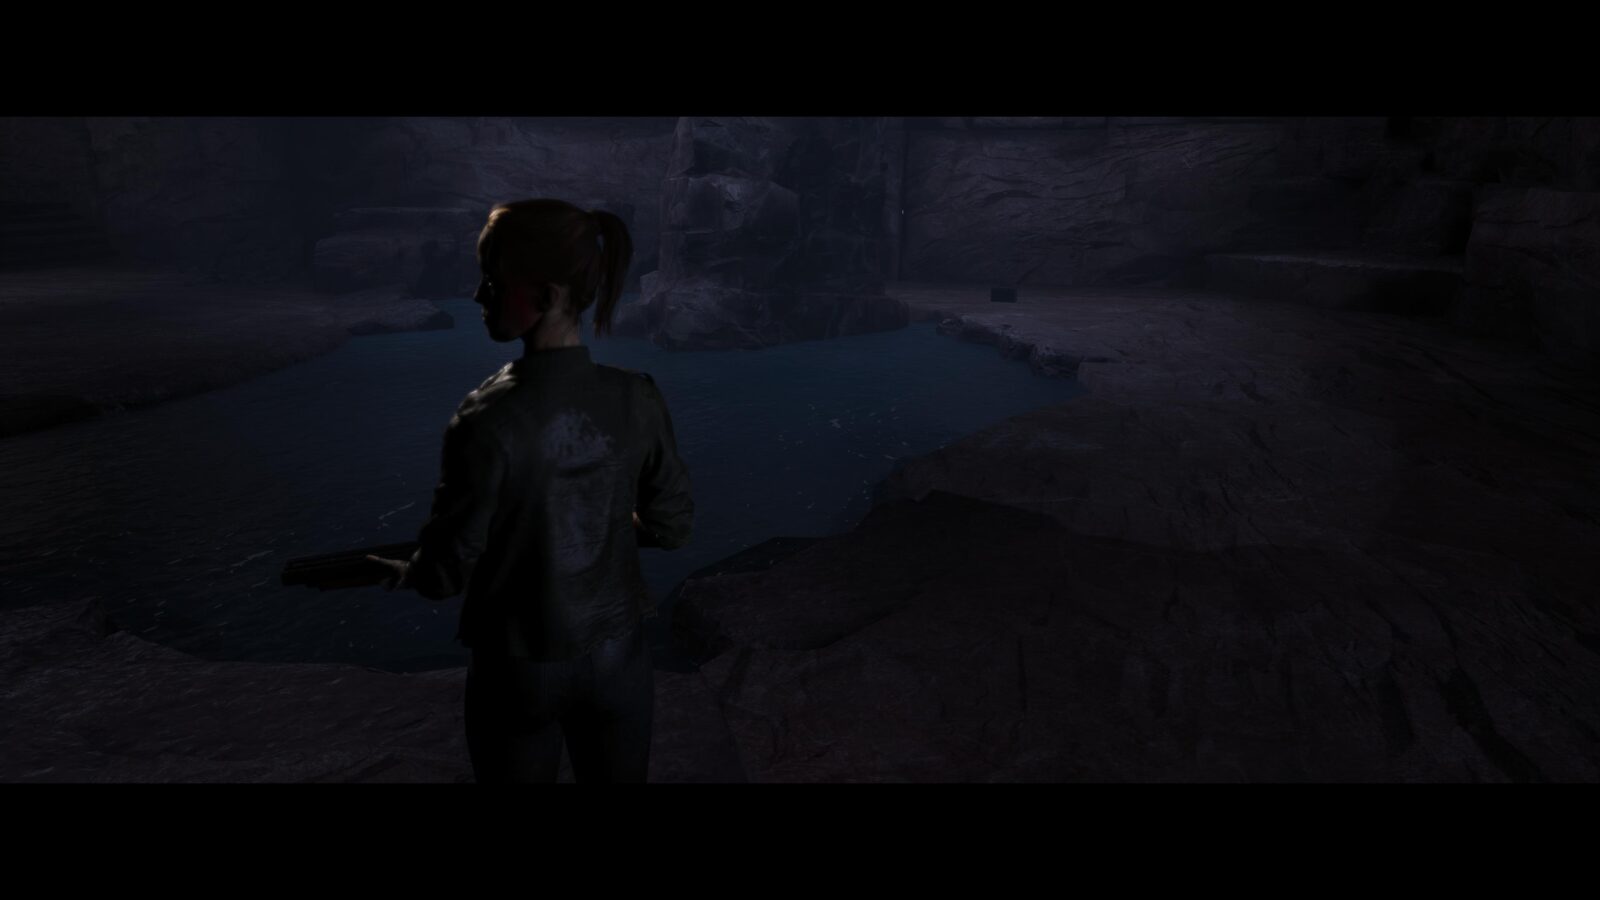
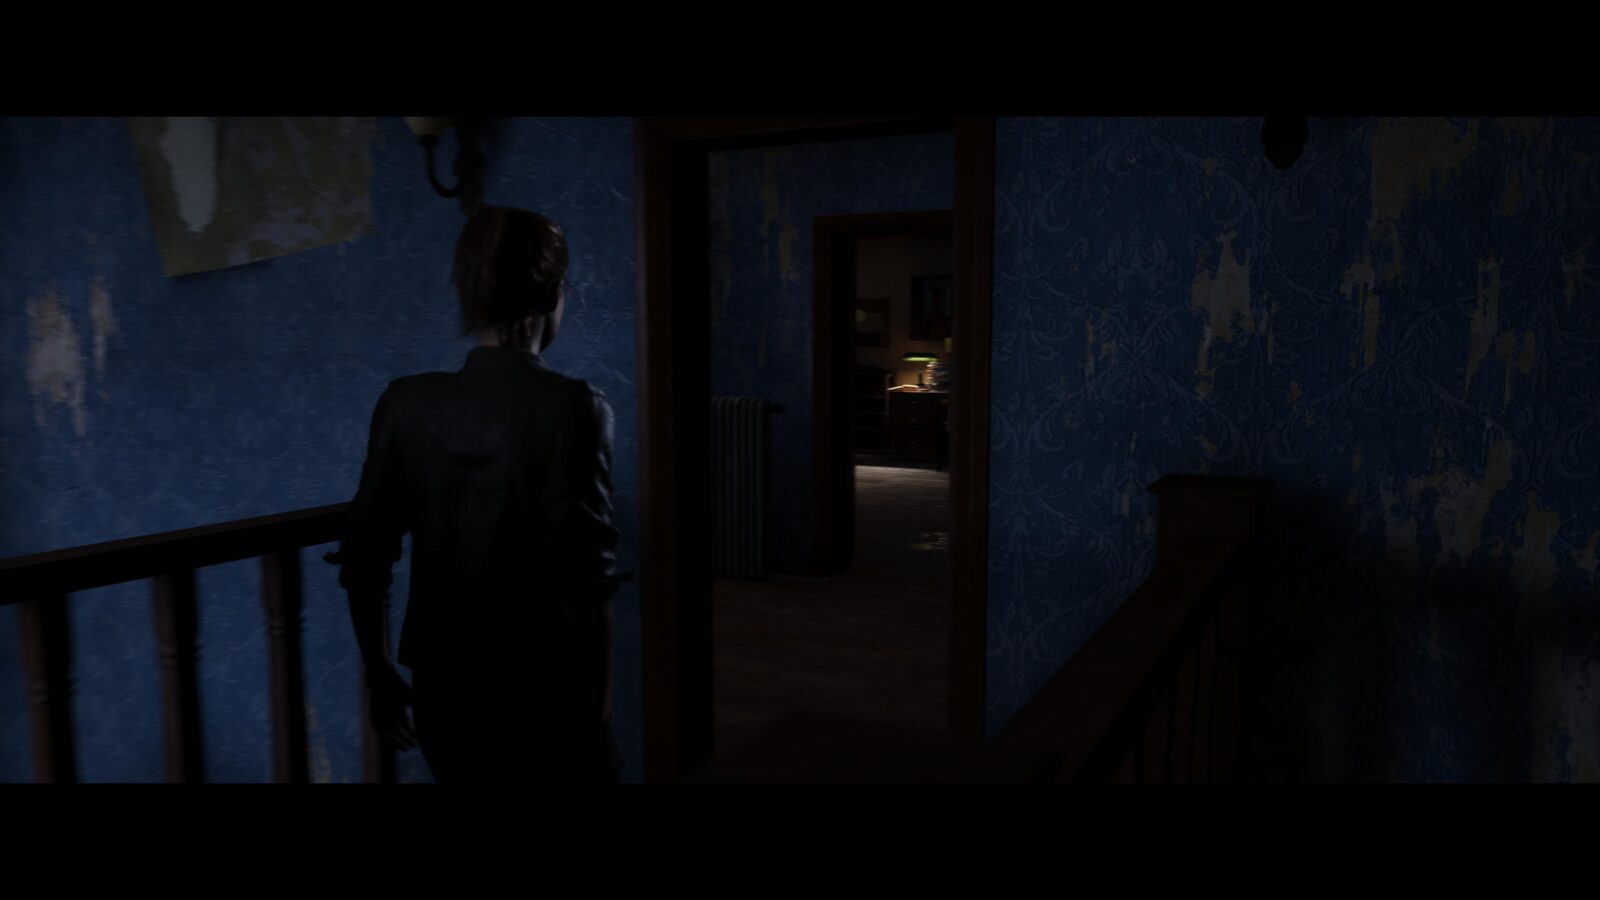
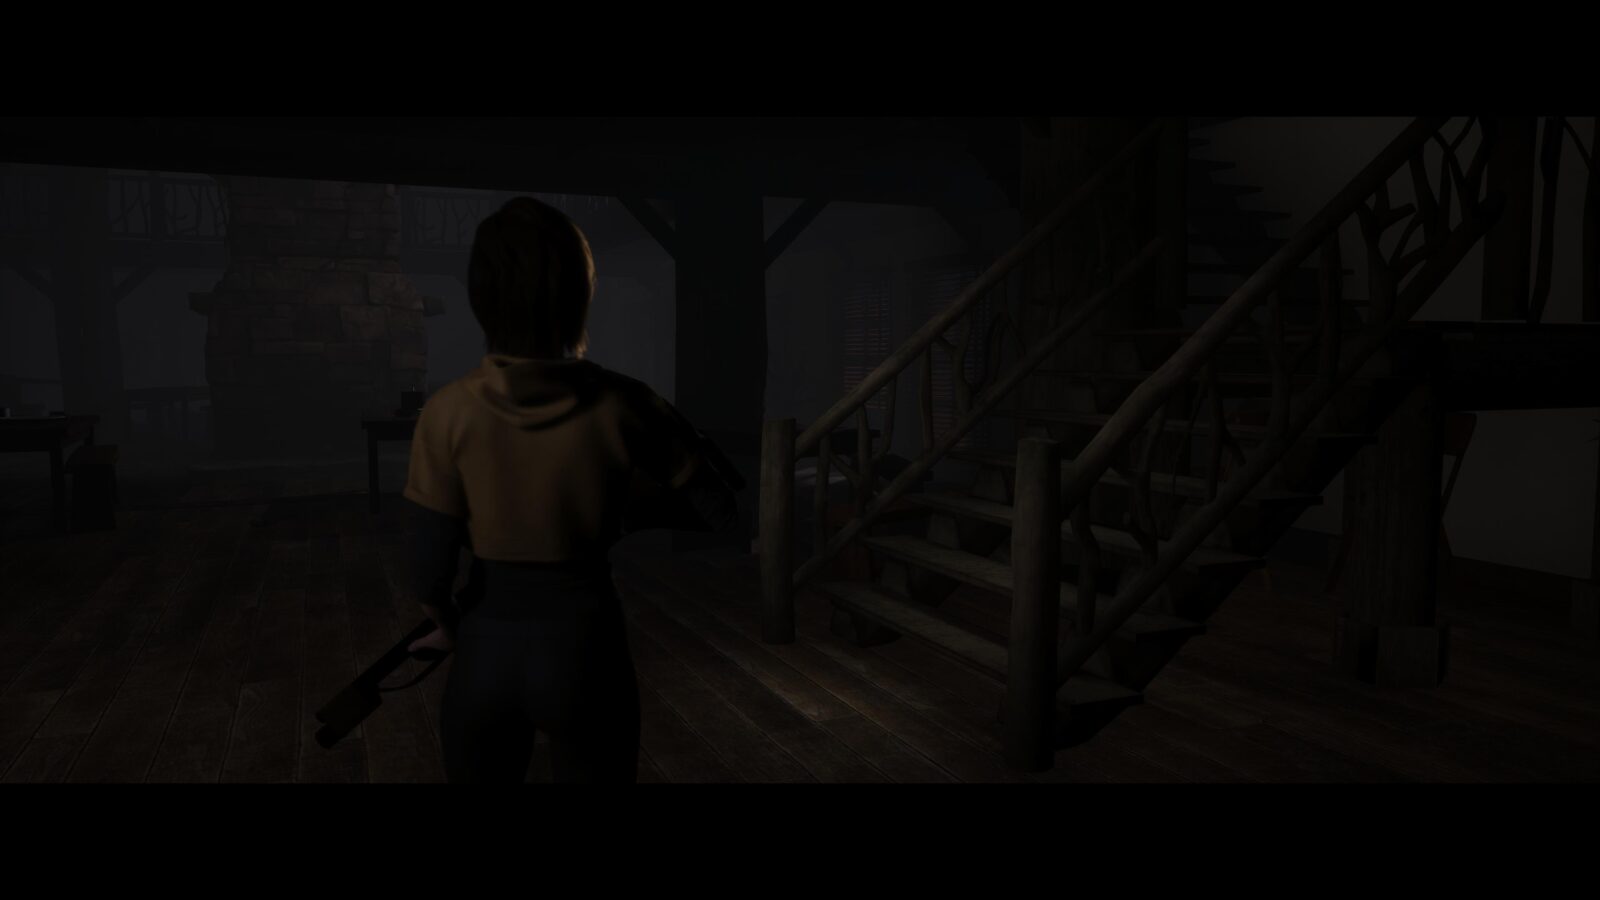
Prologue – Laura
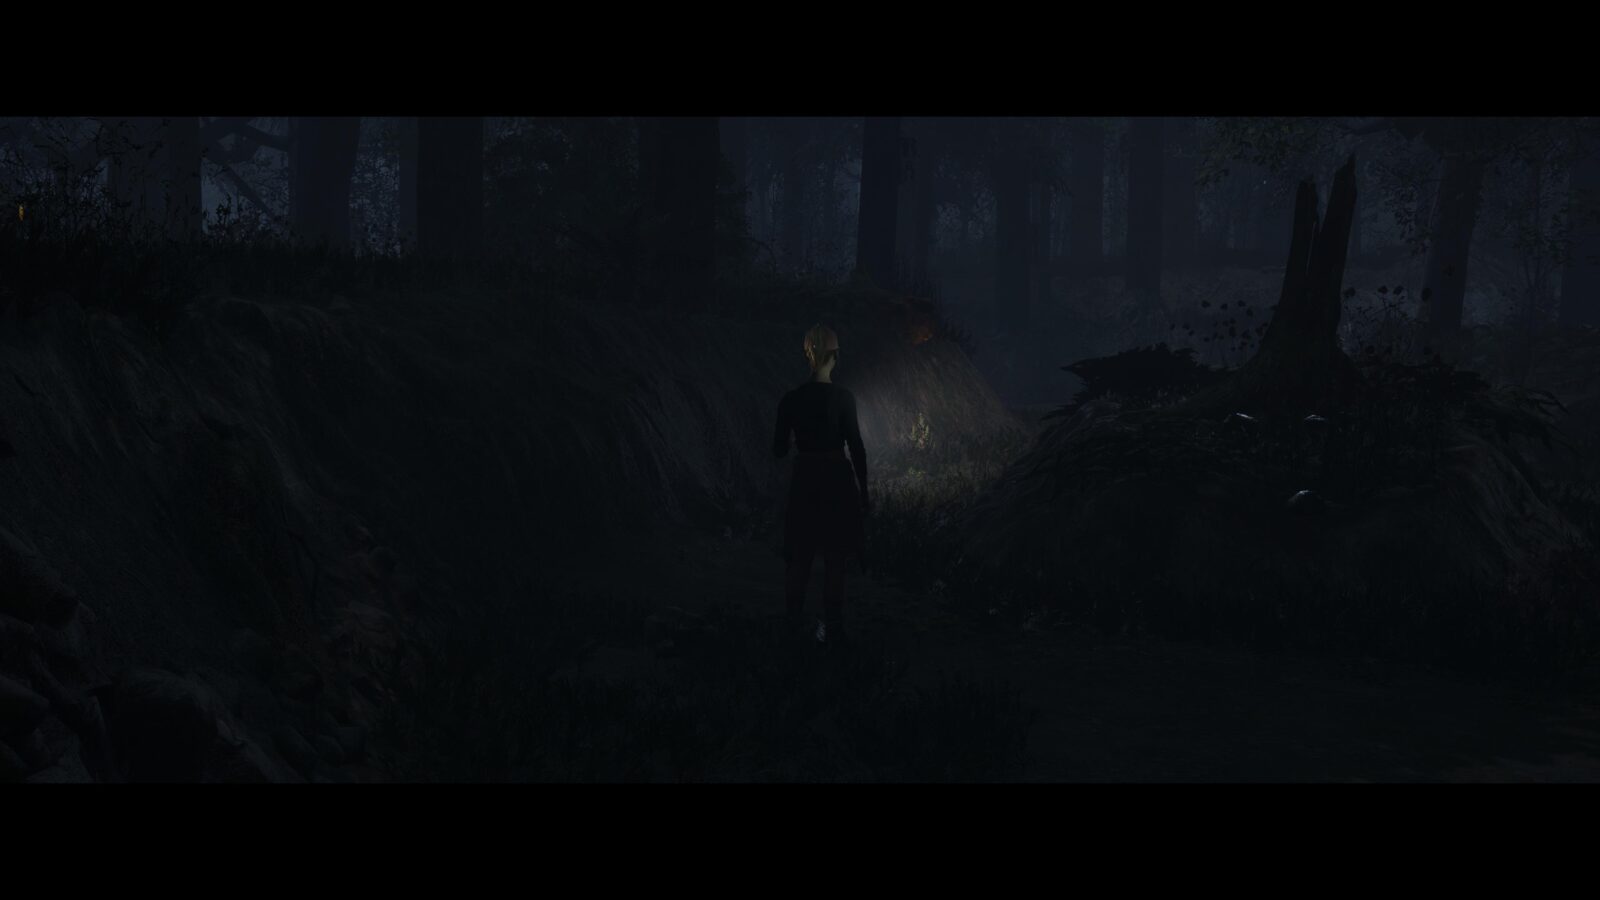
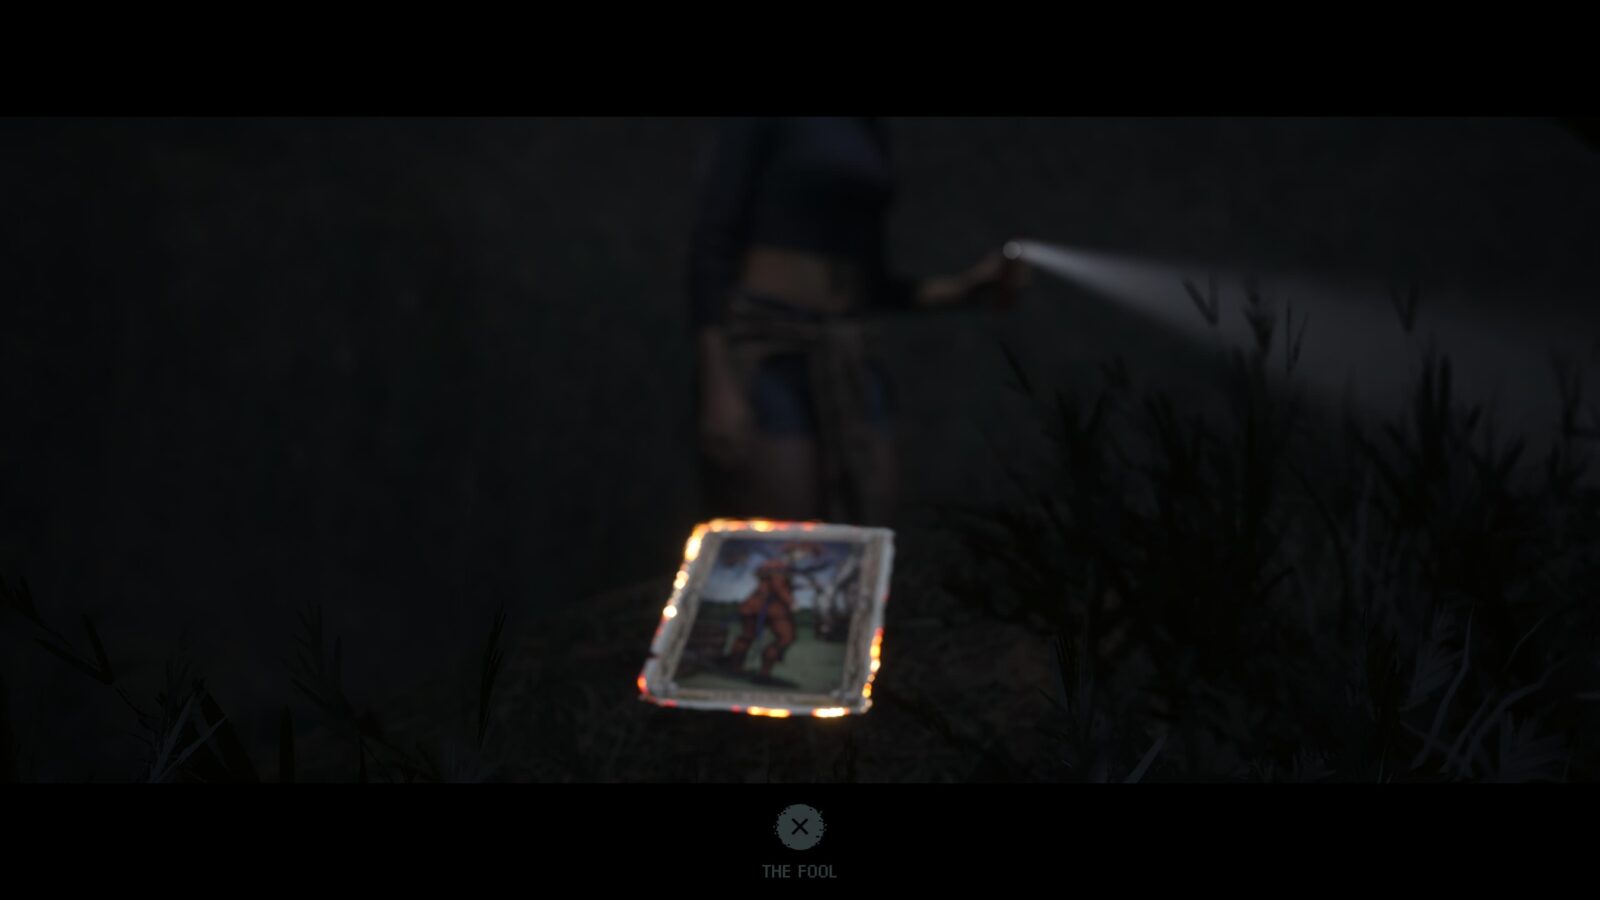
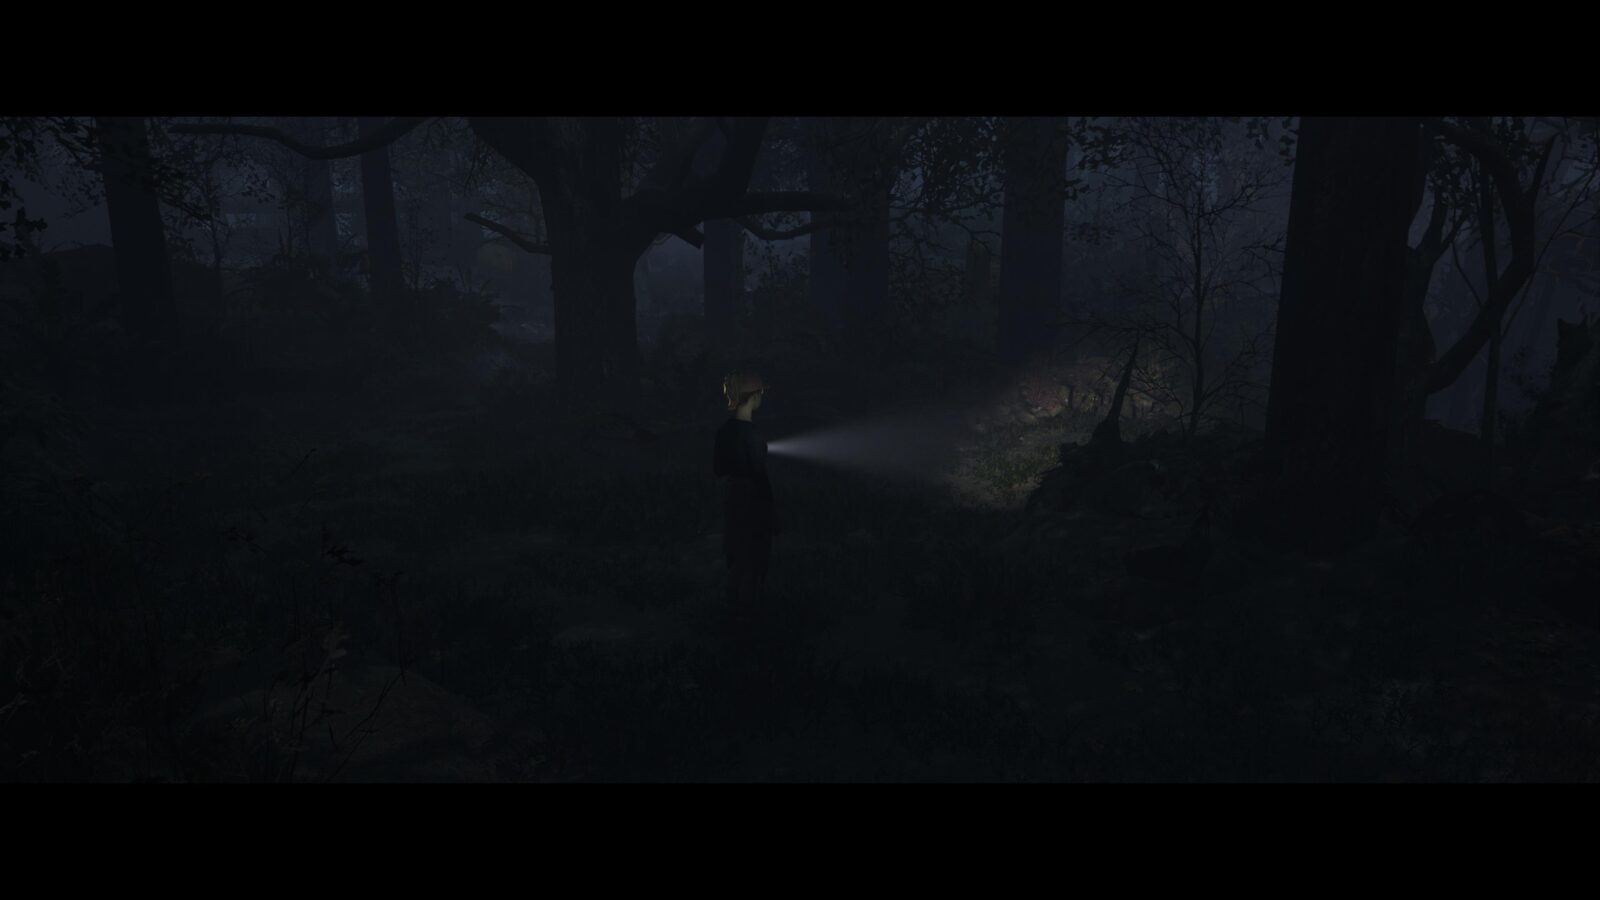
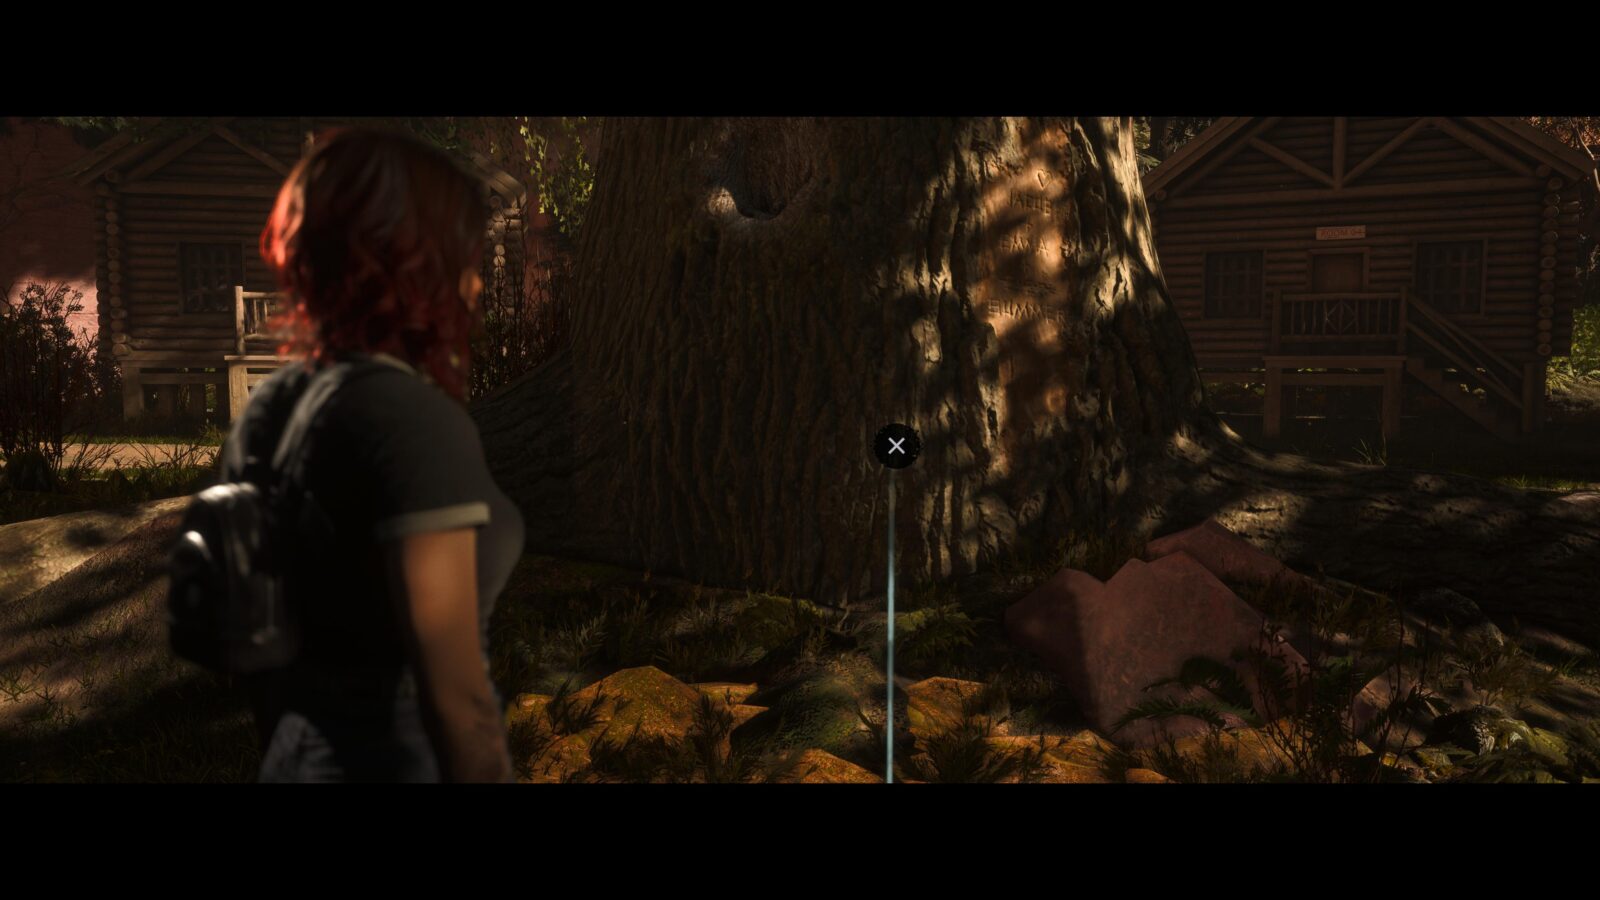
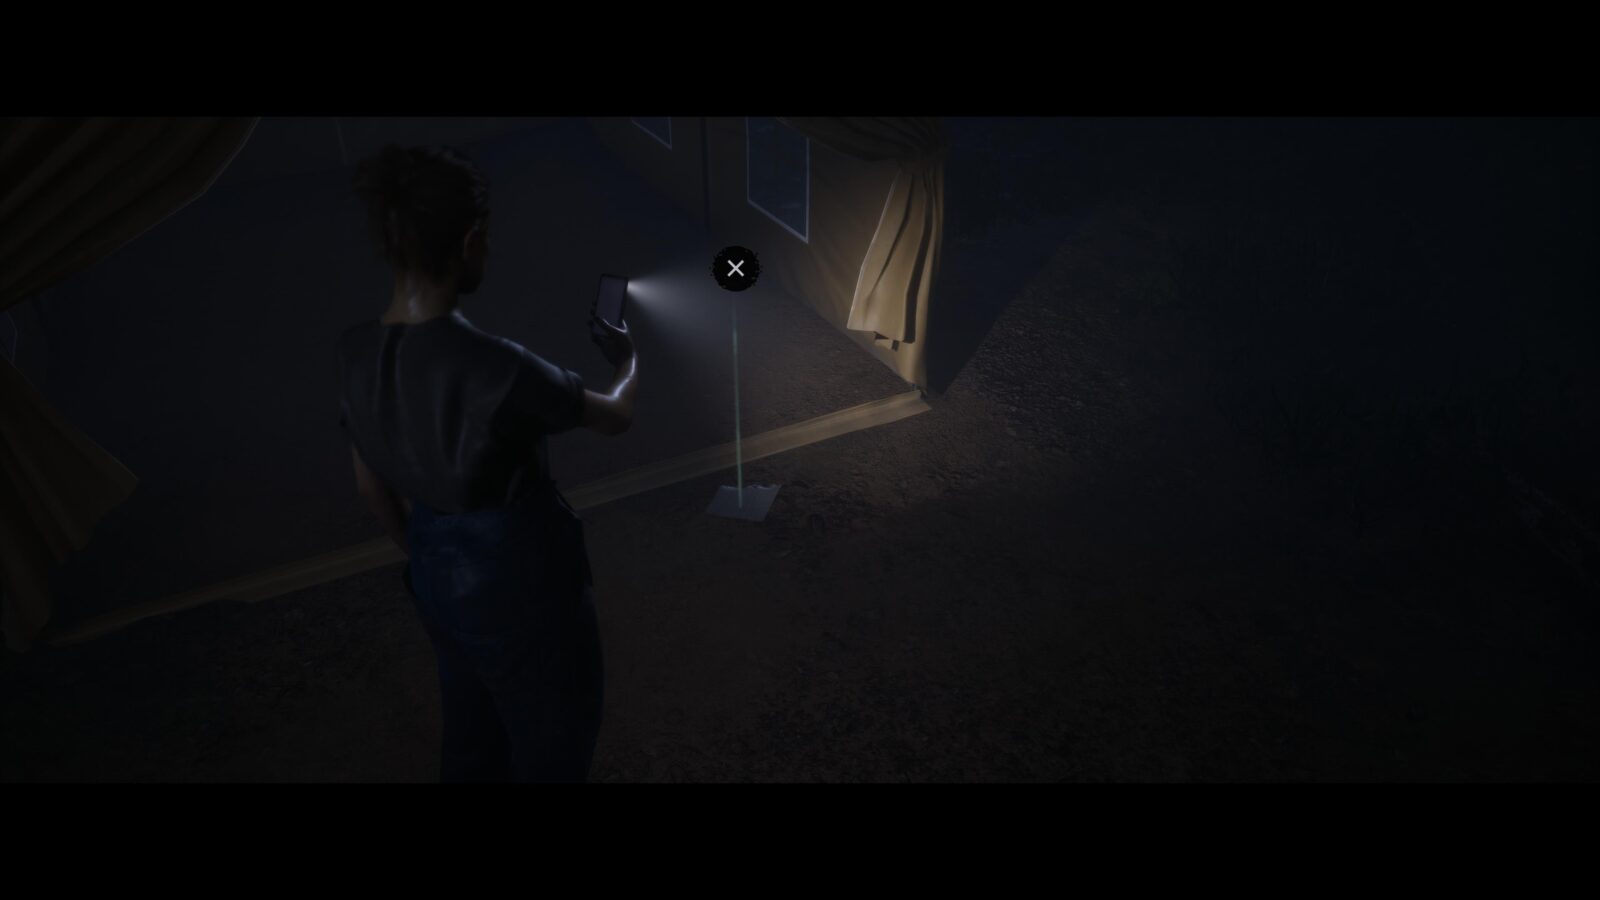
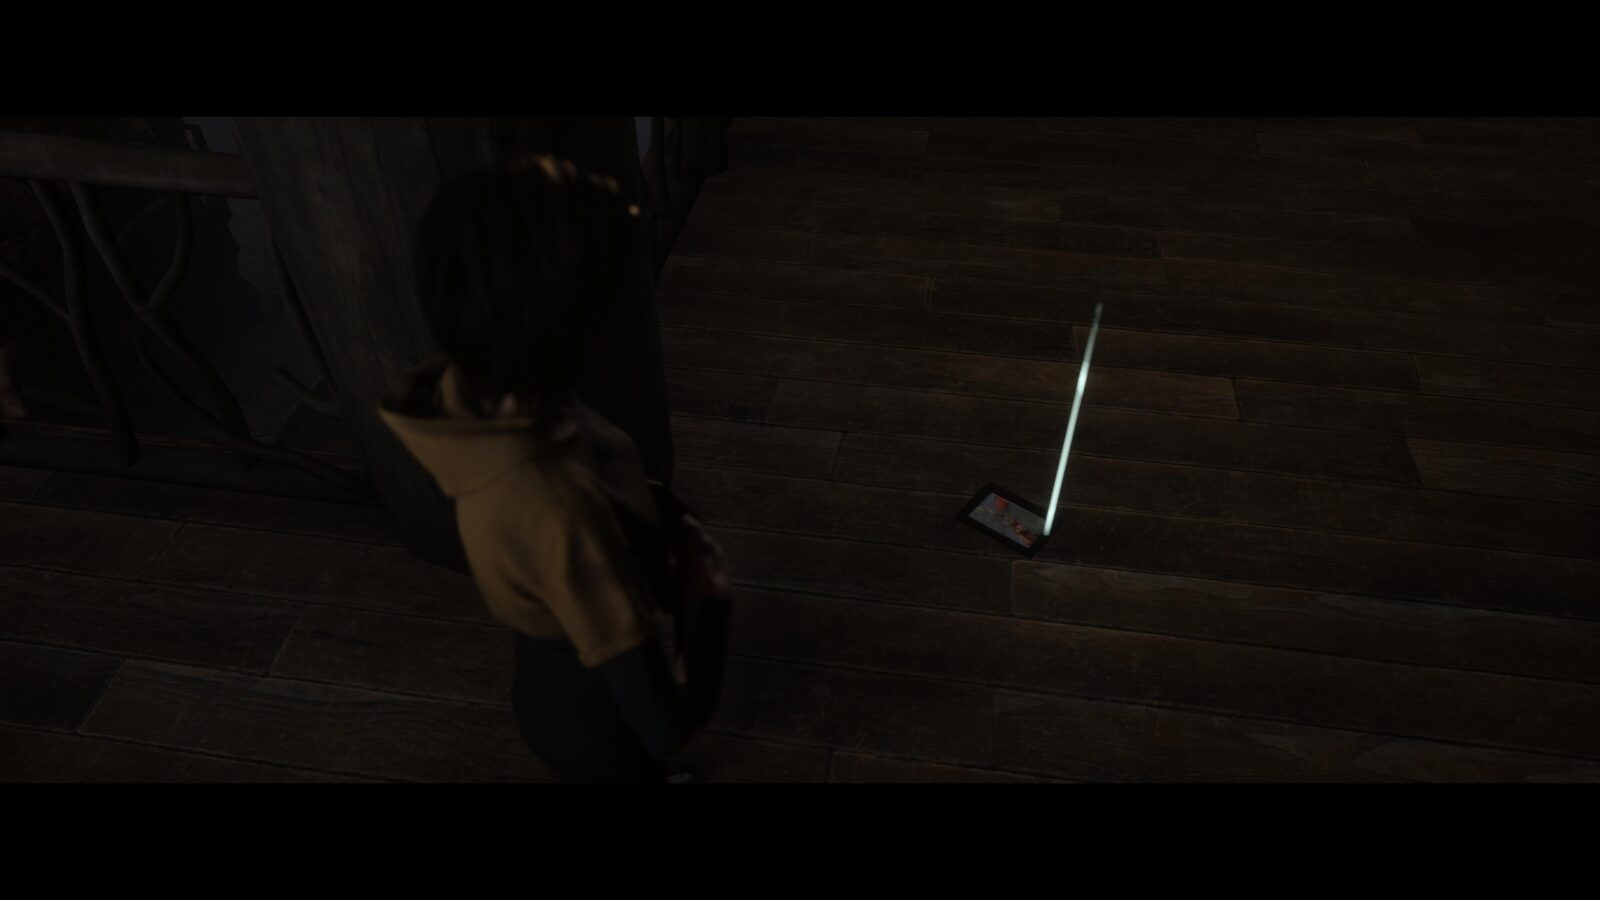
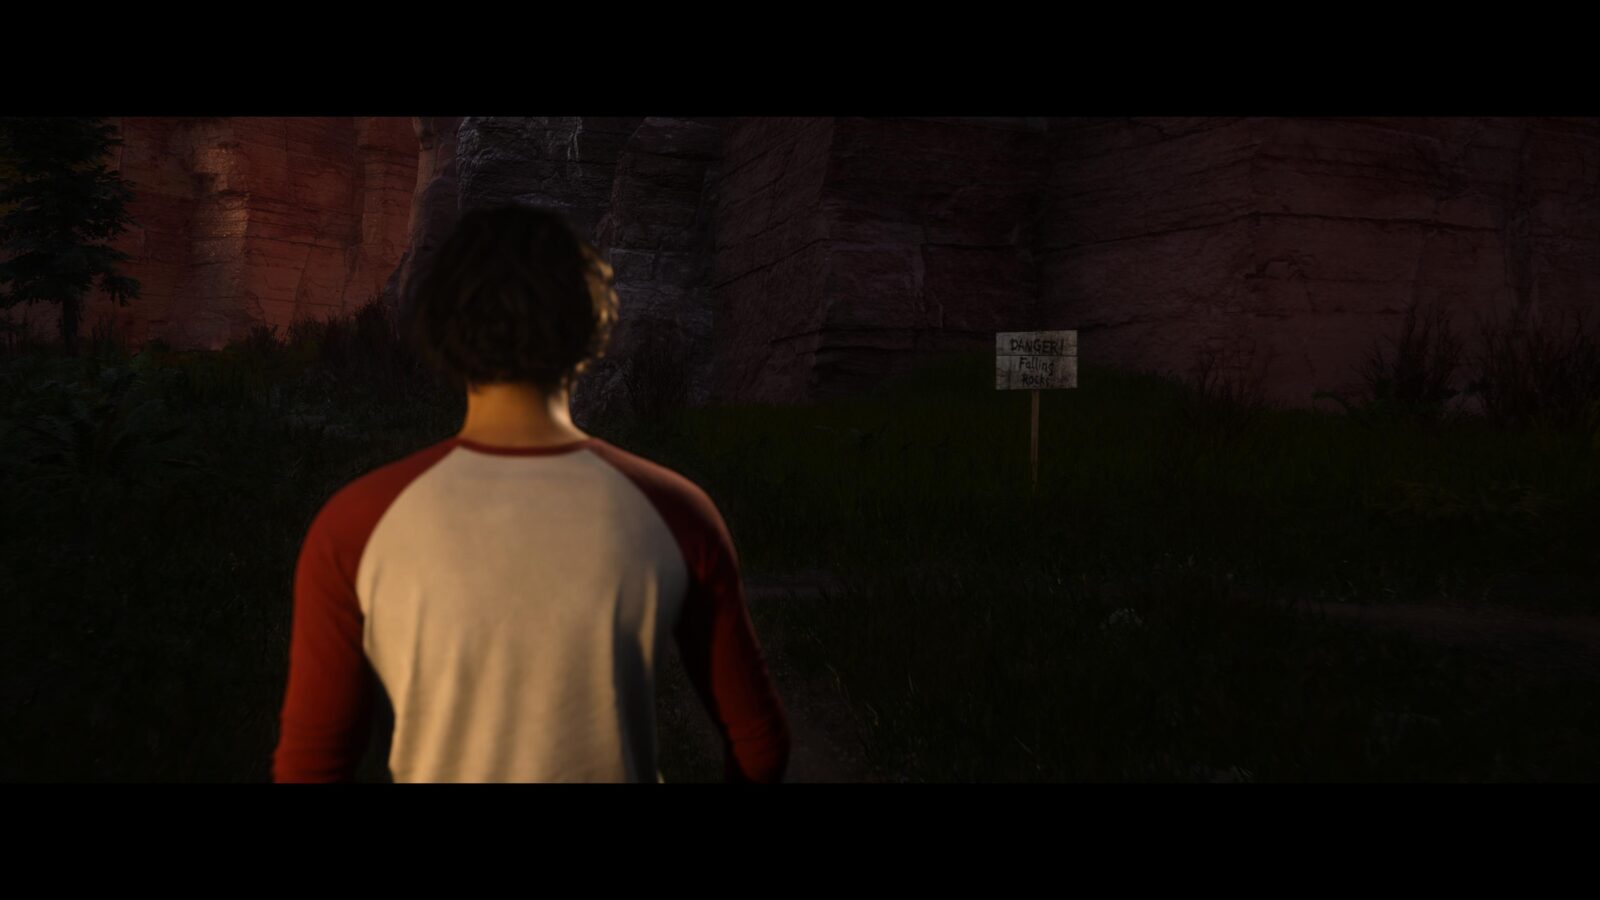
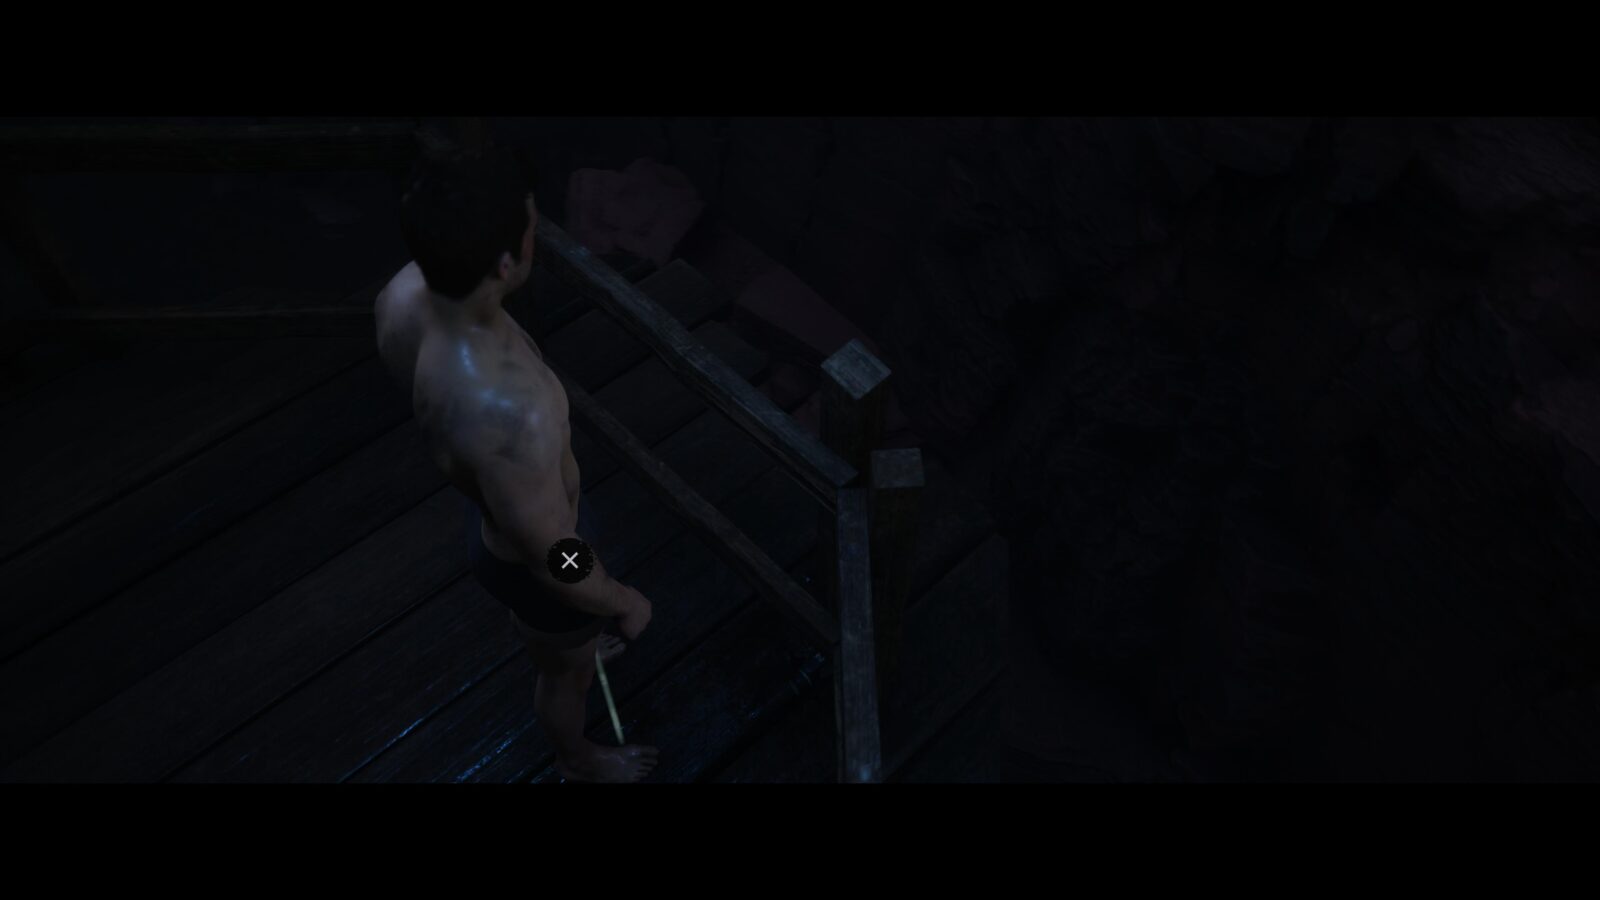
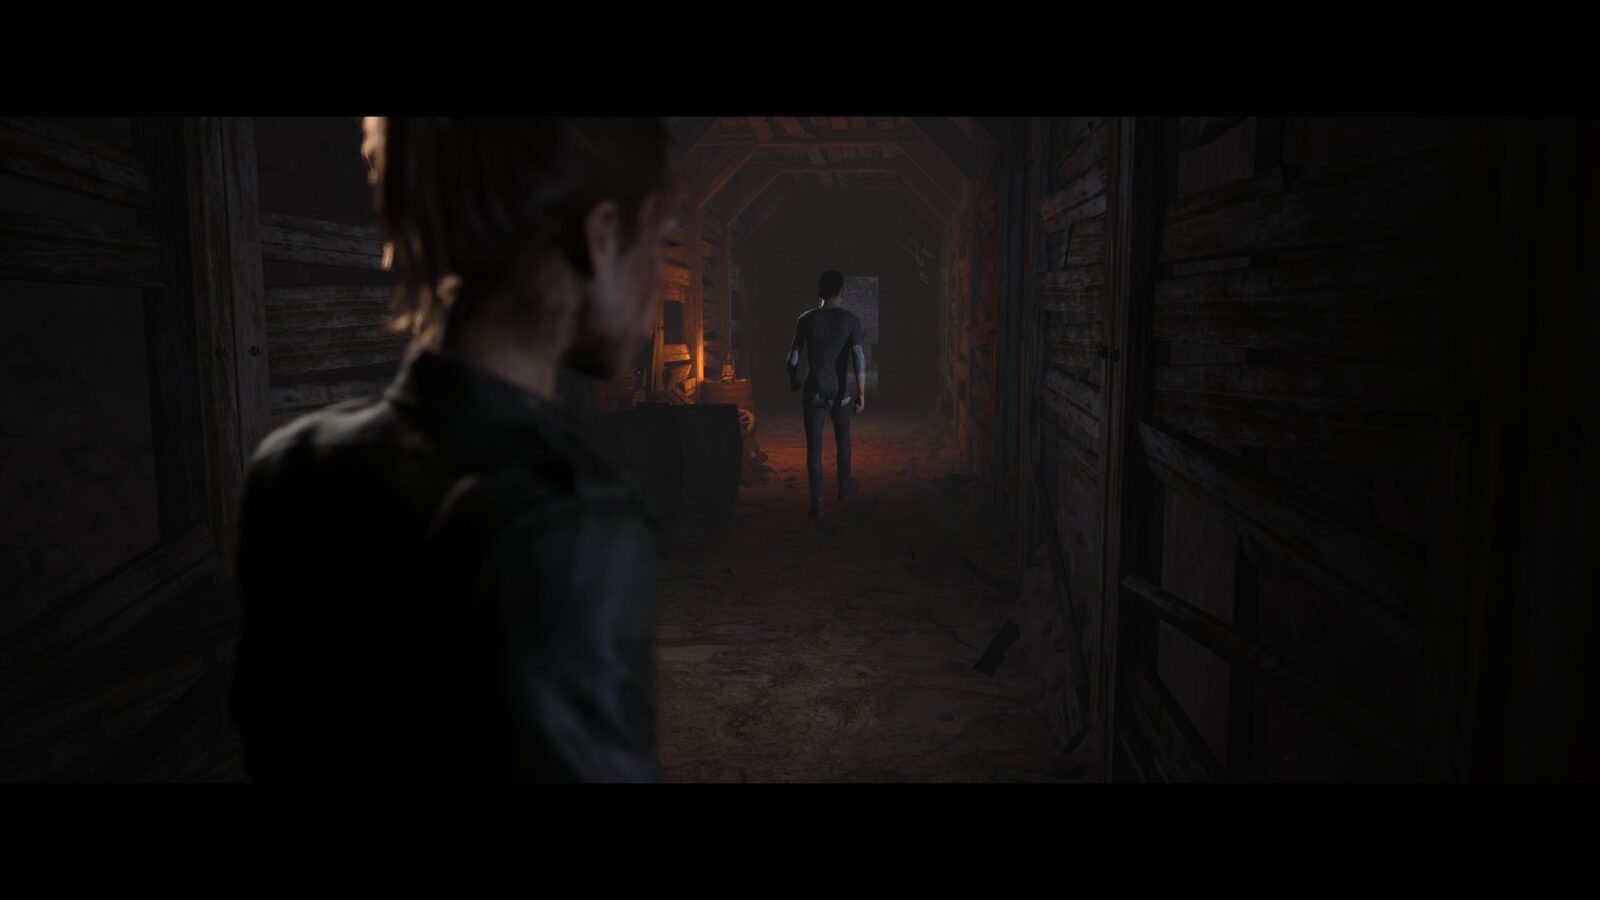
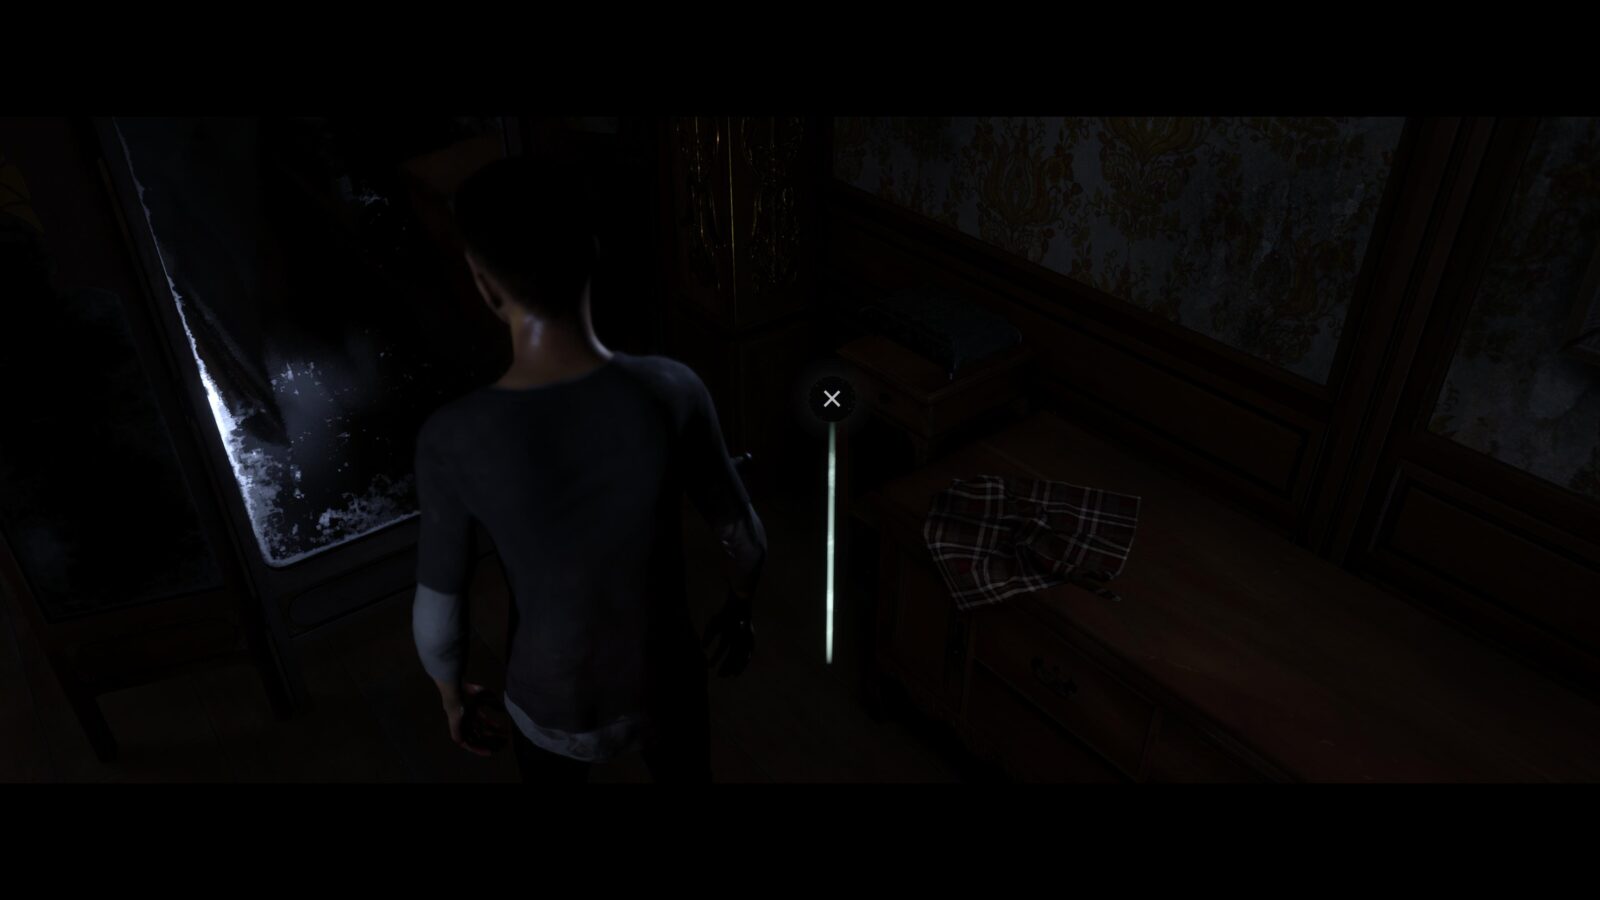
Tarot #1 – THE FOOL – After being helped down into the trench by Laura’s boyfriend, Max, you can begin to walk around and explore the area. From where Laura is stood walk on the left side of the mound in front of you and the camera angle will change to reveal a tarot card sitting on a rock. You will need to press ![]() to pick it up once the camera angle changes.
to pick it up once the camera angle changes.
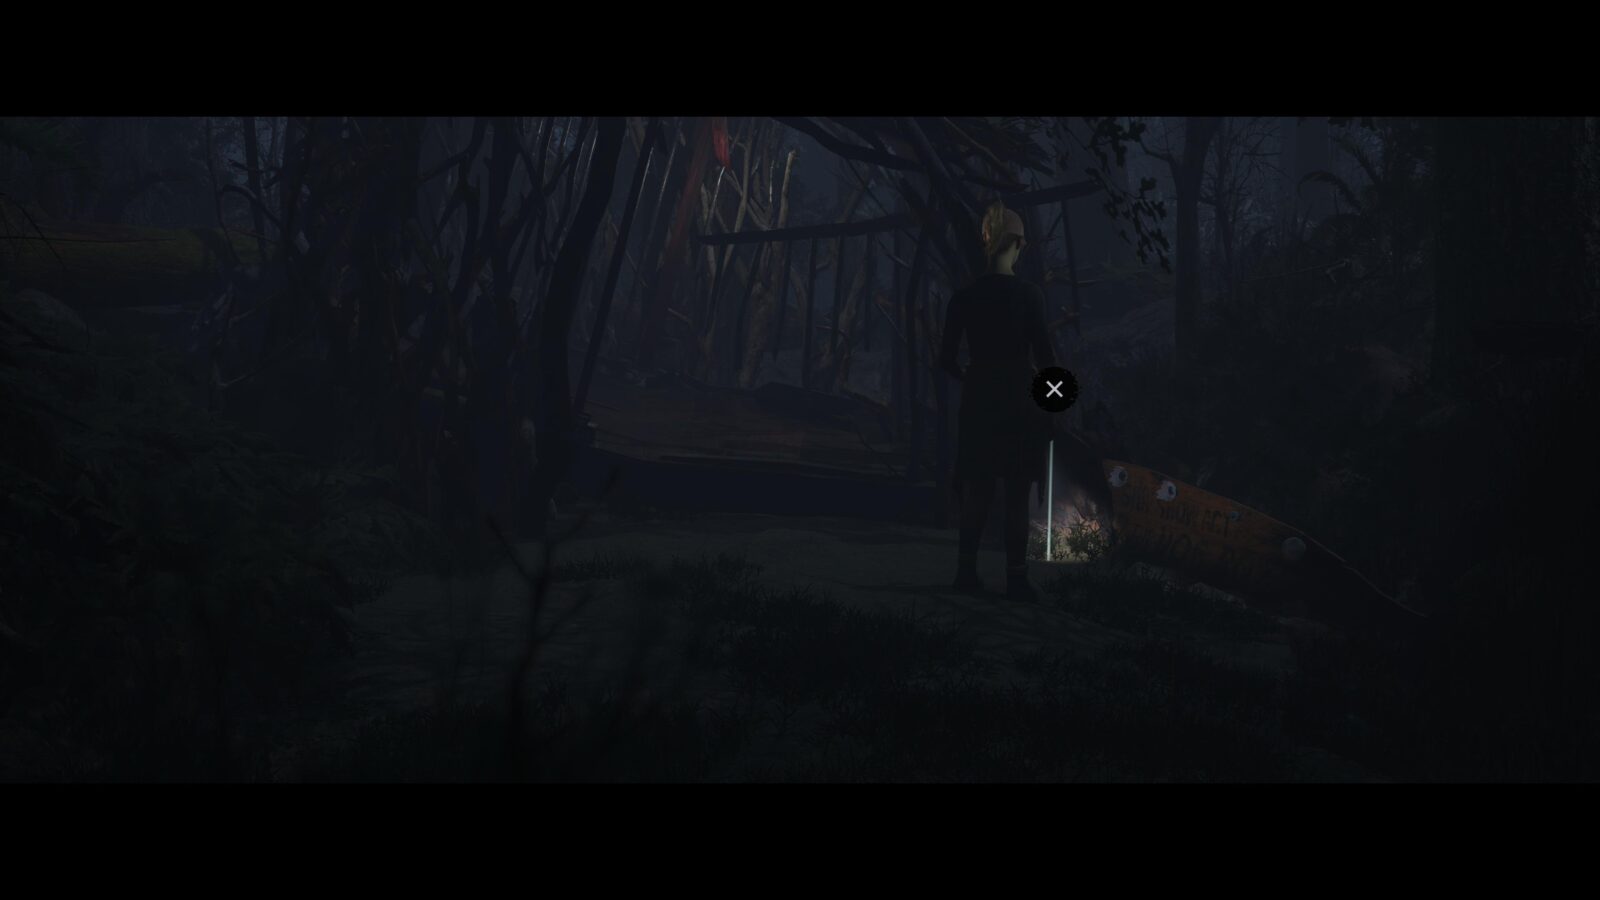
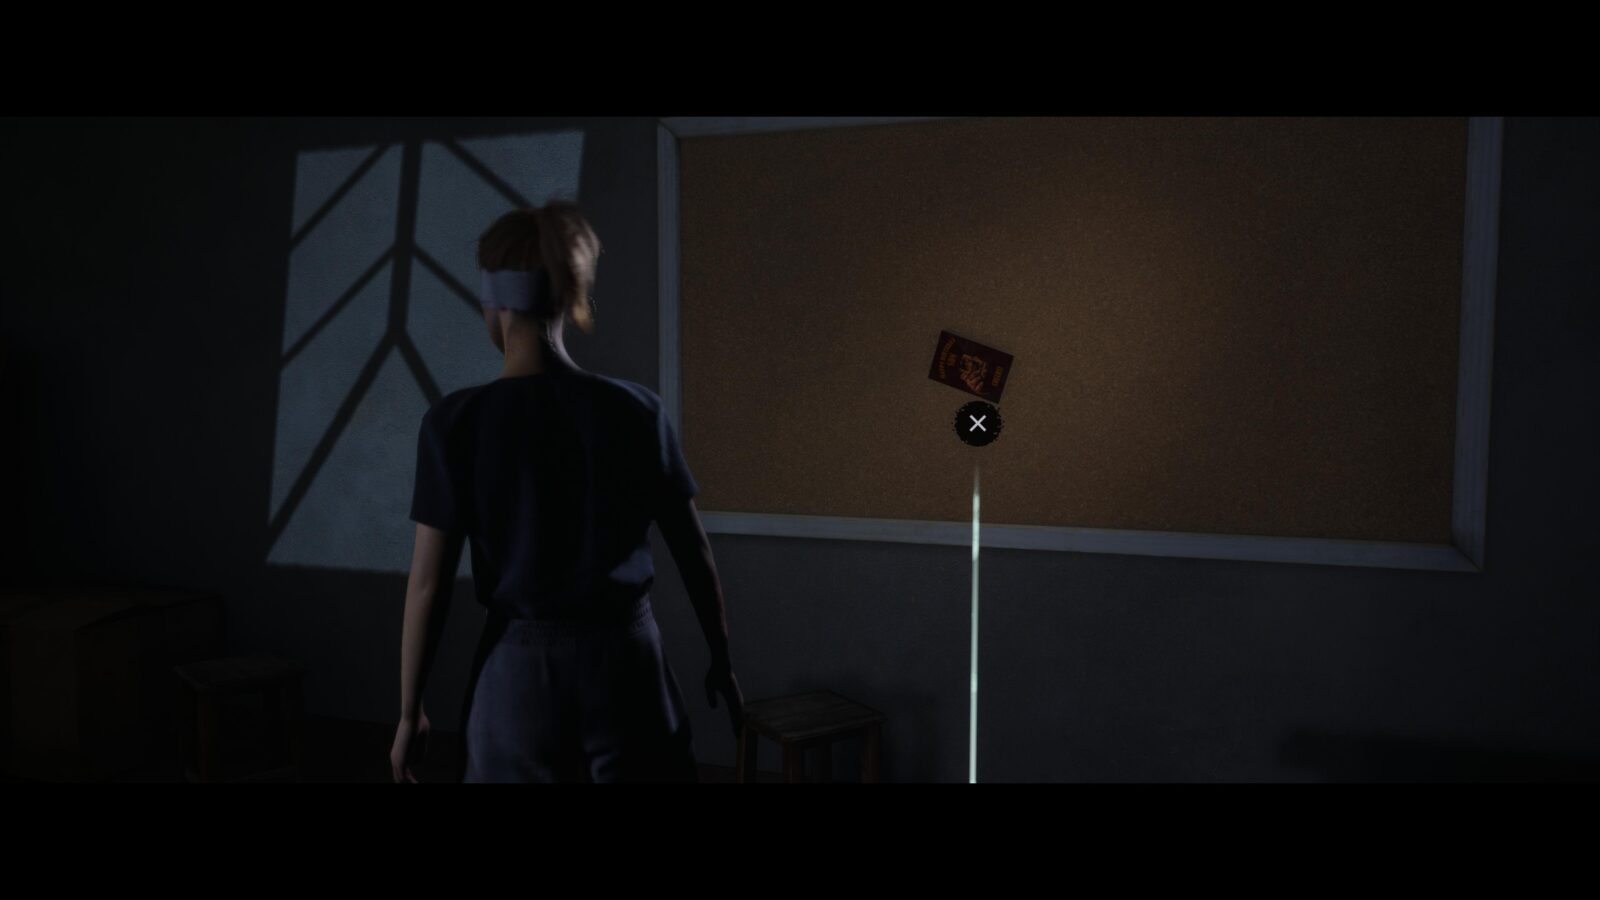
Clue #1 – Freakshow Fire: Harum Scarum Poster – On a tree to the right of the path just ahead of where you found the tarot card is a poster. This is your very first clue.
Clue #2 – Freakshow Fire: Escapology Trunk – Continue following the path after the poster and you will come to a fork. Follow the path left and it will be a dead end with a trunk on the ground that you can inspect.


Clue #3 – Freakshow Fire: Broken Cage – Go back to the fork and follow the path right. When the camera angle changes, take the most immediate right—before walking beyond the big tree in the middle—and follow it to find a cage.
Clue #4 – Camp History: Bloodied Collar – After entering the basement at Camp Quarry you will find a bloodied collar. This is unmissable.

Chapter 1 – Jacob/Abigail
Clue #5 – Camp History: Hunting Notice – As soon as you have control of Jacob, look to his right and you can see a sign on a fence next to a parked car.

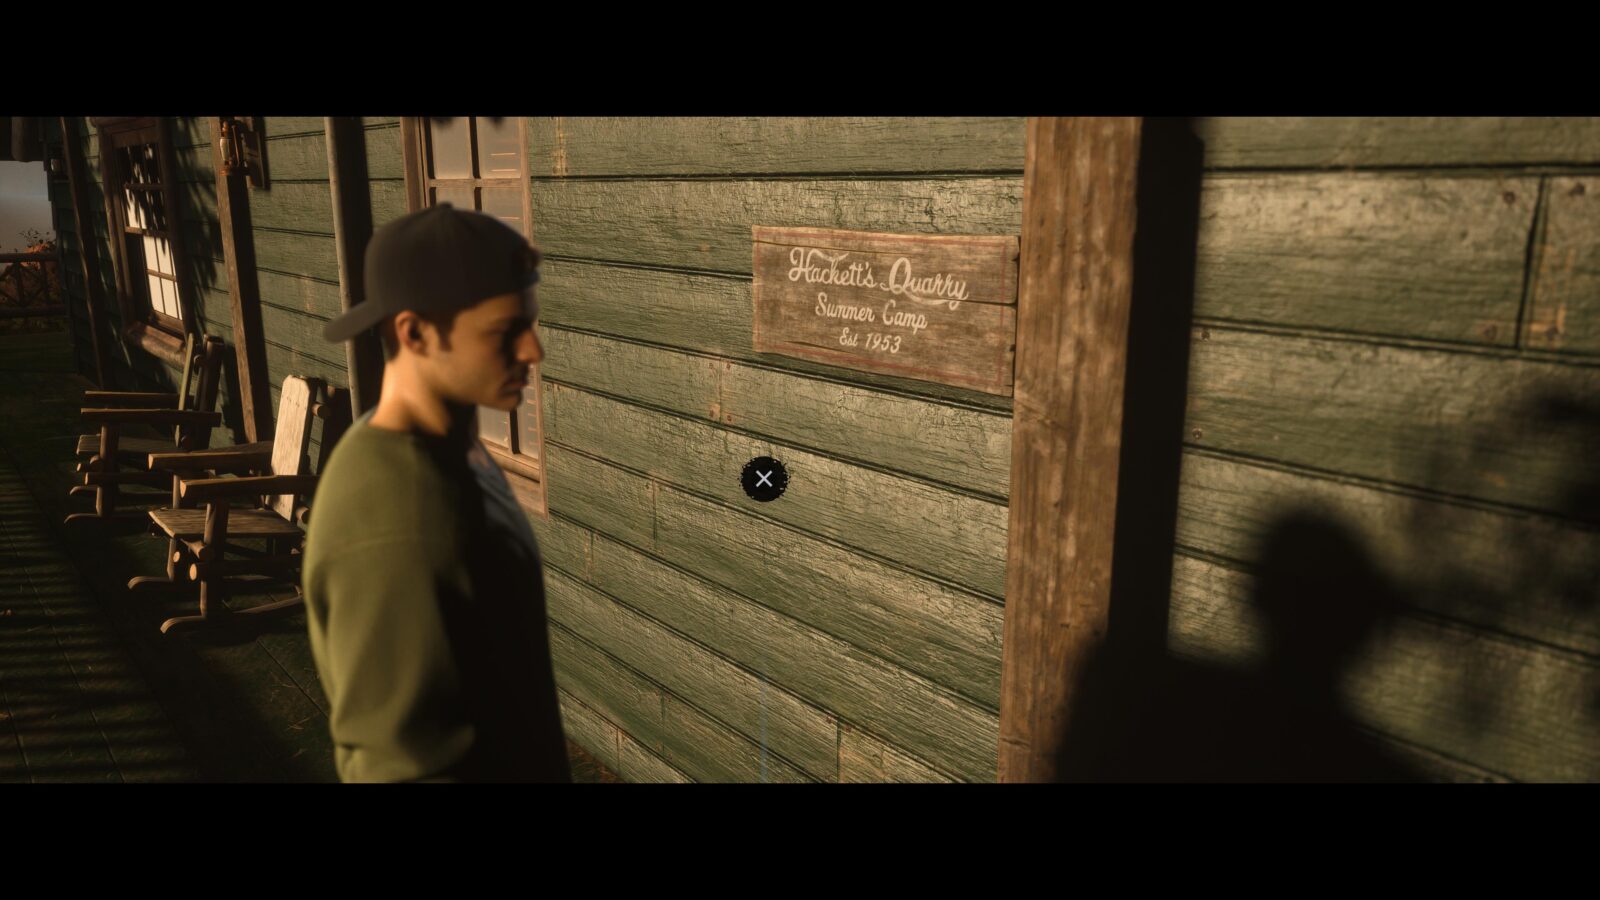
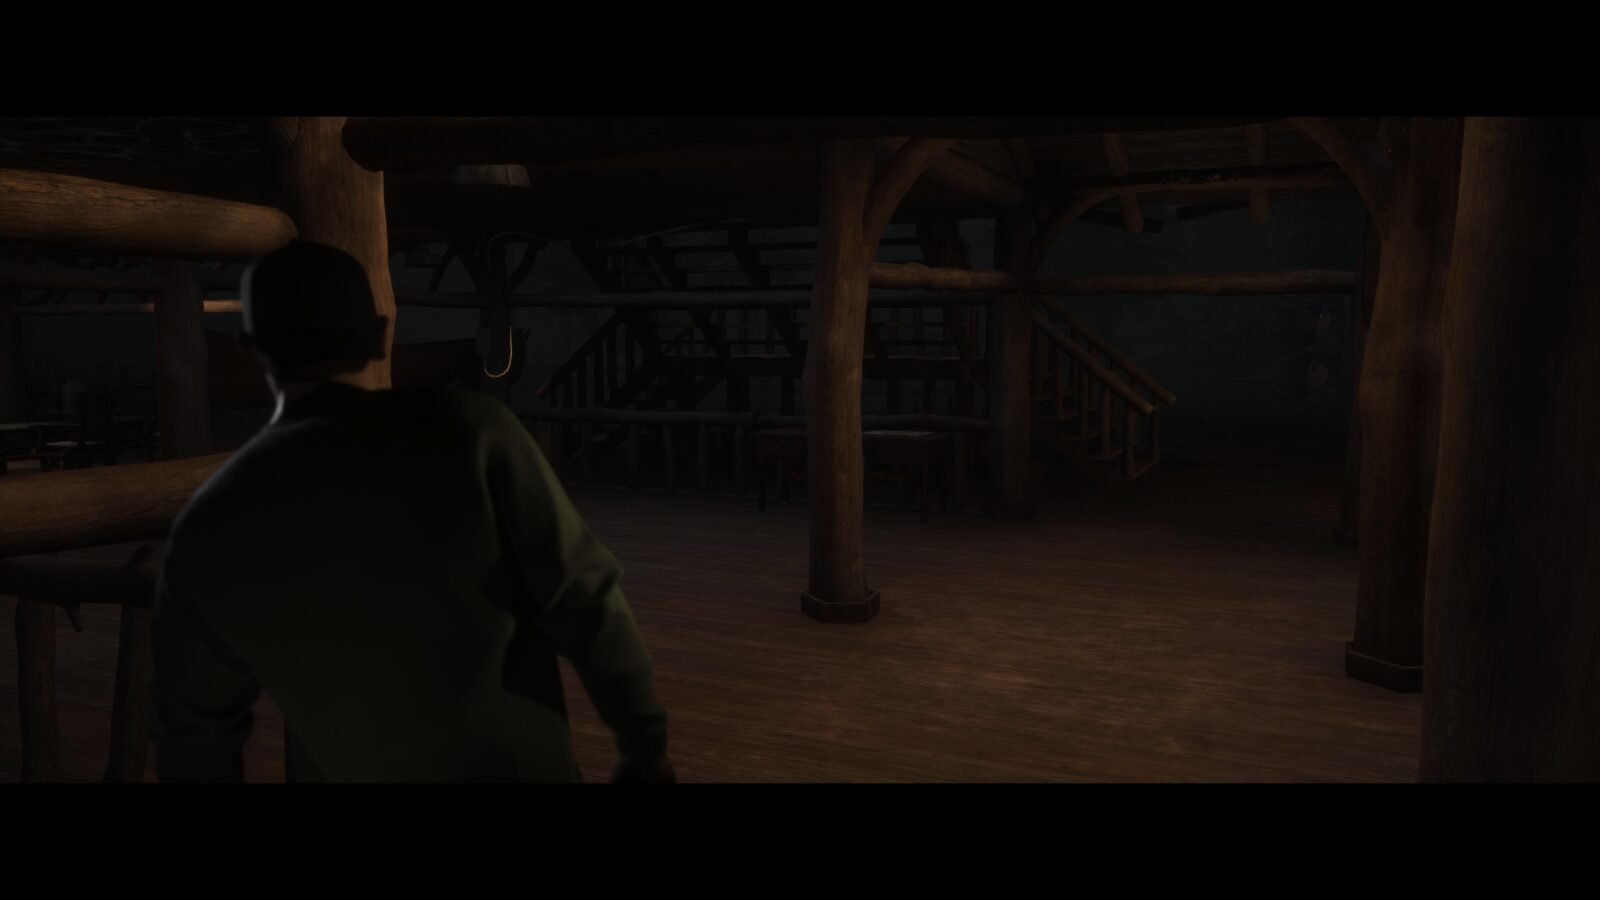
Clue #6 – Camp History: Camp Plaque – Walk up the wooden stairs for a brief cutscene and the lodge’s main door. After the cutscene, scan the wall to the left of the door to find a wooden plaque.
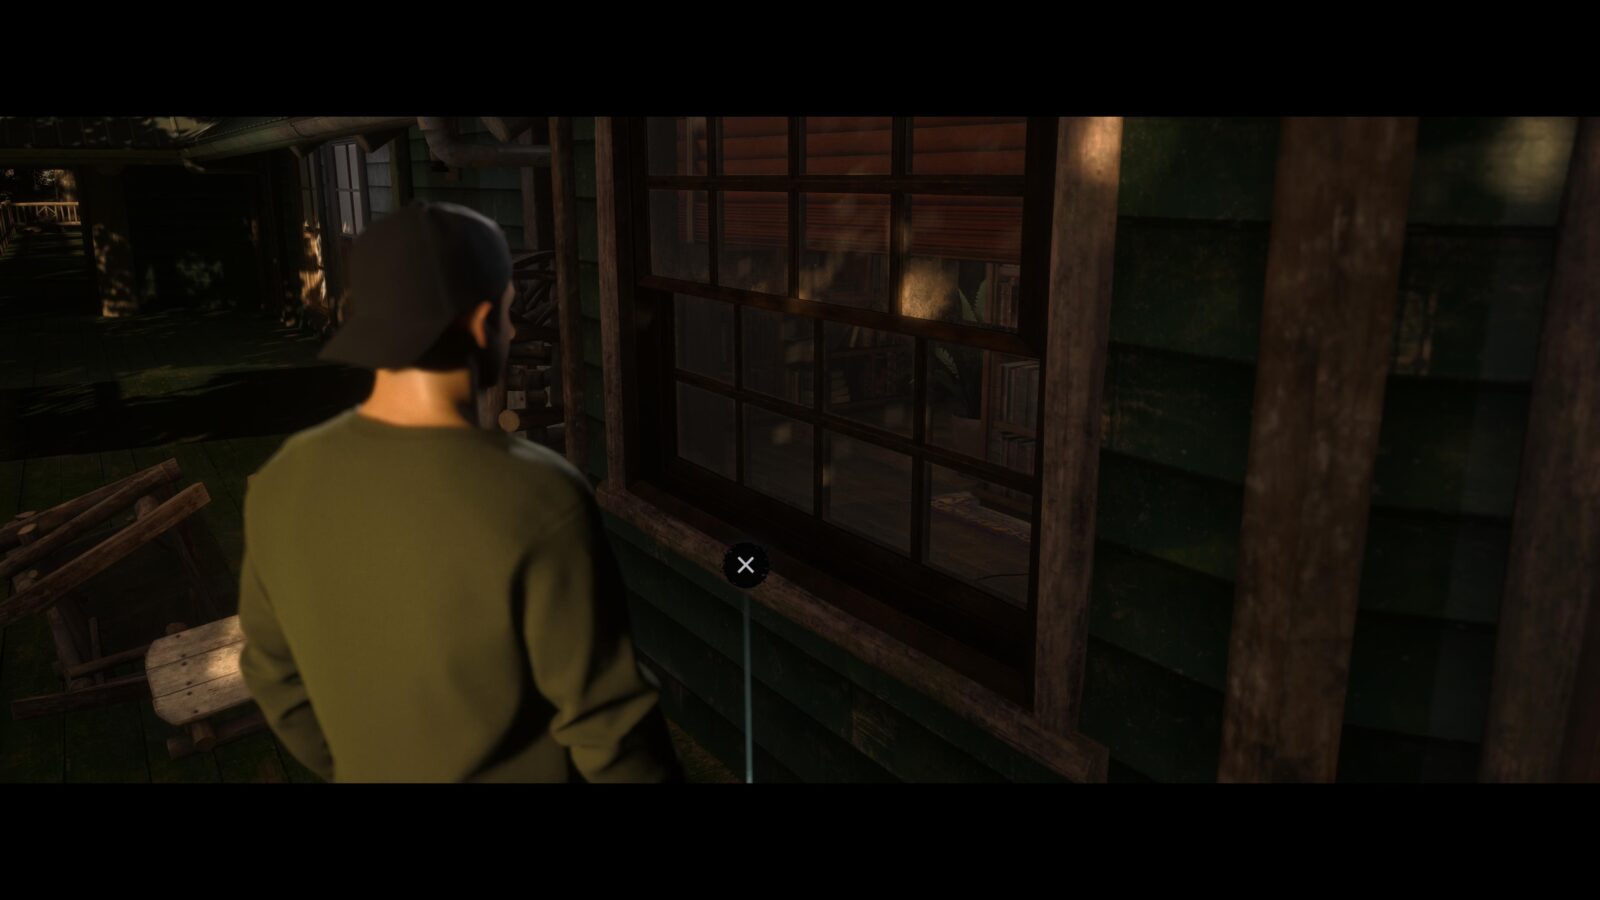
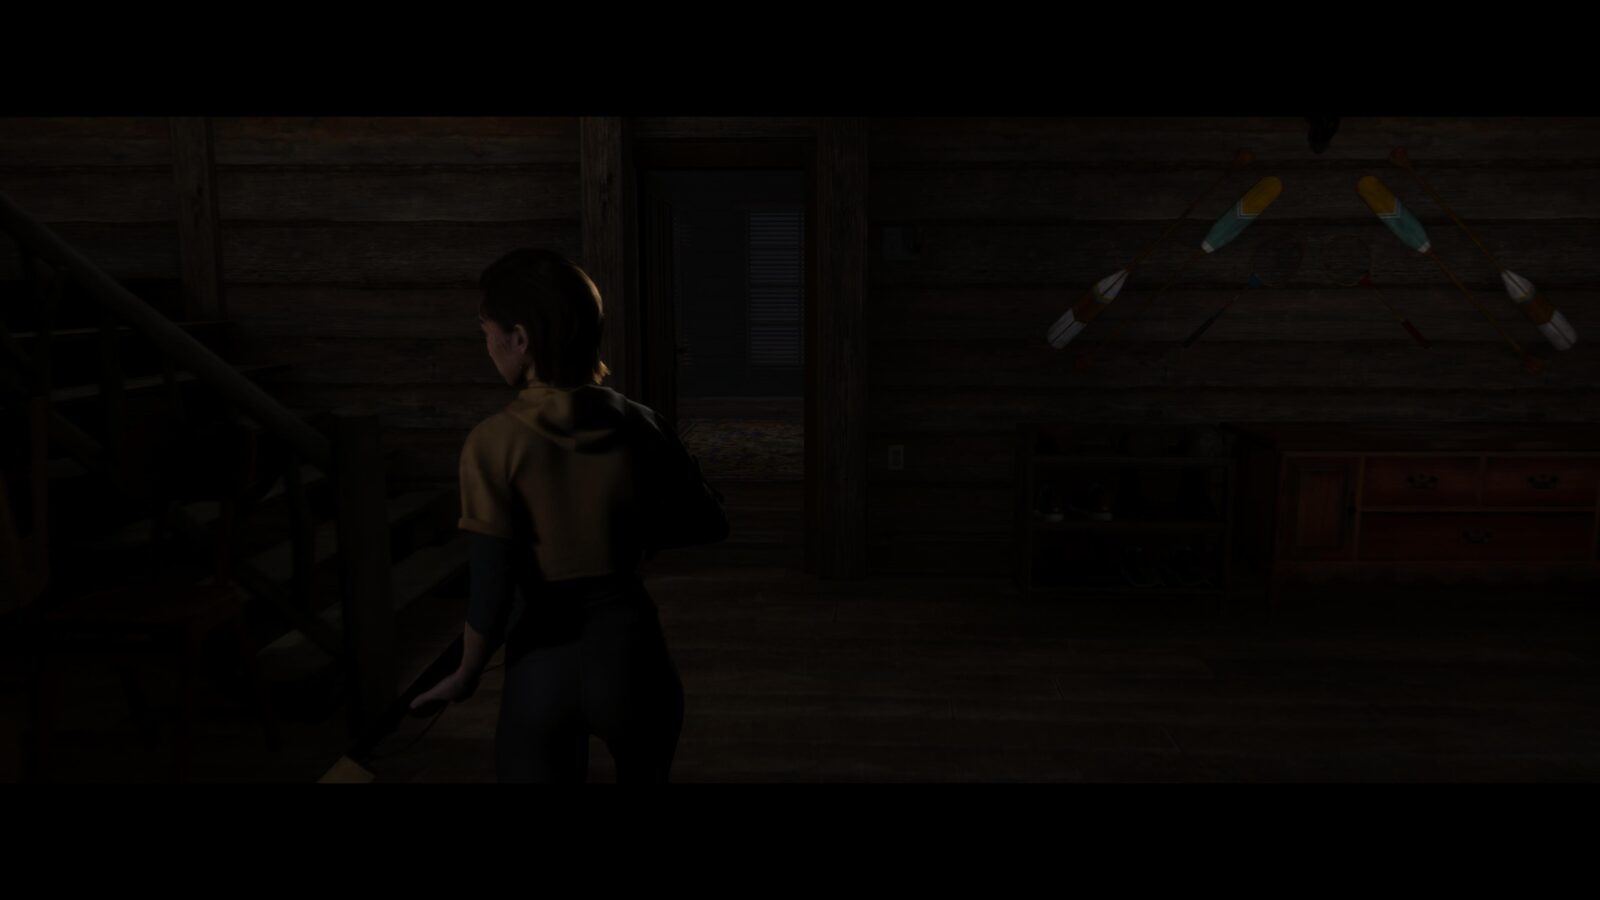
Tarot #2 – TEMPERANCE – Follow the path to the left of the Camp Plaque and you will be able to climb through a window into a small library. Exit the library into the large main hall and hook right to find the entrance to the kitchen. As you enter you will be able to see the tarot card propped up in front of the camera and a ![]() button prompt will appear. Press
button prompt will appear. Press ![]() and you will pick up the card.
and you will pick up the card.


Choose to “Steal Rotor Arm” as Jacob when he’s investigating the engine in the van. This will unlock a collectible later in the game.
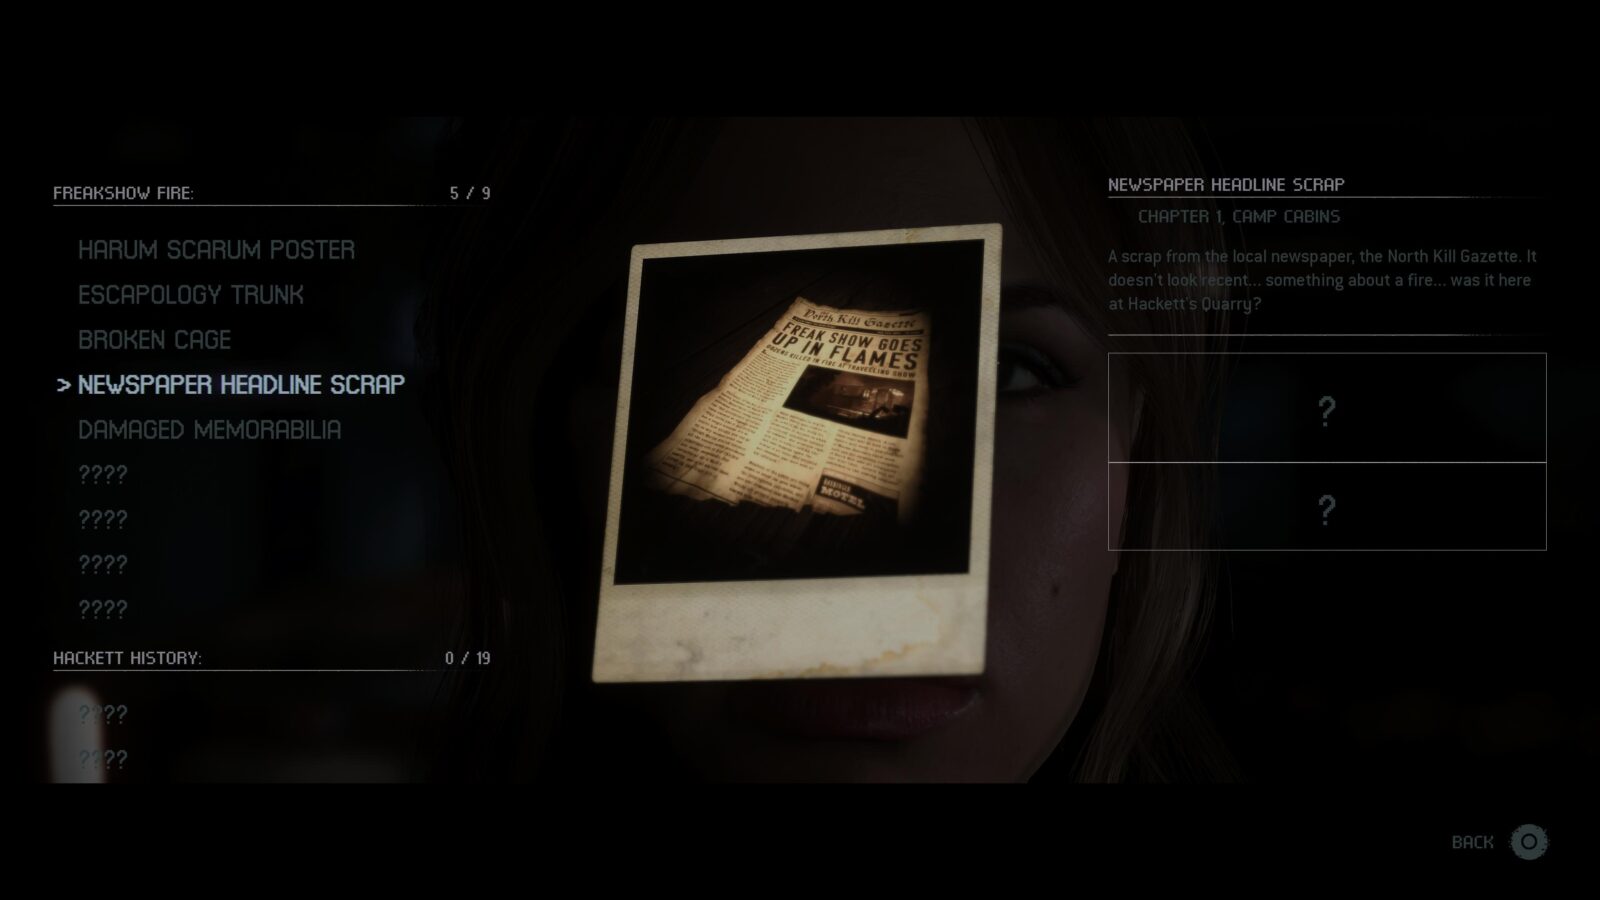
Clue #7 – Freakshow Fire: Newspaper Headline Scrap – While playing as Abigail you will be given the choice between breaking into a cabin to get your luggage or leaving it behind. Choose to break in and you can find this clue between some bunkbeds.
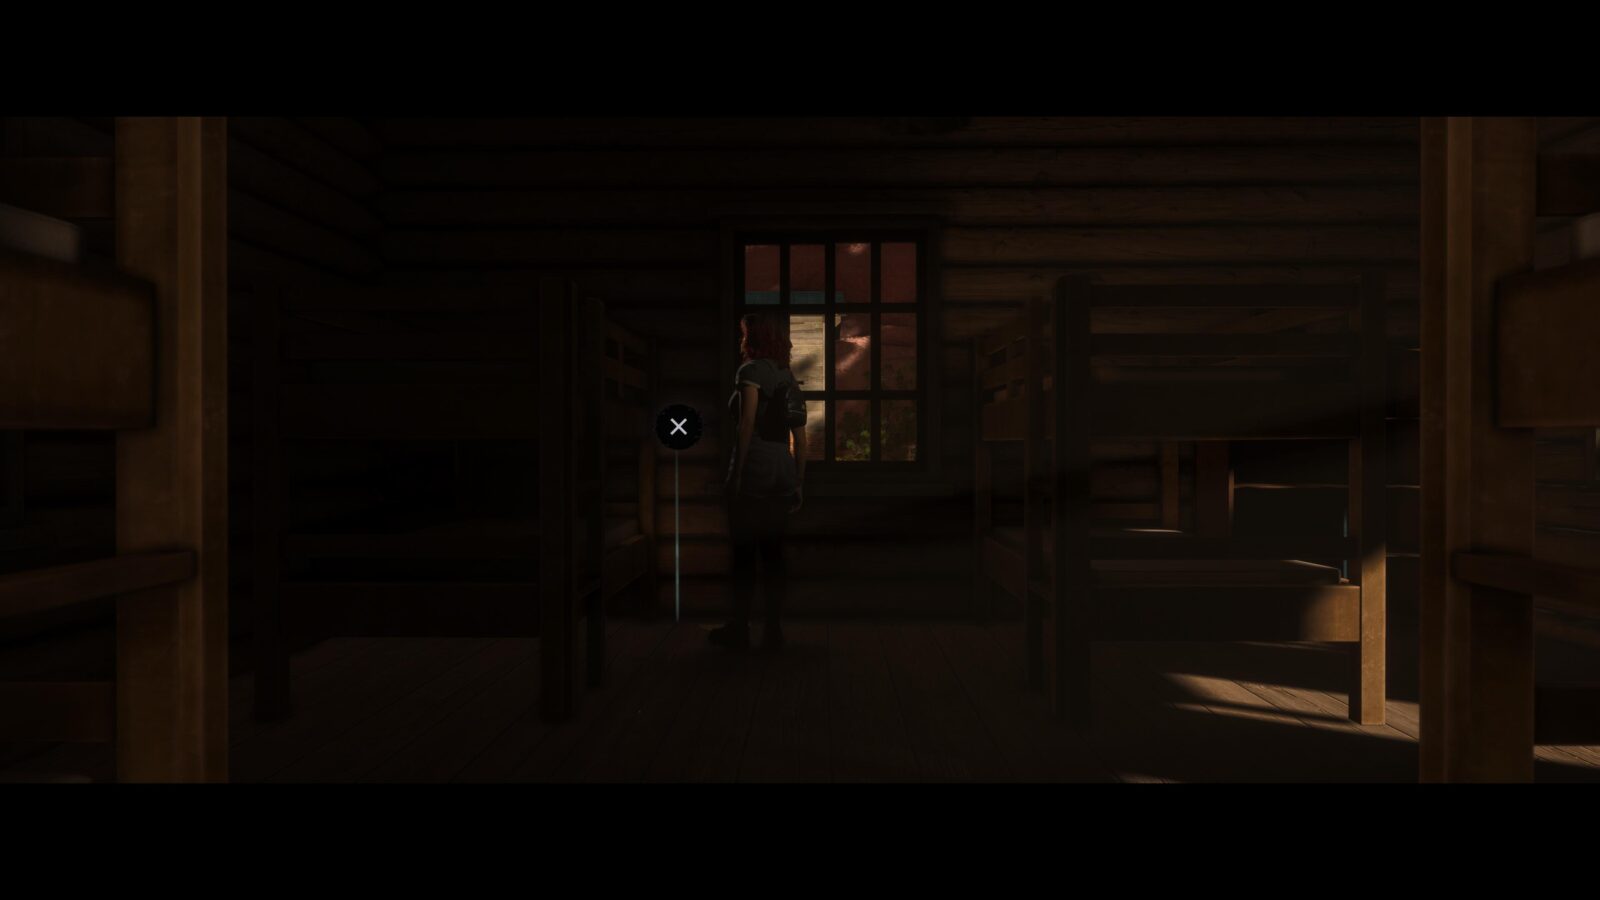
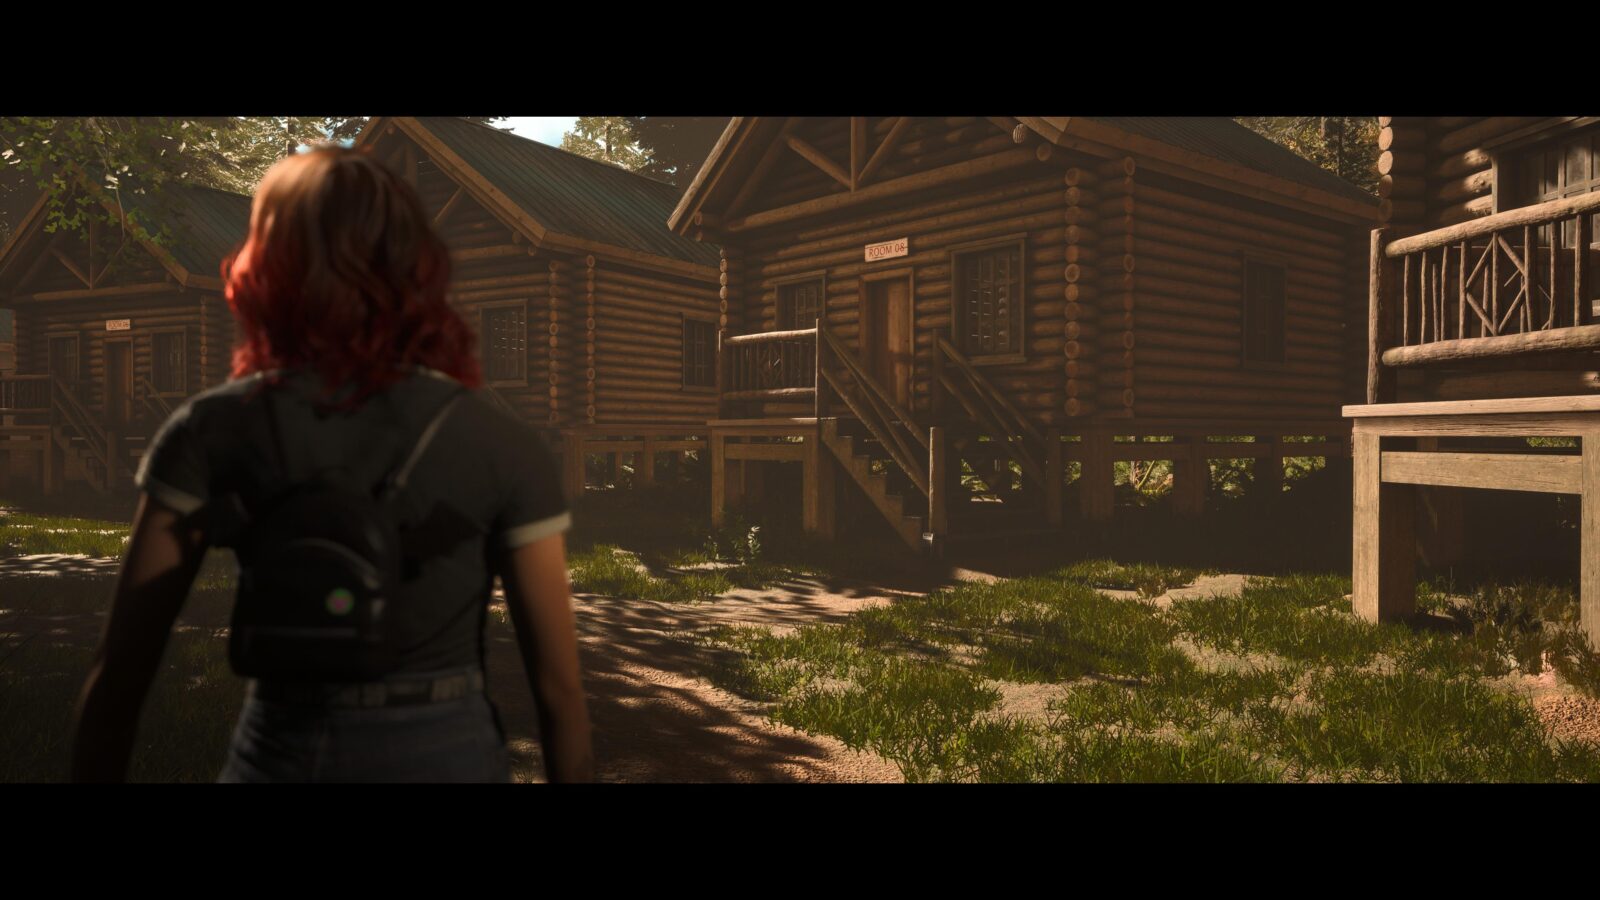
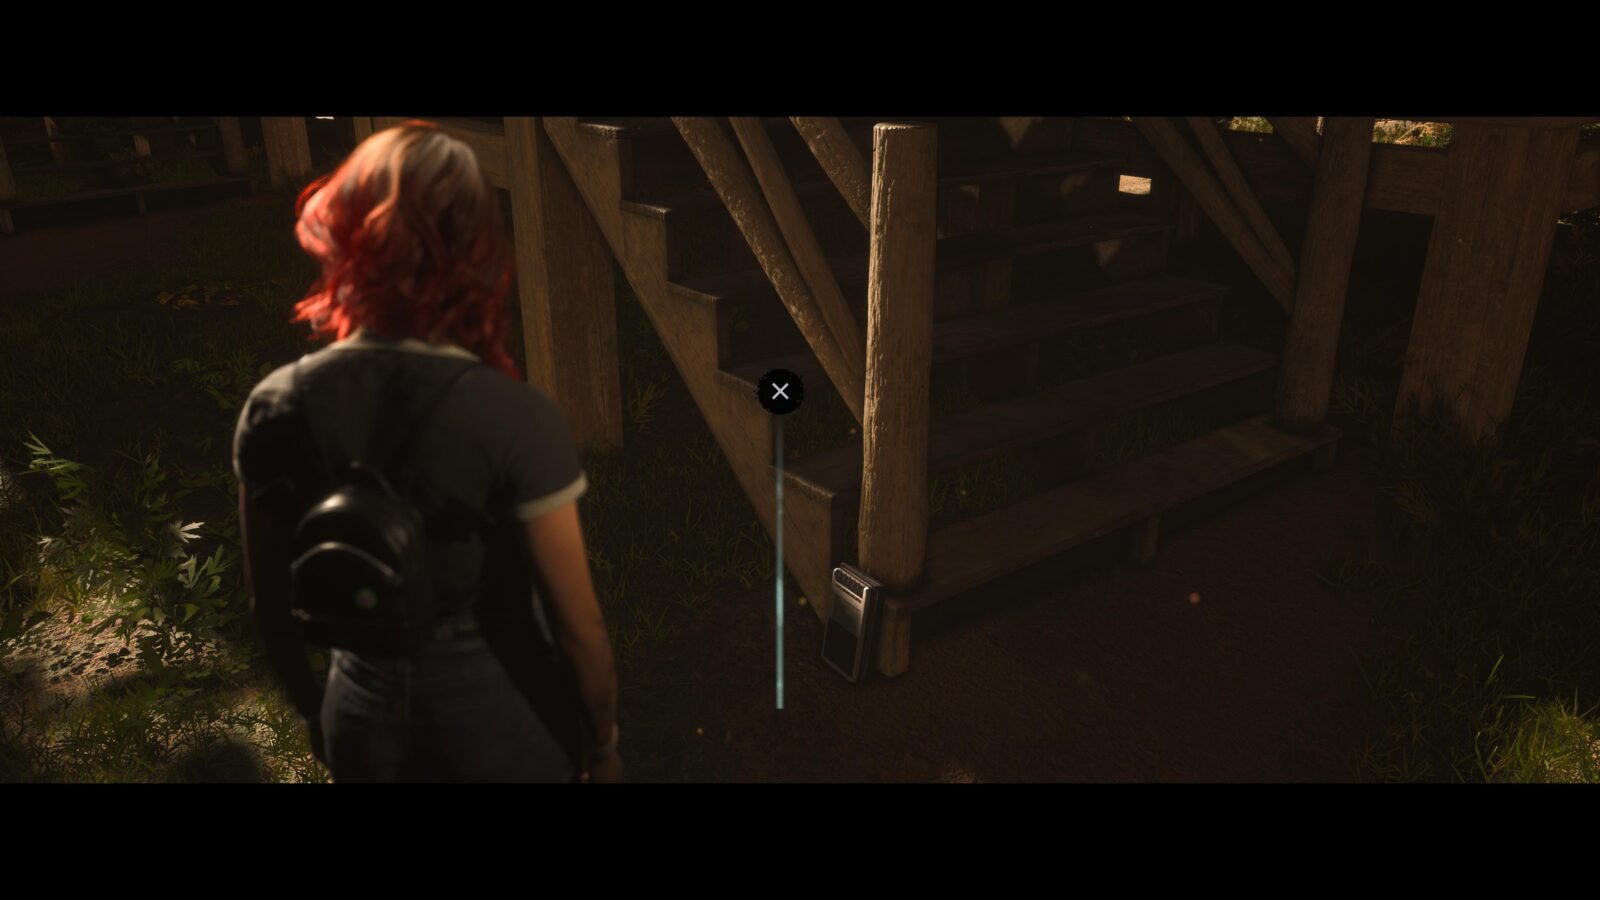
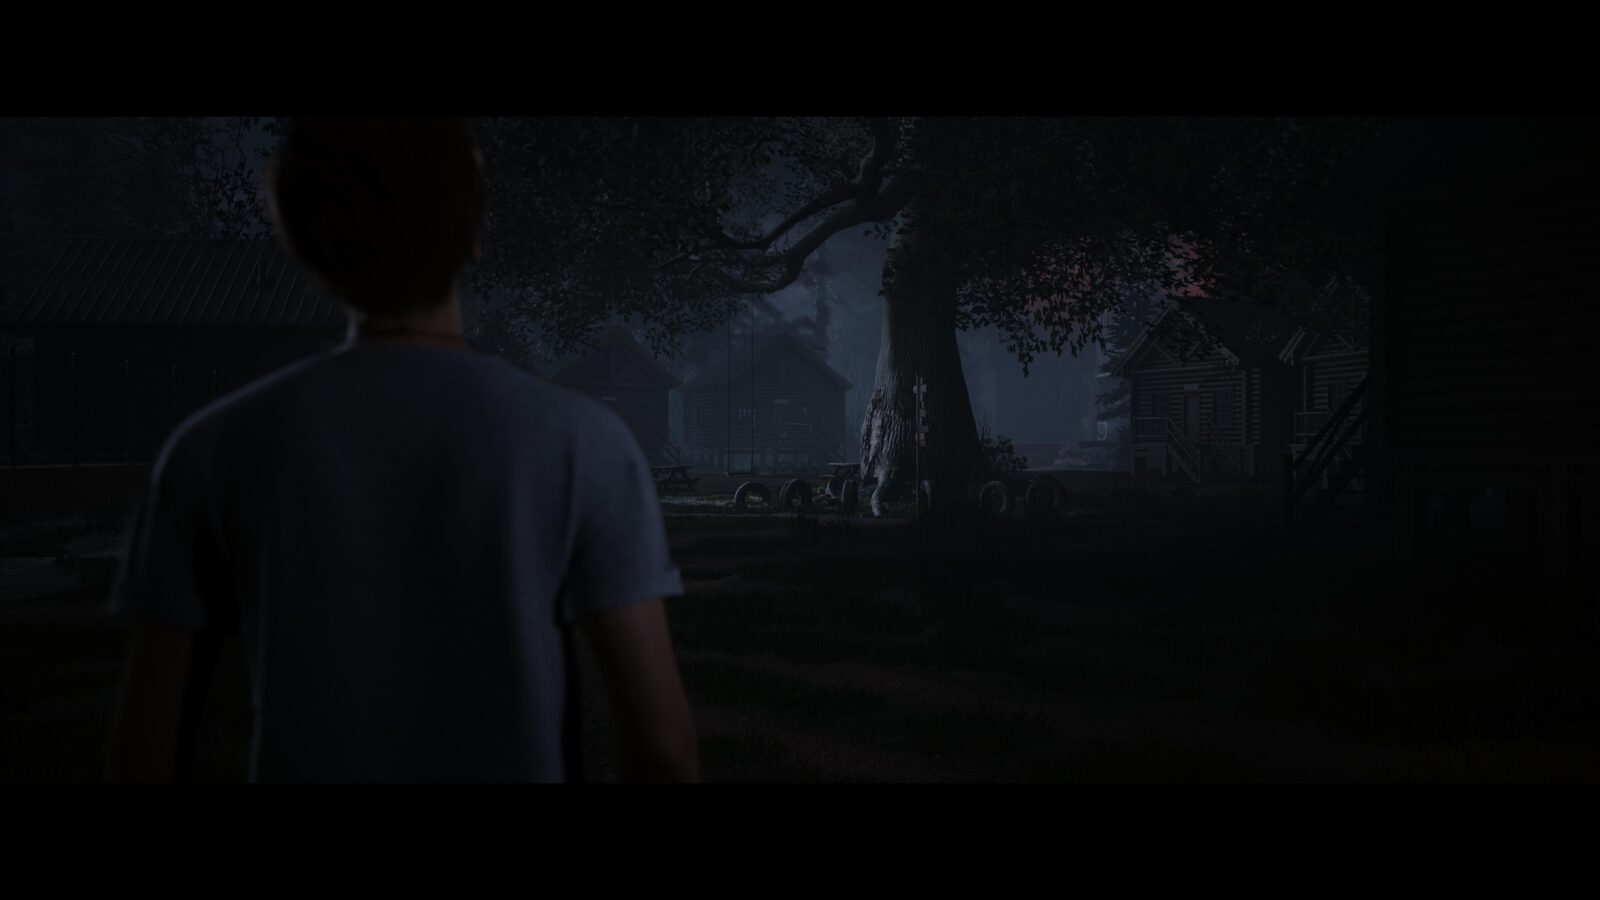
Clue #8 – Camp History: Camp Song Recording – Exit the cabin and walk down the stairs. Look to the right to find more cabins. On the bottom of the steps to Cabin 08 is a radio which is your next clue.

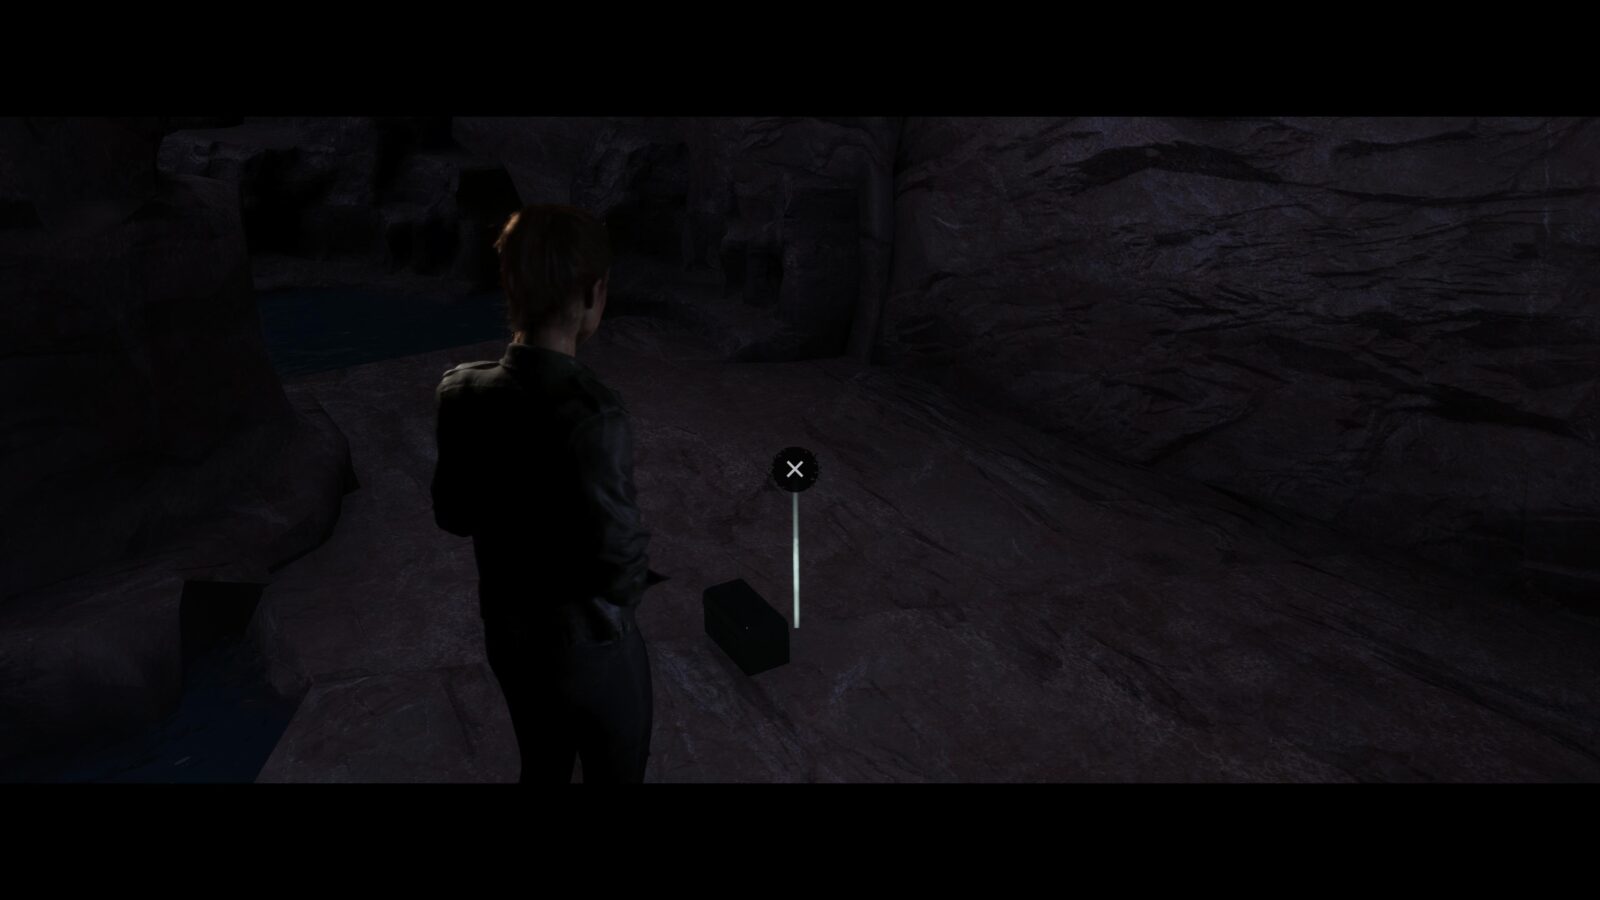
Evidence #1 – Empty Vial – In the middle of the cabin area is a large tree with some picnic benches and a swing surrounding it. Approach the tree where the swing is and you will see button prompt to interact with the tree. Press ![]() to pick up the evidence.
to pick up the evidence.
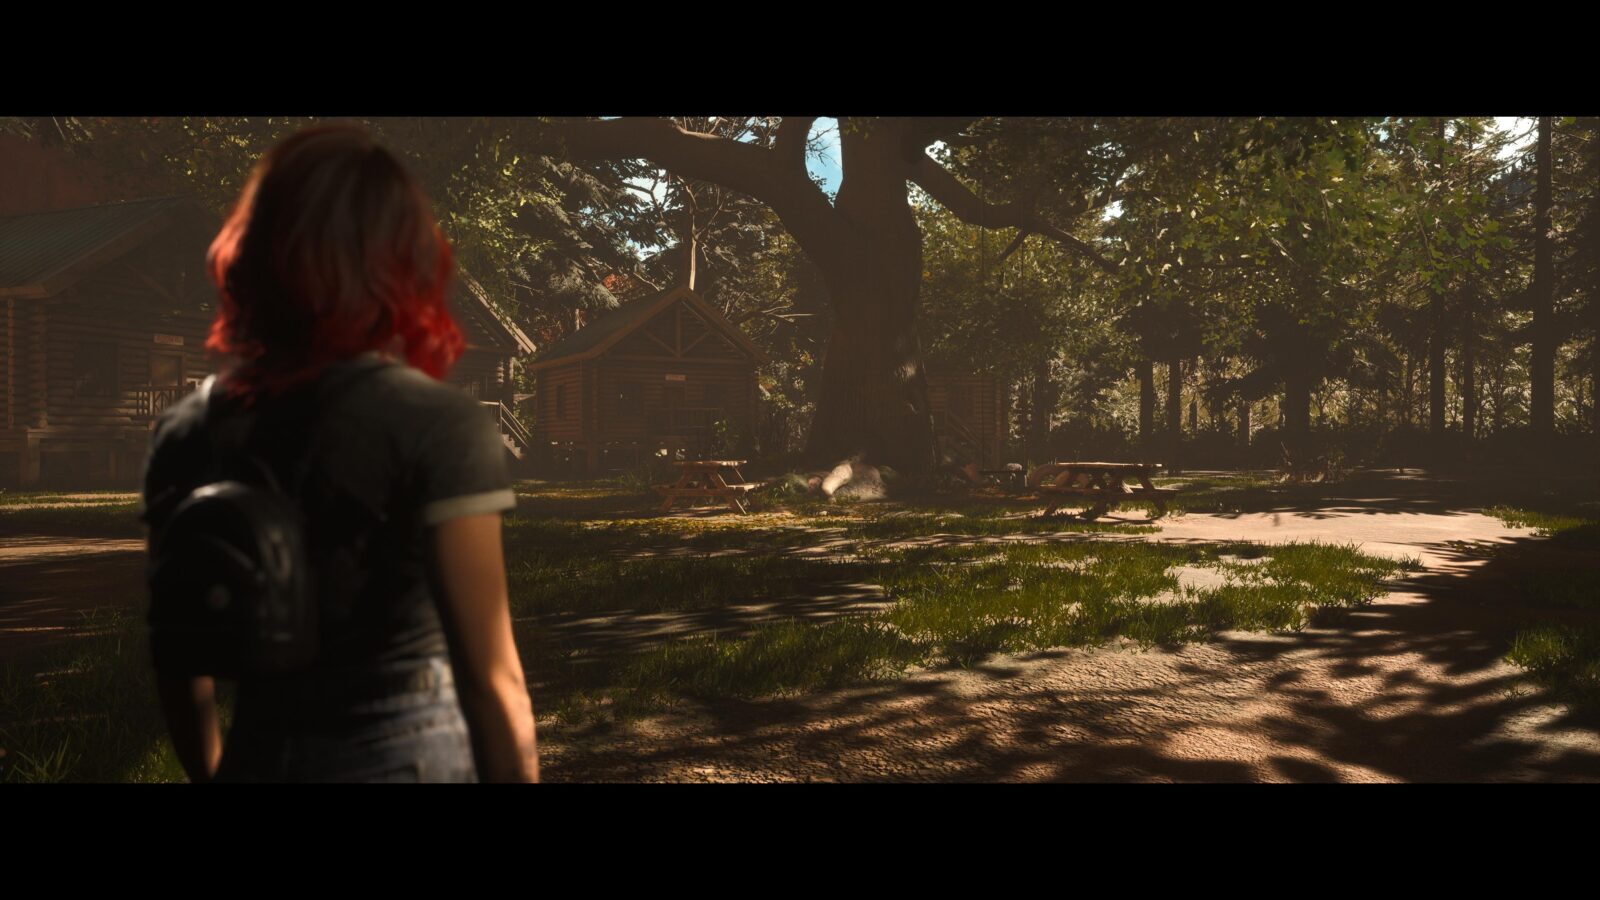
Clue #9 – Camp History: Information Signpost – Behind the tree in the middle of the area is a signpost that you can interact with. Press ![]() to add the clue to your collection.
to add the clue to your collection.
Chapter 2 – Emma/Dylan/Nick
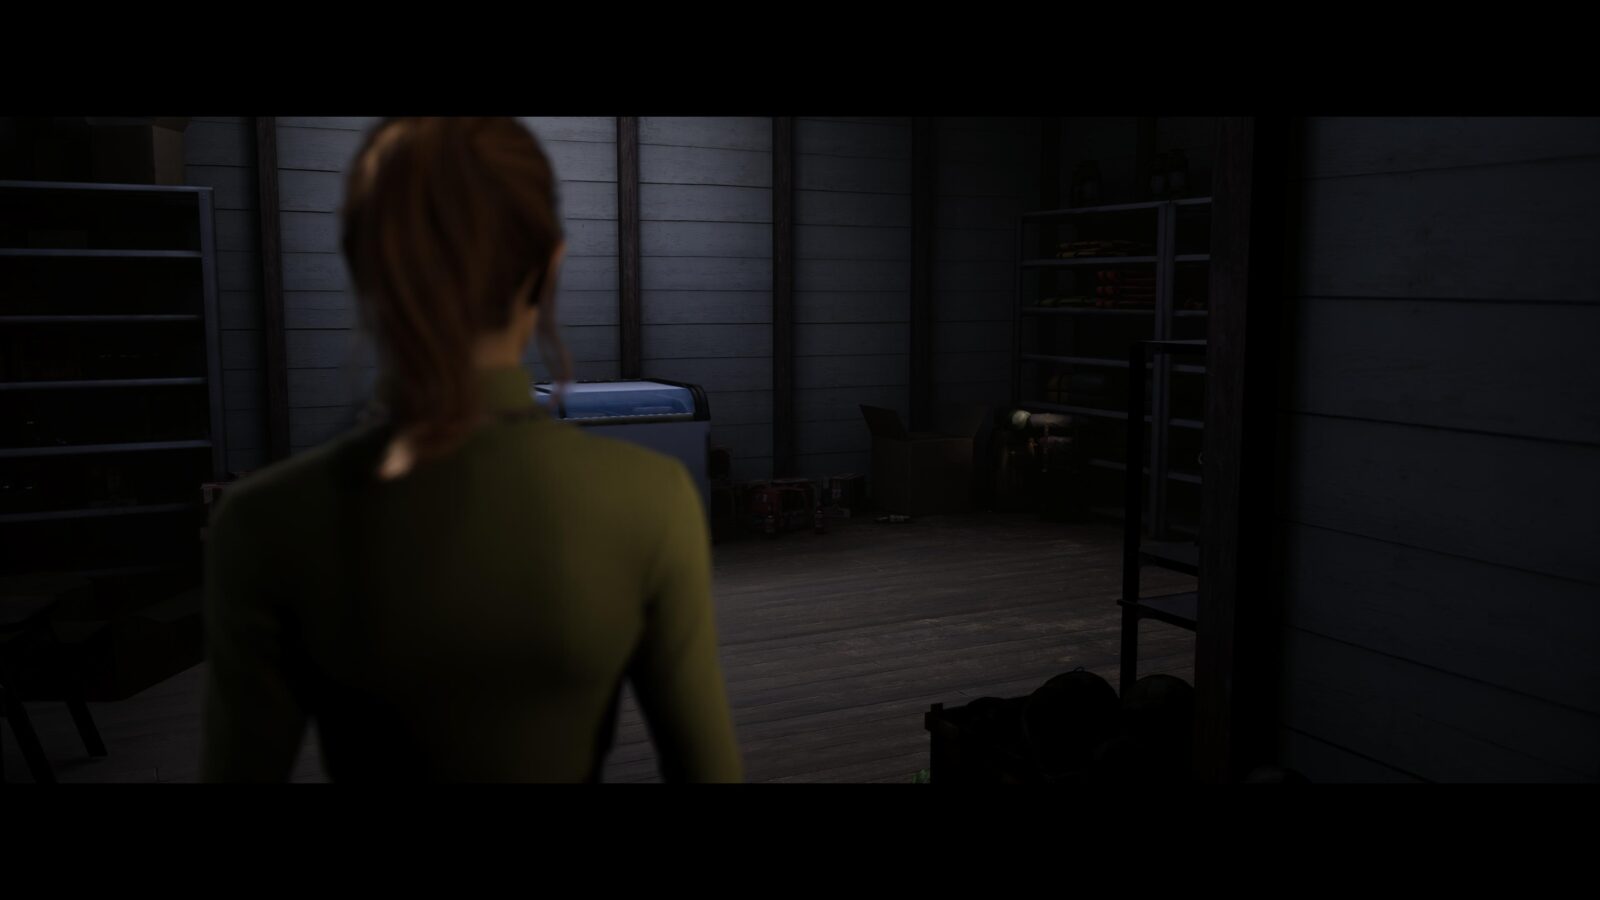
Clue #10 – Freakshow Fire: Damaged Memorabilia – As soon as you get to walk around as Emma in the storage room of a gift shop, look behind the shelf that is directly in front of you. The memorabilia is on the shelf.
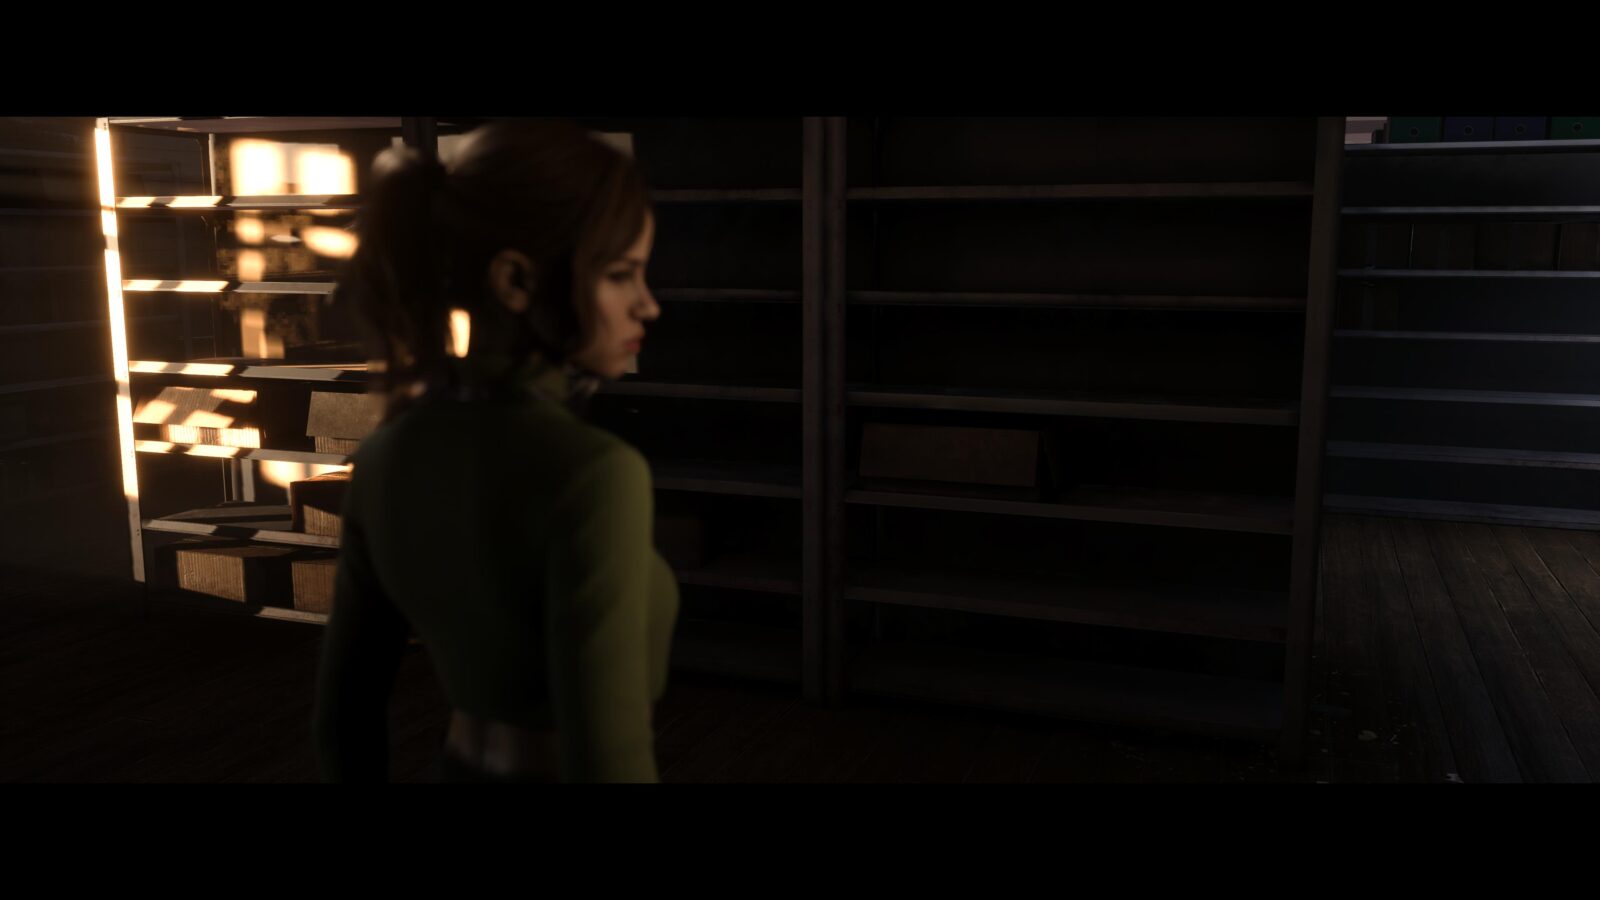
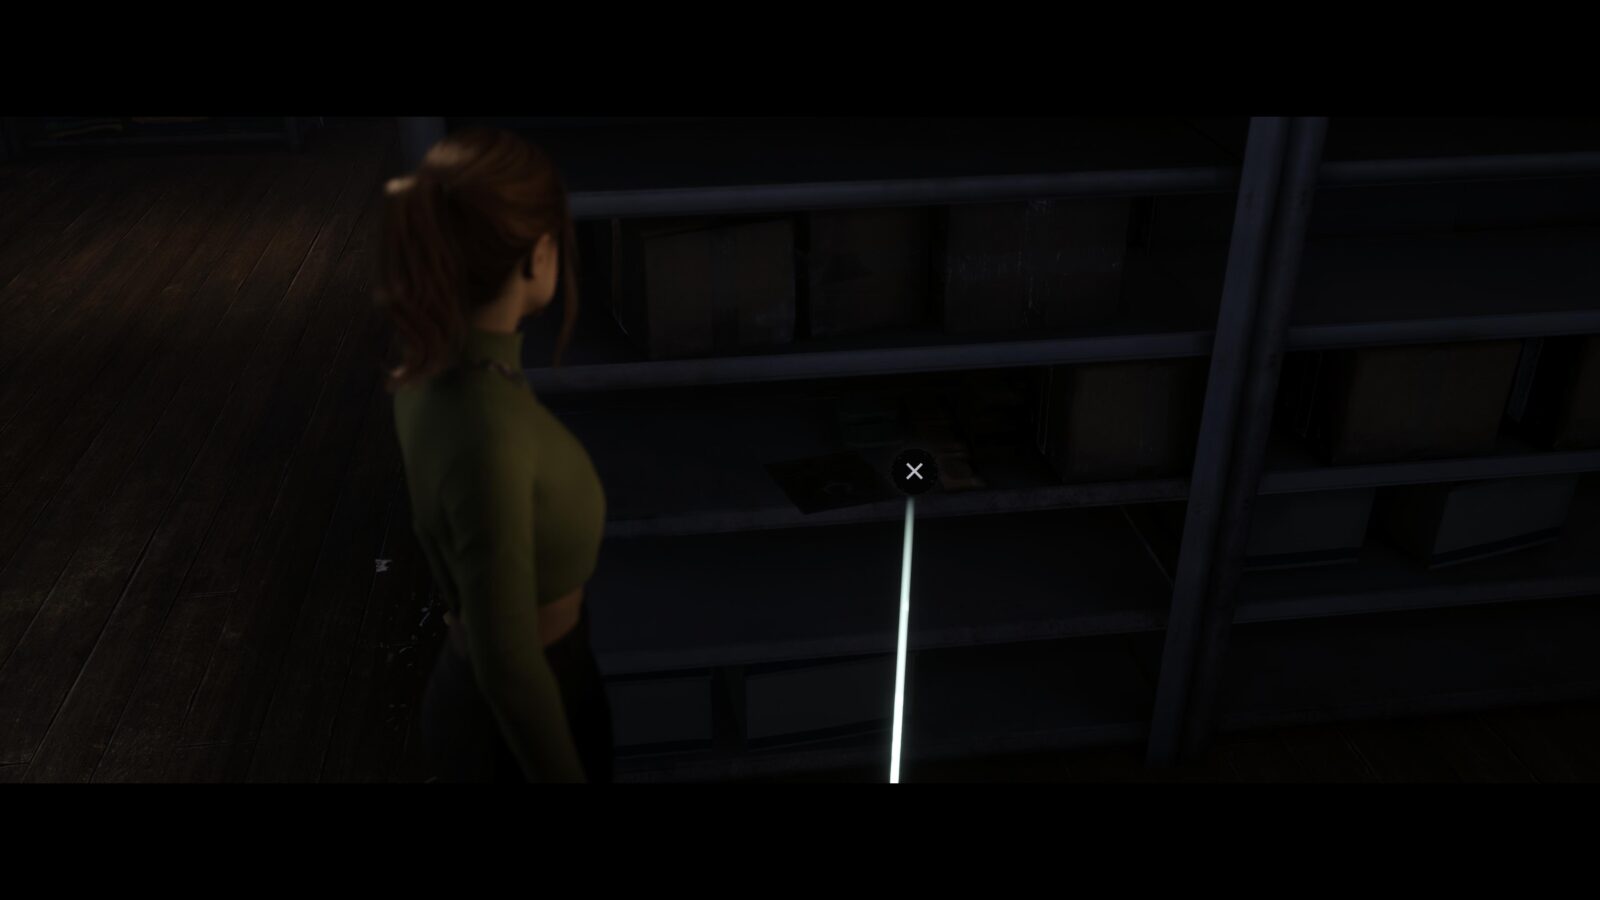
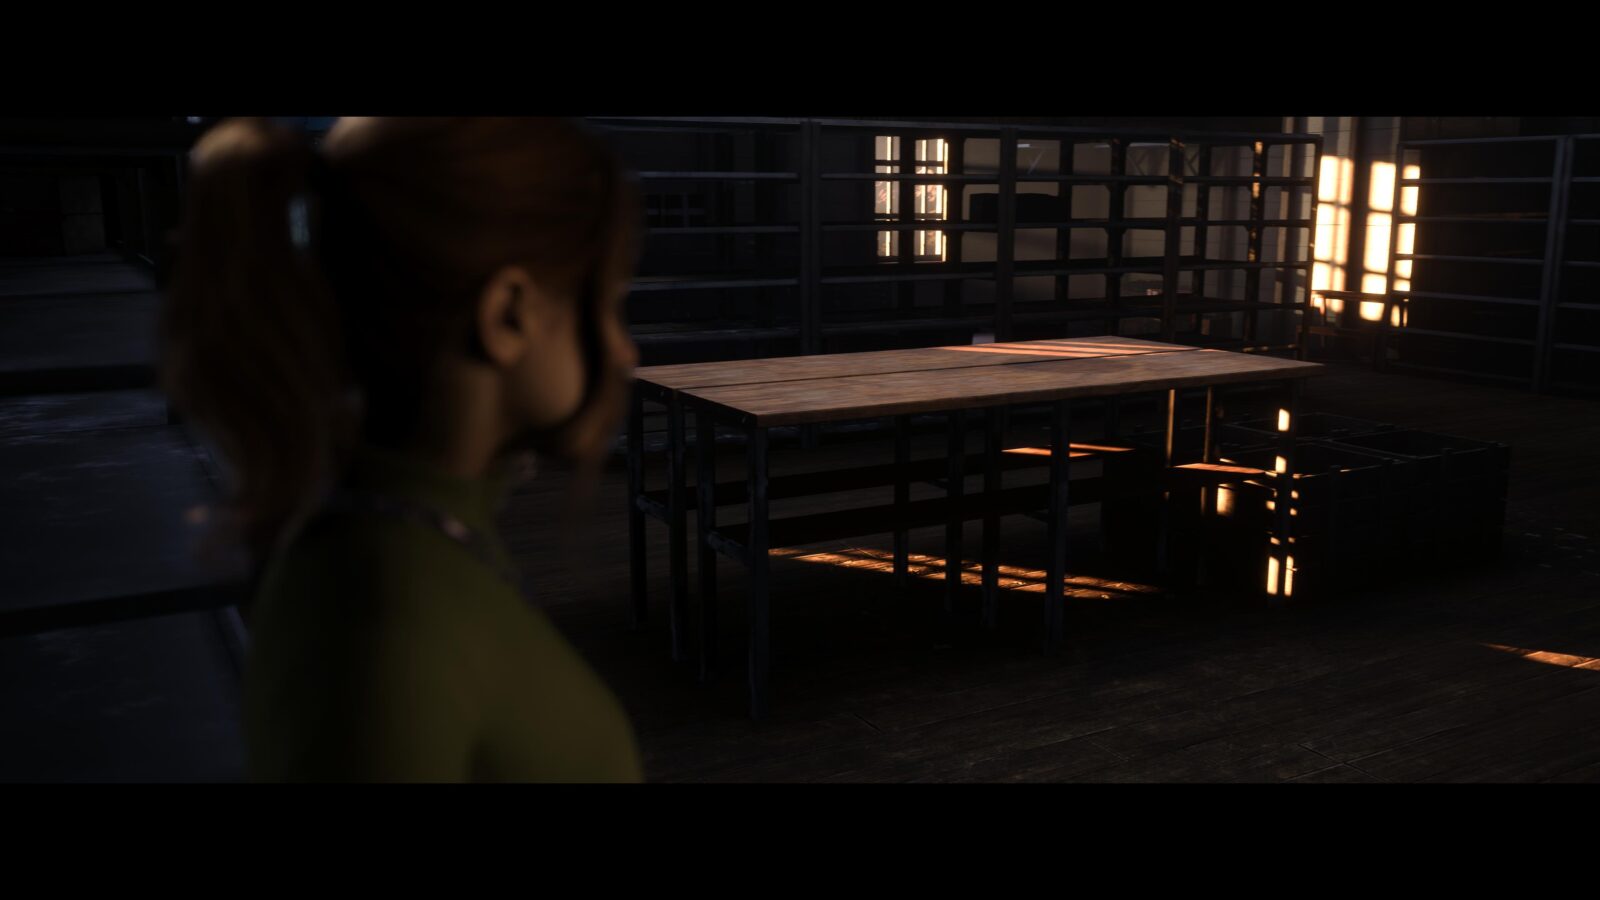
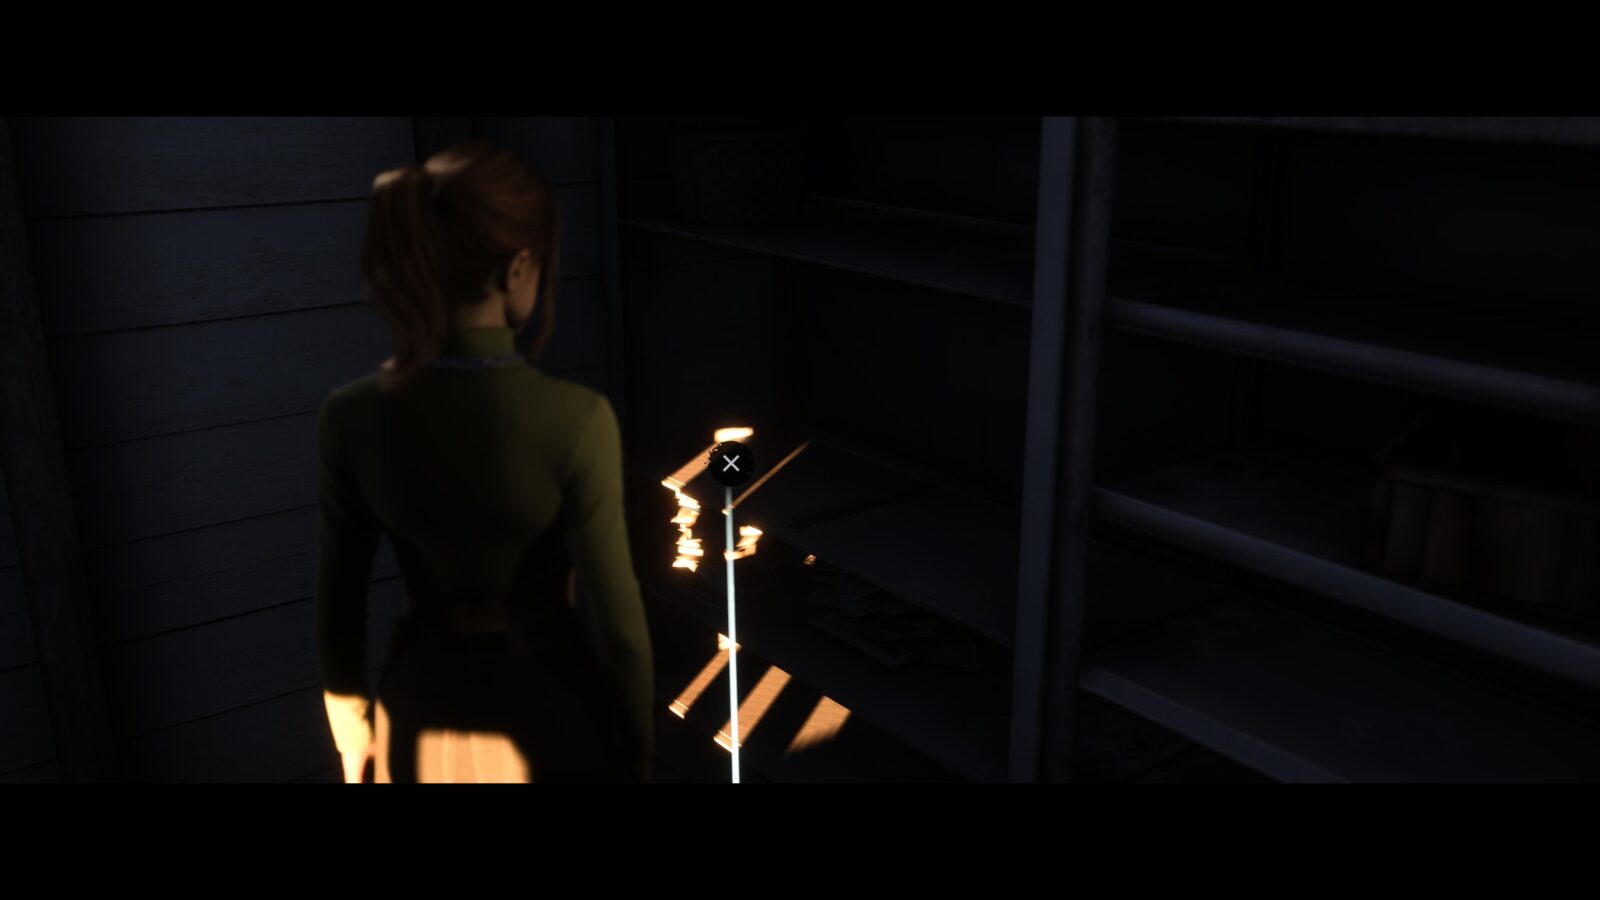
Clue #11 – Camp History: Lodge Renovation Plans – At the very back of this long storage room is two wooden tables that have been pushed together with four wooden crates on one end. There are some metal shelves to the right of these wooden tables on on the shelves is the plans.
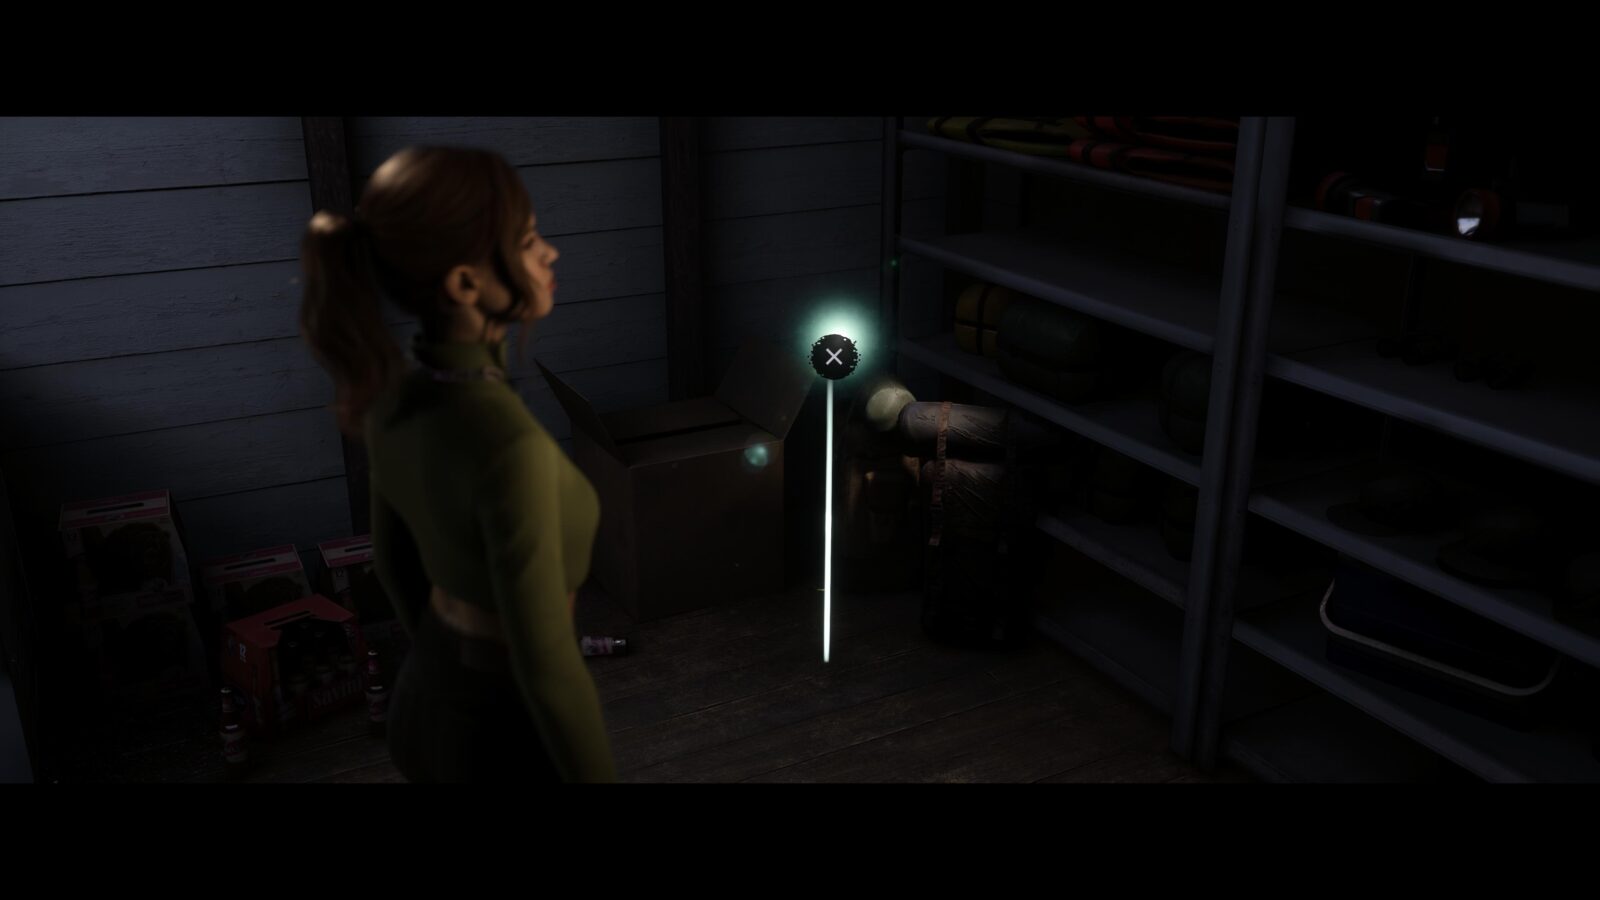
Evidence #2 – Torn Bags – Inside the locked storage room where Jacob finds the beers, Emma can inspect two torn backpacks in the corner and comment on them.
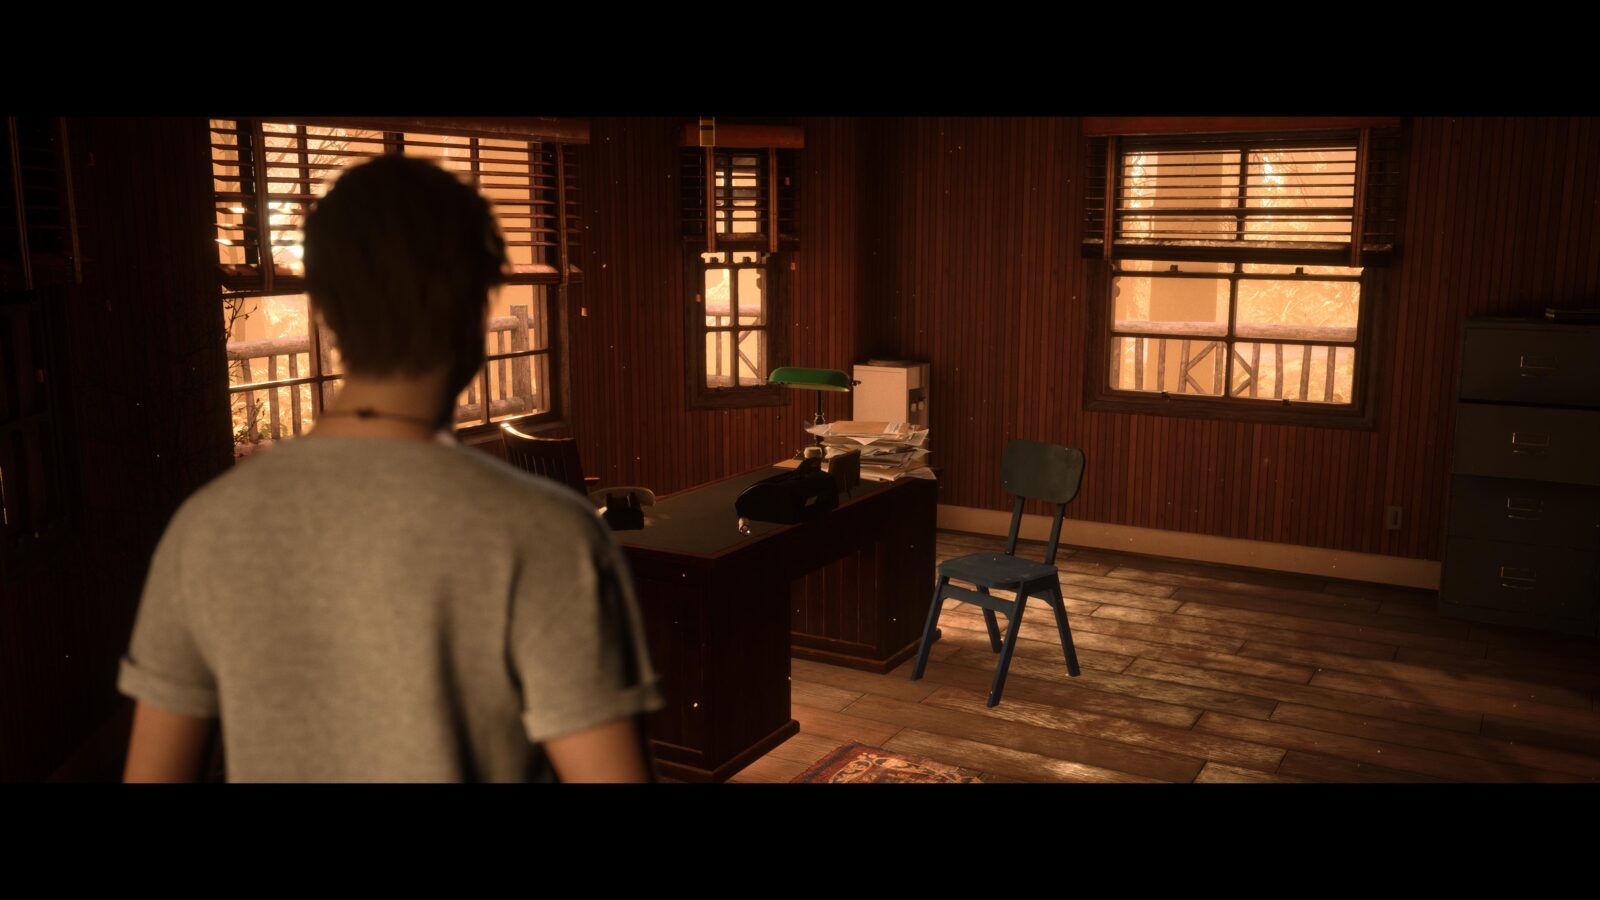
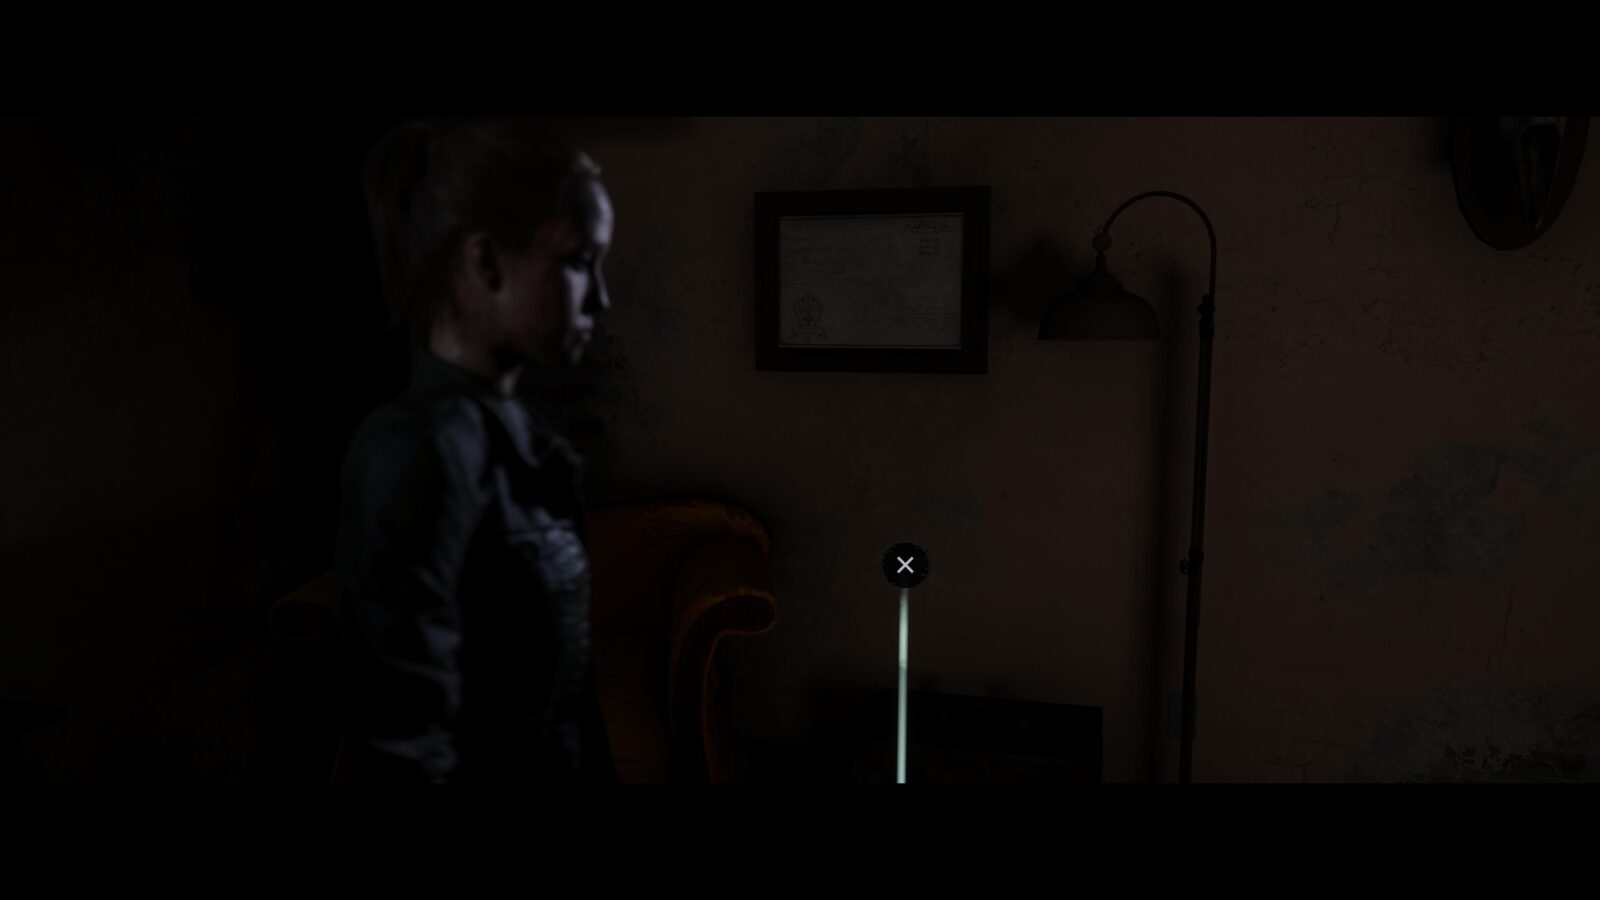
Clue #12 – Hackett History: Family Photo – As soon as you gain control of Dylan and have to search Mr. H’s office, walk up to the desk and press ![]() on the picture frame.
on the picture frame.

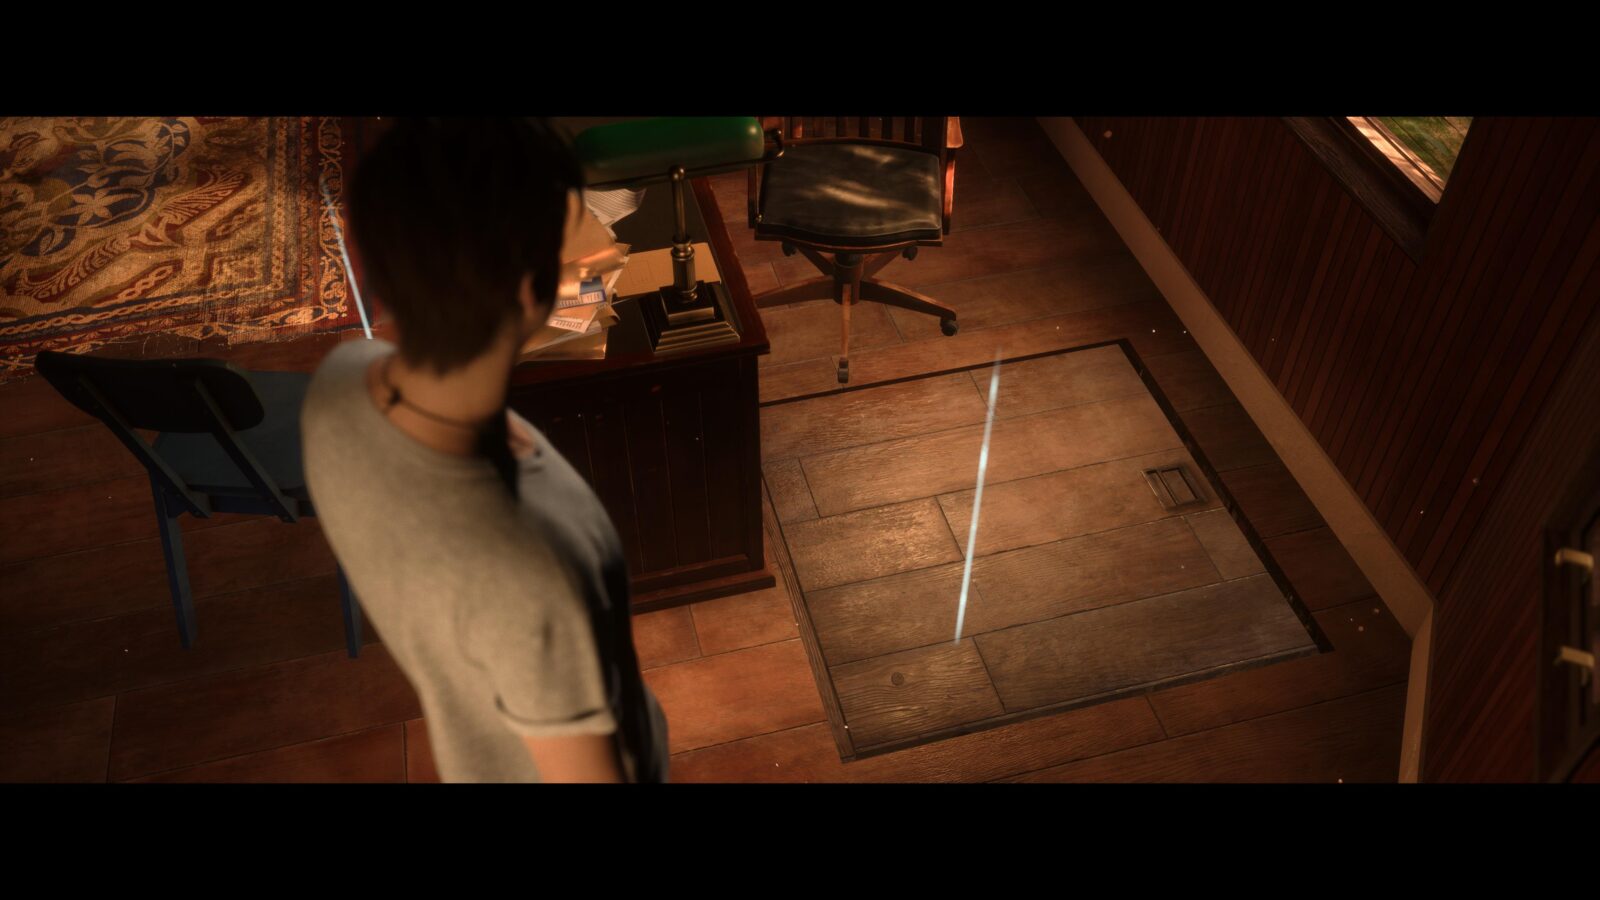
Clue #13 – Camp History: Counselor’s Ledger – After Dylan discovers and investigates the trap door behind Mr. H’s desk he will sit down in the chair and you will be given an option. Choose “Playful” and Dylan will pick up the phone and imitate Mr. H. After he will check the drawers and find the ledger.

While playing as Nick you will need to decide if you want to unlock the Decked Out trophy for finding all tarot cards or the Meddling Kids! trophy for finding all clues. You can’t get both in a single playthrough. For the purpose of this walkthrough we’ll go for the Meddling Kids! trophy and only be collecting Clues and Evidence for the rest of this playthrough. If you already have the Meddling Kids! trophy and all evidence then jump to 2nd Playthrough (Decked Out).
Clue #14 – Hackett History: Trail Camera – After choosing SHADY GLADE follow the trail to your right until you reach some thick trees on your right. There will be a skinnier tree in the middle of them with a trail camera attached to it.
Clue #15 – Hackett History: Ranger Box – Follow the trail right again and you should see a box off in the distance just after where the trail splits off to the right. Don’t follow the path right as it will advance the story and you’ll miss this clue. Instead open the ranger box.

Chapter 3 – Abigail/Jacob/Ryan
Clue #16 – Freakshow Fire: North Kill Gazette – When playing as Jacob on the pier walk forward and examine newspaper on the table in front of him.
Clue #17 – Hackett History: No Swimming Sign – Just behind where you found the North Kill Gazette clue is a wooden guardrail with a no swimming sign off in the distance.
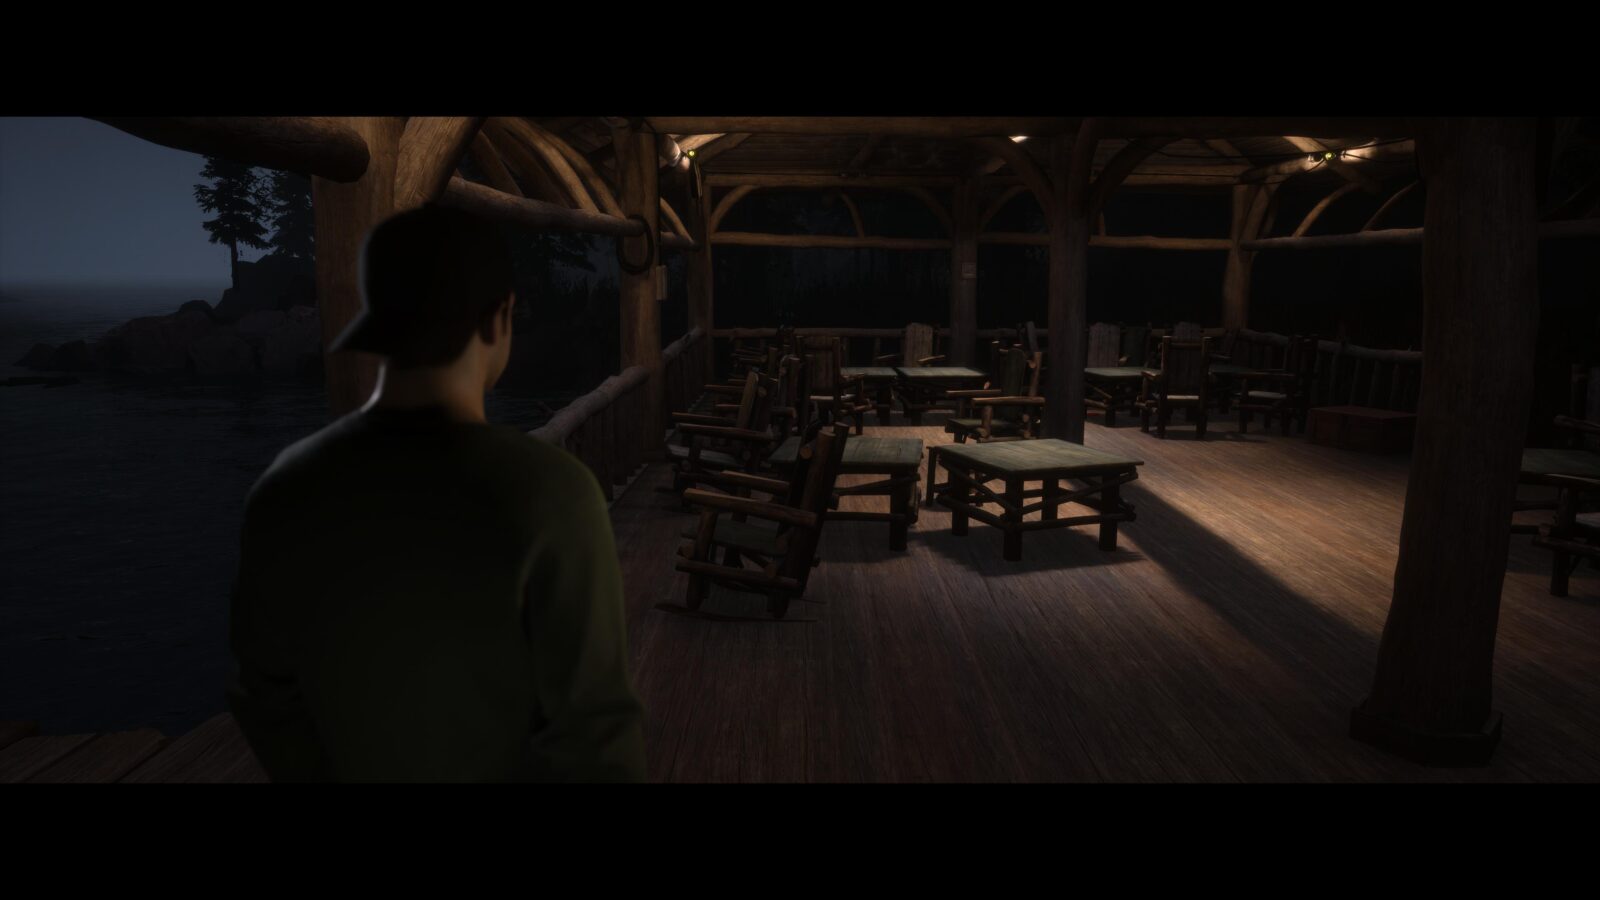
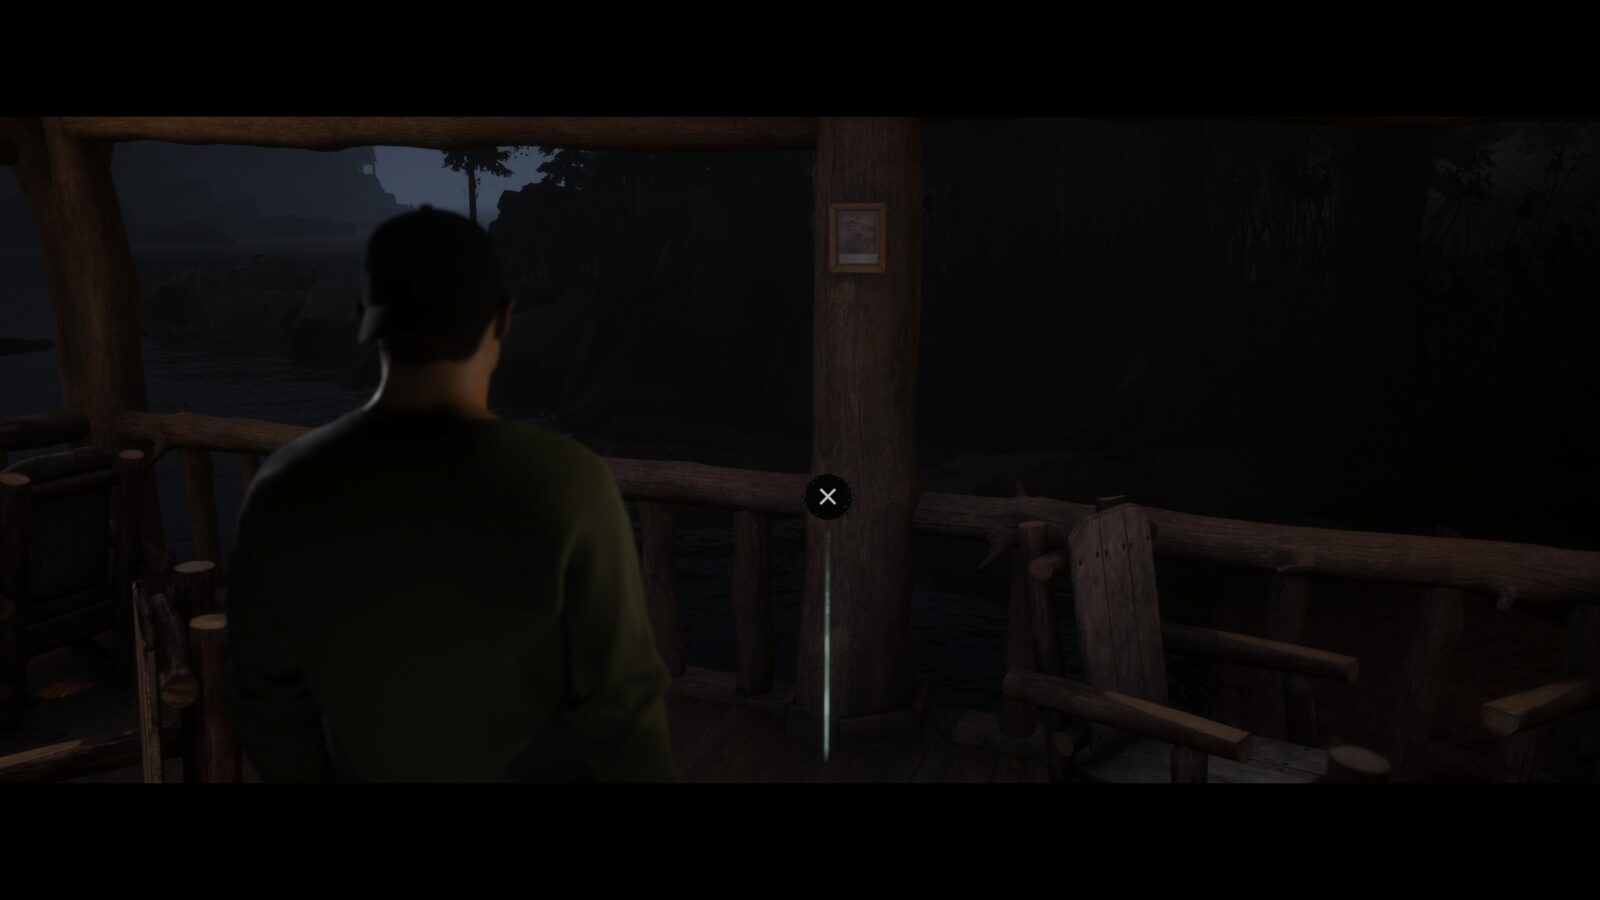
Clue #18 – Hackett History: Old Camp Photo – To the right of the no swimming sign is a lounge area with some chairs and tables. On a wooden pillar at the back is an old photo.
Chapter 4 – Ryan/Emma/Dylan
Clue #19 – Hackett History: Box of Matches – While Emma explores the island that Jacob “left her on”—she totally swam there herself—take the path on the right of the steps and follow it until you see a firepit on your left. Don’t climb the ladders nearby as you will miss out on the next Clue!


Clue #20 – Hackett History: Police Car Keys – Walk back to where you found the wooden steps at the start of this section and walk up them this time. If you climb the ladder nearby you can’t pick up the keys. Follow the wooden steps and you will reach a treehouse. Before going inside check the open window to the left to find the keys.
Chapter 5 – Nick/Kaitlyn/Dylan
Set up for a Clue in Chapter 10 – As Kaitlyn investigates the noise in the lodge, you must shoot Bobby in order for him to drop a clue. To do this you must fail the Don’t Breathe segment as Kaitlyn hides on the steps as Bobby is patrolling at the top. You can shoot his leg or the table he’s holding, either way he will drop the clue for later.
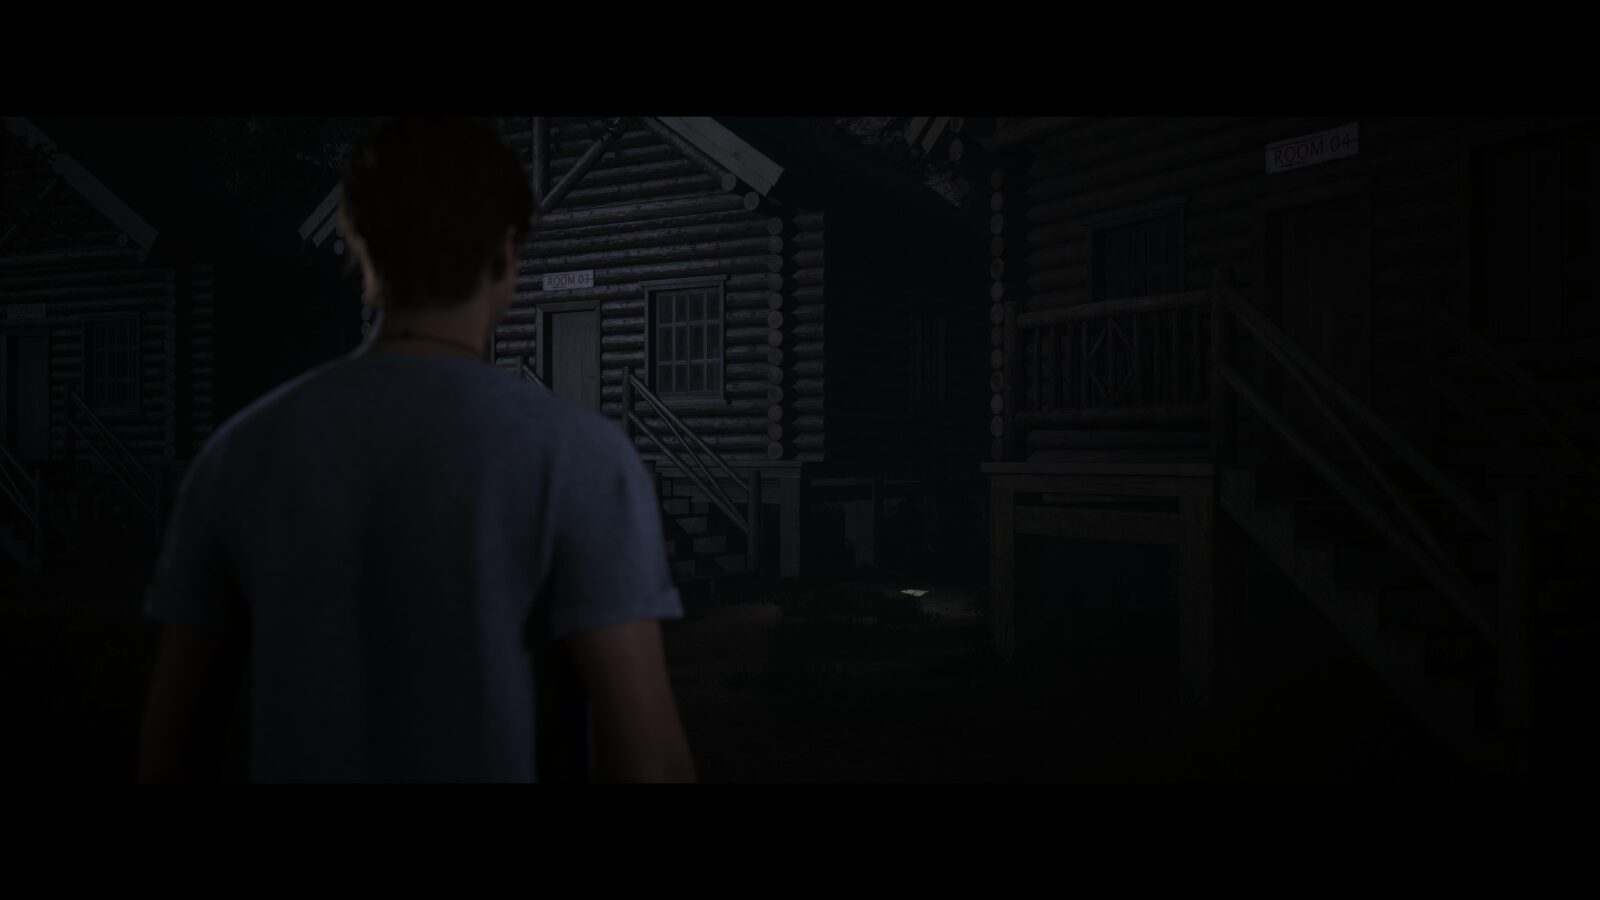
Clue #21 – Hackett History: Triggered Bear Trap – As Dylan you will reach the cabins where we first was introduce to Abigail in Chapter 1. Directly ahead of you is a building and to the left is a wooden gate. In front of the gate is a bear trap.

Clue #22 – Camp History: Letter to Camp Nurse – Turn around and walk towards the big tree in the middle of the cabins and keep an eye out for cabins 03 and 04 on your right. On the ground between them is the letter.

Chapter 6 – Jacob/Kaitlyn/Abigail
Clue #23 – Camp History: Camper’s Photo – While playing as Abigail in the pool house check the notice board in the corner of the room behind Kaitlyn for a photo.

Clue #24 – Camp History: Spooky Drawing – Walk left of the notice board and you will see a single locker at the far end of the room. Inside is a spooky drawing.

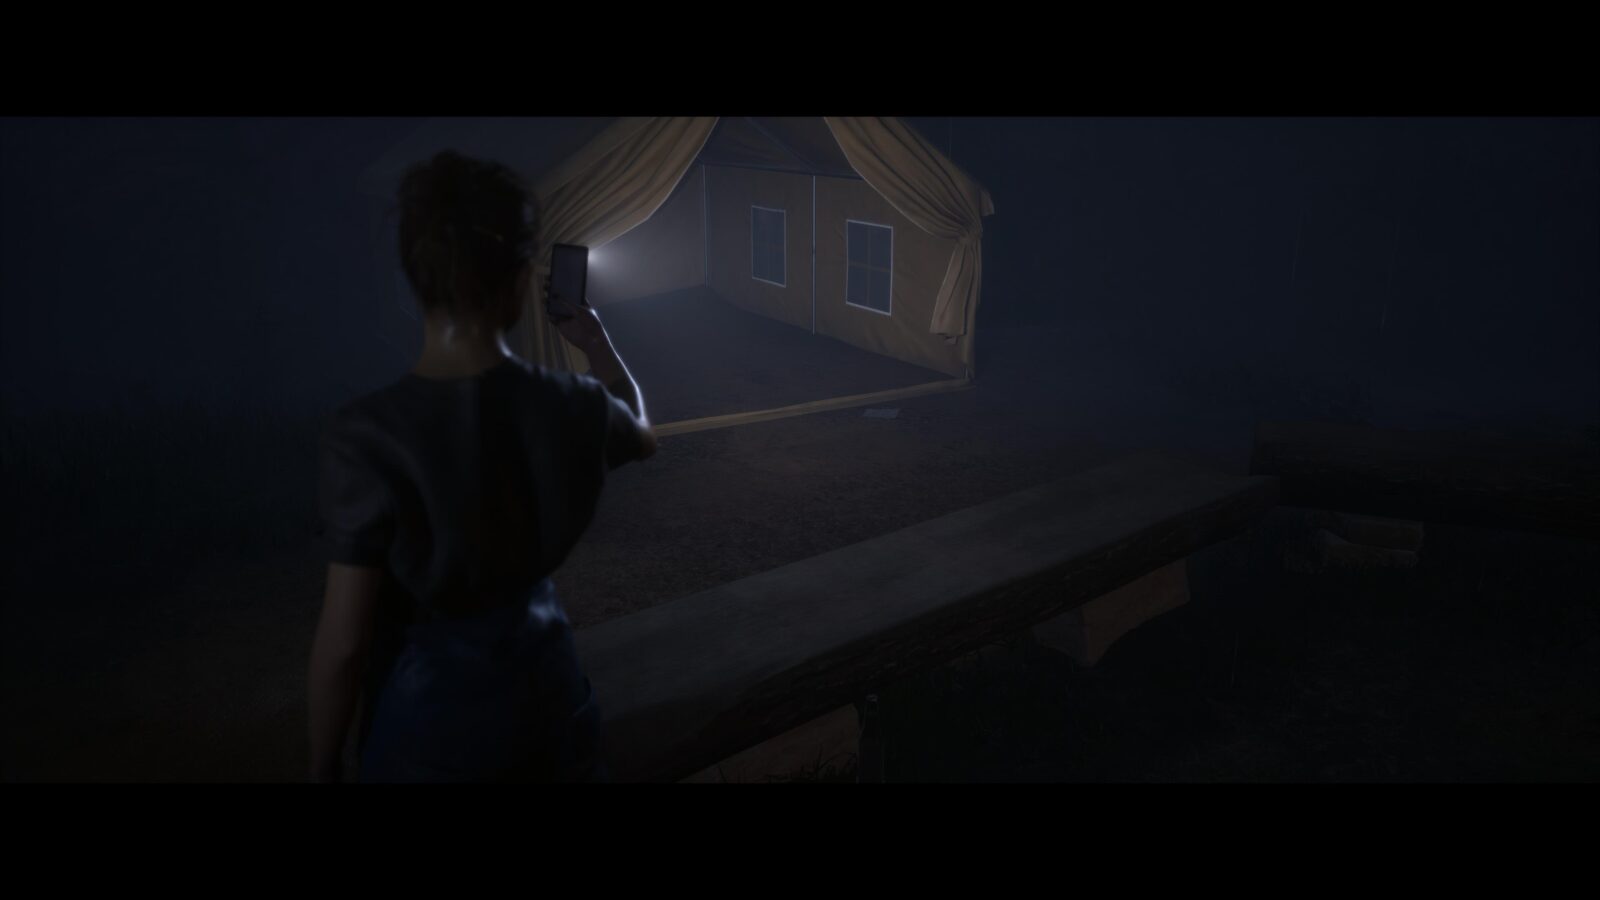
Clue #25 – Camp History: Kid’s Letter Home – As soon as you begin the section with Emma at the firepit where everyone was hanging out earlier, check the open tent to your right for a clue.
Chapter 7 – Laura
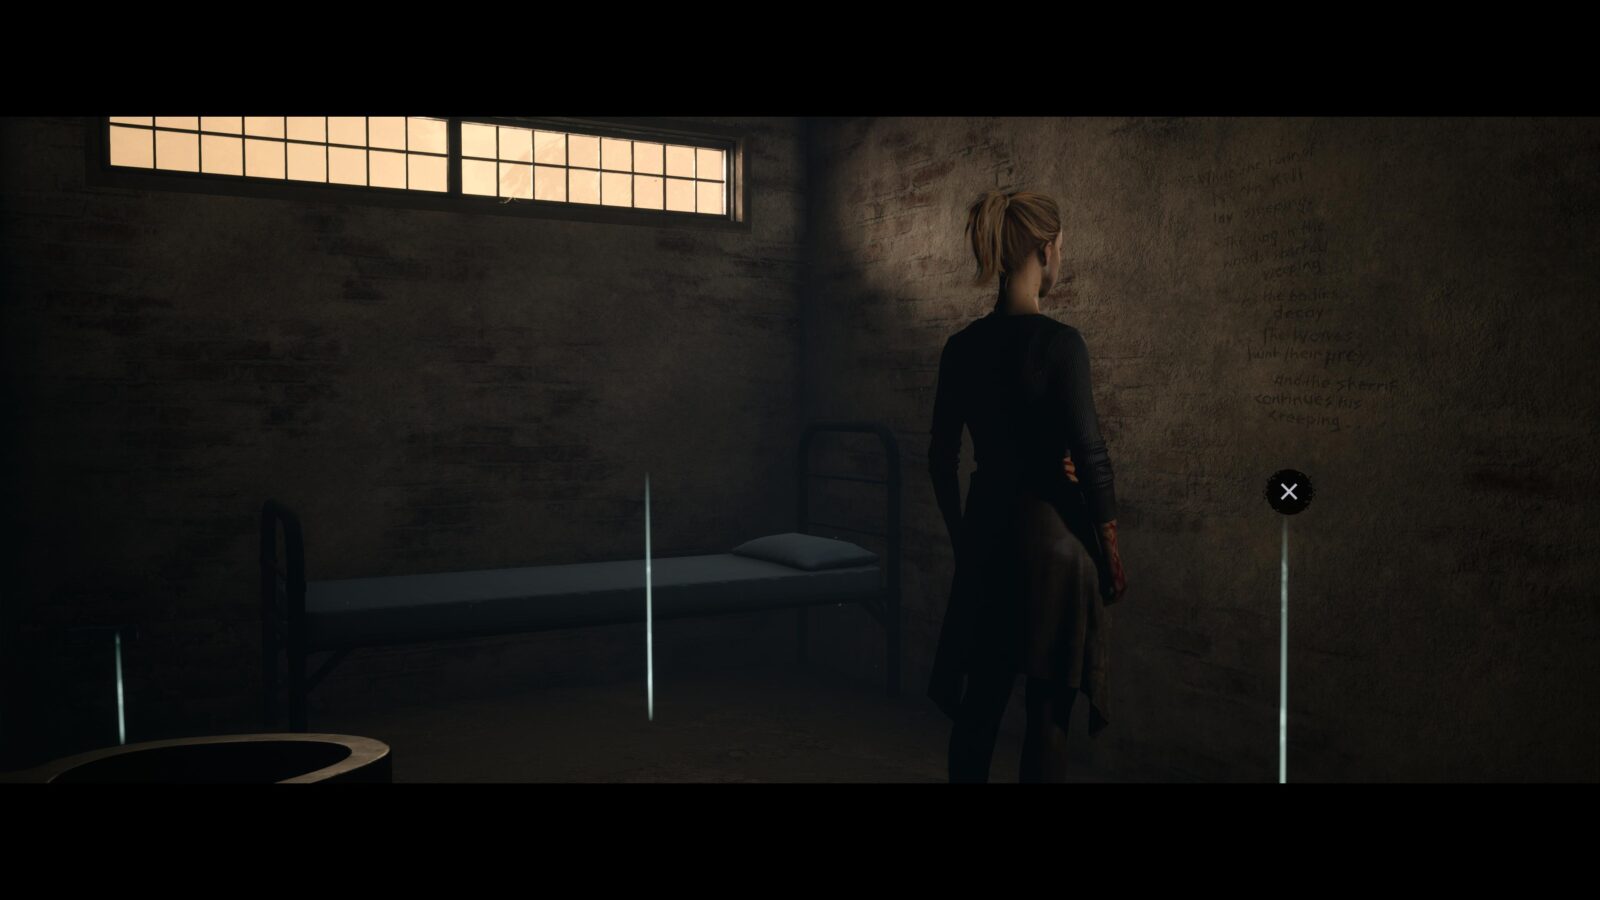
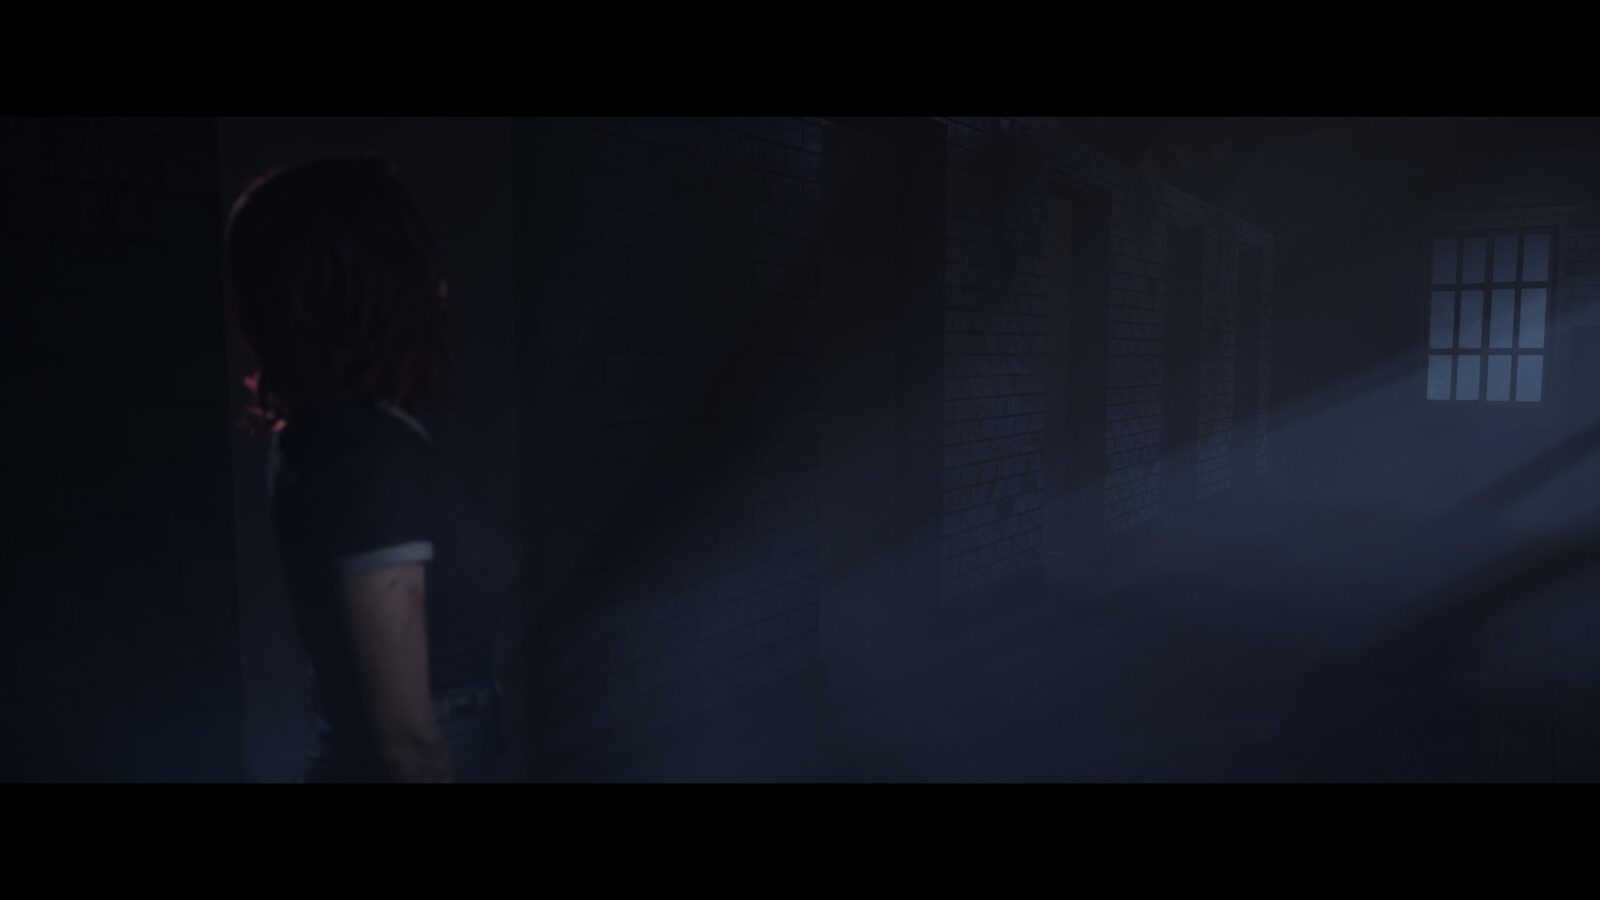
Clue #26 – Hackett History: Scrawled Limerick – During Laura’s chapter she will be locked in a jail cell. On the wall next the bed is a limerick.

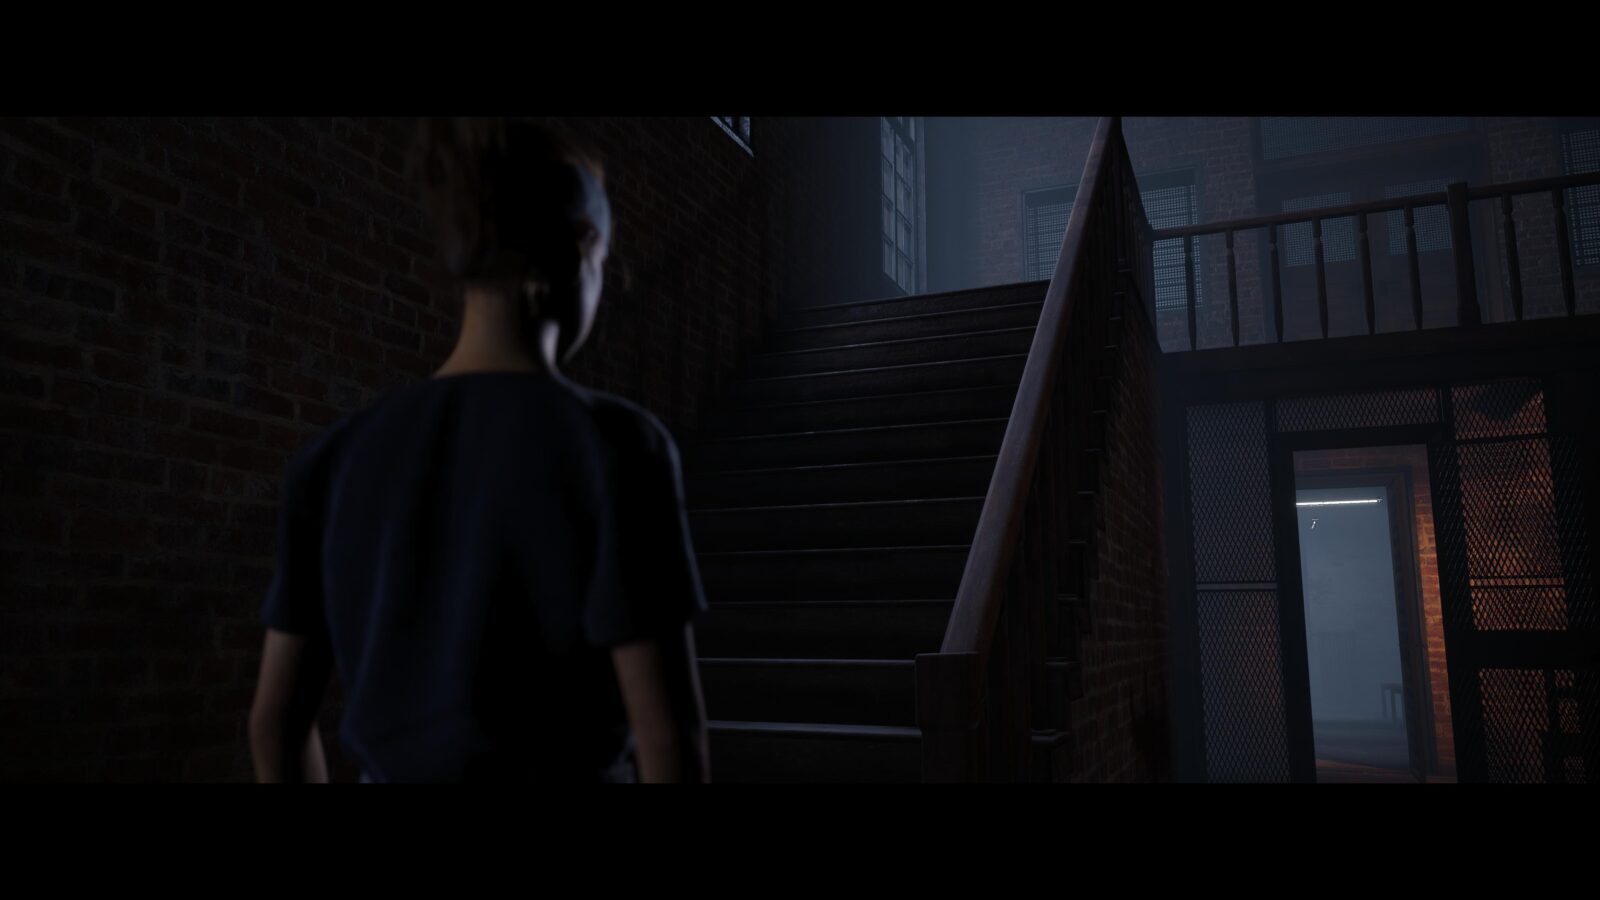
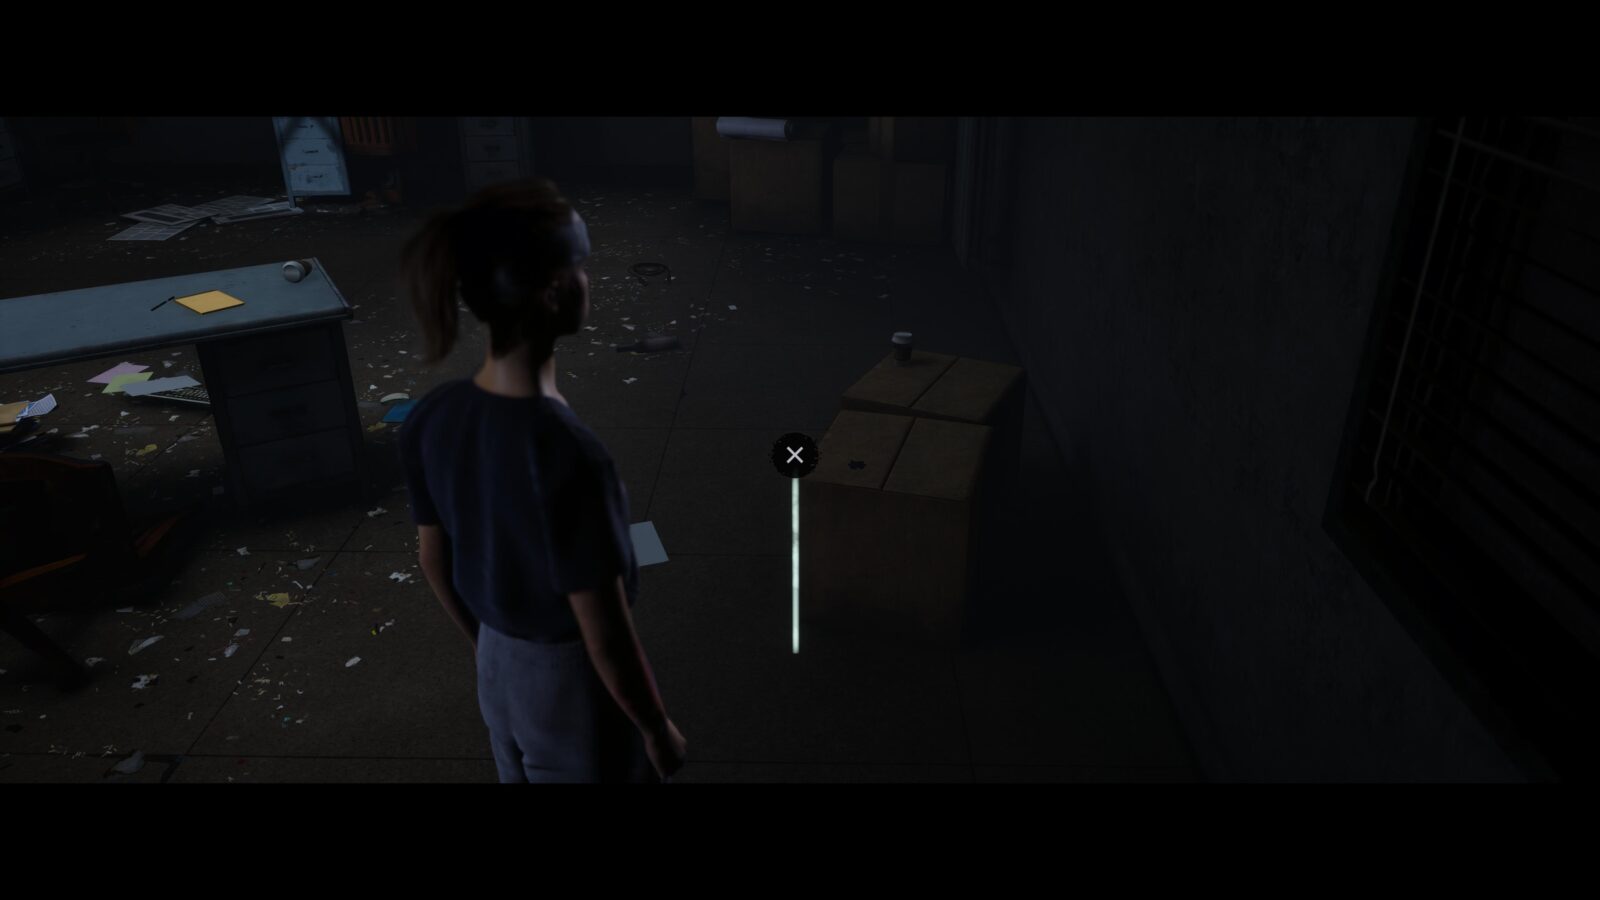
Clue #27 – Freakshow Fire: Charred Sheriff’s Badge – You will get to walk around and explore the police station while Travis is away. Head up the stairs in the main room and enter the 2nd room on your left. On a cardboard box in the room is a burned badge.

Clue #28 – Hackett History: Bizarre Yet Bonafide Podcast – Whilst upstairs in the police station you will need to enter the first room and inspect a birthday card on the wall and a calendar on the wall in the 3rd room. One you’ve inspected these two items you can go downstairs and enter a room in the far left corner—with your back to the stairs—and interact with a computer in there. This will also unlock the Bizarre Yet Bonafide trophy.


Chapter 8 – Laura/Kaitlyn/Ryan
Clue #29 – Hackett History: Miner’s Lunchbox – When Laura and Ryan fall into a large hole and into a pool of water, walk to the opposite side of where Laura is standing next to the pool. You will see a lunchbox by a rock wall.

Clue #30 – Hackett History: Old Quarry Tools – Go back to where you started and you should see some metal steps. On the ground to the left of the steps is some old tools.

Clue #31 – Hackett History: Rum Still – When you finally have control of Ryan, head into the room on your immediate left and press ![]() on the still. You might have to pick up the tarot card when you enter the room to make the
on the still. You might have to pick up the tarot card when you enter the room to make the ![]() prompt appear.
prompt appear.


Chapter 9 – Dylan/Abigail
Clue #32 – Hackett History: Hunting Trophy Wall – When playing as Laura and you’ve put some distance between her and Jedediah you will come to a room with a piano to your left. On the wall directly ahead of you is a hunting trophy.
Clue #33 – Hackett History: Hackett Family Tree – Go up the stairs to the left of the hunting trophy and enter the room opposite you at the top. In the far left corner as you enter is a family tree.
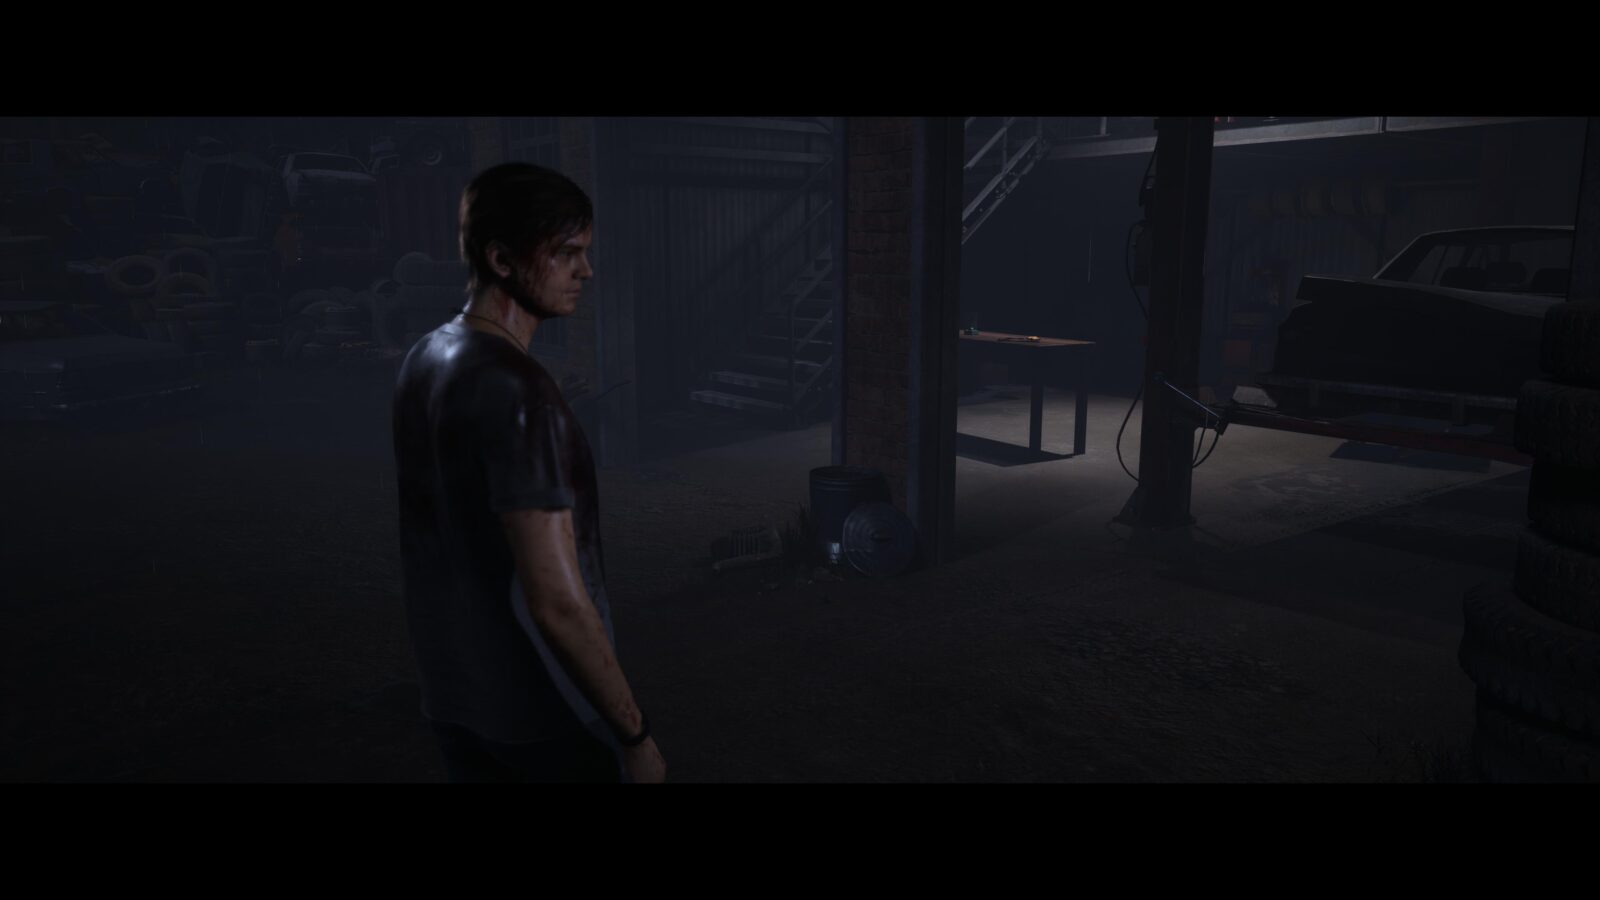
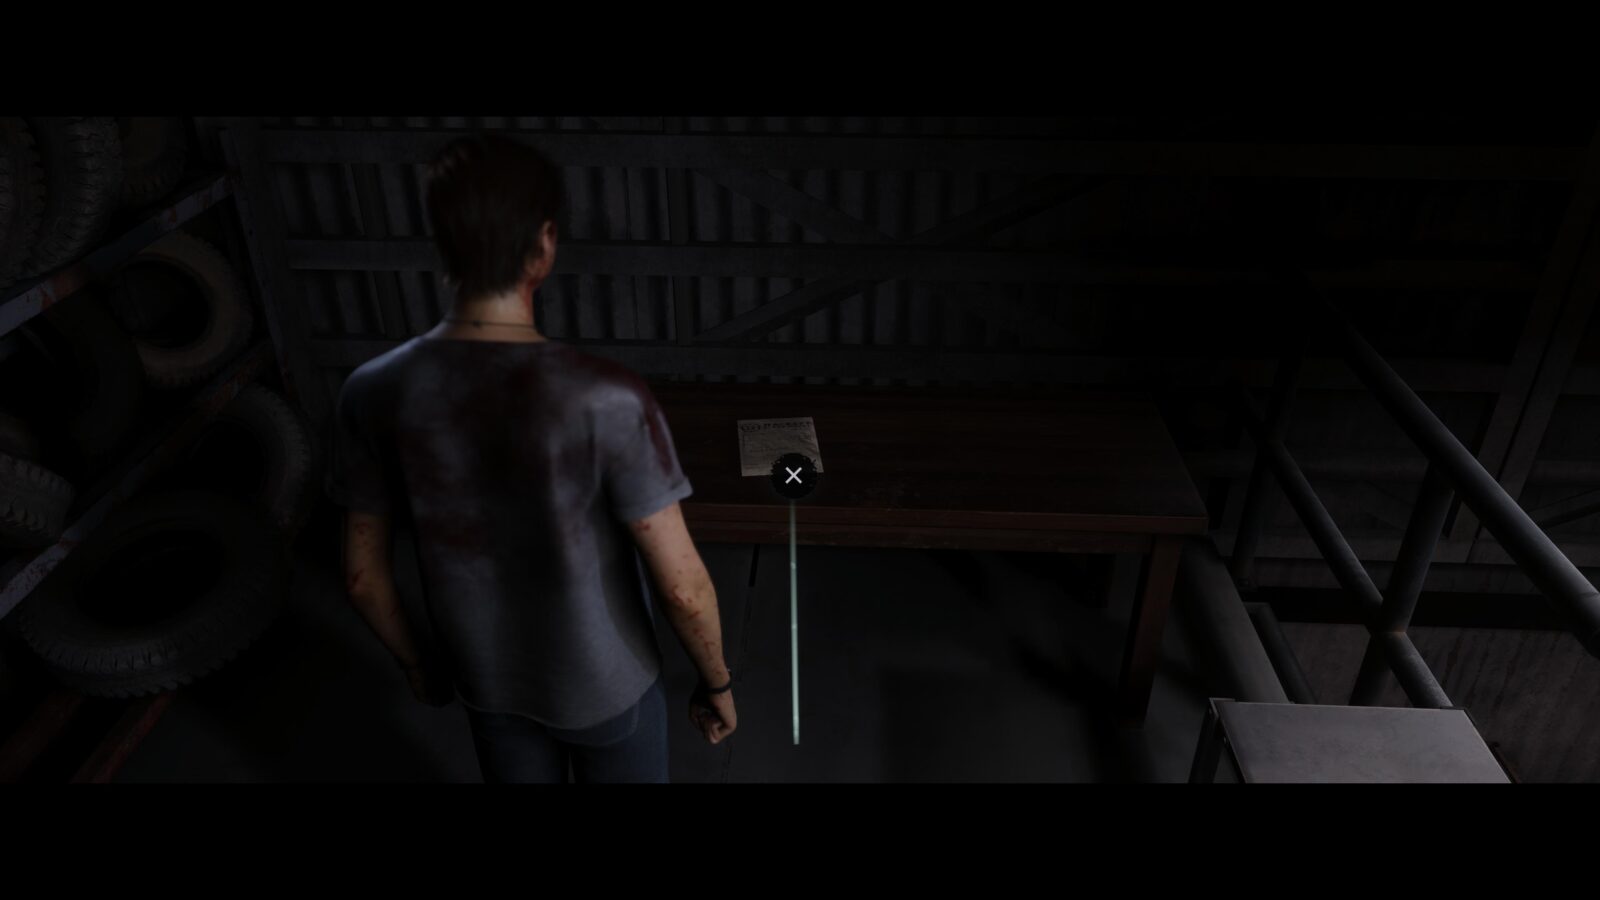
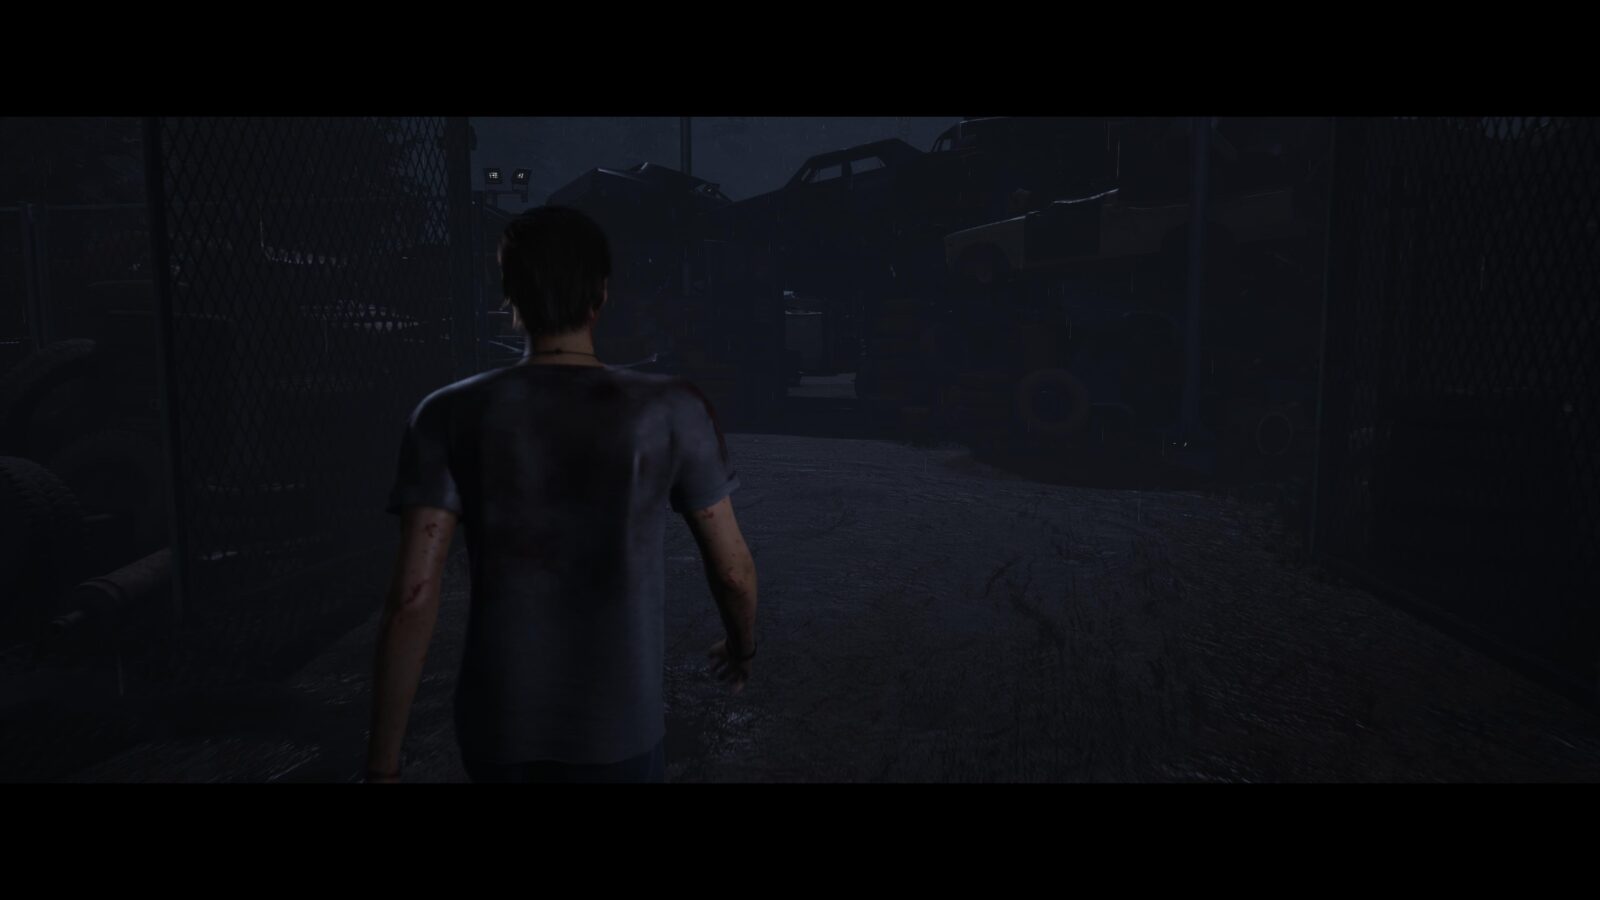
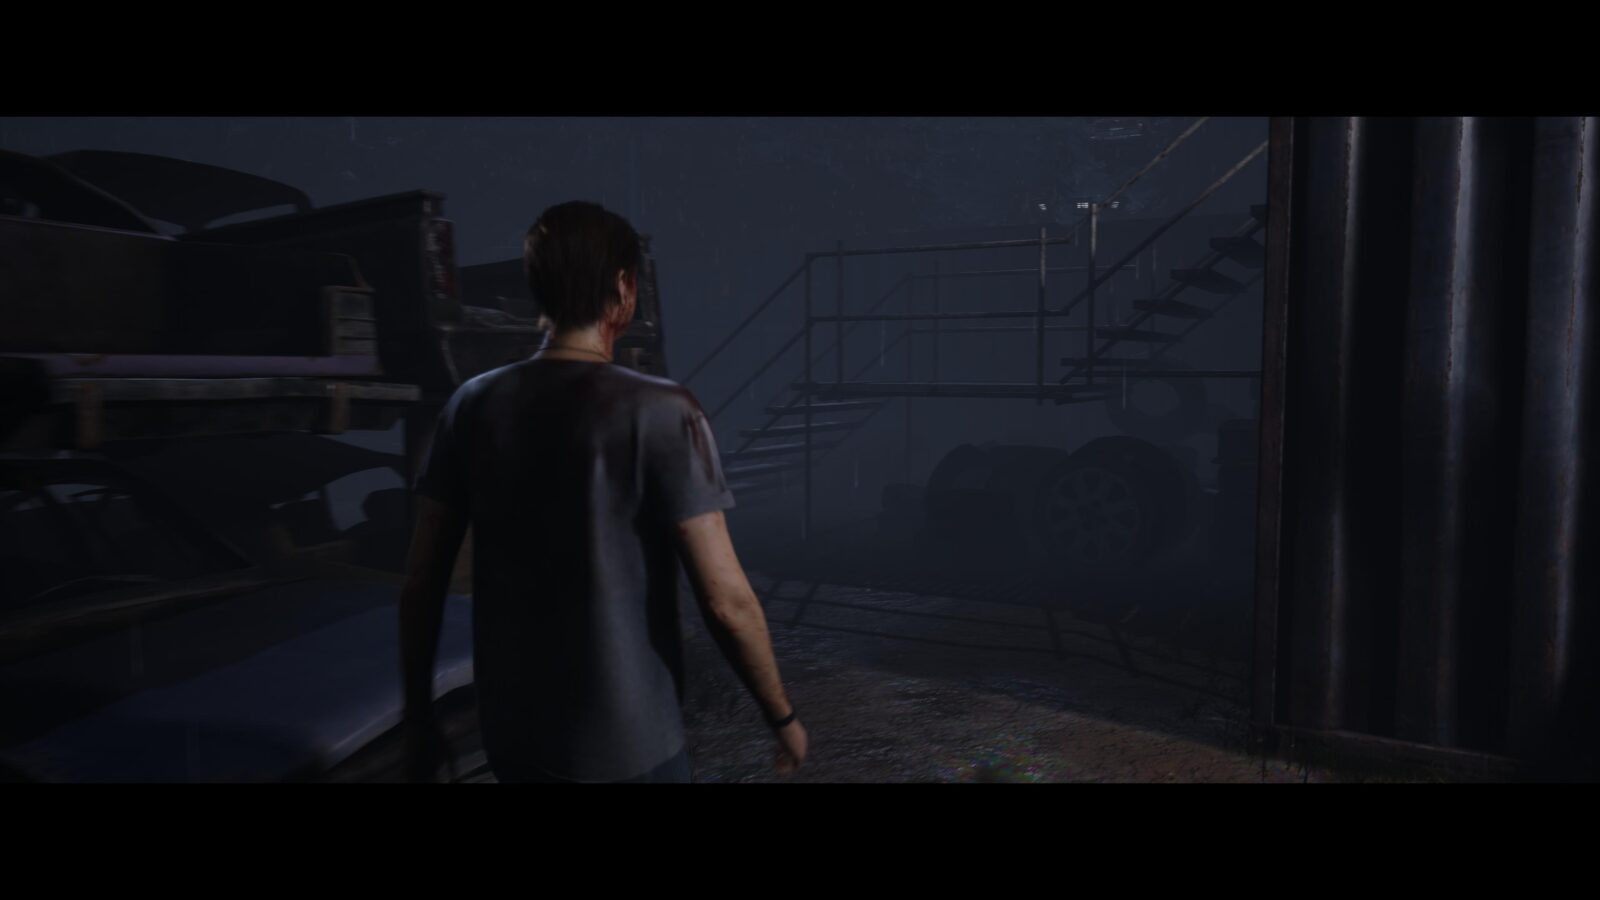
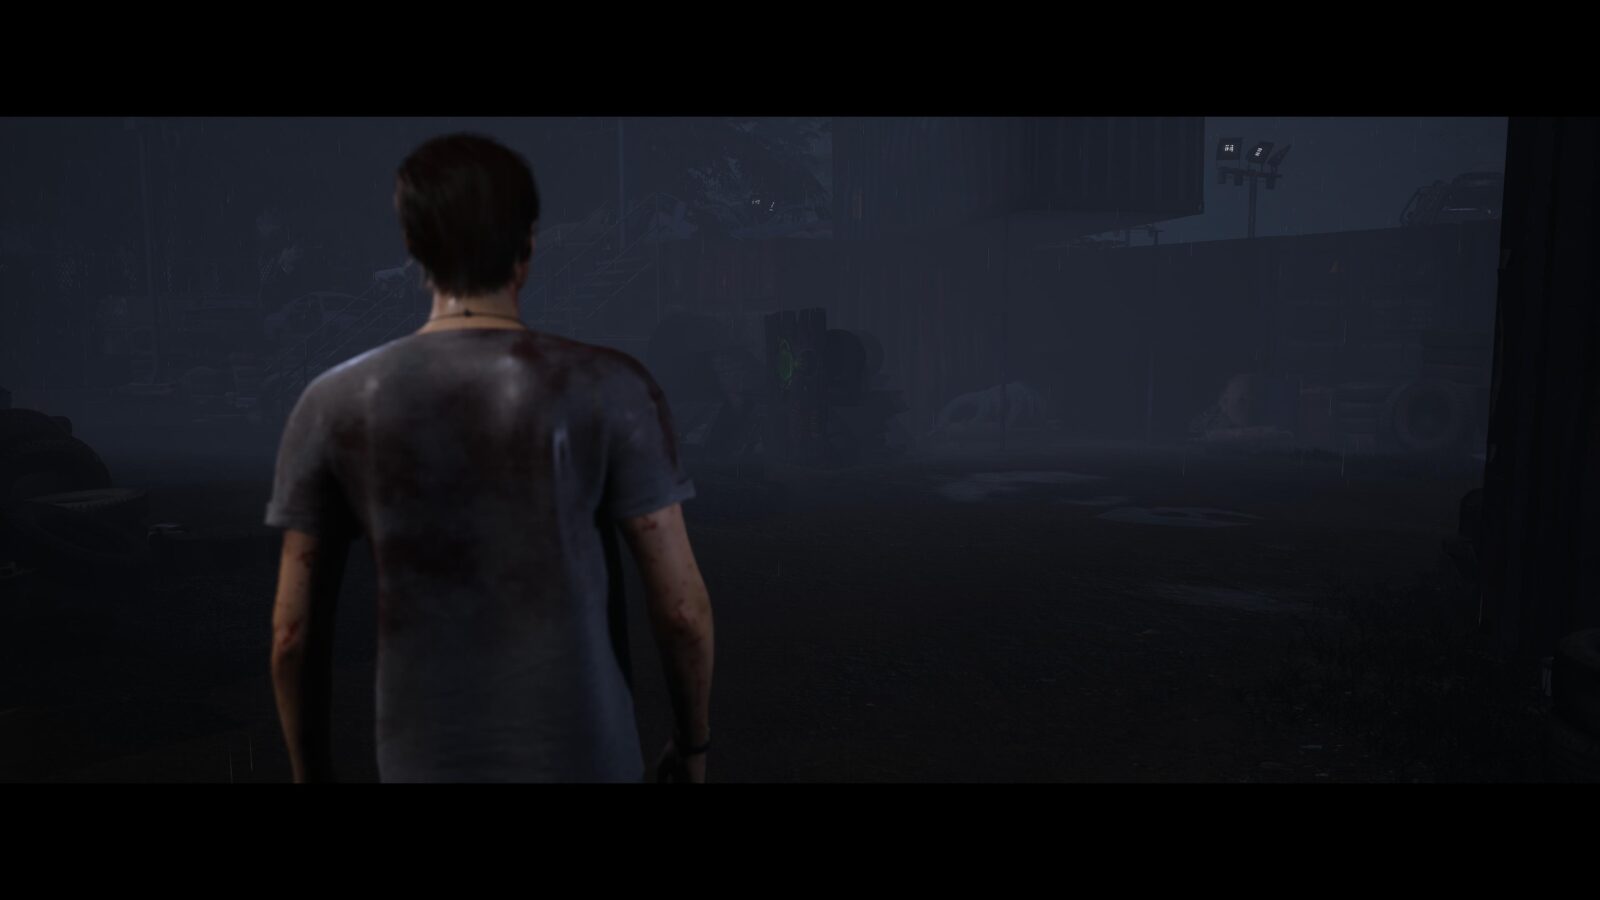
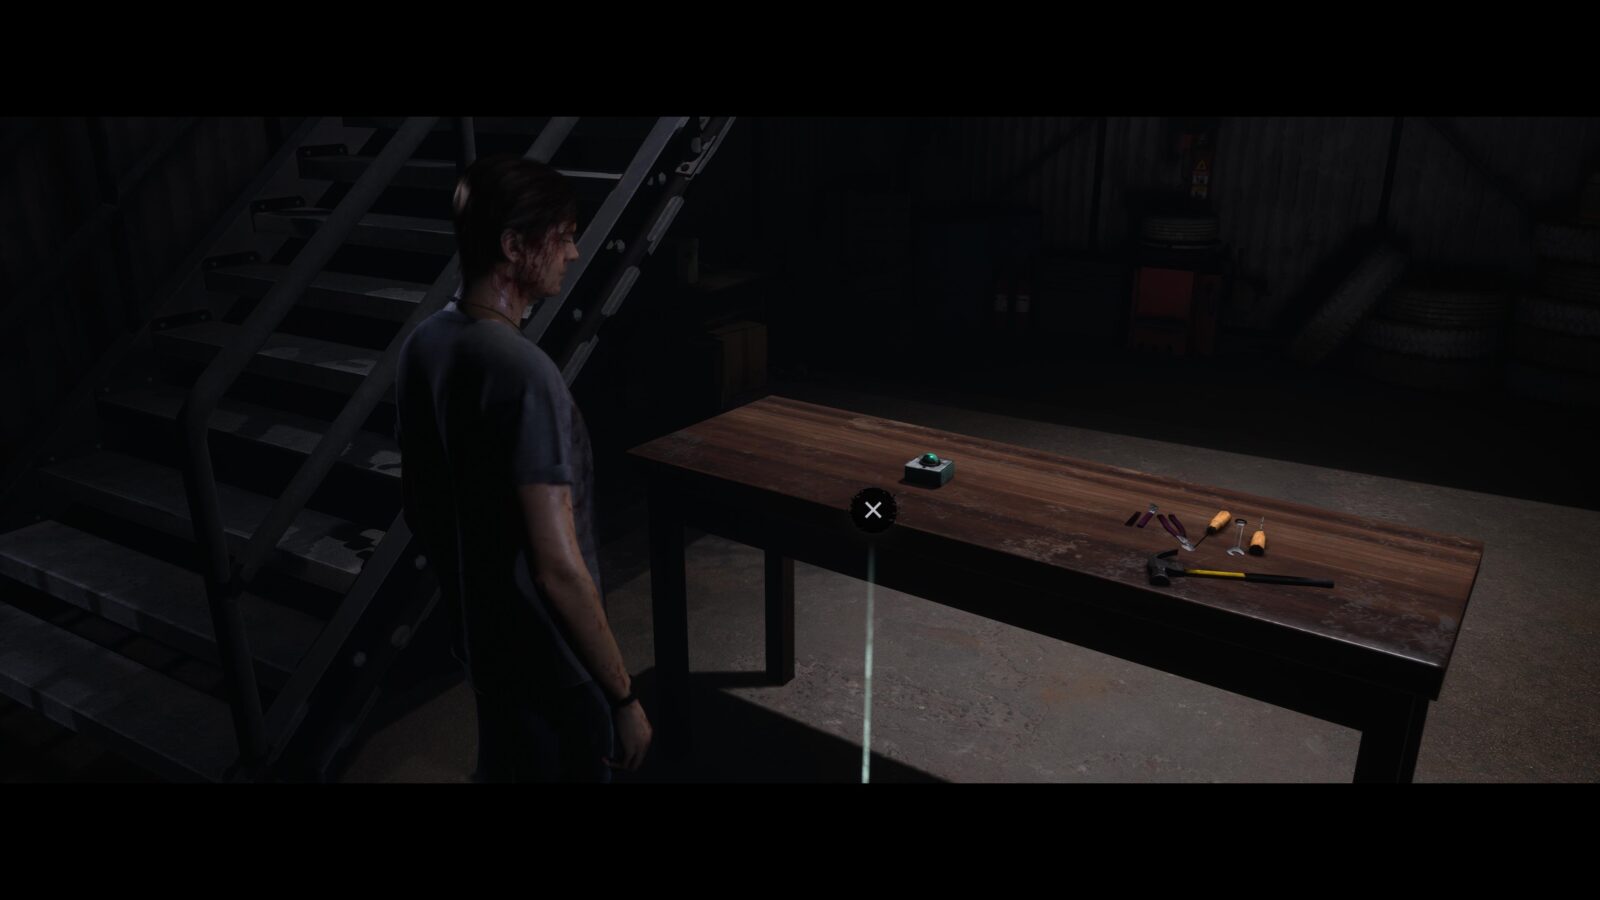
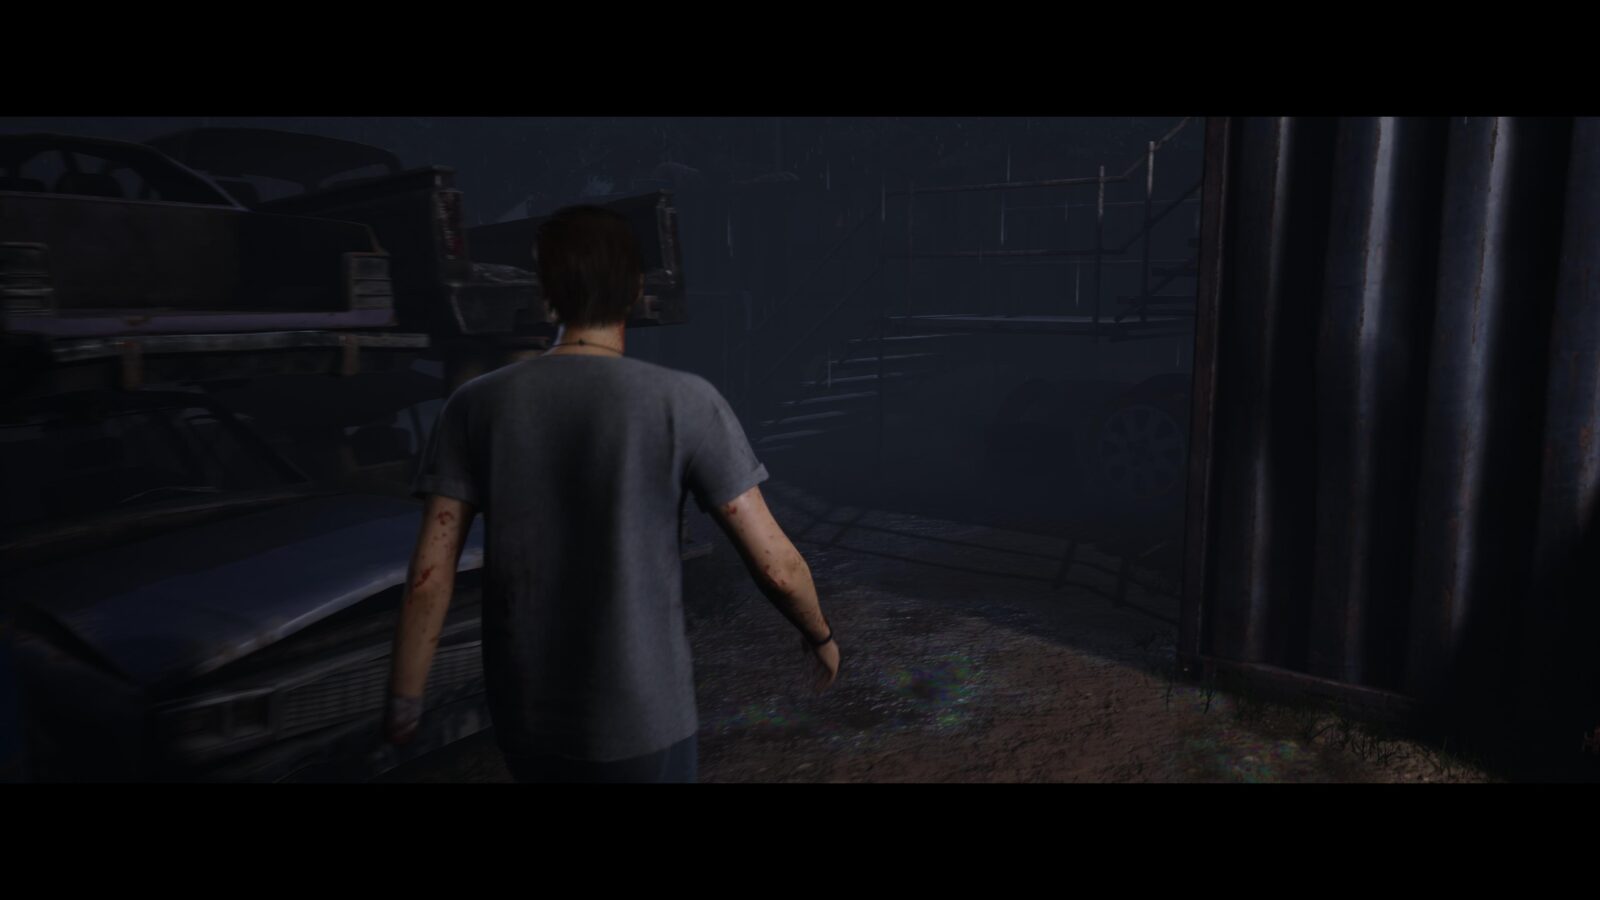
Clue #34 – Hackett History: Scrapyard Note – As Dylan you will explore a scrapyard. Keep to the right in this area and you will enter a building with a metal staircase. Go up the staircase and to the end of the walkway to find a table with a note.

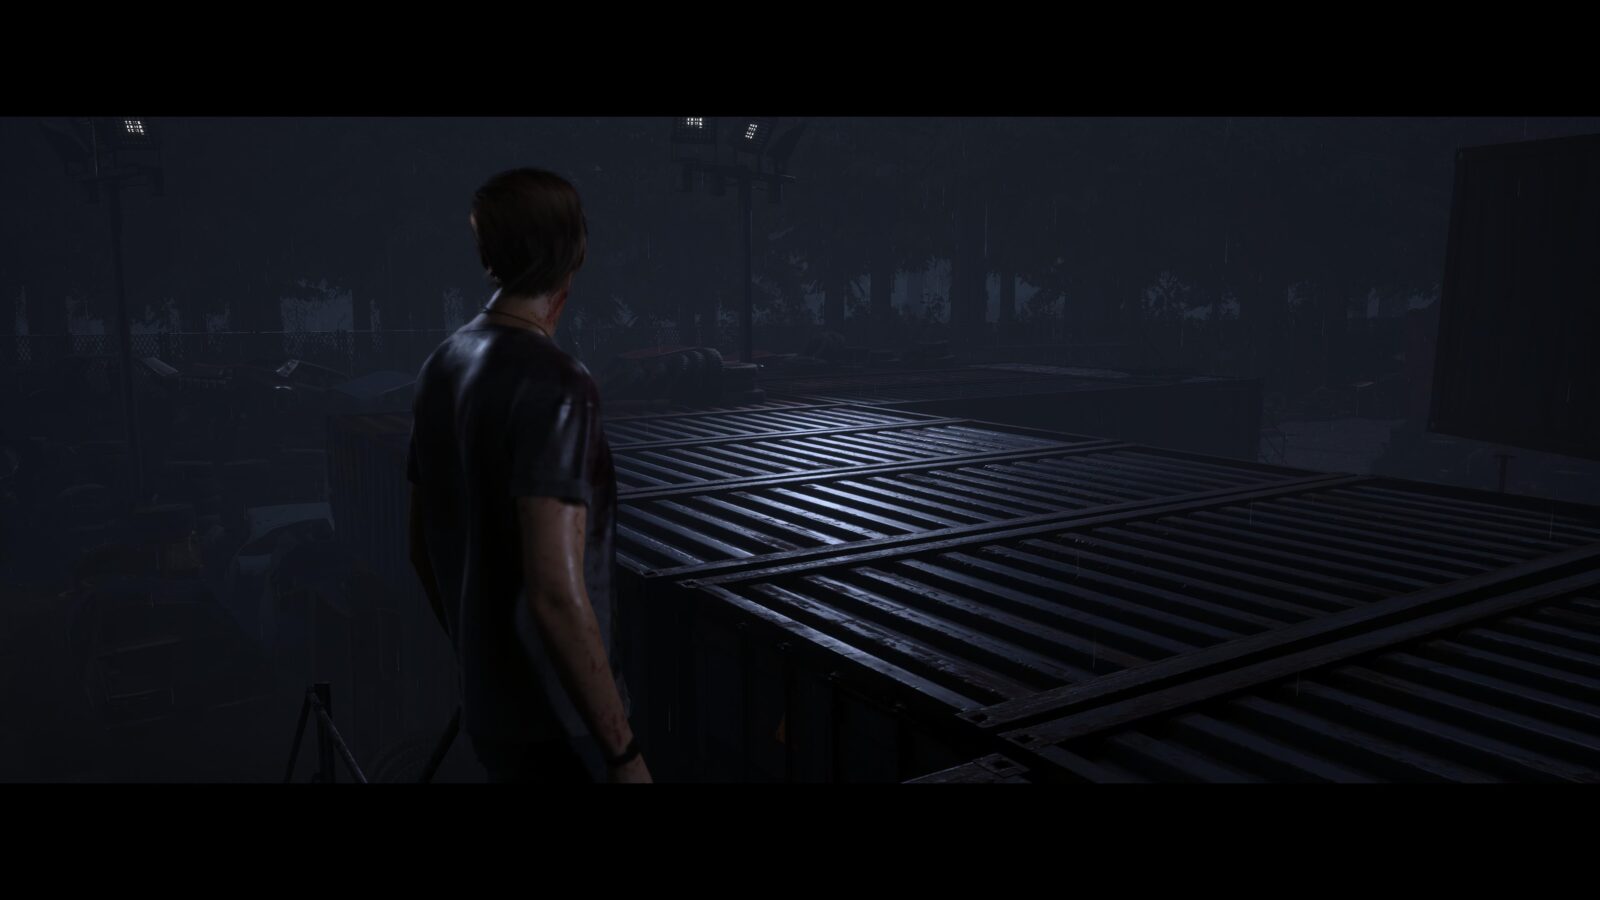
Clue #35 – Freakshow Fire: Discarded Signage – Open the gate and walk forward until you get to some metal steps leading up to the tops of some containers. Turn left and walk straight to some more steps and turn left at the bottom of the steps and you can see a metal sign sticking out of the ground. (You can also make a U-turn to the left on top of the containers and cross them to descend down some steps at the other side. Turn right at the bottom of the steps and you can see the sign).

Chapter 10 – Max/Kaitlyn
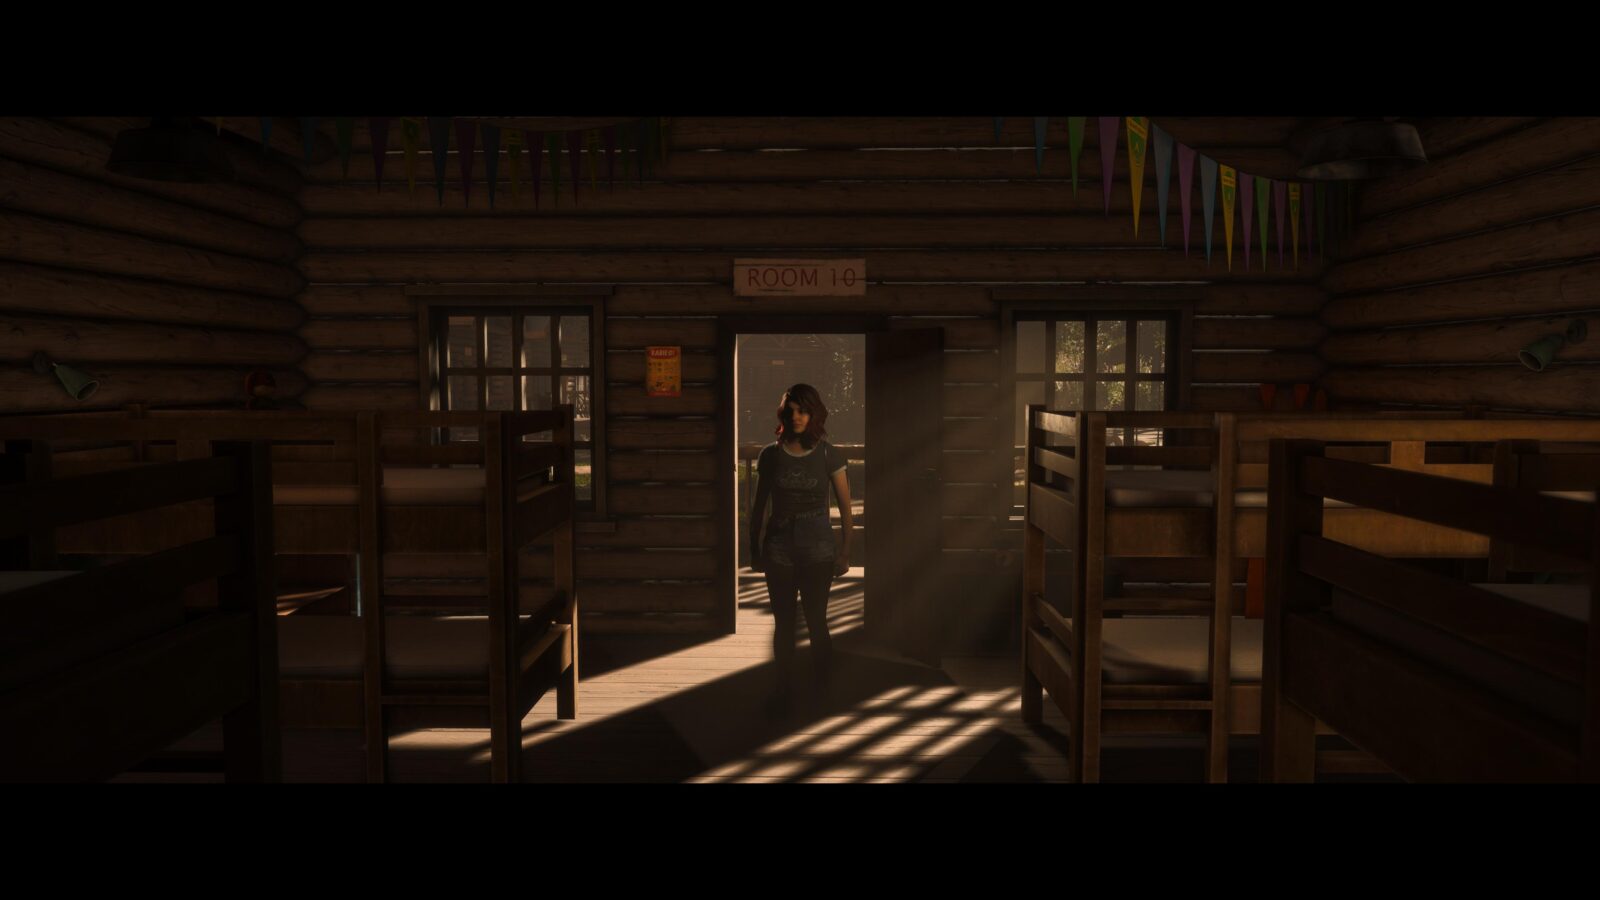
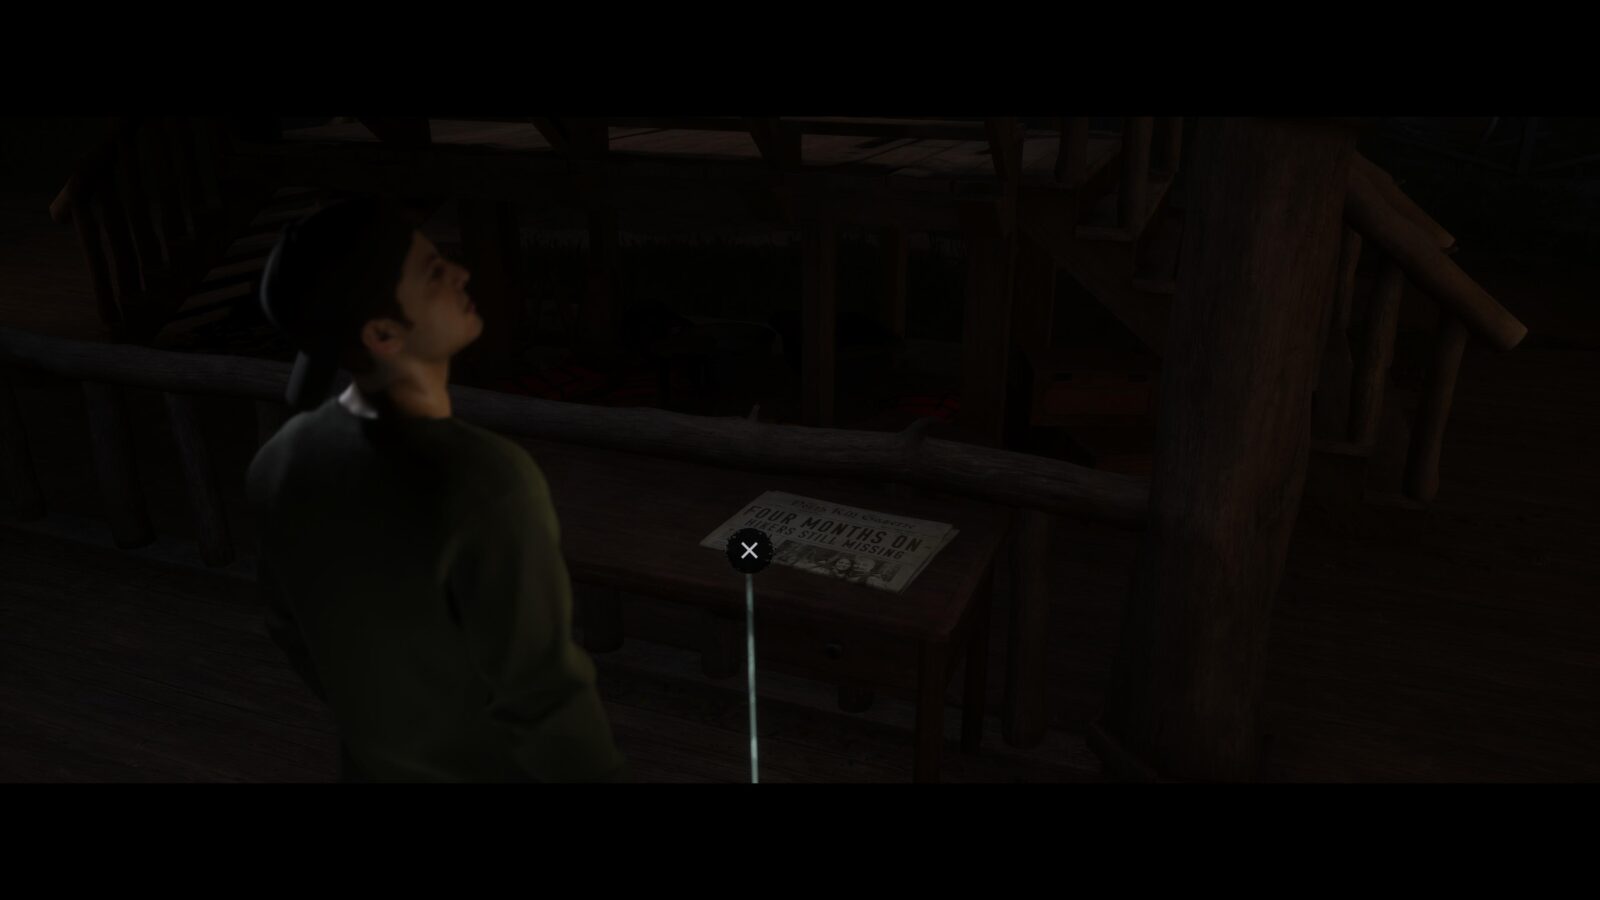
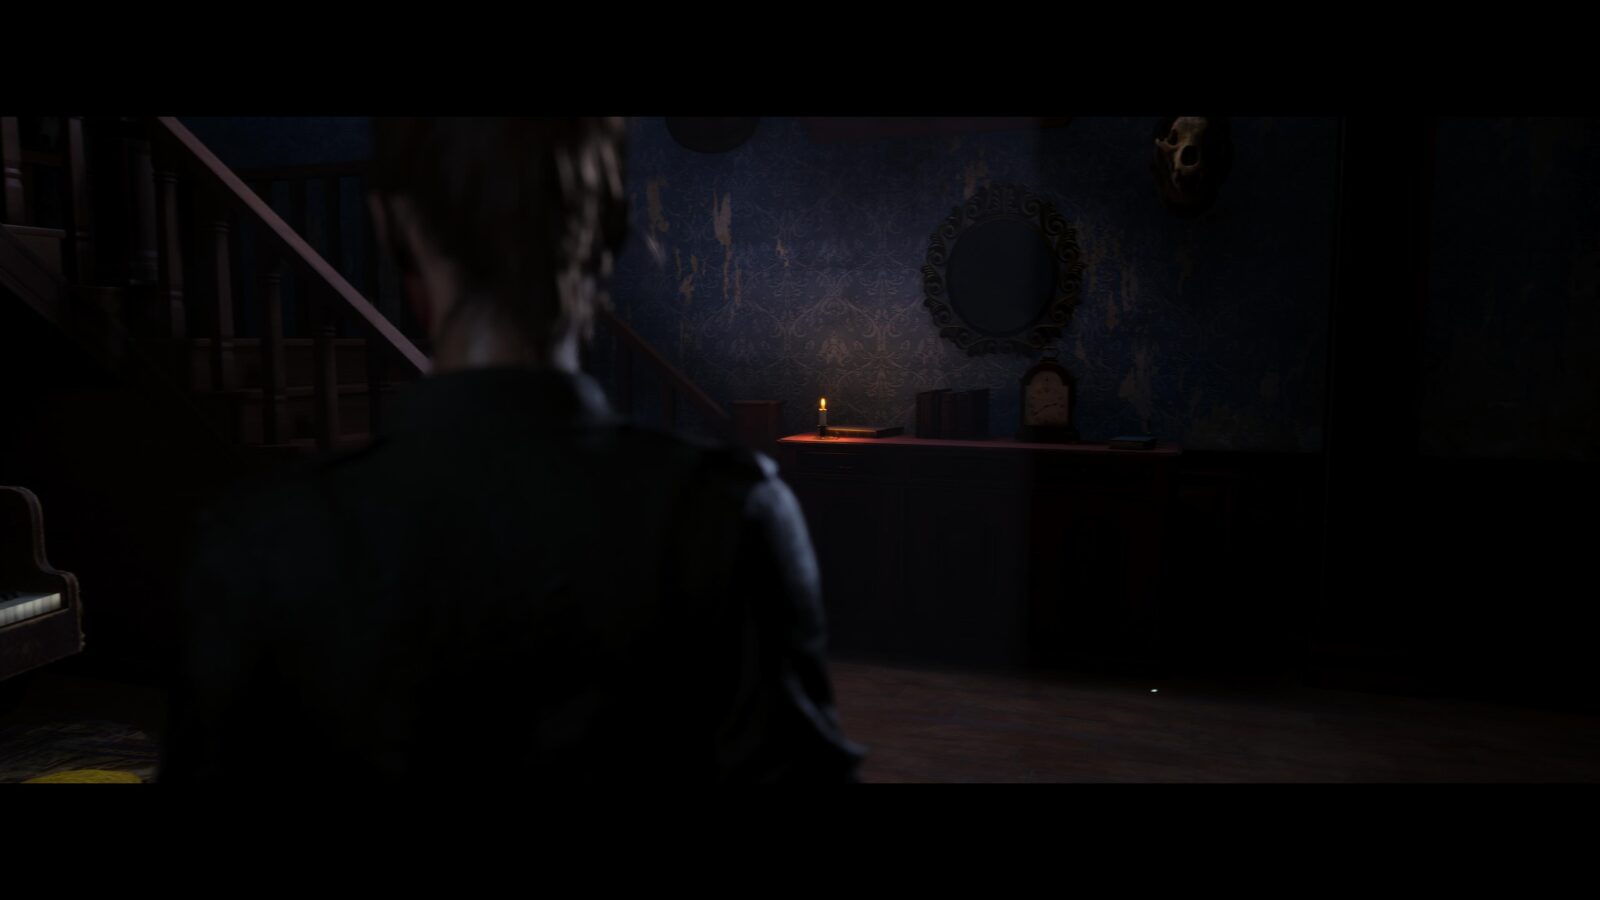
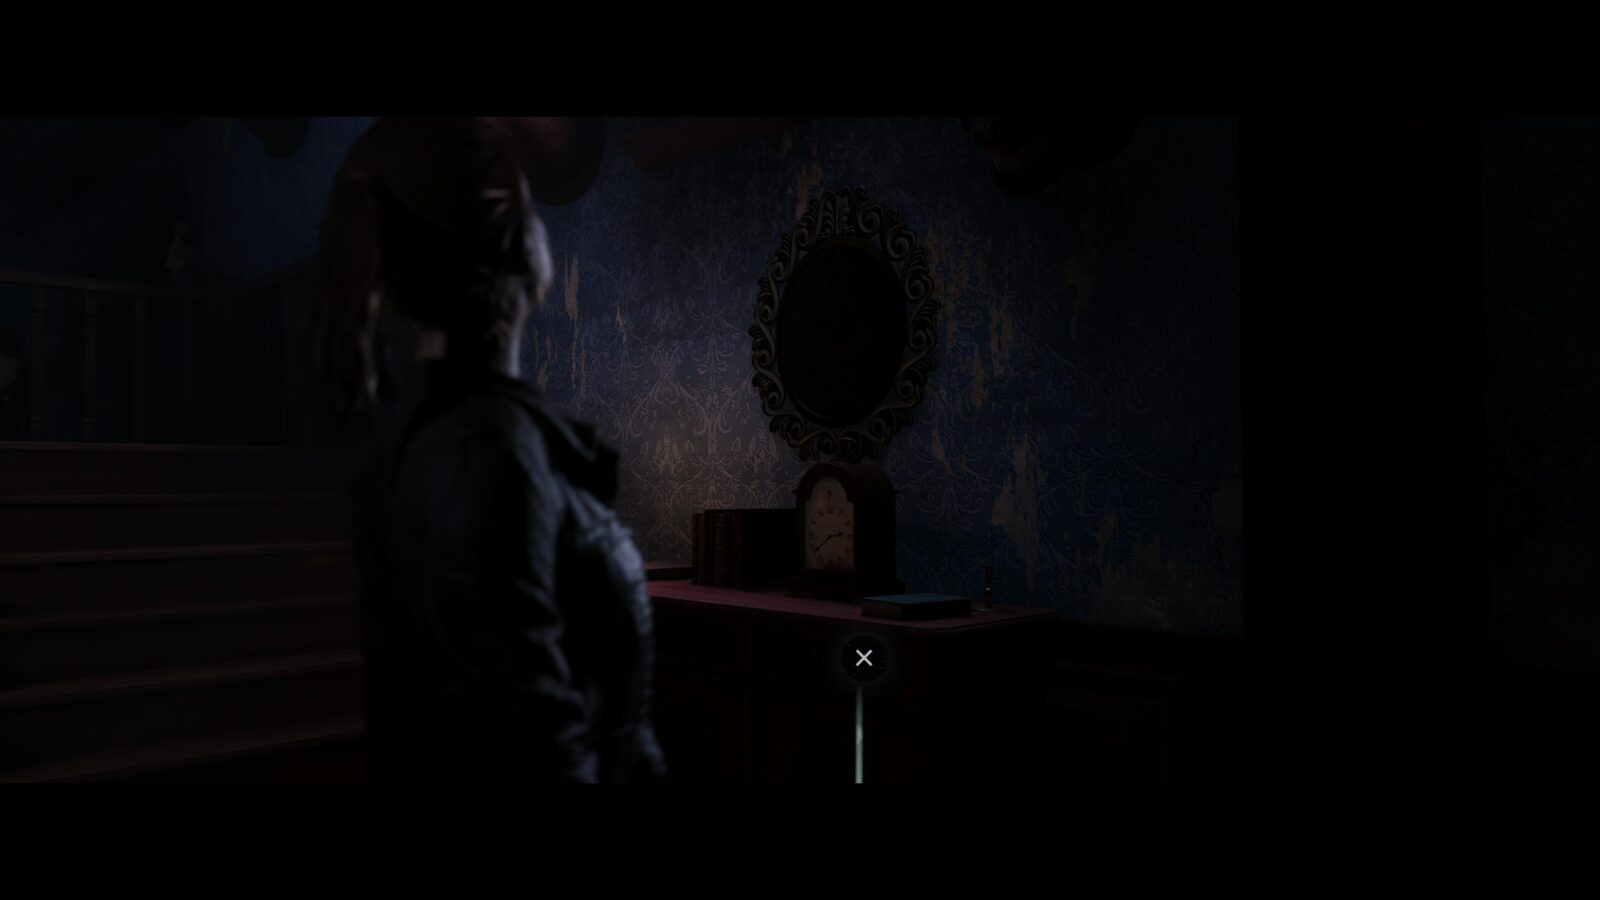
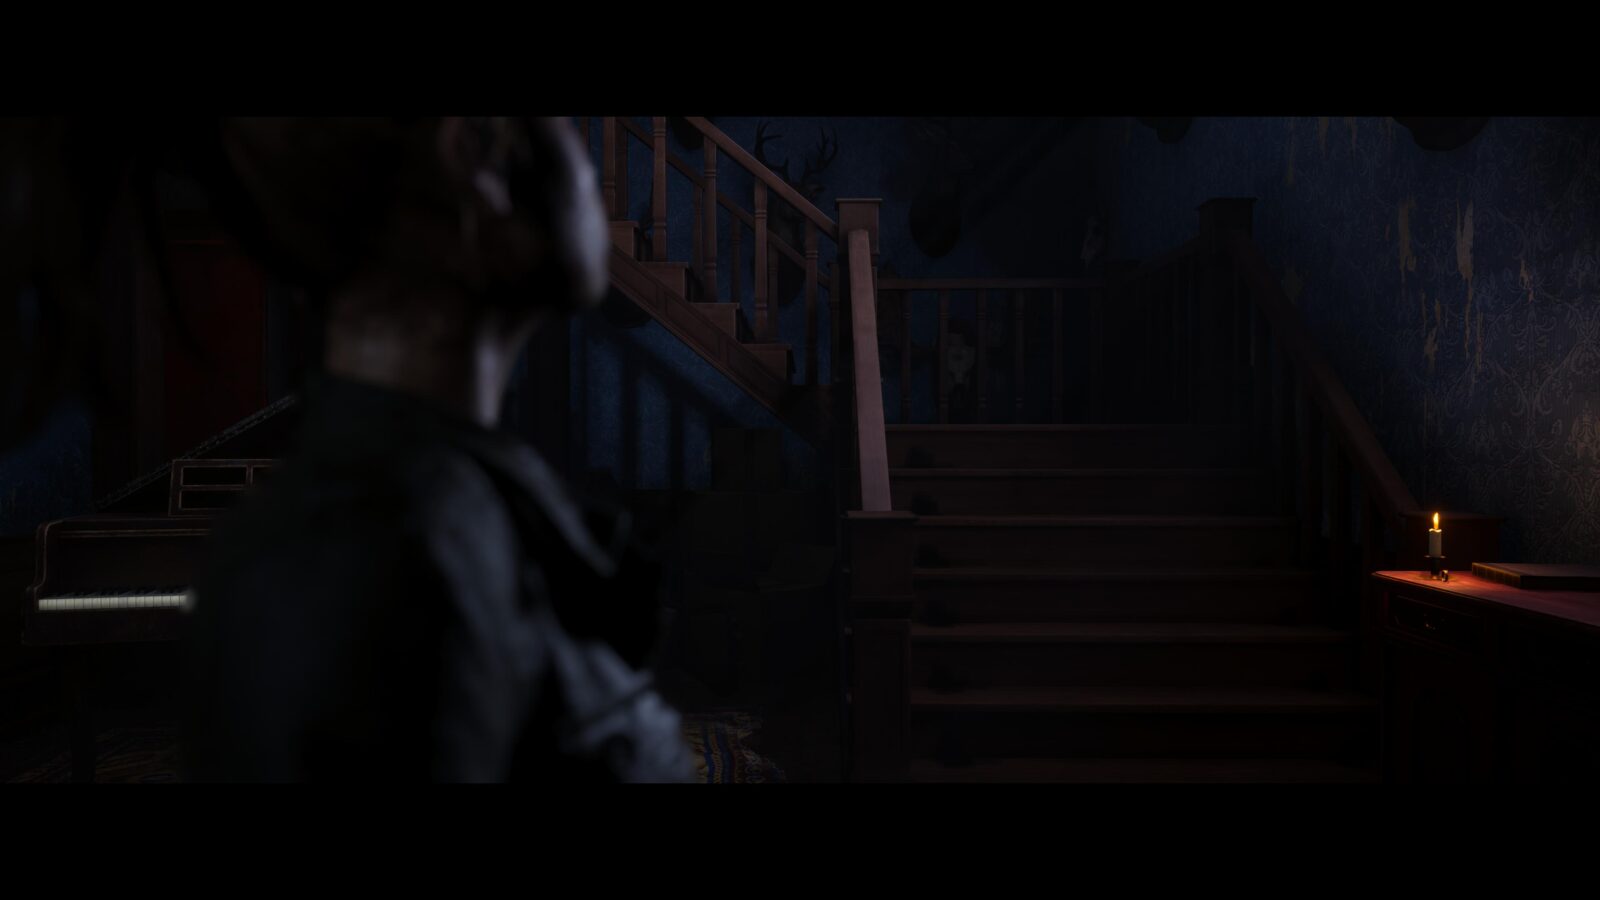
Clue #36 – Camp History: Camp Letter – As Kaitlyn you will be alone inside the lodge (Dylan can also be with her here). Take the stairs on the right of Kaitlyn and take a sharp left at the top. Walk forward a bit and look to your left again and you should see a room with some bunk beds in. The note will be on the floor.
Clue #37 – Freakshow Fire: Ticket Stub – You will pass the Ancestral Portrait on the way to this clue but it’s best to leave it to last as you need to interact with it to continue the story anyway. Exit the room where you found the camp letter and head to the top of the stairs you used to get to the 2nd floor. Walk down the hallway leading away from the stairs and you will come to the area where Kaitlyn shot Bobby earlier in the story. On the ground will be a ticket stub.

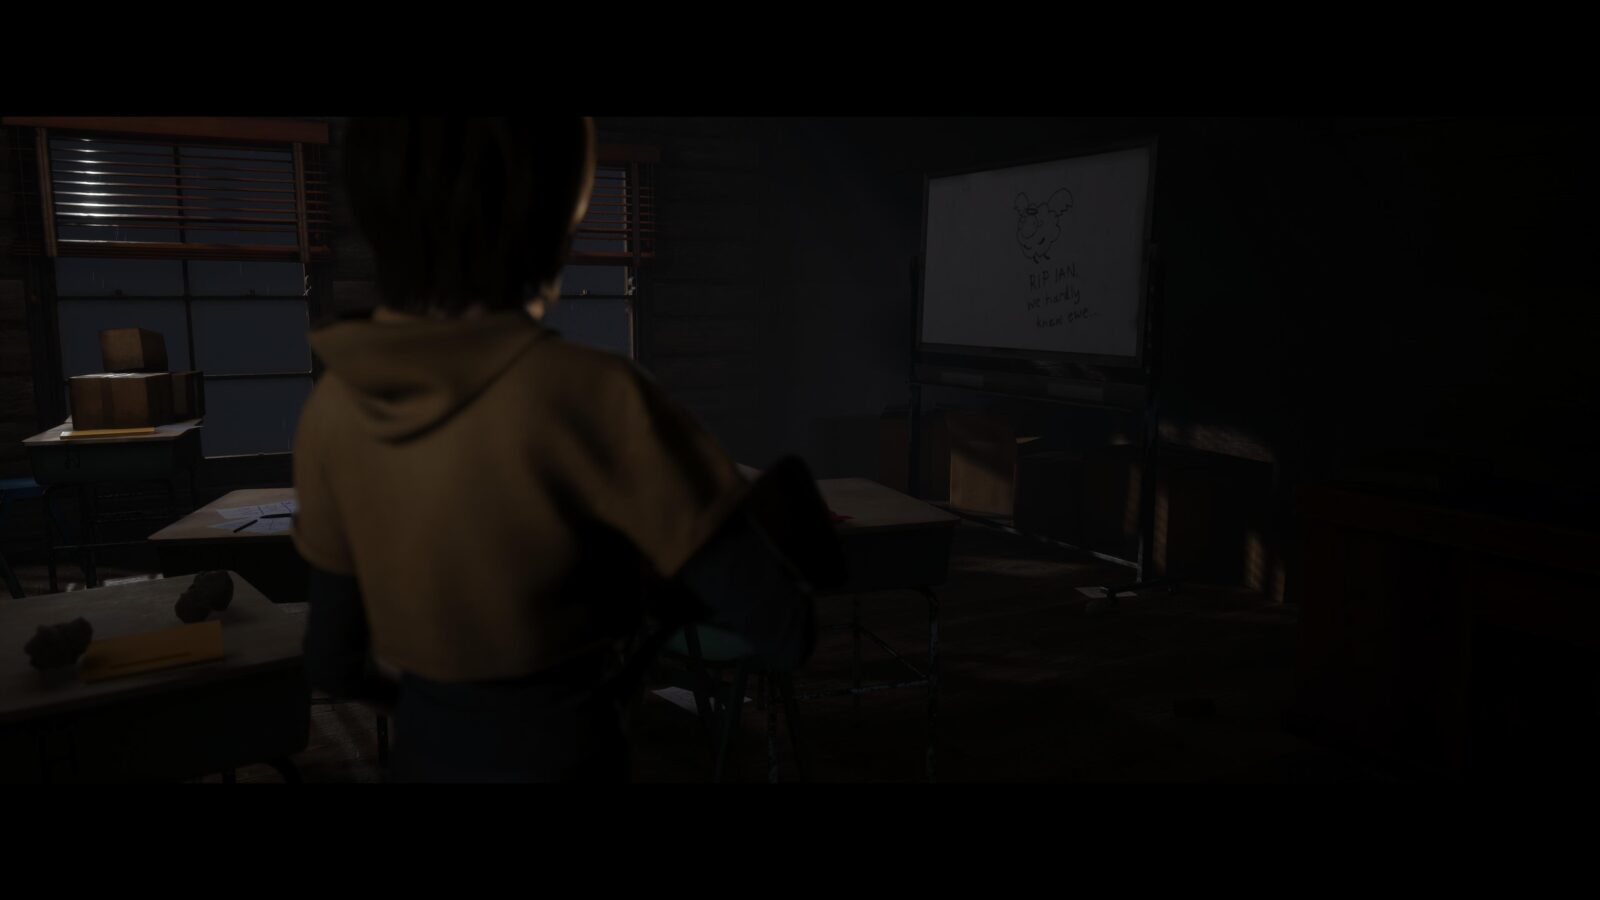
Clue #38 – Hackett History: Chalkboard Doodle – Enter the room just ahead of where you found the ticket stub and you will see some stairs and another room to your right. Enter the room and inspect the whiteboard for the “chalkboard” doodle.
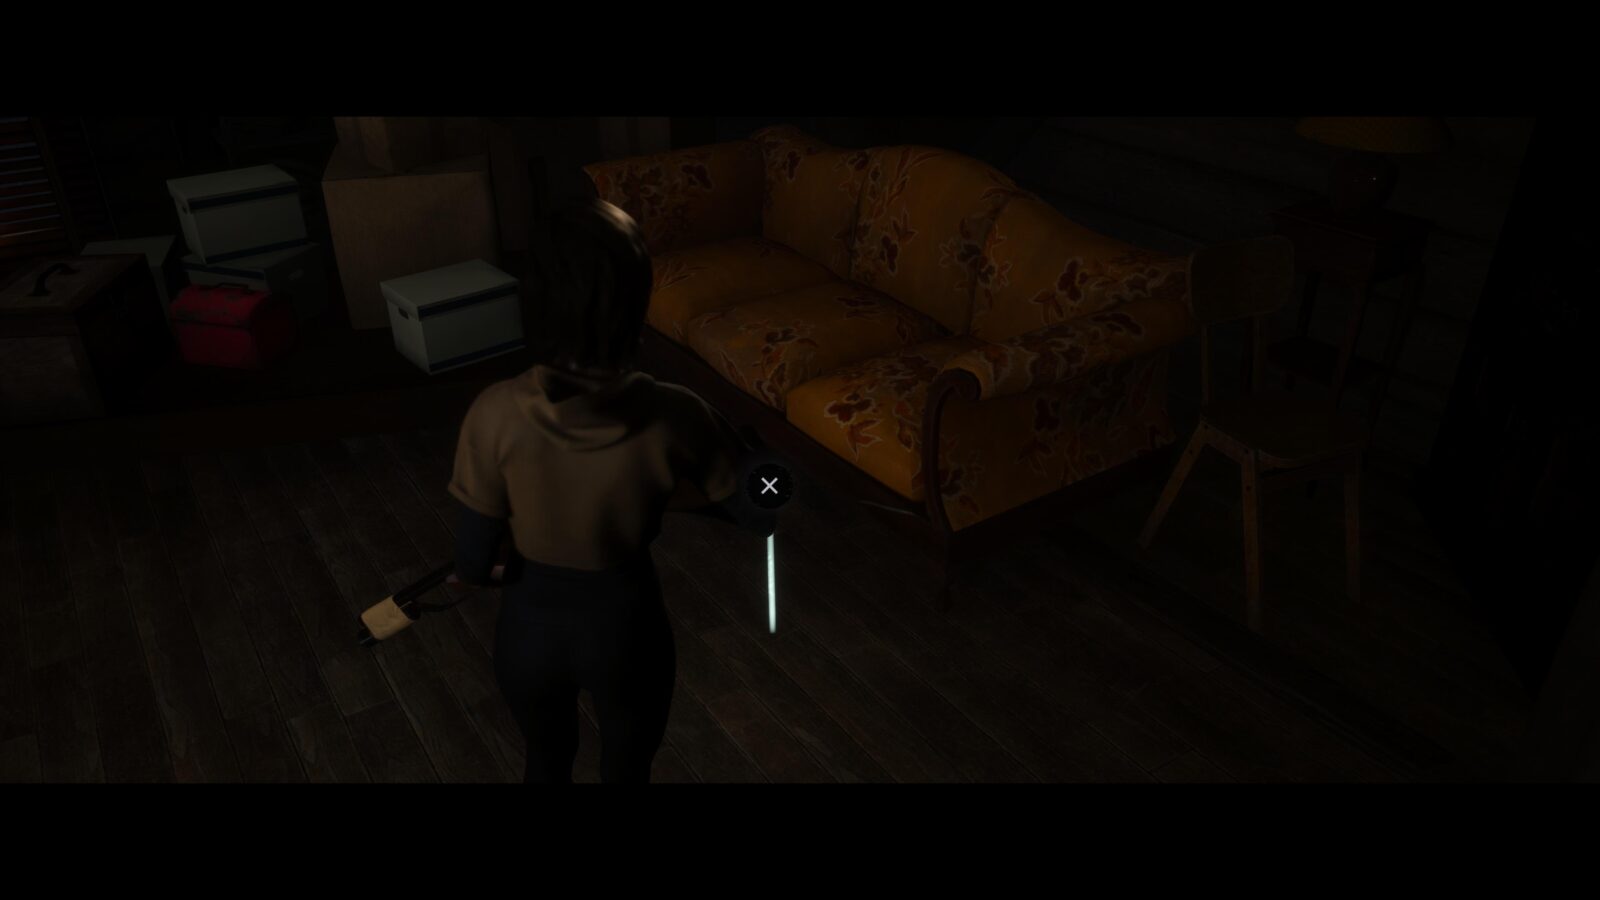
Clue #39 – Hackett History: Inscribed Jewellery – Leave the room with the doodle and head up the stairs. At the top you can look right to find an orange couch. At the foot of this couch on the floor is a ring.
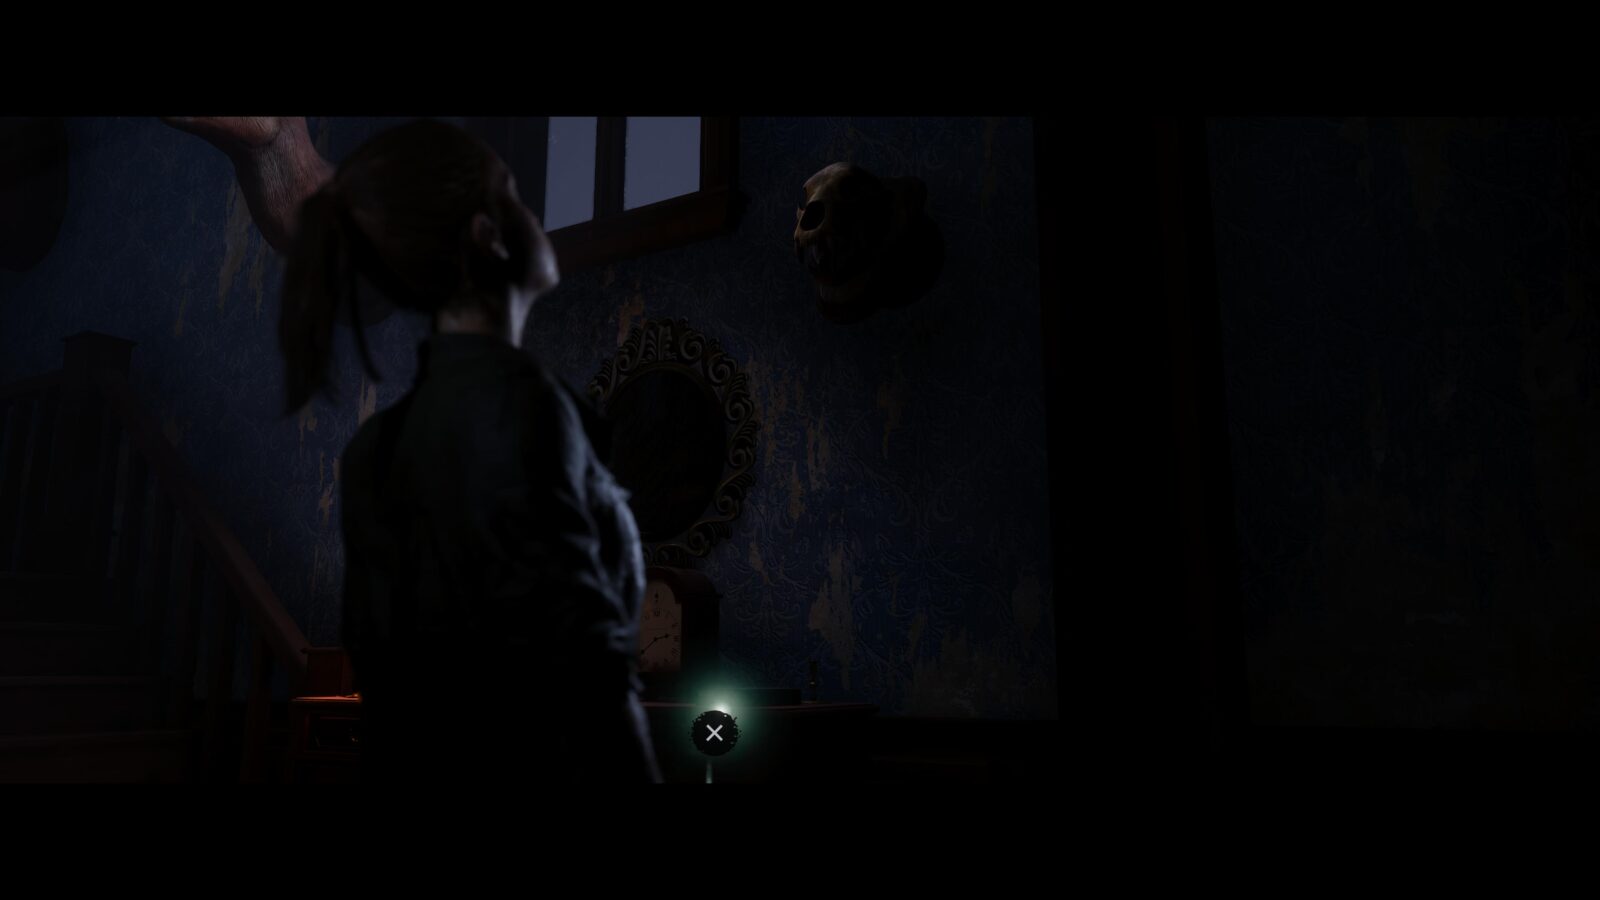
Clue #40 – Hackett History: Ancestral Portrait – Finally, go back to the hallway where you found the ticket stub and inspect the portrait on the chimney stack.

2nd Playthrough (Decked Out)
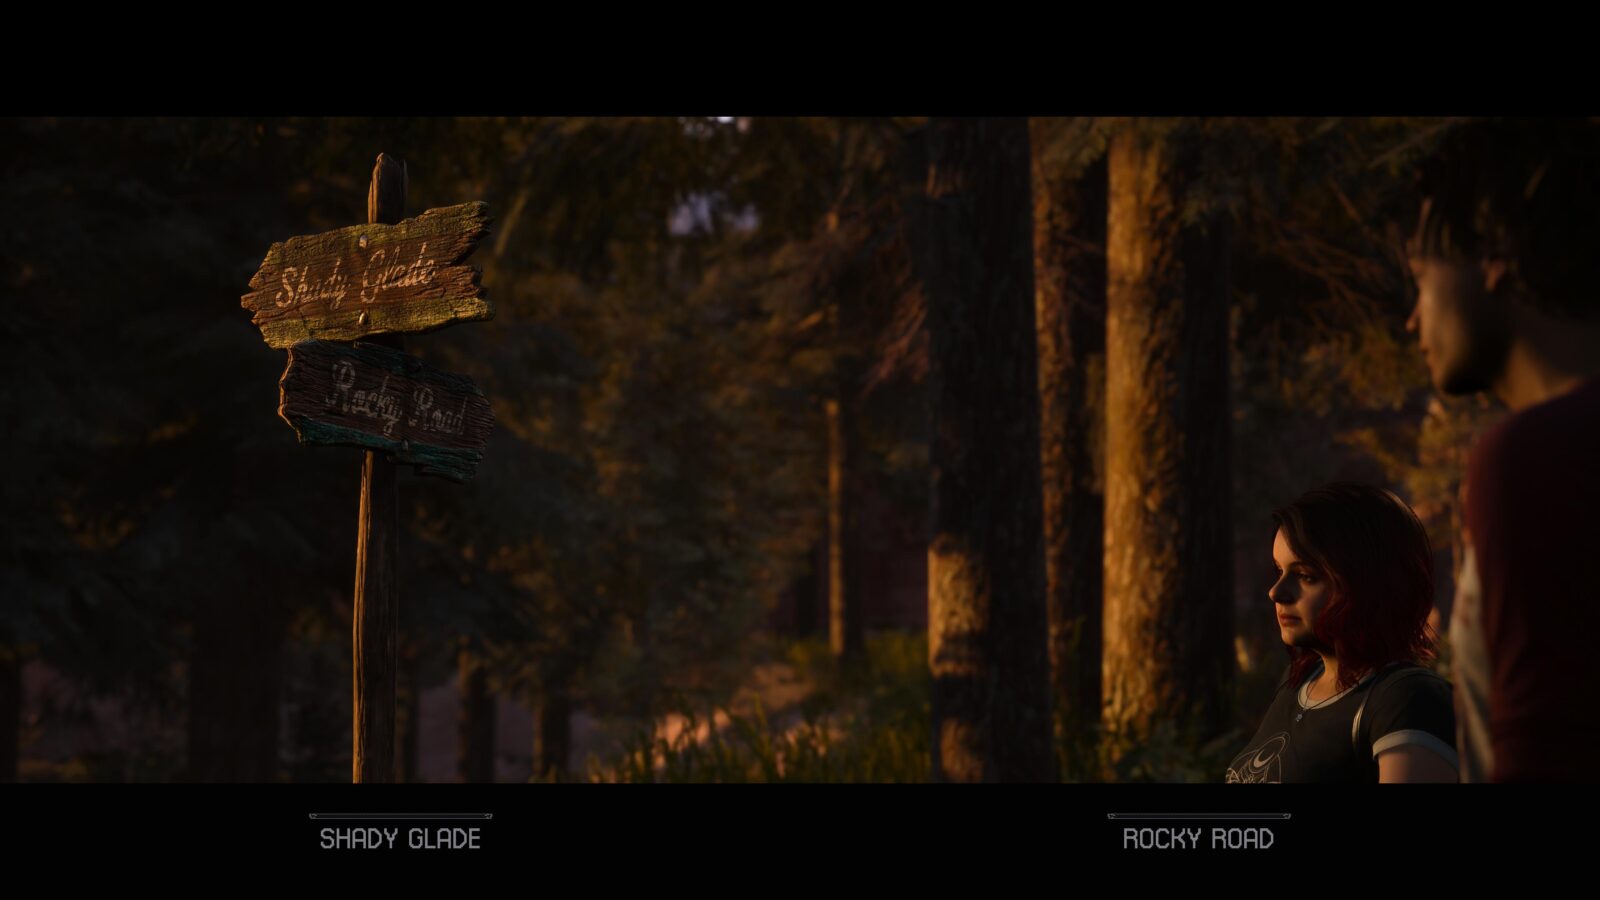
This section will continue from the decision as Nick on which path to take. In our 1st playthrough we chose SHADY GLADE to collect all Clues. This time you need to chose the ROCKY ROAD path so we can collect all Tarot card.
Chapter 2 – Emma/Dylan/Nick
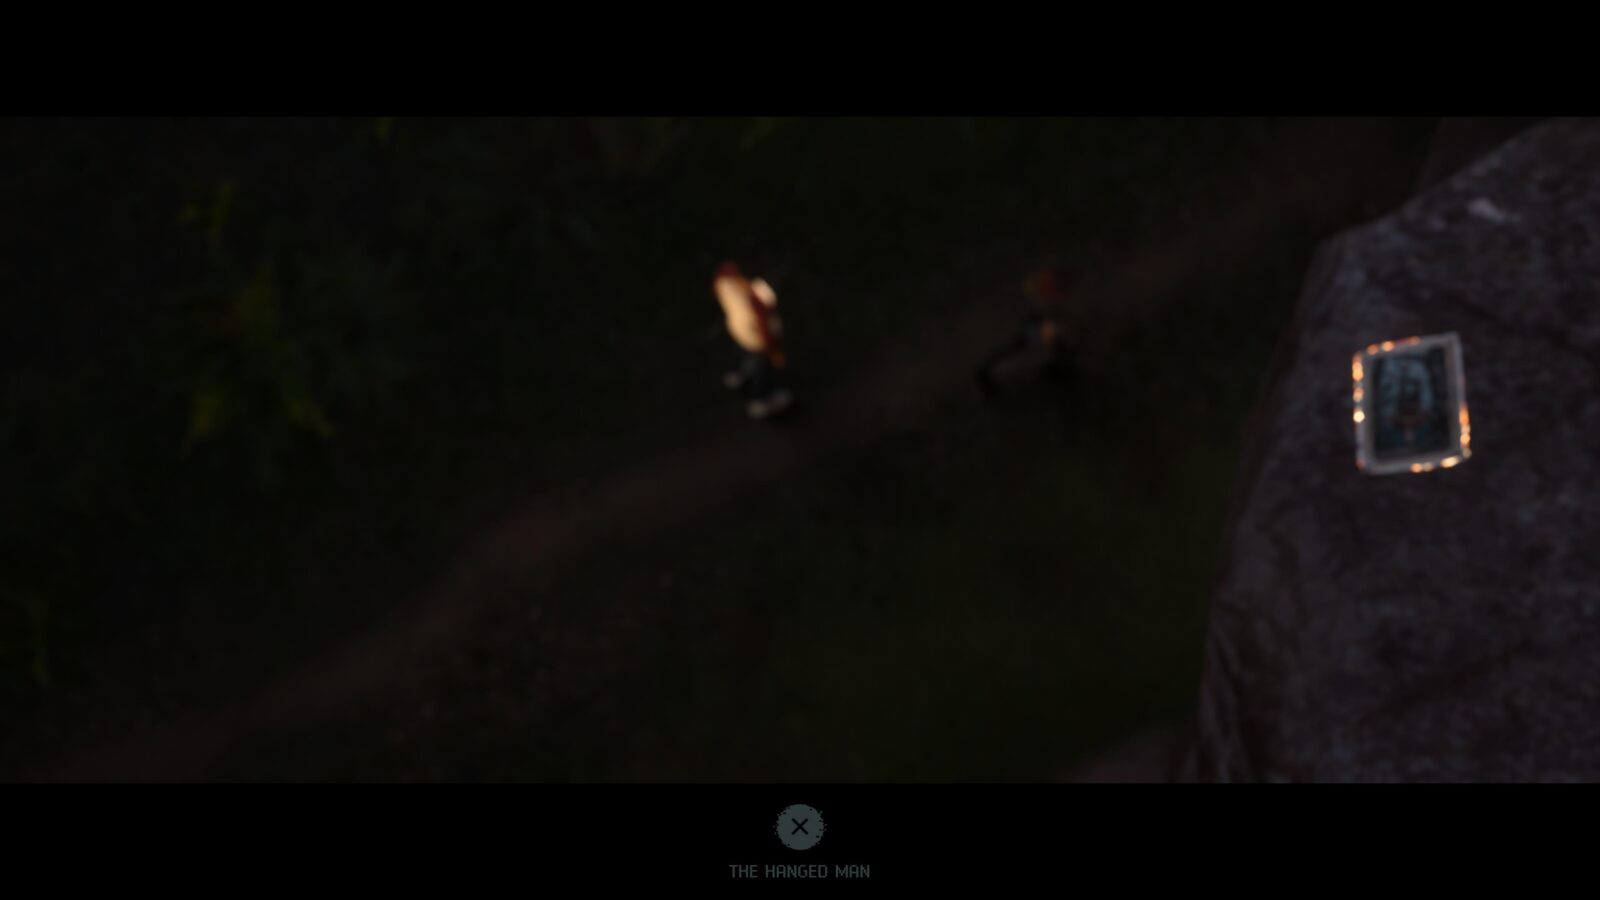
Tarot #3 – THE HANGED MAN – While playing as Nick you will be given a choice between two paths. Choose the “Rocky Road” path and follow the trail while keeping to your left. You will eventually pass a sign on your right and walk under a large ridge and the card will be sitting on top just in front of the camera. Press ![]() and you will pick up the card.
and you will pick up the card.
Chapter 3 – Abigail/Jacob/Ryan
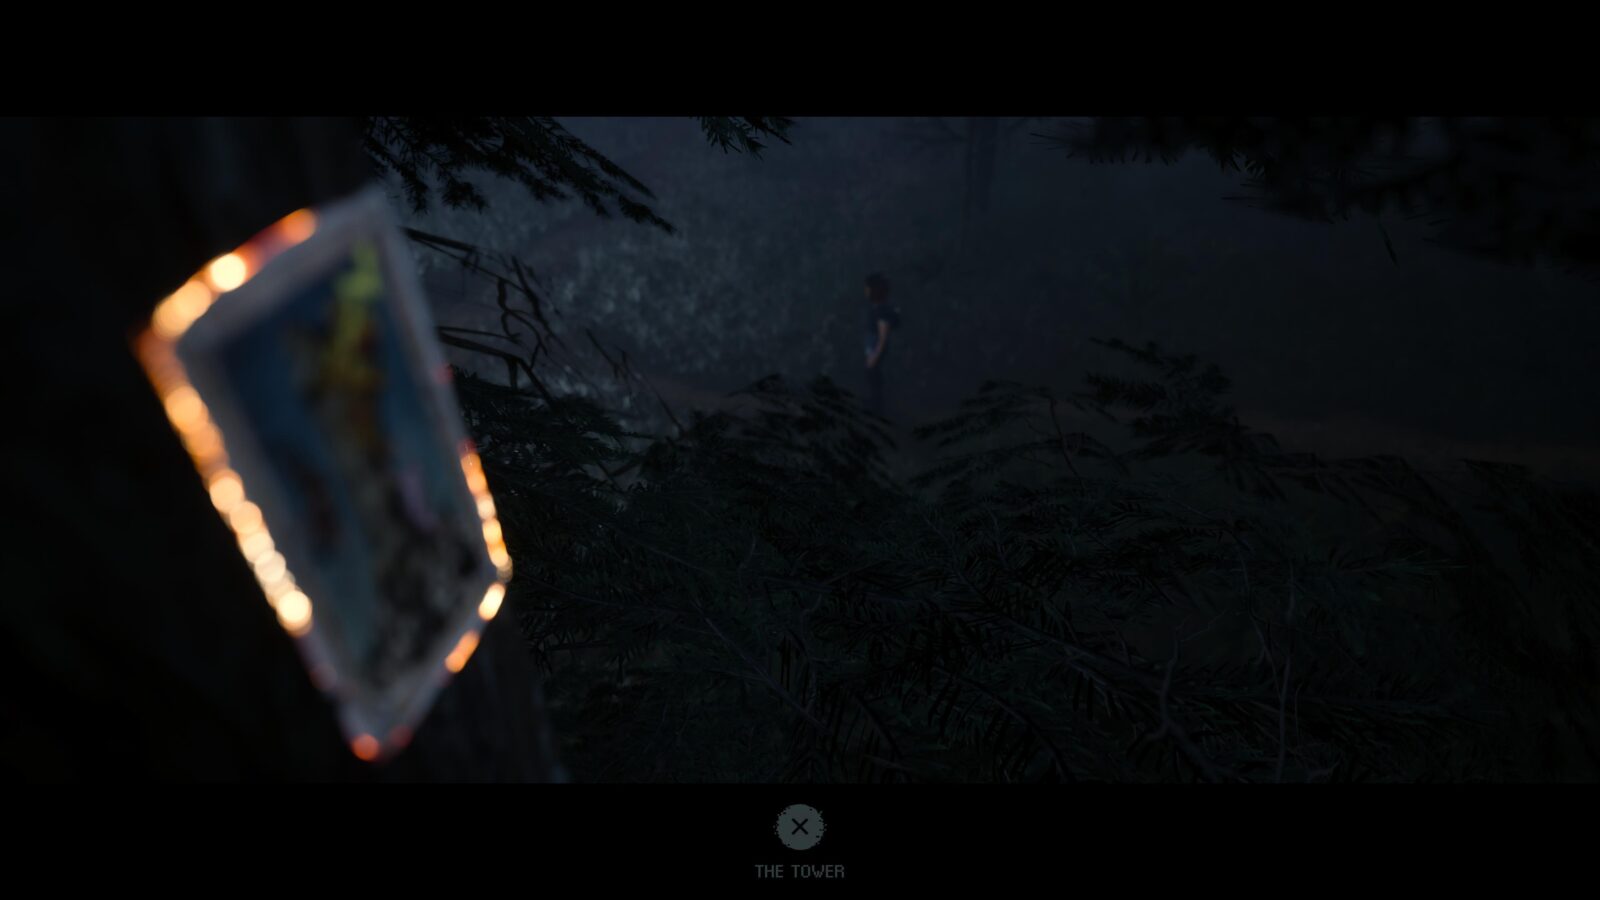
Tarot #4 – THE TOWER – At the start of the chapter you will be playing as Abigail walking through the forest. If you follow the trail for a few steps you should see it branch off to the left. Make sure you walk down the left path and when the trail branches again, take another left. You will essentially be walking in a U-shape until you see a lighter patch of grass which is behind Abigail when you start this section. Walk towards it and when you walk past a tree the camera angle will change to reveal a tarot card.
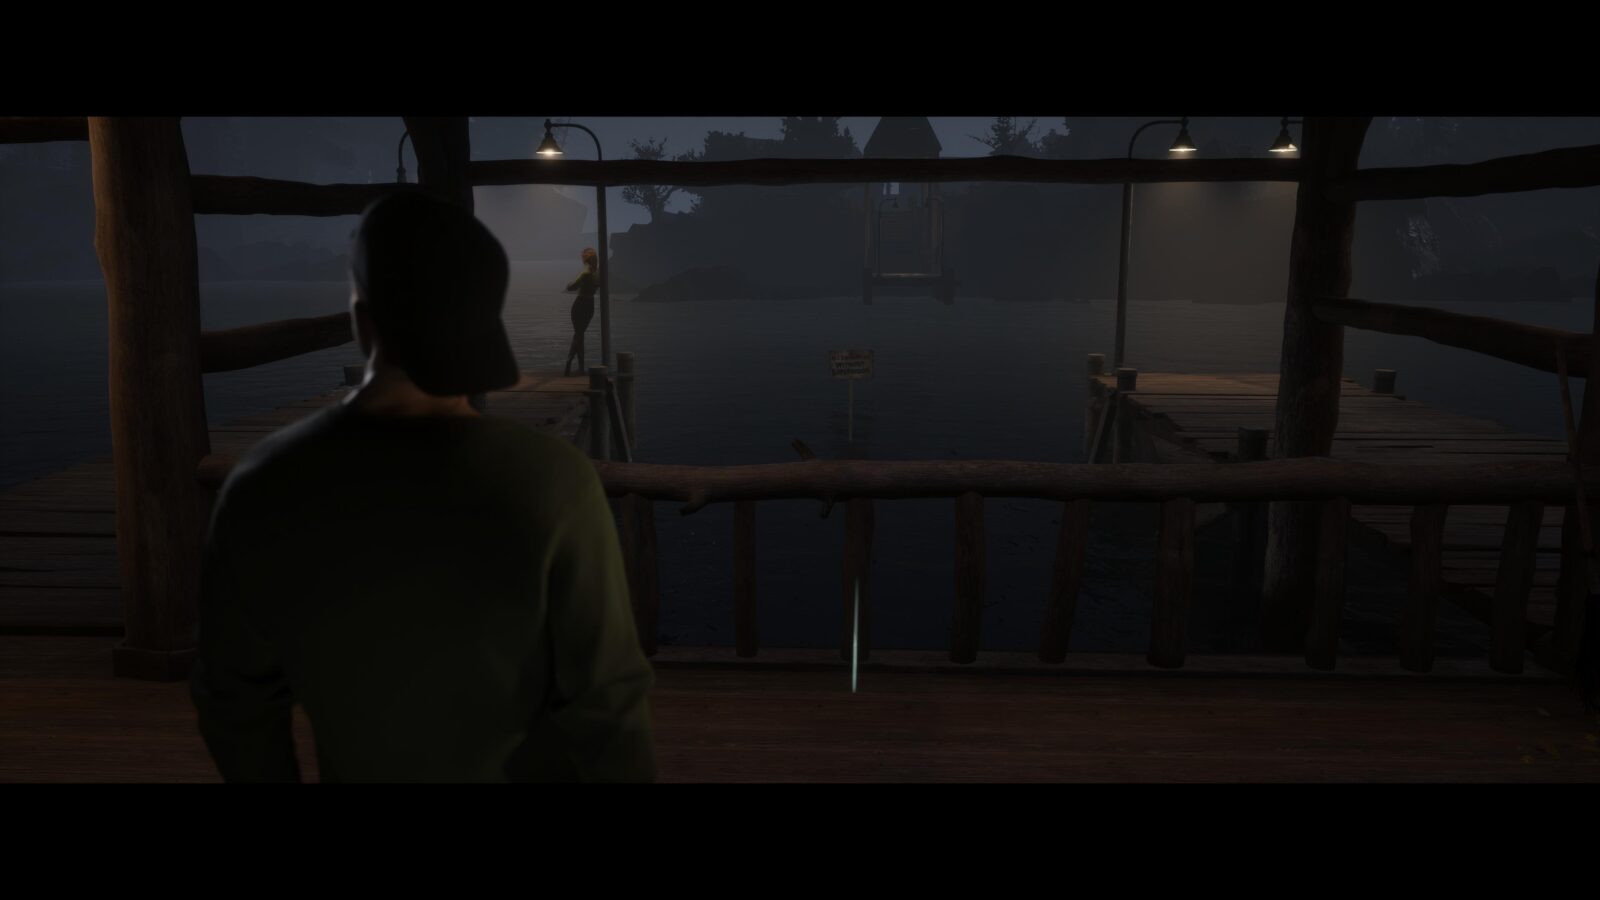
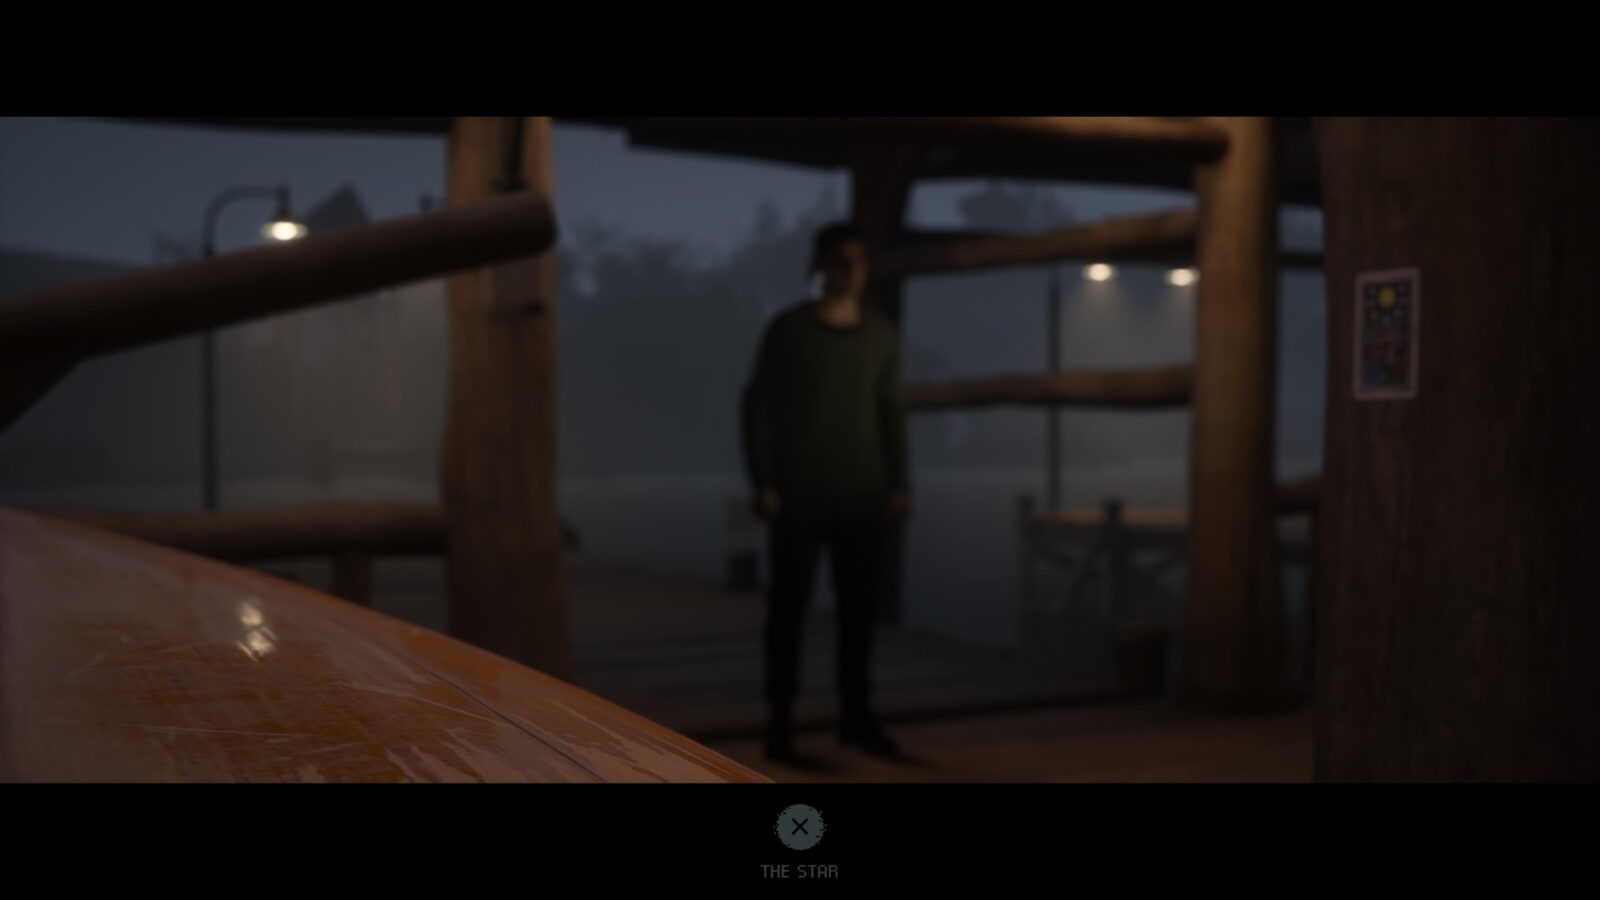
Tarot #5 – THE STAR – As soon as you have control of Jacob and you take a step forward on the jetty you will see the camera angle change and the tarot card will be there. Hard to miss this one.

Evidence #3 – Bloated Corpse – This evidence can only be found if Jacob chose to steal the Rotor Arm in Chapter 2. After Jacob and Emma have their fun in the water Jacob will hear a scream and notice he no longer has the Rotor Arm is it must have fallen out of his boxers while in the water (What?). You can choose to “Save Abi” or “Dive In”. Choose “Dive In” and grab the Rotor Arm when you see it and Jacob will come across the bloated corpse evidence.

Chapter 4 – Ryan/Emma/Dylan
Tarot #6 – THE MAGICIAN – As Emma when she’s all alone on the island, turn 180° and walk onto the wooden jetty to trigger a brief cutscene. After the cutscene finishes, walk forward to see the tarot on the end of the jetty.


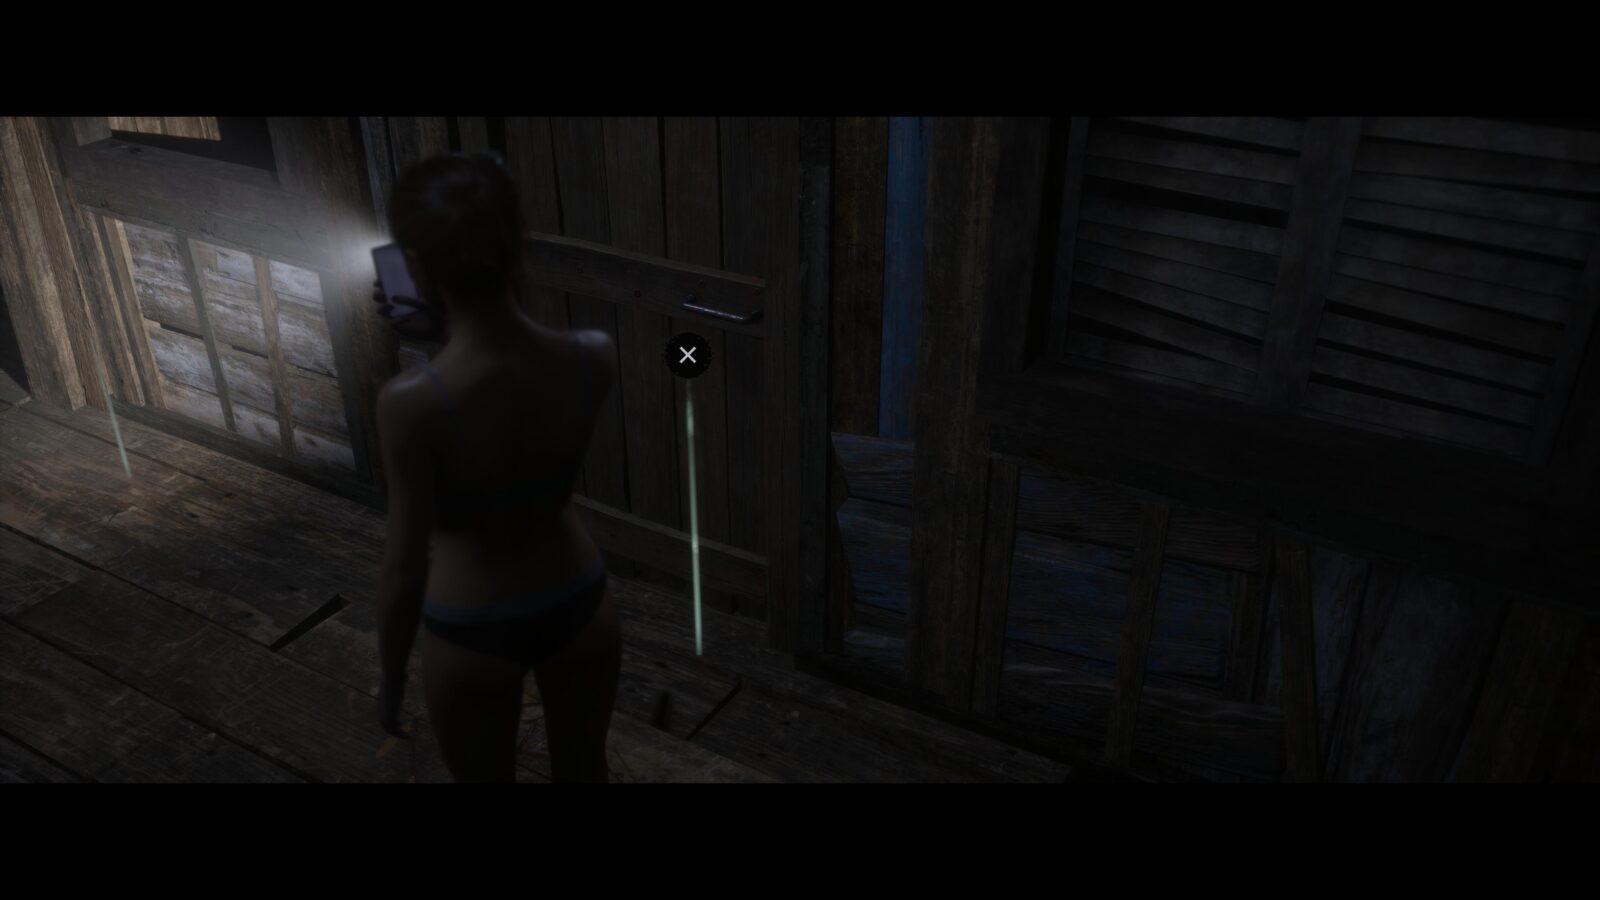
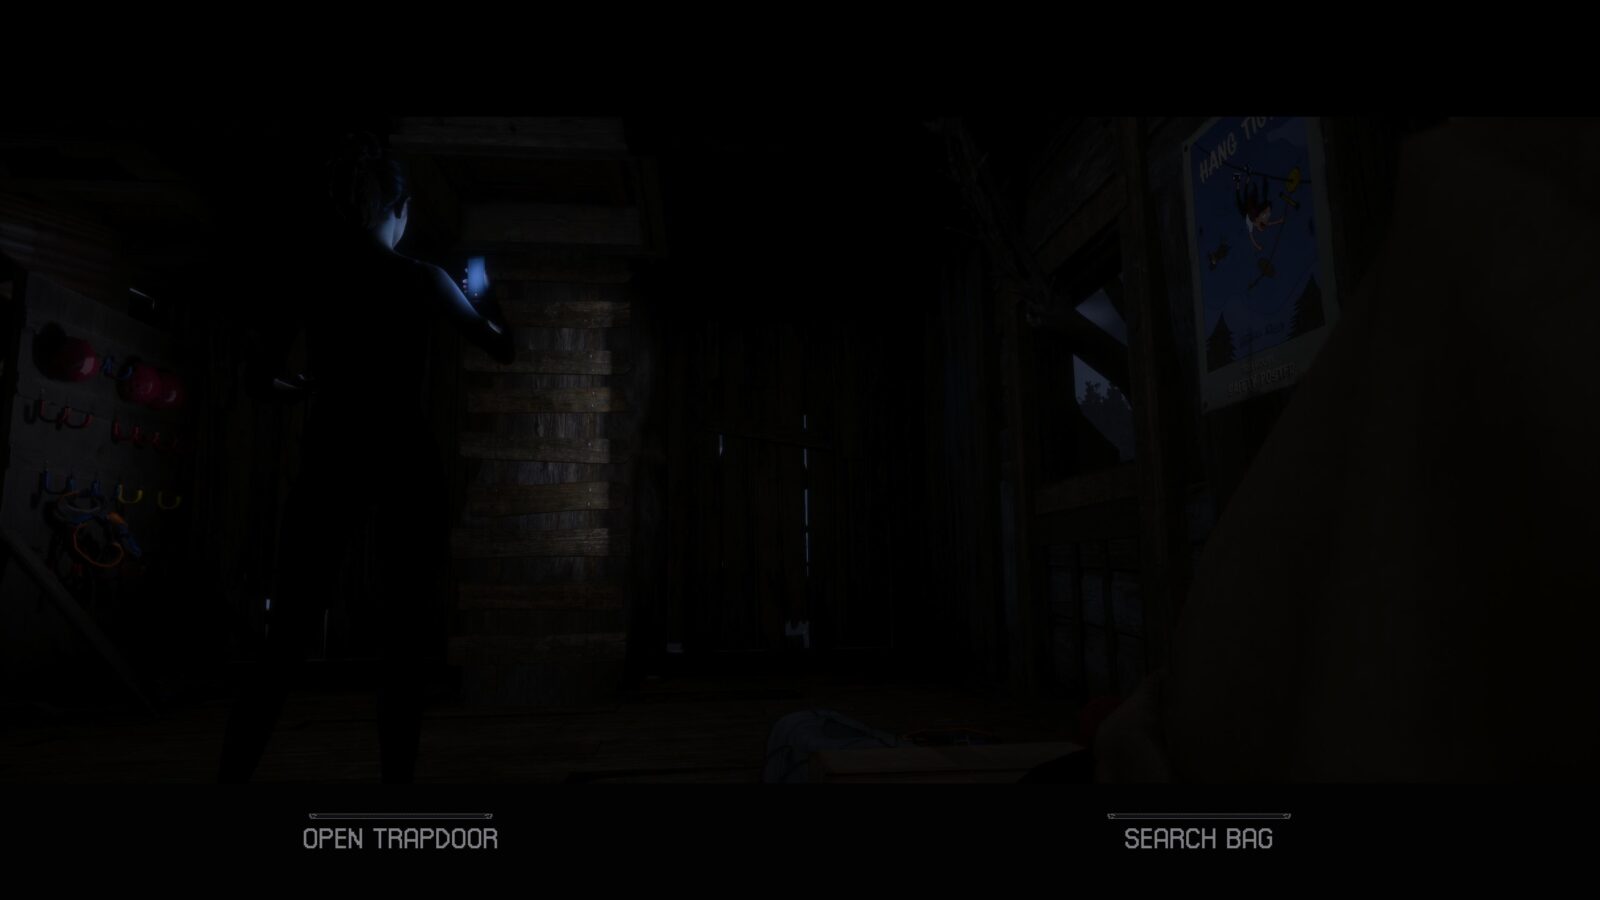
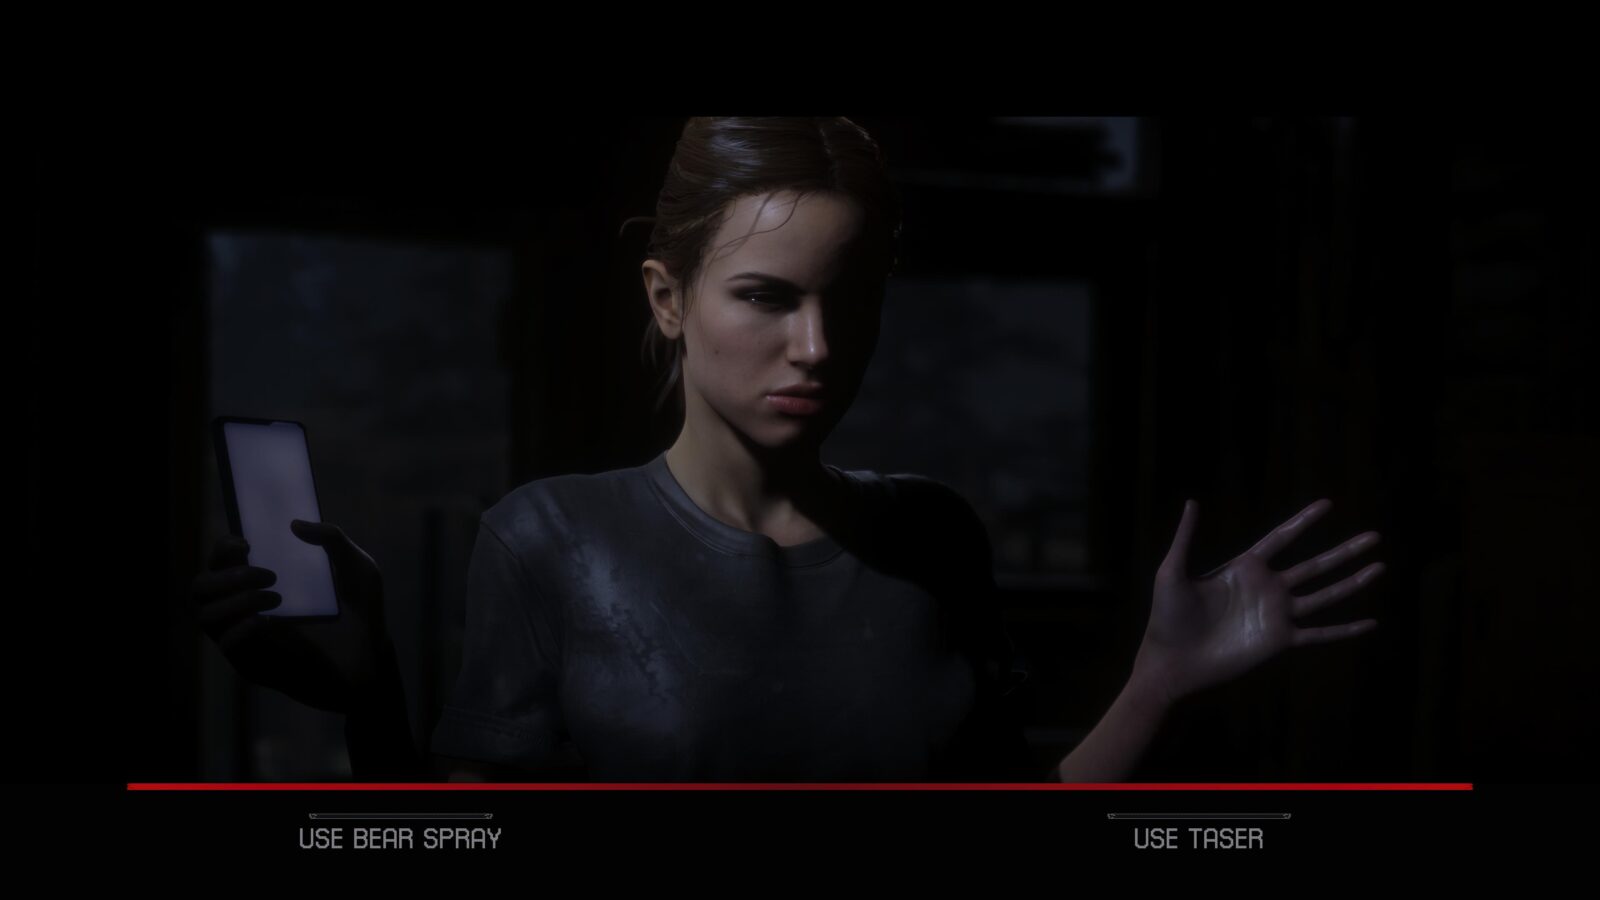
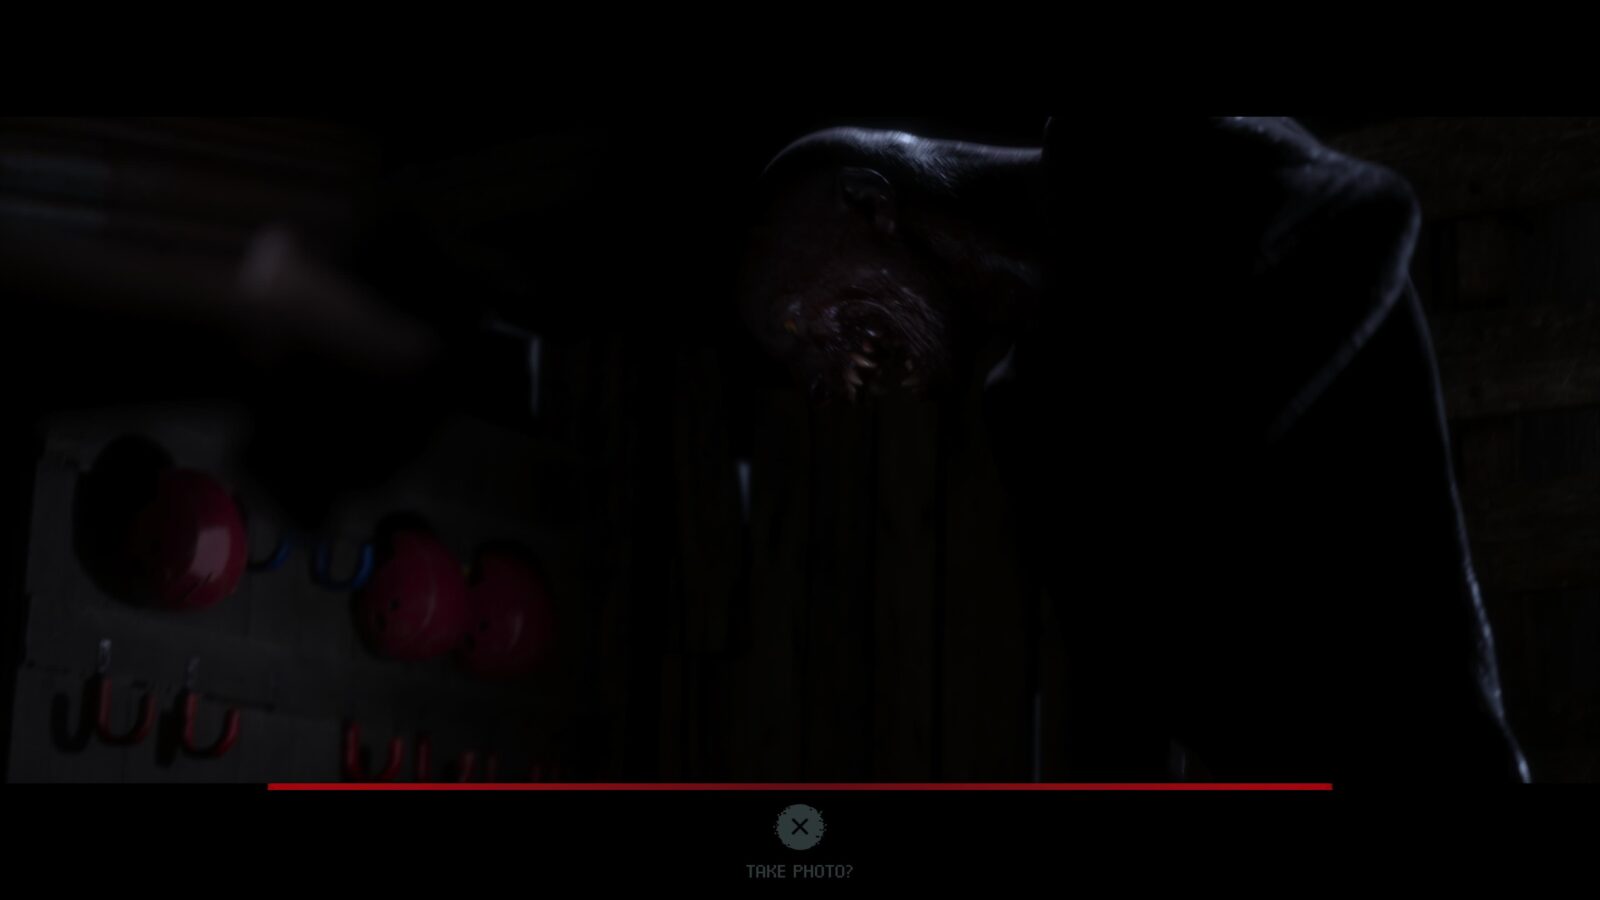
Evidence #4 – Attack Photo – Explore the island as Emma and make your way to the treehouse at the top. When you enter the door you will be given a choice to search some bags or open a trap door. Choose “Search Bags“. When Emma opens the trap door you will have a timed decision. Choose “Use Taser“. Finally, press ![]() in the “Take Photo” interrupt appears. The photograph during the attack is the evidence.
in the “Take Photo” interrupt appears. The photograph during the attack is the evidence.
Tarot #7 – STRENGTH – This tarot card is really easy to miss as you only have a second or two to press ![]() to collect it. After Emma’s section Dylan, Nick, Kaitlyn, and Abigail will be back at the lodge and the camera will switch to inside as the door begins to open. This is your chance to press
to collect it. After Emma’s section Dylan, Nick, Kaitlyn, and Abigail will be back at the lodge and the camera will switch to inside as the door begins to open. This is your chance to press ![]() to collect the tarot card. If you miss it, quickly quit to the main menu—
to collect the tarot card. If you miss it, quickly quit to the main menu—![]() >
> ![]() —and press “Continue” to get another shot at it but most likely you will miss you chance and have to get it on another playthrough.
—and press “Continue” to get another shot at it but most likely you will miss you chance and have to get it on another playthrough.

Chapter 5 – Nick/Kaitlyn/Dylan
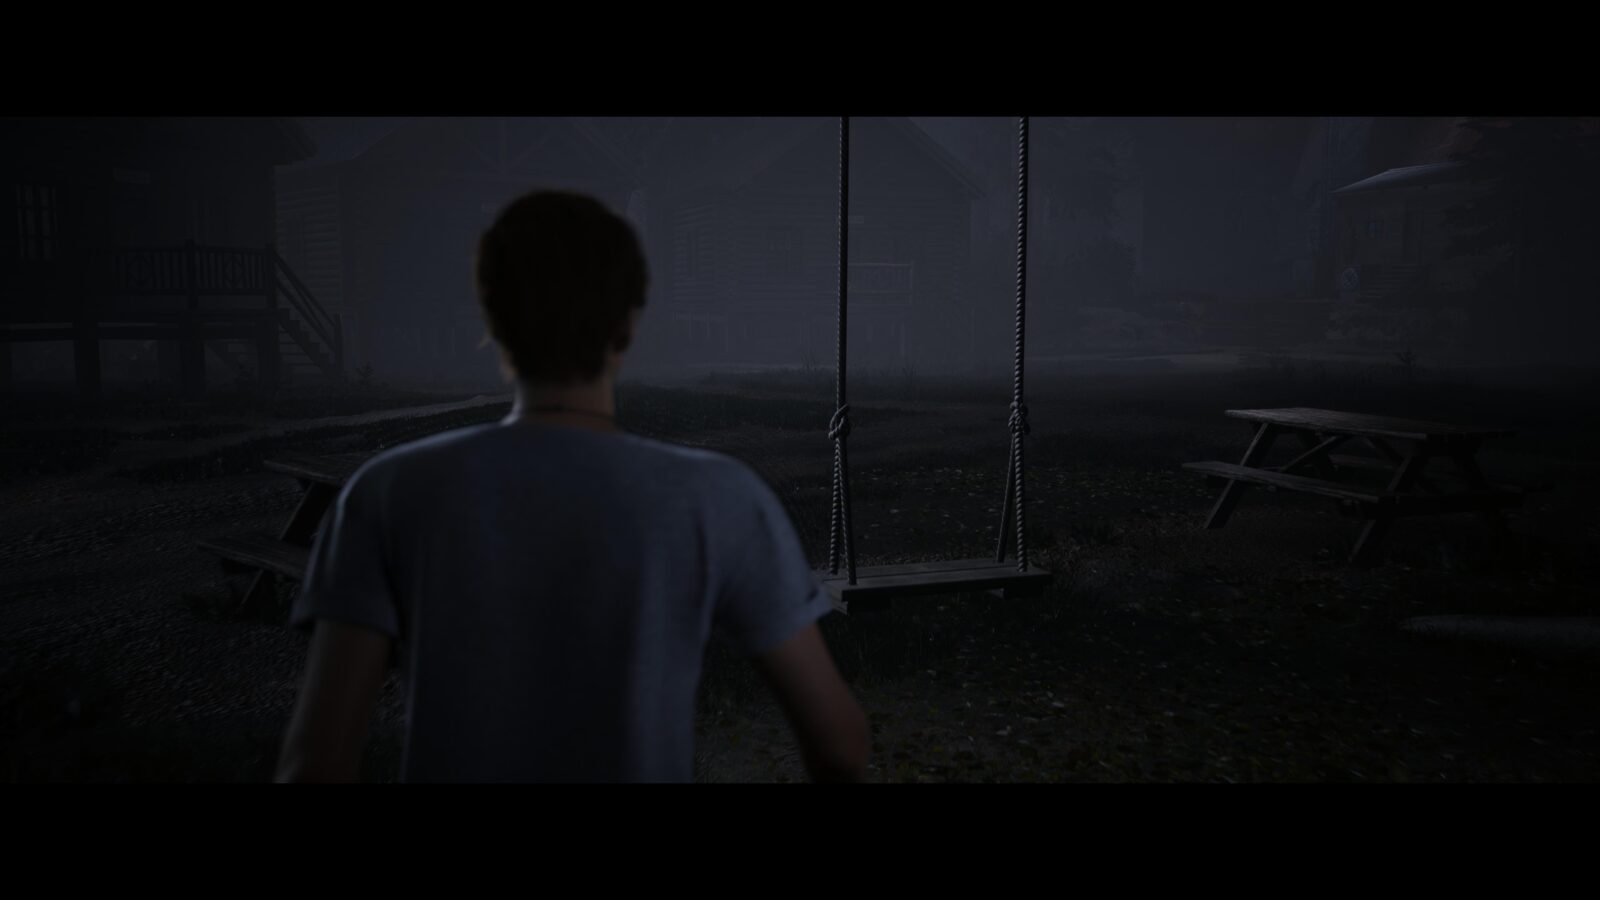
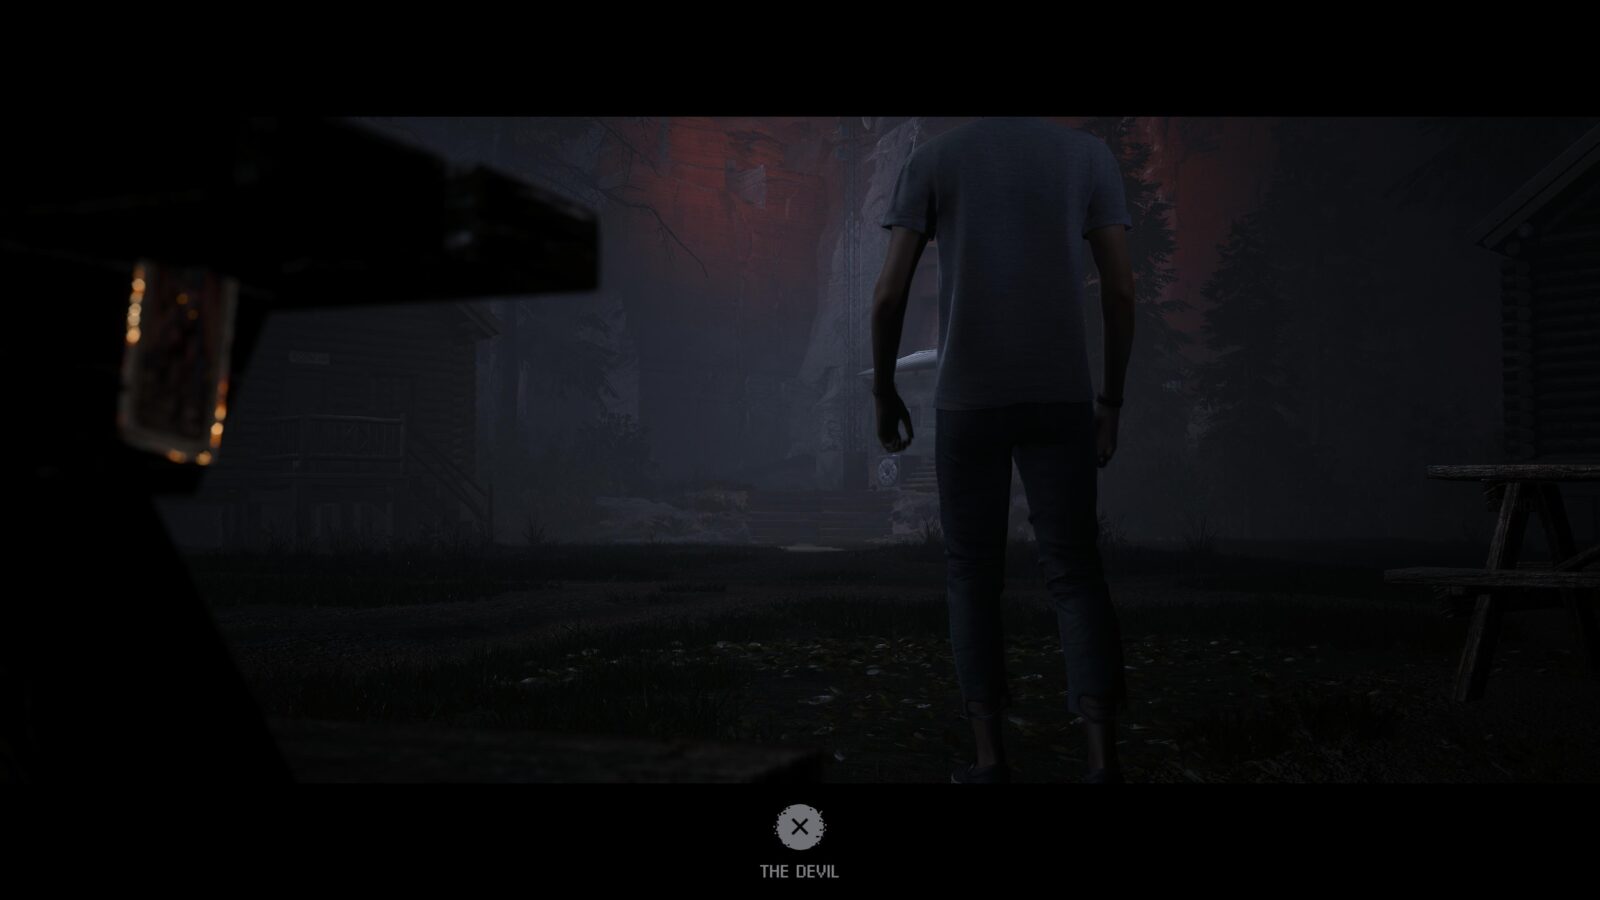
Tarot #8 – THE DEVIL – Dylan and Ryan will make their way to the camping lodges where we first met Abigail in Chapter 1. When you get there talk over to the large tree in the middle and walking between the two picnic benches to see the tarot.

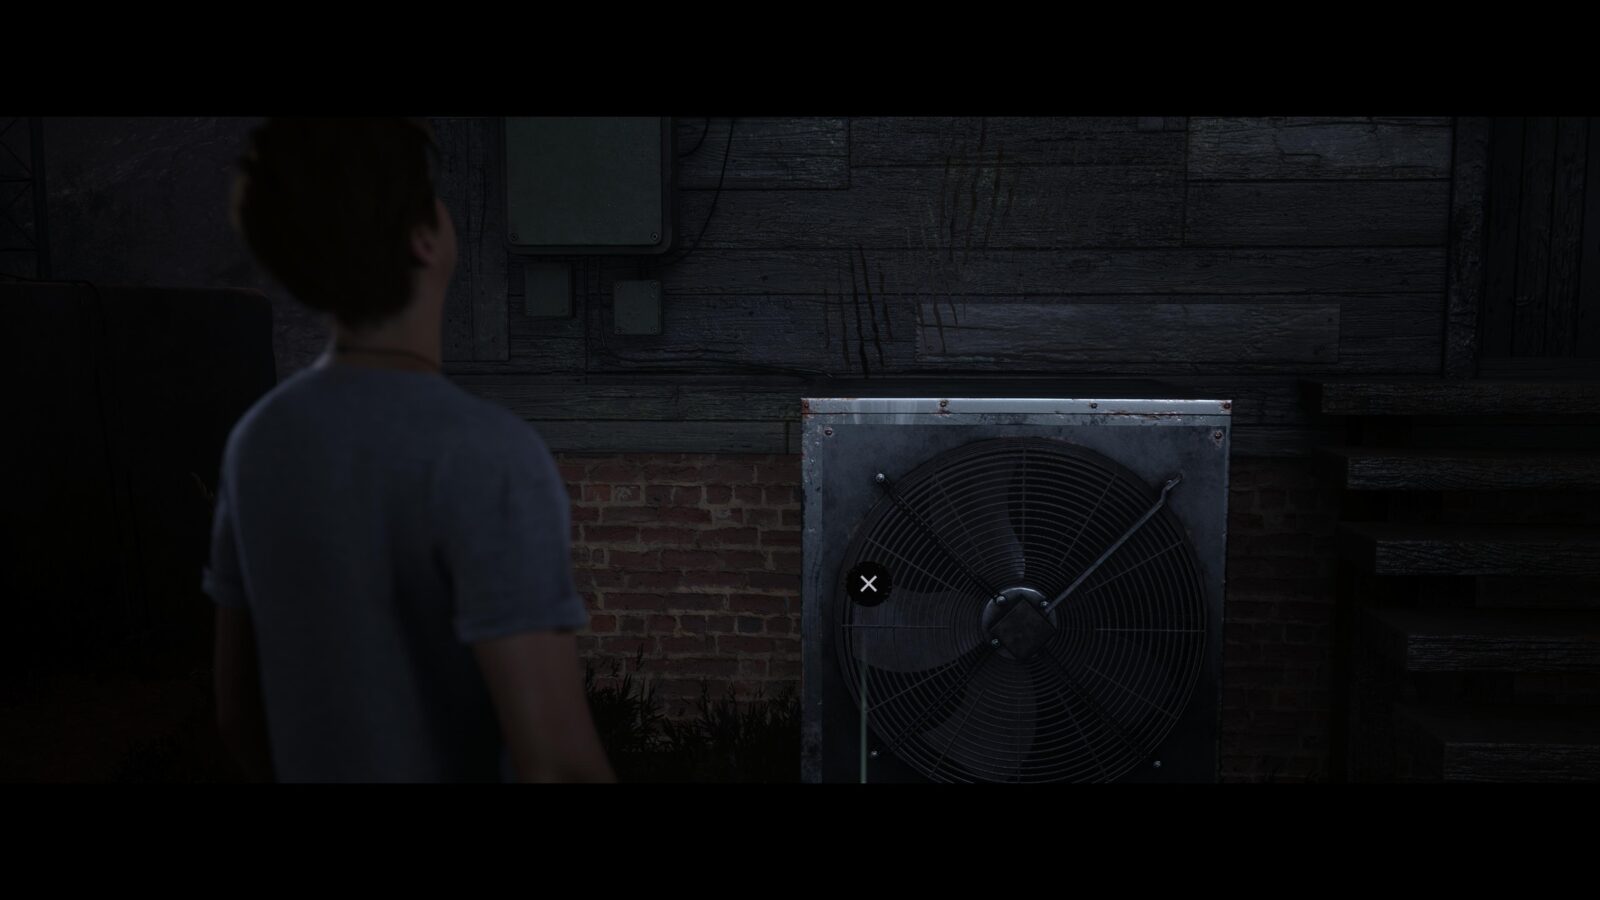
Evidence #5 – Claw Marks – Make your way over to the radio lodge but don’t go inside yet. Instead check the claw marks to the left of the stairs where the metal fan is.

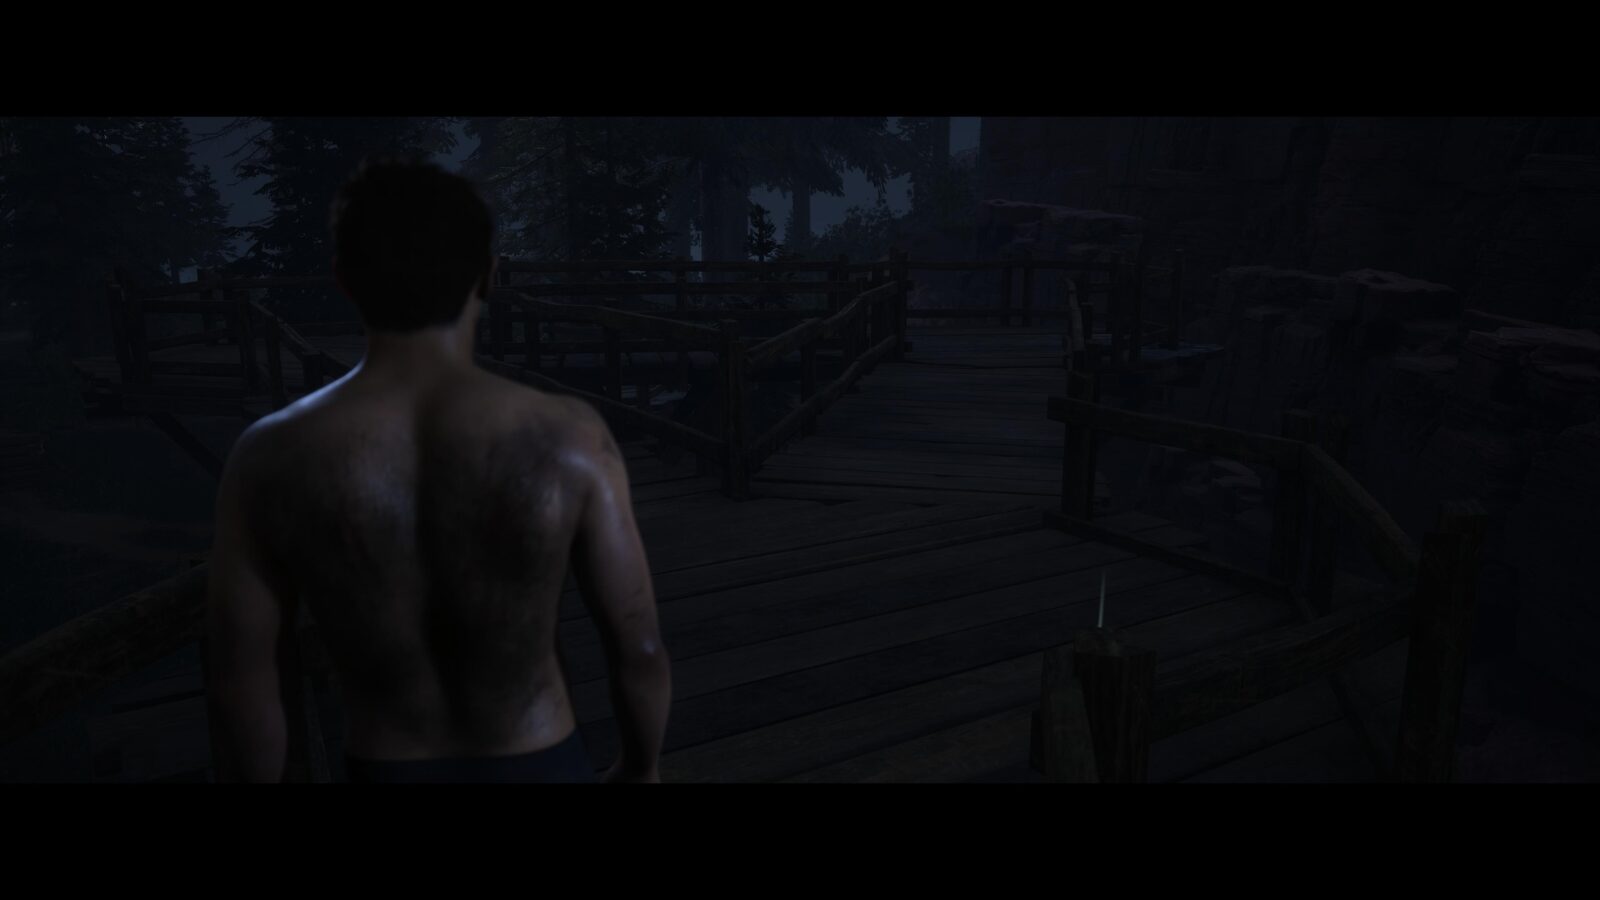
Tarot #9 – THE HERMIT – Walk to the left of where you found the claw marks and towards the back of the radio lodge to find another tarot.
Chapter 6 – Jacob/Kaitlyn/Abigail
Evidence #6 – Memory Card – As Jacob walk up the wooden steps and follow it along until a triangular section. At the right corner is a camera you can inspect to find a memory card.
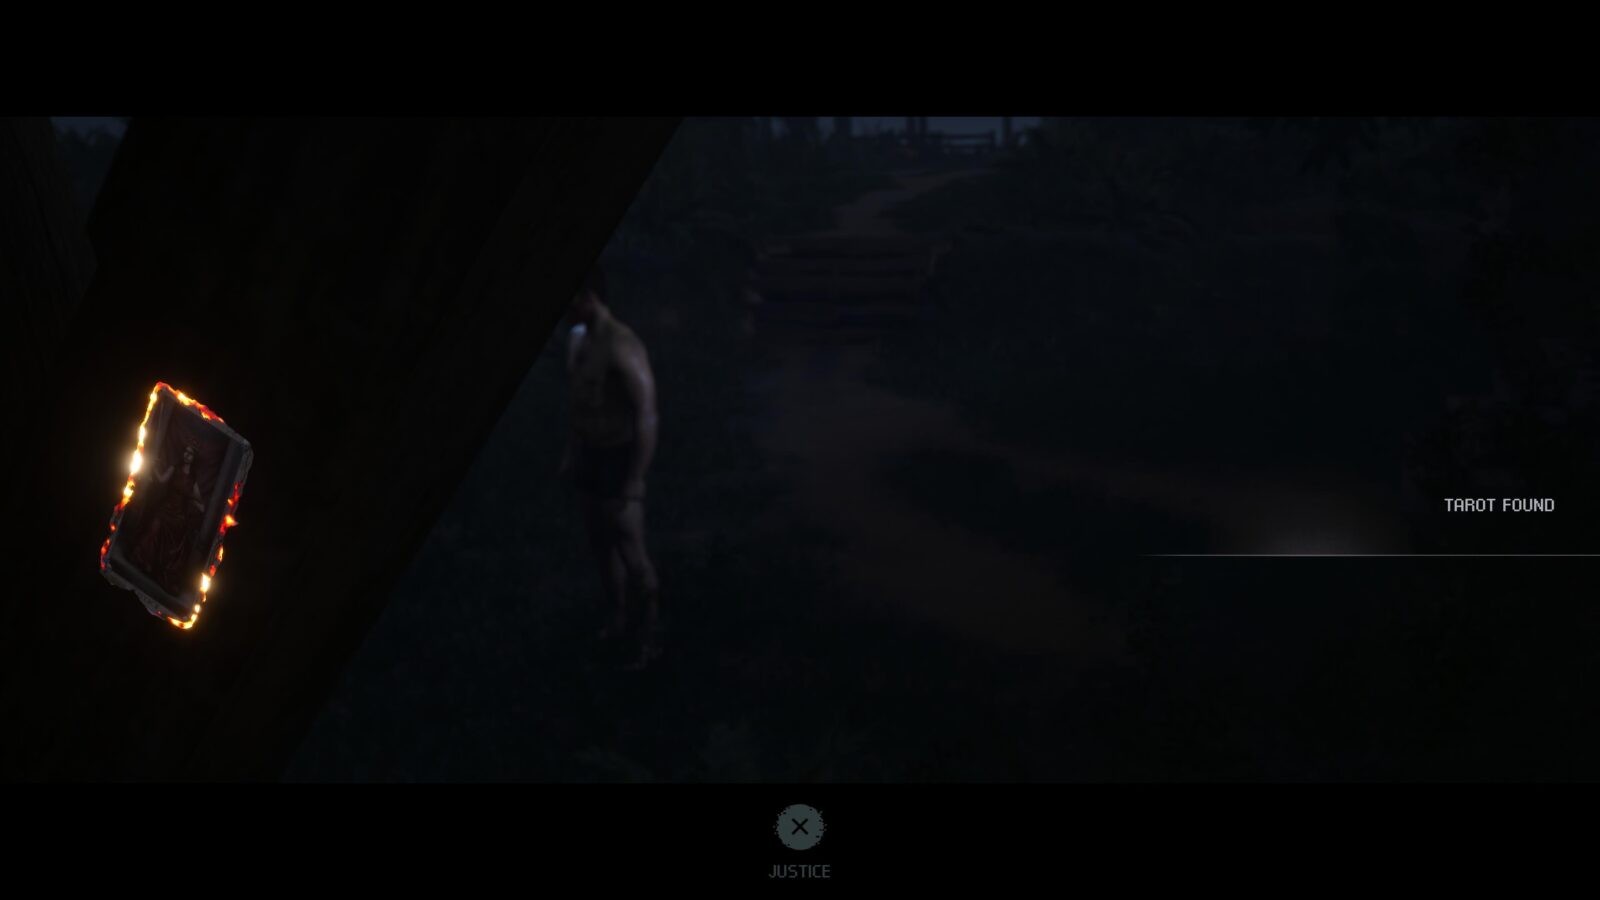
Tarot #10 – JUSTICE – Walk down the wooden steps at the other end—where you found the memory card—and start walking left. Don’t head right because you will trigger a cutscene. After a few steps you should see the tarot when the camera angle changes.
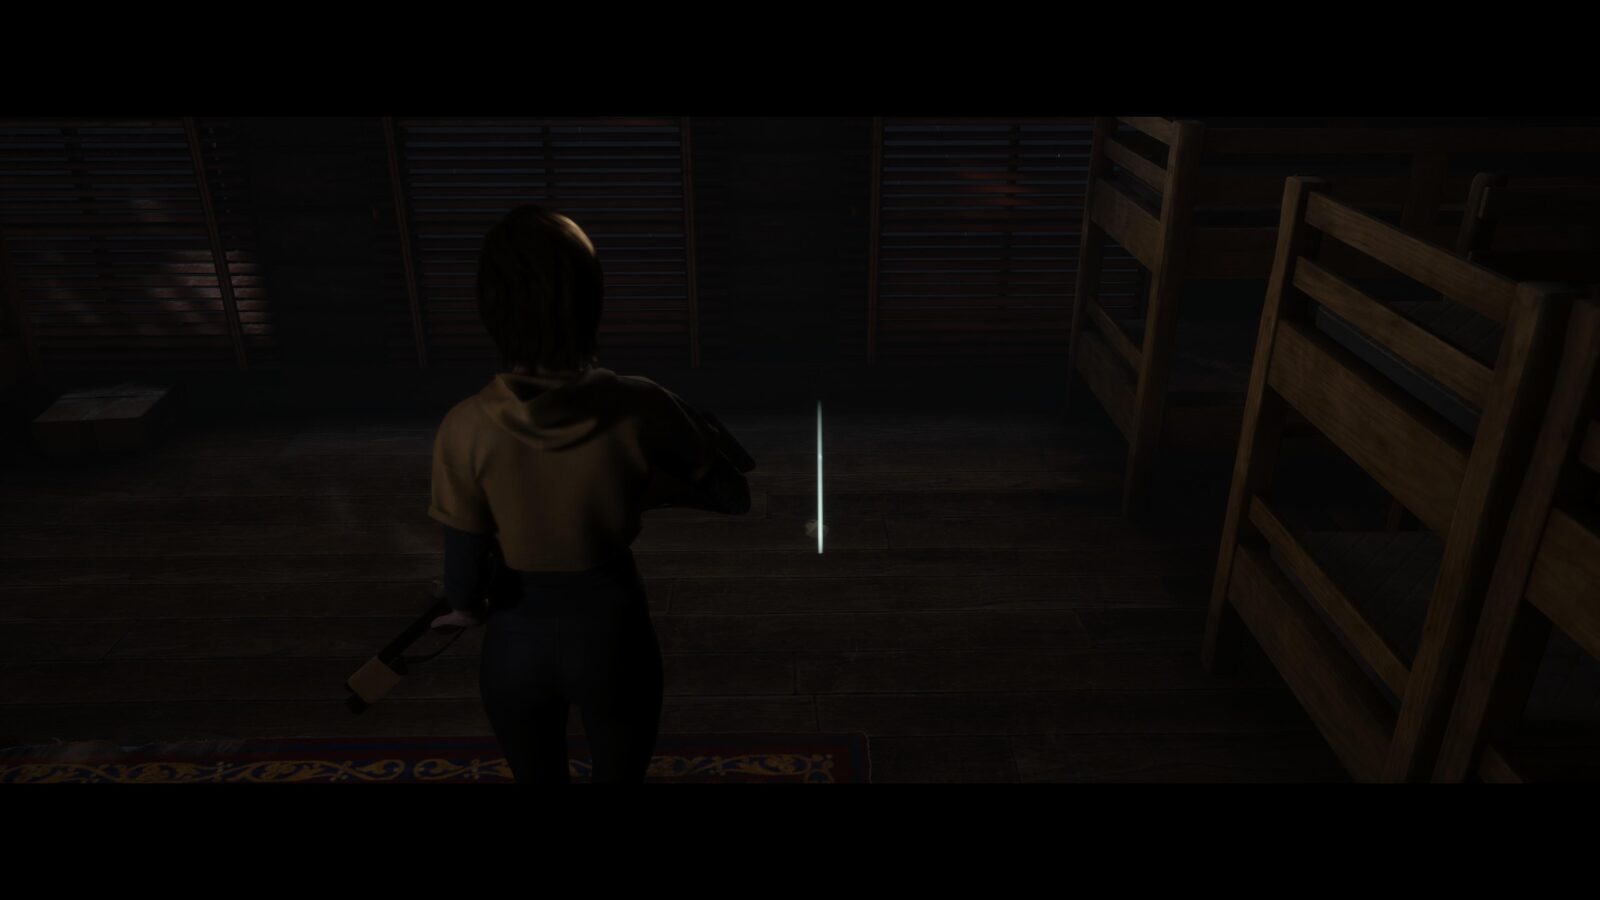
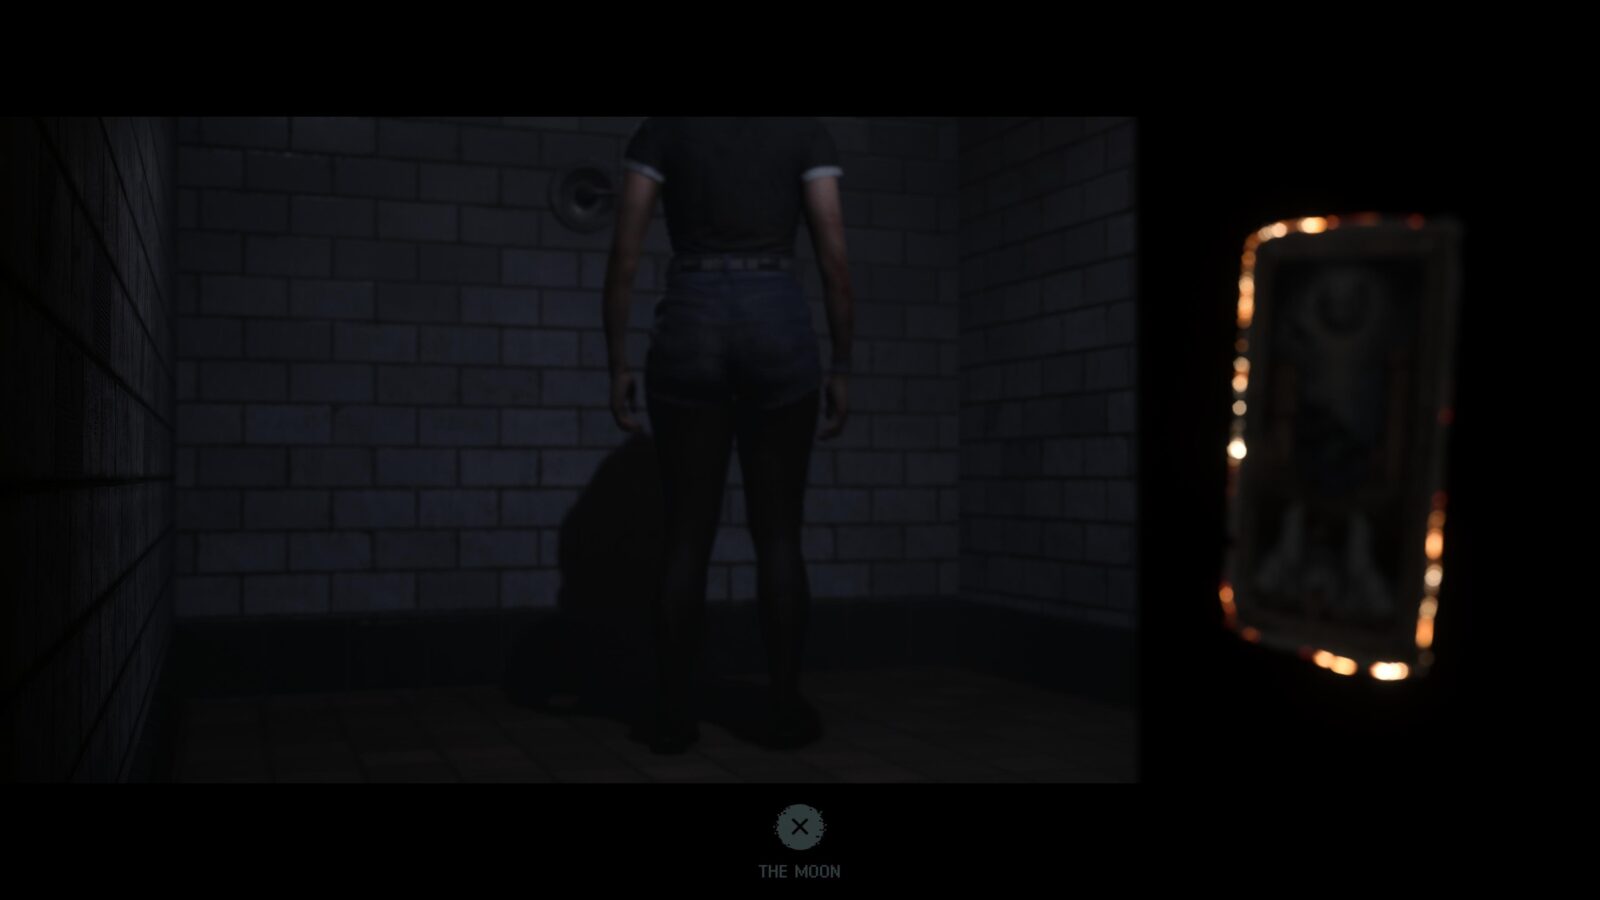
Tarot #11 – THE MOON – The gang will be taking refuge inside of the pool changing rooms. As Abigail walk towards the sinks and mirrors and you will spot individual private changing rooms. Enter the 3rd one and walk to the back to grab this tarot.

Chapter 7 – Laura
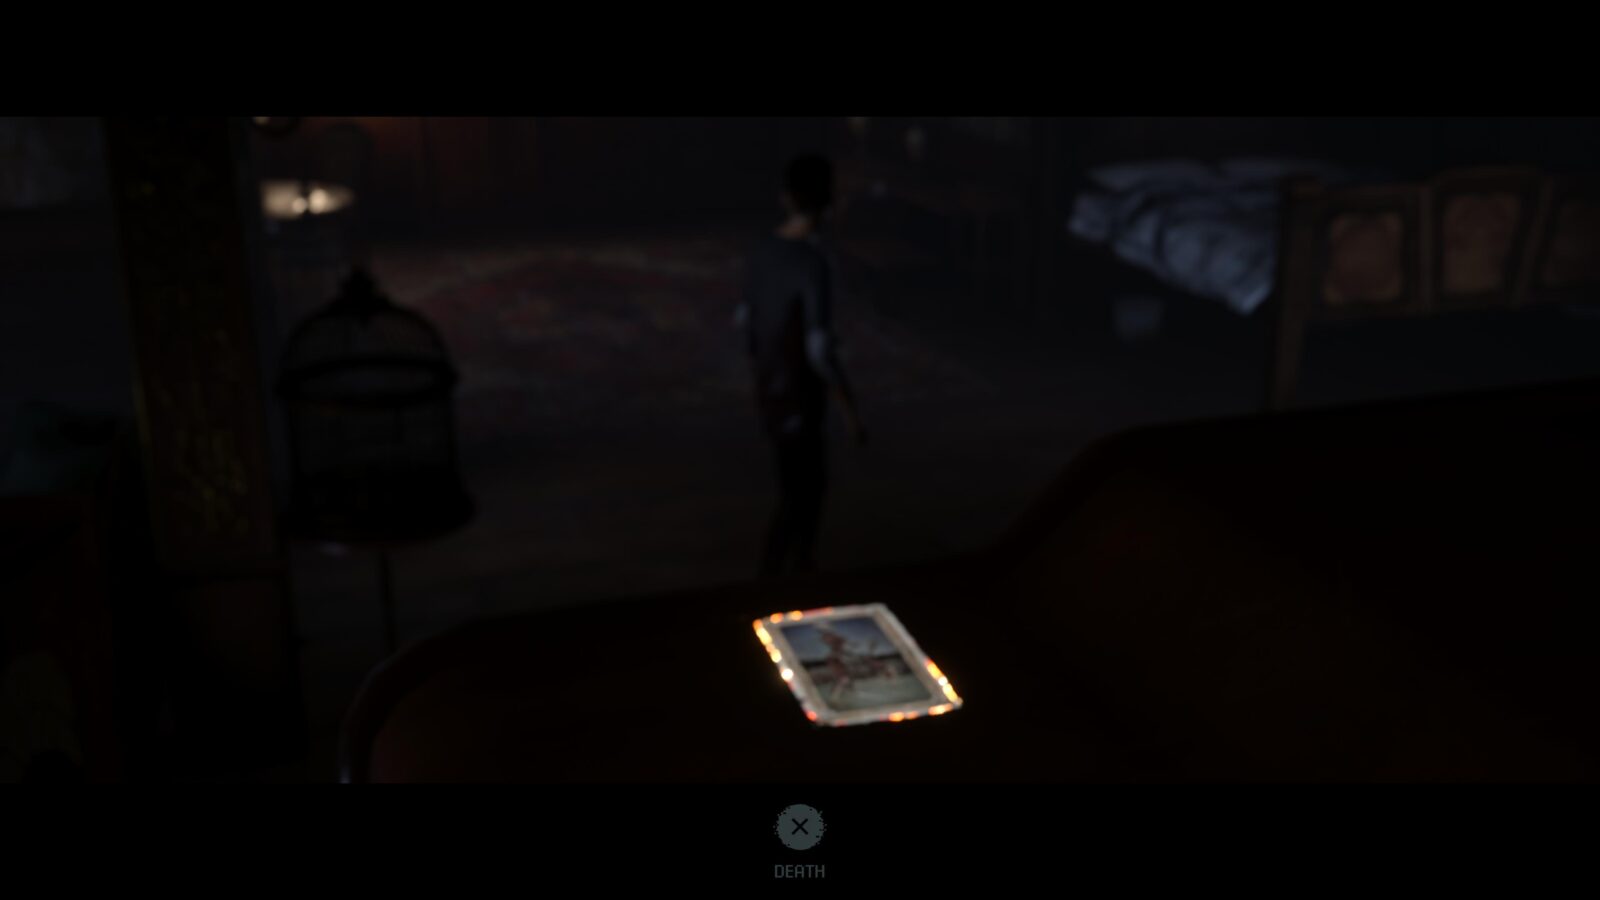
Tarot #12 – THE WORLD – Inside Laura’s cell you can walk towards the bed and then back towards the bars and the camera angle will change revealing a hidden tarot.


Tarot #13 – THE CHARIOT – When you get free roam of the police station exit the cell area and you should see four desks lined up. Walk in the middle of these desks and you will see the tarot.

Evidence #7 – Cease & Desist Letter – While downstairs where you found THE CHARIOT tarot you will see some steps that lead to a raised area with a wooden door. Opposite this wooden door is a table where you can find this letter.
Chapter 8 – Laura/Kaitlyn/Ryan
Tarot #14 – THE LOVERS – When playing as Laura after falling down a hole you will climb some metal stairs and walk along a walkway. The railing will crumble and you will walk through a square hole in the wall. Immediately to your left is a section of railing on a stone floor before the next set of metal stairs. When you approach it the camera will change you can pick up a tarot.


Evidence #8 – Scarred Flesh – After walking up the metal stairs that collapse mid way you will find this piece of evidence on the floor before the nest metal walkway.
Tarot #15 – WHEEL OF FORTUNE – After Laura and Ryan talk outside a blocked cave entrance, Laura will remove a wooden plank and both of them will go inside. Take a few steps forward as Laura and the tarot will be in plain sight. This one is unmissable.

Tarot #16 – THE EMPRESS – At the start of Ryan’s section in the Hackett House basement, look left before you take a step and you should see a side room. Enter this side room and walk towards the middle to see the tarot.

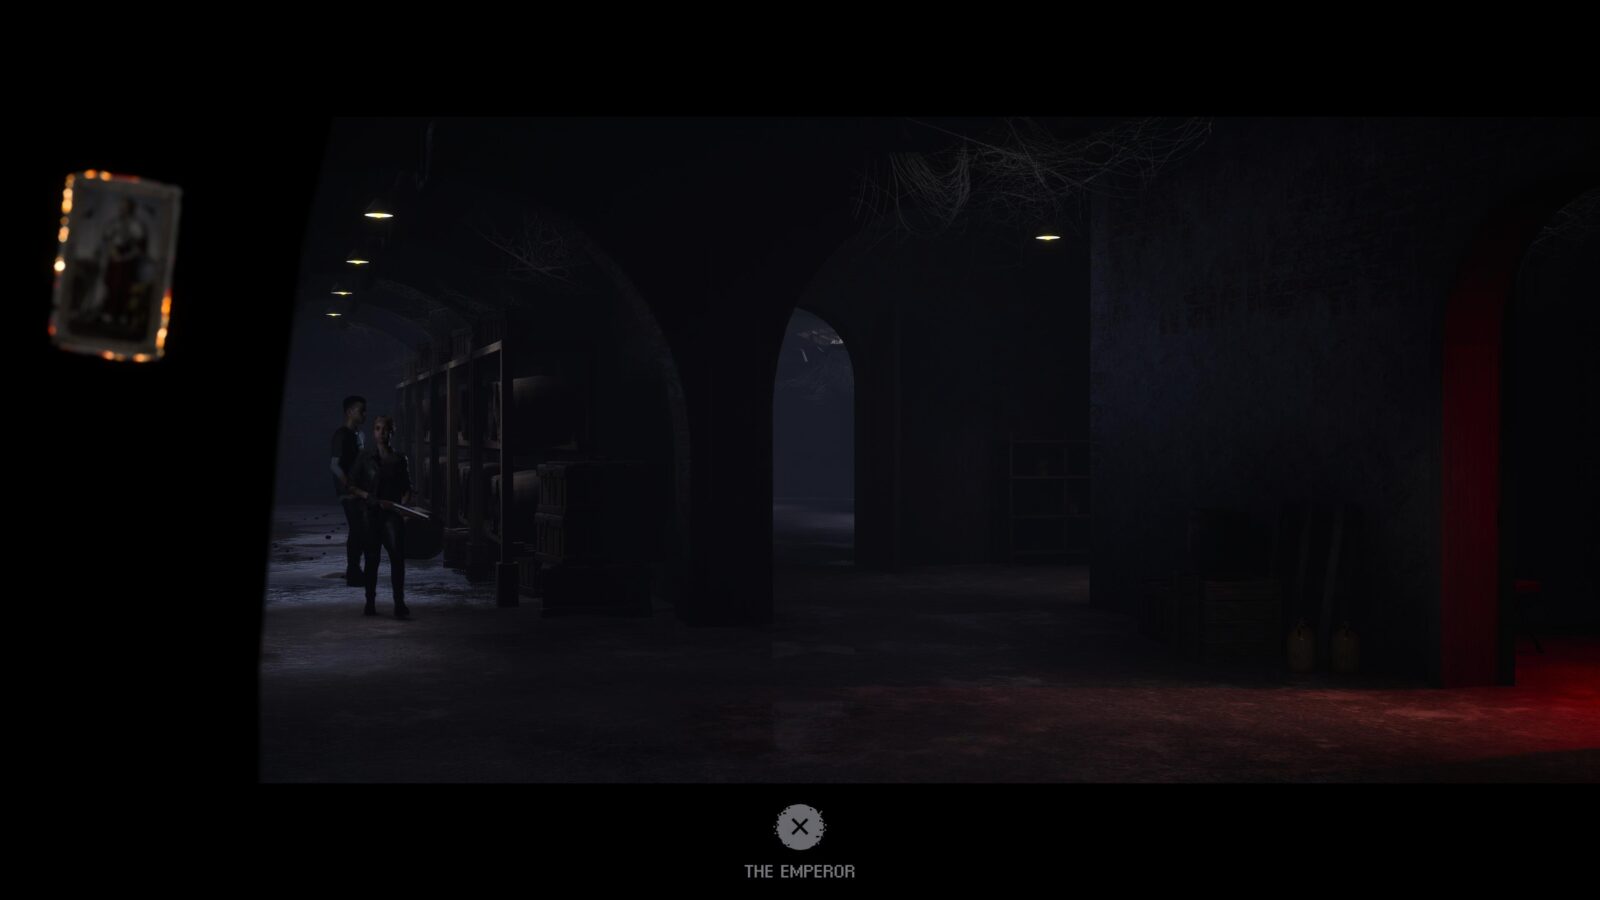
Tarot #17 – THE EMPEROR – Return to where you started as Ryan and walk down the corridor. The camera angle will change at the end revealing the tarot. This one is unmissable. If you enter the red room before picking it up you won’t be able to go back for it.
Chapter 9 – Dylan/Abigail
Evidence #9 – Kaylee’s Letter – When Dylan climbs out of the dumb waiter and is in a bedroom walk to your immediate right past the old TV and search a small box next to the mirrored divider screen.
Tarot #18 – DEATH – While in the same room mentioned above, walk towards the bed from the cupboard nearby and you will see a tarot card.
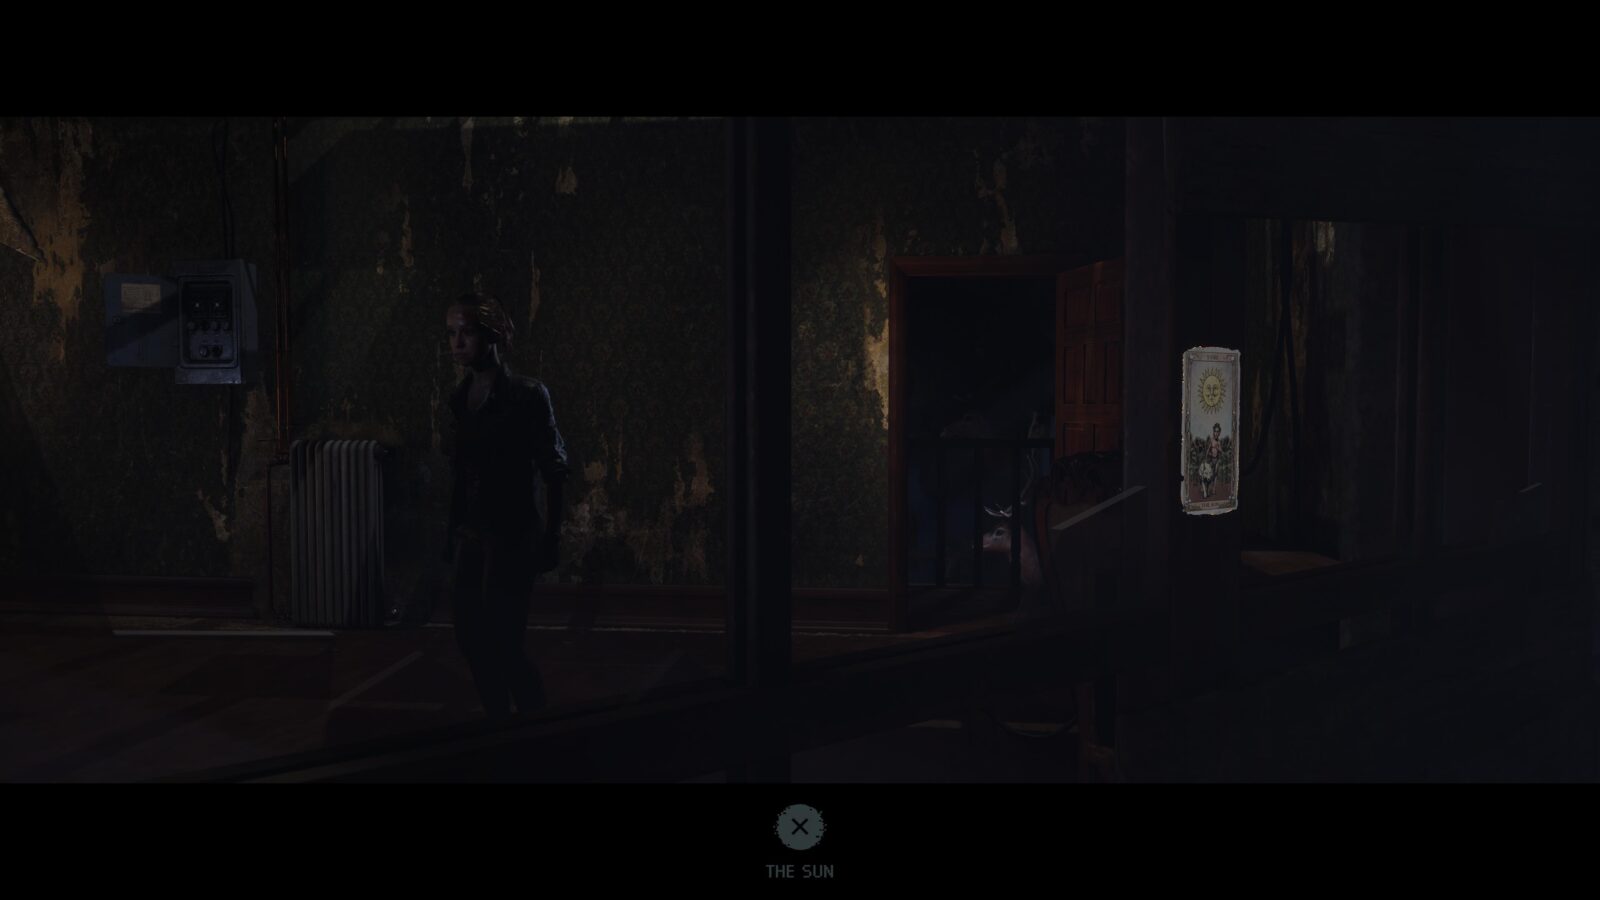
Tarot #19 – THE SUN – As Laura you will flee from your pursuer and reach some wooden stairs. Walk up them and you’ll come across a room with some boarded up windows. As you enter the room you should see a tarot.

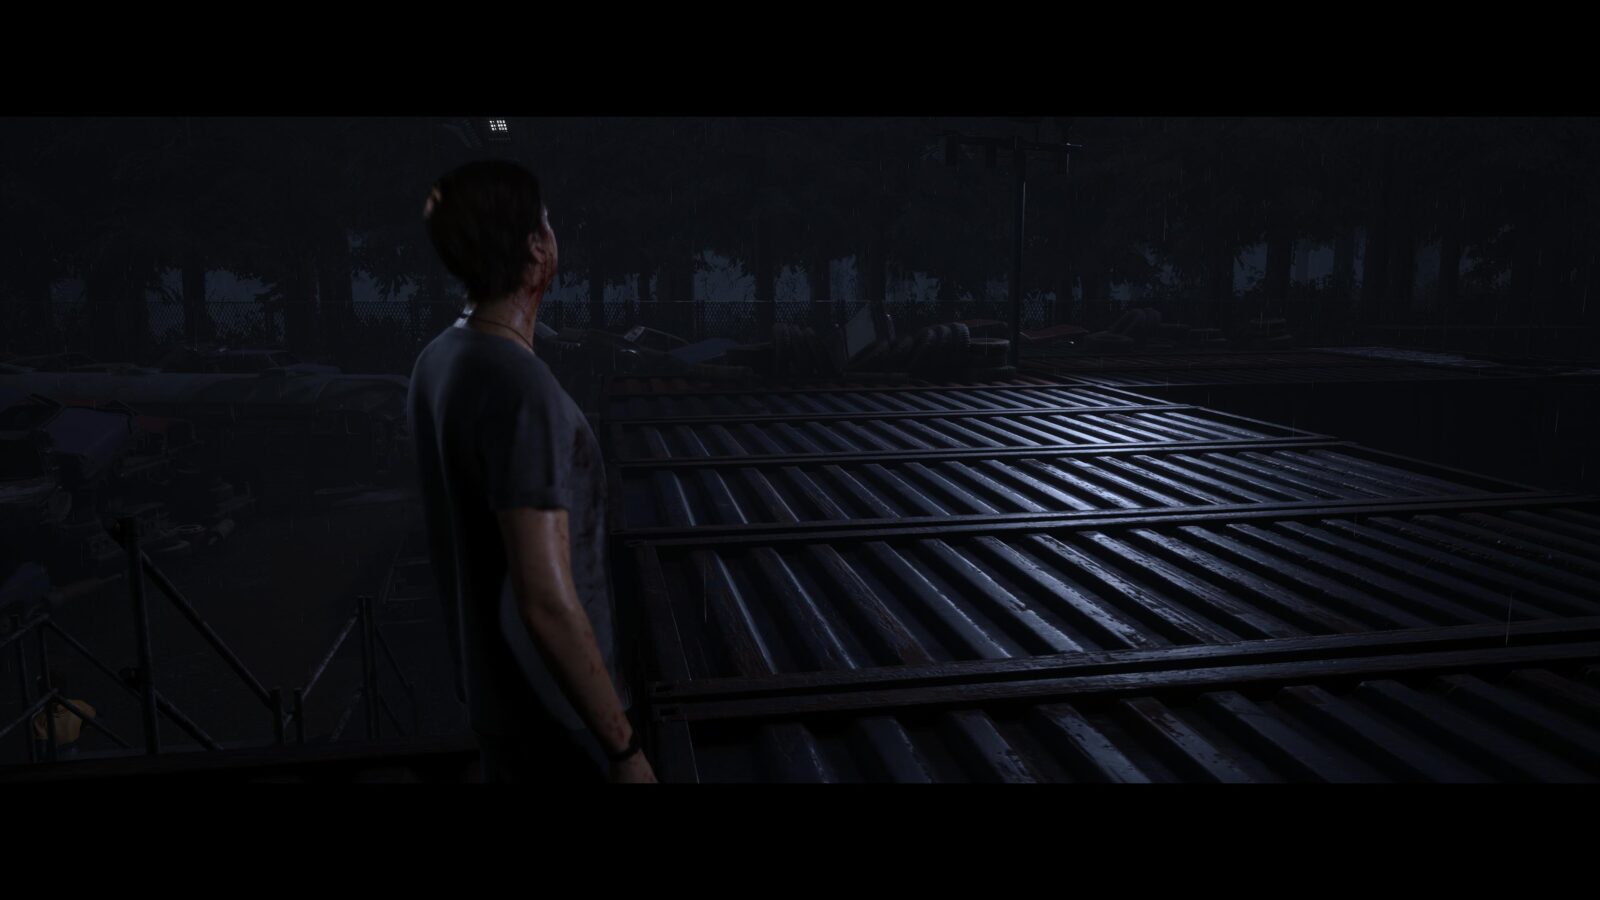
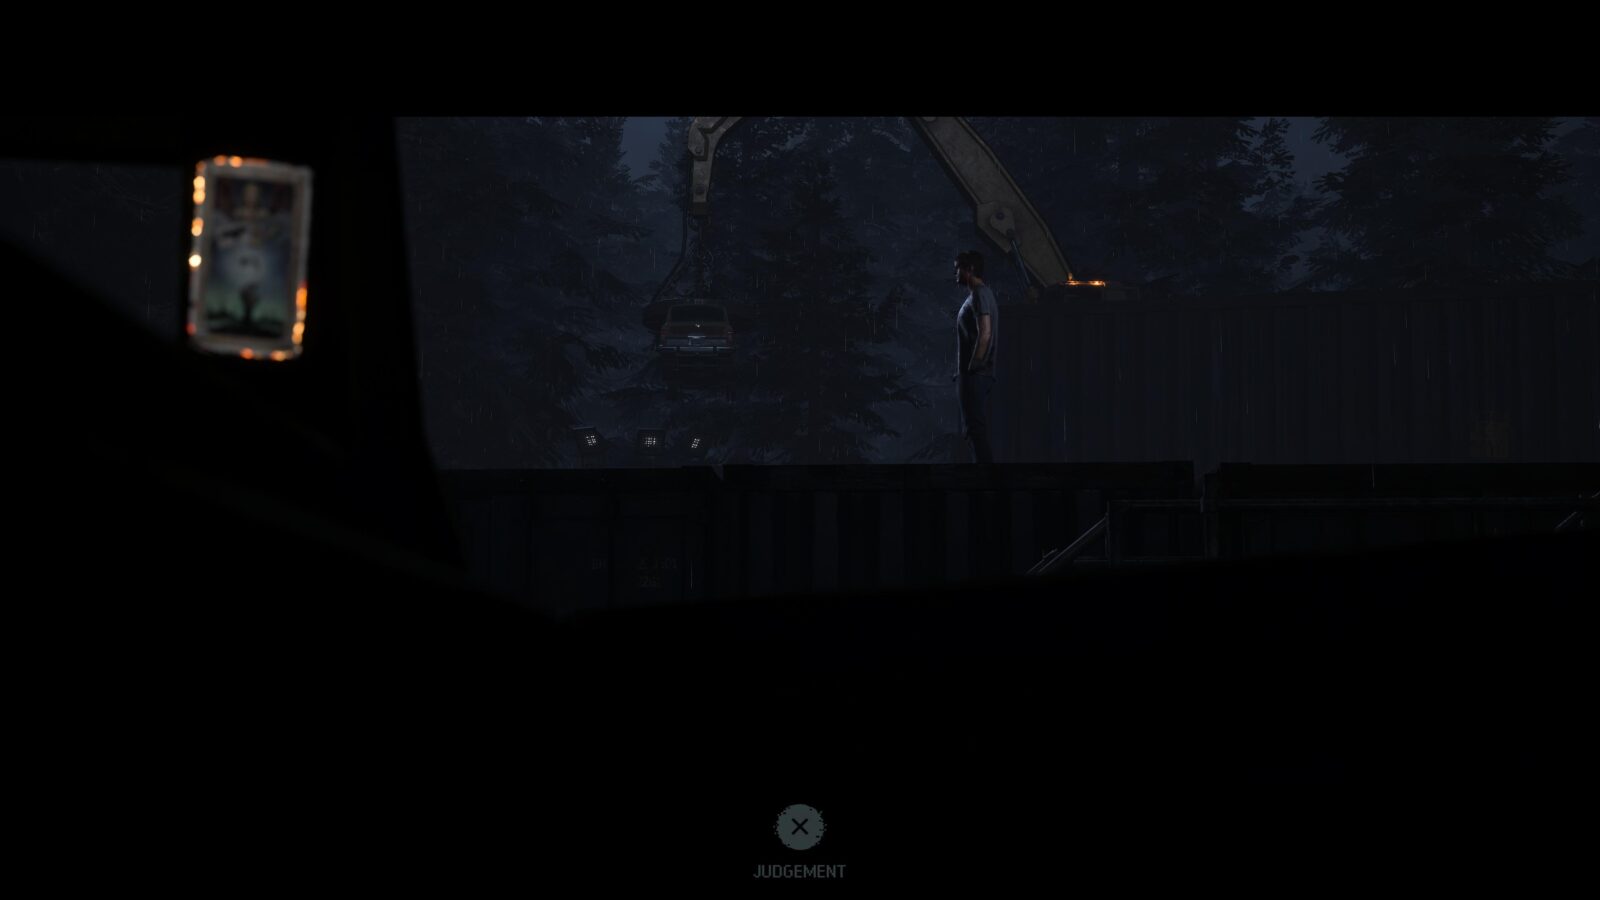
Tarot #20 – JUDGEMENT – While playing as Dylan you will reach a scrapyard and have to search for a Rotor Arm (Thanks, Jacob). Walk to the right in the scrapyard and you will see a garage with a table and a button. Press the button and walk forward after the brief cutscene until you reach some metal steps leading to the top of a row of containers. At the top make a sharp left U-turn and walk across the containers and you will see the tarot. If you go to the yellow crane you will miss this collectible.
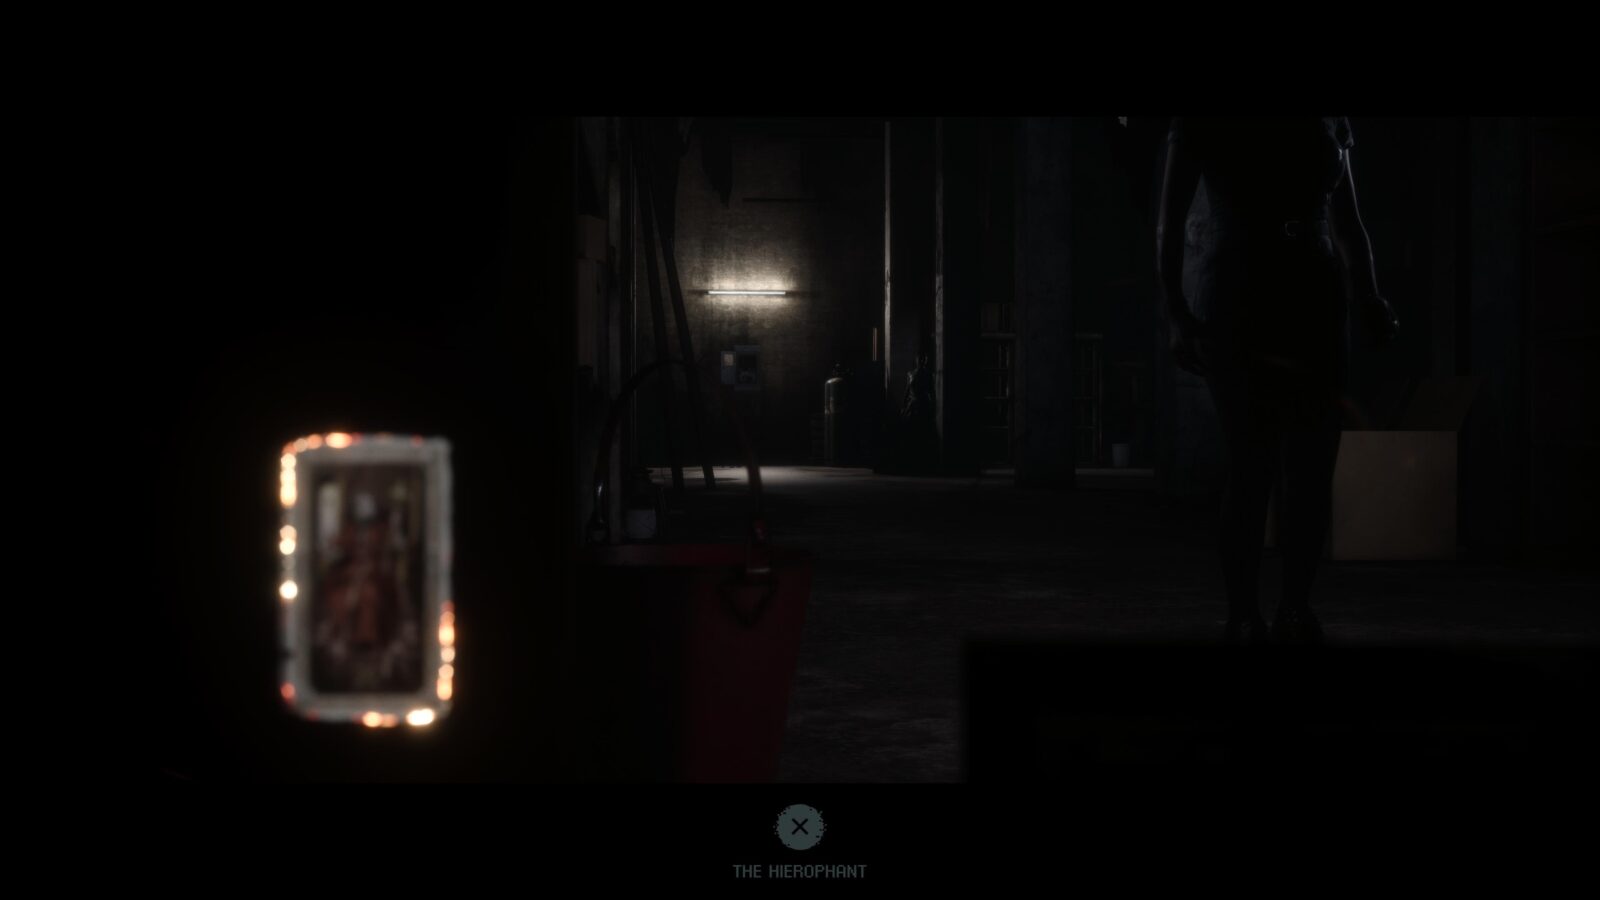
Tarot #21 – THE HIEROPHANT – While playing as Abigail in the storm shelter walk forward and take a right towards the stairs leading out to find a tarot.
Chapter 10 – Max/Kaitlyn
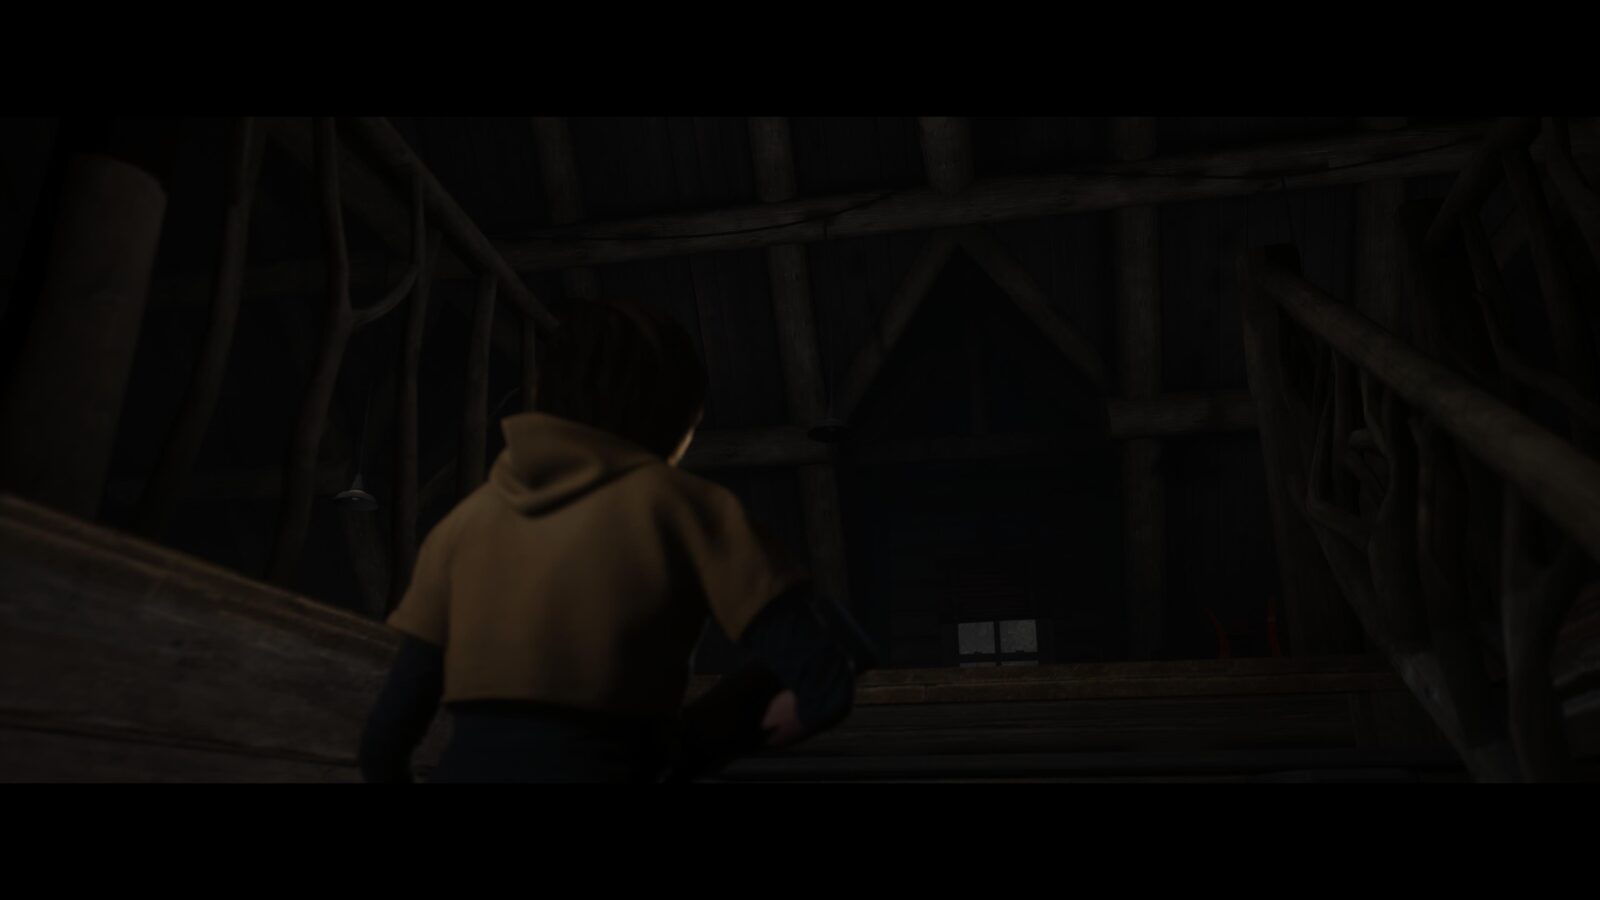
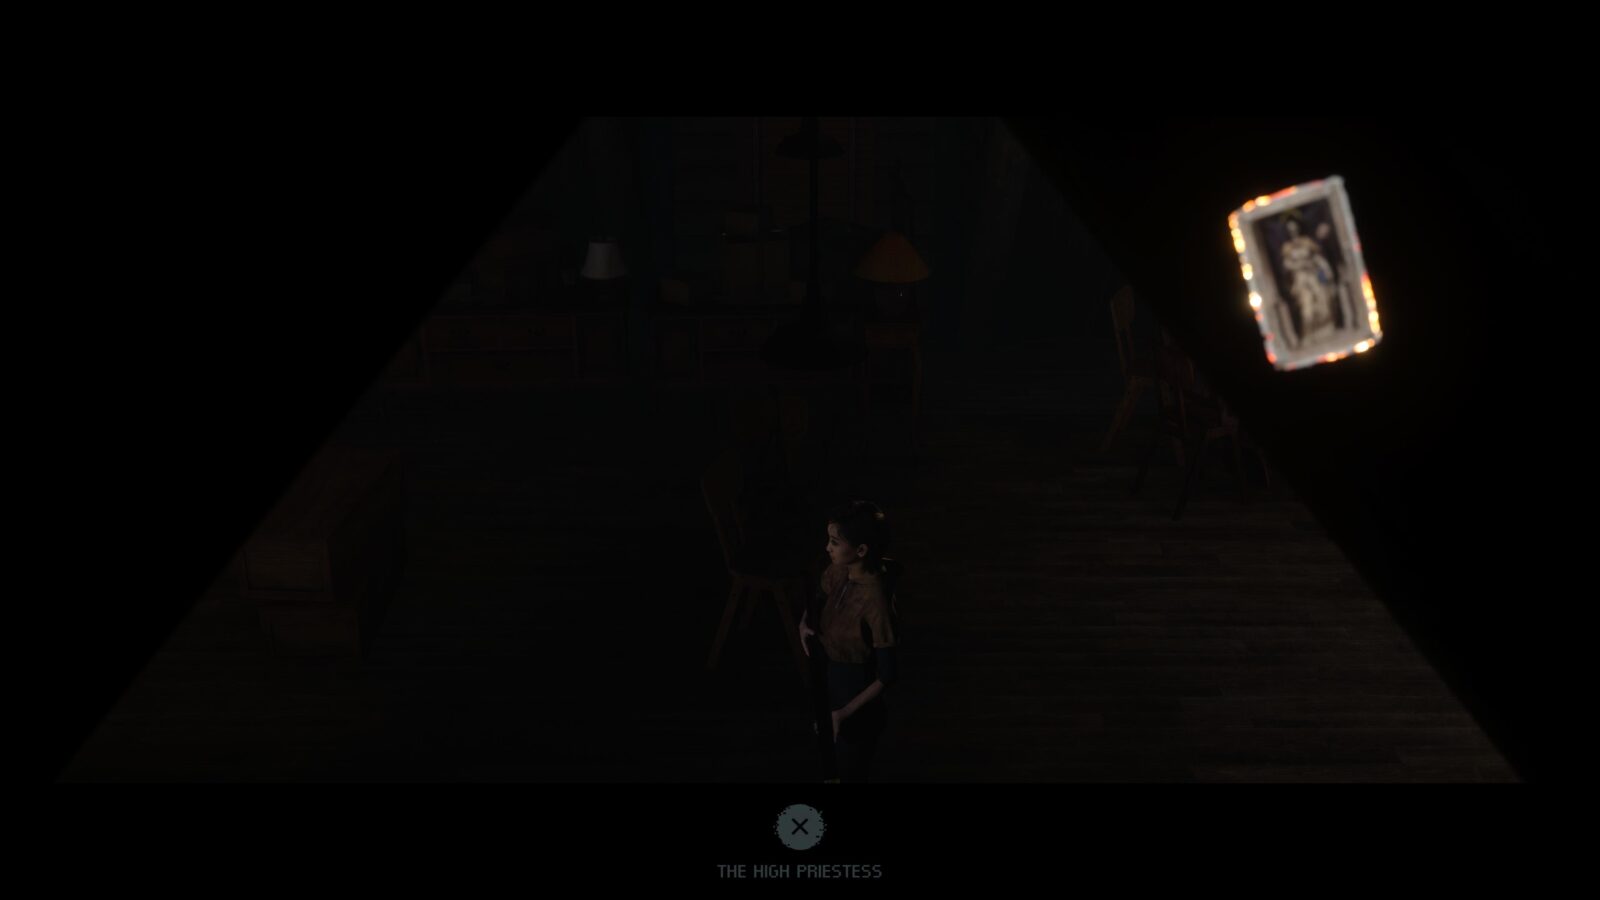
Tarot #22 – THE HIGH PRIESTESS – As Kaitlyn inside the lodge, take the stairs on the right. On this floor take a left and you can see an open room and another set of stairs that lead into the attic. Head up and walk to the left towards the windows and you should see the final tarot. Decked Out should unlock for you here if you found every other tarot.


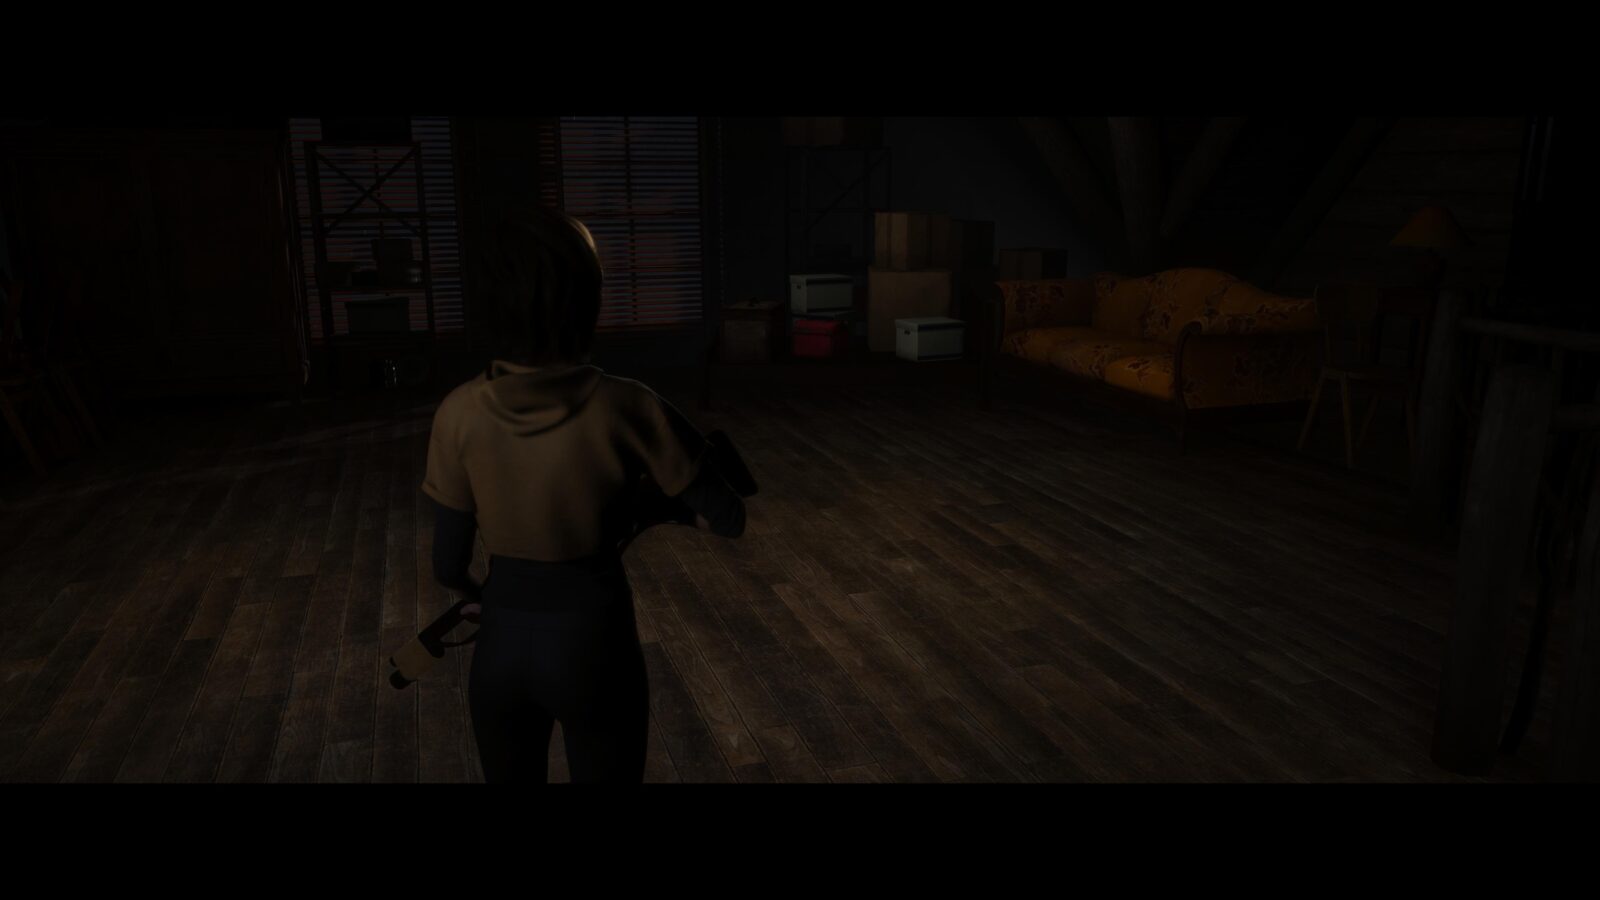
Evidence #10 – Trail Cam Footage – Go back to the 2nd floor and walk forward along the wooden walkway until you reach some stairs leading down. This is where Kaitlyn had an encounter with Bobby earlier in the story. Take a left before heading down the stairs and enter the open room nearby. Inside will be some more stairs that lead up to another attic and in some blue boxes on the left will be the footage.

Thank you for choosing PlatGet as your source for The Quarry Collectibles Guide. Consider checking out our other guides!
Follow us on Twitter @GetPlat or Instagram @platget for updates on new reviews and guides, as well as small anecdotes about our platinum journeys.