PlayStation 4, PlayStation 5
The DioField Chronicle Trophy Guide


General Info
FAQ
How long does it take to beat The Diofield Chronicle and unlock all trophies?
About 25-30 hours.
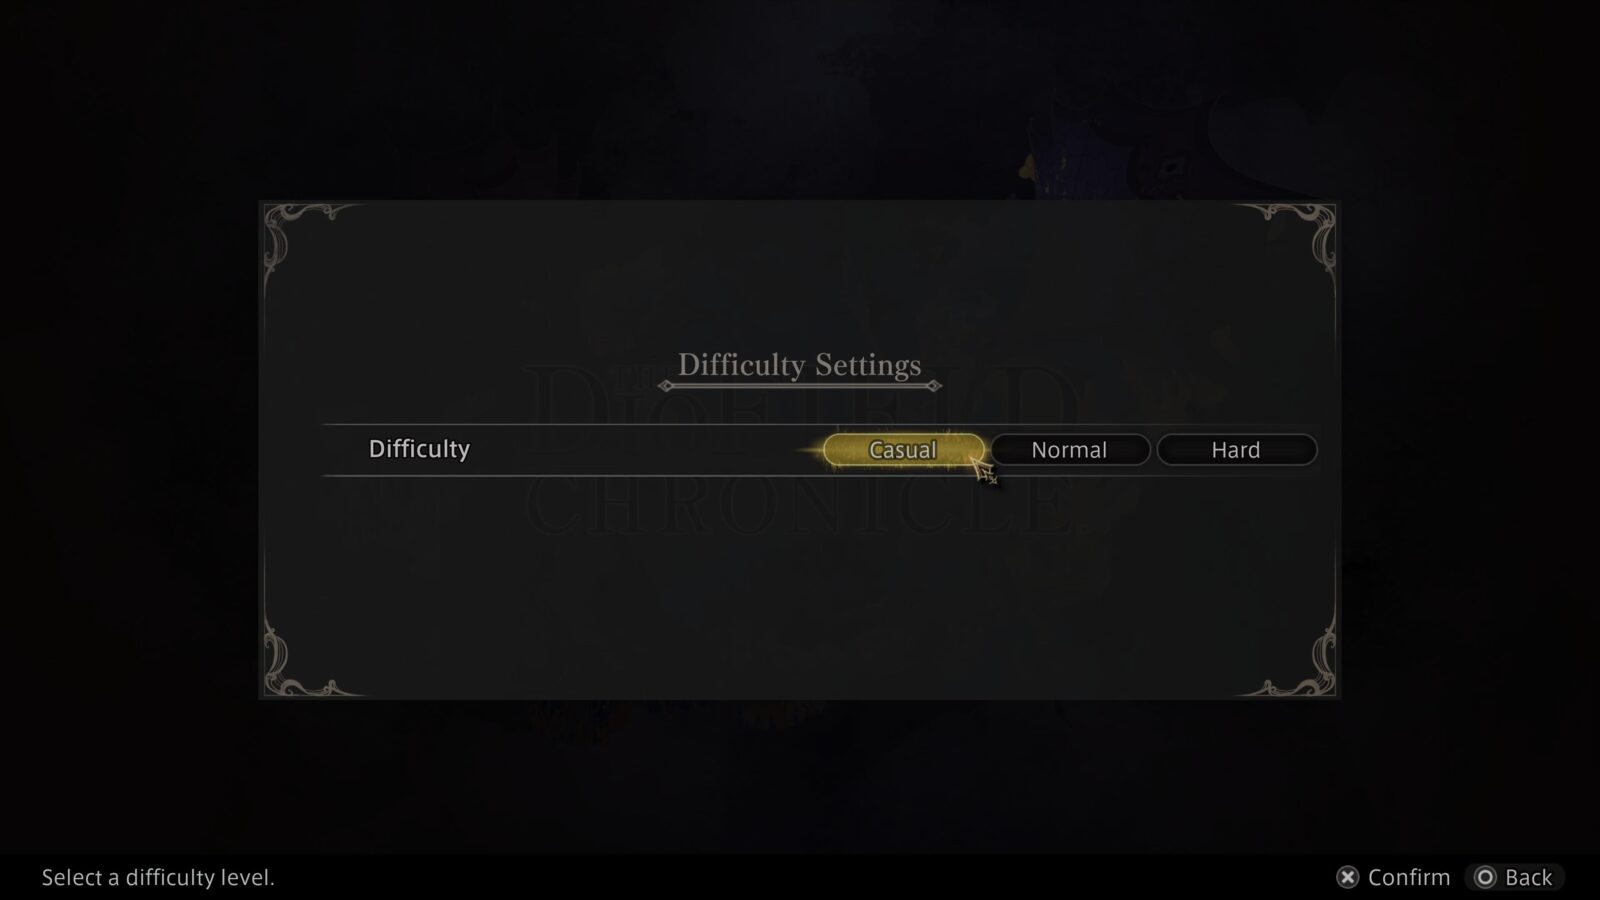
How difficult is it to beat The Diofield Chronicle and unlock all trophies?
Easy (3/10).
Does The Diofield Chronicle have online trophies?
No.
Does The Diofield Chronicle have difficulty-specific trophies?
No.
Does The Diofield Chronicle have missable trophies?
Yes, Bolstered Force, Good Commander.
Does The Diofield Chronicle have glitched trophies?
No.
What is the minimum number of playthroughs required to unlock all trophies in The Diofield Chronicle ?
One.
Does The Diofield Chronicle have a Platinum Trophy?
Yes.
Trophy Guide
The DioField Chronicles Trophy Guide and Road Map for PlayStation 4 & PlayStation 5
Welcome to our DioField Chronicle Trophy Guide. The Diofield Chronicle is an addictive RPG x Strategy mash-up from Square Enix, who continue to spoil us this year.
The average-length 30-hour Trophy Journey for The Diofield Chronicle will have you divide your time between resource/party/inventory management in the hub areas, and short 10-minute bursts of strategy whenever you step out to take on a new Mission or Side Mission.
There are no difficulty trophies, and you’re welcome to over-level at any time if you get stuck via the Practice Battle table, so there’s really not much challenge in earning this Platinum, but you should follow our guide closely so as not to miss any of the few missable Side Mission related trophies!
Phase One – Play the Story on Any Difficulty and Complete All Side Missions
In this initial phase of our Diofield Chronicle Trophy Guide, your main focus is to complete the main story missions. As the game has no difficulty trophies, you’re free to play on even the easiest difficulty if you wish.
However, as you play, frequently check your map with ![]() whenever you’re in a hub area. There, look for rooms of the mansion with blue icons. These will either be Subquests or Character Quests.
whenever you’re in a hub area. There, look for rooms of the mansion with blue icons. These will either be Subquests or Character Quests.

You must complete Side Missions when they appear. If you progress the story by completing the main objectives (gold flag icon) before completing all available Side Missions, you will not be able to access them again except by making a new game.
Missing a Side Mission can cause you to miss out on some trophies. Most specifically, you could miss the “Bolstered Force” trophy, which requires you to recruit three optional characters by completing their Side Missions.
All this is to say, make sure you have always completed every available Sub Quest or Character Quest before progressing the main objective at every stop along the way. You can check your currently-available Quests by opening the “Quest” option in the ![]() menu.
menu.
Additionally, you’ll get a lot of resources and exp for completing these side missions, which will greatly assist you in beating the difficulty curve.
While completing missions, you should also try to complete as many bonus objectives as you can and open any chests that you find. It’s not required at this point because we can replay missions at our leisure, but it will help a lot going forward.
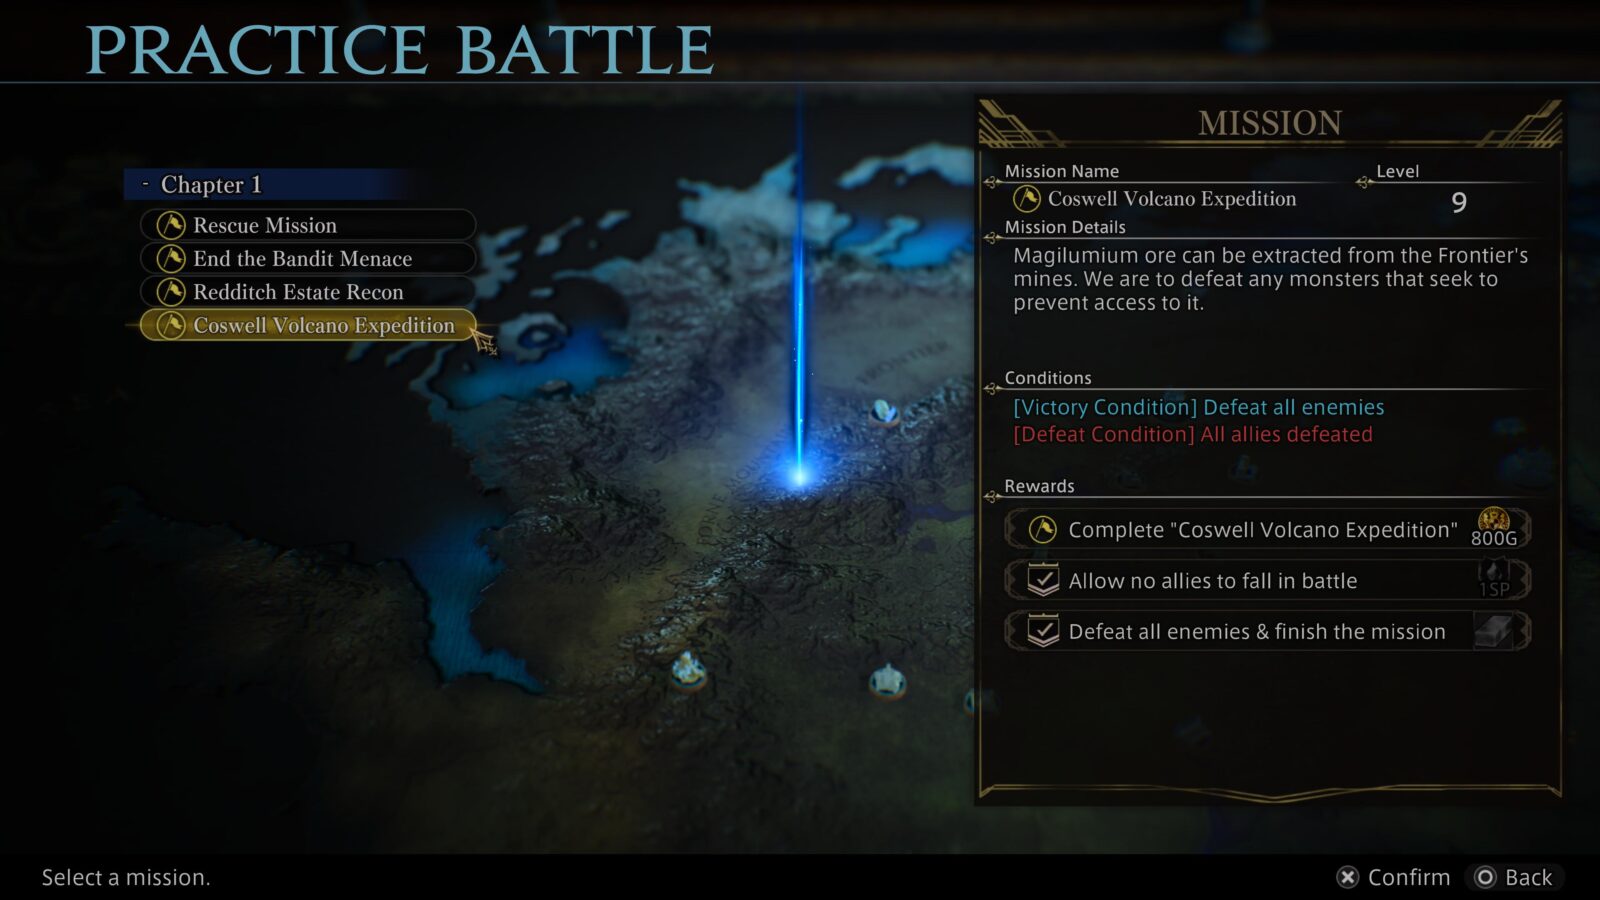
Replaying Missions via the Practice Battle table to acquire bonus rewards is a great way to train your team up if the difficulty curve starts to get ahead of you!
Side Mission Trophies

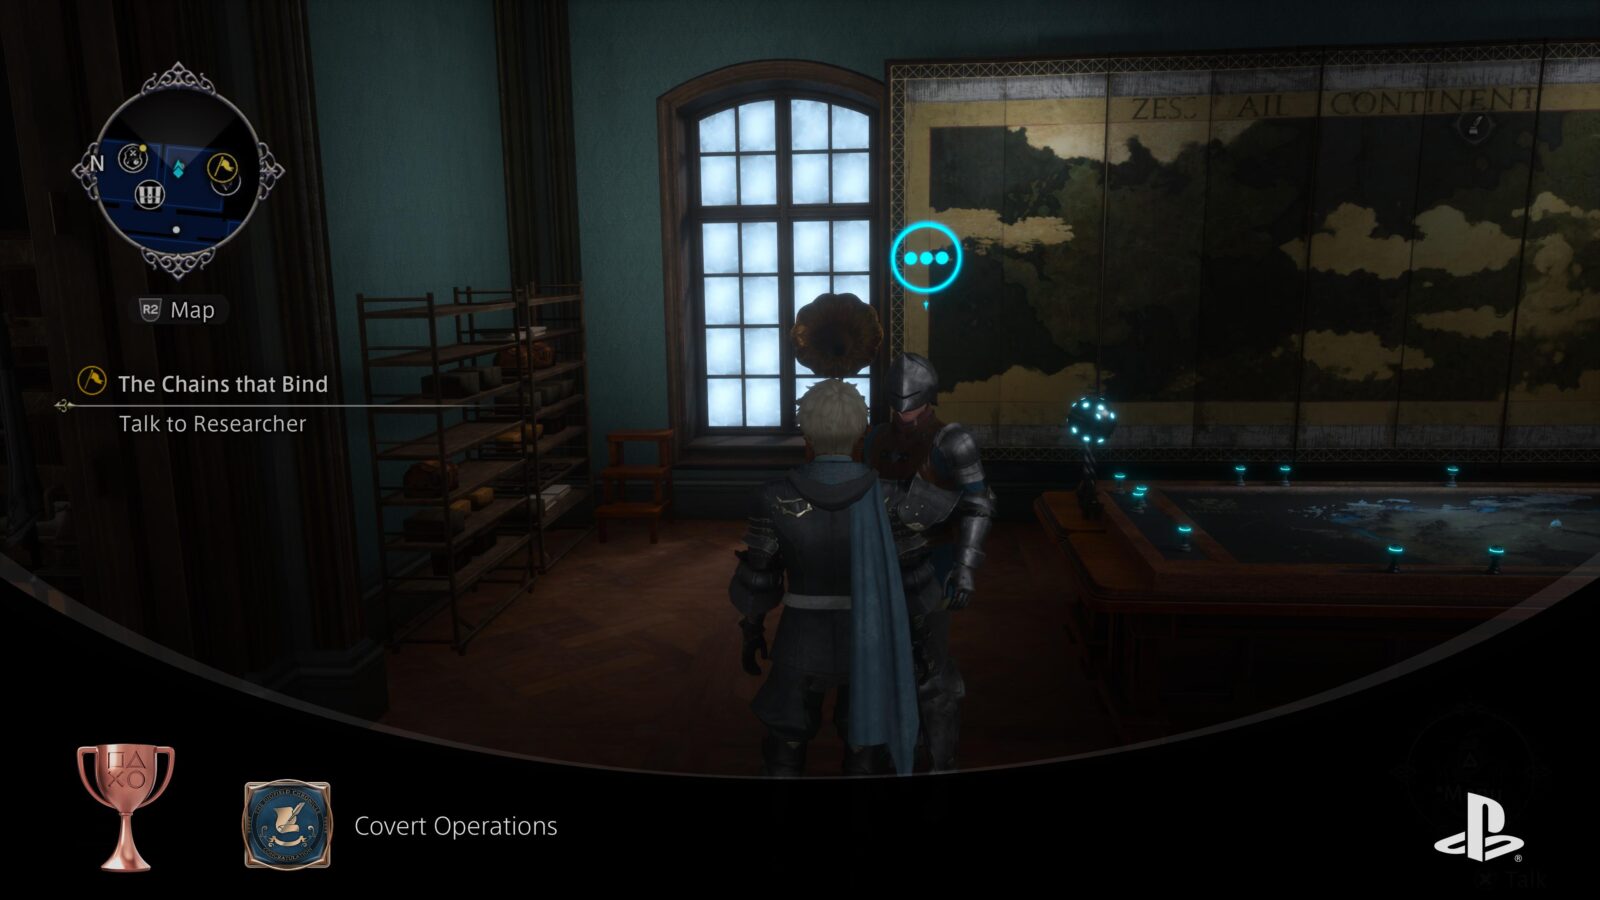
Covert Operations
Complete a Sub Quest.
Sub Quests will pop up all throughout the story, and you can complete them at your leisure. The very first time that you complete a Sub Quest, you will unlock the Covert Operations trophy.

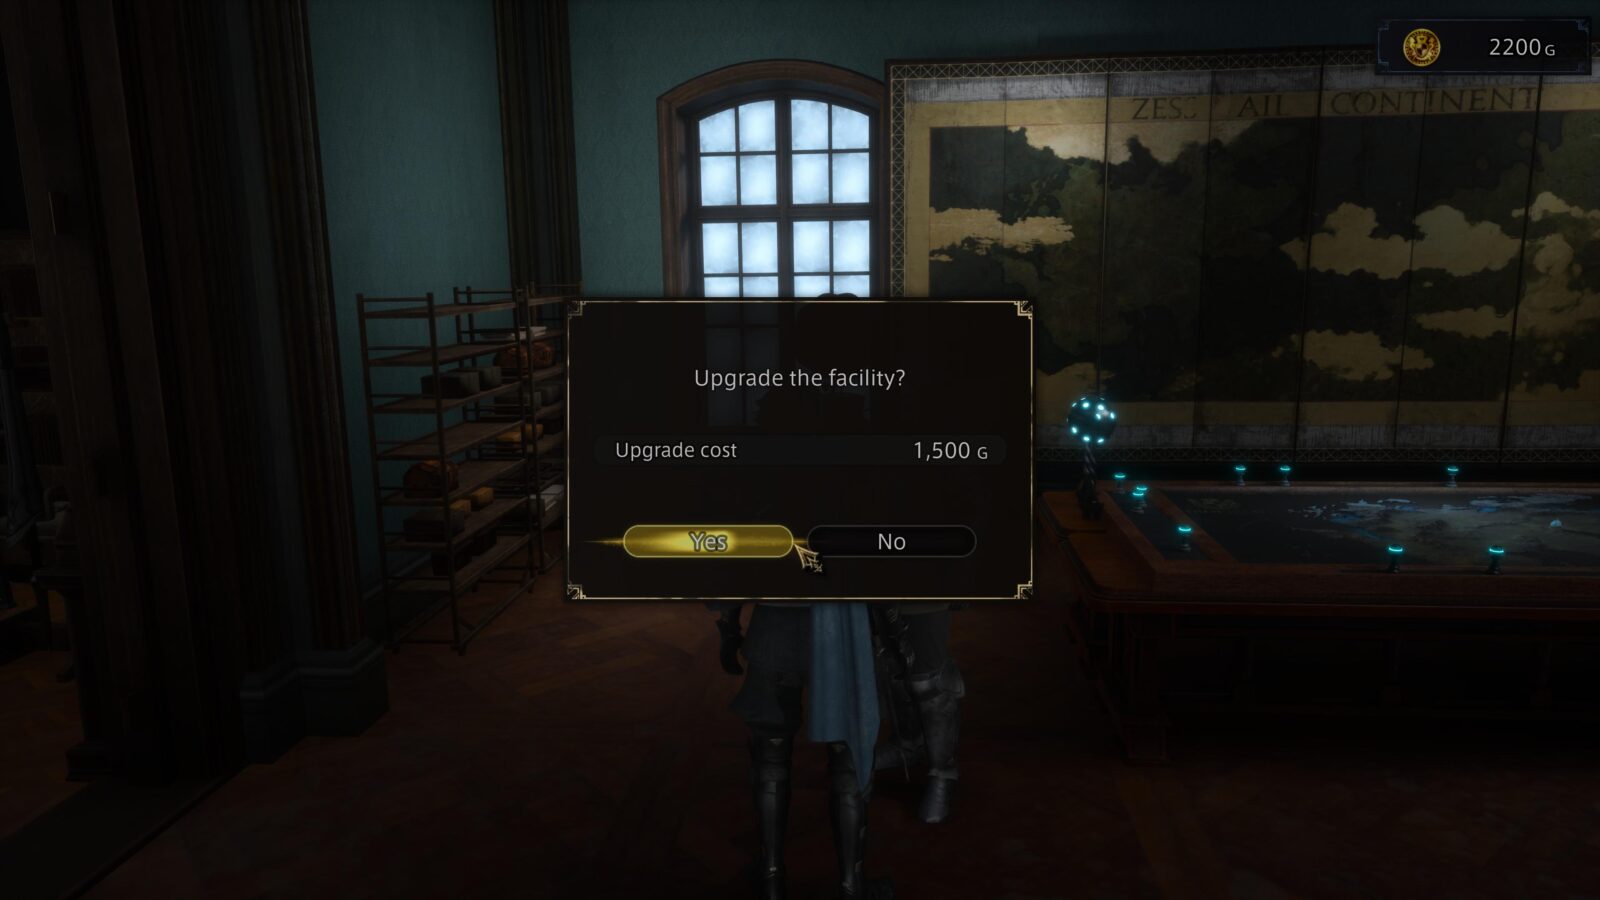
The easiest Sub Quest to complete early can be found in the lower-right side room in the hub mansion. Next to the Practice Battle table in there, you will find a knight who asks for 1,500 Guld to upgrade the facilities. Give it to him, and the Sub Quest will end, unlocking the trophy.

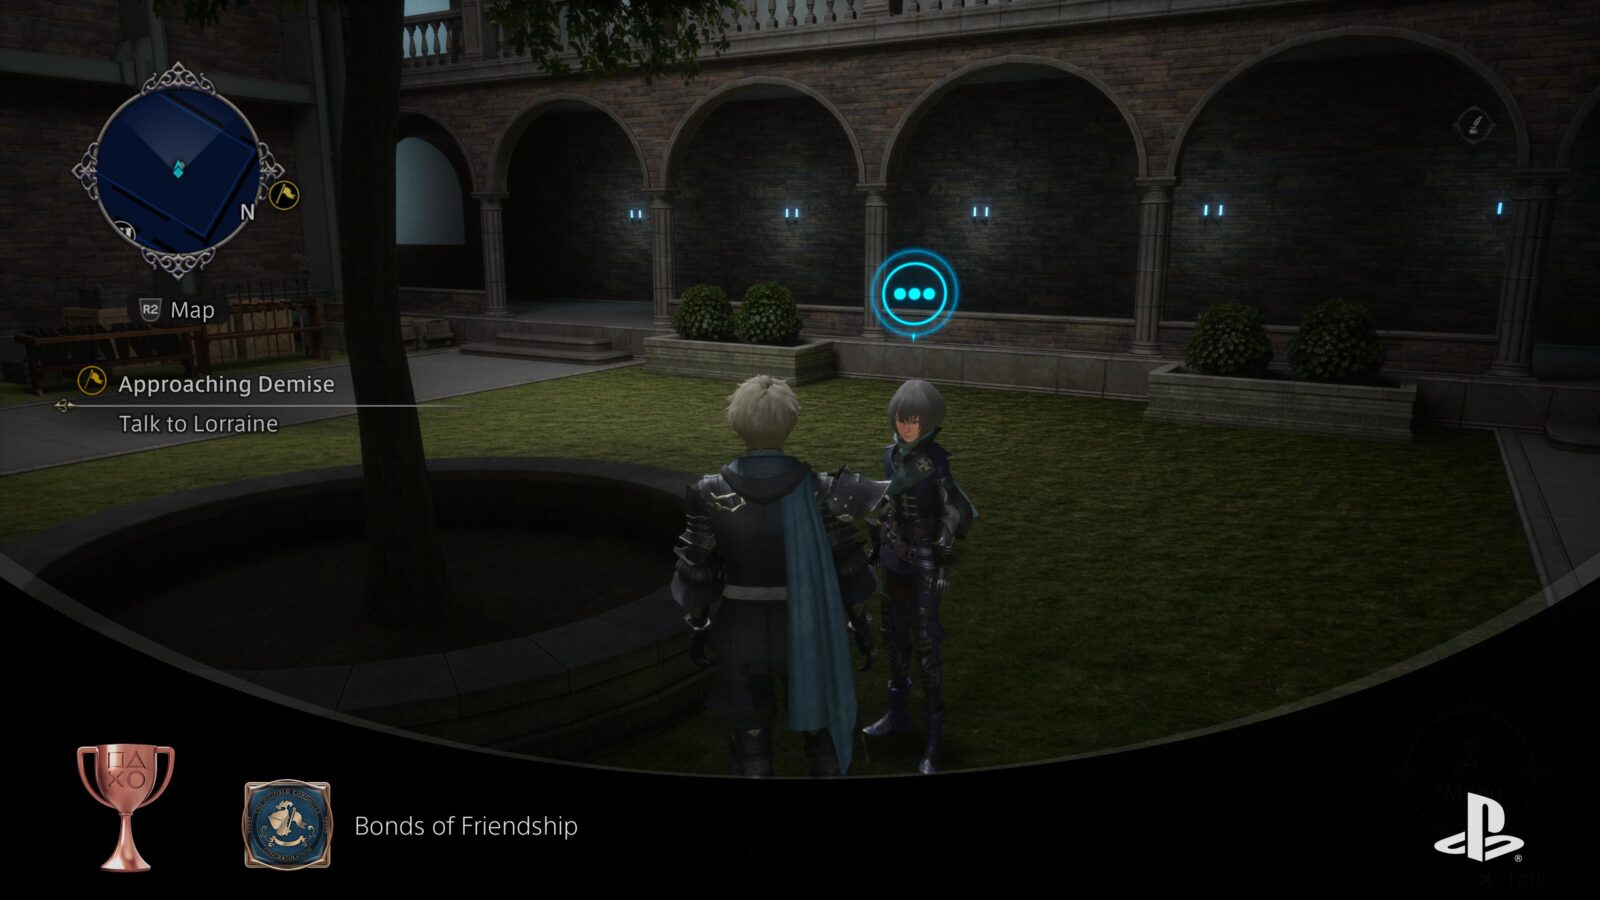
Bonds of Friendship
Complete a Character Quest.
Some Subquests pertain to your characters. Quite a few simple Character Quests will only require you to speak to an ally after a battle, completing the Subquest through the simple act of interacting with a character.

Completing a Character Quest for the first time will unlock the Bonds of Friendship trophy.


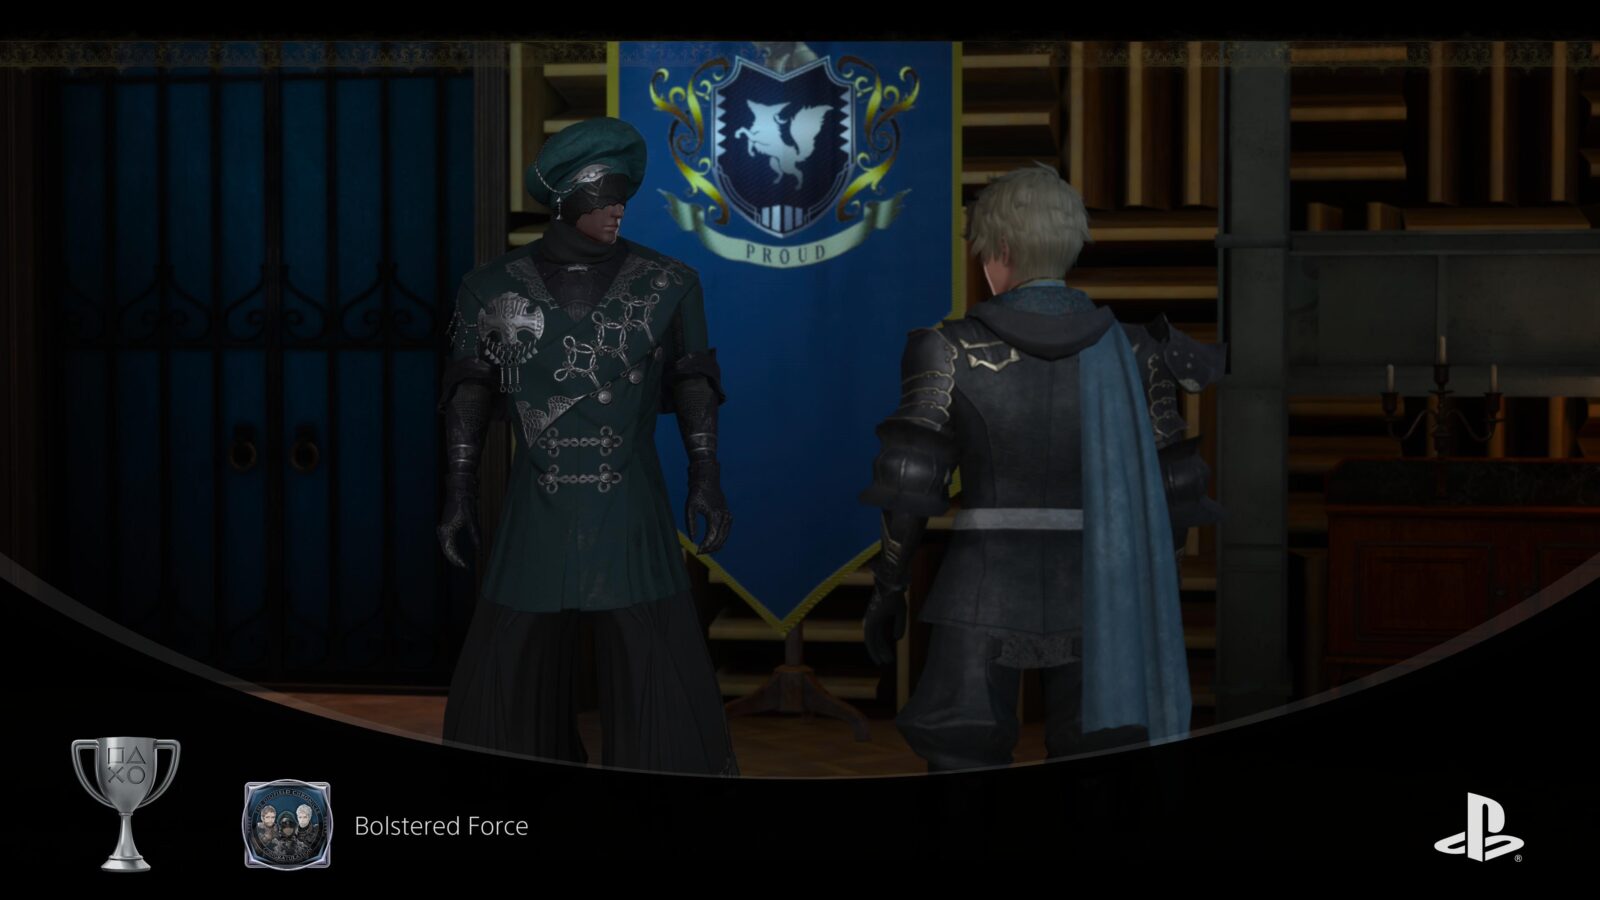
Bolstered Force
Recruit Donovar, Chappleman, and Zoruaq.
To unlock Bolstered Force, you will need to add the three optional characters, Donavar, Chappleman, and Zoruaq to your party. You can do this by completing Side Missions associated with each character
Donovar can be recruited from Chapter 2. Complete his “A Job in the North” Level 12 Character Mission at the War Table and then speak to Donavar near the mansion entrance.
You can find Zoruaq in Chapter 4, by the main war table in the mansion. Speak to him to begin his character quest and then complete the associated War Table Character Quest, “Winged Mercenary.” Once done, return and speak to Zoruaq to add him to your team.
Lastly, you will find Chappleman looking out of a window in the Southeast room of the second floor at the start of Chapter 6. Head upstairs and speak to him to begin his character quest.
The next step in his questline is to complete the War Table Character Quest, “Foreign Missionary.” Once done, return and speak to Chappleman again to complete the Character Quest and permanently add him to your roster.
You should then also unlock the Bolstered Force trophy, provided you didn’t miss your opportunities to recruit Donavar and Zoruaq.

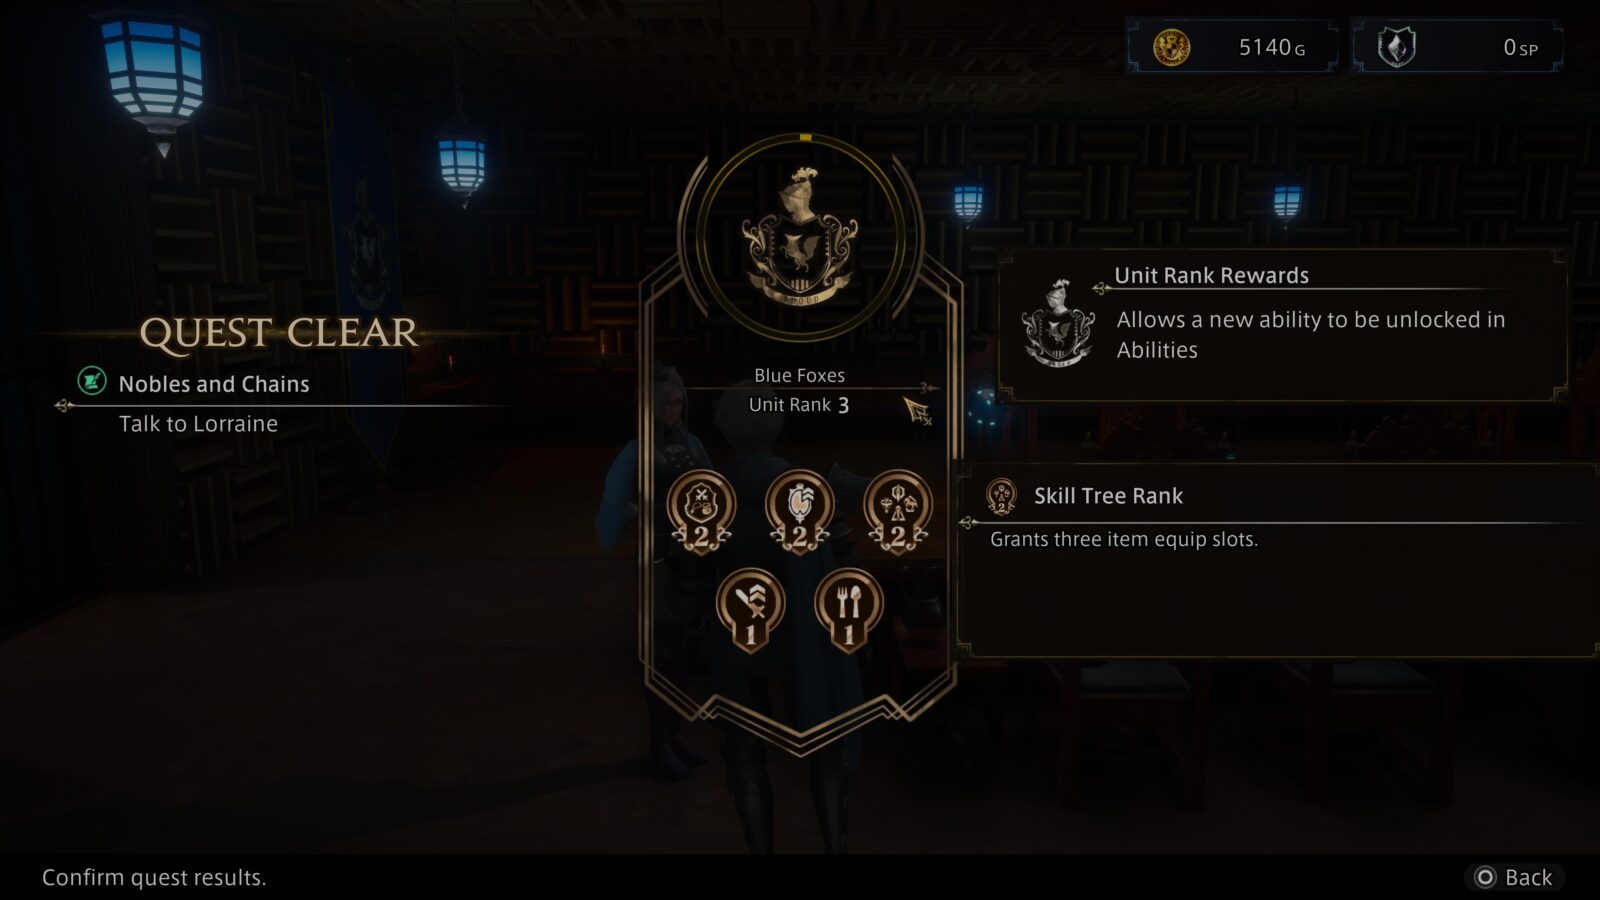
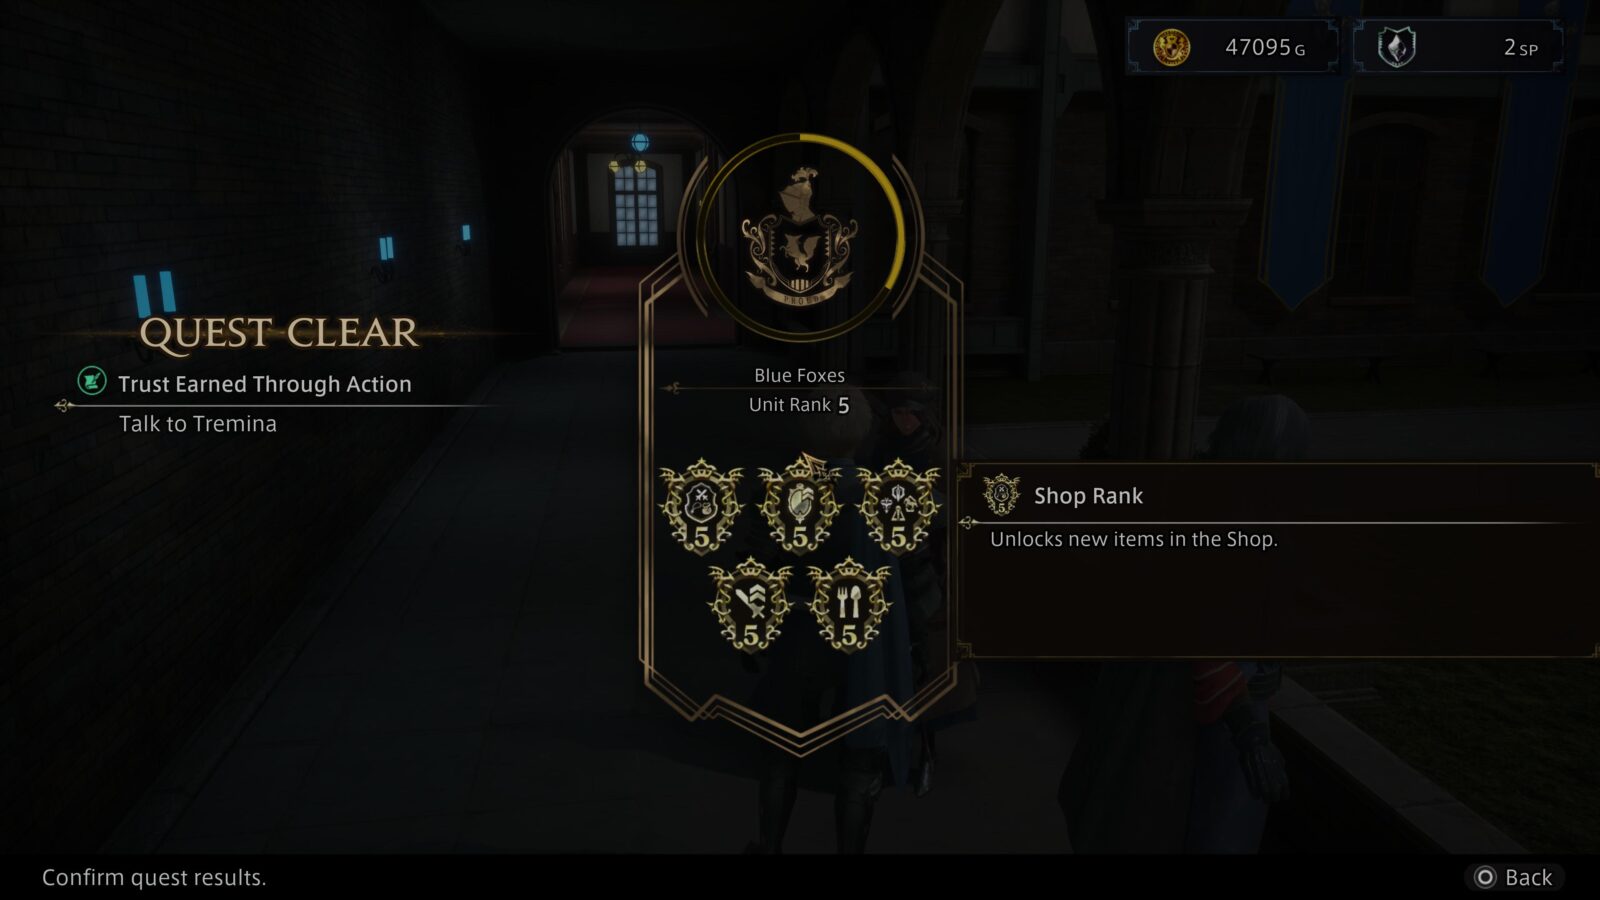
Good Commander
Acquire 25 Blue Fox badges.
To unlock the Good Commander trophy, you essentially need to complete a good majority of Side Missions. As we’re recommending you do this anyway, you should earn the trophy naturally.
There are 5 Badge Categories on your Blue Fox Crest; Shop Rank, Magilumic Orb Research Rank, Skill Tree Rank, Weapon Development Rank, and Meal Rank. Each badge that you earn will increase one of these badge ranks by 1, providing you access to more resources and Side Missions.
Many of the Side Missions will require you to spend thousands of guld, while others just ask that you talk to allies or complete Side Missions at the main war table.
Once you earn five badges in all five categories, for a total of 25 badges, the Good Commander trophy will unlock!

Unmissable Trophies

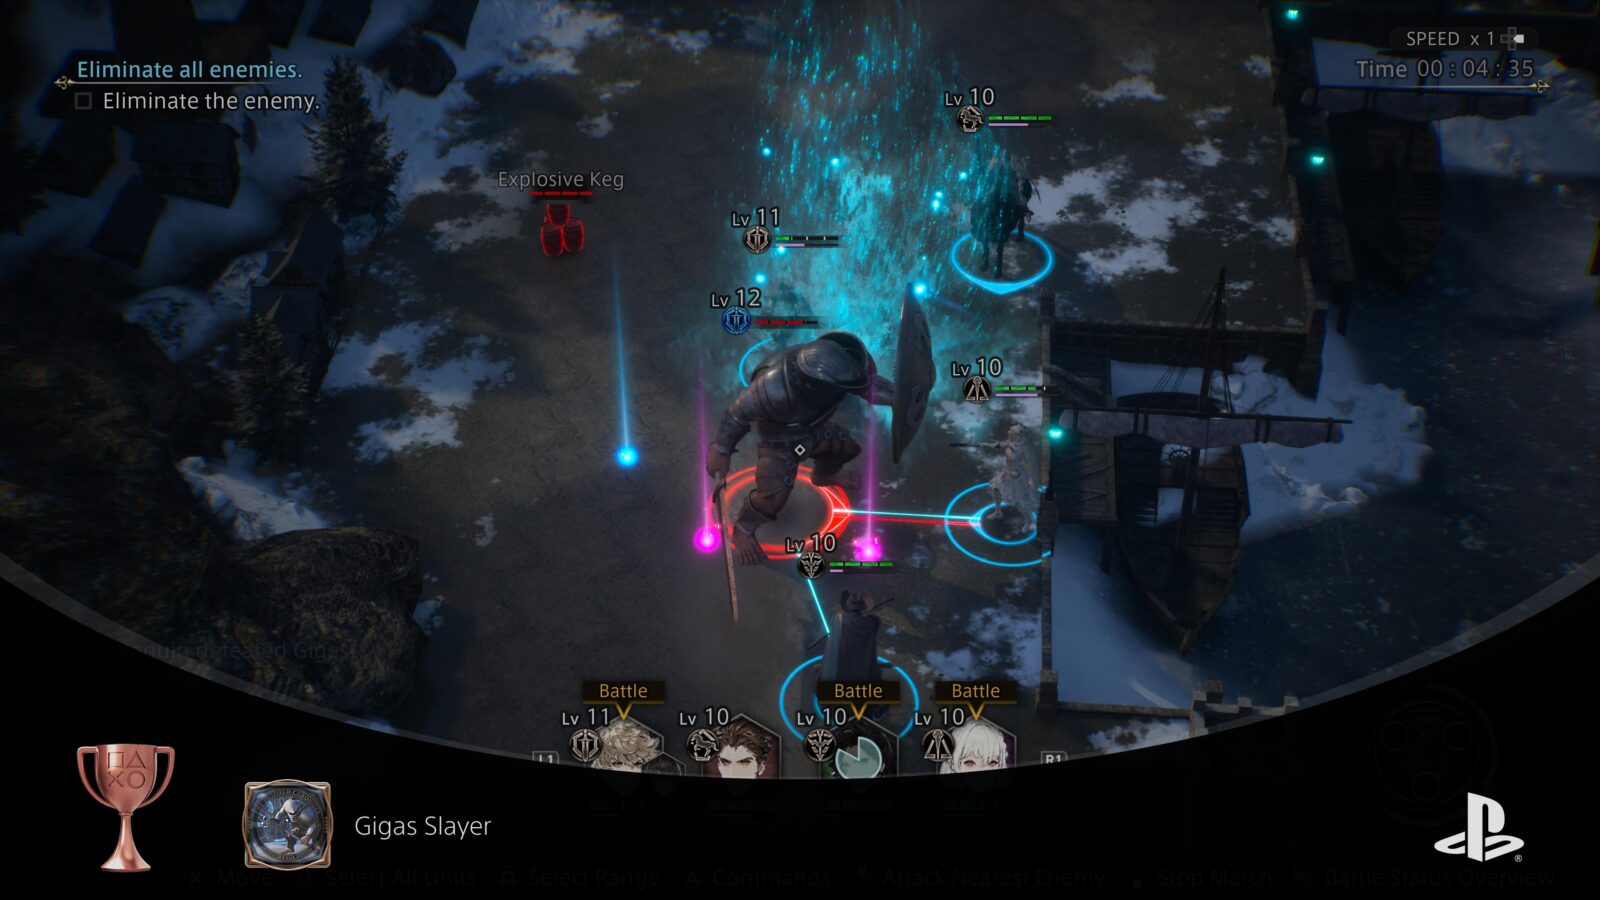
Gigas Slayer
Defeat a Gigas.
Gigas are huge, hard-hitting enemies with a lot of health and the ability to fully restore their HP once per fight.
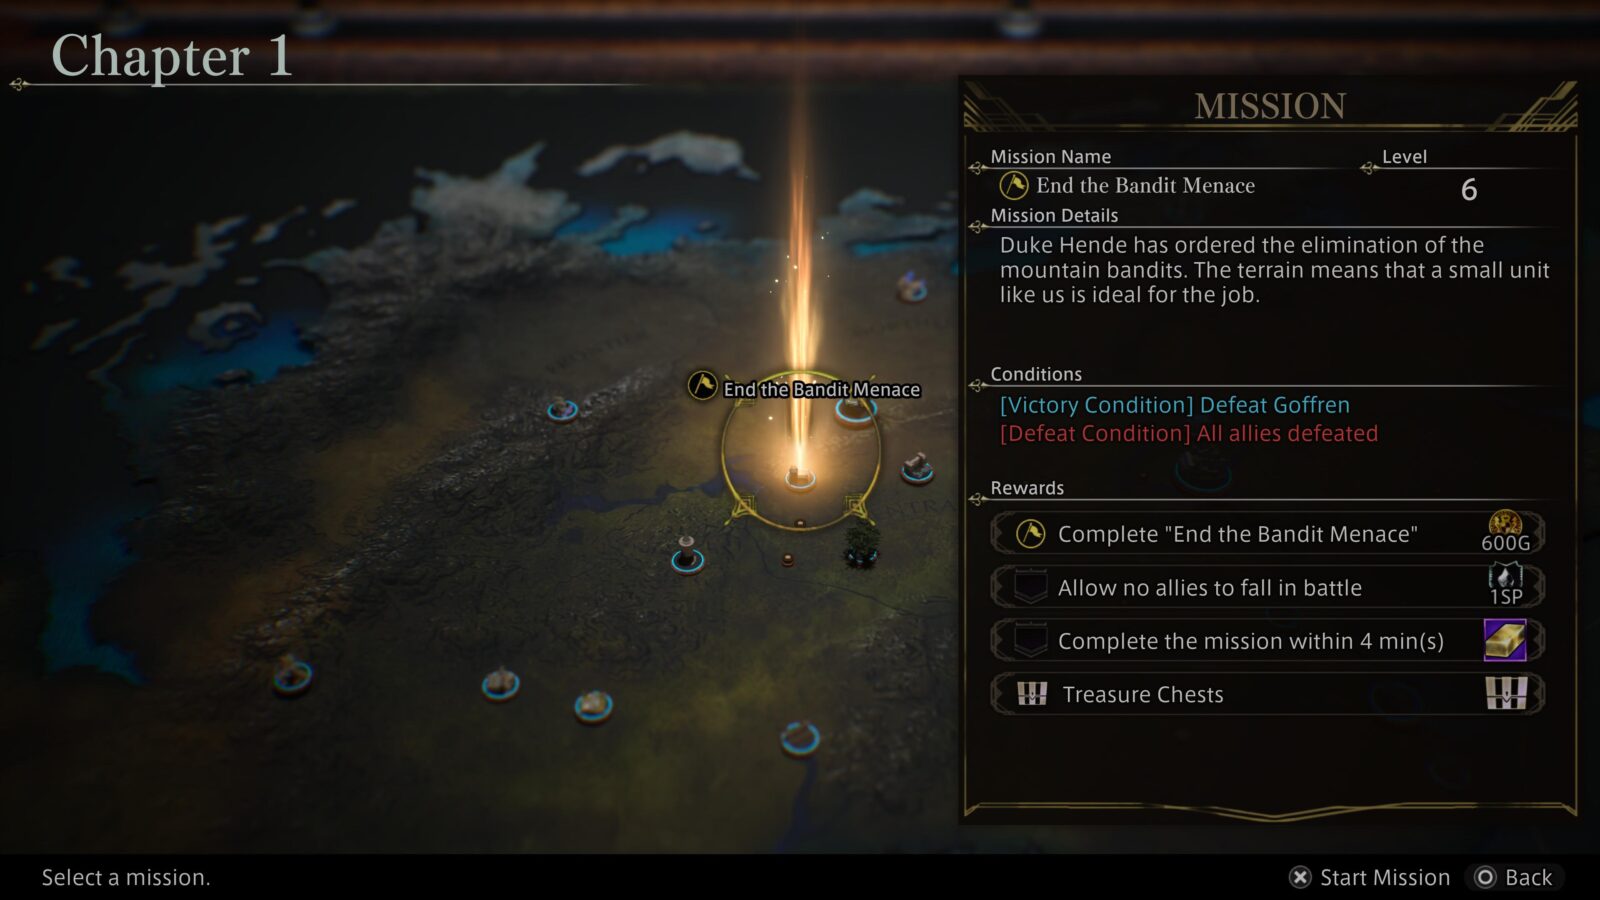
You will need to fight two Gigas enemies simultaneously as a part of the story in Chapter One during the mission titled “The Horace Threat,” making this trophy for slaying one unavoidable.

Steady Progress
Complete chapter one.
Complete the events of Diofield Chronicle’s first chapter to unlock the Steady Progress trophy upon completion of the Story Quest “Escort the Archbishop.”

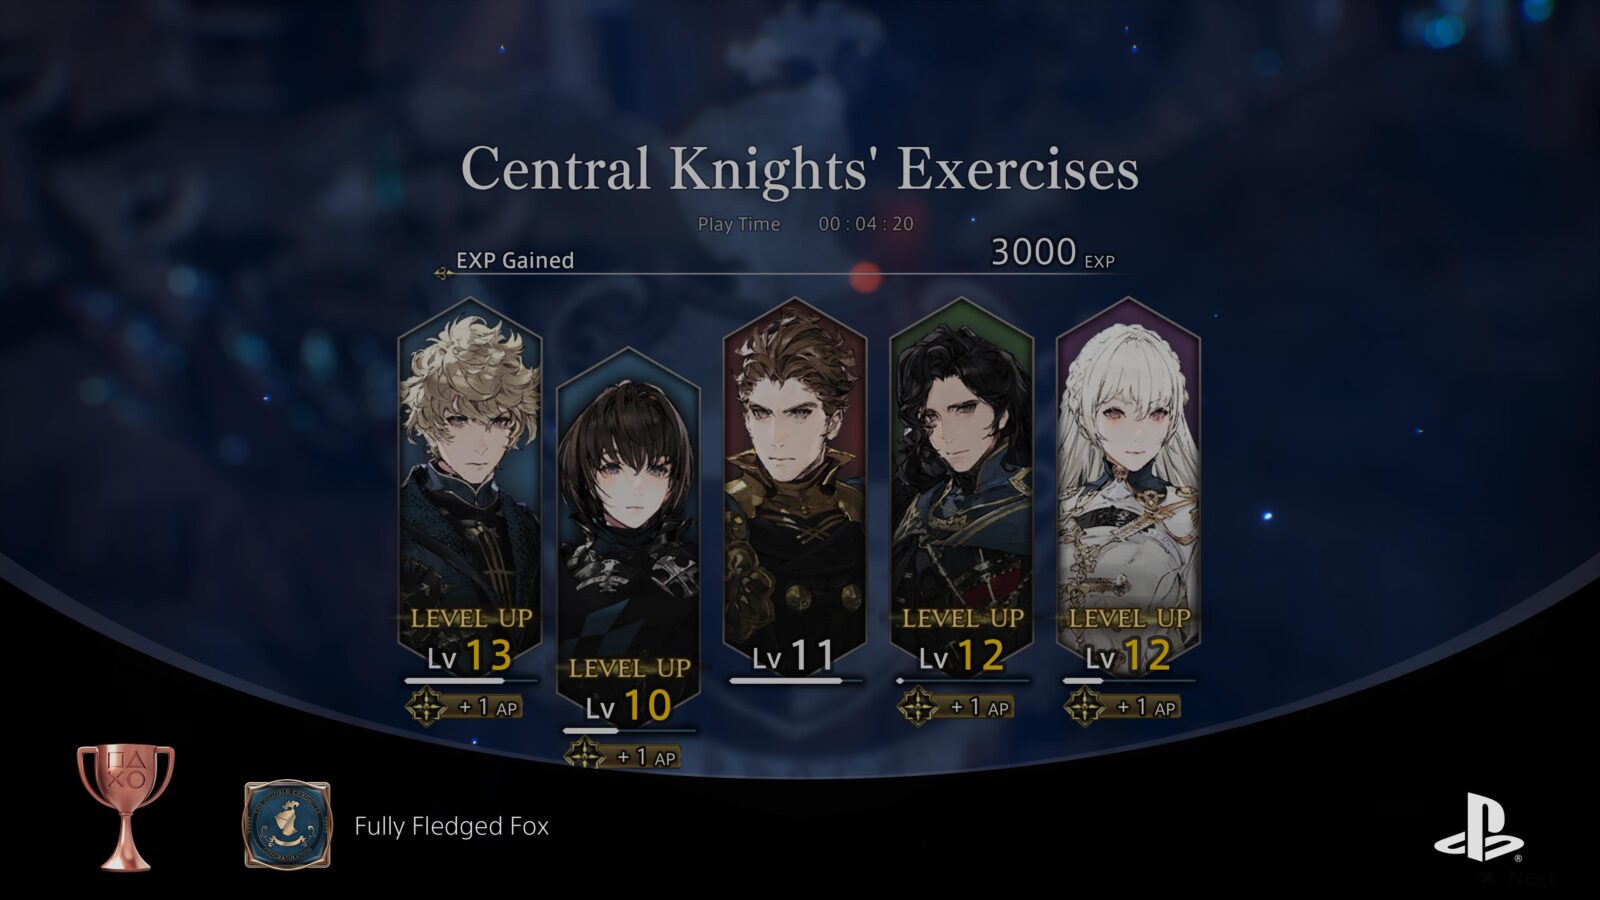
Fully Fledged Fox
Defeat 100 enemies.
Defeating 100 enemies may sound like a lengthy task, but you’ll likely have actually killed over 100 enemies by the time you reach Chapter 2, so this trophy is essentially unmissable.

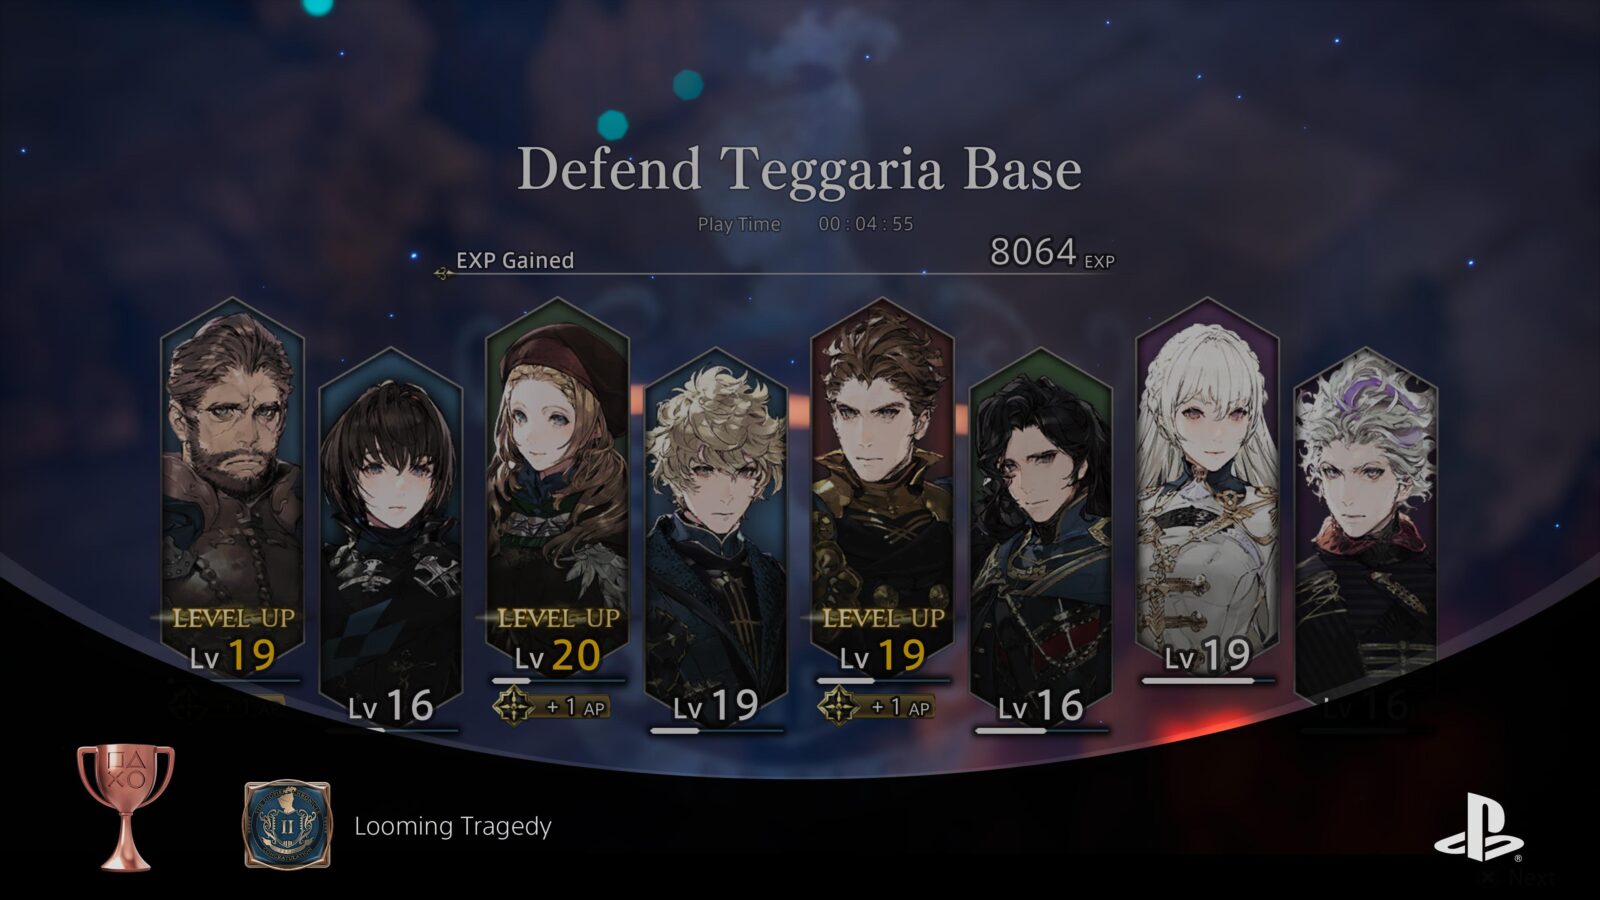
Looming Tragedy
Complete chapter two.
Complete Chapter 2 of Diofield Chronicle to unavoidably unlock the Looming Tragedy trophy upon completion of the Story Quest titled “Defend Teggaria Base.”
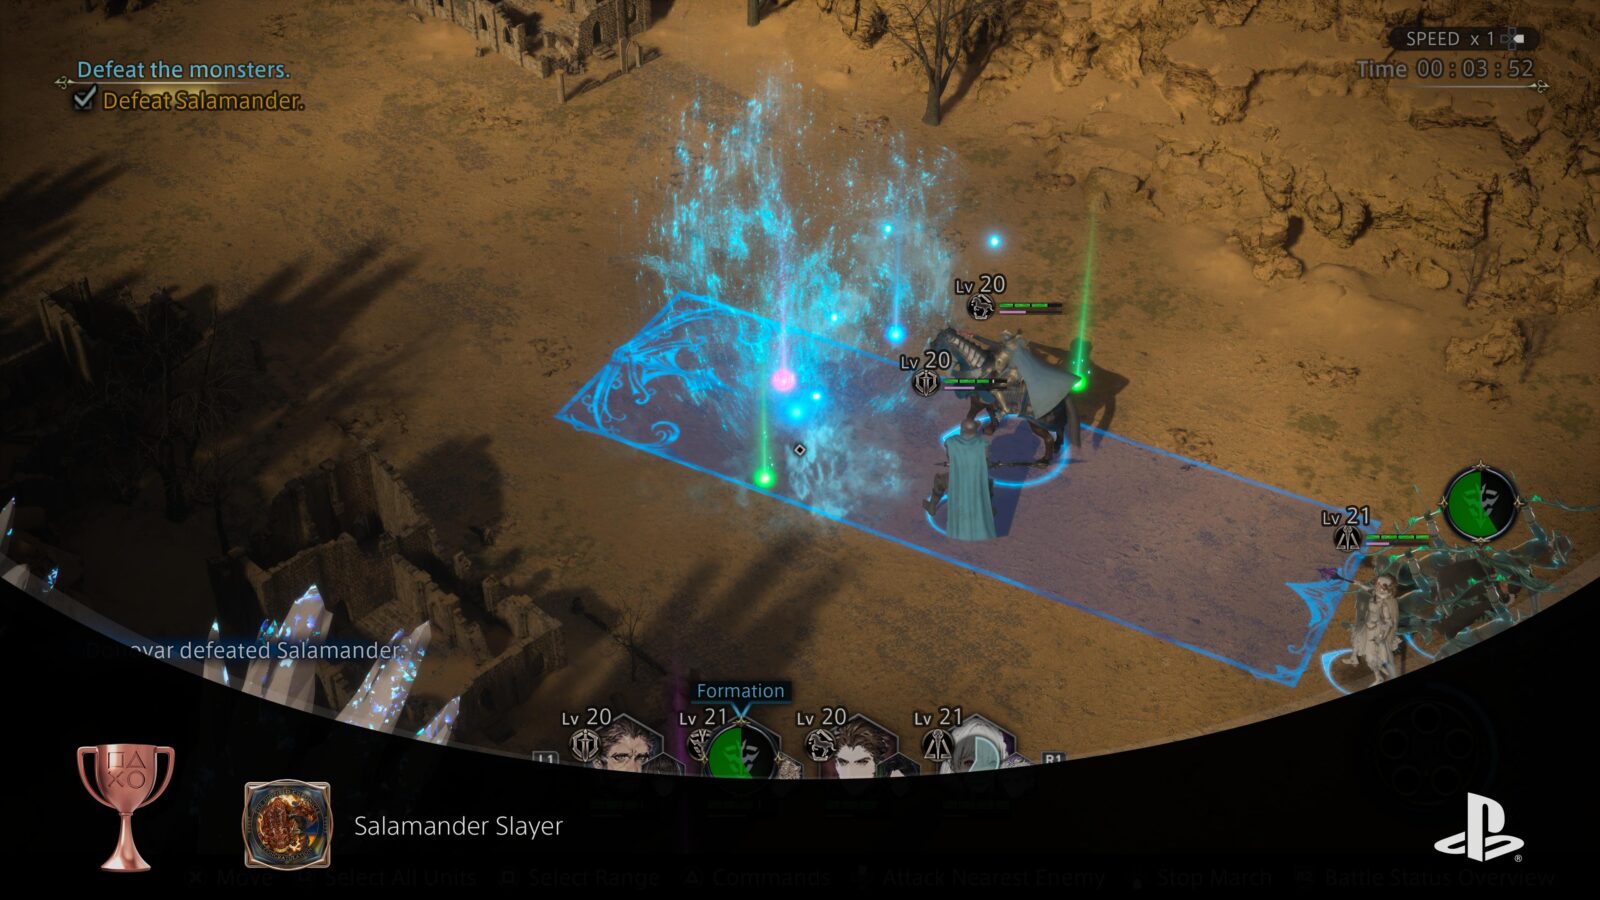
Salamander Slayer
Defeat a Salamander.
You will fight a Salamander as part of the story during the Mission titled “Escort the Priests.” Like the Gigas, it can restore its health one time when fully depleted, but there is only one Salamander in this mission.
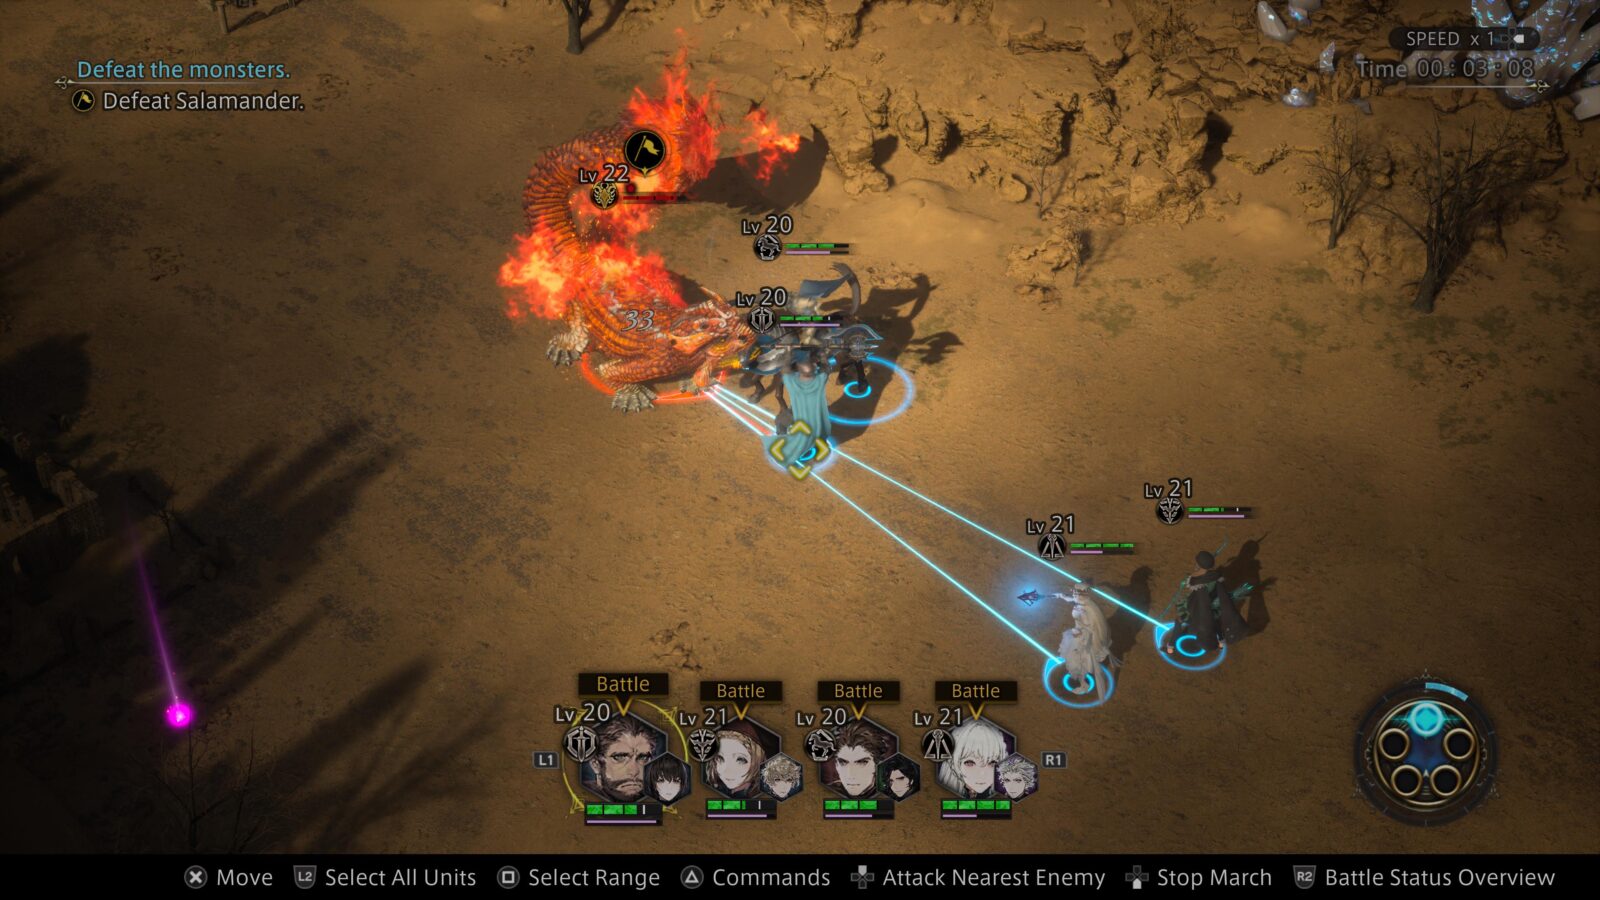
Defeating one for the first time, which is a requirement of the mission, will unavoidably unlock the Salamander Slayer trophy.

Legendary Soldier
Defeat 500 enemies.
Legendary Soldier, much like Fully Fledged Fox, is likely to unlock naturally throughout the story. Provided you’re completing the Side Missions as we’ve recommended.
The Legendary Soldier trophy should unlock sometime throughout Chapter Three.


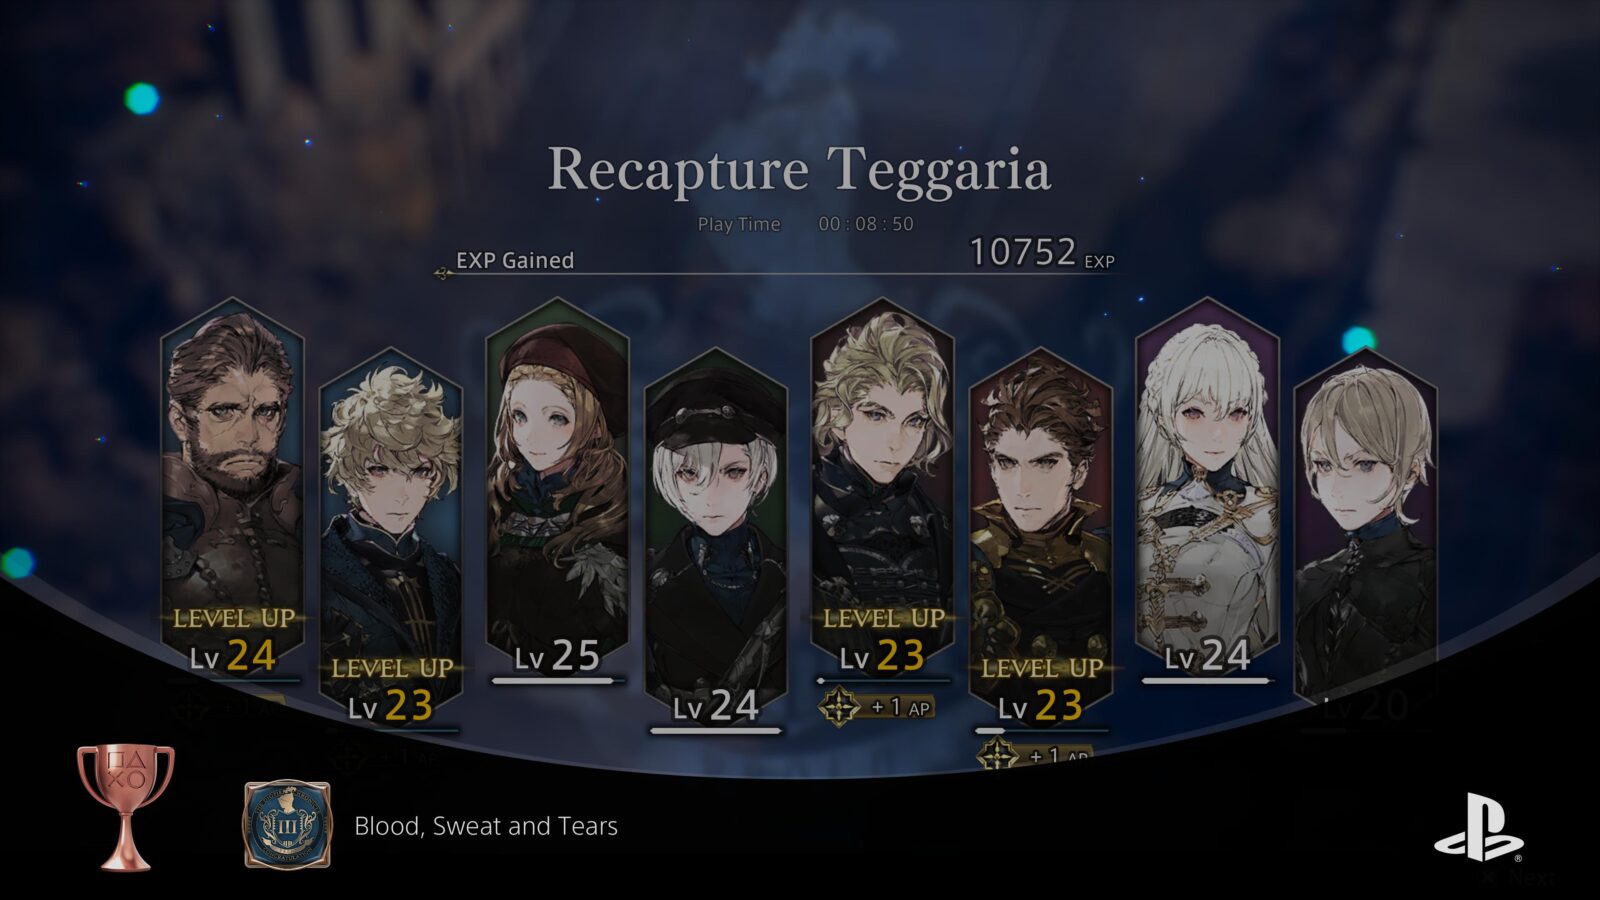
Blood, Sweat and Tears
Complete chapter three.
Chapter Three will come to a close after you complete the Mission titled “Recapture Teggaria.” At that point, just before the cutscene plays, Blood, Sweat and Tears will unlock.

Burgeoning Might
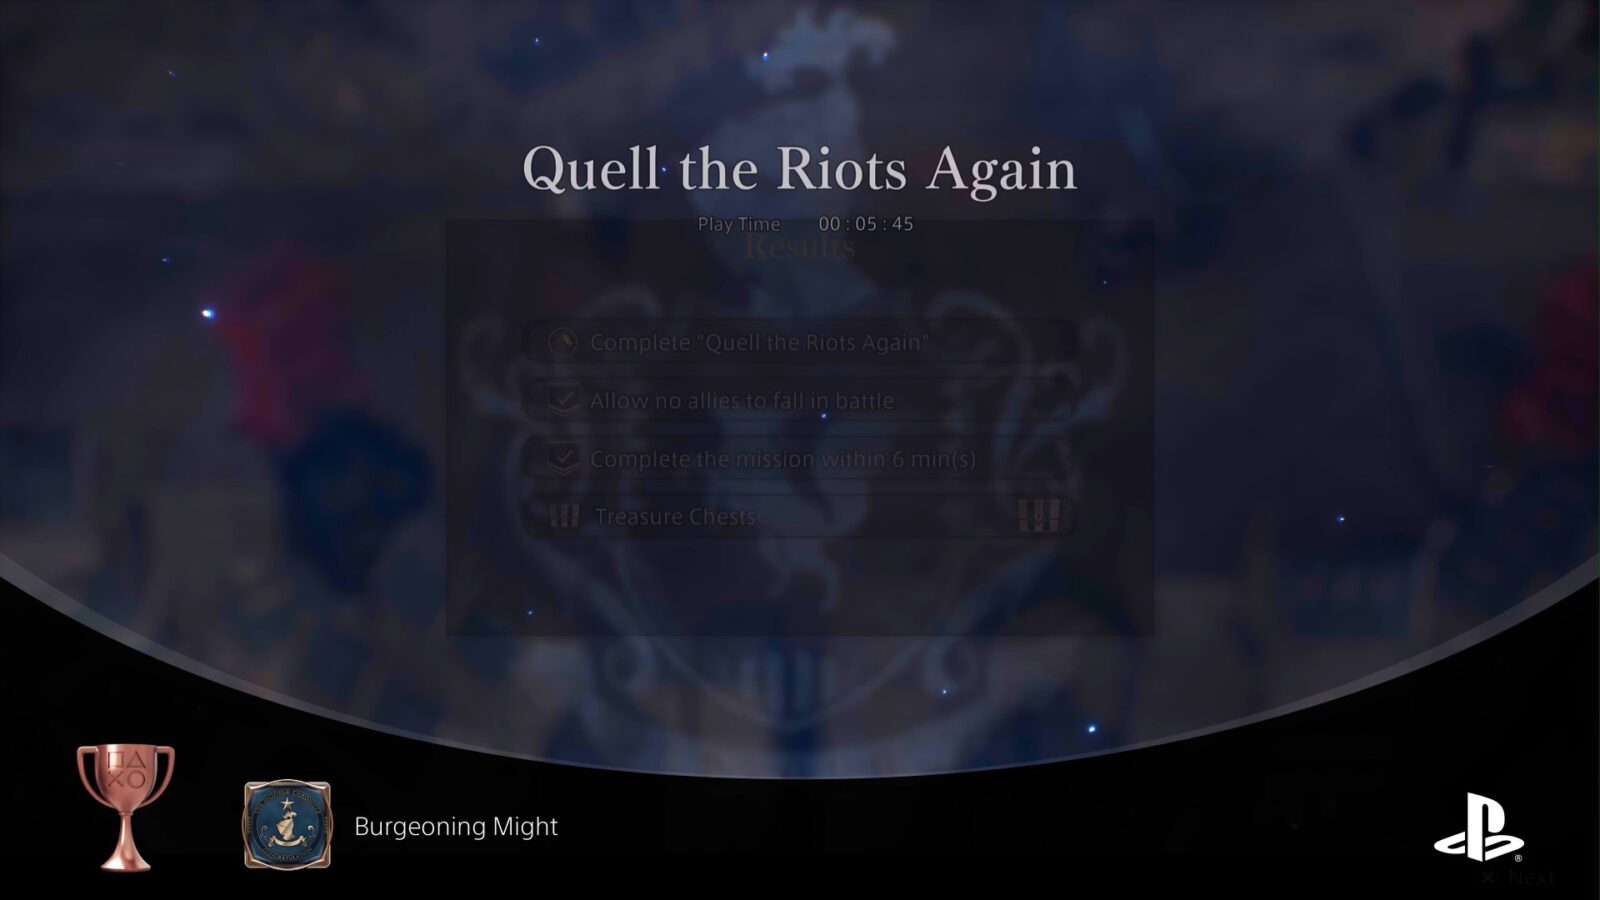
Raise a character’s level to 30.
While progressing the story and completing Side Missions around Chapter Four or Five, one or more of your allies should be at Level 30. This will certainly be the case before you finish the Story anyway, making Burgeoning Might an unmissable trophy.

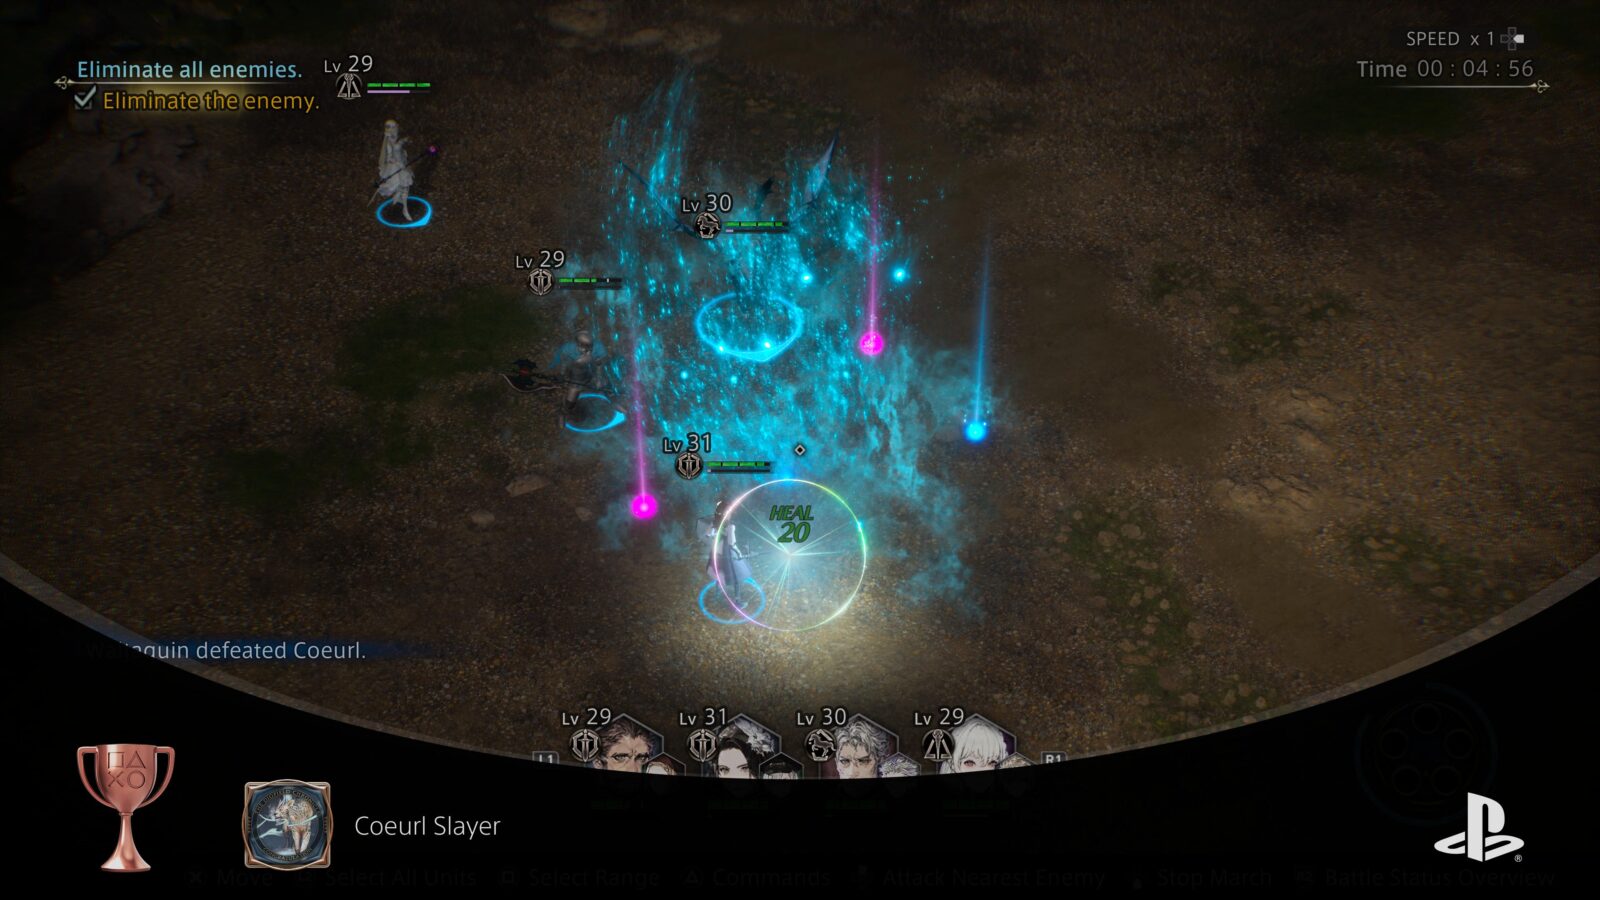
Coeurl Slayer
Defeat a Coeurl.
Coeurls are large electrically-charged cat-like creatures that show up a few times throughout the game.
The earliest you’ll be able to fight one is during the Chapter Four Side Mission “Jacqueritte Highway.”
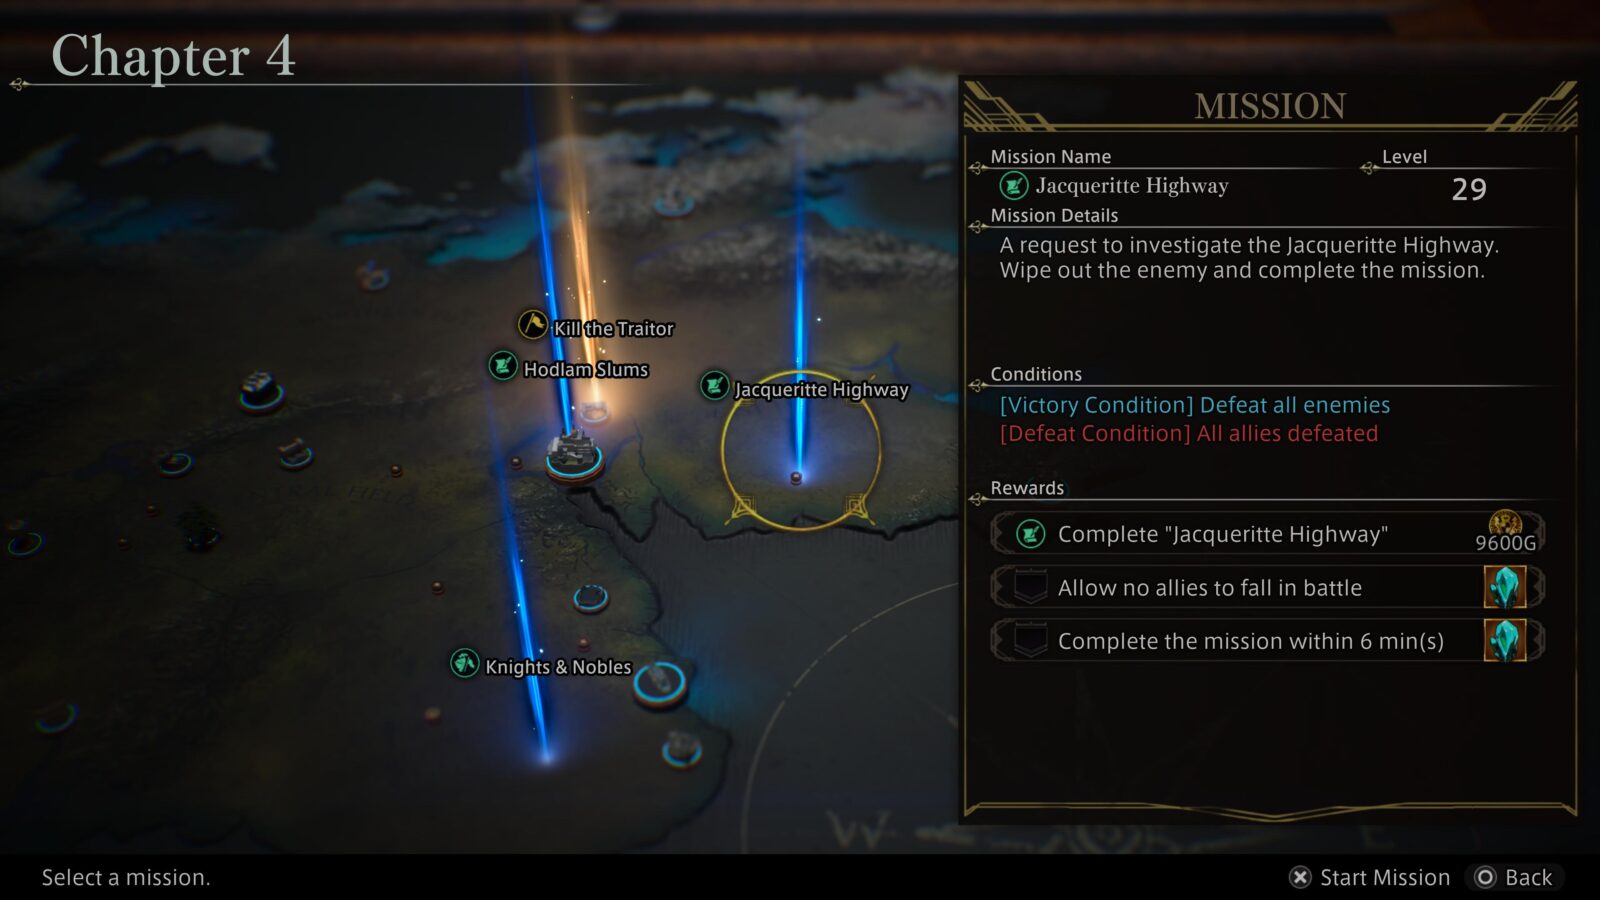
Defeating one for the first time will unlock the “Coeurl Slayer” trophy.
If you’re completing every Side Mission as we’ve advised, you should unlock this trophy naturally.

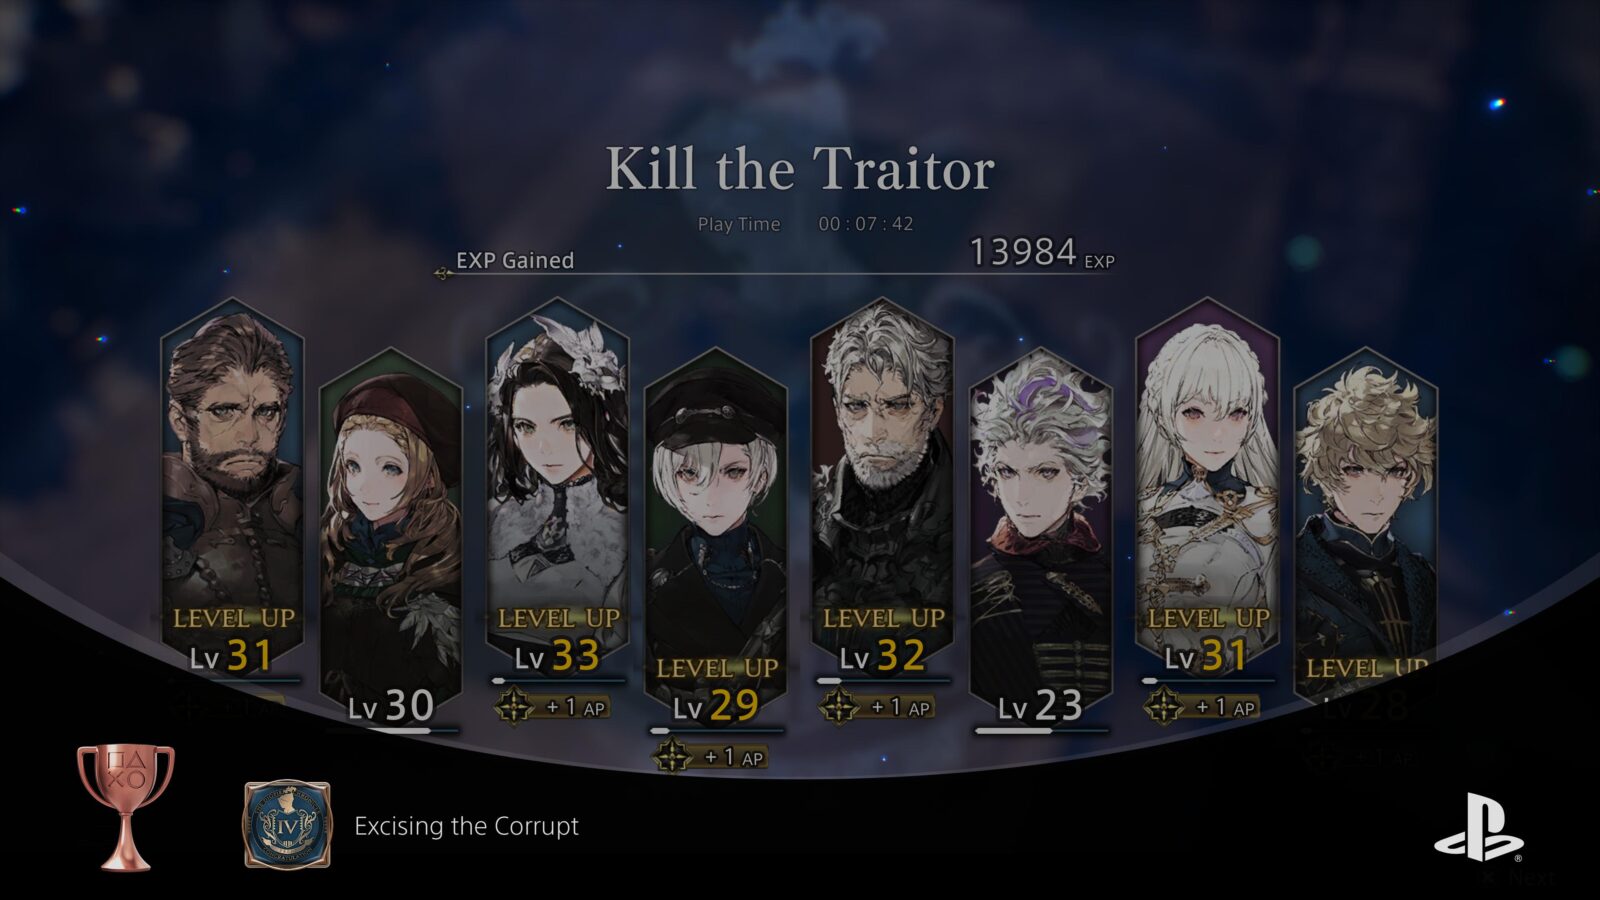
Excising the Corrupt
Complete chapter four.
The final mission in Chapter Four is “Kill the Traitor,” upon completing it, the chapter will come to an end, and the “Excising the Corrupt” trophy will unlock.

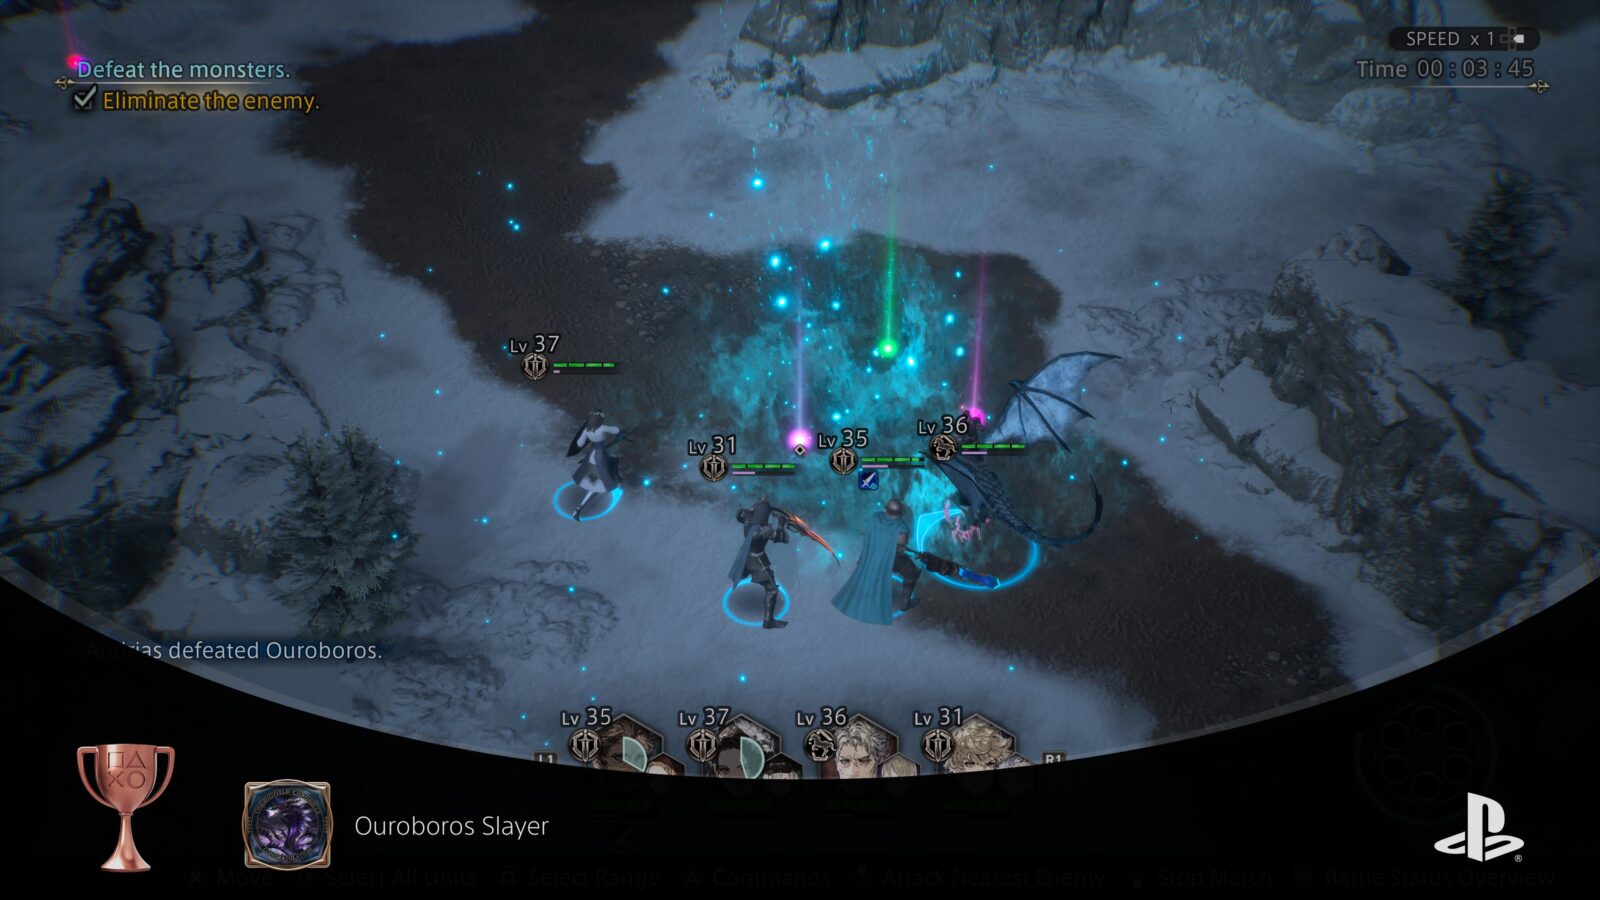
Ouroboros Slayer
Defeat an Ouroboros.
Ouroboros are large serpent-like dragons with a lot of health and high attack. The earliest you’ll be able to fight one is during the Chapter Five Side Mission “Fawnbrea Region II.” Defeating one for the first time will unlock the “Ouroboros Slayer” trophy.
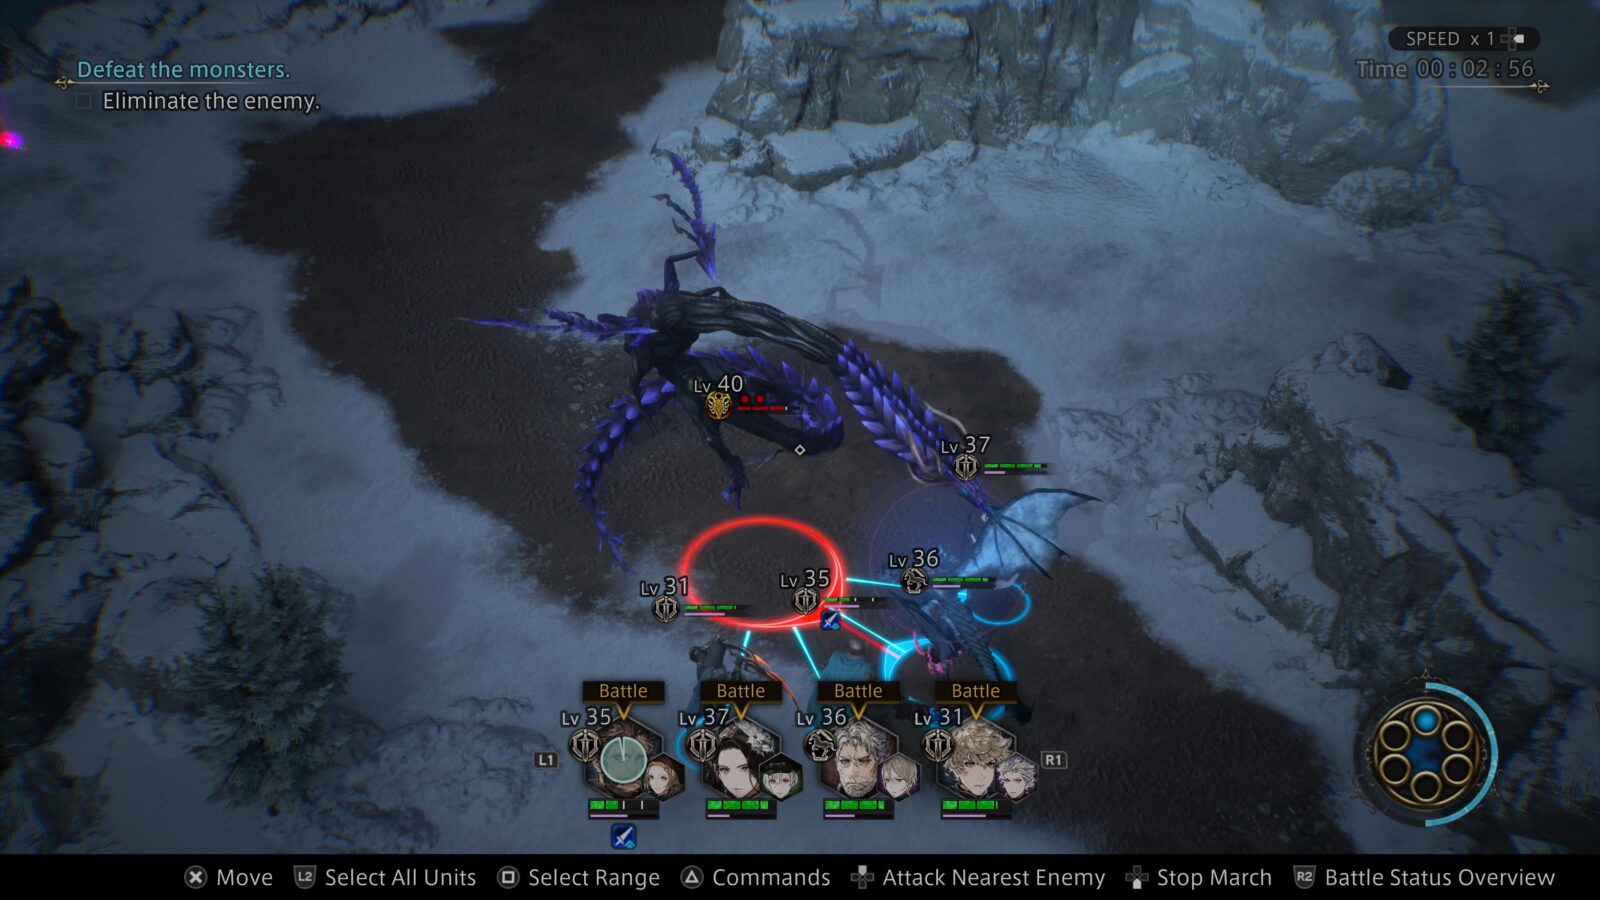
If you’re completing every Side Mission as we’ve advised, you should unlock this trophy naturally.

Skeleton Slayer
Defeat a Skeletal Dragon.
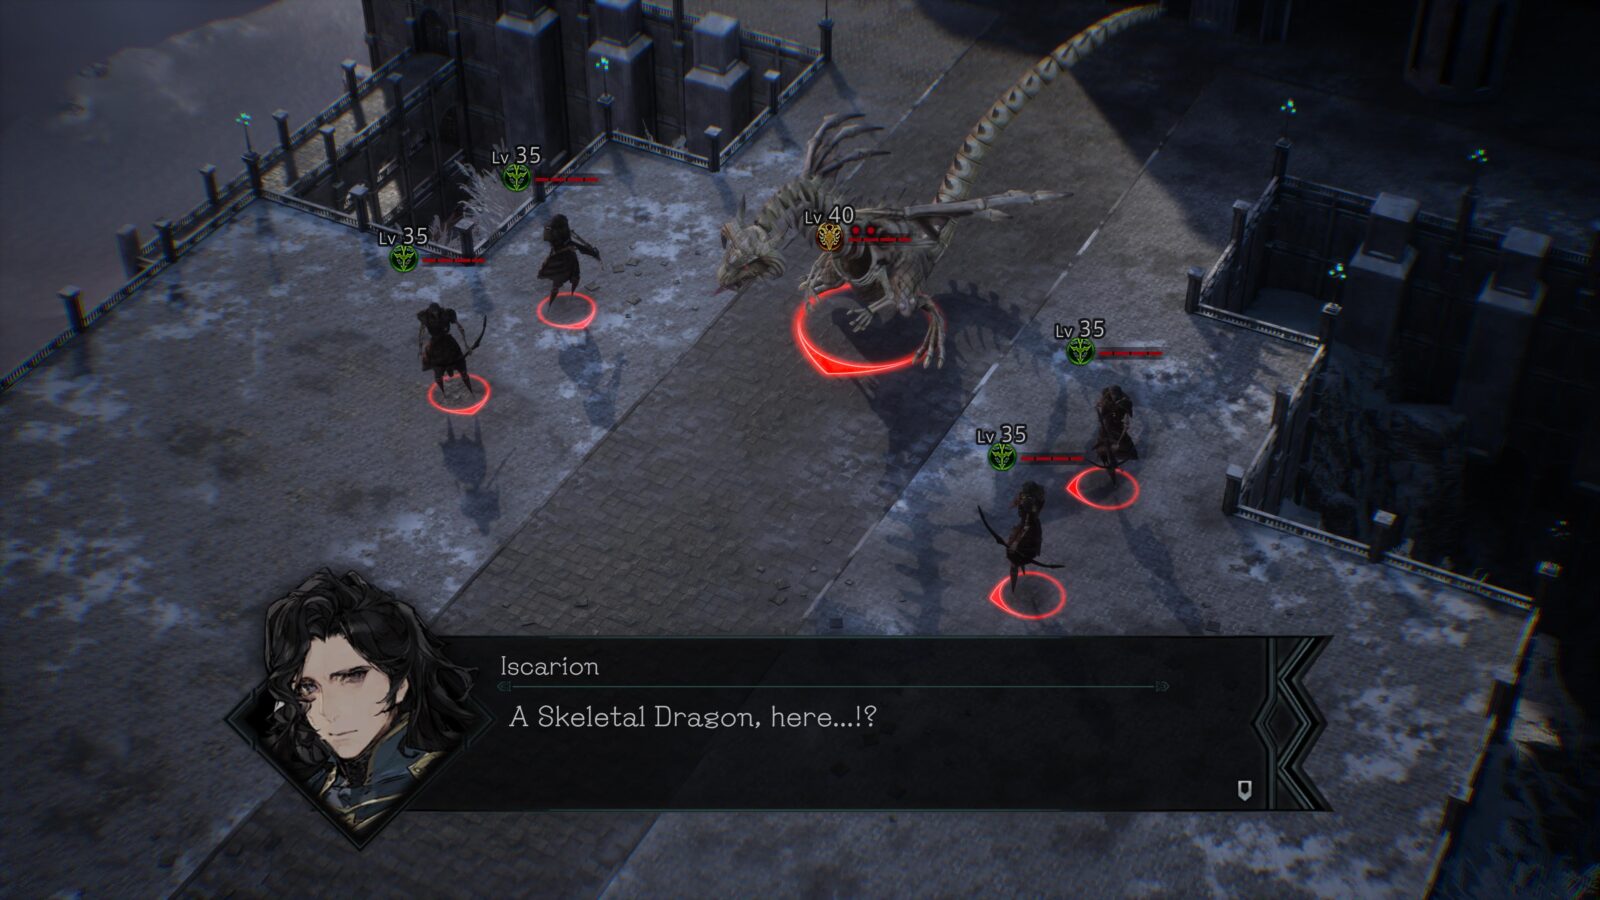
You will have to fight and defeat a Skeletal Dragon as part of the story during the Chapter Five Story Mission “Secure the Hall,” making the “Skeleton Slayer” trophy unmissable.


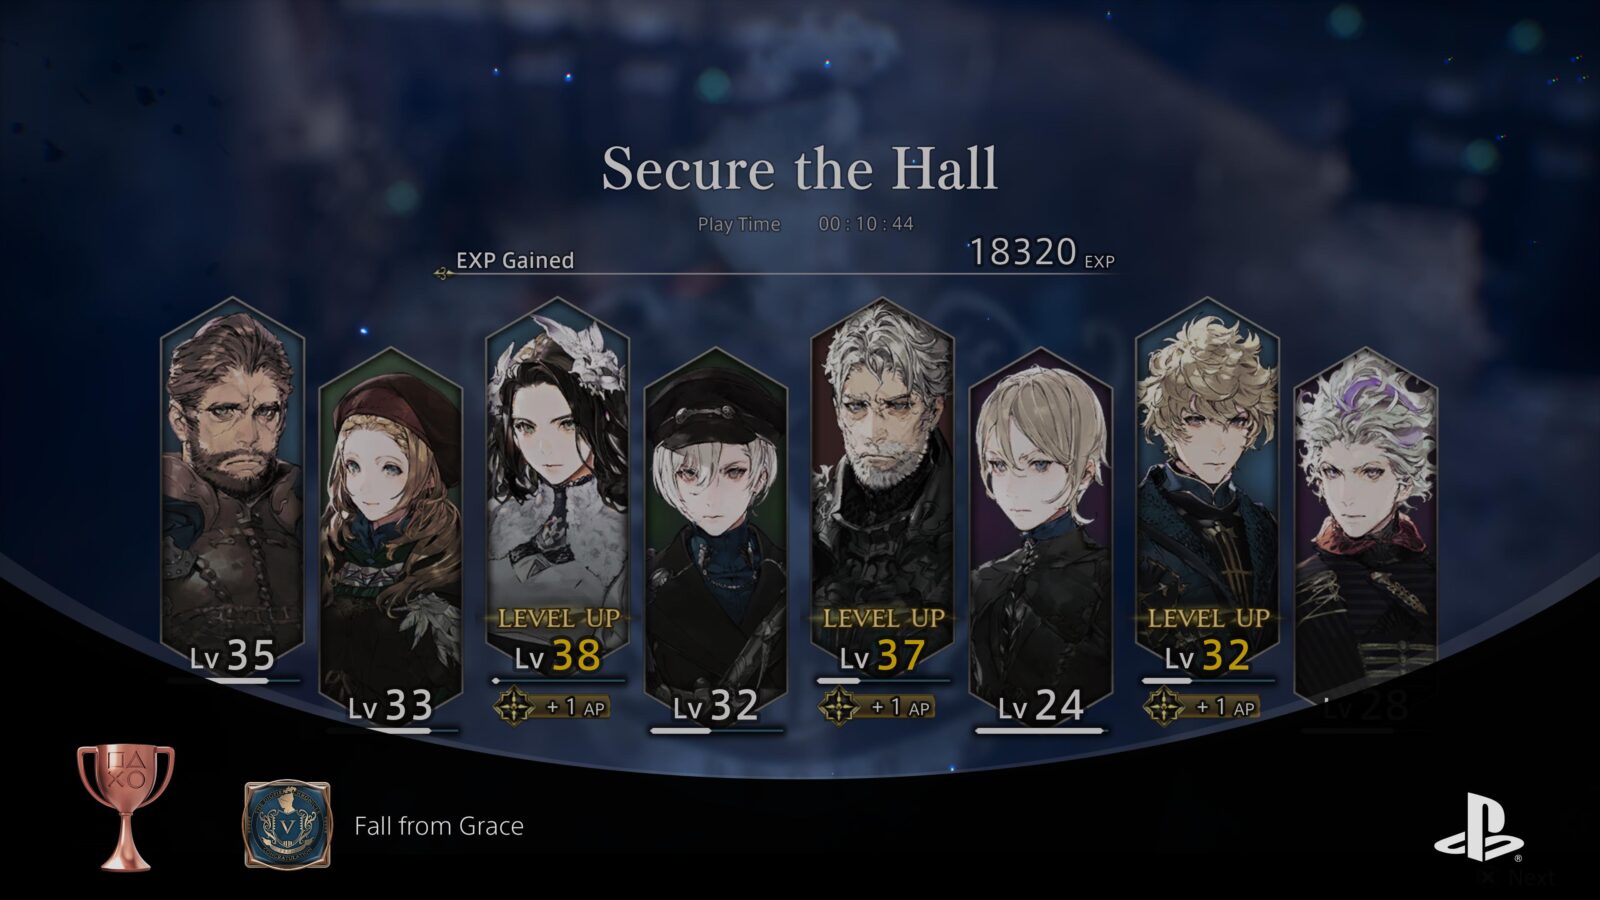
Fall from Grace
Complete chapter five.
The Fall from Grace trophy will unlock right after the Skeleton Slayer trophy does. The Skeletal Dragon is the final boss in the final Story Mission of Chapter Five; “Secure the Hall.” The Fall from Grace trophy will unlock just as the final cutscene of the Chapter begins.

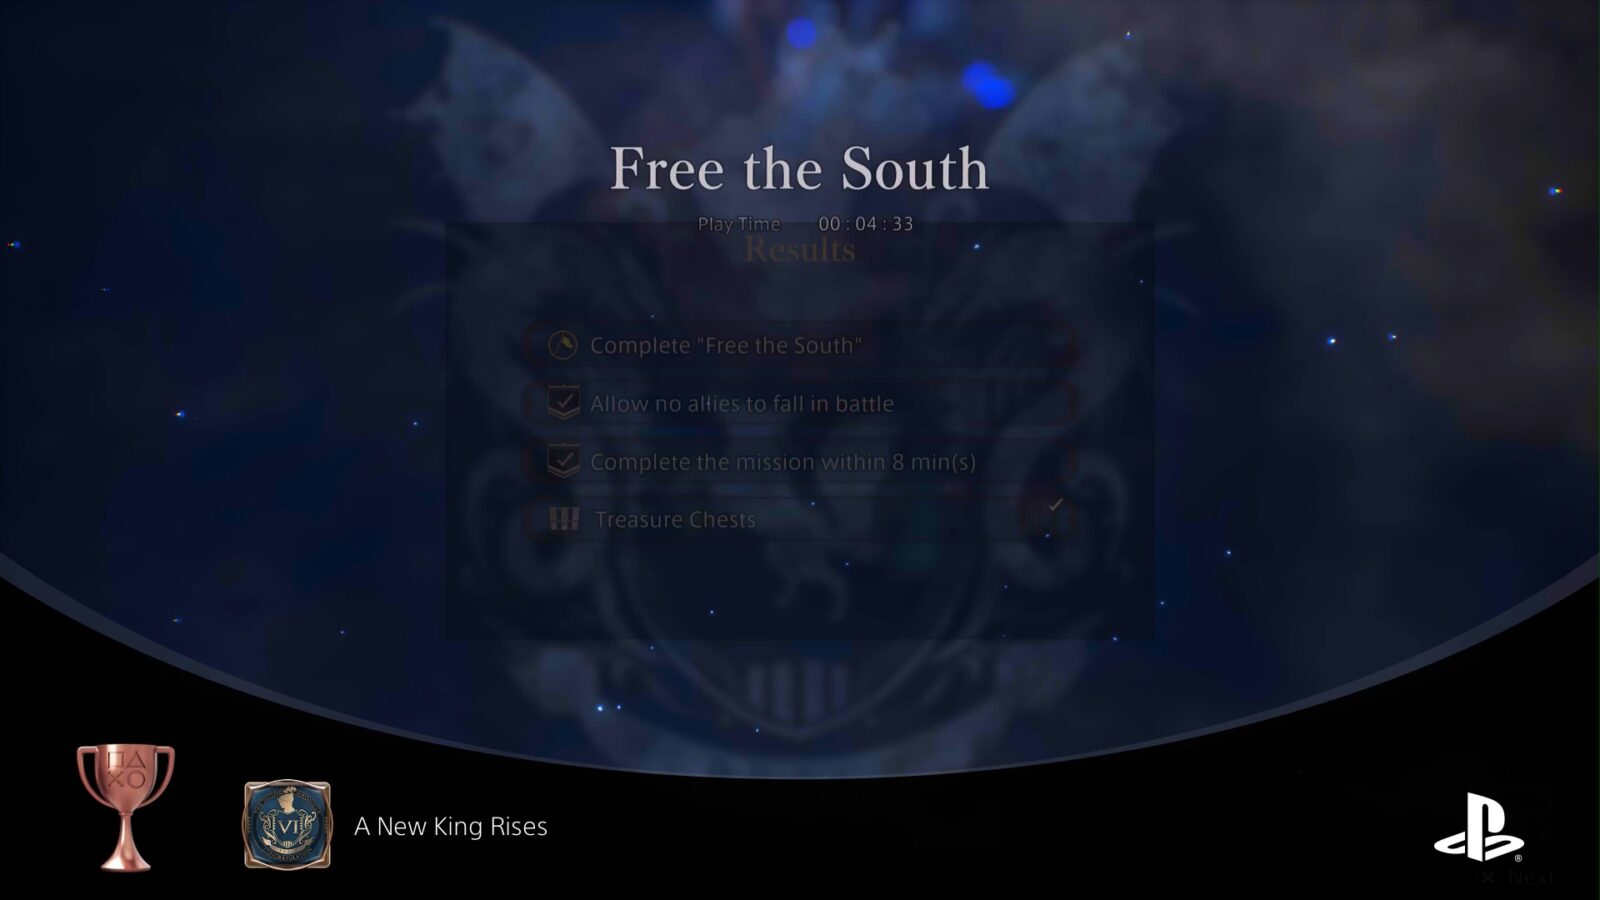
A New King Rises
Complete chapter six.
The final Story Mission in Chapter Six is “Free the South.” Upon completing it, you will also unlock the “A New King Rises” trophy.


A Fragile Peace
Complete the game.
The final Story Mission in Chapter Seven is titled “Kill the General.” Complete it to finish the Story and unavoidably receive the “A Fragile Peace” trophy after the credits.
Phase Two – Use Practice Battle to collect 100 Bonus Rewards
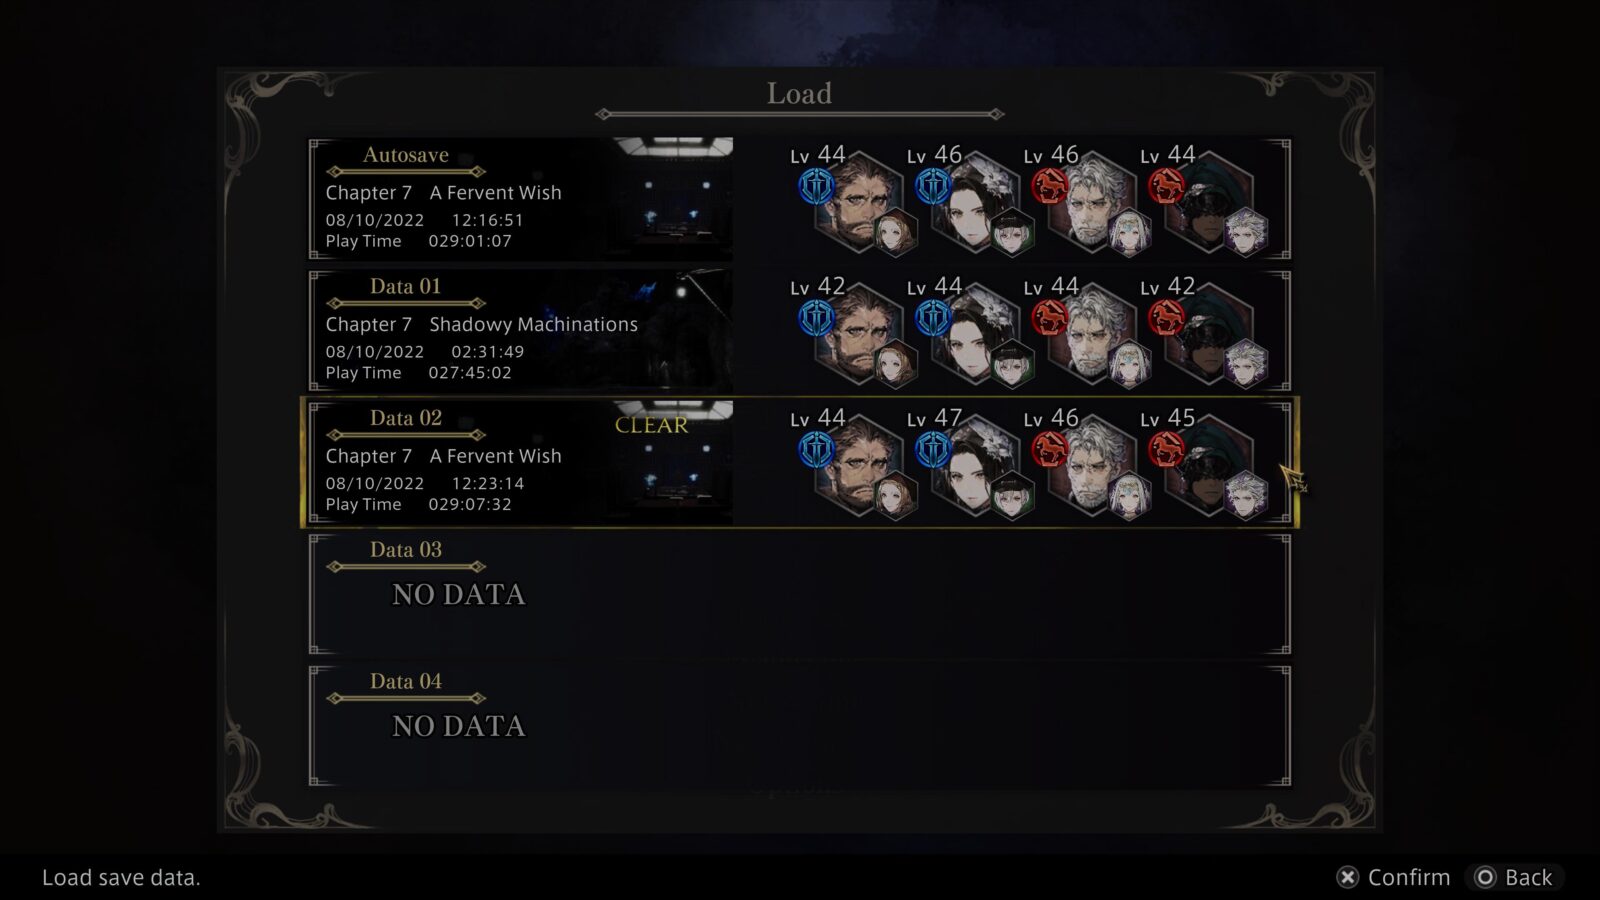
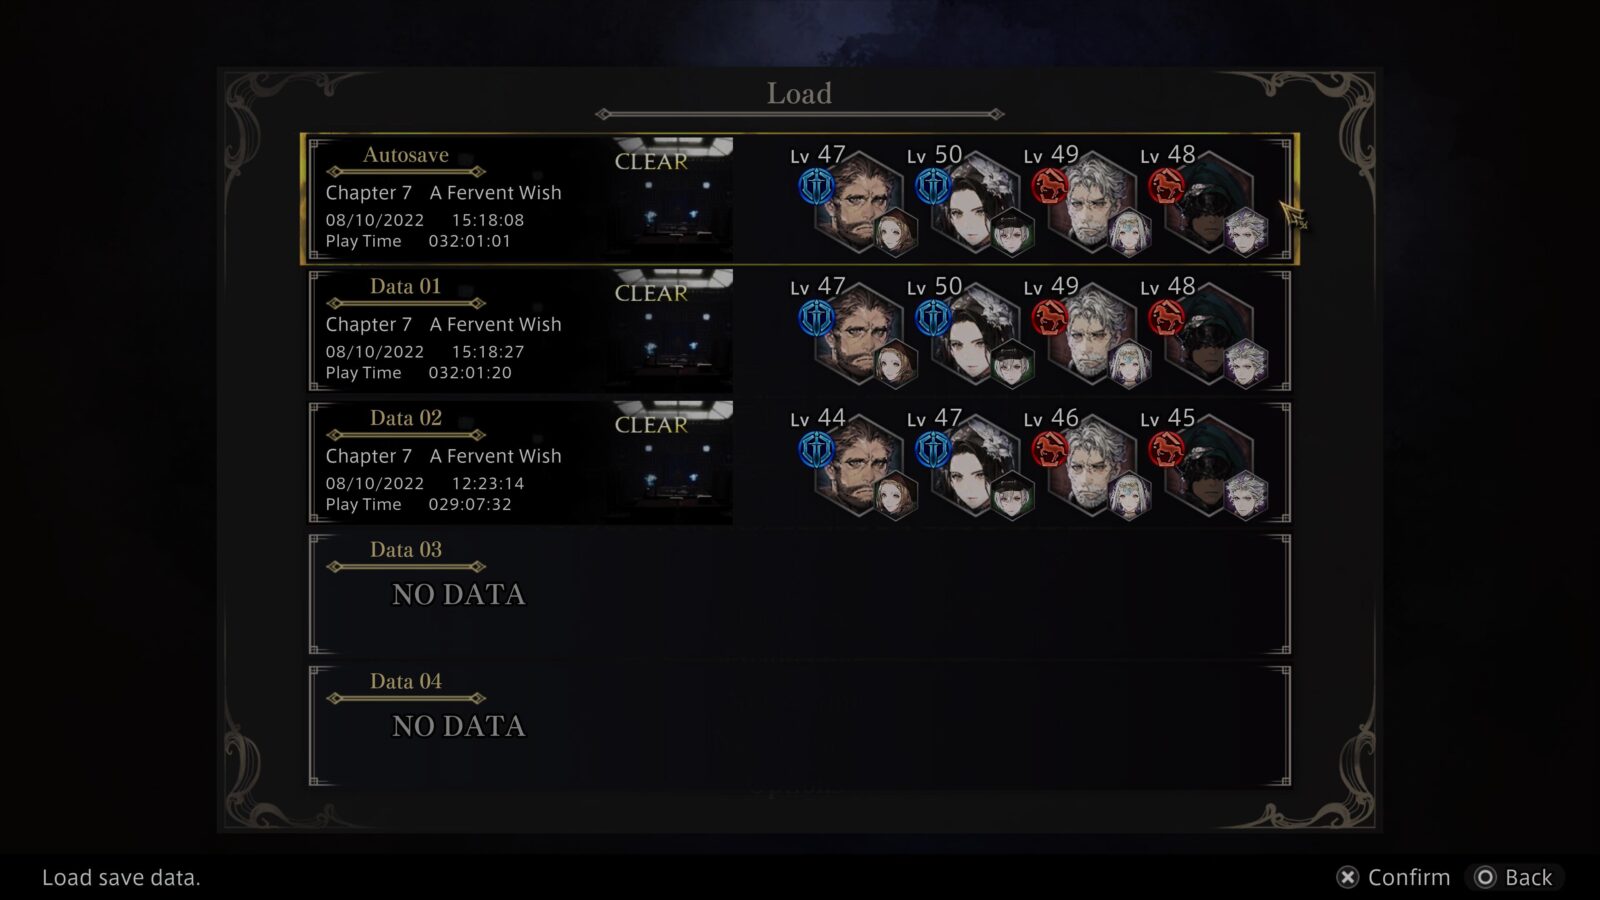
With the story complete, you will be given an opportunity to save your clear data which you definitely should do. Once that’s done, you’ll be returned to the Title Screen.
Choose “Load Game” and then load the save file with the “CLEAR” tag on it. You’ll be brought back into the game just before the final Mission, giving you ample opportunity to clean a few things up.
In this second phase of our Diofield Chronicle Trophy Guide, if you haven’t already achieved this objective, we will first focus on replaying past Missions via the Practice Battle table to complete optional objectives and receive bonus rewards.

You won’t actually need to complete every Bonus Objective, and it’s safe to skip a few of the more difficult ones if needed.
Bonus Reward Trophies

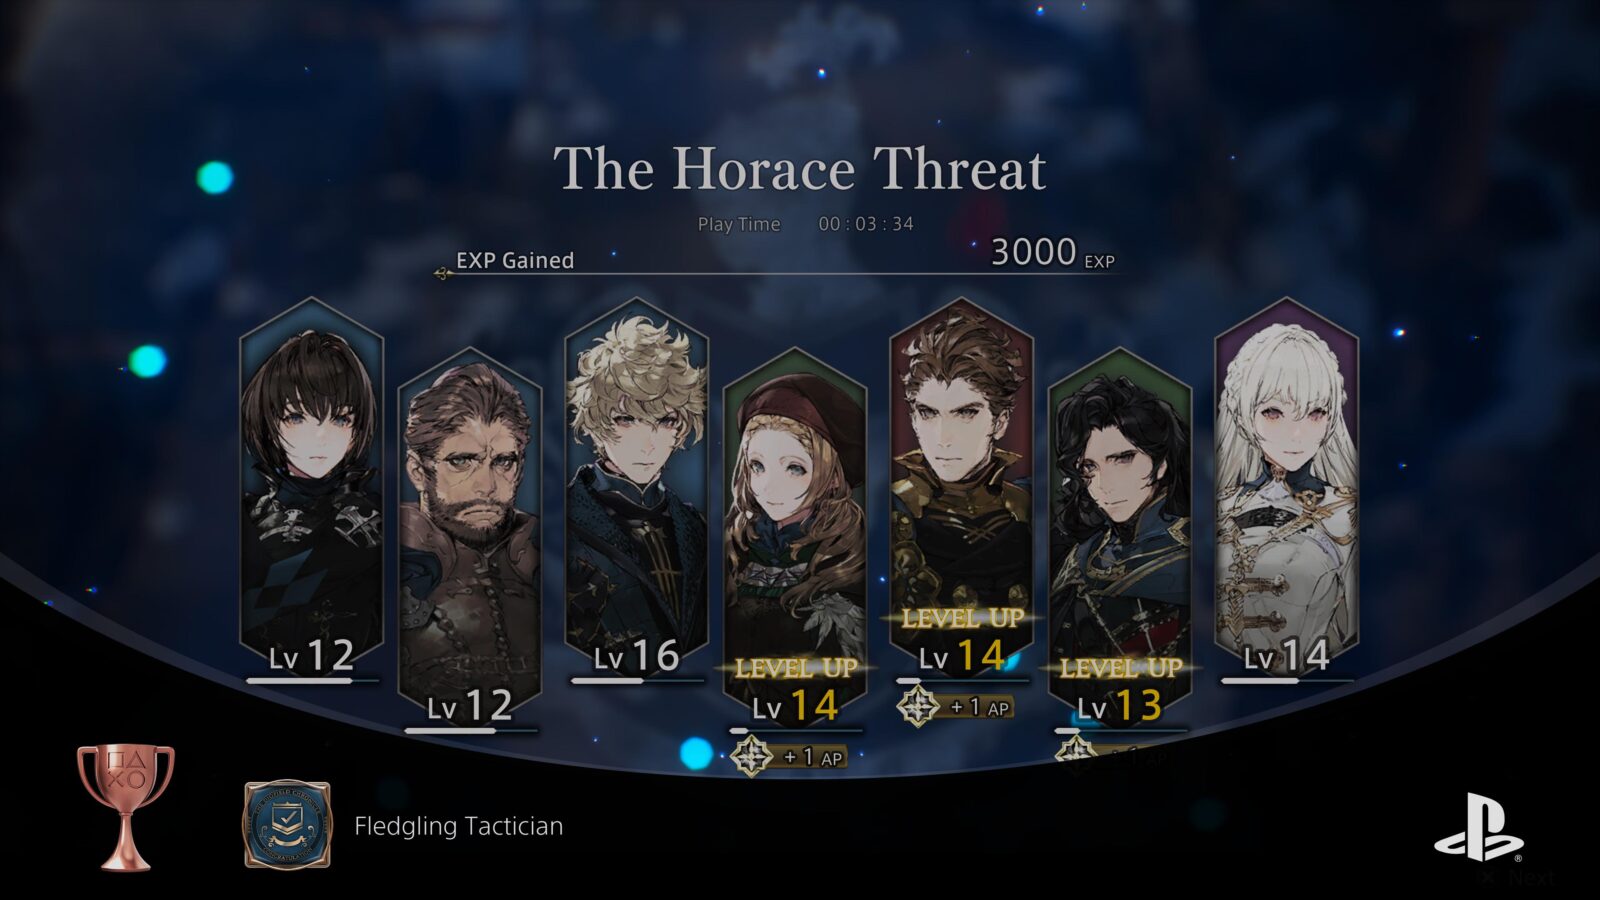
Fledgling Tactician
Acquire 10 bonus rewards from missions.
The majority of Missions, main or otherwise, have a small checklist of optional objectives that you can complete. For each objective that gets checked off at the result screen, you will earn a reward—usually crafting or upgrading materials.

The bonus objectives aren’t too difficult, they usually just require you to keep your whole team alive and complete the mission in a certain amount of time. Though some of these objectives can be tricky at first, you’ll find them incredibly easy to complete when replaying past missions via the Practice Battle table so, if needed, you can farm them there.
After you have completed your first 10 optional objectives and thus received 10 bonus rewards, the Fledgeling Tactician trophy will unlock.
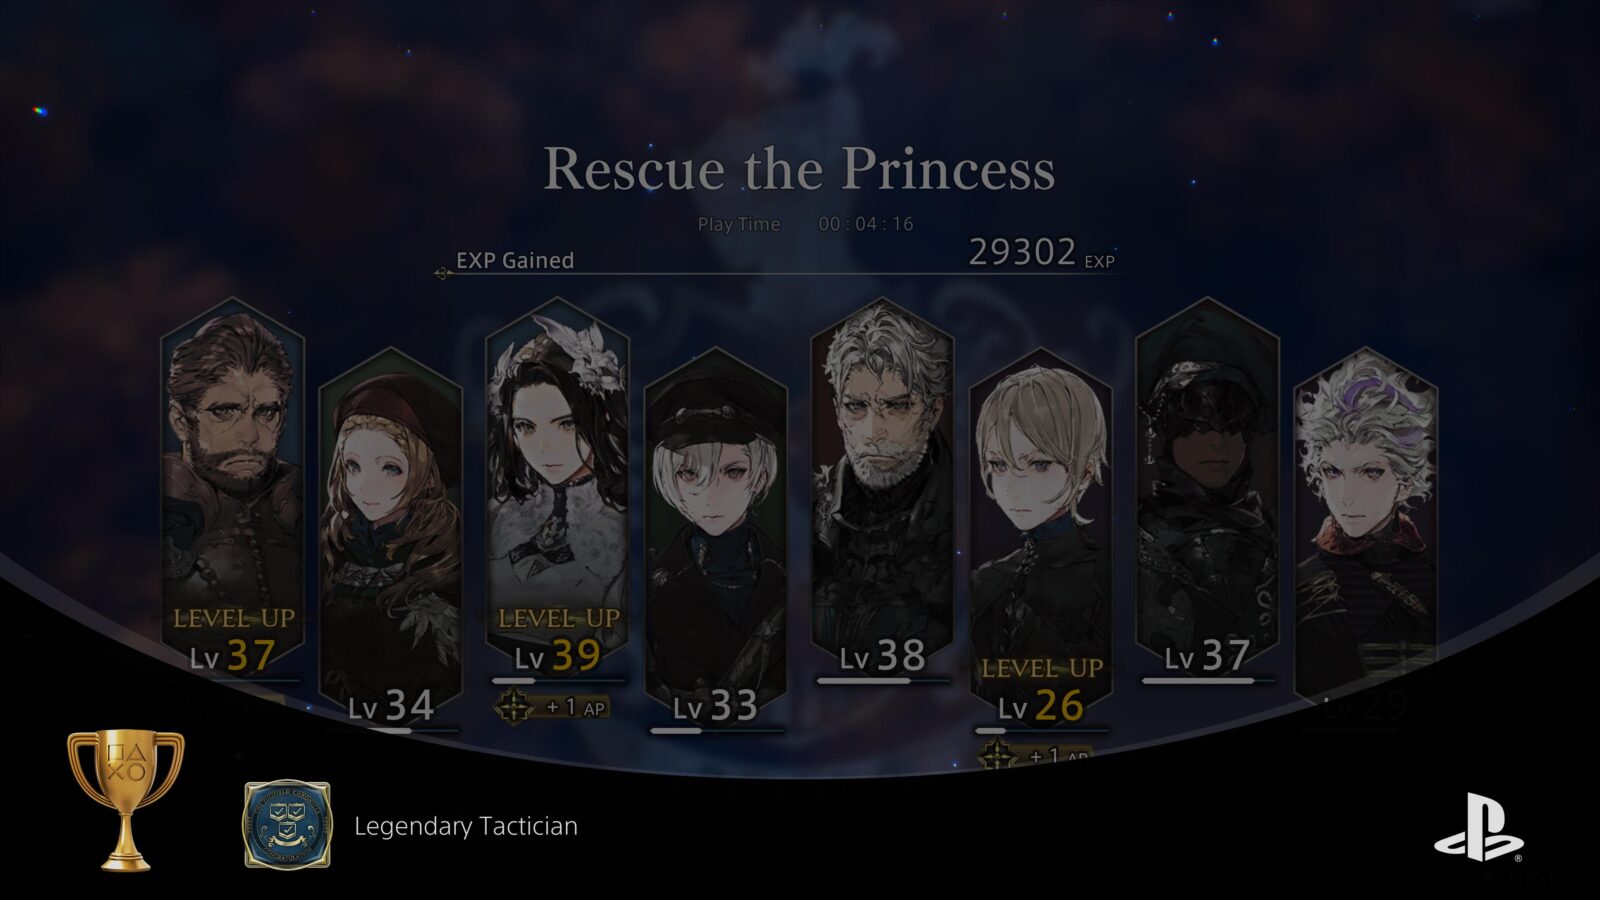
You will need to acquire 100 bonus rewards in total for the Legendary Tactician trophy.
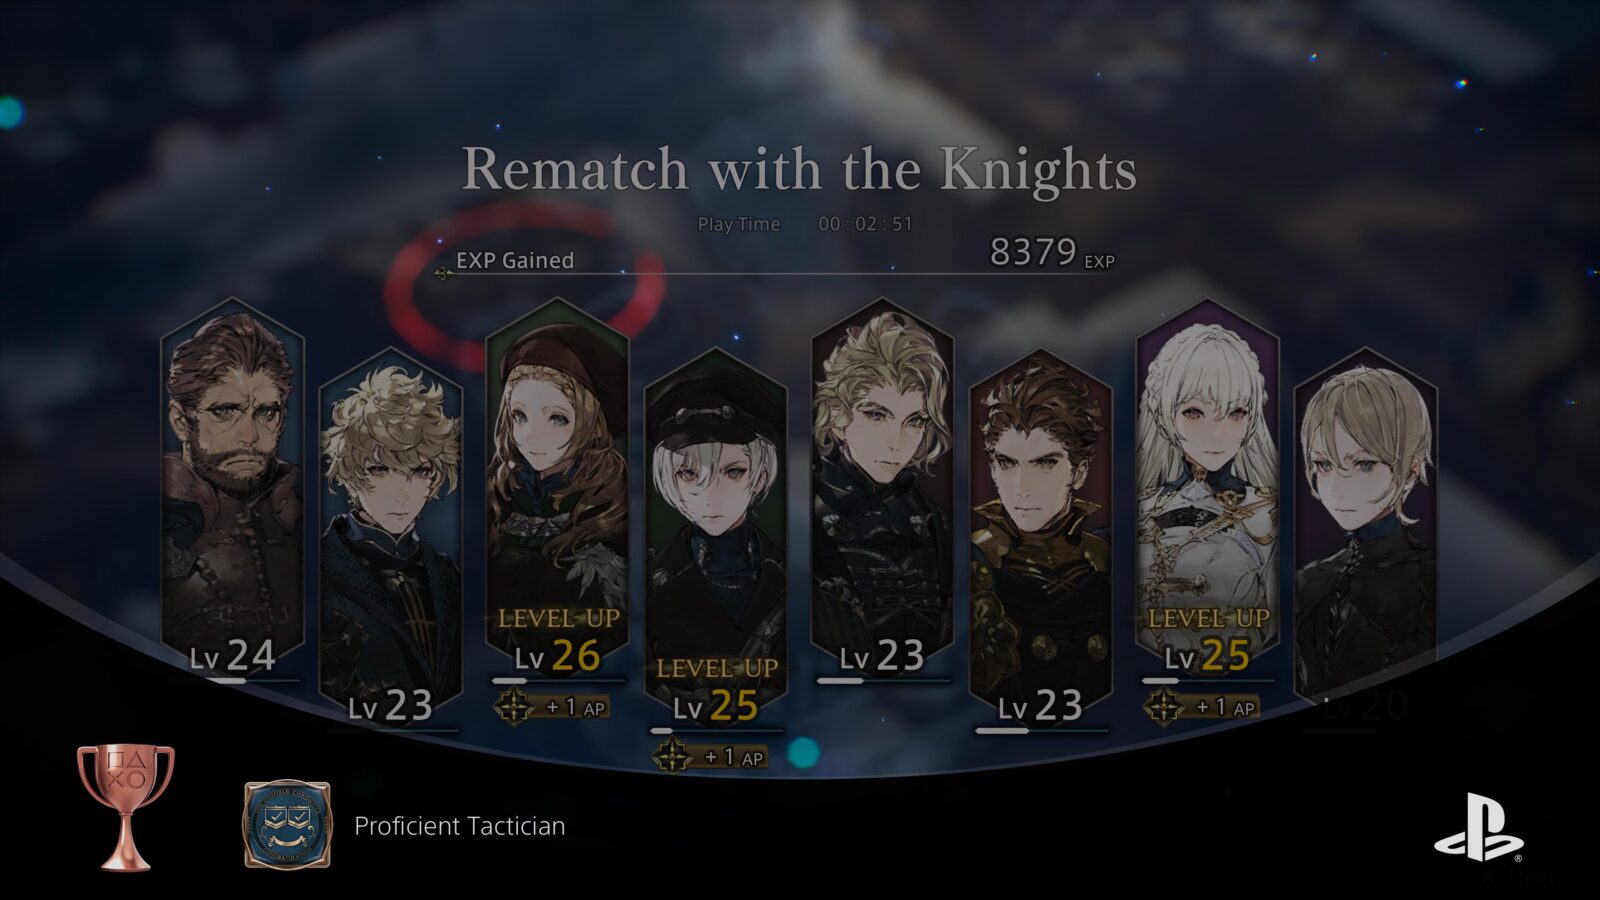
Proficient Tactician
Acquire 50 bonus rewards from missions.
The Proficient Tactician trophy is just a stop-gap between the Fledgeling Tactician trophy for earning 10 bonus rewards, and the Legendary Tactician trophy for earning 100 bonus rewards.
Upon earning your 50th bonus reward, the Proficient Tactician trophy will pop.
Legendary Tactician
Acquire 100 bonus rewards from missions.
As with the Fledgling Tactician and Proficient Tactician trophies, for the Legendary Tactician trophy, you need to complete Optional Objectives within Story Quests, Side Quests, and Character Quests to earn Bonus Rewards from them.
There’s actually way more than 100 Bonus Rewards up for grabs, so you won’t need to spend hours completing every single one, and it’s safe to ignore some that you’re having trouble with. You can use the Practice Battle table to replay old Side and Story Quests to attempt to claim bonus rewards you’ve missed in the past.
Typically, as you’re often at a much higher level when replaying missions, the bonus objectives are easier to complete via Practice Battle. Especially in missions where you have a limited roster for the story, as those limits are removed in Practice Battle!
Earn a total of 100 Bonus Rewards (across at least 50 Missions) to unlock the Legendary Tactician trophy!
Phase Three – Use Practice Battle to reach Level 50
You may have already achieved this, but if not, you can continue using PRactice Battle to replay missions for exp and raise at least one of your party members to level 50!
Reach Level 50

Ultimate Mastery
Raise a character’s level to 50.
After completing the story, completing every Side Mission, and doing any required cleanup for Bonus Rewards, you should have at least one party member who is around Level 46. Simply replay any mission (higher level = more exp, of course) via Practice Battle as many times as you need to raise at least one character to Level 50.
If you’ve enjoyed the game up to this point, you could go into New Game Plus and earn exp while replaying the game. However, NG+ enemies don’t scale up, they will still be very low-level at the start, and so exp earnings will be low.
I found the best place to farm EXP was the Chapter 7 Side Mission titled “Kelling Peninsula.” With its many miniboss enemies, this Mission is a great place to farm big chunks of exp at a time (about 28K per run). It’s also quicker than other missions, thanks to the lack of cutscenes to mash through.
Regardless of how you choose to do it, the Ultimate Mastery trophy will unlock once one of your party members reaches Level 50.
Phase Four – Misc Cleanup
Like me, there’s a good chance by this point that you have already received every misc trophy listed in this final phase of our Diofield Chronicle Trophy Guide.
However, if you still haven’t nabbed the Platinum, then there’s likely one or two Misc Trophies still on your to-do list. Browse the selection below to see the what, where, and how of them all.
Misc Hub Area Trophies

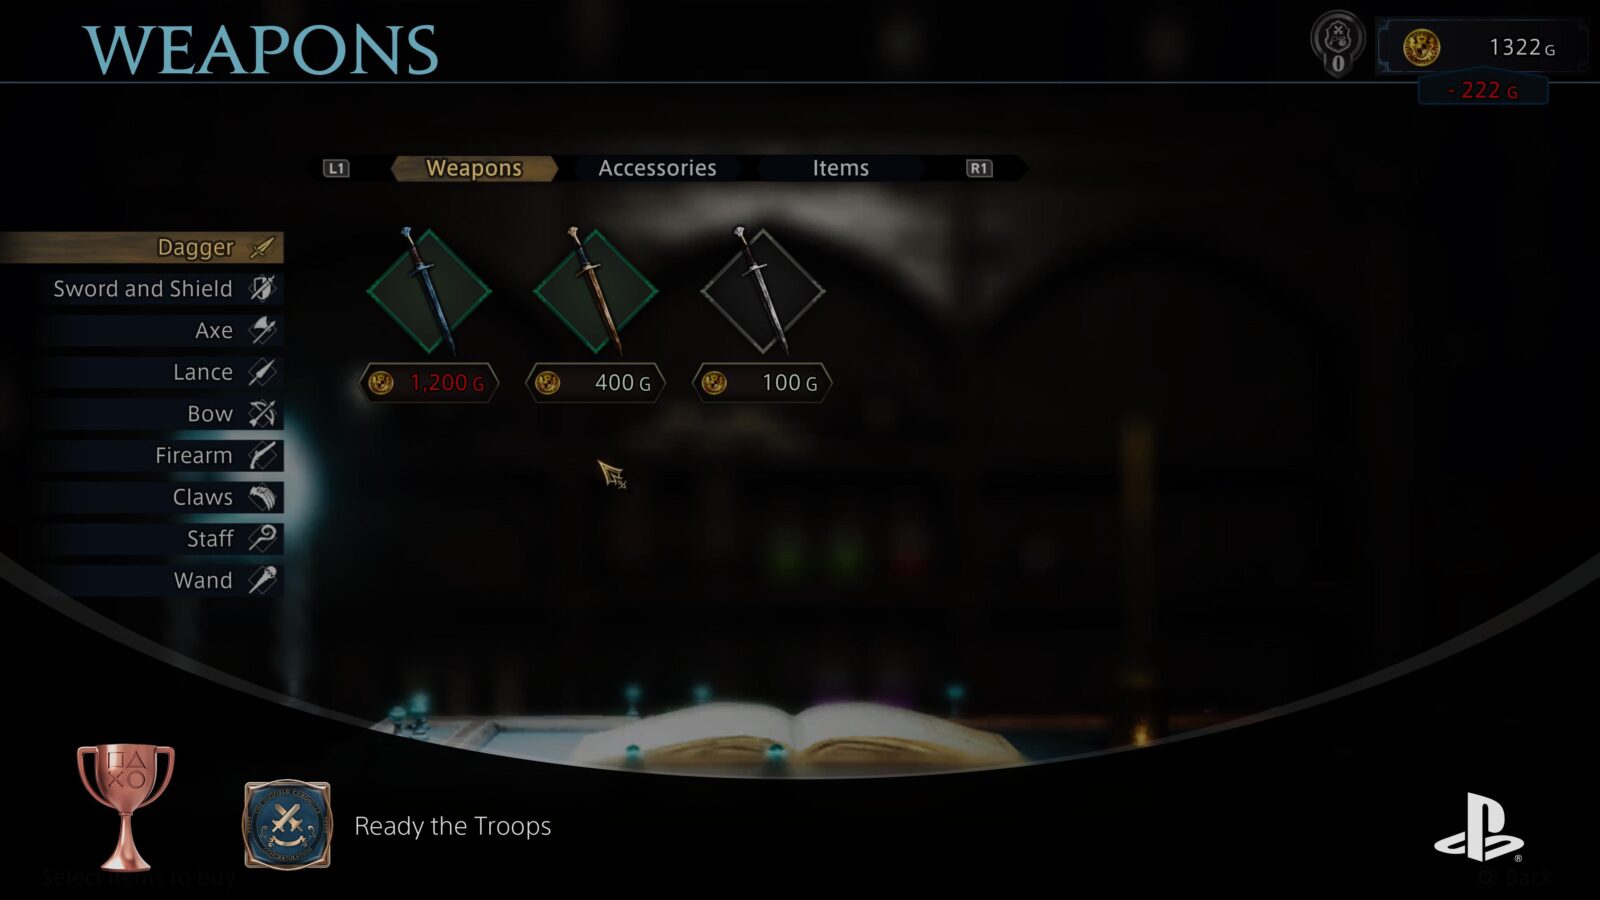
Ready the Troops
Purchase a weapon.
As part of the game’s tutorial, you’ll be taken to a Shop where you’ll receive a new weapon. This won’t unlock the “Ready the Troops” trophy, but from that point on, you can speak to the Shop Assistant and purchase a weapon from him.
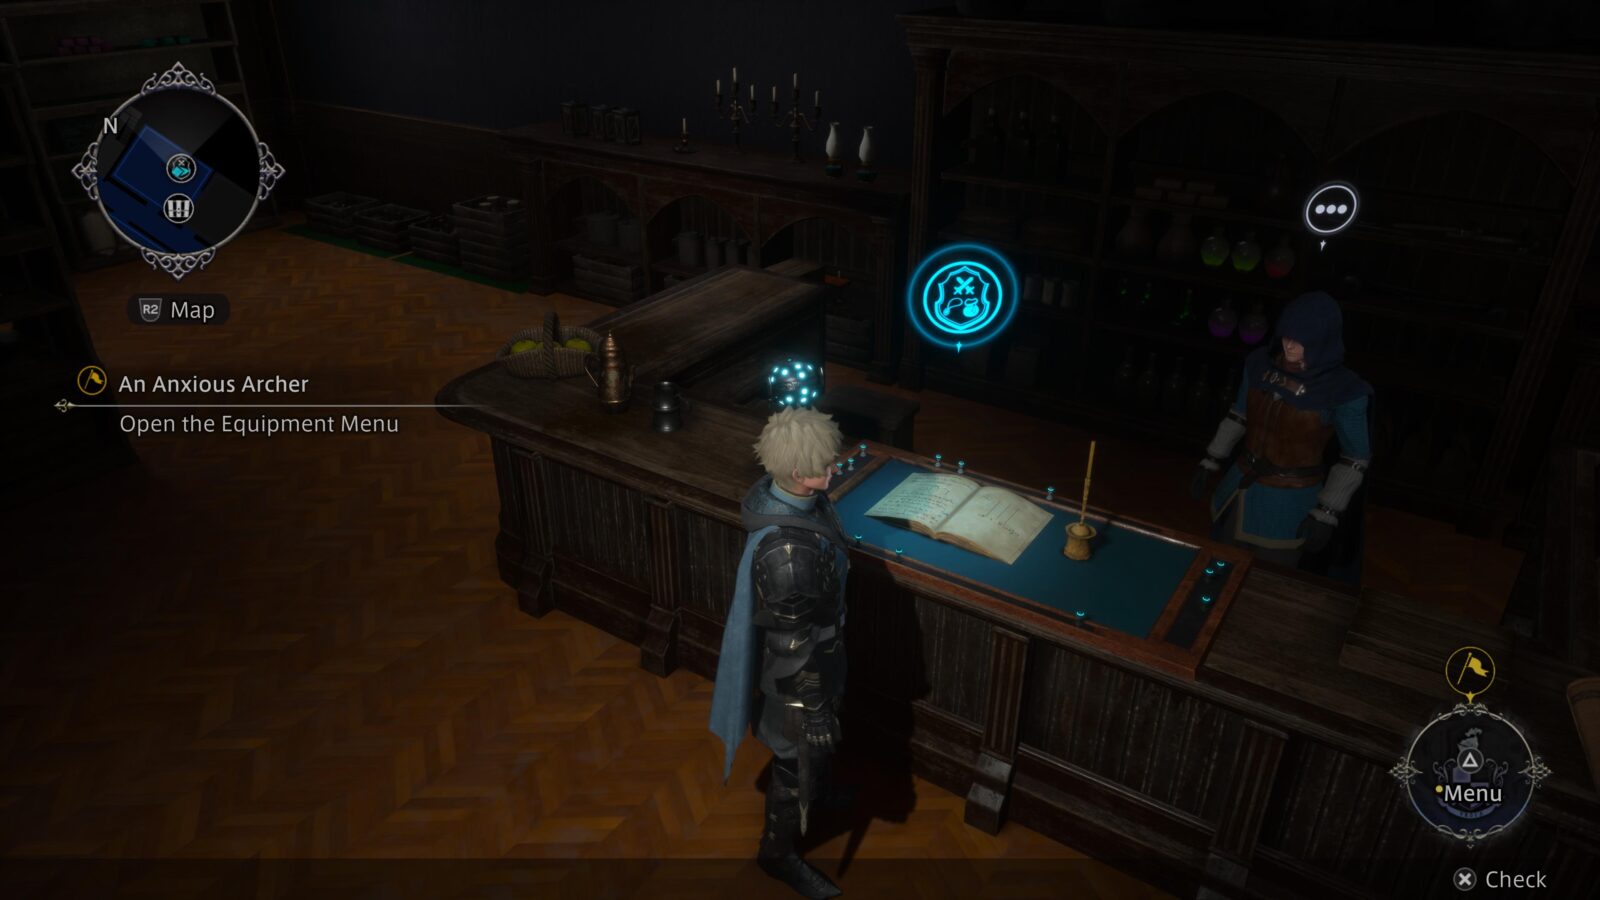
Buy any weapon for the first time, and the Ready the Troops trophy is yours.

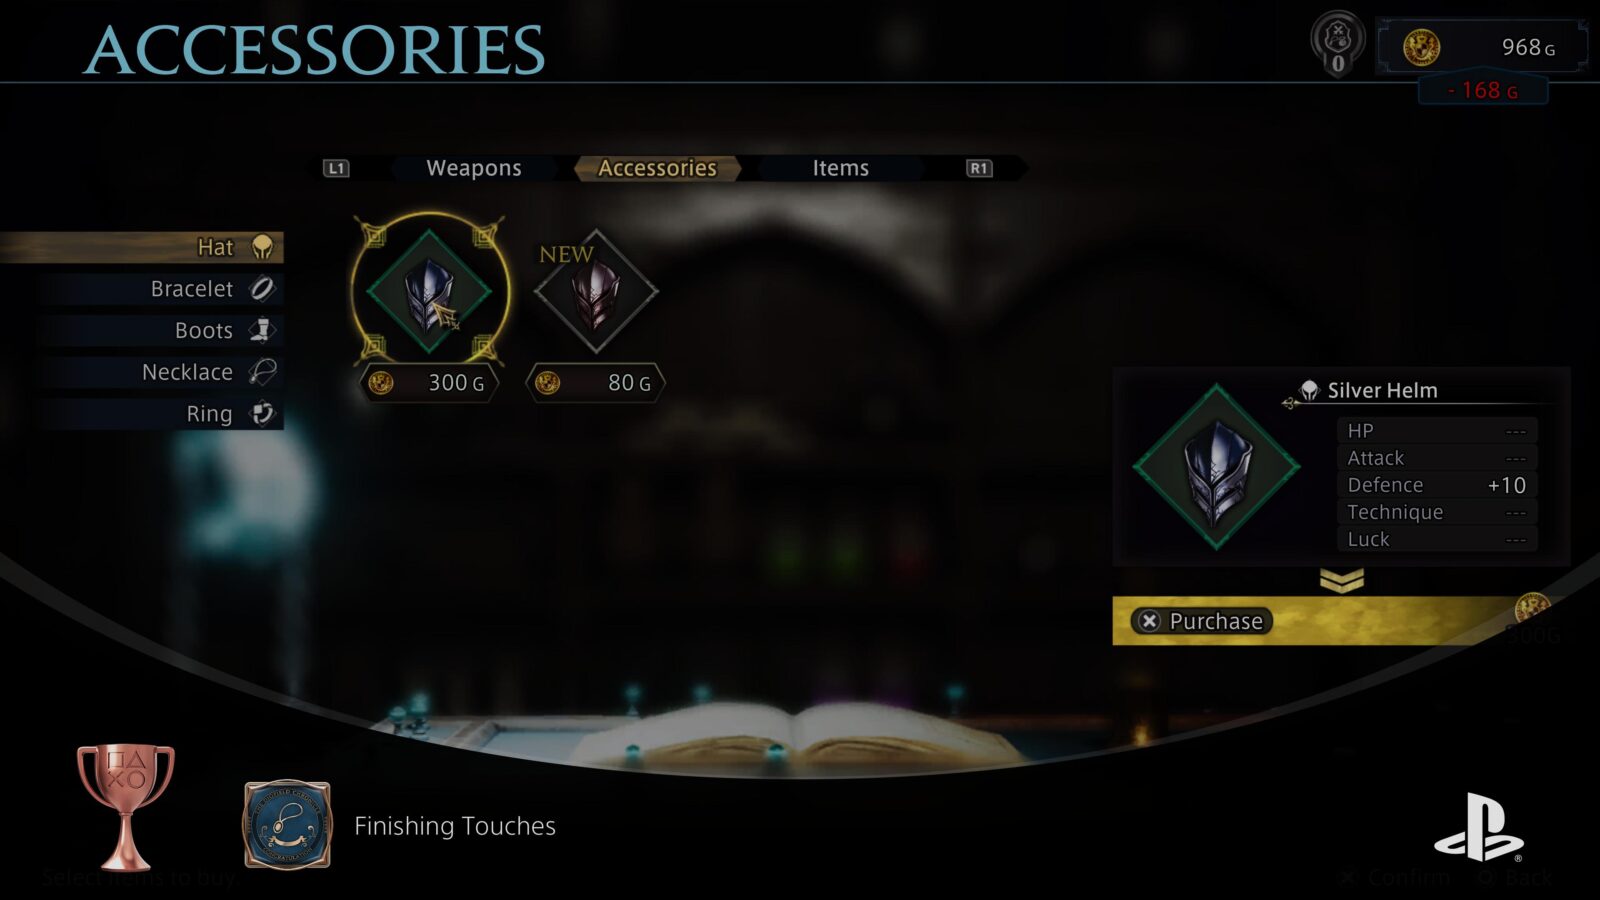
Finishing Touches
Purchase an accessory.
During the game’s tutorial, you’ll be taken to a Shop where you’ll receive a new weapon. From that point on, you can speak to the Shop Assistant and purchase an accessory from him.
Buy an accessory of any type for the first time, and the Finishing Touches trophy is yours.

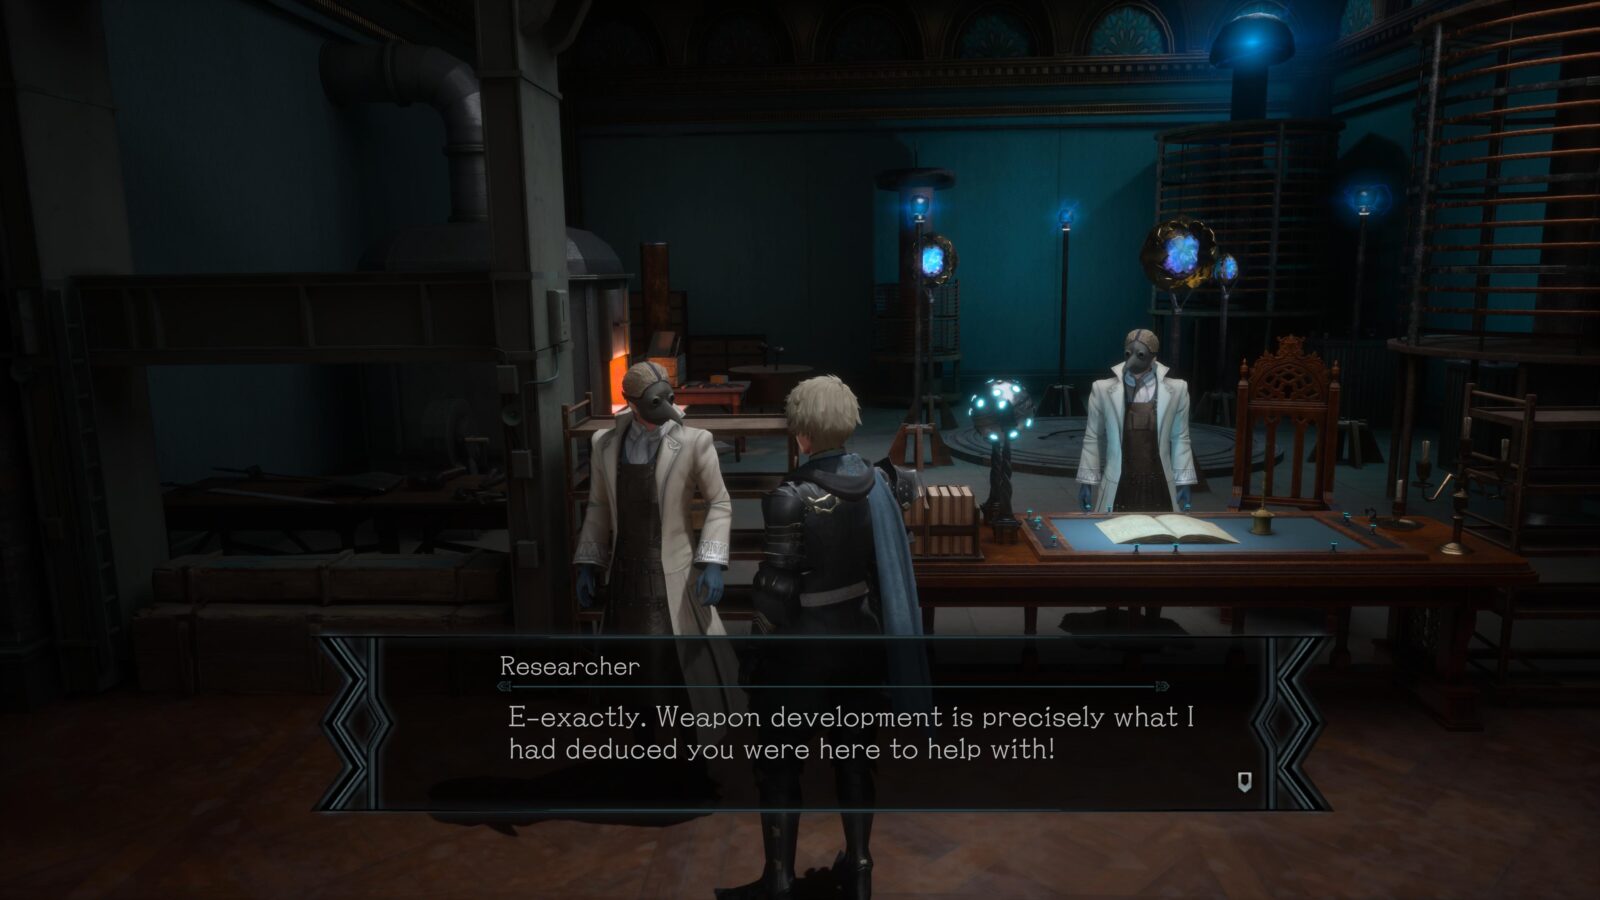
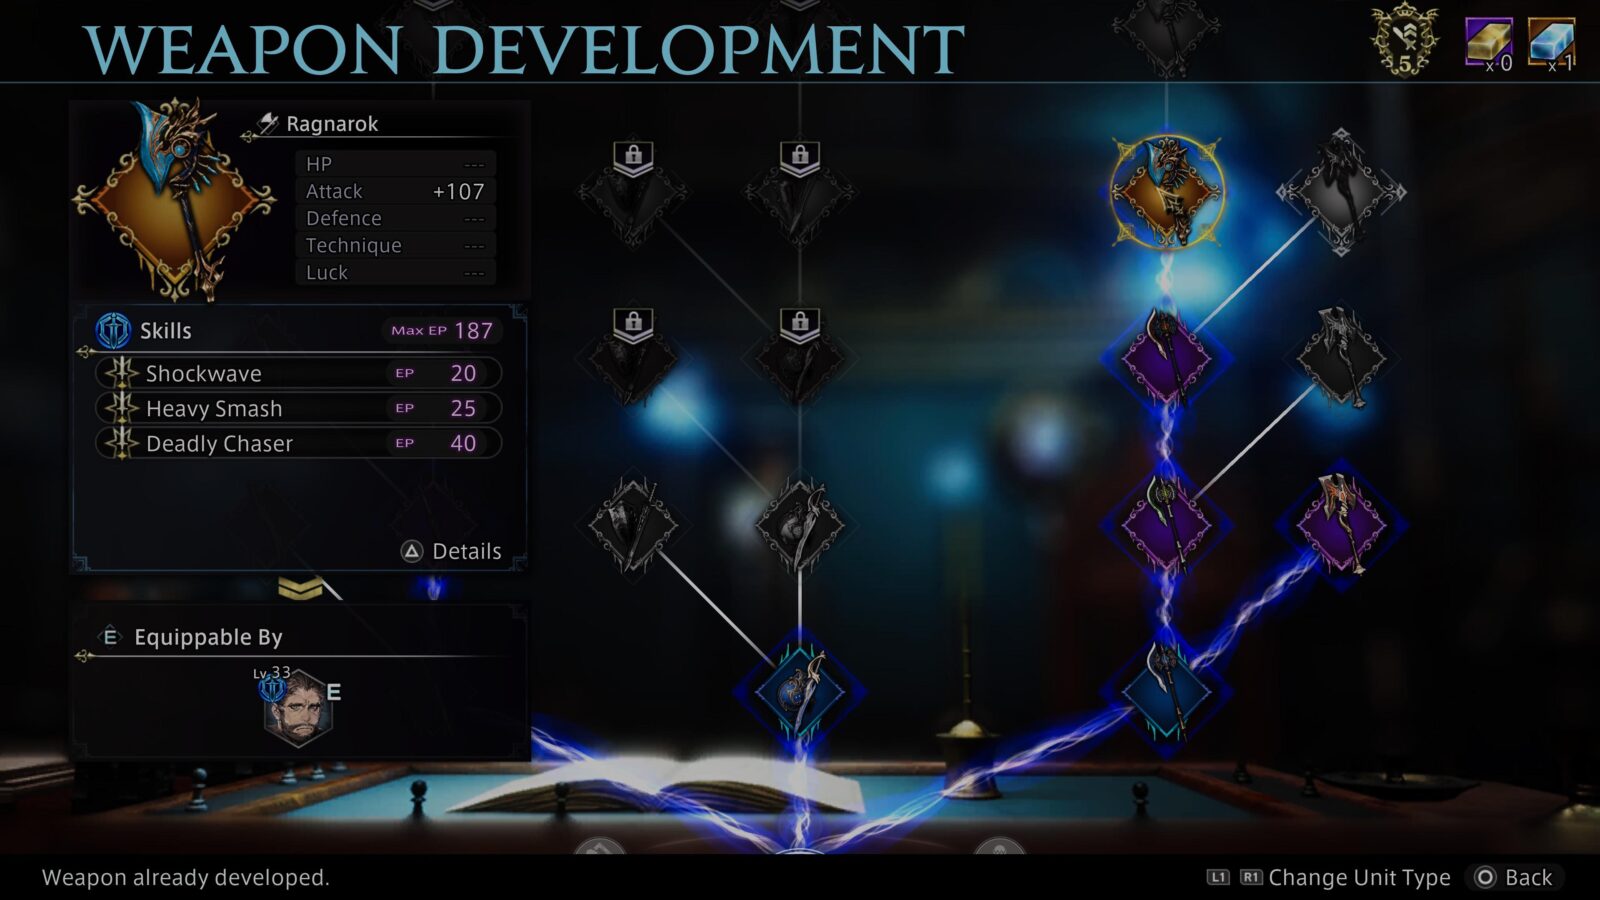
Forewarned is Forearmed
Develop a weapon.
As part of the story in Chapter 2, you’ll be asked to go and speak to the Researchers about getting some stronger weapons. Head to the Researcher at the waypoint and speak to him to gain access to Weapon Development.
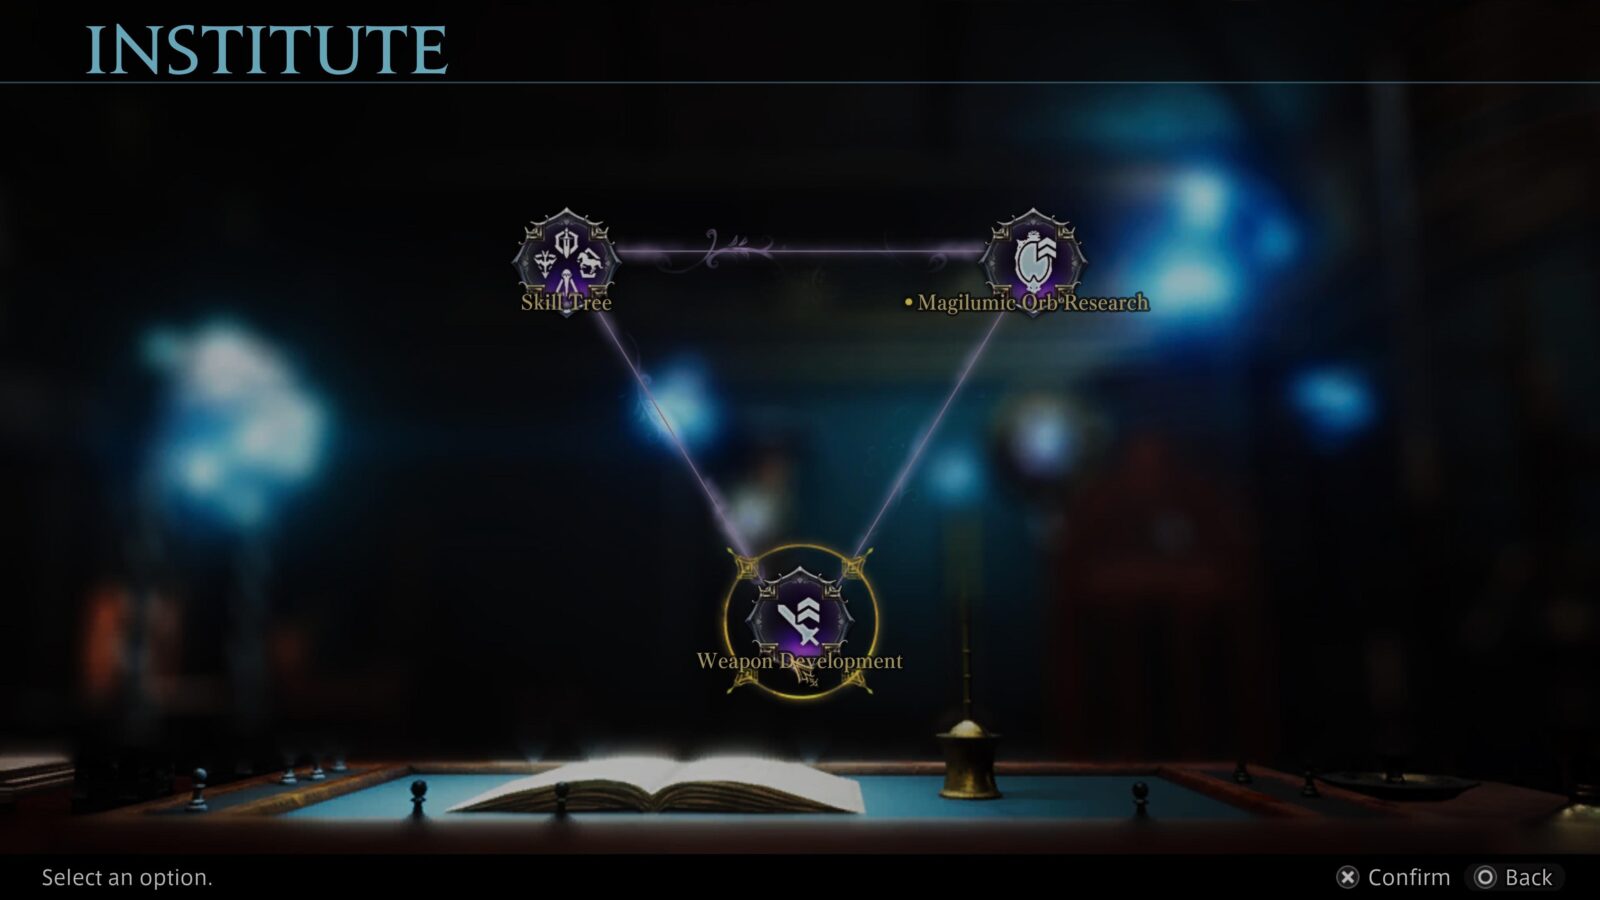
Go up to the other researcher at the counter and speak to him to open the Institute Menu. From there, select Weapon Development at the bottom.
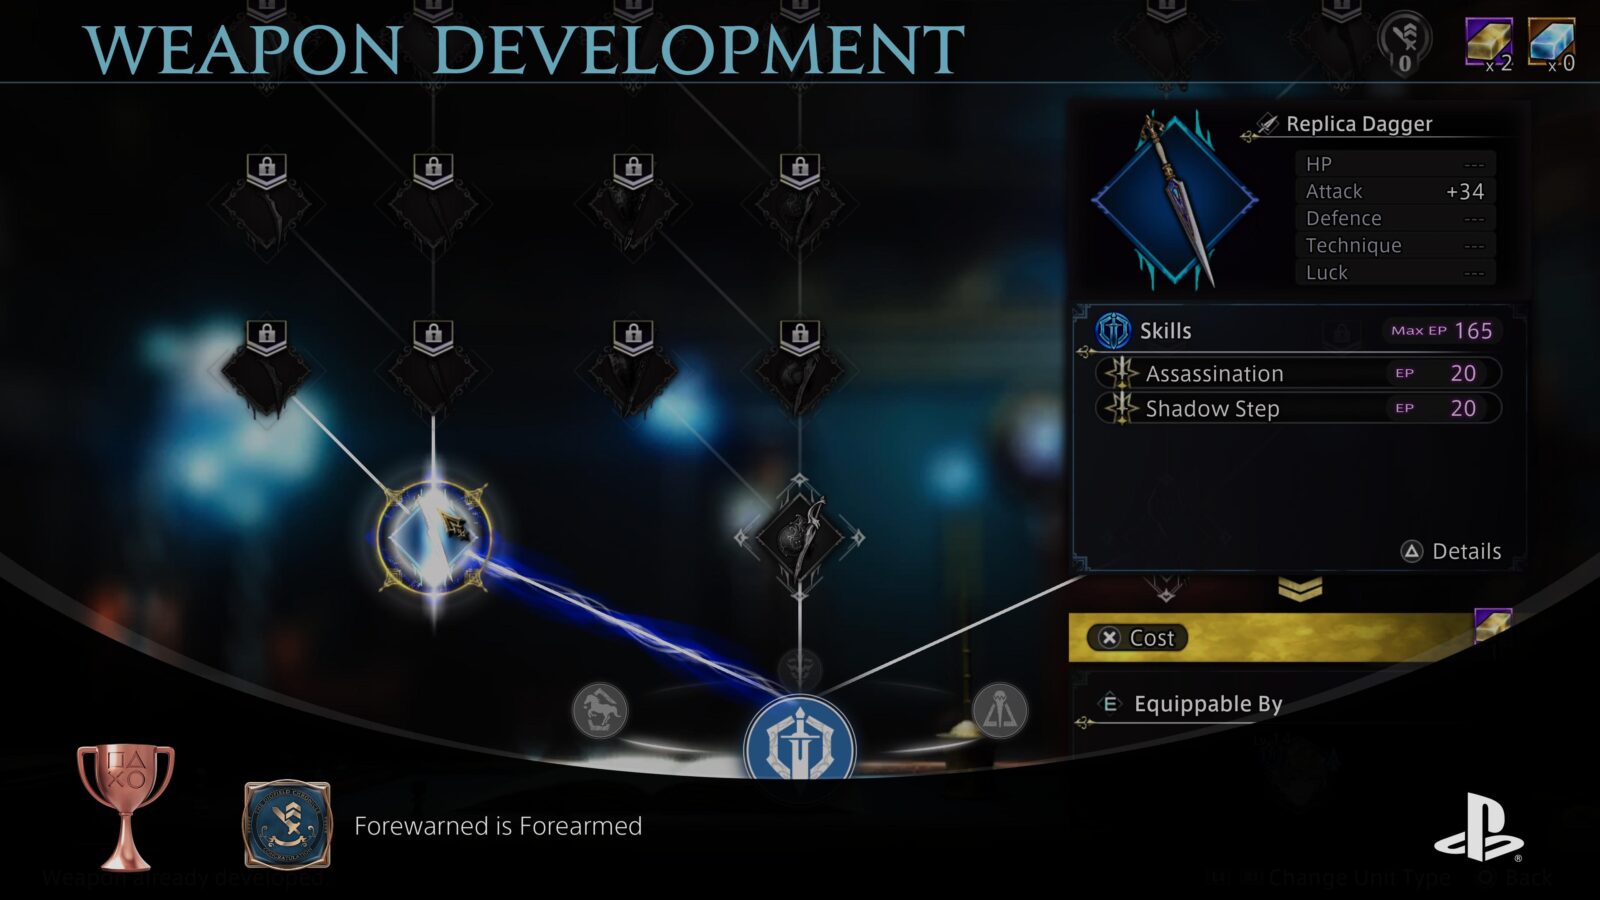
Here, you can use gathered materials to develop new weapons. Newly-developed weapons can be purchased at the Shop for Guld. You will need to develop at least 12 unique weapons of one type to unlock Collector.
The very first time that you develop a new weapon here, the “Forewarned is Forearmed” trophy will unlock.

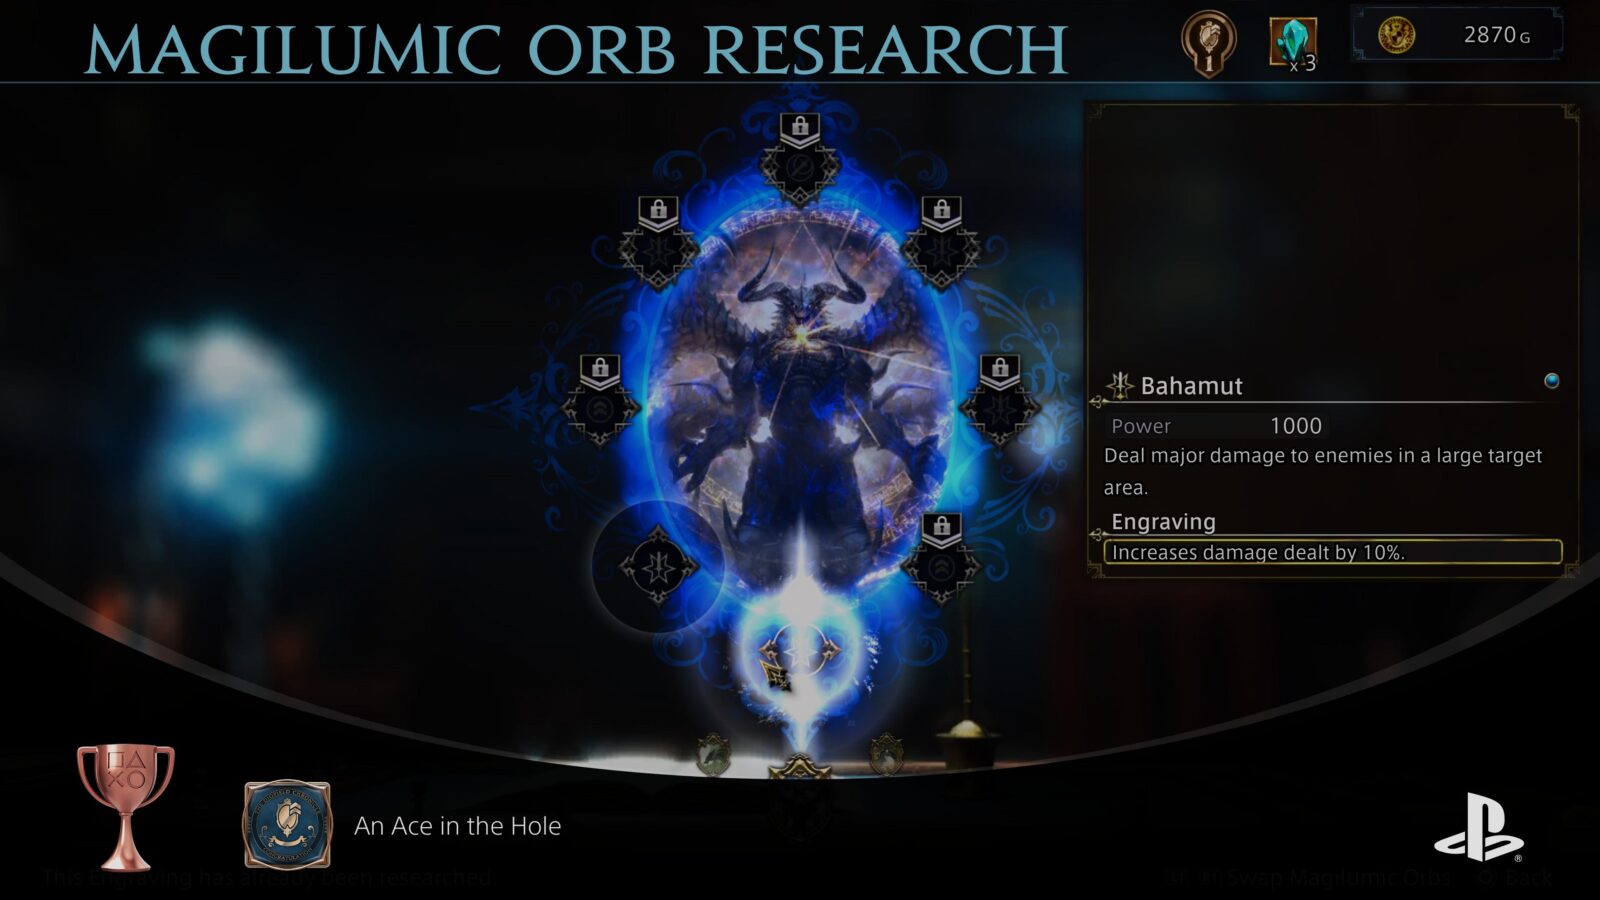
An Ace in the Hole
Conduct Magilumic Orb research.
As part of the story in Chapter 2, when you unlock Weapon Development, you will also unlock Magilumic Orb Research.
Go up to the researcher at the counter and speak to him to open the Institute Menu. From there, select Magilumic Orb Research on the right.
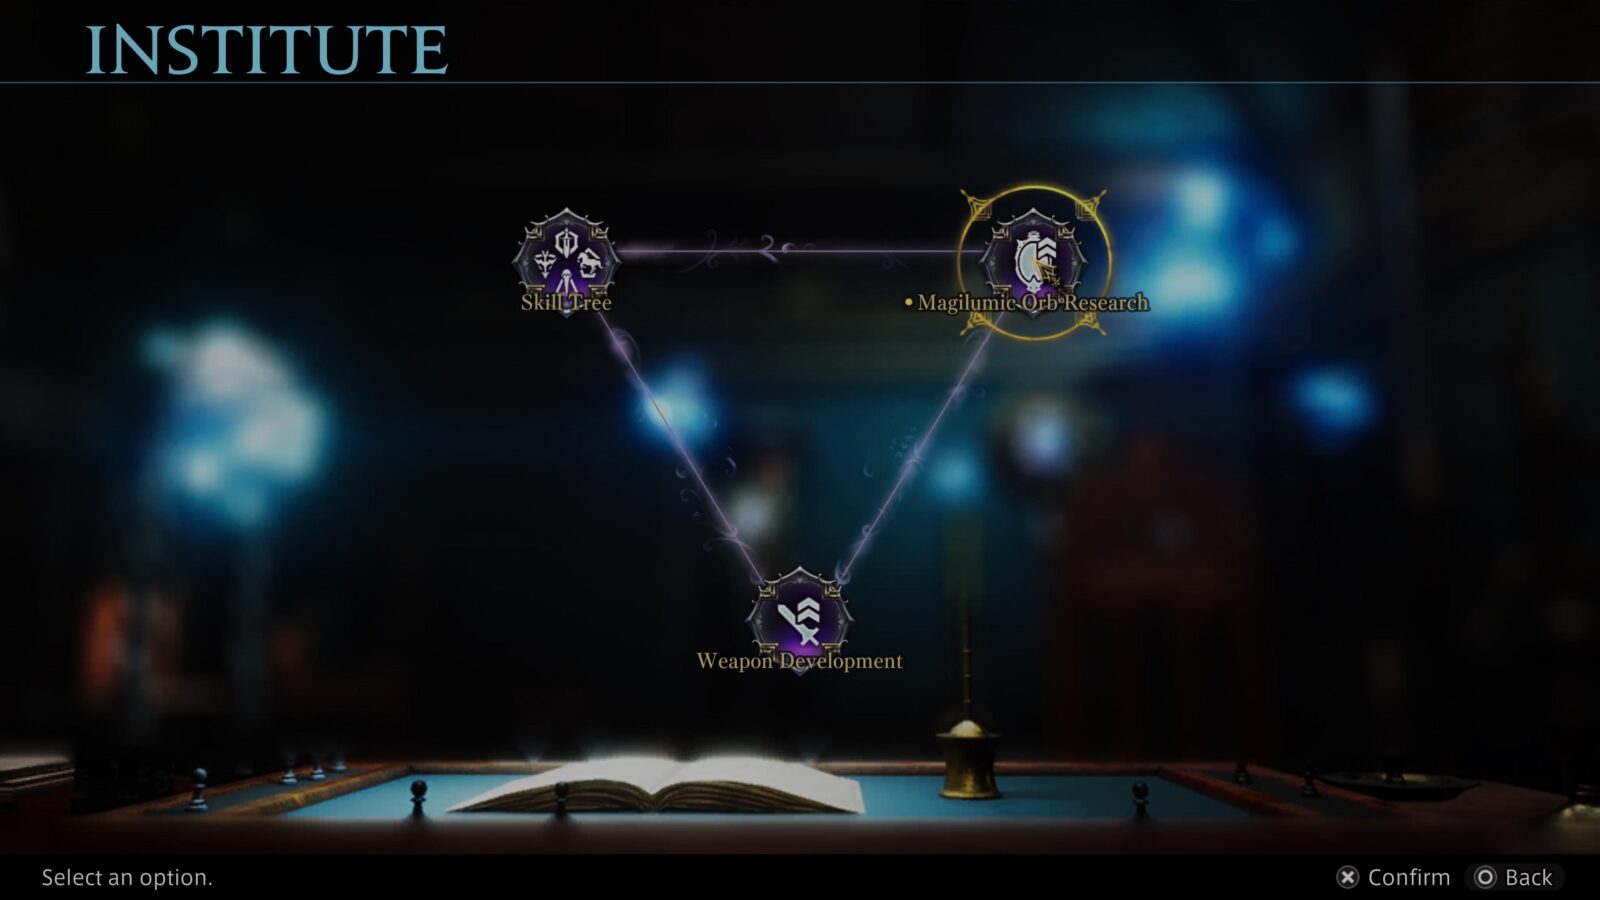
Here at the Magilumic Orb Research menu, you can upgrade the stats of your currently-owned Magilumic Orbs, which are basically powerful summon spells that you can use mid-battle. You should at least have Bahamut, Goldhorne, and Fenrir by this point in the story.
Use resources and 1500 Guld to purchase an upgrade for any of your Magilumic Orbs for the first time—I recommend increasing the damage of Bahamut—and the “An Ace in the Hole” trophy will unlock.
Proven Skill
Acquire an ability.
After completing the first Story Quest in Chapter one; “End the Bandit Menace,” you will unlock access to the Abilities menu for each character.
Open the Menu with ![]() , go to “Equipment,” and then select any character. At the bottom of their character card, you will see a golden star-shaped icon. Highlight it with
, go to “Equipment,” and then select any character. At the bottom of their character card, you will see a golden star-shaped icon. Highlight it with ![]() and then select it with
and then select it with ![]() to open the Abilities menu for that character.
to open the Abilities menu for that character.
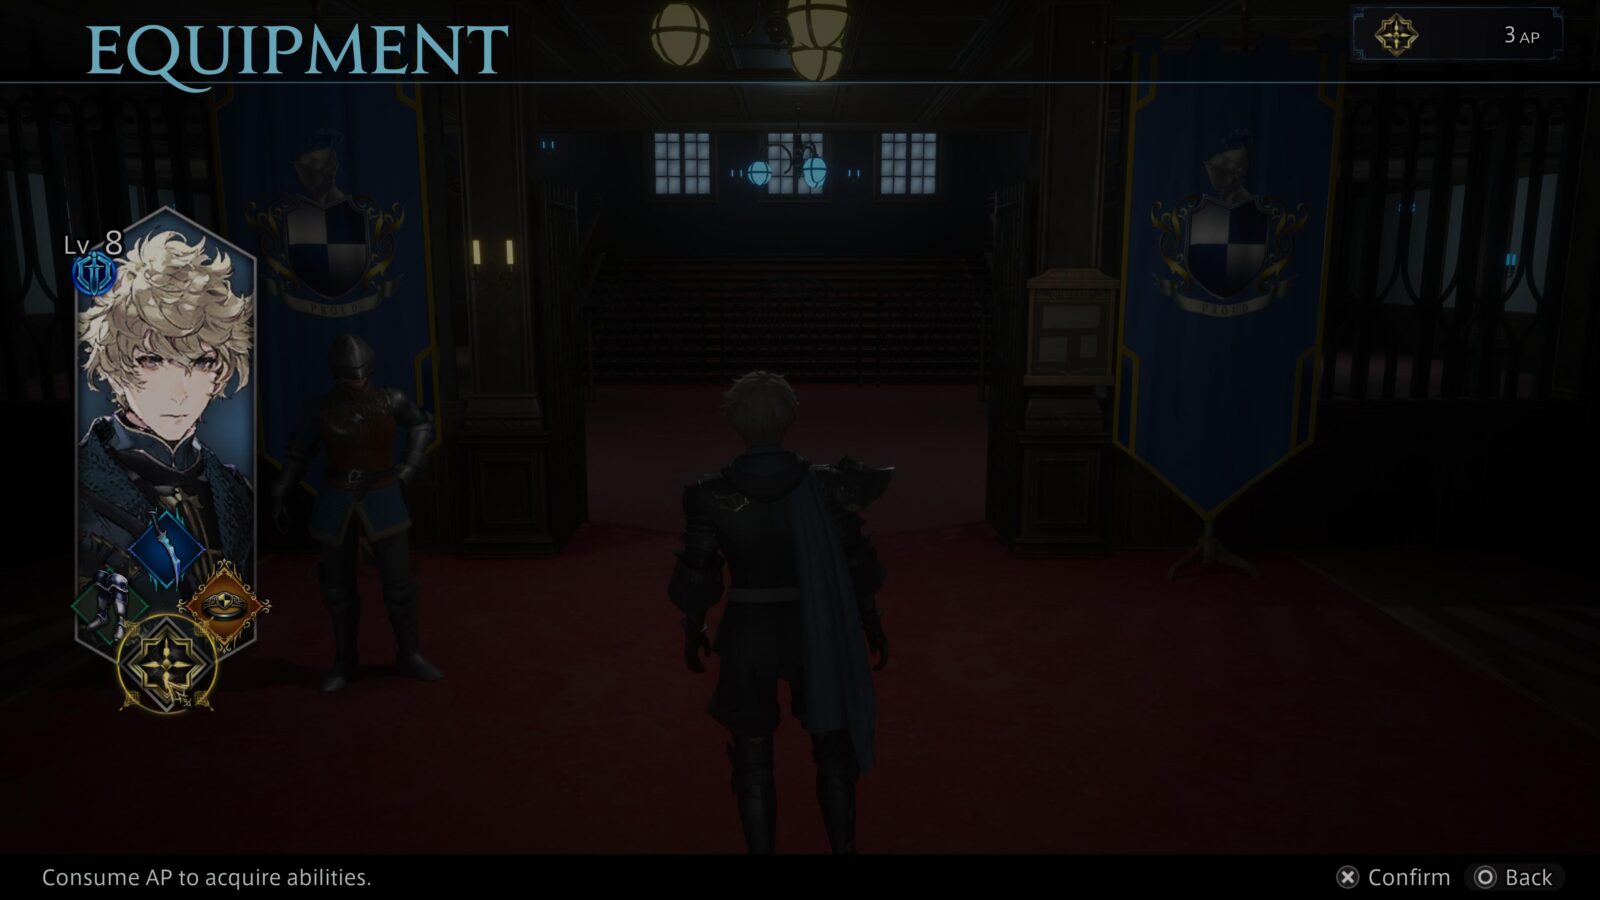
Using your Ability Points (you should have around three at first), purchase any skill for any character for the very first time, and the “Proven Skill” trophy will unlock!

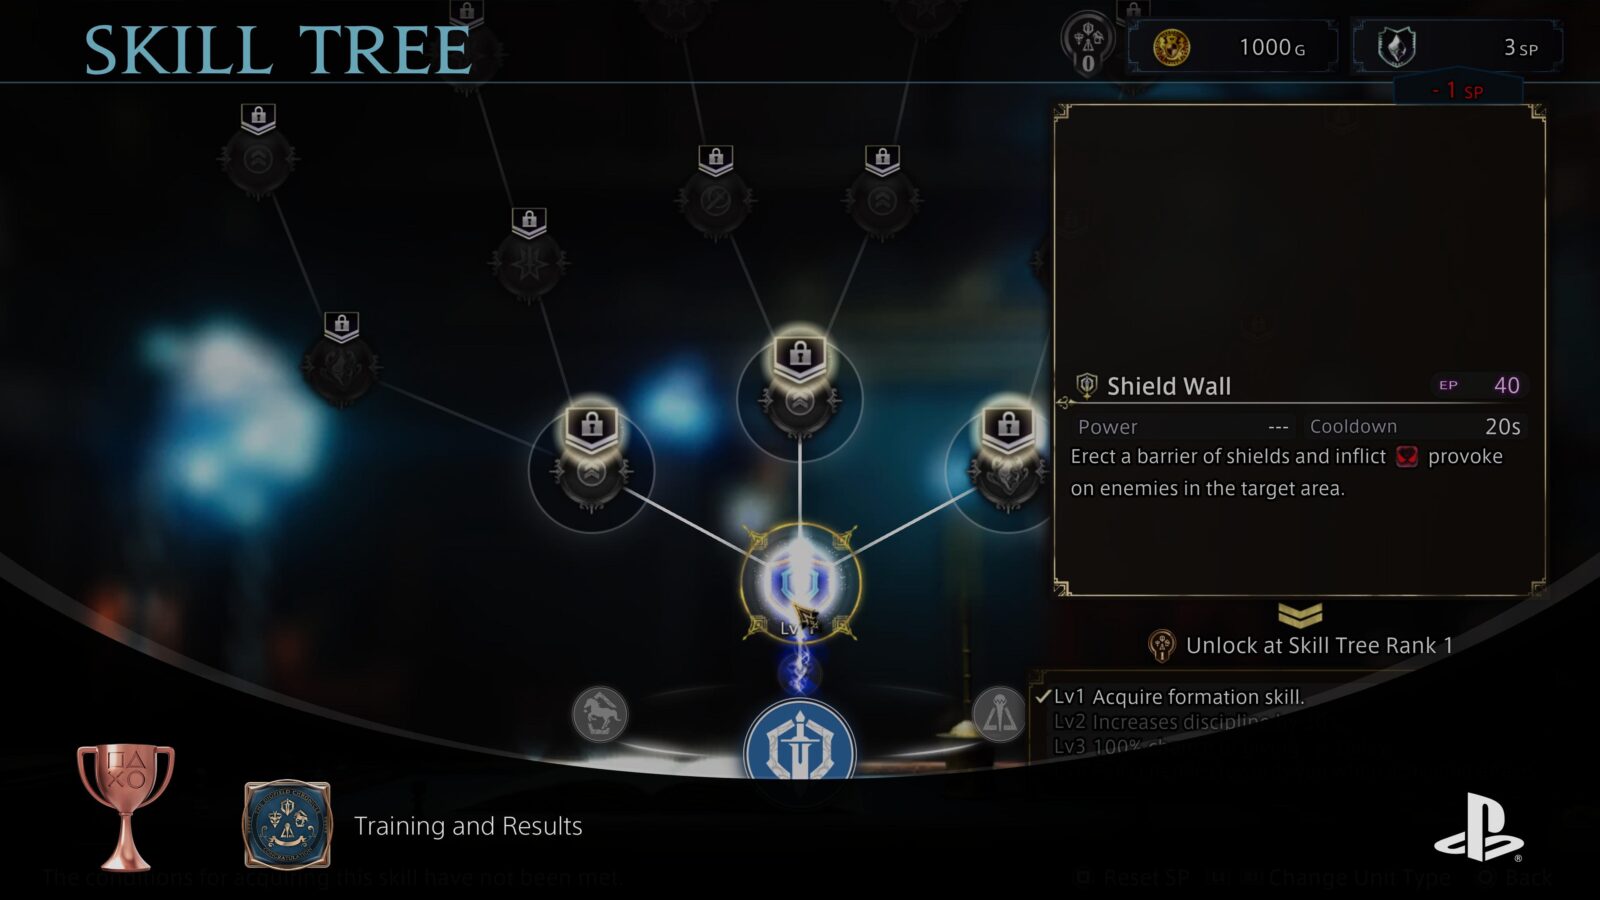
Training and Results
Acquire a skill on the Skill Tree.
After completing the first Story Quest in Chapter one; “End the Bandit Menace,” you need to meet with Izelair, who will show you the new Skill Tree that was brought in to help train units.
Speak to the scientist at the counter to open the “Institute” menu, then select the “Skill Tree” option.

Within, you can spend SP to purchase skills for your party. Purchase the only available skill; Shield Wall, and then the “Training and Results” trophy will unlock as the Skill Tree opens up.

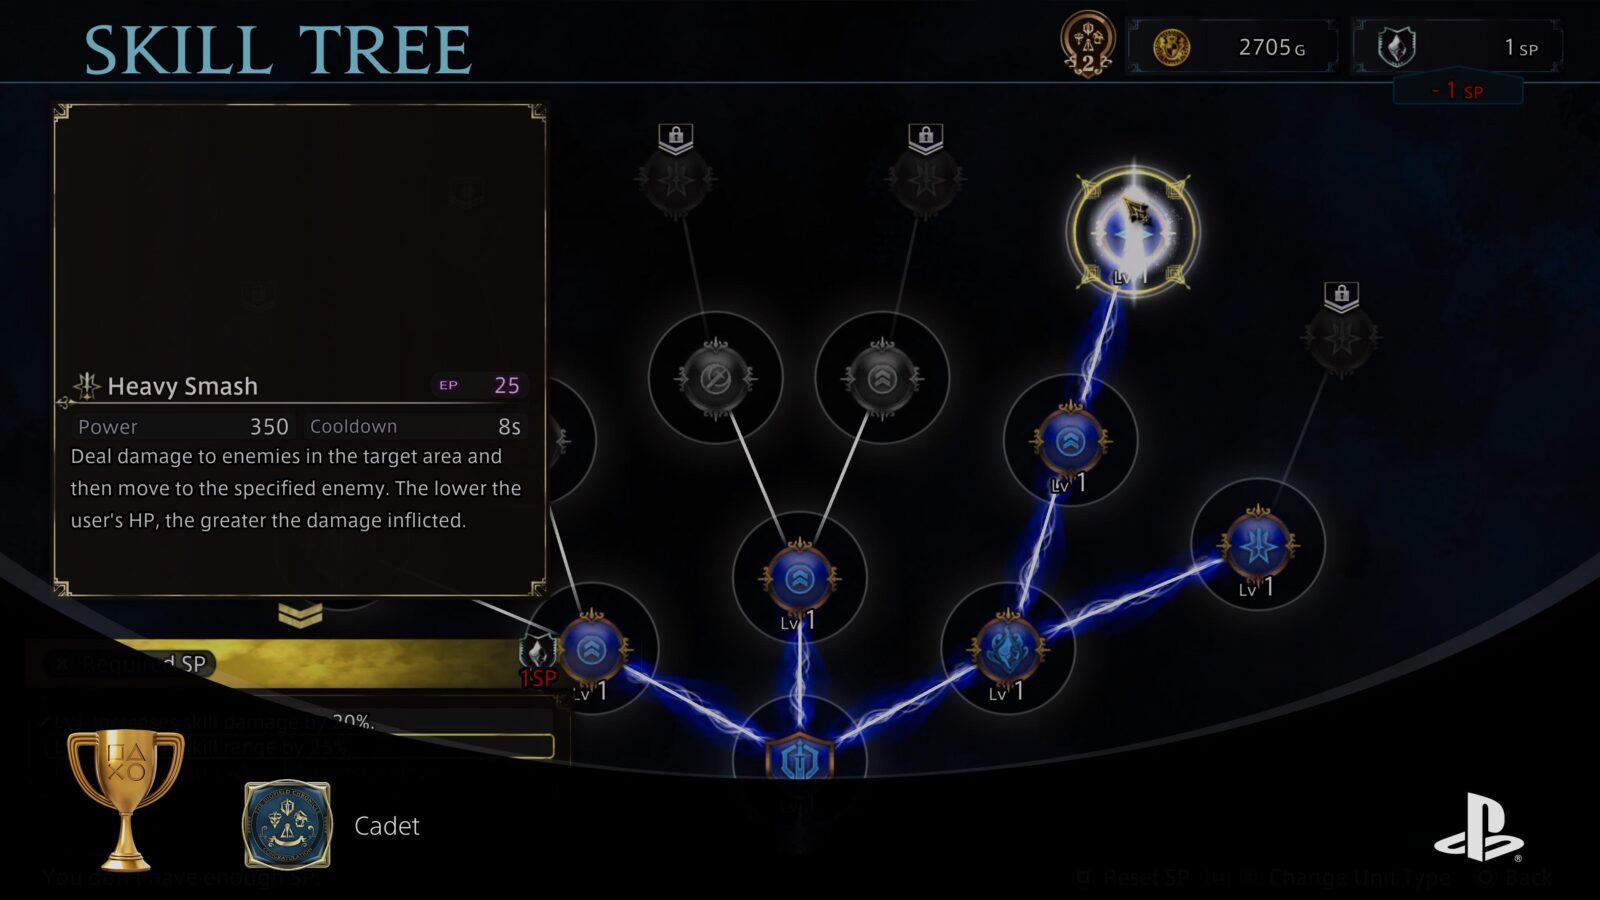
Cadet
Acquire 7 skills for any unit type.
After gaining access to the Skill Tree and unlocking Training and Results, continue purchasing Skills until you have at least 7 in one Unit Type.
You can change Unit Type by pressing ![]() /
/![]() to cycle through. When you have seven skills in at least one of these four trees, the Cadet trophy will unlock.
to cycle through. When you have seven skills in at least one of these four trees, the Cadet trophy will unlock.

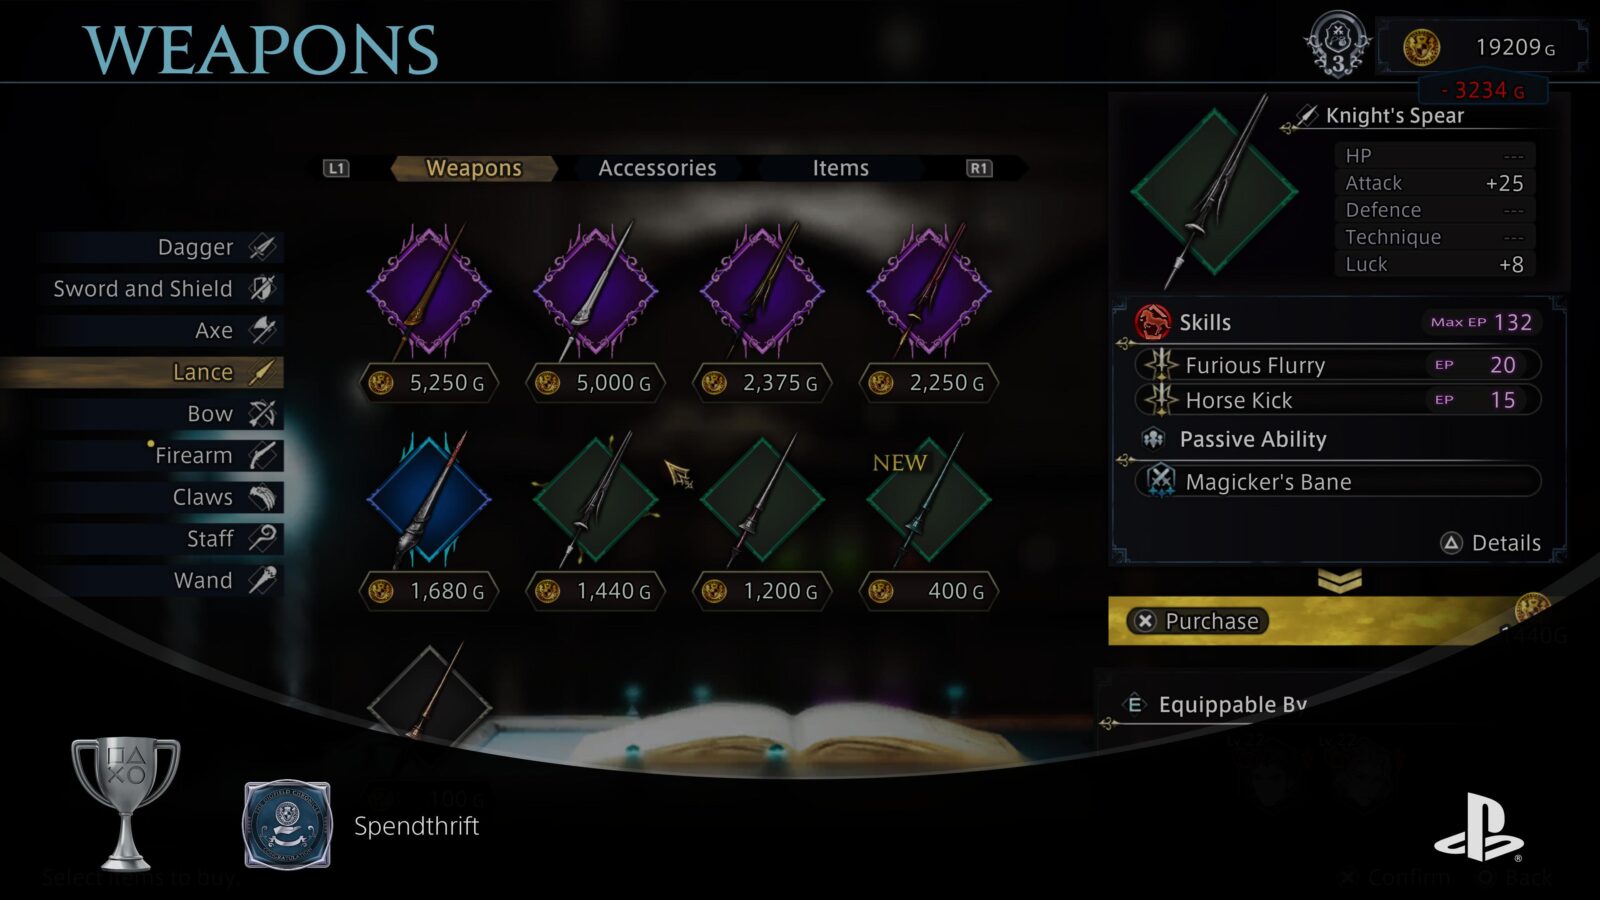
Spendthrift
Spend 100,000 guld.
The Spendthrift trophy asks that you spend a cumulative total of 100,000 guld throughout a single playthrough of The Diofield Chronicle.
Honestly, between paying for facility upgrades, buying new weapons, buying Magilumic Orb Upgrades, and more, you’ll spend far more than 100,000 guld in one playthrough, making this trophy more or less unmissable.
As Millionaire requires you to acquire a cumulative total of one million guld, you’ll have much more than 100,000 to spend, too.

Millionaire
Acquire 1,000,000 guld.
The Millionaire trophy requires you to earn a cumulative total of 1,000,000 (one million) Guld. The maximum Guld you can actually carry at one time is 999,999. From this one piece of evidence it’s clear that this trophy is cumulative and does not actually require you to be holding one million guld at once.
This, fortunately, means that you can safely spend your Guld throughout the game without having to worry about saving it. Once the cumulative amount of guld you’ve earned throughout a single playthrough reaches one million, the Millionaire trophy will unlock.
You can just replay Missions via the Practice Battle table to earn extra guld if you need to, but the trophy actually unlocked naturally for me at around Chapter Six.


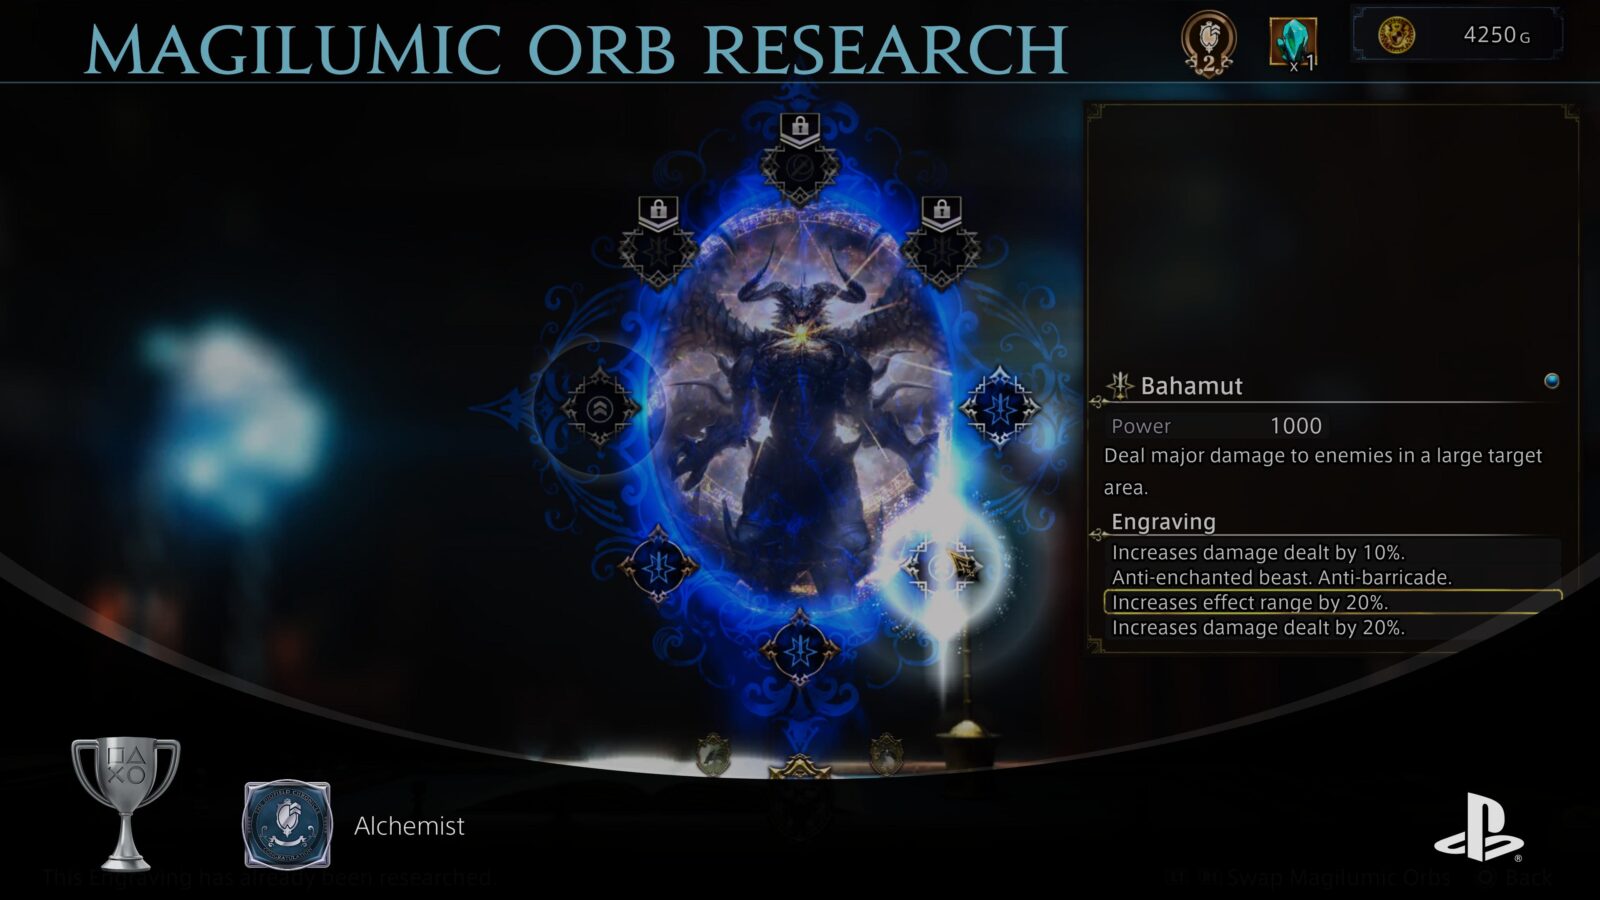
Alchemist
Unlock 4 Engravings for any Magilumic Orb.
After you have gained access to Magilumic Orb Research and have unlocked the An Ace in the Hole trophy, continue using Jade Crystals and Guld to upgrade the same Magilumic Orb (i.e. Bahamut if that’s what you started with for An Ace in the Hole).
Once you purchase your fourth Magilumic Orb Upgrade for any Magilumic Orb via Magilumic Orb Research at the Institute menu, the Alchemist trophy will unlock.

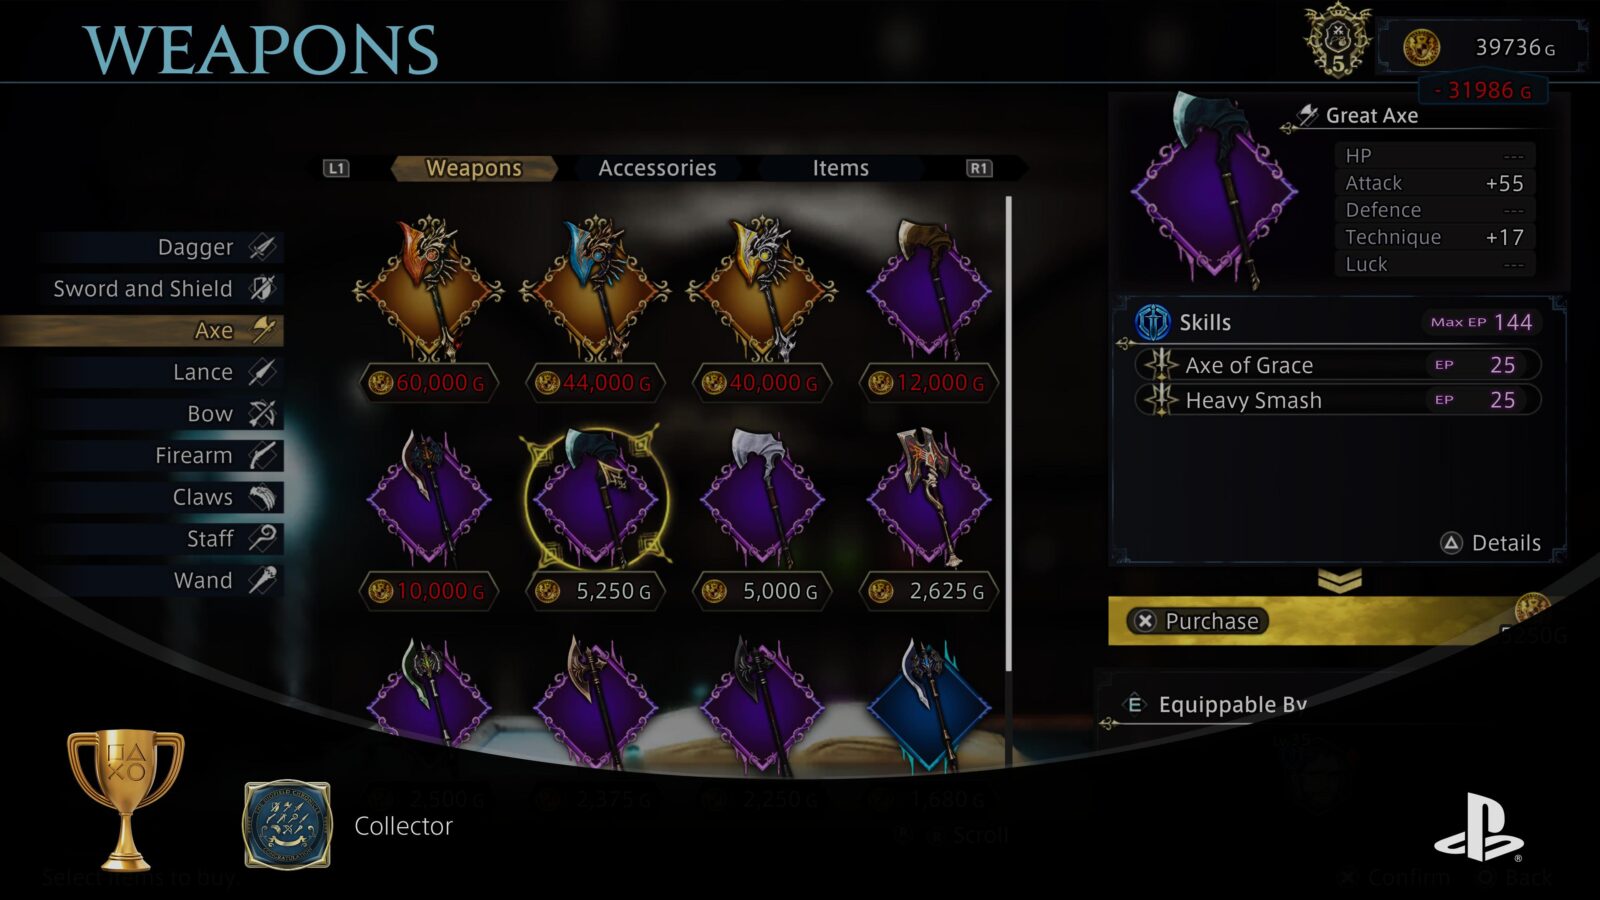
Collector
Collect 15 types of weapon in a category.
For the Collector trophy, you must collect 15 different versions of one weapon type. For example; I chose to collect Axes, but you could collect Daggers or Bows, whatever you prefer.

Before you can acquire 15 of them, you will need to unlock a few nodes on the Weapon Development Tree for your desired weapon (i.e. Axes).
Then, once you have unlocked enough different types, you will need to buy and own 15 different weapons of your chosen type (i.e. Axes). Once 15 unique weapons of the same type are in your inventory simultaneously, the Weapon Collector Trophy will unlock!
Misc Mission Trophies

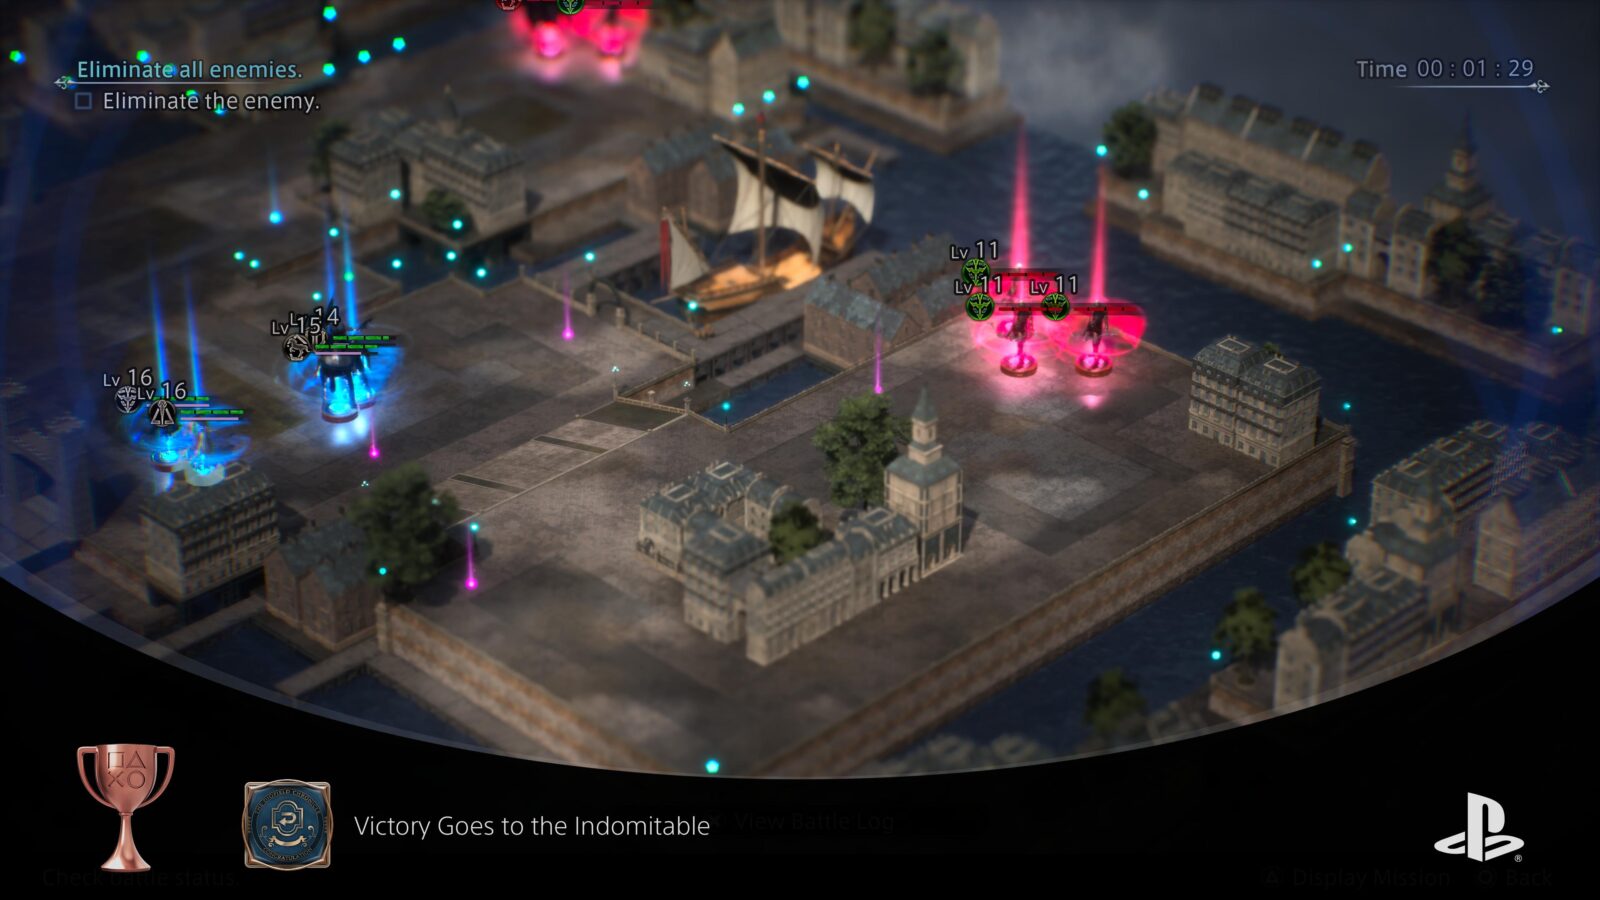
Victory Goes to the Indomitable
Use the Battle Log.
The Battle Log is an incredibly useful tool, especially when you’re trying to retrieve bonus rewards from certain Missions. At any point in a battle, you can open the Battle Status Overview with ![]() and then view the Battle Log by pressing
and then view the Battle Log by pressing ![]() .
.
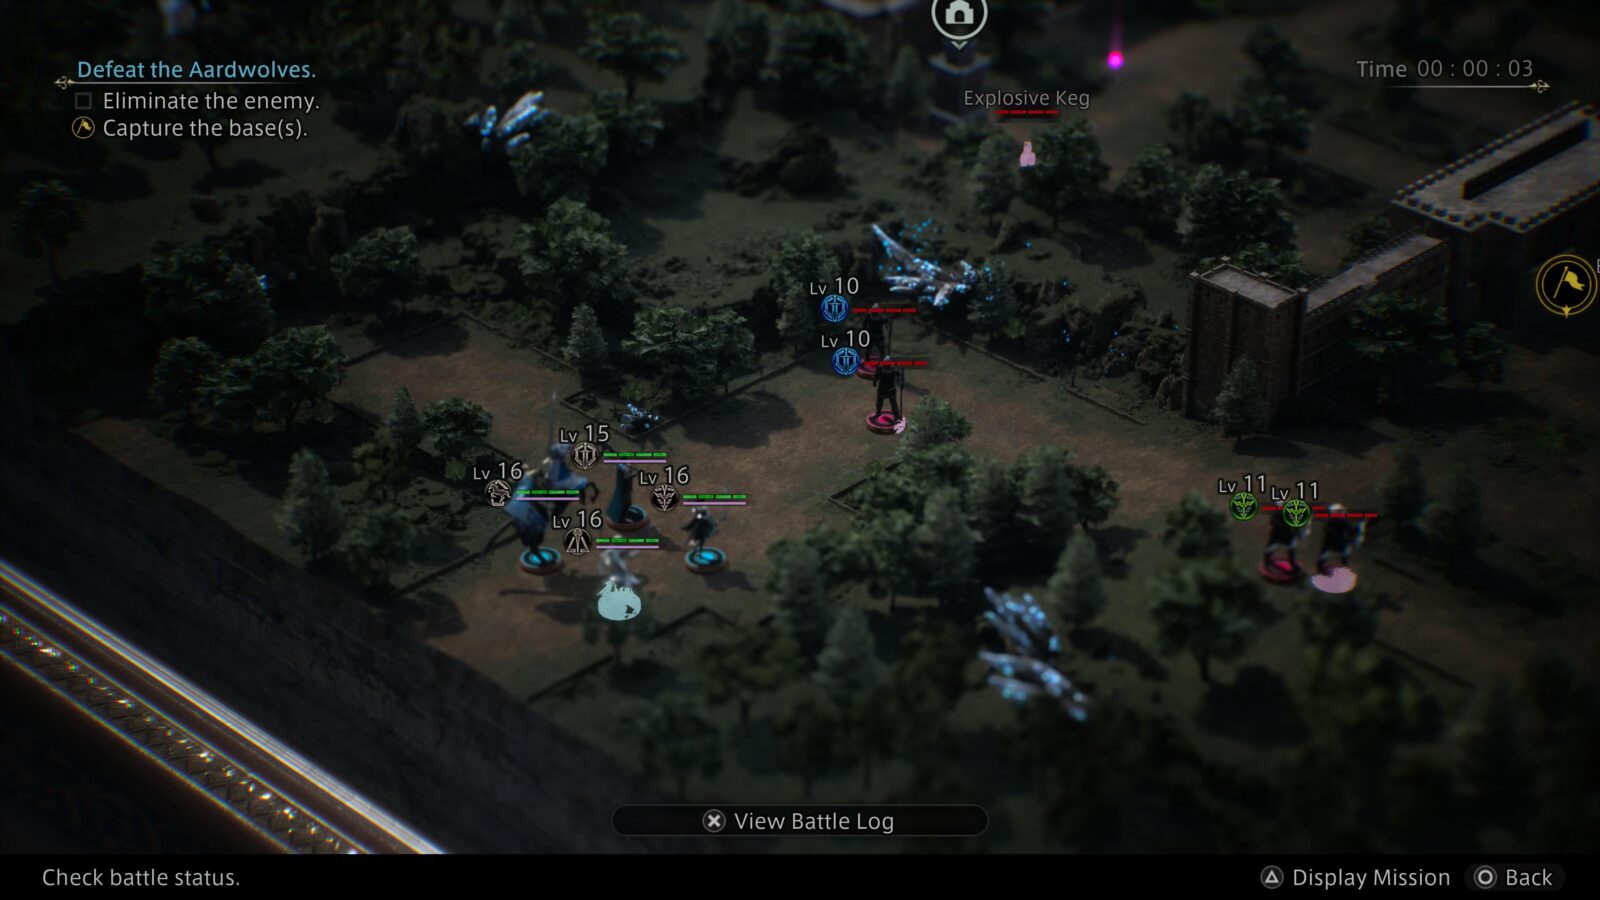
The Battle Log allows you to browse checkpoints that have been made throughout the battle, typically whenever a new wave of enemies spawns in.
You can then select any of these checkpoints to return to that point in the battle. It resets all enemy locations and even resets your timer to what it was when the checkpoint was made. So, if part of the battle doesn’t go as well as you’d like it to, you can just use the Battle Log to return to a point before things went downhill and then try again!
The very first time you use this ability, the Victory Goes to the Indomitable trophy will unlock!

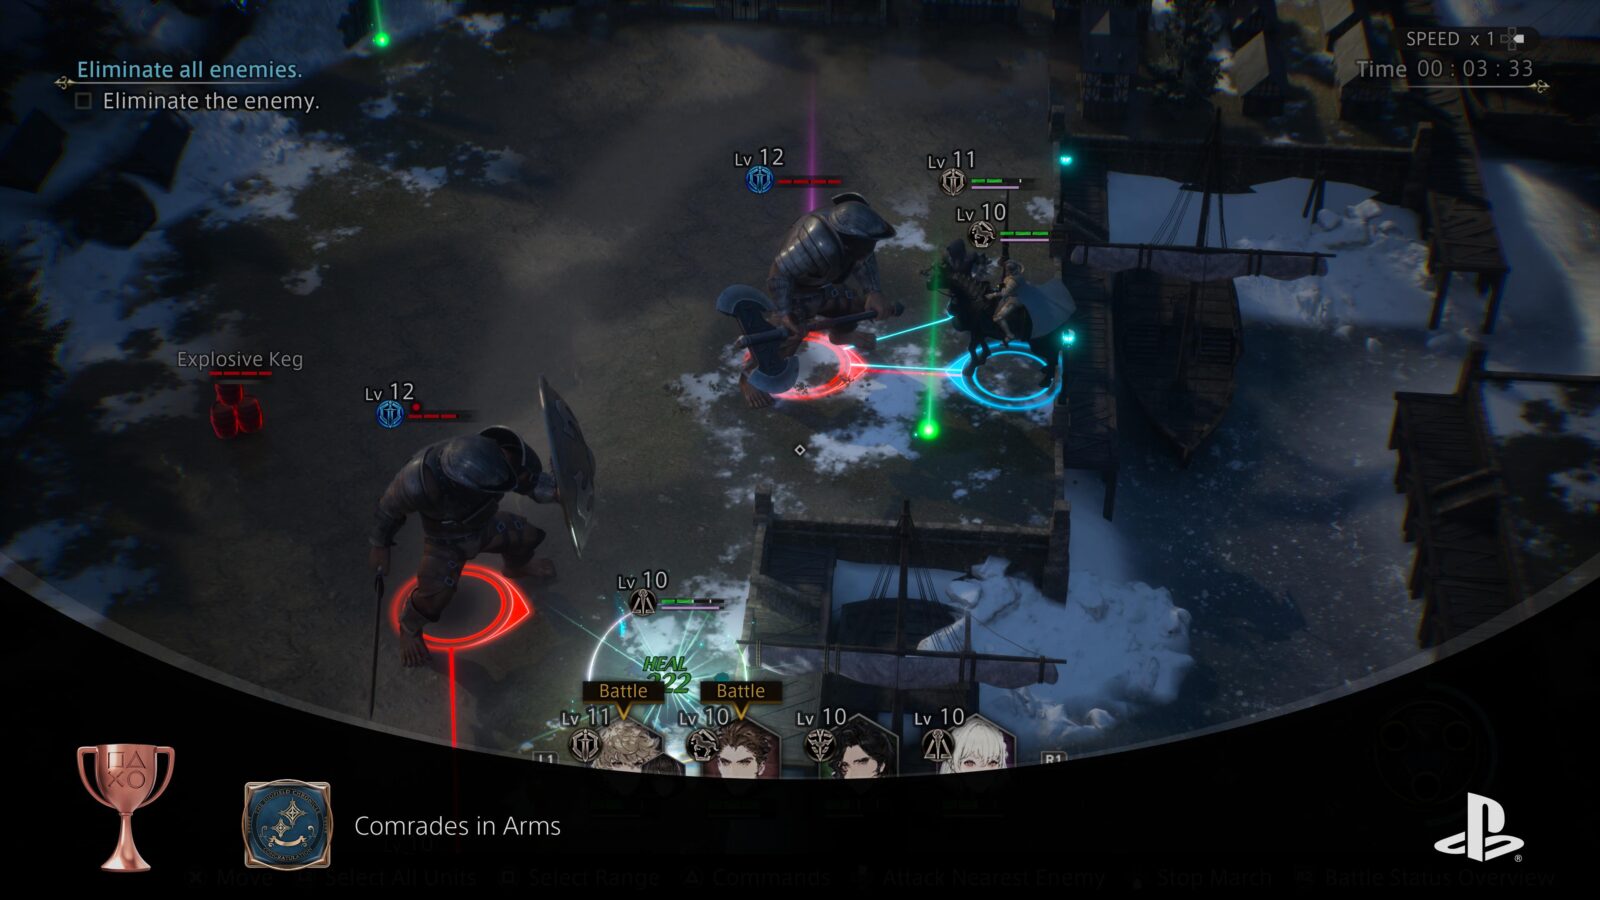
Comrades in Arms
Revive an incapacitated ally.
Whenever an ally takes enough damage that their HP bar is completely depleted, they will drop to the floor and will be unable to fight. They will, however, have a red skull icon above their head. This indicates that they can be revived.
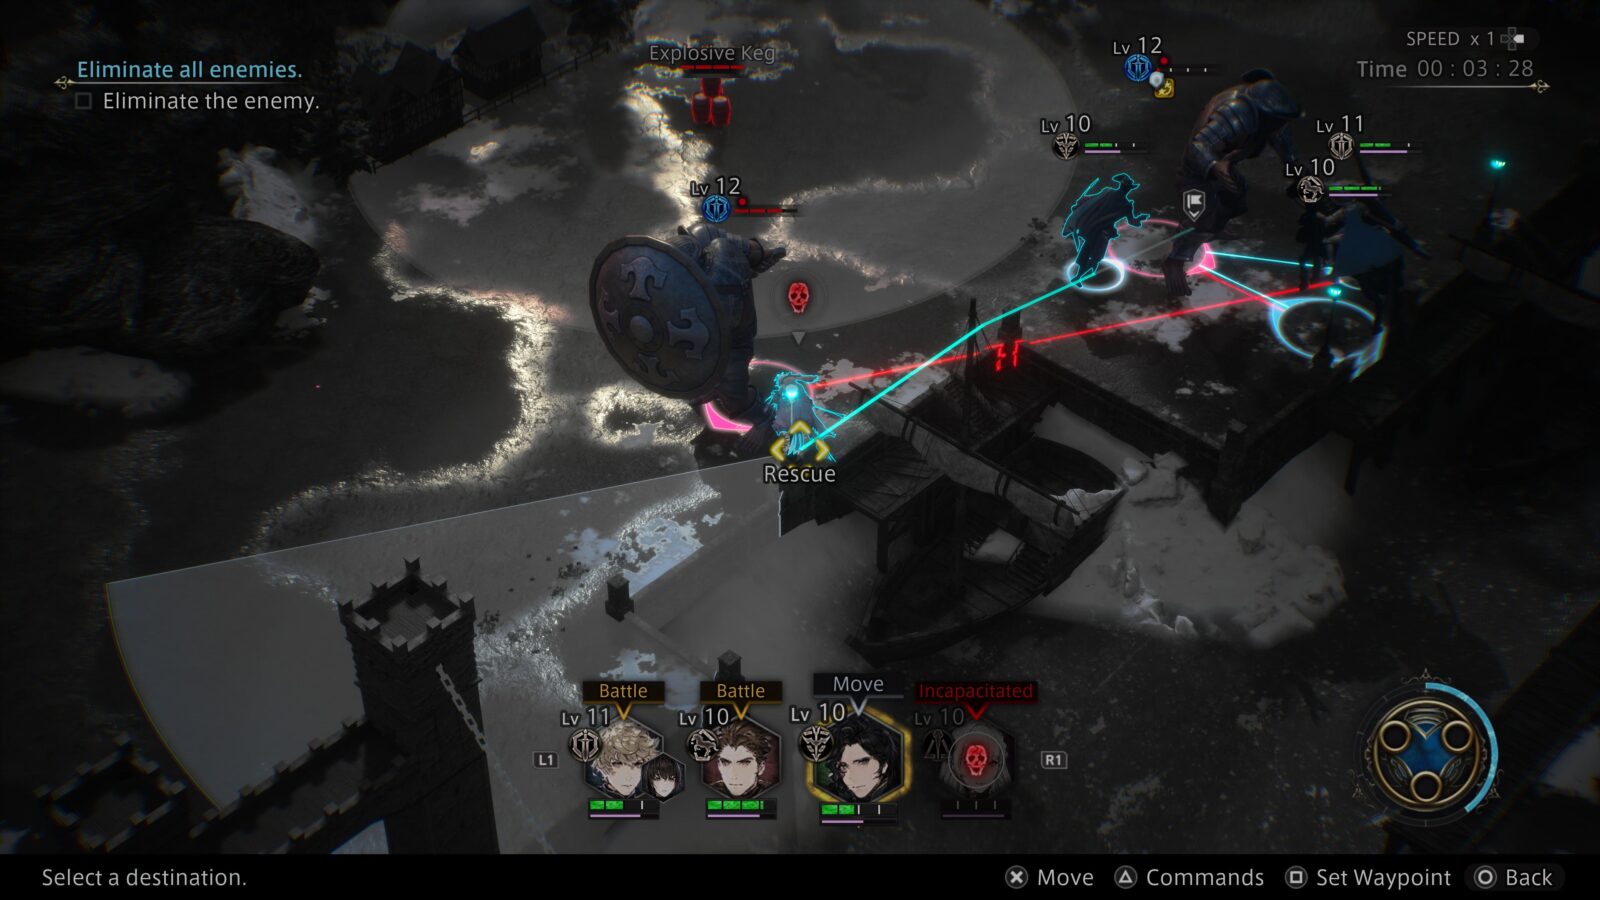
Select any of your other party members, and then select the downed ally to revive them and bring them back into the fray. The first time that you do this, the Comrades in Arms trophy will unlock!

Perks of the Job
Acquire a treasure chest.
Many levels will have one or more Chests, which you can approach and open by selecting a character and then pressing ![]() with the Chest highlighted.
with the Chest highlighted.
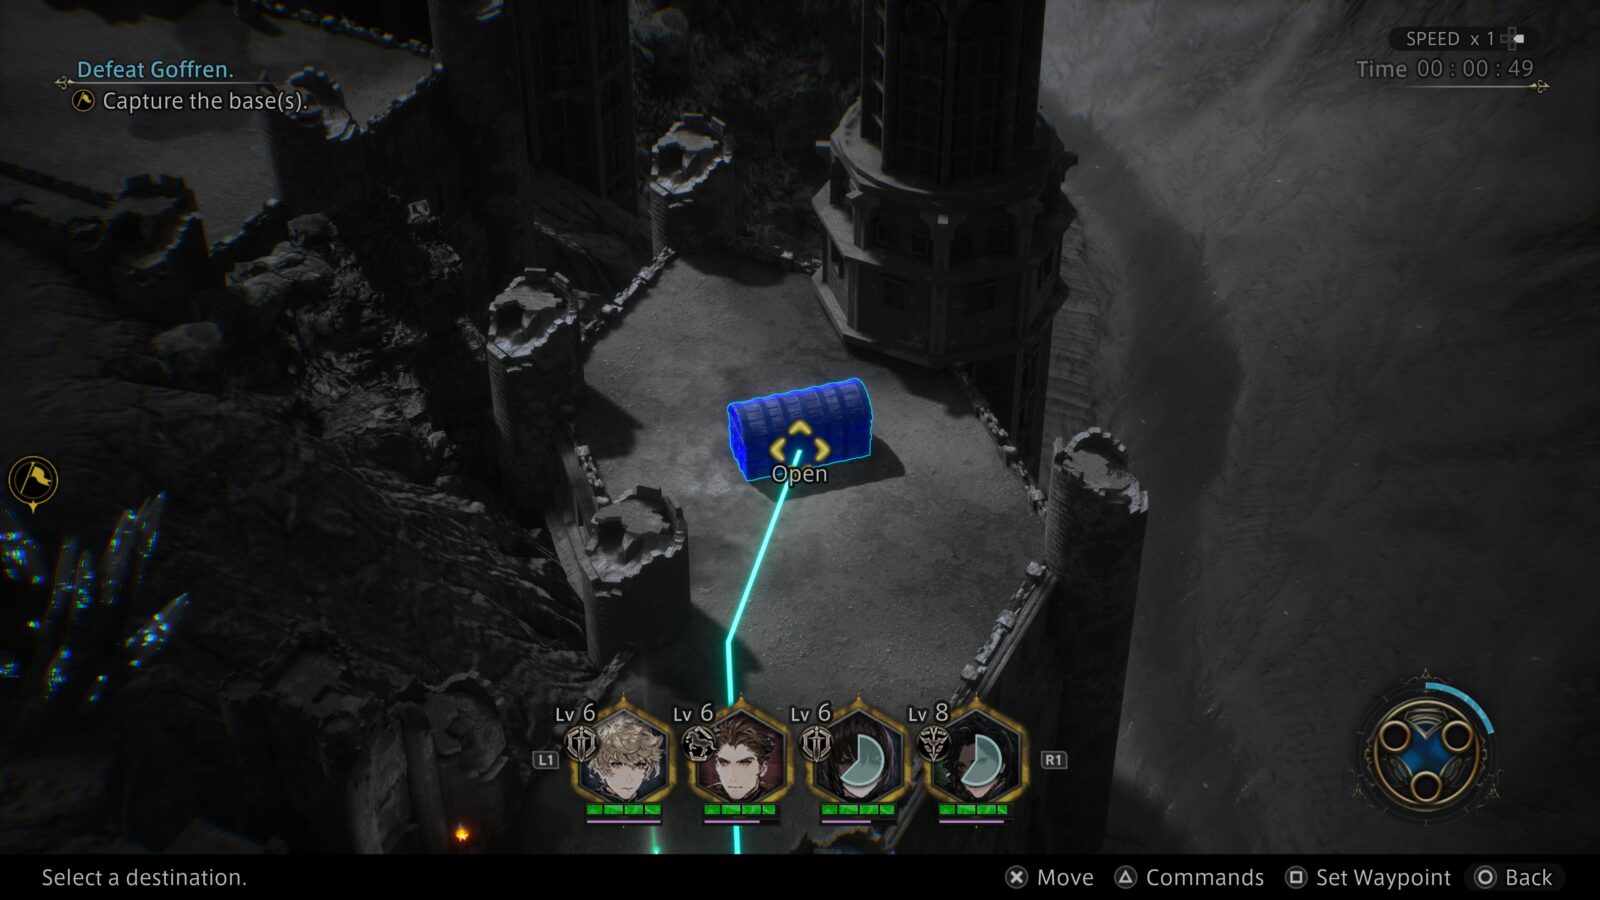
Opening one for the very first time will unlock the “Perks of the Job” trophy. The earliest you can earn this trophy is during the Chapter One Story Mission titled “End the Bandit Menace.”


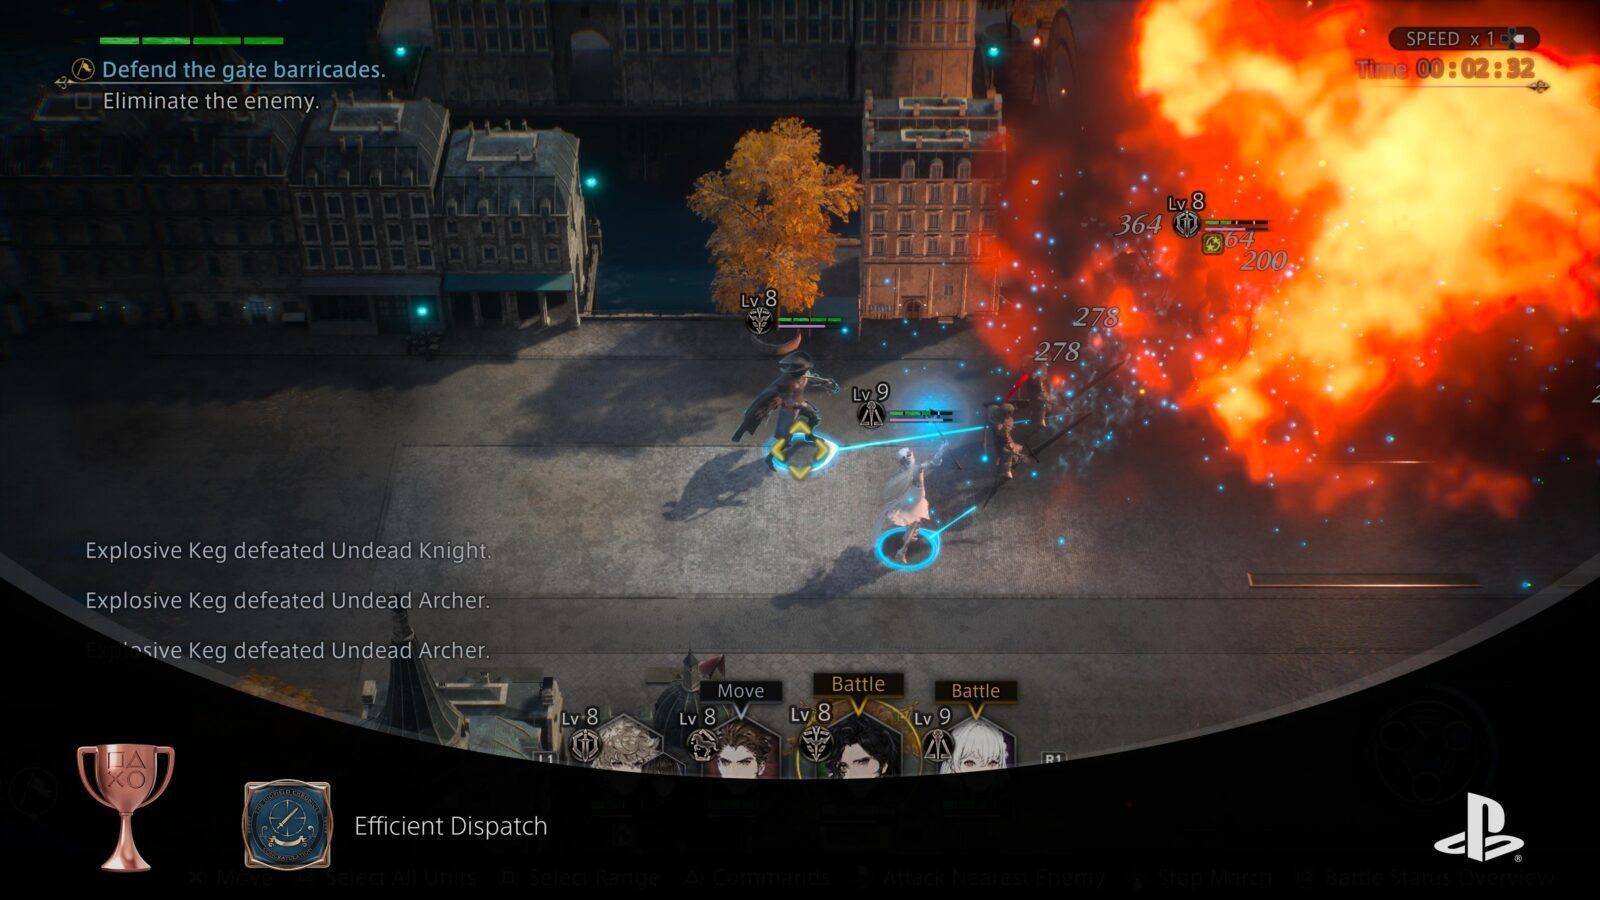
Efficient Dispatch
Defeat 5 or more enemies at once.
The Efficient Dispatch trophy will unlock if you can successfully defeat five or more enemies with a single attack or action. Many characters have AoE skills that you can use to accomplish this on large groups of enemies.
I found that a really good place to earn this trophy, however, is the Chapter One Mission “Redditch Estate Recon.” When the Undead begin spawning in the second half of the mission, they are all Level 1 and very easy to kill.
Using AoE attacks or the Explosive Barrels near the bridges, take out five or more of them to secure this trophy.

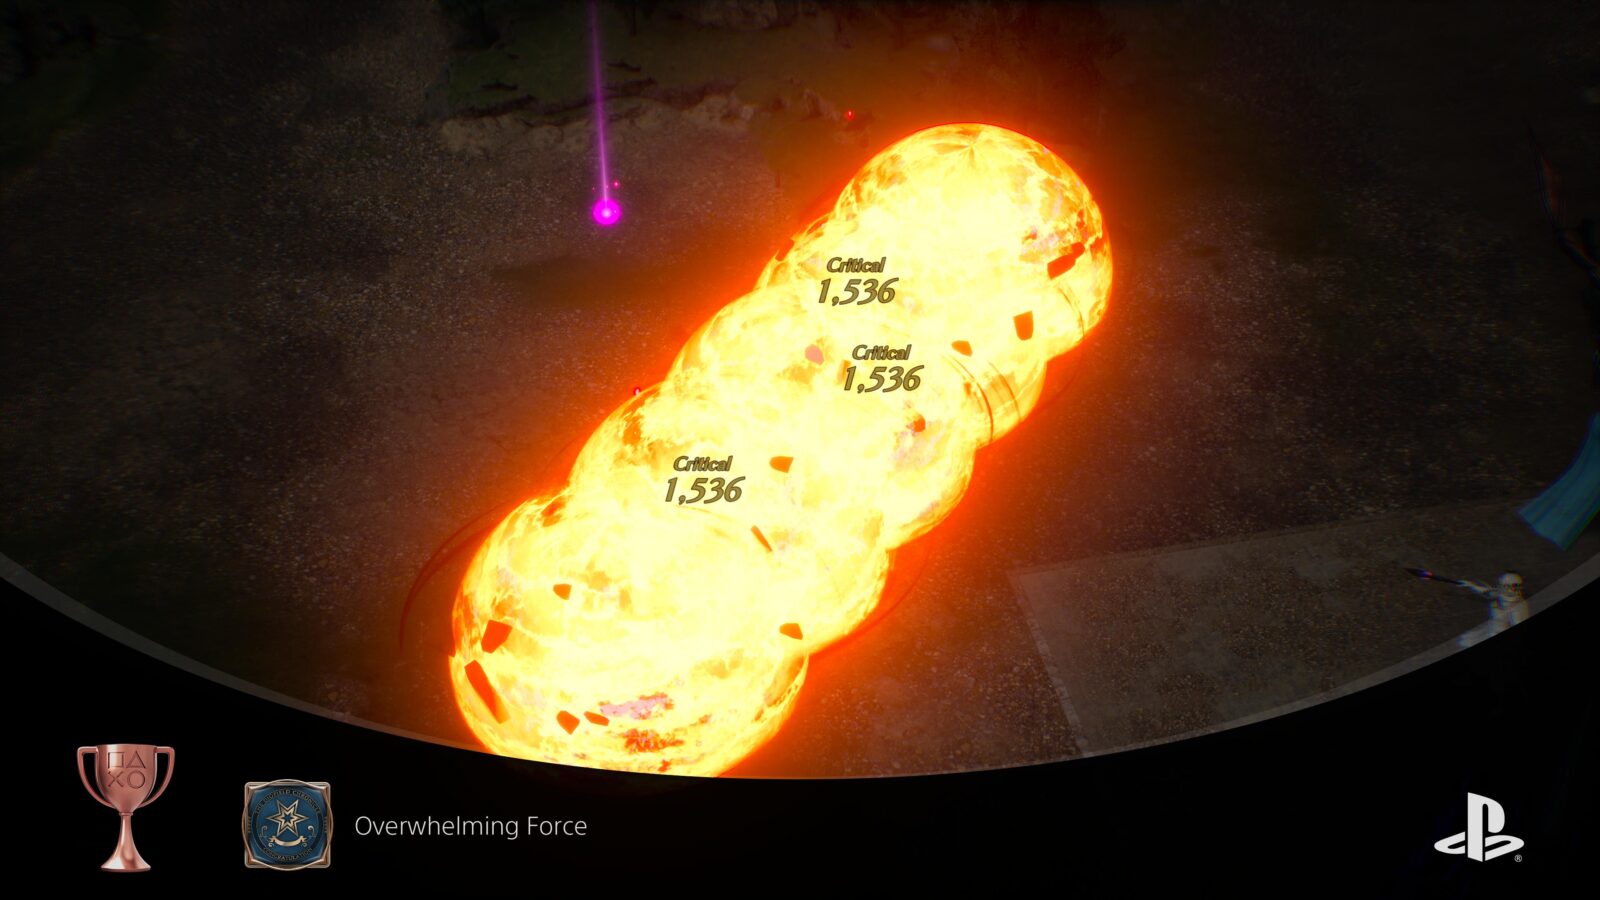
Overwhelming Force
Deal 1,500 or more damage with one attack.
To unlock the “Overwhelming Force” trophy, you will need to deal 1,500 damage in a single attack. This is actually very easy to do by replaying a low-level mission (at least 20 levels below your current level, i.e., Level 10 Mission at Level 30) and then using a powerful attack (such as Waltaquin’s Magical Force) on a group of enemies.
This may even happen naturally as you get further into the game, but if not, you can always just use the Practice Table as described above.
Plat Get!


Master of DioField
Obtain all trophies
Once you have acquired every other trophy in this Diofield Chronicle Trophy Guide, the “Master of Diofield” platinum trophy will unlock.
Thank you for choosing PlatGet as your source for a Diofield Chronicle Trophy Guide. Consider checking out our other guides!
Follow us on Twitter @GetPlat or Instagram @platget for updates on new reviews and guides, as well as small anecdotes about our platinum journeys.