PlayStation 5
The Chant Collectibles Guide
Game Guide
The Chant Collectibles Guide
Welcome to our The Chant Collectibles Guide. There are a total of 71 collectibles in The Chant with 61 of them being Lore Notes, and 10 being Projector Reels. I’ve also listed the chapter-specific trophies and all 15 Mandacores so you really can’t miss anything.
Chapter 1
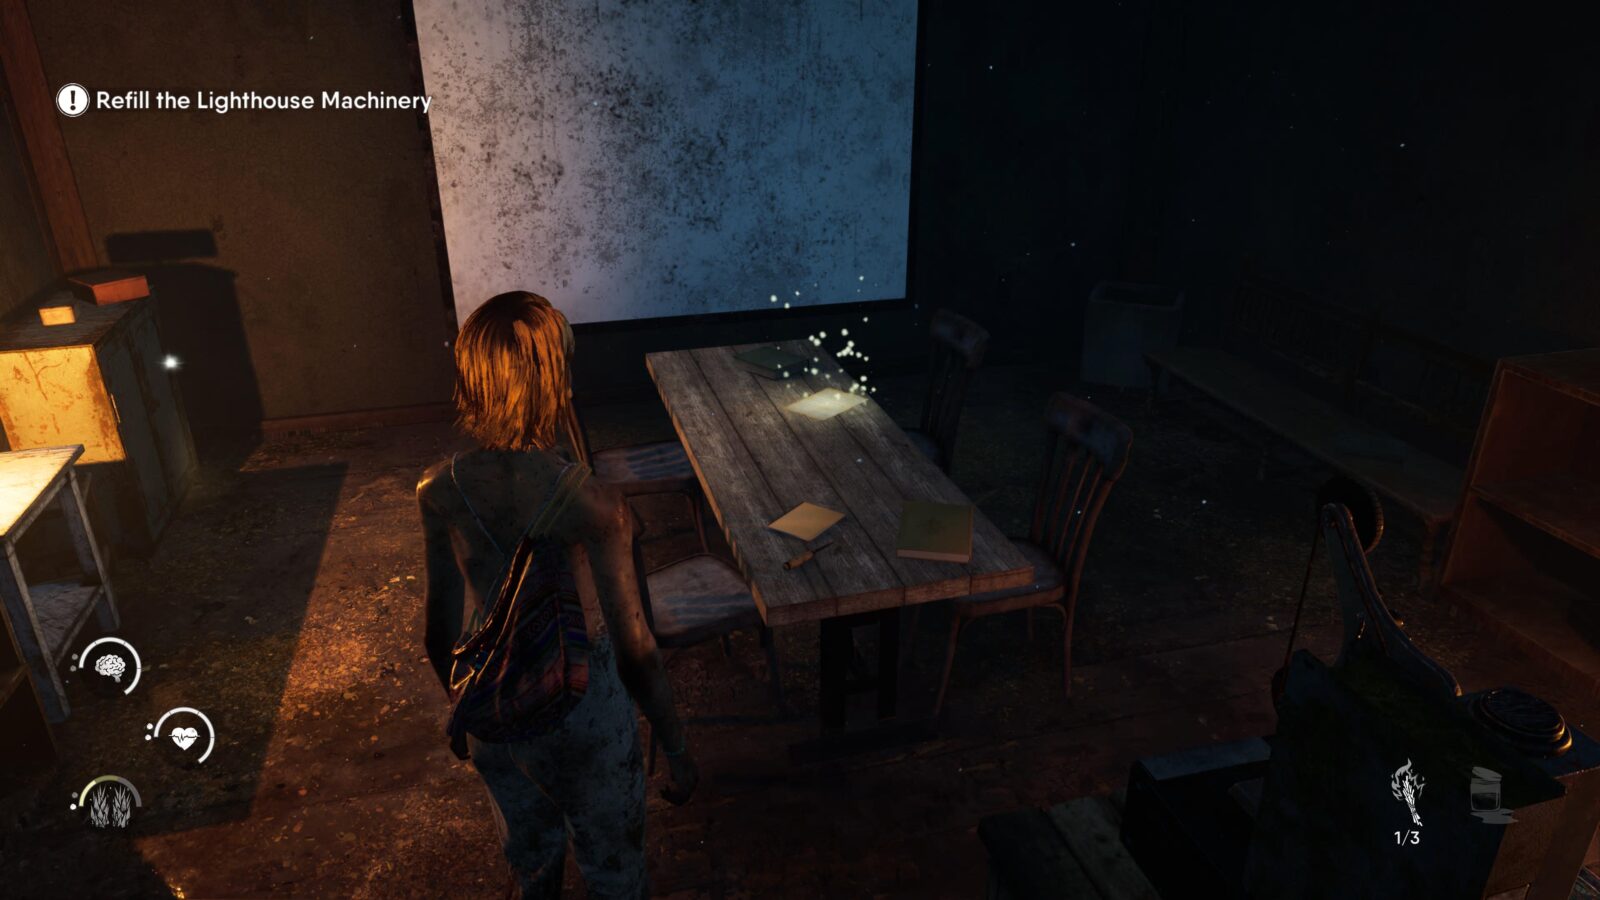
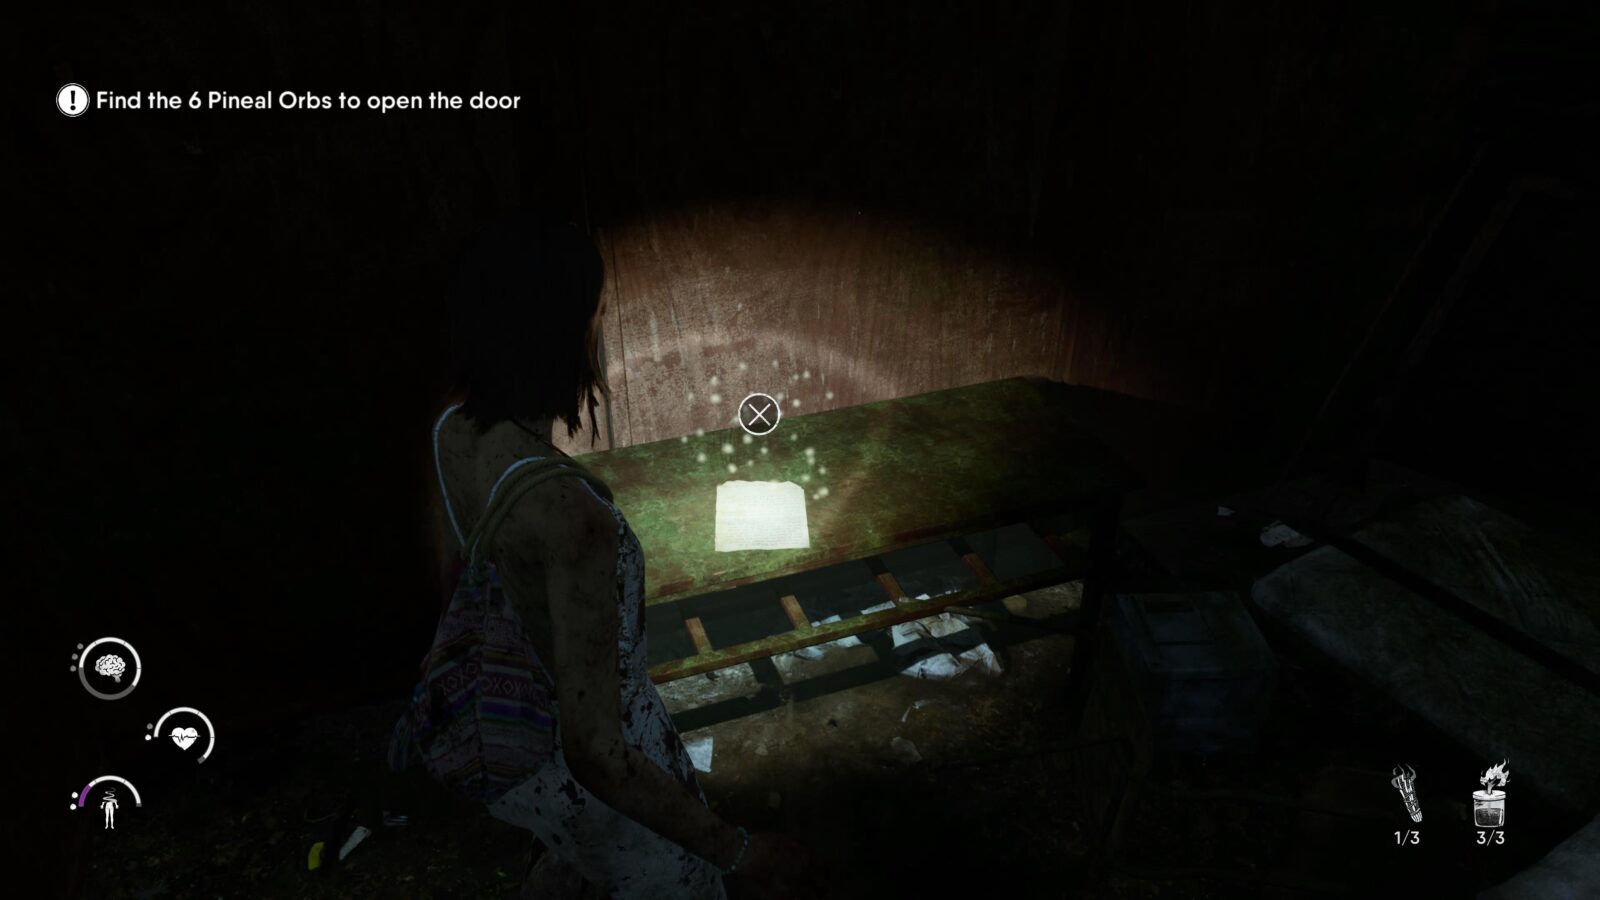
Lore Note #1 – Jess’ Letter to her Future Self – Already in your possession at the start of the chapter. The game doesn’t track this as a collectible which means the trophies for finding 10, 25, and 45 will unlock upon collecting your 11th, 26th, and 46th respectively. However, since this note can be found with the rest of the Lore Notes I’ve decided to list it as the first.
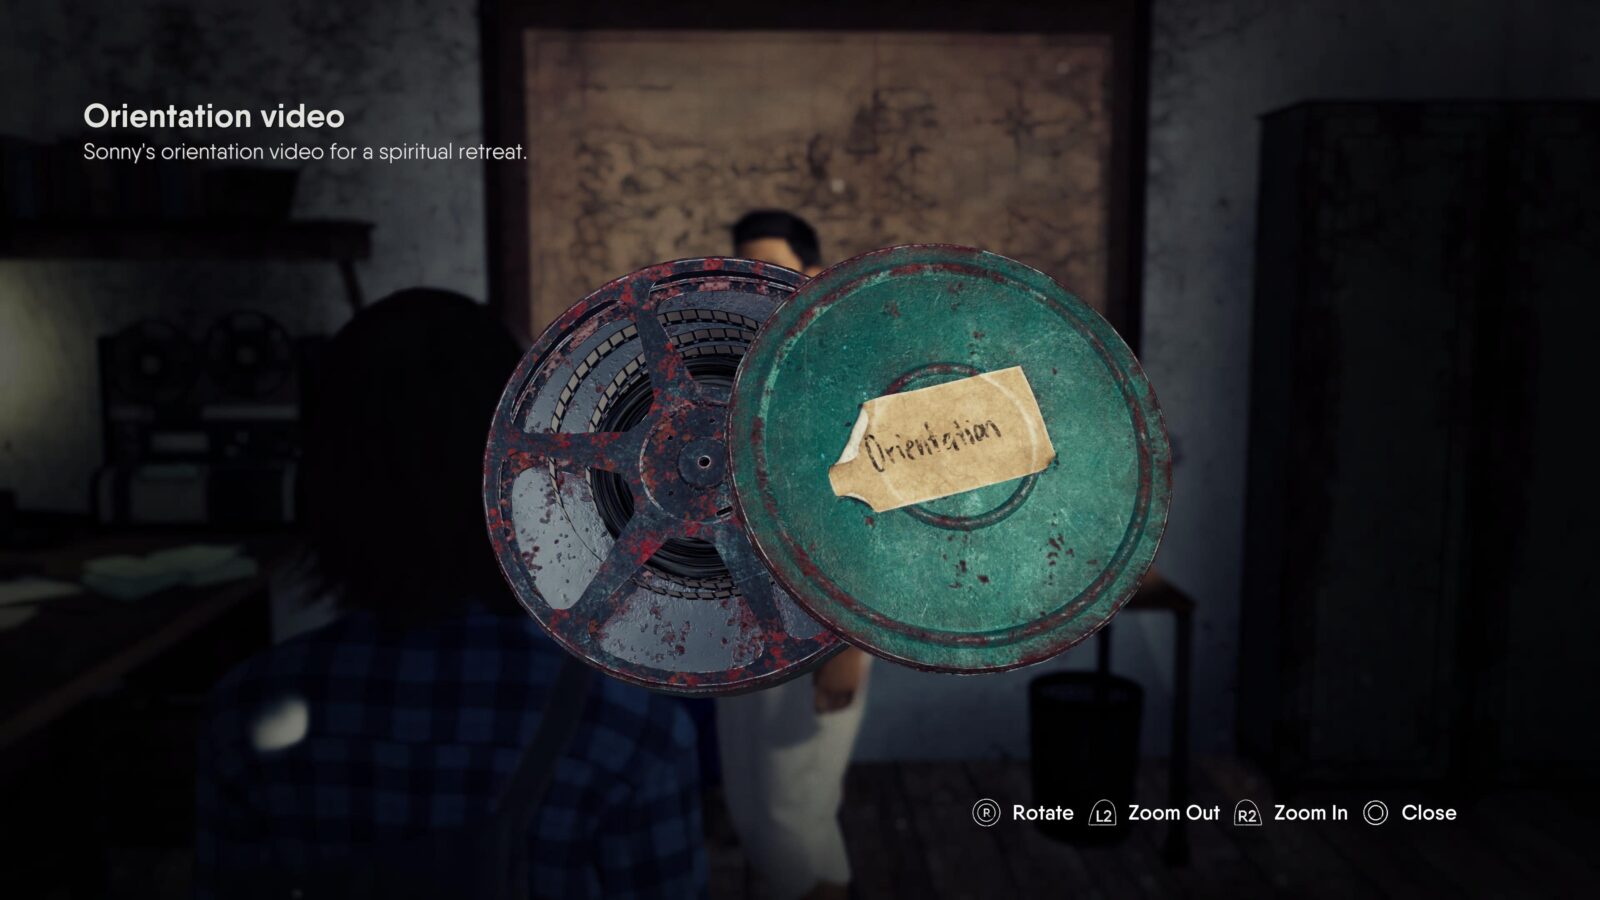
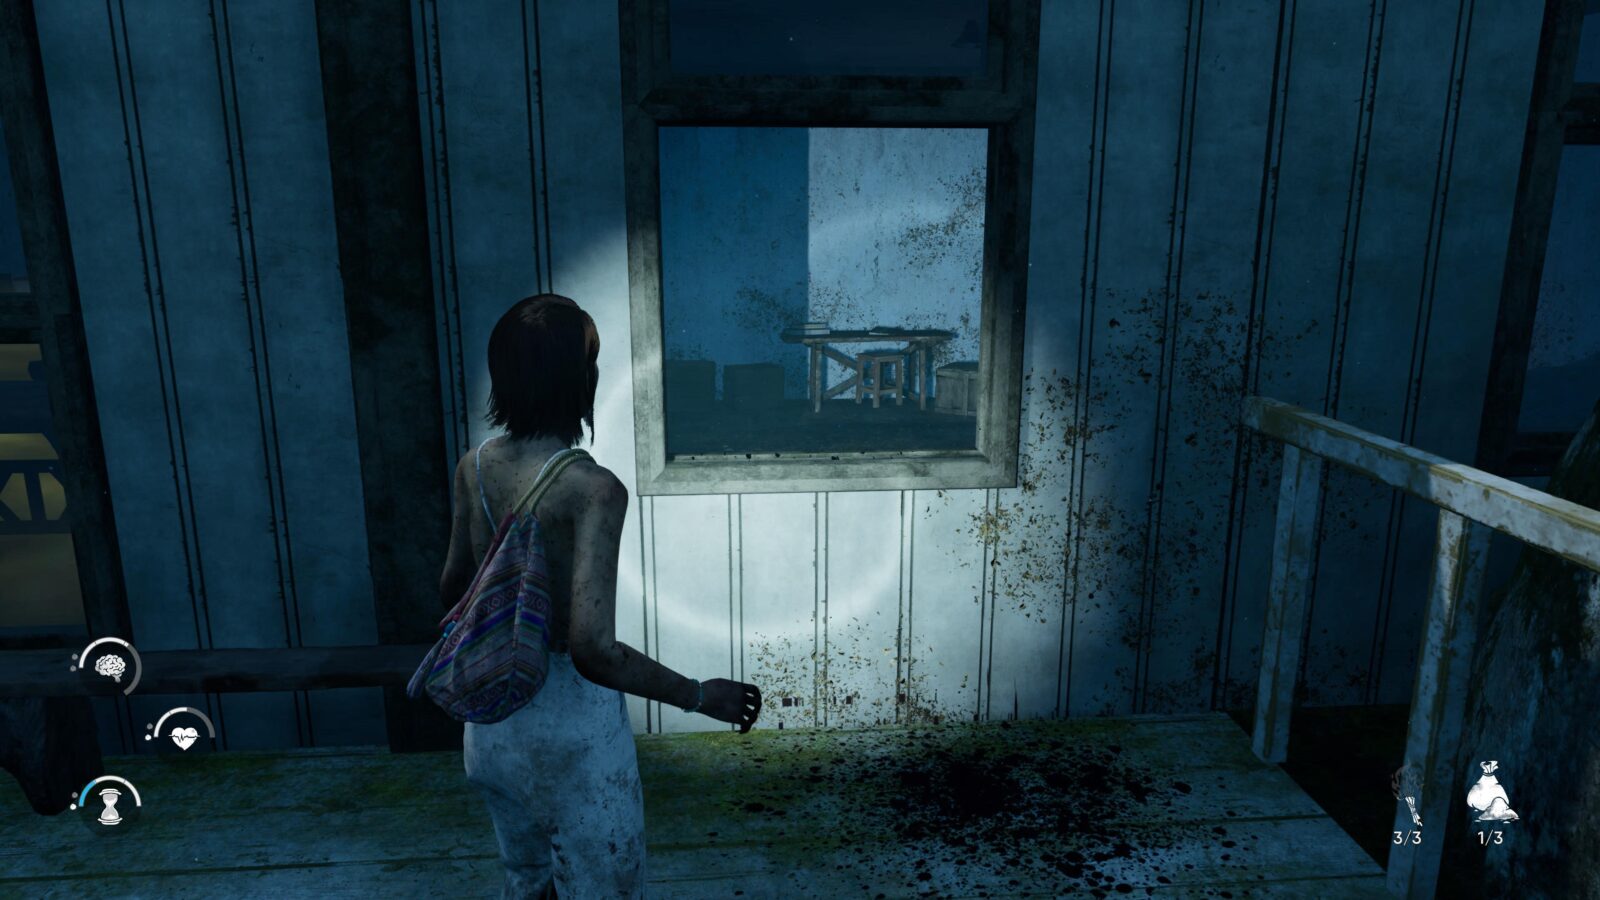
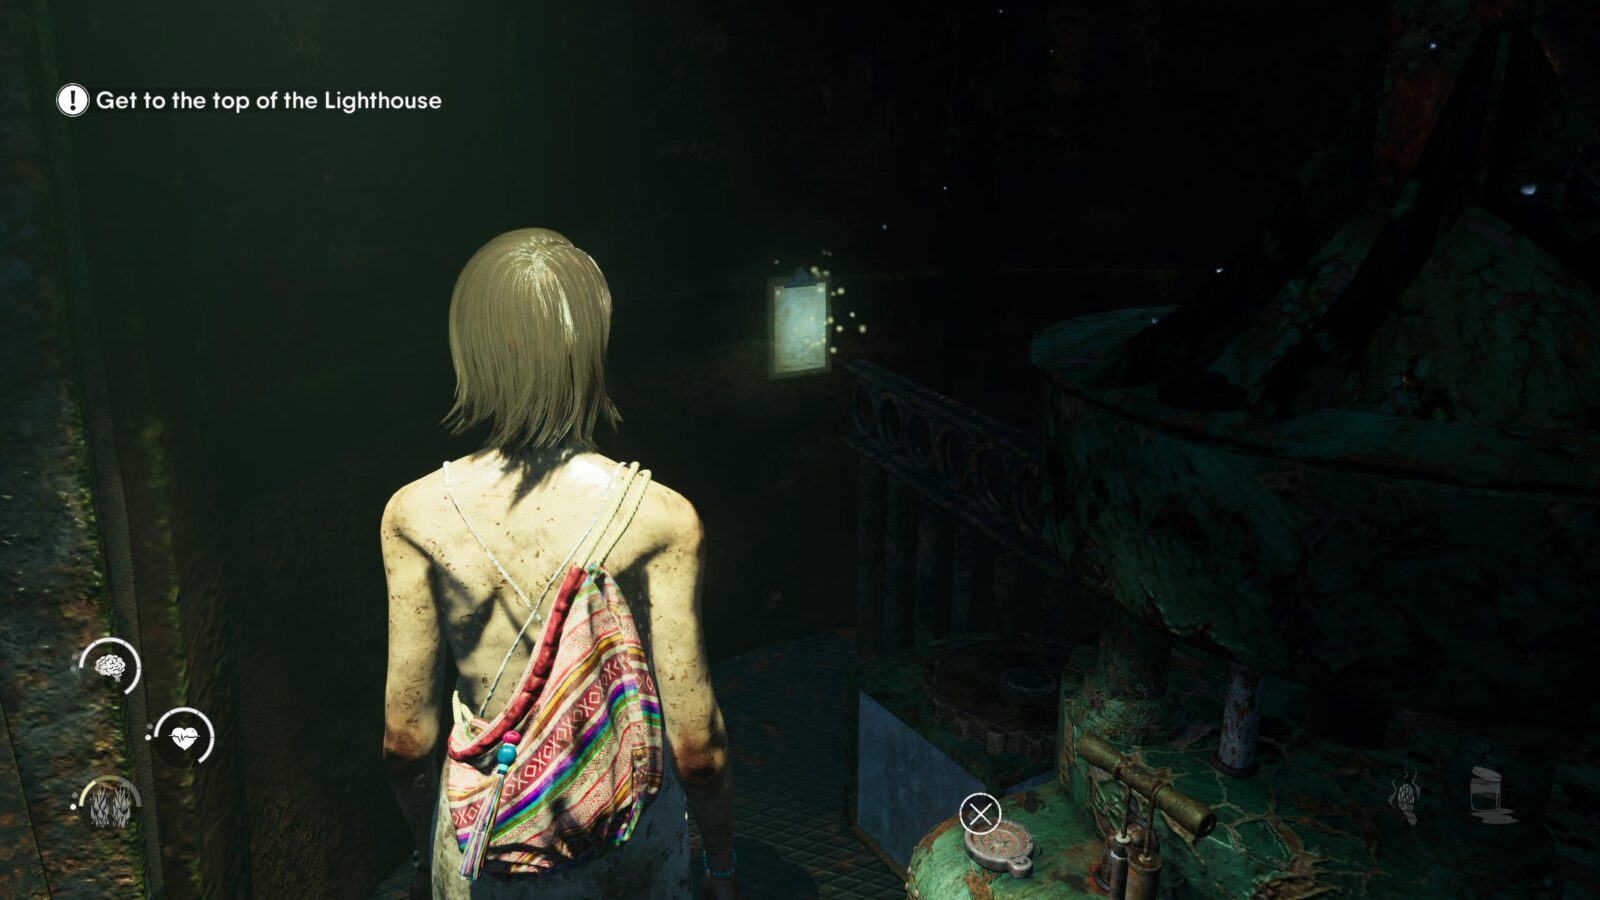
Projector Reel #1 – Orientation Video – Given to you by Sonny when you meet him inside the room next to the tent area where Kim is standing (remember to pick the reel up again after playing it in the Orientation Room).
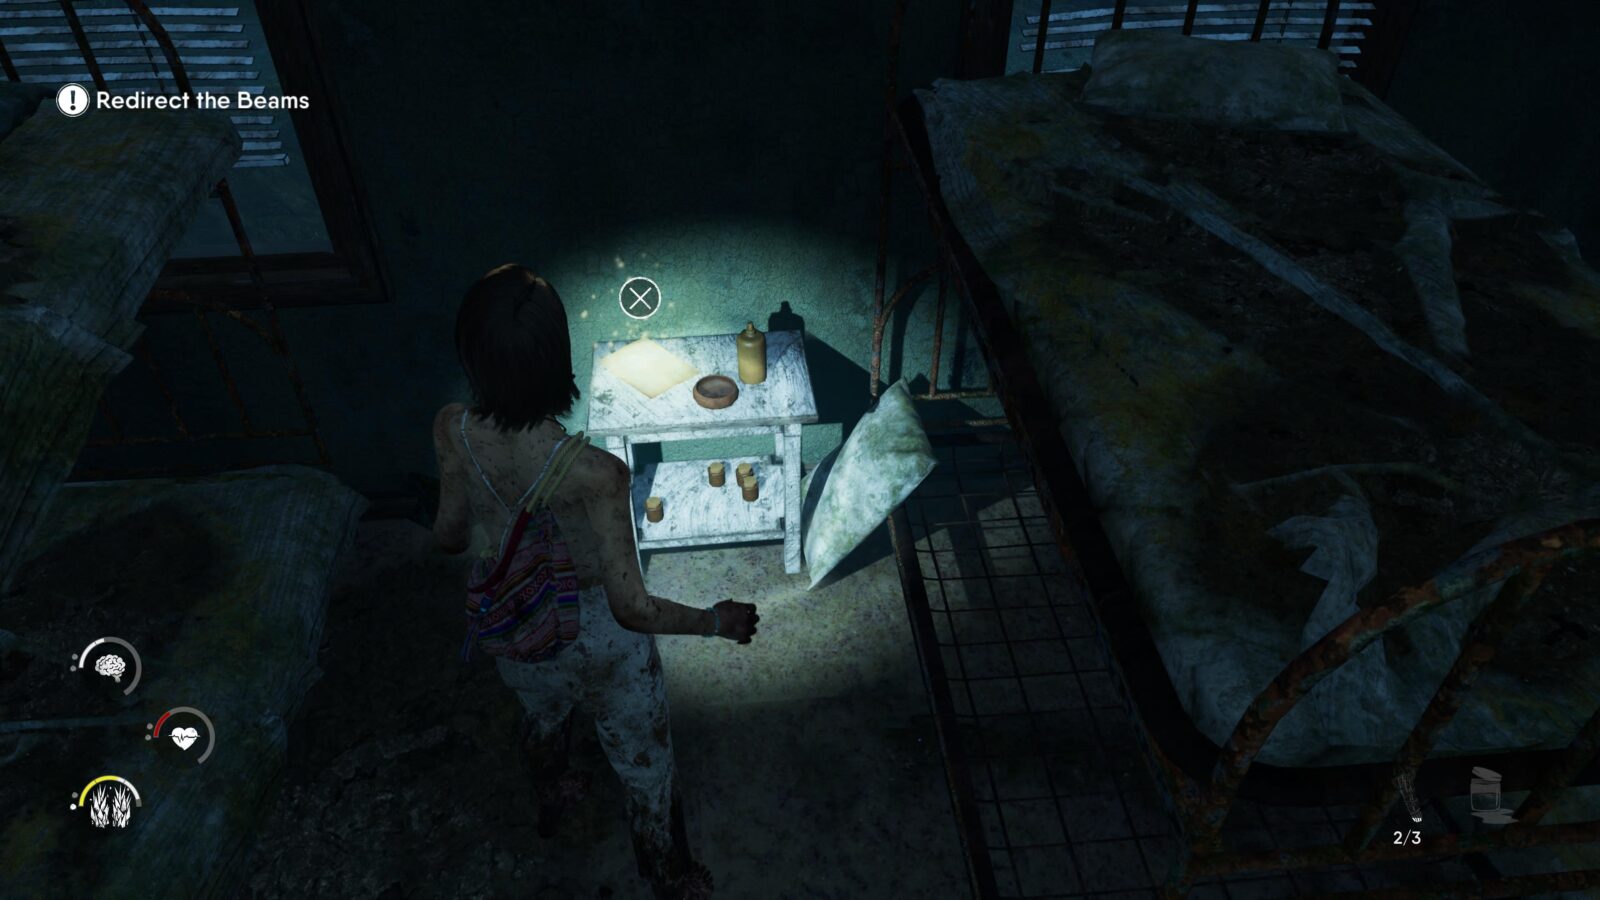
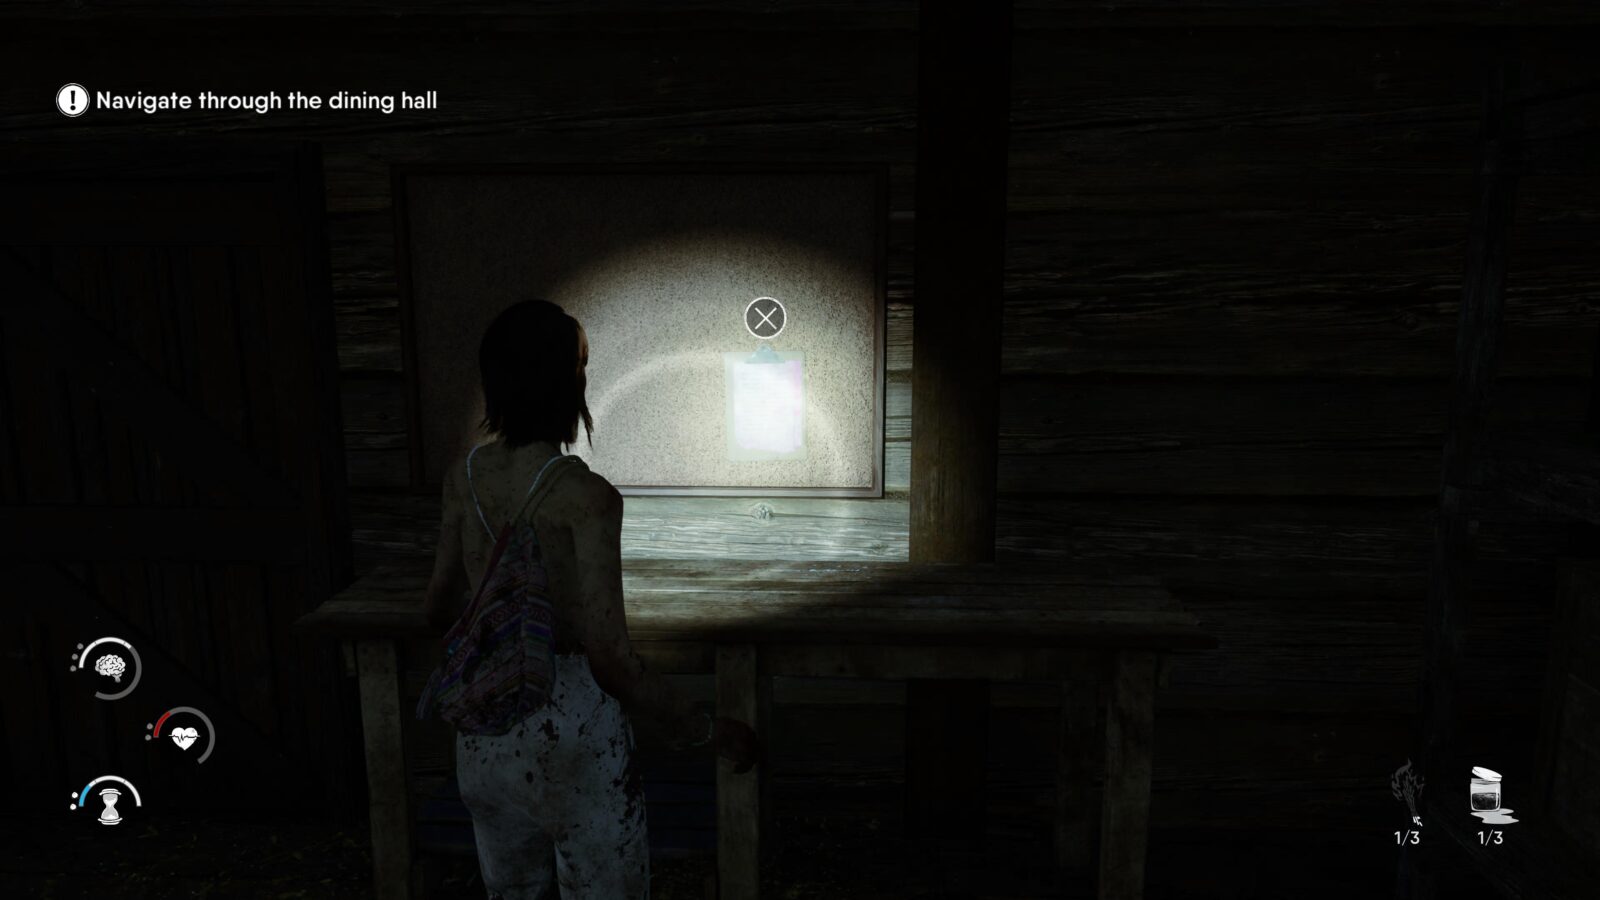
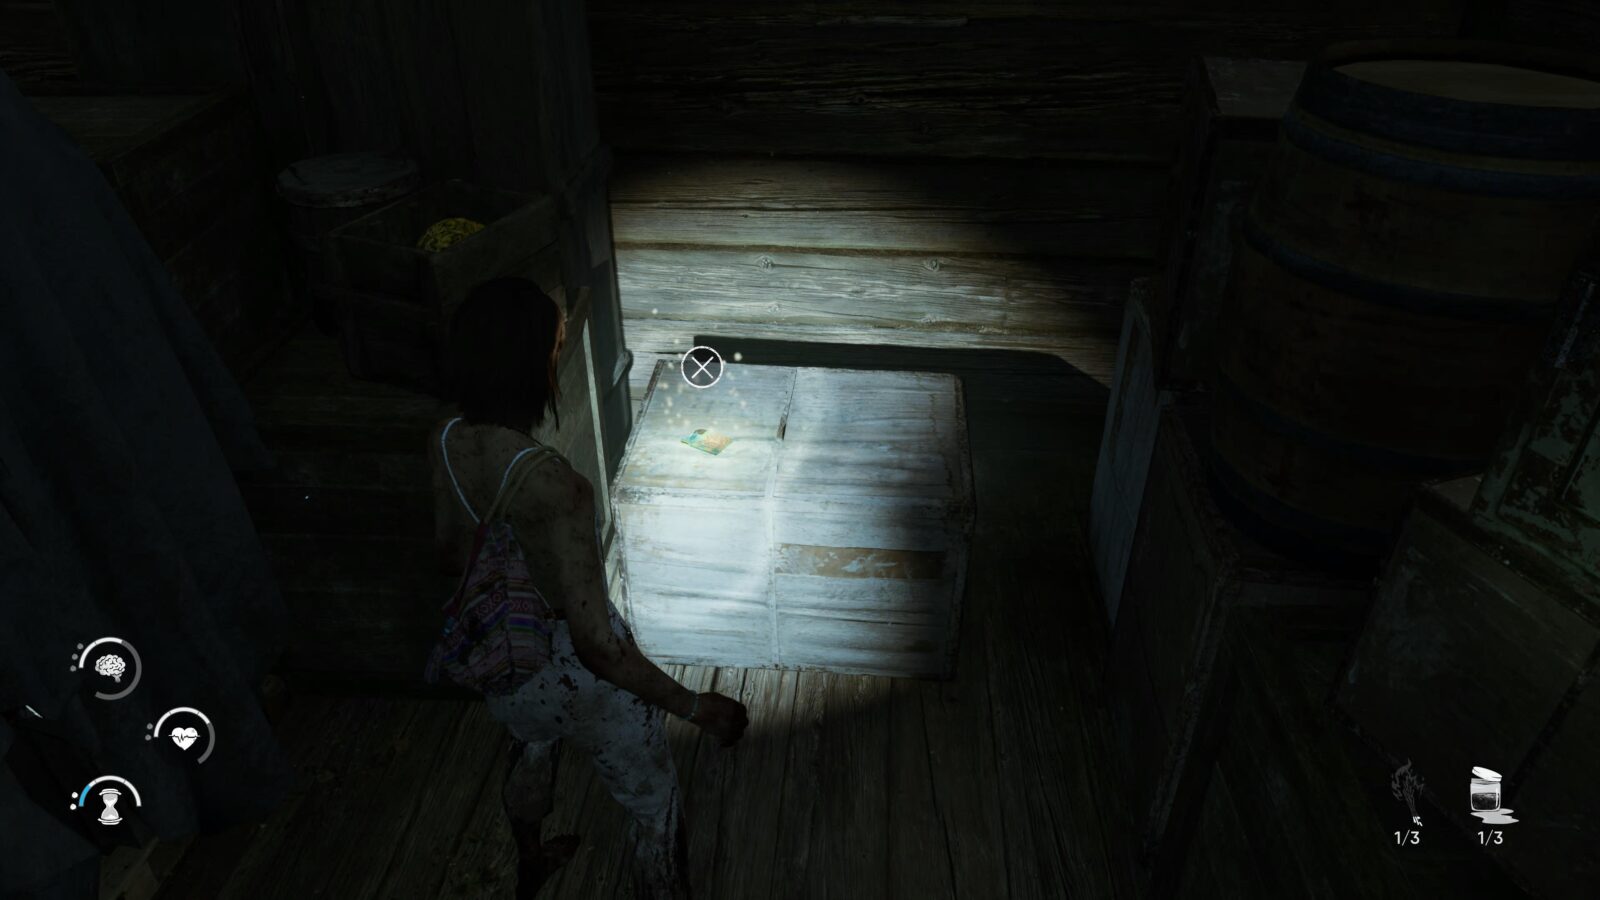
Lore Note #2 – Sonny’s Form – On a small table to the right of Sonny when you first meet him.
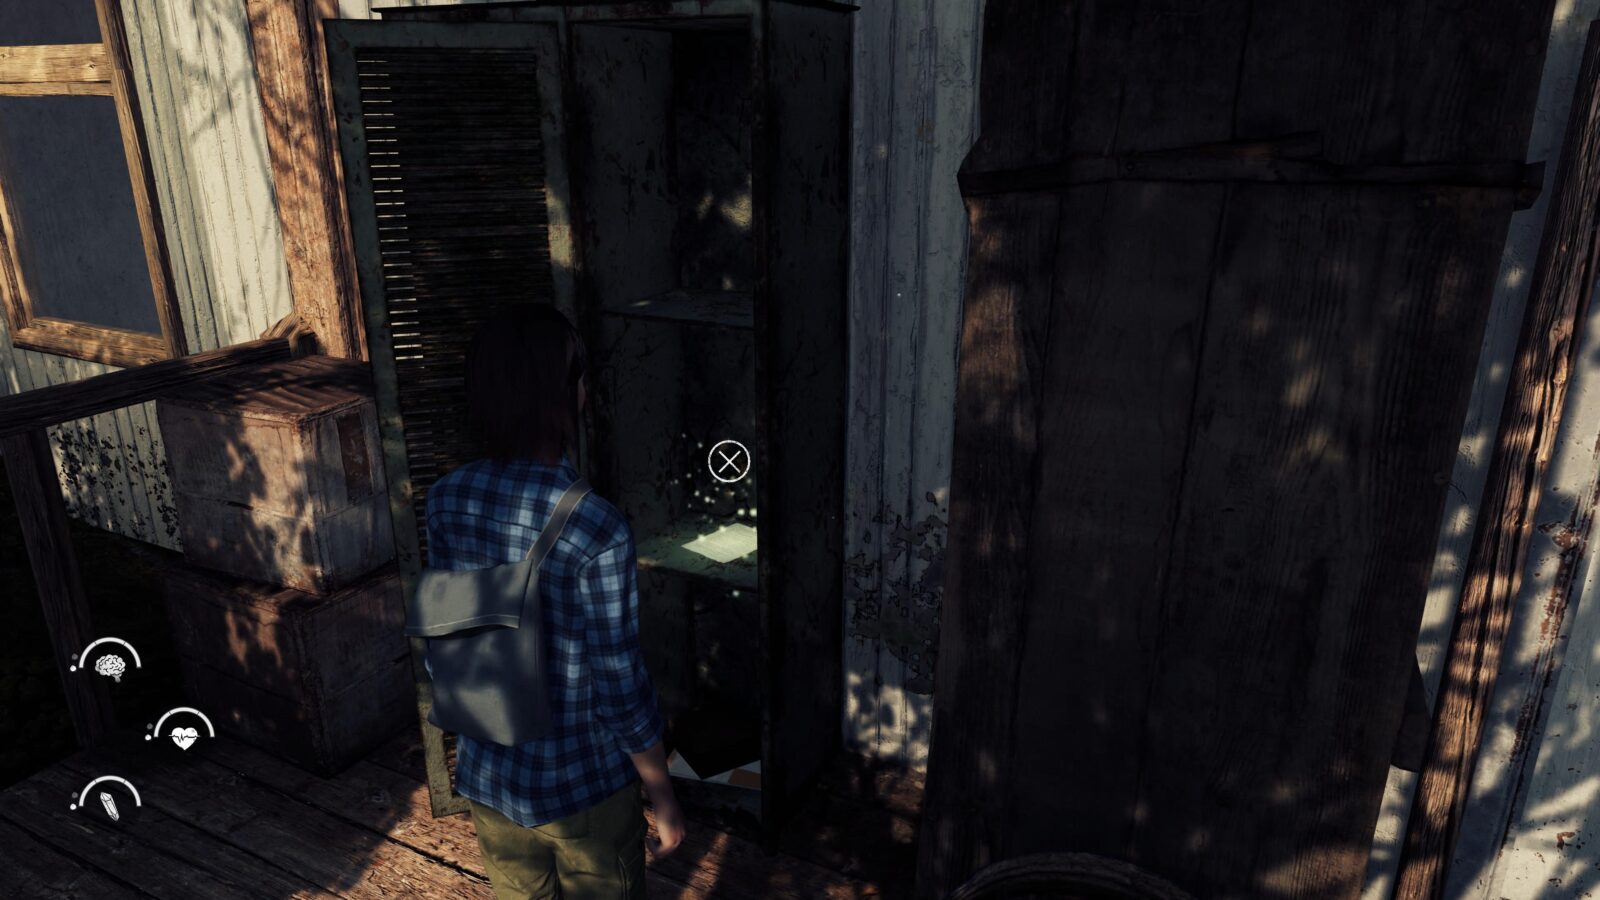
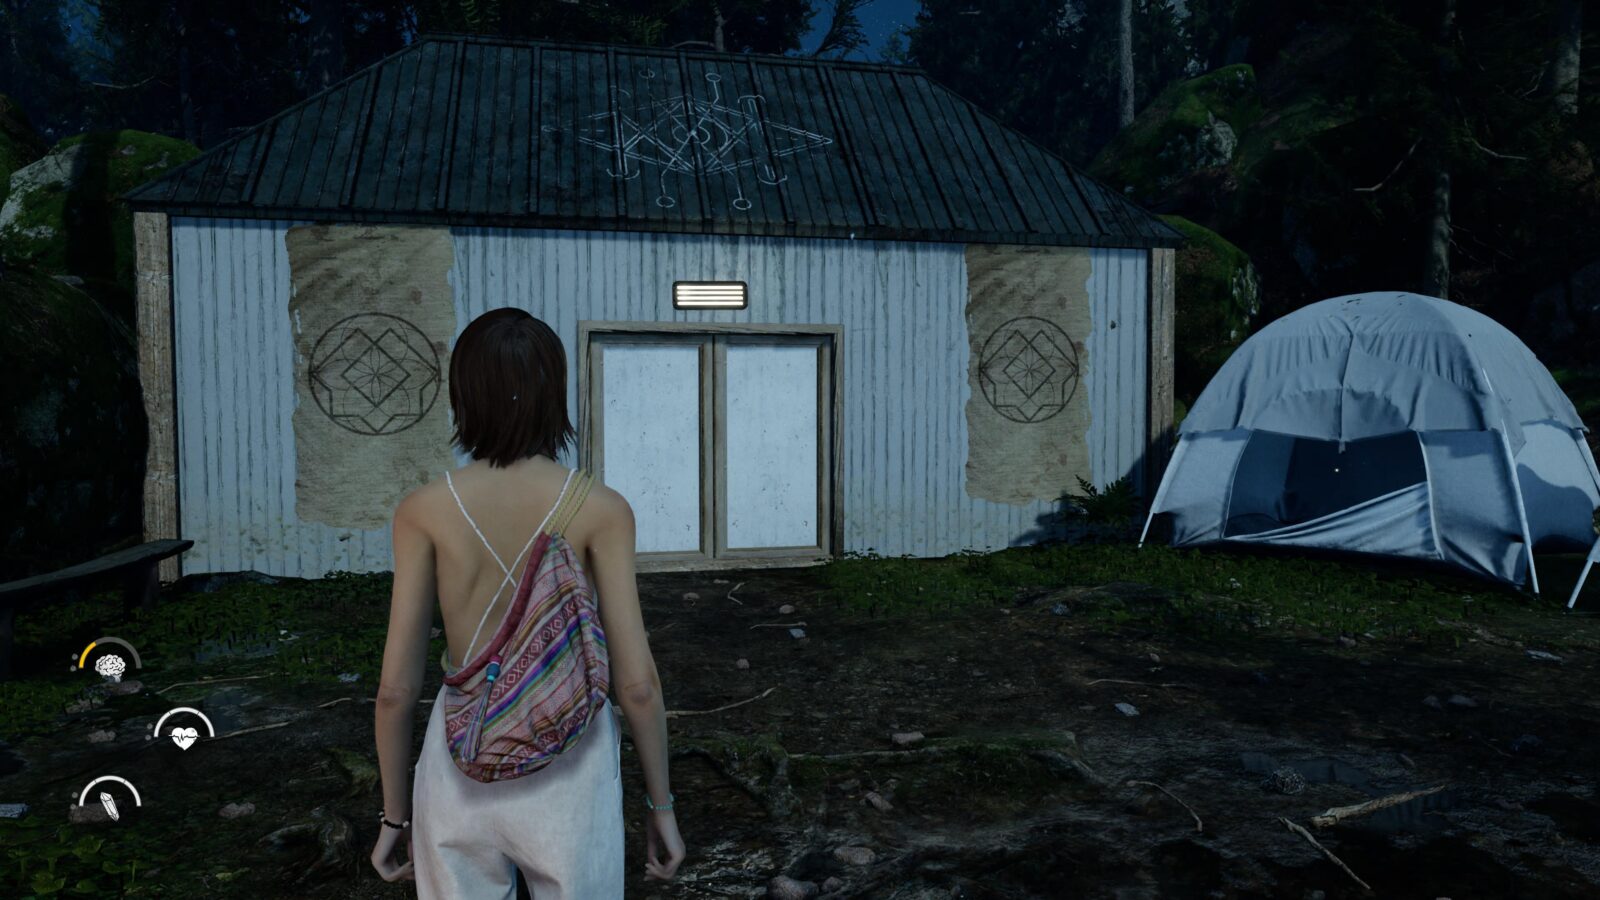
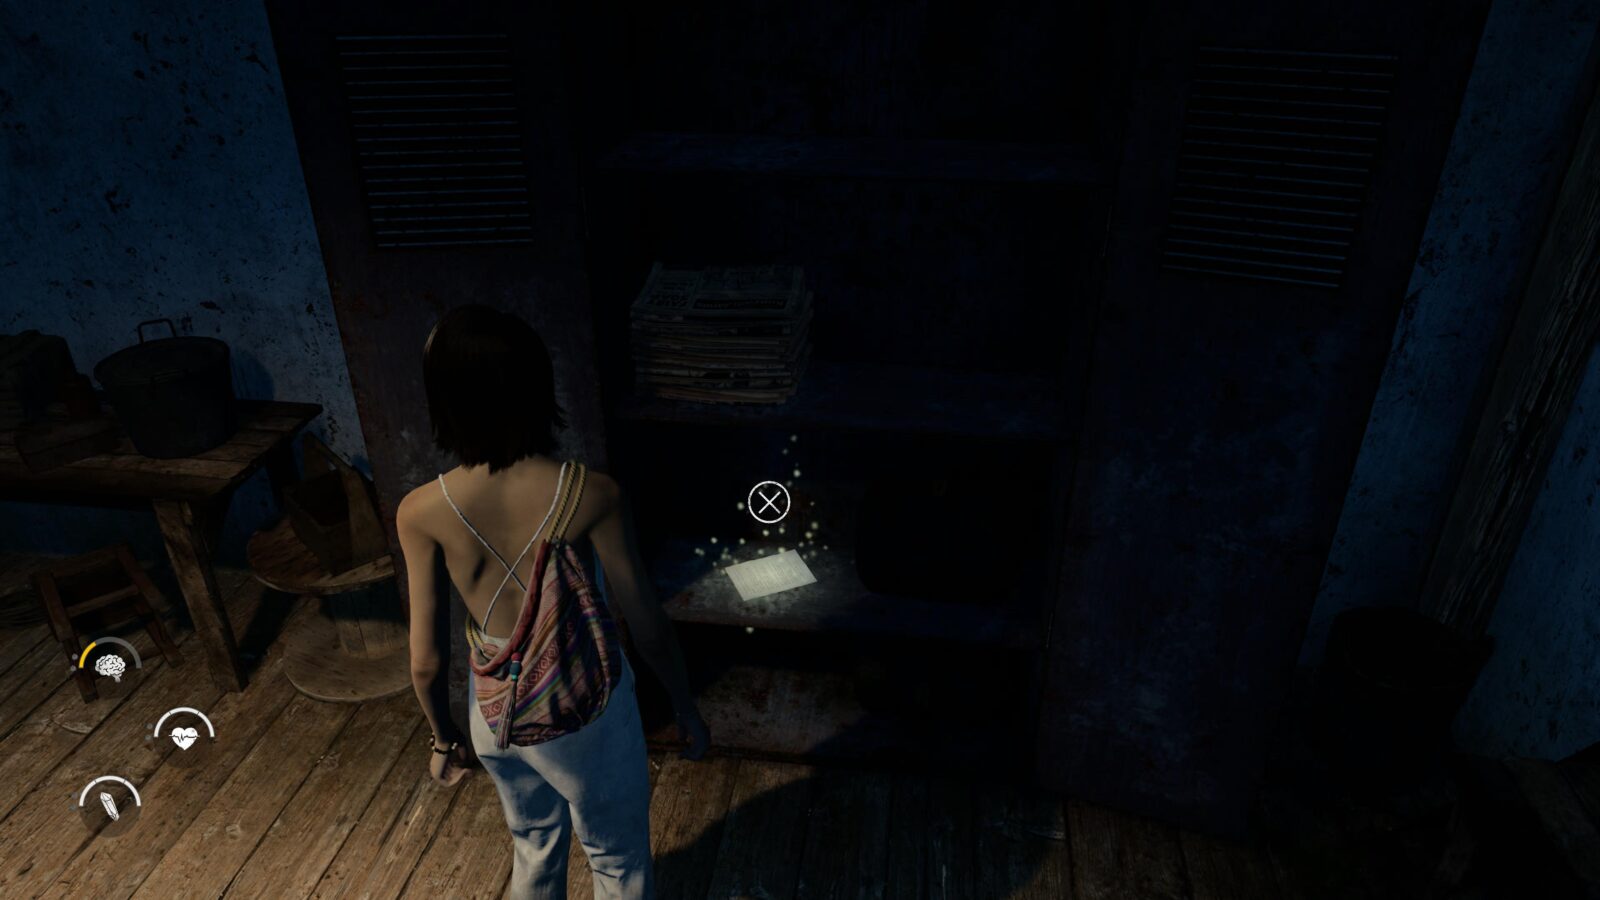
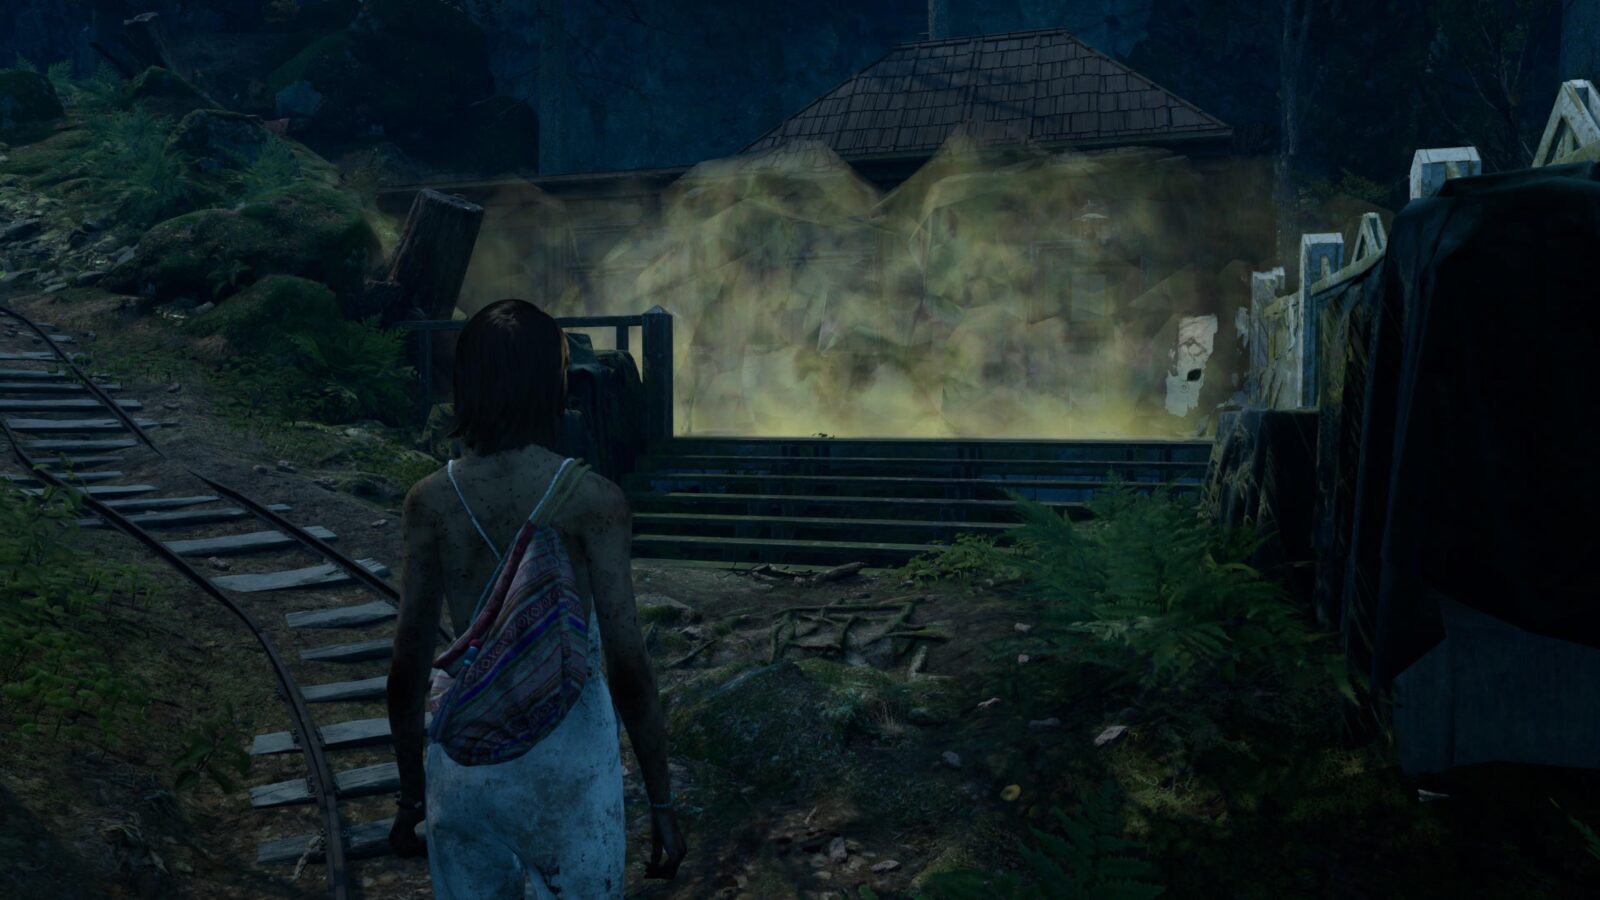
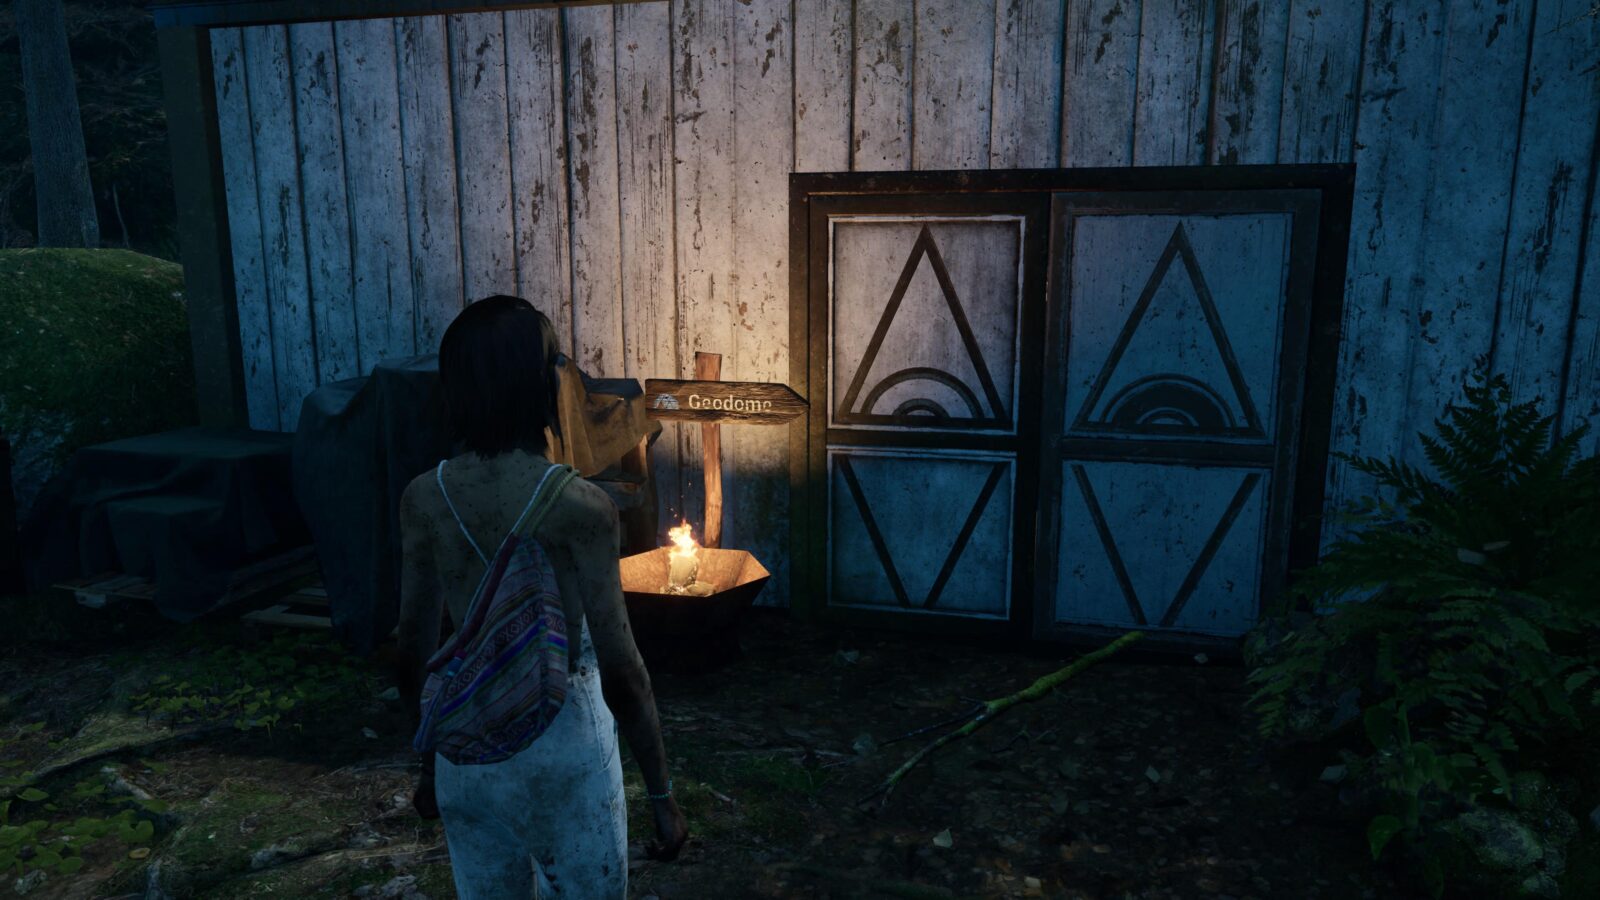
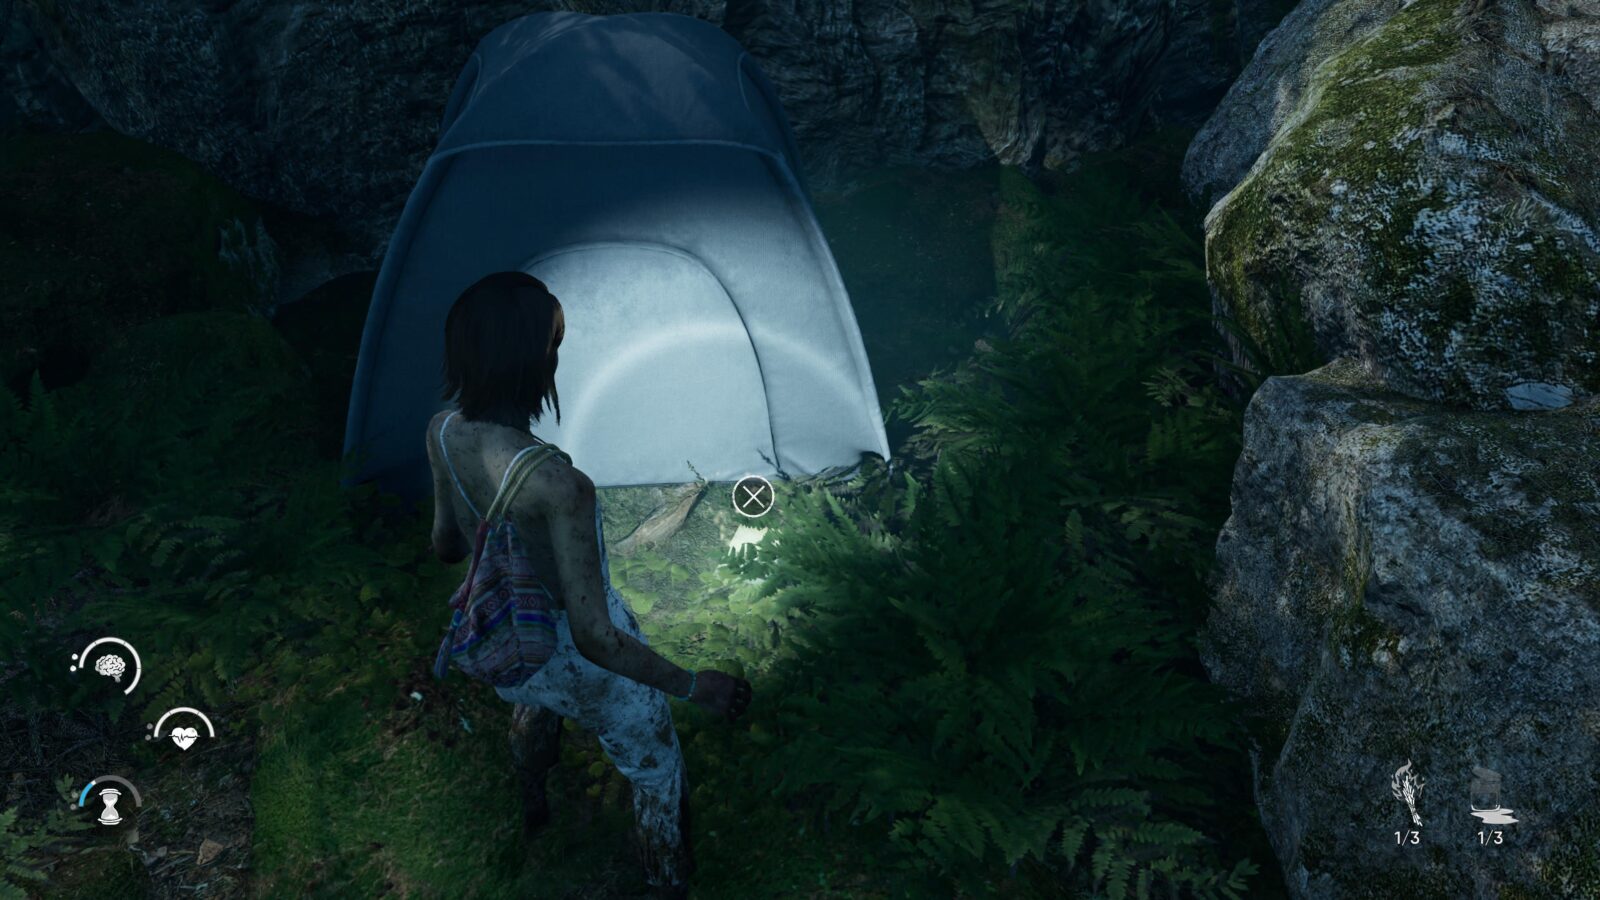
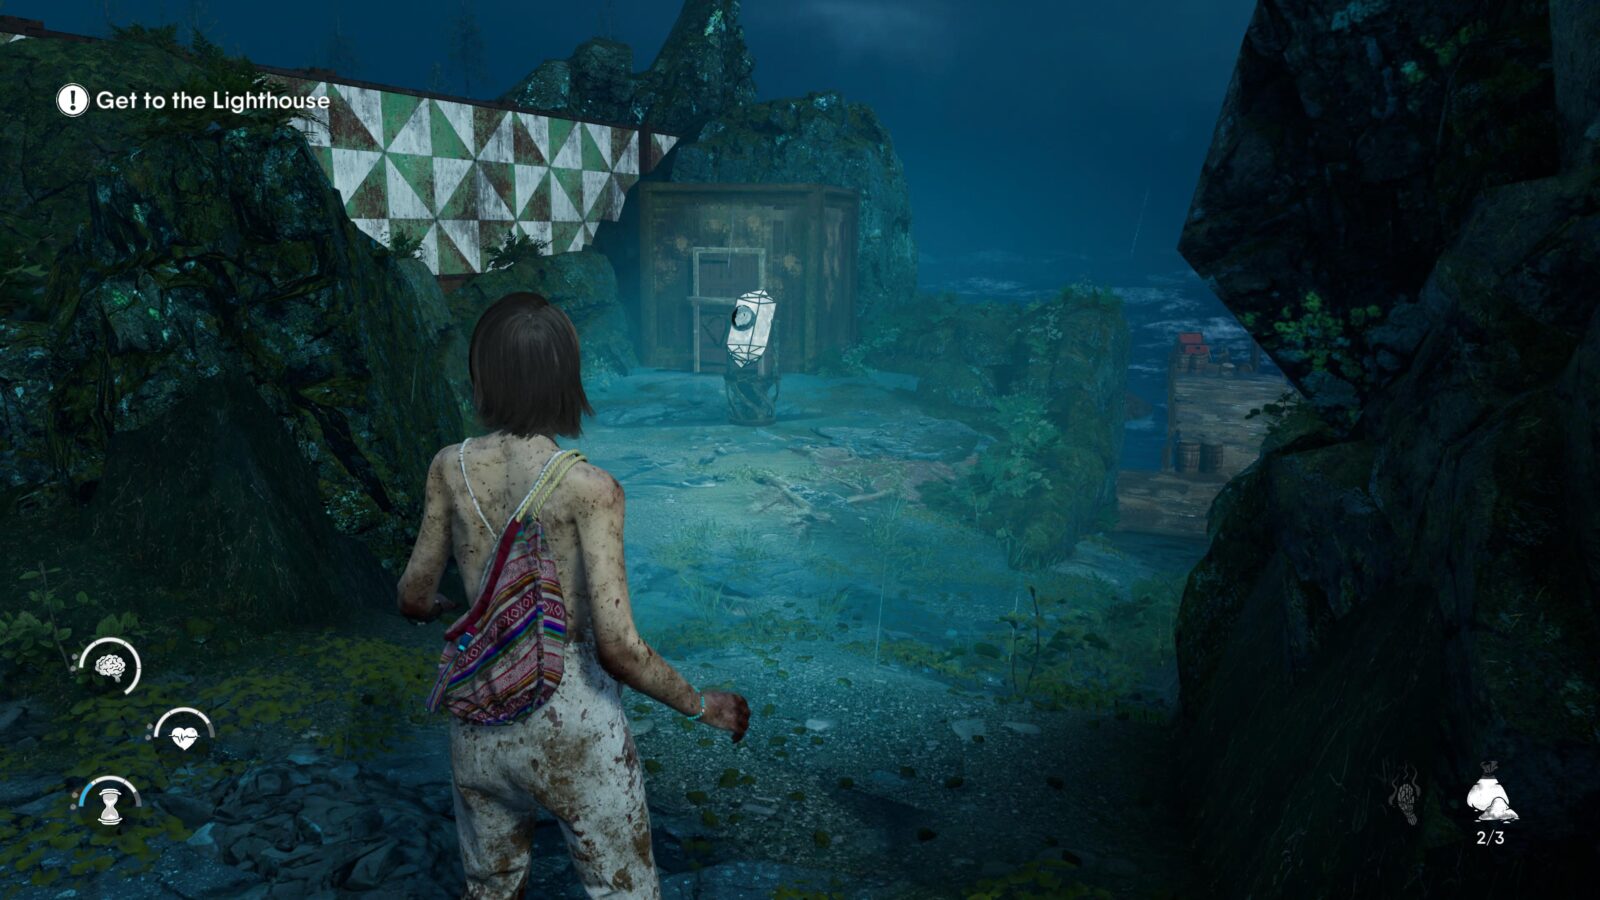
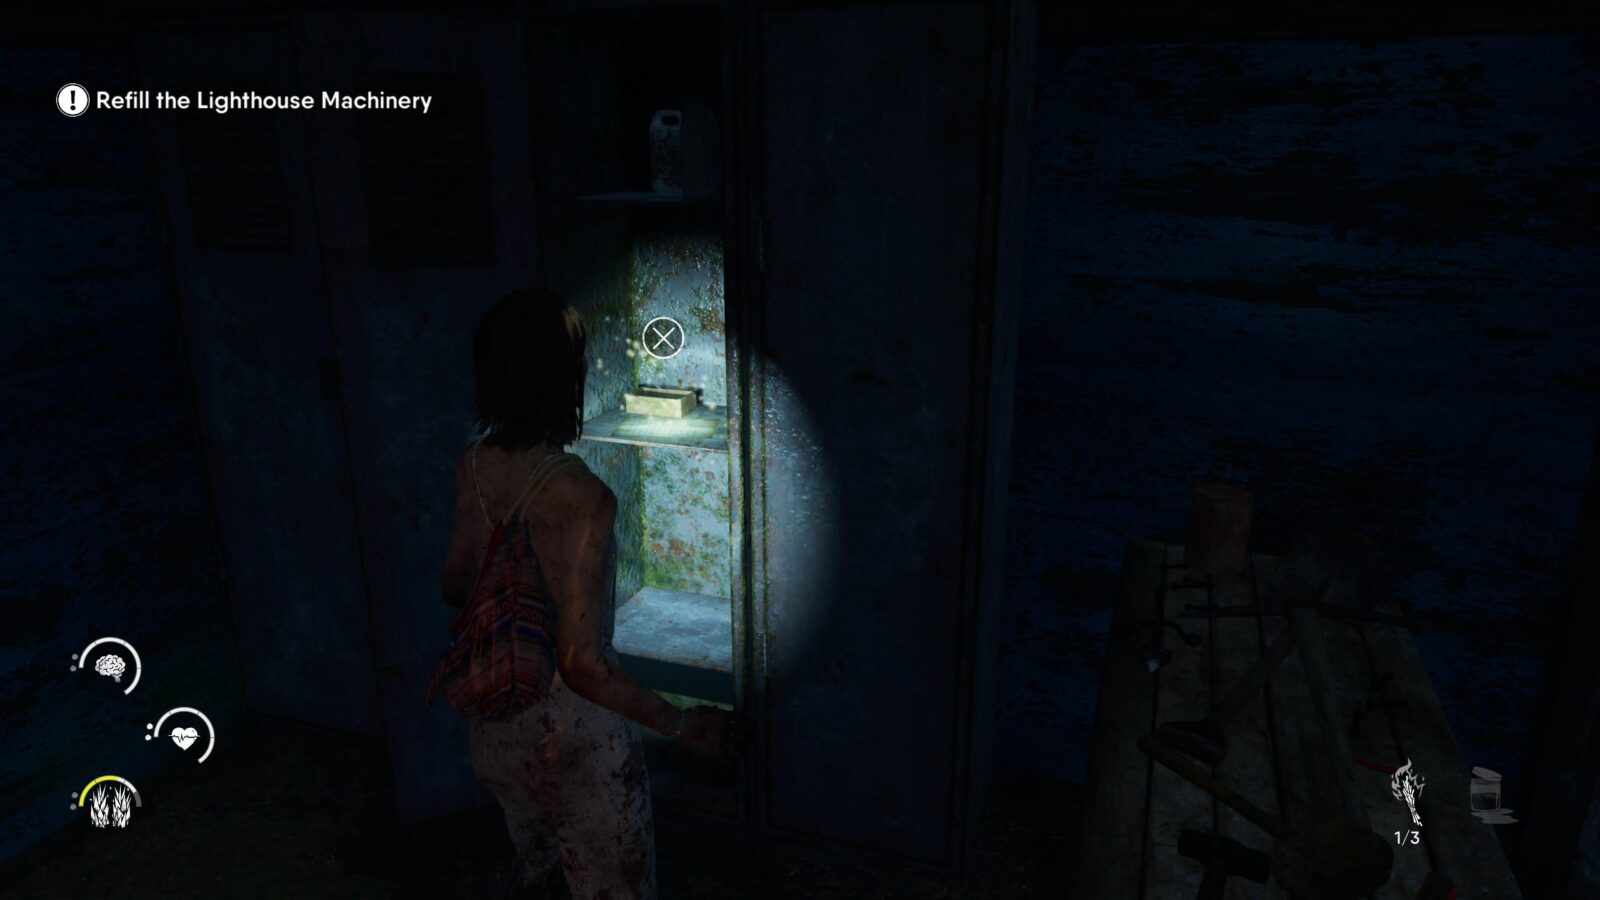
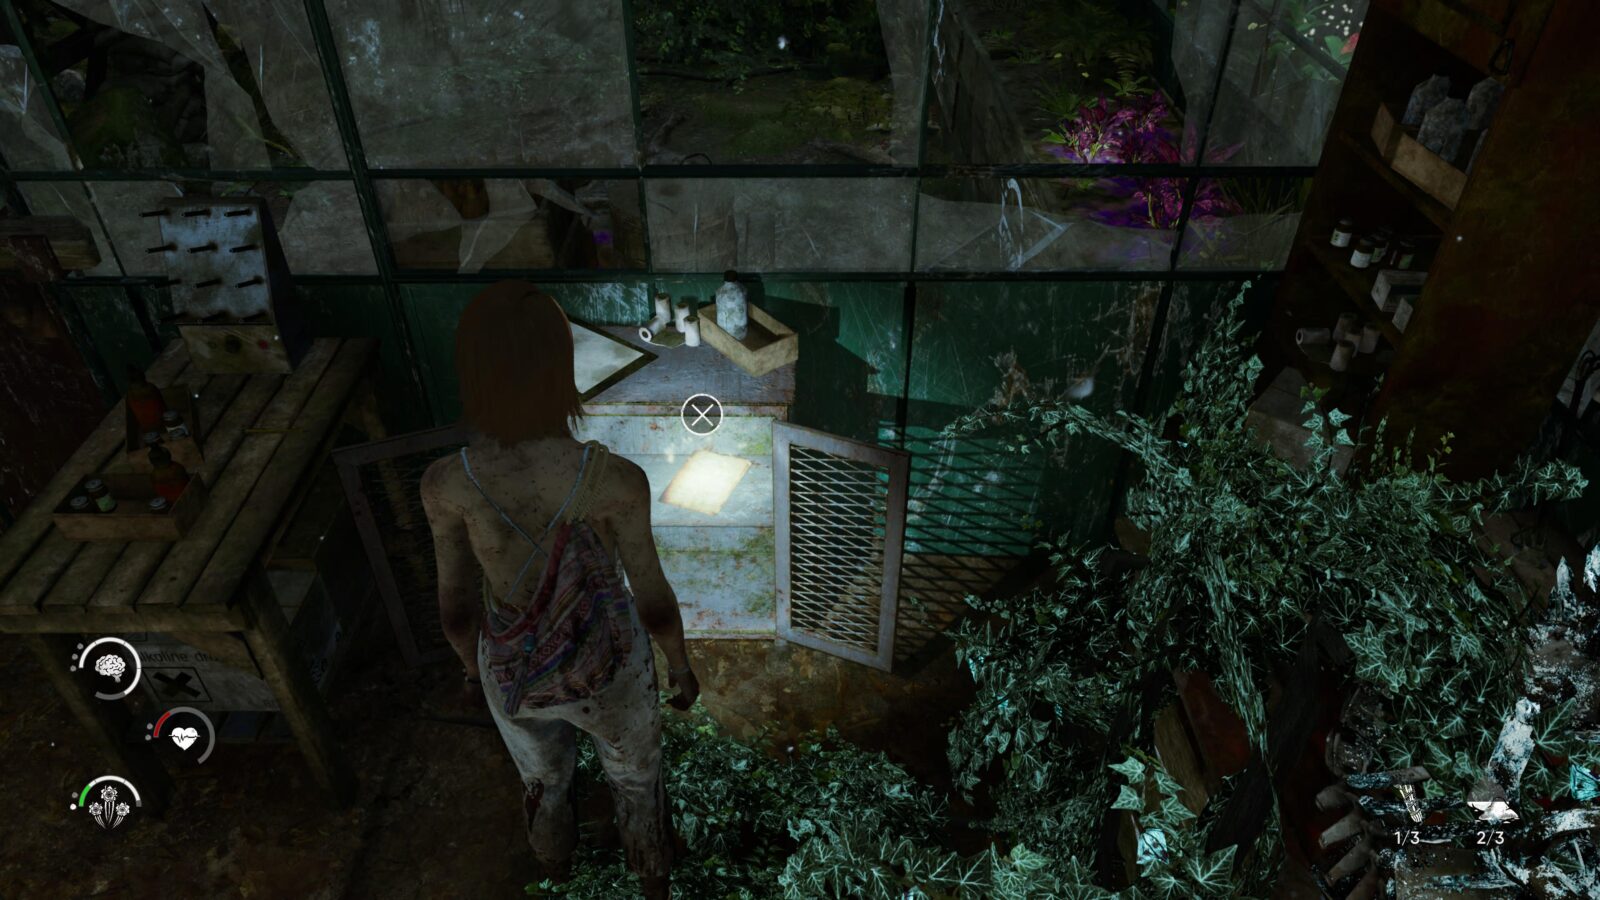
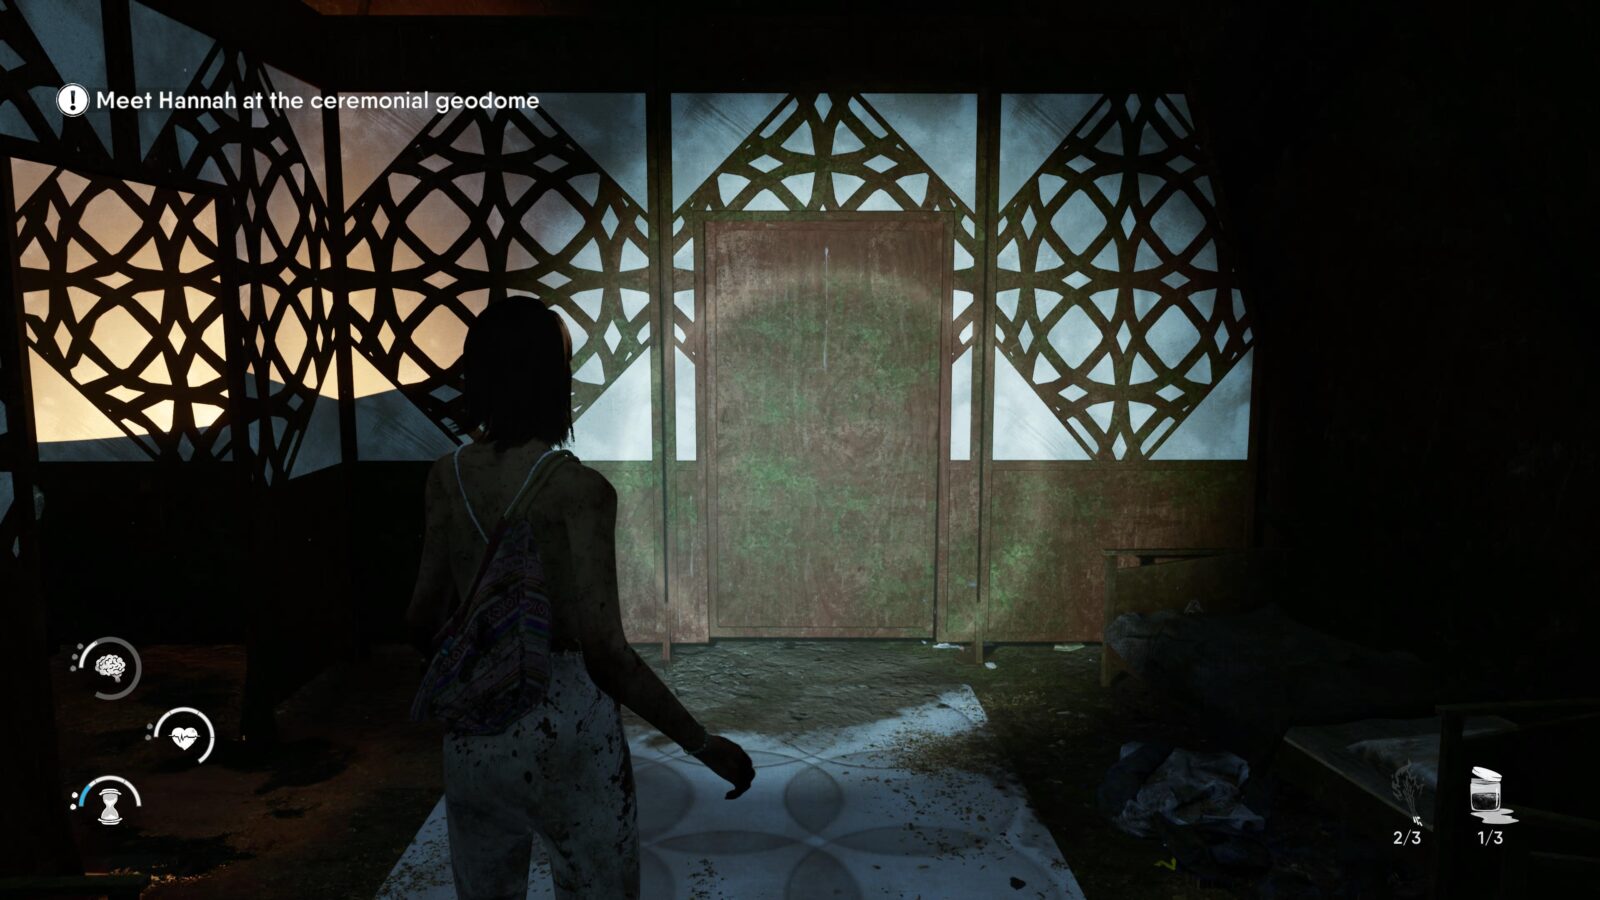
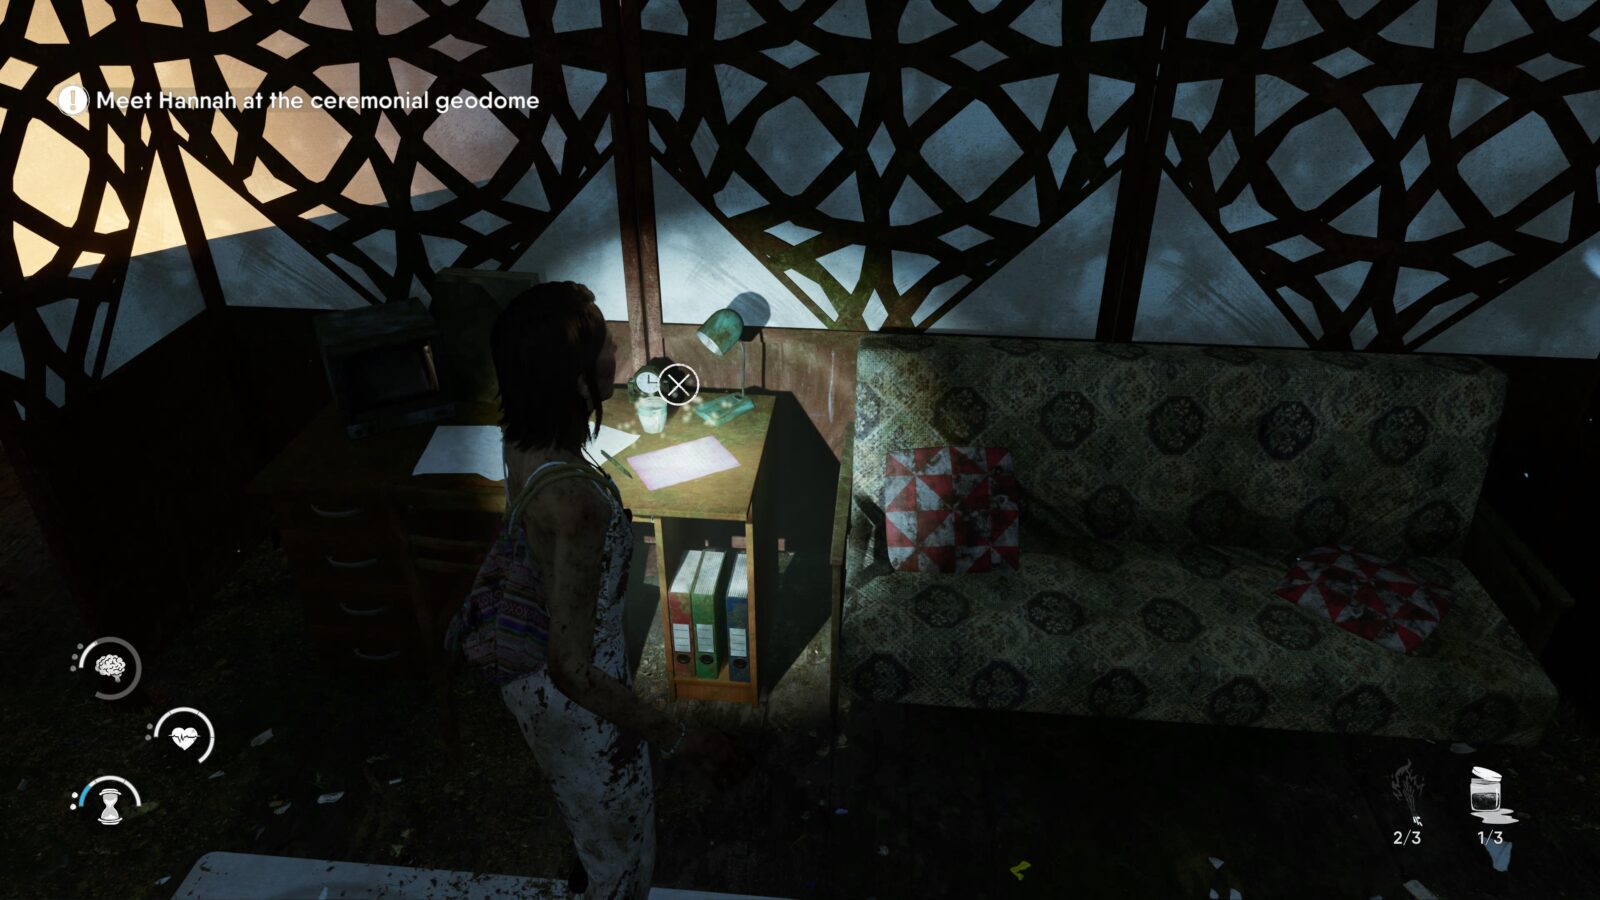
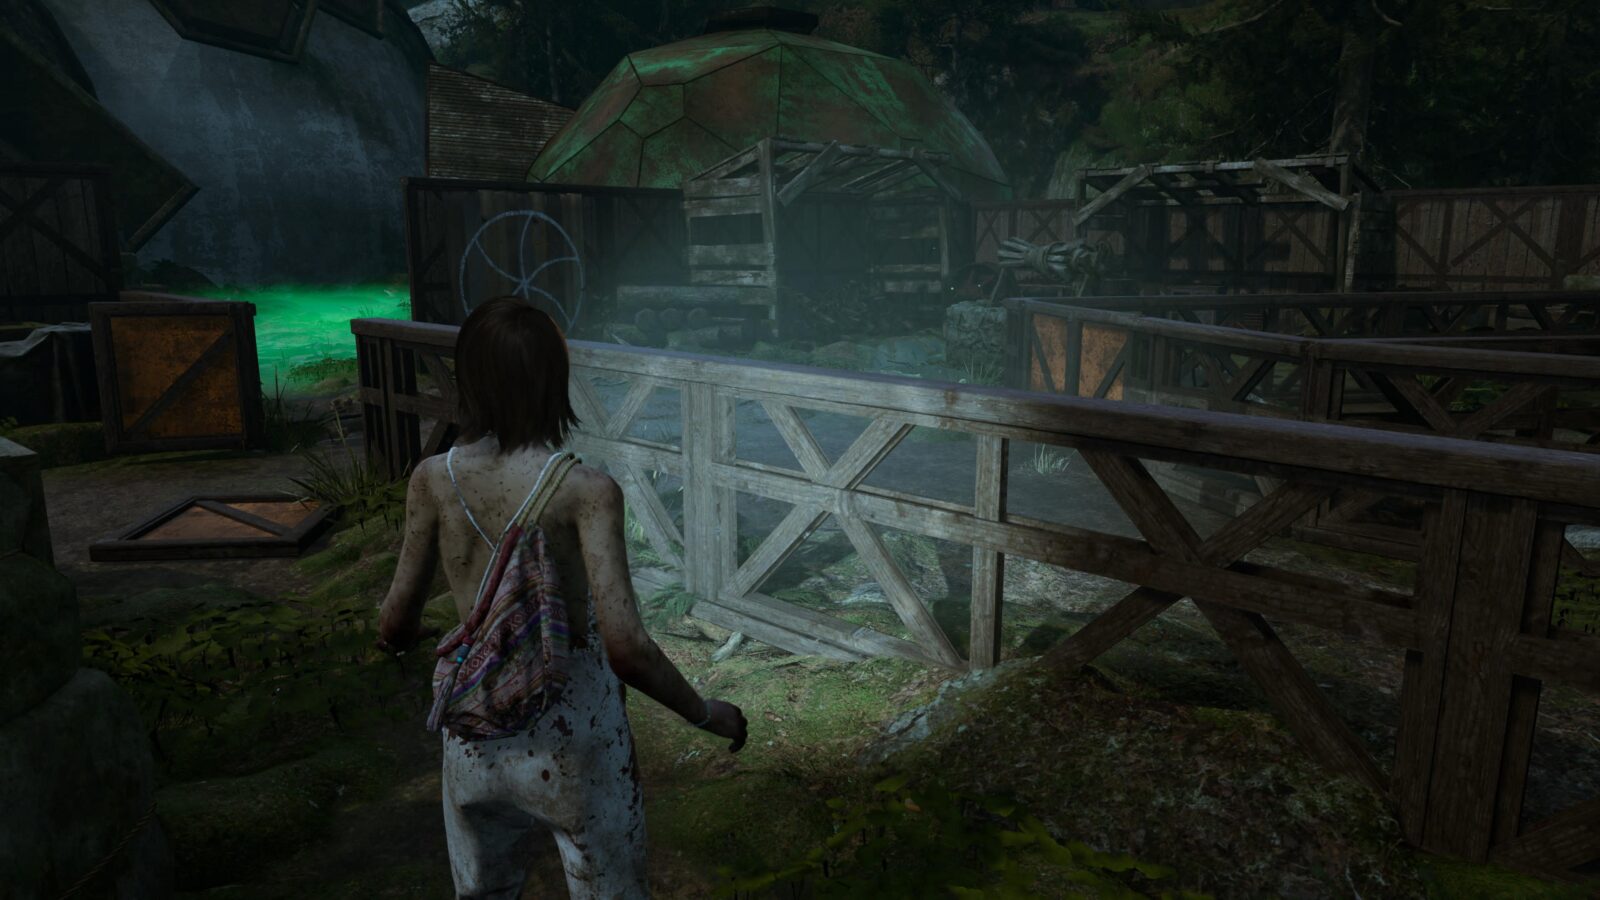
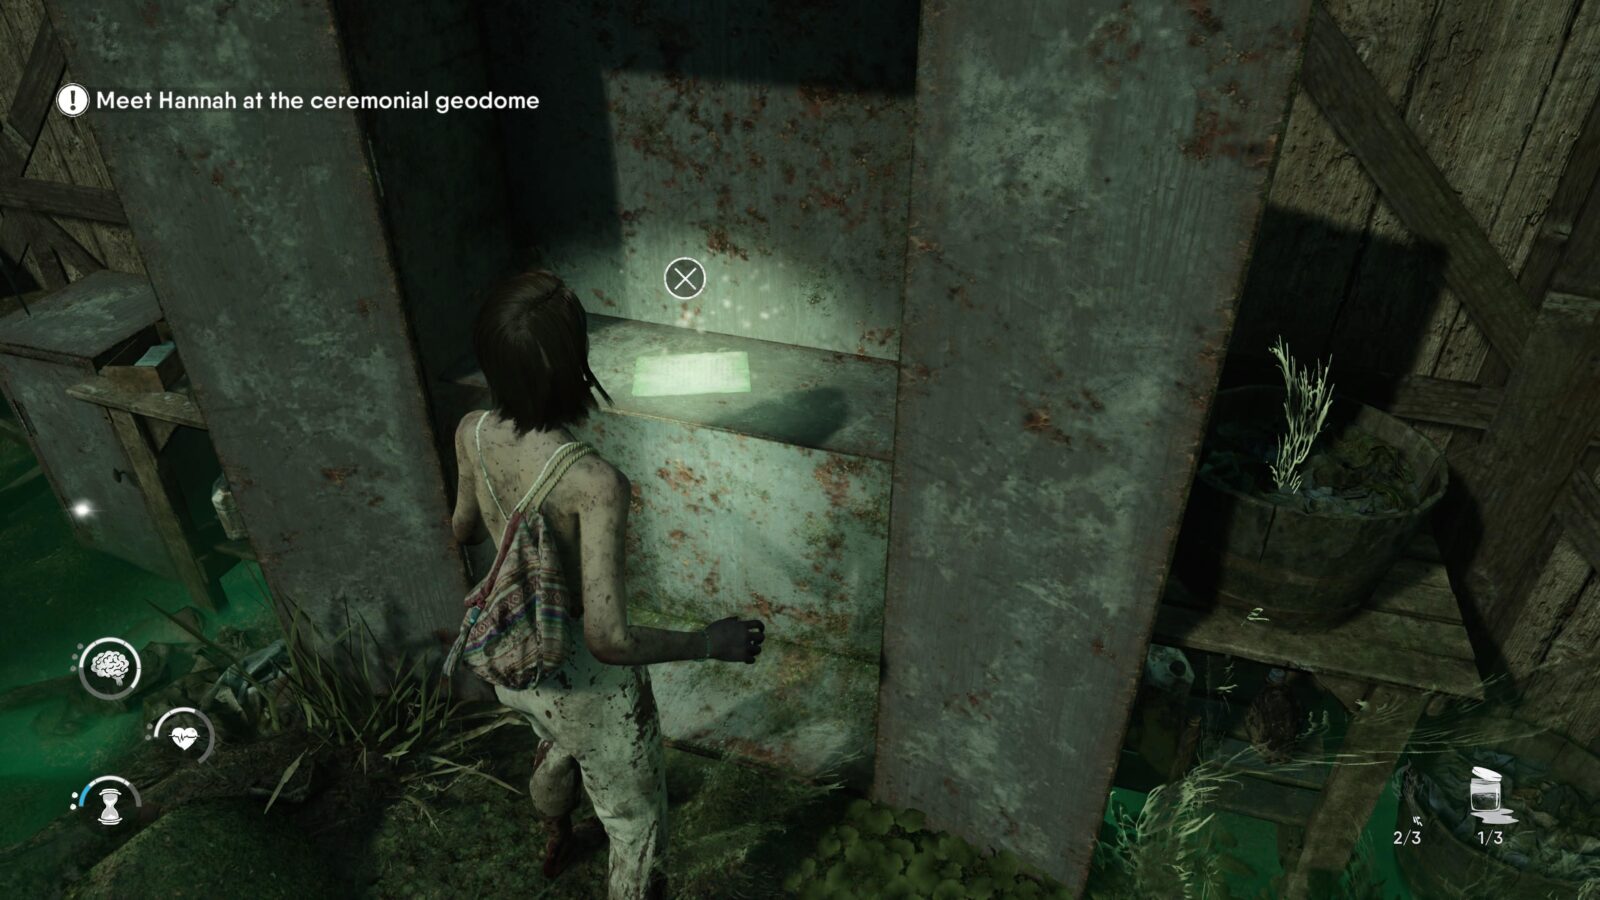
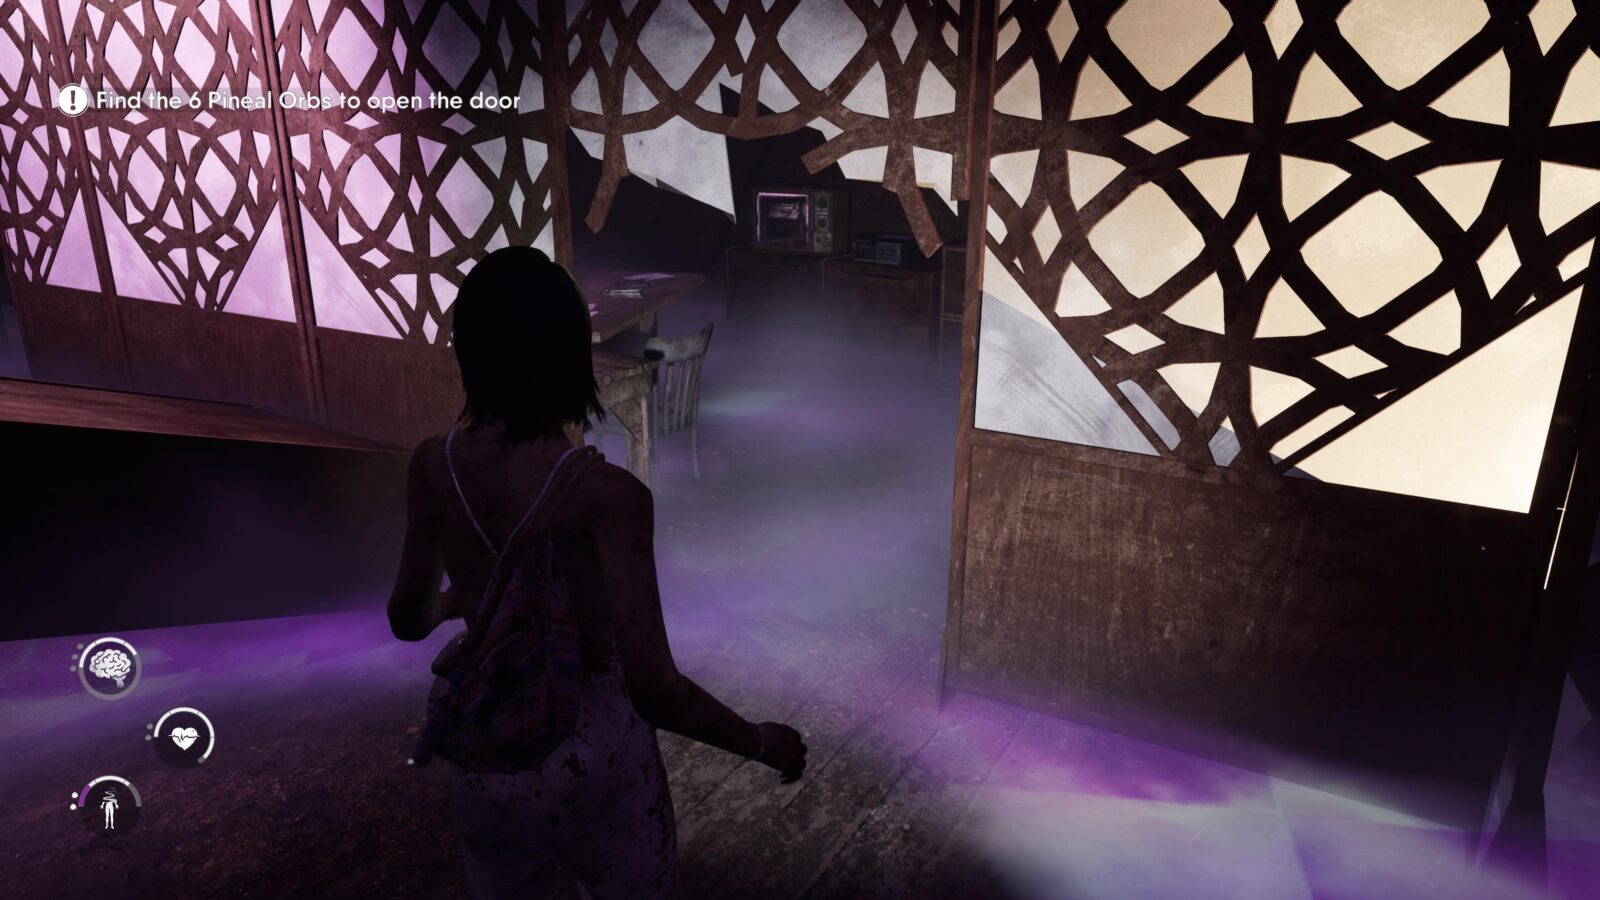
Lore Note #3 – Maya’s Form – Found in a locker hidden behind a wooden building—the Orientation Room—opposite where Hannah is discussing the coming ritual. The building is just beyond the glass geodome in the middle of camp.
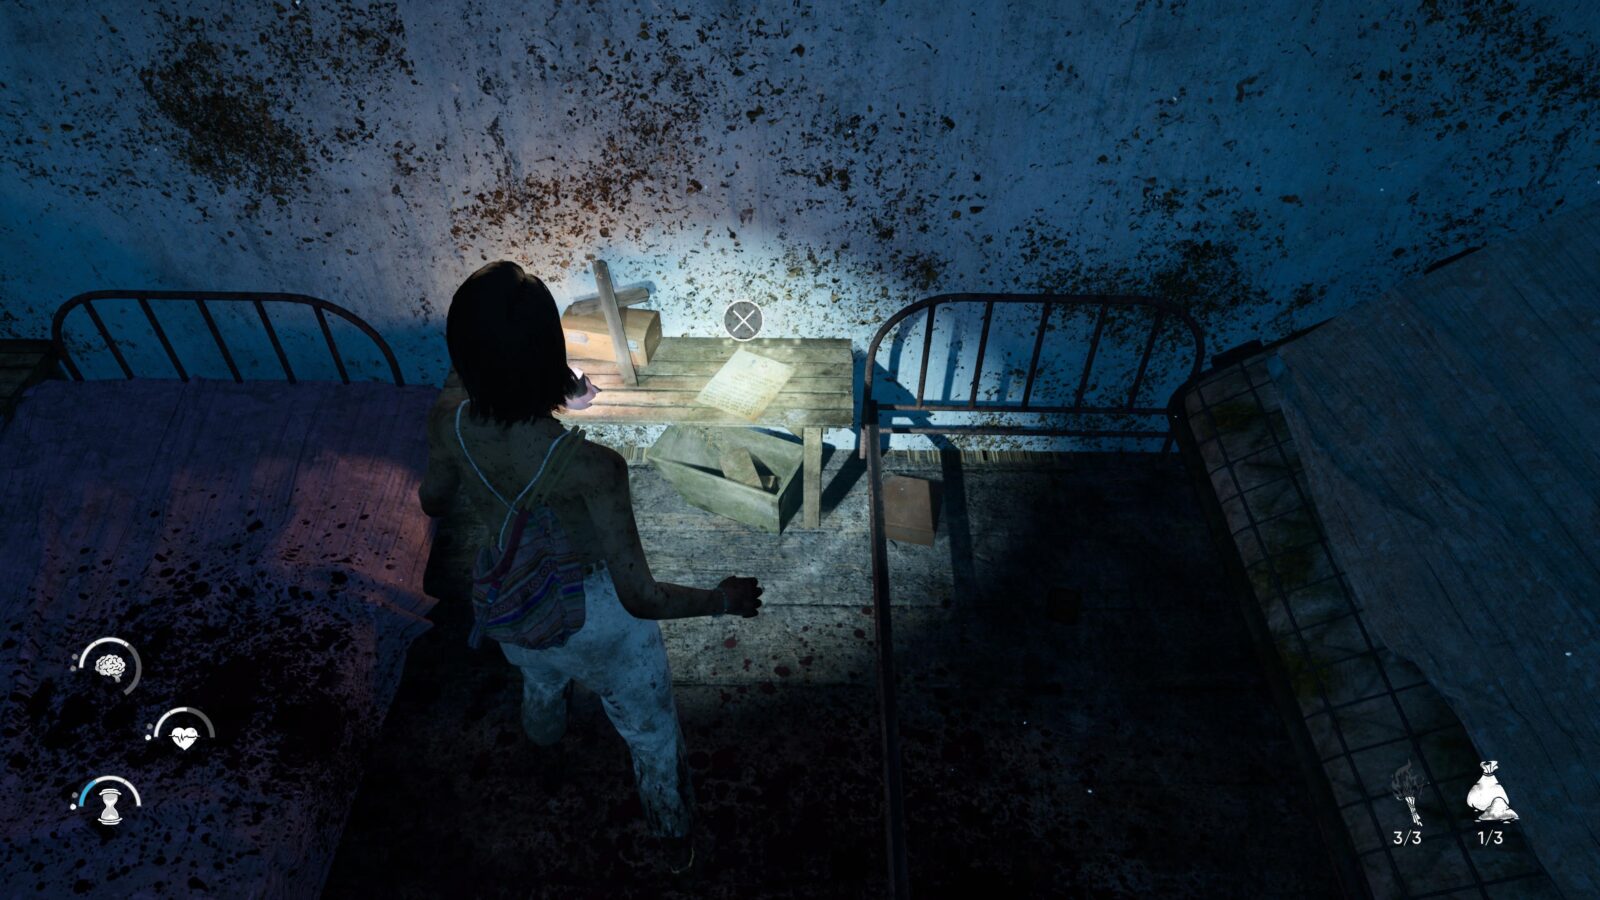
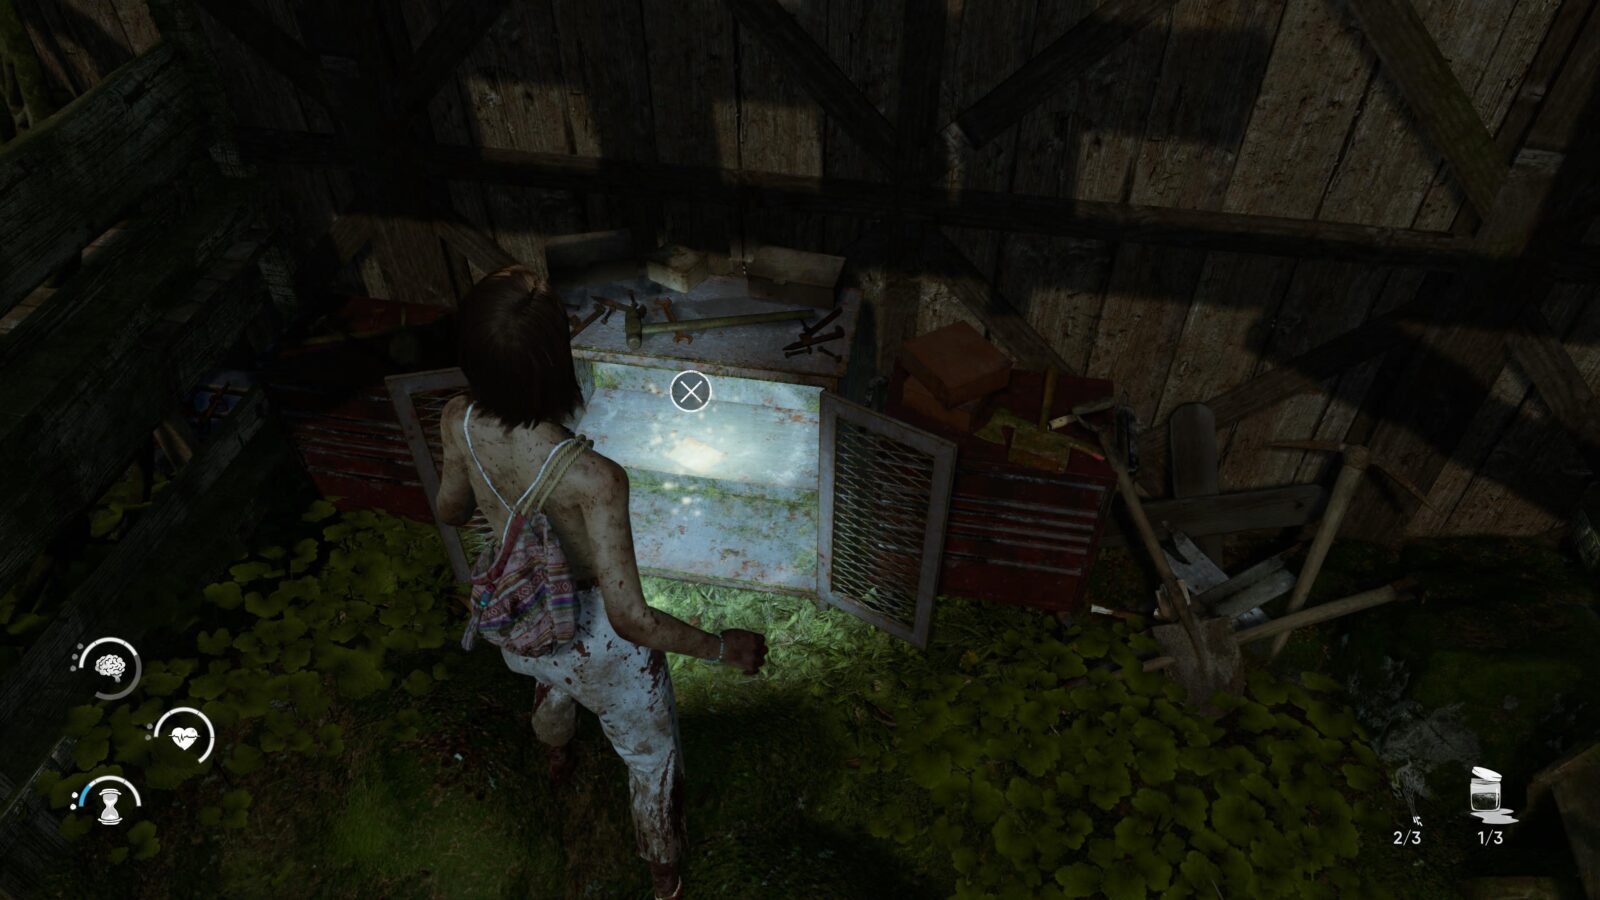
Lore Note #4 – Sonny’s Business Plan – On a desk inside the Orientation Room.

Chapter 2
Lore Note #5 – Kim’s Form – After waking up inside the geodome during the night head to the building next to your tent and look inside the locker to find this note.
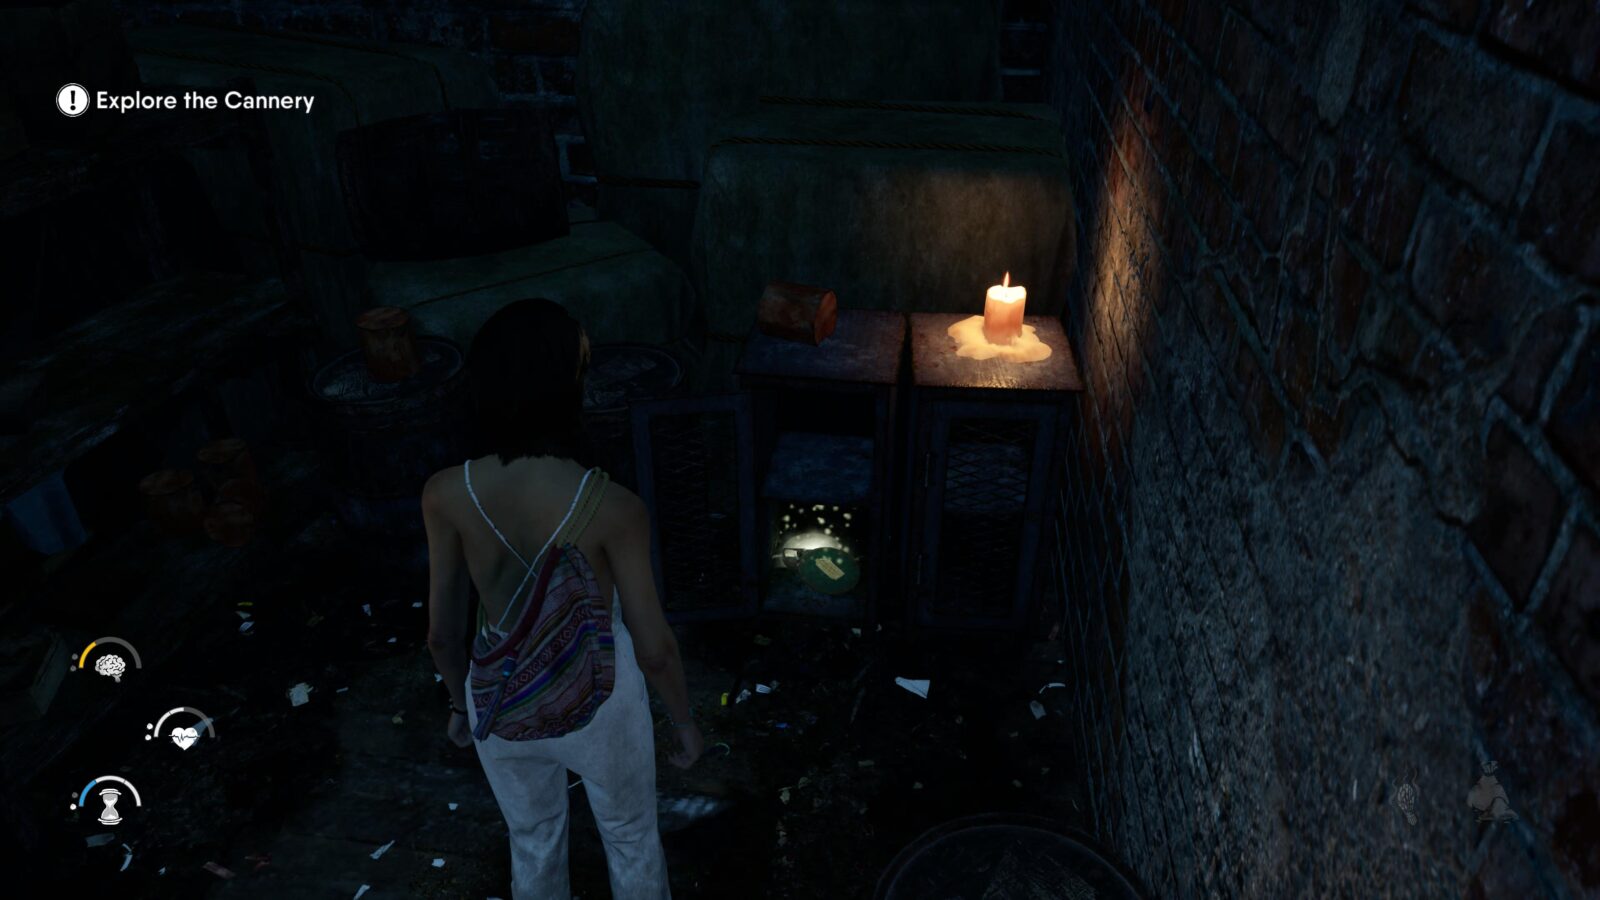
Lore Note #6 – Tyler’s Notes – As soon as you make it to the cannery you will bump into Tyler and you will see the note glowing on the table next to him.

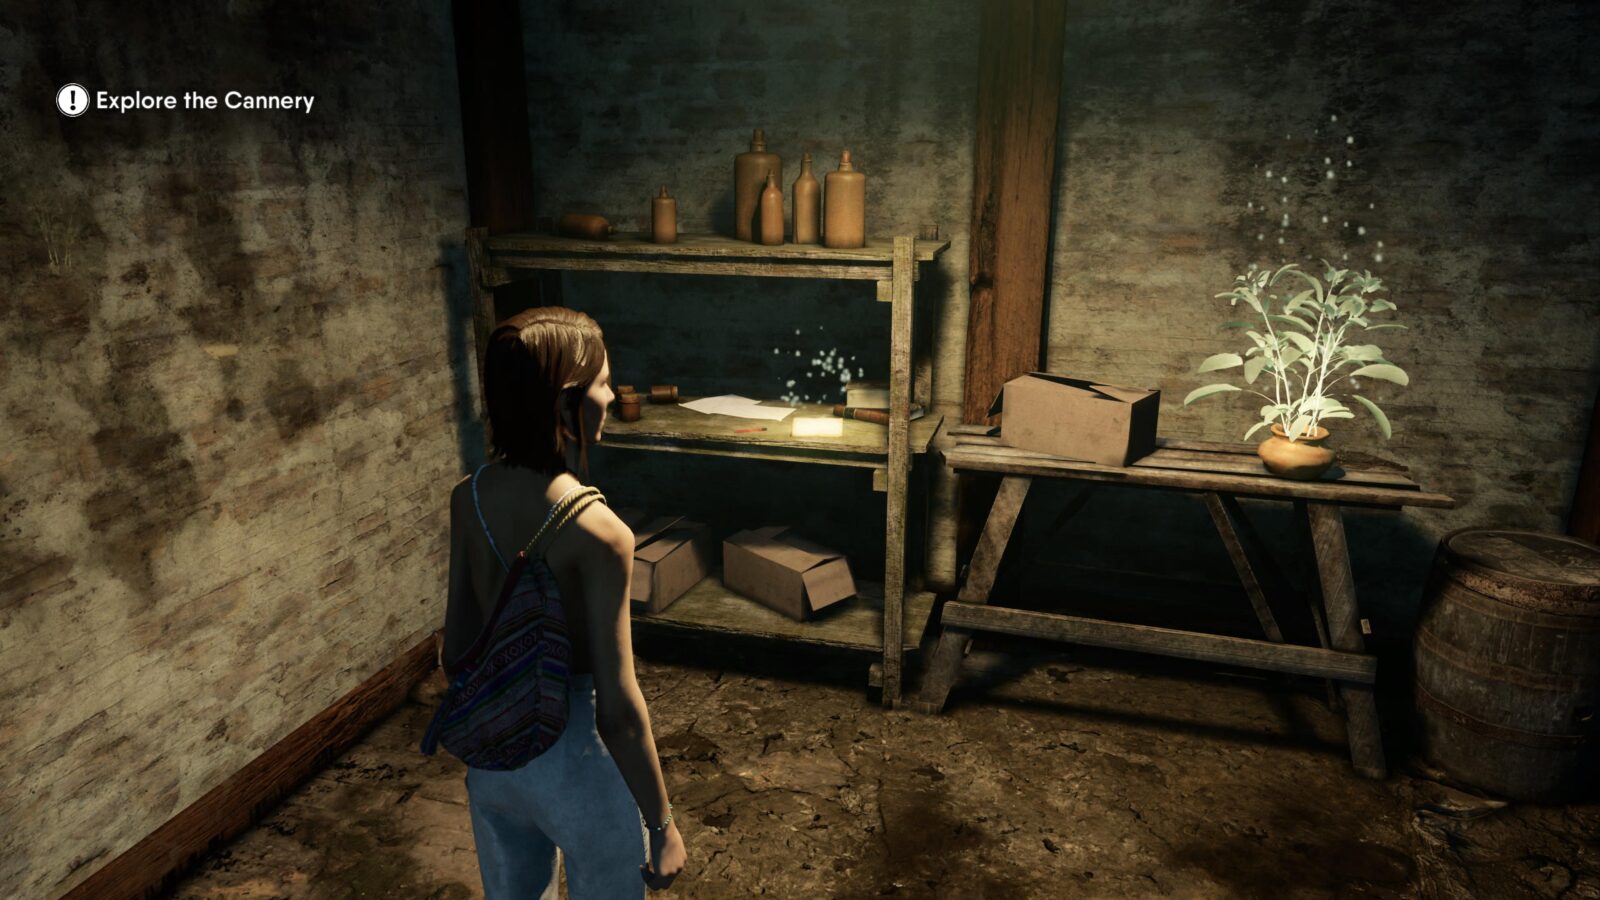
Lore Note #7 – Sage Purify Note – Inside the cannery to your immediate left is a table with some sage and a note.
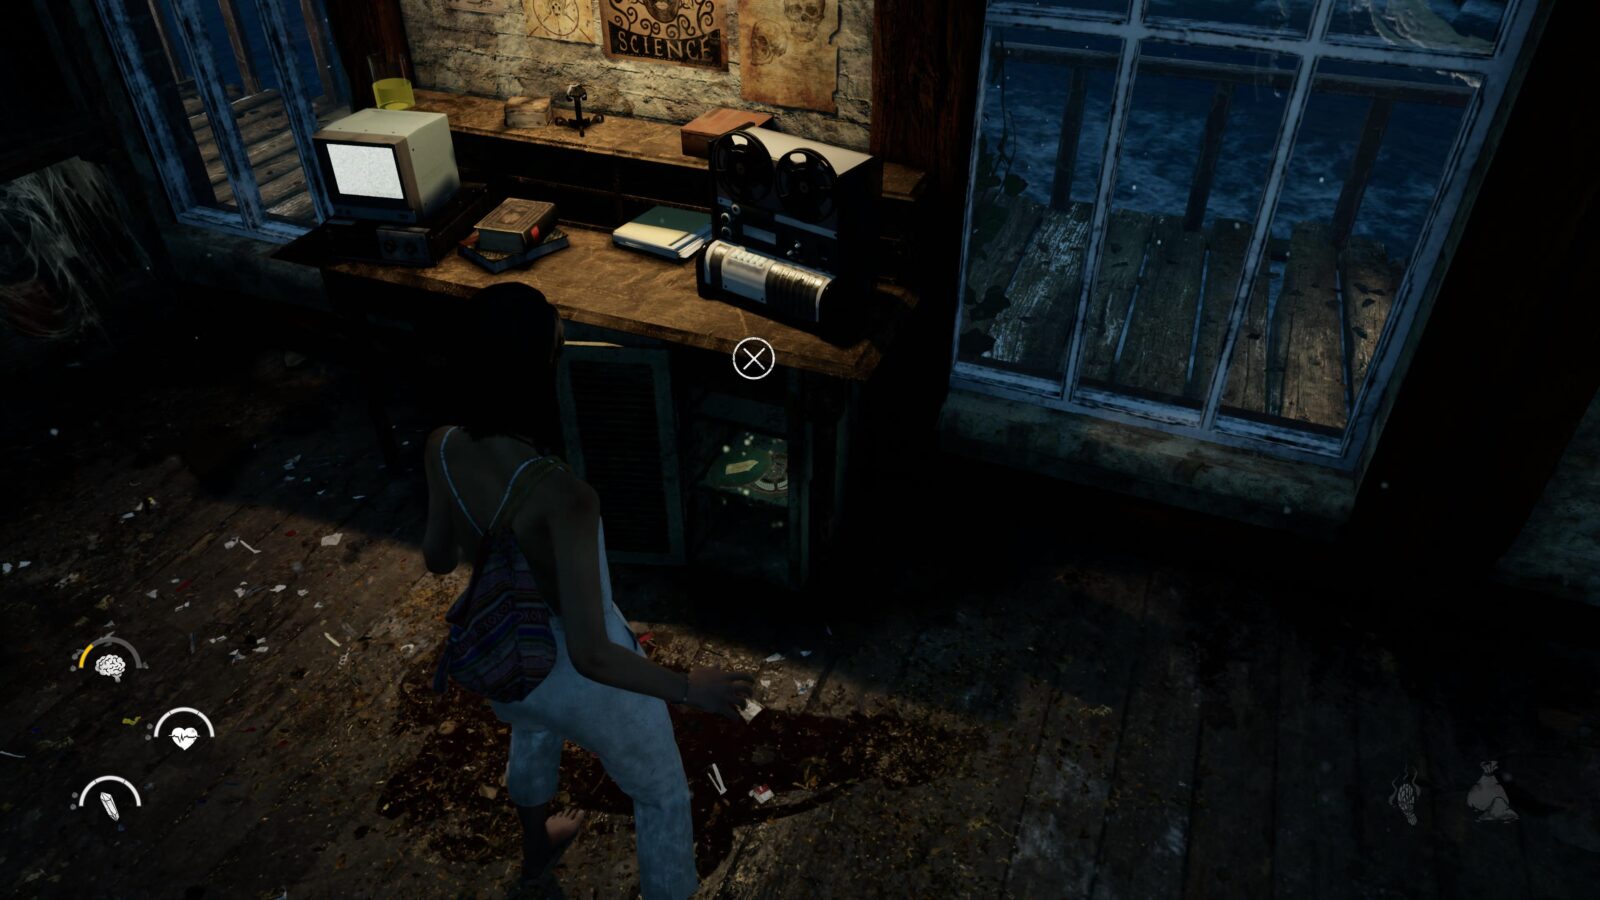
Projector Reel #2 – Welcome to the Family – Inside the drawer of the desk with the monitor you can interact with the see Kim inside the cannery.
Mandacore #1 – In the next room is a Manacore. You have to defeat it to pick up a key item.
Lore Note #8 – Kim Ritual Note – On the other side of the cannery you will come to a room where you will find the Geometric Metal Piece key item. In this same room is a cupboard with a note inside.

Lore Note #9 – Spirit Chant – Outside the room with the Geometric Metal Piece key item is a ladder that takes you up to a desk with a note.

Projector Reel #3 – Prismic Discoveries: Healing a Sick Mind – Inside a small cabinet to the right of the above note is a projector reel.
Mandacore #2 – After unlocking the geometric door before getting to Kim. You have to defeat it to progress.
Chapter 3
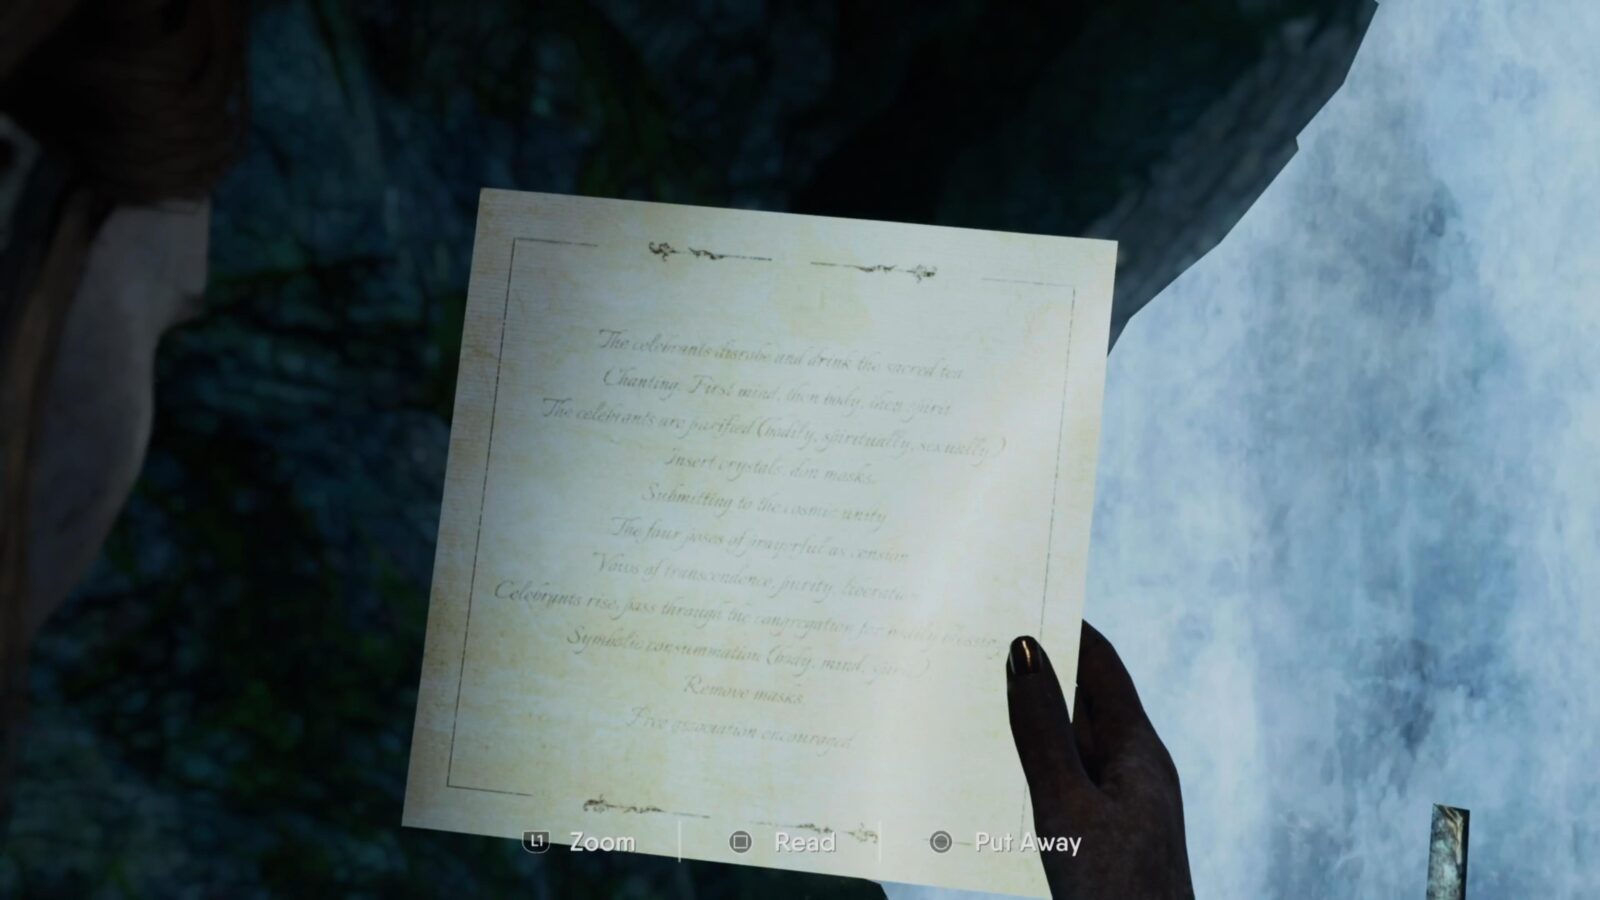
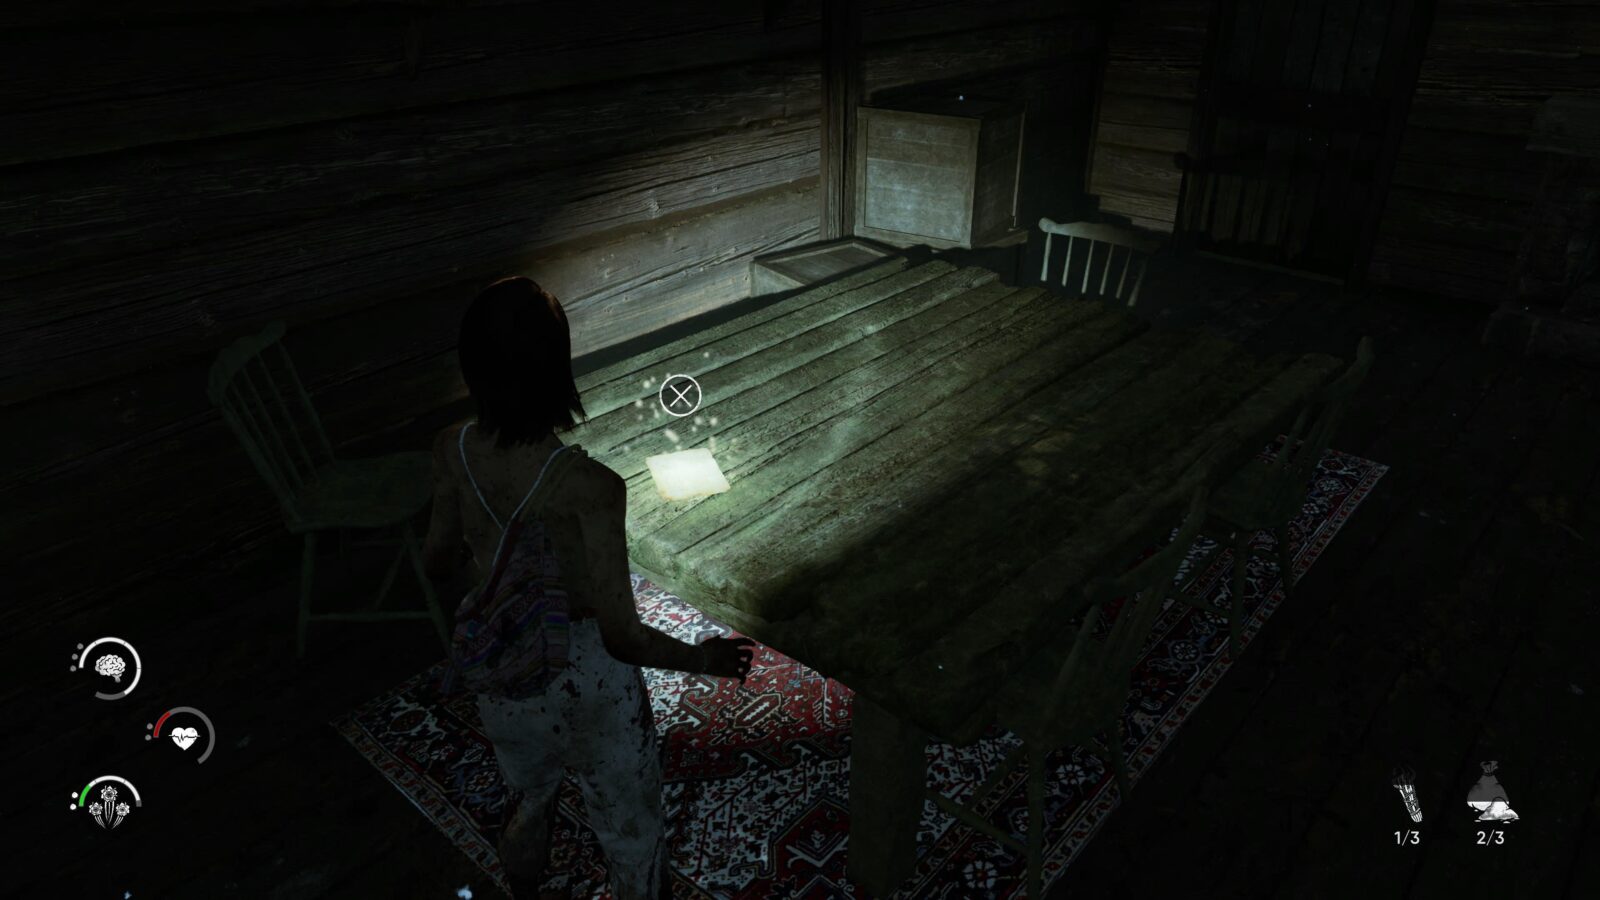
Lore Note #10 – Ritual Sacred Tea Recipe – At the start of the chapter head into Maya’s building and check the table to your left to find a note (you may already have this note as it can be picked up in Chapter 1).
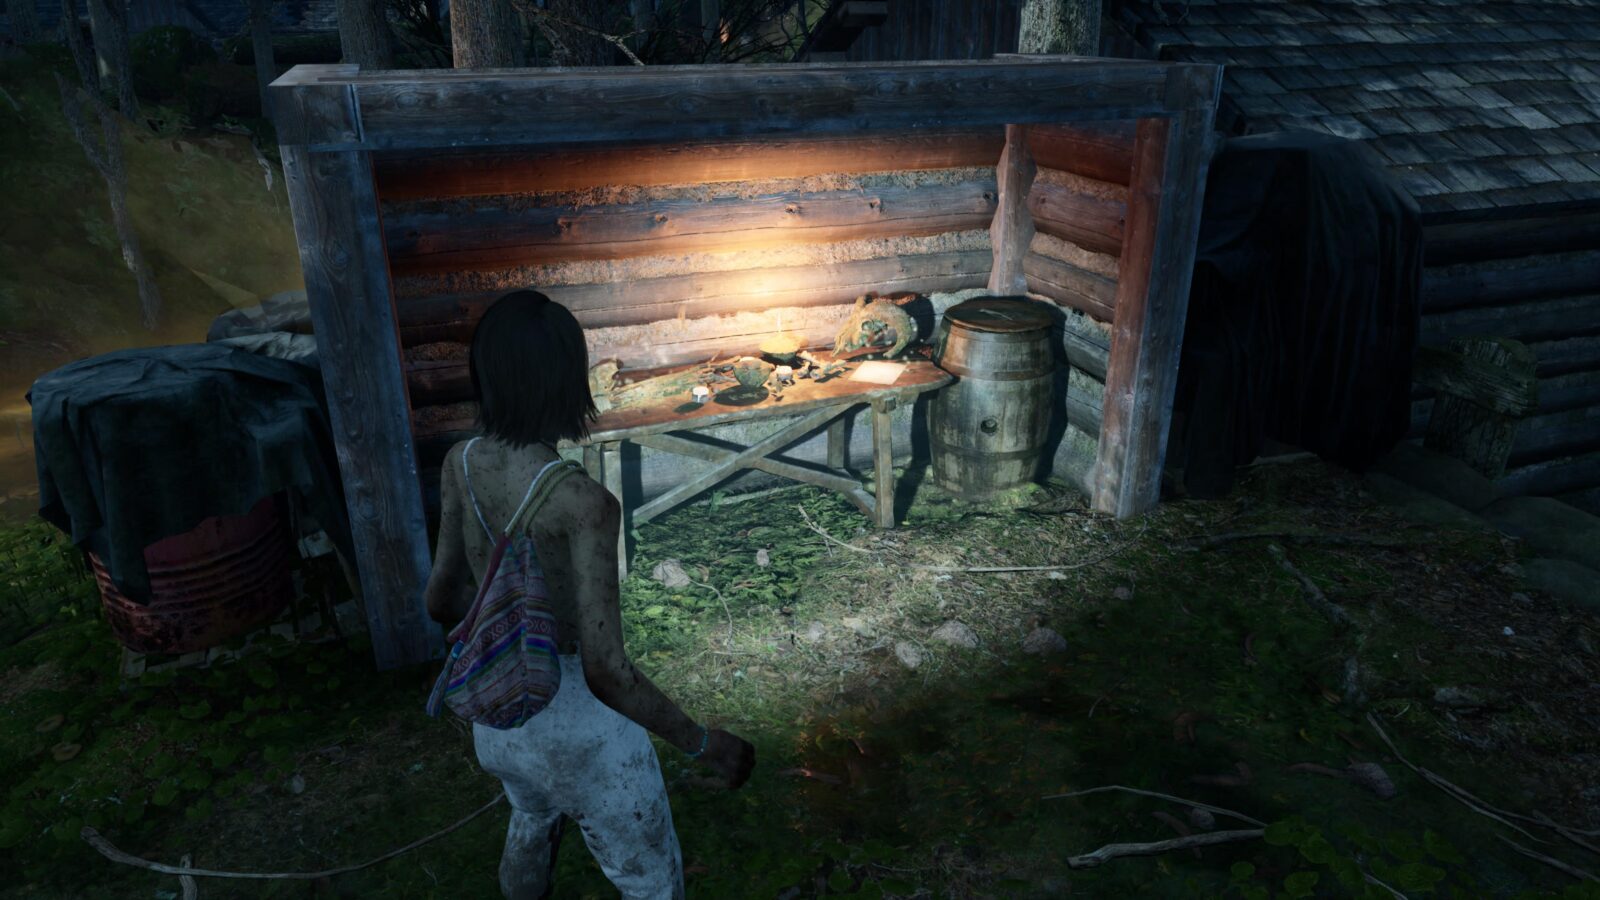
Lore Note #11 – Couples Note: Love of my Life – While following Sonny you will come to a wooden shack. Inside is a postcard from a couple on a desk.
Projector Reel #4 – Prismic Discoveries: Mimicrawler – Inside the same shack as the Couples Note: Love of my Life is a projector reel.
Lore Note #12 – Firelash Note – After traversing the orange gloom while following Sonny you will reach a barricaded door which acts as a shortcut to the trail that leads back to the commune. Opposite the barricaded door is a note on a table.
Lore Note #13 – Couple’s Note: My Love, My Heart – After picking up the above note drop down into the next area and you will be attacked by two Cultists. In the door to your left is a note on a table.
Projector Reel #5- Necessary Discipline – Inside the same room as the Couple’s Note: My Love, My Heart is a cupboard with a reel inside.

Lore Note #14 – Couple’s Note: Don’t Leave Me – In the next room where you find the Geometric Symbol Piece key item is a note on the desk next to the bed.
Mandacore #3 – This Mandacore appears alongside a Strider. You have to defeat it to get a key to continue.
Lore Note #15 – Couple’s Note: How Could You – After obtaining the key and unlocking the door to pick up the next Geometric Symbol Piece key item is a note on a table.
Lore Note #16 – Management Class Note on Madness – Upon reaching the area where Sonny locks himself in a building take a right and head into the room with the symbol out front. Inside is a cabinet with a note.
Lore Note #17 – Management Class Note on Madness 2 – After chasing Sonny out of the room he was hiding in you will be attacked by a large enemy. Inside the building on a table to your right is a note.

Projector Reel #6- Prismic Discoveries: Strider – Inside the same building in the next room is a reel inside a cabinet to your left.
Lore Note #18 – Report on Crystals – After talking the elevator down into the mines you can see a locker behind some boxes and barrels in front of you. To the left of the locker is a note on a table.
Lore Note #19 – Trapped Worker – After traversing the yellow gloom you will reach a room with a note on a table to your left.
Mandacore #4 – You have to kill this Mandacore to continue.
Lore Note #20 – Children’s Note – Once you have defeated the Strider boss and made it back outside you will see a yellow gloom area in front of you and a building with double doors. Enter the building and immediately go through the door at the back. Enter the open window to your left and you should see a note on a bench between to beds.
Lore Note #21 – Crystals Discovered 1 – Climb back out of the window and enter the main room again to be attacked by a Strider and a Mandacore. Defeat both of them and the gloom will dissipate and you can gain access to the room they came from. On the desk is a note.
Mandacore #5 – You have to defeat this Mandacore to get the Lever.
Lore Note #22 – Crystals Discovered 2 – On a bookshelf to the right of the above note is another one.
Lore Note #23 – Removed Gears From Windmill – Leave the building and head back to where you first entered this area when you were chasing Sonny (you have to come here to grab the Gear key item). There’s a building by the rail tracks that is shrouded in yellow gloom. Inside on a table is a note.

Mandacore #6 – You have to defeat this Mandacore to get the gear.
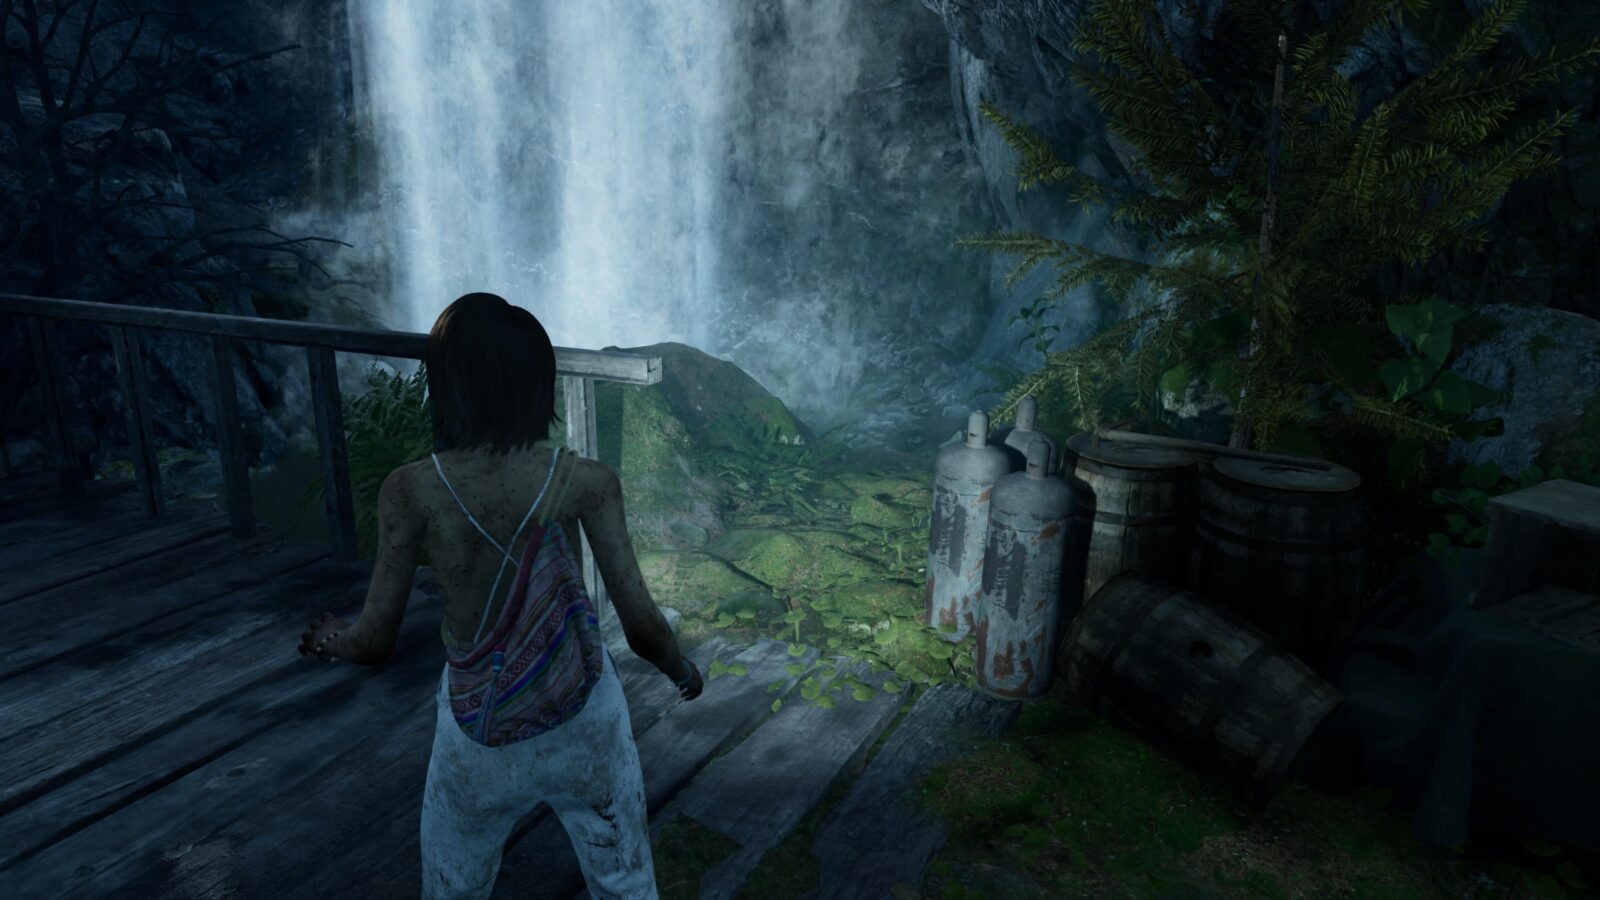
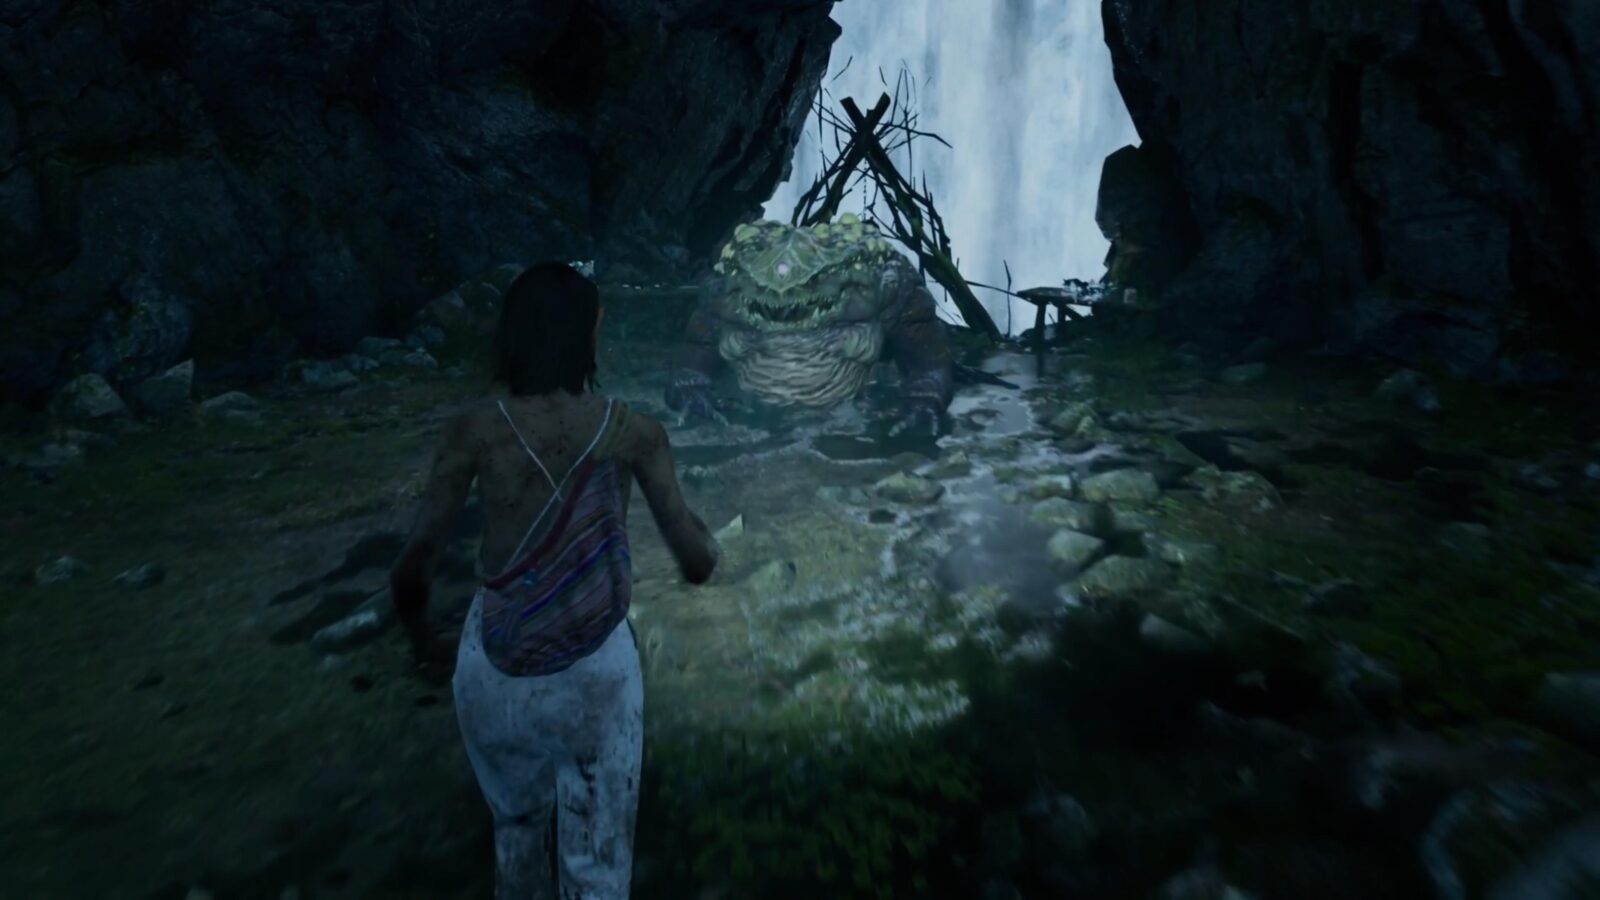
Lore Note #24 – Wedding Vows & Cuisses De Grenouille Trophy – After fixing the windmill you will be able to leave via the large metal double doors. Follow the trail but ignore the Gloom Portal to your left. Instead head through the building to your right and you will come to a bridge and a waterfall. Go under the waterfall and follow the trail to find a hidden Cankertoad boss. Defeat it and grab the note on the table at the back of the arena.
Chapter 4
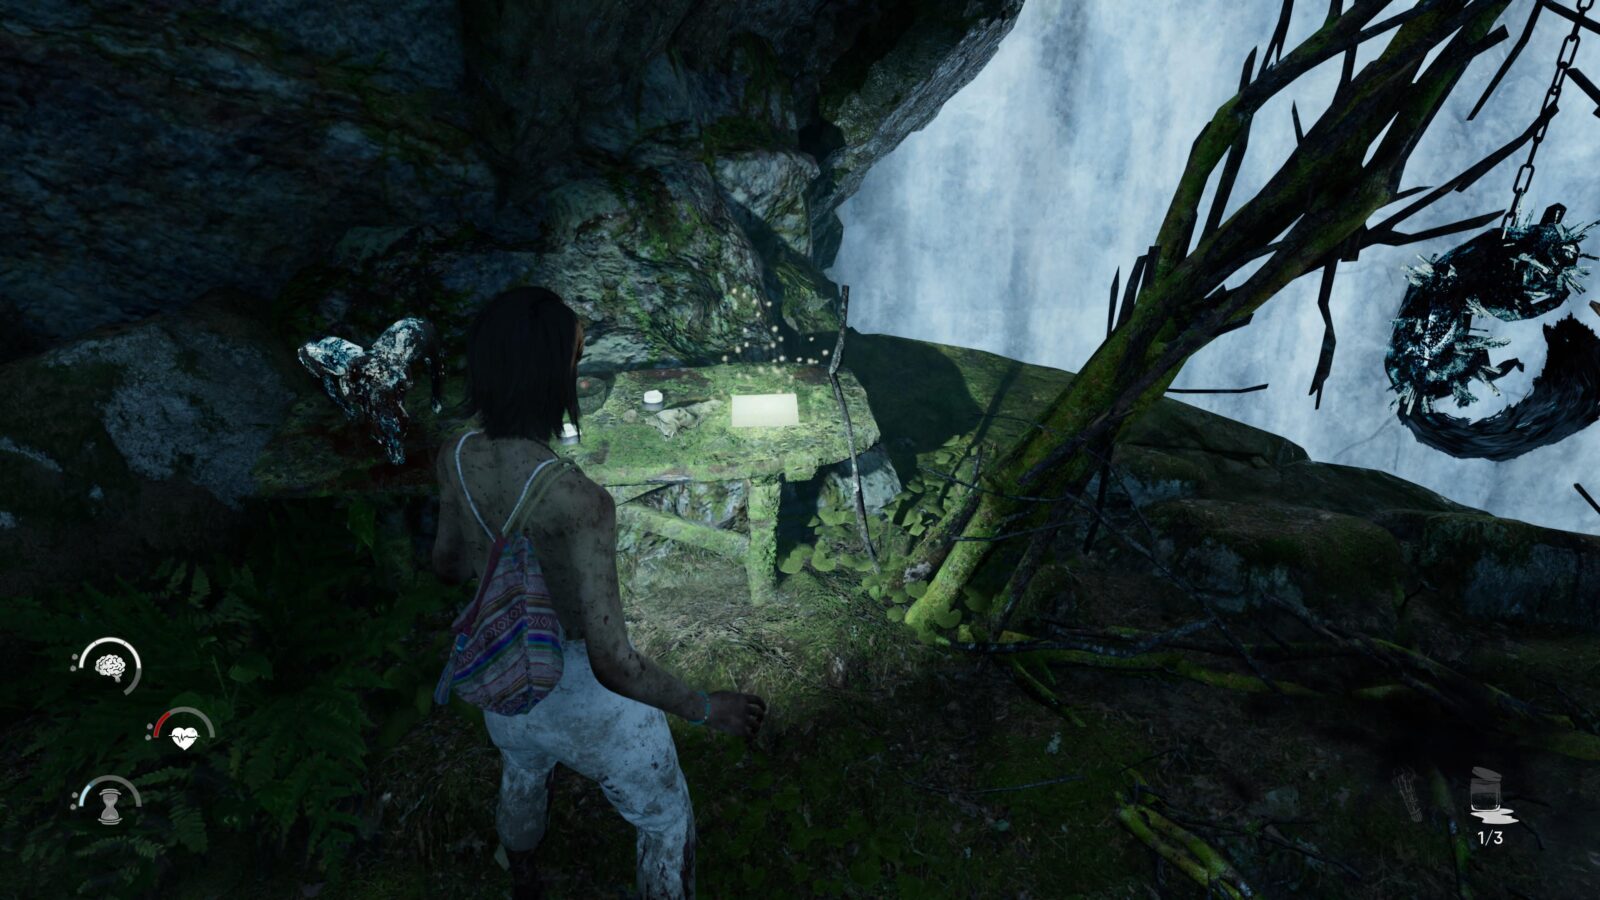
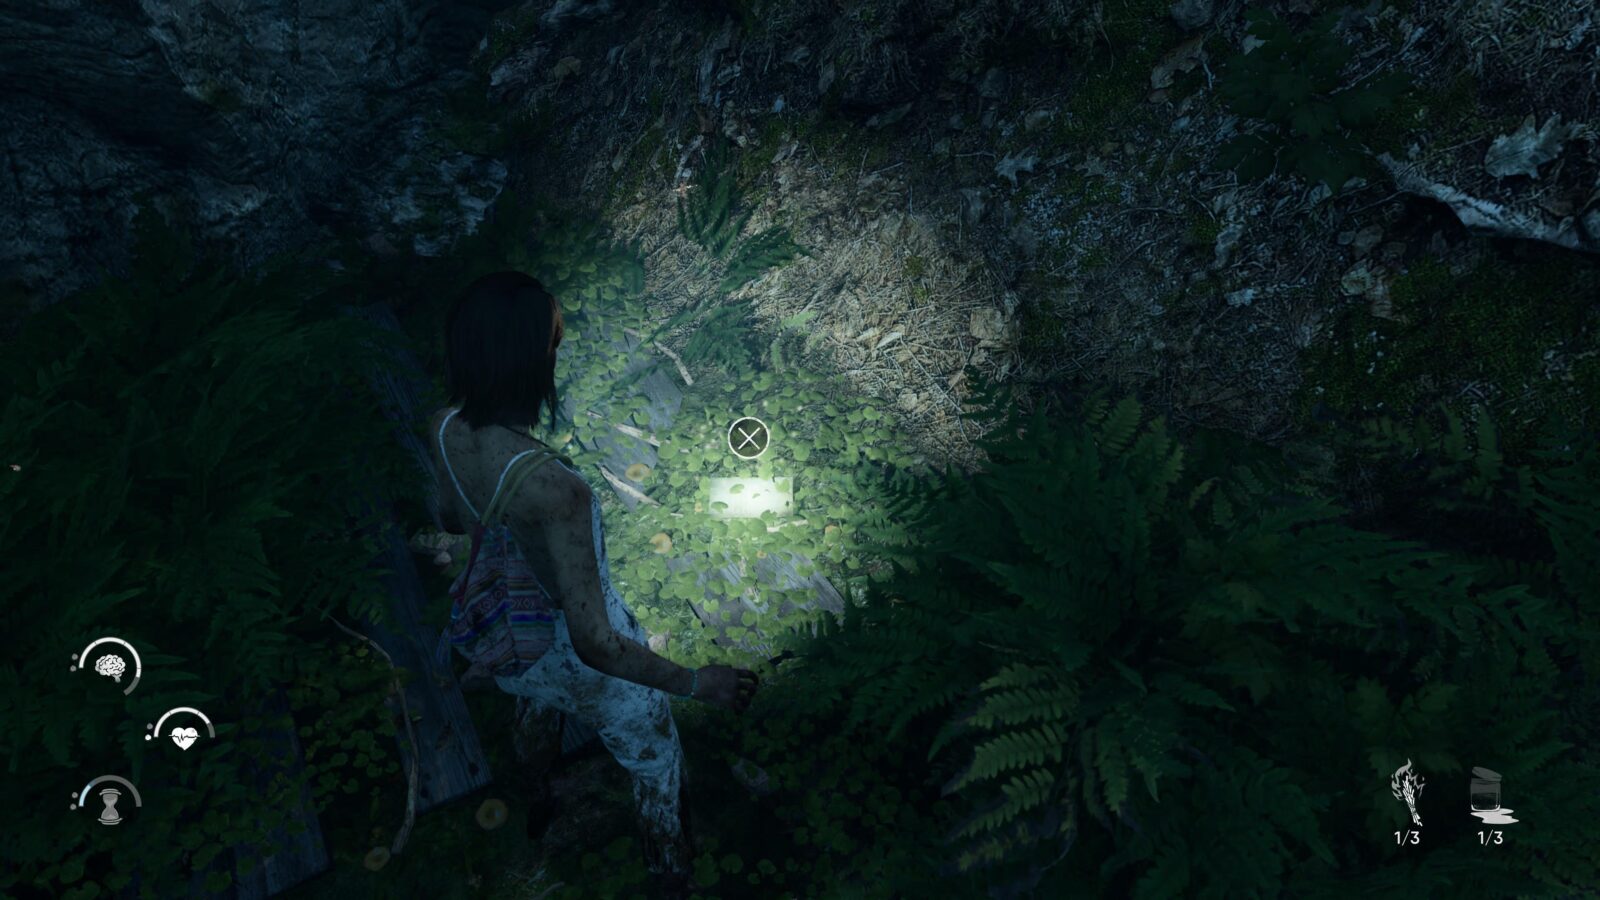
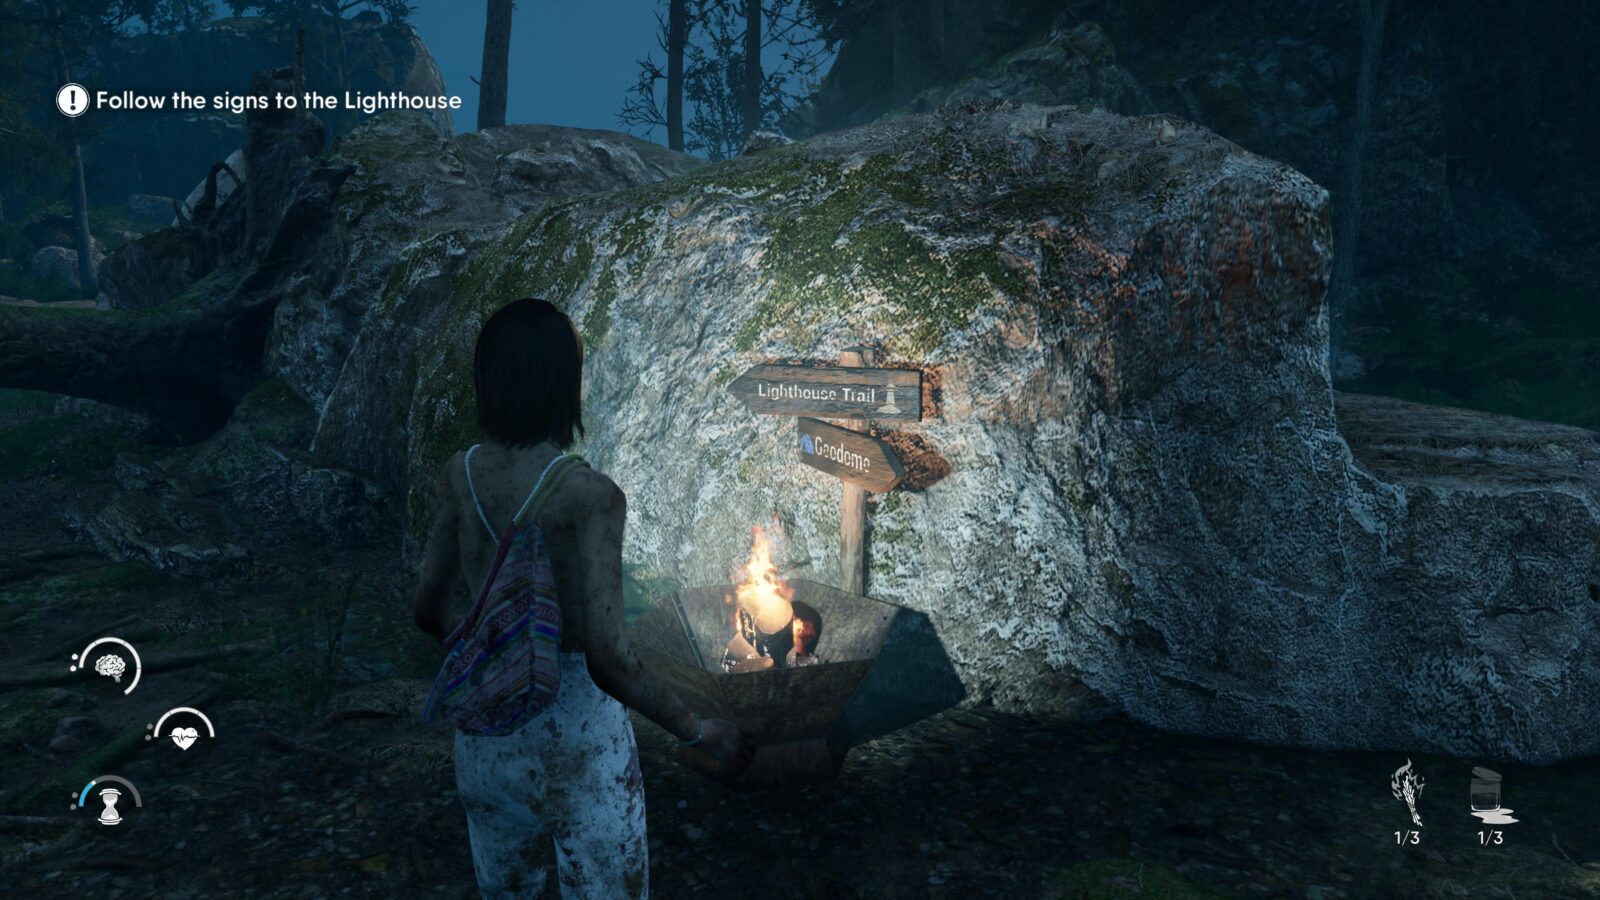
Lore Note #25 – Campers Note: Looking for Claire -When you get separated from Maya you will take a path that is leading to the lighthouse. You will come to a fork in the trail with a wooden “Lighthouse Trail” sign pointing to the right. Take the left path and go around the back of the cabin to crawl through the broken wall. Exit via the open window and follow the trail until you see a Cankertoad in the distance. Look for a small alcove to the right to find a note hidden amongst the foliage on the ground.


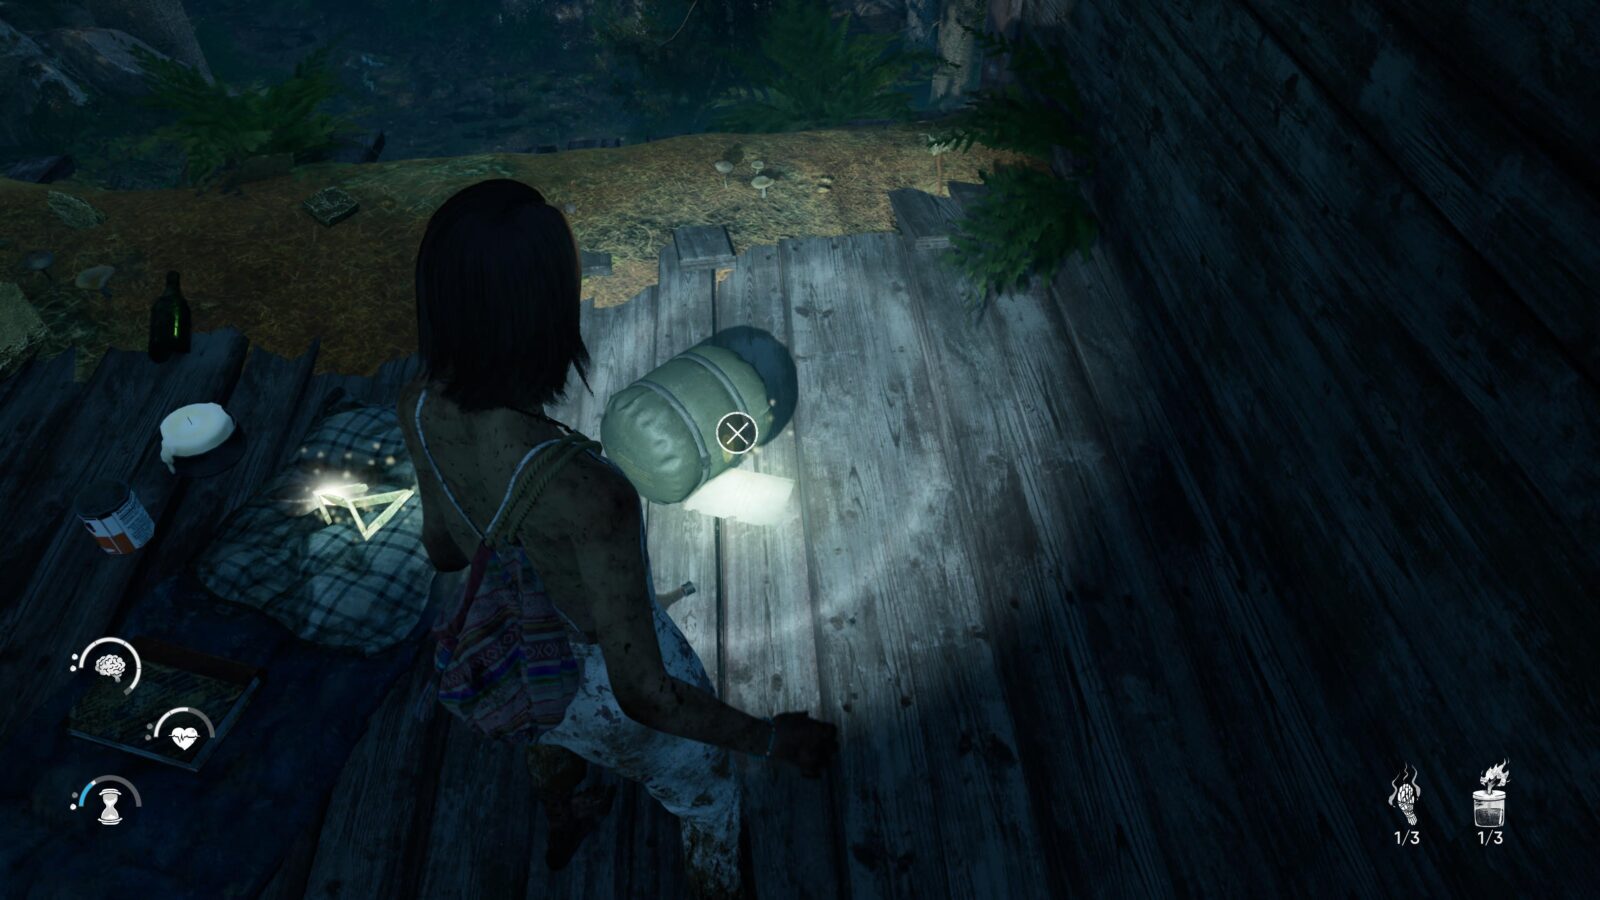
Lore Note #26 – Campers Note: Seeking Shelter – Continue following the Lighthouse Trail and you’ll come to a collapsed tree to the left of some more wooden signs. Duck under the tree but don’t enter the Gloom just yet. Instead head right and you will see some tents (there is a Geometric Metal Piece key item here so you have to come here anyway). On the floor in front of a tent is a note.

Lore Note #27 – Campers Note: Can’t Sleep – Enter the blue gloom area and you will come to a Geometric door that you can’t open yet as you need the last piece to make the Icosahedron Key. To the left is another blue gloom area with a broken cabin at the end. Inside is a note on the ground next to the last Geometric Metal Piece key item.
Mandacore #7 – Leave the above cabin and head left to find a Mandacore guarded by a Strider.

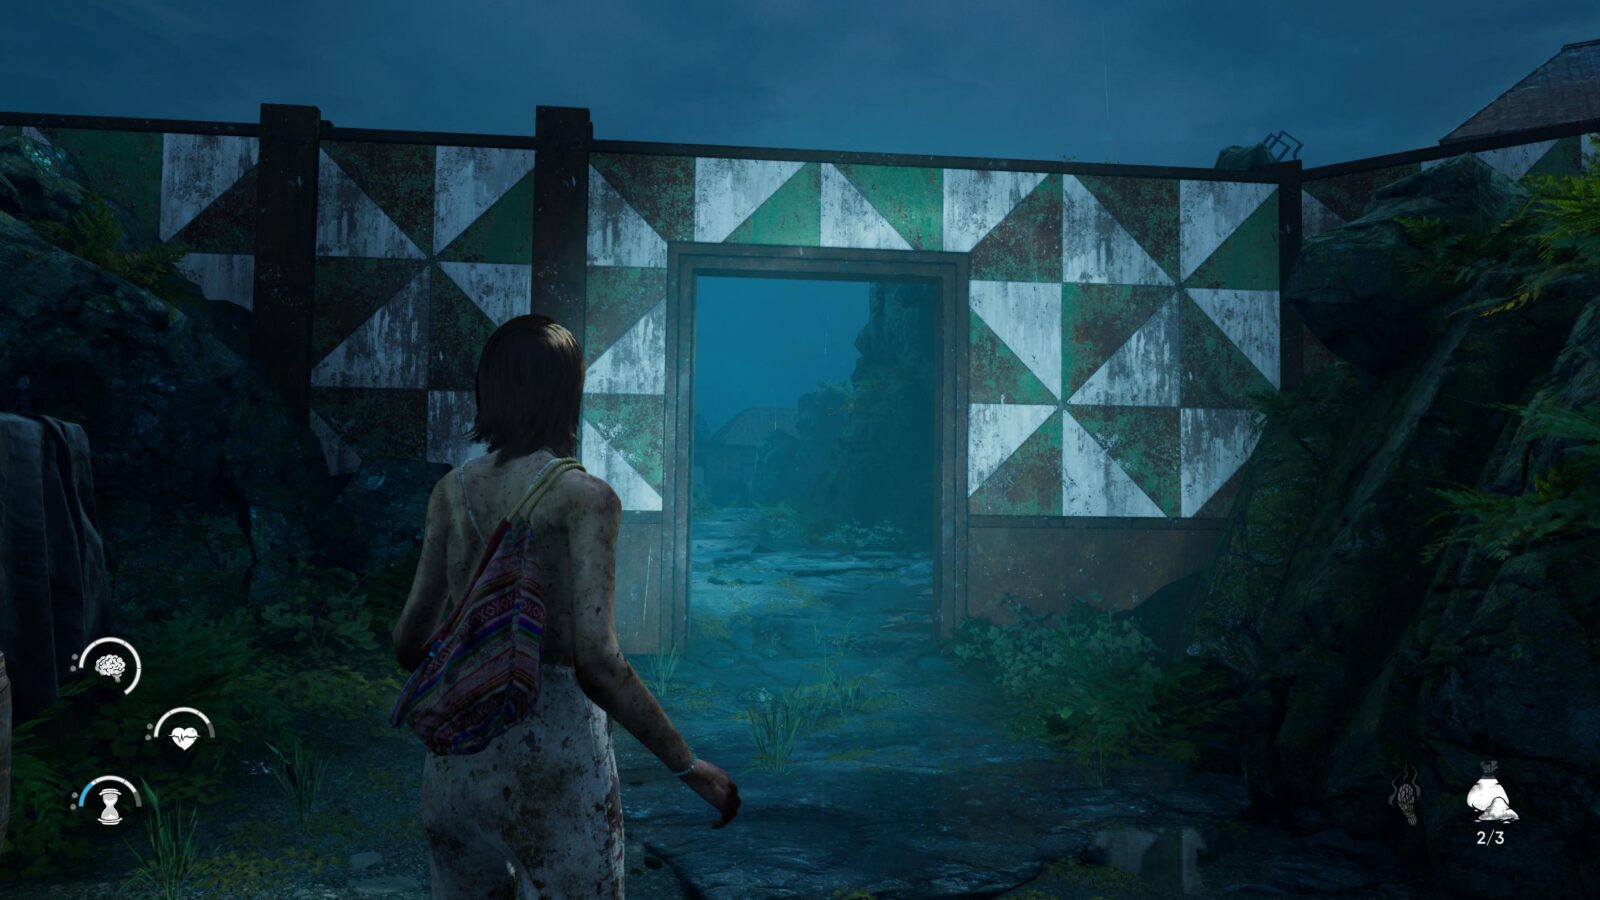
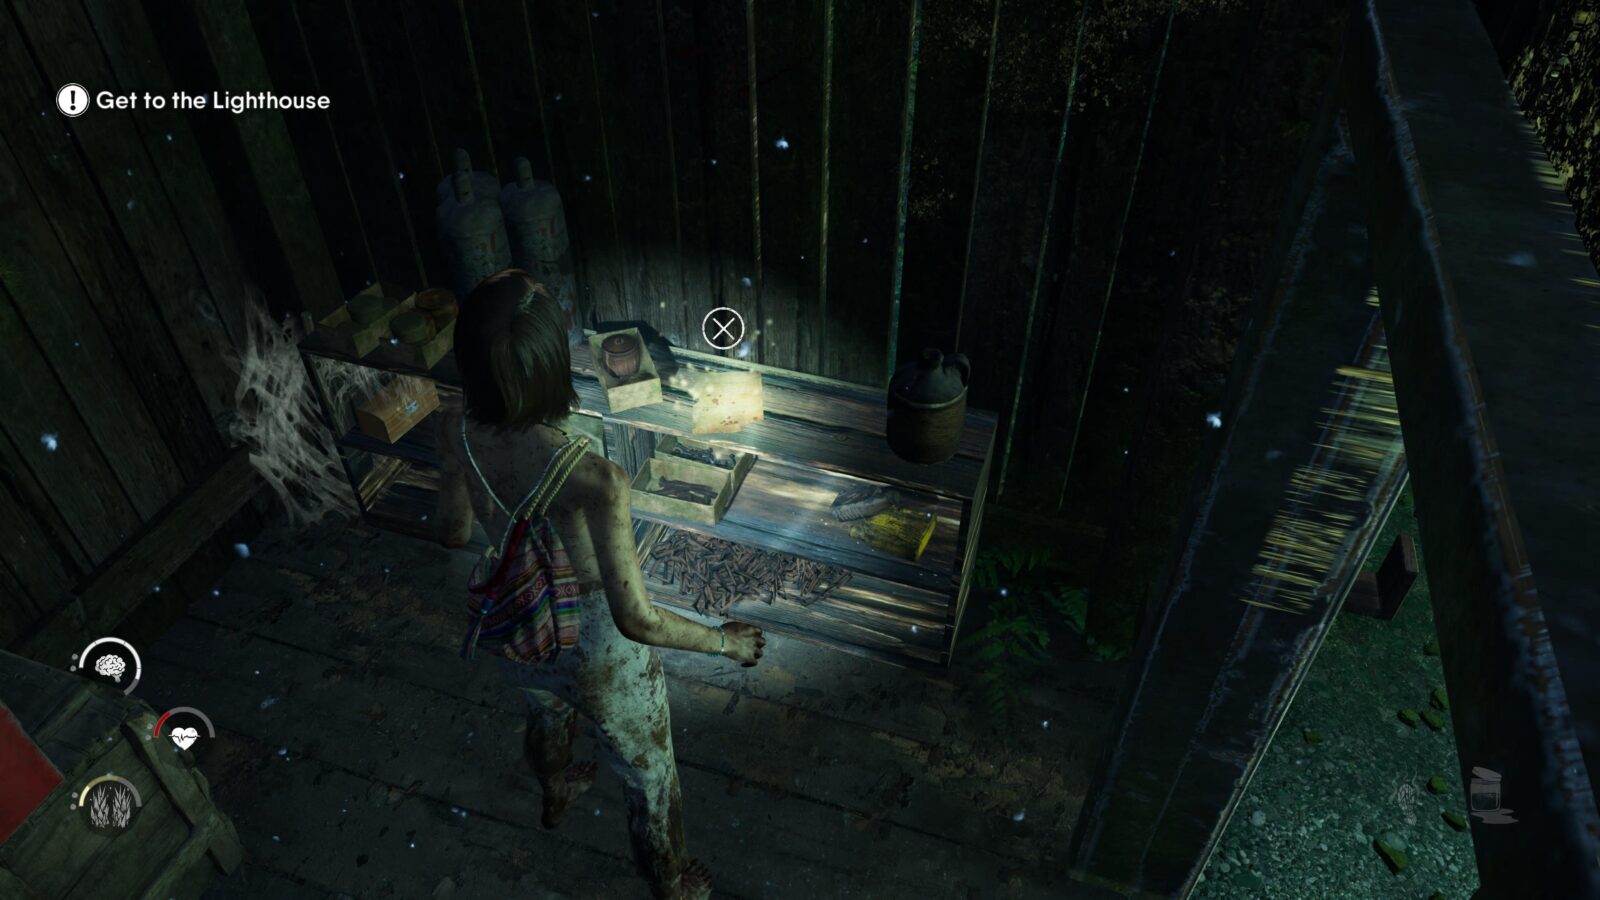
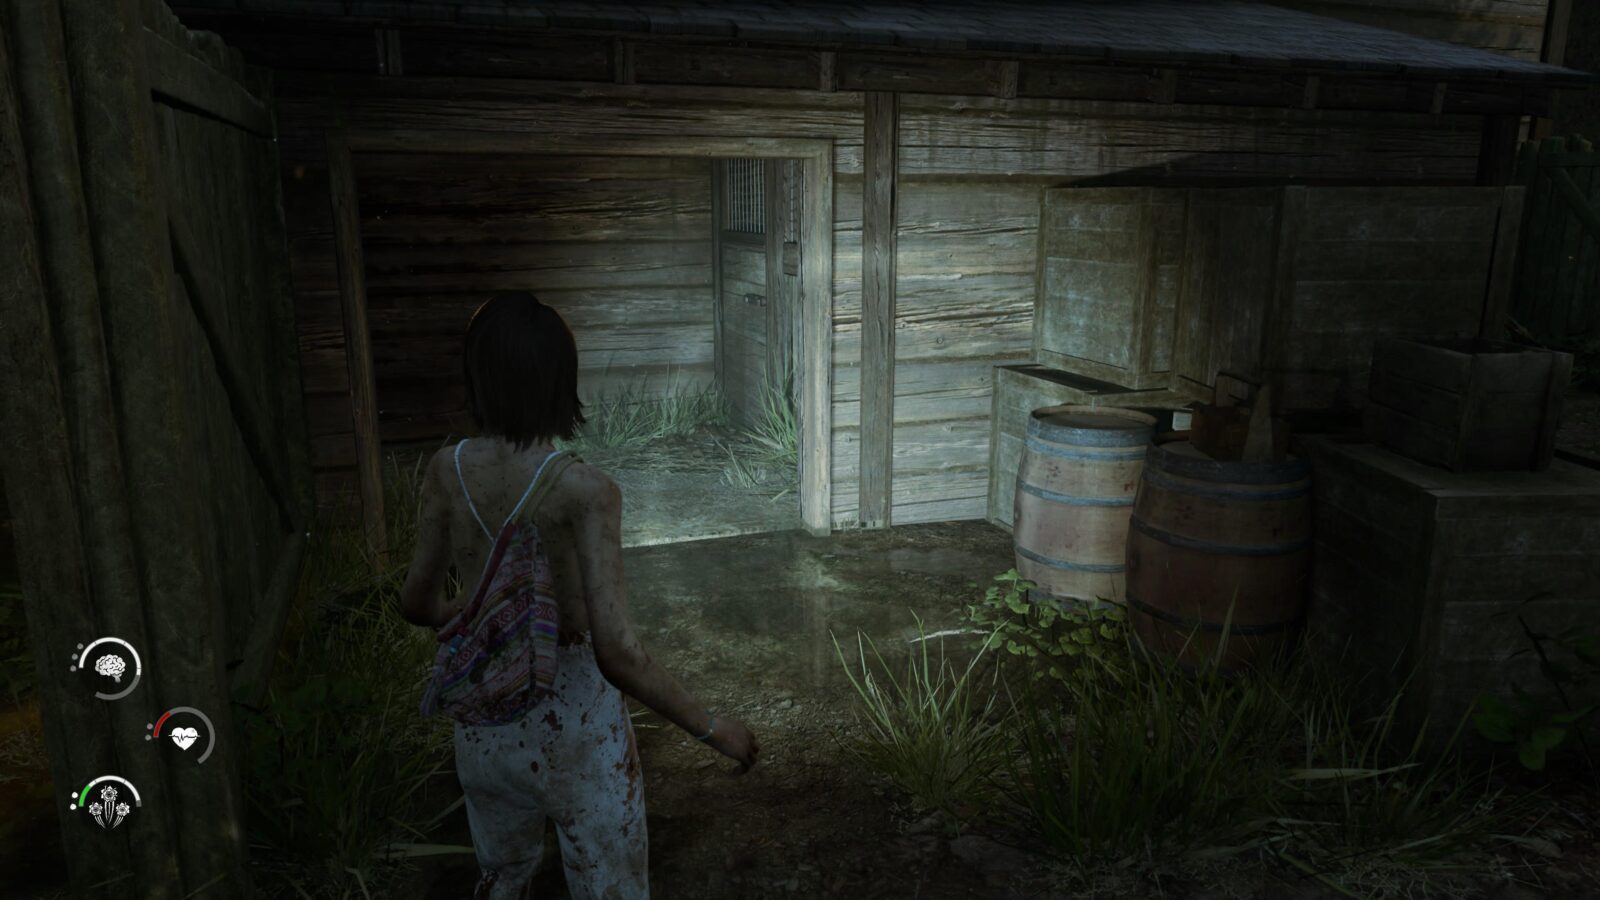
Lore Note #28 – Supply Shed – Keep progressing towards the Lighthouse and you will come to a wall with a geometric pattern on it. On the other side of the wall is a small shed to your left. When you approach it an enemy will appear. Inside the shed is a note.
Projector Reel #7- Prismic Discoveries: Viewing the Veil – Continue forward a little more and you will reach the lighthouse. Before going inside head left and you will find another shed next to a small building. Inside the shed is a locker with a reel inside.
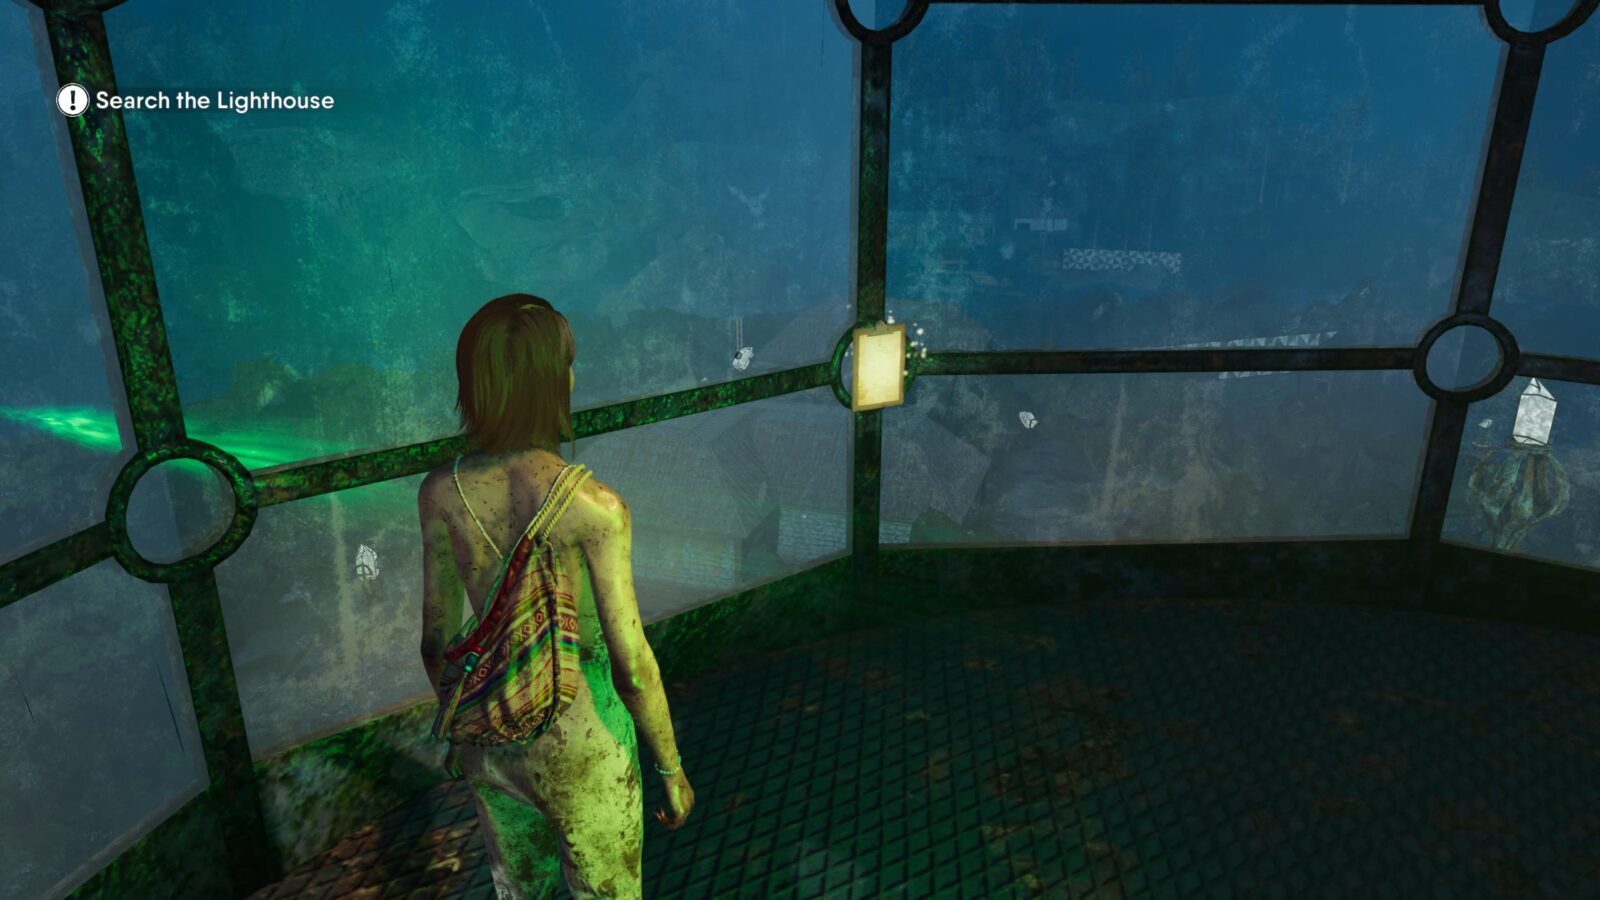
Lore Note #29 – Ritual Attempts – Enter the lighthouse and you will see a note on a table directly in front of you.
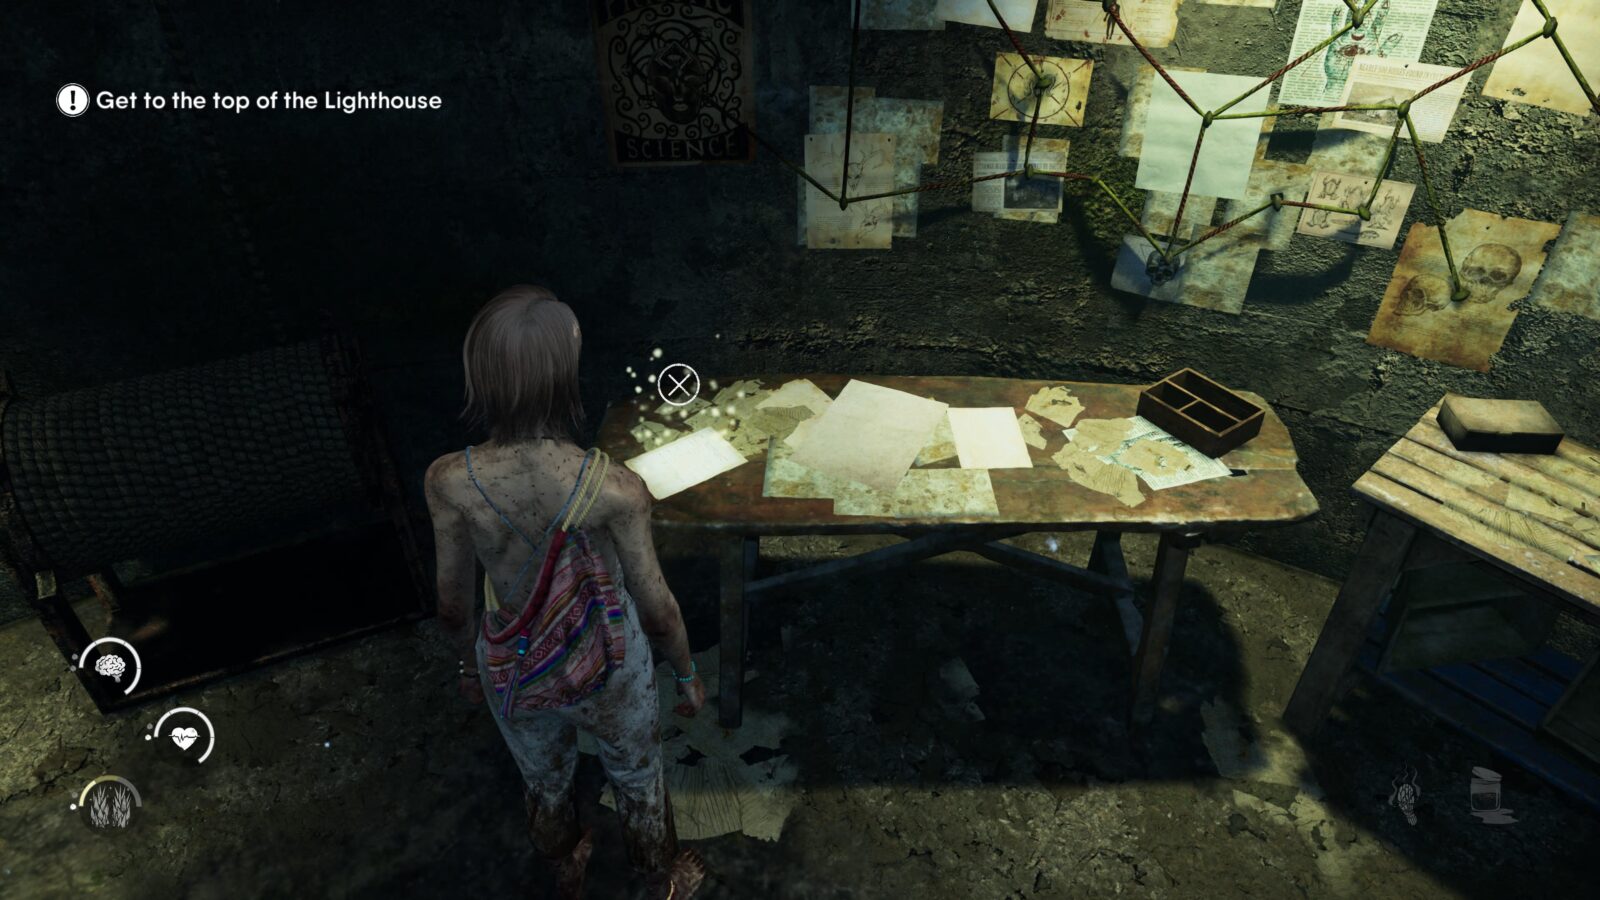
Lore Note #30 – Island Symbol Diagram – On a table inside the lighthouse to the right of the above note.
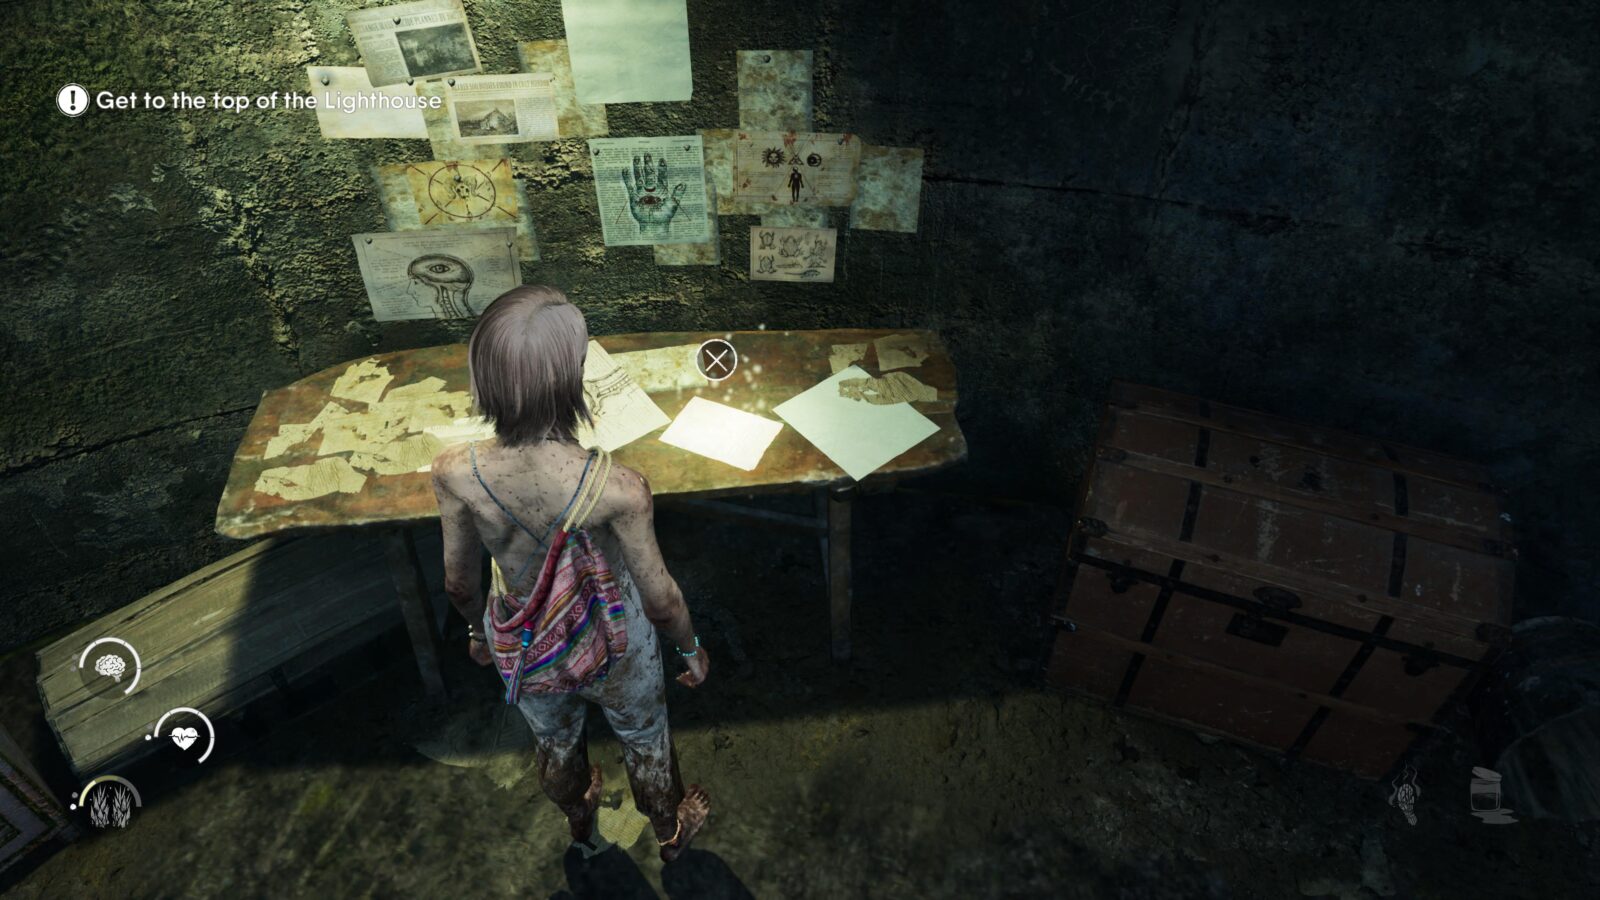
Lore Note #31 – Mercury Bath Diagram – At the very top of the lighthouse staircase is a note pinned to the wall to the right of the open door.
Lore Note #32 – Lighthouse Diagram – When you reach Maya at the top of the lighthouse there will be another note pinned to the wall inside.
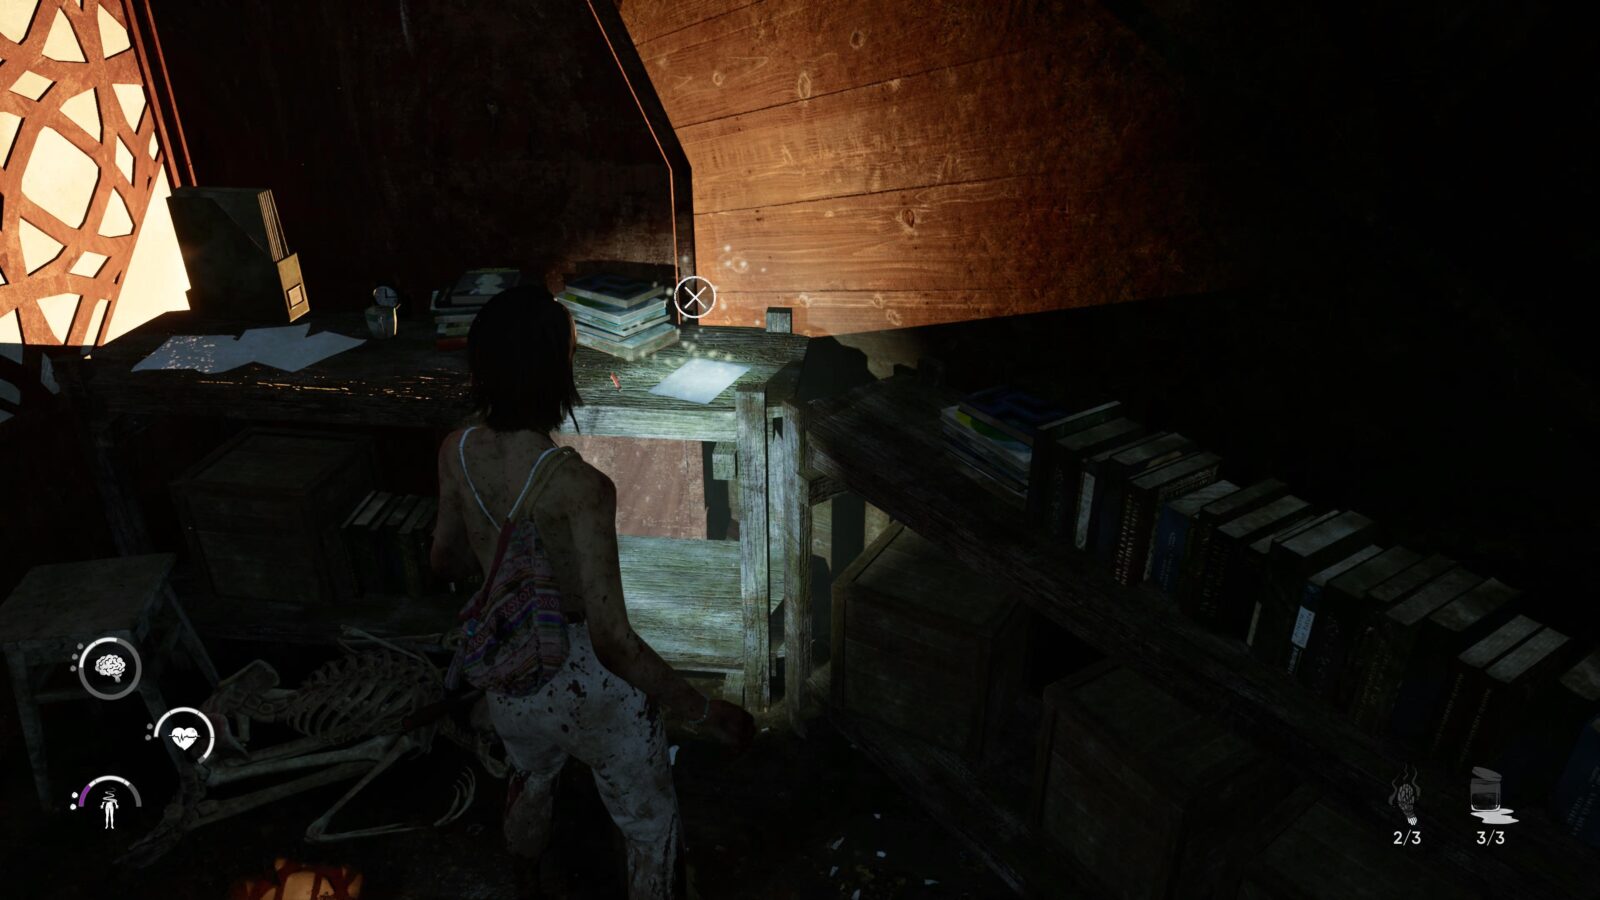
Lore Note #33 – Living Quarters 1 – Leave the lighthouse, walk forward, and squeeze through the gap to get to the next area. Go into the door on your left and immediately head through another door again on your left. On the table in the middle of the room is a note.
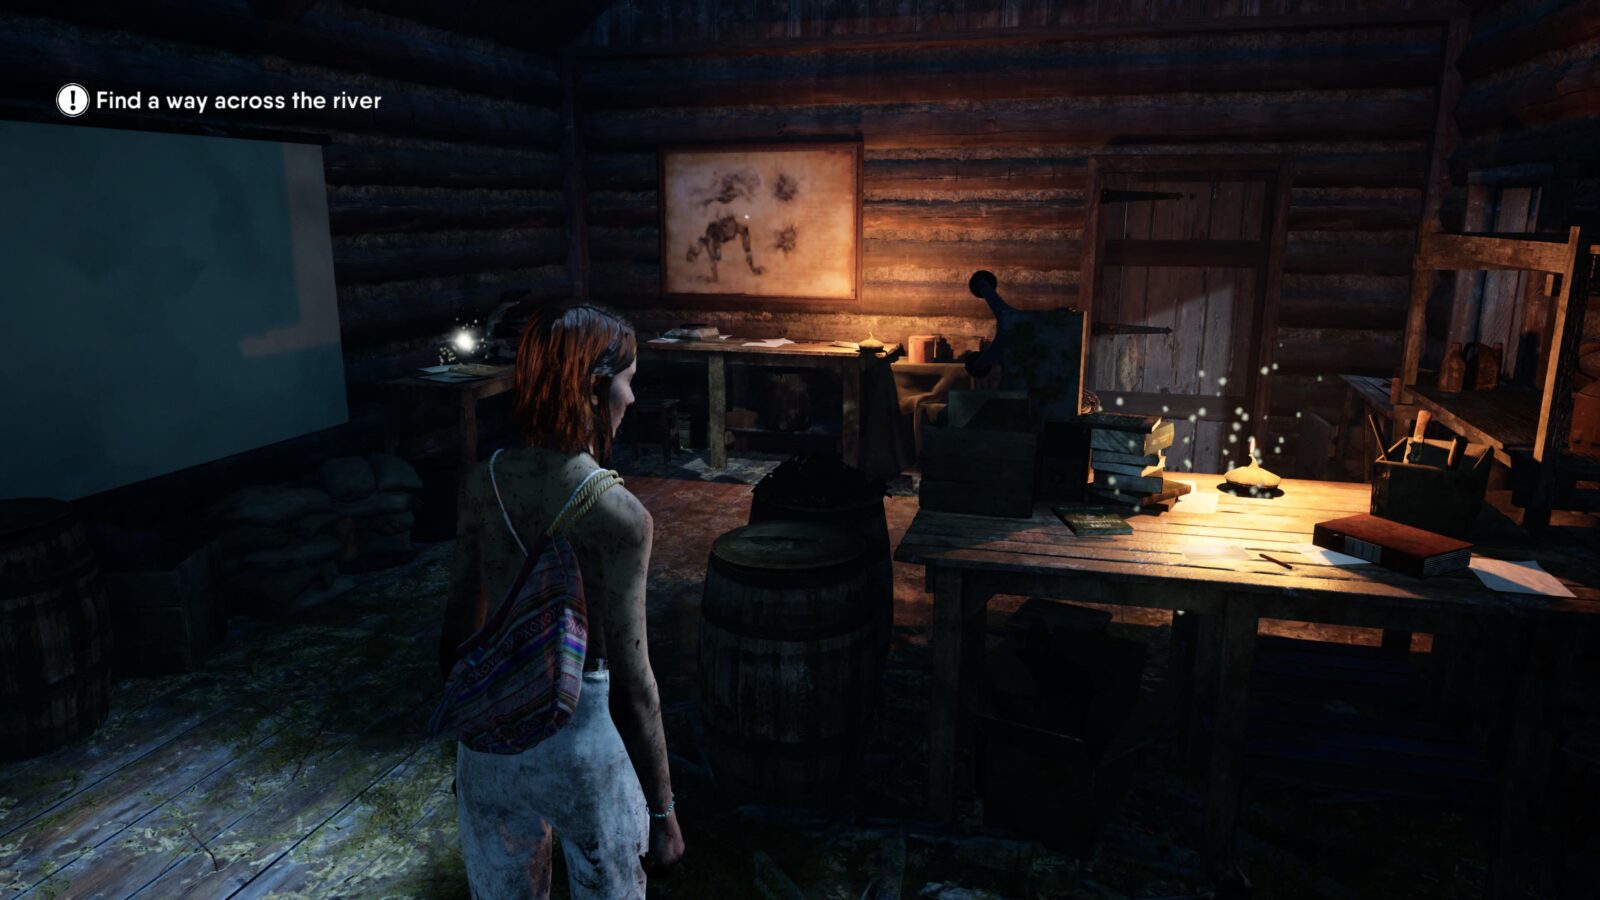
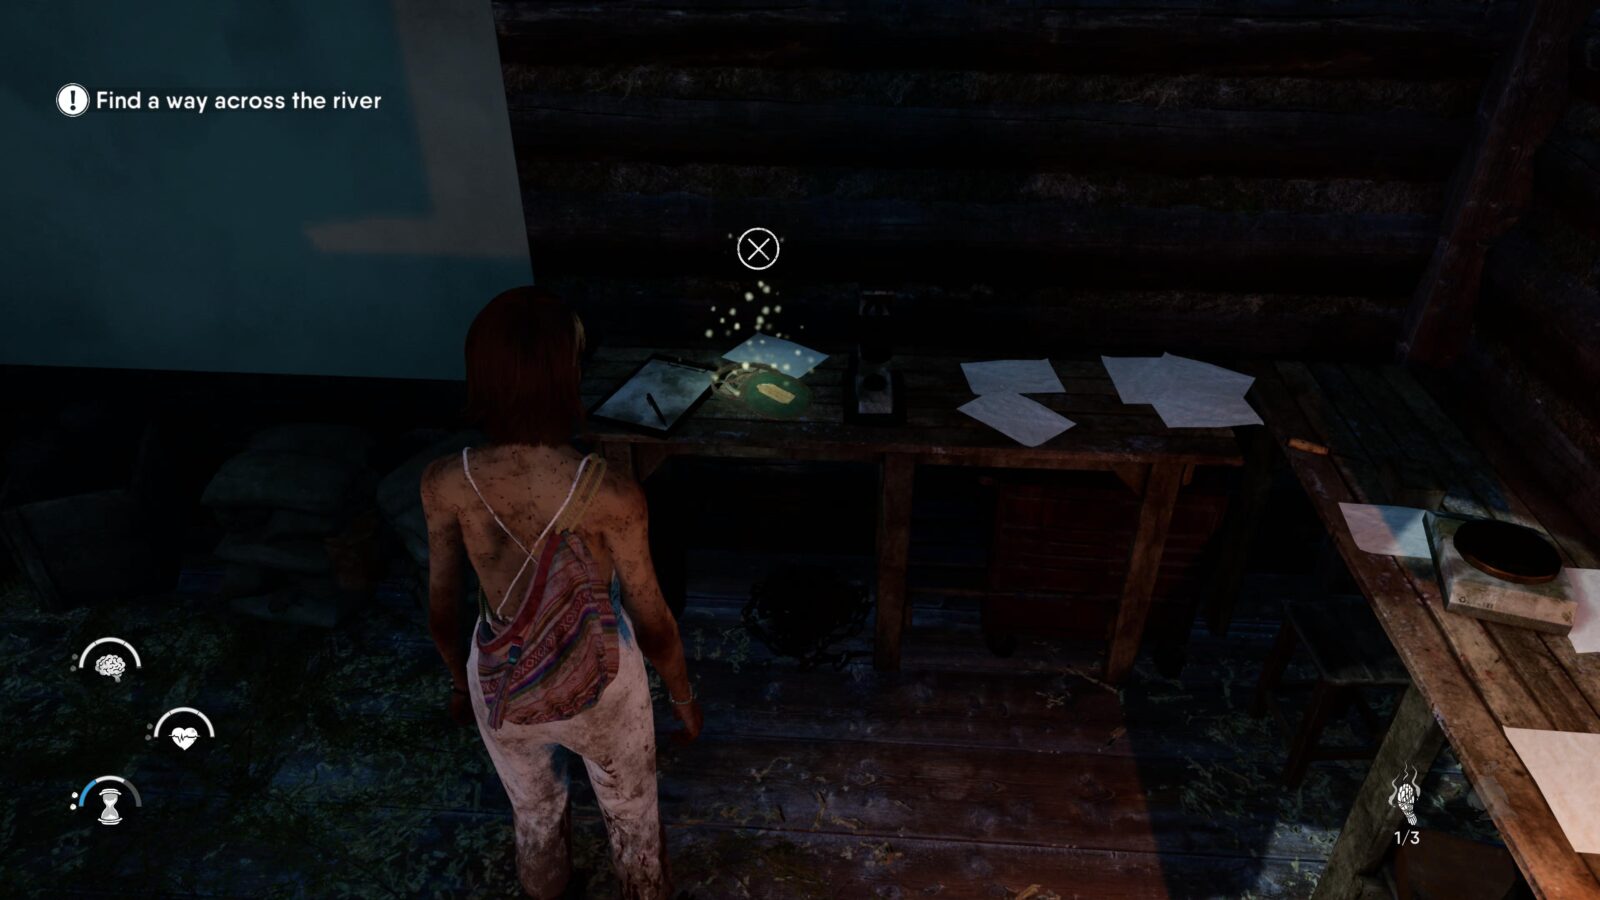
Lore Note #35 – Workshop 1 – Leave the building and drop down the ledge to the right of the large prism. You will now be back on the path you took to the lighthouse just after passing through the wall with the geometric design. Head right and you can now unlock the workshop with the key you picked up at the top of the lighthouse. On a table inside is a note.

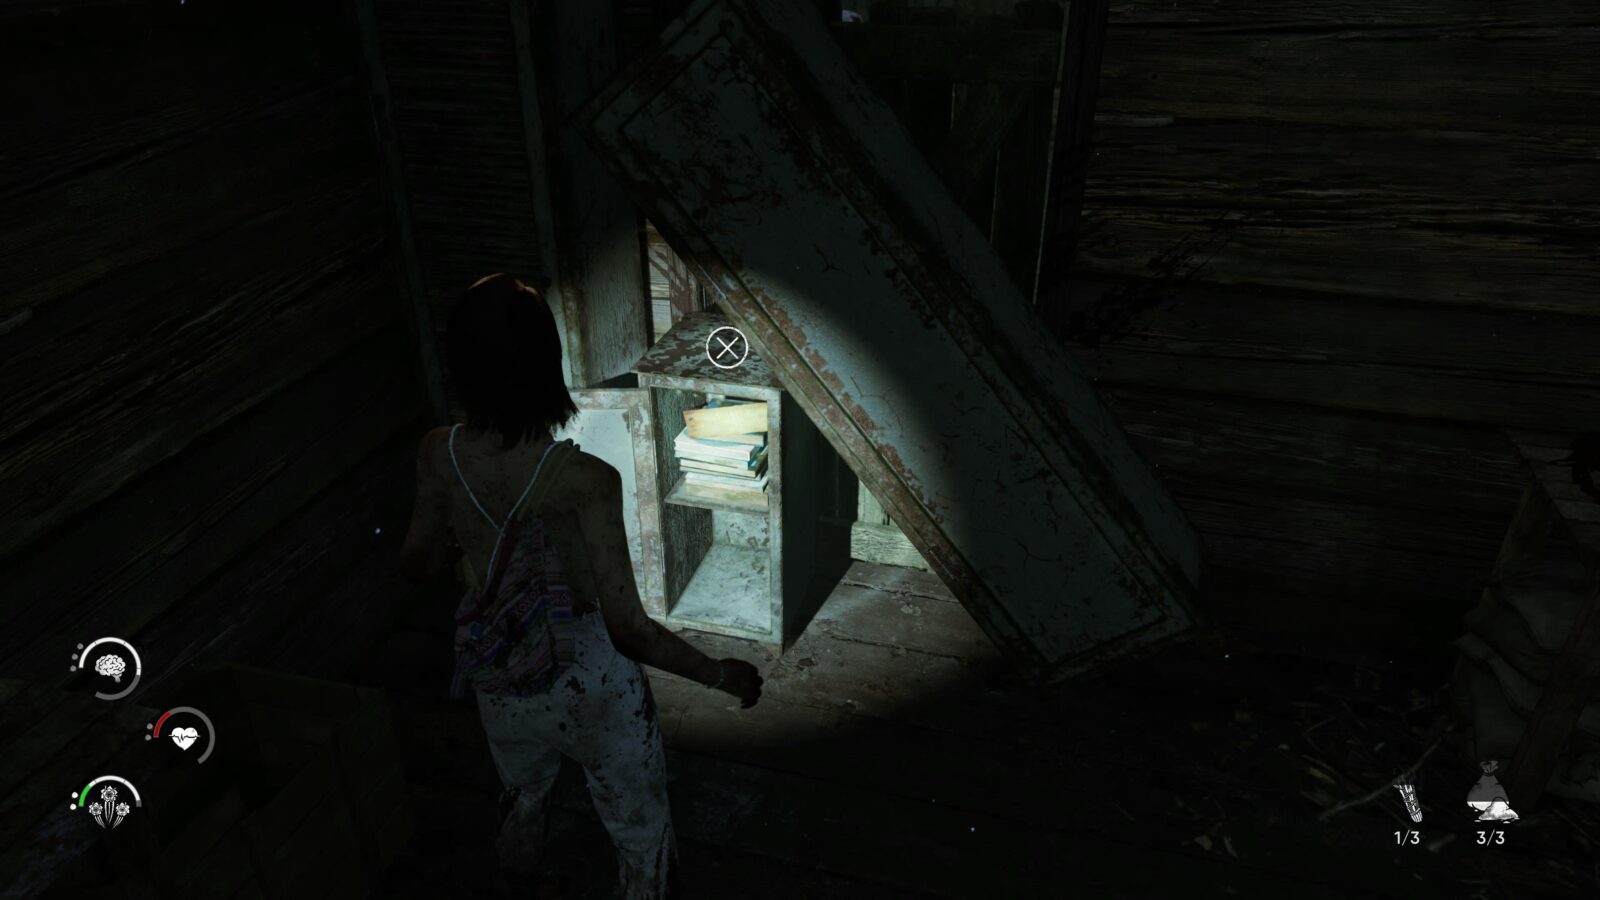
Lore Note #35 – Workshop 2 – Inside the workshop on the back wall is a locker with a note inside.
Lore Note #36 – Dockhouse – While aligning the prisms you will enter a dockhouse. Inside on a table to your right is a note.
Lore Note #37 – Dry Storage – Keep aligning the large prisms and eventually you will aim one down into a broken shack. Inside the shack are animal carcasses hanging from hooks and a Mandacore. Kill the Mandacore and you can grab a note from a nearby table.
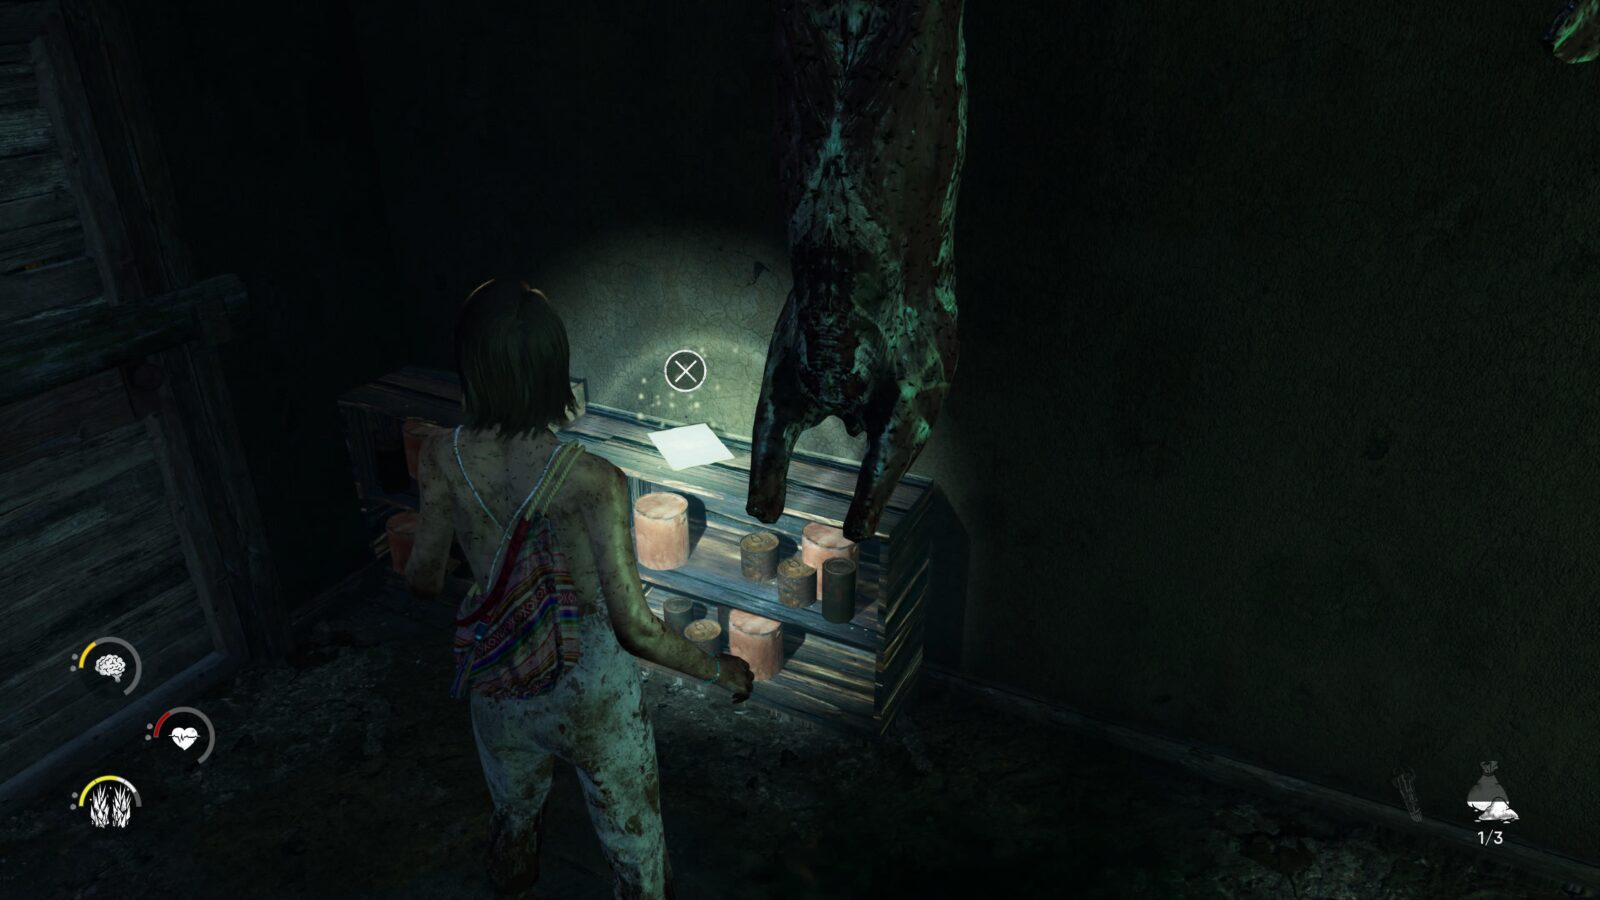
Mandacore #8 – You need to kill this Mandacore so you can align the large prism.
Projector Reel #8- Prismic Discoveries: Prism Mask, Green – Continue aligning the large prisms and you will reach an area with three enemies in the green gloom. After defeating them and aligning the prism you can enter the house and go into the room to your left to find a reel on the table.
Lore Note #38 – Living Quarters 2 – Go through the next door and duck under the broken wall in the bathroom to find a note in an open cabinet directly ahead of you. There is also a key in this room you’ll need to open a door inside the house.
Mandacore #9 – You need to kill this Mandacore to get a key.
Lore Note #39 – Living Quarters 3 – Return to the room where you picked up Reel #8 and you will see there is a room with some bunkbeds. Inside on a bedside table is a note.

Lore Note #40 – Eating Quarters – Go to the opposite end of the house and open the locked door with the key you picked up. Inside on a table is a note.

Lore Note #41 – HeadKeepers Residense – After aligning the large prism on top of a house right next to the lighthouse enter the house through the collapsed wall. Defeat the Mandacore inside and you will find a note on a bed.


Mandacore #10 – You need to kill this Mandacore to the above note.
Chapter 5
Lore Note #42 – Tyler’s Note Outside – When Hannah and Jess go visit Tyler head around the back of his tent and find this note on a table.
Lore Note #43 – Tyler’s Note Backroom – Head inside Tyler’s tent and on the counter in front of you is another note.
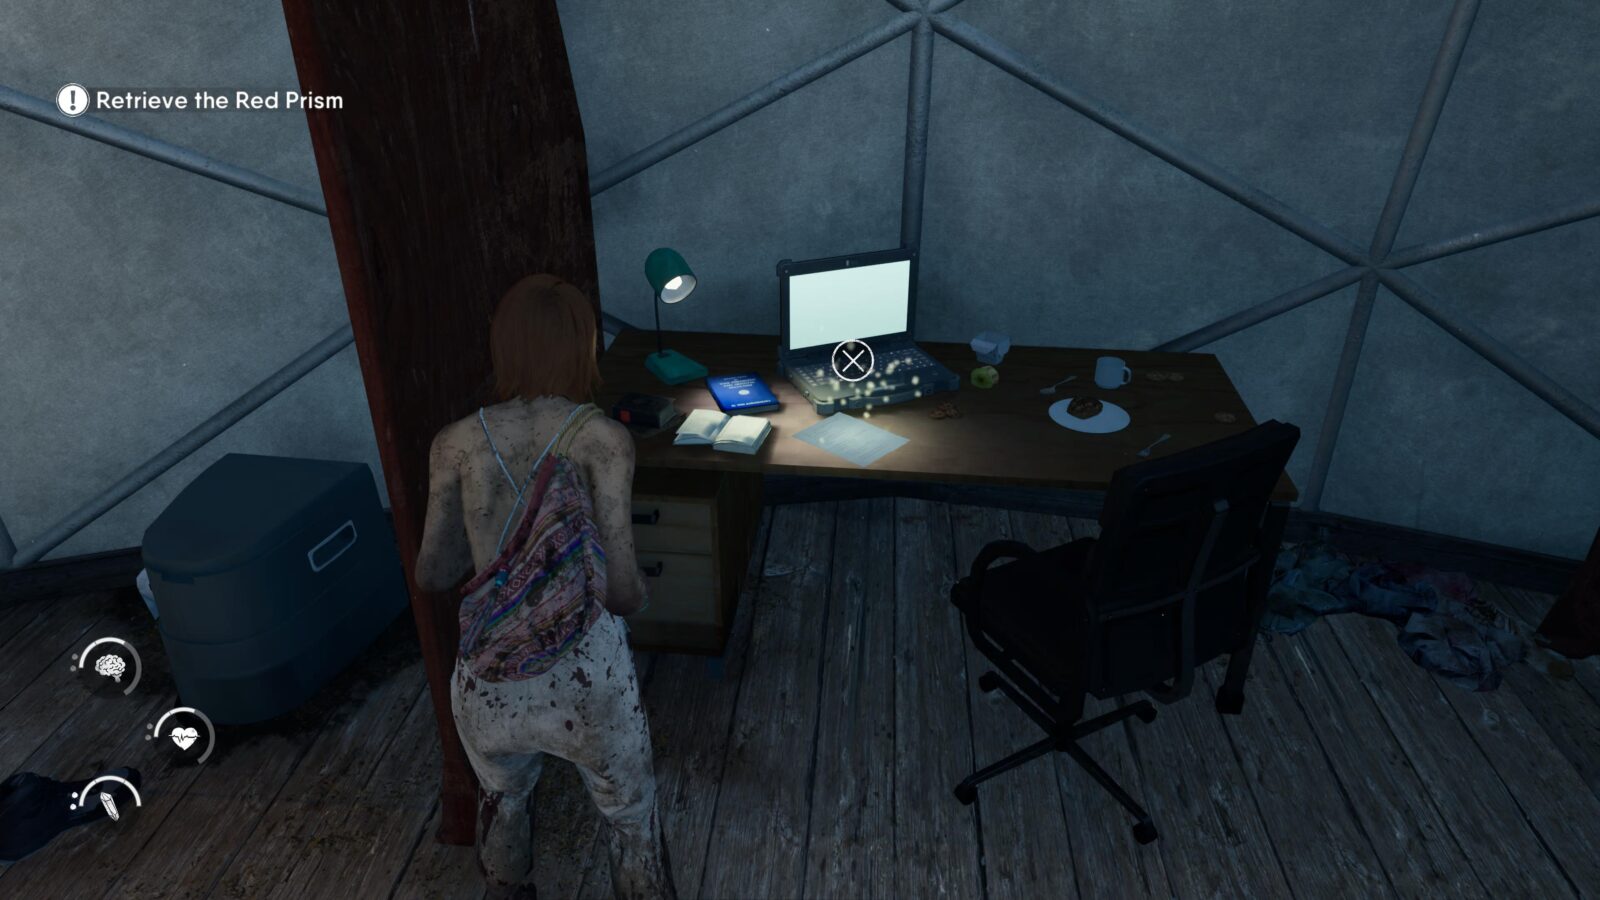
Lore Note #44 – Tyler’s Note Desk – Further inside the tent you can find another note on a table next to a laptop.
Mandacore #11 – While following the Spirit Trail you will come to a green gloom area in front of you and a red gloom area to your right. Inside the green gloom is a Mandacore guarded by a Strider. There’s no need to enter the green gloom so this Mandacore is highly missable.

Lore Note #45 – Initiation Note – In the room immediately after the encounter with the invincible creature that you must use to break open a purple barrier is a note on a table to your right.
Lore Note #46 – Prism Note – In the same room as the above note on a table at the opposite side.

Projector Reel #9- Prismic Discoveries: Gloom Gateway – Again in the same room as the above two notes on a table behind a plinth is a projector reel.
Lore Note #47 – Locker Area Note – Continue following the main path and you will reach a wooden shack. Inside the shack you can hop through an open window and search the lockers in the next room to find a note.
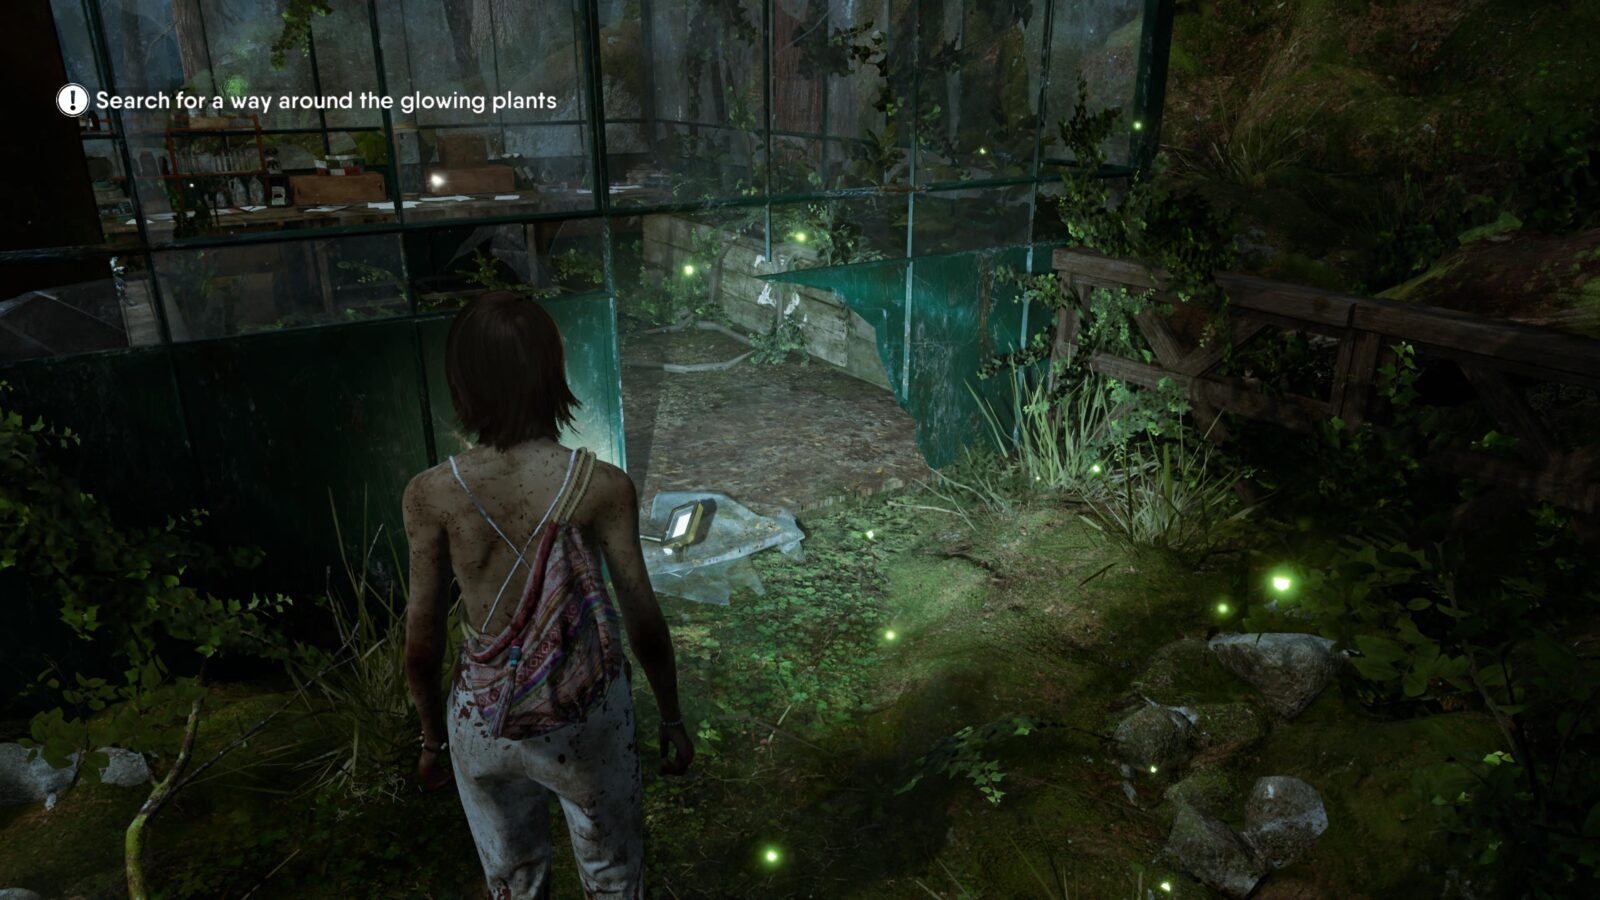
Lore Note #48 – Greenhouse Scientist – After meeting up with Hannah and entering the greenhouse (don’t pick any of the plants in here if you want to unlock the Alchemist trophy) head into the side room and look for a broken wall that you can crawl under. Inside this smaller room is a cabinet with a note.

Lore Note #49 – Alchemical Instructions – Given to you automatically by Hannah after acquiring the key in the above room.
Lore Note #50 – Farmstead – Opposite the greenhouse is a house with a note on a table inside. You will pass this house while following Hannah inside the greenhouse. Make sure you don’t solve the alchemical plant puzzle before you grab this.

Lore Note #51 – Farm Stall Note – Go through the two doors to the right of the table and you will walk through a barn which is covered in gloom. Go straight and exit the barn then take a left and you should see an opening in a fence. Immediately as you go through the fence take a left and enter the stall there. Inside is a note.
Lore Note #52 – Farm Shed Note – Leave the stall and you will see a building to your left. Go behind the building and jump through the open window. Inside a cabinet with a fallen locker on top is a note.
Mandacore #12 – On your way back, before you re-enter the barn, is a door on your left that will lead to the back of the blocked garden area opposite the barn. Inside is a Mandacore which is highly missable.
Alchemist Trophy – At this point you should have the valve for the machine inside the greenhouse. Consult the paper that Hannah gave you to create the Plant Dissolving Solution and then put it in the machine to solve the puzzle. Try not to pick up any plants you don’t need as this will increase your chances of accidentally selecting the wrong plant to combine. It’s safer to only pick up and combine two plants at a time so you can’t make any mistakes.
Lore Note #53 – Administration – Follow Hannah and you will be separated again a couple minutes later. Head into the building in front of you and walk through the red gloom into another room and on a notice board ahead of you is a note.
Lore Note #54 – Attic Note – Turn around and head through the door to the left of the projector screen and climb the ladders in the next room. In the attic head left and around the boxes to find another note.
You Have Chosen… Wisely Trophy – In the attic are a series of rafters that you must cross without breaking them and falling. The first one is easy as there is only one rafter but the next three sets of rafters all have a left, middle, and right choice. The correct sequence is: Middle (only choice), Left, Right, Left.
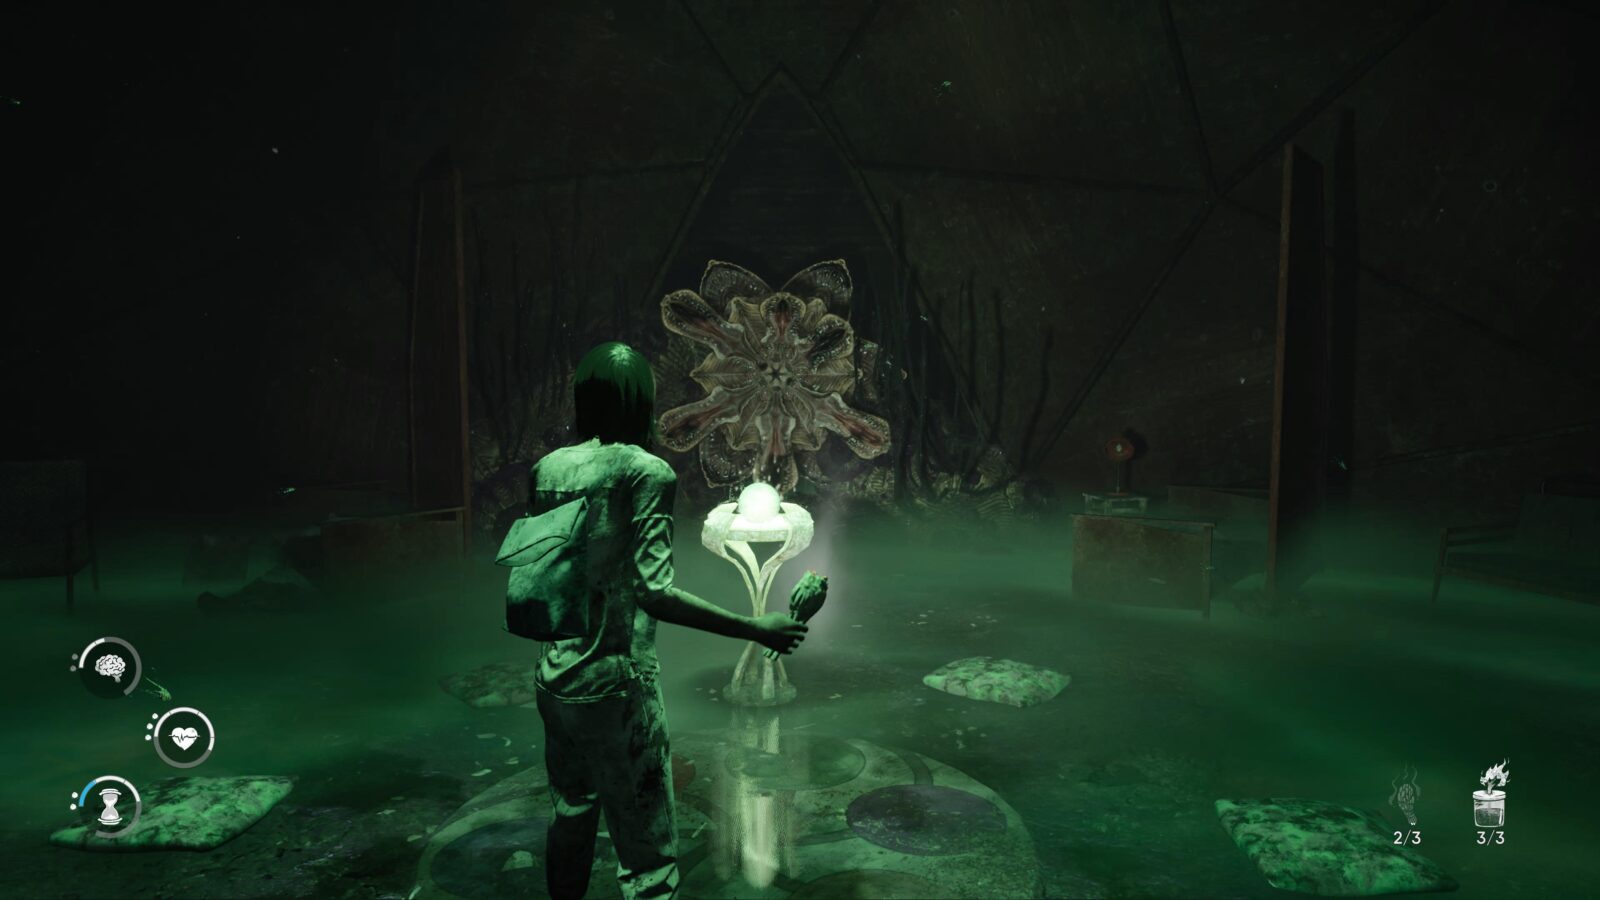
Projector Reel #10- Beacon of Ascension – Progress forward and you will reach a small red geodome with Red Pineal Orb inside. In the room next to the altar is the last reel.


Lore Note #55 – Red Homestead – Leave the room via the door and you will see a small fire in the next room. Keep to the left and you will see another door that leads to a note on a table.
Lore Note #56 – Orange Homestead – Progress a bit more and you will reach a courtyard with a large stone well. Opposite the well is a cabinet with a note inside.
Lore Note #57 – Green Homestead – Enter the green gloom in the area and head forward until you see a metal cabinet you can open to find another note.
Mandacore #13 – In the room with the Green Pineal Orb is a Mandacore. You don’t necessarily need to kill this one to progress which makes it somewhat missable.
Lore Note #58 – Indigo Homestead Note – After Hannah gives you her prism you can traverse the indigo gloom. Inside the gloom is a geodome where you pick up the Indigo Pineal Orb key item. This geodome also has a note hiding behind a Mandacore.
Mandacore #14 – In the geodome with the Indigo Pineal Orb is a Mandacore. You don’t necessarily need to kill this one to progress which makes it somewhat missable.
Lore Note #59 – Blue Homestead Note – In the homestead where you find the Blue Pineal Orb key item is a well-hidden door on the right side of the hallway that leads to a note.
Mandacore #15 – Next to the geodome where you find the Yellow Pineal Orb is a Mandacore. You don’t necessarily need to kill this one to progress which makes it somewhat missable.
Chapter 6
Lore Note #60 – Hannah’s Form – As you run from Angie (the humanoid fly swarm) you will traverse through a wooden bridge. At the end is a note; hard to miss.
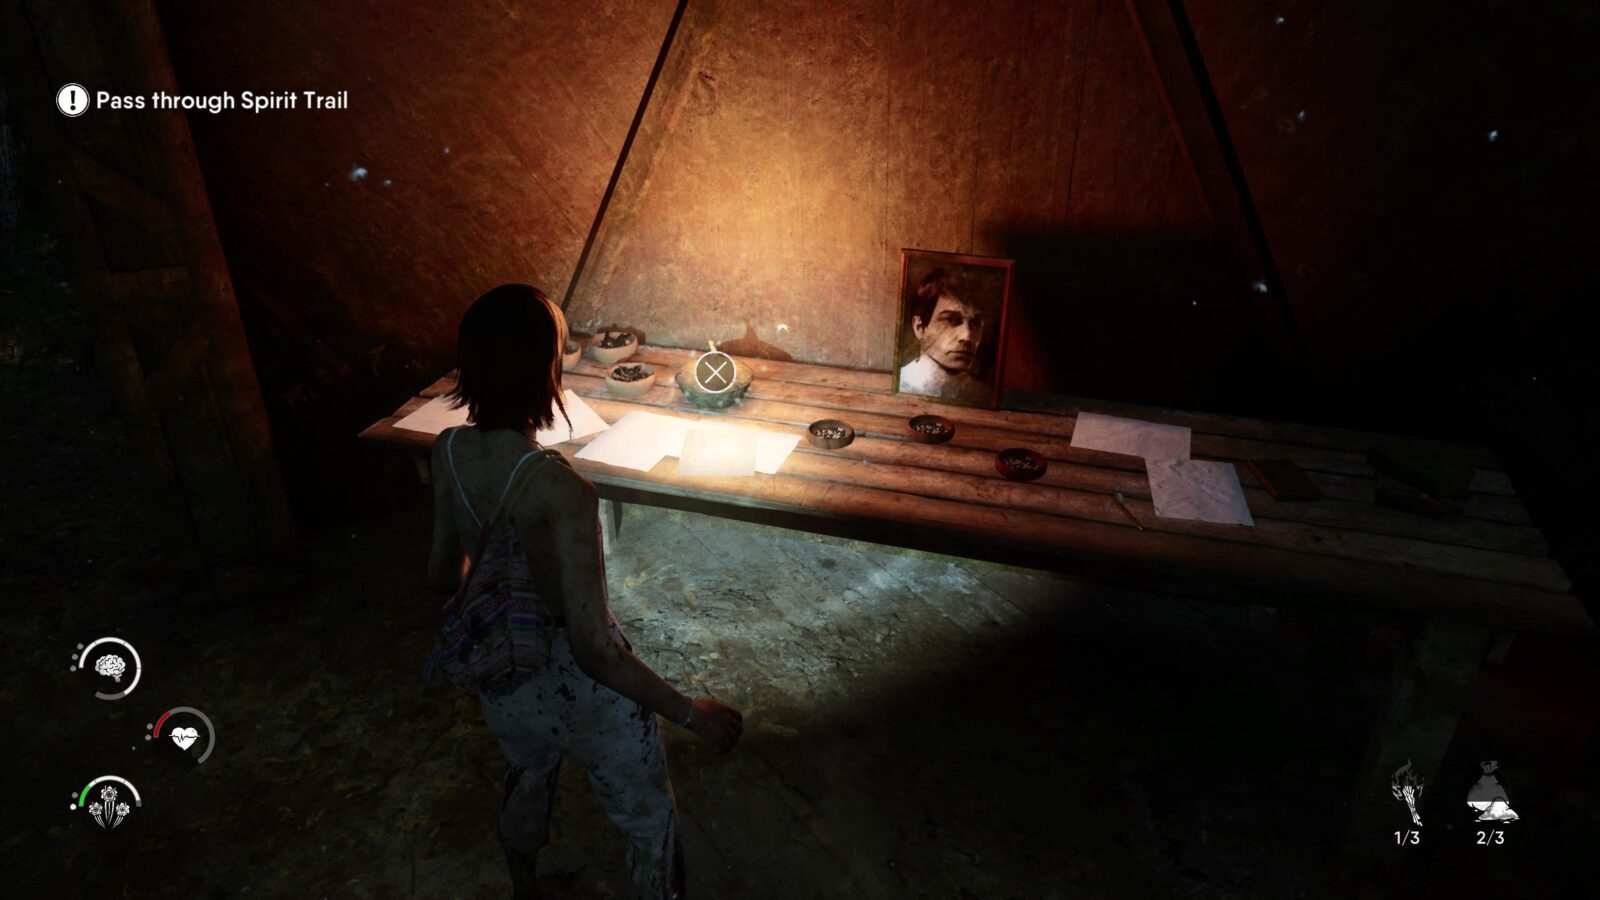
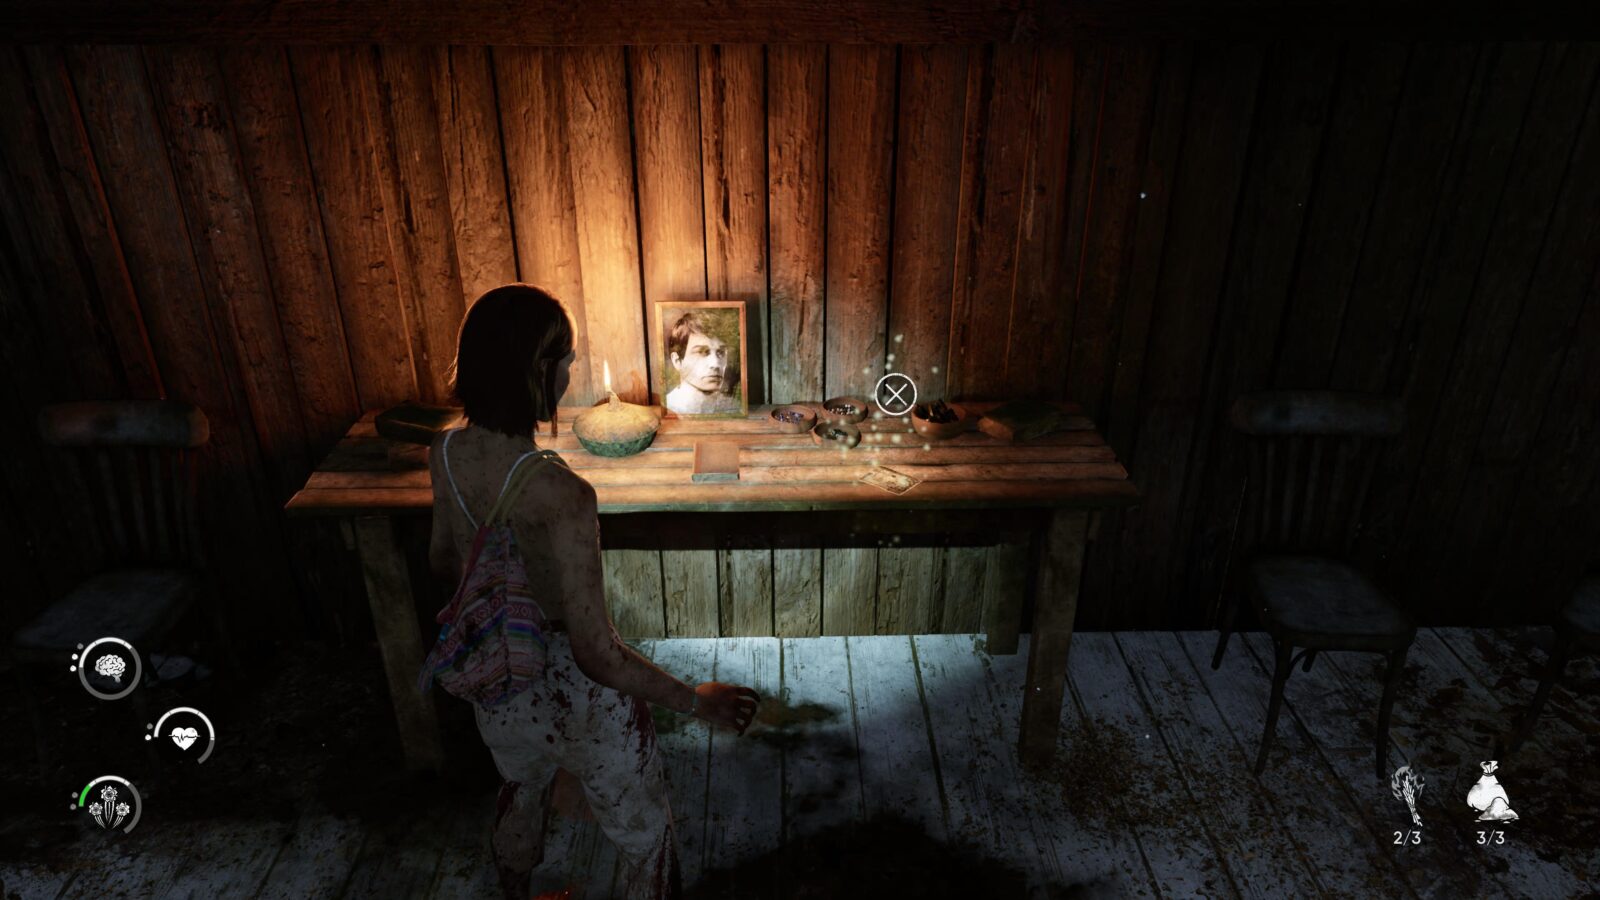
Lore Note #61 – Anton’s Forest Gateway – In the very next building you enter will be a sort of shrine with a portrait photograph on it. There is a note to the right of the portrait photograph.

Lore Note #62 – Overlook – The very last Lore Note in the game can be found on a diverging trail in the indigo gloom after defeating the giant cosmic lizard enemy.

Thank you for choosing PlatGet as your source for The Chant Collectibles Guide. Consider checking out our other guides!
Follow us on Twitter @GetPlat or Instagram @platget for updates on new reviews and guides, as well as small anecdotes about our platinum journeys.