PlayStation 5
Returnal Trophy Guide


General Info
FAQ
How long does it take to beat Returnal and unlock all trophies?
It is hard to say how long this platinum will take. The game is very unforgiving and so your skill as well as luck will play a huge role in how long this platinum journey takes. I would estimate around 50-80 hours but this could easily be more..
How difficult is it to beat Returnal and unlock all trophies?
Hard (7/10).
Does Returnal have online trophies?
No.
Does Returnal have difficulty-specific trophies?
No.
Does Returnal have missable trophies?
No.
Does Returnal have glitched trophies?
No.
What is the minimum number of playthroughs required to unlock all trophies in Returnal?
Many. The game is a Roguelike. Though one full completion of the story is all you will need..
Does Returnal have a Platinum Trophy?
Yes.
Other Useful Guides:
Returnal – Where to find Scout Logs 9 and 10
Trophy Guide
Returnal Trophy Guide and Road Map for PlayStation 5
Returnal is a one-of-a-kind Roguelike Bullet Hell FPS with some permanent progress when it comes to traversal tools and story progress. With this Returnal Trophy Guide you should have no problem unlocking all the trophies, provided the game’s inherent difficulty is not too much for you, and you aren’t impeded by any of the bugs present at launch.
Returnal Trophy Guide – Before You Begin
Difficulty
Returnal has no difficulty settings, but it is not an easy game. As simple as the trophy list looks, the game is very unforgiving and you’ll often find yourself stuck, struggling to progress.
That being said, this is based off of my own experience with the game. As a gamer, I am clumsy, impatient, and imprecise. Anybody with more skill and better reflexes will have a far easier time with the game than I did.
Whenever you die in Returnal–as is the norm for Rogue-like games–you will return with nothing. Unlike some more forgiving rogue-likes, however, you won’t keep any sort of character progression which is going to make the game easier for you. You’ll have a standard pistol, no artefacts, no parasites, no nothing. It’s back to square one except for a few select things…
Life After Death
There is a small handful of things which will persist between cycles (each time you die).
Firstly, there’s the story. Any progression you make with your objectives will remain, you don’t need to fear losing story progress.
Secondly, most tools you find which will help you traverse the area will be kept. This means things like the bladed weapon and the grapple hook. With those tools, your subsequent cycles will be ever-so-slightly quicker. You’ll be able to use more shortcuts and access resources you couldn’t reach before. However, combat will not be easier in any way thanks to these tools.
Any additional consumable slots you unlock will stick with you after death.
Some quest items like keys as well as Ether (a rare currency/resource) will stay in your inventory when you die. You’ll also get to keep any Databank research you collect. Also if you use keys to open a Vault, that vault will remain open in all future cycles.
Often, when you find a weapon it will have a locked perk on it. By killing enemies with that weapon you’ll slowly unlock that perk. It will be immediately applied to the weapon you’re using but it will also be permanently unlocked and will be able to appear on that weapon in the future. In this way, you can improve the weapons in the game slowly but surely making them more effective for future cycles.
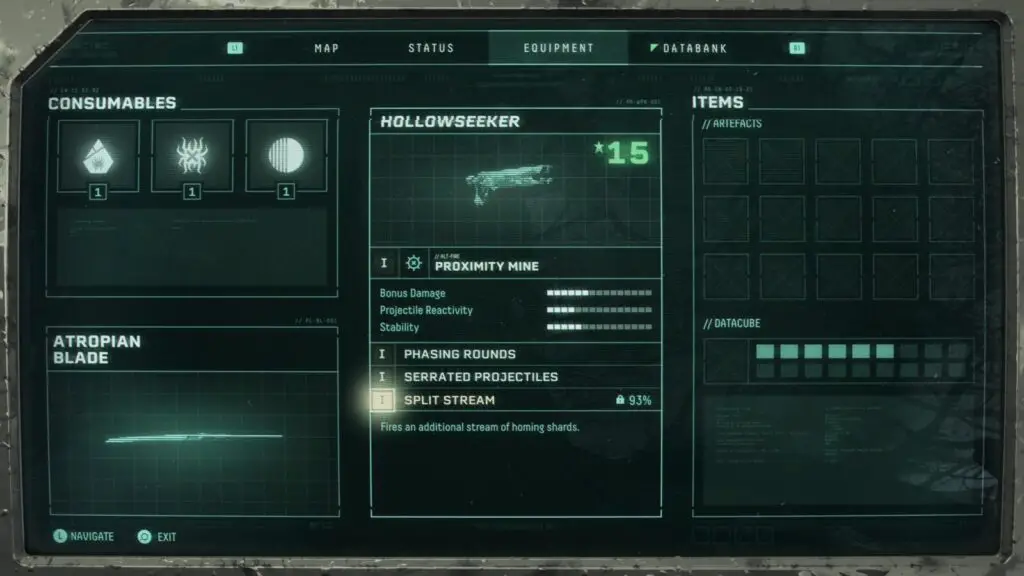
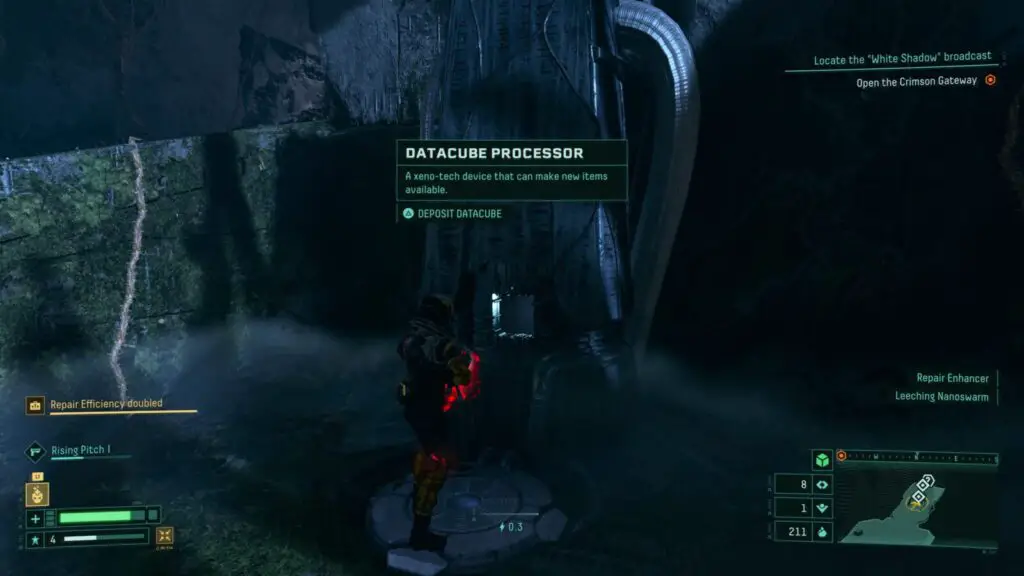
Similarly, you can find items called “Datacubes” which, when used with the appropriate machine, will unlock items and consumables permanently, so that they can appear in future cycles. You can only carry one Datacube at a time and can track how many of these potential items you’ve unlocked via the equipment tab of your ![]() menu.
menu.
Everything else will disappear. Weapons, Weapon proficiency, Artefacts, Parasites, Health and Suit Augmentations, consumable items, all of these will be gone when you respawn.
Online Play & Bugged Trophies
This game has online features which you’ll need access to for one particular trophy. However, you should play with an active internet connection all the time, if you can. Your trophy progress for things like area Surveys and some misc trophies is tracked via PS5 activities on your game bar ![]() and this can be buggy if you don’t have an internet connection.
and this can be buggy if you don’t have an internet connection.
Many people, including myself, have had trophies bug on them. The reason this happens seems to be difficulties connecting to the server. My internet dropped out at one point while I was playing and after I re-connected everything was when trophies started to bug out.
If your internet connection happens to drop out on you, your best bet is to quit the game, turn off your console and load it back up again with an active internet connection. This resolved some bugs for me.
Unfortunately, some of the reported bugs affect story trophies such as Bosses, Act progression, and House events. If any of these things happen to you, your only hope is to load a previously backed-up save. Here are the best points in the game to save a backup if you can:
- Before going after the third boss. This is the end of Act 1 and if the trophy does not pop you will want a save you can load back up to try again.
- Before going after the fifth boss. This is the end of Act 2 and, again, you’ll want a save to resume from if the trophy doesn’t pop.
- After collecting all the Sunface Fragments, but before approaching the house with them in your inventory. Once you do, you’ll trigger the final house event and start Act 3. If the house events trophy doesn’t pop you will want this backup save handy.
If at any point you notice that the activity tracking for Survey Trophies is bugging out or acting strangely, do not proceed. If you fulfil the requirements of the trophy while it is being incorrectly tracked, the activity will later disappear and the trophy will be unobtainable. This unfortunate series of events is what prevented me from earning the platinum in my first playthrough.
Boss Preparation
Boss fights are incredibly difficult in Returnal, and your best bet is to either avoid being hit entirely or spend some time turning yourself into a tank before going in. Those of you who are skilled enough to survive these bullet hell sequences unscathed are free to go in asap if you feel you’re really up to that.
For those of us who do not have superhuman reflexes; here’s how to turn yourself into a Tank:
- Try to get a free revive. The Astronaut Figurine artifact will give you a free instant revive (You can unfortunately only carry one), The Child’s Watch item will do this too, and there are even some Parasites that will do it (in exchange, it drops two malfunctions on you, though, which isn’t ideal in a boss fight). You should really try to have an extra revive for any boss fight, even if you don’t end up using it.
- There are machines hidden throughout each area called reconstructors. If you die, you can come back from them without the world resetting to get another shot at the boss. It’s nowhere near as good as an instant revive and it costs 6 Ether to use them, but they’re a great backup and can save your run.
- Try to find any and all Resin in any areas you visit ahead of the boss. You want to aim for 200% health (there’s even a trophy for that) so you can take a beating and keep fighting.
- Healing items are a lifesaver too, pick up any healing consumables you can find or fabricate (prioritize fabricating Astronaut Figurines or Integrity Augments first, though).
- Try to purchase at least one Integrity Augment. It costs between 300-400 Obolite usually but is well worth it for the 25% increase in Max Integrity.
- Collect parasites that increase your Max Integrity or Protection. They’re basically the only Parasites worth getting, except those which revive you of course.
- Check all side rooms and non-malignant containers for Artefacts that can help. My personal favorite is “Adrenaline Leech” which heals you 5% of your damage dealt, multiplied by your Adrenaline level.
- During Act 2, you will start finding weapons with the “Leech Rounds” trait. This trait makes it so that every shot you land on an enemy has a small chance of healing you. It can definitely help you out of a tight pinch so you may want to try and find one.
You’re also going to want a good, strong weapon that you’re confident and comfortable with. I’d recommend prioritizing long-distance weapons over anything else, as it’s always best to keep your distance.
Additional Advice
Here you’ll find some more general advice for surviving in the game and making your cycles count.
- During the first two cycles (or however many it takes until you acquire the sword) the layout of the map is pre-determined and not as strongly randomised. While this is the case, ensure you check every blue triangular door on the map to find Scout Log 009. The room containing it is guaranteed at this point but is incredibly rare afterwards. Getting this early can mean the difference between 2 hours and 20+ hours of farming for the Survey Trophy in the Overgrown Ruins.
- Play with headphones on, particularly if they support 3D audio like the Pulse 3D Headset or similar. The game is excellent at giving audio cues for what’s going on around you, and with the PS5’s fantastic 3D audio system, it can really save your life.
- In my experience, Parasites are rarely worth getting unless they offer a truly worthy perk such as greatly increased Max Integrity. It would be best if you tried to avoid parasites where you can unless you have some way of counterbalancing the negative effects at hand. There is a trophy for having five at once, but this is often a death sentence and should be attempted on a throwaway run.
- The same goes for Malignant keys or containers. You’re taking a big risk by not knowing what the malfunction will be and how hard it’s going to be to remove. In all my best, most successful runs, I avoided malignant objects completely.
- Though it may feel like you have to gradually work your way up to having the appropriate gear for a certain area, you can usually just run straight there after a spawn. This is because there’s typically a “Modular Calibrator” near the entrance, which will quickly boost your weapon proficiency to something more appropriate for the enemies. So all you need to do is find a new weapon after collecting the Calibrator, and you’ll be good to go!
- Further to the above point, I do actually recommend you spend some time in the first area, gathering resources. I usually wouldn’t leave the first area until I had a Max Integrity Augmentation from the Fabricator.
- Many enemies have a stun bar under their health bar, and they’ll be stunned once it is full. You can tell when an enemy is stunned due to the orange box around their health bar. When an enemy is stunned like this, often the quickest way to deal with them is to melee
 them once you have the bladed weapon. Just don’t get greedy!
 - Large plant life can contain items and Obolite, particularly in the first and fourth areas, so don’t be afraid to break them all. You can break plants by walking into them.
- If you have a pre-order suit skin, do not equip it. There’s a high chance of it causing a bug after using a fabricator, leaving you unable to leave the room or interact with any items. The only fix is to reset and lose all your progress. (Housemarque claim this is fixed as of Update v1.3.3).
Phase One – Reach the End of Act 2
During this phase of our Returnal Trophy Guide, you’re going to want to focus on making progress in the story. The end goal of this phase is to just reach the end of Act 2 and unlock the “Last Drive” trophy for doing so.
Along the way, you will get a lot of trophies for using the game’s mechanics for the first time, as well as those for defeating each of the game’s bosses.
“First Time” Trophies
The trophies in this portion of our Returnal Trophy Guide are all awarded for doing things for the first time. Tied to collectibles or gameplay mechanics, they’re all destined to be unlocked during your first few cycles and shouldn’t prove to be a challenge at all.


Eternal Return
Die for the first time
This trophy is completely unmissable as you’ll be put against a pretty-much undefeatable foe as part of the introductory first loop, so you’ll die as part of this introduction to the game. If you manage to survive, well, I’m sure you’ll die eventually.

The trophy unlocks just before you wake up back at the ship for the first time.

Cryptic Messages
Scan a Xenoglyph
Xenoglyphs are red graffiti-like alien letters that you can find on tombstone-like tablets throughout the game. Find and scan them with ![]() . They won’t be fully decipherable at first as you’ll need to find various ciphers.
. They won’t be fully decipherable at first as you’ll need to find various ciphers.

You should be introduced to these during your first few cycles and the first instance of these glyphs is difficult to miss when it is eventually drip-fed to you along with other mechanics.
The trophy will unlock after scanning one for the first time, even though you won’t have enough ciphers to read it.


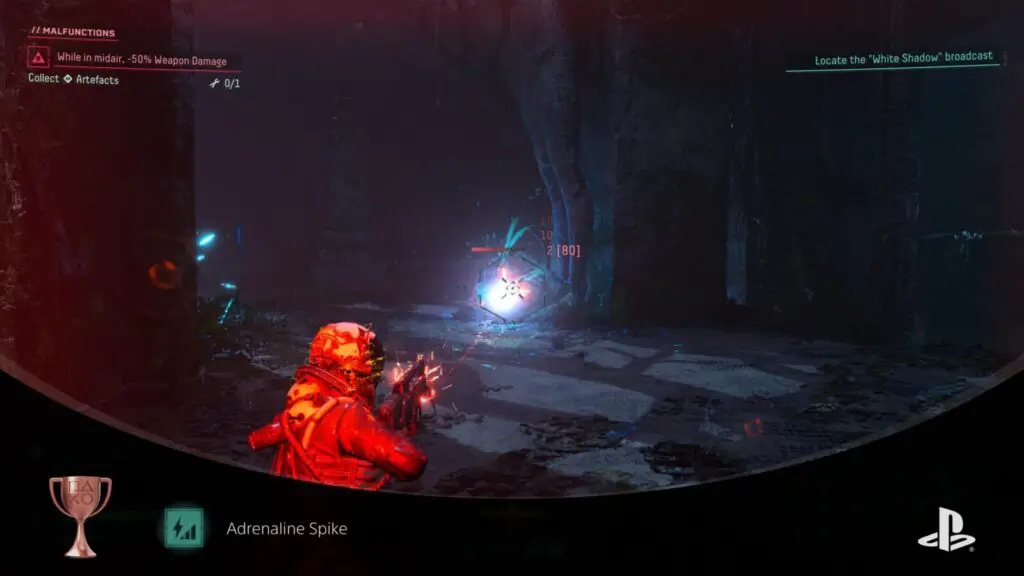
Adrenaline Spike
Achieve maximum Adrenaline Level
At the bottom of your HUD you should be able to see a small thunderbolt icon, next to which there is a number. This is your Adrenaline and it will increase each time you defeat an enemy.
You must avoid taking damage to maintain your adrenaline levels, which can be stacked up to level 5, at which point your adrenaline levels will stop increasing.
For each adrenaline level you earn, you will receive a buff as well as a homing projectile which will launch whenever you fire your weapon. Keeping your adrenaline levels up is something you should be always trying to do, as it is an invaluable aid when trying to survive.
To unlock this trophy, just reach Adrenaline level 5 for the very first time.

Welcome Home
Complete the first House sequence
During your first few cycles, you will eventually find a 20th-century house in the middle of the Overgrown Ruins area. This will happen as part of the story so it’s fairly unmissable. However, when you first find the house it is likely that you won’t have the house key yet. You will need to continue through the area and check every side-passage until you find the House Key in one of them.
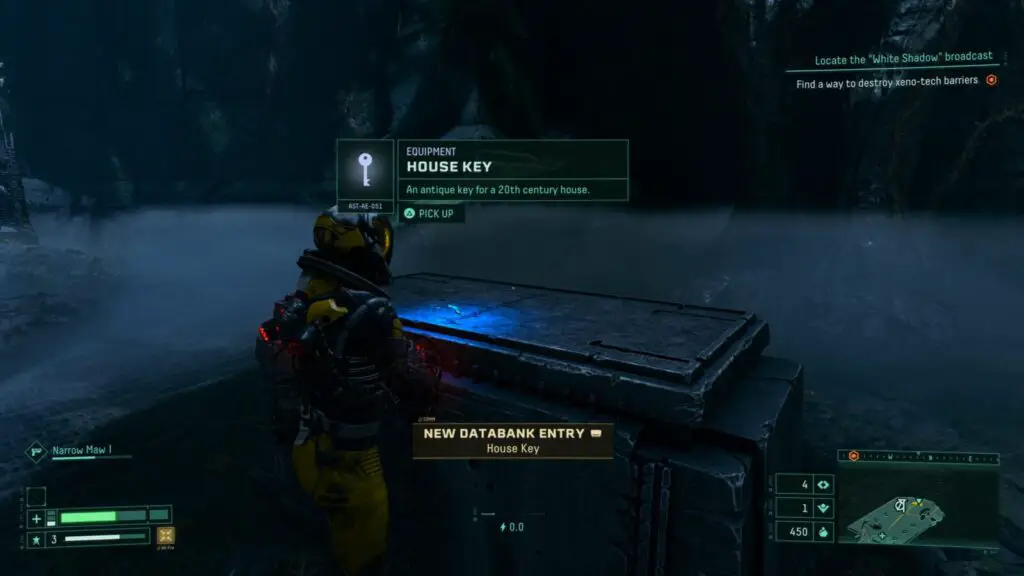
Once you have a House Key, return to the house (there should be a nearby translocator you can use to return) and then head inside. You’ll need to check a few things; the photo on the chest of drawers at the end of the hall, the door to your left, one of the doors upstairs, and then the window.
A short cutscene will play and you’ll wake up unscathed outside the house with this trophy!
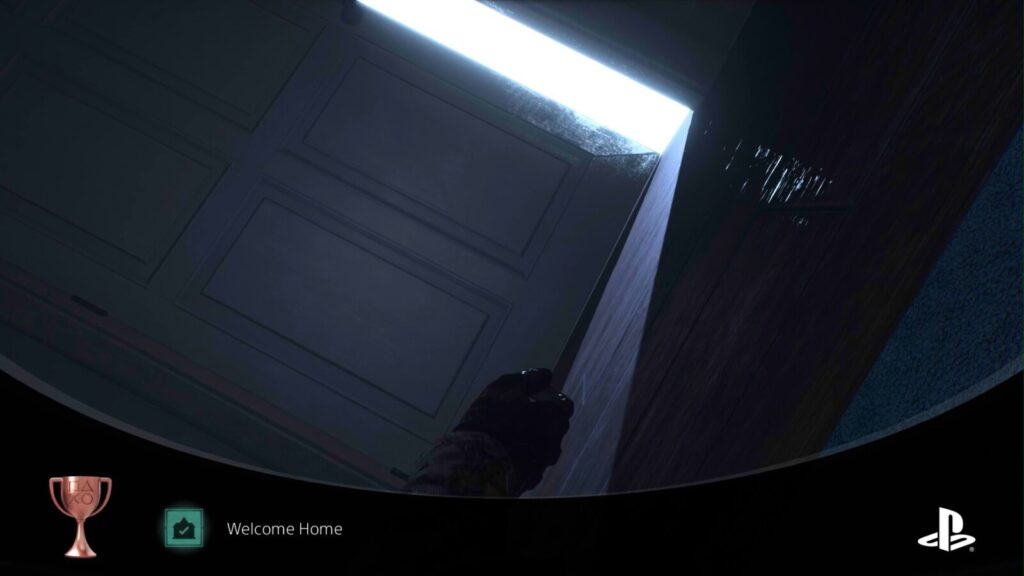

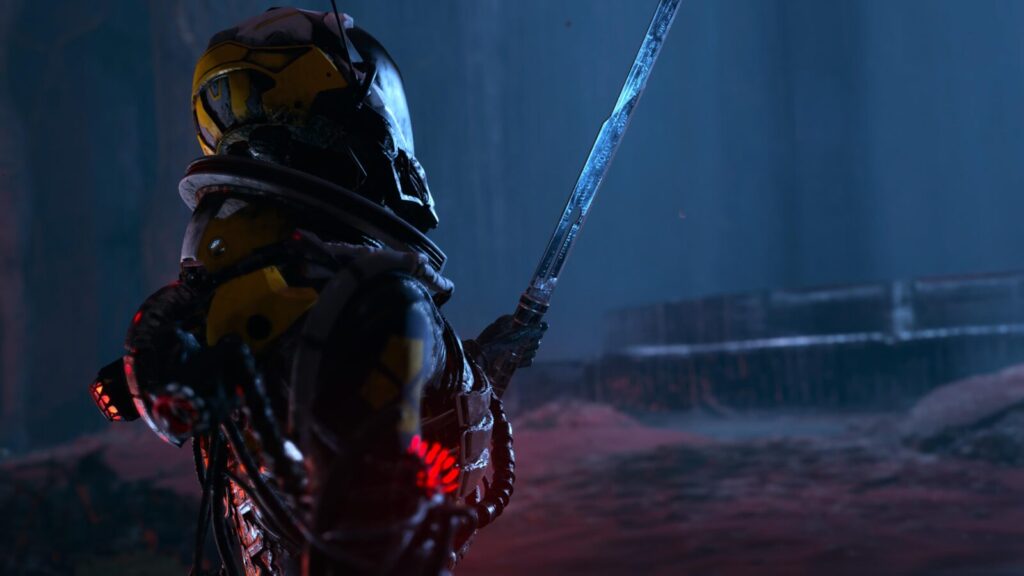
Atropian Survival
Learn the basics of survival on Atropos
During the first few cycles of gameplay, you’ll be introduced to various gameplay mechanics and systems. Simply progressing through the game will mean being taught all of these basic gameplay features and so this trophy is unmissable.
You should unlock it shortly after collecting the “Atropian Blade” melee weapon.
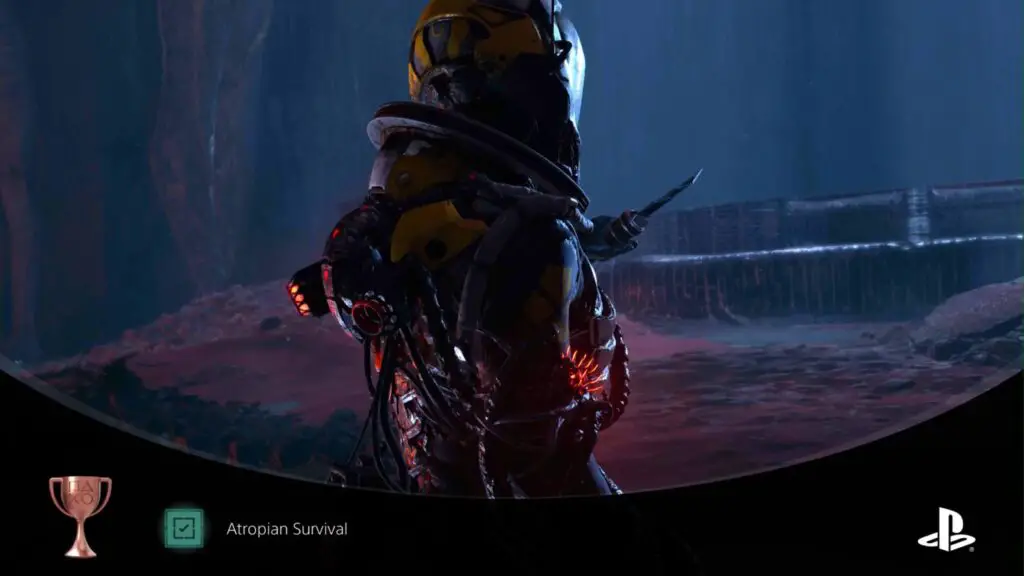

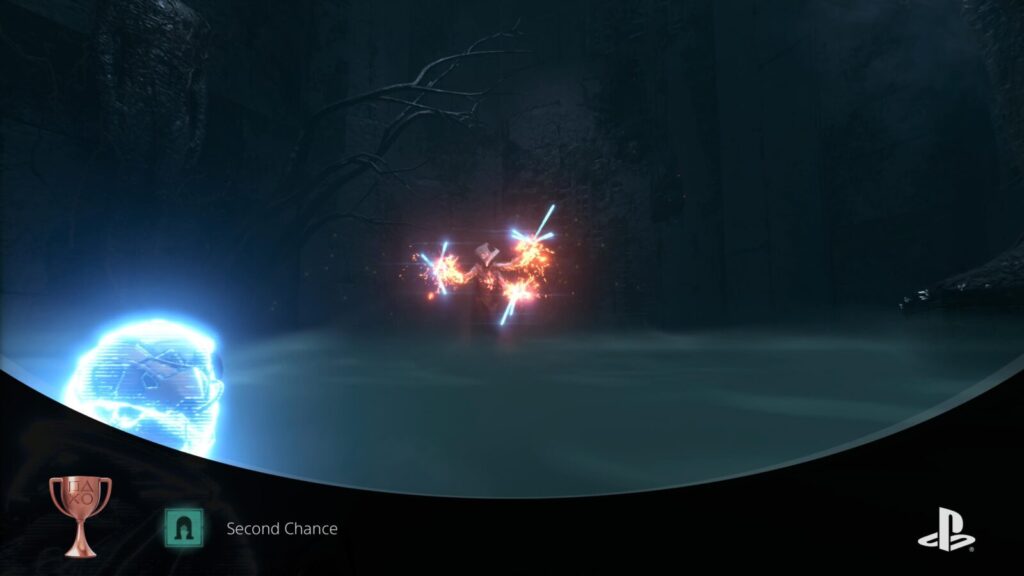
Second Chance
Returned by an artifact
When you wake up outside the house after the first House Sequence, you’ll find an Astronaut Figure on the ground nearby. The game doesn’t tell you what this figure does until it activates.
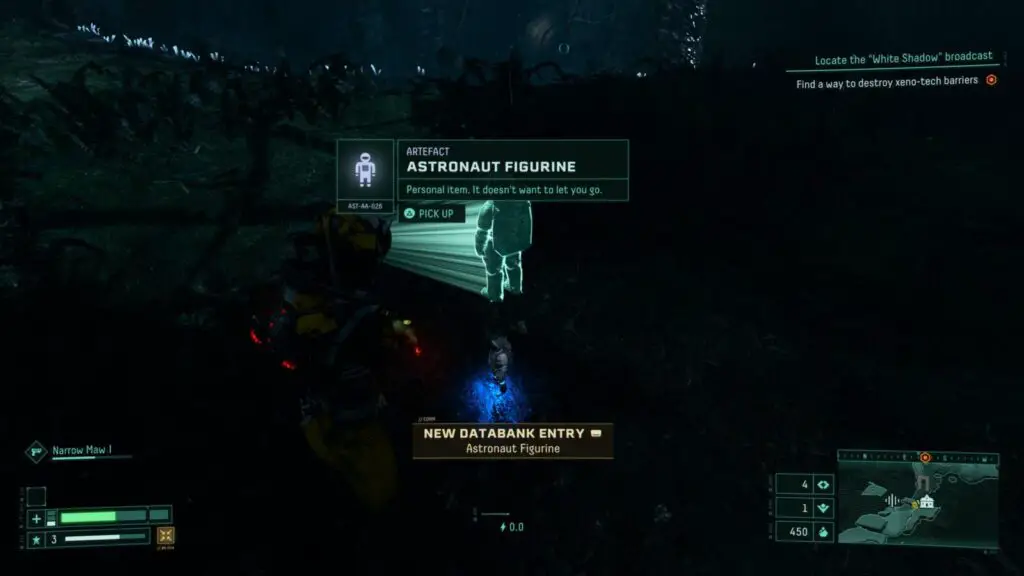
Essentially, if you die while holding an Astronaut Figure, you’ll be immediately revived on the spot and allowed to fight on for your chance at survival.
After that first Astronaut Figurine is found, they will begin appearing in chests throughout the game. This can also be done with a Child’s Watch artifact but you won’t be seeing those for a long time.
Once the artifact respawns you for the first time, you’ll unlock this trophy!
Boss Trophies
These trophies will require you to beat each of the game’s boss fights. They will each become objectives at some point on your path to story completion, so they’re essentially unmissable.
There’s a pretty high chance that these trophies will bug and not unlock when you beat the boss. This is a nightmare, of course, because the bosses are pretty damn tough to defeat. If you beat a boss and the trophy doesn’t unlock, then know that at least the bosses respawn and can be fought again at any time. Just reload your game and look for the relevant boss again. (Housemarque have implied this is fixed as of update v1.3.3).
This happened to me with Hyperion and I had to make my way up his tower and defeat him again. The trophy unlocked the second time without problem.
I don’t have many strategic tips to give you for any of the fights, other than just to dodge their projectiles and shoot at the boss.
Regardless, I’ve included video footage below recorded from my own successful attempts at defeating each boss. This way you can check them out if you’d like to know what to expect, and also I hope that my sloppy gameplay will serve as a confidence booster. If I can beat them, you certainly can!

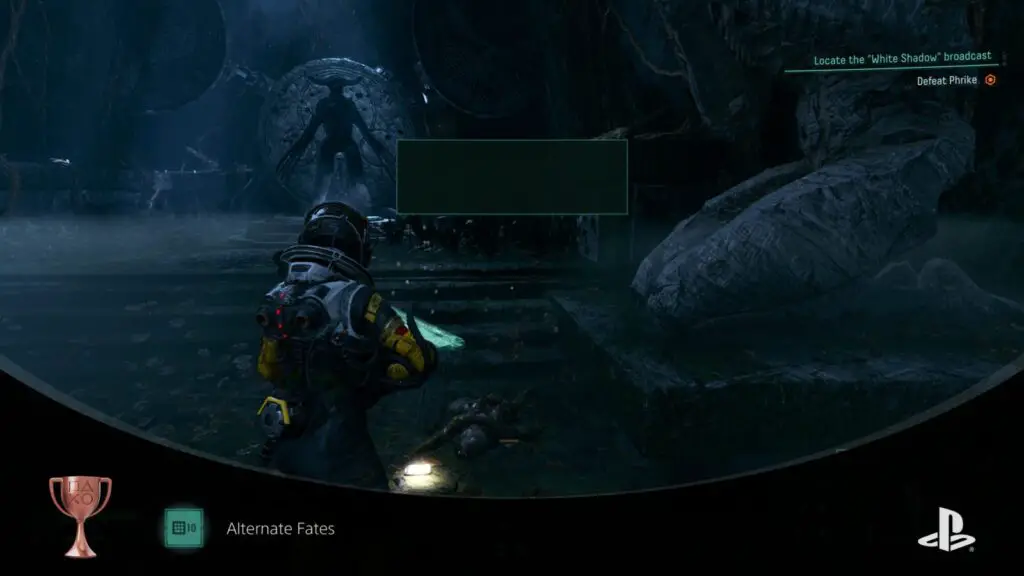
A Shadow in the Fog
Defeat Phrike

Ascension
Defeat Ixion

Trial by Judgement
Defeat Nemesis

Silence the Song
Defeat Hyperion

Inner Darkness
Defeat Ophion
Story Trophies
The trophies in this portion of our Returnal Trophy Guide will unlock as you make progress through the story. “Last Drive” is the last trophy you should earn before moving on to phase two of this Returnal Trophy Guide.
These trophies are technically unmissable, however, there is a chance that they will bug out. There’s nothing that can be done if one of these trophies bugs and doesn’t unlock. You will need to start a new game or load a backup save. See the Before You Begin section for tips on when is best to back up your save. (Housemarque have implied this is fixed as of Update v1.3.3).


Failed Escape
Finish Act 1

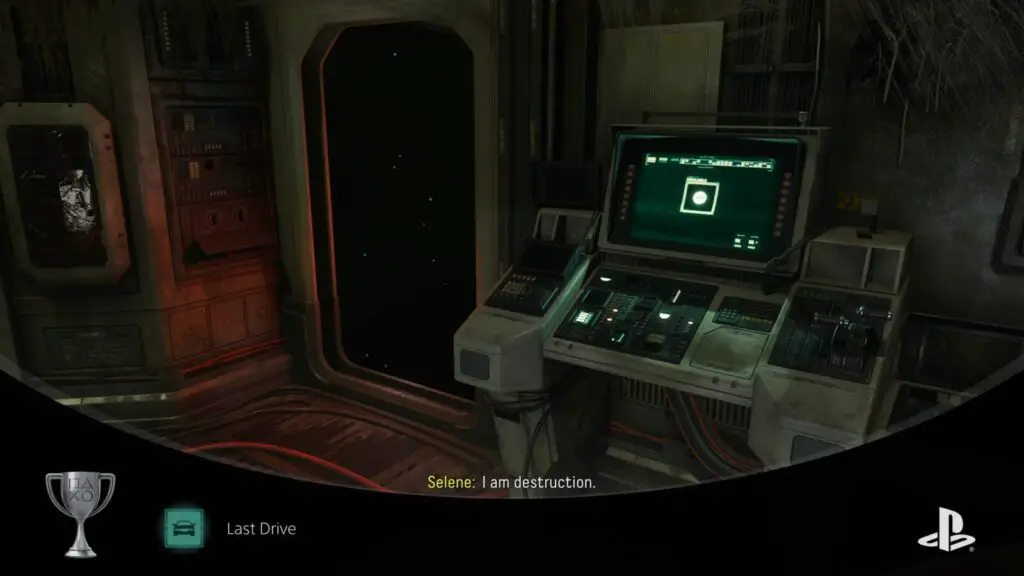
Last Drive
Finish Act 2
Phase Two – All House Sequences and Act 3
After you complete Act 2, you’ll be able to freely explore the planet. The cargo bay on your ship is now open and you can use the machine in there to switch between Area 1 (which has access to the second and third areas) and Area 4 (which has access to the fifth and sixth areas).
Your goal in this phase of our Trophy Guide is to visit each of the six areas and look for items called “Sunface Fragments.”
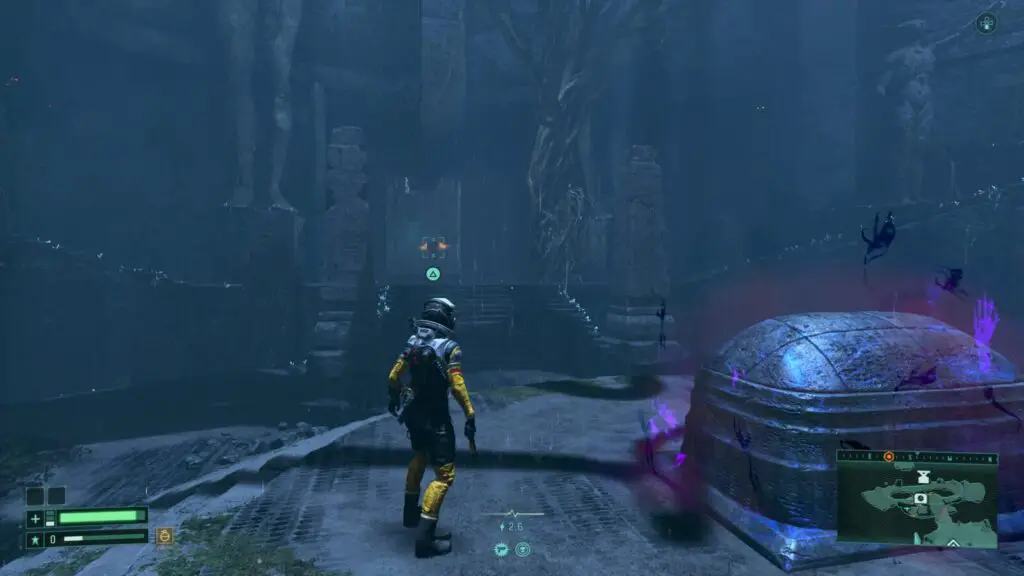
Find All 6 Sunface Fragments
To get the fragments to spawn, you must have seen the first 5 House Sequences. Each House Sequence is unlocked each time you complete an area (except the sixth area, of course). If you forgot to visit the house at any point, you can do it now until there are no more sequences to experience there. You will know when you can enter the house because the light will be on, as shown here:
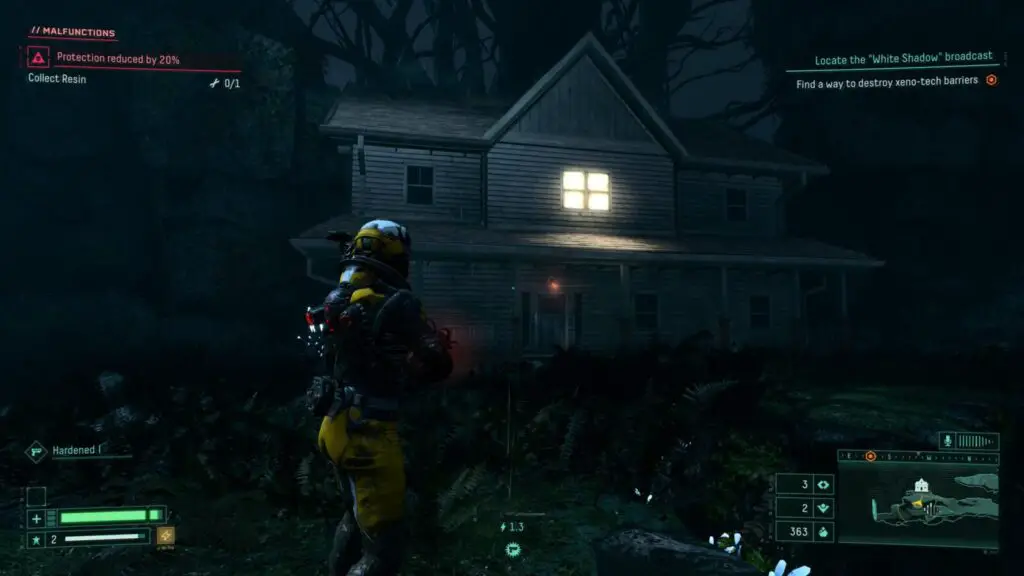
The House can be found in Area 1 and Area 4.
With that requirement fulfilled and Act 2 complete, you will now begin finding Sunface Fragments in each area. They will appear at random so you will need to carefully search all main and side rooms fully. There’s even a chance that one won’t spawn and you’ll need to check the area again later.
If you die while holding a Sunface fragment you will be allowed to keep it, and you can check how many you have in the “Status” tab of the ![]() menu, under “Permanent Equipment”. However, there will be no record of where you got each fragment. So be sure to keep track of which areas you’ve already retrieved a fragment from.
menu, under “Permanent Equipment”. However, there will be no record of where you got each fragment. So be sure to keep track of which areas you’ve already retrieved a fragment from.
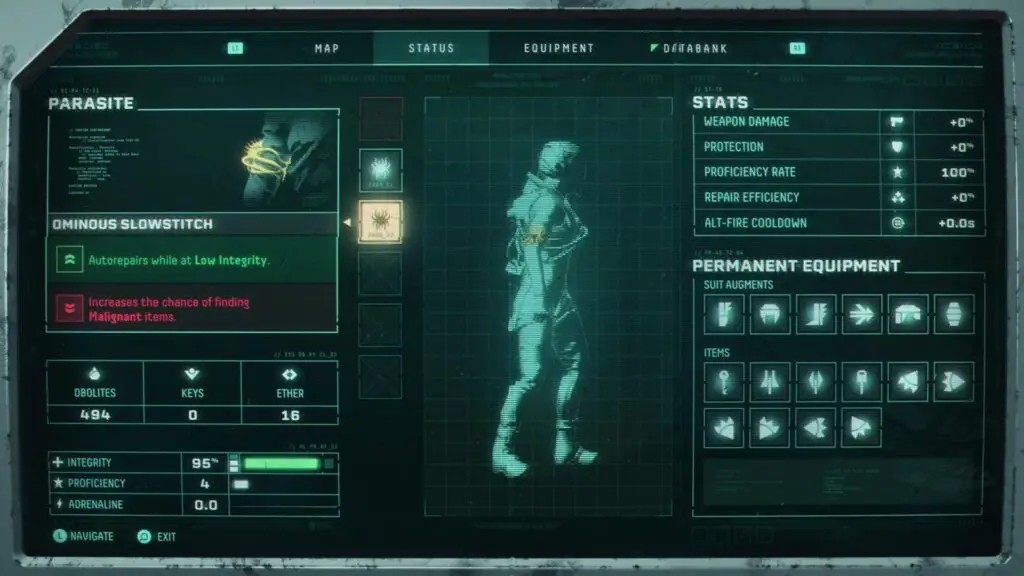
That being said, it is possible to tell which you have based on the fragment’s icon in your inventory.
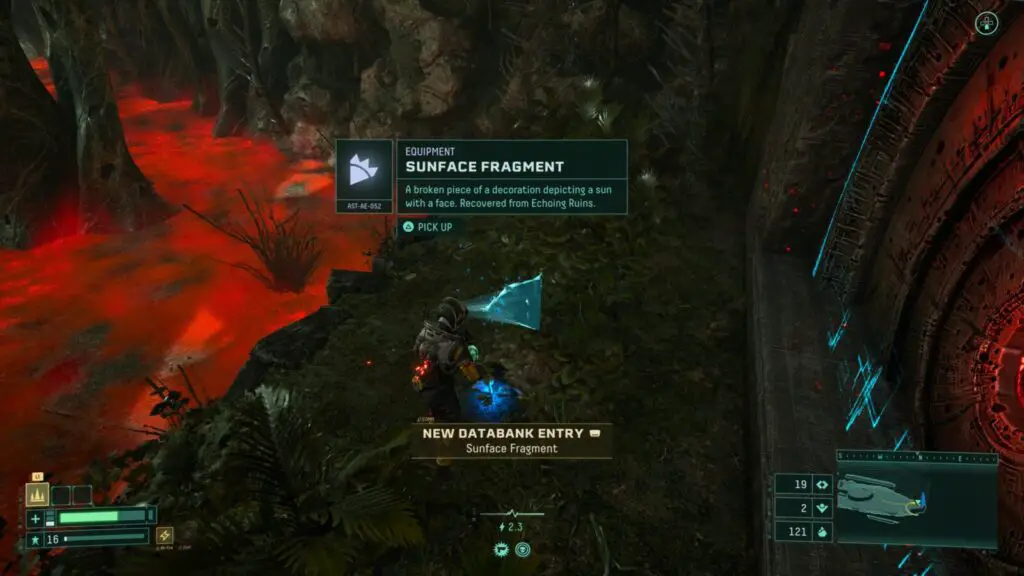
The bottom left (7 o’clock) segment is the Overgrown Ruins, the left (9 o’clock) segment is the Crimson Wastes, the top left (11 o’clock) segment is the Derelict Citadel, the top right (1 o’clock) segment is the Echoing Ruins, the right segment (three o’clock) is the Fractured Waste, and the bottom right (5 o’clock) segment is the Abyssal Scar.
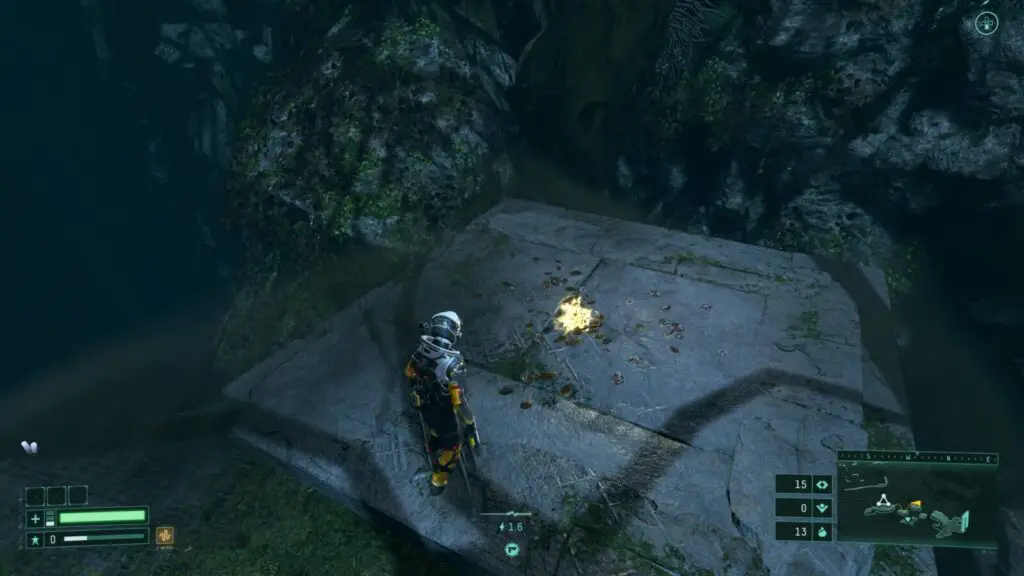
The fragments are found on the ground, show up as a blue triangle on the map, and will have a blue glow when you see them. They are not found in chests or any other container, they will just be on the ground.
Whenever I personally found one, they were in places I would never have been able to go without returning with a new ability. For example; underwater, at the other side of hazardous red fluid, and across secret hidden platforms.
Once you have collected all six fragments, take them back to the house to see the final House Sequence and unlock this trophy:

Sins of the Mother
Complete all House sequences
After that, you’re going to need to finish Act 3. Well, you should have got a Car Key item after the final House Sequence (don’t worry it’s permanent) you will need to take it to the car. Remember where you’ve seen a car before?
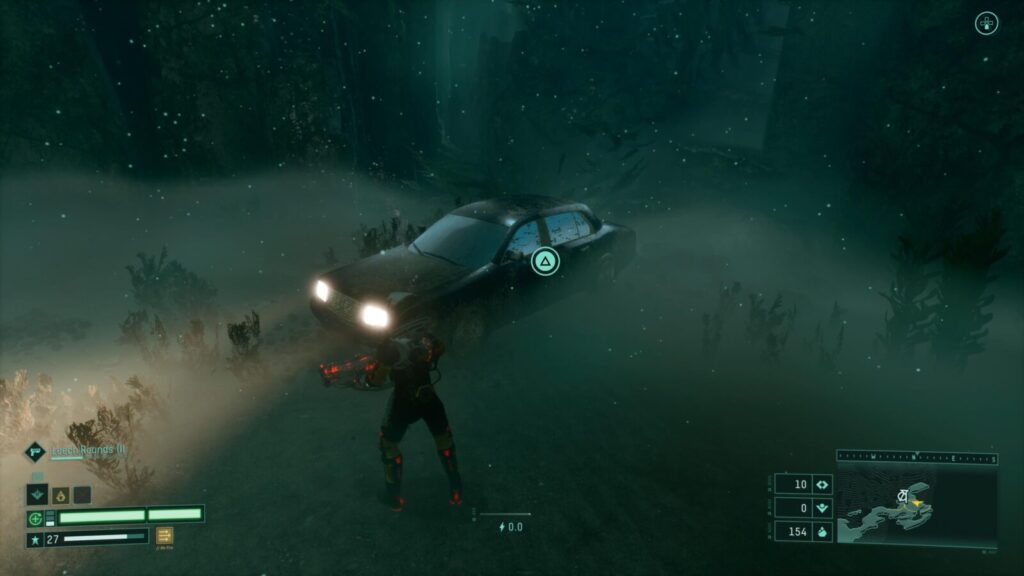
That’s right… Under Ophion. The last boss.
Head back to the Abyssal Scar and beat Ophion again to access the car and use the key on it. A cutscene will play and you’ll unlock this trophy:


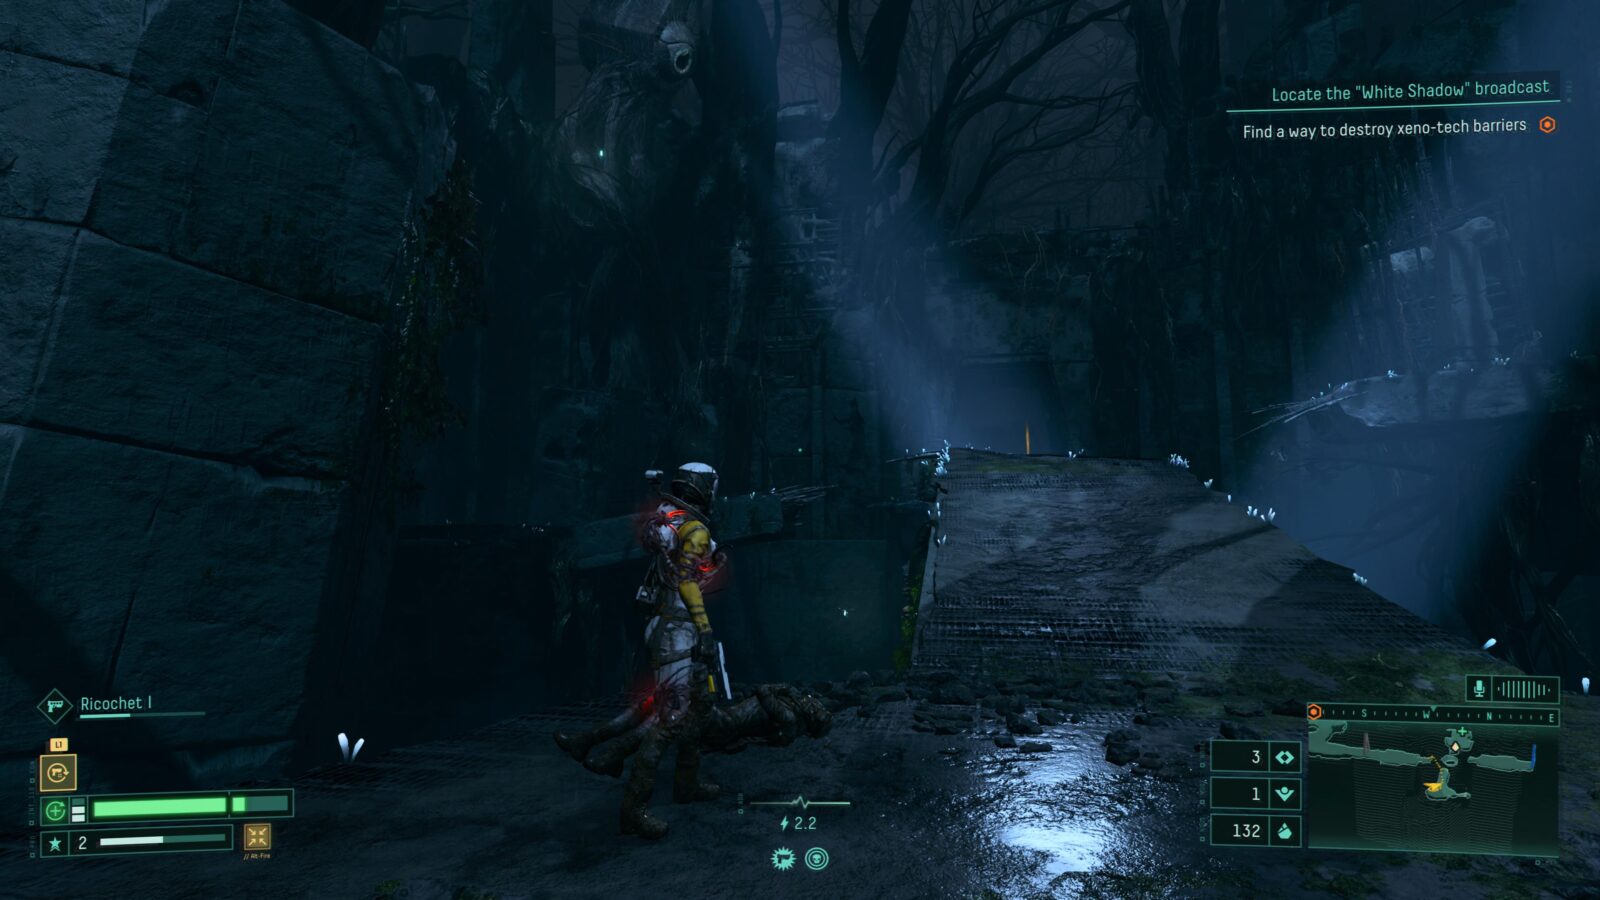
White Shadow
Finish Act 3
Phase Three – Complete Surveys of all Locations
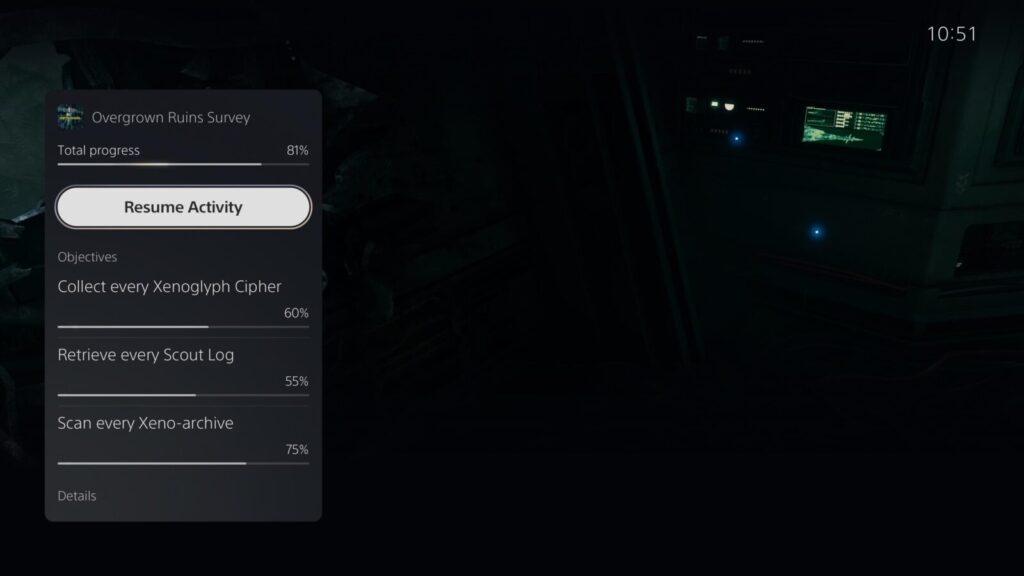
During this phase of our Returnal Trophy Guide, your goal will be to complete full surveys of all six areas in the game. You can track your progress in each survey by pressing ![]() and checking the Survey cards (i.e. Overgrown Ruins Survey).
and checking the Survey cards (i.e. Overgrown Ruins Survey).
These trophies are extremely prone to bugging out. As I stated before, it was these survey trophies and the Activity Cards’ general bugginess that prevented me from getting the platinum in my first playthrough. Check the Activity Cards regularly and if they show any signs of inaccuracy, close the game, turn off your console, then load things back up and check the cards again.
Here, you will be able to see which collectibles you need to find, and how many of each you have been able to uncover. More on that below.
Survey Trophies
There are four things to look out for which you will need to complete, as per the Activity Cards, in order to unlock the six trophies below, one per region.
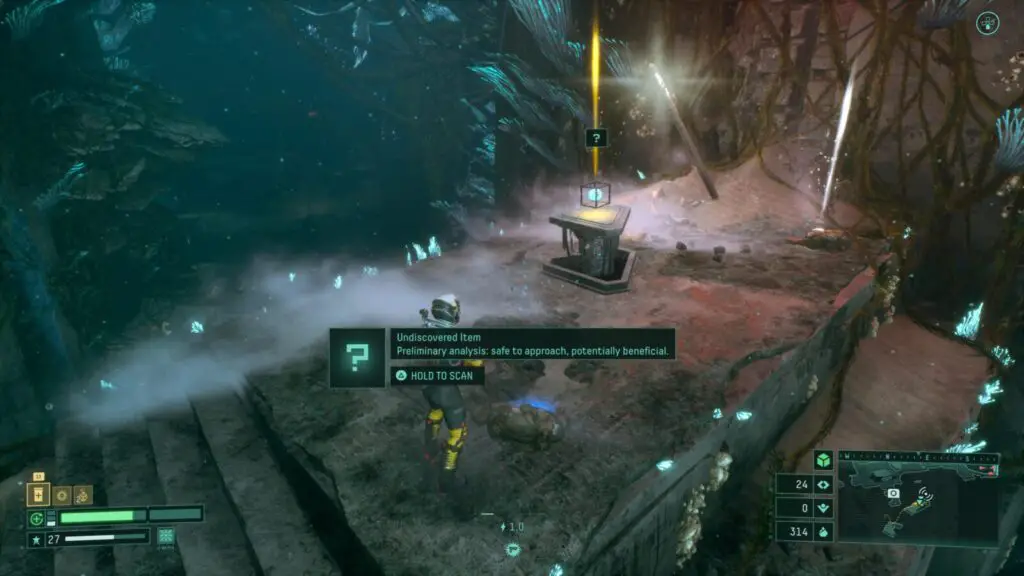
Secret Areas
Secret Areas are indicated by small yellow orbs on the ground, usually over grey concrete slabs. When you step on them, the ground will give way and you will fall into a secret room where you can find weapons, resources, containers, and even minibosses.
You will only need to find one of these per area but each generated map usually contains a handful.
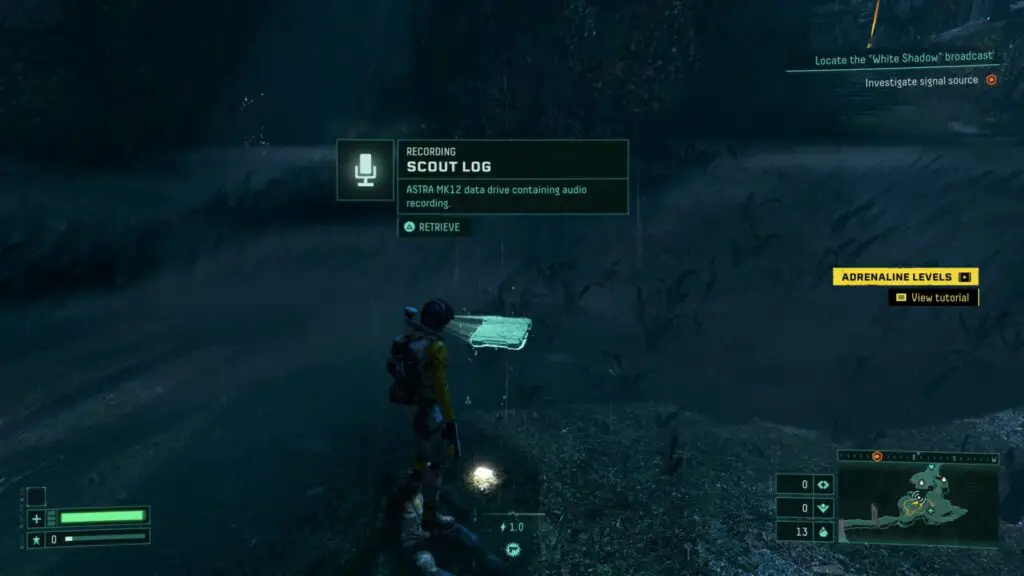
Scout Logs
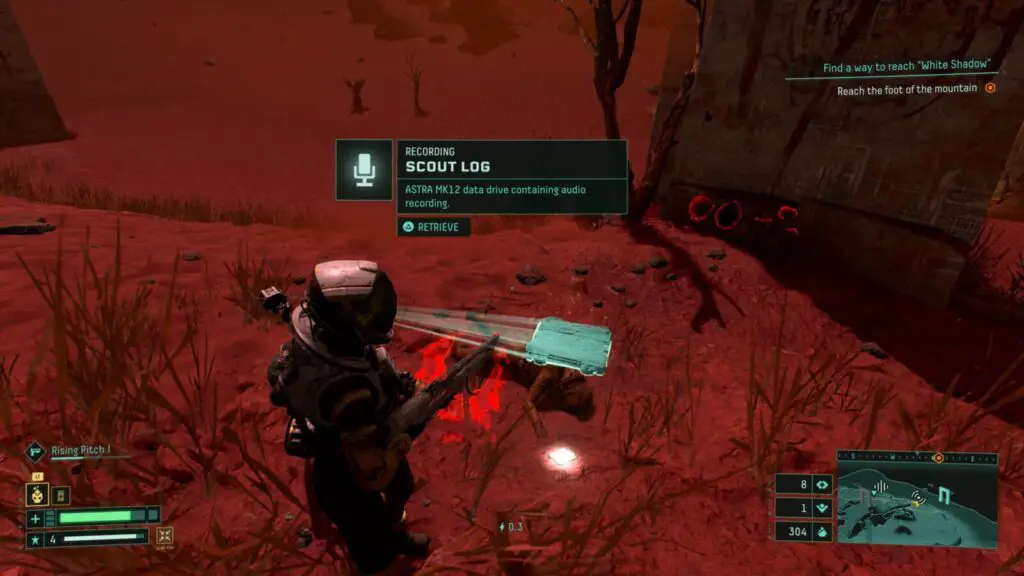
Scout Logs are audio diaries left behind by your past selves. These logs will clue you in on some of the story and the nuances of this strange alien world, as well as offering some insight into how Selene is handling her situation.
There’s usually around 10 per world to find and the first few will be found at key story locations. The rest will be hidden in side rooms and hard-to-reach areas. You can easily identify a scout log by it’s white glow and the radio-wave icon on the minimap.
If you are struggling to find Scout Log 009 or Scout Log 010, please check out this guide which will tell you how to find them both.
Xenoglyph Ciphers
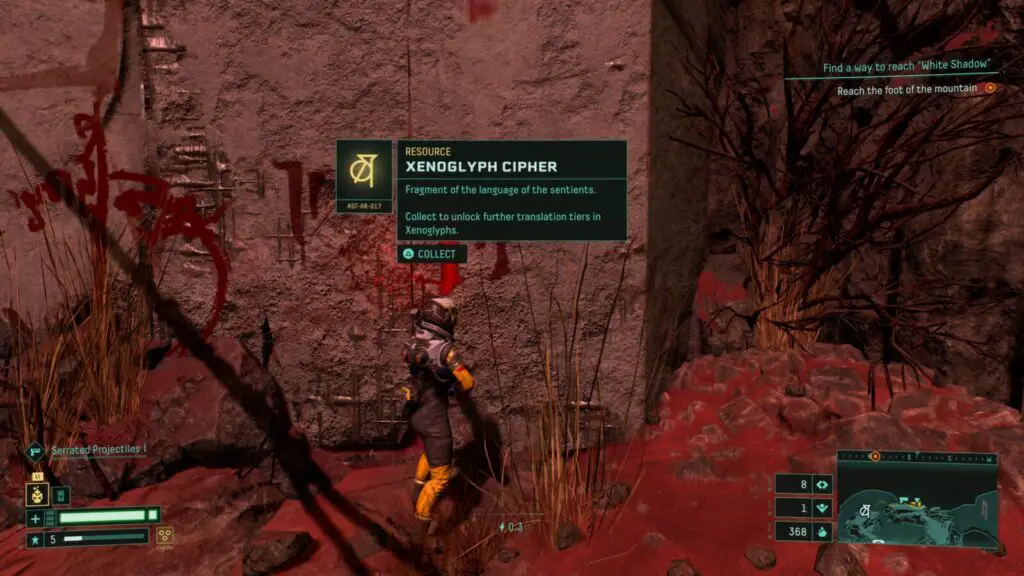
These are red graffiti-like alien letter markings found on walls throughout each area. There’s 10-20 of them per area and you’ll need to find them all to fulfill each survey.
They can be found at blue triangle icons on the map, which are also used to show the location of items and artifacts, so be sure to check them all.
They make a distinct sound when close so make sure you’re primed to listen out for them.
Xeno-Archives
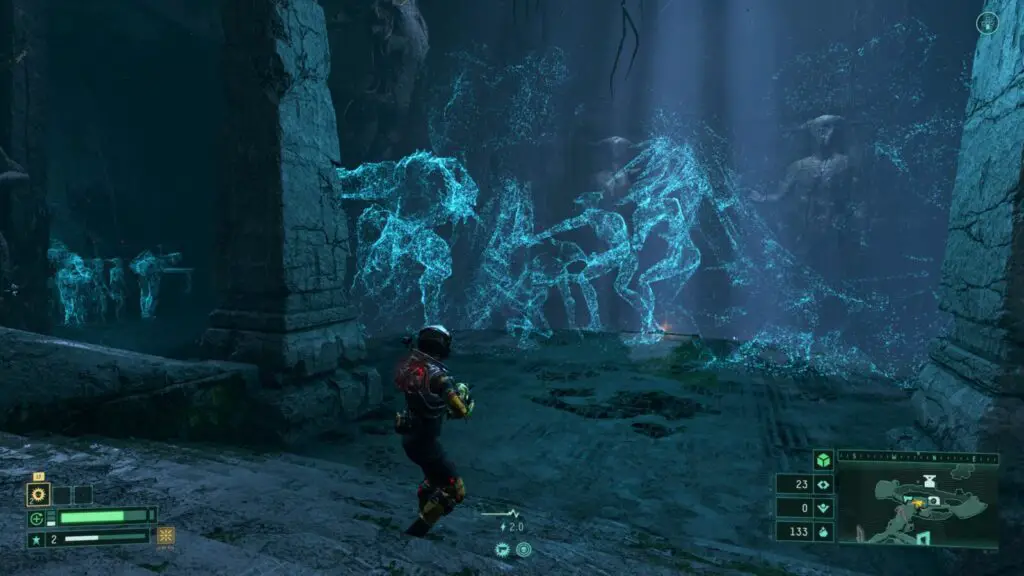
Xeno-Archives are large rooms with a distinct minimap icon that looks like a box with a hollow upside-down triangle on top. In these rooms, you’ll find large pools of swirling blue particles. As you approach these particles, they will converge at the center and you’ll be able to interact with them via ![]() , revealing a hologram statue.
, revealing a hologram statue.
Each area has one Xeno-archive room with 4 or 5 holograms inside. Some of these holograms can only be reached using tools that you will find later in the game, such as the grapple hook which is required in the Overgrown Ruins Xeno-Archive to reach the fourth hologram.
Containment Rooms
Every area has one room with a yellow door and a star above it. To enter these rooms you need to shoot the creature holding the door shut.
Inside, you’ll face several waves of enemies with a miniboss enemy spawning at the end. Beating these rooms will give you access to some helpful loot, but you will want to make sure you’re fully prepared before heading inside as the doors will lock on you.
Each Survey will require you to beat the enemies in these Containment rooms once per area.
The following six trophies must be earned in this way:

Past the Ruins
Finish Overgrown Ruins Survey

Ascending the Mountain
Finish Crimson Wastes Survey

Through the Forgotten City
Finish Derelict Citadel Survey

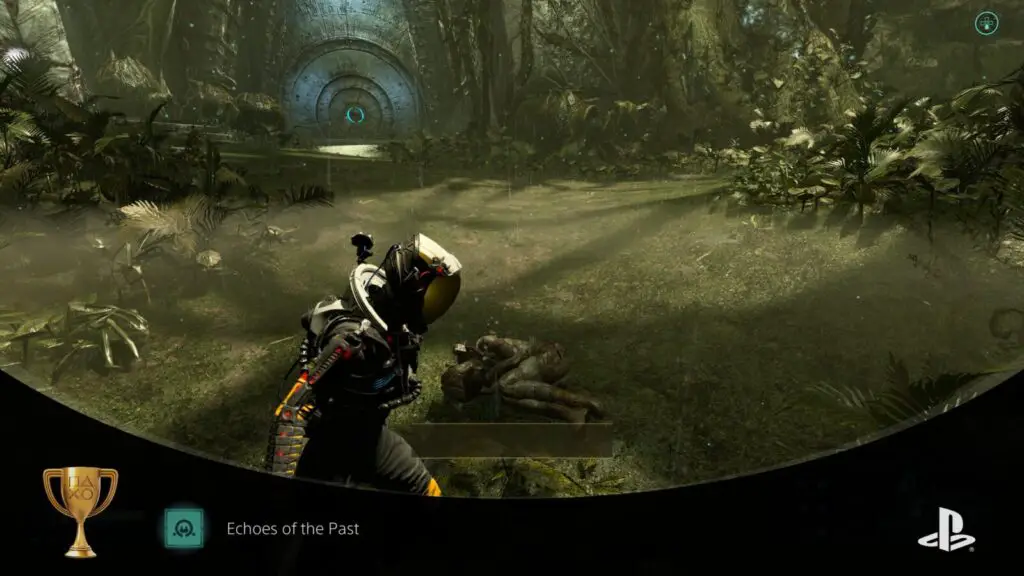
Echoes of the Past
Finish Echoing Ruins Survey

Frozen in Time
Finish Fractured Wastes Survey

Submerged in Memories
Finish Abyssal Scar Survey
Collectible Trophies
The trophies in this portion of our Returnal Trophy Guide will all come to you quite naturally as you work through the Surveys above because they are tied to the collectibles you will need to locate.

Cryptic Translations
Unlock all translation tiers of a Xenoglyph
You will need to be able to fully translate any Xenoglyph slab to unlock this trophy.
Xenoglyphs cannot be translated without first finding some Xenoglyph Ciphers, which you will find as you progress through the game. Provided you pick up every Cipher you encounter, there’s a high chance that you will eventually find and interact with a Xenoglyph which you are then able to fully translate.
Once you’ve interacted ![]() with a Xenoglyph for which you are able to decipher a full translation, the trophy will unlock. You do not need every Xenoglyph Cipher in the area to fully translate a tablet, just enough for it to reach around 70% translation accuracy on any one tablet.
with a Xenoglyph for which you are able to decipher a full translation, the trophy will unlock. You do not need every Xenoglyph Cipher in the area to fully translate a tablet, just enough for it to reach around 70% translation accuracy on any one tablet.

As you will be doing this anyway for every area as part of your progress towards the Survey Trophies, this will be unmissable during this phase of our Returnal Trophy Guide, as long as you interact with at least one of these tablets to get the trophy.

Alternate Fates
Retrieve 10 Scout Logs
Scout logs are audio logs left by yourself in previous lives. You can find these all over the place and it’s very likely that you’ll be able to find the 10 required for this trophy before even leaving the first area.
Again, you will be finding every Scout Log for the Survey trophies anyway, so this is unmissable during this phase of our Returnal Trophy Guide.

Visions of the Past
Complete a Xeno-archive set
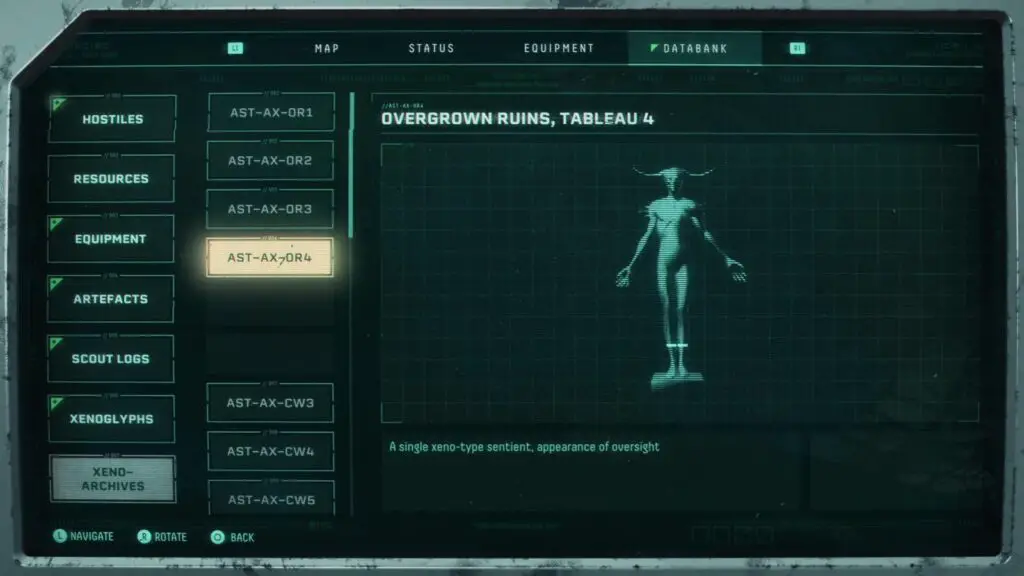
Xeno-archives are special rooms in some areas with holograms inside them. The easiest to find and complete is the Xeno-archives in the first area; Overgrown Ruins.
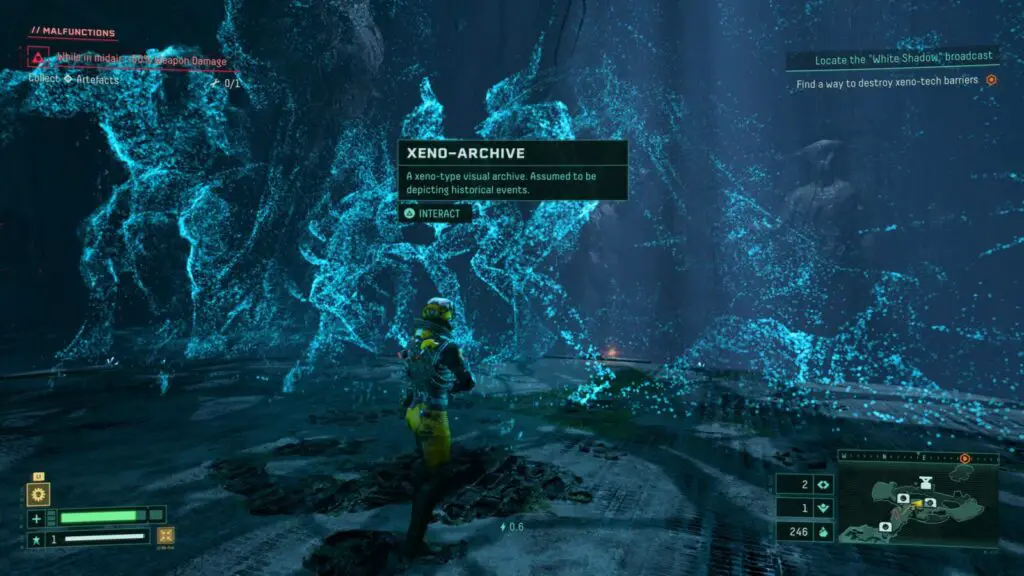
There is only four holograms to inspect ![]() in the Overgrown Ruins area but you will need a grapple hook to reach the fourth by crossing the gap opposite the chest on the circular platform in the center of the room.
in the Overgrown Ruins area but you will need a grapple hook to reach the fourth by crossing the gap opposite the chest on the circular platform in the center of the room.
Once you have found all four, the trophy should unlock.
Another good place to get this trophy is the Derelict Citadel. You will pass through the archives on your way to the boss, they’re unavoidable. There, you’ll find 5 holograms which can all be activated as soon as you arrive, with no special requirements.
This trophy is buggy. If you find that it does not unlock when it should, close the game and load it back up again once you have an internet connection. The trophy should pop during the opening cutscene if you have fulfilled the requirements. At least, that worked for me.
You can check how many Xeno-archive tableaus you have found by going to the “Xeno-Archives” section of the “Databank” tab in your ![]() menu.
menu.
As you will need to find all of these for the Survey trophies anyway, this is basically unmissable, aside from the bugginess of it.
Phase Four – Miscellaneous Cleanup
This last phase of our Returnal Trophy Guide may not be required as there’s a strong likelihood you have managed to acquire them all naturally throughout the past 70+ hours of gameplay.
Nonetheless, if you are missing any, now is the time to mop them up!
Miscellaneous Trophies

Surgical Precision
Perform 5 successful Overloads in a row
Whenever you reload your weapon, a special crosshair will appear with a progress bar, showing you how long it will take for you to reload. At the center of this progress bar is a highlighted section. If you press ![]() while the progress bar is within that highlighted section, you’ll achieve an overload and your weapon will reload instantly.
while the progress bar is within that highlighted section, you’ll achieve an overload and your weapon will reload instantly.
To unlock this trophy you just need to achieve Overload 5 times consecutively, which is a pretty easy feat and will likely happen during your first few cycles.
Reaching adrenaline level 1 will make this trophy easier, as the highlighted section for active reloading will become larger, making Overloads easier to achieve.
It’s probably best if you try to achieve this outside of combat, just fire until you run out of ammo and then try to hit the active reload window 5 times in a row.

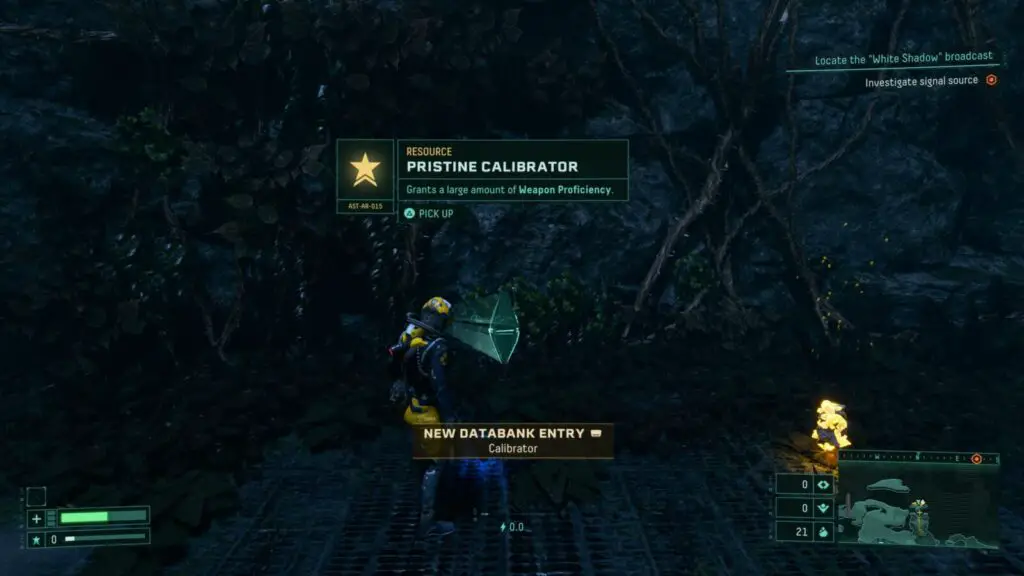
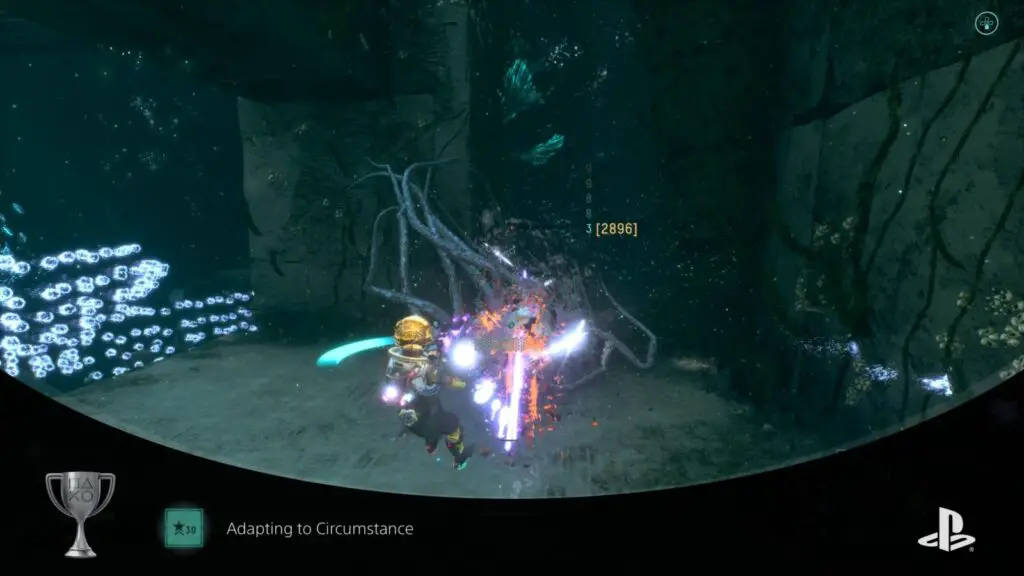
Adapting to Circumstance
Achieve Weapon Proficiency level 30
There are a few ways to increase your weapon proficiency. The easiest way is to just defeat enemies to earn proficiency. Another way is to find “Calibrator” items which will give you a quick boost of proficiency.
As with anything else in the game, there’s also plenty of items which will speed up your proficiency gain, or indeed slow it down.
The best way to start things off is to visit the Abyssal Scar (Area 6). There, near the entrance, you’ll find a Modular Calibrator which will boost your proficiency level instantly to level 24. From there, defeat enemies and collect Calibrators until it reaches 30 and the trophy will unlock.
This may well occur naturally towards the end of Act 2, but otherwise you’ll need to farm it.

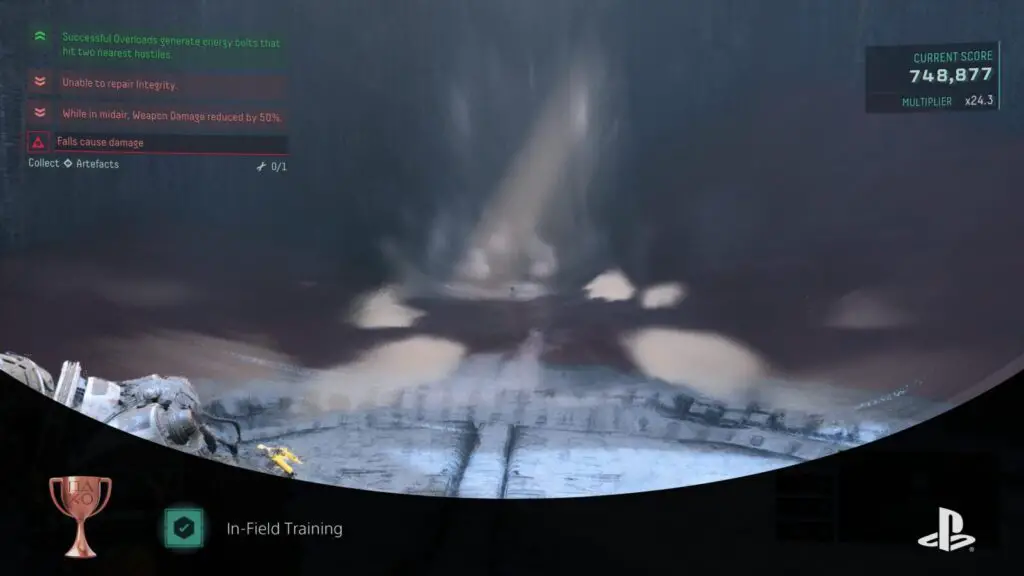
In-Field Training
Complete a daily challenge in Simulation Mode
Daily Challenges can be accessed via the simulation mode console in your ship. This console will be red and unusable at first, but once you have collected the Crimson Key by defeating the first boss, you’ll get access to it.
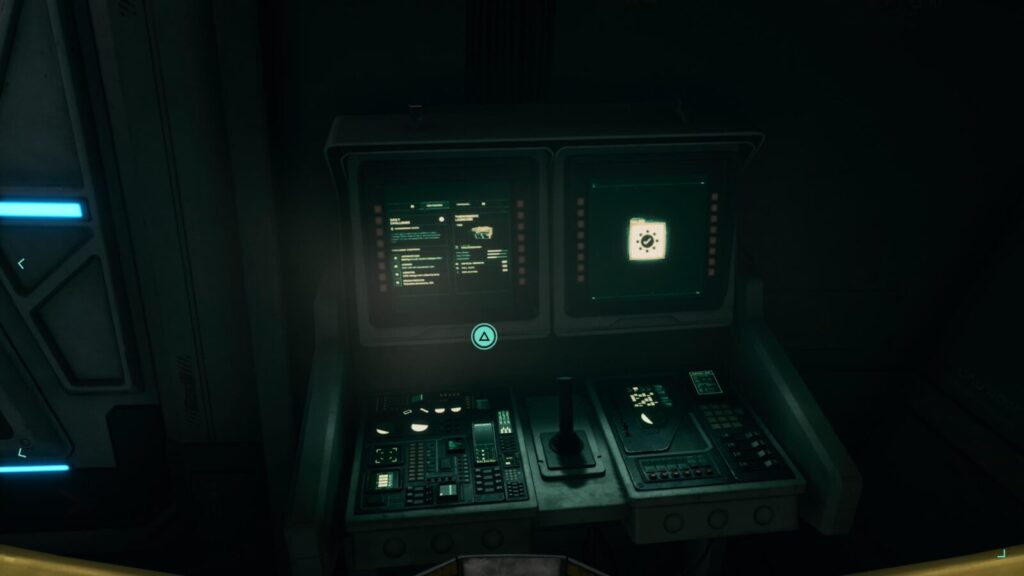
In Simulation Mode, you get one chance at setting a score and getting a place on the daily leaderboard for that particular challenge. The challenge will mean using a specific weapon and having set perks and debuff malfunctions applied on your suit.
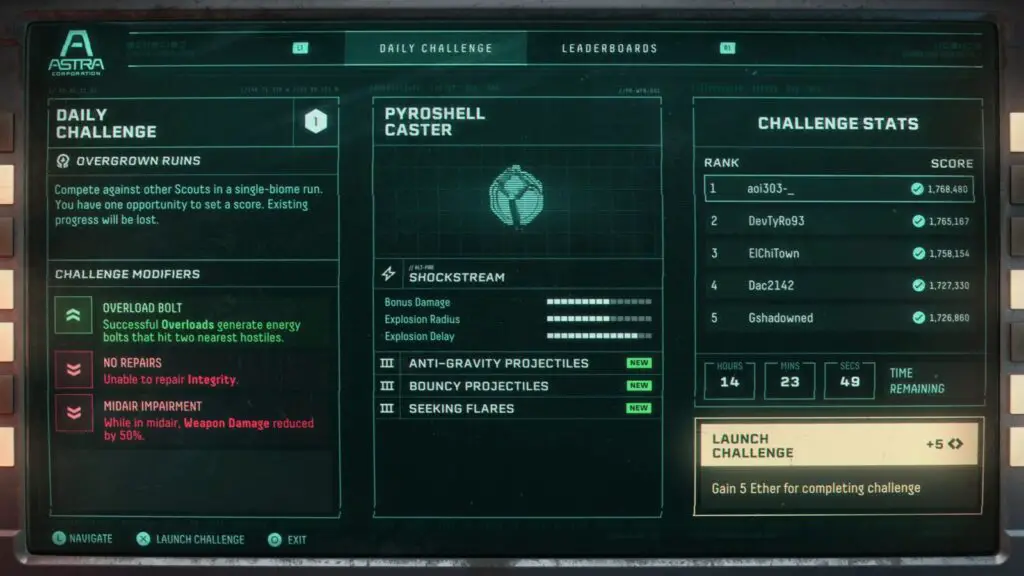
Under these conditions, your goal is to survive as long as you can and set the highest score you can. Reaching the gateway in the area will end the challenge.
To unlock this trophy, just play any Daily Challenge via Simulation Mode and set a score.

Hardened Shell
Achieve 200% Max Integrity
You may well achieve this trophy naturally as it’s always a good idea to be increasing your max integrity, especially against some of the powerful enemies in this game.
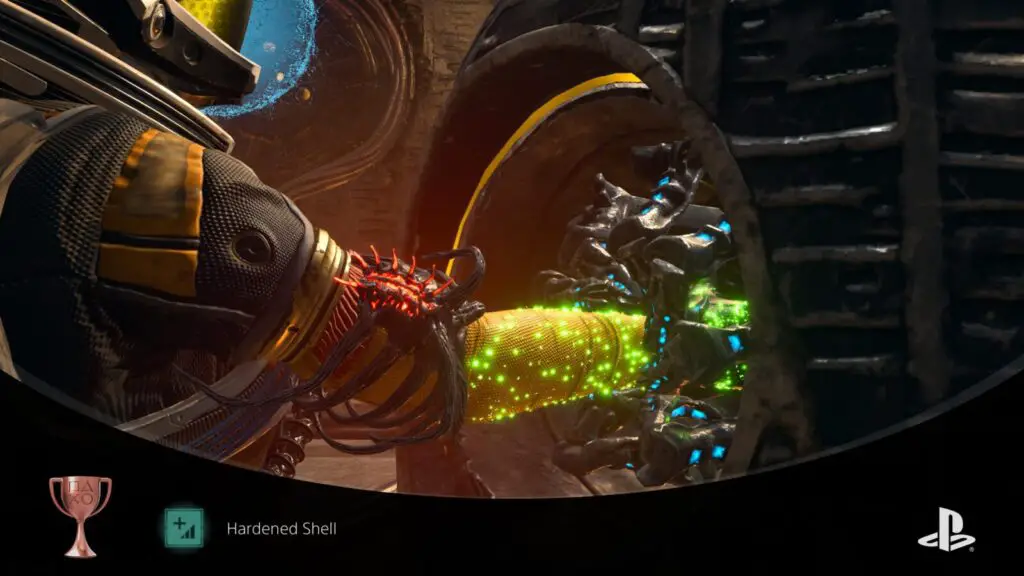
There is a few ways you can increase your max integrity:
- Collect Silphium resin. Each piece will fill one of the three notches next to your health (Large Resin will fill two notches), when all three notches are filled, your maximum integrity will increase a small amount.
- Collect Parasites which claim they will “Greatly Increase Max Integrity”. This is often paired with a bearable negative effect, but don’t bother with it if it’s going to give you fall damage or something absurd.
- Purchase Integrity Augmentations at Fabricators. For around 300-400 Oblites these augmentations will increase your max Integrity by 25%!

Risk Assessment
Finish Calculated Risk
To unlock this trophy, you need to complete the Activity “Calculated Risk” which you can find on your Game Bar ![]() .
.
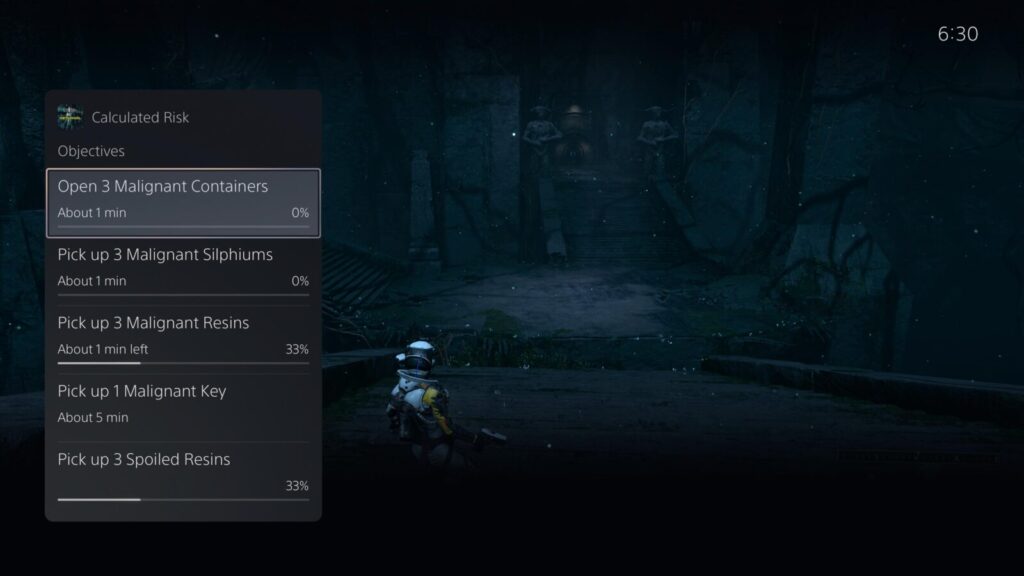
Calculated Risk requires you to try your chances with malignant items such as Malignant Silphium and Spoiled Resin. You can track how many of each item you need to take via the activity card. Here’s the full list:
- Open 3 Malignant Containers
- Pick up 3 Malignant Silphiums
- Pick up 3 Malignant Resins
- Pick up 1 Malignant Key
- Pick up 3 Spoiled Resins
This is another trophy that can bug out due to its connection to the activity cards. This trophy bugged for me after my internet connection cut out. I was then no longer able to track my progress on it. However, eventually, when I loaded the game fresh one day, the trophy unlocked. Presumably, I had fulfilled the requirements and then reloading the game forced it to check these requirements, see I had completed the activity, and then give me the trophy as my run started.

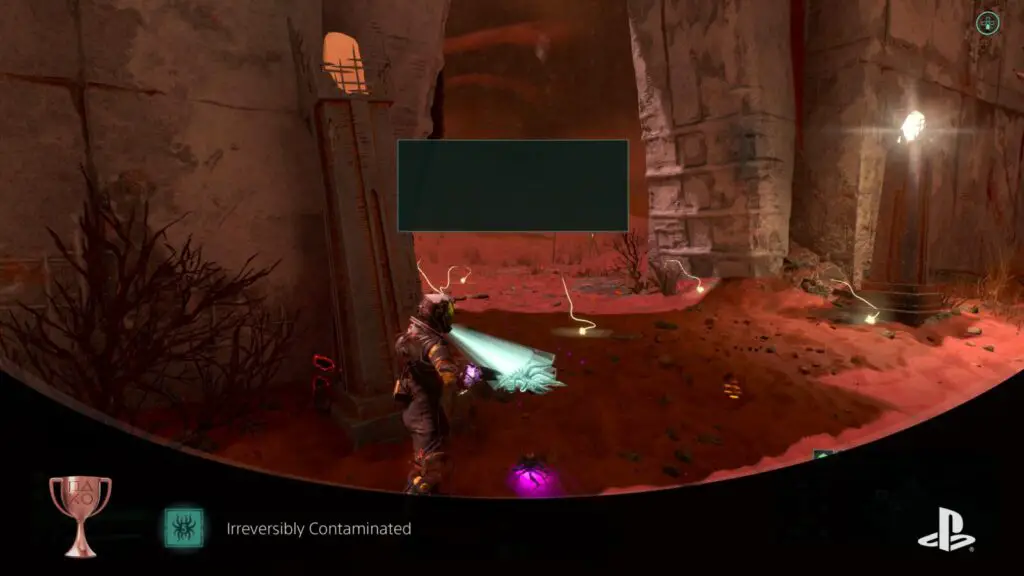
Irreversibly Contaminated
Have 5 Parasites simultaneously
Parasites are purple item drops you can find which will give you both a perk and a debuff at the same time. As stated in the Before You Begin section, it’s rarely ever worth your time to collect these because the debuffs are often a huge pain in the behind.
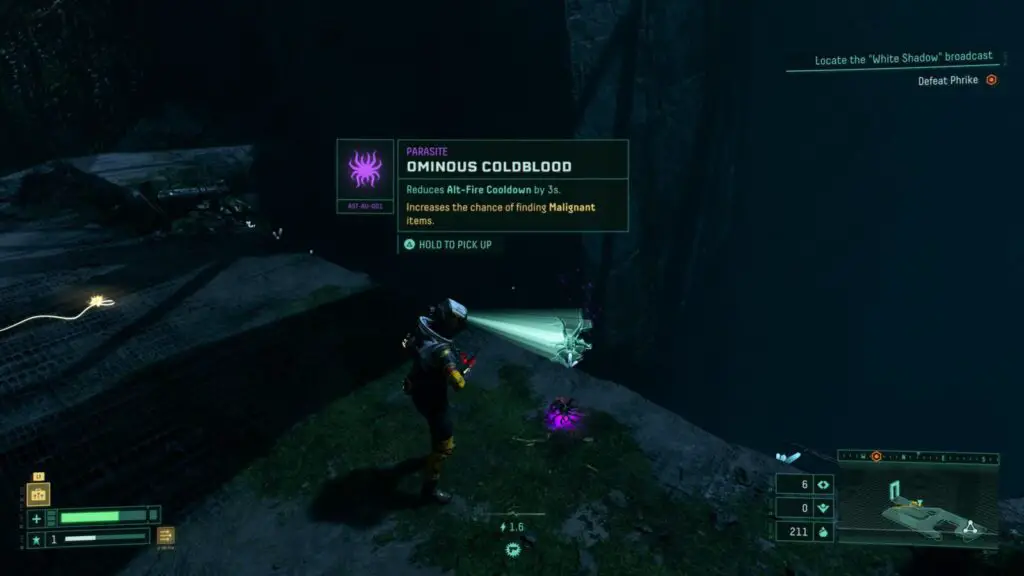
For this reason, you may well not have earned this trophy naturally. All in all, you just need to find and equip five Parasites. I’d recommend doing this in a throwaway run where you don’t intend to get very far. As soon as you equip five parasites the trophy should unlock.
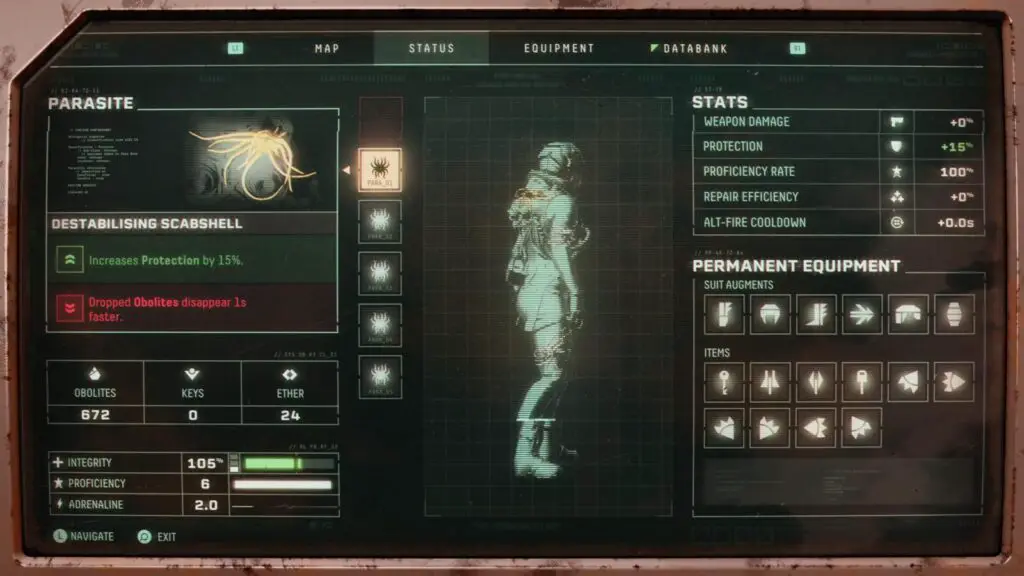
You can see and count the parasites on your body or check the “Status” screen in the ![]() menu to see how many you have equipped and what their effects are.
menu to see how many you have equipped and what their effects are.
PlatGet!


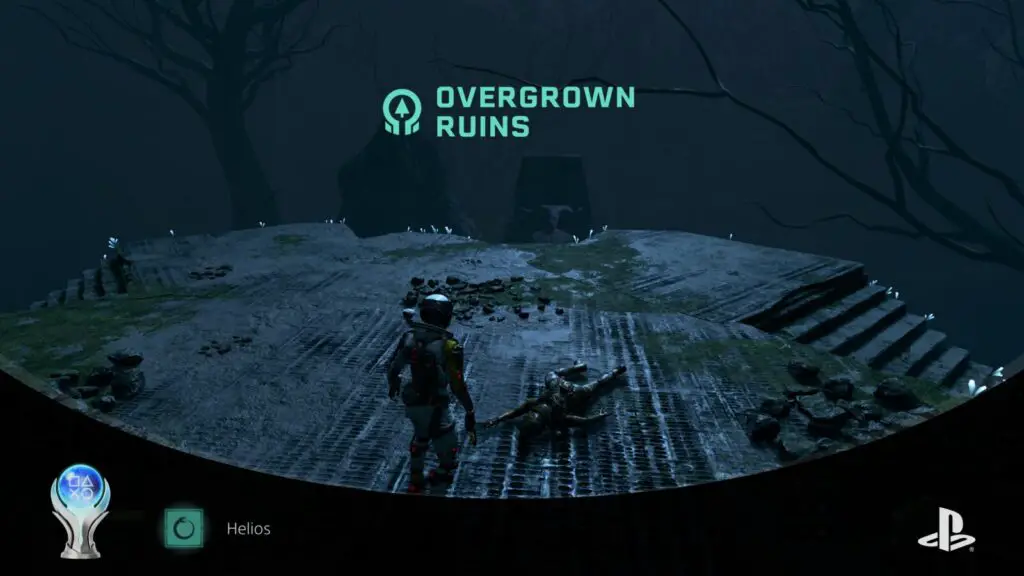
Helios
Collect all trophies
You’re truly a master of survival to get this far. You should hopefully have all the trophies in this Returnal Trophy Guide, which means the Platinum trophy is yours! Absolutely well-deserved. Enjoy it, you earned it.
Thank you for choosing PlatGet as your source for a Returnal Trophy Guide; consider checking our reviews and other guides.
Follow us on Twitter @GetPlat or Instagram @platget for updates on new reviews and guides, as well as small anecdotes about our platinum journeys.