PlayStation 4
Remothered: Tormented Fathers Trophy Guide


General Info
FAQ
How long does it take to beat Remothered: Tormented Fathers and unlock all trophies?
5 Hours.
How difficult is it to beat Remothered: Tormented Fathers and unlock all trophies?
Easy (3/10).
Does Remothered: Tormented Fathers have online trophies?
No.
Does Remothered: Tormented Fathers have difficulty-specific trophies?
No.
Does Remothered: Tormented Fathers have missable trophies?
Yes, Mirror Breaker, Trapped, Collector.
Does Remothered: Tormented Fathers have glitched trophies?
No.
What is the minimum number of playthroughs required to unlock all trophies in Remothered: Tormented Fathers?
One.
Does Remothered: Tormented Fathers have a Platinum Trophy?
No.
Trophy Guide
Remothered: Tormented Fathers Trophy Guide and Road Map
Welcome to our Remothered: Tormented Fathers Trophy Guide. In this guide, you will find strategies and tips for unlocking every trophy on your way to the platinum. We have broken the journey up into easily digestible phases with expert information packed into each one. With this, anyone should be able to conquer this game and its challenges.
Remothered: Tormented Fathers Trophy Guide: Before You Begin
100%
Remothered: Tormented Fathers doesn’t have a platinum trophy. However, hunters who enjoy completing games for the sake of their completion ratio will be very pleased with this game as it is relatively short and uncomplicated.
Collectible Permanence
Remothered: Tormented Fathers does not save collectibles as and when you pick them up. Instead, they are saved when the player manually saves their progress. This means that when you die, any collectible you have picked up since your last save will be lost, prompting you to recollect them. Be sure to save as often as you can to avoid retreading old ground.
Phase One – Complete the Story & Find All Collectibles
During this phase of our Remothered: Tormented Fathers Trophy Guide, you should aim to complete the game while finding all 19 collectibles. There are two semi-missable trophies—Mirror Breaker & Trapped—that you should be on the lookout for.
Remothered: Tormented Fathers is a short and undemanding experience. Like most Survival Horror games, the challenge comes primarily from figuring out puzzle solutions and avoiding enemies.
Remothered: Tormented Fathers 100% Walkthrough
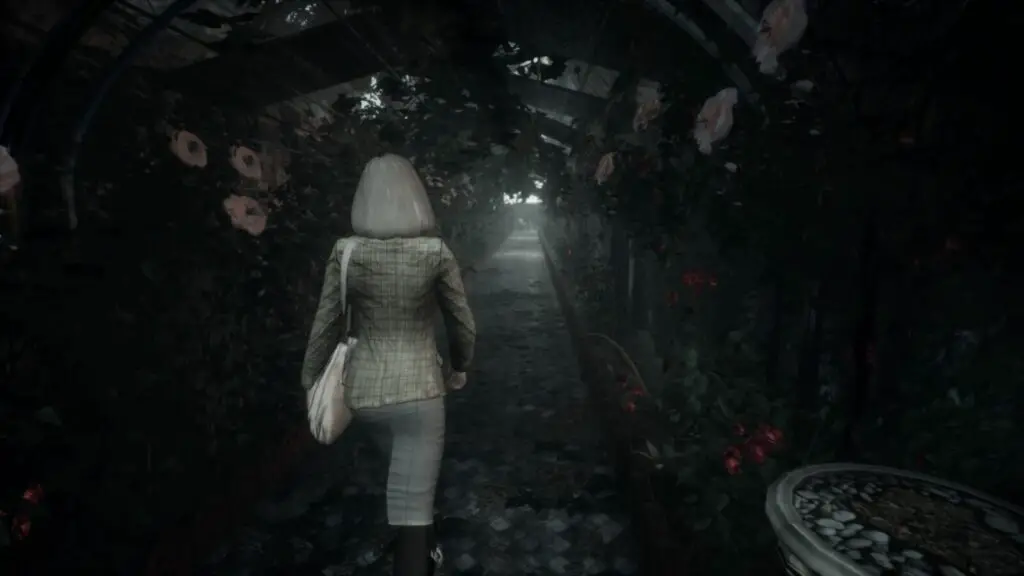
Chapter 1, The Arrival
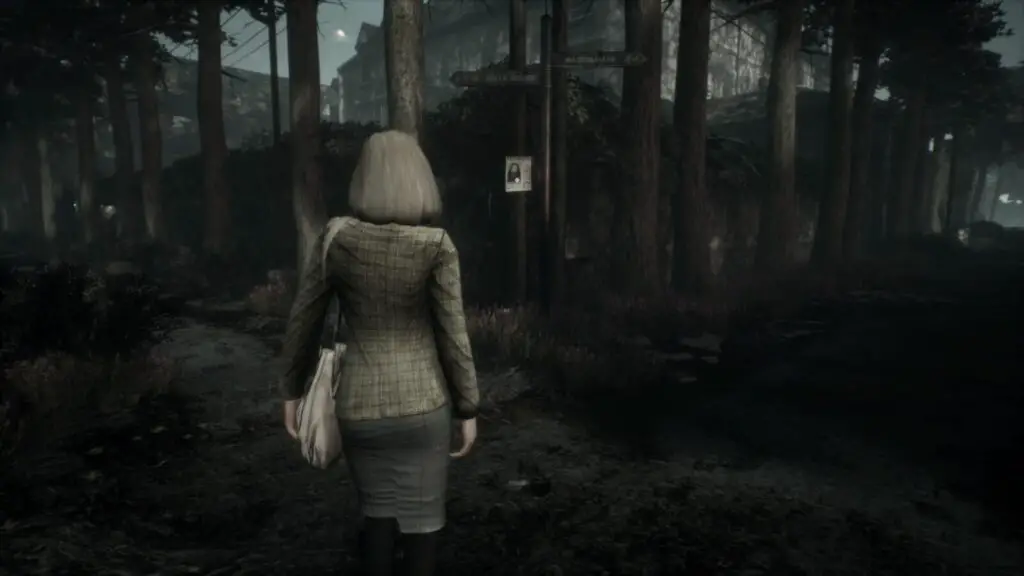
Begin a New Game and relax as you watch the opening cinematic. Once you have control of Rosemary (the protagonist), walk forward a few steps and look to your left for a street sign labeled “Via Delle Sciare” & “Via Degli Ulivi.” A missing person poster is on this street sign—collectible #1. Inspect it by pressing ![]() .
.
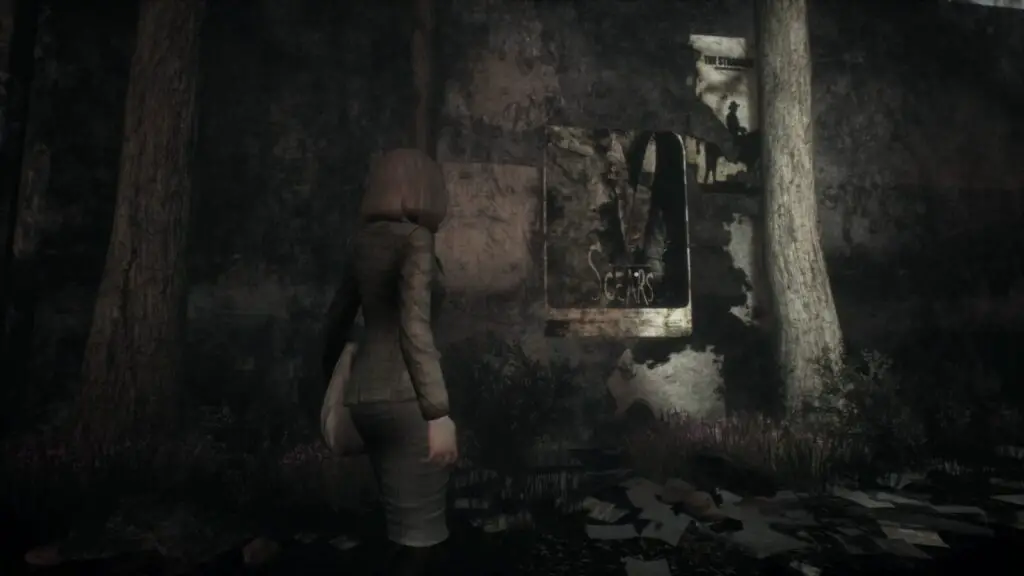
Head down the path to the right of the missing person poster until you reach a blockage at the end. To the left of you, on a wall, is a poster—collectible #2. Press ![]() to inspect it.
to inspect it.
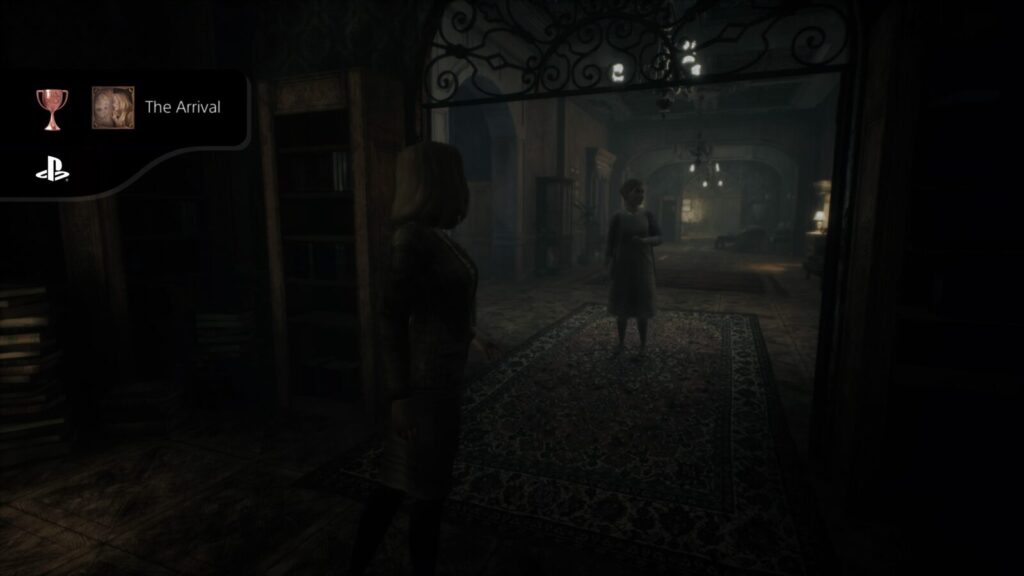
Return to the street sign and, this time, take the path to your left. You will encounter a cutscene at the main gate to the Felton Estate. Afterward, open the gate and head down the way on the far left of the courtyard. At the very end of this path are some stairs that lead to some double doors.
Interact with the double doors, and a cutscene will play. Once the cutscene is over, you will earn a trophy—The Arrival.


The Arrival
Get into the house for the first time
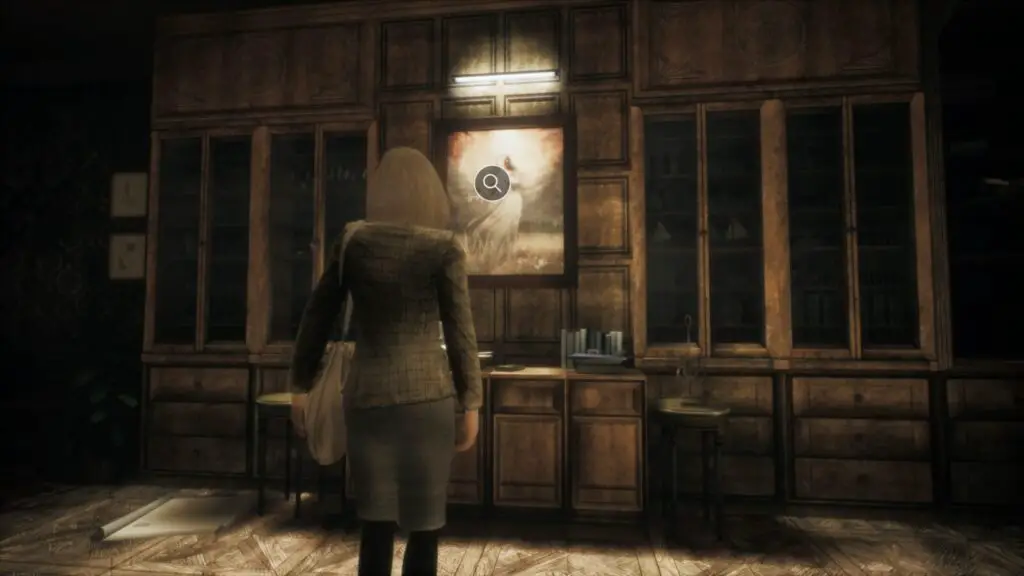
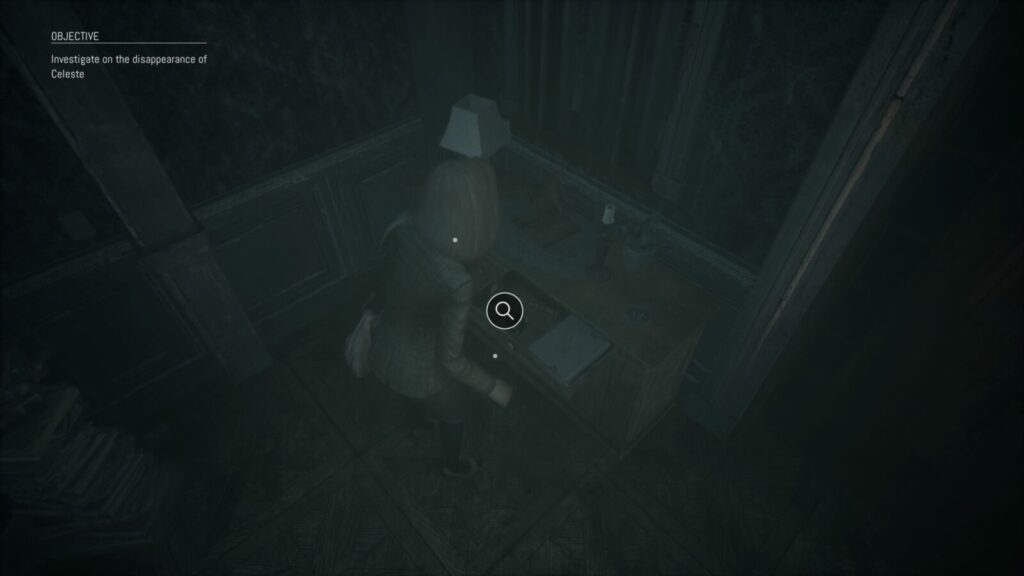
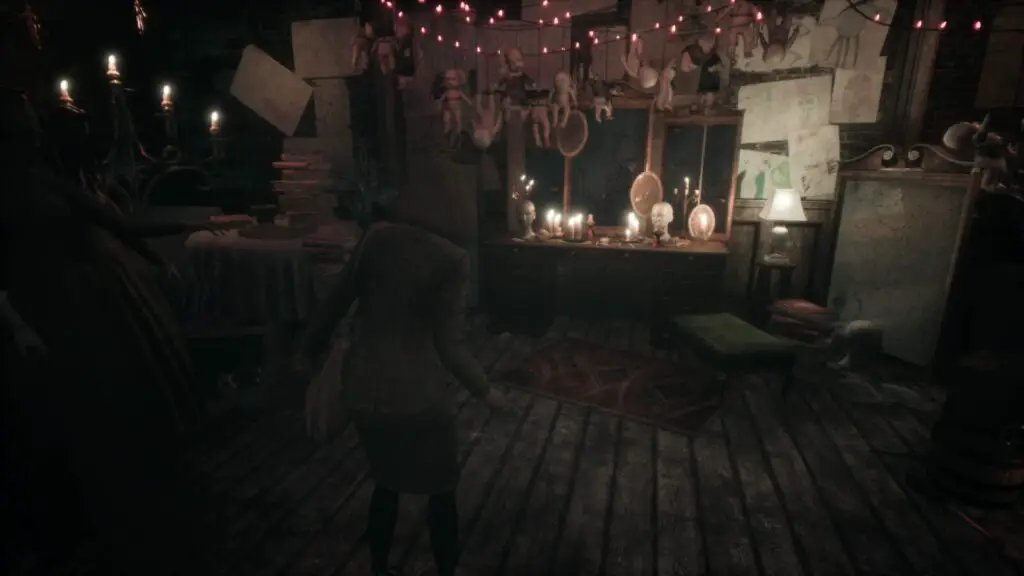
Inside the Felton Estate, Gloria—Mr. Felton’s nurse— will escort you through the building. You will be taken to Mr. Felton’s office and be told to wait for him. While standing around, inspect the painting on the wall—collectible #3.
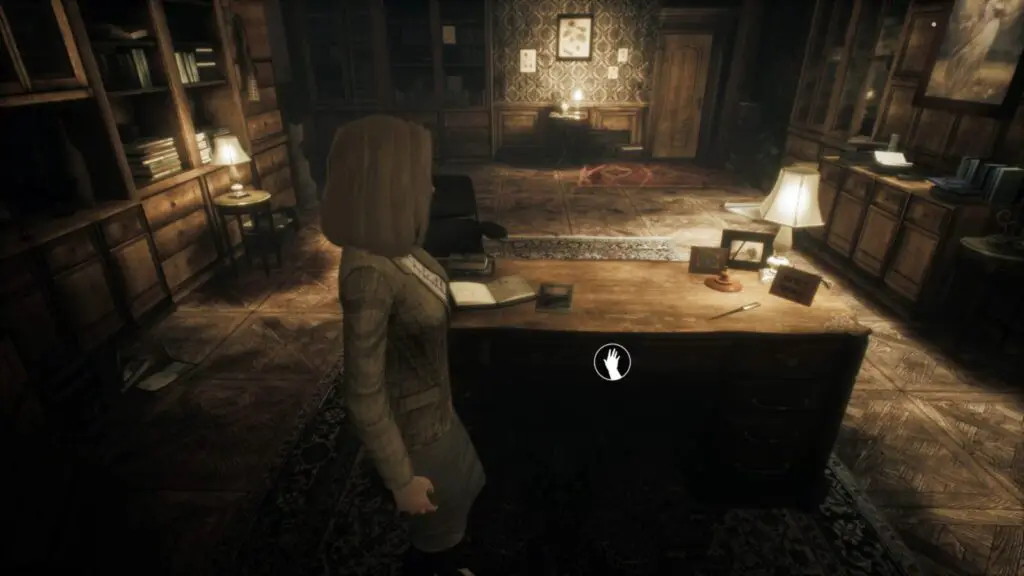
Head behind Mr. Felton’s desk and open the drawer. Inside is a newspaper that you can inspect—collectible #4. You must inspect it to progress the story.
A cutscene will play, and Rosemary will meet Mr. Felton for the first time. Things start to get a bit heated, and Gloria will enter the office with some new information. Rosemary will then be kicked out, and you will earn a trophy—Disappearance.

Disappearance
Enter inside the web of lies and deceits woven by the residents of the house

Chapter 2, Disapperance
After the game has prompted you to make a save, you will have control of Rosemary once again, and you will be back inside the Felton Estate house. Immediately behind you is a drawer with a photograph inside—collectible #5.
On the opposite side of this entrance is another set of drawers. On top is a snow globe that you can pick up. This is a diversion item. You can equip ![]() and throw it with
and throw it with ![]() to create a diversion. Continuing into the house, the first room on your right will be a set of drawers with a knife on top. This is a defensive item. When an enemy is about to kill you, you can use your defensive item to resist them. You can only carry one defensive item, and it will disappear after using it.
to create a diversion. Continuing into the house, the first room on your right will be a set of drawers with a knife on top. This is a defensive item. When an enemy is about to kill you, you can use your defensive item to resist them. You can only carry one defensive item, and it will disappear after using it.
Leave this room and head down the corridor. To your left is a cabinet that you can open and retrieve another diversion item. Further down the corridor is another cabinet. This one has three glass doors you can open; the diversion item is in the rightmost door. You should now have a maximum of three diversion items and one defensive item. Try to keep a total stock of both items types as you progress.
You should hear some music coming from upstairs. Follow the source until you reach the room it’s coming from. A brief cutscene will play. After the cutscene, you will have to hide quickly. Approach the closet next to the bed and press ![]() . Mr. Felton will enter the room for a while and then exit. Once you hear the door close, it’s safe to leave the closet.
. Mr. Felton will enter the room for a while and then exit. Once you hear the door close, it’s safe to leave the closet.
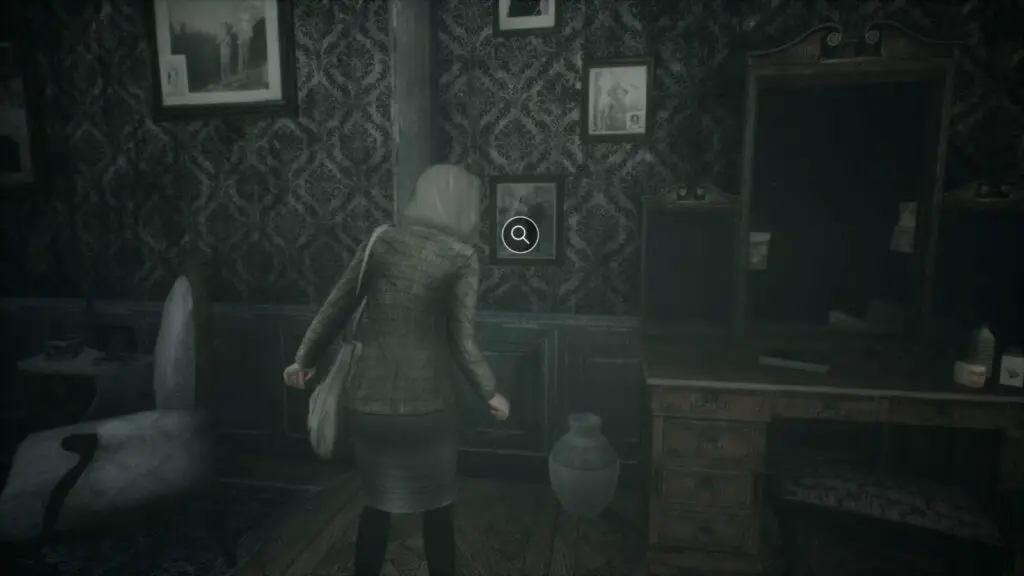
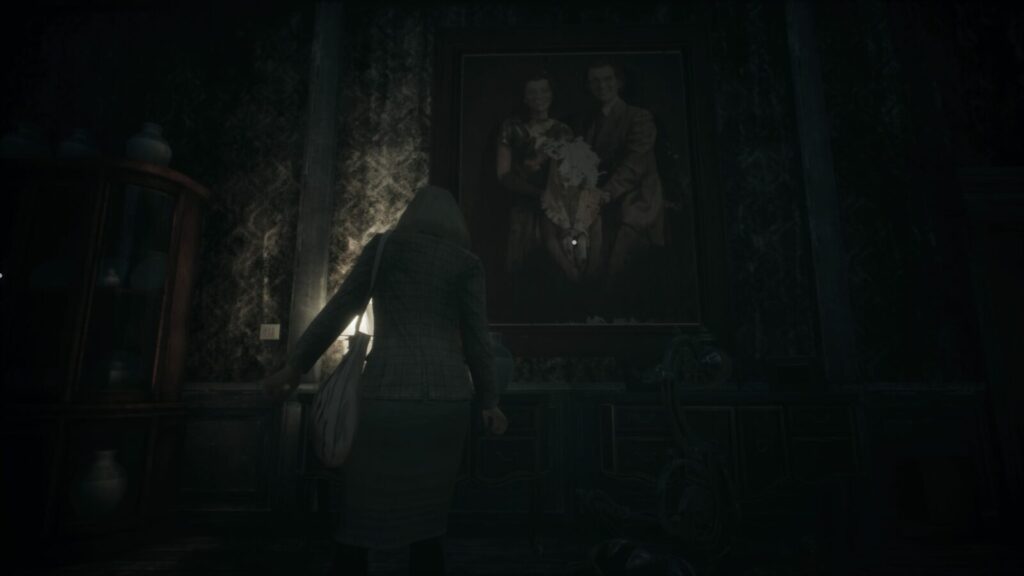
Before leaving the bedroom, check the wall to the left of the bed for a wedding photo—collectible #6.
After, head into the bathroom where Mr. Felton came from. There is a key item in his dressing-gown hanging on the wall. Key Items will have a small jigsaw icon when you encounter them, letting you know they’re essential.
Before leaving the bathroom, interact with the bath. If you are missing a key item, a jigsaw icon with a line through it will appear. Interacting with these icons will add extra objectives to your diary ![]() , making tracking easier.
, making tracking easier.
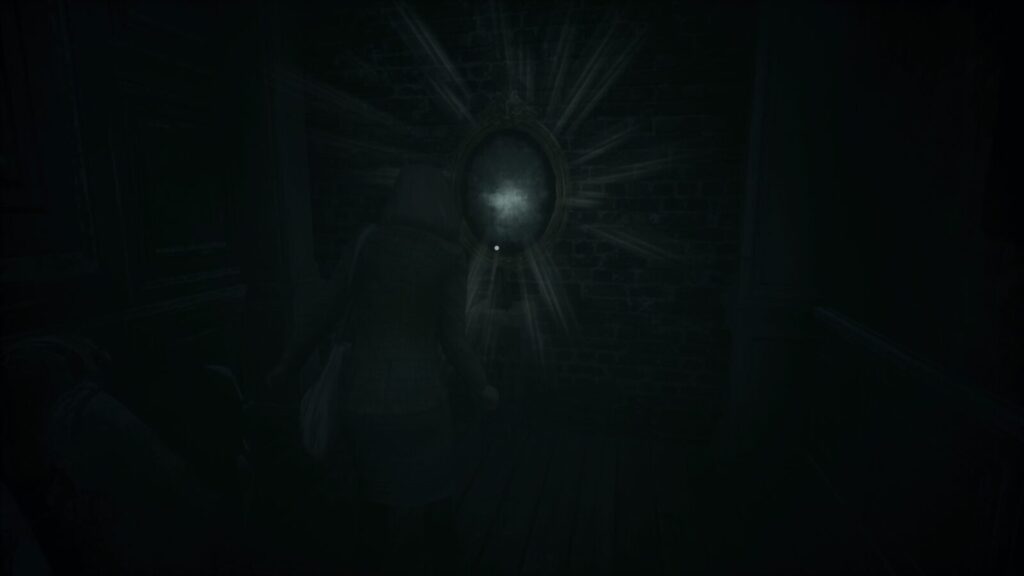
Now you can leave the bathroom/bedroom and head right to find a mirror. You can use mirrors to save your progress. It’s recommended that you save as often as you can.
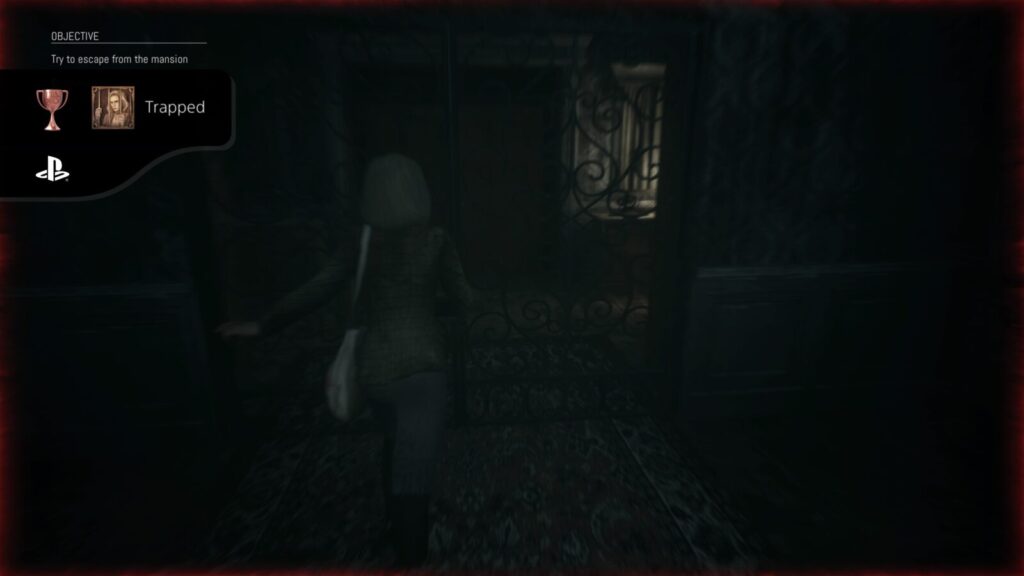
After saving, head back to the staircase, but be careful as Mr. Felton will continually stalk you throughout the house. At the stairs, head up the steps to find a weapon durability upgrade sitting on a chair. Now head back down to the ground floor and head towards the main door. As you approach the main entrance, a trophy will pop—Trapped.

Trapped
Attempt to escape from the house
Turn around and follow the corridor to the very end. Take a right and use the Keys you took from Mr. Felton’s dressing gown to open the door. You use key items by pressing ![]() to open your key items menu and pressing
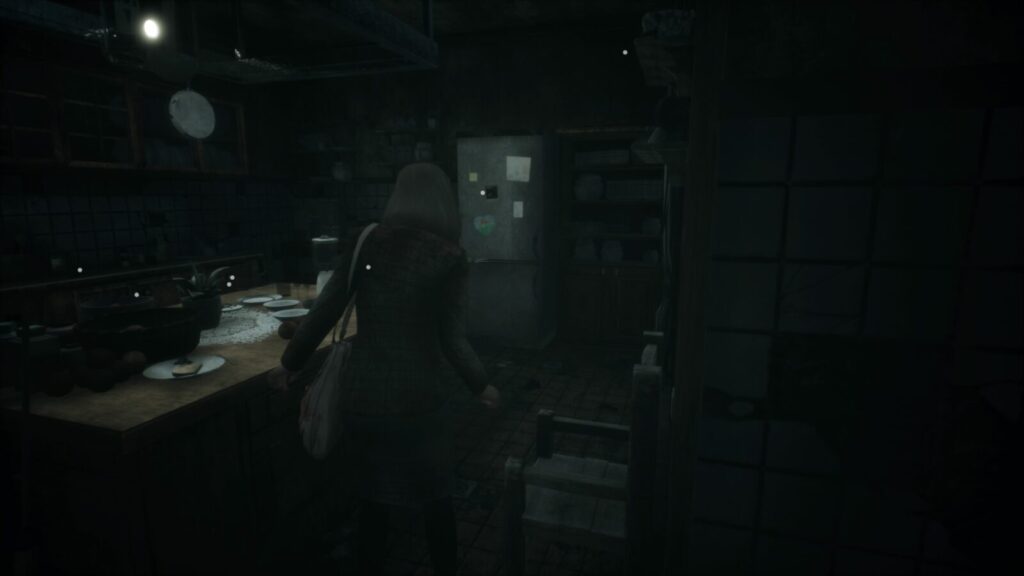
to open your key items menu and pressing ![]() on your selection. Head left and into the kitchen. On the refrigerator is a photograph—collectible #7
on your selection. Head left and into the kitchen. On the refrigerator is a photograph—collectible #7
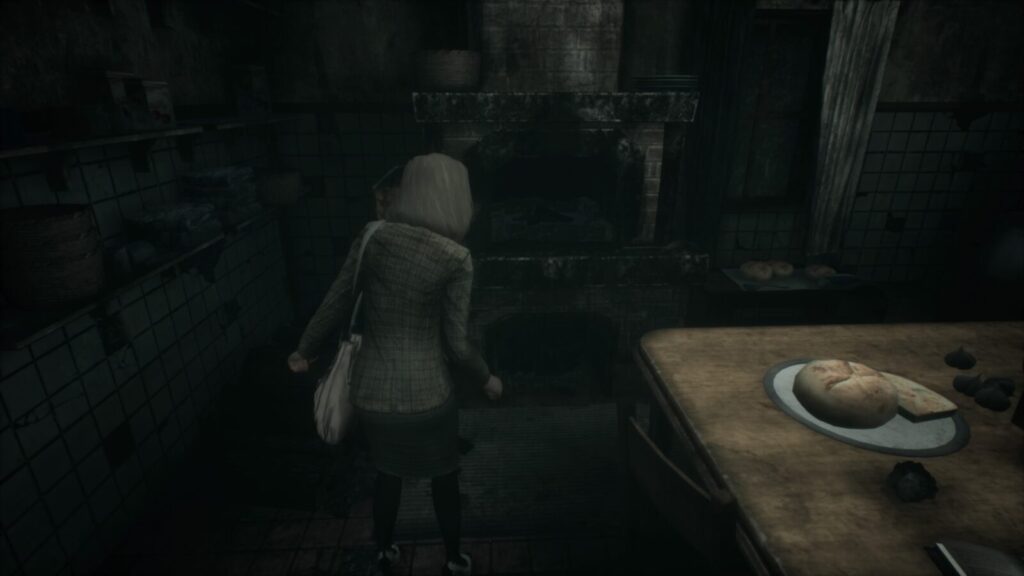
Turn around and pick up the Plunger from the counter. Then interact with the shelf nearby, and it will collapse. Use the chair to reach the top shelf, where you’ll find another key item, a Rusty Handle. Use the Rusty Handle on the stove in the kitchen to obtain a roll of Film.
 +
+  intermittently to swat them away.
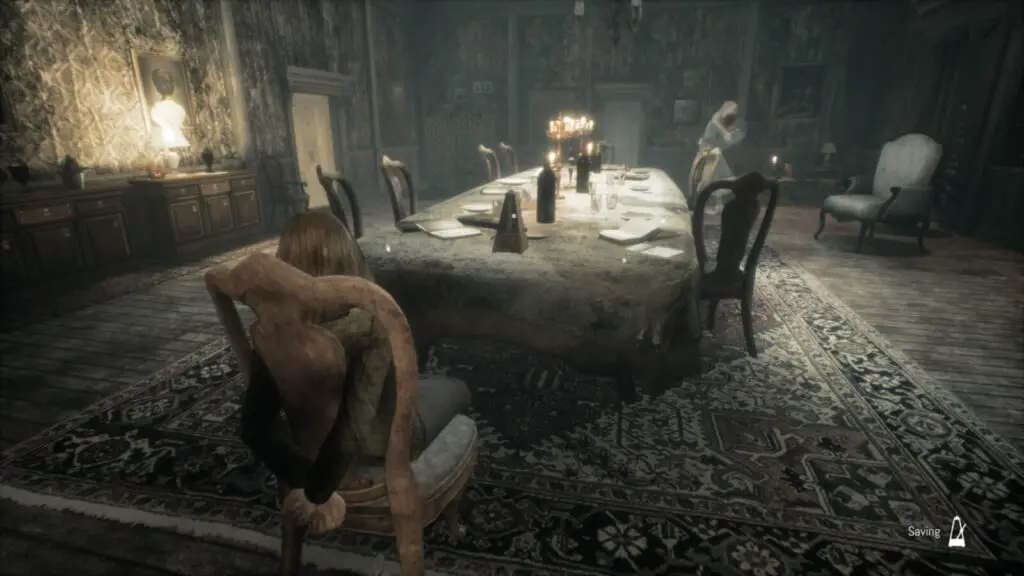
Leave the kitchen the same way you entered and enter the first door on your left—the dining room. Walk to the opposite end of the room and inspect the large painting on the wall—collectible #8.
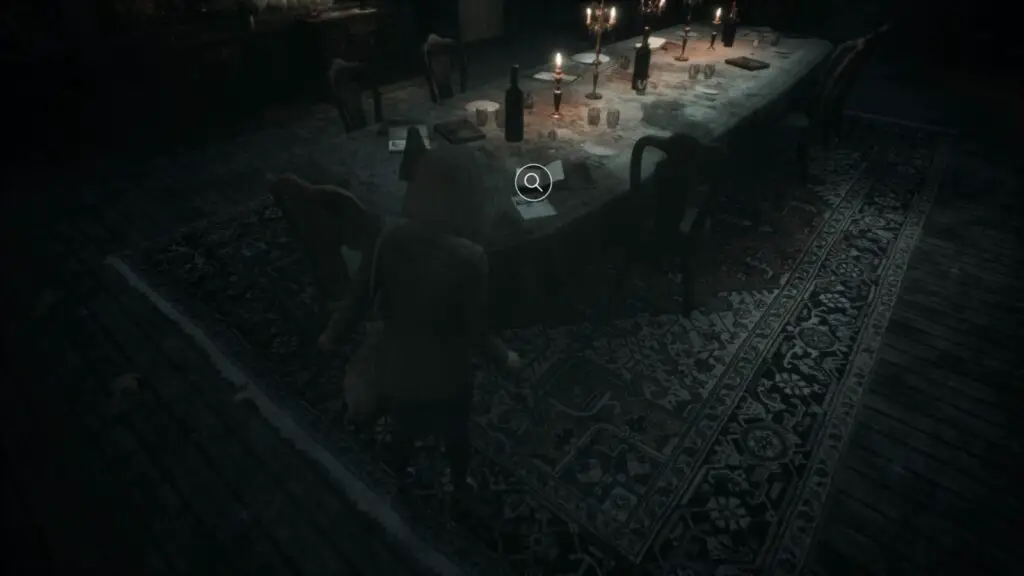
Turn around and inspect the newspaper on the end of the dining table— collectible #9.
A chandelier will fall from the ceiling and smash. Quickly pick up the Metal Cable from the fallen chandelier and exit the dining room via the door on your left (with the painting at your back). Head down the corridor in front of you and it will lead to a mirror/save point.
After saving, make your way back up to the bedroom where you met Mrs. Felton. Use the Plunger on the bath in the connected bathroom. An object will be released and you will have to head all the way down to the basement to get it.
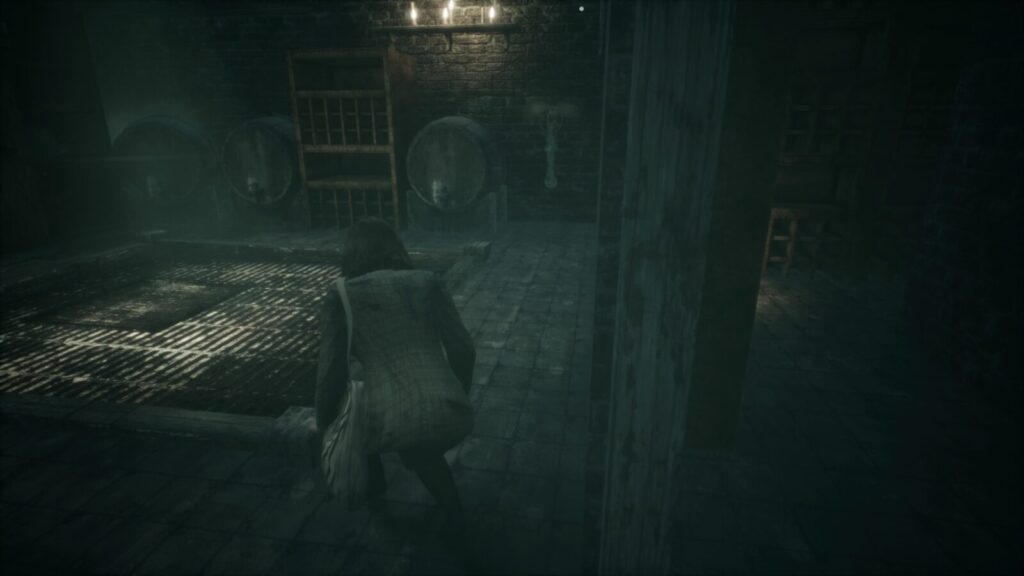
In the basement, you will see a grate on the floor. Interact with it and a brief cutscene will play. After, use the Metal Cable on the goods elevator on the wall. Return back upstairs to the first mirror/save point by Mrs. Felton’s bedroom. Make a save, and interact with the goods elevator nearby.
The power will fail and the lights will go out. Carefully, make your way back down to the entrance where you will find a blinking red light and breaker.

Once the lights are back on, head to the basement again and pick up the Pendulum Key from the grate. Return to the dining room from earlier. Just outside the room is an old grandfather clock. Interact with the clock face and use the Pendulum Key. Get ready to press ![]() to avoid some falling debris. Pick up the Battery from the small compartment at the bottom of the clock. Remember to use the mirror/save point just around the corner before continuing.
to avoid some falling debris. Pick up the Battery from the small compartment at the bottom of the clock. Remember to use the mirror/save point just around the corner before continuing.
Head back upstairs once again and go towards the bedroom. About halfway, you should notice a hallway leading to some double doors with statues flanking either side; this is Felton’s office.
Go inside and check the projector for the next collectible (you have to press ![]() on this one)— collectible #10.
on this one)— collectible #10.
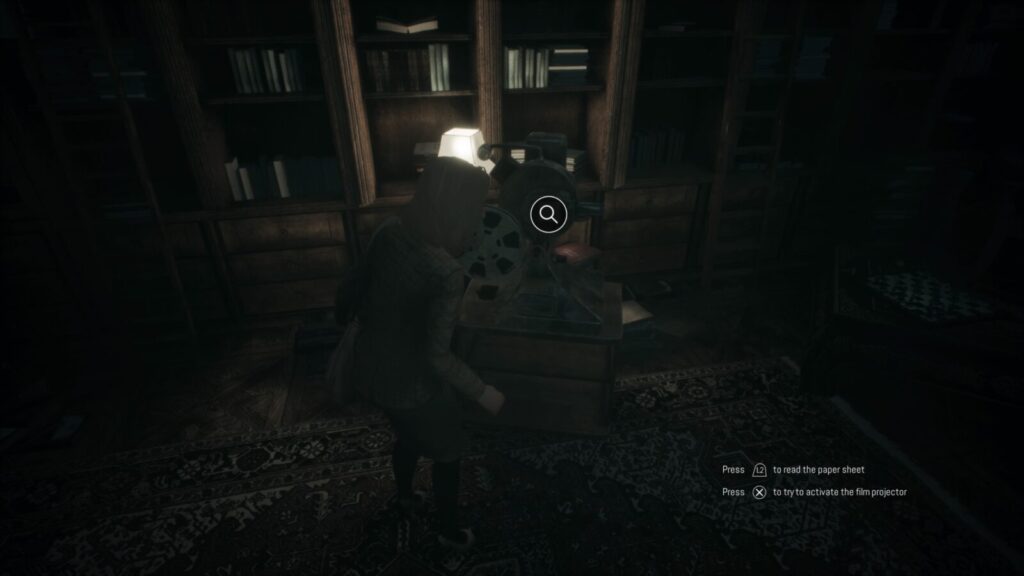
Put the Battery and the Film into the projector, pull the projector screen down, and interact with the projector one final time.
After the cutscene, you will encounter a new enemy; the Red Nun. You will also unlock a new trophy—Nightmare.

Nightmare
Meet your worst nightmare for the first time

Chapter 3, Nightmare
Run away from her and find someplace to hide. Stay hidden until you complete the objective “hide from the Red Nun”. Go to the mirror/save point by the bedroom and press ![]() to heal and then save your progress. Head back towards Felton’s office and a little girl can be seen running away. Follow her until you see the door to the attic close and lock.
to heal and then save your progress. Head back towards Felton’s office and a little girl can be seen running away. Follow her until you see the door to the attic close and lock.
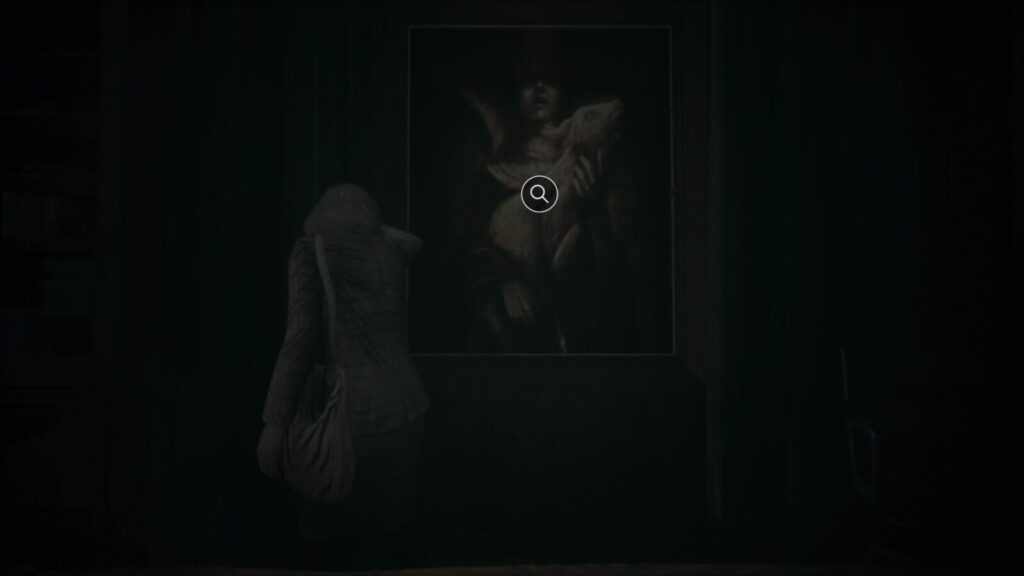
Go into Felton’s office and interact with the painting of the Red Nun— collectible #11.
Go into the bedroom and interact with the bed— collectible #12.

The screen will blackout as you try to leave the bedroom. When the screen comes back, you will see an Umbrella fall to the ground; pick it up. Make a quick save outside the bedroom and head to the attic door. Use the Umbrella on the hanging handle to open the attic door.
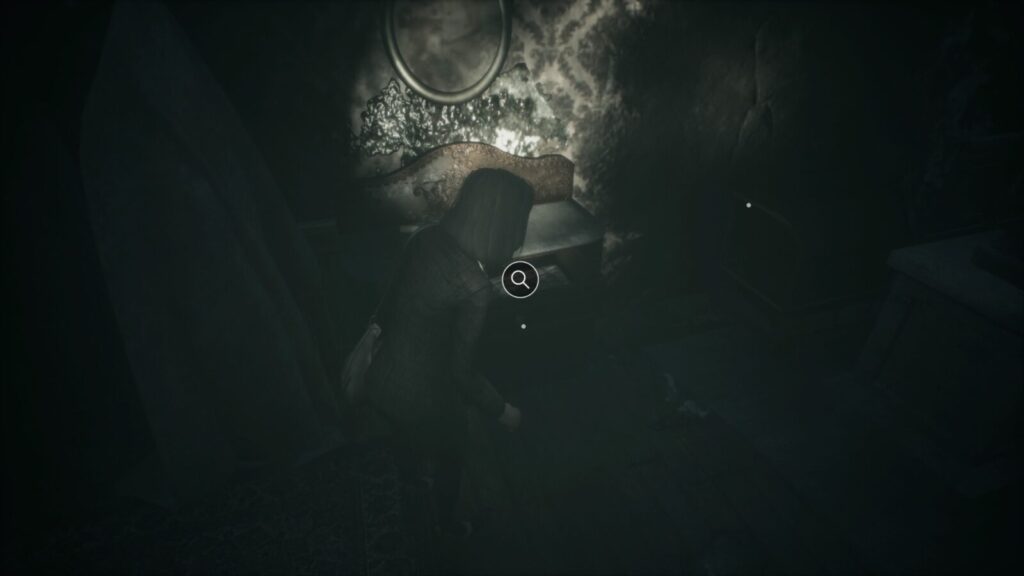
Walk to the back of the attic and inspect the photograph on the table— Collectible #13.
Once the cutscene is over you will be in a room with a rather creepy girl watching TV. Walk past her and exit via the double doors. Make a save at the mirror just outside.
Go back into the room and wait for the creepy girl to put down the TV remote. Once she does, interact with it to steal the Batteries. She will immediately chase you, so run all the way to the basement and find a hiding spot. Once you’re safe, use the Batteries on the ladder we inspected earlier in the game. You will get an Oil Can.
Once you have the Oil Can, head up to the 1st floor with Mr. Felton’s office and bedroom. At the top of the stairs, take a left and follow the corridor until you see a fireplace. Interact with it to reveal a hidden passage and crawl inside. You will be safe from any stalkers during this bit.
Follow the corridor until you’re stood in front of a statue. To your left is a drawer you can open with a photograph inside— Collectible #14.
Inspect the cart next to the statue to reveal that it’s jammed. Use the Oil Can to lubricate the wheels and give it another push. Once the wall is exposed, inspect it and push the nearby statue onto it to reveal a hidden room.
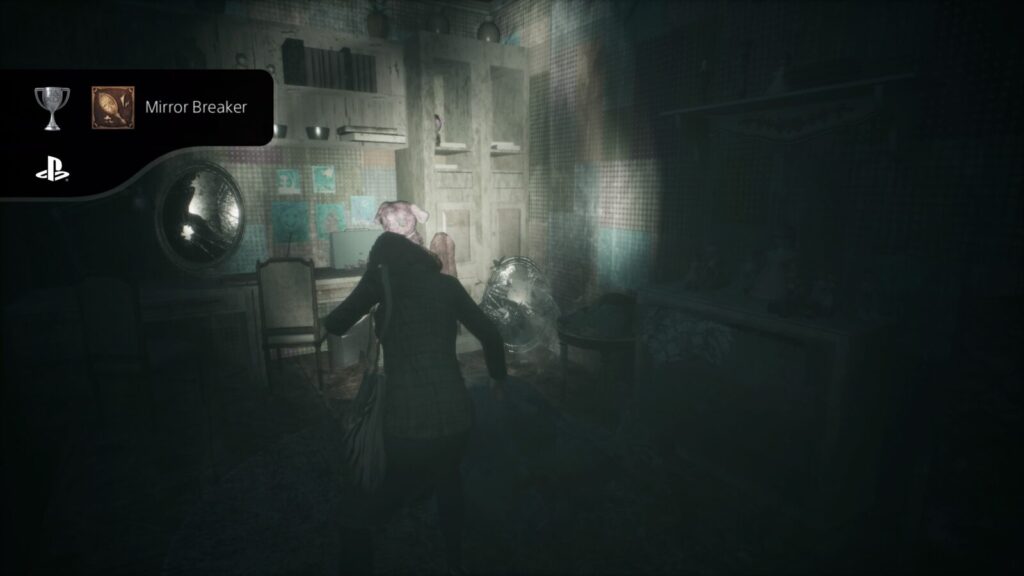
Warning: There are 7 mirrors to smash in this room for the Mirror Breaker trophy. There is an infinite supply of bricks to the left of the entrance for you to use. The mirrors aren’t hidden in any way; they’re just on the wall within the main room. Make sure to smash all the mirrors before interacting with the drawer to progress.


Mirror Breaker
Face and destroy your fears before they could come alive
Once you’ve smashed all 7 mirrors, go into the bathroom to discover a bleeping. Return to the main room and interact with the drawer with the fan on top to find a hidden compartment. After you have finished listening to the tape, interact with the closet next to you to exit the area.

Violence
Start at the bottom after a traumatic event

Chapter 4, Violence
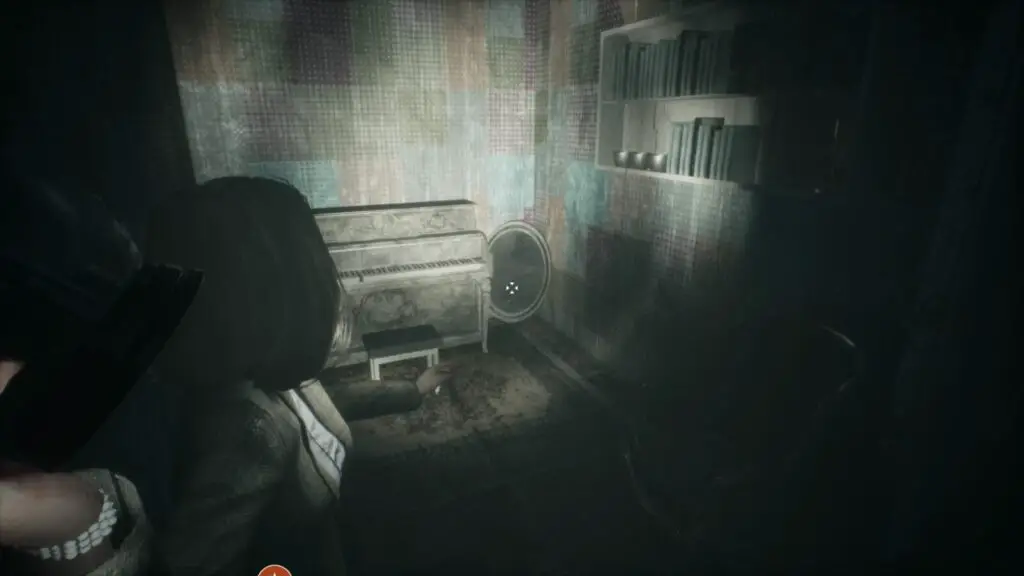
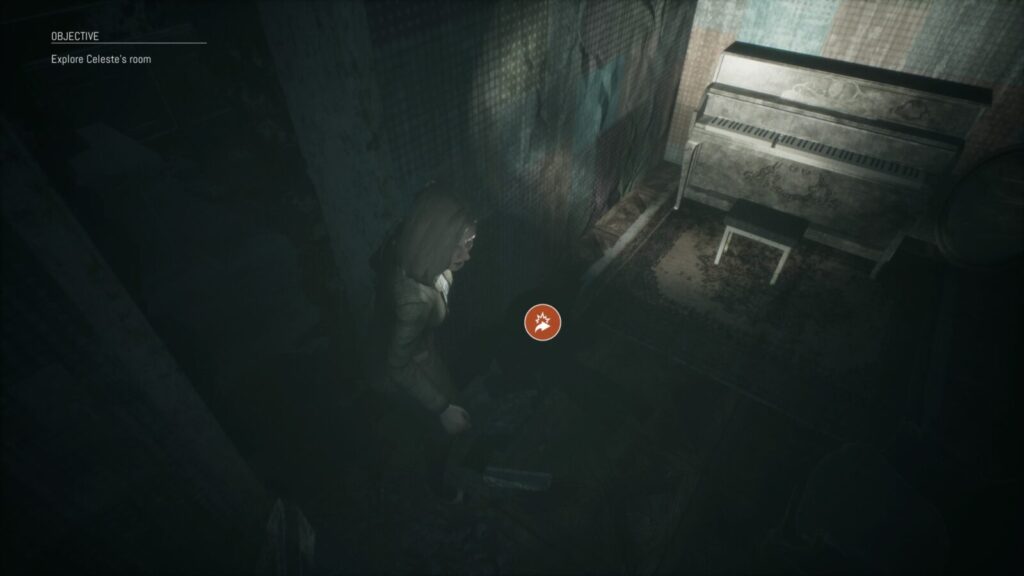
After you regain control, turn around and walk to the end of the passage to find a photograph pinned to the wall— Collectible #15.
Turn back around and follow the passage to the end. Every few steps you will see a button appear on the screen (usually ![]() or
or ![]() ) which you will have to press in order to avoid the Red Nun’s sword thrusting through the floor above you. Warning: If you die during this section, remember to recollect the photograph behind you when you reload your checkpoint.
) which you will have to press in order to avoid the Red Nun’s sword thrusting through the floor above you. Warning: If you die during this section, remember to recollect the photograph behind you when you reload your checkpoint.
In the wine cellar, Rosemary will already be holding a photograph— Collectible #16.
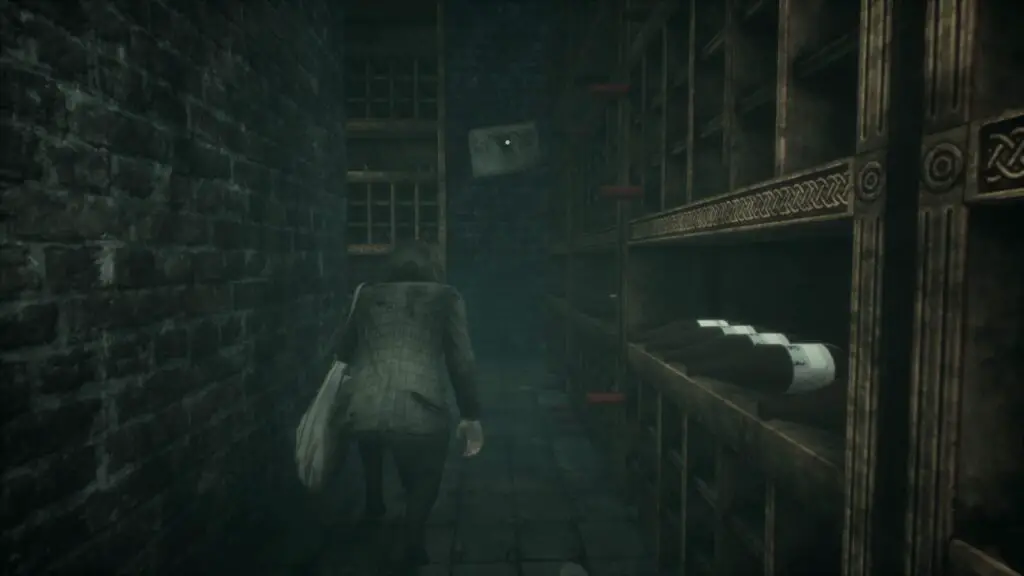
In the wine cellar, you have to find and turn three valves in order to escape. It’s a bit of a maze and you will be chased by Jennifer (the creepy girl from earlier). Also, while navigating the wine cellar, you will see various posters on the walls; these all count towards your collectibles, though you only need to interact with one of them.
Wine Cellar Route
Turn right and head into the passage there.
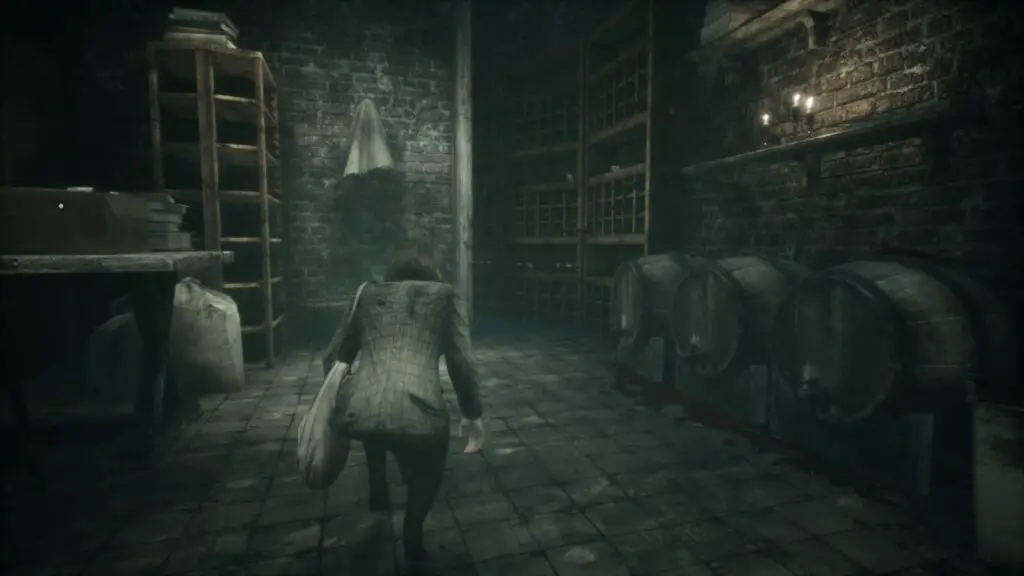
Follow the passage until you get to a poster on the wall— Collectible #17.
Turn left and follow the passage. When the path opens up, take a right into a room. Turn the valve (1/3) in this room. The exit is to the left of this pipe so remember where it is for later.
Return to where you entered this room and you should see two paths. Take the one on the right and it will lead you to the next valve (2/3).
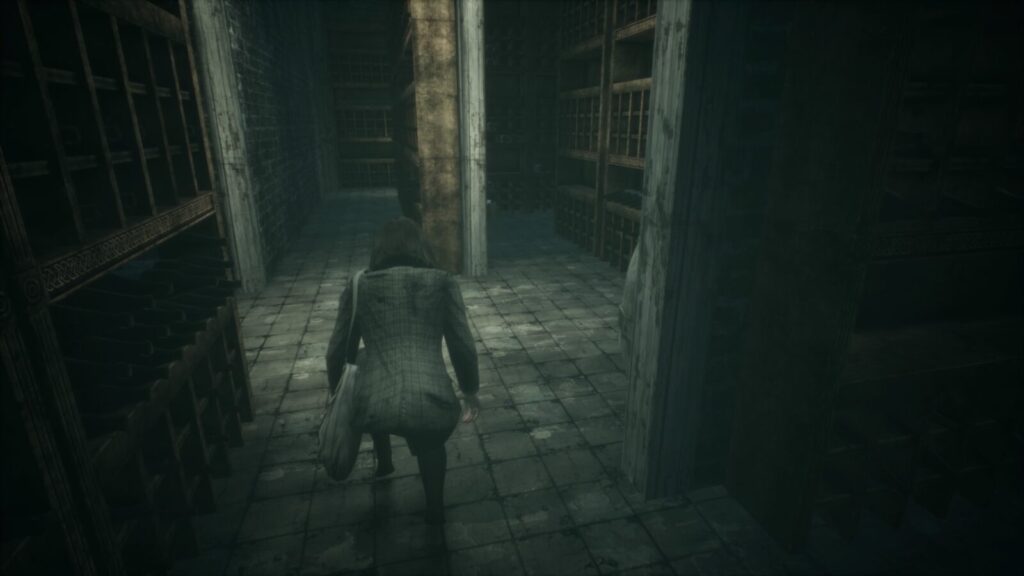
Go back and this time, take the left path. Follow it until you see the valve (3/3).
Quickly head back to the first valve and exit this area.
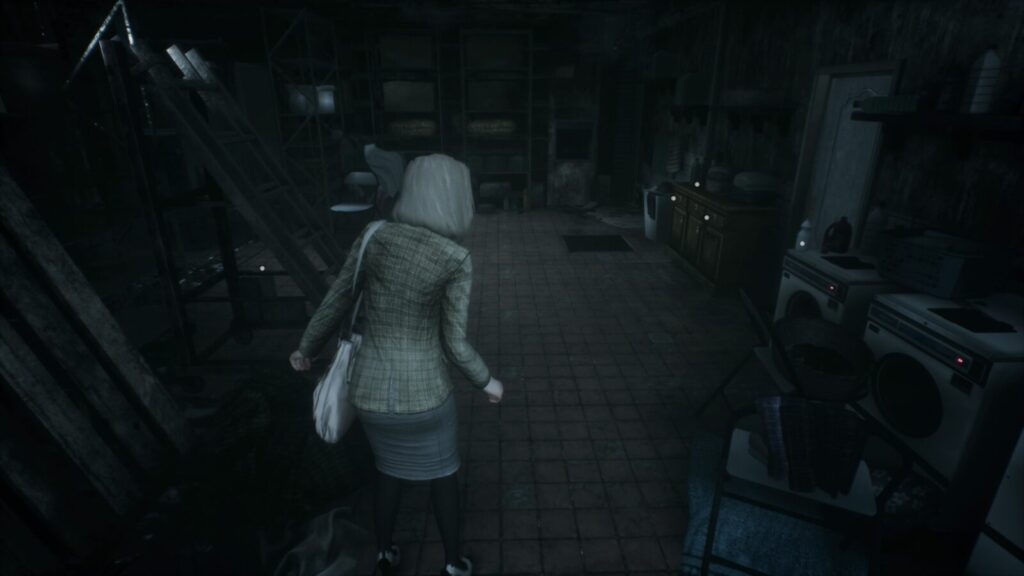
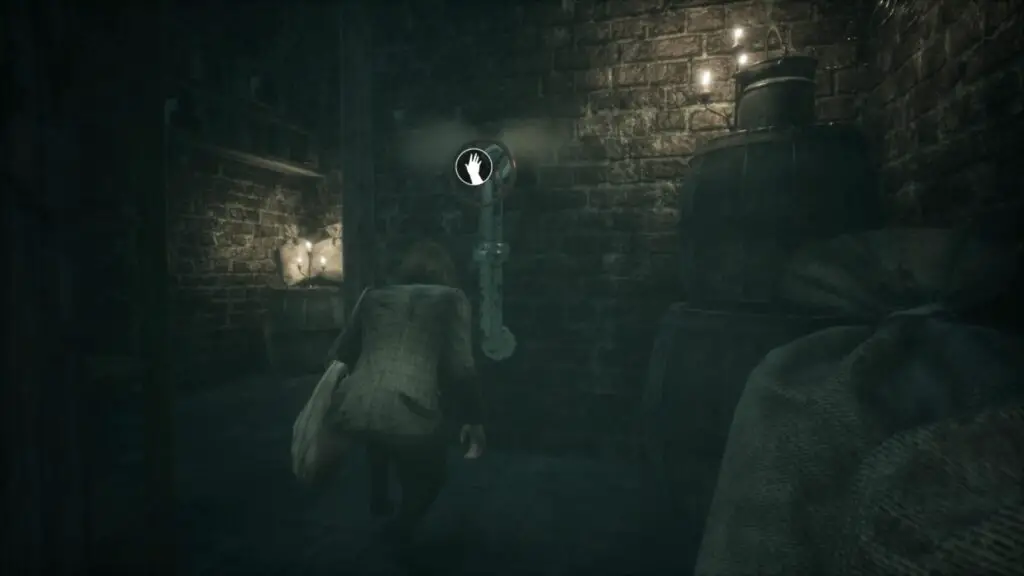
As you leave, Jennifer will begin to give chase. Run through the corridor until you get to a laundry room. Turn around and quickly push the bookcase over the door you just entered. Now sprint to the other door and push the shelving unit away from the door. Once again, return to the door you entered (where Jennifer is trying to get in), and wait for a key to drop. Once it does, swiftly grab it and use it on the other door to exit.
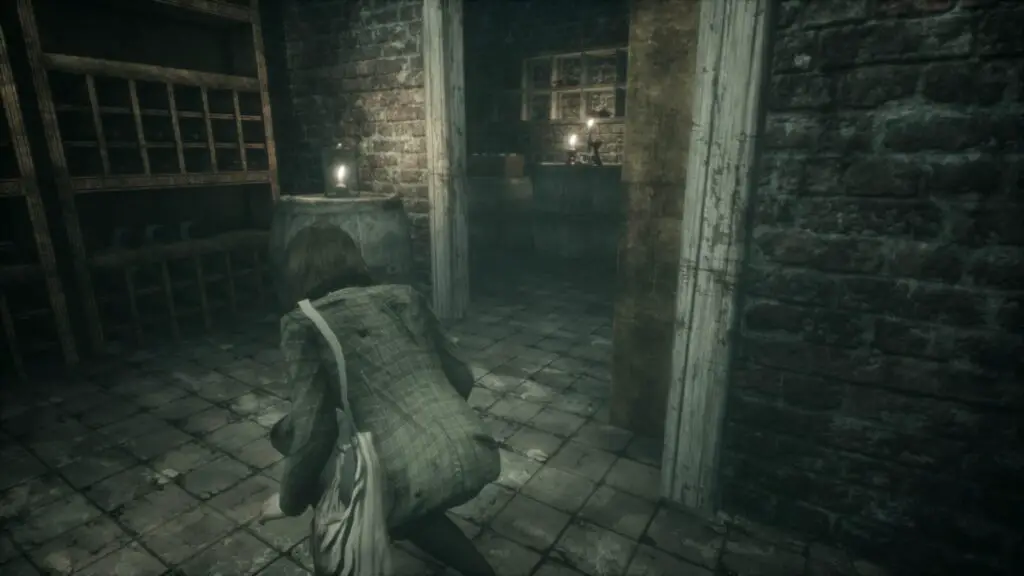
Head to the elevator on the ground floor (you will have passed it several times by this point) and get inside. After the small cutscene, quickly interact with the elevator buttons and then the elevator door to trigger a cutscene. After, interact with the elevator door again and head to the Infirmary; it’s the door to the right of the grandfather clock we interacted with earlier.
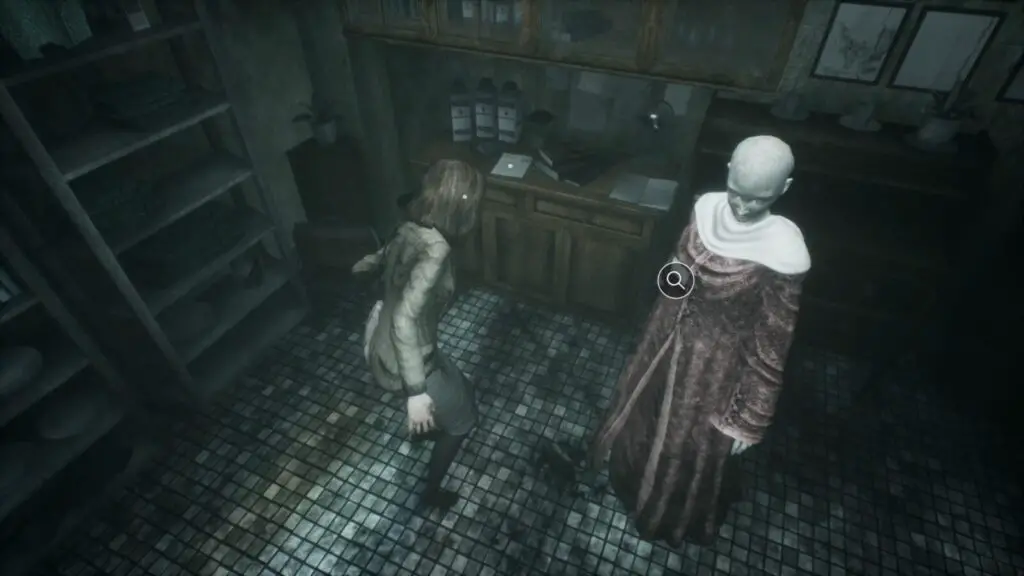
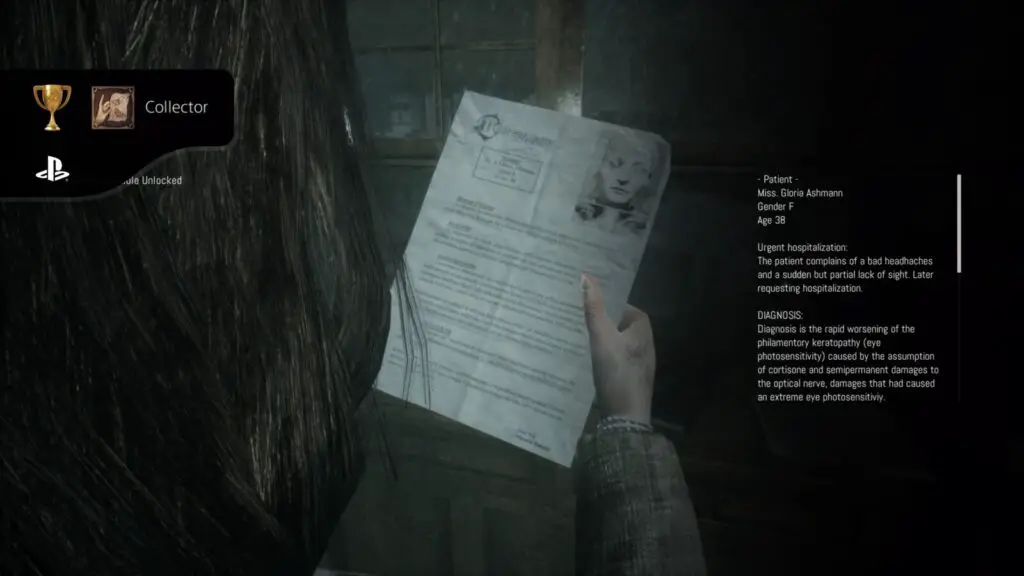
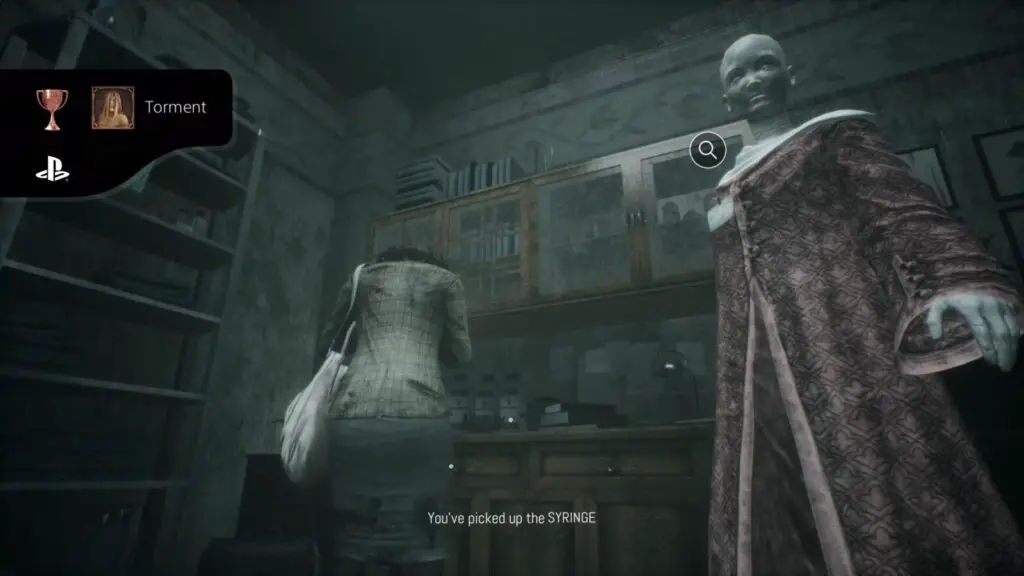
After the cutscene with Gloria, throw a diversion item at your attacker. Once they vanish, you will be in a room with a mannequin in front of you. Interact with it, and then inspect the note on the table to its left for the last two collectibles—Collectible #18 & Collectible #19.


Collector
Get all the collectibles

Torment
Slowly fall into a downward spiral
When Rosemary wakes up and you have control, press ![]() on each of the three items in front of you. Then look behind you and immediately start mashing
on each of the three items in front of you. Then look behind you and immediately start mashing ![]() &
& ![]() . Complete the simple QTE to win this “boss battle”.
. Complete the simple QTE to win this “boss battle”.
 & section.
After the boss fight, search the glass cabinets for a defensive item, and as many diversion items as you can find. Head out of the dining room and towards the mirror/save point. Before saving, go into the room on the left with the TV and use the weapon upgrade on your right. Now save and get ready for the finale.
Go to the elevator and call it to your floor. Get in and ride it to the top, completing a single QTE in the middle. When the elevator can’t go up any further, use the Elevator Crank to progress.
Once you have left the elevator, you will be in the attic. Gloria will be waiting to attack you and chase you through the area.
Your first obstacle will be a blocked path. You’ll need to use a crank to open it, but when you do Gloria—who is blind by the point—will attack you. The only way I managed to get through this section was to start cranking and then let her grab me so I can use my defensive item and stun her for a while. I tried using diversion items, but she doesn’t stay distracted long enough.
After opening the way, Gloria will appear and give chase. Sprint through the attic, until you end up crawling under some wooden planks. On the other side of this crawling space, begin sneaking and head to the nearby cart that is blocking your way. Use a diversion item to distract Gloria, who is patrolling this area, away so you can move the cart.
On the other side of the cart, Gloria will again be in your way. There is a small passage to the blinking breaker switch right where she’s stood. Use another diversion item to lure here away so you can interact with the breaker.
Climb the ladder and take the passage to your immediate right. Follow this until you can climb another ladder. After the second ladder, take the passage to your immediate right again, and squeeze past the shelf blocking your way.
Now, you should see a green switch on the wall. Quickly sprint towards it and interact with it to finish the game.

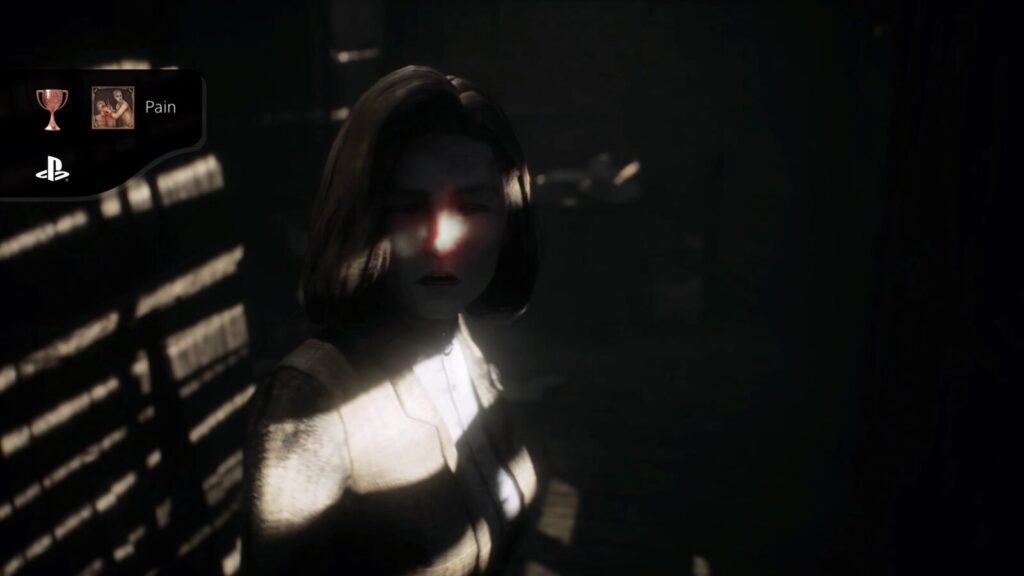
Pain
Beat your demons
100%
After the final cutscene, the last trophy will pop.

Forgiveness
Reconcile with an old acquaintance

Once you have acquired every other trophy in our Remothered: Tormented Fathers Trophy Guide, the platinum will unlock.
Thank you for choosing PlatGet as your source for Remothered: Tormented Fathers Trophy Guide; consider checking out our other guides!
Follow us on Twitter @GetPlat or Instagram @platget for updates on new reviews and guides, as well as small anecdotes about our platinum journeys.