PlayStation 4
Minecraft Dungeons Trophy guide


General Info
FAQ
How long does it take to beat Minecraft Dungeons and unlock all trophies?
Around 20 Hours.
How difficult is it to beat Minecraft Dungeons and unlock all trophies?
Easy (3/10).
Does Minecraft Dungeons have online trophies?
Yes, Life of the Party.
Does Minecraft Dungeons have difficulty-specific trophies?
Yes, High Treason, A Friend in Need.
Does Minecraft Dungeons have missable trophies?
No.
Does Minecraft Dungeons have glitched trophies?
No.
What is the minimum number of playthroughs required to unlock all trophies in Minecraft Dungeons?
One of each difficulty, plus cleanup. It's all technically just one playthrough, though, given how the game works.
Does Minecraft Dungeons have a Platinum Trophy?
Yes.
Trophy Guide
Minecraft Dungeons Trophy Guide and Road Map for PlayStation
Welcome to our Minecraft Dungeons Trophy guide. Minecraft Dungeons is kind of like if you took the concept of Minecraft, removed all of the mining and crafting, and then made it into Diablo. That being said, Minecraft Dungeons has some incredibly fun and insanely addictive gameplay and I simply couldn’t stop playing.
You will explore various large and branching dungeon levels to find resources, gear, and artifacts that can make you more powerful. As you grow, you’ll take on more powerful threats for the chance of higher-level gear! It’s a never-ending loop of looting, leveling, and kicking blocky butt!
Phase One | Complete Story Mode
To start with, you simply need to work your way through the 9 story-related stages on the Mainland. They will unlock as you progress. Levels you have never completed before will have a sword icon on them. Simply complete all 9 while setting the difficulty to whatever feels most comfortable each time.
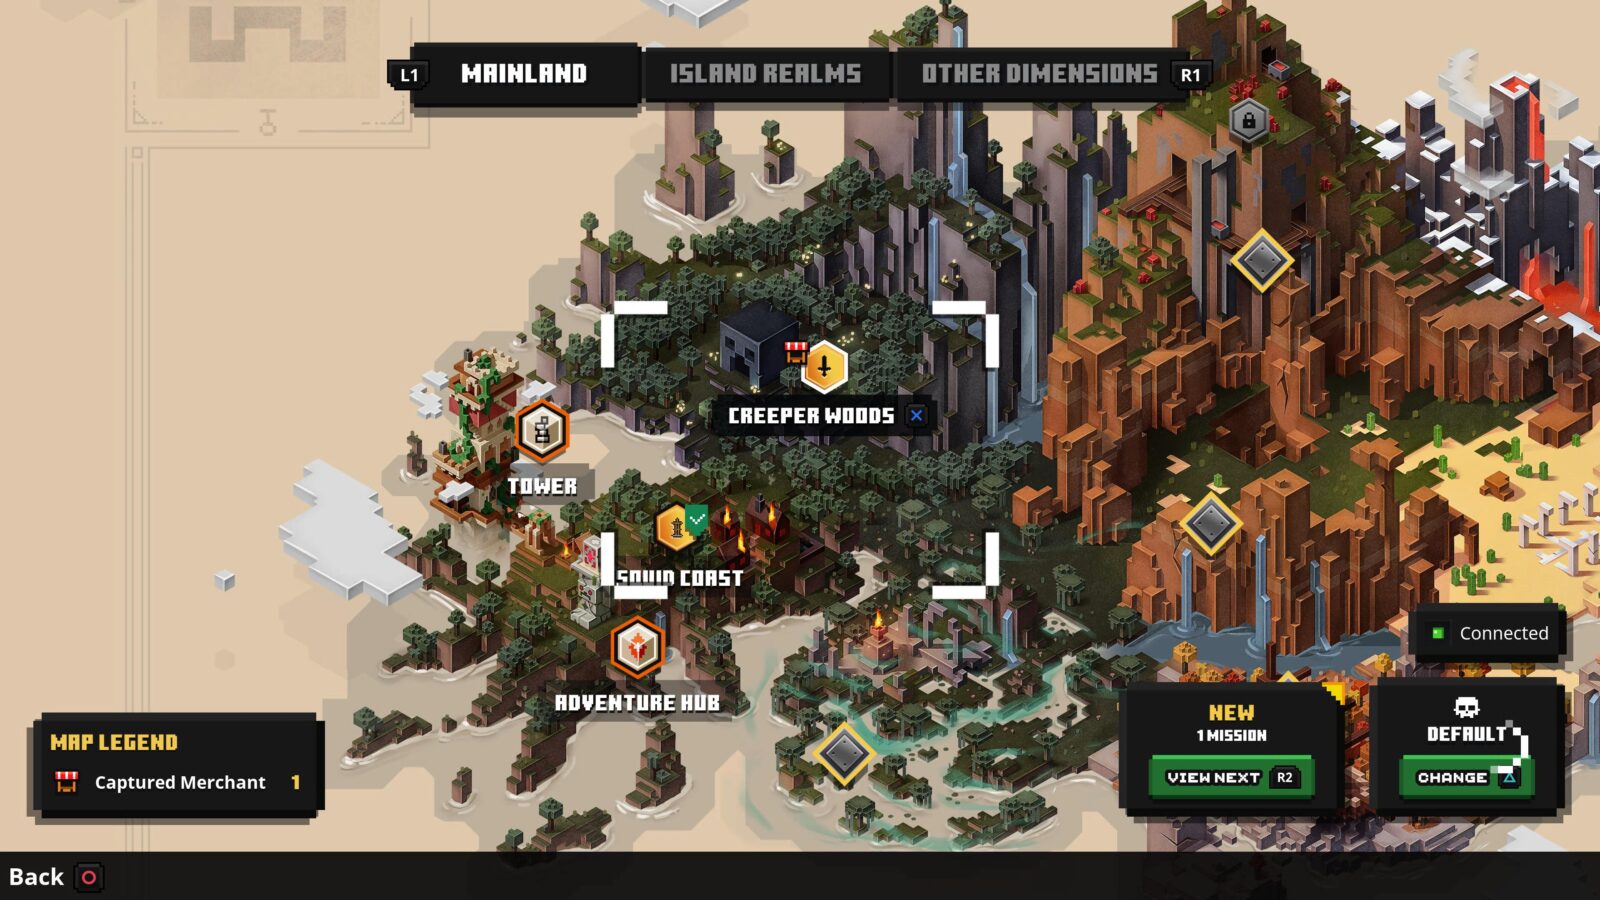
Just enjoy yourself! You’ll benefit a lot if you scour every inch of every level for resources, secrets, and gear, but if that’s not how you’d like your first playthrough to go then you can pretty much just brute force it and reach the end of the story fairly quickly by choosing lower difficulties and just following the objective marker each time.
You can complete this entire trophy journey as a duo with a co-op partner throughout the game, it won’t affect anything other than to make it easier and more fun.
Unmissable Story Trophies

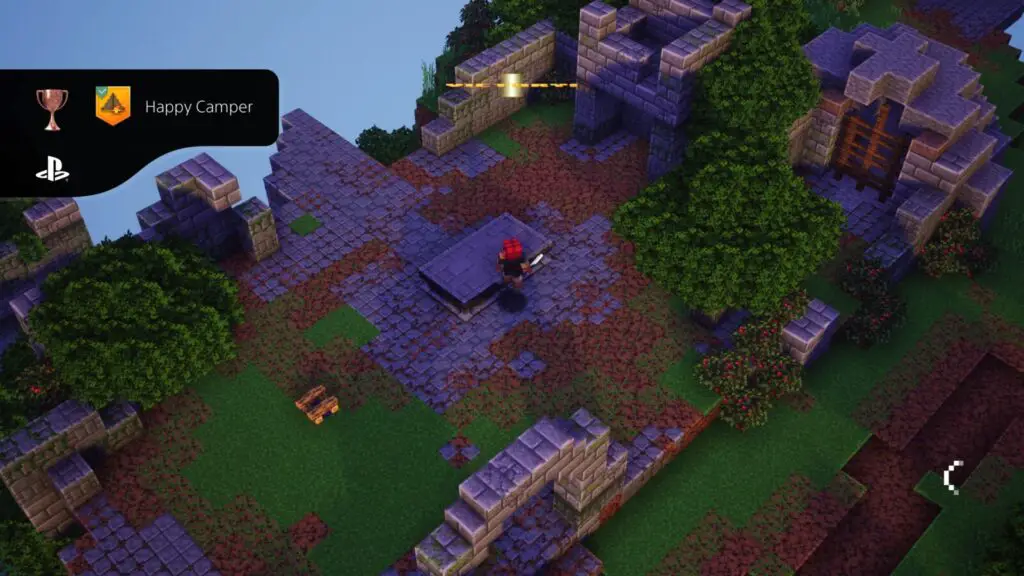
Happy Camper
Complete Squid Coast and set up camp.
The Happy Camper trophy will unlock unavoidably when you complete the tutorial.

Out of the Woods
Complete Creeper Woods.
The Out of the Woods trophy unlocks unmissably when you complete Creeper Woods for the first time.


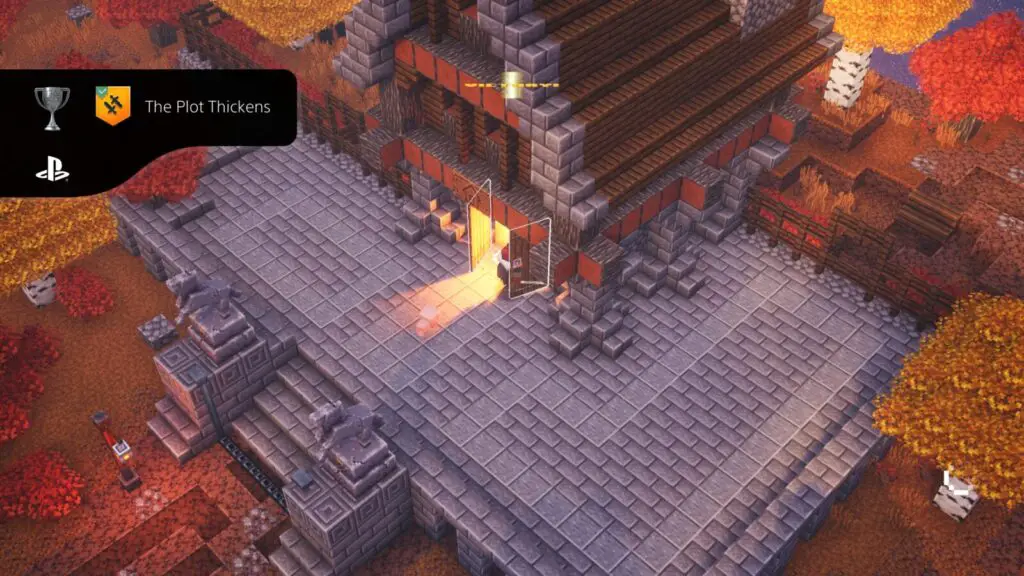
The Plot Thickens
Complete Pumpkin Pastures and Soggy Swamp.
To unlock the “The Plot Thickens” trophy, you will need to complete both the Pumpkin Pastures and Soggy Swamp levels for the first time while working through the story.

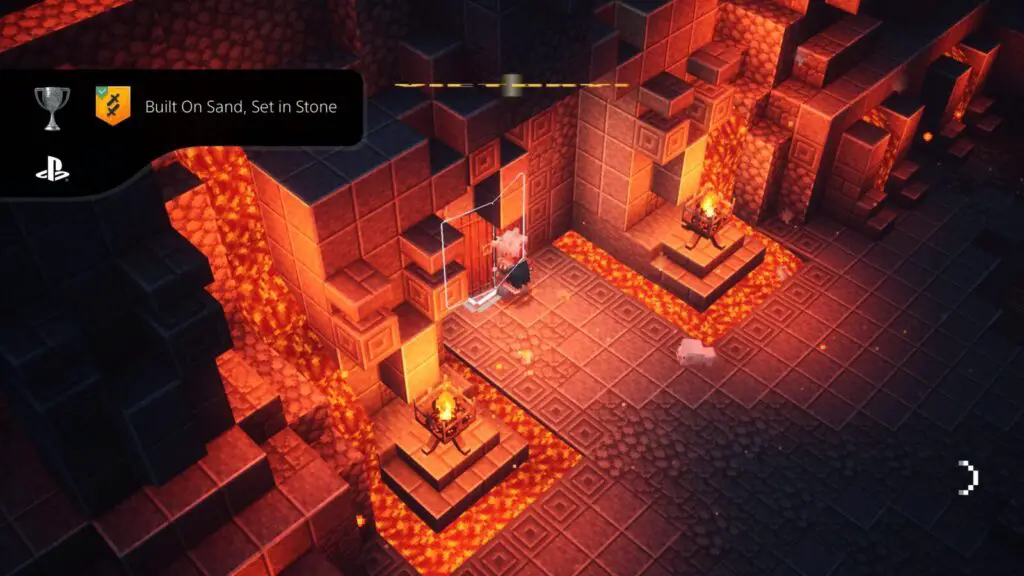
Built on Sand, Set in Stone
Complete Redstone Mines and Cacti Canyon.
The “Built on Sand, Set in Stone” trophy will unavoidably unlock once you complete both the Redstone Mines and the Cacti Canyon levels while working through the story.

High and Dry
Complete Desert Temple, Fiery Forge and Highblock Halls.
To receive the “High and Dry” trophy, you need to complete the three following stages; Desert Temple, Fiery Forge, and Highblock Halls. You will need to complete these stages to progress the story, making this trophy unmissable.

Saved the Overworld
Defeat the Arch-Illager at the Obsidian Pinnacle.
The Arch-Illager is the game’s final boss. Defeating him for the first time will unavoidably unlock the Saved the Overworld trophy.
Phase Two | Adventure Mode (New Game Plus)
Once you defeat the Arch-Illager at Obsidian Pinnacle, you will gain access to the “Adventure” Difficulty. You can switch Difficulty by pressing ![]() on the level select map!
on the level select map!
Essentially, Adventure Mode is just a New Game Plus mode. You will keep all of your equipment and levels, enemies will be stronger, and you’ll face a similar difficulty curve to your first playthrough, just with more complex equipment to experiment with and tougher foes to take down.
You basically have one main objective here, which is to unlock the “Apocalypse” difficulty by defeating the Arch-Illager again on Adventure Difficulty.
This is a good phase to spend leveling yourself up and finding better gear/enchantments to equip yourself with. You’ll want to be very well-equipped for your Apocalypse Difficulty playthrough.
One trophy you should aim for here is the Expert Explorer trophy, which you earn at Player Level 50. You should be around Player Level 25 when you start Adventure Difficulty.
If you get bored at any point during this second playthrough, which may begin to happen if you don’t take many breaks, take a look at the upcoming Miscellaneous Trophies and see if there are any you can try tackling here to spice things up.
Reach Level 50

Scrappy Scout
Reach Level 10.
When you reach Level 10, the Scrappy Scout trophy will unlock. You will eventually need to reach Level 50 for Expert Explorer.

Apprentice Adventurer
Reach Level 25.
When you reach Level 25, the Apprentice Adventurer trophy will unlock. You will eventually need to reach Level 50 for Expert Explorer.

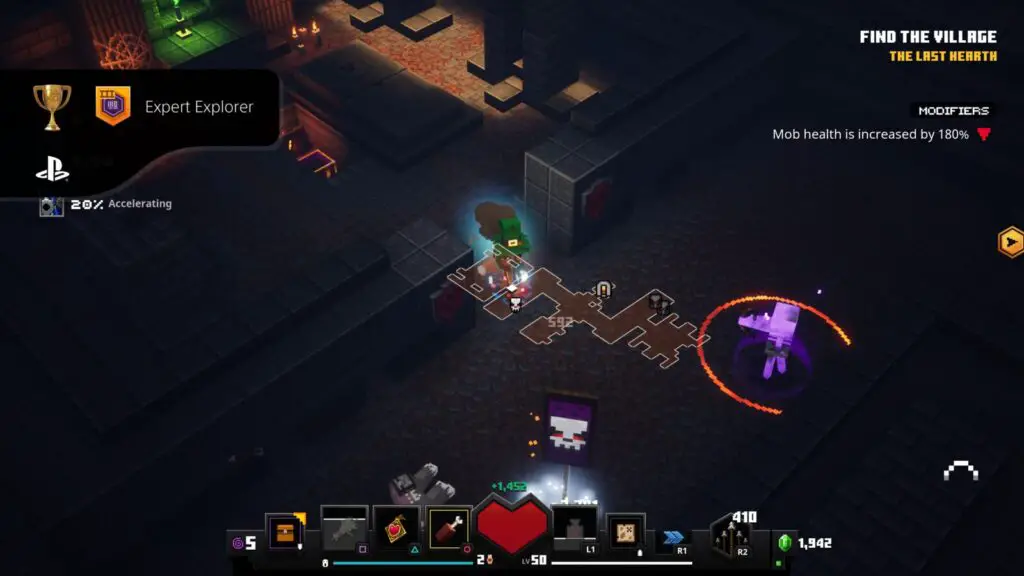
Expert Explorer
Reach Level 50.
The Expert Exploration trophy will unlock when you reach level 50 in-game. This is done, quite simply, by just collecting XP. You will receive XP for each enemy you defeat throughout the game.
Honestly, I added this trophy to this section as this is the ideal time to reach Level 50, before getting to your Apocalypse Playthrough, but if you don’t earn it here, it’s bound to happen during your Apocalypse Playthrough.
Phase Three | Apocalypse Mode
After defeating the Arch-Illager again on any sub-difficulty in Adventure Mode, you will need to do it again one last time in Apocalypse Mode.
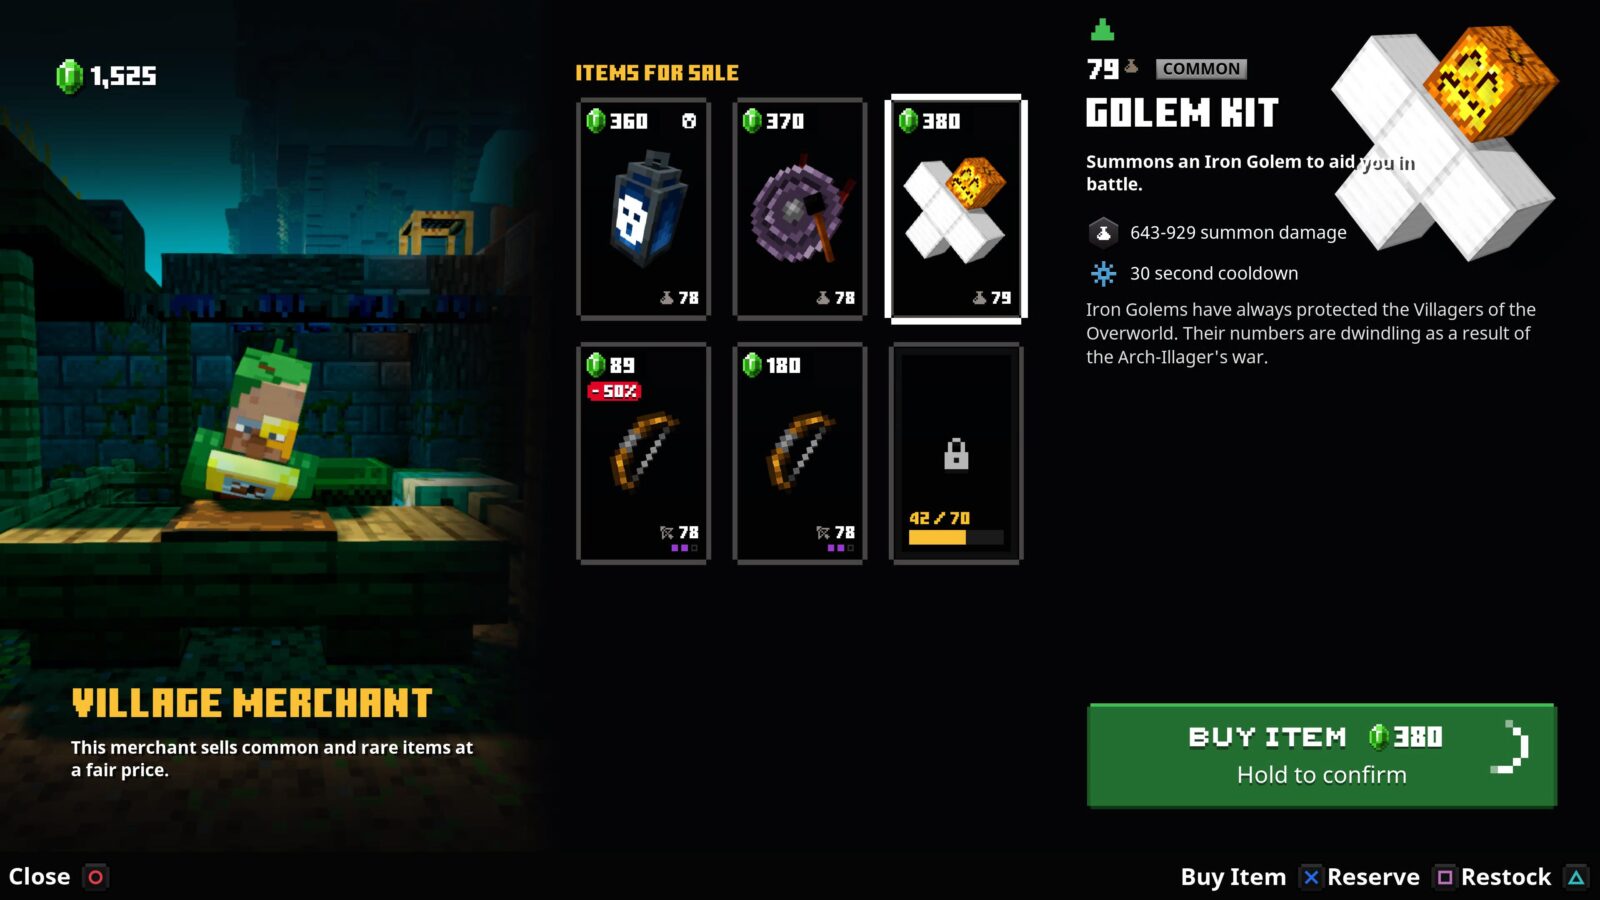
I recommend doing most of your level-grinding and gear-farming in the “Pumpkin Pastures” Mission until you receive the extremely rare “Golem Kit” Mission Reward, which you’ll need later for A Friend in Need. It can only be received on this difficulty, so you won’t have been able to get one until now.
Other than that, do all the usual stuff until you’re strong enough to take down the Arch-Illager again!
Defeat the Arch-Illager One Last Time

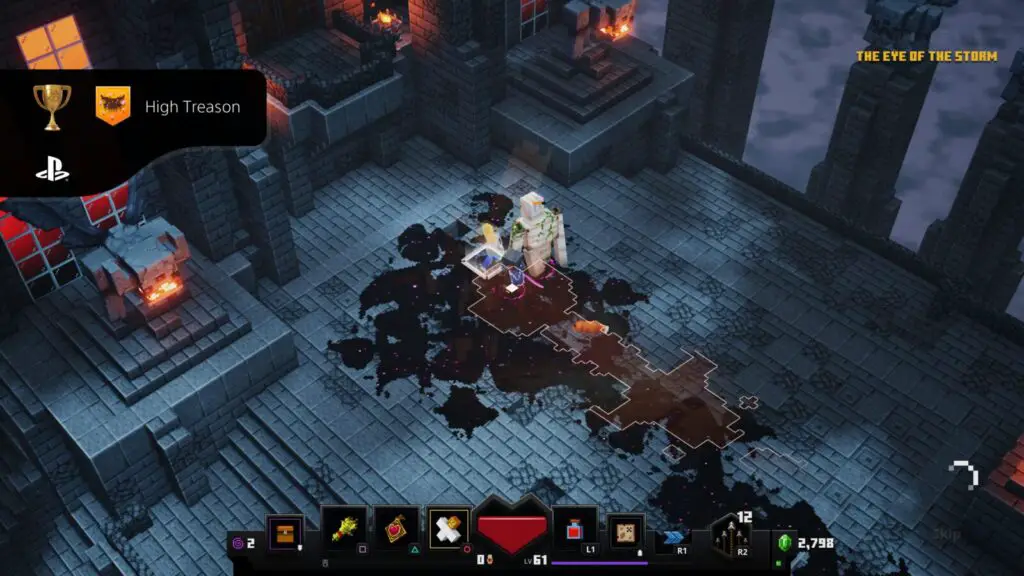
High Treason
Defeat the Arch-Illager on Apocalypse difficulty.
Unlocking the High Treason trophy is as simple as defeating the Arch-Illager again on Apocalypse Difficulty. Obviously, there will be a significant level/gear grind in the run-up to facing the Arch-Illager again, but once you reach the minimum power level for taking on the Obsidian Pinnacle you should have a fairly straight-forward time.
Naturally, if you find the fight with Arch-Illager too difficult, you can try over-levelling yourself or equipping more powerful gear until the whole level is a breeze!
Phase Four | Cleanup
And finally, we reach the last phase of our Minecraft Dungeons Trophy Guide.
Most of the trophies in this phase will have already unlocked throughout your other playthroughs, but you’ll likely find yourself needing to grind gear a little longer for Maxed Out and Geared Up, find a Golem Kit for A Friend in Need, and get lucky with TNT for Blast Radius.
Anyway, browse the selection below and compare it with your trophy list to see what you still need to do. This is the final hurdle!
Miscellaneous Trophies

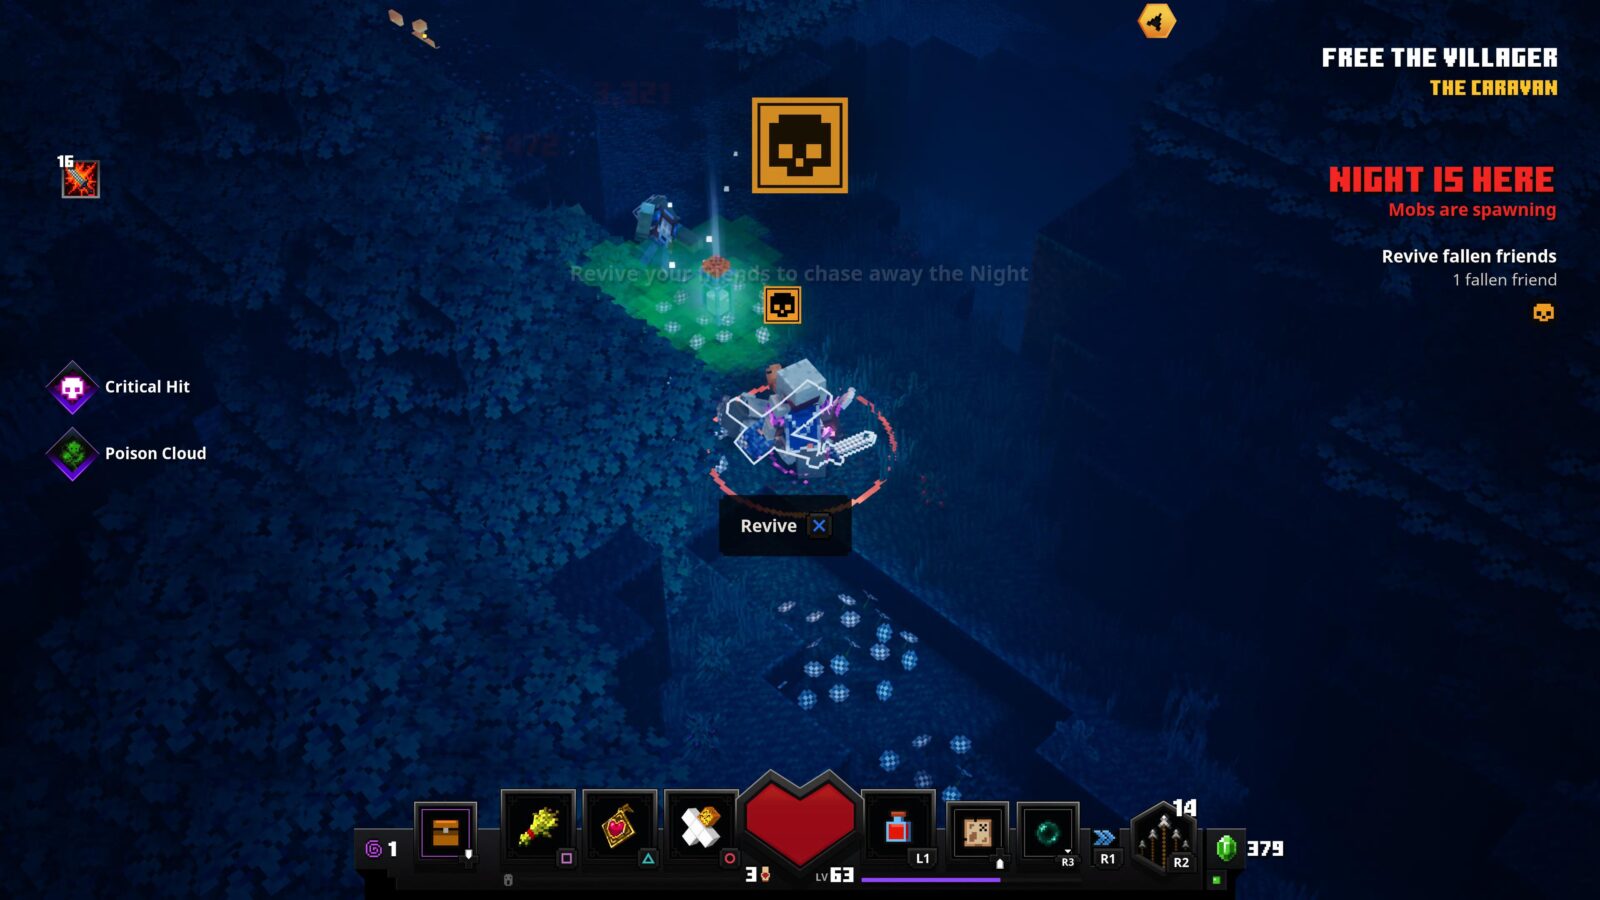
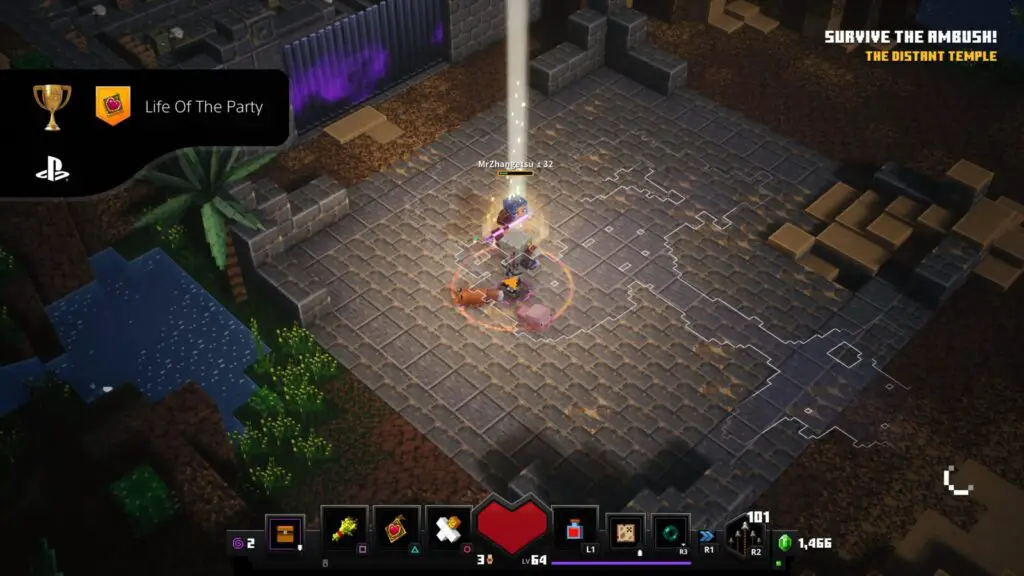
Life of the Party
Revive a downed friend 20 times.
The Life of the Party trophy does require you to play with a friend, either online or locally on the same console. You could also just whip out a second controller and fulfil the role of Player Two yourself without the need of a second player.
Essentially, when a co-op ally takes enough damage to be defeated, they can be revived if you approach them and press ![]() when the prompt appears. You need to do this a cumulative total of 20 times to unlock the Life of the Party trophy.
when the prompt appears. You need to do this a cumulative total of 20 times to unlock the Life of the Party trophy.
Naturally, it can be farmed if Player Two repeatedly allows themself to be defeated by enemies.

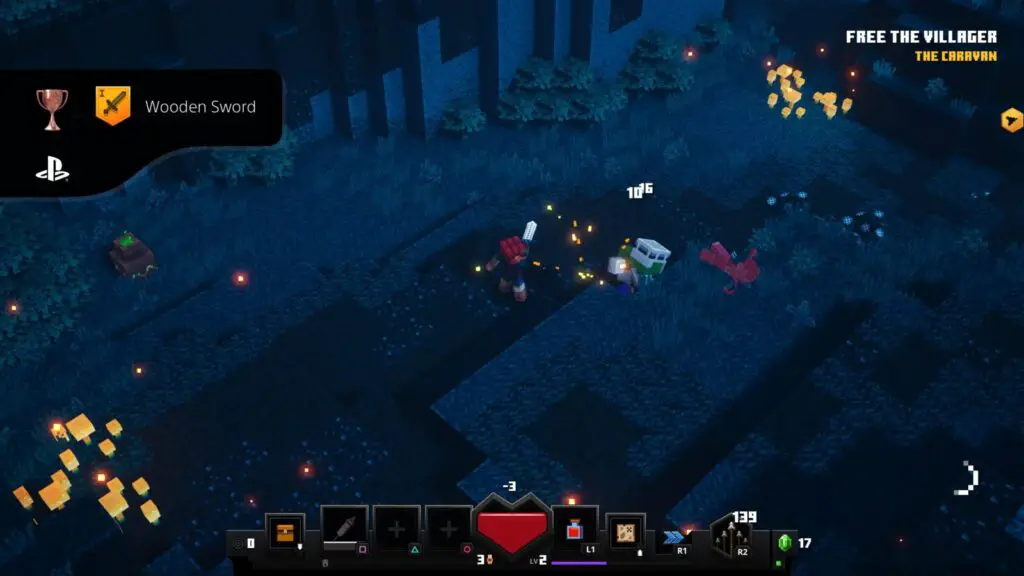
Wooden Sword
Defeat 50 mobs.
All you need to do for the Wooden Sword trophy is defeat a mere 50 mobs. You’ll do far more than that throughout the story so I’d be more impressed if you somehow didn’t have this trophy by the end of the first phase.

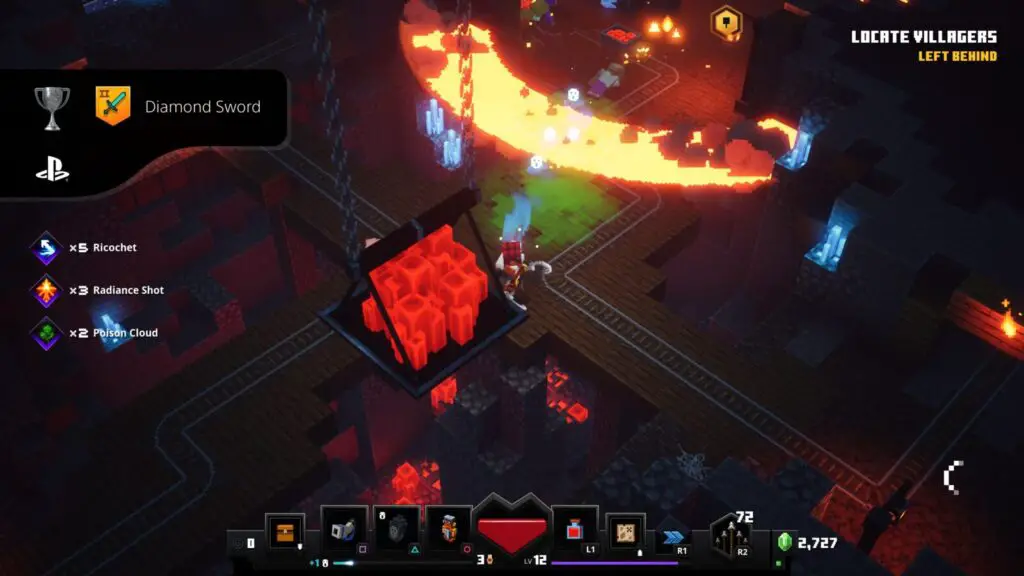
Diamond Sword
Defeat 2,500 Enemies
The Diamond Sword trophy is a massive step up from the Wooden Sword trophy. For this one, you’re going to need to kill 2,500 enemies. I would be extremely surprised if you completed all three phases of the trophy journey without collecting this trophy, to be honest.
If you don’t have it by the end of your journey, you know what to do! Get out there and hack up some enemies!

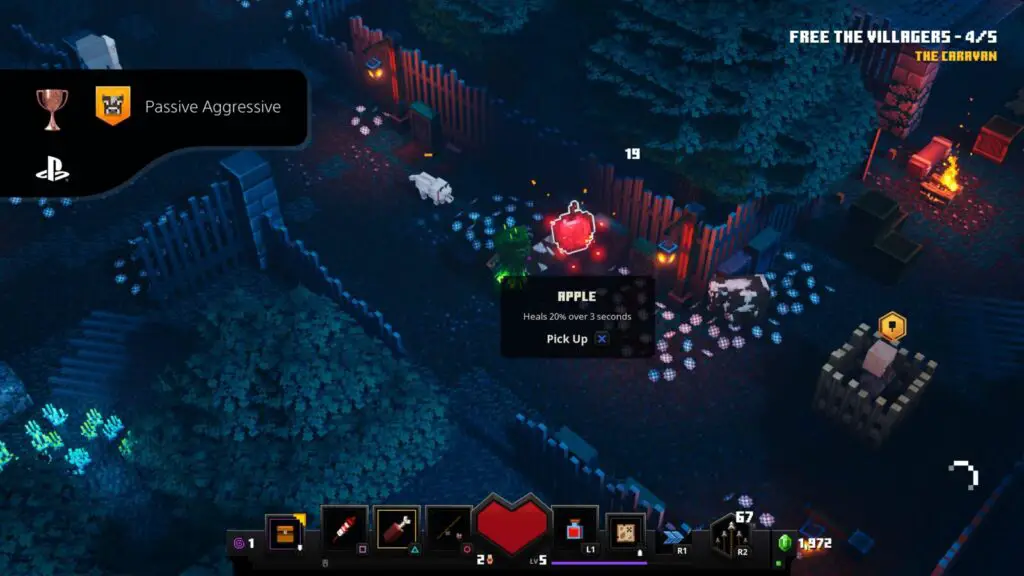
Passive Aggressive
Defeat 50 passive mobs.
Passive Mobs count as Cows, Sheep, Pigs, that sort of thing. You can kill them for resources you can use to recover health, but they will never fight back or attack you.
Defeating a total of 50 across your entire time playing the game will result in you receiving the Passive Aggressive trophy.

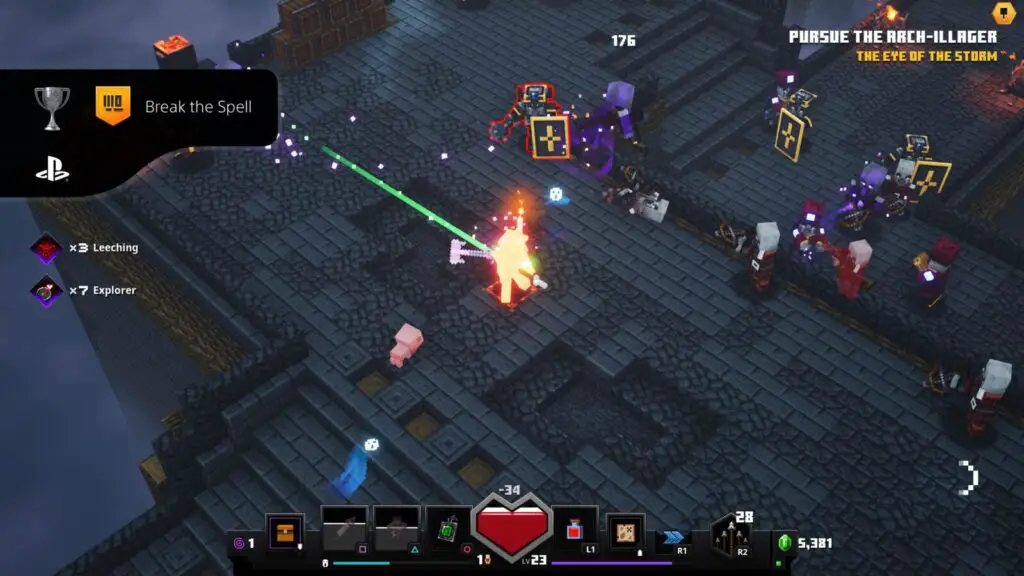
Break the Spell
Defeat 50 enchanted mobs.
Sometimes, enemies that you encounter will be “Enchanted.” These much more powerful enemies are bigger, have a purple aura, and will display text at the top of the screen when you hit them. This text will indicate both that they are enchanted, and what the details of their enchantment are.
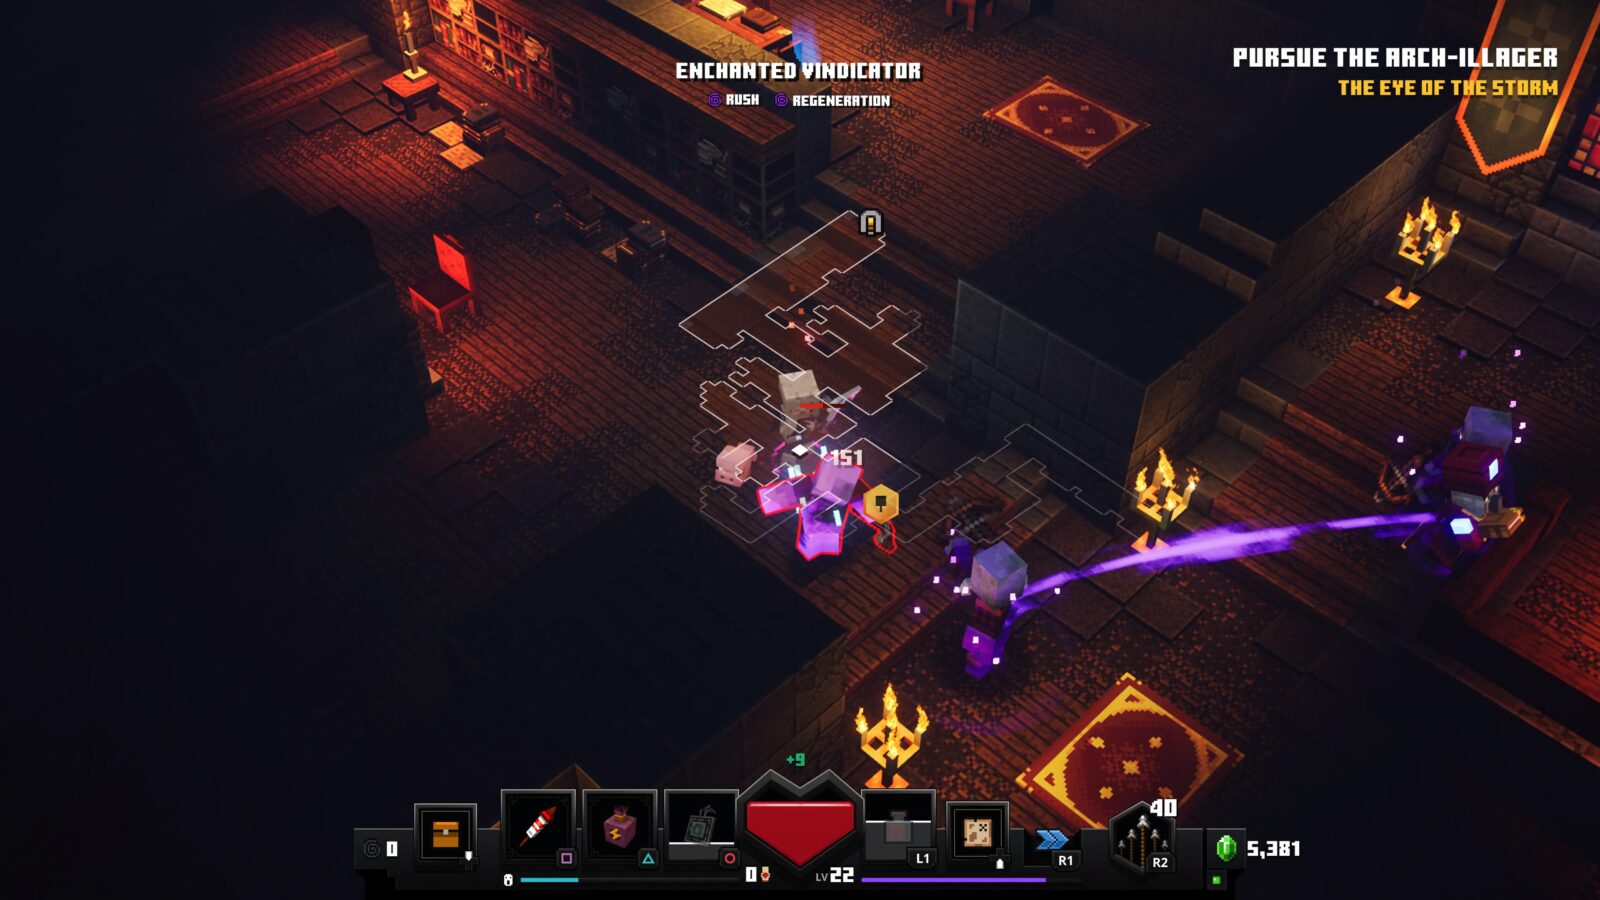
Typically they take a bit more effort to defeat but you will run into plenty of them throughout your trophy journey.
Sometimes, though not necessarily always, you will see a purple beam connecting the enchanted enemy to an Enchanter, so if you want progress for this trophy, you will need to allow these Enchanters to stay alive and do their thing until all Enchanted mobs are defeated. Once you have the trophy, though, it is wiser to prioritize the Enchanters moving forward.

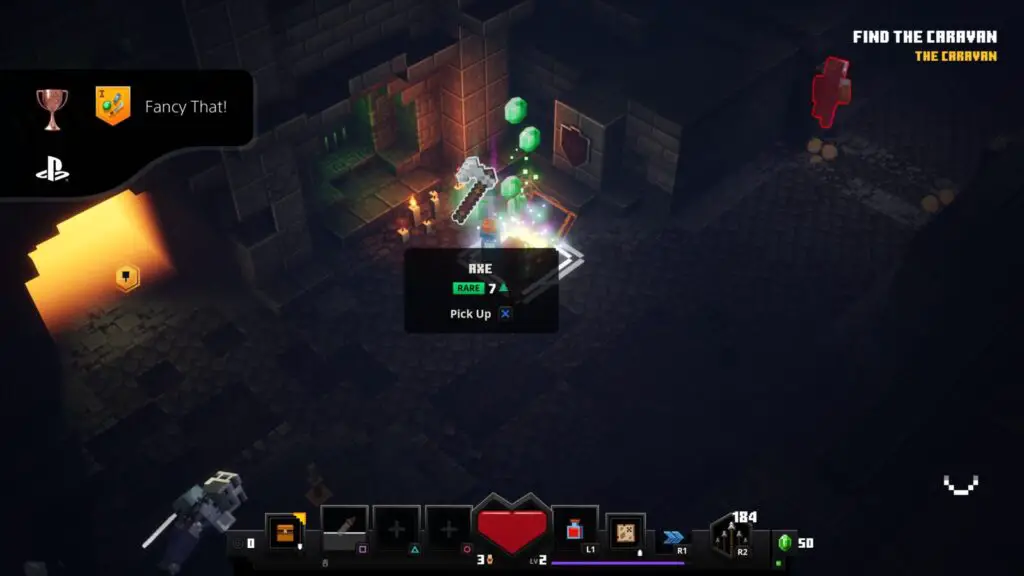
Fancy That!
Find and open your first 'Fancy' loot chest.
“Fancy” chests are large gold-coloured chests. Notably, they sometimes spawn on the back of a pig that you need to chase down. They do also spawn normally, though, and you’ll come across a great many of them on your travels.

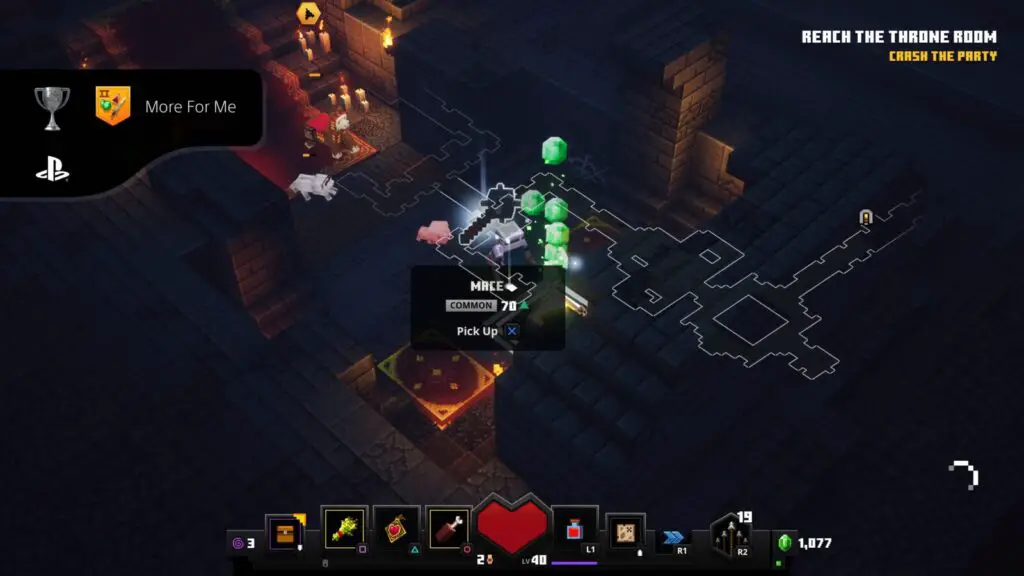
More for Me
Open 100 treasure chests.
To unlock the “More for Me” trophy, you need to find and open a cumulative total of 100 Treasure Chests. Not all chests will count towards this trophy, though, only Gold Chests, Supply Chests, and small Brown Chests will count. Fortunately, they make up the majority of the Chests you’ll come across in the game.
Honestly, across three playthroughs and lots of looting, the chances of you unlocking this trophy naturally are pretty high, especially if you’re someone who likes to explore levels thoroughly.
If you find you don’t yet have this trophy by the end of your trophy journey, then you will need to replay some levels and go chest-hunting!

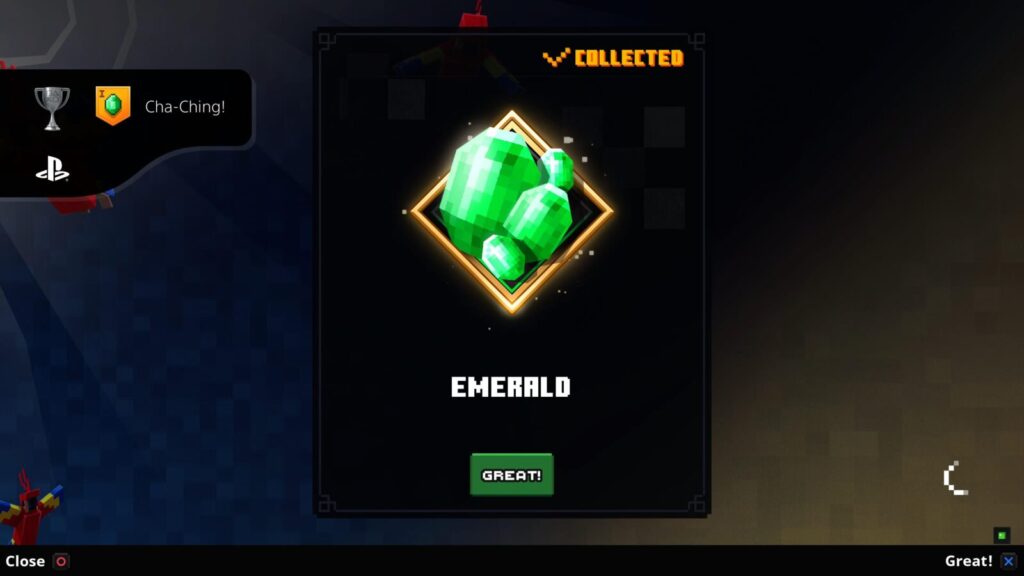
Cha-Ching
Collect a total of 1,000 emeralds.
You will unlock the Cha-Ching trophy upon collecting your 1000th Emerald. This is highly likely to occur naturally through at least one of your three playthroughs. You will eventually need to find and collect a cumulative total of 5,000 for Oooh! Shiny!

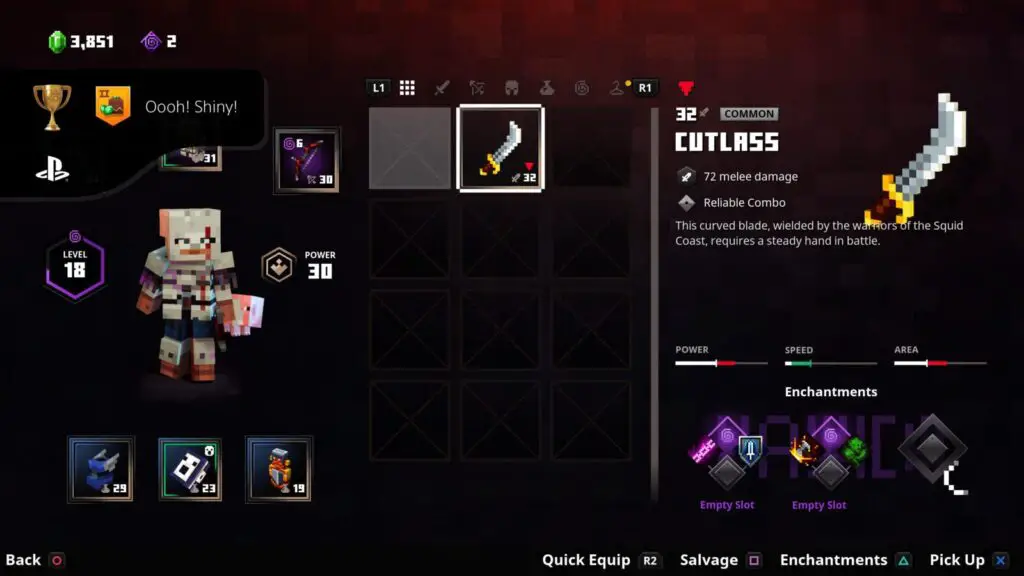
Oooh! Shiny!
Collect a total of 5,000 emeralds.
5,000 Emeralds seem like a lot of Emeralds but, honestly, given all the many sources of Emeralds and the fact that you have three playthroughs to complete, it’s a cake-walk and should happen naturally.
You will get Emeralds from breakable pots and treasure chests, but you will also receive emeralds for salvaging surplus gear (![]() in the inventory). If you find yourself needing to farm a few more emeralds, just start salvaging every piece of gear you find on a run, including artifacts, to quickly top up your balance.
in the inventory). If you find yourself needing to farm a few more emeralds, just start salvaging every piece of gear you find on a run, including artifacts, to quickly top up your balance.
Fortunately, this trophy is cumulative and you can spend your emeralds as much as you like in the run-up to earning the trophy without affecting it.

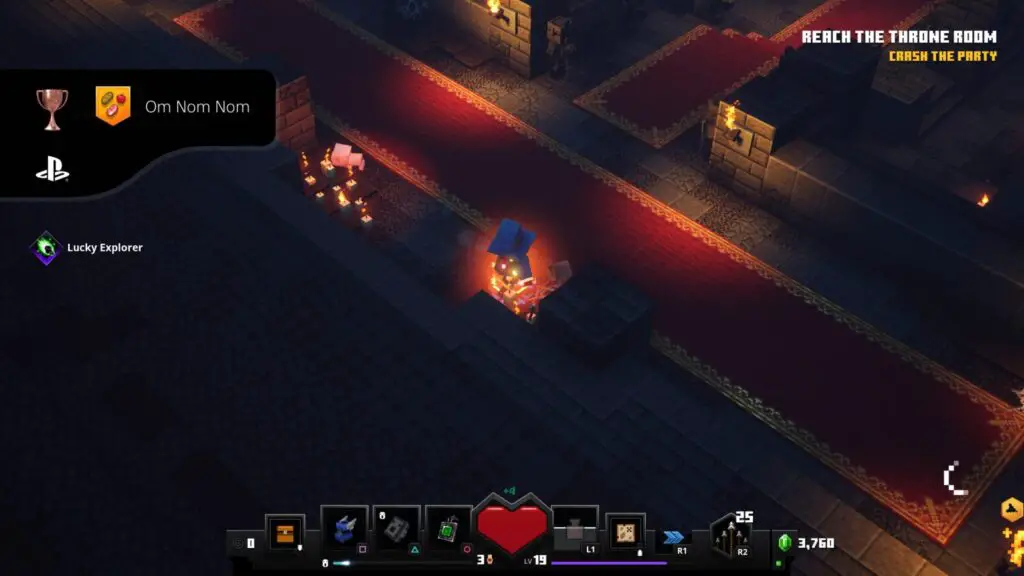
Om Nom Nom
Eat 200 food items.
Food items have a chance of dropping from any enemy but will most commonly drop from chests and passive mobs. When you stand over a food item, you can eat it by pressing ![]() when the prompt appears.
when the prompt appears.
Eating a food item will activate a healing effect that gradually recovers your HP over time. To unlock the Om Nom Nom trophy, you need to eat a cumulative total of 200 Food Items. Just keep your eye out for them and pick up any that you see and this trophy should come naturally. If not, you’ll need to replay some levels to get your hands on more food!

Blast Radius
Kill any 10 mobs at once with TNT.
This is one of the more difficult trophies to set up in-game and you may find yourself growing frustrated. Patience is all I can preach here, you kind of need the stars to align to get the perfect conditions for this trophy so it’s understandable if it takes a few attempts.
I will say that this trophy is a lot easier to accomplish on Adventure and Apocalypse difficulties because of the sheer number of enemies in each level on those difficulties.
To unlock Blast Radius, you will need to kill 10 Mobs simultaneously using a single TNT explosion.
Firstly, TNT blocks drop all the time, typically from defeated mobs but sometimes from Chests too. When you approach one and press ![]() you will stack it onto your head. You can hold multiple stacks of TNT at a time. When you press
you will stack it onto your head. You can hold multiple stacks of TNT at a time. When you press ![]() while holding TNT on your head, you will throw the TNT instead of using your ranged weapon.
while holding TNT on your head, you will throw the TNT instead of using your ranged weapon.
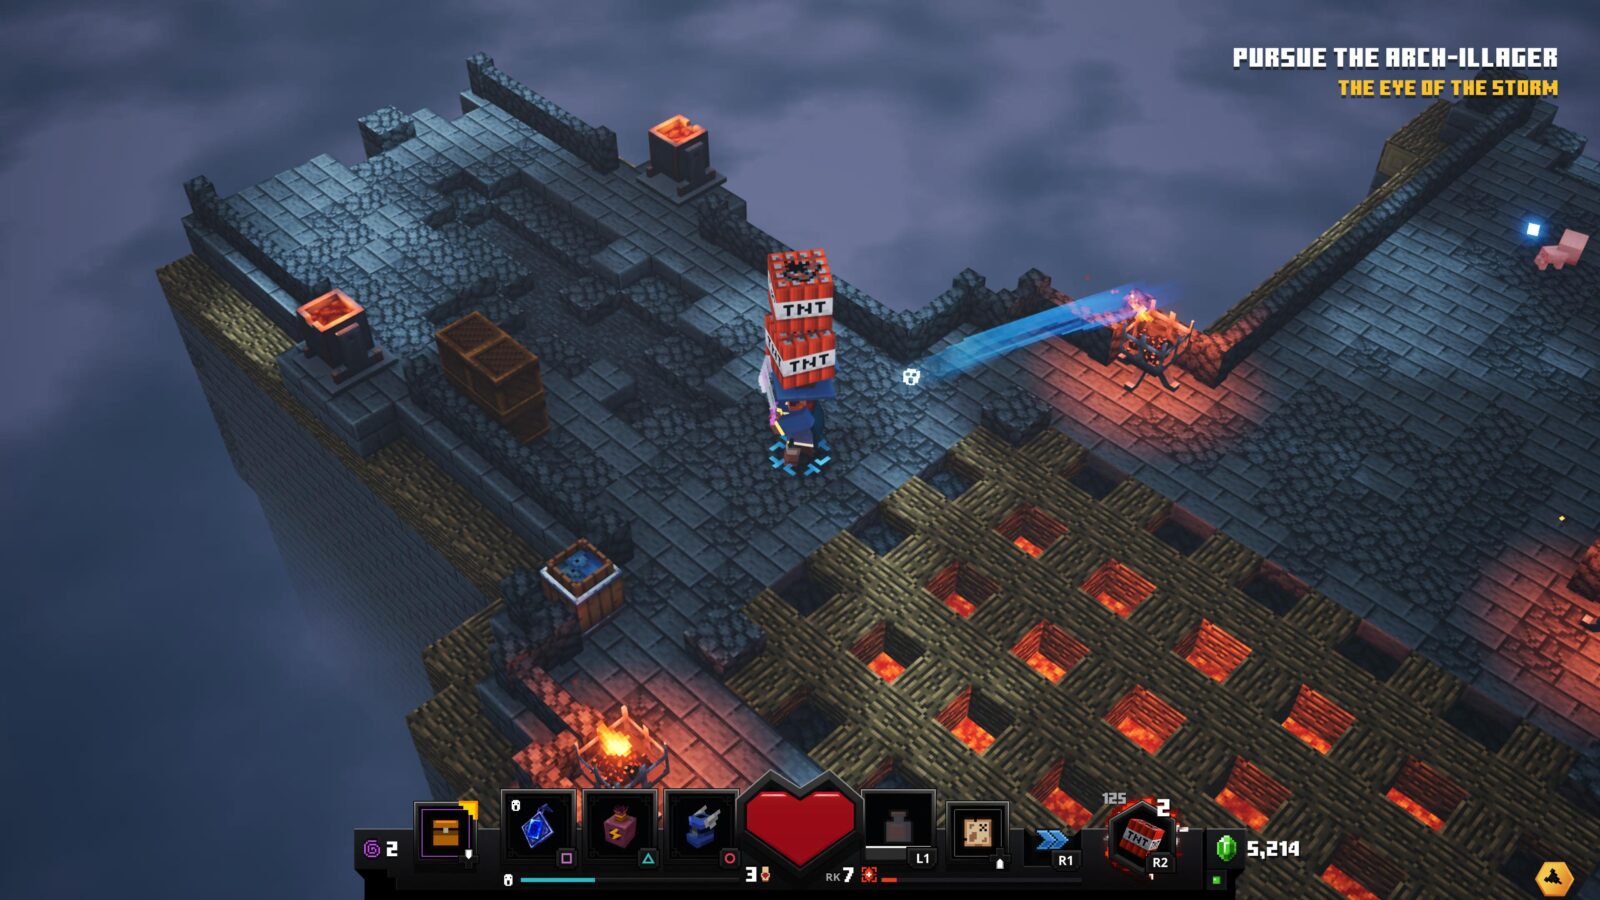
The TNT will then hiss for a small moment while an explosion radius emanates from its position. Any enemies caught in this radius when the TNT explodes will take damage. You need to defeat 10 enemies with a single explosion, so you’ll need to look for particularly big crowds of enemies to throw the TNT into.


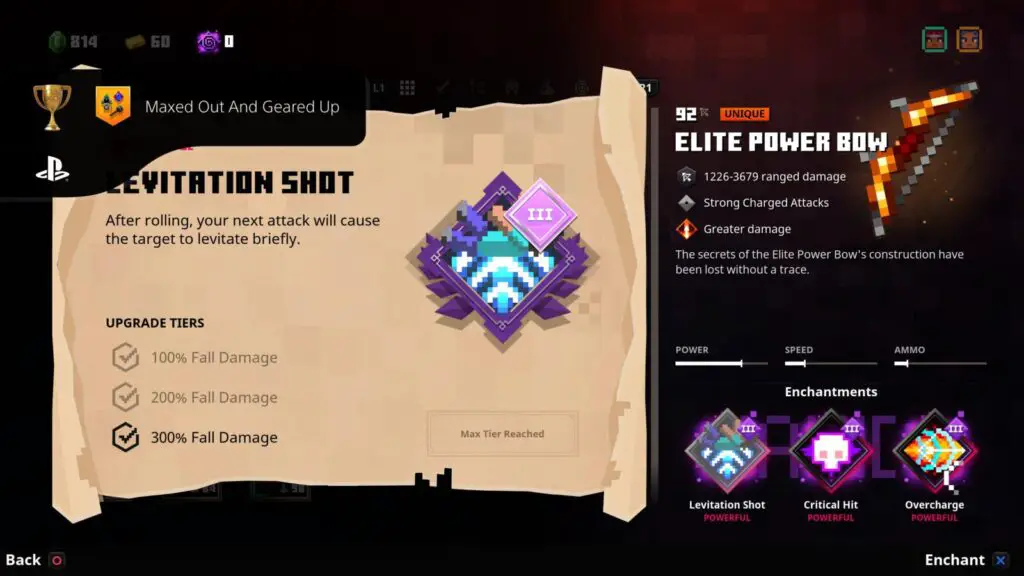
Maxed Out and Geared Up
Equip a Gear set consisting of fully enchanted items (3 Enchantment Slots upgraded to Level 3).
Maxed Out and Geared Up is one of the trophies you won’t be able to earn until you’re deep into the game, likely on your third playthrough.
First, you will need to find and collect three pieces of gear which each have three active enchantment slots. It’s very rare to find gear that can hold three enchantments, especially in your first few playthroughs, but you should start coming across them on Apocalypse Difficulty.
Once you have a melee weapon, armor set, and ranged weapon all with three available enchantment slots, you will need to purchase at least one level of enchantment in all three slots of all three pieces of gear.
When you have a full set of fully-enchanted three-enchantment gear equipped for the first time, the Maxed Out and Geared Up trophy will unlock!

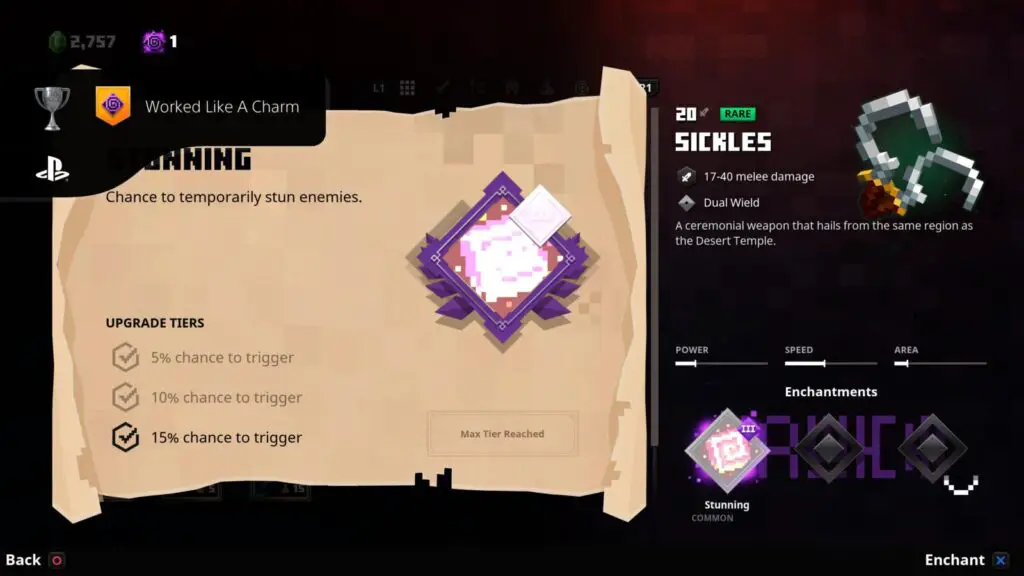
Worked Like a Charm
Enchant an item and upgrade the enchantment to Tier 3.
With a total of 6 enchantment points (which you earn for each level up), you can fully enchant a gear slot.
To enchant gear, open your inventory with ![]() and then press
and then press ![]() on your enchantable gear. You can have up to 3 enchantment slots on a piece of gear and each will require 6 enchantment points to max out.
on your enchantable gear. You can have up to 3 enchantment slots on a piece of gear and each will require 6 enchantment points to max out.
To unlock the “Worked Like a Charm” trophy, you will need to fully enchant one enchantment slot for the first time. This will unlock naturally on your way to the Maxed Out and Geared Up trophy.

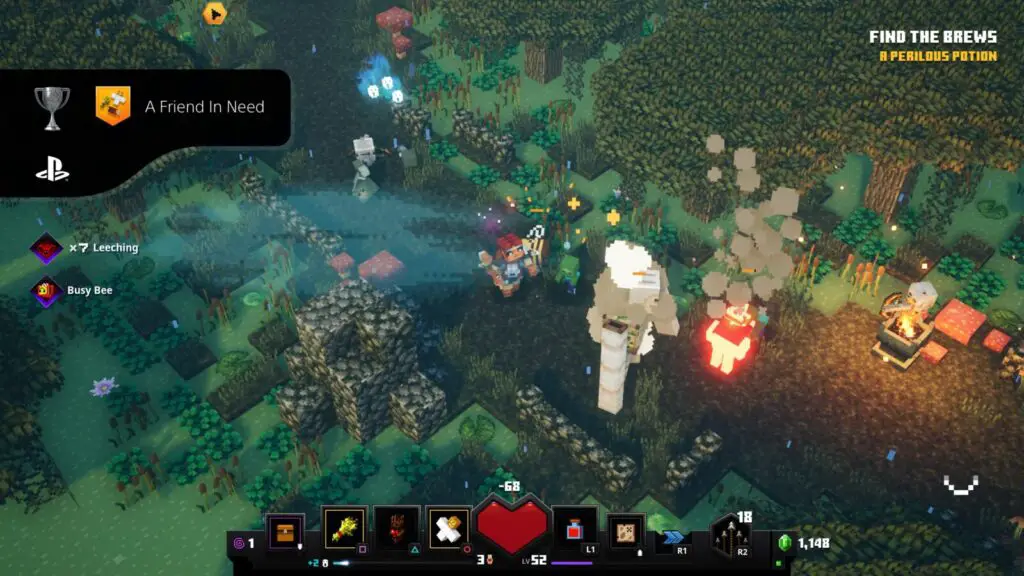
A Friend in Need
Use artefacts to summon the Wolf, Llama and Iron Golem allies at least once each.
To unlock the “A Friend in Need” trophy, you need to summon the three types of mob ally available in the game at least once. Before you can do that, though, you will need to find and unlock their Artifacts.
If you get extremely lucky, you can find all three of these artifacts at various merchants throughout the game, but your best bet is to try and actively collect them as mission rewards.
| Artifact | Summon | Where to Find |
|---|---|---|
| Tasty Bone | Wolf |
One of the possible rewards for completing Creeper Woods and the “Creepy Crypt” secret mission.
|
| Wonderful Wheat | Llama |
One of the possible rewards for completing Cacti Canyon, Obsidian Pinnacle, and the “Arch Haven” secret mission.
|
| Golem Kit | Golem |
One of the possible rewards for completing Pumpkin Pastures on apocalypse difficulty.
|
As and when you collect each of the artifacts, make sure you equip and use them at least one time. Once you have used all three, the A Friend in Need trophy will unlock!
PlatGet!

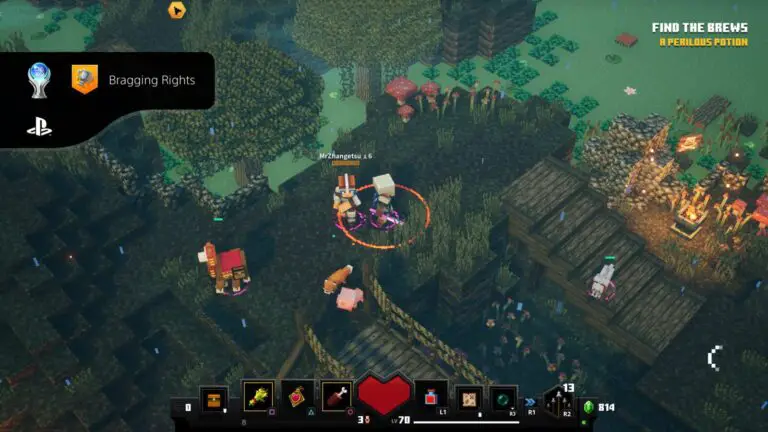
Bragging Rights
Unlock all other trophies.
After collecting every trophy in this Minecraft Dungeons Trophy Guide, the "Bragging Rights" Platinum Trophy will unlock. Congratulations!
Thanks for Reading
Plat Get!
Thank You!
Thank You for choosing PlatGet as your source for this Minecraft Dungeons Trophy guide.
Wondering what to complete next? Browse our complete guide selection or check out our friends at PlatPrices.com to filter the PS Store based on price, trophy difficulty, or completion time.
Got a question, some feedback, or just want to say thanks? Drop a comment in the discussion section below, we'd love to hear from you! No account required!!