PlayStation 4, PlayStation 5
Kena: Bridge of Spirits Trophy Guide


General Info
FAQ
How long does it take to beat Kena: Bridge of Spirits and unlock all trophies?
About 20-25 hours.
How difficult is it to beat Kena: Bridge of Spirits and unlock all trophies?
Medium (5/10).
Does Kena: Bridge of Spirits have online trophies?
No.
Does Kena: Bridge of Spirits have difficulty-specific trophies?
Yes.
Does Kena: Bridge of Spirits have missable trophies?
Yes.
Does Kena: Bridge of Spirits have glitched trophies?
No.
What is the minimum number of playthroughs required to unlock all trophies in Kena: Bridge of Spirits?
Two (Any Difficulty + Master Difficulty).
Does Kena: Bridge of Spirits have a Platinum Trophy?
Yes.
Other Useful Guides:
Kena: Bridge of Spirits Collectible Locations Guide
Trophy Guide
Kena: Bridge of Spirits Trophy Guide and Road Map for PlayStation 4 & PlayStation 5
Welcome to our Kena: Bridge of Spirits Trophy Guide. This beautiful Pixar-quality game follows the story of Kena, a spirit guide tasked with aiding spirits in reaching the afterlife. When she comes across a village scarred by corrupt spirits, she sets out to help the guilt-wrought spirits forgive themselves and move on so that the land may heal and life can return.
Interweaved throughout this touching and epic story, you will find yourself searching every nook and cranny of the village and surrounding areas to find more adorable Rot friends to help you on your journey as well as myriad collectibles hidden behind fun–yet challenging–puzzles.
Phase One – First Playthrough, Any Difficulty & Combat Trophies
In this first phase of our Kena Bridge of Spirits Trophy Guide, you have two main objectives.
The first objective is to simply complete the game’s story on any difficulty. I would recommend that you play on “Spirit Guide” difficulty so that you get used to the combat, ready for your Master Difficulty playthrough in Phase Three of this Kena Bridge of Spirits Trophy Guide but, ultimately, the choice is yours.
You will earn myriad unmissable story trophies by completing the story.
Your second objective is to try and unlock all of the Combat Trophies. The reason for this is that the game has only a finite number of enemies that you will fight through the story. If you reach the end of the story and there are combat trophies you have not earned, you will not be able to re-engage in combat with any enemies and will need to start a new save to find more combat opportunities.
If you feel that you’ve found a good combat opportunity for any of the Combat Trophies, you should create a save via the ![]() pause menu so that you can repeatedly load it and re-attempt the encounter.
pause menu so that you can repeatedly load it and re-attempt the encounter.
You will get a second shot at these in your second playthrough during Phase 3 of our Kena: Bridge of Spirits Trophy Guide, but they will be a lot harder to earn with the increased difficulty.
You might as well use Photo Mode during this playthrough, too, to unlock Say Cheese, the only really miscellaneous trophy in this game.
Unmissable Story Trophies


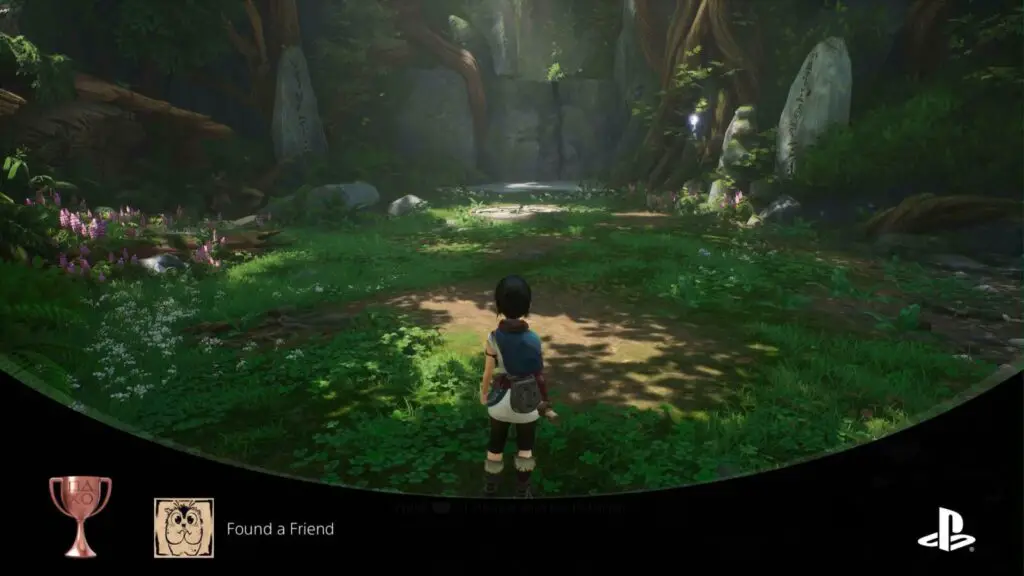
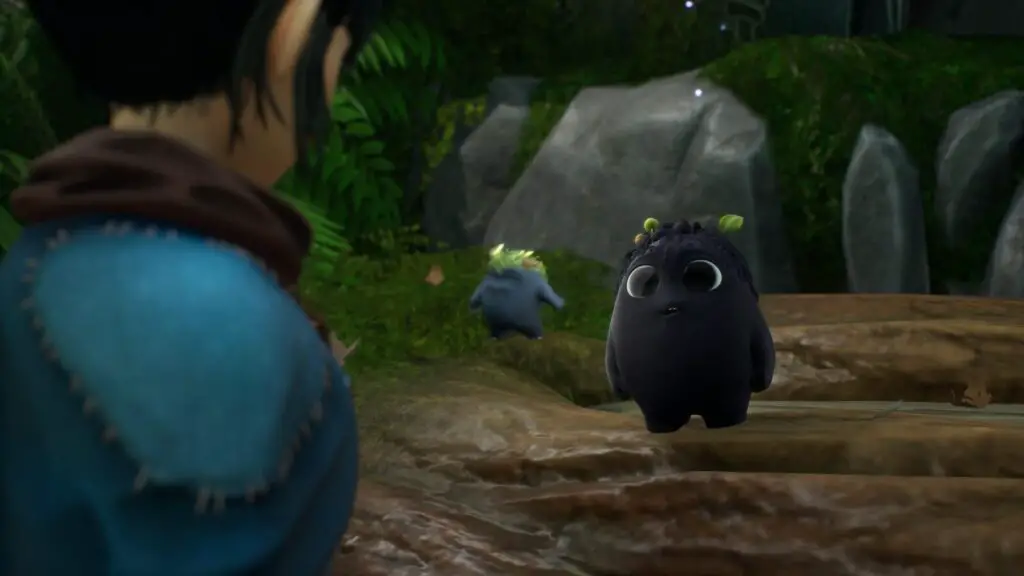
Found a Friend
Hero Rot joined your team.
During the game’s intro, you’ll meet Hero Rot as part of a tutorial on how you can use ![]() to interact with hidden Rot.
to interact with hidden Rot.

Haikyo
Discovered the Village.
You will enter the village shortly after the game’s intro.

Into the Woods
Discovered the Forest.
You will enter the Forest while searching for Taro.

Hunter in the Forest
Learned the Bow Ability.
You will learn the Bow Ability from Rusu as part of the story.

Taro’s Fear
Found Taro’s Knife Relic.
Taro’s Knife is the first Relic you earn for the story, found at Rusu’s House.

Taro’s Love
Found Taro’s Food Offering Relic.
Taro’s Love is the second Relic you find during the story.

Taro’s Regret
Found Taro’s Lantern Relic.
The Taro’s Lantern Relic is the third Relic you acquire through the story, found in the Lantern Cave area.


Spirit Guide
Defeated Corrupted Taro.
Taro’s is the first corrupted spirit you will fight. Once you have all three of Taro’s Relics in the Forest region, you’ll take them to your objective marker and then face off against Corrupted Taro. Defeat them to unlock Spirit Guide.

Harness Your Power
Learned the Bomb Ability.
You will learn the bomb ability from a character you meet just before entering the Fields region.

The Open Range
Discovered the Farm.
You will first enter the Fields after defeating Corrupted Taro, which contains a Farm where this trophy will unlock.

Adira’s Love
Found Adira’s Ox Relic.
The Ox Relic is the first of Adira’s Relics, found in the Fields Region.

Adira’s Fear
Found Adira’s Hammer Relic.
Adira’s Hammer is the second relic you find in the Fields Region.

Adira’s Regret
Found Adira’s Village Heart Relic.
Adira’s Village Heart Relic is the third and final relic you find in the Fields/Village Heart Region.

A Heavy Hammer
Defeated the Corrupted Woodsmith.
After finding all three of Adira’s Relics in the Fields Region, you will bring them to your objective marker and then fight the Corrupted Woodsmith. Defeat them to unlock A Heavy Hammer.

Crossing Over
Learned the Dash Ability.
You will learn the Dash Ability after your first run-in with Toshi as part of the story.

Toshi’s Love
Found Toshi’s Village Crest Relic.
The Village Crest Relic is one of Toshi’s Relics, earned at the end of the Warrior Path area as part of the story.

Toshi’s Fear
Found Toshi’s Incense Relic.
The Incense Relic is one of Toshi’s Relics, earned at the end of the Mask Maker’s Path area as part of the story.

Toshi’s Regret
Found Toshi’s Harpoon Relic.
The Harpoon Relic is one of Toshi’s Relics, earned at the end of the Hunter Path area as part of the story.

A Leader Walks Alone
Defeated Corrupted Toshi.
Collect all three of Toshi’s Relics in the Village Region and then bring them to your objective marker to begin the fight with Corrupted Toshi. Defeat him to unlock A Leader Walks Alone.

The Lonely Path
Reached the Mountain Shrine.
After earning A Leader Walks Alone, you will make your way to the Mountain Shrine as part of the story, unlocking The Lonely Path.


Restore Balance
Defeated the Corrupted Rot God.
The Rot God is the final boss of the game, who you will face at the Mountain Shrine as part of the story. Defeat it to earn the Restore Balance trophy.
Combat Trophies

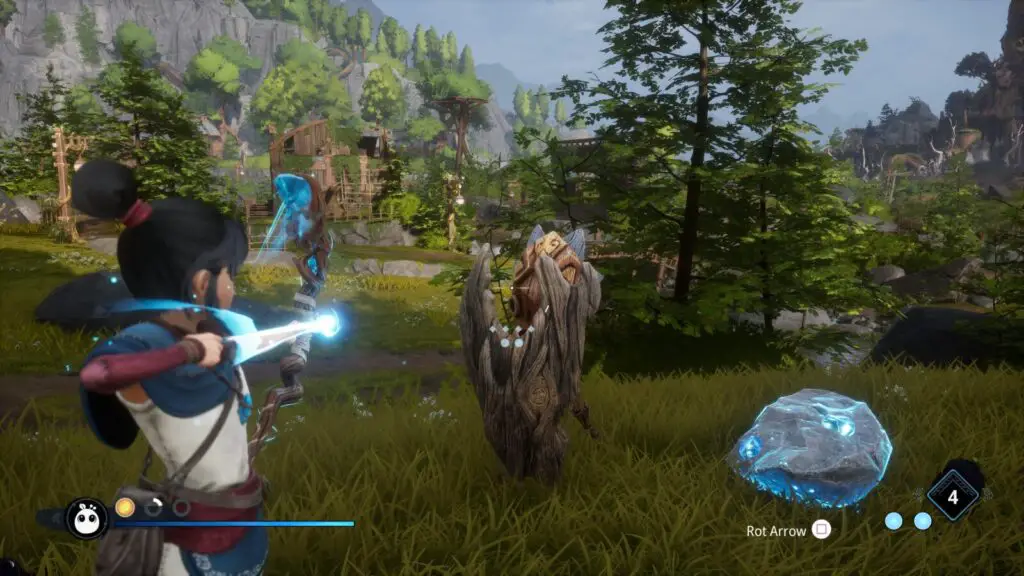
Piercing Blow
Hit 3 Enemies with a single Rot Infused Arrow.
Before you can achieve the Piercing Bow trophy, you will first need to purchase the “Rot Infused Arrow” ability from the right-hand column in the Upgrades Menu ![]() .
.
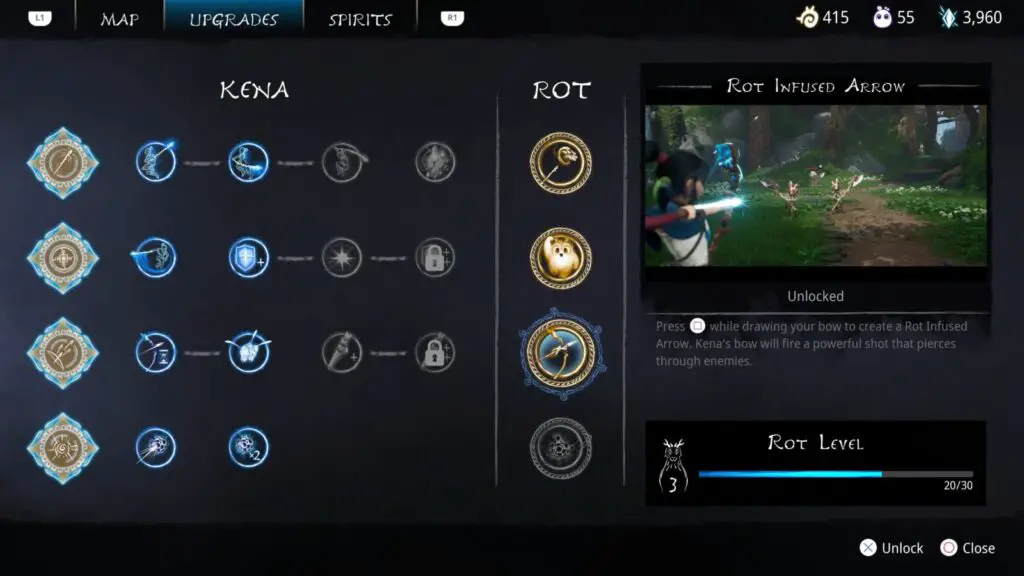
Once purchased, you can press ![]() while holding
while holding ![]() &
& ![]() to draw your bow. This will add Rot power to the shot, making it pierce enemies and deal more damage.
to draw your bow. This will add Rot power to the shot, making it pierce enemies and deal more damage.
You will need to use this ability to defeat three enemies in a single shot. By using its piercing abilities, you can take out three enemies providing they are relatively close to being in single file. The tutorial video for the ability within the upgrades menu actually acts as a pretty good example for this, as you can see Kena shooting three “Stick” enemies with a single use of the ability.
Once you successfully take out three enemies of any type with a single shot, the Piercing Bow trophy will unlock.

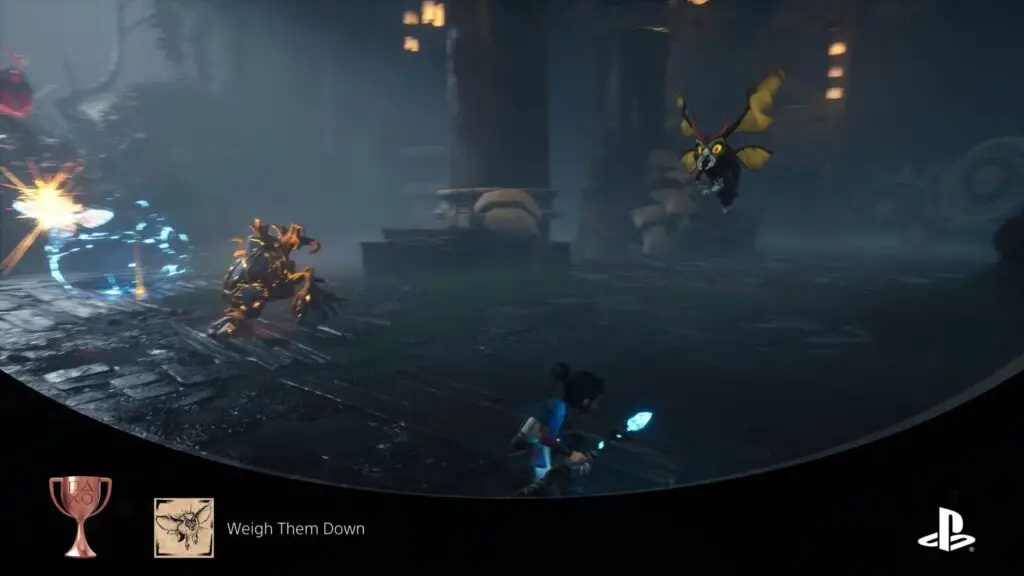
Weigh Them Down
Destroyed a Moth enemy with a Bomb.
The name of the “Weigh Them Down” trophy would suggest that you need to stick a bomb onto a Moth enemy and then blow it up in order to unlock the trophy, but it’s actually quite a lot simpler than that.
Moth enemies are very weak and can’t tank very much damage at all. Couple that with the wide blast radius of a bomb, and you can pretty easily just stick the bomb onto any surface and detonate it when a moth enemy is close by shooting an arrow at the bomb.
I unlocked the trophy by accident simply by doing exactly that. And it happened several times afterward too.
You may have a more difficult time with this trophy depending on the difficulty you have the game set to. To ensure you can take out the moth enemies in just a single explosion, consider switching the difficulty down to Story Mode temporarily.
You can combine this trophy with the Sharpshooter trophy to get two for one.

Quick Draw
Hit 3 critical hit spots in 3 seconds.
Unlocking Quick Draw will require you to hit three critical hit spots within a small time window of 3 seconds. Critical Hit spots are glowing yellow/orange and red spots on enemies.
This sounds quite difficult at first but actually is quite simple provided you find the right group of enemies. About a third of the way through the game, you’ll come to meet small, bulbous, explosive enemies who charge at you and explode when they get close. On their backs are huge, glowing, red sacks.
These red sacks count as critical hit spots and so simply shooting three of these sacks in a row will earn you the trophy. These critters almost always spawn in a group so if you simply get some distance, and quickly–but accurately–loose a few arrows at them, you’re likely to earn the Quick Draw trophy naturally.

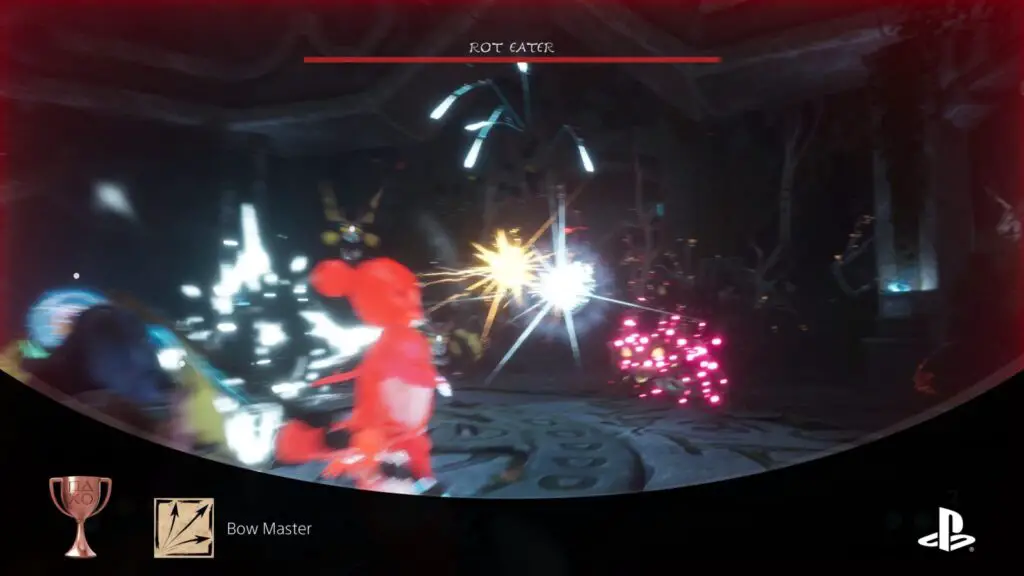
Bow Master
Hit 3 enemies with a single Multi-shot.
Before you can unlock the Bow Master trophy, you will need to purchase the “Bind Multishot” skill. To use the Bind Multishot skill, you will first need to bind an enemy by aiming at them and pressing ![]() to send your Rot friends to hassle them.
to send your Rot friends to hassle them.
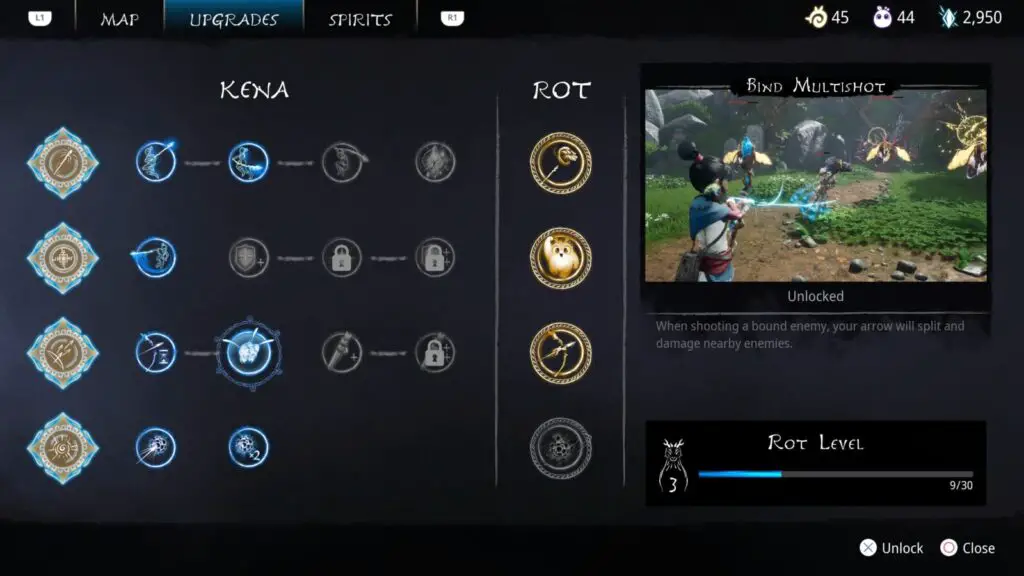
While they’re distracted and effectively stunned by your Rot, any arrows shot at them will split and hit any nearby enemies.
In order to unlock the Bow Master trophy, you should use this ability to hit three or more enemies at once.

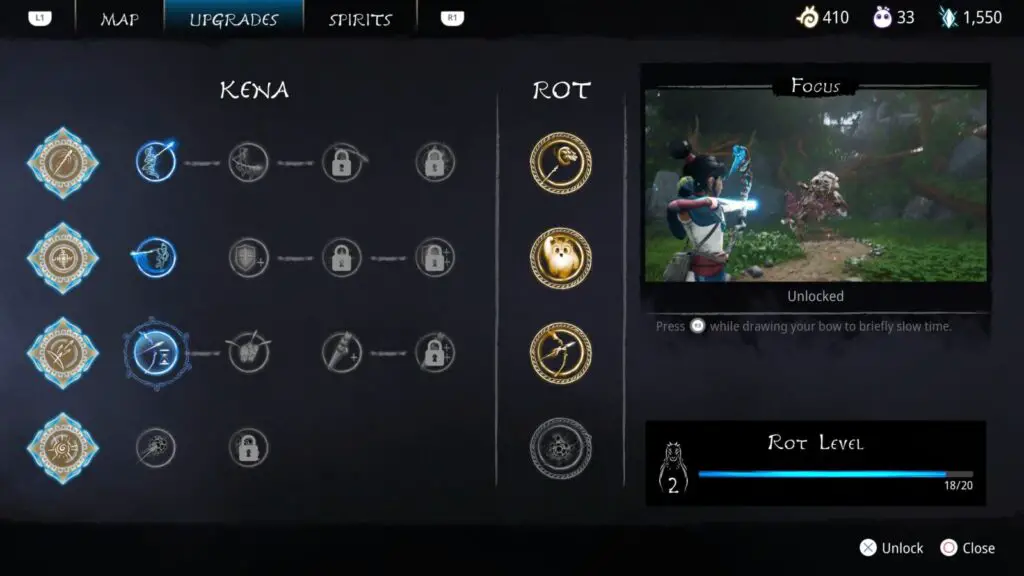
Sharpshooter
Defeated an enemy by shooting a Bomb out of the air.
To unlock the Sharpshooter trophy, I highly recommend purchasing the “Focus” bow skill. This way, you can buy yourself enough time to shoot the bomb out of the air by pressing ![]() to slow things down.
to slow things down.
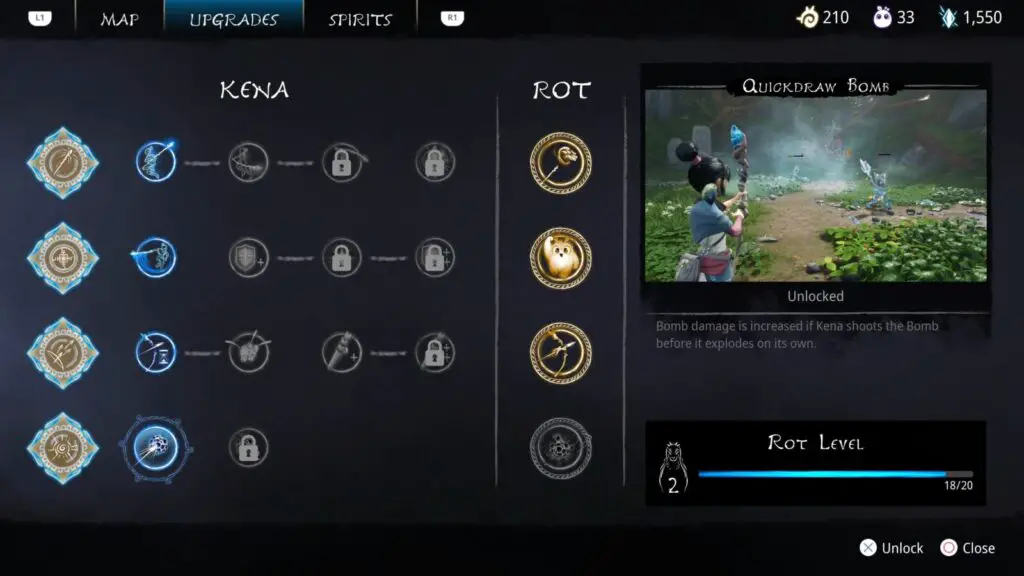
You might also want the “Quickdraw Bomb” skill, which increases the damage of a bomb if you detonate it prematurely using the bow and arrow.
Next, you’ll want to find a weak, easy-to-kill enemy, such as a Moth. Aim towards the moth by holding down ![]() and then throw a bomb towards it with
and then throw a bomb towards it with ![]() . Immediately, pull back on
. Immediately, pull back on ![]() to draw your bow and then hit
to draw your bow and then hit ![]() to slow time. If you’re quick enough, you should be able to shoot the bomb out of the air while it is close enough to the Moth that it kills it upon detonation.
to slow time. If you’re quick enough, you should be able to shoot the bomb out of the air while it is close enough to the Moth that it kills it upon detonation.
You’ll have plenty of opportunities to earn this trophy, but it’s not as difficult as it sounds once you get the timing right. If you do unlock this trophy on a Moth enemy, you will unlock Weigh Them Down at the same time, provided you don’t already have it.

Between the Eyes
Destroyed a Shield Sticks without breaking his shield.
Shield Sticks are small enemies which were introduced near the start of the game. They’re about child-sized and hobble around with a wooden shield the size of their body.
The shield deflects ![]() light attacks, but it is brittle and will break from one or two
light attacks, but it is brittle and will break from one or two ![]() heavy attacks (depending on the difficulty setting). However, once you have the bow, there is a quicker and easier way of defeating them.
heavy attacks (depending on the difficulty setting). However, once you have the bow, there is a quicker and easier way of defeating them.
The Shield Stick shields all have the same shape, with a notch missing at the top, through which you can see their face. You’ll need to fire an arrow through this notch, effectively landing a headshot without needing to break the shield.
The first time you defeat a Shield Stick with your bow in this way, the Between the Eyes trophy will unlock!
To make things easier, you can purchase the “Focus” bow skill, which will allow you to slow time by pressing ![]() while your bow is drawn.
while your bow is drawn.

Return to Sender
Destroyed a Mage with its own bomb.
Mages are a very rare enemy type and you will only find a select few throughout the story. To get around this limited Mage supply, I recommend pausing the game ![]() when you encounter one and then saving your game in a separate slot. This way, you will always have a mage encounter to return to in order to attempt this trophy repeatedly, given that it is quite a tricky trophy to pull off.
when you encounter one and then saving your game in a separate slot. This way, you will always have a mage encounter to return to in order to attempt this trophy repeatedly, given that it is quite a tricky trophy to pull off.
Once engaged in combat with a Mage enemy, lower its health to the point that it is almost dead – note that they will recover health once per fight.
When the Mage’s health is low enough, stop attacking it. Instead, wait for it to use an ability where it throws a large red orb at you. This is a homing attack that will follow you wherever you go. Your aim is to wait until the attack almost comes into contact with Kena and then hold ![]() to parry the attack.
to parry the attack.
A parried mage bomb will be deflected and sent flying straight back to the Mage that created it, dealing damage. You will need this parried Mage bomb to deal enough damage that it kills the Mage, hence the instructions to lower the enemy’s health.
If you are successful in killing a Mage with its own bomb attack, the Return to Sender trophy will unlock.

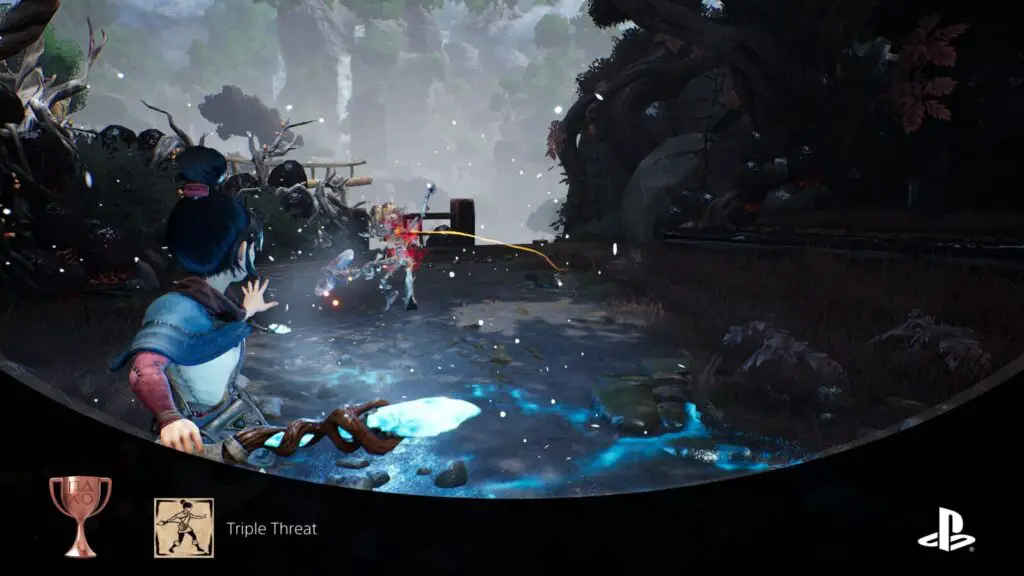
Triple Threat
Destroyed 3 enemies with a single Parry.
Parrying is done by pressing ![]() just before an attack hits you. This will deflect the enemy’s attack, stagger them, and deal damage in a small radius around Kena.
just before an attack hits you. This will deflect the enemy’s attack, stagger them, and deal damage in a small radius around Kena.
To unlock the Triple Threat trophy, you must trigger a single parry that effectively kills three enemies. In the interest of increasing your chances, you should use the bow to weaken three enemies to the point that a single attack– or, indeed, parry–will be enough to finish them off.
Then, with three weakened enemies surrounding you, parry an attack close enough to all three that they are all killed by the Area of Effect blast. If you are successful, the Triple Threat trophy will unlock!

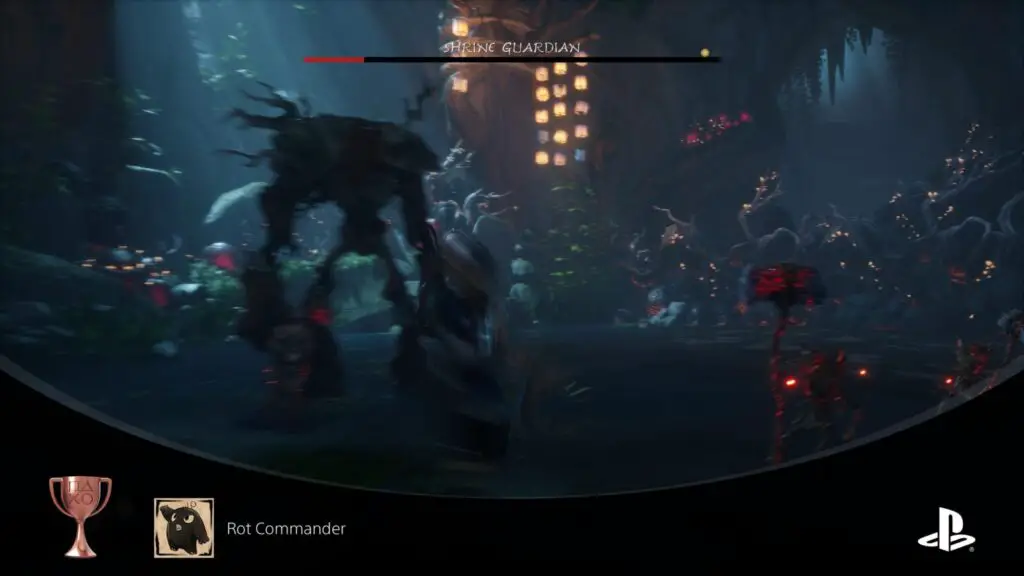
Rot Commander
Use 5 Rot Actions in a single combat.
There are various ways you can use Rot in combat; pressing ![]() to make them swarm and stun the enemy, holding
to make them swarm and stun the enemy, holding ![]() and pressing
and pressing ![]() to use Rot Hammer, holding
to use Rot Hammer, holding ![]() and pressing
and pressing ![]() to charge a Rot arrow, and many more.
to charge a Rot arrow, and many more.
Many of these abilities require you to purchase certain skills, but once you have those skills you can use the abilities in combat by spending courage (yellow circle) which charges up throughout the battle.

To unlock Rot Commander, you will need to trigger five of these abilities within a single combat encounter. If you ask me, I wouldn’t say you really need to worry about trying to unlock Rot Commander, it’s very likely to unlock naturally, especially during long boss fights.
If you’re trying to earn this trophy but find that you keep running out of courage, try switching to Story difficulty temporarily so that your Rot Abilities recharge passively and you can easily just fire them off back-to-back.
You do not need to use five different abilities, you can even use the same one five times if you wish.
Upon the successful fifth use of a Rot Ability within a single combat encounter, the Rot Commander trophy will unlock.

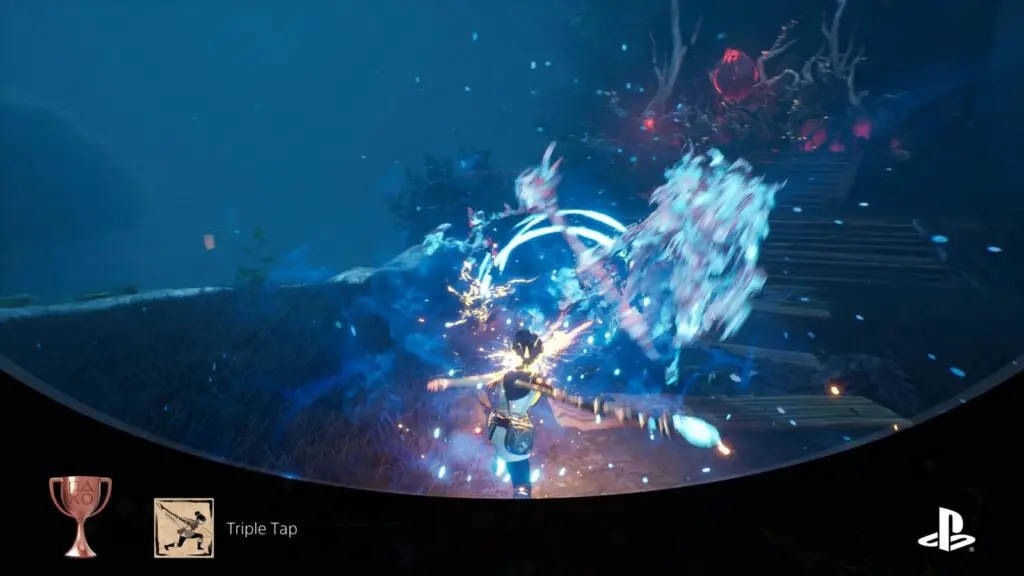
Triple Tap
Destroyed 3 enemies with a single dash attack.
You will unlock the Dash Attack ability shortly after defeating the Corrupted Woodsmith. With it, you will be able to press ![]() +
+ ![]() simultaneously and trigger a powerful warping attack whereby Kena will dash forwards, dealing damage in her wake.
simultaneously and trigger a powerful warping attack whereby Kena will dash forwards, dealing damage in her wake.
The dash doesn’t go extremely far, and the damage radius is actually quite small, so in order to unlock the Triple Tap trophy and kill three enemies with a single use of this attack, you will want to find three fairly weak (or weakened) enemies and trigger the Dash ability towards them while they are huddled very close together.
As with Triple Threat, you can use your bow to weaken three enemies, and then try to corral them together to increase your chances of success.
Once you’ve defeated three enemies with a single Dash Ability use, you should unlock the Triple Tap trophy.
Use Photo Mode

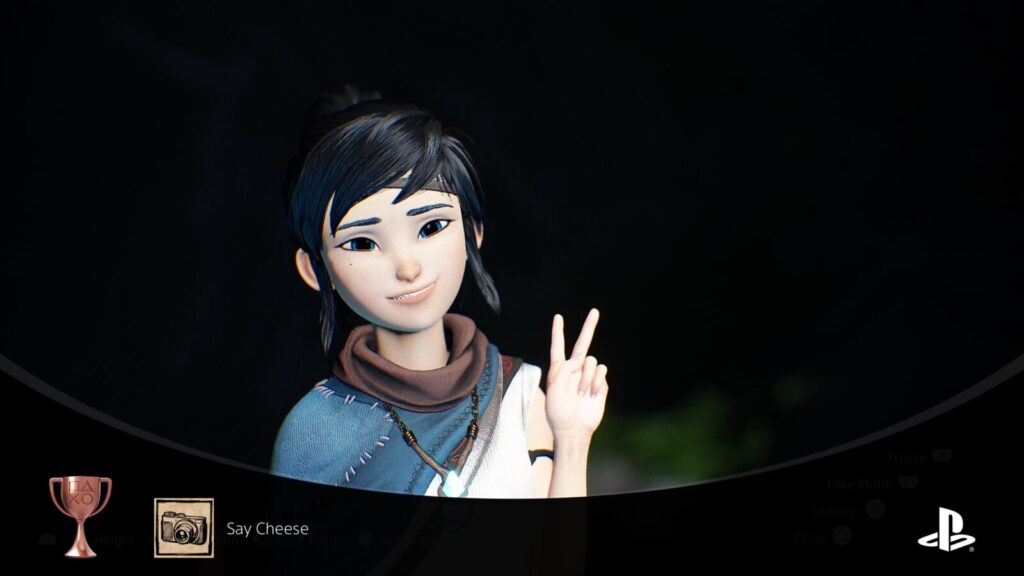
Say Cheese
Captured a picture in Photo Mode
At any point in the game, you can press ![]() to open a pretty great photo mode. Position the camera however you like and apply settings as you please via
to open a pretty great photo mode. Position the camera however you like and apply settings as you please via ![]() , but once your shot is ready you can press [lr1] to take the photo.
, but once your shot is ready you can press [lr1] to take the photo.
This saves the image without the UI overlay, direct to your console’s media library, meaning you don’t need to hide the UI and press the share button to take the screenshot yourself!
The first time you do this (of many, I am sure) the Say Cheese trophy will unlock.
Phase Two – Collectible Cleanup
Though you will now have access to the Master Difficulty for your second playthrough, we should first achieve 100% completion on your lower-difficulty save throughout this second phase of our Kena Bridge of Spirits Trophy Guide.
After completing the story, you will be sent back to the main menu. Select “Continue” to return to the moment before you meditated at the Mountain Shrine, after defeating the Rot God.
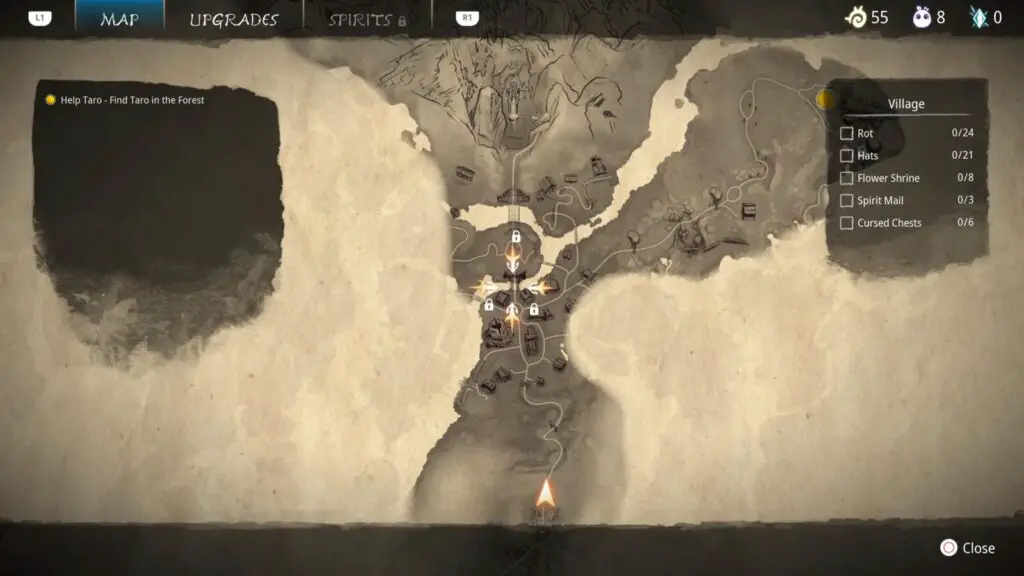
You will need to find all of the Rot, Collect all Rot Hats, Open all Cursed Chests, Unlock all abilities, Restore all Flower Shrines, Meditate in every Meditation Spot, and Deliver all Spirit Mail. This will be quite a lot of work, but I have put together some nice maps which you can use to locate each collectible in our Kena Bridge of Spirits Collectible Locations Guide.
You can track how many of each collectible you have in each area via the checklists on the map.
100% Completion Trophies

No Stone Unturned
Found all of the Rot.
Rot are the adorable little furry friends you meet on your journey. The more you have, the higher your Rot Level, which gives you access to more abilities and allows you to utilise your Rot friends more during battle.
Look out for purple glows around items, indicating that a Rot is hiding there. You will either need to interact with the object via your Rot by pressing ![]() , or awaken the energies by pressing
, or awaken the energies by pressing ![]() nearby. Once a Rot has revealed itself, approach it and press
nearby. Once a Rot has revealed itself, approach it and press ![]() to collect it.
to collect it.
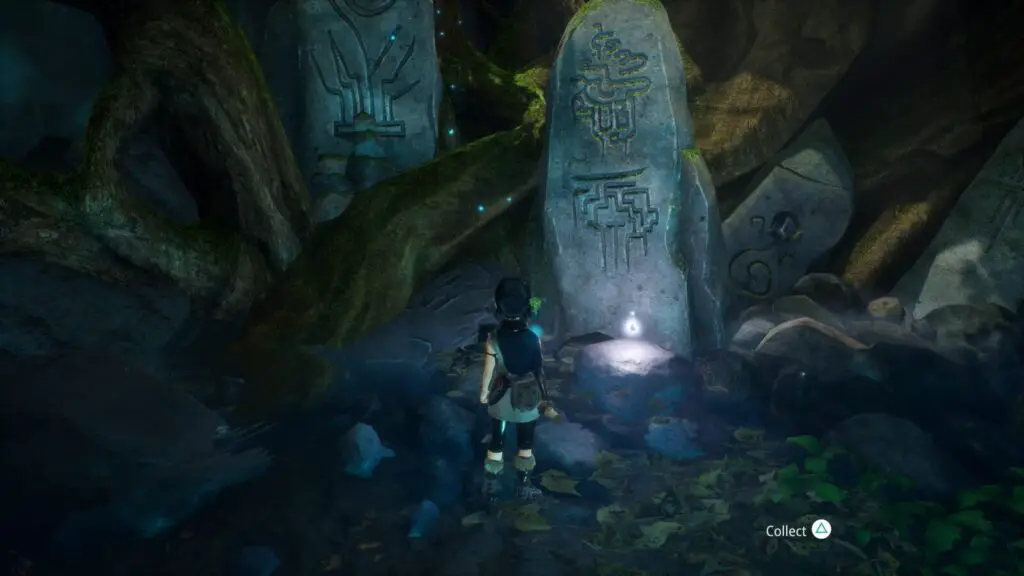
There are a whopping 100 Rot hidden throughout the game’s 9 areas for you to find. If you’re struggling to locate any, consider using the maps in our Kena: Bridge of Spirits Collectible Guide.

Hat Collector
Collected all Rot Hats.
Rot Hats are little cosmetic items for you to equip on your Rot friends. You will find them hidden throughout the words in chests, containers, and puzzles. Often you’ll earn Rot Hats for completing parts of the story too.
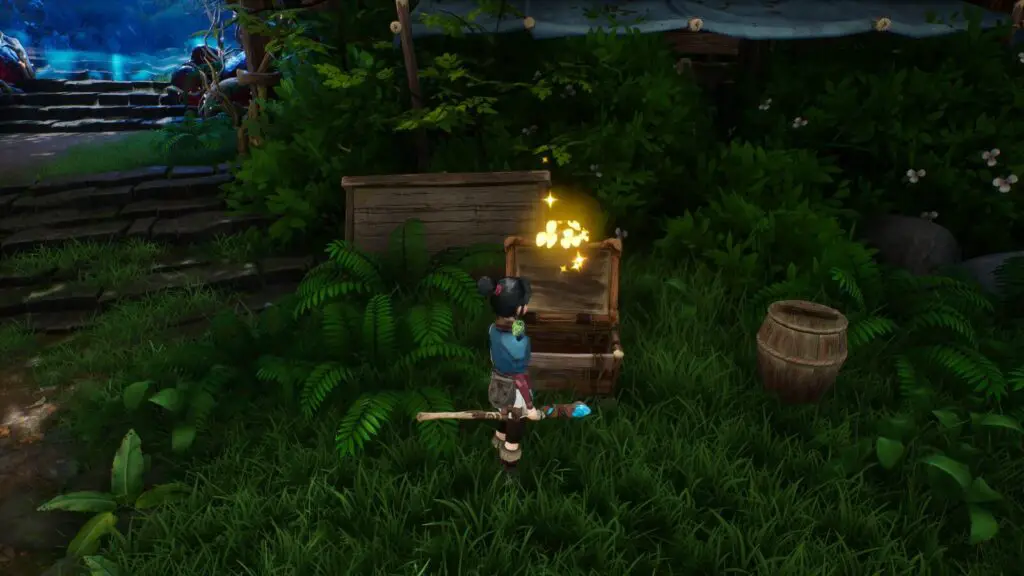
Once you’ve collected a Rot Hat, you need to visit a Rot Hat Cart to purchase your hats using the blue gems you find on your travels. You will then be able to equip them.
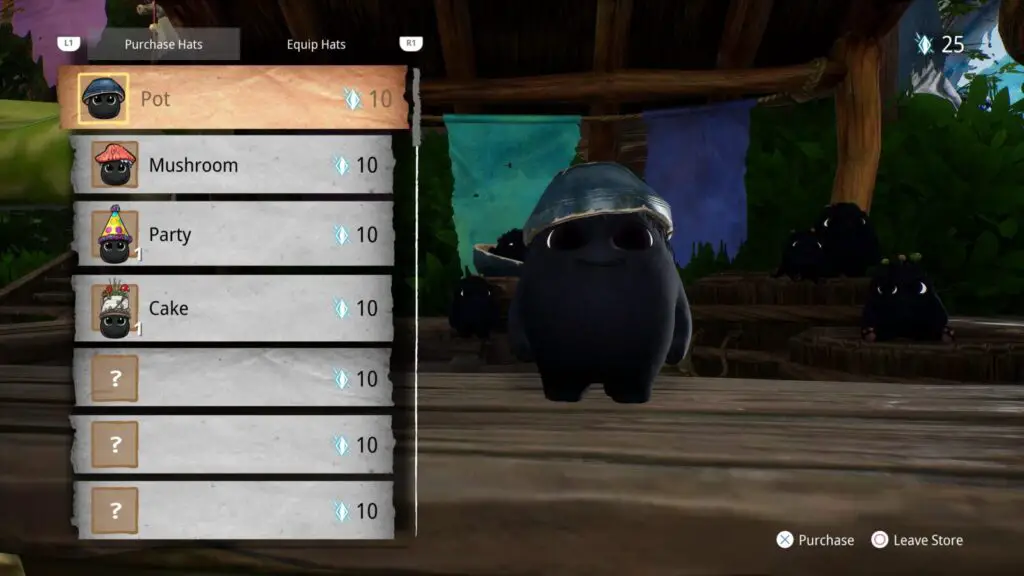
That being said, you don’t need to equip them for the Hat Collector trophy to unlock.
There are 51 Rot Hats hidden throughout the game’s 9 areas for you to find. If you’re struggling to locate any, consider using the maps in our Kena: Bridge of Spirits Collectible Guide.

Curse Collector
Opened all Cursed Chests.
Cursed Chests look just like regular chests, except instead of blue gems on the front, the gems will be red. When you interact with a Cursed Chest, enemies will spawn and you will need to defeat them under certain conditions. Sometimes that means defeating them without taking damage or under a certain time limit. Others ask that you merely defeat the enemies however you like, but one or more of the enemies will be quite tough.
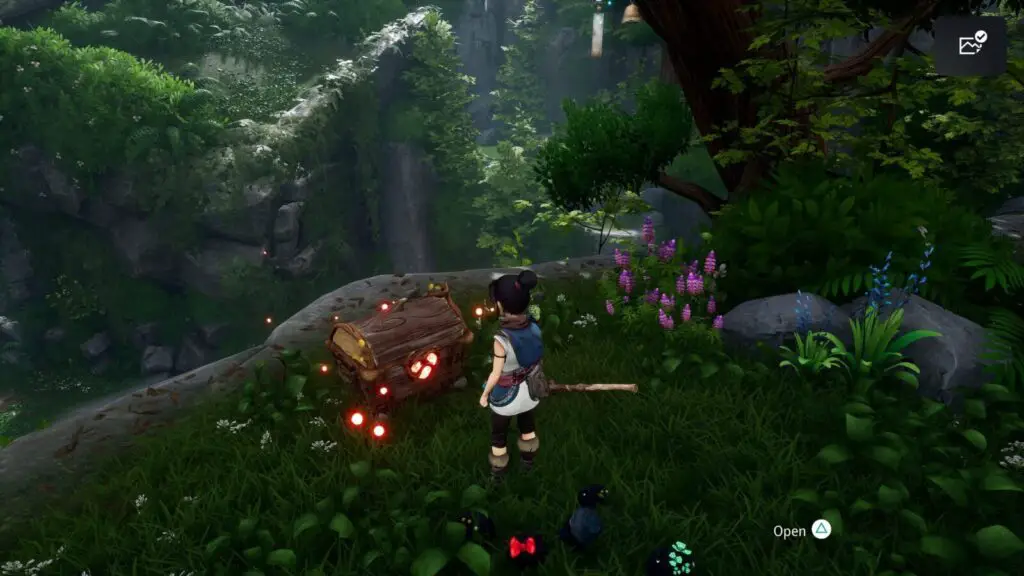
There are just 13 Cursed Chests hidden throughout the game’s 9 areas for you to find. If you’re struggling to locate any, consider using the maps in our Kena: Bridge of Spirits Collectible Guide.

Skillful Spirit Guide
Unlocked all ability upgrades.
If you press ![]() , you will open your map. Press
, you will open your map. Press ![]() then to switch over to the Abilities tab, where you can view all abilities you already have, as well as those you can purchase.
then to switch over to the Abilities tab, where you can view all abilities you already have, as well as those you can purchase.
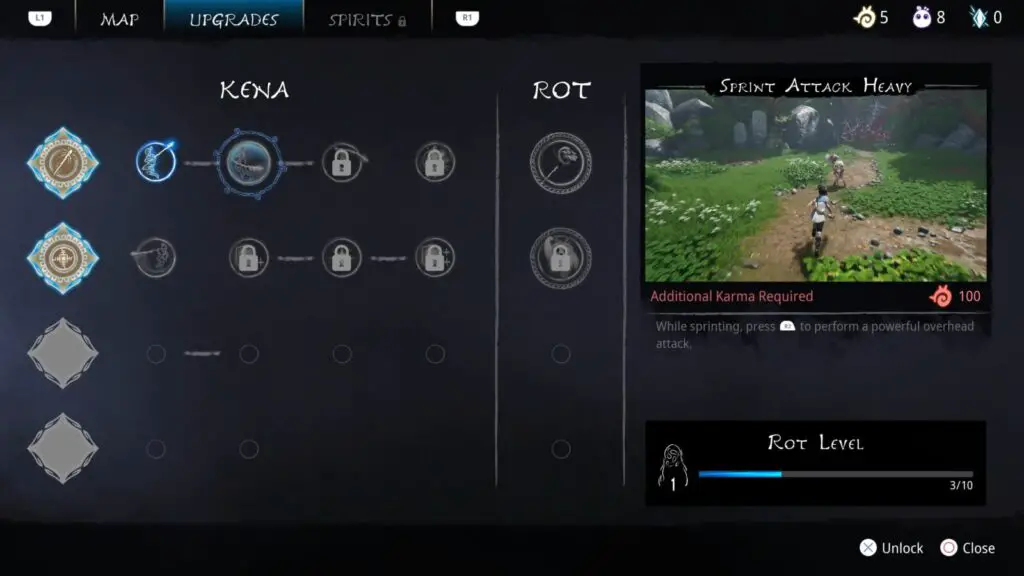
In order to unlock the Skillful Spirit Guide, you must purchase all 18 available skills on this menu. Some are hidden until later in the story, but you should have access to them all during this phase of our Kena: Bridge of Spirits Trophy Guide.
You will definitely be able to afford them all near the end of this phase, too, as you’ll earn skill points by completing puzzles, story events, and enemy encounters. There are also extra skill points to be found in mini puzzles where you simply need to tidy up a bit, pick up fallen statues, that kind of thing.

Good as New
Restored a Flower Shrine.
To restore a Flower Shrine you will need to use a Forest Tear to unify your Rot friends, then bring them to the corrupted shrine and have them restore it by simply moving them close enough using ![]() and pressing
and pressing ![]() . Doing this for the first time will unlock Good as New.
. Doing this for the first time will unlock Good as New.
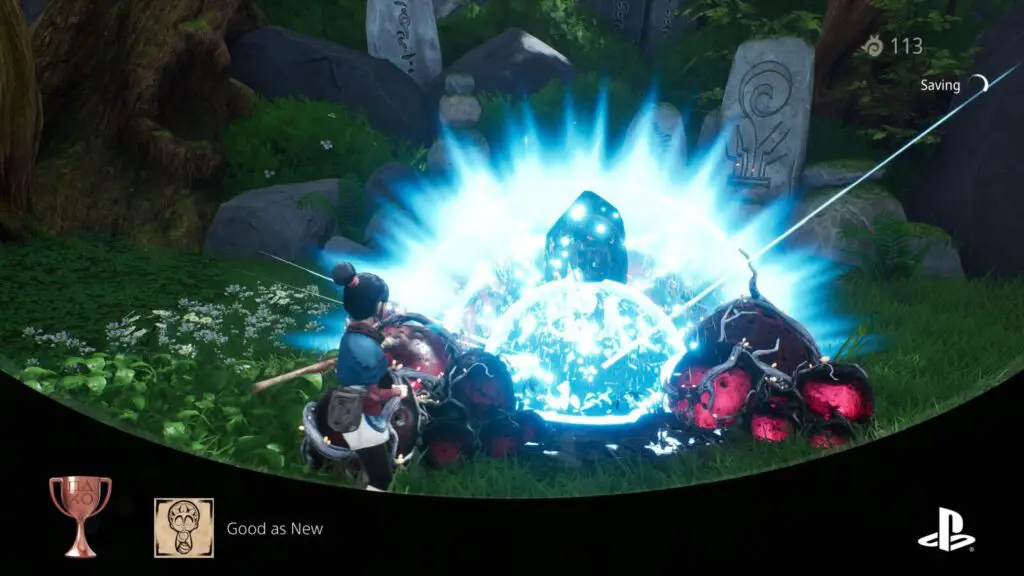
You will need to restore all Flower Shrines for the Restoration Master trophy anyway, so this Good as New trophy is going to happen naturally on your platinum journey.

Restoration Master
Restored all of the Flower Shrines.
Flower Shrines are corrupt little statues, surrounded by flowers. When you first find a Flower Shrine, it will be covered in corruption and the only way to clear it is to fuse your Rot friends using a Forest Tear and then lead them to the statue.
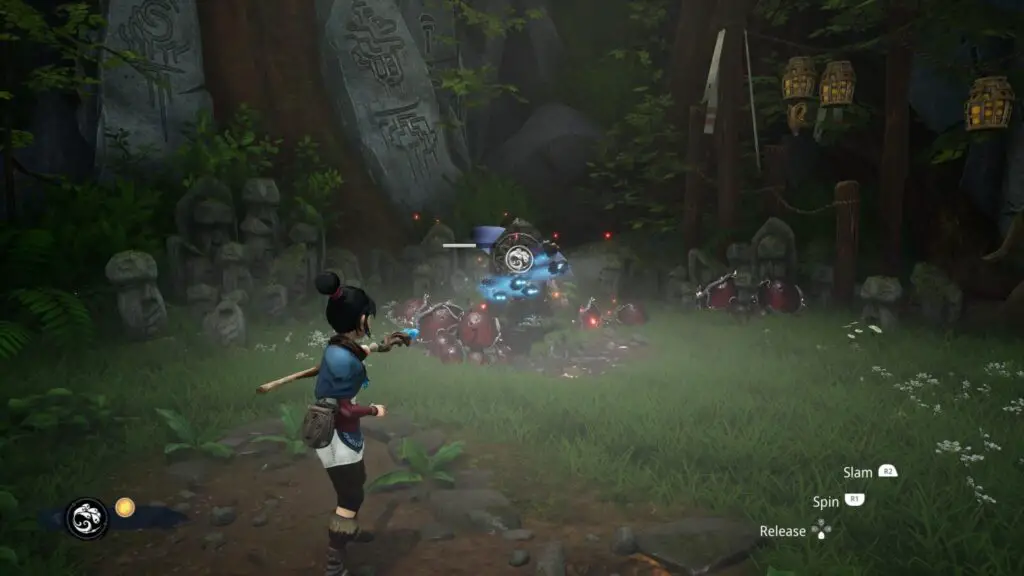
When close enough, press ![]() to have your Rot attack the statue, clearing away the corruption. You can then interact with the purified statue to receive some blue gems to spend on hats!
to have your Rot attack the statue, clearing away the corruption. You can then interact with the purified statue to receive some blue gems to spend on hats!
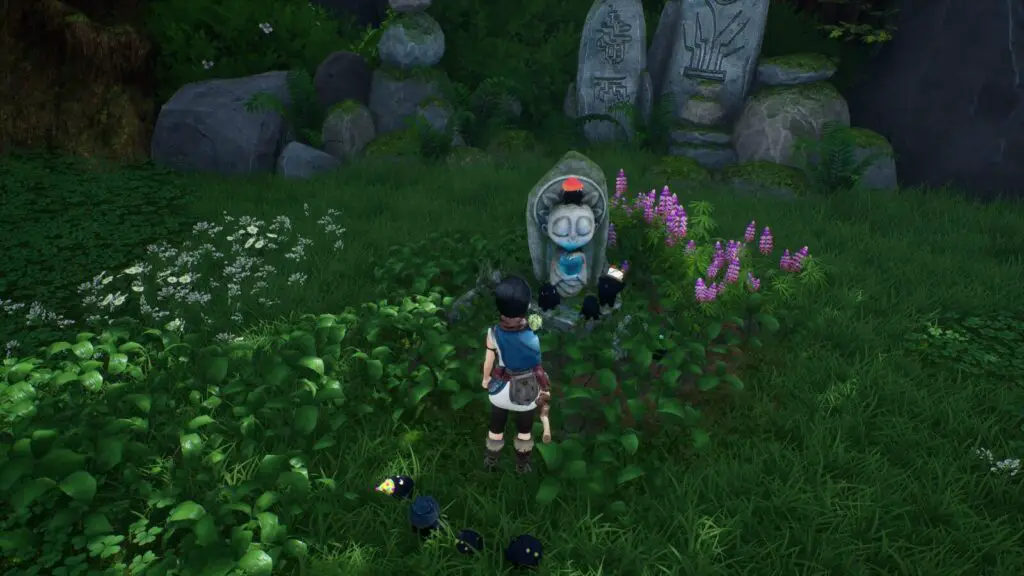
There are 24 Flower Shrines hidden throughout the game’s 9 areas for you to find. If you’re struggling to locate any, consider using the maps in our Kena: Bridge of Spirits Collectible Guide.

Zen Master
Meditated at all Meditation Spots.
Meditation Spots are glowing blue circles found on the ground in particularly peaceful areas. Interacting with one of these rings via ![]() will have Kena sit down and take a moment to meditate.
will have Kena sit down and take a moment to meditate.
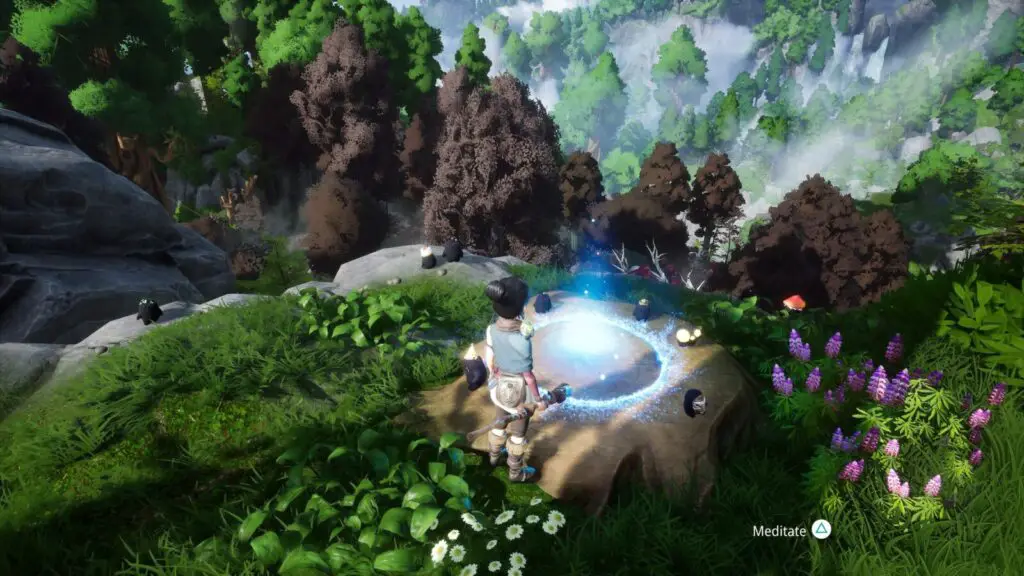
By meditating, Kena’s Max HP will increase, so these are some of the most useful collectibles to locate as early as possible.
You will find one Meditation Spot after each of the four main boss fights. Note that one of them, in the Mountain Shrine, is inaccessible until you have completed the game.
You must do the one at the Mountain Shrine last. You can do it any time you like, but it will end the game and boot you to the main menu. When you continue after that, the game brings you back to before you used the Meditation Spot. So go ahead and use the other 11 Meditation Spots before returning to the Mountain Shrine to finish up.
The other 8 Meditation Spots are hidden and must be located through exploration.
There are just 12 Meditation Spots across the game’s 9 areas for you to find. If you’re struggling to locate any, consider using the maps in our Kena: Bridge of Spirits Collectible Guide.

The Last Stop
Delivered all Spirit Mail.
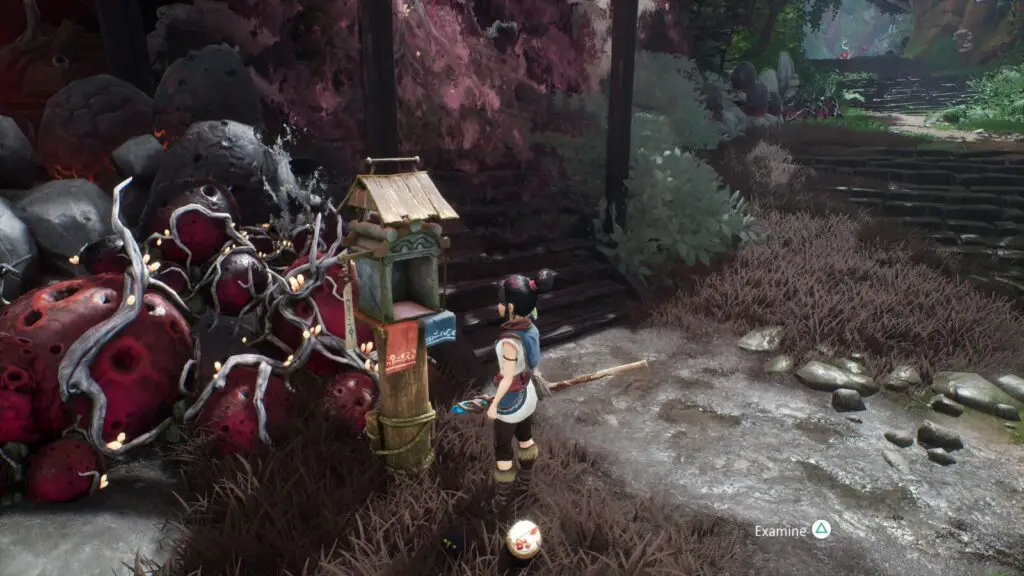
Spirit Mail are small glowing sacks that can be found hidden in many areas of the game. They contain items dear to corrupt spirits in the Village and are key to opening up more explorable areas within that area.
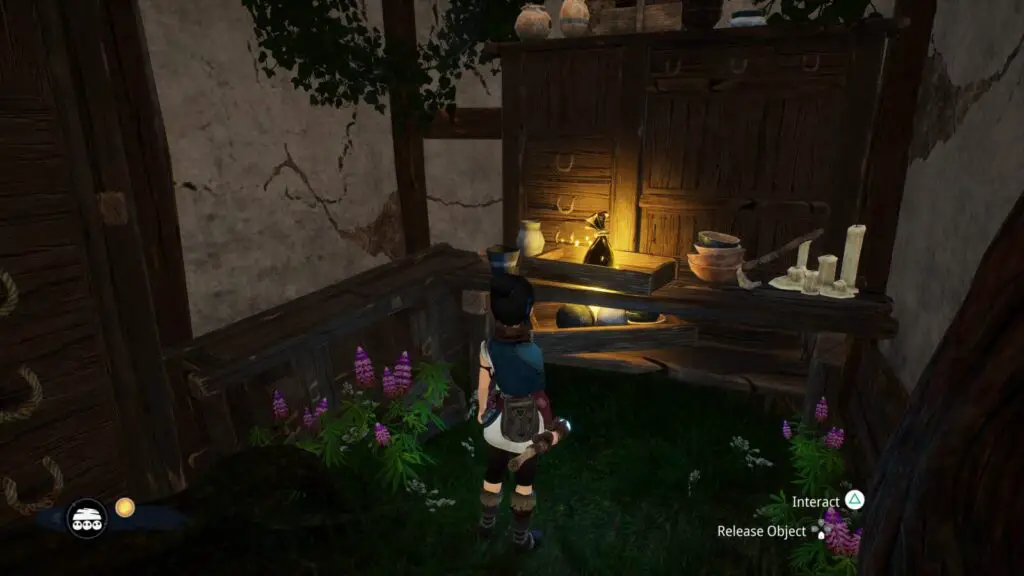
When you have found Spirit Mail, check your map and you will see a new marker has appeared on the map within the Village, labelled “Spirit Mail Delivery”. This marks the location of the mailbox to which you are expected to deliver the mail you have recovered.

Locate the mailbox and interact with it using ![]() to clear away the barrier of corruption, allowing you to head inside and explore. You will need to find all Spirit Mail if you hope to completely explore the Village area and find all other collectibles there.
to clear away the barrier of corruption, allowing you to head inside and explore. You will need to find all Spirit Mail if you hope to completely explore the Village area and find all other collectibles there.
Interacting with a Mailbox when you don’t have the required mail will display a clue as to where you might find the corresponding Spirit Mail.
There are only 10 Spirit Mail items to find and deliver throughout the game’s 9 areas. If you’re struggling to locate any, consider using the maps in our Kena: Bridge of Spirits Collectible Guide.
Phase Three – Master Difficulty
By the time you reach this final phase of our Kena Bridge of Spirits Trophy Guide, you should have only one trophy remaining; Master Spirit Guide, leaving you the challenging task of completing the game on the hardest possible difficulty, which you will now attempt.
There’s a chance you still have some of the missable Combat Trophies remaining, though hopefully not, as they will be difficult to achieve under the stresses of this harder difficulty. Difficulty aside, this is a viable second opportunity to earn them, so do check if there are any that you still need.
Master Difficulty Trophy

Master Spirit Guide
Beat the game on Master difficulty
Master Difficulty is not a New Game Plus mode.
You will need to first beat the game once to unlock Master Difficulty, and then start a New Game from the main menu, selecting “Master Spirit Guide” difficulty from the menu that opens.
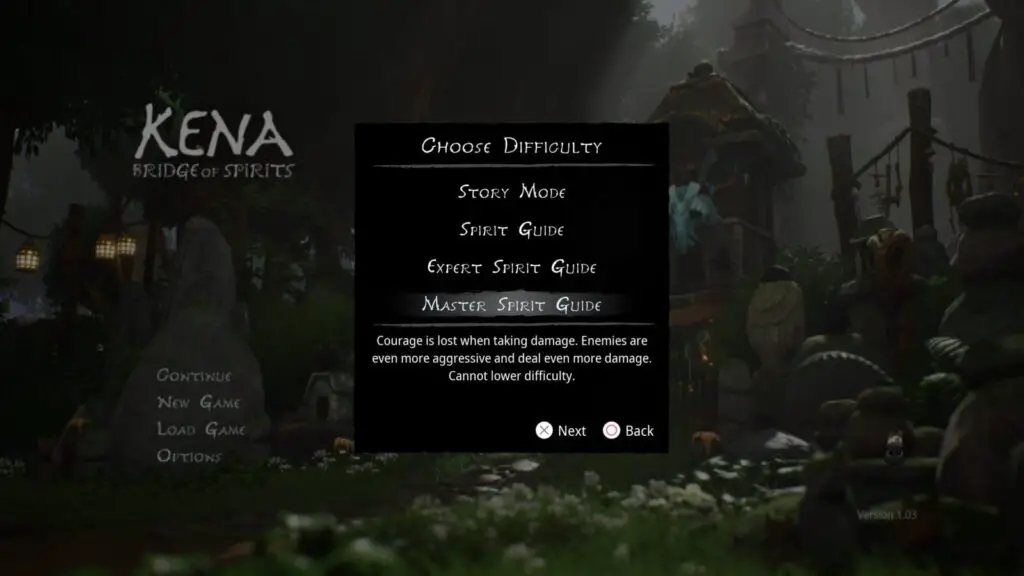
In Master Spirit Guide difficulty, you will lose Courage (Rot Ability Gauge) when you take damage. Additionally, enemies hit ridiculously hard and attack more aggressively. You will also not be able to adjust the difficulty in any way while playing on Master Difficulty.
You will start from scratch, so any Rot you can find and Meditation Spots you can use will help you immensely, but there’s little point in worrying about Rot hats or the blue gem currency.
To make it through Master Spirit Guide mode you must have a good grip on the combat. You will need to perfectly dodge and/or parry every attack thrown your way to effectively avoid taking damage from these powerful hard-hitting enemies.
Reach and defeat the Rot God boss again on Master Difficulty and then meditate at the Mountain Shrine to end the game and receive your Master Spirit Guide trophy.
Best of luck to you in this fiercely challenging endeavor.
Master Spirit Guide Difficulty Exploit
This exploit is likely to be temporary. It works as of version 1.05 but expect it to be patched out soon. Use it while you can.
At the time of writing, it is possible to earn the Master Spirit Guide Difficulty Trophy without having to complete the full game a second time.
Start by finishing the game on any difficulty, which you should have done by this point in our Kena: Bridge of Spirits Trophy Guide, and then warp to the Mountain Shrine (if not already there) and stand on the Meditation Spot.
From there, create a manual save while standing on the circle. Once saved, interact with the Meditation Spot using ![]() to play the final cutscene.
to play the final cutscene.
Skip it and the credits to then be kicked to the main menu. You should then select “New Game”. From the pop-up menu, select “Master Spirit Guide” difficulty and then start the game.
Progress through the game on Master Spirit Guide difficulty until you meet the Hero Rot; the first Rot you collect in the game. Wait for the cutscene to end and you should see the “Saving…” indicator in the top-right corner.
Wait a moment so that the “Load Game” option stops being greyed out in the ![]() pause menu and then Load the save you made on the meditation spot in the Mountain Shrine.
pause menu and then Load the save you made on the meditation spot in the Mountain Shrine.
Once the game has loaded, walk up the hill to the Meditation Spot and press ![]() to end the game. Skip the first cutscene and the Master Spirit Guide trophy will unlock!
to end the game. Skip the first cutscene and the Master Spirit Guide trophy will unlock!
Plat Get!


All Trophies Obtained
Obtained all Kena: Bridge of Spirits trophies.
Once you have acquired every other trophy in this Kena: Bridge of Spirits Trophy Guide, the “All Trophies Obtained” platinum trophy will unlock.
Thank you for choosing PlatGet as your source for a Kena: Bridge of Spirits Trophy Guide. Consider checking out our other guides!
Follow us on Twitter @GetPlat or Instagram @platget for updates on new reviews and guides, as well as small anecdotes about our platinum journeys.