PlayStation 5
Jusant All Collectibles Guide
Collectible Guide
Where and How to collect all 105 Collectibles in Jusant
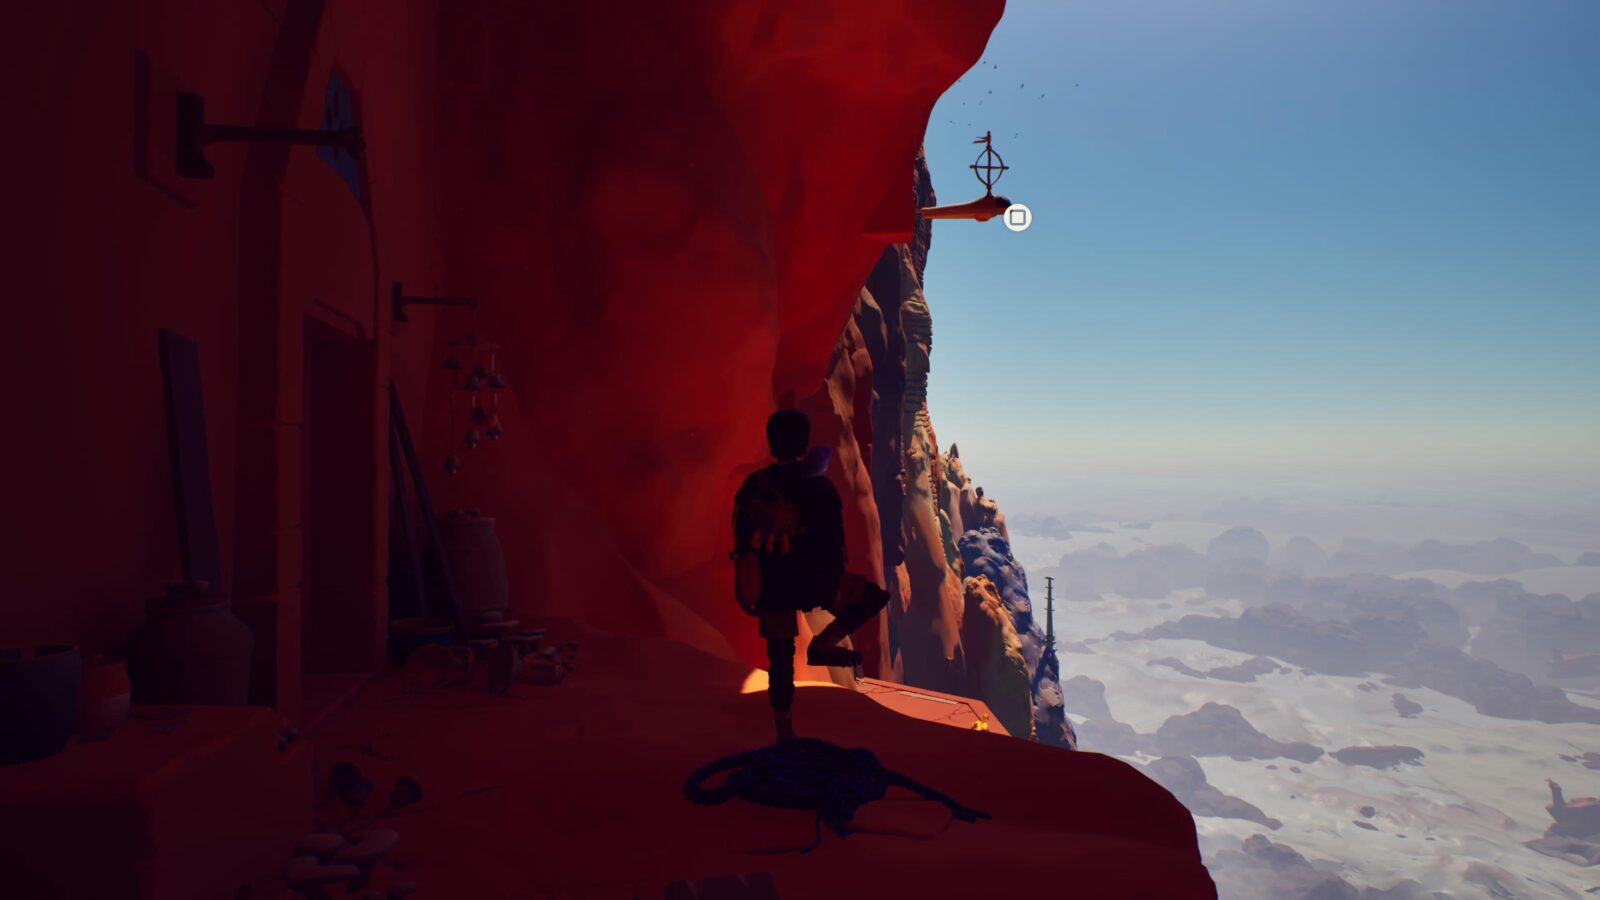
Welcome to our Jusant Collectibles Guide. Through this walkthrough-style collectible guide, I’ll direct you chronologically to all 105 of the collectibles in Jusant. Our Guide is broken up by chapter, which should also be helpful when mopping up collectibles you’ve missed via Chapter Select.
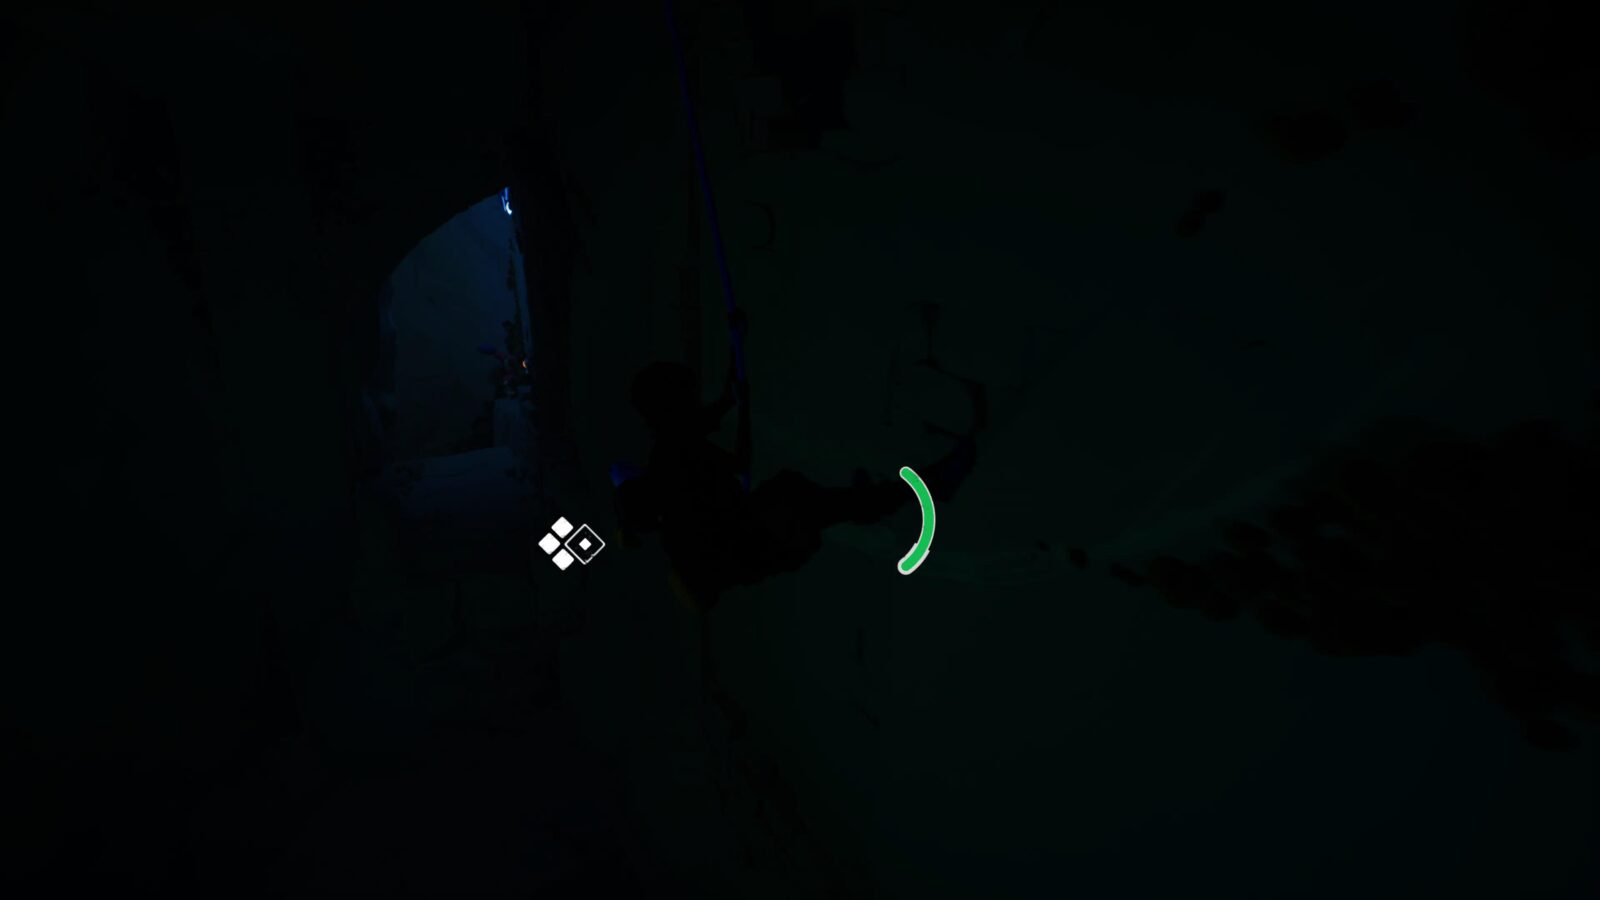
While playing, you can press ![]() to have your companion sit on your head. From there, it can see collectibles and objectives through walls. Use this to find any collectibles you’re struggling to track down.
to have your companion sit on your head. From there, it can see collectibles and objectives through walls. Use this to find any collectibles you’re struggling to track down.
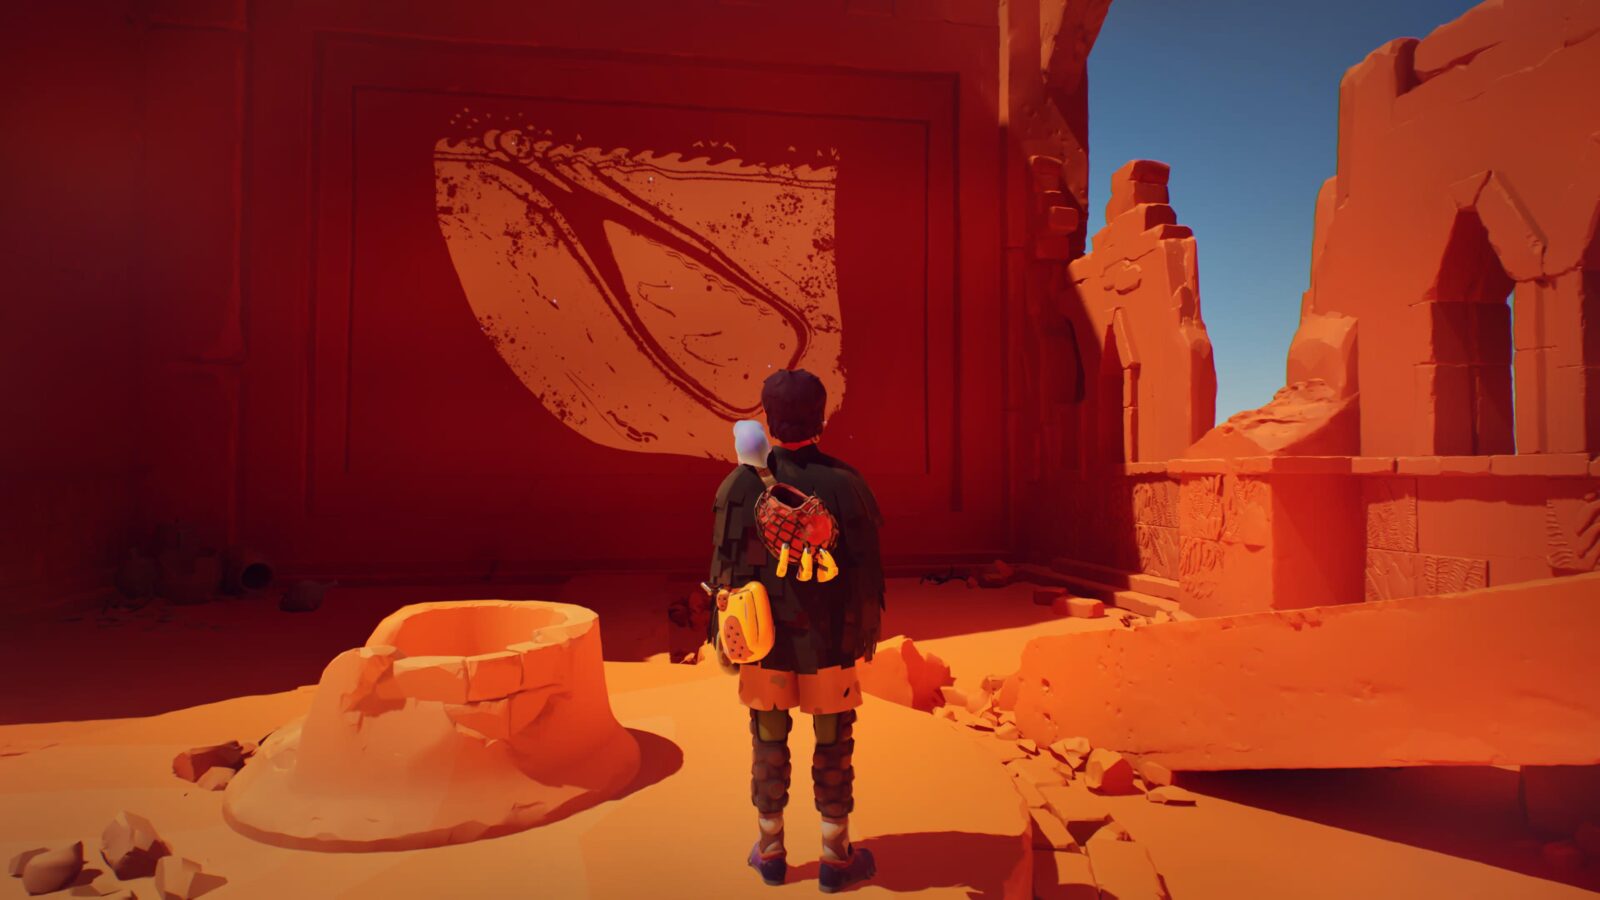
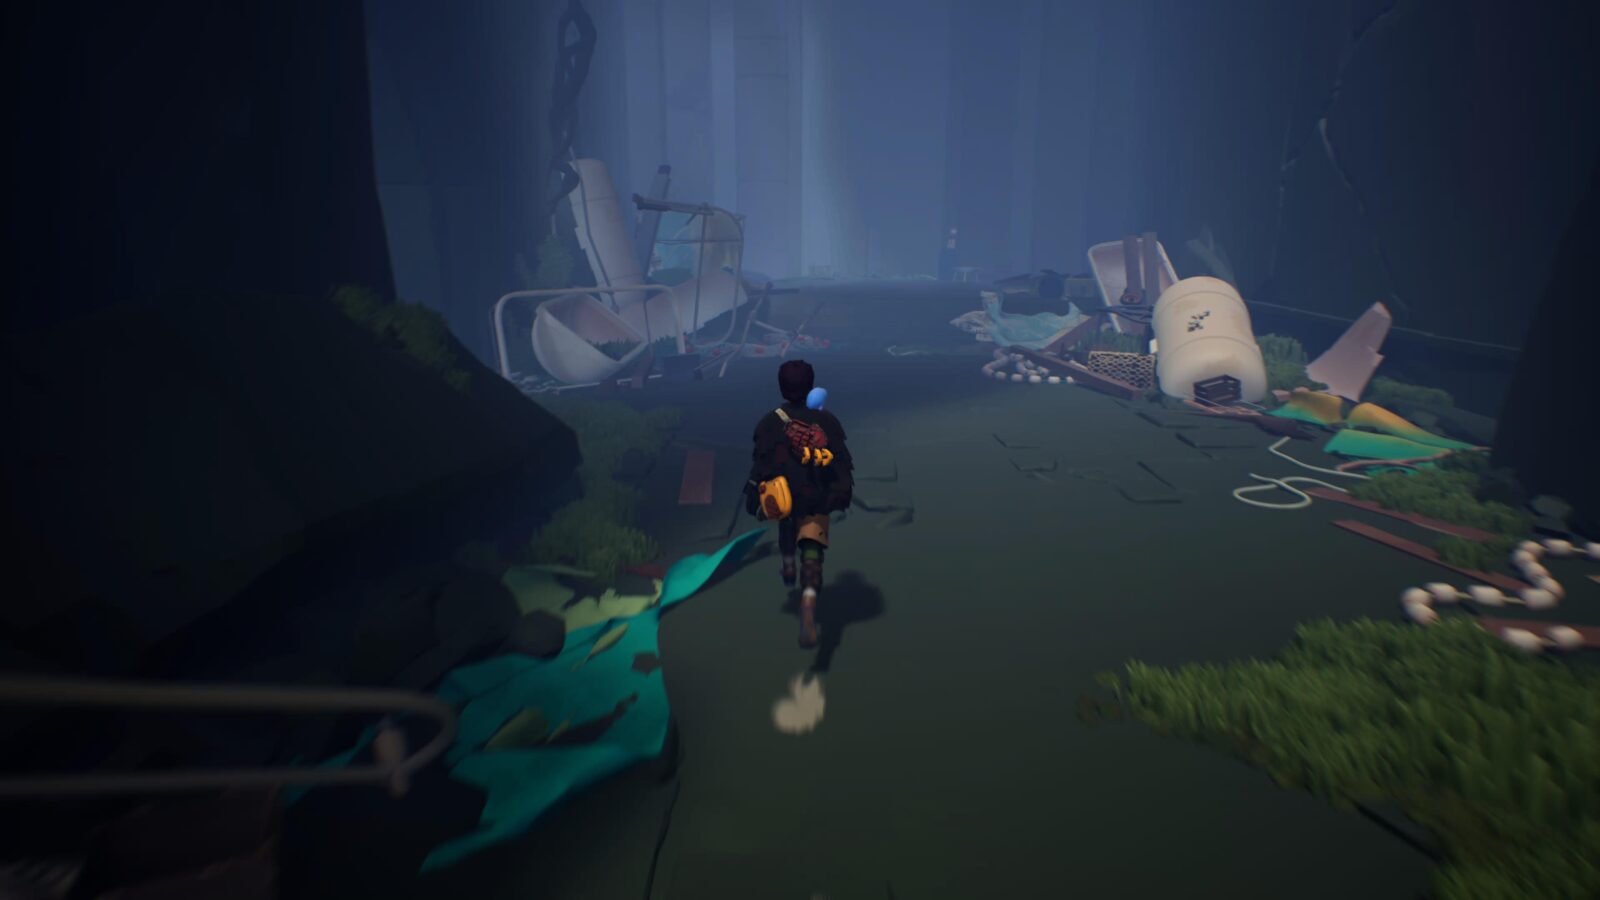
Chapter 1 Collectibles | "Daymark"
Chapter 1, known as “Daymark,” features the following collectibles:
- 7/44 Letters
- 1/12 Shells
- 2/20 Cairns
- 1/13 Journal Entry
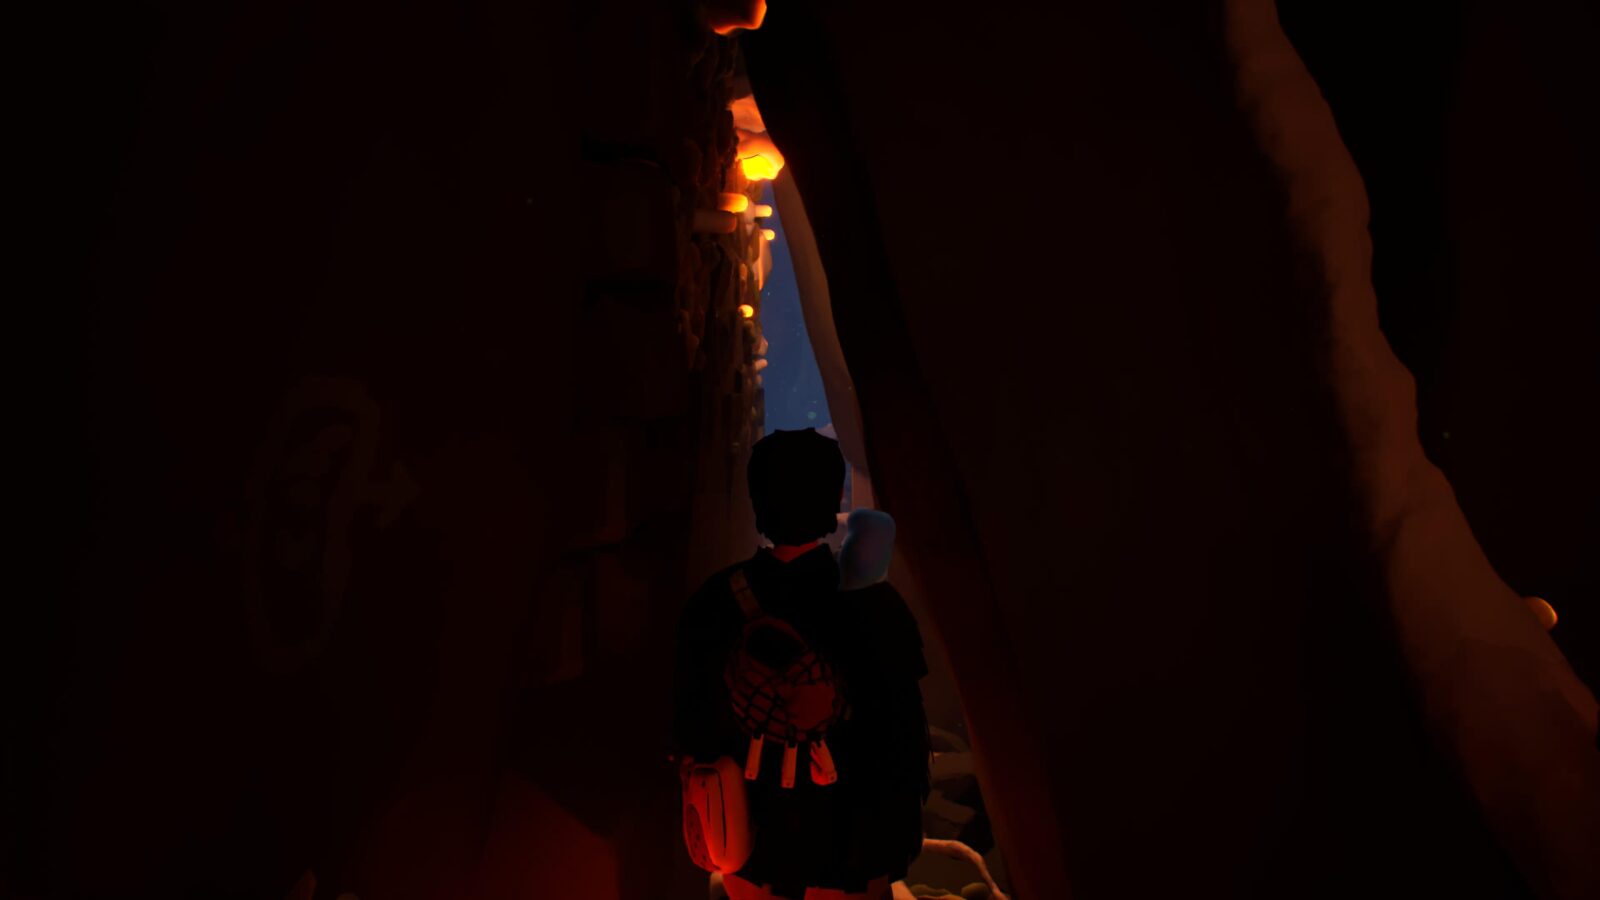
Letter #1
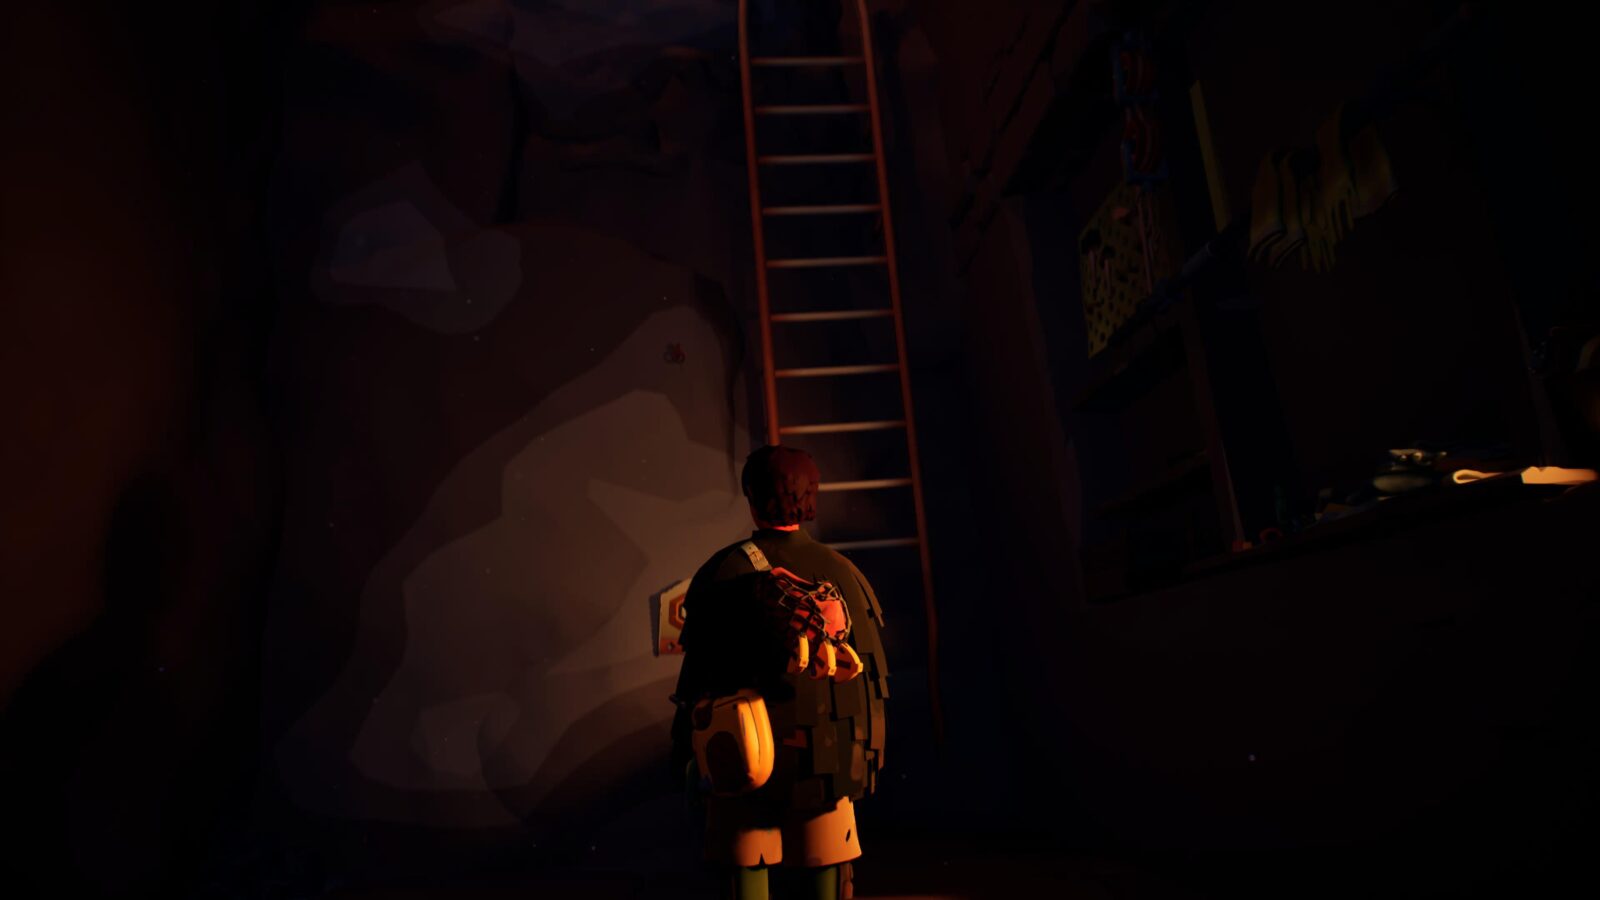
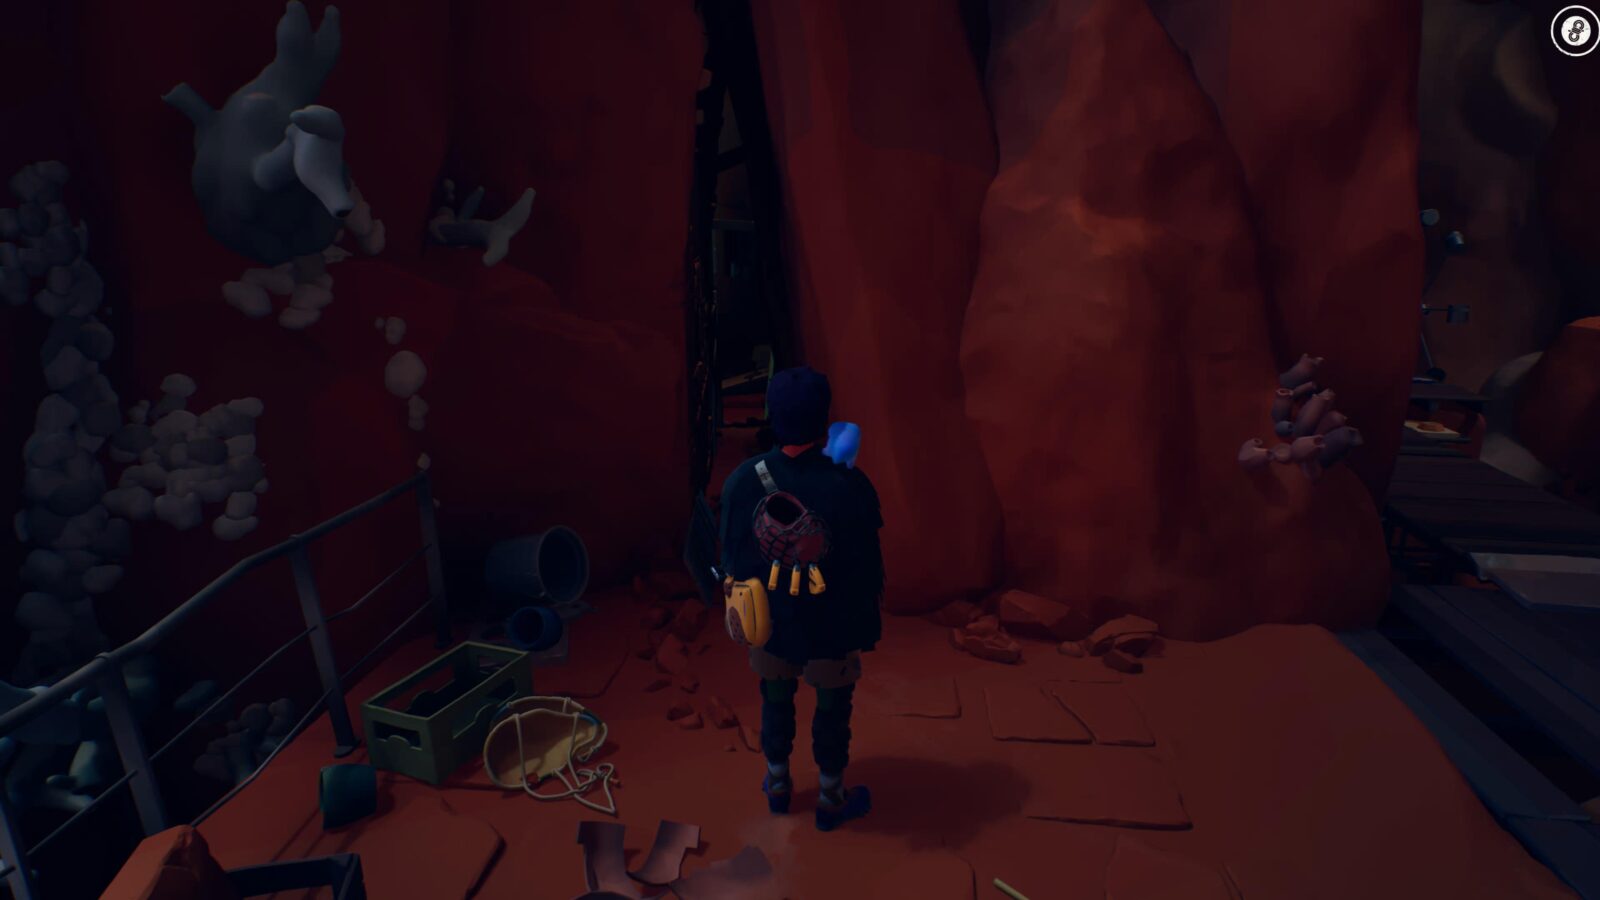
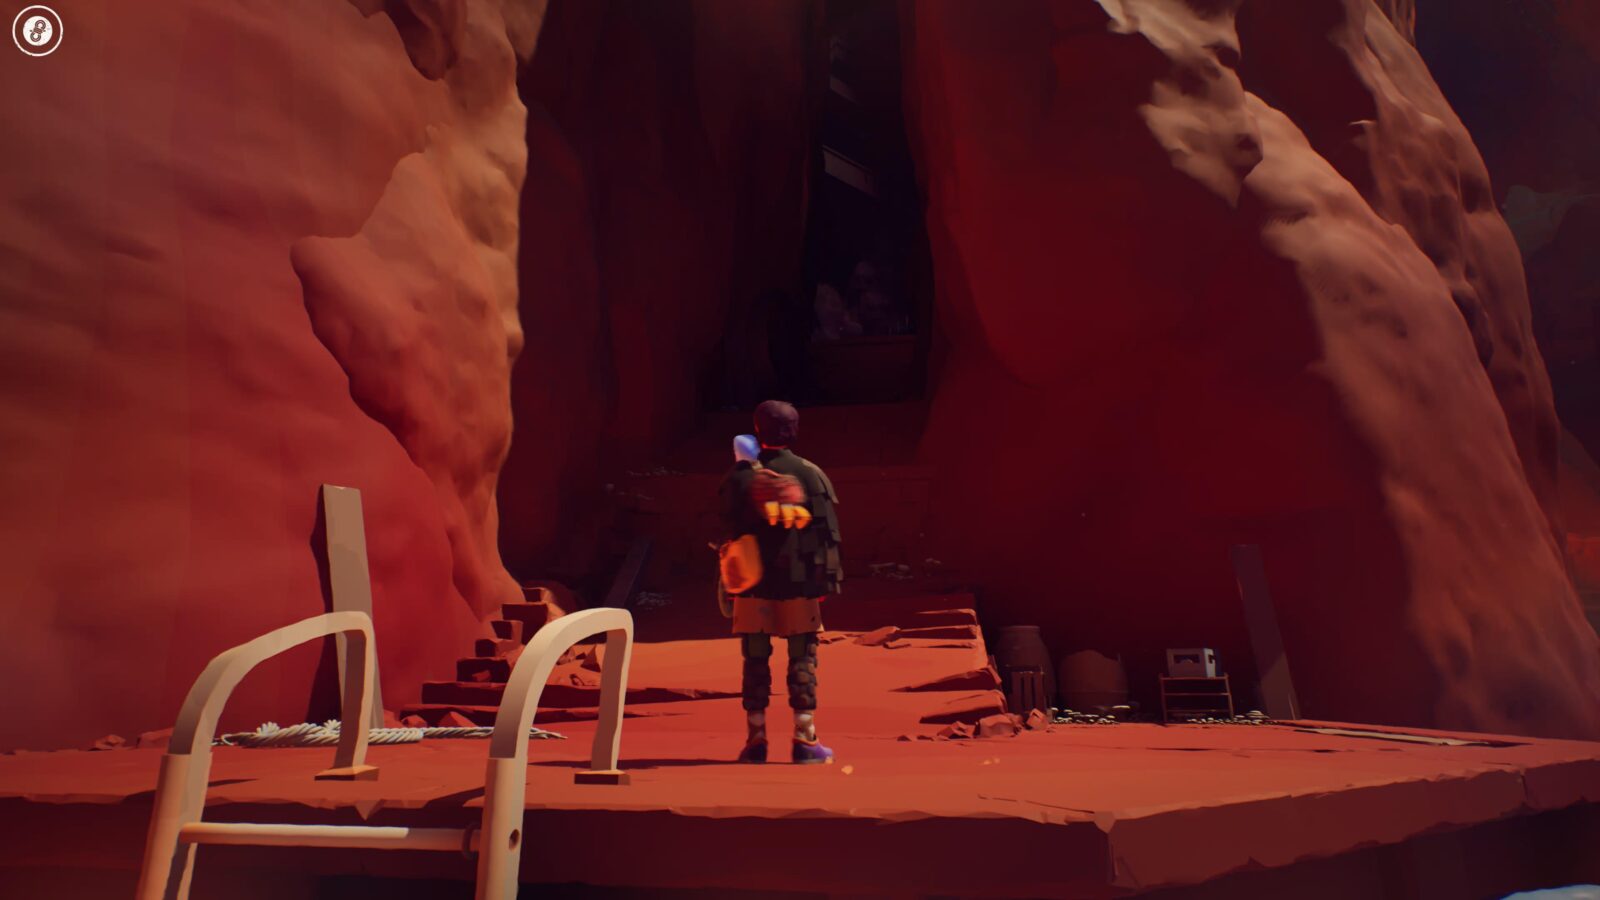
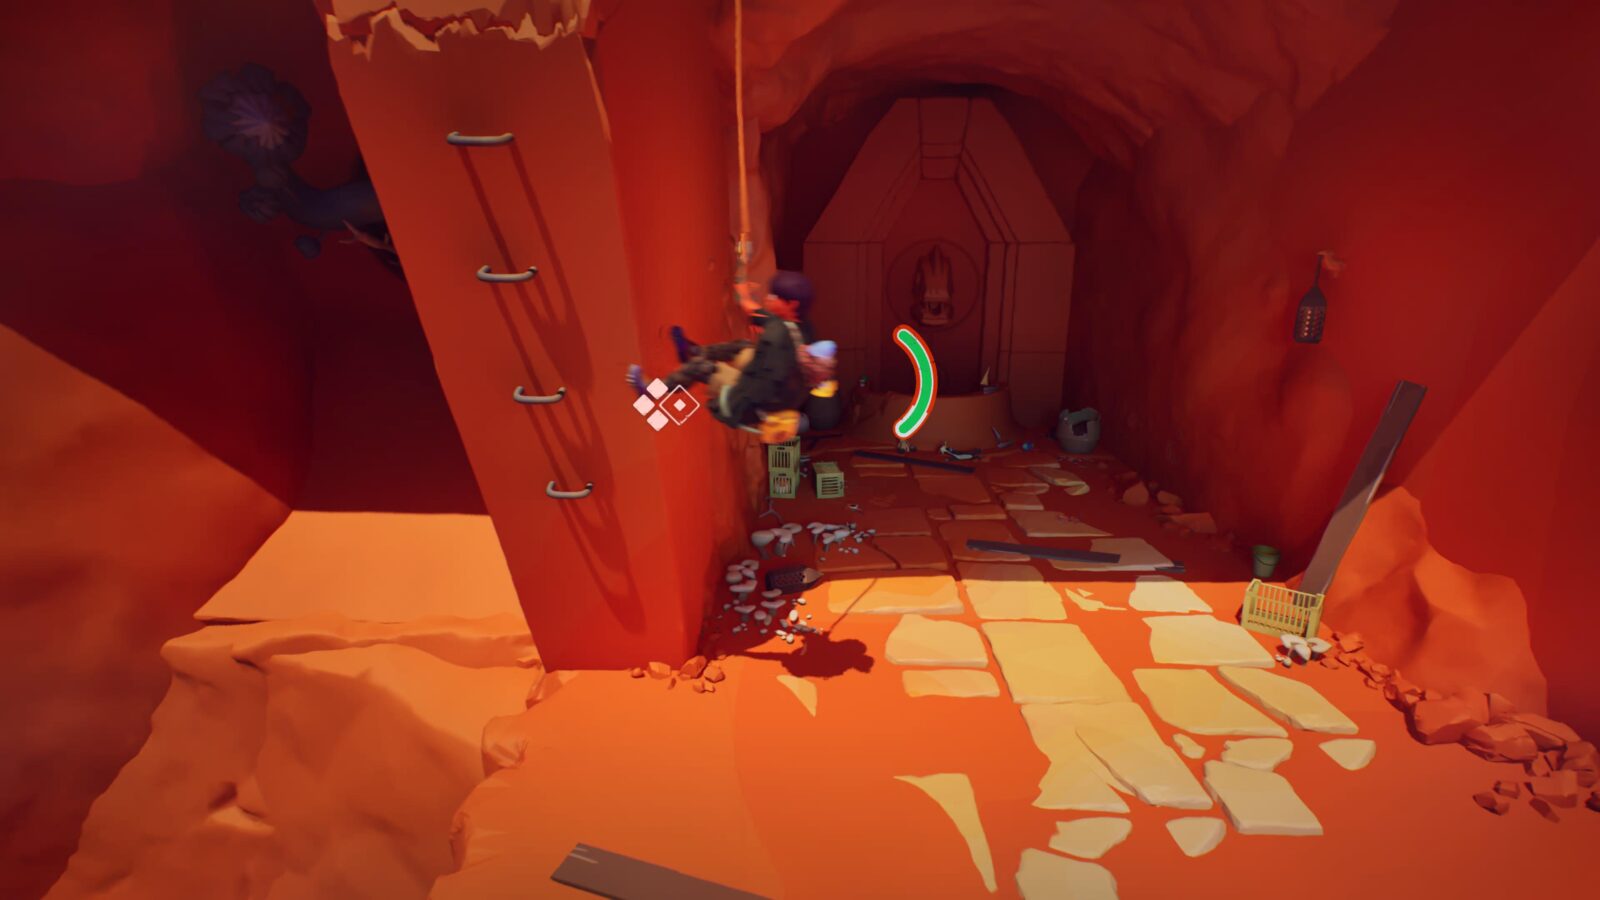
After the climbing section where stamina is introduced, head into the cave, and scale the ladder-wall. At the top, turn left to find this letter on a bench.
Shell #1
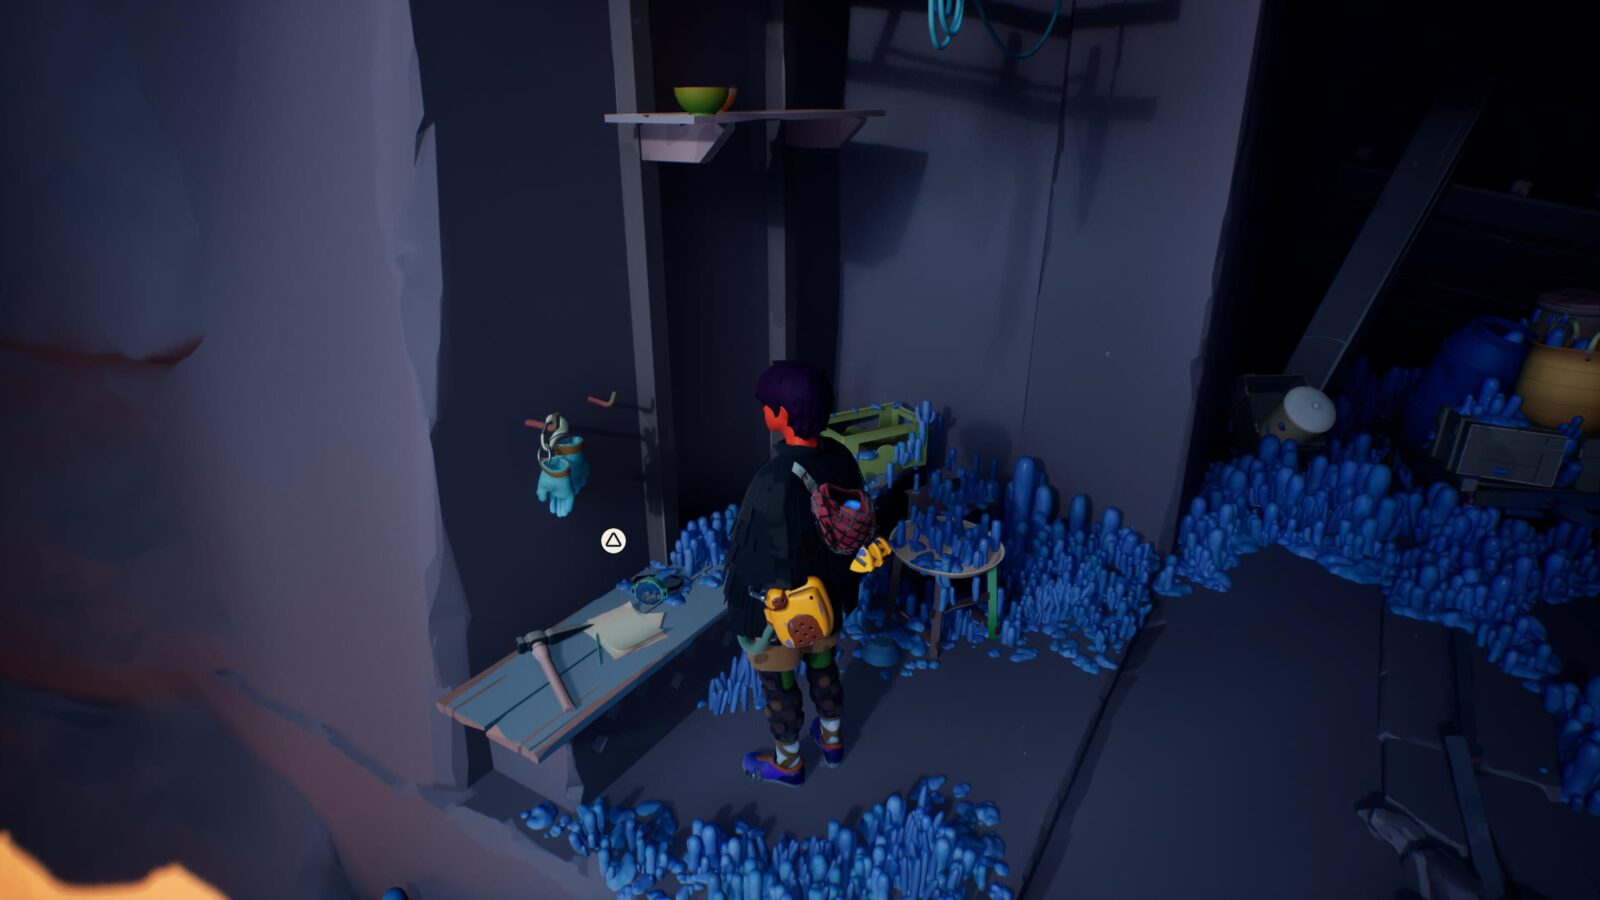
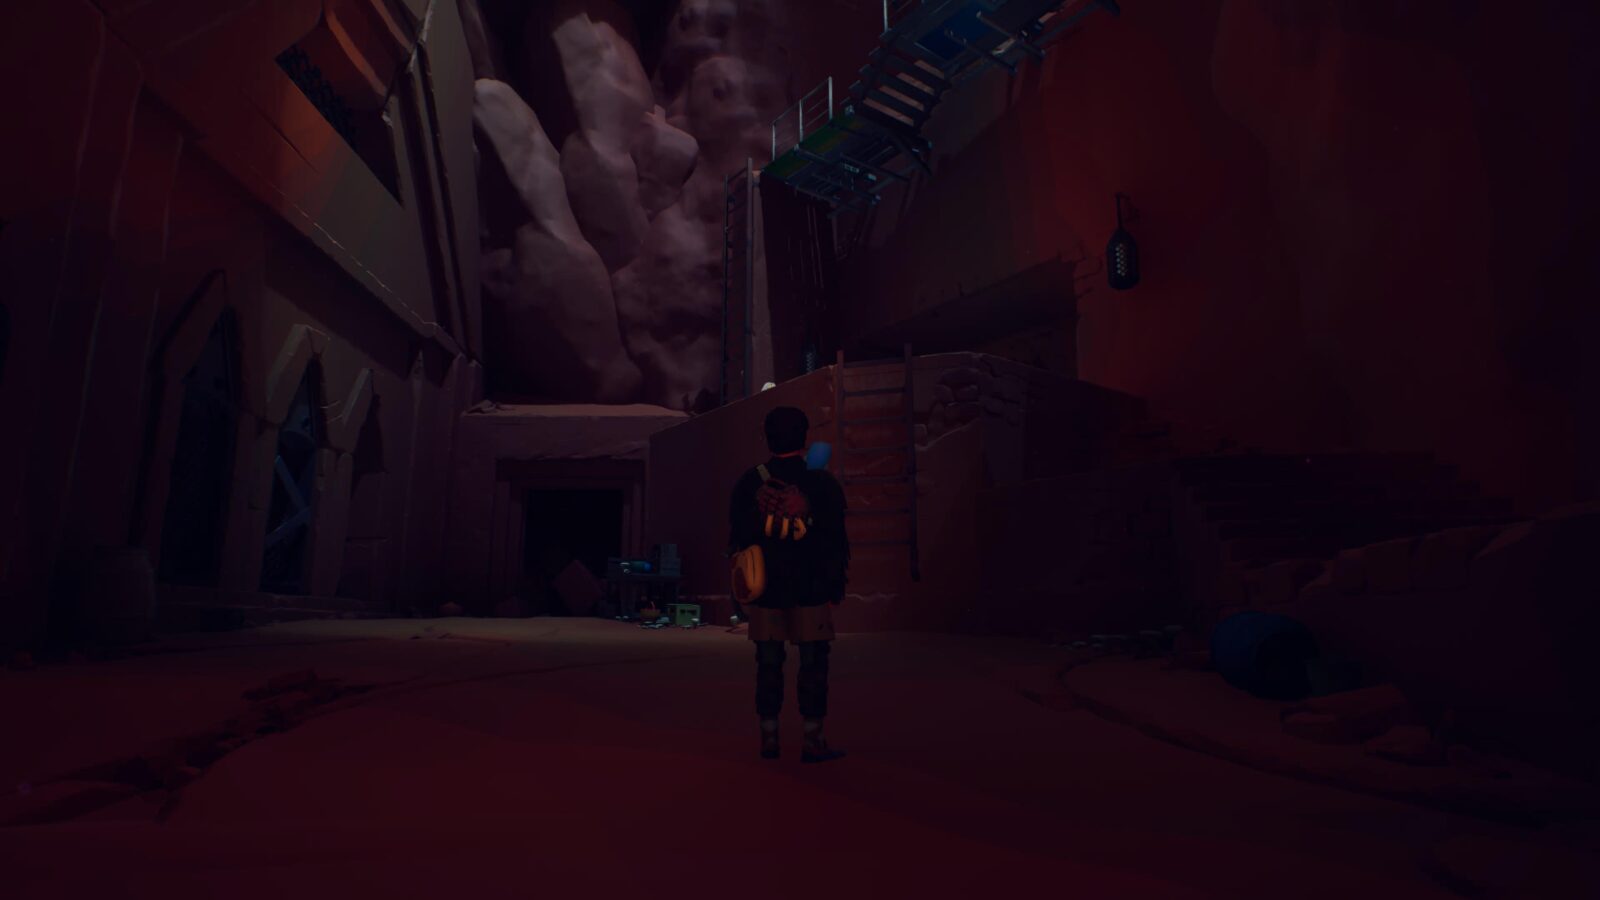
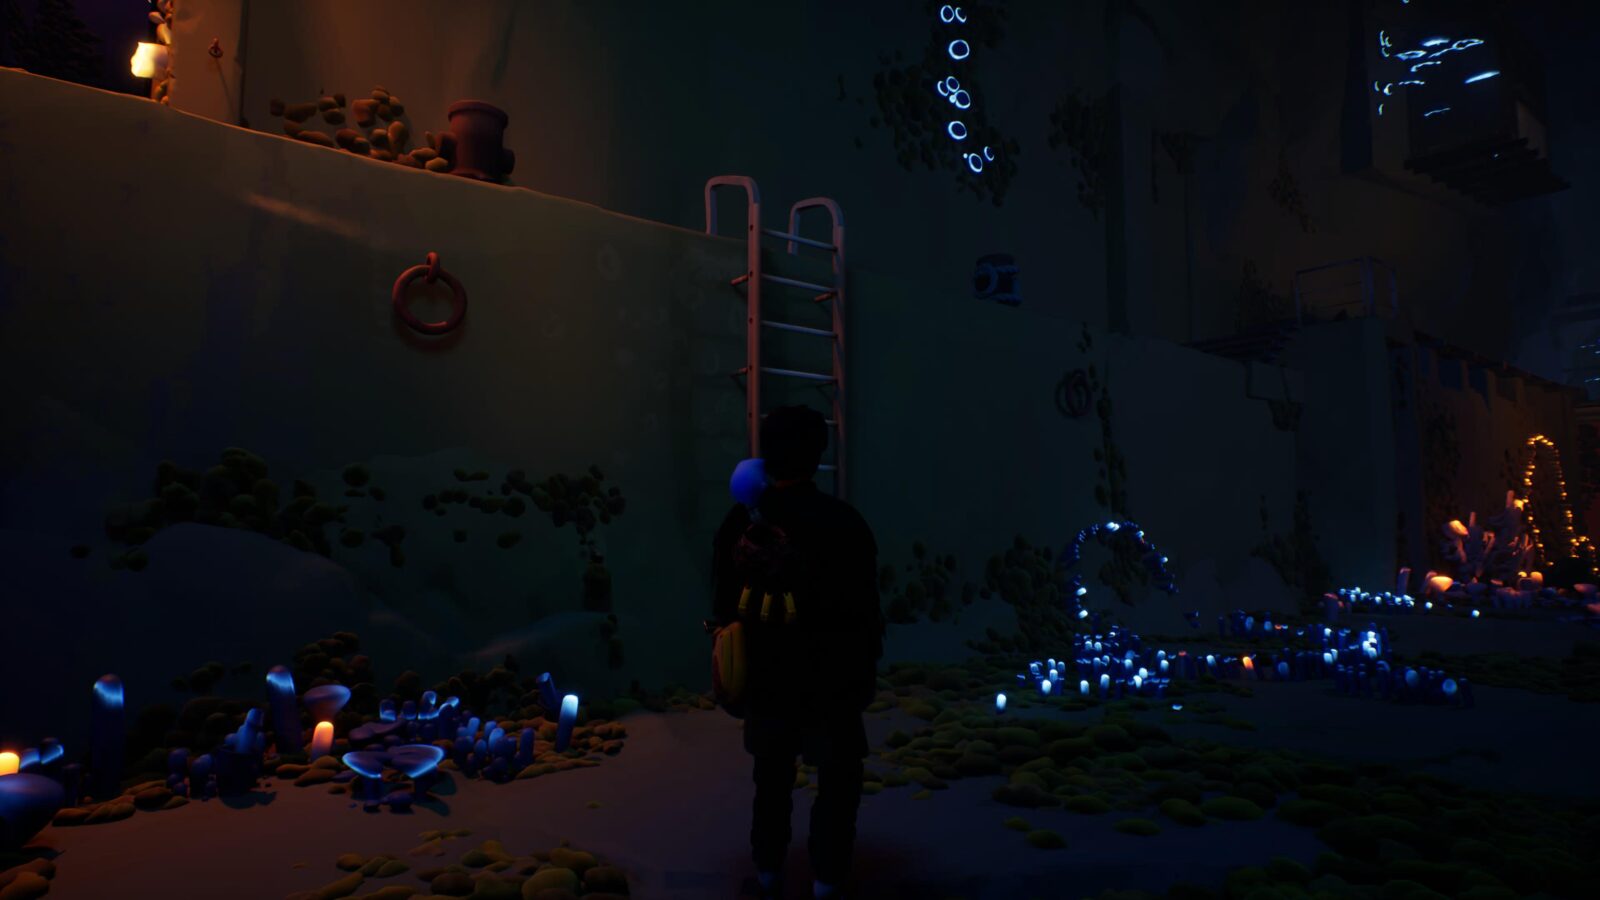
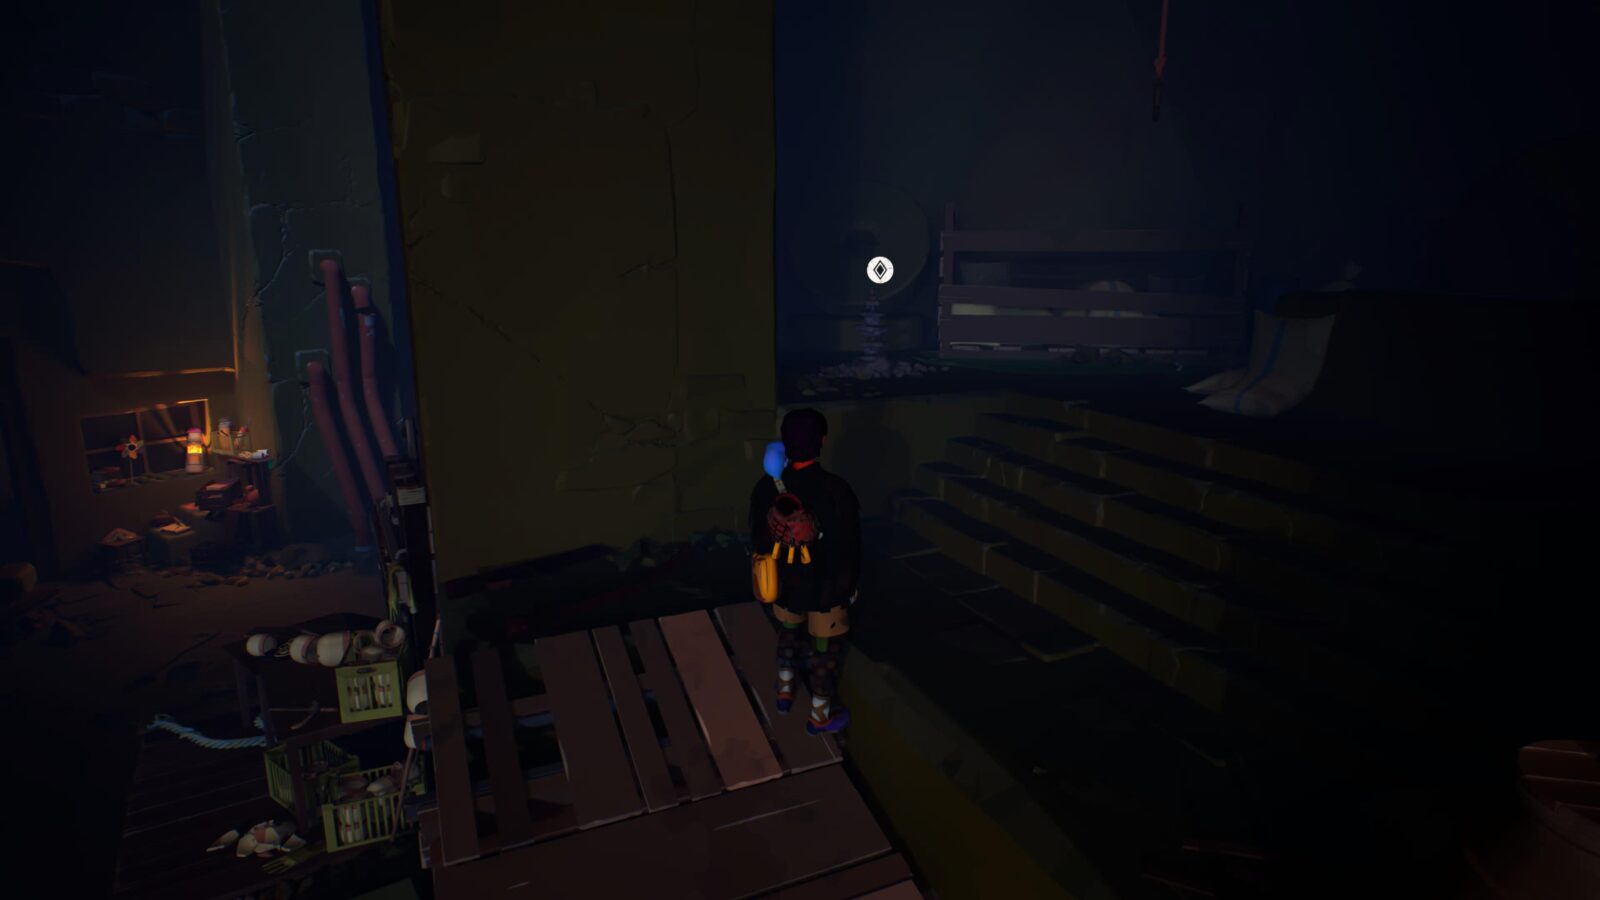
After a large wall-swing section, climb up and follow the ledge to a wooden platform near the ladder.
In the corner here, you’ll find the shell.
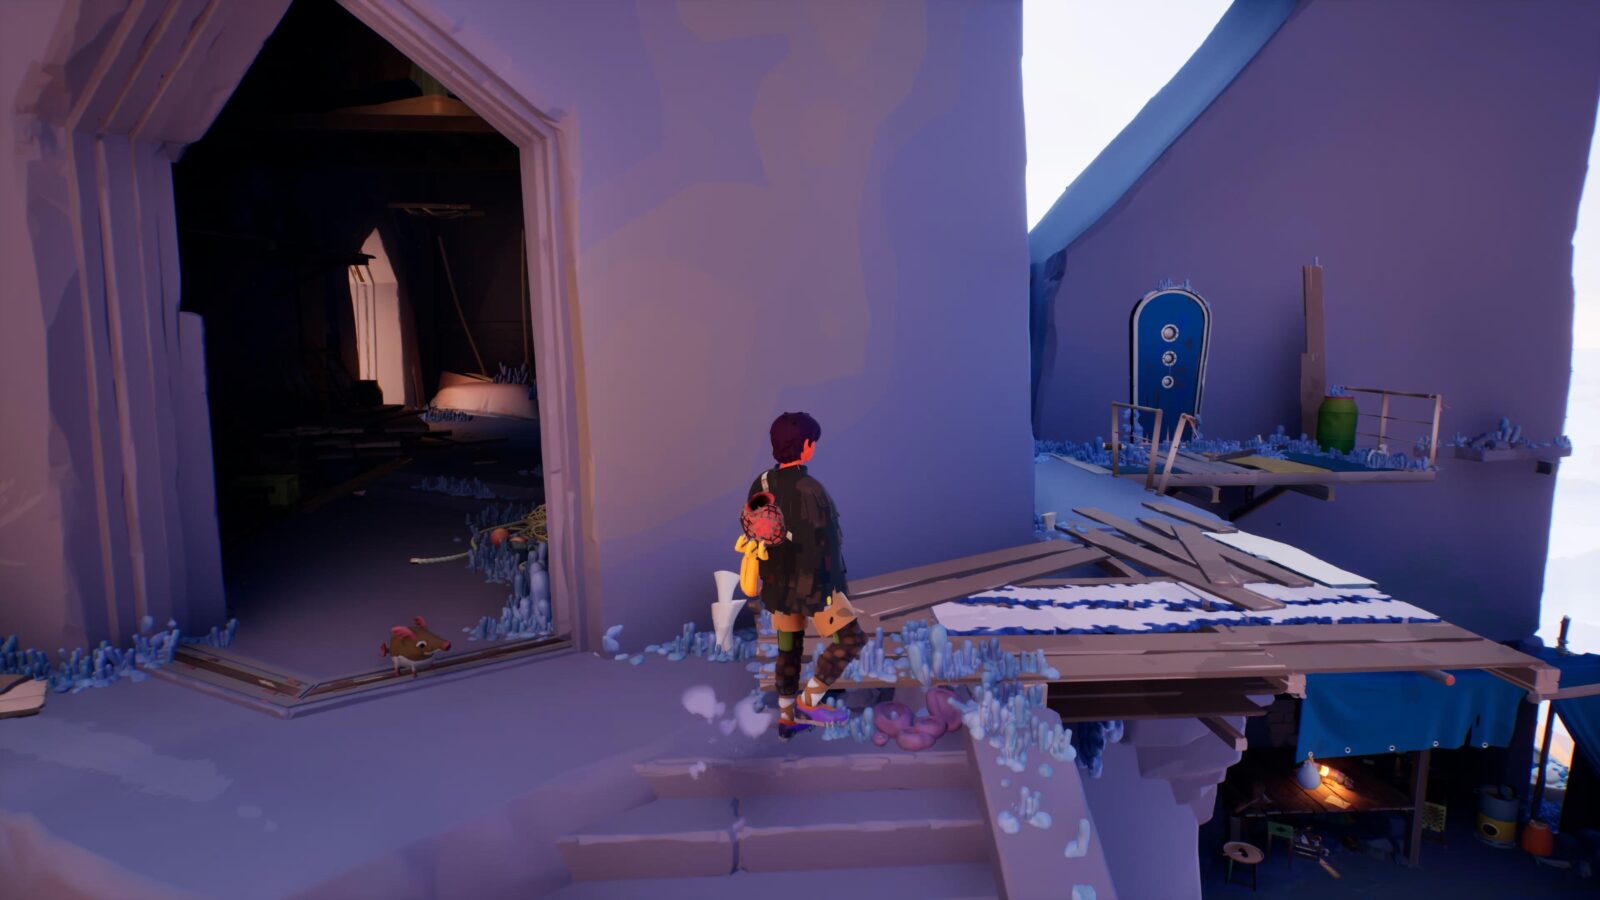
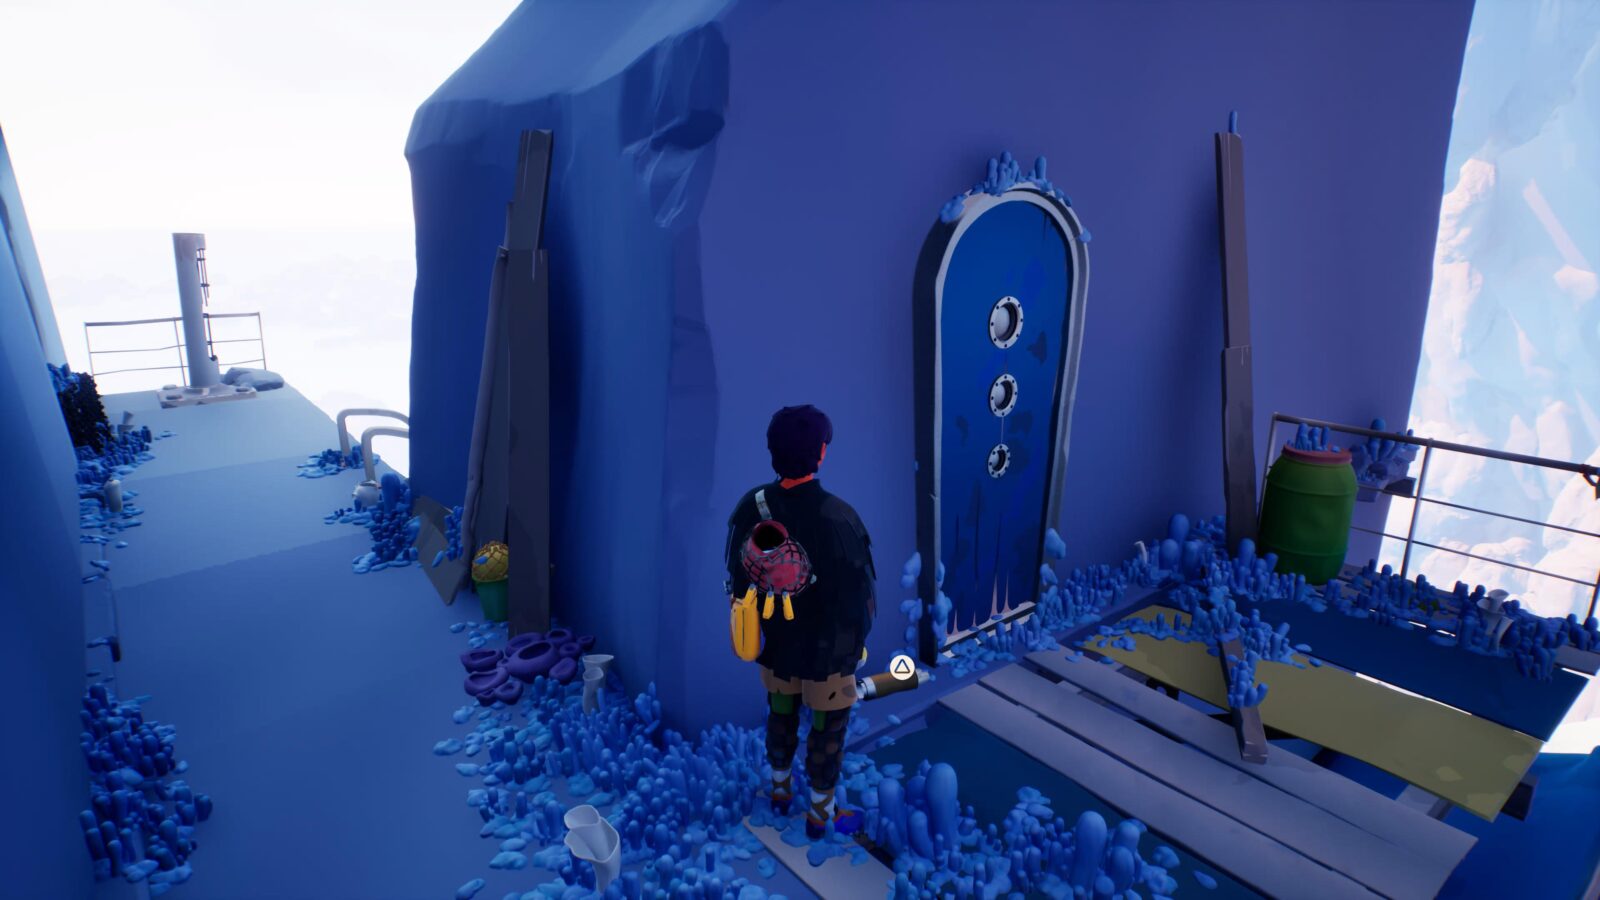
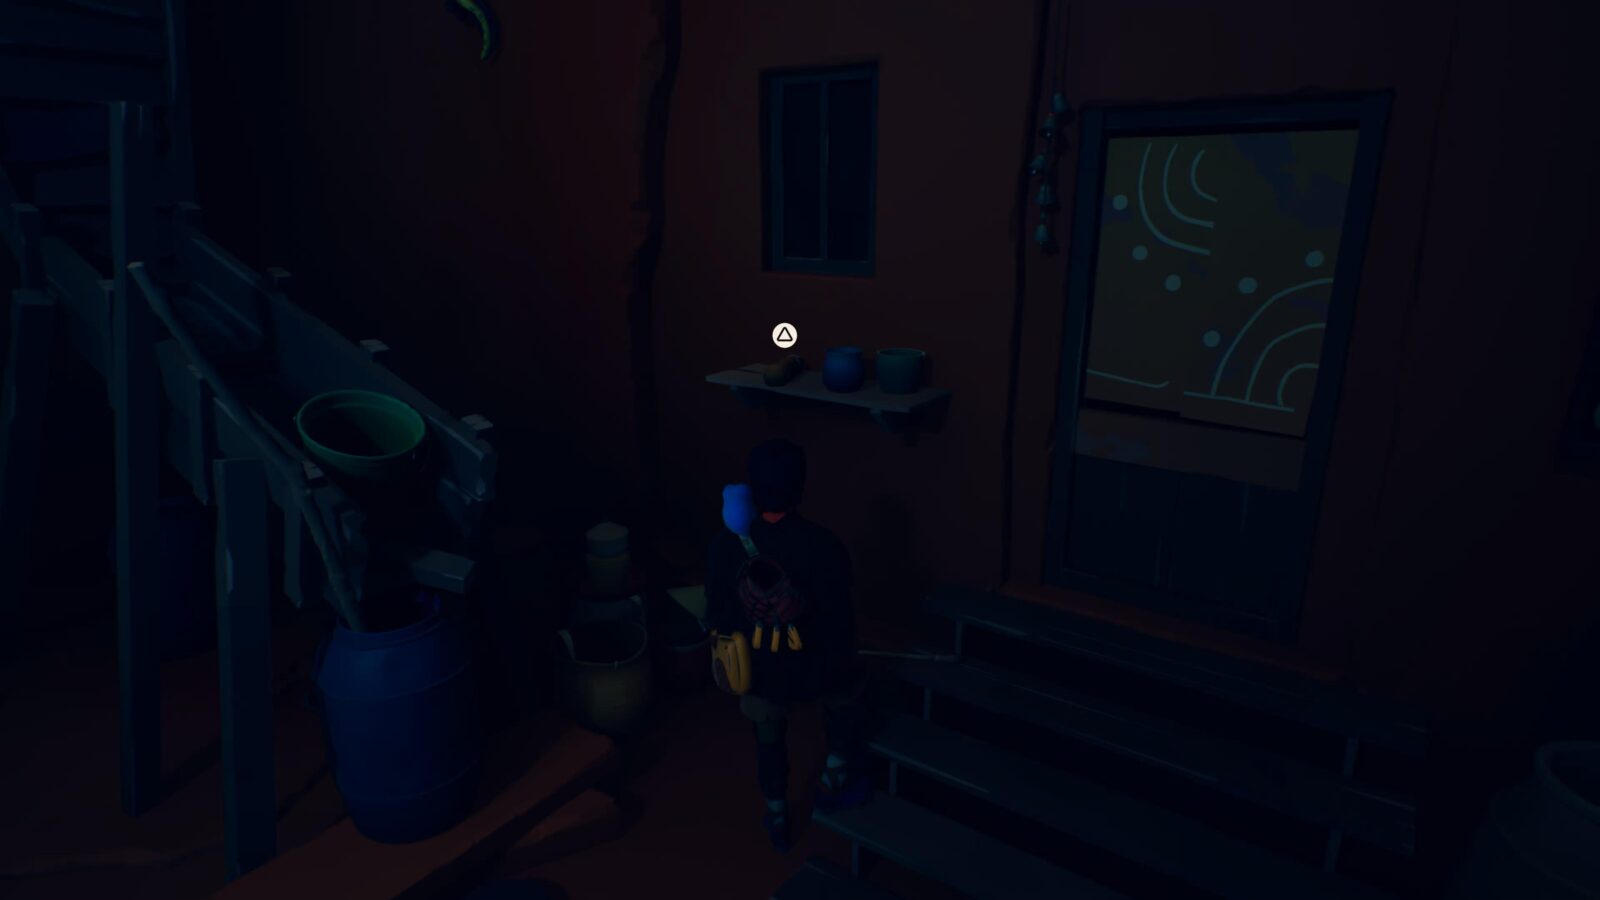
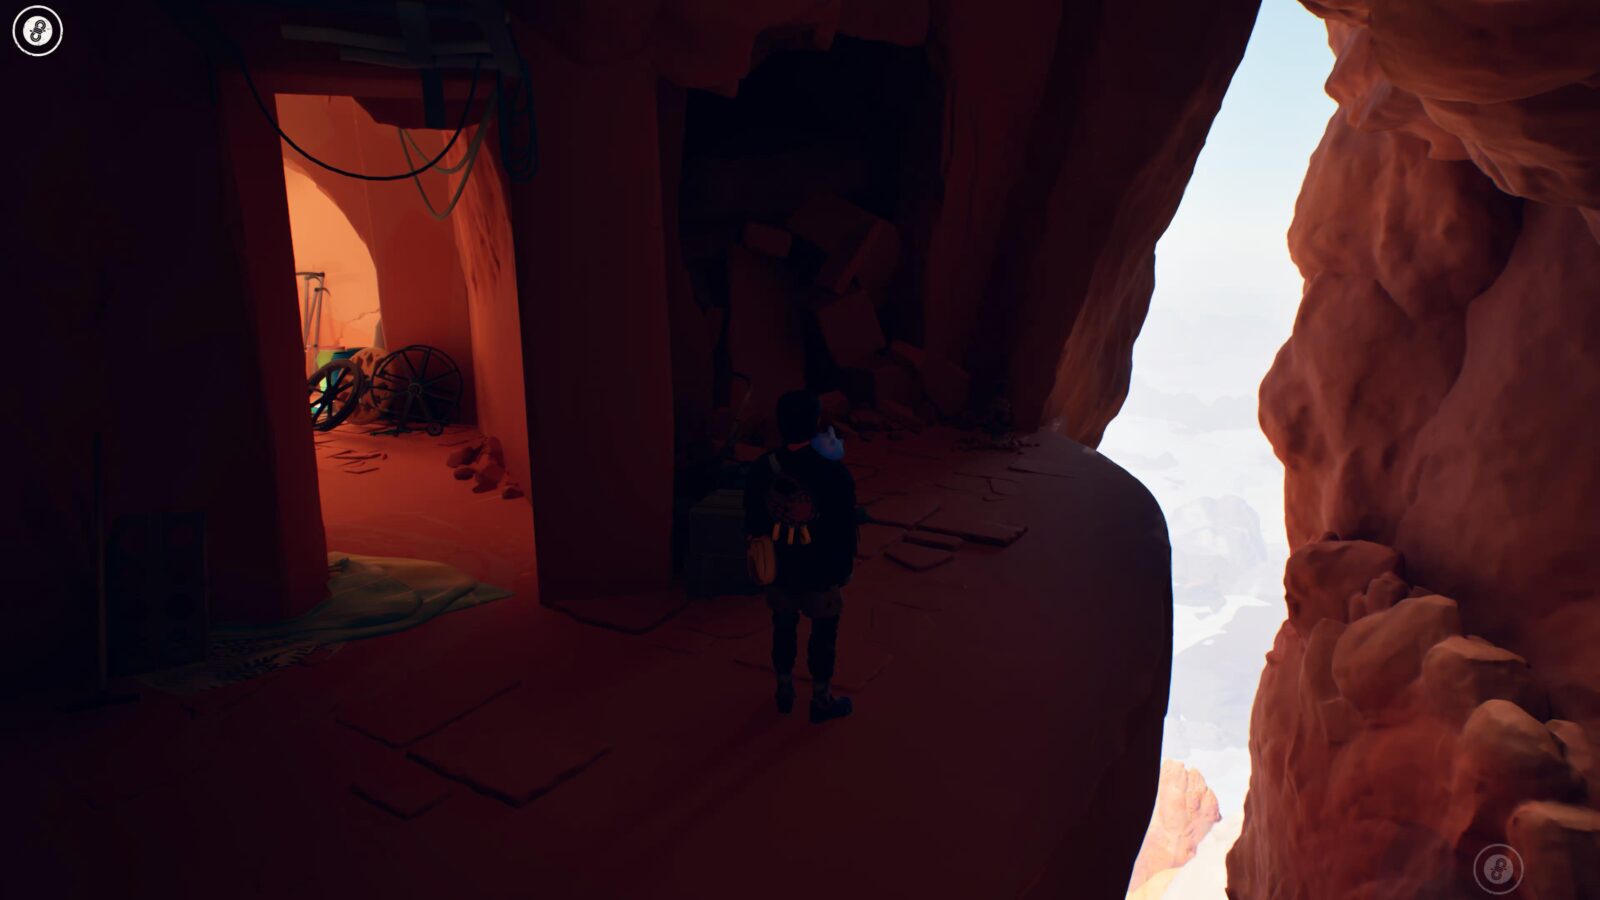
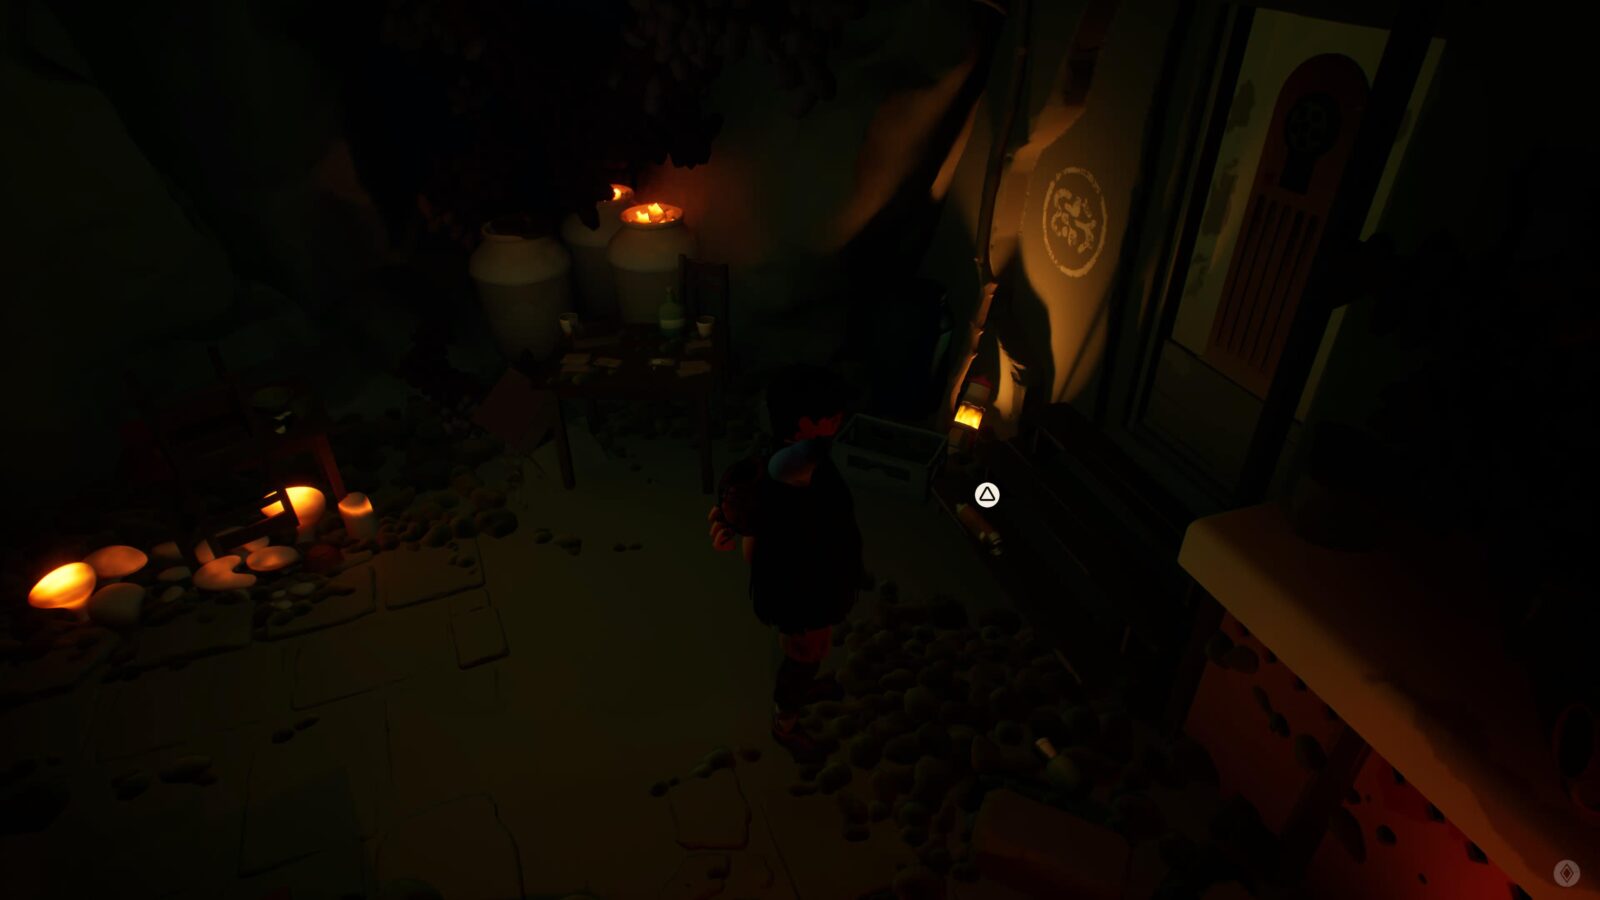
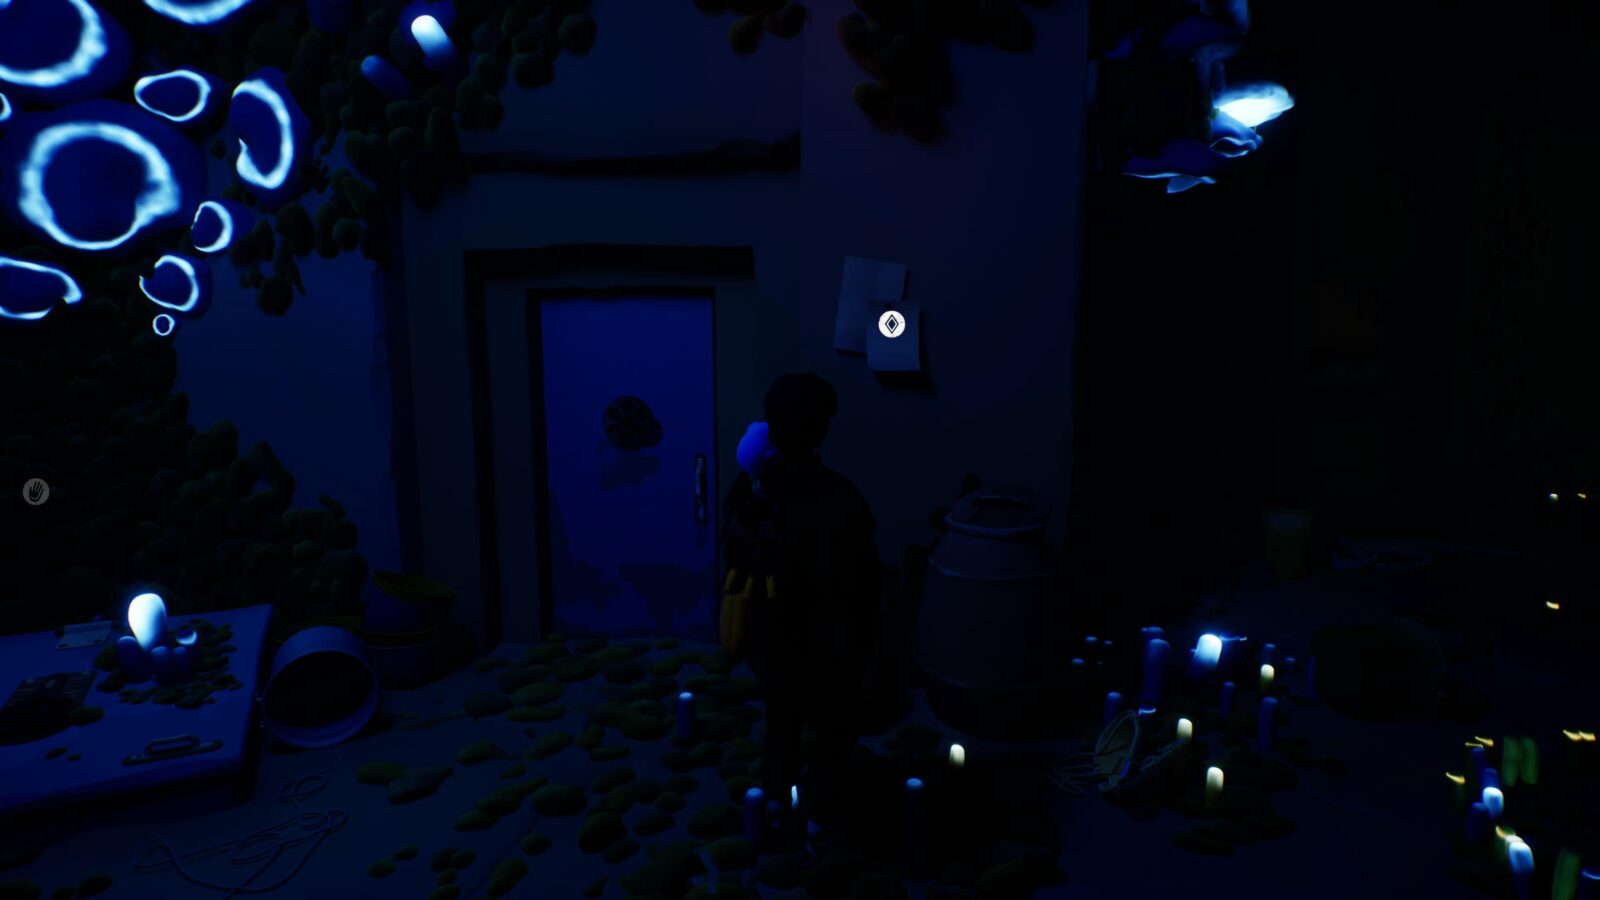
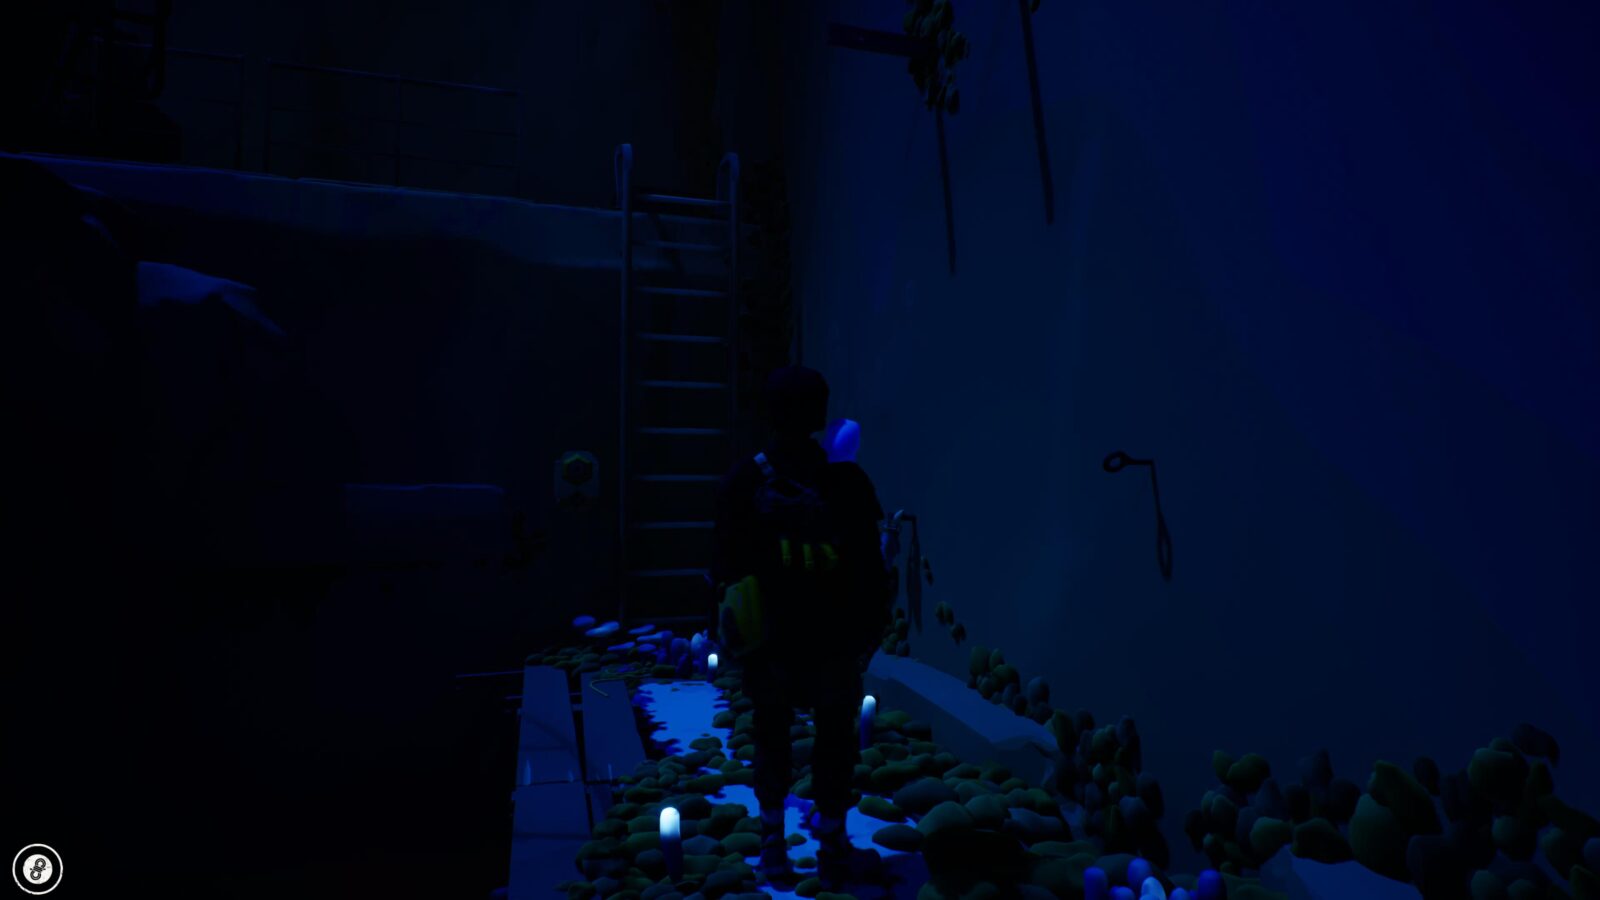
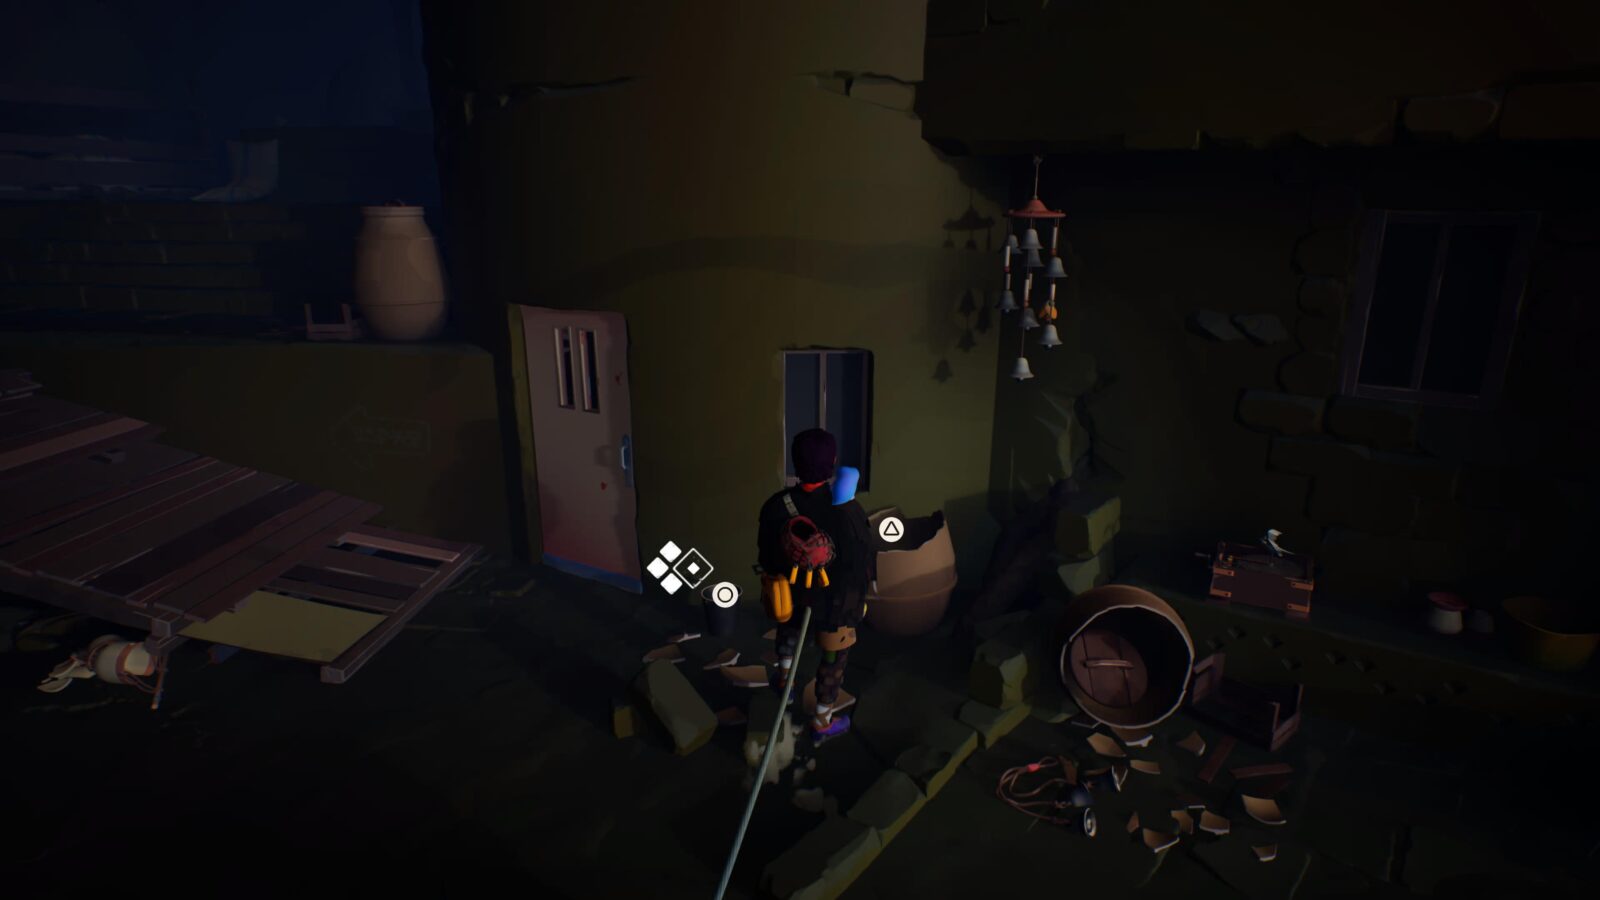
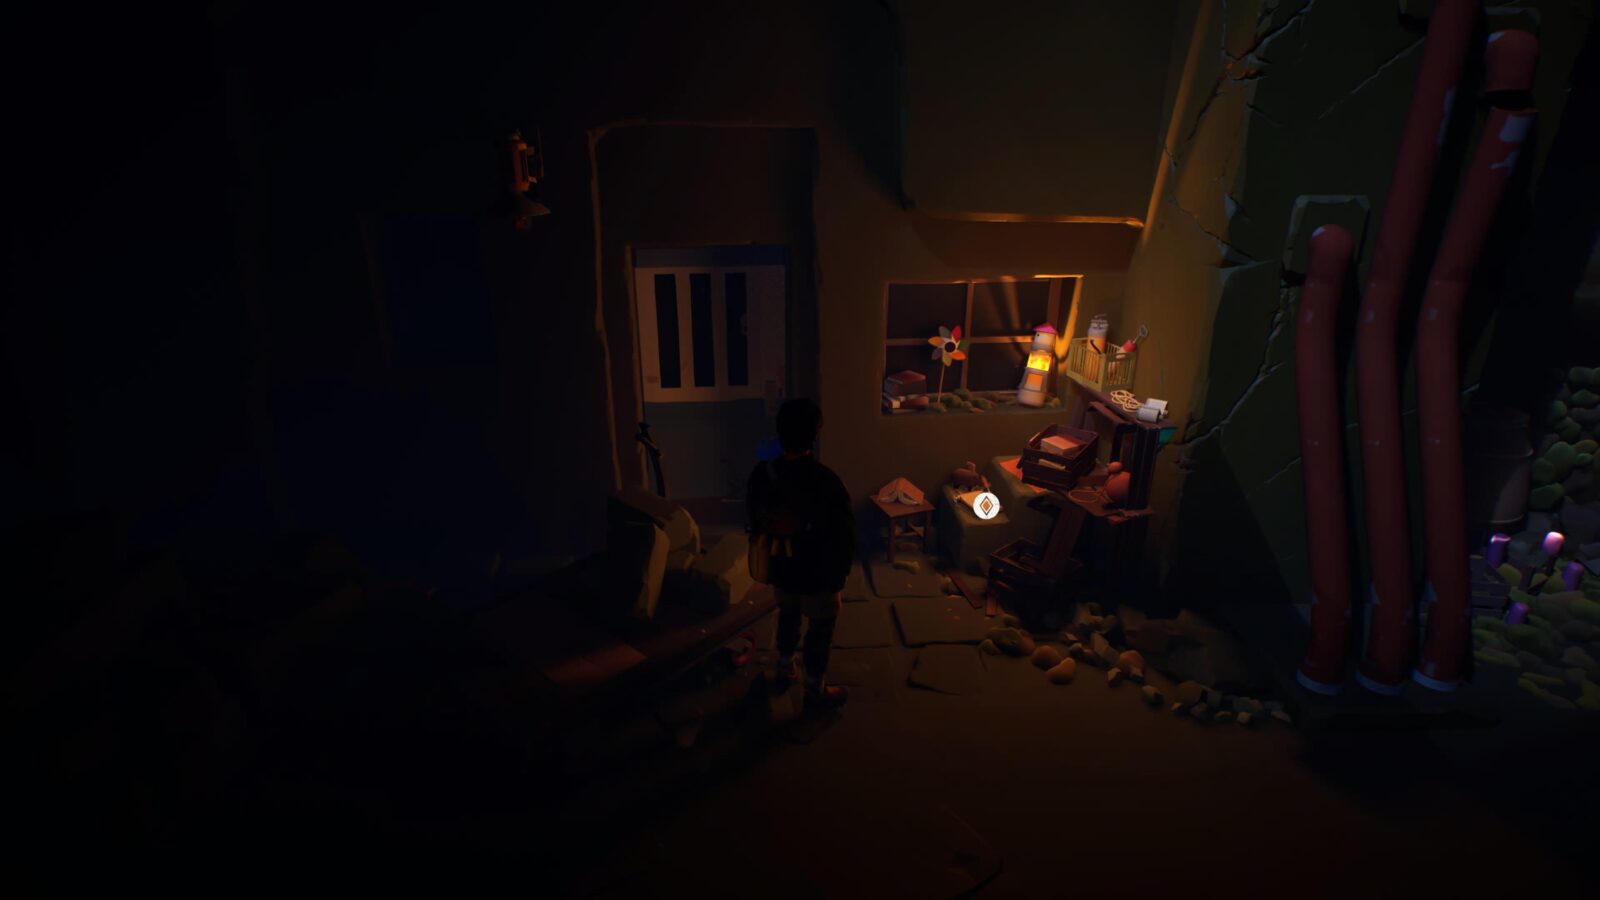
Letter #2
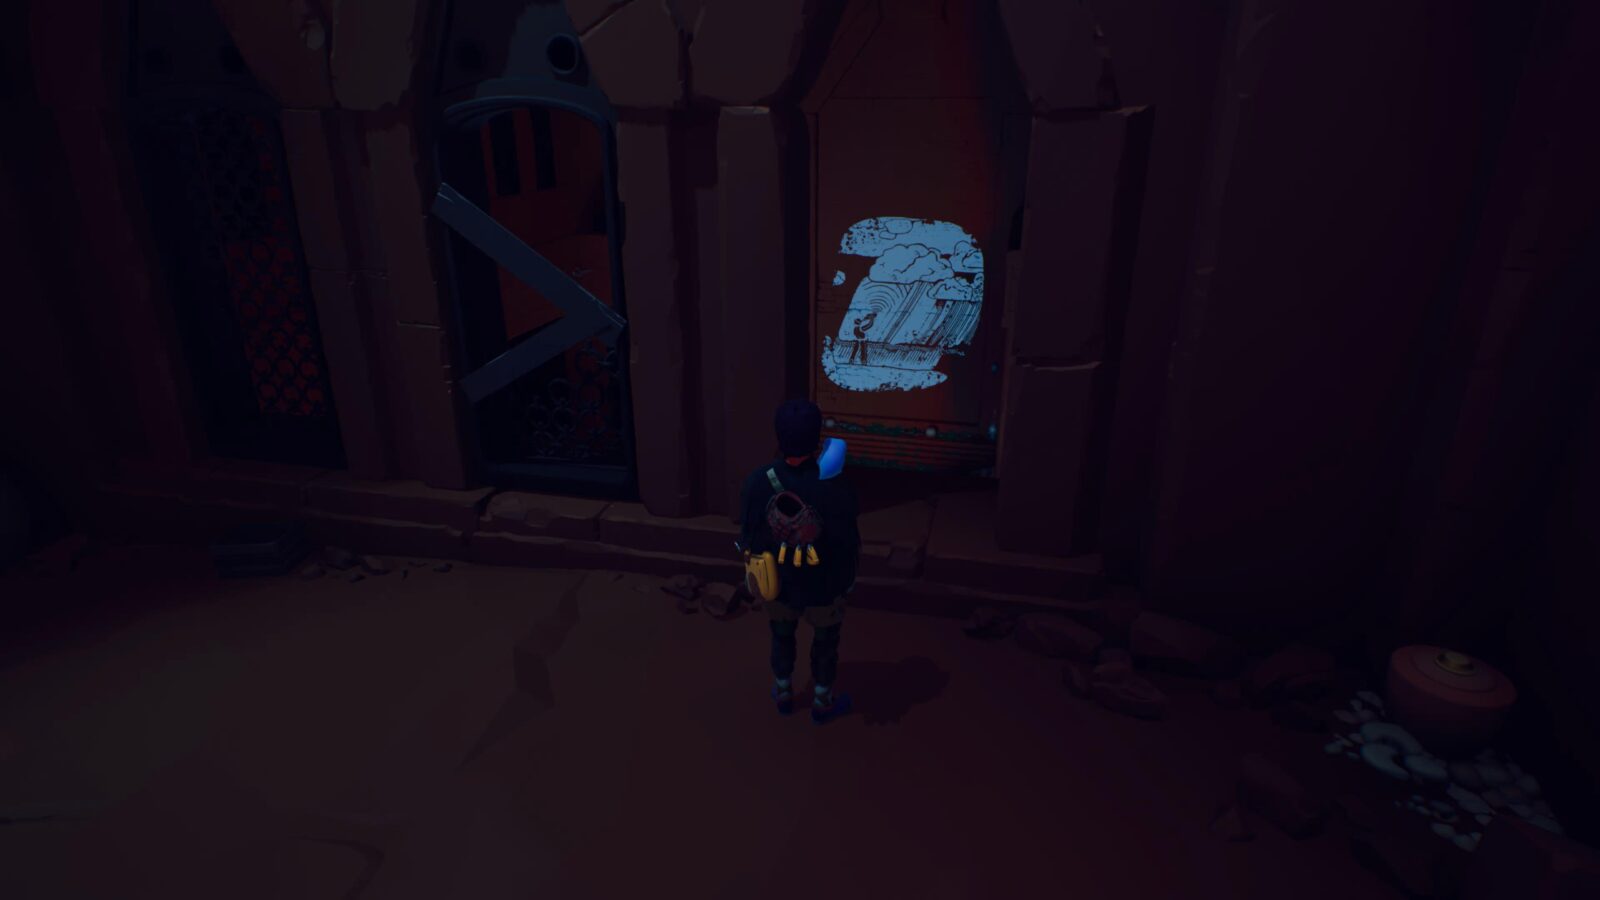
Climb the ladder and enter the cave on the right.
The letter is by a small window near a blue door.
Letter #3
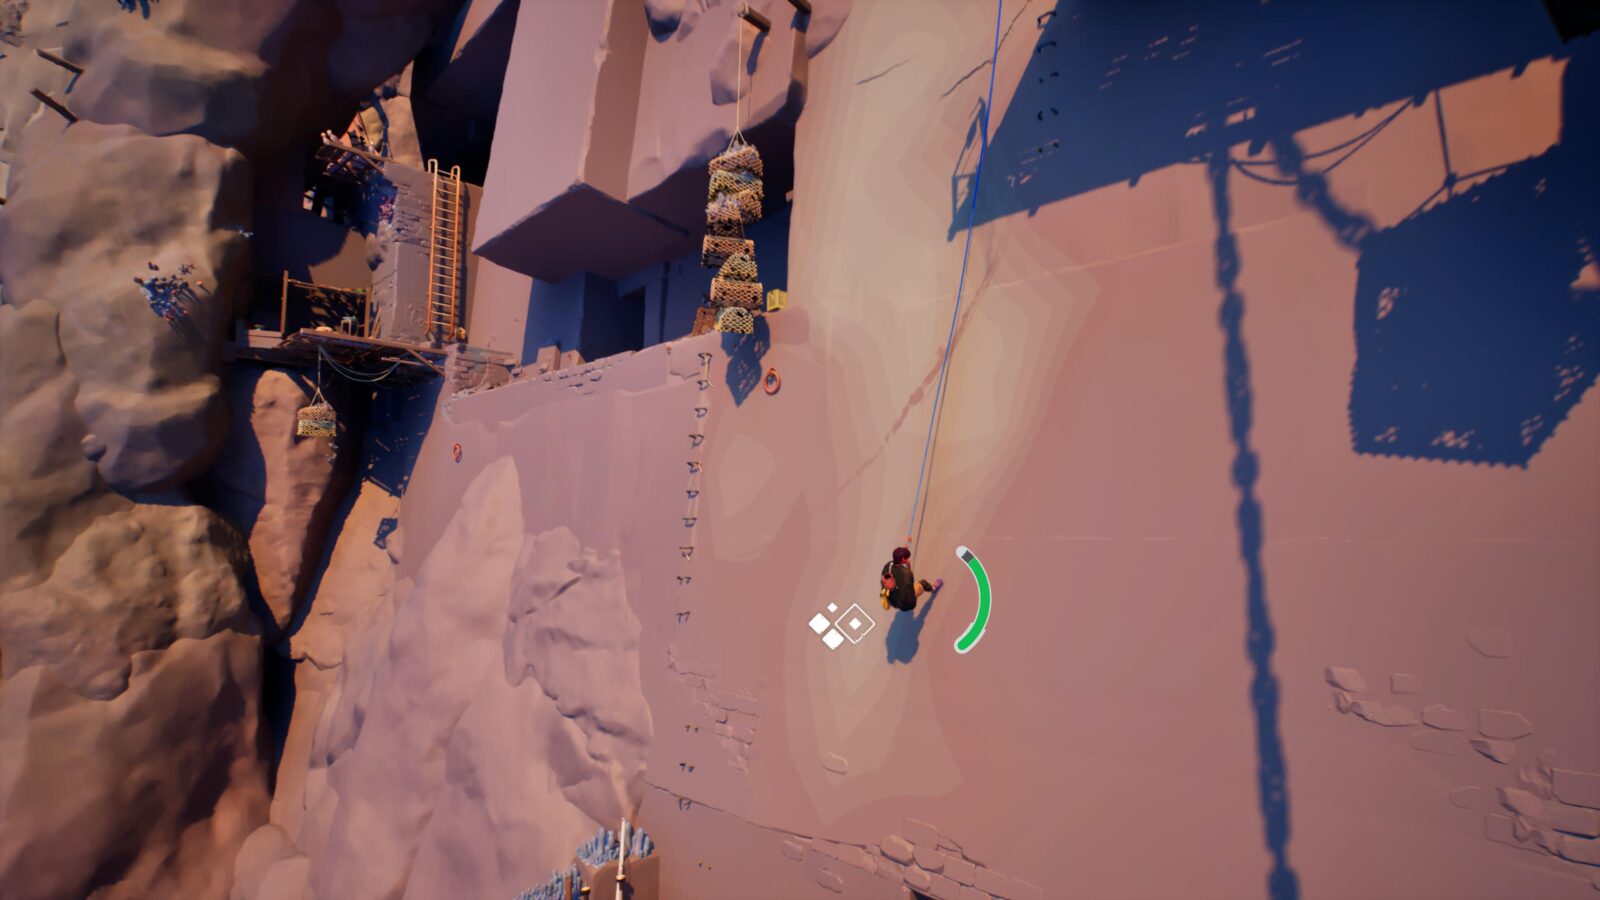
Eventually you’ll reach a wooden scaffolding structure you need to clamber across. Climb to the top of it to find a ladder going underneath.
Climb down the ladder and the letter is pinned to a board under the scaffolding.
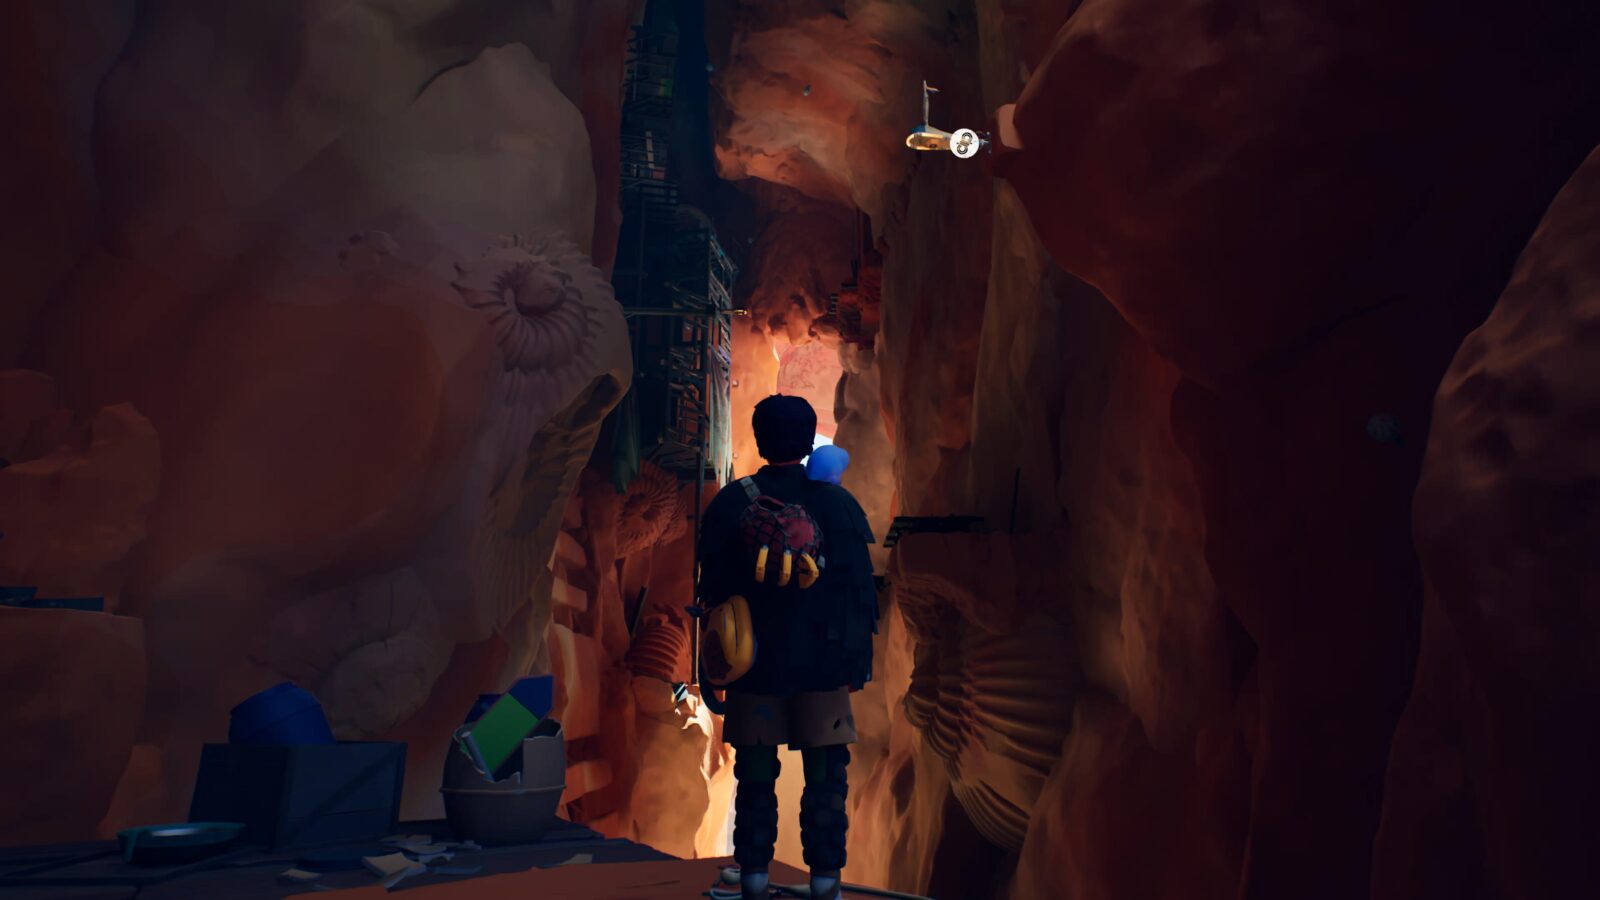
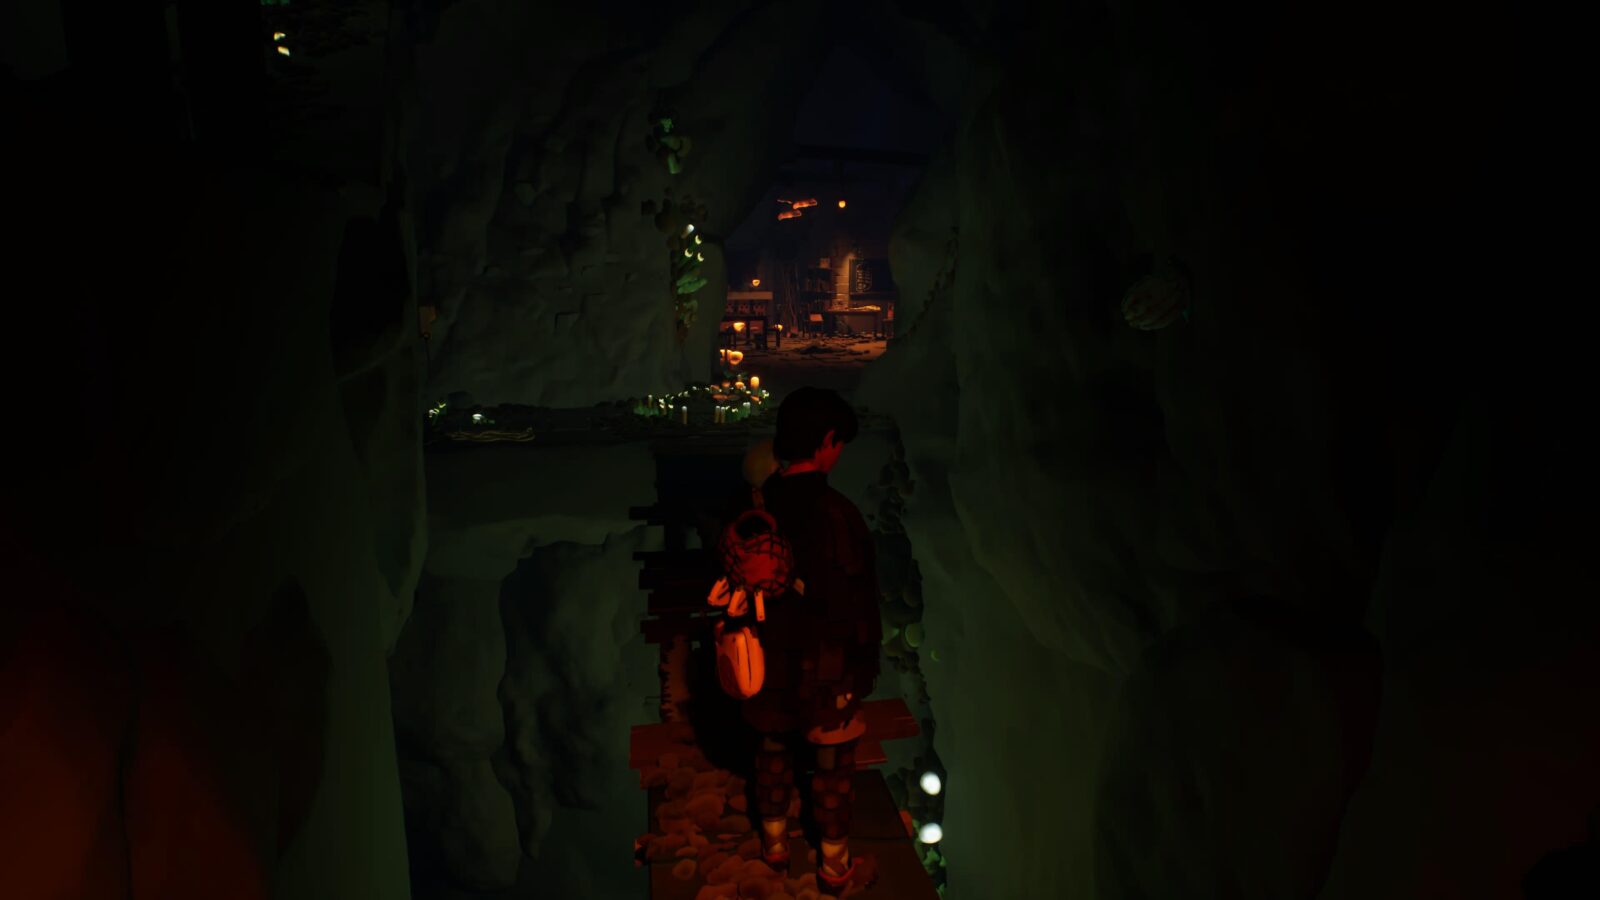
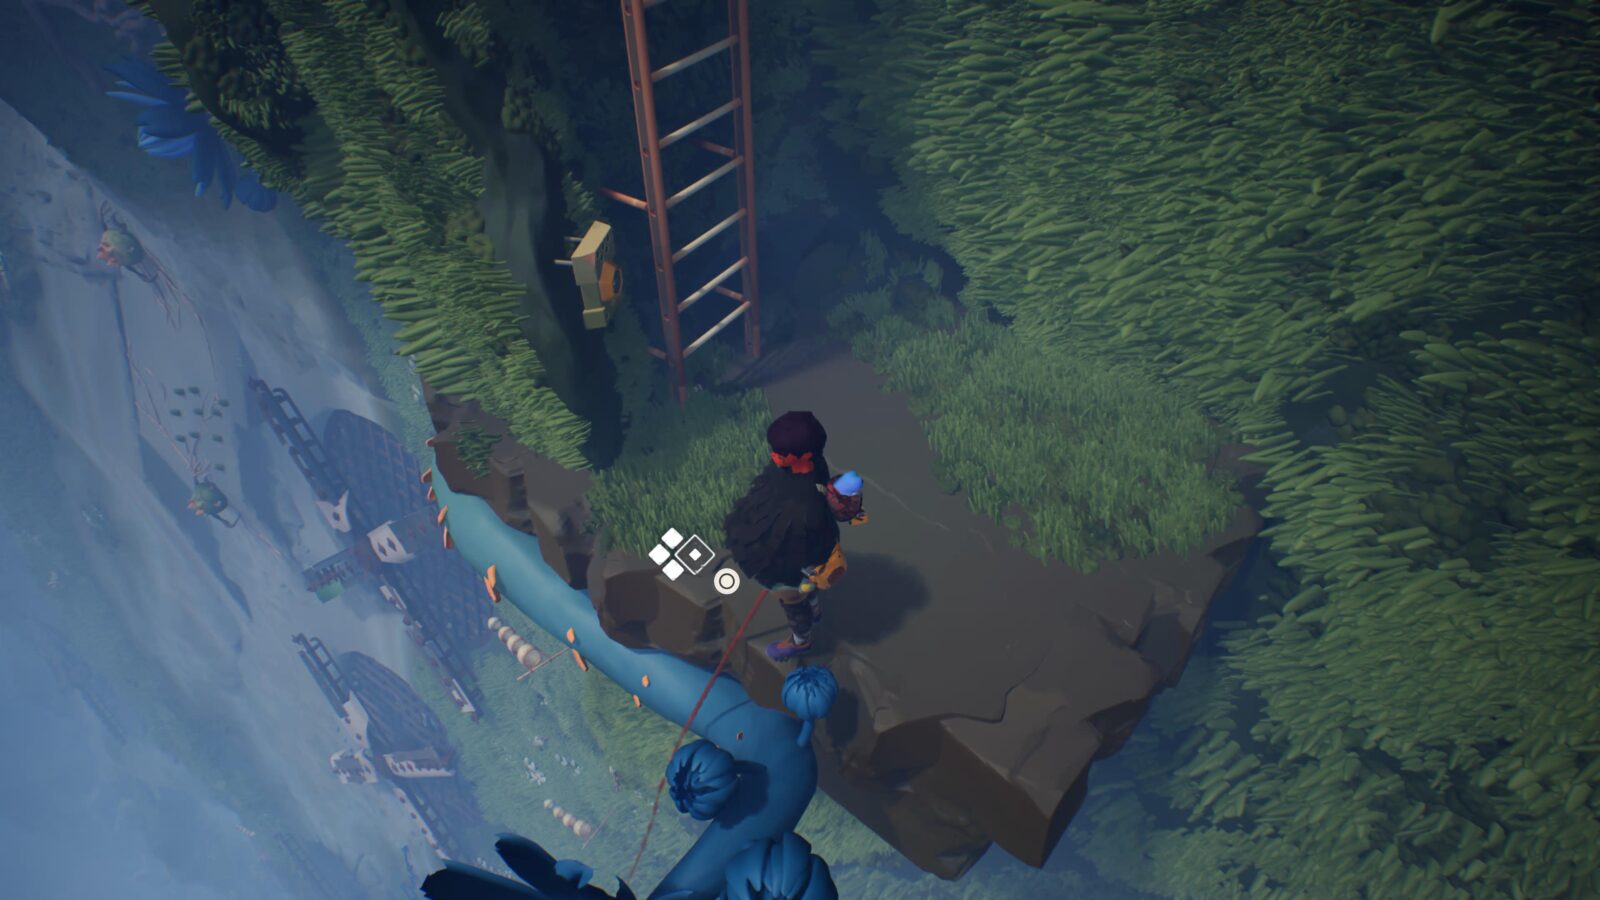
Cairn #1
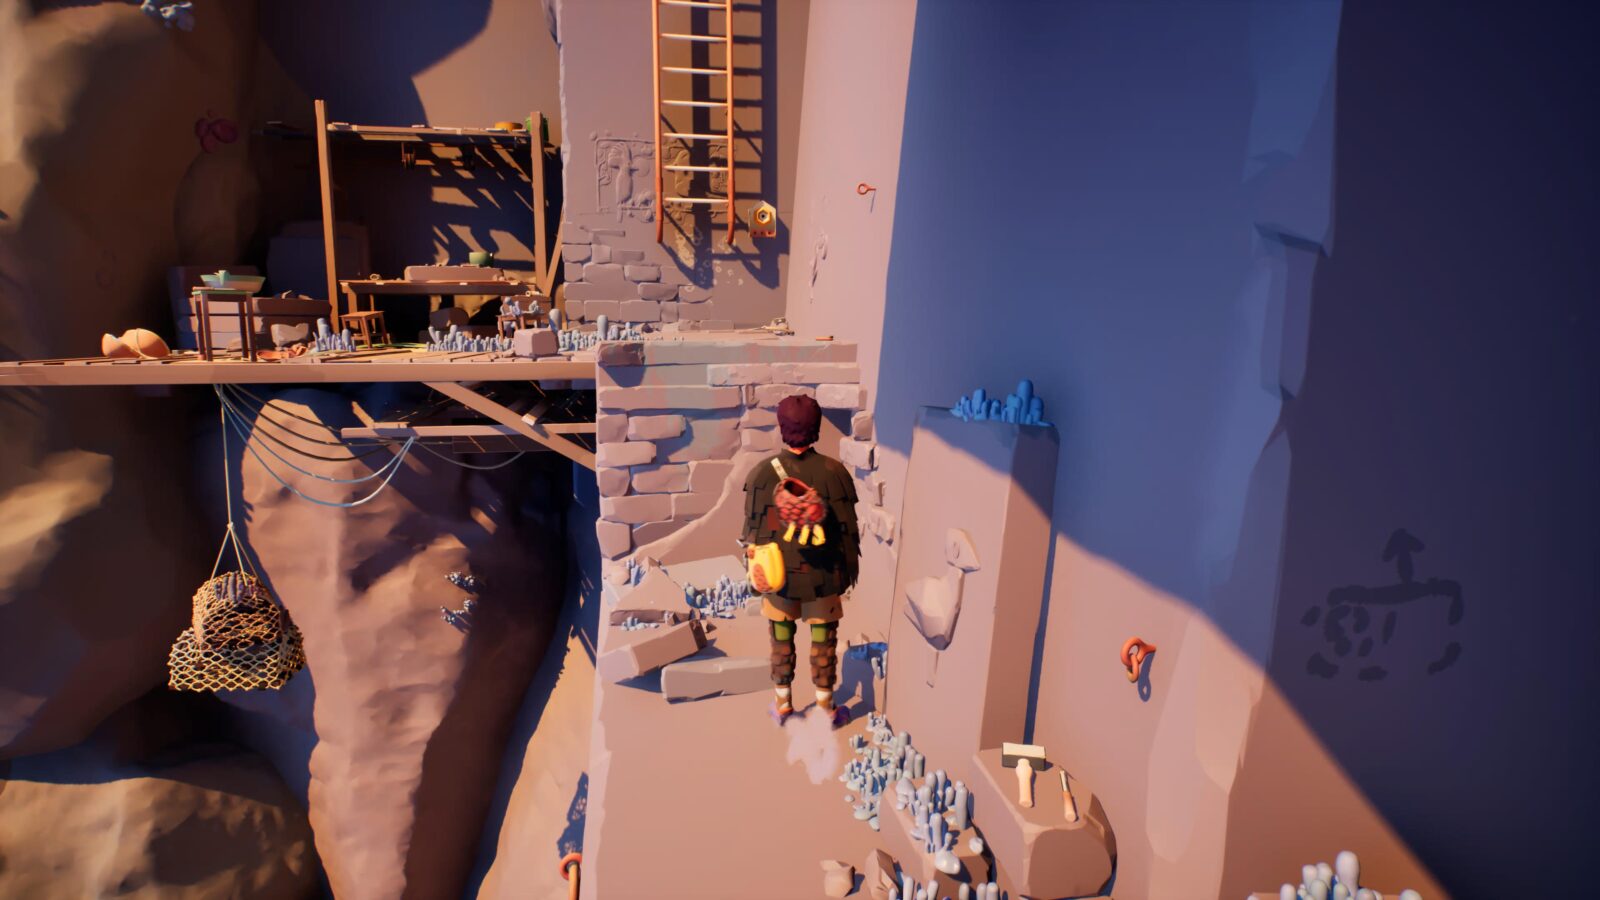
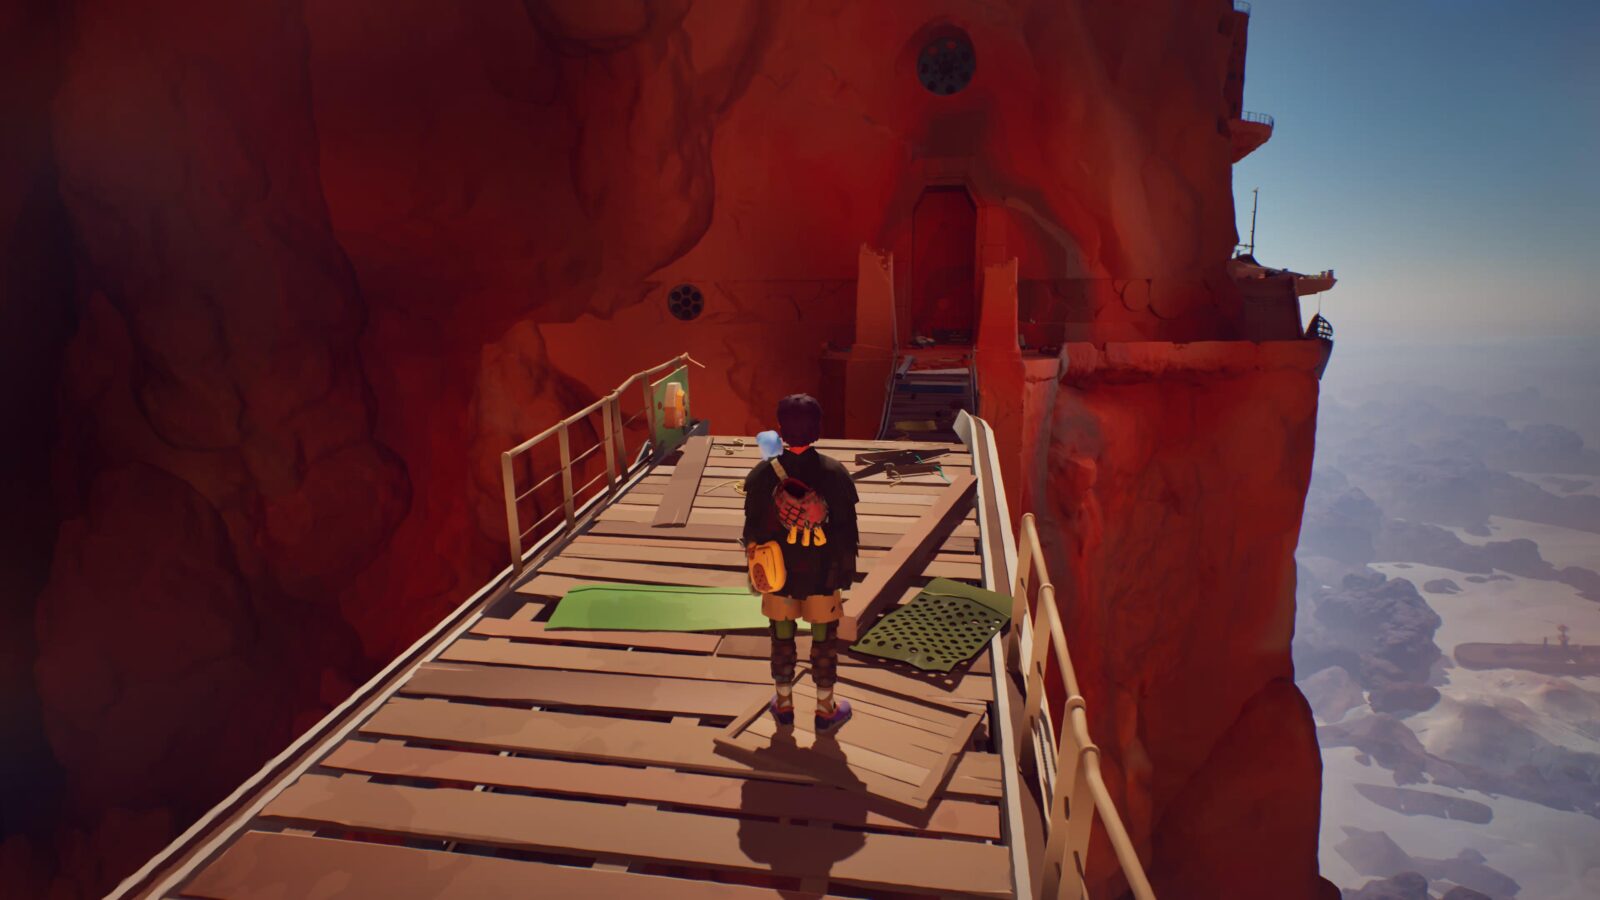
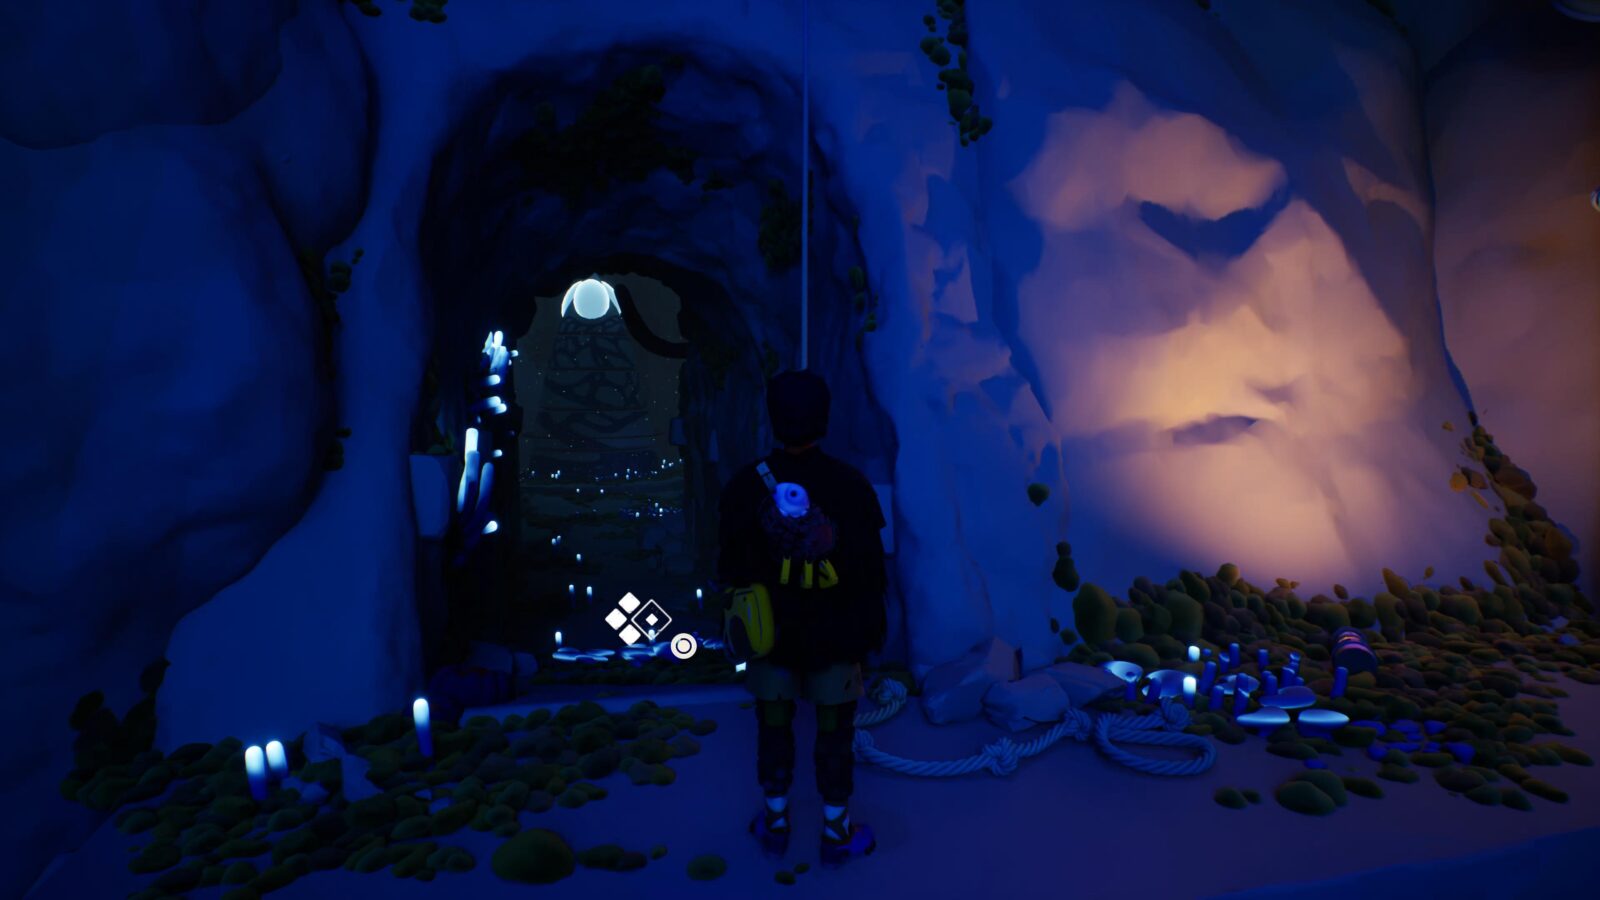
Eventually you will reach a large bridge leading to two towers.
Instead of heading to the towers, continue deeper into the cave via the wall ledge.
The cairn is in plain sight at the opposite side of the chasm.
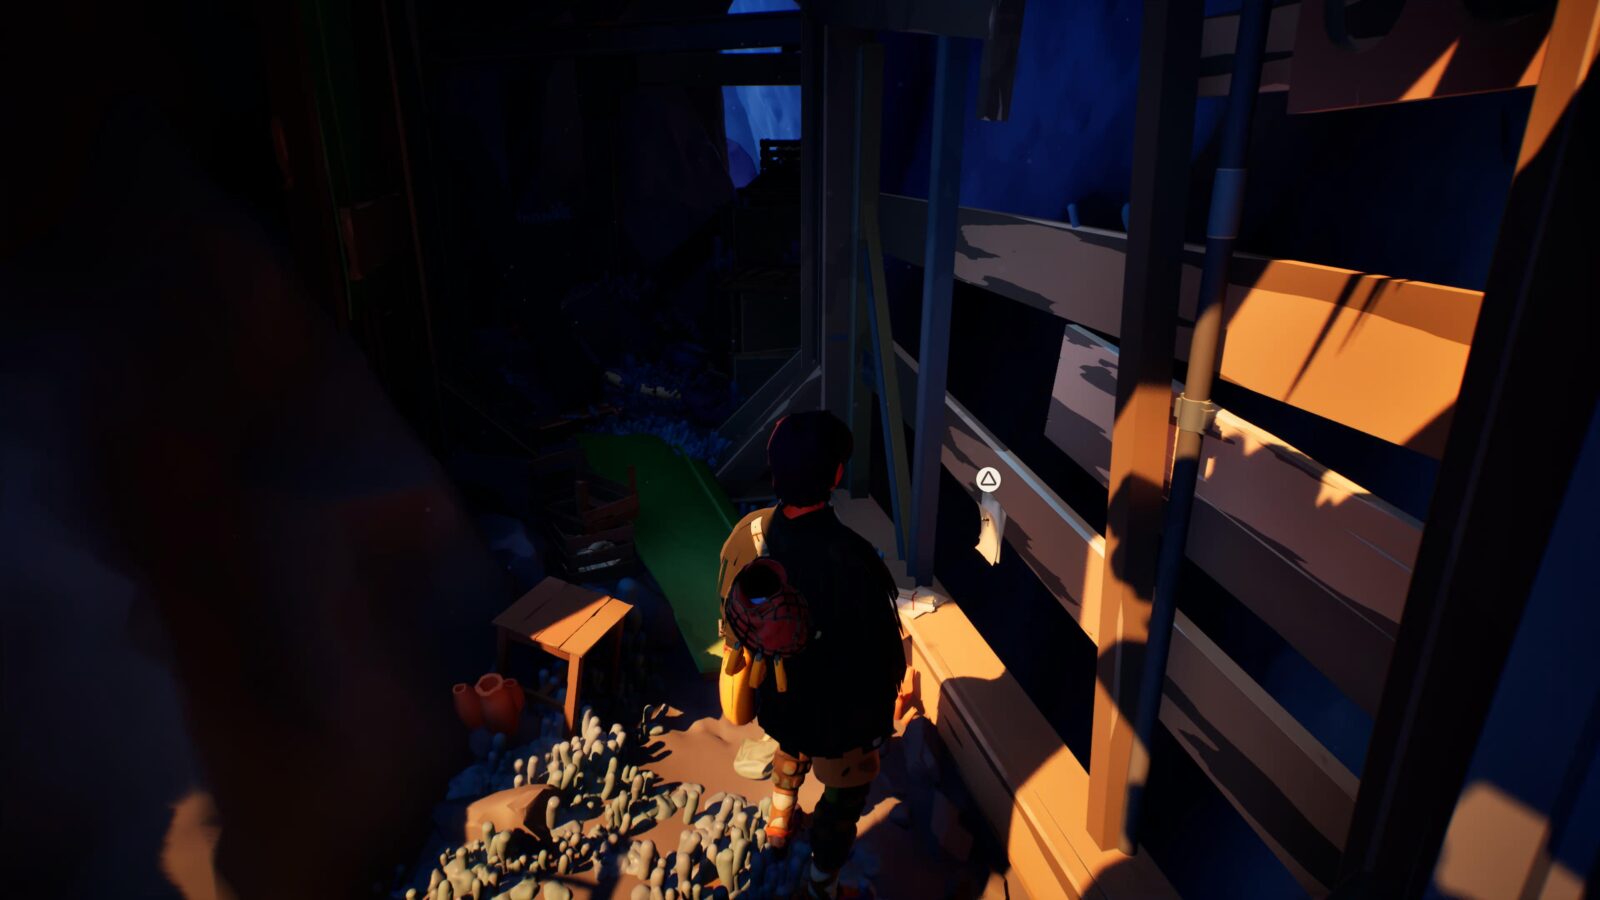
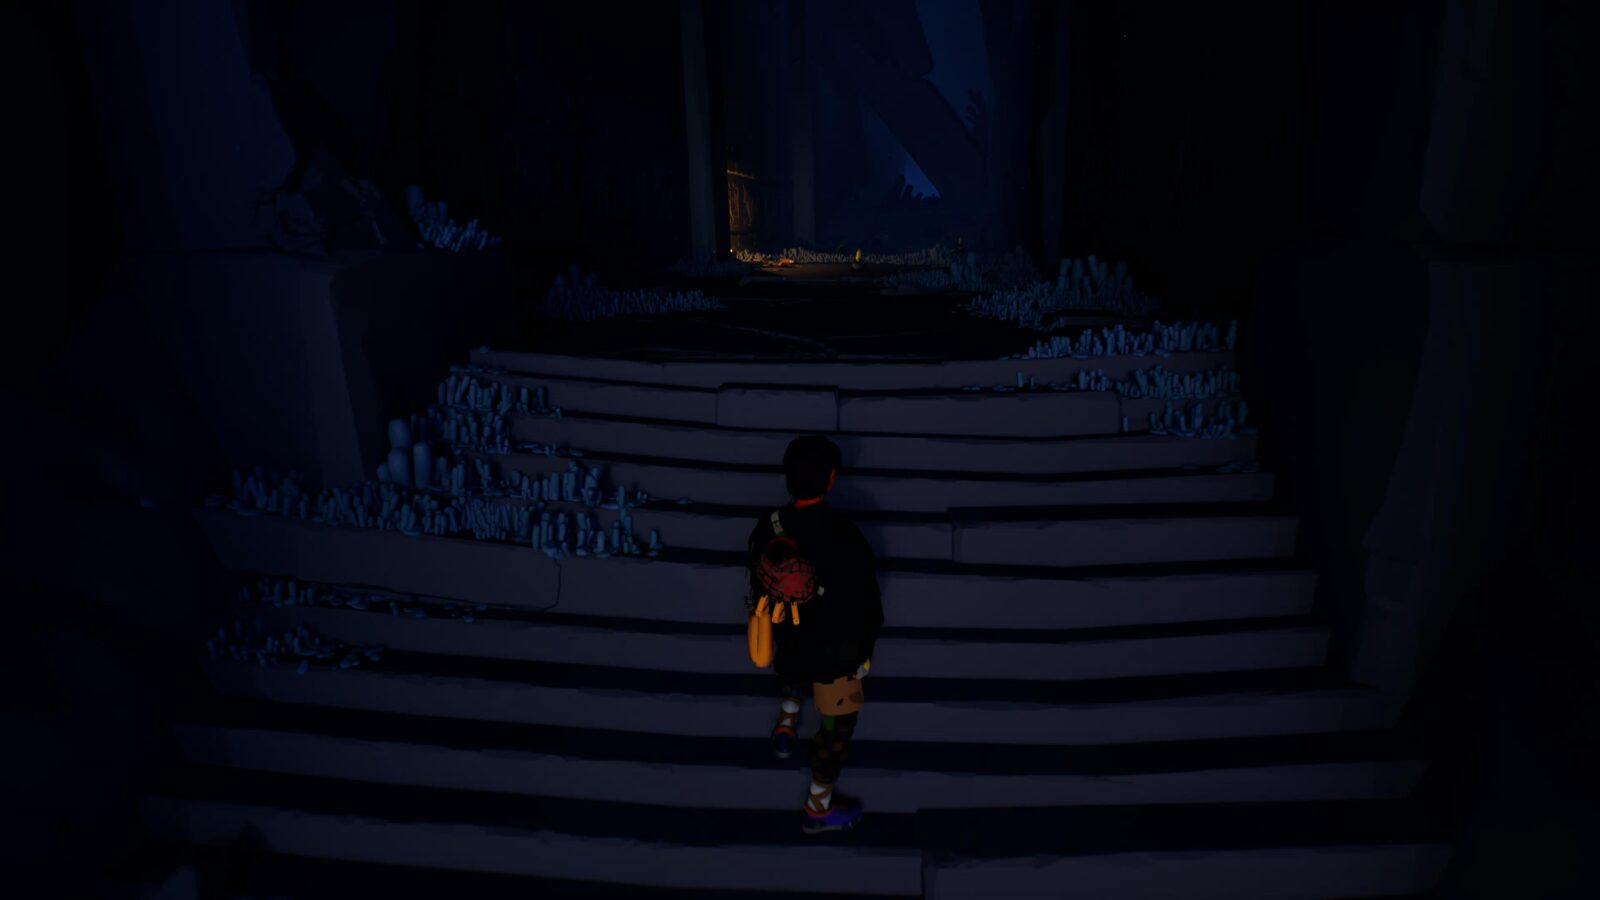
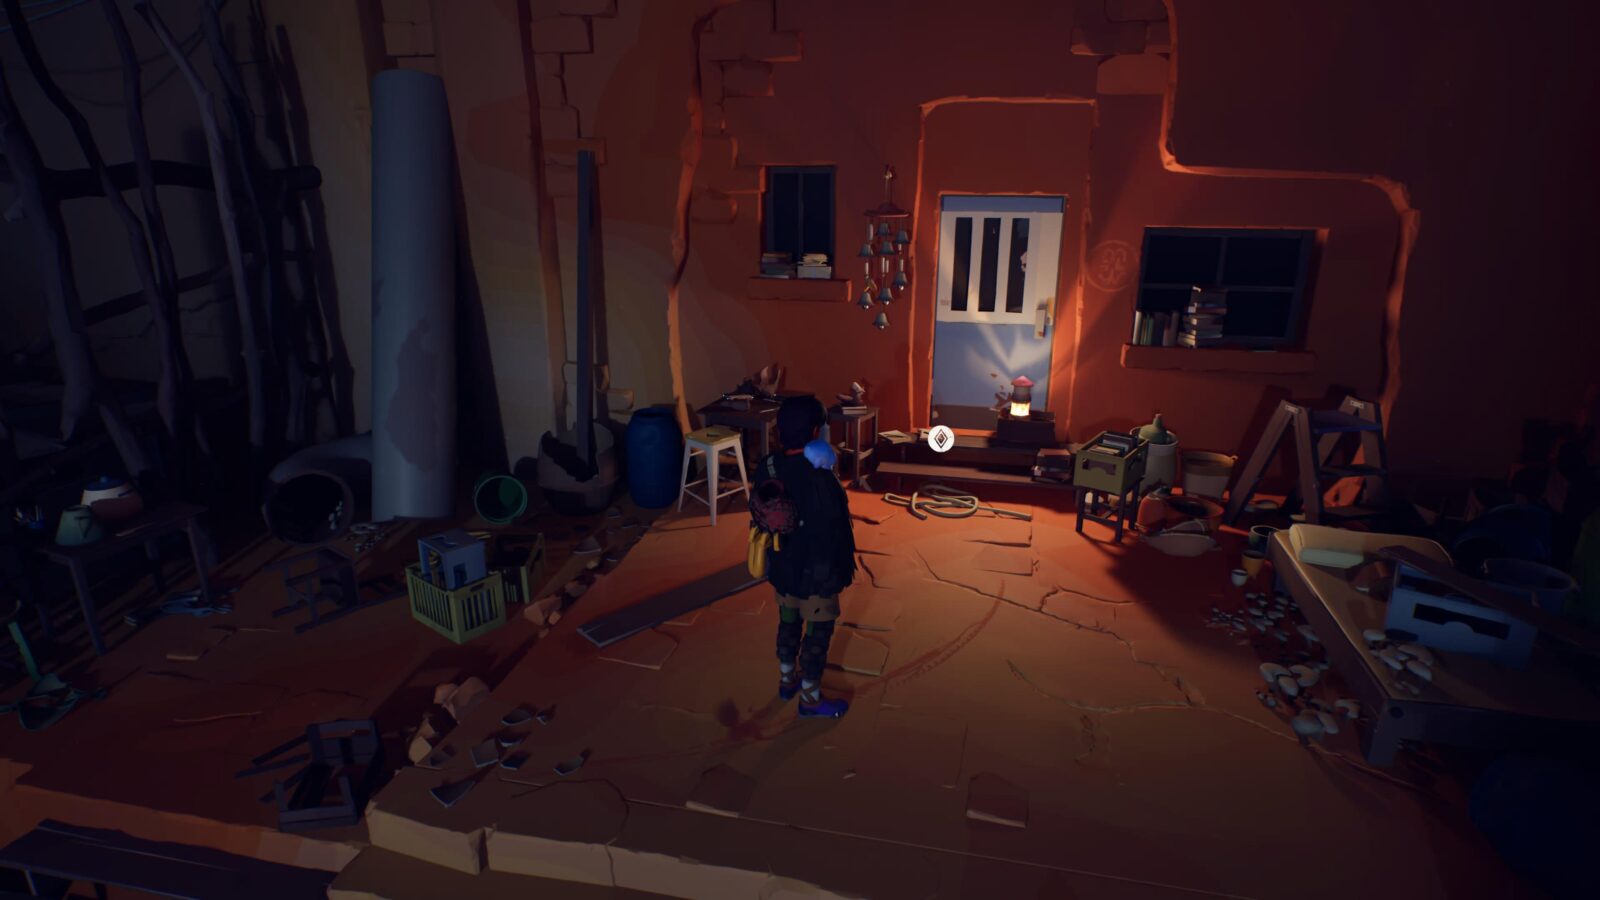
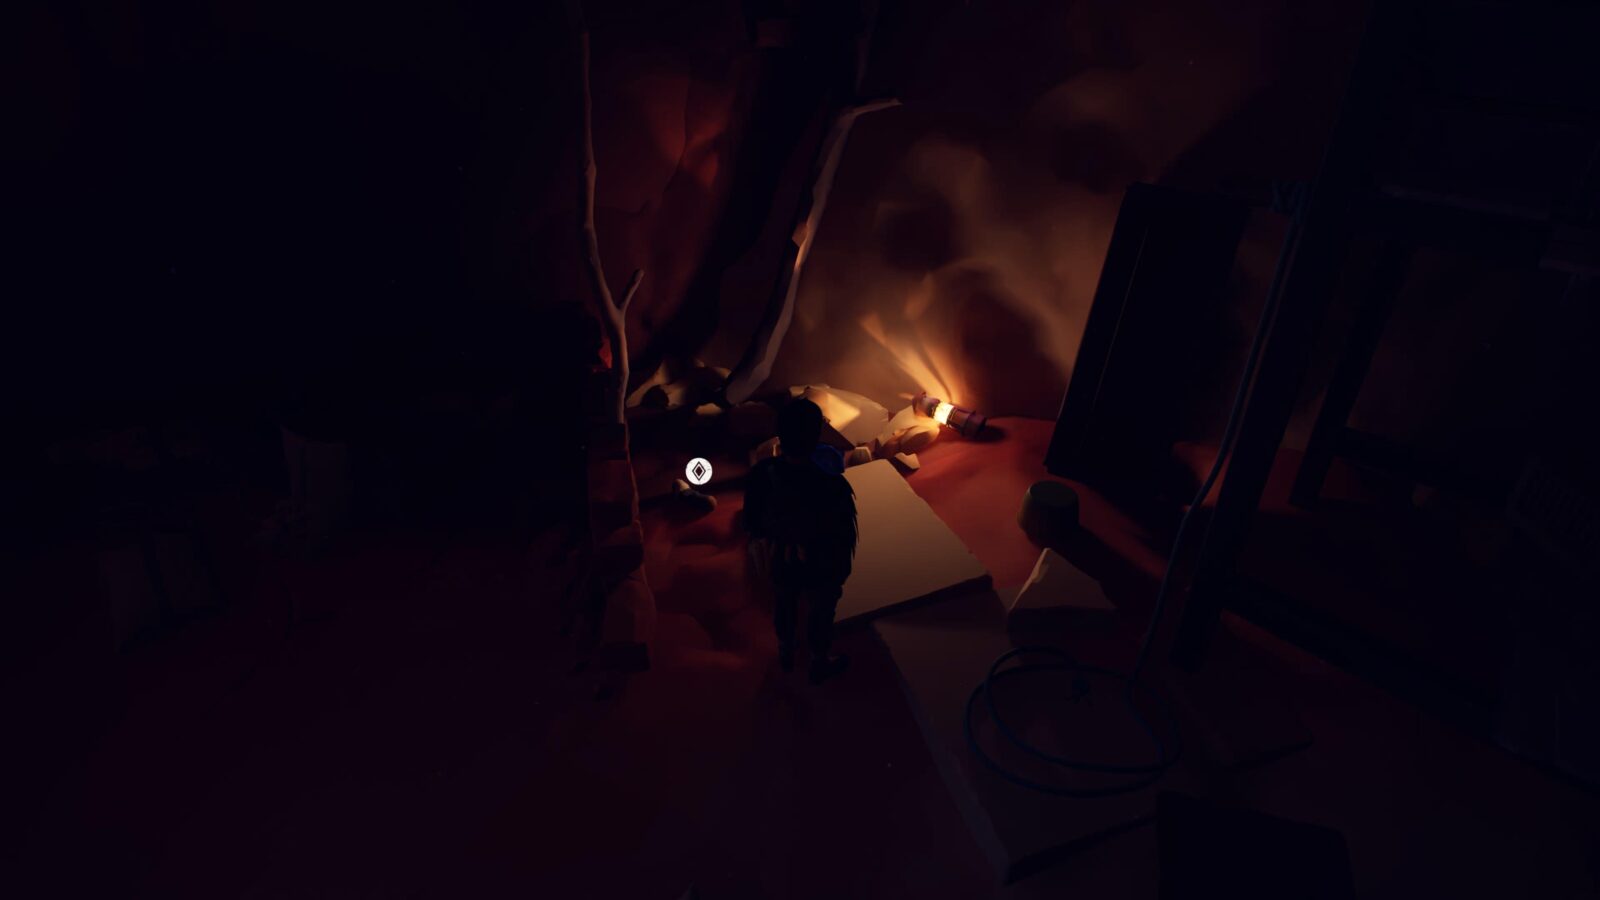
Letter #4
Continue up the stairs and into the tunnel, the letter is on the ground near a lantern.

Letter #5
Go back and cross the bridge towards the Towers, take a right at the bottom of the stairs onto a side path leading to a wooden table with the letter.

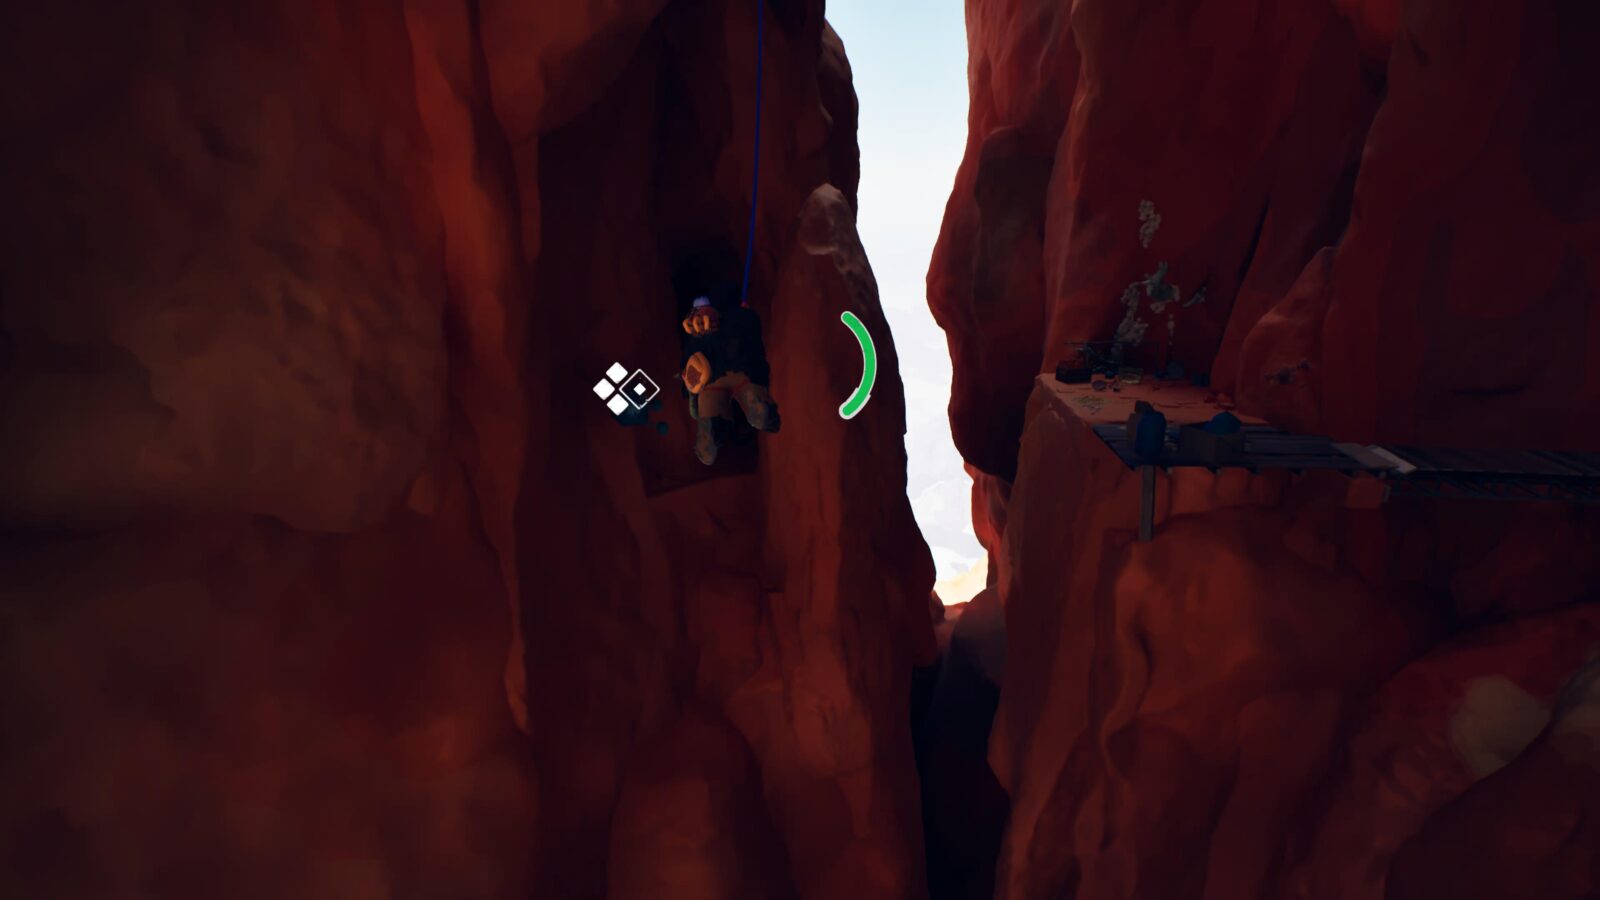
Cairn #2
Continue along the ledge to the right of Letter #5.
Letter #6
Back on the bridge, go up the stairs and, at the top, veer right towards a blue door to find the letter next to it.
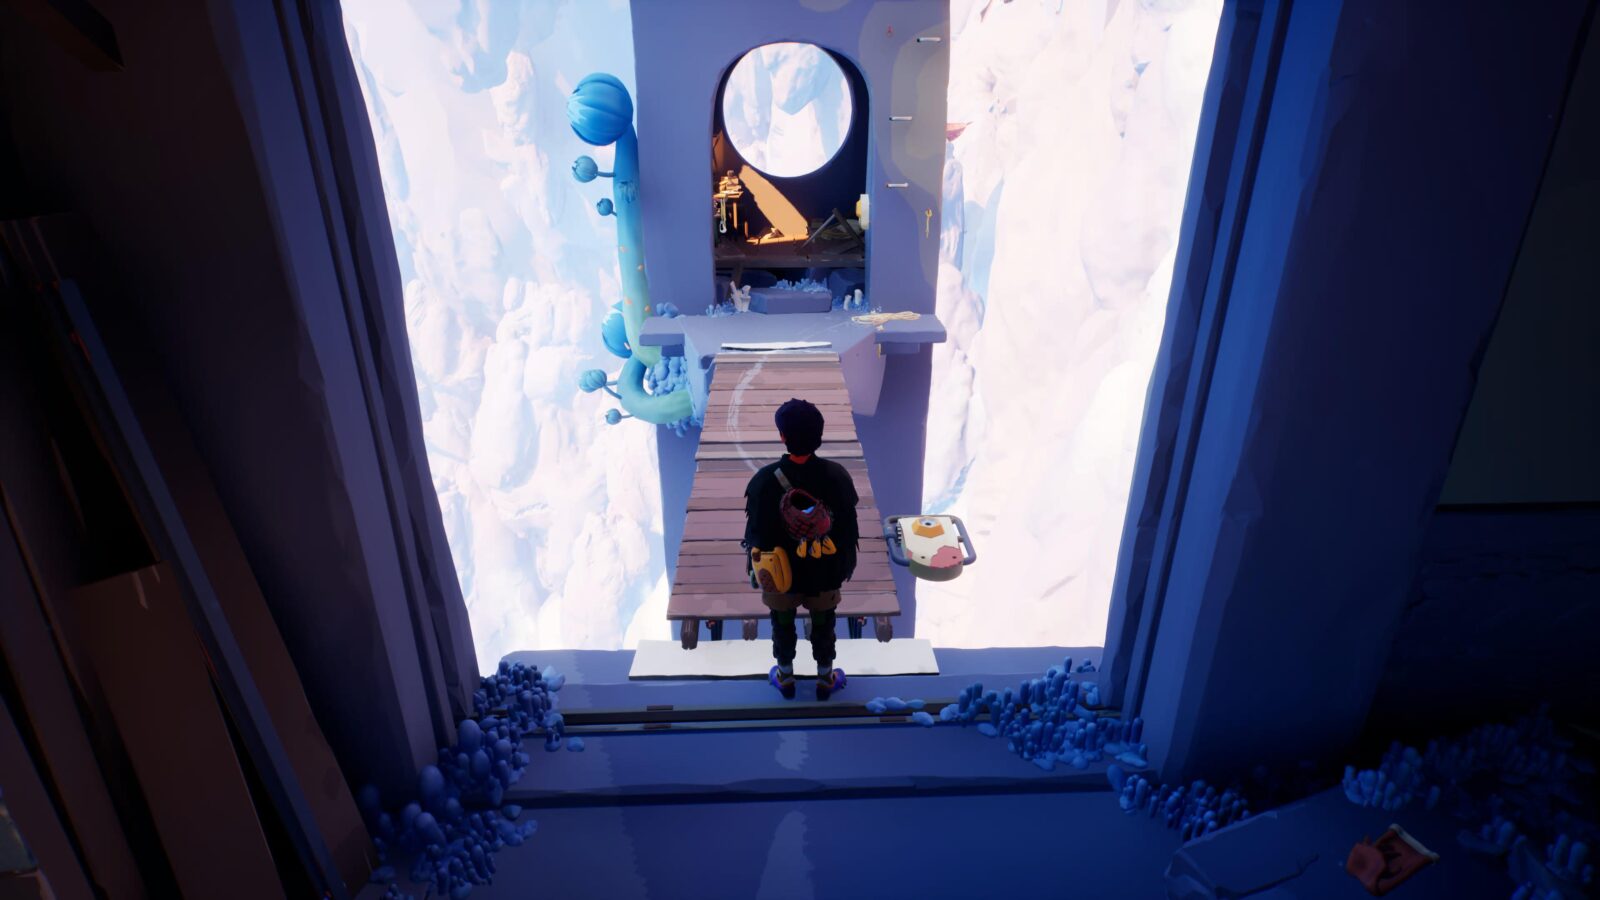
Journal Entry #1
Up the tower, you’ll use your carabiner to drop a bridge. Cross the bridge and the entry is in plain sight in the room at the end.
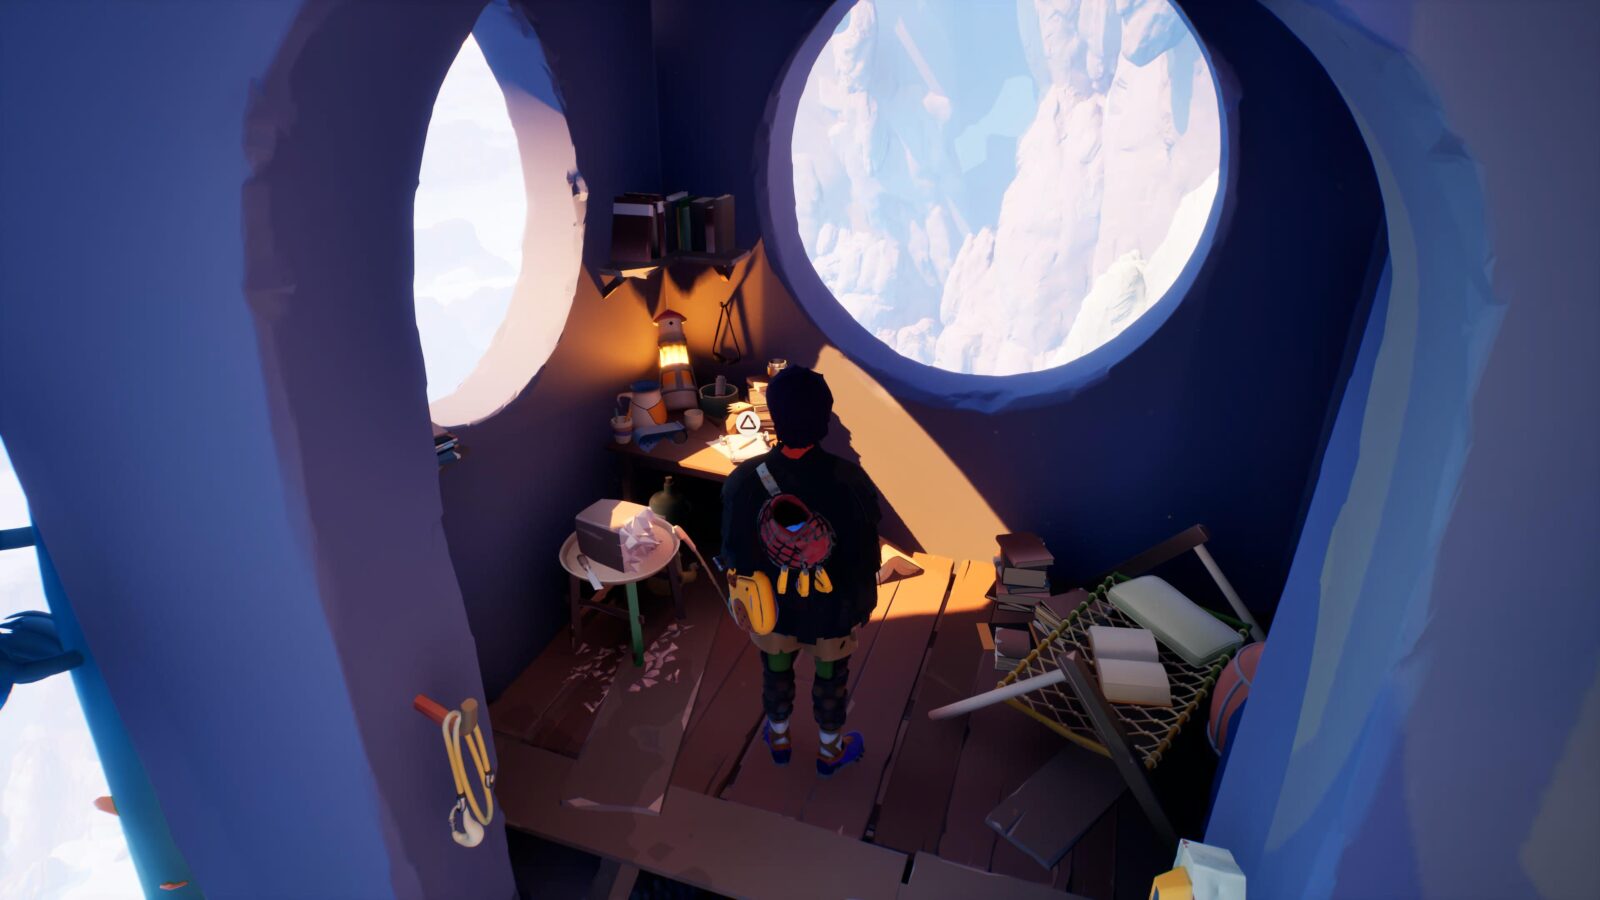
Letter #7
More wall swinging leads to a small room with a ladder; the letter is inside on a stool.
Chapter 2 Collectibles | "Migration"
Chapter 2, known as “Migration,” features the following collectibles:
- 7/44 Letters
- 2/12 Shells
- 4/20 Cairns
- 1/13 Journal Entry
- 3/12 Frescos
- 1/4 Altar
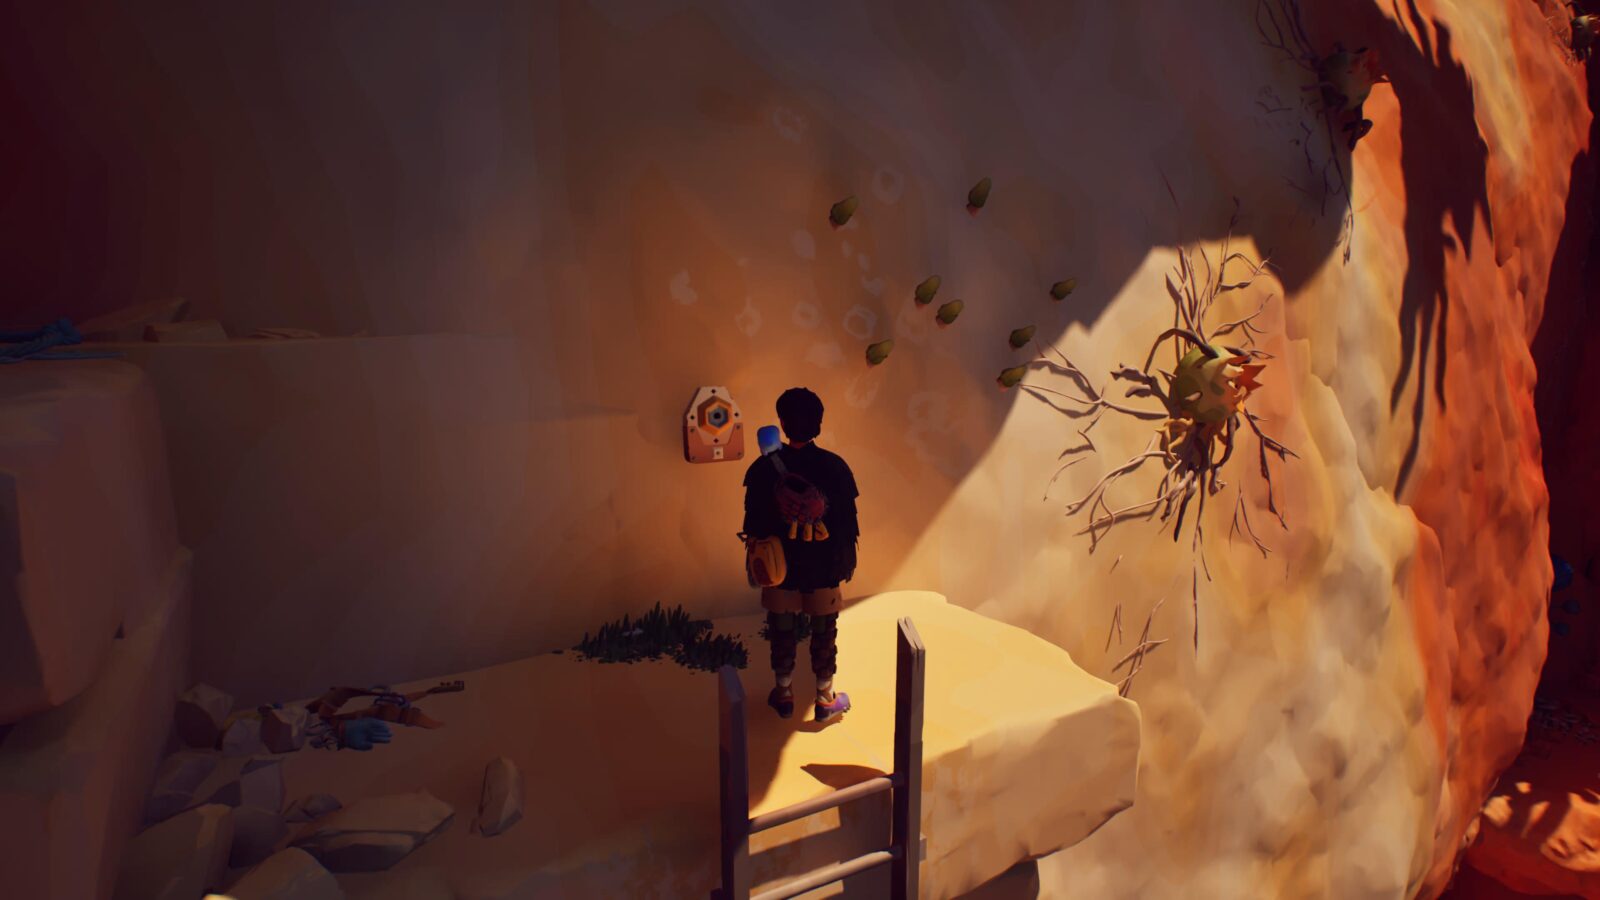
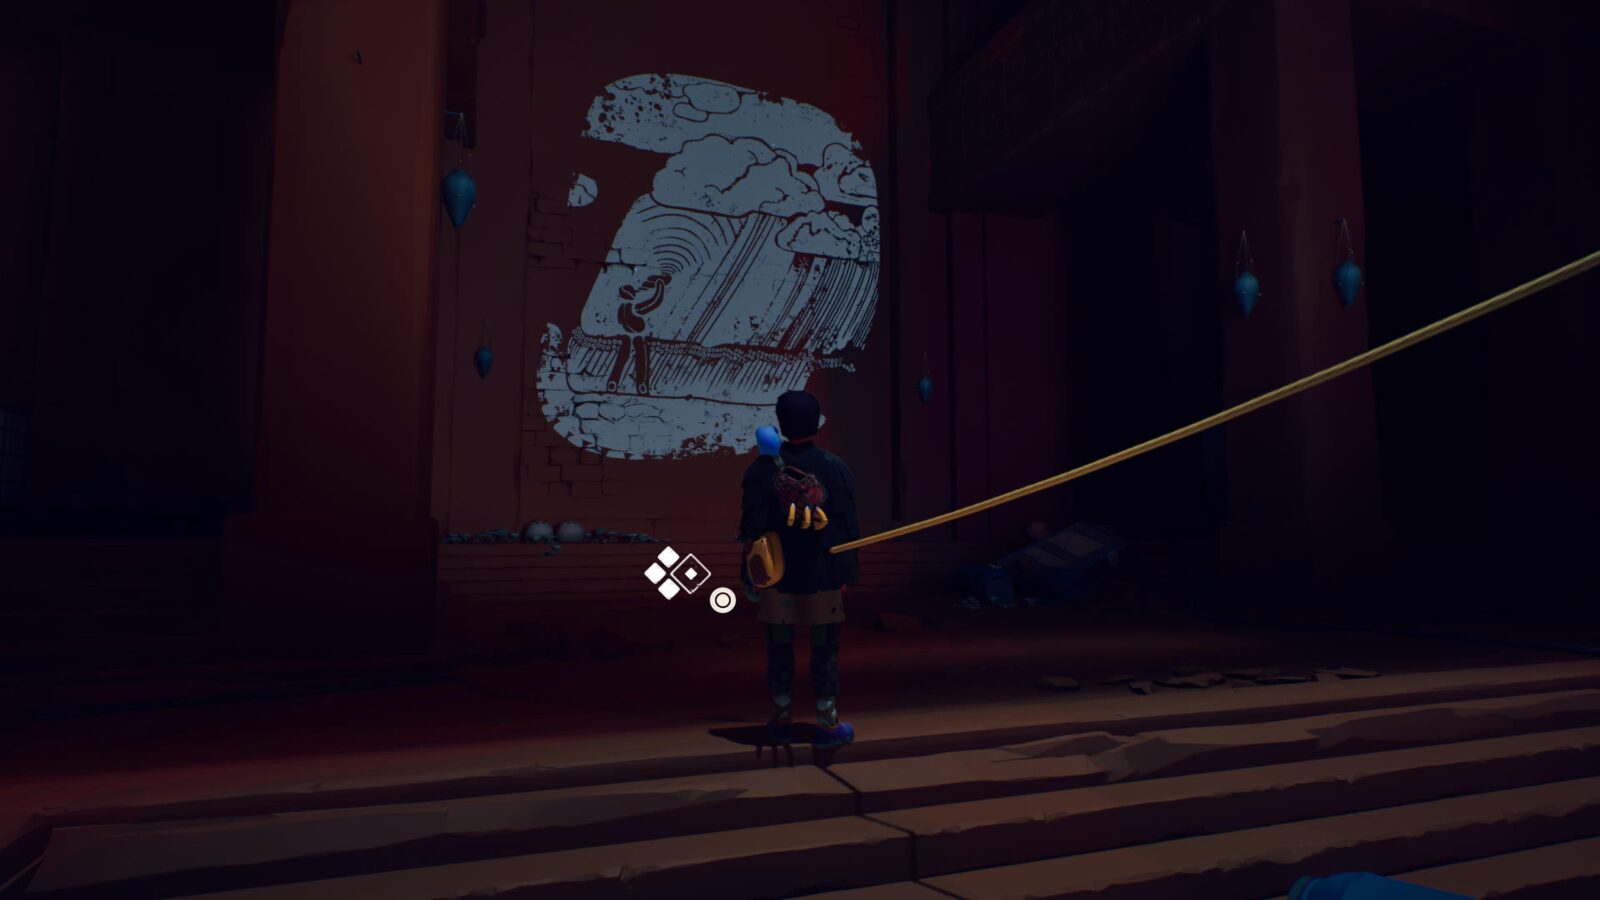
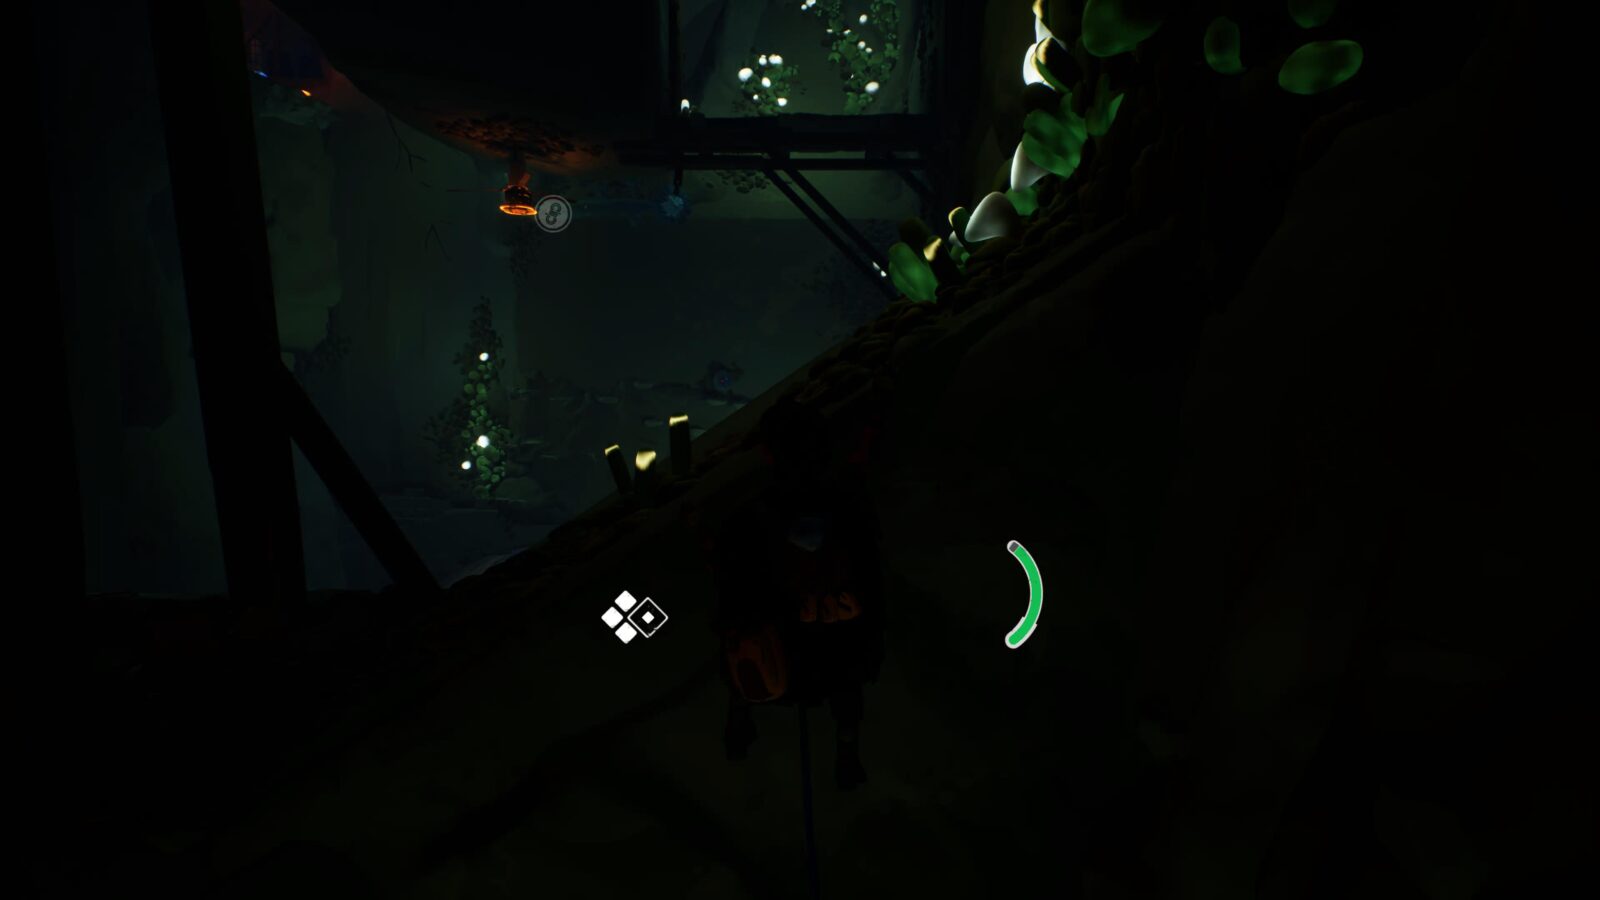
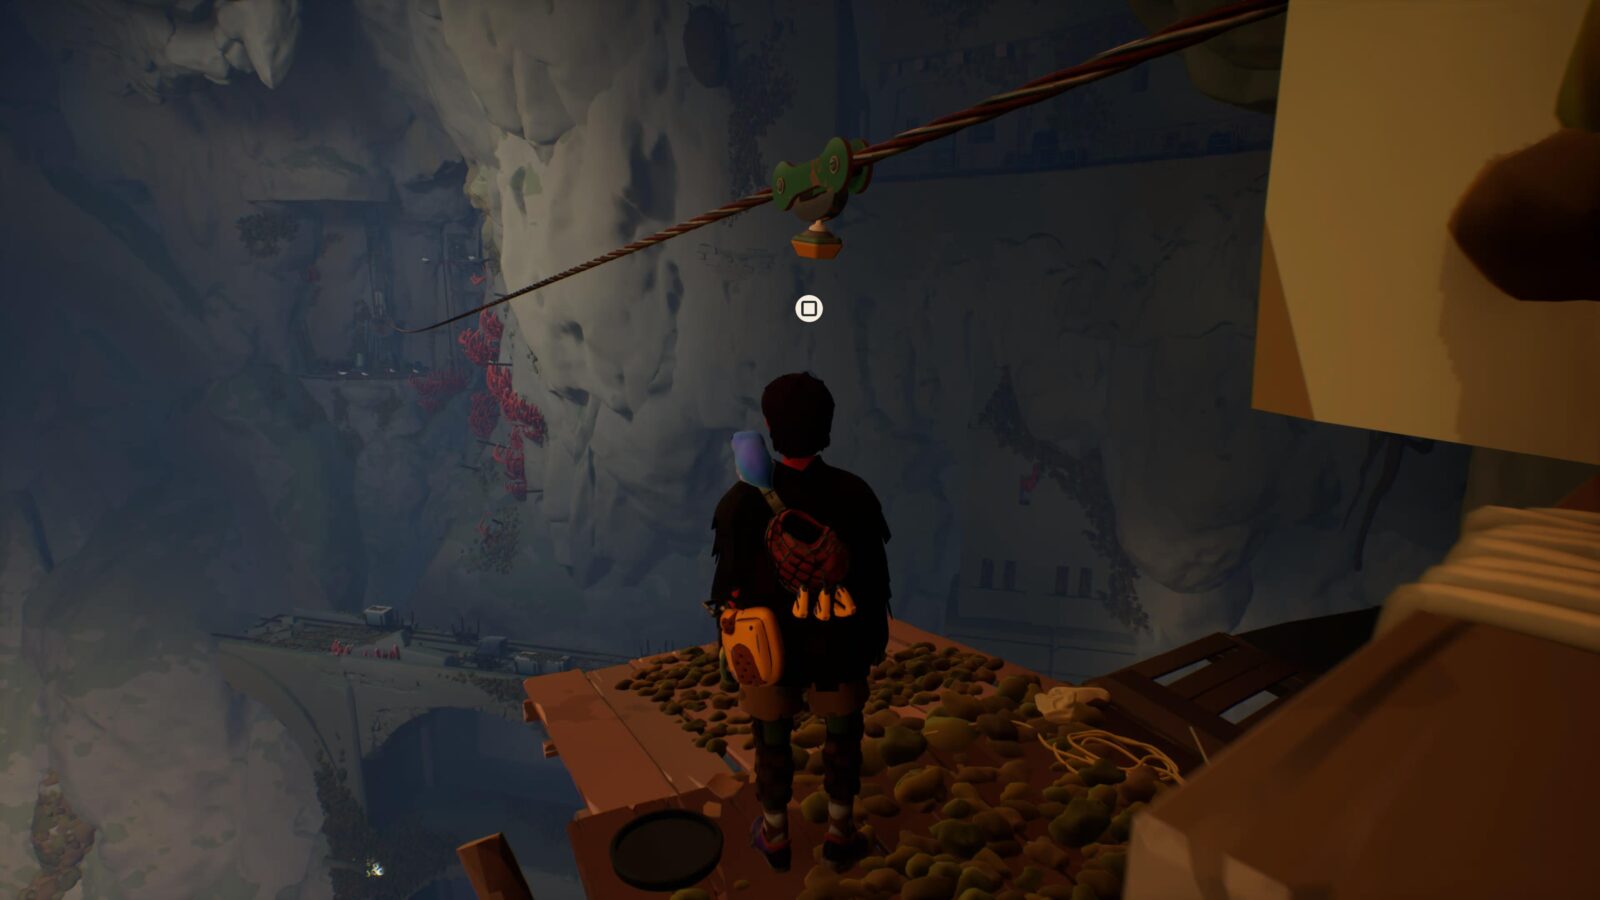
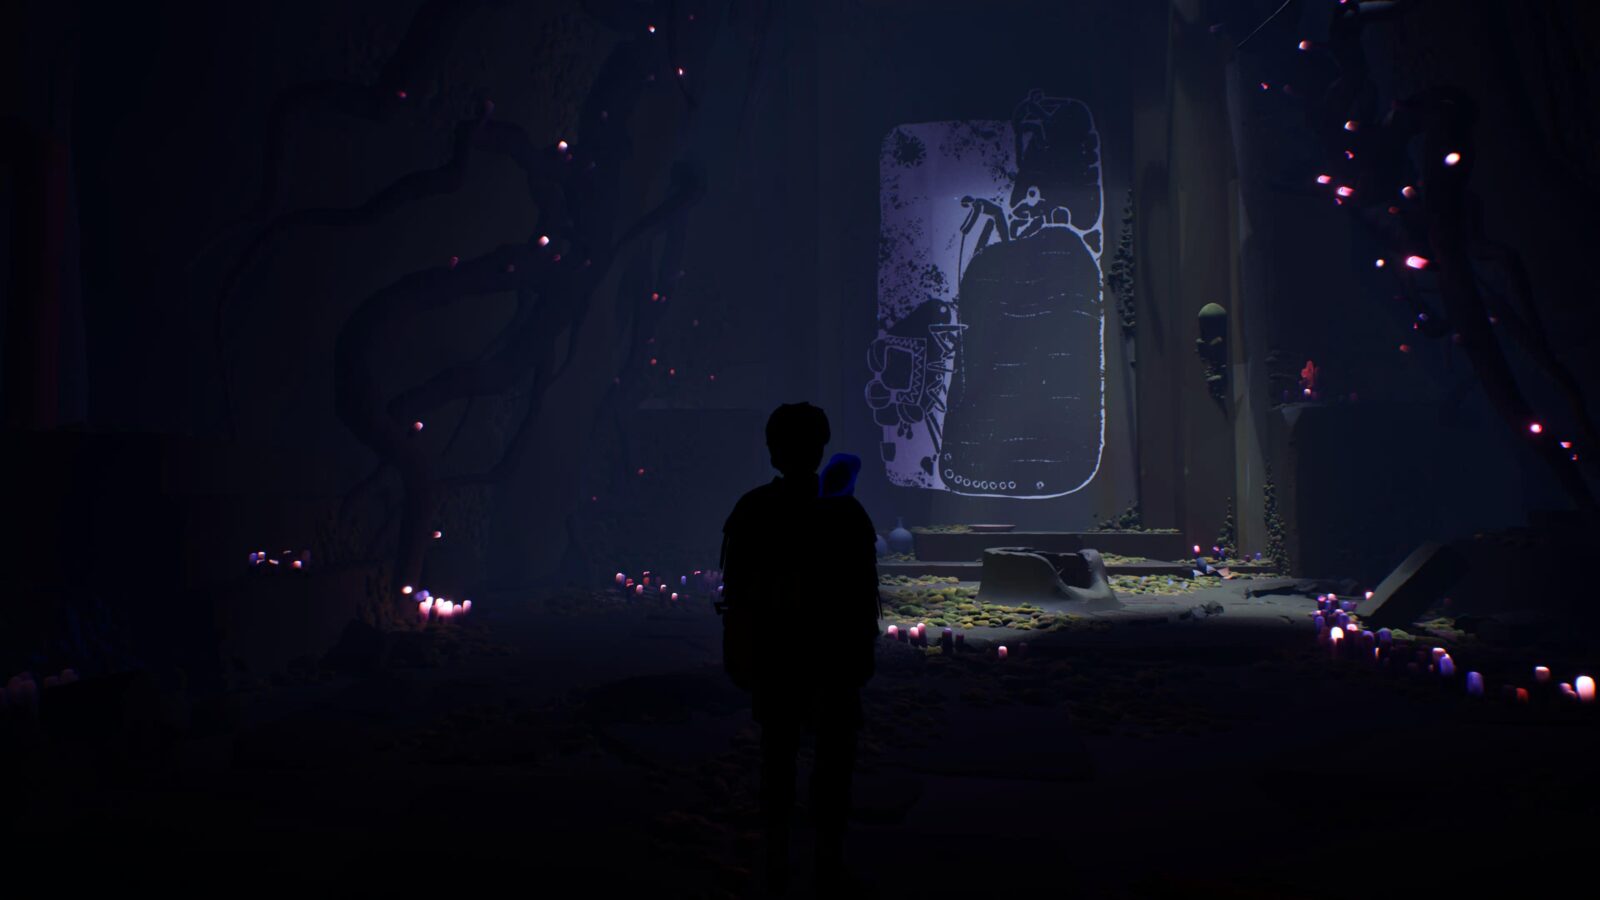
Fresco #1
After zip-lining back to the bridge, use ![]() near the plants in the corner to grow them.
near the plants in the corner to grow them.
Climb them and start making your way up the wall. Halfway up, at a break in the climb, you’ll see some golden light pouring out of a crevice at the back of a collapsed mine shaft.
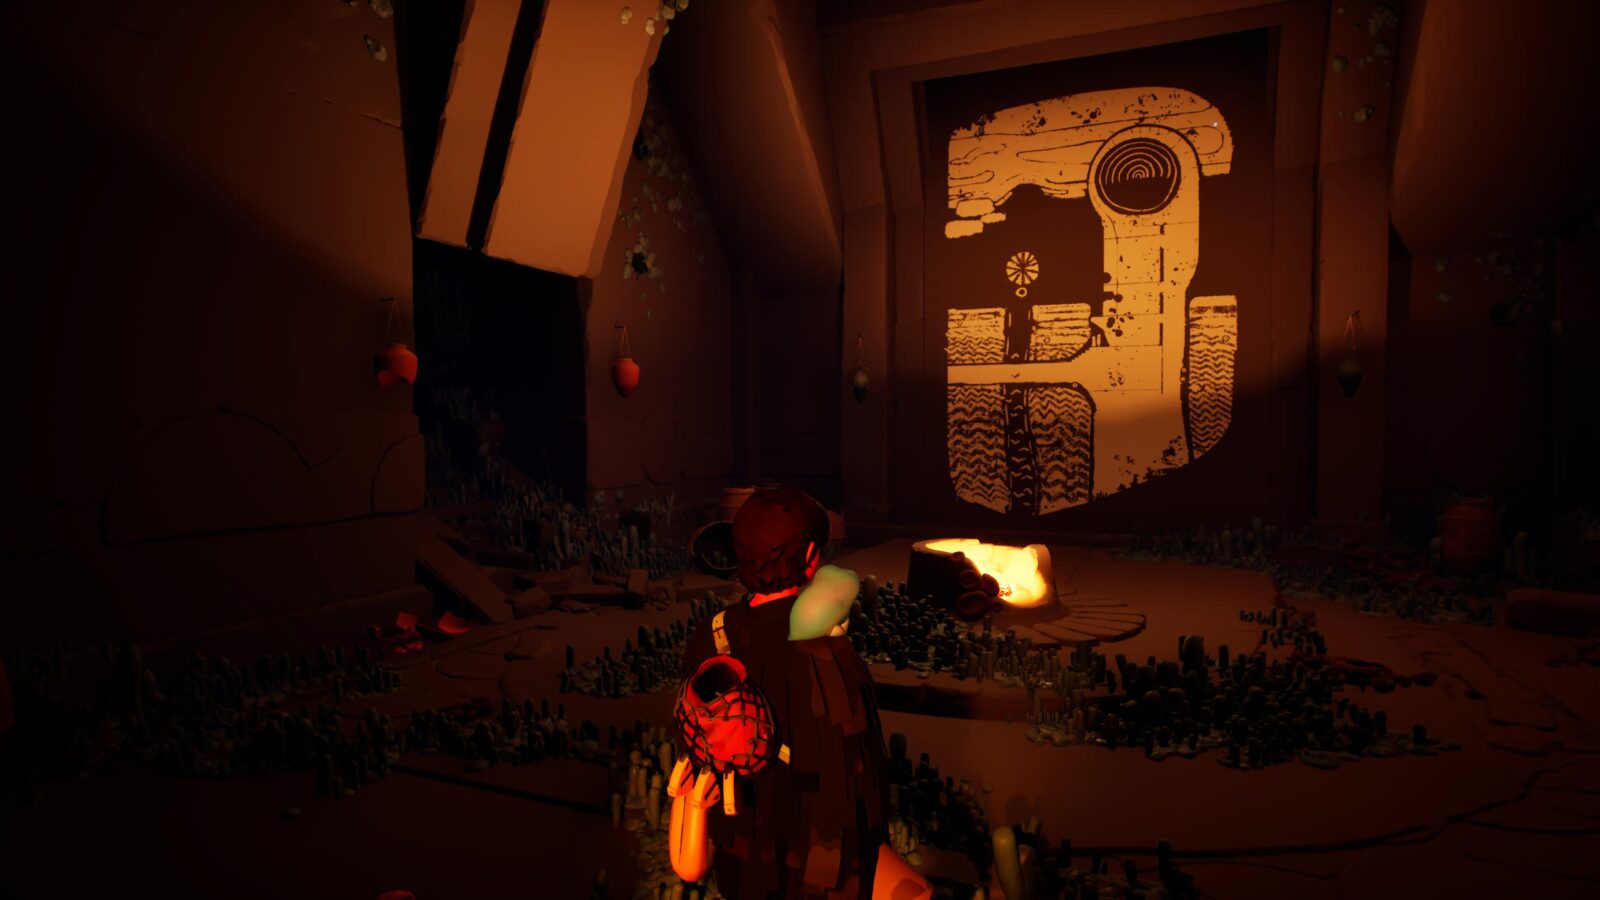
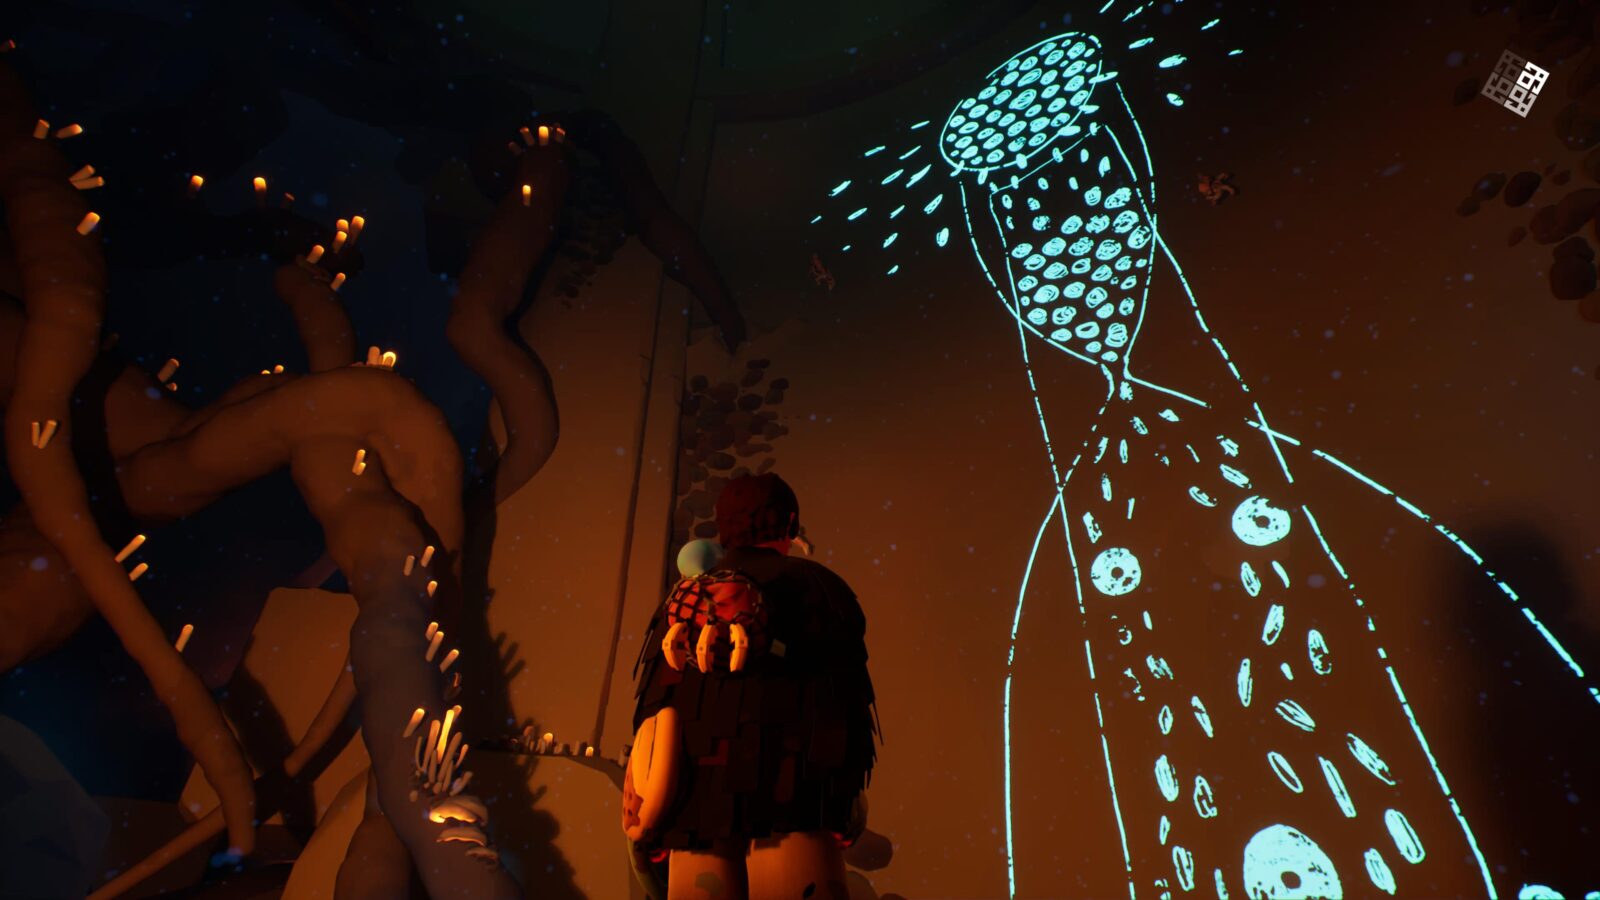
Head through into the fresco room. Press ![]() near the fresco to activate it.
near the fresco to activate it.
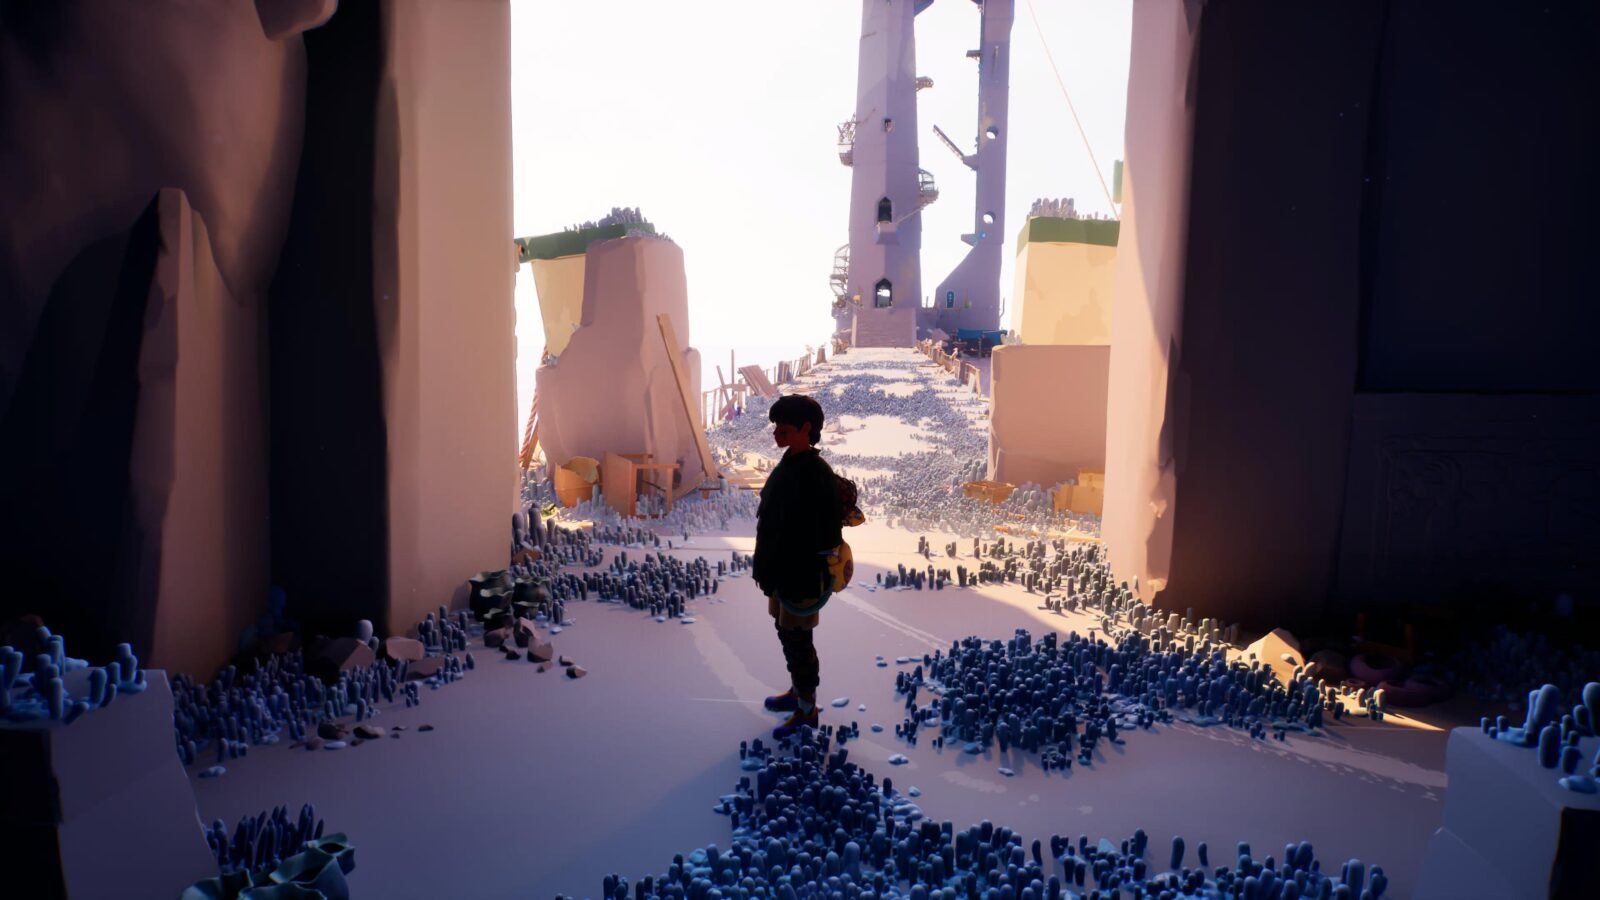
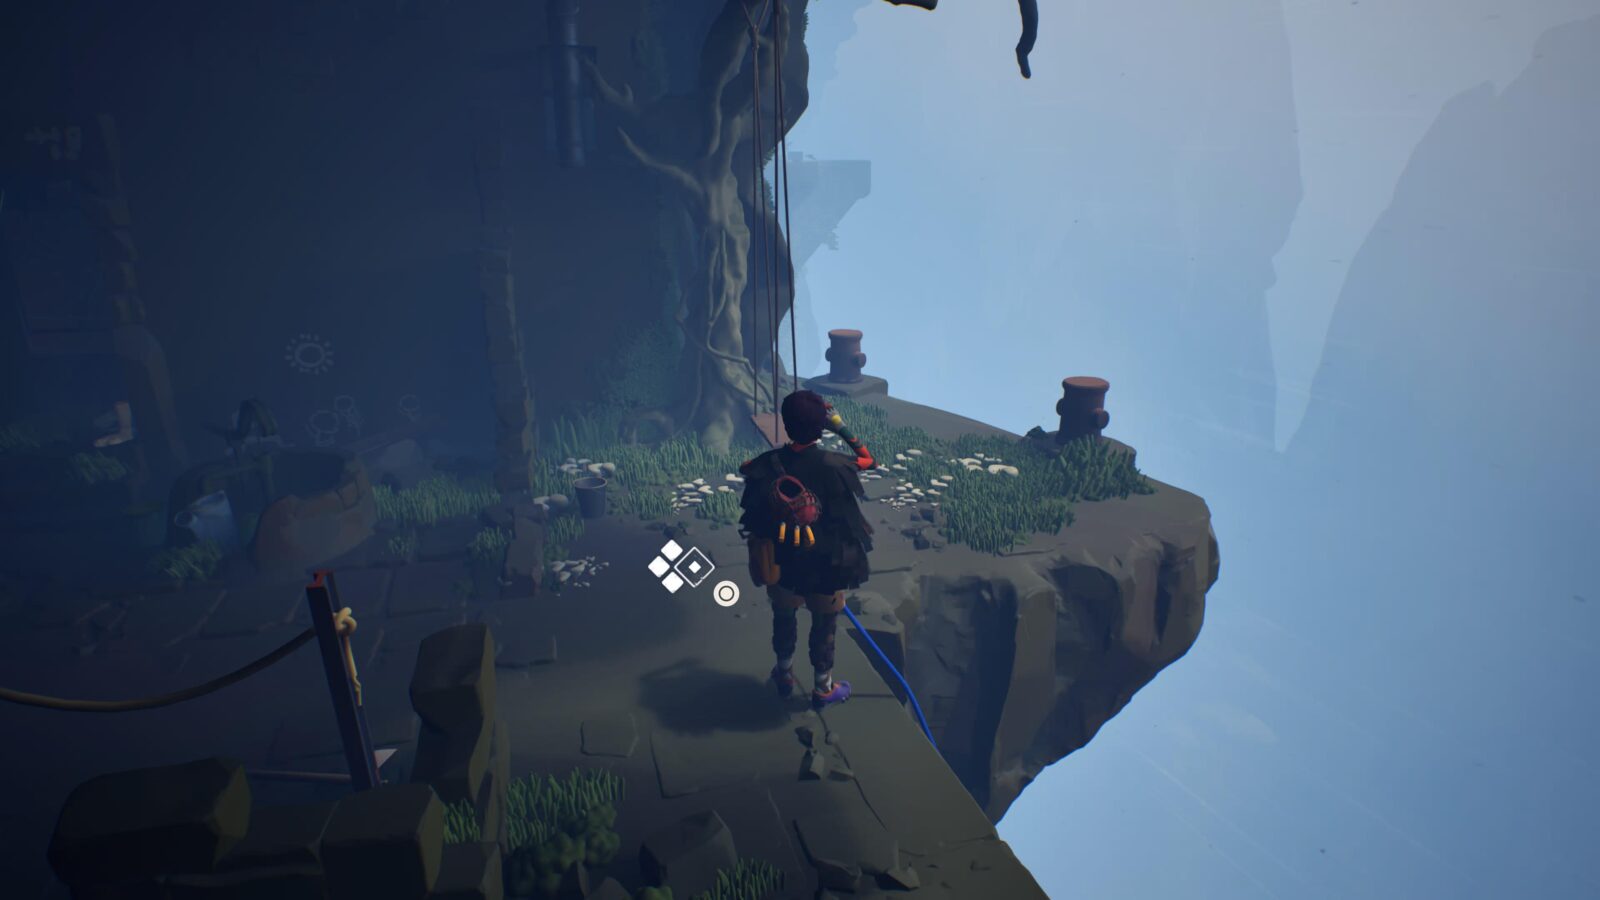
Cairn #1
Climb the wall until you overlook the towers. Find the cairn in a corner over the cliff.
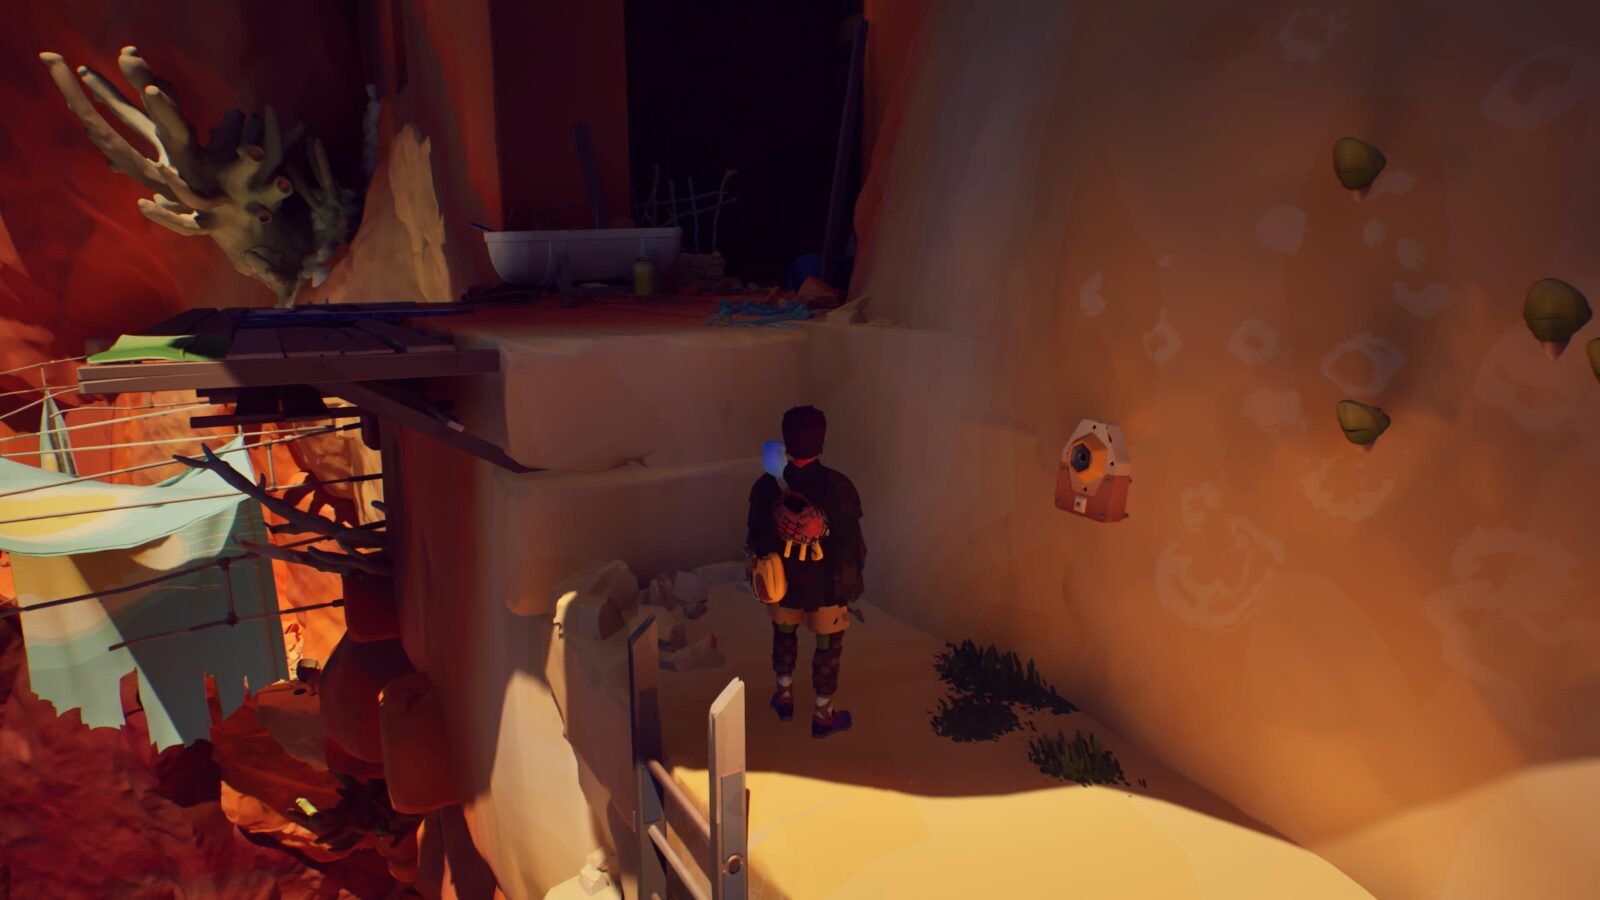
Shell #1
Use companion to activate plantsand then climb walls up to a blue door.
Double-jump onto the ledge to the left of the door, then drop into the next area.
The shell is in on the ground near the orange door.
Cairn #2
In the same area, the Cairn is on a ledge overlooking the towers, it is tricky to get to but is possible by using pitons on the round wall from the raised middle area in between the two sections.
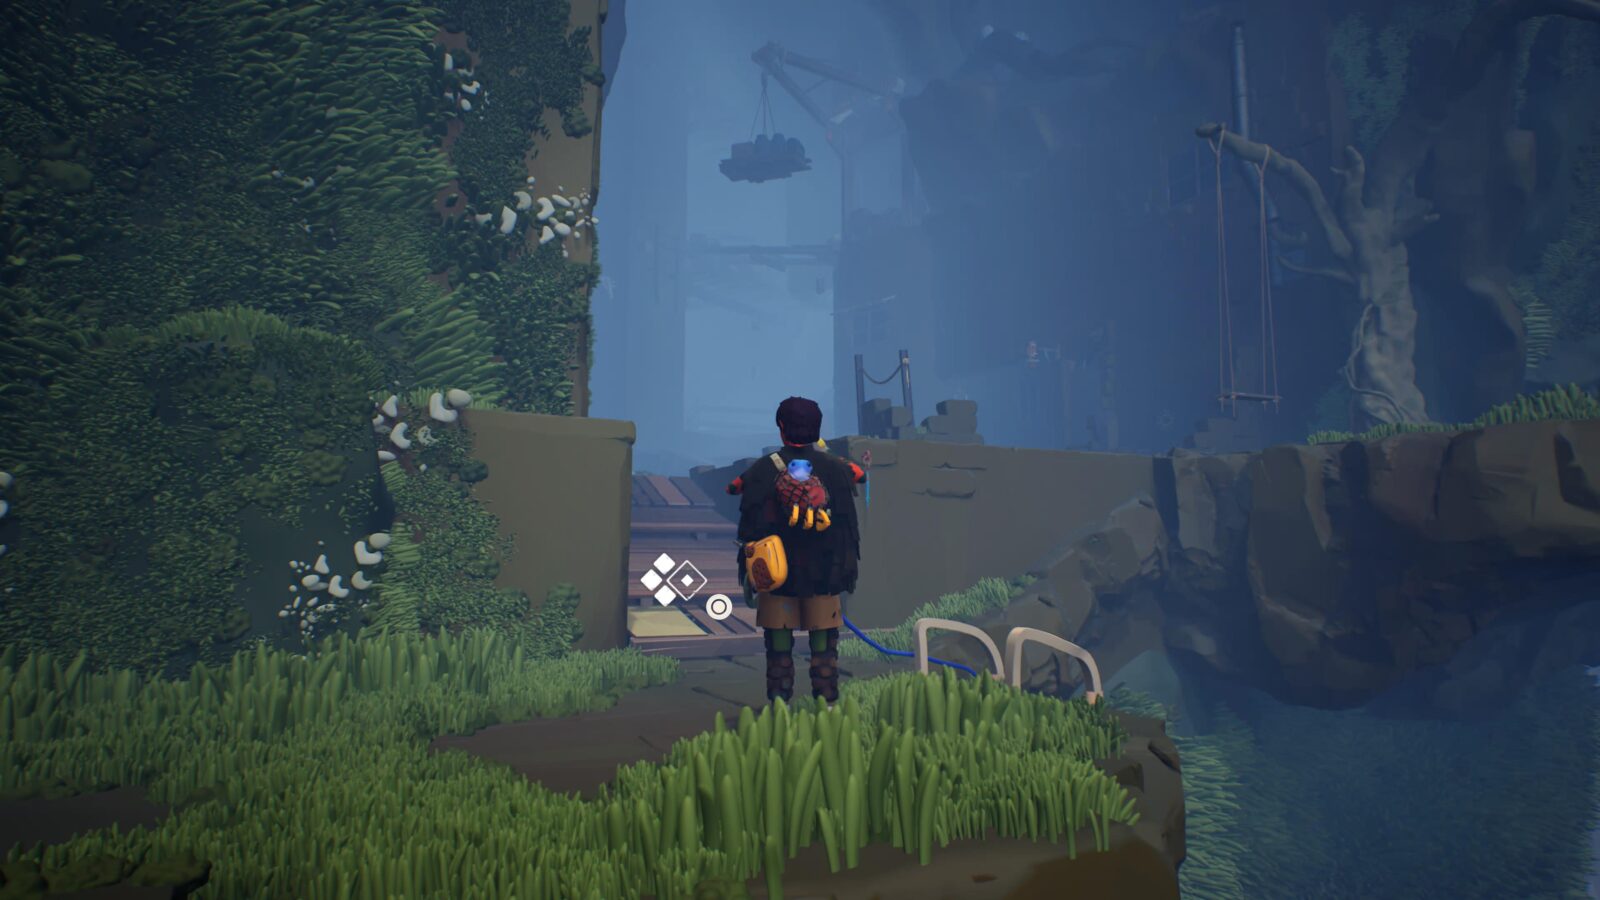
Letter #1
Return to the other side and continue climbing the wall. Eventually, you’ll come across a round house with this letter by the door.
Letter #2
To the right of the round house where Letter #1 was, cross the small bridge and you’ll see this letter on the wall.
Letter #3
In this area, go back across the small bridge and use the elevator on the cliff edge. At the top, you’ll see this letter pinned on a noticeboard opposite a cliff-side house.
Letter #4
Opposite Letter #3, in a box.
Letter #5
Head into the tunnel just past the elevator. The path will split left and right.
Go right up the stairs and then climb the stairs on your immediate left.
At the top, you will find this letter.

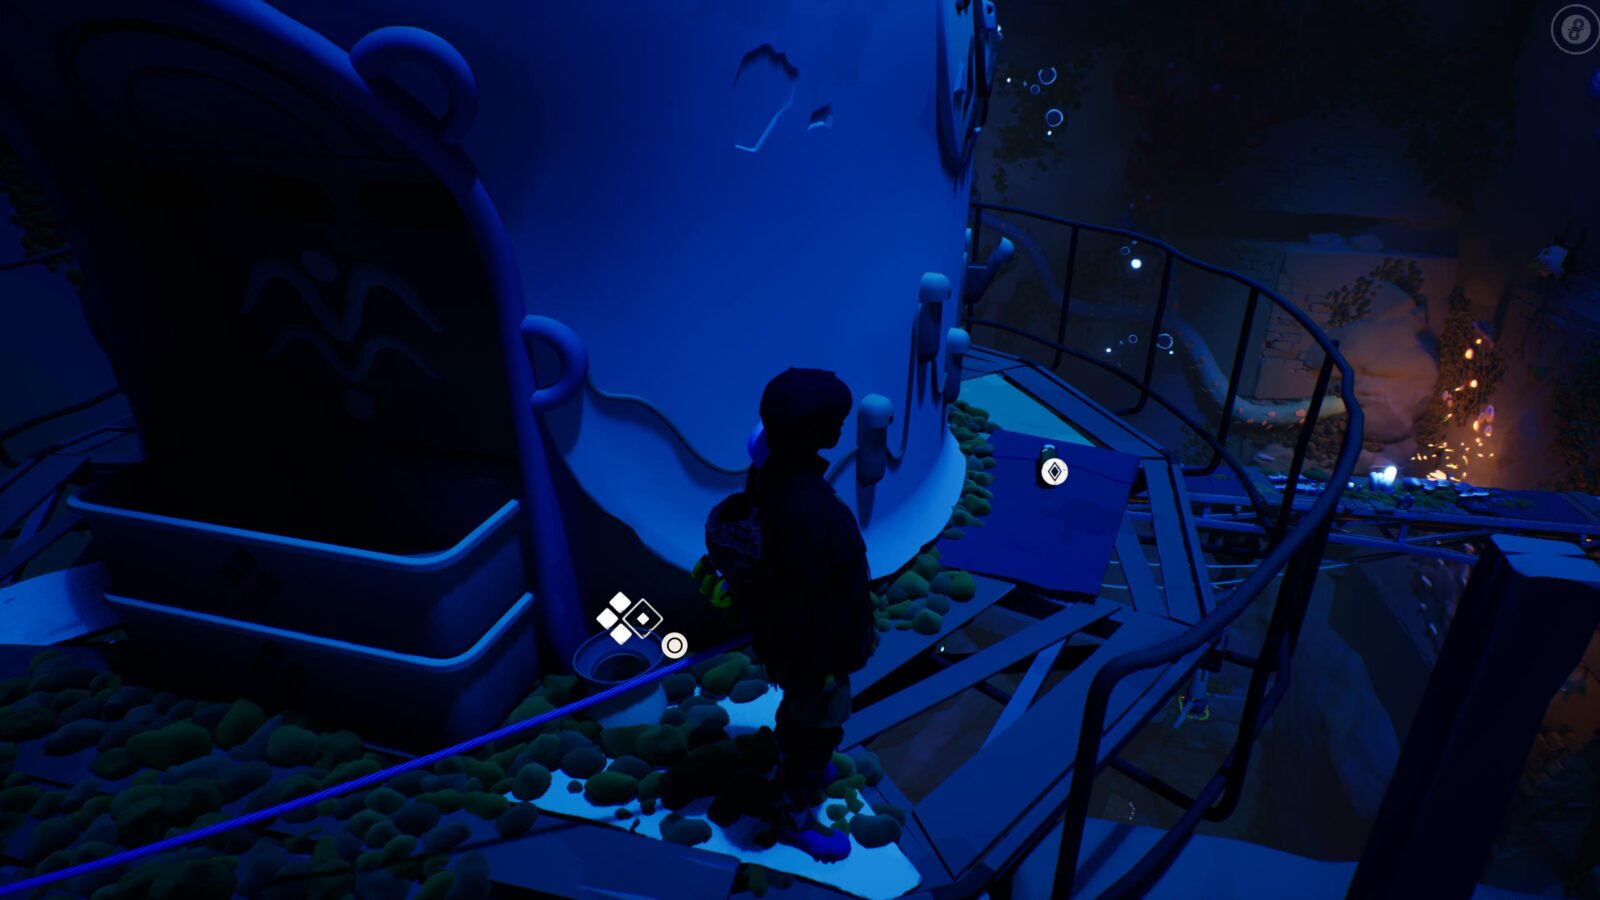
Altar #1
Retrace your steps, and continue into the tunnel as though you’d turned left earlier.
At the back, instead of going left, go right down some steps.
In this room you’ll find your first altar. Use ![]() and
and ![]() then push
then push ![]() to rotate its segments.
to rotate its segments.

Journal Entry #1
From the altar, go back, climb a wall ladder, shimmy along the wall. You’ll find the journal on a table.
Cairn #3
Up the stairs from Journal Entry #1.
Fresco #2
You’ll enter the room containing this fresco after squeezing through a narrow passage on the main path.
Shell #2
Continue along the main path until you come to a platform near a raised bridge.
On that platform, there’s a strange contraption, next to which you’ll find this Shell.
Letter #6
Pull down and cross the bridge, then squeeze through a crevice, find this letter on a shelf.
Fresco #3
Return to the main path and then grab the grapple point.
Instead of continuing to the wall ledge, though, turn around and swing into the crevice.
Inside, you’ll find this Fresco at the end of a linear path.
Letter #7
On the main path, in a crate post-scaffold climb.

Cairn #4
After swinging across the chasm, rather than enter the doorway, go to the right of it to find this Cairn on the cliff edge.

Chapter 3 Collectibles | "Solstice"
Chapter 3, known as “Solstice,” features the following collectibles:
- 13/44 Letters
- 3/12 Shells
- 7/20 Cairns
- 6/13 Journal Entry
- 3/12 Frescos
- 1/4 Altar
Journal Entry #1
At chapter start, turn around to find this Journal Entry at the dead-end.
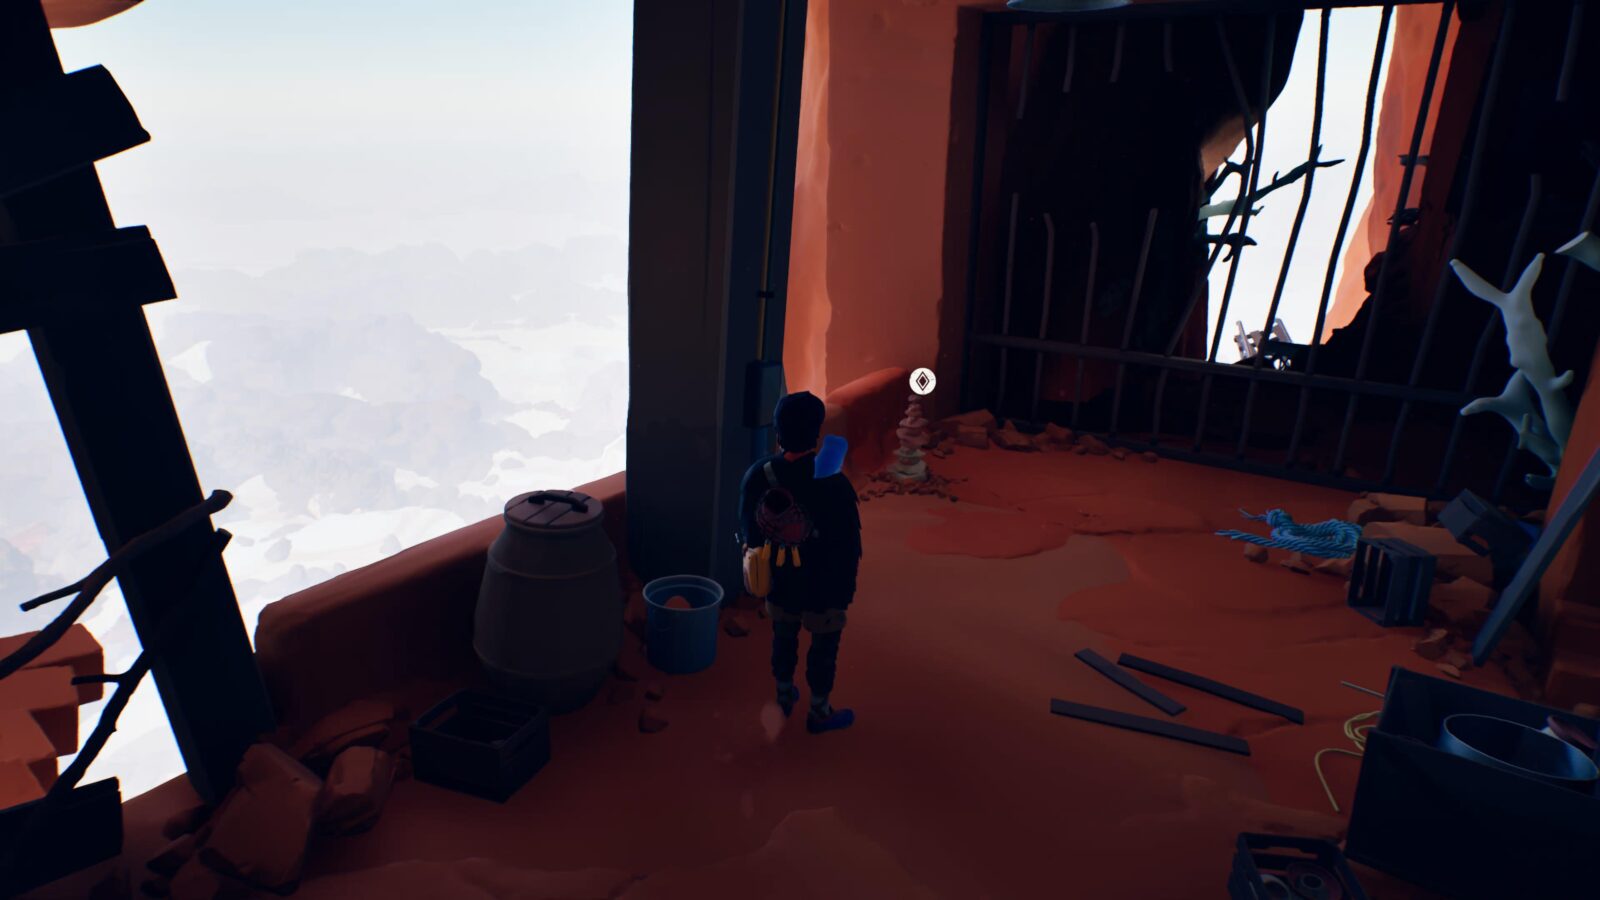
Cairn #1
Follow the left wall on the main path and it will lead you into a side-tunnel. At the end, look near a half-broken gate for this Cairn.
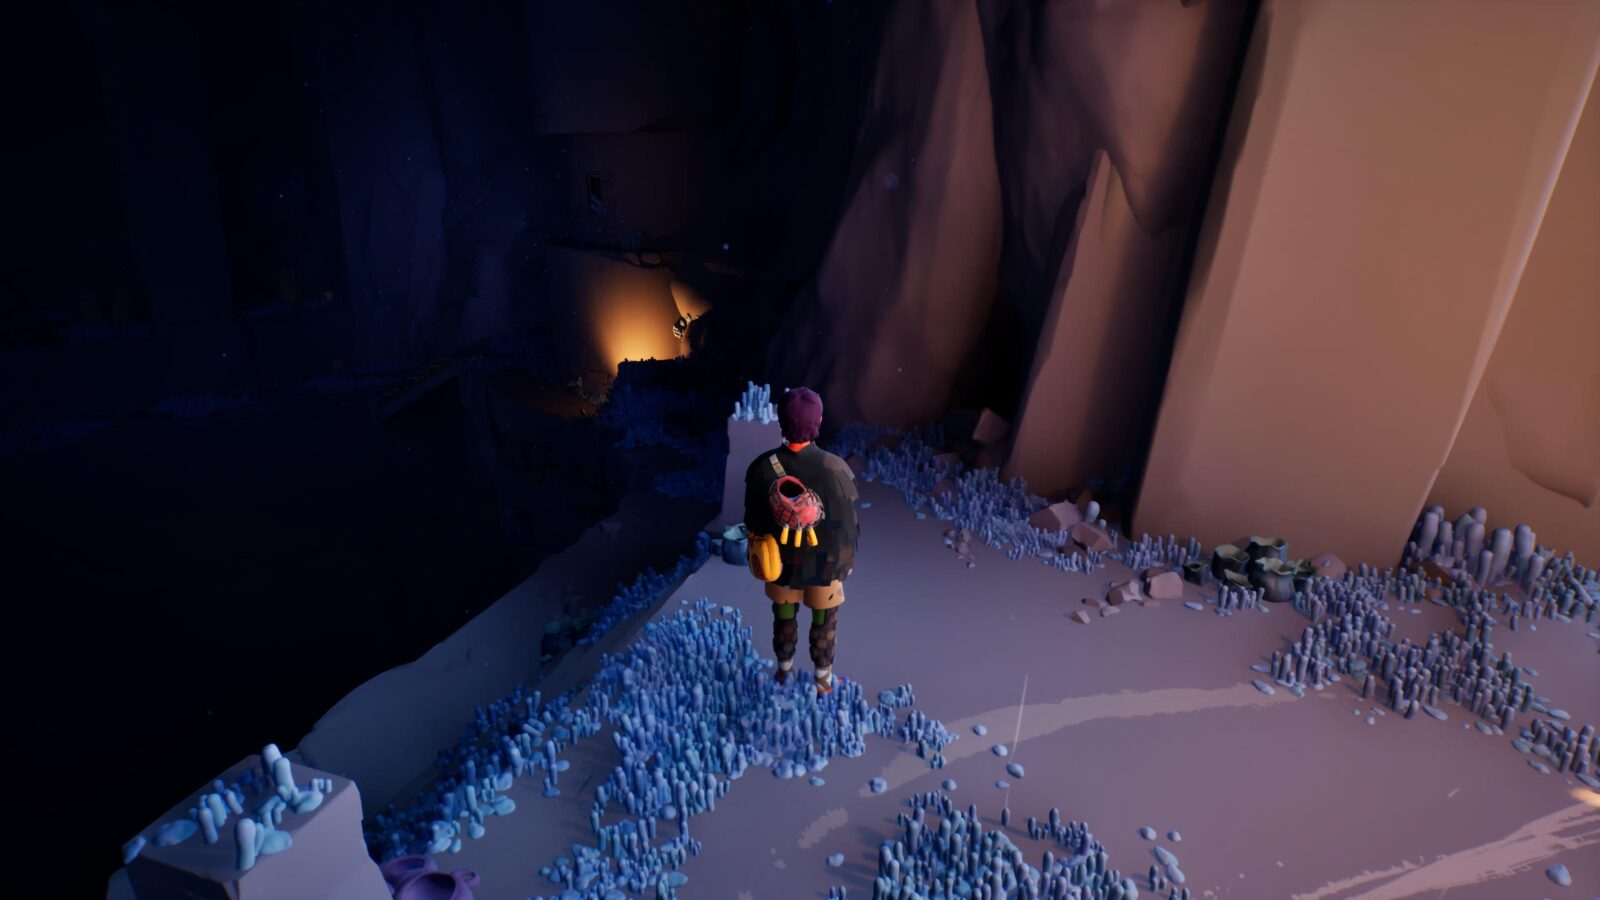
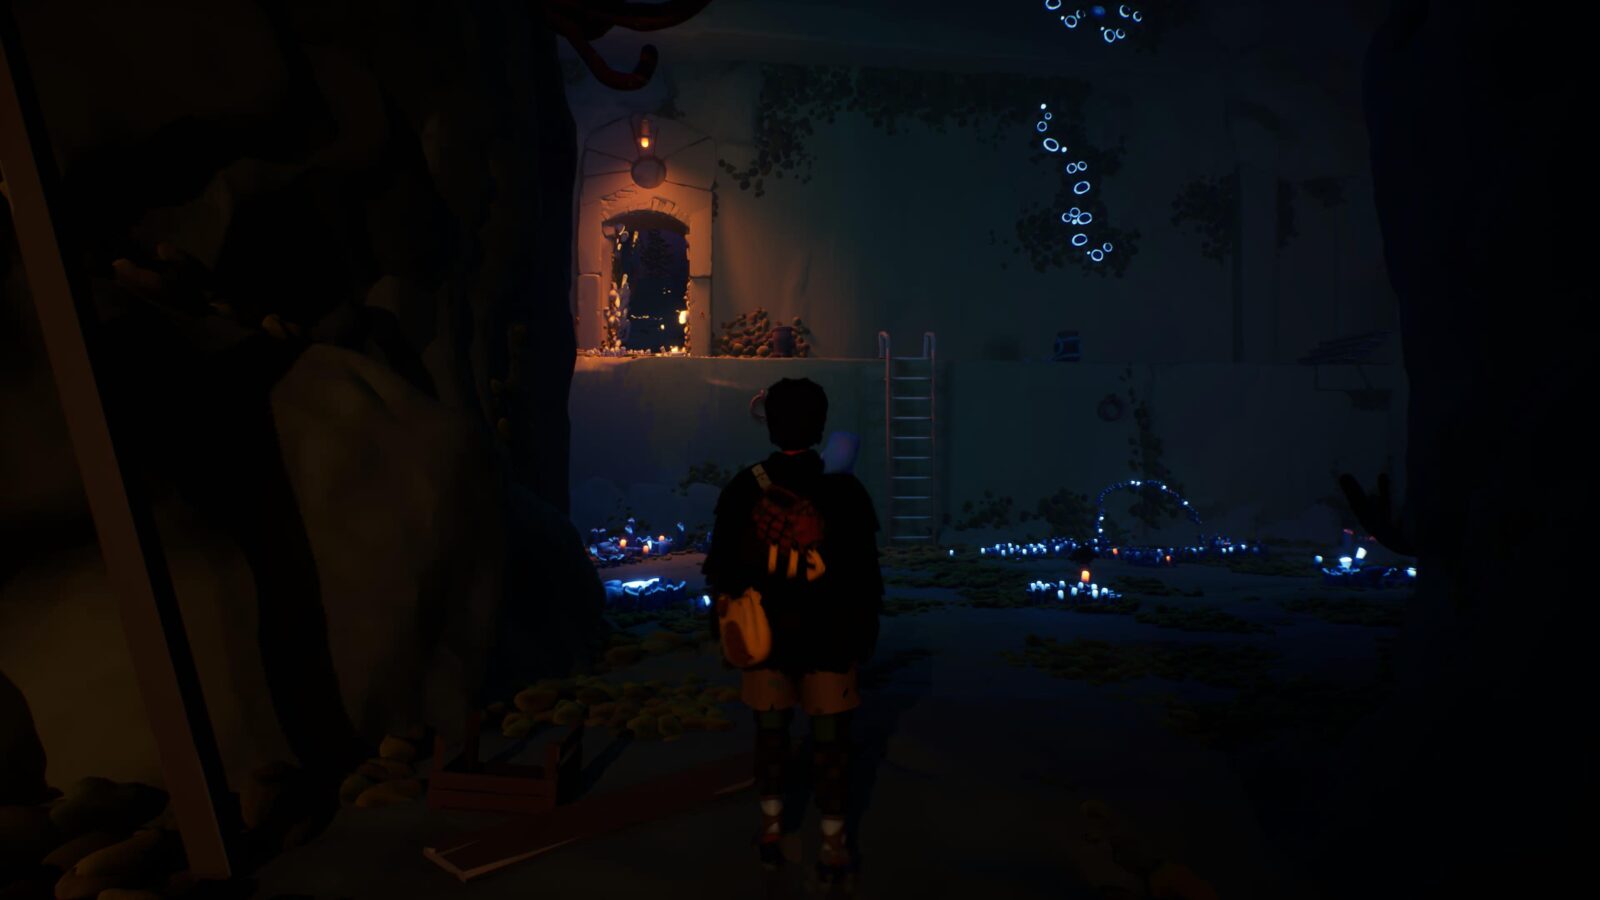
Journal Entry #2
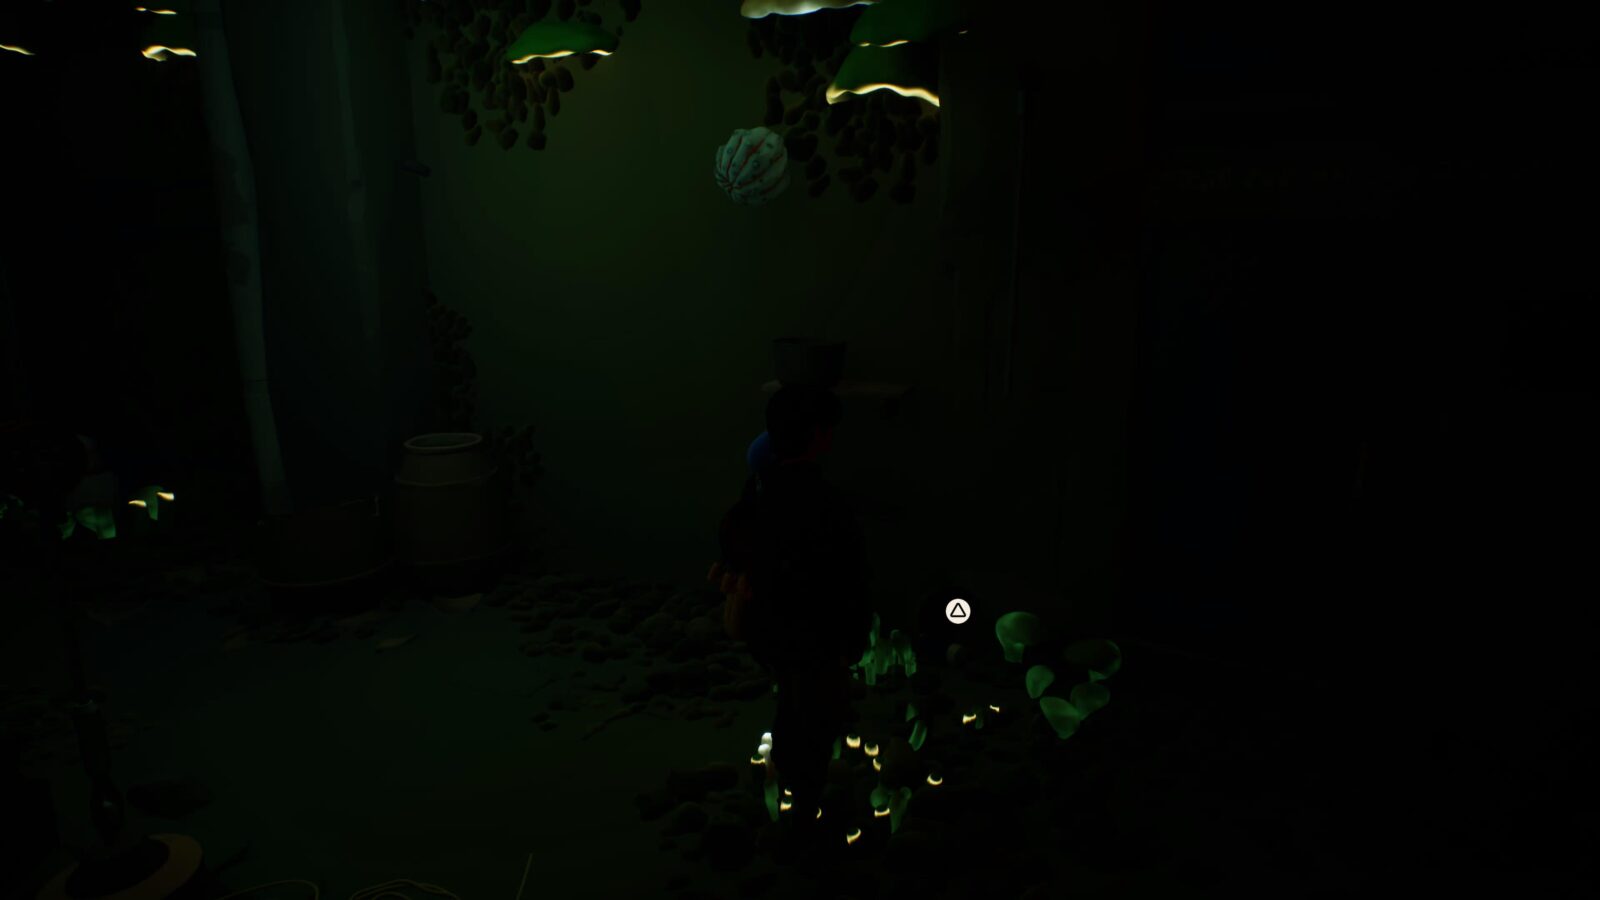
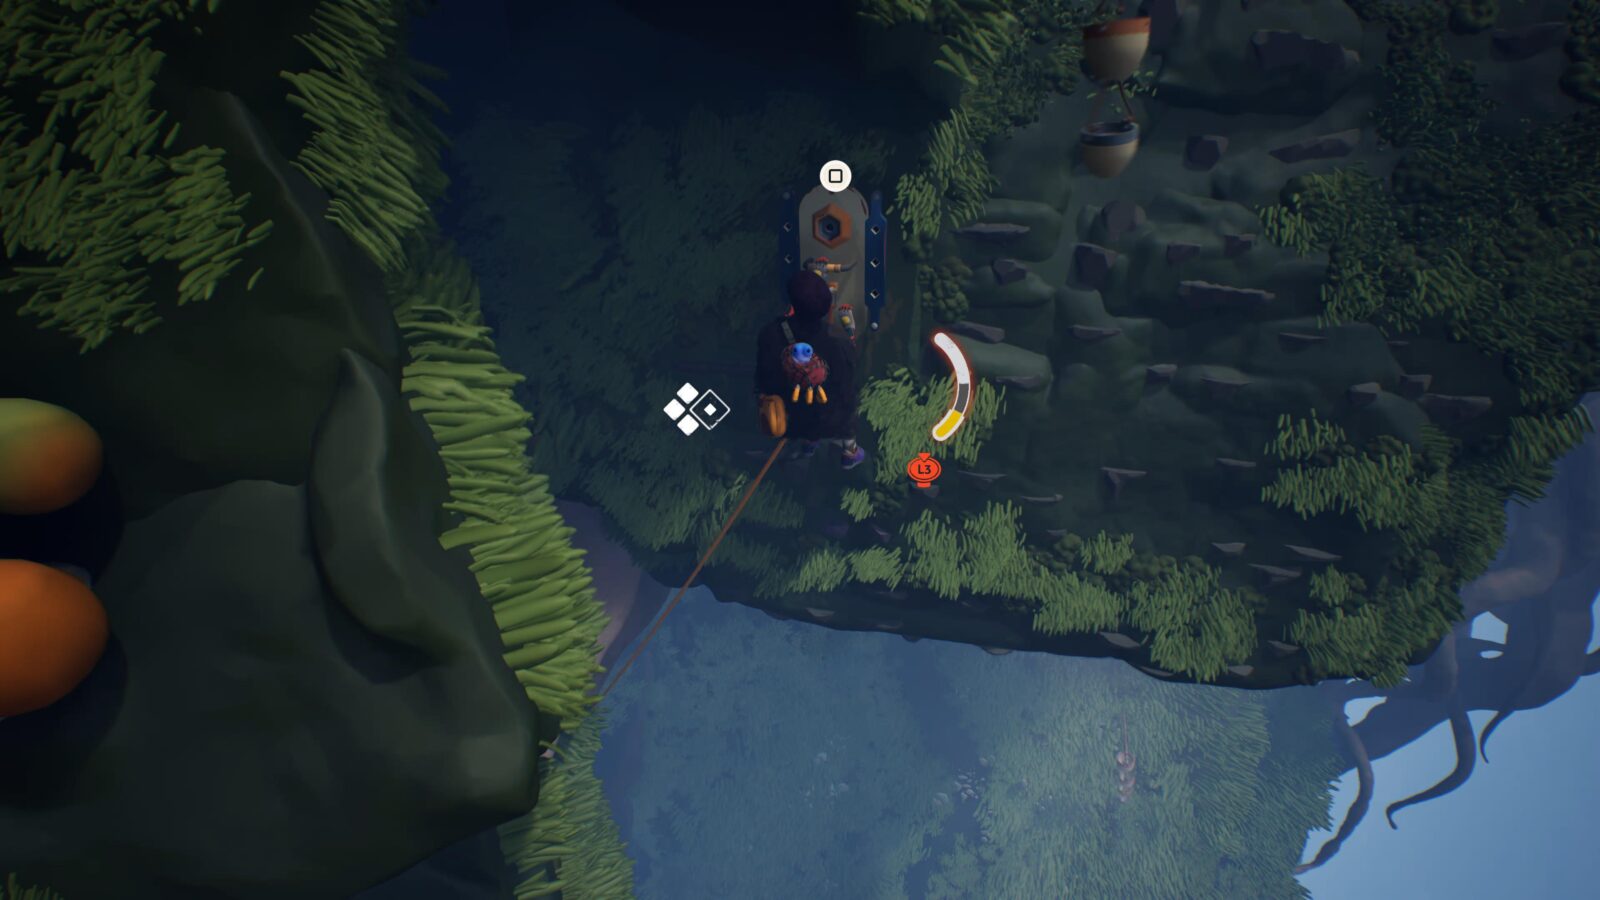
After zip-lining and wall climbing for a bit, you’ll come to a carabiner grapple point next to some plants you need to press ![]() on. Instead fo doing that, climb the ledge to your left and follow it into a dark area.
on. Instead fo doing that, climb the ledge to your left and follow it into a dark area.
At the back, you’ll see a lantern next to a blue door. The journal entry is on this doorstep.
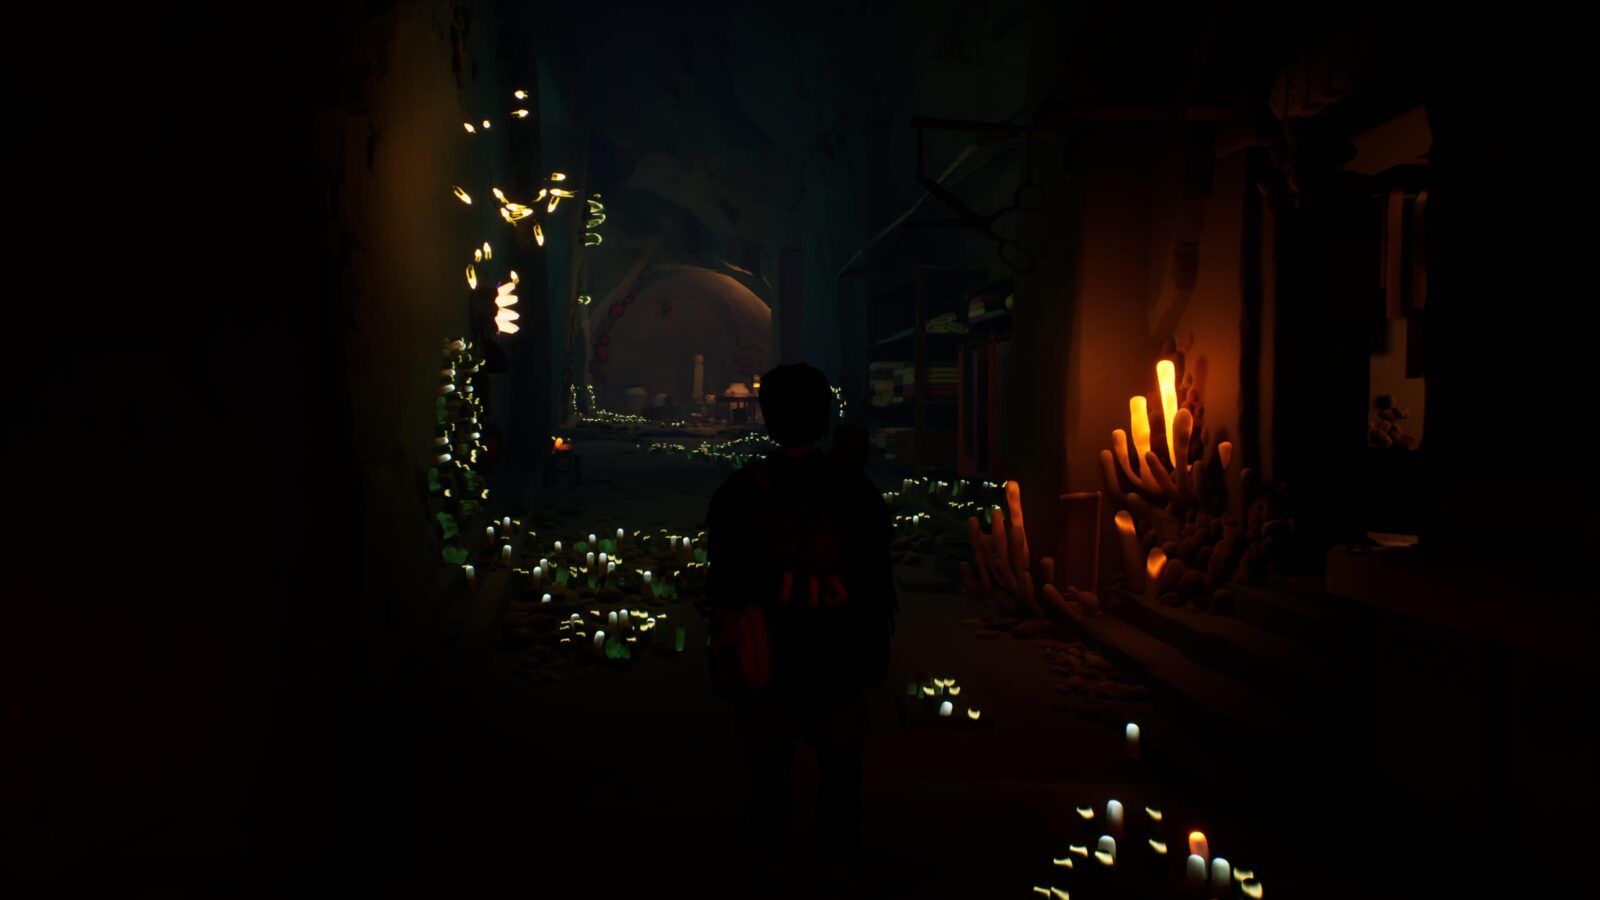
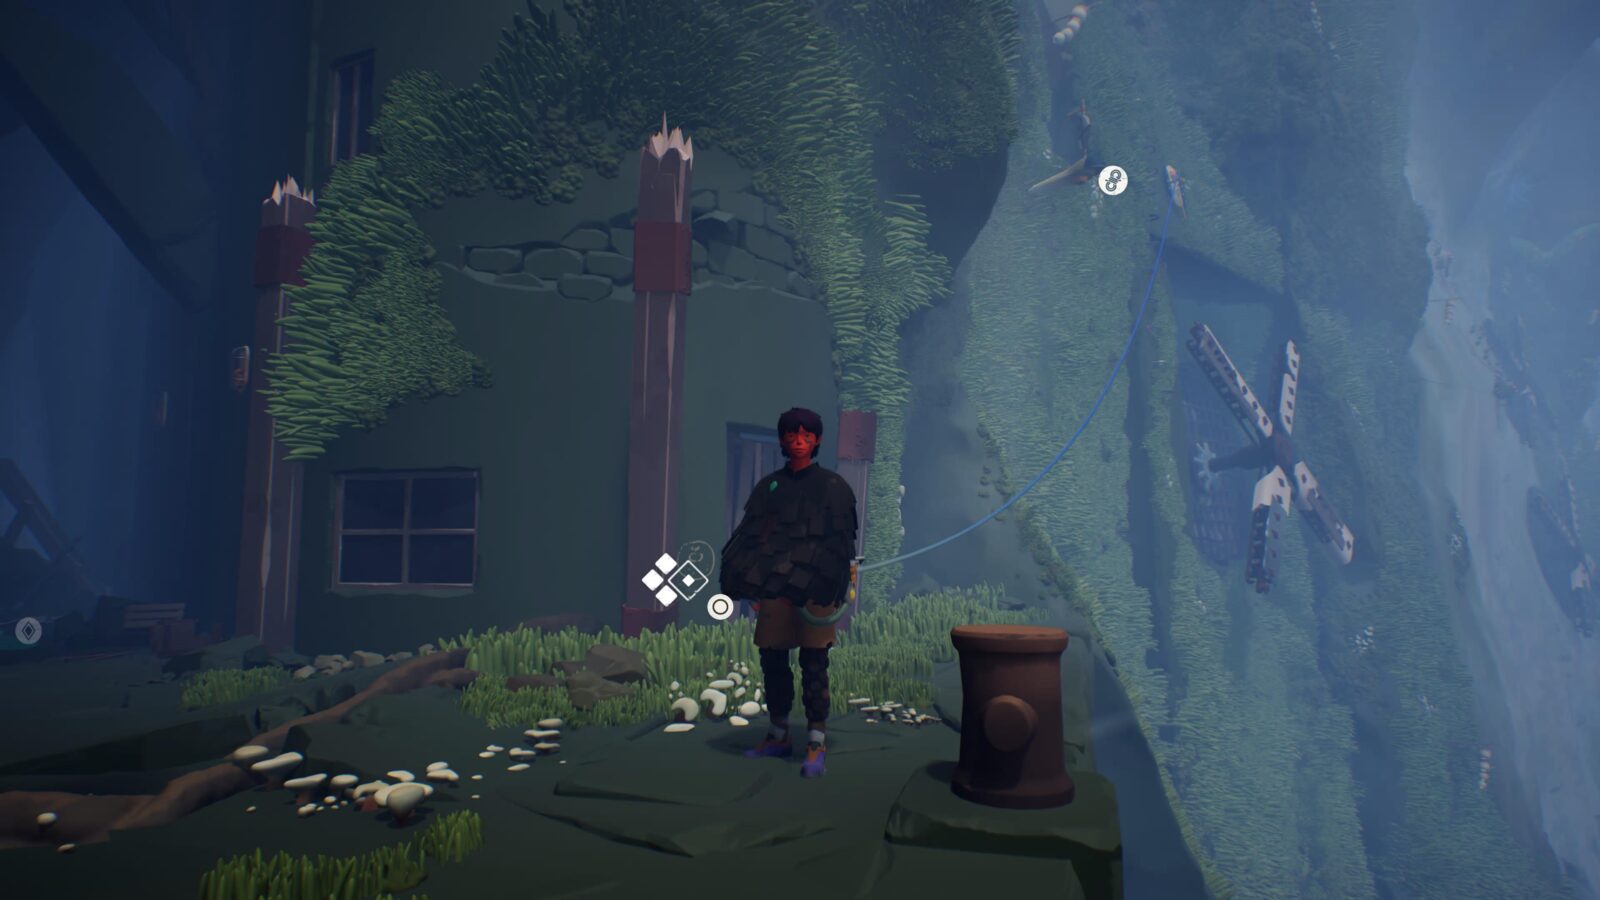
Letter #1
In the same area as Journal Entry #2, near another lantern.
Cairn #2
Continue along the wall with the plants that you were on earlier. Once you pass the two plants, you’ll be on stone again.
From there, rappel down to the ledge below, near the large doorway, and collect the Cairn on the cliff-edge.
Letter #2
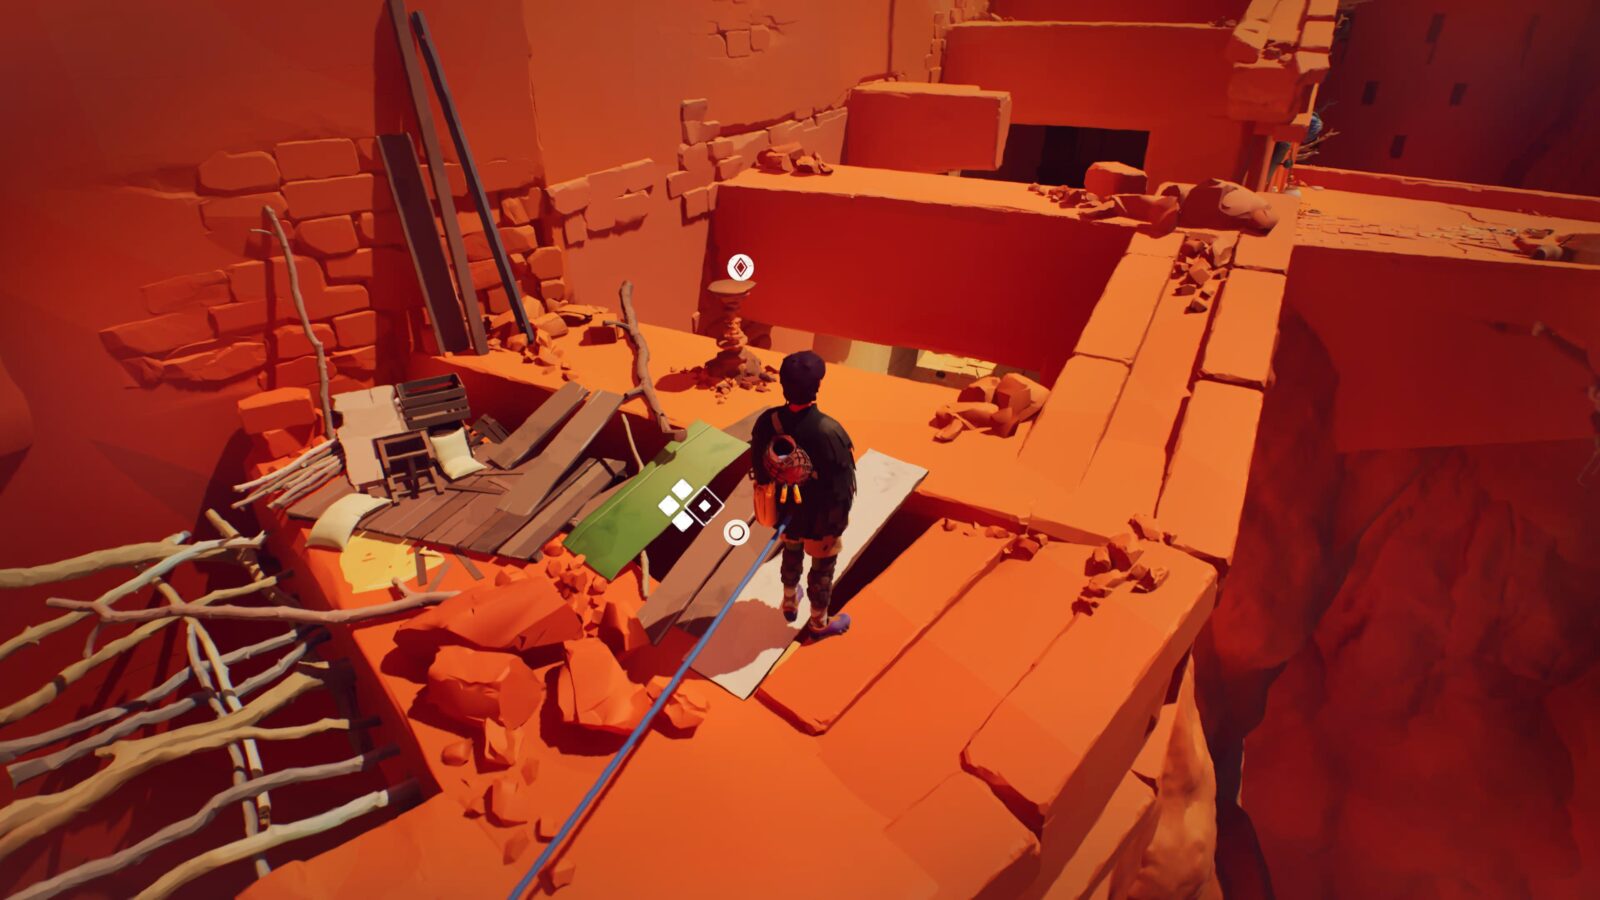
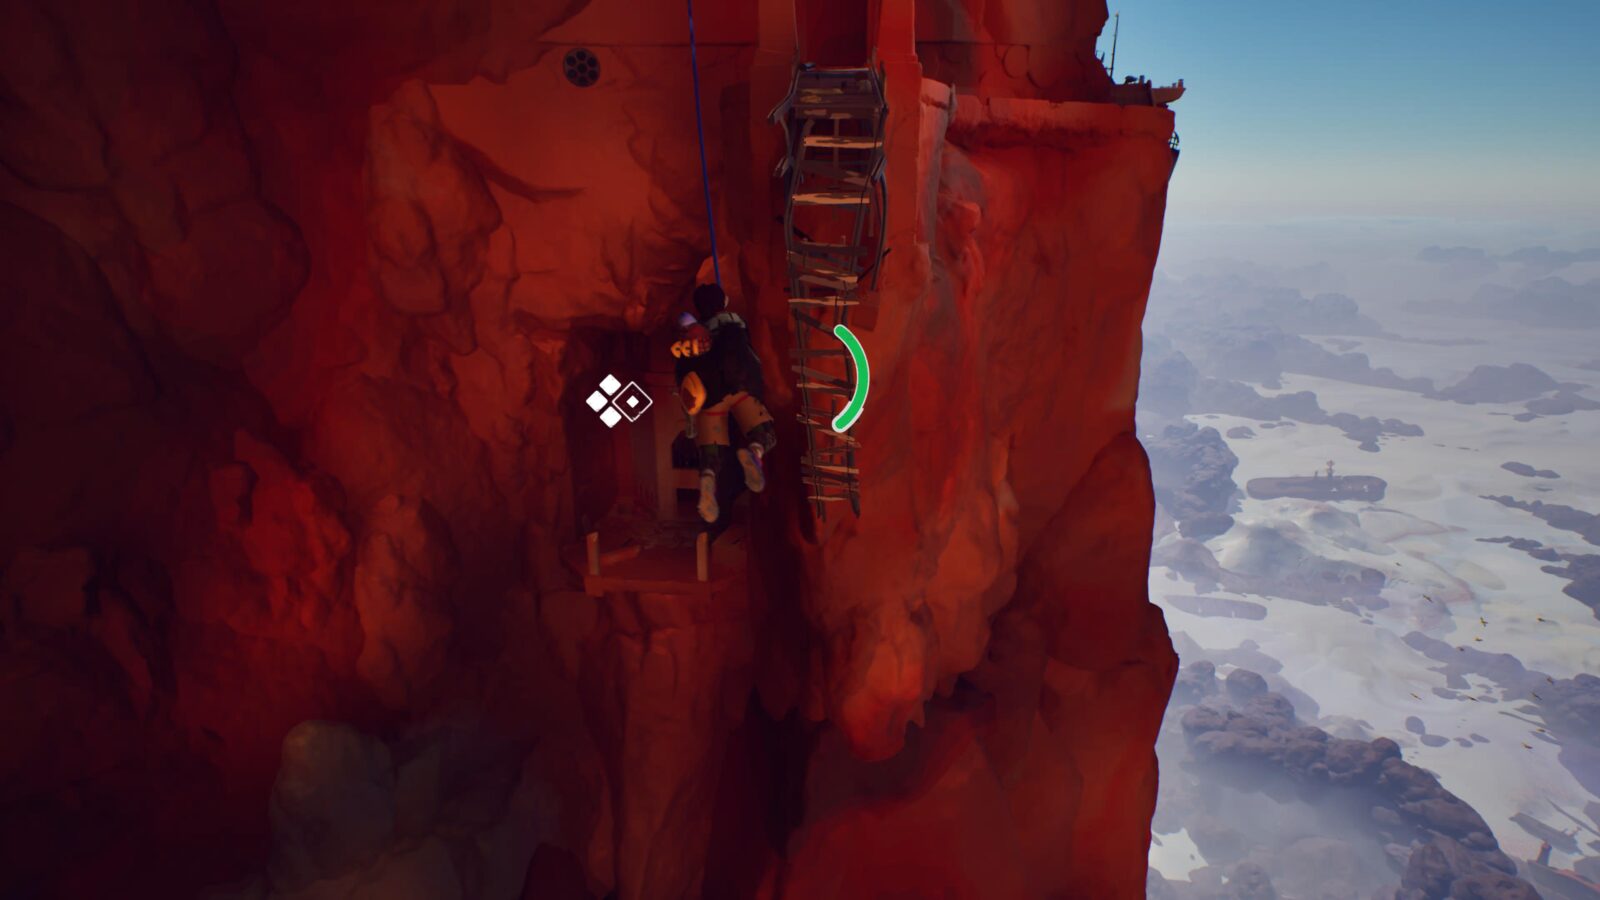
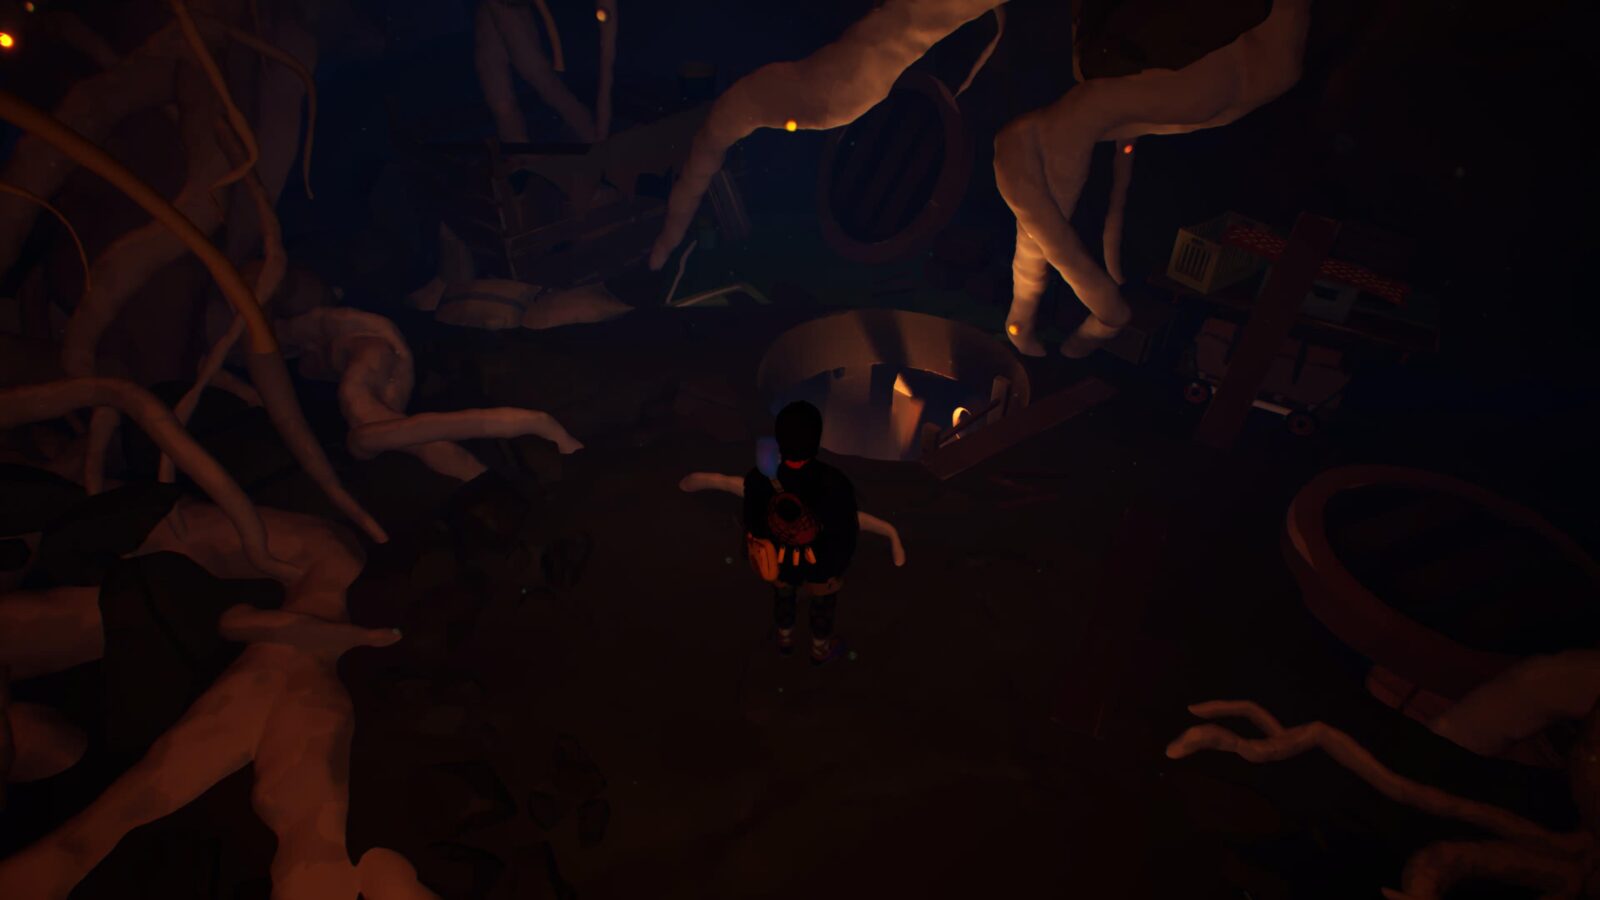
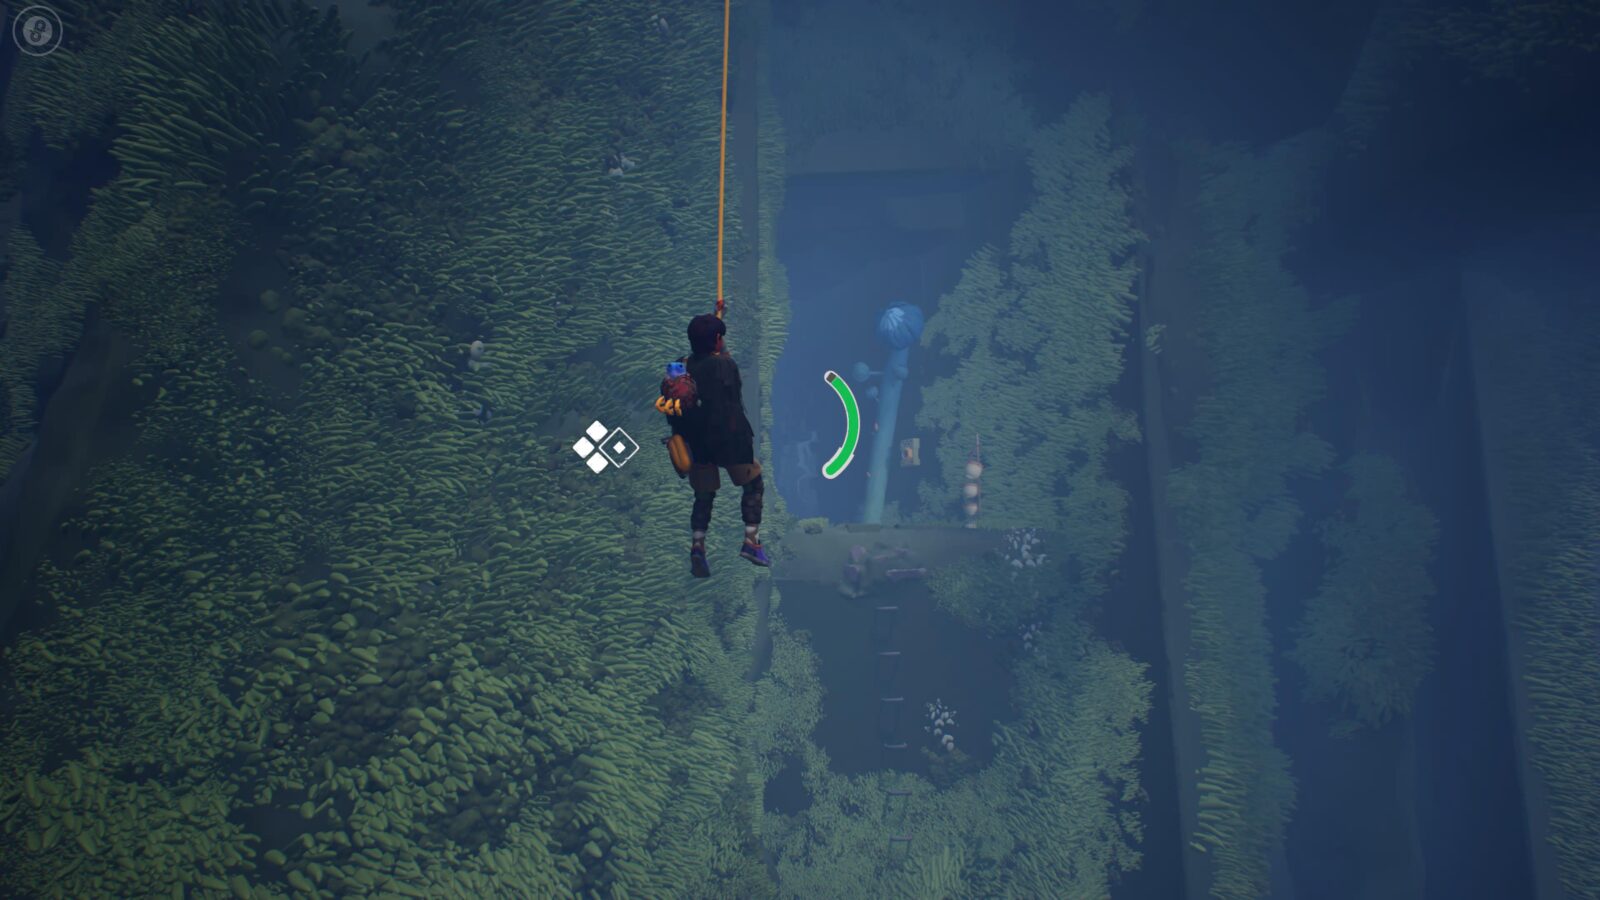
Continue up the wall and you’ll reach a ledge from where you can reach a grapple.
Attach yourself to the grapple and then lower yourself down to the platform below with all the trash on it.
From there, look over the edge to see two more floors. Lower yourself all the way down to the lowest level.
Around the corner, you’ll find a doorway with this letter pinned to its frame.

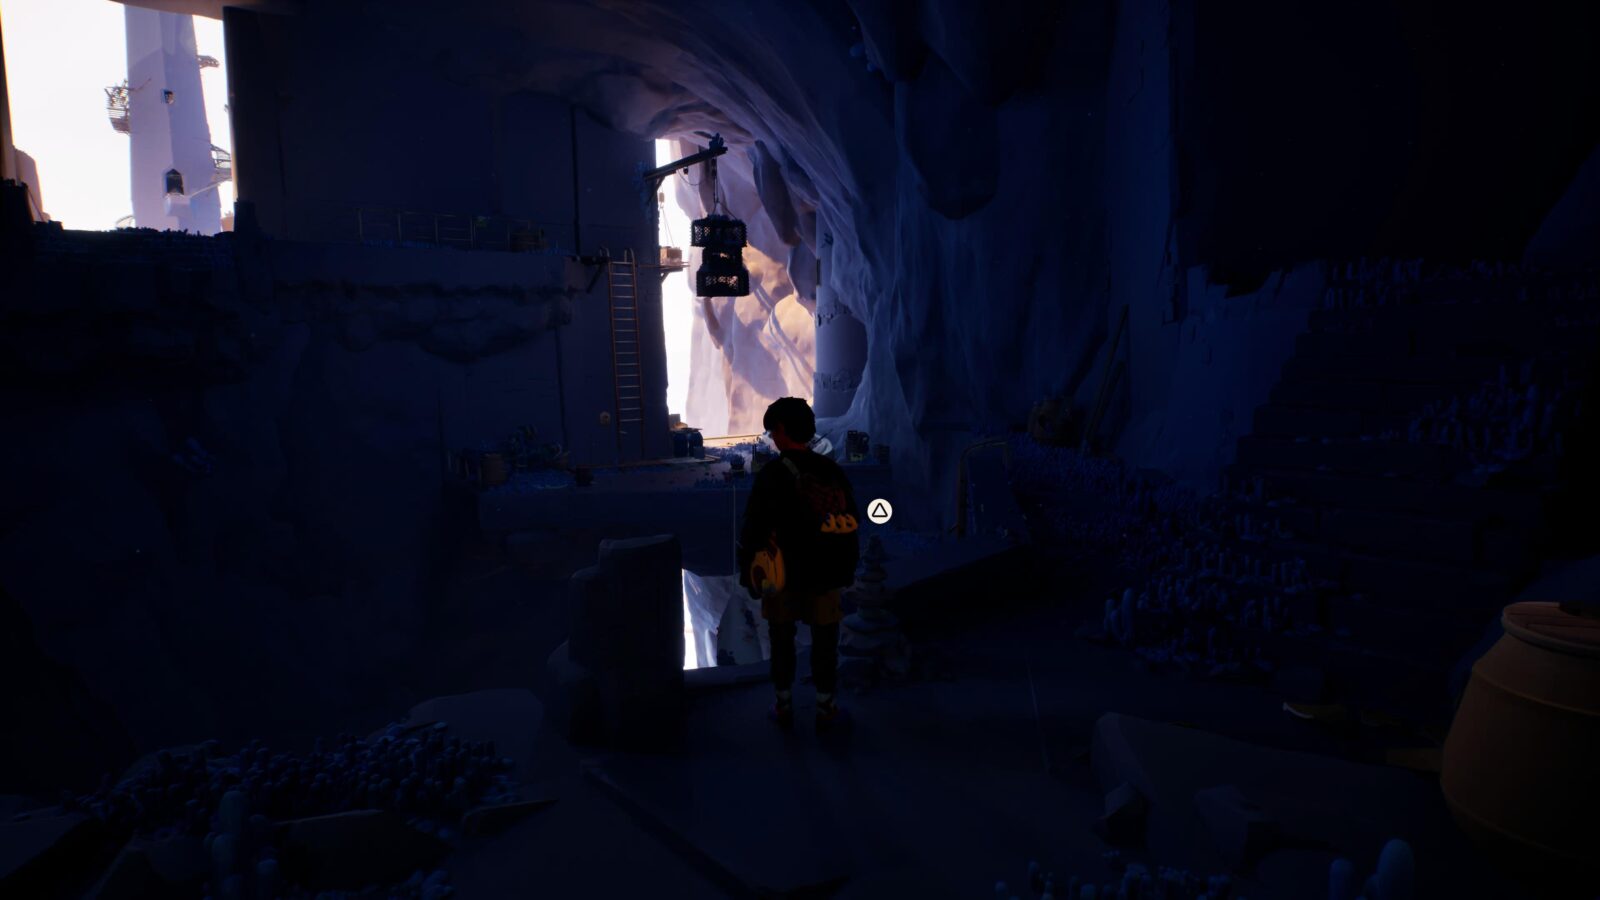
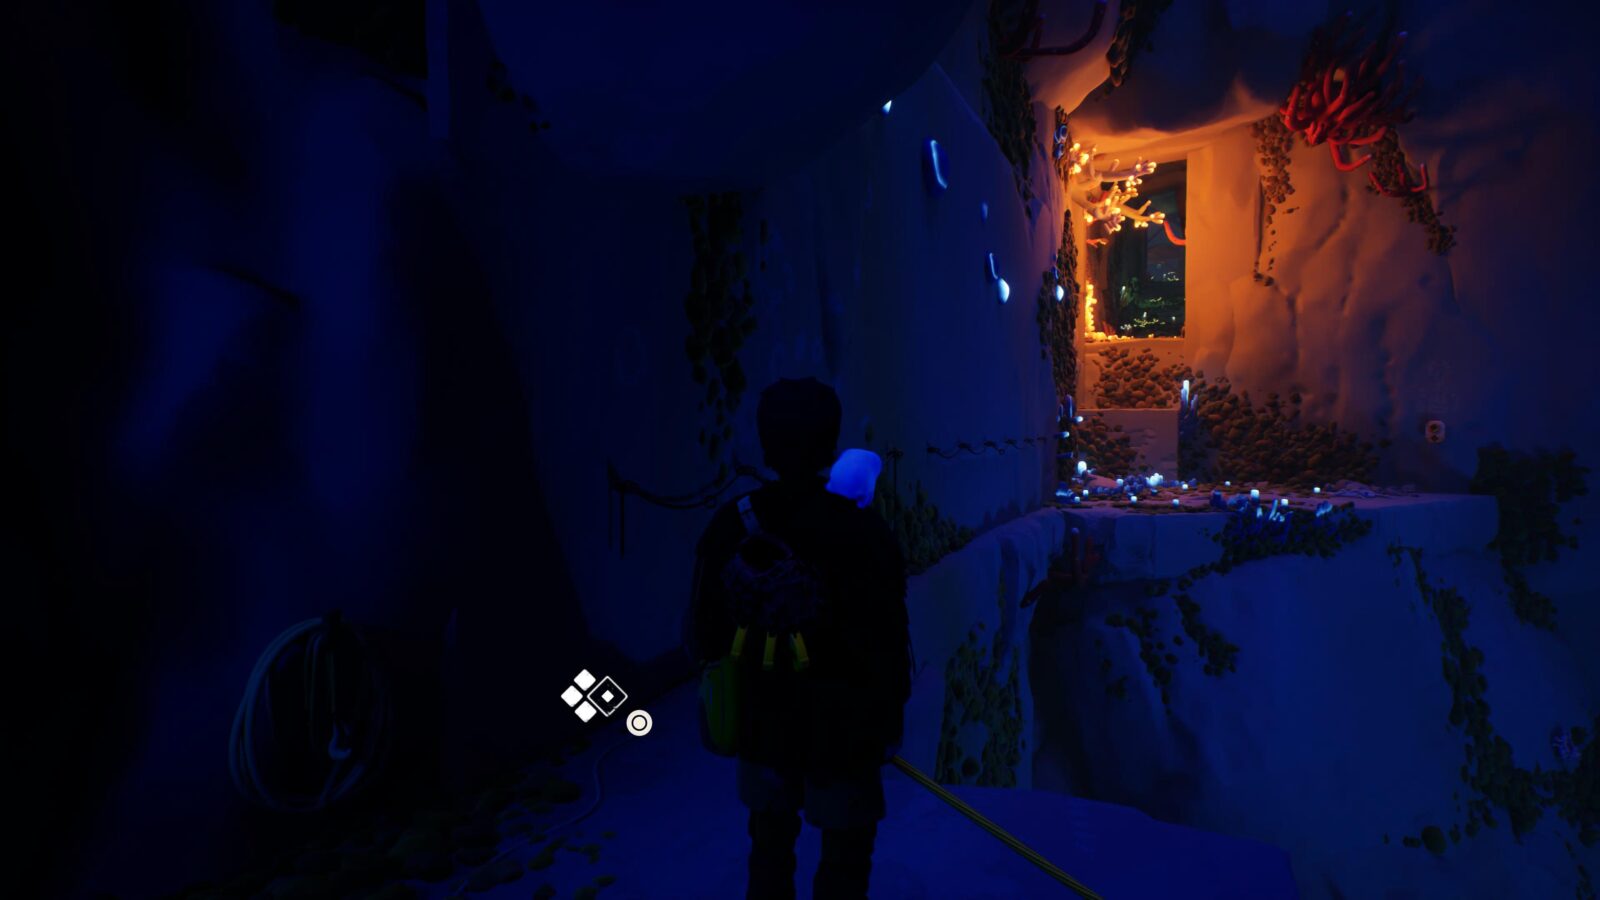
Fresco #1
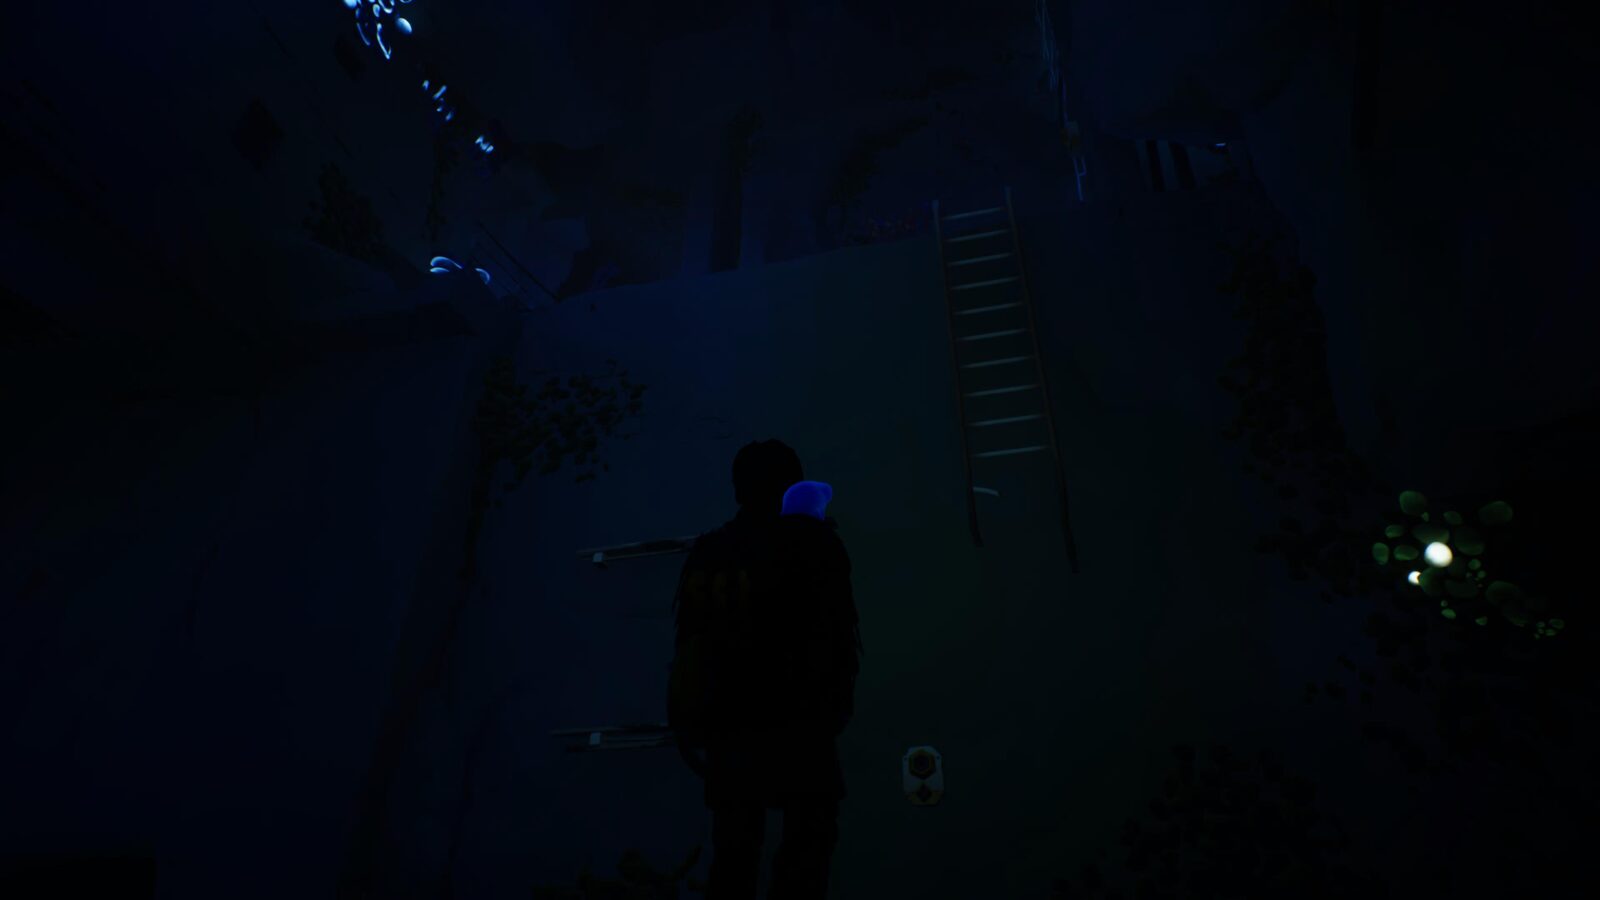
Continue back up to the top of the structure and then enter the cave at the top of the ladder.
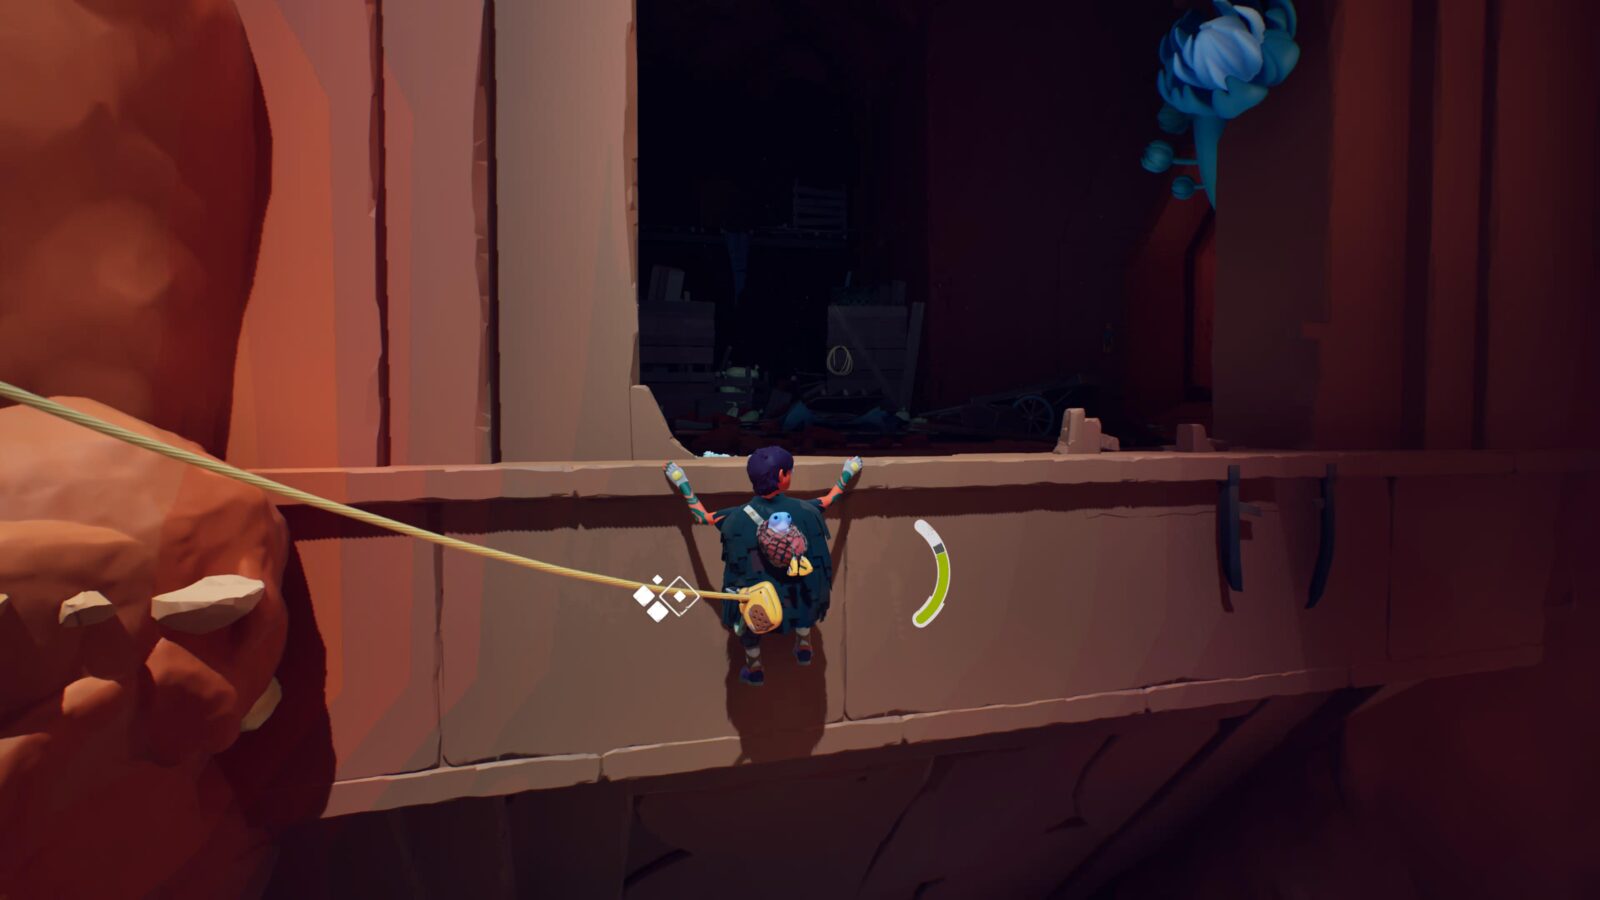
Inside, you’ll see some ladders leading up and to the right. Ignore them and go to the windows at the left, where you’ll see one is broken.
Go through the broken window to land right inside another Fresco room. Remember to press ![]() near the Fresco to activate it.
near the Fresco to activate it.
Shell #1
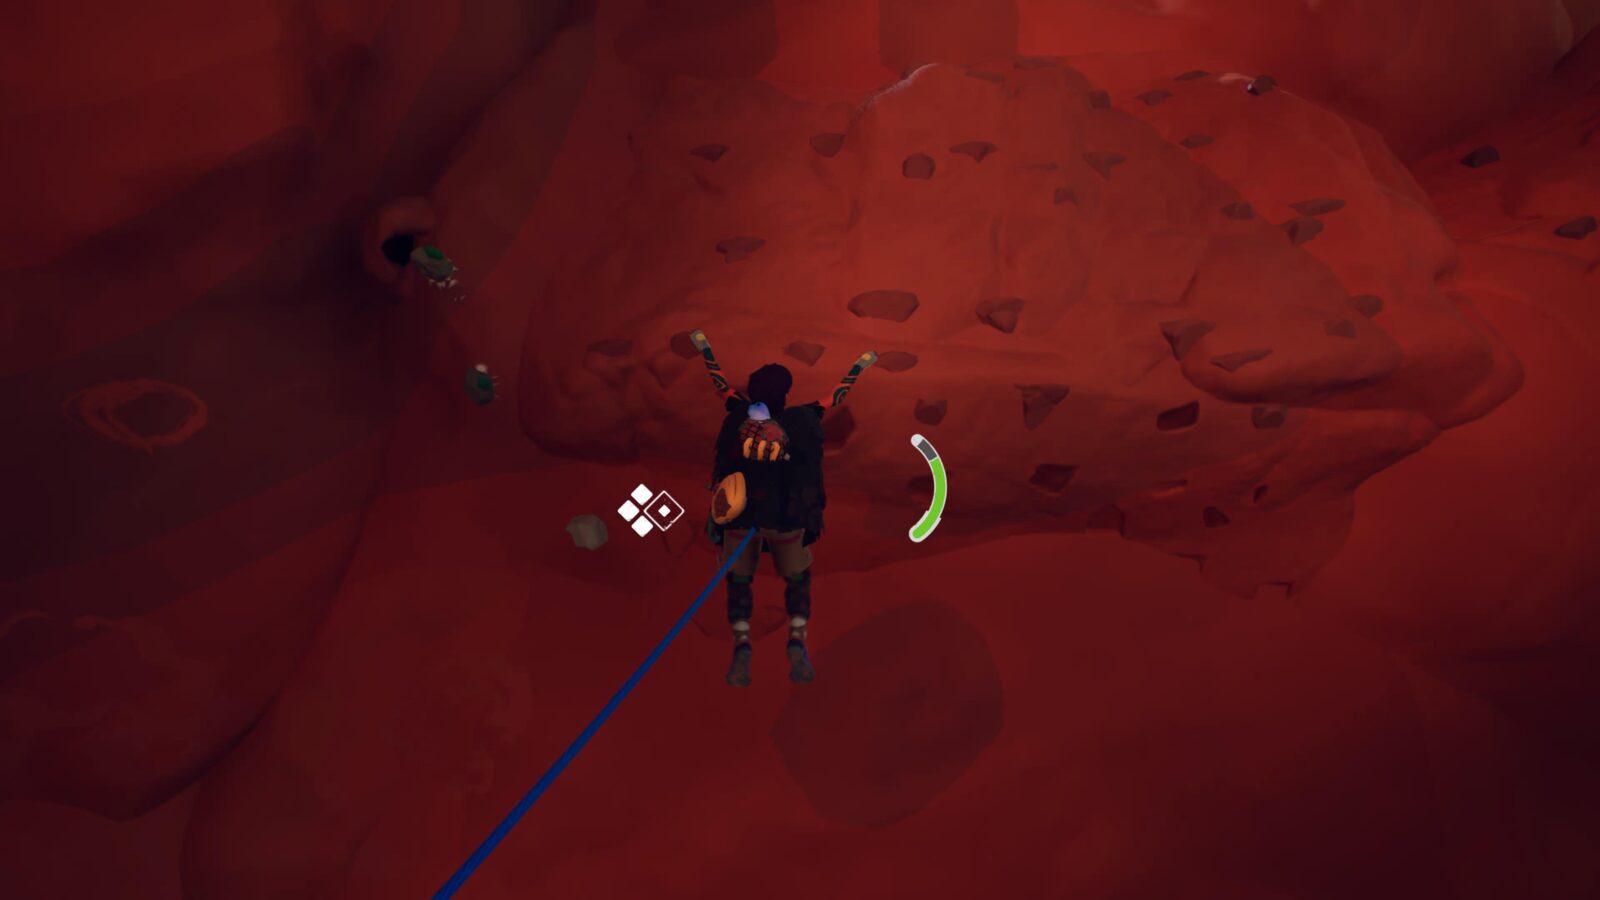
After climbing the aforementioned ladders, outside, go left and lower yourself to an alcove with this Shell inside.
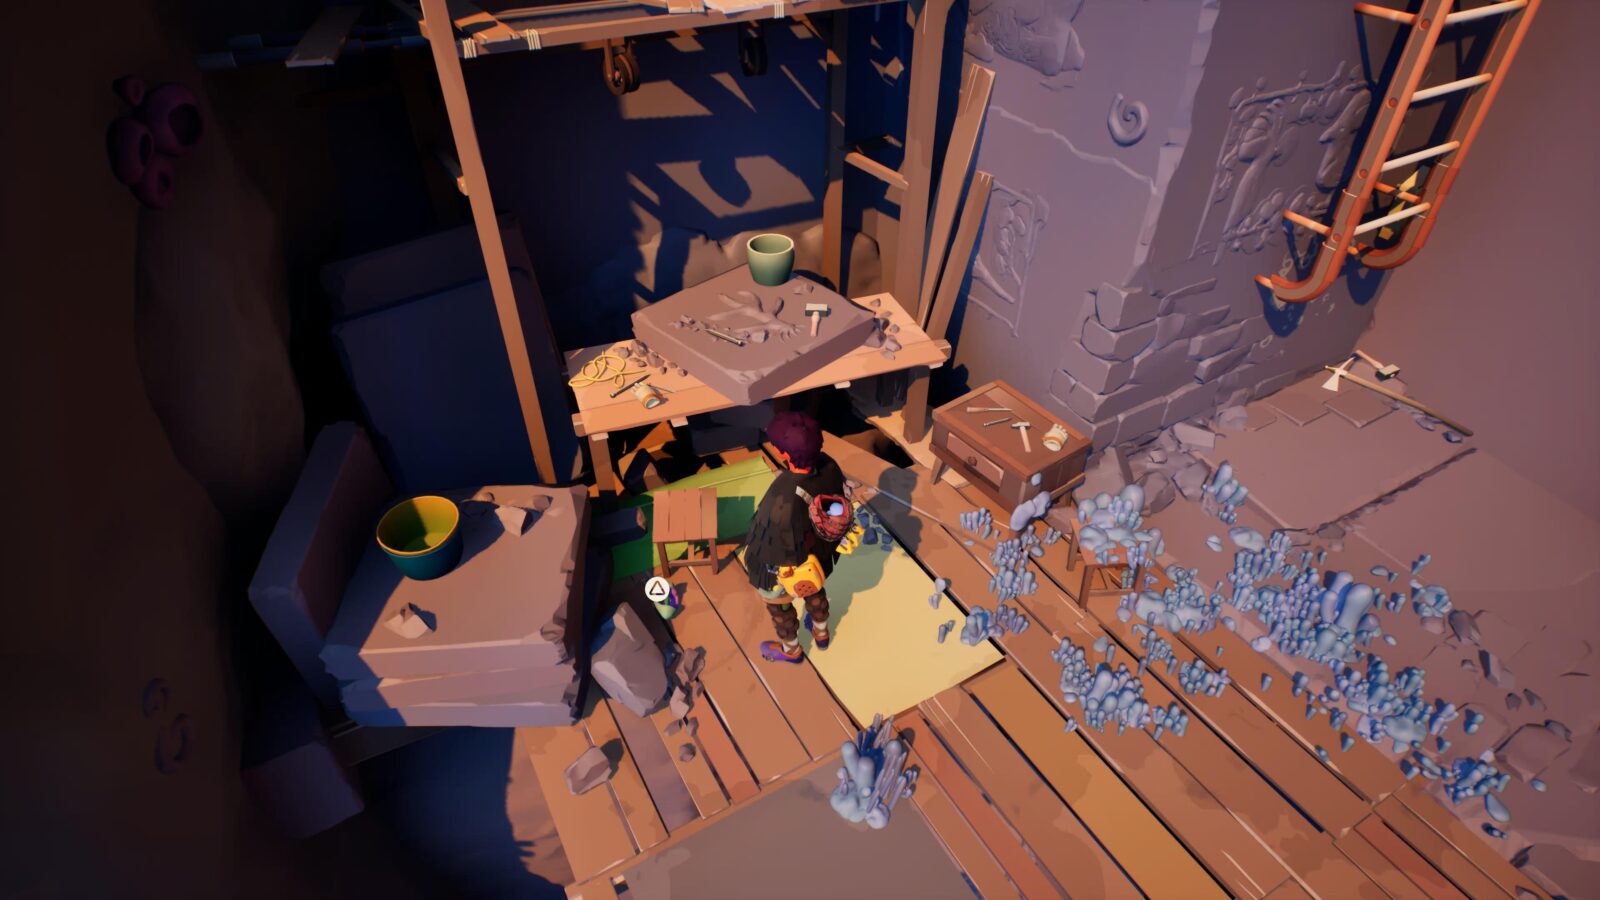
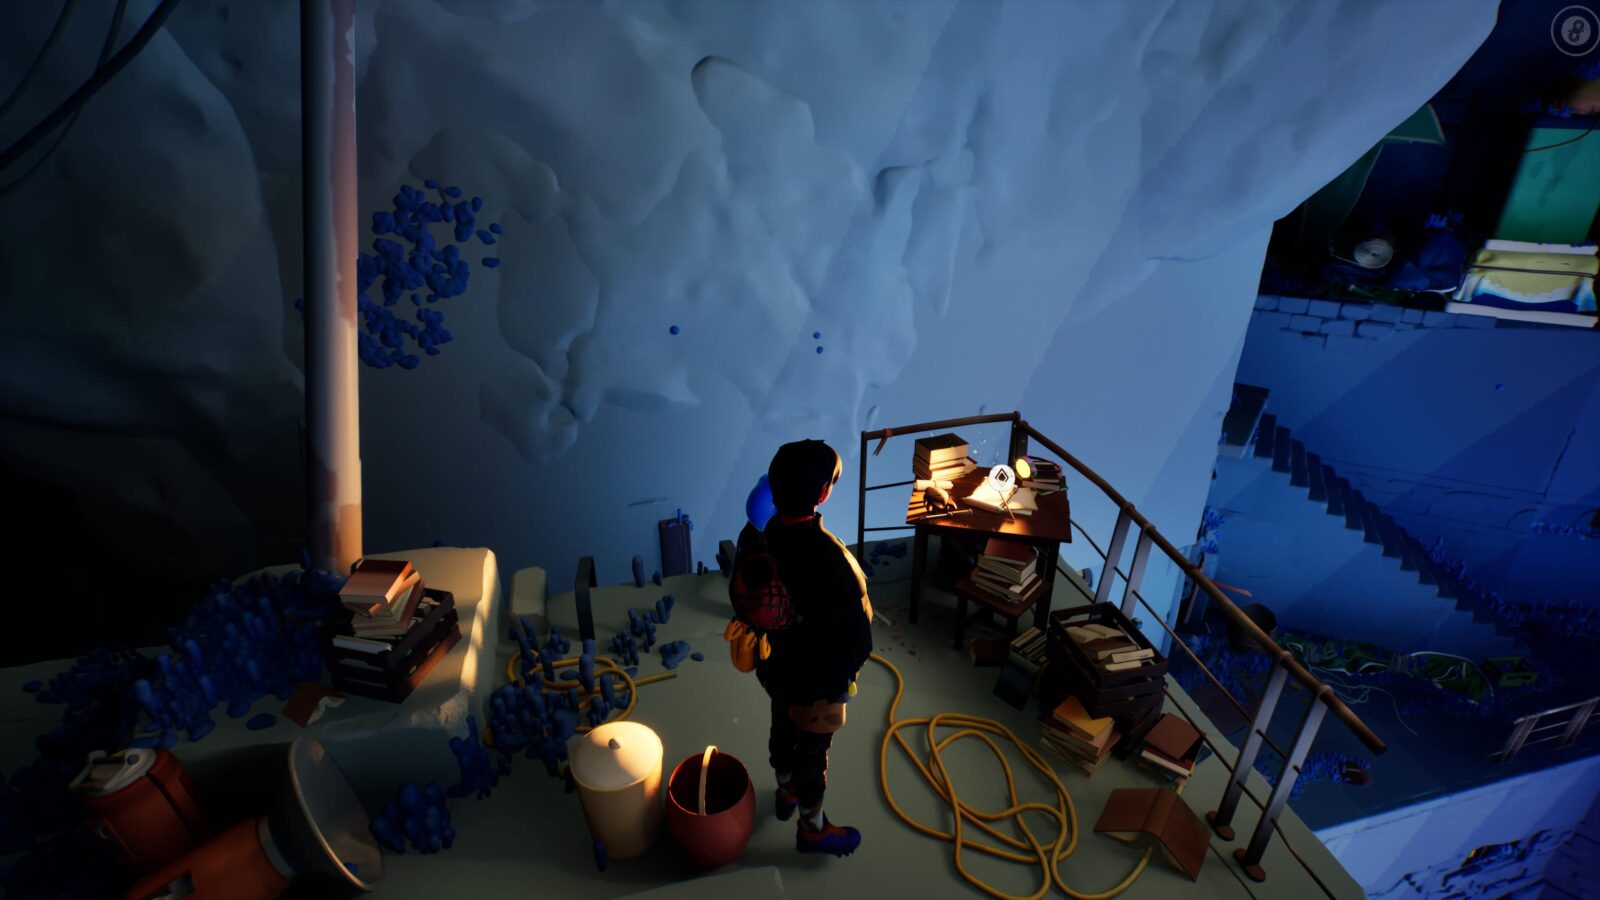
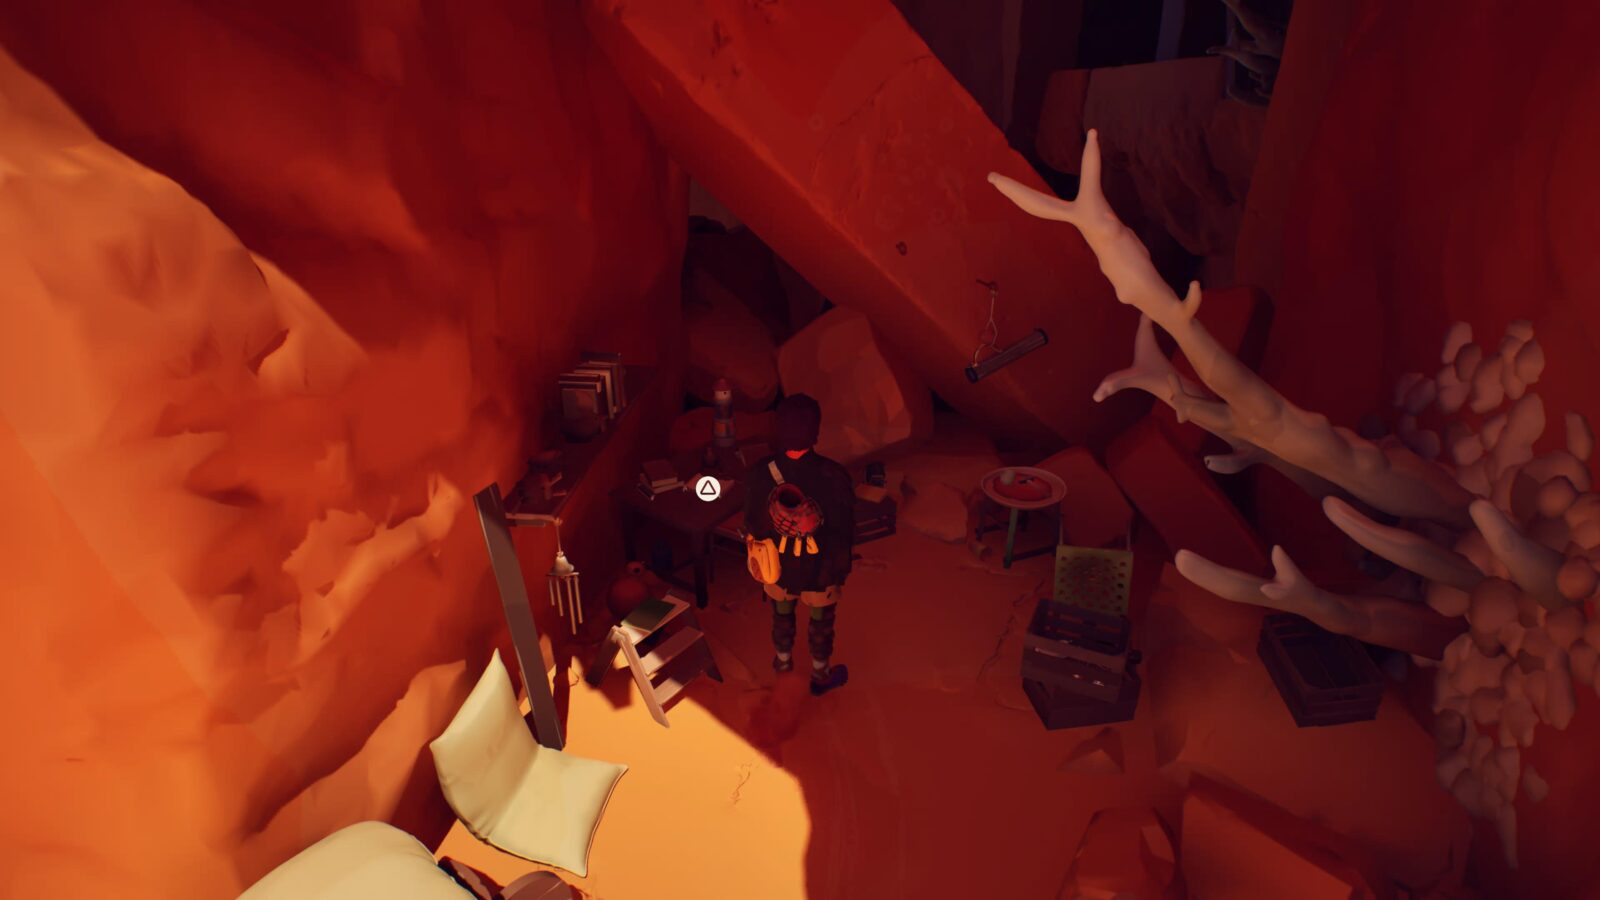
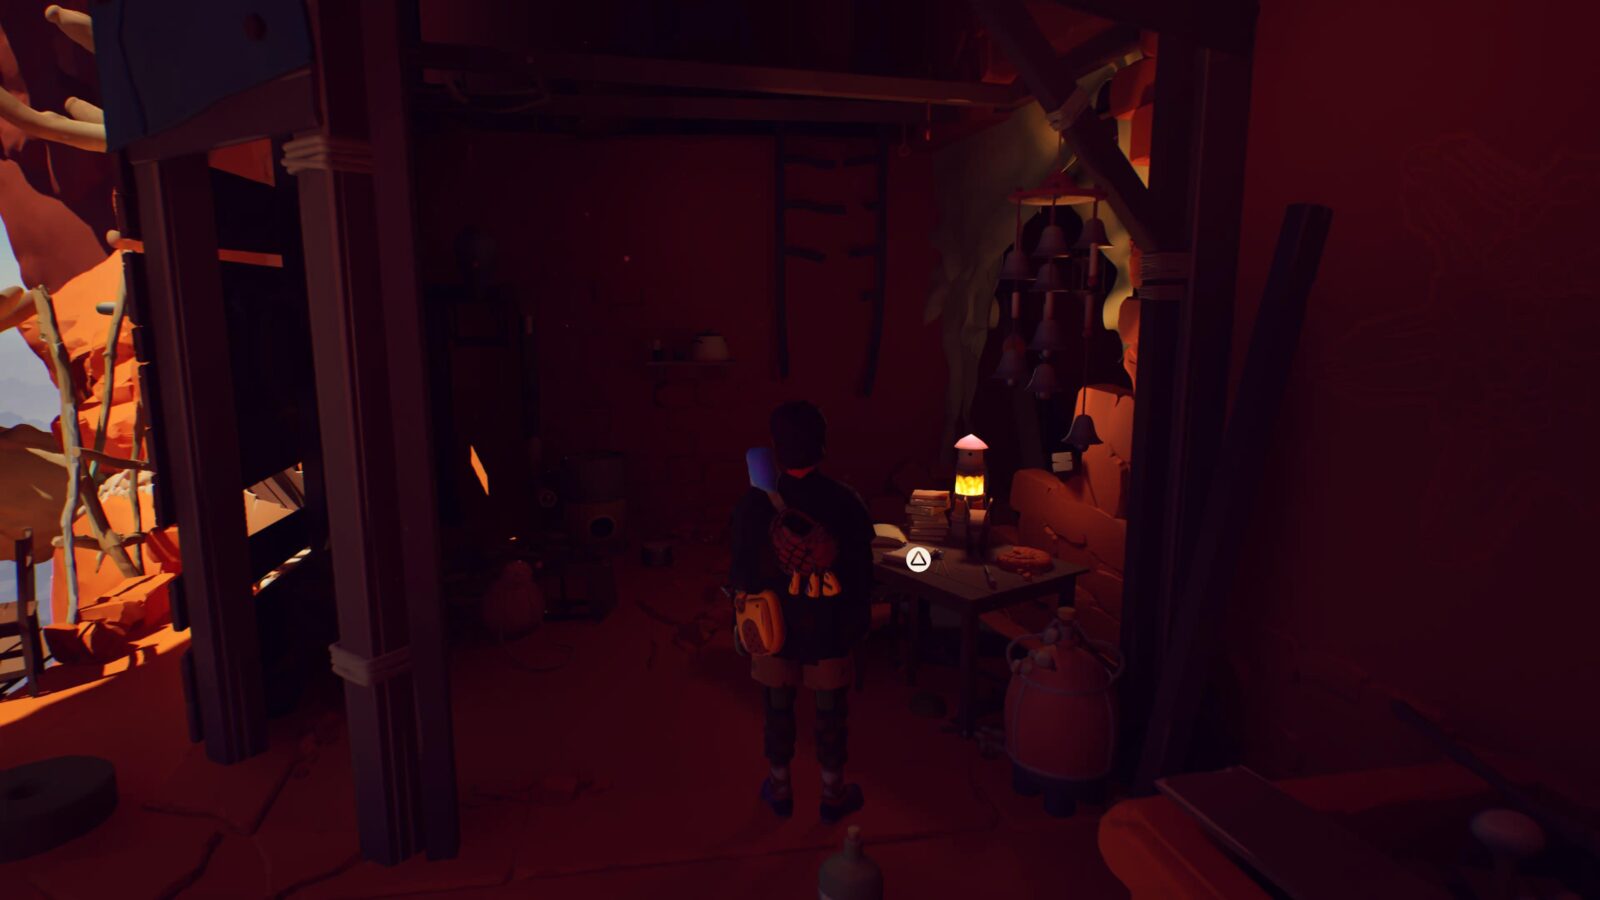
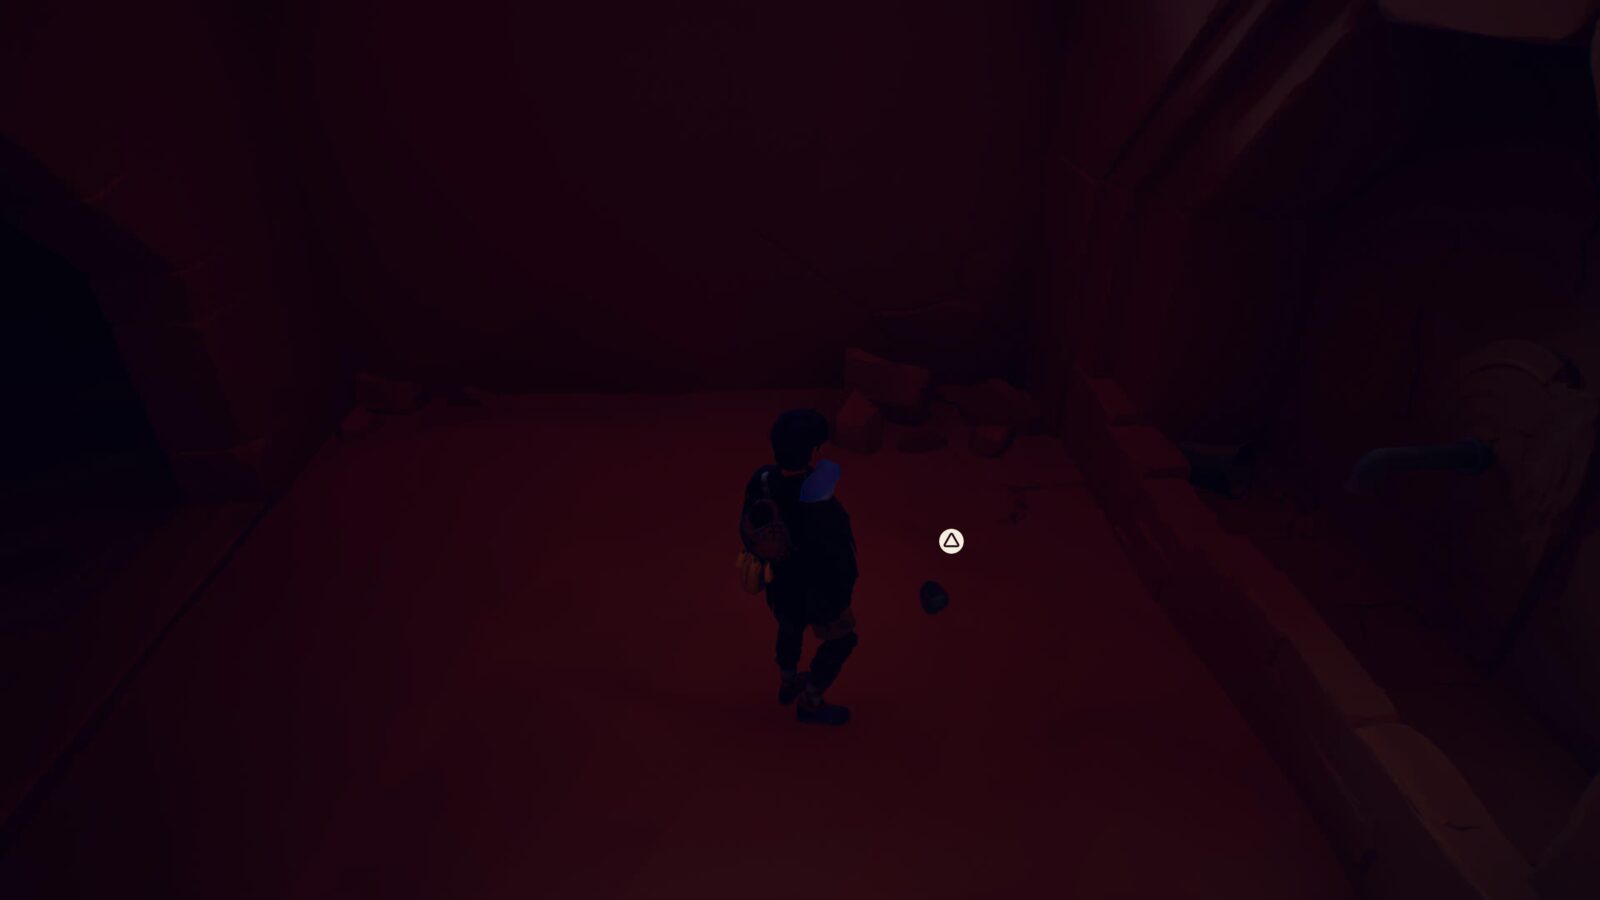
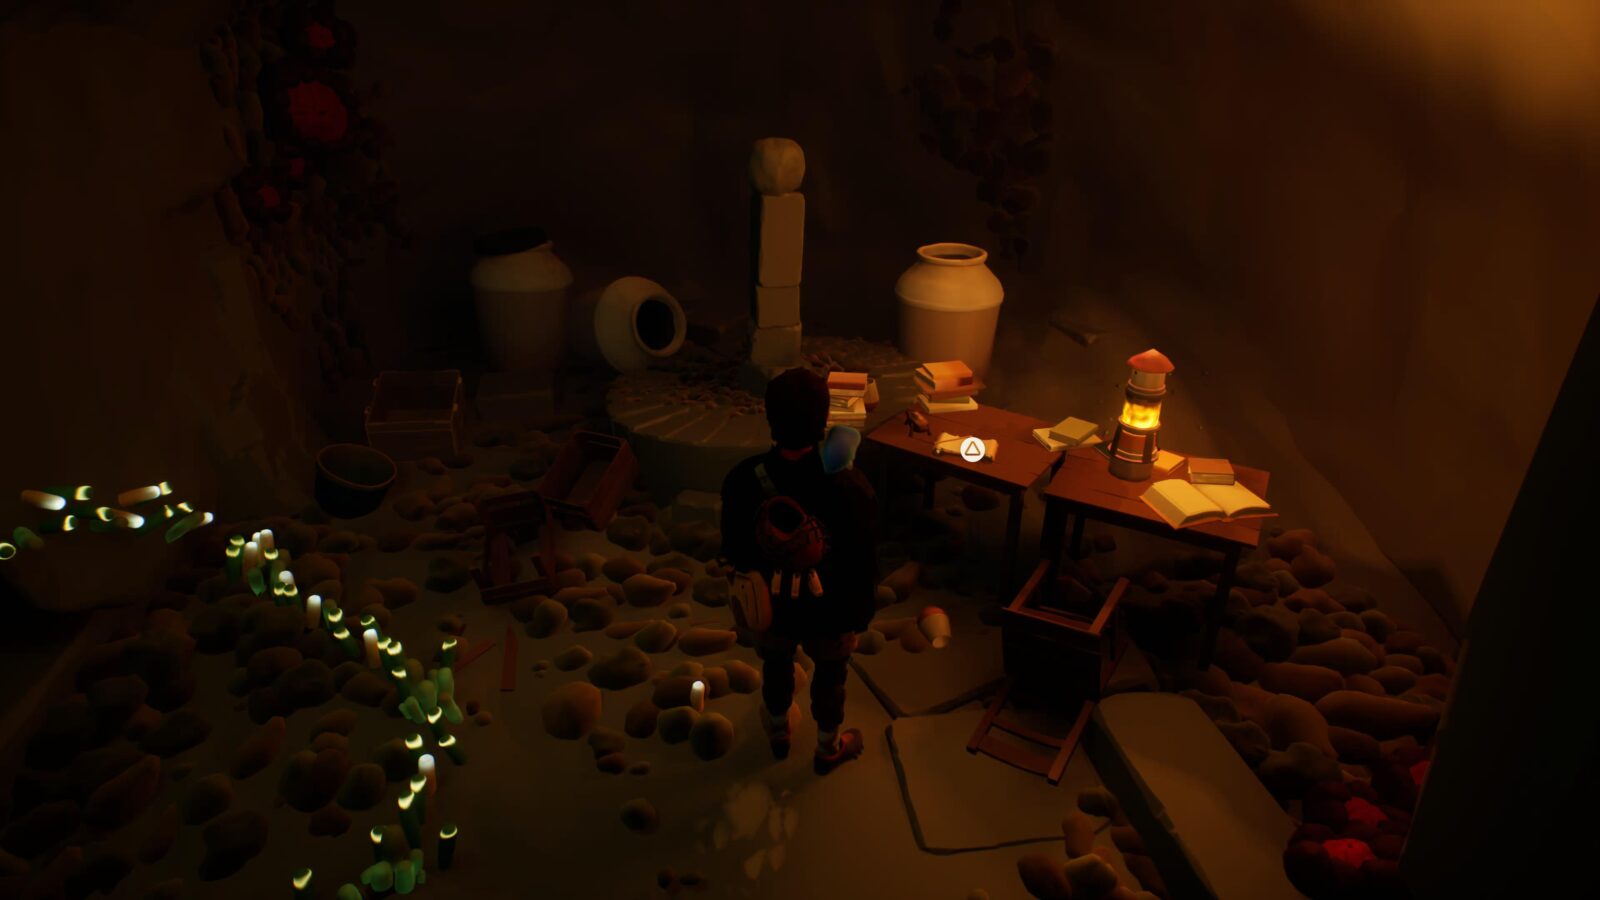
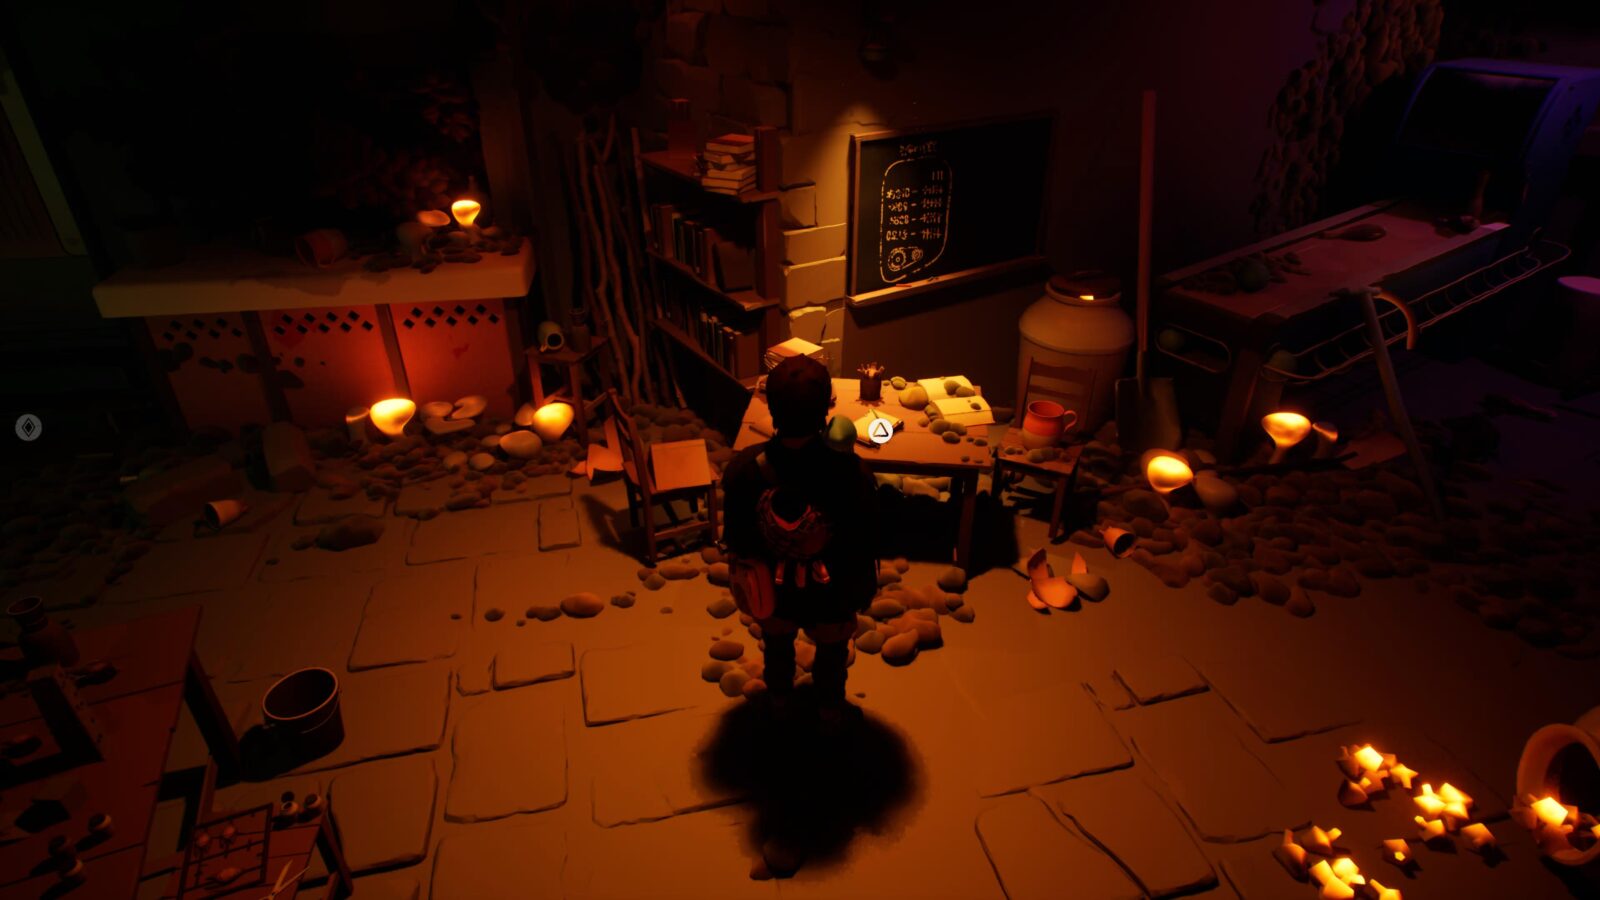
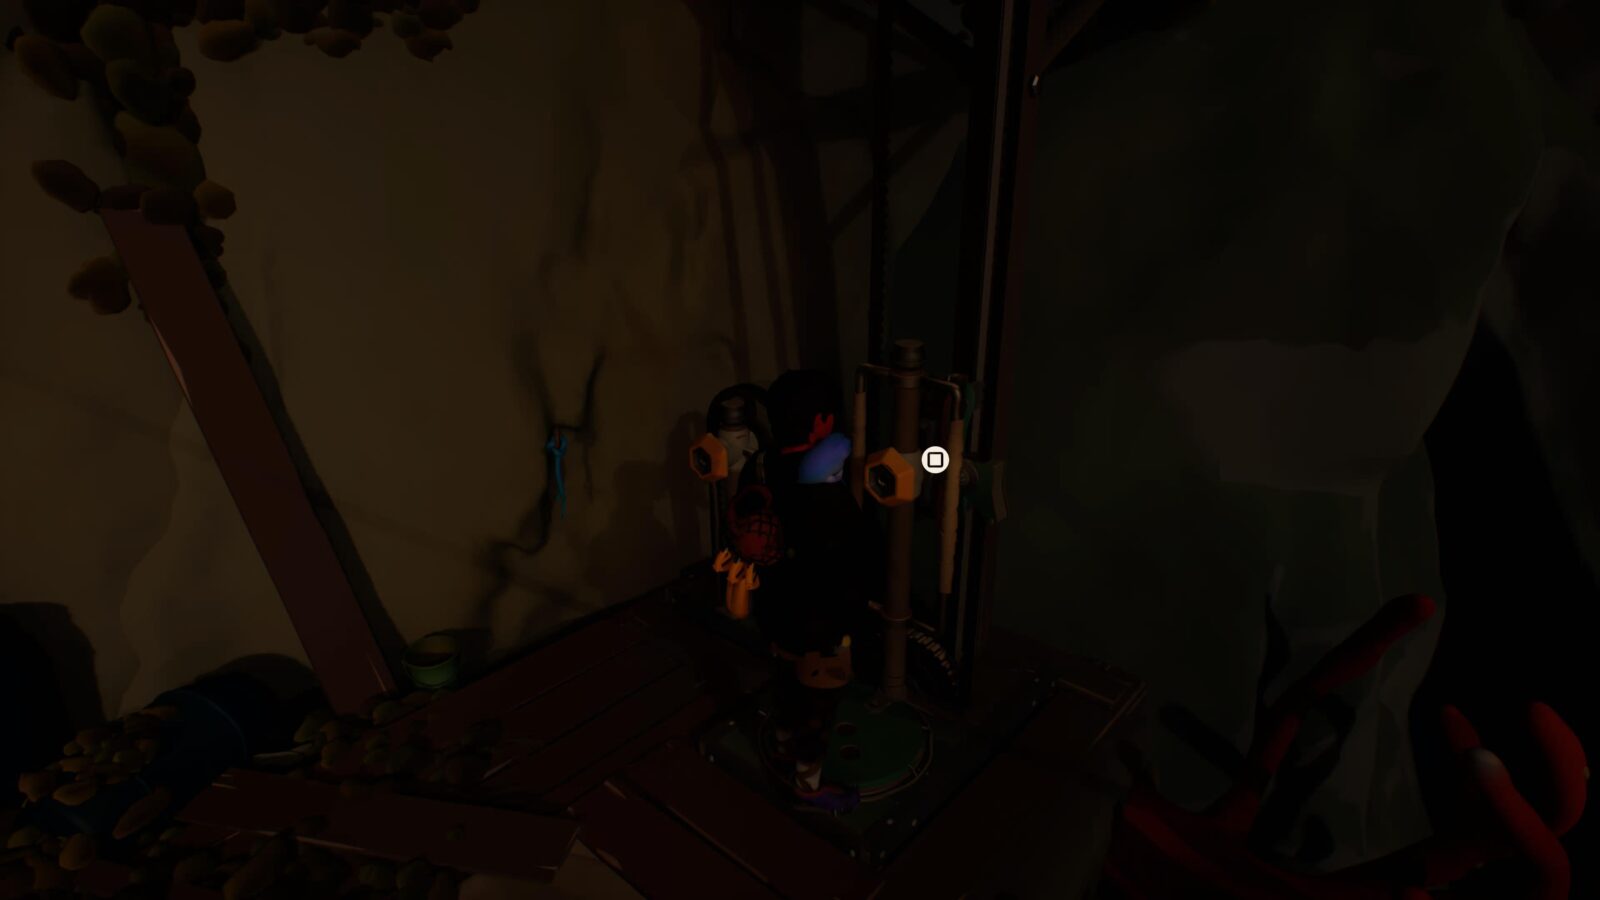
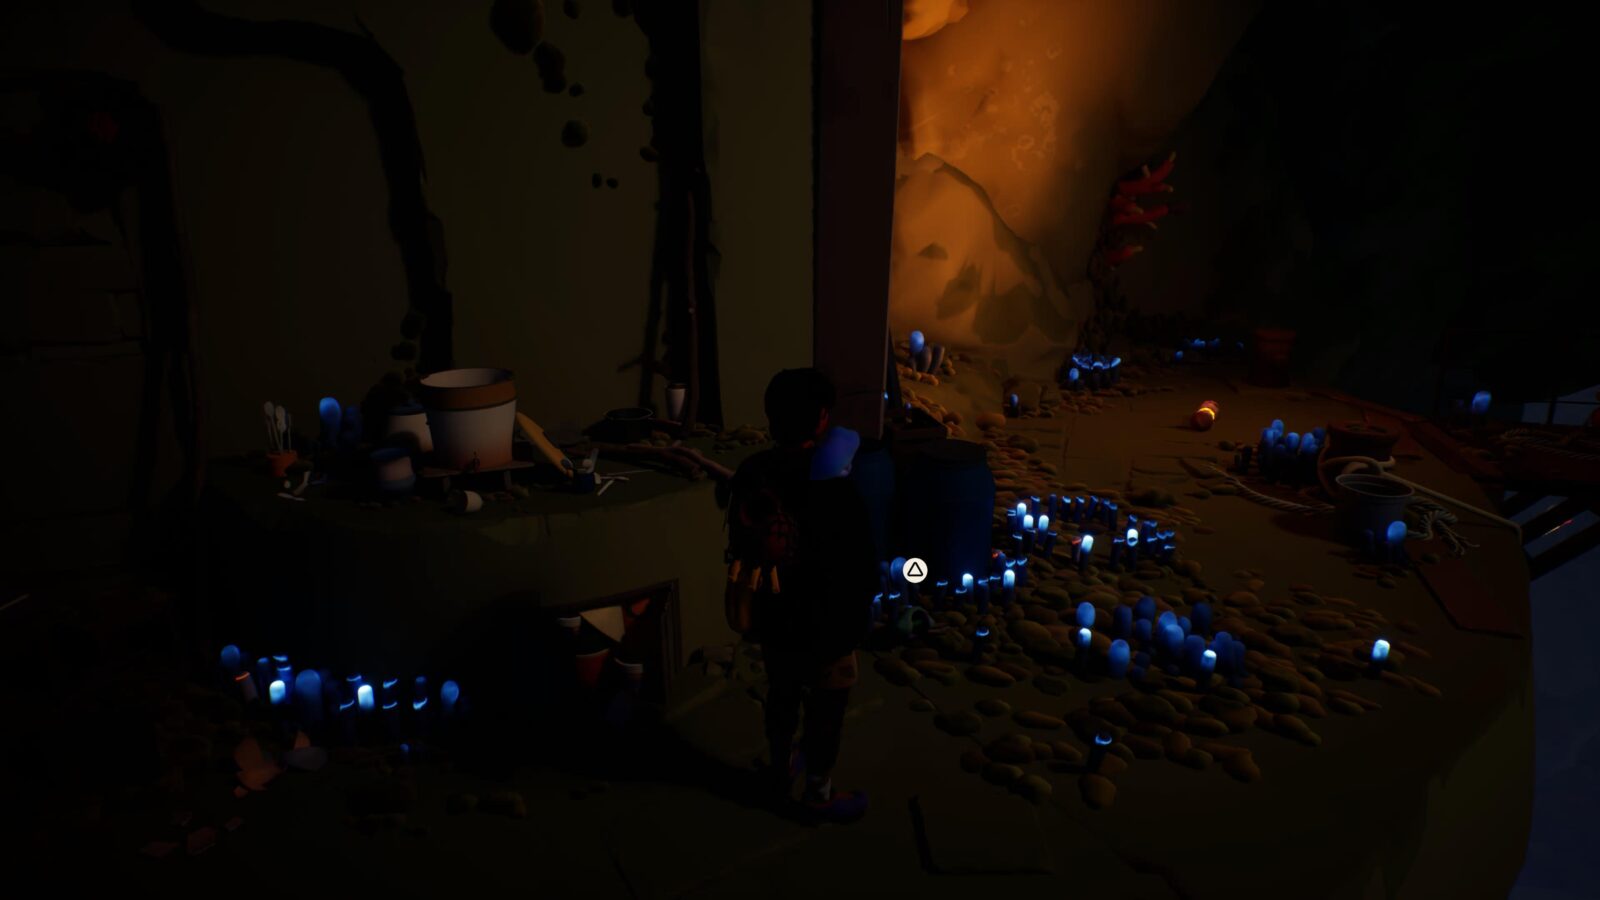
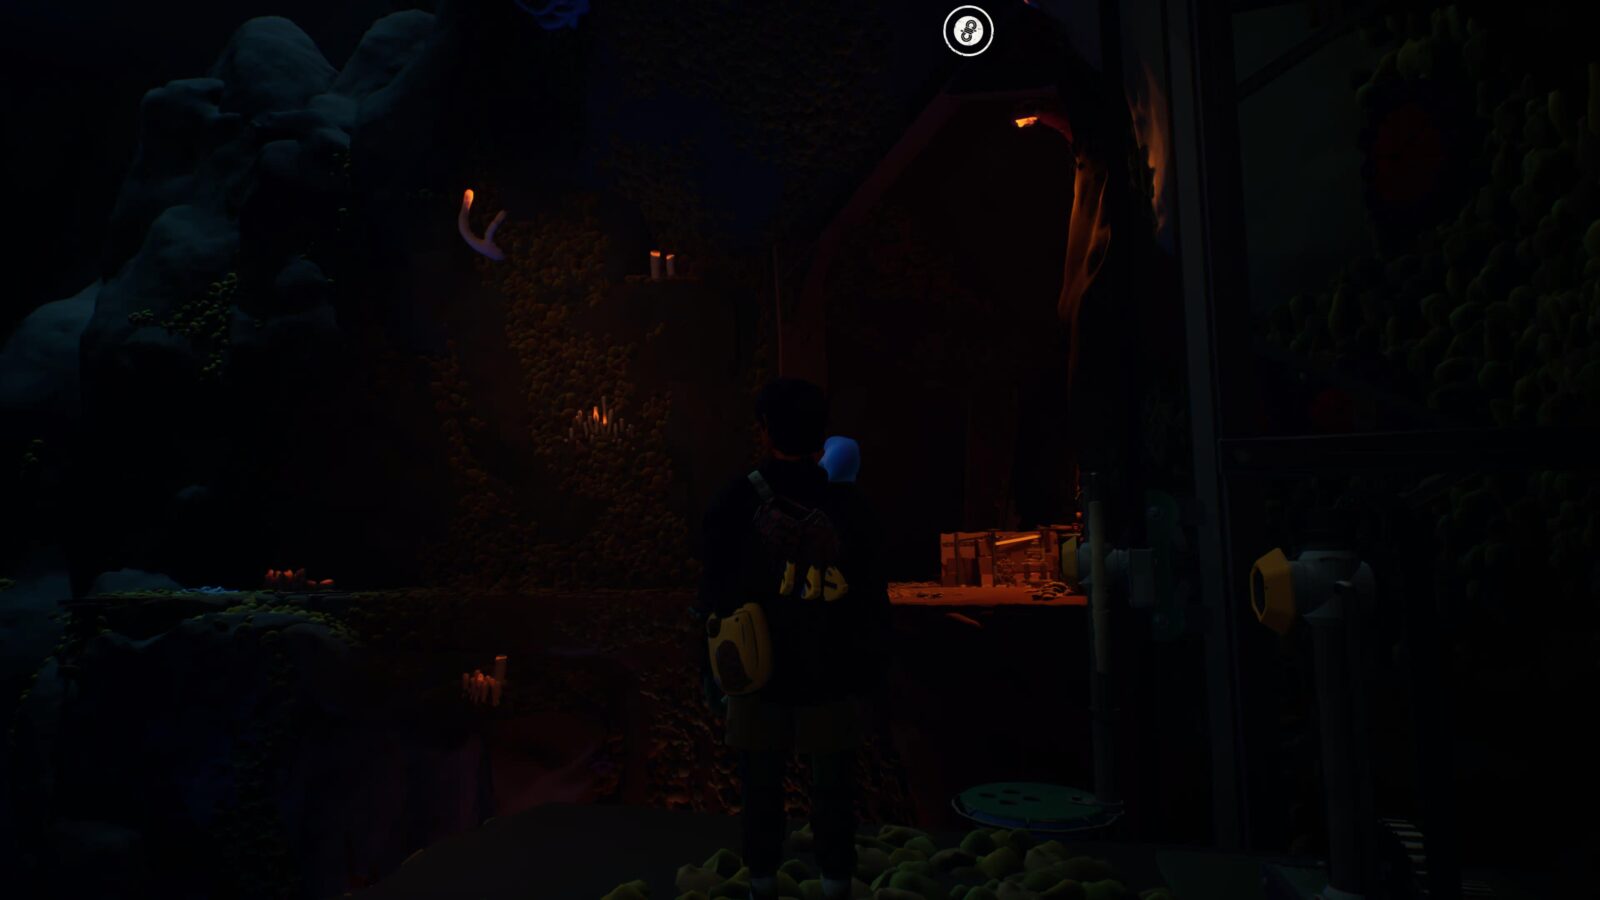
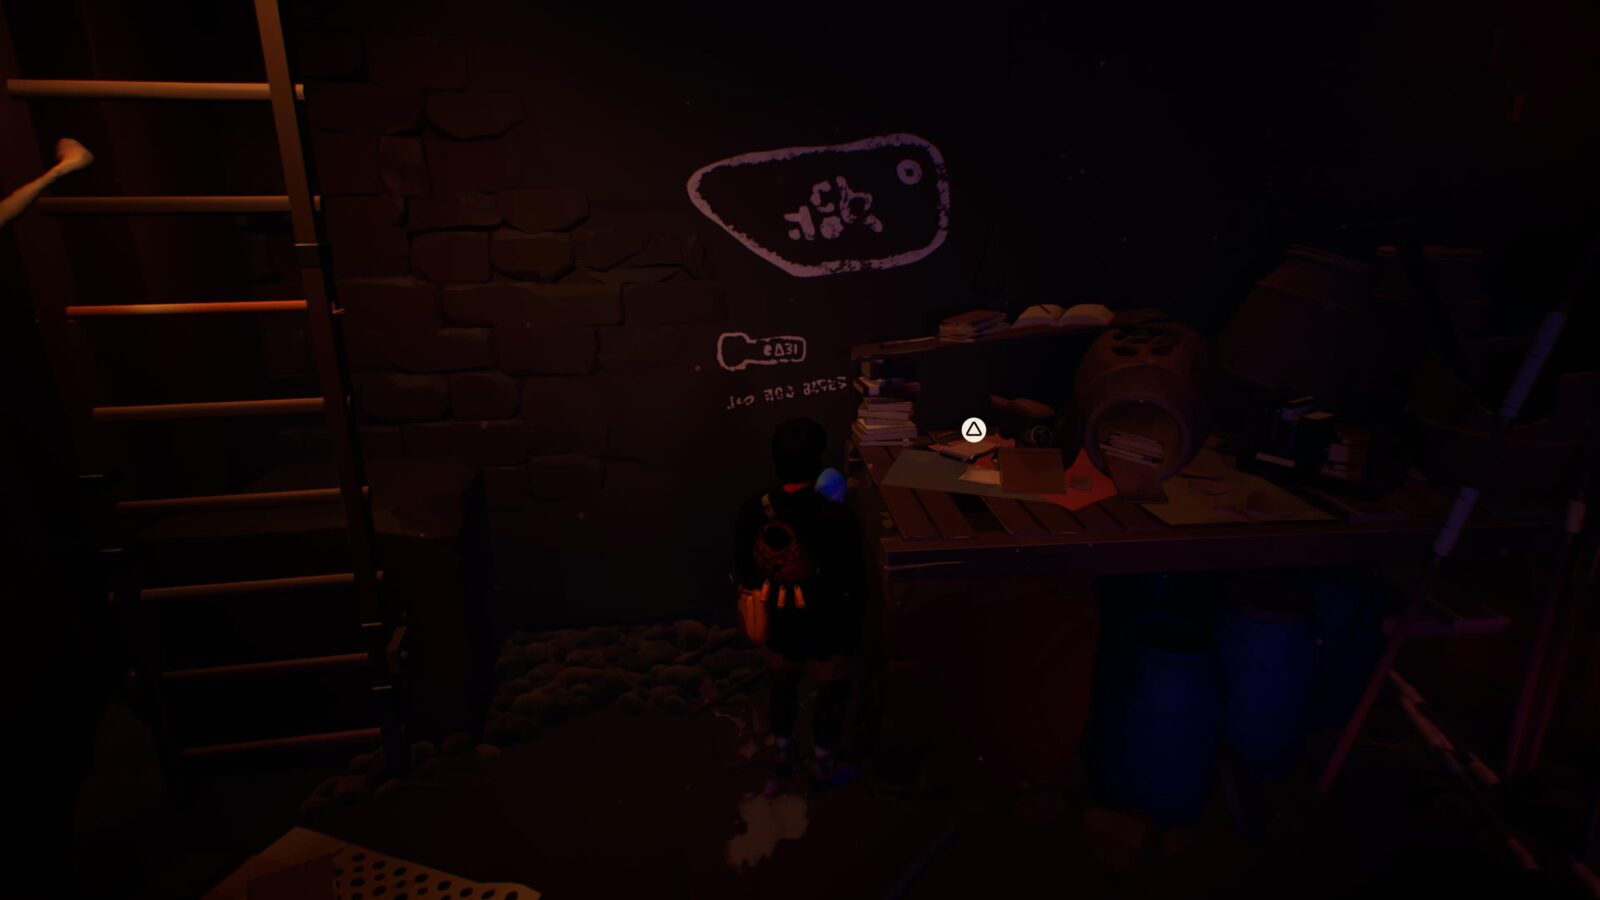
Journal Entry #3
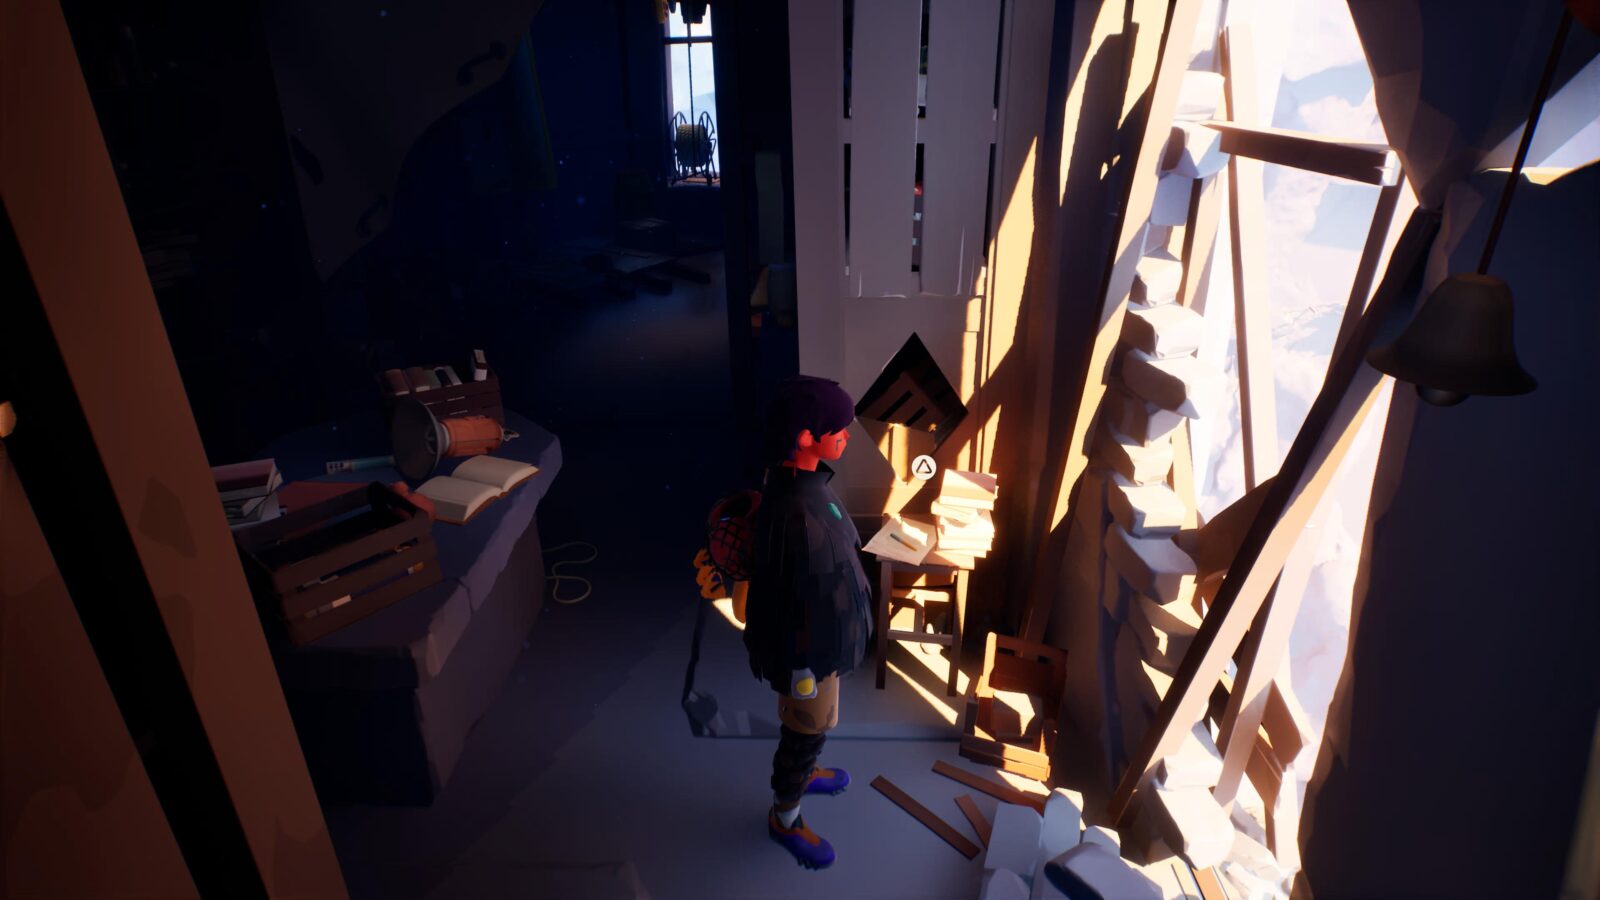
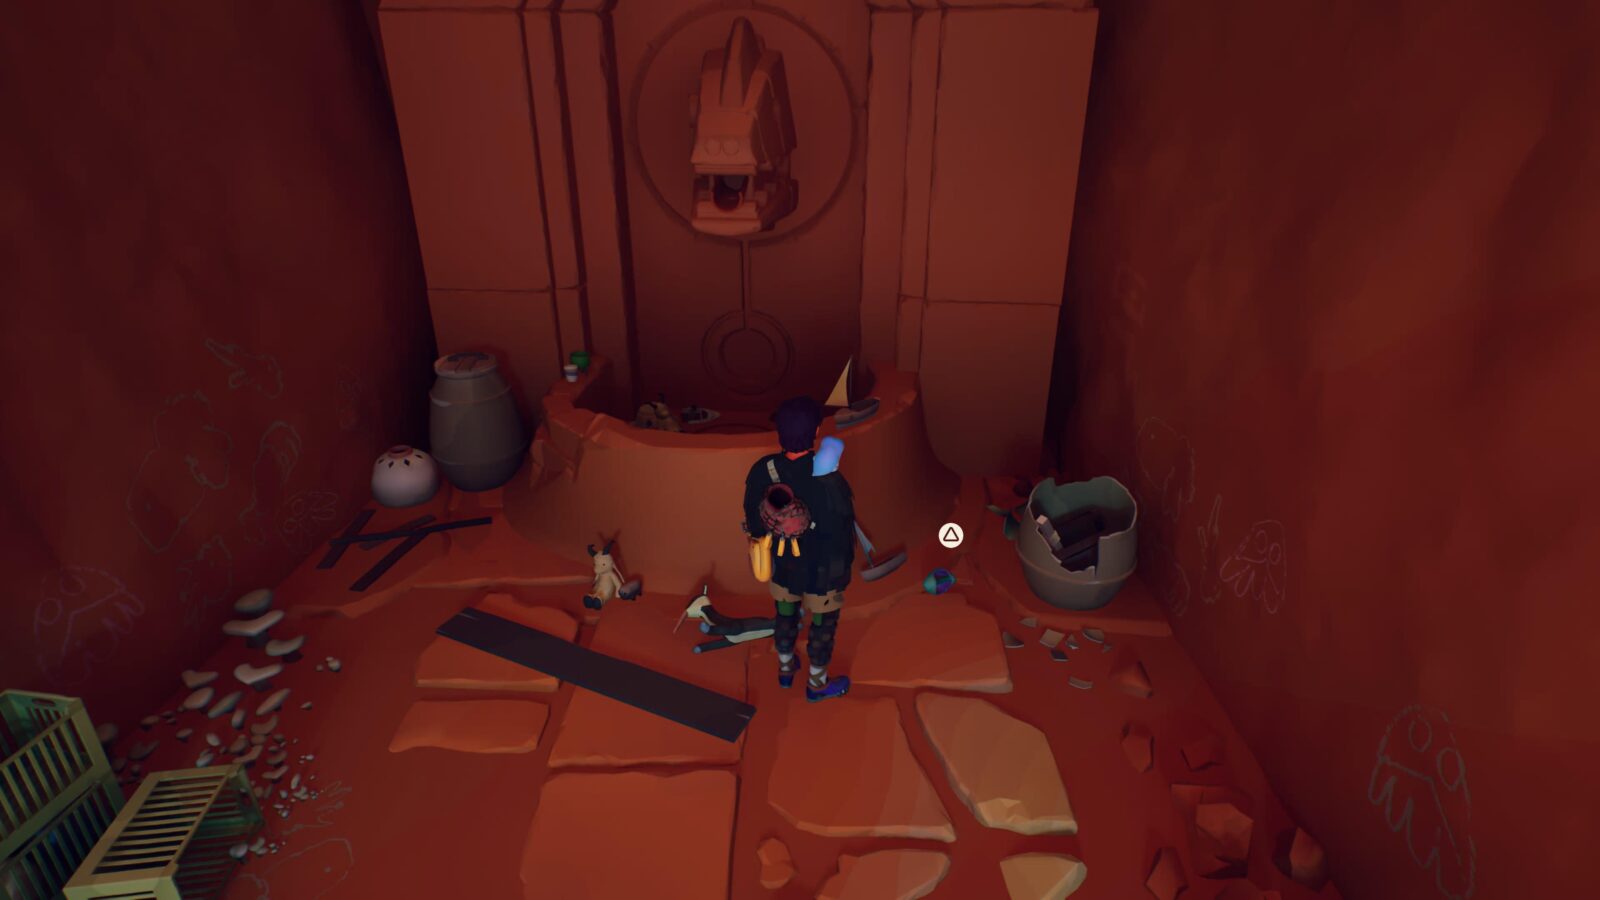
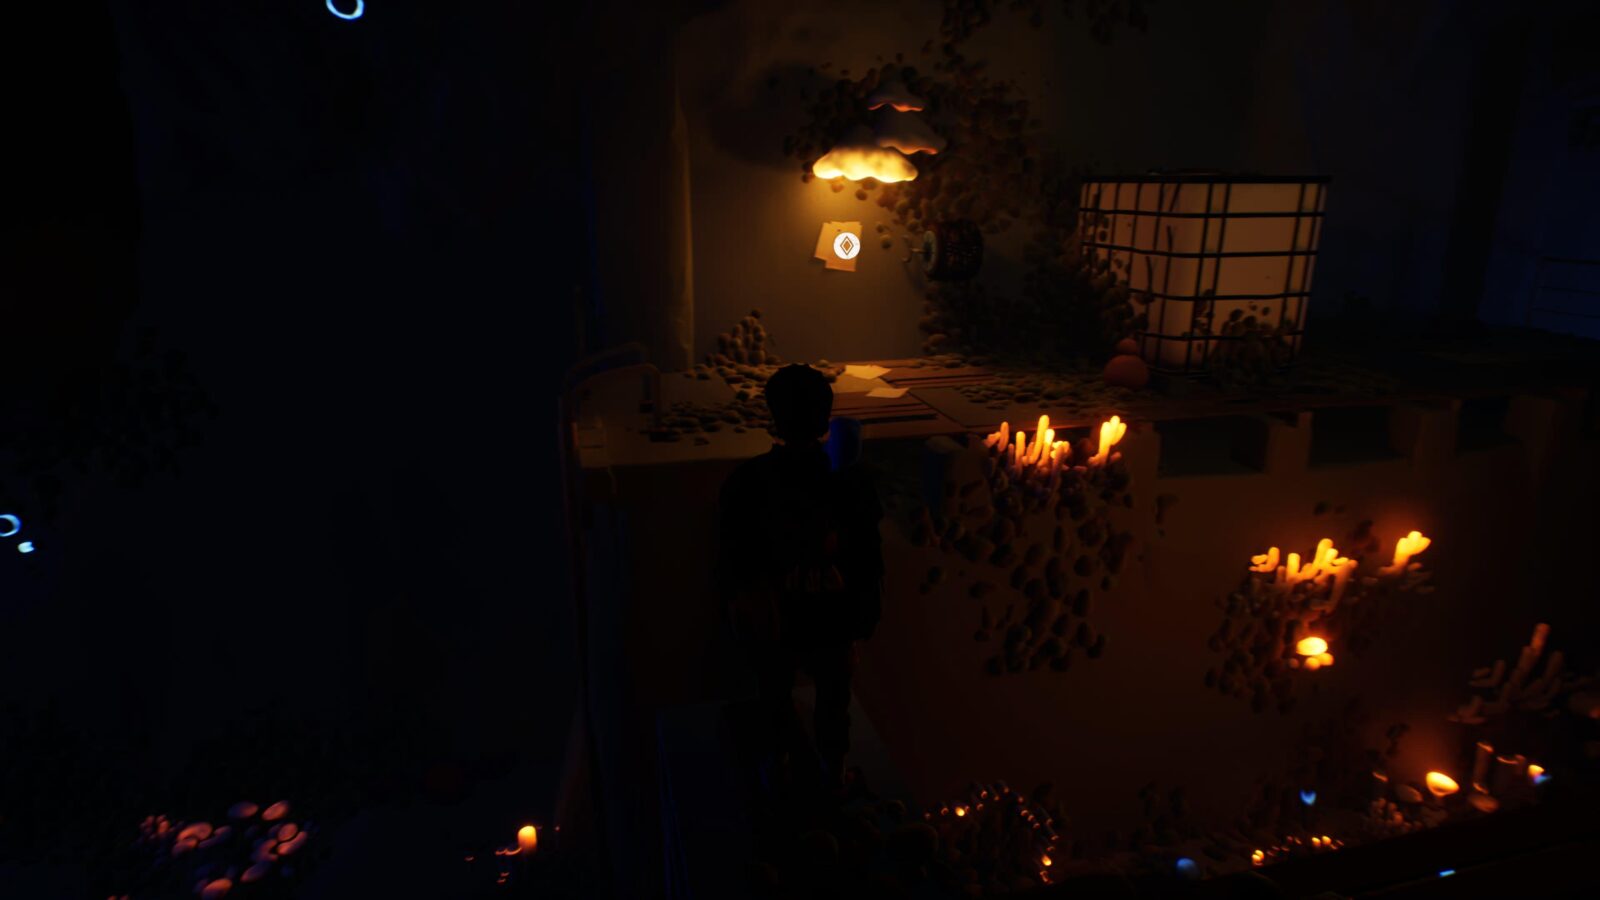
Head back into the cave and continue the climb up until you reach a dark room with lots of clutter inside. On the desk, near the lights, you’ll find this entry.
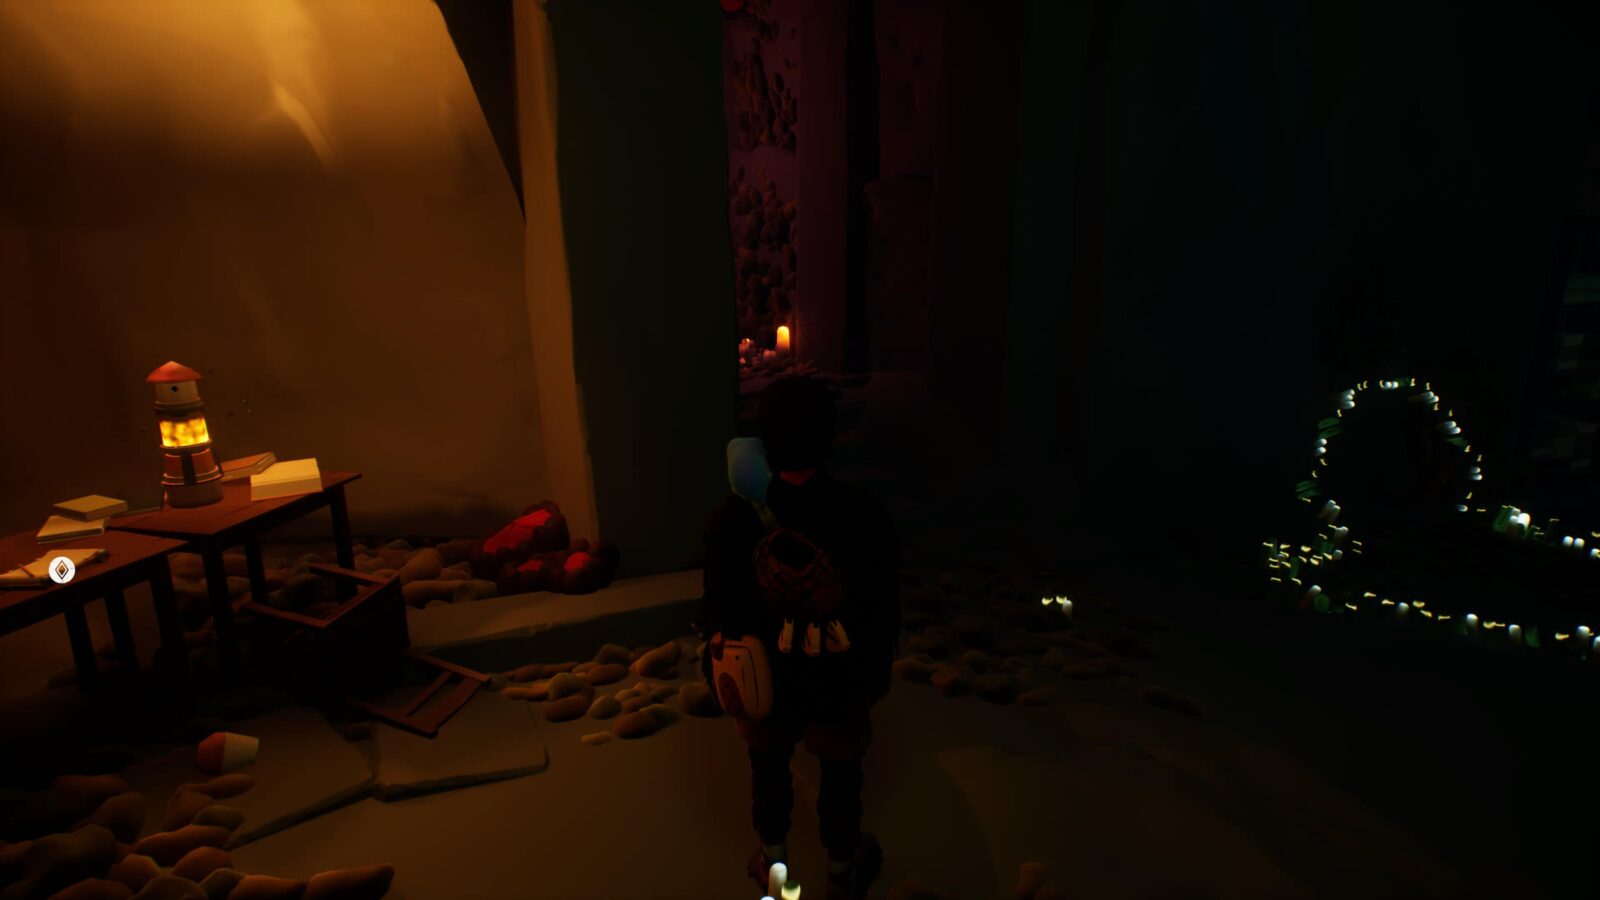
Letter #3
Upstairs in the next area, in a crate beside a house.

Letter #4
Opposite Letter #3, pinned on a wall.
Cairn #3
If you look down over the cliff from the house where Letter #3 is, you’ll see the Cairn on the bottommost platform.
Attach the carabiner to the nearby checkpoint and then lower yourself down over the cliff to reach the Cairn.
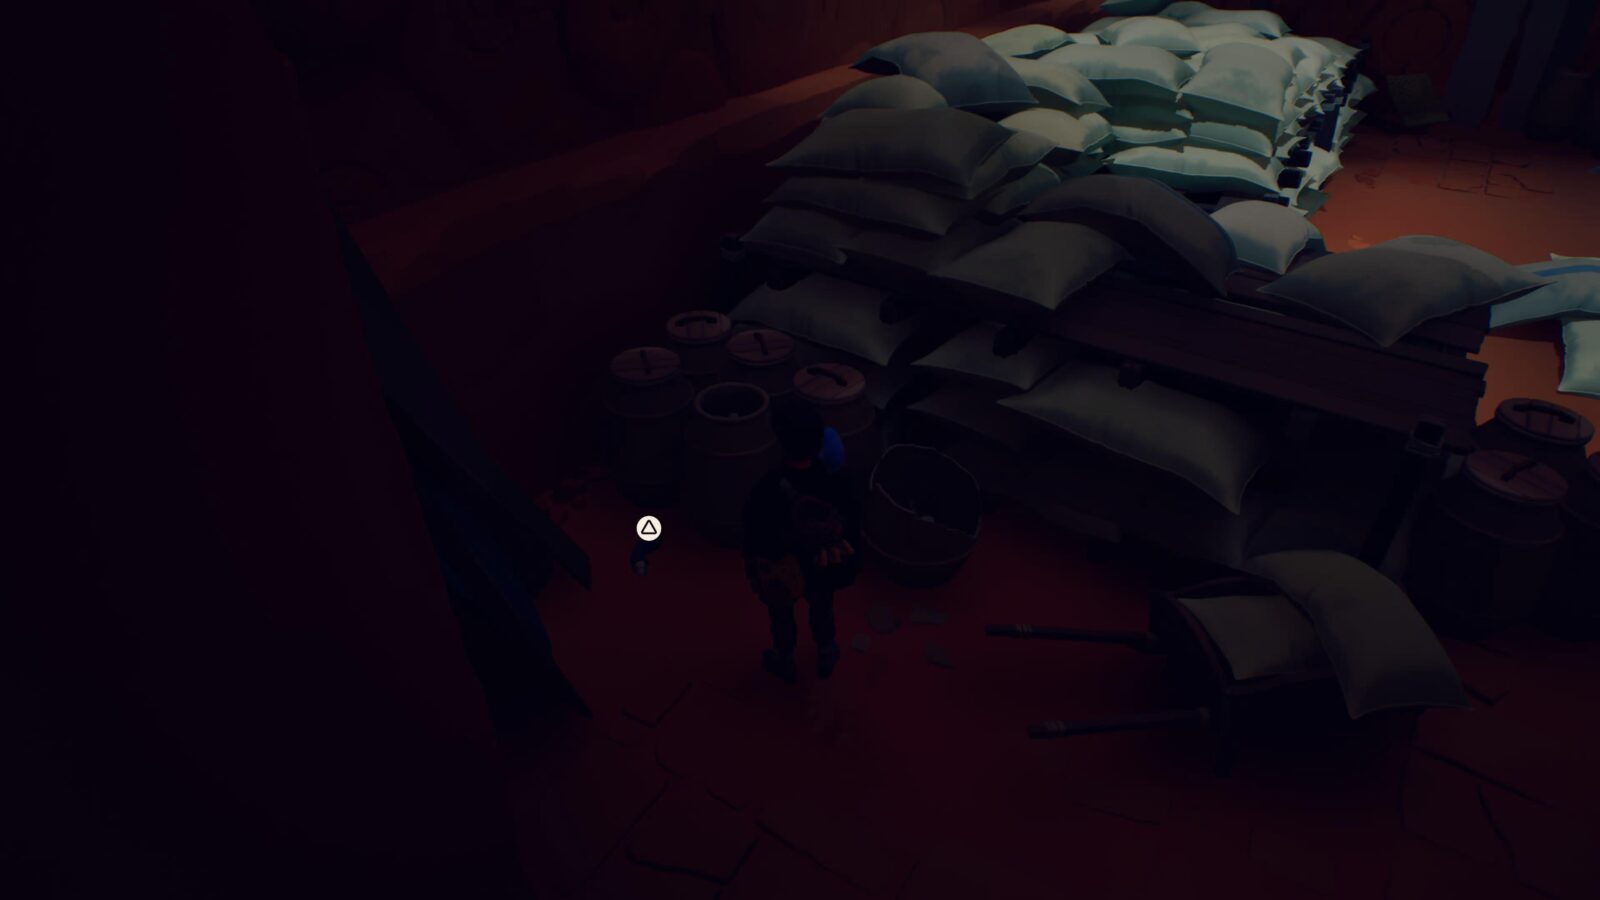
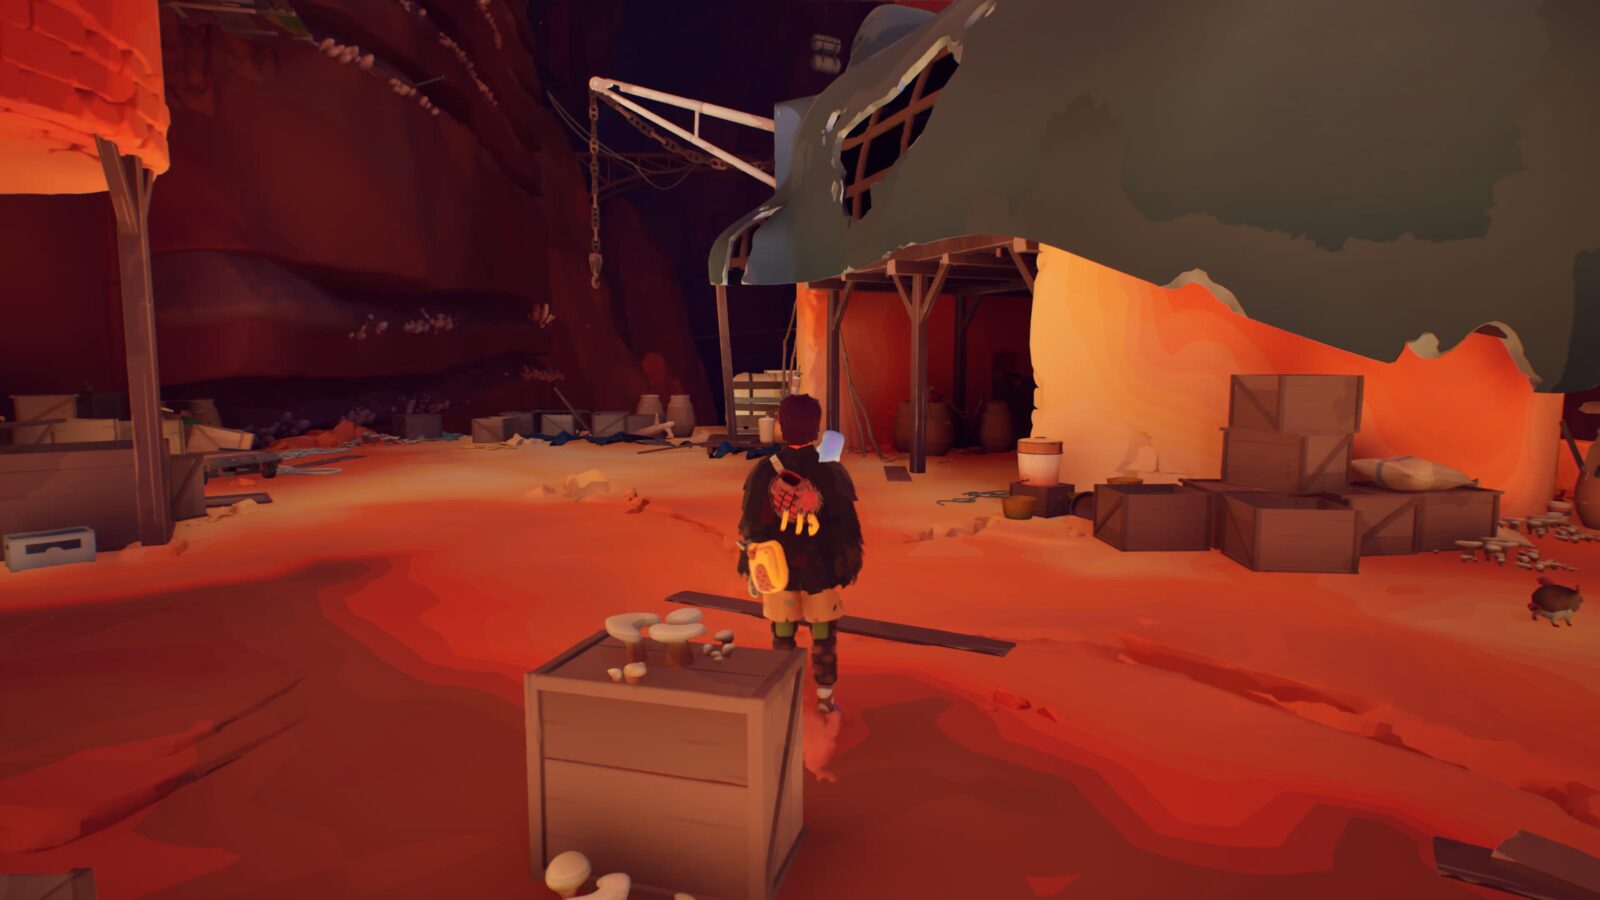
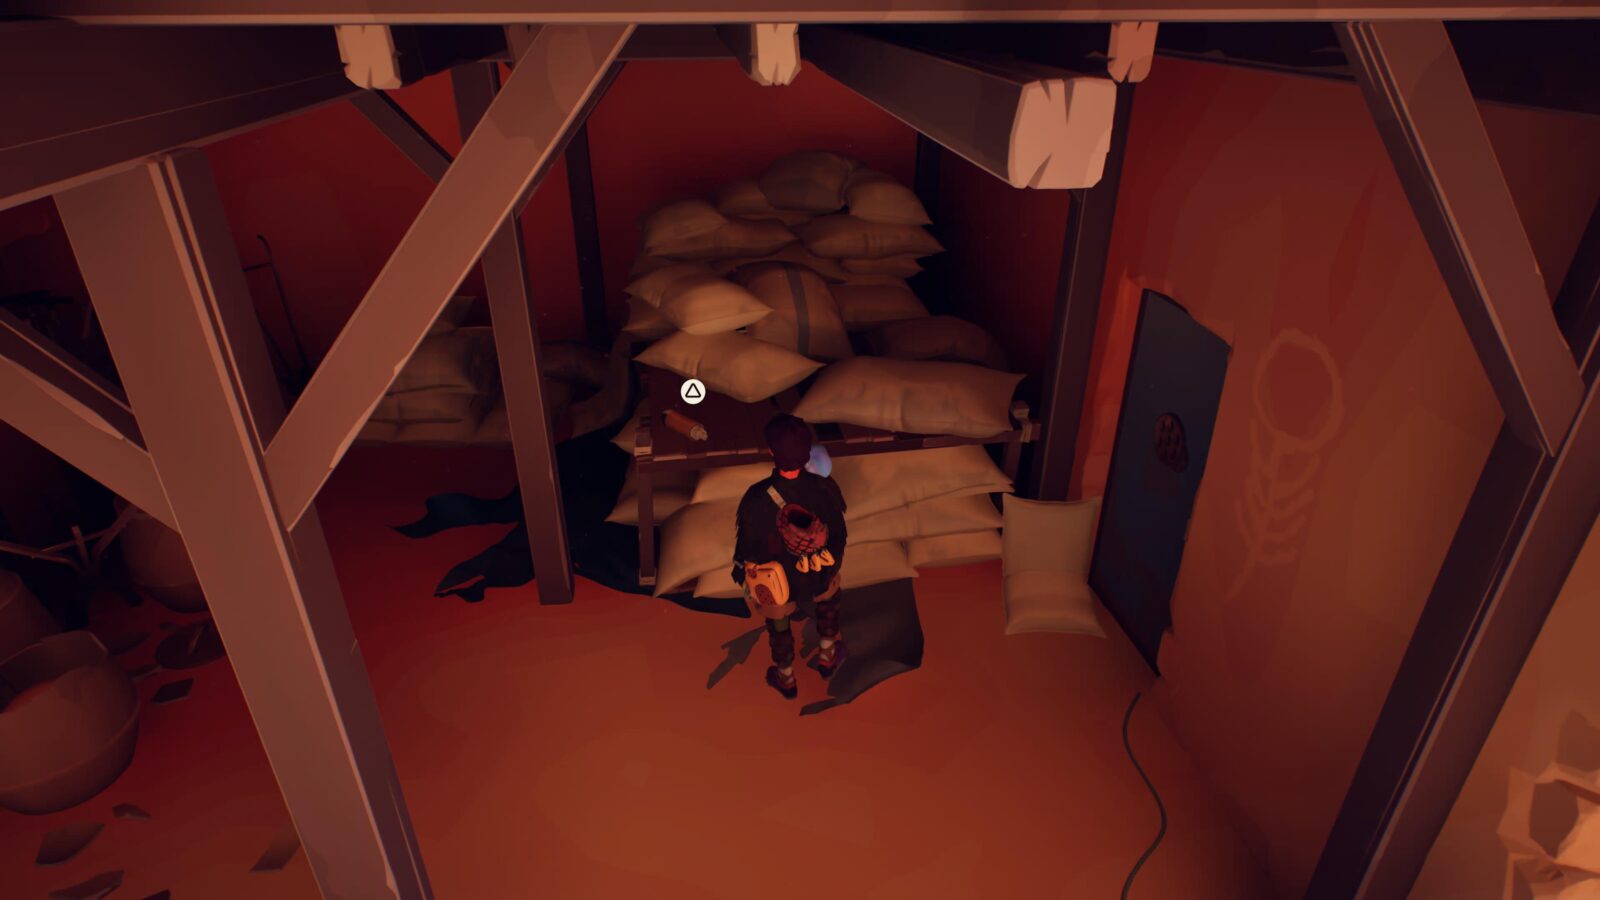
Letter #5
Return to the top, where Letter #4 was, and head past the pillars into the mountainside. In this area, look for a room filled with neatly-stacked sacks, where you’ll find this letter in the corner.
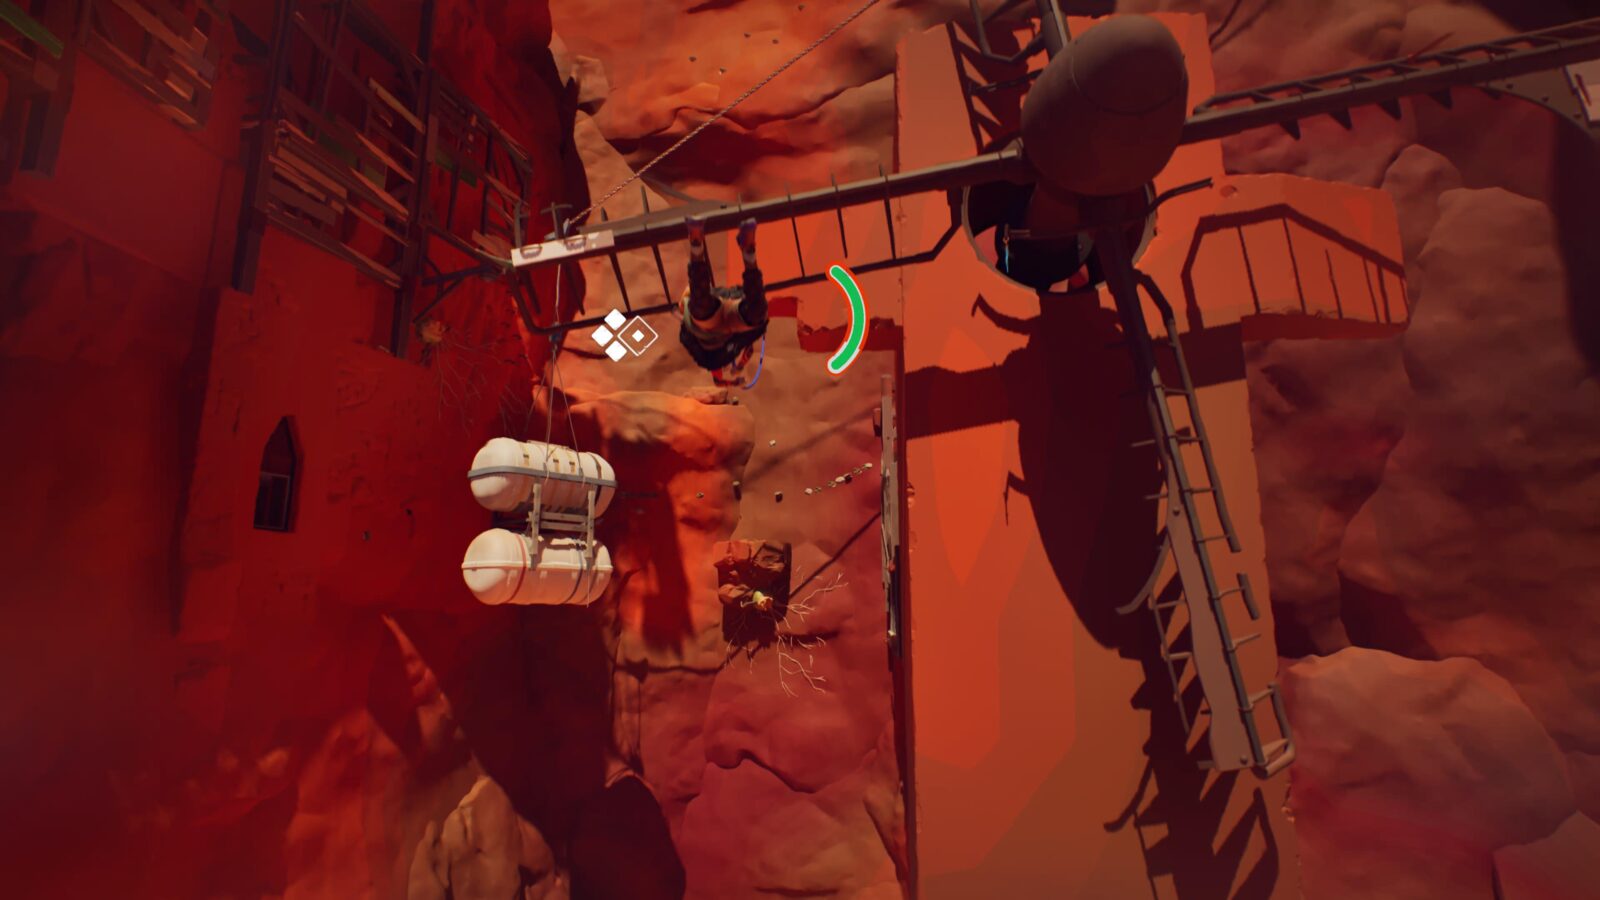
Cairn #4
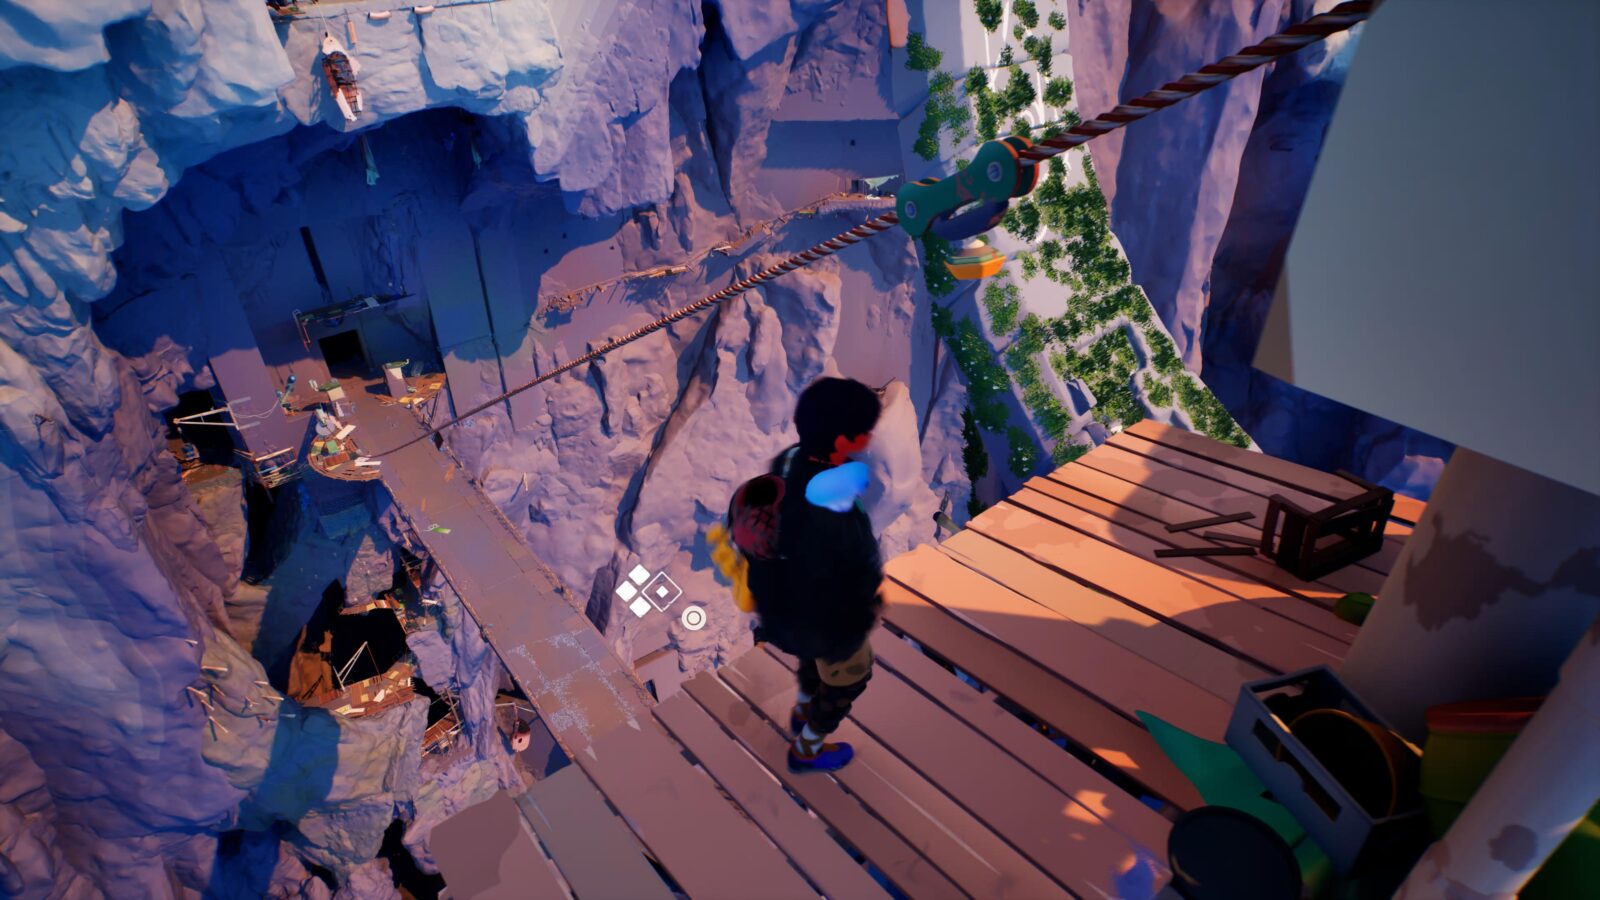
After crossing the windmill, you’ll need to use a grapple to swing around the corner onto the next path. Above this path, there is a Cairn which you can reach by swinging to it from the grapple point.
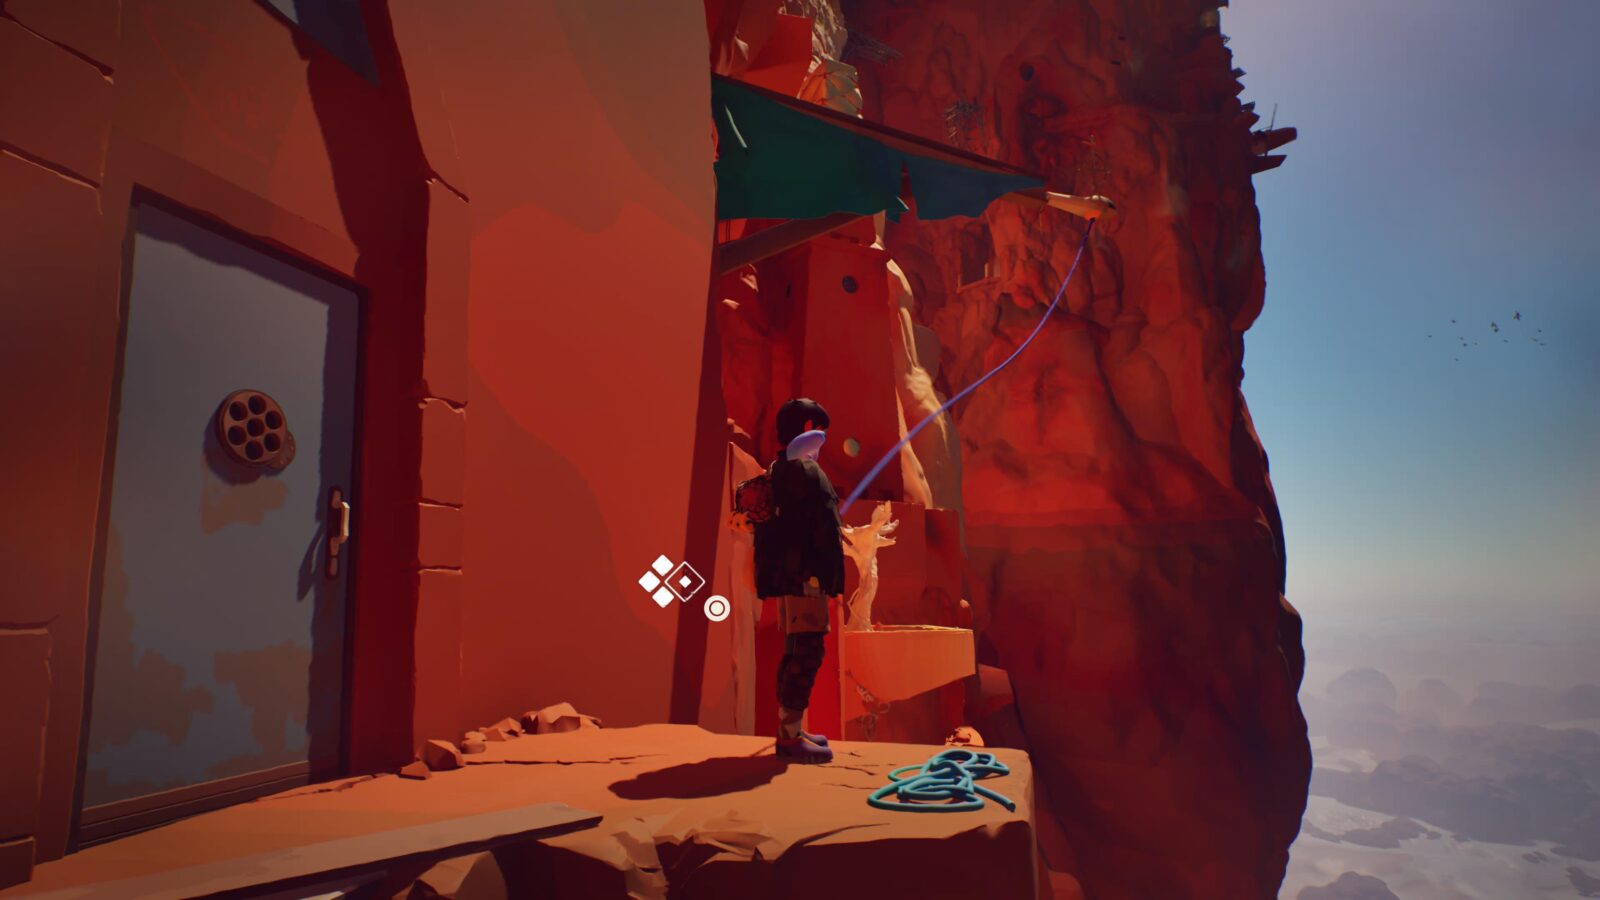
Letter #6
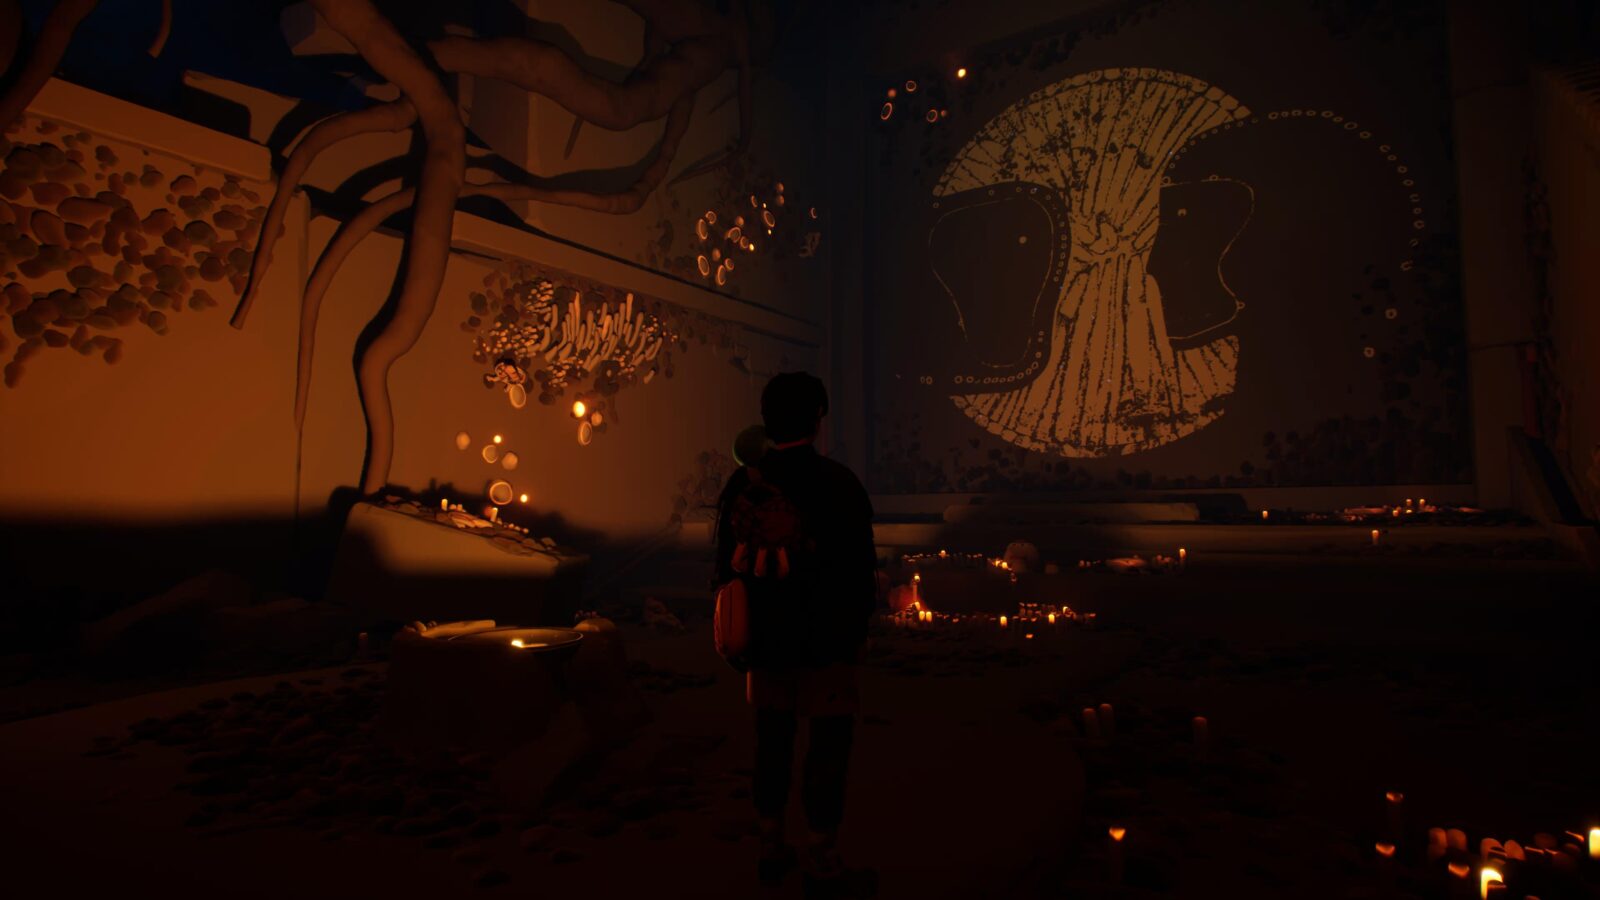
From Cairn #4, you’ll be able to see a white tree. The letter is behind it.
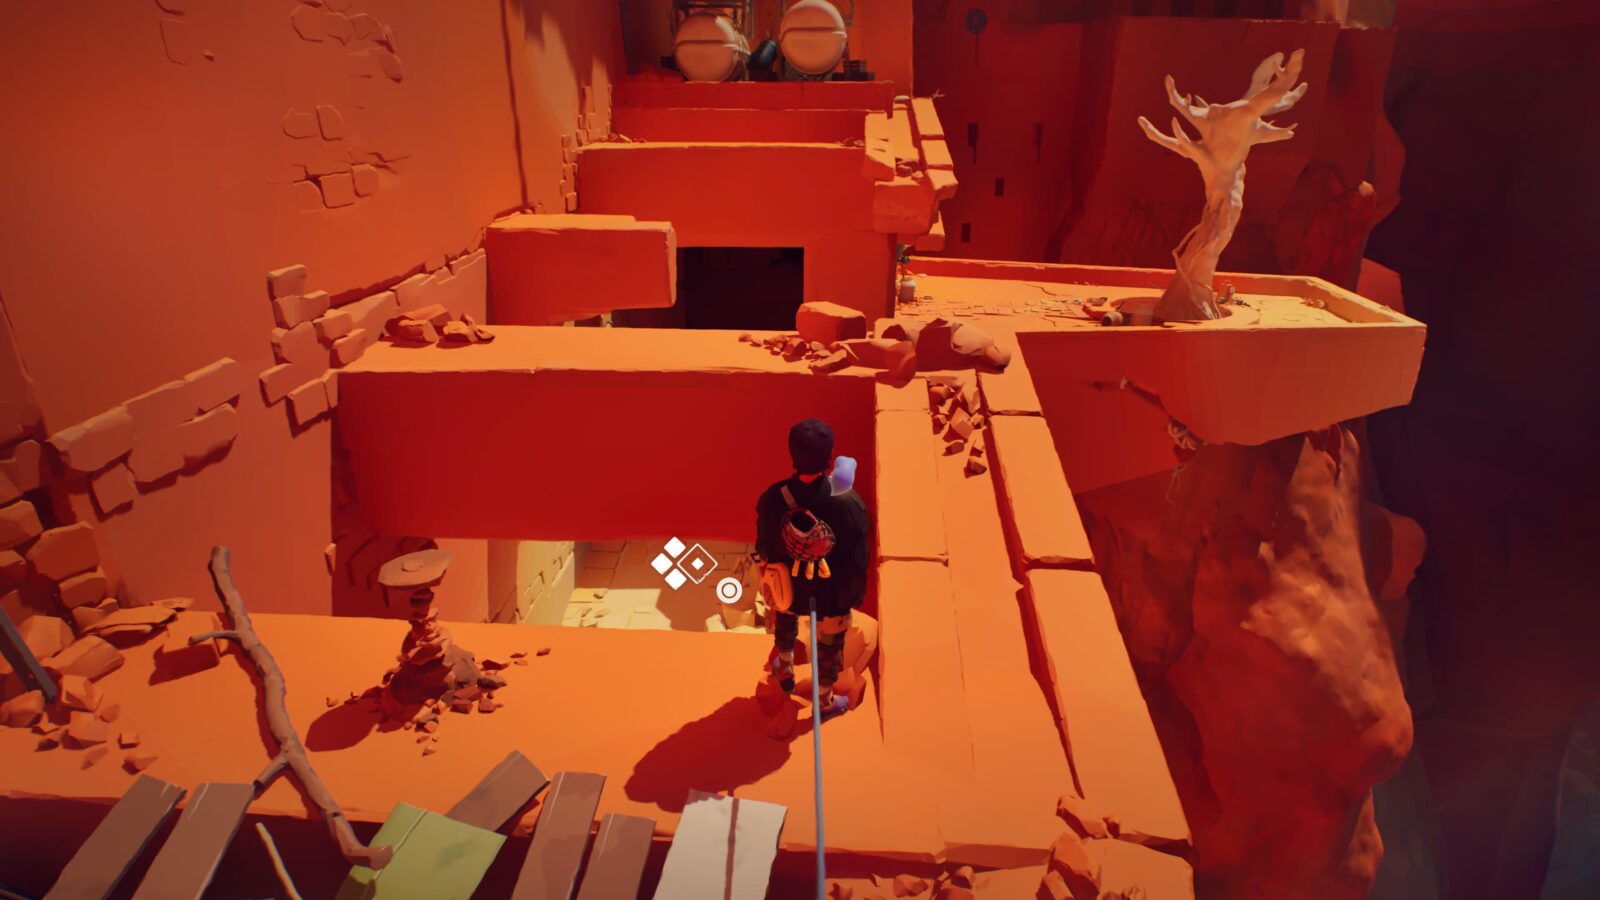
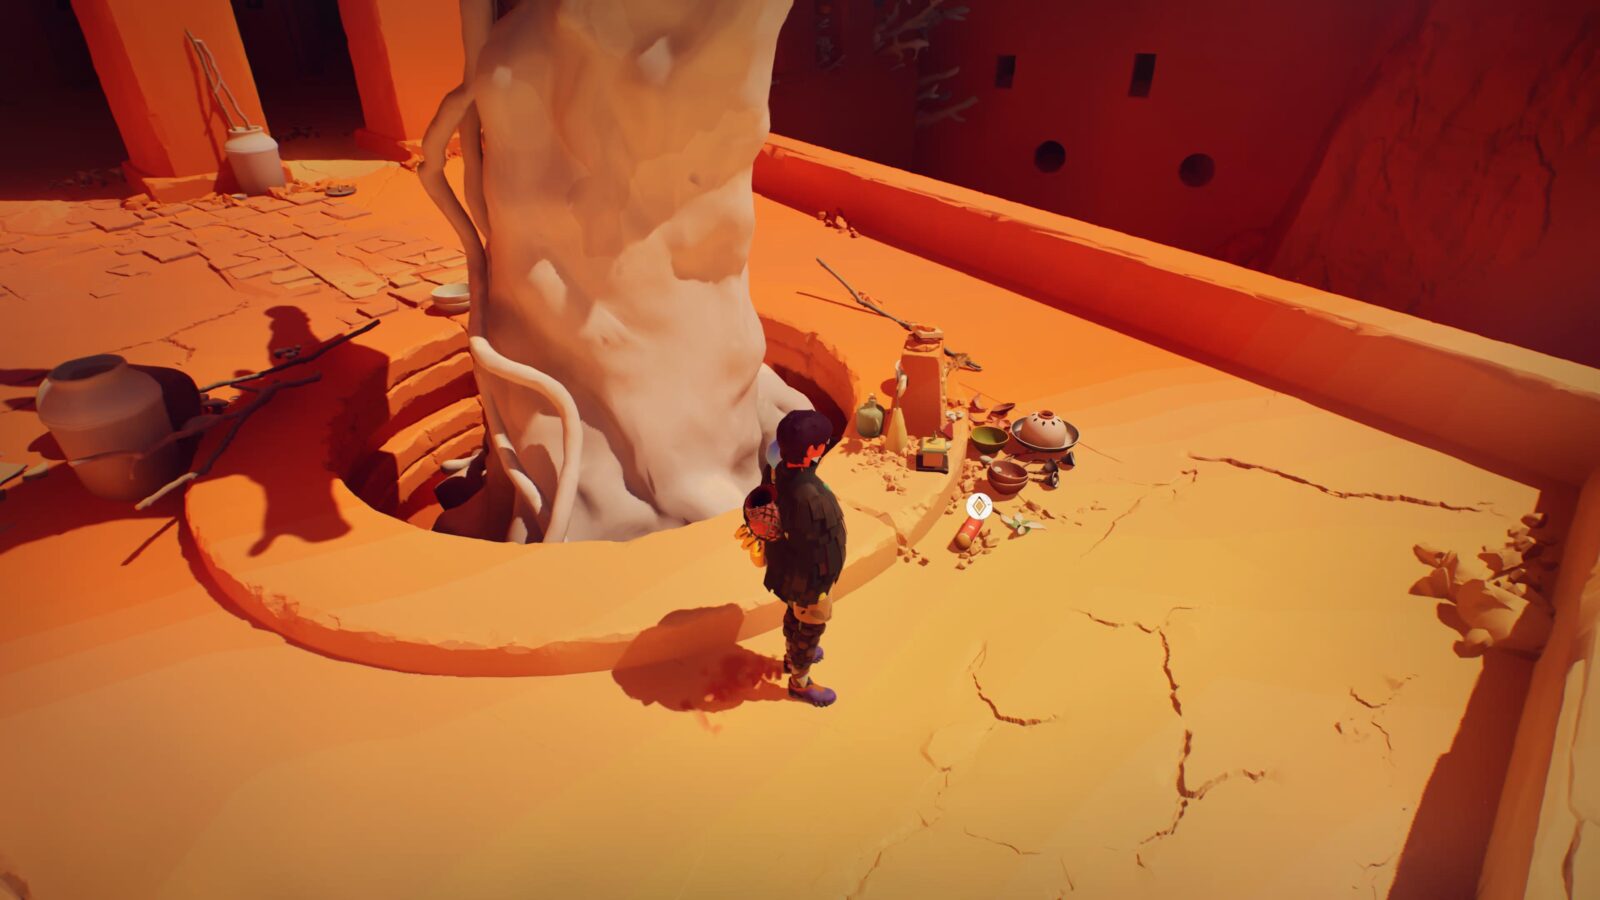
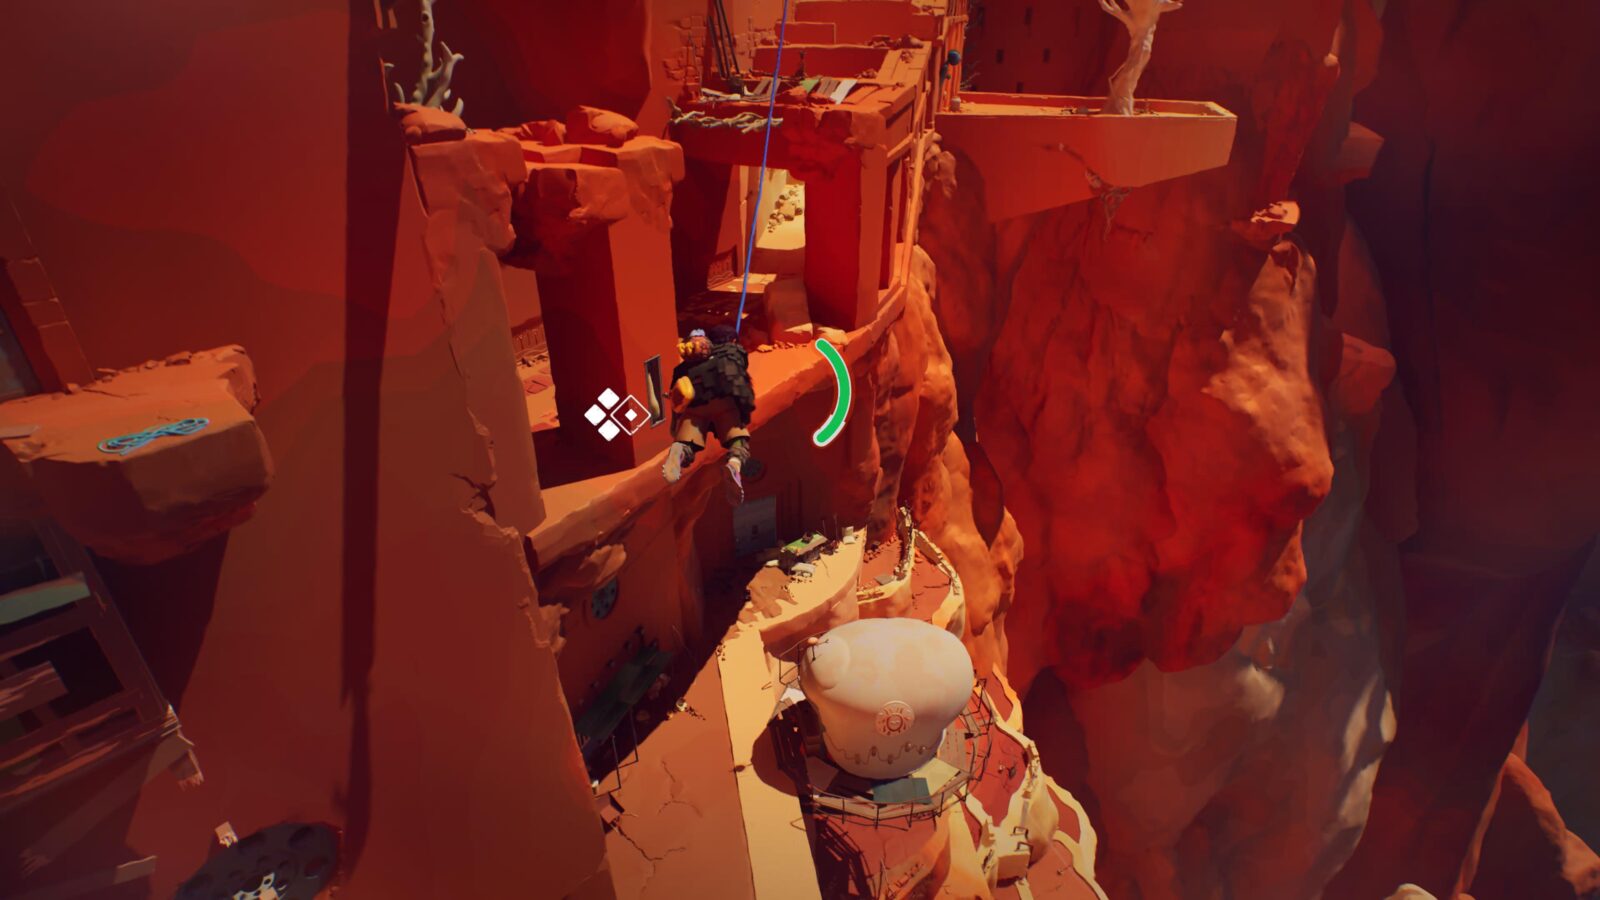
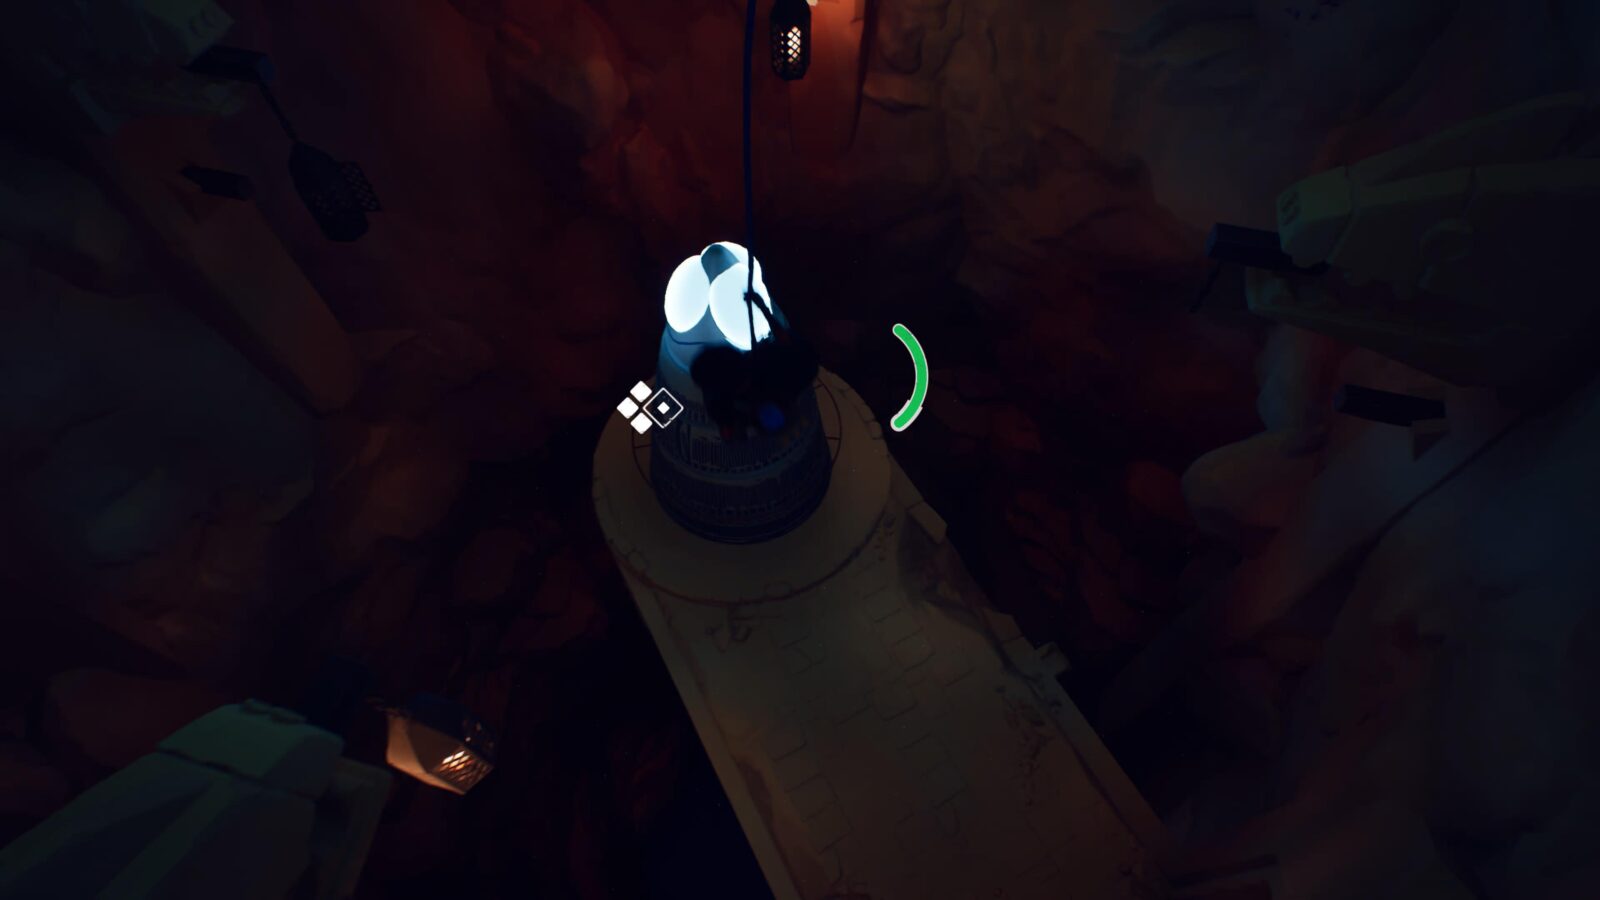
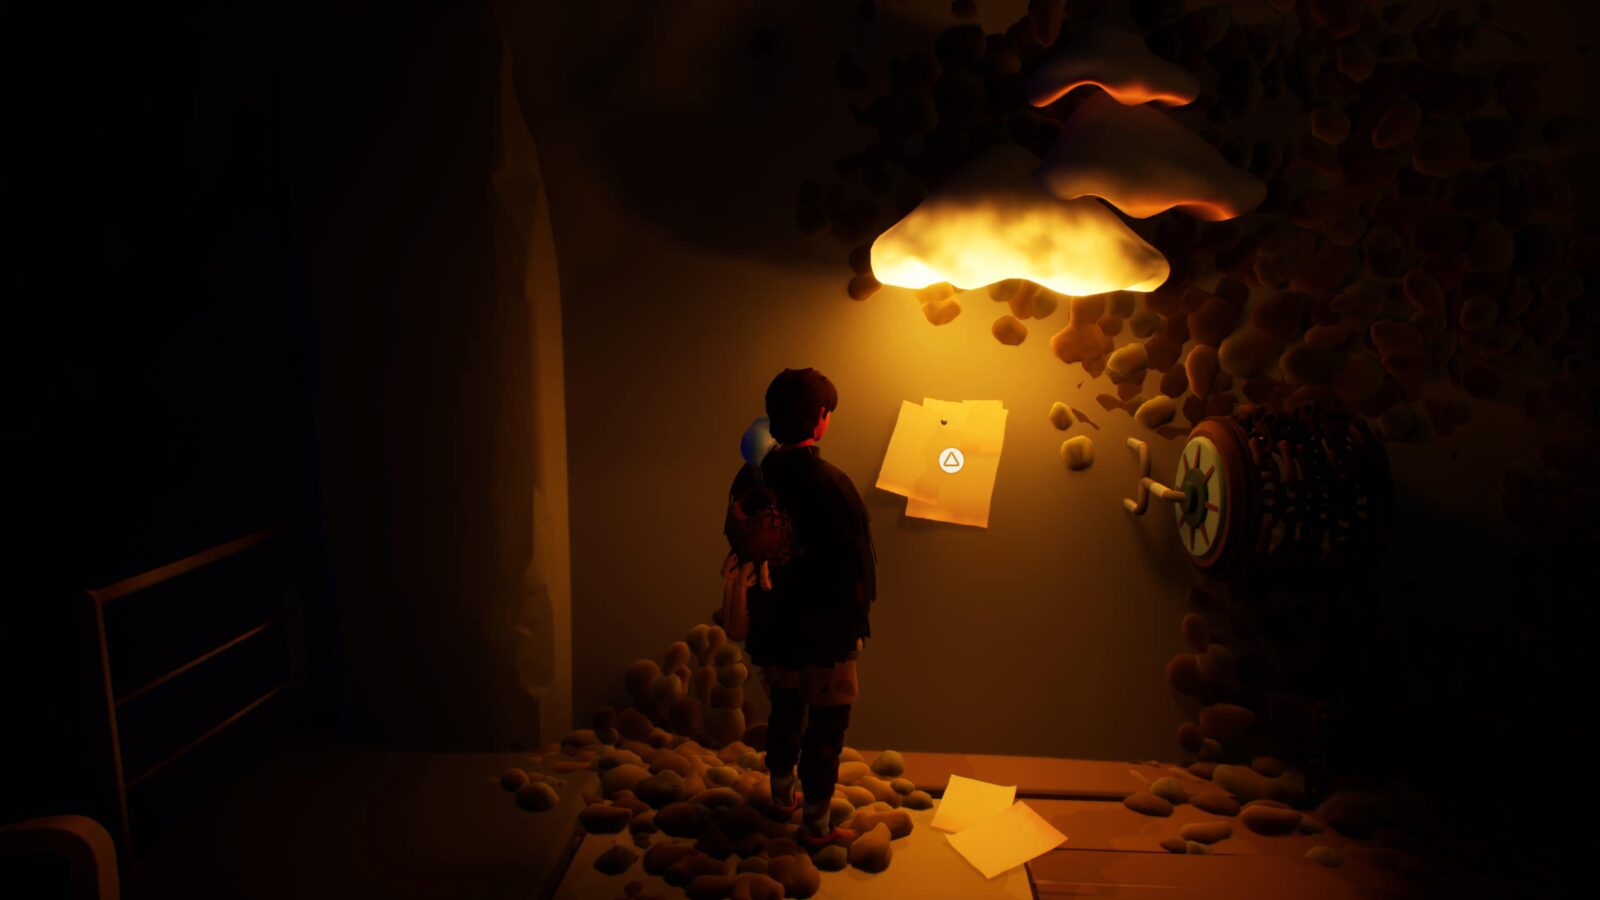
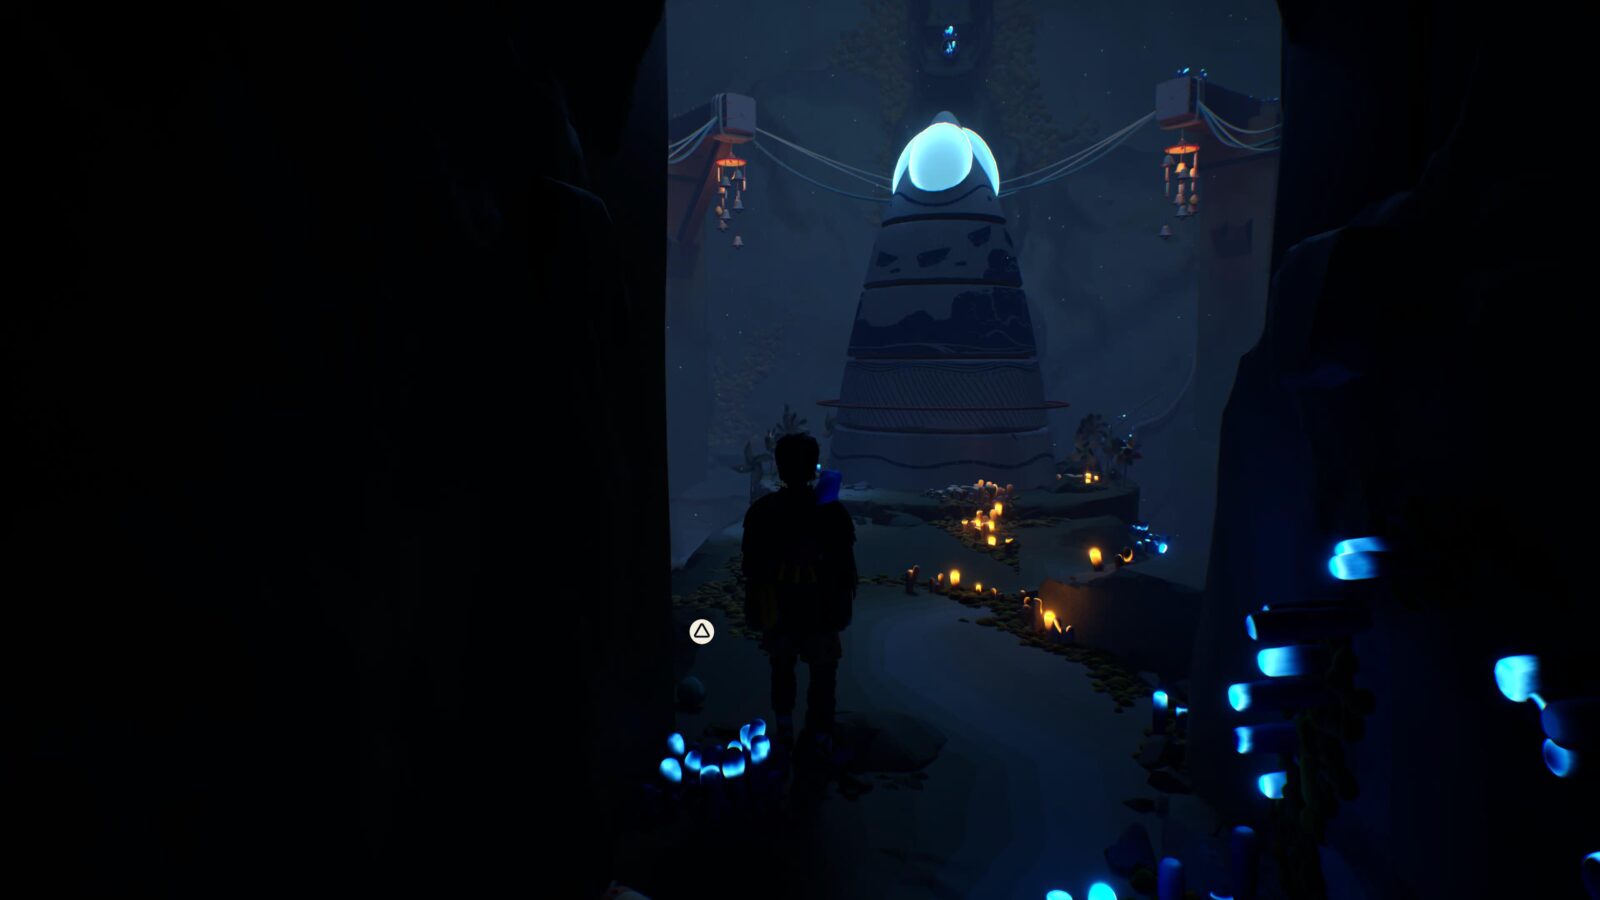
Altar #1
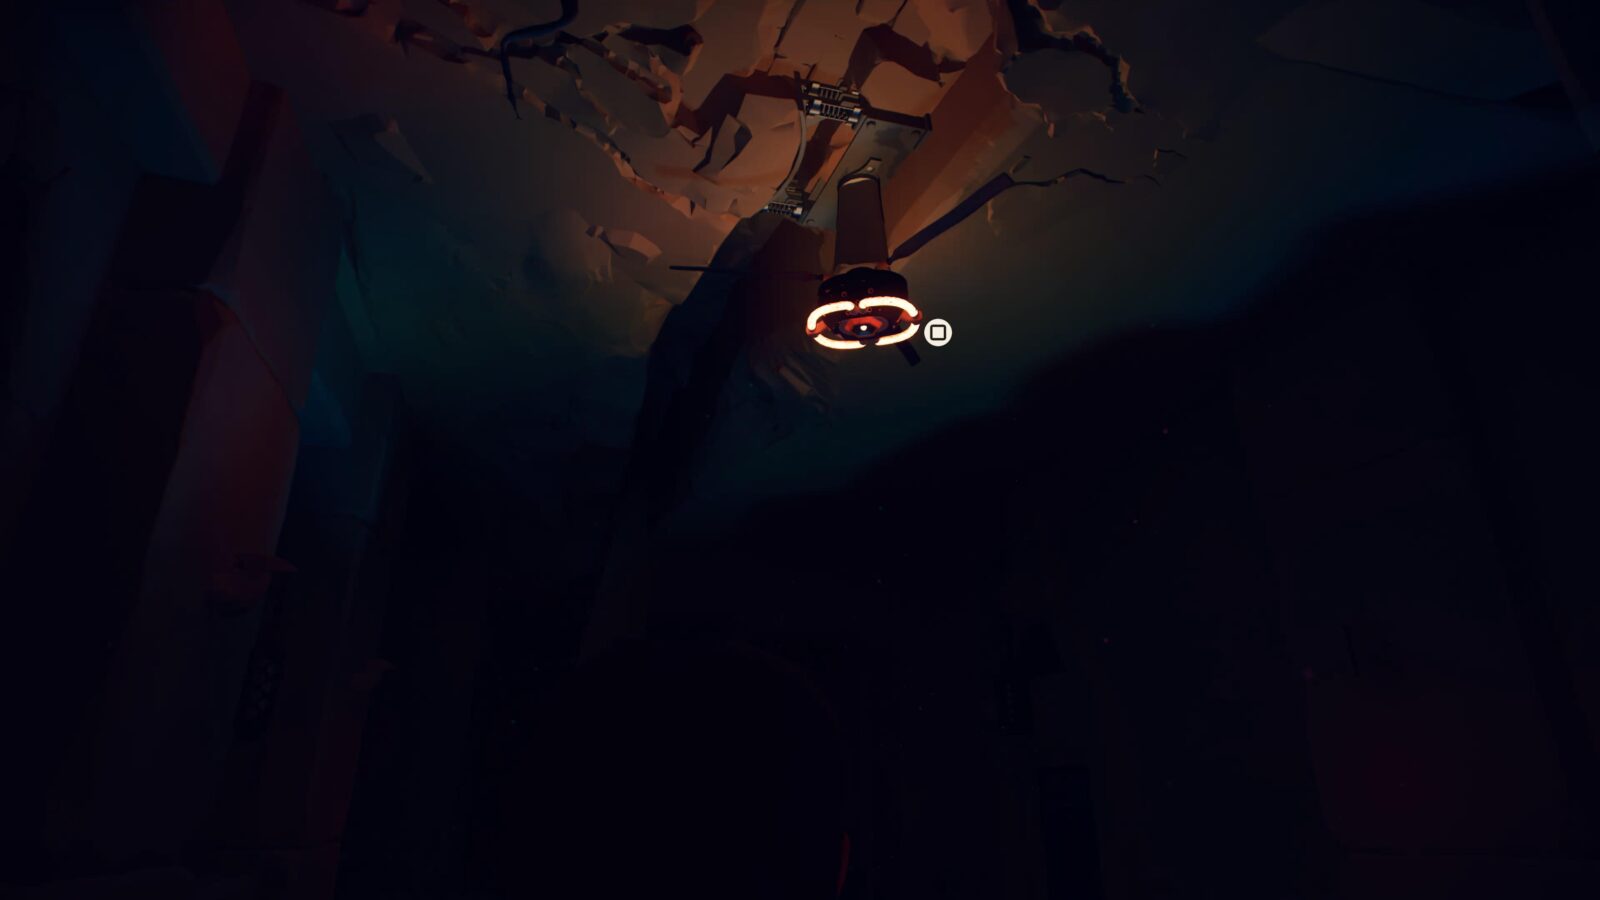
From the tree, head inside the mountainside doorway. Continue through the ruins and you’ll come to a grapple point on a ceiling fan (in a cave? Why?)
Lower yourself into the hole from that grapple point to reach the Altar.
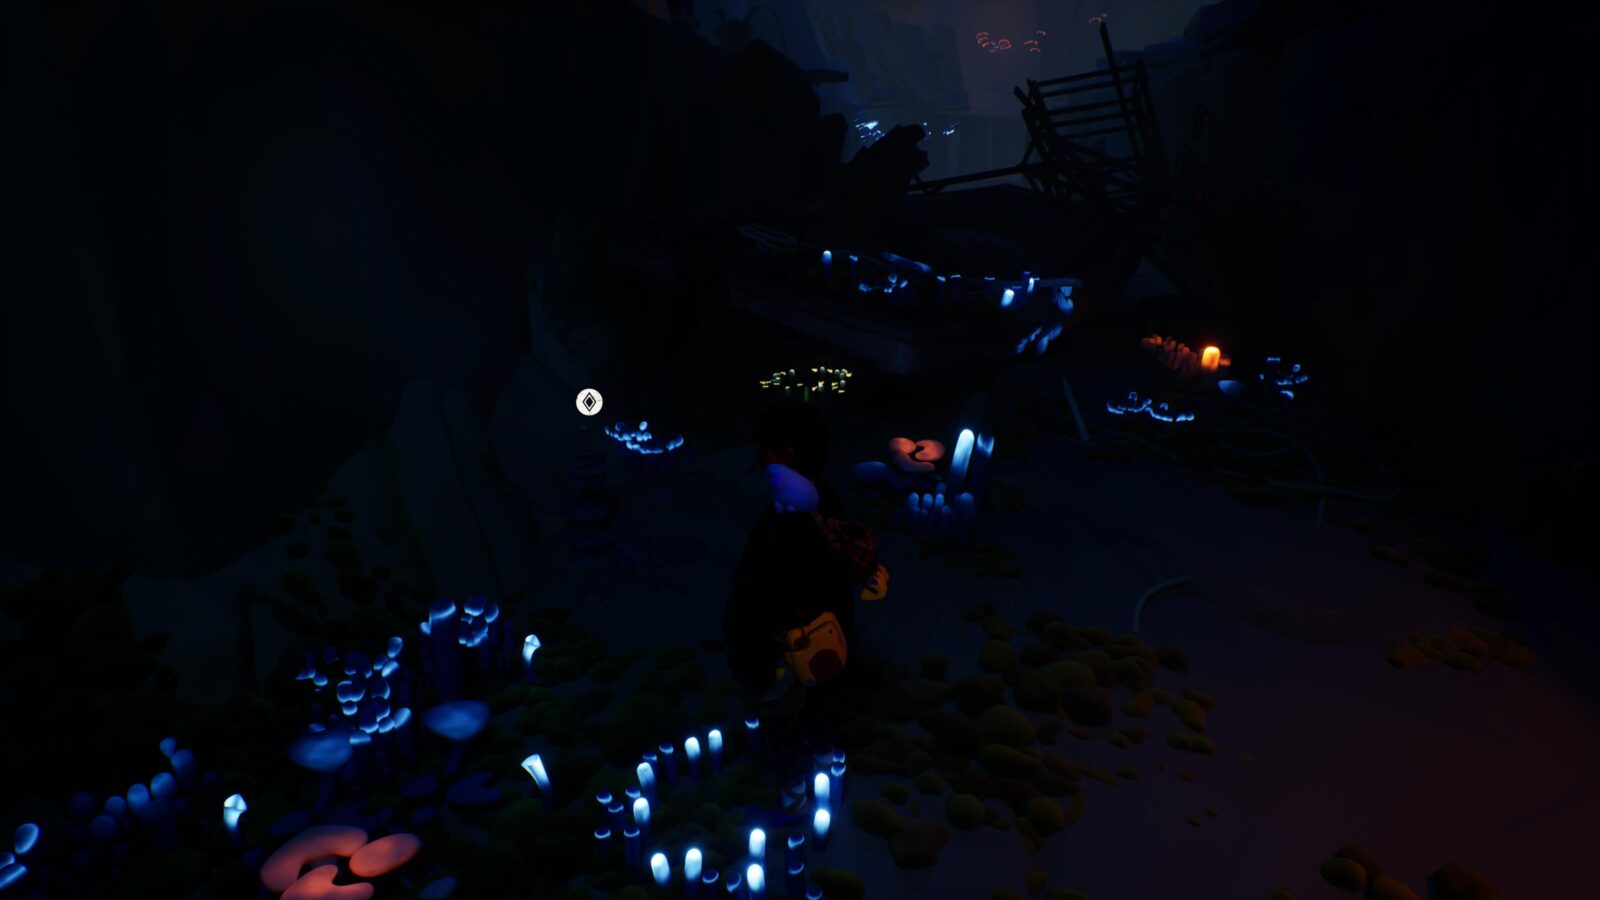
Shell #2
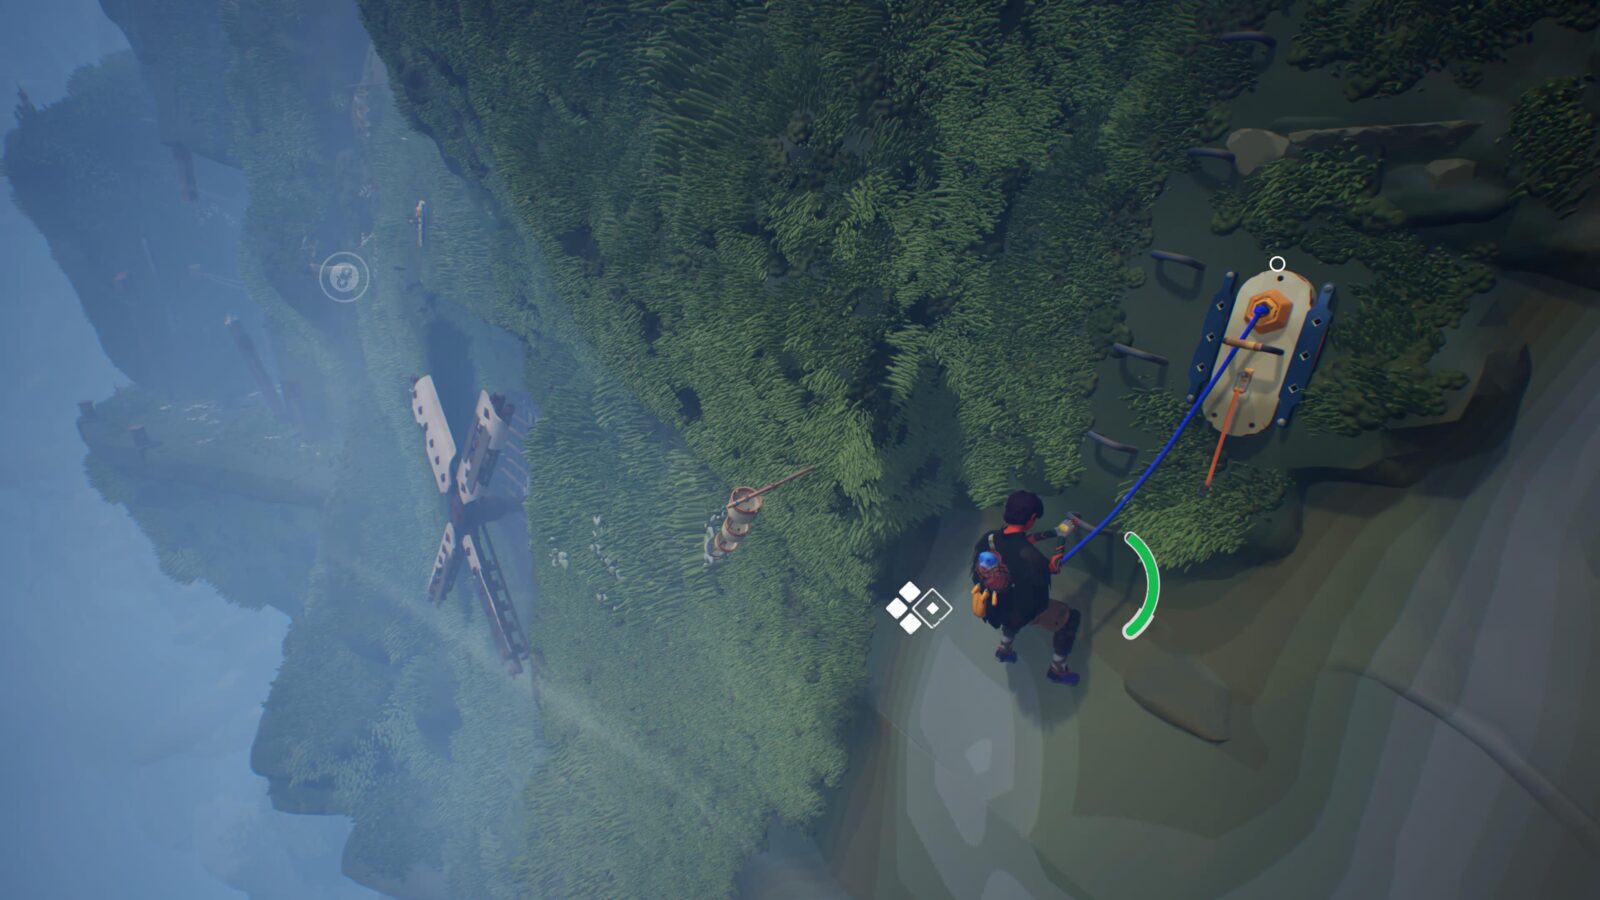
Continue up a long climb with lots of pebble critters. Eventually, you’ll reach and attach yourself to a relay.
After that, continue the climb a short ways up the wall and you’ll reach a ruined platform with this shell on its surface.
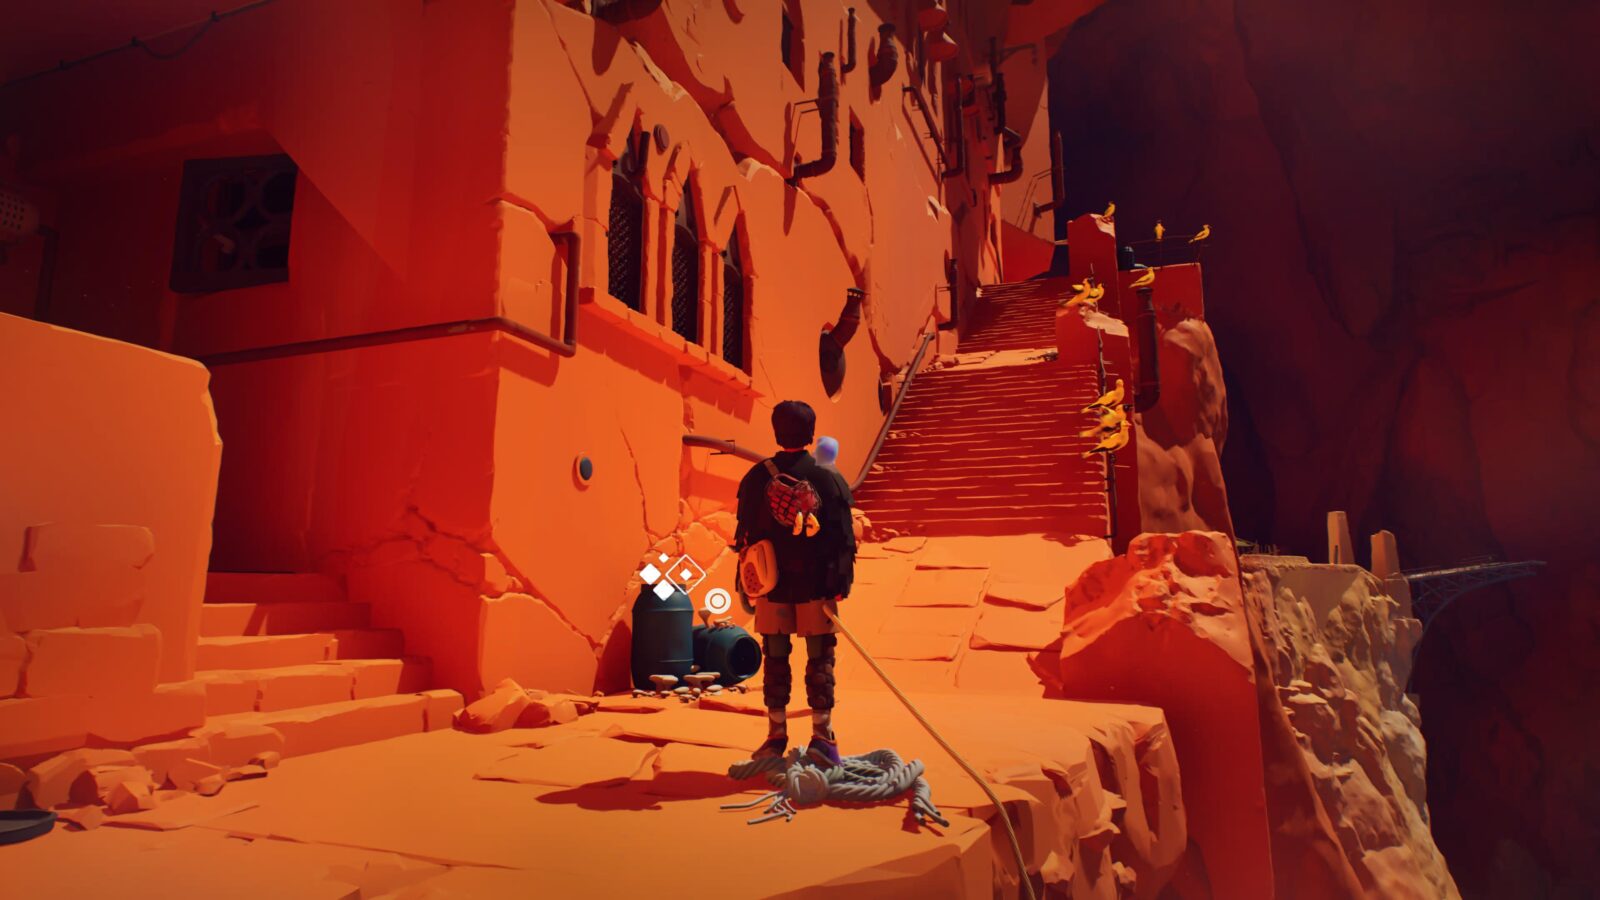
Journal Entry #4
At the top of the wall climb, you’ll be at some long stairs with large yellow birds on the railings.
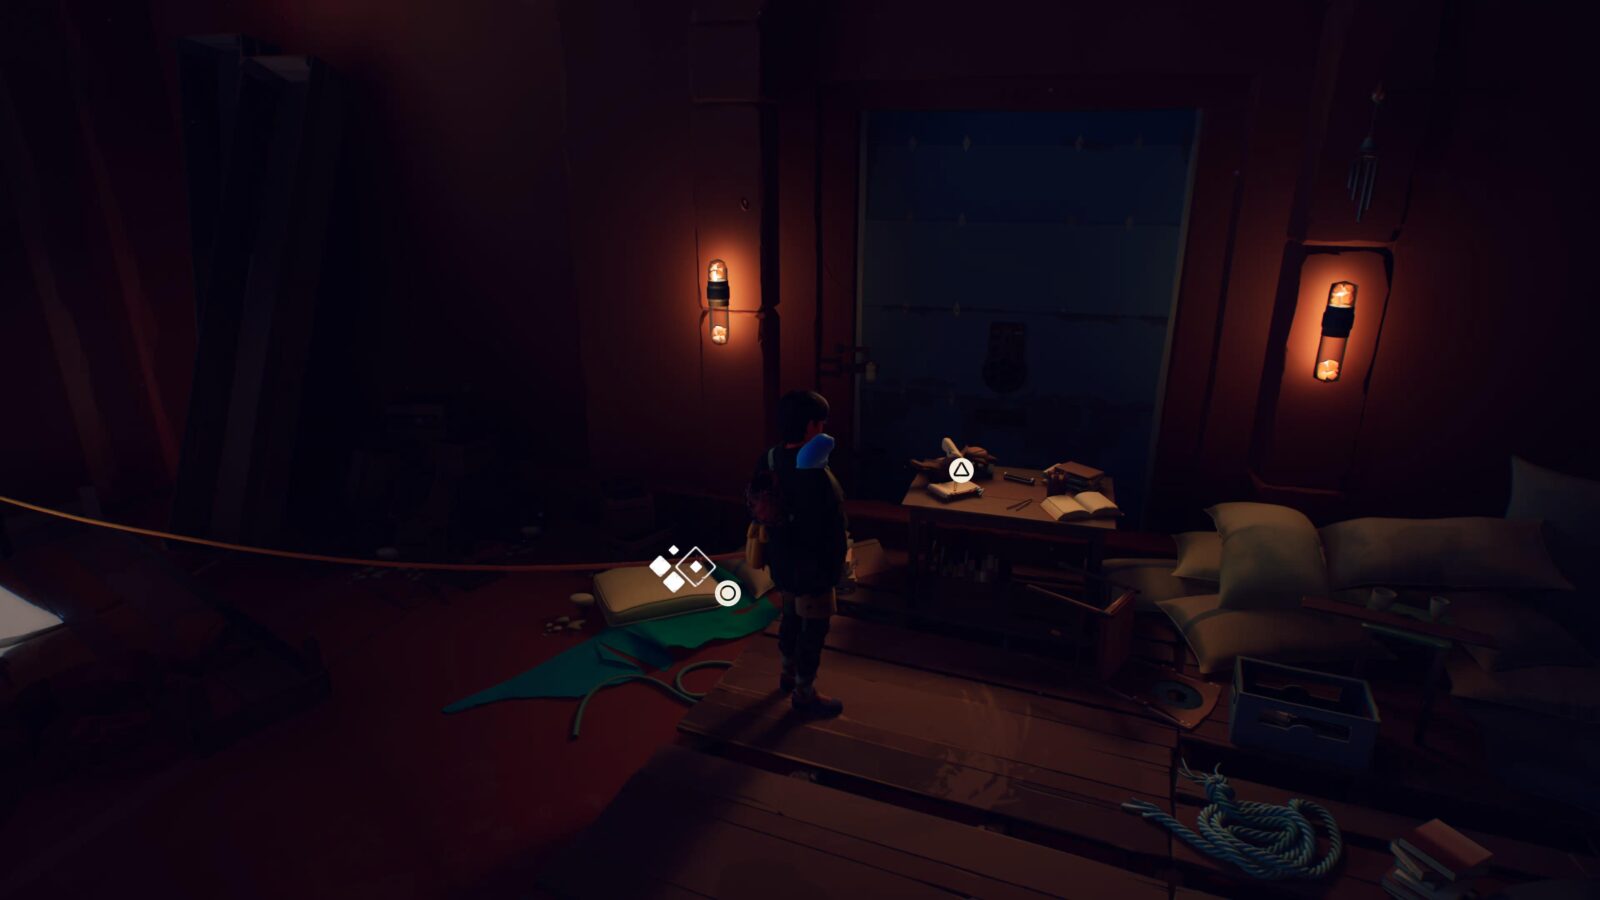
Instead of going up the stairs, turn left and go towards the lantern. On the same table as the lantern, you’ll find this Journal Entry.
Letter #7
Continue up the gold-bird stairs and then use the grapple at the top to swing across the chasm.
At the other side, follow the houses along the left wall. and you’ll come to a storehouse at the end. Inside this storehouse, you’ll find the Letter.
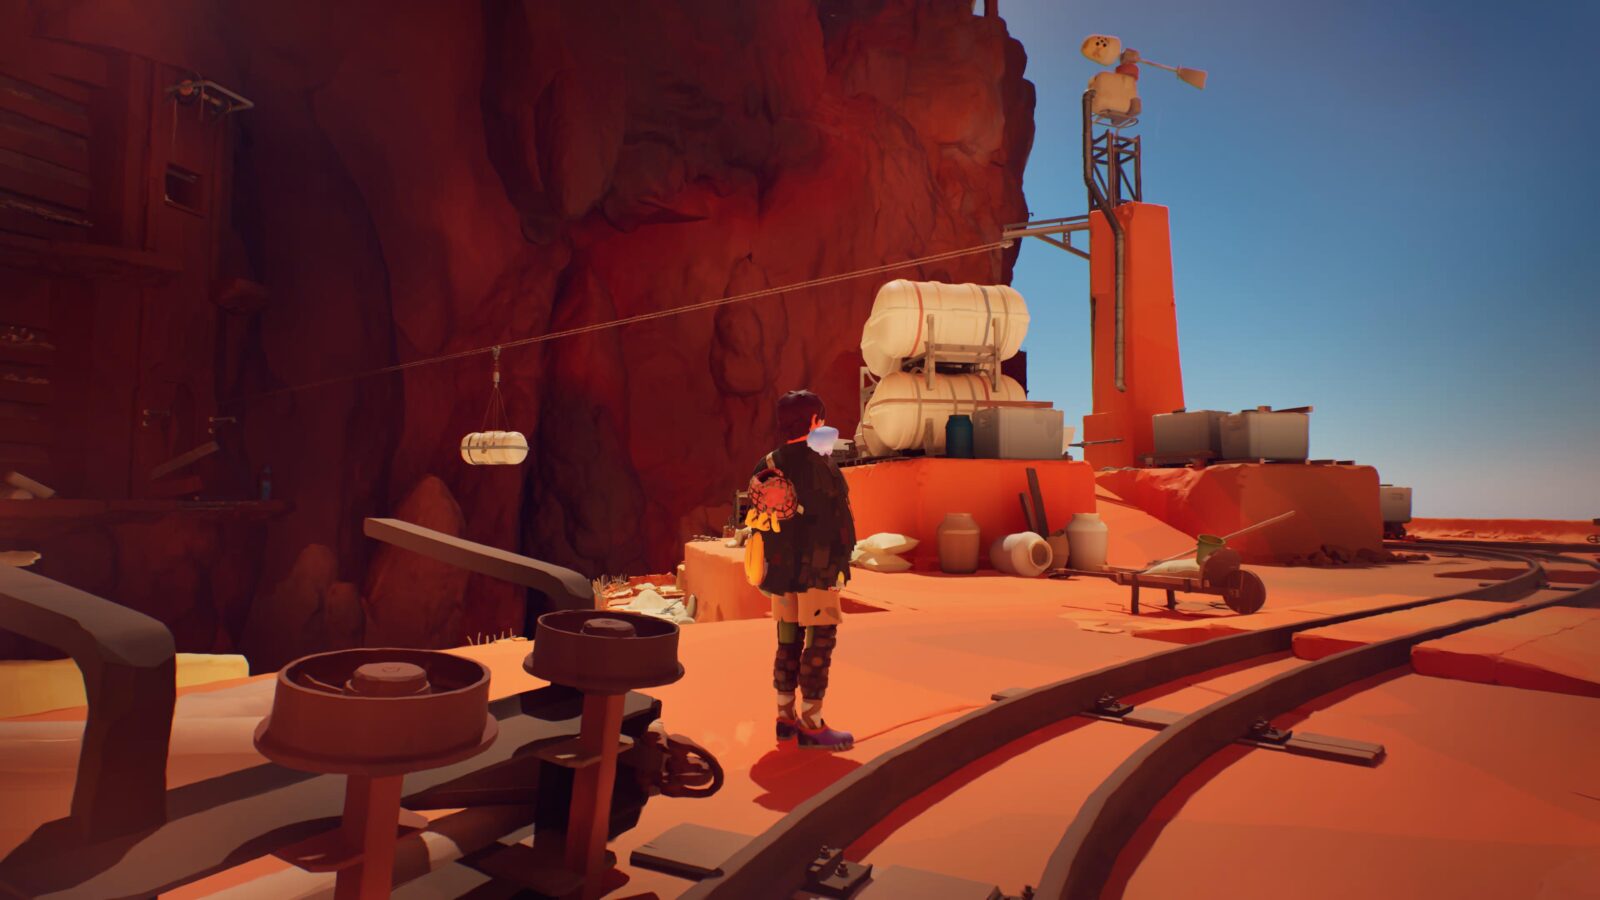
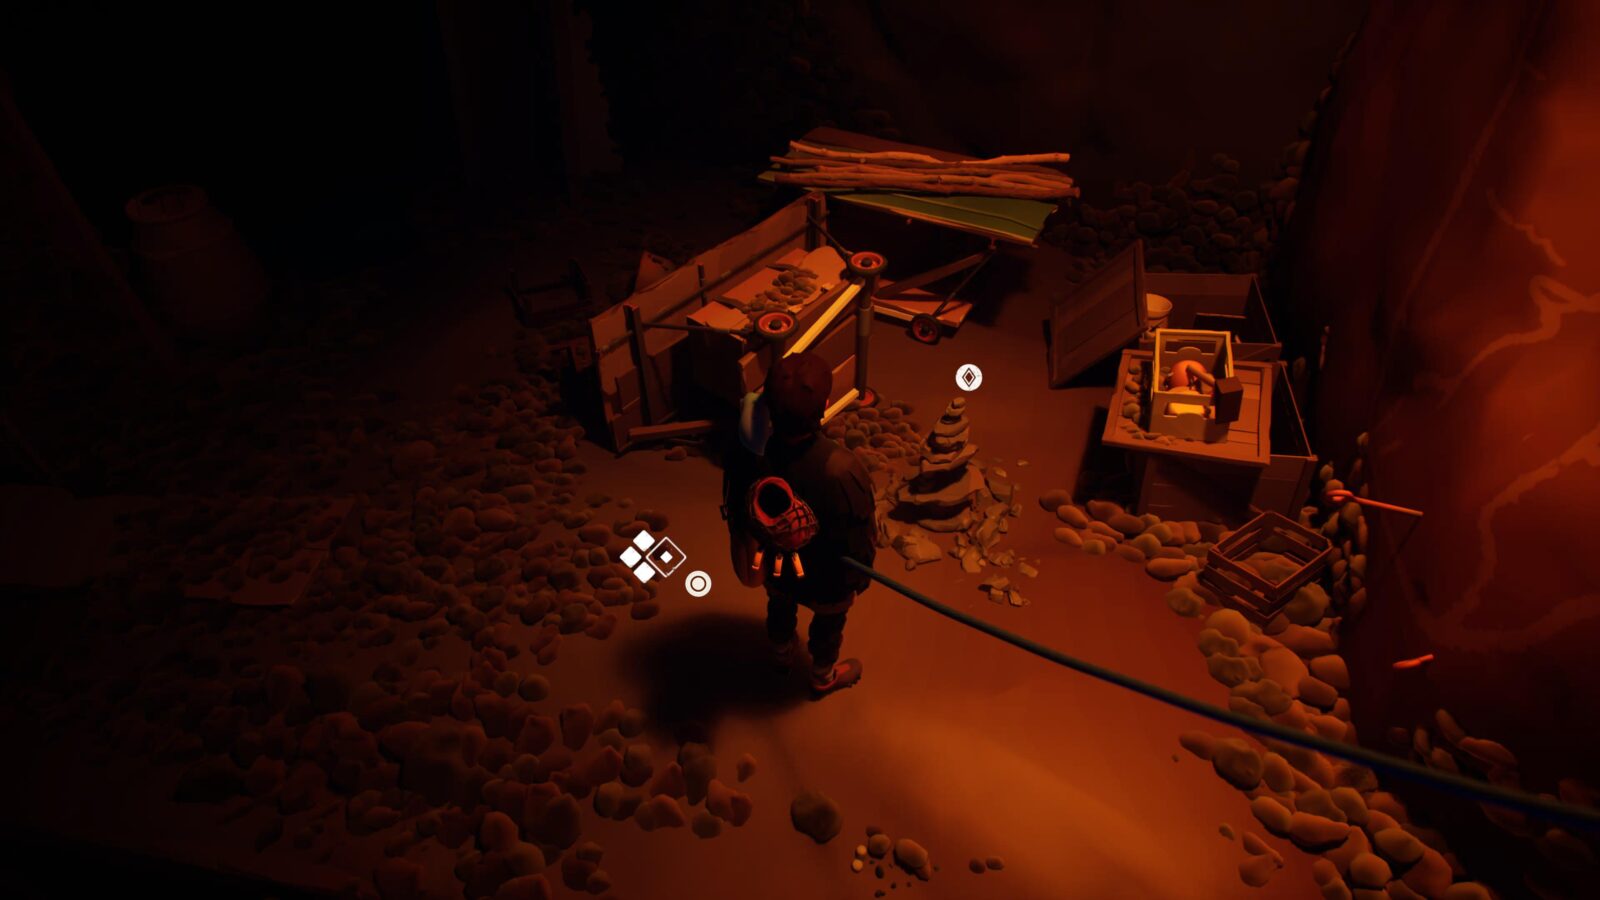
Letter #8
Head back and you’ll see a small orange tower with a rope pulley attached that goes across the chasm. At the base of said tower, there’s a lot of scrap. Amongst this scrap, you’ll find the Letter.
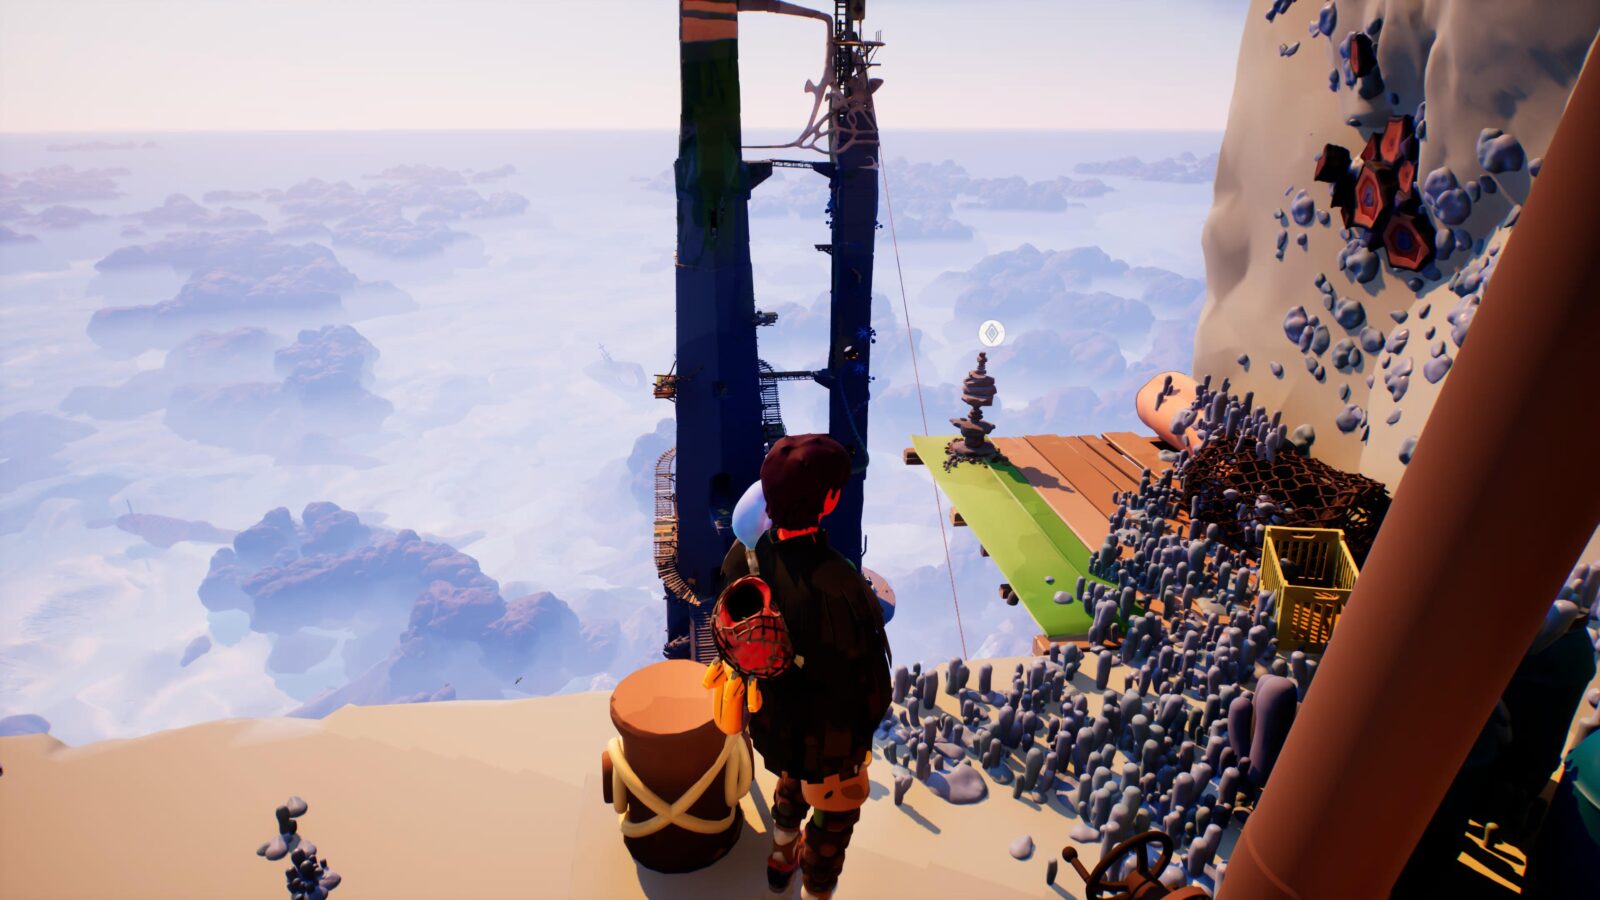
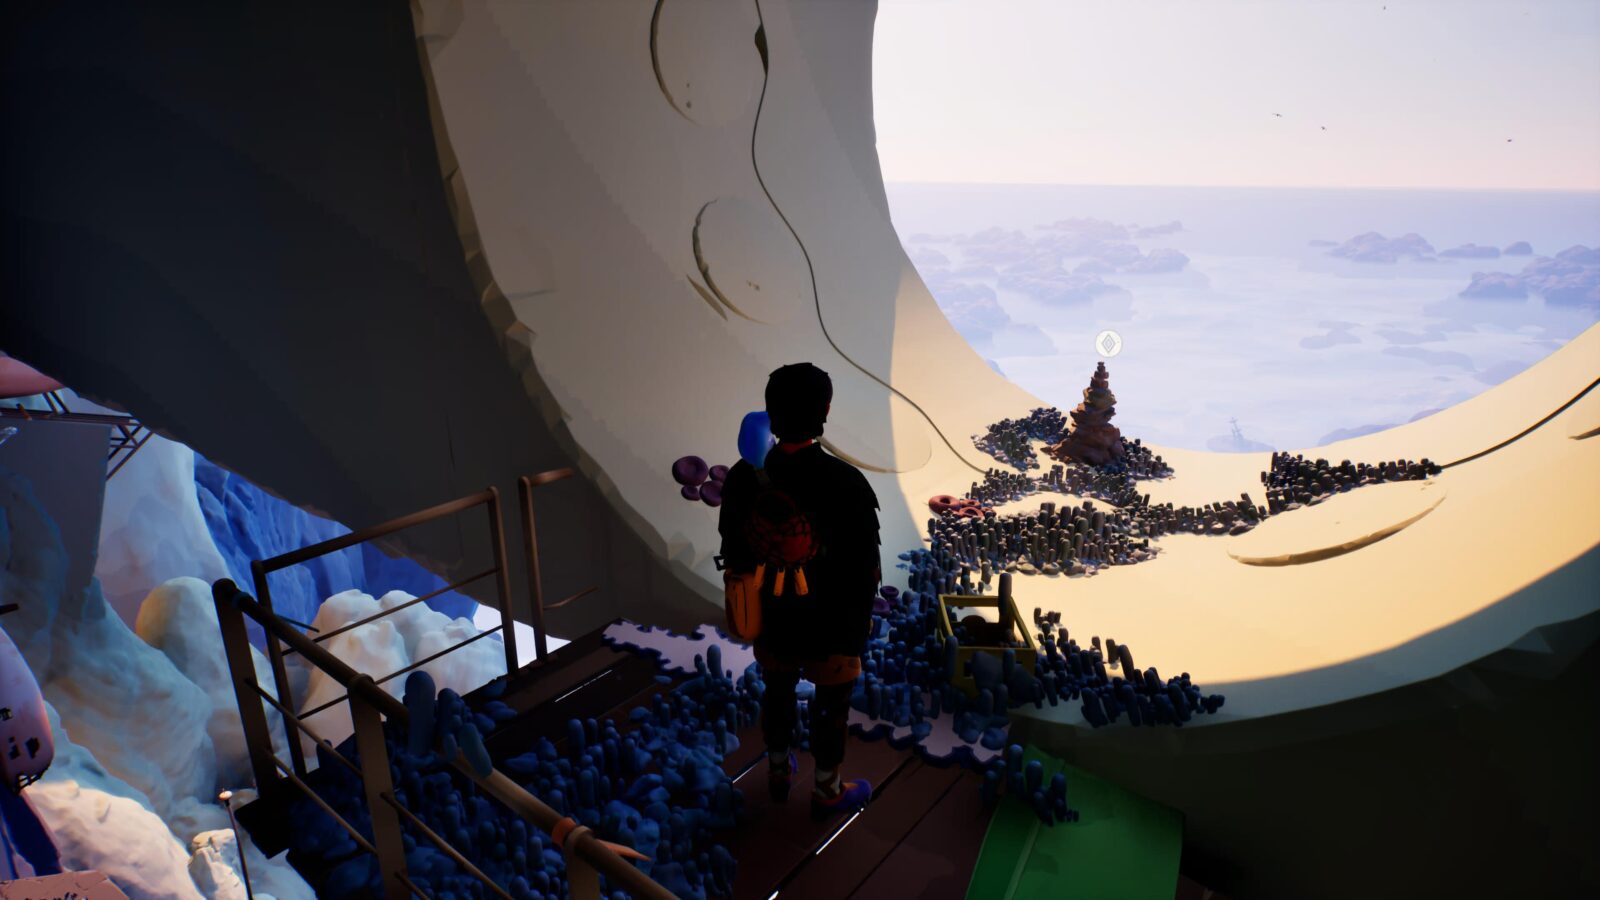
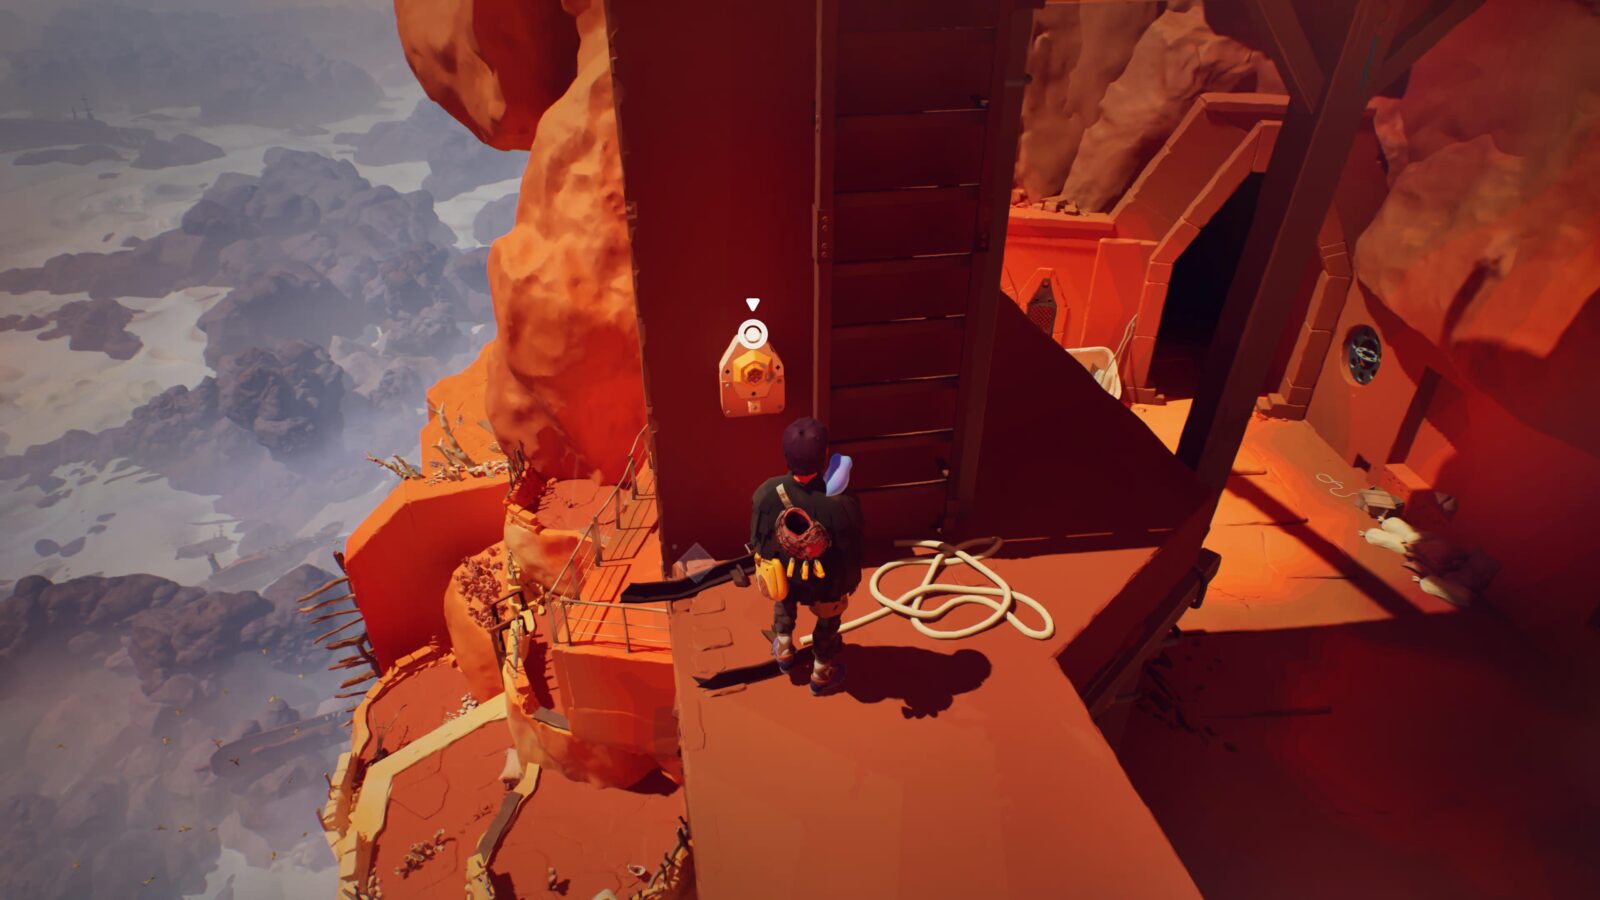
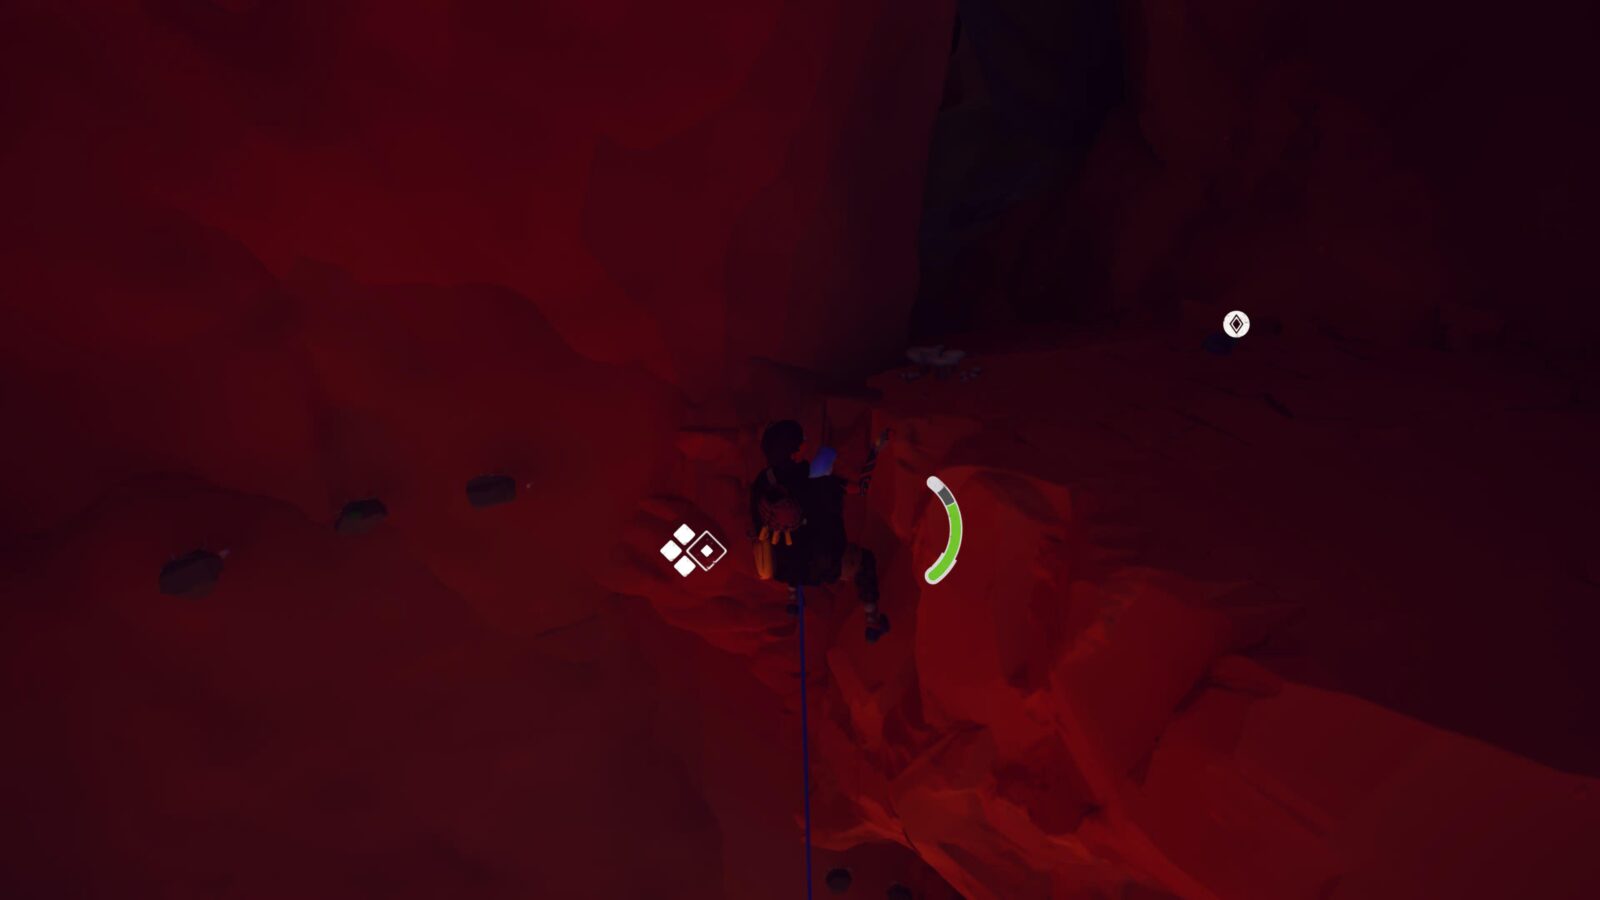
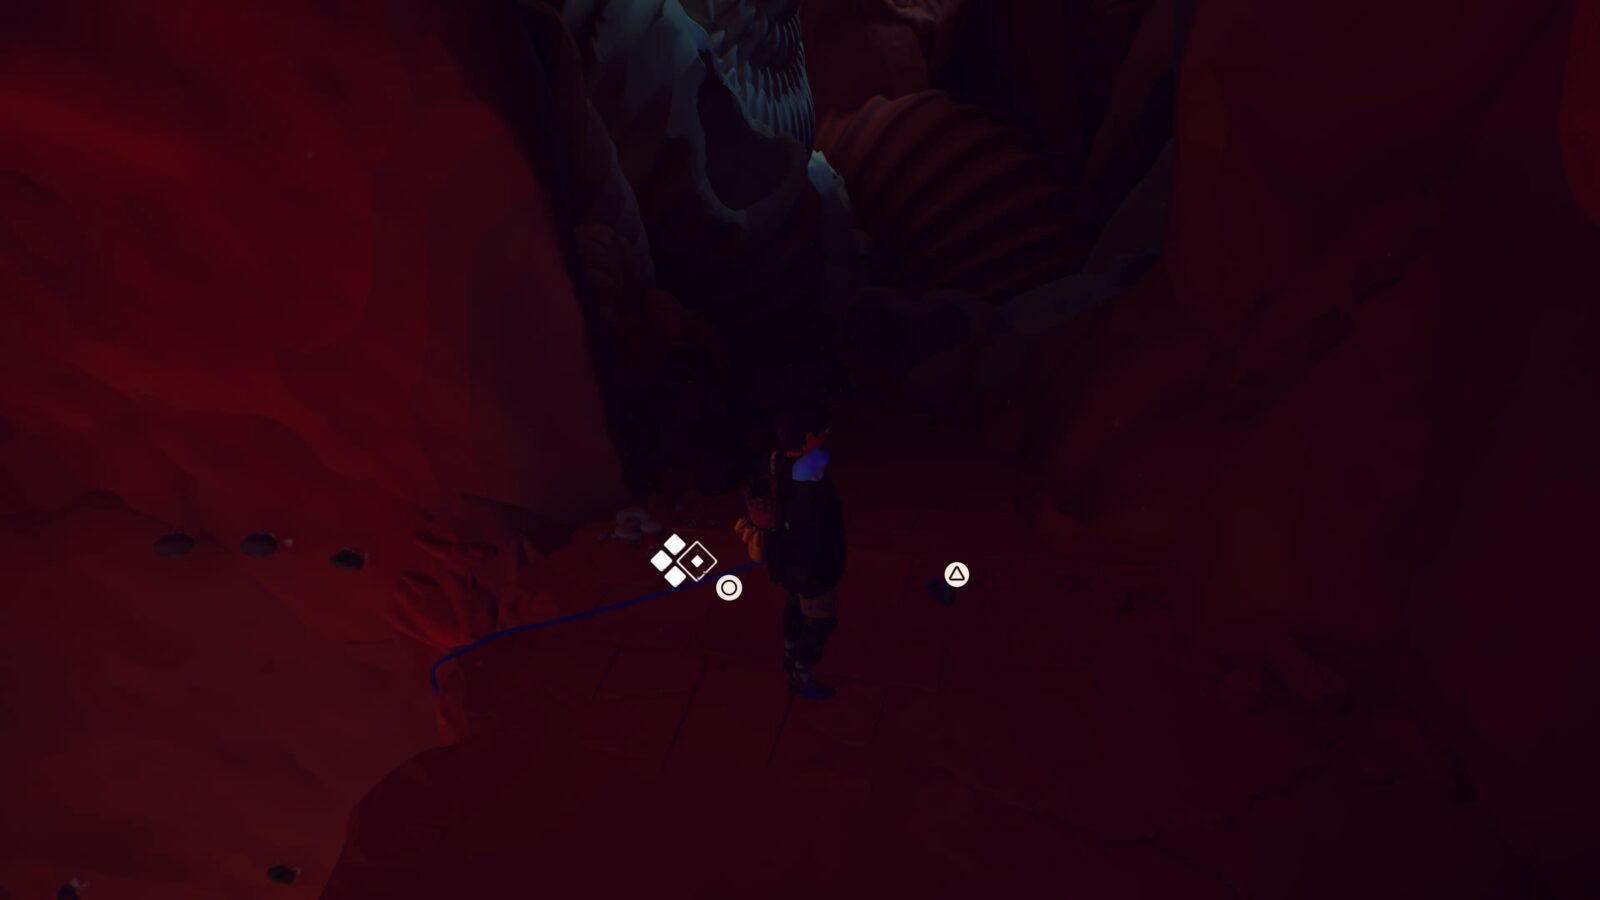
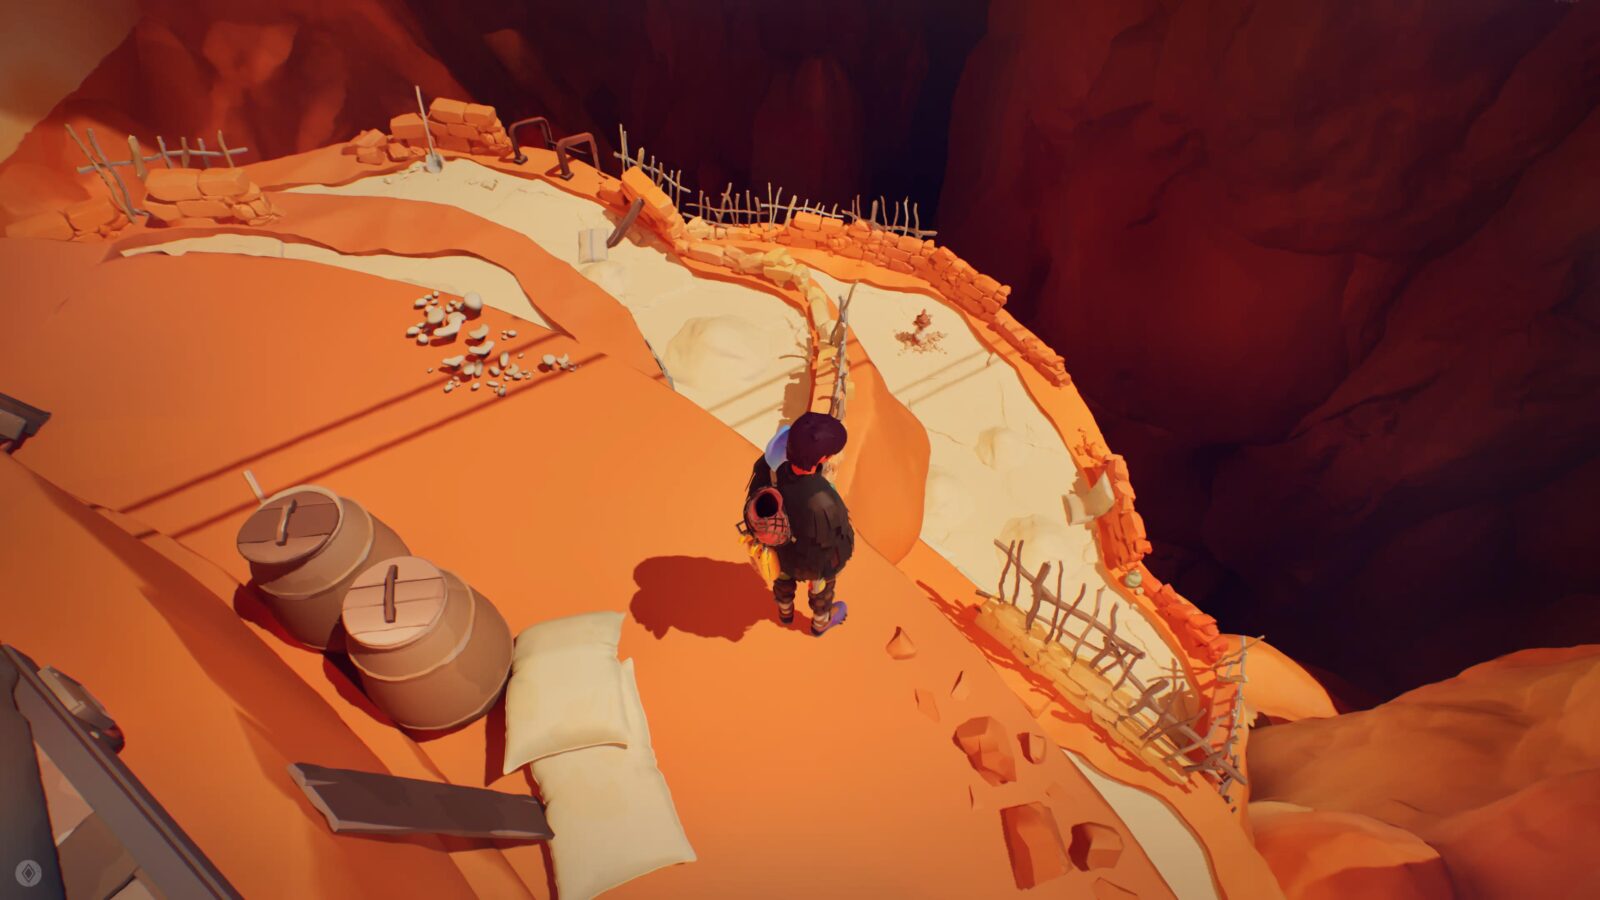
Cairn #5
Look down into the chasm from the base of the earlier tower and you’ll see this Cairn on one of the salt flat ledges.
Fresco #2
You’ll eventually come to a broken bridge you need to cross. From there, you’ll be able to see a door int he mountainside below.
Make your way to the other side, place a Piton in the wall above, and then lower yourself down to the door.
Head inside the mountainside door and use ![]() on the Fresco inside!
on the Fresco inside!
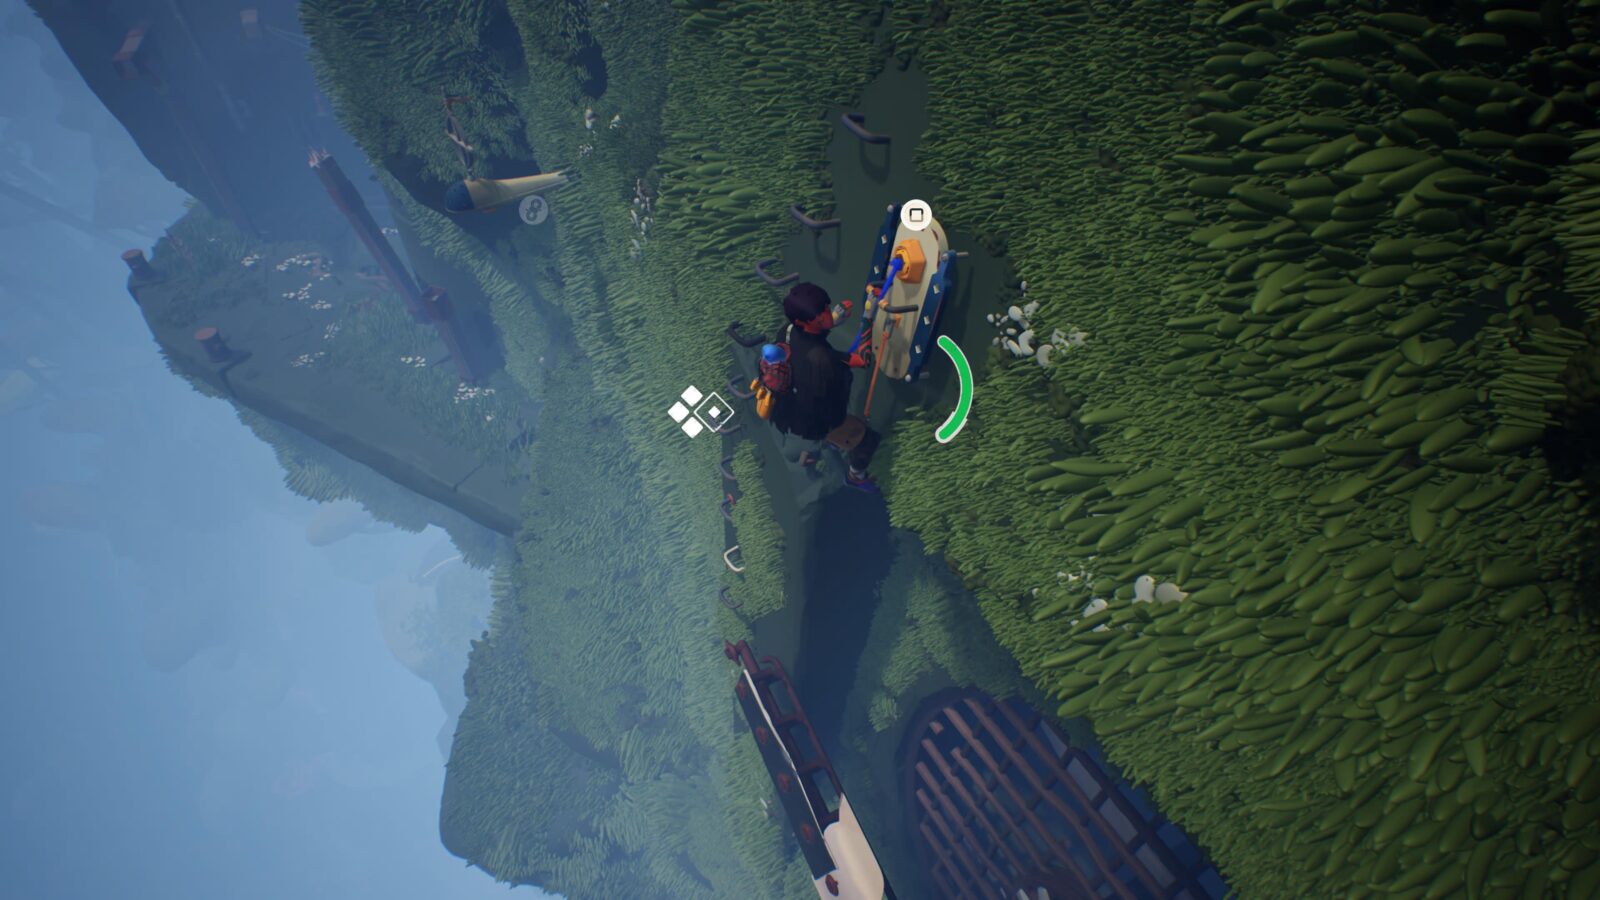
Letter #9
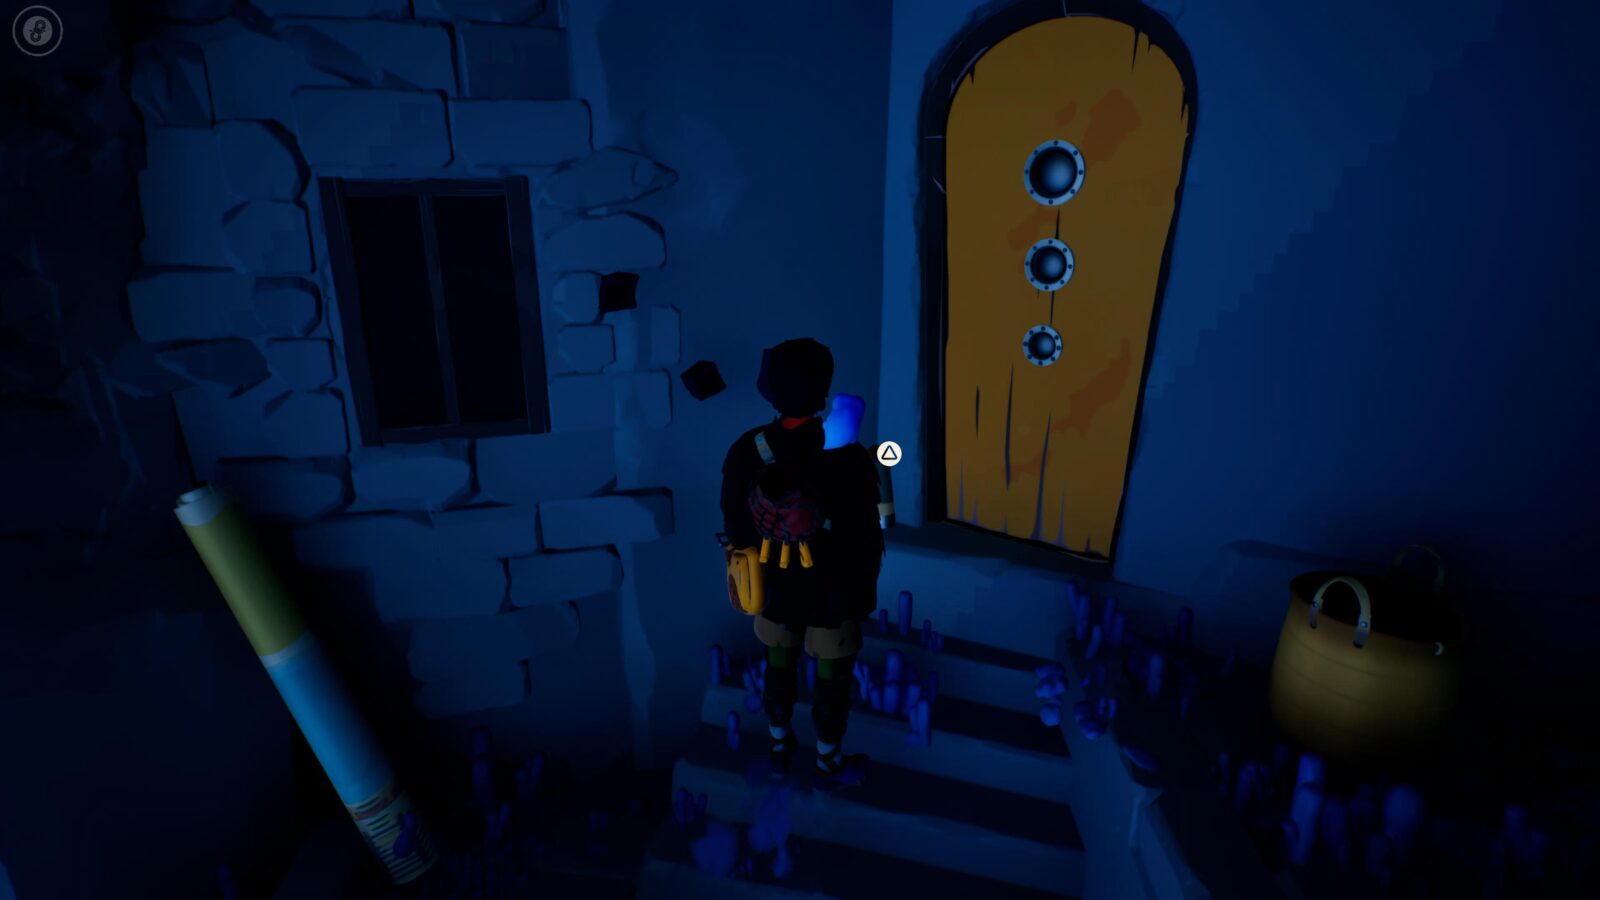
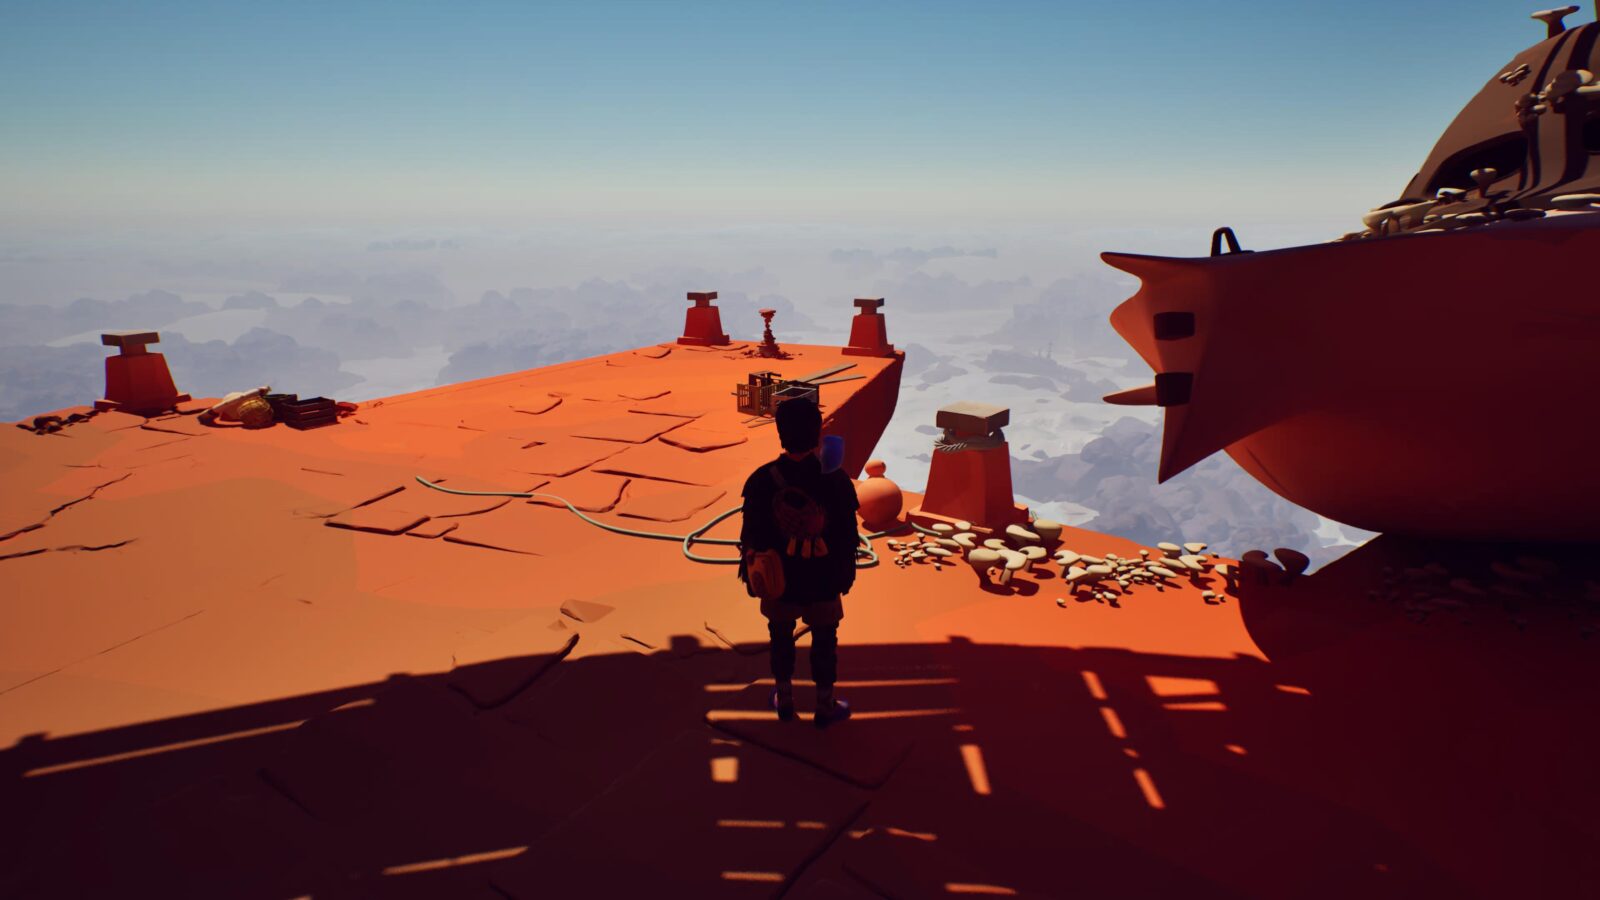
Continue until you come to a boat. On your left, there’s a set of stairs leading up to a blue door, you’ll see lantern light there.
The letter is next to the lantern.
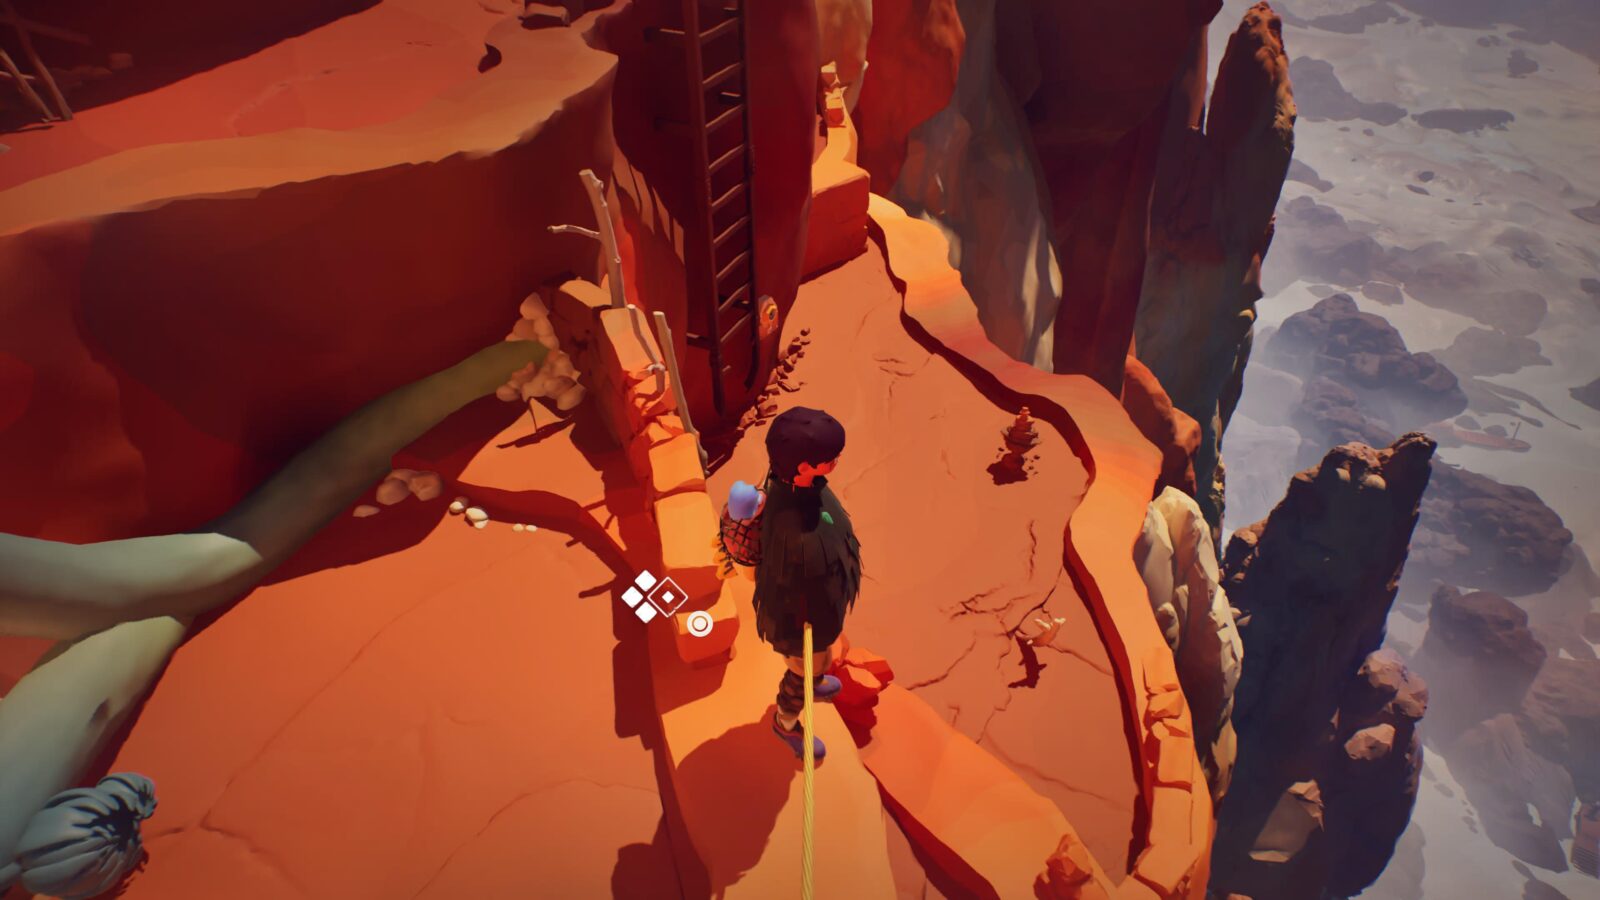
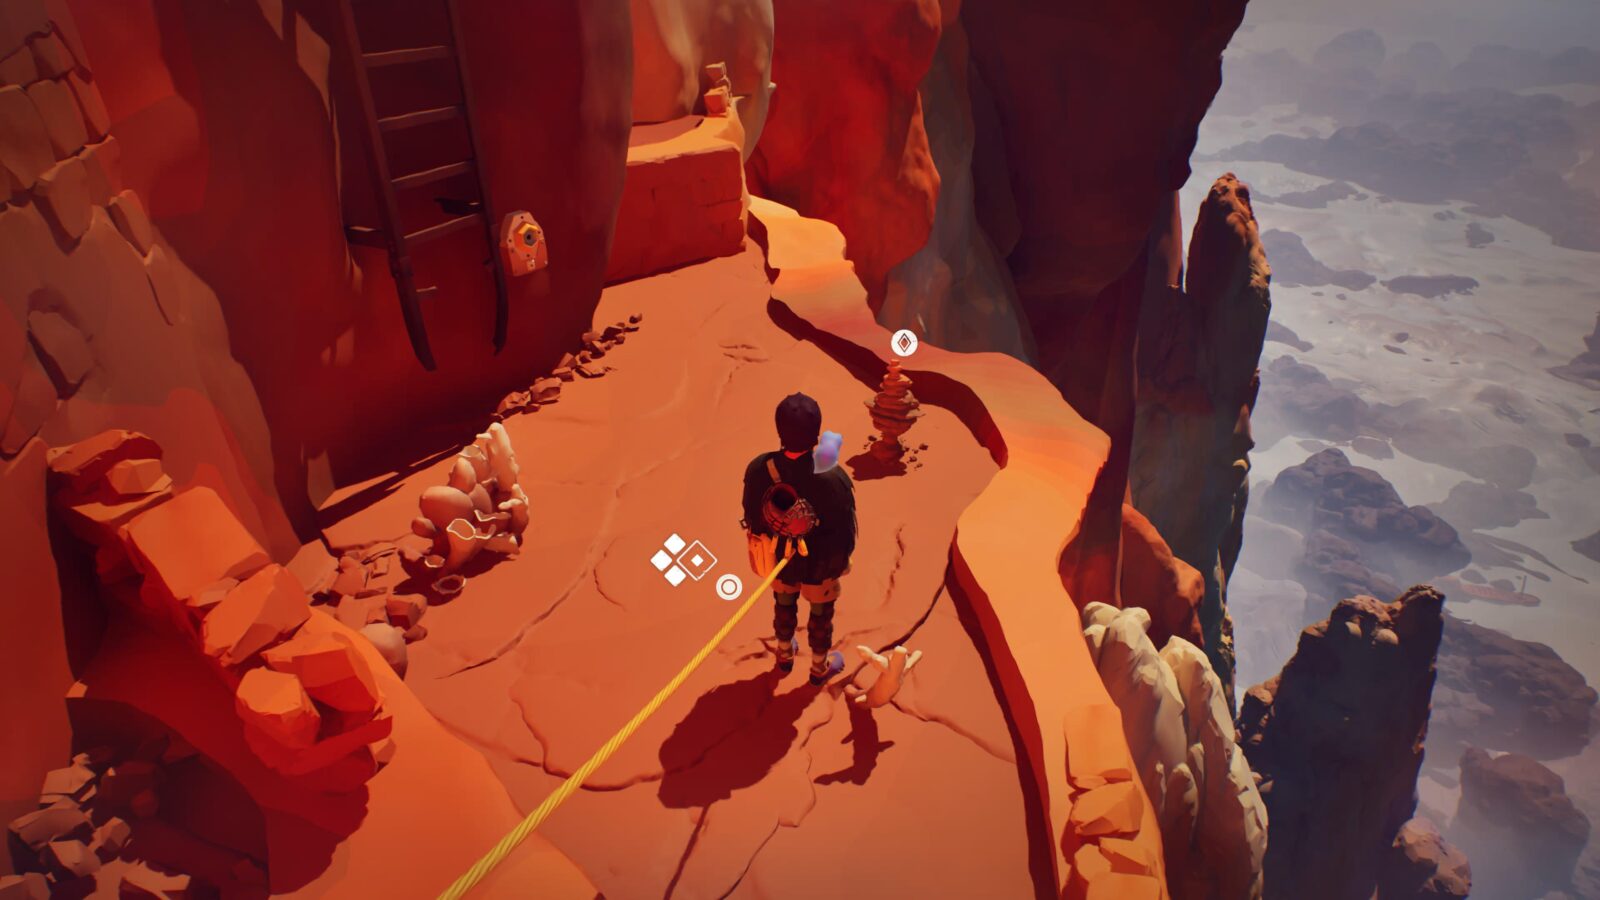
Cairn #6
Just past the boat mentioned earlier, you’ll see this cairn on the edge.
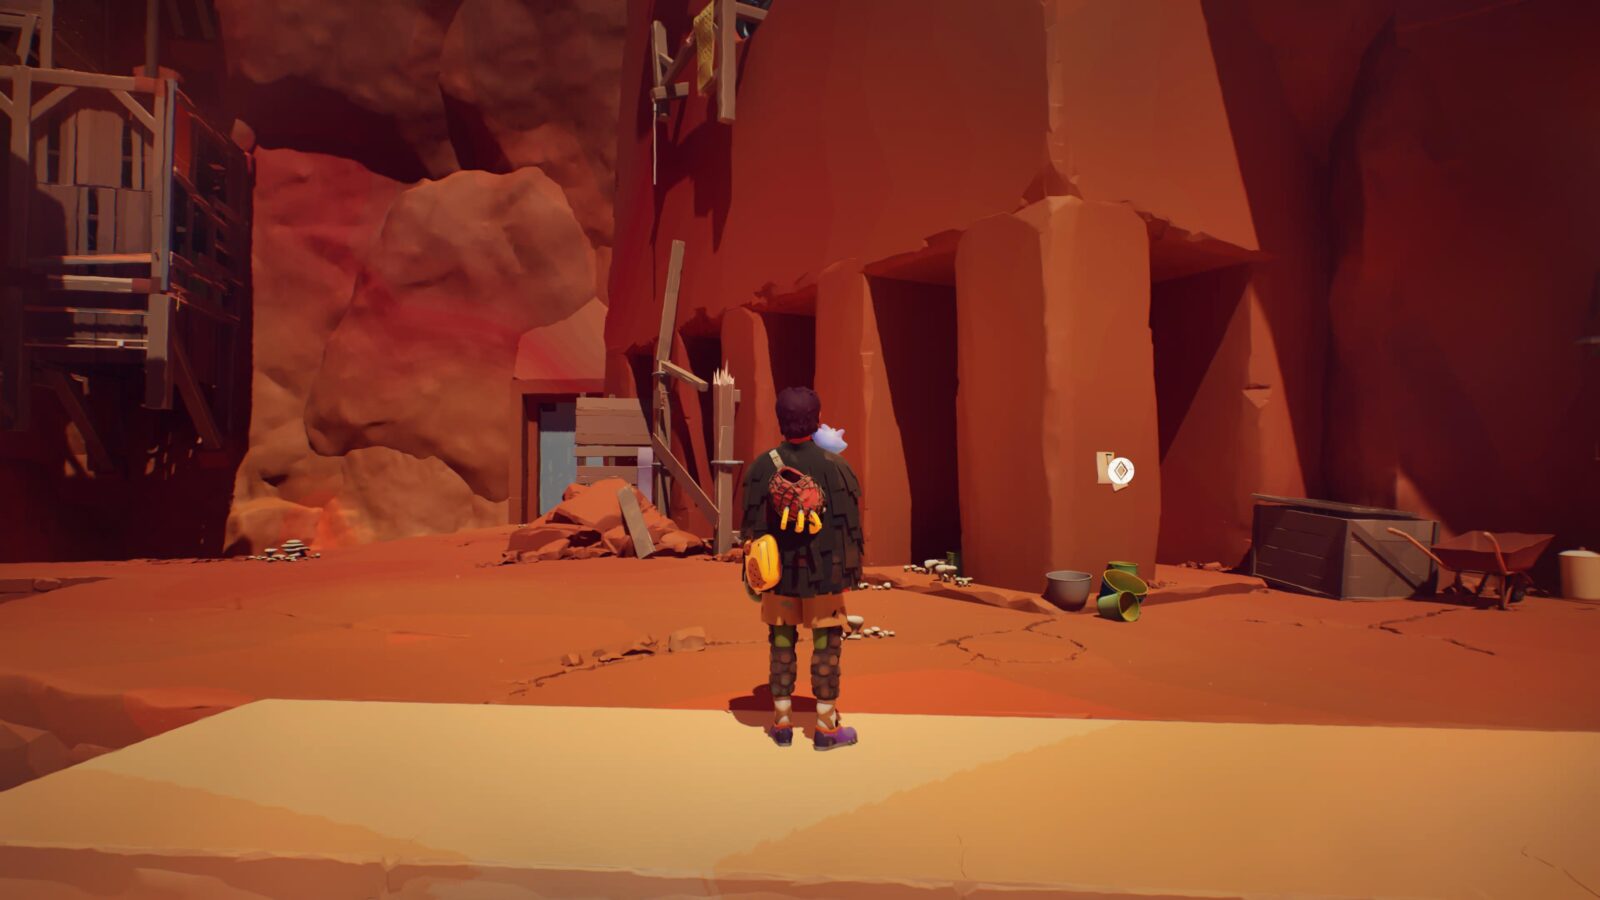
Letter #10
After another long wall-climbing section, you’ll come to a cliffside residence. There, near a broken ladder, you’ll find this letter.
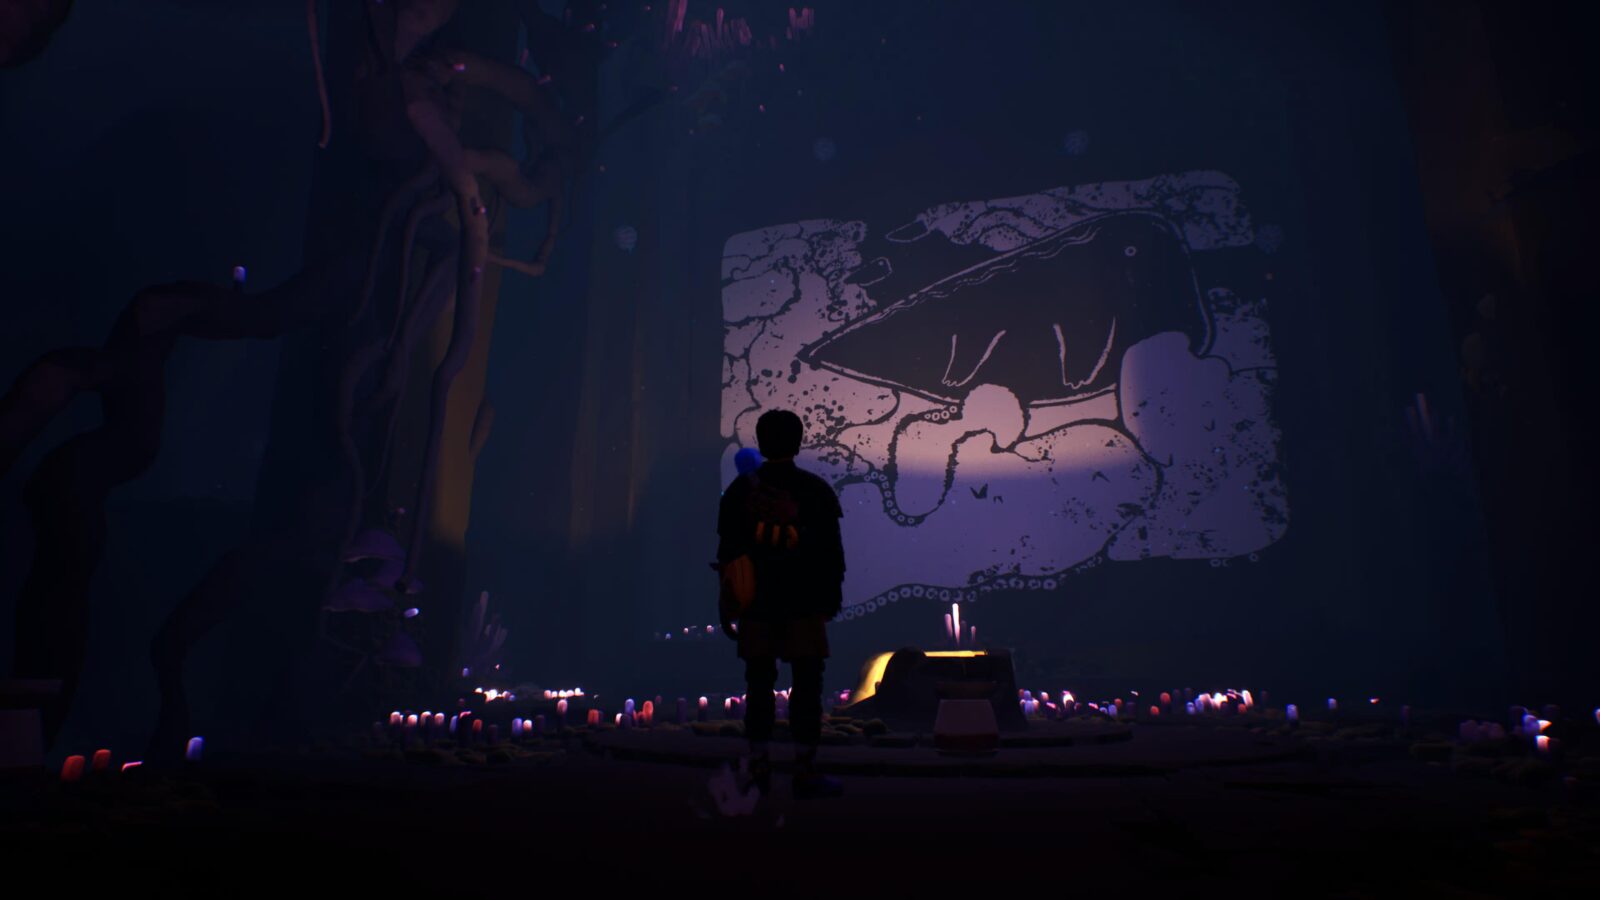
Fresco #3
To the left of the last Letter, there’s a small crevice with a beam you can shimmy across. Do so and follow the path around to reach a doorway leading inside the mountain. Inside, there’s a Fresco you can activate with ![]() .
.
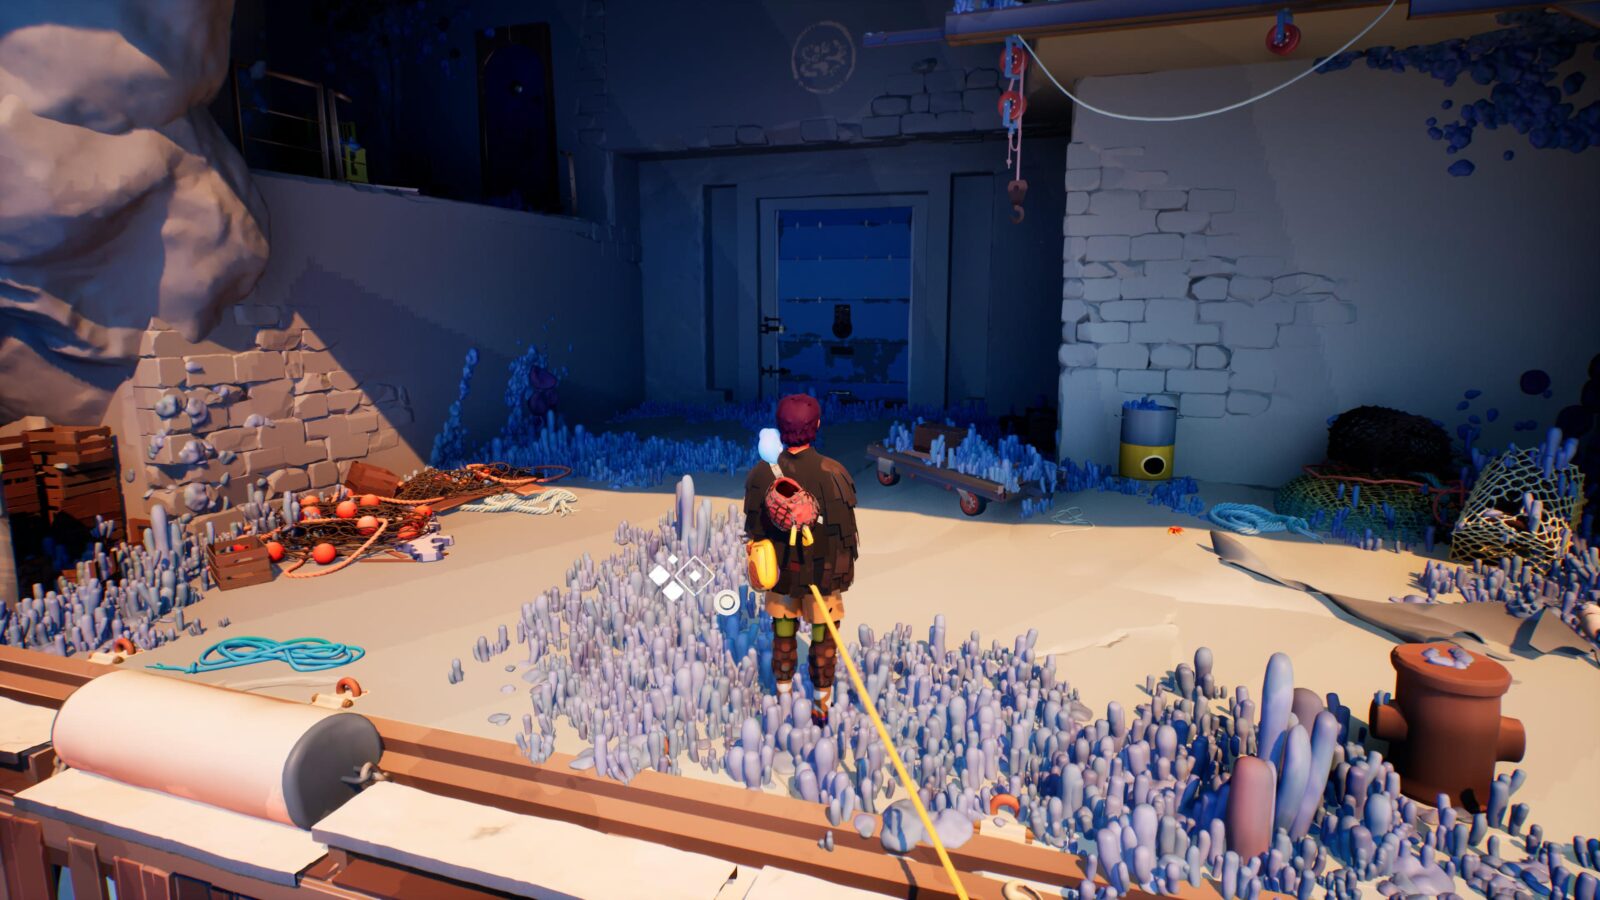
Shell #3
From the Fresco, there’s a hole you can drop yourself into. Go down there and you’ll find Shell #3 on the sand near a pipe.
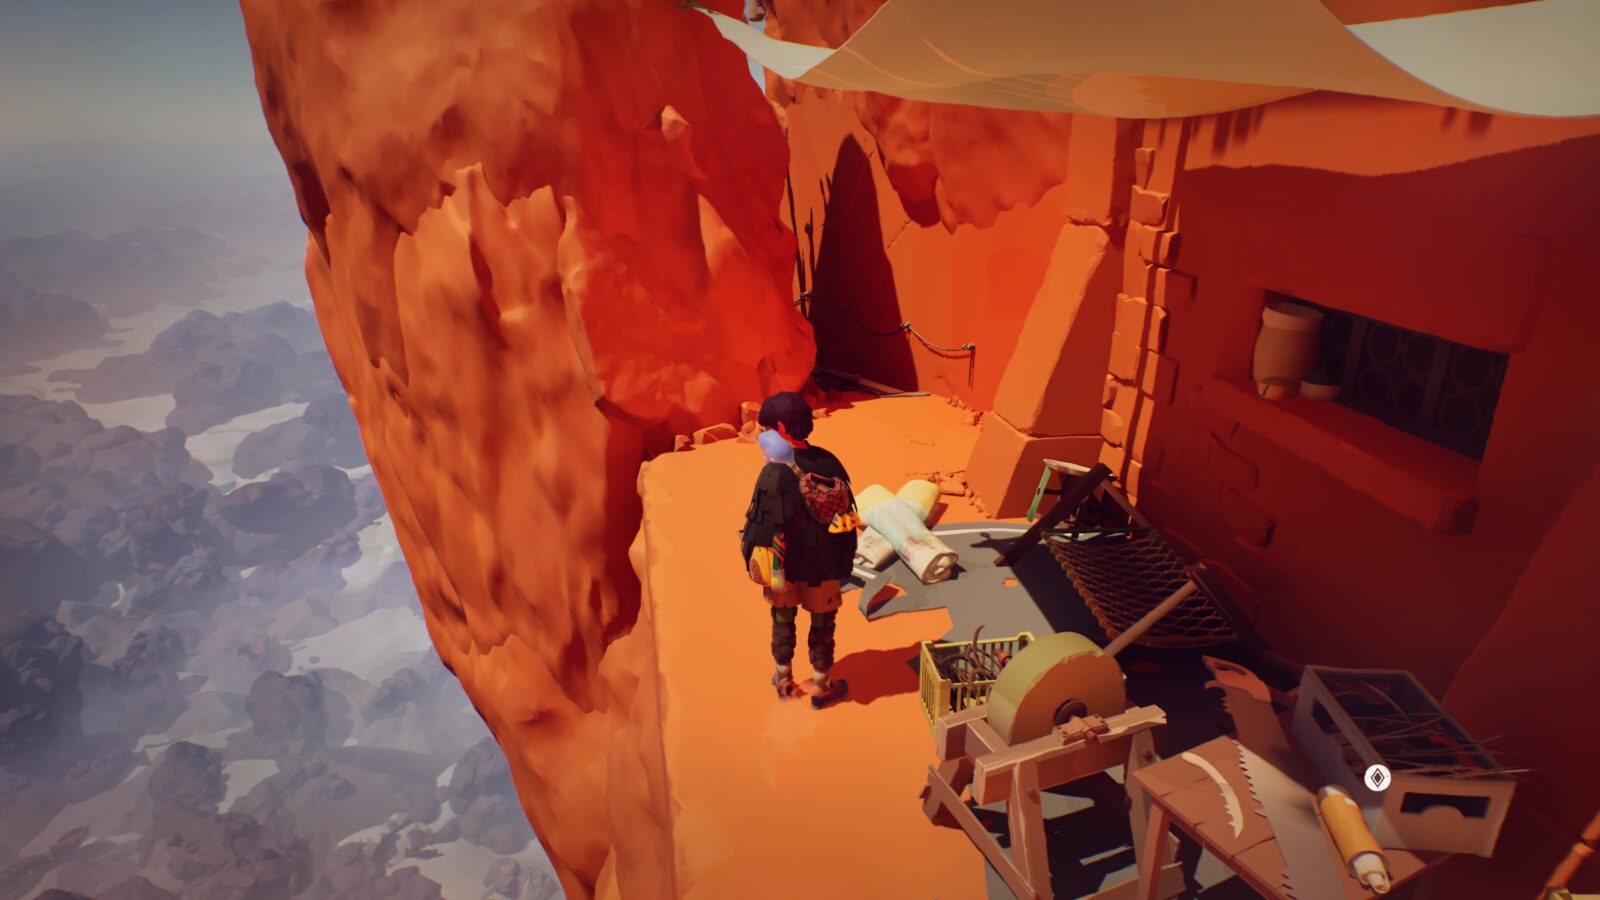
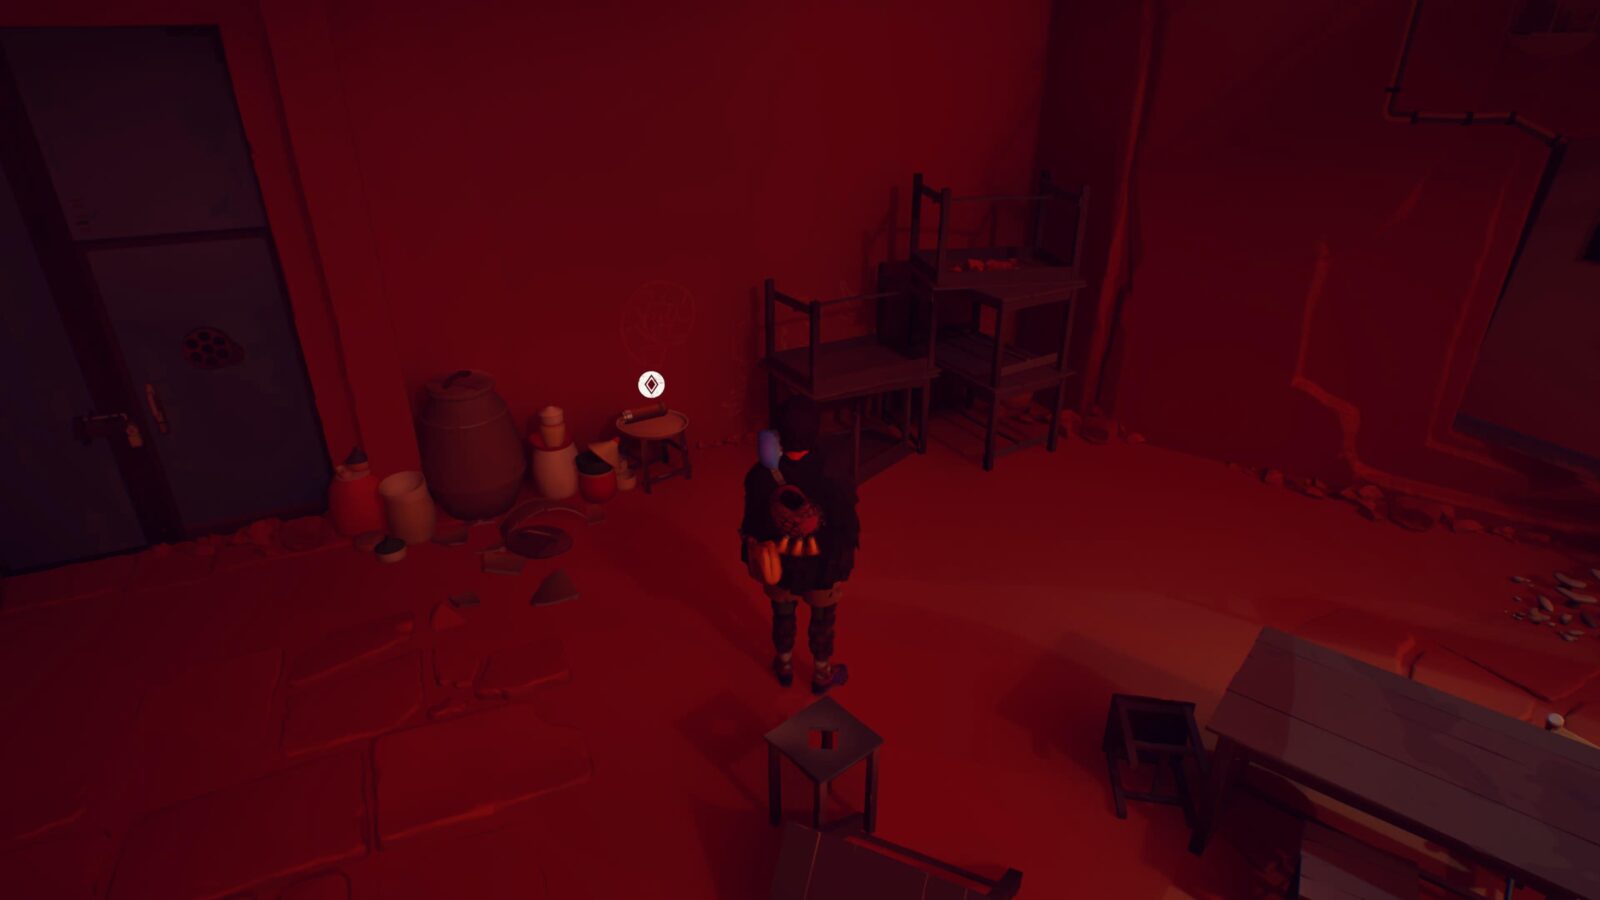
Journal Entry #5
In the same area as the Shell, on a stool near the railing.

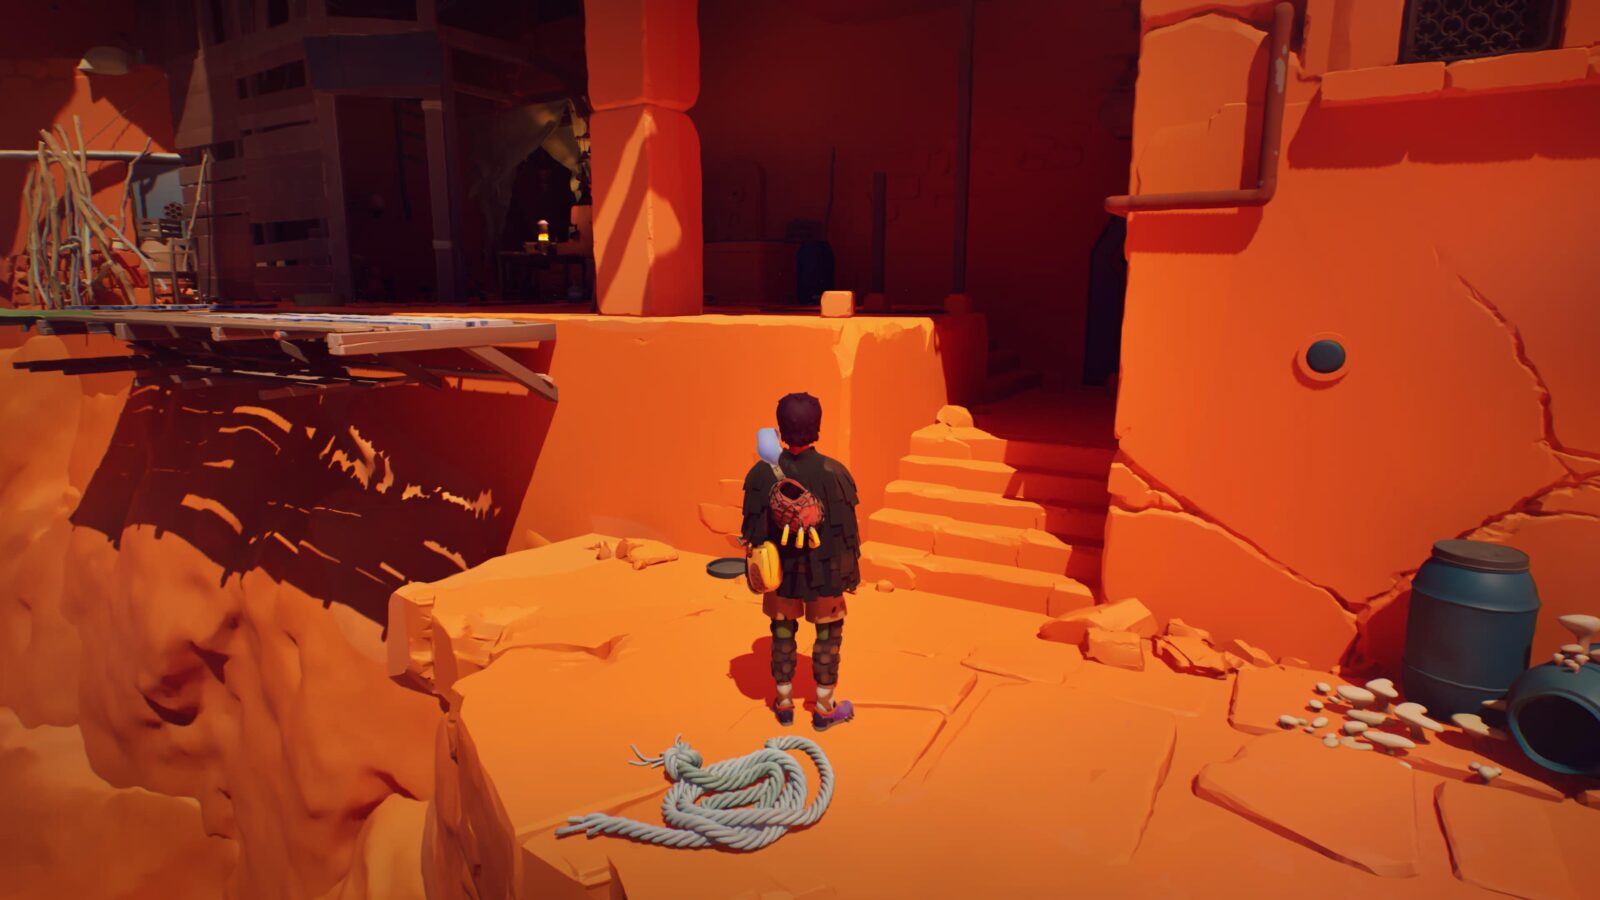
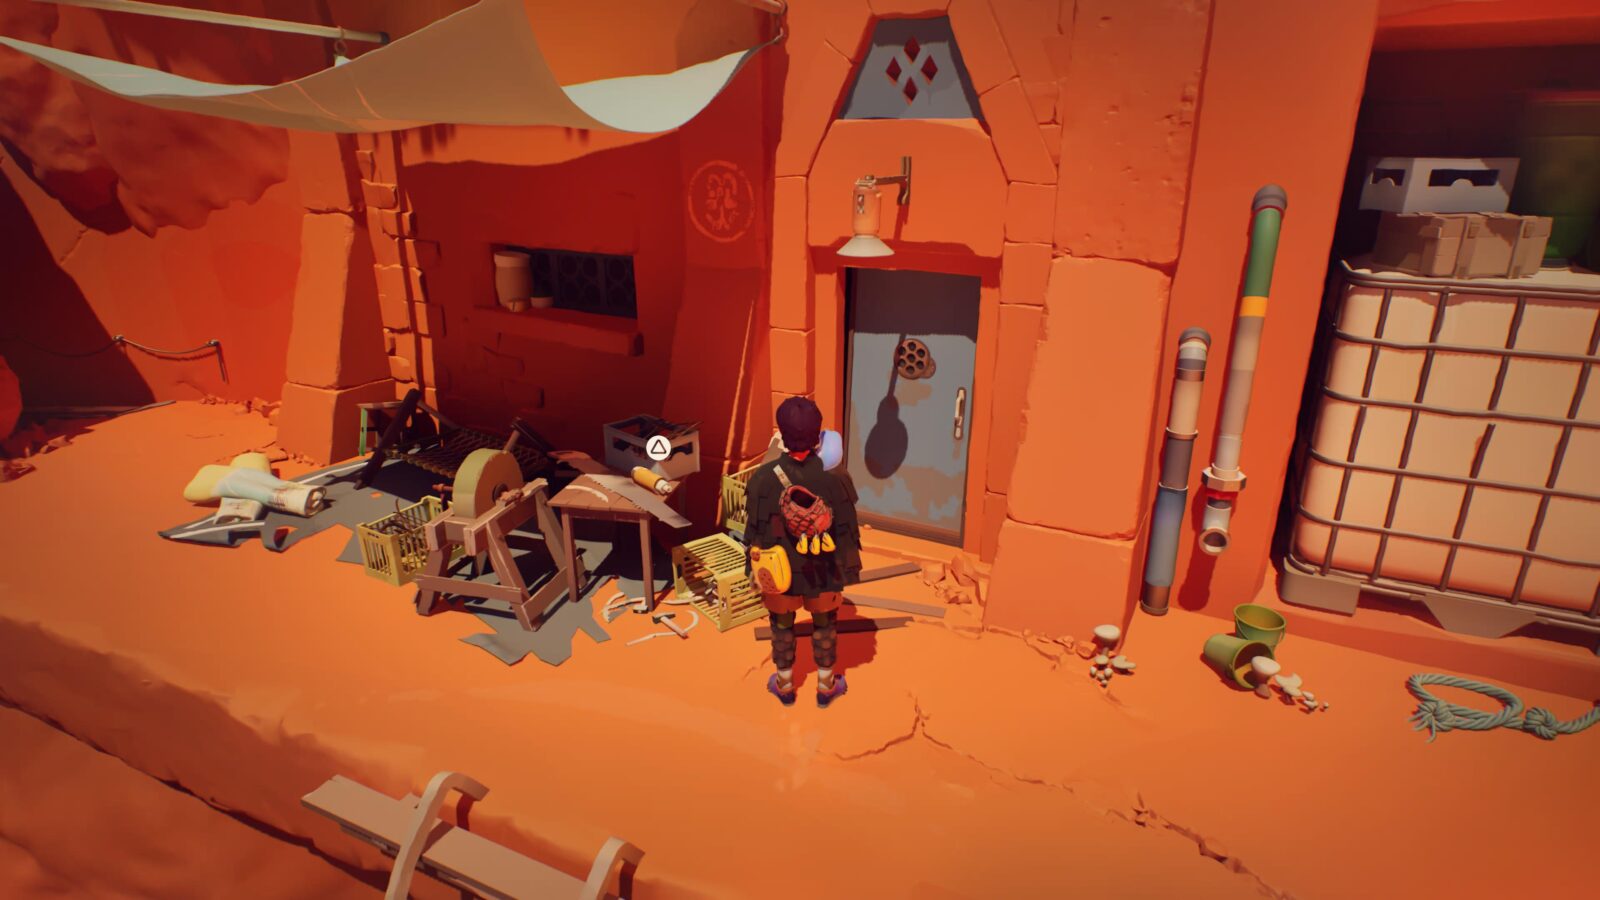
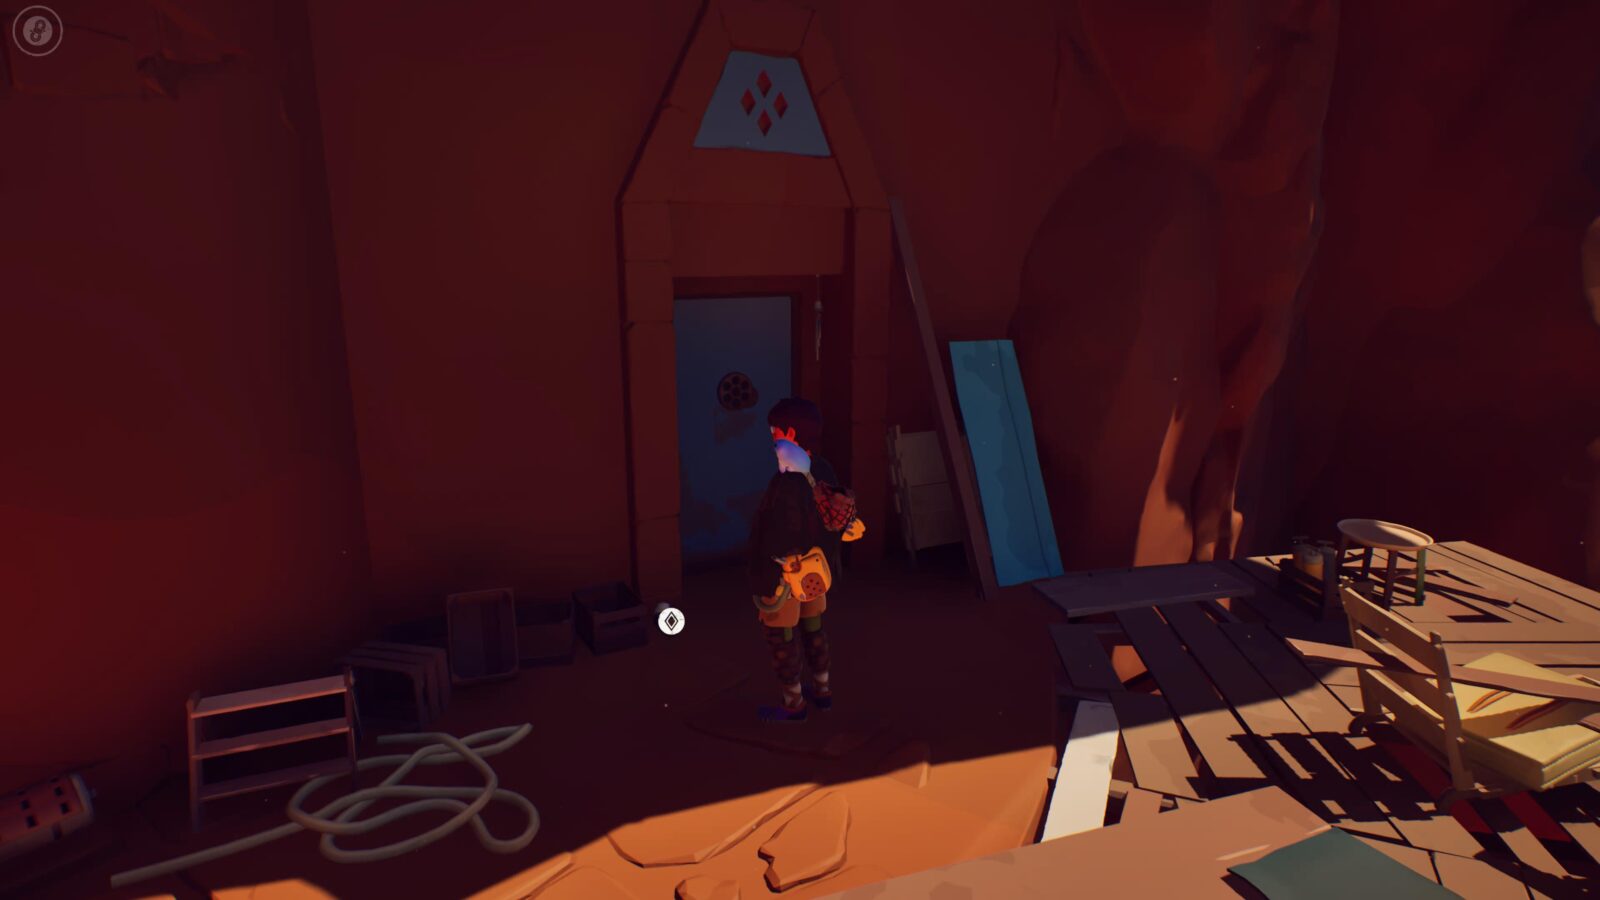
Letter #11
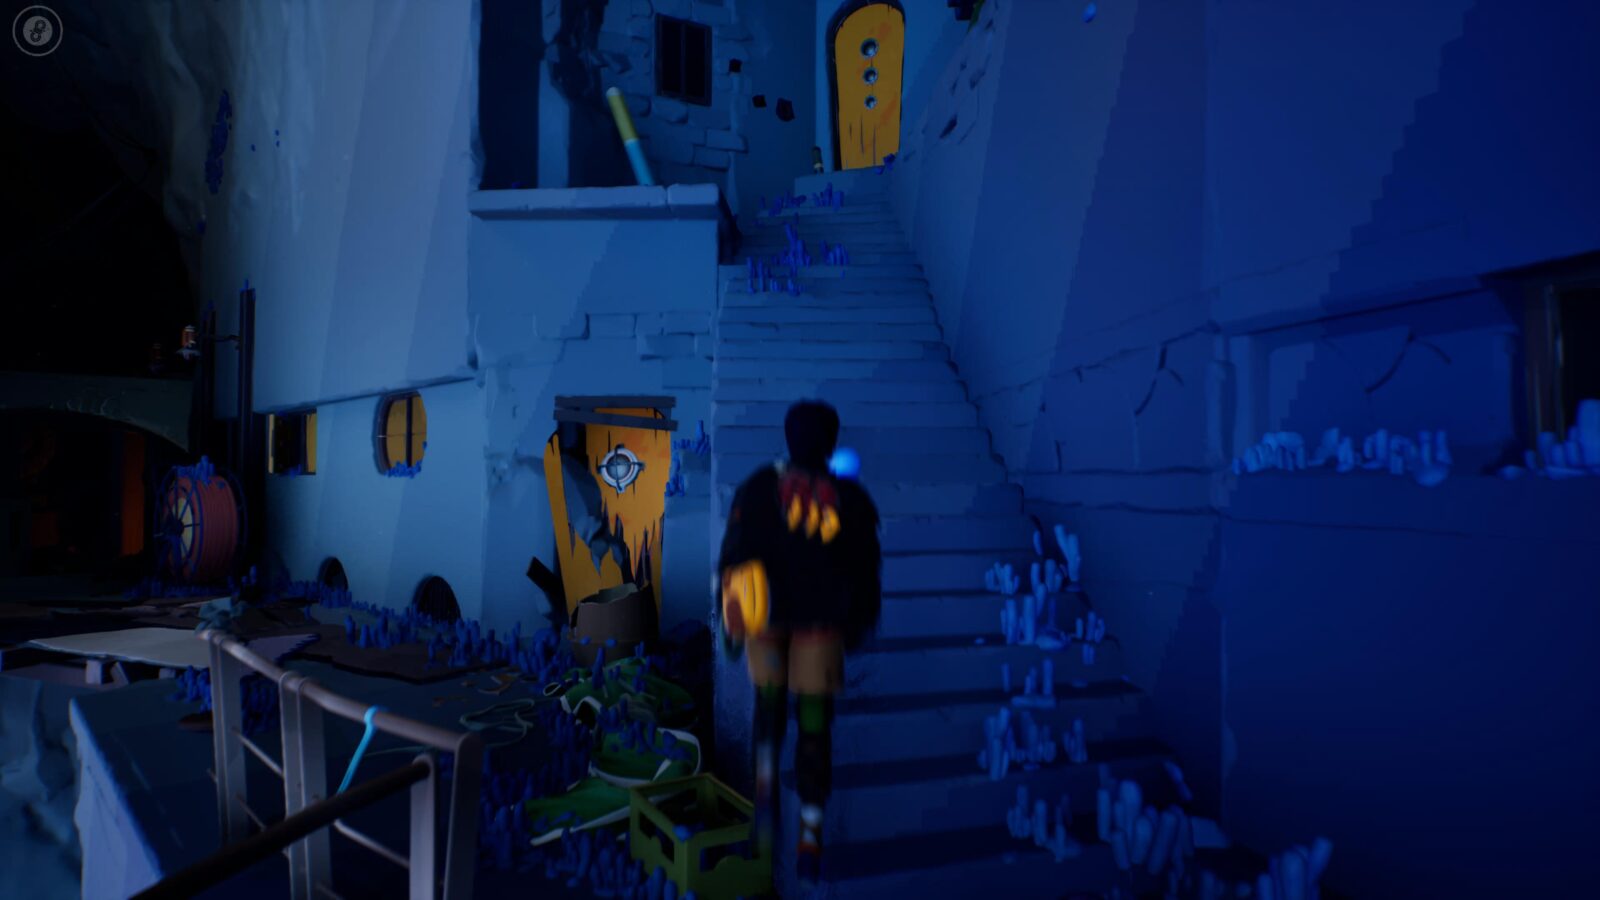
Go down the stairs from the last Journal Entry and then head around the corner to find some wooden platforms. There, next to a blue door, you’ll find this letter.
Cairn #7
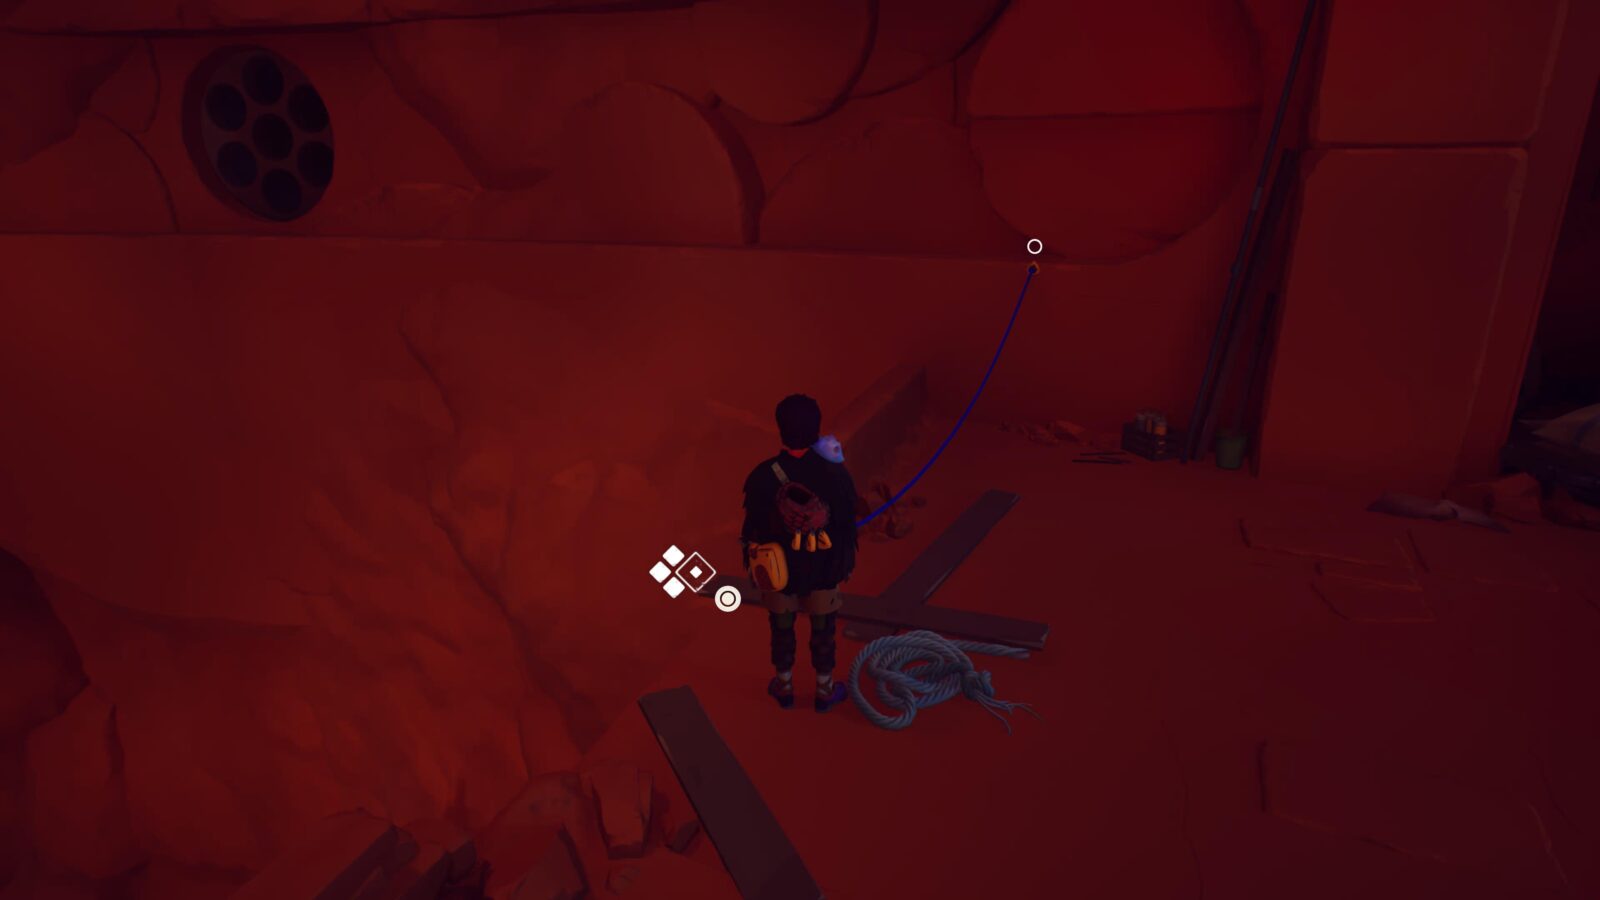
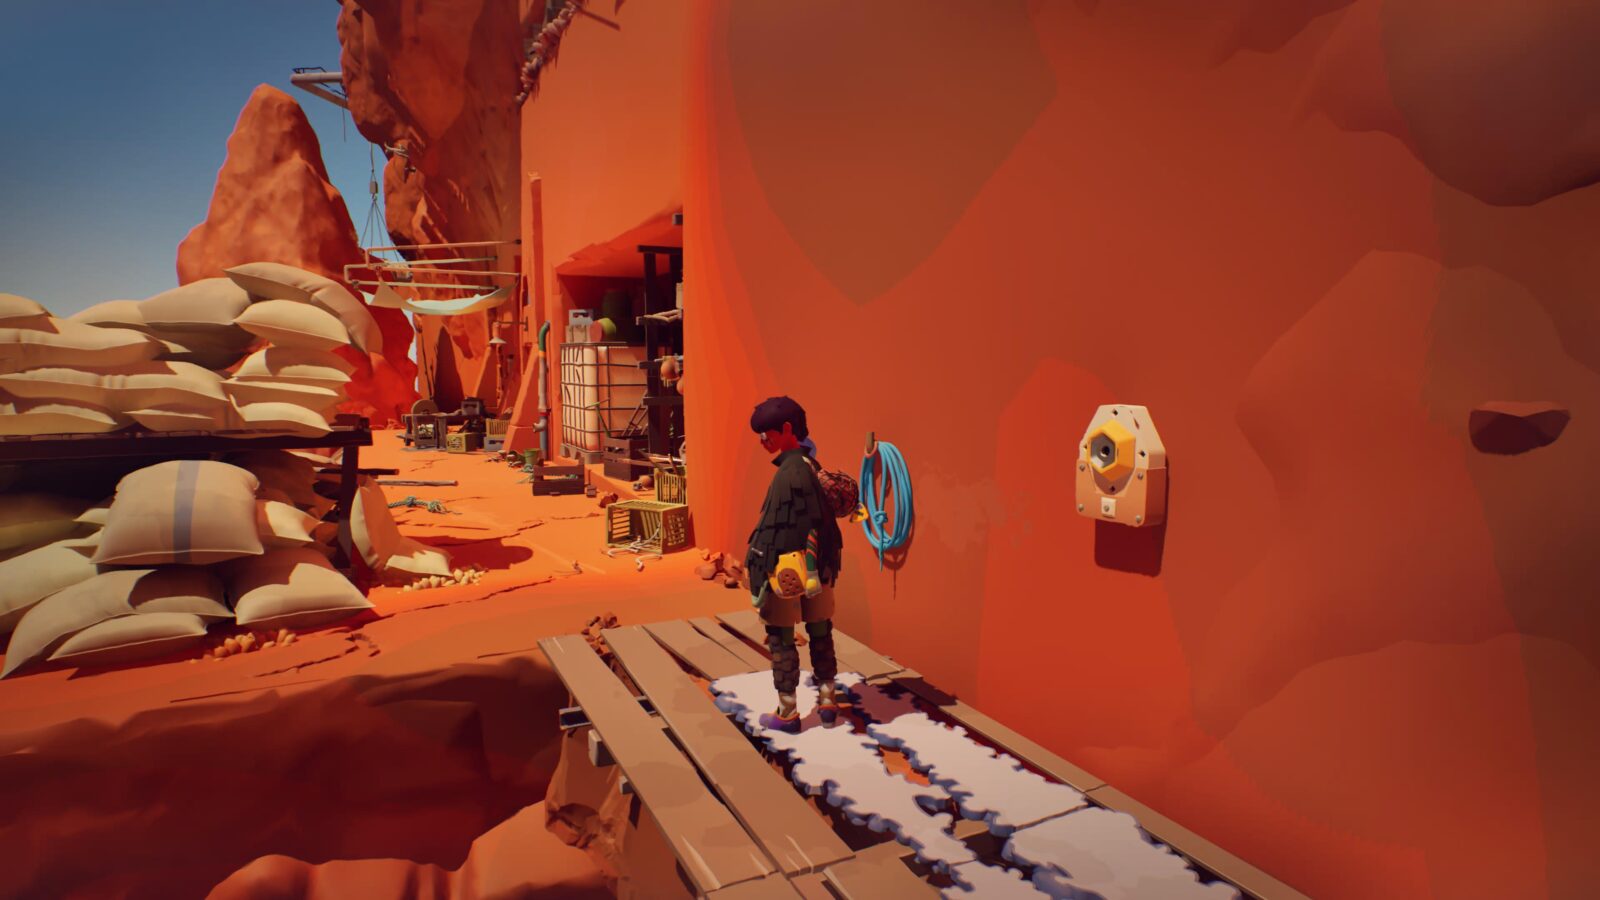
Make your way back upstairs to the door you entered earlier. Next to it, there’s a deployable grapple point. Deploy it and then use it to rappel down to the Cairn below.
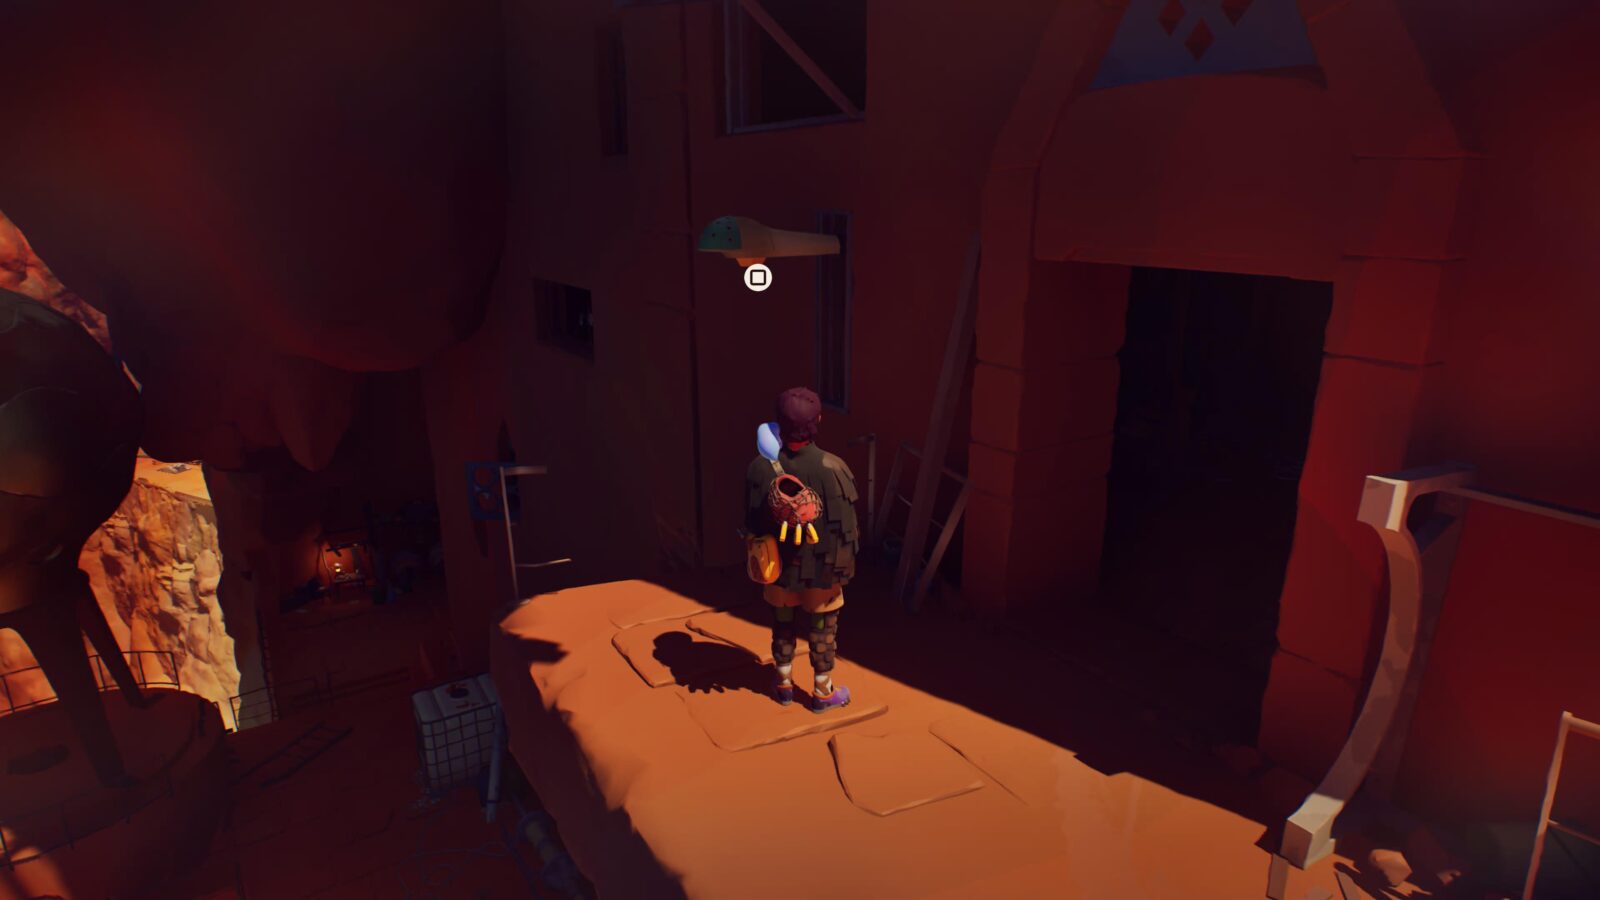
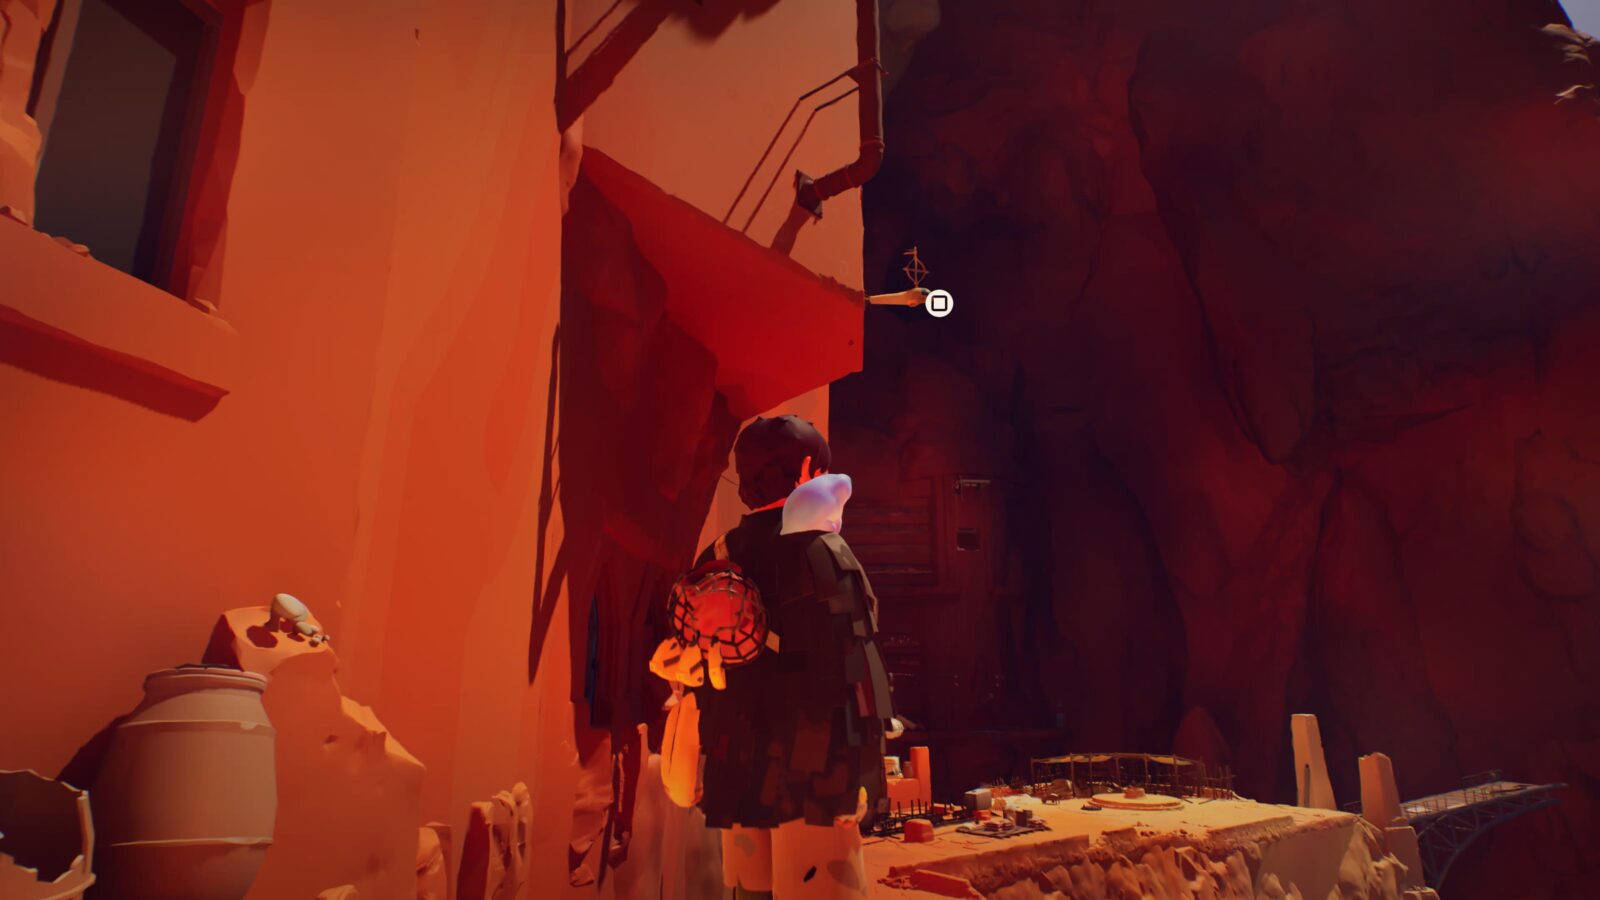
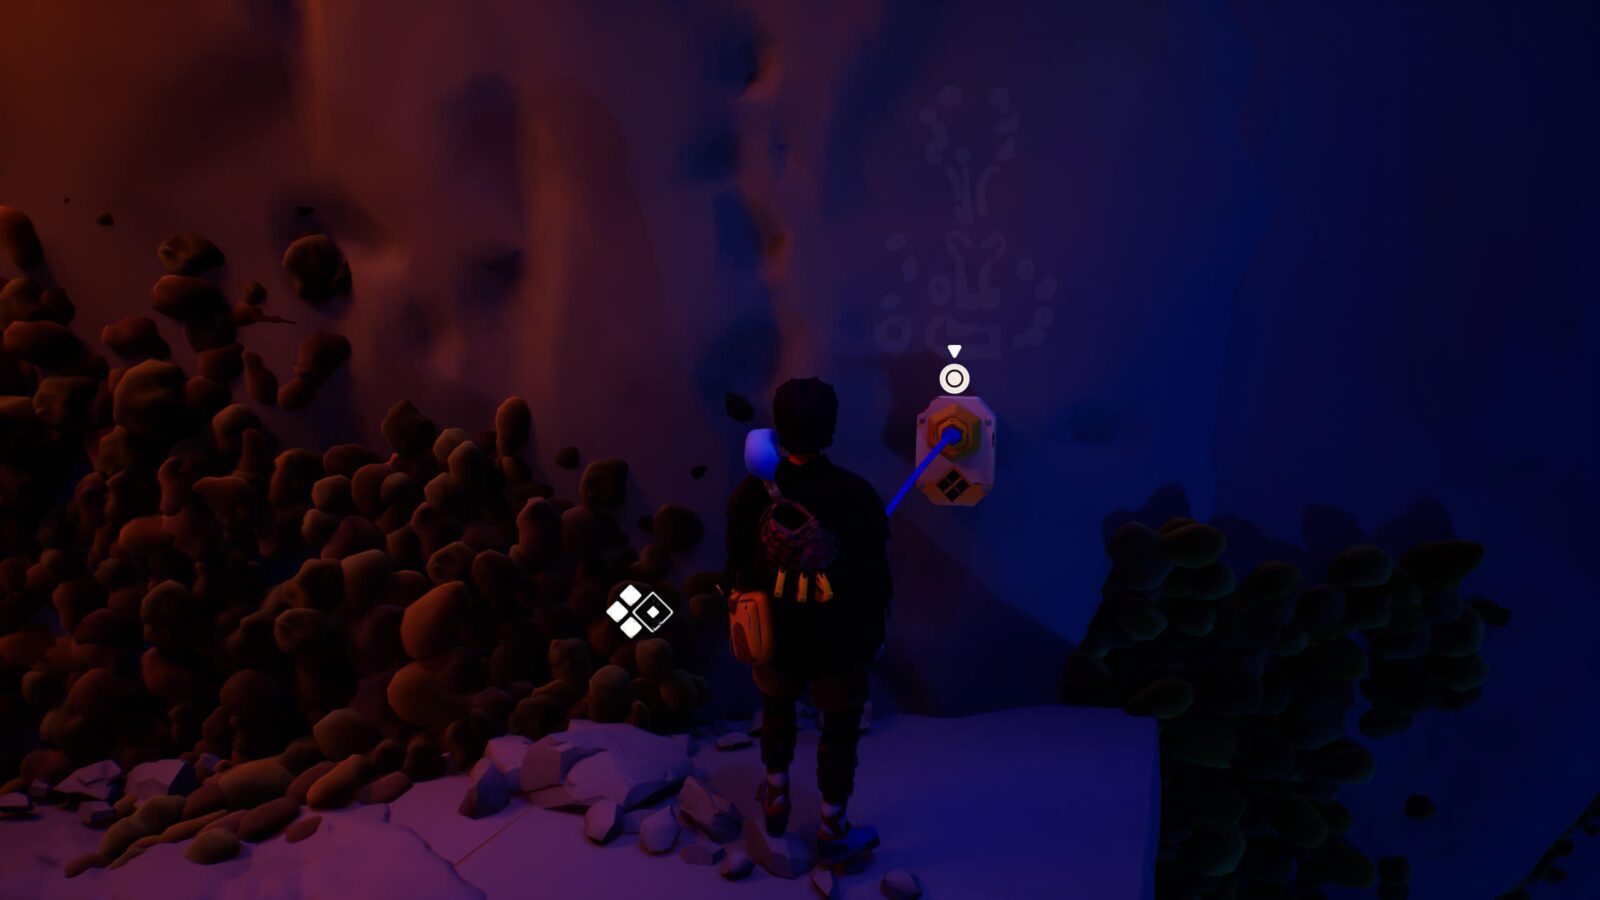
Letter #12
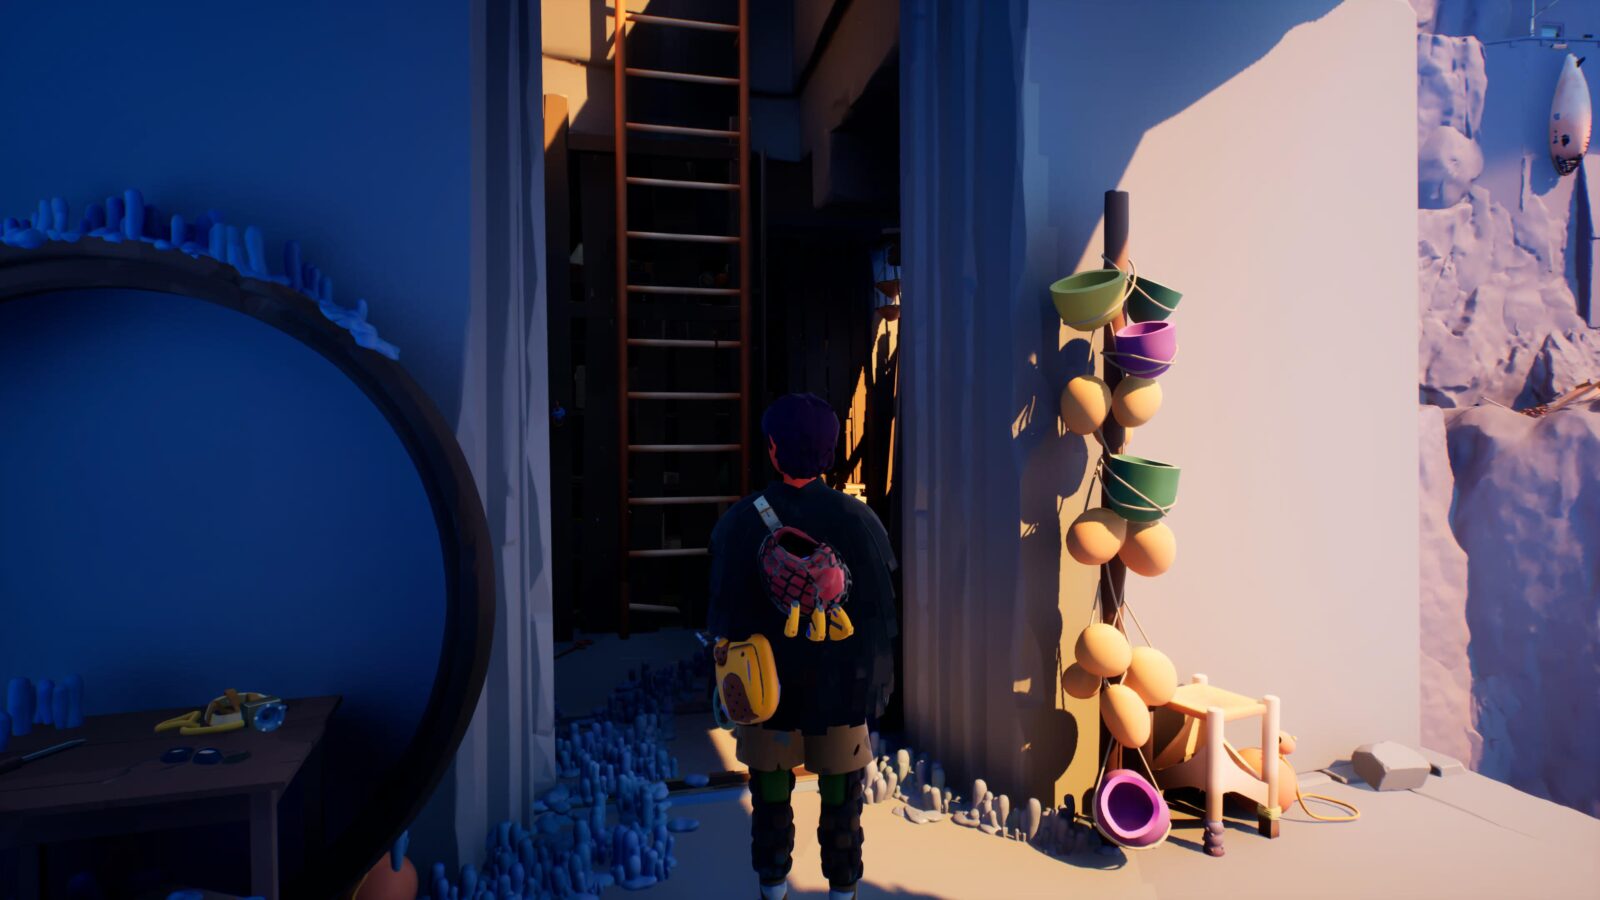
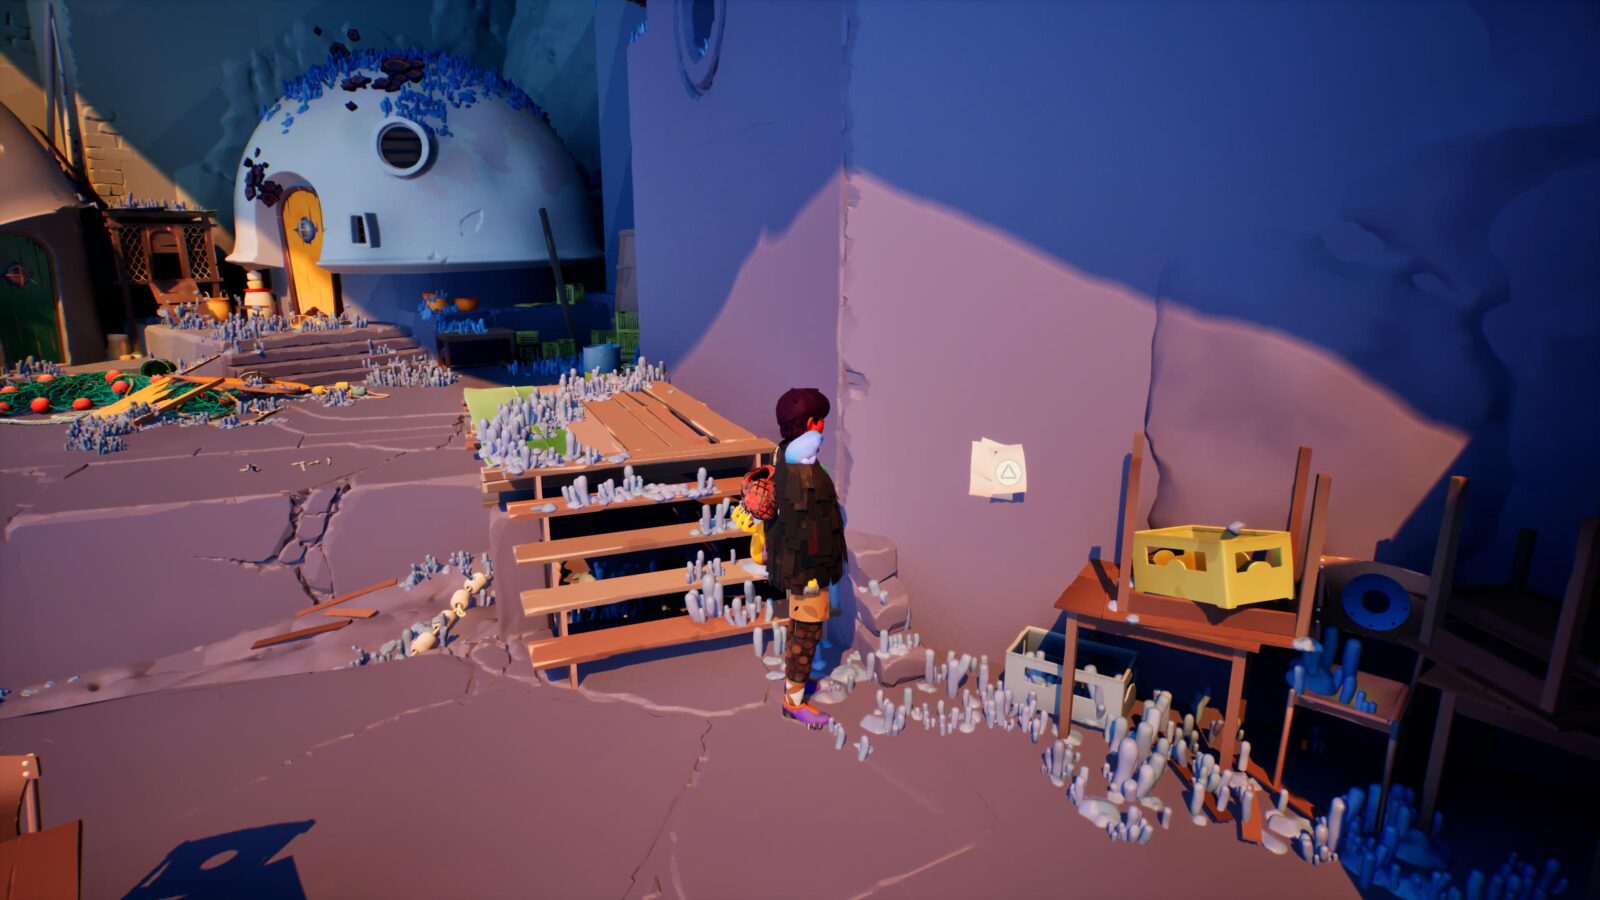
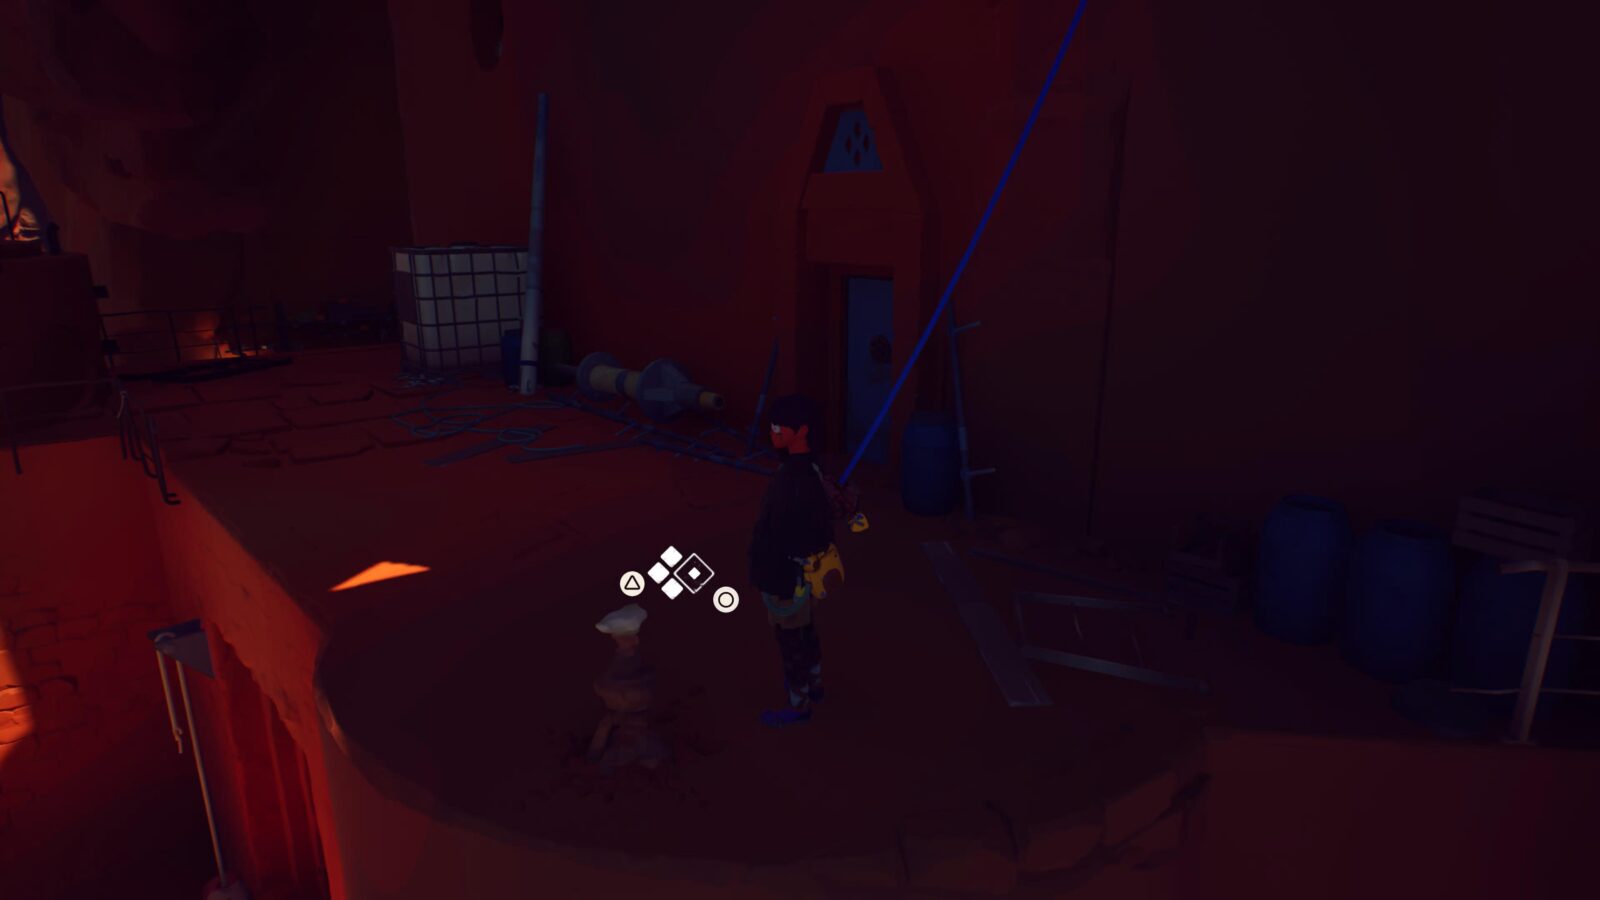
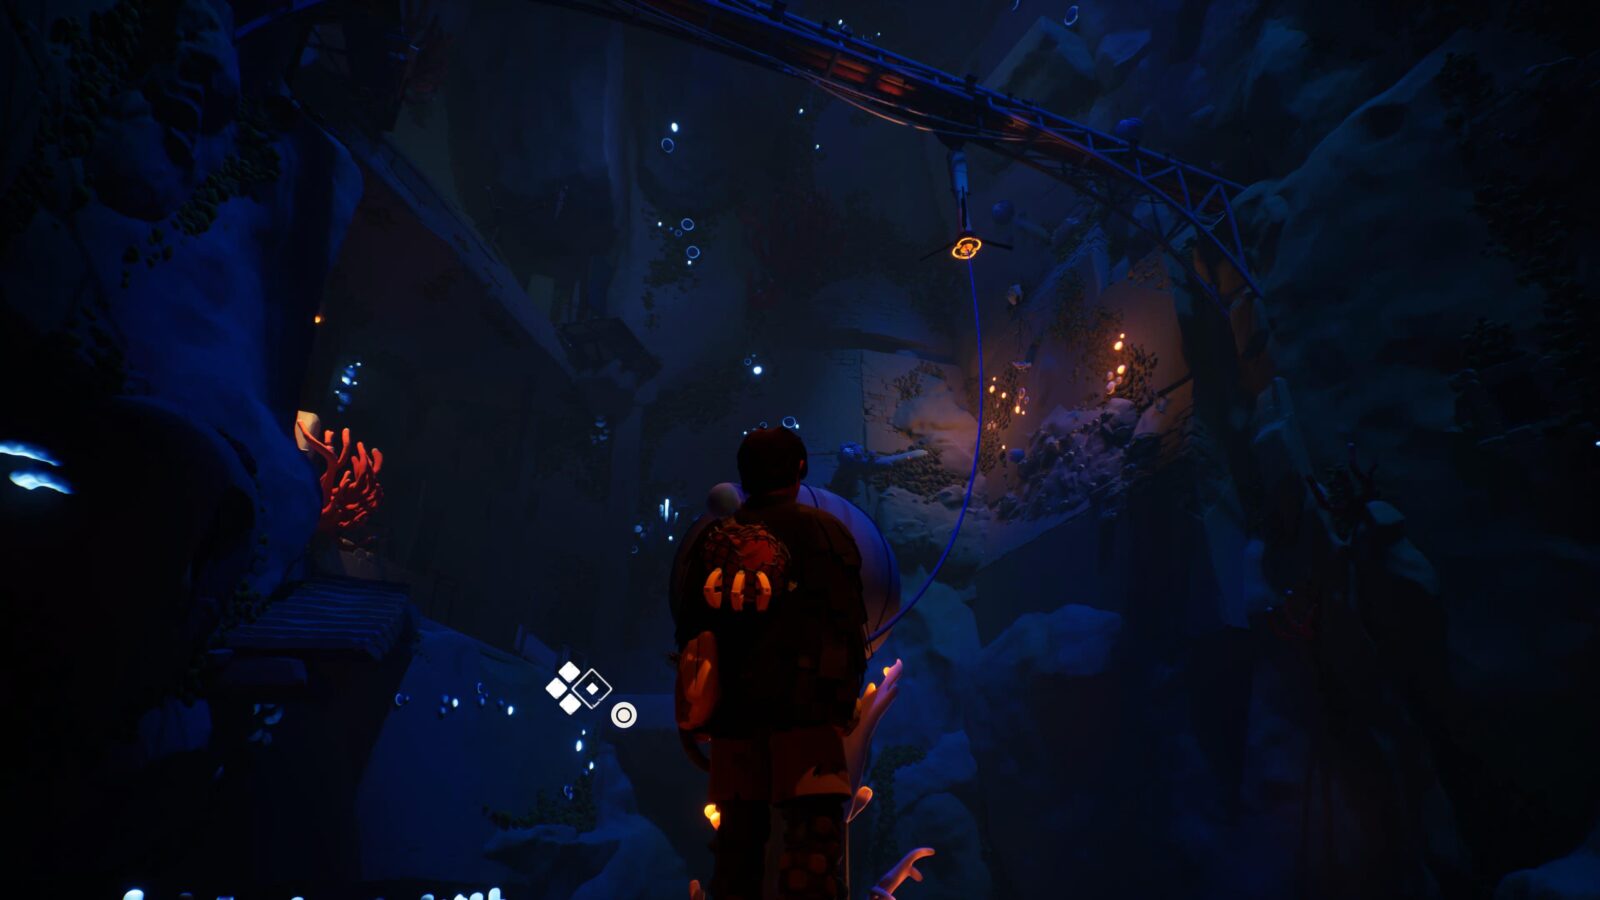
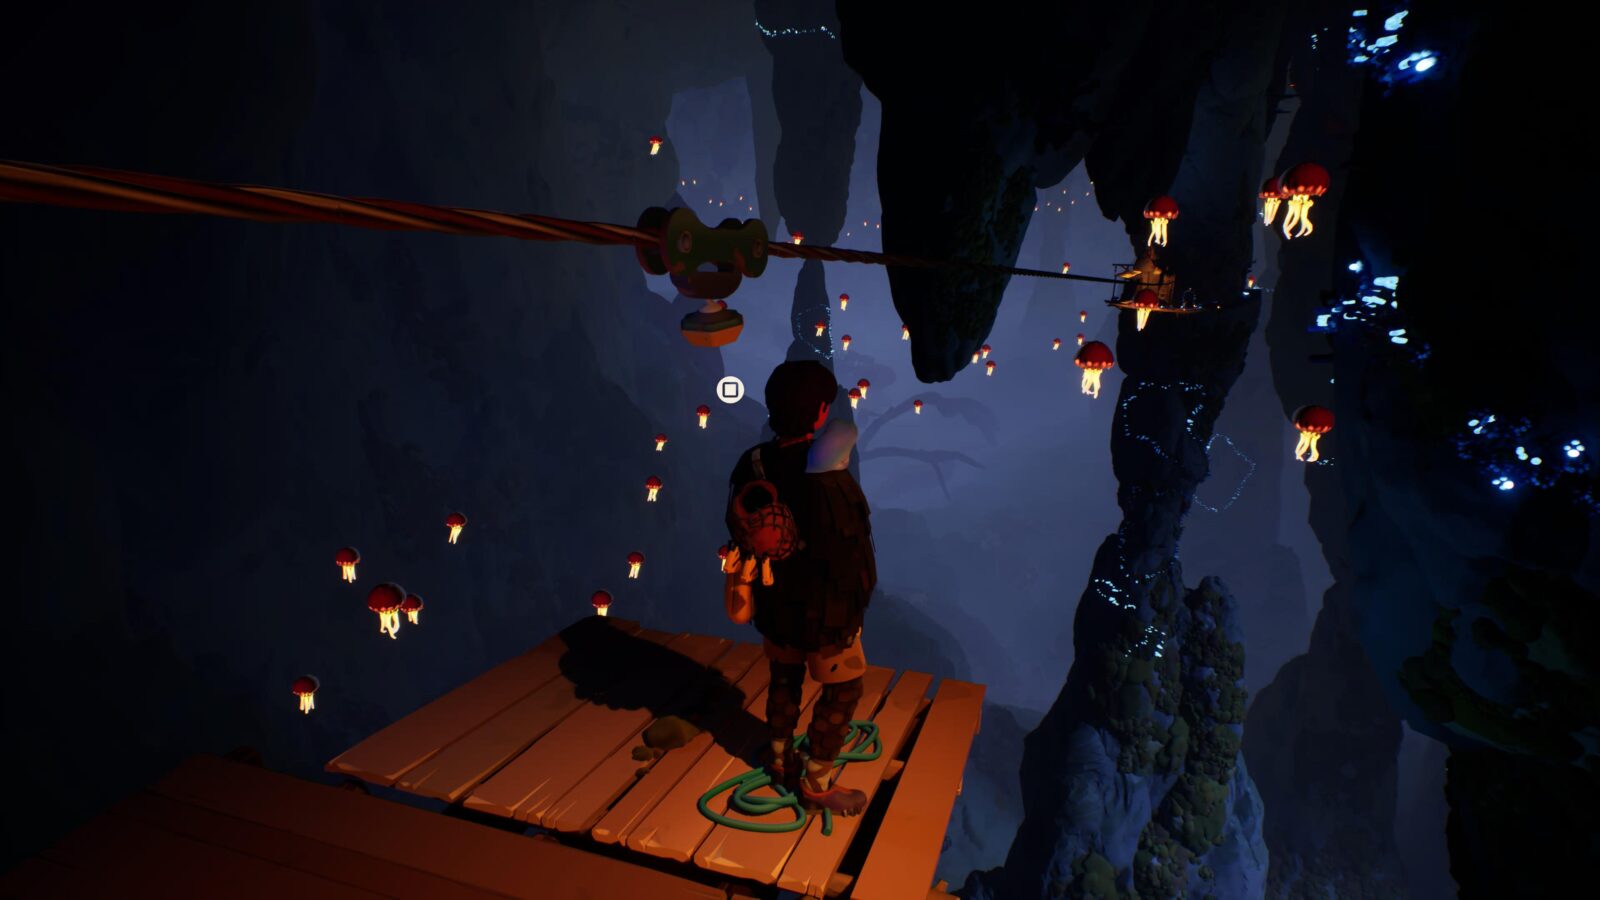
Now, continue up the mountain until you reach a zipline. Near that zipline, there’s a round white house with a letter attached to the side of it in one of the strange mechanical pods.
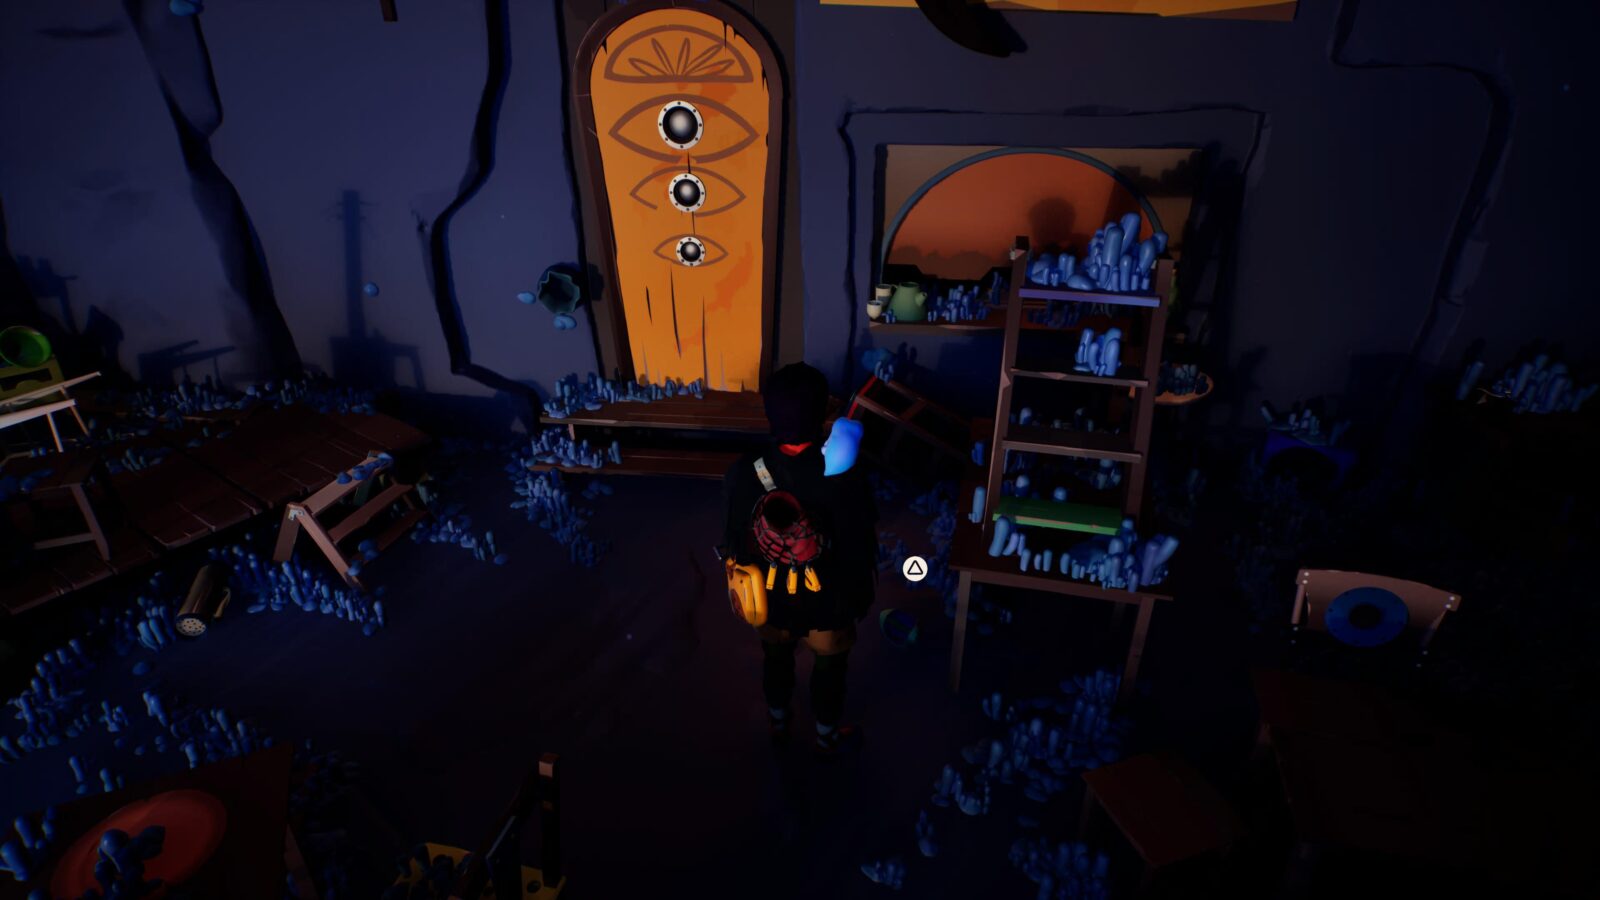
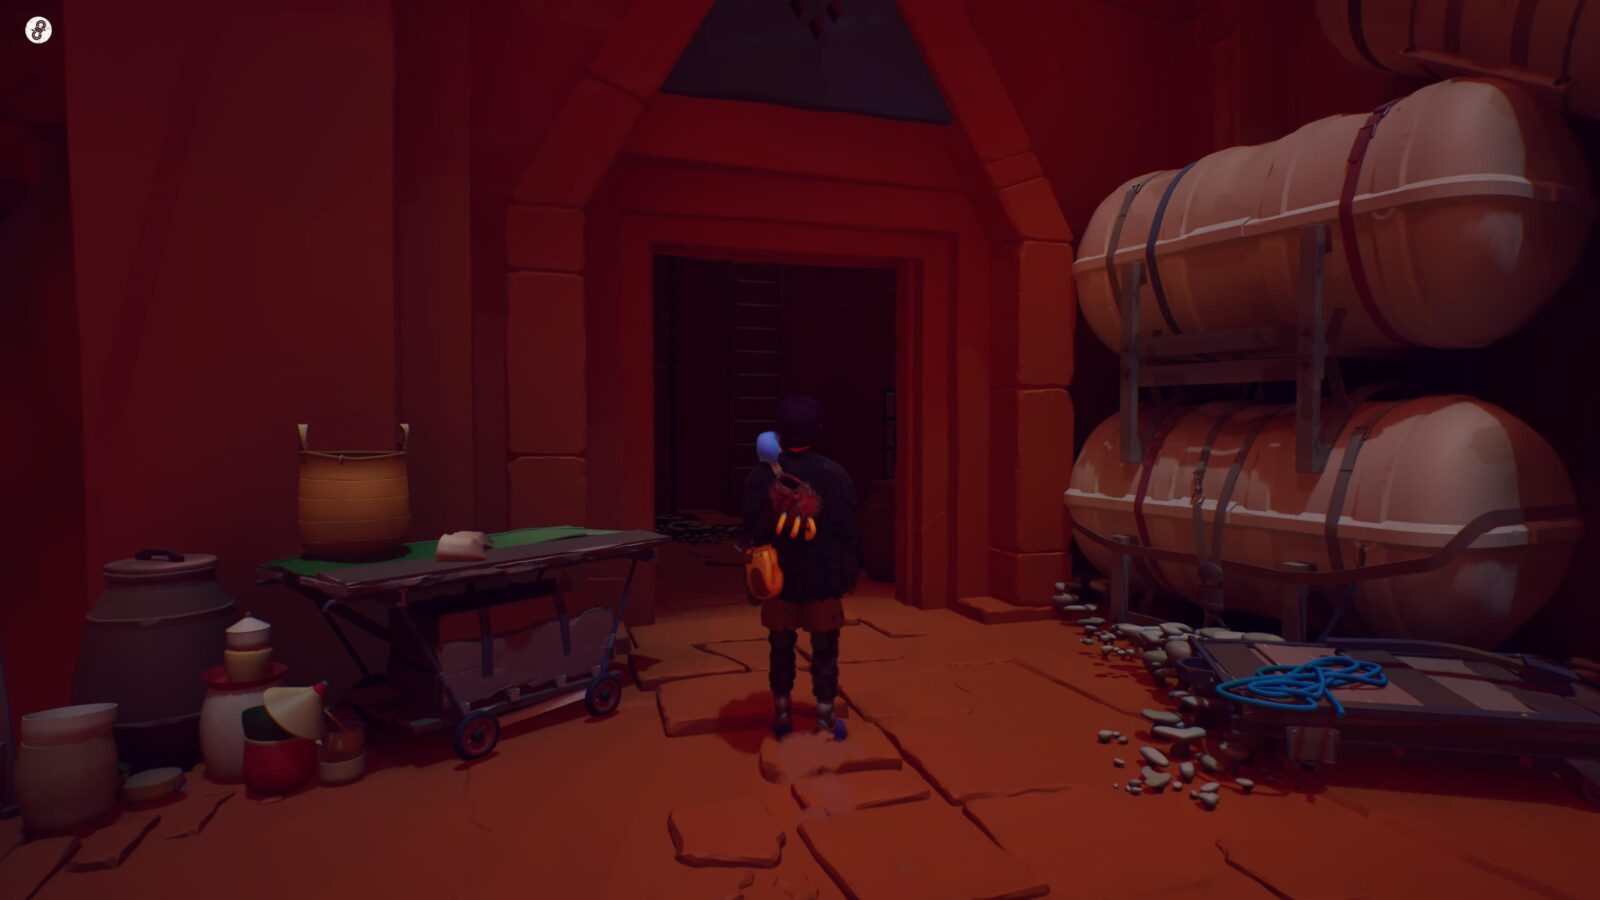
Letter #13
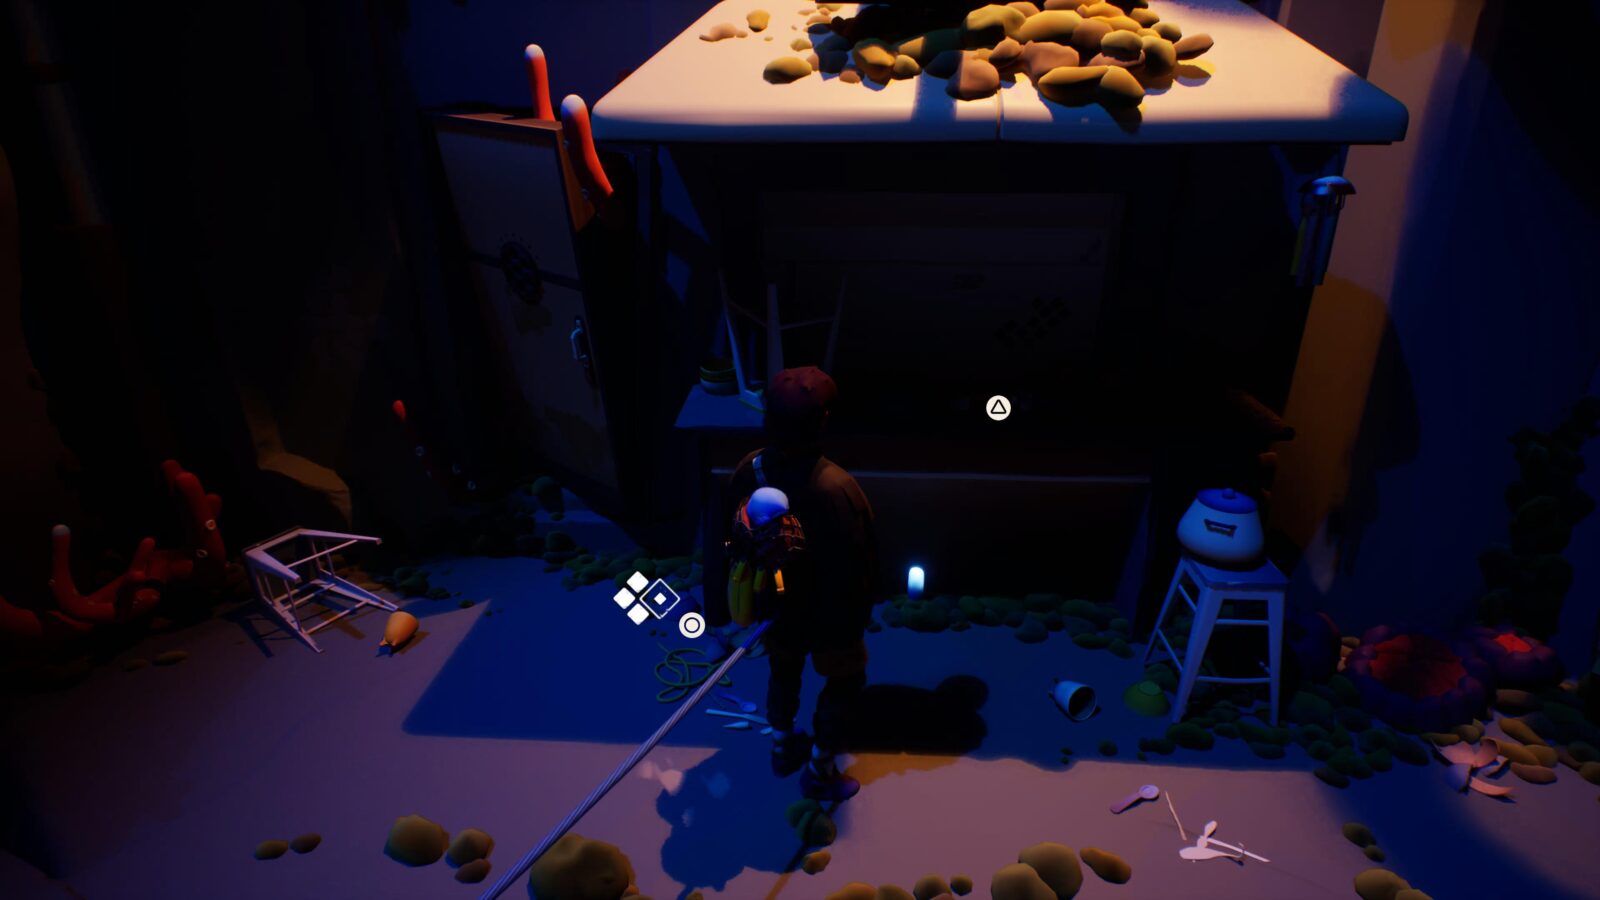
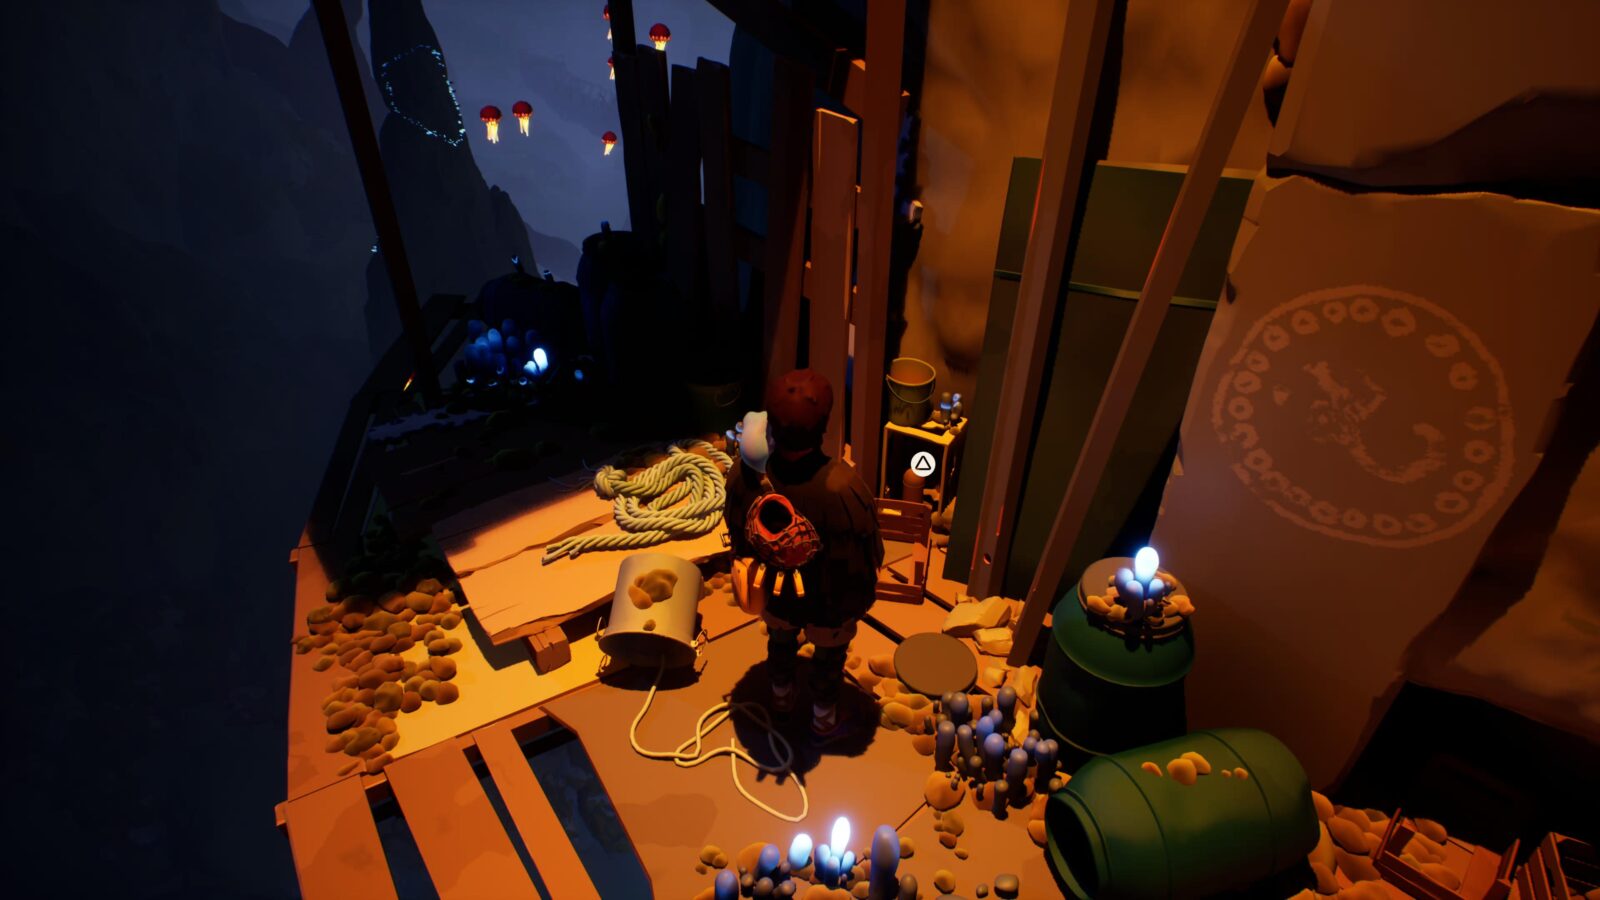
Don’t use the zip-line yet, go around the corner and climb upstairs. At the top, enter the small room containing ladders and climb up them to find this letter on a stool next to flipped tables.
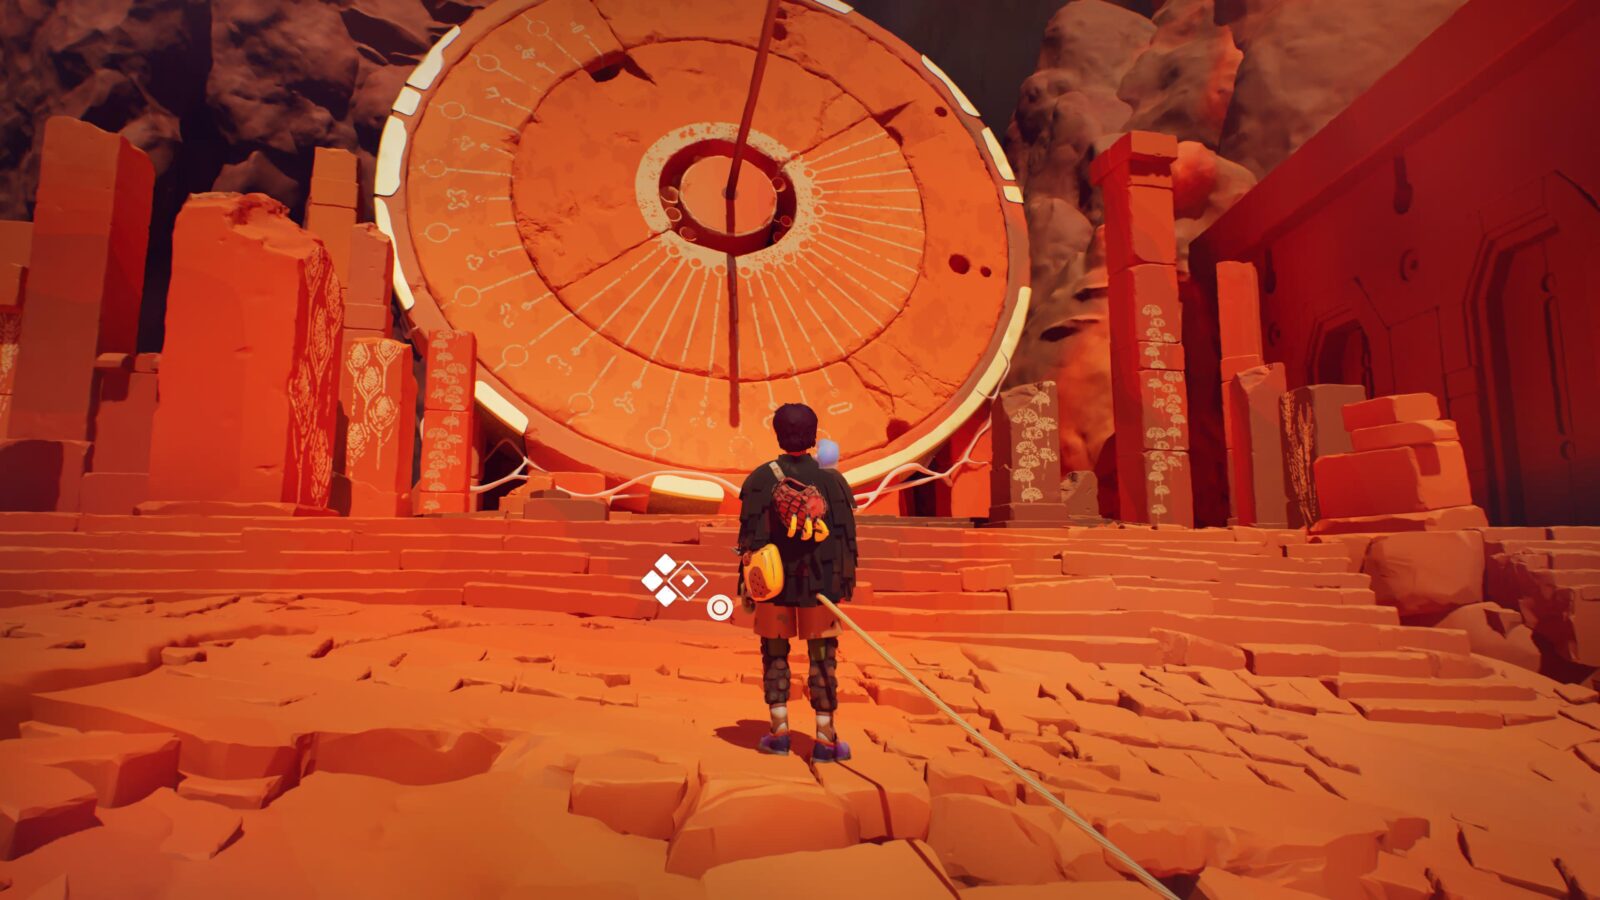
Journal Entry #6
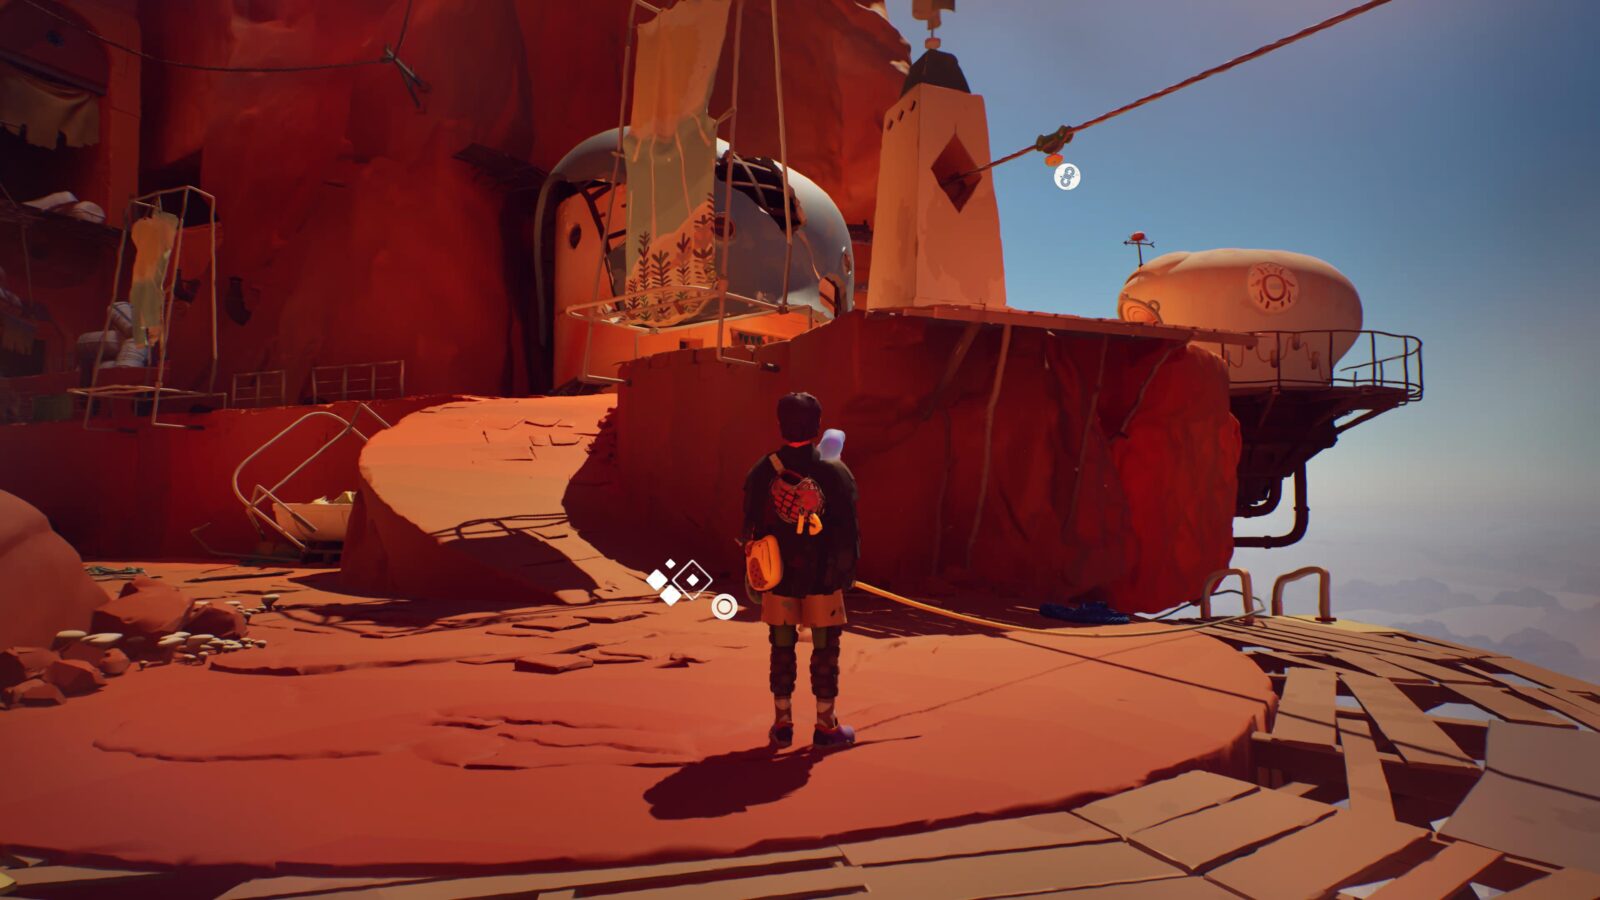
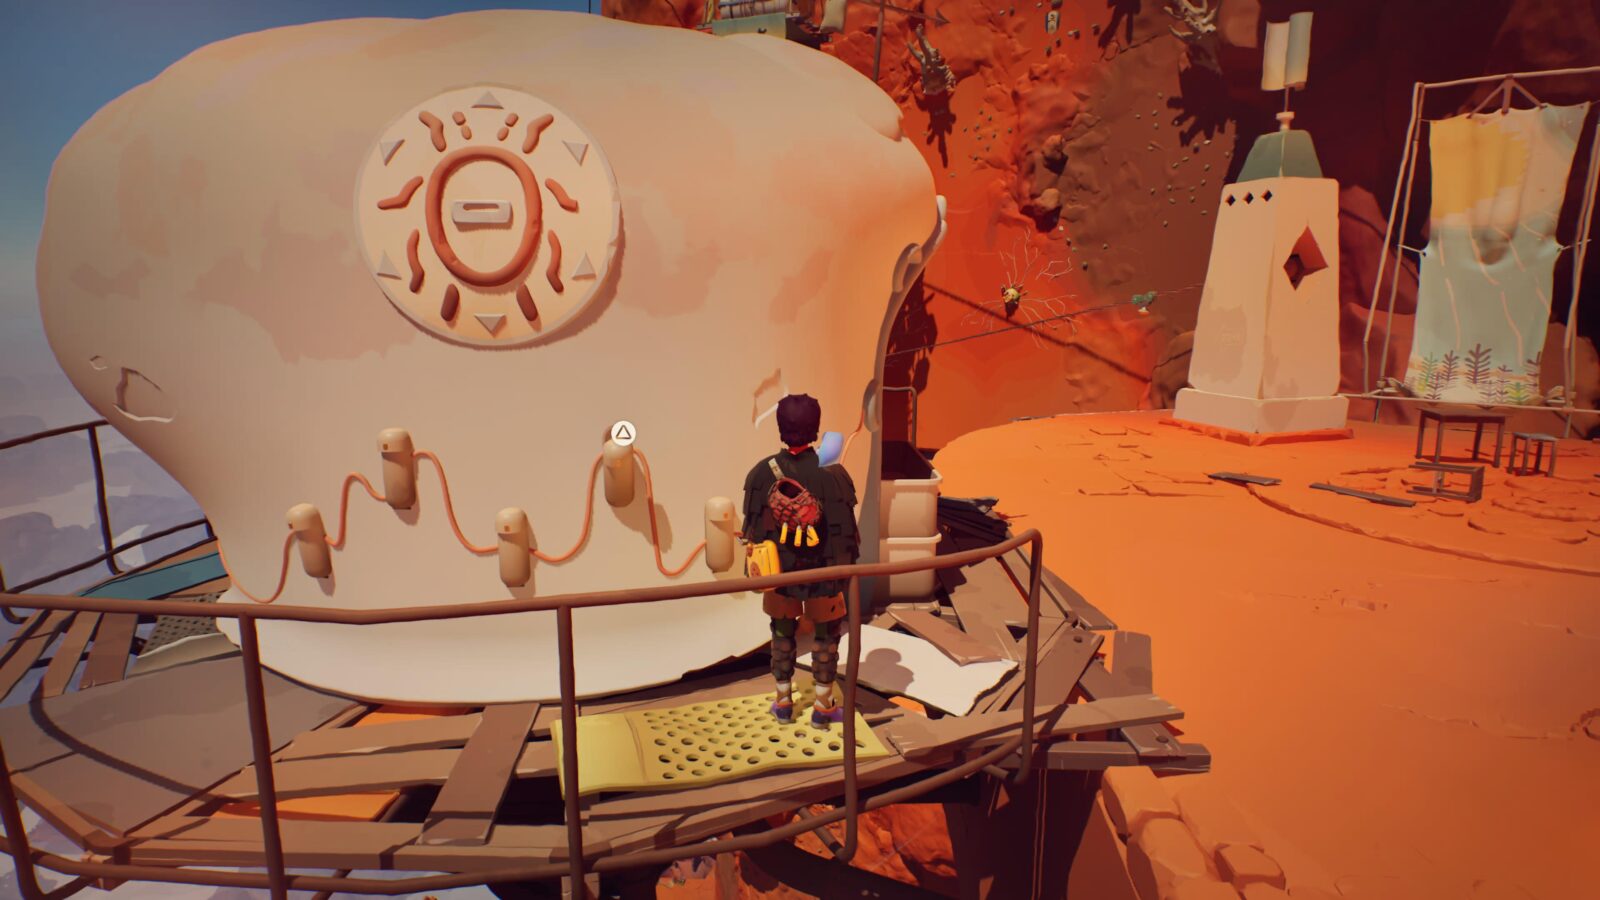
Continue on until you reach a huge stone wheel. Before interacting with it, turn around to see a small desk with this Journal Entry on it.
Chapter 4 Collectibles | "Convergence"
Chapter 4, known as “Convergence,” features the following collectibles:
- 15/44 Letters
- 3/12 Shells
- 5/20 Cairns
- 2/13 Journal Entry
- 3/12 Frescos
- 1/4 Altar
Letter #1
Make your way through the chapter until you reach a wall-swing section where you can either go up and to the right, or down and to the left.
Enter the blue doorway to the left and go down the stairs.
At the bottom, you’ll find this letter on a shelf.
Cairn #1
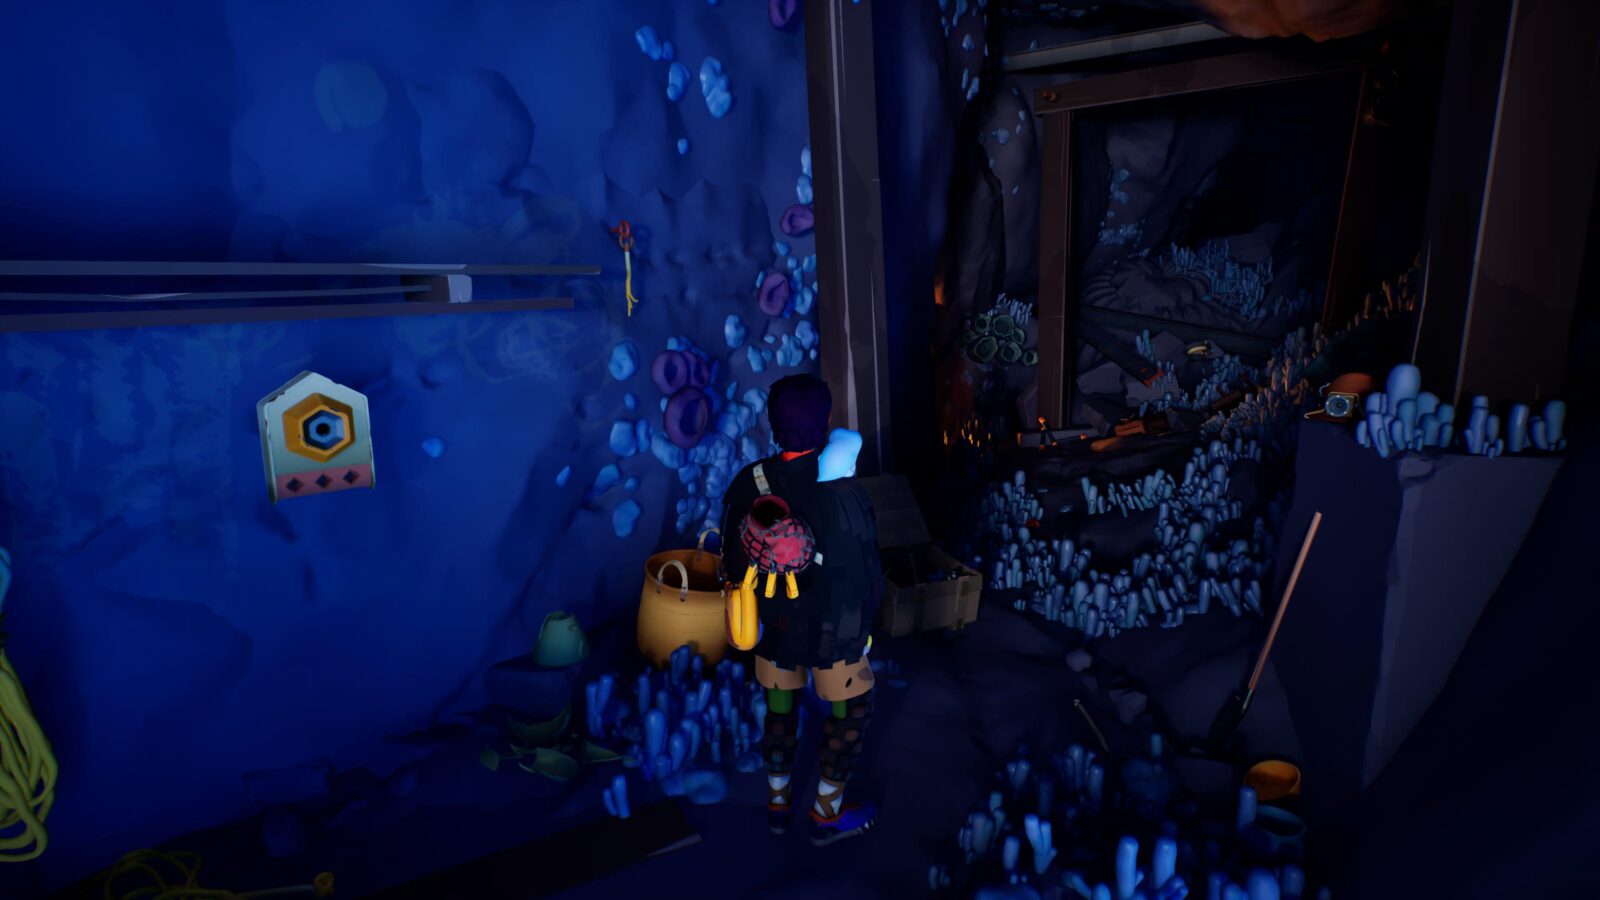
After you’ve opened the gate, head through it and then use the left ladder and cross the plank on the right to discover this cairn in a blue-lit room.
Shell #1
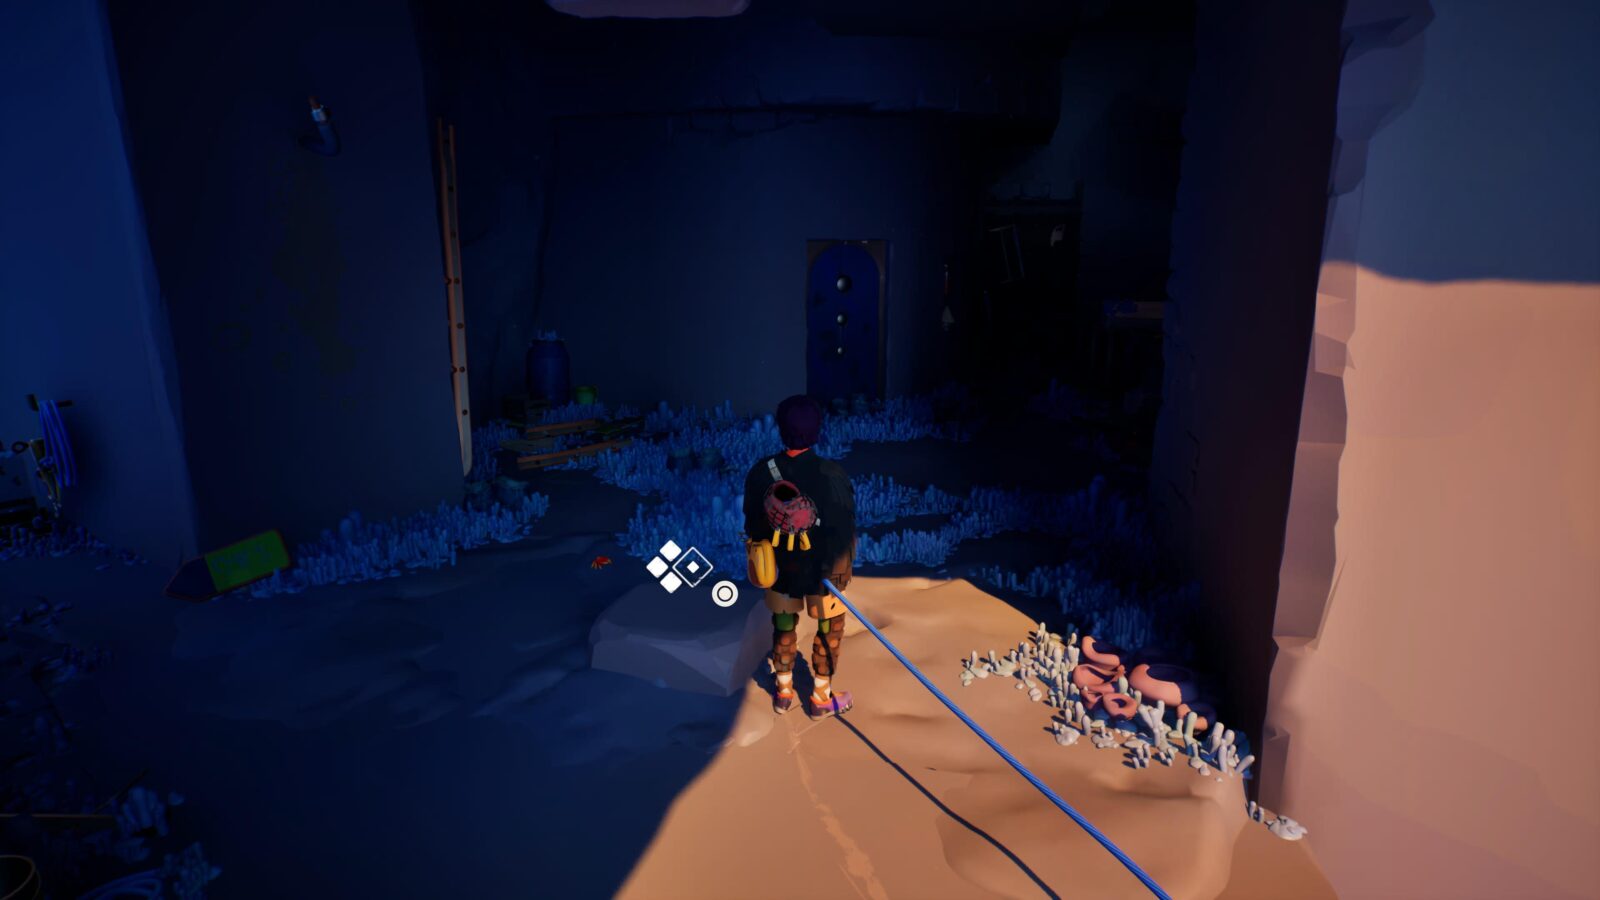
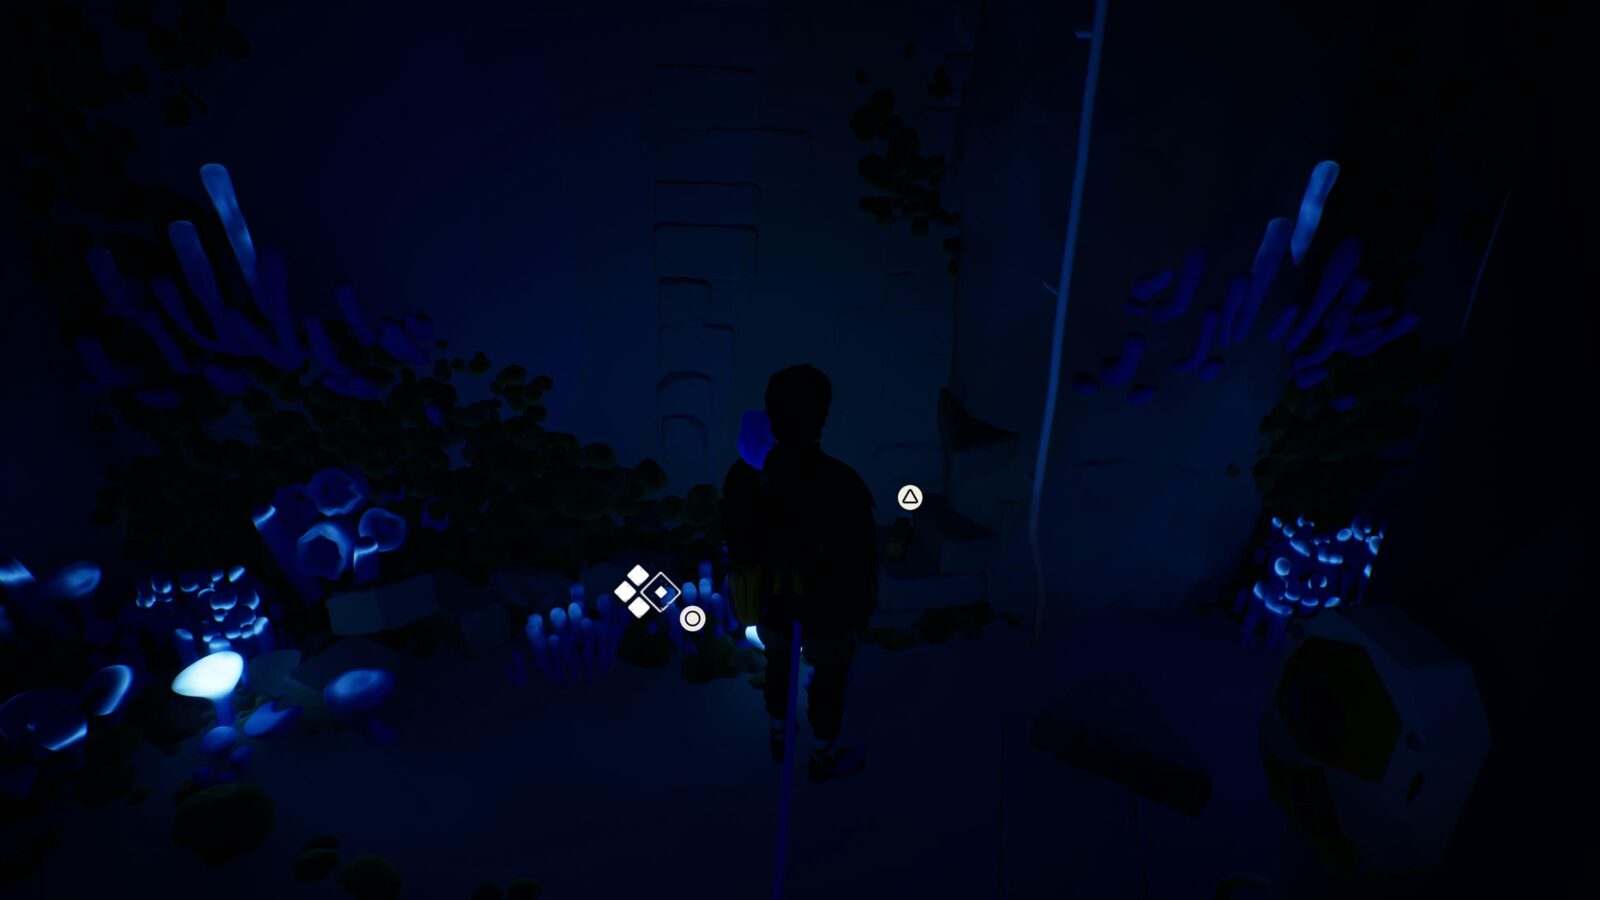
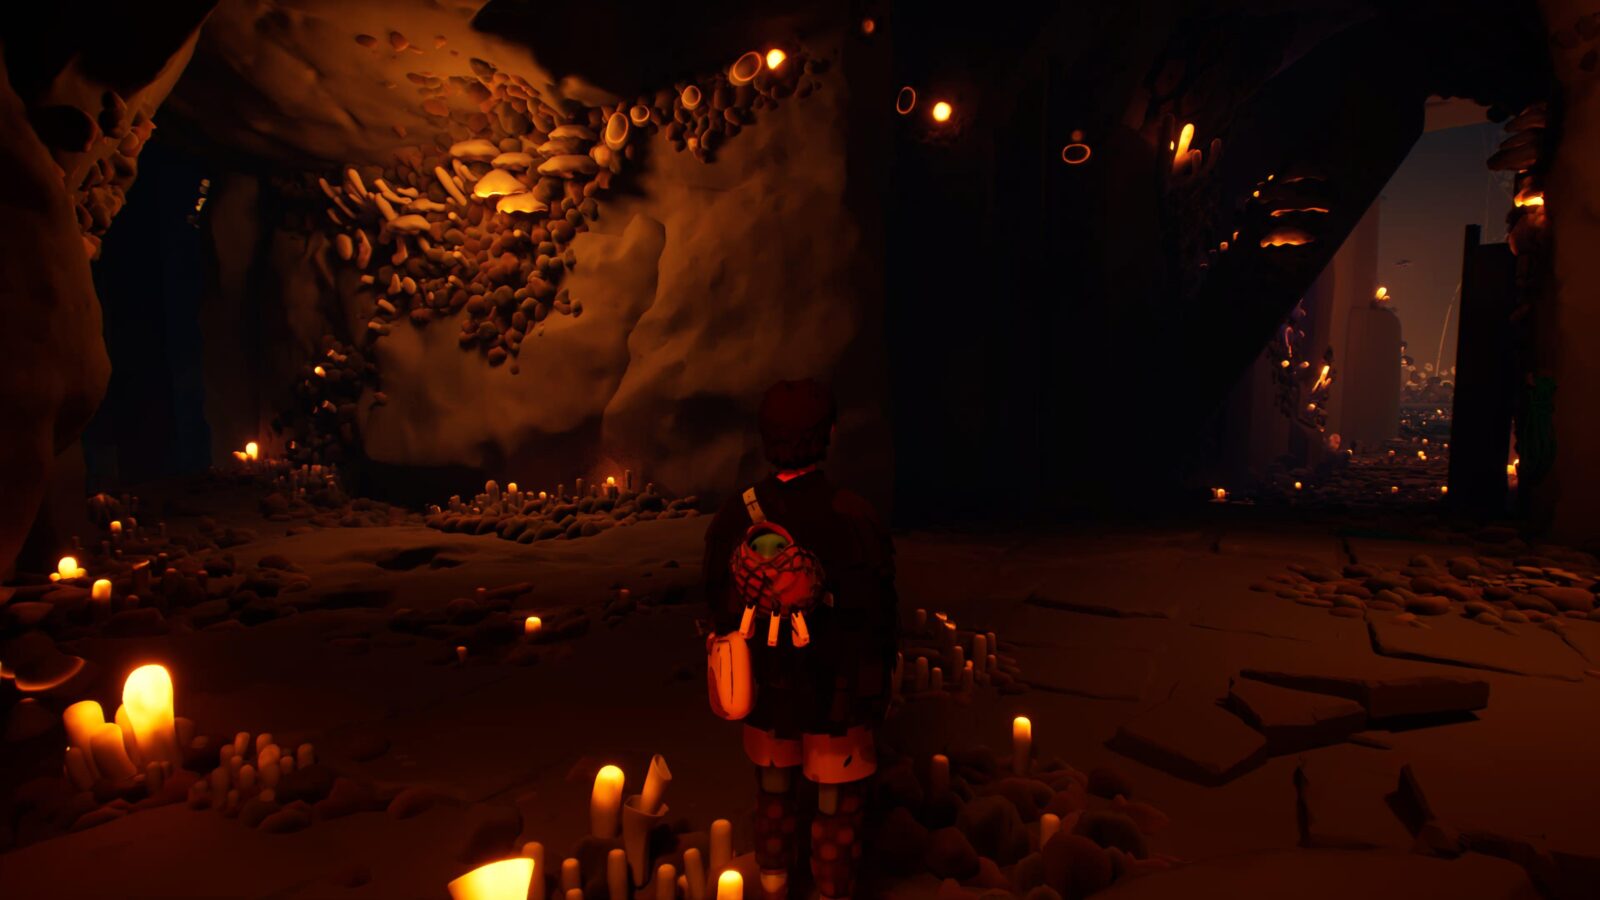
Continue through the chapter until you reach a large room with glowing mushrooms.
Here, go into the tunnel on the right and find this Shell on a step.

Letter #2
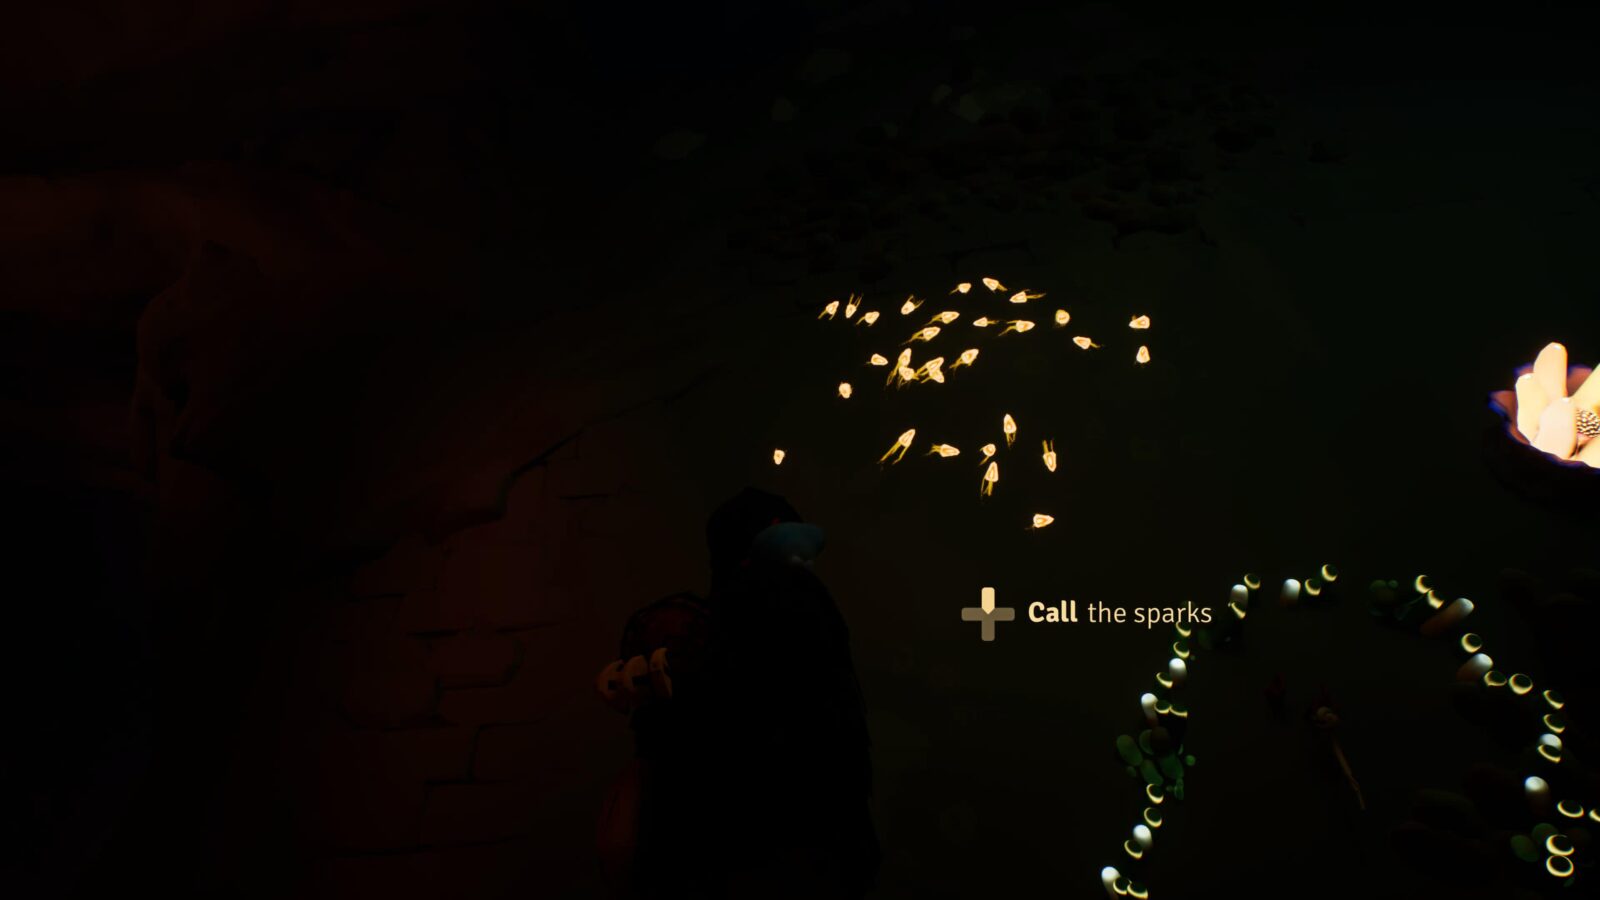
Opposite Shell #1, use the sparks with ![]() and then press
and then press ![]() to reach the handholds in the wall.
to reach the handholds in the wall.
Climb to the top of the wall and then cross the plank to find this Letter by a Blue Door.
Journal Entry #1
Head back to where you got Shell #2.
This time, instead of using the Sparks on the wall, go to the end of the corridor.
There, you’ll find this Journal Entry on a table.
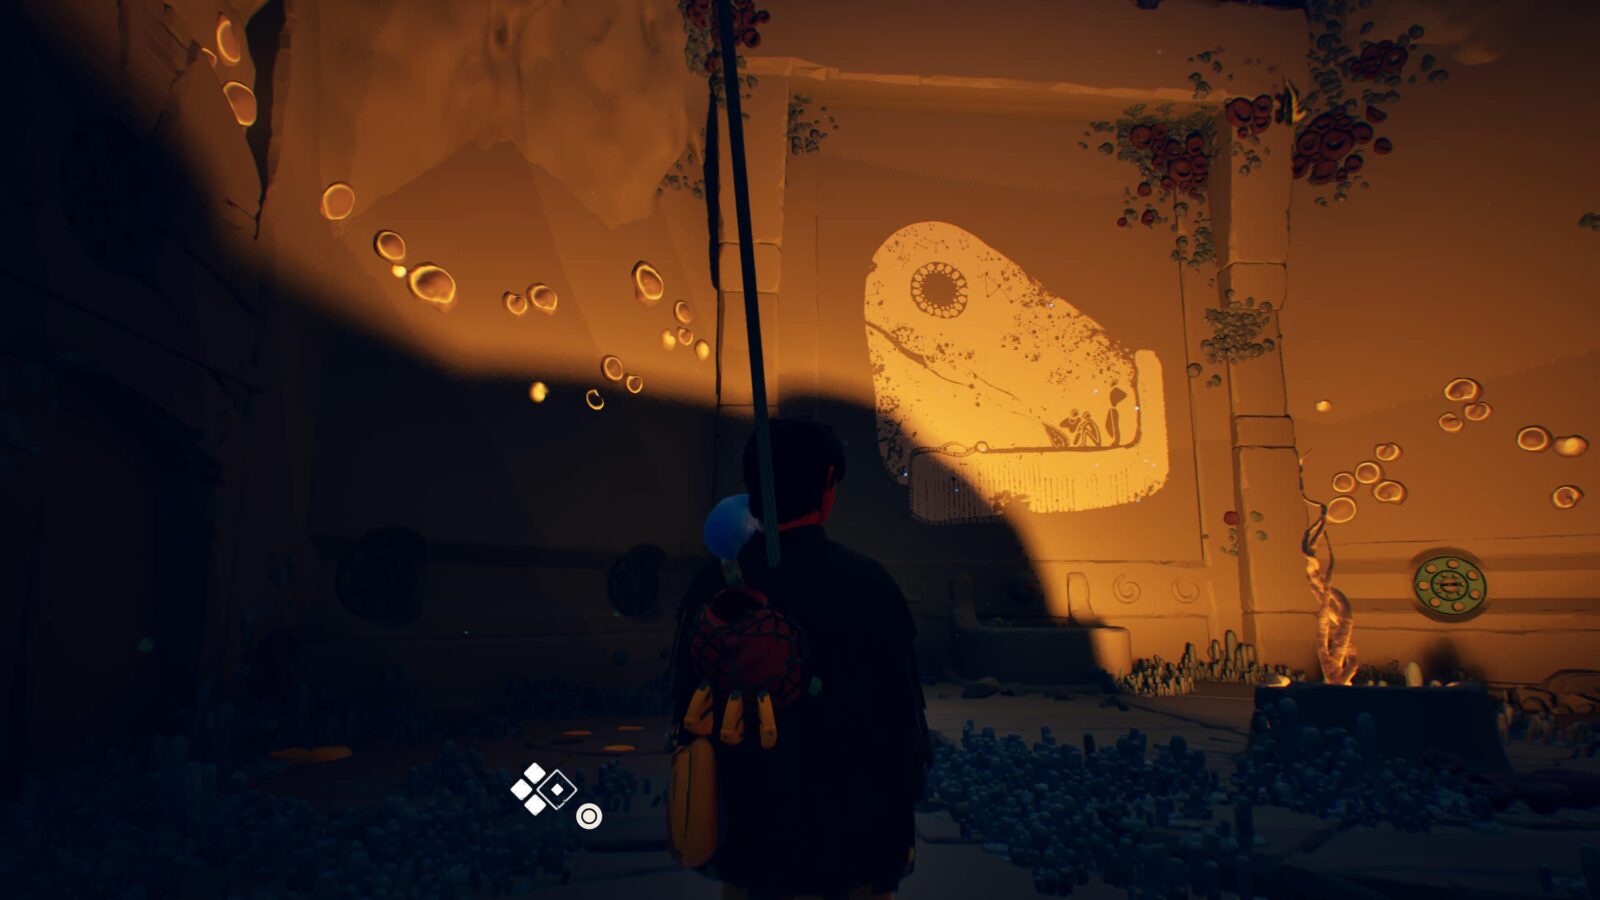
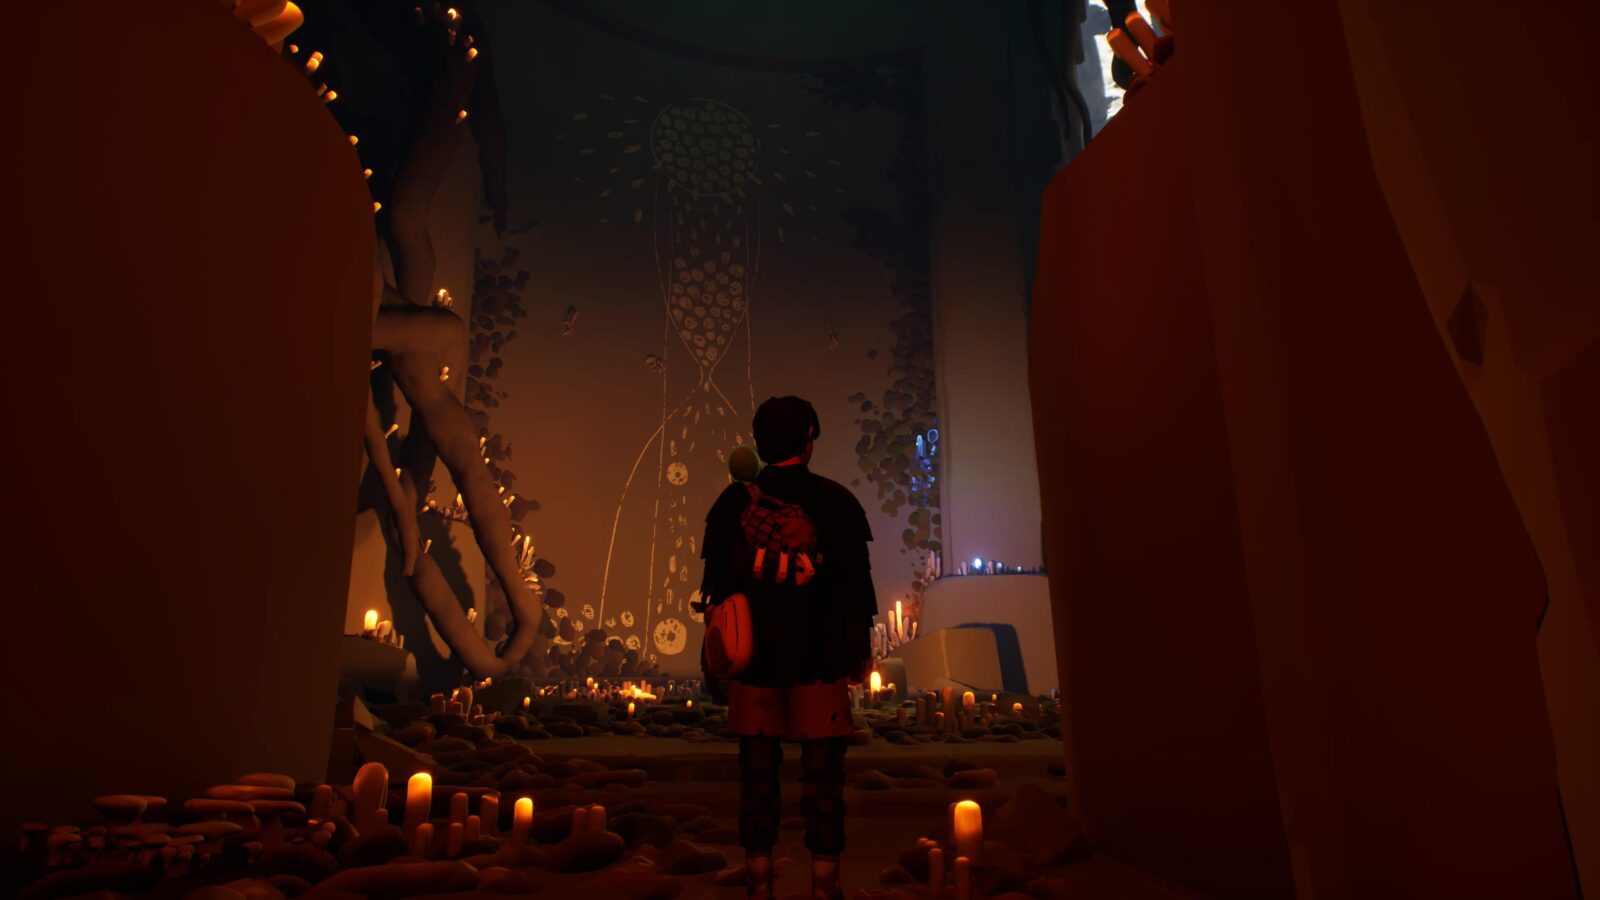
Fresco #1
From Journal Entry #1, turn around and take a left down a purple hallway.
At the bottom, you’ll be in this Fresco room.
Letter #3
Back in the main room, use the sparks to reach the top of the wall on the left side.
From the top, make your way up the ladder to find this letter at the top.
Journal Entry #2
Go back down the ladder, open the doorway, and head through.
You’ll be back at the grapple point. Use it to swing up to the sparks on the wall to the right and continue on through the chapter.
Eventually, you will pull down a plank and cross it. In the orange study-like room at the other side, you’ll find this Journal Entry on the table.
Letter #4
Same place as Journal Entry #2, in the corner.
Letter #5
Climb up the wall to the Ceiling Fan Grapple Point and use it to swing across to the wall at the other side.
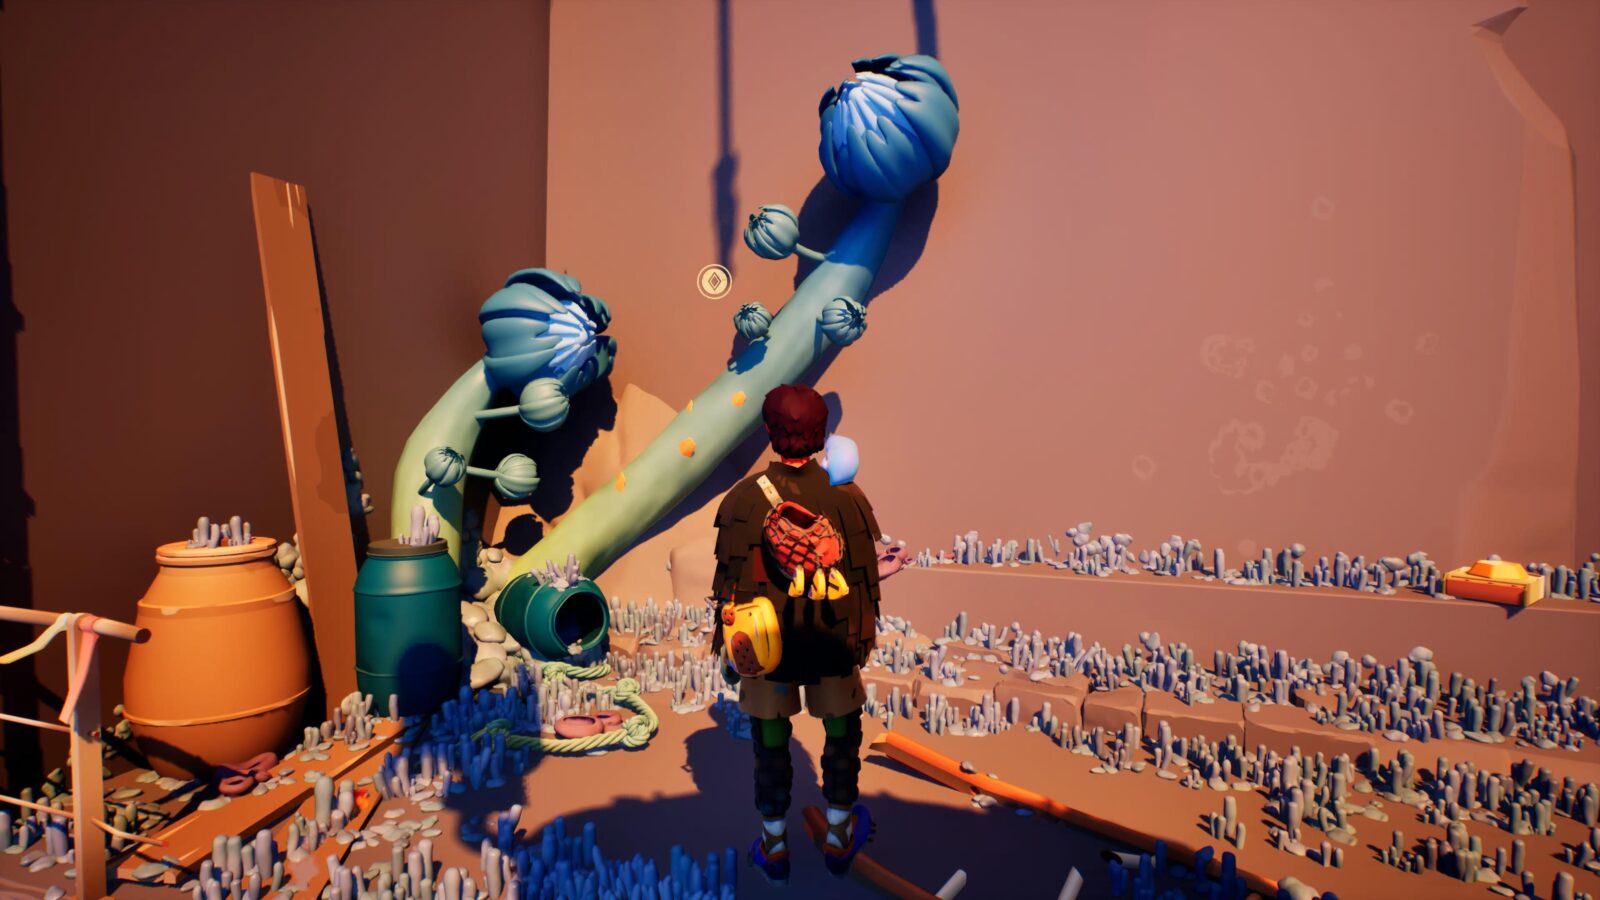
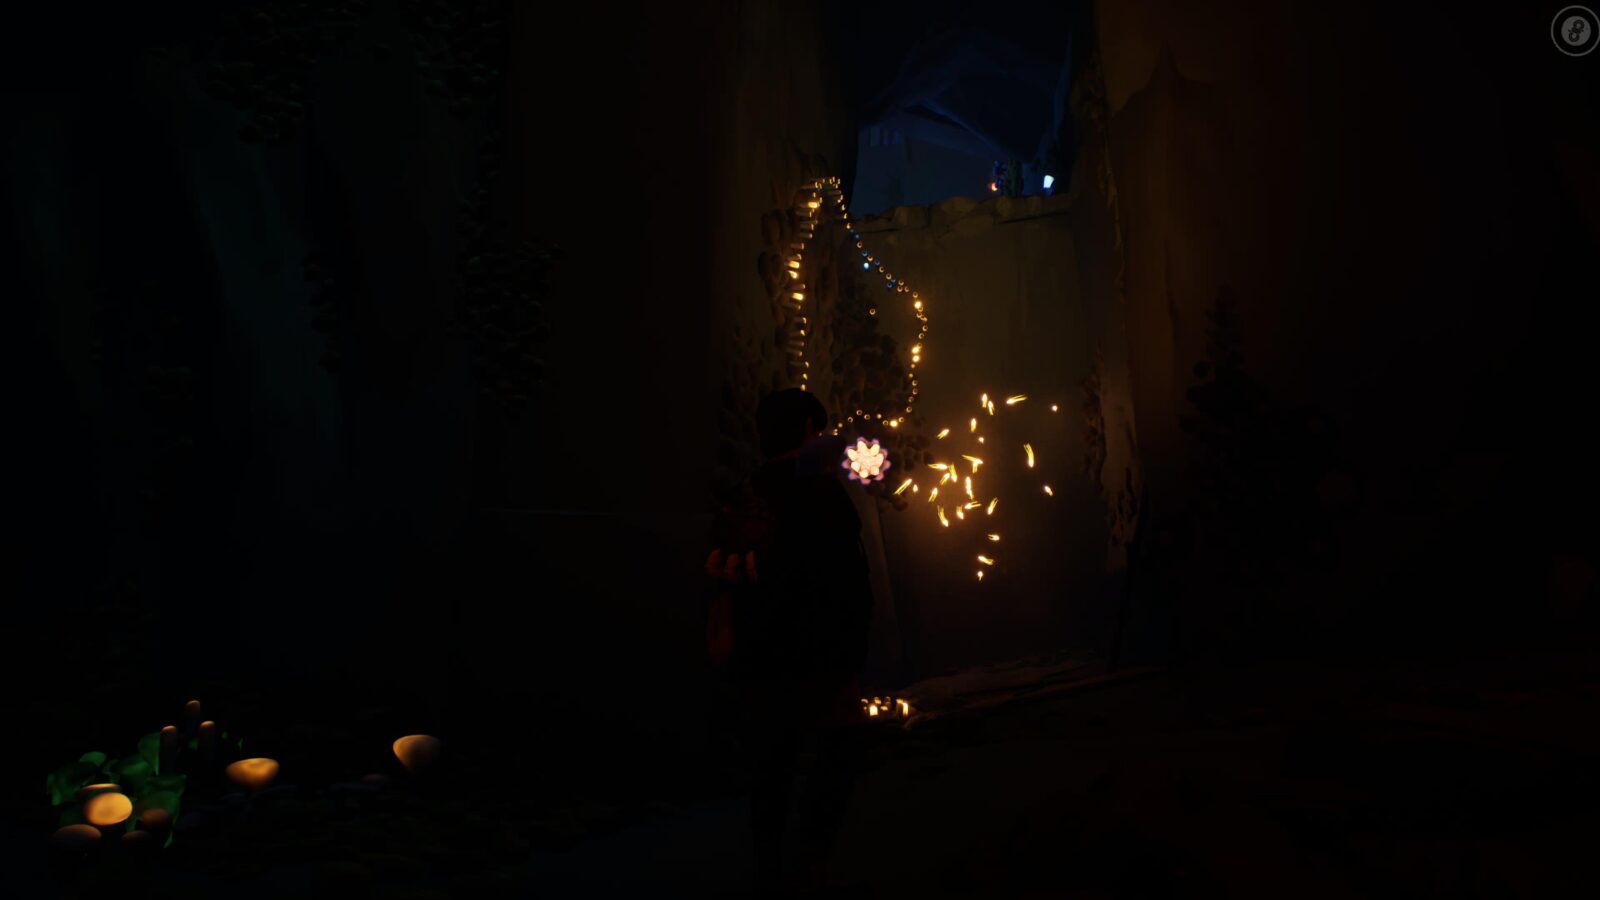
Make your way up to the plant bud at the upper-left (use the sparks to reach the vine, then go left). Press ![]() to activate the bud and then climb the seed pods up to the ledge on the left.
to activate the bud and then climb the seed pods up to the ledge on the left.
Head deeper into the tunnel to find this letter at the end.
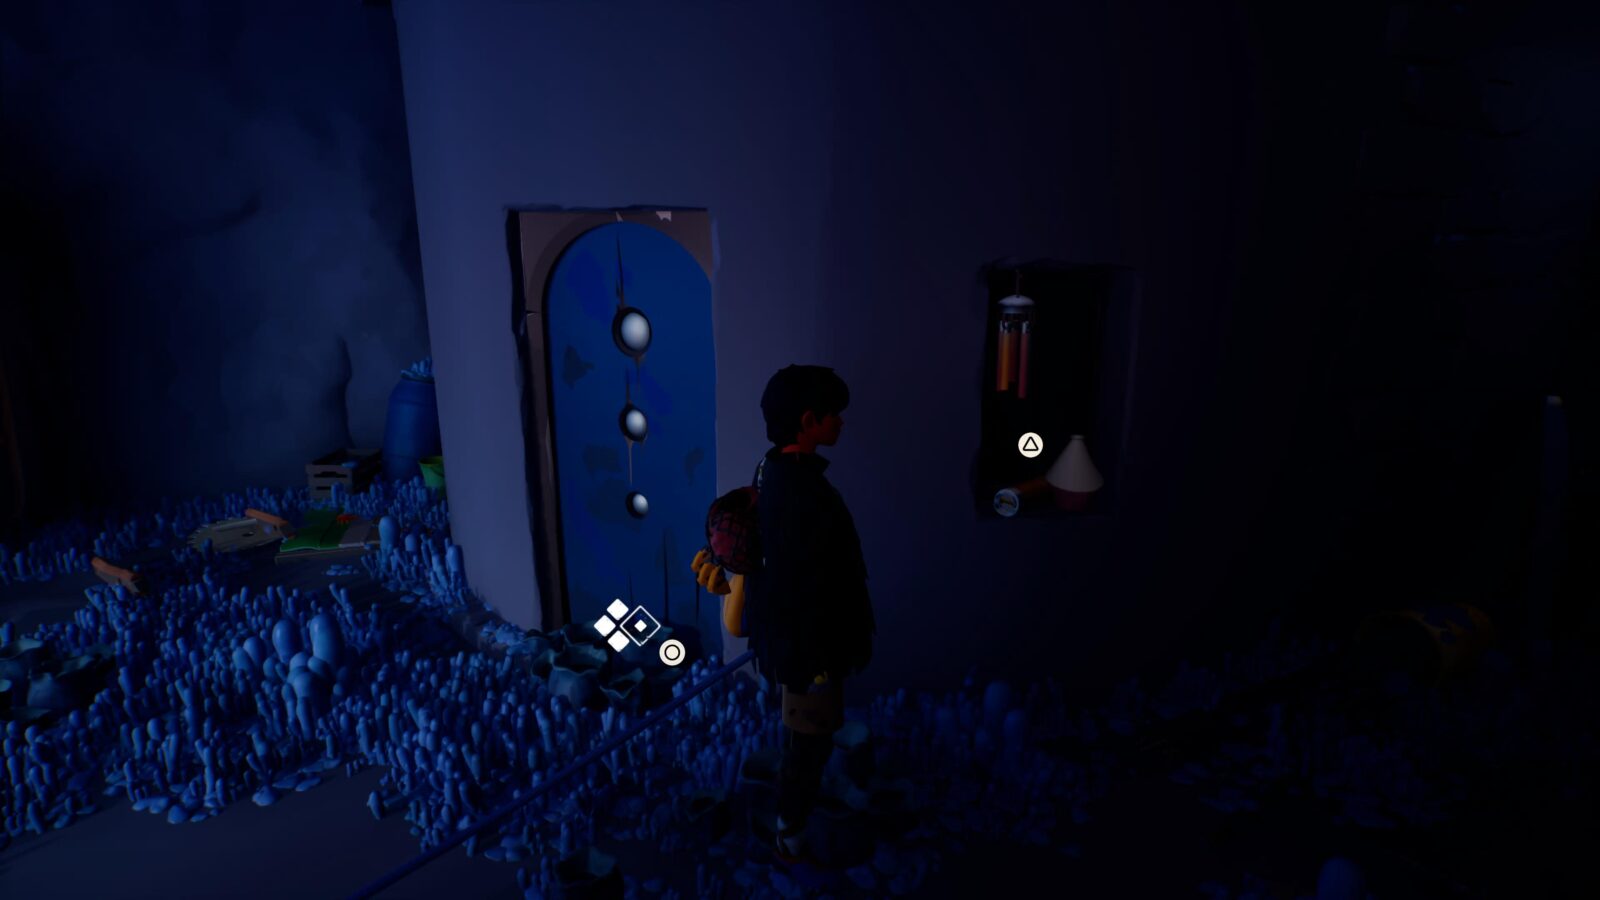
Letter #6
Continue on the main path for a very long time until you reach a door you need to open via a wheel. Near that wheel, you’ll find this letter pinned to the wall next to a blue door.
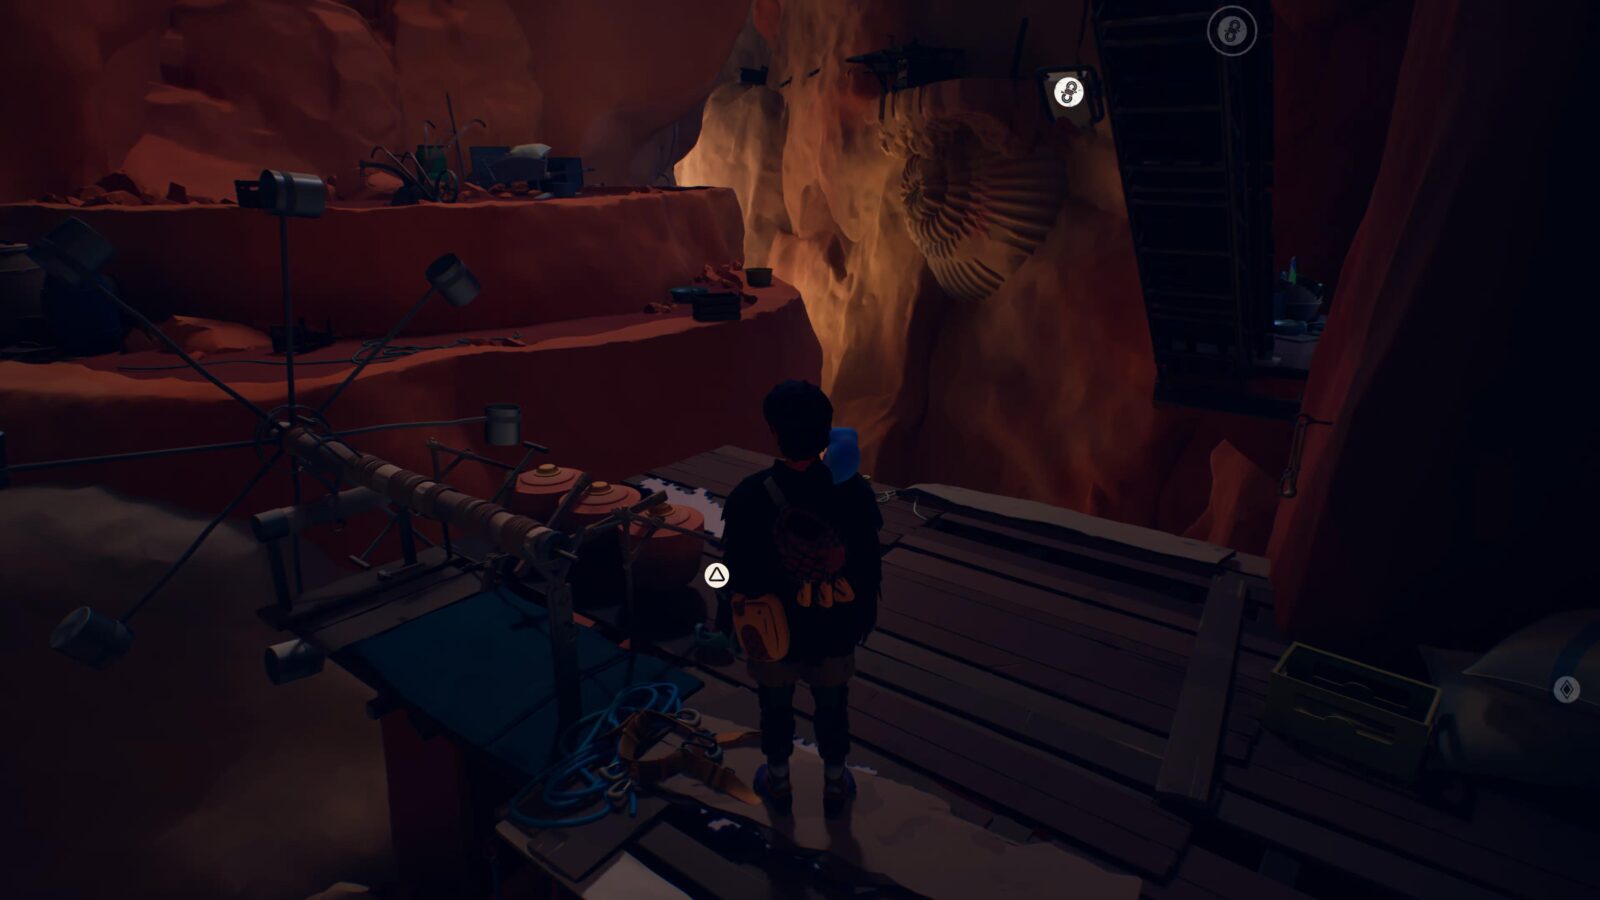
Fresco #2
Open the door with the wheel and go down into the orange-lit fork in the path. Go right and you’ll enter a Fresco Room.
Cairn #2
Use the zipline and you’ll land near an elevator. Ride the elevator up to reach another room.
On the left side of this room, in the corner, you’ll find this Cairn.
Letter #7
Climb the ladder nearby and go to the right. Head to the end and then jump across the gap to the platform on the opposite side.
There, you will see this letter pinned to the wall.
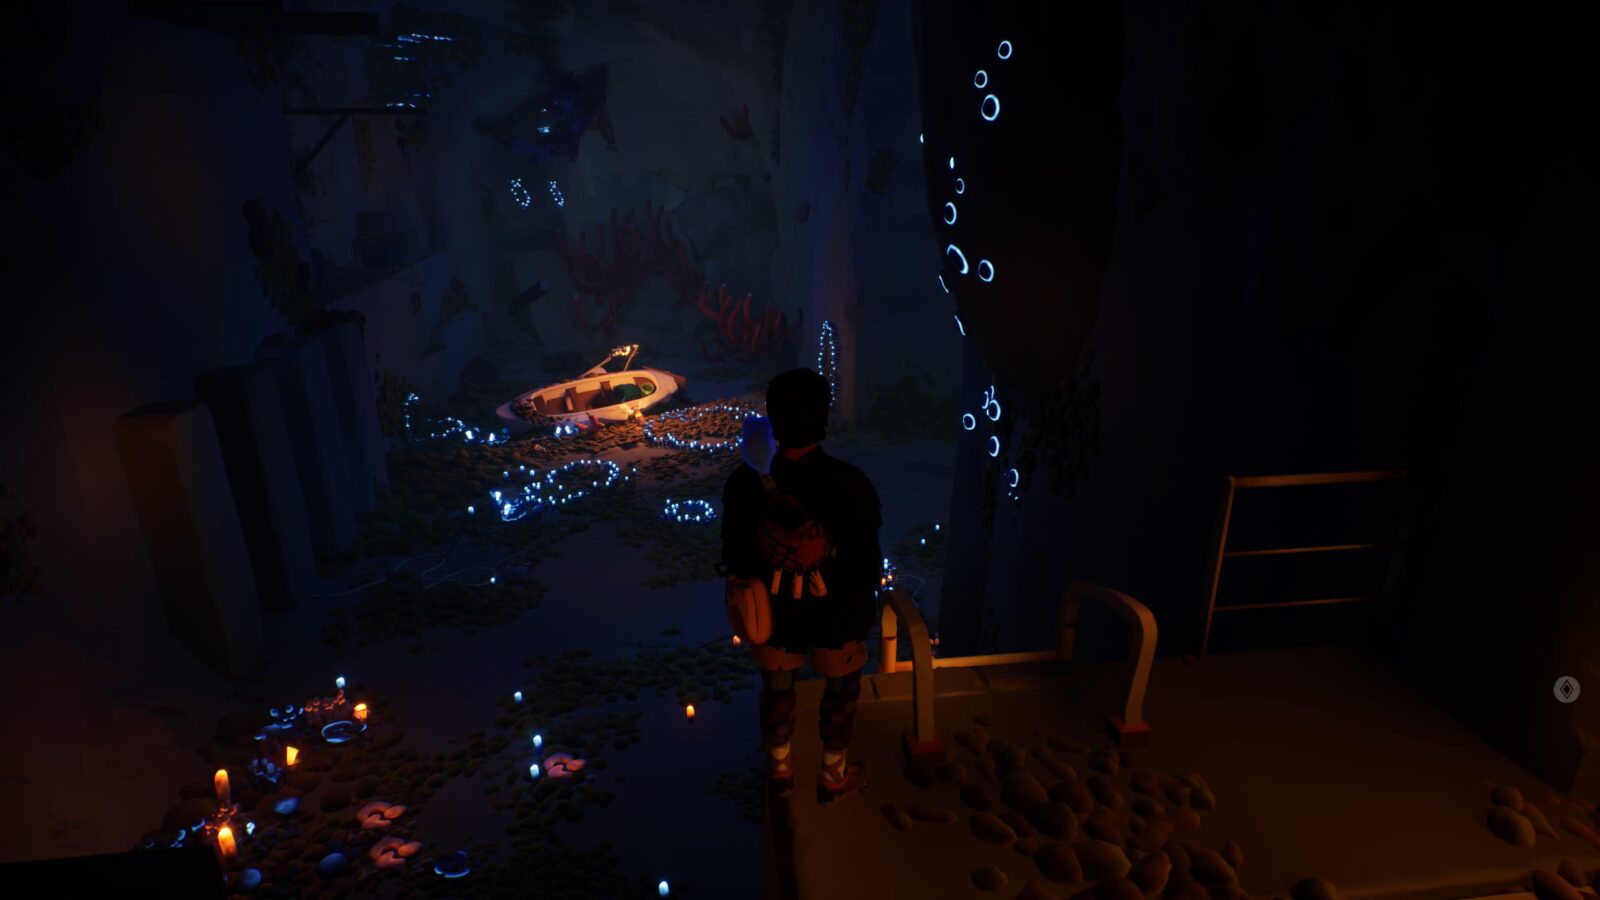
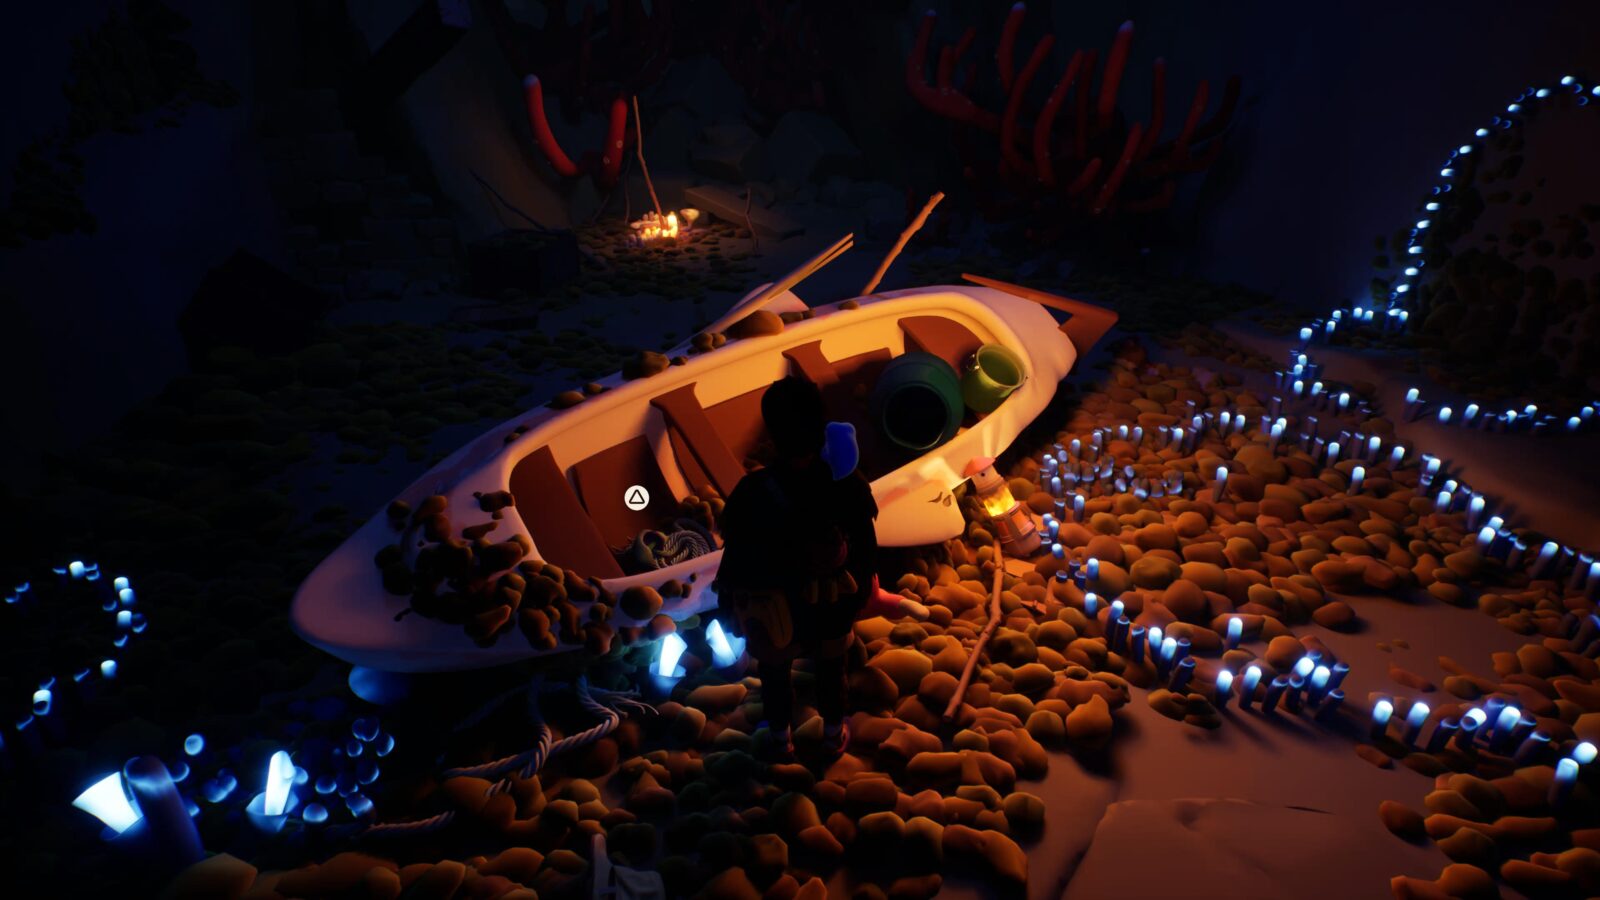
Shell #2
Drop down the ladder on your left and you’ll find this shell in a wrecked boat in that area.
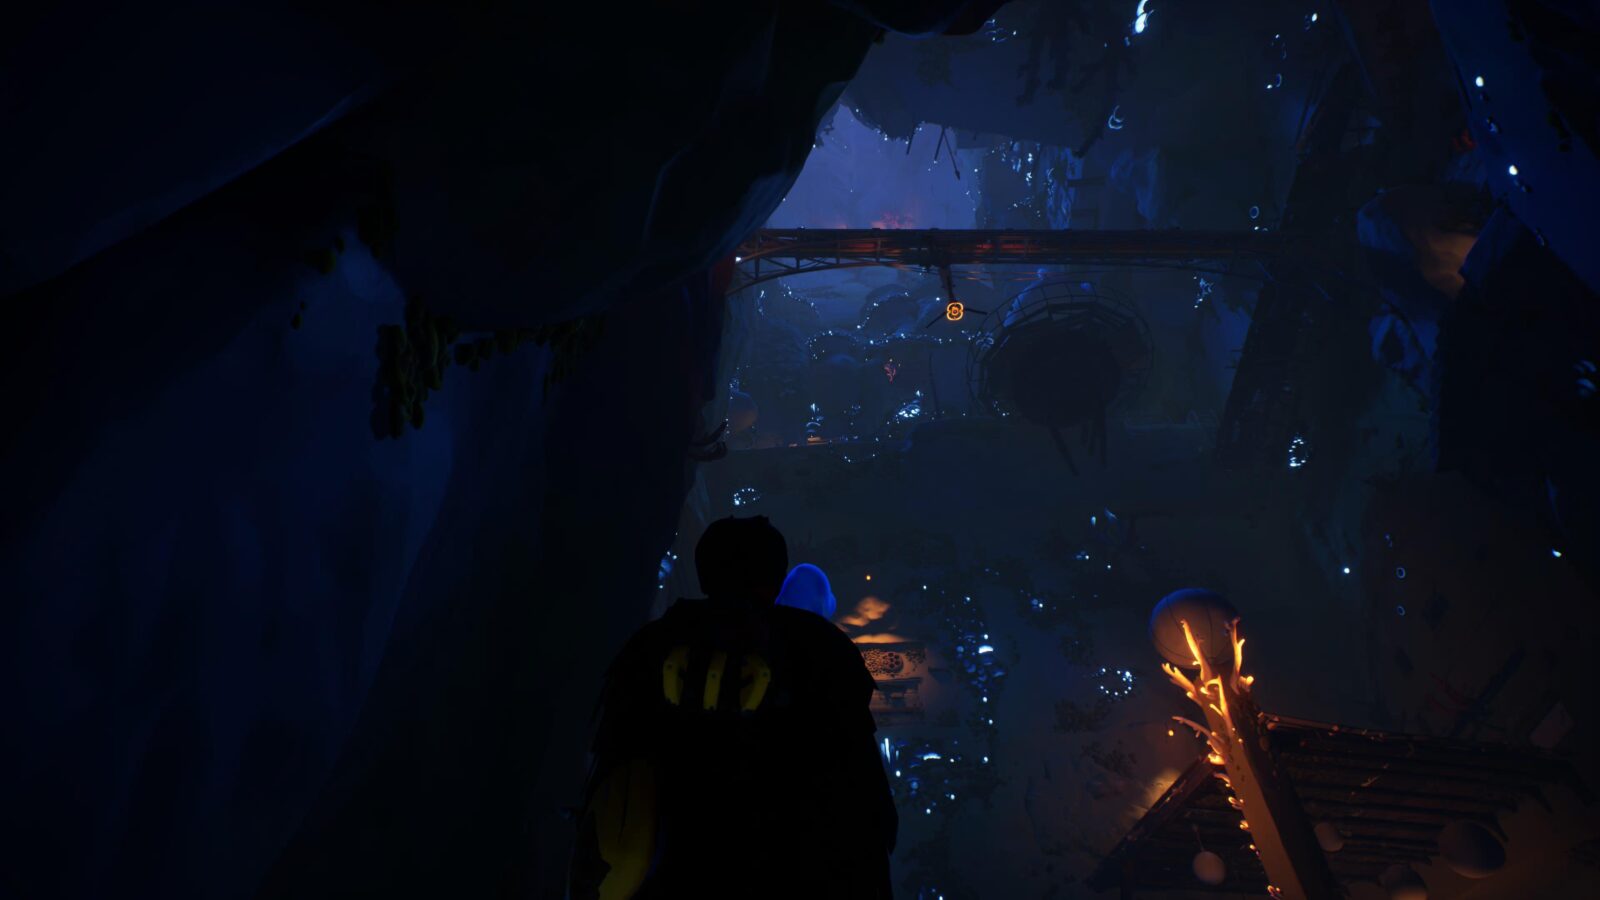
Letter #8
In a huge blue-lit room with a fan at the center, stick to the right wall to find this letter below some blue mushrooms.
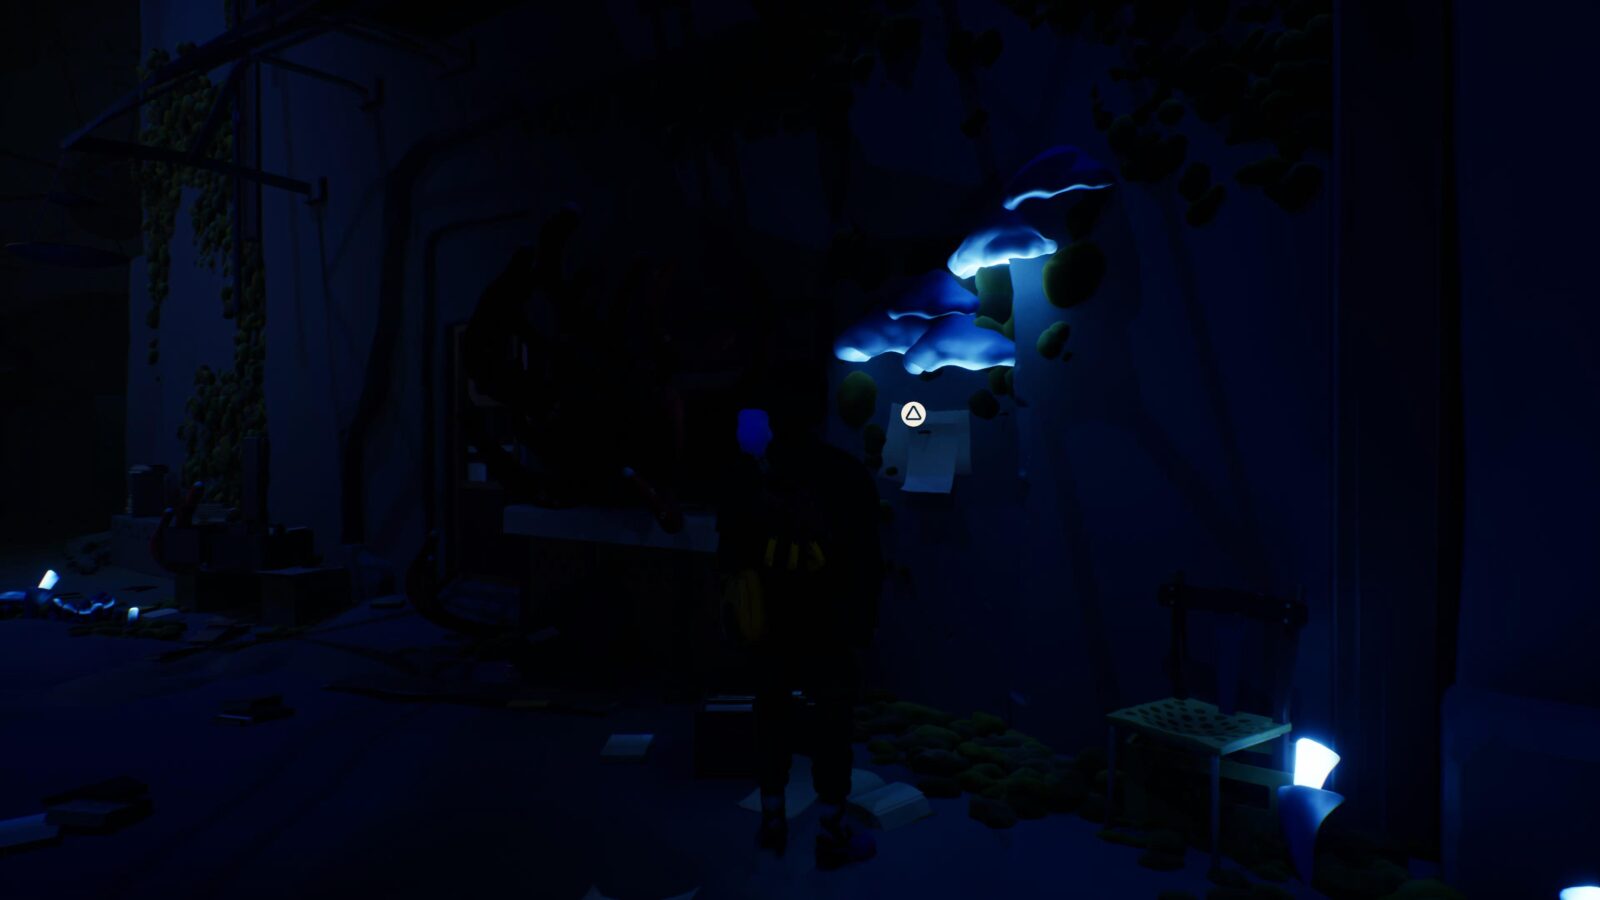
Letter #9
In the same room as Letter #8, check the opposite wall to find this letter near a door.
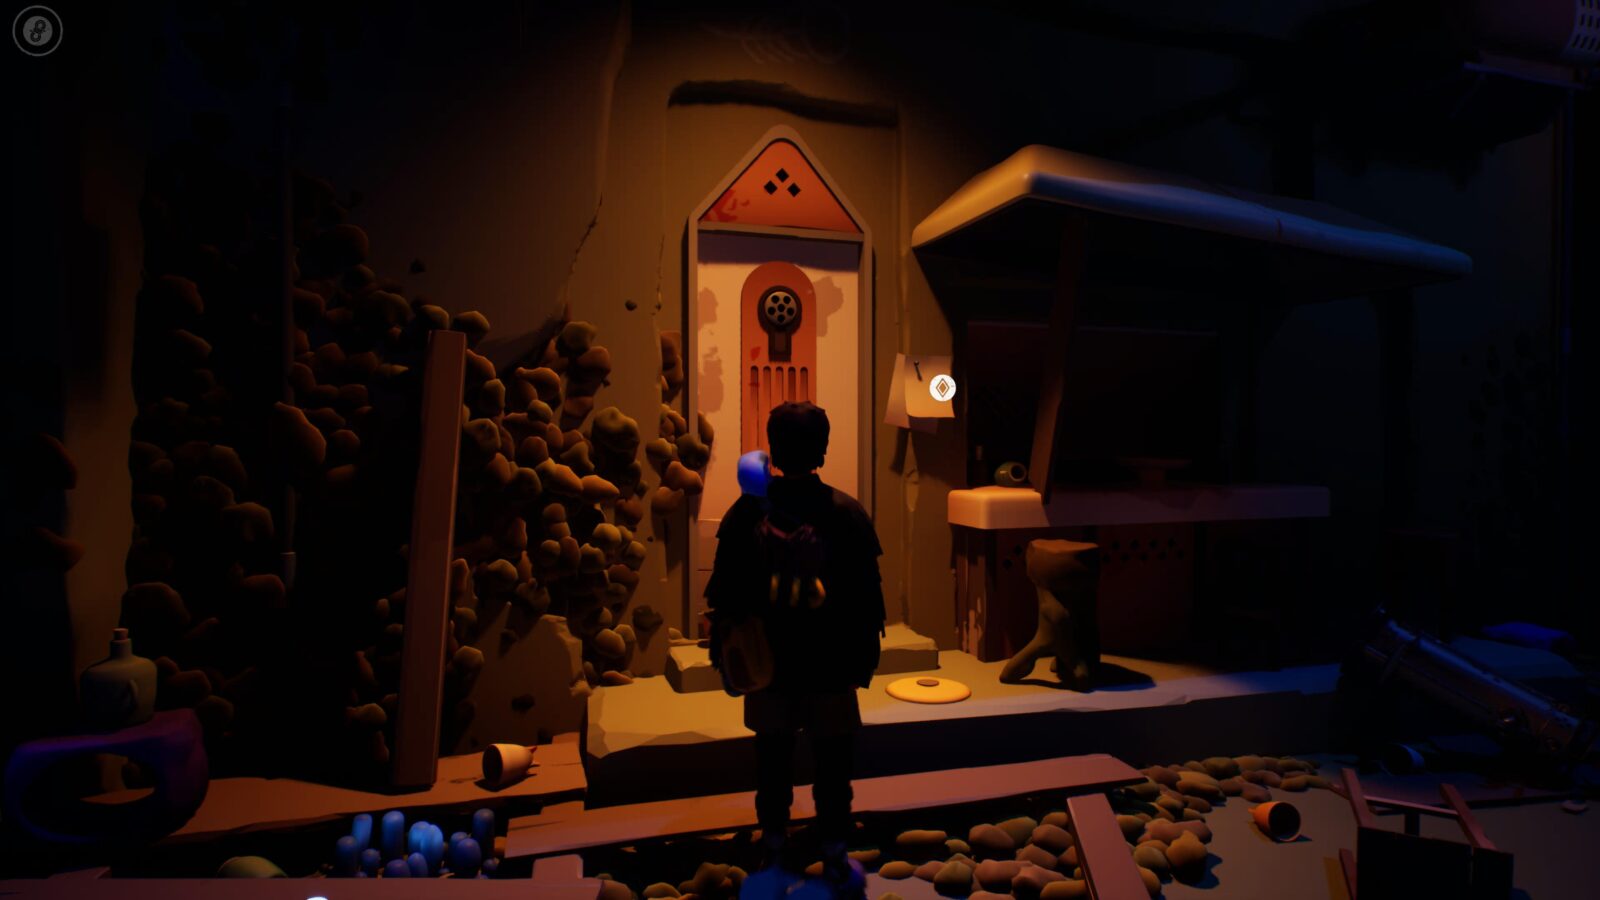
Letter #10
Once you’ve grappled the ceiling fan, look left and swing to the stall on the ledge. The stall has this letter on it.
Cairn #3
Use the fan swing again to reach the wall, then use ![]() on the plant to reach a ledge directly above Letter #10.
on the plant to reach a ledge directly above Letter #10.
Up there, cross the thin bridge and you’ll find an orange-lit alcove with a cairn in it.
Letter #11
Go back across the narrow bridge and then go left to a ladder.
At the top of the ladder, on the catwalk around the round white house, you’ll find this letter.
Altar #1
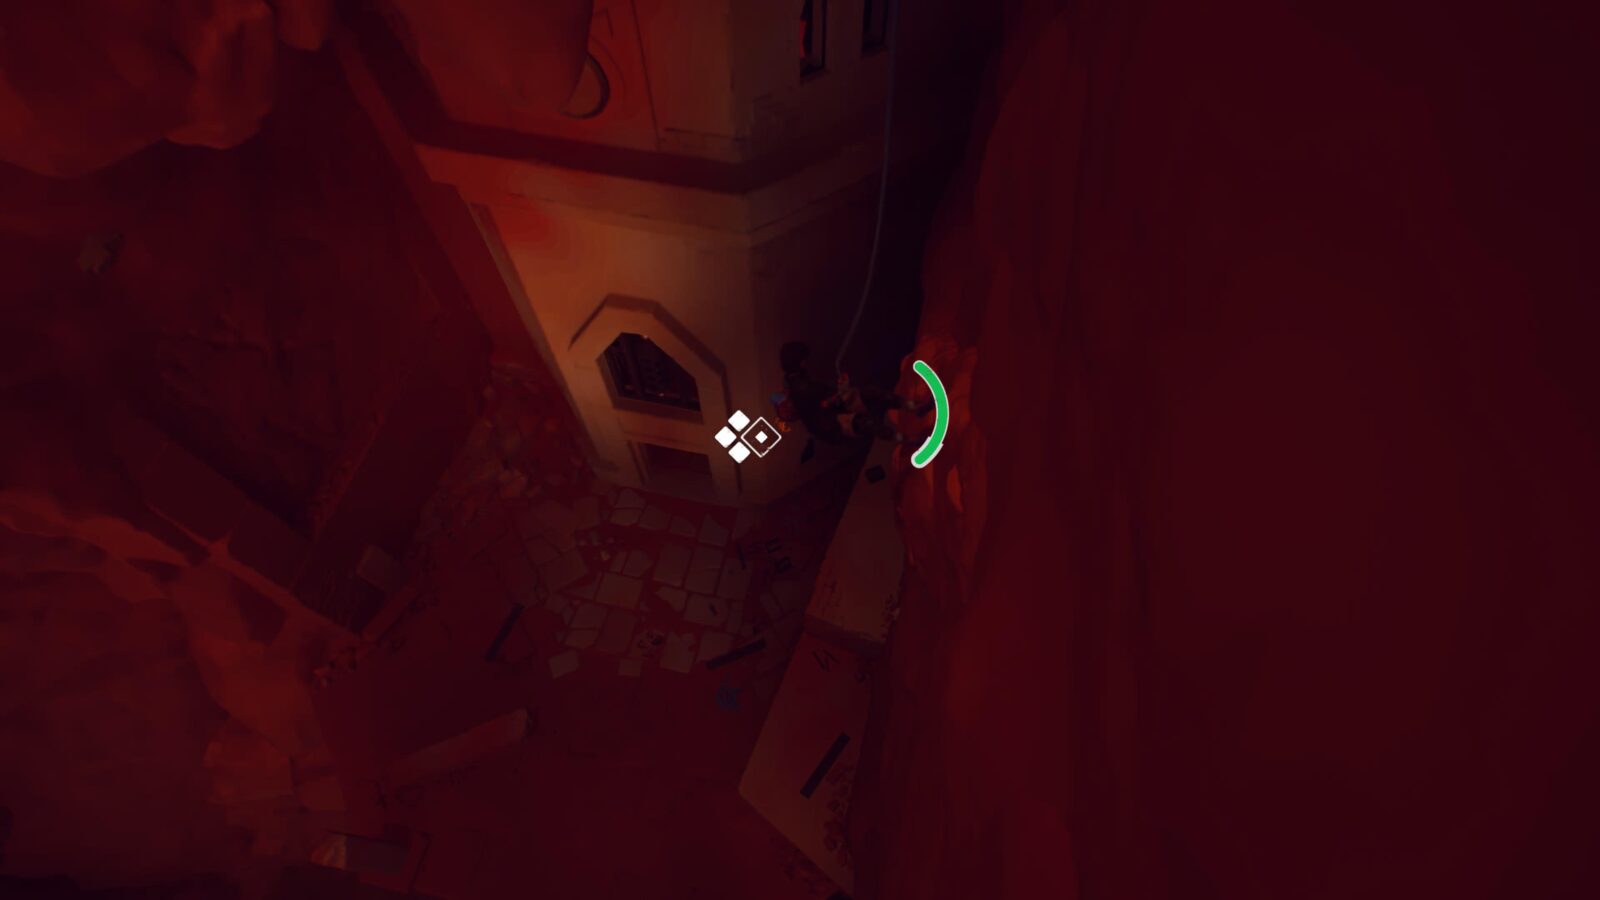
At the top of the long wall climb, there’s a ledge leading to an orange-lit doorway.
Cross the ledge but go right instead of through the doorway. Attach yourself to the checkpoint don’t he wall, then lower yourself down to the doorway below.
Head inside to find an Altar.
Cairn #4
Return back to the orange-lit doorway above and go through it.
In the next room, you’ll see this Cairn on the left.
Fresco #3
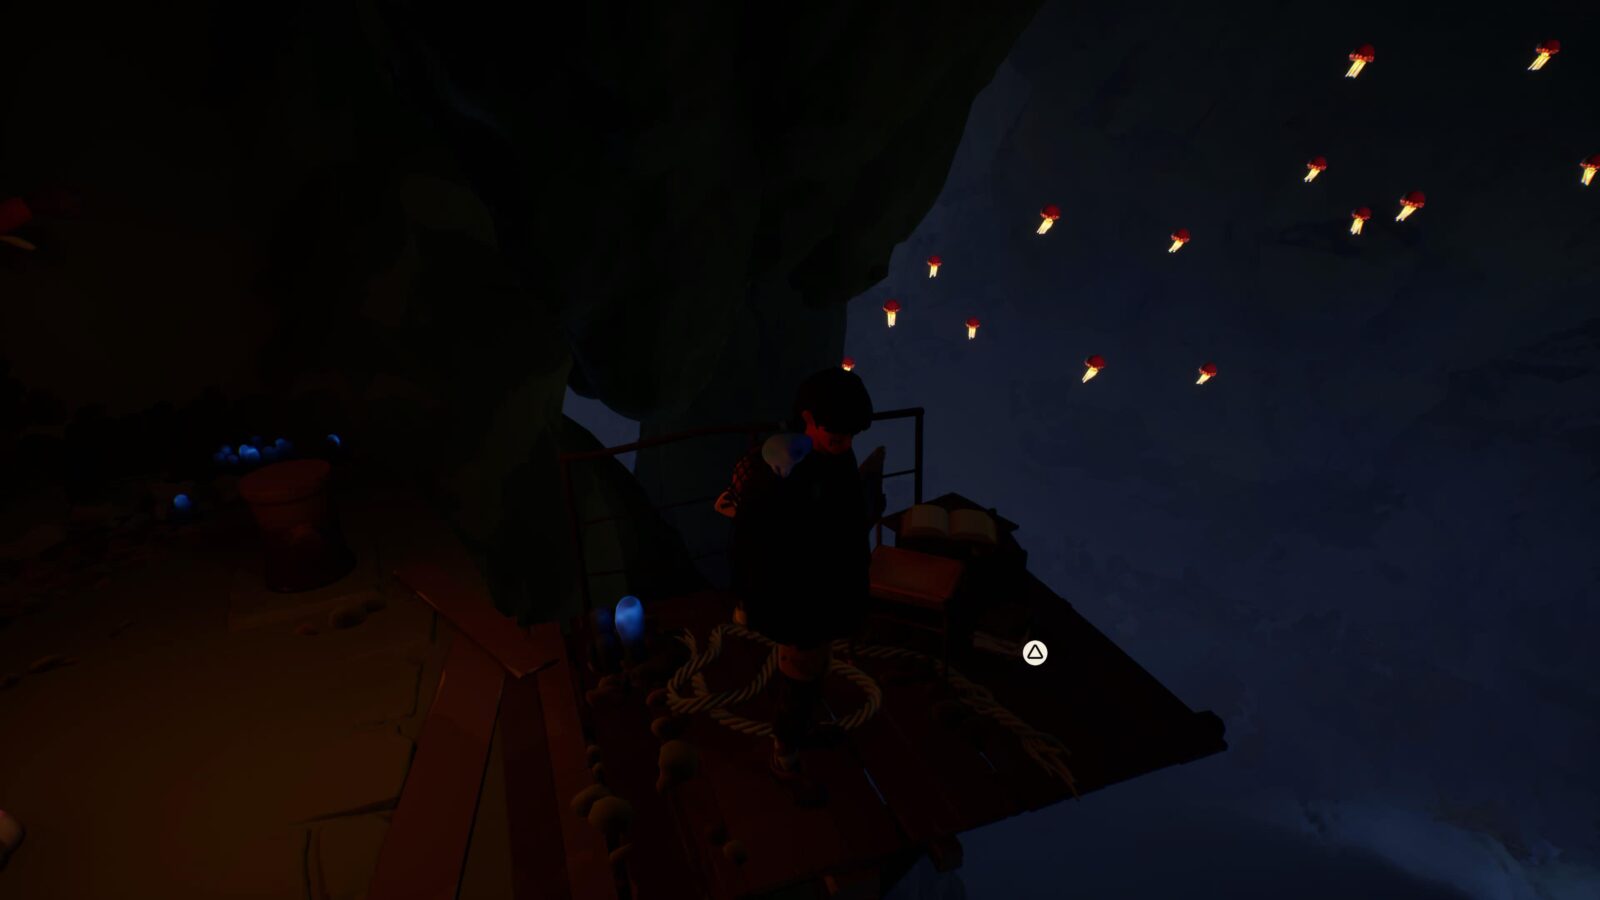
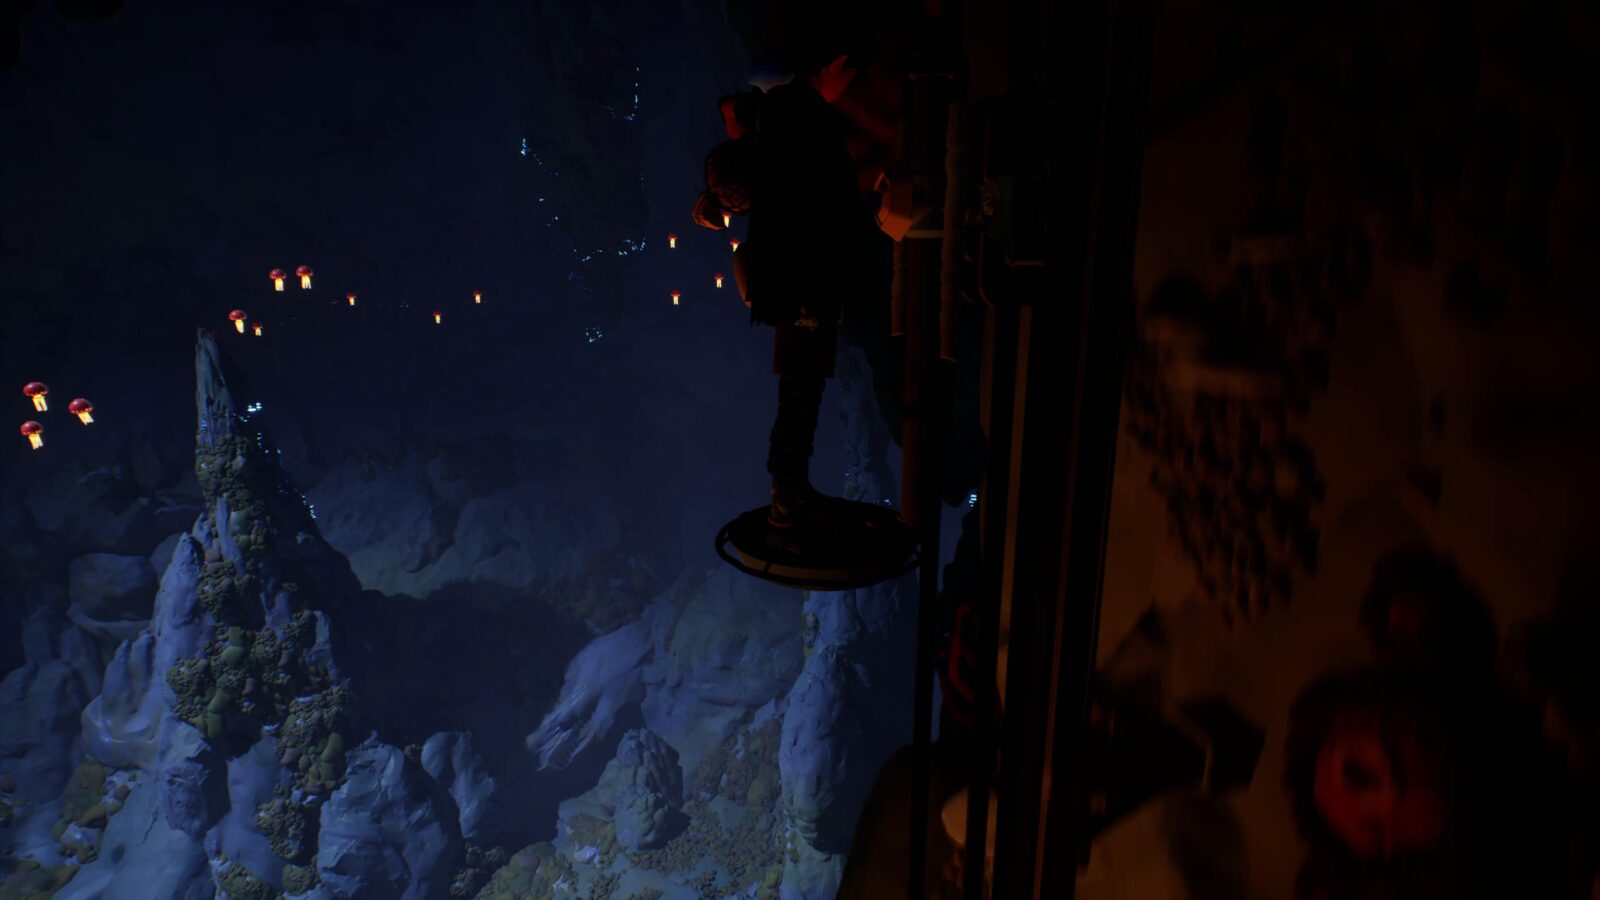
When you reach the huge chamber filled with red jellyfish, go right and follow the path to the Fresco Room.

Letter #12
Along the main path, on a wooden platform after a long climb.
Letter #13
Zipline from Letter #12 and look on the left.
Letter #14
Proceed until you lower the plank to continue, then look for this letter pinned to the wall before the next grapple point.
Shell #3
After using the Grapple Point near Letter #14, proceed through the level and you’ll see this shell in plain sight.
Letter #15
By the chair on the wooden platform near Shell #3.
Cairn #5
After riding the elevator, climb up the huge chamber to the next elevator. At the top, swing across the gap instead of climbing the stairs. Across the gap you’ll find this Cairn.
Chapter 5 Collectibles | "Mirage"
Chapter 5, known as “Mirage,” features the following collectibles:
- 2/44 Letters
- 3/12 Shells
- 2/20 Cairns
- 3/13 Journal Entry
- 3/12 Frescos
- 1/4 Altar
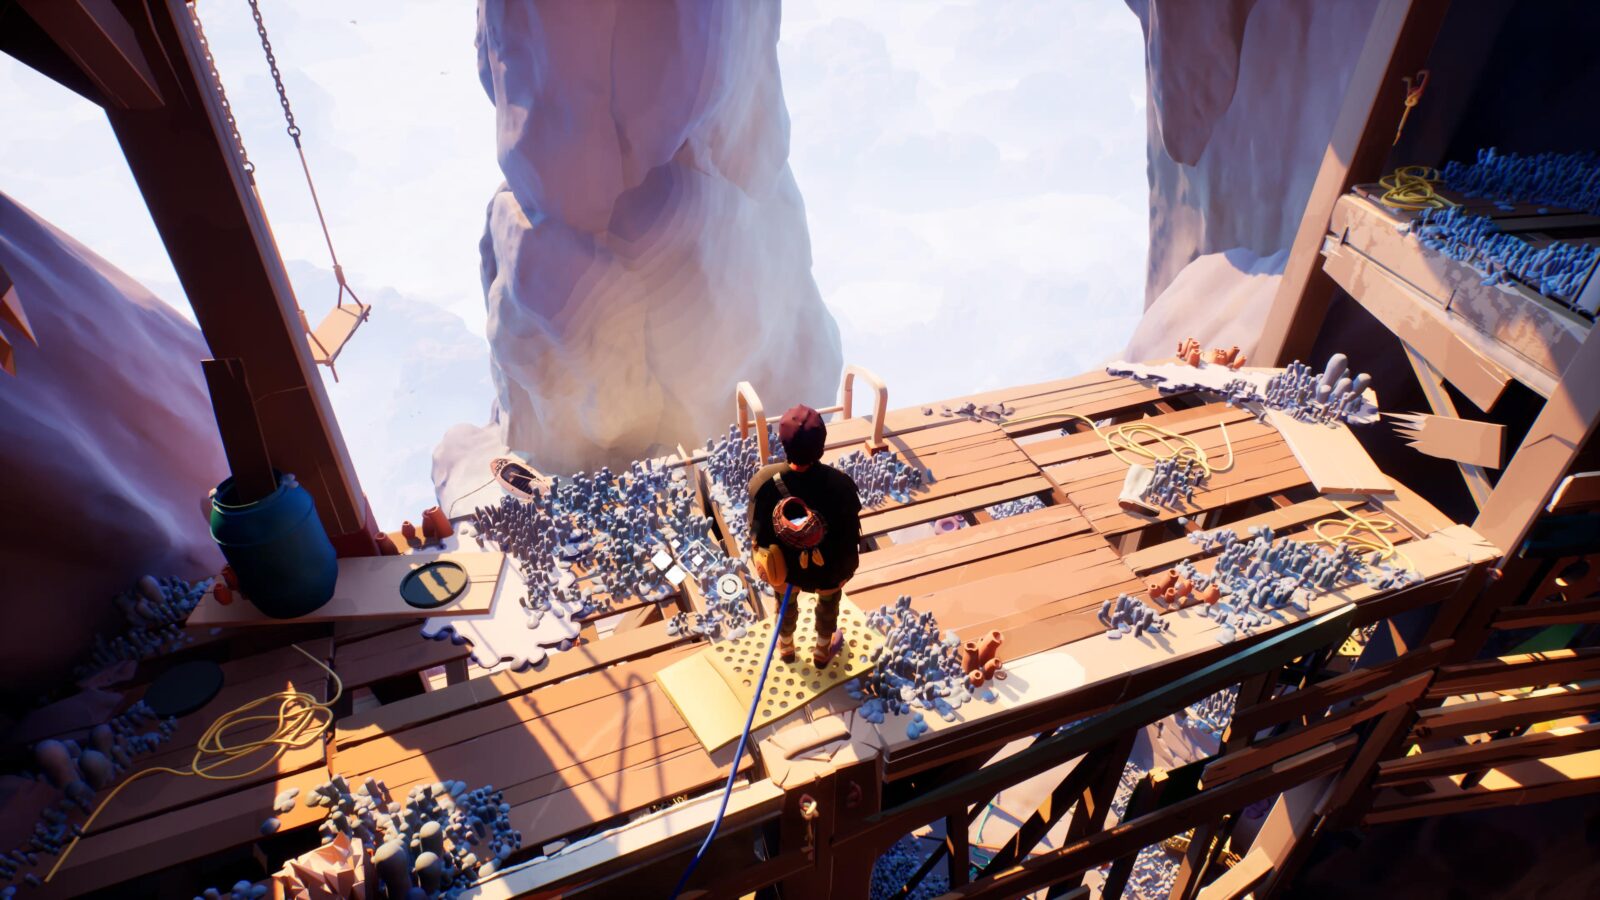
Shell #1
Eventually, you’ll be on a long wall climb with two back-to-back windmills. After these windmills, head to the ledge above, leading to a settlement in the mountainside.
In a broken jar next to the house, you will find this Shell.
Cairn #1
Just behind Shell 1, up the stairs.
Journal Entry #1
Drop down from the cairn, and find it near a spinning pinwheel.
Fresco #1
In the next room, easily noticeable.
Shell #2
Return to the wall with the windmills and climb back down and to the left over another windmill.
Above that windmill, you’ll place a carabiner checkpoint. From there, instead of going up, swing to the ledge on your left.
On said ledge, you’ll find the shell on the ground in front of a door.
Letter #1
Return to the wall climb and make your way to the ledge above.
You’ll be in front of a doorway, head inside to find this letter at the top of a short set of stairs on your left.

Fresco #2
Continue into the next room and there’s a spiral staircase leading down to a Fresco room.

Letter #2
Back outside, shimmy along the wall, then find this letter in a crate by a round house.
Journal Entry #2
Climb up the wall to a cave, then squeeze through a crevice at the back of the cave.
In the next room, drop down into the hole in front of you to find this Journal Entry inside.
Fresco #3
Continue deeper into the cave via the doorway opposite the Journal Entry and you’ll eventually come to a Fresco Room.
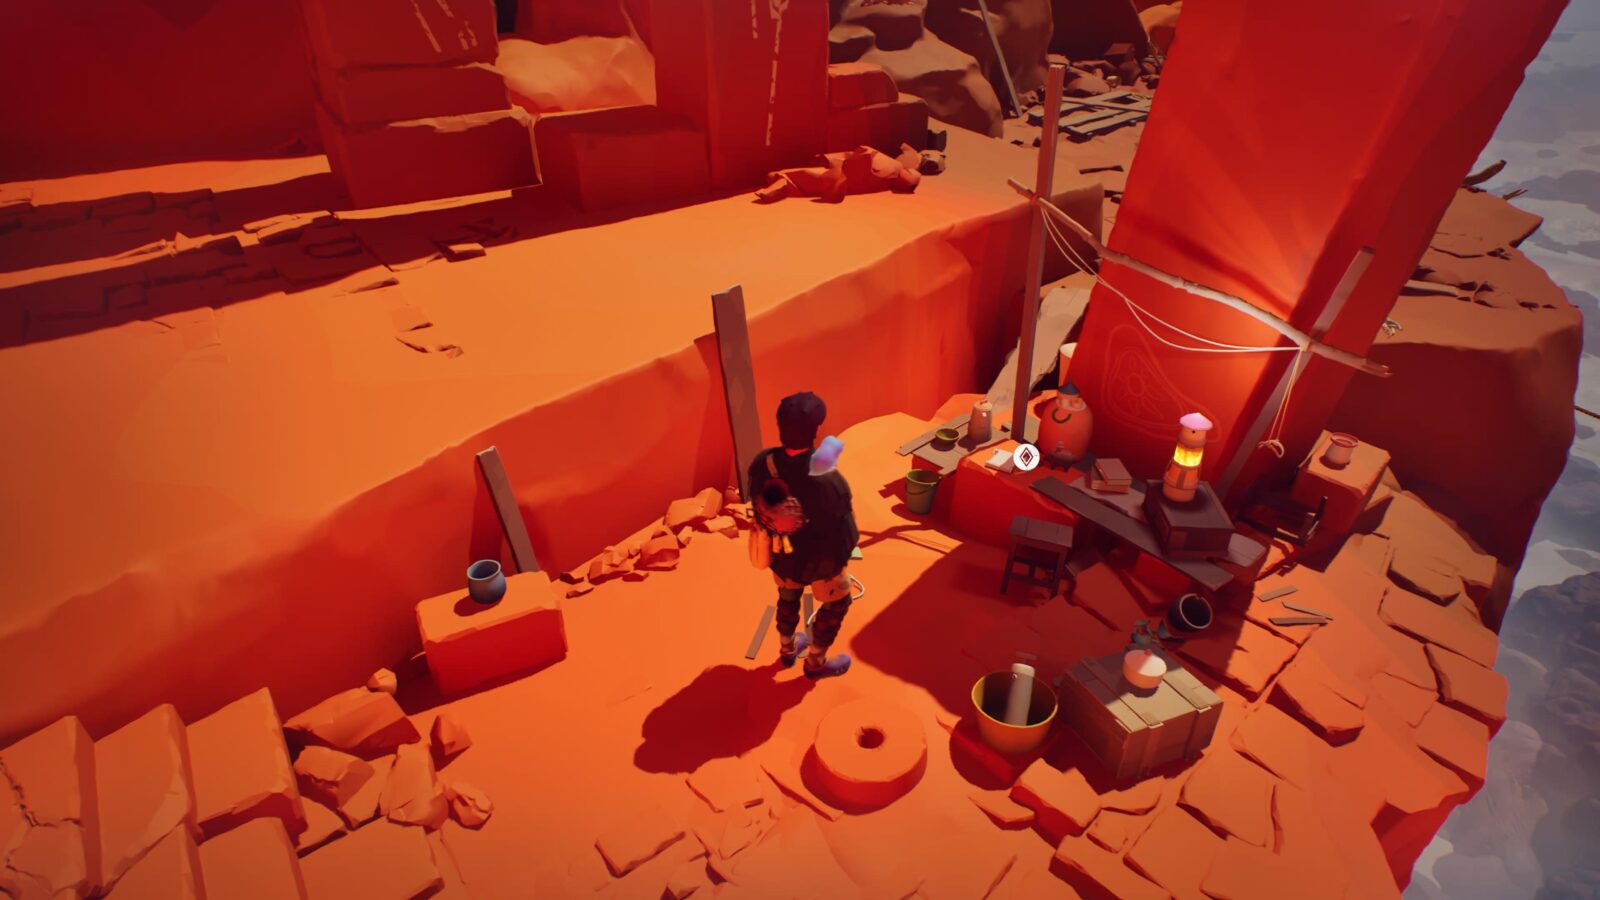
Journal Entry #3
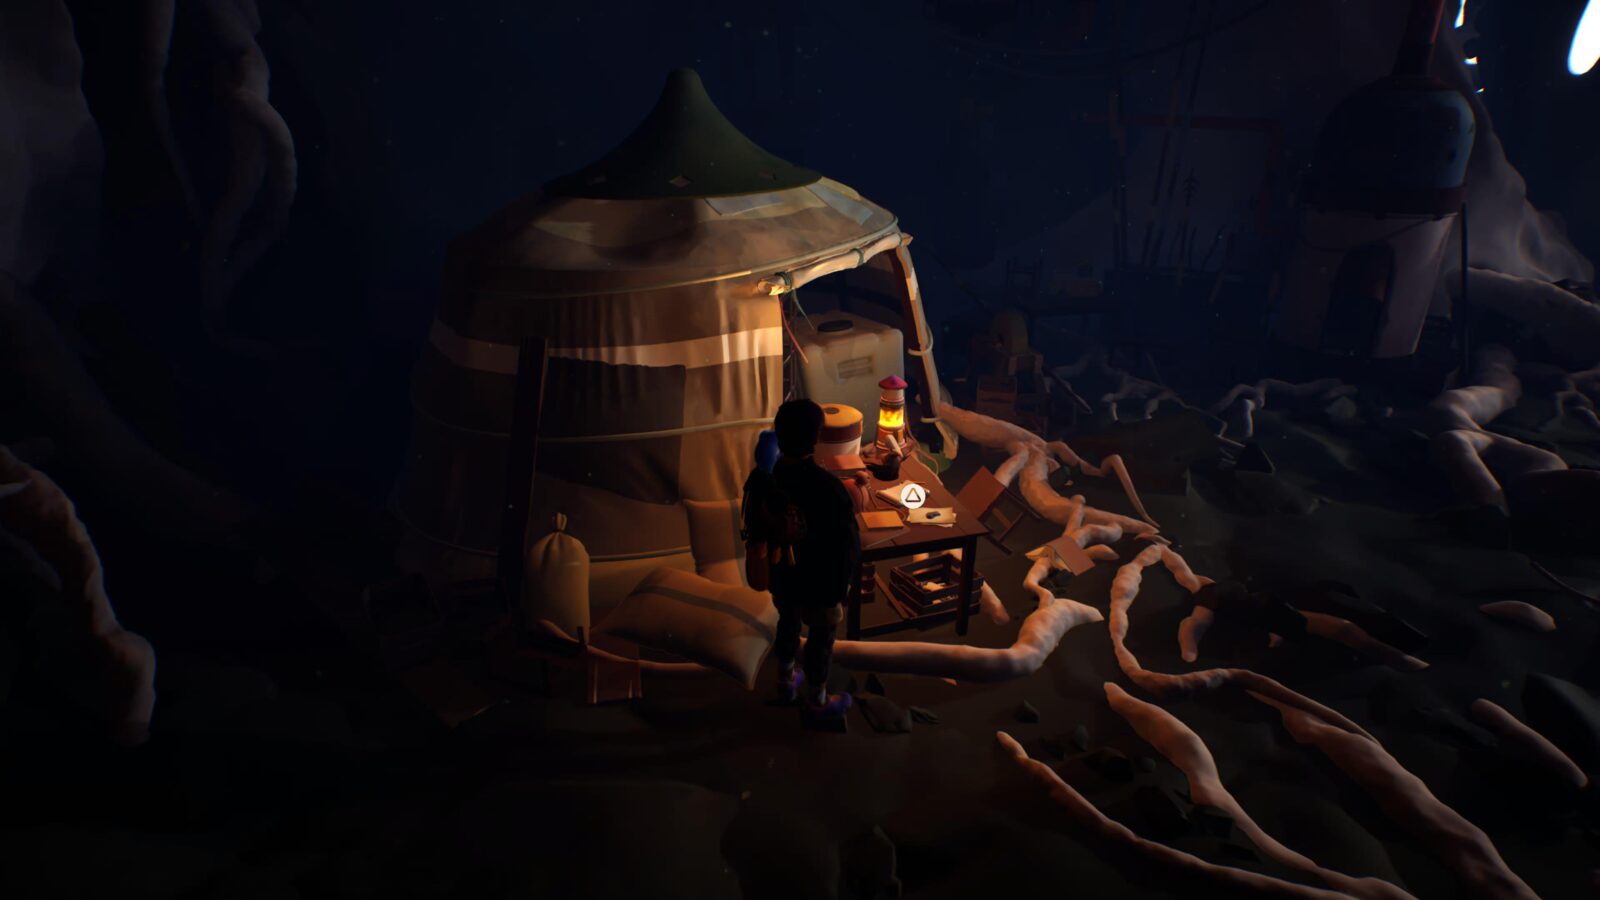
Go back up the ladder and then continue along the main path. You’ll see this Entry near a tent.
Shell #3
Climb up the wall until you reach a Carabiner checkpoint just below a wind sock.
Rappel down from this checkpoint to reach a hidden ledge with a doorway.
Head through the doorway and you’ll eventually come to an Altar room. In that room, on the left, you’ll find this Shell.
Altar #1
Right beside Shell #3.
Cairn #2
At the top of the wall climb, go left into a broad hallway, then enter the small room on your left to find a Cairn on a cliff-edge.

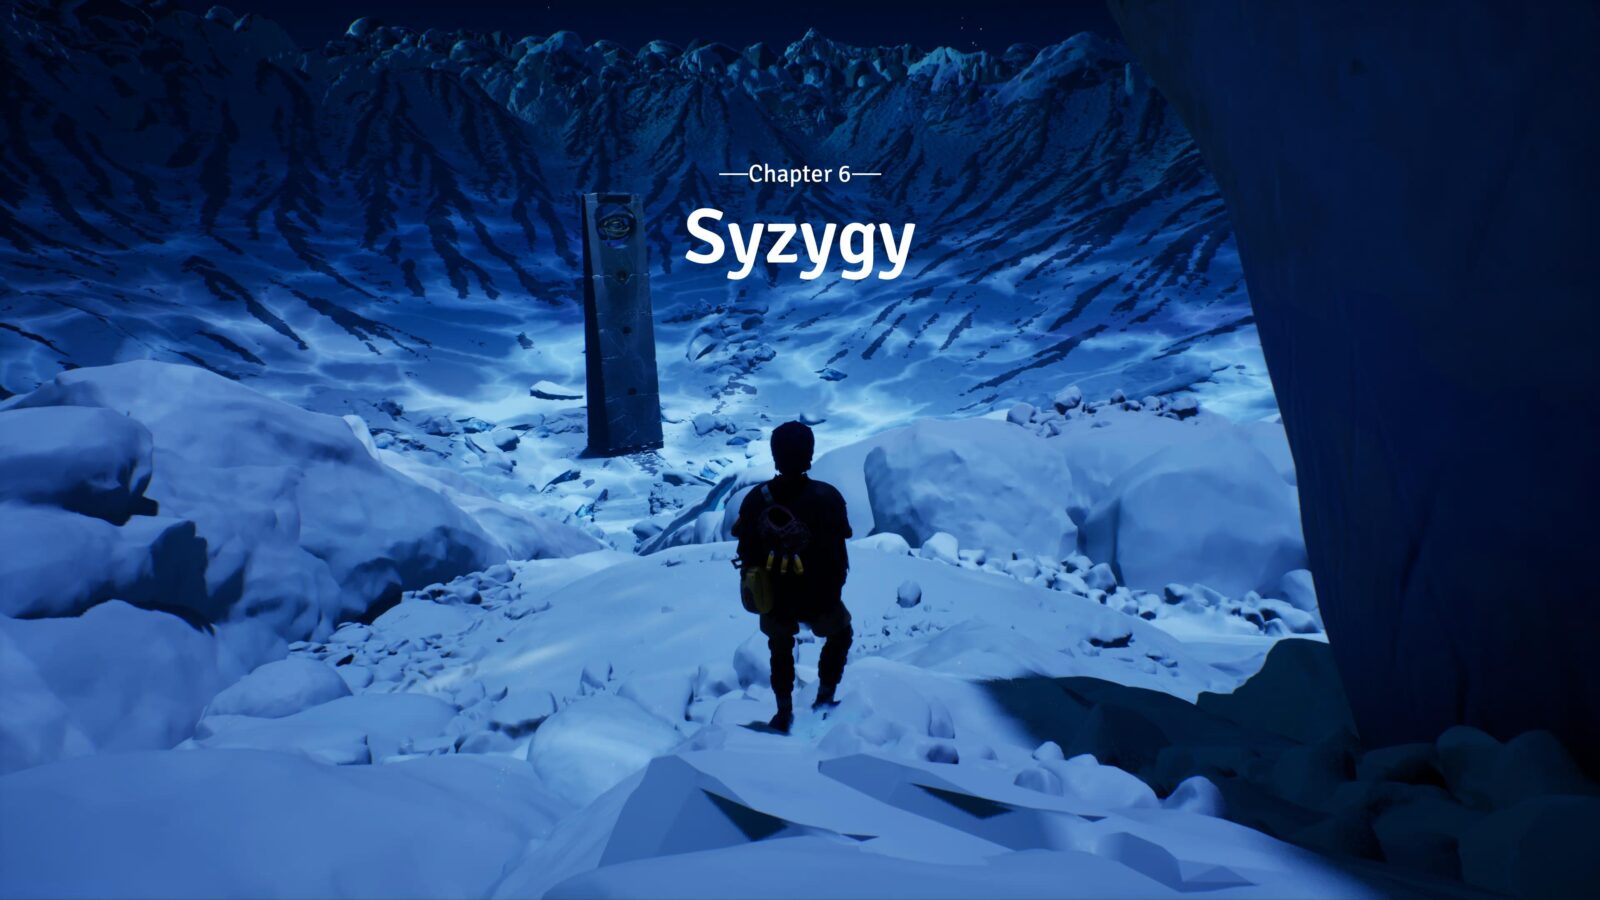
Chapter 6 Collectibles | "Syzygy"
There are actually no collectibles in Chapter 6 of Jusant.
Thanks for Reading
Plat Get!
Thank You!
Thank You for choosing PlatGet as your source for this Jusant All Collectibles Guide.
Wondering what to complete next? Browse our complete guide selection or check out our friends at PlatPrices.com to filter the PS Store based on price, trophy difficulty, or completion time.
Got a question, some feedback, or just want to say thanks? Drop a comment in the discussion section below, we'd love to hear from you! No account required!!