PlayStation 4, PlayStation 5
Flynn: Son of Crimson Trophy Guide
General Info
FAQ
How long does it take to beat Flynn: Son of Crimson and unlock all trophies?
About 10 hours.
How difficult is it to beat Flynn: Son of Crimson and unlock all trophies?
Easy (3/10).
Does Flynn: Son of Crimson have online trophies?
No.
Does Flynn: Son of Crimson have difficulty-specific trophies?
No.
Does Flynn: Son of Crimson have missable trophies?
No.
Does Flynn: Son of Crimson have glitched trophies?
No.
What is the minimum number of playthroughs required to unlock all trophies in Flynn: Son of Crimson?
One.
Does Flynn: Son of Crimson have a Platinum Trophy?
Yes.
Other Useful Guides:
Flynn: Son of Crimson Collectible Guide
Trophy Guide
Flynn Son of Crimson Trophy Guide and Road Map for PlayStation 4
Welcome to our Flynn Son of Crimson Trophy Guide. This 2D side-scrolling adventure platformer is an exciting and beautiful new indie game from Studio Thunderhorse. The gameplay is a lot like Shovel Knight or Shantae, though I’d argue that some portions of this game are more difficult than in those titles.
If the challenge is proving to be a little too much, the merciful developers at Studio Thunderhorse have added a solution.
Follow Flynn as he discovers the mystery of his ancestors and thwarts evil forces, all while trying to help his beloved canine companion, Dex.
Flynn Son of Crimson Trophy Guide – Before You Begin
Difficulty & Accessibility
For starters, in Flynn: Son of Crimson, you can set the difficulty to “Easy” with zero consequences. You can even change this setting at any time from the Accessibility option in the settings menu.
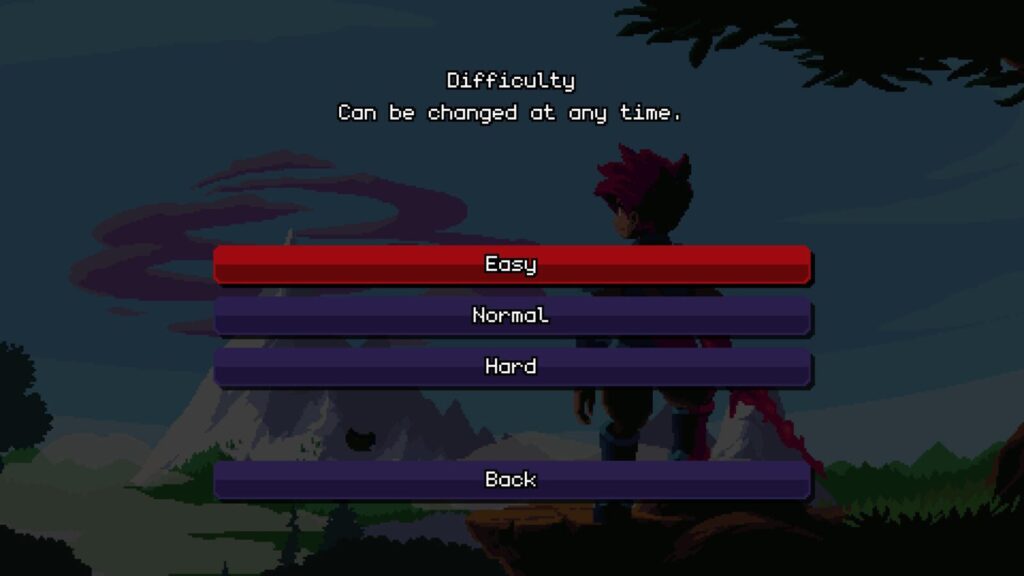
Speaking of the Accessibility settings, there’s an option in there titled “No Player Damage” and you can switch this “On” to make yourself invincible. Again, there are no consequences and all trophies are completely unlockable even with this setting active.
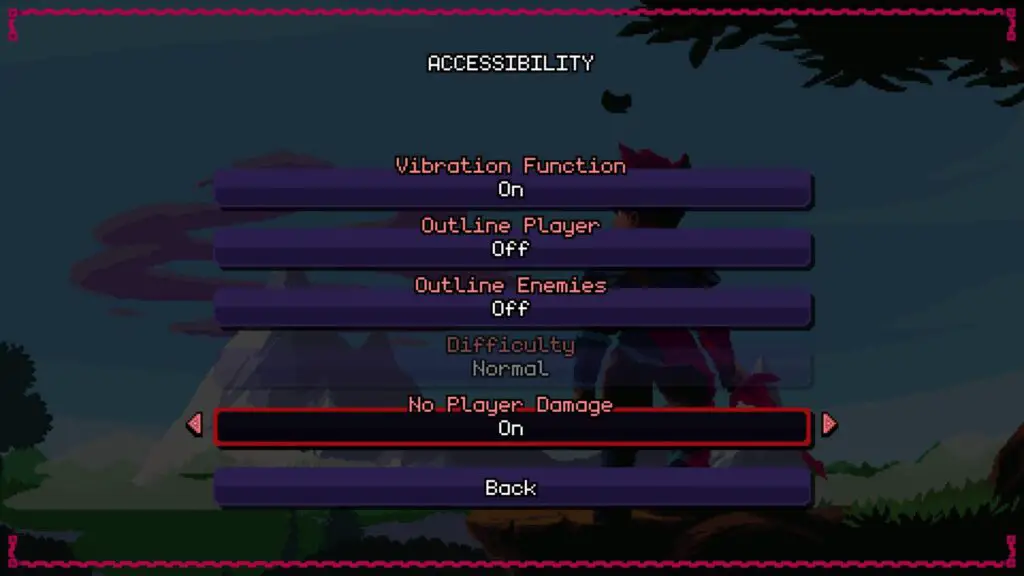
Using it makes the platinum journey extremely painless, but it may ruin your experience, so at least try playing the game with it “Off” to see if you personally feel you need the option “On”.
Note that there are some fights in the story that you’re not supposed to win, and the option will be automatically (albeit, temporarily) deactivated for those parts of the story. Some environmental hazards can still kill you too, keeping the challenging platforming alive.
Phase One – Complete the Story
During this phase of our Flynn: Son of Crimson trophy guide, you should focus on completing every level, defeating all bosses, and reaching the end of the game.
Along the way, optionally, you can complete any Challenge Stages, unlock as many skills as you can, and do your best to find collectibles. If you want to get every collectible on the first run, you should follow our Collectible Guide as you play.
Unmissable Story Trophies

Welcome to Rosantica
Set out on an adventure with your beloved friend, Dex.
Get the wooden sword from Bohrin’s shack and then leave the area via the east exit to begin your adventure. The Welcome to Rosantica trophy will then unlock immediately.

Time for an Upgrade
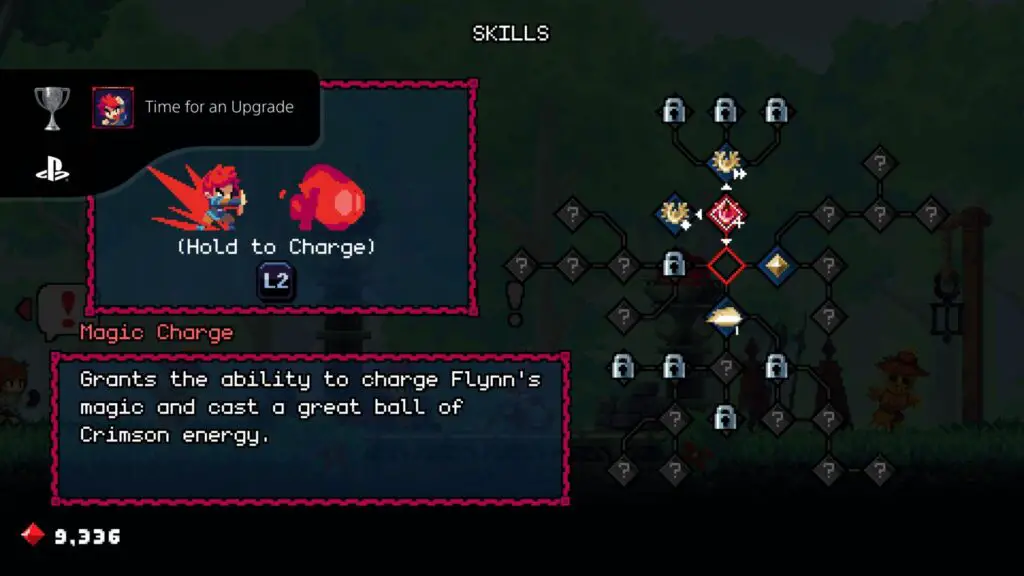
Acquired your first skill.
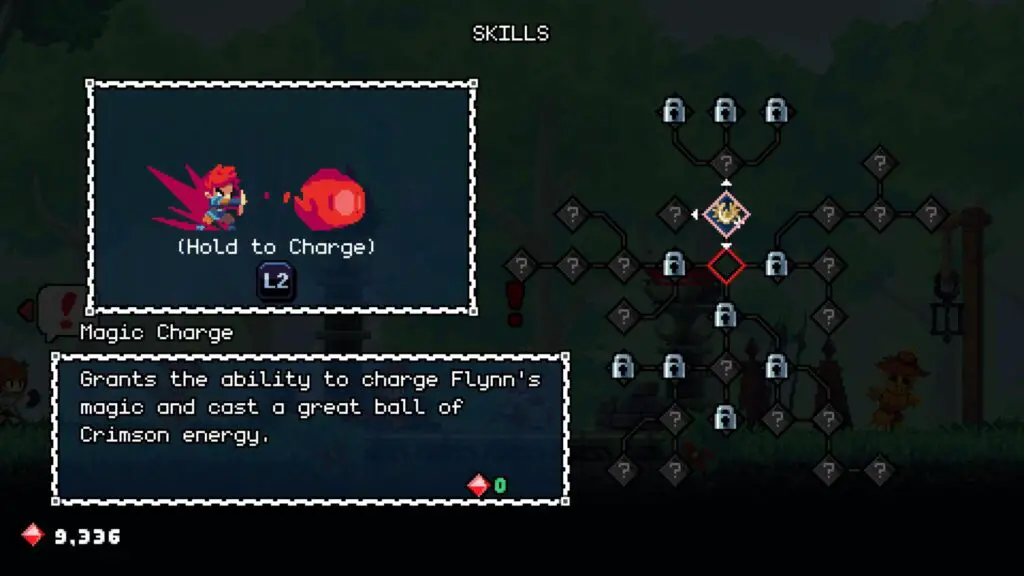
See All Skilled Out to learn about skills and where to acquire them. The first skill, “Magic Charge” is free and is required to access the Frigid Mines in the Mistral Peak area. Acquiring it will unlock Time for an Upgrade.

The Whirlwind Assassin
Defeat Bora the Whirlwind Assassin.
Bora, The Whirlwind Assassin, is the final boss of Mistral Peak. Complete all stages in Mistral Peak to reach and defeat them. Once they’re defeated, The Worldwind Assassin trophy will unlock.
If you’re struggling with the Whirlwind Assassin fight, don’t forget that you can make yourself invincible.
The Aquatic Voltknight
Defeat Kravios the Aquatic Voltknight.
The Aquatic Voltknight is the final boss of the Hollows. Complete all stages in the Hollows to reach and defeat them. Once they’re defeated, The Aquatic Voltknight trophy will unlock.
If you’re struggling with the Aquatic Voltknight fight, don’t forget that you can make yourself invincible.

Rozia, Just Stop
Defeat Rozia for the final time in the Desolate Woods.
Rozia is a consistent thorn in flynn’s side throughout the story, and you’ll find yourself facing off against her multiple times throughout the game. The final fight against her is in Desolate Woods. Defeat her there to unlock Rozia, Just Stop.
If you’re struggling with this or any other Rozia fight, don’t forget that you can make yourself invincible.
The Toxic Marksman
Defeat Xellios the Toxic Marksman.
Xellios, The Toxic Marksman, is the final boss of the Rustwood area. Complete every stage in Rustwood to reach them and then defeat them in combat to unlock The Toxic Marksman trophy.
If you’re struggling with the Toxic Marksman fight, don’t forget that you can make yourself invincible.
The Shadow Sorceress
Defeat Imbra the Shadow Sorceress.
The Shadow Sorceress is the last boss of the Shivering Spire, and you’ll need to defeat her to progress past “Citadel Reach” and face off against the game’s final boss. Complete every possible stage in Shivering Spire to be able to reach and fight her, once you defeat her the Shadow Sorceress trophy will unlock!
If you’re struggling with the Shadow Sorceress fight, don’t forget that you can make yourself invincible.
Zealock
Defeat Zealock.
Zealock is the final boss in Flynn: Son of Crimson. To reach him, you will need to defeat all four of the other bosses, restore Dex’s power, and complete all main stages. Reach and defeat him in Zealock’s Chambers at Zealock’s Citadel and the Zealock trophy is all yours.
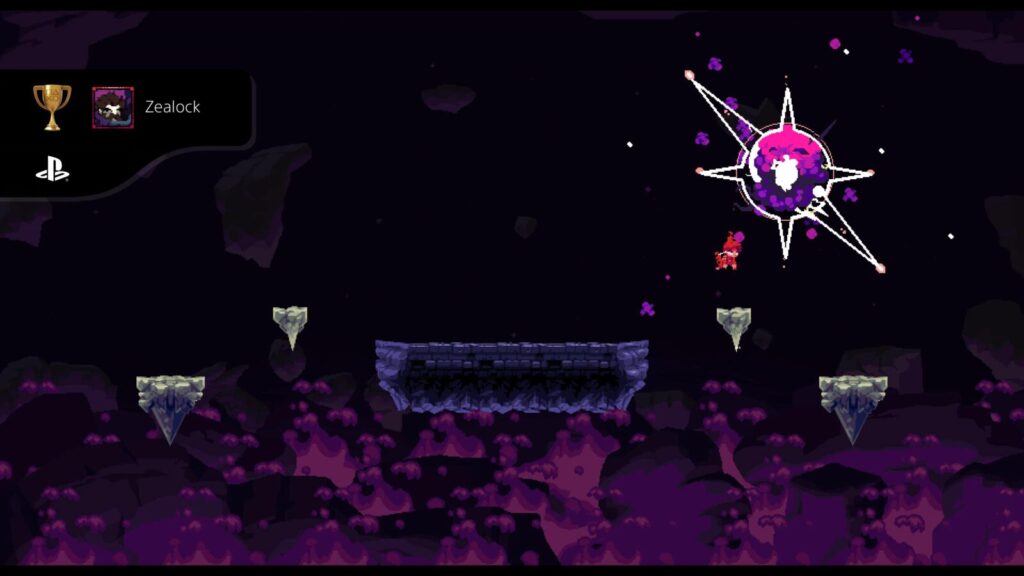
If you’re struggling with the Zealock fight, don’t forget that you can make yourself invincible.
Phase Two – Challenge Stages, Skills & Collectibles
Moving on to the second phase of our Flynn: Son of Crimson trophy guide, It’s time to get that 101% completion. You’ll be revisiting levels to grab the rest of the collectibles to sell to Yombal and finding keys that open Challenge Stages. Both activities will earn you a lot of crimson gems, which you can use to purchase skills.
Collect and Sell all Golden Relic Collectibles

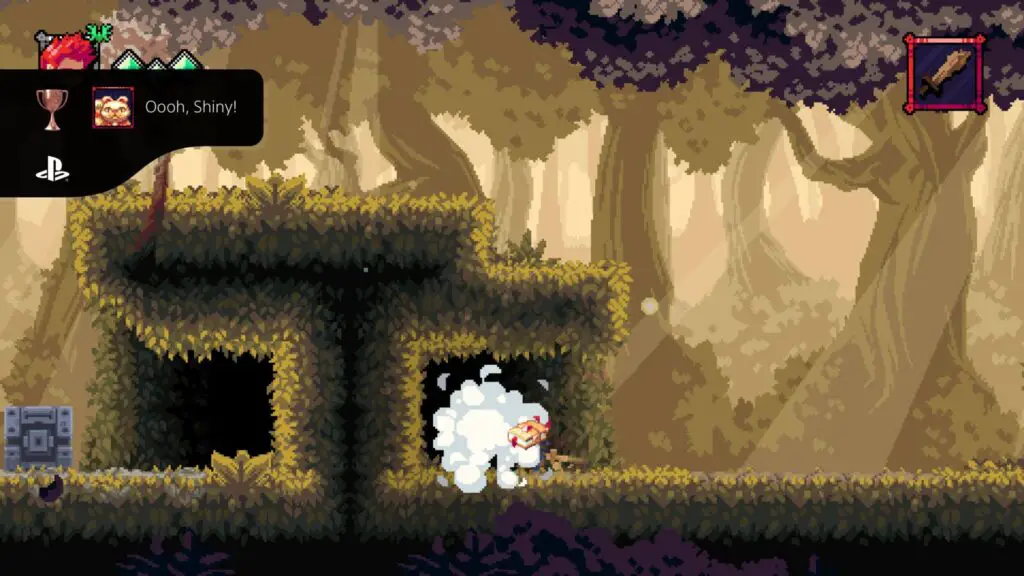
Oooh, Shiny!
Find and collect a golden relic.
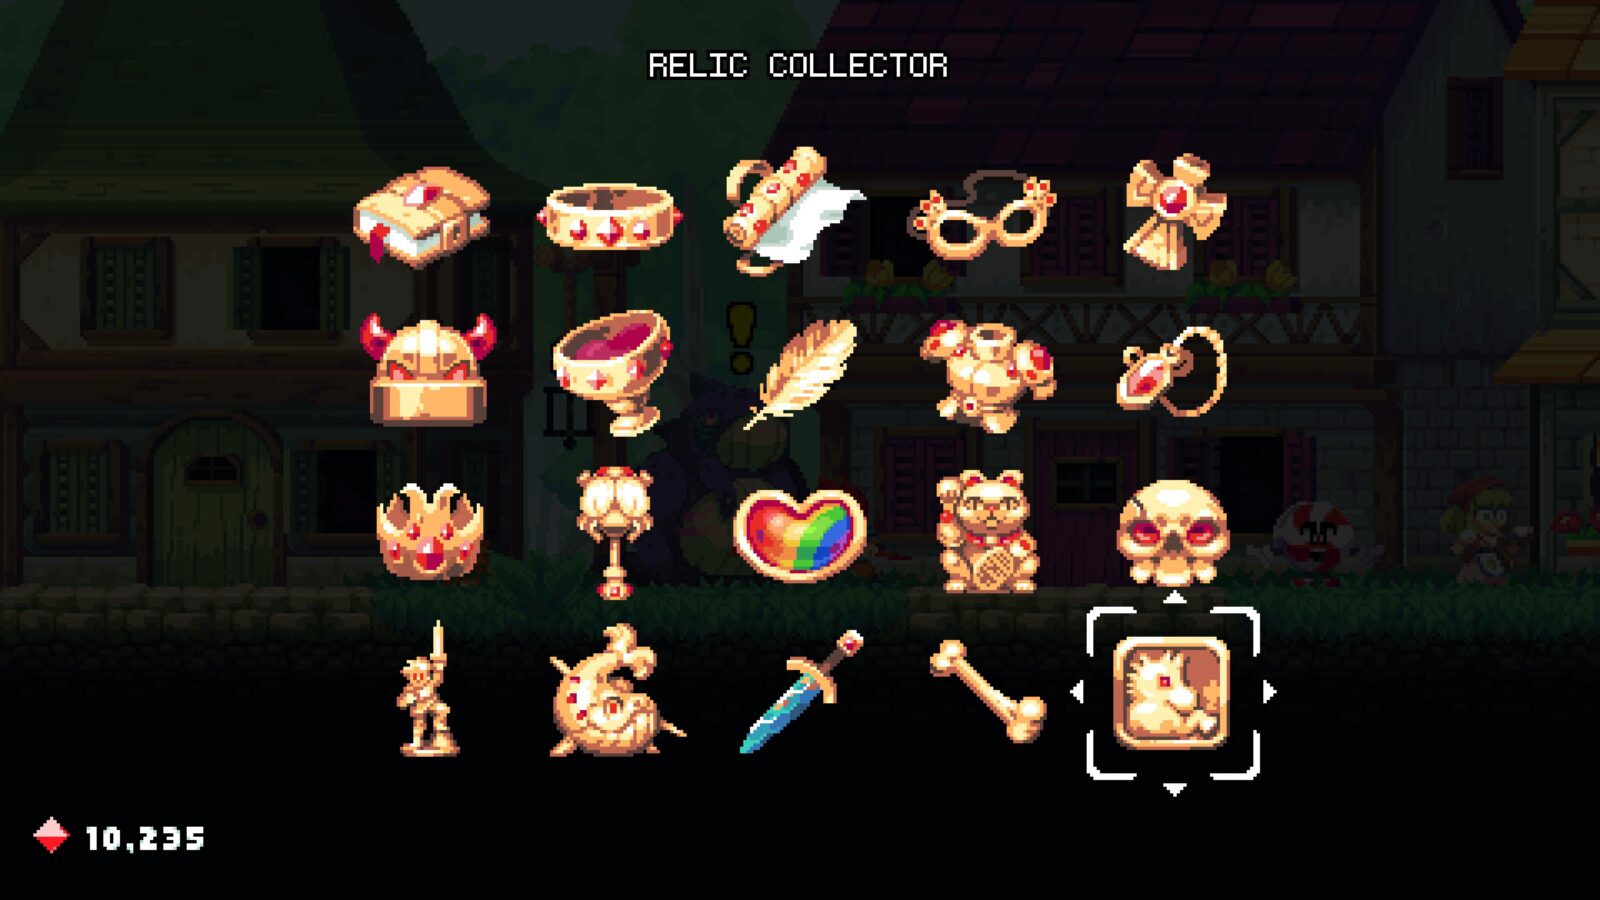
The Oooh, Shiny! trophy will unlock the first time you find a Golden Relic. You will need to find all 20 for Yombal Happy, so this trophy is guaranteed to unlock on the path to the Platinum.
Yombal Happy
Find, collect and sell all 20 relics to Yombal.
You will meet Yombal automatically as part of the story in the Town of Sanctia.
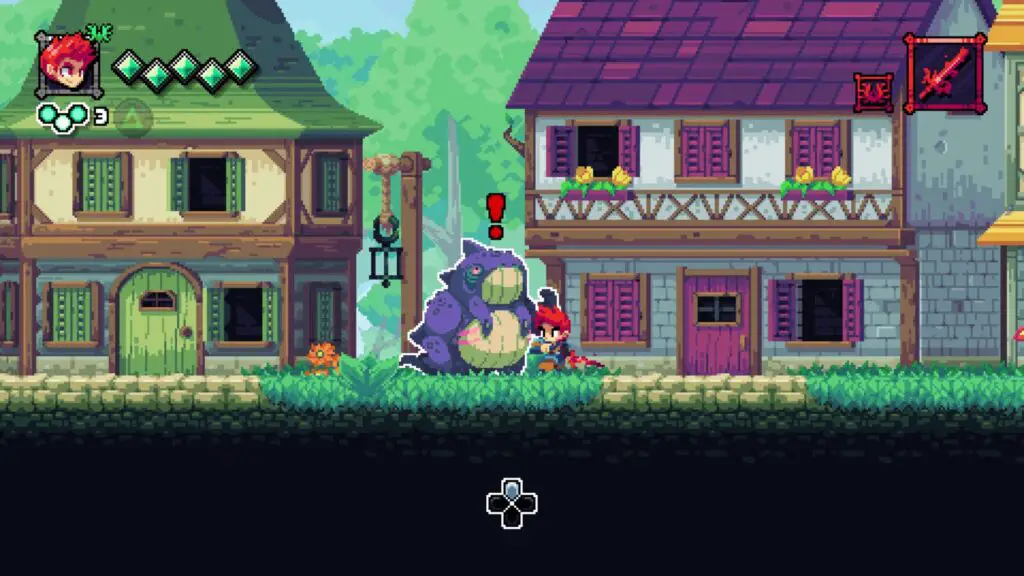
When you speak with him, he will reveal that you can sell Golden Relics to him. Golden Relics are rare collectibles hidden in secret areas throughout select levels. To unlock “Yombal Happy” you will need to find all 20 Relics and then sell them to Yombal in Sanctia.
You’ll get 1,000 “red rocks” per transaction, which will surely come in handy for All Skilled Out.
If you’re struggling to find all 20 relics, we’ve detailed their locations–complete with screenshots–in our Flynn: Son of Crimson Collectible Guide.
Complete All Challenge Stages

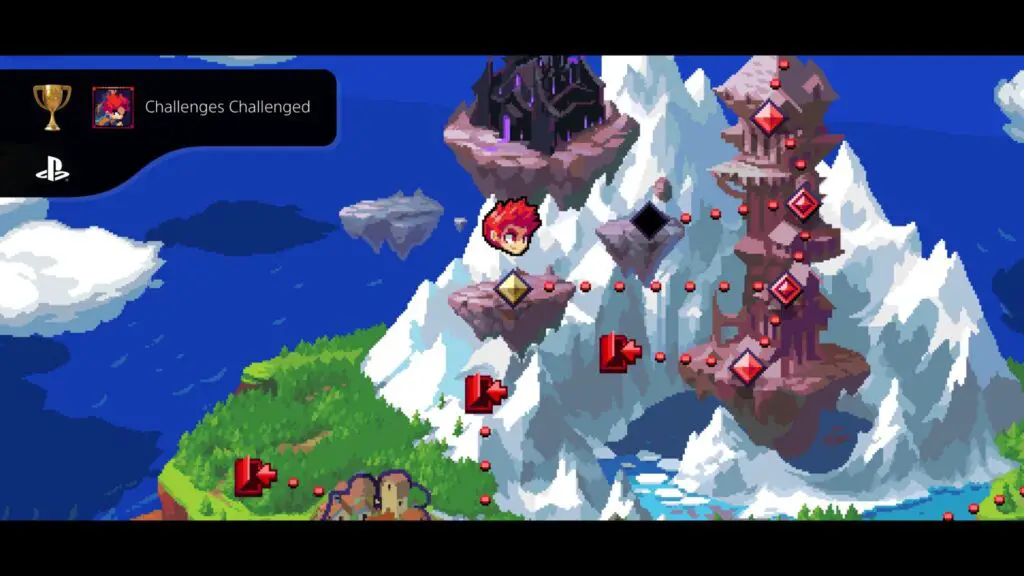
Challenges Challenged
Complete the 6 challenge stages.
Challenge stages are optional secret levels where you must survive several waves of increasingly difficult enemies. At the end, you will receive a generous Crimson Gem reward, very useful for unlocking All Skilled Out.
Here are the six challenge stage locations:
| Challenge | Location |
|---|---|
| Wildedge Challenge | Take the alternate path from Wildedge Reach – Requires key from the cave under Sanctia. |
| Isle’s Challenge | First, speak to Jungo at Hollow Isle and he’ll ask you to find his friend Rickathon. You’ll meet Rickathon on Mistral Peak. Afterward, come back to Hollow Isle and speak to Jungo and he’ll give you the key to the nearby door. Head through and you’ll unlock Isle’s Challenge. |
| Clearcrest Challenge | After meeting Tholmin Jr. in Clearcrest Springs, go to the Woodshade Settlement and speak to Tholmin to receive a key. Go back to Clearcrest Springs and use the key to open the door to an alternate exit. This will unlock Clearcrest Challenge. |
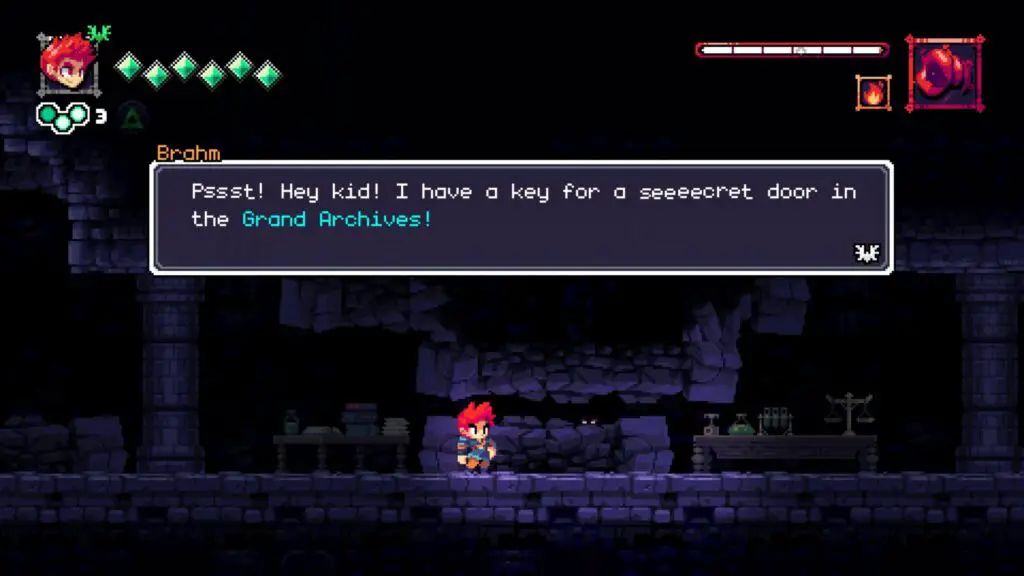
| Hollow Challenge | After saving Kind Neptyn in the Hollows, go back to Neptyn Capital and speak to Remi to receive the Hollow Key, used to open a door to an alternate exit in Crystal Grotto. Go through to unlock |
| Cedarstone Challenge | First, defeat the Toxic MArksman so you can grab walls with the Crimson Claws. Then go to Typhir Marsh and go left from the start to find an alternate exit unlocking the Typhir Deadlands. Enter the crypt at Typhir Deadlands to get a key. Use the key in Cedarstone Cove to find an alternate exit that reveals Cedarstone Challenge on the map. |
| Spire Challenge | First, go to — and immediately go left. This short path will lead you back to the map, where Zealock’s Laboratory will be revealed further up the tower. Go through the laboratory and pat the first set of gold vats, you’ll then see a crack in the wall with some blinking eyes. Press Go to the Grand Archives and look for the locked door on the upper floor. Use the key on it and leave the level through that alternate exit to reveal the Spire Challenge on the map. |
Reveal and complete all six Challenge Stages and the Challenges Challenged trophy will unlock!
Unlock All Skills

All Skilled Out
Acquire every skill from Loretta.
The first time you meet Loretta will be in the Tempest Base in the Mistral Peak area. Speak to her and she’ll tell you that you can find her in Sanctia later and purchase new skills from her.
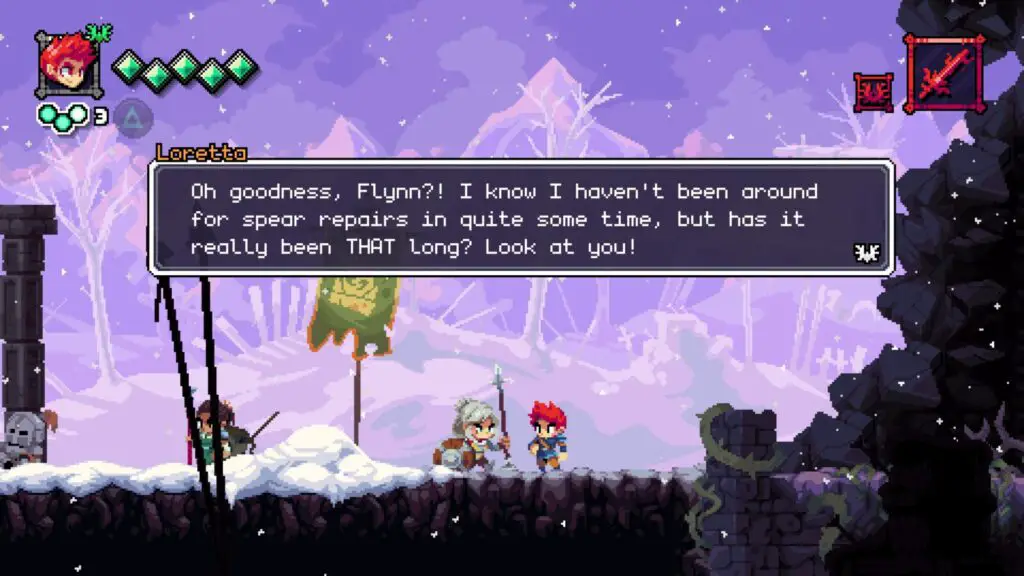
Head to Sanctia once you’re done here and you can spend your Crimson Gems at her store to purchase skills.
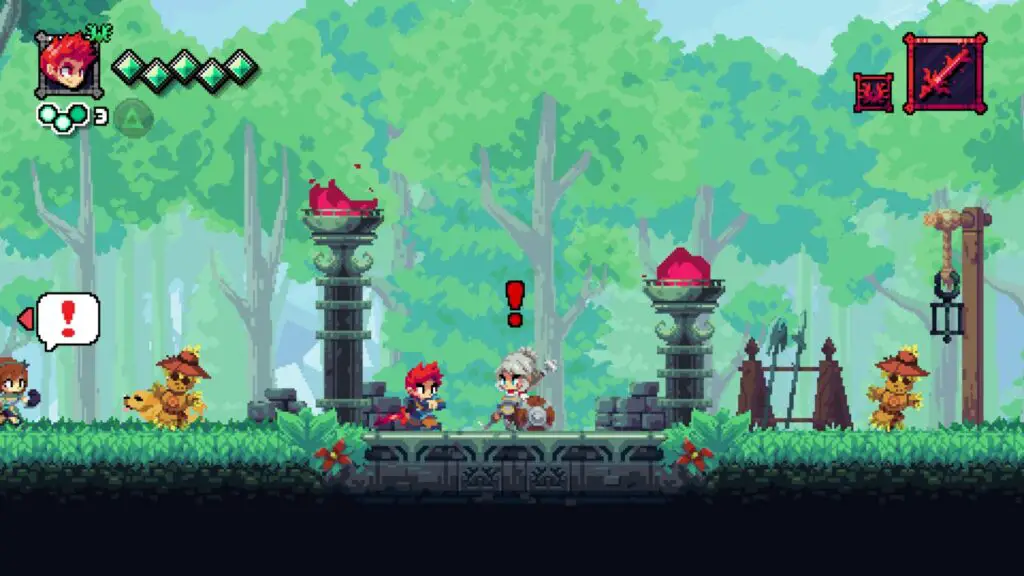
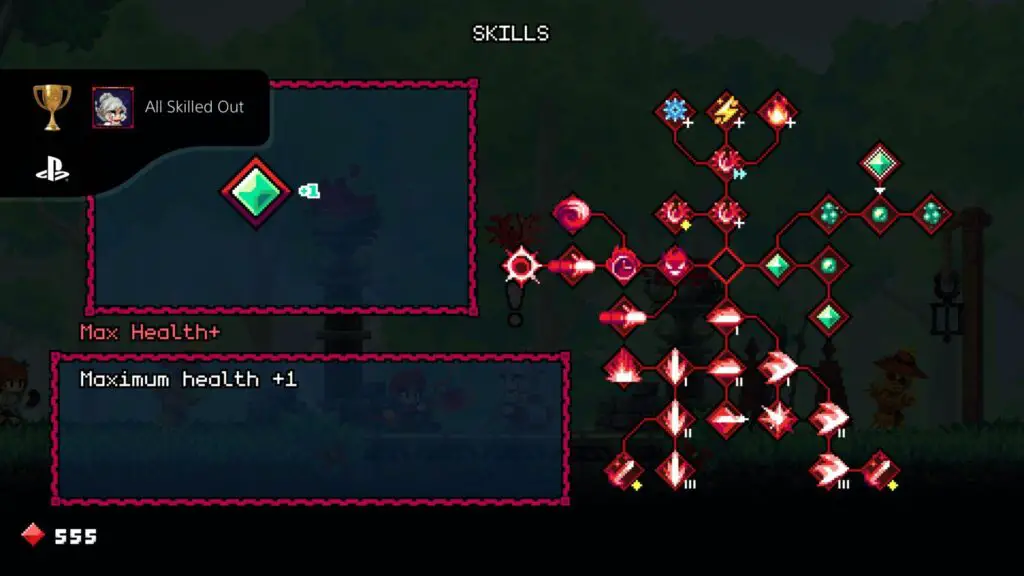
There are 32 Skills to purchase from the Skill Tree and you will need to purchase them all to unlock the All Skilled Out trophy.
Not all skills will be available to you right away, and so you’ll need to complete a lot more of the game in order to access them all.
If you find yourself needing more crimson gems, you can complete Challenge Stages as often as you like, and you’ll receive a crimson gem reward every time.
Also, if you’ve defeated all four bosses you can use the “Citadel Reach” stage on the Shivering Spire to farm about 800-1,000 crimson gems per run. Just play the stage over and over for some easy money!
101% Completion

101% Complete
Completed all levels, acquired every relic and learned every skill.
Once you have unlocked the Yombal Happy, Challenges Challenged, and All Skilled Out trophies, provided you’ve also completed the story and all levels within, you will unlock the 101% Complete trophy.

Phase Three – Clean-Up
This final phase of our Flynn: Son of Crimson Trophy Guide will see you collecting any remaining miscellaneous trophies. They’re all fairly easy and you will quite possibly have earned the majority of them naturally throughout the previous two phases of the guide.
Miscellaneous Trophies
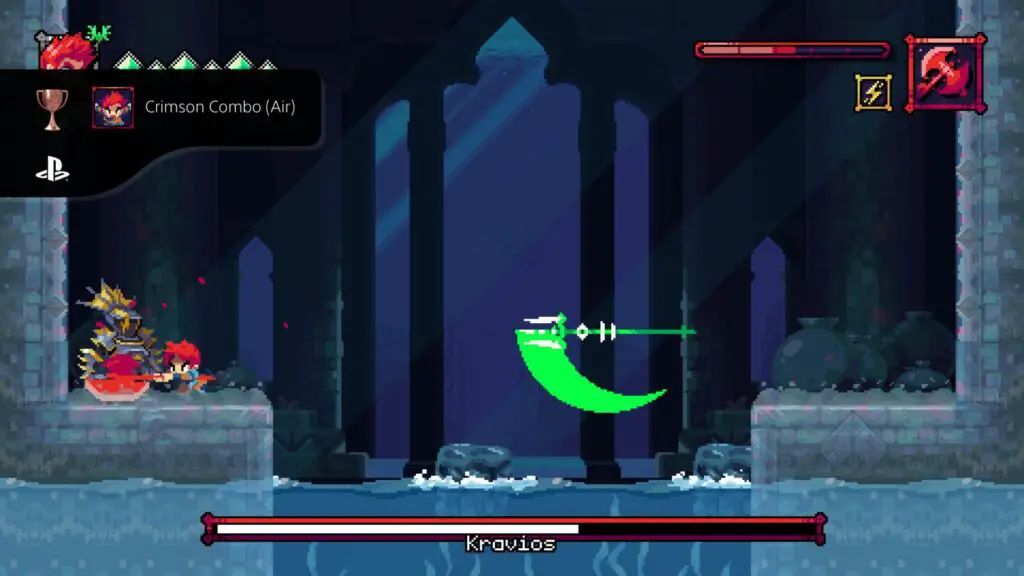
Crimson Combo (Air)
Starting with an uppercut, perform a full aerial combo with any Crimson weapon.
To perform an Aerial Combo after an Uppercut, you will need to first purchase the correct skills from Loretta; Basic Combo, Aerial Uppercut, Aerial Follow-up, and Aerial Finisher.
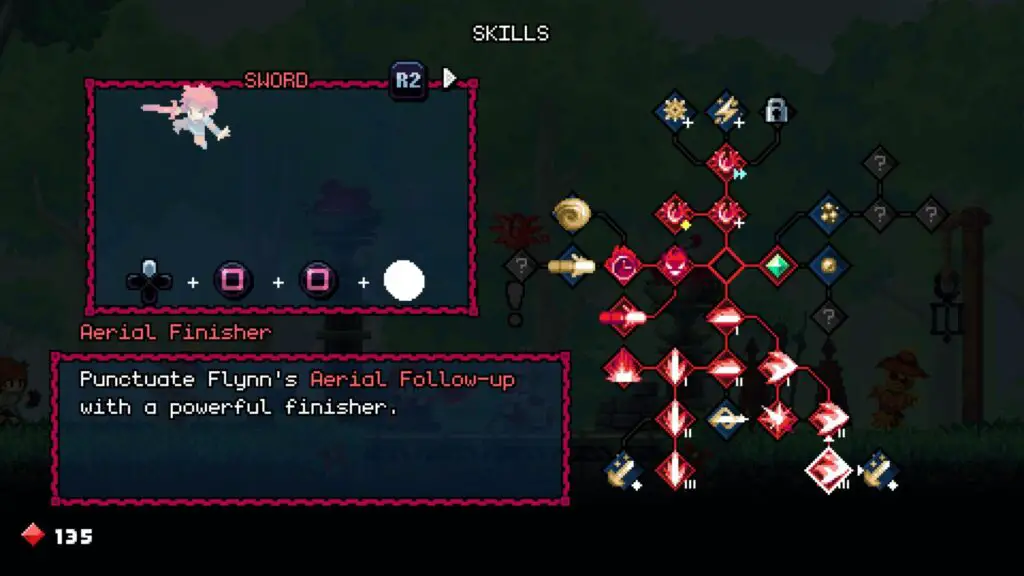
With all three required skills purchased, enter into combat and trigger the full combo by pressing ![]() +
+ ![]() >
> ![]() >
> ![]() .
.
After Flynn has used the full attack combo for the first time, Crimson Combo (Air) will unlock.
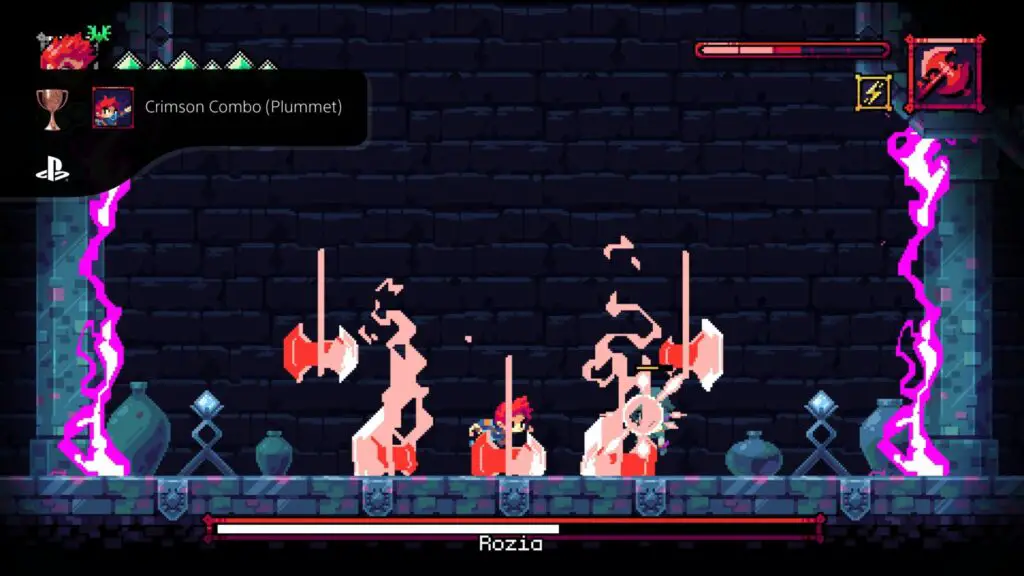
Crimson Combo (Plummet)
Perform a full plummet combo with any Crimson weapon.
In order to perform a plummet combo, you will first need to purchase the correct skills from Loretta; Basic Combo, Basic Combo II, Plummet Attack, Plummet Follow-up, and Plummet Finisher.
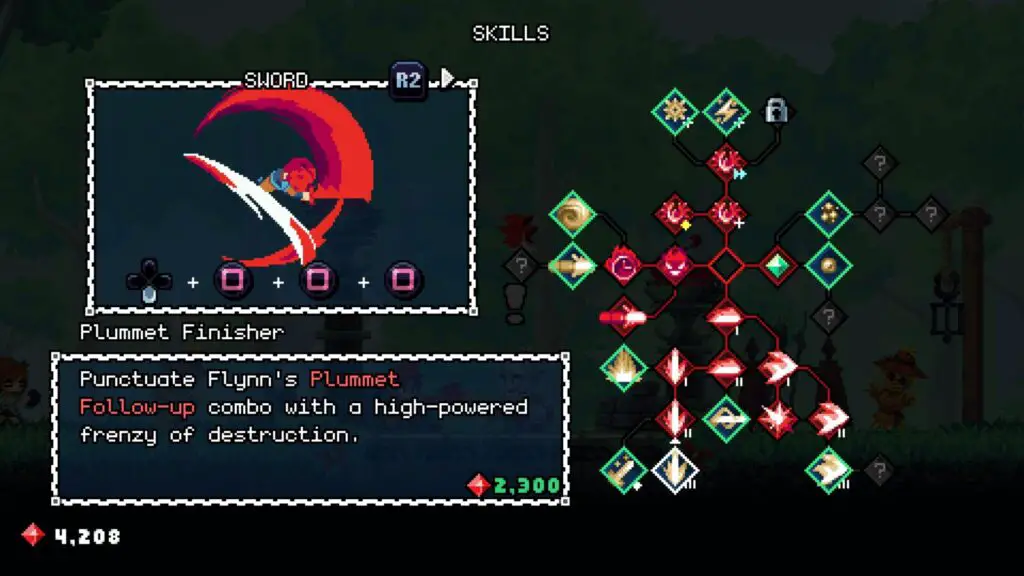
Once you have all three of the required skills, enter into combat and use the full combo by jumping in the air, then pressing ![]() +
+ ![]() >
> ![]() >
> ![]() .
.
Once the full combo has been performed for the first time, Crimson Combo (Plummet) will unlock.

Tri-Hard
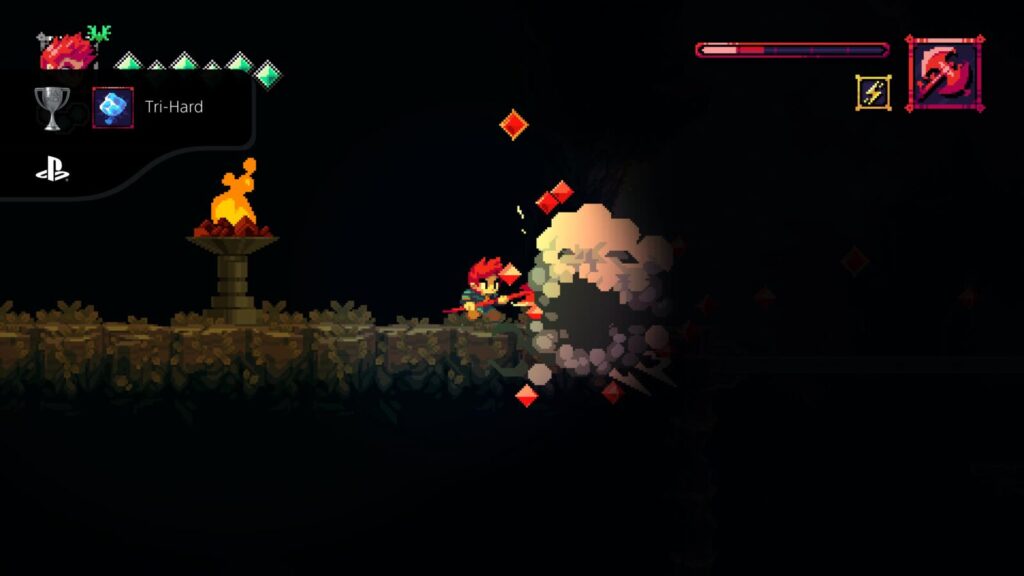
Have an enemy frozen, burned and zapped simultaneously.
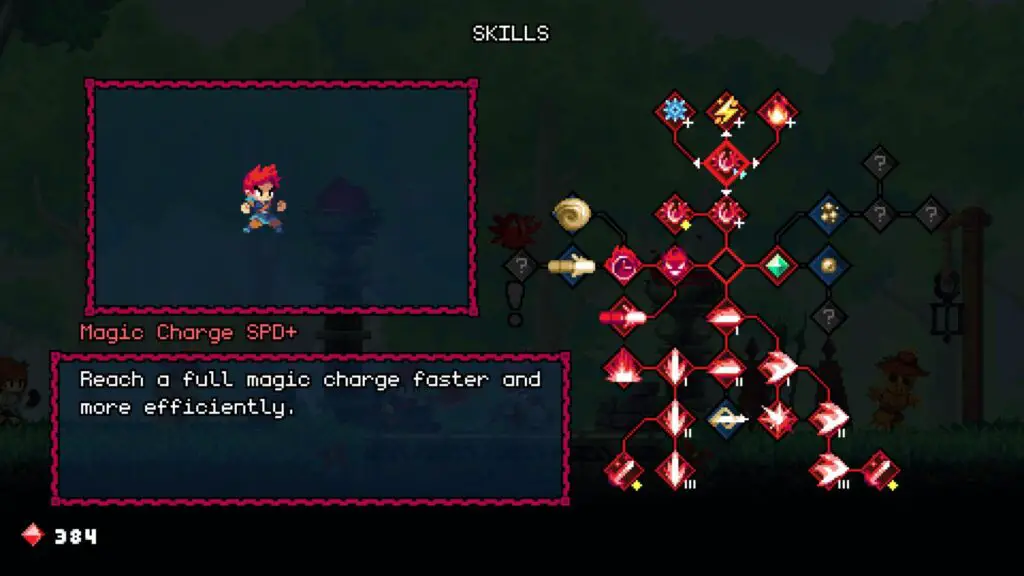
To earn the Tri-Hard trophy, you will first need to have unlocked all three available magic elements, Ice, Lightning, and Fire. Then, to unlock the Tri-Hard trophy, find a big enemy, tough enough to take three charged spells back to back, and hit them with a fire spell, followed by an ice spell, and then a lightning spell.
You will need to be very quick about this, though. Unlocking the Magic Charge Spd+, Flame Magic+, Electric Magic+, and Frost Magic+ skills will all help by making effects last longer and spells charge faster.
If the enemy survived all three attacks, they should be zapped, burned, and frozen all at once, unlocking Tri-Hard.
Chain Reaction
Chain zap 7 enemies with lightning magic.
Before the Chain Reaction trophy can be earned, you must first learn lightning magic as part of the story, then you’ll need to visit Loretta and purchase the “Electric Magic +” skill.
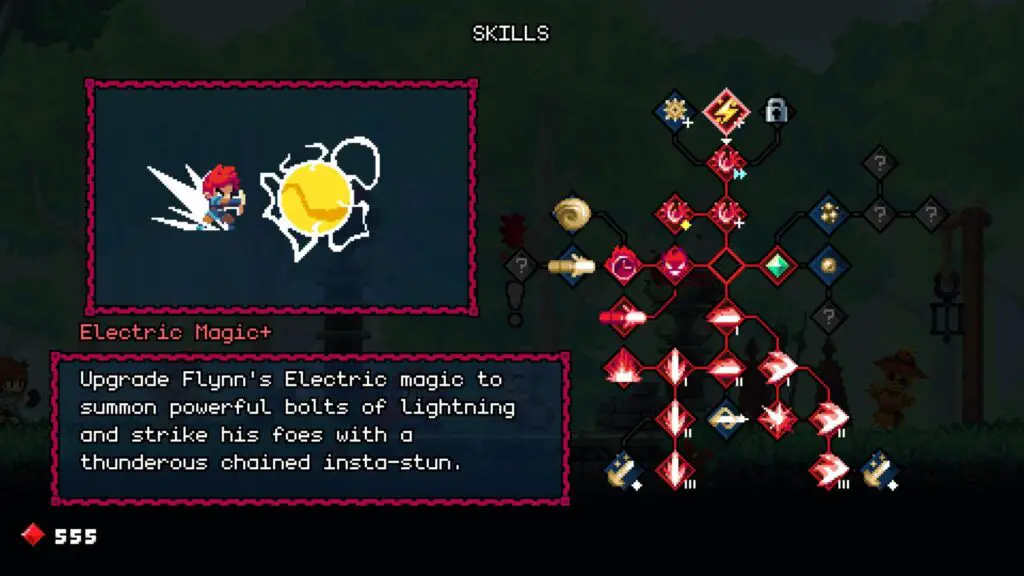
With that, your charged lightning attacks can chain between enemies. The next thing you need, then, is seven enemies at once. A good place to do this is at the Challenge Stage Wildedge Challenge.
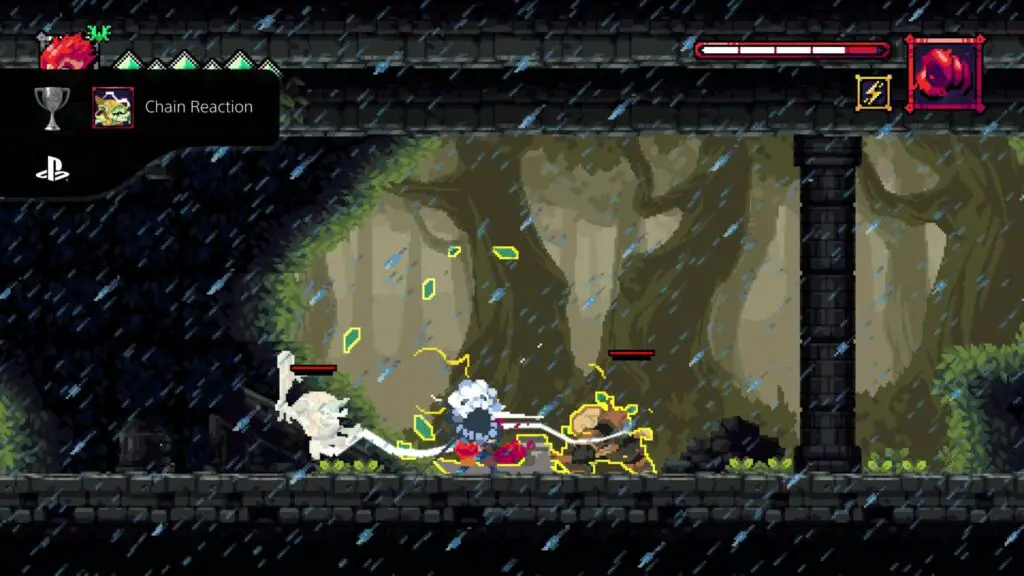
There are 2 waves in the Wildedge Challenge with enough enemies (mostly wasps). Charge up and release your Lightning Magic attack by holding ![]() until fully charged and then release to fire.
until fully charged and then release to fire.
When the attack lands, it should chain across the whole group of enemies. If it manages to chain across 7 or more enemies, the Chain Reaction trophy will unlock.
Bo – Bo – Boing!!
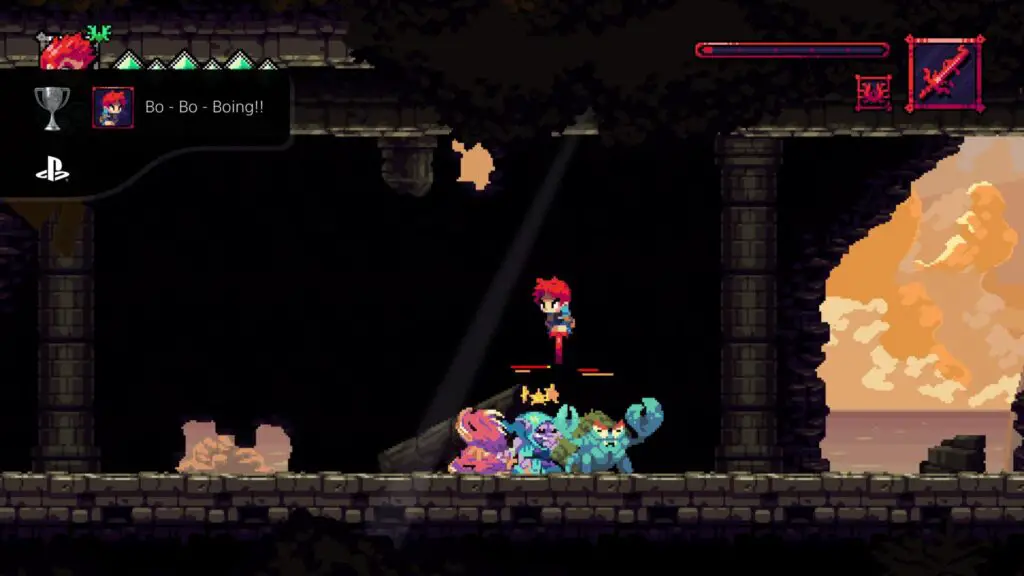
Using the sword, pogo-bounce on 4 separate enemies without touching the ground.
The best place to earn Bo-Bo-Boing!! is in any of the Challenge Stages. First, though, you will need to purchase the “Plummet Attack” skill from Loretta. This skill uses 1 Crimson Charge, so you’ll need to use the first few waves to fill your Crimson Charges.
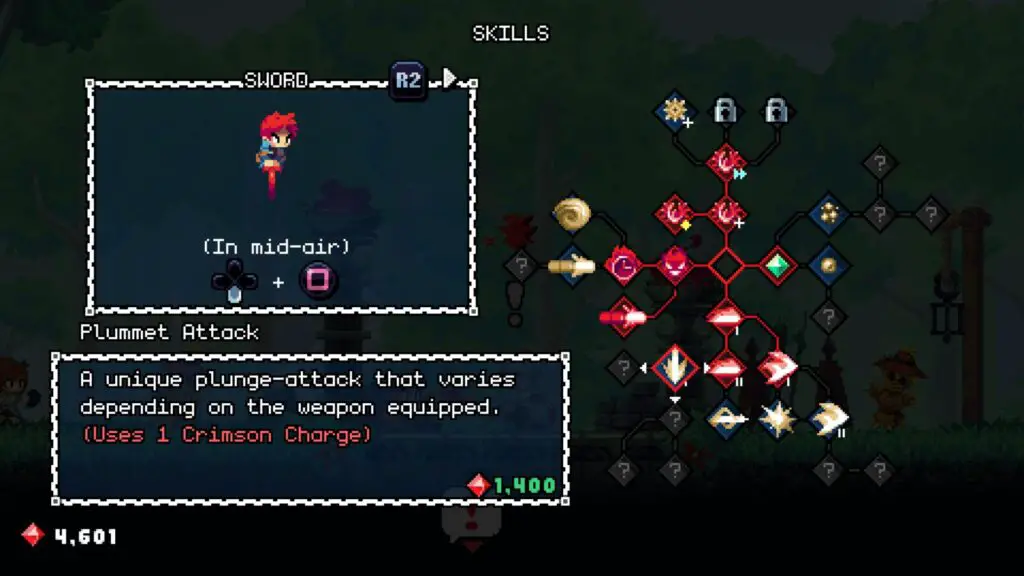
Wait for a wave with 4 or more enemies, then (with your sword equipped) jump in the air and press ![]() +
+![]() to perform your plummet attack on an enemy’s head. You’ll begin bouncing on the enemy Shovel Knight style. Use
to perform your plummet attack on an enemy’s head. You’ll begin bouncing on the enemy Shovel Knight style. Use ![]() or
or ![]() to then move left/right to bounce on the heads of three more enemies.
to then move left/right to bounce on the heads of three more enemies.
Once you’ve successfully “pogo-bounced” on 4 enemies without touching the ground, the Bo-Bo-Boing trophy will unlock.
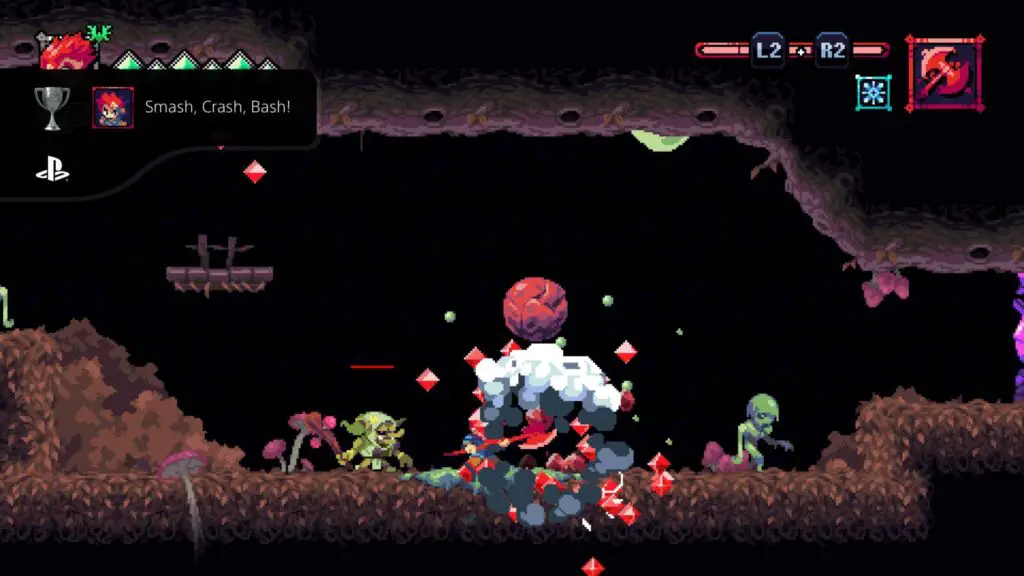
Smash, Crash, Bash!
Have a throwable rock bounce on an enemy 5 consecutive times without touching the ground.
Throwable rocks can be found at various points throughout the game, and are often used to damage enemies and break barriers by throwing the rock.
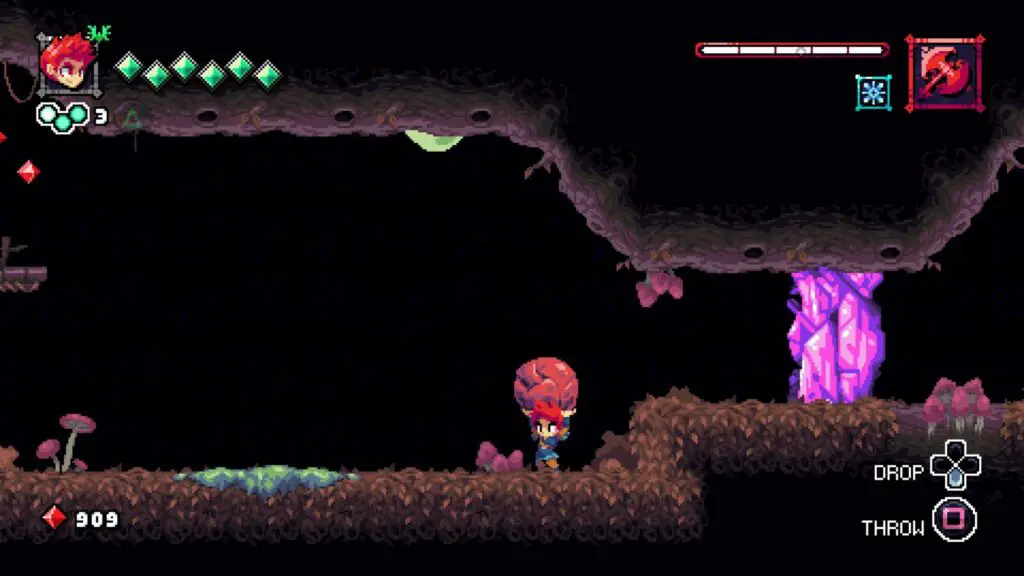
If you wish to unlock Smash, Crash, Bash!, though, you will need to stop throwing the rock and instead, simply put it down with ![]() . This trophy is a lot less frustrating with Invincibility active so you might want to consider temporarily activating that.
. This trophy is a lot less frustrating with Invincibility active so you might want to consider temporarily activating that.
Next, you’ll want to find the right level to attempt this on, I found that the Noxious Everglade in the Rustwood was good for this as there are some large slime monsters who can take enough hits without dying, and they often spawn near throwable rocks.
Grab the throwable rock and then stand in the same place as the enemy. Then, press ![]() to put the rock down on top of the enemy. The rock will bounce back up and then drop on the enemy’s head again in a perfect vertical arc.
to put the rock down on top of the enemy. The rock will bounce back up and then drop on the enemy’s head again in a perfect vertical arc.
If the enemy is tough enough to take all 5 hits, the rock will bounce 5 times without hitting the floor, and the Smash, Crash, Bash! trophy will unlock.

Wow, Rude.
Skip Bohrin’s dialogue.
At the start of the game, you’ll wake up in the garden outside a Blacksmith’s lodge, next to a large wolf called Dex.
The blacksmith, Bohrin, is to your left, hammering away at his anvil. Approach him and speak to him with ![]() . To unlock the “Wow, Rude.” trophy, mash
. To unlock the “Wow, Rude.” trophy, mash ![]() while speaking to him, thus skipping his dialogue.
while speaking to him, thus skipping his dialogue.
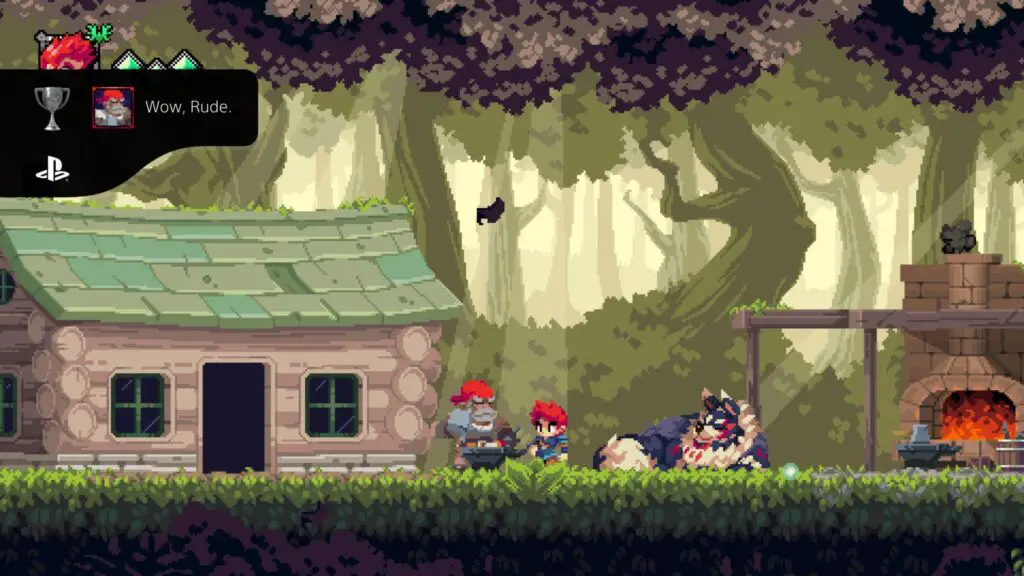
You can speak to Bohrin again with ![]() to get another chance at this trophy if you missed it during the first dialogue exchange.
to get another chance at this trophy if you missed it during the first dialogue exchange.
Ultimately, though, this is very easy to get back to by just starting a new game in a separate save file.

Hey there, Bax!
Find Bax in 4 separate locations.
The first time you run into Bax will be shortly after starting the game. Make your way from Flynn’s Ranch through Wildedge Grove on Cardinal Island until you reach a small village where you need to retrieve an old man’s hat to get the key to the gate in the east.
Bax will be stood outside the second house from the left.
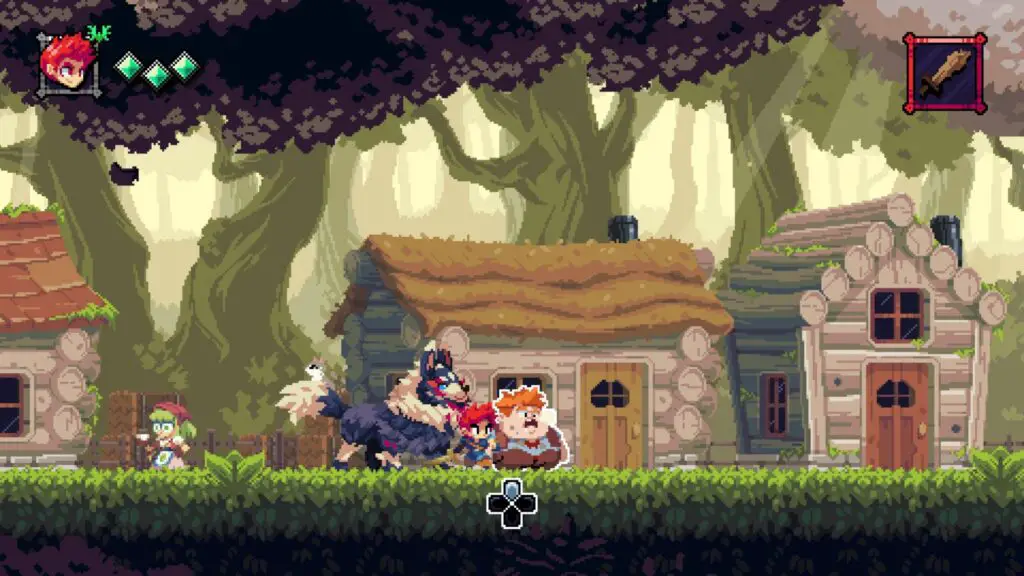
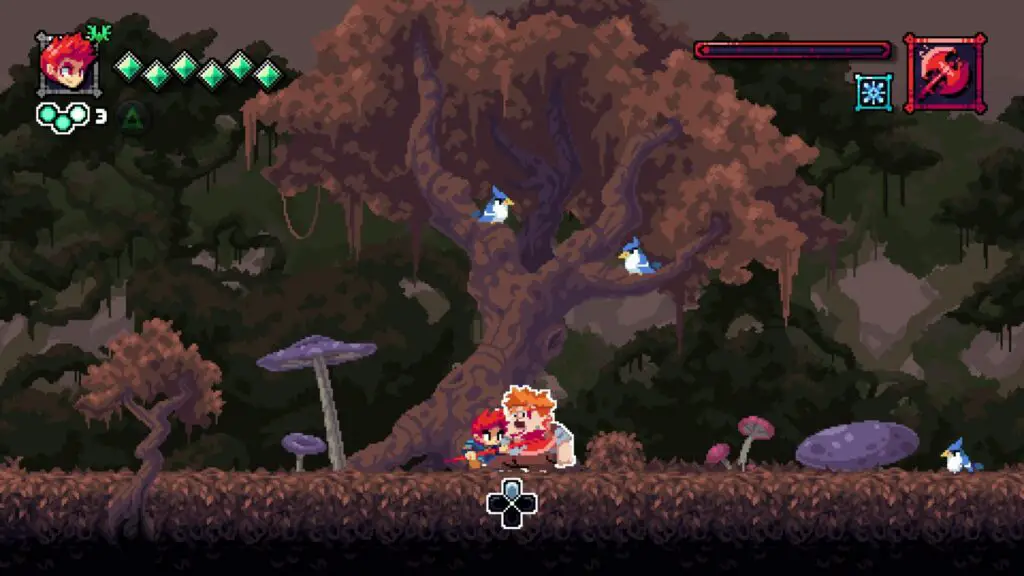
The next time you see Bax won’t be until you reach Clearcrest Springs at Mistral Peak. Go all the way to the right-most edge of the springs, past the Crimson Shrine, and you’ll see Bax sitting on a ledge.
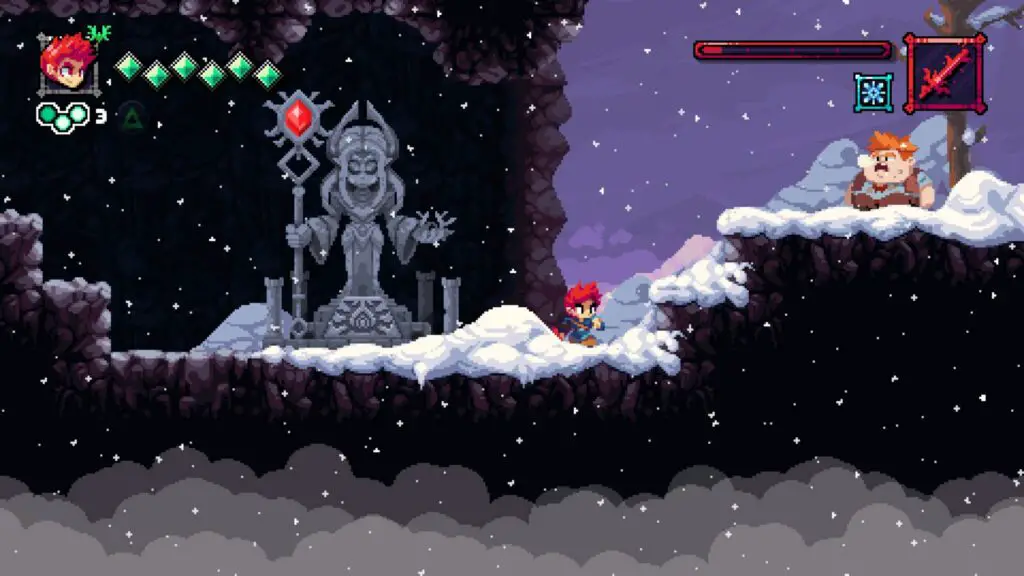
You will next see Bax at the start of the Desolate Woods area in the Rustwood. You can’t miss him.
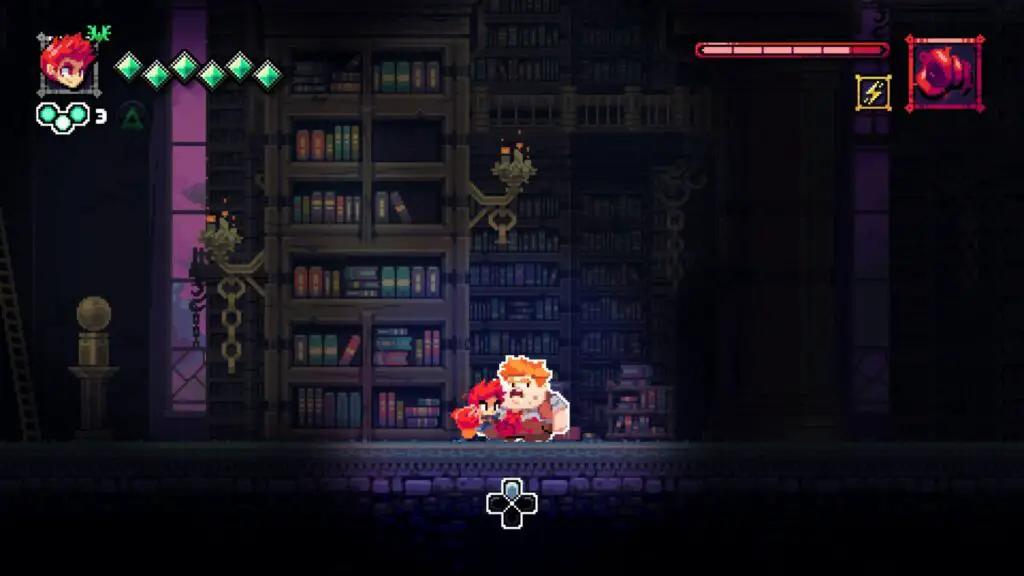
The final time you find Bax will be in the Grand Archives on the Shivering Spine. Go all the way to the right on the bottom floor (past the door you need to open to progress) and you’ll find him standing next to a bookshelf.
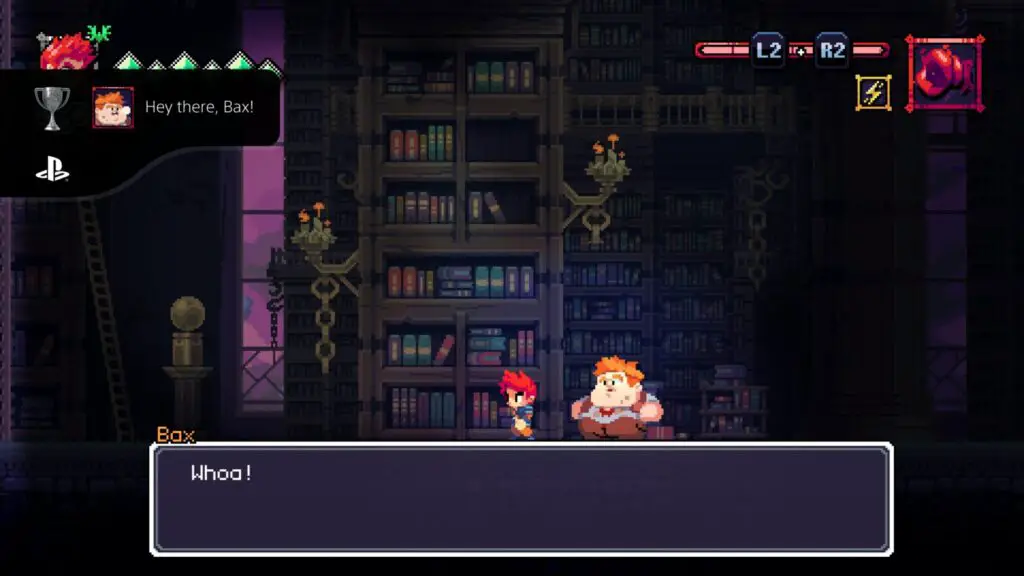
After talking to Bax in all four locations above, you will unlock Hey there, Bax!

Finally.. I was about to give up!
Defeat a training dummy in Sanctia.
In the town of Sanctia, head right until you find a Scarecrow. You can attack these scarecrows, but unlike other scarecrows from earlier in the game, they have no health bar.
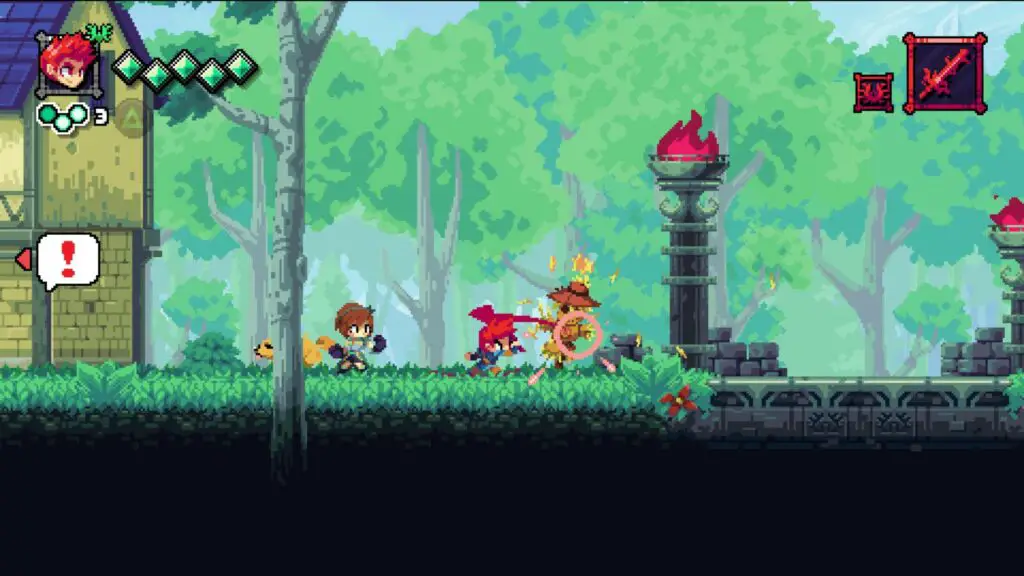
However, as this trophy’s existence suggests, they can be destroyed. You’ll need to mash ![]() to attack them repeatedly for about 1-2 minutes straight until the dummy is finally destroyed, unlocking the “Finally.. I was about to give up!” trophy.
to attack them repeatedly for about 1-2 minutes straight until the dummy is finally destroyed, unlocking the “Finally.. I was about to give up!” trophy.
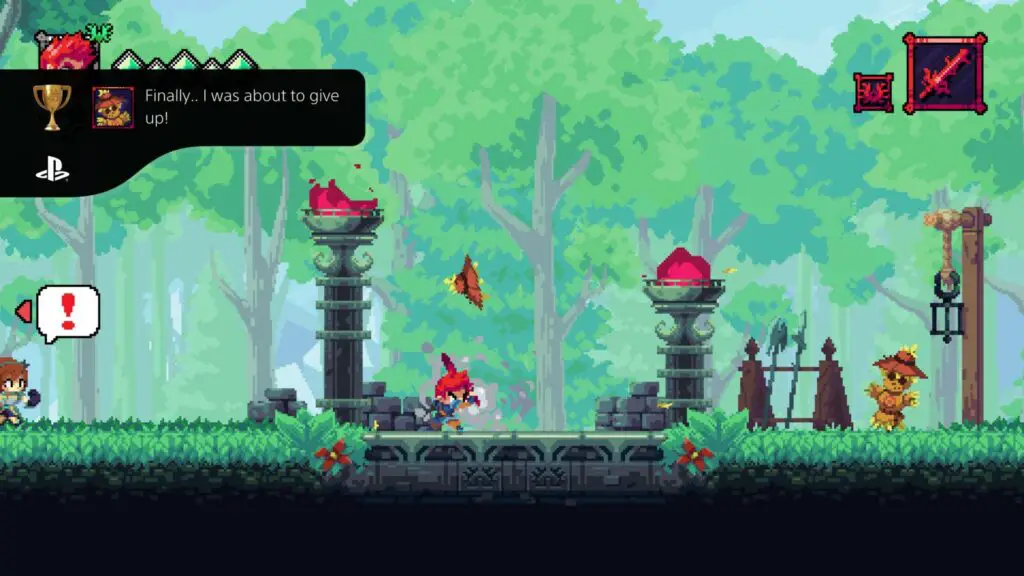
This will likely be quicker with upgraded skills, but I earned the trophy on my first visit to Sanctia.
Plat Get!

The Crimson Son
Acquire all other trophies.
Once you have acquired every other trophy in this Flynn: Son of Crimson Trophy Guide, the “The Crimson Son” platinum trophy will unlock.
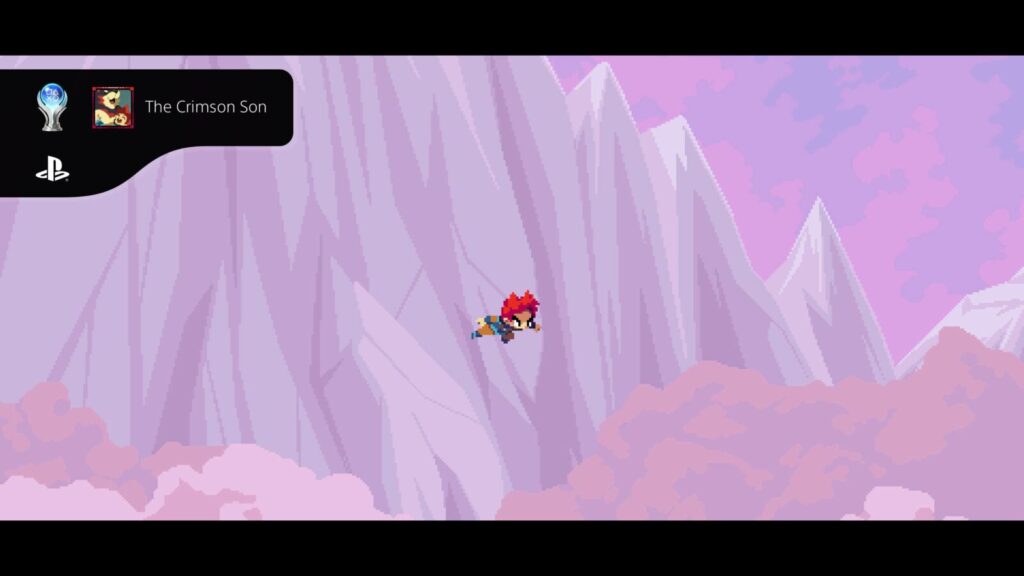
Thank you for choosing PlatGet as your source for a Flynn Son of Crimson Trophy Guide. Consider checking out our other guides!
Follow us on Twitter @GetPlat or Instagram @platget for updates on new reviews and guides, as well as small anecdotes about our platinum journeys.
Discussion
We've Partnered with NordVPN

