PlayStation 4, PlayStation 5
Flynn: Son of Crimson Collectible Guide
Game Guide
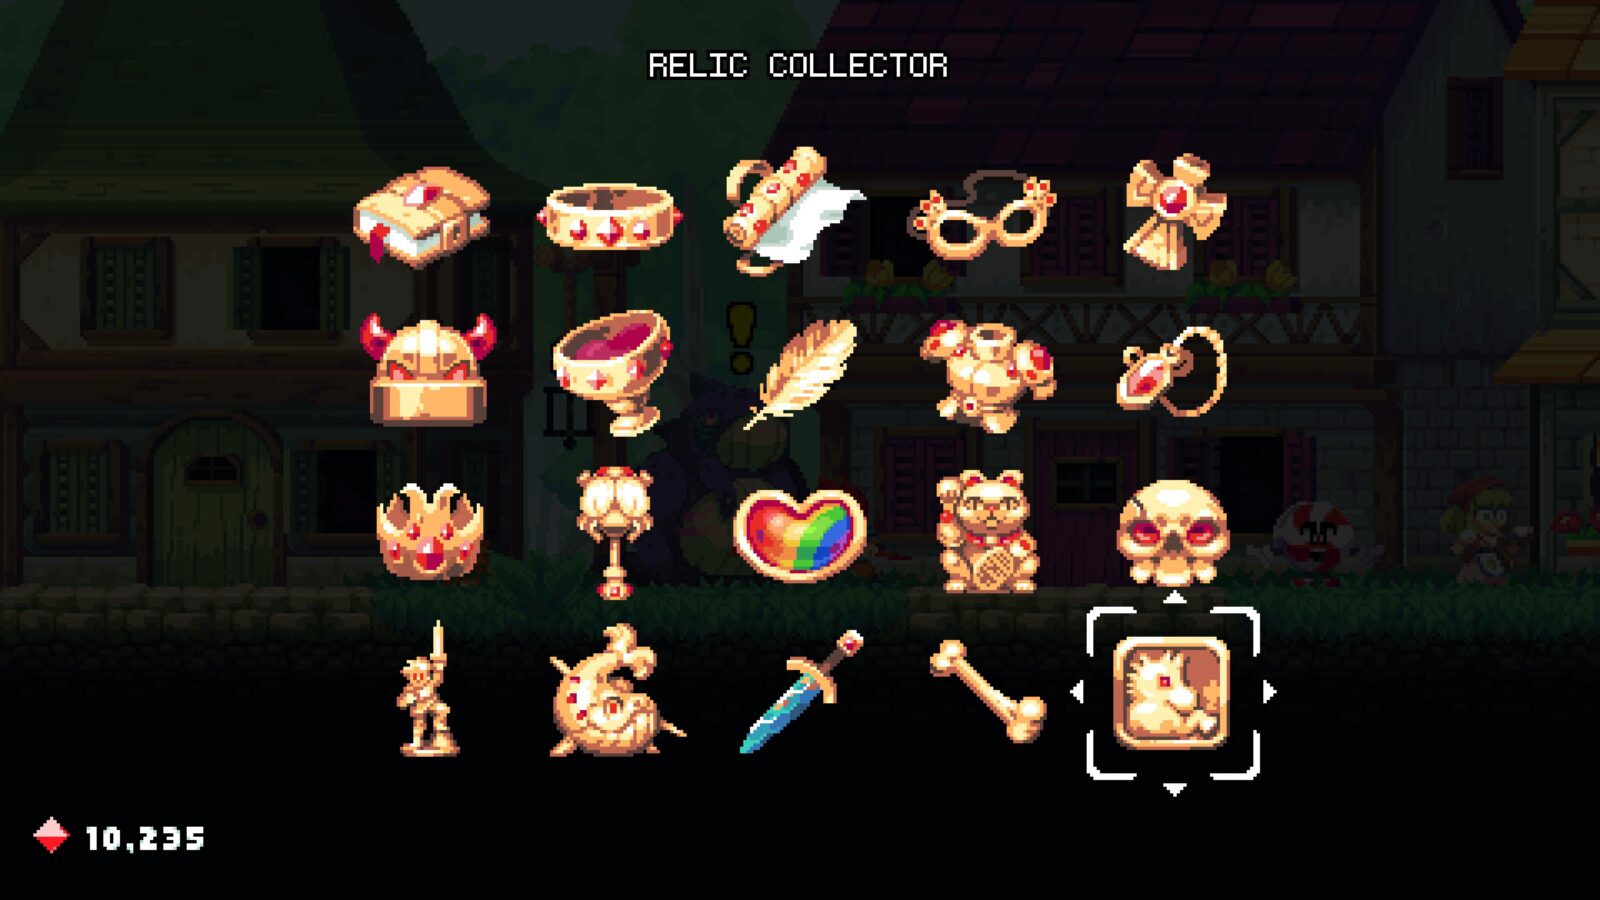
Where to find all Golden Relic Collectibles in Flynn: Son of Crimson
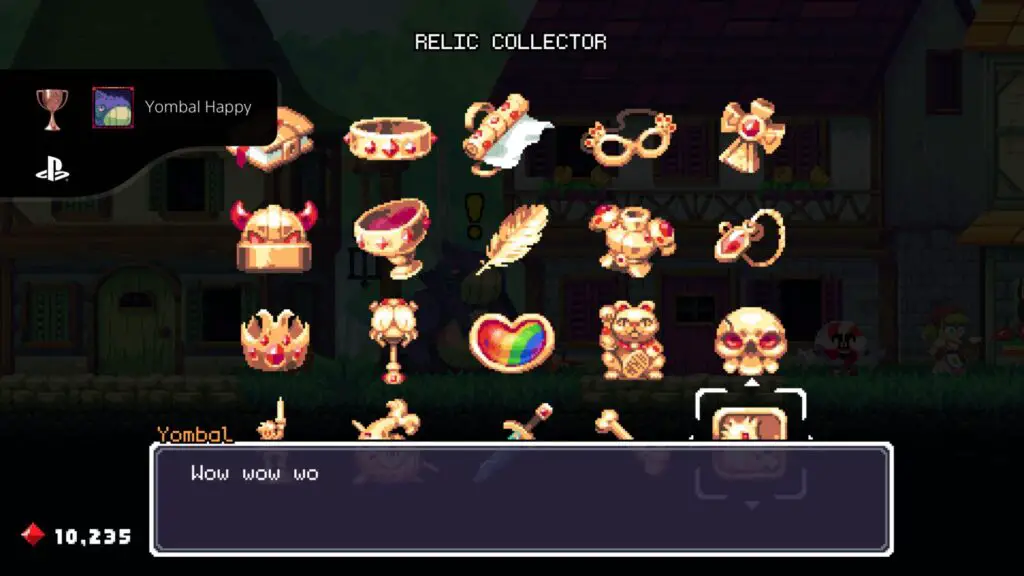
Welcome to our Flynn Son of Crimson Golden Relic Collectible Guide. Trophy Hunters keen on earning the Flynn: Son of Crimson Platinum Trophy can use this guide to find and collect all 20 Golden Relics which can then be sold to Yombal for the “Yombal Happy” trophy/achievement.
If you’re interested in getting help with any other Flynn: Son of Crimson Trophies/Achievements, please check out our Flynn: Son of Crimson Trophy Guide.
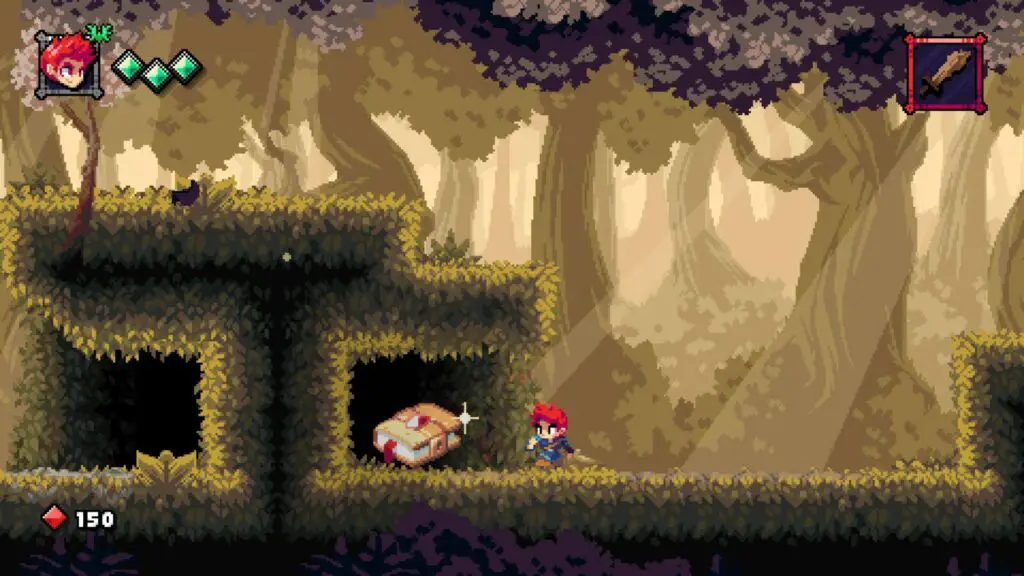
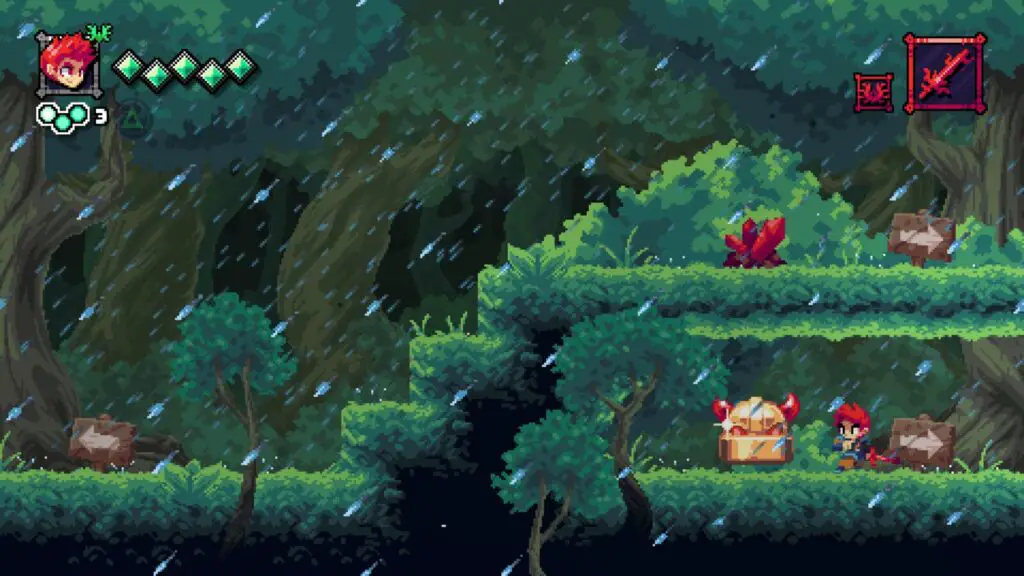
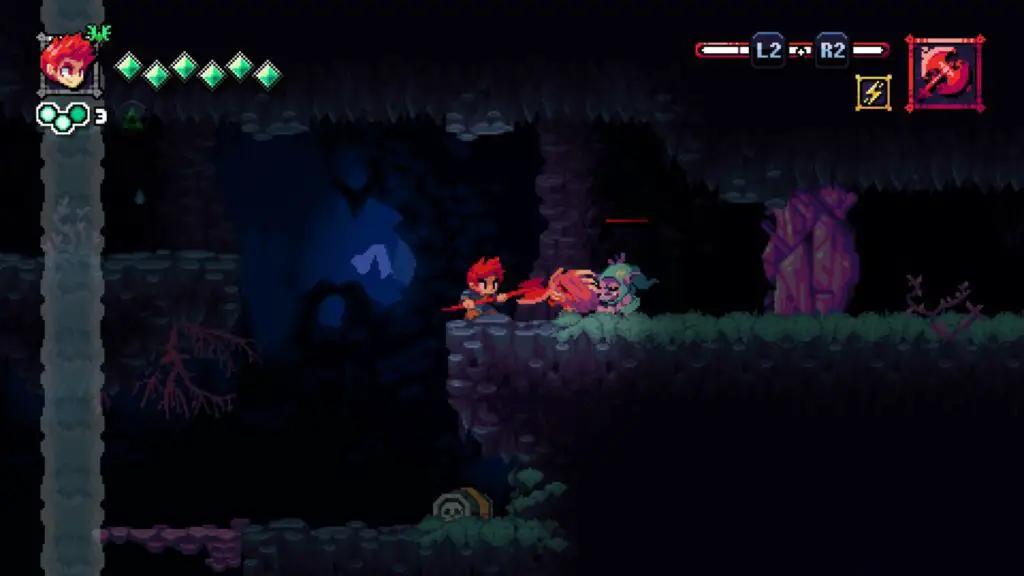
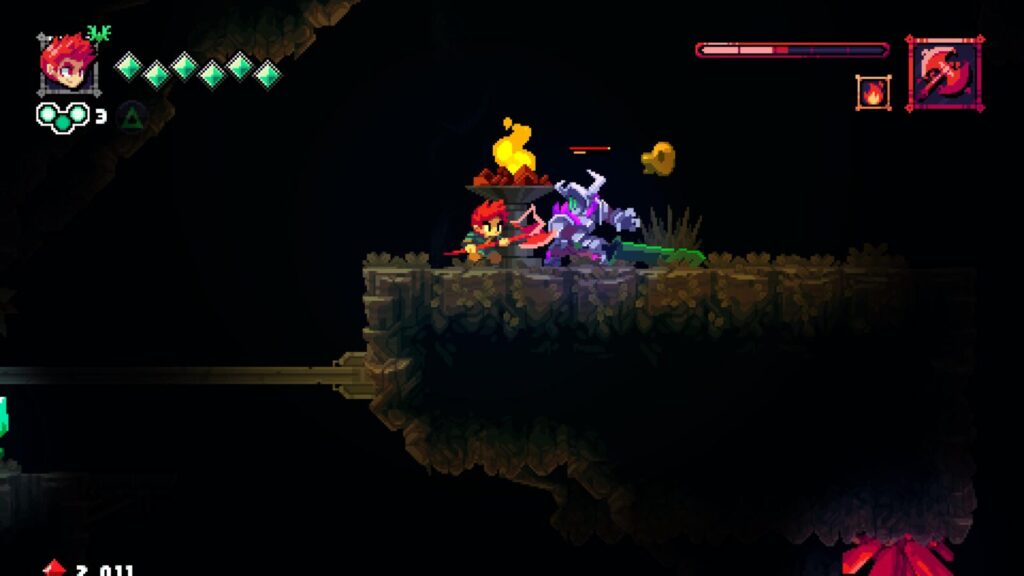
Golden Relic 1 | Ancient Tome | Wildedge Grove
The first Golden Relic, an Ancient Tome, can be found in the Wildedge Grove stage. Past the village with the old man who exchanges a hat for a key there is a large tree where Dex and Flynn took a nap upon their first visit.
Head into the next area and kill the first three plant enemies. Just behind the third one is a secret doorway on your left with the Tome inside.
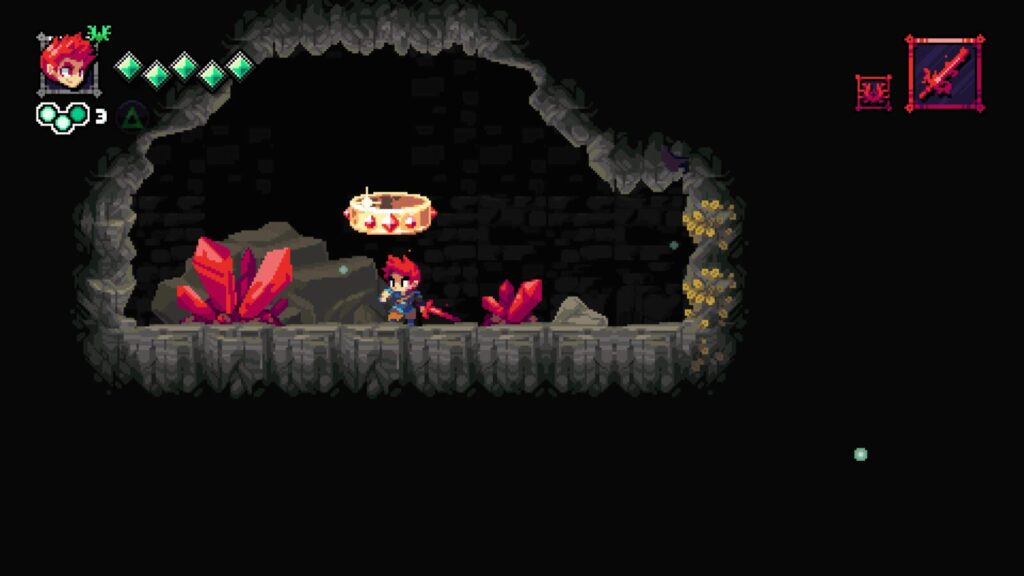
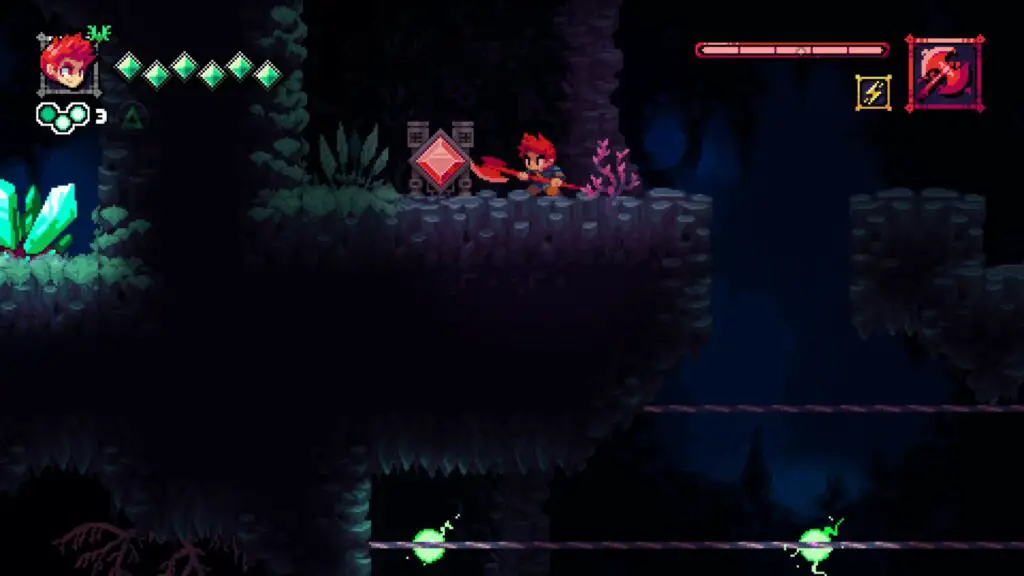
Golden Relic 2 | Bangle of Bravery | Wildedge Retreat
The second Golden Relic is found in Wildedge Retreat. Progress until you find a drop with a huge blue crystal on the left cliffside (if you hit the underwater section, you’ve gone too far). Behind it are some red leaves, indicating another secret doorway.
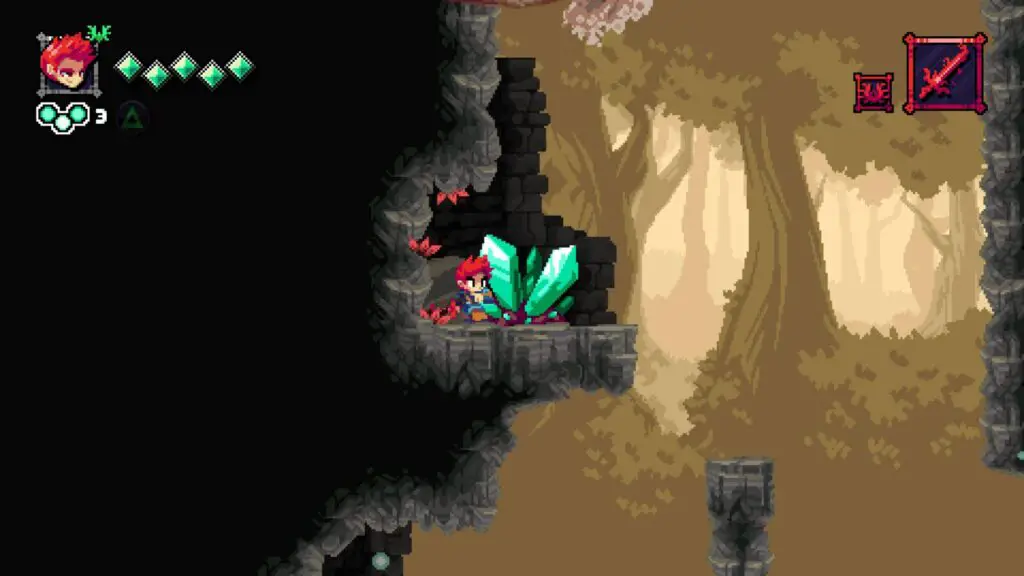
Head inside and follow it all the way to the left to find the next Golden Relic, The Bangle of Bravery.
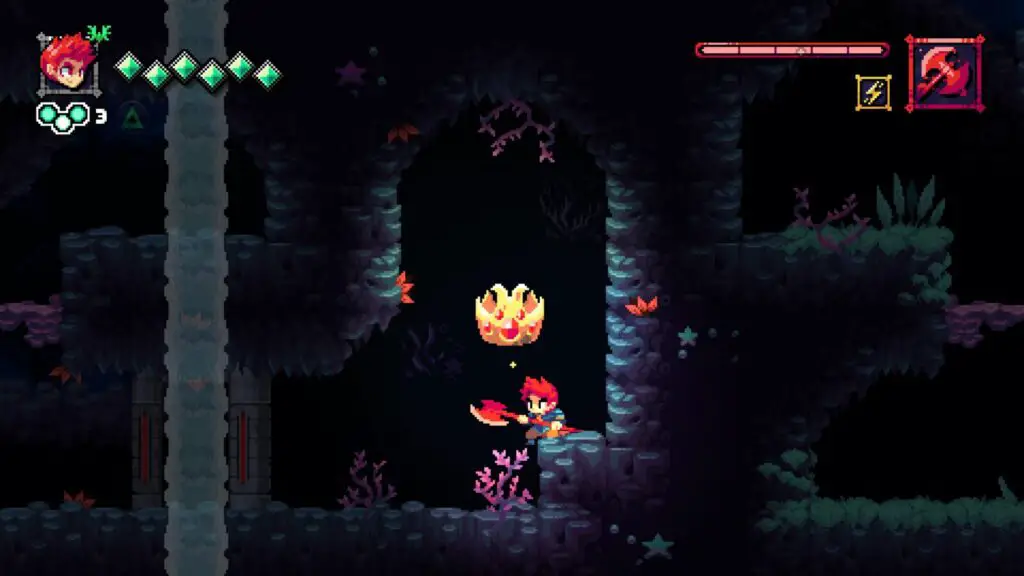
Golden Relic 3 | Glowing Scroll | Hollow’s Reach
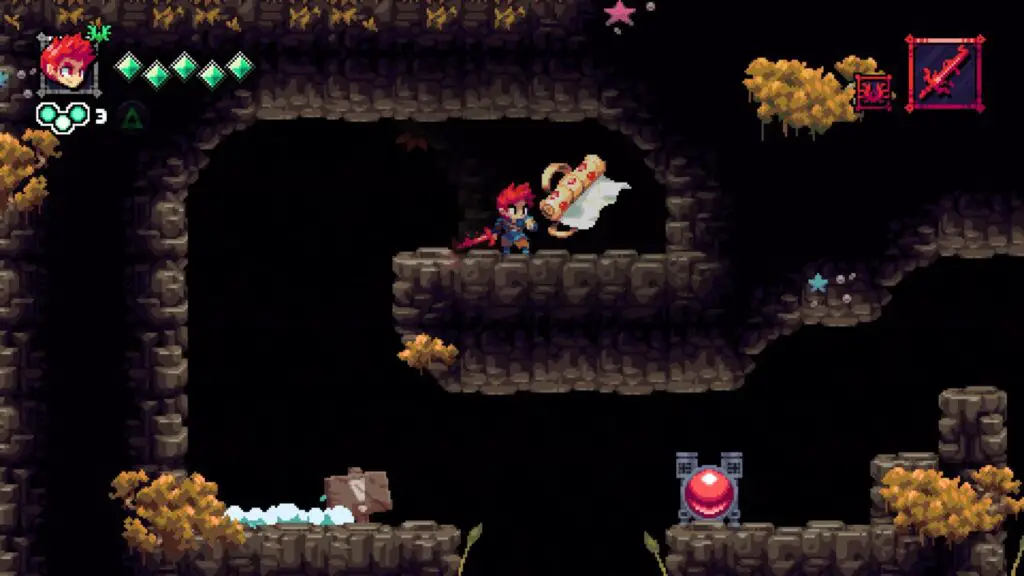
The third Golden Relic is found in Hollow’s Reach. Progress through the level until you come to a big red button that controls a geyser. Jump into the water next to this button and then swim down into the bubbles.
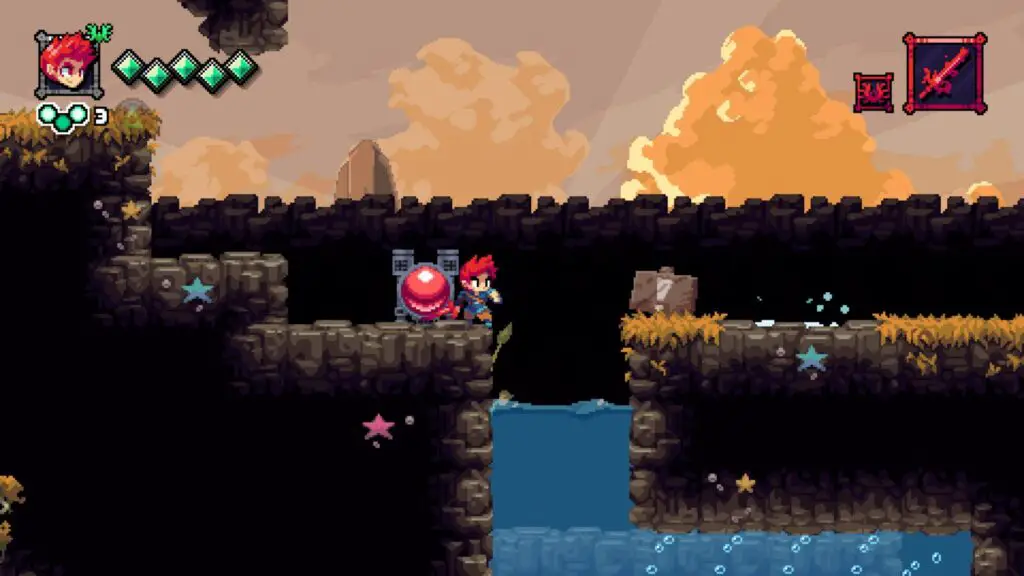
You’ll be carried to a secret area where you can find another red button that controls another geyser. Step on the geyser and then use ![]() to fire magic at the button, activating the geyser.
to fire magic at the button, activating the geyser.
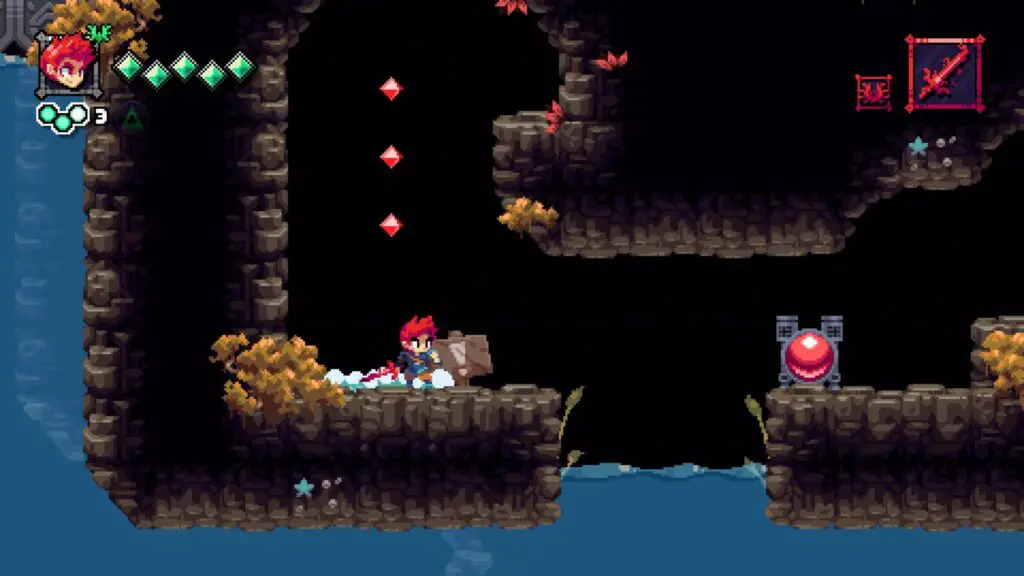
Jump off the geyser onto the ledge, then head through the wall where the tell-tale red leaves are and collect the Golden Relic, The Glowing Scroll.
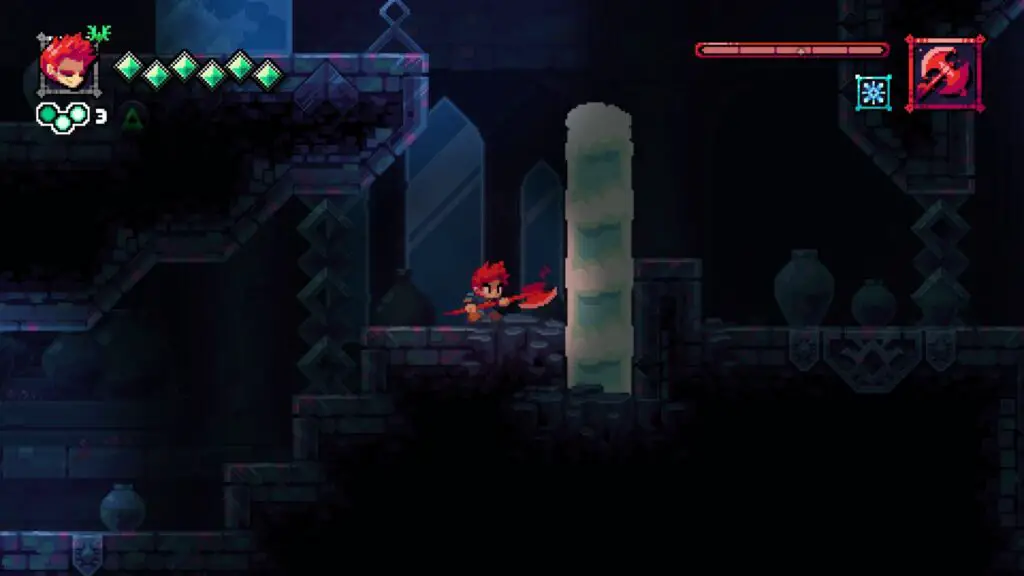
Golden Relic 4 | Lavish Half Mask | Wilder Falls
The fourth Golden Relic is found in Wilder Falls. In the next area after the boss fight, there’s a door that can only be opened by pushing a metal block into a trench in front of it. Continue climbing upwards until you find the metal block and then look up above it. You’ll see those red leaves again, growing from the rock walls.
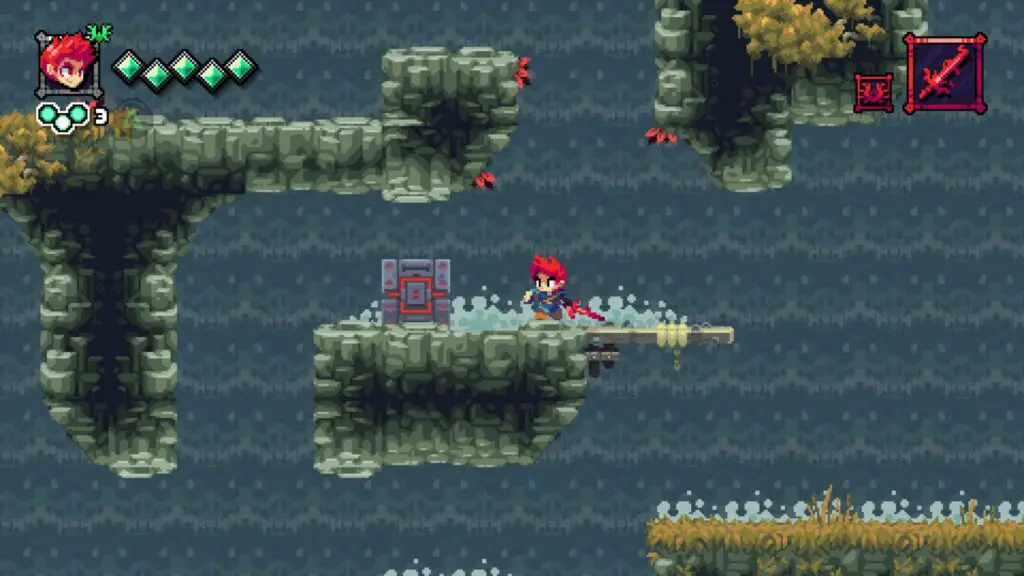
Move the block to the right and stand on it so that you can jump up there and then follow the path to the left. Jump across the disappearing platforms to the other side, where you’ll find the Lavish Half Mask Golden Relic.

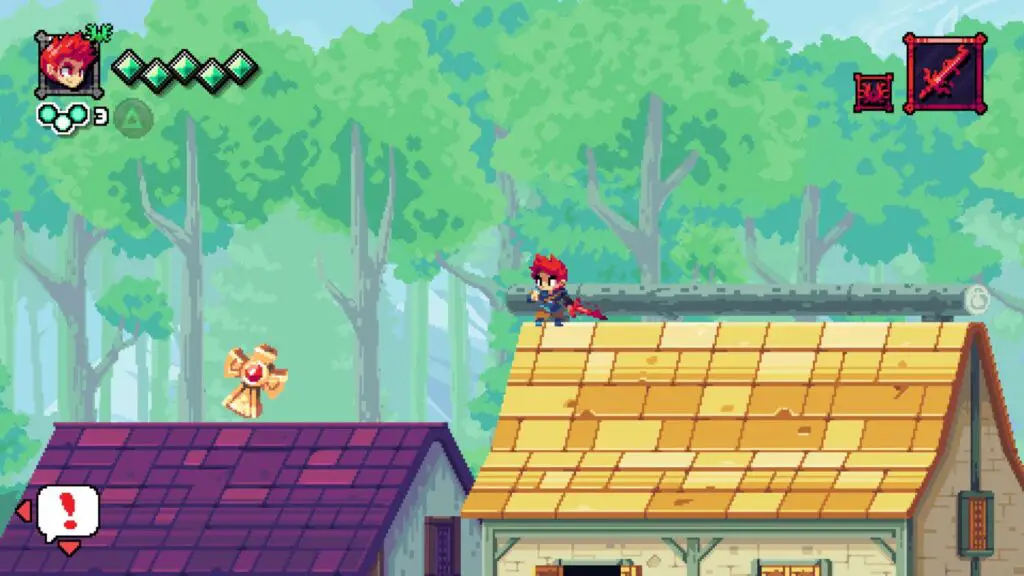
Golden Relic 5 | Cross | Sanctia
The fifth Golden Relic is in the Town of Sanctia. When you speak to Yombal for the first time as part of the story, he will actually reveal the location of this Golden Relic, on the roof of the house next to you.
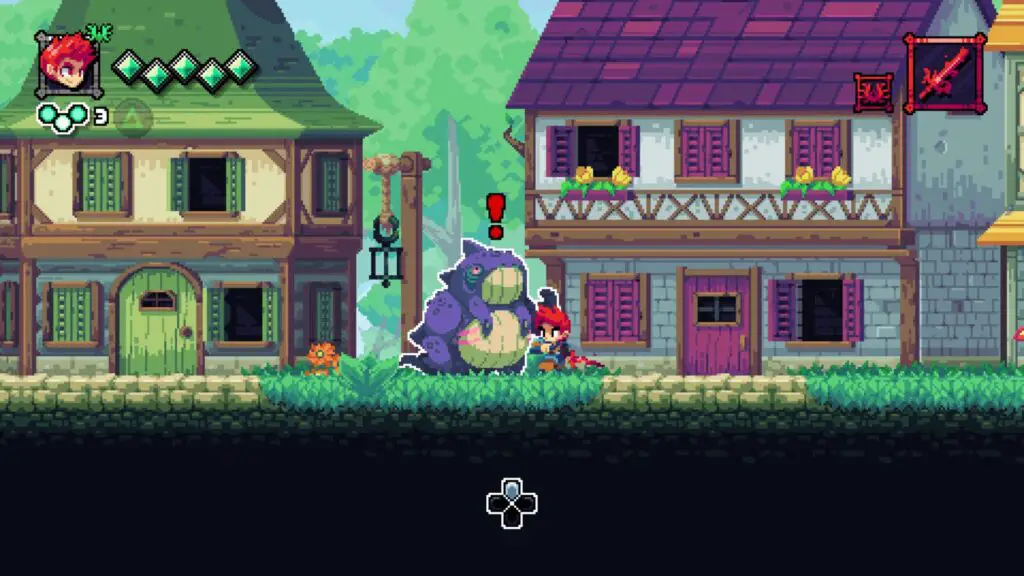
Go to the right, climb the wooden structure, and then roll-jump to the left onto the yellow roof. The man at the top of the wooden structure will teach you how to roll-jump. From there you can easily make your way over to the relic.
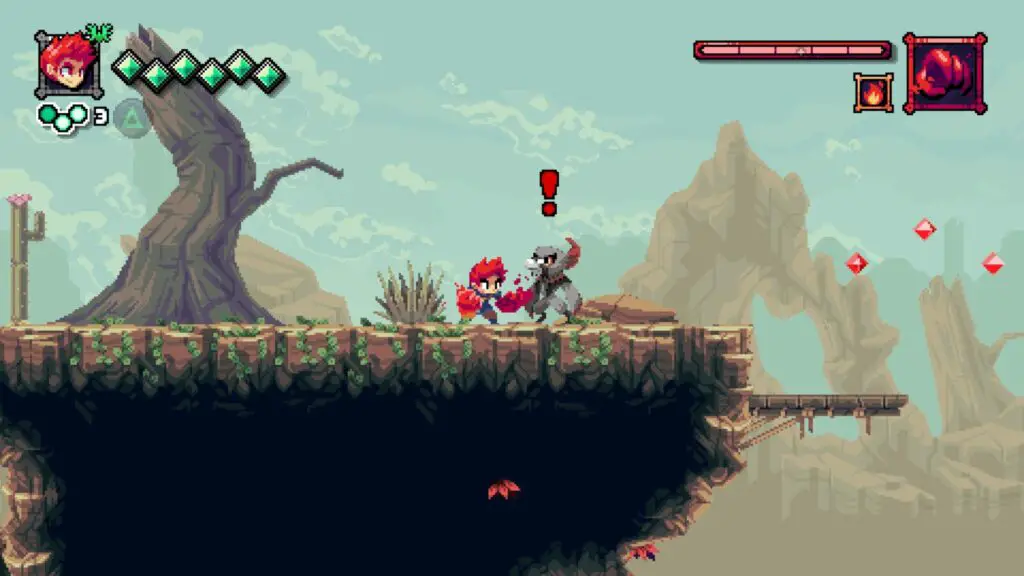
Golden Relic 6 | Giant’s Helm | The Great Forest
The sixth Golden Relic is found in The Great Forest. At the start of this level, rather than going to the right, climb up and take the upper route through the stage.
Progress until you meet a strange masked individual who tells you about the “Twisted Wildwood” a Lost Woods style puzzle, the solution to which is to always select the path with the least reward. Even if it means doubling back on yourself.
There’s another solution, however, which will lead you to the Golden Relic in this level. Go through the puzzle until the very last room, where you’ll see a sign with an Exclamation Point instead of an arrow. It’s surrounded by red leaves.
Go down that path and you’ll find the Giant’s Helm Golden Relic.
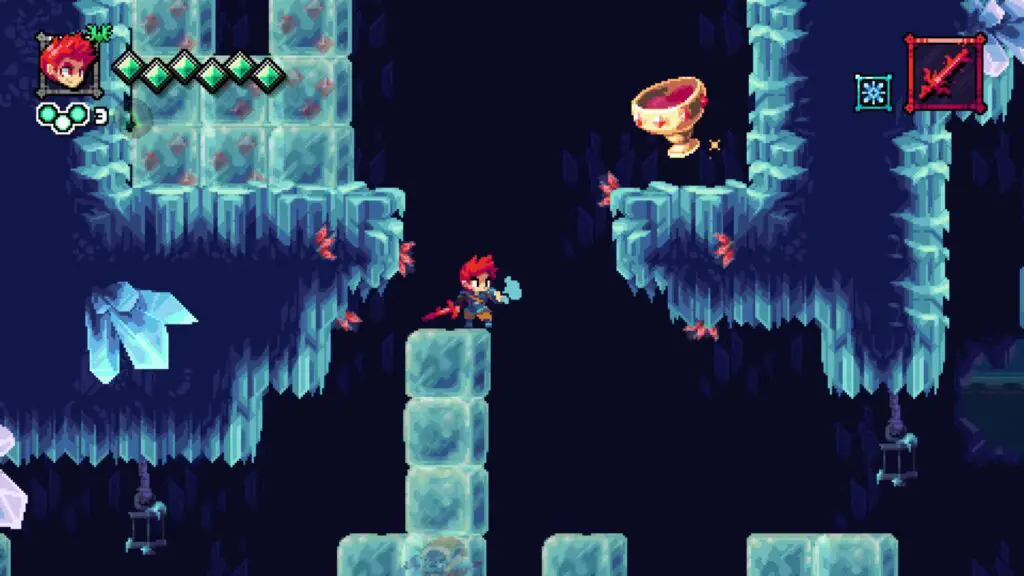
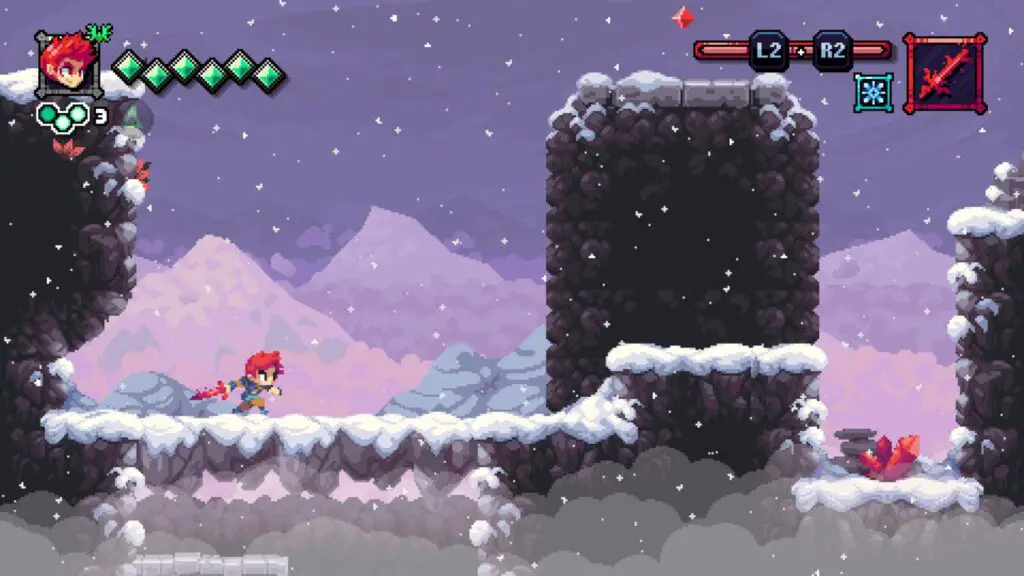
Golden Relic 7 | Bottomless Goblet | Frigid Mines
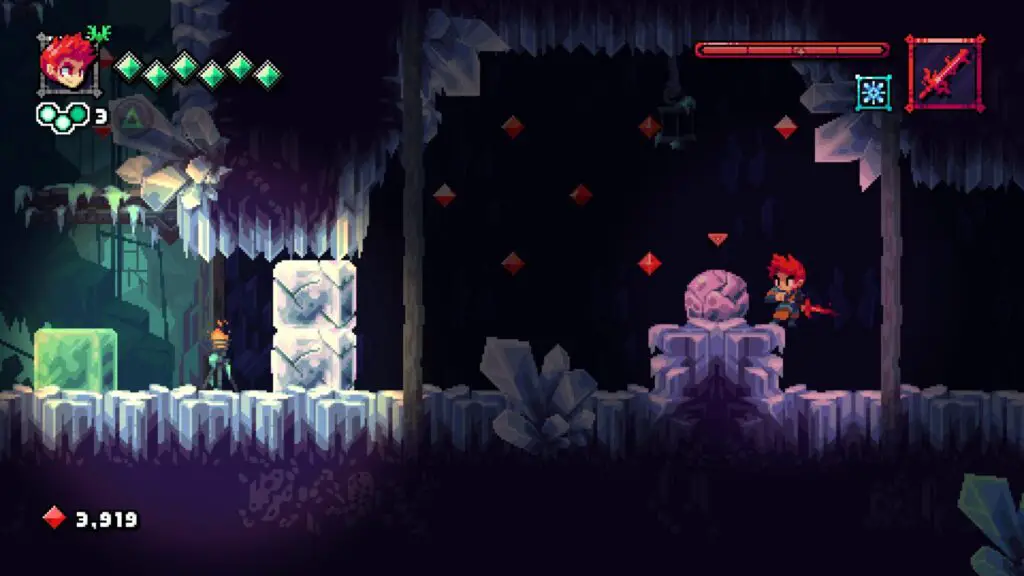
The seventh Golden Relic is found in the Frigid Mines area on Mistral Peak. After you’ve passed through the door that requires you to activate four red crystals, you’ll be in a room filled with ice blocks.
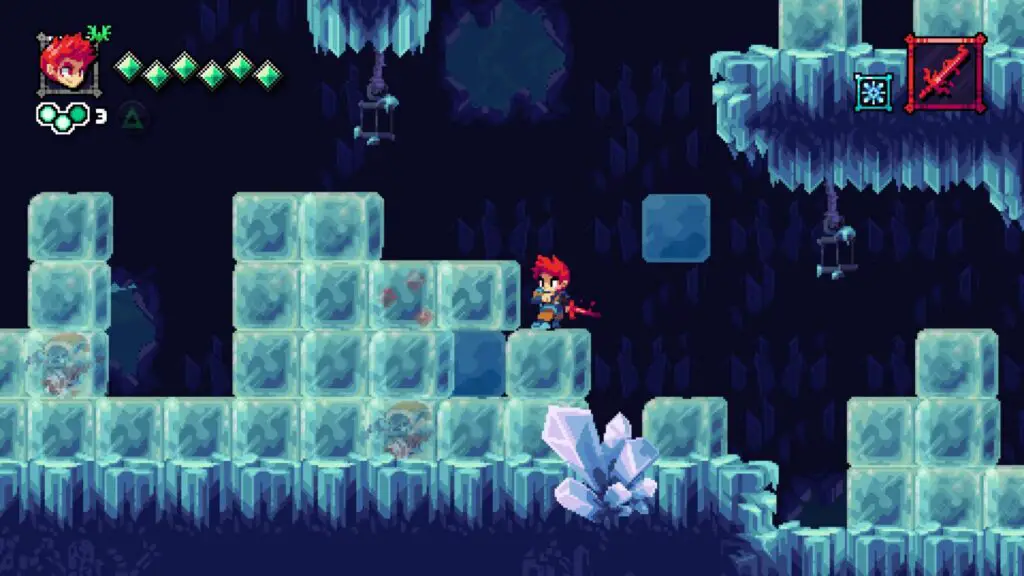
Don’t break any blocks, instead, head to the left and climb the tallest stack of ice blocks. You’ll then see the “Bottomless Goblet” Golden Relic in the area above you.
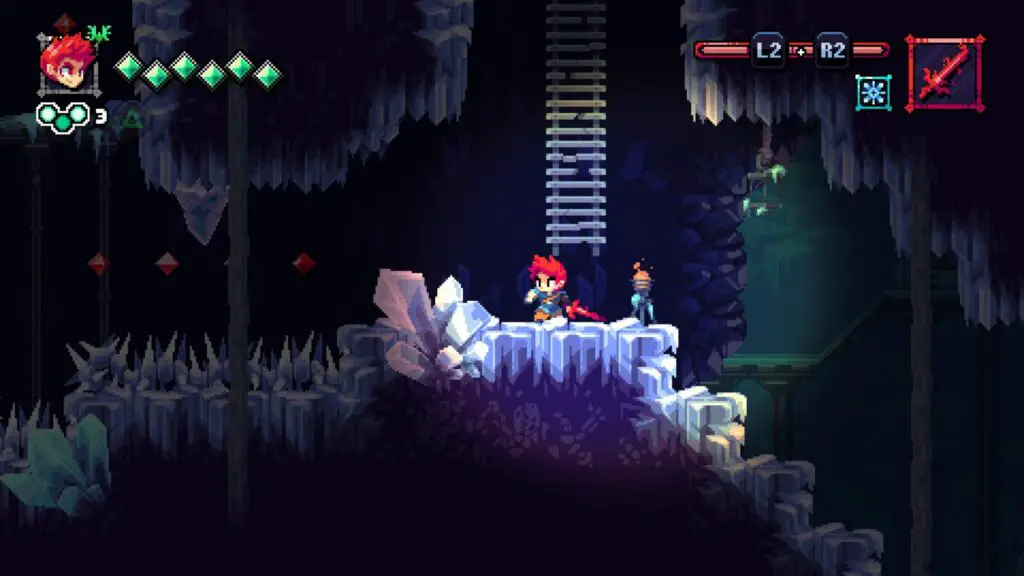
Golden Relic 8 | Eternal Feather | Frosted Caverns
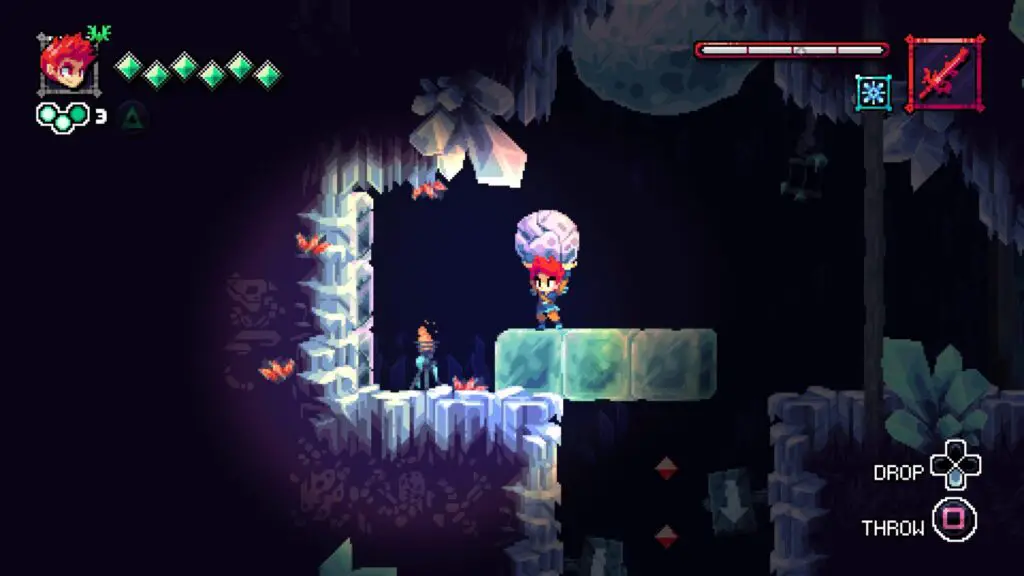
The Eighth Golden Relic is found in the Frosted Caverns on Mistral Peak. After opening the second gold gate in the level, the next area has two exits; an upper exit which is reached via a ladder, and a middle exit which requires you to go left at the ladder instead.
Go through the middle exit by going left at the ladder and into the next area. In front of you will be a large snow boulder. Pick it up with ![]() and throw it at the blocks in your way.
and throw it at the blocks in your way.
Then, go back and grab the boulder again when it respawns. Take it all the way to the left, past the ice blocks where the boulder falls later.
There, you will just be able to make out the edge of some more breakable blocks. Throw your snow boulder at them to break them and then head through the wall to enter another area.
Here, there’s a strong wind pushing you backwards, so you need to constantly hold ![]() or
or ![]() to push against it while making your way left across the platforms. You will need to roll-jump (press
to push against it while making your way left across the platforms. You will need to roll-jump (press ![]() to roll and then tap
to roll and then tap ![]() to jump just before the end of the roll animation) to make it across the gaps. At the other side of the area there’s a cave entrance.
to jump just before the end of the roll animation) to make it across the gaps. At the other side of the area there’s a cave entrance.
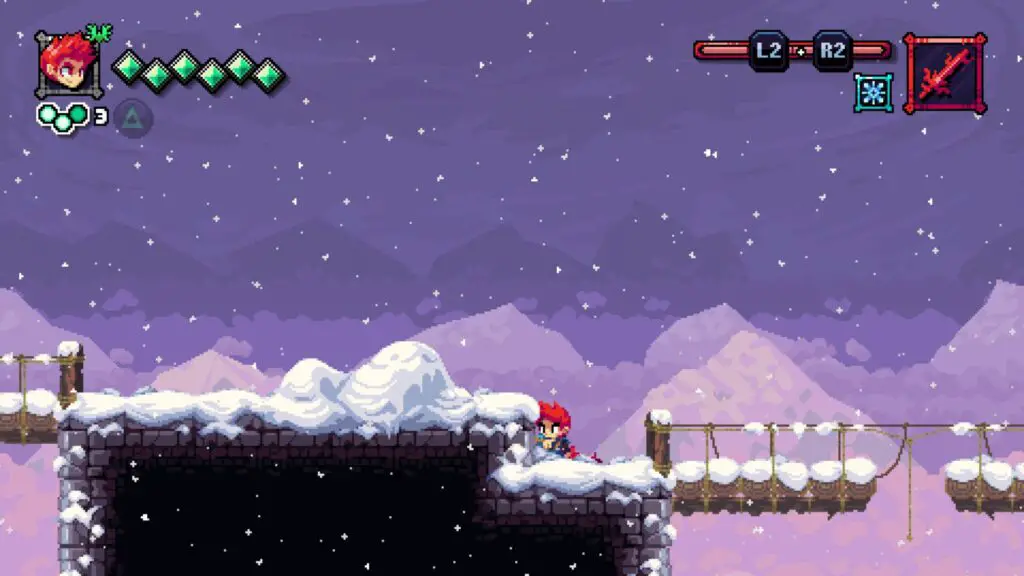
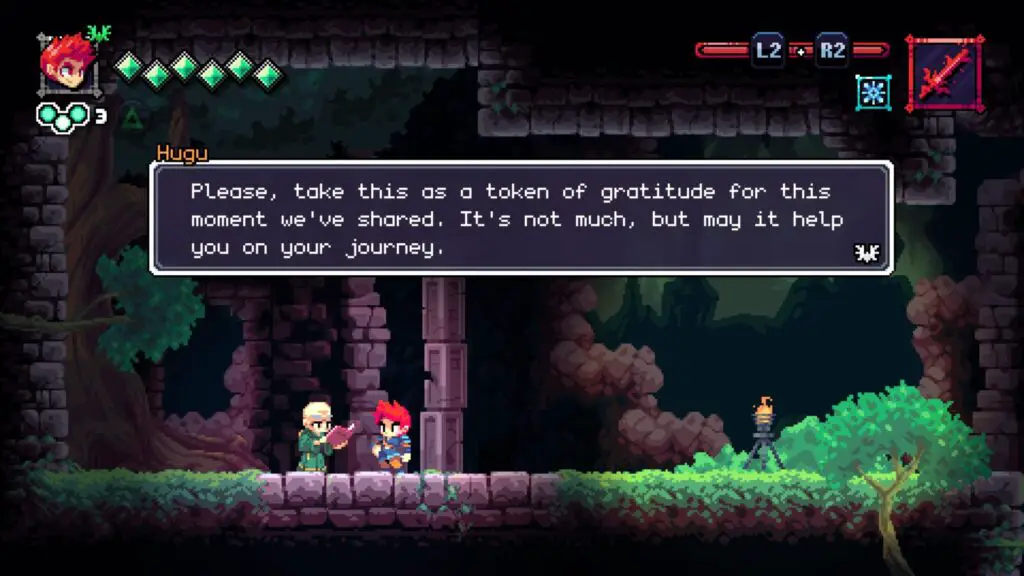
Head into the cave entrance and the wind will be gone. Continue left to speak with a mage called Hugu at the back of the cave. He will give you the “Eternal Feather” Golden Relic.
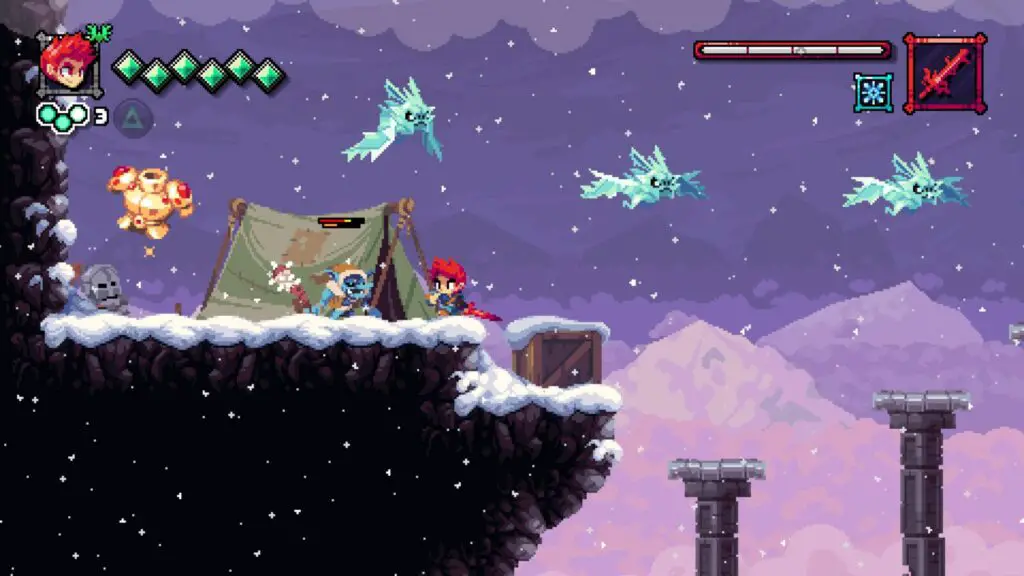
Golden Relic 9 | Warrior’s Cuirass | Bleakstorm Ridge
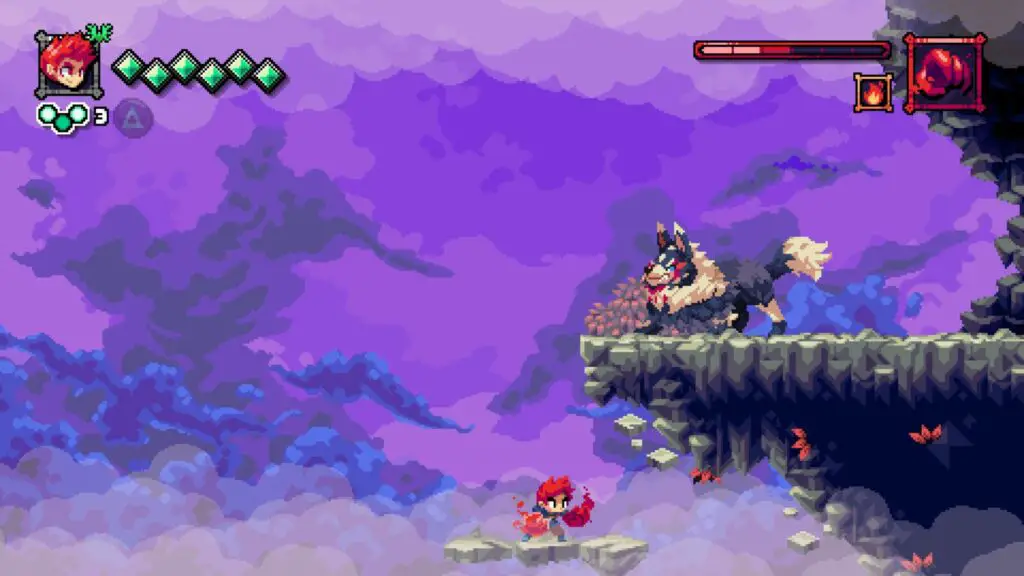
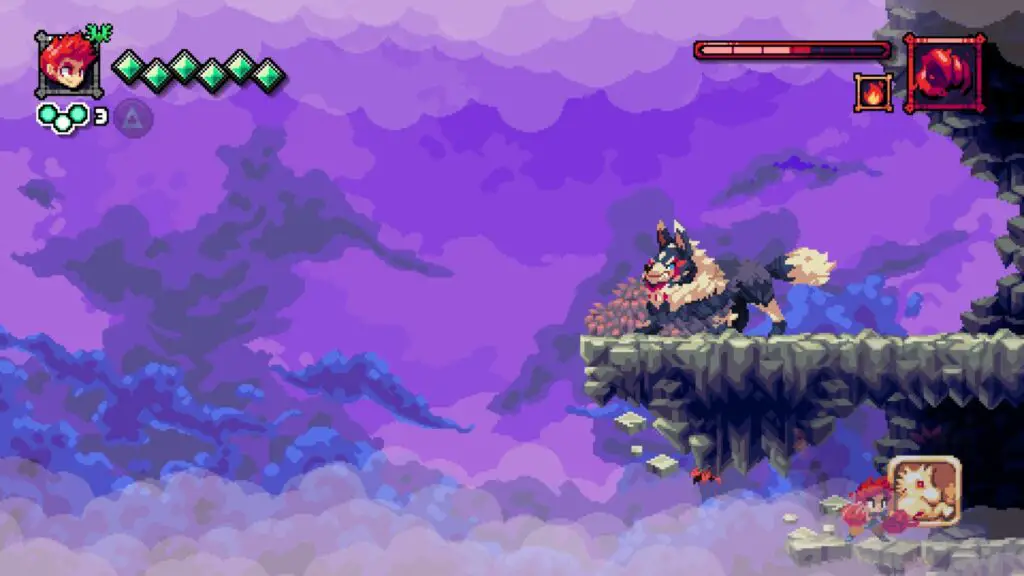
The Ninth Golden Relic is found in Bleakstorm Ridge on Mistral Peak. Progress past the area with the Wolves where you meet Rickathon, and the next area is outside, where there’s a strong wind pushing against you.
Head to the right and then up to the top level, from there, head left across the platforms and then roll-jump to the ledge with the red leaves above where you arrived in this area.

On the next screen, the wind will be pushing against you and you’ll need to platform your way across the thin pillars to the left. This is quite tricky so it might take a few tries. Watch out for the swarms of ice bats that fly overhead.
Once you reach the other side, you’ll find a goblin by a tent next to the Warrior’s Cuirass Golden Relic.
Golden Relic 10 | Amulet | Seabarrow
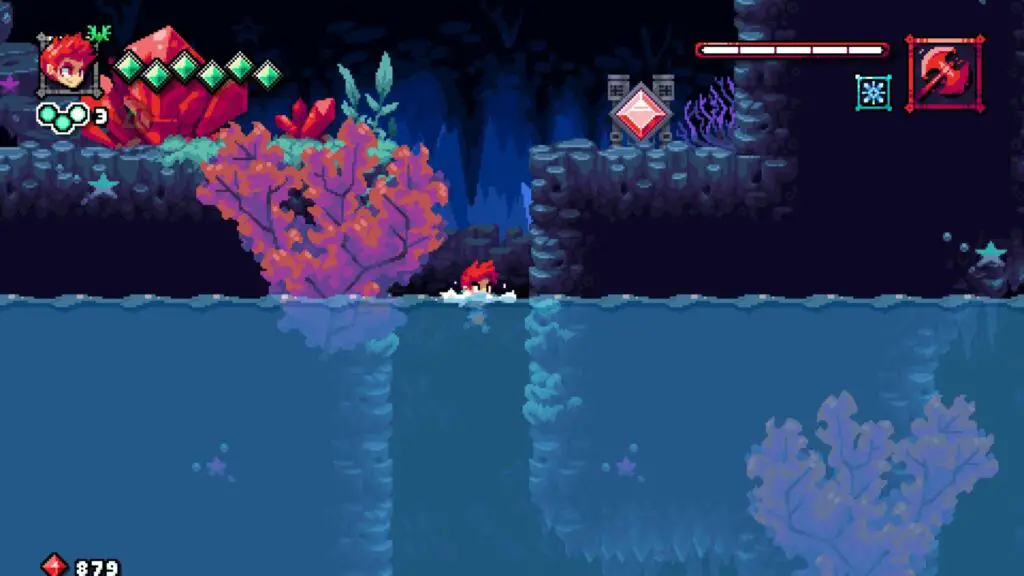
The tenth Golden Relic is found in the Seabarrow within The Hollow. When you reach a section with floating metal barriers, look for a locked door with two crimson crystal slots. You’ll be able to see the Golden Relic behind it.
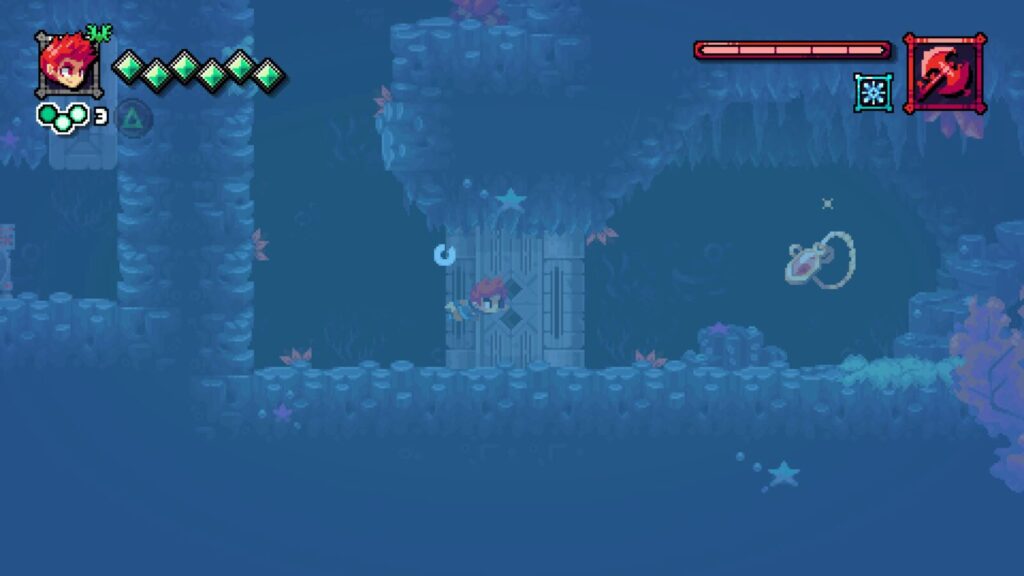
To unlock the gate, we will need to find and activate the two crystals. Continue through the level, raising the water level as you should, but don’t go past the sign with the arrow on it.
Instead, go back underwater and swim left to find another passage upwards. Swim up and you’ll see the first crystal there.
Once you’ve activated it, swim all the way back down to the door, and then swim up and to the right, all the way up the long passage. Try to be quick as your limited air will only just last long enough. At the top of the passage, you’ll find the second crystal.
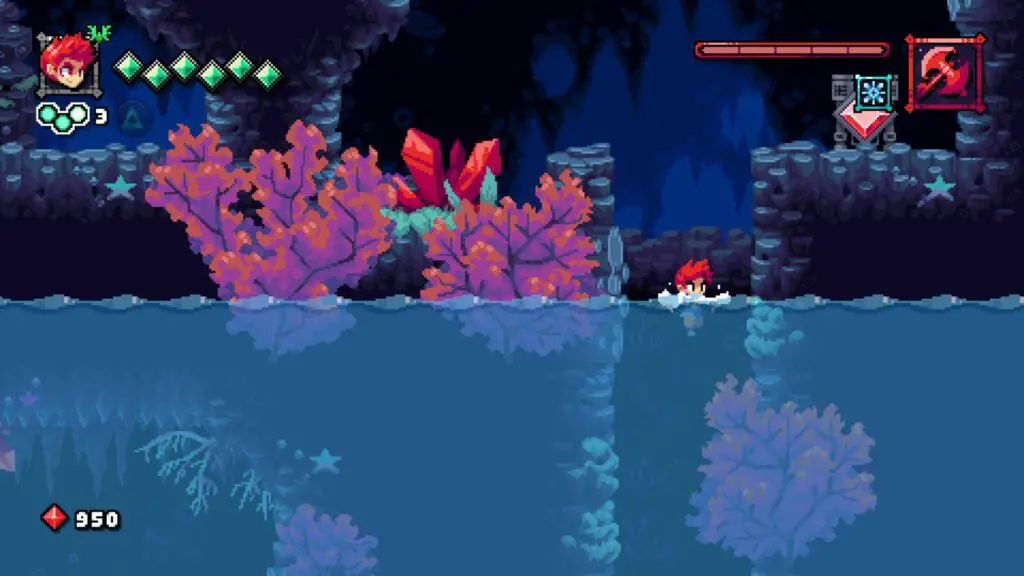
The door will then open, so swim all the way back down and collect the Amulet Golden Relic.
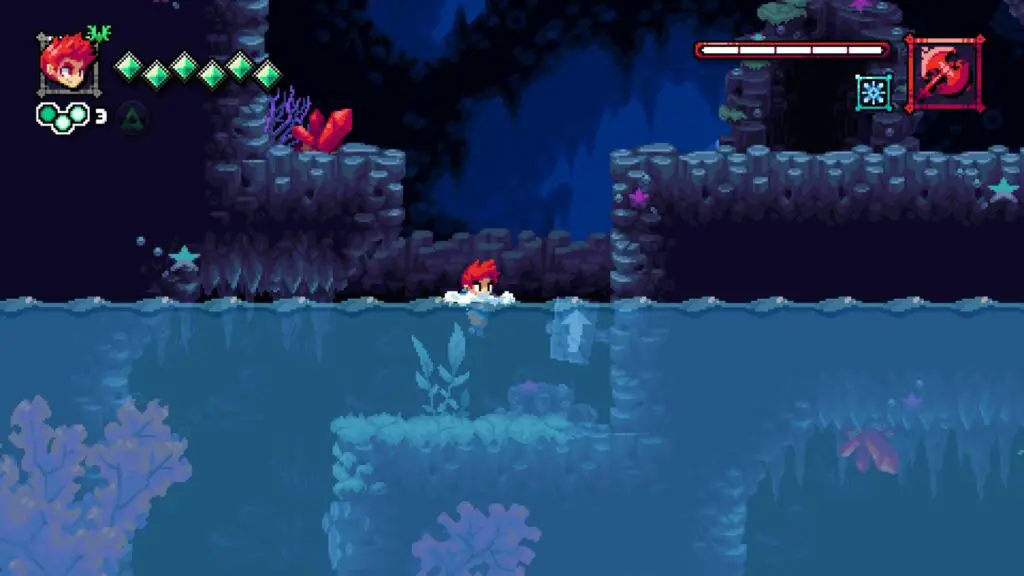
Golden Relic 11 | Crown of Seas |
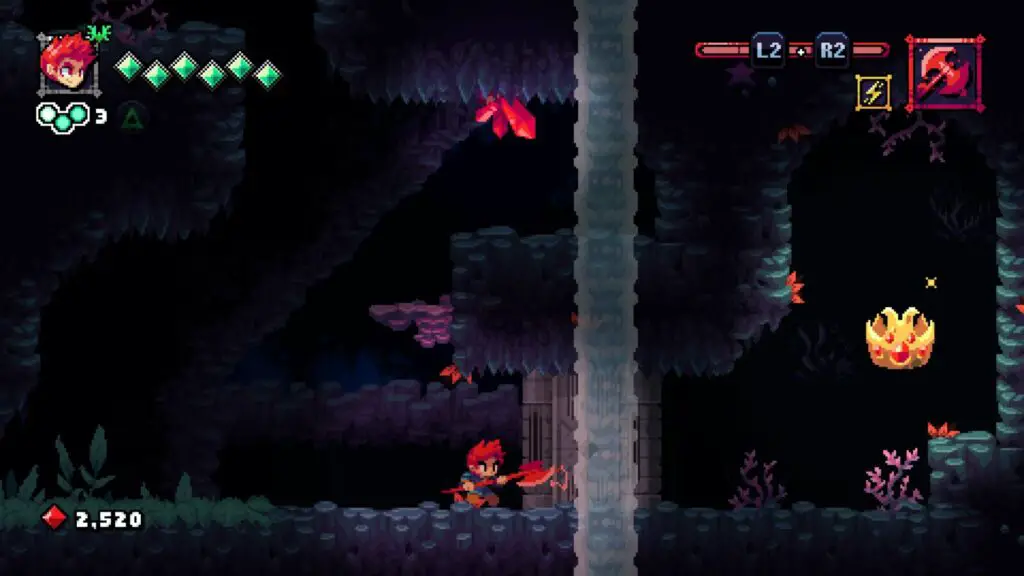
The Eleventh Golden Relic is found in Crystal Grotto within The Hollow. Progress through the stage until you pass through a doorway into a room where you can see a rope to your right with electric charges running along it.

At the top of the screen, you should be able to see a Crimson Crystal. If you drop down and then go all the way to the right, you’ll see a door with a Golden Relic behind it.
Make your way up and then across the ropes to reach and activate the crystal, this will open a different door above the Golden Relic. Head through the door and break through the pink crystals with your axe in the next area.
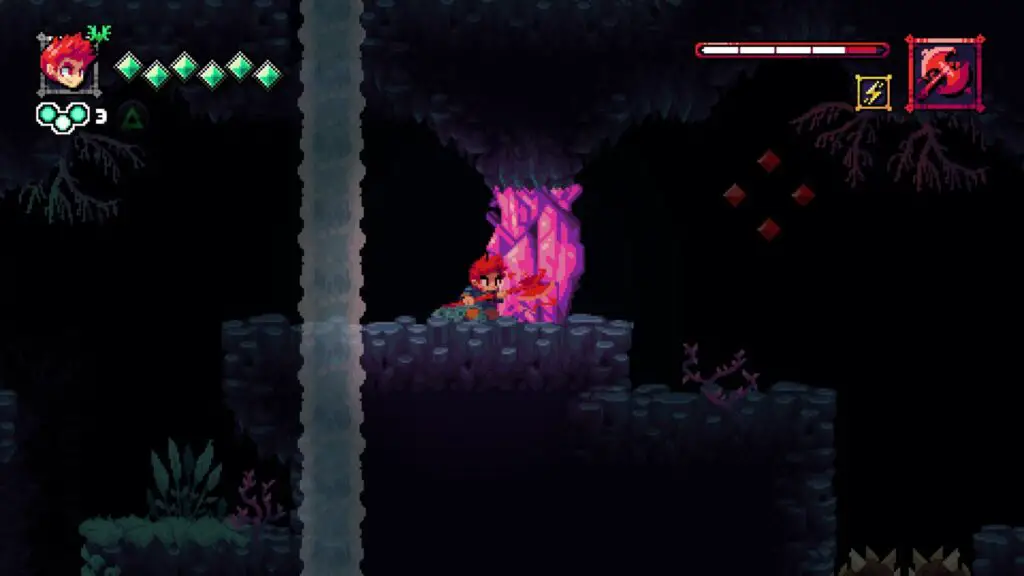
Continue on until you reach the next pink crystal barrier, above a barrel, and then jump to the platform on your left.
From there, continue heading leftward, using roll-jumps to stay on the uppermost path until you reach another Crimson Crystal. Hit it to open the door guarding our Golden Relic.
Return to the door and head inside to collect the Crown of the Seas Golden Relic.
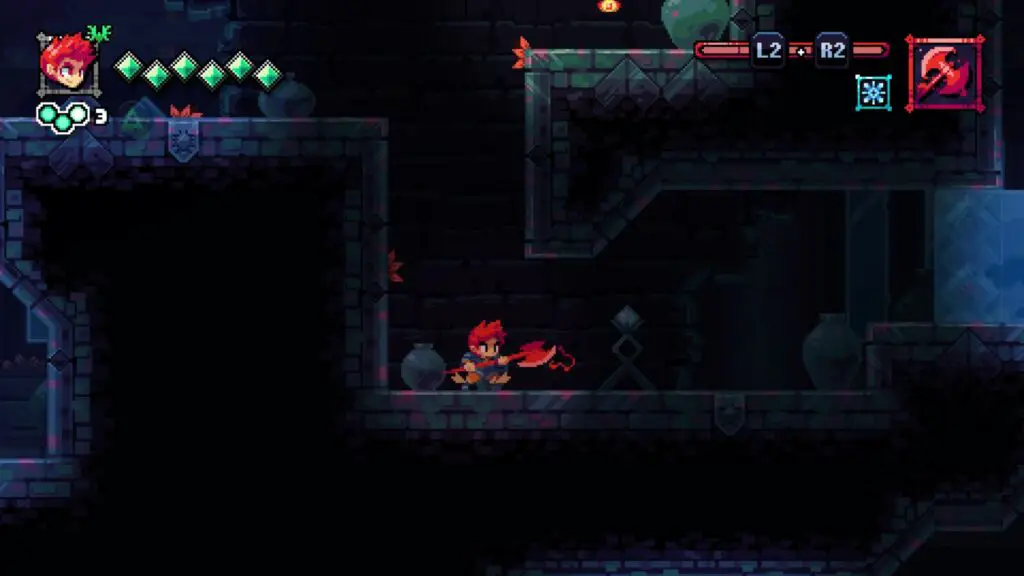
Golden Relic 12 | Beetle Staff | Palace of Aquaras
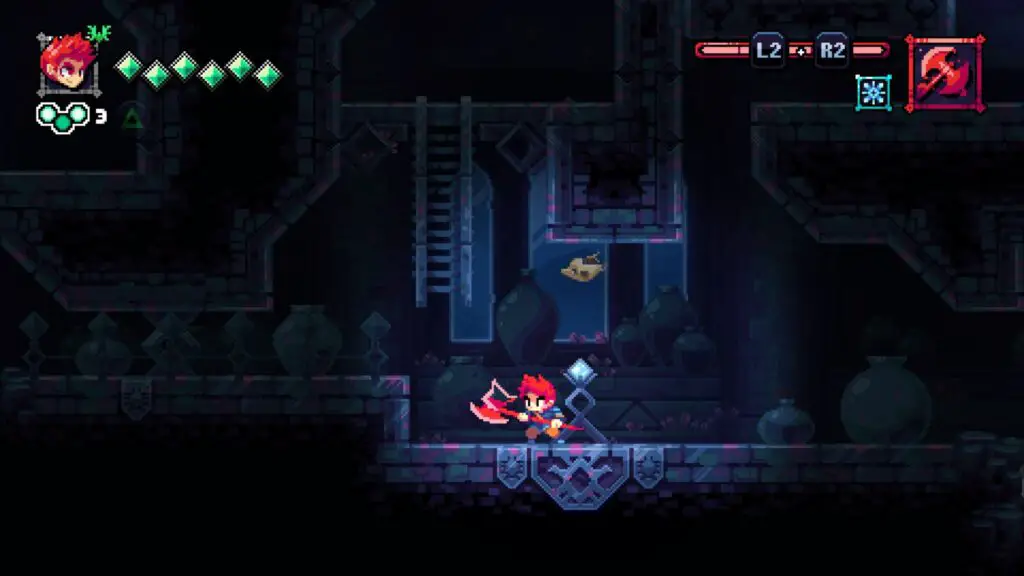
The Twelfth Golden Relic is in the Palace of Aquaras within the Hollow. Progress until you reach a room with geysers that you need to block by dropping blocks onto them. Eventually, you’ll reach a geyser that’s been frozen.
Jump on top of the ice pillar and then go left, past the massive block of water. There, you’ll see some more of those red leaves, leading up to a Golden Relic. It’s too high to jump, though.
To reach it, backtrack to a ladder.
Climb up so that you’re on the other side of the wall with the red leaves, where you’ll find another ladder. You also can’t reach this, but we’re close.
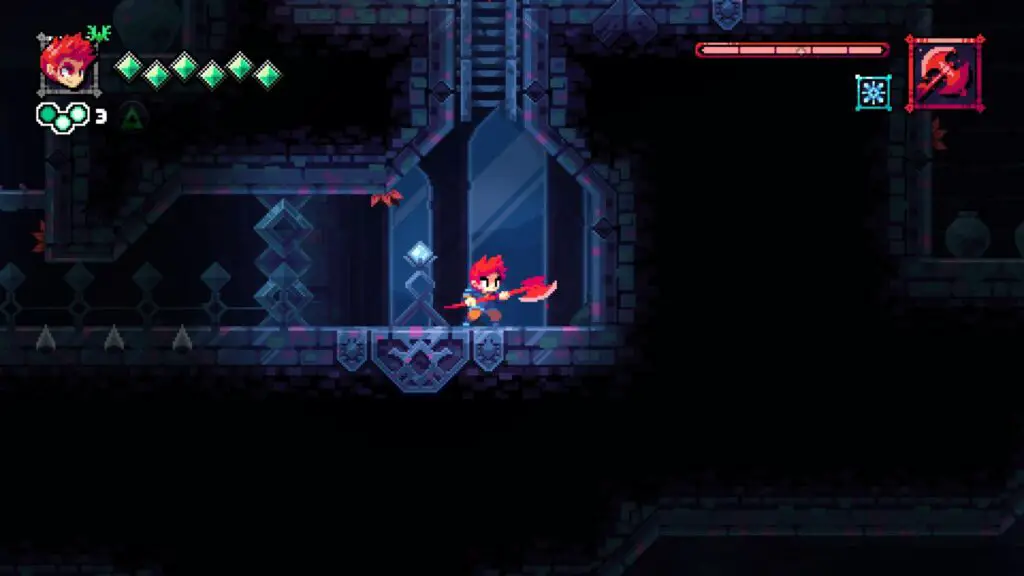
Go up and to the left to find a block you can push, push it under the ladder so that you can use it as a step-up. Freeze it so that you can push it past the spikes quickly and avoid damage.
Climb up the ladder and then go right to grab the Beetle Staff Golden Relic.

Golden Relic 13 | Shining Heart | Shadowhaven
The thirteenth Golden Relic is in Shadowhaven Trail on Rosantica. Progress until you come to a guardian statue which is followed by a huge red crystal.
Below the crystal, you can see some of those telltale red leaves again. Walk through the wall under the crystal to find the Shining Heart Golden Relic.
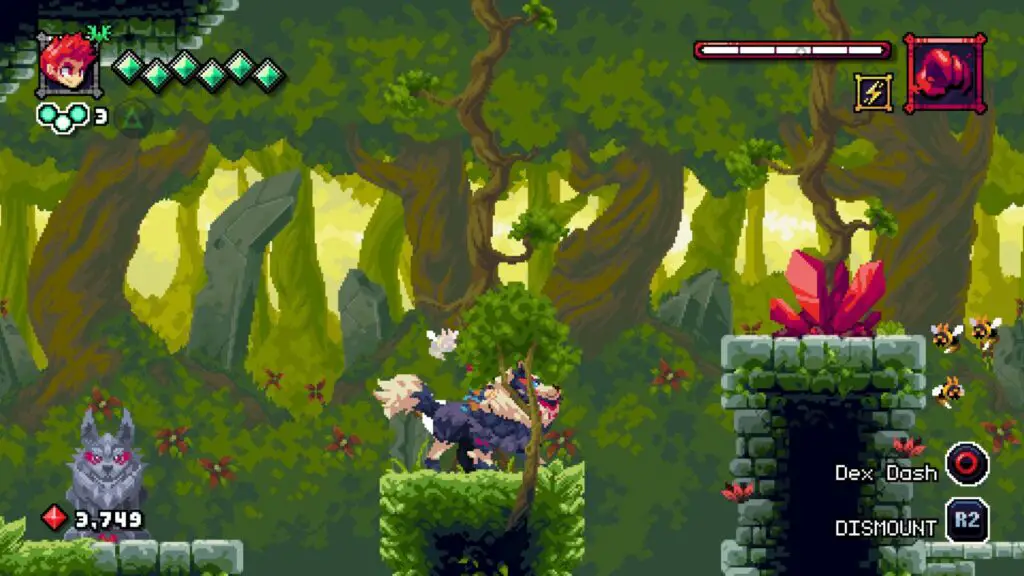
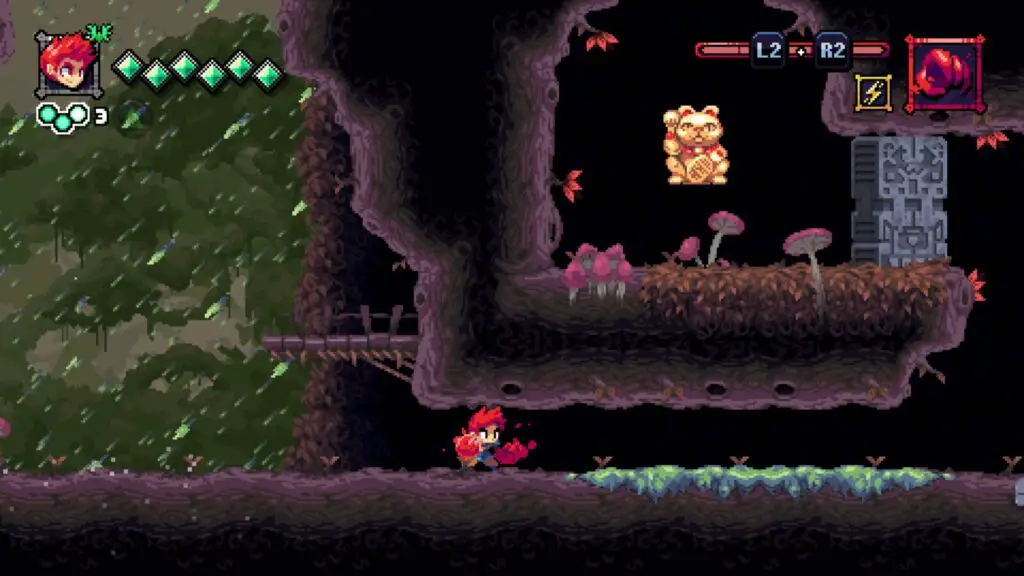
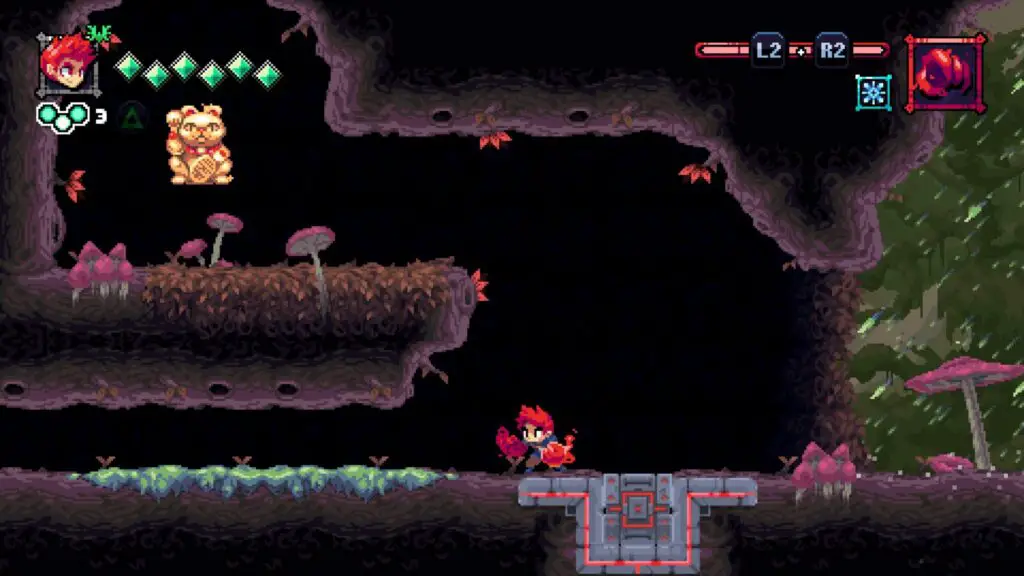
Golden Relic 14 | Fortuitous Feline | Noxious Everglade
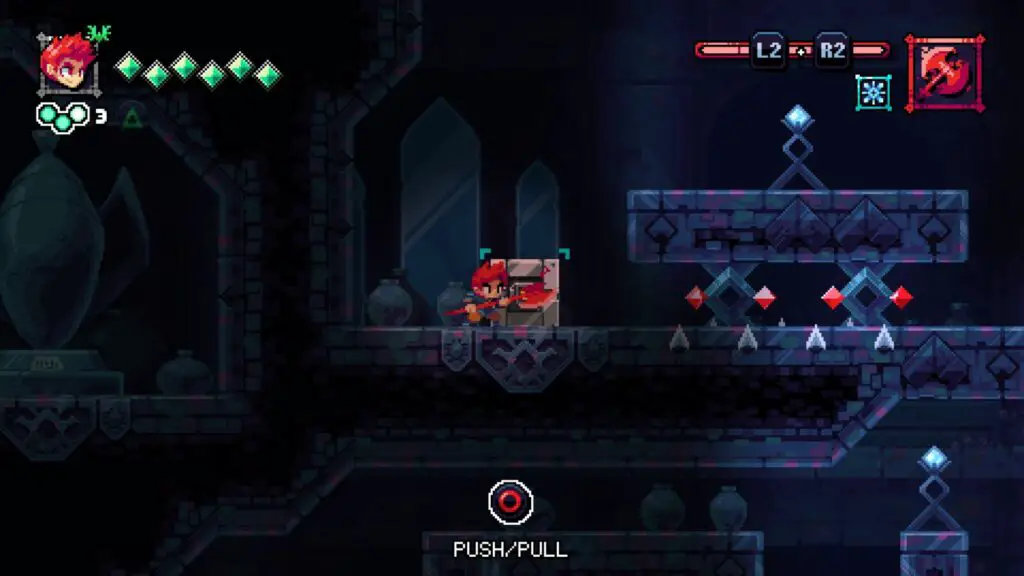
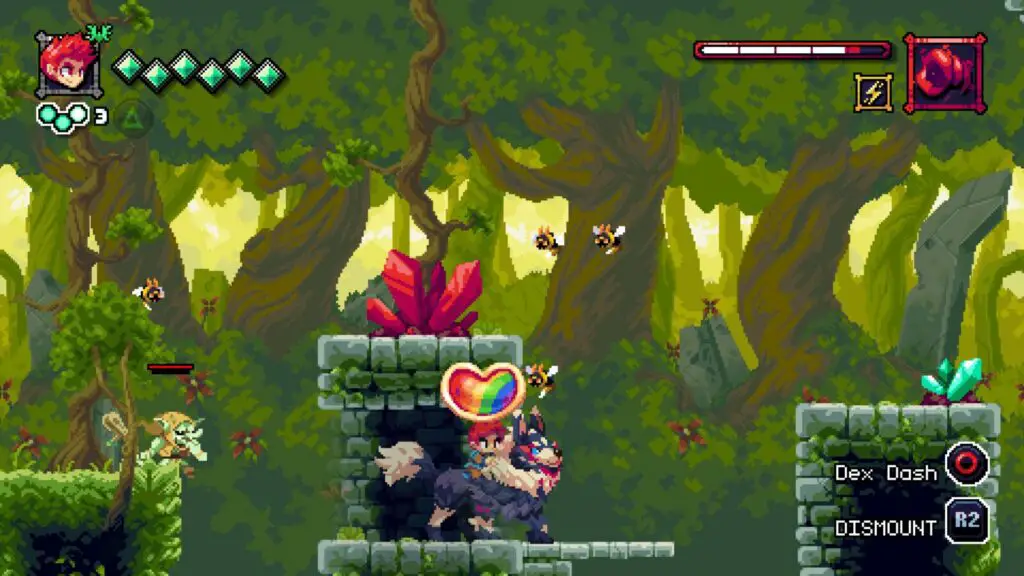
The fourteenth Golden Relic can be found in Noxious Everglade in the Rustwood. Just progress through the level like normal and you will eventually see the Relic hidden in plain sight, behind a door you need to open.
To open the door, go up and to the right until you find a push/pull block that you will need to push left, to the door.
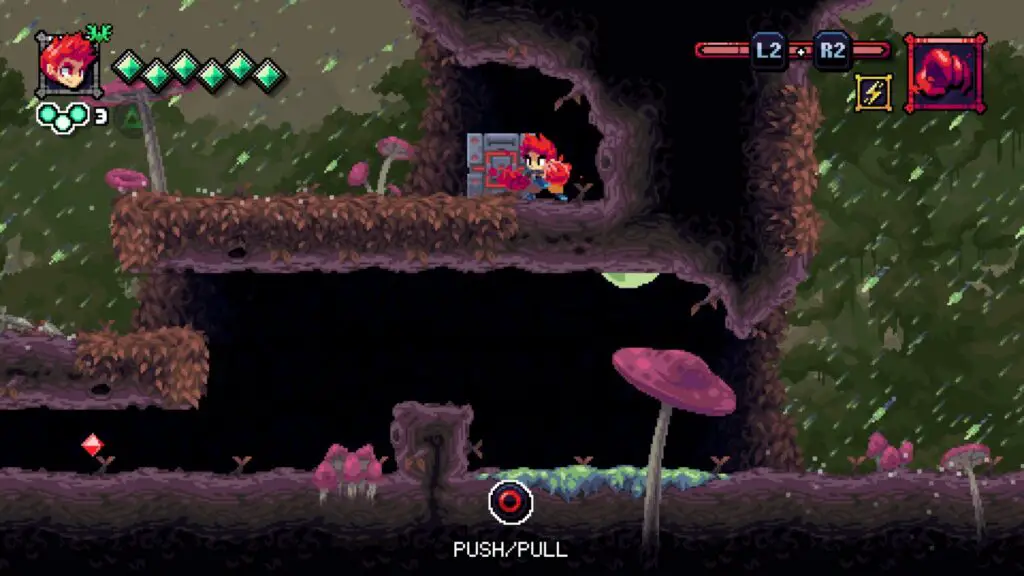
Push it into the hole in front of the door and it will open, allowing you to jump up and grab the Fortuitous Feline Golden Relic.
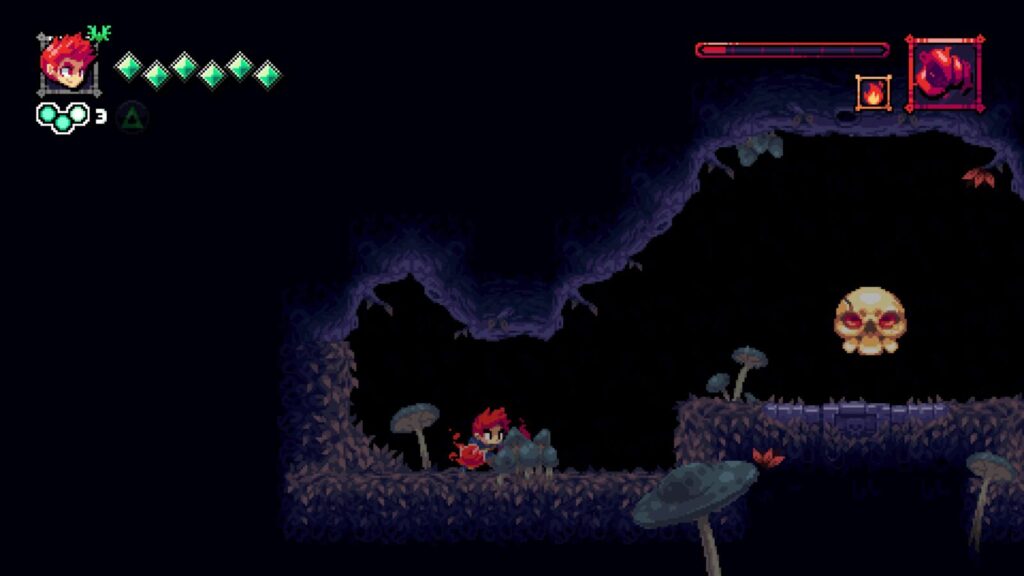
Golden Relic 15 | Jeweled Skull | Typhir Deadlands
The Fifteenth Relic is collected in Typhir Deadlands, accessed by taking the alternate exit (just go left at the start) from Typhir Marsh in the Rustwood. Requires the ability to jump off walls using the Crimson Claws. You will get this ability by defeating Xellios the Toxic Marksman.
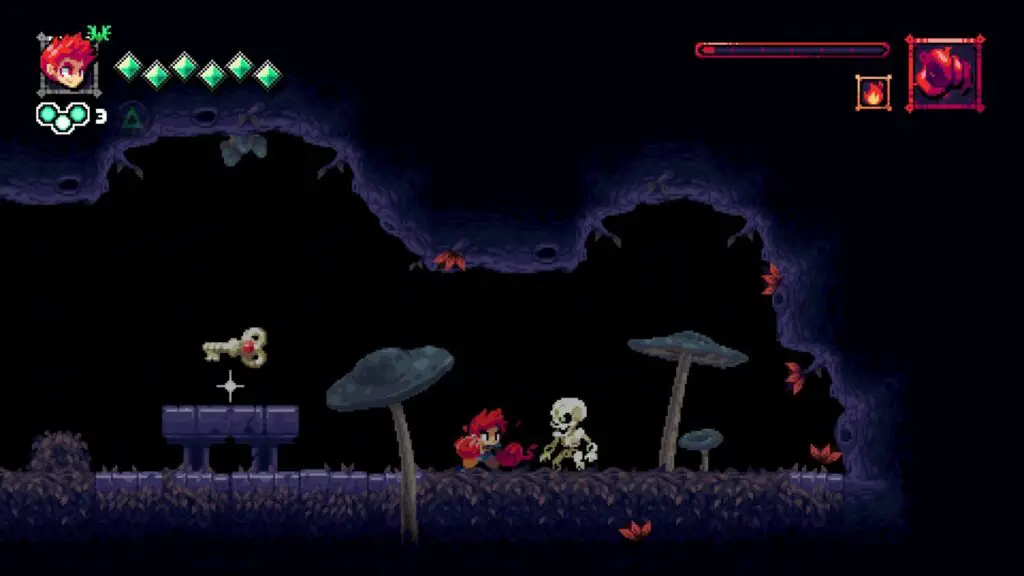
Simply enter the crypt at the Typhir Deadlands, go right to collect the key, then continue going right (through the wall) until you find the Jeweled Skull Golden Relic.
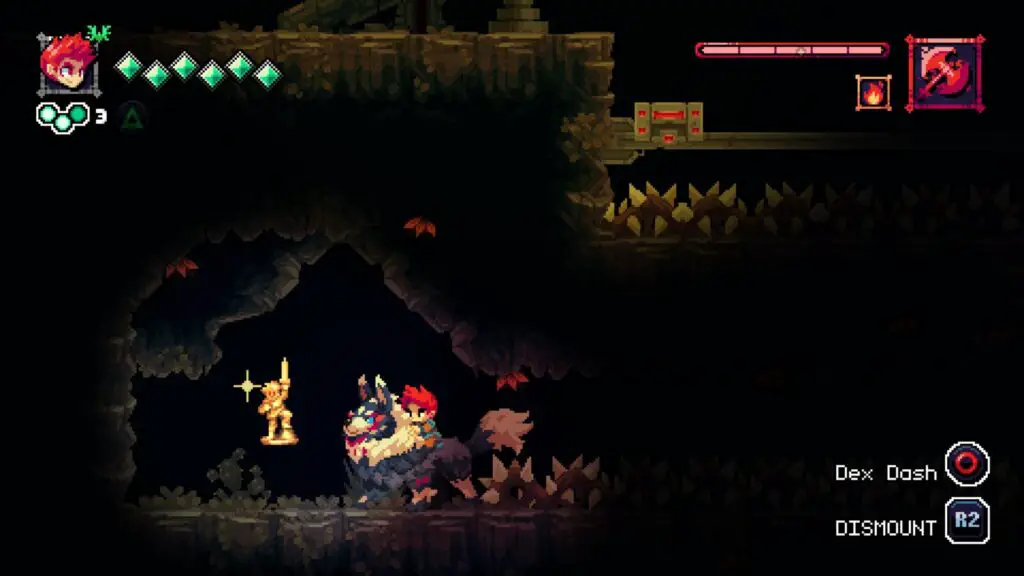
Golden Relic 16 | Hero Statue | Cedarstone Cave
The Sixteenth Relic can be found in Cedarstone Cave within the Rustwood. Proceed through the dark cave and you should find a gold door with a Dex statue behind it.
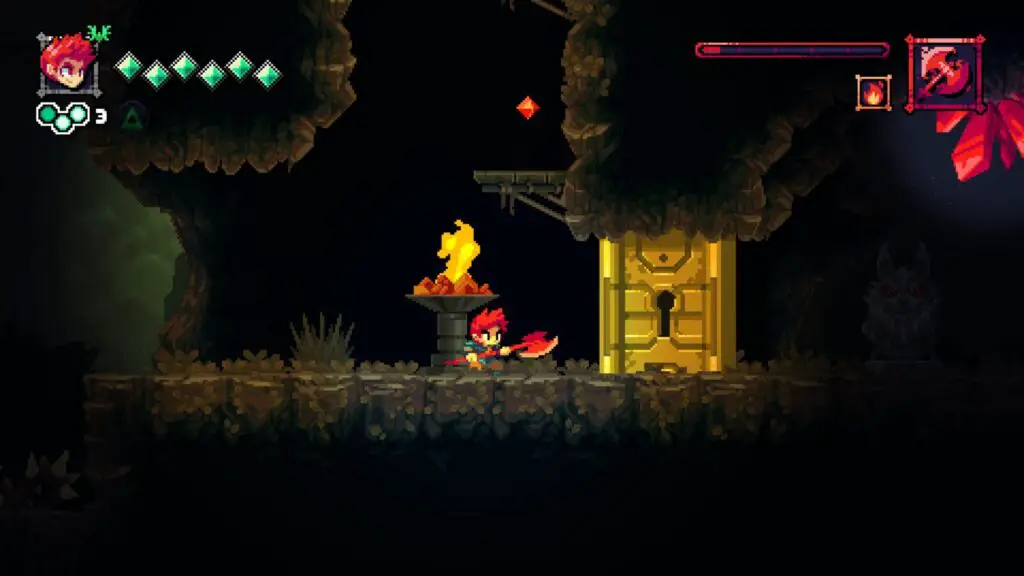
Continue up and to the right to find an enemy with a gold key, kill it and retrieve the key then go back and open the door.
Activate the Dex Statue to summon Dex, mount her, then run to the left to find a wall she can break through.

Smash the wall and continue past it to find the Hero Statue Golden Relic.
Golden Relic 17 | Neptyn Brooch | Cedarstone Plateau
The Seventeenth Relic is found in Cedarstone Plateau within the Rustwood. Proceed through the level until you meet Rae, who gives you a leaf that can be used to glide through the air.
Go to the right of them and drop down to the ledge below. From there, look left and you’ll see some of those red leaves on the wall directly below Rae. Use your new glide ability to glide across to the leaves and pass through the wall they’re growing from.
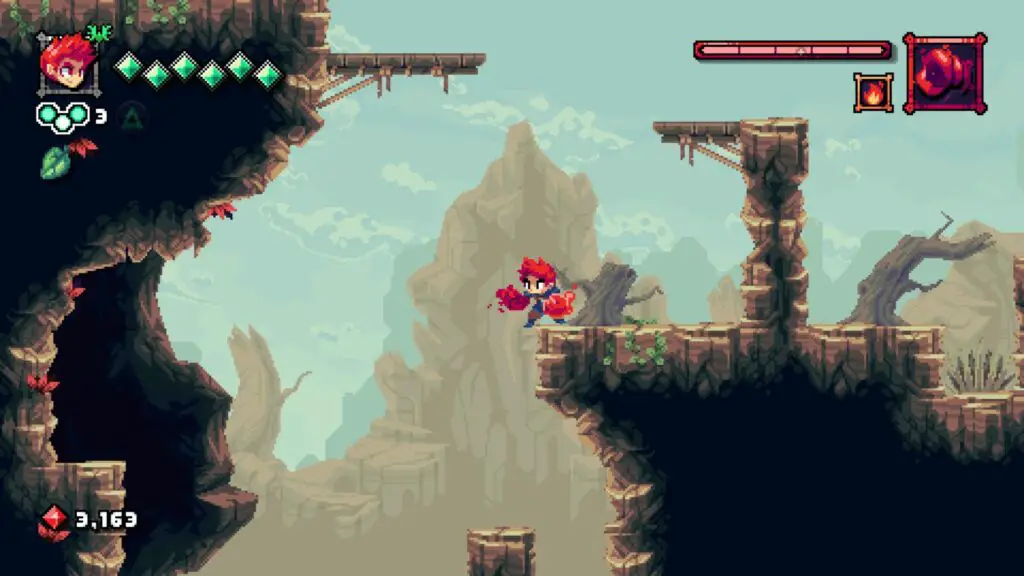
Inside this secret room, you’ll find the Neptyn Brooch Golden Relic.
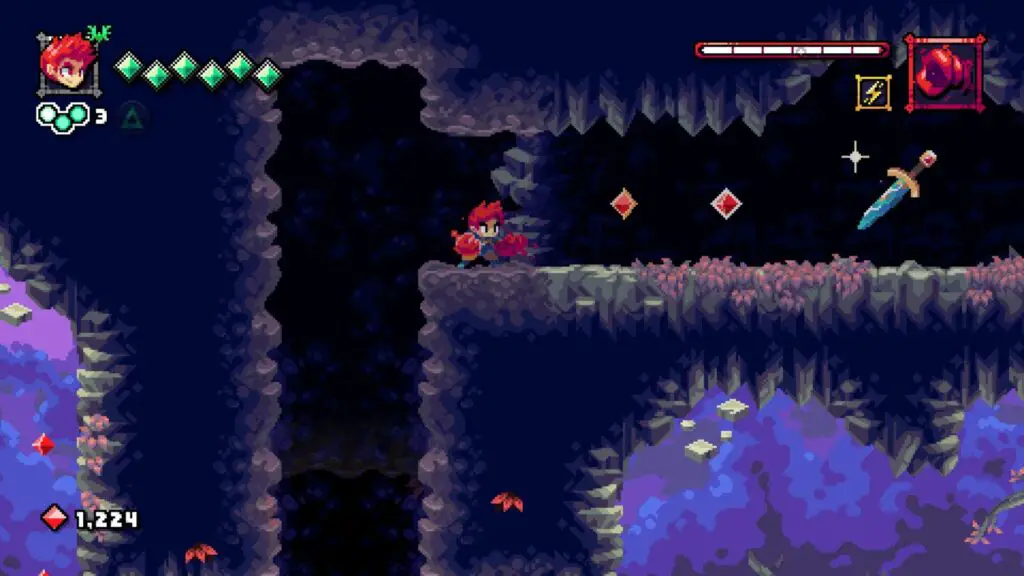
Golden Relic 18 | Topaz Dagger | Tormented Monolith
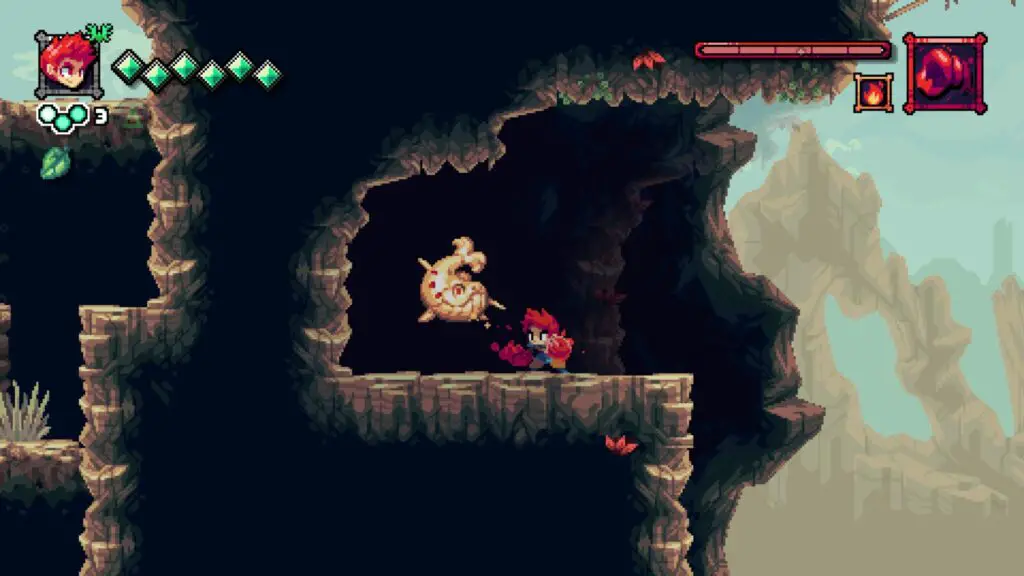
The Eighteenth Golden Relic is hidden in the Tormented Monolith stage on the Shivering Spire. Progress through the level until you reach an area with weird burrowing worms.
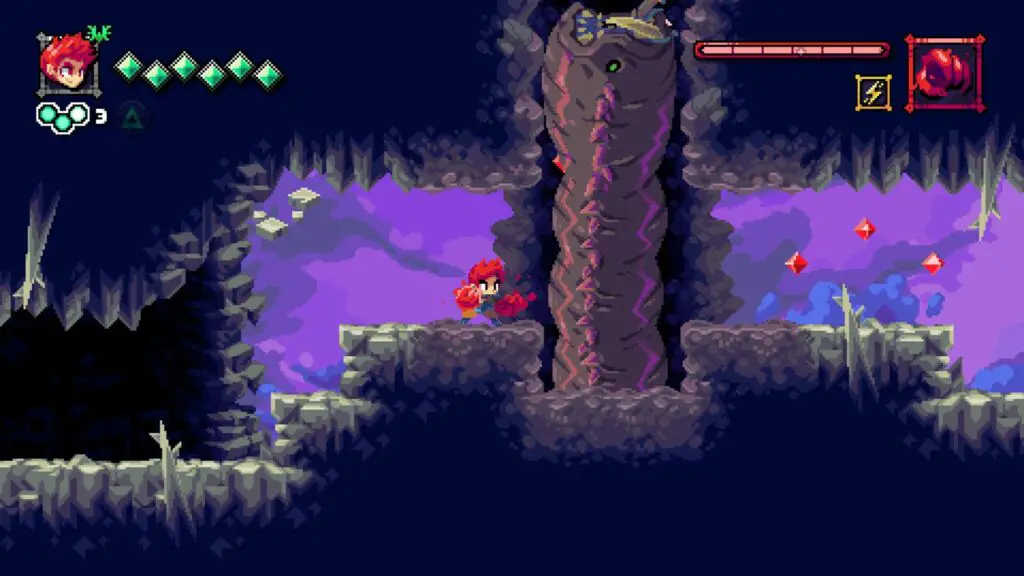
Near the top of this area, one of the worm tunnels goes up into the ceiling, which is covered in those red leaves.
When you find it, jump up at it and then use your Crimson Claws to climb through the tunnel to the top. At the top, go right and you’ll find the Topaz Dagger Golden Relic.
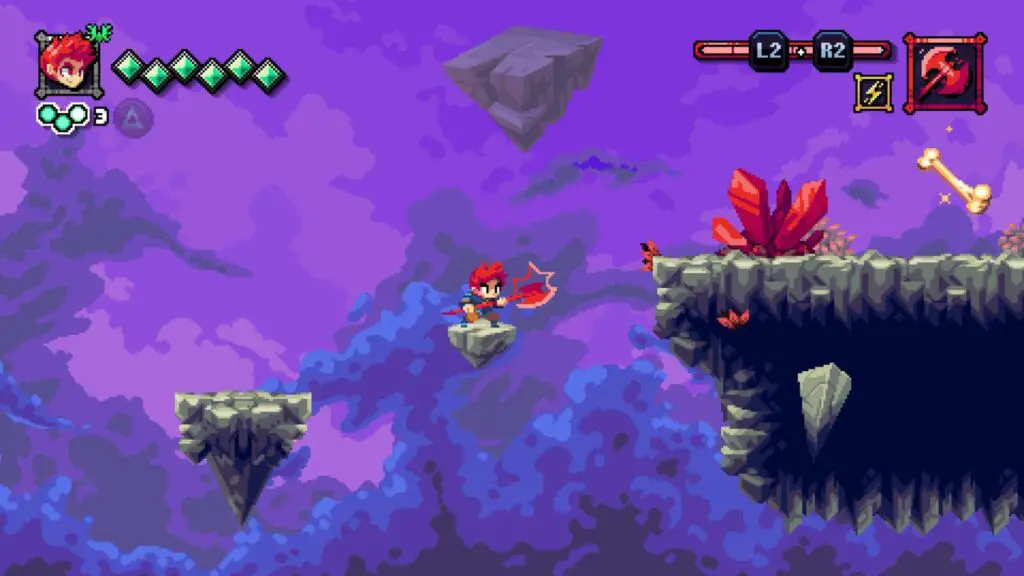
Golden Relic 19 | Gilded Bone | Monolith Chambers
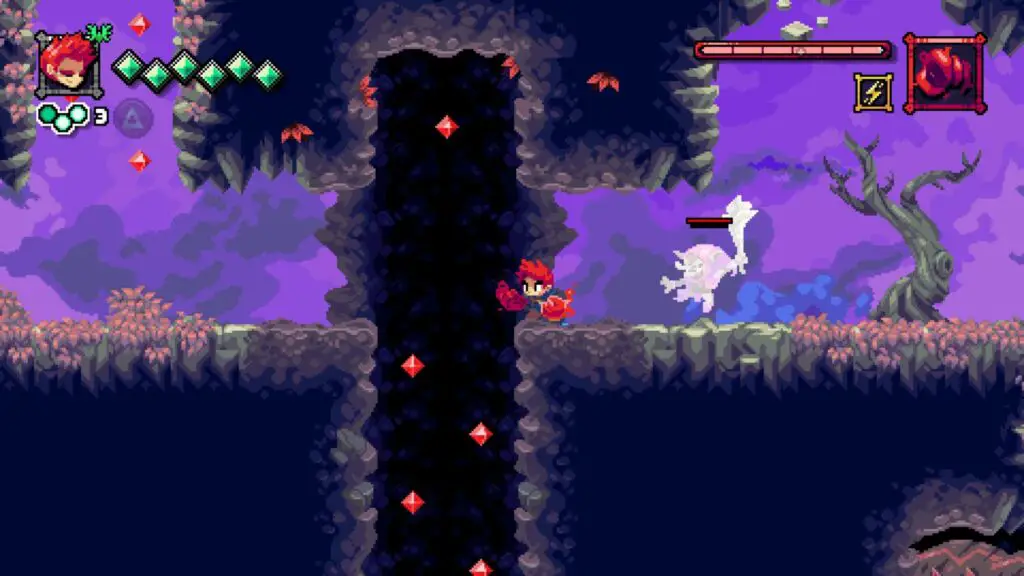
The Nineteenth Golden Relic is found in Monolith Chambers on the Shivering Spire. At the start of the level, make sure you go right, and not left. Continue through the level until you end up outside.
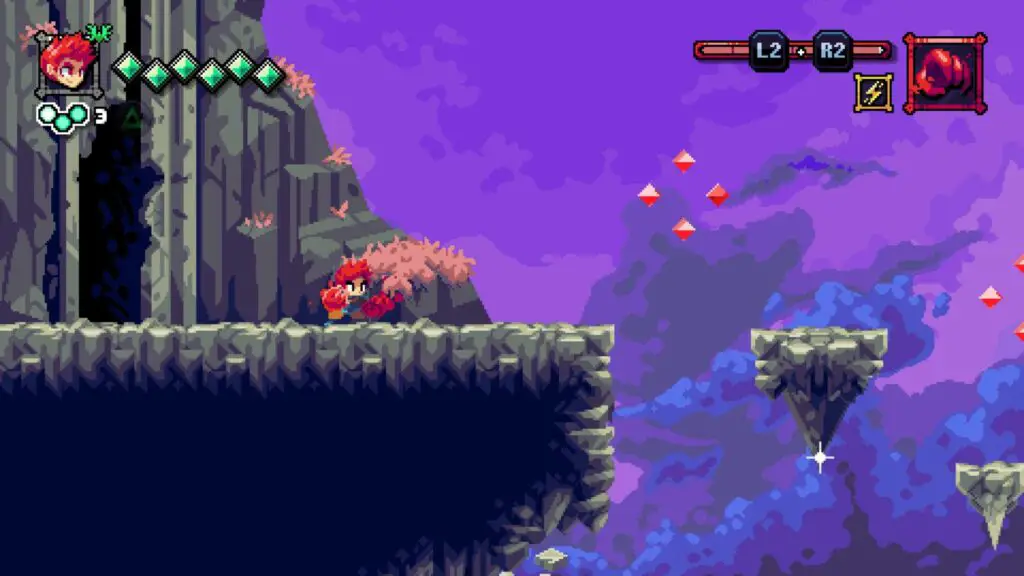
Continue right in this area until you reach a sign with an exclamation point on it. You’ll see those red leaves again under it.
Continue past the sign and tentatively jump towards the enemy on your right to find that there are some invisible platforms that will reveal themselves when you get close.
Go all the way to the right, past the enemy, and onto the platform with the red leaves on it. There, you’ll find the Gilded Bone Golden Relic.
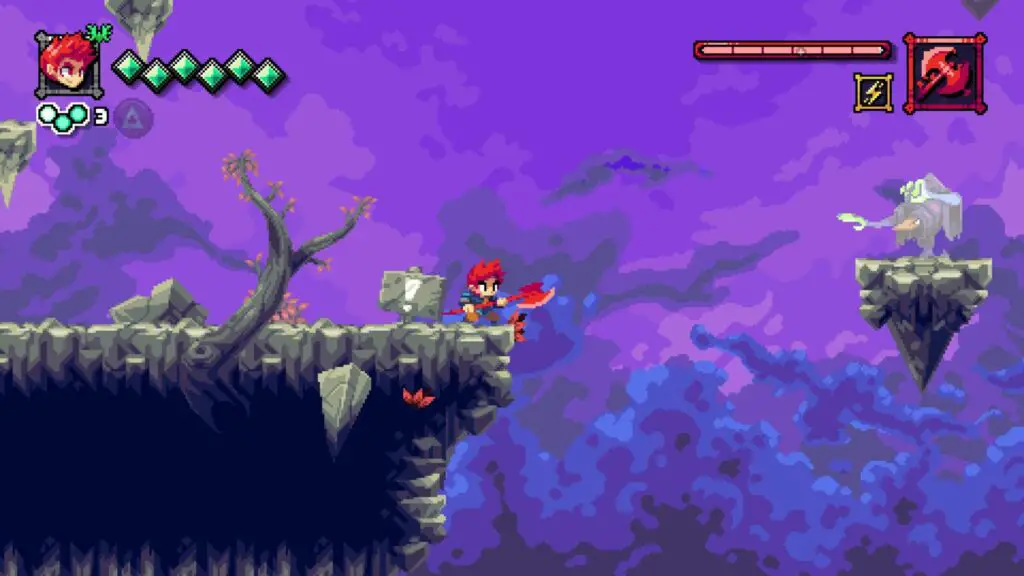
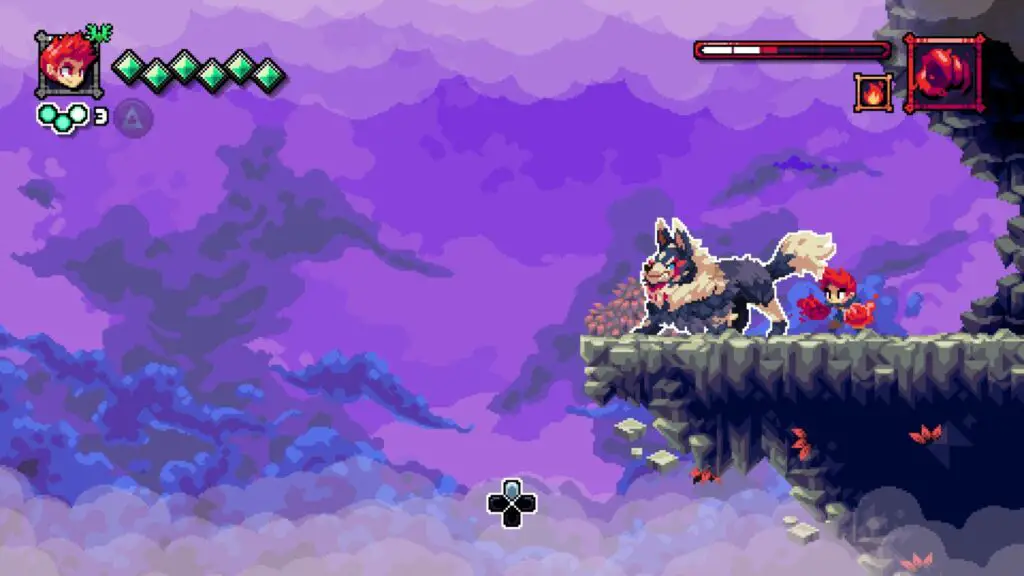
Golden Relic 20 | Lightning Steed Emblem | Citadel Reach
The Twentieth and final Golden Relic is found in Citadel Reach on the Shivering Spire. At the start of the level, go left to the cliff-edge where Dex is growling. Below her you’ll see those red leaves again.
Drop off the ledge and you’ll land on a previously-invisible platform.
From there, just walk to the right and the Lightning Steed Emblem Golden Relic is all yours!
With that, you should now have all 20 Golden Relics. Take them to Yombal in Sanctia and you can sell them for 1,000 crimson gems each! Once you’ve sold him all 20, you’ll get the “Yombal Happy” trophy to boot!
Thank you for choosing PlatGet as your source for a Flynn Son of Crimson Collectible Guide. Consider checking out our other guides such as our Flynn: Son of Crimson Trophy Guide!
Follow us on Twitter @GetPlat or Instagram @platget for updates on new reviews and guides, as well as small anecdotes about our platinum journeys.