PlayStation 4, PlayStation 5
In Rays of the Light Trophy Guide


General Info
FAQ
How long does it take to beat In Rays of the Light and unlock all trophies?
1 Hour.
How difficult is it to beat In Rays of the Light and unlock all trophies?
Very Easy (1/10).
Does In Rays of the Light have online trophies?
No.
Does In Rays of the Light have difficulty-specific trophies?
No.
Does In Rays of the Light have missable trophies?
Yes.
Does In Rays of the Light have glitched trophies?
No.
What is the minimum number of playthroughs required to unlock all trophies in In Rays of the Light?
One.
Does In Rays of the Light have a Platinum Trophy?
Yes.
Trophy Guide
In Rays of the Light Trophy Guide, Walkthrough, and Road Map for PlayStation 4 & PlayStation 5
In Rays of the Light is a simple and short game with a platinum which will take you around an hour or less to earn. You can’t die, there’s no enemies or conflict, you just need to explore. To make things easier and quicker, this In Rays of the Light Trophy Guide is equipped with a full walkthrough to show you step-by-step how to earn each trophy and where to find each collectible, all in one.
Phase One – All Collectables & Good Ending
During this first phase of our In Rays of the Light Trophy Guide your main objective is to see the good ending. Doing so will require you to find several Key Items & Notes and finish the main story.
Use the In Rays of the Light Trophy Walkthrough below to ensure you finish this phase with as many trophies as possible. The walkthrough will help you determine the easiest route to the Platinum trophy with little backtracking and no unnecessary extra playthroughs.
In Rays of the Light Phase One Trophy Walkthrough
One thing I should make clear from the top of this In Rays of the Light Trophy Guide is that we will be trying to get a trophy called “Forever” which asks that we stay in the shade. You can actually go in the light a little and won’t be able to avoid light completely, but it means not using the flashlight and avoiding sun as much as possible.
Don’t go outside unless this guide explicitly tells you to, and whenever you are outside you should be quick (You can hold ![]() to jog) and stick to the shadows as much as you can. I’ll provide plenty of warnings throughout the guide to help you avoid mistakenly being in the light too long.
to jog) and stick to the shadows as much as you can. I’ll provide plenty of warnings throughout the guide to help you avoid mistakenly being in the light too long.
The maximum you can be in the sun before you’re locked out of the “Forever” trophy is about 5 minutes.
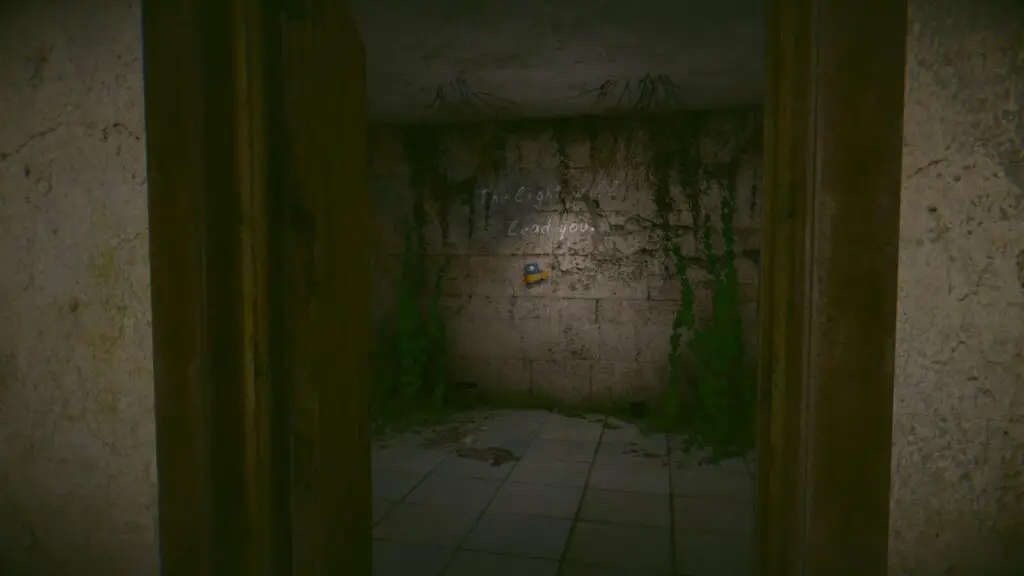
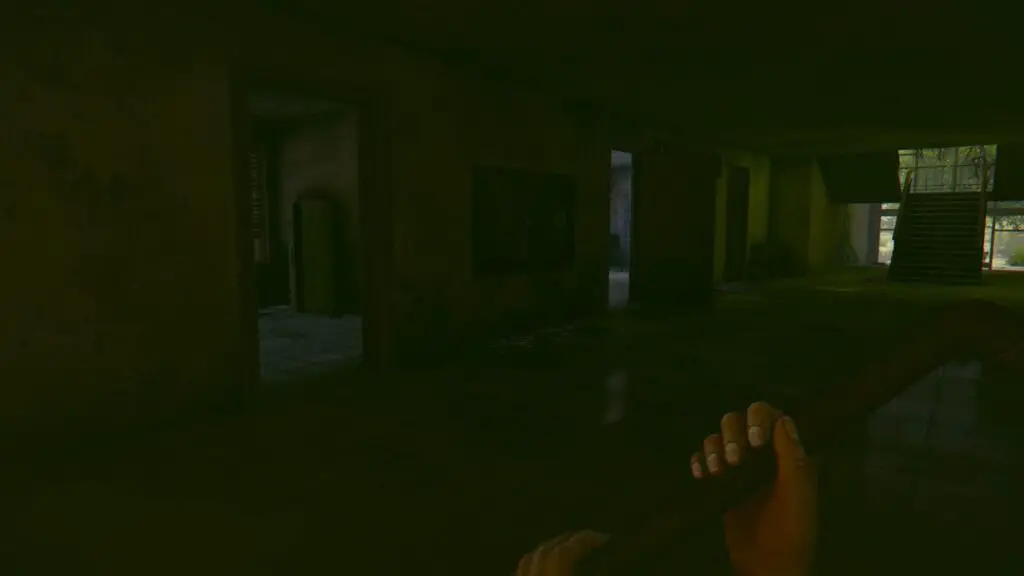
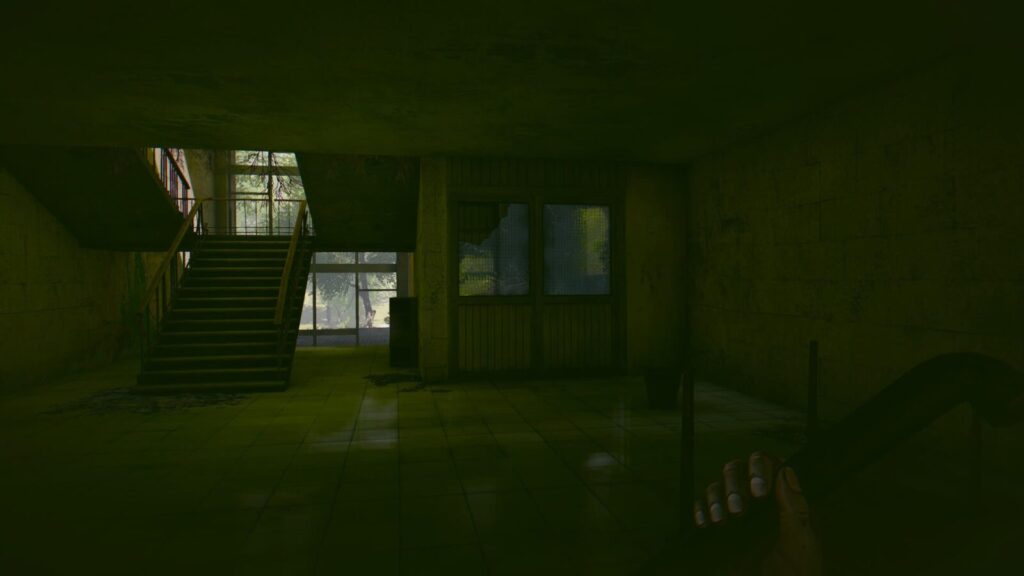
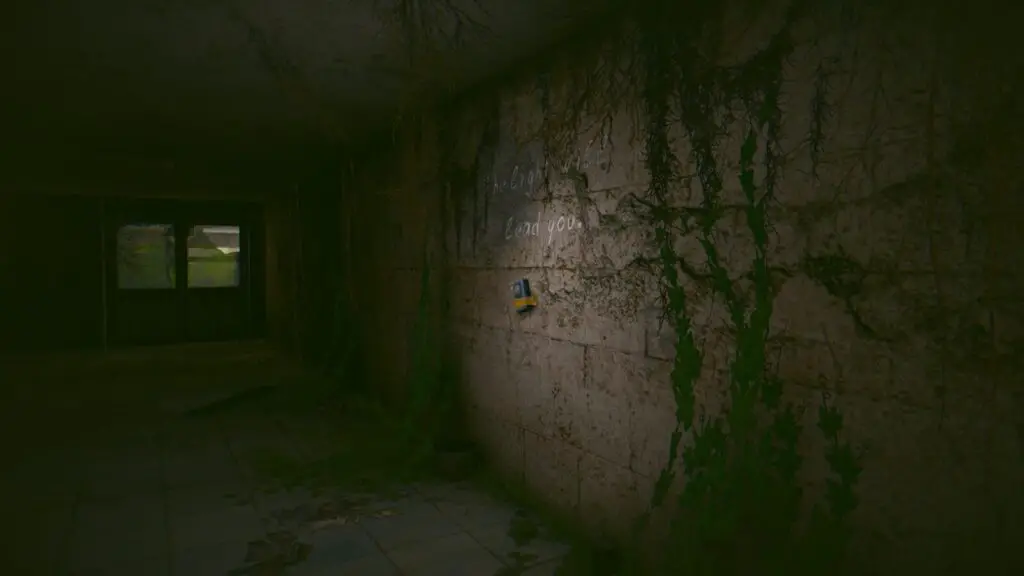
At the start of the game, enter the hallway via the door on your right and you will see a flashlight taped to the wall. Don’t take it or you will risk voiding the “Forever” trophy.
Turn right and head down the hallway to enter the lit bathroom door on your right. Inside, grab the pipe from the sink on the left wall and then leave the bathroom.
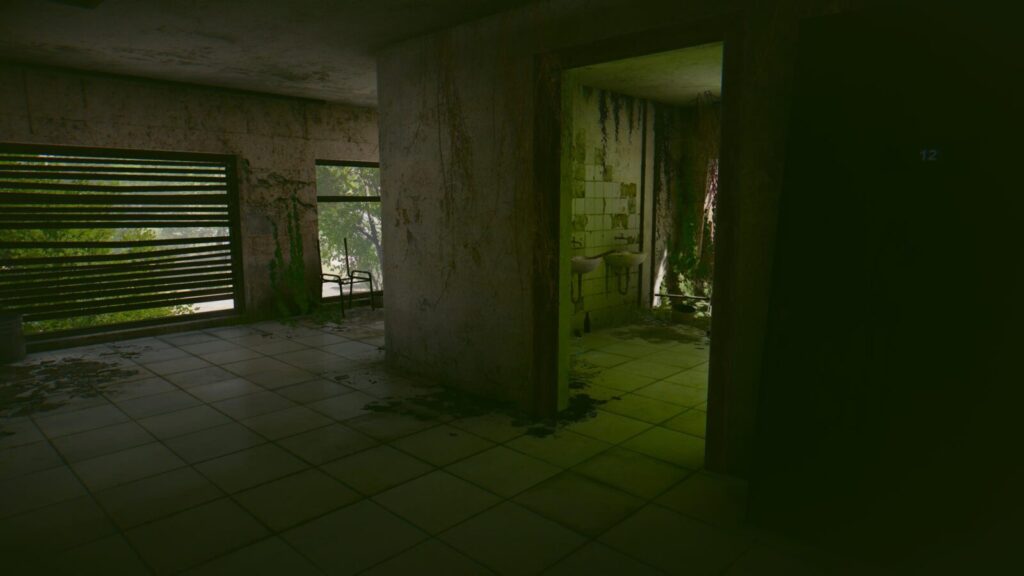
On the opposite wall, you should see a door with a short wooden plank holding it shut. Use the pipe on the plank to open the door and then proceed to the opposite end of the hallway. Enter the double doors on your left when you reach the end.
On the right wall, you will see five doors. Head to the fourth door along and head inside. You will see a wardrobe with a white cross on the back of it.
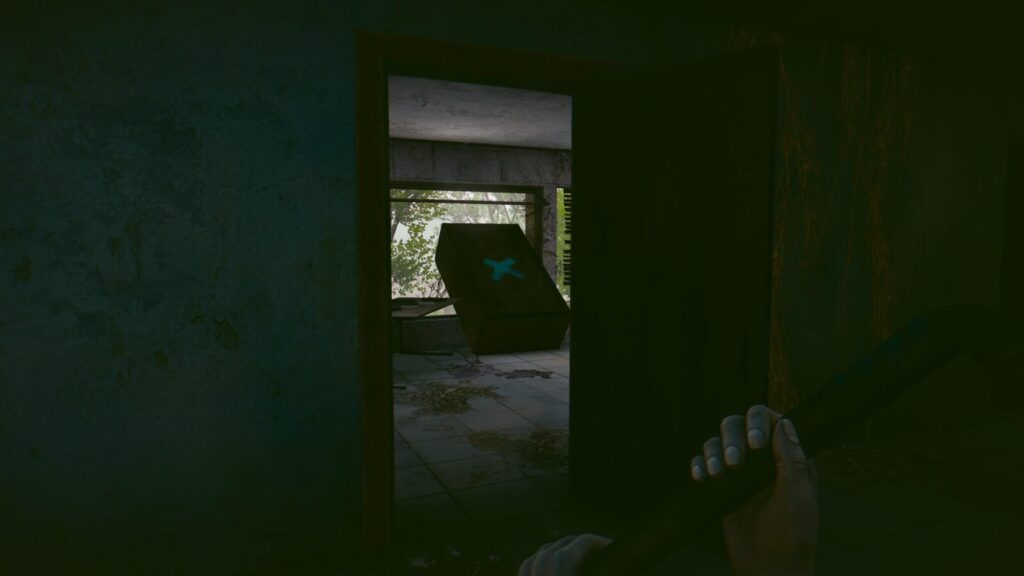
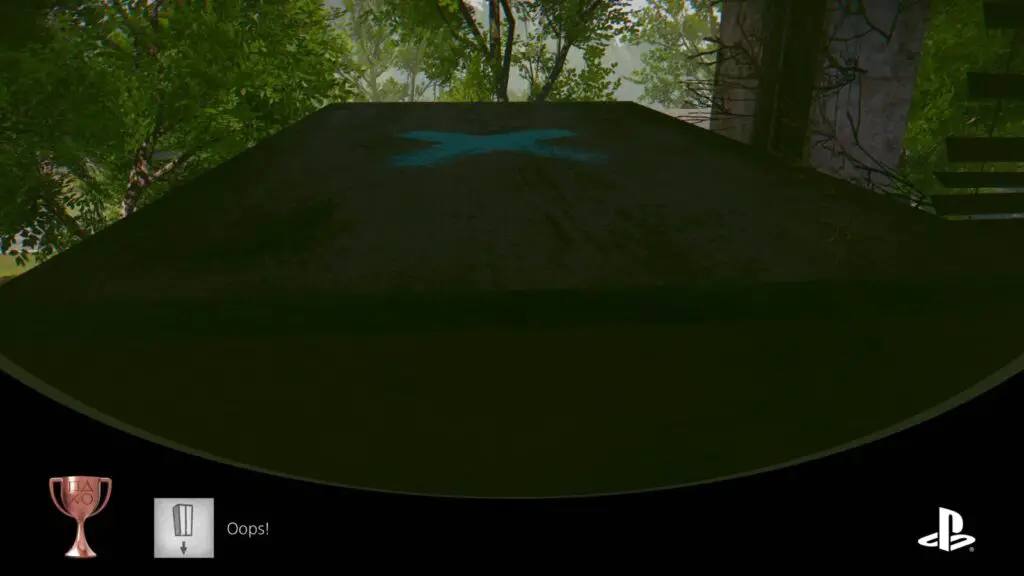
Approach the wardrobe and it will be automatically pushed out of the window, unlocking the “Oops!” trophy.


Oops!
Skeleton in the closet
Leave the room and then head right towards the fifth door along. It has a sign on it which reads “Steward” and another short wooden plank for you to remove with your pipe.
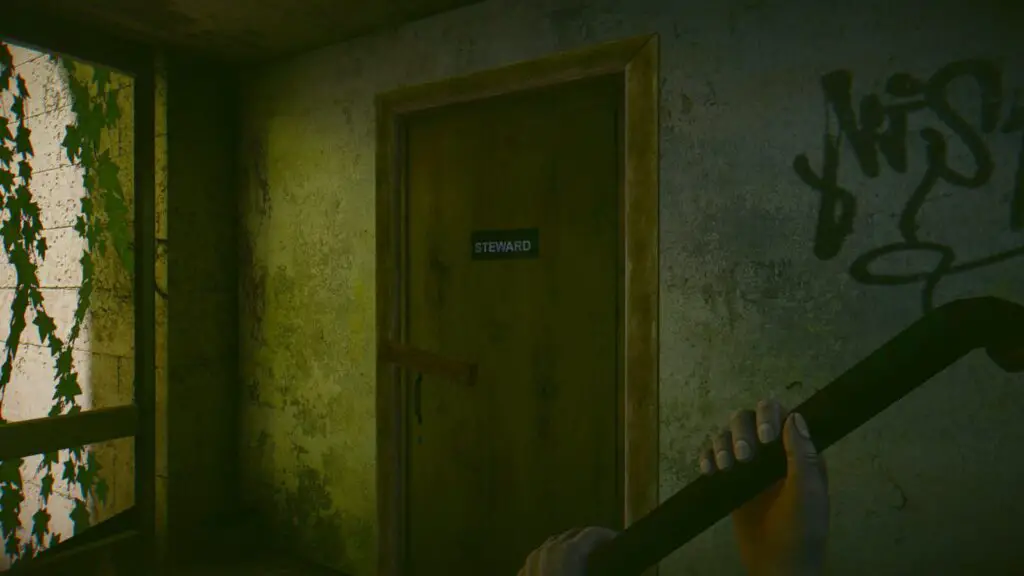
Head inside and turn left. In the far corner of the room there’s another wardrobe with a padlock on it. Enter the code “047” to unlock the padlock and gain access to the wardrobe’s contents.
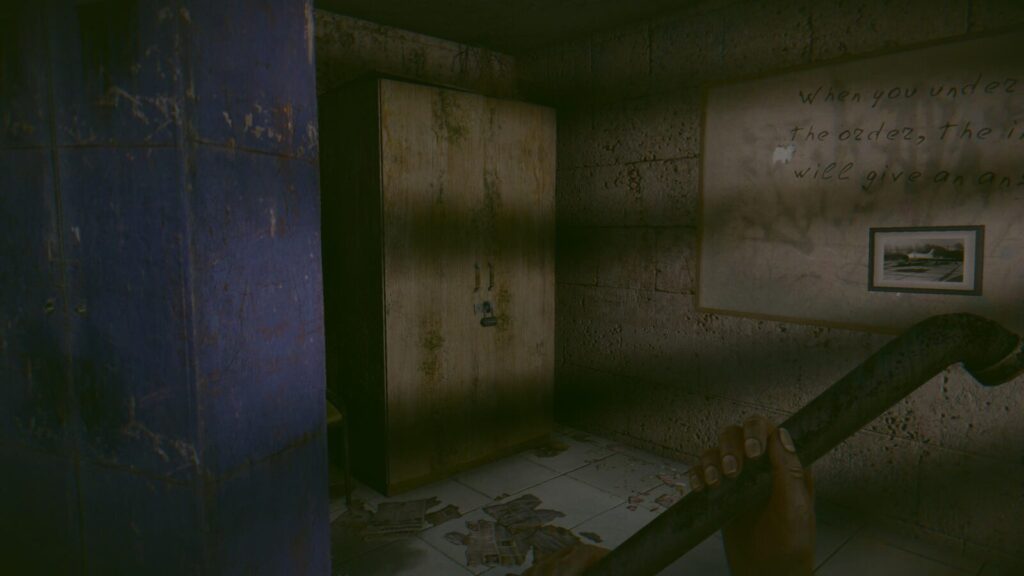
Collect the Film Reel from inside and then leave the room.
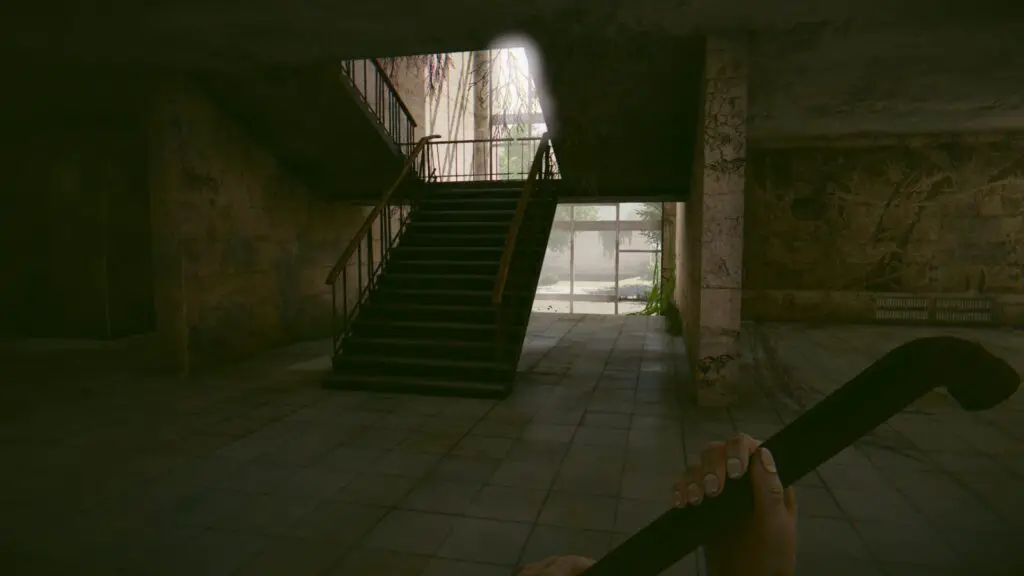
Walk directly forwards from that room all the way to the stairs at the opposite end of the floor and head down them.
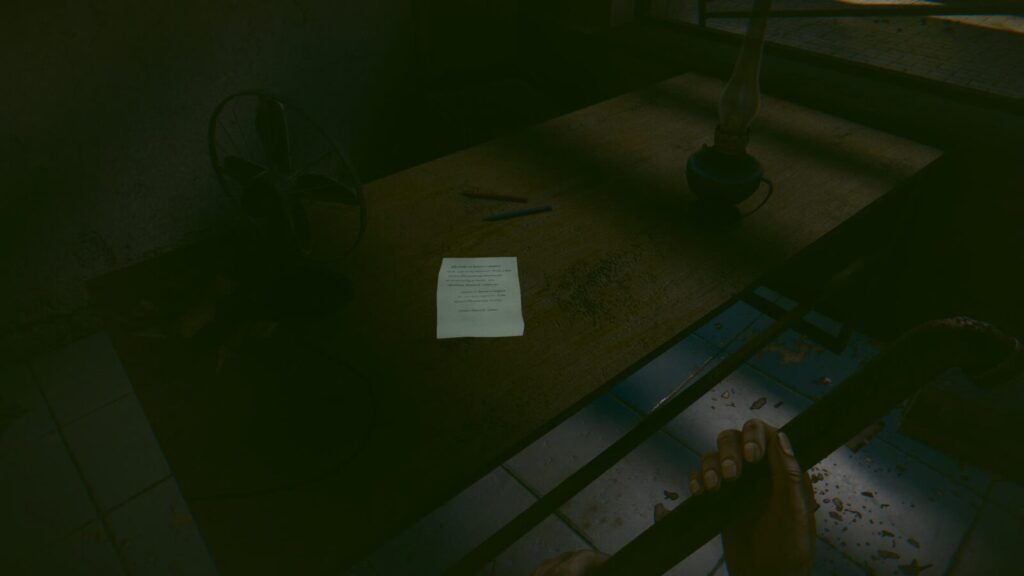
At the bottom of the stairs, take a right into a very dark corridor with two doors on the right side. Enter the first door on your right with the “Security” sign on it, and approach the table.
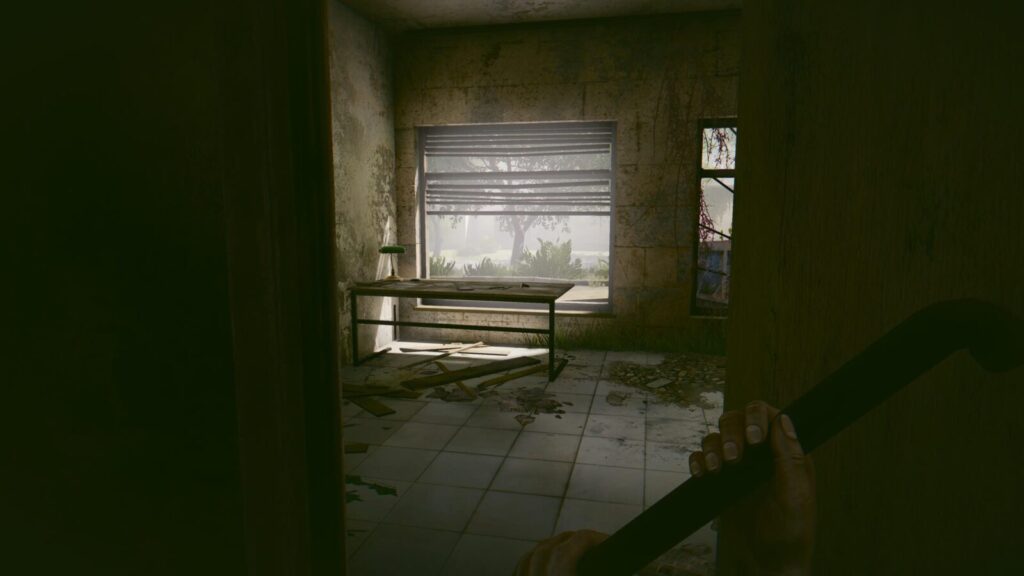
Wait here a short while and eventually a bird will fly through the window and land on the table. This will unlock the “Glad to see you!” trophy.


Glad to see you!
Meeting with the beautiful
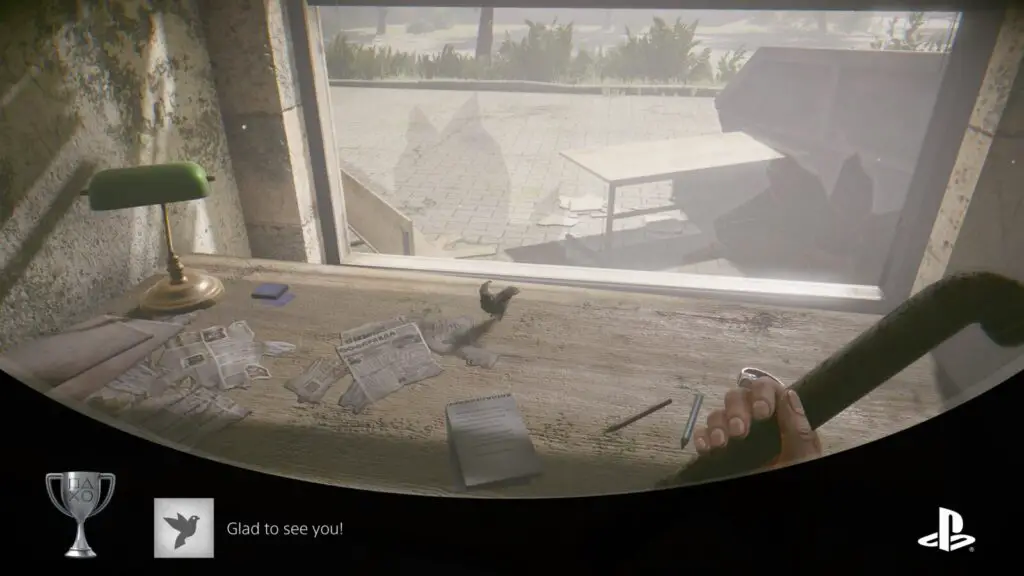
Look down on the table to see your first of 12 Note collectables, Note #1.
To the right of the table is an open wardrobe, look inside and collect the Lecture Room Key on the shelf.
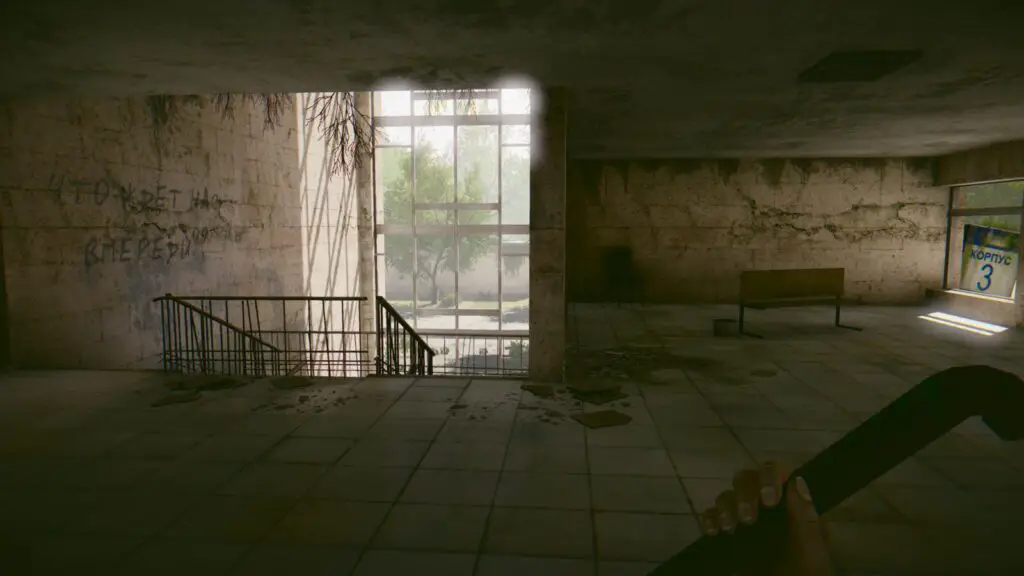
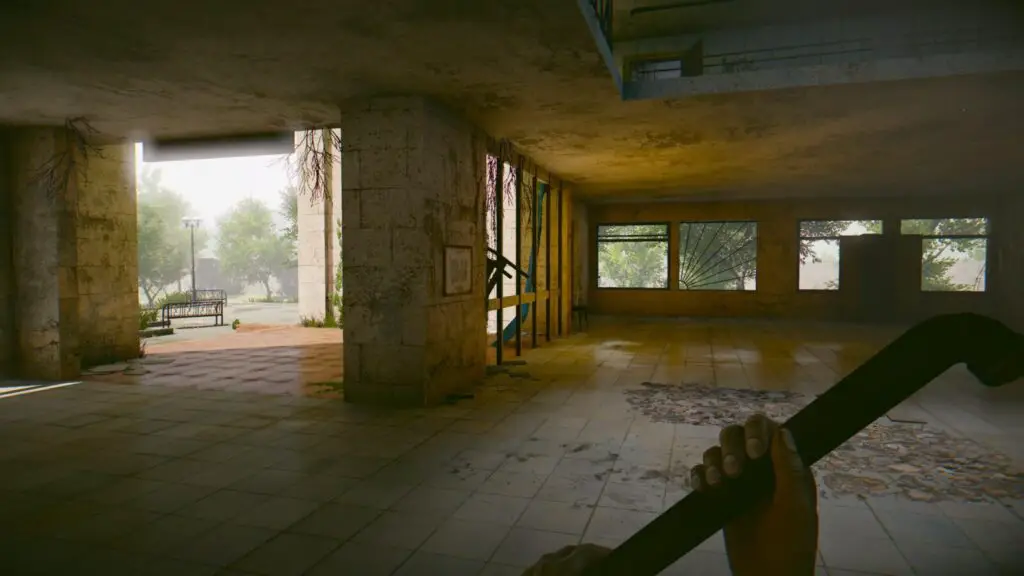
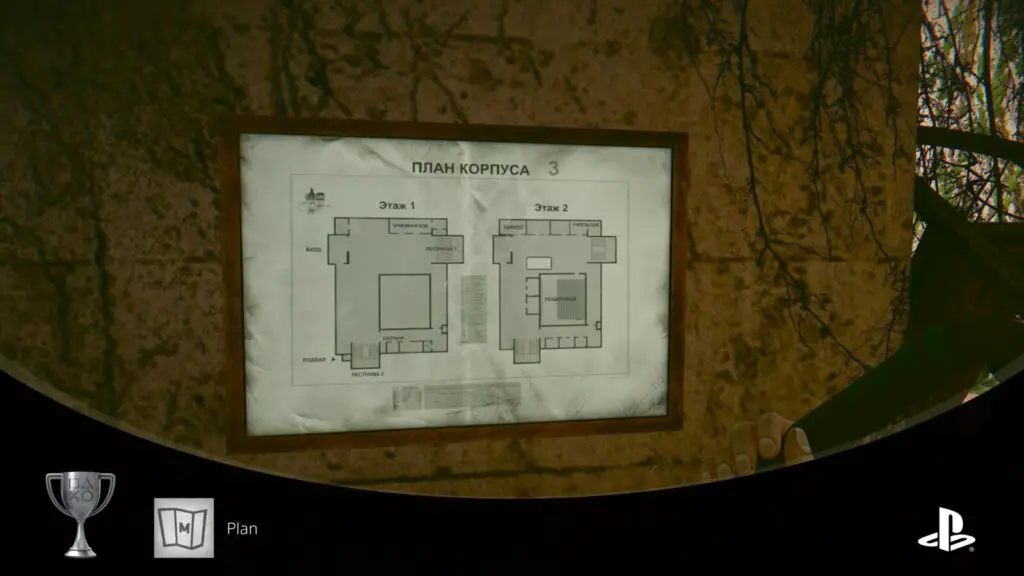
Leave the room and go left towards the stairs, then take a right and walk forward all the way to the entranceway on your left. Look on the pillar here to find a Map of the building. Collecting this map will unlock the “Plan” trophy.

Plan
The map will help you
Continue past this pillar into the room at the very end of this area, on your left.
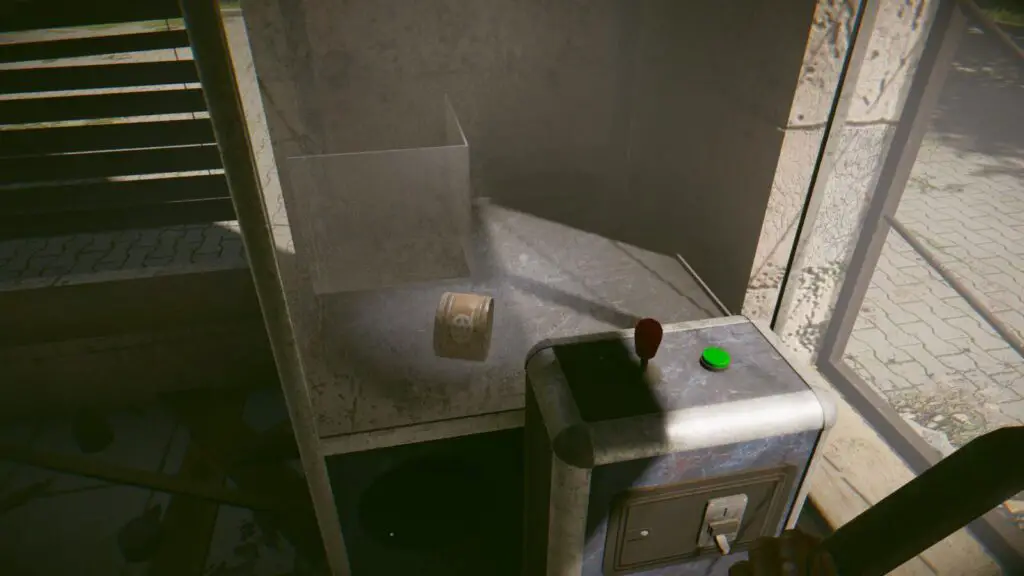
Inside, there are two payphones attached to the left wall. Between them, you will see a small shelf with several coins on it. Approach and collect the coins.
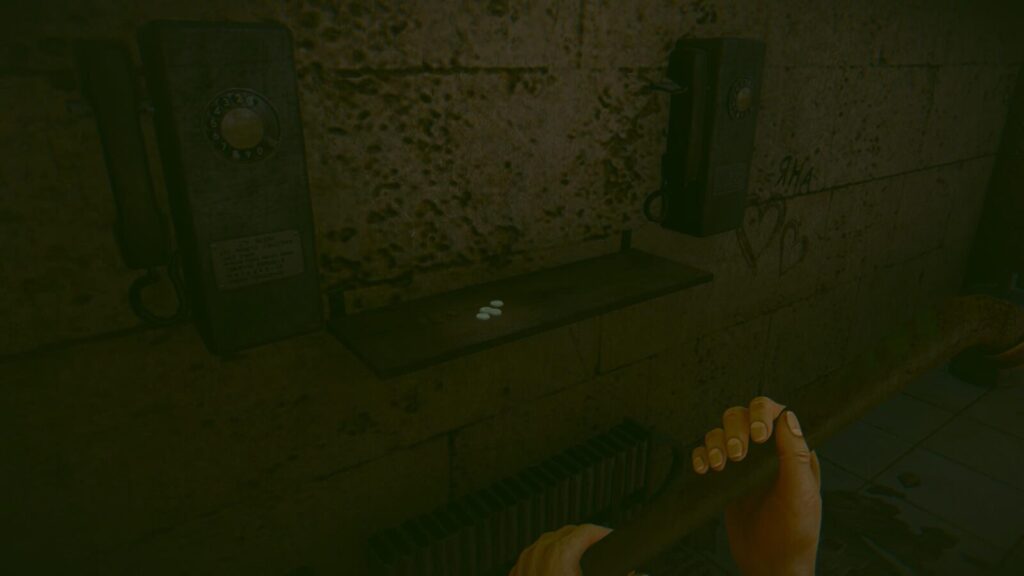
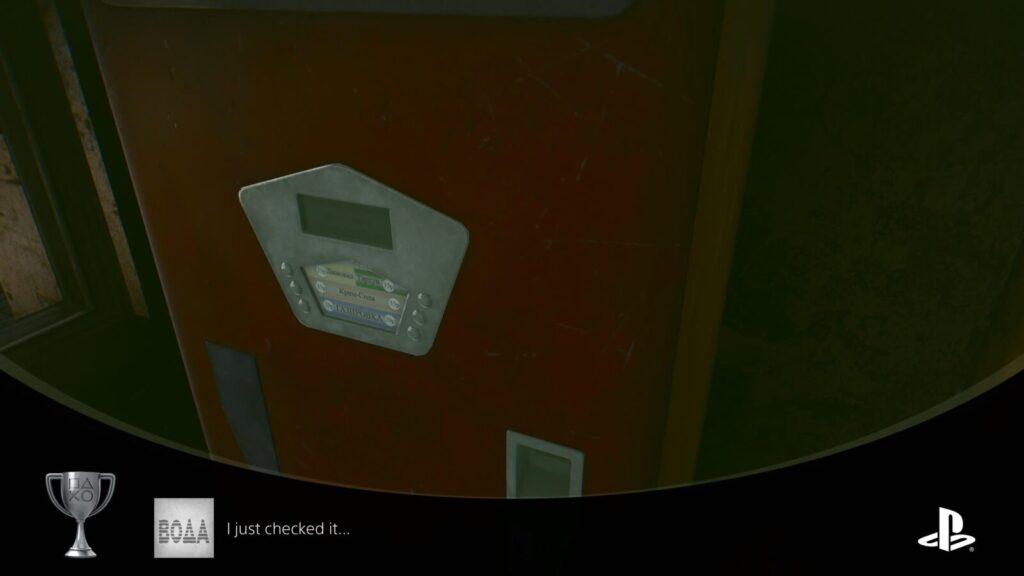
Turn around and interact with the vending machine behind you to unlock “I just checked it…”

I just checked it…
Do you want soda?
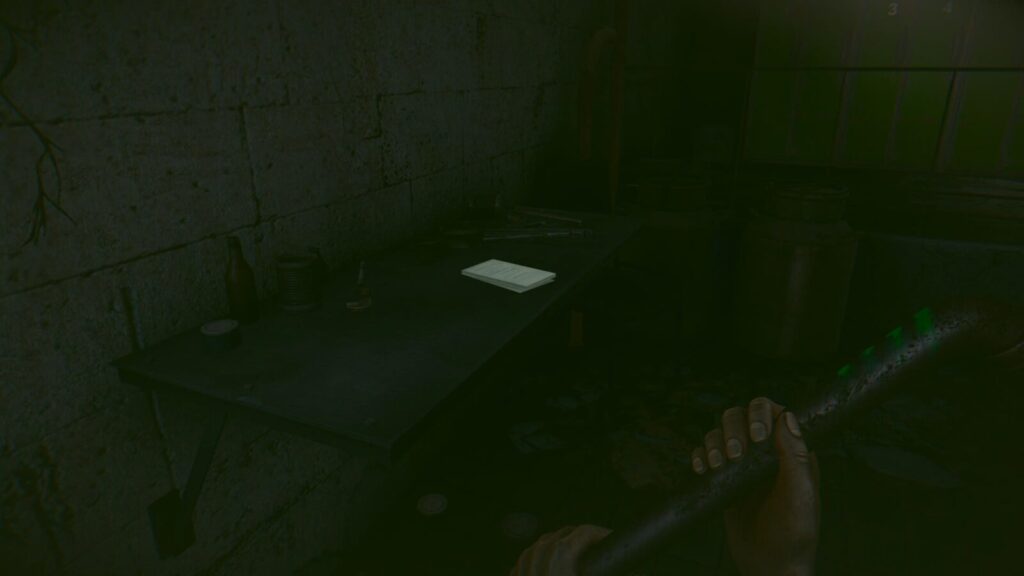
Leave this room and continue forwards towards a set of stairs opposite you. Before reaching the stairs, look out for some doors on your left and enter the first one you reach.
On the table, you will find Note #2, pick it up!
In the same room, look for two green lockers. Inside the left locker, you will find a Hallway Doors Key.
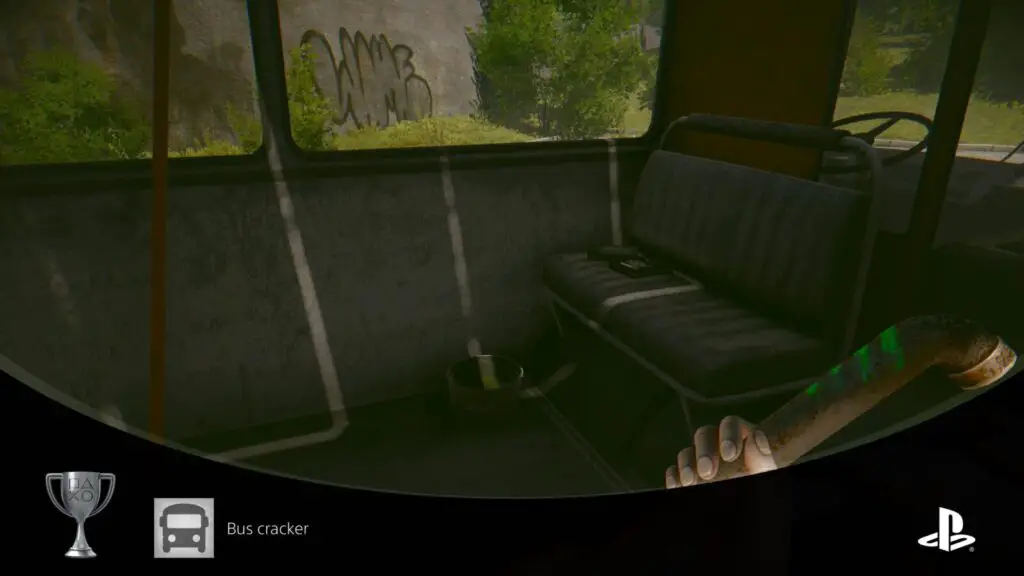
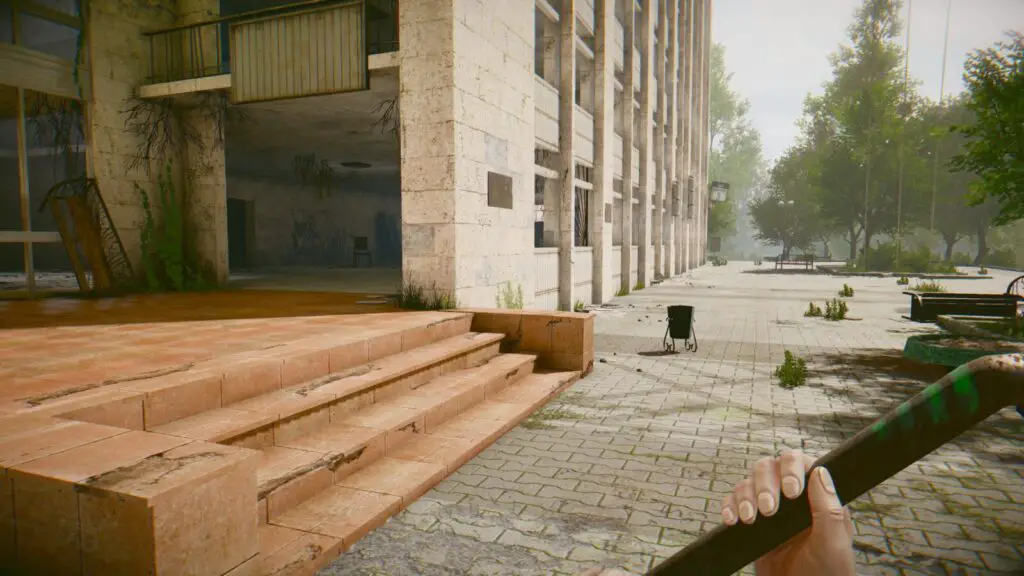
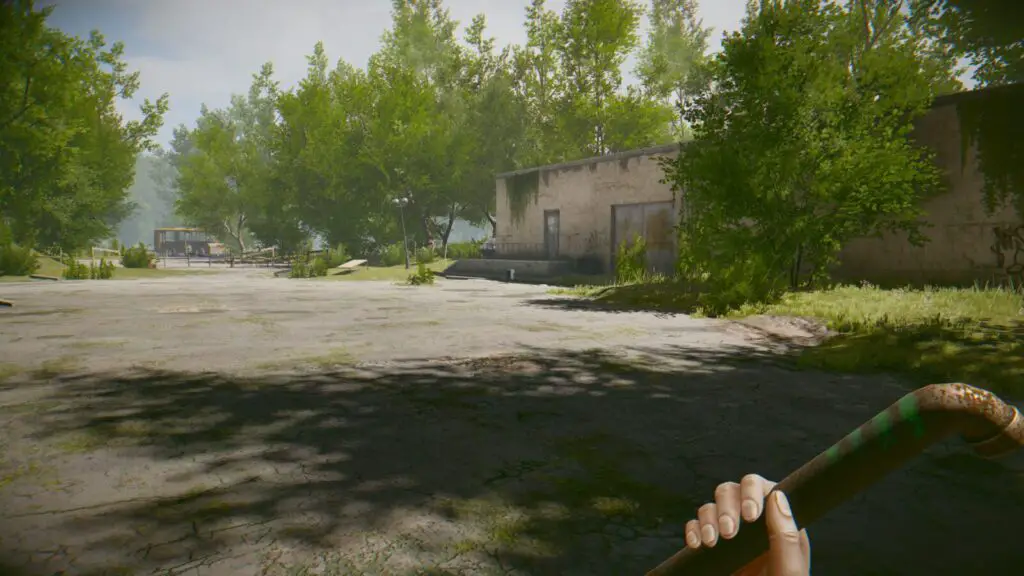
Leave the room, turn left, walk all the way to the end of the corridor, past the stairs, and head outside. Turn left and you will see a bus.
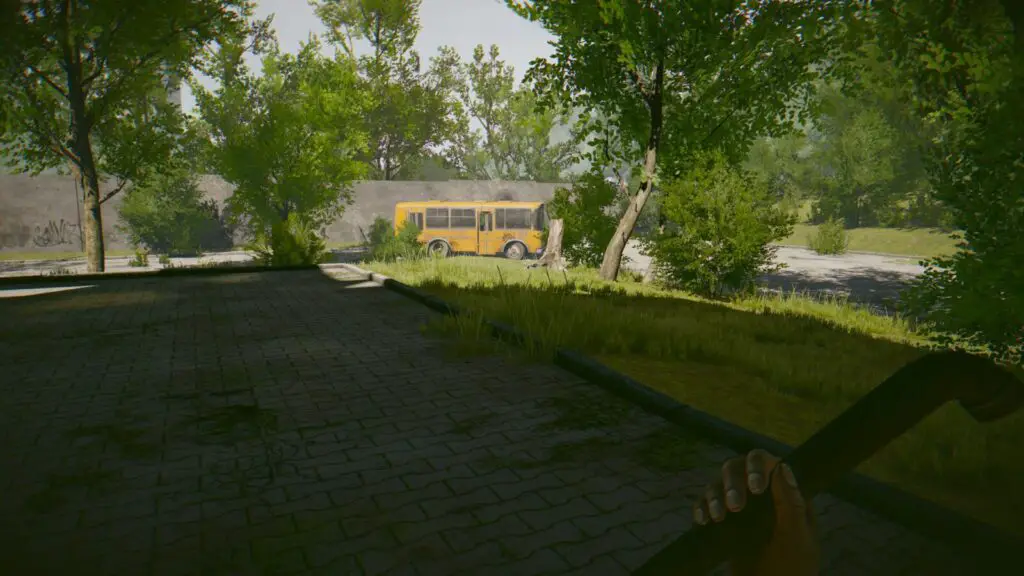
As a reminder, for the “Forever” trophy, you must avoid staying in the light for too long or you risk voiding the trophy, so try to do this next bit quickly and stick to the shadows as much as you can.
Run to the bus and interact with the door to open it with your pipe. Head inside and you’ll unlock the “Bus cracker” trophy.

Bus cracker
Open the door!
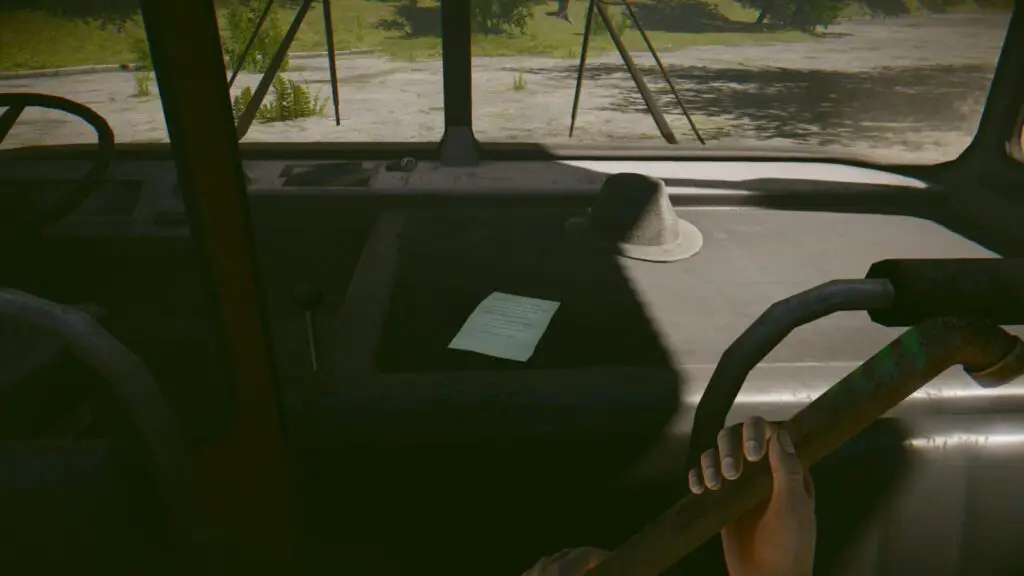
Turn right inside the bus and look on the dashboard for Note #3.
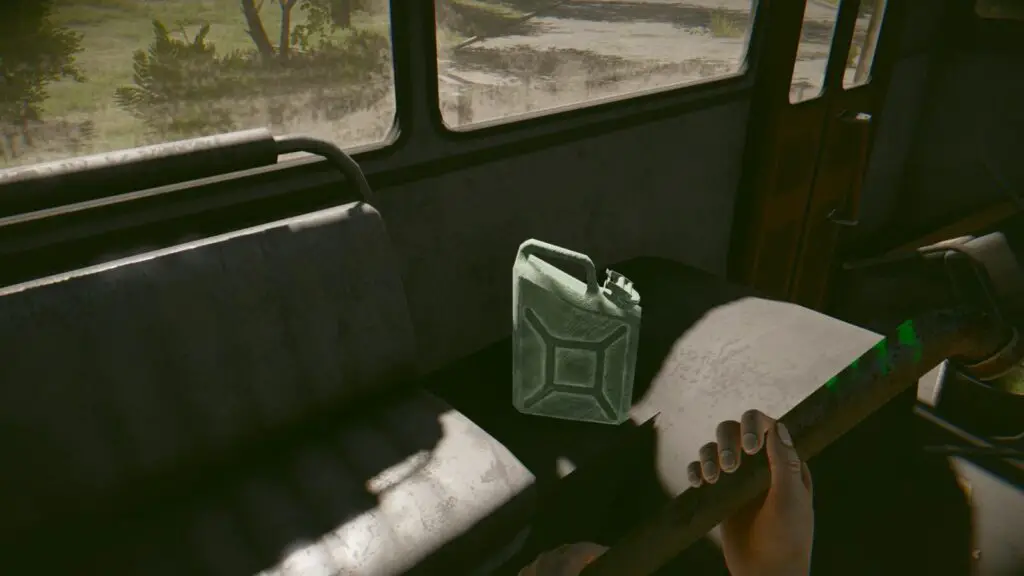
Turn around and look next to the seating on the left side of the bus. There, you should see a green fuel canister. Collect it.
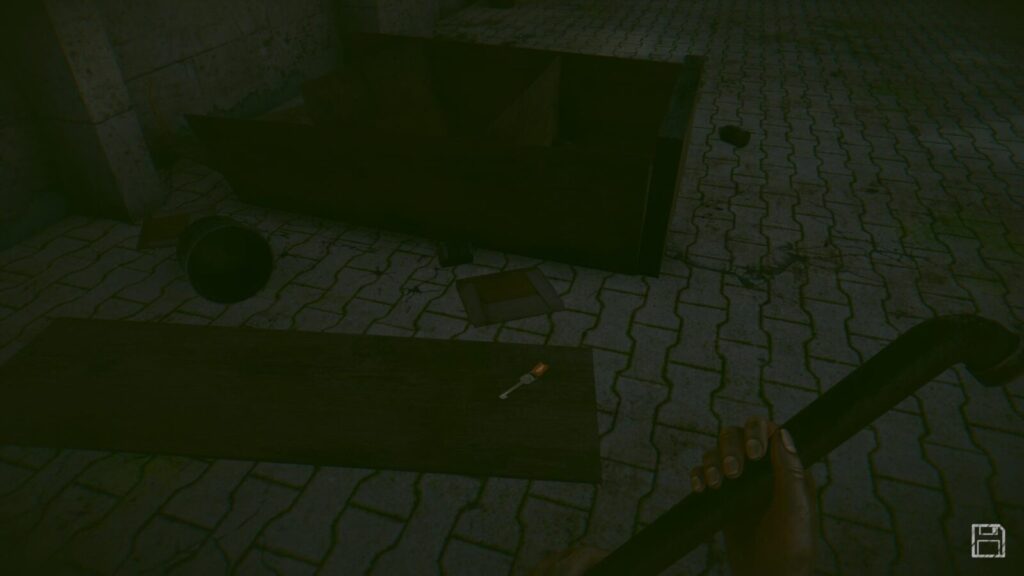
Leave the bus and run straight ahead to the corner of the main building. When you reach it, turn right and run up the side of the building. There, you will find the wardrobe you pushed out of the building earlier. It shattered upon impact and a Basement key fell out. Grab it!
Continue along the building, turn around the corner and head back inside via the entranceway where we collected the map earlier.
Turn right and head through the building, past the stairs, and back out again. We cut through the building to reduce sun-exposure time.
Again, try to do the next part quickly so as to not spend too long in the sun, stay in the shadows if you can.
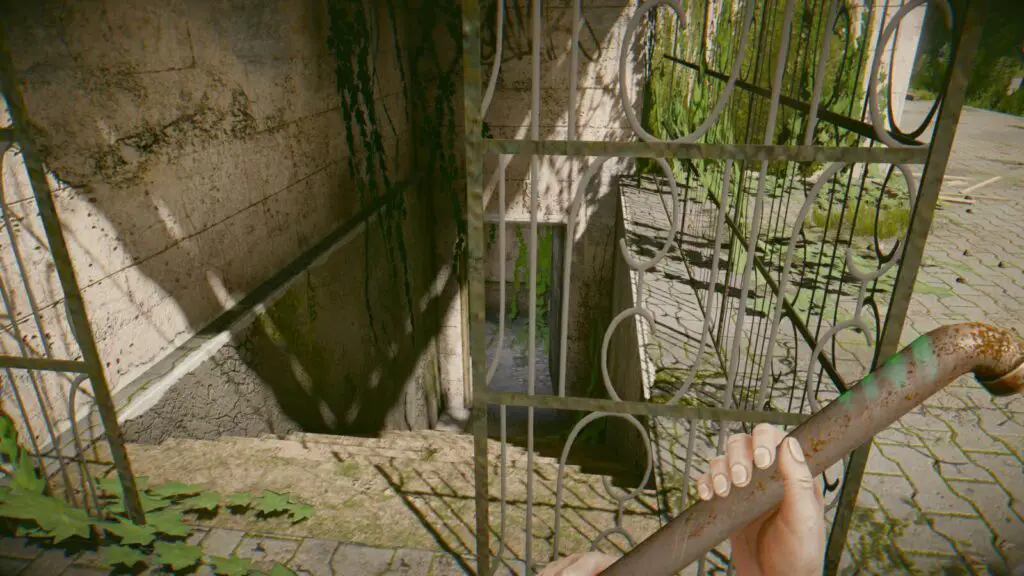
Turn right once outside and you should see a fenced-off stairway attached to the side of the building. Head down the stairs and interact with the door to open it with your Basement Key.
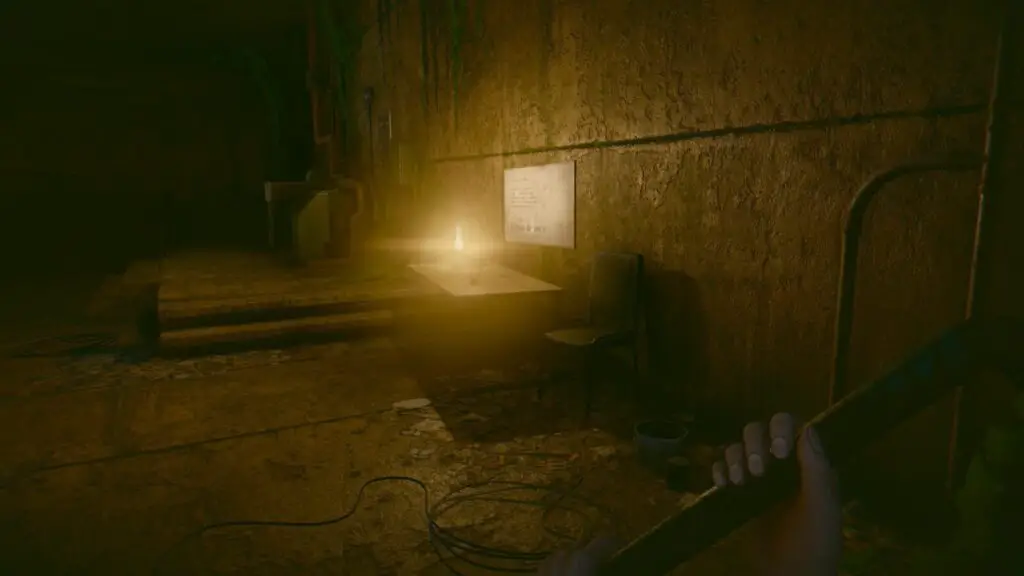
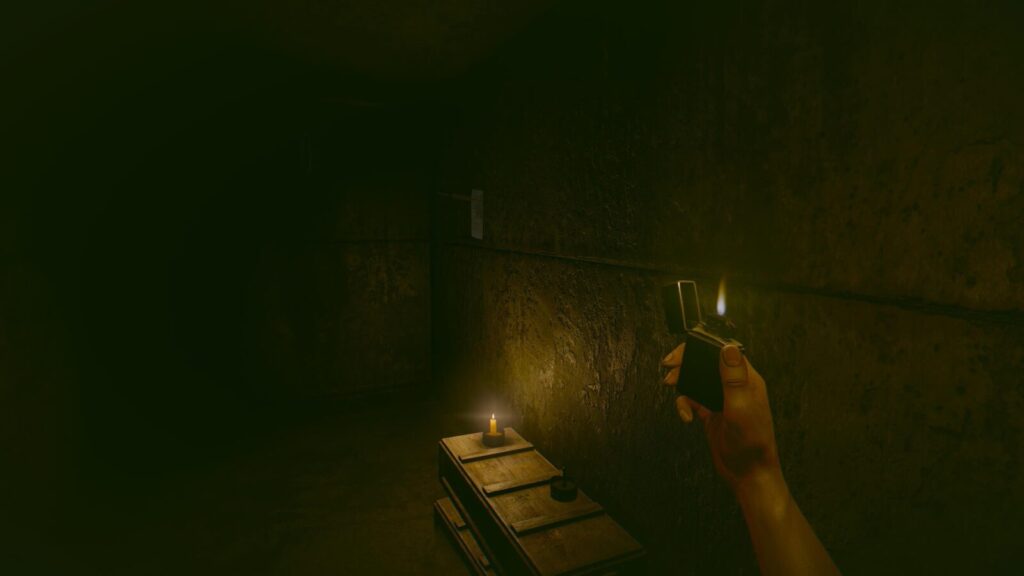
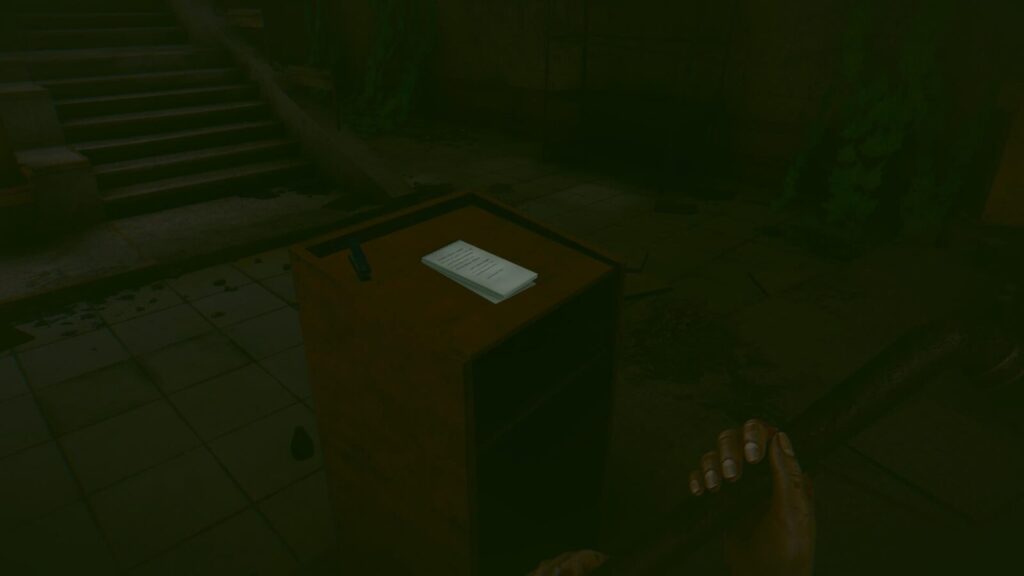
Head forwards to the table with a light on it. There you will find Note #4.
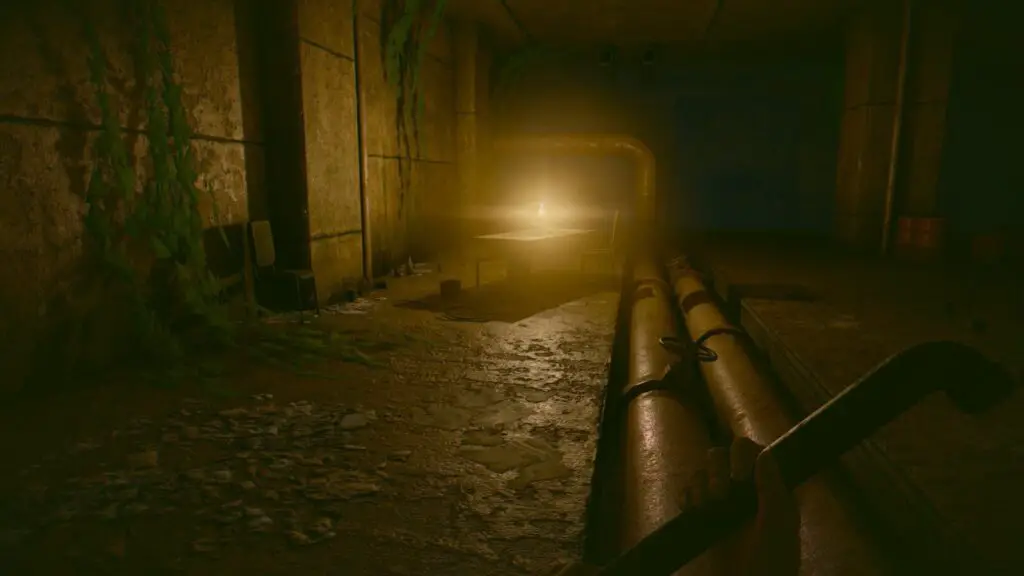
Head back towards the door you came through but look out for another table on your left with another light on it. Approach this table to collect the Lighter.
You can now leave the basement.
Again, try to do the next part quickly so as to not spend too long in the sun, stay in the shadows as much as you can.
Turn left and look for a smaller building across the road from the main one. Head for that building. The entrance is a door on the far left edge of the building, up a short set of stairs.
You will see that the door is tied shut with some twine. Equip your lighter and use it with the twine to burn it away so you can enter the building.
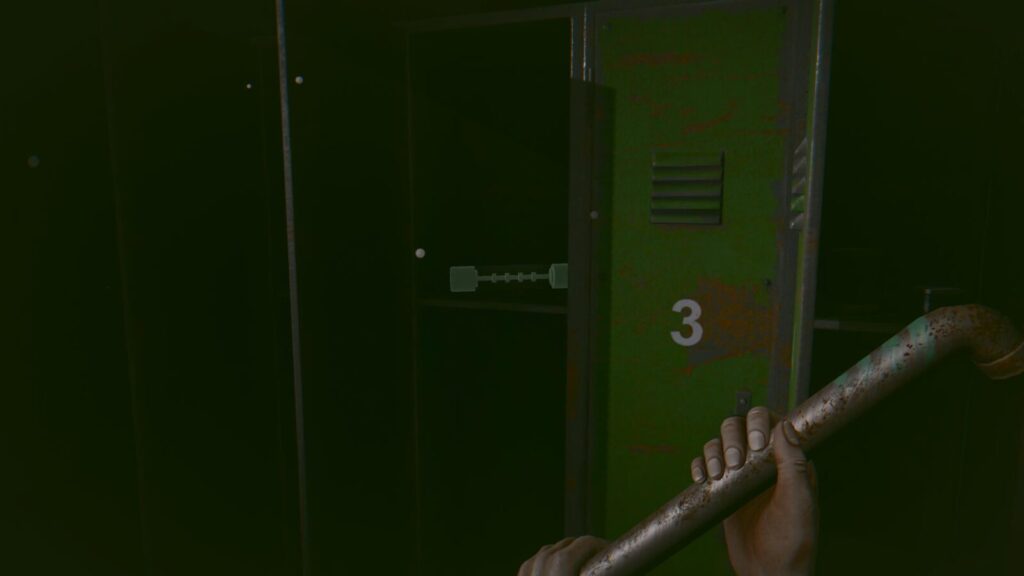
Head inside and then look for a small metal surface attached to the wall. On it, you will find Note #5.
Opposite the last collectible, head up the short set of stairs to get onto the raised part of the room where there are 6 lockers, four of which are numbered. 2 & 6 are not numbered but you can tell which they are based on the numbers on the other lockers.
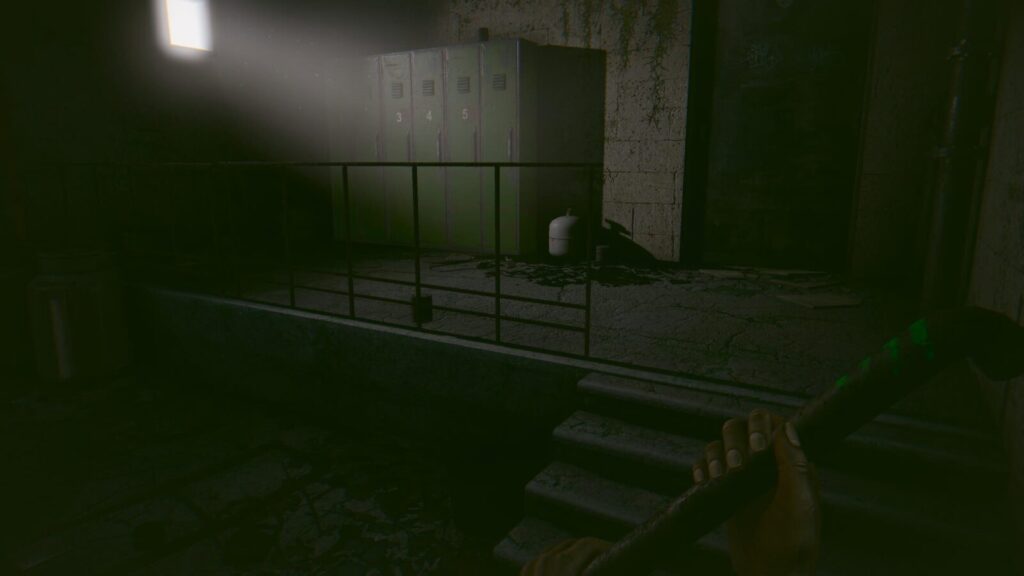
Interact with these lockers to open them in a very specific order. Open the lockers as follows:
- Locker 1
- Locker 4
- Locker 6
- Locker 2
Inside the second locker, you will find a fuse on the top shelf. Collect it and you can now leave this building.
Again, try to do the next part quickly so as to not spend too long in the sun, stay in the shadows as much as you can.
Cross the road back to the main building, but head into the basement again.
To the left of the table where you got your Lighter, there is a green fusebox on the wall. Interact with it once to open it, and then again to insert the fuse.
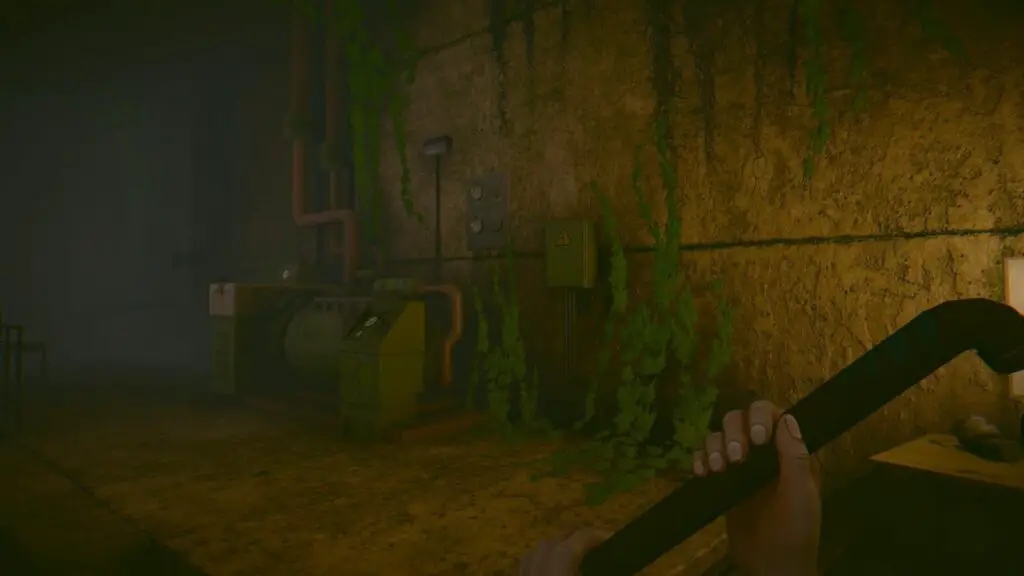
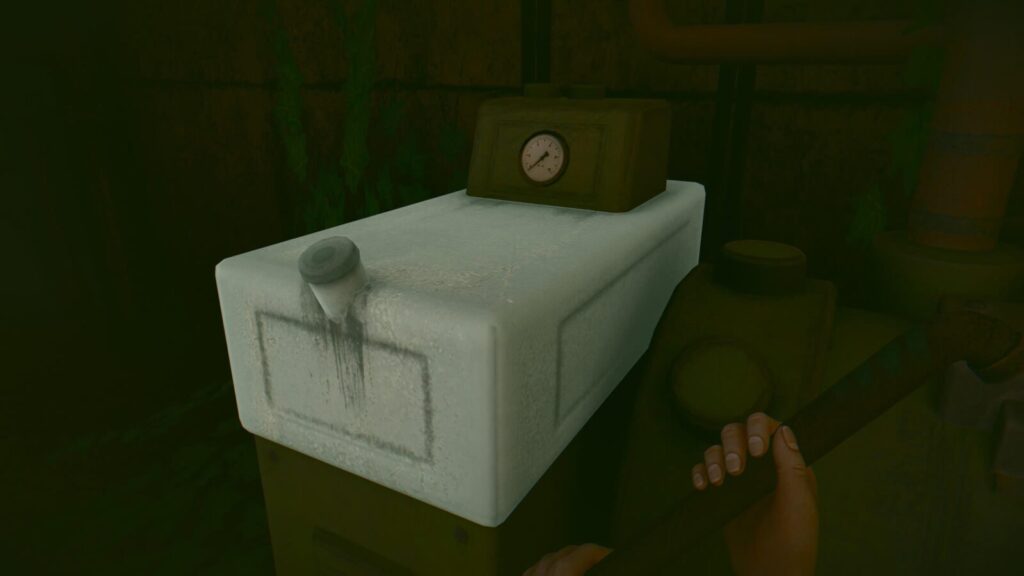
Head further left to the generator’s fuel tank and interact with it to use the fuel canister you picked up on the bus to refuel the generator.
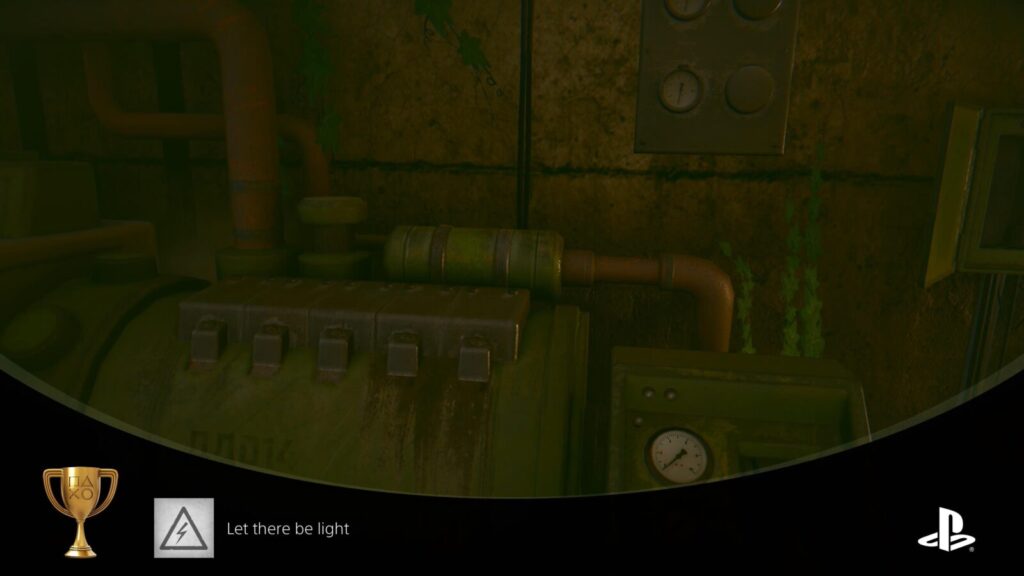
Lastly, head slightly to the right and interact with the Generator’s on switch to activate it. It will come to life and you will earn “Let there be light.”


Let there be light
Start generator
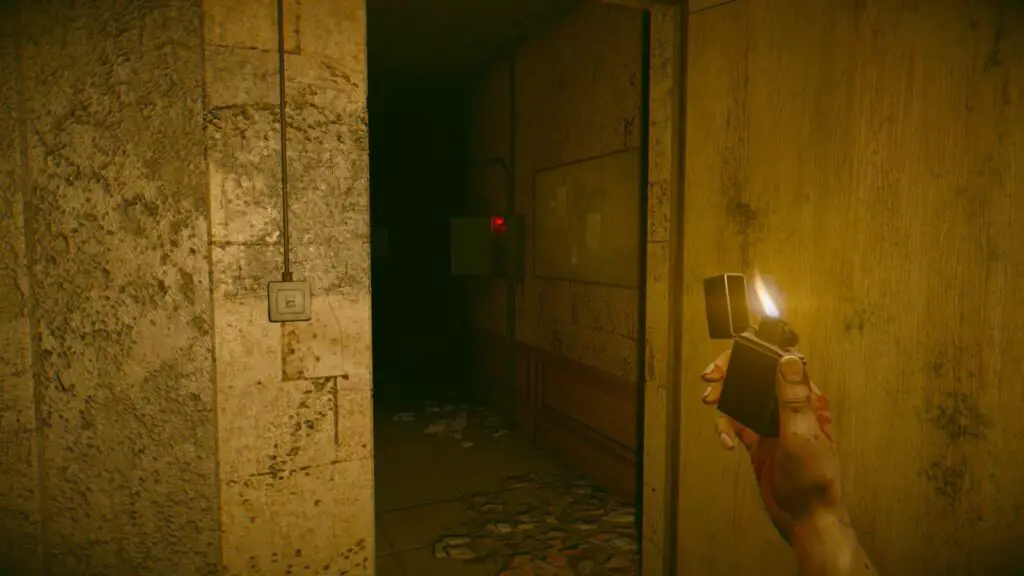
The lanterns in the room will slowly turn off and the door to the basement will close. Turn around and head towards the red light above the door at the opposite side of the room.
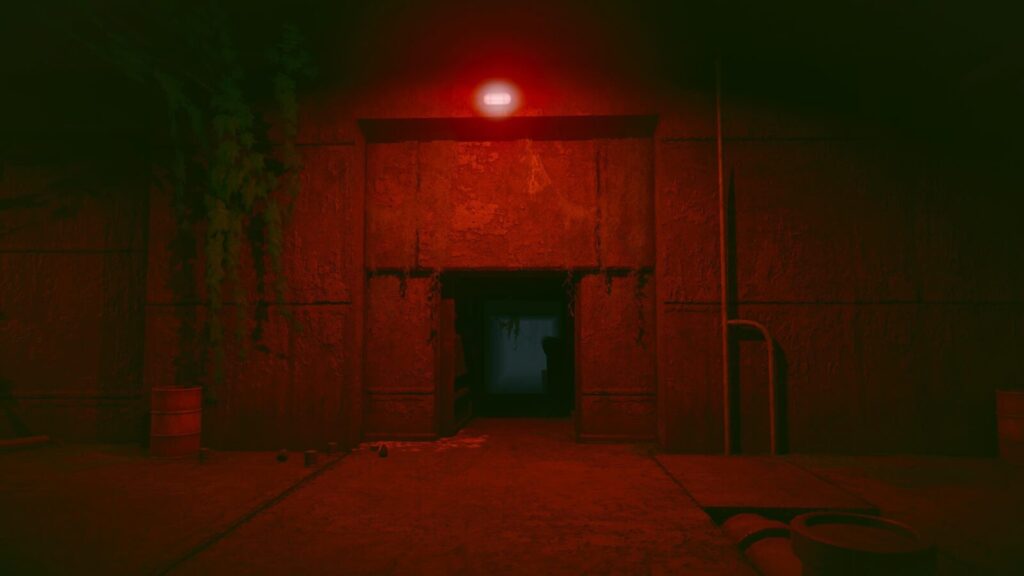
Head through the door and equip your lighter as a light source. Continue forwards until you reach a dead end and then look left for a gated doorway.
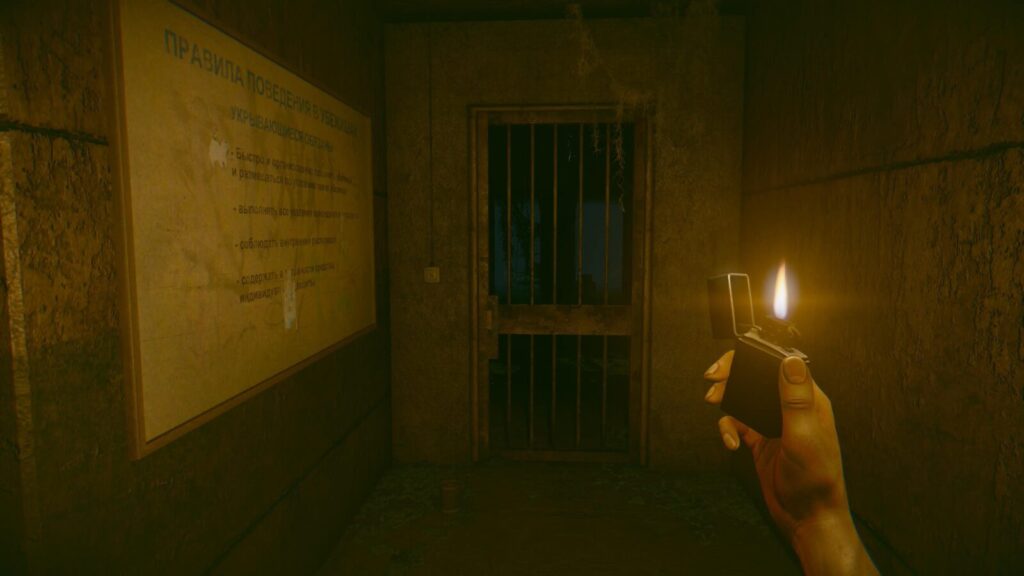
Open the gate, head through the doorway, and walk through the room to a small lit bathroom. On the wall under the mirror, you will find another small surface attached to the wall. Collect Note #6 from this surface. That’s half of the collectables so far!
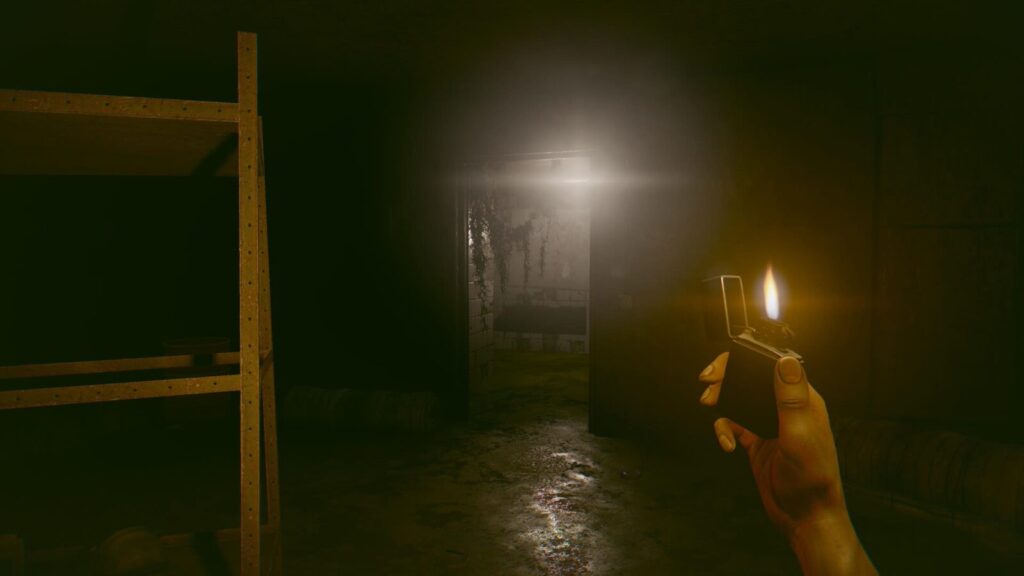
Leave the room and look to your right, theres a large white board and a very dark corridor on its left. Head through this corridor and you will be surprised to find that it just loops back around to the room you were just in. Look for the lit bathroom to gather your bearings and then head back into the dark corridor… Again.
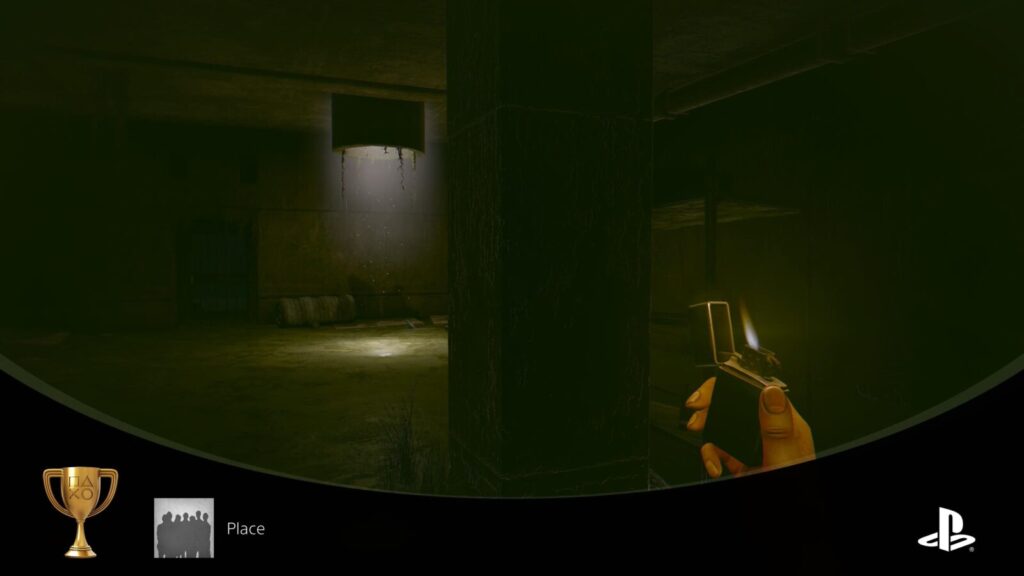
It might seem dumb, but you will need to repeat this four times. After your fourth journey through this same corridor, you will come out somewhere else. You should be able to see a well-lit corridor ahead of you. Continue down it until you enter a secret room and the trophy “Place” will unlock.

Place
There,down…
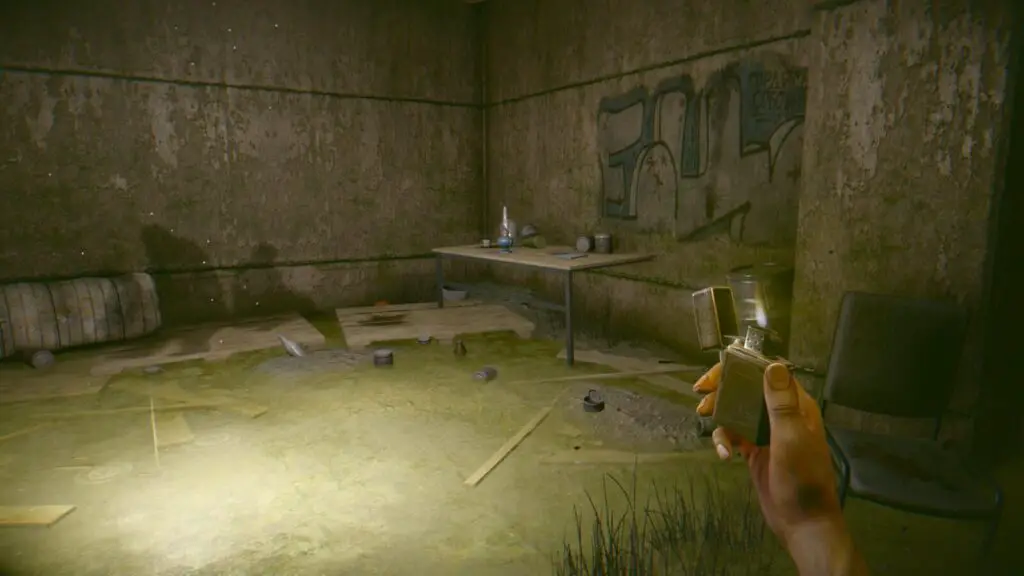
In the corner of this secret room, on a table, you will find Note #7.
Near that table, there’s a very dark doorway with another gate inside. Interact with the gate and head inside to trigger a small spooky cutscene.
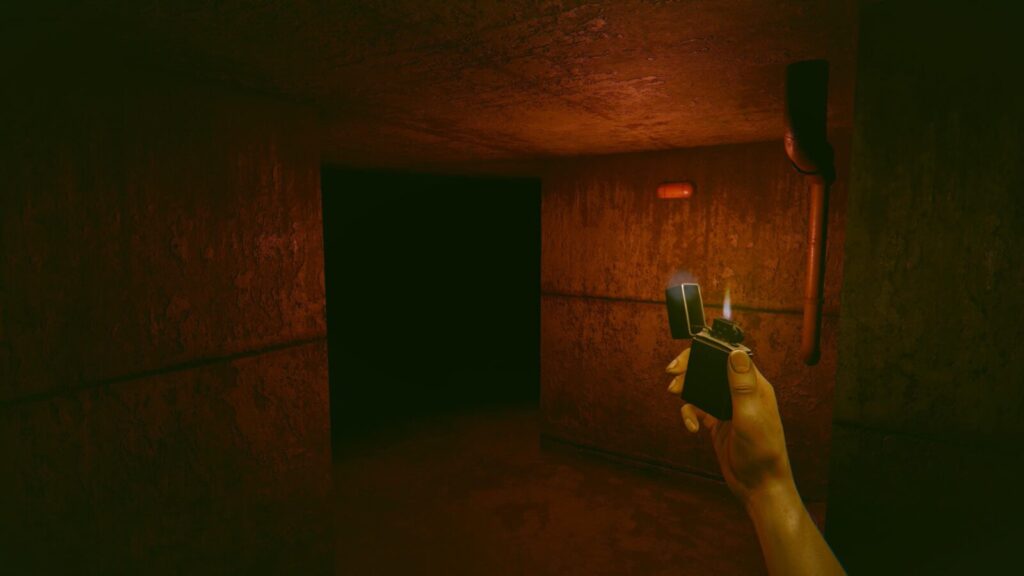
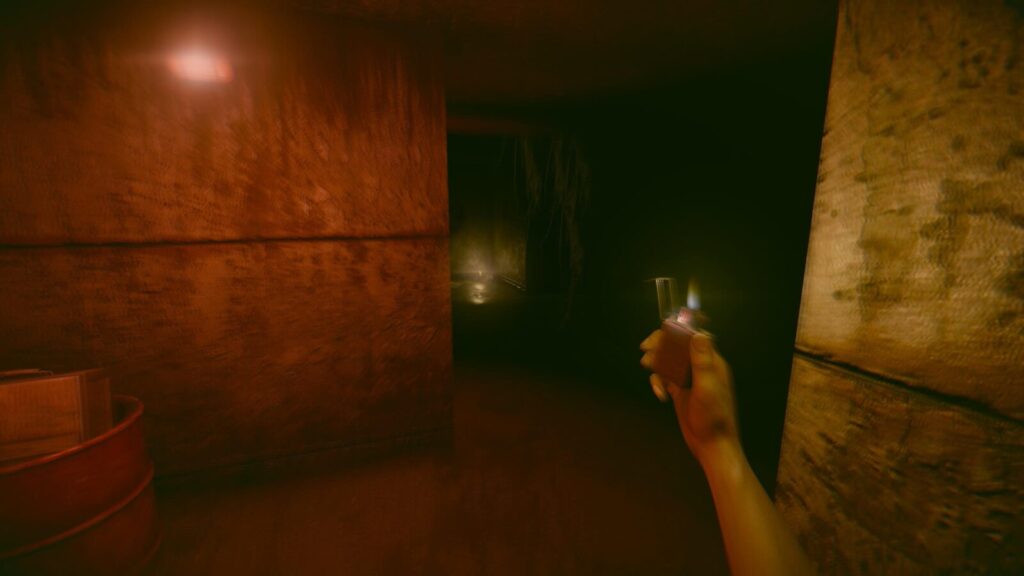
When the cutscene ends, turn around as we will need to continue down this tunnel. It is incredibly difficult to see anything in here, so ensure you have the lighter equipped and then stay pressed against the right wall as you make your way through the tunnel. By doing this you can ensure you don’t accidentally get turned around, just follow the right wall.
The audio in this section will try to make you think you’re being followed or that there’s something in this room to be scared of, but there’s isn’t so feel free to take your time.
Following the right wall will lead you to a small candle-lit shrine, approach it to progress the story and then turn around. Continue sticking to the wall on your right and ignore all the spooky audio.
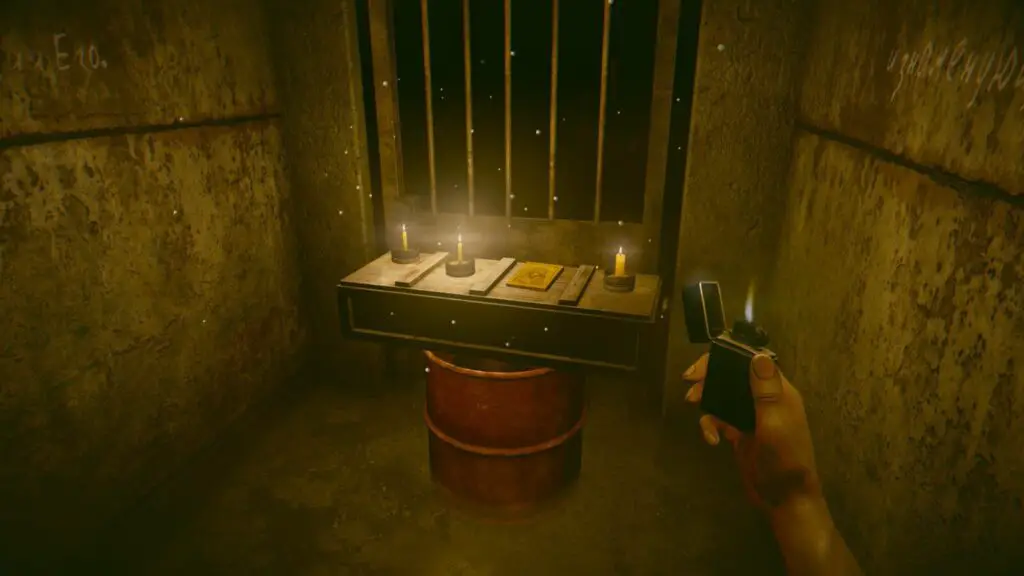
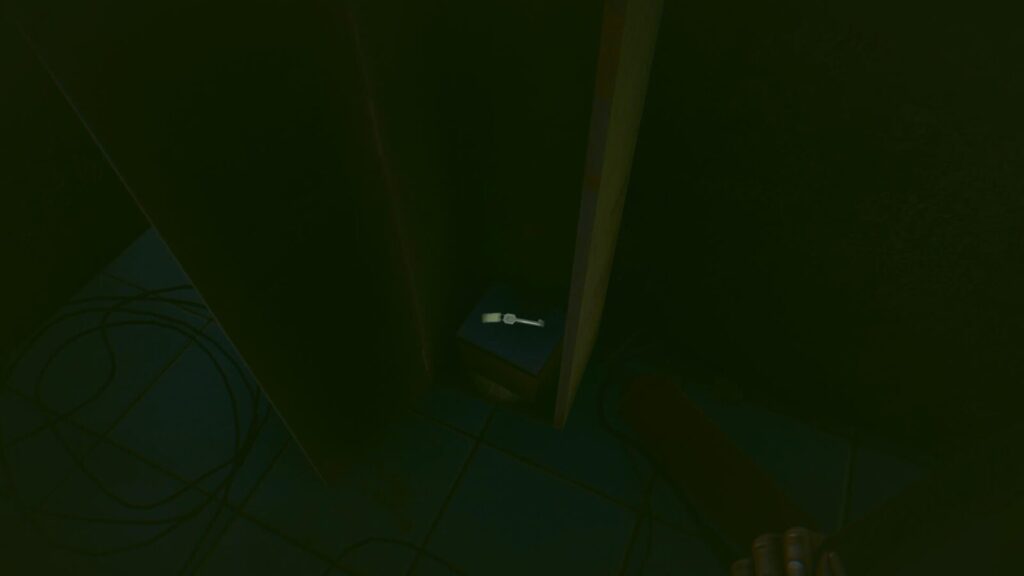
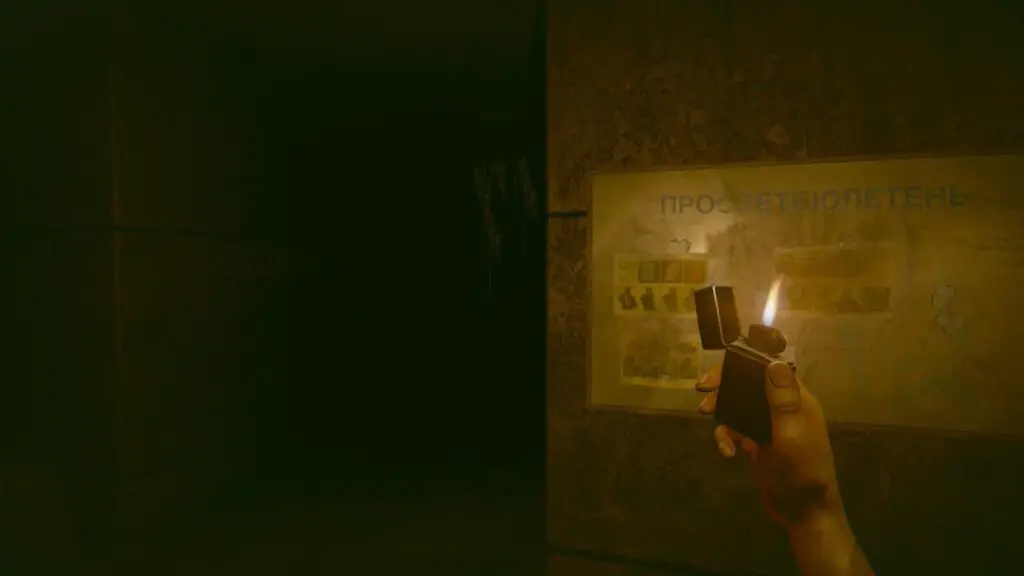
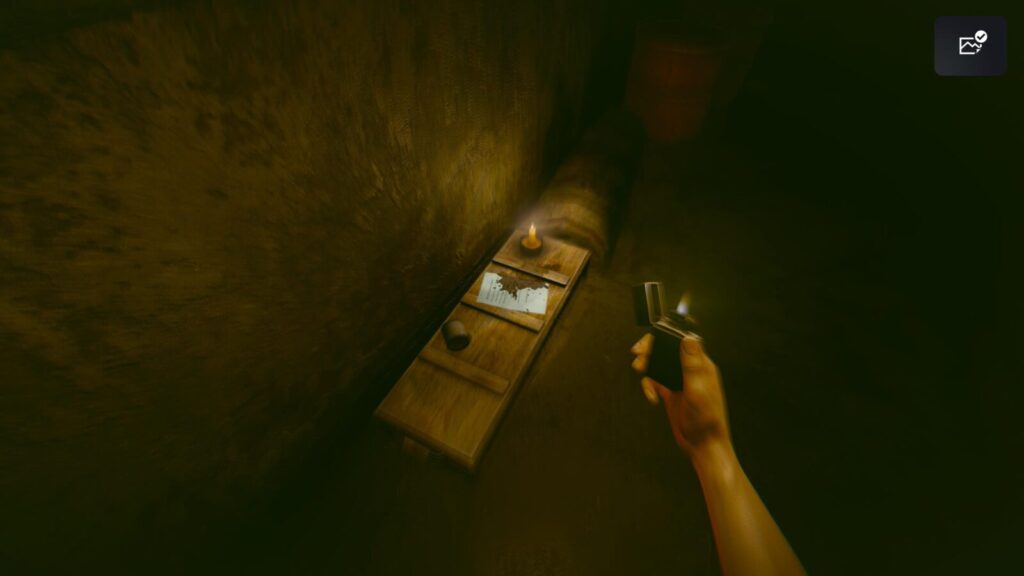
After a short distance, you will see a bright red light blinking ahead of you. Go down the corridor to the left of this blinking light and you’ll see a box with a candle on it.
Look on the wall above this candle to find the very easy-to-miss Note #8.
Turn right to face the red blinking light source again and resume following the wall on your right. Eventually you should come to a rolled-up mattress with a teddy bear on it and a couple of nearby candles. This is how you know you’re going the right way.
Continue past them, still following the right-hand wall to another blinking red light. Stop following the right wall here. Instead, look for a candle in a corner next to a book.
From that candle, turn left and then you may continue following the right wall.
At the next red blinking light, look for another candle on a nearby crate and approach it to find Note #9 on the crate.
Turn left at the last note and head towards the red blinking light again. On the right-hand wall you should see a locked gate. Interact with the padlock and enter the code “638” to open the gate.
Go through the opened gate and walk straight forward until you reach the opposite end of the corridor. There, turn right, then right again at the bend.
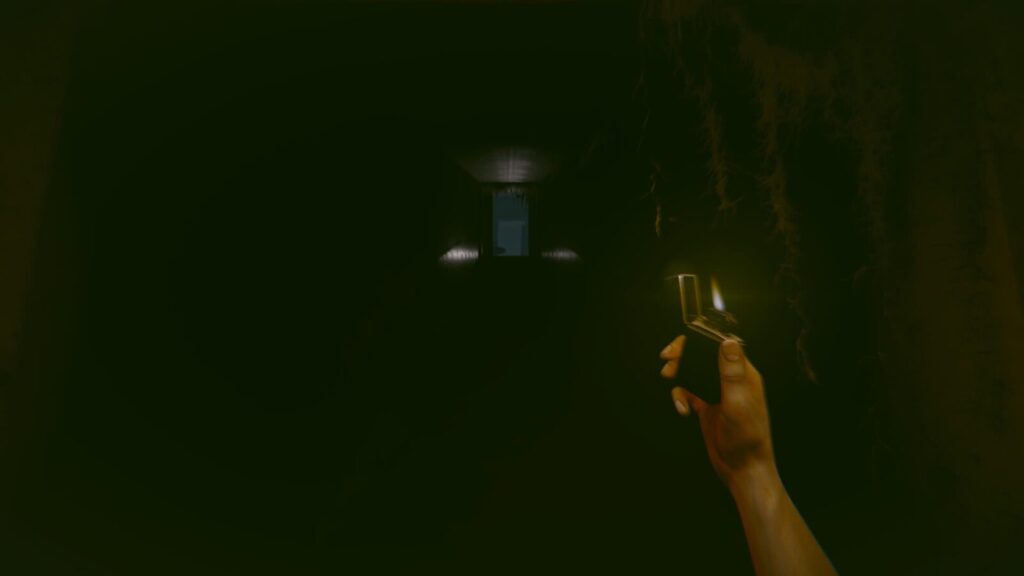
If you look up slightly you should see some light creeping in from a doorway at the top of some stairs ahead of you. Walk up the stairs to finally be out of that tunnel.
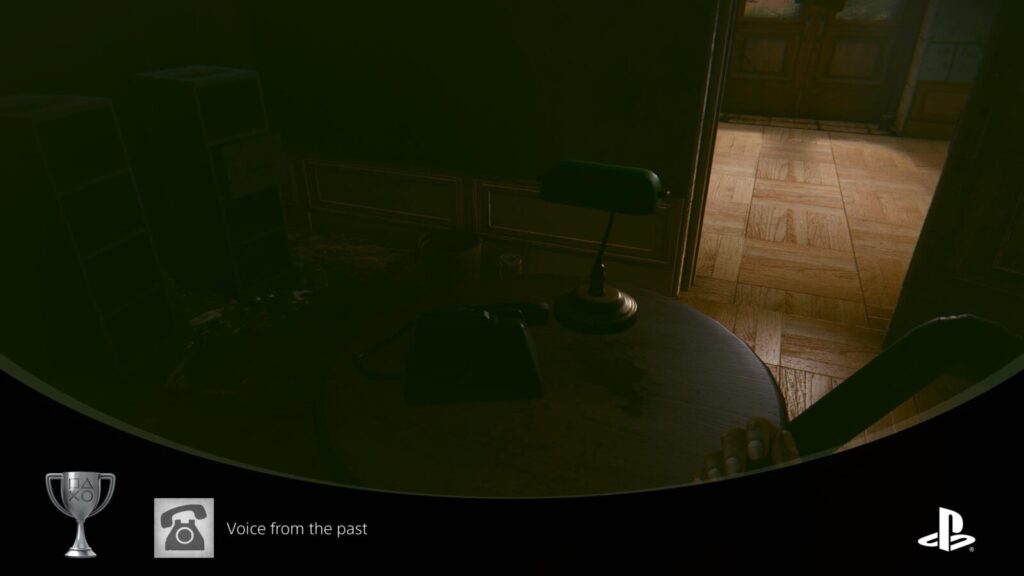
At the top of the stairs, look at the small round table and you should see a rotary phone. Interact with it to unlock “Voice from the past.”

Voice from the past
Pick up the phone
Head through the nearby doorway into the next room, and then head through the doorway on your left into another room.
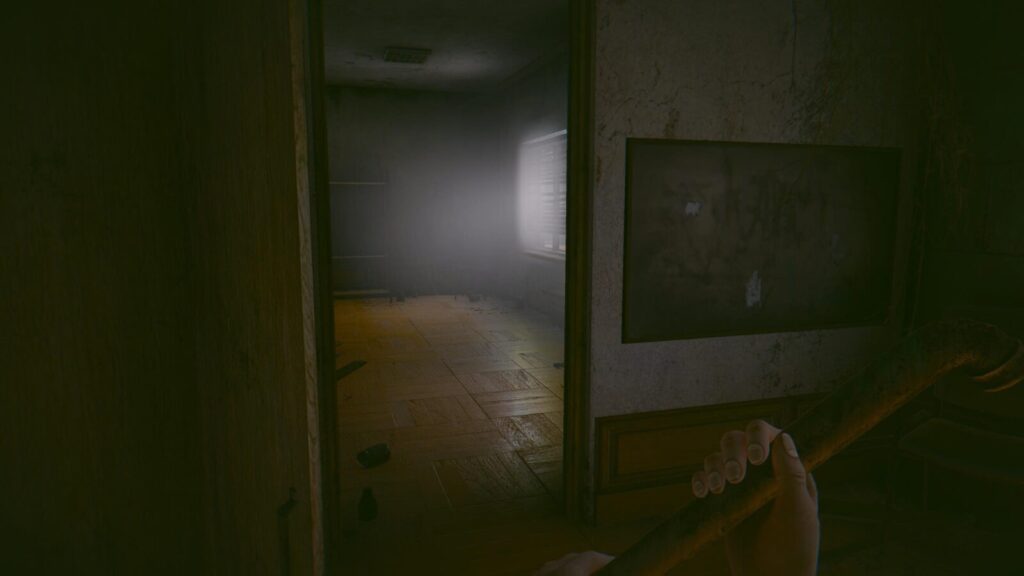
To your immediate right there is a table underneath a window. Approach the table and collect Note #10 from it.
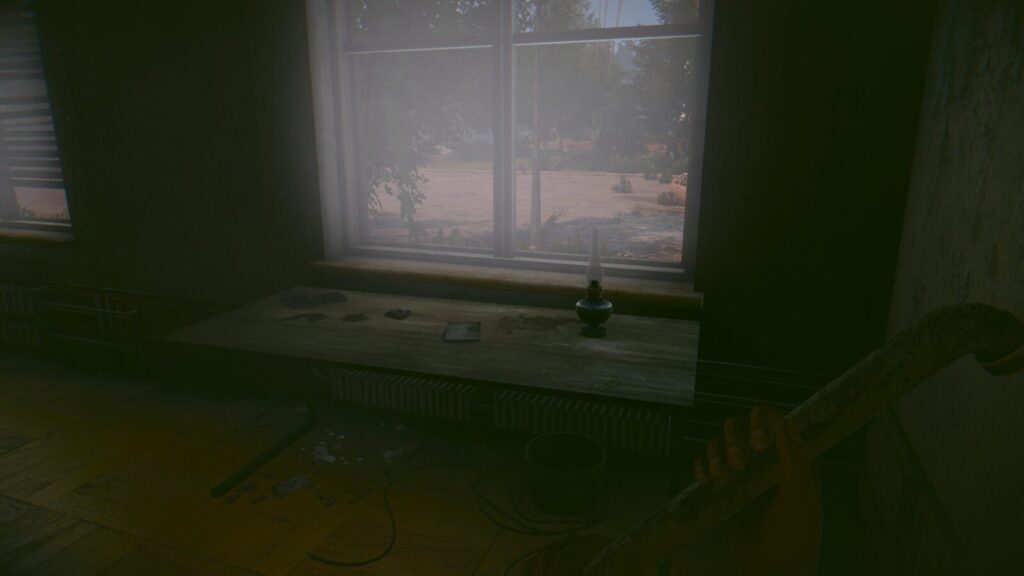
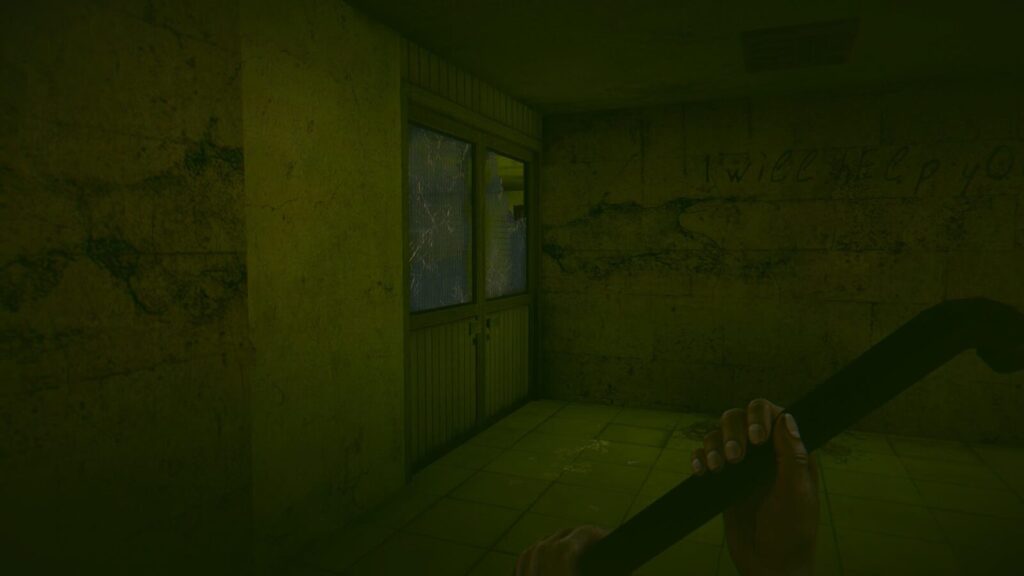
Leave this room back into the previous one and use your pipe on the plank holding the door shut. Once open, head through the door into the outside world.
Again, try to do the next part quickly so as to not spend too long in the sun, stay in the shadows if you can.
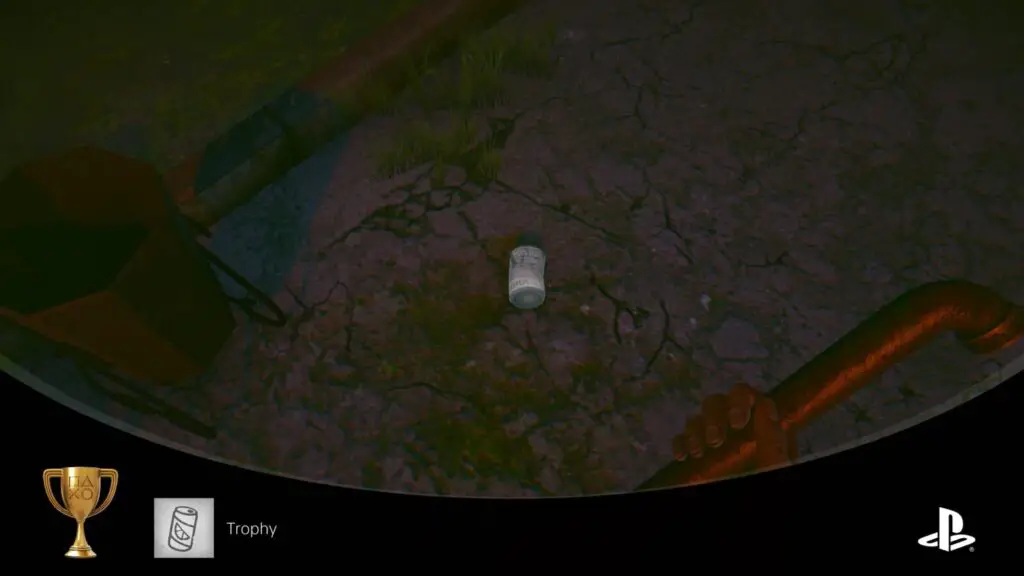
You will be in a parking lot. At the opposite side, slightly to your right, there is a bench. Head straight to this bench and interact with the can on the ground next to it, which will unlock the “Trophy” trophy.
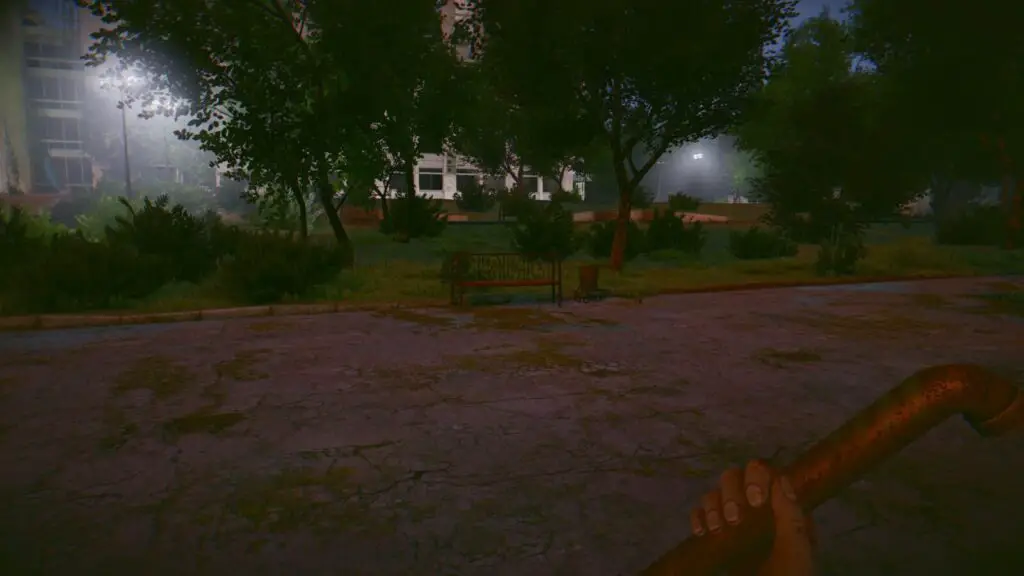
Trophy
Yes, the same can of soda
Continue past the bench now and into the main building, opposite the one we just came out of. You’ll be back at the entrance where we got the map earlier.

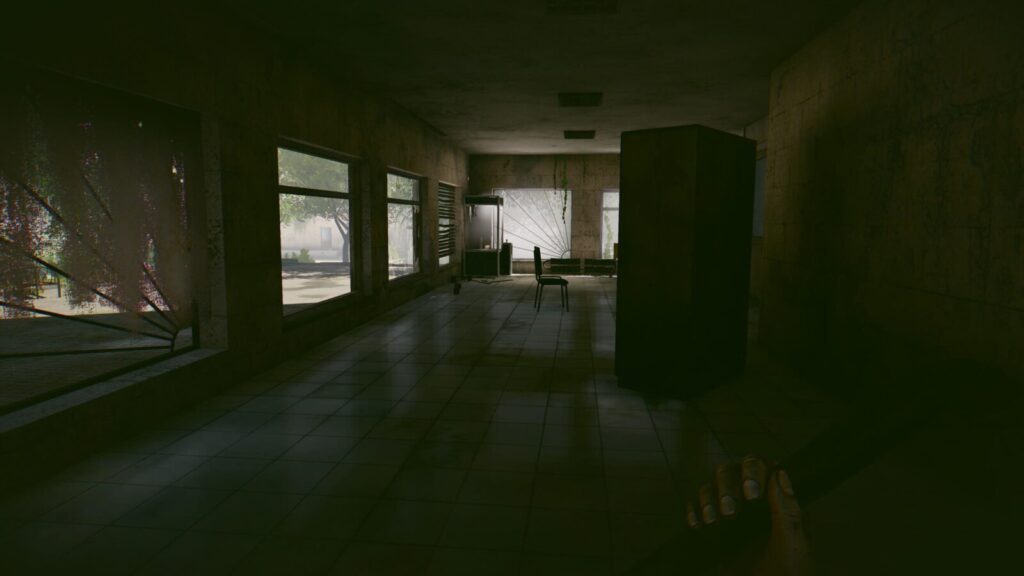
Head towards the left-most stairwell and enter the double-doors which are a little difficult to see, to the right of the stairs.
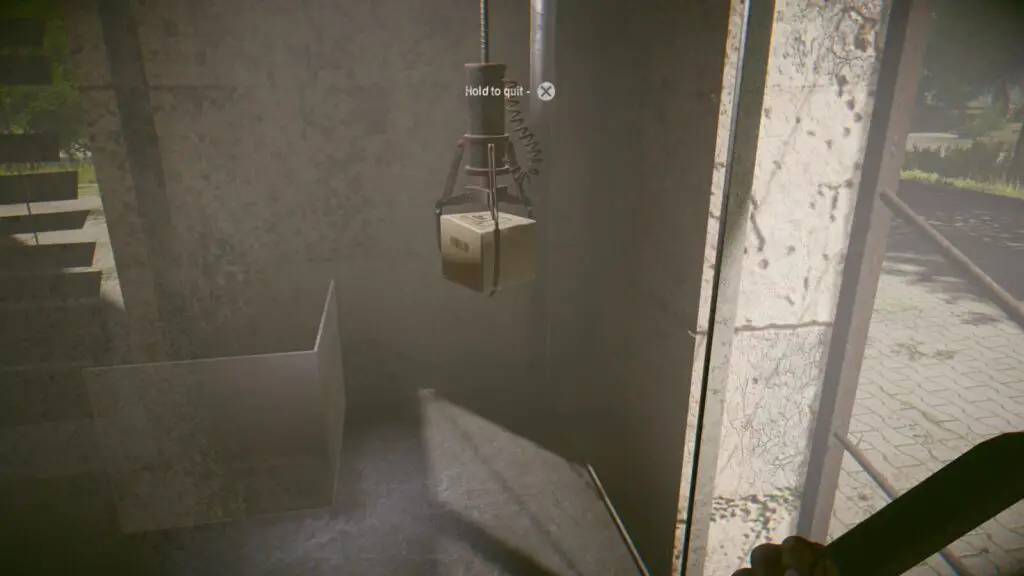
You will now be in another long corridor. Turn right and head towards the claw machine in the far corner. Interact with it to start playing.
This might take a few tries, but keep playing until you successfully retrieve the small box inside the claw machine. Interact with the box to pick it up from the ground once you’ve retrieved it.
Head back down the corridor and through the double-doors you entered through.
Take a right and head up the stairs directly next to the doors.
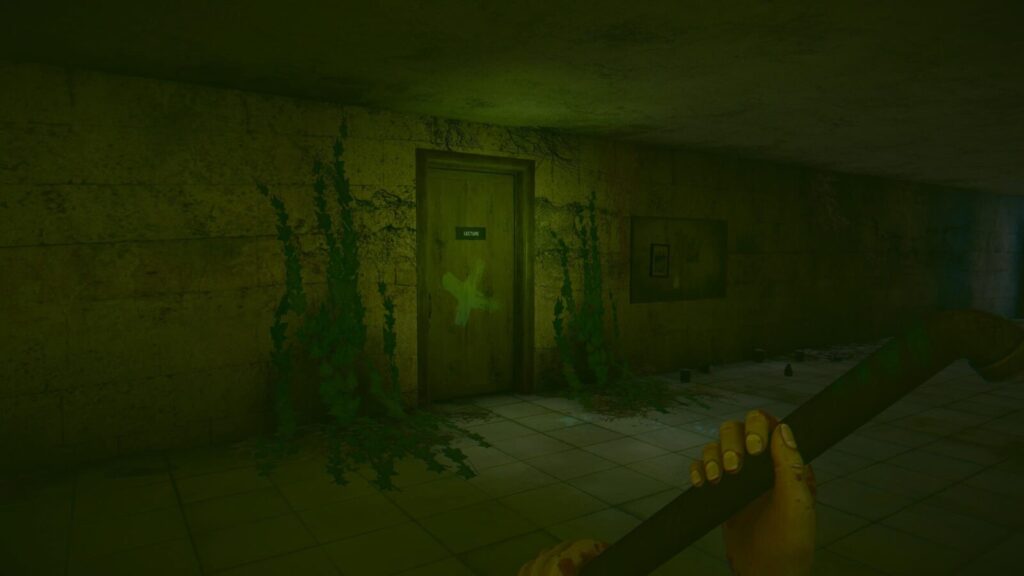
At the top of the stairs, look left and you will see a door marked “Lecture” with a white cross painted on it. Interact with it to use the Lecture Room key and unlock the door.
Head inside and look for a plinth at the front of the lecture hall. On it you will find Note #11. Just one more to go!
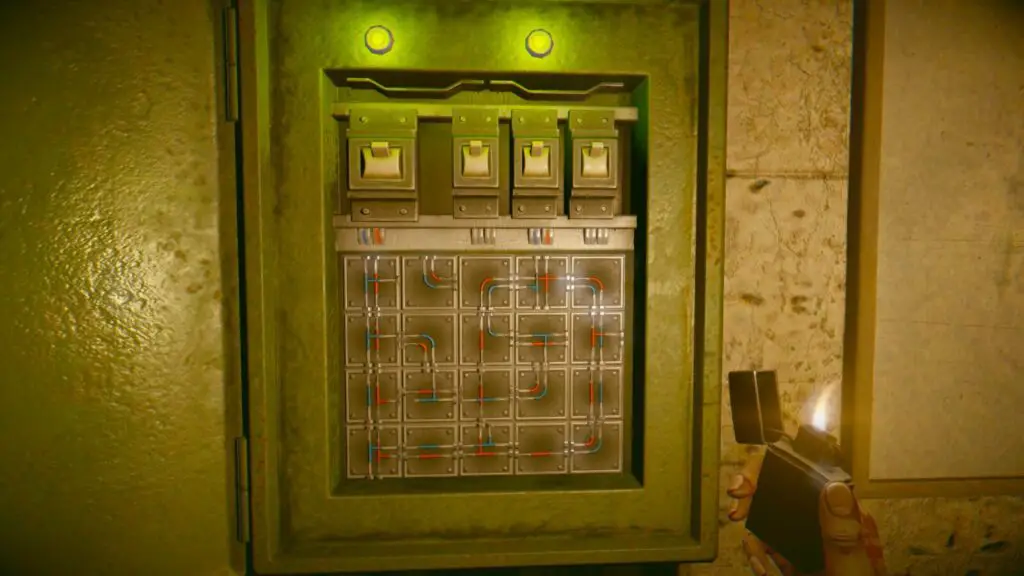
Continue on to the opposite side of the room from where you entered and you’ll find a doorway down the side of the stairs. Head inside to find a Fusebox on the wall.
Complete the puzzle by rotating the blocks so that power is being fed from the large switch to middle-most of the small switches at the top.
Once power is restored, go back out into the Lecture Hall and then climb up the stairs to the lecture hall’s projector, interact with it to play the film reel we collected earlier. This will unlock the “Play!” trophy.
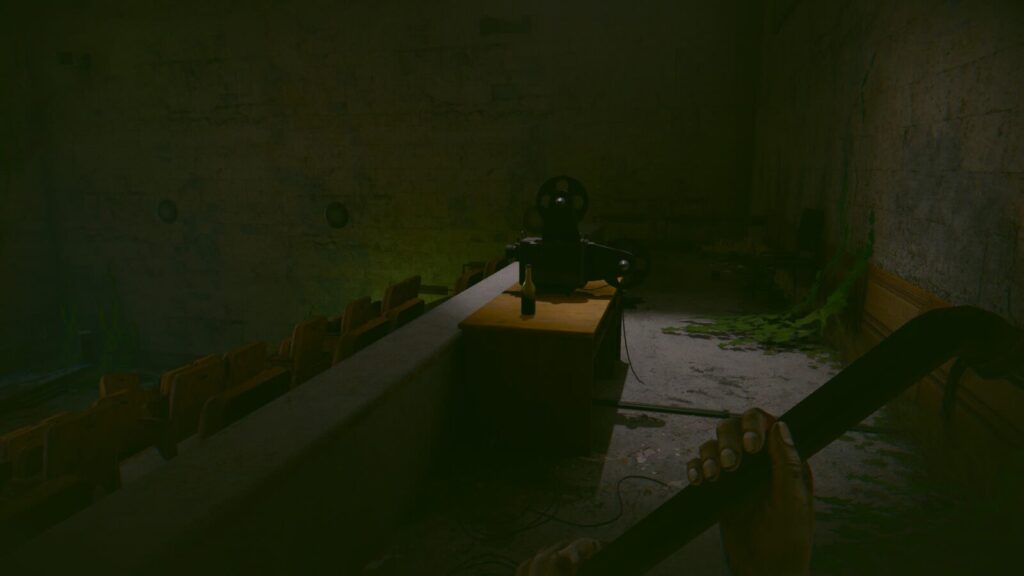

Play!
Play videofilm
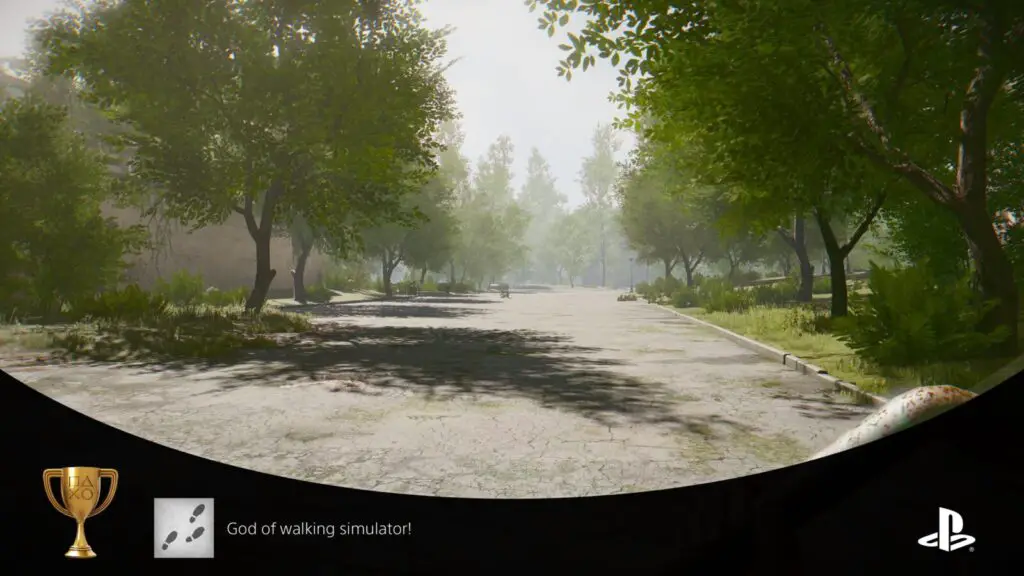
You can’t progress now until the movie is complete, but I wouldn’t recommend just standing still. There’s a trophy called God of walking simulator! for which you will need to walk a total of 5km, so take this respite as an opportunity to walk laps around the lecture hall, making decent progress towards the trophy.
When the movie ends, you will be able to leave the lecture hall.
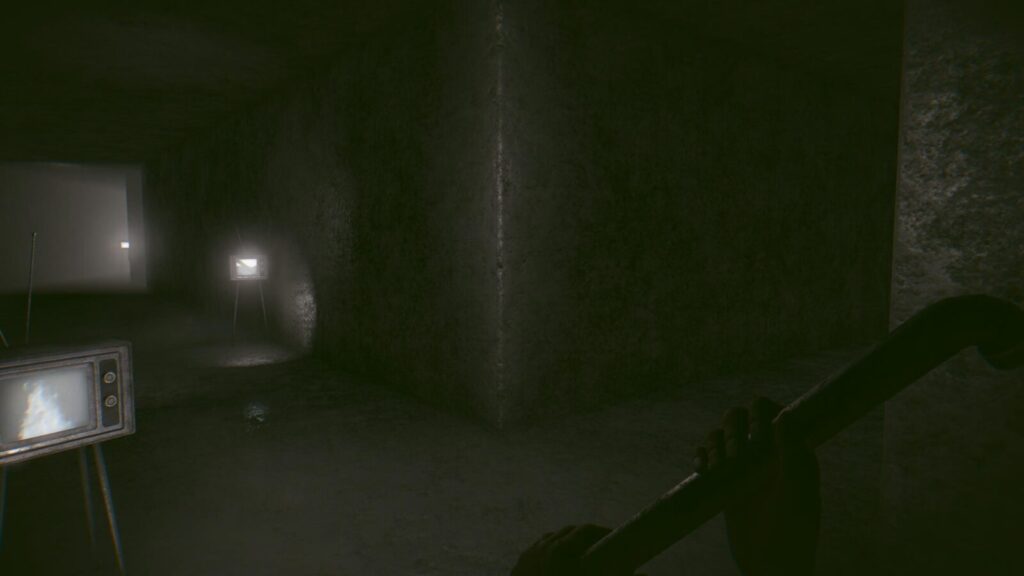
Go through the door and continue down this hallway which is filled with old TV sets. They don’t do anything so just continue down the hall.

After the first corner, take the next right down a side path and continue following all of the TV sets, past one with a candle inside it.
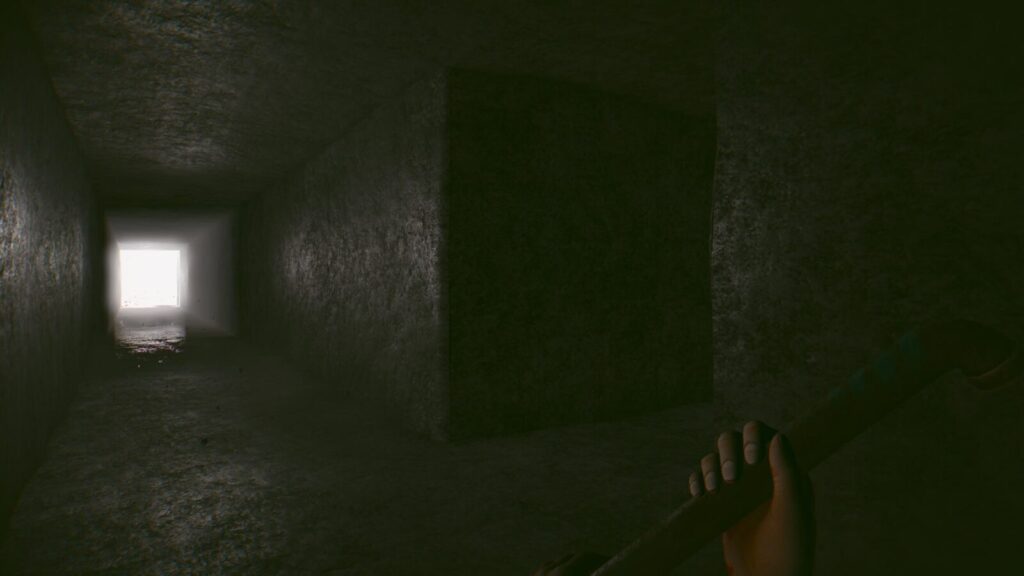
You will reach the last leg of the tunnel and will see a bright light in the distance with no more TV sets ahead of you. Look for another side-path in the right-hand wall.
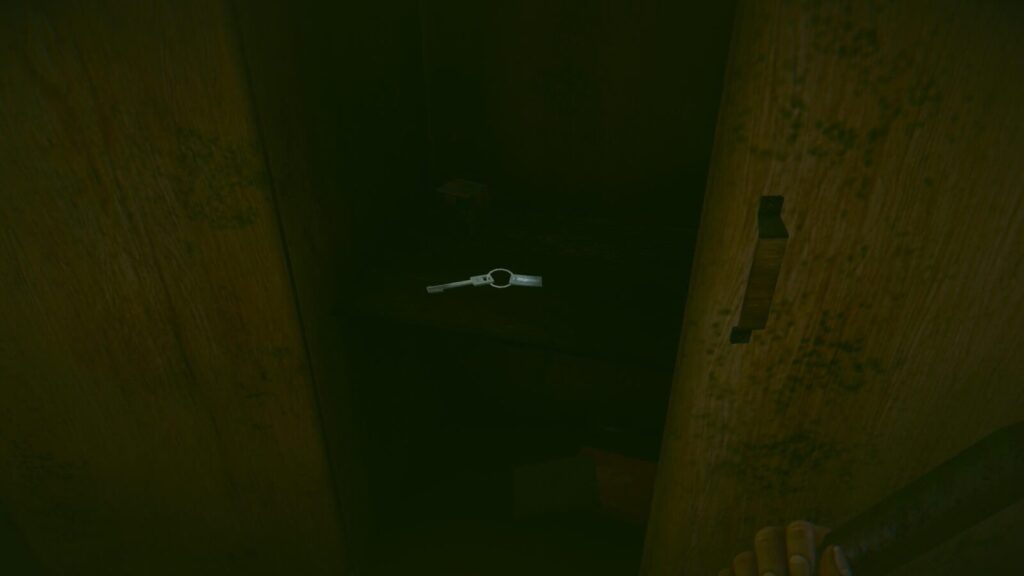
Follow it all the way to the end you will find two more TV sets bathed in red light with a floating notepad at the center.
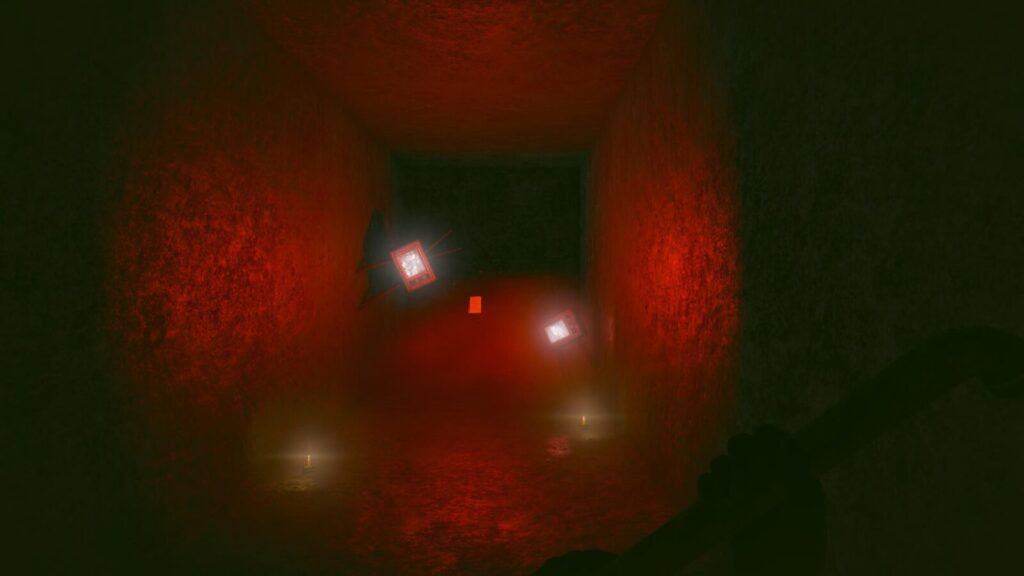
That notepad is Note #12 and you will unlock the “Reader” trophy for collecting it, provided you have collected the other 11 too.
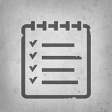
Reader
Read all notes
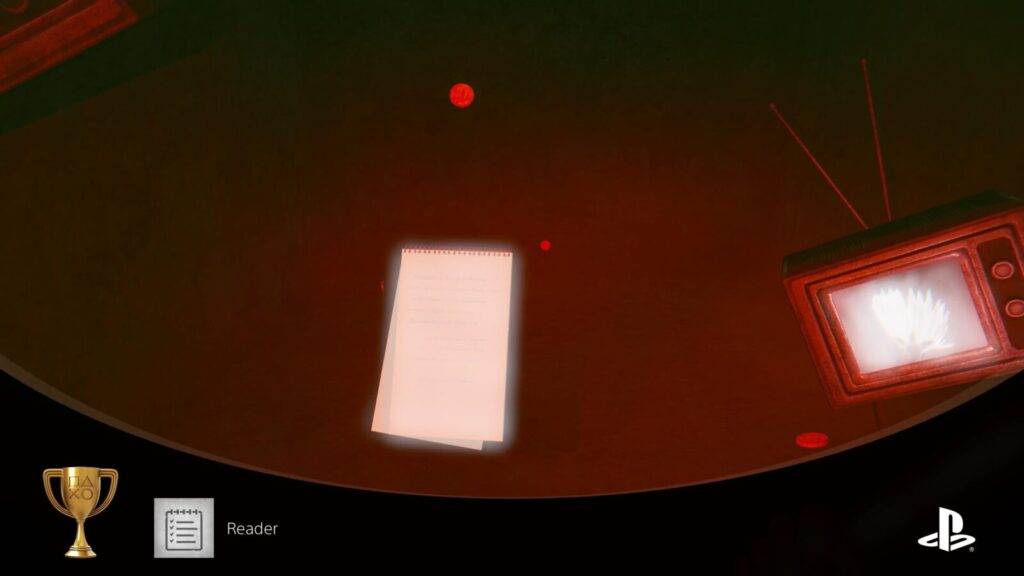
Return to the tunnel with the bright light and walk into it. You’ll be teleported to a dirt path with some pretty trippy stuff going on around you. On the dirt path ahead of you there’s another bright light.
Walk into this bright light too and your first playthrough will come to an end.
Provided you did everything as instructed above, you will get a cutscene after entering the light, and then the credits. You’ll respawn back at the start of the game, and should have the following trophy:

Forever
Stay in the shade

The Forever trophy requires you to stay out of the light as much as you can. When exploring the building, keep out of the light, whenever you go outside be very quick and use the shadows wherever possible. Don’t use the flash light and only use the lighter if absolutely necessary.
If done correctly, this trophy should unlock at the end of the game. If it doesn’t, you will need to do another full playthrough to attempt it again but you should have earned “To the Light” instead, which means you won’t need to do Phase Three of this In Rays of the Light Trophy Guide (but may still need to do some extra steps for God of walking simulator!)
Phase Two – Secret Film
After completing Phase One of our In Rays of the Light Trophy Guide, you will be respawned back at the start of the game but will still have all of the tools you have collected such as the pipe and lighter. There’s still a few things to do, but you can use the below In Rays of the Light Trophy Walkthrough to ensure you don’t miss anything.
In Rays of the Light Phase Two Trophy Walkthrough
The first thing we need to do in order to see the Secret Film is go back to the Claw Machine downstairs. If you don’t remember where this is, use these instructions:
- Leave the room where you start
- Turn right and head down the hallway
- The door on your left will already be open so head through it
- Go to the end of the hallway and through the double doors on your left.
- Take an immediate right and then go down the stairs
- At the bottom of the stairs, take an immediate left and go through the double doors
- Go to the end of this corridor to find the Claw Machine in the corner
When you reach the Claw Machine, you will notice that there’s a new item in there. It’s the secret film reel. Use the claw machine to retrieve the item and then pick it up off the ground.
To use it, we need to take it to the Lecture Hall and use it on the projector. Go back up the stairs we just came down and the Lecture Hall is the first door on your left at the top.
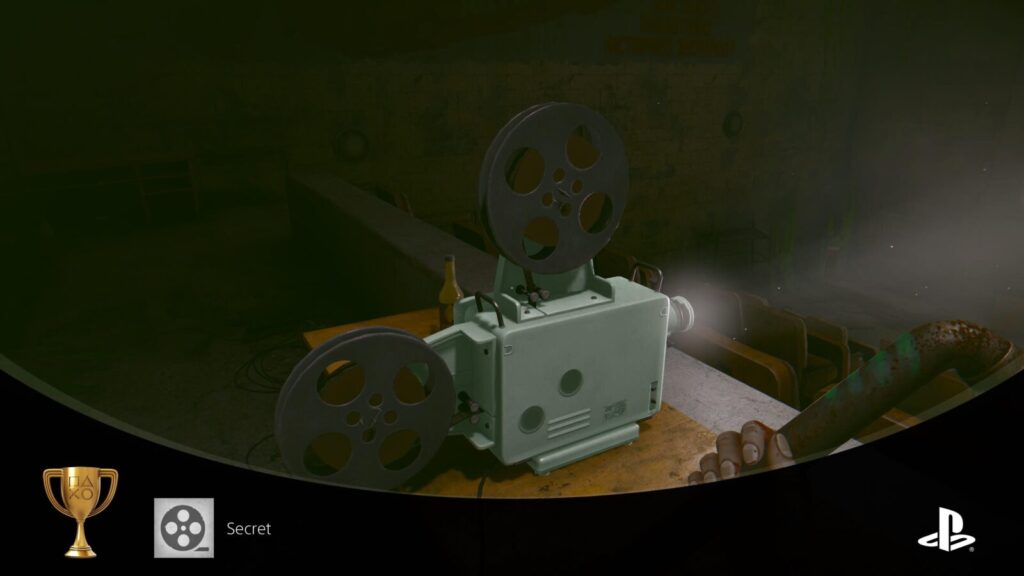
Head up the stairs and interact with the projector to activate the Secret Film and unlock “Secret.”

Secret
Watch secret film
Phase Three – Normal Ending
In this third phase of our In Rays of the Light Trophy Guide, you just need to unlock the normal ending. To avoid doing a whole extra playthrough, you can just pause the game ![]() and select Chapter 7 from the “Load Game” option.
and select Chapter 7 from the “Load Game” option.
This will bring you back to just before you watched the film at the end of our first playthrough. From there, follow the In Rays of the Light Trophy Walkthrough below to get the normal ending.
In Rays of the Light Phase Three Trophy Walkthrough
Leave the Lecture Hall and then head through the double doors on your immediate right. Go down the corridor all the way to the bathroom where you originally got the pipe and then turn right and head back to where you started the game. Now you can finally pick up the Flashlight taped to the wall.
You will want to do the opposite of the “Forever” trophy now and be in the sun as much as you can. Also turn the flashlight on with ![]() to soak up that extra bit of time in the light.
to soak up that extra bit of time in the light.
You probably also still need the “God of walking simulator!” trophy so this is a great time to unlock that! Head outside into the sun and walk around for about 5 minutes. If the trophy unlocks before 5 minutes are up, keep at it anyway because we need to be sure you’ve been in the sun long enough to get the normal ending.
God of walking simulator!
Walk 5km
Once you have that trophy and are sure you’ve been in the sun for at least 5 minutes, head back inside and work your way back up to the Lecture Hall.
Head into the room under the stairs again and solve the fuse box puzzle a second time. Once done, go up to the projector and reactivate it to sit through the film again.
Once the door opens, proceed through the tunnel same as last time, you can skip the side-path with the collectible this time, just go straight to the light at the end of the tunnel.
Proceed down the dirt path again to the next bright light and then enjoy the cutscene. After that, you should receive the last trophy:
To the Light
Don’t be afraid of the light
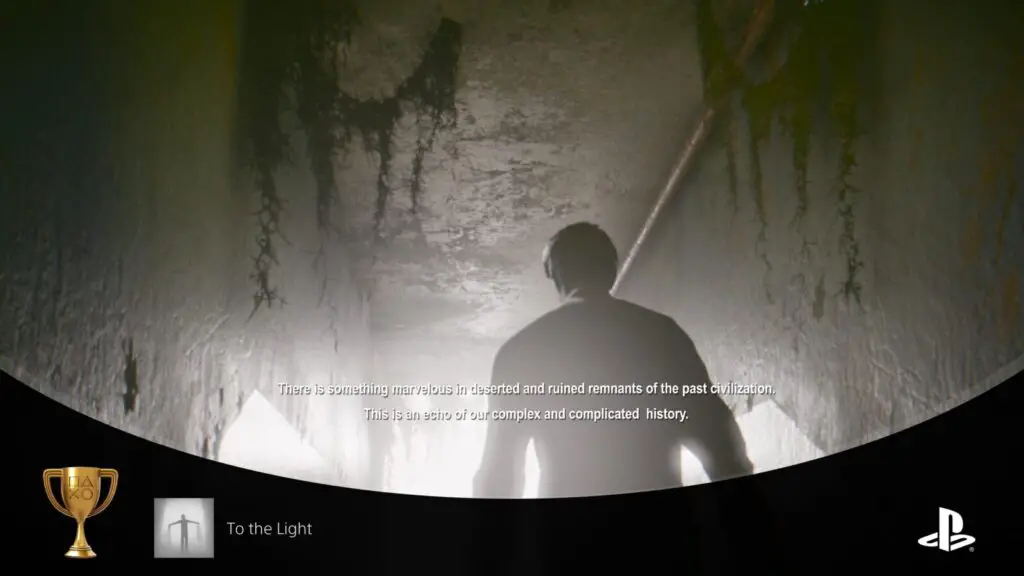
If this trophy doesn’t unlock and you get the good ending again, then you didn’t spend enough time in the light. You will need to follow the instructions again, but stay out in the sun a bit longer.
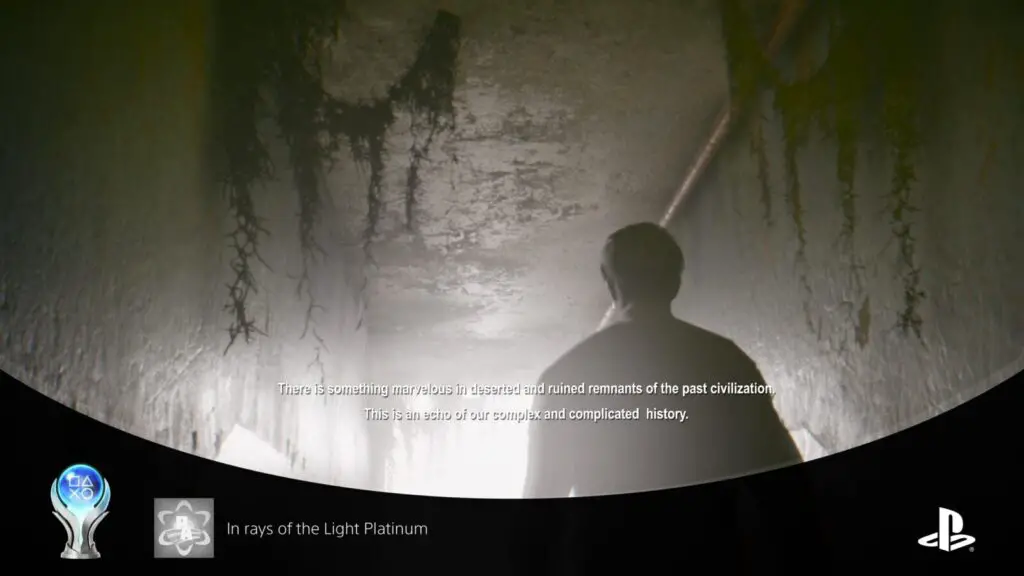
Plat Get!


In rays of the Light Platinum
Good job! Completed all tasks!
The platinum will unlock once you have acquired every other trophy in this In Rays of the Light Trophy Guide.
Thank you for choosing PlatGet as your source for an In Rays of the Light Trophy Guide, consider checking out our other guides!
If you enjoy collecting quick and easy Platinum Trophies like this one, check out our full list of Quick and Easy Platinum Trophies, all of which can be earned in an hour or less!
Follow us on Twitter @GetPlat or Instagram @platget for updates on new reviews and guides, as well as small anecdotes about our platinum journeys.