PlayStation 4, Playstation 5
Haven Trophy Guide


General Info
FAQ
How long does it take to beat Haven and unlock all trophies?
About 15 Hours.
How difficult is it to beat Haven and unlock all trophies?
Easy (3/10).
Does Haven have online trophies?
No.
Does Haven have difficulty-specific trophies?
No.
Does Haven have missable trophies?
Does Haven have glitched trophies?
No.
What is the minimum number of playthroughs required to unlock all trophies in Haven?
One (if you use save backups to access multiple endings).
Does Haven have a Platinum Trophy?
Yes.
Trophy Guide
Haven Trophy Guide and Road Map for PS4 and PS5
Haven is a pretty surprising indie game with elements of dating sim, resource management, and turn-based RPG games. In this Haven Trophy Guide I’ll effort to give you all the tools you need to add the Platinum to your collection.
Haven Trophy Guide: Before You Begin
I would encourage you to switch between the characters with ![]() frequently, particularly for the trophy Self-sustainability which will require you to interact with food with specific characters at specific times.
frequently, particularly for the trophy Self-sustainability which will require you to interact with food with specific characters at specific times.
I also strongly recommend that you do everything you can to clear the Rust and Pacify the Critters on every Islet you visit as and when you reach them, thus reducing the need for a long end-game cleanup to earn the Spring cleaning trophy. This will also mean you’ll always have plenty of rust for the Like new! trophy.
Be careful not to stay out at night until you’ve upgraded the couple a fair amount, as extremely powerful enemies will come out at night.
While gliding with ![]() , you can use
, you can use ![]() to drift. Note that it is better to simply tap
to drift. Note that it is better to simply tap ![]() to make a tight turn as holding it will usually break the flow thread, which is a pain when you’re halfway down a long aerial thread.
to make a tight turn as holding it will usually break the flow thread, which is a pain when you’re halfway down a long aerial thread.
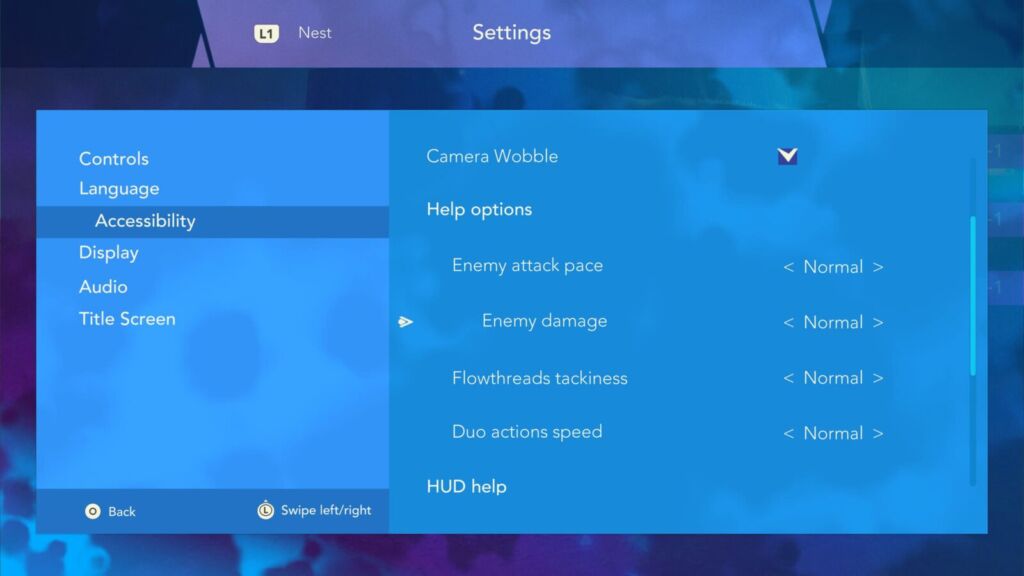
In the Accessibility section of the options menu, you can change the attack speed and damage output of enemies. These can help to reduce the difficulty of the game with no negative effects on trophies, so feel free to play with them for a more comfortable experience if you feel you are struggling at all.
Missable Trophies
There is essentially just one missable trophies which could require starting a new game to earn. The first is “Unstoppable” which requires you to beat the game without getting KO’d more than three times.
A proper KO means that both characters have fallen in battle. If this happens and you allow the game to save, that KO will be recorded to your playthrough. If that happens more than three times before you reach the game’s ending, you won’t unlock the trophy. If you reach the game’s ending with just 3 or less KOs then you’re completely fine and the trophy will unlock.
To be safe, I recommend the following three things; Firstly, ensure you play on the easiest setting to make dying less likely, changing the Enemy damage Accessibility setting to “Light” will also help. This won’t affect your trophies. Secondly, I would personally suggest that you just close the game and load it back up any time that you’re KO’d once. Thirdly, don’t risk travelling at night, stop at camps or the Nest to pass the time back to day. Don’t take any risks, aim to beat the game with 0 KOs on record.

Note that the game has no manual save feature, it automatically saves whenever you enter/leave the Nest or travel between two Islets.
Now, it is also true that the game has 3 trophies tied to the two different endings in the game (we will tackle those in Phase Three of this Haven Trophy Guide) and you might think that those would require multiple playthroughs or some sort of PS Plus save backup, but the game actually handles that for us!
At the end of the game, when you confirm that you’re happy to proceed past the point of no return, the game will actually make a backup save for you which can be accessed from the “Load Game” option in the Main Menu.

The order I recommend is to first not sever the bridge, get the Second Thoughts trophy, and then load the save backup and play the ending again, this time severing the bridge and getting Don’t Look Back and Flower Powered.
Game Map
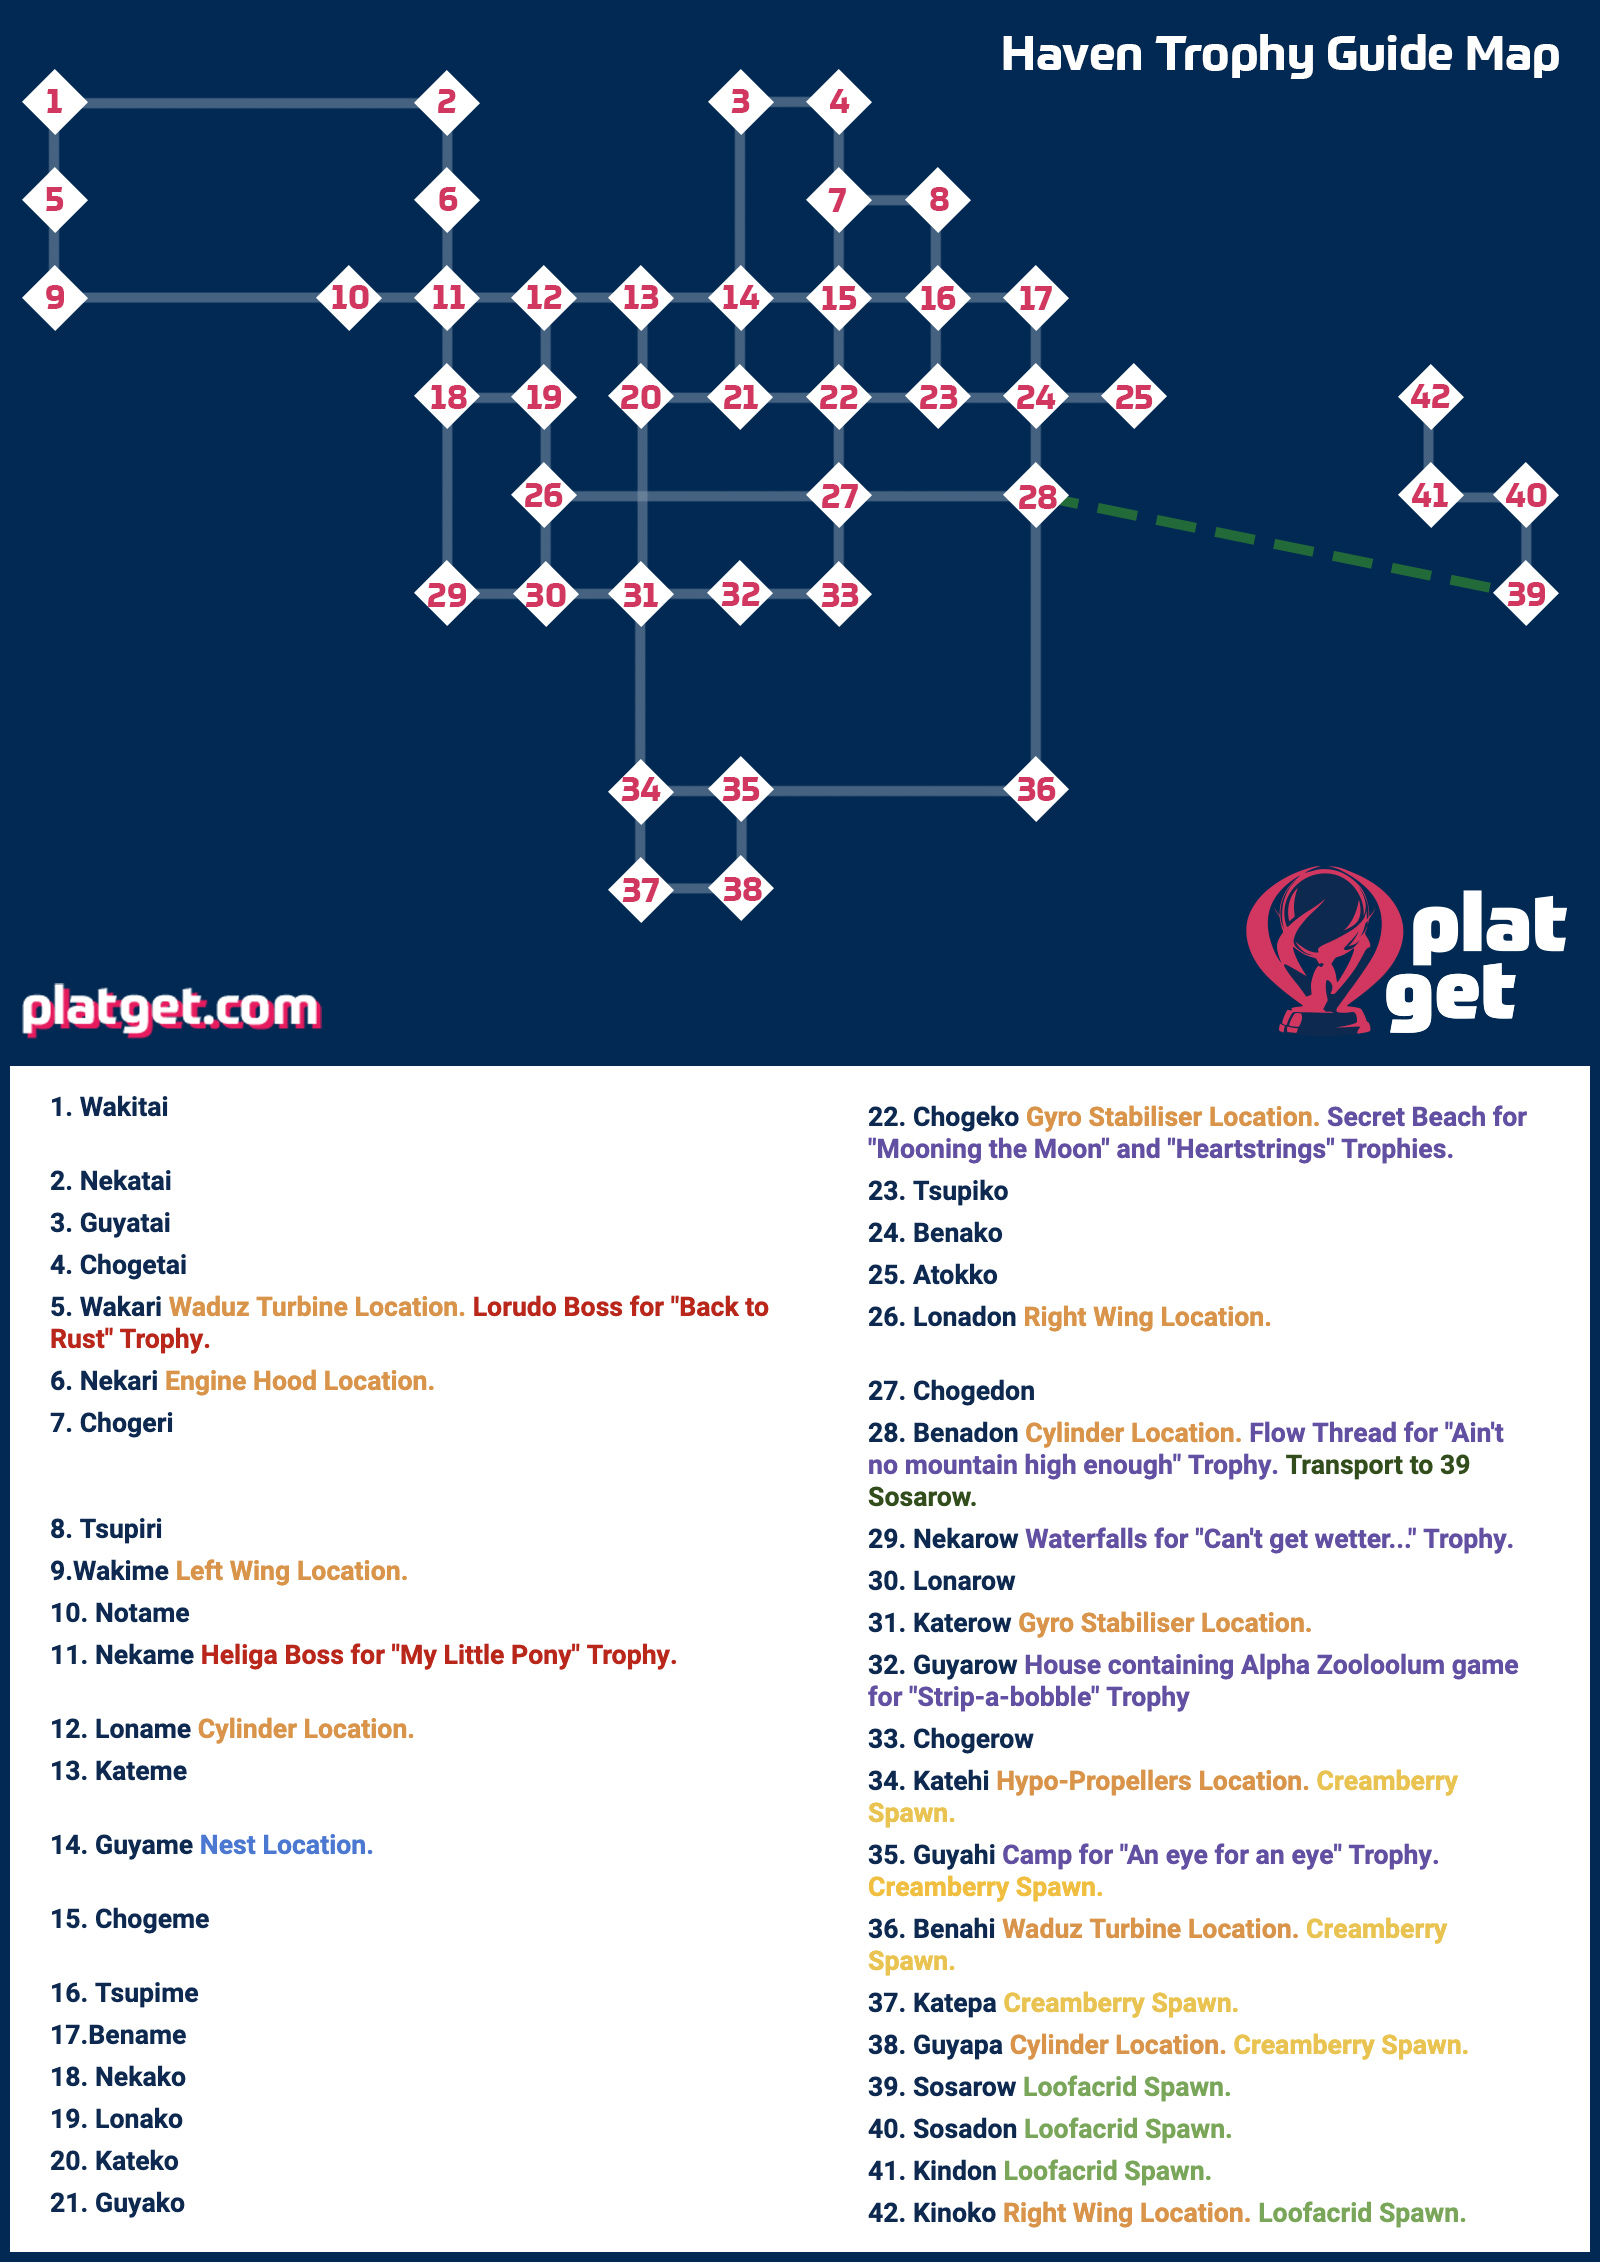
I’ve prepared this map for you to accompany the Haven Trophy Guide, which details where to find certain fruit, specific cutscenes, optional bosses, and more. You’ll get access to a map in-game once you collect the radar, from that point on you’ll be able to cross-reference it with this one. Click it to view it larger in a separate tab.
Phase One – Repair the Nest
Your first main objective in this Haven Trophy Guide will be to simply play through the game. Explore and discover new islets at your leisure – in-fact, I encourage you to do that as much as possible.
Just be careful not to finish the game, simply reach the ending in this phase and then move on to phase two for some clean-up. You will know when you have reached the games ending and point-of-no-return because you’ll have the Nest fully repaired and will be able to “Take off” from the cockpit.
I recommend clearing the rust on each islet as and when you discover it, wherever you able to. This will reduce the need for any backtracking or extensive end-game cleanup.
Repairing the Nest – Where to find all parts


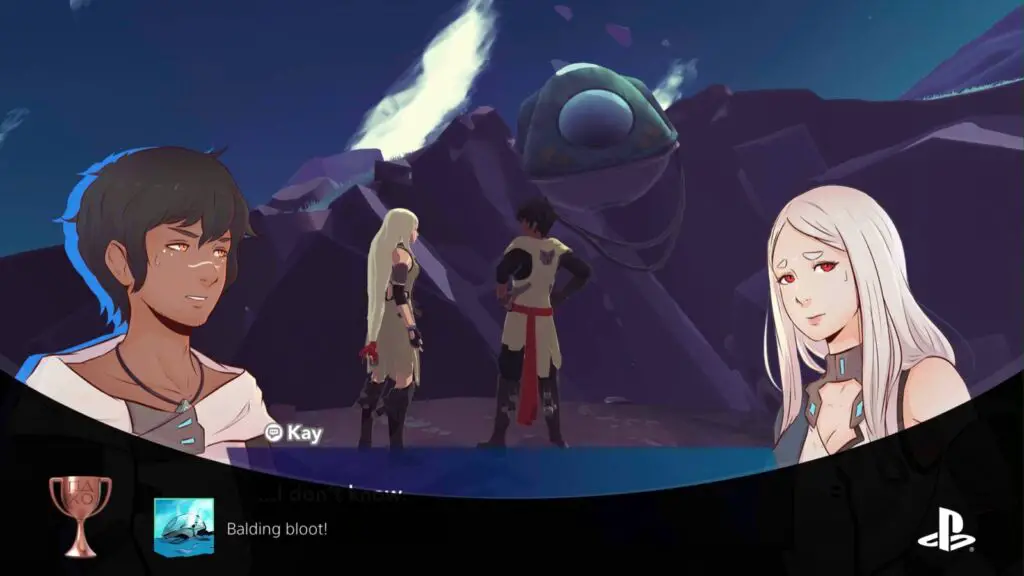
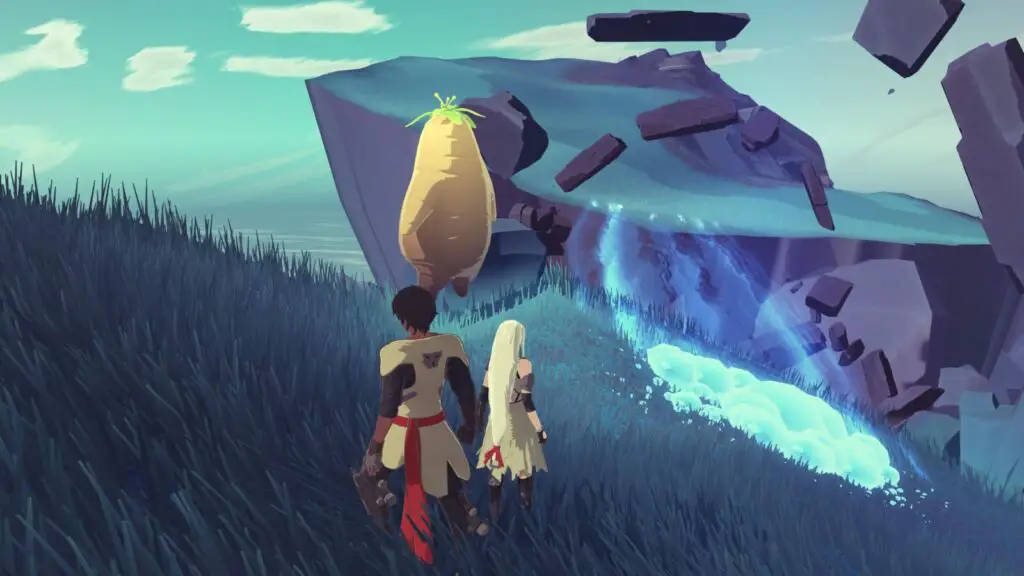
Balding bloot!
Watch helplessly as the Nest falls
This trophy will occur naturally as part of the story, and starts you on your quest to repair the Nest.


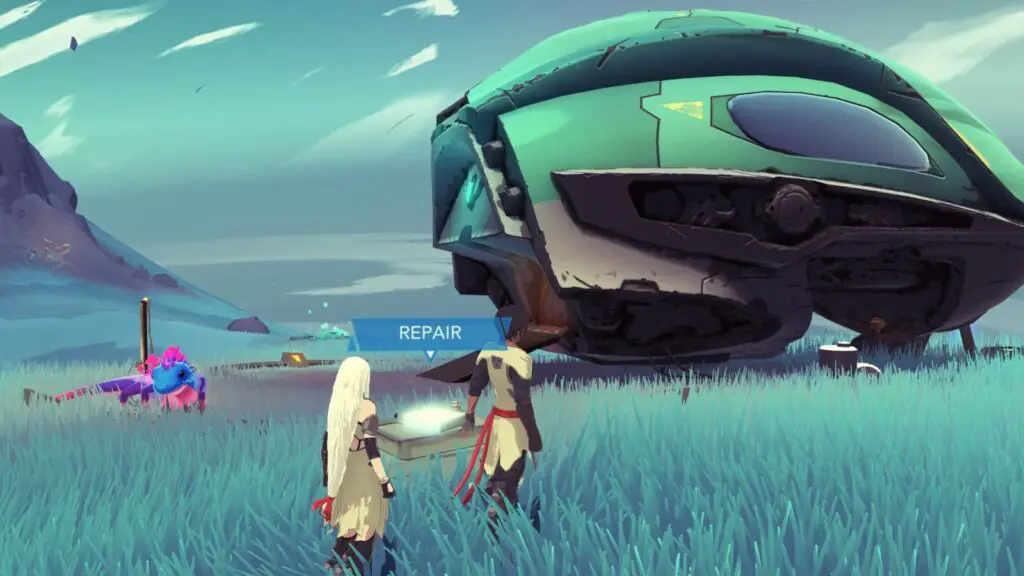
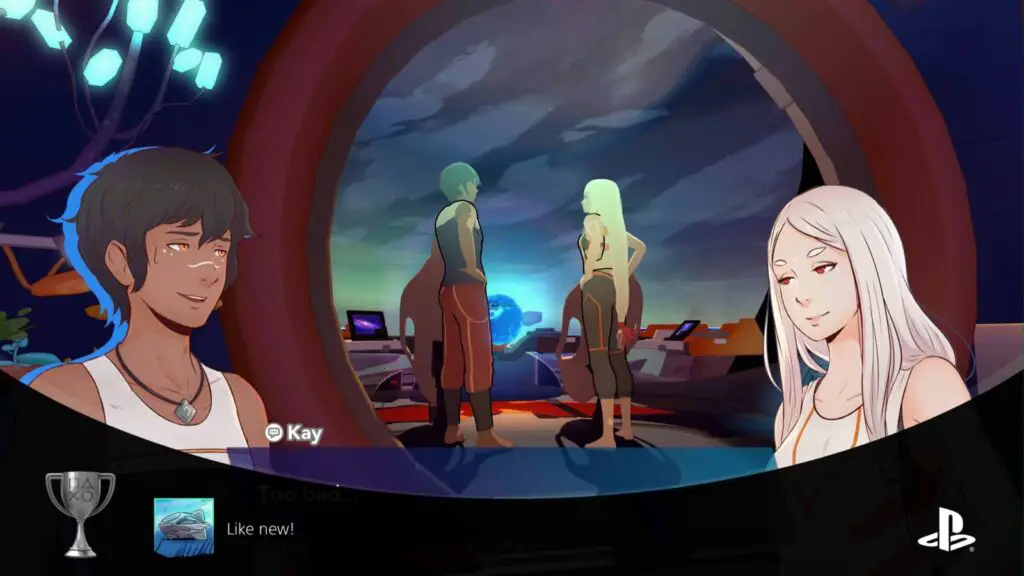
Like new!
Finish repairing the Nest
To unlock this trophy you will need to fully repair the Nest. Doing so will require a lot of Rust (which you’ll get thanks to the Spring cleaning Trophy) as well as various items which you’ll need to find throughout the game. Repairs can then be applied using a machine just outside the nest.
For you convenience, this Haven Trophy Guide contains a list of every item you will need and the Islets you’ll find them on, right here:
Cylinder
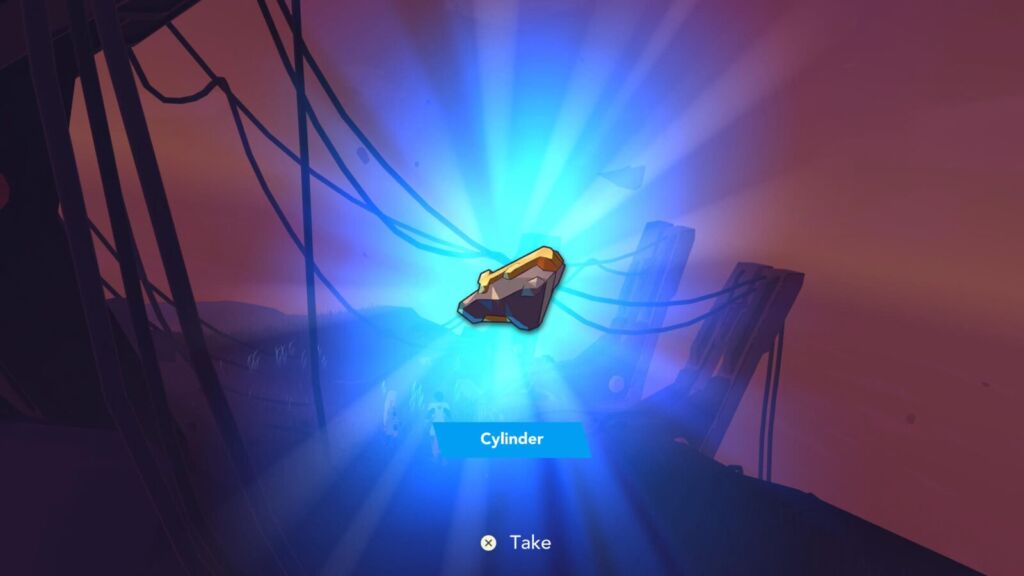
Found on Benadon, Loname, and Guyapa.
Gyro Stabiliser
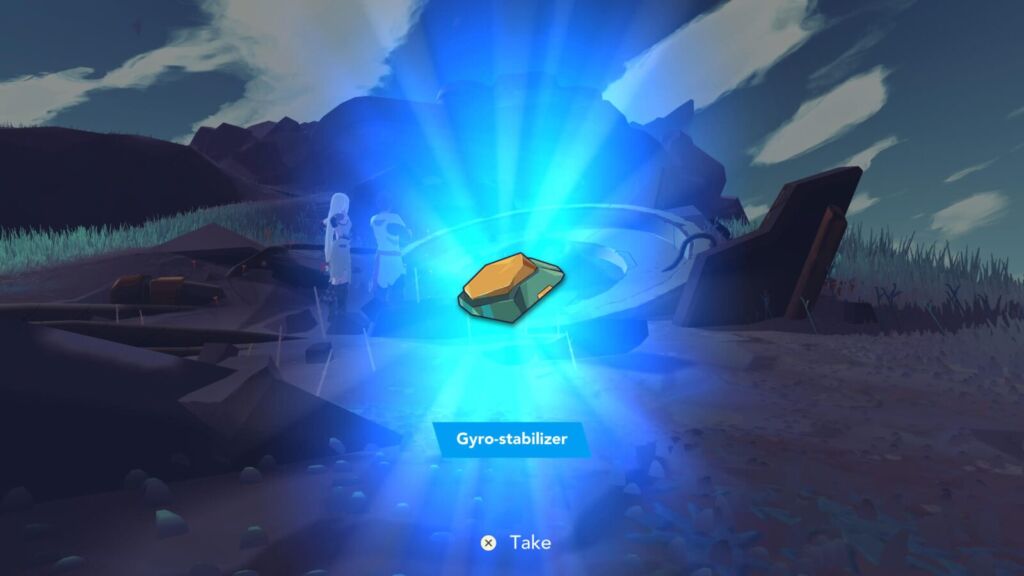
Found on Chogeko. You will need to have unlocked “Spud Bud” your walking turnip friend, who can open new bridges for you.
Can also be found on Katerow.
Right Wing

Found on Lonadon.
Engine Hood
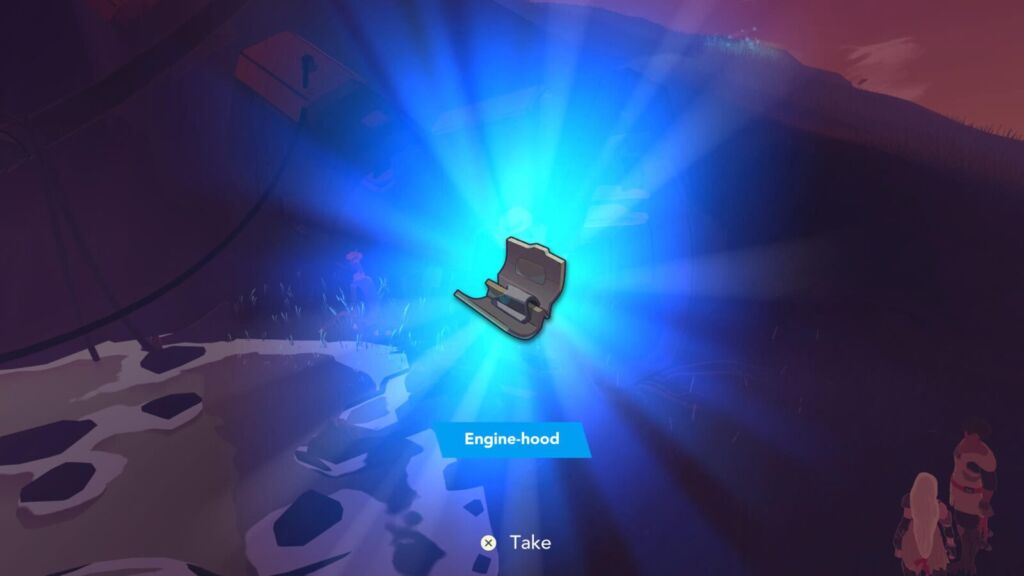
Found on Nekari.
Waduz Turbine
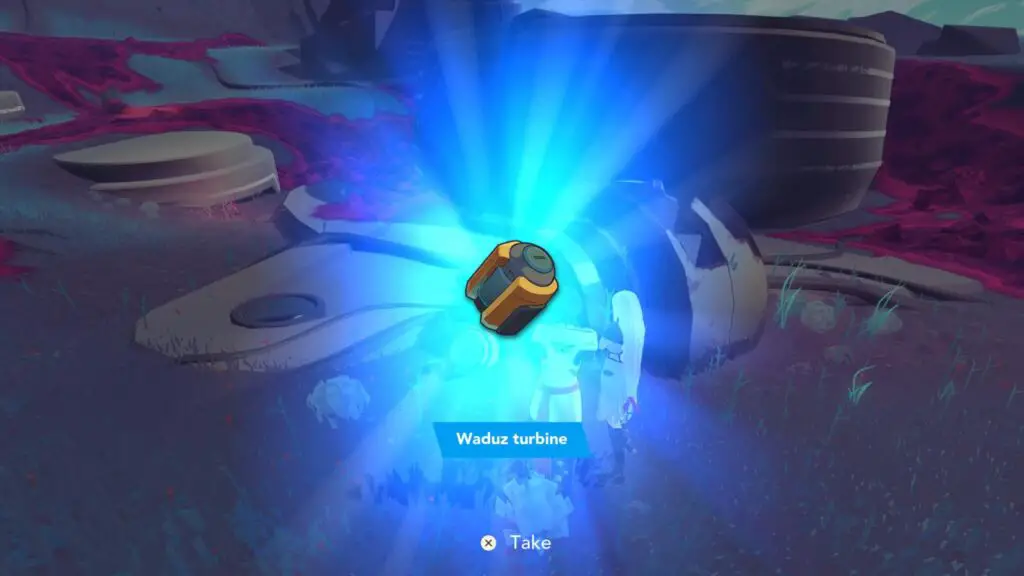
Found on Wakari and Benahi.
Hypo-Propellers
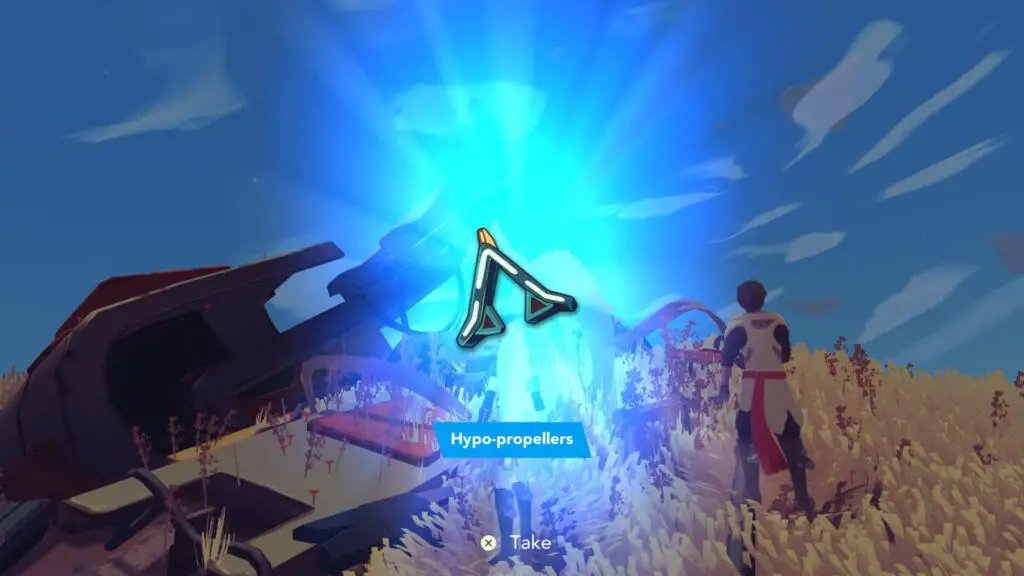
Found on Katehi.
Left Wing
Found on Wakime.
Once you’ve taken each part back to the Nest and combined them with enough rust for full repair, you’ll get a small cutscene in the cockpit, and the trophy will unlock.
Phase Two – Clear the Rust
In this phase of the Haven Trophy Guide, it’s time to explore the islands more extensively. As you’re at the end of the game you will have unlocked everything you need to get around; improved boots, access to Birble, access to Spud Bud, etc.
This will mean you have unprecedented access to every island and will have no difficulty reaching every nook and cranny to clear out the rust.
Since you will already be visiting every island, this will mean you can defeat all the bosses, find hidden cutscenes, find all the seeds, and more. There’s a lot to do in this phase, so make sure you familiarise yourself with the trophies below!
Combat Trophies
Clearing away all the Rust is going to mean fighting a lot of enemies so that you can pacify them. This makes it the perfect opportunity to add these Combat Trophies to your collection.
Don’t forget throughout this process that you must avoid getting knocked out to unlock the Unstoppable trophy.

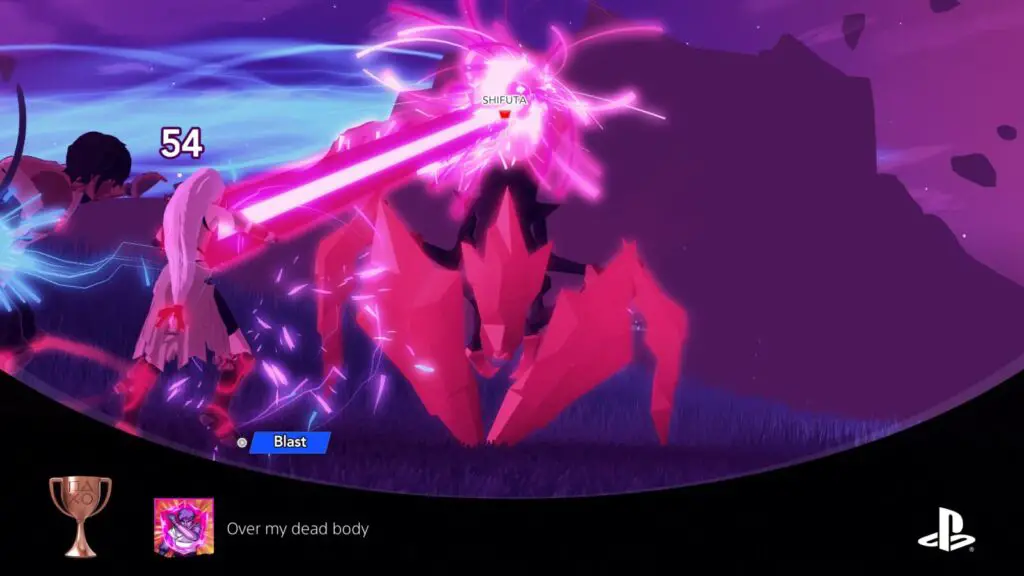
Over my dead body
Block attacks until exhaustion
This trophy is fairly simple. Each time you use a shield ability with ![]() or
or ![]() back-to-back, the character’s shield will get weaker and weaker. You just need to keep shielding until the character gets exhausted, this will unlock the trophy.
back-to-back, the character’s shield will get weaker and weaker. You just need to keep shielding until the character gets exhausted, this will unlock the trophy.

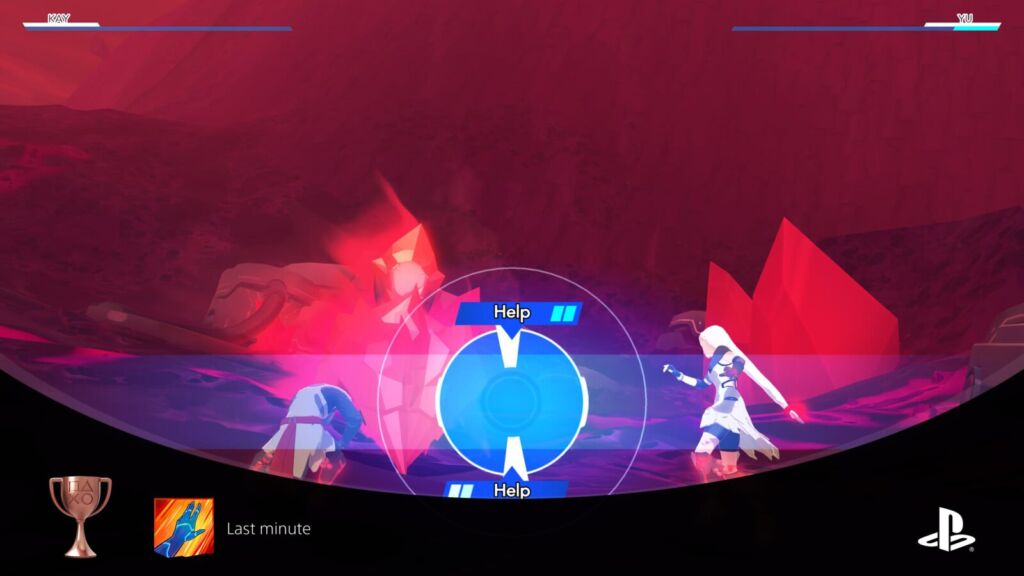
Last minute
Launch a max-power assistance
You will need to let one of your characters fall in battle for this trophy. If you do that, your ![]() or
or ![]() action will change to “Help” instead of “Shield”.
action will change to “Help” instead of “Shield”.
Hold this down and a spinning wheel will appear. Keep it held down for a few seconds until two light-blue squares appear next to the word “Help”. This indicates that the ability has been charged up twice. Doing this will also make the light-blue spinning area in the centre smaller. You’ll need to time your release of the ![]() or
or ![]() button so that the markers are inside this light blue area to trigger a max-power assistance, thus unlocking this trophy.
button so that the markers are inside this light blue area to trigger a max-power assistance, thus unlocking this trophy.

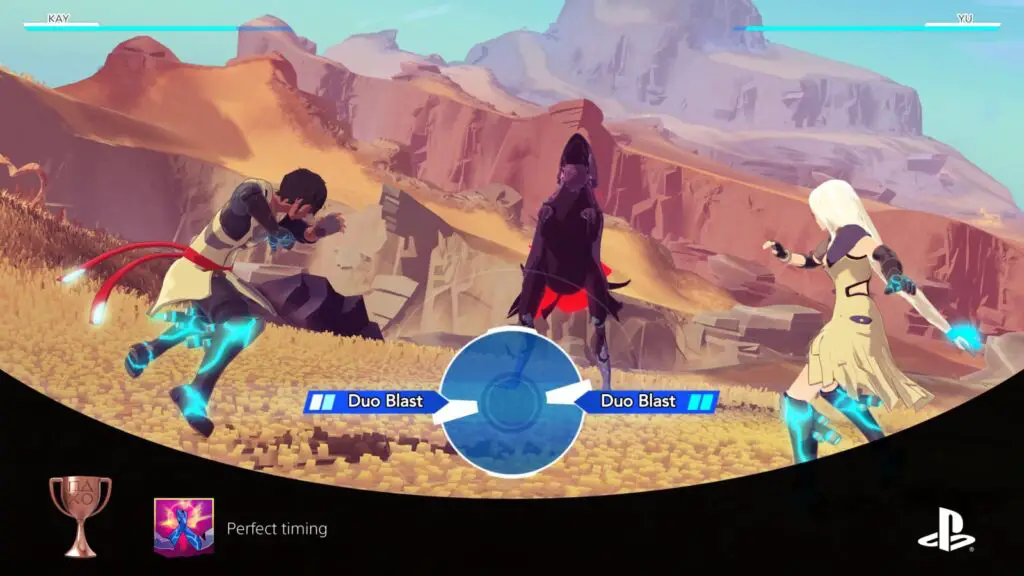
Perfect timing
Perfect timing
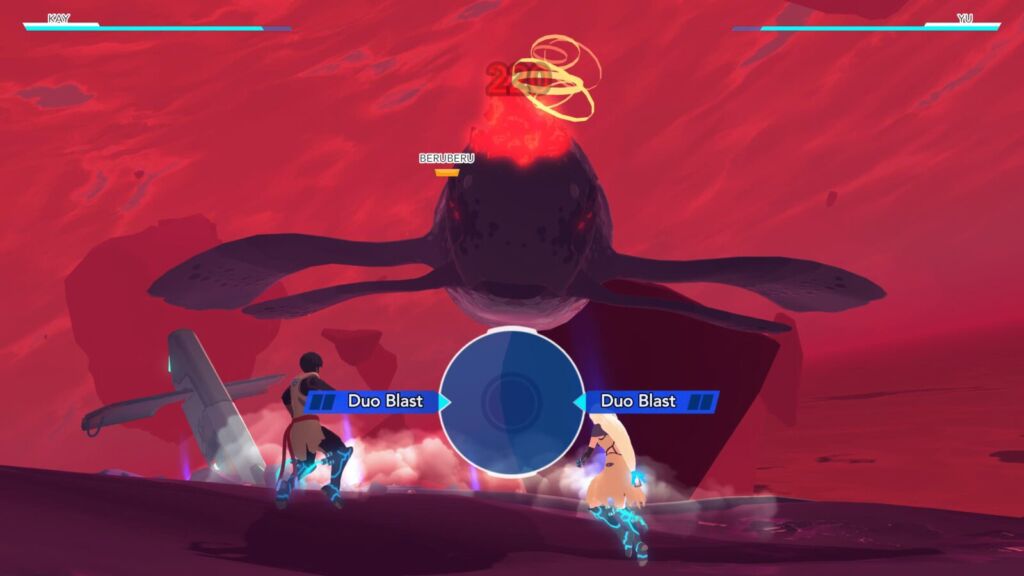
For this trophy you will need to level up your Relationship a few times to get max Duo Impact or Duo Blast stat. With that, you can hold a Duo Attack for longer to add additional charges to it, up to two times. Each time a charge is added, a light blue square will appear next to the “Duo-Impact” or “Duo-Blast” text and the spinning light blue area in the center will get smaller.
Hold ![]() and
and ![]() or
or ![]() and
and ![]() together during combat until you have fully charged the attack and the spinning blue areas are as small as they get, and then perfectly time your release within those light-blue areas to trigger a max-power duo attack and thus unlock this trophy.
together during combat until you have fully charged the attack and the spinning blue areas are as small as they get, and then perfectly time your release within those light-blue areas to trigger a max-power duo attack and thus unlock this trophy.

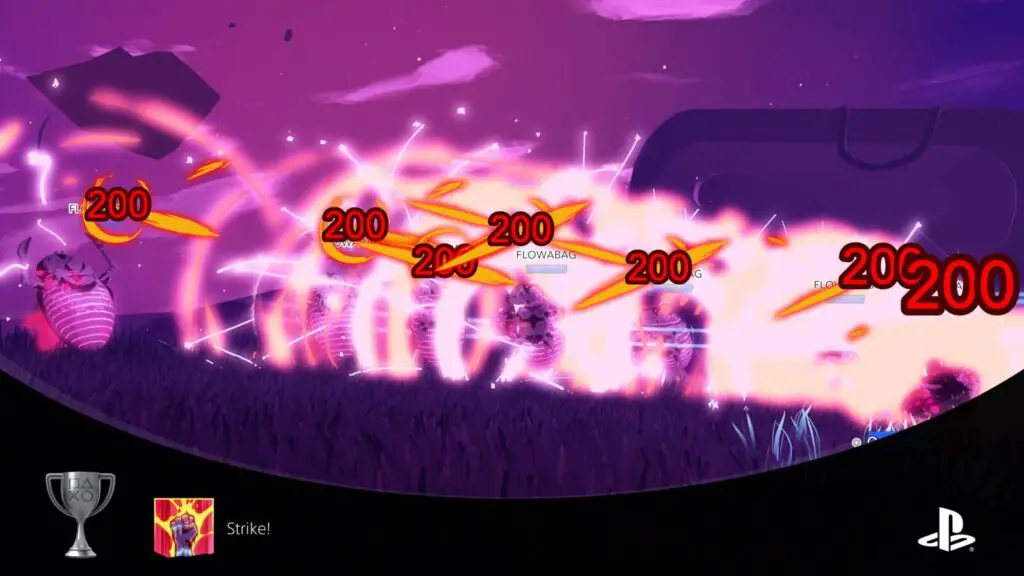
Strike!
Hit 5 critters in their weak spot, in one swoop
Once you have the ability to craft Flow Cores using a machine part that you collect right after learning about the Flow Burst ability as part of the story, you’ll be able to earn this trophy. To do so, you’ll need to craft some Omni Blast and Omni Impact Flow Cores and then enter into a battle with 5 or more enemies.
If all of those enemies have the same weakness (for example, a group of Flowabag bugs are all weak to impact) then use the Flow Core which corresponds with their weakness by holding ![]() and
and ![]() together to open the Charge menu and selecting Omni-Blast or Omni-Impact.
together to open the Charge menu and selecting Omni-Blast or Omni-Impact.
If you do enough damage, your attack should wipe them all out at once, thus unlocking this trophy.

Shake the rust off their feet
Pacify 5 critters in one swoop
It’s very easy to get this trophy immediately after Strike! as you’ll have 5 or more knocked-out enemies in front of you when that trophy unlocks.
You then need to use the “Pacify All” ability to pacify 5 or more enemies all at once. This ability is only available when every enemy is downed. If you are facing 6 enemies and only 5 of them are downed, you will not be able to use “Pacify All”.
If you successfully use Pacify All on a group of 5 or more enemies, the trophy will unlock.

Islet-Specific Trophies
Given the fact that you’ll be visiting every islet at least once in this portion of the Haven Trophy Guide, I highly recommend you take the time to find trophies and secret cutscenes. The trophies below will give you the details of which islets to visit and how to trigger certain events.

An eye for an eye
Take a spill each, back-to-back
For this trophy, you’ll need to make camp on Guyahi Islet. There, the couple will have trouble sleeping and choose to enjoy some… Physical activity.
In the morning, there’ll be a short cutscene where a creature turns up to abscond with Kay’s pants. You’ll need to catch it to return Kays legs to their proper sheaths!
In order to do so, you’ll be introduced to a new ability whereby you can hold ![]() while gliding to make the characters throw each other. If you time this poorly, however, the thrown character will land flat on their face.
while gliding to make the characters throw each other. If you time this poorly, however, the thrown character will land flat on their face.
You must purposefully mess up the throw by holding ![]() and then releasing
and then releasing ![]() . After this, switch characters and do the same thing again. The trophy will then unlock!
. After this, switch characters and do the same thing again. The trophy will then unlock!
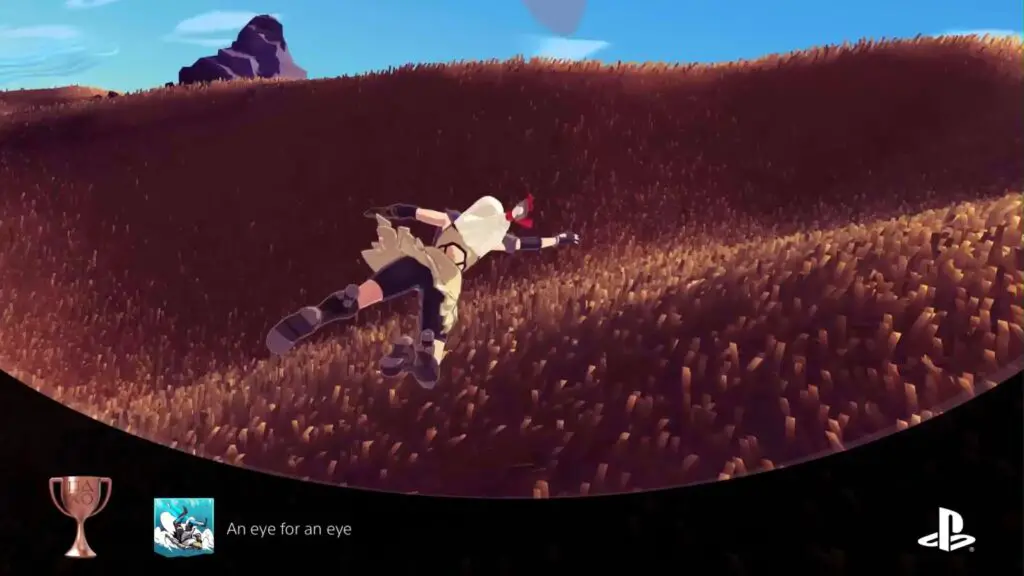
You can do this at any time and it doesn’t have to be while trying to retrieve Kay’s pants, so don’t worry if you succeed in grabbing the critter by accident.

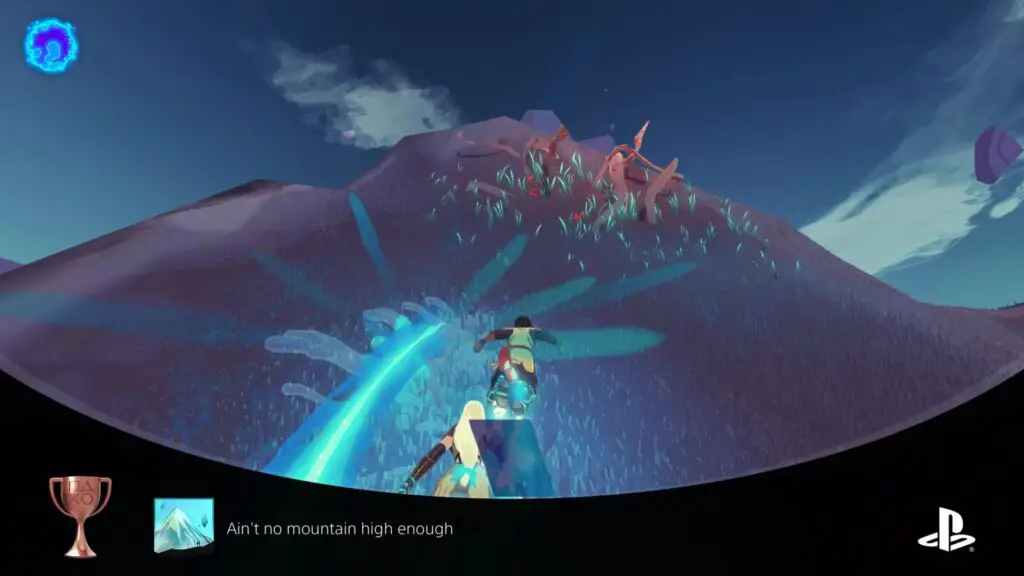
Ain’t no mountain high enough
Reach the heights
With your glide boots upgraded, you’ll be able to follow Flow threads that go high up into the air. This is vital for getting around, reaching new areas, and clearing Rust from all Islets.
One Islet, in particular, called “Benadon” features a Flow trail which will take you high up onto the top of a mountain. The flow thread is long and features some relatively sharp turns for which you may wish to use the drift ![]() ability. Make it all the way to the end, though, and you’ll be rewarded with this trophy.
ability. Make it all the way to the end, though, and you’ll be rewarded with this trophy.

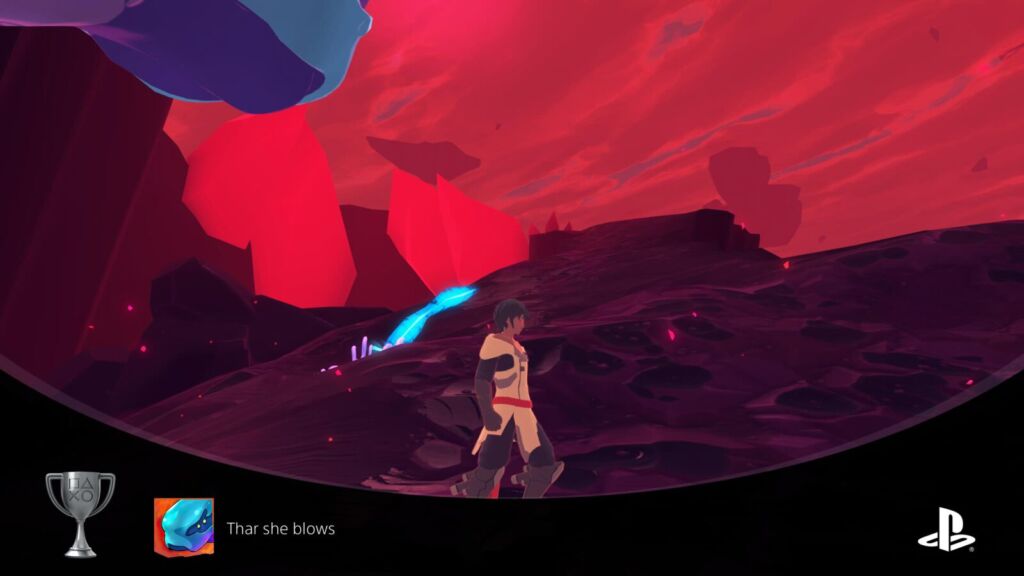
Thar she blows
Beat the Beruberu
You’re very unlikely to accidentally run into this optional boss, because to get it to spawn you need to stay outside the nest for multiple in-game days, and ignore every warning that you should probably not stay outside.
Eventually, the characters will notice and remark on some earthquakes, Kay will even say that the earthquakes could be a critter too big for them to handle. Ignore this, and eventually the top and bottom of your screen will be affected by a glitchy screen-shake effect.
This is how you know that the Whale-like Beruberu is on its way. At this point, you will want to go to the nearest camp to heal and eat in preparation for the fight. It will also be good to transition between two Islets to get the game to save in-case you lose the fight and need to quit the game and reload.
Moving to a different Islet may cause the on-screen distortion to disappear, but it won’t be long until it begins again so don’t fret! You can also just go back to the last island you were on (or the island where the distortion started) and the distortion will come back. Eventually, Yu will spot the looming Whale approaching and it’ll be time to fight!
If you’re not ready, it’s easy to outrun because of how slow it is. If you are ready, here are my tips for beating it:
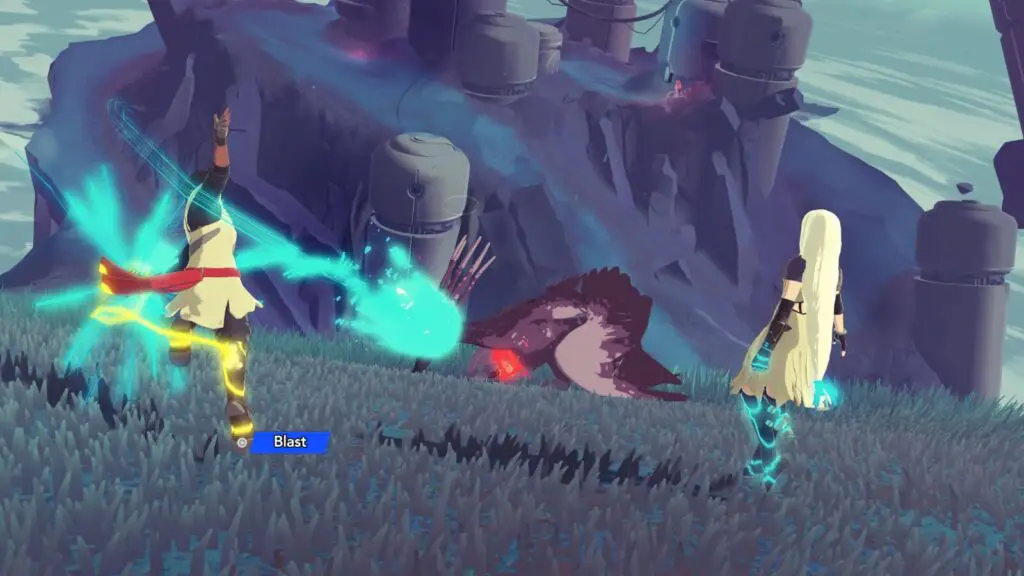
Start by hitting it with a Duo-Blast, and then a regular Blast while it is stunned. The Duo-Blast should do about 220 damage with a fully-upgraded duo, and the Blast while stunned should do 300 damage. Repeat this until the creature’s health turns orange and you enter into the second phase of the fight.
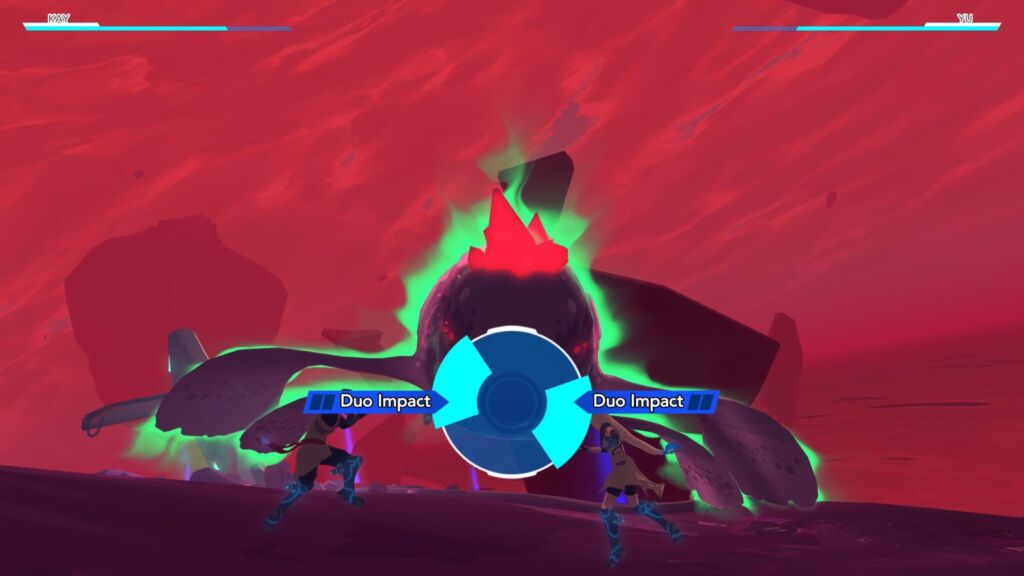
During the second phase, the creature will emit an aura of either red or green. If the aura is red, unload as many Duo-Blast attacks into it as you can. If the aura is green, use Duo-Impact instead. You could use max-power Duo attacks but they take so long to charge up that I’m not sure it is worth it.
When the creature gets stunned during phase two, you won’t be able to hit it for the damage bonus unless you’ve used a tonic to increase your attack speed because it recovers very quickly.
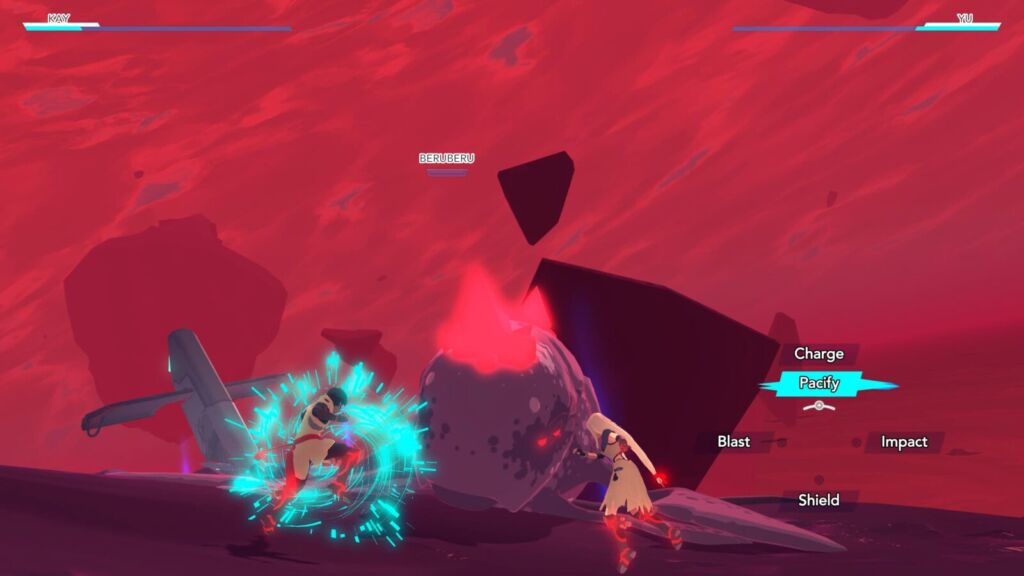
Eventually, you’ll enter phase three of the fight. Your attacks will do less damage, but you can use any attack you like. It will charge up a huge high-damage Blast attack, which is very strongly telegraphed so prepare to activate shield unless you think you’ll be able to tank the hits (which is what I did for the most part).
Once you finally beat the creature, you’ll receive some Massage Oil which will be used at some point during a cutscene on the Nest. You’ll also be treated to this trophy.

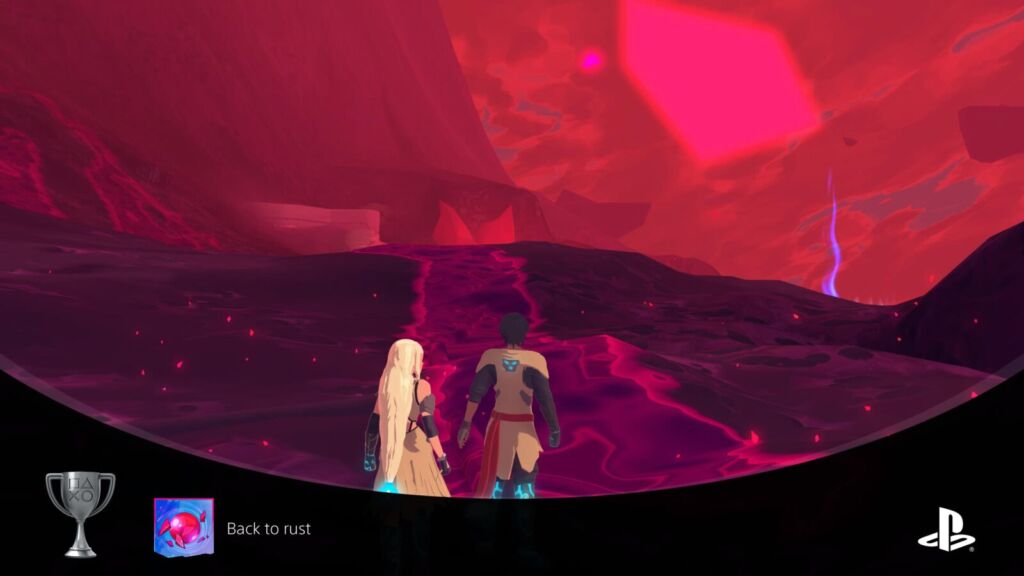
Back to rust
Beat the Lorudo
The optional Lorudo boss can sometimes be found on Islets at night, but it is a pretty tough fight so I’d recommend avoiding that!
Once you get towards the end of the game and feel you’re strong enough to take anything on, go to the “Wakiri” Islet to face the beast on its own turf. The Lorudo looks like a big rocky bear with a single red eye.
To beat it, you will need to hit it with Blast attacks until it starts emitting green waves. At that point, you will want to start using Impact instead of blast and you’ll do huge damage. Be careful, though, you may want to think about preparing a shield because it is also building up to a very powerful attack in response.
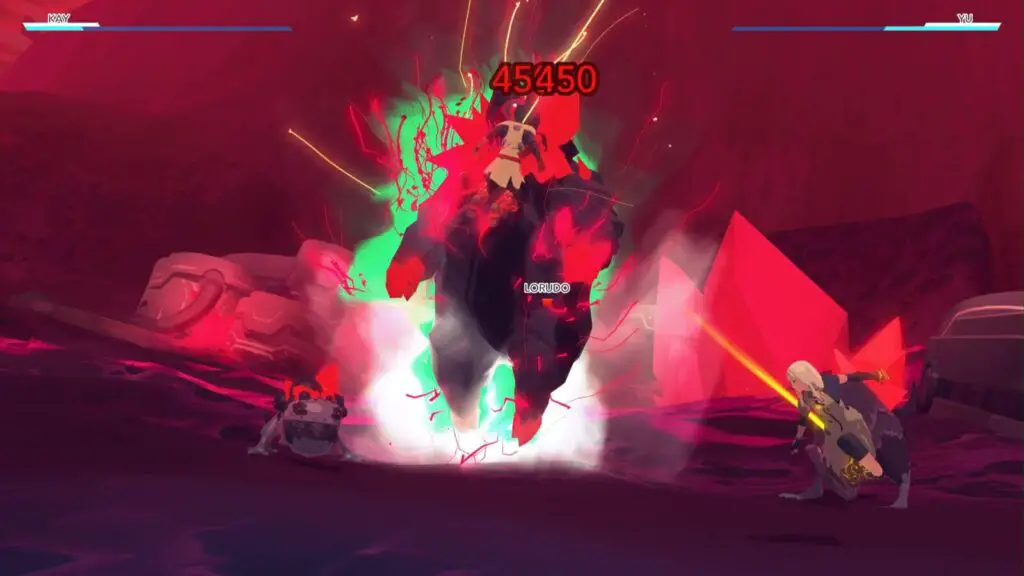
It also has two enemies with it who will frequently damage you, break your shield, and interrupt your attacks, so your best bet would be to get rid of them asap. Bear in mind that the Lorudo can simply spawn them back in so be prepared to get rid of them a few times.
Once you beat the beast, you’ll get some hyper-rust and the trophy will unlock.

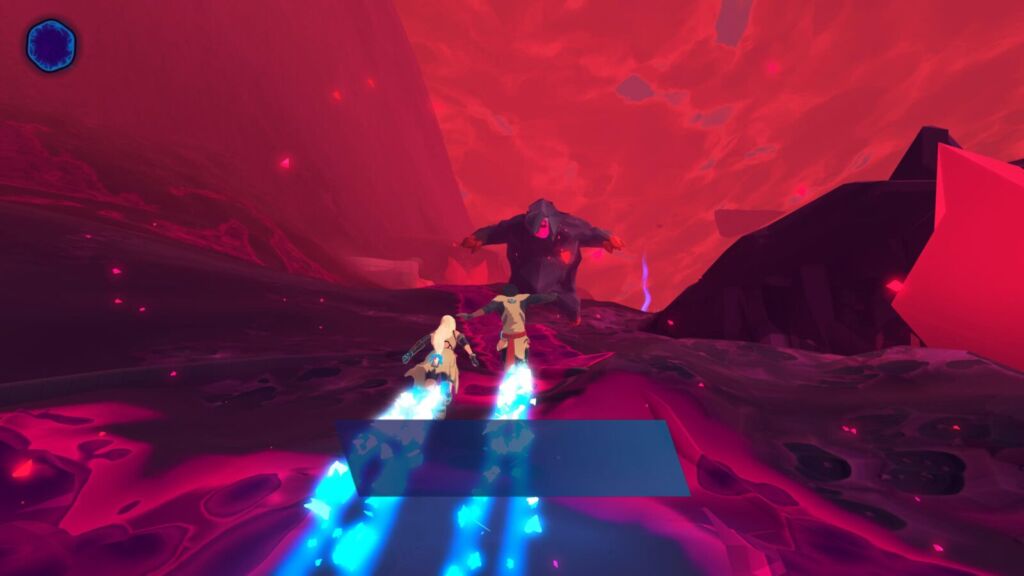
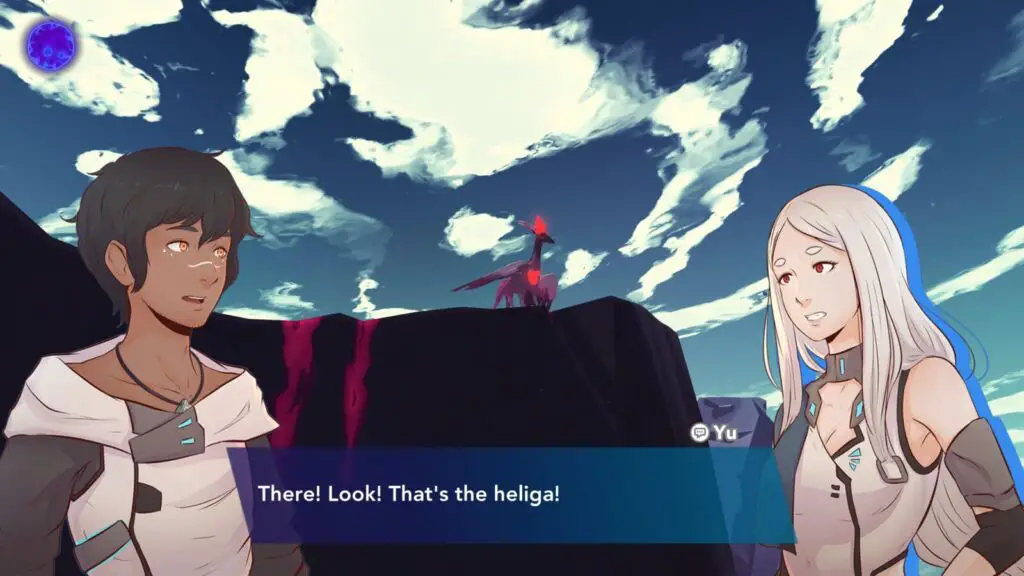
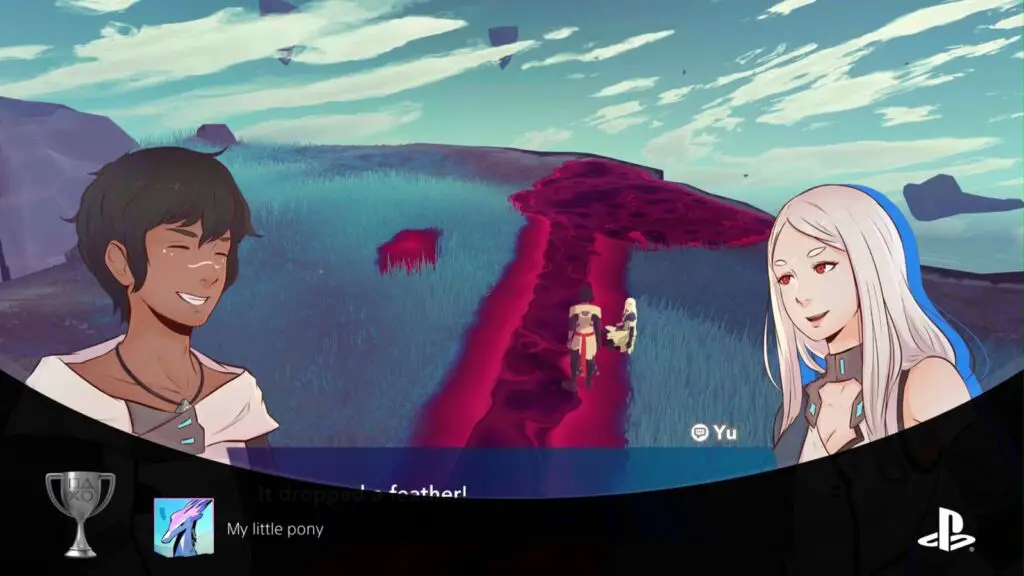
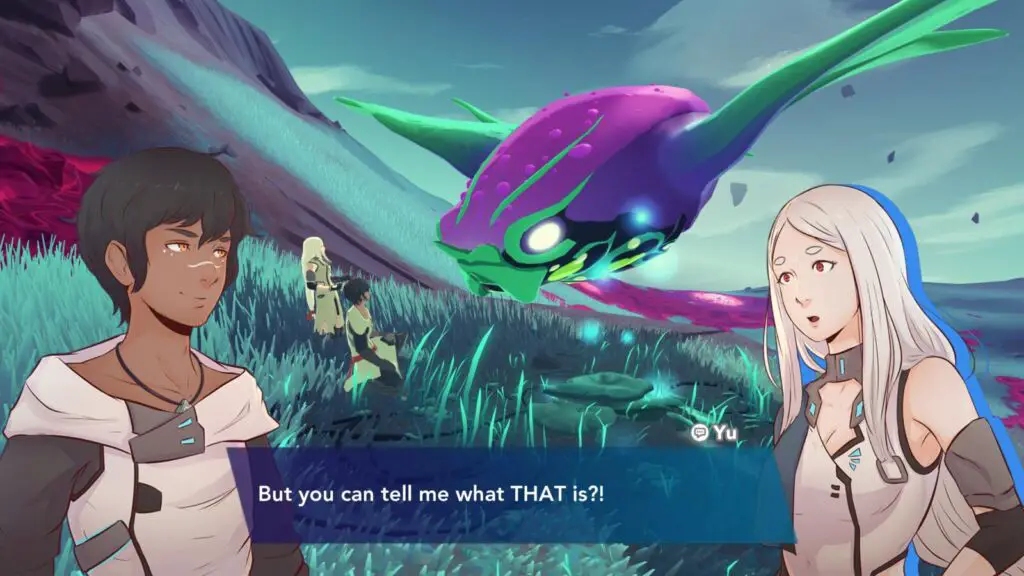
My little pony
Beat the Heliga
This boss can be found on the islet of Nekame, but before you can fight it you’ll first need to see it in the wild. The first time I spotted it, it was outside the Nest. However, I’ve seen people say they saw it on a random Islet, and then the Nest.
Either way, spot it once at the Nest (Kay and Yu will comment on it before it flies away so it’s hard to miss), then visit the islet called Nekame and you’ll find the creature there, corrupted by rust.
To beat it, take out the two additional enemies first, as one of them can heal. Once they are dealt with and pacified, focus on shielding against all of the Heliga’s attacks and then striking back while it is stunned. It doesn’t stay stunned for long, so make sure you start shielding with one character and then prepare a Blast attack with the other, ready to fire as soon as it gets stunned. Repeat this for the entire fight and you’ll beat it without too much trouble!
Once you’ve beat the Heliga, the trophy will unlock. And you can even revisit the Heliga in the same spot anytime you like for free healing!

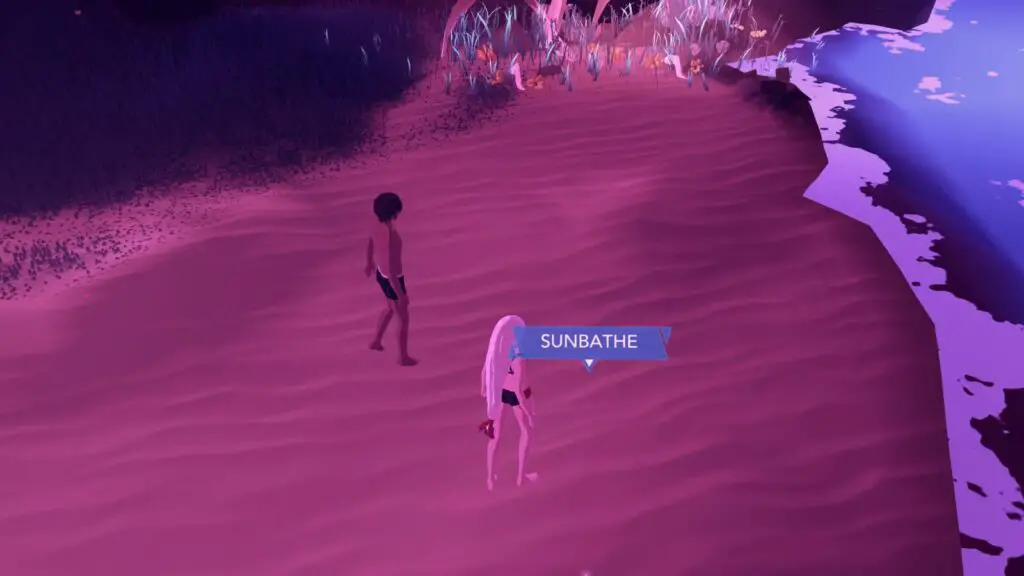
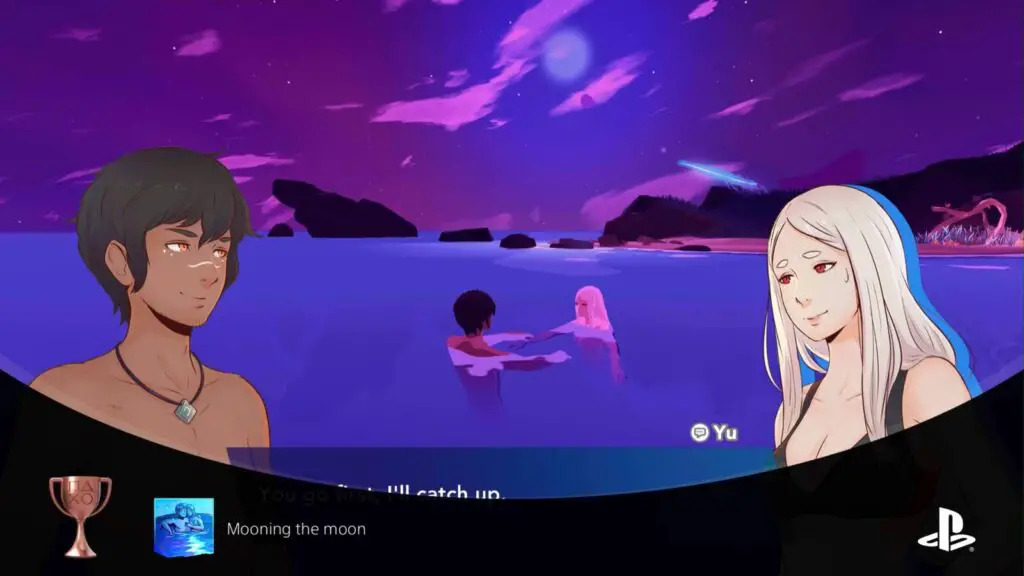
Mooning the moon
Midnight skinny dip
On the Island of Chogeko, you’ll find a cliff edge (glide around the edges until the cutscene triggers) where Kay will remark that he can see a beach down below, but they’re going to have to jump to it.
After some deliberation, the pair will eventually jump down together and end up in a beach-like area called Nekawa.
Once you’ve done that, go to the beach and interact with the Sunbathe prompt. If it is night, the pair will skinny dip instead of sunbathing. You’ll need to wait until nightfall or come back later at night in order to trigger this specific cutscene.
Let the cutscene play out and the trophy will unlock at the end.
Make sure you have the nearby Creamberries and the Conch shell needed for Heartstrings before leaving the beach. Although you can still come back any time.

Heartstrings
Play a guitar ditty
Start on the Nekawa Beach area on the Islet of Chogeko, as instructed for the Mooning the moon trophy.
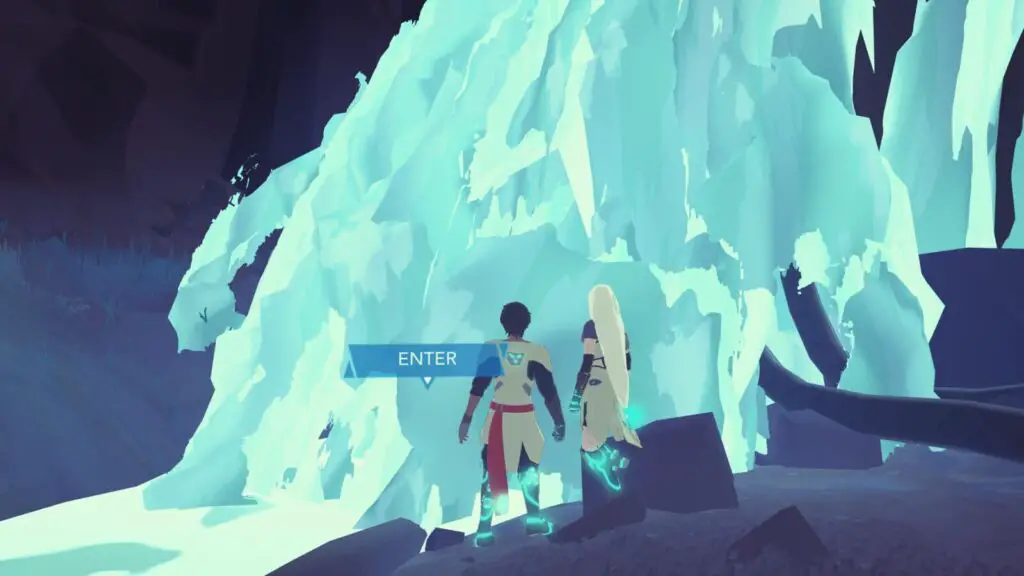
While there, walk up the ramp-like natural rock formation and then press ![]() on the prompt at the top to leap off. You’ll both end up in the water, but Yu comes up gasping for air and sputtering something about a Cave. Press
on the prompt at the top to leap off. You’ll both end up in the water, but Yu comes up gasping for air and sputtering something about a Cave. Press ![]() on the “Dive” prompt to head inside and check this cave out.
on the “Dive” prompt to head inside and check this cave out.
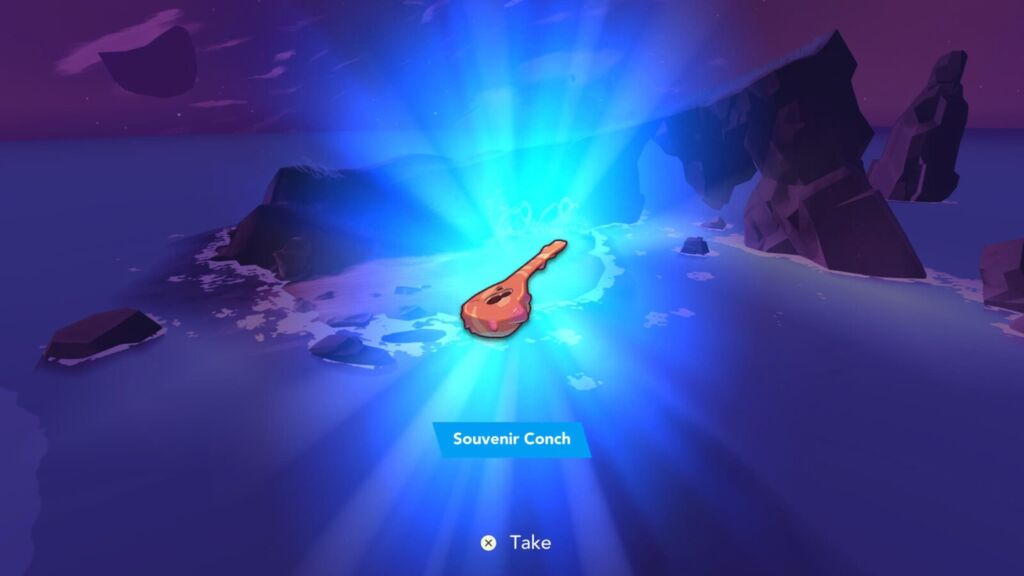
Let the dialogue play out until the end and you’ll receive a mysterious conch shell with a very distinctive shape. Now that you have this shell in your inventory, it will unlock a cutscene back at the Nest in which Kay offers Yu a guitar. This might not happen right away so just keep cooking, eating, and sleeping as normal at the Nest and it will play eventually.
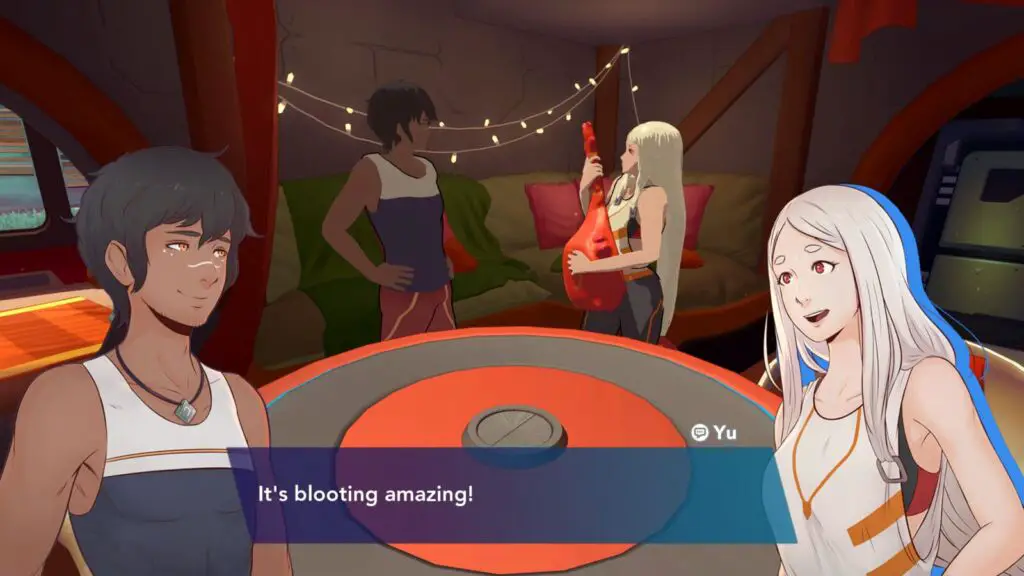
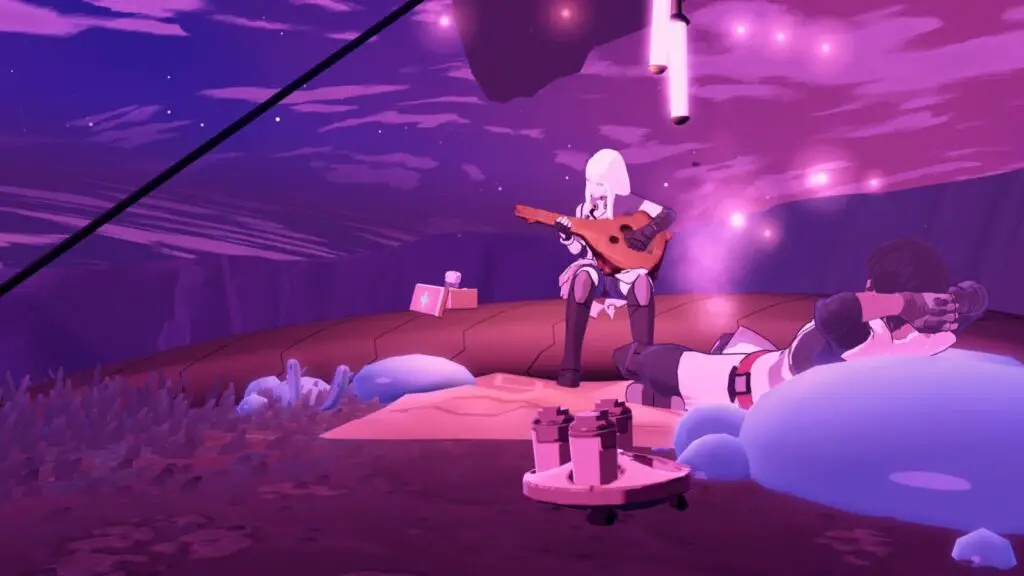
Then, now that you have the guitar, you will need to camp somewhere. Once you’ve stayed overnight at a camp with the guitar in your inventory, you’ll have a chance of getting a cutscene of Yu playing the guitar, and the trophy will unlock at the end. If you don’t get the cutscene right away, don’t worry, just make camp whenever you get a chance and it will happen eventually.

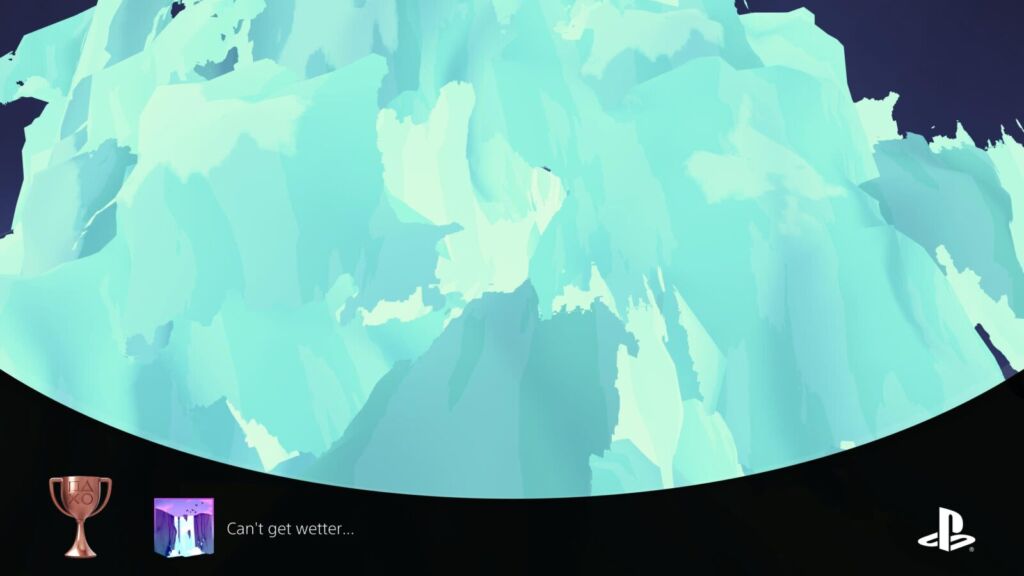
Can’t get wetter…
Getting handsy under the waterfalls
For this trophy, you’ll need to head to an Islet called “Nekarow”. There are two sets of waterfalls on this Islet and you can interact with them by approaching them and pressing ![]() .
.
Interact with them both and let the dialogue play out. At the end of the second set of dialogue, the trophy will unlock.

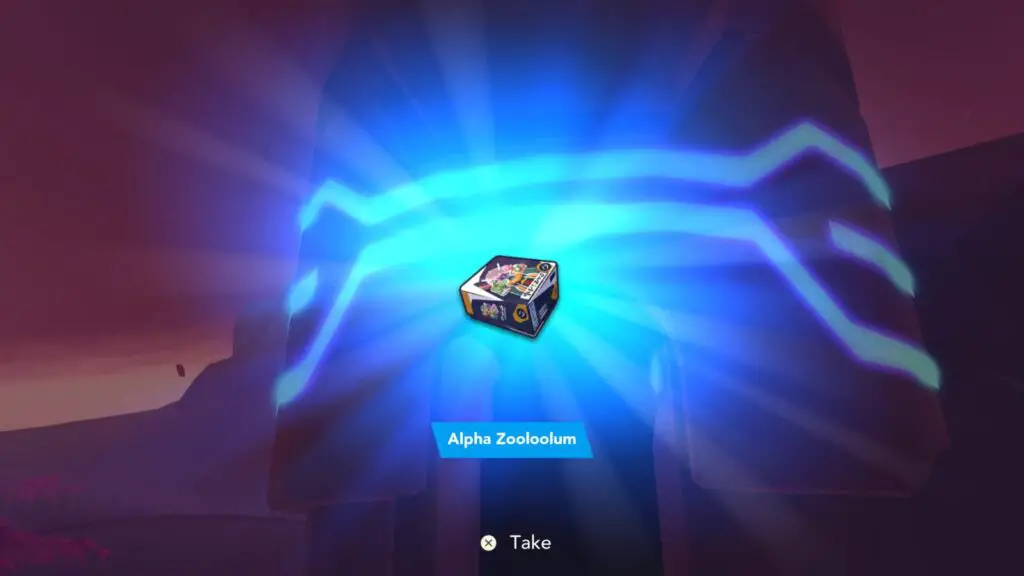
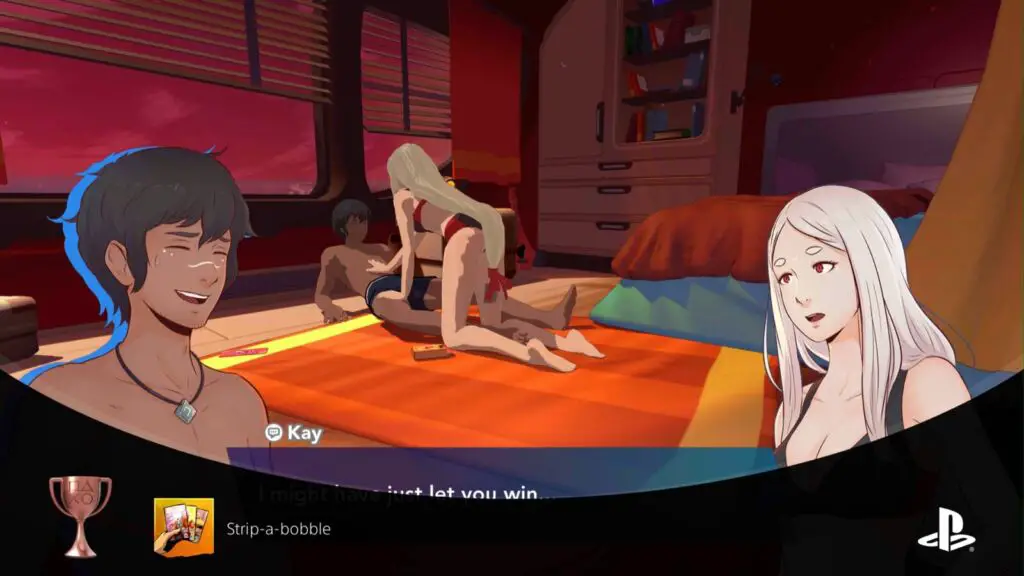
Strip-a-bobble
Lose a game of strip-a-bobble
For this trophy you must first have the Alpha Zooloolum board game in your inventory, which you get from inside the house on Guyarow. This will fulfil the requirements for a chain of three cutscenes to happen.
As I’m sure you know by now, each time you cook, eat, or sleep at the nest, a cutscene will play afterwards depicting the two lovers bonding. There’s a surprising number of possibilities as to what these cutscenes will entail, but for this trophy you will need to get a specific cutscene of the two lovers playing a strip card game at the end of a three-cutscene chain.
The first cutscene is Kay trying to explain the very complicated rules of Zooloolum to Yu. The next cutscene is of the two actually playing the game a bit. The final cutscene is them playing strip-a-bobble.
Once the cutscene has played out, the trophy will unlock.
If you get unlucky like me, you may make it to the end of the game without ever seeing this cutscene. So, you’ll need to do the following to play as many cutscenes as you can in a short amount of time:
- Sleep at the Nest (chance for one cutscene but eventually they stop)
- Cook or Eat (only cook if you can eat or you’re wasting resources on not getting a cutscene)
- Leave the Nest
- Come straight back into the Nest
- Repeat.
Do that for as long as it takes to get all three cutscenes to happen.
Misc Trophies
There’s a few miscellaneous actions and interactions that you can perform in order to unlock a selection of trophies, all of which are listed in this Haven Trophy Guide below with details on how to unlock them.

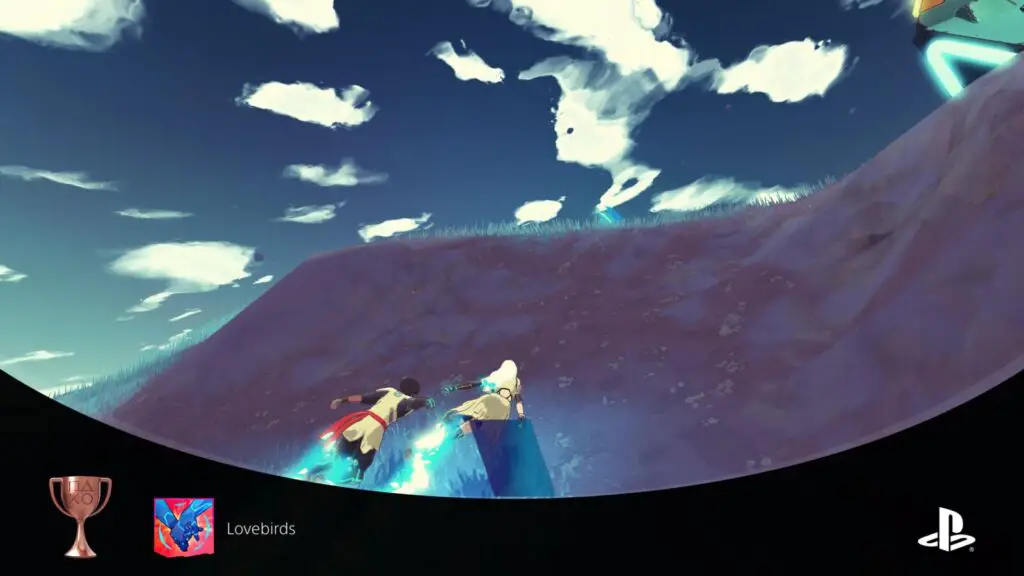
Lovebirds
Hold each others’ hands and never let go
When out in the open world, you can hold ![]() to glide and get around quicker. If you hold
to glide and get around quicker. If you hold ![]() for long enough, the two characters will hold hands. You’ll need them to stay like this until Yu comments that they must look goofy. At that point, the trophy will unlock.
for long enough, the two characters will hold hands. You’ll need them to stay like this until Yu comments that they must look goofy. At that point, the trophy will unlock.
It’s better to attempt this on one of the larger islands, where there’s long stretches to hold ![]() across, because if you turn too much, do a U-Turn, or hit a dead-end, they will let go of each other’s hands.
across, because if you turn too much, do a U-Turn, or hit a dead-end, they will let go of each other’s hands.
You can actually do this on the first islet though, if you hold hands from the Rattlepeppers all the way back to the Nest.

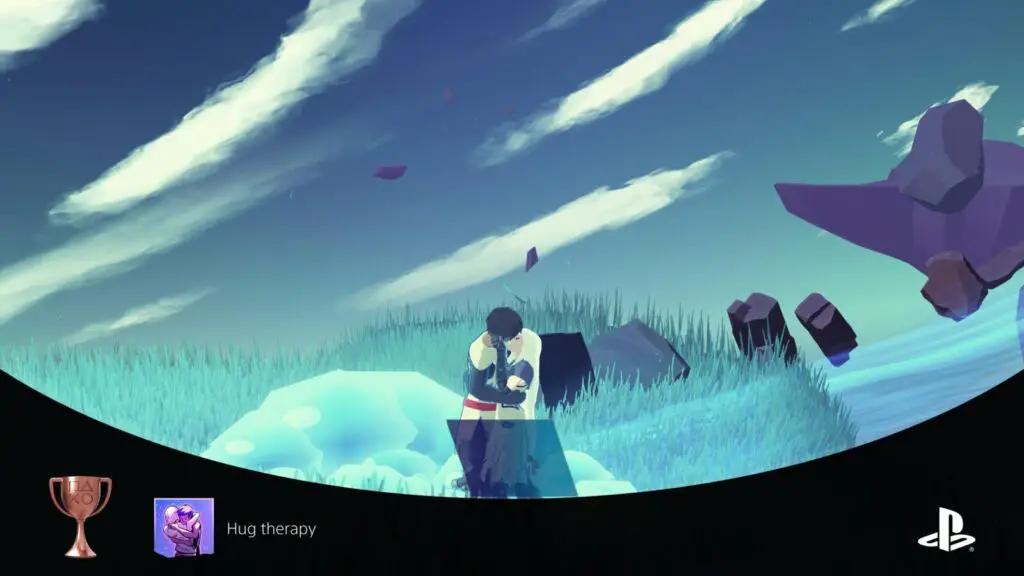
Hug therapy
Give a healing hug
This one is a little bit random, but as long as you stand still every now and then it should unlock. Essentially, sometimes if you stand still, Yu and Kay will hug each other, or share a quick kiss.
If either of them are damaged, this will actually heal them a small amount, thus unlocking the trophy.

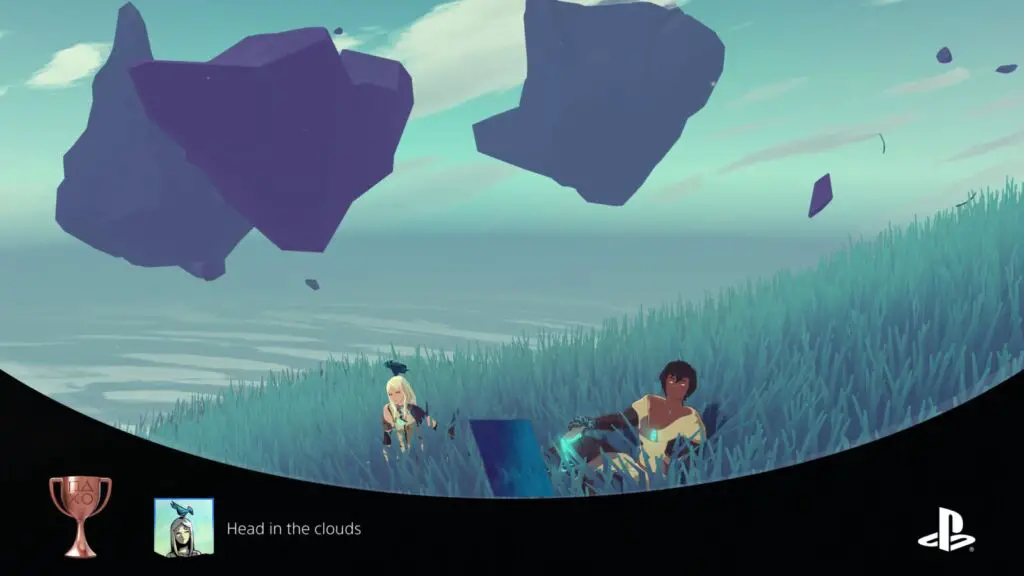
Head in the clouds
Become a bird perch
Stand still for a short while and Yu and Kay will eventually sit down. Wait a little bit longer, and a bird will come and perch on Yu’s or Kay’s head.
Once you move, disturbing the bird and triggering some dialogue, the trophy will unlock.

Life’s short, ride long
Land a double backflip
As part of the story, you’ll get a component required for upgrading your boots back at the nest. Do so to receive the ability to follow Flow trails which go high up into the air. With that, glide ![]() over any high enough ledge and the couple will each do one backflip automatically. The trophy will unlock then and there.
over any high enough ledge and the couple will each do one backflip automatically. The trophy will unlock then and there.
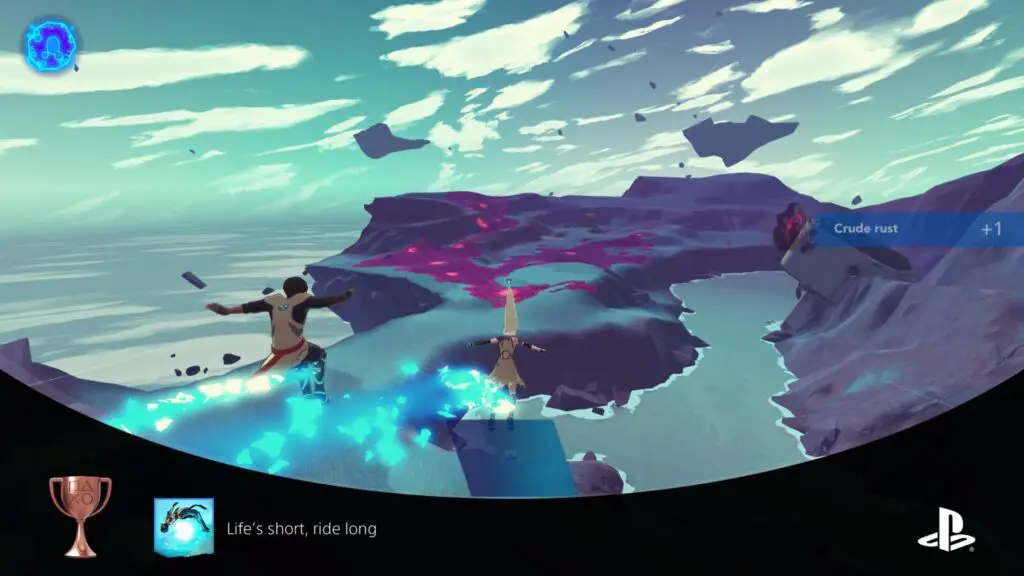
As explained by Yu, it’s a “Double Backflip” because there’s two of them.

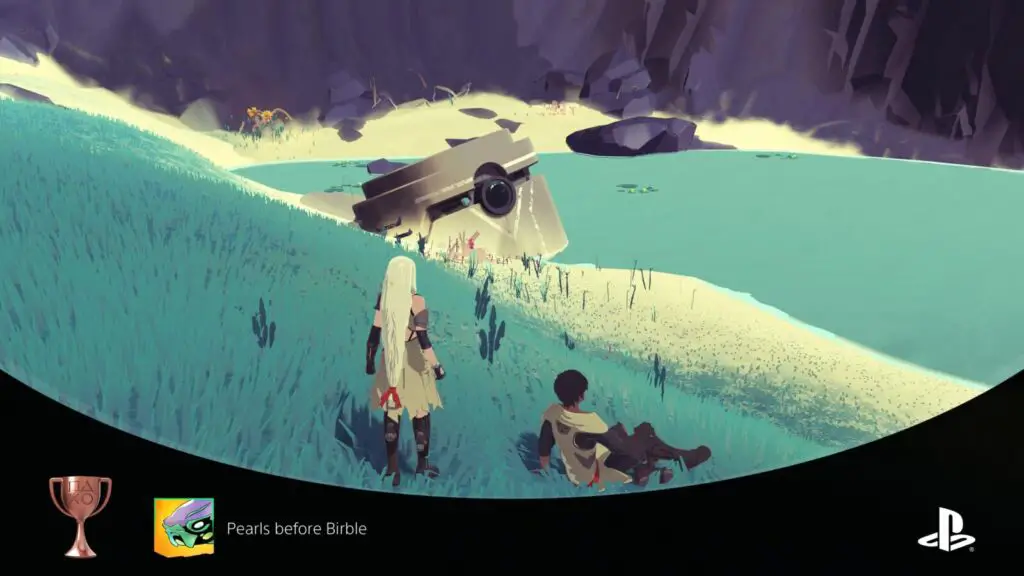
Pearls before Birble
Lure in Birble with creamberry fondue
You will meet “Birble” on an island called “Benako” as you progress through the story. From that point on, you’ll be able to ride on Birble to quickly fast travel between Islets by baiting her from Cartilla Spirata patches (also known as “Birble Stations”).
When you press ![]() to bait a Birble Station, you will have to select a meal that you have previously prepared and have in your inventory. In order to unlock this trophy you must bait the station with a specific meal called “Creamberry Fondue”. This meal will require combining 5 Creamberries with 5 more Creamberries when cooking to create.
to bait a Birble Station, you will have to select a meal that you have previously prepared and have in your inventory. In order to unlock this trophy you must bait the station with a specific meal called “Creamberry Fondue”. This meal will require combining 5 Creamberries with 5 more Creamberries when cooking to create.
Don’t forget that you’ll also need to make one for yourself to eat so that you can earn the À la carte trophy.

Once you’ve baited Birble with the Creamberry Fondue, climb on her back and then select any destination. Instead of taking you there, she will take you to a secret Islet filled with resources! The trophy will unlock once you arrive there.
Don’t forget to check the highest point on this island, because there’s a treasure trove of Creamberries up there!

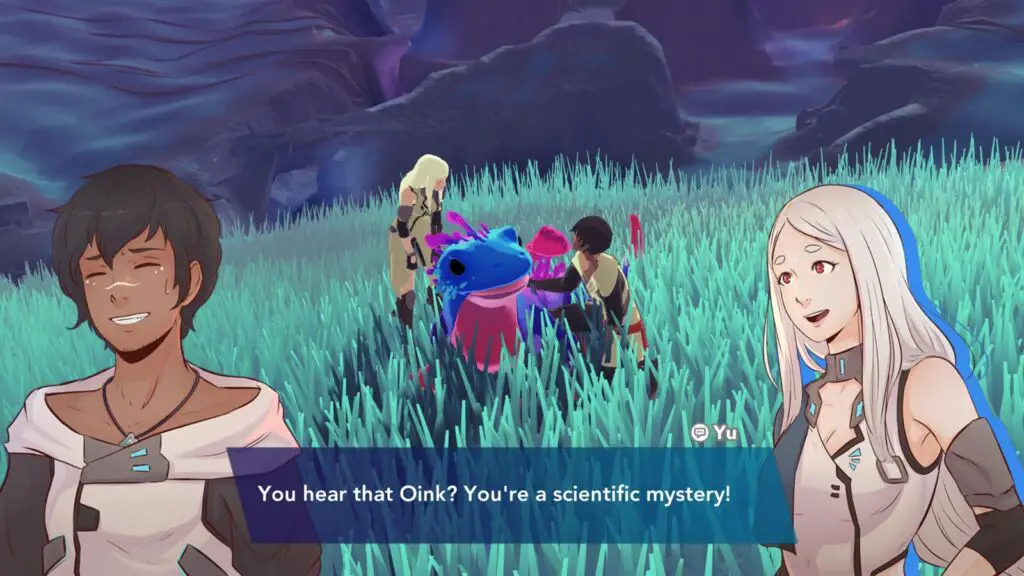
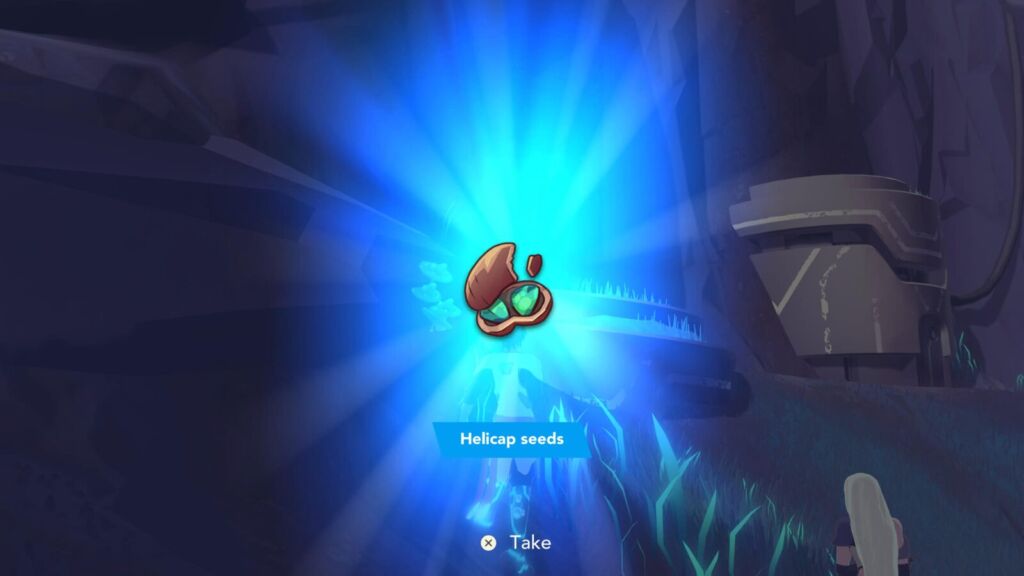
In my shoes
Taste the hygrocybe rubescens
As part of the story, you’ll meet a Salamander that Yu names “Oink” after pacifying it in battle. When you next return to your home Islet, you’ll see Oink there near the nest. Press ![]() on him to pet him which will start a cutscene where Yu invites him to stay.
on him to pet him which will start a cutscene where Yu invites him to stay.
Throughout your adventure, you should frequently pet Oink, triggering cutscenes and progressing a side-narrative about your relationship with the reptilian cutie.
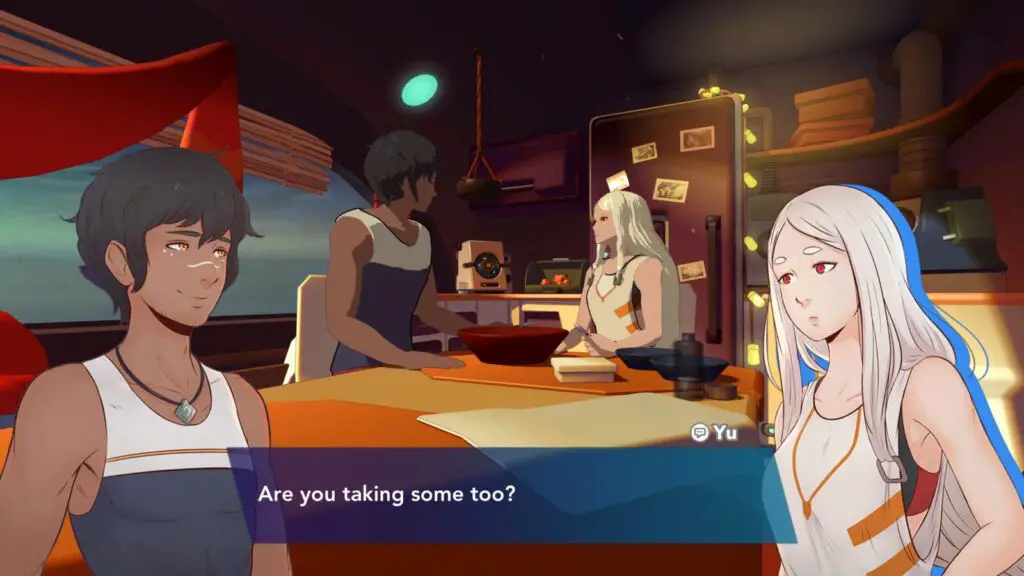
Eventually there’s a cutscene about him molting, at the end of which Kay will pick up some of the “Hydrocybe Rubescens” mushrooms which came from Oink’s back.
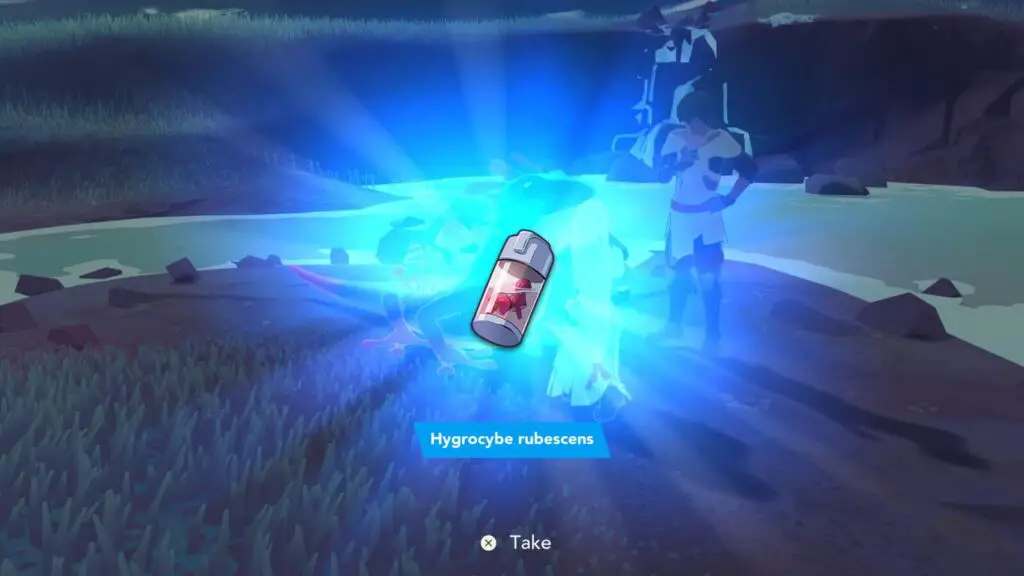
Now, with these in your inventory, there will eventually be a cutscene after cooking, eating, or sleeping, where the two characters try eating them. Depending on how far you are in the game, you may have to wait a long while before this happens, but just keep triggering cutscenes whenever you’re at the Nest and this will eventually happen.
The trophy will unlock once the cutscene has played out.
Food Trophies
There are two objectives here, the first is to get 3 seeds for every type of vegetable/fruit so that you can begin growing them near the Nest, the other is to craft and eat one of every type of meal!


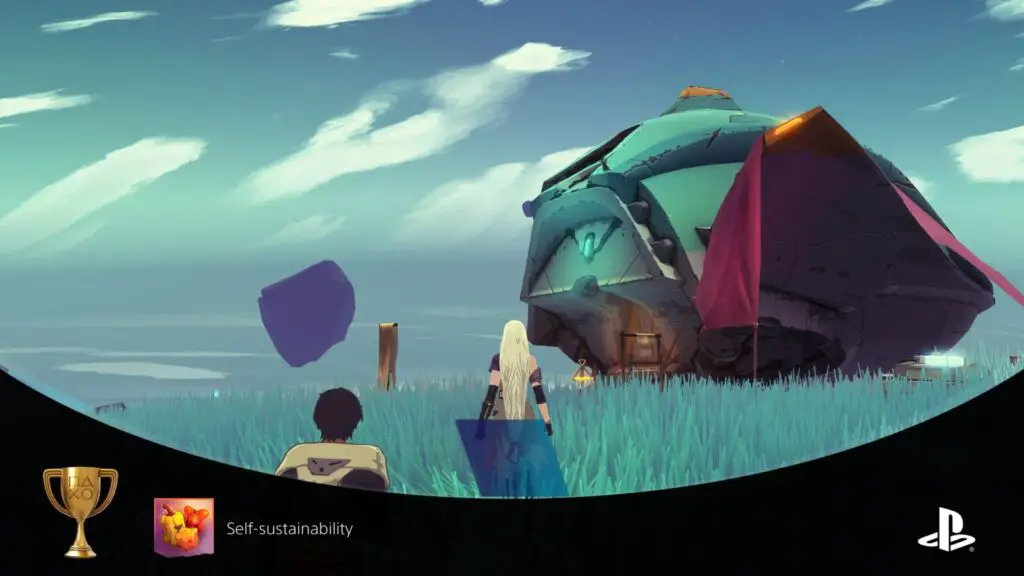
Self-sustainability
Fill the vegetable patch
After you’ve found and investigated the Greenhouse on “Tsupiko”, you’ll get the ability to grow seeds back on the Nest. After that, whenever you collect a fruit or vegetable (or mushroom, I guess?) out in the wild, you’ll have a chance of grabbing a seed. This will also progress a rivalry storyline between the two over who is best at finding seeds. To unlock the trophy, you will need to progress this side story which will result in you having the required three seeds for each type of food.
The guide below will tell you which character to play as in order to get each seed to appear, but note that it’s not immediate, you will likely need to collect a fruit a few times before getting a seed from it.
Note that once you have three seeds for a plant, you won’t find that seed again. You can track this in the “Stuff” tab of your ![]() menu.
menu.
Firstly, start by playing as Kay. Collect 5 seeds as Kay and then switch to Yu. She will pull the next set of seeds. Making the score K5 – Y1
Now switch back to Kay, and he will get the next seed, much to Yu’s dismay. K6 – Y1
So, switch back to Yu who will find the next seed! K6 – Y2.
Grab the next seed as Yu as well, setting the score to K6 – Y3.
The next seed can be grabbed using Kay, changing the score to K7 – Y3.
Switch back again to Yu for the next one. K7 – Y4.
Keep playing as Yu for the next seed. K7 – Y5.
Stick with Yu again for the next seed. K7 – Y6.
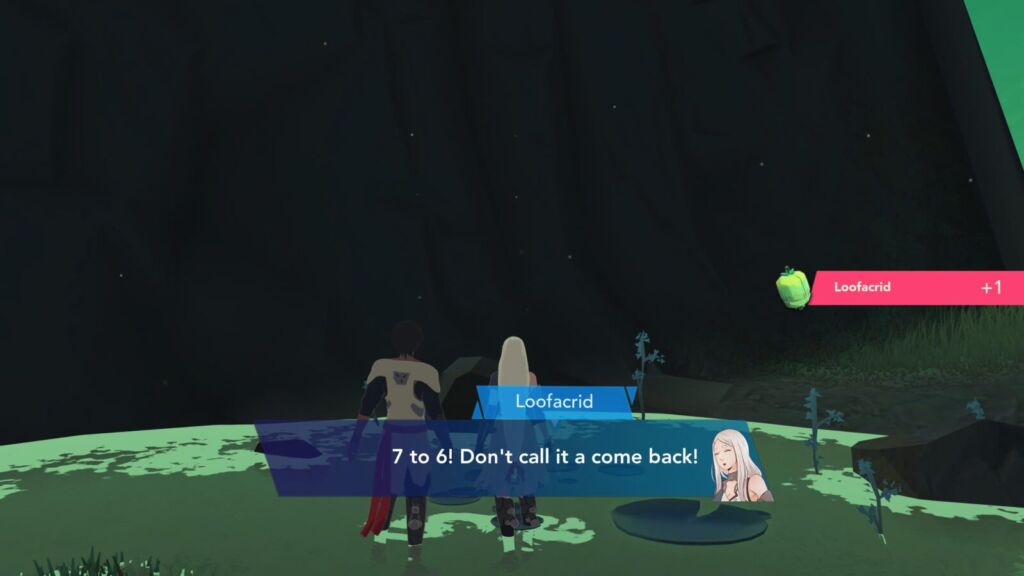
Grab the next seed with Yu to even the score at K7 – Y7.
Switch back to Kay now to grab the next seed. K8 – Y7.
Switch back to Yu to tie things back up at K8 – Y8.
Keep playing as Yu to grab the final seed, leaving the final score at K8 – Y9.
Everytime you return to the nest with three seeds of a type, they’ll begin growing on the Islet around the Nest. Continue this until you have returned home with all 18 seeds for the 6 plants and the trophy will unlock!

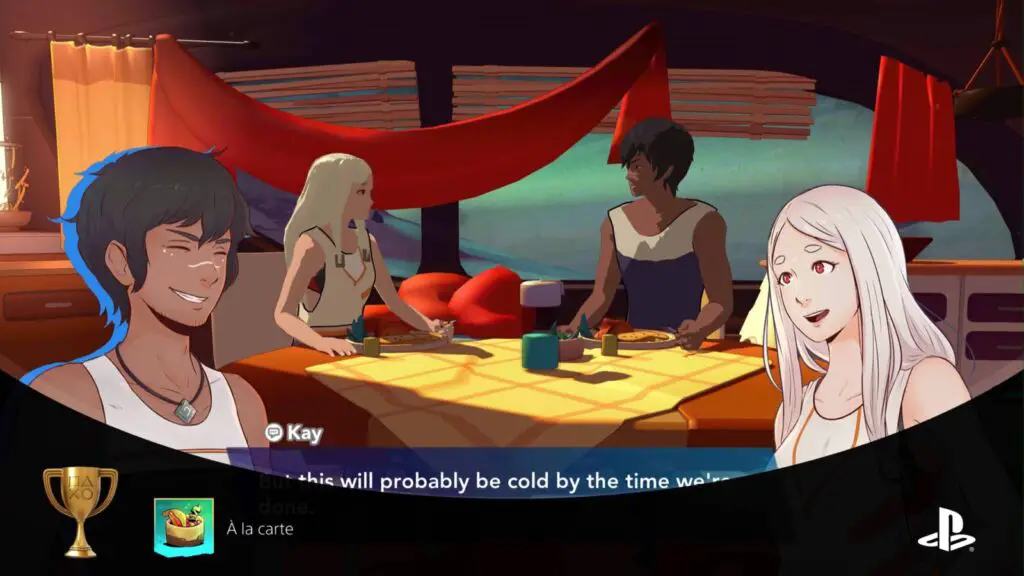
À la carte
Taste every dish
This will be easier to earn once you have completed the Self-sustainability trophy, as you will be able to collect food of every kind from right outside the Nest. Either way, though, it won’t hurt to ensure you’re always collecting every food item you see throughout your journey.
You’ll need to cook and eat all 21 of the possible meals in the game. Some meals can only be cooked at a camp. Note that Loofacrids can only be found in swamp areas where the grass is green instead of blue and Creamberries are only found in the plains to the south where the grass is yellow.
If you take a meal out and use it to feed Birble, then don’t forget you did this and still need to eat the meal yourself. Keep track of any situations like this. To ensure you don’t end up in those situations, only feed Birble meals which have question mark stats. If the stats are still a mystery to you, that means you have never eaten that meal before. This will help you determine whether you need to make a meal again, too.
Here are the Nest Meals:
- Appledew + Appledew = Roasted Appledews
- Appledew + Rattlepepper = Spicy Appledew
- Appledew + Helicap = Marble Appledew Cake
- Appledew + Loofacrid = Turnovers à la Kay
- Appledew + Boba = Glazed Boba
- Boba + Boba = Boba Salad
- Boba + Rattlepepper = Boba Massala
- Boba + Helicap = Veggie Kabobs
- Boba + Loofacrid = Slow Noodles
- Creamberry + Creamberry = Creamberry Fondue (Required for Pearls before Birble)
- Creamberry + Appledew = Creamberry Flambé
- Creamberry + Boba = Pot-au-flow
- Creamberry + Rattlepepper = Chili Cheesecake
- Creamberry + Helicap = Creamberry Custard
- Creamberry + Loofacrid = Harmony Bun
Here are the Camp Meals:
- Appledew + Appledew = Appledew Stew
- Appledew + Boba = Boba-Appledew Broth
- Appledew + Creamberry = Apple-Berry Cream
- Boba + Boba = Boba Puree
- Boba + Creamyberry = Boba Cream-Berry Soup
- Creamberry + Creamberry = Creamberry Chowder
After you’ve successfully cooked and eaten all 21 meals, the trophy is all yours!
Max out your Relationship
During this phase of the Haven Trophy Guide, you will be doing a lot of cooking, sleeping, eating, and fighting. All of these things will increase the relationship between Kay and Yu, which will be vital to unlocking this trophy:

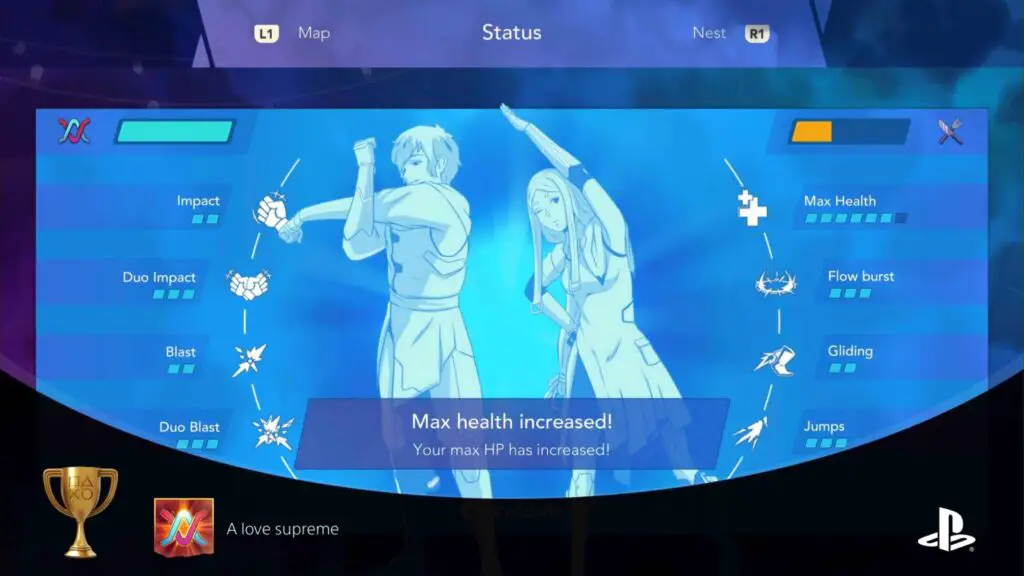
A love supreme
Reach the maximum relationship level
EXP in this game is replaced with a Relationship meter. This bar will increase every time you win a fight, eat a meal, cook a meal, or sleep. Usually, this increase in exp will be accompanied by a cutscene between the two lovers.
Once the Relationship bar is full, you’ll see an icon of two shot glasses appear at the bottom of the screen. That’s your cue to visit the machine in the kitchen to “Celebrate”. Pressing ![]() on this machine will trigger another cute cutscene between the two and you’ll gain some stat boosts.
on this machine will trigger another cute cutscene between the two and you’ll gain some stat boosts.
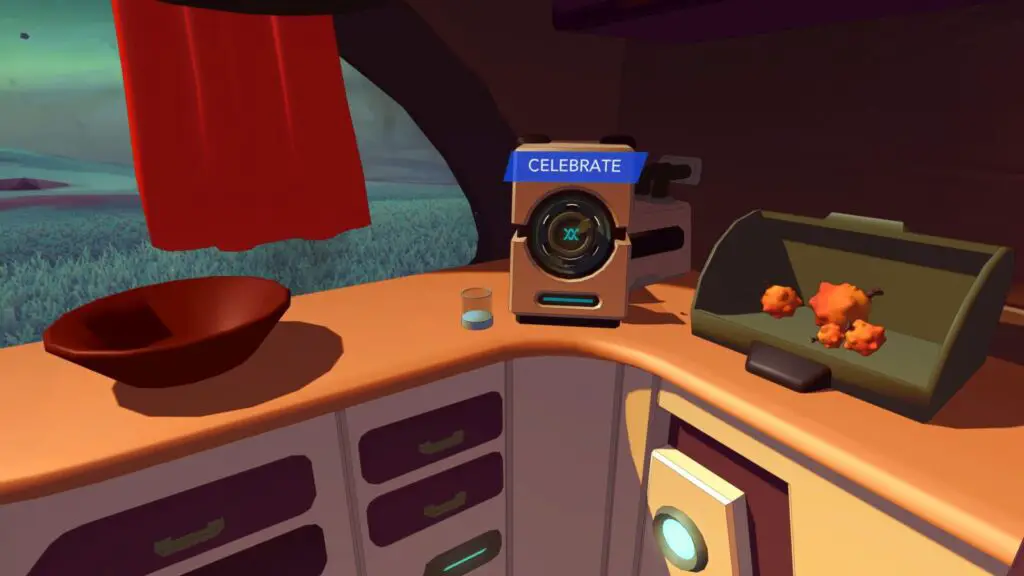
You will need to continue this loop of filling the relationship bar and then celebrating it with Applebrew until all of the couples’ stats are full, thus unlocking this trophy.
Clear all the Rust
Your main objective in this phase of the Haven Trophy Guide, and likely the last thing that you’ll do before moving on to Phase Three, is to clear the Rust from every single Islet on source. Thus earning the following trophy:

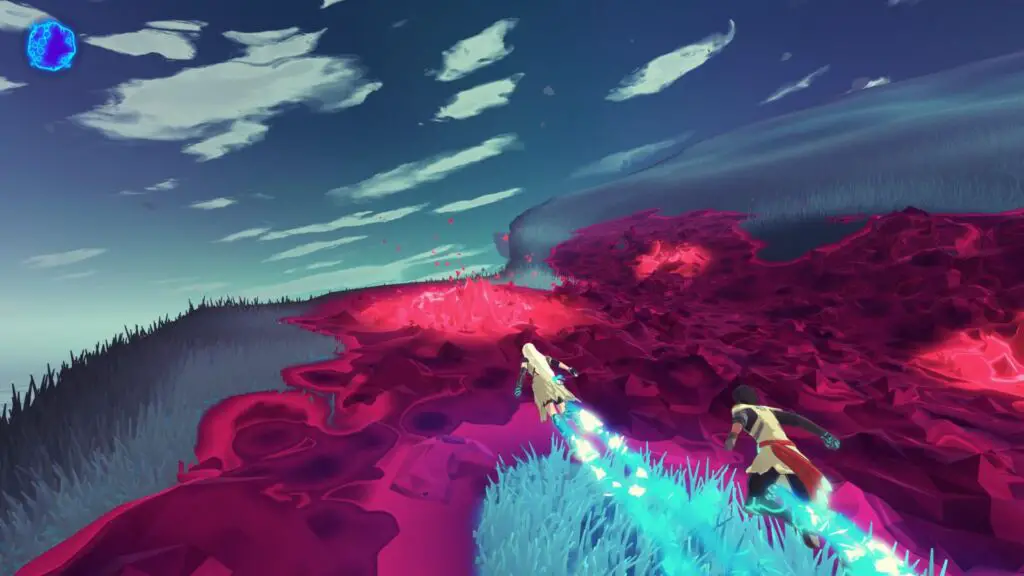
Spring cleaning
Clean up the rust on every fragment
After being introduced to the Rust, you’ll start to see it on other Islets—or “fragments”. The Rust gets cleared away when you hold ![]() to glide over it, but it would take forever to Super Mario Sunshine your way through all the rust, especially with the finnicky handling of the glide controls.
to glide over it, but it would take forever to Super Mario Sunshine your way through all the rust, especially with the finnicky handling of the glide controls.
Luckily, each patch of rust has multiple glowing spots. These glowing spots will sometimes reveal vegetation or Flow Bridges underneath, so it’s good to clear them away. Once every glowing spot in a rust patch has been cleared, the entire rust patch will fade away.
You will also need to fight any rust-corrupted critters on the islet too in order to cleanse it.
When an Islet is cleaned, you’ll see a notification pop up on the right-hand side to let you know. You’ll need to repeat this for every rust patch on every fragment in order to unlock this trophy.
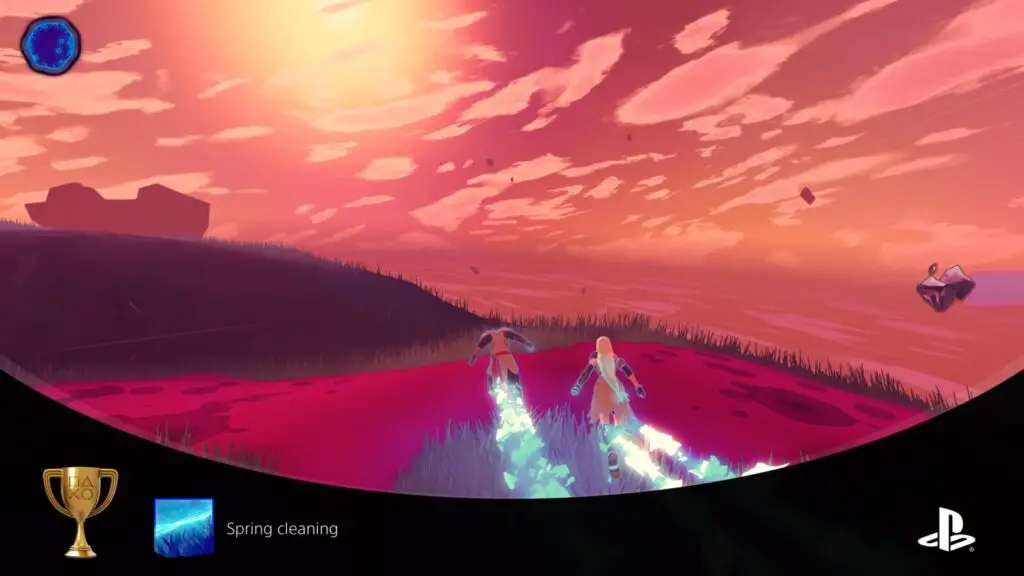
Eventually, you’ll get a Radar from a small busted droid, which will help you find your way around and identify which islets you still haven’t cleansed. Those which are still rust-infested will show up as red on the map.
If you’re struggling to find the last bit of rust on an Islet, try following some of the flow paths in the area. Many of them will take you soaring through the air and up to otherwise unreachable locations.
Phase Three – Get both Ending Trophies
Before moving on with any of the trophies in this phase of the Haven Trophy Guide, make sure you’ve earned every other trophy, then it will be safe to finish the game!
As mentioned at the top of this Haven Trophy Guide, there’s a couple of endings to earn and to do so you’ll need to use save back-ups. Luckily, the game actually does this for you. At the “Take off” screen at the end of the game, you’ll be asked to confirm that you want to leave, knowing that you won’t be able to return.

If you confirm your intent to take off, the game will make a backup save for you, which you can access from the Load Game option in the Main Menu. Perfect!
I’ve written the next part out in a more walkthrough-like format to take you from one trophy to the next in the most convenient way…
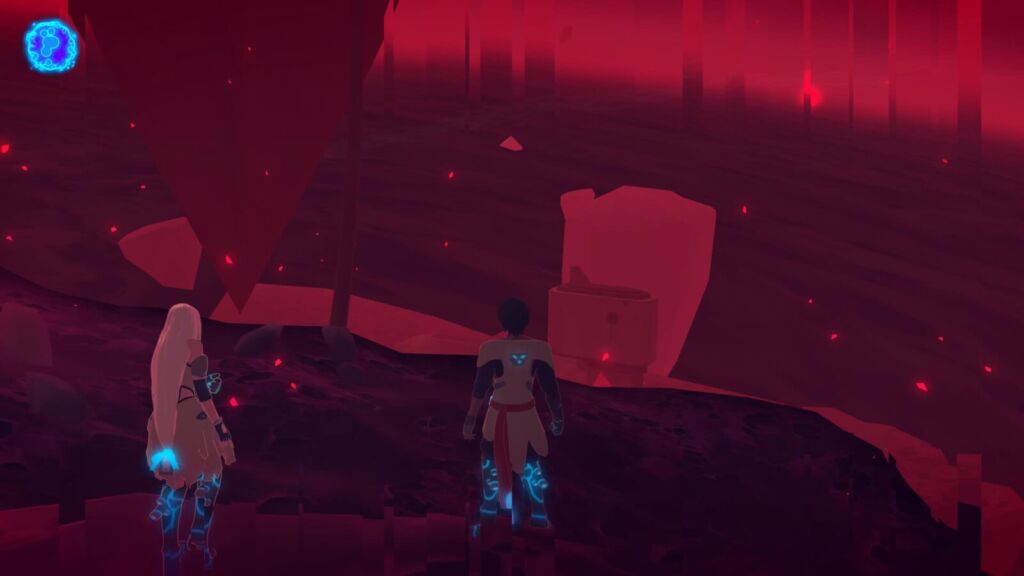
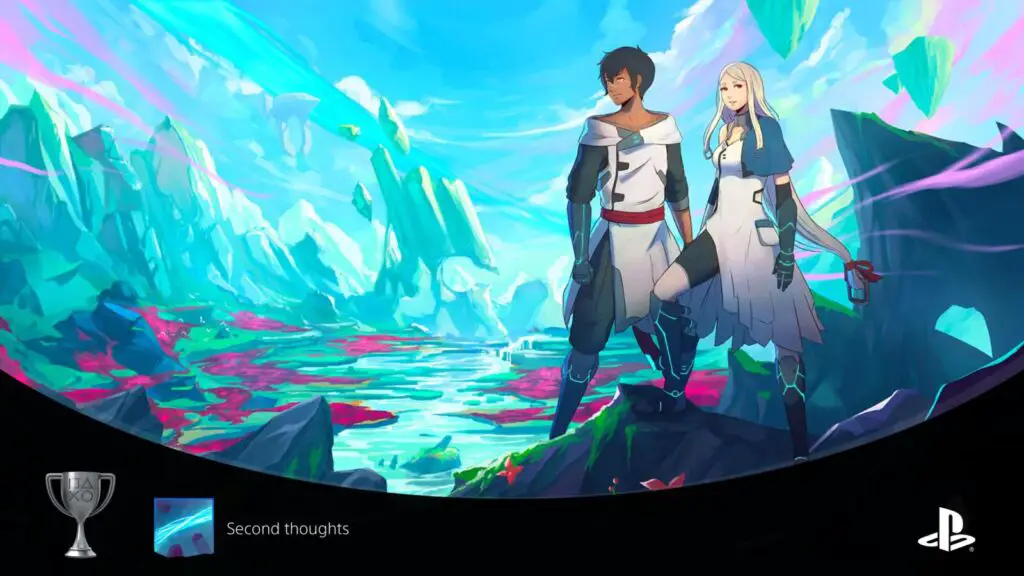
Don’t Sever the Bridge

Second thoughts
Choose not to sever the flow bridge
Start this phase by not severing the bridge. Interact with the map hologram in the Nest’s cockpit (After backing up your save!) and then make your way to the Flow Bridge after the Nest lands.
The couple will stop and talk things over in a dialogue with a few choices, but the only one you need to worry about is choosing the option “I won’t let you go” and then “Ok. You Win.”
You will then get the bad ending cutscene and your trophies should unlock on a loading screen before you’re kicked back to the main menu.
Sever the Bridge
From the main menu, go to “Load Game” and select the save backup that the game made in slot 2. If you’ve used multiple save slots before, then it may be a different number, so you use the timestamp to figure out which one it might be. Then, go to the ship’s cockpit again and press ![]() on the “Take off” prompt.
on the “Take off” prompt.

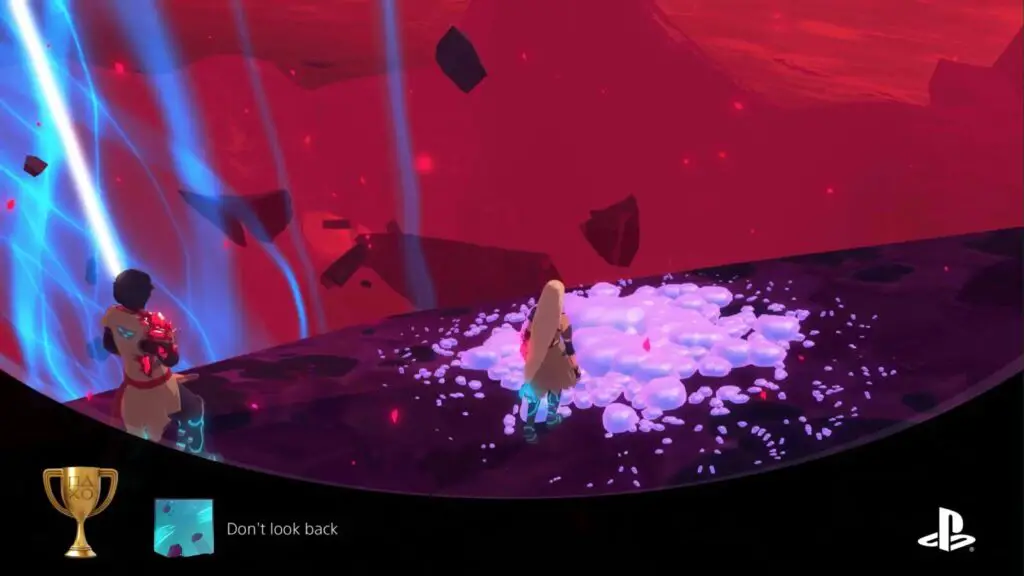
Don’t look back
Choose to sever the flow bridge
Now it is time to sever the bridge. (If you’ve skipped to this trophy, don’t forget to get the Second Thoughts trophy too.)
Once again, glide your way down to the Flow Bridge, and then go through the dialogue again. This time making different choices. Note that you can press ![]() to fast-forward through dialogue to the next decision point if you don’t want to read it again.
to fast-forward through dialogue to the next decision point if you don’t want to read it again.
Again, the first two choices don’t matter. On the third choice choose “Alright. I’m coming” and then you’ll be in control again. Follow the three flow threads in the crater, heading closer to the Flow Bridge until a cutscene plays.
After that, follow the next Flow thread and then make your way up the outside of the Flow Bridge, absorbing it little by little.
This trophy will unlock as soon as the bridge is severed, before the cutscene plays, unlike the other one which unlocks after the cutscene.

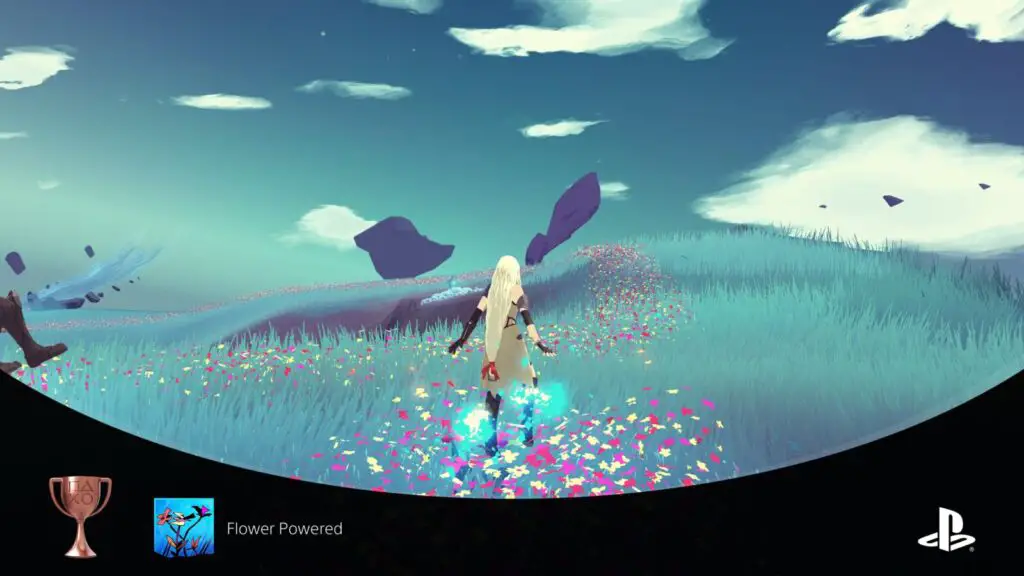
Flower Powered
Try on the flower boots
After completing the game with the good ending (Don’t Look Back) you can actually keep playing the game on Source for a short while. Kay has been working on some new equipment… The Flower Boots!
Hold ![]() to open your inventory and select and activate them with
to open your inventory and select and activate them with ![]() . Now hold
. Now hold ![]() and glide around for a short while, enjoying the dialogue until the trophy unlocks.
and glide around for a short while, enjoying the dialogue until the trophy unlocks.
Finish the Game with Less Than Three KOs

Unstoppable
Finish the game with 3 KO or less.
For this one, you’ll need to be sure you’ve avoided letting both characters die in combat more than 3 times. If you’ve successfully avoided doing this, then once you reach the end of the game and unlock your first of the two ending trophies, you will also unlock this trophy.
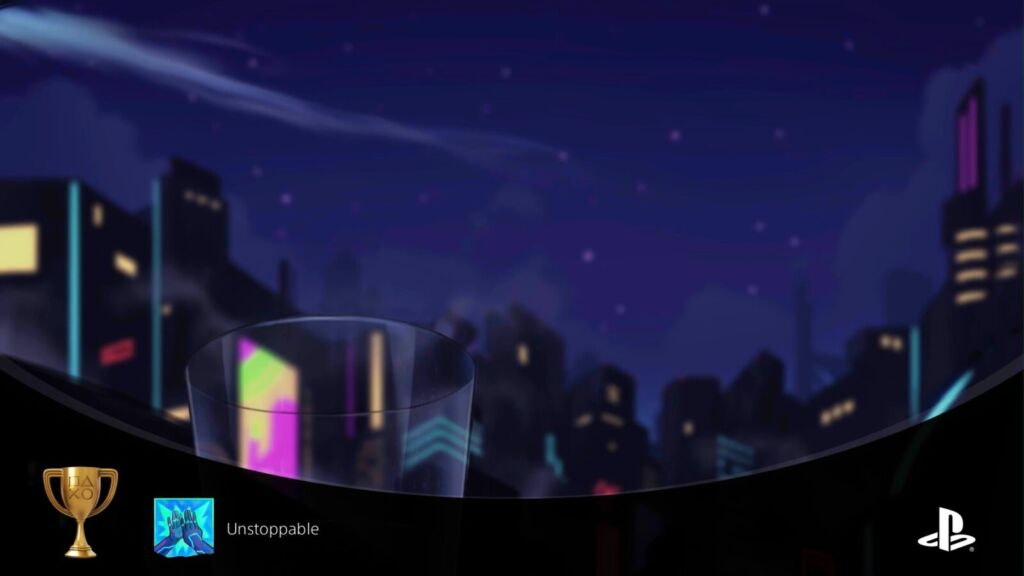
There are some tips for successfully doing this in the Before you Begin section of this Haven Trophy Guide.
Plat Get!


Haven
Unlock every trophies
This is it, with every other trophy safely tucked away in your collection, you’re now the proud owner of the Haven trophy!
Thank you for choosing PlatGet as your source for a Haven Trophy Guide, consider checking out our reviews and other guides!
Follow us on twitter @GetPlat or Instagram @platget for updates on new reviews and guides, as well as small anecdotes about our platinum journeys.