PlayStation 4, PlayStation 5
FAR: Changing Tides Trophy Guide
General Info
FAQ
How long does it take to beat FAR: Changing Tides and unlock all trophies?
Around 4-8 Hours depending on how many playthroughs you perform. I recommend two playthroughs, which would bring you closer to around a six hour total trophy journey time..
How difficult is it to beat FAR: Changing Tides and unlock all trophies?
Easy (3/10).
Does FAR: Changing Tides have online trophies?
No.
Does FAR: Changing Tides have difficulty-specific trophies?
No.
Does FAR: Changing Tides have missable trophies?
Yes, Cultivating , I'm Rooting For You! , Beauty in Disaster , Oh Buoy , Salvage Hunter , Going Green .
Does FAR: Changing Tides have glitched trophies?
No.
What is the minimum number of playthroughs required to unlock all trophies in FAR: Changing Tides?
Two; one full playthrough to get missables and more, then a second playthrough in under 3.5 hours for a speedrun trophy.
Does FAR: Changing Tides have a Platinum Trophy?
Yes.
Trophy Guide
FAR: Changing Tides Trophy Guide and Road Map for PlayStation 4 & 5
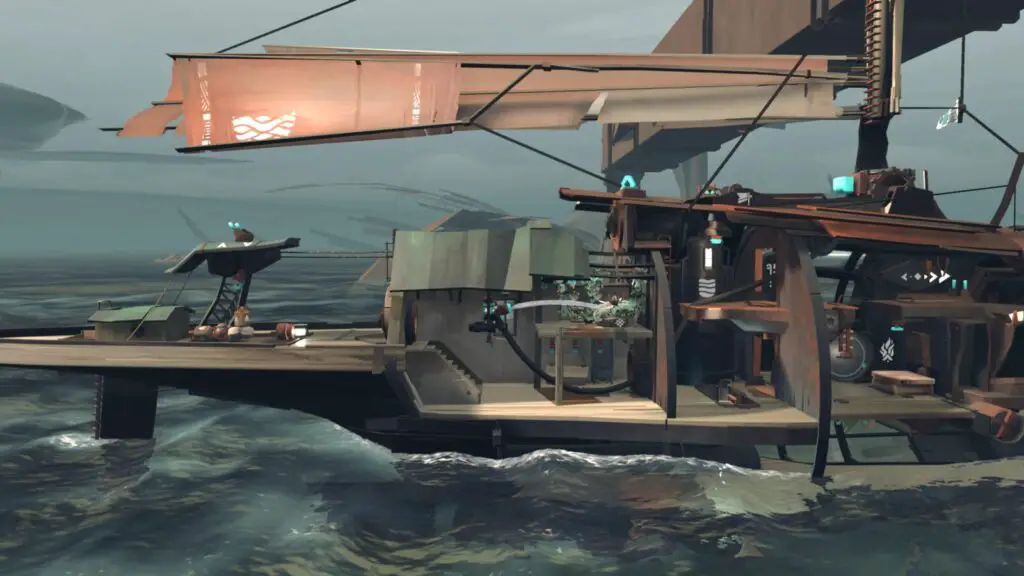
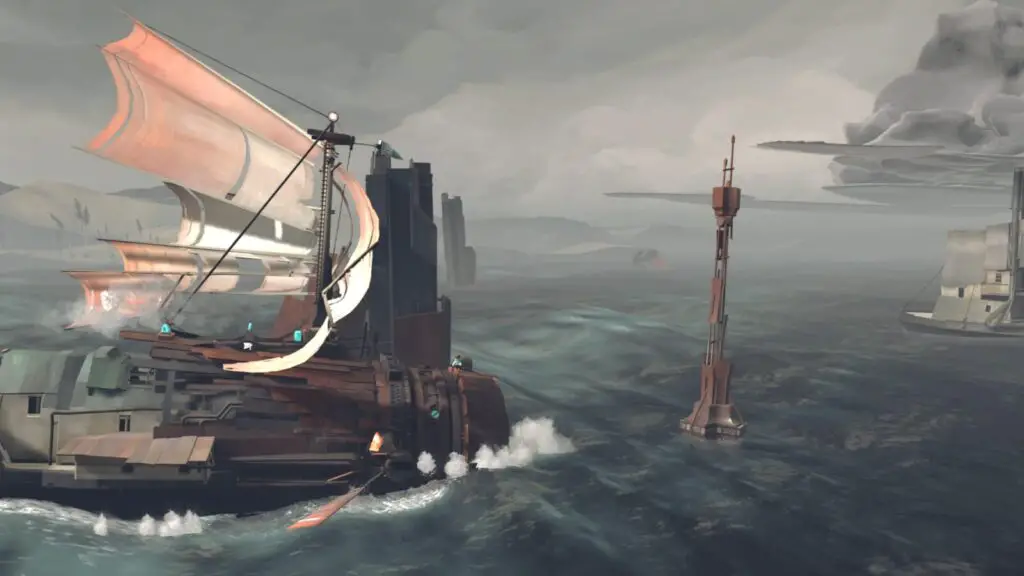
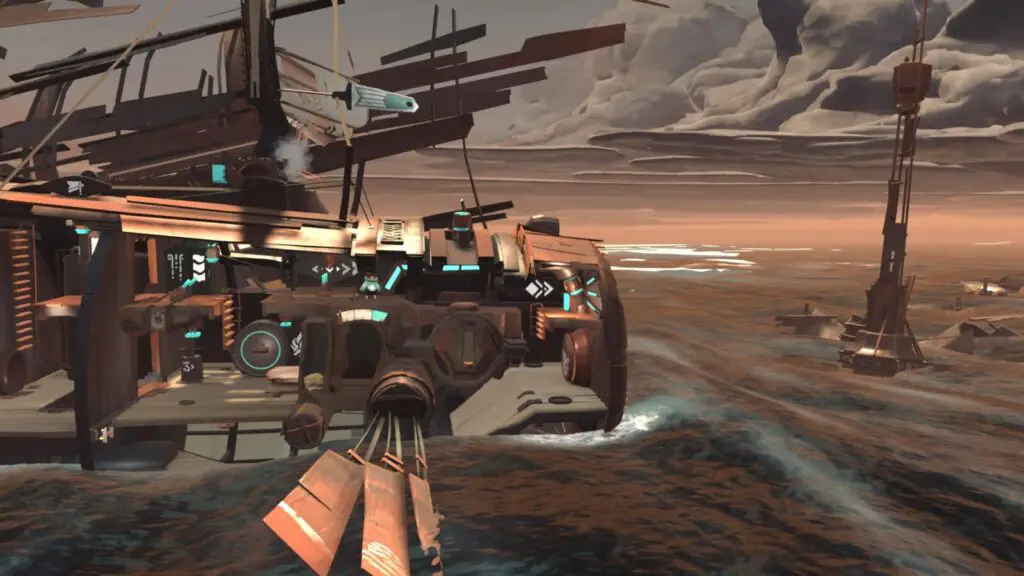
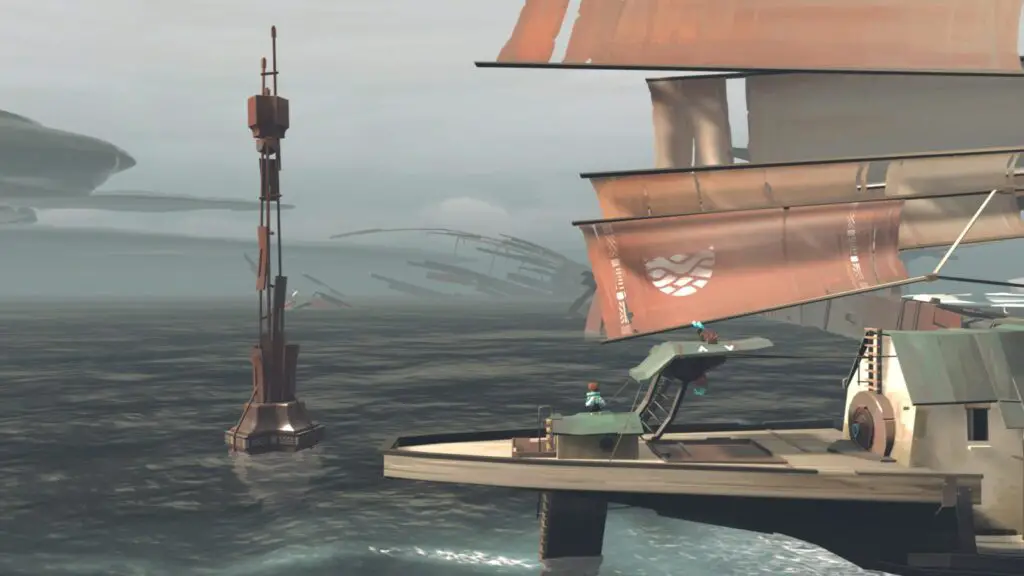
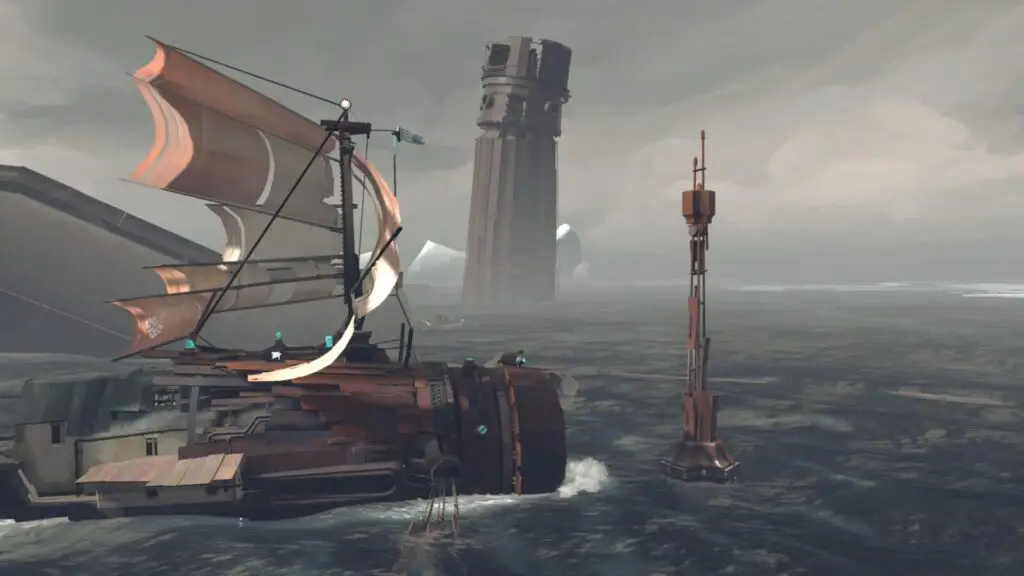
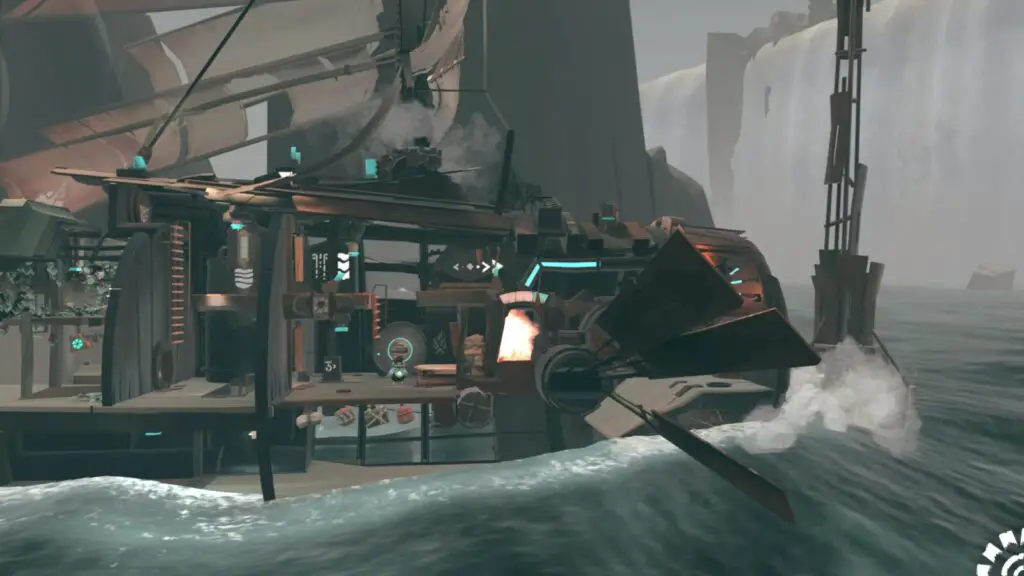
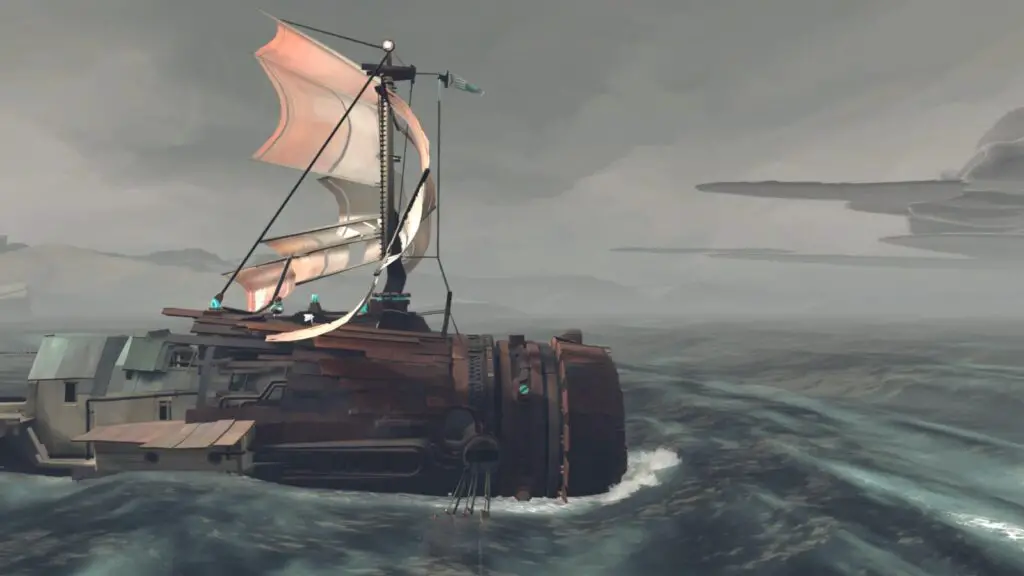
Welcome to our FAR: Changing Tides Trophy Guide. FAR: Changing Tides is the sequel to FAR: Lone Sails and takes the resource-management and exploration mechanics to a new level. Set in a post-apocalyptic world, where you navigate a unique vehicle through a flooded landscape, the game combines puzzle-solving with exploration, immersing players in a serene yet desolate environment. It’s a journey of resilience and discovery, emphasizing mood and environment over dialogue, where each element of gameplay and art contributes to an enigmatic and engaging experience.
The trophy journey itself is a short and simple one, but you will be asked to complete the game in under 3 and a half hours. This isn’t too difficult to do, but on your first playthrough (and while trying not to miss other trophies) this becomes a much more challenging task. Therefore, I recommend completing two playthroughs. The game is short enough anyway that it’s not really that arduous to play twice.
Aside from that challenge, every other trophy is a real breeze, and the very forgiving checkpoint system helps to ensure that.
Phase One | First Playthrough: Collect All Missable Trophies and Finish the Game
In this first phase of our FAR: Changing Tides Trophy Guide, you’ll essentially just need to focus on completing the game for the first time. It will provide valuable experience for the Speedrun you’re to complete later in your trophy journey.
While doing so, however, you should follow this guide closely to ensure that you do not overlook any of the missable trophies. If you do, you’ll need to either complete a new playthrough or attempt them within your speedrun playthrough. Naturally, avoiding both of these outcomes will be in your best interest.
To avoid missing said missable trophies, you should do the following:
- Grab the plant in the tall glass-roofed building you enter during the game’s intro. You’ll need to bring it with you to the ship before proceeding, this will allow you to unlock the Cultivating, Rooting For You, and Beauty in Disaster. It is also required for Going Green but I would strongly recommend leaving that trophy until Phase Three of this Trophy Guide.
- Keep an eye out for 6 missable Buoys while you progress the game. You’d need to be quite distracted to miss them anyway, but they are technically missable. See Oh Buoy for more information.
- Keep another eye out for at least 6 of 7 missable Cargo Containers. These, too, are in fairly plain sight throughout the game. See Salvage Hunter for more information.
Missable Trophies

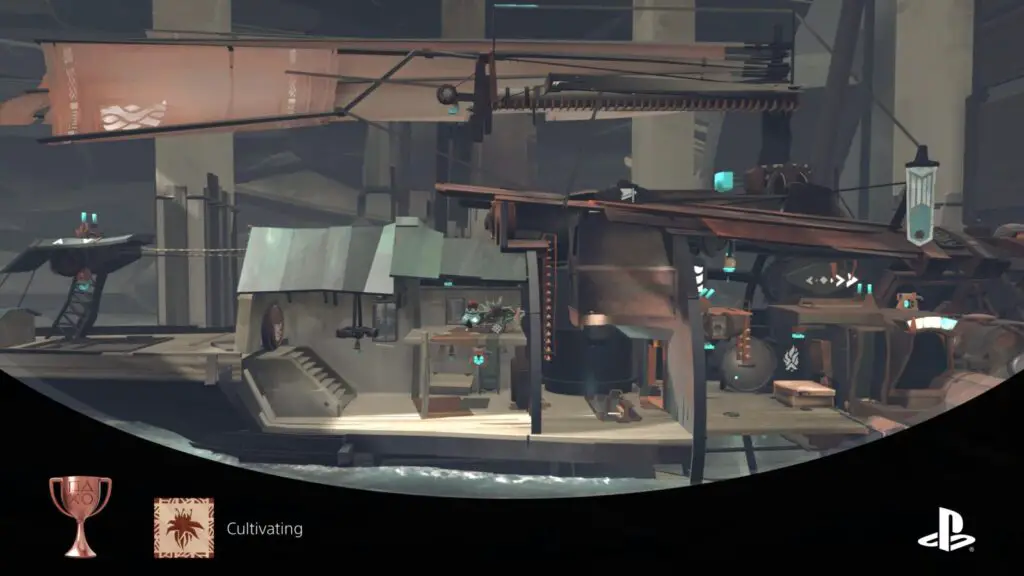
Cultivating
Plant the flower in the vessel
Before you can unlock the “Cultivating” trophy, you will need the very missable plant. This plant is found very, very early in the game, before even reaching the Vessel.
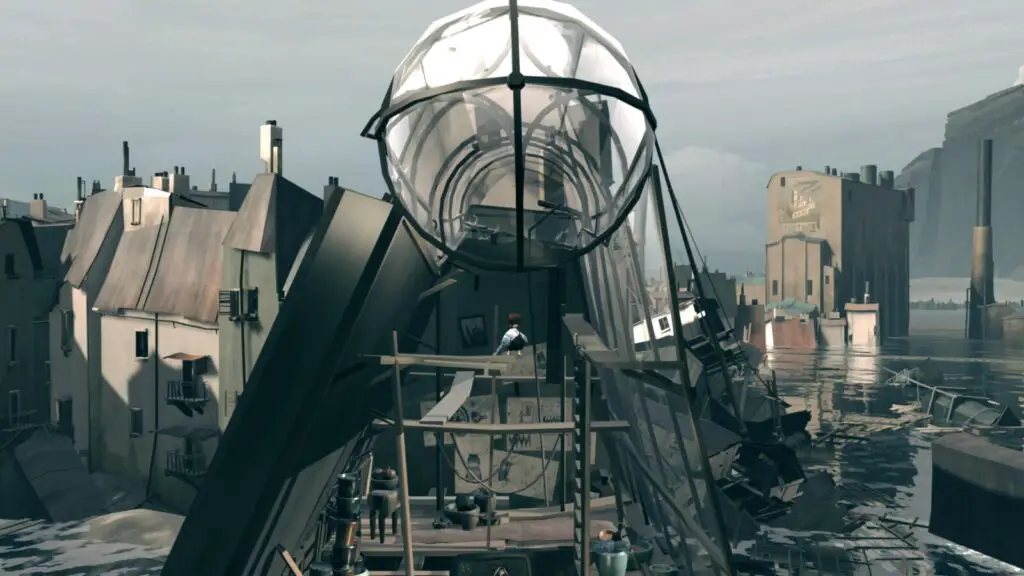
While exploring the ruined village, you’ll enter a large building via its glass roof.
In this building, on the second floor, you’ll see a plant. You need to press ![]() to pick this plant up, but that’s not all.
to pick this plant up, but that’s not all.
You will need to keep the plant with you until you reach the vessel. Then, you’ll need to store it somewhere safe. Be careful:
- DO NOT throw the plant overboard.
- DO NOT throw the plant into the Engine (this time around).
- DO NOT otherwise lose the plant.
Keep it safe and secure, and frequently check that you haven’t accidentally pushed it somewhere it shouldn’t be on your way through the ship.
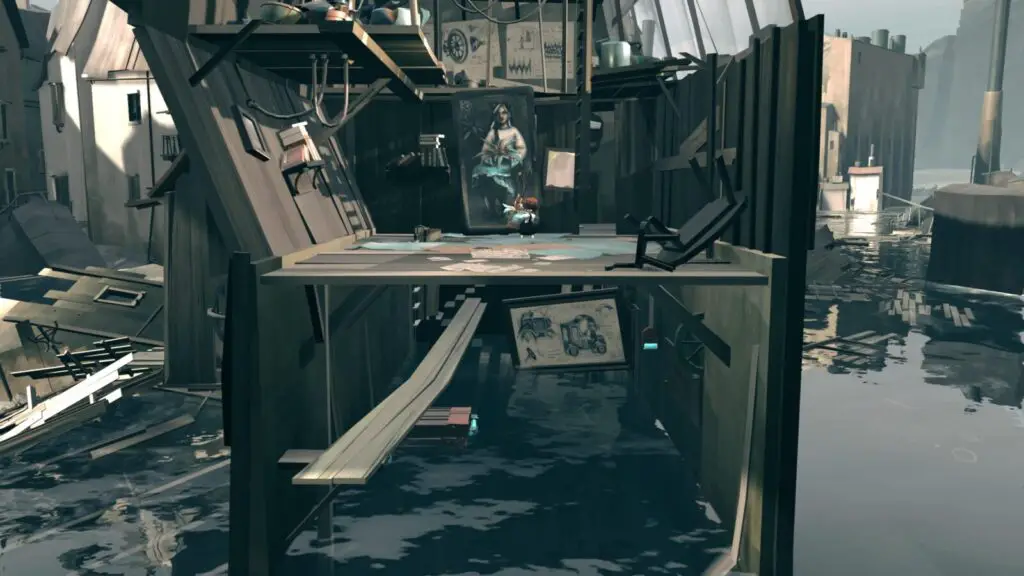
Eventually, once you have unavoidably unlocked the All Patched Up trophy, you will have a whole new stern on your vessel. This new stern includes a new room with a large plant pot in it.
Grab the plant with ![]() , bring it to the large plant pot, and then press
, bring it to the large plant pot, and then press![]() again to plant it, unlocking the Cultivating trophy immediately.
again to plant it, unlocking the Cultivating trophy immediately.

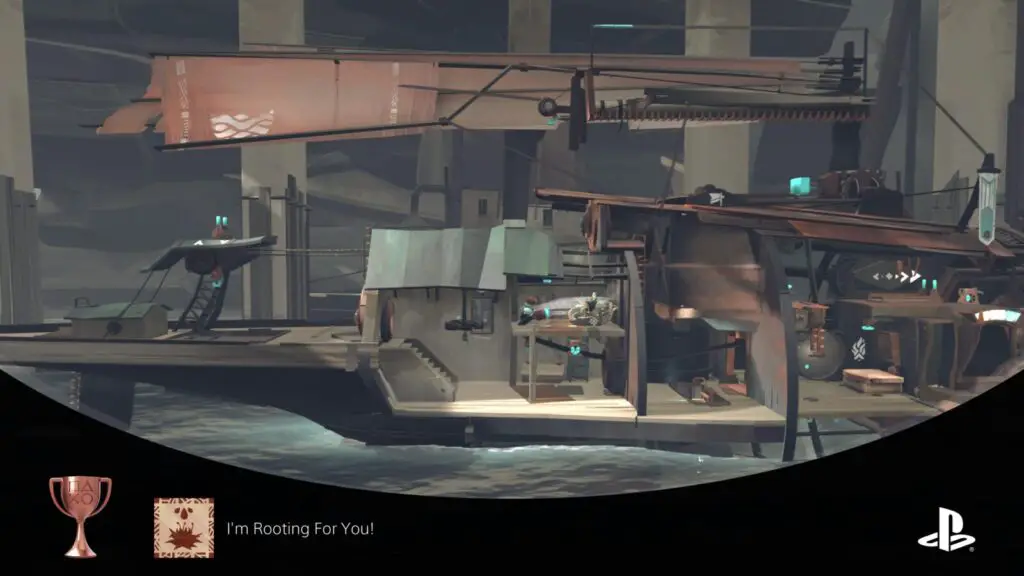
I'm Rooting For You!
Water the flower
To unlock “I’m Rooting For You,” first you should unlock the Cultivating trophy. Once you have that, you’ll be in a position to water the flower you planted.
First, press the button next to the plant, which opens a sunroof, exposing it to sunlight.
Next, go into the engine room, switch the hose controls (upper-left) to water (lever pointing right), and then grab the hose. It will start automatically ejecting water, but that’s not an issue, you won’t flood your vessel.
Bring the hose nozzle with you through the two doors on your left, into the new stern. Jump up and aim the hose at the plant to water it, unlocking the “I’m Rooting For You” trophy.

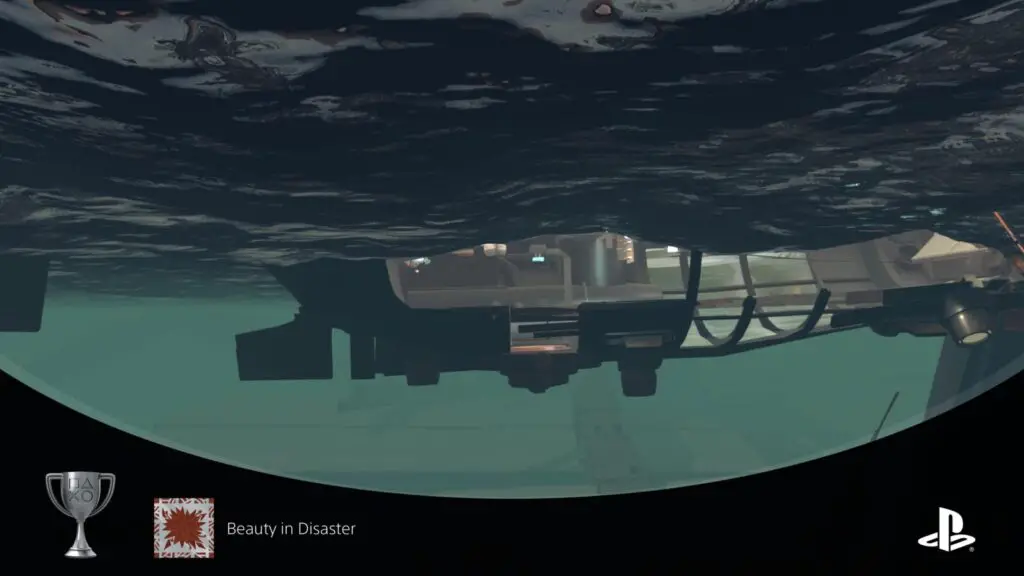
Beauty in Disaster
Grow the flower to its full potential
To unlock Beauty in Disaster, you will need to take care of the plant that you planted for Cultivating and watered for I’m Rooting For You.
You will need to water it a few more times throughout your trip (just do it any time you pass a puzzle) and make sure that you open the sunroof so that it can enjoy regular sunlight.
Other than that, just continue on your journey and wait patiently for the plant to grow. Upon becoming fully-grown (should be around halfway through the game) you will unlock the Beauty in Disaster trophy.

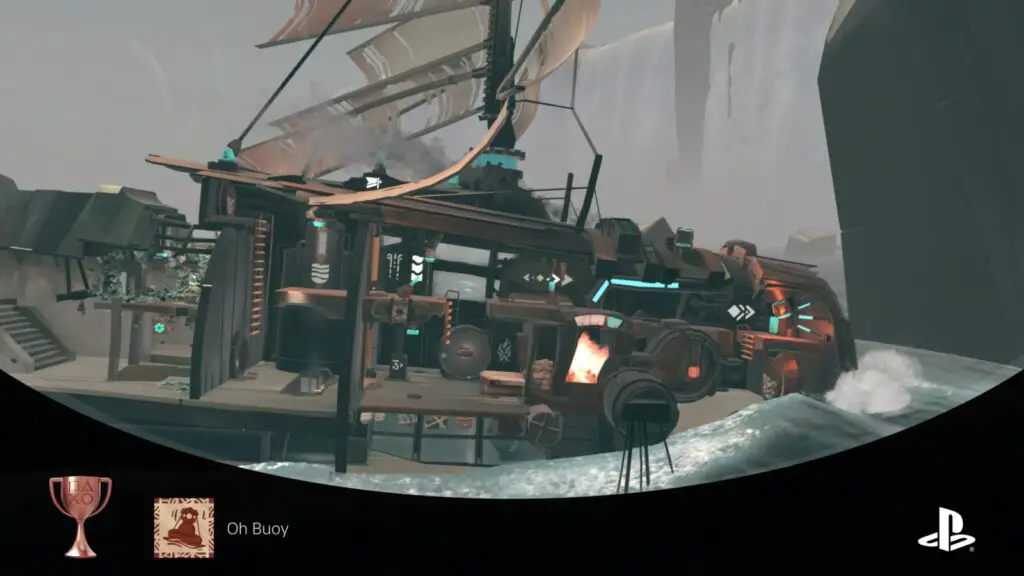
Oh Buoy
Push all the buoys out of the way
There are a total of 6 buoys in the game. To unlock “Oh Buoy,” you will need to push all six of them out of the way. Passing underneath them does not count, you need to physically sail into the side of the Buoy until it moves out of your way.
The first two Buoys are unmissable, but once your ship has the ability to dive underwater, you could technically miss one.
They are all in fairly plain sight, and as long as you always sail on the water’s surface where possible, you’ll hit them all without even trying.
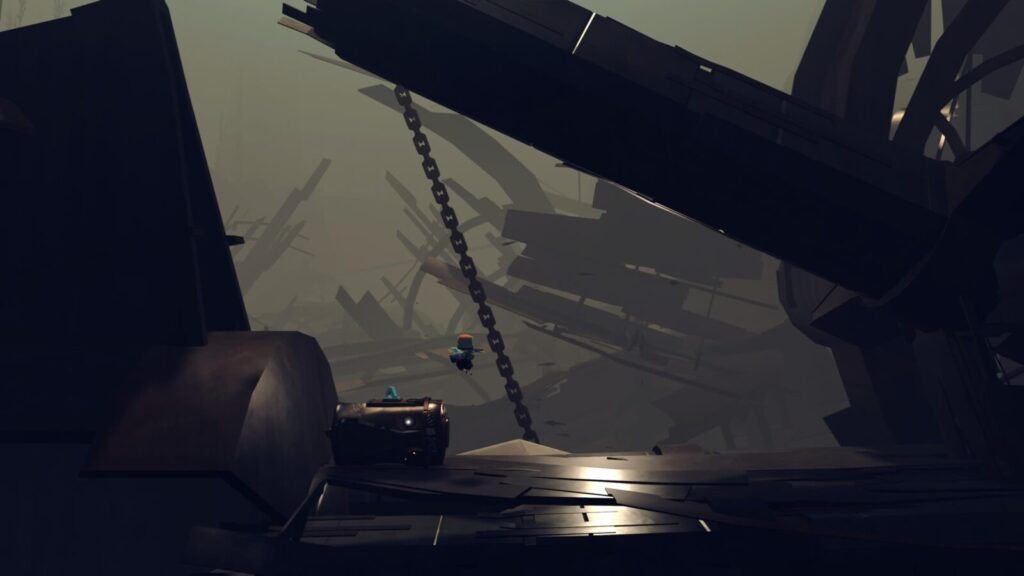
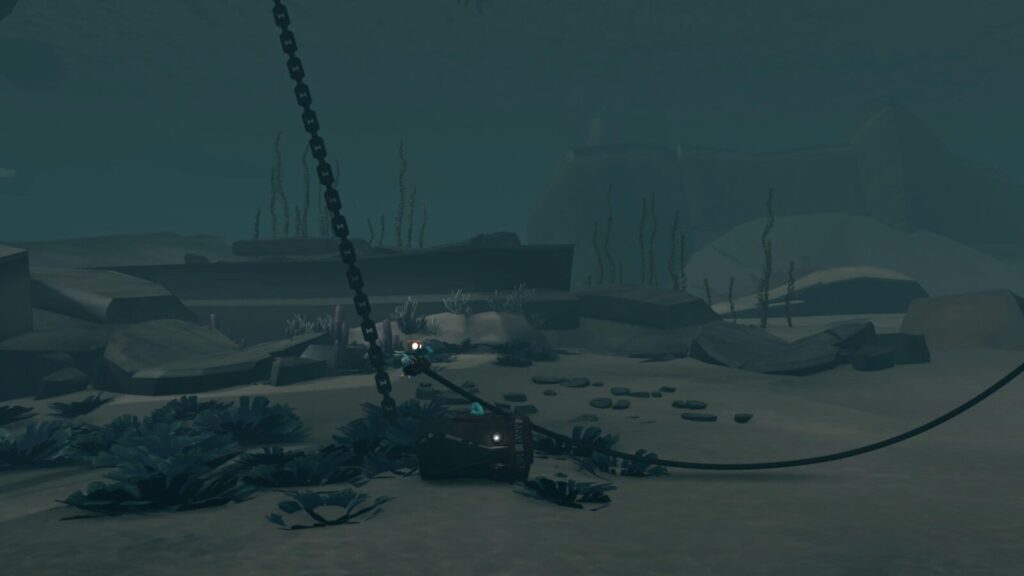
If you do happen to be using your Vessel’s Submarine capabilities, do keep your eye out for a large chain, indicating the presence of a buoy at the surface.
Below, I’ve provided guidance on each Buoy’s location as well as screenshots for your convenience.
Buoy #1
The first Buoy that you come across is unavoidable, you’ll need to push through it as part of the story, as you won’t be able to sink underwater yet.
Buoy #2
After attaching the new Stern, earning the All Patched Up trophy, and sailing out of the hangar, keep heading right along the water’s surface to find the next buoy. Your vessel still can’t dive underwater at this point, so you can’t miss this one.
Don’t forget to collect Container #2 in the water below.
Buoy #3
After sailing through the Seagate, continue sailing to the right. You’ll sail over a sea of Jellyfish and then start to see ice. Continue sailing right.
Eventually, you’ll reach an area with some scrap metal. At the end of a huge destroyed ship’s hull, you’ll find the next Buoy.
Don’t forget to collect Container #4 in the water below.
Buoy #4
After Buoy #3, you will enter a heavy storm, which you’ll need to use many resources to get through.
At the other side, you’ll come to another large scrap-filled area, with a Buoy at the beginning.
Stay at the surface after the storm and you can’t miss it!
Don’t forget to collect Container #5 in the water below.
Buoy #5
After exiting the previously-sunken city and unlocking the What Now? trophy, continue sailing right along the water’s surface and you’ll eventually reach and push another Buoy.
Don’t forget to collect Container #6 in the water below.
Buoy #6
After unlocking Reunited, continue sailing right along the water’s surface towards the Waterfalls. You’ll automatically bump into and push this buoy out of the way as long as you don’t dive underwater.
Don’t forget to collect Container #7 in the water below.
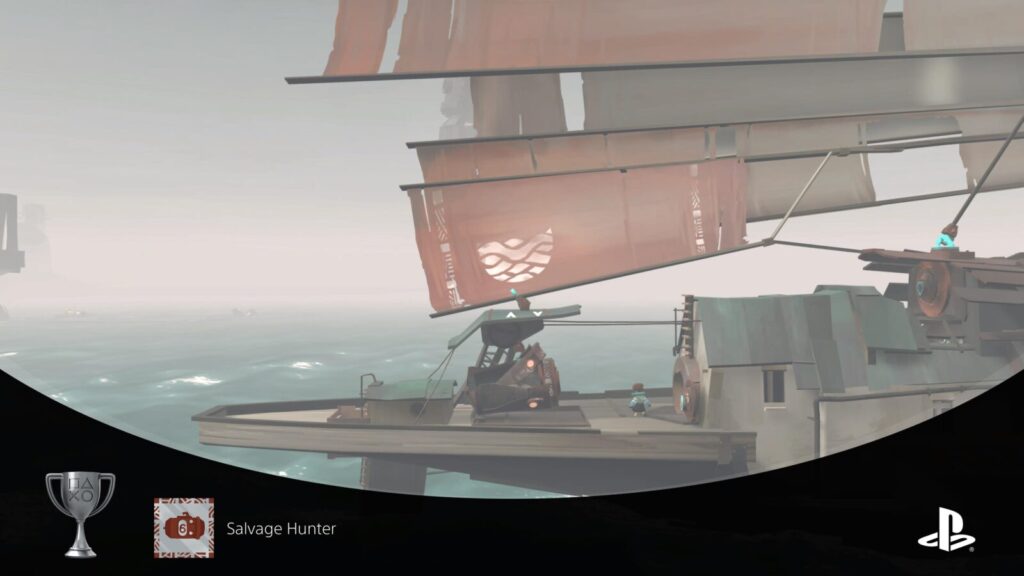
Salvage Hunter
Salvage the contents of 6 containers in a single journey
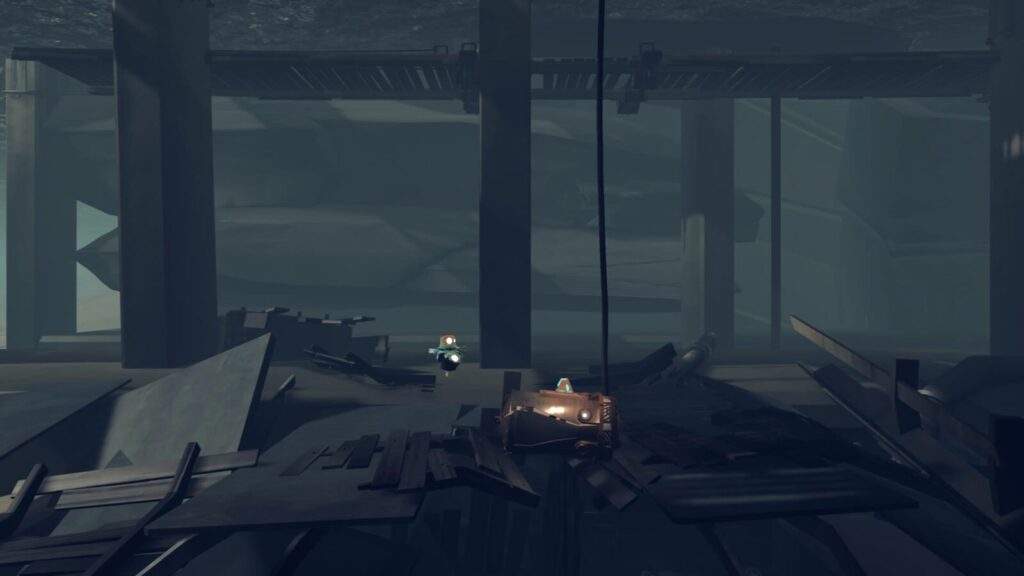
To unlock the “Salvage Hunter” trophy, you will need to find 6 of the 7 available containers and then, using the ship’s stern crane, pull them up to the surface.
As you only need 6, it is possible to safely miss just one of these containers. However, their locations are not difficult to find, they’re usually just at the base of a Buoy’s chain. See Oh Buoy for Buoy locations.
You won’t have the stern crane until you get the Vessel’s new stern (unlocking All Patched Up). After that, though, you should keep an eye out for containers.
I’ve detailed each container’s location and provided screenshots below.
Container #1
The first container you can find is directly below your vessel after you successfully attach the Stern. Just drop the crane underwater without moving the boat, and then pull the container up to the vessel once attached to plunder its contents.
Container #2
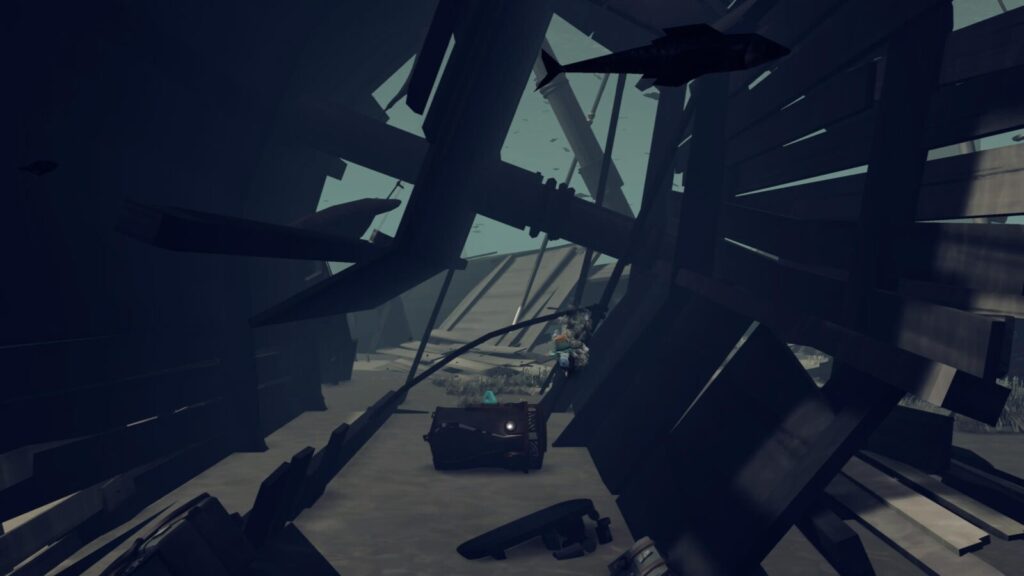
After progressing through the level to the second unavoidable buoy, stop your vessel and search underwater for this second container near the base of the buoy’s chain.
Pull open the hatch on the right side of the shipwreck’s hull and then feed the crane’s hook down to the container within.
Container #3
The third container is in clear view as you work on opening the underground gate. You won’t be able to get it when you first see it, but after clearing a way through for the crane’s hook, bring it down from the ship and hook it onto the container before pulling it back up.
You actually can’t progress without at least moving it out of the way.
Container #4
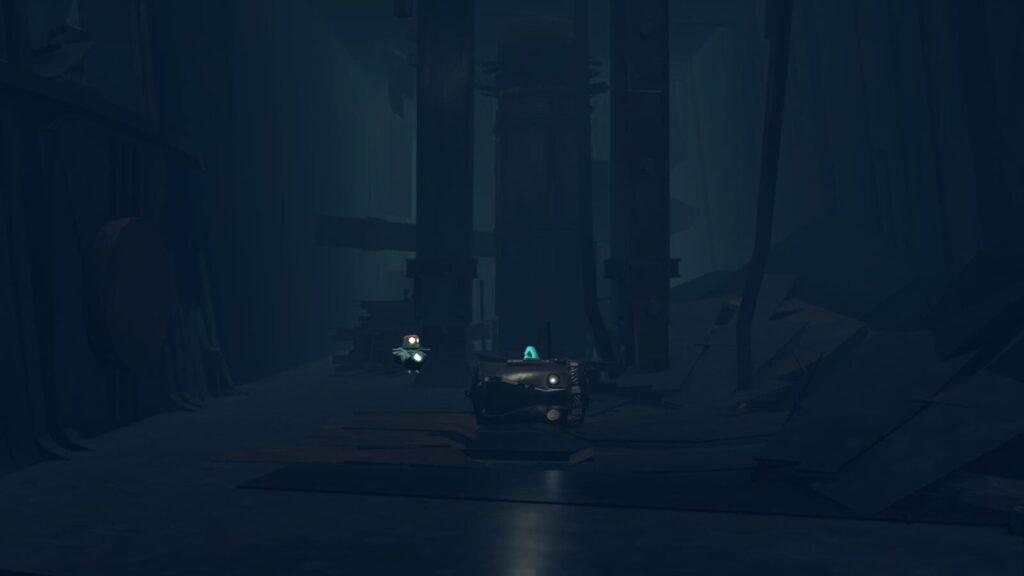
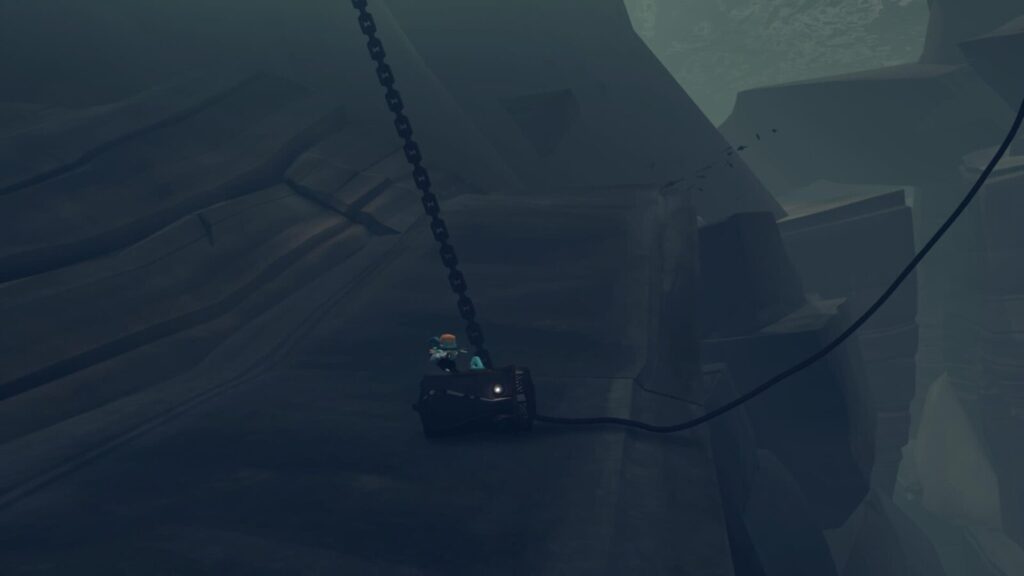
Once you reach Buoy #3, after passing through the Seagate, go underwater and swim all the way to the bottom of the buoy’s chain.
Your path will be blocked. Go to the right, grab the box, and drag it onto the turbine. It will weigh the right side down, raising the left side.
You can now grab the crane hook from your ship’s stern and swim under the left side of the turbine to collect the container.
Container #5
At Buoy #4, swim underwater and you’ll see this container at the base of its chain. There’s no gimmick to this one, just hook it up and pull it to the stern.
Container #6
At buoy #5, swim again to the base of the buoy’s chain to find another container in very plain sight!
Container #7
As you can likely imagine, Container #7 is at the base of Buoy #6’s chain.
Unmissable Story Trophies

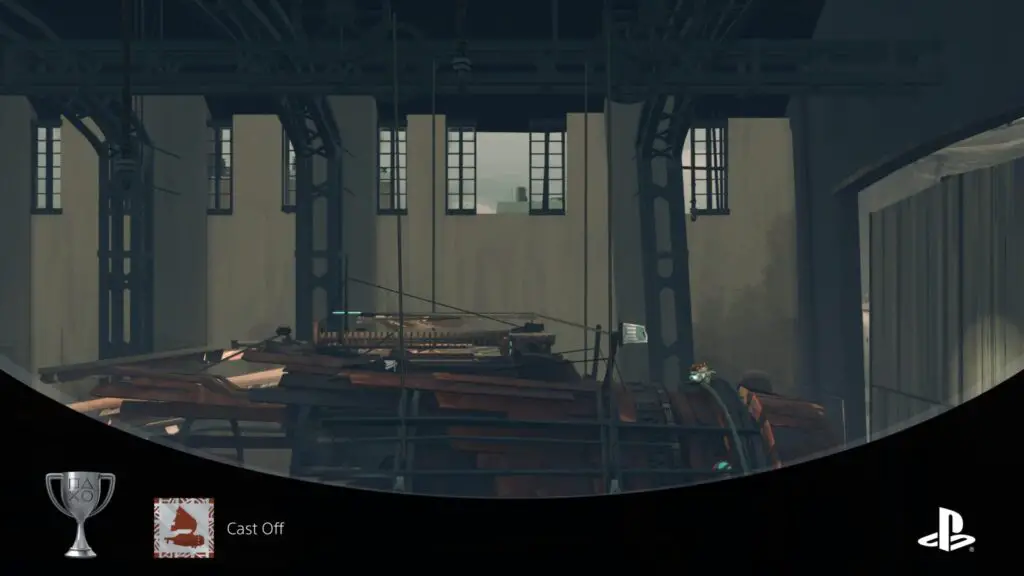
Cast Off
Release the vessel
This will be the very first trophy. Once you reach the ship at the end of the intro section, raise the sails and sail it out of the hangar to unavoidably receive the Cast Off trophy.

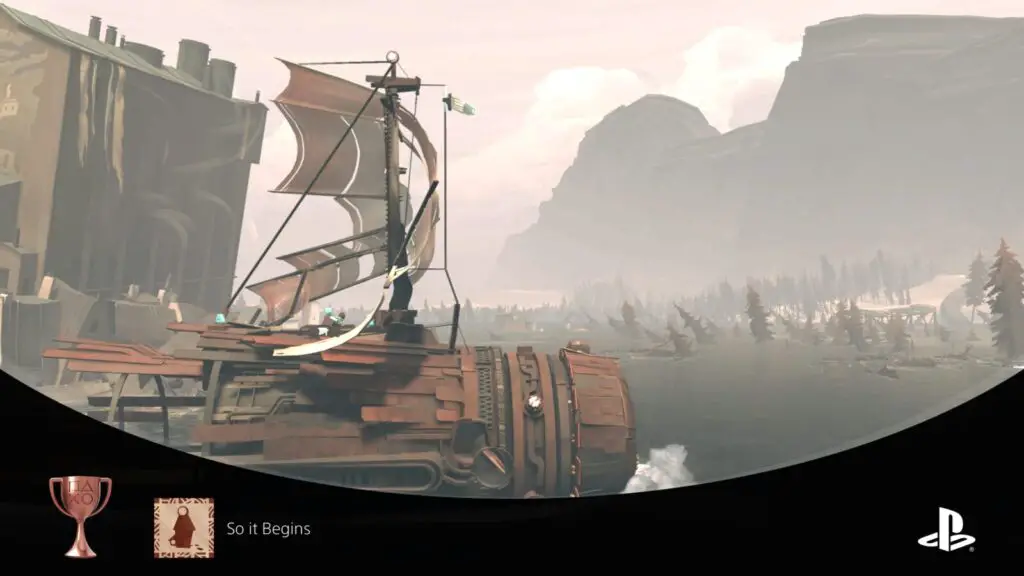
So it Begins
Leave home
After receiving Cast Off, setting off in the vessel, and sailing to the right for about 60 seconds, you’ll also automatically receive the “So it Begins” trophy.

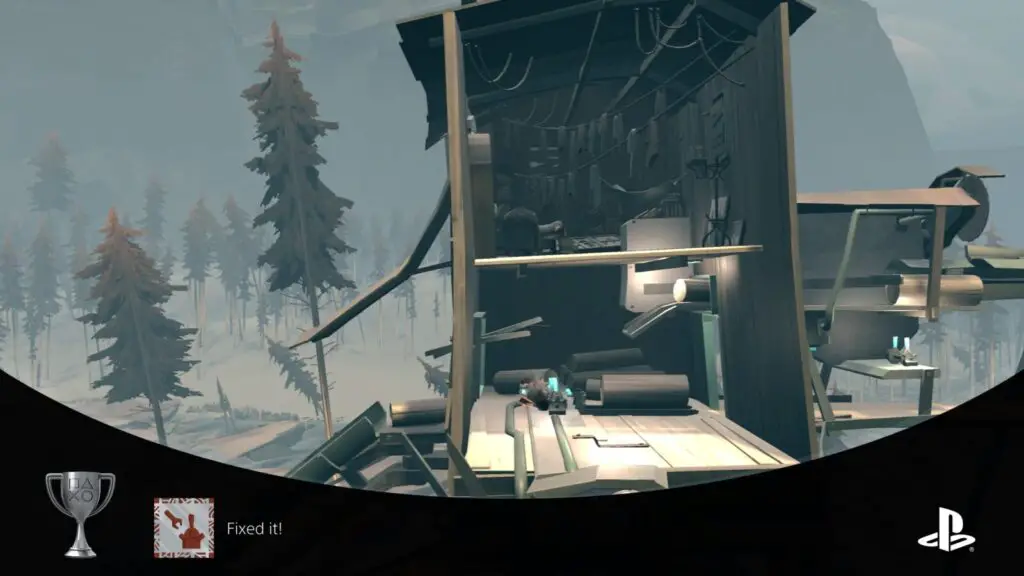
Fixed it!
Repair the lever at the sawmill
The first proper puzzle you’ll encounter after sailing away on the vessel is at the Sawmill. Here, you need to move a chute out of the way to proceed, but the lever is broken.
Upon fixing it with the repair tool you’ll acquire here, you’ll receive the Fixed it trophy unavoidably.

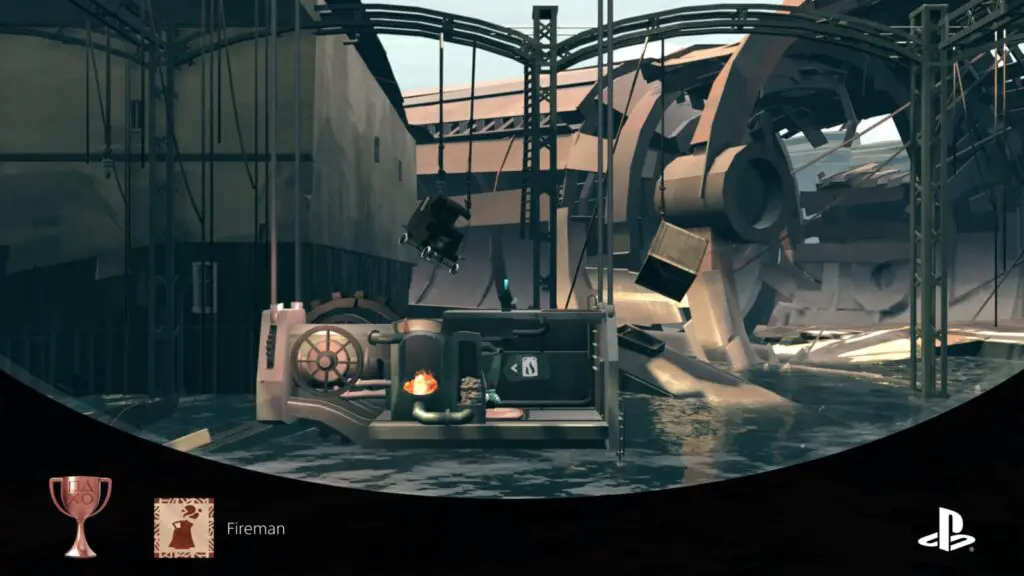
Fireman
Load the firebox and light the train engine
At a certain point in the story campaign, you will need to fuel and ignite a locomotive’s engine component to proceed. Upon doing so, the engine will be raised and placed into the train, and the Fireman trophy will unavoidably unlock.

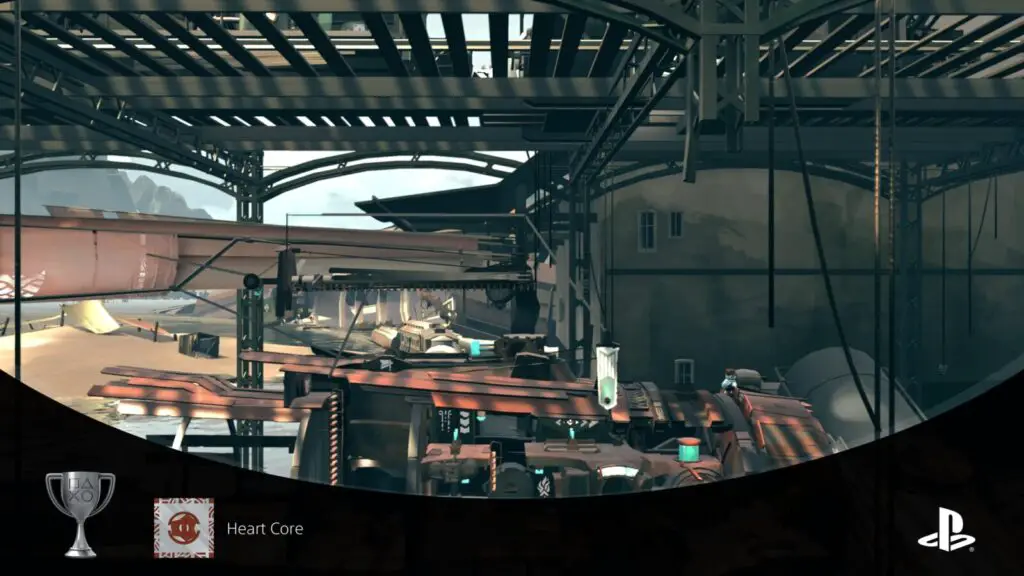
Heart Core
Install the Engine Module
In order to progress, at a certain point, you will need to connect a locomotive to its trailer, and then move the train and its carriage as far left as you can. From there, pushing the blue button on the trailer will lower the engine module down onto your vessel.
You will immediately unlock the “Heart Core” trophy. Activating the new module by jumping on it will unlock access to the Engine Room.

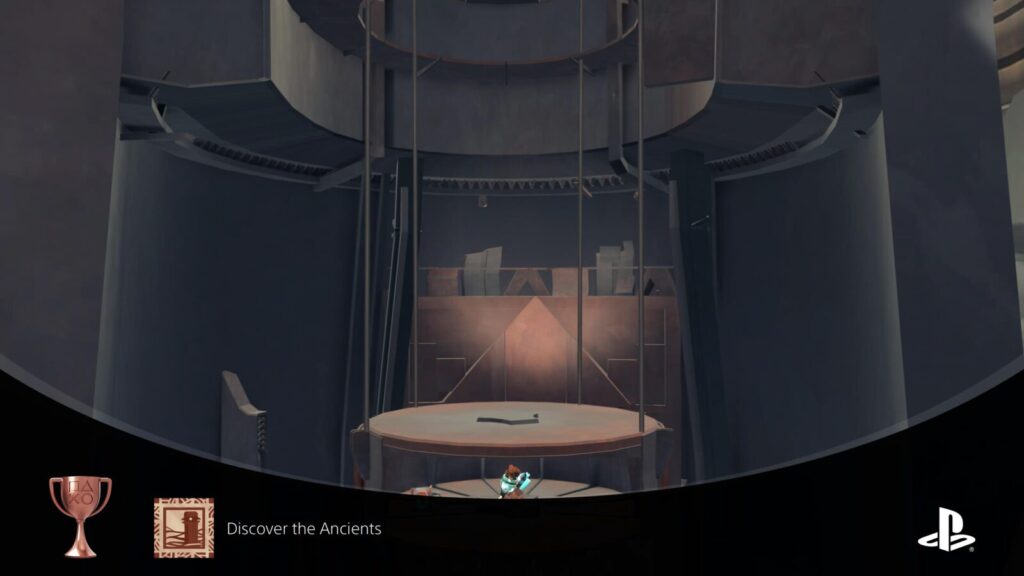
Discover the Ancients
View the Ancient's murals
After climbing a large tower as part of the story, you will repair and activate an elevator, which will then take you back down to the base of the tower.
On the way down, you’ll notice the large murals on the shaft walls and unavoidably receive the “Discover the Ancients” trophy.

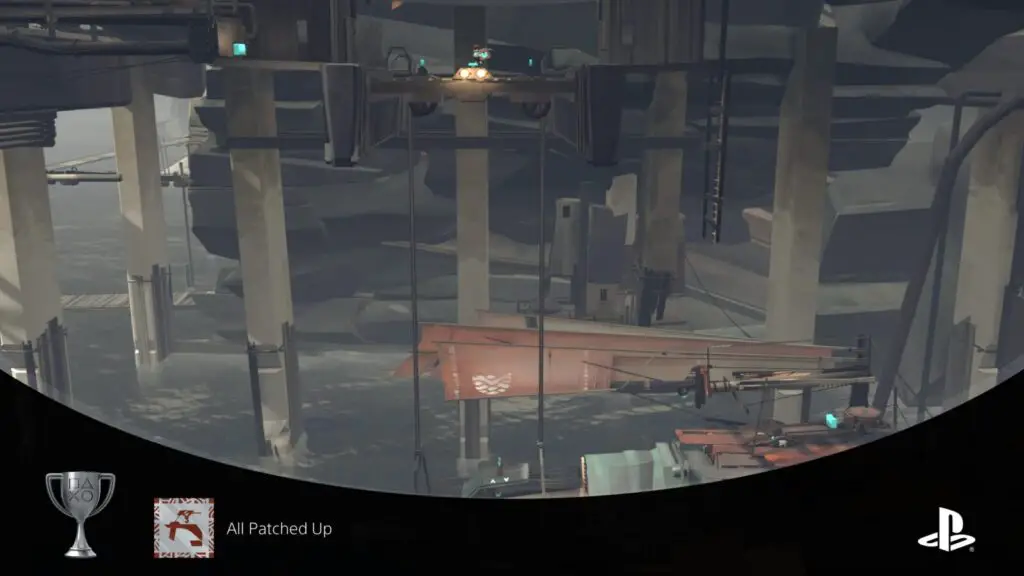
All Patched Up
Attach the new Stern Module
After unlocking the Discover the Ancients trophy, you will use a mechanism to install a new Stern onto your vessel. Upon doing so, you’ll unavoidably receive the All Patched Up trophy.
From this point on, you should start keeping an eye out for the 6 Missable Buoys and 7 Missable Containers. You will also be able to unlock Cultivating.

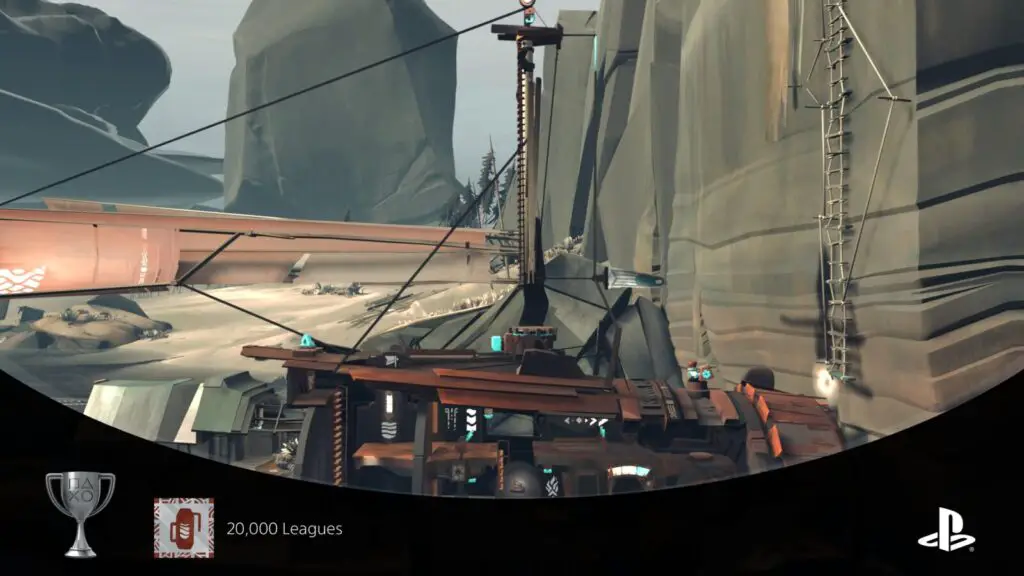
20,000 Leagues
Install the Diving Module
You will install the Diving Module as part of a puzzle which involves climbing a cliff and using water to manipulate an elevator platform.
Upon installing the new module on the ship, climb back down to it and stomp on the module to lock it in place and activate the diving module, allowing you to use the vessel’s submarine capabilities to progress further.
Upon doing so, the 20,000 Leagues trophy will unlock!
From this point on, it is possible for you to miss Buoys by passing by under them. Keep an eye out for large chains whenever you’re in the water, indicating the presence of a buoy at the surface!

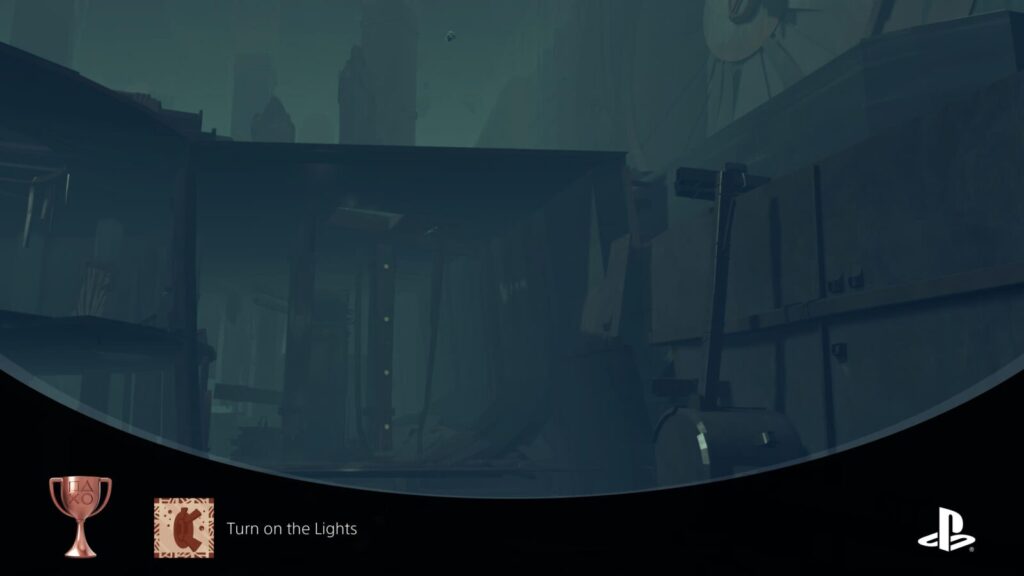
Turn on the Lights
Activate the underwater gate
After your first stint using the ship’s submarine capabilities, you’ll eventually come to a large underwater door. To open it, you’ll need to use the Ship’s Crane to open an underwater pipe, then lift Container #3 up out of your way.
After that, you can press the button to open the gate and receive your “Turn on the Lights” trophy!

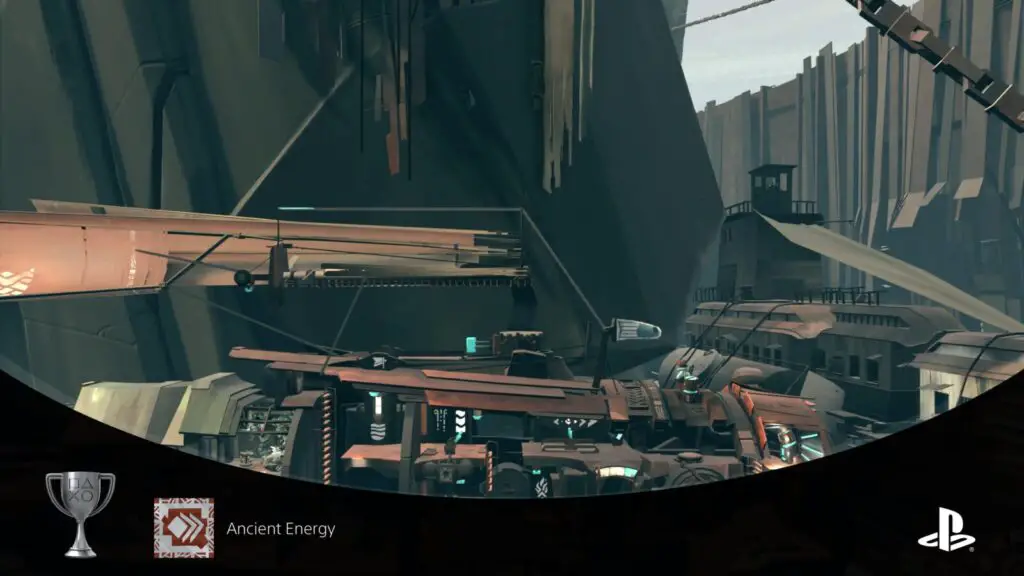
Ancient Energy
Install the Energy Boost Module
You will receive the Boost Module as part of the story after completing a puzzle in which you need to keep an engine fuelled, burning, and cooled simultaneously long enough for power to travel down a cable.
Once the module is on your ship, you can activate it by jumping onto it, unlocking the Ancient Energy trophy.

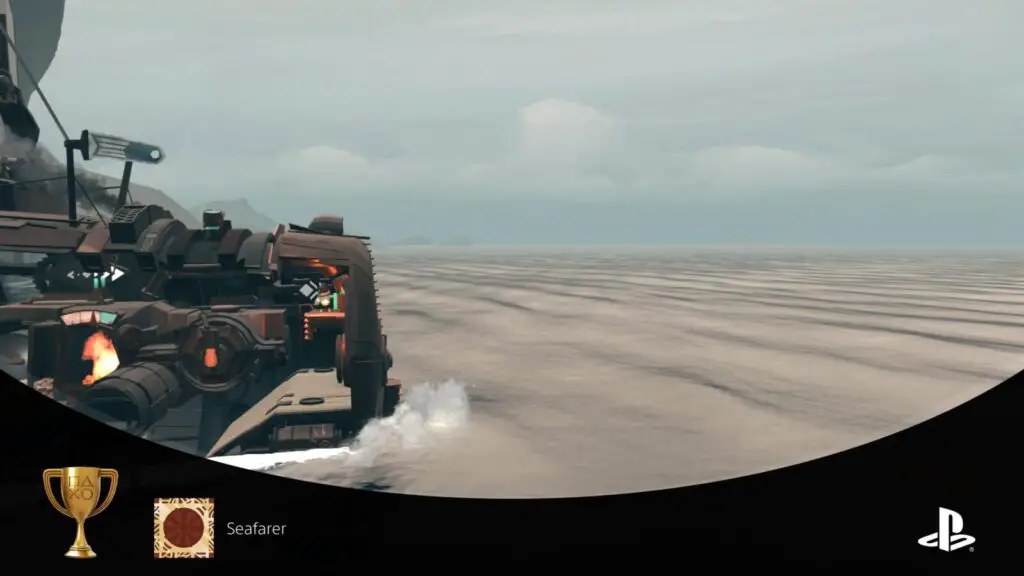
Seafarer
Pass through the sea gate
Shortly after unlocking Ancient Energy, you will need to use your new Boost Module to push through the blockage, which in turn pulls a chain, opening the Sea Gate.
Continue to the right and you’ll pass through the gate, unlocking Seafarer in the process.

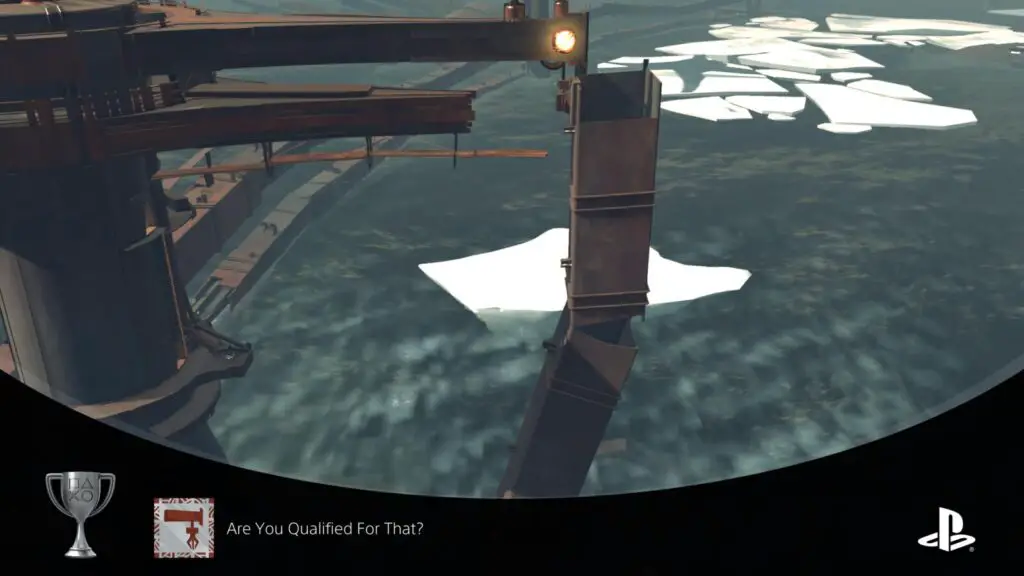
Are You Qualified For That?
Use the crane to clear the way
At a certain point in the story, you’ll need to climb a tall tower with a crane on it. Using its controls, you need to move some debris from the base of the tower’s right side.
Upon doing so, the “Are You Qualified For That?” trophy will unlock.

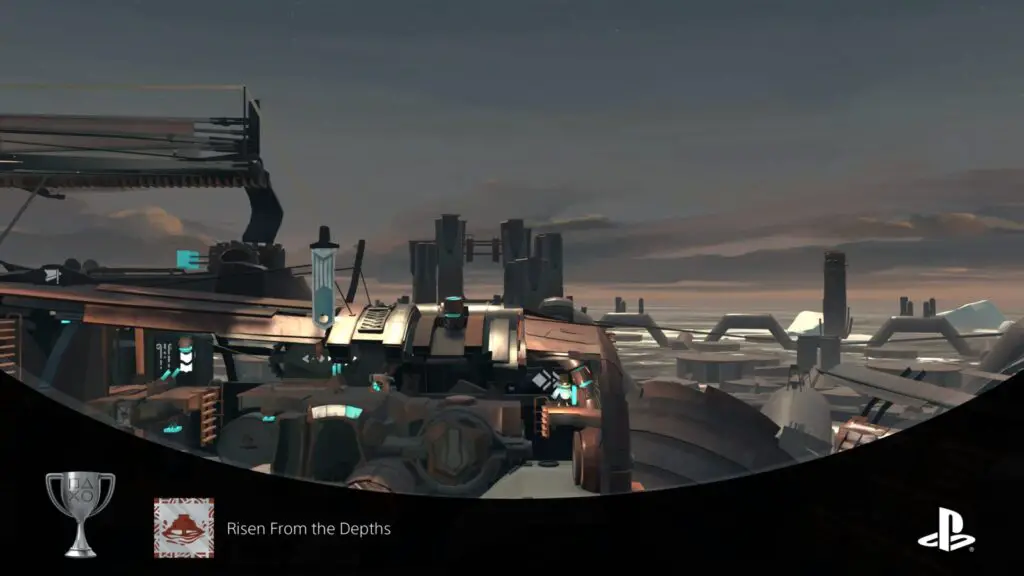
Risen From the Depths
Complete the ascent of the floating city
At a certain point in the story, you’ll need to dock your vessel into the top of an underwater tower. Then, by swimming through a pipe and accessing the tower’s engine, you can replace the broken part using the overhead crane.
Once the parts are swapped out, swim up to your ship and then activate your Boost Module to power the whole underwater city, which will then rise to the surface, unlocking the “Risen From the Depths” trophy.

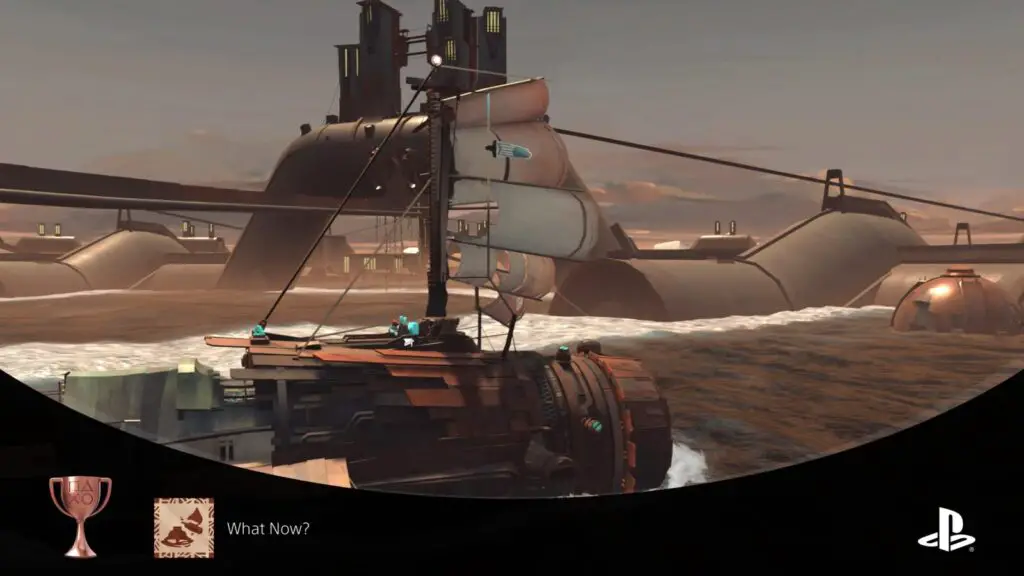
What Now?
Leave the floating city
After unlocking the Risen From the Depths trophy, your ship will be stuck on top of the newly-risen city. You’ll need to climb a ladder on your left all the way to the top. At the top, jump on the blue button to activate the city and progress the story.
Return to the ship and raise the sail, thus having the wind push you from the top of the city and into the water.
Continue right for a short while and you’ll unavoidably receive the “What Now?” trophy.

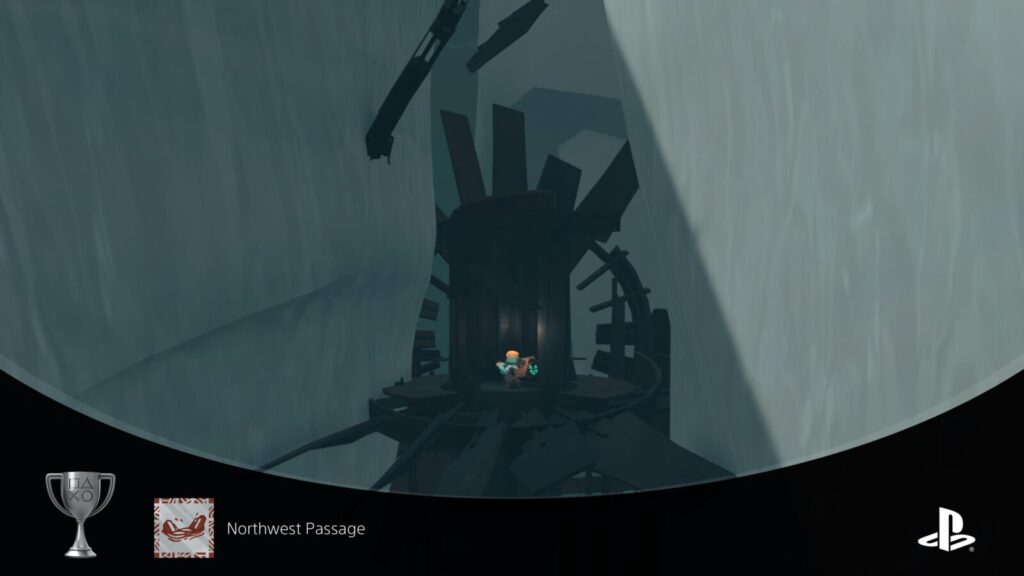
Northwest Passage
Resurface between the ice
At a certain point in the story, you’ll lose your vessel temporarily while working on some underwater machinery.
In your efforts to retrieve it, you’ll eventually ride a small pod up through the ice to the surface, unlocking Northwest Passage in the process.

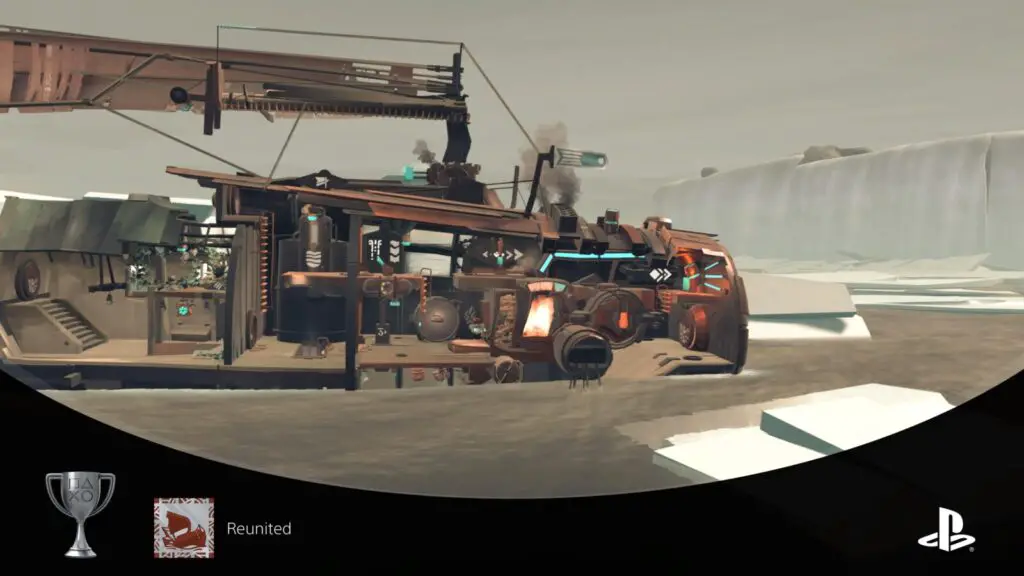
Reunited
Free the vessel from the ice
After unlocking Northern Passage, continue on until you rediscover your vessel. Fuel, activate, and maintain the engine to break your ship away from the ice.
Upon doing so, you’ll unlock the Reunited trophy.

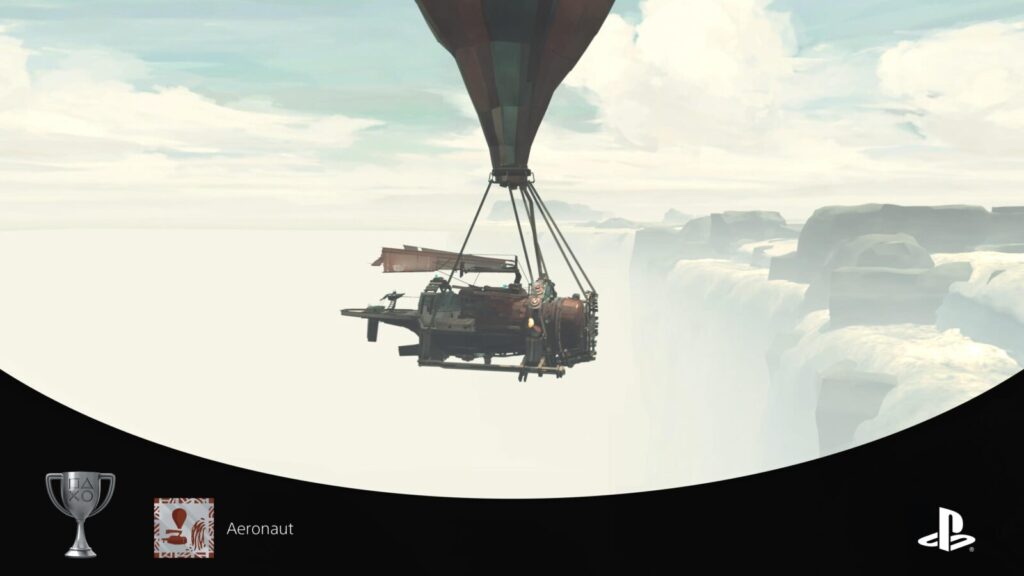
Aeronaut
Inflate the balloon and float over the waterfall
Upon reaching the waterfalls, you will be unable to progress further without another upgrade. By diving at the base of the waterfall, you’ll find a large contraption with a grapple point at the front of it.
You can open the contraption by pulling at the grapple point with your vessel’s crane, and then park your vessel inside to have it lock in place.
By firing up the engine, you’ll then discover that the contraption is infact a hot air balloon. It will inflate from the heat of the engine and slowly bring you into the air, where you will unlock Aeronaut!
There are no more Buoys or Containers beyond this point, so you can begin playing more freely, without worrying about Missable Trophies.

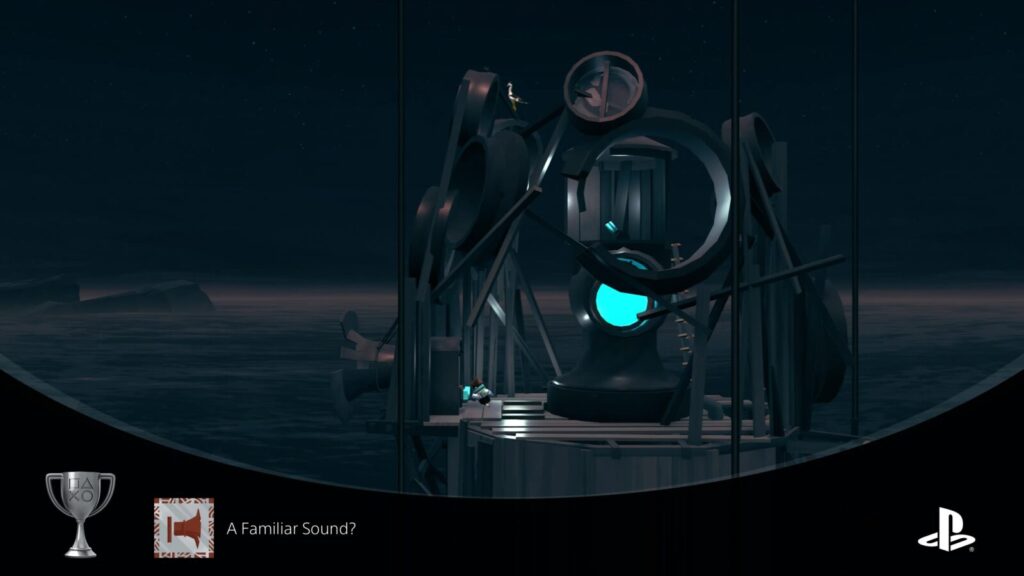
A Familiar Sound?
Sound the lighthouse horn
After soaring to the top of the waterfalls and eventually landing again, continue to the right until you reach a structure that looks a bit like a water tower. Head inside and grab the two boxes of fuel inside. Take them to the second floor of the tower, place them on the platform, and then press the blue button to feed them into the tower’s power core.
Once filled, climb the left ladder and hold the blue button at the top until the core is placed into the contraption at the top of the tower.
Enter the contraption and pull the lever to transform it. You will then be able to access another blue button on the other side of the contraption. Push it to sound a horn, unavoidably receiving the “A Familiar Sound?” trophy in the process.

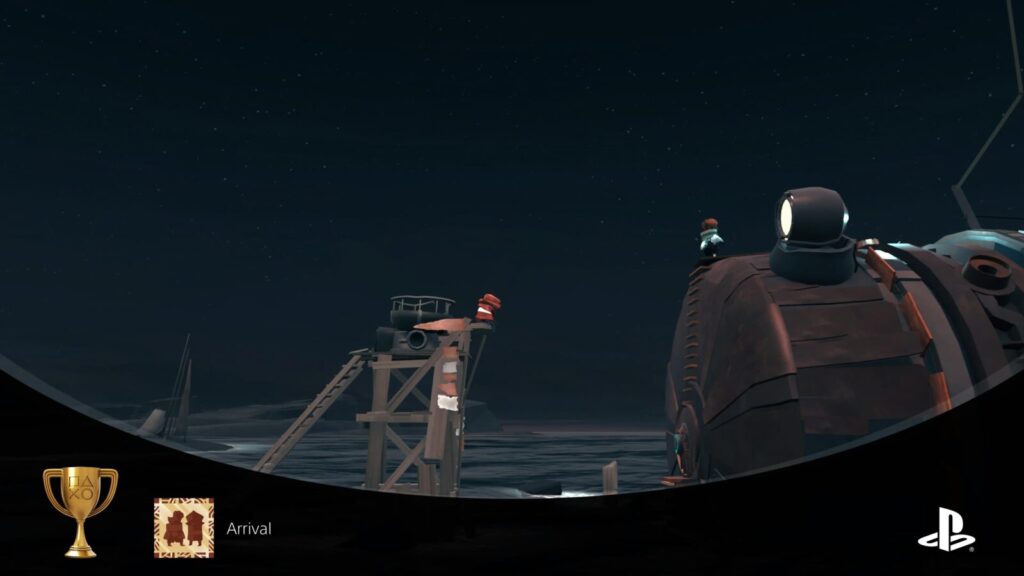
Arrival
Meet Lone
After receiving the A Familiar Sound? trophy, you’ll be facing left instead of right. Just continue sailing left until you eventually reach the end of the game, where you will unlock the “Arrival” trophy unavoidably.
Phase Two | Second Playthrough: Speedrun & Going Green
After unlocking Arrival at the end of your first FAR: Changing Tides playthrough, you will be returned to the main menu. Here, you can feel free to use the “Load” option to revisit past chapters if you need any of the Missable Trophies, or you can leave that until the cleanup in Phase Three.
Whenever you’re ready for your second playthrough, select “New Game” from the main menu and then get going! You have 3 hours and 30 minutes to complete the game if you want to unlock the At a Rate of Knots trophy.
While completing this second playthrough, it’s a good idea for you to unlock Going Green. Just remember to grab that same plant from the beginning of the game and bring it onto your vessel.
Unlock Going Green

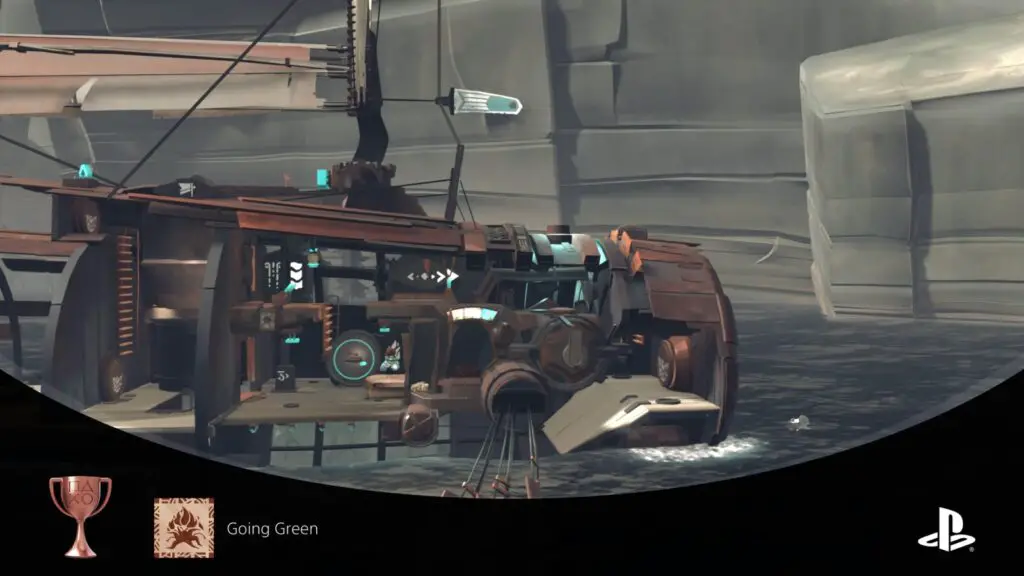
Going Green
Burn the flower
The Going Green trophy requires you to have the plant from the start of the game (See Cultivating). However, if you were to unlock the Going Green trophy, you would no longer be able to unlock the I’m Rooting For You! or Beauty in Disaster trophies. That’s why we’re only just getting to this trophy now, in your second playthrough.
Making sure that you grab the plant and bring it to the vessel, throw it into the furnace as soon as you have access to the ship’s engine room. As soon as you do so, the plant will be converted into fuel and you will receive the “Going Green” trophy.
If you are not doing or don’t need to do a second playthrough, you can just load any save from before you got the new Stern and the plant should still be there. Just toss it into the fire and receive your reward.
Complete the Game in Under 3.5 Hours

At a Rate of Knots
Complete the journey in less than 210 minutes
To unlock “At a Rate of Knots,” you will need to complete a full playthrough in 210 minutes total (3 hours 30 minutes). This isn’t too difficult to do, but it doesn’t leave much room for exploration as you’ll pretty much just need to make your way from puzzle to puzzle directly with little stopping in between.
It also helps a lot to know the puzzle solutions so that you can execute your playthrough more perfectly and avoid getting stuck anywhere. For that reason, it’s highly recommended that you attempt this in a second playthrough, especially as that frees you up to look for Missable Trophies in your first run.
To be honest, you won’t need to play too differently, you just need to avoid getting stuck or wasting large amounts of time. It’s also worth knowing that you can close the game or put your console into rest mode and then pick back up where you left off, without it affecting the timer.
Saying that, here are a few tips that will help you speed things up anyway:
- Stay on the water’s surface whenever you can, there’s little need to be underwater using fuel if you could be using your sails.
- Again, use your sails as much as you can. You don’t want to have to spend time looking for fuel, so save it for when you really can’t progress without it.
- Although you should have the trophy by now, it will still be helpful for you to grab some of the 7 Containers, because they’re typically full of resources. The latter two aren’t really worth grabbing, though.
- Always sail at full speed when you can. You’ll know when you’re going as fast as possible because some extra sails will open up.
- Check the water at the front of your boat regularly when you’re sailing on the surface, sometimes you’ll scoop up fuel and other resources that get stuck on the front of the boat.
- The timer pauses when the game does, so make liberal use of the pause feature to keep your run as short as possible.
- If you make a mistake that ends up costing you some time or feel like you could complete a puzzle a lot quicker, Load the last checkpoint! The timer will go back to what it was when the checkpoint was saved, so you’ll essentially get to rewind the timer and try again!
If you indeed complete the game quickly enough, the “At a Rate of Knots” trophy will unlock just before the credits.
Phase Three | Optional Cleanup
If you make it this far into your trophy journey and there are still trophies you need, namely the Missable Trophies or Miscellaneous Trophies, then now’s the time to mop them up. You can do so either via a whole extra playthrough or you can use the Load Menu to get what you need from specific parts of the game.
However you choose to proceed, enjoy the remainder of your trophy journey and the well-earned Platinum Trophy that awaits you at the finish line.
Miscellaneous Trophies

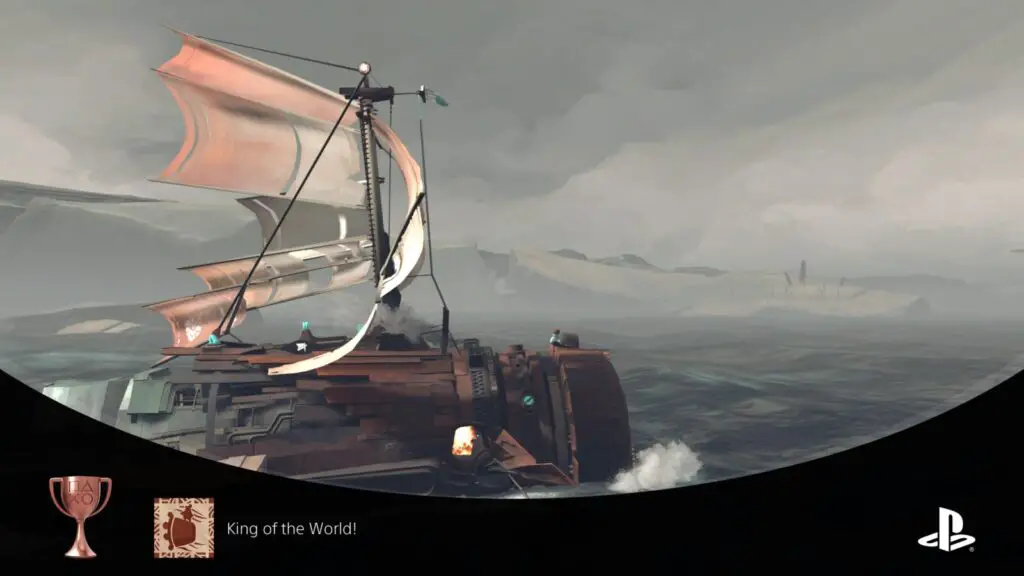
King of the World!
Stand at the prow of the vessel while travelling at full speed
Before you can unlock the “King of the World” trophy, you will need to have unlocked access to the Engine Room.
Once you have access to both the Engine Room and the sails, you should do the following;
First, ensure you’re in a space where there’s room to sail forward for a short time, and that there’s wind (the flag at the front of your ship will be pointing forward if so).
Next, raise the mast and prepare the sails. Position them until you reach max sailing speed (the flag will be at the top of the mast).
After that, quickly go into the engine room, fuel the engine, and turn it on, moving the speed control to the right-most arrow. Jump on the air pad next to the engine repeatedly until the needle in the gauge above the engine reaches the far-end of the right-most blue section.
The engine should now be operating at max speed. Quickly make your way to the top of the ship again. If needed, adjust the sails to reattain max sailing speed (if the winds changed while you were working on the engine).
Once both the engine gauge and the sail flag indicate that you’re moving at max sailing speed AND max engine speed, move all the way to the front of the ship and stand over the water.
If done correctly, King of the World will unlock!

Steady as you Go
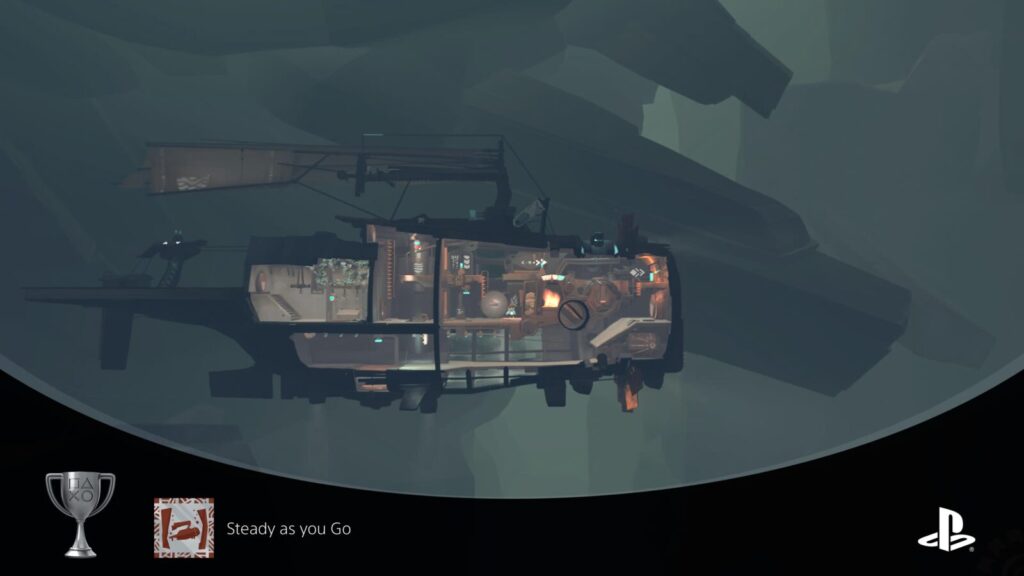
Navigate the underwater caves near the waterfall without bumping into them
When you arrive at the base of the waterfalls (this is Save #51 in the Load Menu), you will need to dive underwater and pass through a narrow cave in order to reach the hot air balloon at the other side.
In order to unlock the “Steady as you Go” trophy, you will need to navigate these tunnels without your vessel touching the floor or ceiling. It seems as though touching the seabed in front of the cave will also void the trophy, so be careful as you descend toward the cave.
If you get the engine going and then set it to the lowest setting, you can pretty much just keep hold of the diving controls and move yourself up/down as needed to avoid the rocks.
Going extra slowly and stopping between adjustments is also a viable strategy. Though it would take you a long time, there’s no good reason to rush here unless you’re attempting the trophy as part of your speedrun playthrough—which I certainly wouldn’t recommend.
Either way, you will want to be holding ![]() down the whole time. This will zoom the camera out as much as possible. You should also keep an eye on your vessel’s spotlights as they actually move to aim at the nearest hard surface, giving you a decent heads-up for any potential impact.
down the whole time. This will zoom the camera out as much as possible. You should also keep an eye on your vessel’s spotlights as they actually move to aim at the nearest hard surface, giving you a decent heads-up for any potential impact.
Once you pass through the tunnel and reach the area on the other side, the trophy will unlock. This happens at the same time as the game saving, so if you see the save indicator in the lower-right but the trophy doesn’t unlock, then you will need to try again.
If you’re still struggling, I recorded my successful run below, which may prove useful!

Submariner
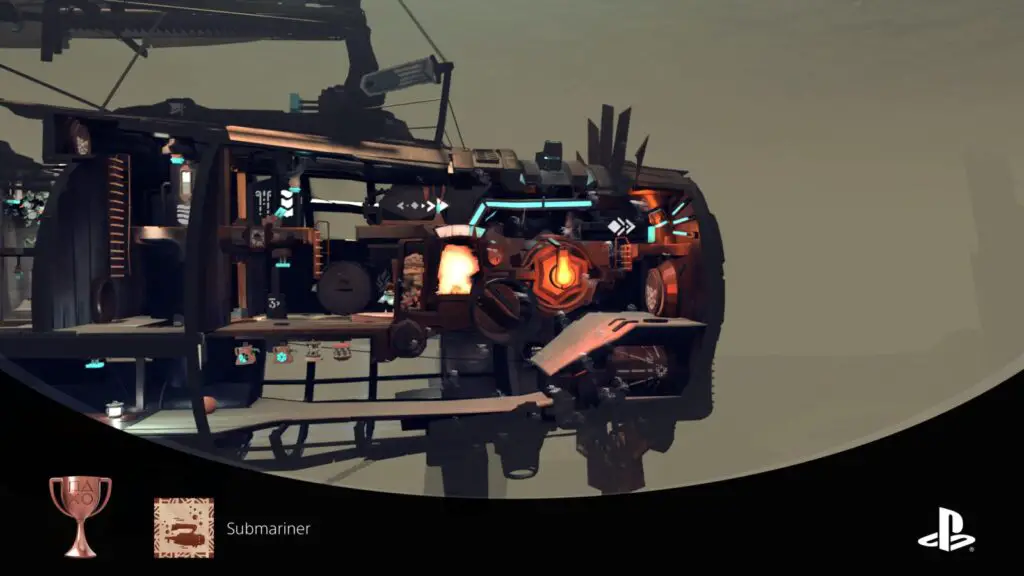
Travel 10000m aboard the vessel while submerged
The “Submariner” trophy is as simple as it looks, all you need to do is travel a cumulative distance of 10000 meters while underwater. This is counted across all of your playthroughs, too.
If you still don’t have the trophy by the end of the game, do the following:
- Load Part 30 via the “Load” menu
- Dive underwater
- travel as far as you can by engine power
- Load Part 30 again
- Repeat until Submariner unlocks!

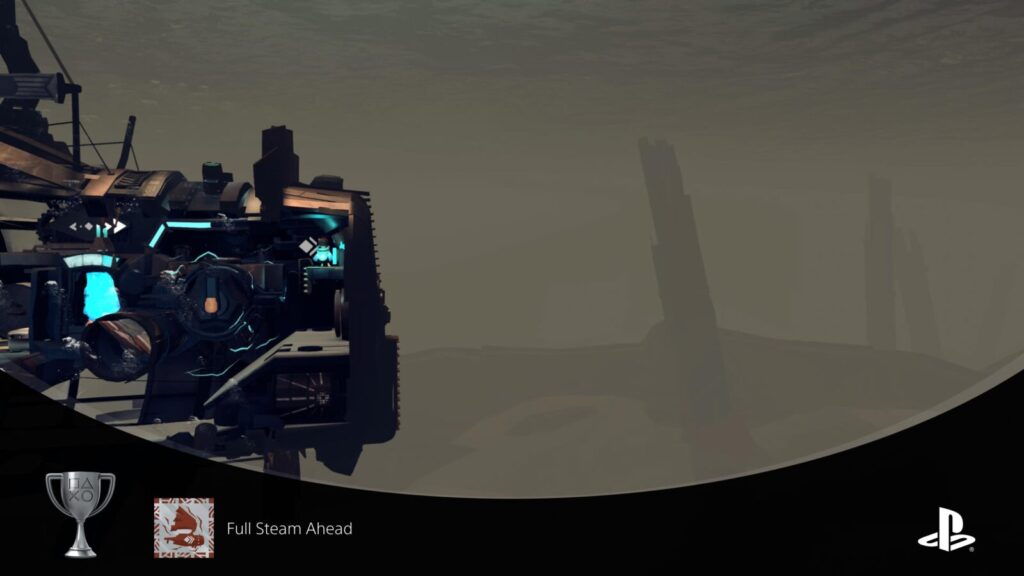
Full Steam Ahead
Travel 1000m using the Boost Module
The “Full Steam Ahead” trophy is as simple as it looks, all you need to do is travel a cumulative distance of 1000 meters with the Boost Module active. This is counted across all of your playthroughs, too.
If you still don’t have the trophy by the end of the game, do the following:
- Load Part 30 via the “Load” menu
- Get the engine up to full power (blue section on gauge)
- Maintain full power until the Boost Module is charged
- Activate the Boost Module
- Repeat until Full Steam Ahead unlocks! (Load Part 30 again if you run out of ocean to boost through)
It can be farmed alongside Submariner.

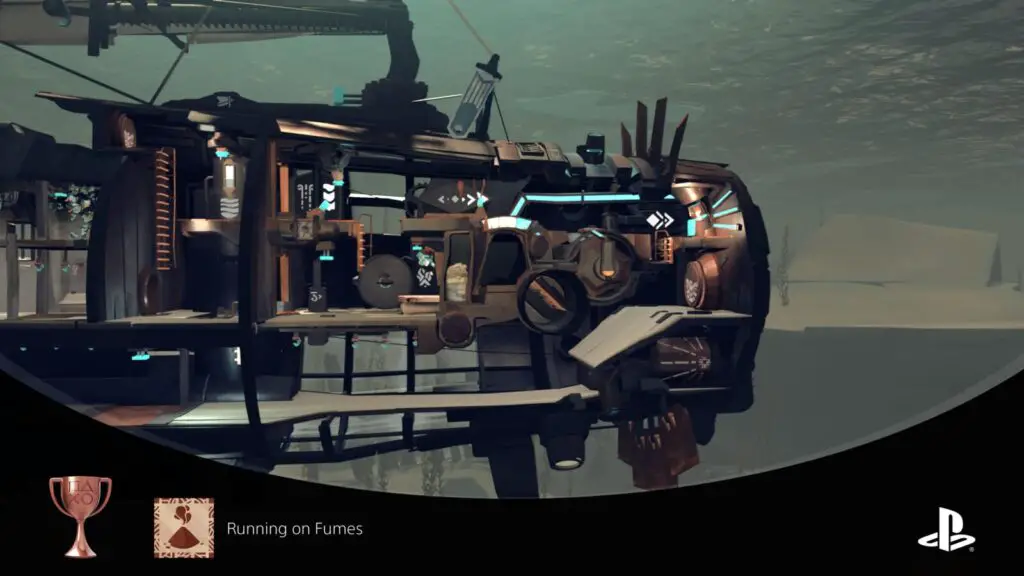
Running on Fumes
Burned the last item onboard
Essentially, all you need to do to unlock “Running on Fumes” is to burn every single burnable item on the vessel, until there’s nothing left to use as fuel. This may unlock naturally for you if you find yourself in a tricky spot, but as you’ll be looking after your resources most of the time, you may also not have it by the end of even your second playthrough.
Just load a save at any point in the game, then throw everything that’s not nailed down into the engine, including repair tools and trinkets. Once you throw your last flammable item into the fire, the Running on Fumes trophy will unlock!

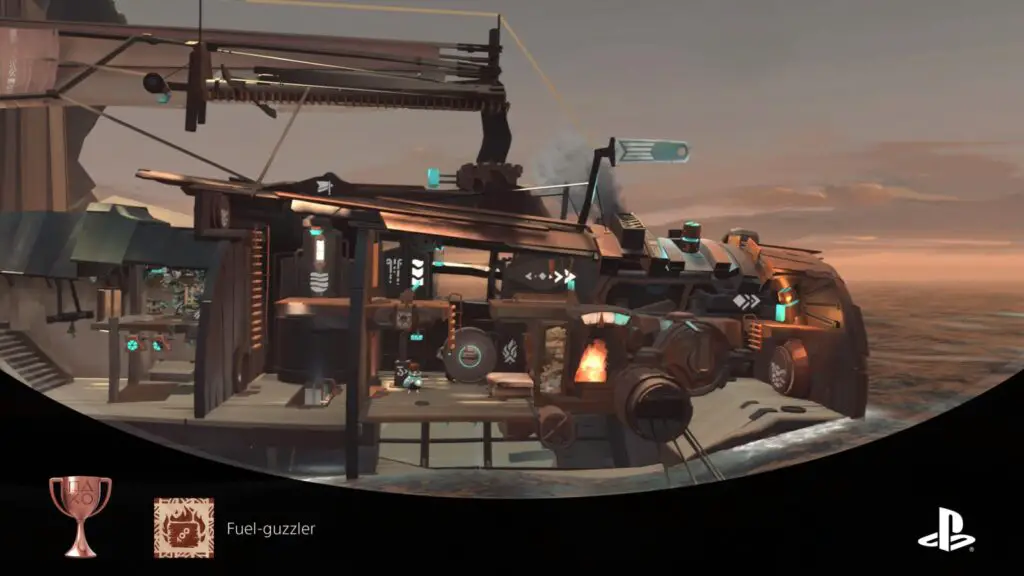
Fuel-guzzler
Burn 100 fuel
To unlock the “Fuel-guzzler” trophy, you need to place at least 100 total items into the furnace. The cumulative nature of this tally means that the fuel you burned throughout both of your playthroughs will be counted.
However, if you still don’t have the trophy by this point in your trophy journey, just load a save from a time when you had plenty of fuel items, and then burn them all. Rinse and repeat.
For me, I had a full cargo at Part 30, so that’s where I farmed the trophy. Alongside Submariner and Full Steam Ahead.

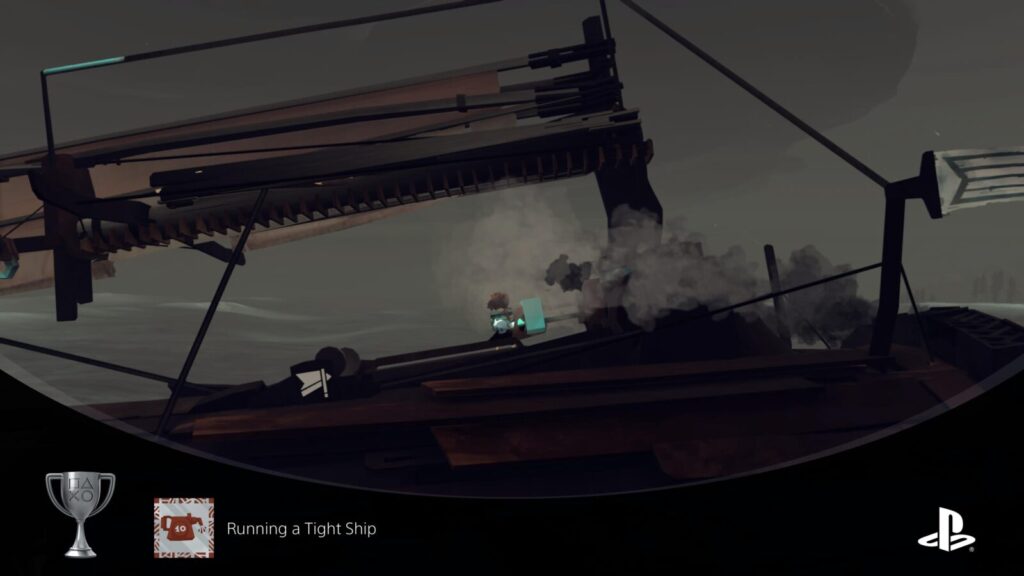
Running a Tight Ship
Successfully repair key parts of the vessel 10 times
In FAR: Changing Tides, your ship’s various components can break. You may hit your sails on a cliffside, damage the mast on some overhanging architecture, or overheat your engine in pursuit of speed. However it happens, damaged parts of the ship cannot be operated anymore, and will need to be repaired.
Their damaged state will be indicated by the presence of smoke and sparks. Note that the smoke from the engine vents does not indicate an issue.
To repair a component, you need a repair tool. They look like oil cans with large circular pizza-style indicators on the side, which show how many uses that particular tool has left.
You will find several repair tools throughout journey, and I recommend you keep hold of them as much as possible.
Your vessel will likely need far more than just 10 repairs in a single playthrough, making this trophy practically unmissable. Possibly 100% unmissable.

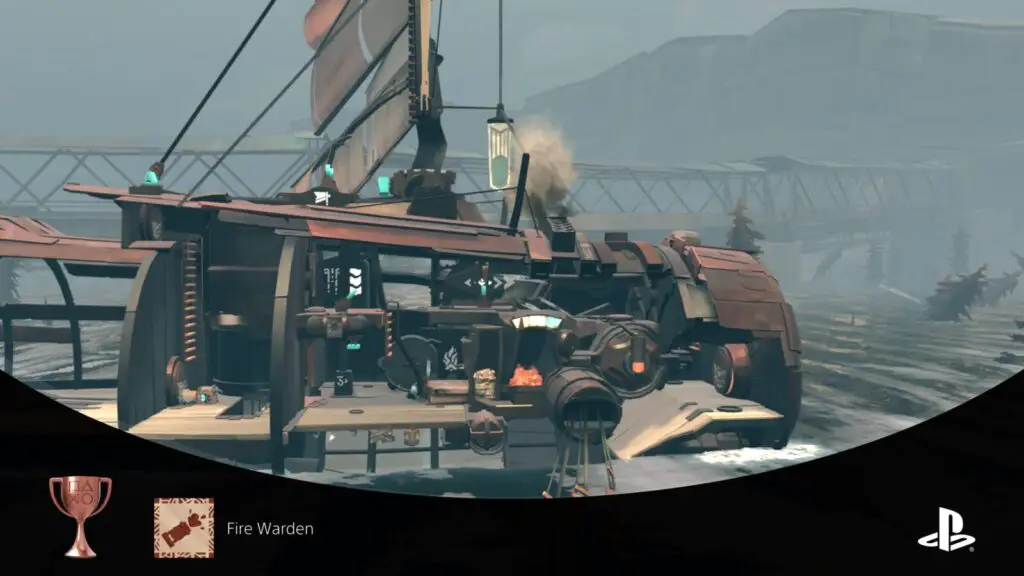
Fire Warden
Douse the engine to keep it cooled
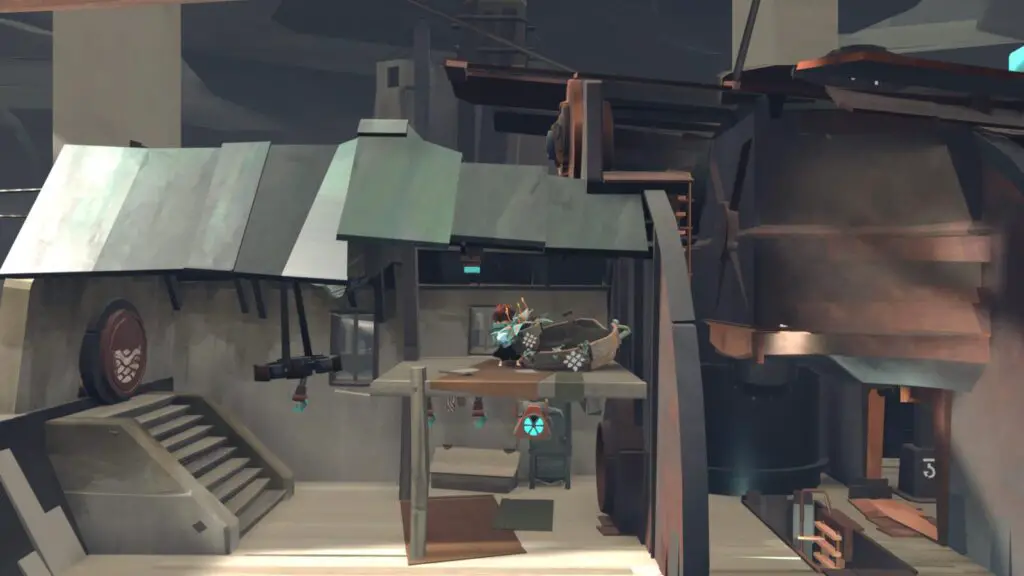
After unlocking the Heart Core trophy, you will be able to gain access to the ship’s engine room. In here, among many other levers, buttons, and machines, there’s a hose in the upper-left corner.
This hose is operated via the lever below it. When pointing left, the hose will suck water up into it. When pointing right, the hose will expel water. You can then grab the hose itself with ![]() and it will automatically begin operating based on your lever selection.
and it will automatically begin operating based on your lever selection.
To unlock the Fire Warden trophy, first put some fuel into the furnace and then activate it, starting a fire in the engine.
Next, with the hose’s lever pointing to the right, grab the hose and simply aim it toward the engine. The stream of water will extinguish the fire. It’s a handy way to avoid wasting fuel and you’ll immediately unlock Fire Warden upon doing so for the very first time!
PlatGet!

Changed Tides
Attain all other trophies
After collecting every trophy in this FAR: Changing Tides Trophy Guide, the "Changed Tides " Platinum Trophy will unlock. Congratulations!
Thanks for Reading
Plat Get!
Thank You!
Thank You for choosing PlatGet as your source for this FAR: Changing Tides Trophy Guide.
Wondering what to complete next? Browse our complete guide selection or check out our friends at PlatPrices.com to filter the PS Store based on price, trophy difficulty, or completion time.
Got a question, some feedback, or just want to say thanks? Drop a comment in the discussion section below, we'd love to hear from you! No account required!!
Discussion
We've Partnered with NordVPN

