PlayStation 4, PlayStation 5
Deep Rock Galactic Trophy Guide


General Info
FAQ
How long does it take to beat Deep Rock Galactic and unlock all trophies?
Over 500 Hours, depending on your skill, patience, and team..
How difficult is it to beat Deep Rock Galactic and unlock all trophies?
Medium (5/10).
Does Deep Rock Galactic have online trophies?
Yes.
Does Deep Rock Galactic have difficulty-specific trophies?
Yes.
Does Deep Rock Galactic have missable trophies?
No.
Does Deep Rock Galactic have glitched trophies?
No.
What is the minimum number of playthroughs required to unlock all trophies in Deep Rock Galactic?
Each mission could be considered a playthrough. You will need to complete at least 500 missions.
Does Deep Rock Galactic have a Platinum Trophy?
Yes.
Trophy Guide
Deep Rock Galactic Trophy Guide and Road Map for PlayStation 4 & PlayStation 5
Welcome to our Deep Rock Galactic Trophy Guide. Deep Rock Galactic is a unique resource-management game in which you complete mining missions on an alien planet to gather resources and upgrade your Dwarf.
The game’s honestly a lot of fun, with a great sense of humour, a fun style, and some real addictive gameplay. The issue, as you’ll see, is an absurdly long Trophy Journey with some really challenging moments.
Phase One – Complete Tutorial and First Assignment
This first phase of our Deep Rock Galactic Trophy Guide is simply dedicated to the game’s introductory content. Keep the tough, upcoming challenges out of your mind whilst you enjoy discovering what DRG has to offer.
Introduction Trophies


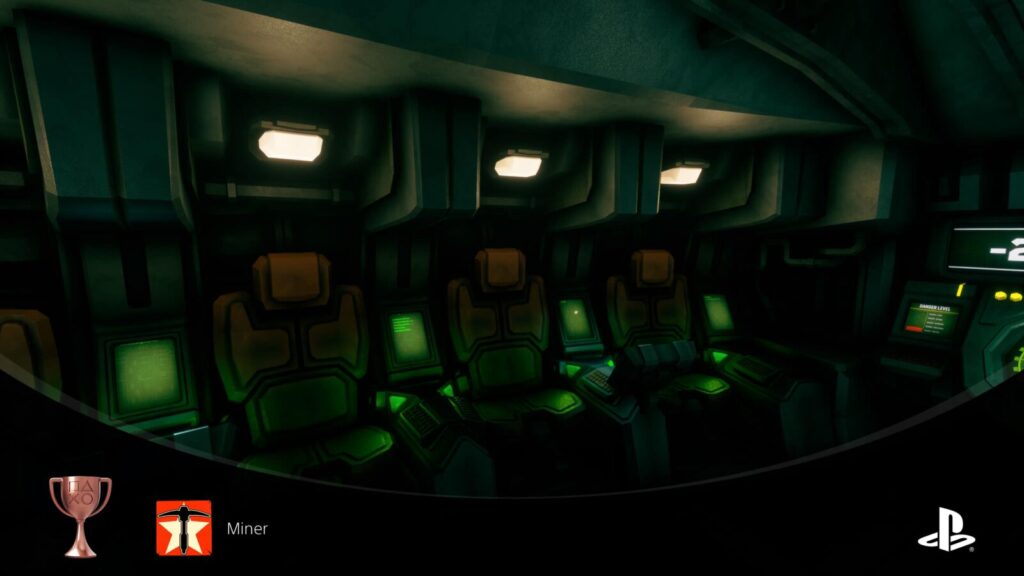
Miner
Complete your first mission.
Complete the tutorial mission at the start of the game and the Miner trophy will unavoidably unlock.

Approved Greenbeard
Complete your first assignment.
After unlocking Miner, you’ll have only one assignment available, it will consist of 10 missions and will act as an extension of the game’s tutorial, introducing you gradually to the game’s features and game modes.
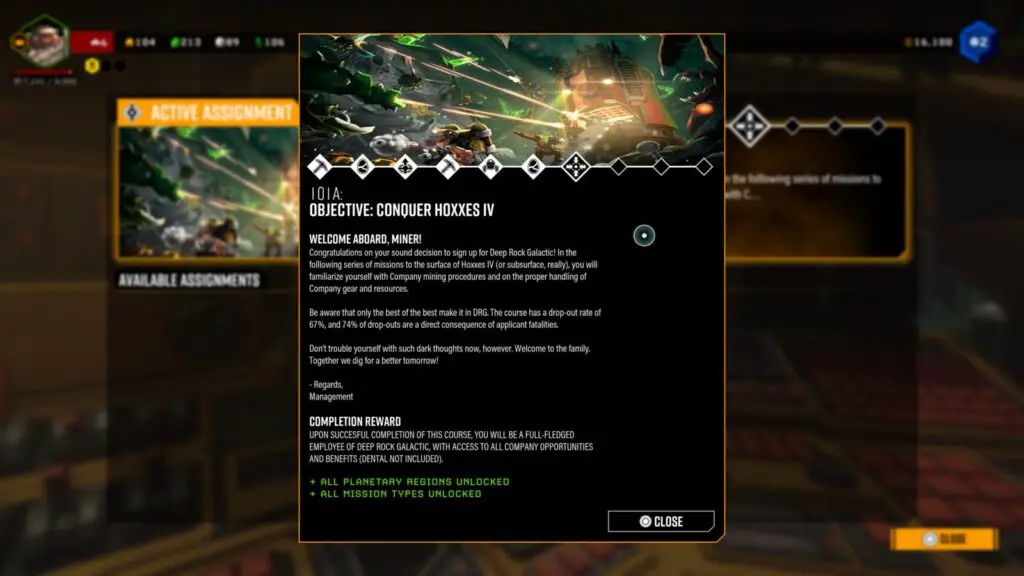
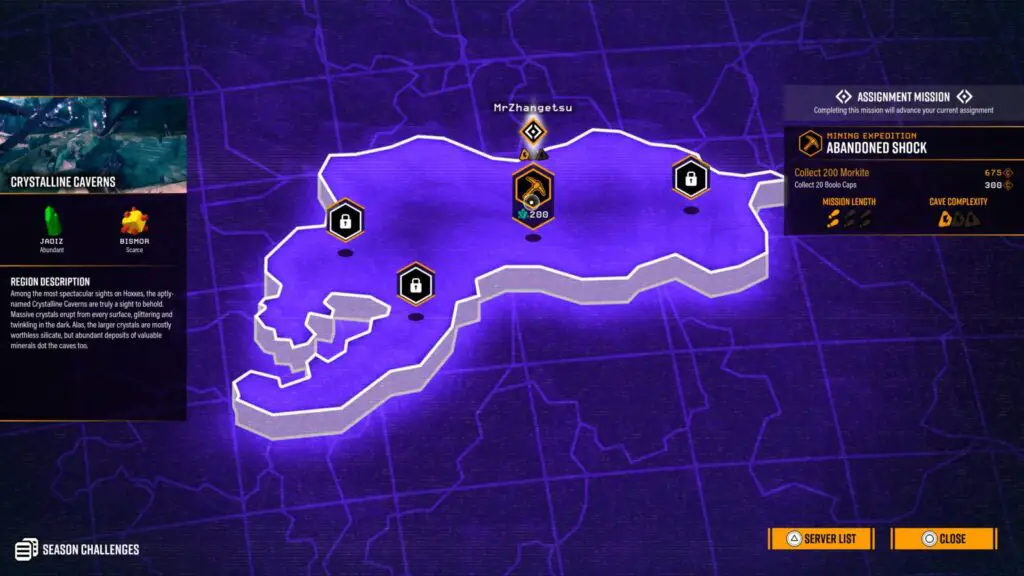
Assignment missions will be marked with a white diamond on the Mission Select map.
You won’t have access to many of the game’s features until you complete this assignment so it’s pretty unmissable.
Phase Two – Miscellaneous & Progress Trophies
Deep Rock Galactic has an egregiously long end-game grind, which we will save for phase three of this Trophy Guide. For now, try to focus solely on the more immediately-achievable trophies.
Below, I’ve split these trophies up into a few main categories; Progression Trophies, Rare Resource Trophies, Difficulty-Specific Trophies, Miscellaneous Mission Trophies, and Miscellaneous Space Rig trophies.
While you work your way through them, you’ll make steady progress which will help you when you finally get to the end-game grind.
In preparation for that, though, try to keep these things in mind as you play:
- You will eventually need to complete 50 Missions within which you are the party leader, so try to play plenty of matches with your friends, and host the missions for them via the map.
- You will eventually need to complete 100 Solo Missions, so don’t be afraid to play alone when your friends are unavailable.
- You will eventually need to promote all four Dwarves 7 times, so make sure you switch things up regularly and try out different classes.
Progression Trophies

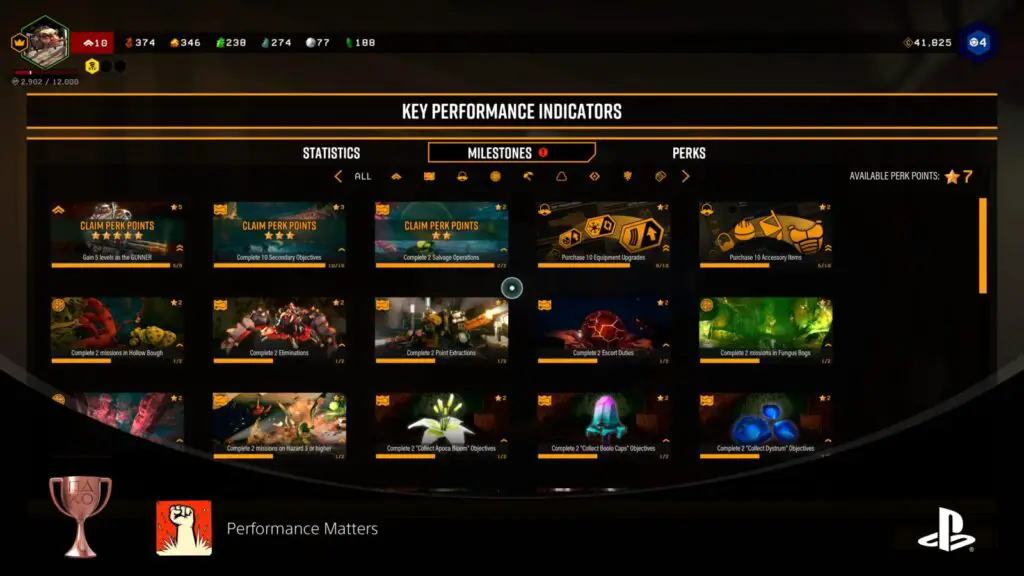
Performance Matters
Complete 10 Milestones.
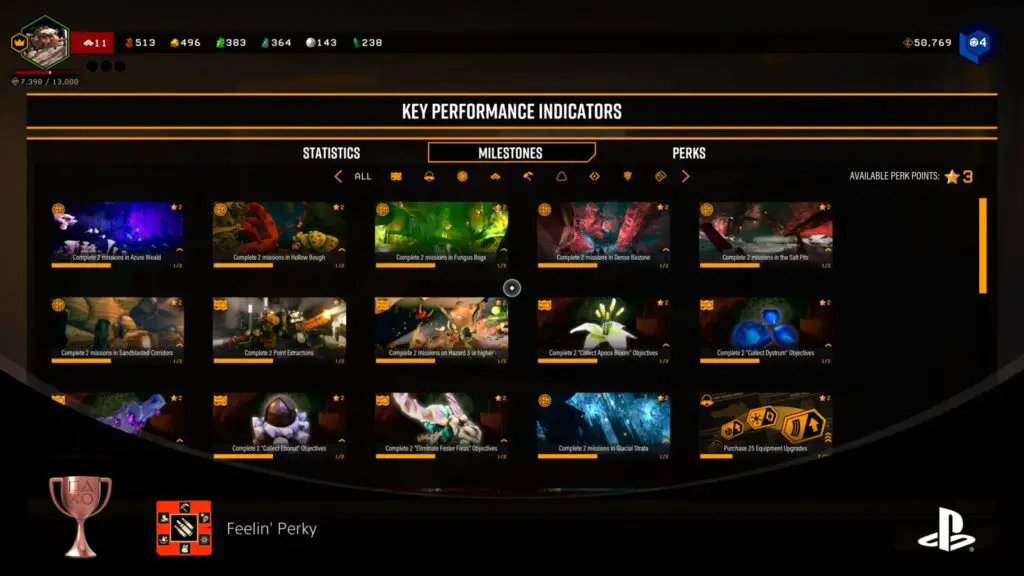
In the Space Rig hub area, enter any of the Dwarves’ personal quarters and look for the Key Performance Indicators (KPI) monitors. Interact with it by pressing ![]() to see a list of Milestones you can achieve.
to see a list of Milestones you can achieve.
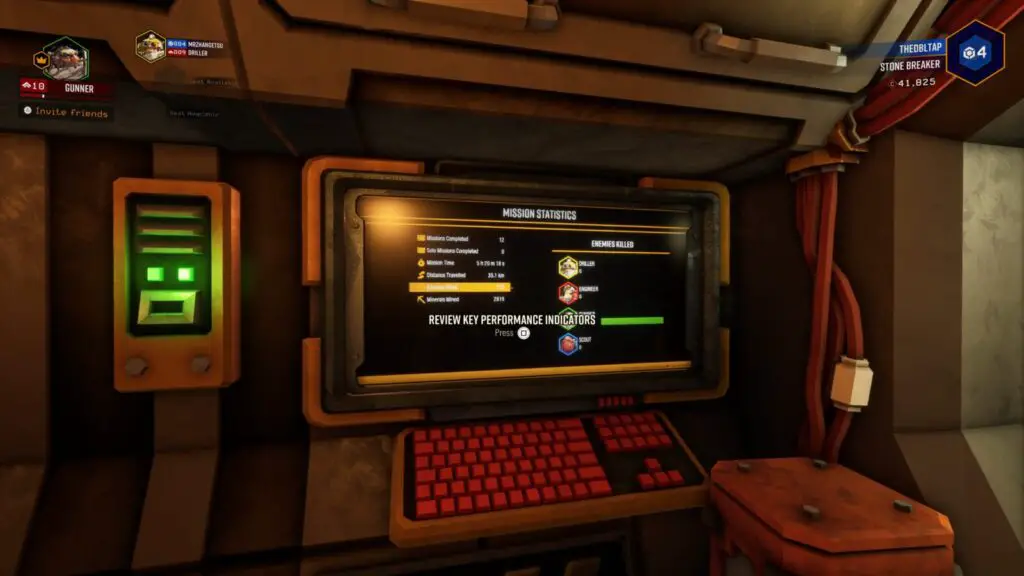
These are miniature objectives and completing them will provide you with perk points that you can use to upgrade your Dwarf.
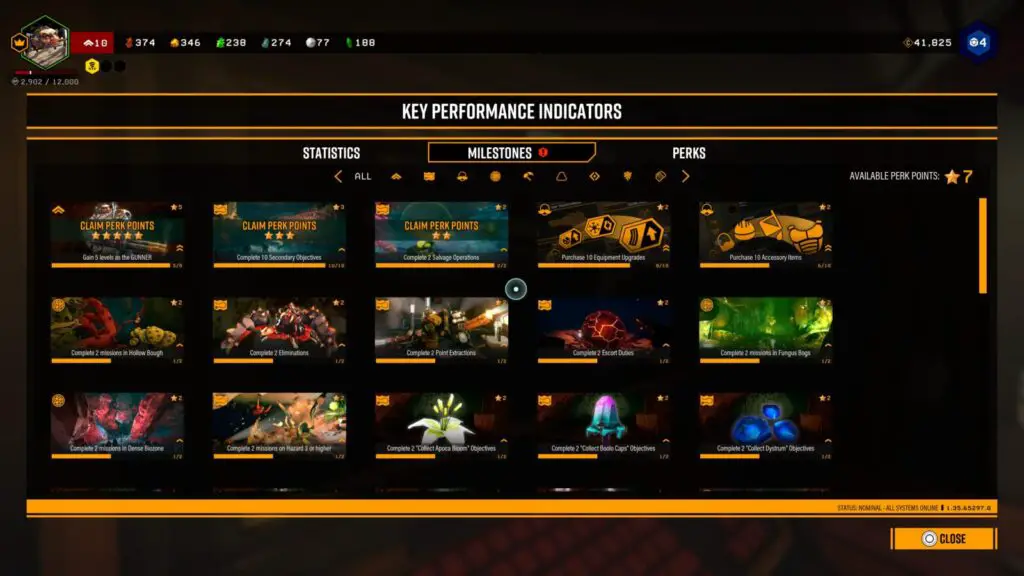
To unlock Performance Matters, simply complete 10 of these. It is highly likely this will happen naturally.
The trophy will unlock when you access the KPI Monitor after having completed 10 milestones.

Management Approves
Complete 25 Milestones.
As with Performance Matters, you must complete Milestones for the Management Approves trophy. Complete a total of 25 Milestones to unlock it.
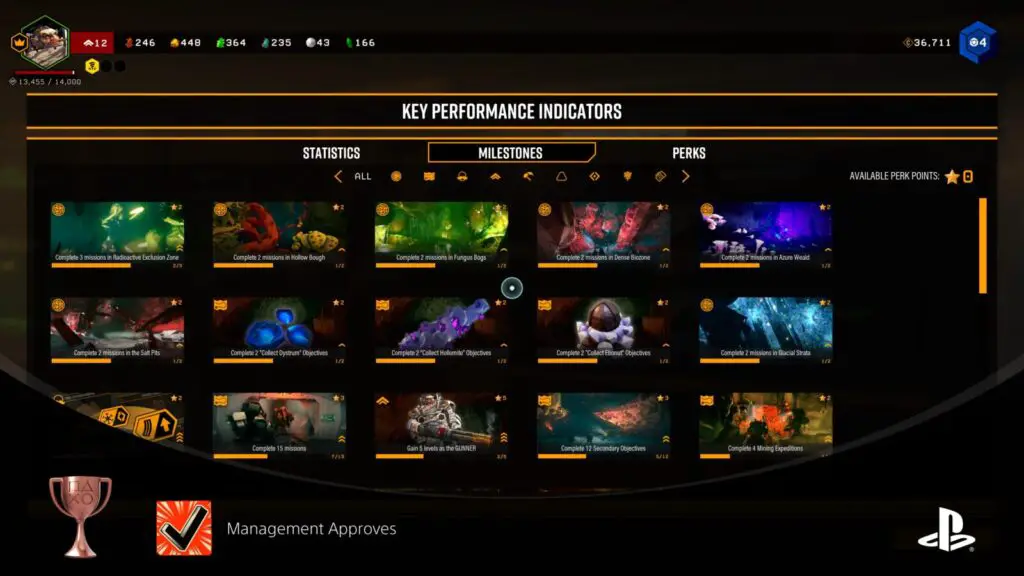
It is very likely this will happen naturally.
Feelin’ Perky
Unlock 10 Perk Nodes.
In the Space Rig hub area, enter any of the Dwarves’ personal quarters and look for the Key Performance Indicators (KPI) monitors. Interact with it by pressing ![]() and you’ll see a “Perks” tab, that you can access by pressing
and you’ll see a “Perks” tab, that you can access by pressing ![]() .
.
Here, there are several perks that you can purchase using Perk Points. You will unlock Perk Points by completing Milestones, viewable in the “Milestones” tab of this same monitor.
To unlock the “Feelin’ Perky” trophy, you simply need to purchase your first 10 Perks. It can be any 10 perks, but if you want this trophy ASAP, then you could just buy all the cheapest ones (tier 1 perks marked with an “I”).
Note the arrows between each perk cluster. These arrows will fill in with each perk you buy, you will need to purchase enough perks to fill all of the arrows to be able to unlock the next perk cluster.
You will unlock the fourth Perk Cluster by getting enough perks for this trophy.
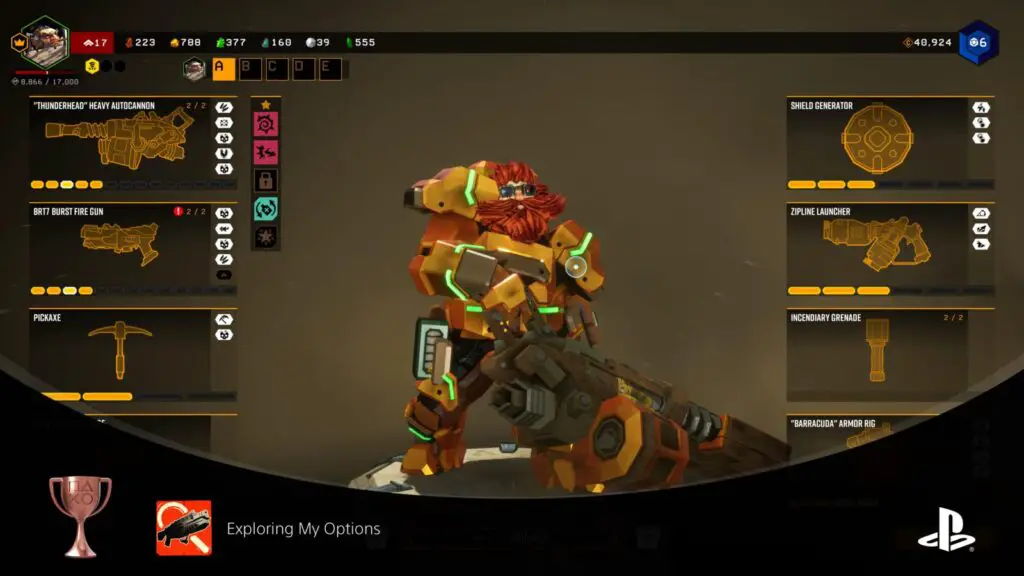
Exploring My Options
You unlocked a new primary and secondary weapon for the same character.
You can unlock alternative weapons by completing assignments. New weapon assignments will unlock once your Dwarf reaches certain level thresholds; Level 10 for an alternative Primary, Level 15 for an alternative Secondary, and Level 20 for another alternative Primary weapon.
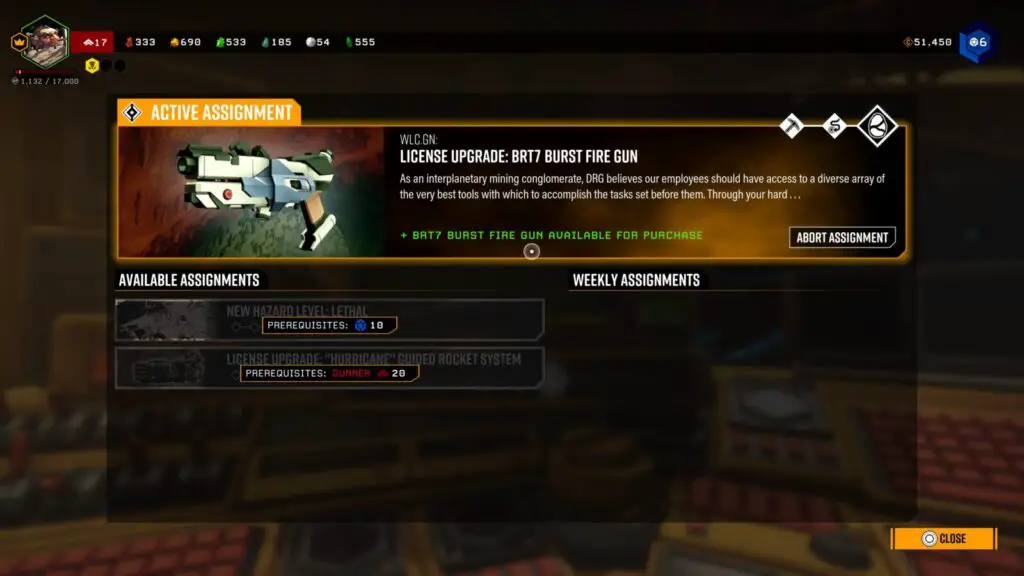
The highest level you need to achieve for the Exploring My Options trophy is Level 15, as you just need one alternative Primary, and one alternative Secondary.
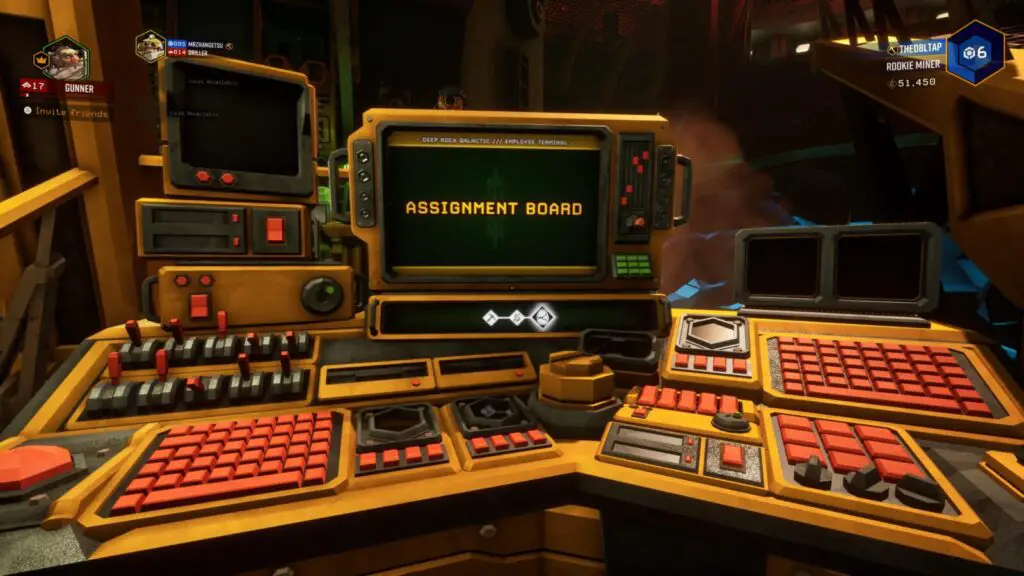
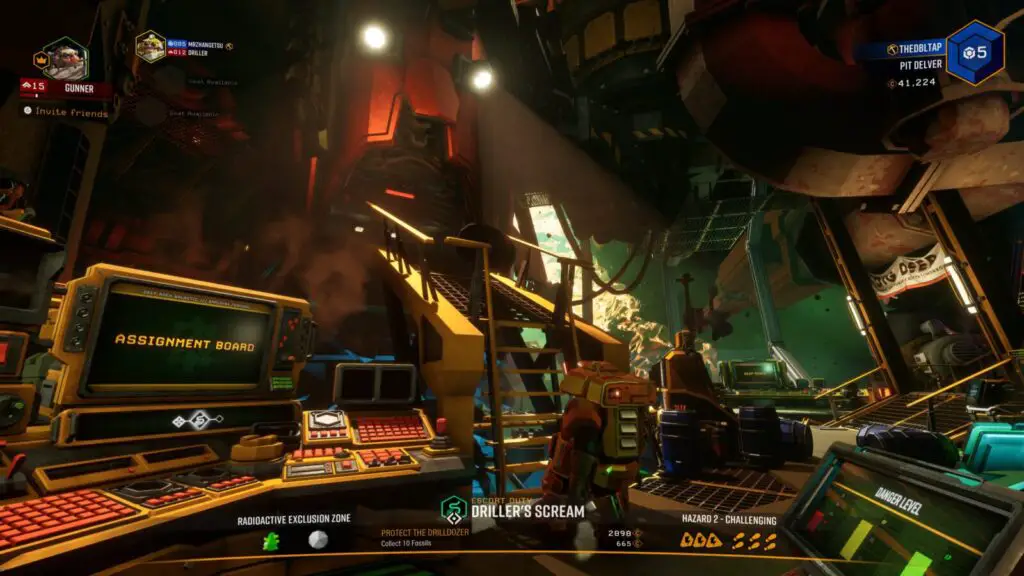
Once you unlock each assignment, activate it via the Assignment Board console next to the map in the Space Rig.
Then, complete the missions that are highlighted on the map to complete the Assignment.
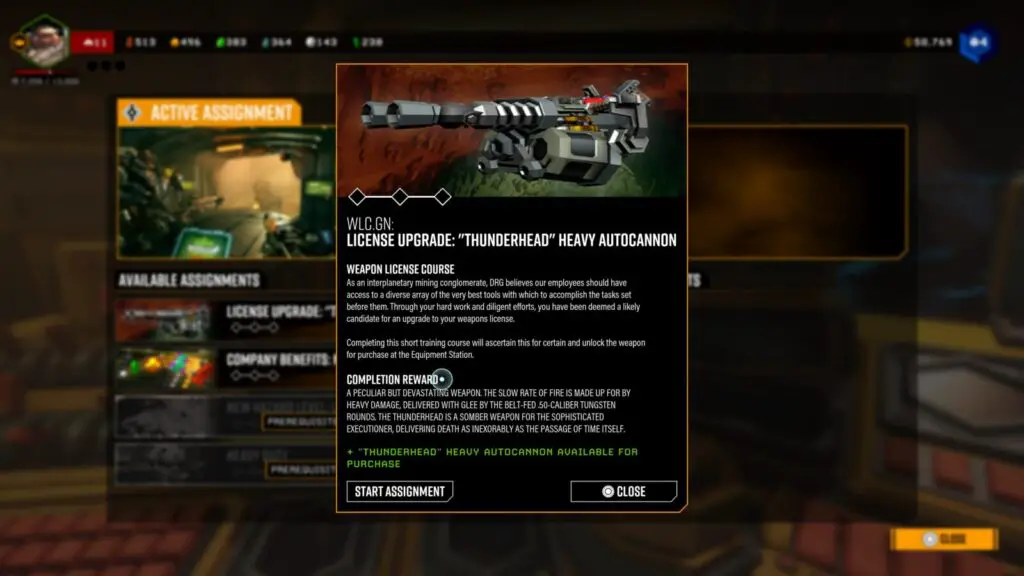
Once both weapons have been unlocked via Assignments, go to the Equipment console and purchase them both.
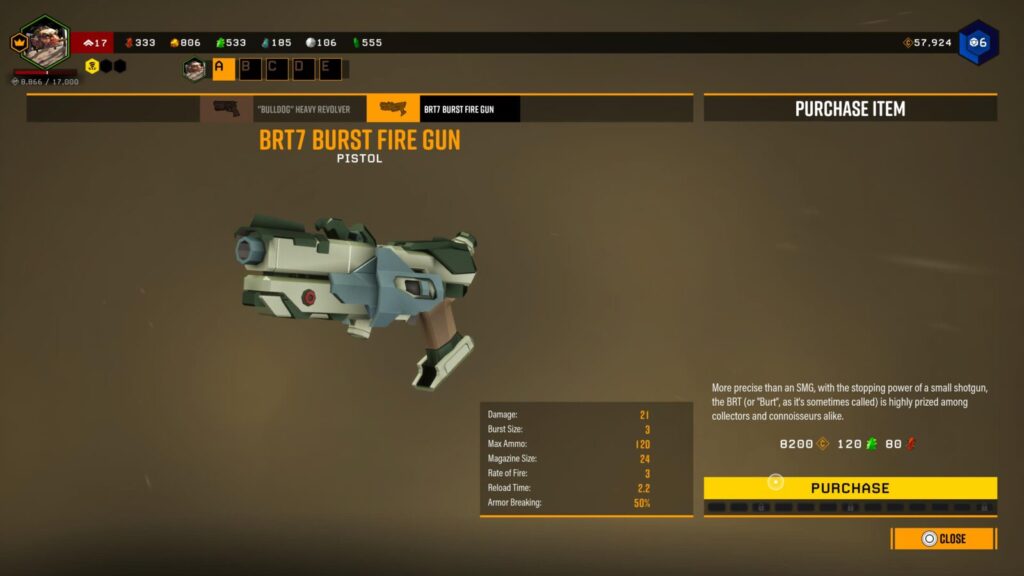
The trophy will unlock when you have purchased both a new Primary and new Secondary weapon.
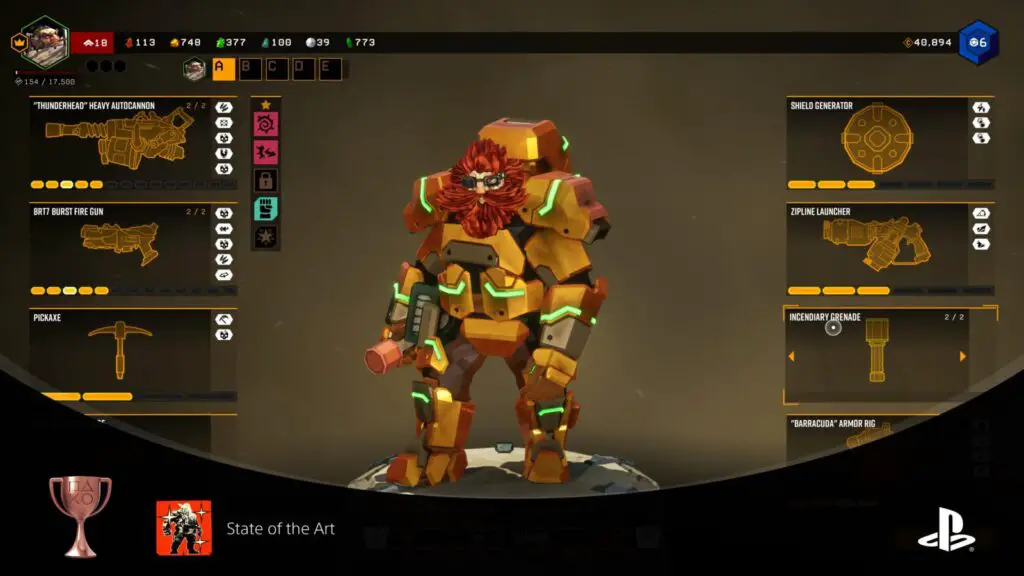
State of the Art
You purchased a Mod in every tier for one of each upgradable item in the Equipment Terminal for the same character.
In the Space Rig, there is an Upgrade Console just to the left of the Drop Pod, where you can make modifications to your armor by spending resources to apply upgrades to various mod slots on your gear and equipment.
You will need to gradually level up your Dwarf to unlock more mod slots over time.
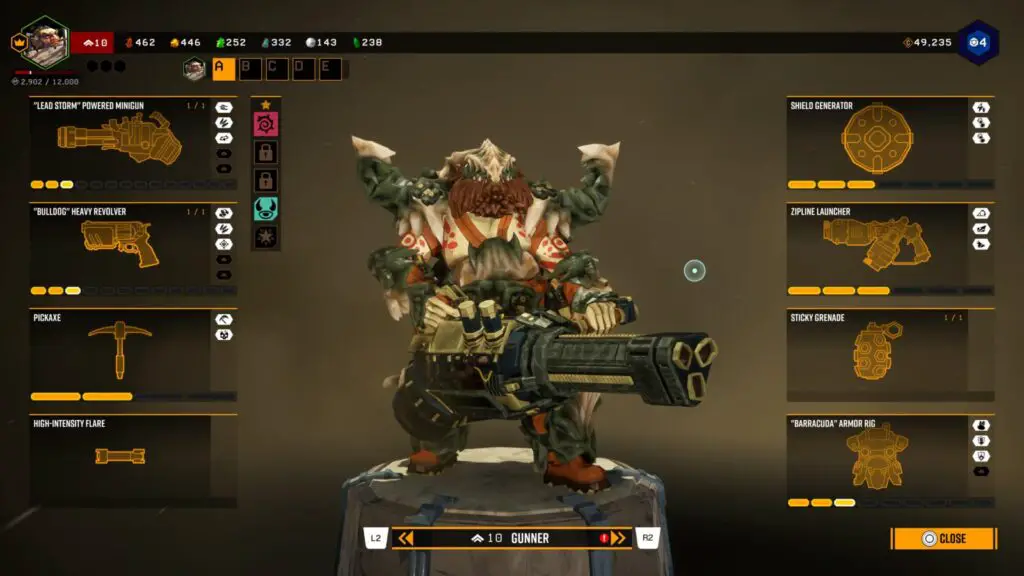
Before you can unlock this State of the Art trophy, you will need to reach level 18 with your Dwarf, thus unlocking the final Mod Slot for your secondary weapon.
Then, you will need to make sure you’ve purchased at least one mod for every available slot across all of your equipment. That means 5 Primary Weapon Mods, 5 Secondary Weapon Mods, 2 Pickaxe Mods, 3 Support Tool Mods, 3 Traversal Tool Mods, and 4 Armor Rig mods.
Once you have done so, the trophy will unlock.
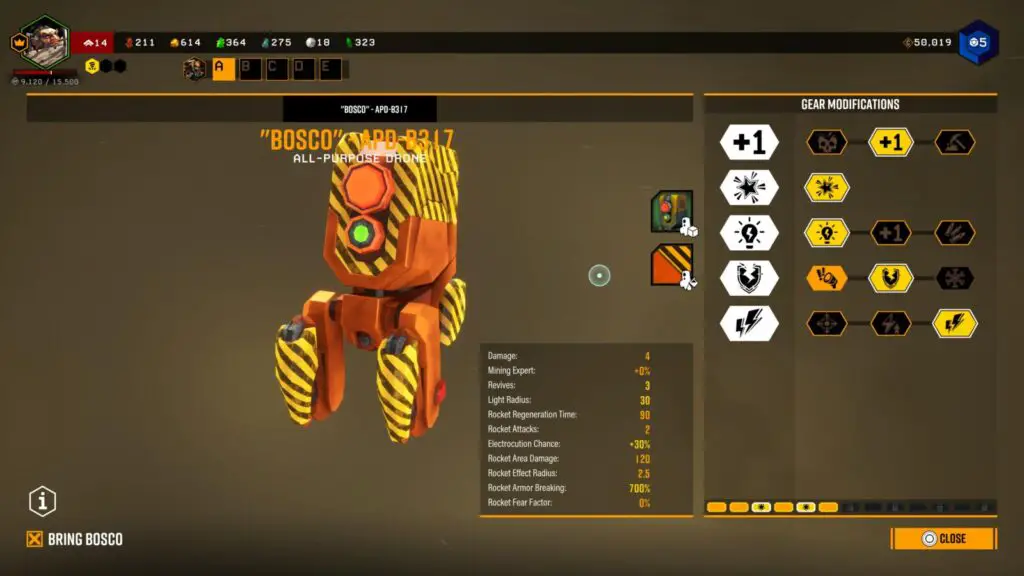
Advanced Robotics
You purchased a Mod in every tier for Bosco.
The Advanced Robotics trophy requires you to purchase an upgrade for every available Mod Slot on Bosco, the Drone that supports you during Solo gameplay.
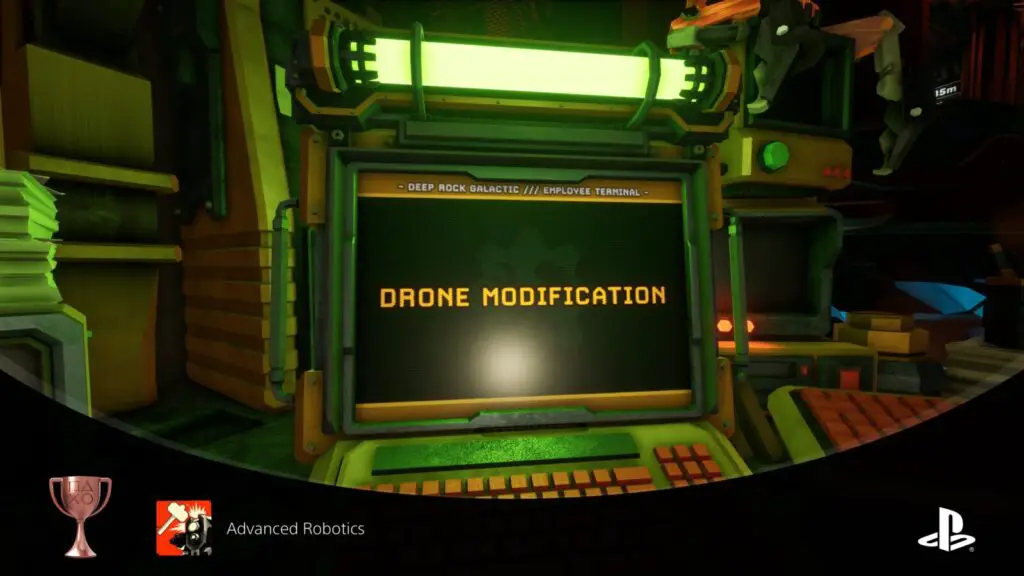
The Upgrade Console for Bosco can be found next to the drop pod.
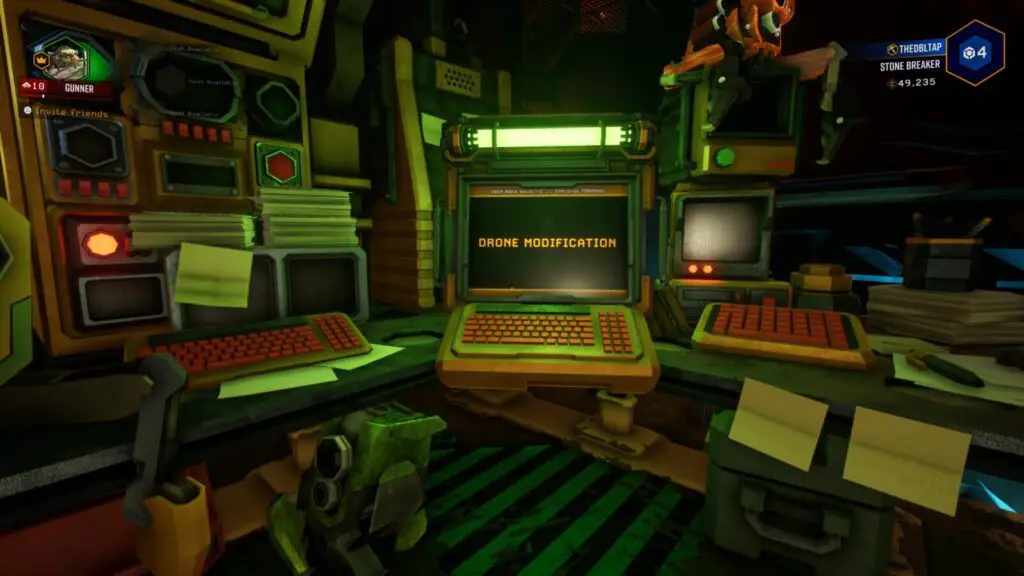
Before you can unlock this trophy, you will need to reach Player Level 5, thus unlocking all available Mod Slots for the Drone, one per level.
Rare Resource Trophies

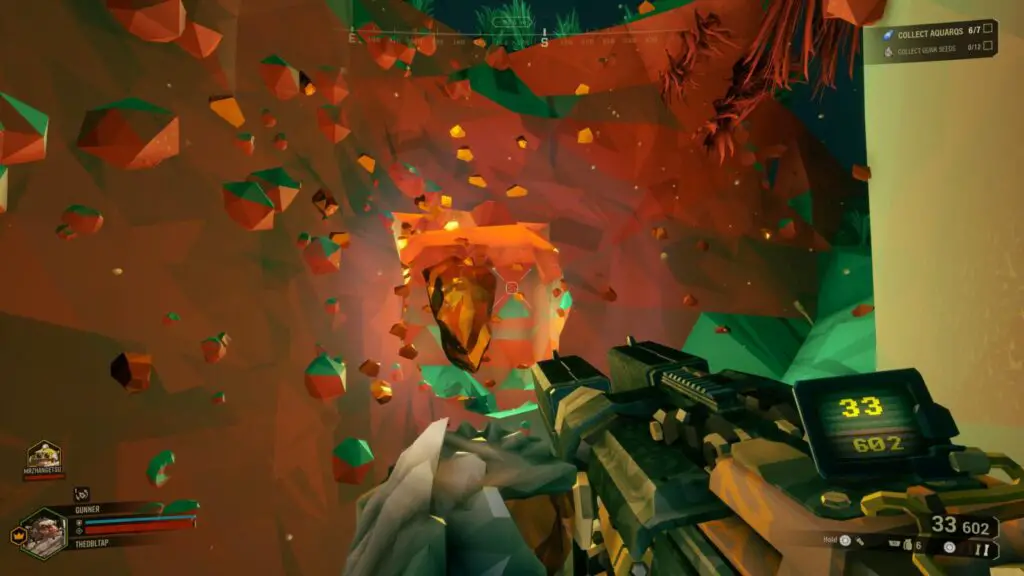
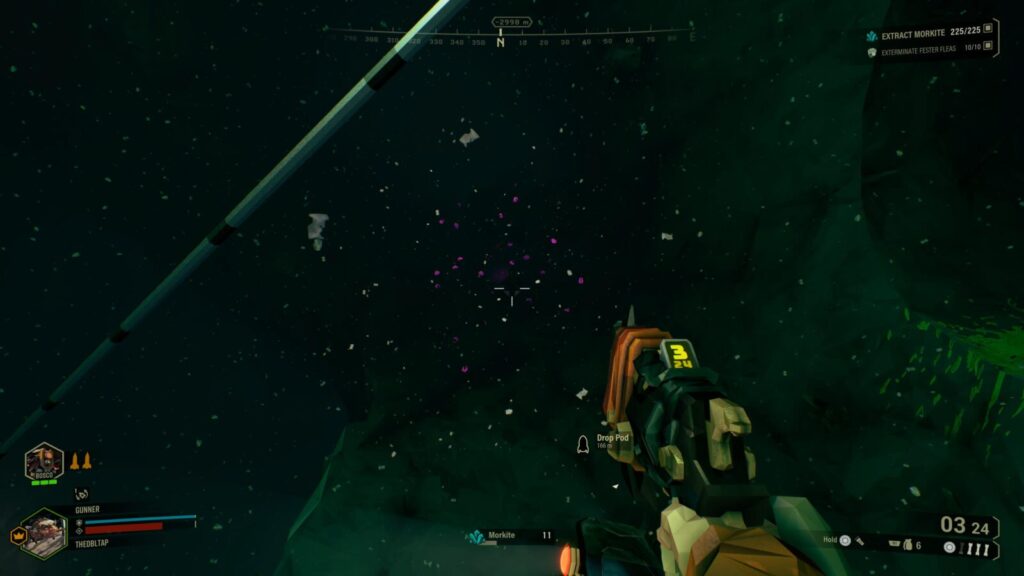
Prospector
Collect 20 Compressed Gold Chunks.
During missions, keep your eye out for small gold nugget clusters on the walls. These will indicate the location of a Compressed Gold Chunk.
Look at the center of the cluster and try to see where the yellow glow is emanating from and then dig to it. At the center, you should find a big Compressed Gold Chunk.
Grab it with ![]() and then deposit it at the M.U.L.E, Drop Pod, or another such deposit point.
and then deposit it at the M.U.L.E, Drop Pod, or another such deposit point.
Do this 20 times in total to unlock the Prospector trophy. It doesn’t need to be done in a single mission as the trophy is cumulative.
Of all the resources in this trophy category, Compressed Gold Chunks are the most common. Its spawn rate gives it a chance of appearing approximately once in every 3 missions.
If anybody on your team finds and deposits a Compressed Gold Chunk, it will count towards the trophy for everybody.

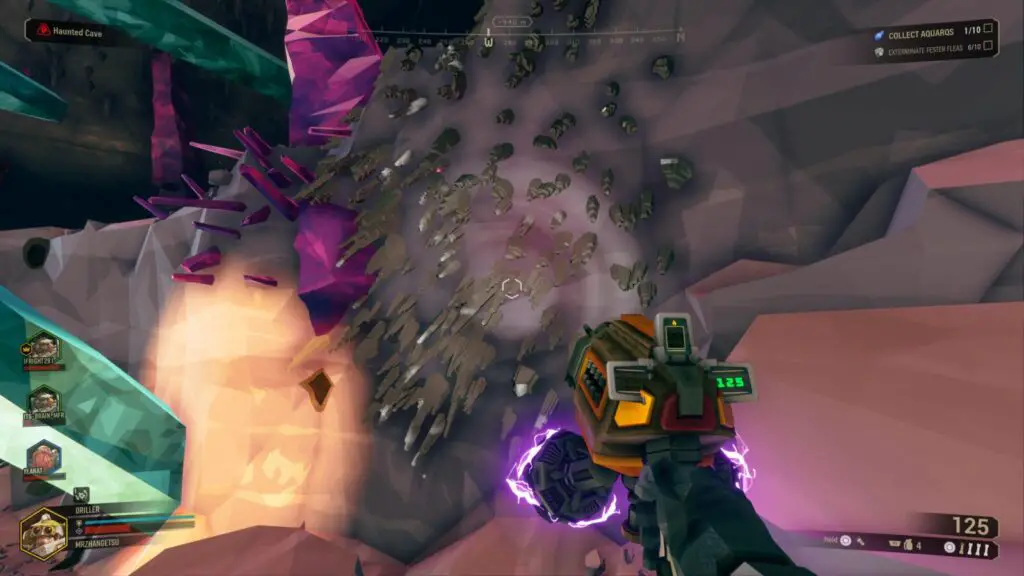
Jeweler
Collect 10 Bittergems.
While exploring caves during missions, keep your eye out for small pink gem clusters on the walls. These will indicate the location of a Bittergem.
Look at the center of the cluster and try to see where the pink glow is emanating from and then dig to it. At the center, you should find the source of the glow: a huge Bittergem.
Grab it with ![]() and then deposit it at the M.U.L.E, Drop Pod, or another such deposit point.
and then deposit it at the M.U.L.E, Drop Pod, or another such deposit point.
Do this 10 times in total to unlock the Jeweler trophy. It doesn’t need to be done in a single mission as the trophy is cumulative.
Bittergems are exceptionally rare resources. Its spawn rate gives it a chance of appearing approximately once in every 21 Missions.
If anybody on your team finds and deposits a Bittergem, it will count towards the trophy for everybody.

What Are These Things?
You’ve collected 5 mysterious alien artifacts. They are hot to the touch, and smells faintly of…tarmac?
During Missions, keep an eye out for shimmering silver spikes on the walls/ceilings. These will indicate the location of an Alien Artifact.
Look at the center of the cluster and try to see where the pinkish-red glow is emanating from and then dig to it. At the center, you should find the source of the glow: an Alien Artifact.
They look kind of like Silver Rubiks Cubes and have a glowing white interior. The in-game name of these artifacts is “ERR://23¤Y%/”, making it look like a legitimate glitch, but this is intentional.
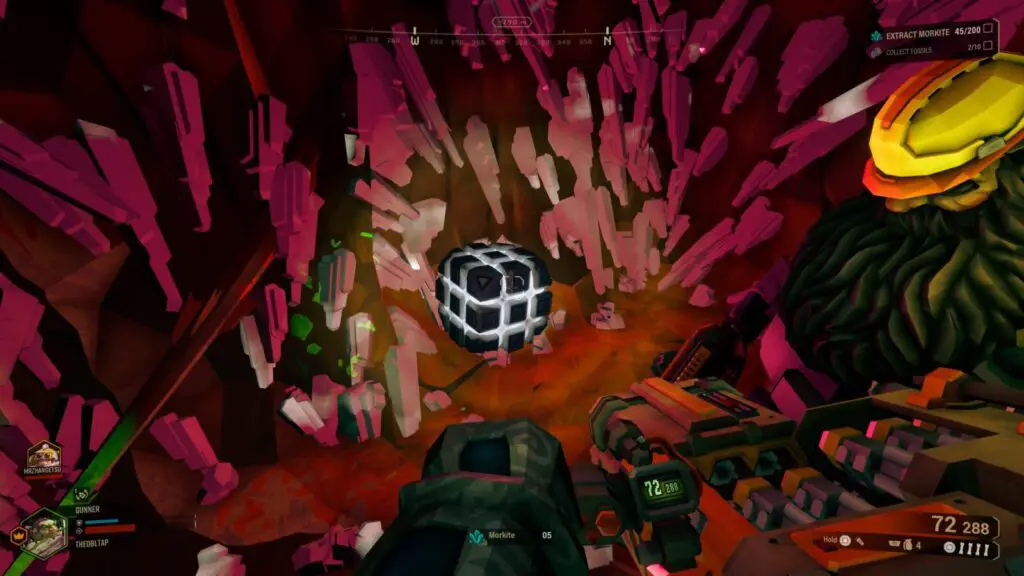
Grab it with ![]() and then deposit it at the M.U.L.E, Drop Pod, or another such deposit point.
and then deposit it at the M.U.L.E, Drop Pod, or another such deposit point.
Do this 5 times in total to unlock the “What Are These Things?” trophy. It doesn’t need to be done in a single mission as the trophy is cumulative.
These ERR://23¤Y%/ Cubes are the single rarest item in the game. So rare that they will give you a whopping 4000 EXP if you find and recover one. Its spawn rate means that it has a chance of appearing approximately once in every 28 Missions!
If anybody on your team finds and deposits an Alien Artifact, it will count towards the trophy for everybody.
Difficulty-Specific Trophies

Stepping It Up
Survive a Hazard Level 3 mission from start to finish.
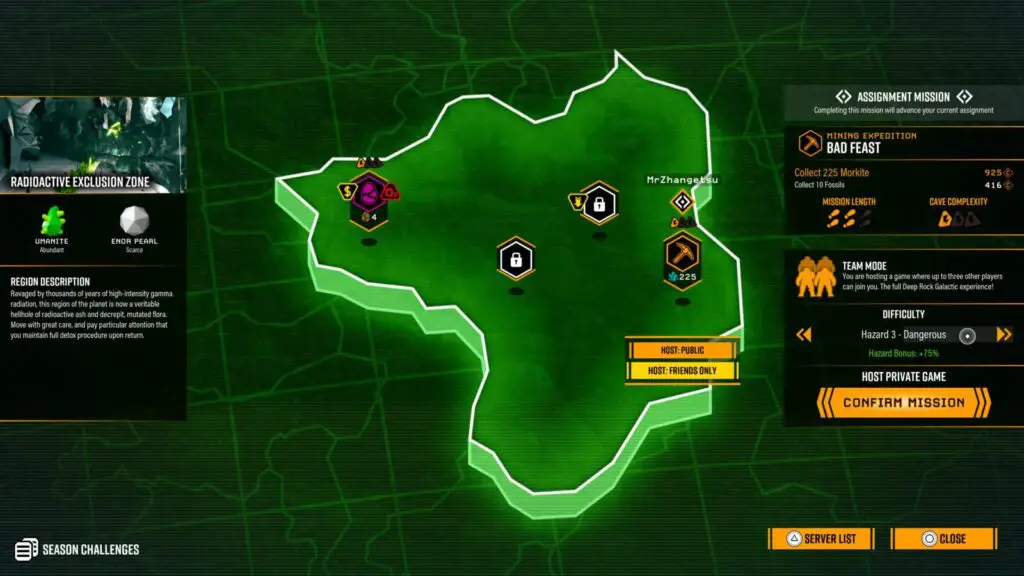
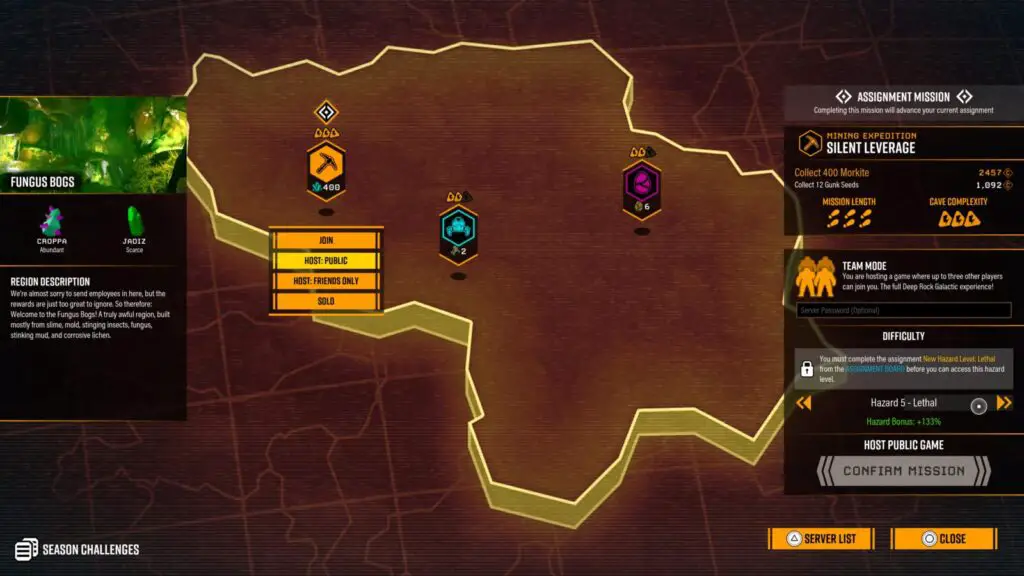
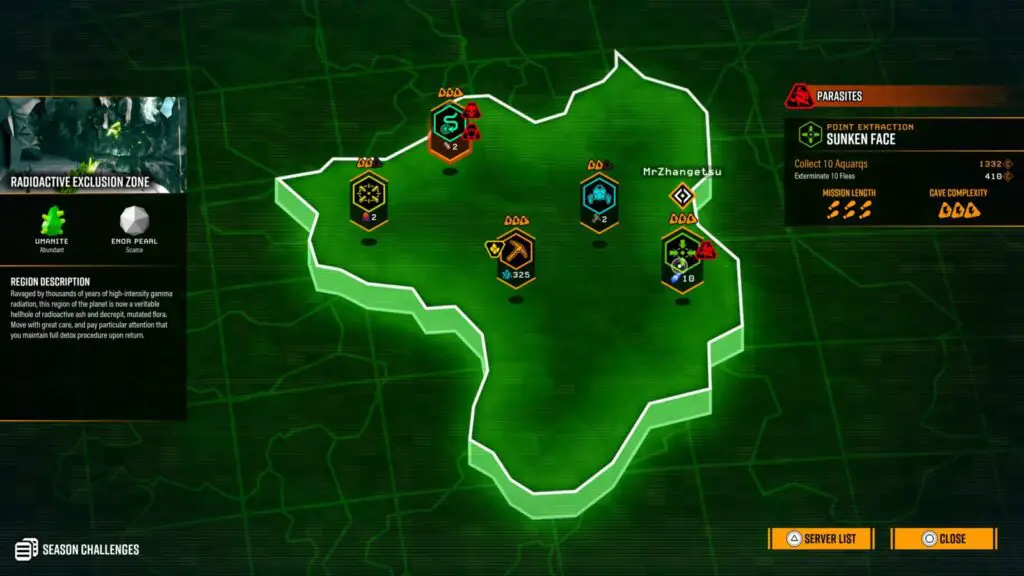
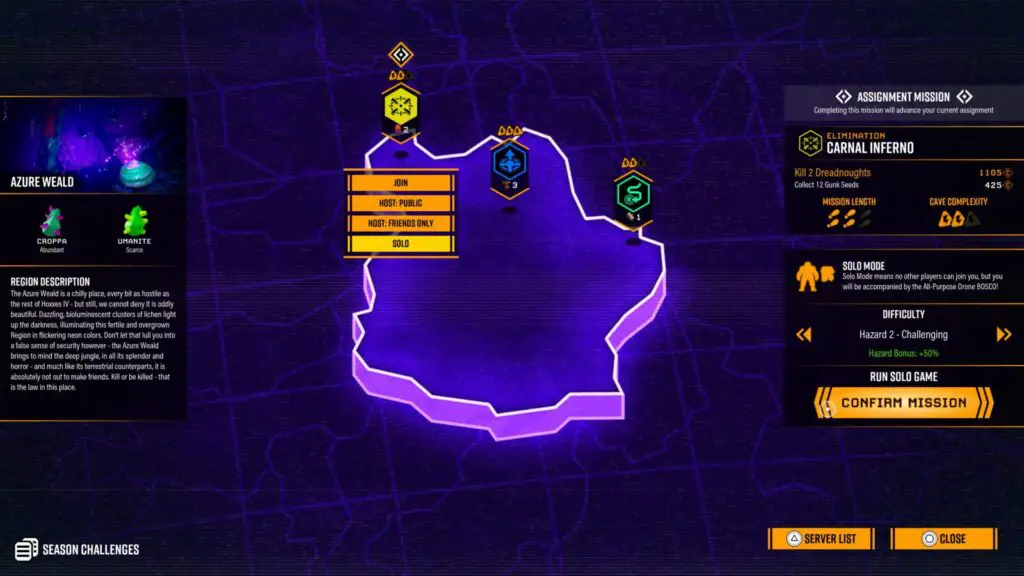
To unlock Stepping it Up, you just need to successfully complete your main objective in one mission set to Hazard Level 3 – Dangerous.
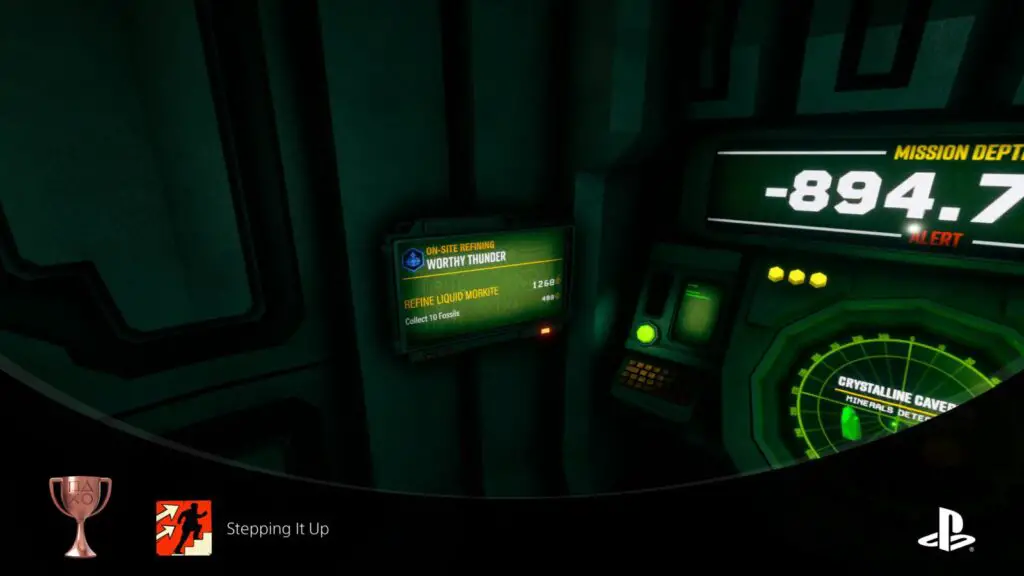
You can choose the hazard level on a Mission Select console. Just refer to the panel on the right-hand side once you have selected the mission you’d like to attempt.
Consistent Performance
Successfully complete three Hazard Level 3 missions from start to finish in a row.
The Consistent Performance trophy is an extension of the Stepping It Up trophy in that you will need to complete missions with Hazard Level 3 active, however, this time you will need to do three in a row without failing.
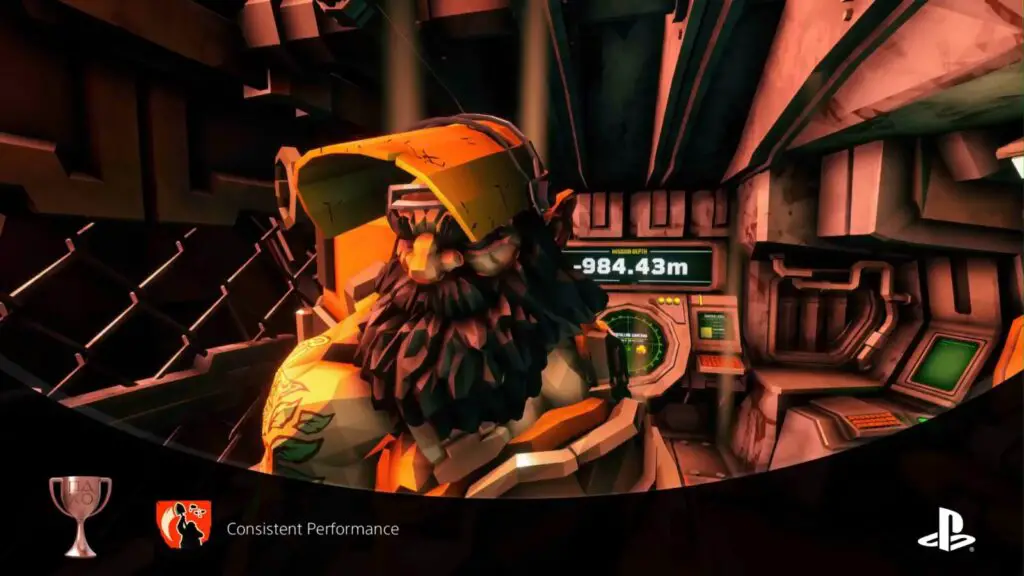
Failure happens when all Dwarves on the team get downed and you’re returned to the Space Rig without the mission objectives being complete.
This will be a lot easier once you and your crewmates have better gear. You can do this in Solo mode, but you’ll have an easier time with friends there who can revive you if/when you go down.
You should try to complete at least one of these three missions without getting downed or calling a resupply, as you will unlock Bring Your A-Game if you are successful.
Thick-Skinned
Survive a Hazard Level 4 mission from start to finish.
To unlock Thick-Skinned, you need to successfully complete your main objective in any mission set to Hazard Level 4 – Extreme.
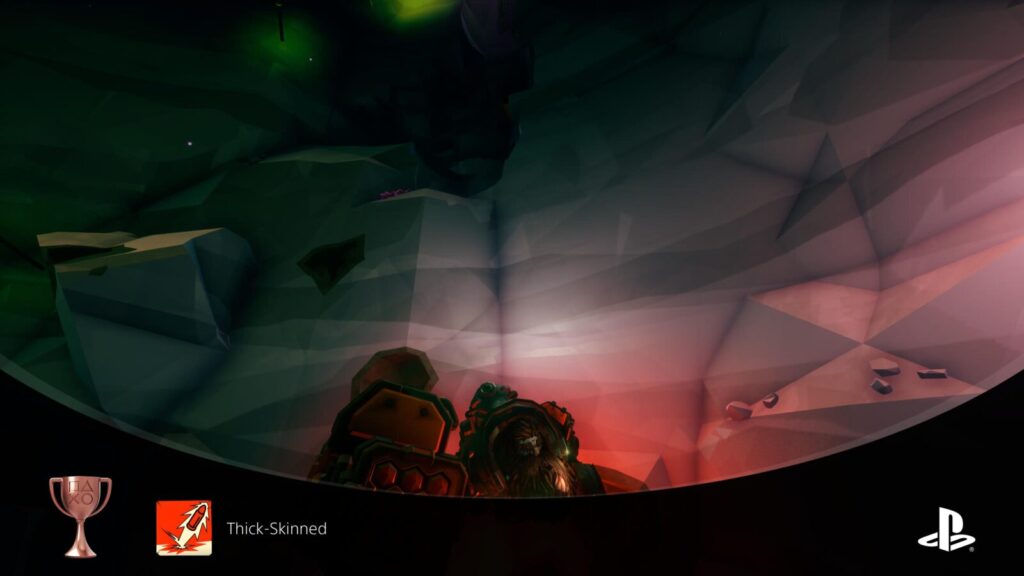
You can choose the hazard level on a Mission Select console. Just refer to the panel on the right-hand side once you have selected the mission you’d like to attempt.
Hazard Level 4 is where the difficulty really starts to ramp up, and you’ll see powerful enemies you may not have run into so far. You will want a fully-upgraded Dwarf who you’re very experienced with, and ideally a full team of experienced players.

Employee of the Month
Successfully complete four Hazard Level 4 missions from start to finish in a row.
The Employee of the Month trophy is an extension of the Thick-Skinned trophy in that you will need to complete missions with Hazard Level 4 active, however, this time you will need to do four in a row without failing.
Again, you will need to have a fully-upgraded and well-equipped Dwarf. Having a full team of equally experienced players will help you a lot here, too.
Try to only choose missions with low Cave Length and Cave Complexity stats, so that you can at least have a simple, short environment to struggle in.
You should try to complete at least one of these four missions without getting downed or calling a resupply, as you will unlock Like a Well-Oiled Machine if you are successful.

Going Lethal
Successfully complete a Hazard Level 5 mission from start to finish.
To unlock Going Lethal, you need to successfully complete your main objective in any mission set to Hazard Level 5 – Lethal.
Hazard Level 5 is not available immediately. You will first need to reach Player Level 10 (blue level in top-right corner of HUD) through normal gameplay.
Once you’re Player Level 10, you will be able to start an Assignment from the console next to the drop pod called “New Hazard Level: Lethal”.
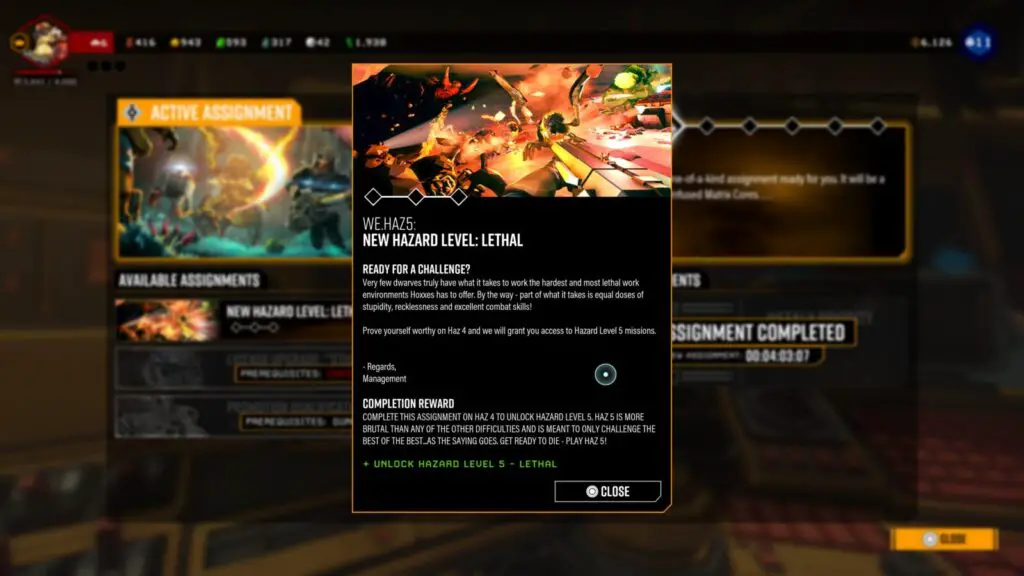
Complete the Missions in this assignment to gain access, allowing you to apply Hazard Level 5 from the Mission Select Screen via the panel on the right-hand side.
Hazard Level 5 is nothing short of a bad time. It’s going to require a very talented and experienced team of players, with fully-upgraded and powerful characters.
Rock Solid
Successfully complete five Hazard Level 5 missions from start to finish in a row.
The Rock Solid trophy is an extension of the Going Lethal trophy in that you will need to complete missions with Hazard Level 5 active, however, this time you will need to do five in a row without failing.
Again, you will need to have a fully-upgraded and well-equipped Dwarf. Having a full team of extremely experienced and competent players will help you a lot here, too.
Try to only choose missions with low Cave Length and Cave Complexity stats, so that you can at least have a simple, short environment to struggle in.
You should try to complete at least one of these five missions without getting downed or calling a resupply, as you will unlock Karl Would Be Proud if you are successful.

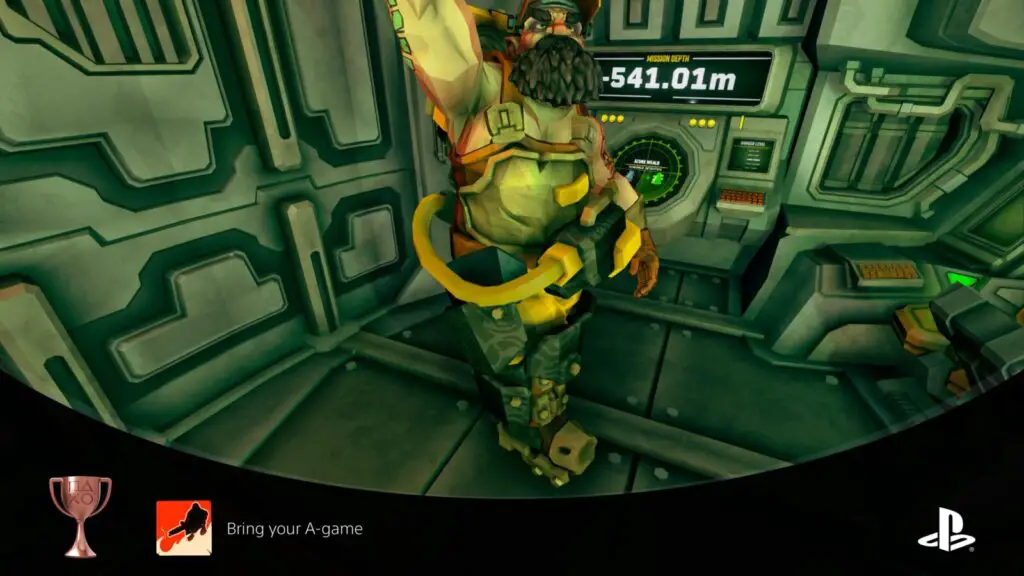
Bring your A-game
Successfully complete a Hazard Level 3 mission from start to finish where no dwarf goes down and without ordering a resupply.
To unlock the “Bring Your A-Game” trophy, you need to complete any mission with the Hazard Level set to 3; Dangerous. You will also need to ensure that none of the Dwarves in your party get downed, and nobody calls a Resupply Drop.
Obviously, this is a lot easier if you progress far enough through the game that you have plenty of perks and upgrades to make your Dwarf tougher. Plus, with more party members you’ll be able to survive better.

Like a Well-Oiled Machine
Successfully complete a Hazard Level 4 mission from start to finish where no dwarf goes down and without ordering a resupply.
Like a Well-Oiled Machine is the next level up from Bring Your A-Game, and is going to be much more difficult.
To unlock the trophy, you need to complete any mission with the Hazard Level set to 4; Extreme. But you will also need to ensure that none of the Dwarves in your party get downed, and nobody calls a Resupply Drop.
Again, this is a lot easier if you progress far enough through the game that you have a full array of perks and upgrades to make your Dwarf tougher. Plus, with a team of experienced and upgraded party members, you’ll have way better chances of survival.
If you choose to attempt this solo, we recommend doing a Point Extraction Mission as a Gunner. You can stay on the central platform and (if you’re lucky with the random cave generation) you can just tell Bosco to dig up the Aquarqs for you. The turrets on the platform will help you survive and Bosco will bring you all the Aquarqs you need to complete the mission.


Karl Would Be Proud
Successfully complete a Hazard Level 5 mission from start to finish where no dwarf goes down and without ordering a resupply.
Like a Karl Would Be Proud is the next level up from Like a Well-Oiled Machine, and is going to be one of the toughest challenges you face throughout your entire DRG Platinum Journey.
To unlock the trophy, you need to complete any mission with the Hazard Level set to 5; Lethal. But you will also need to ensure that none of the Dwarves in your party get downed, and nobody calls a Resupply Drop.
Note that you need to unlock Hazard Level 5, see Going Lethal.
Again, this is a lot easier if you have a promoted, upgraded, overclocked, and experienced Dwarf. Especially so if you have a whole team of elite top-tier players to help you survive.
I personally found that the easiest missions to avoid resupplying on were short Escort missions, where you just need to defend the Drilldozer as you take it to the Omarran Heartstone.
This trophy will be a breeze if you get lucky and find a BET-C along the way.

Mutated Scavenger
Successfully complete 20 missions tagged with Warnings from start to finish.
When looking for missions to play in the map, look for missions with red triangular tags on them. These are Warnings, and they will give you an exp boost (see Legendary Miner for specifics) but will make the Mission slightly more difficult by making enemies stronger, you weaker, or adding more hazards.
To unlock the Mutated Scavenger trophy, you will need to fully complete 20 missions that have one or more of these Warning tags on them.
Miscellaneous Mission Trophies

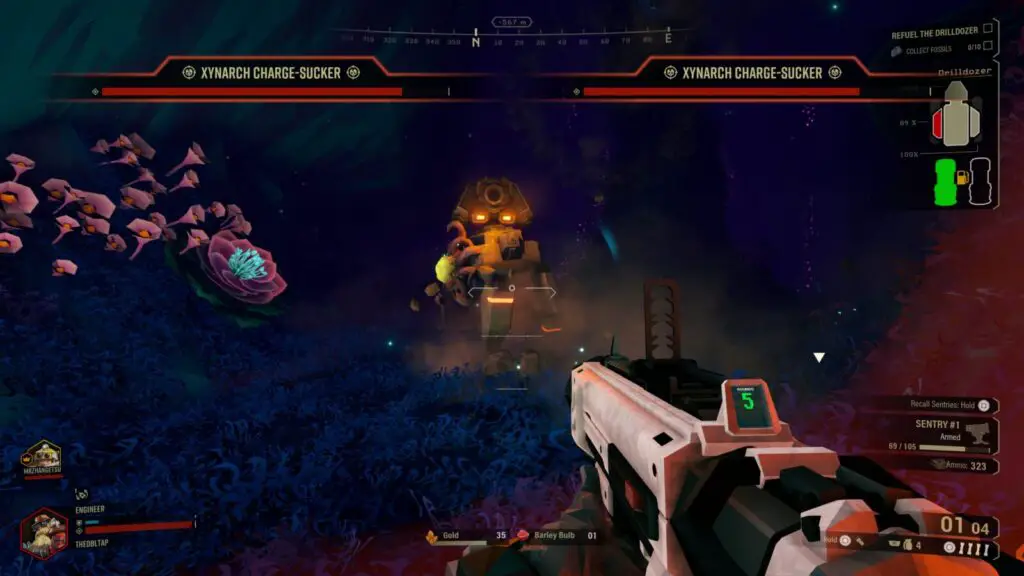
Now We Have A BET-C!
Defeat and fix a BET-C.
A BET-C is a very big M.U.L.E with a turret on top. It’s a devastatingly powerful temporary companion, but unfortunately has very low spawn rates.
There is a 6% chance of a BET-C spawning (3% chance if you’re playing on Hazard Level 1) within any Mission. You will be able to hear it from quite far away, though, as it makes a distinct siren-like sound.
When you find one, it will be deactivated. But as soon as you get close to it, two health bars will appear at the top of the screen, and the machine will get up.
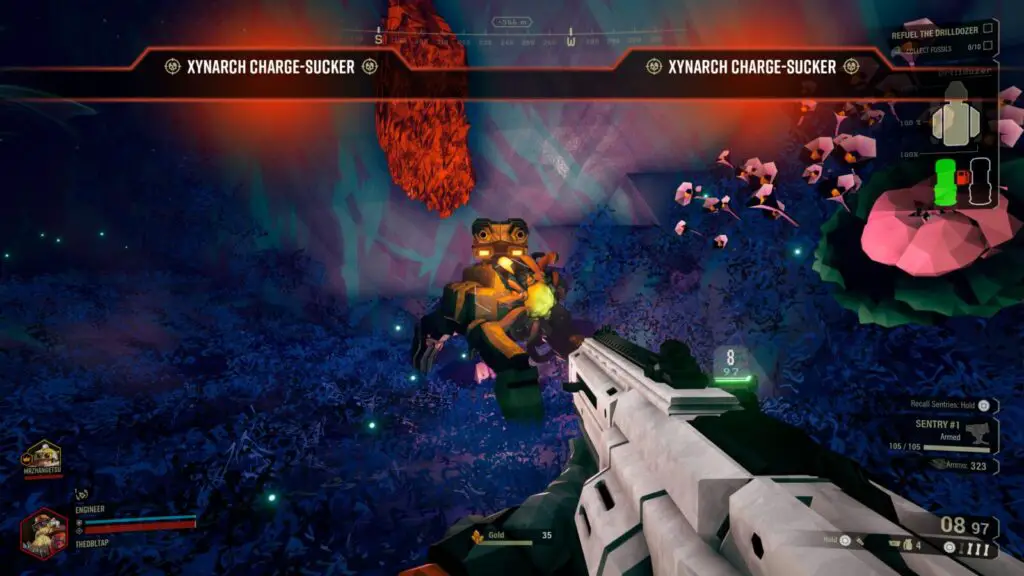
You’ll need to engage in something of a Boss Fight. The BET-C has some incredibly deadly weaponry, so you will need to focus mainly on avoiding the bombs that it launches, only attacking it when it is not under its Bubble Shield.
To defeat it, you need to kill the two Parasites that are controlling it, Metroid-style. Shoot the two Xynarch Charge-Suckers every chance you get, but don’t get greedy and remember to avoid its attacks as much as you can.
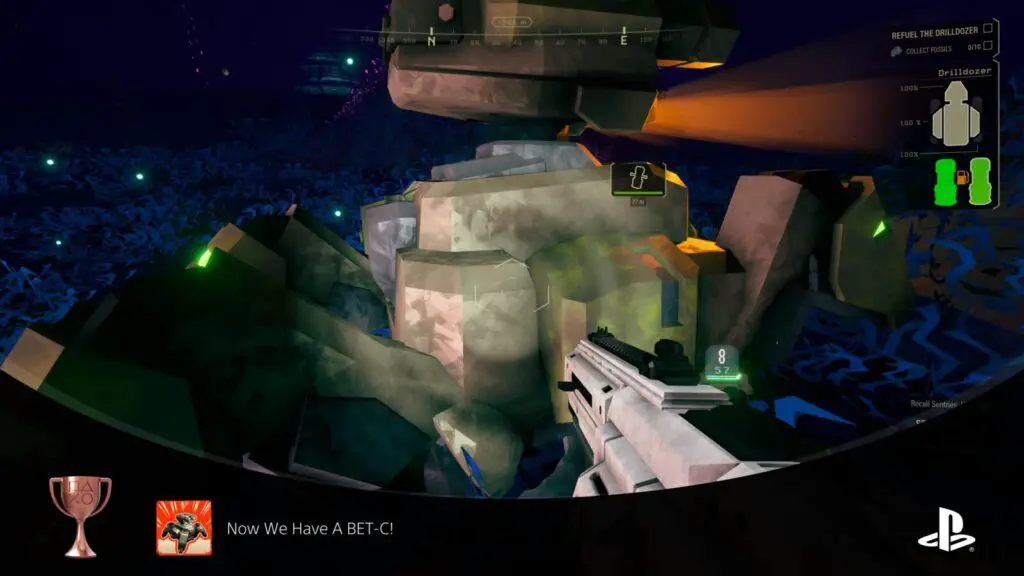
Once the two Parasites have been killed, the machine will drop to the ground and the fight will be over. But don’t walk away yet!
Approach the BET-C and hold ![]() to begin repairing it.
to begin repairing it.
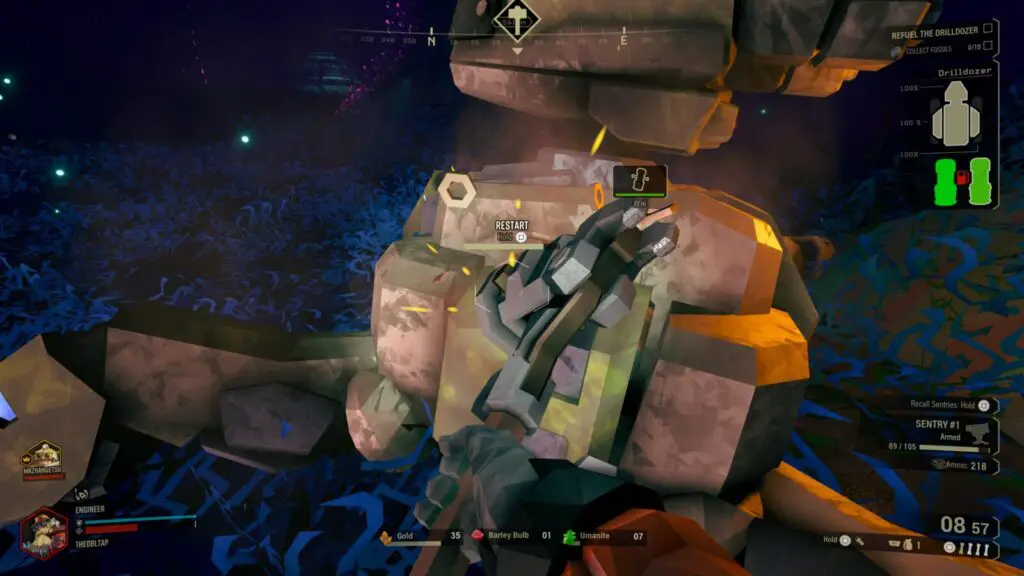
Once it has been repaired, it will follow you for the rest of the mission and completely decimate any enemy that crosses its path. I wish we could have one for every mission…
The trophy will unlock as soon as the repairs are complete and it starts getting up again.

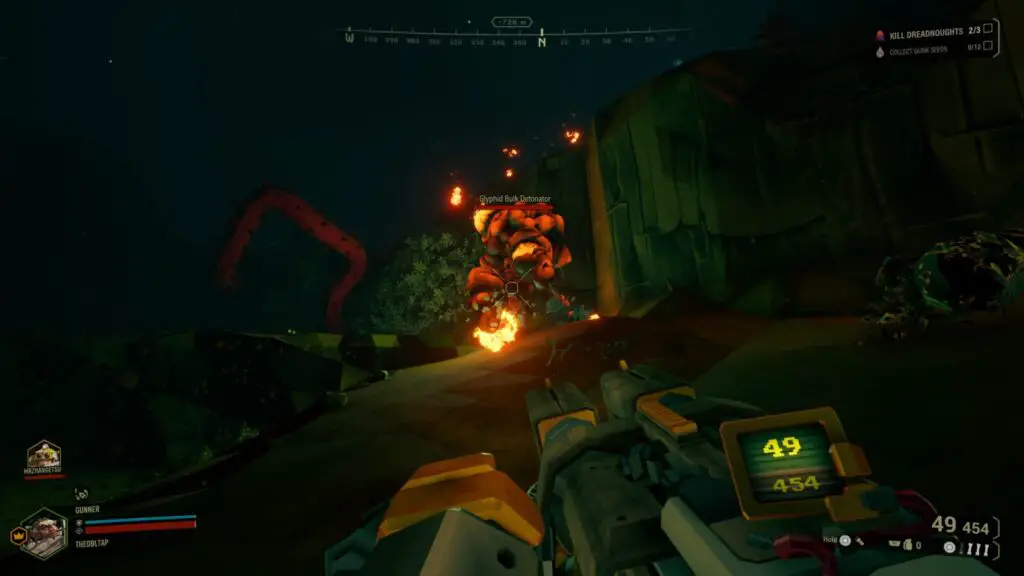
See you later, Detonator!
Participate in killing 20 Bulk Detonators.
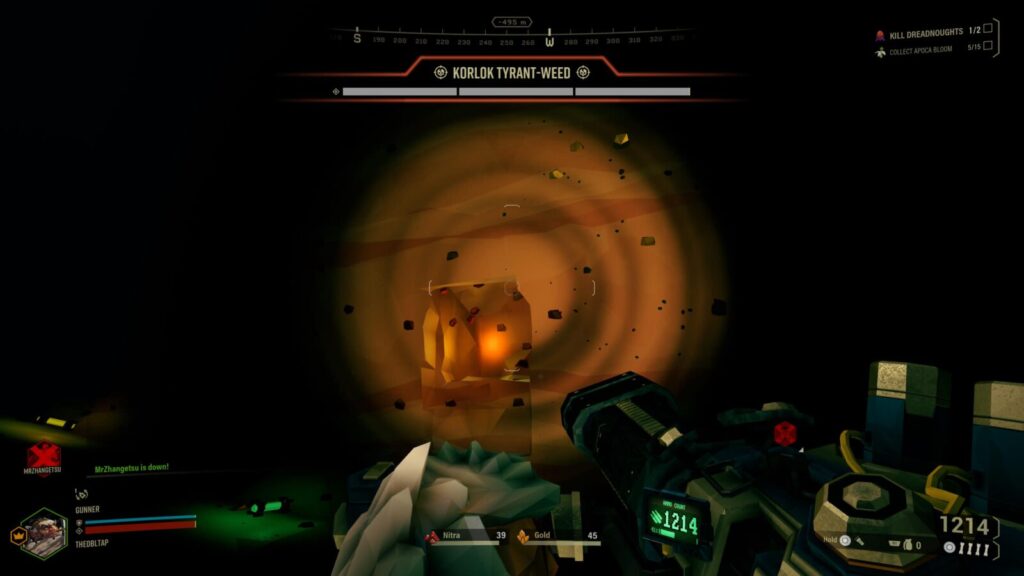
Bulk Detonators are huge, lumbering, fleshy masses on legs. They glow with a bright orange colour, have three glowing weak points, and will explode in a huge radius when you approach them.
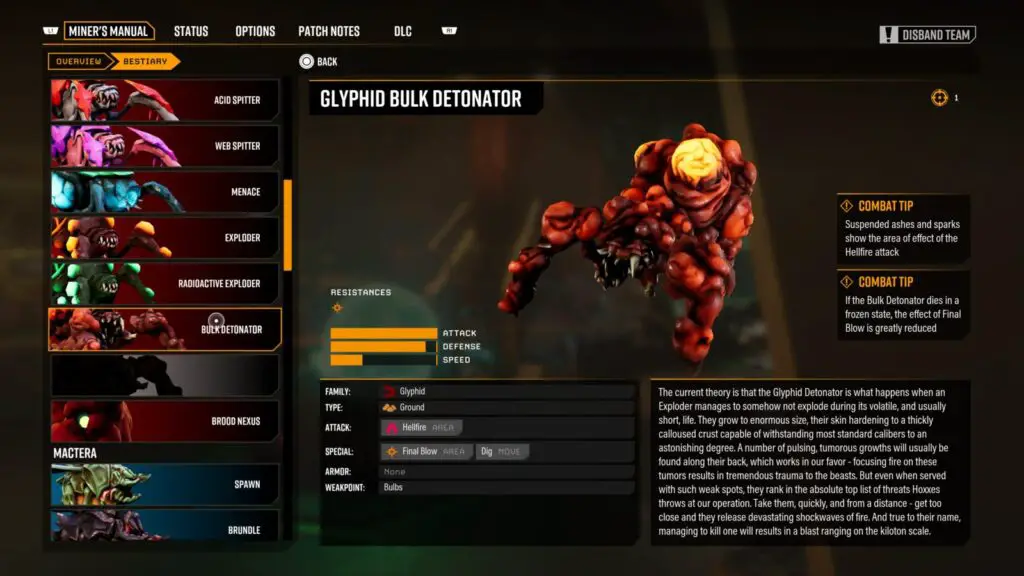
If you’re playing on Hazard Level 3, 4, or 5, the blast can easily be enough to kill you. So if you see one, you should keep your distance.
Don’t just ignore them, though. You should try to break their weak points from a distance (Sorry Drillers, Flamethrowers aren’t very useful here!) and kill them.
Once they are dead, their corpse will explode in an enormous radius, destroying any mine-able surfaces in a huge sphere around its corpse. It also launches several bombs which will also explode in a large radius. Needless to say, don’t be close to it when it dies.
There’s even some special “Bulk Crassus Detonators”, these will coat all surrounding surfaces in mine-able gold which you and your team can dig up and take home with you.

To unlock the “See You Later, Detonator!” trophy, you will need to kill 20 of these. You don’t need to be the one who delivers the killing blow, but you will need to land at least one shot on the creature for it to count towards your trophy total.
If you just run away and avoid the conflict then you’ll get nothing. Help your team!
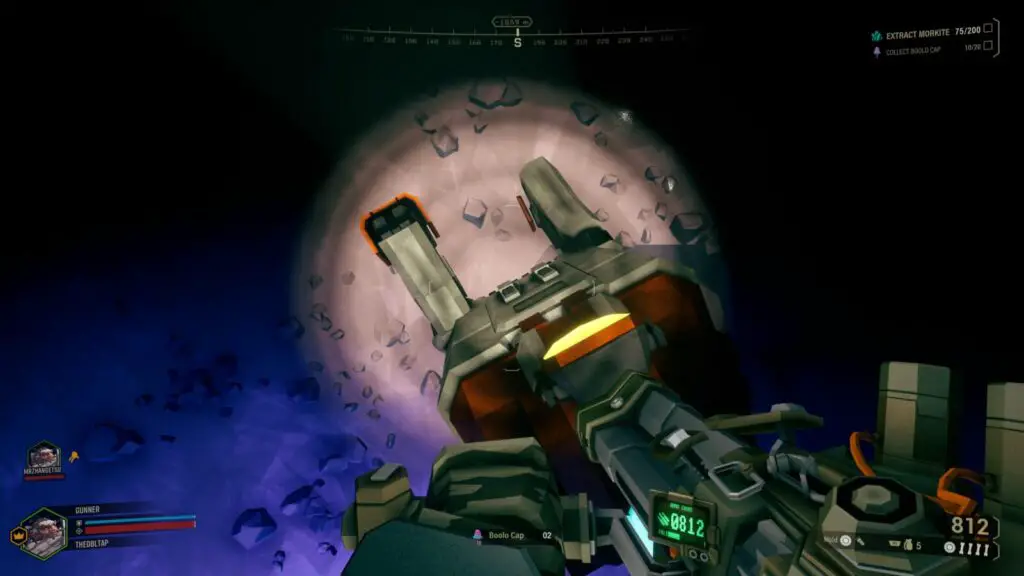
Hi Ho, Silver – Away!
Ride Molly for 15 seconds.
Molly is also known as “M.U.L.E” and is the little robot that follows you and your teammates on missions. To unlock this trophy, you will need to jump onto the top of Molly and then stay on top of it for a full 15 Seconds.
The easiest way to do this solo is to try to ride on Molly at the end of a mission, when it is leading you back to the Drop Pod, but this can be difficult as it will climb up vertical walls.
The best way to have full control over the bot’s route is to play with a friend. You can find a long, flat section of cave and get your friend to stand at the opposite end. Then, jump on Molly and get your friend to press ![]() to call Molly to them.
to call Molly to them.
You could technically do this solo, but you’ll have to travel quite a long distance, call Molly, then double-back and jump on its head while its traveling to the beacon you dropped.

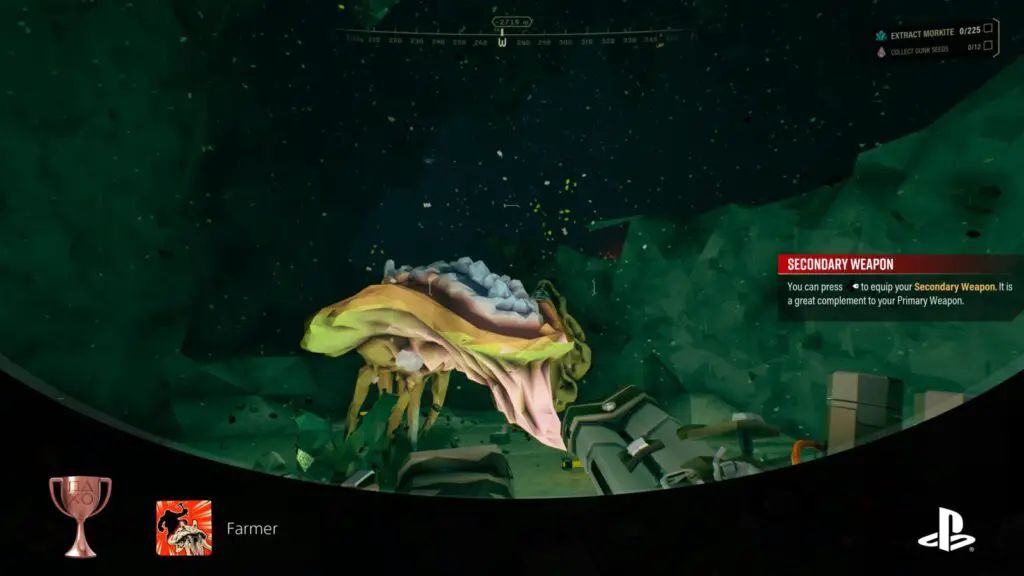
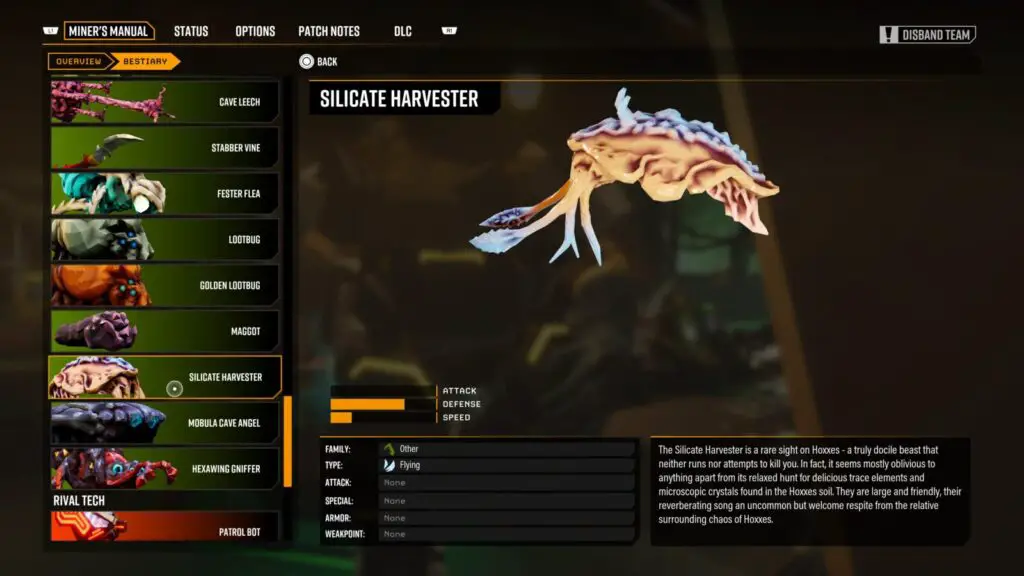
Farmer
Ride the Silicate Harvester for 30 seconds.
Silicate Harvesters are large floating slug-like alien creatures that are docile and appear randomly in some missions.
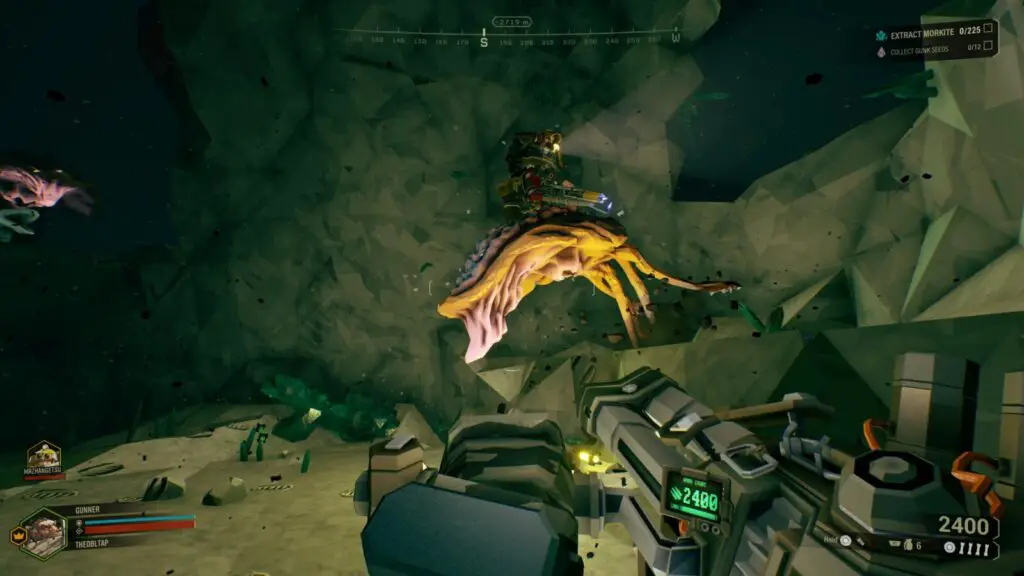
When you see one, jump on its back and try to stay there for a total of 30 seconds. If you are successful, the Farmer trophy will unlock.

I Like It Down Here
You stayed in a mission for an hour or longer.
While on a mission, you can open the pause menu with ![]() and see a timer that displays how long you have been in the cave.
and see a timer that displays how long you have been in the cave.
To unlock I Like It Down Here, you need to stay in a mission until the timer says 1:00:00 or more.
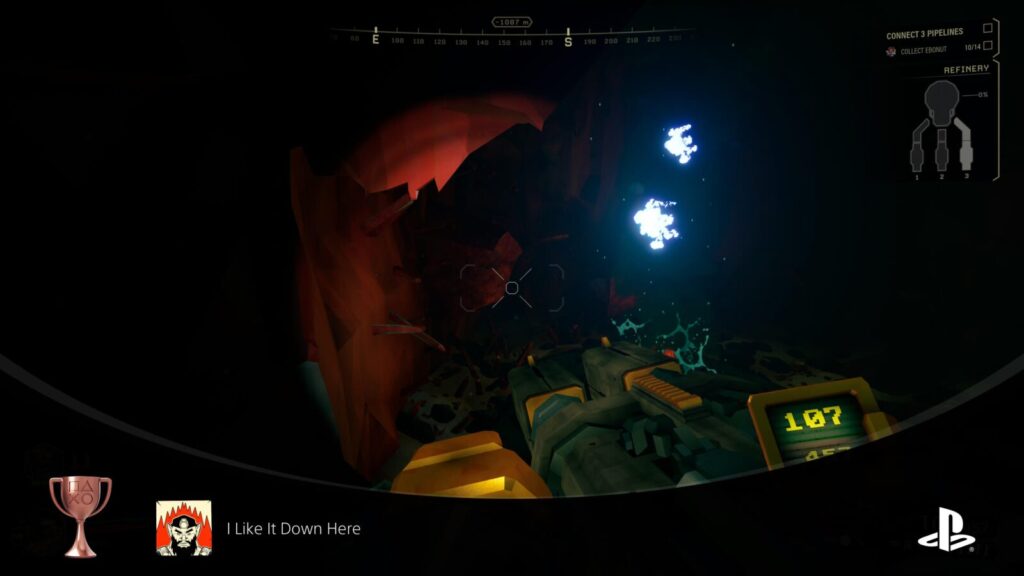
We found this easier to achieve on an On-Site Refinery mission. Firstly, because the caves on refinery Missions are pretty small and completely enclosed.
This means that once you’ve cleared out the initial enemy spawns, you will only get a new wave of enemies once every 5-10 minutes, which is fairly easy to manage.
Secondly, we chose the Refinery game mode because of the pipe-building mechanic. You can grind on a pipe that you’ve built and we entertained ourselves by building a really long pipe that we could enjoy as a bit of a rollercoaster ride. Just something to pass the time.

Hit ’em Where It Hurts
You scored 1000 weakspot hits. Impressive.
This is very likely to occur naturally, especially while you’re using the Gunner due to his Gatling Gun. Basically, to unlock the “Hit ’em Where It Hurts” trophy, you just need to hit 1,000 weakspots.
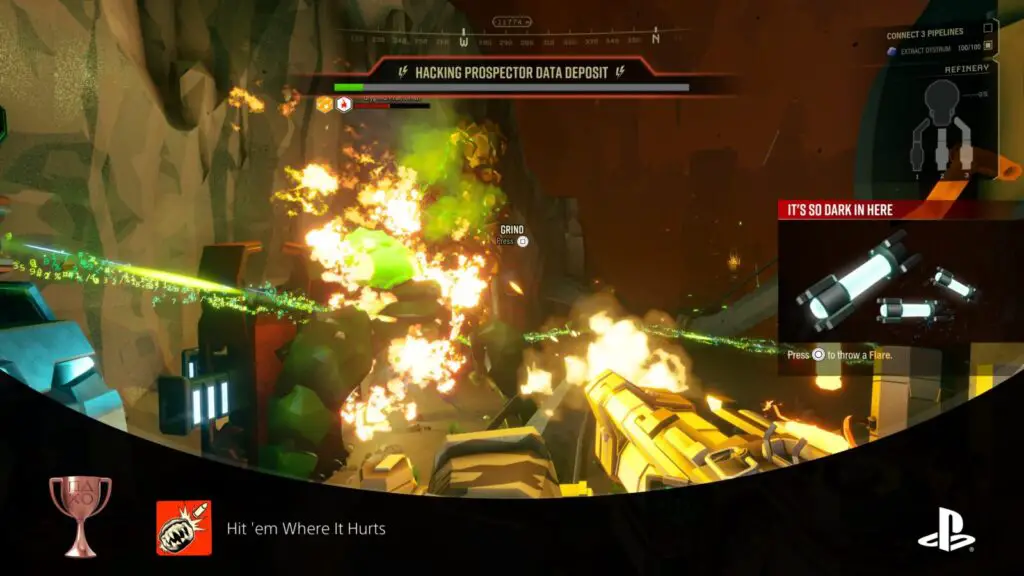
For the basic Glyphid Grunt enemies, this just means shooting them in the mouth. Larger forms of these arachnid creature, such as the Glyphid Praetorian, have their weak spots on their “butts.”
Usually, these weak spots glow, making them obvious where you need to hit. But, again, you’ll more than likely earn this trophy naturally without even thinking about it.
Note that it is difficult to earn this trophy using the Driller because he uses a flamethrower which doesn’t really deal direct specifically-placed damage, but if you’re going for the Platinum you will use other classes anyway.

Car Pool
Ride the Silicate Harvester with three other dwarves and kill five enemies each without leaving.
The Car Pool trophy relates to the same Silicate Harvester creature required for the Farmer trophy. That being said, this trophy is quite a lot more difficult if you don’t have three friends to play with.
To unlock Car Pool, you and three other Dwarves (4 total, to be clear) must all squeeze precariously onto a Silicate Harvester’s back and then kill five enemies each without any of your jumping or falling off the Harvester.
Pretty tricky, but if you have a full team of friends all communicating over Voice Chat then you should have no problem convincing them to sit on a HArvester’s back with you and wait for a swarm to appear. If you’re lucky, you’ll find one on a Mission with the “Swarmageddon” Warning tag, which causes an infestation of small, easy-to-kill Glyphid Swarmers.
Now, if you don’t have a team of friends to do this with, you’re going to have a much harder time.
Sure, you can just play in public servers to always have a full team of Dwarves, but when you see a Silicate Harvester you’re going to need to convince your whole team to jump on its back and also to just wait there for some enemies to appear.
It’s going to be difficult, even if you use the built-in voice chat and are fortunate enough that the whole team of strangers speak the same language and even have voice chat unmuted.
I can’t even get a team of strangers to stop wasting Nitra on Resupply pods we don’t need, so I can’t imagine getting them to co-ordinate enough to unlock this trophy.
You could try online communities like r/trophies or PSNProfiles, but don’t spam them and try to be a good sport or you’ll just end up banned or disliked.
Miscellaneous Space Rig Trophies

Barrel Rider
Ride a barrel in the spacerig for three seconds.
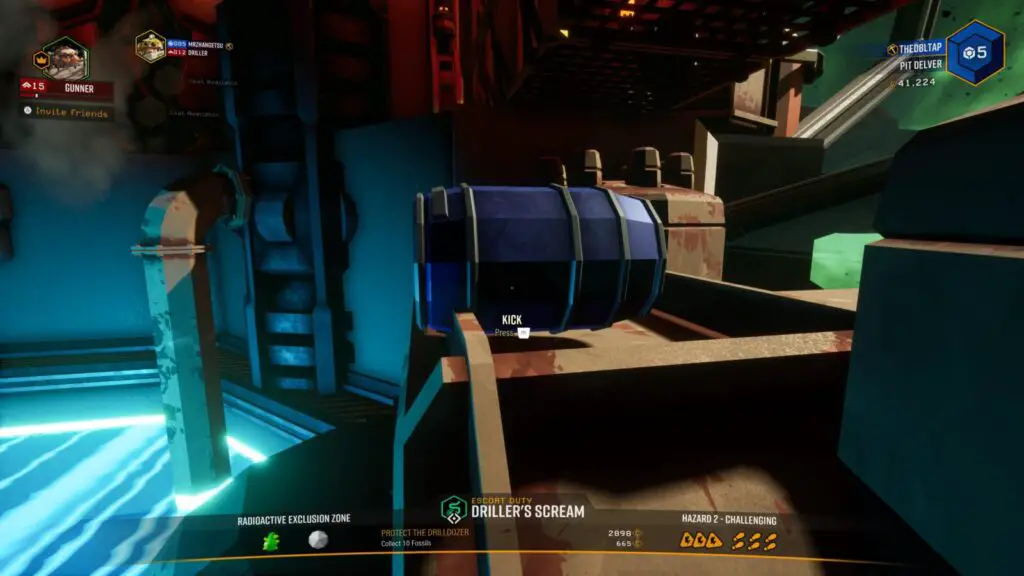
The Barrel Rider trophy is quite difficult, as the barrels in the Space Rig actively try to push you off.
You basically need to kick a barrel onto its side, and then stay on it for three full seconds.
Your best bet for pulling this off, other than getting very lucky like we did in the video above, is to push all of the barrels on the Space Rig into one big pile, then jump in the middle of the pile. The awkward physics will bounce you and the barrels around like crazy but, hopefully, the trophy will unlock.
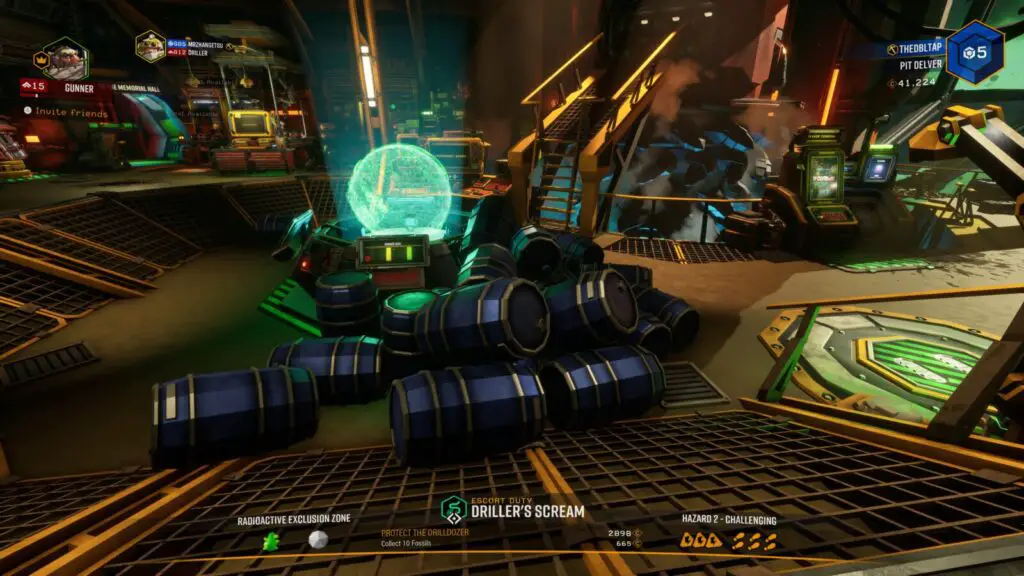
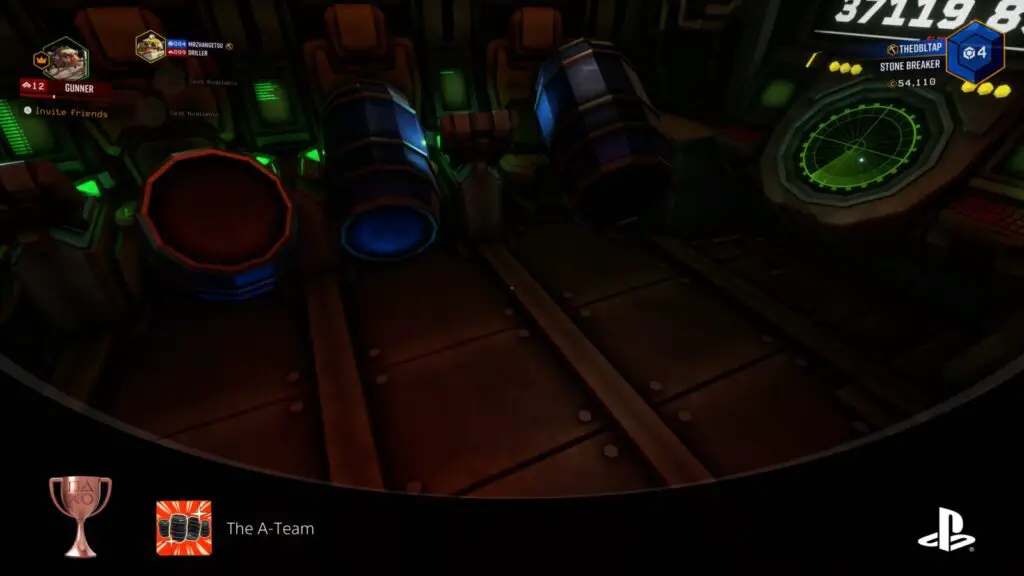
The A-Team
Through skillfull maneuvering, you put a barrel in every seat in the Drop Pod. Well done?
The A-Team trophy will very likely occur naturally while you are unlocking Time Well Spent, provided at least one barrel goes into each of the Drop Pod’s seats.
See Time Well Spent for a guide to all barrel locations, as well as tips on getting them into the Drop Pod.

Time Well Spent
You stuffed every single barrel on the Space Rig into the Drop Pod. Management weeps.
The Time Well Spent trophy is a frustrating and long-winded wrestling match with the game’s physics system, but there are a few tricks you can use to make things easier.
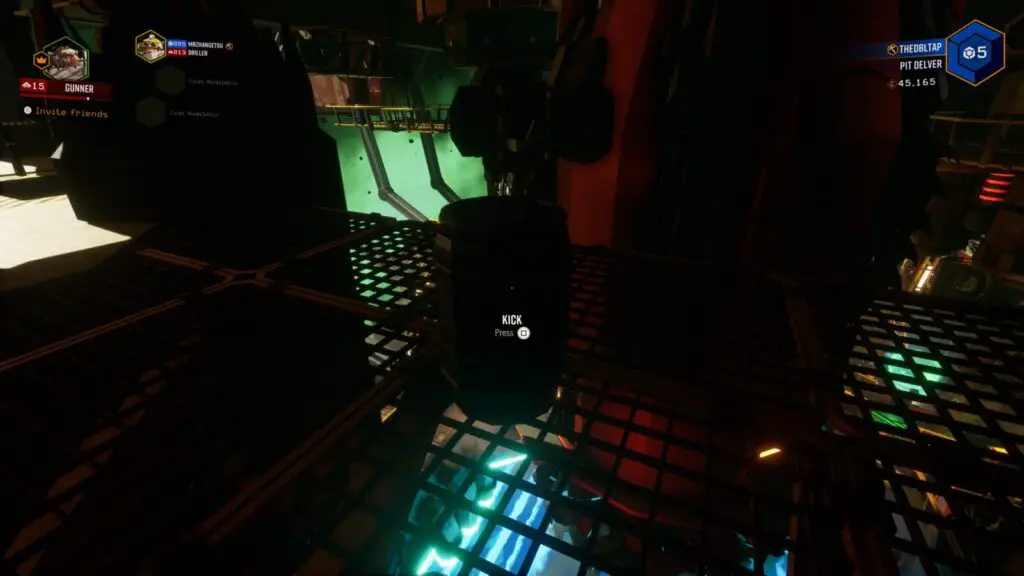
Essentially, you need to get all 25 of the barrels on the Space Rig (location guide here) up the stairs, across the boarding ramp, and into the Drop Pod. You can do so by kicking them with ![]() .
.

The problem is with getting them up the stairs. To do this, you will need to kick a barrel up into the air, and then juggle it by repeatedly kicking it while it’s airborne until it lands on the boarding ramp.
This is hard to do because you will obviously need to be able to hit ![]() while also moving the camera. Something which is very difficult to do without having two thumbs on one hand.
while also moving the camera. Something which is very difficult to do without having two thumbs on one hand.
If you have a modded controller with back paddles, you can map ![]() to one of your paddles, which is how MrZhangestu managed to pull off this feat.
to one of your paddles, which is how MrZhangestu managed to pull off this feat.
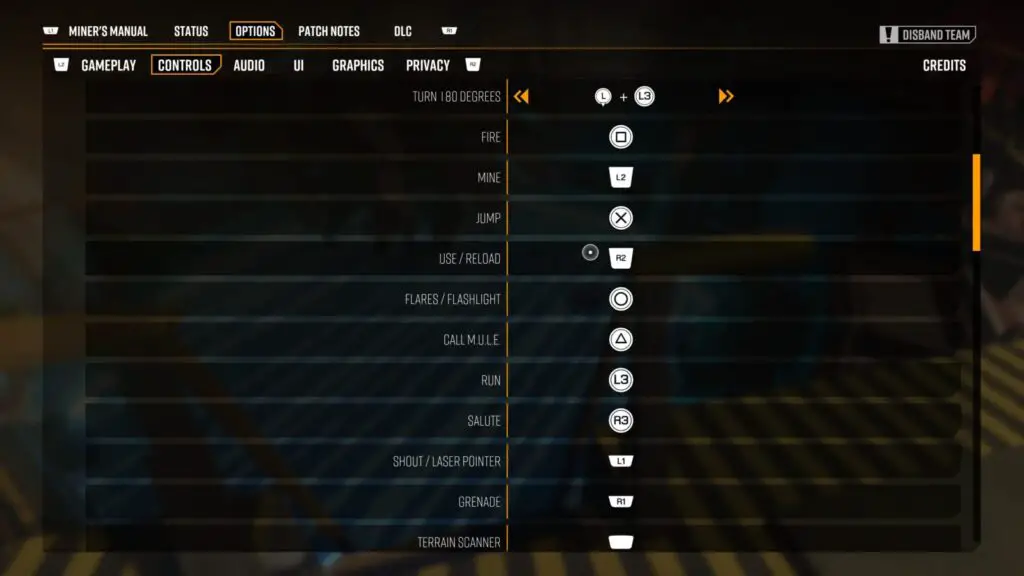
Alternatively, you can go into the options, go to the “Controls” tab and then use the settings in the “Customize Controls” options to remap USE/RELOAD ![]() to
to ![]() , making it much easier to juggle them.
, making it much easier to juggle them.
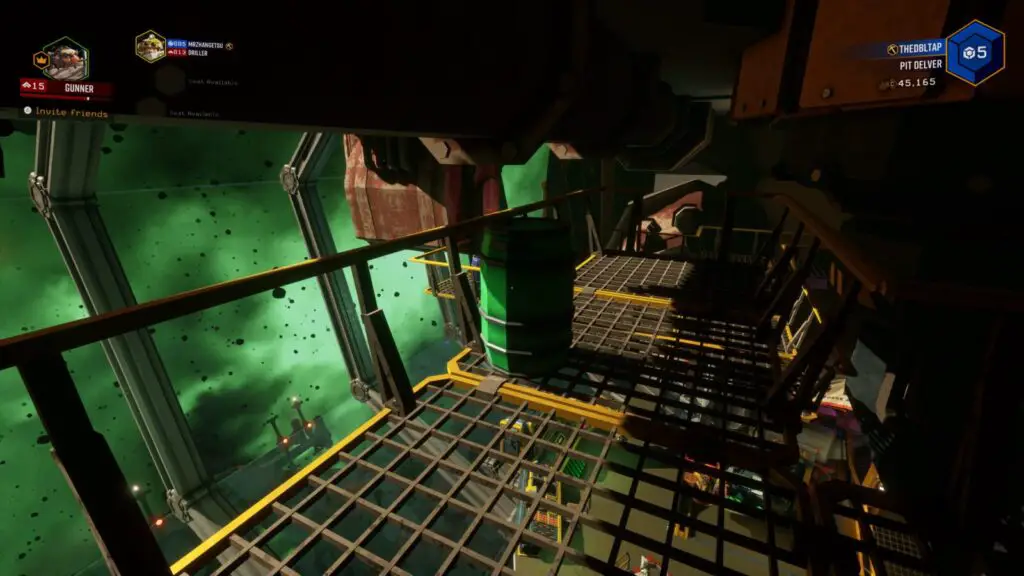
Your next issue is what to do if they fall into the launch bay.
There are three pipes on one side of the bay in something of a triangle formation.
You can juggle barrels up the pipes to the top.
From there, kick them over to the glass and then you can easily get them back over to the stairs leading up to the Drop Pod.
Glitch Warning: The trophy can, unfortunately, glitch and then refuse to unlock. From what we can tell, this is due to the physics going wild and forcing a barrel to despawn.
To avoid this happening, try not to enter the Drop Pod while there are barrels in there, as you will send them flying, causing a chain reaction of explosive physics calculations, resulting in one or more barrels disappearing or even clipping through the pod.
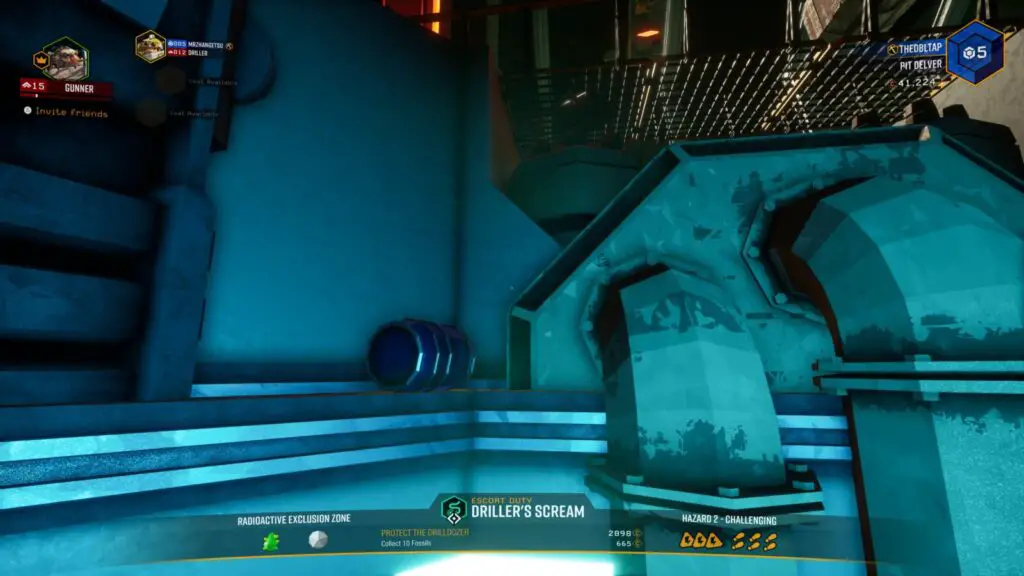
Space Rig Barrel Locations
There are 25 barrels in total, bearing in mind that the Yellow Barrel near the bar is not required for this or any barrel trophy, as it will despawn if you kick it too far from its spawn.
There are three floors to the space rig and two elevator platforms which will transport you between them. The barrel locations are as follows:
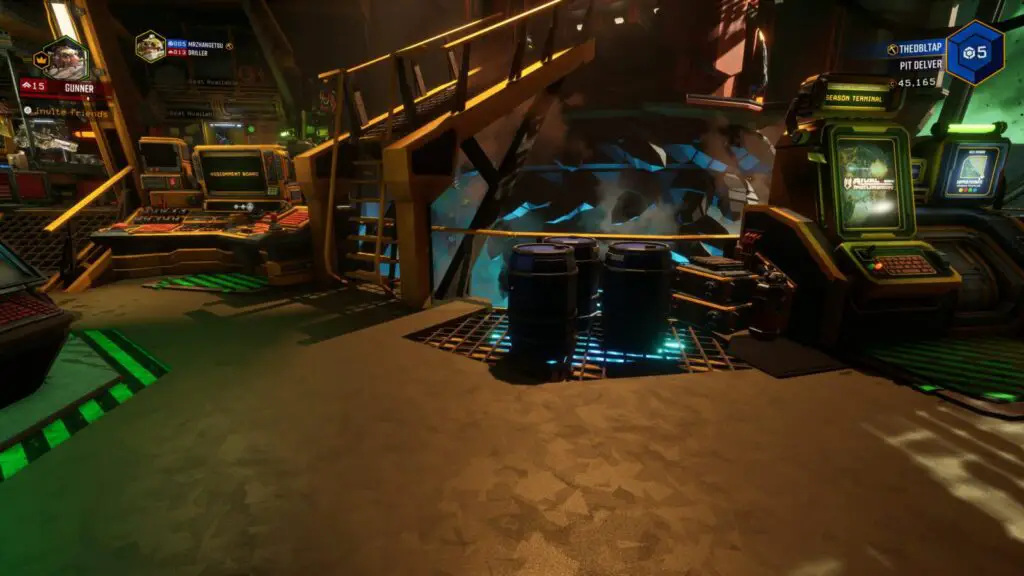
The first three are next to the stairs leading up to the drop pod.
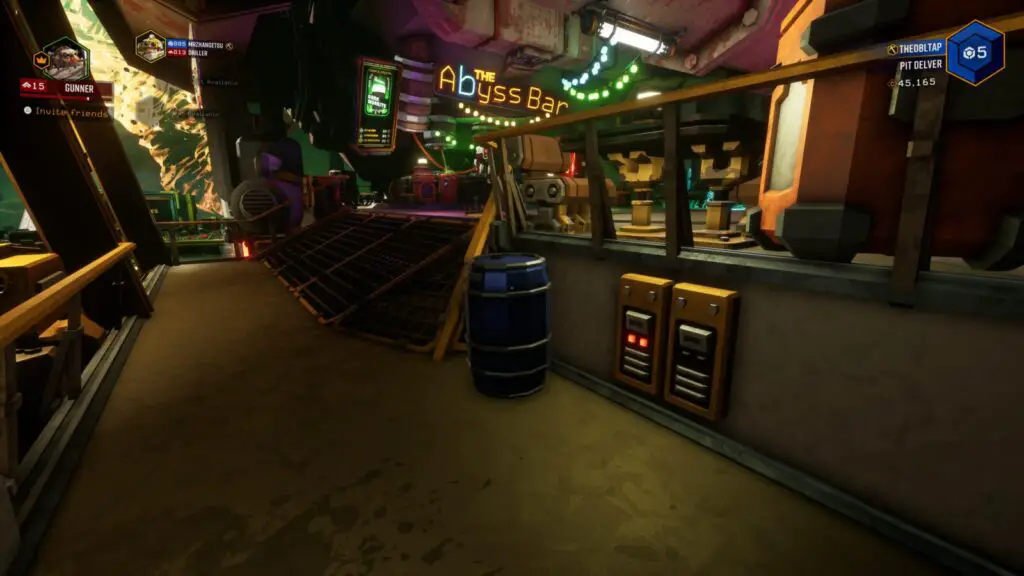
Head towards the bar and you’ll see one near the ramp leading up to the bar.
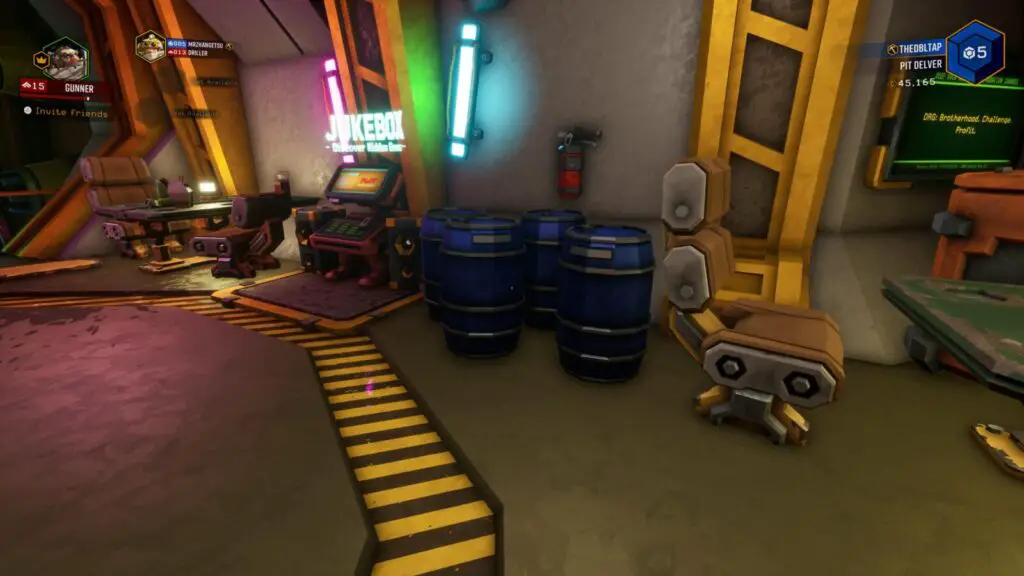
Next to the Juke Box, opposite the bar, there are four more barrels.
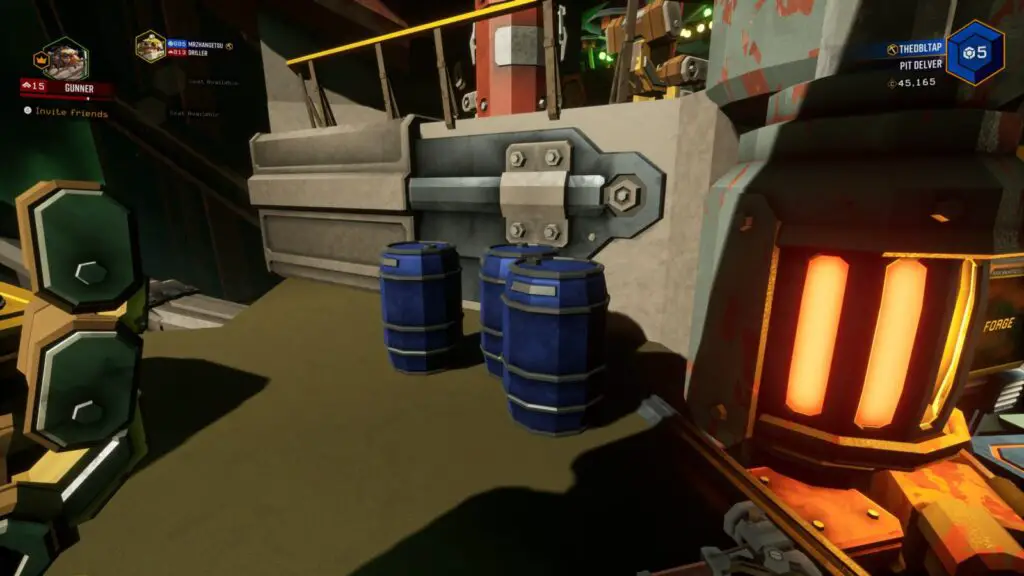
Behind the bar, between the Deep Dives console and the Forge, you’ll find three more barrels.
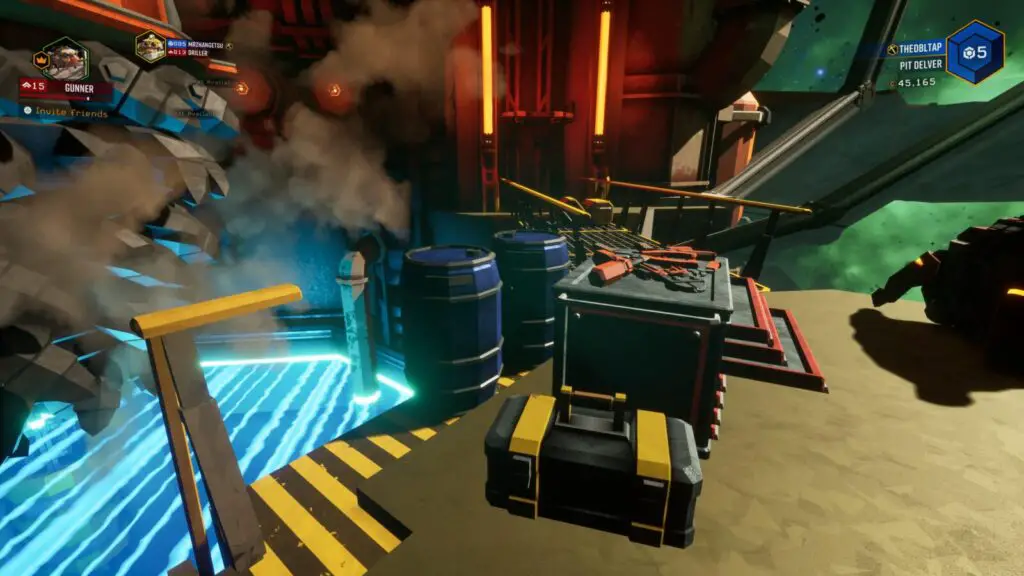
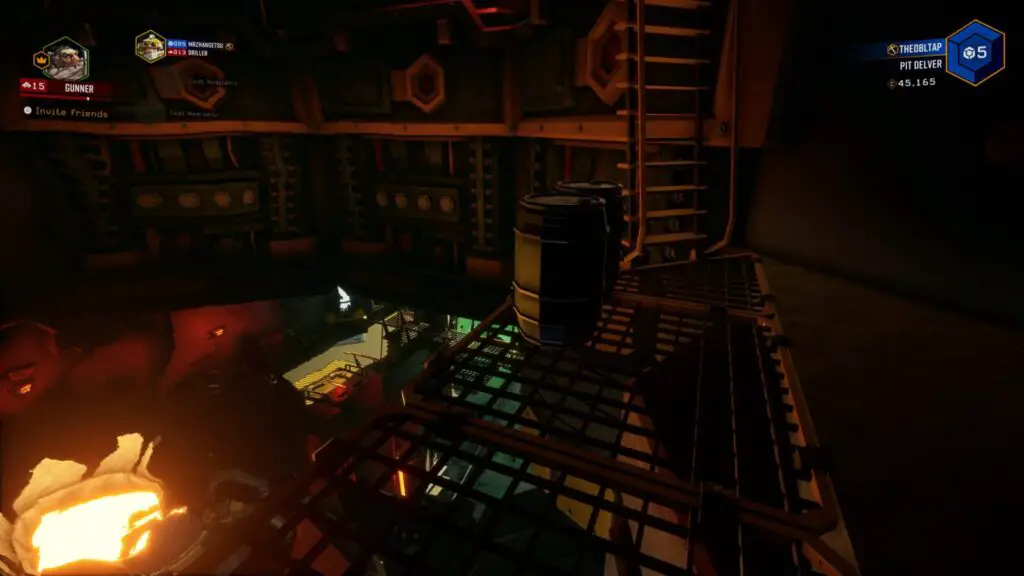
Close to the Drop Pod, next to the catwalk leading to the elevator platform, you can find two more barrels next to a toolbox. Be careful not to knock these ones into the Launch Bay.
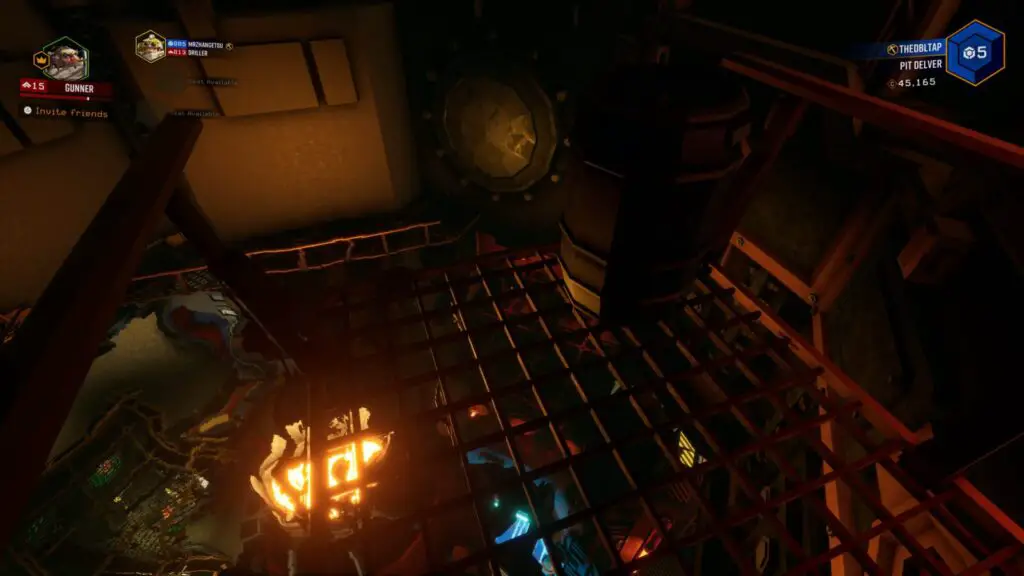
Take the elevator up to the second floor, and you’ll see a barrel on its own up on the metal grid behind the Drop Pod.
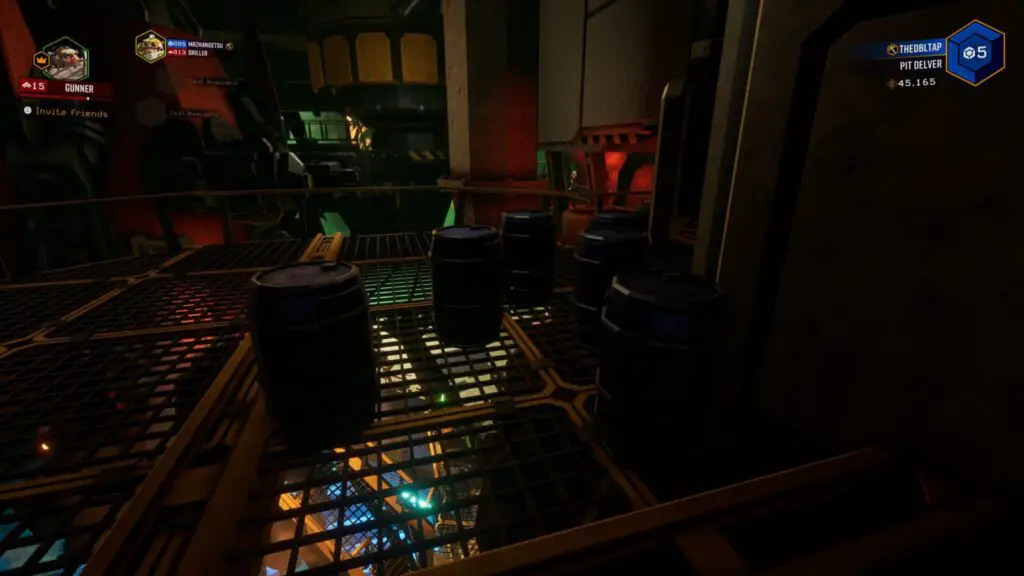
Head through the tunnel from there, to the platform above the living quarters, and you’ll find 6 more barrels.
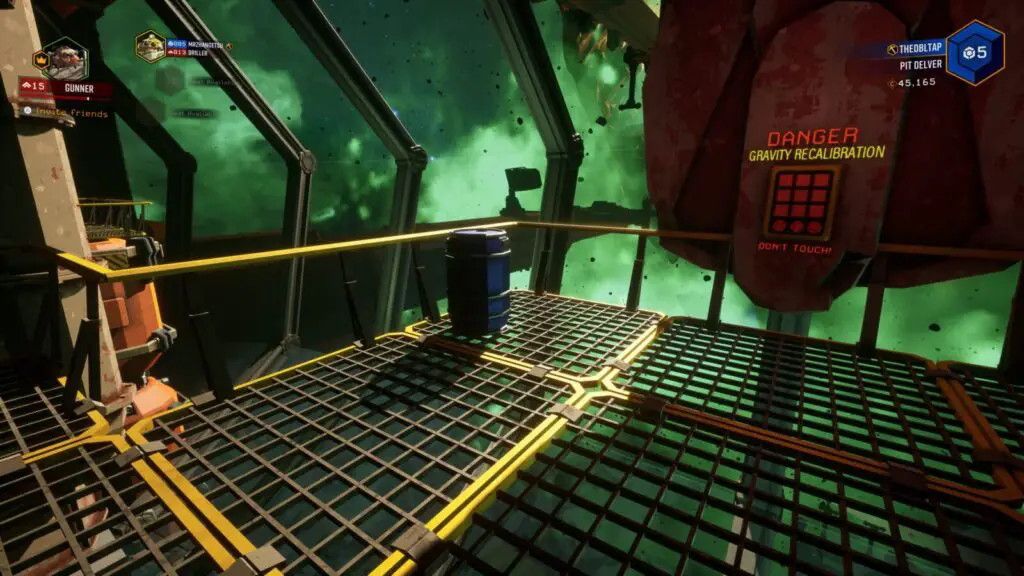
Head to the other side of this second floor, and you’ll see a gravity recalibration button with another barrel next to it.
Go up the stairs to the left of this barrel to find a green barrel up on a catwalk.
Take the next elevator up to the third floor, where Mission Control will warn you that this area is under construction. Up here, you’ll find two barrels sitting together, overlooking the drop pod’s rocket exhaust.
Head up the stairs next to those two and you’ll find the final barrel sitting alone at the highest point of the Space Rig.
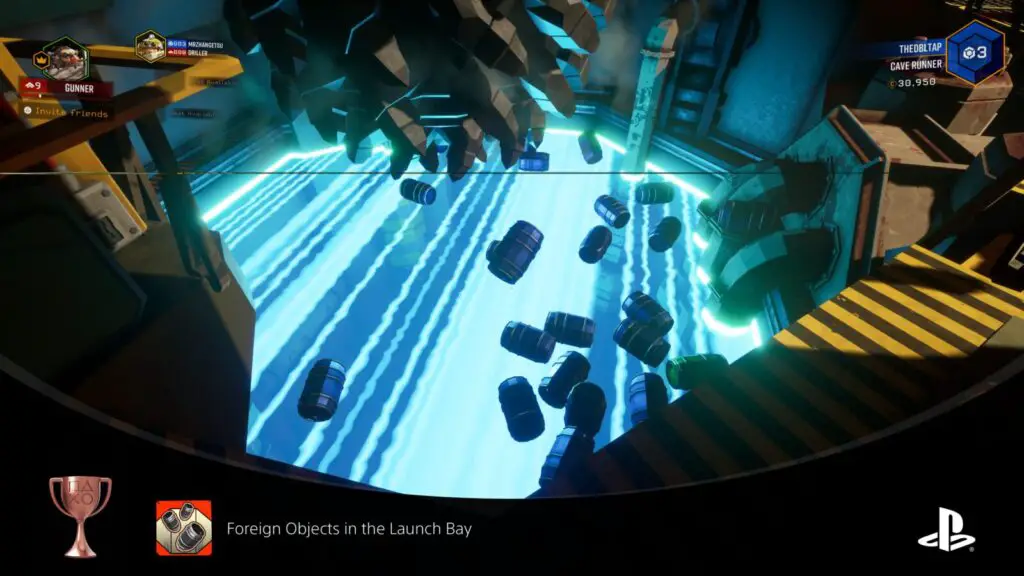
Foreign Objects in the Launch Bay
You kicked every barrel into the Launch Bay. You are why Mission Control drinks.
For the Foreign Objects in the Launch Bay trophy, you need to kick ![]() all 25 barrels on the Space Rig into the Launch Bay, which is the large blue energy shield below the drop pod.
all 25 barrels on the Space Rig into the Launch Bay, which is the large blue energy shield below the drop pod.
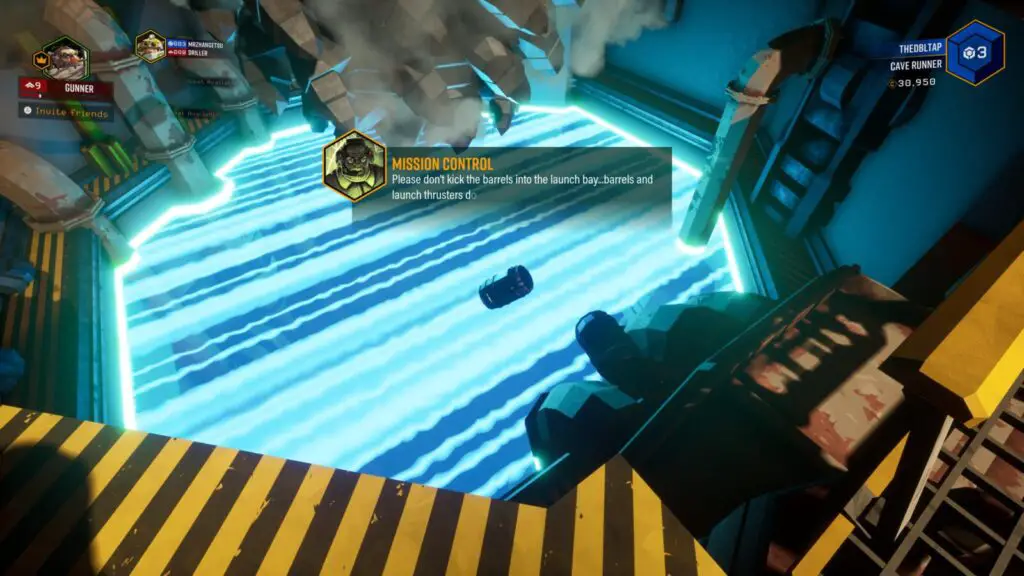
Once all 25 are in the Launch Bay, the trophy will unlock. See Time Well Spent for a guide to all Barrel Locations.

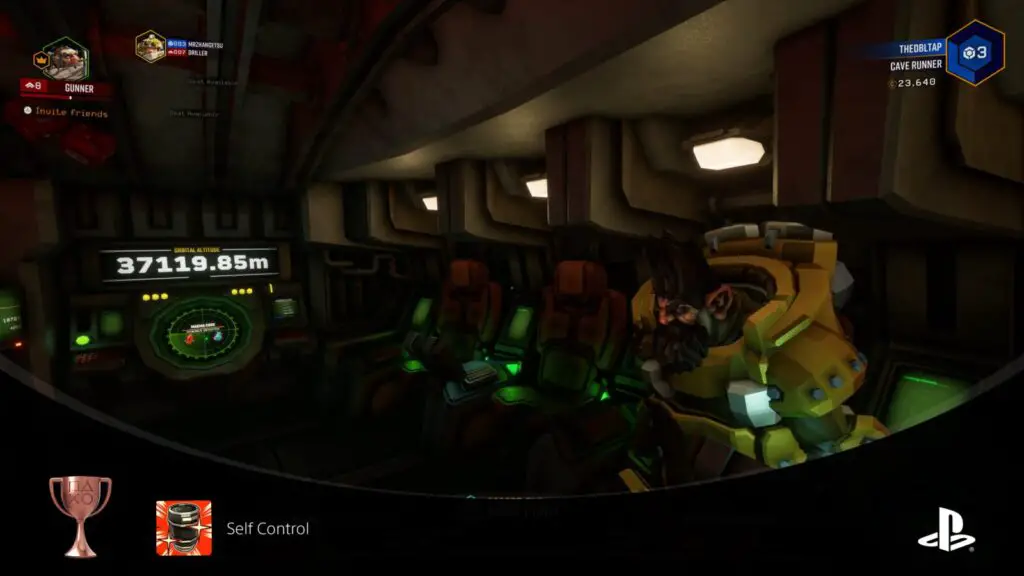
Self Control
Successfully play 10 consecutive missions without kicking a single barrel on the Space Rig.
On the Space Rig hub area, you can kick barrels by approaching them and pressing ![]() . To unlock the Self Control trophy, you need to not do this for 10 missions.
. To unlock the Self Control trophy, you need to not do this for 10 missions.
You don’t need to successfully complete those missions, you just need to play 10 missions in a row without kicking a barrel on the Space Rig in-between. The trophy unlocks when your 10th mission starts.

Moustacho
Purchase five moustaches for one character.
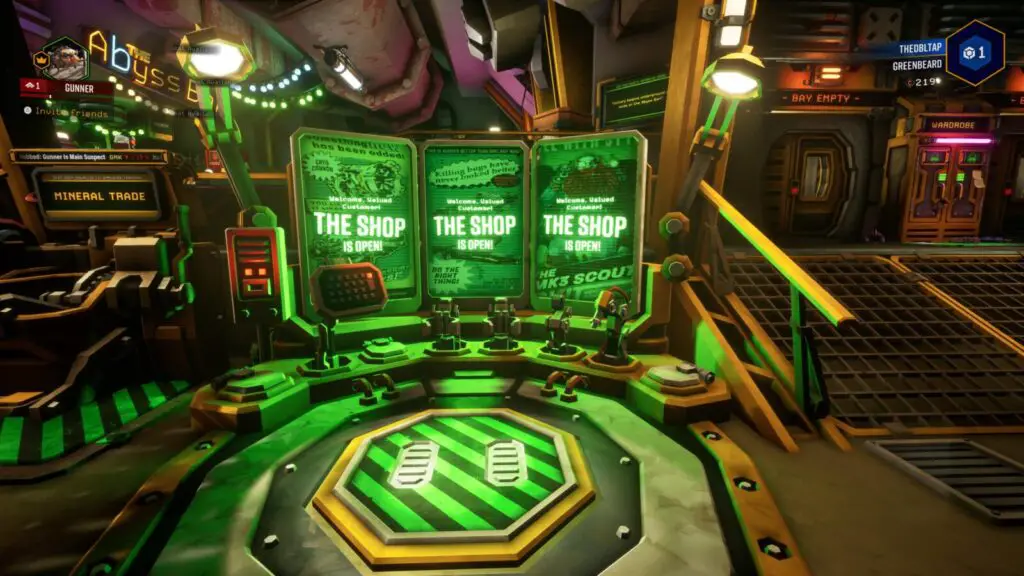
To unlock Moustacho, you will need to buy five moustaches for one Dwarf from the Shop in the Space Rub hub area.
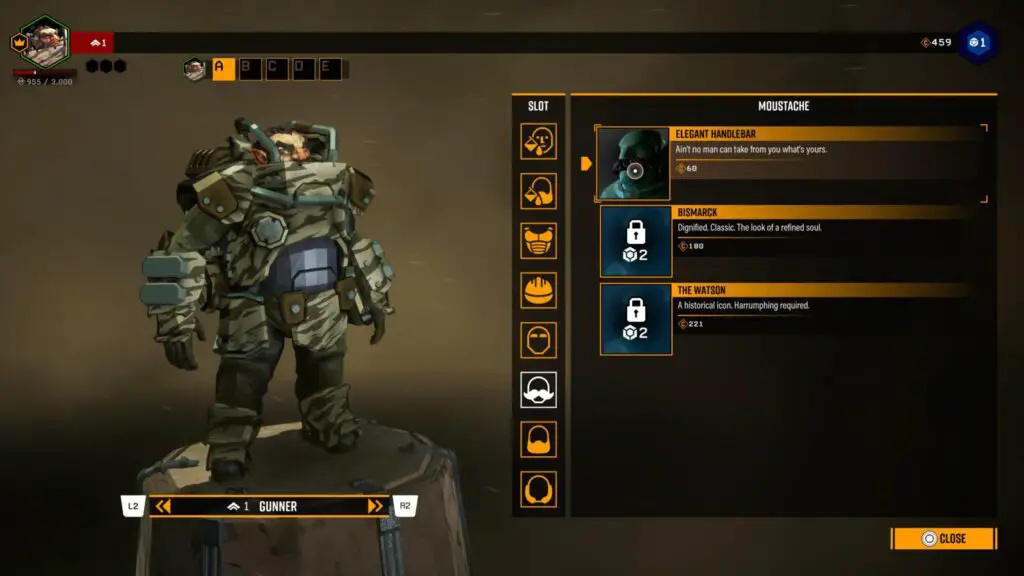
The Shop is a large green console near the Drop Pod in the Rig’s main area.
Before you can buy five moustaches, you will need to reach Player Level 4, which you can do by simply playing the game.
Once enough moustaches have been unlocked, purchase five or more for a single character and the Moustacho trophy will unlock.

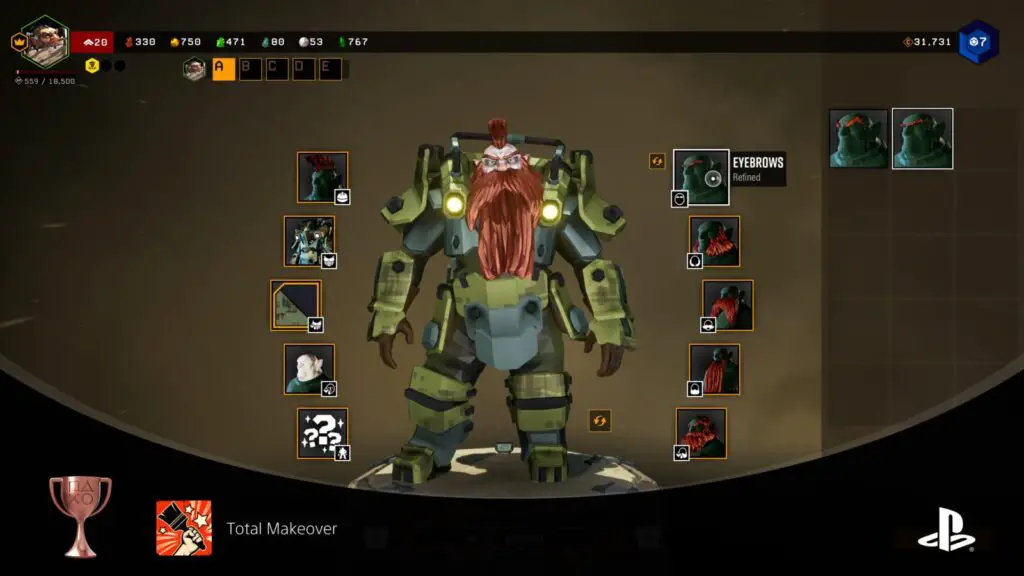
Total Makeover
Customize each accessory slot of a character.
On the Space Rig, there are a few Lockers just outside the living quarters.
Interact with them using ![]() to open the Wardrobe, where you can change your Dwarf’s cosmetic items. To unlock the Total Makeover trophy, you need to equip something non-default in every possible slot within there.
to open the Wardrobe, where you can change your Dwarf’s cosmetic items. To unlock the Total Makeover trophy, you need to equip something non-default in every possible slot within there.
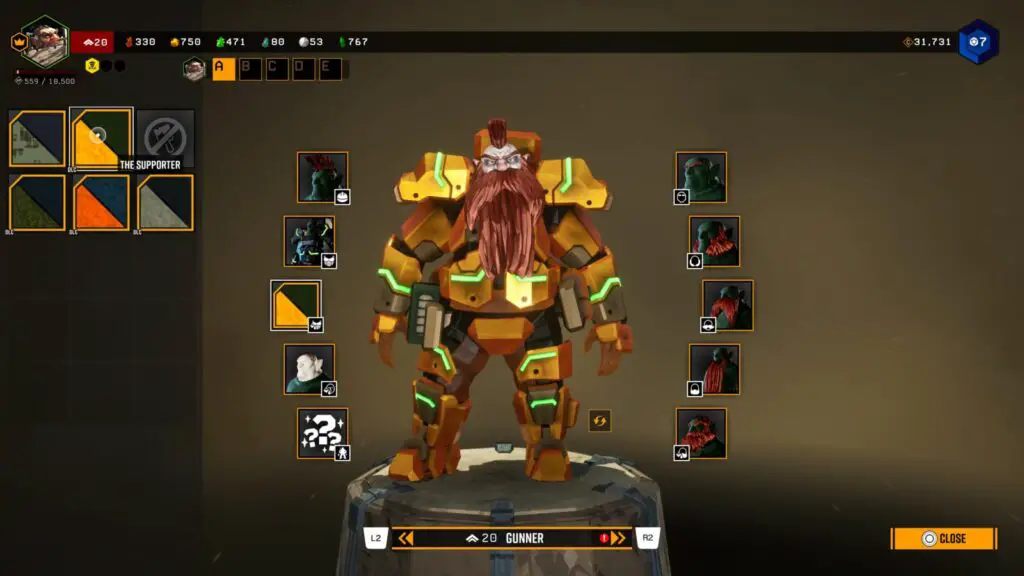
You may need to buy some more items from the shop before you have some alternative options for every slot. You will need at least one of the following:
- Headgear
- Armor
- Paintjob
- Skin Color
- Victory Moves*
- Eyebrows
- Sideburns
- Moustache
- Beard
- Hair Color
*You may need to specifically equip a new Victory Move and not leave the option on “Random”. It worked for me while on Random but some users have reported needing to change this.
Note that DLC Content won’t count towards this trophy. You will need to specifically equip new items you have unlocked through the Shop, Cargo Crates in Missions, or Season Pass rewards.
You can tell if an item is DLC content if it has a small “DLC” tag in the bottom-left corner of its icon.
You will need to close the Wardrobe once you are done and the trophy and then walk away, the trophy should then unlock.
Phase Three – End-Game Grind
So, I know what you’re thinking; “I’m on to Phase Three of PlatGet’s awesome Deep Rock Galactic Trophy Guide now! I’m two thirds of the way to my Platinum!”
Wrong. (About the two thirds thing. Our guide is awesome, and thank you for thinking that.)
Unfortunately, this end-game grind is probably about 4 or 5 times as much work as what you’ve done so far. Still up for it? You’re a brave Dwarf.
Here’s a brief rundown of what you’ll need to do here:
- Complete 500 Missions (~170 Hours)
- 100 Solo
- 50 as Party Leader
- 25 with players 10 Player Levels below you
- The rest however you like.
- Promote all Four Dwarves 7 times each (~560 Hours)
You know what they say; You either Rock and Stone, or you ain’t coming home.
But in this case, it’s more like you’ll never leave your home if you want this Platinum. At least not for the next 2 and a half months.
Mission Completion Trophies

Expert Miner
Complete 100 missions.
The requirement for the Expert Miner trophy is just to complete 100 Missions. This might not sound like a lot, but each mission can take around 20-30 minutes. So you’re looking at doing up to 50 hours for this trophy alone!
And that’s not the worst of it… Check out Legendary Miner.

Legendary Miner
Complete 500 missions.
To unlock Legendary Miner, you will need to complete a whopping 500 Missions. At 20-30 minutes per mission, you’re going to need to put in around 170 hours just to get this one trophy.
You could earn Platinum Trophies in around 8 reasonably-sized games in that time!
Sure, you can definitely speed this process up a bit by only playing on the lowest Hazard Level and ignoring secondary objectives but… You’re going to need as much EXP as you can get. This trophy isn’t even the longest grind in the game. Take a look at Legendary Team.
Here’s a breakdown of how these 500 missions should be played, to streamline the whole process:
- You will need to host friends for 50 of these Missions to unlock It’s My Party.
- You should play with someone 10 Player Levels lower than you for 25 Missions to unlock Good Shepherd.
- You should complete 100 of these Missions solo to unlock Bosco, You’re The Best.
- The remaining 350-375 can be completed however you wish, but try to maximise your EXP gain in each one for Legendary Team.

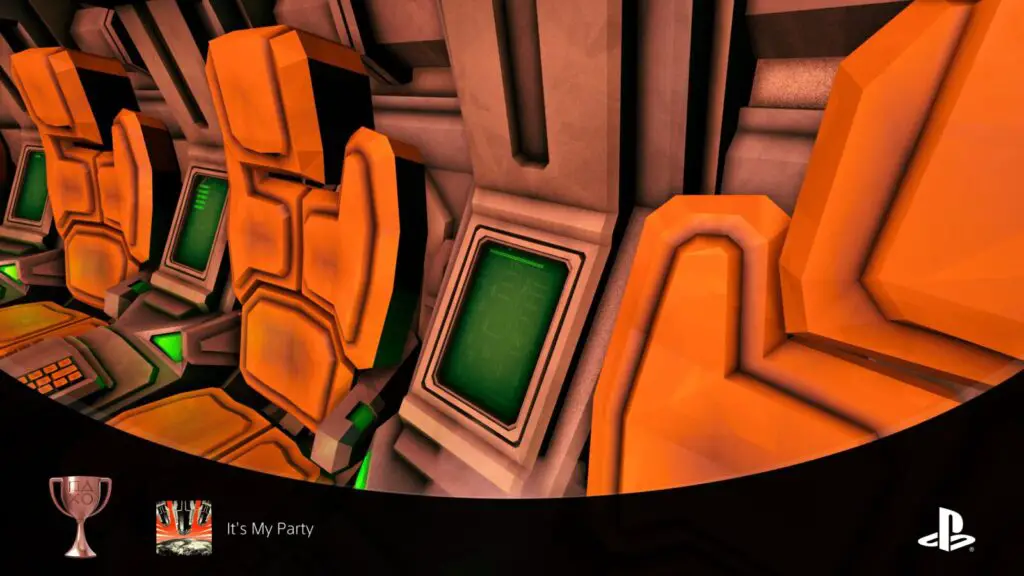
It’s My Party
You’ve hosted and successfully completed 50 team missions from start to finish.
To unlock the It’s My Party trophy, you will need to be the Host of 50 Missions, and you will need to successfully complete those missions.
That means you cannot start missions and purposefully fail them to speed up the trophy, you have to complete them from start to finish.
Due to the “from start to finish” specification, it seems you must have teammates with you when the mission starts. Starting a game Solo but keeping the lobby public so that people can join you won’t work.
The easiest way to do this is to invite people to your team by pressing ![]() on the Space Rig and then sending invites to your friends.
on the Space Rig and then sending invites to your friends.
Another way to do it is to select a mission from the map, choose “Public”, and then wait in the Space Rig until you have at least one Dwarf join your team. Once that happens, you can start the mission.
When you are the Host, you will have a small gold crown icon next to your name.
Complete a grand total of 50 Missions that you’ve hosted and the trophy will unlock.

Good Shepherd
Successfully complete 25 missions where at least 1 player is 10 player ranks lower than you.
The Good Shepherd trophy pertains to your Player Level. The Player Level is the blue gem-shaped level in the top-right of your screen when you are on the Space Rig.
If you play with strangers frequently in public lobbies, then you’re likely to frequently run into players with 10 fewer Player Levels than you. That being said, it will be impossible to progress this trophy until you are at least Player Level 11, which would mean you’d need to play with players at Player Level 1.
To be honest, if you’re really going to go for it and get the Platinum for DRG, you will need to put in a crazy number of hours and will surely have hundreds of player levels on the average player, so the trophy will no doubt occur naturally.
Alternatively, you could play until you’re around Player Level 20 and then convince a friend to get the game. Then you can just carry them through everything while they’re at Player Level 1-5.
For a Mission to count towards this trophy, you need to fully complete it. Failing the Mission, getting disconnected, or just leaving the game will obviously not count.
You need to successfully complete 25 Missions with at least one Dwarf in your party who is 10 Player Levels lower than you, at which point the trophy will unlock.

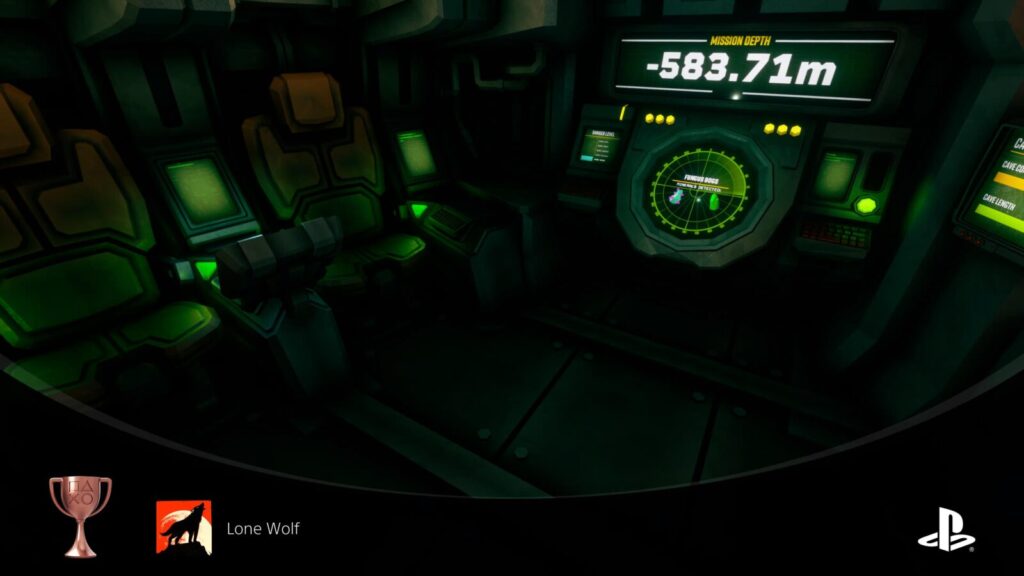
Lone Wolf
You’ve completed 10 Solo missions. Impressive.
To play alone–just you and Bosco–you need to select “Solo” when choosing a mission from the Map.
If you already have teammates in the Space Rig with you, this option won’t be available and you will need to select “Disband Team” from the top right corner of the ![]() menu to kick them all out.
menu to kick them all out.
The Lone Wolf trophy will unlock when you’ve completed 10 Solo Missions in total.

Bosco, You’re The Best
You’ve completed 100 Solo missions. Most impressive.
Bosco, You’re The Best is an extension of the Lone Wolf Trophy in that you also need to complete Solo Missions, without friends there to back you up.
However, for this trophy, you will need to complete 100.
Promotion Trophies

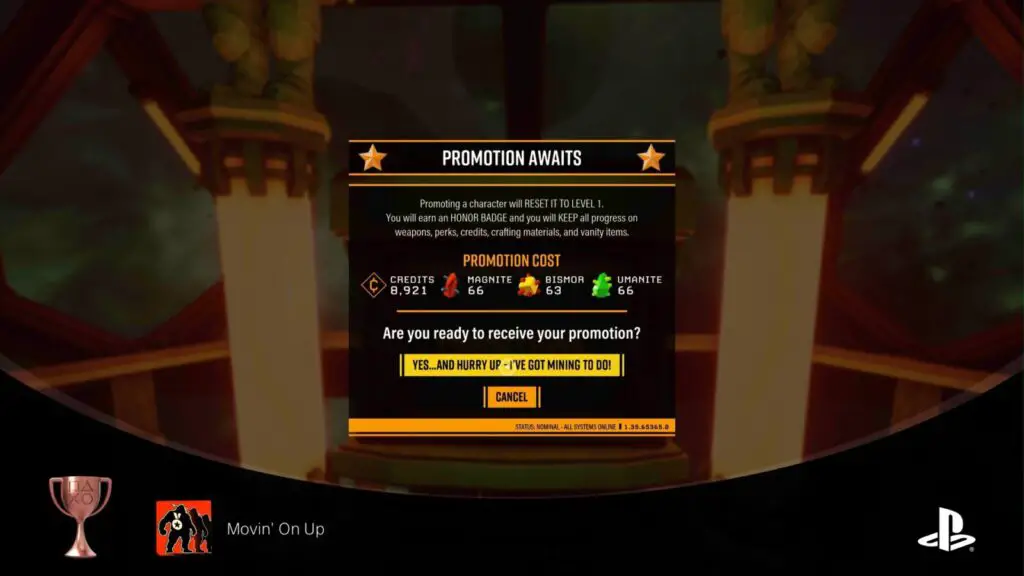
Movin’ On Up
Promote any Dwarf at least once.
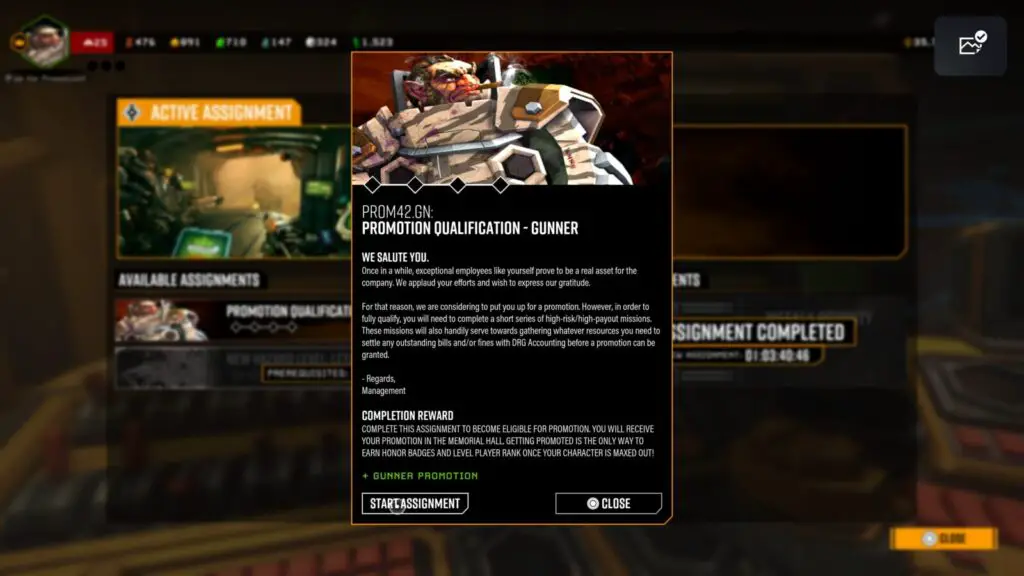
To promote a Dwarf, you will need to complete their “Promotion Qualification” assignment, available from the assignment board next to the Drop Pod.
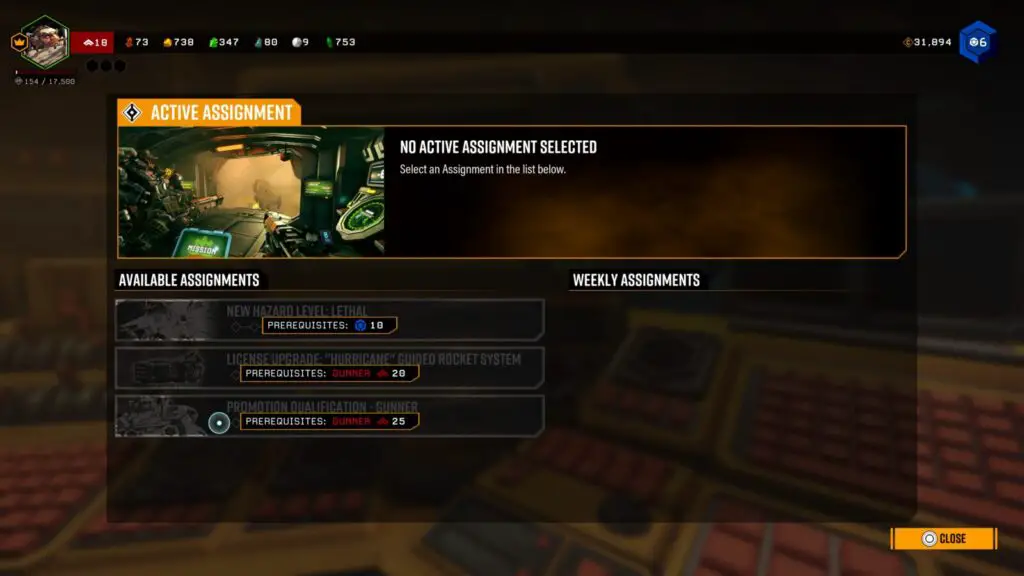
These assignments won’t show up until you reach Level 18 with a Dwarf, and they can’t be started until you reach Level 25.
Completing all of the Missions in the Assignment will allow you to Promote your Level 25 Dwarf.
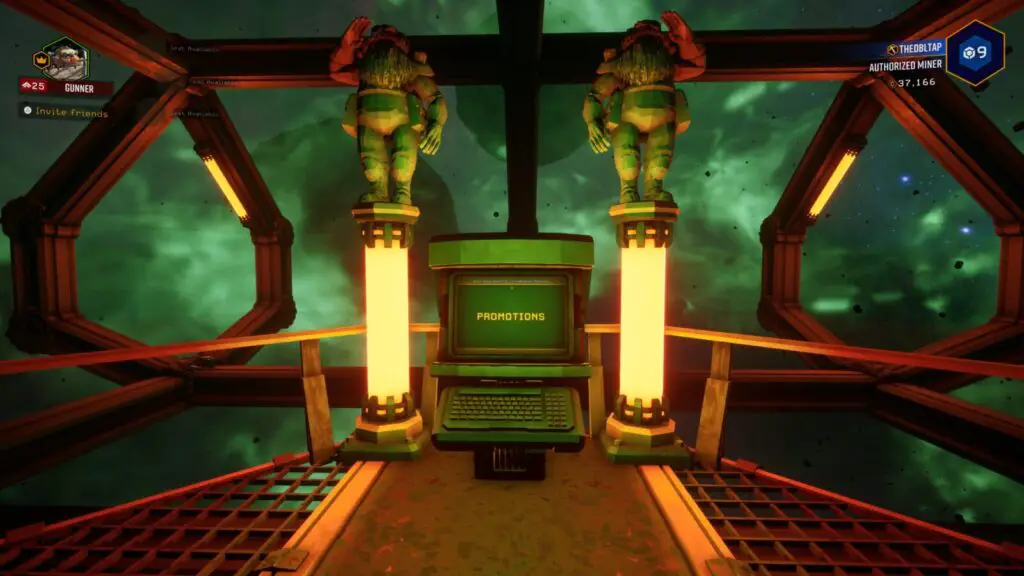
Once Promotion is available, take the Elevator next to the Upgrades Console up to the Memorial Hall.
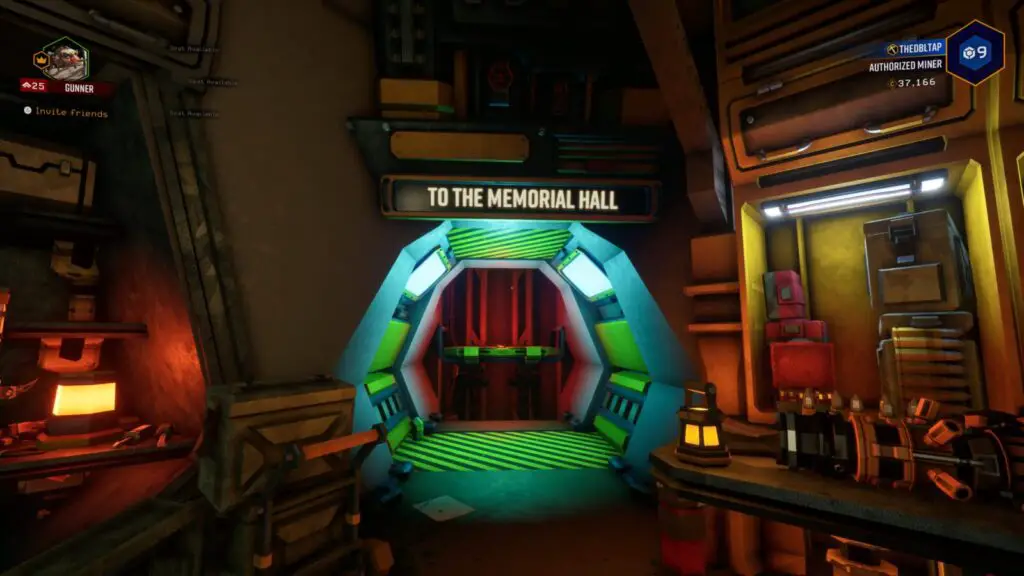
At the back of the hall, there’s a “Promotions” Console, which is where you can purchase your Promotion.
When you promote a Dwarf, it will be reset to Level 1, and will need to be leveled to 25 again in order to be promoted a second time. However, you will keep all of your perks, upgrades, weapons and cosmetic items.
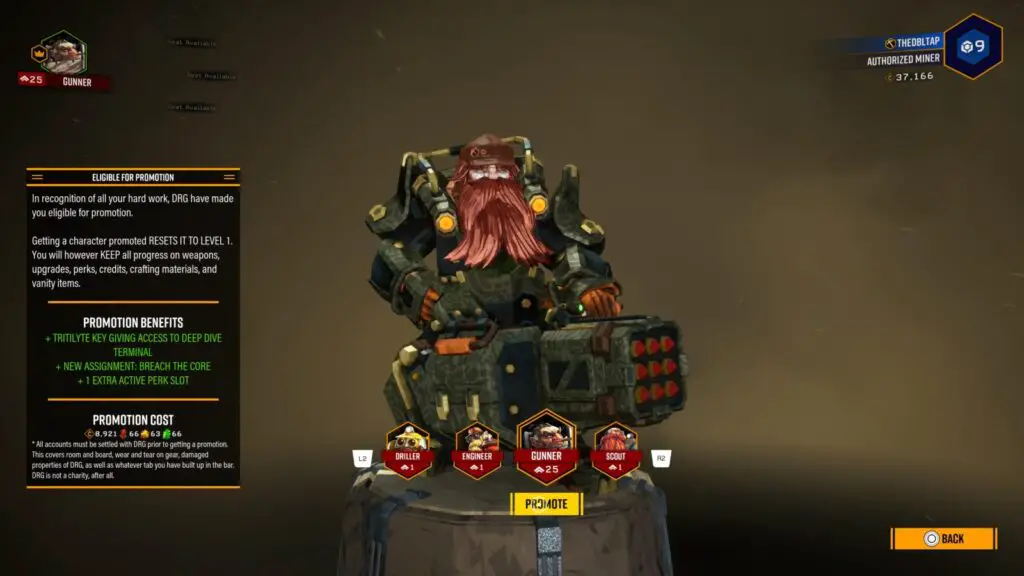
In other words, you don’t lose any progress. You will also get a Tritilyte Key, gain access to all new assignments, gain to access to Deep Dive Missions (for all Dwarves), be able to use the Forge (with all Dwarves), and get an extra Active Perk slot! Nothing but great things!
Do this for the first time with any of the four Dwarf classes and the Movin’ On Up trophy will unlock.

Corporate Climber
Promote any two Dwarves at least once.
To unlock Corporate Climber, you must Promote two Dwarves for the first time, as per Movin’ On Up.

Hat Trick
Promote any three Dwarves at least once.
To unlock Hat Trick, you must Promote three Dwarves for the first time, as per Movin’ On Up.

Full Team Ahead
Promote all four Dwarves at least once.
To unlock Full Team Ahead, you must Promote four Dwarves for the first time, as per Movin’ On Up.

Silver-Tier Employee
Earn a Silver promotion.
To unlock Silver-Tier Employee, you will need to Promote any Dwarf to Silver Tier for the first time.
Silver I Tier becomes available once you’ve leveled a Dwarf up to Level 25 four times, and Promoted them through Bronze I, Bronze II, and Bronze III tiers. See Legendary Team for more information on Promotions.

Gold-Tier Employee
Earn a Gold promotion.
Gold-Tier Employee will unlock once you have promoted any Dwarf to Gold Tier for the first time.
Gold I Tier is available for Dwarves who have been leveled up to Level 25 seven times, and promoted through Bronze I, Bronze II, Bronze III, Silver I, Silver II, and Silver III tiers. See Legendary Team for more information on Promotions.

Pro Team
Earn Silver Promotions for all four dwarves.
Unlocking the Pro Team trophy requires you to promote all four Dwarves to Silver Tier as per Silver-Tier Employee.

Legendary Team
Earn Gold Promotions for all four dwarves.
Unlocking Legendary Team requires you to promote all four Dwarves to Gold Tier, as per Gold-Tier Employee.
The issue with this is that you’re going to need to earn 2,205,000 exp for each Dwarf, in order to reach level 25 seven times and promote them to Gold Tier I.
Though the process will get faster each time thanks to all the new features you’ll get access to, Promoting a Dwarf takes at least 20 hours of gameplay. Twenty Hours.
That’s about 560 hours of gameplay to unlock this one trophy!
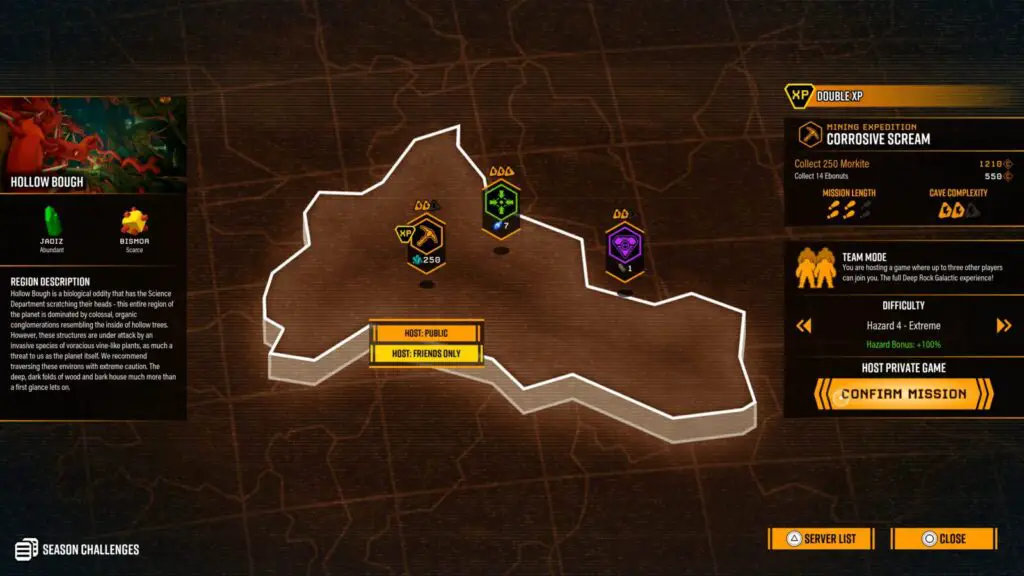
You will need to get the most experience out of every mission that you can. Complete Missions with warnings, high length & complexity stats, and double XP boosts where possible.
You’ll also want to complete all secondary objectives, and bring back plenty of extra resources, like Nitra and Gold, which will provide extra exp.
Here’s a table detailing the base EXP you will get for completing the primary objective in each Mission Type, not including Secondary Objective EXP:
| Mission Type | Objective | Experience |
|---|---|---|
| Mining Expedition | Retrieve 200 Morkite | 1700 |
| Mining Expedition | Retrieve 225 Morkite | 1875 |
| Mining Expedition | Retrieve 250 Morkite | 2048 |
| Mining Expedition | Retrieve 325 Morkite | 2724 |
| Mining Expedition | Retrieve 400 Morkite | 3400 |
| Egg Hunt | Retrieve 4 Eggs | 950 |
| Egg Hunt | Retrieve 6 Eggs | 1425 |
| Egg Hunt | Retrieve 8 Eggs | 1900 |
| Salvage Operation | Recover 2 Mini-MULEs | 1820 |
| Salvage Operation | Recover 3 Mini-MULEs | 2340 |
| Point Extraction | Recover 7 Aquarq | 1225 |
| Point Extraction | Recover 10 Aquarq | 1750 |
| Elimination | Defeat 2 Dreadnaughts | 2100 |
| Elimination | Defeat 3 Dreadnaughts | 2975 |
| Escort Duty | Recover the Heartstone (1 Refuel – 2 Complexity) | 2100 |
| Escort Duty | Recover the Heartstone (1 Refuel – 3 Complexity) | 3220 |
| Escort Duty | Recover the Heartstone (2 Refuel – 2 Complexity) | 3680 |
| Escort Duty | Recover the Heartstone (2 Refuel – 3 Complexity) | 4140 |
| On-Site Refining | Recover Liquid Morkite (2 Complexity) | 1800 |
| On-Site Refining | Recover Liquid Morkite (3 Complexity) | 2400 |
| Industrial Sabotage | Defeat the Rival Mining Company’s Caretaker and retrieve the Data Rack | 3600 |
Additionally, you will get bonus EXP based on the Hazard Level, Cave Complexity, Cave Length, and Warnings on the Mission you choose. By combining multiple bonuses, you can get a maximum of 233% more EXP:
| Bonus Type | Value | EXP Increase |
|---|---|---|
| Hazard Level | 1 – Low Risk | 25% |
| Hazard Level | 2 – Challenging | 50% |
| Hazard Level | 3 – Dangerous | 75% |
| Hazard Level | 4 – Extreme | 100% |
| Hazard Level | 5 – Lethal | 133% |
| Cave Complexity | 1 | 0% |
| Cave Complexity | 2 | 10% |
| Cave Complexity | 3 | 20% |
| Cave Length | 1 | 0% |
| Cave Length | 2 | 10% |
| Cave Length | 3 | 20% |
| Warning | Cave Leech Cluster | 15% |
| Warning | Parasites | 15% |
| Warning | Regenerative Bugs | 15% |
| Warning | Exploder Infestation | 20% |
| Warning | Low Oxygen | 20% |
| Warning | Mactera Plague | 20% |
| Warning | Swarmageddon | 20% |
| Warning | Lethal Enemies | 25% |
| Warning | Elite Threat | 30% |
| Warning | Haunted Cave | 30% |
| Warning | Shield Disruption | 30% |
Lastly, to help you determine the most valuable resources to bring back, here’s a table detailing the EXP gain for each resource:
| Resource | EXP Gain per Resource |
|---|---|
| Nitra | 1 |
| Gold | 1 |
| Bismor | 2 |
| Croppa | 2 |
| Enor Pearl | 2 |
| Jadiz | 2 |
| Magnite | 2 |
| Umanite | 2 |
| Morkite | 1 |
| Aquarq | 25 |
| Alien Egg | 30 |
| Dystrum | 1 |
| Hollomite | 1 |
| Alien Fossil | 3 |
| Apoca Bloom | 3 |
| Boolo Cap | 3 |
| Ebonut | 3 |
| Gunk Seed | 3 |
| Bittergem | 0 |
| Tyrant Shard | 500 |
| ERR://23¤Y%/ (Alien Artifact) | 4000 |
Best of luck with this ridiculous grind. ROCK AND STONE!
Plat Get!


Managements Favourite Employee
Collect all other Deep Rock Galactic trophies
Once you have acquired every other trophy in this Deep Rock Galactic Trophy Guide, the Platinum Trophy will unlock.
Thank you for choosing PlatGet as your source for a Deep Rock Galactic Trophy Guide. Consider checking out our other guides!
Follow us on Twitter @GetPlat or Instagram @platget for updates on new reviews and guides, as well as small anecdotes about our platinum journeys.