PlayStation 5
Deathloop Trophy Guide
General Info
FAQ
How long does it take to beat Deathloop and unlock all trophies?
about 15-20 hours.
How difficult is it to beat Deathloop and unlock all trophies?
Easy (3/10).
Does Deathloop have online trophies?
No.
Does Deathloop have difficulty-specific trophies?
No.
Does Deathloop have missable trophies?
No.
Does Deathloop have glitched trophies?
No.
What is the minimum number of playthroughs required to unlock all trophies in Deathloop?
One, with a bit of clean-up after campaign completion.
Does Deathloop have a Platinum Trophy?
Yes.
Other Useful Guides:
Deathloop (Mostly) Naked Eternalists Guide
Trophy Guide
Deathloop Trophy Guide and Road Map for PlayStation 5
Welcome to our Deathloop Trophy Guide.
Welcome to our Deathlooop Trophy Guide. In this guide, you will find strategies and tips for unlocking every trophy on your way to the platinum. We have broken the journey up into easily digestible phases with expert information packed into each one. With this, anyone should be able to conquer this game and its challenges.
Deathloop Trophy Guide – Before You Begin
Semi-Missable Trophies
Due to the nature of Deathloop’s gameplay, not a single trophy is truly missable. Once you finish a full loop (i.e. completing the main story), you can keep playing through the loop as many times as you want. This makes trophy hunting remarkably easy as you’re able to focus on a few per loop and if you fail you can just start a new loop to try again.
Phase One – Complete Your First Loop
For the first phase in our Deathloop Trophy Guide, you should focus primarily on completing your first loop. The game will guide you through the steps necessary for completing a successful loop through the Visionary Leads that can be tracked from the ![]() menu, or the loadout screen before and after visiting a map.
menu, or the loadout screen before and after visiting a map.
The only thing you should be aware of in this phase is collecting 36 unique Character and Weapon trinkets for For Every Occasion.
Story Trophies

Gooooood Morning, Blackreef!
Escape to Updaam.
Gooooood Morning, Blackreef! will unlock after a brief tutorial section about restarting the loop.

All The Live-Long Day
Survive all 4 time periods in one day.
Unlocking All The Live-Long Day sounds harder than it really is. There are four time periods each day, morning, noon, afternoon, and evening. Providing you sneak around and avoid conflict as much as possible, you will unlock All The Live-Long Day easily. However, it’s possible to go to each location, leave the tunnels via the exit, turn around and leave immediately.

Welcome To Blackreef
Complete ‘The Longest Day.’
Welcome To Blackreef will unlock after you manage to get the LPP from Colt’s safe after your first successful loop.
Dangerous Liaison
Complete ‘Afternoon Delight.’
Afternoon Delight is a Visionary Lead related to Fia and Charlie. You have to investigate Fia’s hideout and figure out how to get her and Charlie together in the same place at the same time.

An Offer She Can’t Refuse
Complete ‘What Wenjies Want.’
What Wenjies Want is a Visionary Lead related to… well, Wenjie. You will have to figure out a way to get her to move to Updaam in every Deathloop for An Offer She Can’t Refuse to unlock.

Baby, You’re a Firework
Complete ‘The Ballad of Ramblin’ Frank.’
The Ballad of Ramblin’ Frank is a Visionary Lead for tracking down Frank. You will have to infiltrate his rock club and find information related to his fireworks display that always happens later in the evening of every loop.

Egoraphobia
Complete ‘Lost in Transmission.’
Lost in Transmission is the Visionary Lead for tracking down Egor and learning how to take him out in the most efficient way.

Beyond The Horizon
Complete ‘Radio Silence.’
Radio Silence is the longest Visionary Lead that will take you through opening bunkers across Blackreef to learn one of three passwords to unlock a route directly to Julianna.

Ensemble Tragedy
Kill each Visionary at least once.
You must kill all Visionaries to break the loop. The game will guide you through this in order to complete the story so this trophy is unmissable. You’ll likely also unlock it way before you end your loop.

One Perfect Day
Complete ‘Ending It.’
Ending It will unlock at the very end once you’ve completed your first full loop.
Other Phase One Trophies

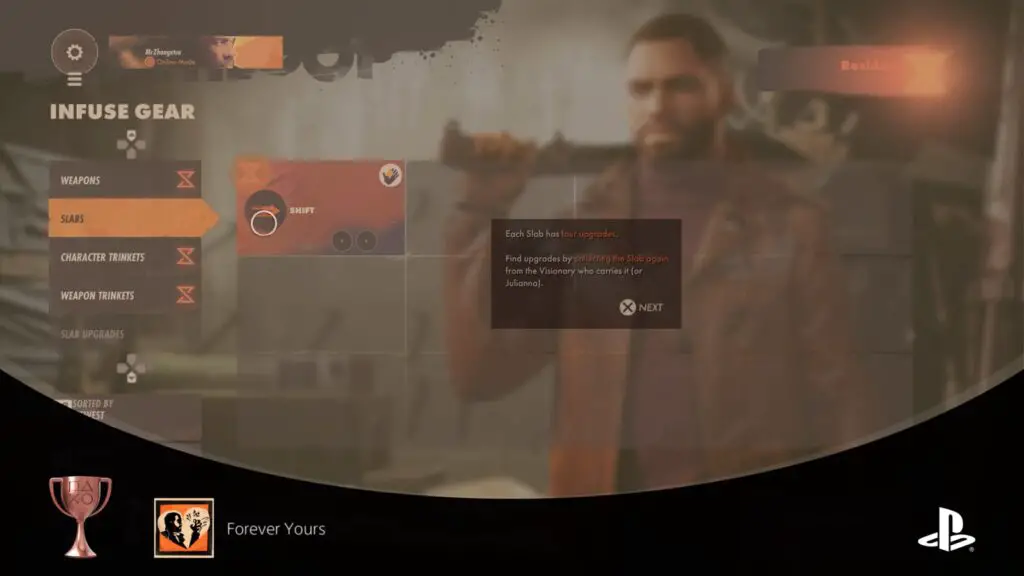
Forever Yours
Infuse a Slab.
Slabs are essentially powers that you can use to give you an edge in combat or traversal. Each slab can be obtained from the Visionaries; except for Colt’s personal slab which is automatically given at the start of the game. When you obtain a Slab, you will have to infuse it at the end of the day in order to keep it across loops.

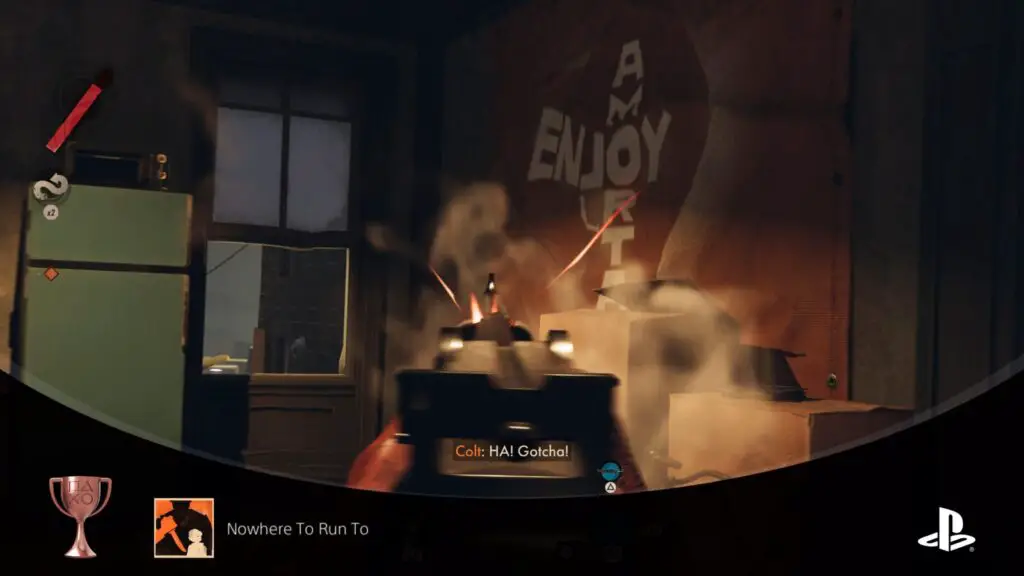
Nowhere To Run To
Take out an invading Julianna while playing as Colt.
When you enter a map where a Visionary is present, there is a chance that Julianna will show up and hunt down Colt. When Julianna invades a message will appear on-screen saying “Julianna is on the hunt” and the tunnel entrances will be locked down. You will have to, at the least, hack an antenna in order to unlock the tunnels, but often times you will also have to get through Julianna first.
To unlock Nowhere To Run To, wait for Julianna to invade and then hunt her down or make a loud enough profile that she finds you and then kill her. You might need to bring a heavy-hitting weapon as Julianna is quite fond of the Havoc slab.

Residual Earnings
Absorb more than 20000 Residuum in a map.
Residuum is absorbed from shimmering objects and the corpses of Visionaries. You get 10,000 Residuum from each Visionary, however, you can up this to 15,000 with the Golden Harvest trinket. Either way, collecting 20,000 Residuum in a single map is easier than you might think, especially when two Visionaries are in the same map like Charlie and Fia in Fristad Rock.

Pieces Of Eight
While playing as Colt, kill Frank. Or Charlie. Or Fia. Or Wenjie. Or Aleksis. Or Harriet. Egor will do as well.
Over the course of your playthrough, you will be killing each of the Visionaries more than once making this trophy impossible to miss. Often times you’ll be investigating a Visionary only to bump into them unexpectedly (I accidentally snuck up and killed Fia in her hideout while looking for graffiti on the walls, for example). Pieces Of Eight will unlock upon your first Visionary kill.
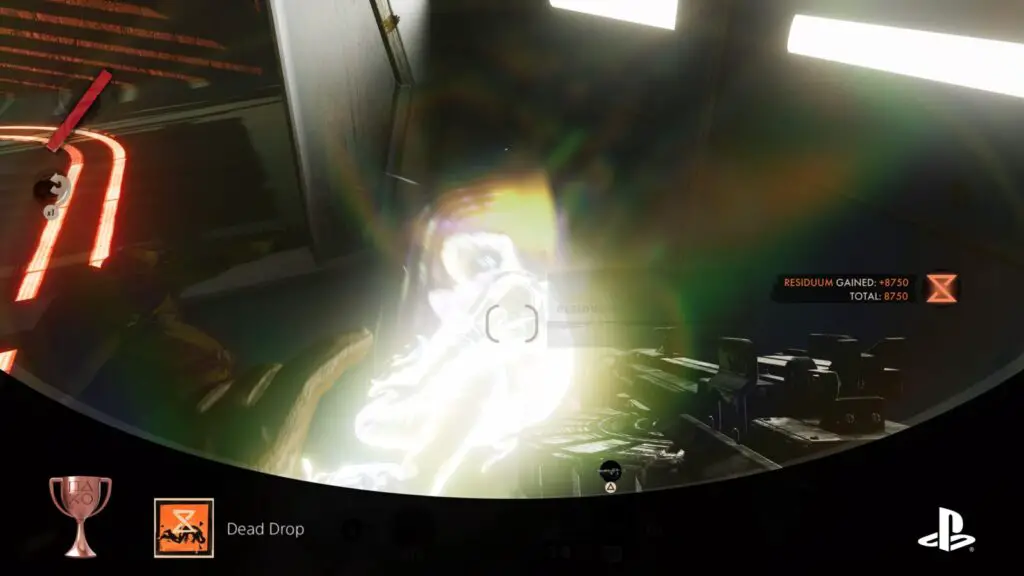
Dead Drop
Absorb Residuum from a body – like some kind of temporal sponge.
After finishing the prologue, Colt will gain the ability to absorb “Residuum”. You will likely have seen a fair few shimmering items lying around that you couldn’t interact with; now you can. Walk up to any item with the distinct shimmer of Residuum and hold ![]() . This is also true for the bodies of Visionaries that you kill.
. This is also true for the bodies of Visionaries that you kill.
To unlock Dead Drop, investigate and kill a Visionary (I recommend Charlie so you can steal his Shift Slab), and hold ![]() on their body to absorb a huge amount of Residuum.
on their body to absorb a huge amount of Residuum.

Die, Die, And Die Again
After acquiring Reprise, die for real – or what passes for real in the Loop.
Most players will get this naturally but if you’re a god amongst gamers, you will have to suck it up and let yourself die three times to end the loop (or once with a ClassPass on) and unlock Die, Die, And Die Again.

Spare No Expense
While playing as Colt, own all upgrades for a Slab.
While playing as Colt you can view all Arsenal Leads related to each of the slabs in the game. To earn slab upgrades, track the Arsenal Lead for the slab you want to upgrade and then repeatedly kill the Visionary with that slab until they drop all the slab upgrades, Shift is the most vital slab in the game, and the Airborne and Reach upgrades make it priceless,
Phase Two – Loop Again & Specific Kills
Now what you’ve successfully completed your first loop, it’s time for the “specific kill” phase of our Deathloop Trophy Guide. This means that you’ll be looping again in order to kill all of the Visionaries in certain ways. Some require a bit of setup like Game Over, others require you to just use a certain item or method, etc. Check the table below for the times and locations each of the Visionaries appears so you can coordinate your kills better (I have split the specific kill trophies up into groups below the table if you’d rather follow my recommended order).
| Time | The Complex | Updaam | Karl’s Bay | Fristad Rock |
|---|---|---|---|---|
| Morning | Harriet | Frank | ||
| Noon | Charlie | Fia | ||
| Afternoon | Wenjie | Charlie & Fia* | ||
| Evening | Egor | Aleksis (Wenjie & Egor**) |
Group One Trophies

Judgement Day
Kill Harriet with poisonous gas.
Harriet can be found in Hangar 2 in Karl’s bay in the morning. Make sure you’ve already killed her at least once before and infused her “Fourpounder” weapon that fires bullets that release toxic gas clouds. Get inside Hangar 2, sneak up behind her and fire the Fourpounder at her feet periodically so that she’s always enshrouded in poison.
Game Over
Kill Charlie within the rules of Condition Detachment.
Charlie can be found in his mansion in Updaam at noon. However, first, you will need to go to Fristad Rock in the afternoon to hack 2 B.I.T with extra command. To do this, head to the transmission tower near Fia’s bunker.
Once inside, you can initiate a transmission that will bring a map up of 3 possible locations the required radio dish to hack could be.
Once you’ve found the radio dish, initiate the upload and get ready to defend it and the other 2 nearby as the Eternalists will start to fire upon them. You only need one to survive, but you should try to keep them all intact. Once the upload is finished, return to the transmission tower and upload the new commands to 2 B.I.T.
Restart the loop and head to Updaam at noon. Go to Charlie’s mansion and sneak into 2 B.I.T’s room to talk to him. Assign Charlie as the new “Invader” and sit back as the Eternalists kill Charlie for you.

Quantum Solution
Kill all versions of Wenjie within a 90-second period. Simple.
Wenjie can be found at The Complex in the afternoon. There are 15 copies of Wenjie and you must kill them all within 90 seconds for Quantum Solution to pop. This can be tricky as sometimes the AI will act against you resulting in one or two Wenjies being stuck in corners that you overlooked etc. The best way to do this is to grab a shotgun and start from the bottom of the 2-story blue lab and gun your way up shooting any Wenjie you see at point-blank. Make your way to the roof and then jump to the big cylindrical lab in the middle. If you’re lucky a Wenjie will initiate decompression while you’re inside killing you and any copy of Wenjie in the process. After the middle section is dealt with, you can kill the remaining Wenjies in the last 2 lab annexes.

Not-So-Invisible Man
Kill Egor while he’s under the influence of a nullifier.
Egor can be found at The Complex in the evening. He’s hanging out at his camp which is directly outside the exit to the tunnels that Colt uses. Make your way over to him and pick up any Nullifier you find. You’ll have to sneak up close to him and hold ![]() to place the Nullifier on the ground. Once it activates, kill Egor and Not-So-Invisible Man will unlock.
to place the Nullifier on the ground. Once it activates, kill Egor and Not-So-Invisible Man will unlock.
Group Two Trophies

Power Chord
Kill Frank using a Slab ability. Take a bow.
Frank can be found in his club in Fristad Rock in the morning. However, you can’t enter the club without a ClassPass which nullifies all slabs so you will have to put one on to get inside. Once you make it to his recording booth, which is locked (you will have to hack the antenna next to the door to unlock it), go upstairs and remove the ClassPass using the machine in his bedroom. You can then return to Drank and use Havoc, Karnesis, or Nexus on him as you kill him to unlock Power Chord.

Didn’t See It Coming
Kill Fia without causing a deadly reaction.
Killing Fia without causing a “deadly reaction” is in reference to the large nuclear(?) device she keeps in the middle of her hideout. If she notices you skulking around her bunker, she will start a 1:00 timer on the device and you will either have to leave the area or be swept up in the explosion.
To unlock Didn’t See It Coming, head to Fristad at noon and sneak your way into Fia’s bunker. Ensure you use silenced weapons and stealth takedowns inside. It’s also important that you hack any camera you come across. Inside the bunker is a room with the schematics for the bomb. Reading them will reveal how to disable it. (cut the Blue wire, Green wire, Red wire, and the Yellow wire—in that order to disarm the bomb. Then just locate Fia and kill her. You can also just stealth your way to her and snap her neck without disarming the bomb and the trophy will still unlock.

Alpha Burger
Kill Aleksis using his meat grinder.
In Aleksis’ main hall in his mansion is a stage with a trap door. Eternalists will, during the party, take to the stage and tell “jokes”. Depending on the quality of the joke, the crowd will either vote to let them carry on living their best loop life or vote to plunge them into the mechanical jaws of the grinder below the trap door.
To unlock Alpha Burger, climb onto the lights hanging from the ceiling of the main hall and look towards the stage. To your left is a large lighted sign that you can jump on top of and get behind. While behind this sign you will notice a button that you can press. This opens the trap door. Wait for Aleksis to get on stage (he always has two golden LIMP-10s and will start his speech by saying “What’s up, Sluts”) and then smash that grind button.
Group Three Trophies

Violent Delights
Kill Charlie and Fia with a single bullet.
Charlie and Fia will be together in their secret hideout during the afternoon in Fristad Rock. They’re also conveniently lined up for the perfect shot. The sniper rifle, Sepulchra Breteria, is perfect for this as it can fire more damaging charged shots by holding ![]() down (providing you have the Coiled Snake mod) and then releasing it. Coupled with the Perforation trinket you can easily kill both Charlie and Fia in a single bullet. A much easier way that doesn’t require the Sepulchra Breteria is to instead use a powerful shotgun such as the Heritage Gun or the Strelak 50-50 alongside Nexus. Link Charlie and Fia with Nexus and then creep up behind one of them for a quick headshot.
down (providing you have the Coiled Snake mod) and then releasing it. Coupled with the Perforation trinket you can easily kill both Charlie and Fia in a single bullet. A much easier way that doesn’t require the Sepulchra Breteria is to instead use a powerful shotgun such as the Heritage Gun or the Strelak 50-50 alongside Nexus. Link Charlie and Fia with Nexus and then creep up behind one of them for a quick headshot.

Ghost At The Feast
Kill 3 targets at Aleksis’ party without being seen. Leave Updaam satisfied, knowing you made the party a better place.
Ghost At The Feast can be tricky as Wenjie and Egor can be found on the roof of Aleksis’ mansion and they’re surrounded by Eternalists. However, with the Nexus slab, you can easily kill them all without being seen. Kill Aleksis, either by sabotaging his favorite chocolate beer or using the meat grinder under the stage. Then head to the roof and sneak up to where Wenjie and Egor are, Use Nexus to link all the Eternalists together as well as Wenjie and Egor. Then, using your heaviest hitting weapon, shoot Egor (he always seems to have more health than Wenjie) in the head several times and the damage will be spread to everyone connected by Nexus.
Other Phase Two Trophies

Mightier Than The Gun
Kill all Visionaries in a map – and make it to the exit – without using a gun.

Silent Disco
Get in and out of a map without being spotted – and kill all Visionaries present.
Only The Guilty
Kill all Visionaries present in a map and escape without killing any Eternalists.

Clean Sweep
Kill everyone in a time period and escape.

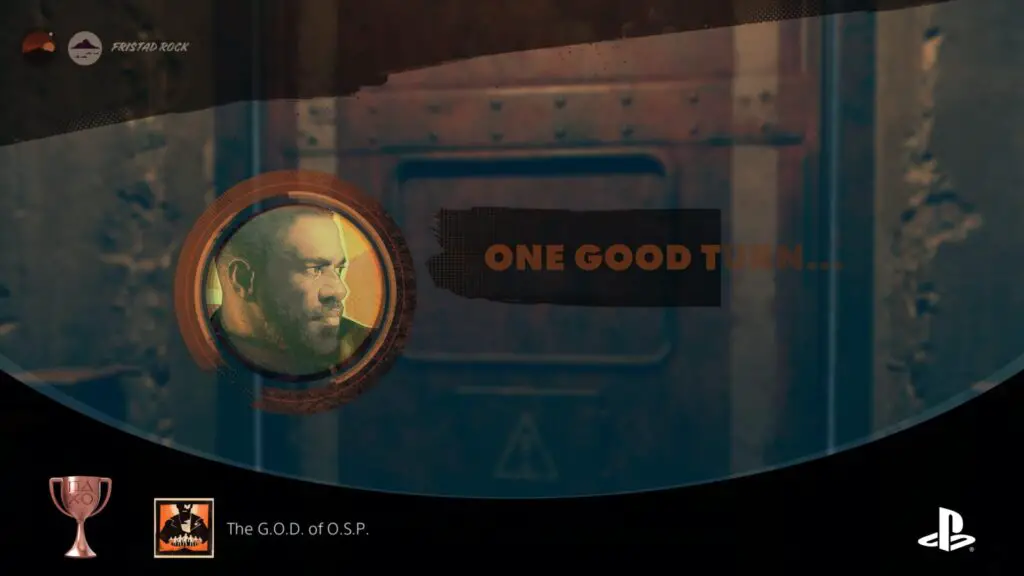
The G.O.D. of O.S.P.
Enter a map with an empty loadout and kill all Visionaries present. Leave the map. Wash your hands.
The G.O.D. of O.S.P. can easily be unlocked in Fristad Rock in the afternoon where Charlie and Fia meet up. Enter the map without any guns or slabs equipped and sneak into the hideout. Make sure not to alert or kill any Eternalists on your way. Once inside the hideout, sneak up to the emergency flood switch and start the flooding process. Quickly make your way out through the way you came in, or the door that can be hacked, and make it back to the tunnels. Being careful not to be spotted and not to kill any Eternalists. Once the game registers that Charlie and Fia are dead, leave the map and the trophies for Mightier Than The Gun, Silent Disco, Only The Guilty, and Clean Sweep should also unlock.

Full Deck
Kill a Visionary using a full loadout, without any empty slots or sockets, and escape the map.
By the end of your first loop, you should have more than enough weapons, trinkets, and slabs to have a full loadout.
To unlock Full Deck, equip a full loadout complete with trinkets in every slot and kill a Visionary. Harriet is available in Karl’s Bay in the morning and is a very quick and easy kill.
You Only Die Once
Finish an entire loop while wearing a ClassPass.
ClassPasses are bracelets that nullify slabs. You can pick up a ClassPass bracelet outside Frank’s rock club in Fristad Rock in the morning. You don’t have to kill Visionaries or complete any tasks while you have the ClassPass on. Just enter a map in each time zone and immediately leave. At the end of the loop, You Only Die Once will unlock.

Clean-ish Hands
Kill all Visionaries – and no Eternalists – in a single loop.
This trophy sounds more daunting than it really is. You aren’t allowed to kill any Eternalists in the whole loop. You can be seen, but you can’t fight the Eternalists. Aether and Shift are great slabs for getting around without being seen. Frank is killed off-screen when you sabotage the fireworks so really you only need to kill Harriet in Karl’s Bay, Fia & Charlie in Fristad Rock, and Aleksis, Wenjie & Egor in Updaam. Arguably the hardest part of this trophy is when you kill Wenjie and Egor on Aleksis’ rooftop as there are several Eternalists surrounding them. The best way to tackle this section is to kill Egor first as he can turn invisible whereas Wenjie doesn’t have a slab so she can’t teleport away or turn invisible making it easier to track her down should she run away.

Play It Again, Colt
After finishing the game once, kill all Visionaries in a map and escape.
The wording on this one is a bit misleading. It doesn’t mean you can go and kill Charlie in Updaam at noon and escape. Instead, it means you have to kill all Visionaries that appear in a map across all time zones. This means that you’d have to kill Charlie in Updaam at noon, Aleksis, Wenjie, and Egor in Updaam in the Evening. Or it could be a possible glitched trophy. Either way, the trophy should unlock if you kill Harriet in the morning in Kar’s Bay. She’s the only Visionary that appears in Karl’s Bay during the whole loop.
Phase Thee – Cleaning House
Now is a good time to mop up any additional trophies in our Deathloop Trophy Guide, These trophies are mostly slab-specific trophies, infusing one of every type of weapon, completing an AEON Dossier (if you haven’t already), and killing Eternalists in specific ways. The hardest trophy in this phase will be A Charlie Montague Game

Oops
While playing as Colt, cause someone to fall to their death.
There are plenty of opportunities to cause an Eternalist to fall to their death. The best way to get this, however, is by sneaking up behind an enemy while they’re stood overlooking a drop or with the Dropkick upgrade for the Shift slab (press and hold ![]() , aim at an Eternalist, and press
, aim at an Eternalist, and press ![]() ).
).

Rip And Tear
As Colt, inflict a truckload of damage to Eternalists during a single use of Havoc.
To inflict a “truckload” of damage, you will need to use havoc and shoot and kill a handful of Eternalists. The best weapon for this would be a shotgun as you can get close thanks to the Havoc slab reducing any damage you take and buffing your own damage output.

Blink Of An Eye
As Colt, transport an enemy onto a mine using Shift.
You can select trip mines by holding ![]() which brings up a grenade menu. You will also need the swap mod on the Shift slab.
which brings up a grenade menu. You will also need the swap mod on the Shift slab.
To unlock Blink Of An Eye, go into a map with your trip mines selected and the swap mod on Shift. Place a trip mine at your feet when an enemy is nearby. Hold ![]() , look at an enemy and then press
, look at an enemy and then press ![]() to swap places.
to swap places.

Fwd: Fwd: Fwd: PAIN
As Colt, transmit damage over more than 20 meters using Nexus.
To unlock Fwd: Fwd: Fwd: PAIN, equip Nexus, and head to the rooftops across from Otto’s Workshop (the building that burns down) in Updaam in the evening. There will be a group of Eternalists patrolling the street there. Use Nexus to string them all together and then shoot on of them in the head to transmit the damage across the whole Nexus “network”.

Death Is In The Air
As Colt, achieve 3 airborne headshots on enemies you’ve launched using Karnesis.
To unlock Death Is In The Air, equip Karnesis with the Suspension mod. Load into any map and use Karnesis on three Eternalists. The suspension mod will suspend them in the air for a few seconds allowing you to line up a headshot.

Don’t Mind Me
While using Aether as Colt, kill 3 enemies without alerting nearby enemies.
To unlock Don’t Mind Me, equip Aether and load into any map. Sneak up to an enemy and use Aether before killing them. A really easy way to get this is to also equip Nexus, go up to a group of three or more Eternalists, use Aether, and then Nexus to string them together before shooting one of them in the head.

Cooking With Gas
While playing as Colt, ignite a gas cloud while someone is inside it.
The easiest way to unlock Cooking With Gas is to head to Karl’s Bay in the morning and head to the hangars where Harriet can be found. Outside the Hangars are loads of Eternalists patrolling. There will be several Eternalists stood really close to red canisters. Shoot the canisters and poison gas will spew out. Shoot it again and it will explode.

Sugar Crash
While playing as Colt, use candy to gain a tactical advantage.
To unlock Sugar Crash, head to Updaam during the morning and head inside the Candy store on the left, smash all the candy dispensers with your kick (![]() ) and then shoot your weapon to attract the Eternalists to your location. When an Eternalists runs over the candy they will fall over.
) and then shoot your weapon to attract the Eternalists to your location. When an Eternalists runs over the candy they will fall over.

For Every Occasion
Take 36 different Trinkets into the field with you while playing as Colt.
Trinkets are little mods that Colt can equip to himself and his weapons that can alter the way you play. You can equip a mod to Colt that lets him double jump or a mod that lets your bullets perforate through enemies. Visionaries always drop a small collection of trinkets of varying rarities, and some enemies will drop one or two but they

Spoiled for Choice
Infuse one of each type of weapon.
To unlock Spoiled for Choice you will have to infuse one of each weapon including the golden Arsenal Lead weapons. There aren’t many weapons in Deathloop so you’ll likely have most of them already.
| Weapon Name | Weapon Type | Found |
|---|---|---|
| PT-6 “Spiker” | Nailgun | In Colt’s apartment, various locations around Blackreef |
| The Fourpounder | Handgun | Harriet, Enemy drops, various locations around Blackreef |
| Tribunàl | Handgun | Enemy drops, various locations around Blackreef |
| LIMP-10 | SMG | Enemy drops, various locations around Blackreef |
| Strelak 50-50 | Shotgun | Charlie Montague, Enemy drops, various locations around Blackreef |
| Vopat Trencher | Shotgun | Wenjie, Enemy drops, various locations around Blackreef |
| MG-1 “Pepper Mill” | Rifle | Fia, Enemy drops, various locations around Blackreef |
| Rapier | Rifle | Egor, Enemy drops, various locations around Blackreef |
| Strelak Verso | Dual Pistols (transformable) | Arsenal Lead “In This Together” |
| Constancy Automatic | Handgun | Frank, Arsenal Lead “All Night Long” |
| Sepulchra Breteira | Sniper Rifle | Arsenal Lead “Super Shifty” |
| Heritage Gun | Shotgun (transformable) | Arsenal Lead “Keep On Giving” |

The Spice Of Life
Die every which way as Colt: Drown. Fall. Choke on poison gas. Succumb to fatal depressurization. Get blown up. Shot. Stabbed. Ground up. Fried by a rocket. Oh, and obliterated by a reactor. Fun, right?
Drowning, falling, getting blown up, shot, and stabbed are all self-explanatory and simple ways of dying in Deathloop. You’ll likely have died this way many times at this point. The other deaths are a bit less obvious and will require you to actively go and seek them out.
| Death | Location | Method |
|---|---|---|
| Succumb to fatal depressurization | The Complex – Afternoon | Go into Wenjie’s circular lab and stand under a camera so that Wenjie spots you and closes all the doors. She will depressurize the whole lab and kill you and anyone else inside. |
| Ground up | Updaam – Afternnon | Go to Aleksis’ party, press the trap door button behind the lights in the main hall, and then quickly jump into the meat grinder under the stage. |
| Fire by a rocket | Updaam – Noon | Upload commands to 2 B.I.T. and then put three batteries into the rocket in the middle of Charlie’s LARP building, Ask 2 B.I.T. to start the rocket thrusters, and quickly run to the top floor and jump on the thruster until it explodes. (you might have to kill all Eternalists first as they can get in the way) |
| Obliterated by a reactor | Fristad Rock – Noon | Same as being depressurized; go into Fia’s bunker and let the cameras see you. She will then start her nuclear reactor meltdown which will explode after a few minutes. |

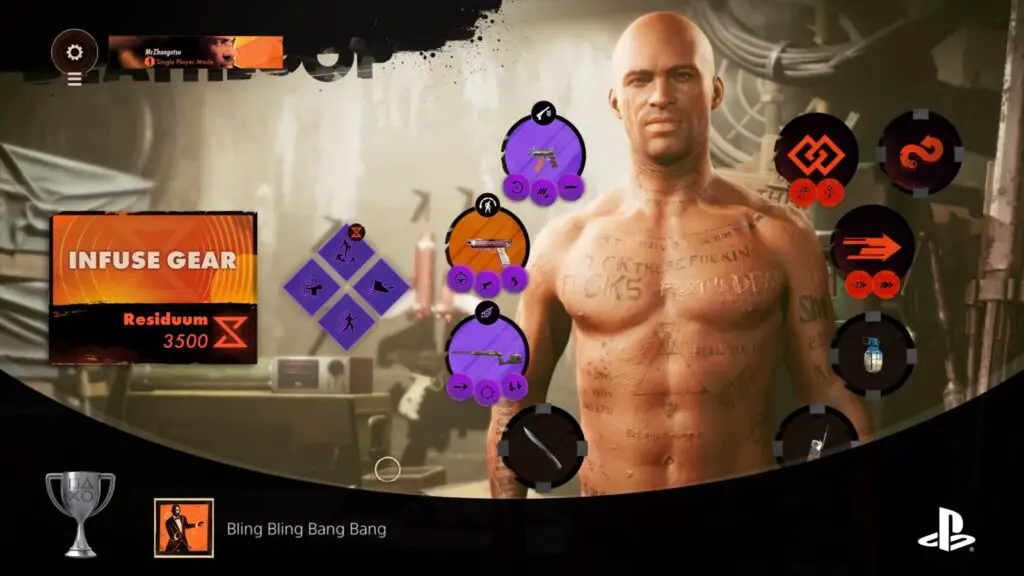
Bling Bling Bang Bang
Equip a loadout worth more than 45100 Residuum.
A loadout worth 45,100 Residuum will have purple trinkets in every slot, including weapon slots, purple or gold weapons in every slot, and two slabs with 2 trinkets equipped on each.

Know Your Enemy
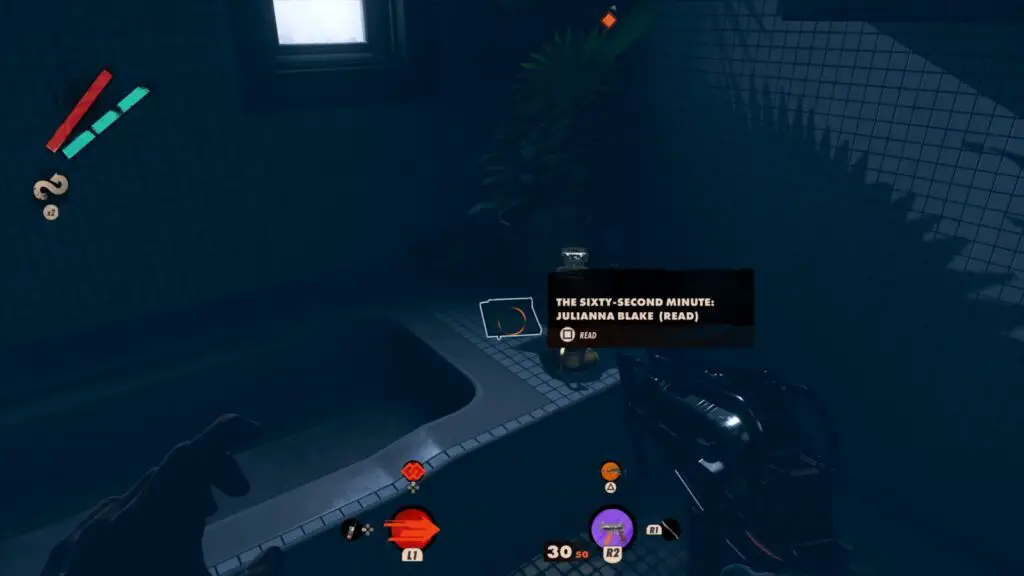
Complete one AEON dossier.
To unlock Know Your Enemy, go to the Archival Office in Updaam in the afternoon and go up to the 2nd floor. In a room to the right of the main office will be a bathtub with a file on Julianna. This is the only file in Julianna’s AEON dossier which makes completing one really simple.

Chop Chop
Kill 3 enemies with the machete in 10 seconds.
There are plenty of opportunities to get this trophy in Deathloop

Old Habits Die Hard
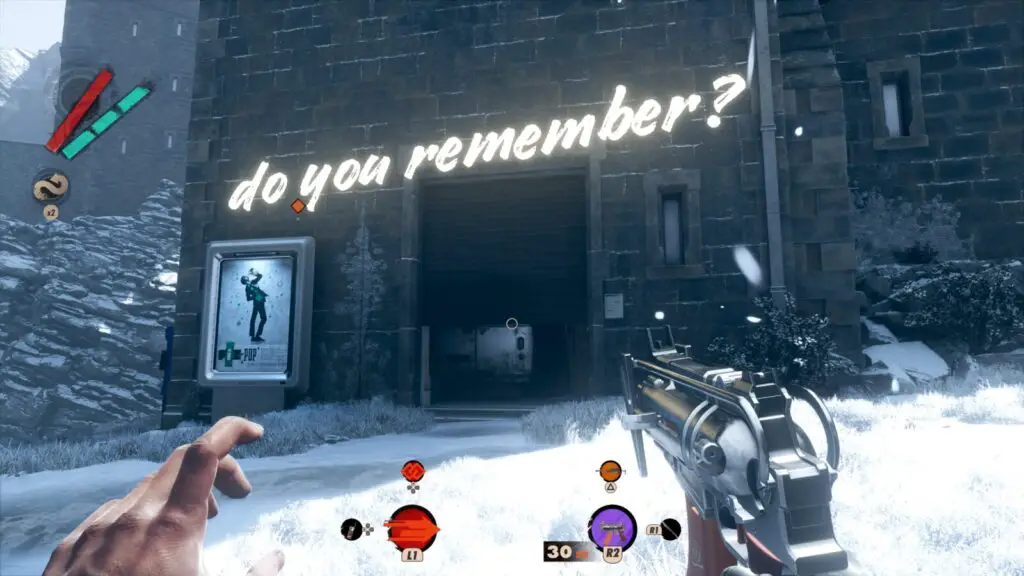
Enter 0451 at a keypad.
To unlock Old Habits Die Hard, simply enter 0451 into any keypad.
Deathday Suit
Kill the (mostly) naked character in each map.
There is a character that is (mostly) naked in each of the maps and times. Some of them have full body pain which makes them hard to see, but with our (mostly) naked Eternalists guide, you should have no trouble finding them all.

A Charlie Montague Game
Prove you’re a real gamer by winning Charlie’s Wake Up Challenge, Reward Scheme, the Moxie, Haul-A-Quinn, and the Yerhva.
Charlie’s Wake Up Challenge
In The Complex during the morning, there will be 4 boxes for you to find and open within 3 minutes.
Crate one is near the tunnel exit. Run forward, past the building, and look to your right. You will see some enemies on a small cliff. Next to them will be a metal walkway extending beyond the cliff face. At the end will be a crate.
Crate two is on the ice near Wenjie’s lab. Run left of where you found crate one until you see a green building and a camera to your left. Go behind the building and look down at the ice. You will see two Eternalists sitting on a small patch of floating ice with the crate in front of them.
Crate three is on the other side of the large metal structure that splits the map into two sections. To get there, go left and beyond Wenjie’s lab until you see several ice islands in the water near the large metal wall. Hop along the ice until it wraps around the metal wall and then hug the wall until you end up in a corner with the crate and an automated turret.
The last crate is inside the control room of the bunker. The door to the bunker is right near the last crate. Climb up the rocks to the right of the turret and run/fight your way into the control room. You will have to hack the door using the antenna inside the control room which can be seen through the glass on the door.
Reward Scheme
Go to Karl’s Bay in the evening and head into the Fathoms of Lament building. There will be a large map inside with some blinking lights. These are the locations of the crates you need to open (be careful as some of them will release a red gas and then explode).
The only crate which will give you trouble will be inside the Dawn of Reason. You have to pull a lever outside which will start a timer. However, if you go around to the right of the building in a small alley and look up, you should see a window that you can shift through. This will give you unlimited time inside to figure out the code for the door protecting the crate.
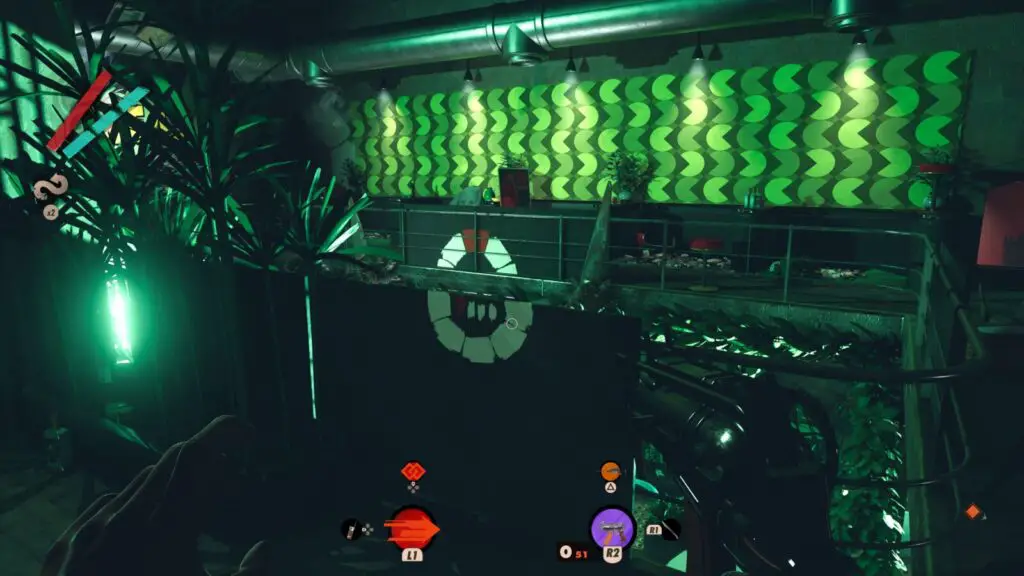
Inside there will be 4 paintings to find. They will be put in places that require you to use perspective to reveal the full image. Each painting is a white circle split up into 8 sections which represent the numbers on the lock. One of the white sections will be red which tells you which number on the keypad you have to press. In the middle of these painted white circles is four white lines. One of the lines will be red. This represents where in the sequence the number comes. Find all four numbers and their correct sequence in order to unlock the door.
The Moxie
The Moxie is a building in Updaam that can only be accessed during the afternoon. It’s right outside the tunnel exit and will have a few Eternalists patrolling outside. Enter the building and press the switch to begin the trials. There are three floors with 2 trials each. The trials consist of a laser gauntlet where you have to get to the other side without touching a laser, or a light-up grid gauntlet where you have to get to the other side without touching non-lighted floor panels. You can restart the trials over and over again until you complete them, however, if you finish it within a certain time you will be awarded a gun.
Haul-A-Quinn
The Haul-A-Quinn is a robotic mannequin near the entrance to the tunnels in Karl’s Bay. If you look at the picture next to the Haul-A-Quinn you will see he has a head, a crank wheel, and a briefcase. The very three things he’s missing. You will have to return all three of these items to him to complete the challenge.
Before you do anything, however, you will need the code to the delivery box which you can get from a whiteboard inside Fia’s bunker in Fristad Rock at noon. With the code memorized, head to Karl’s Bay in the morning and go kill Harriet and save the guy—Amador—she’s trying to sacrifice. This will open up a door at a later time that is crucial to completing this challenge. To save Amador, after you kill Harriet, look to the left of the cockpit where she was standing to find two buttons. Press the button that has the up arrow on it until Amador, and the hook he’s stood on, has been successfully raised to the roof.
Immediately after saving Amador go to the Haul-A-Quinn and place a battery in him. Luckily, there is a turret on the roof nearby with a battery you can steal. Give the battery to the Haul-A-Quinn and follow the road in front of him all the way to the right (when facing the mannequin) until you come to the delivery box. Put the code in and request a Crank Wheel to be sent to Karl’s Bay and leave the map.
Return to Karl’s Bay in the afternoon. Head to where the Dawn of Reson building is, and look to the left. There will be a building called Big Smiley with loads of large heads painted on it. Go inside and search the rooms for a mannequin head. Place it on the Haul-A-Quinn, and o grab the Crank Wheel from the delivery box. Whilst there, request for a Nullifier to be delivered to Karl’s Bay, and then go give the Crank Wheel to the Haul-A-Quinn before leaving the map again.
Finally, come back to Karl’s Bay in the evening. Pick up the nullified and return to the Haul-A-Quinn. Place the Nullifier in the mannequin’s hand and then leave. The Haul-A-Quinn challenge has been completed.
The Yerhva
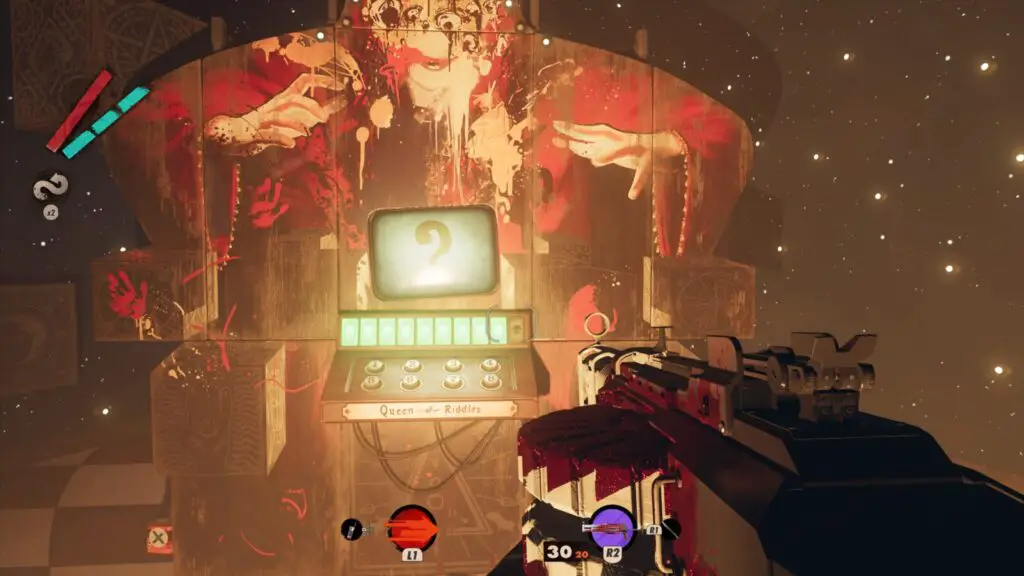
The Yerhva can be found across the road from the Haul-A-Quinn. It’s a large room with a computer in the middle. The computer will ask you several questions on the history of Blackreef.
| Question | Answer |
|---|---|
| Decades ago, warmongers toyed with the temporal tides eddying about Blackreef. Their sigil-marked temples stand still. What named their doomed enterprise? | [3] Operation Horizon |
| AEON graces this island as kaleidoscopic jewels upon the neck of the world’s greatest beauty. What seeks the Program? | [3] The advancement of human potentiality and enlightenment |
| From what seed did AEON spring? | [6] The shared ambitions of Harriet Morse, Egor Serling, and Dr. Wenjie Evans |
| Harriet Morse is the gatekeeper, Blackreef the gate. A veil hangs across the threshold. What do we discover when it parts? | [4] The Great Beyond |
| The wriggling, writhing energies of the Loop have harnessed to gift us with abilities beyond our biological potential. What birthed our trinkets and slabs? | [7] Dr. Wenjie Evans personally engineered each one |
| Sink your toes into the dark earth and let the vibrations of her voice course through your bones. From whence did this island derive her name? | [8] Coastal coral formations |
| Blackreef boasts a bountiful feast for the senses. Which transcendent work towers above the island’s myriad other artistic pursuits? | [7] The nose, chin, and eyes of Charlie Montague |
| Before AEON’s arrival, Blackreef slept in frozen utero, awaiting new purpose. Who then made landfall, reawakening her from slumber? | [2] Colt Vahn and Egor Serling, on a voyage of discovery |
| Karl’s Bay has worn many faces, most as lost to time as the mysterious Karl himself. What was its most recent incarnation prior to AEON’s arrival? | [3] A military air base |
| The Bay, the Rock, and labyrinthine Updaam wear AEON colors proudly, but that decor belies their history. From whence came the peculiar names that grace them? | [5] They date back to a lost fishing colony |
Phase Four – Play As Julianna Online
In the last phase of our Deathloop Trophy Guide, you should choose to Protect The Loop in the main menu to play as Julianna. As Julianna, your goal will be to prevent other Colt’s (i.e. other players online) from completing their loop. This is also how you unlock gear for Julianna and outfits for both her and Colt.

Nowhere To Hide
While playing as Julianna, cross Colt off your kill list.
At the main menu, you can choose to end the loop or protect the loop. When protecting the loop, you will play as Julianna.
To unlock Nowhere to Hide, play as Julianna and invade another player’s game. Track them down and kill them. Or recruit a friend to help you if you’d rather avoid playing with random people online.

Dressing Down
As Julianna, disguise yourself as Colt using Masquerade.
Masquerade is Julianna’s personal slab which is permanently equipped at all times.
To unlock Dressing Down, play as Julianna and invade another player’s game. Track down Colt and use the masquerade ability on him. For an easier time, recruit a friend to help you.
Plat Get!

Into Eternity
Collect all other trophies.
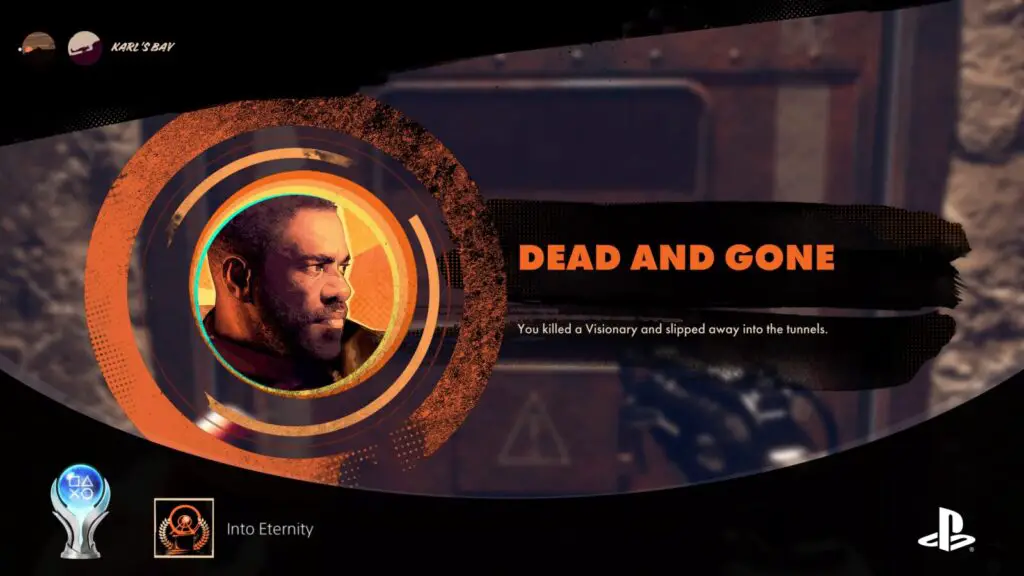
Once you have acquired every other trophy in this Deathloop Trophy Guide, the “Into Eternity” platinum trophy will unlock.
Thank you for choosing PlatGet as your source for a Deathloop Trophy Guide. Consider checking out our other guides!
Follow us on Twitter @GetPlat or Instagram @platget for updates on new reviews and guides, as well as small anecdotes about our platinum journeys.
Discussion
We've Partnered with NordVPN

