PlayStation 4
Arrog Trophy Guide
General Info
FAQ
How long does it take to beat Arrog and unlock all trophies?
30 Minutes.
How difficult is it to beat Arrog and unlock all trophies?
Very Easy (1/10).
Does Arrog have online trophies?
No.
Does Arrog have difficulty-specific trophies?
No.
Does Arrog have missable trophies?
No.
Does Arrog have glitched trophies?
No.
What is the minimum number of playthroughs required to unlock all trophies in Arrog?
One, plus 1% of a second playthrough.
Does Arrog have a Platinum Trophy?
Yes.
Trophy Guide
Arrog Trophy Guide, Walkthrough, and Road Map for PlayStation 4
Arrog is a somewhat profound puzzle game about the cycle of life. The beautiful minimalist art style combined with some incredible music and sound effects make for a great, albeit short, playthrough. Good news for Trophy Hunters, though, this excellent game’s Platinum Trophy takes just under 30 minutes to unlock and by using the Arrog Trophy Guide below, you can sail right through hassle-free, not that this is a difficult game by any means.
Phase One – Complete the Game
During this first phase of our Arrog Trophy Guide, your sole objective is to reach the end of the game. This is pretty easy and the puzzles are not complex, but sometimes it can be hard to tell when to “click” and what to “click” on.
To be clear, when I say “click” on something I mean to move your cursor over it with ![]() and press the
and press the ![]() button. This is the one and only control in the game so I will be saying it a lot.
button. This is the one and only control in the game so I will be saying it a lot.
Arrog Phase One Trophy Walkthrough
Select “Begin” from the main menu and then watch the short introduction until you can control. You’ll see a man in a rainstorm on-screen.
Click anywhere on-screen to trigger three lightning flashes followed by a group of men appearing before you. Wait a short while and a rotating circle puzzle will appear on the right.
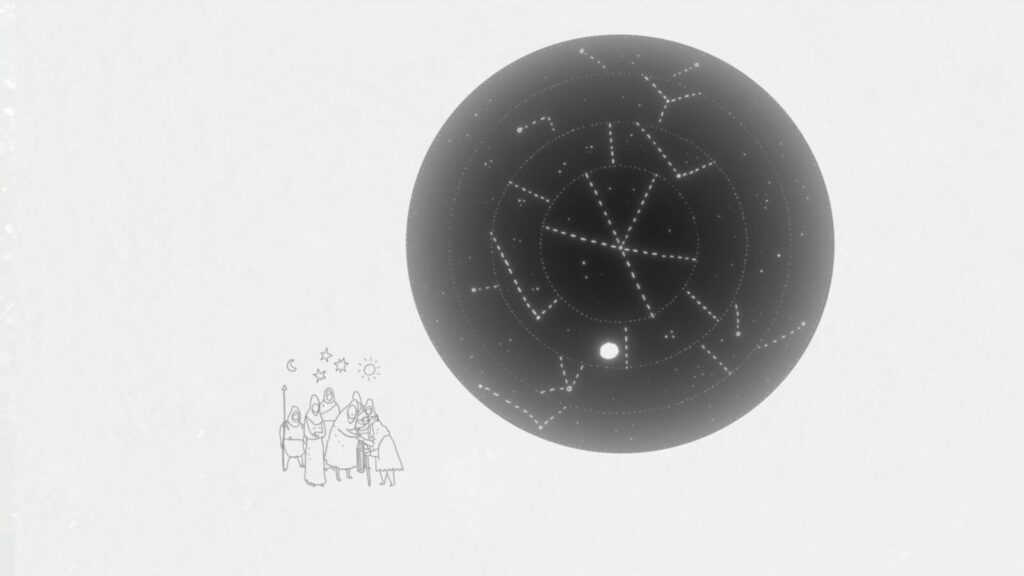
Move the cursor over each of the three outer circles and grab them with ![]() . While keeping
. While keeping ![]() held down, you can rotate the grabbed circle with
held down, you can rotate the grabbed circle with ![]() .
.
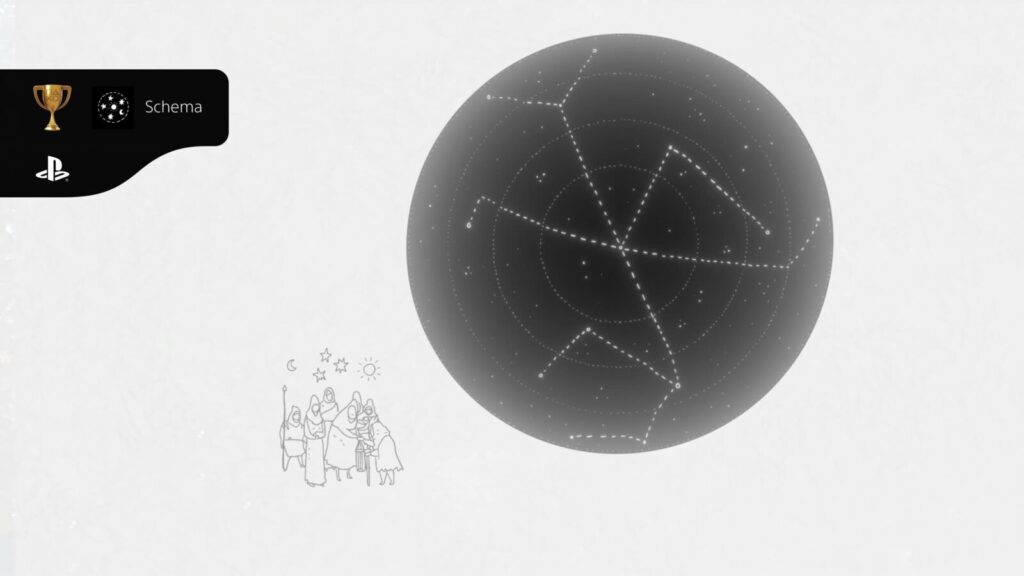
Proceed to rotate the circles until the depicted constellation is properly aligned (solution below). The puzzle will end and you will unlock “Schema.”

Schema
Read in between the stars
The screen will go dark again and the rain will return too. Click on the man to activate his torch and reveal the first piece of the star-path puzzle.
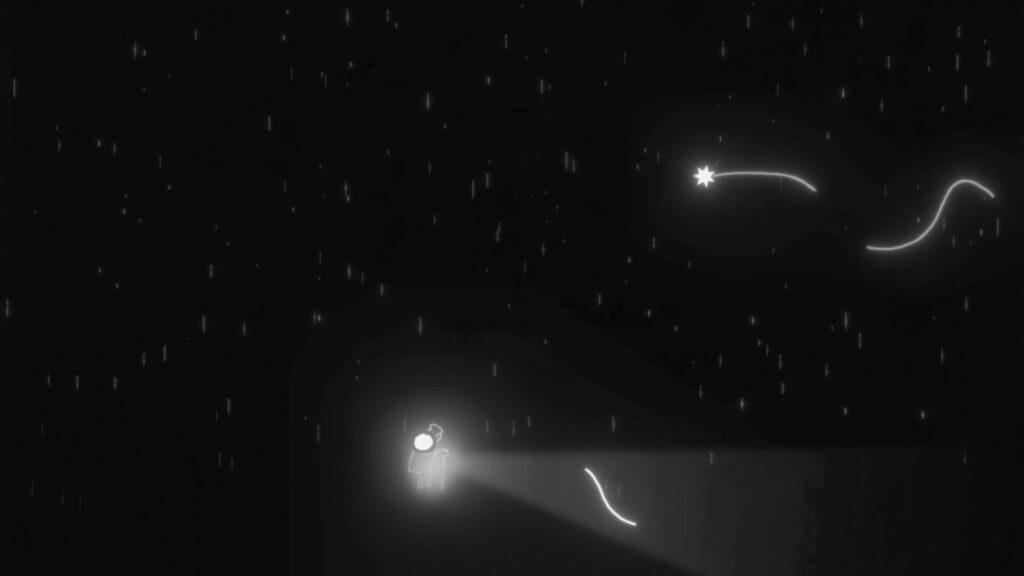
Click and drag the small white line up to the gap in the white line above, this will complete the path and the star will follow it. Repeat this two more times.
The rest of the puzzle will be like this, but you will have a choice of pieces per gap in the star-path. At the first choice, select the middle piece.
At the next choice, you should use the left-most piece.
Next, drag the right-most piece into the gap.
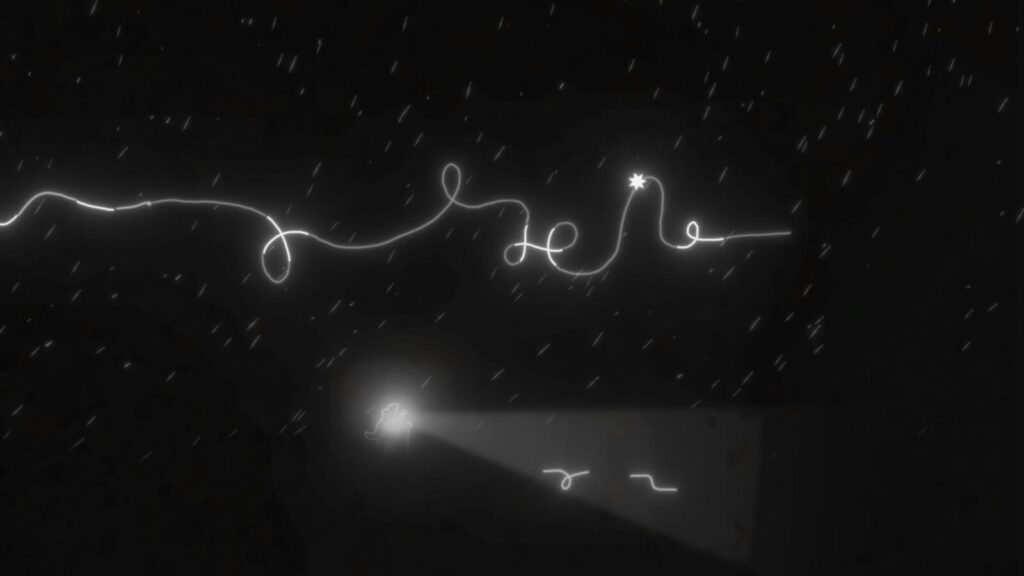
At your next choice, use the left-most piece and then the story will advance a little more.
The man’s light will go out, but the star above is now shining brighter. Click on the star to reveal another set of three star-path pieces. Use the right-most piece.
At the final choice, use the middle piece on the gap and then watch as the story progresses once more.
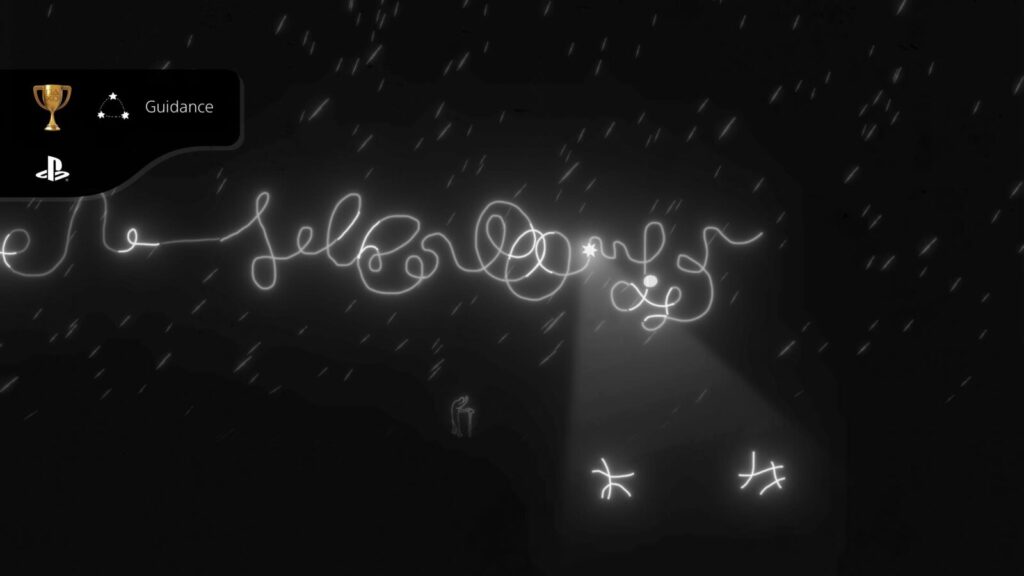
You will also unlock the “Guidance” trophy for completing that puzzle.

Guidance
Follow the brightest star
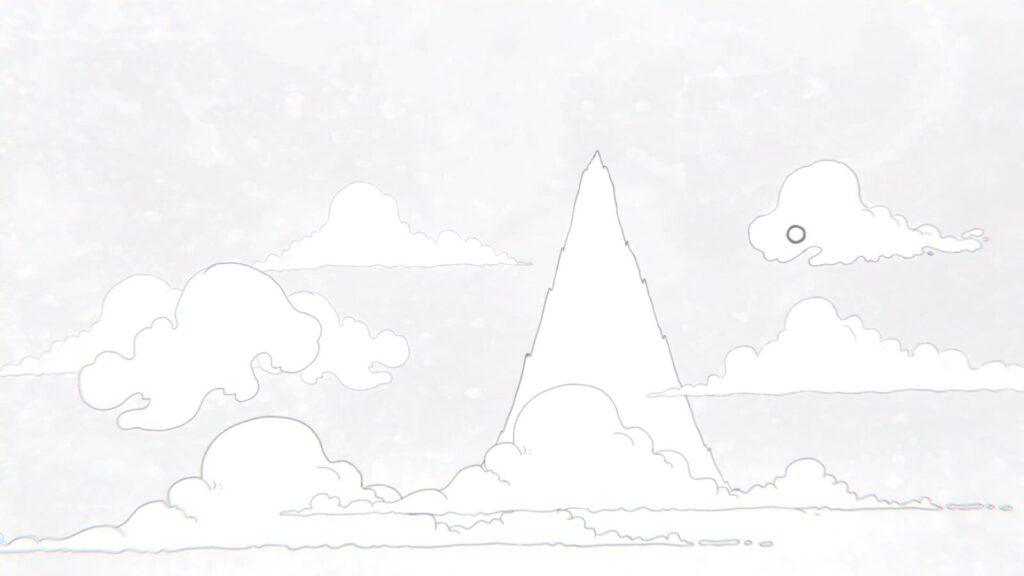
The next few sequences are a little esoteric, but very straightforward. Begin by clicking all of the clouds surrounding the mountain to remove them. Once clear, click the Mountain itself to progress.
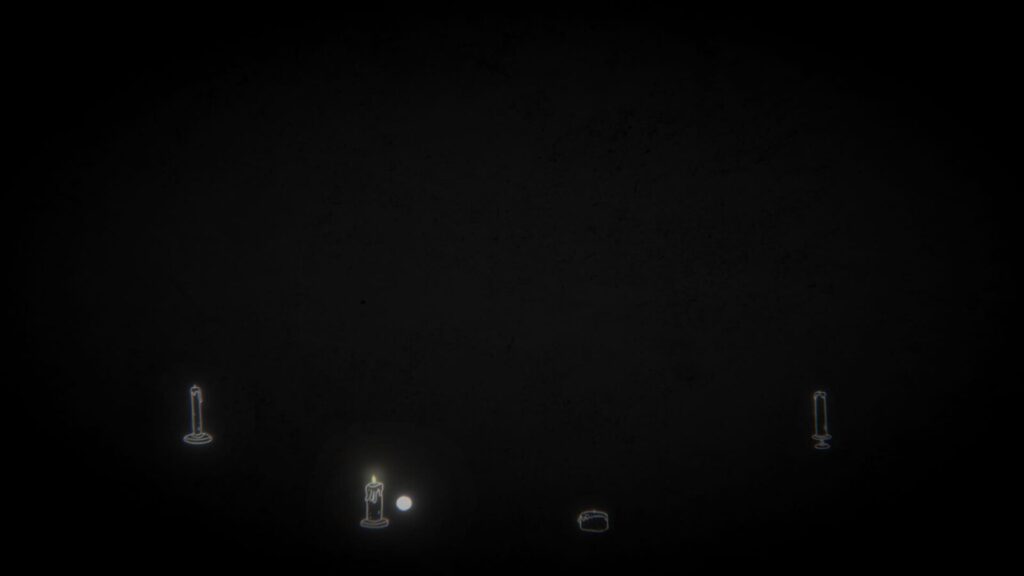
Next, click on each of the candles in any order.
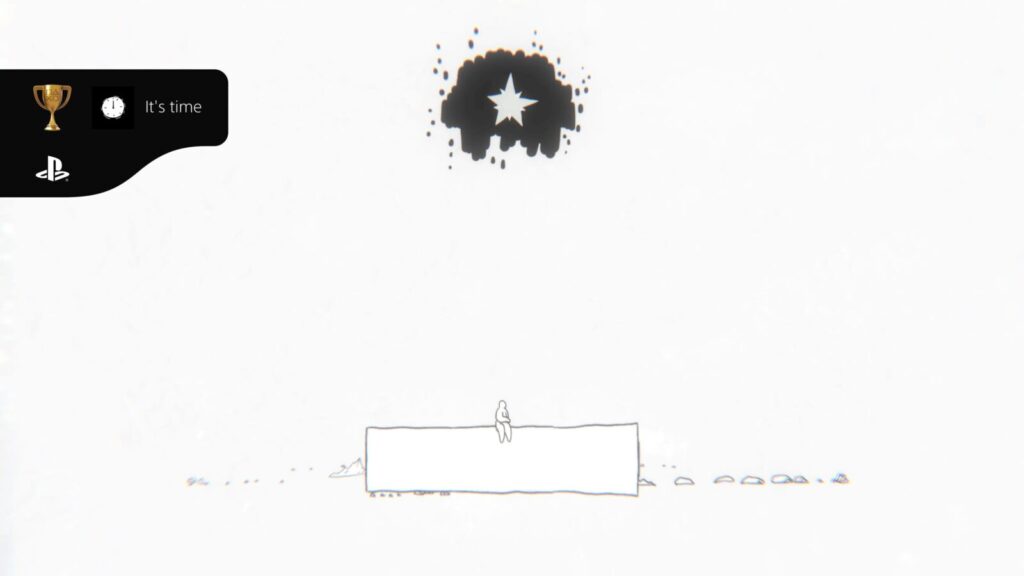
Finally, you will see a man laid down, three men in See/Speak/Hear No Evil poses, and a clock. When you click the man laid down at the bottom of the screen, the clock at the top will start ticking down. You will have a very short period of time to mash ![]() with your cursor over each of the three men (who turn to stone when the clock is active).
with your cursor over each of the three men (who turn to stone when the clock is active).
This seems more high-pressure than it is. Letting the clock tick down only means you can’t click the rocks/men anymore, there’s no penalty. You can just click the laying man again to re-activate the clock and resume rock-clicking.
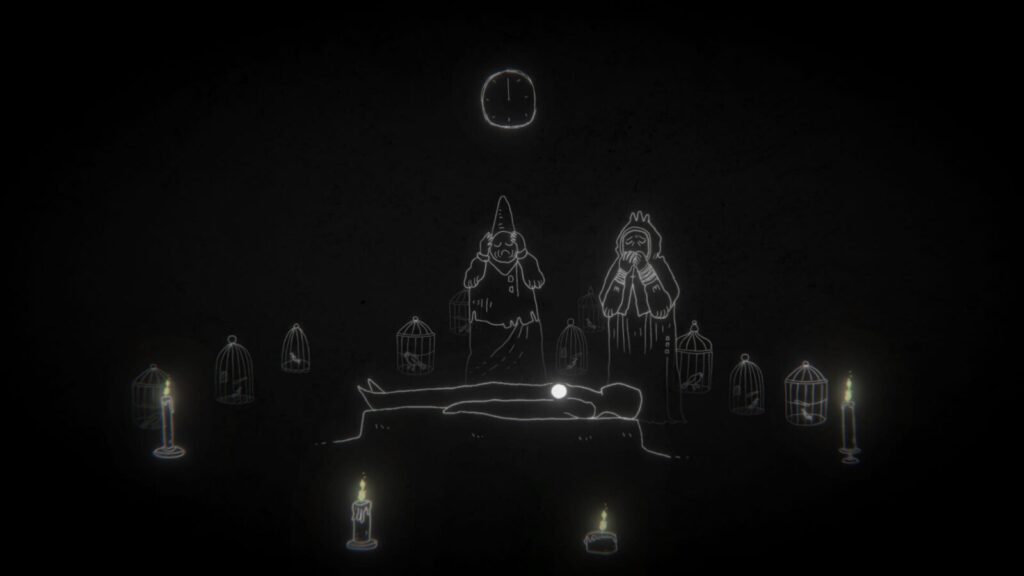
Once all three men have been successfully dealt with, you will unlock the “It’s time” trophy.

It’s time
Summon a long-lost friend
The scene will change again. Click on the star twice to progress. You should then see a Tower.
Click the tower to reveal its interior, within which you should be able to see two dark shapes at either side of the tower. Clicking these shapes will cycle them between several possible forms.
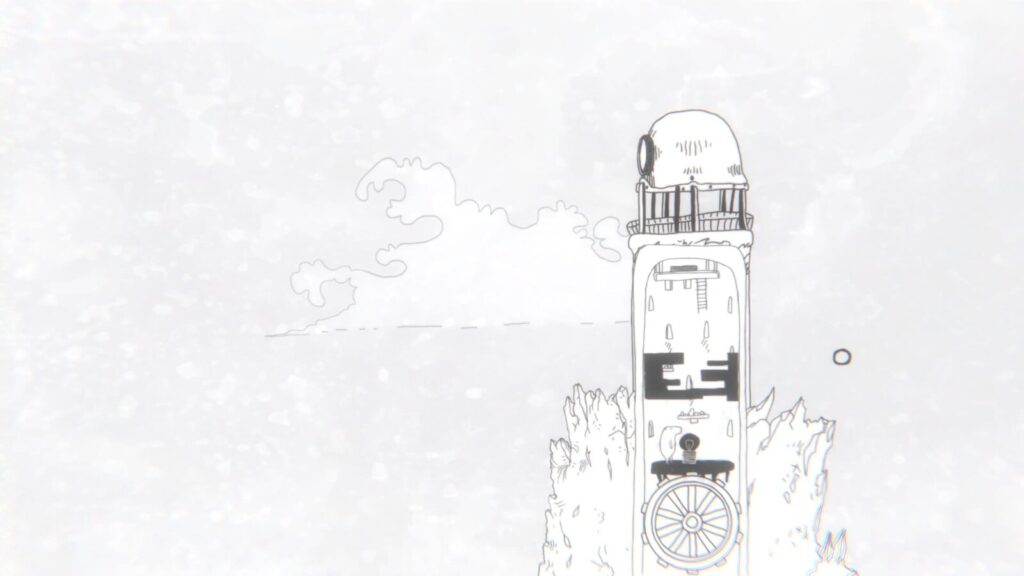
You need to click the left one twice and the right one twice to change them both into compatible forms. They will then combine in the center, changing to white shapes.
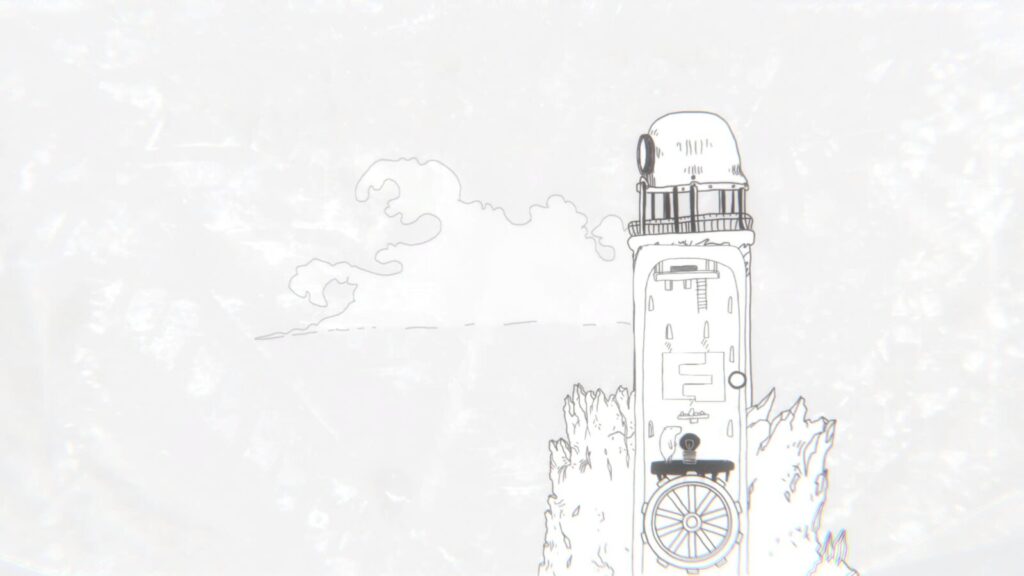
Move your cursor over the wheel at the bottom of the tower and hold ![]() to grab it. You should then begin drawing circles with
to grab it. You should then begin drawing circles with ![]() to turn the wheel, moving the elevator and the Capybara character up to the top of the tower.
to turn the wheel, moving the elevator and the Capybara character up to the top of the tower.
When done, the “Gateway” trophy will unlock.

Gateway
Open new paths
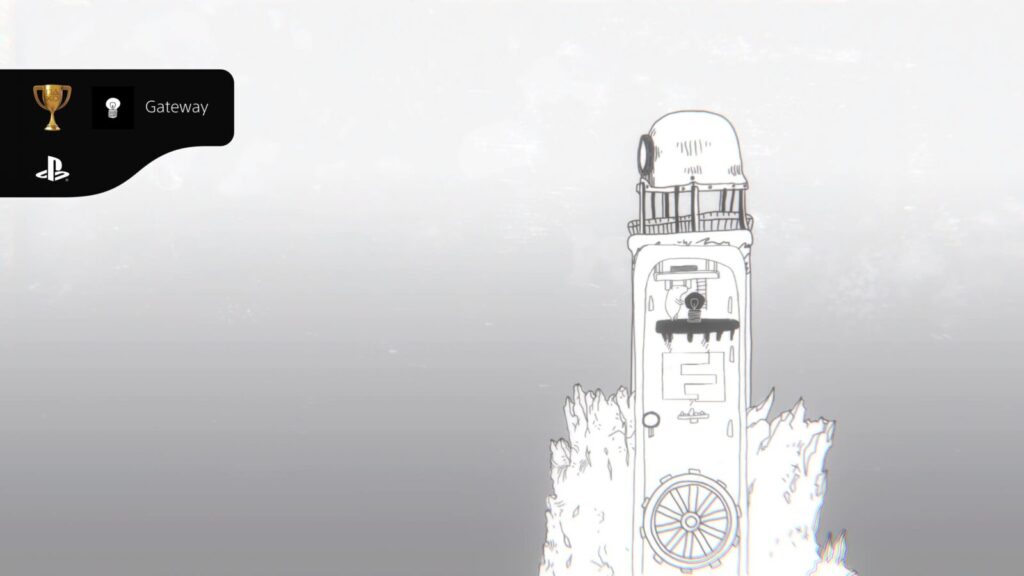
Four stars will appear to the left of the tower. Click each of them in any order you like.
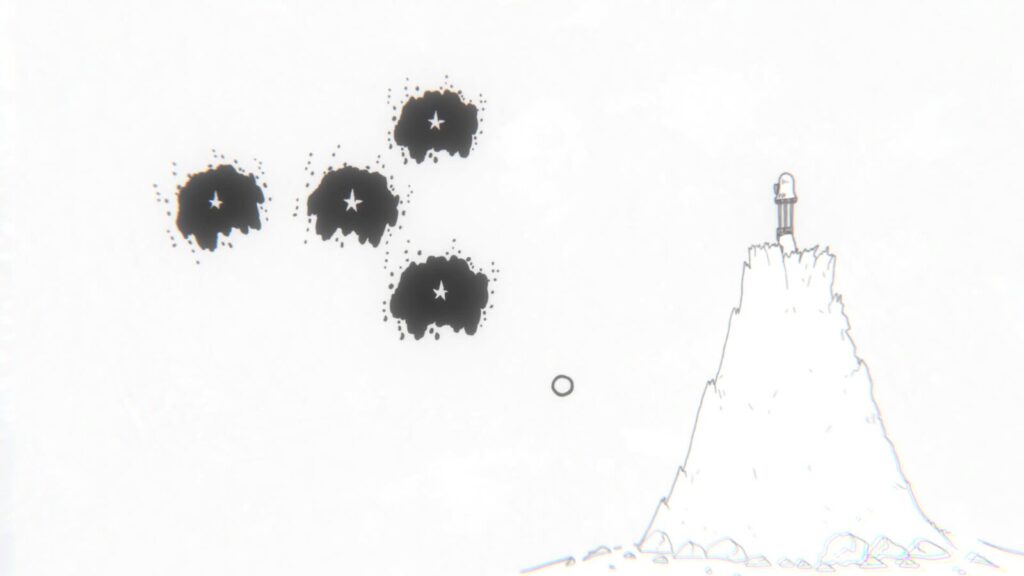
Those four stars will then appear above the laid-down man. You need to click them again, but in a specific order; upper-right > left > middle > lower-right.
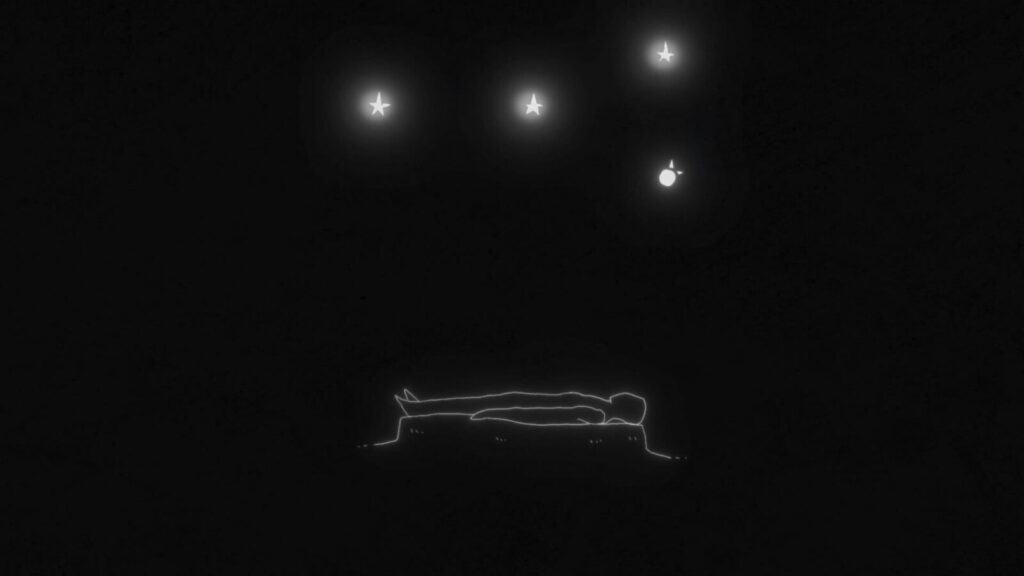
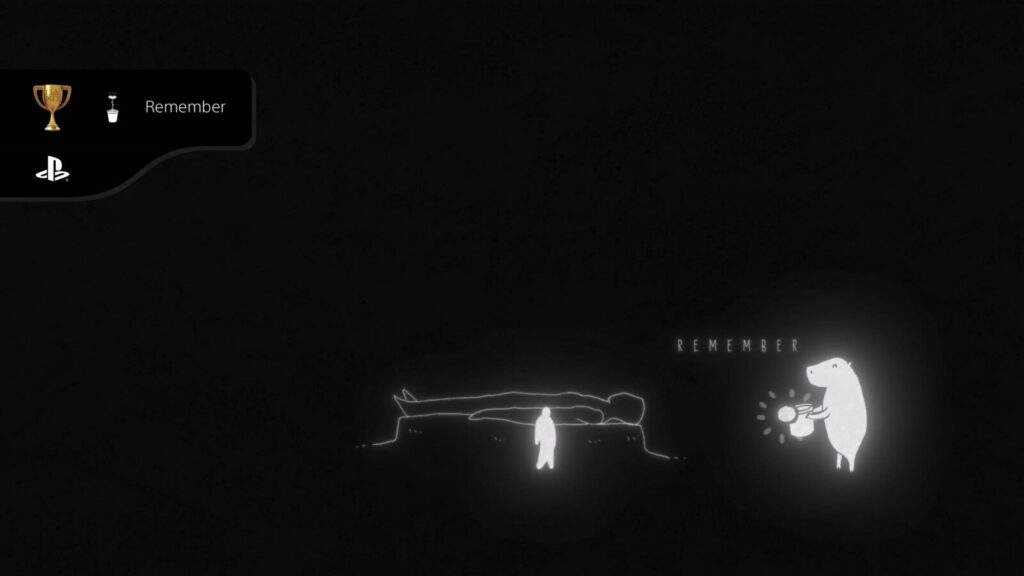
Soon the Capybara will appear on the right-hand side of the screen. Click on it and it will stand on its hind legs and pull out a bucket. Click on the bucket to progress and unlock the “Remember” trophy.

Remember
Search old memories
You will then be looking at an oval-shaped island with several men standing around it.
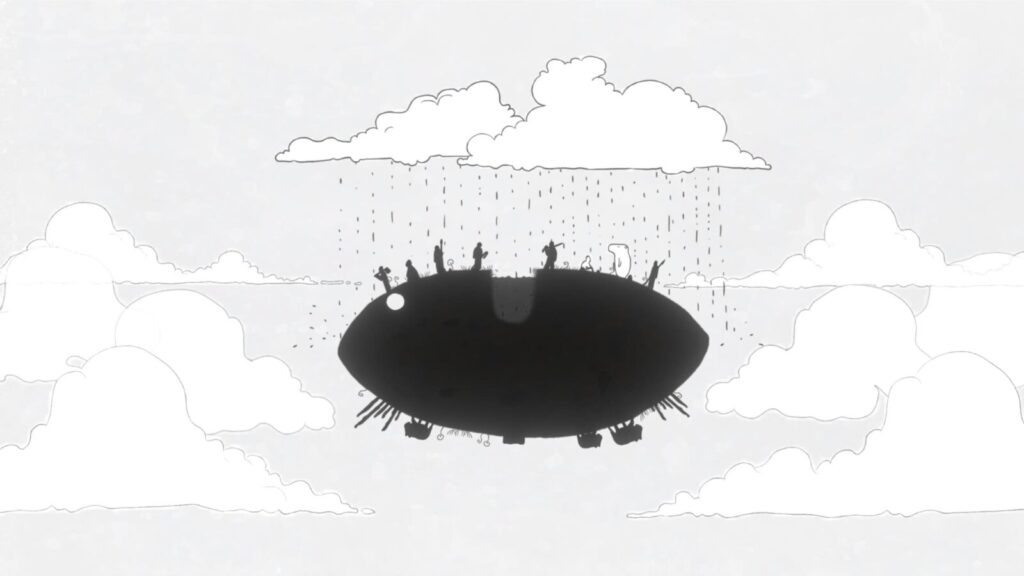
You need to click on each man in a specific order to progress:
- Start by clicking the left-most man with the axe, he will chop down some wood and return with the logs.
- Next, click the third man from the left, who has a spear. He will go and kill the Capybara on the left.
- Now click the left-most man again who will use his logs to create a bridge.
- Click the second man from the left, who now has an axe. He will cross the bridge and chop down the wood on the right side.
- Now click the right-most man. He will use his spear to kill another Capybara.
- You now need to click the white man, who will go and kill the last Capybara.
- To finish the puzzle, click both of the men in the center, at either side of the bridge. They will both head to the underside of the island and dispel the rain.
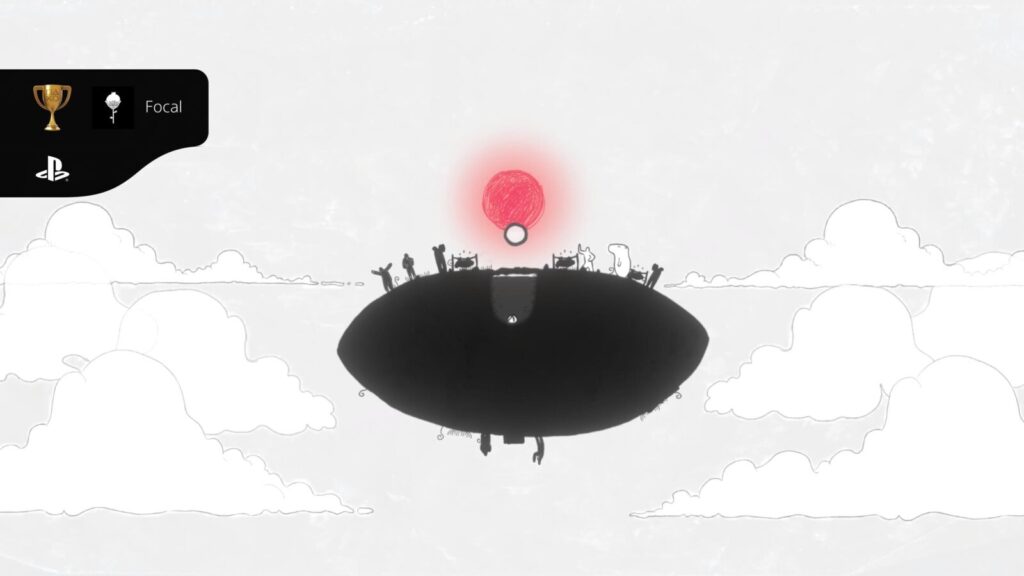
You will now be able to see the sun above the island. Grab it with ![]() and use
and use ![]() to drag it down to the island, growing a flower and unlocking the “Focal” trophy.
to drag it down to the island, growing a flower and unlocking the “Focal” trophy.

Focal
Harness the power of light
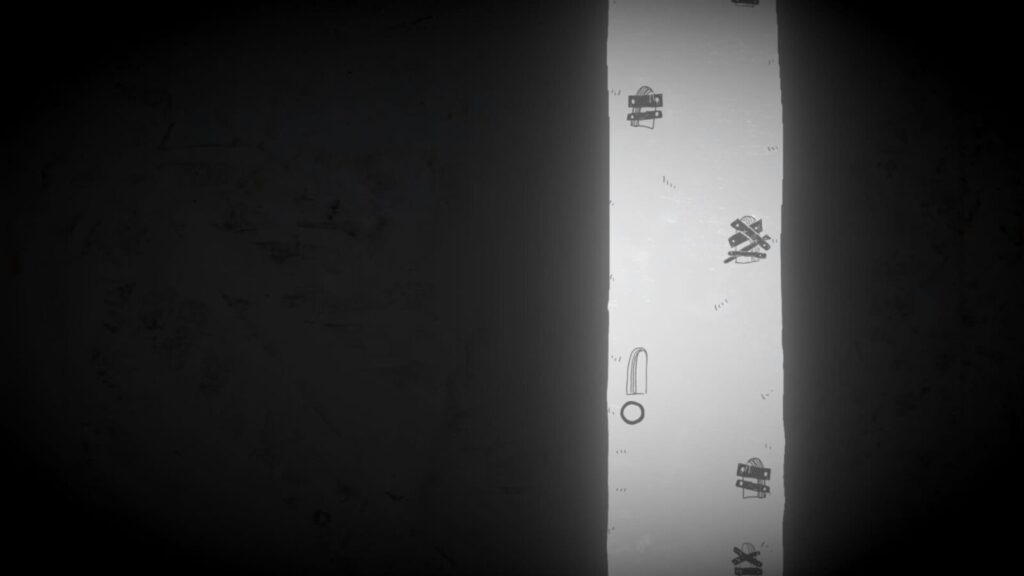
You should now be looking at a tower again. You’ll notice that all of the windows are boarded up except one. Click that open window to begin the next puzzle.
You will have several pieces of a constellation and must rotate them by clicking on them. Your goal is to ensure that every star has a connecting path to link it to a second star.
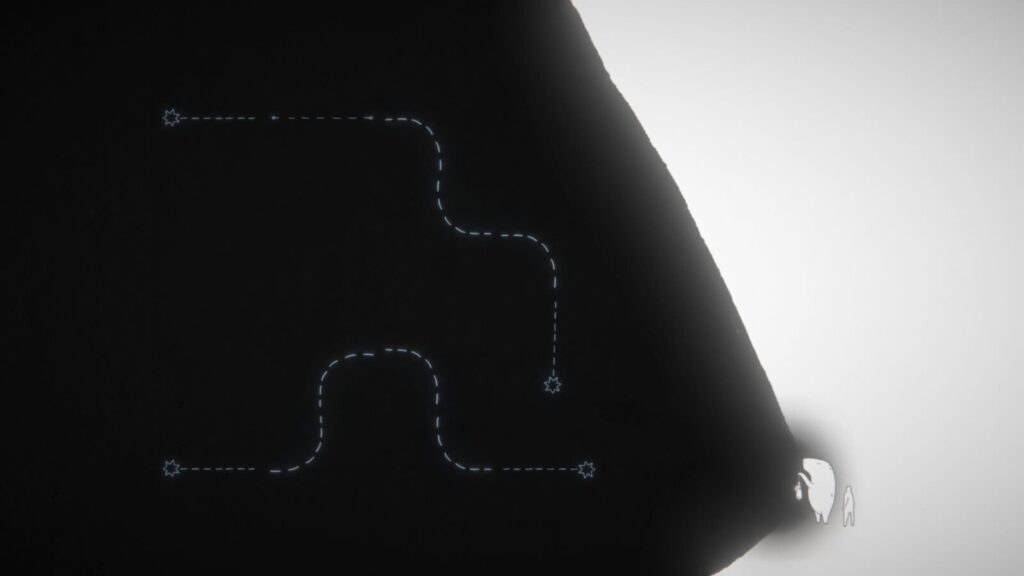
Once all 4 stars have been paired up, you’ll be returned to the tower.
Click and drag the tower to scroll up to another open window.
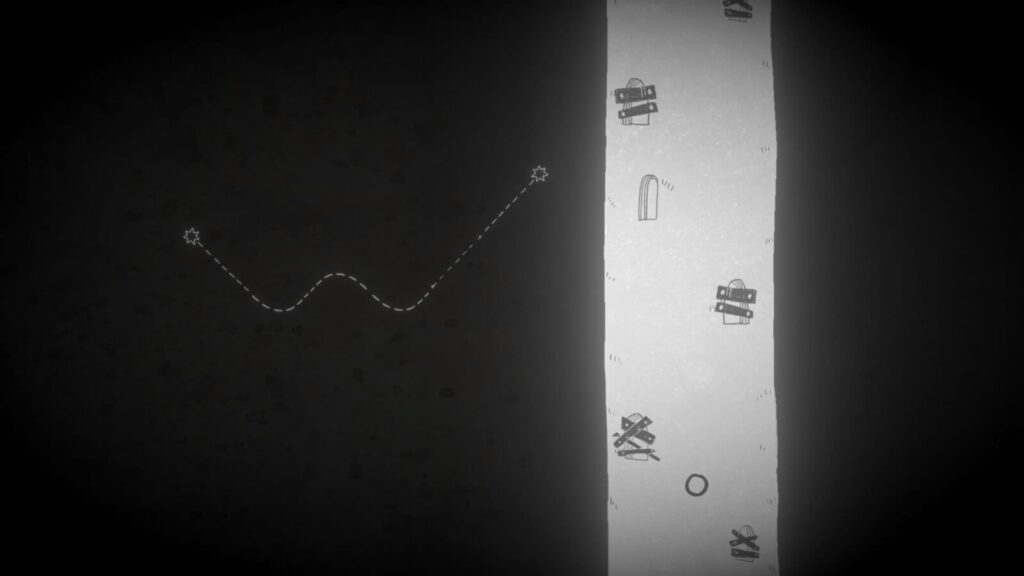
Click the open window to begin another constellation puzzle. Complete it to return to the tower again.
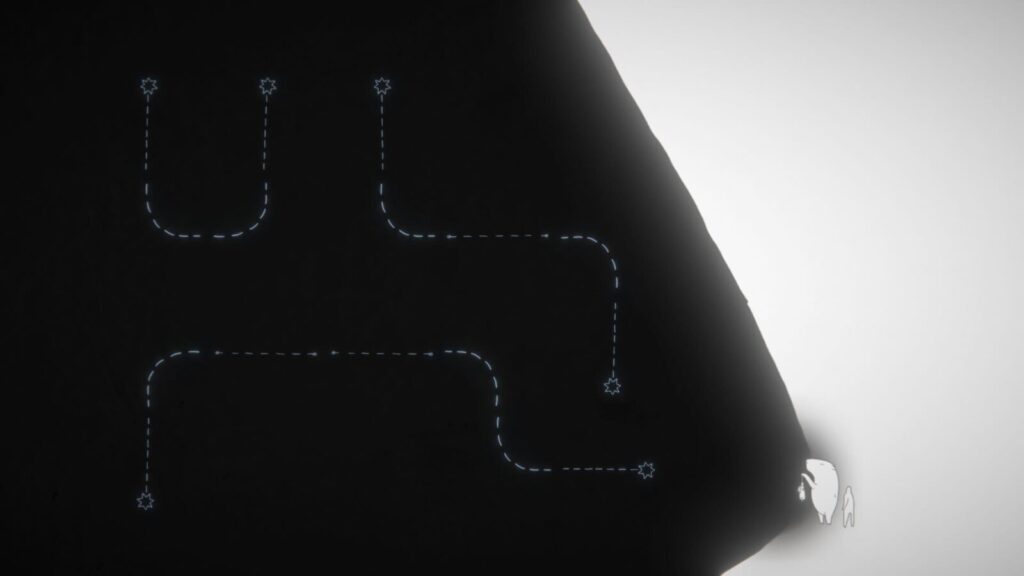
Scroll the tower again but this time go down. When you find the next open window, click it and complete another constellation puzzle.
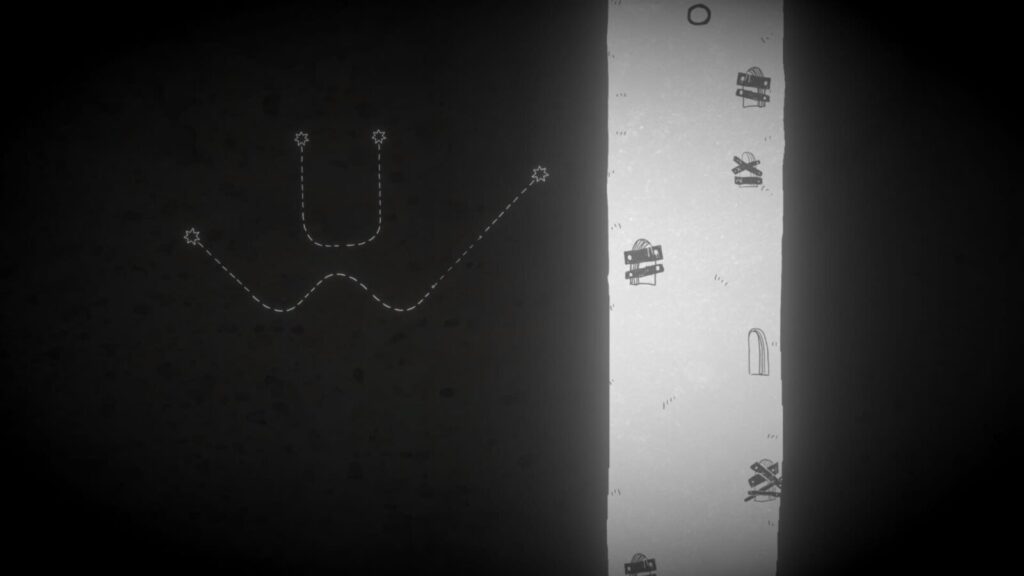
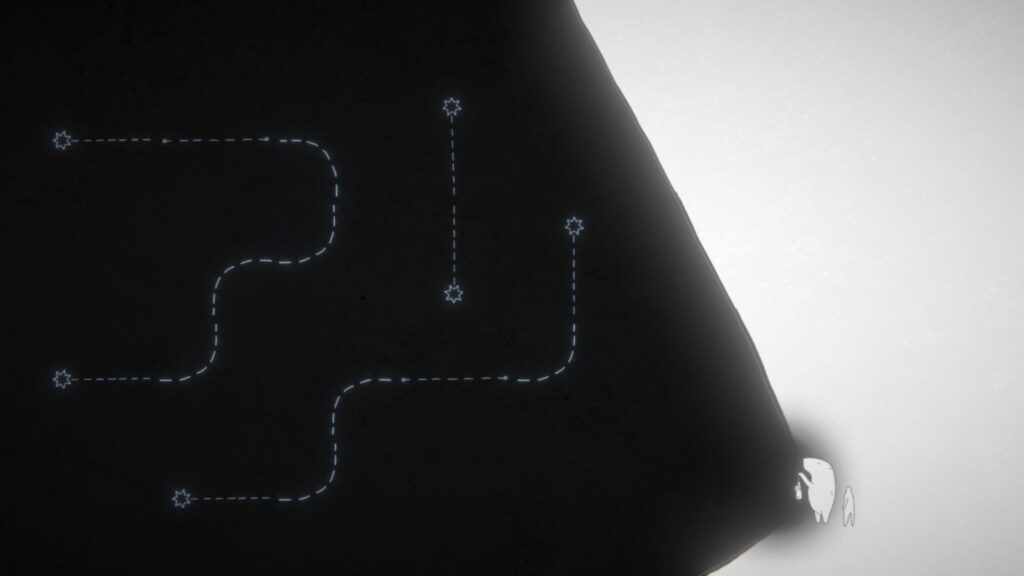
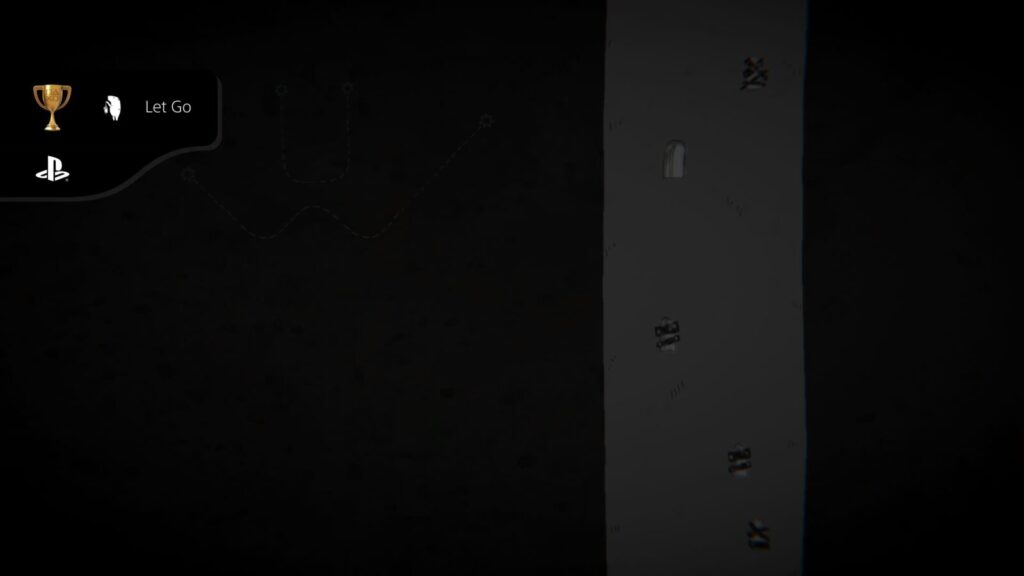
With the third puzzle complete, you will earn the “Let Go” trophy.

Let Go
Draw inspiration from inside
You will now be looking at the base of a tower. Continuously click on the tower until it breaks off completely and begins to float away, revealing some chains which are keeping the tower grounded.
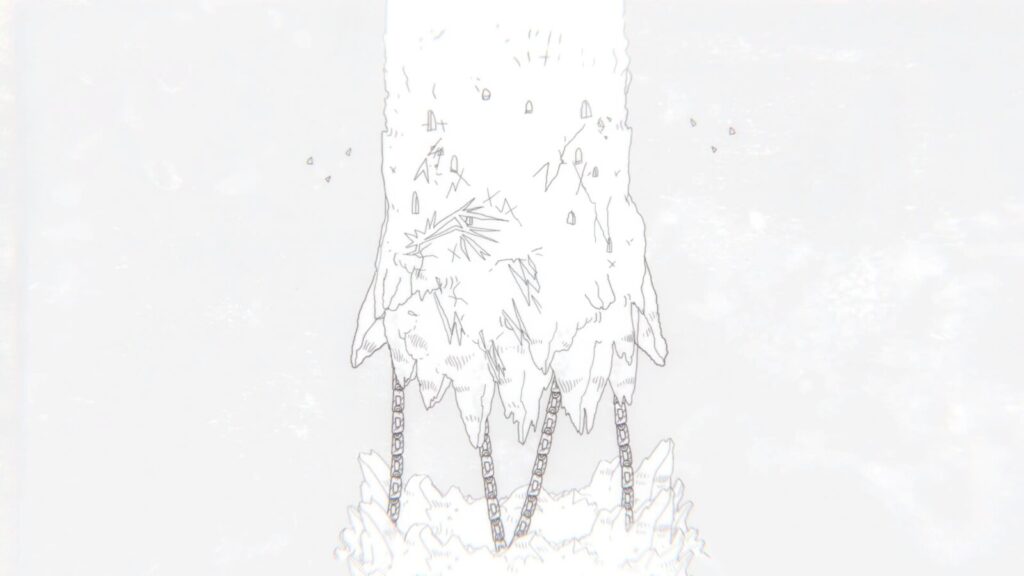
Click each of the chains until they, too, are broken. You’ll then unlock our next trophy, “Freedom.”

Freedom
Free yourself from tethers
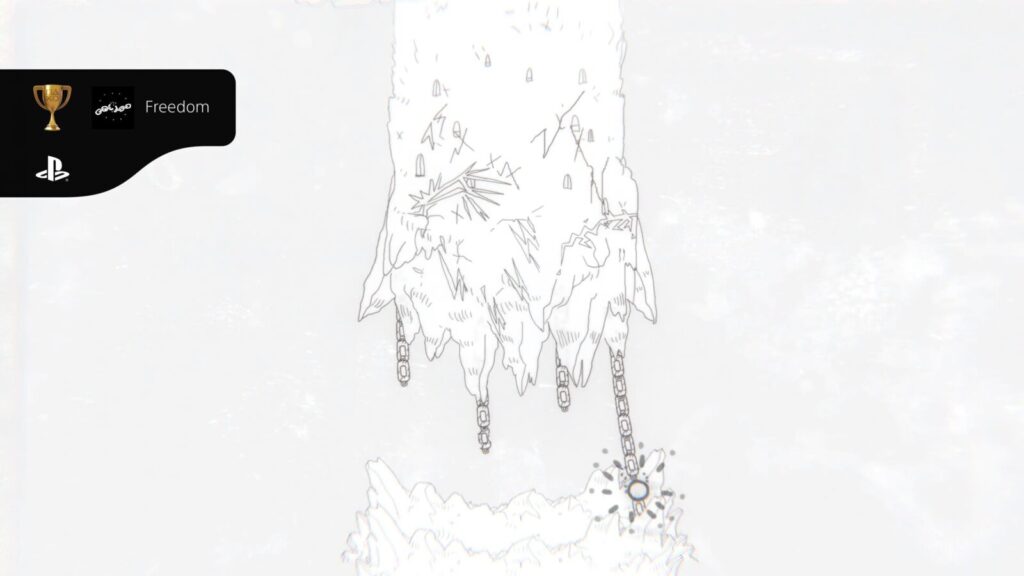
You will now be looking at the floating tower. It has many windows on its side and when you click a window, its colour is revealed.
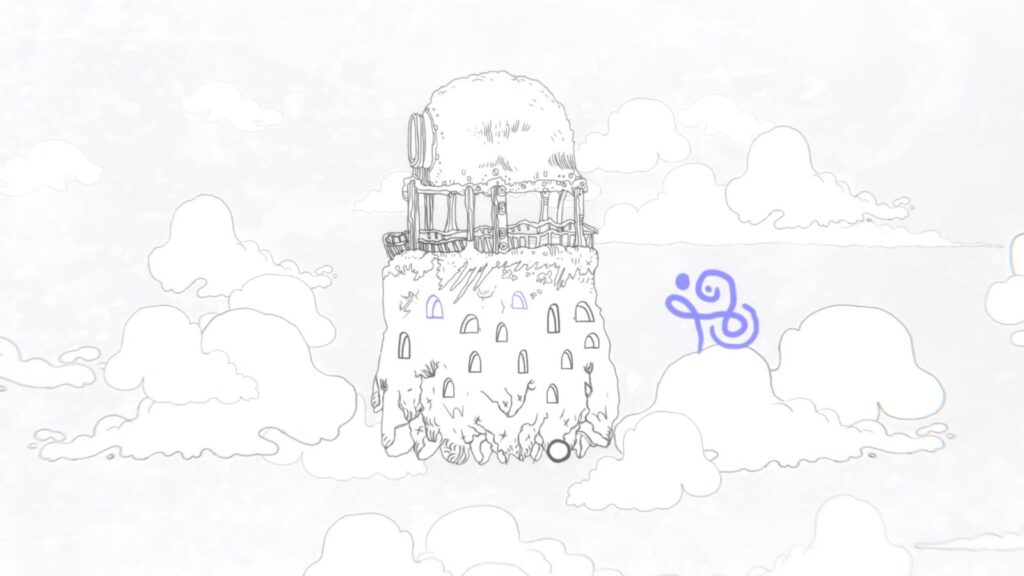
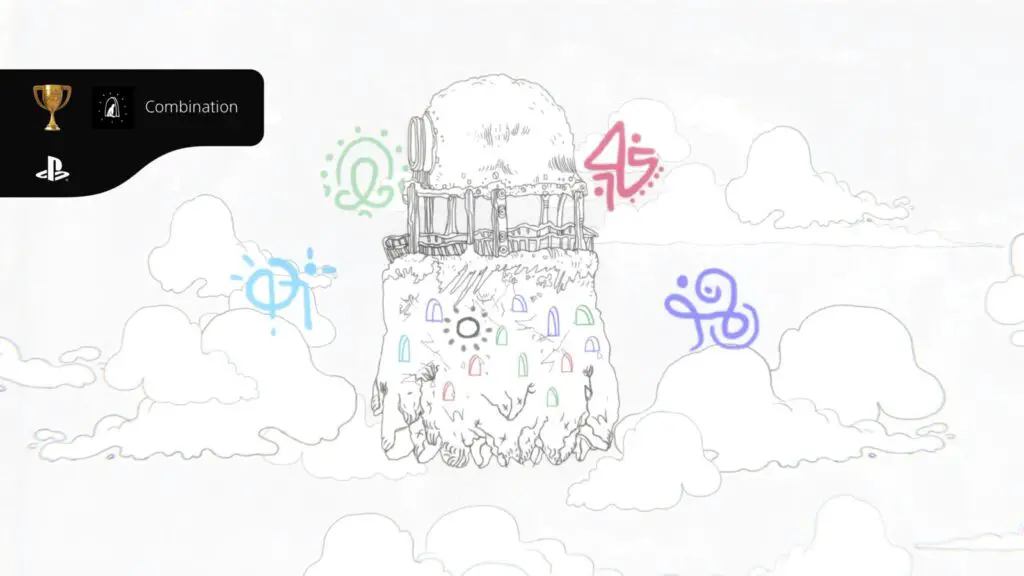
Your goal here is to match all of the windows by their secret colour. For example, if you click a window and it is revealed to be blue, you must then click the three other blue windows. They will be locked once all windows of that colour have been clicked.
If you have two blue windows highlighted and then you accidentally click a red window, the blue windows will be reset. However, if you have clicked all four blue windows and then you click a red window, the blue windows will stay active as they are completed and therefore locked in place.
There are four blue windows, four green windows, three red windows, and two cyan windows. Use the trophy screenshot below to see their locations. (The cursor is on the last Cyan window).
I’d recommend clicking all of the blue ones first, then green, then red, and lastly Cyan. The trophy “Combination” will unlock when all windows have been correctly selected.

Combination
Bring back color
You will now see a group of musicians playing over the man’s coffin. This puzzle works a lot like a Simon Says game. You will first see a pattern to input, then on the next round a new pattern is revealed, and the previous pattern is hidden. Therefore, you must input the first pattern from memory and then the second patten. In the third round, you must do the first two patterns from memory and then a new pattern. The third pattern, fortunately, doesn’t need to be remembered.
You can input the patterns by clicking on the corresponding musician, based on the colour and shape of the icon above their head.
To make things easier, I’ll just give you the correct combinations here:
ROUND ONE
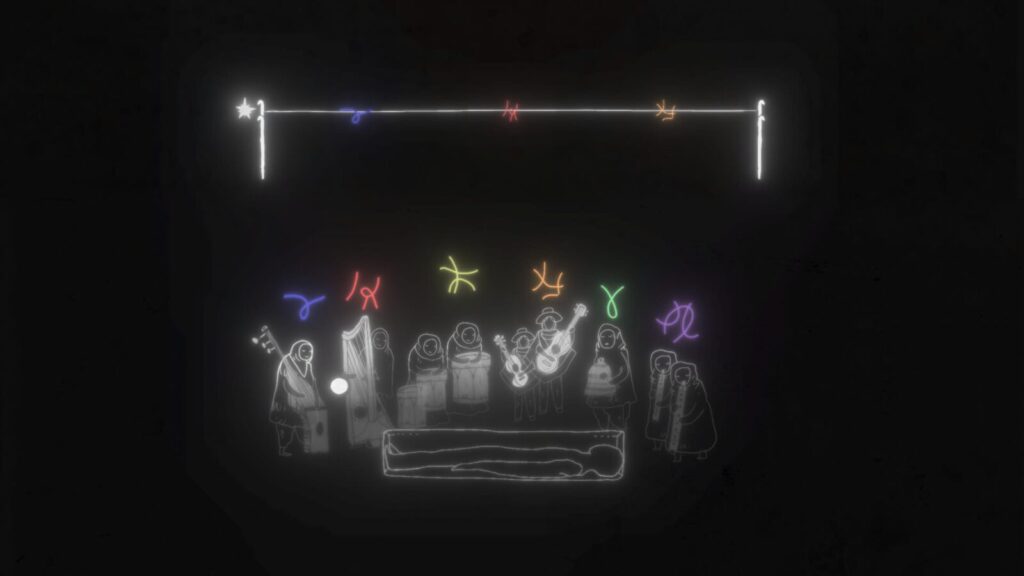
Blue, Red, Orange
ROUND TWO
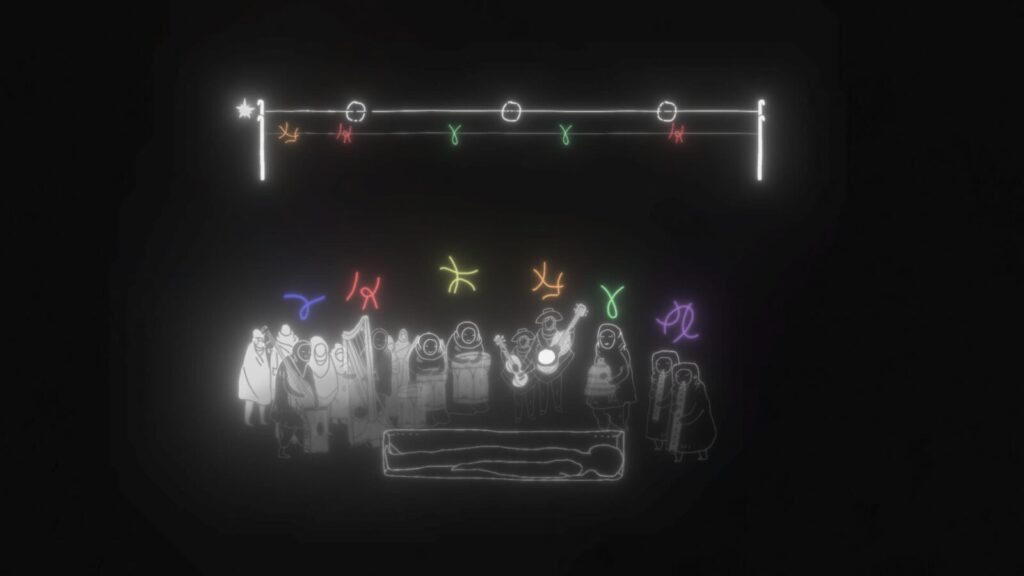
Blue, Red, Orange, Orange, Red, Green, Green, Red
ROUND THREE
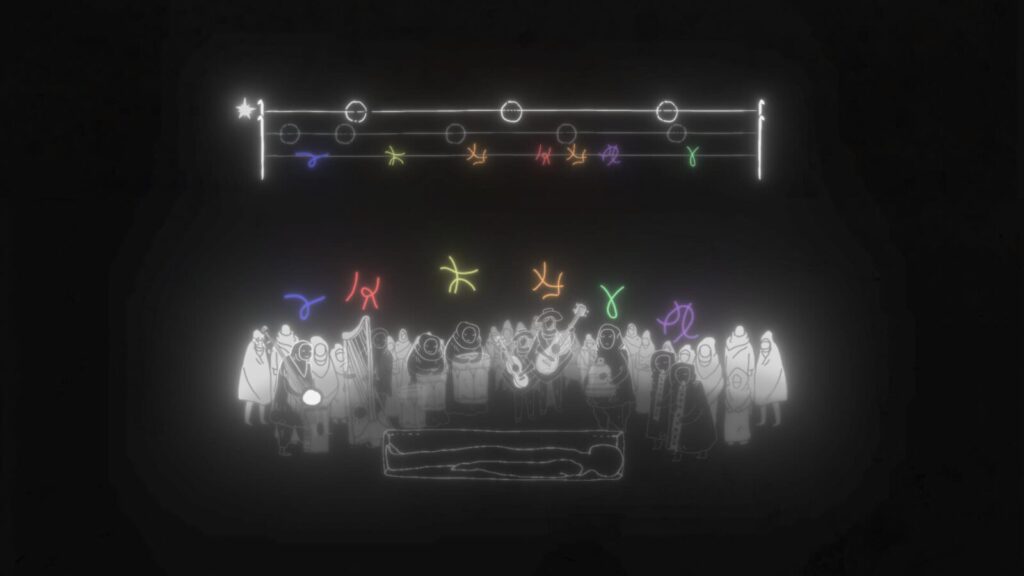
Blue, Red, Orange, Orange, Red, Green, Green, Red, Blue, Yellow, Orange, Red, Orange, Purple, Green
After inputting the above commands, the puzzle will complete and you will unlock the “Composition” trophy.

Composition
Let music come alive
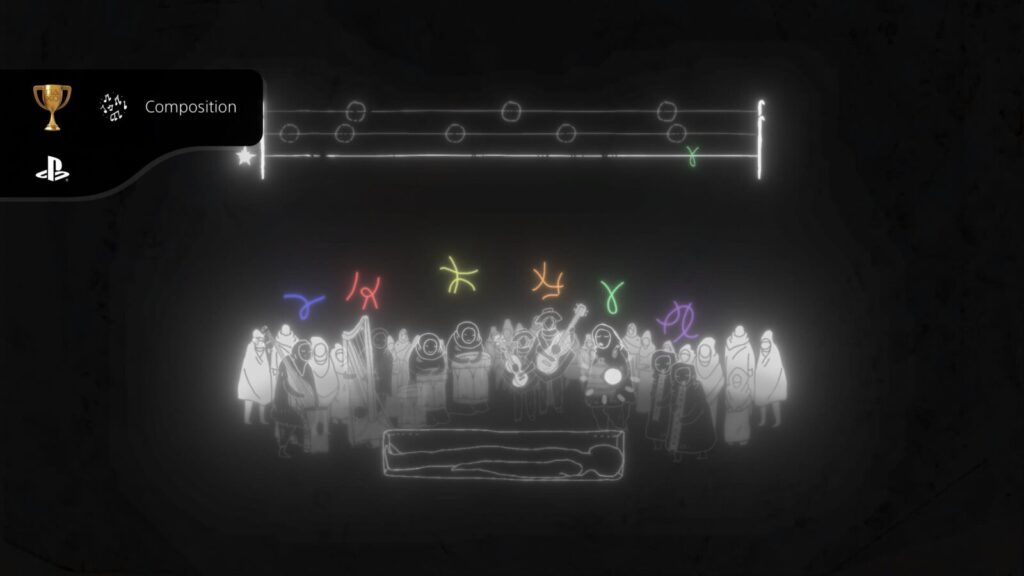
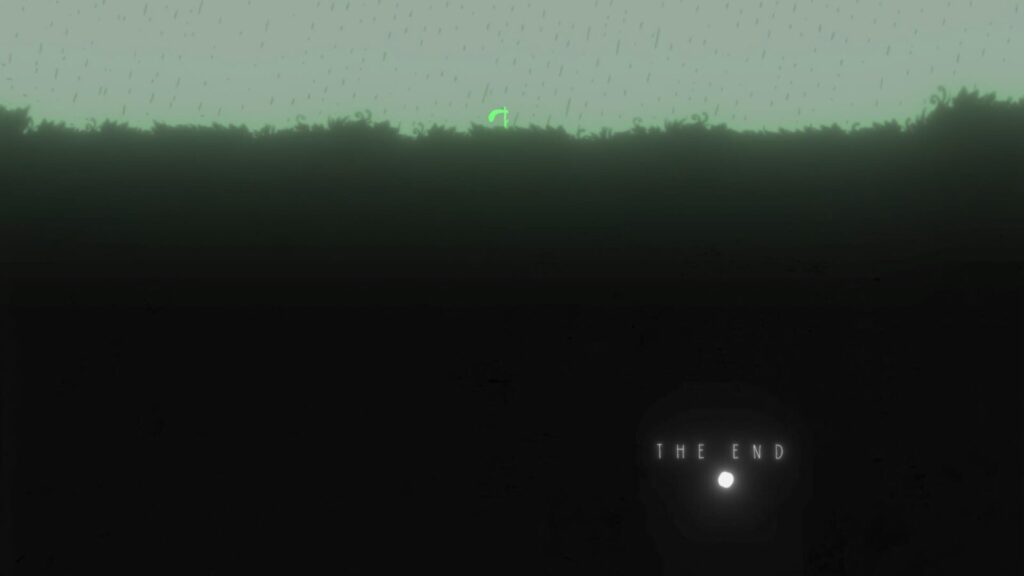
That was the last puzzle of the game. After a short while, the coffin will be on-screen with a simple white dot in it, representing a seed. Click on the dot to grow a green plant and then watch the final moments.
The text “THE END” will appear in the bottom-right corner. Click on it to end this phase of our Arrog Trophy Guide and be returned to the title screen.
Phase Two – Start a Second Playthrough
After completing Phase One of our Arrog Trophy Guide, you will be kicked back to the main menu, and will need just one last trophy.
Arrog Phase Two Trophy Walkthrough
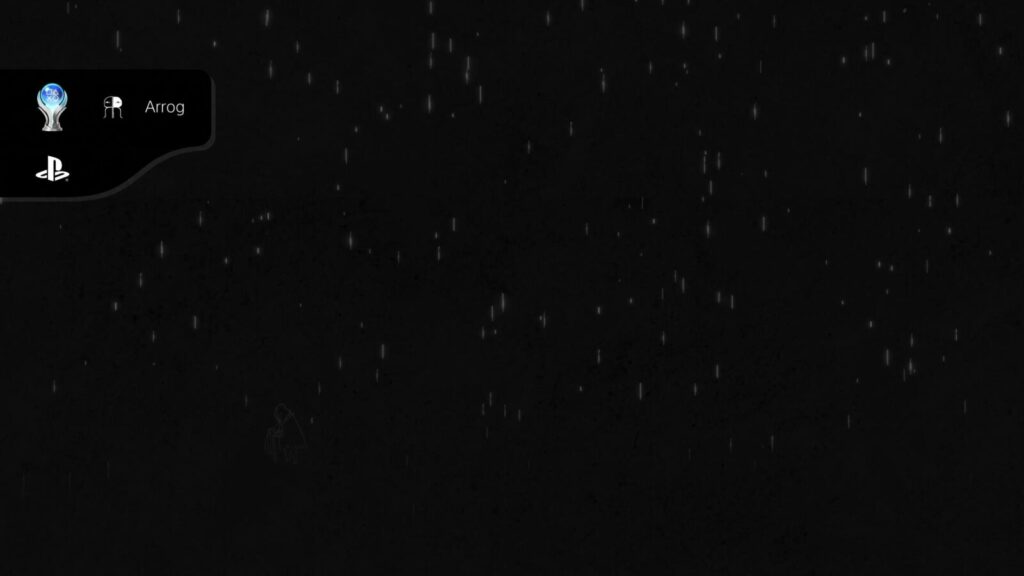
All you need to do now is select “Begin” from the title screen. The intro will play again and then once the game has handed control over to you, the final trophy, “Full Circle,” will unlock!

Full Circle
Start anew

Plat Get!

Arrog
Live fully
The platinum will unlock once you have acquired every other trophy in this Arrog Trophy Guide.
Thank you for choosing PlatGet as your source for an Arrog Trophy Guide, consider checking out our other guides!
If you enjoy collecting quick and easy Platinum Trophies like this one, check out our full list of Quick and Easy Platinum Trophies, all of which can be earned in an hour or less!
Follow us on Twitter @GetPlat or Instagram @platget for updates on new reviews and guides, as well as small anecdotes about our platinum journeys.
Discussion
We've Partnered with NordVPN


