PlayStation 5
The Last of Us Part 1 & Left Behind Collectibles Guide
Game Guide
The Last of Us Part 1 & Left Behind Collectibles Guide
Welcome to our The Last of Us Part 1 & Left Behind Collectibles Guide. The collectibles in The Last of Us can be picked up or physically interacted with most of the time—i.e. you have to pick up pendants and comics, and you have to open shiv doors and safes. However, some collectibles have to be observed, such as conversations and jokes. There are 30 Firefly Pendants, 13 Comics, 97 Artifacts, 12 Training Manuals, 13 Shiv Doors, 5 Workbench Tools, 4 Safes, 54 Optional Conversations, 6 Jokes, and 11 Workbenches across Part 1 and the included Left Behind DLC.
Additionally, you can also find the locations of each of the melee weapons in the game as well as upgrade materials for them so you can break them for the Build Em Up, Break Em Down trophy as well as how and when to unlock the other Chapter-Specific Trophies.
The Quarantine Zone
20 Years Later
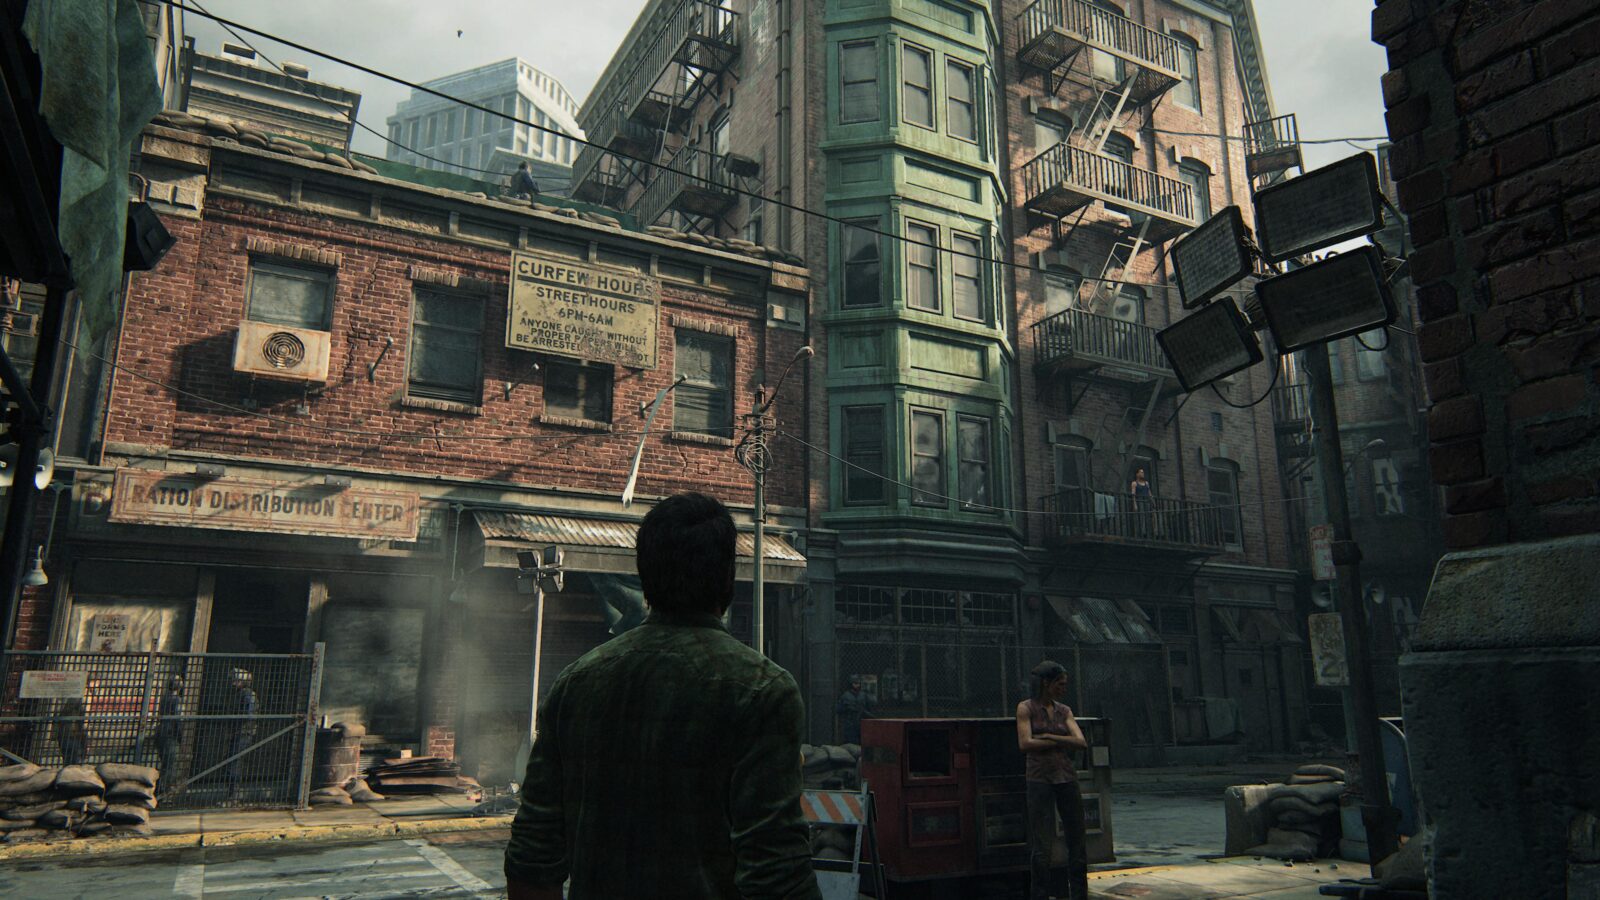
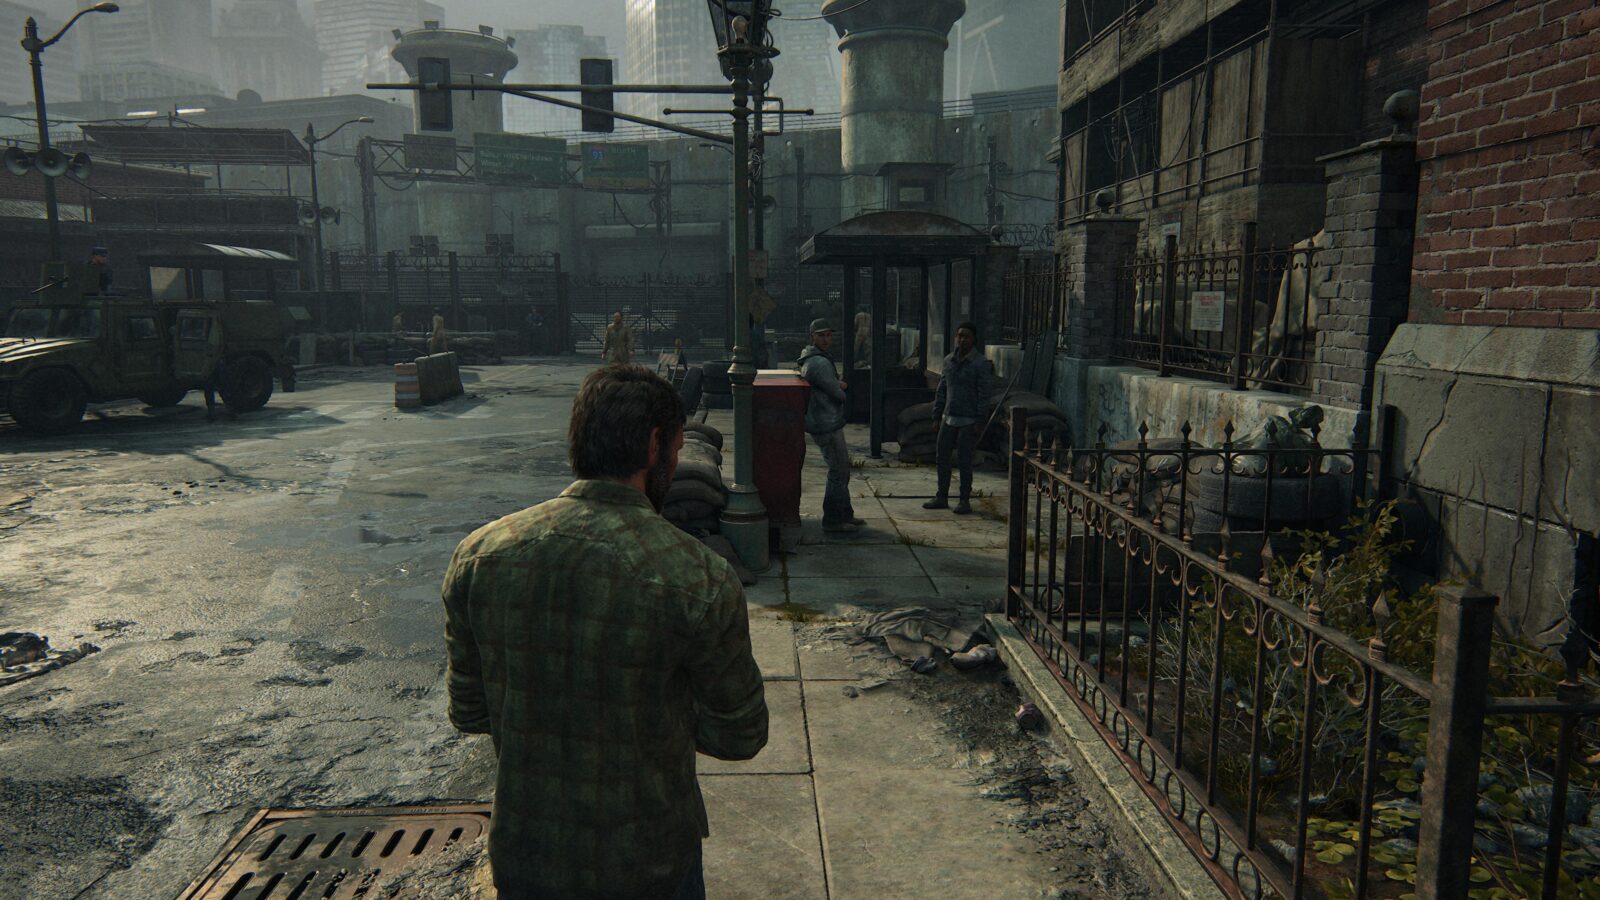
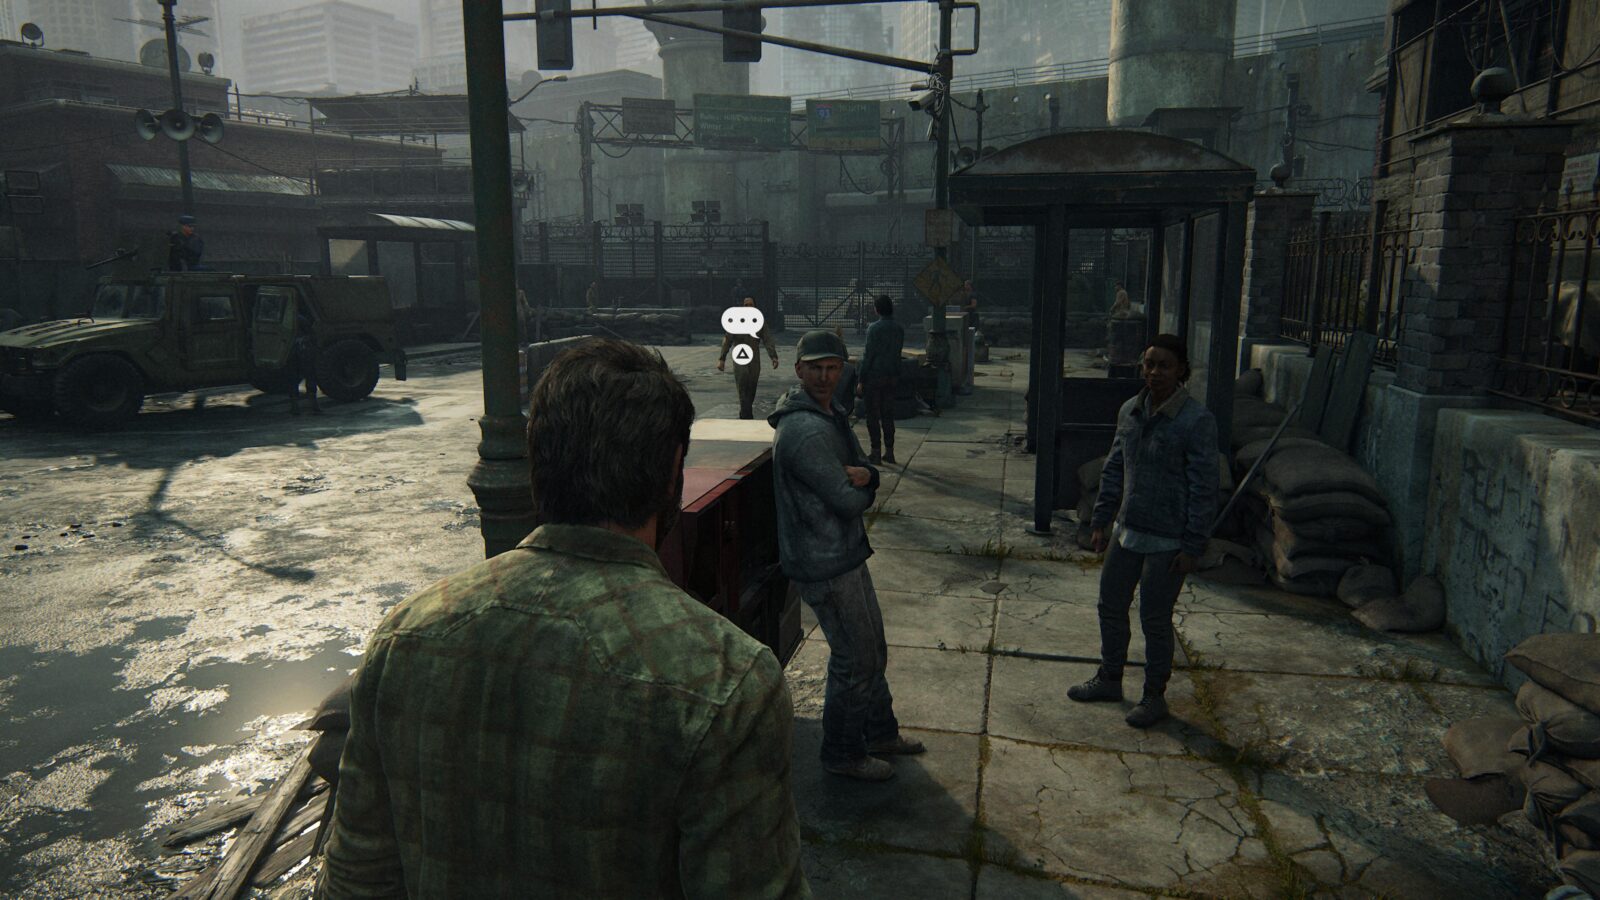
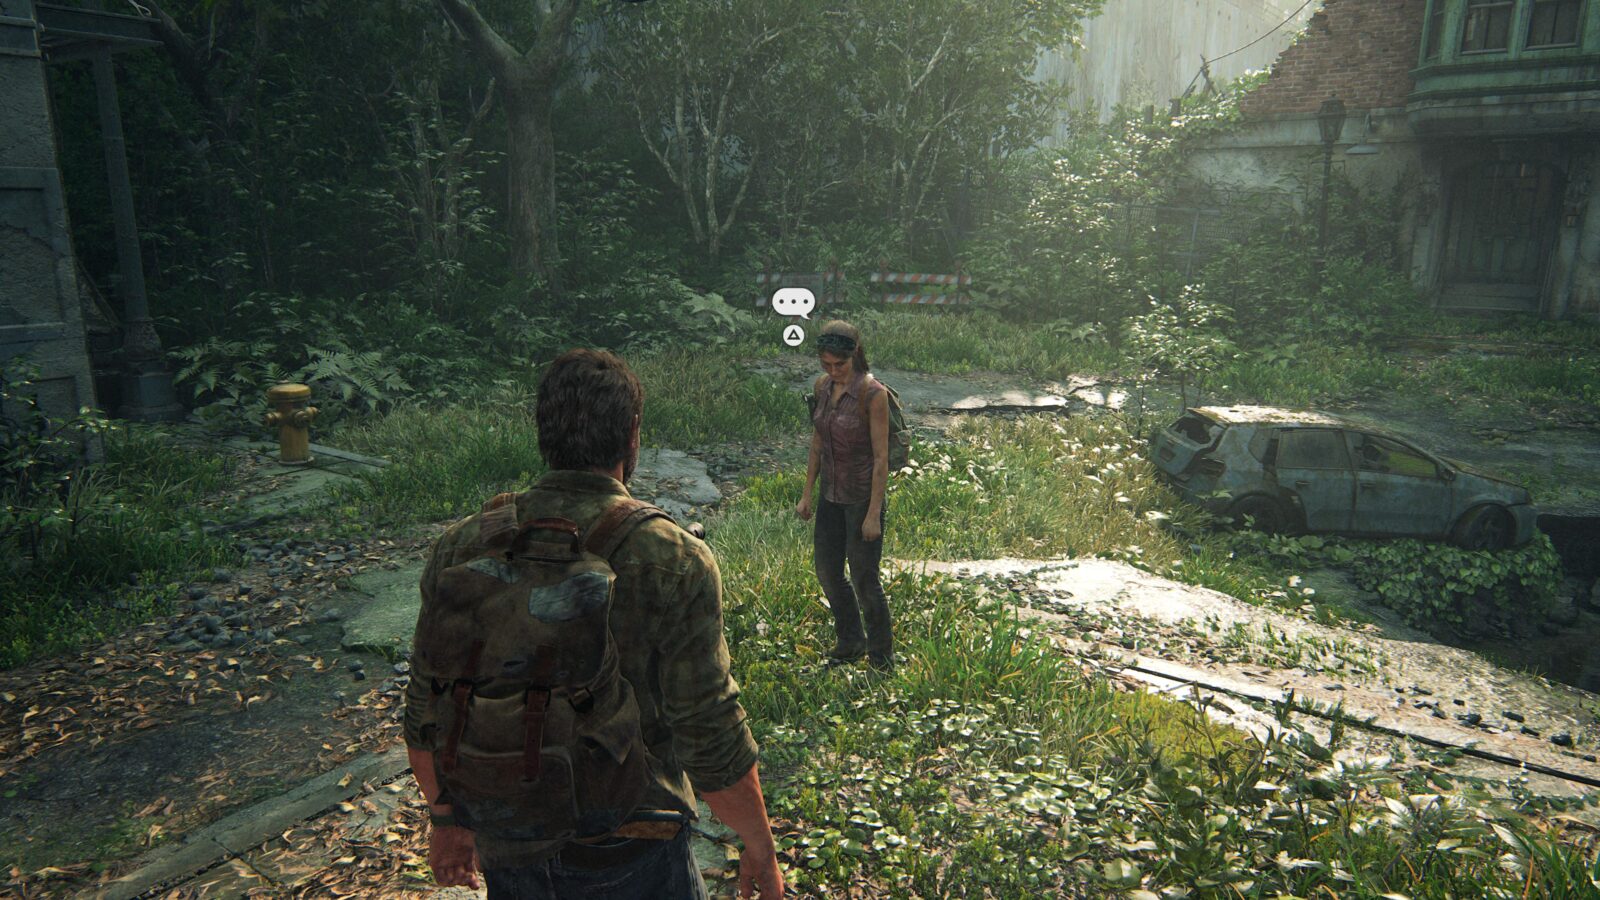
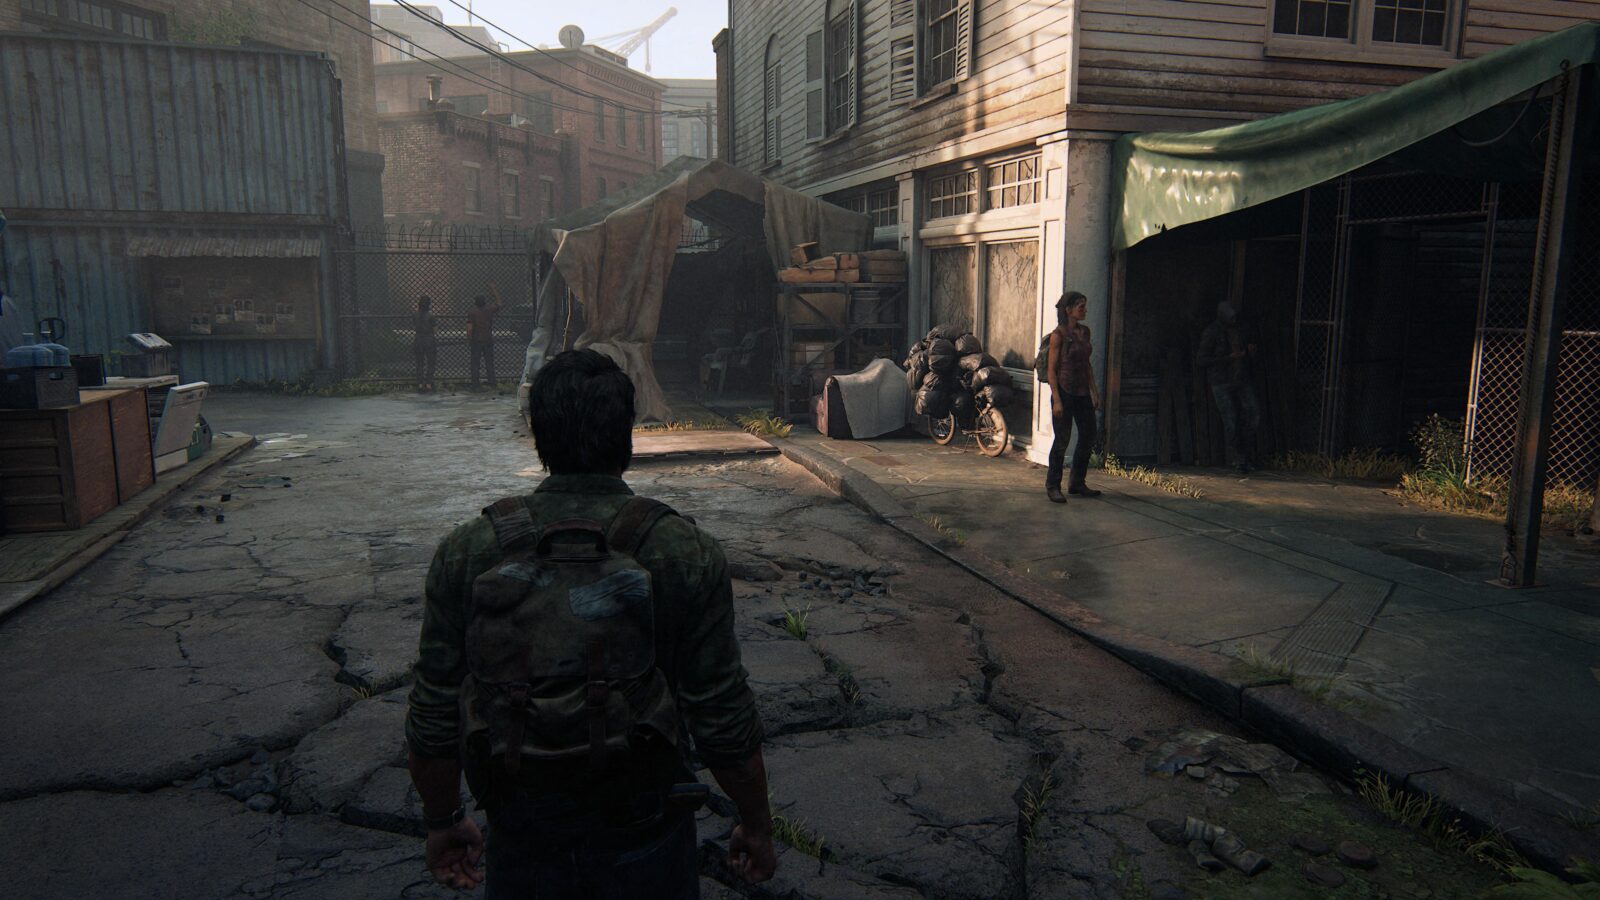
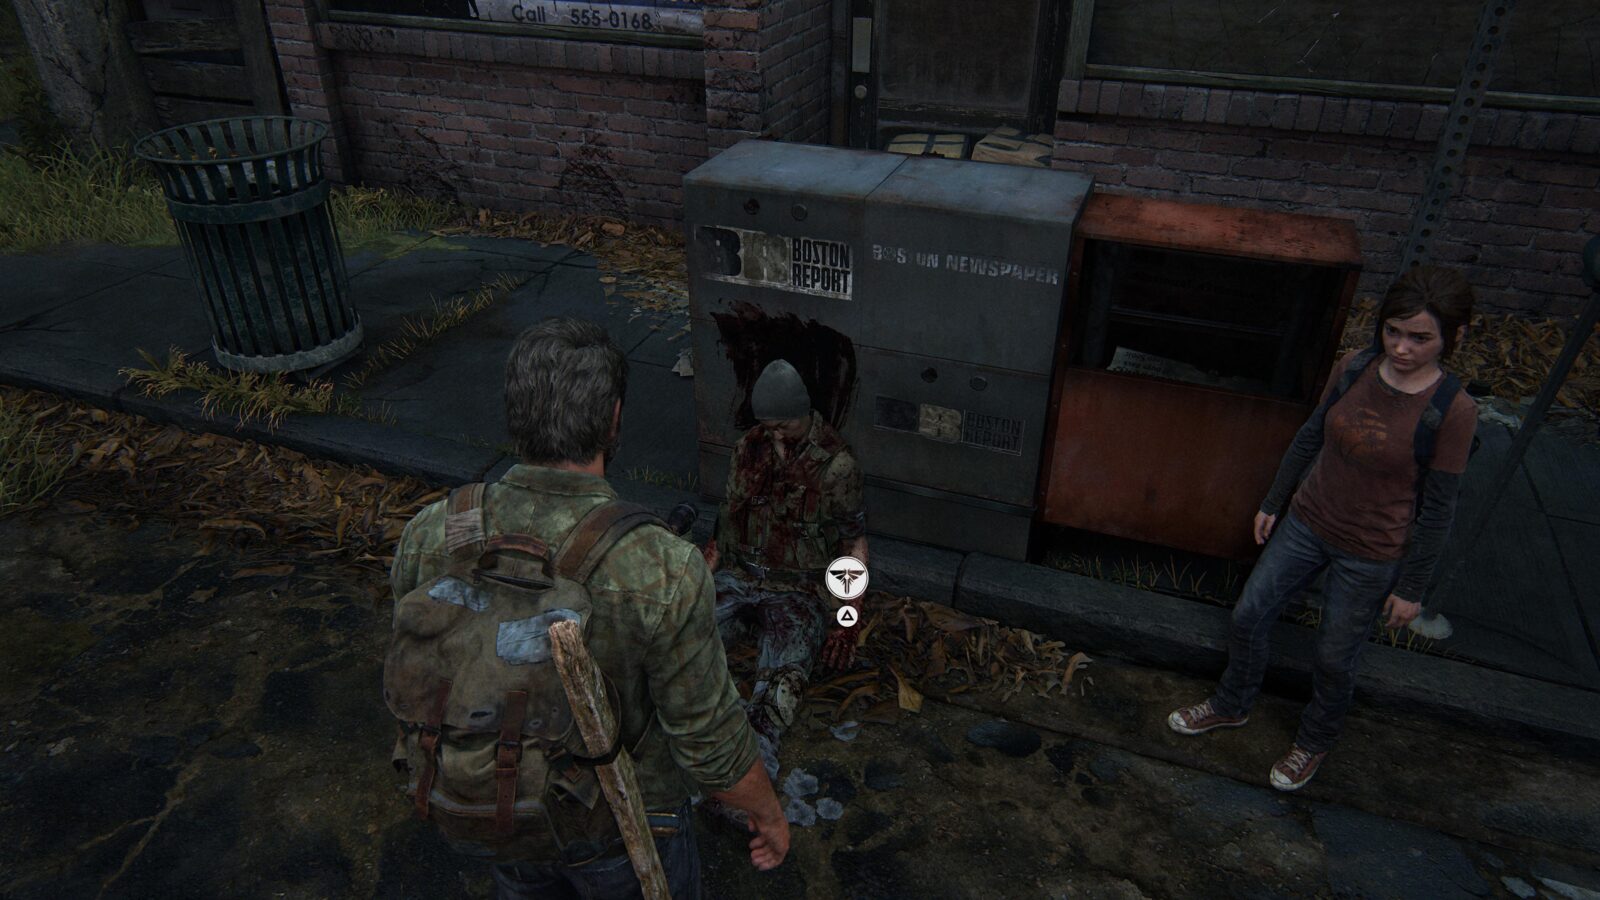
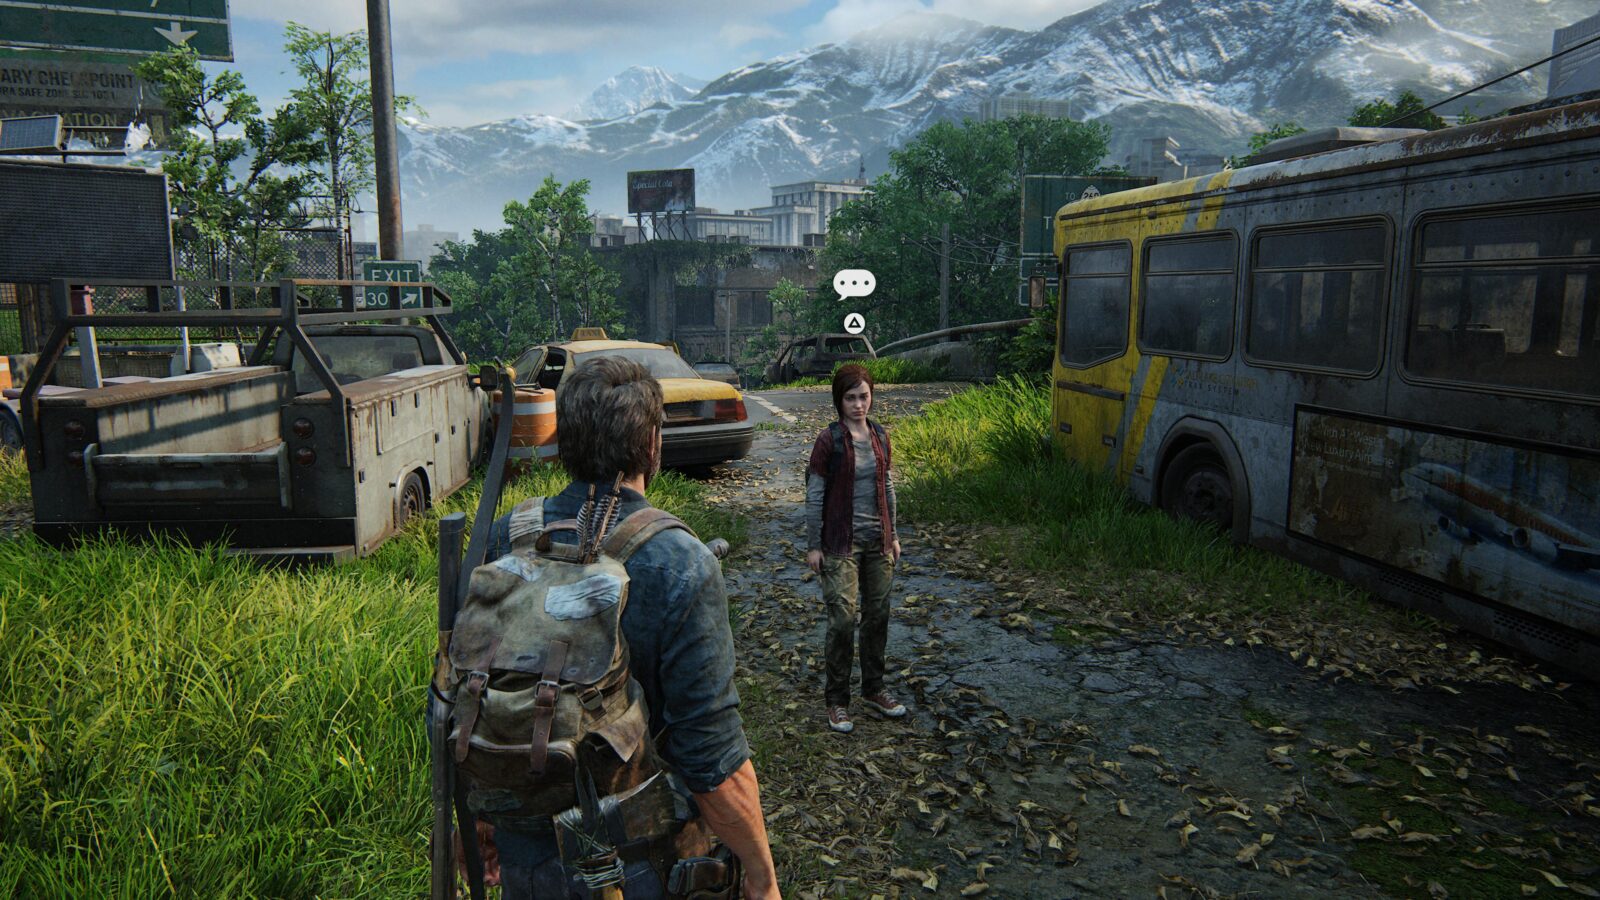
Optional Conversation #1 – As you walk with Tess towards the checkpoint you can see a man leaning against a red newspaper stand directly opposite the checkpoint gate. The red stand is next to a bus shelter.
The NPC won’t be there immediately, as he first walks slowly across the street and then leans against the stand. Make sure you talk to him before approaching the checkpoint.
Beyond the Wall
Artifact #1 Military Pamphlet & #2 Boston Q.Z. Map – Automatically acquired when you collect Joel’s backpack.
Optional Conversation #2 – Immediately after collecting Joel’s backpack, you will climb up into a restaurant. Tess will walk outside, where she will wait to talk to you.
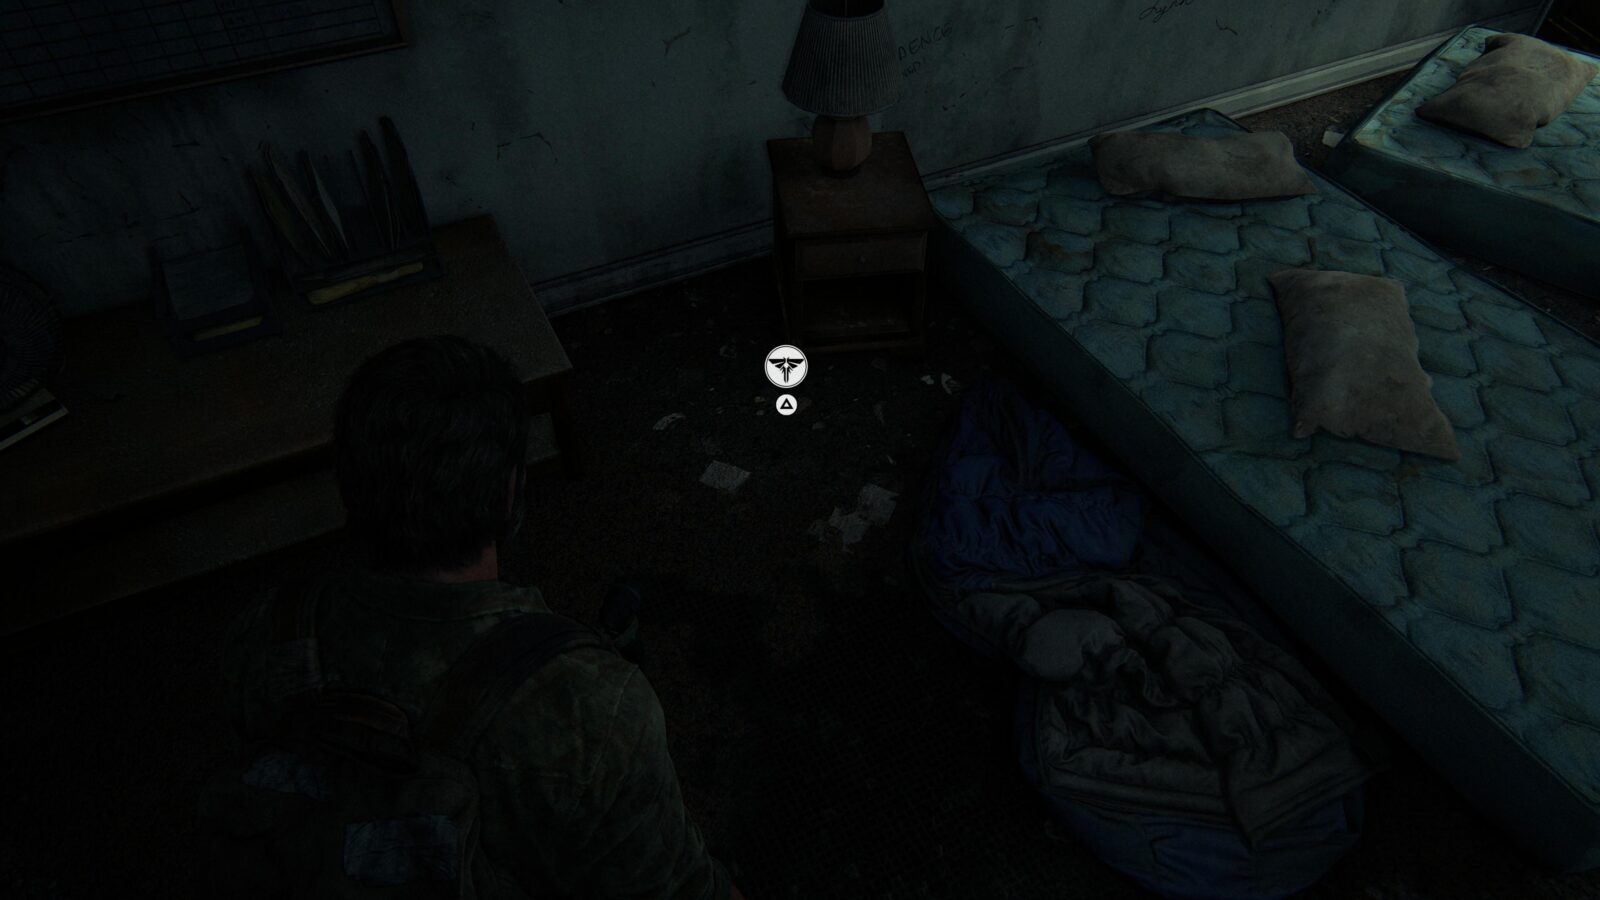
Firefly Pendant #1 David Michael Vigil 000102 – After talking with Tess outside the store you will have to find a ladder and climb into another building. At the top of the ladder is a room with a broken pool table, and to the right of the table is an open room with some beds on the floor. Next to one of the beds on the left as you walk in is your first Firefly Pendant.

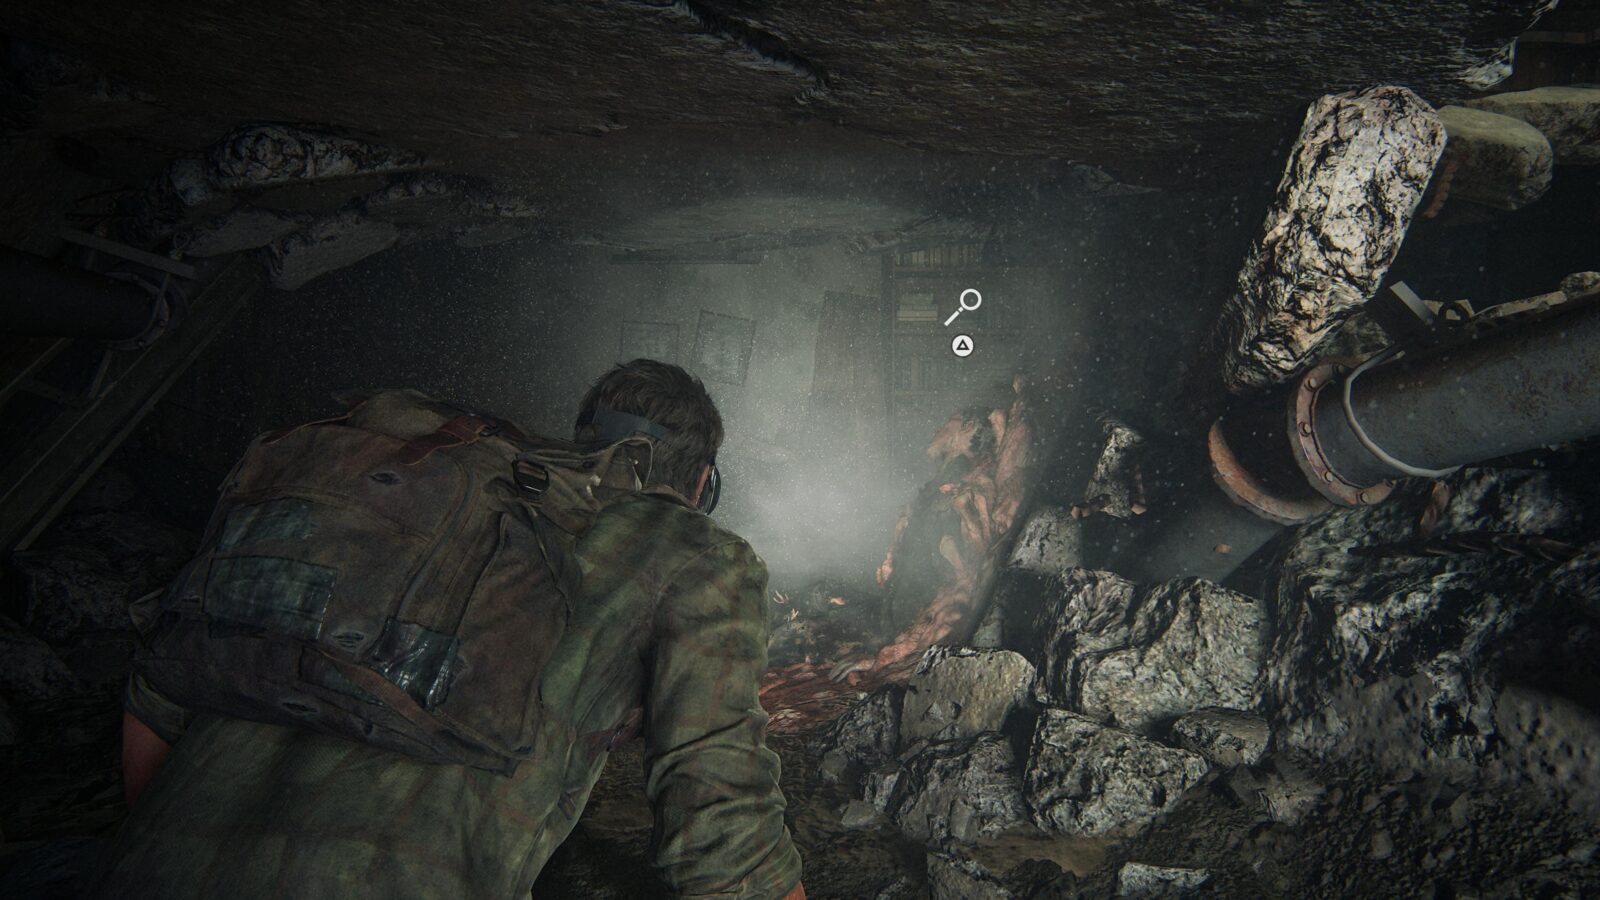
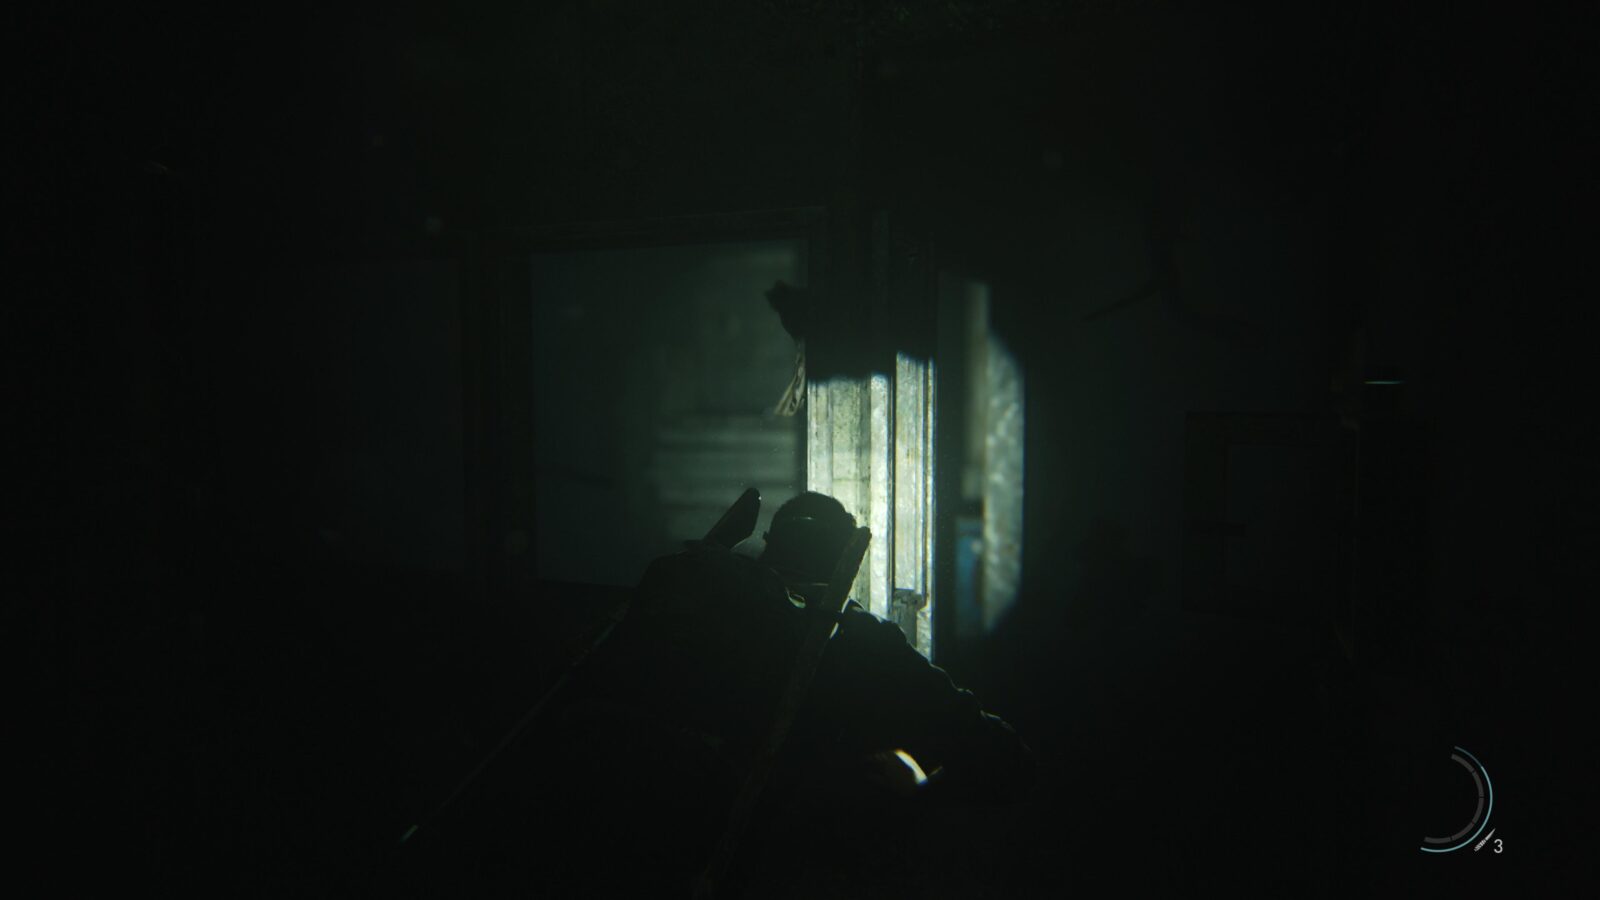
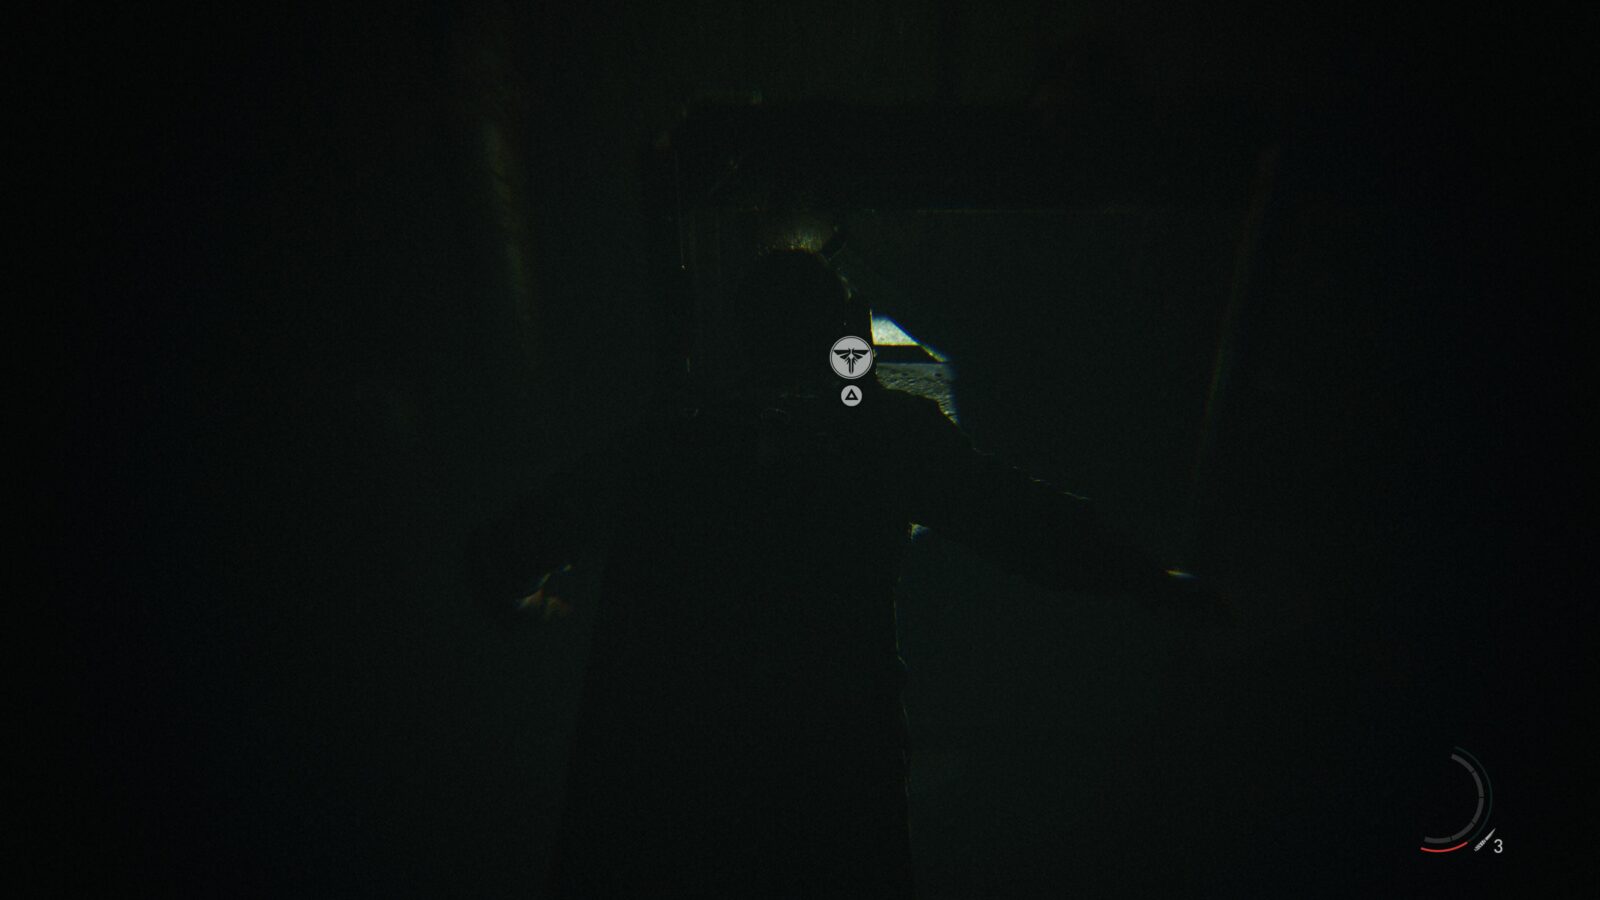
Optional Conversation #3 – On the ground floor of the building you and Tess climbed into is a collapsed tunnel filled with spores. As you walk through the tunnel, you will happen upon a corpse leaning against the wall on your right. Press ![]() when prompted to initiate an optional conversation.
when prompted to initiate an optional conversation.

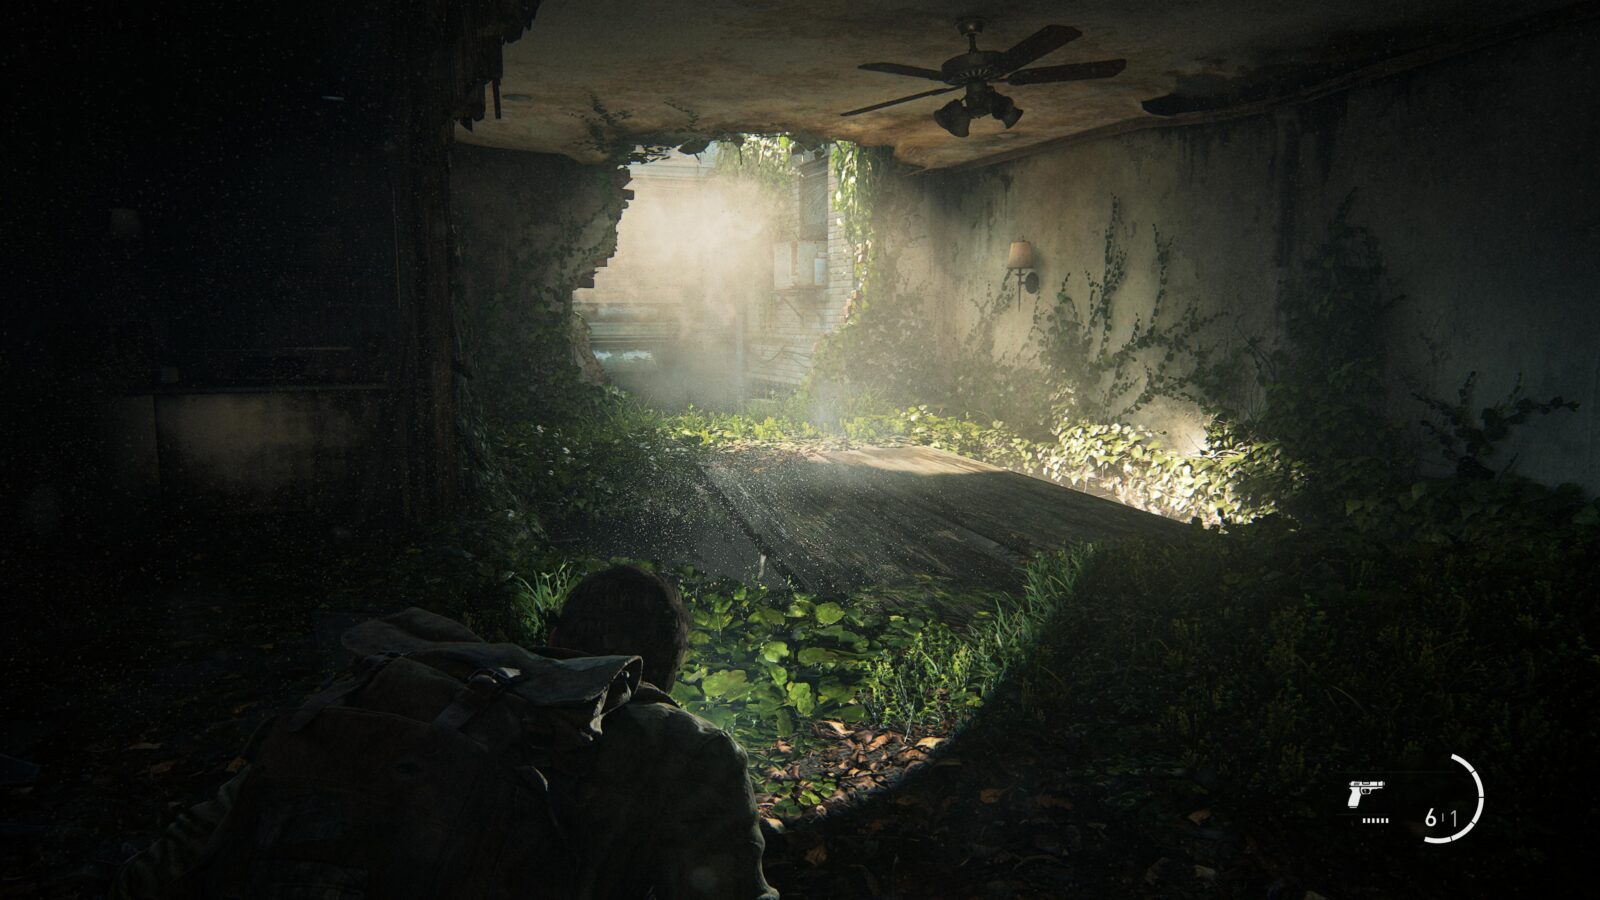
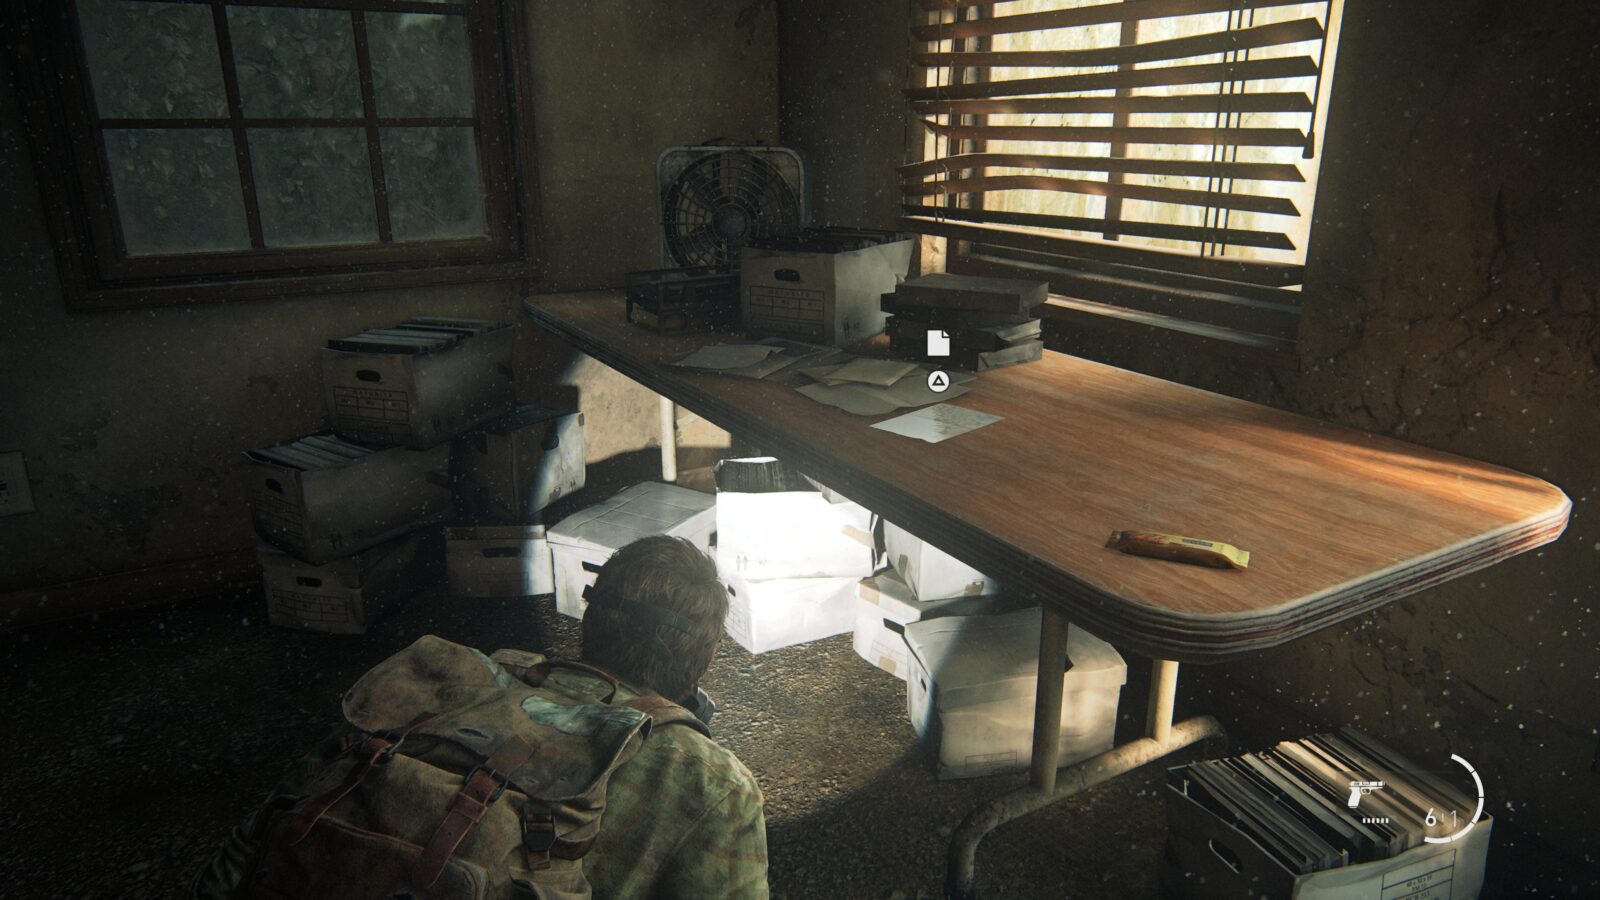
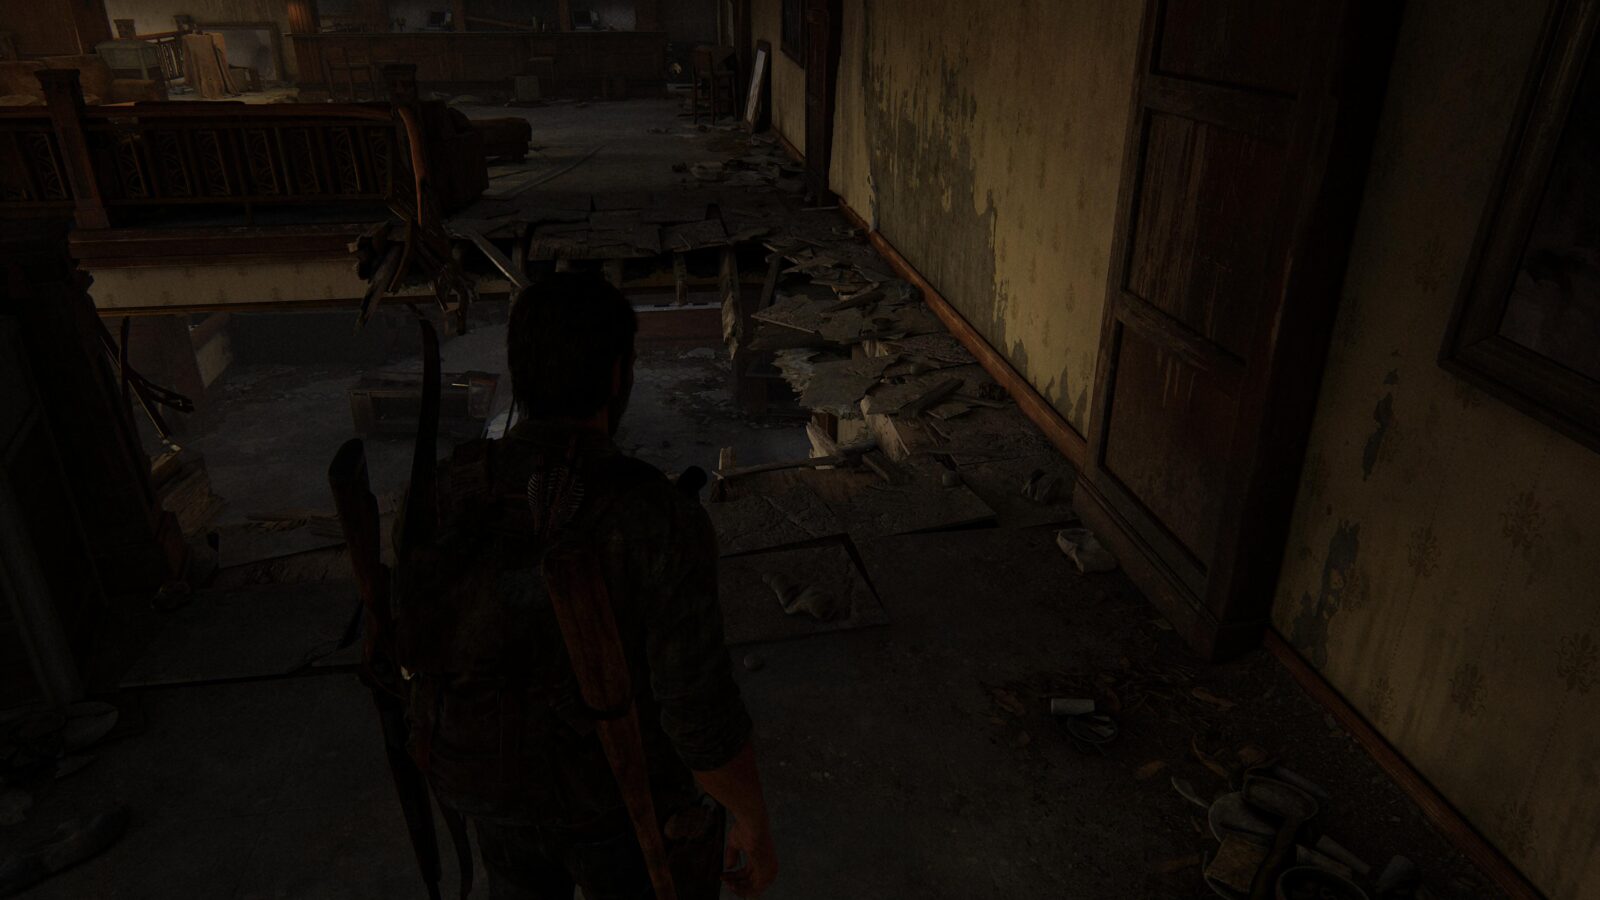
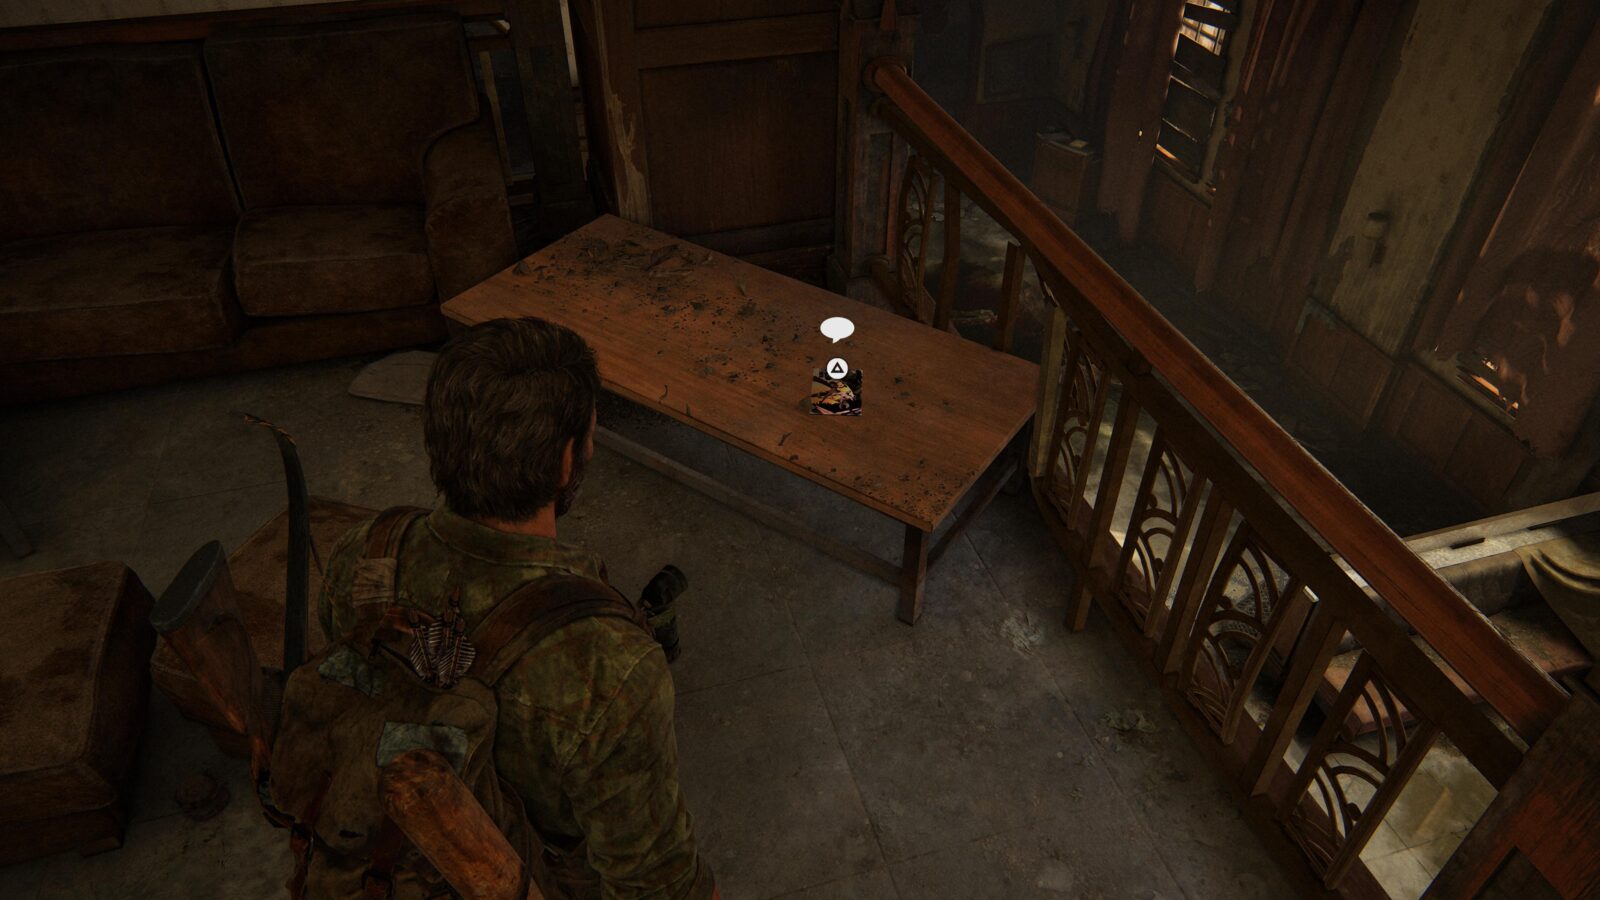
Artifact #3 Note to Brother – During your first encounter with the infected in a room filled with spores, you will climb some stairs and come to a wooden bridge over a collapsed floor. To your left is a room (Natalie & Vegiard Legal Group) with a door you can open, and inside is a table with a note on it.
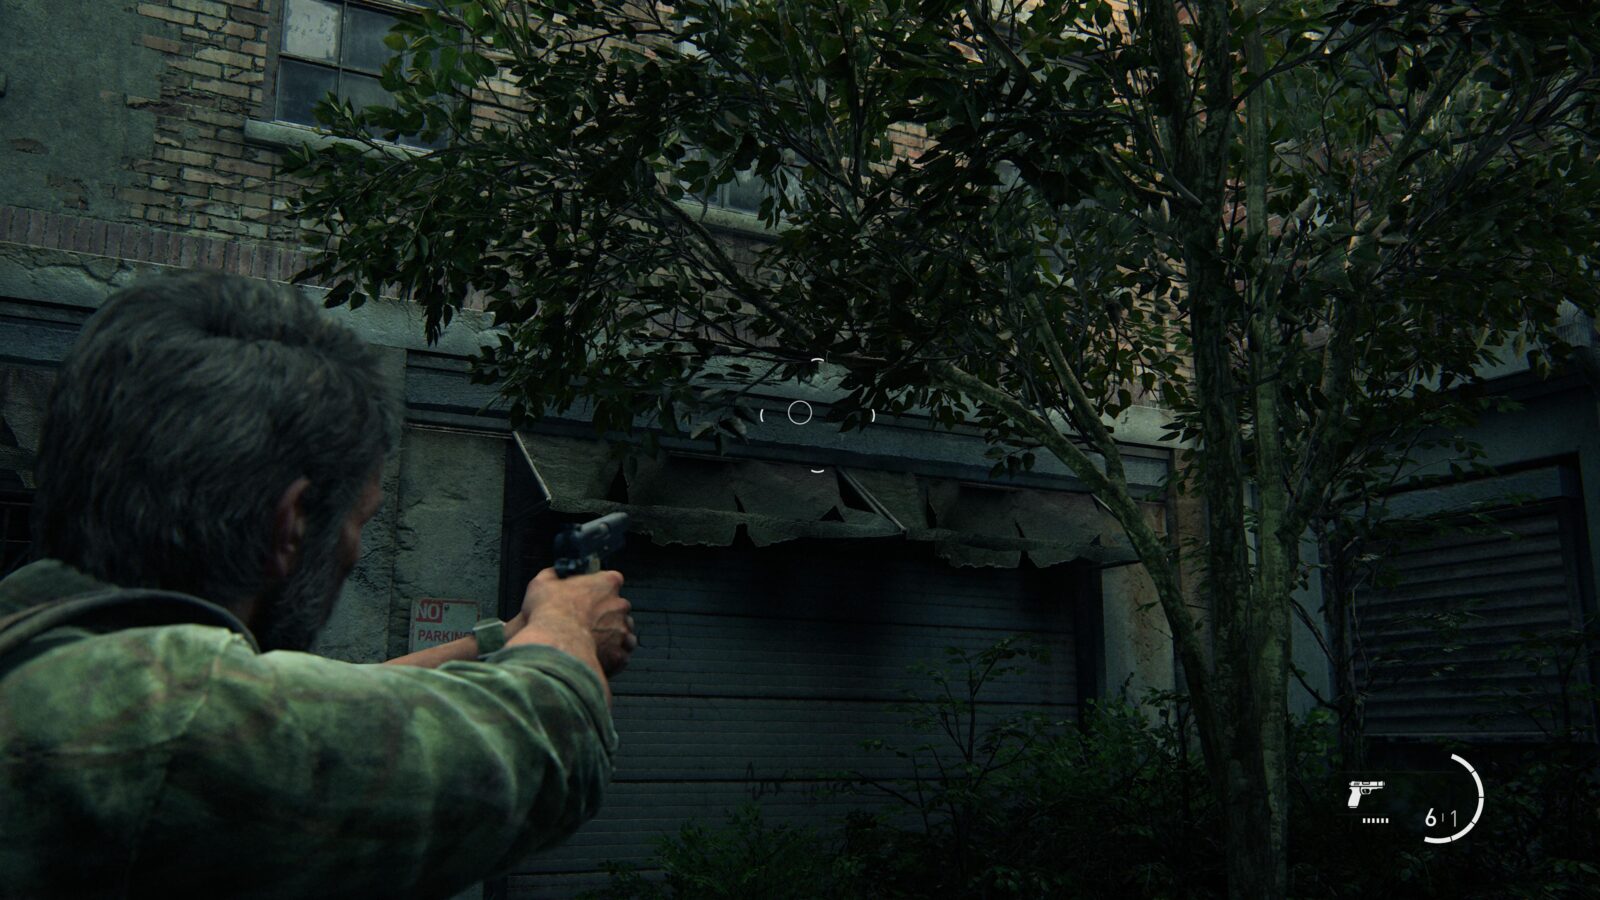
Firefly Pendant #2 Ben Glueck 000106 – As you progress through the area, you will come across an alleyway where you will have to duck under a collapsed fire escape (this is directly after the room where you have to get the fallen wooden plank for Tess). After ducking under the fire escape, look to your immediate left to find a tree with a pendant hanging from it. Shoot the pendant down so you can pick it up.

The Slums
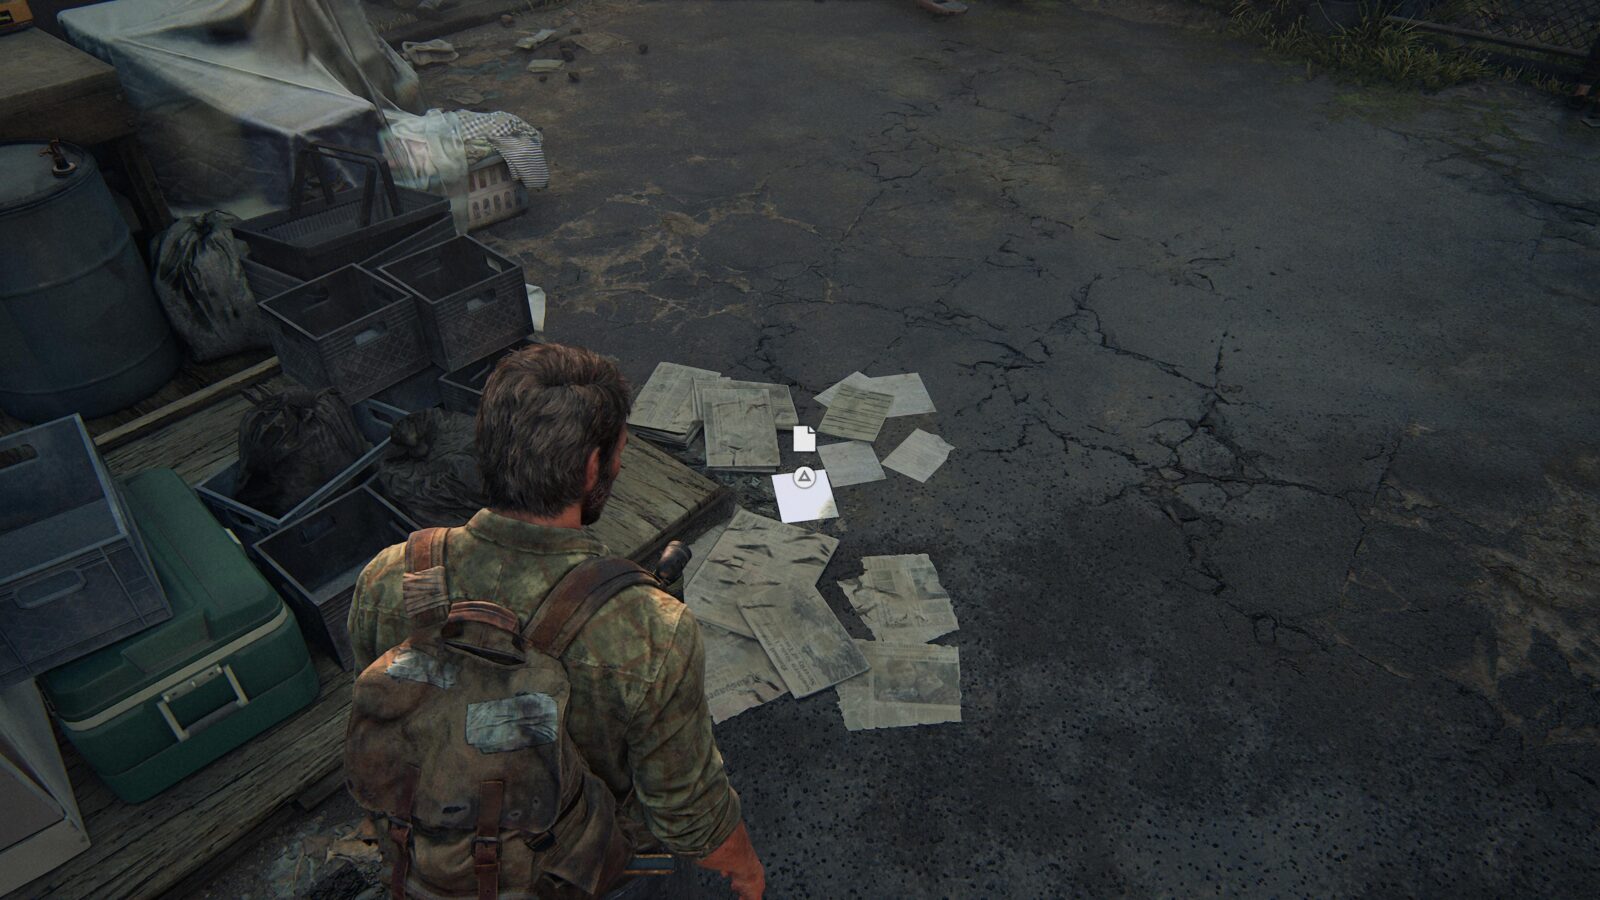
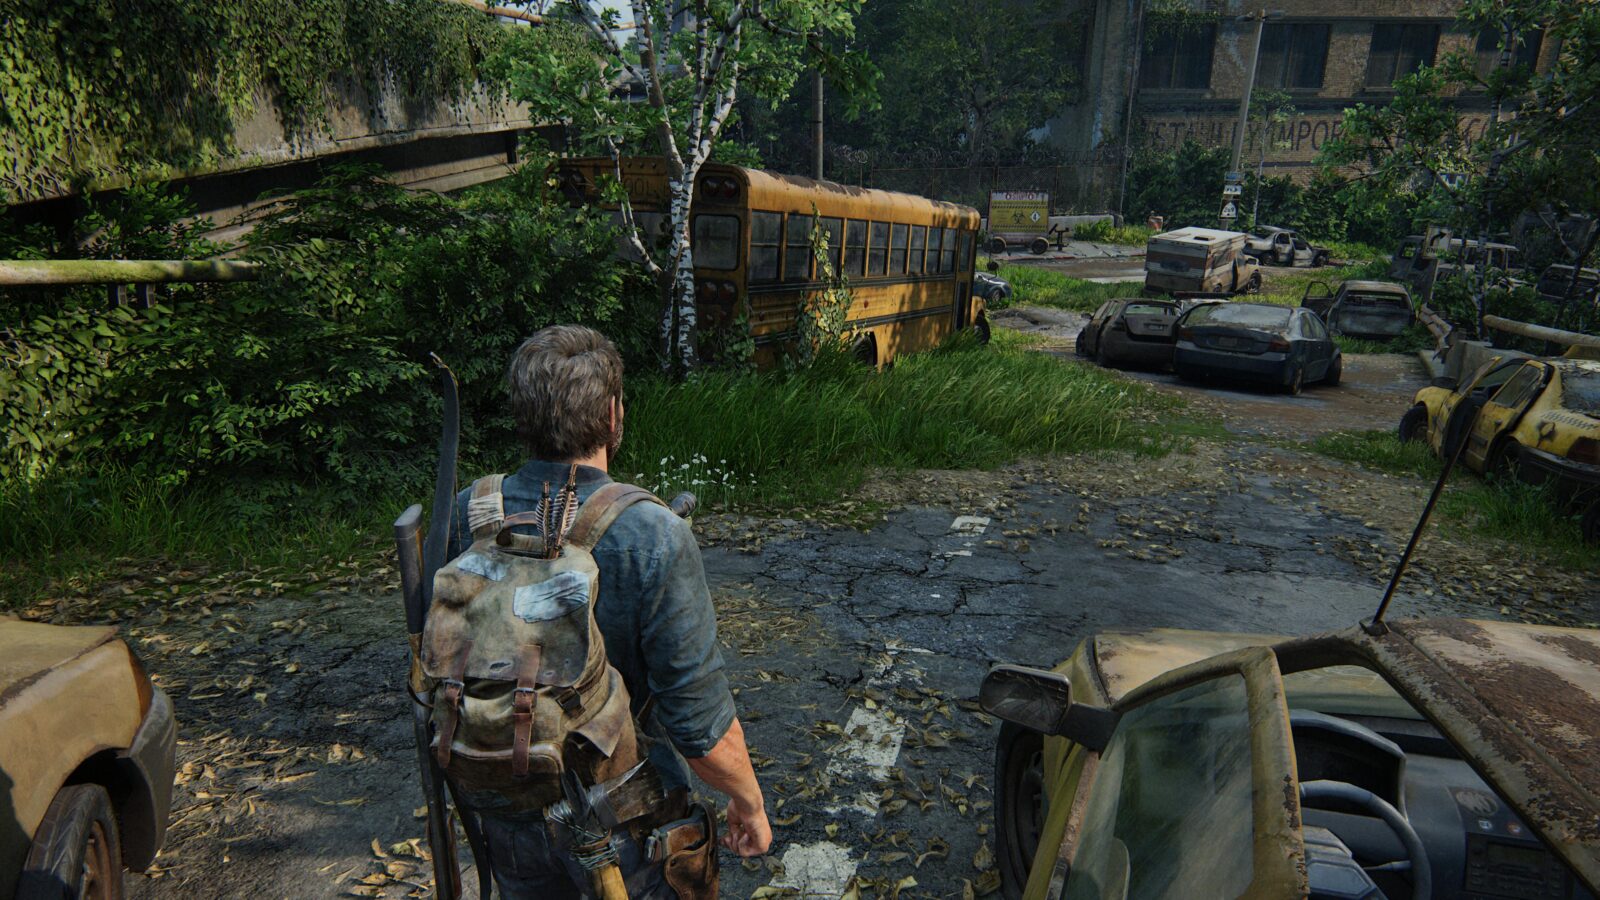
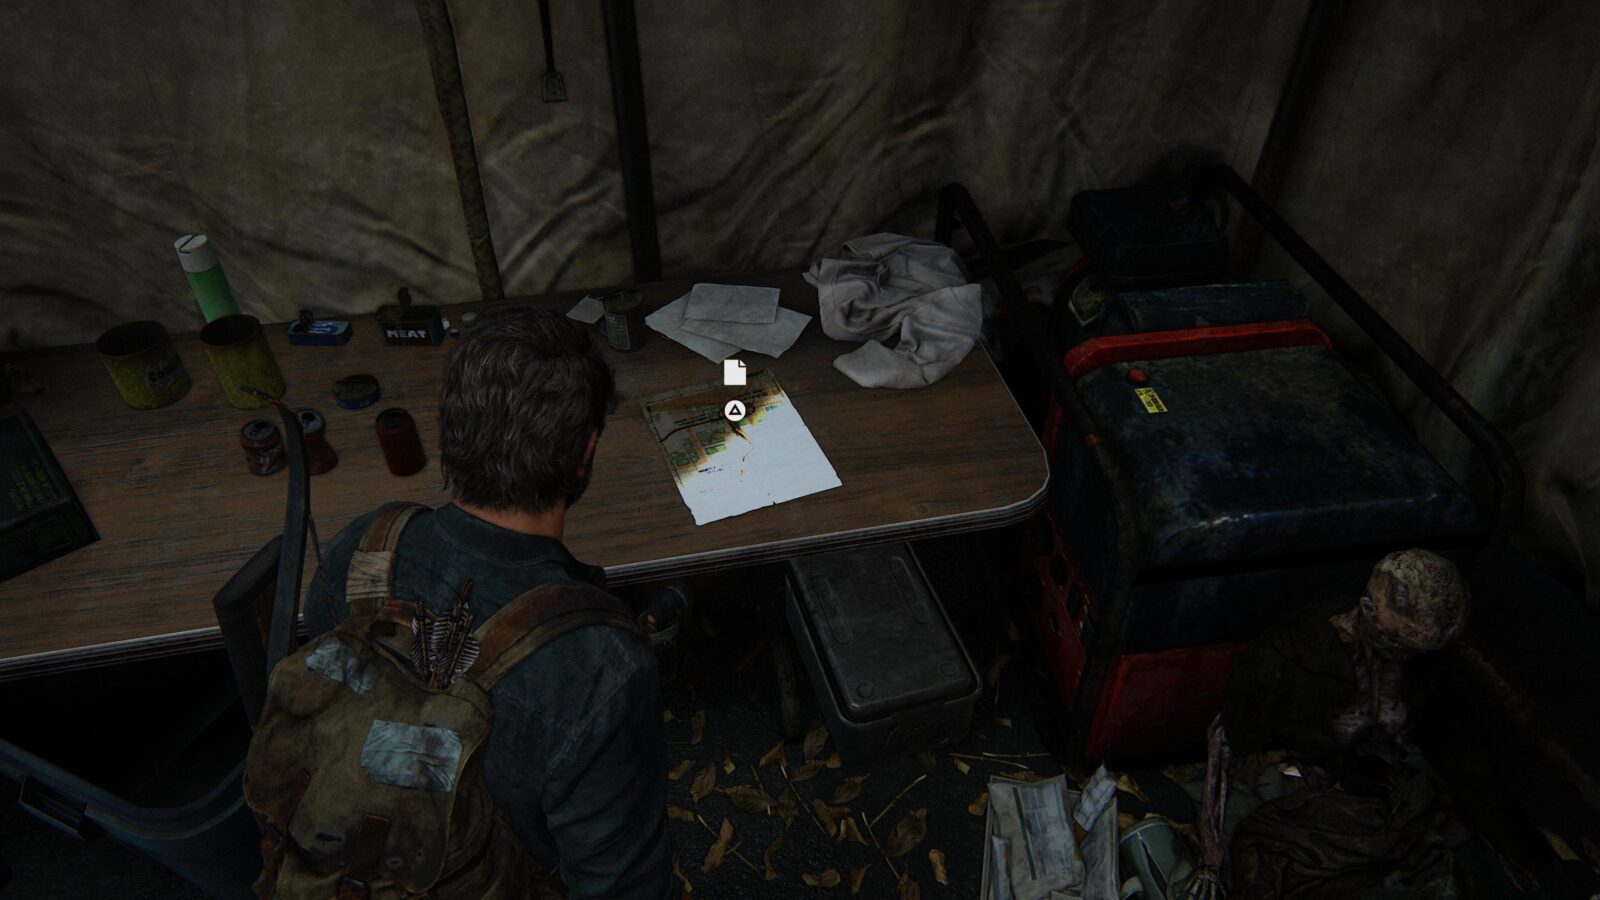
Artifact #4 Drafting Notice – As you pass through the bus with Tess, you will see that Tess immediately runs to the right—this is the way to proceed—but ignore her for now and walk forward. There will be a note on the ground next to a dishwasher.
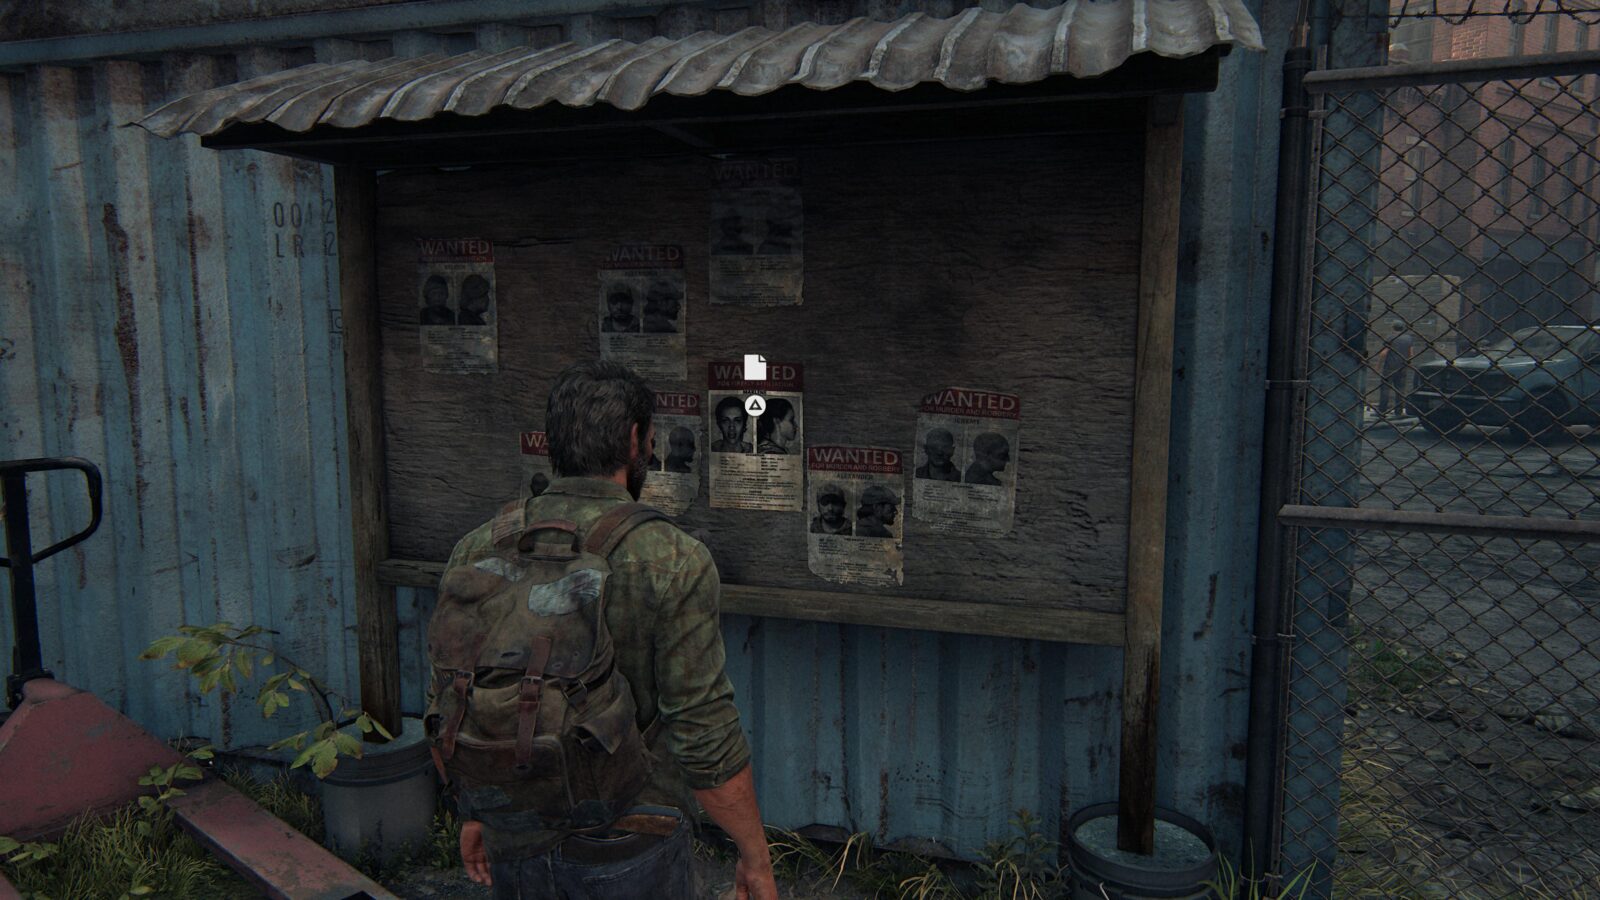
Artifact #5 Wanted Poster – On a notice board ahead of you from where you picked up the Drafting Notice Artifact is a wanted poster.
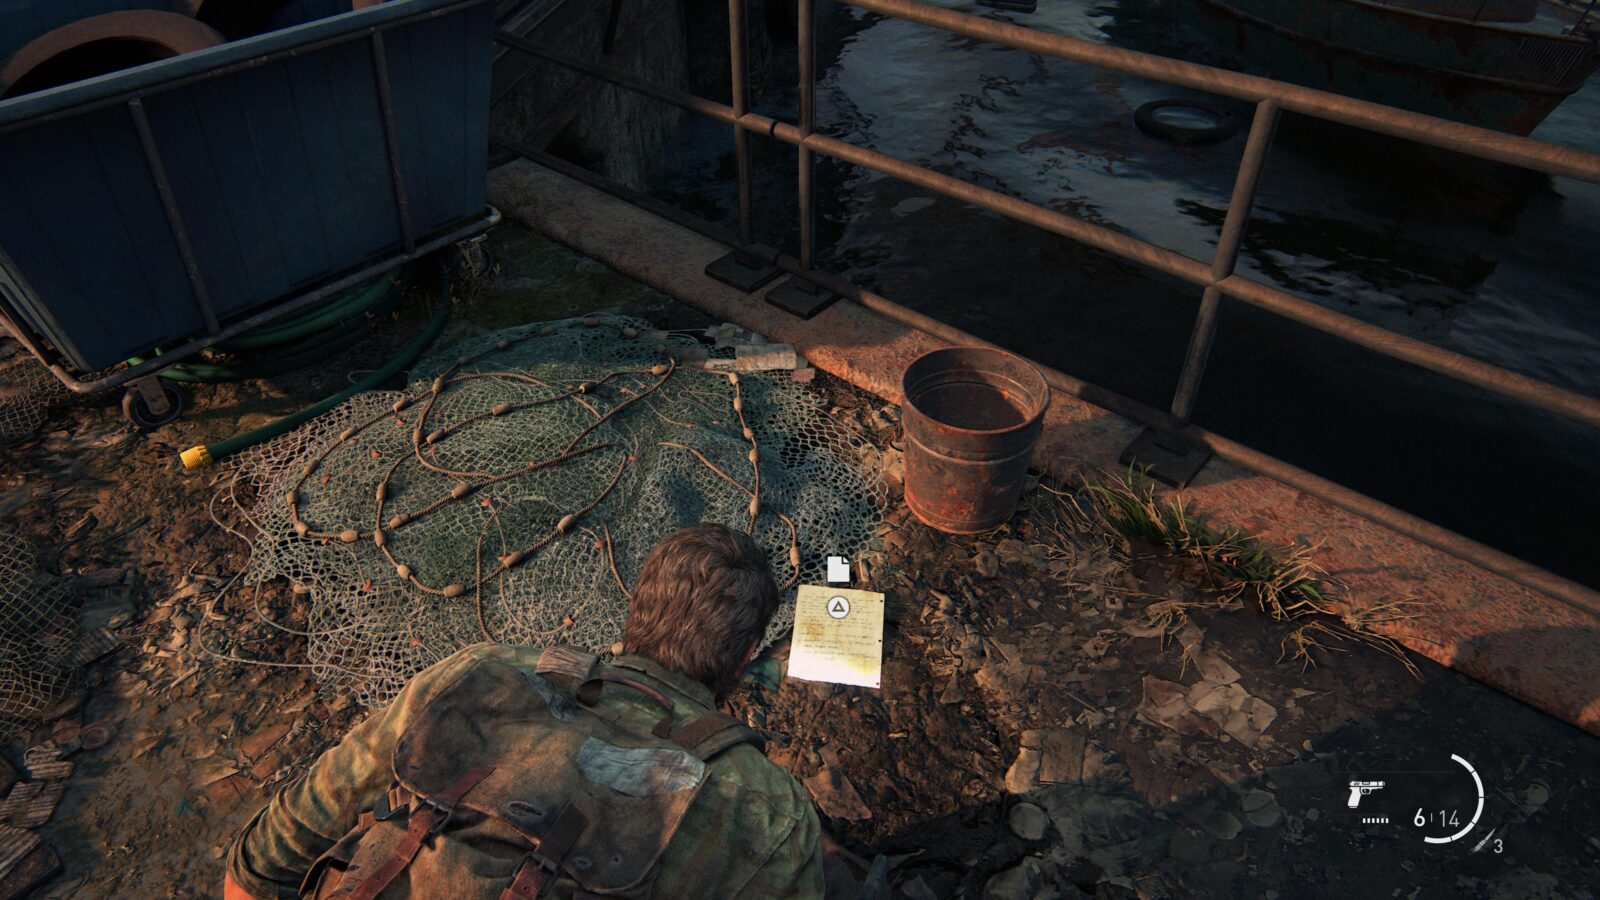
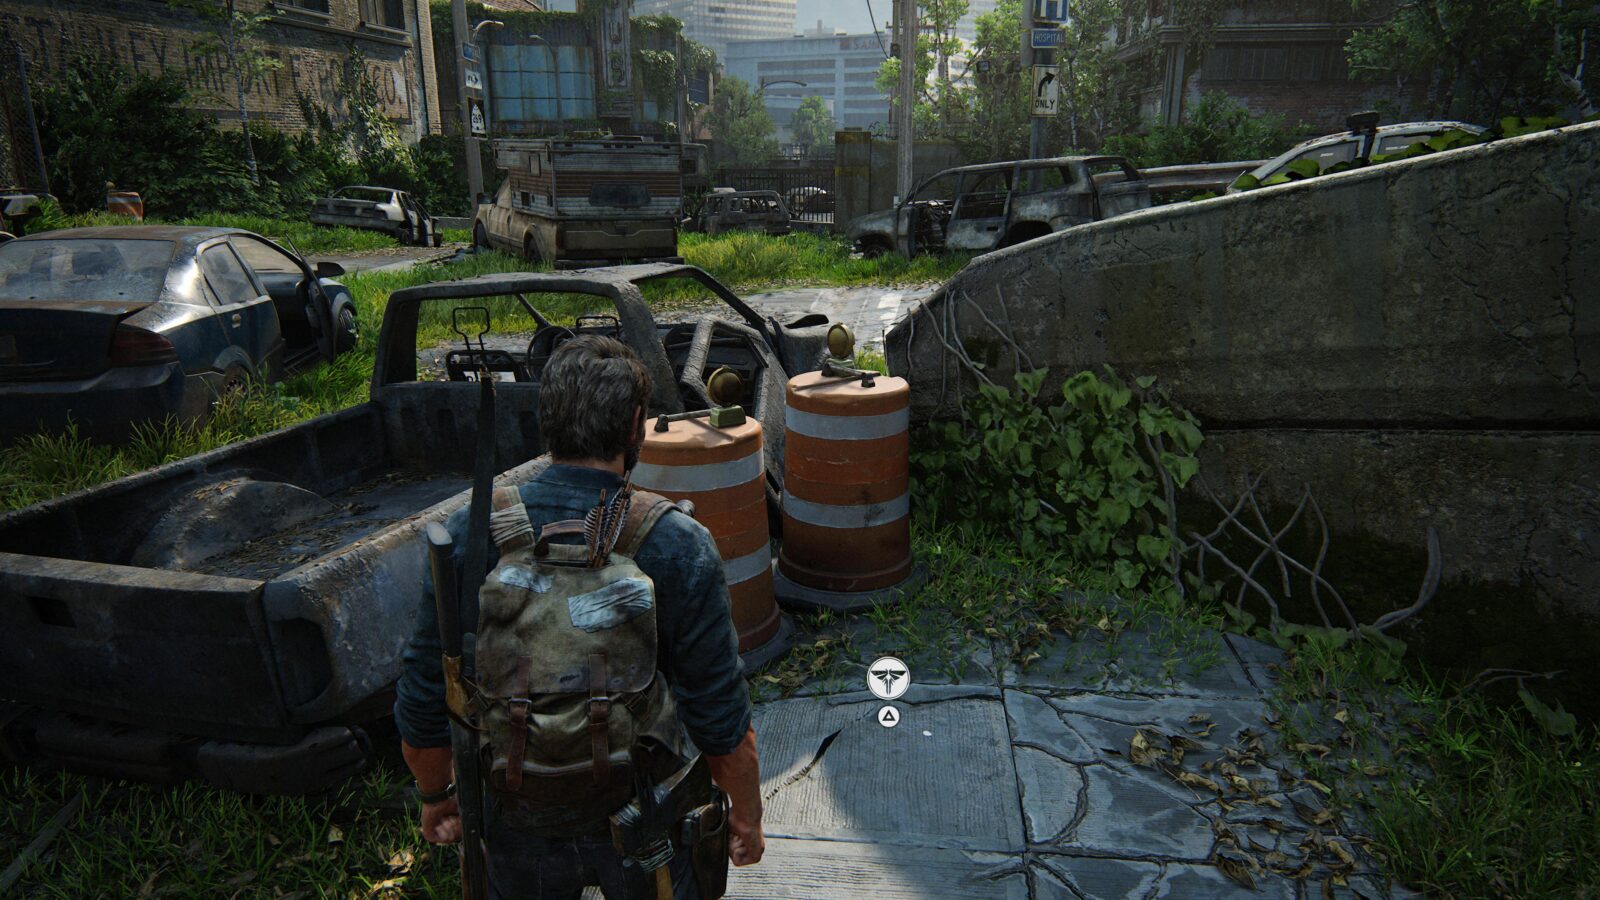
Artifact #6 Shipping Manifest – Proceed through the area some more, and you will end up at a dock that is being patrolled by some of Robert’s men. To the right from where you entered the area is a shipping manifest on the ground—you can see it glinting from a distance.

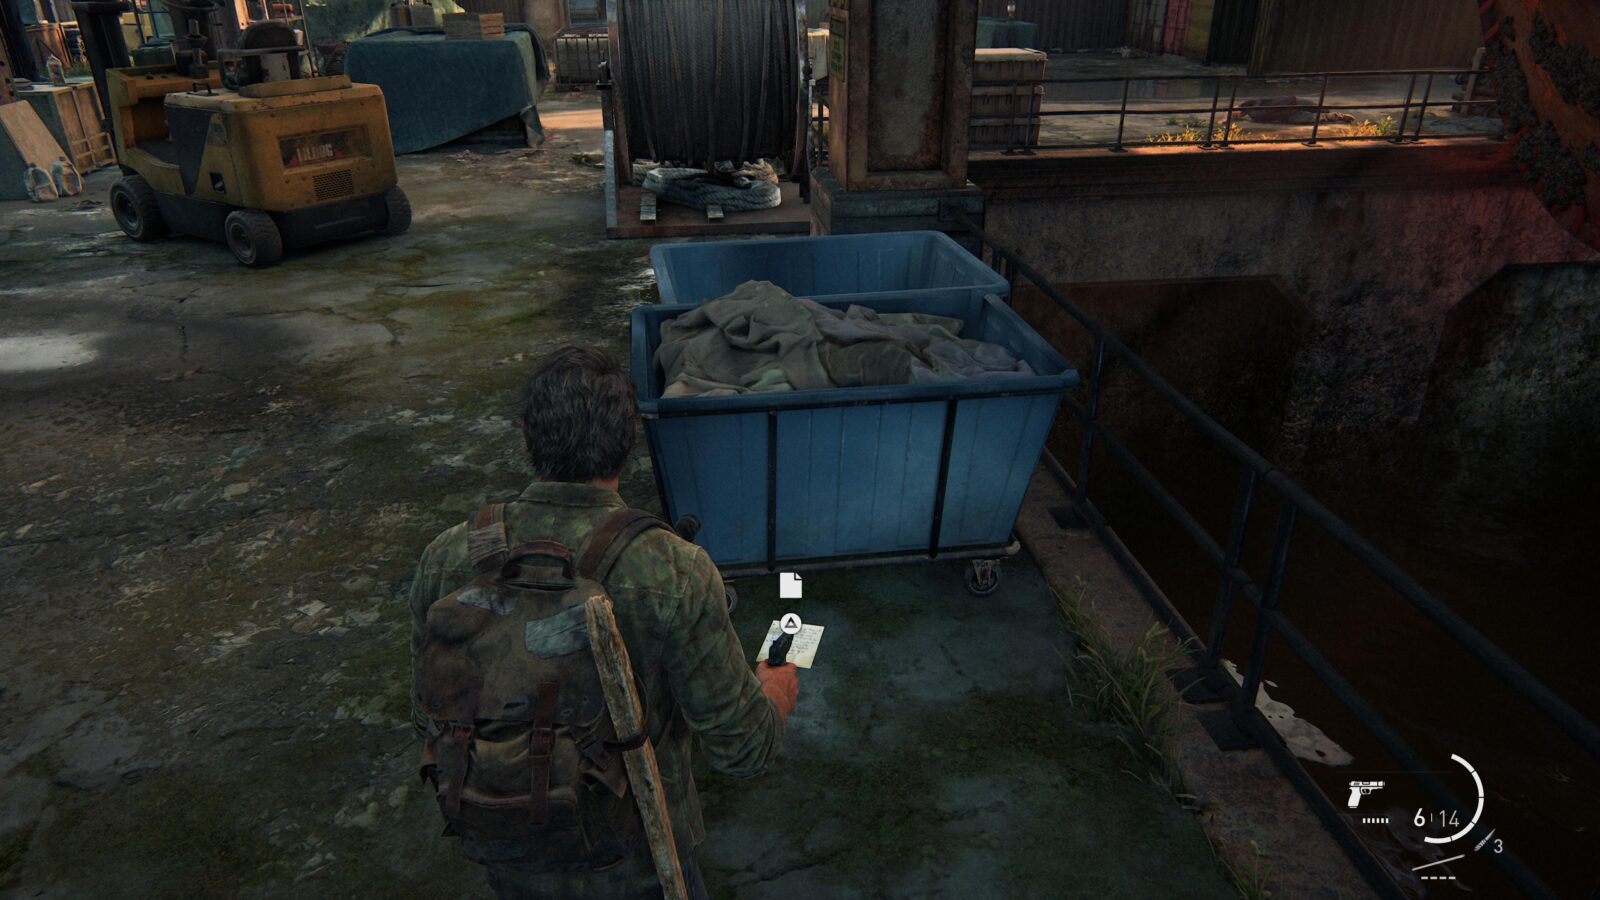
Artifact #7 Docks Note – Clear out the enemies in this area and head inside the warehouse where the red ship is dry-docked. To the right of the ship is a blue container with some fabric inside, and on the ground next to it is a note.

The Cargo
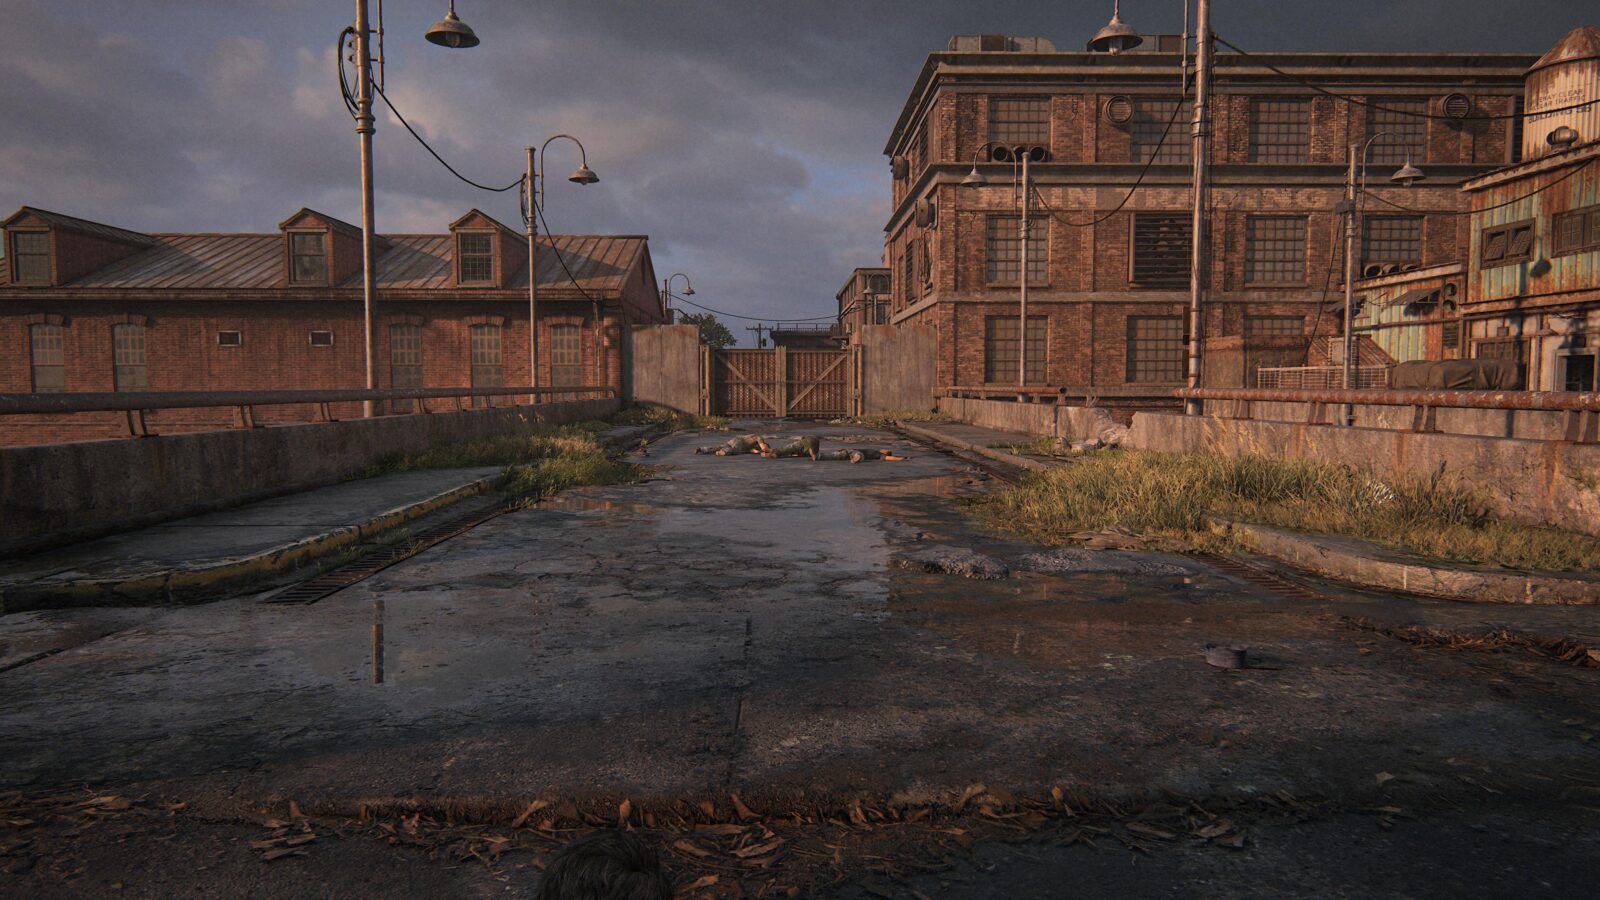
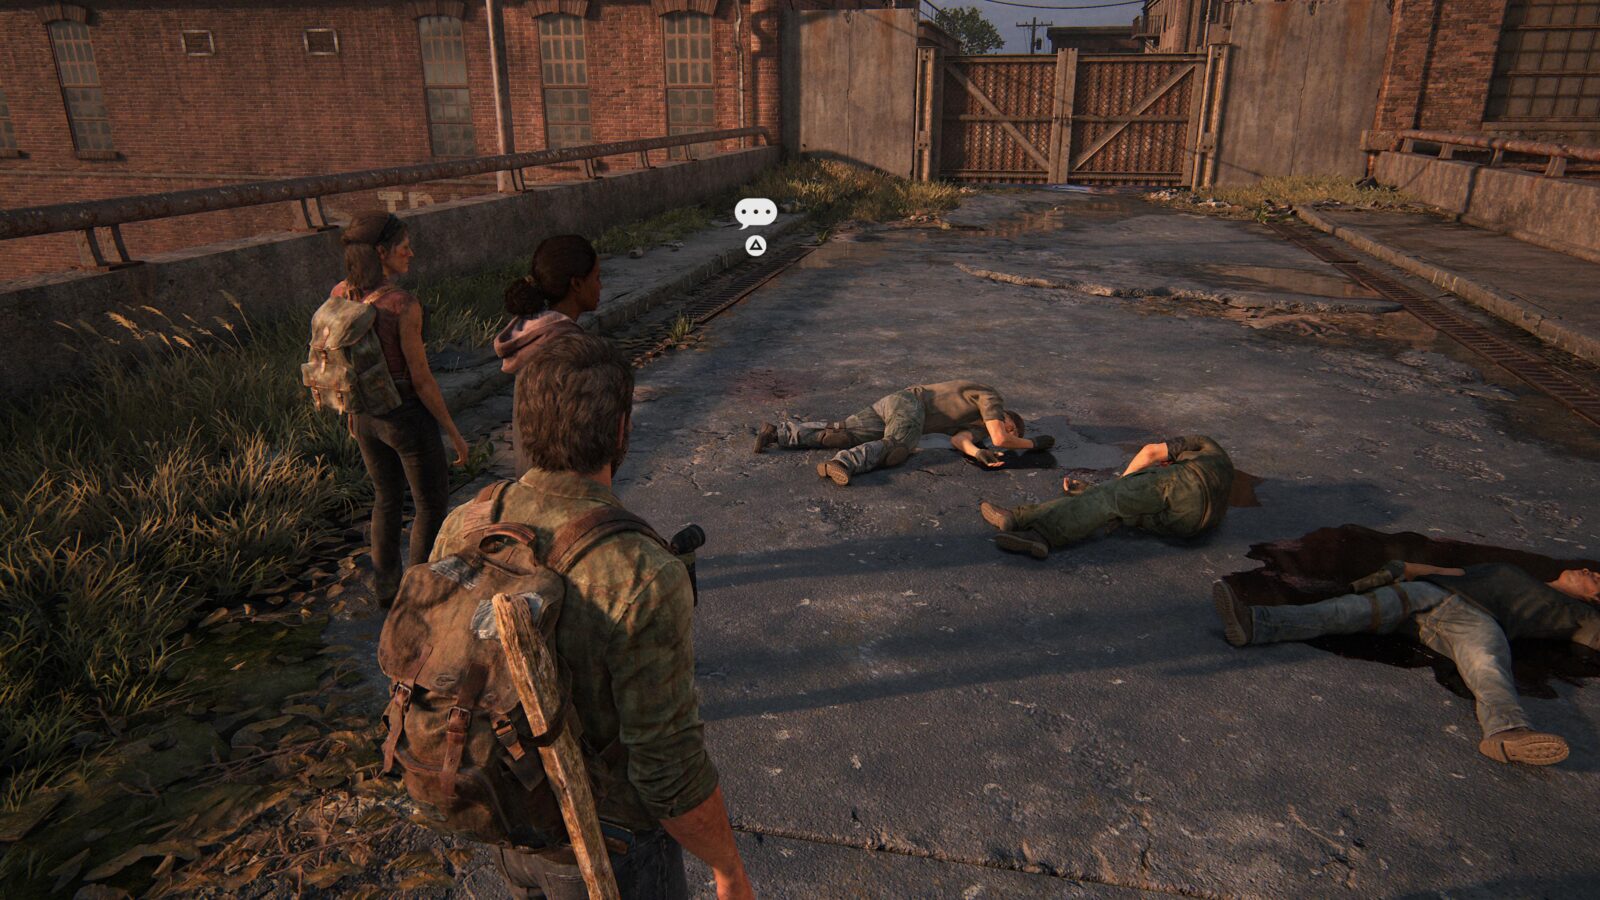
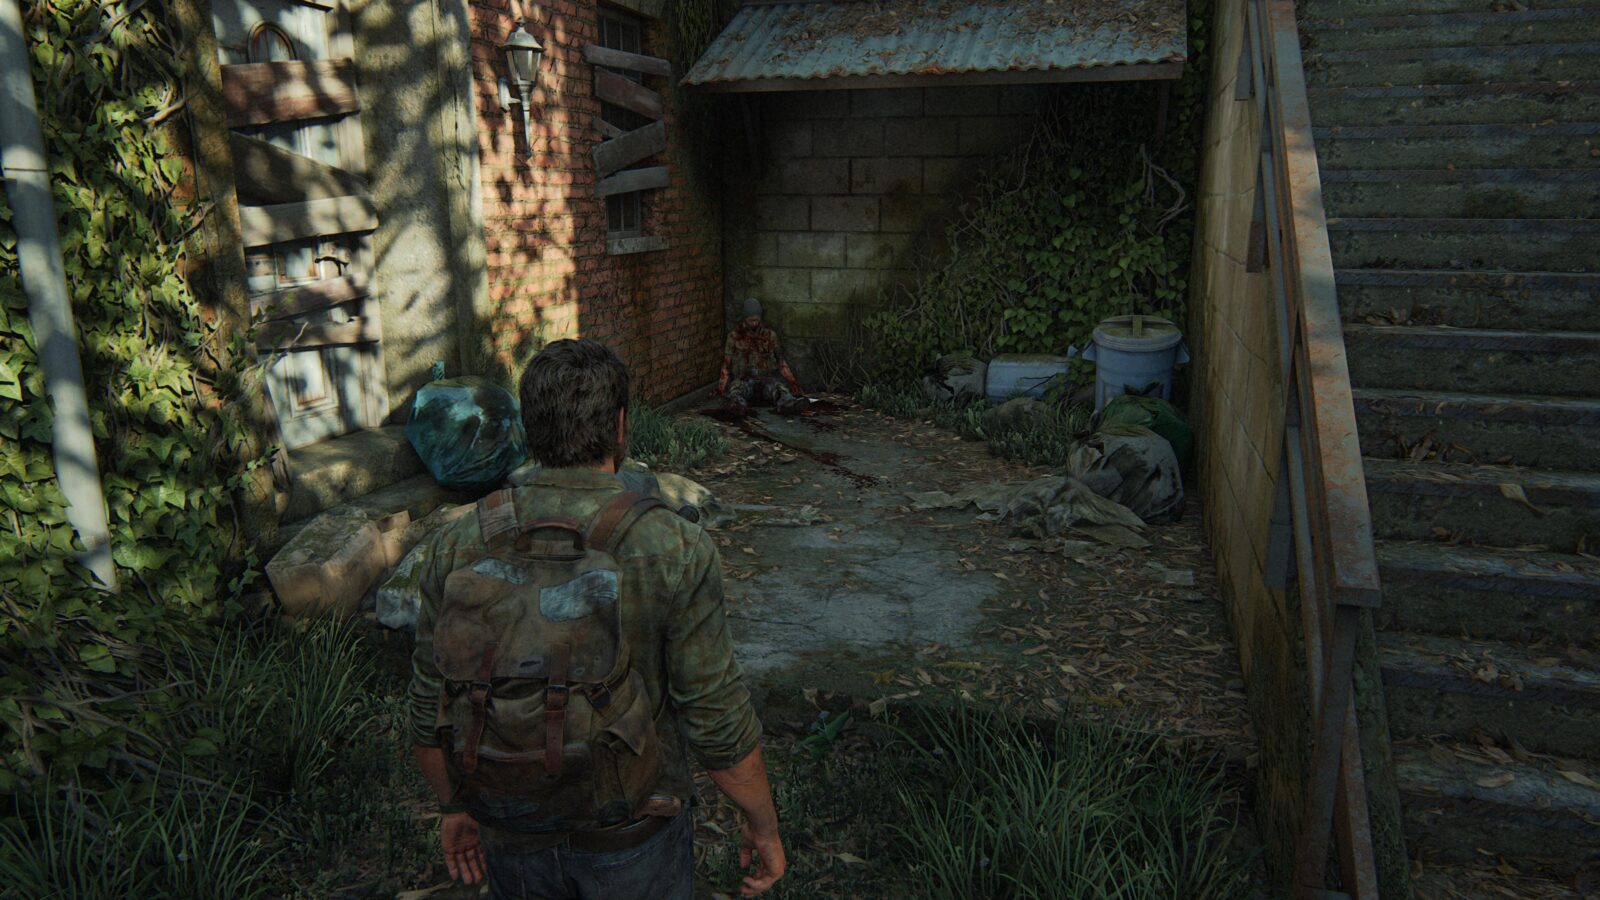
Optional Conversation #4 – When Joel and Tess meet up with Marlene, you will come to a bridge with some FEDRA soldiers patrolling the area. Kill them, and before heading downstairs to the door that Marlene pointed out earlier, head across the bridge to find a group of dead Fireflies to initiate an optional conversation with Marlene.
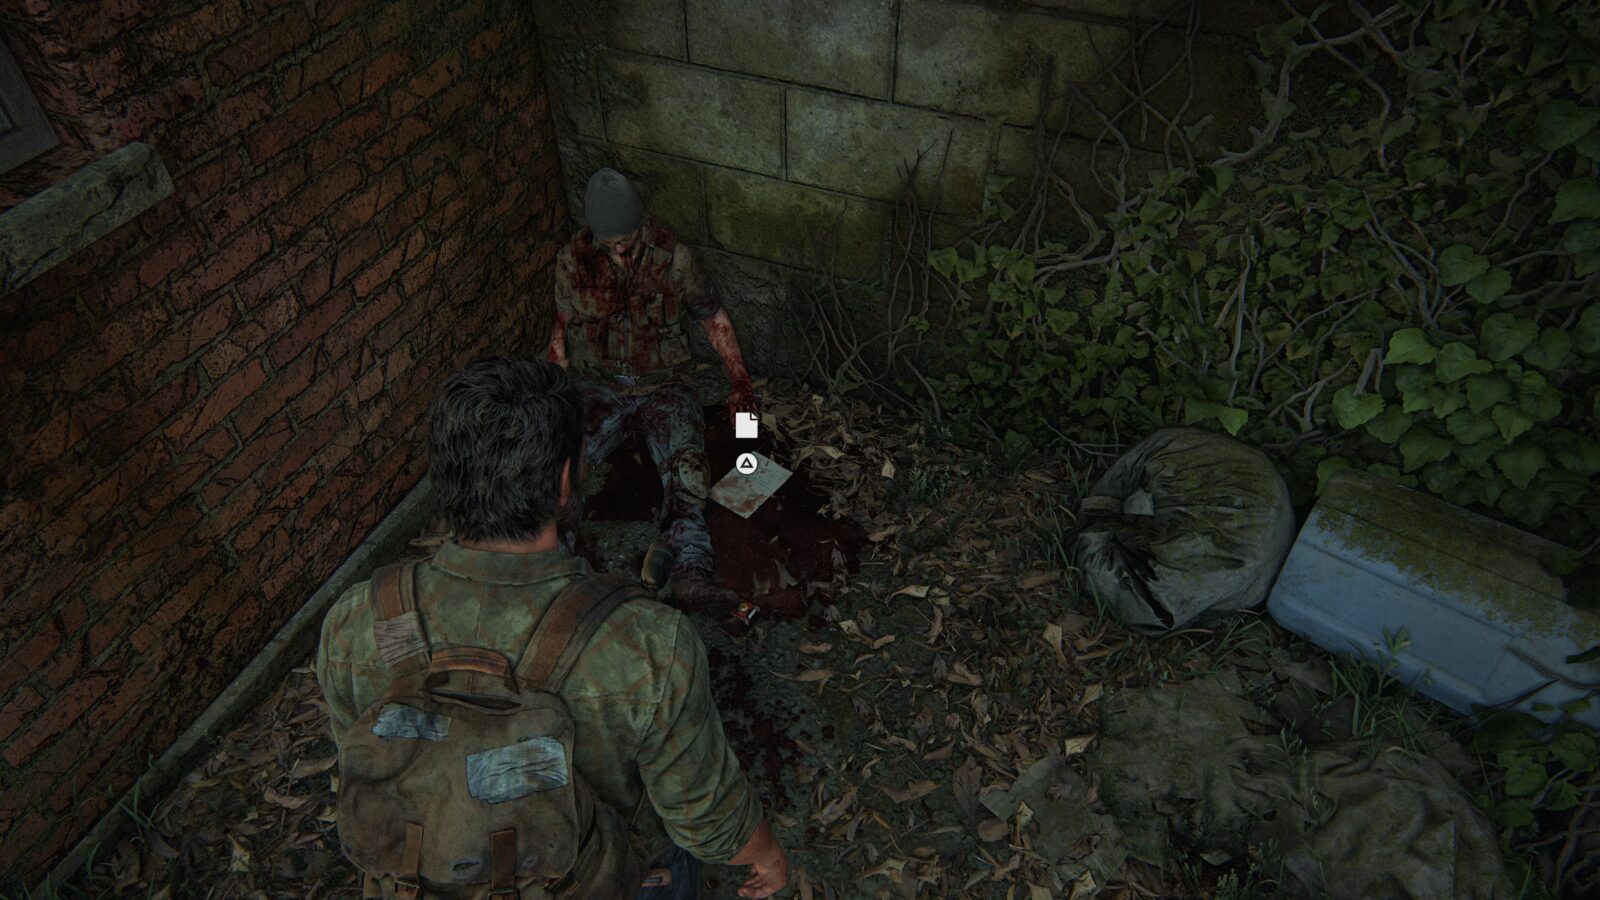
Firefly Pendant #3 Philip Liu 000105 – Once Ellie and Joel split from Tess and Marlene, you will come to an area with several dead bodies. Directly opposite where you start is a dead Firefly with a pendant on the ground next to him.
The Outskirts
Outside
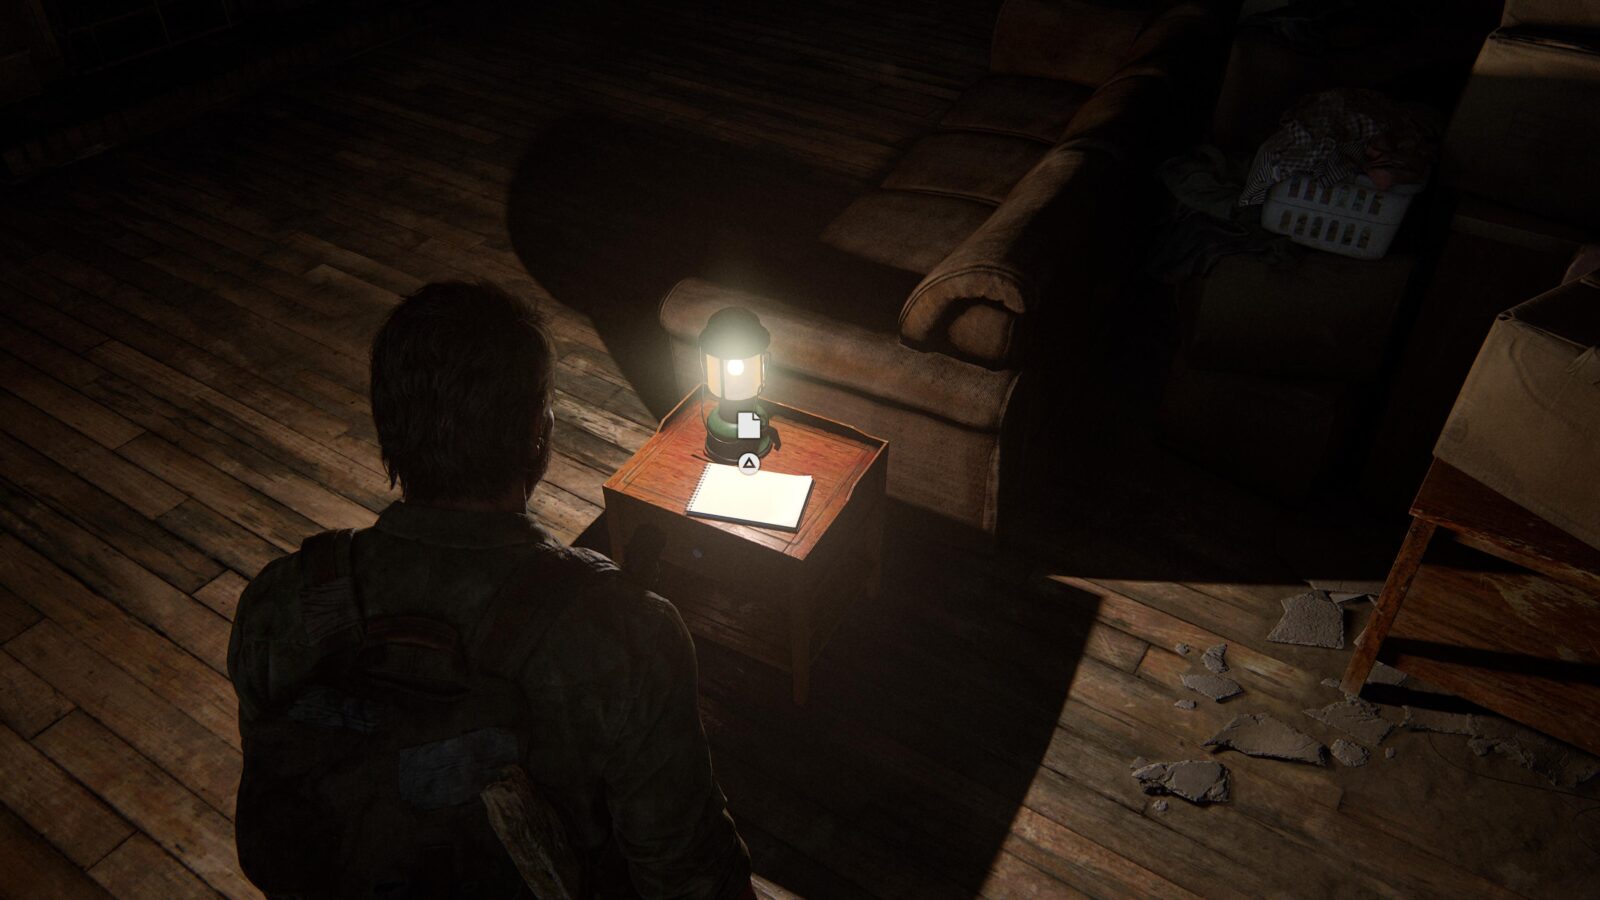
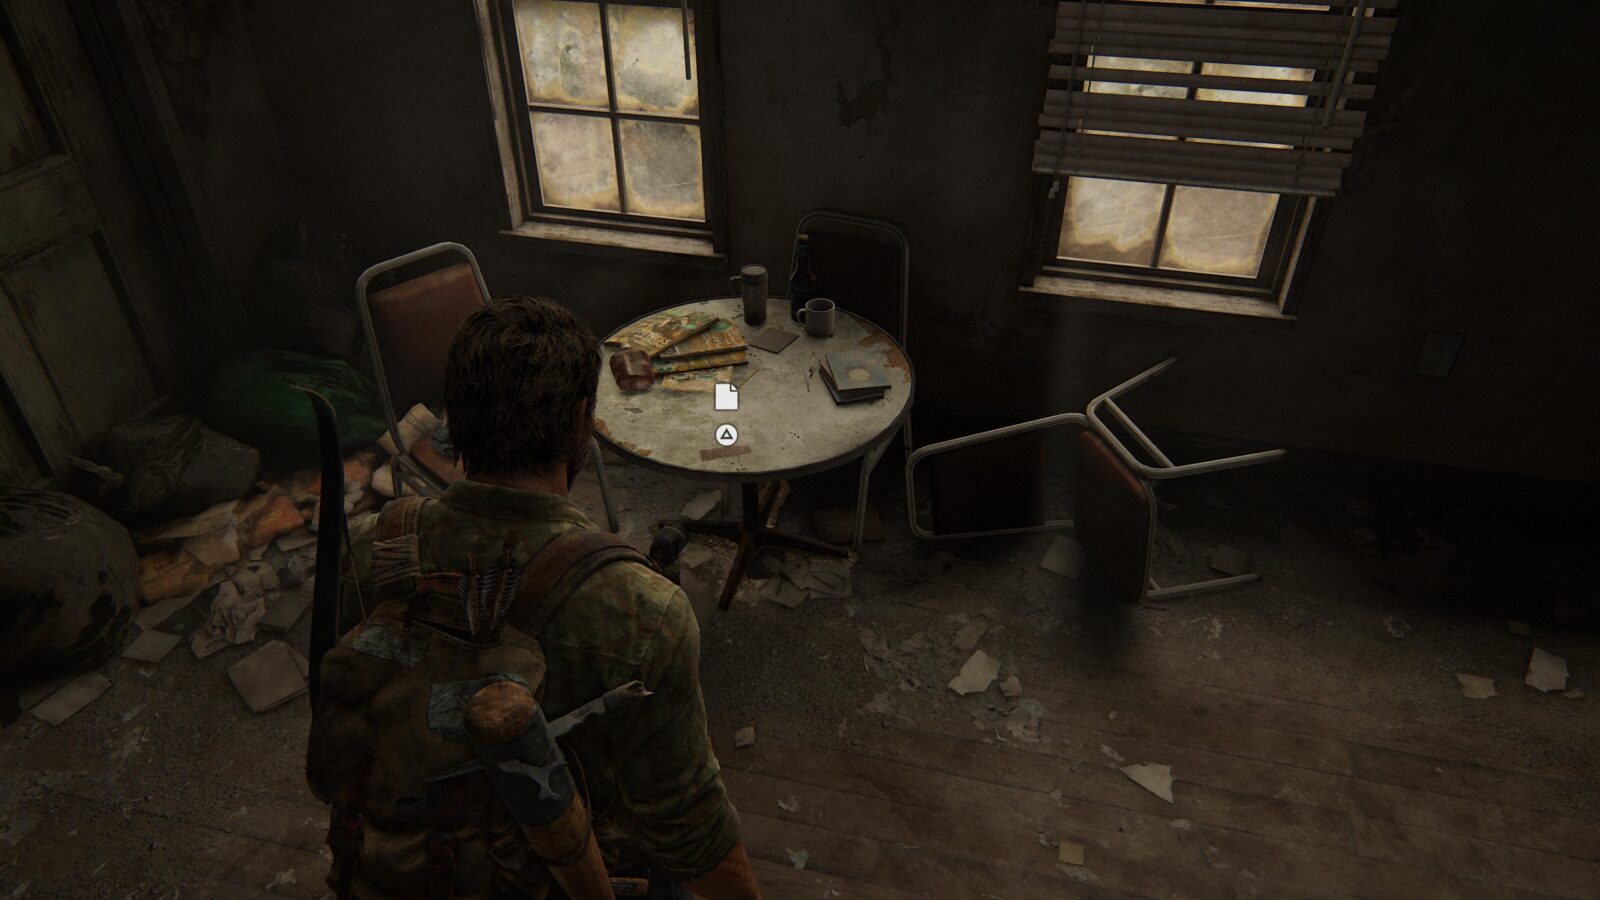
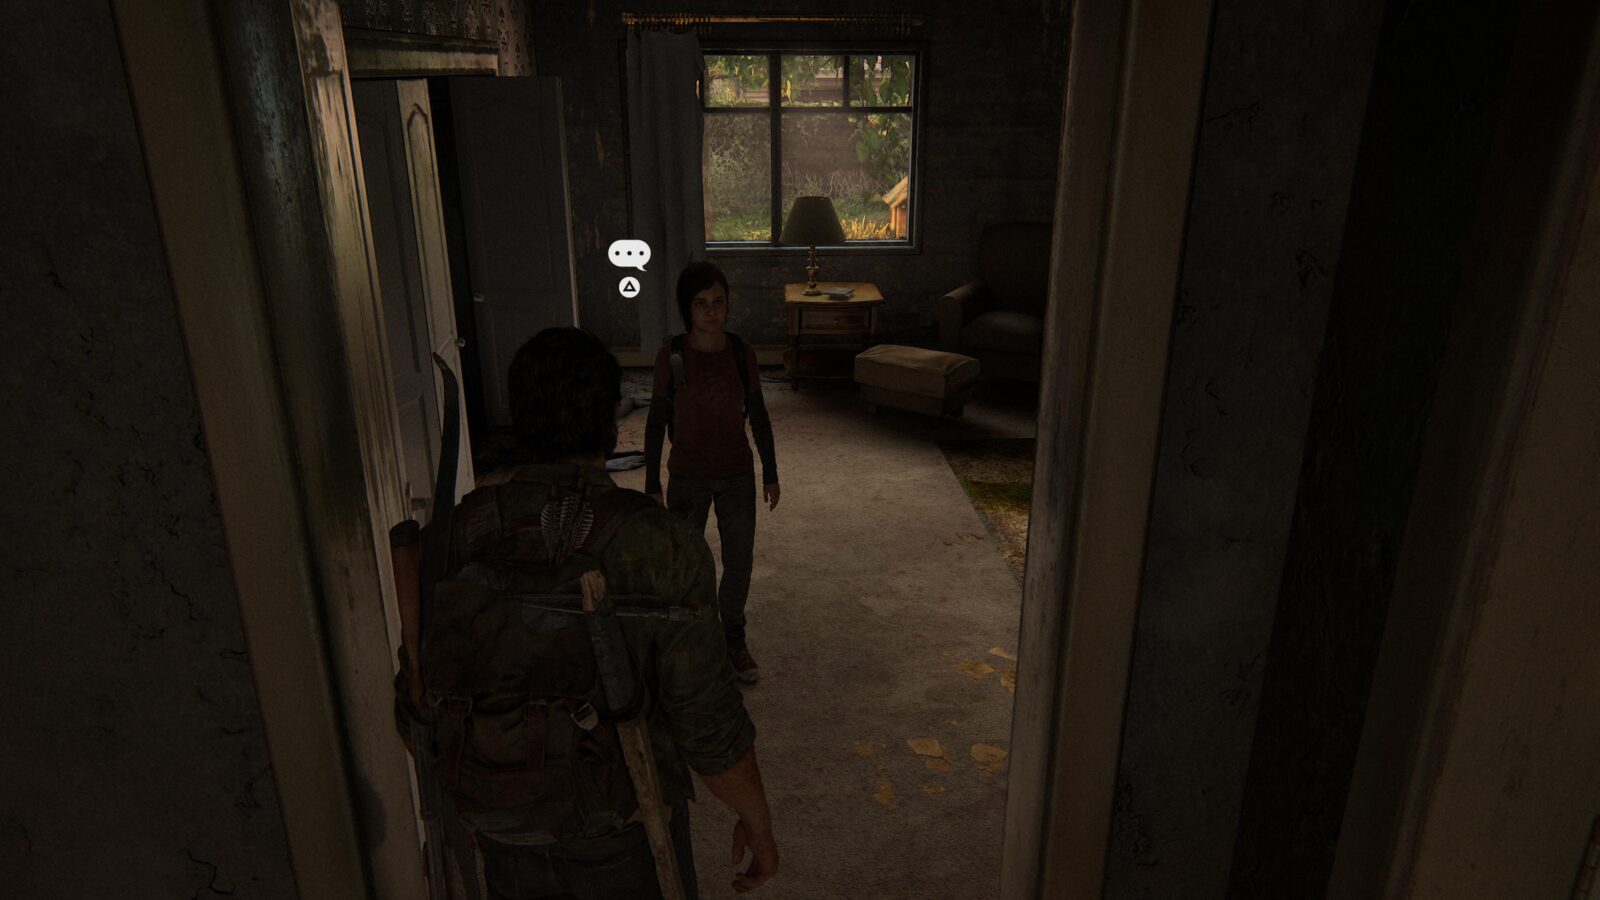
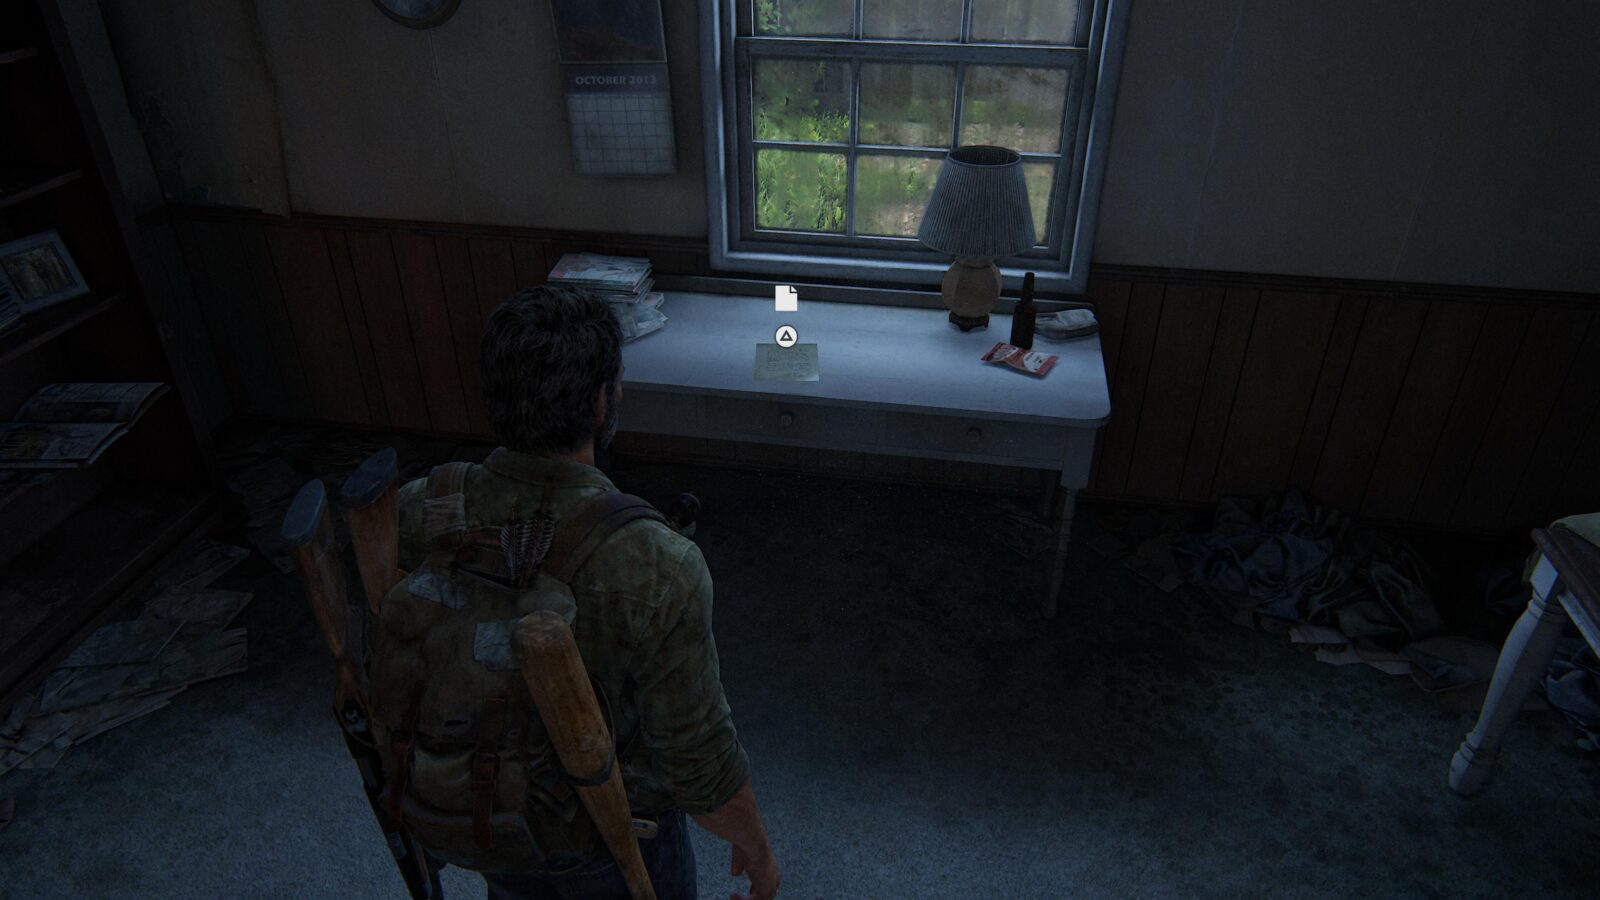
Artifact #8 Tess’ List – At the very start of the chapter, there will be a note on the small end table with the lantern.
Optional Conversation #5 – After picking up Tess’ List, head into the next room to initiate a conversation with Tess.
Artifact #9 Patrol Routes Map – After taking the elevator down (the one you had to start a generator to use), you can find a note on the ground to your right.
Downtown
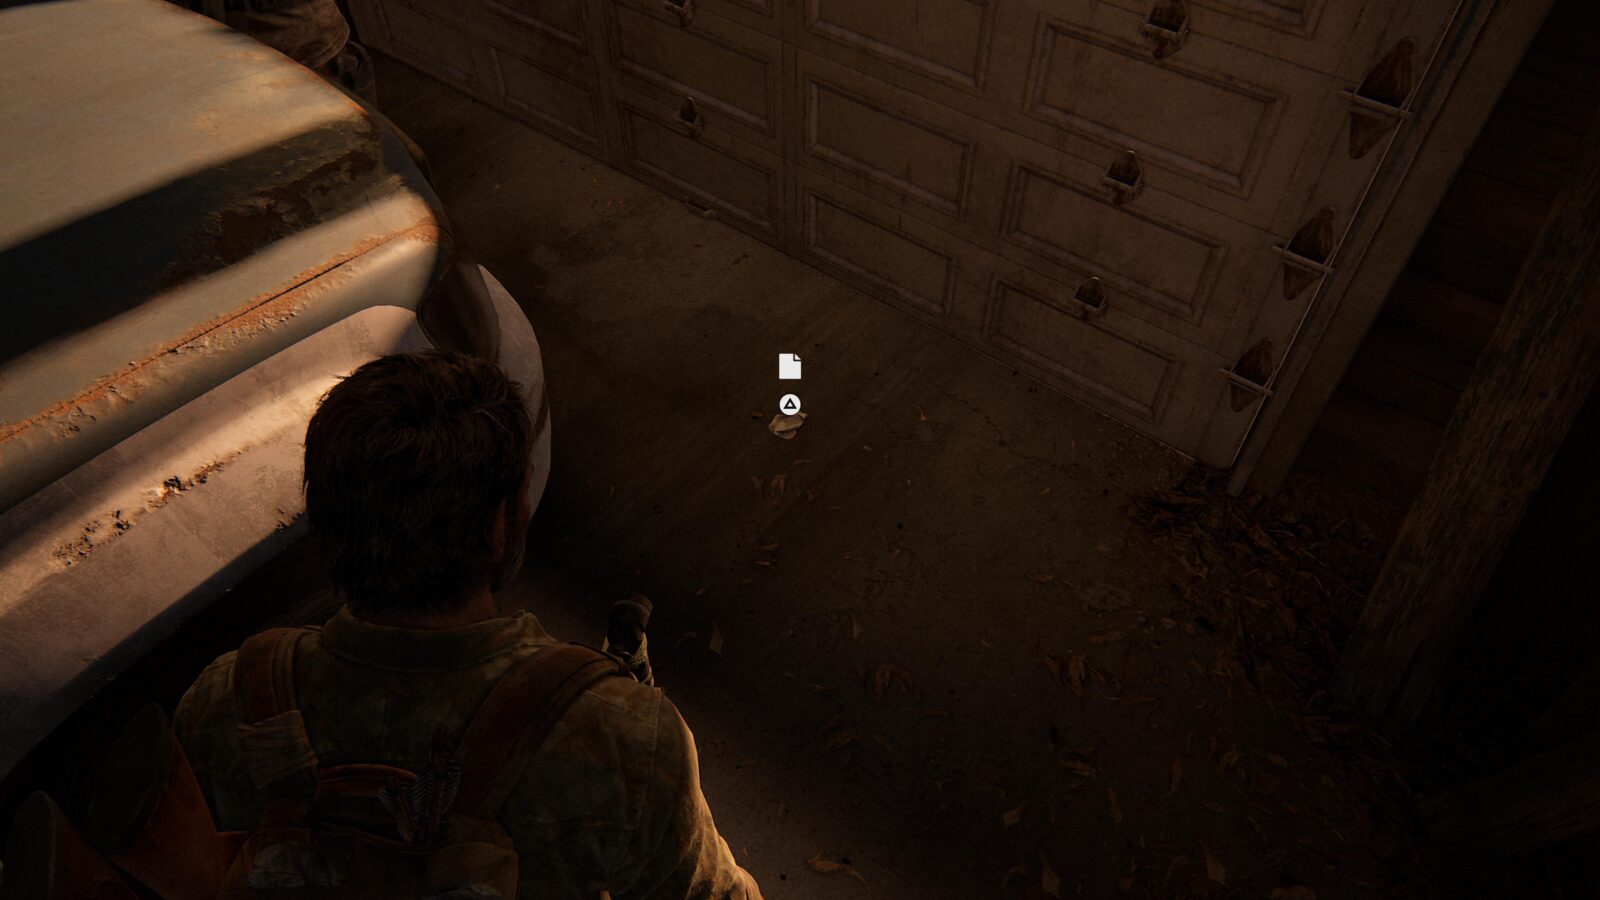
Artifact #10 Evacuation Leaflet – After sneaking or fighting with the FEDRA soldiers, you will exit a sewer pipe and climb up a collapsed highway onto a street lined with derelict skyscrapers. On the right, just in front of an old car, is a note on the ground.
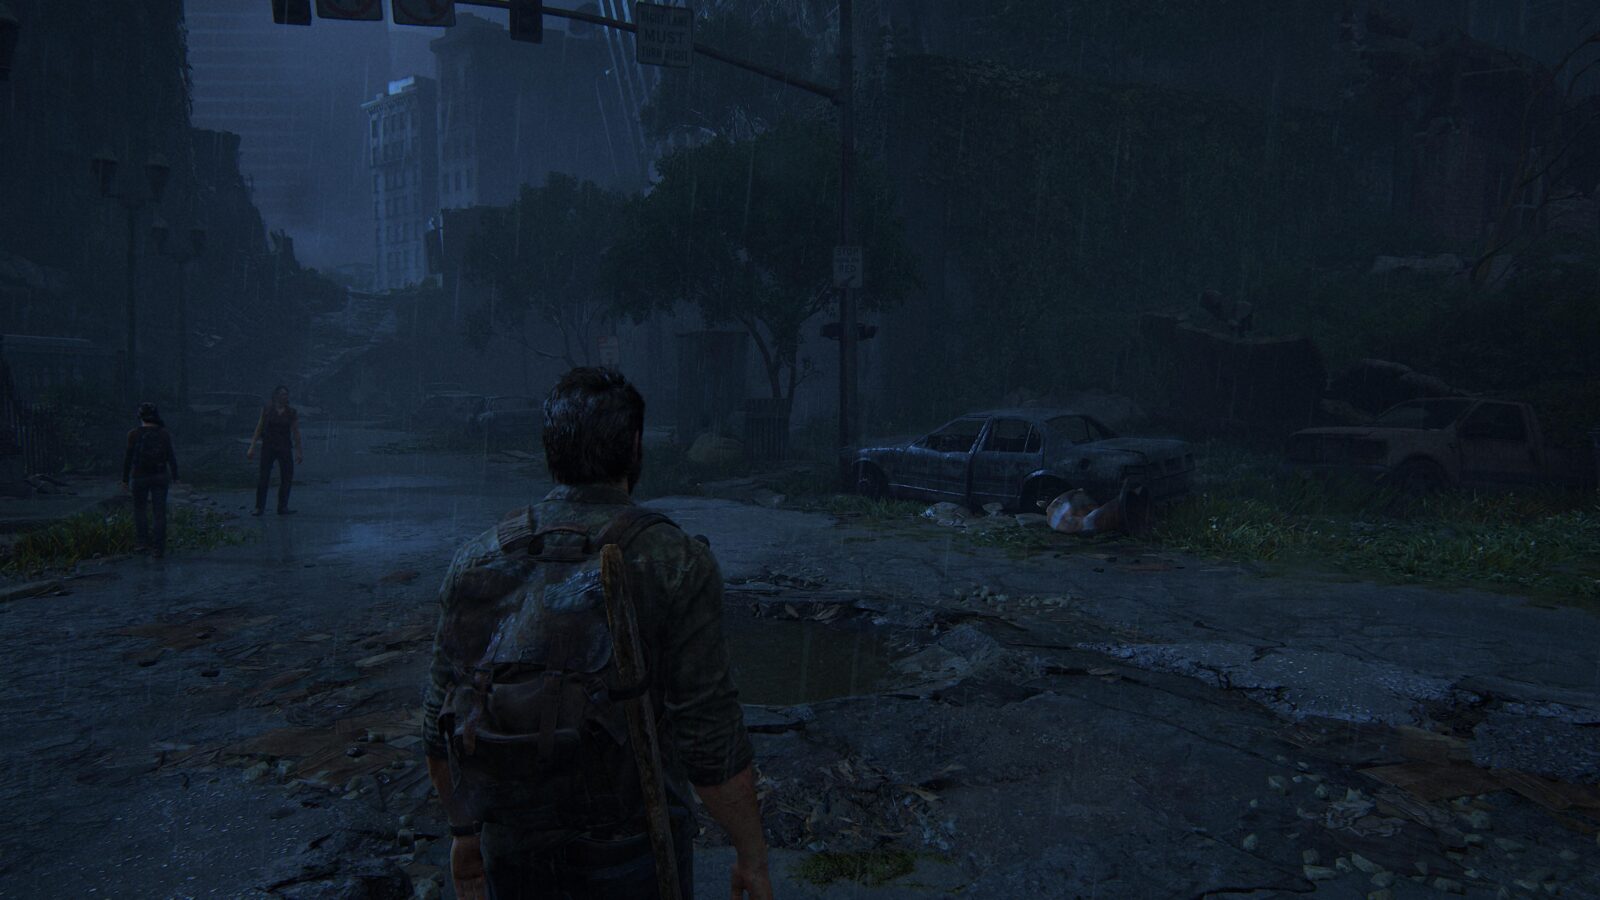

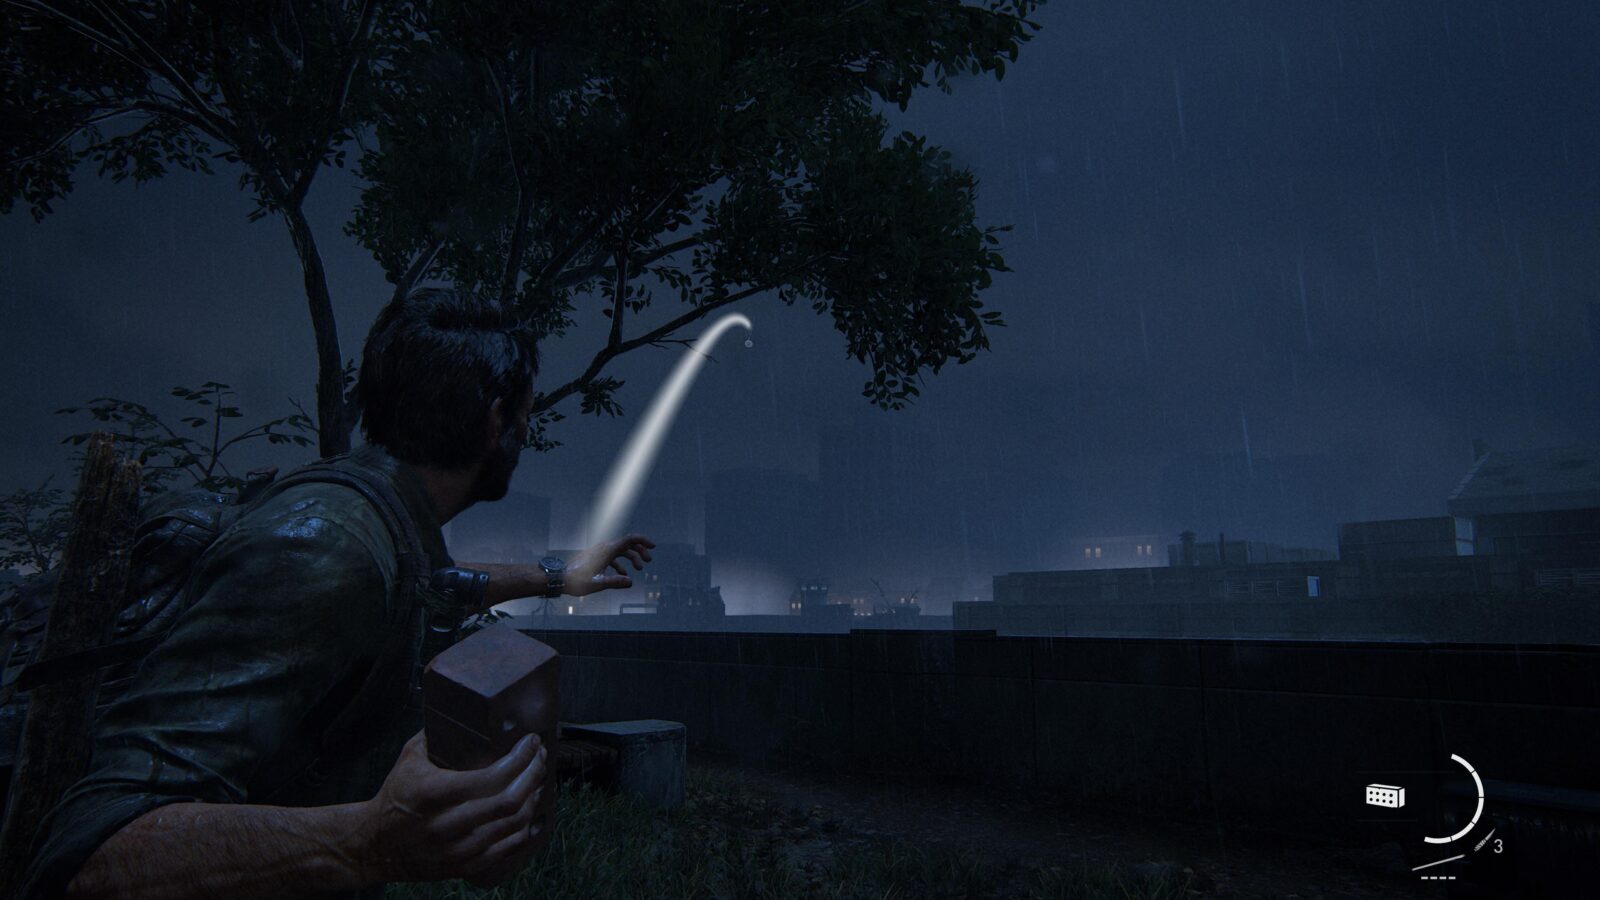
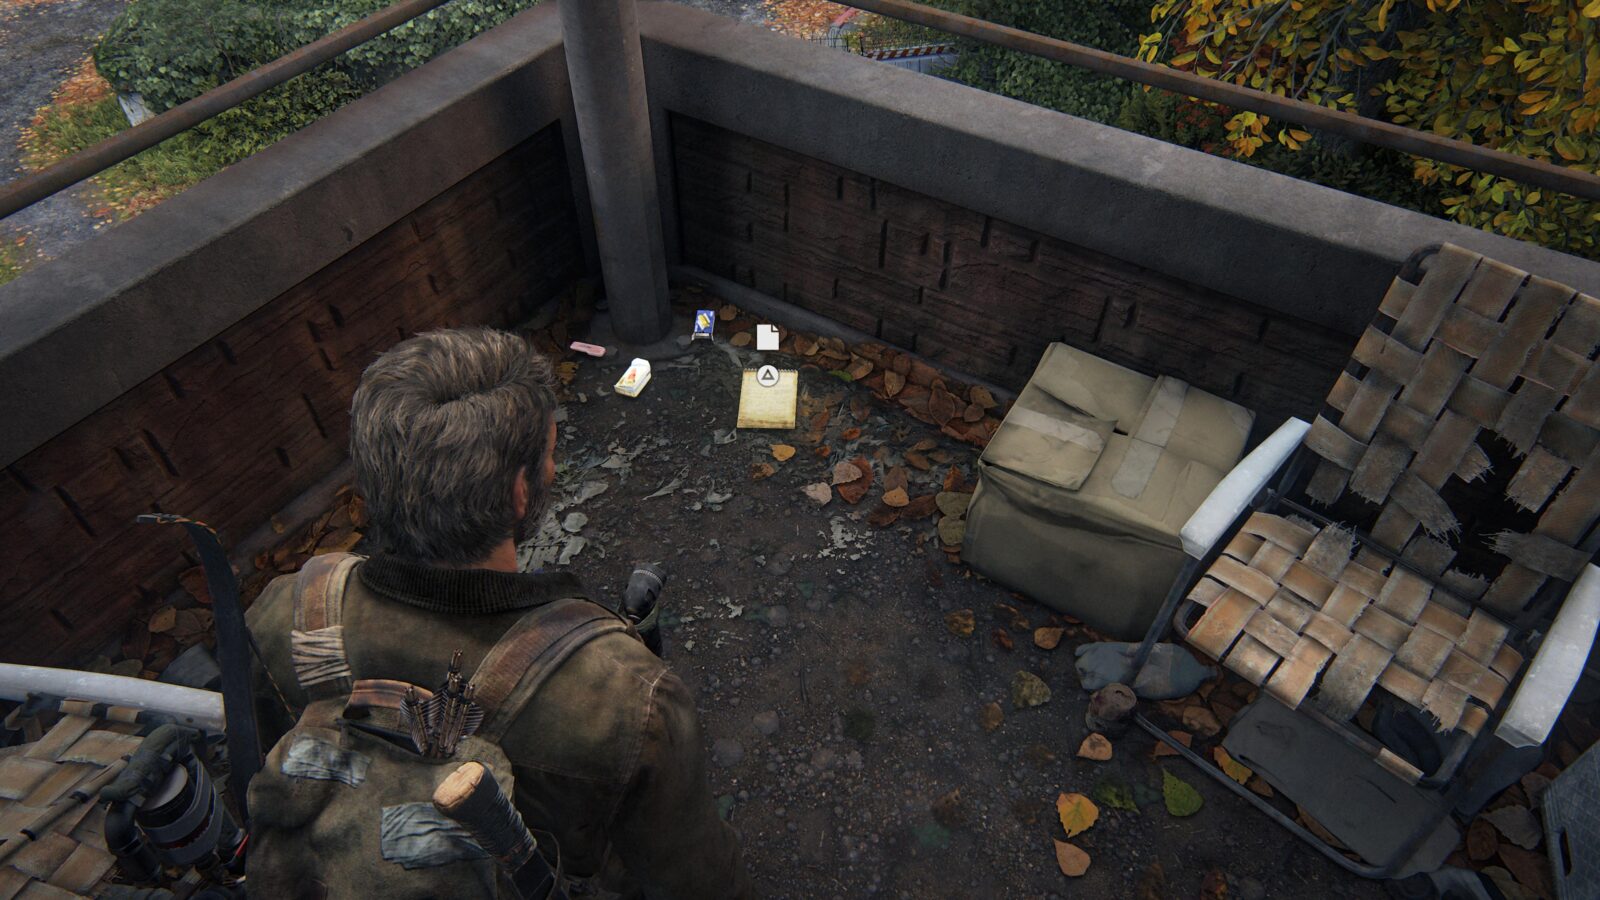
Firefly Pendant #4 Joseph Lenz 000113 – As you reach the Goldstone Building, there will be a small seating area to your right with some trees. In one of the trees is a pendant. Shoot it down or grab a nearby brick to knock it down if you’re conserving ammo.

Optional Conversation #6 – Head inside the Goldstone Building, and right in the hallway is a corpse. As you approach it you can initiate an optional conversation.
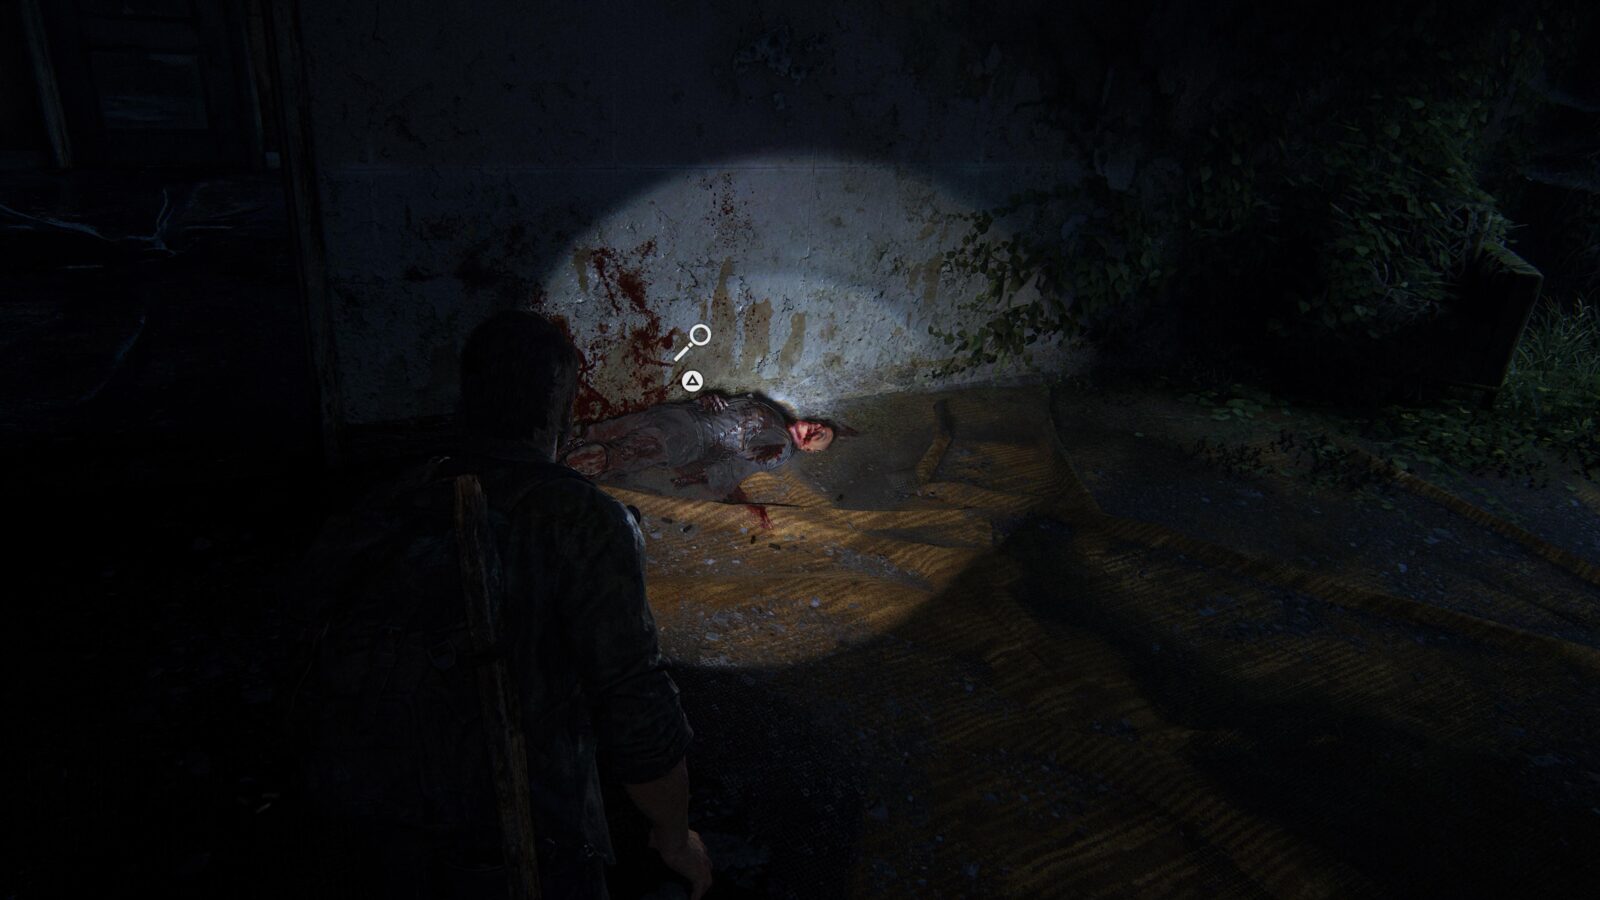
Artifact #11 Field Ops Log – Proceed up the steps next to the corpse mentioned above, and you will find another dead FEDRA soldier with a note by his corpse.

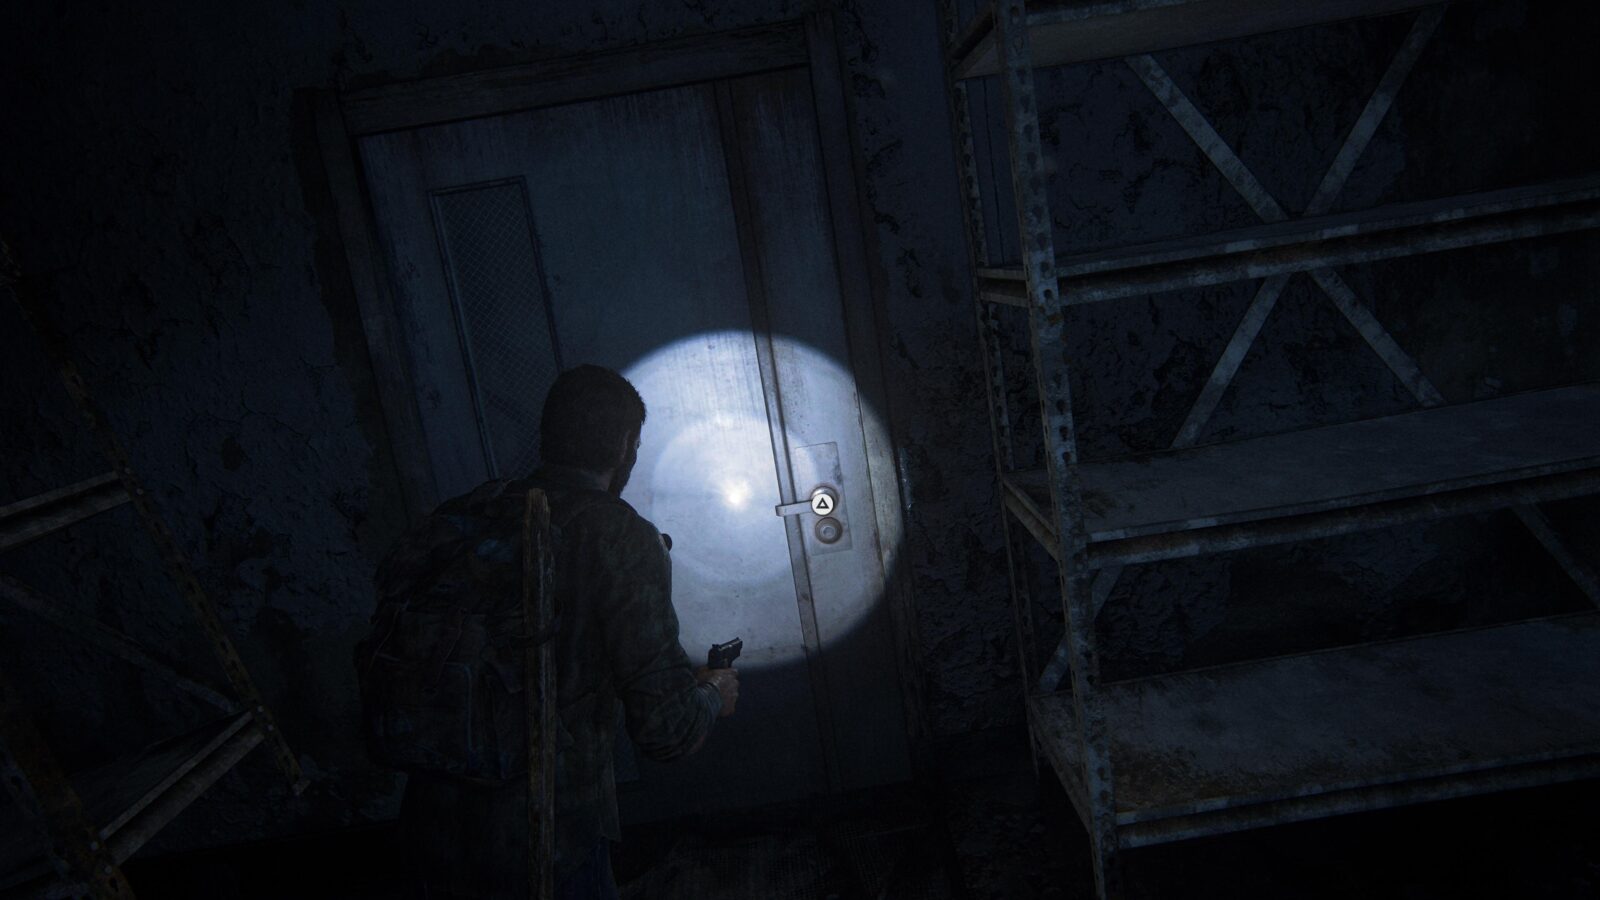
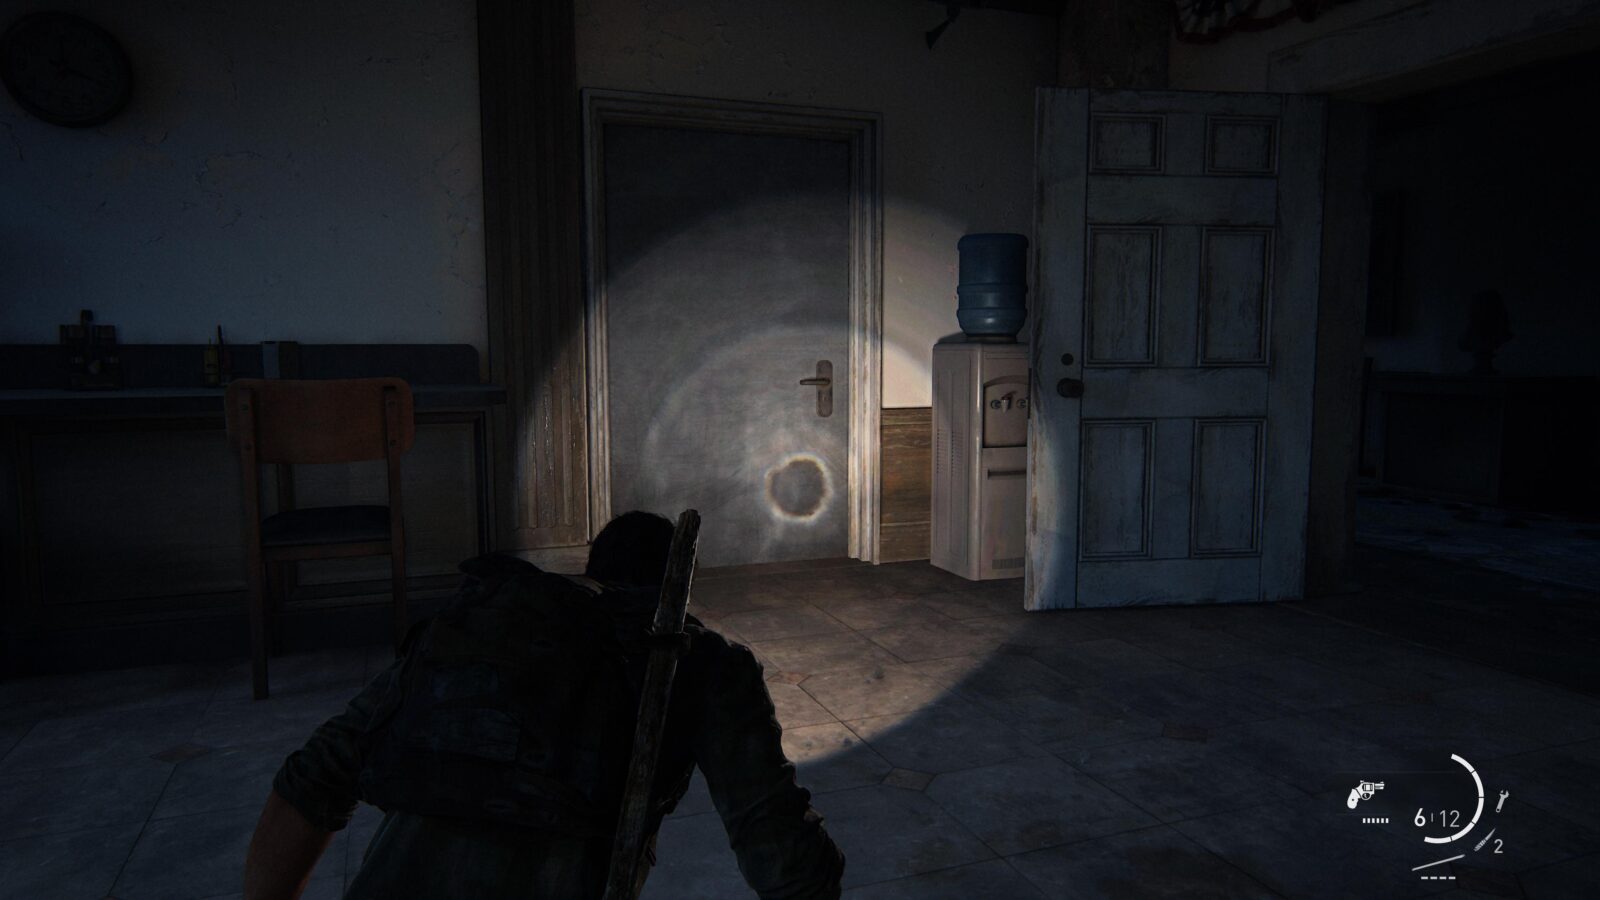
Shiv Door #1 – After Joel is unavoidably grabbed by a Clicker, you will be given a brief tutorial on crafting health kits. In the next room is a locked door with a metal shelf on either side. Try to open this door, and you will be given a ![]() button prompt to use a shiv to open it.
button prompt to use a shiv to open it.

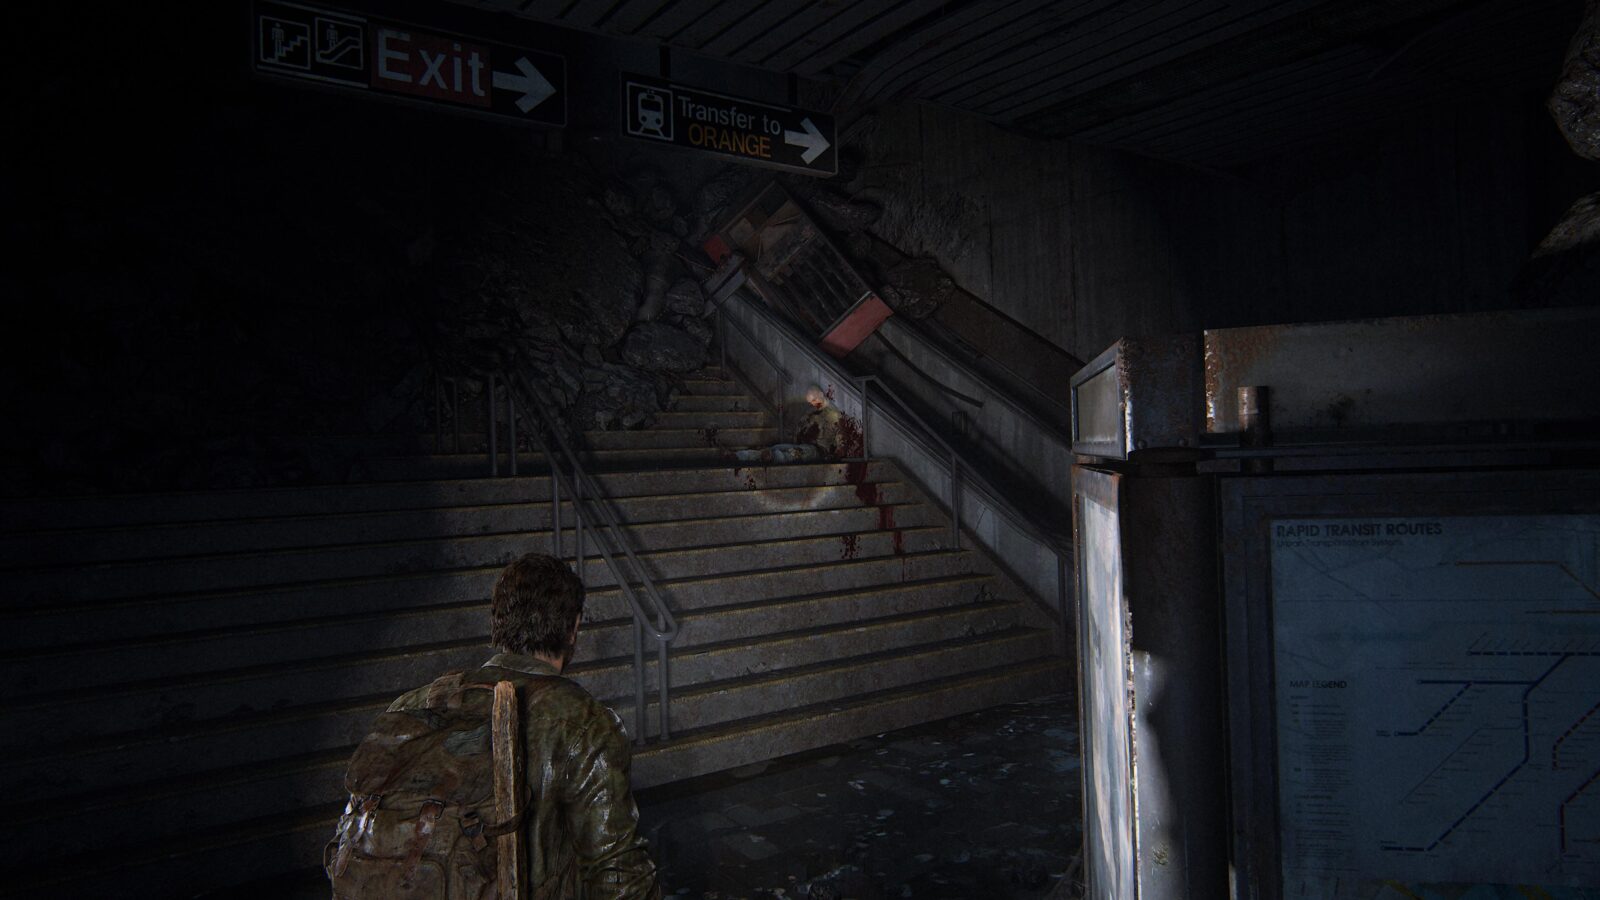
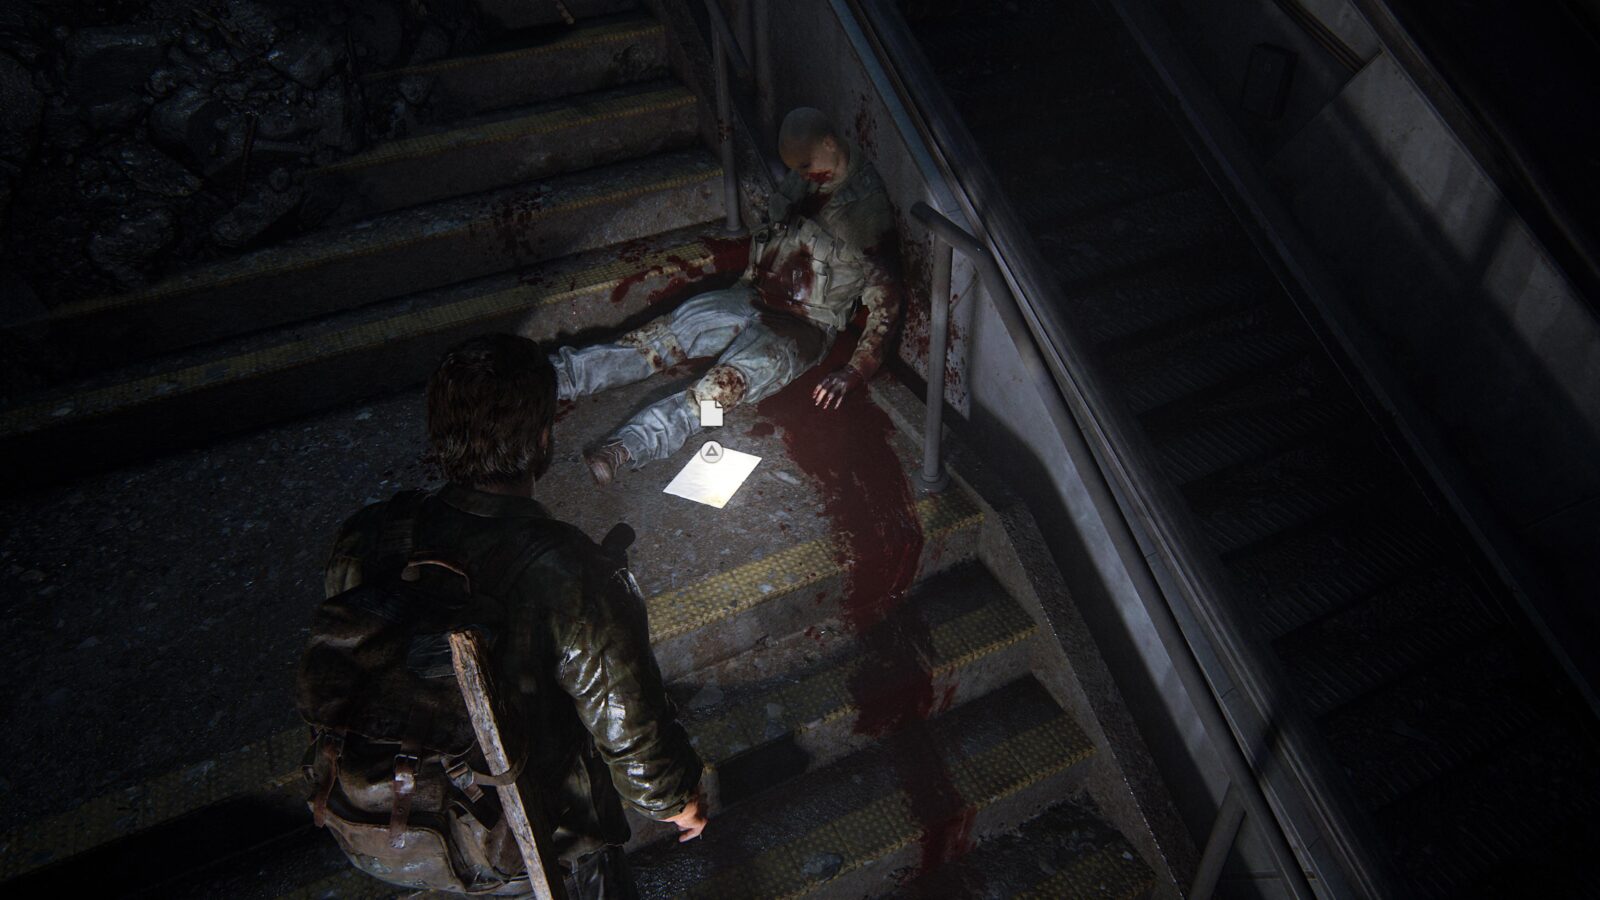
Artifact #12 Firefly Map – After dropping into the subway and finding the Molotov (this also unlocks the ability to craft Molotovs), you can find a Firefly corpse atop some stairs. On the ground next to him is an Artifact.
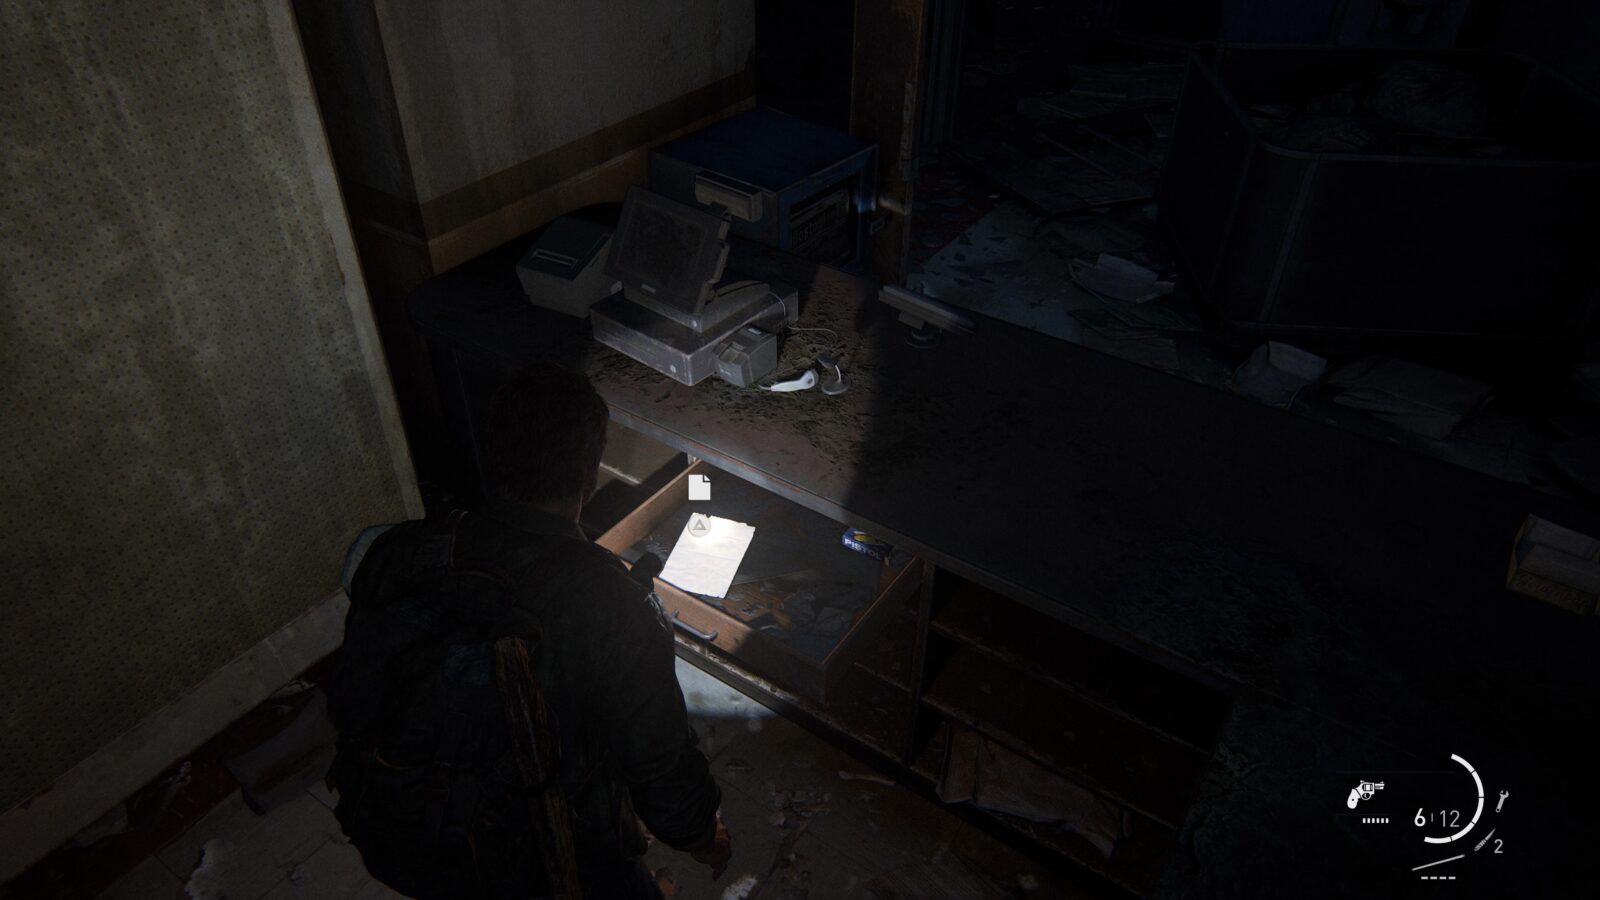
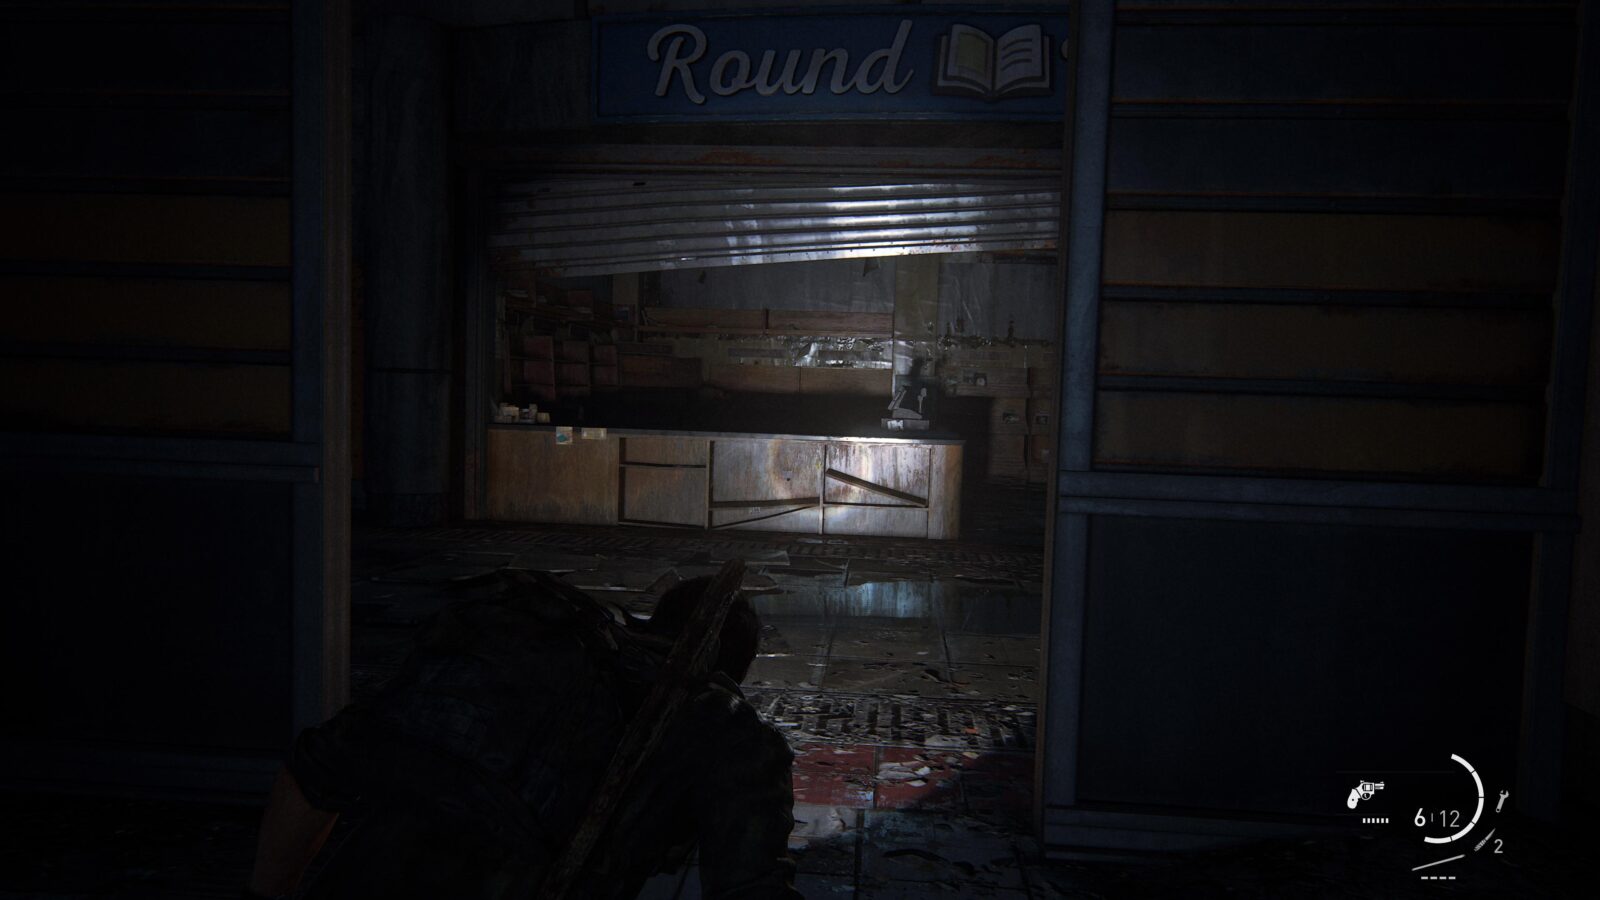
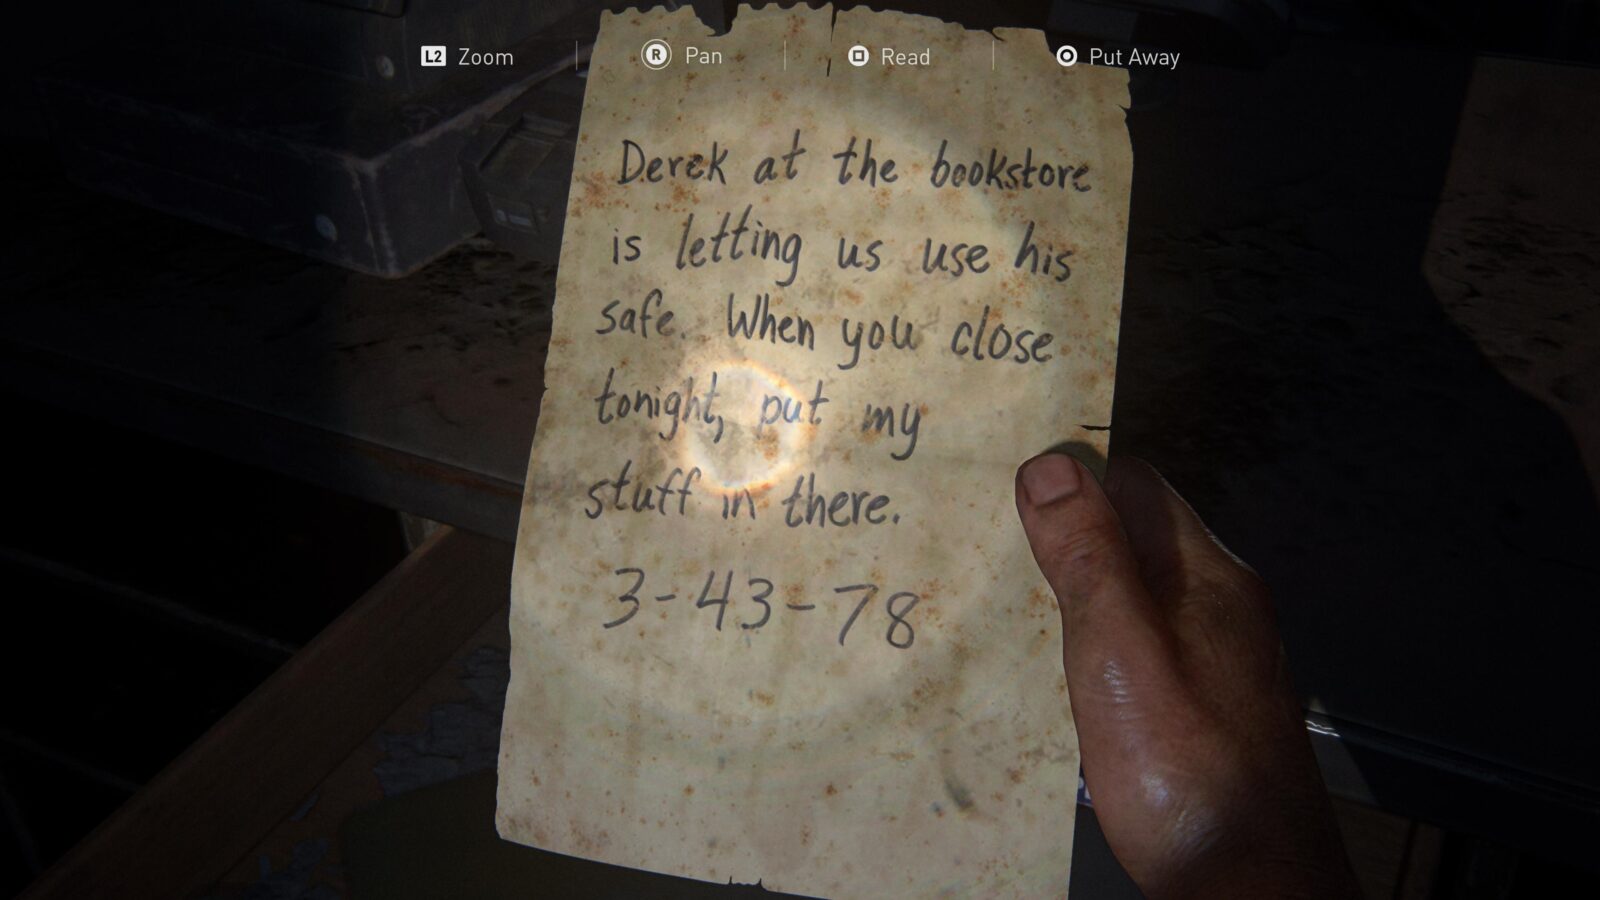
Artifact #13 Note to Derek – In the shopping area in the subway, you will find a bunch of Clickers and Runners. As you enter, to your left is a Runner eating a corpse. Take him out and enter the store behind him to find a note in the drawer behind the counter. This note will reveal the safe code for Safe #1.
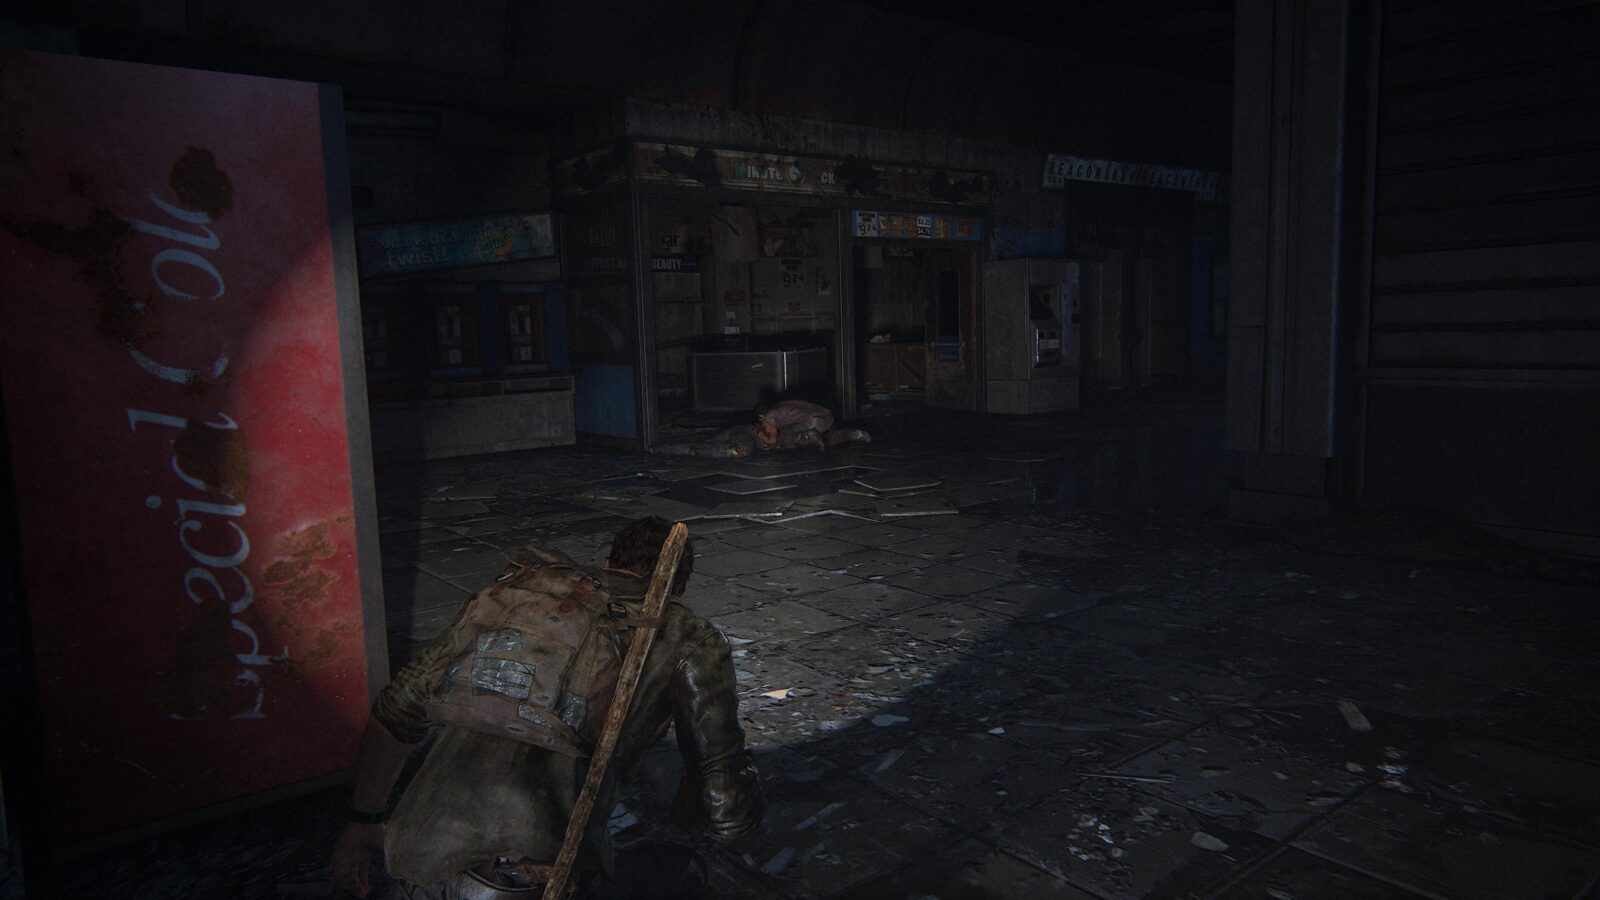
Safe #1 – On the opposite side of this shopping area, you will find a store called “Round Note.” Inside is a safe guarded by a Runner. The code to the safe—as revealed in the Note to Derek Artifact—is 03-43-78.
Museum
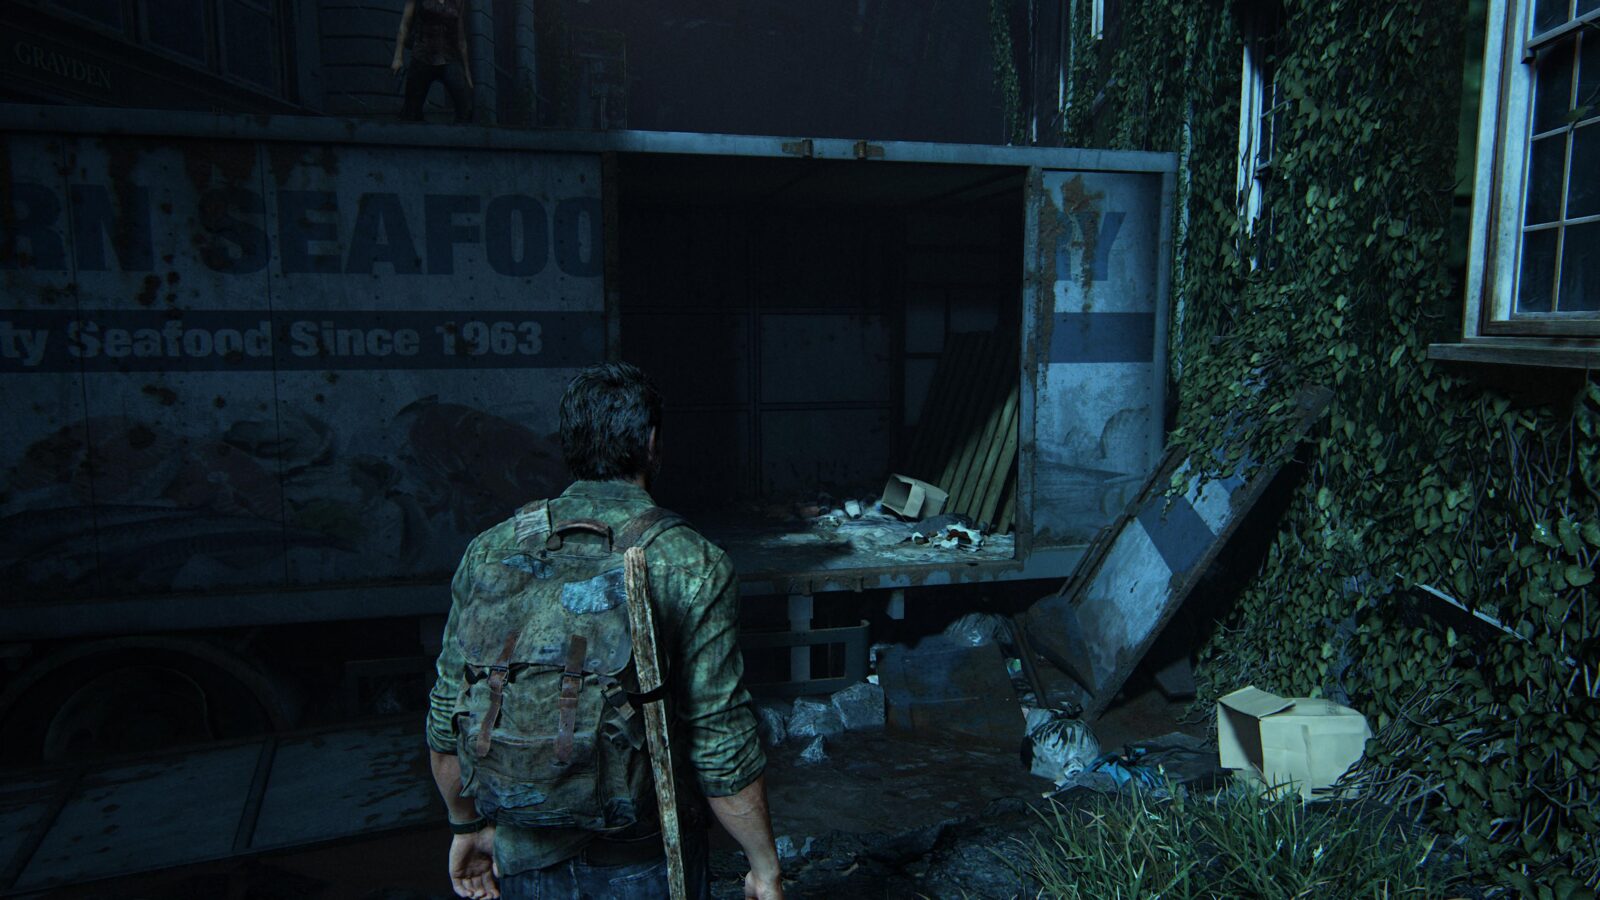
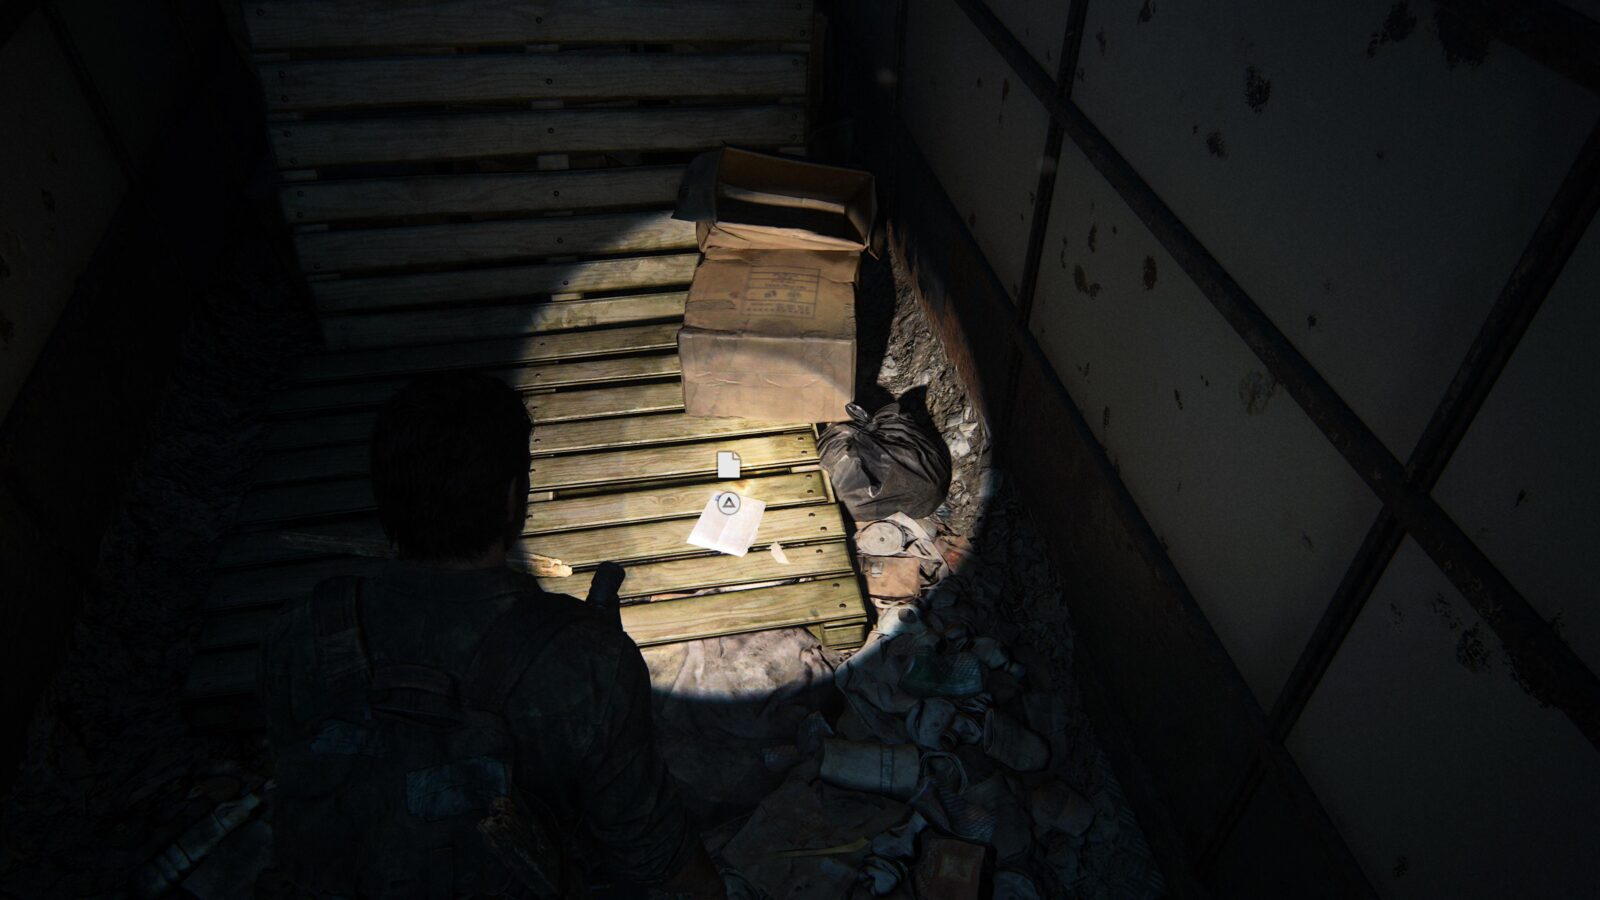
Artifact #14 Medical Pamphlet – After climbing over the truck blocking your path in front of the museum, turn around immediately and enter the truck to find a note.
Workbench #1 – After entering the garage area of the museum, you can find a workbench right next to the large truck. This is almost unmissable as it’s right on the main path.
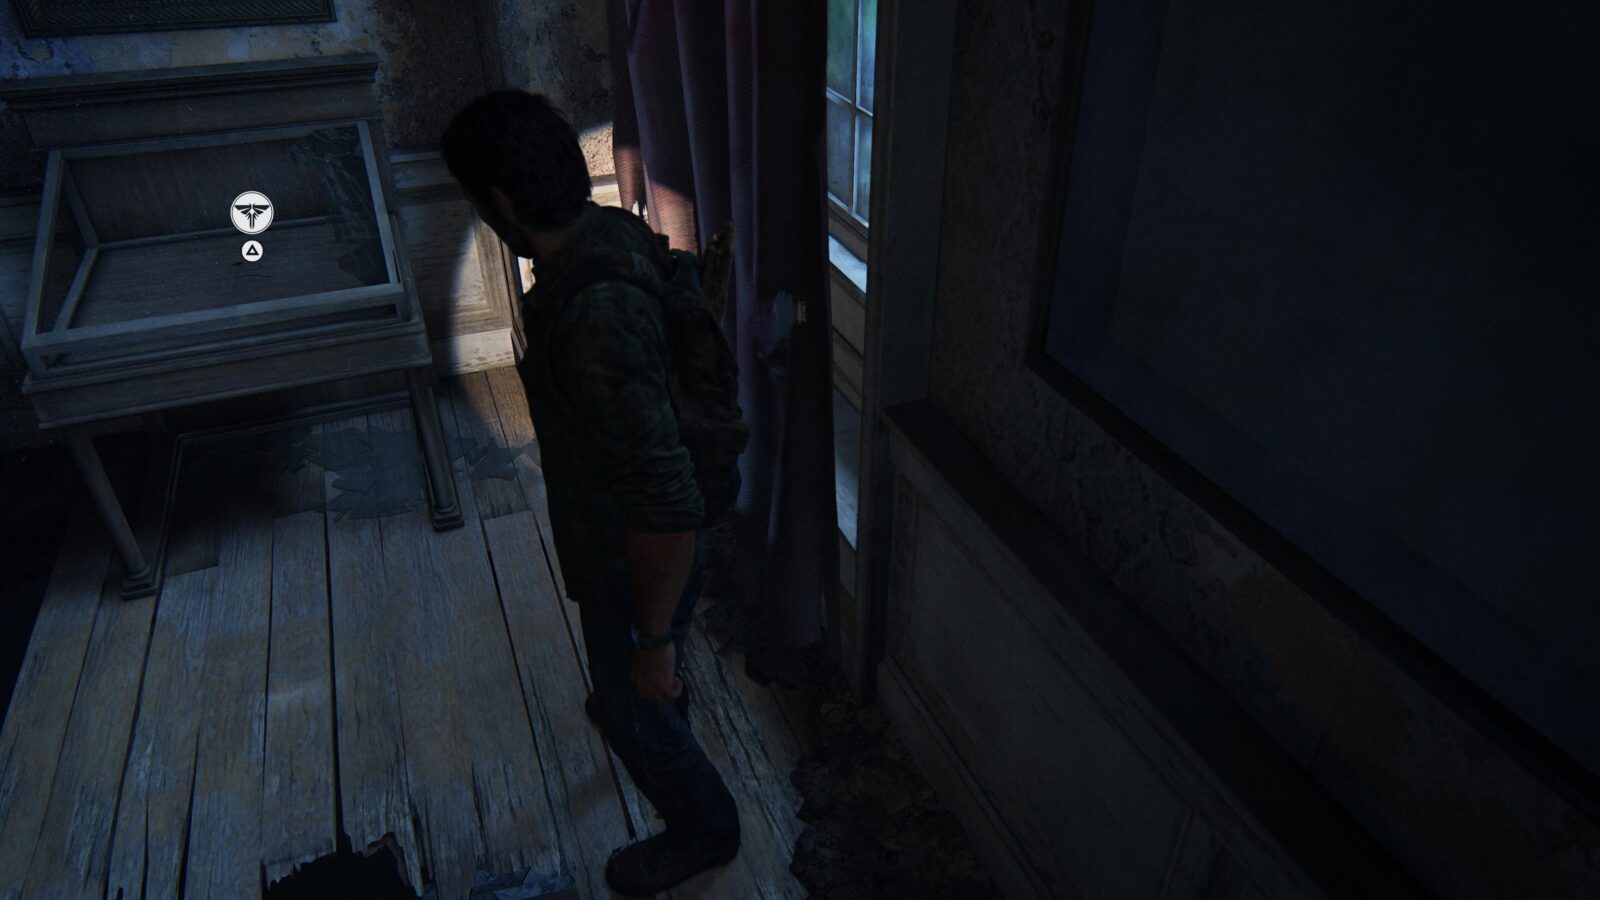
Firefly Pendant #5 Michael Kiper ??0109 – In the next room inside the museum, you will see a ramp made out of a collapsed ceiling leading up to the second floor. At the top of this ramp, climb onto the ledge to your left and shimmy to the end to find a pendant in a glass case.

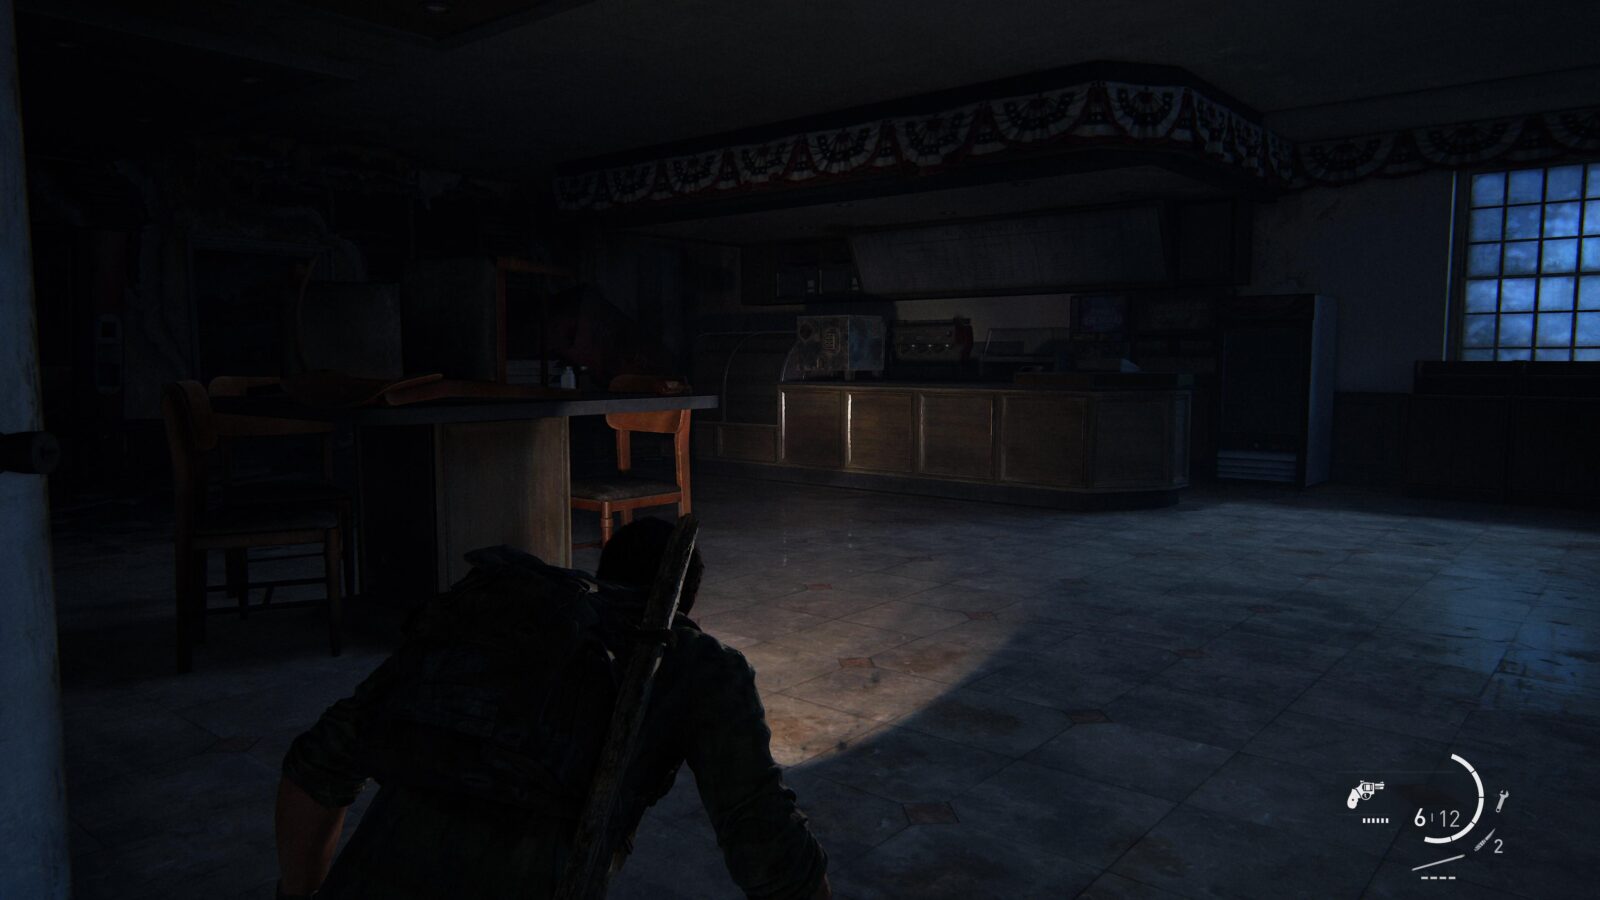
Shiv Door #2 – When Joel gets separated from Ellie and Tess, check the cafeteria room in the next hallway to find a locked metal door that you can open with a shiv.
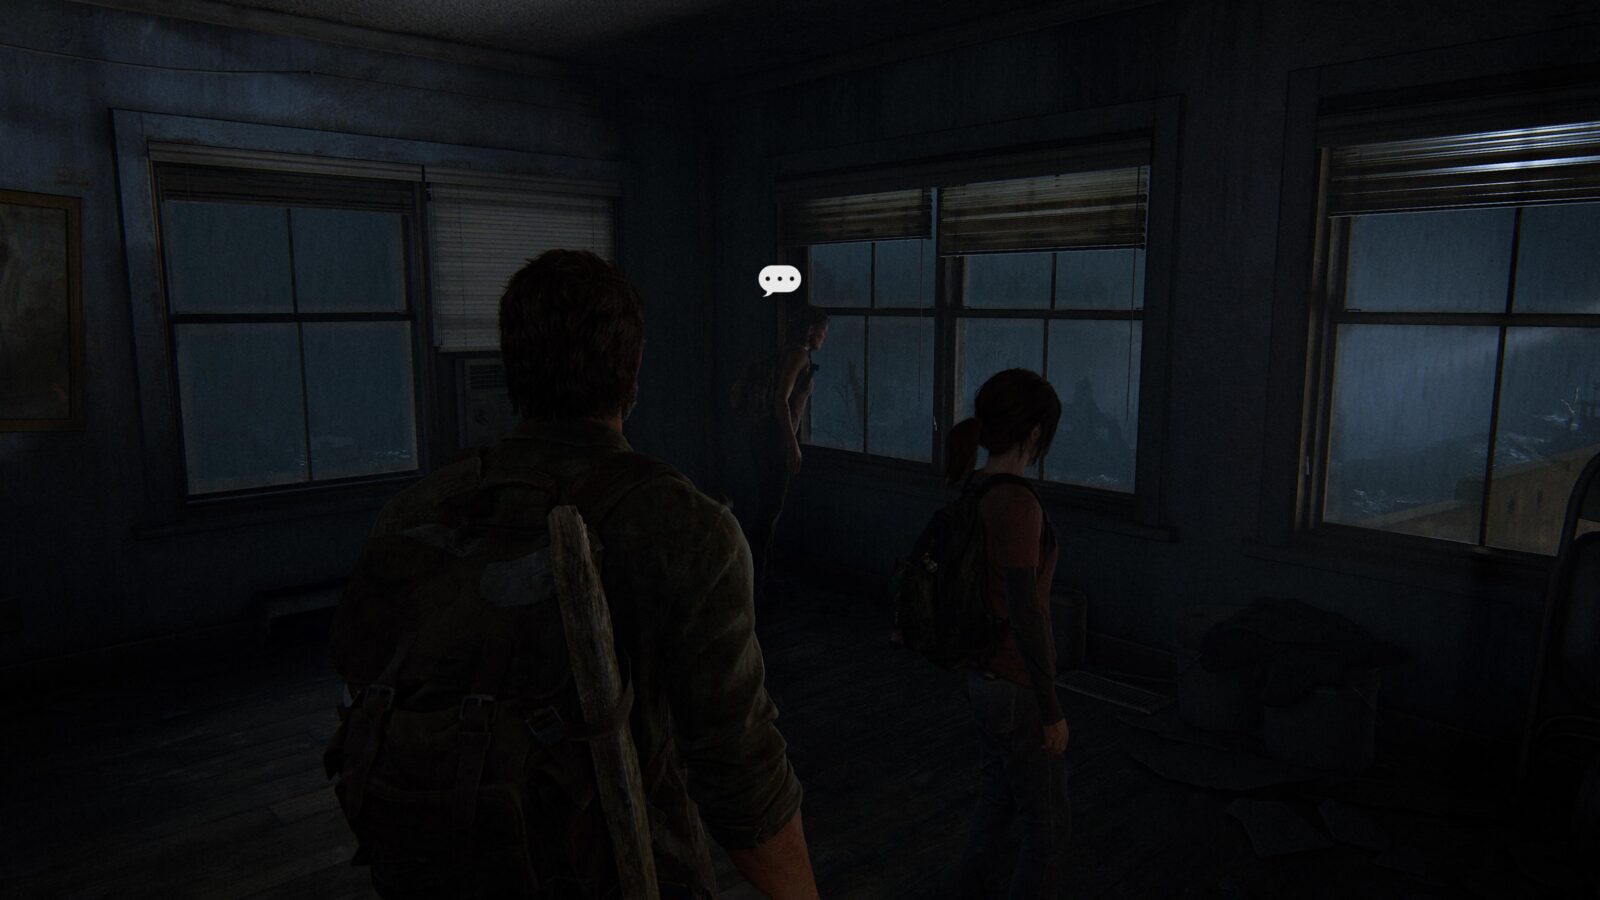
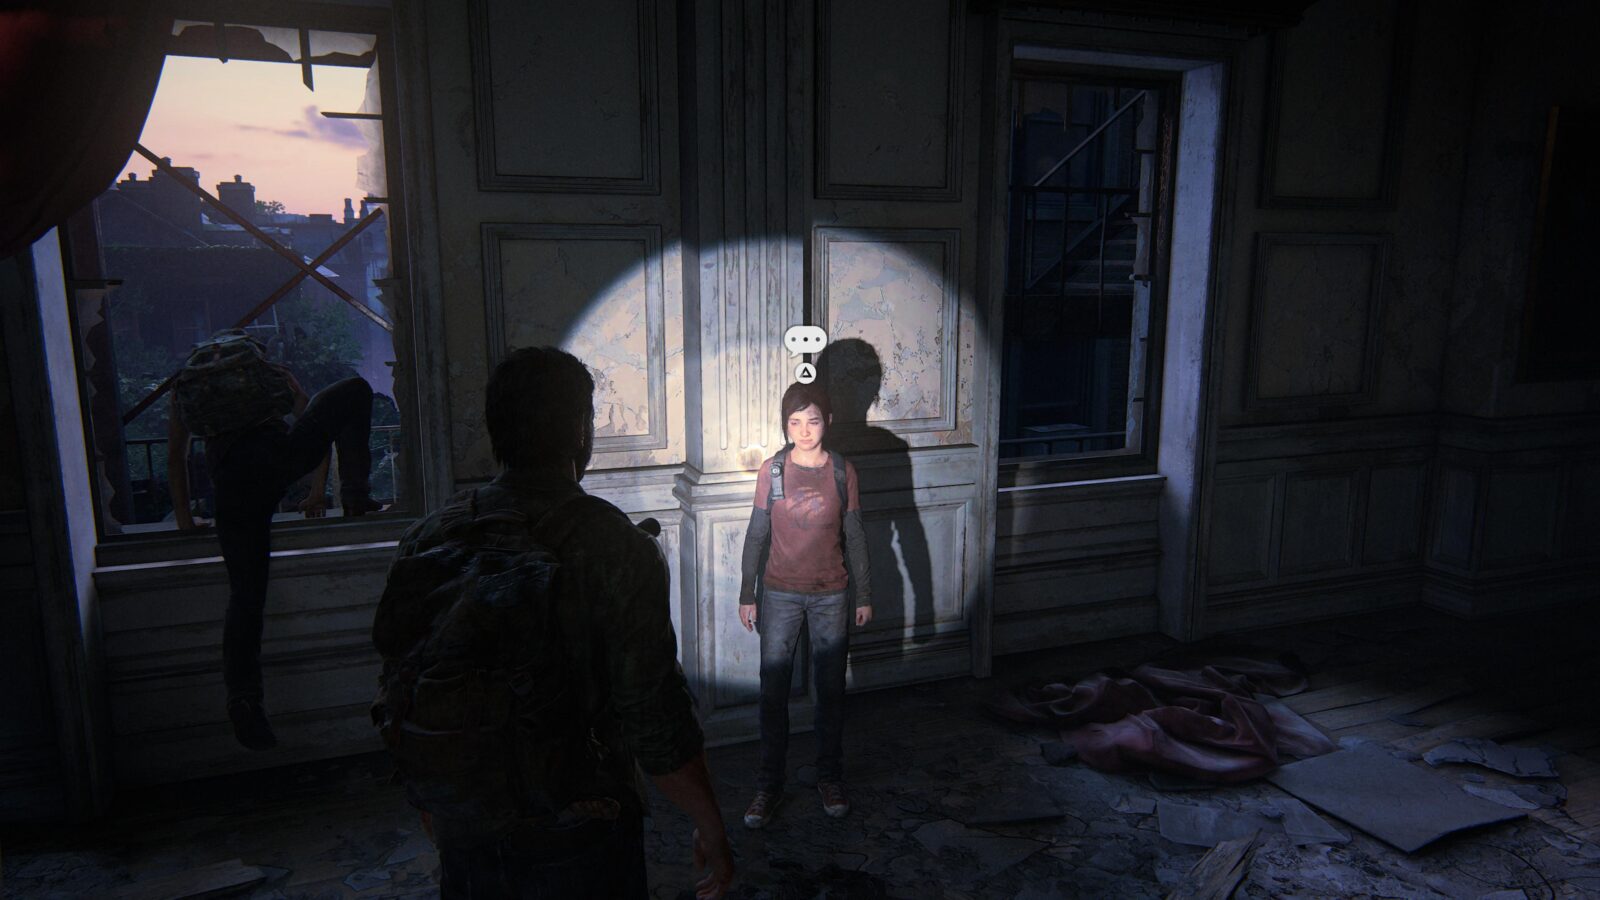
Optional Conversation #7 – When you reunite with Ellie and Tess in the civil war exhibit, deal with the Runners and then stand by the open windows for a while until a conversation prompt appears above Tess’ head.
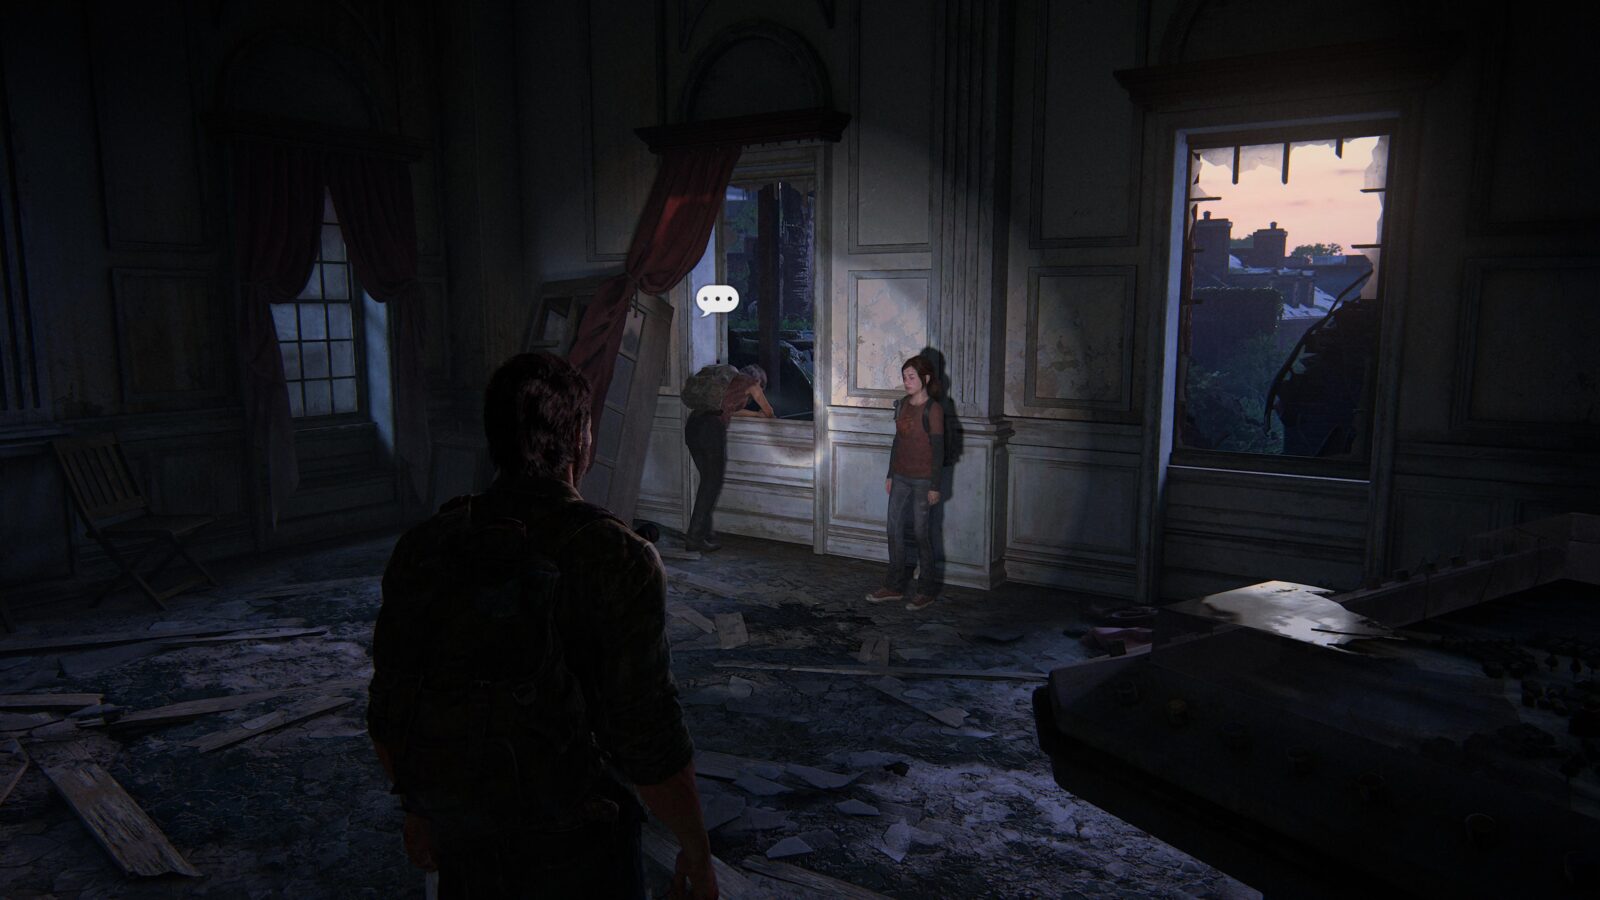
Optional Conversation #8 – After speaking with Tess, turn to Ellie and talk to her.
Capitol Building
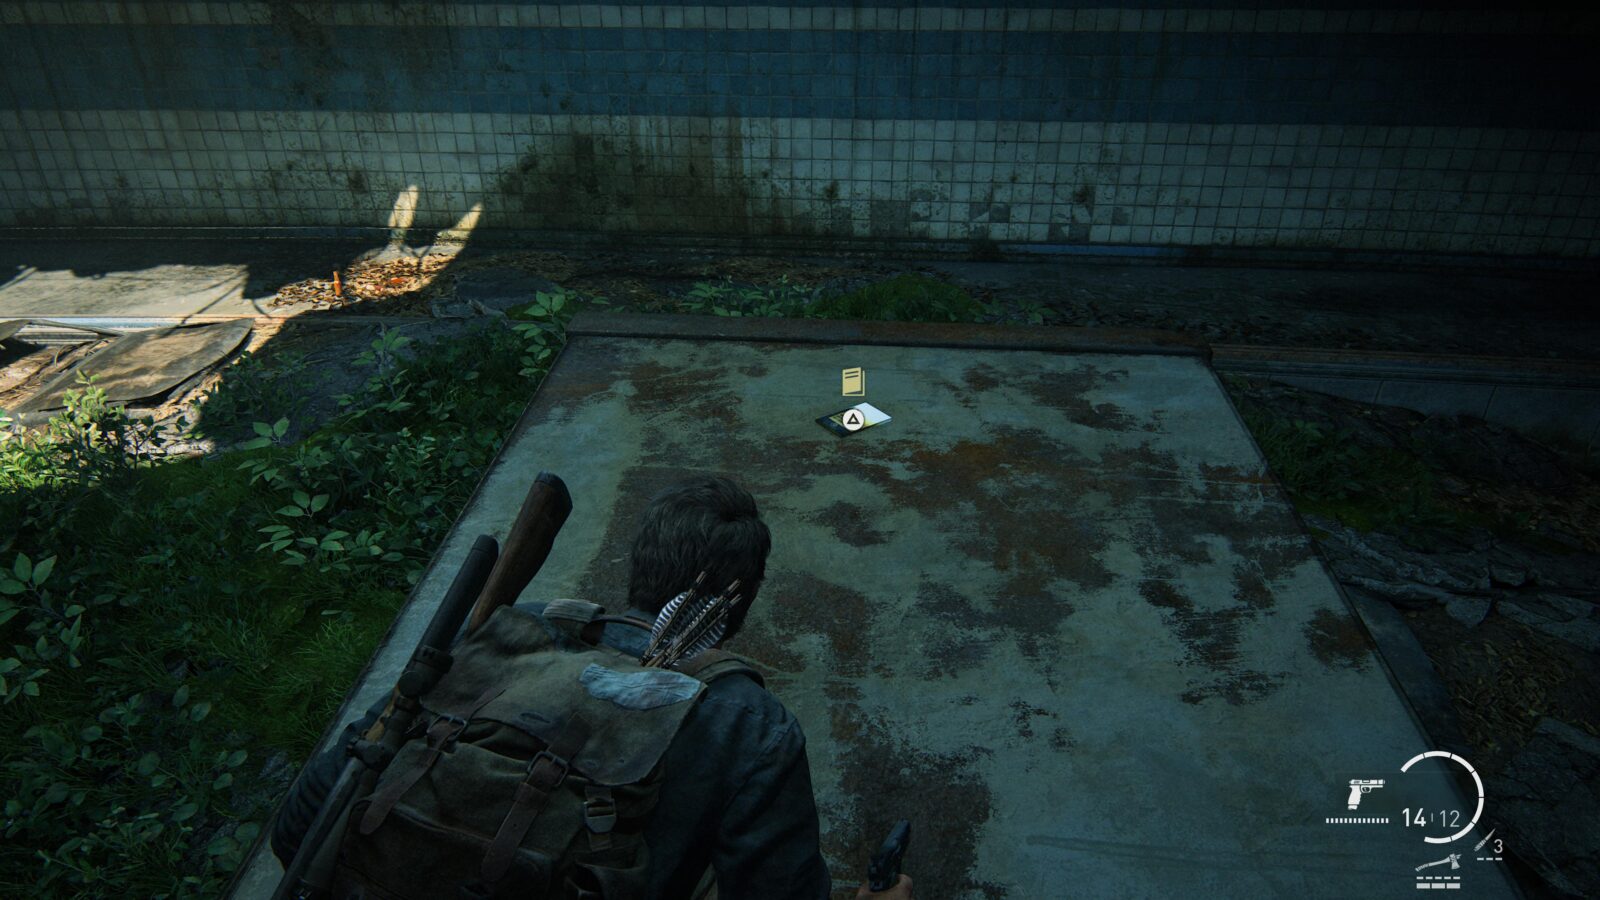
Artifact #15 Firefly Orders – After crossing the rooftops you will be at the top of two metal staircases. Walk down both of them and immediately turn around to find a Firefly corpse with a note.
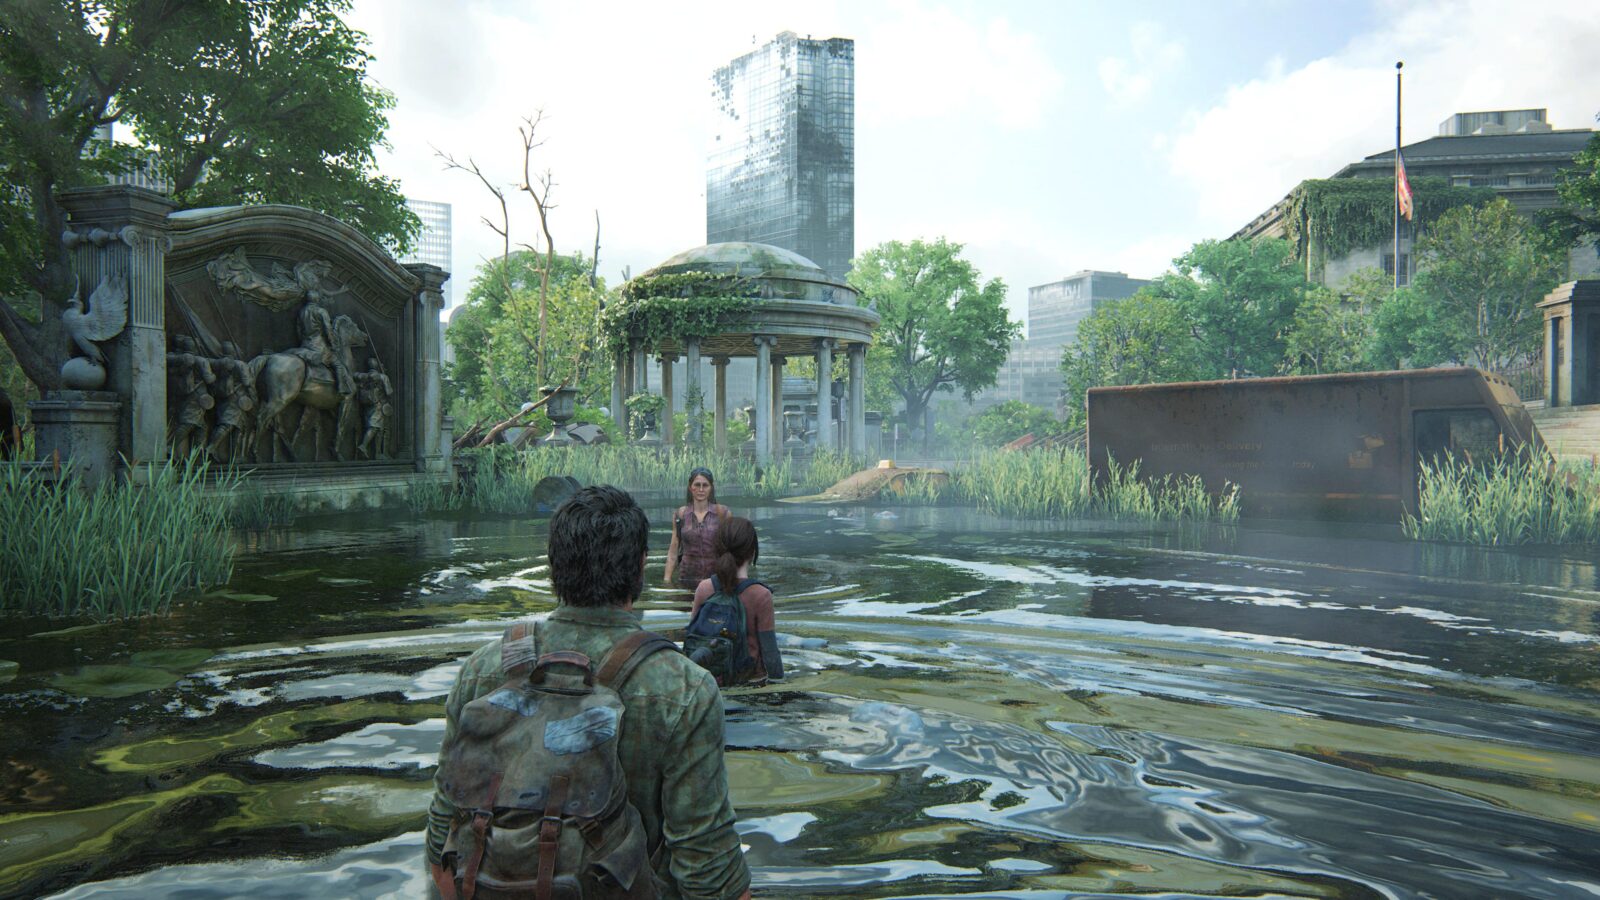
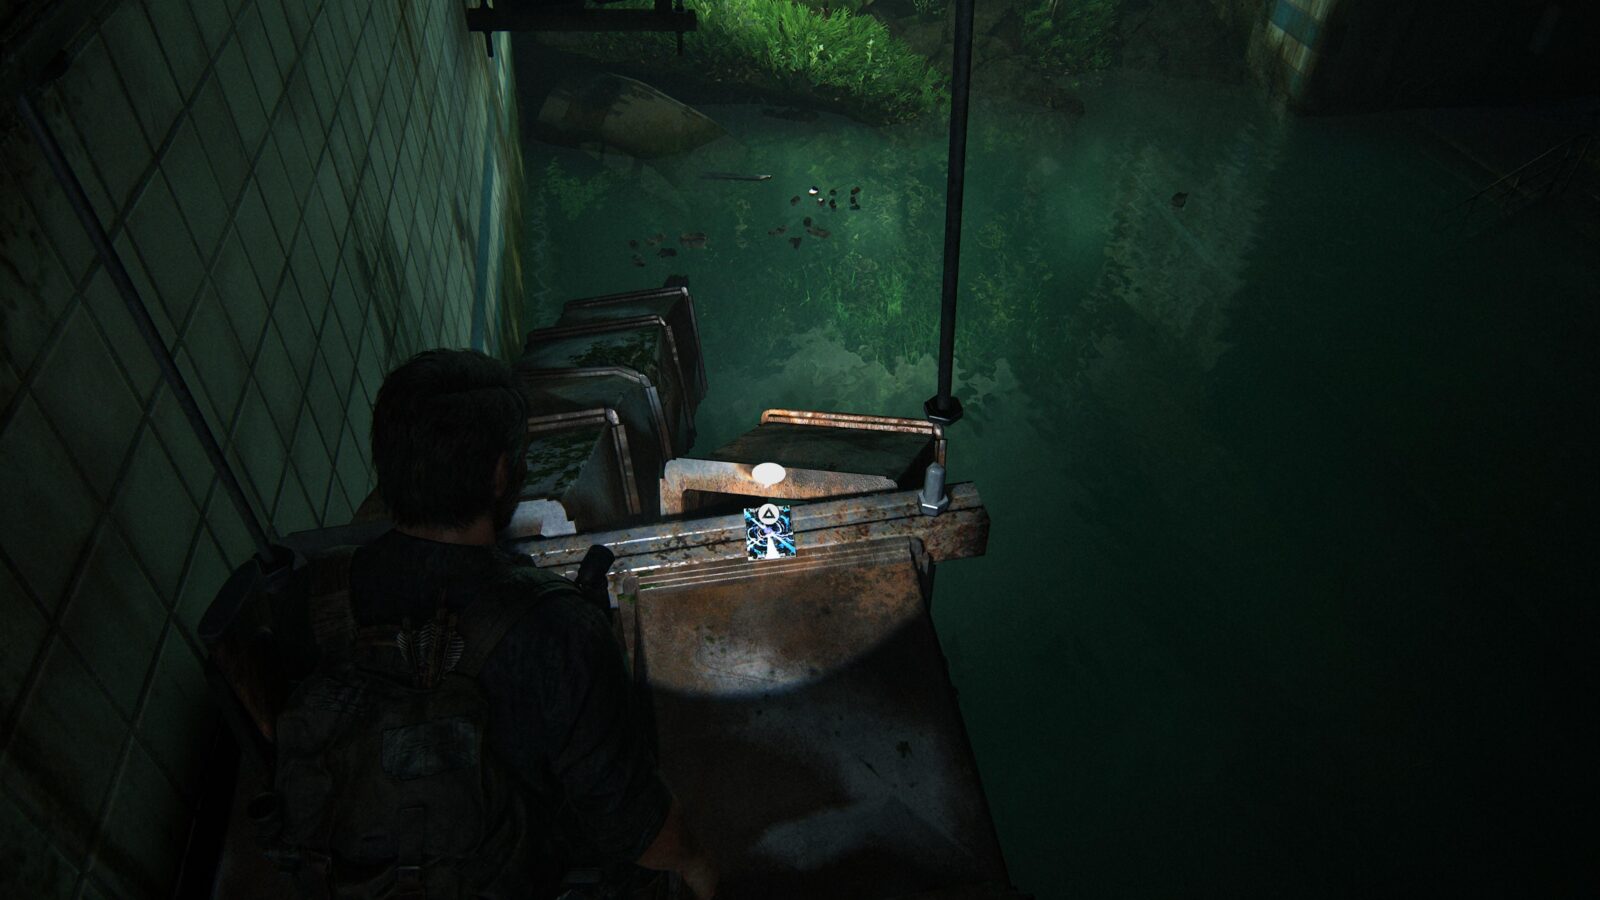
Firefly Pendant #6 Melinda Davidson 000214 – Outside the Capitol Building is a flooded street with a gazebo. Go inside the gazebo and look down at the water to find a very well-hidden pendant.

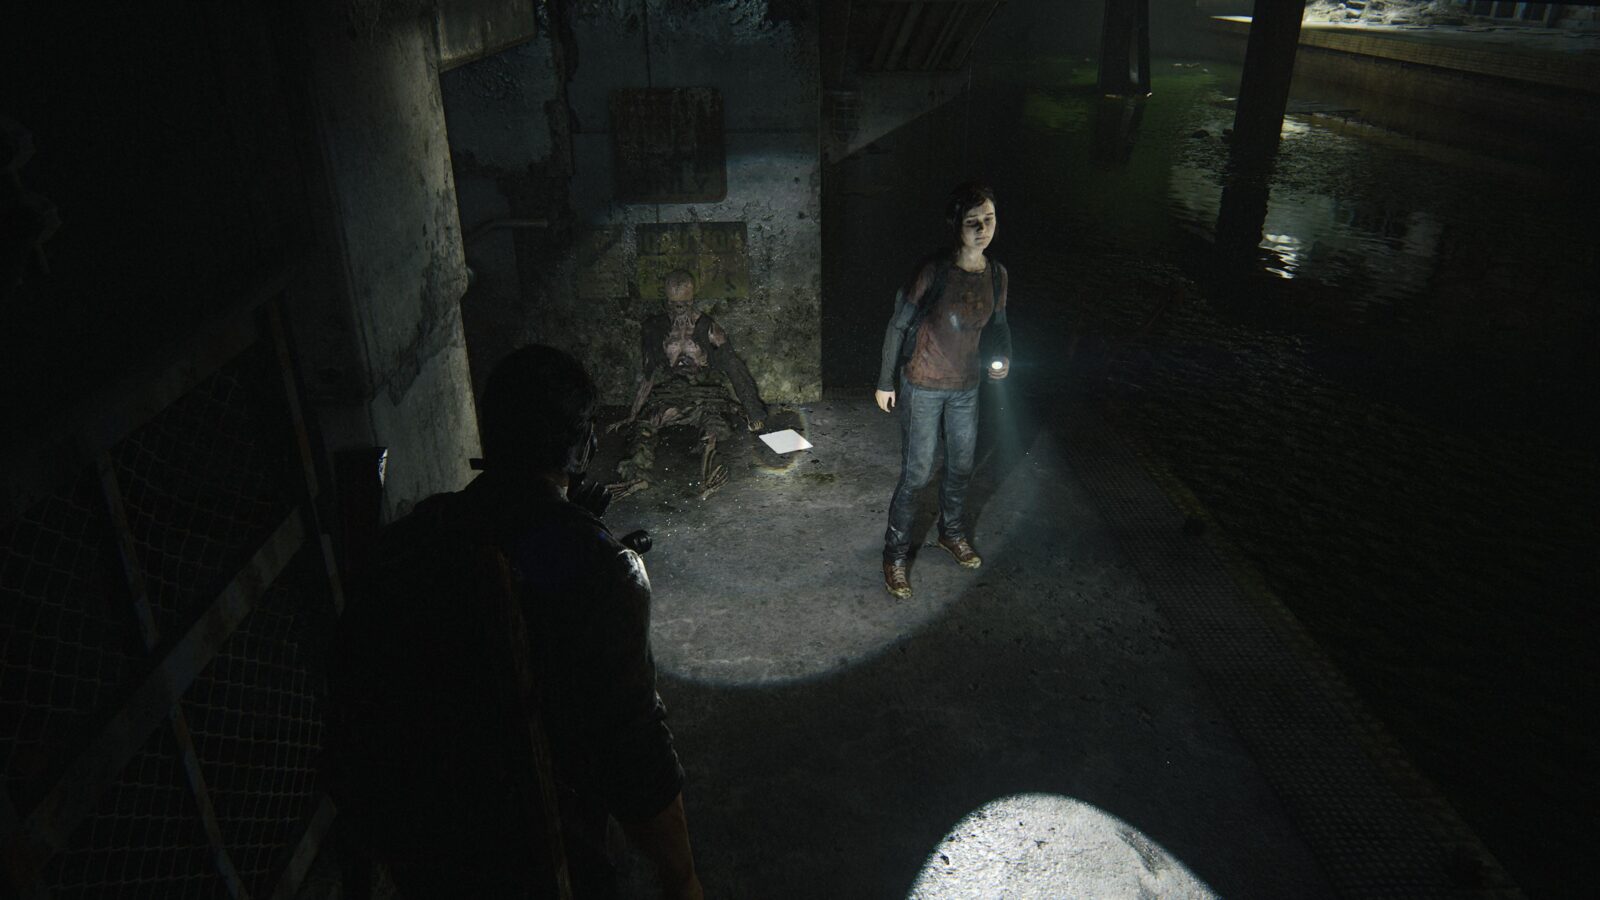
Artifact #16 Smuggler Note – Back inside the subway after a bit of swimming Ellie will find her own flashlight. On the ground next to her is an Artifact.
Firefly Pendant #7 Shiyao Jiang 000178 – Head into the water to the left of the above Artifact and dive under the surface. There is a room underwater with a shelf containing a pendant.
Bill’s Town
The Woods
Progress towards Build Em Up, Break Em Down
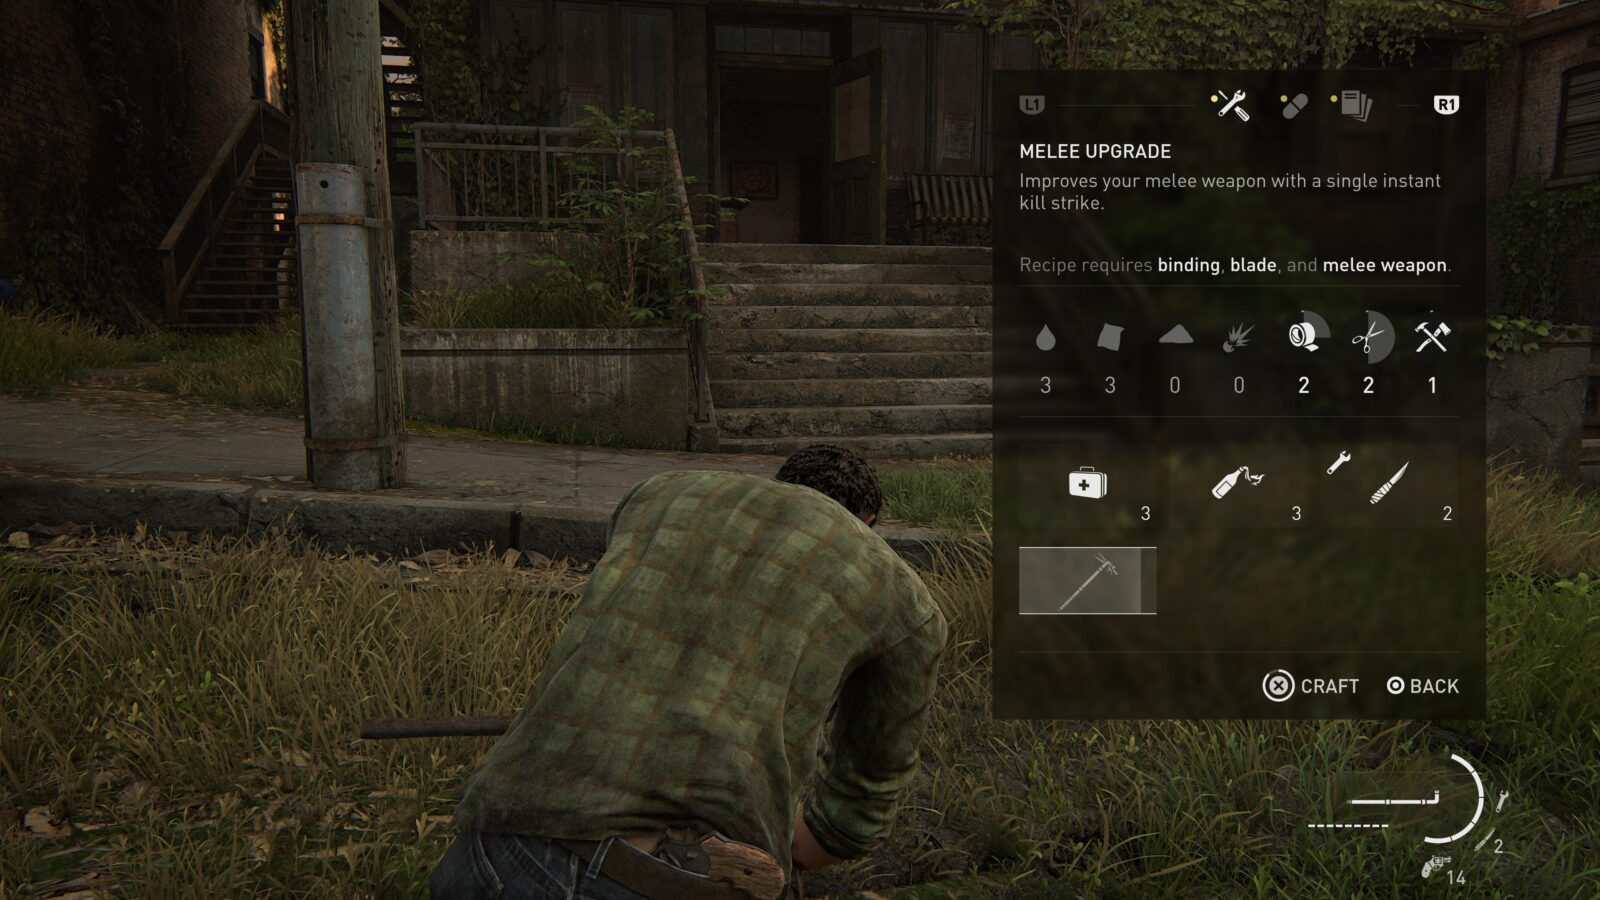
Starting from this chapter you will be able to upgrade melee weapons that you pick up using binding and sharp crafting materials. There are 5 weapon types in the game and you have to upgrade them and use them until you break the upgrade. When you’re on the small roof just outside Bill’s Town (you have to make a bridge with a wooden plank) pick up the already upgraded Lead Pipe in order to gain the ability to upgrade weapons.

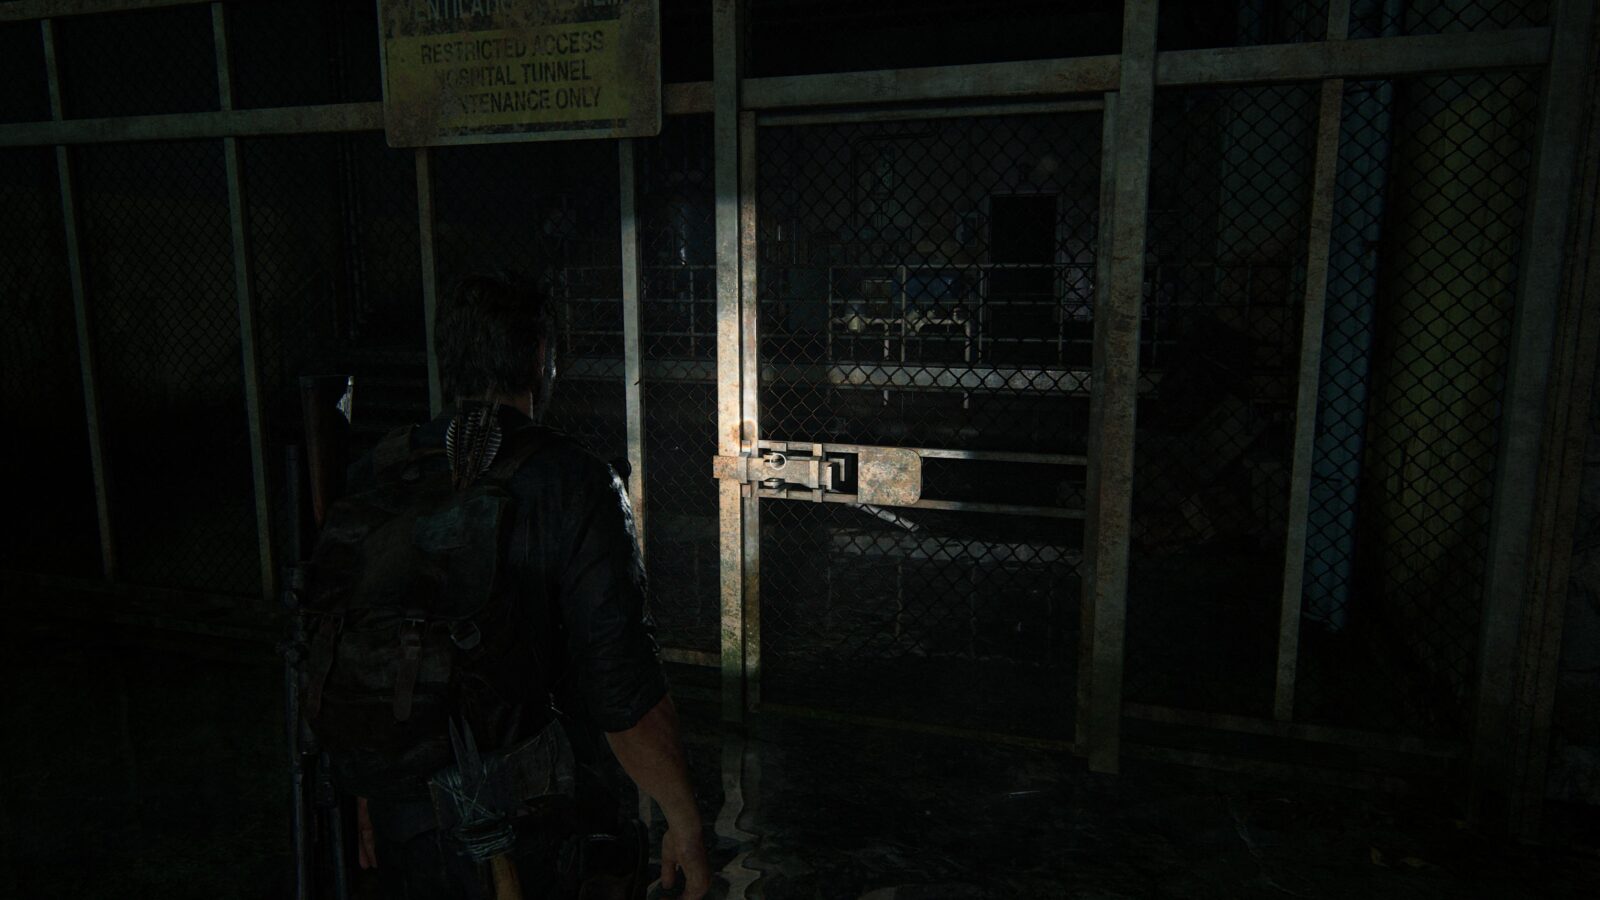
Artifact #17 Pills Note – Grab the wooden plank and cross into Bill’s Town. In front of you there will be some metal steps leading up into a building and a drop leading to a locked metal gate. Head up the steps and search the ground of the room to your left for a note.
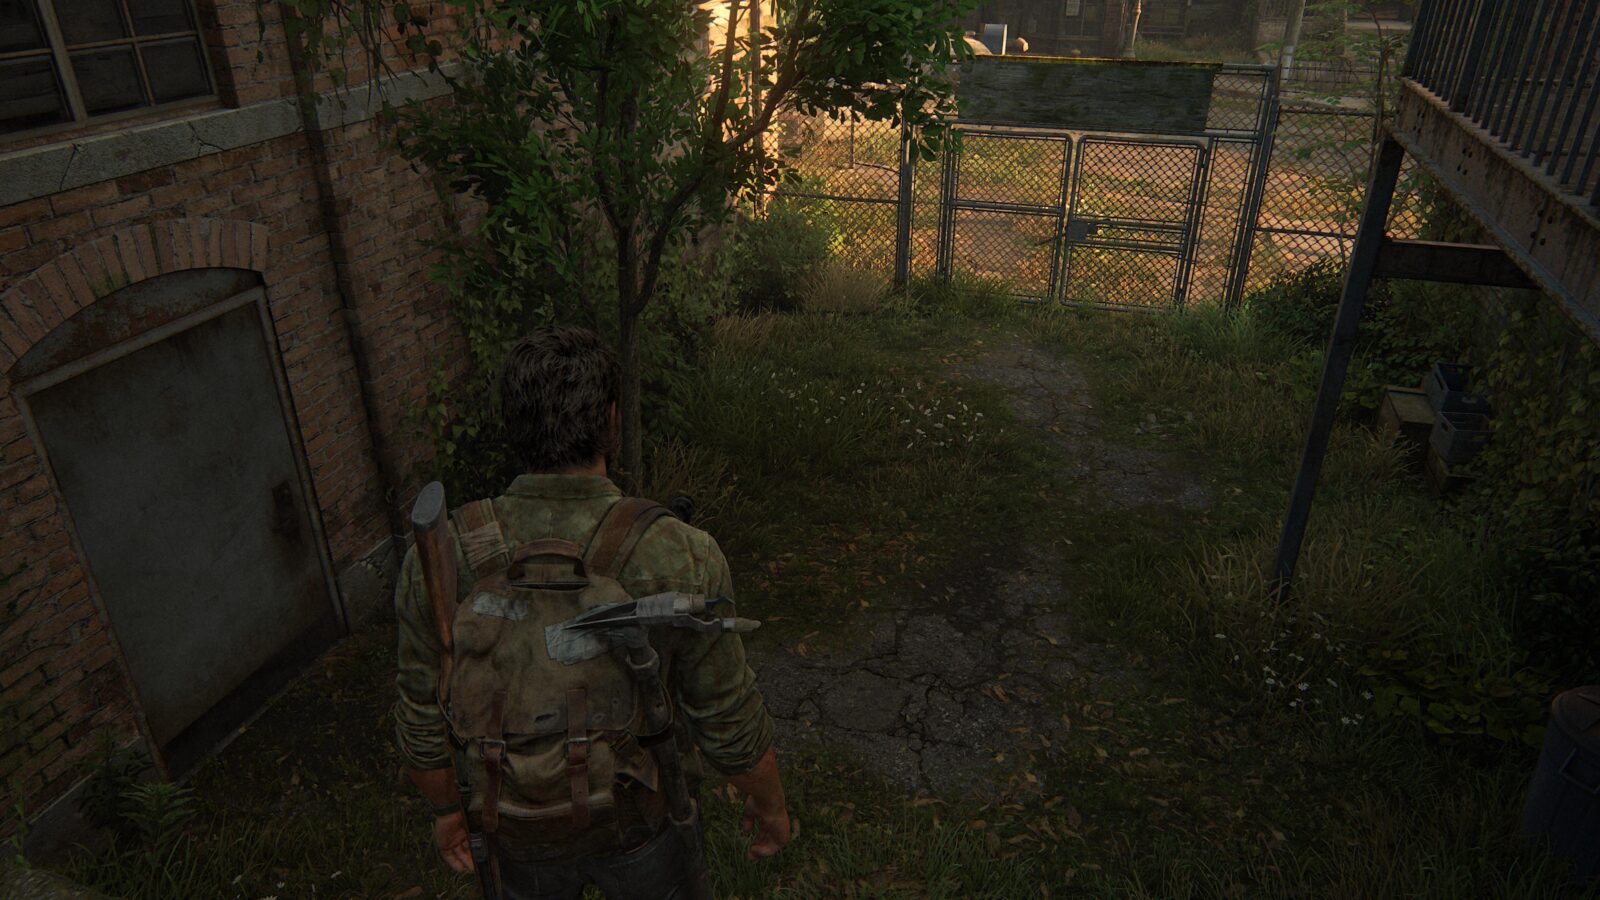
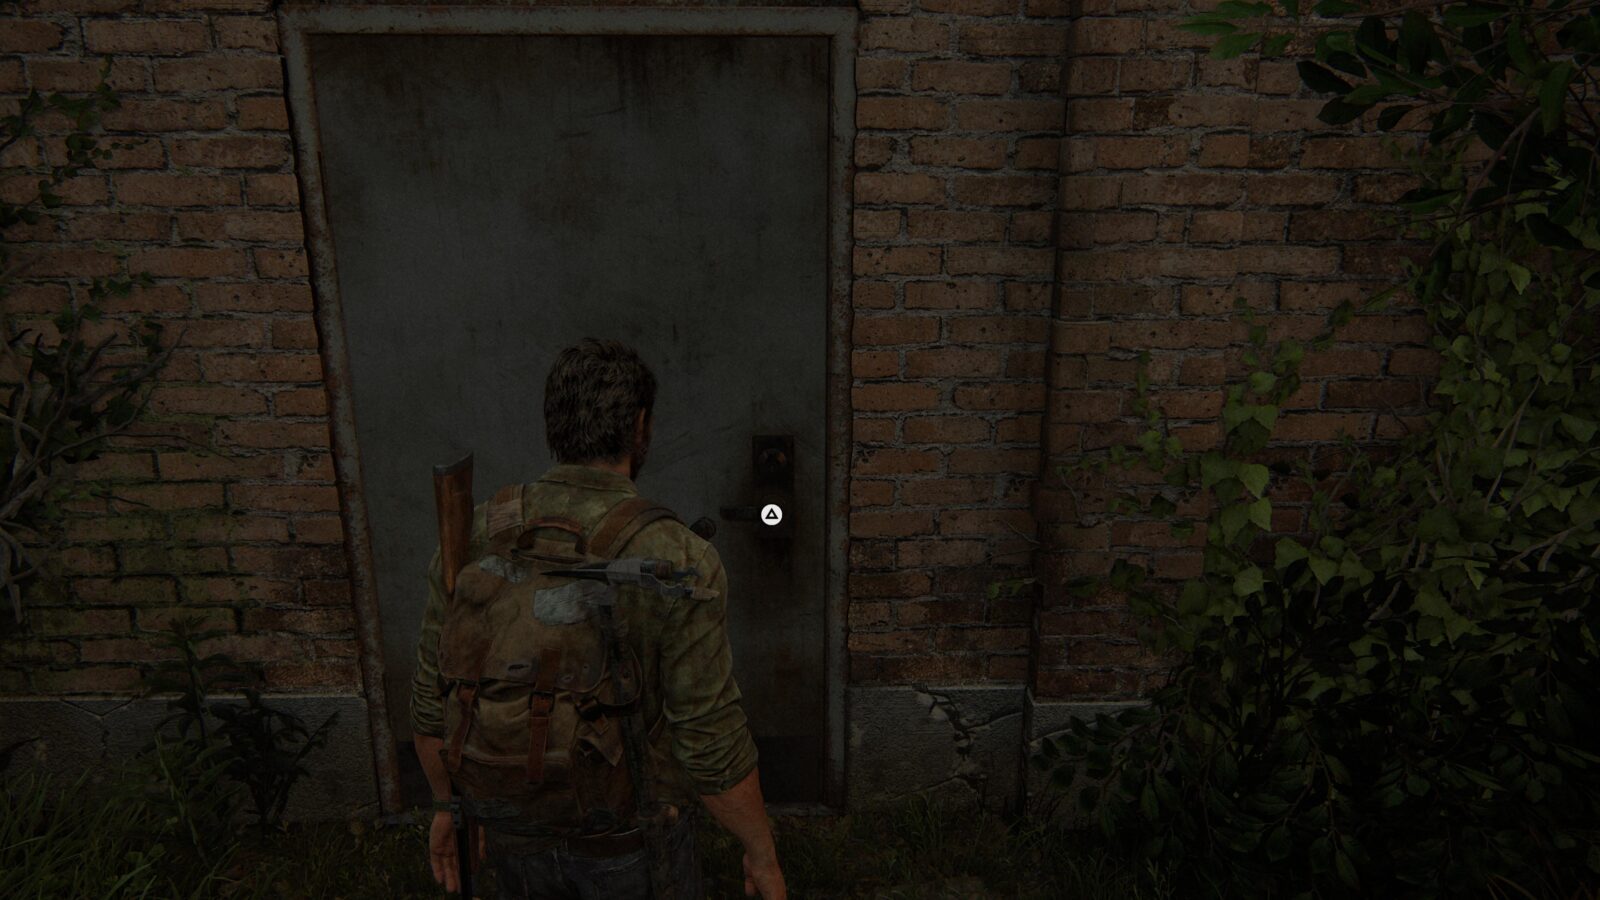
Shiv Door #3 – Go back outside the building and drop down to the locked metal fence. Immediately to your left is a locked metal door that you can open with a shiv.
Progress towards Build Em Up, Break Em Down
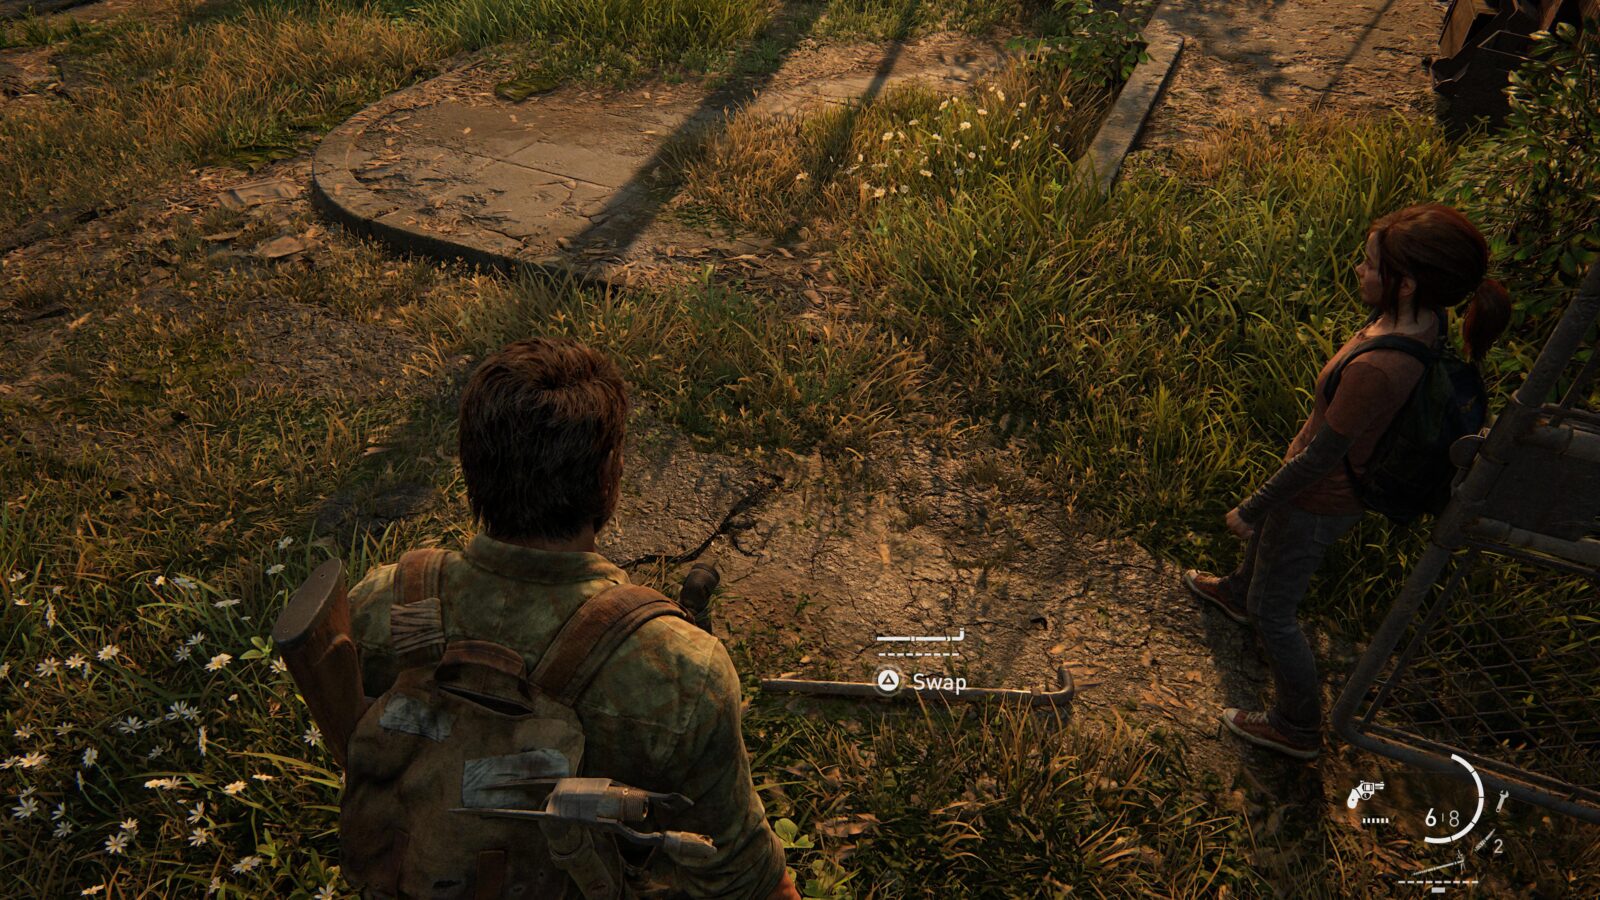
When Joel boosts Ellie up so she can remove the Lead Pipe from the metal chainlink gate, pick the pipe up and—if you have the resources—upgrade it (press ![]() and hold
and hold ![]() on the Lead Pipe). If you already have the upgraded Lead Pipe in your inventory from outside Bill’s Town then still swap it for the Lead Pipe in the chainlink fence as the trophy suggests you have to manually upgrade the weapons before you break them. When you encounter enemies later in the chapter make sure to hit them with the upgraded Lead Pipe until it breaks. Upgraded Melee Weapon Broken 1/5.
on the Lead Pipe). If you already have the upgraded Lead Pipe in your inventory from outside Bill’s Town then still swap it for the Lead Pipe in the chainlink fence as the trophy suggests you have to manually upgrade the weapons before you break them. When you encounter enemies later in the chapter make sure to hit them with the upgraded Lead Pipe until it breaks. Upgraded Melee Weapon Broken 1/5.
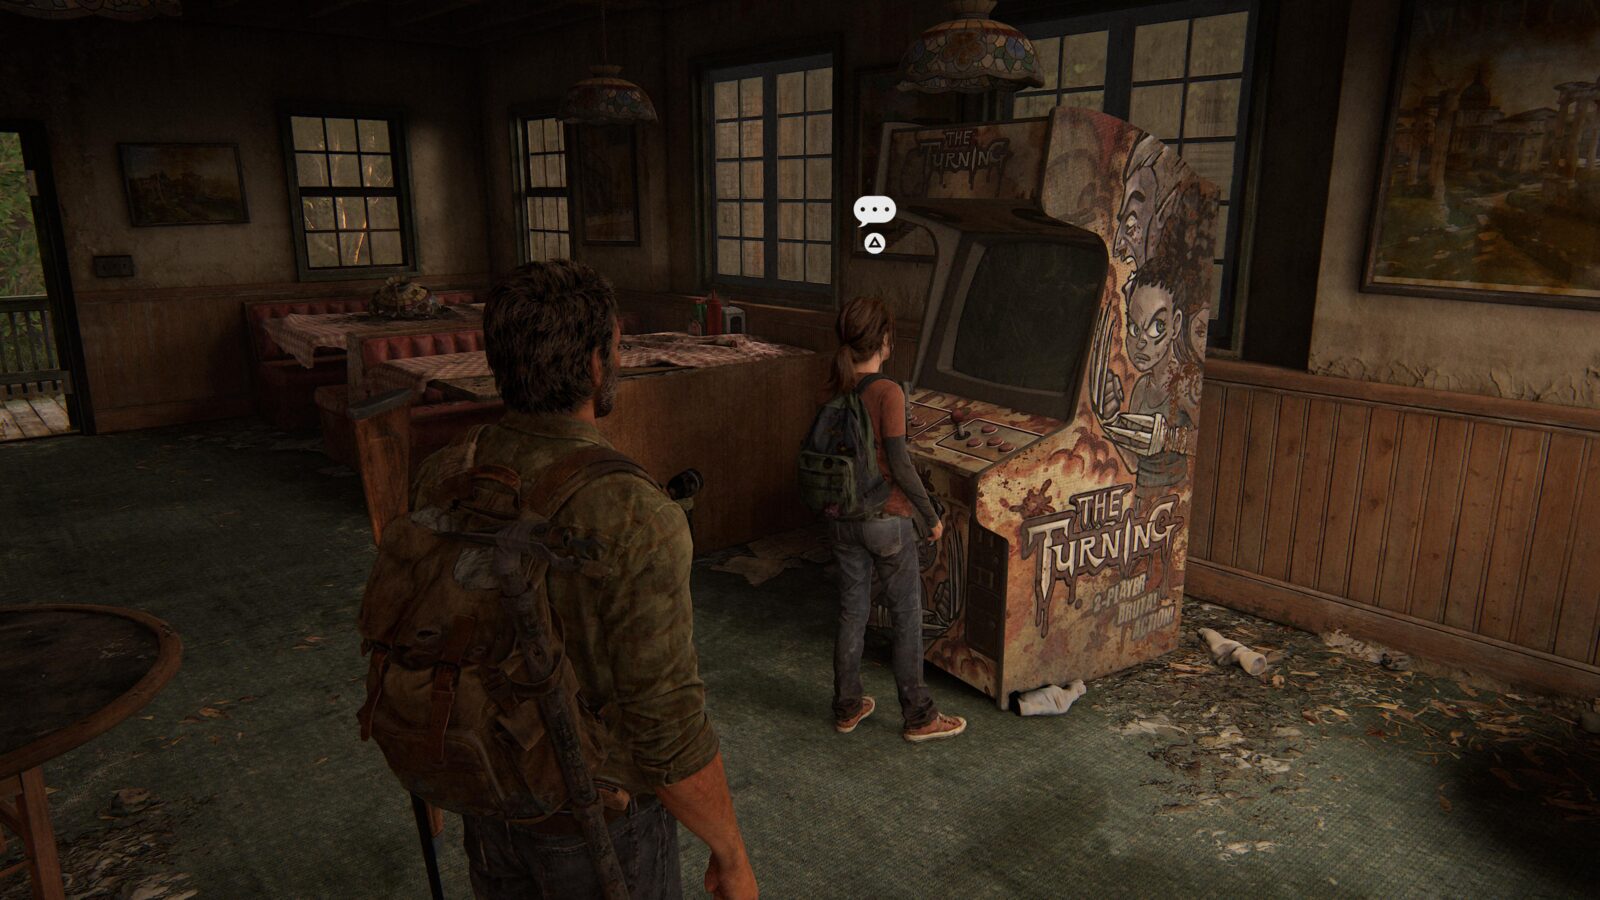
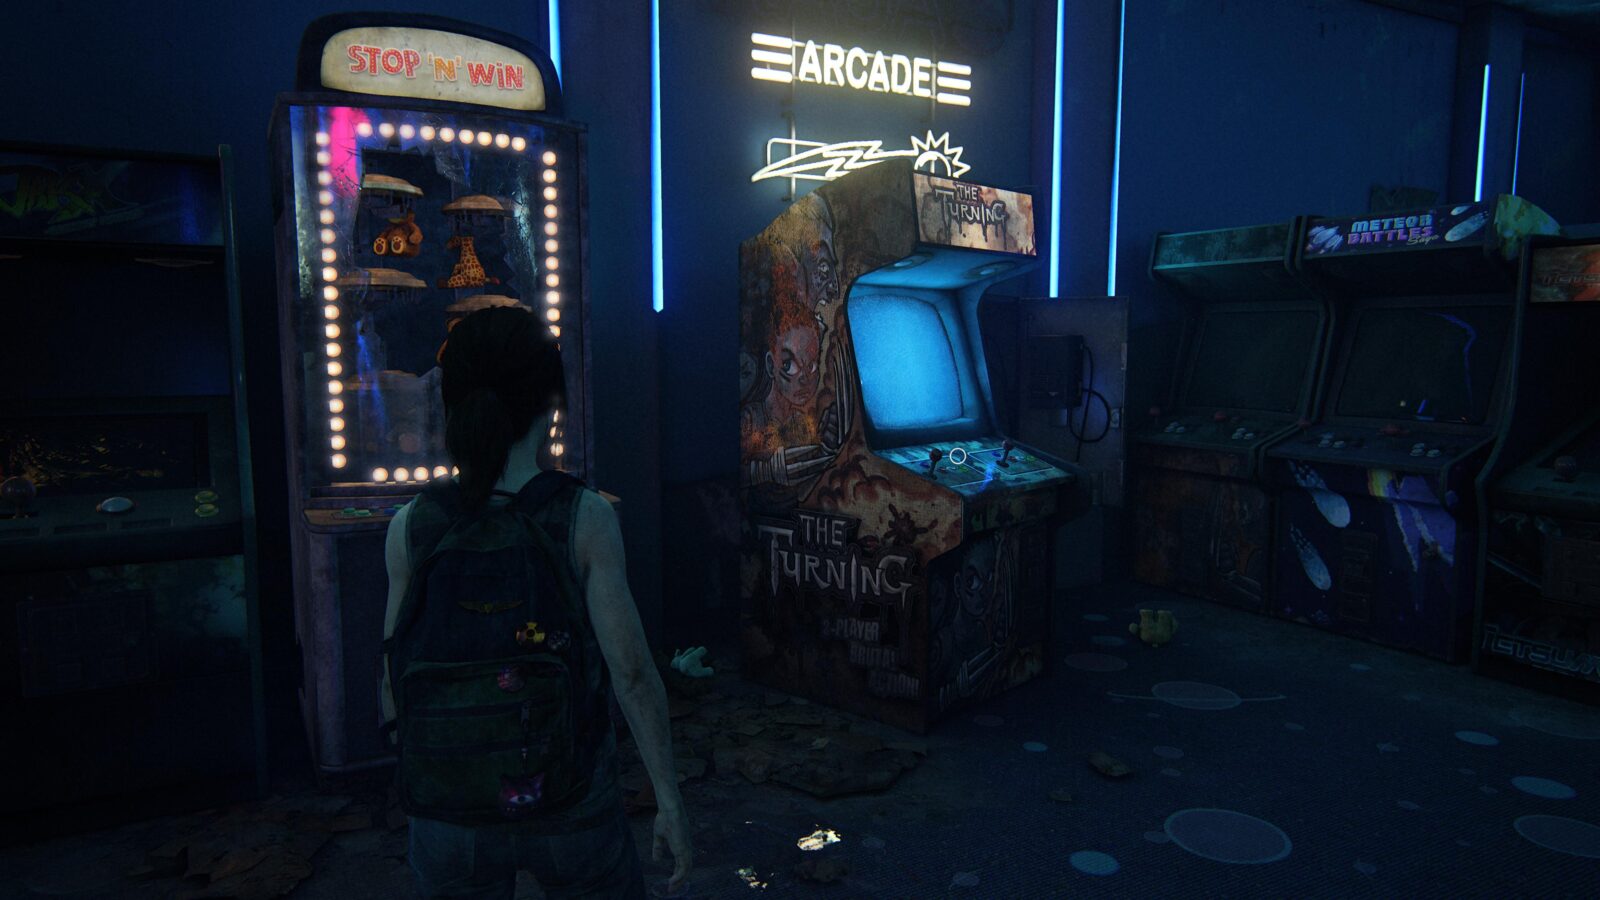
Optional Conversation #9 – Head into the building directly opposite the chainlink gate that Ellie opened for Joel. Stand around inside near the “The Turning” arcade machine and wait for Ellie to approach it to initiate a conversation.
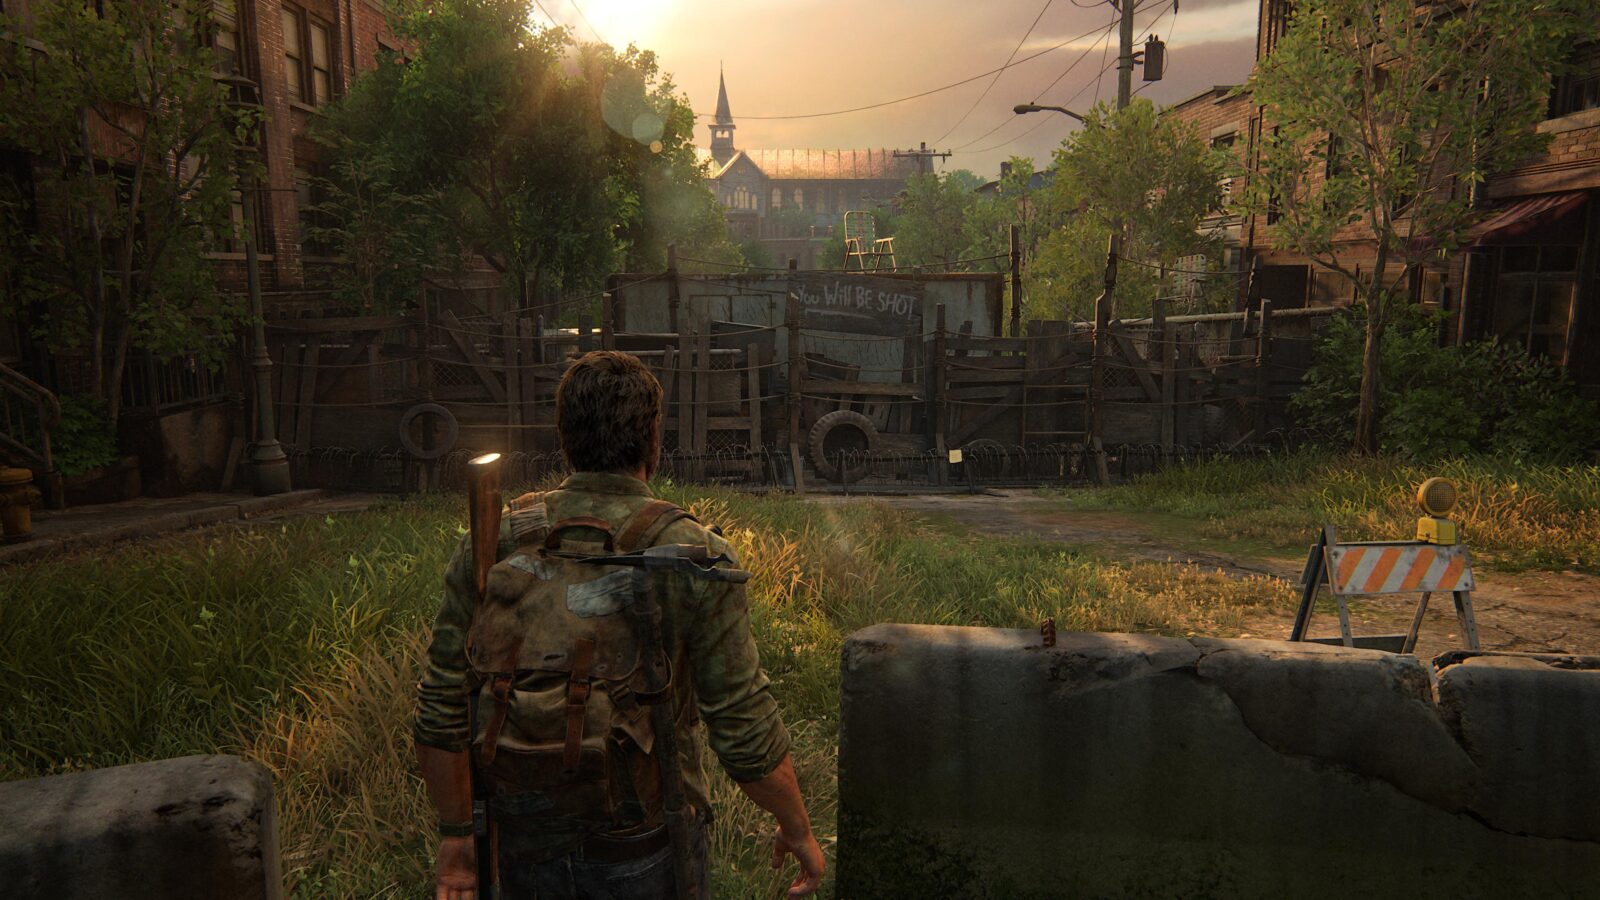
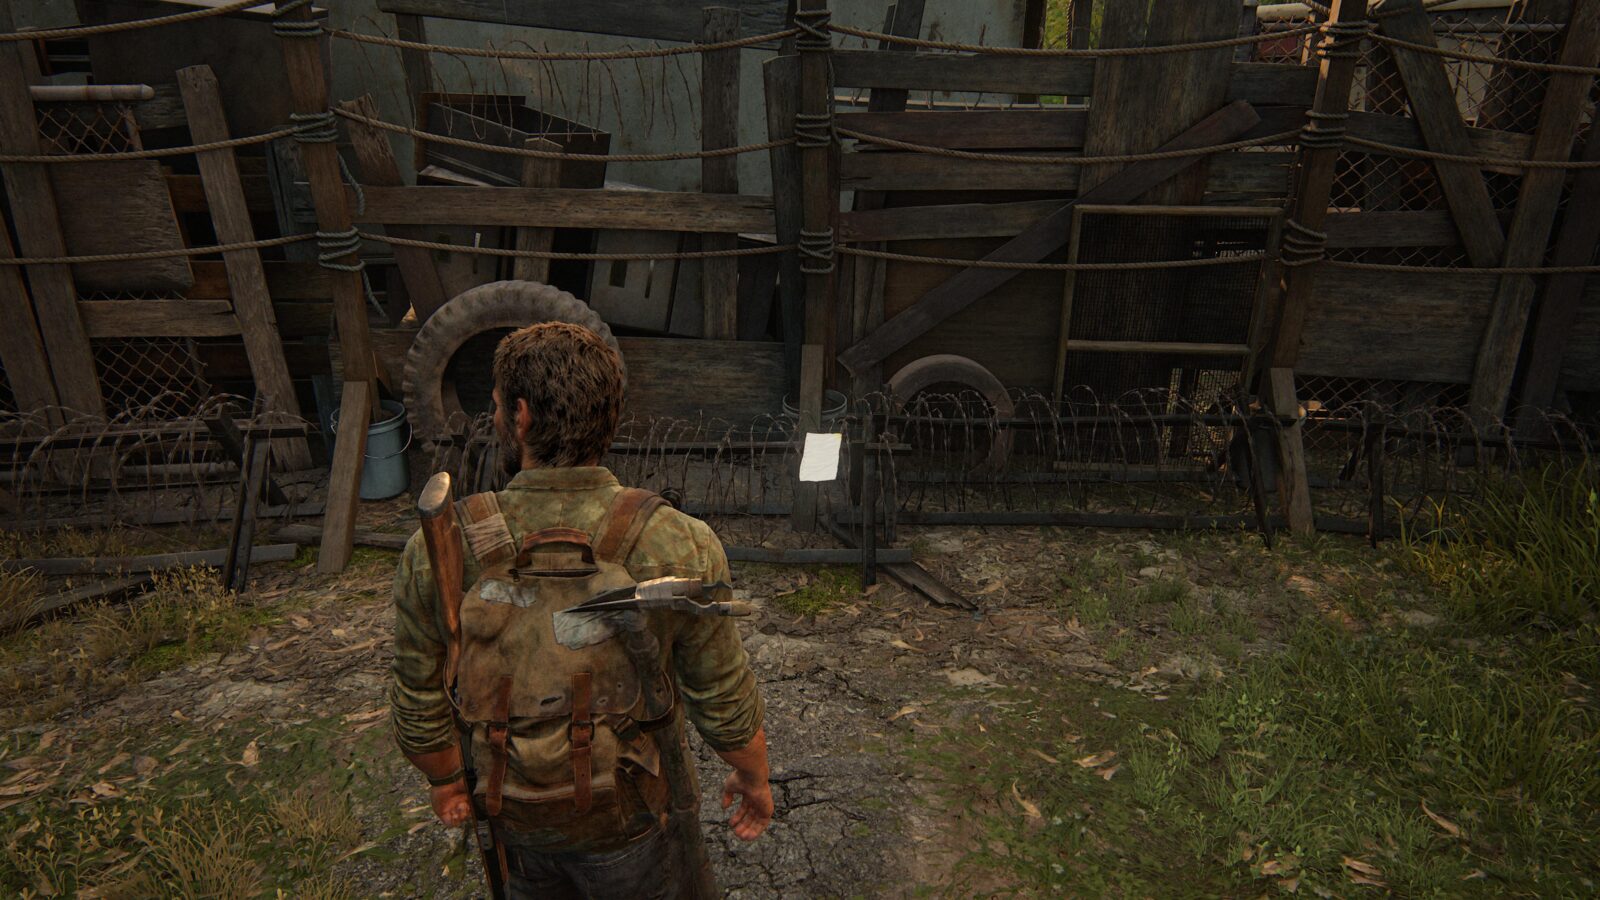
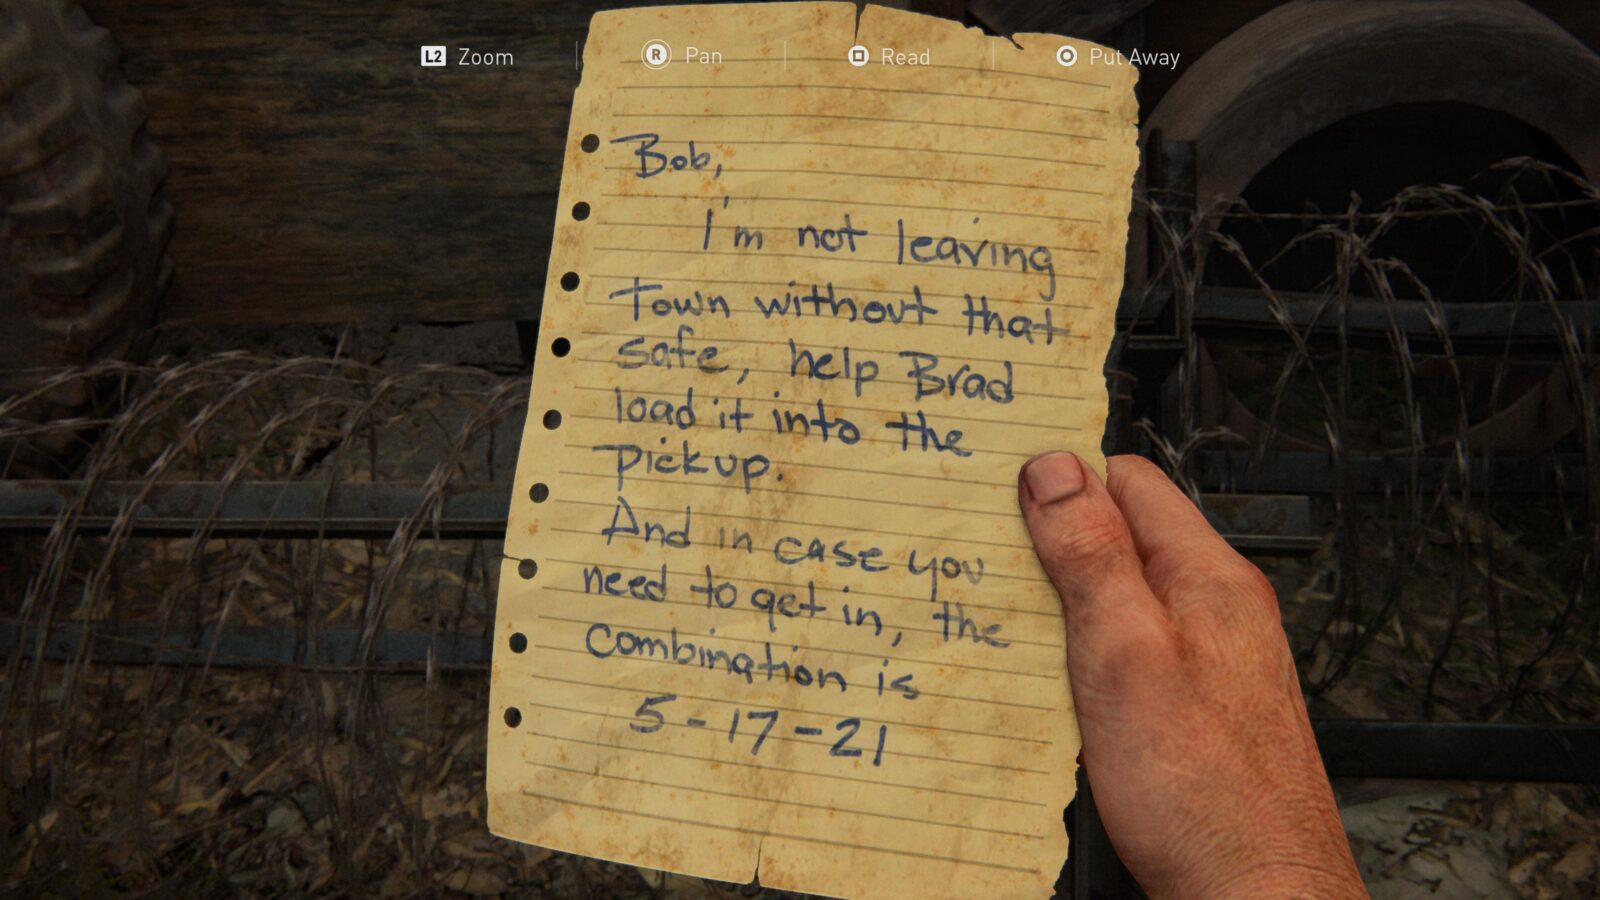
Artifact #18 Note to Bob – Leave the building with the arcade machine and run all the way down to the bottom of the street where the “You will be shot” sign is. On the makeshift wall is a note (this will reveal the code for the safe in the area).
Firefly Pendant #8 Hui Wang 000197 – Turn around and climb the RV from the front. On the roof at the back end of the RV is a pendant.

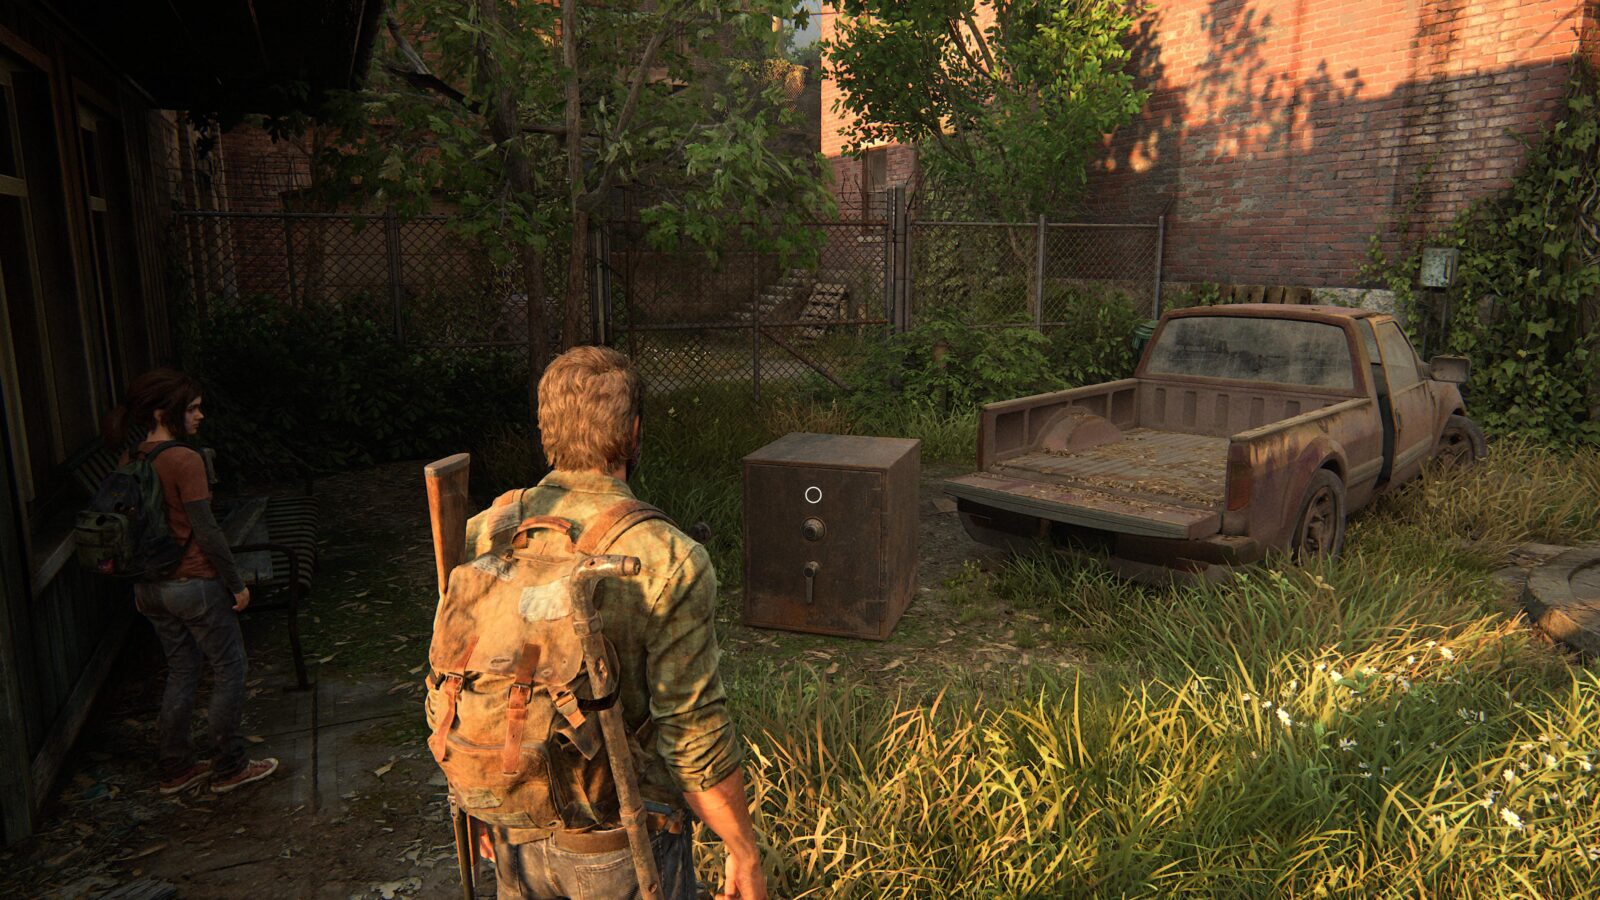
Safe #2 – Keep backtracking up the street while keeping an eye out on the left—just beyond the evacuation notice sign—for a pickup truck. Just behind the truck on the ground is a safe. The code is 05-17-21.
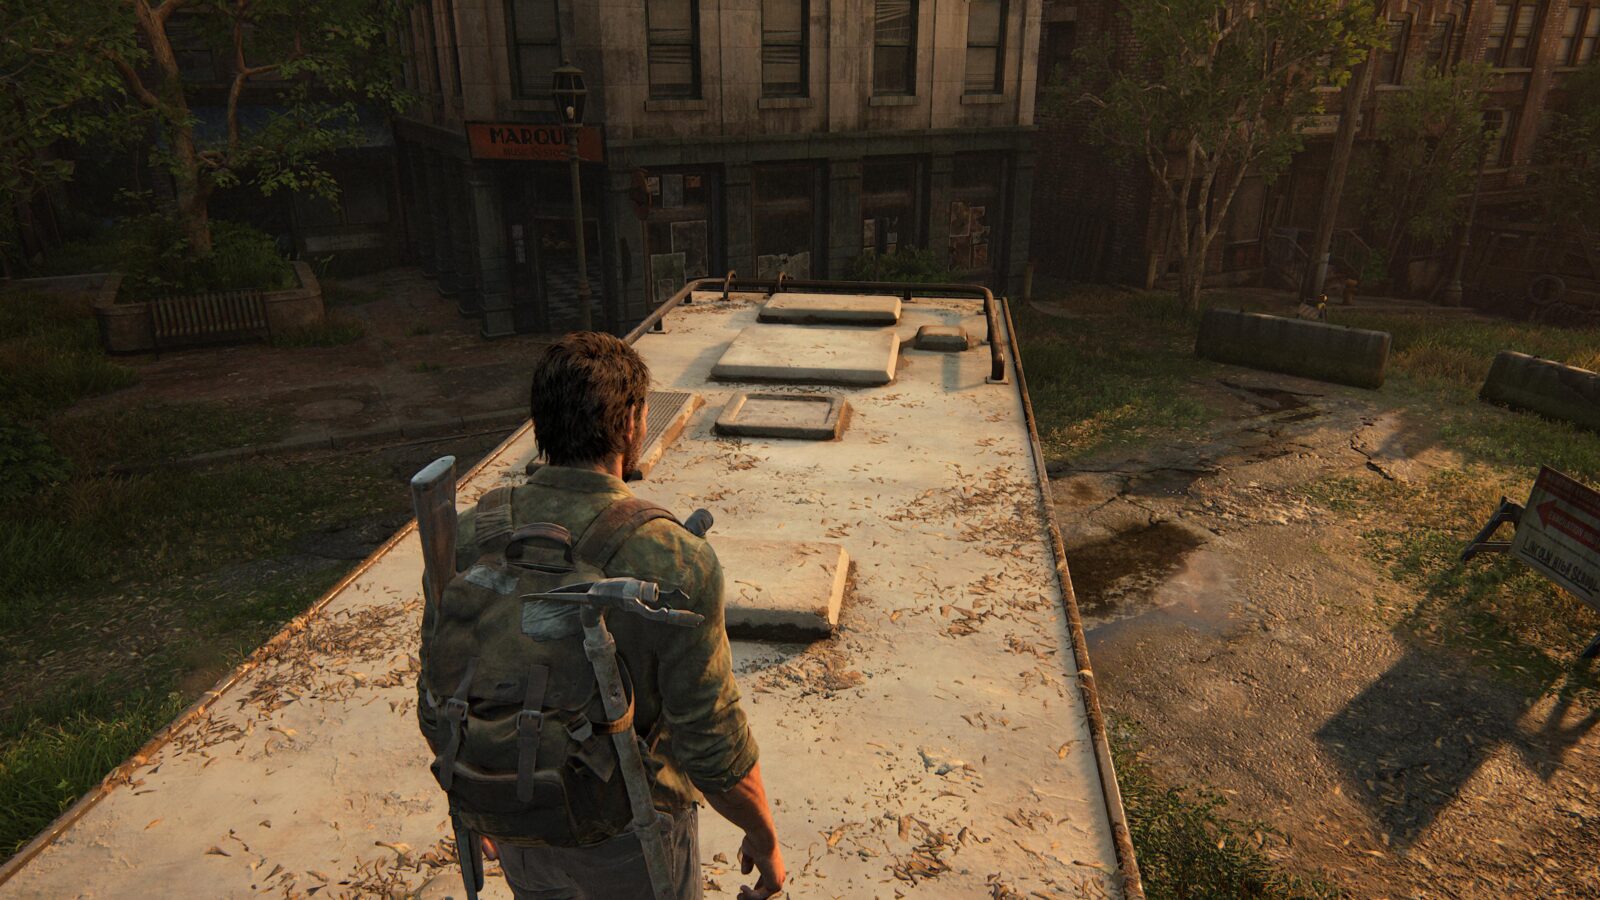
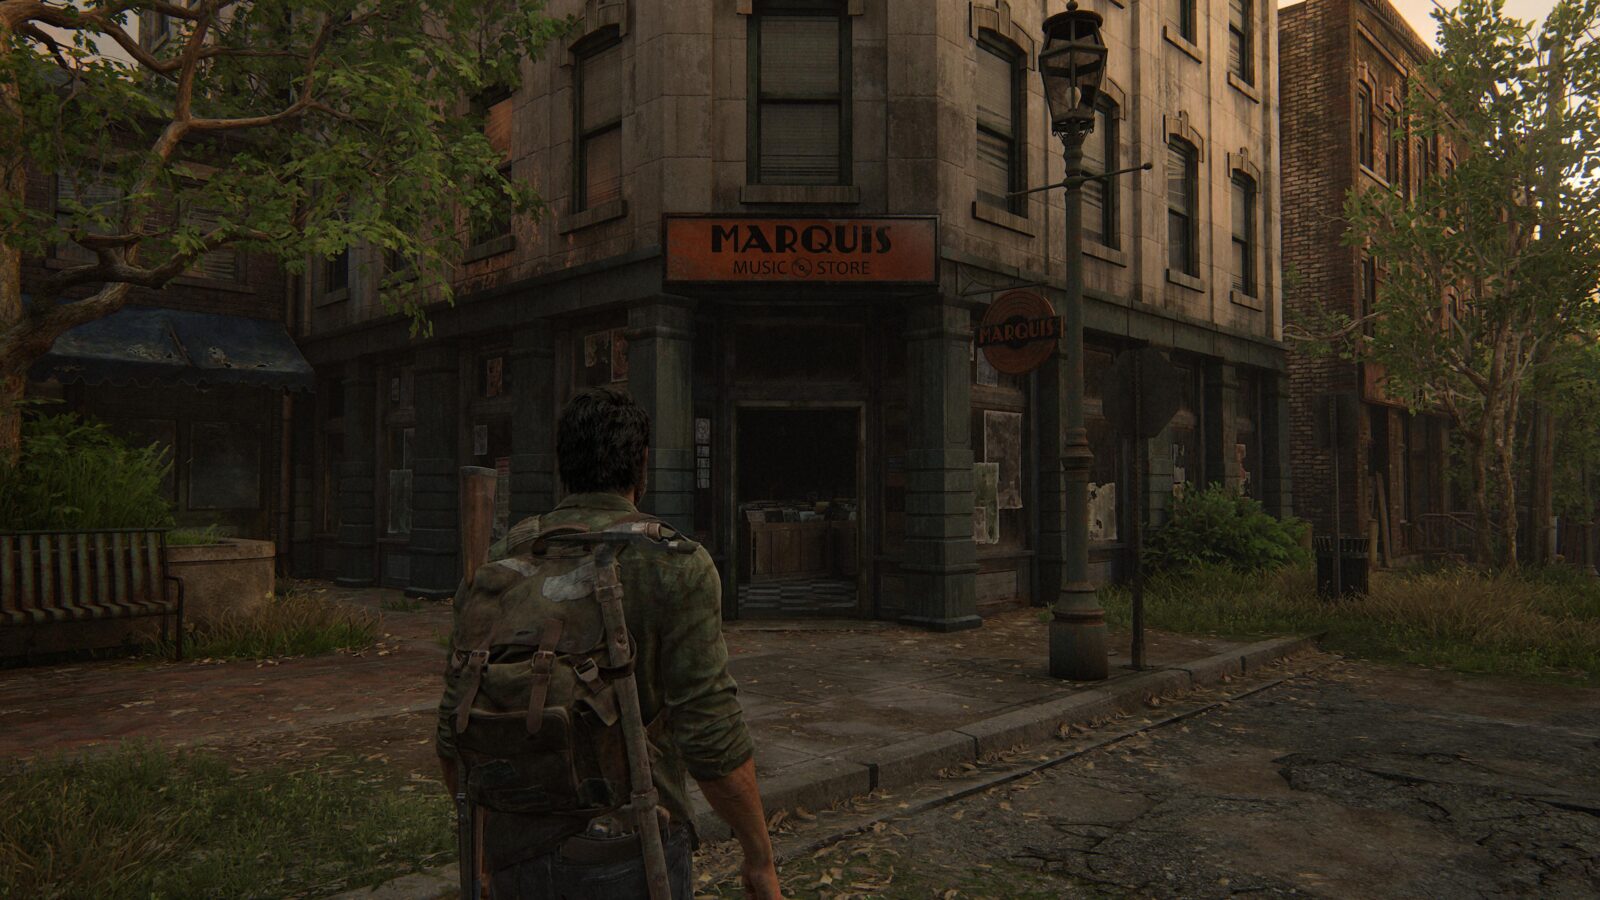
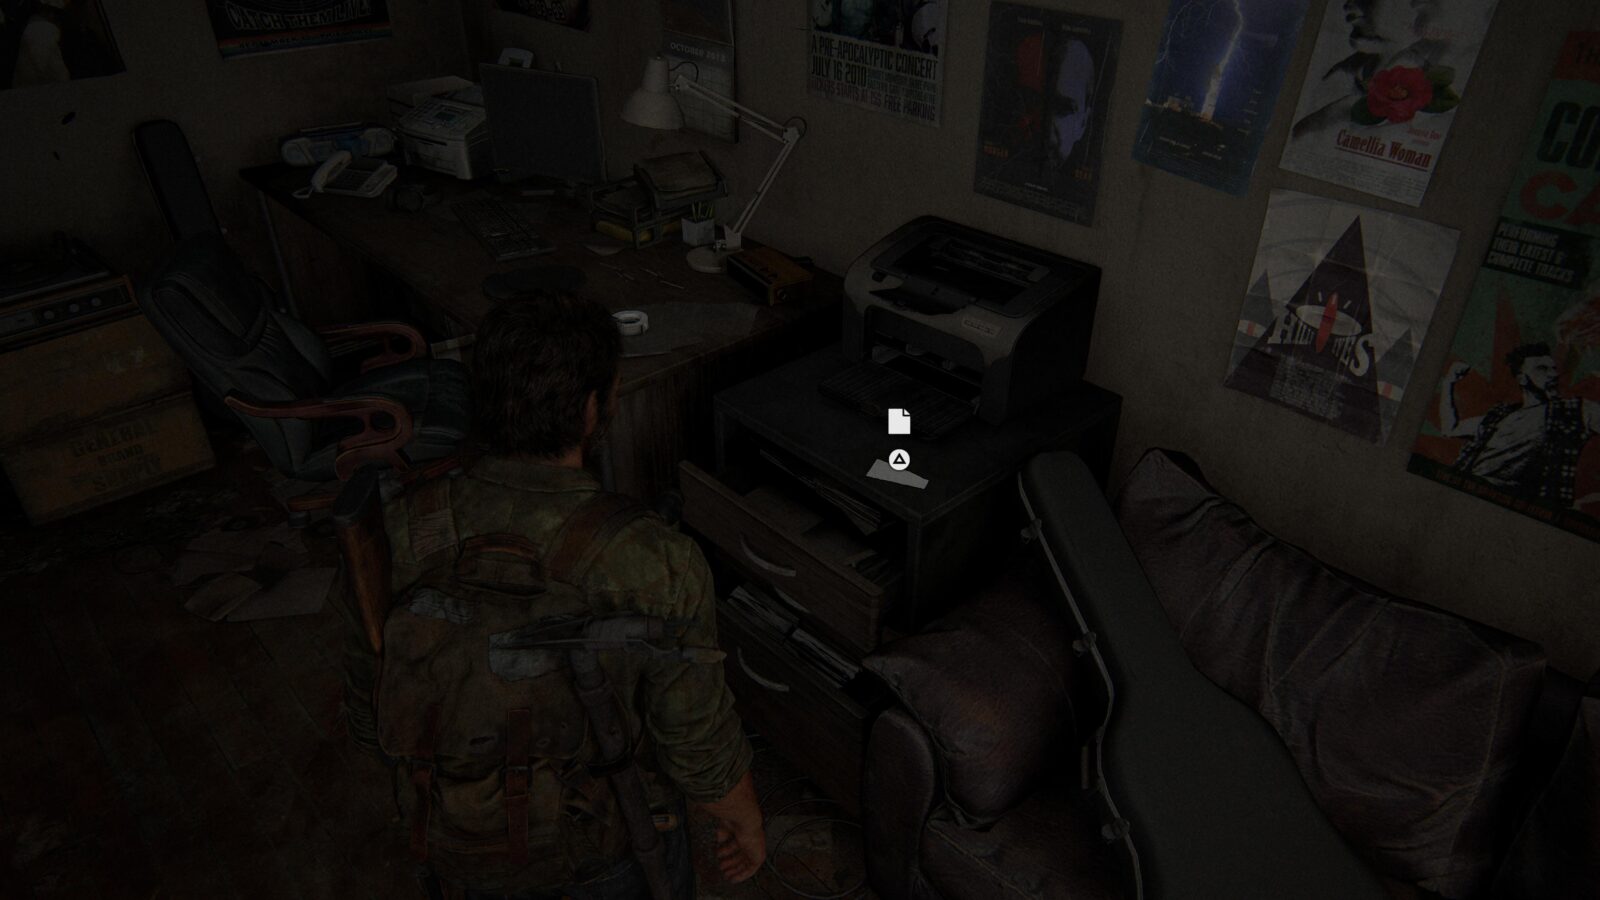
Artifact #19 Perimeter Note – Head into the “Marquis Music Store” opposite the RV you climbed earlier and search the back office for a note.
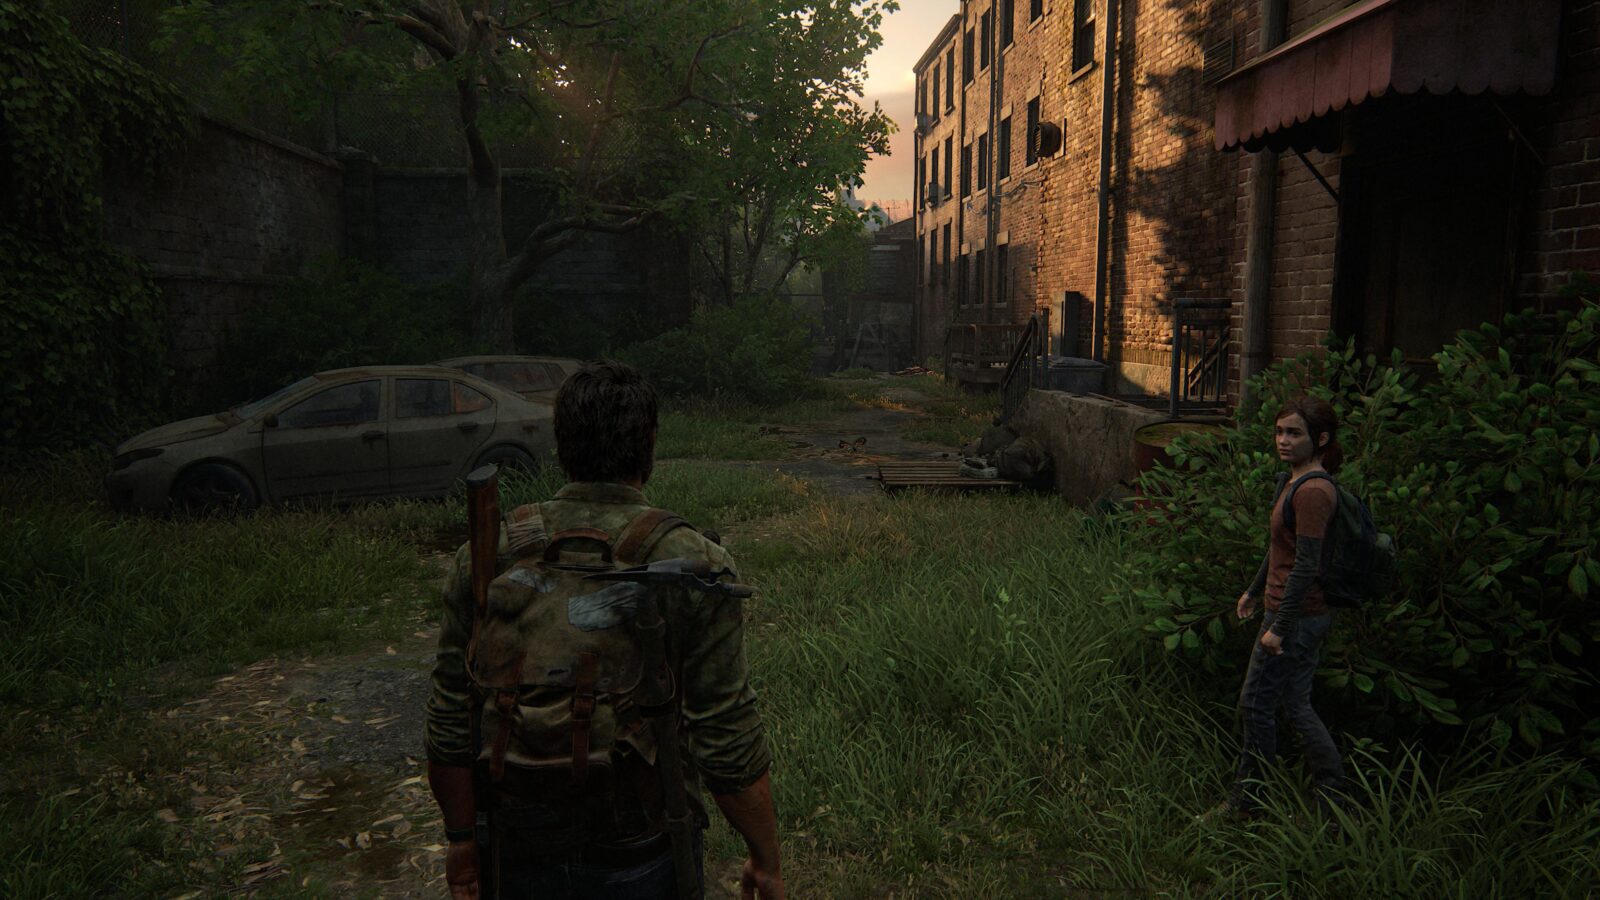
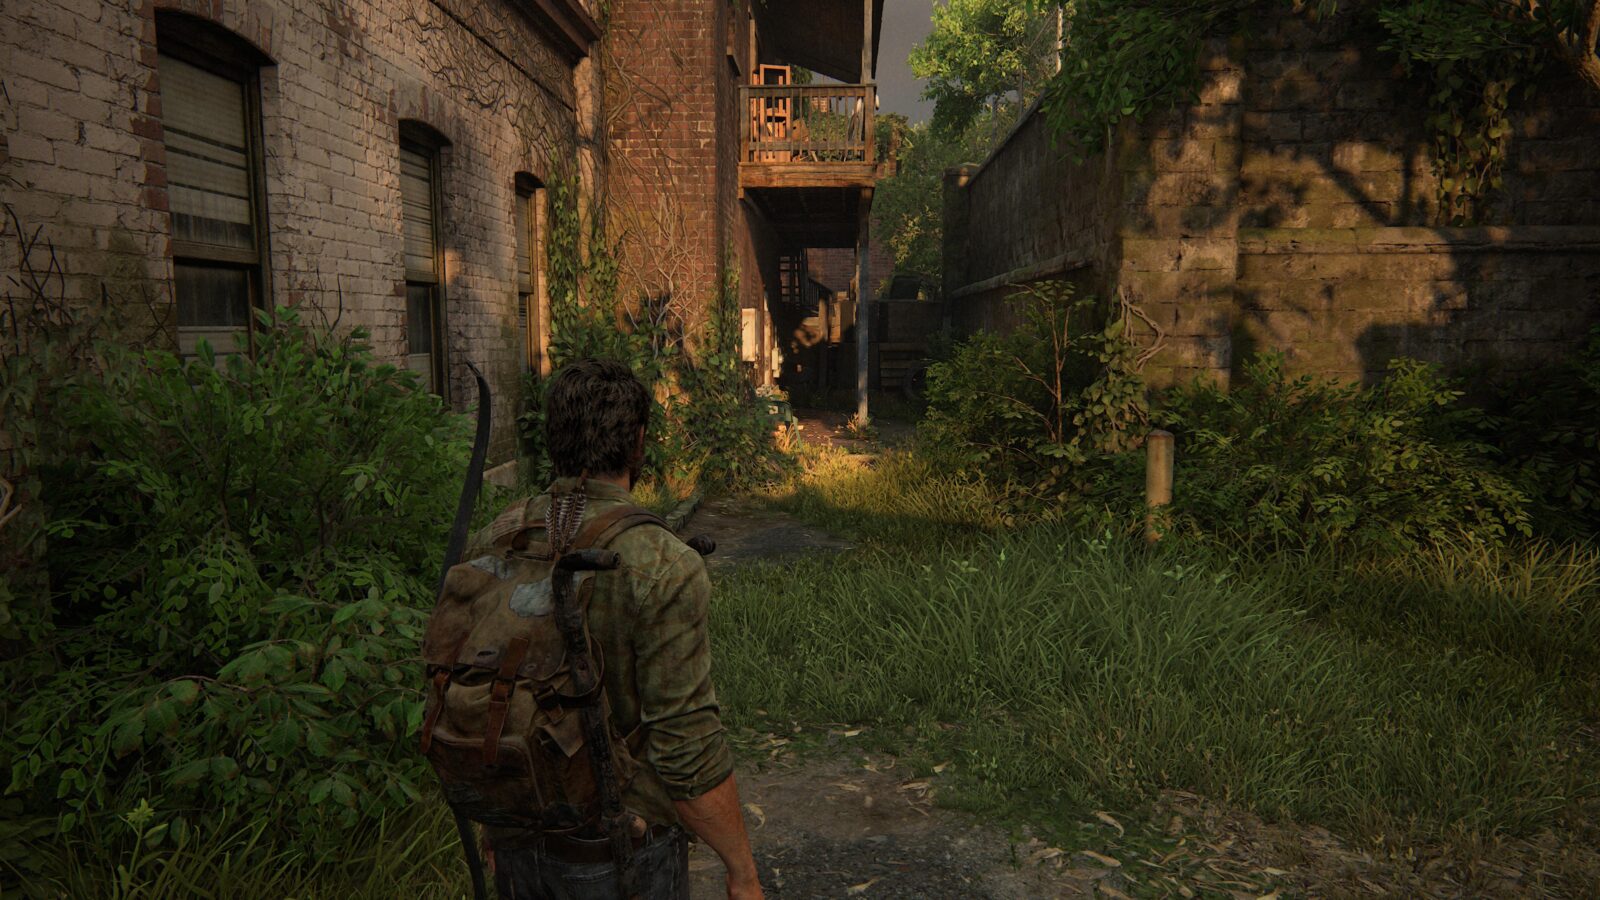
Shiv Door #4 – Leave the music store and head down the alley next to it to get behind the stores. A clicker will run into a trap killing itself. In the back alley you can find a door on your right up a small set of stairs. You can use your shiv to unlock it.

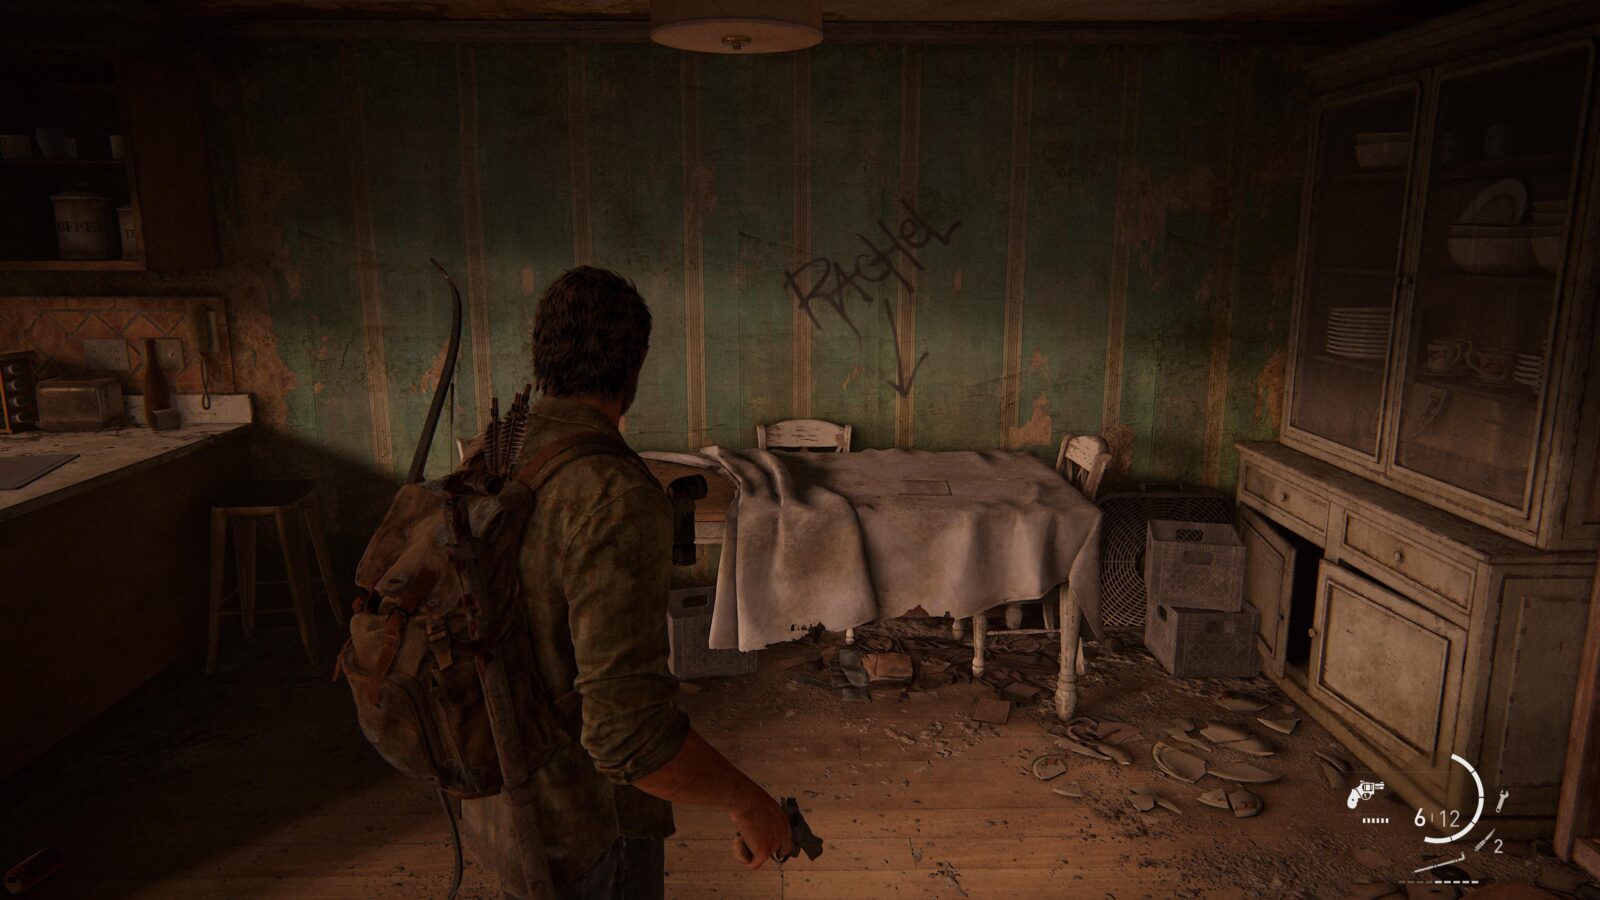
Artifact #20 Note to Rachel – Once you get down from the rooftops and duck under a tripwire, head left to find a door. Go inside and enter the living room where you will be attacked by a Runner. After dispatching it, look for a table with a note (the name “Rachel” will be written on the wall above it).
Safehouse
Progress towards Build Em Up, Break Em Down
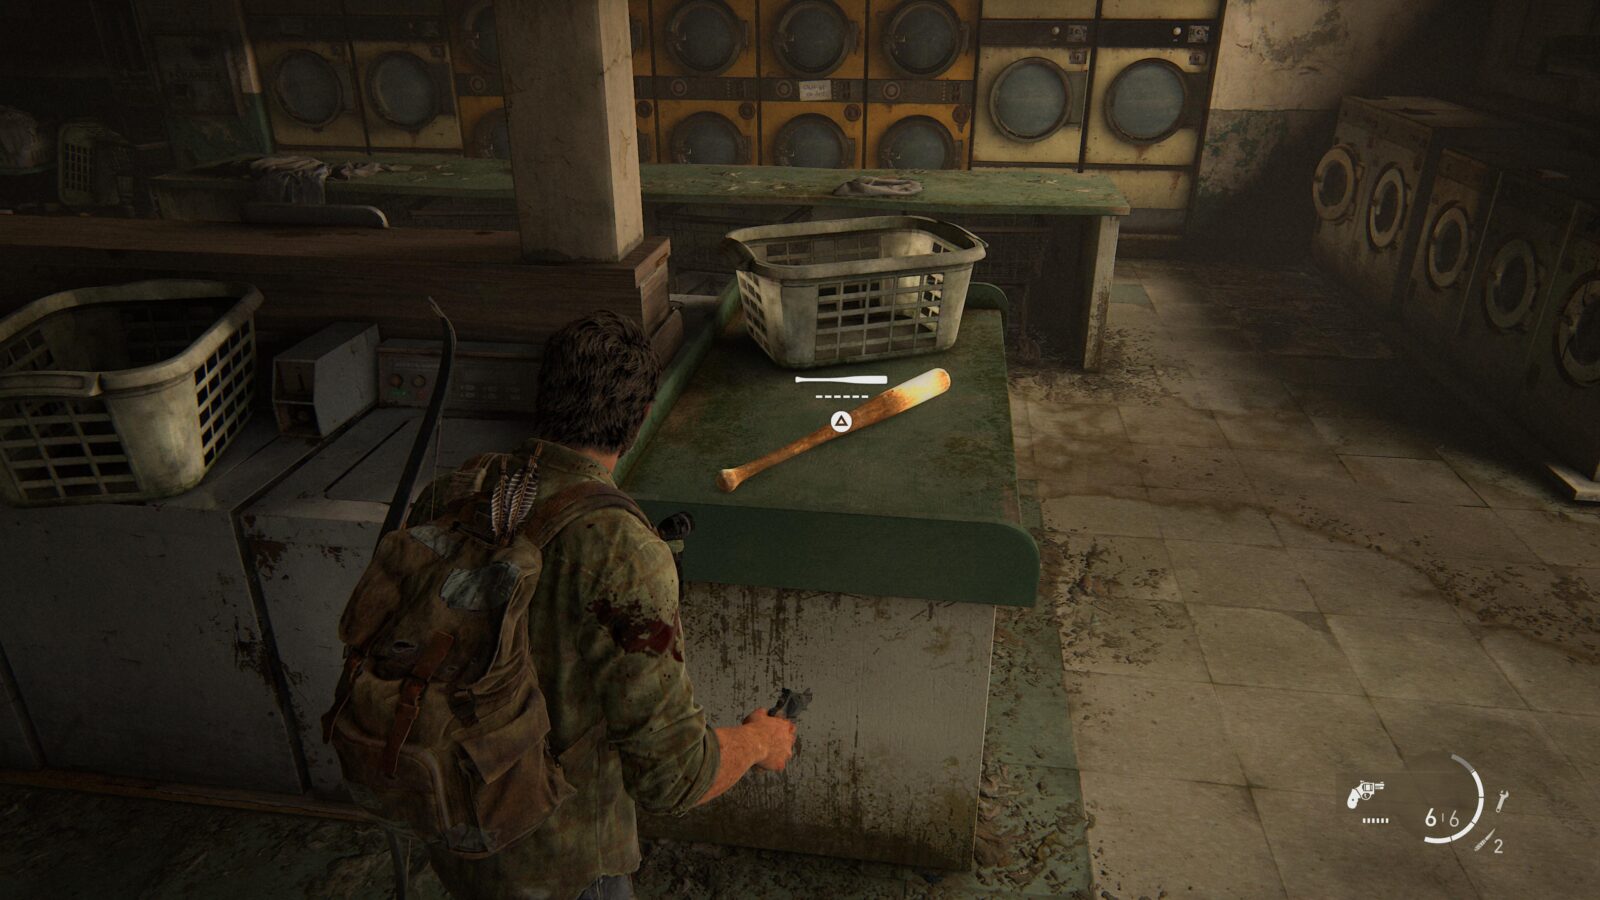
During the section where Bill, Joel, and Ellie are running from the infected the trio will end up in a laundromat. At the front of the laundromat is a Baseball Bat. Grab it, upgrade it, and make sure to use it until it breaks. Upgraded Melee Weapon Broken 2/5.
Artifact #21 Bill’s Map – As soon as you gain control of Joel again you can find Bill’s Map on a table to your right.
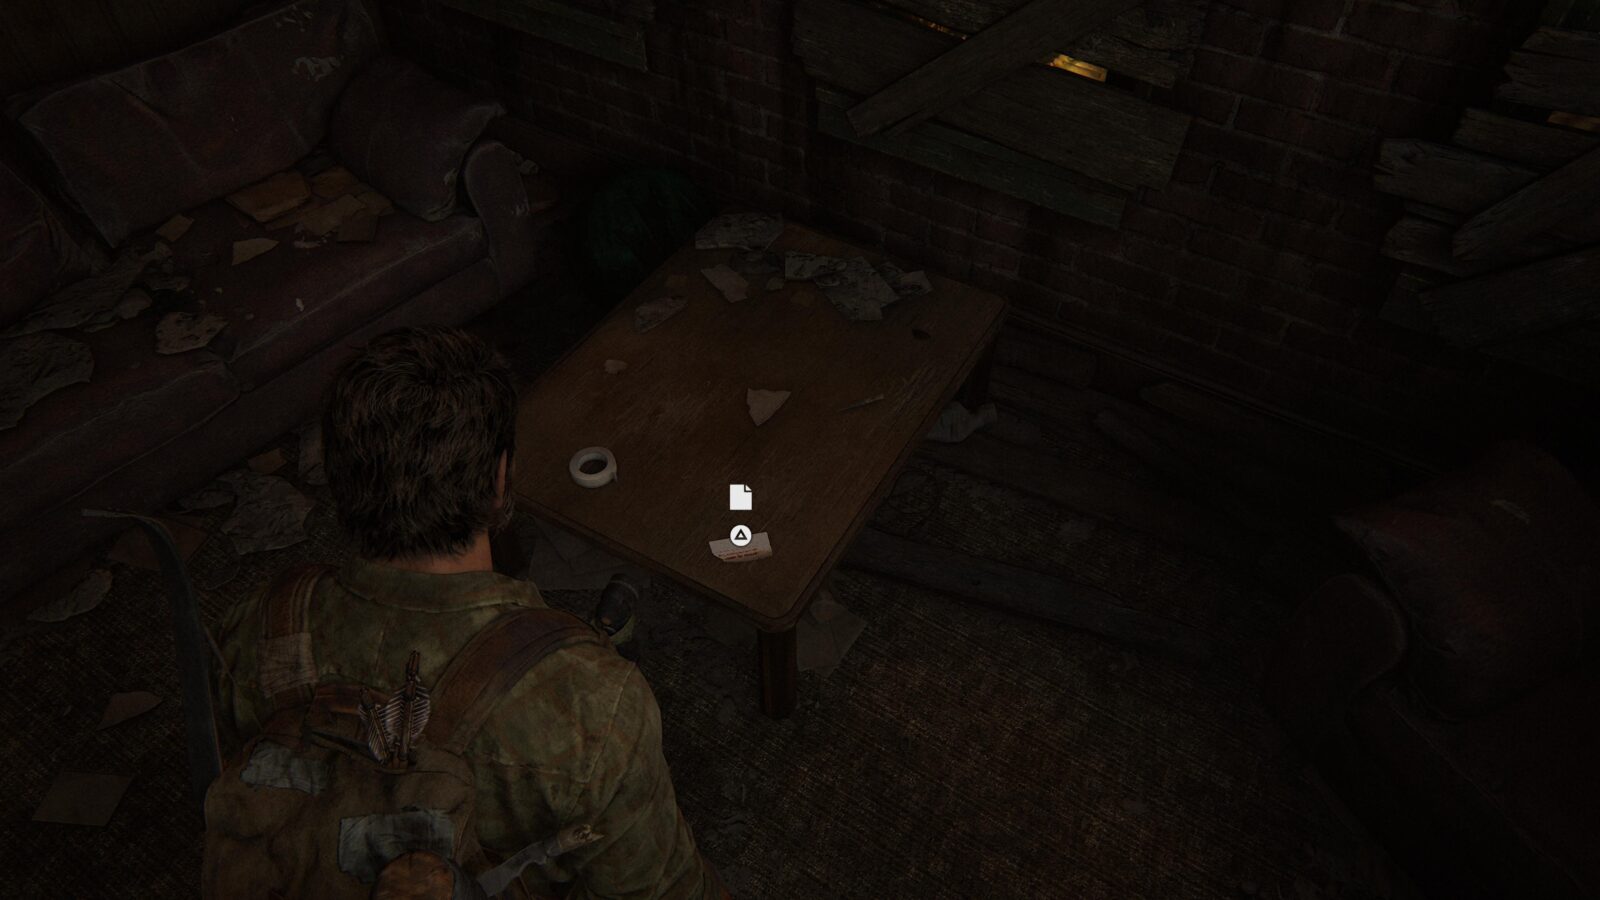
Artifact #22 Fences Note – In a room behind where Joel started is a room with a note inside.
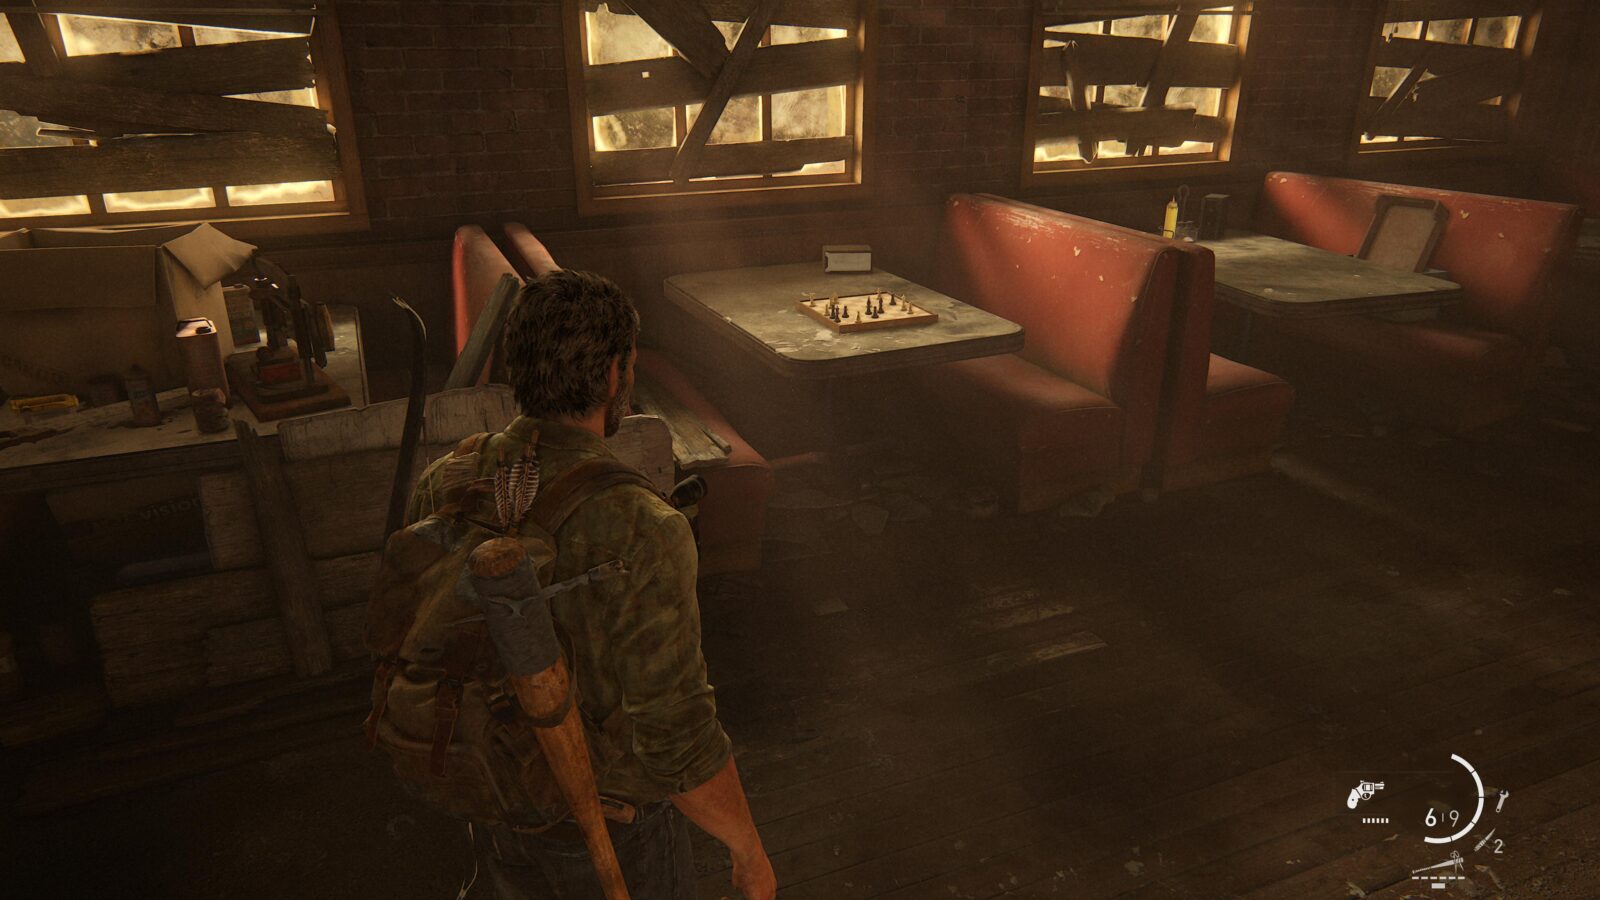
Optional Conversation #10 – Before leaving the bar, interact with the chessboard in one of the booths to initiate a conversation with Ellie.

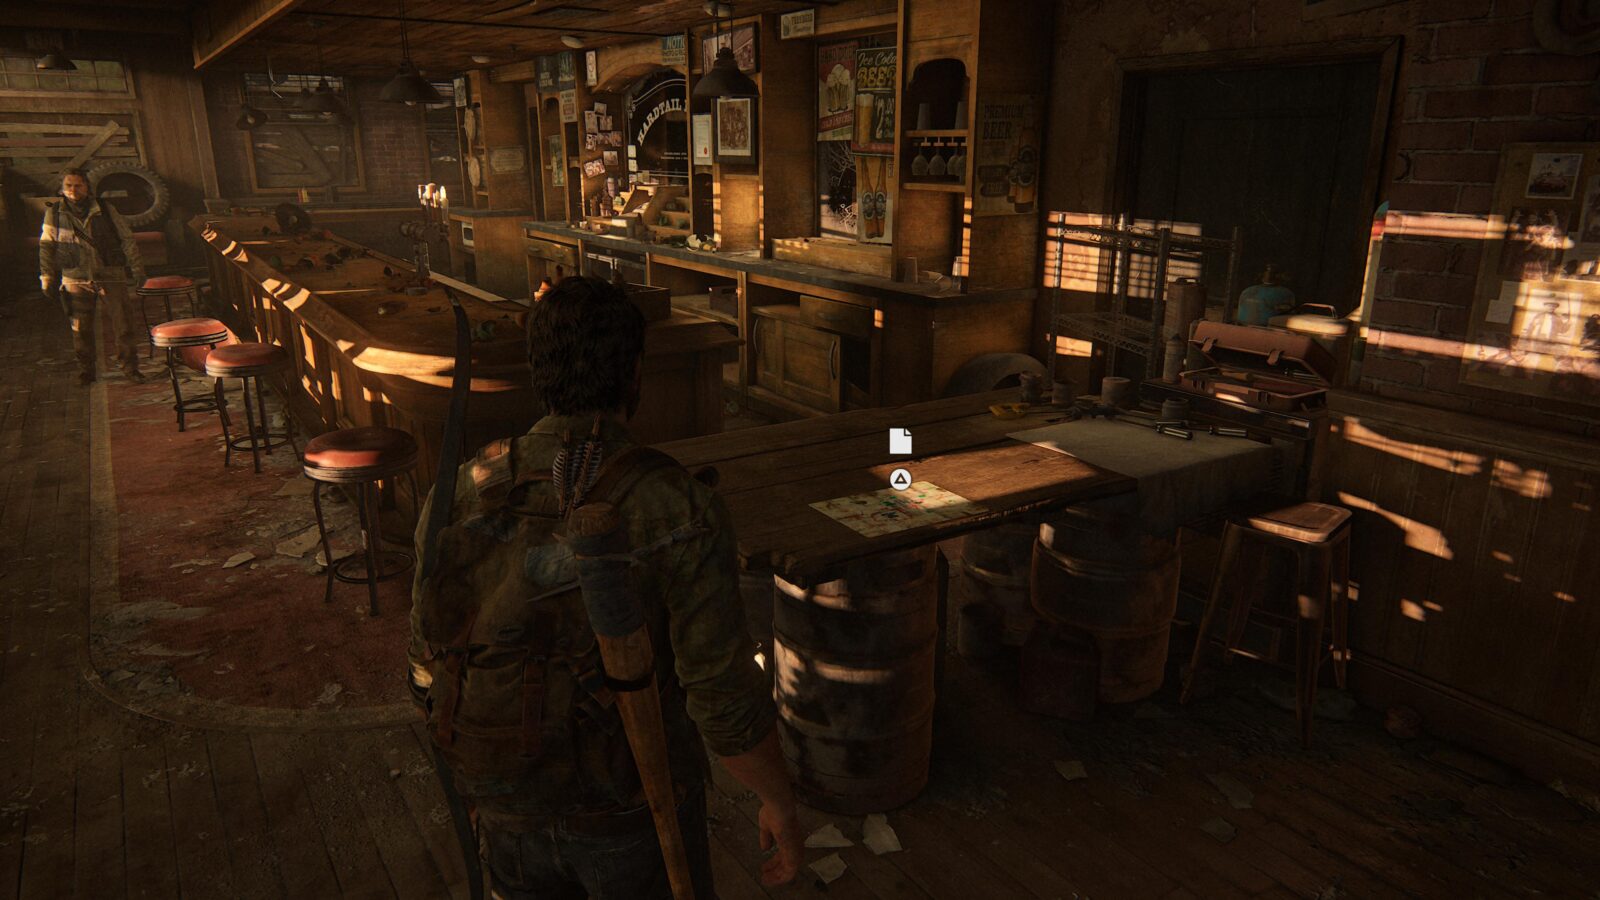
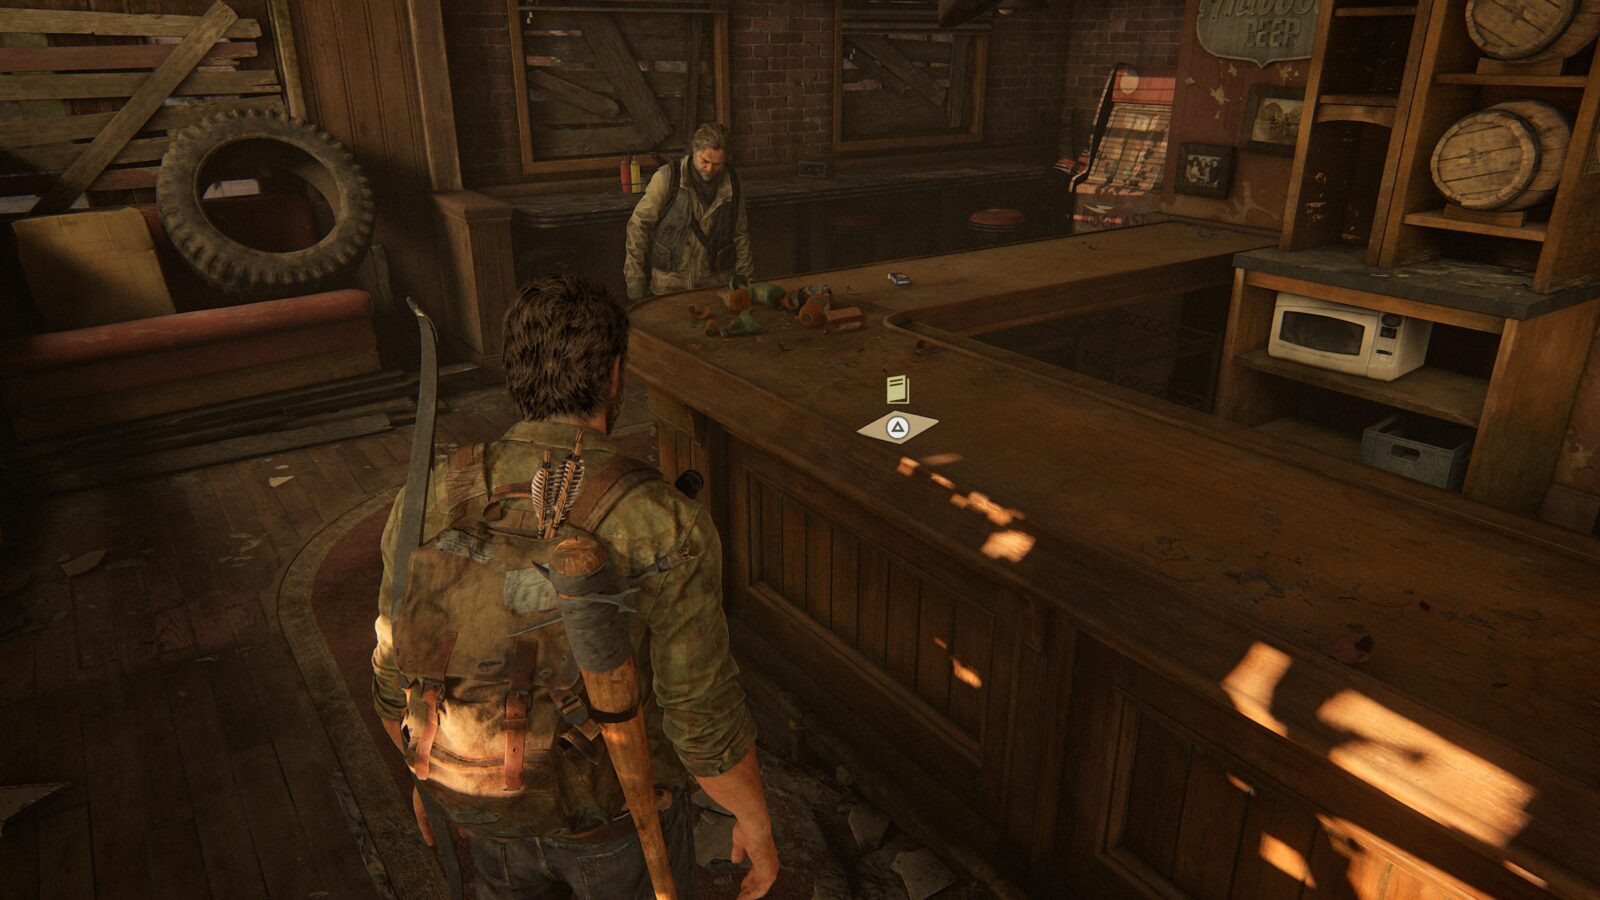
Training Manual #1 Shiv Sharpening – On the end of the bar where Bill is standing is a training manual.
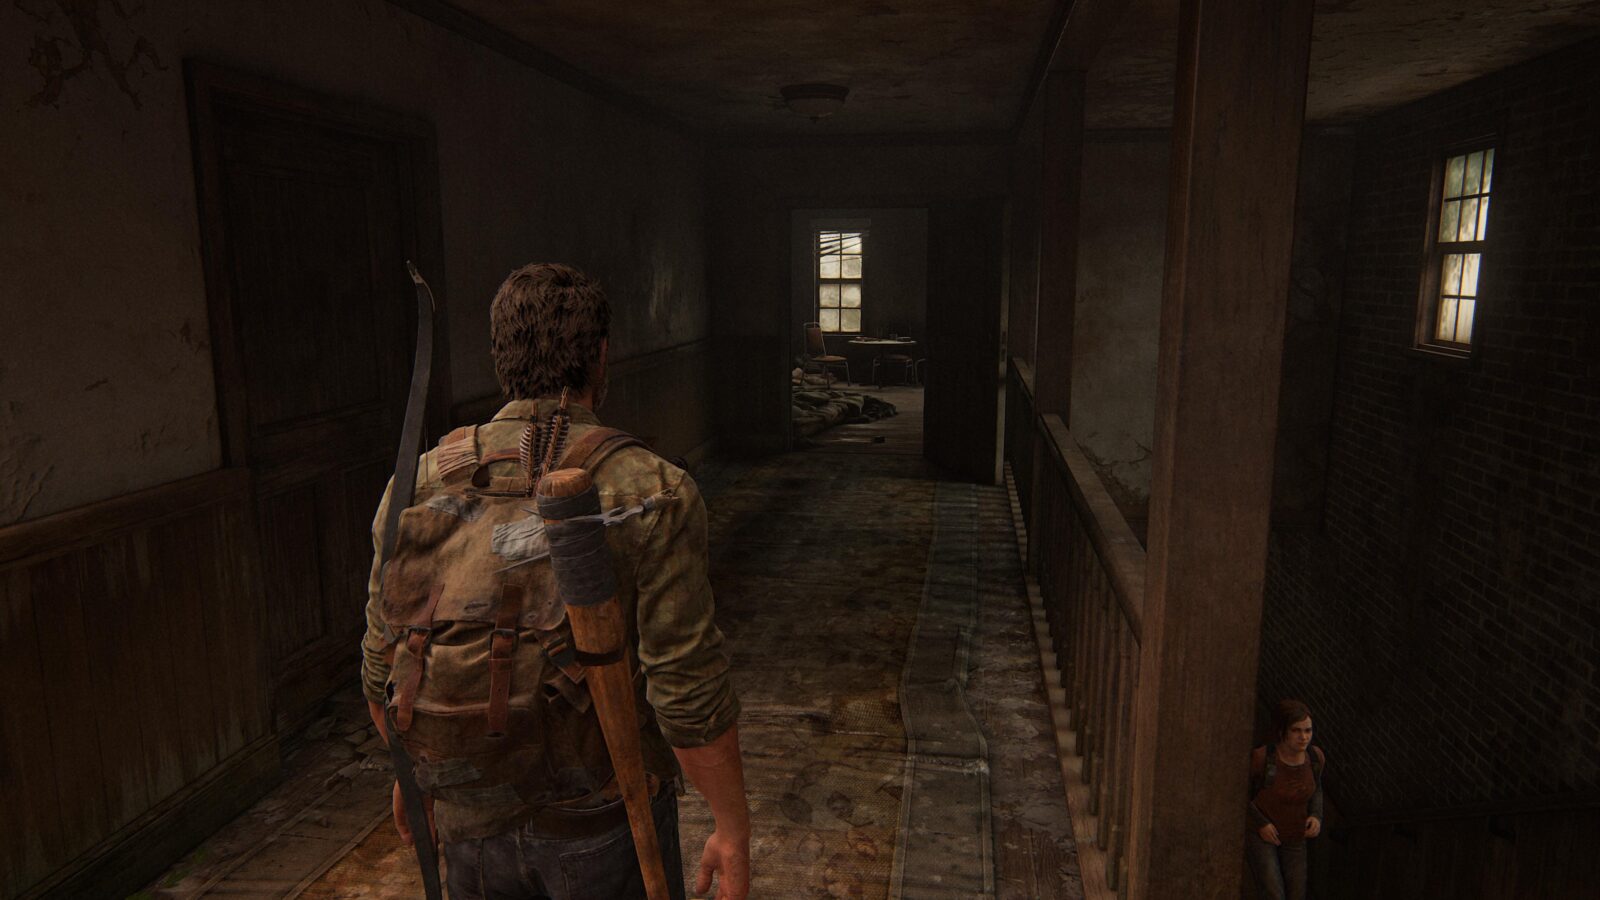
Artifact #23 Hunters Note – Turn 180° at the top of the stairs in the bar and search the room to find a note on a table.
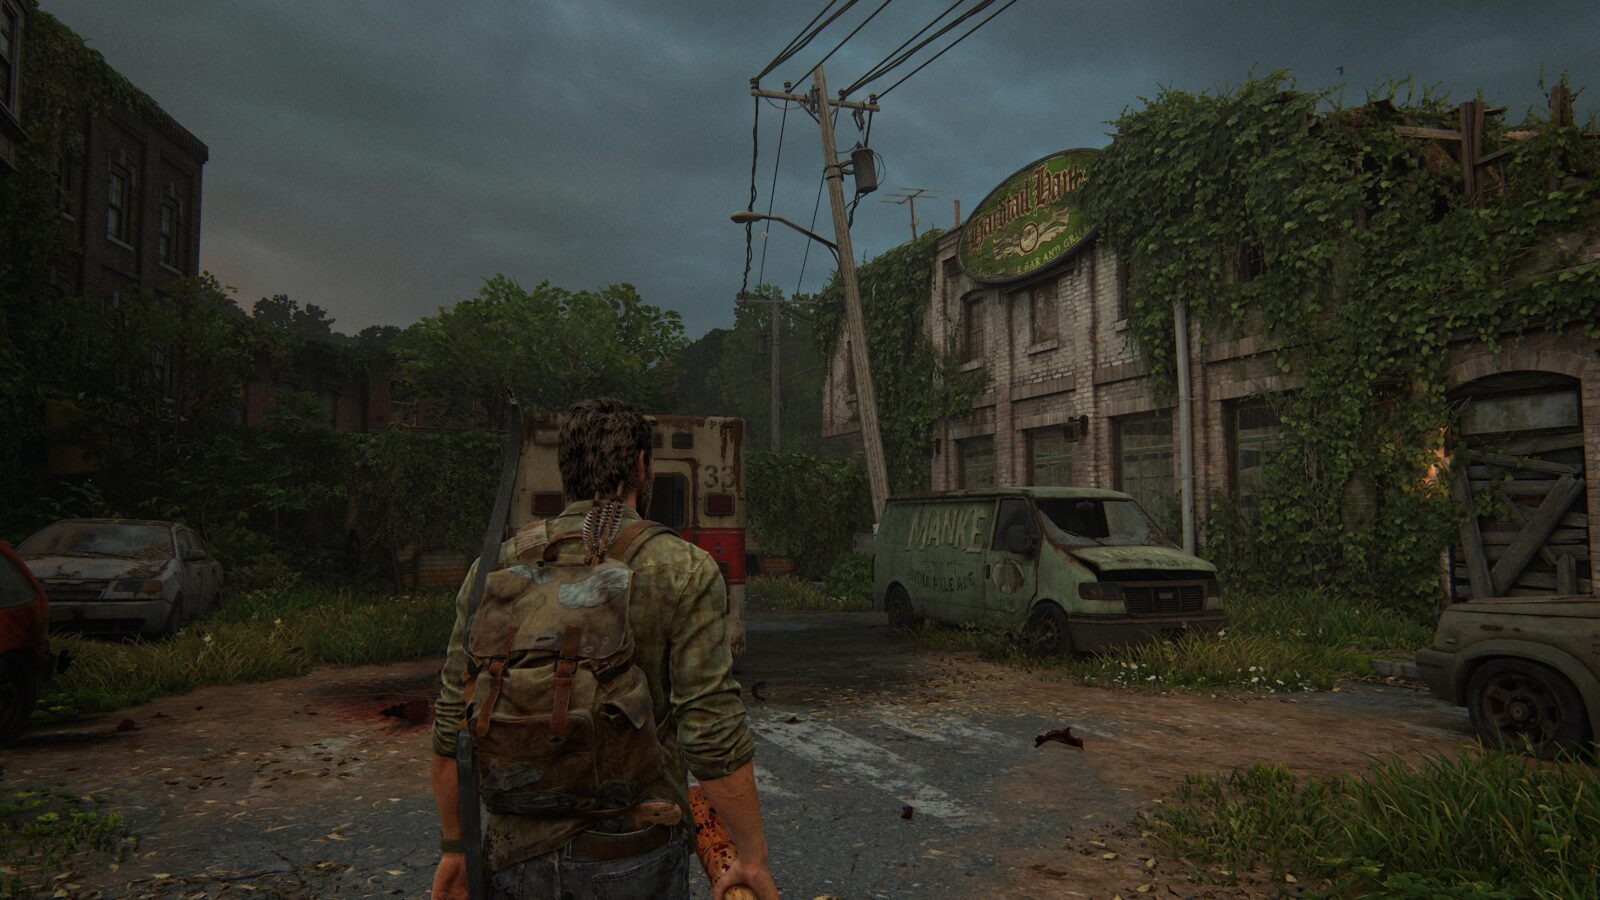
Firefly Pendant #9 Alex Raymond Vincent 000256 – After a combat encounter outside with several Runners and Clickers, look at the street light above the ambulance to find a pendant. Shoot it down, or better yet find a brick or bottle nearby and knock the pendant down—no need to waste ammo.

Graveyard
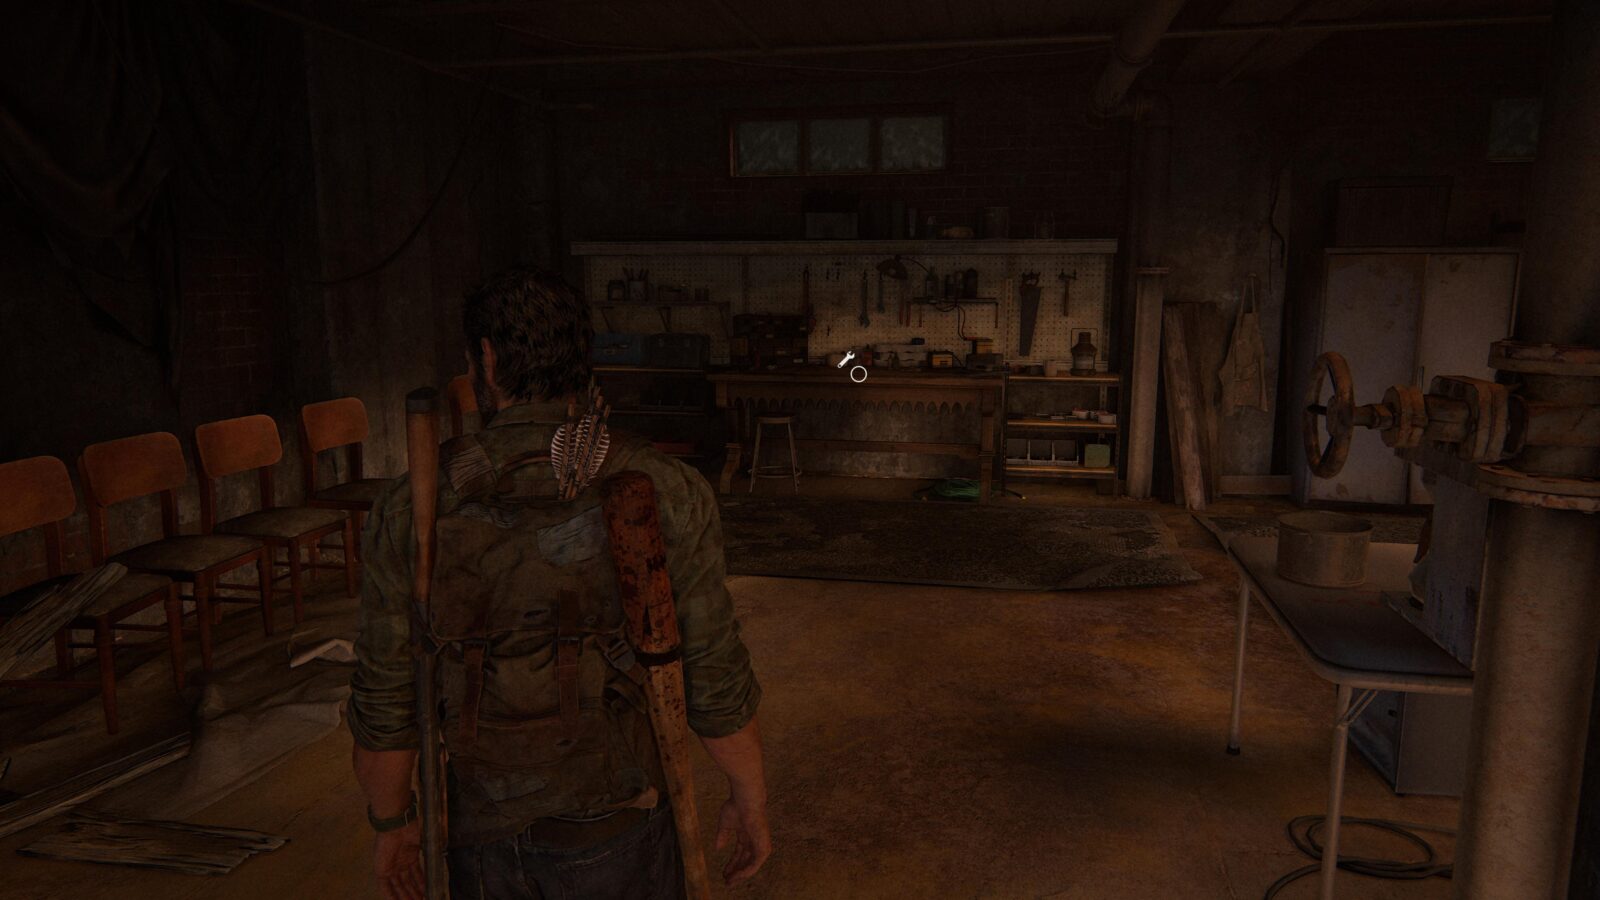
Workbench Tool #1 – To the left of where Bill shows Joel the Nail Bomb is a small alcove with a Workbench Tool on a table in the corner.

Workbench #2 – At the very back of the room is a workbench where you can try out your new Workbench Tool.
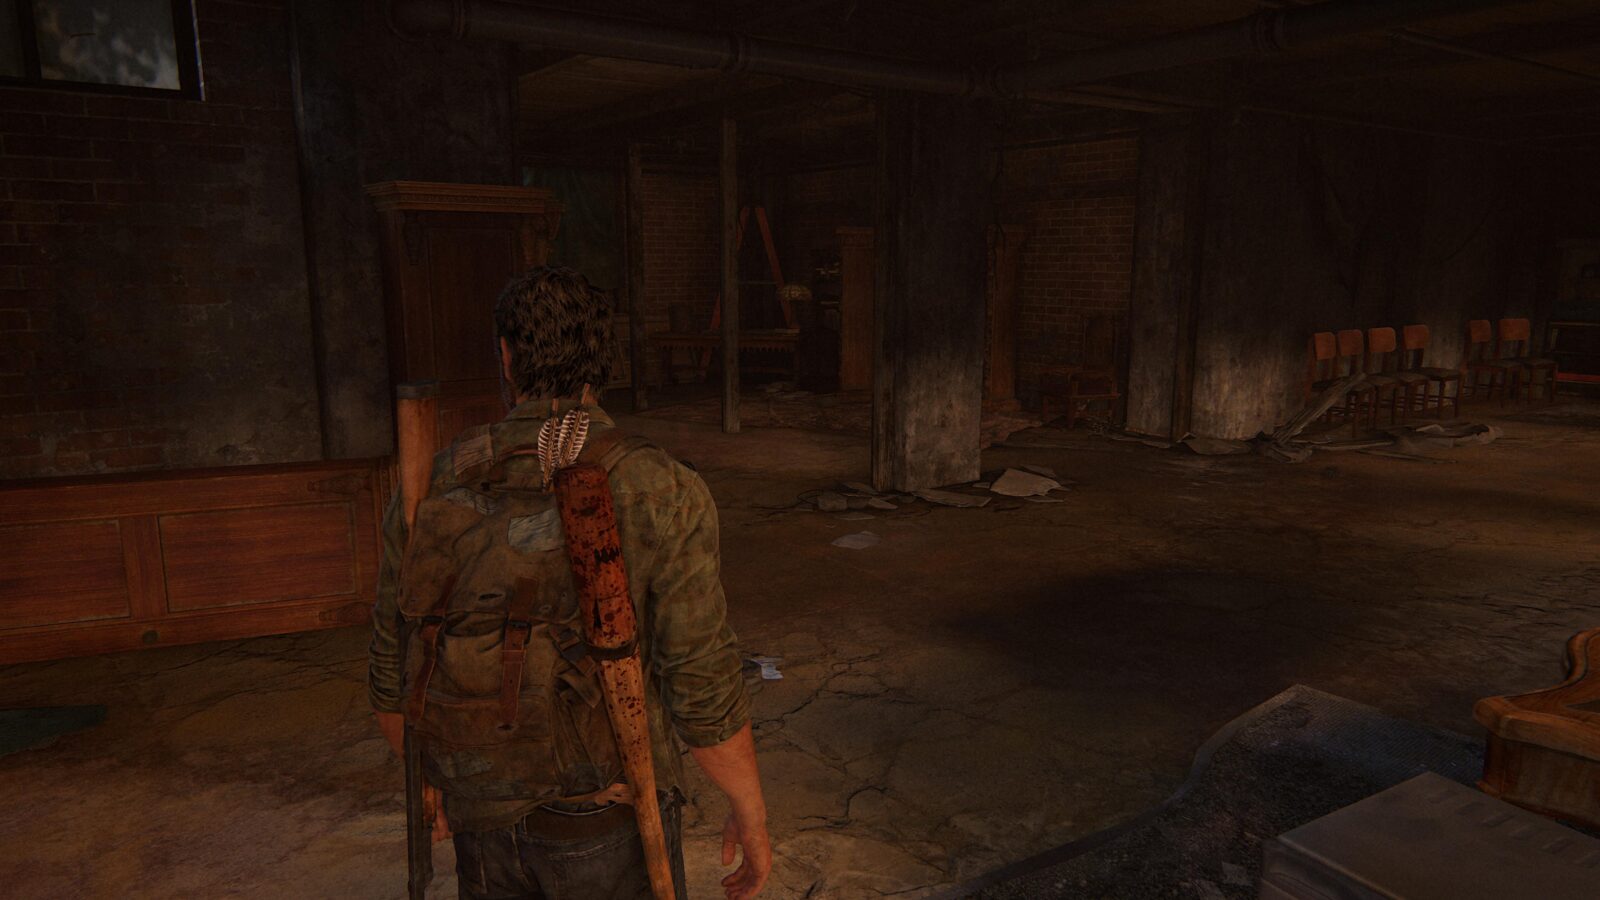
Artifact #24 Bombs Note – Head upstairs into the Church and as you get to the altar turn right. Inside the room you see—Bill’s Room to be exact—is a note on a table.


Progress towards Build Em Up, Break Em Down
Just before Bill, Joel, and Ellie exit the Graveyard you can find a 2×4 on a stone bench by the stairs. Grab it, upgrade it, and use it until it breaks; you know the drill by now. Upgraded Melee Weapon Broken 3/5.
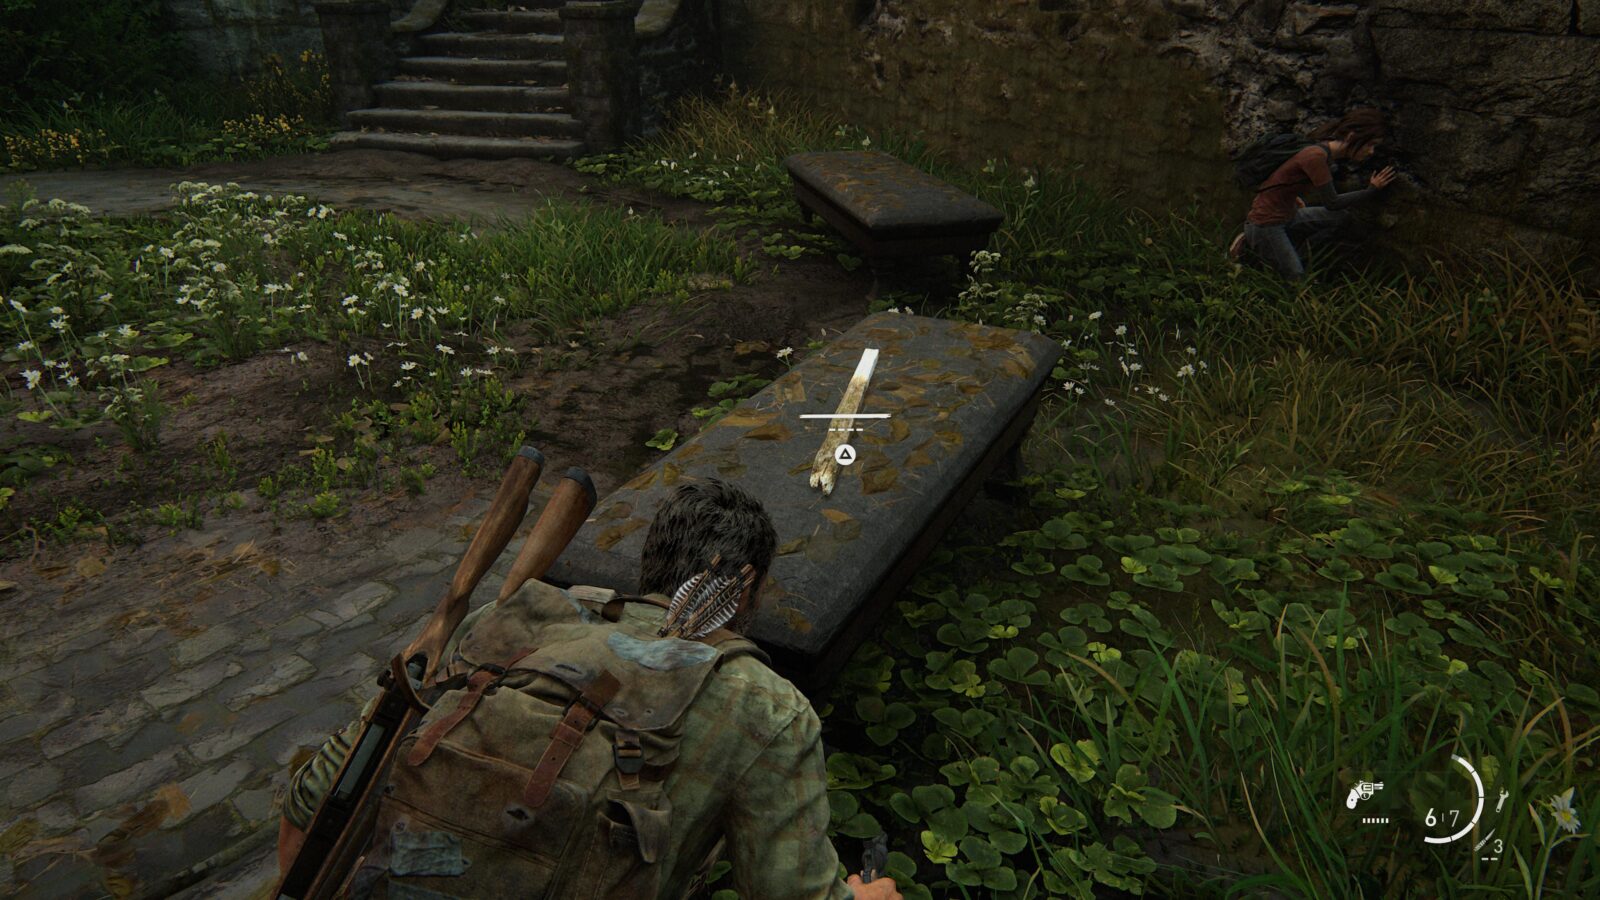
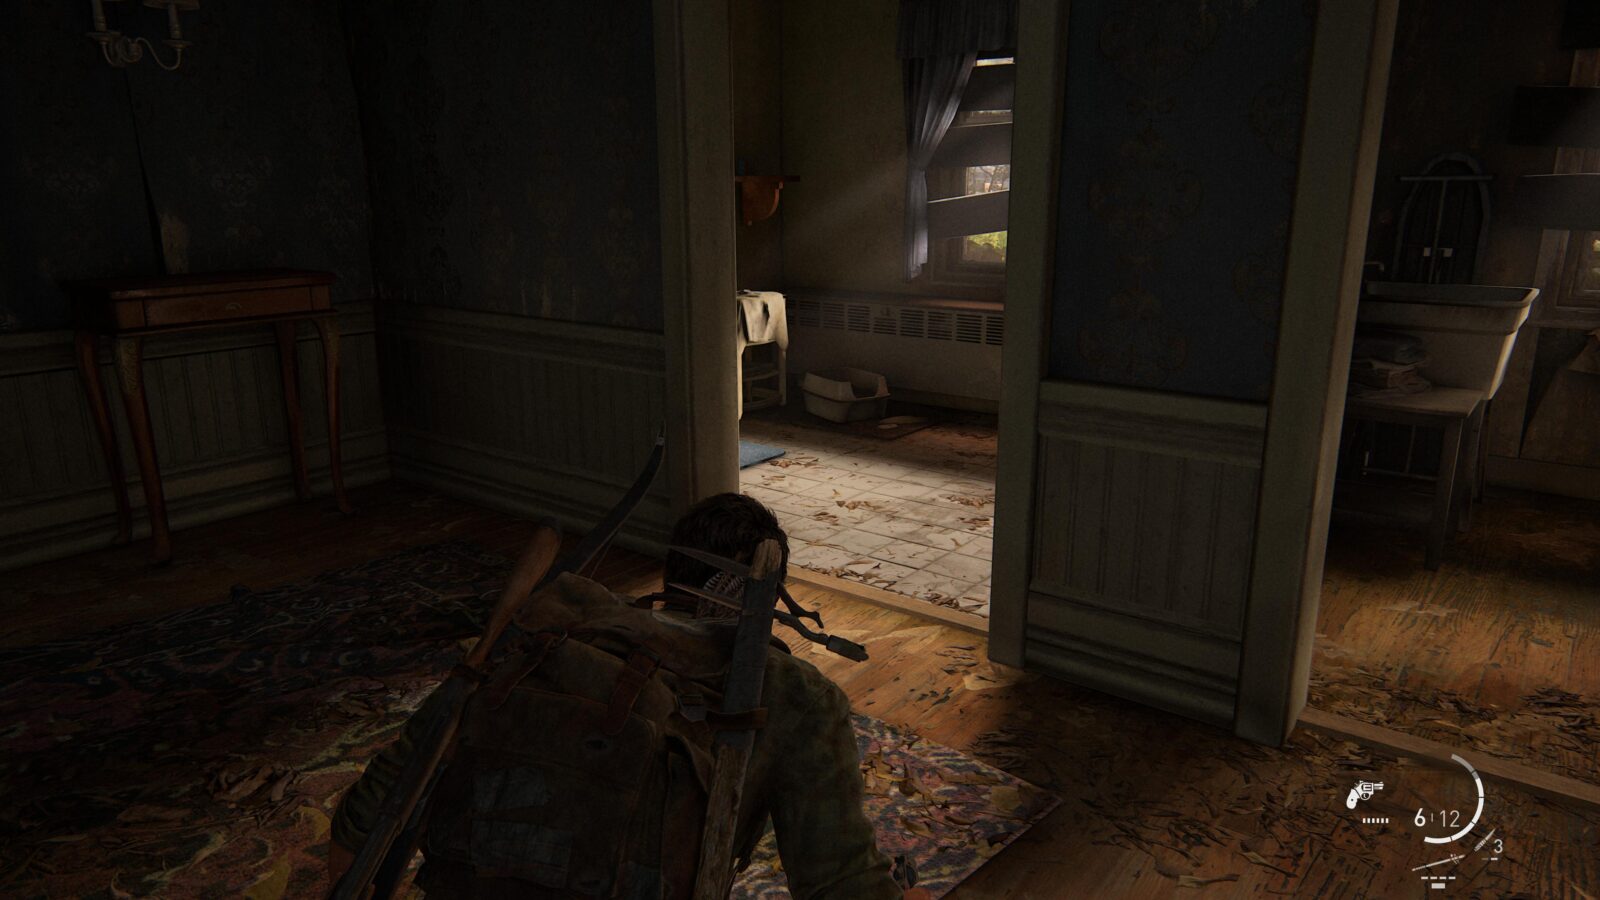
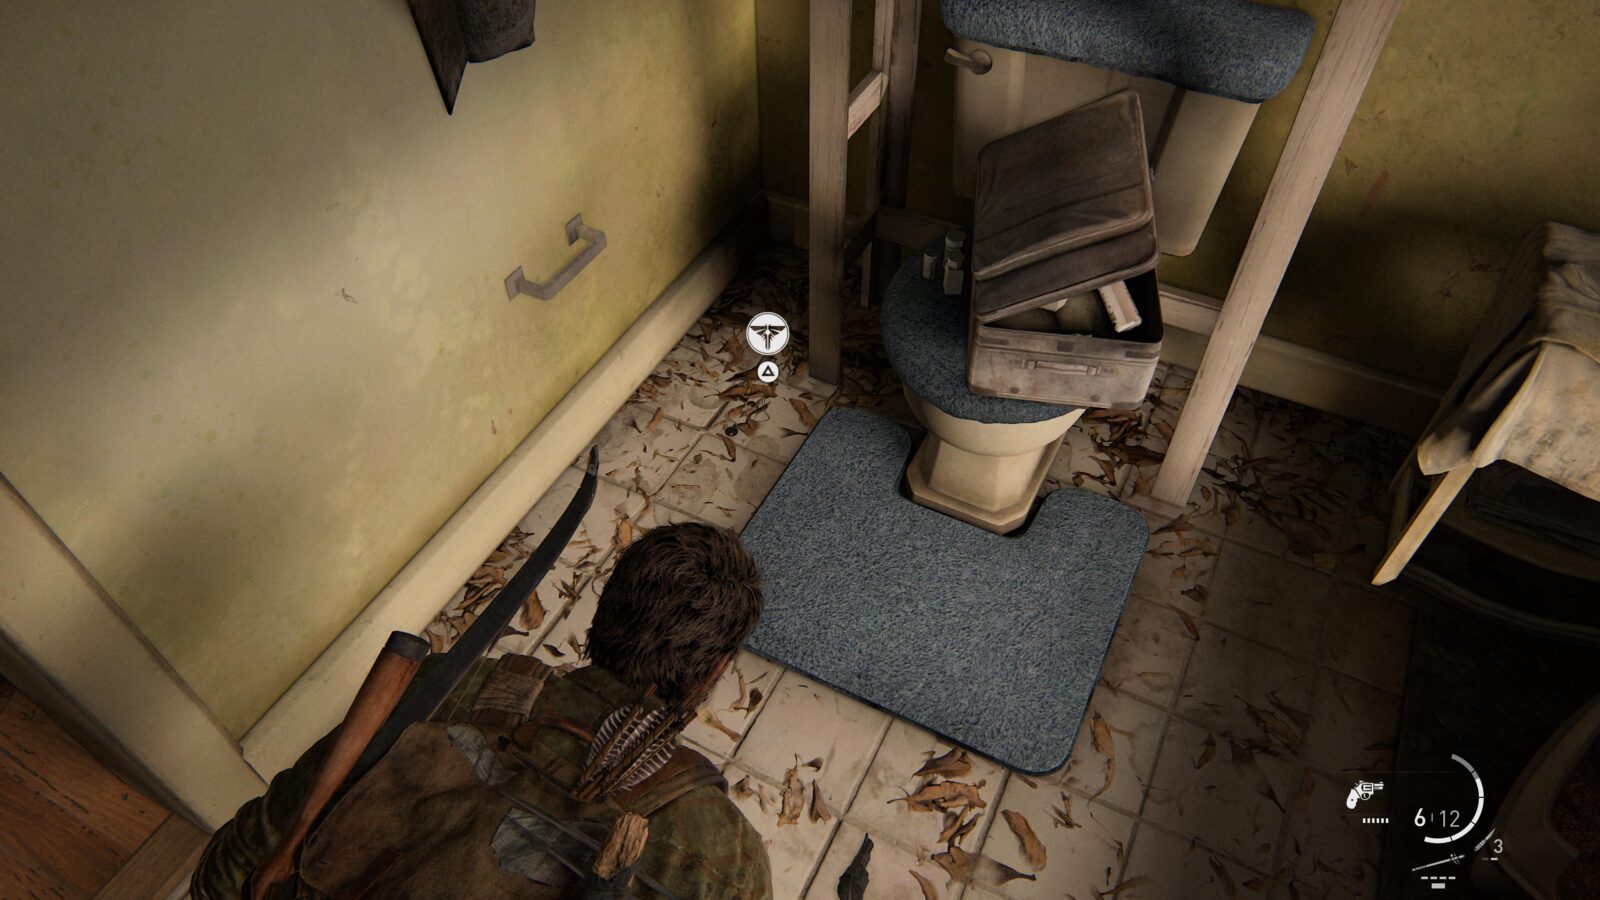
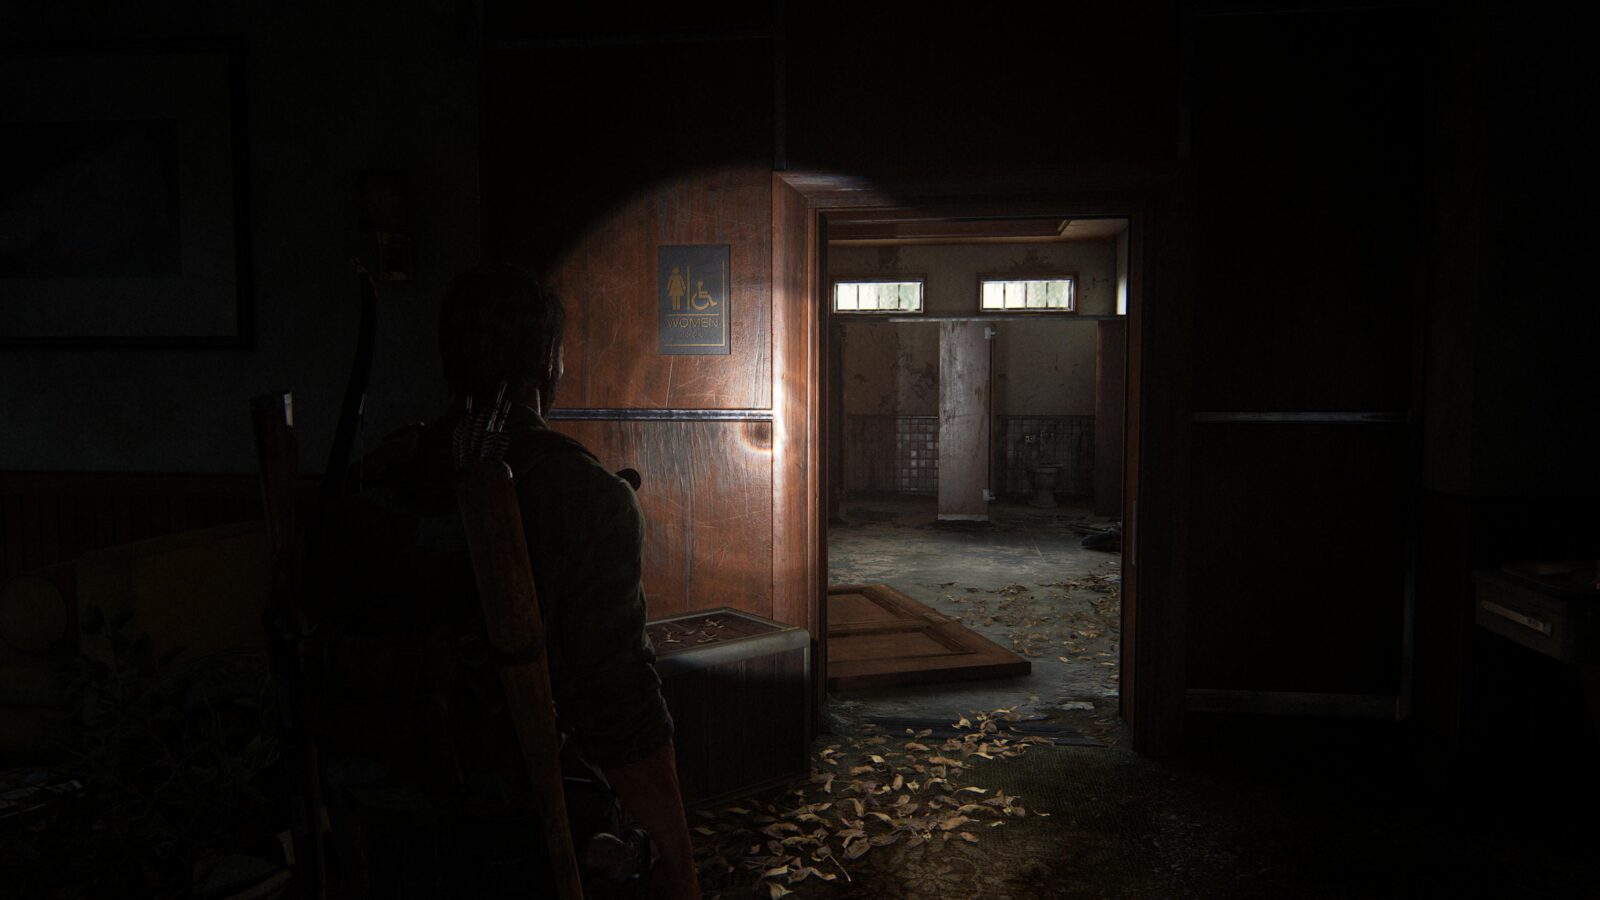
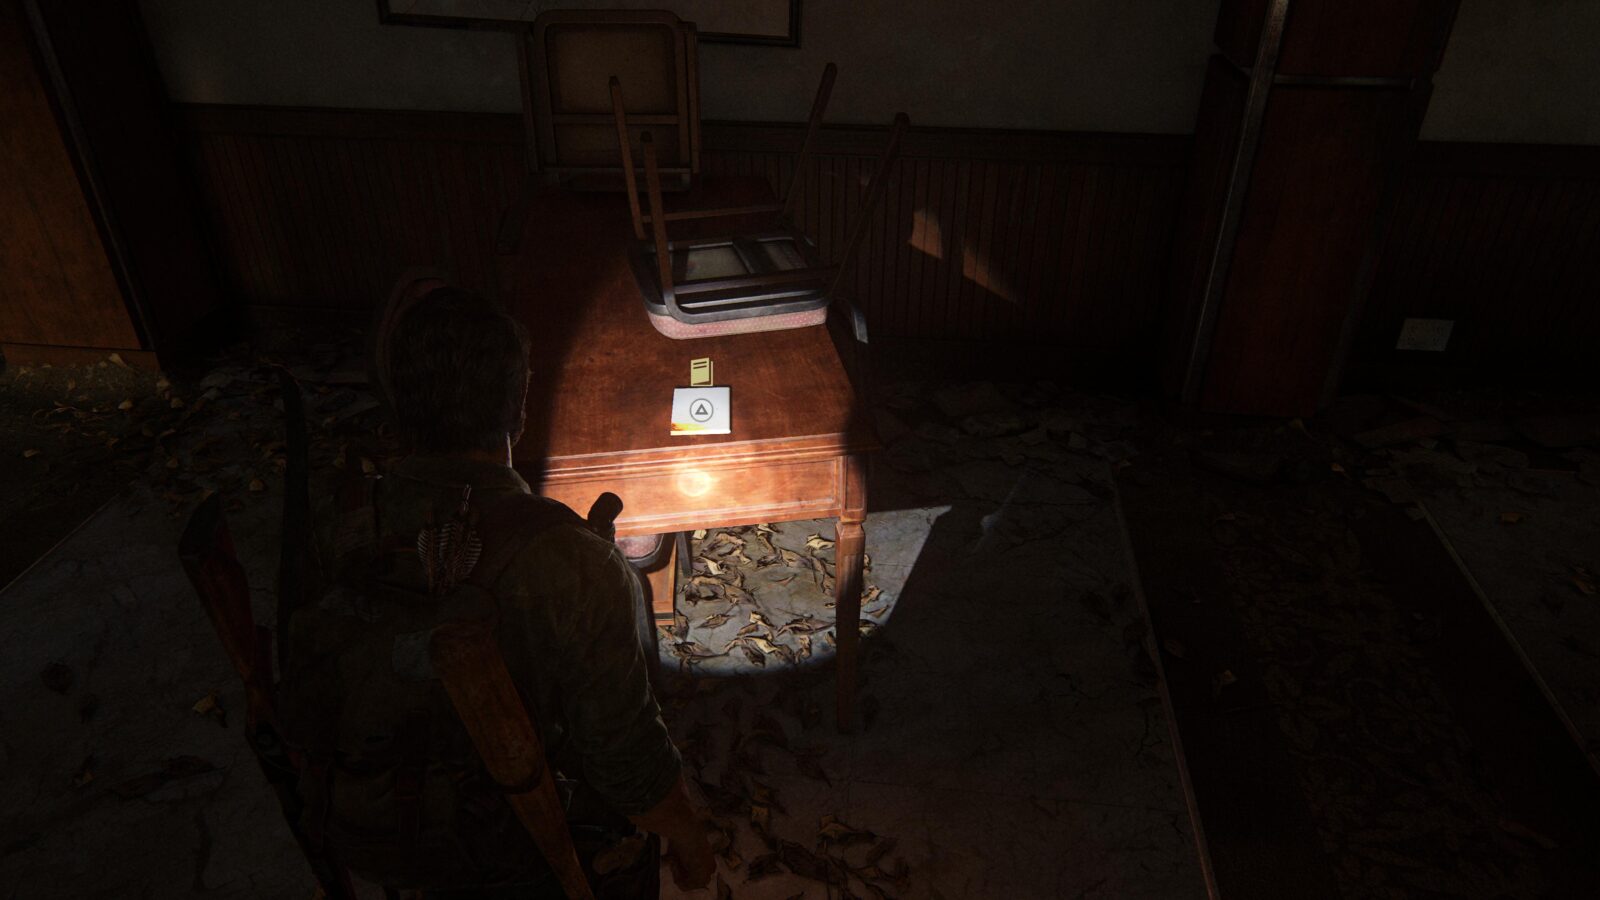
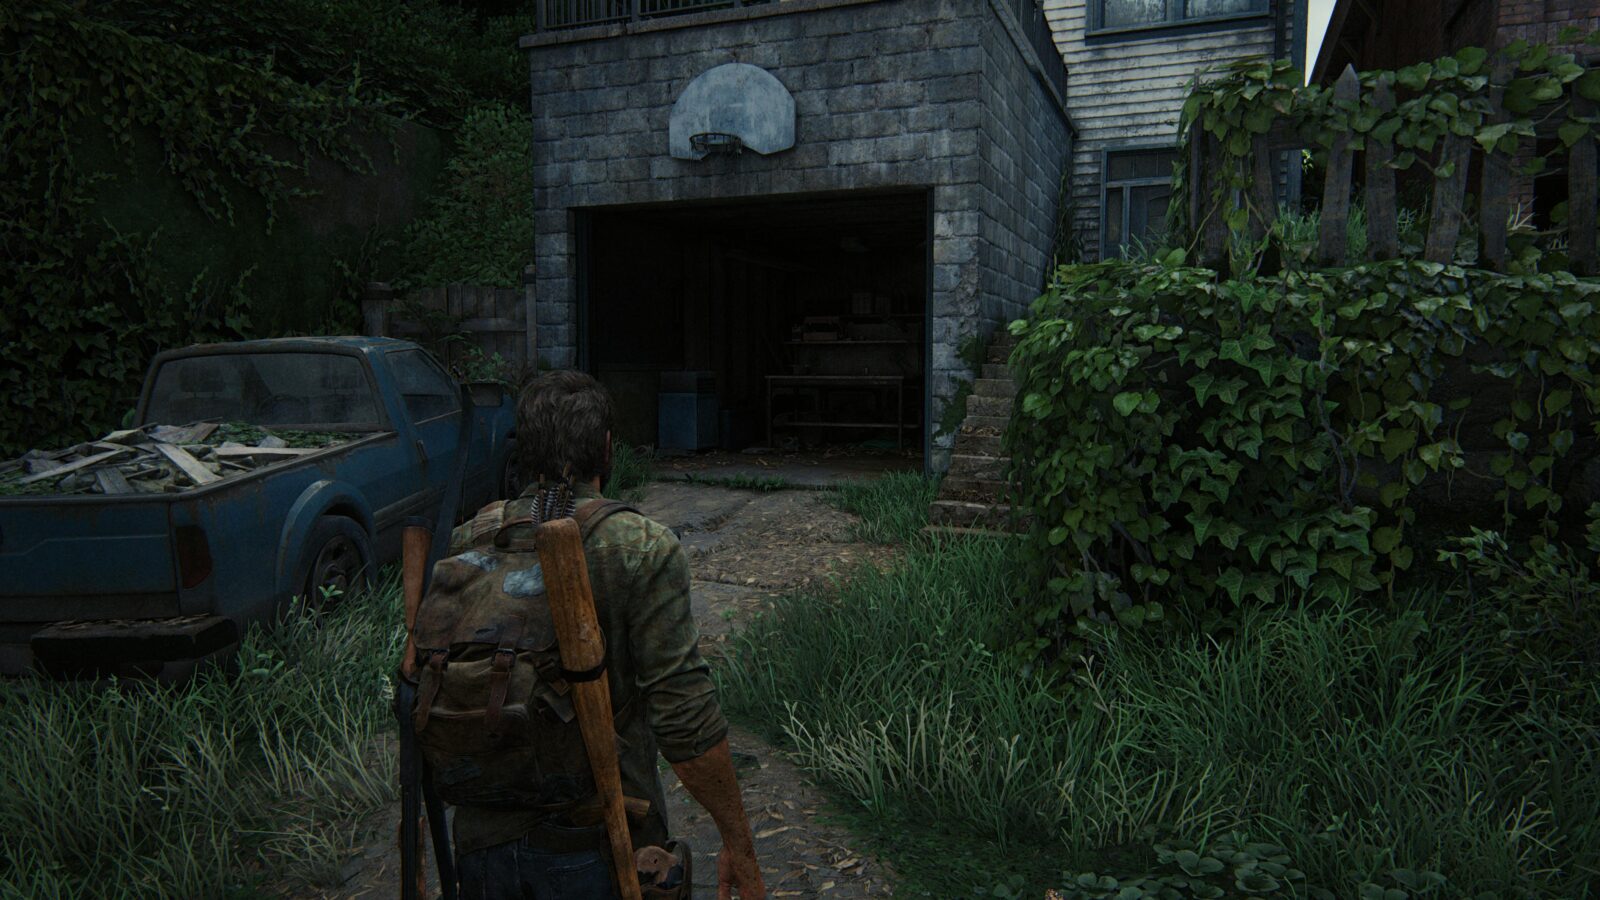
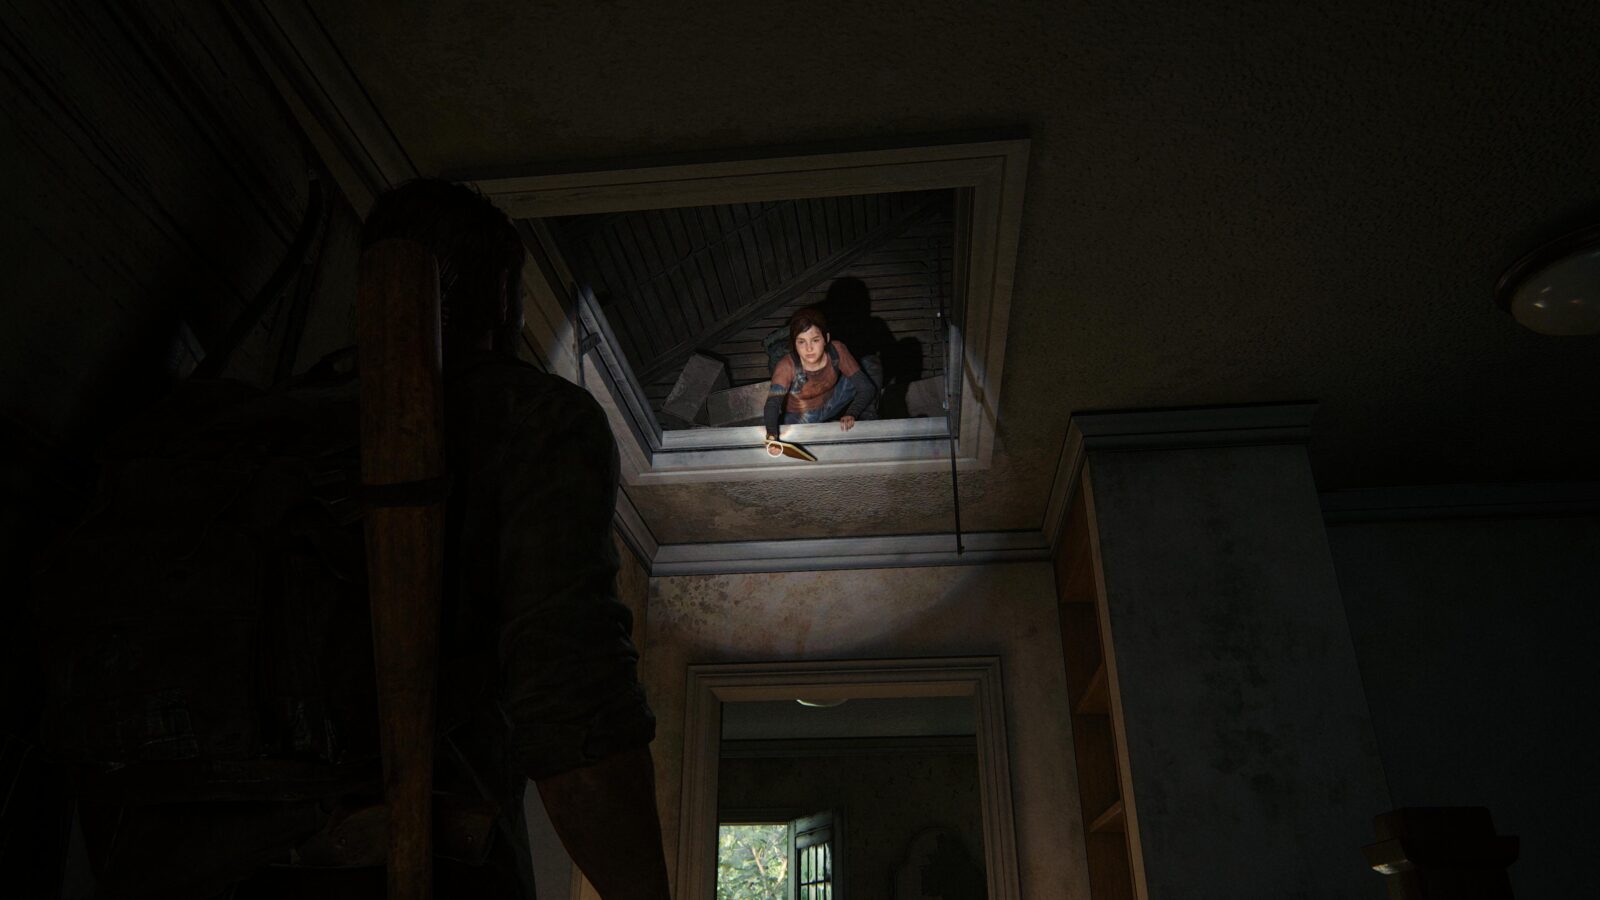
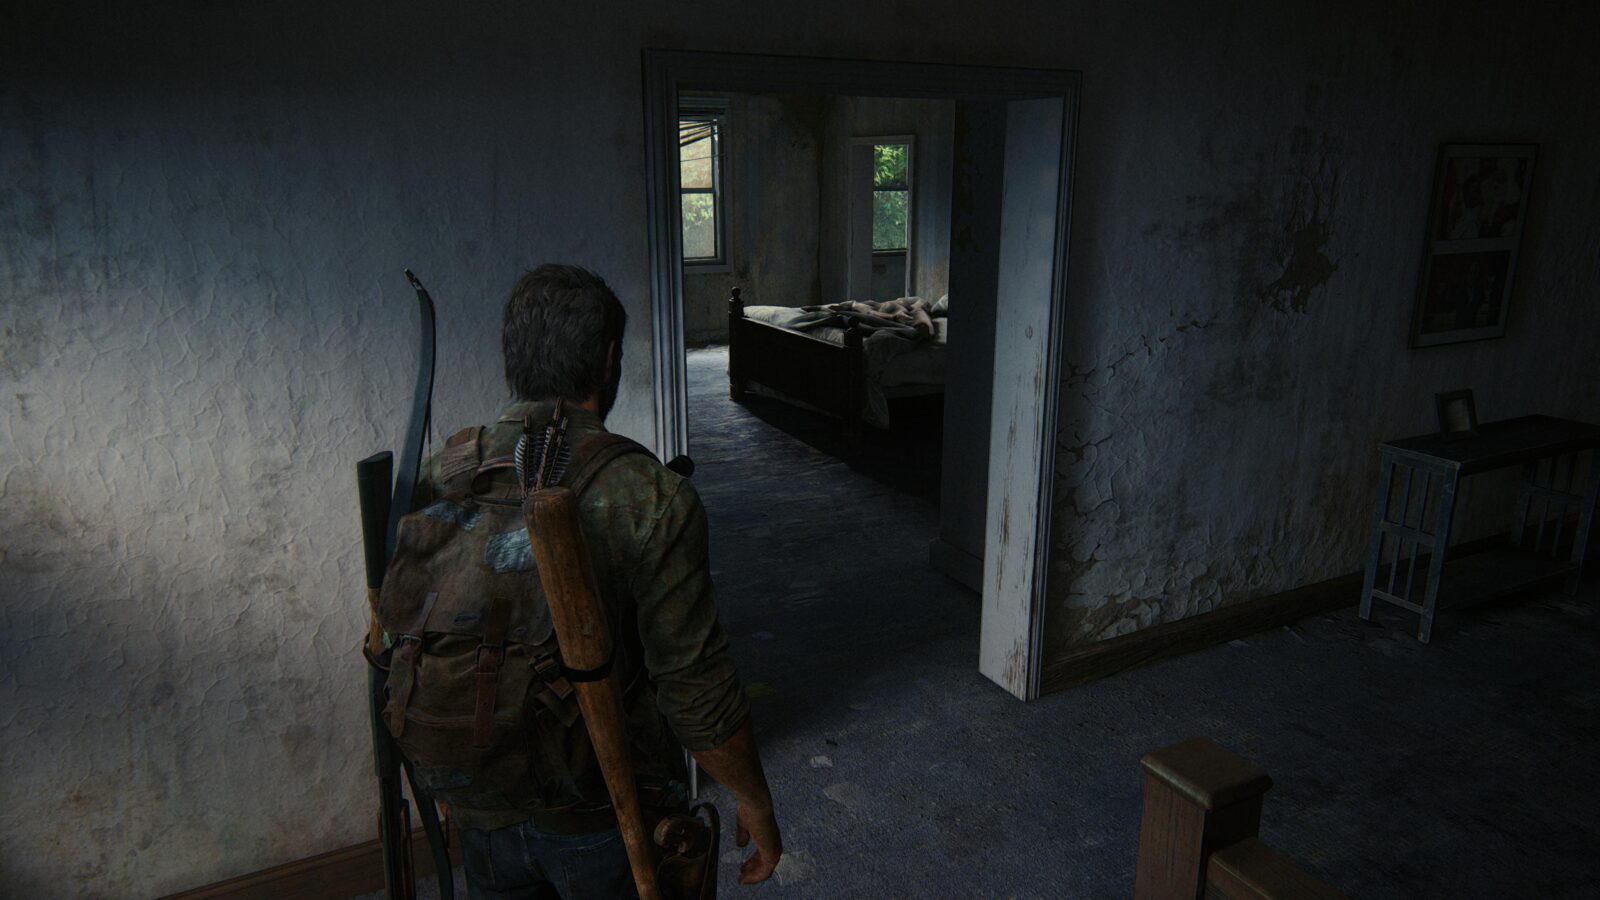
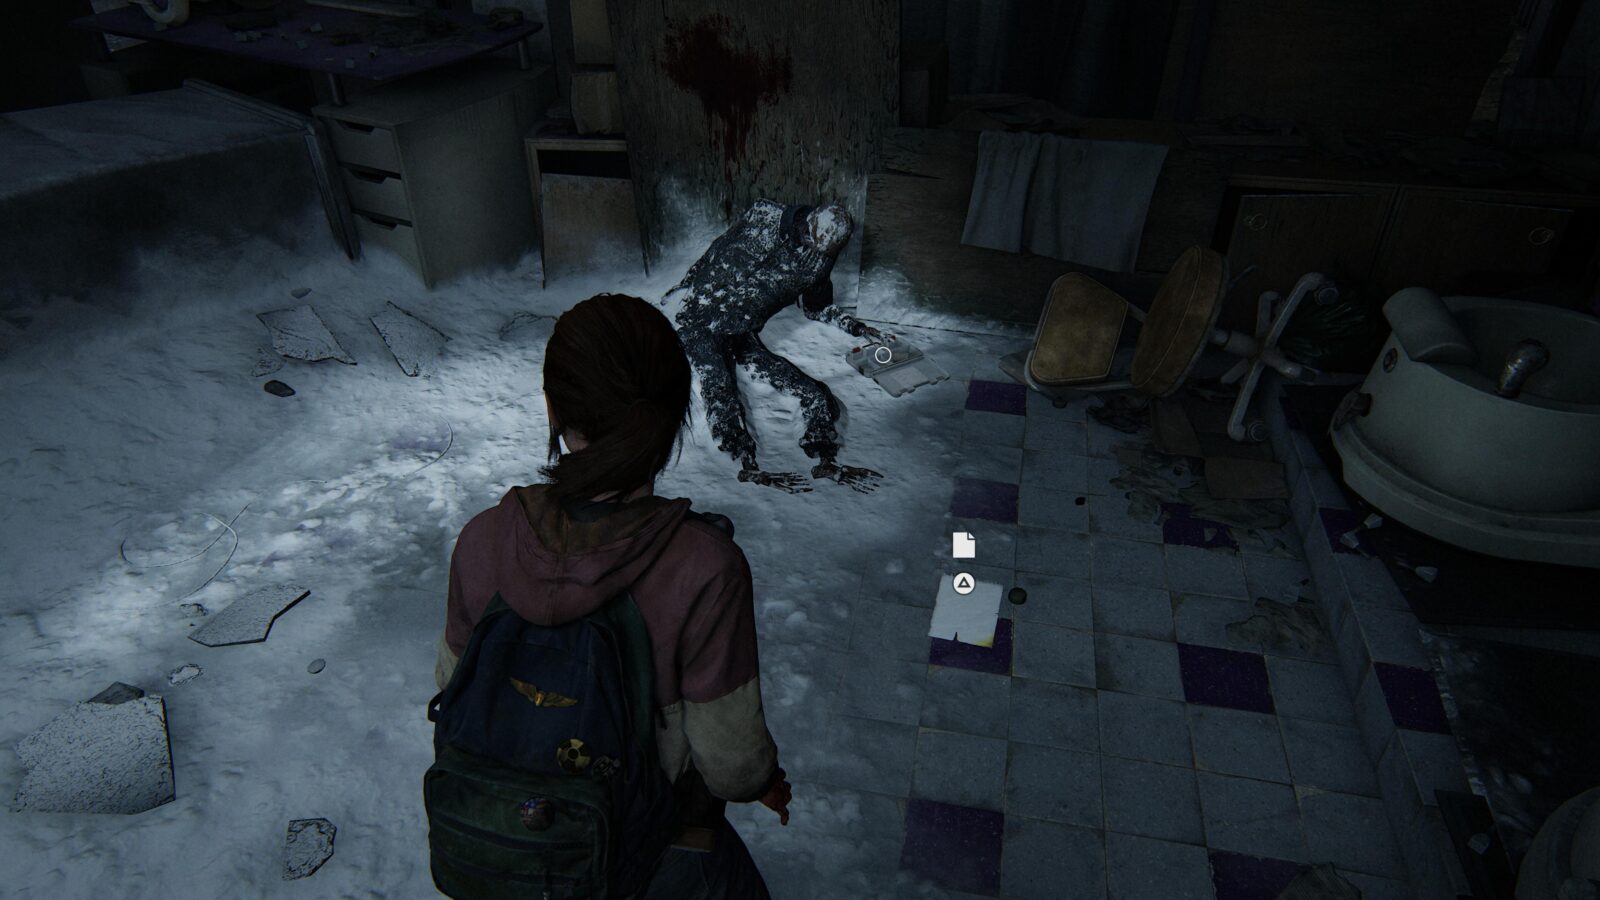
Firefly Pendant #10 Peter Mrozik 000263 – After the Graveyard you will come to a house with a garden and a few infected patrolling. Enter the house and check the bathroom for a pendant by the toilet.

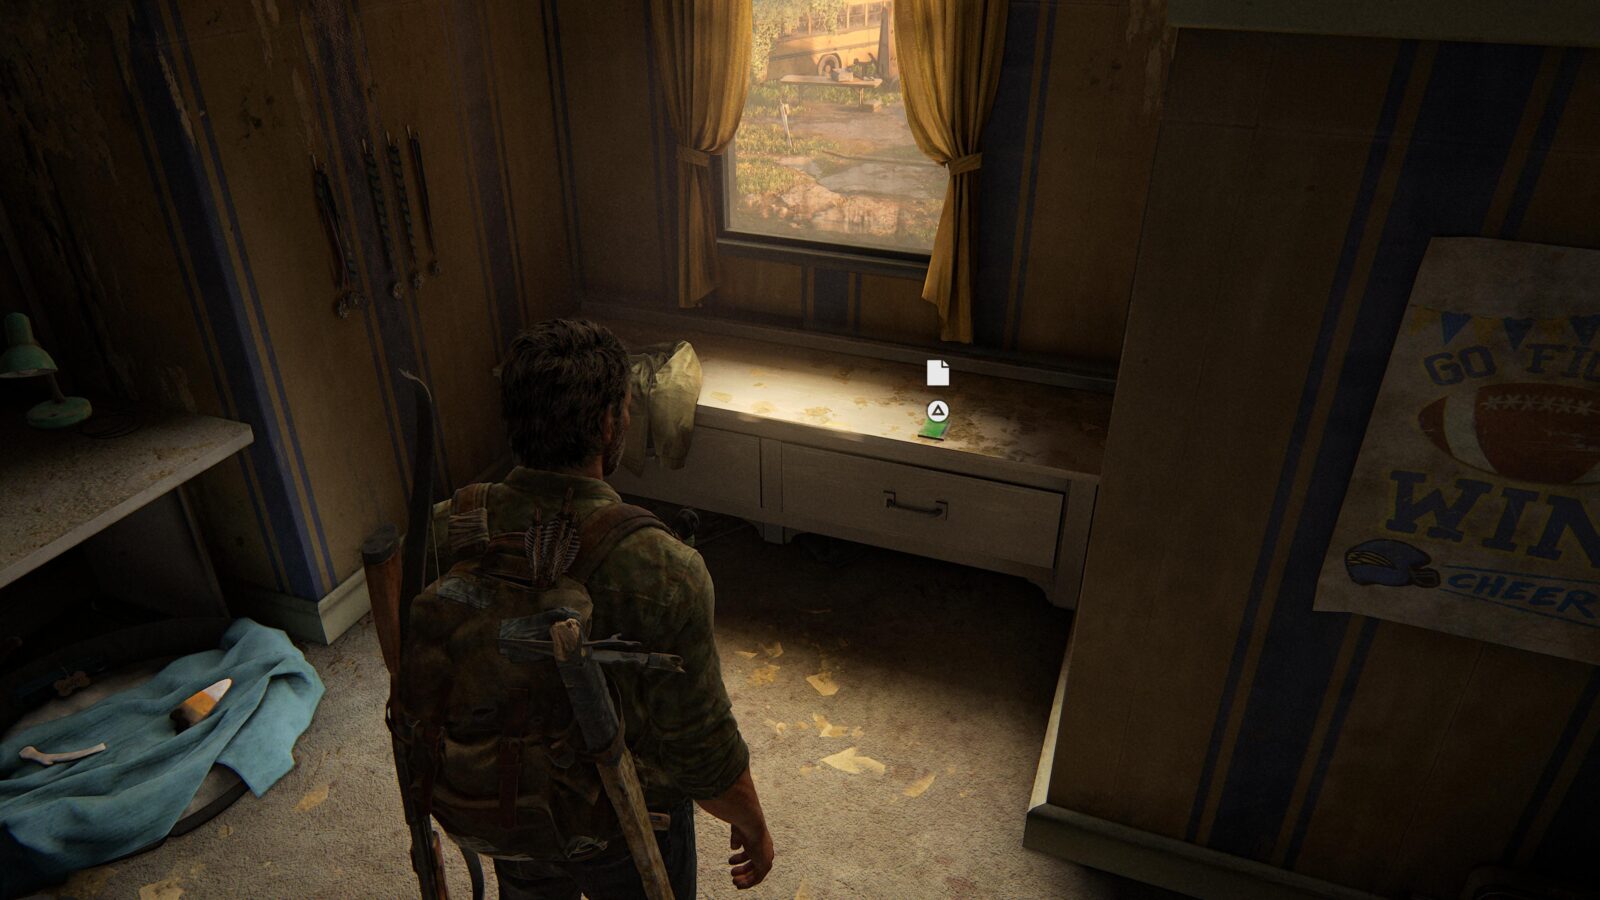
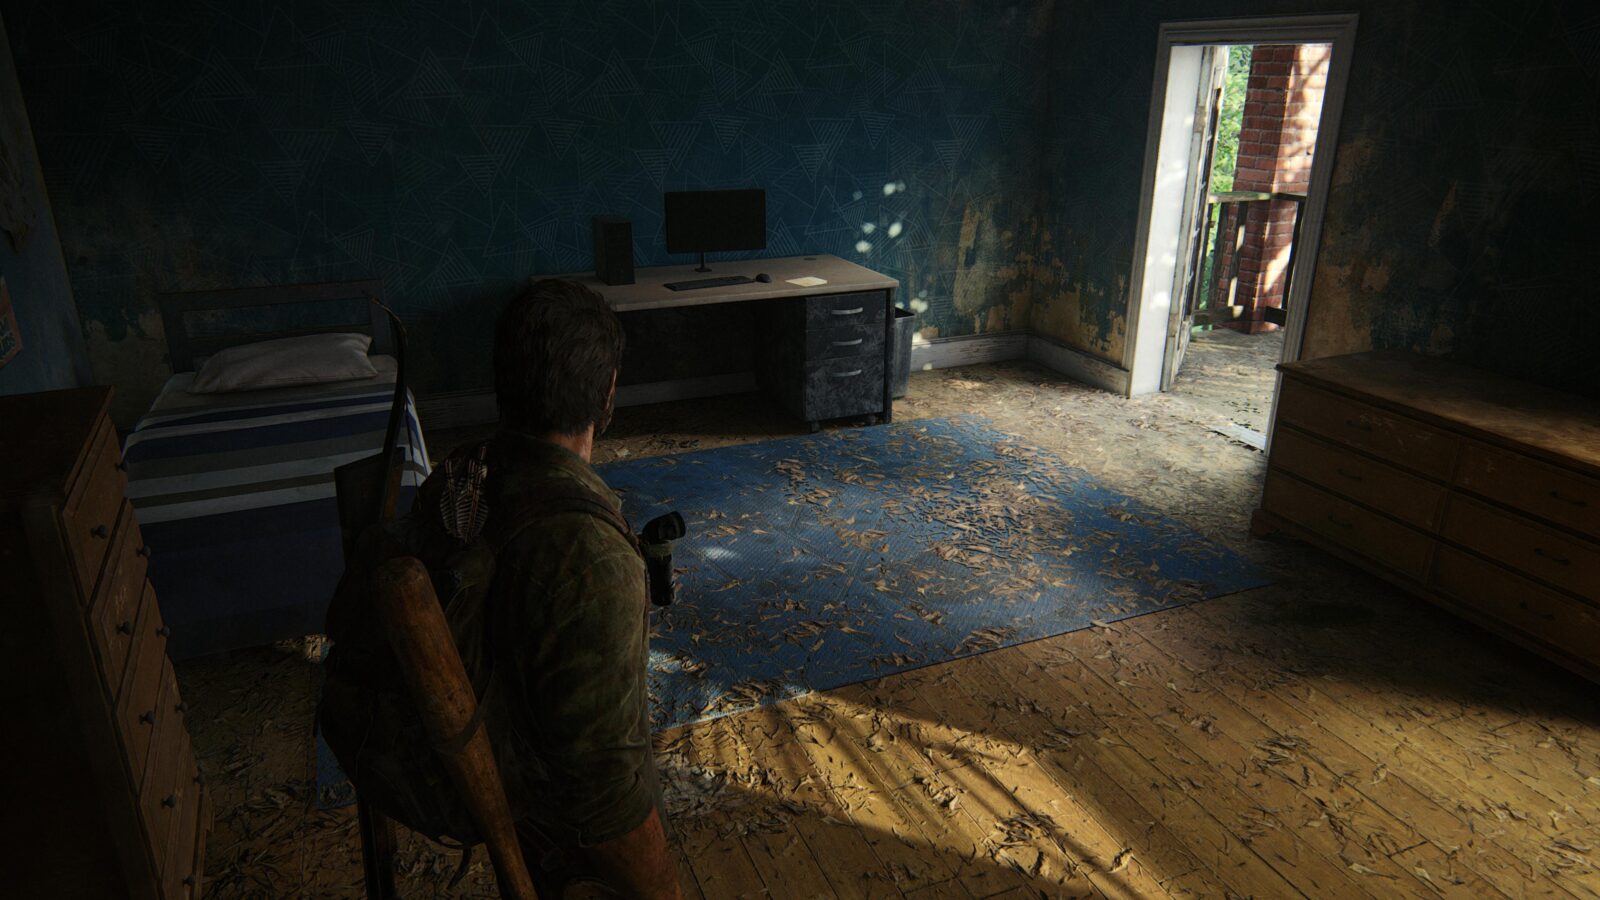
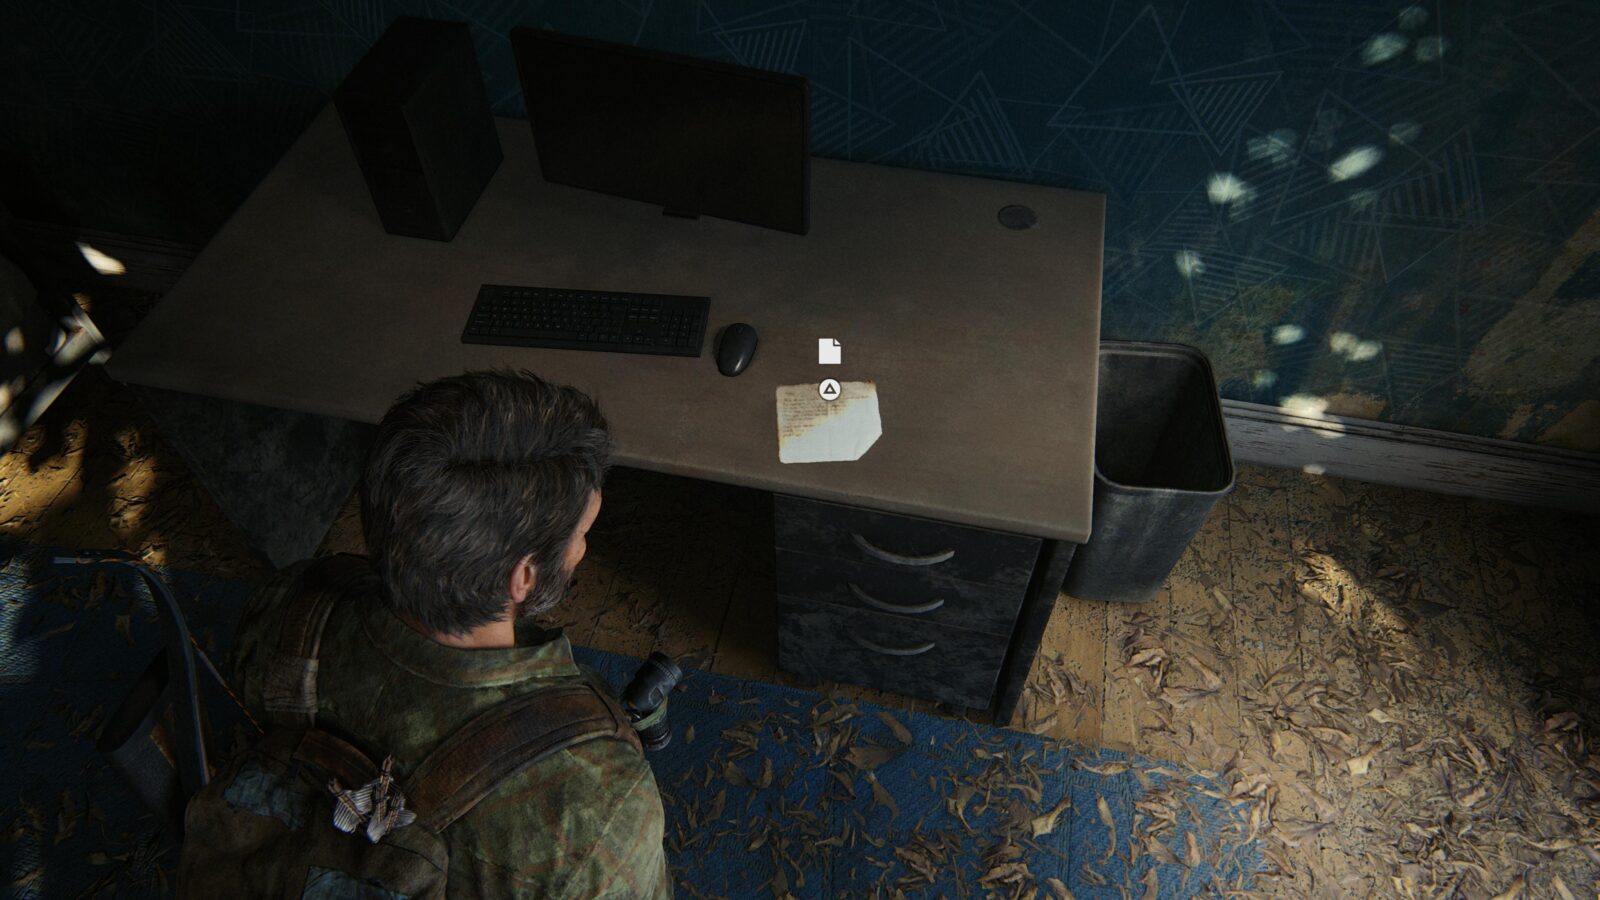
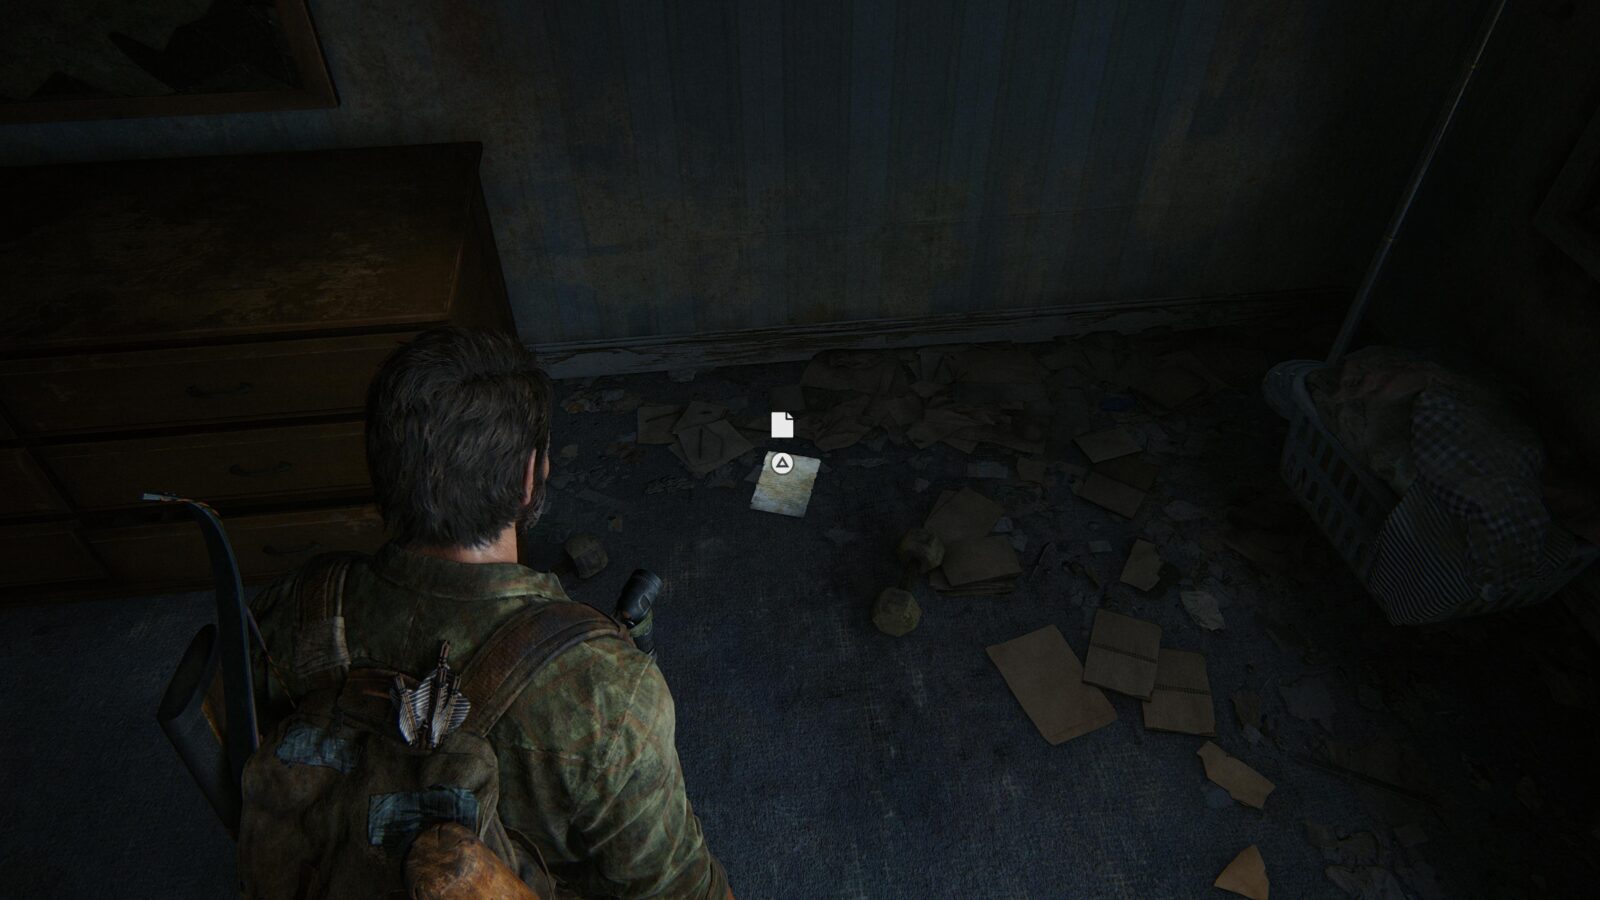
Artifact #25 Boy’s Diary – After crossing an RV and a treehouse, Joel will drop into a garden with a pool. Go inside the house and head upstairs to find a boy’s room with a note by a window.

Optional Conversation #11 – Wait around in the Boy’s room and Ellie will approach Joel and ask him if she can say something. Press ![]() to initiate the conversation.
to initiate the conversation.
High School Escape
Optional Conversation #12 – Hang around the pickup truck when Ellie gets inside and eventually she will have an optional conversation for you.

Artifact #26 Note from Frank – Explore the house and look for the bedroom. Inside is a note for Bill on a table.
Optional Conversation #13 – Take the note to Bill and give it to him for an optional conversation.
Artifact #27 Note from Frank (crumpled) – Pick up the note after Bill crumples it up and throws it on the ground. This will appear in Joel’s backpack as “Note from Frank” even after picking it up once it has been crumpled but will still count as a new artifact.
Chapter-Specific Trophy: In Memorium – You have to pick up Frank’s note after Bill crumples it and throws it to the ground. Since the crumpled note counts as a collectible this trophy will unlock naturally for you.
Pittsburgh
Alone and Forsaken
Artifact #28 Siphon Hose – Automatically in Joel’s backpack at the start of the chapter.
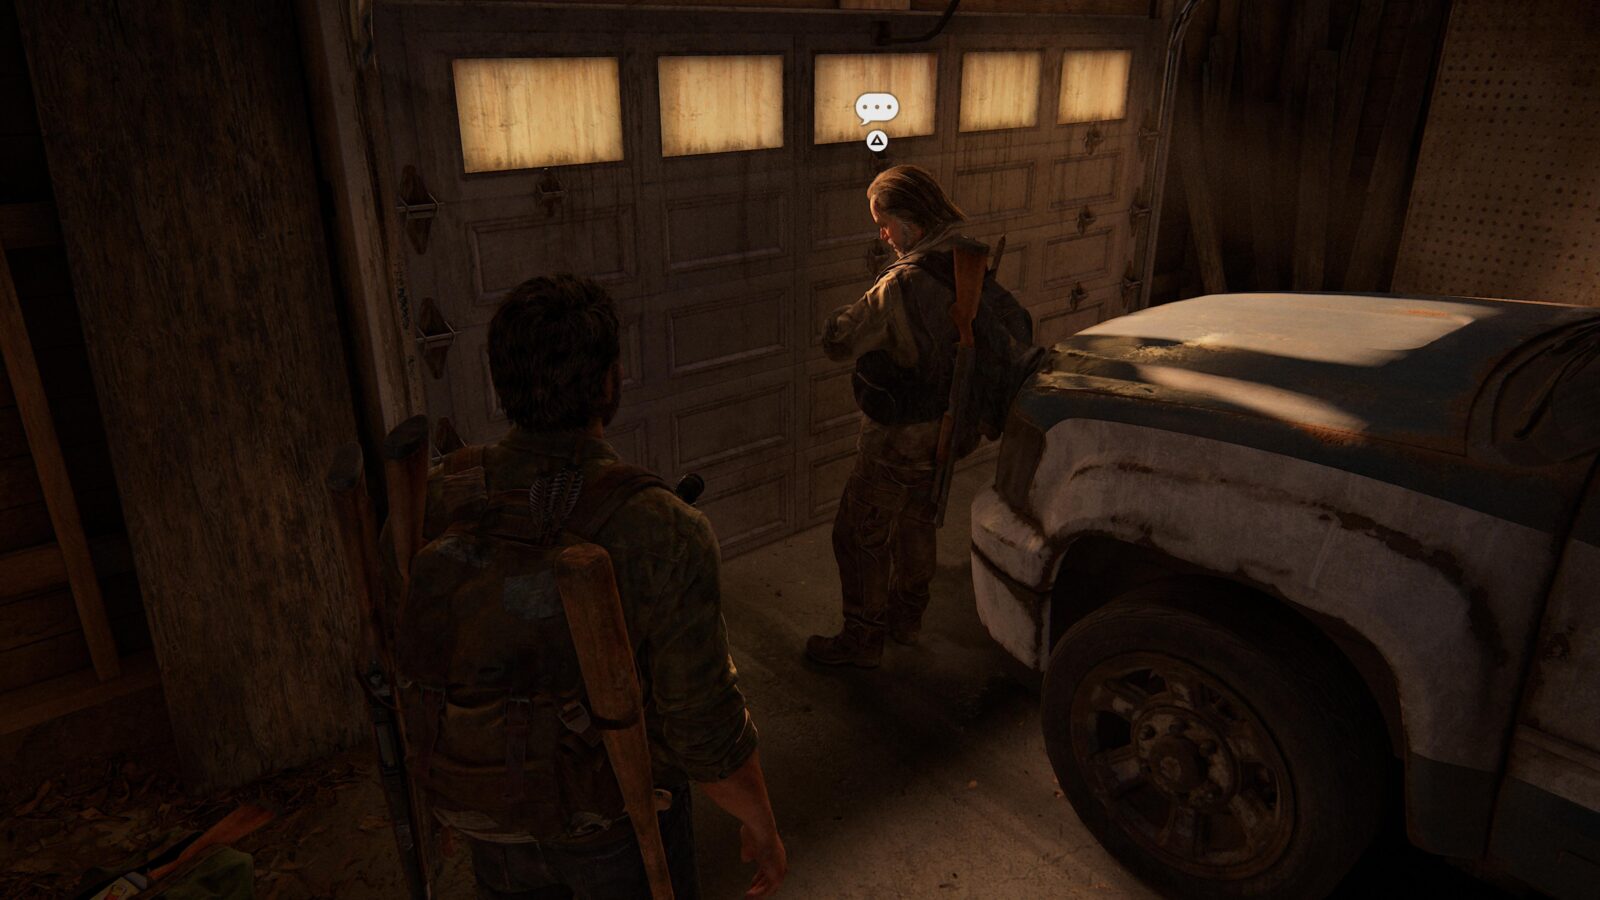
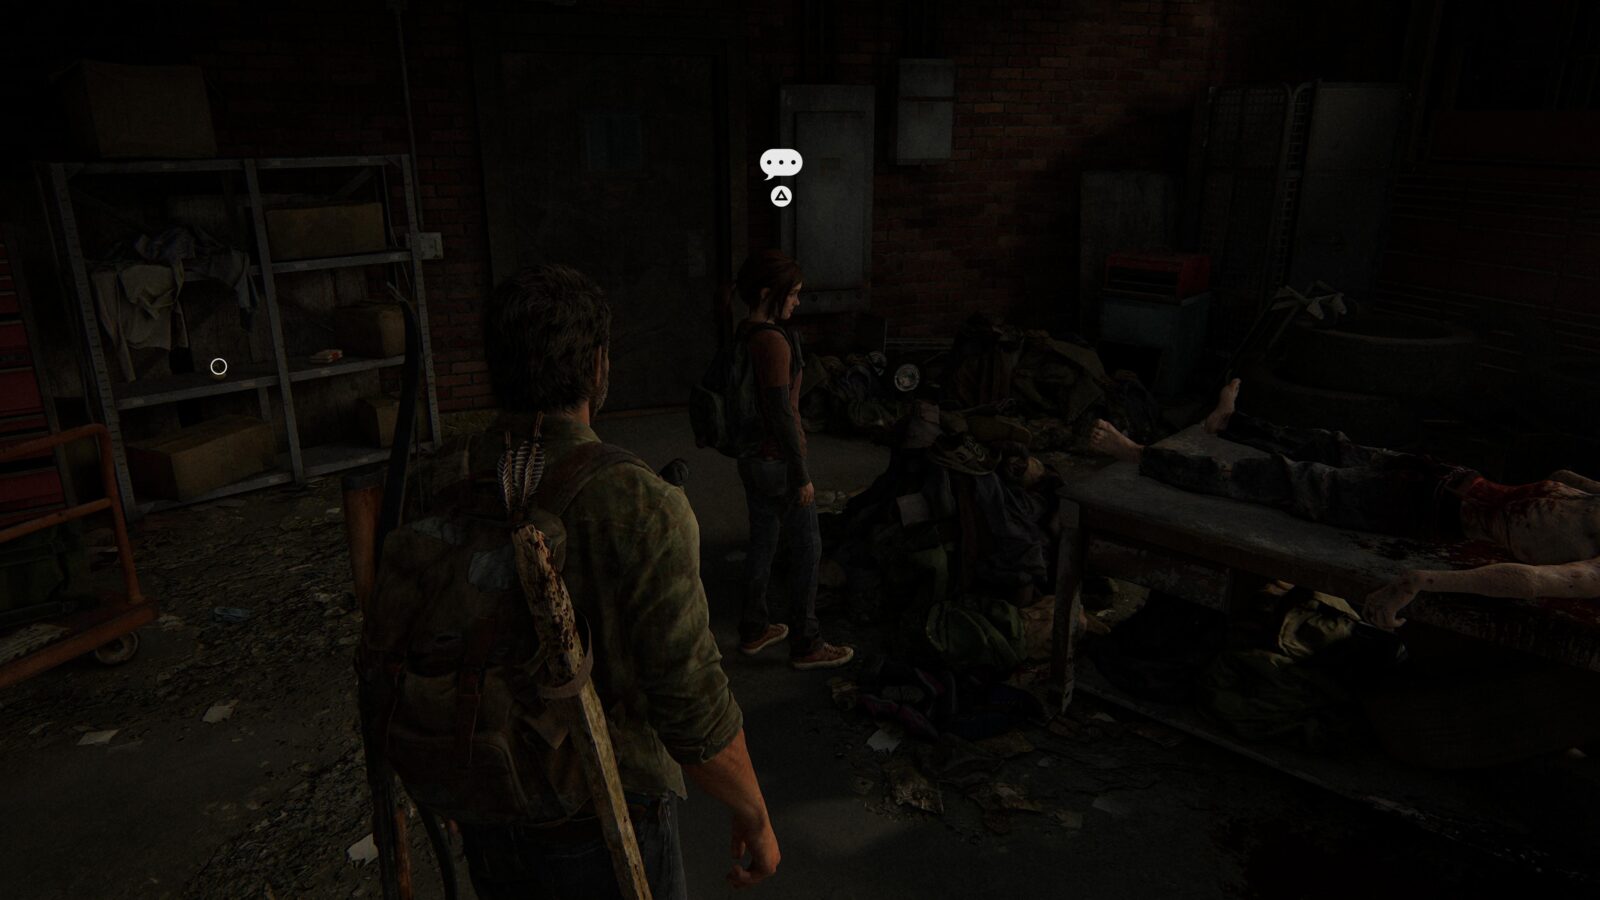
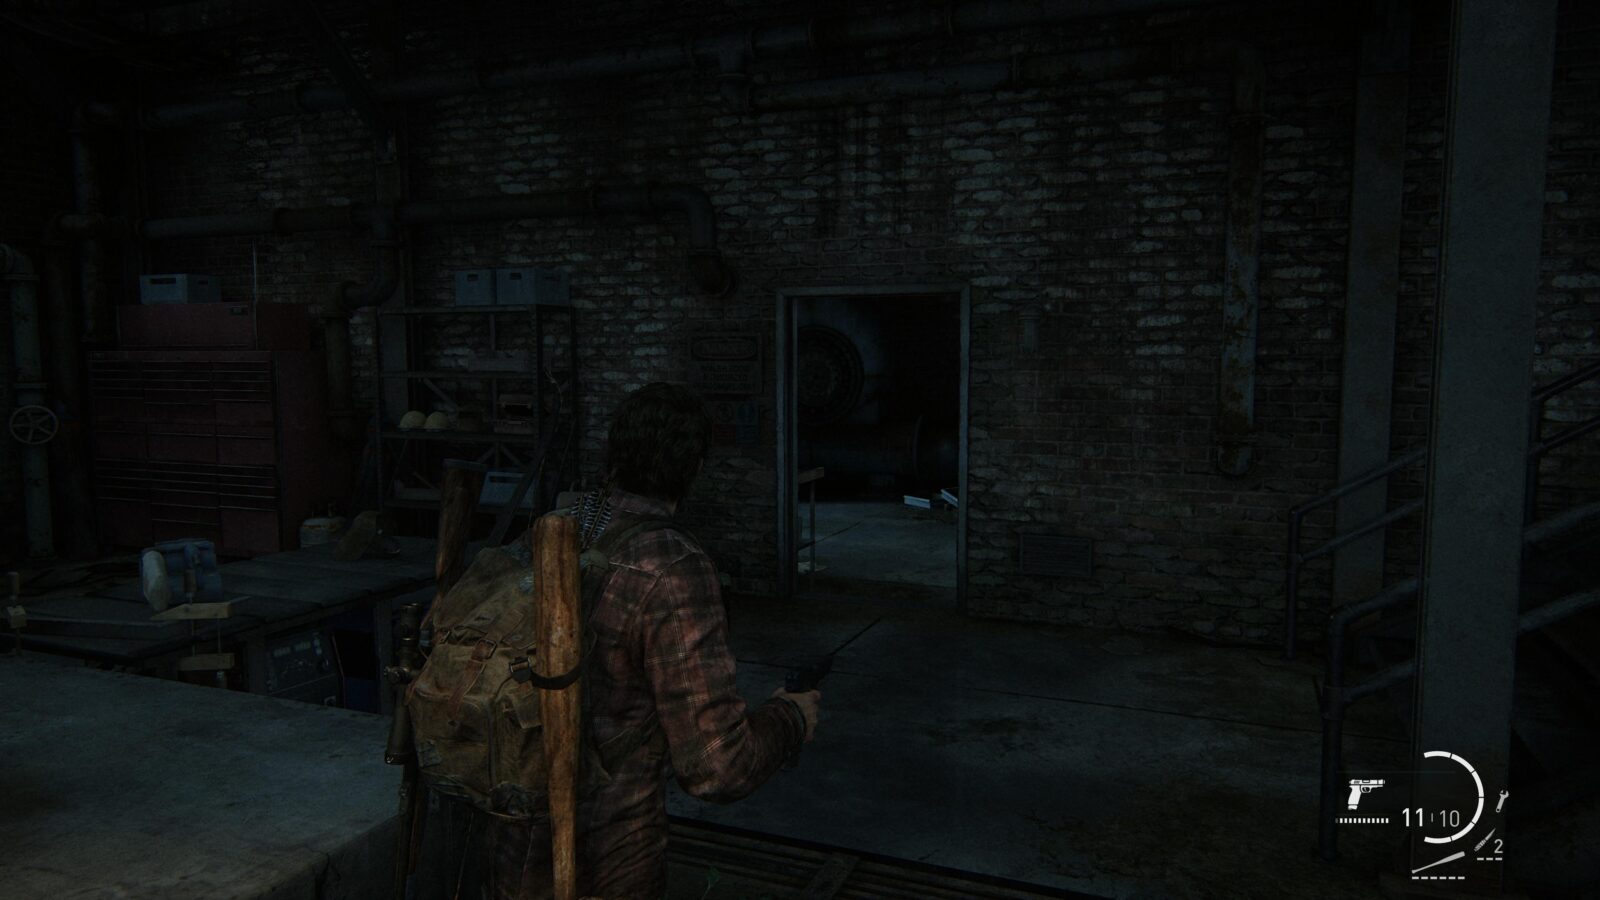
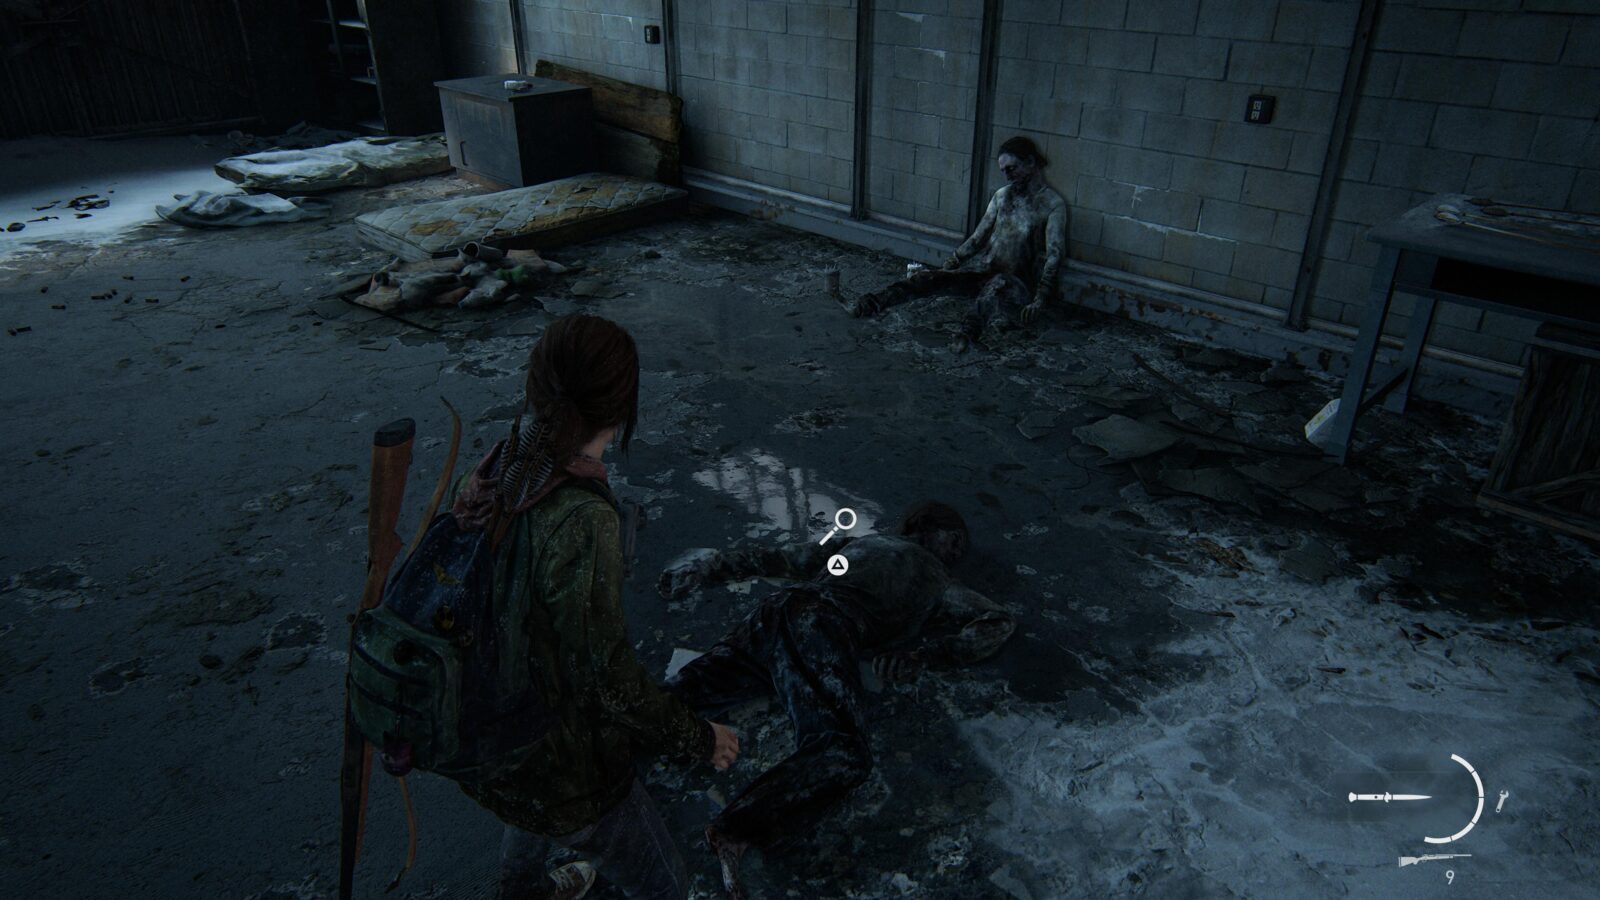
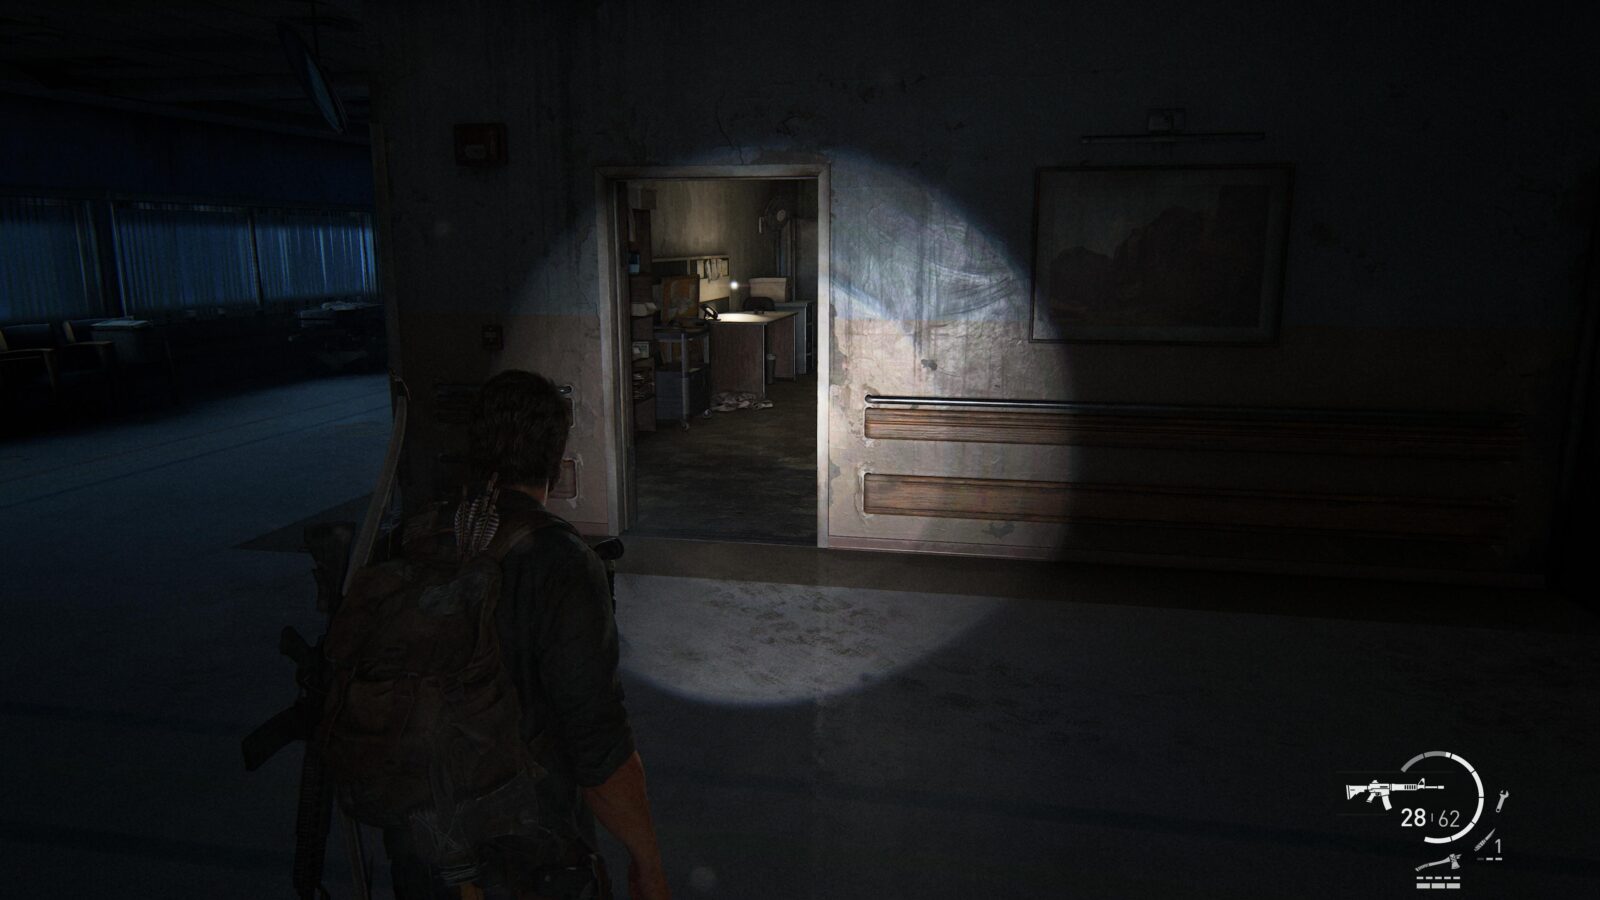
Optional Conversation #14 – Enter the garage after the fight with the Hunters and Ellie will stand next to a corpse with a conversation prompt above her.

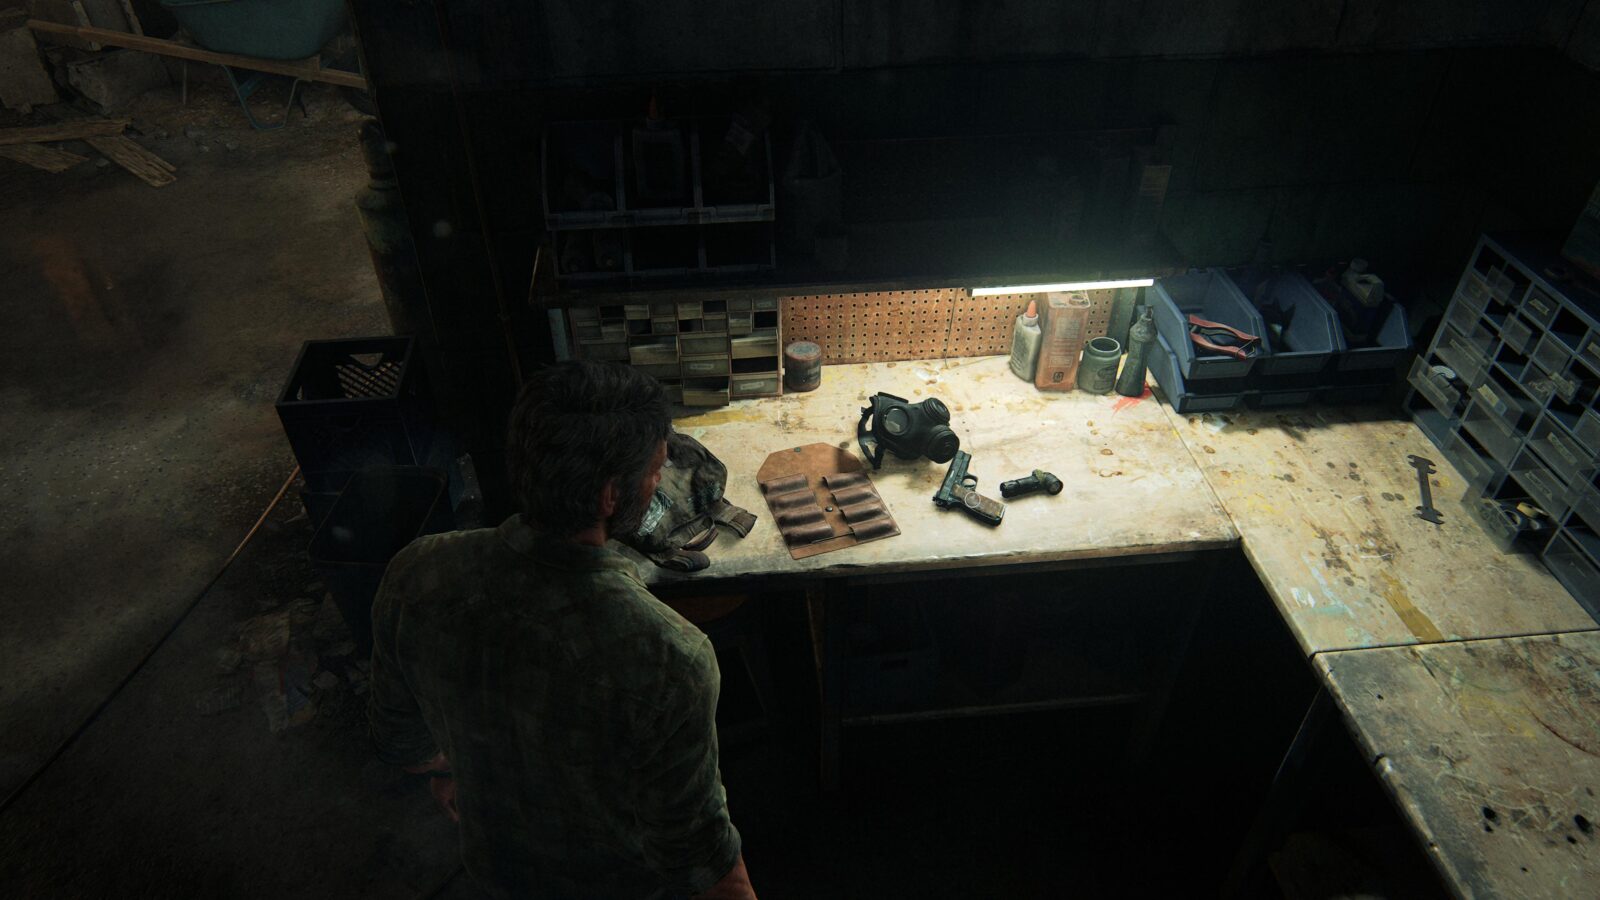
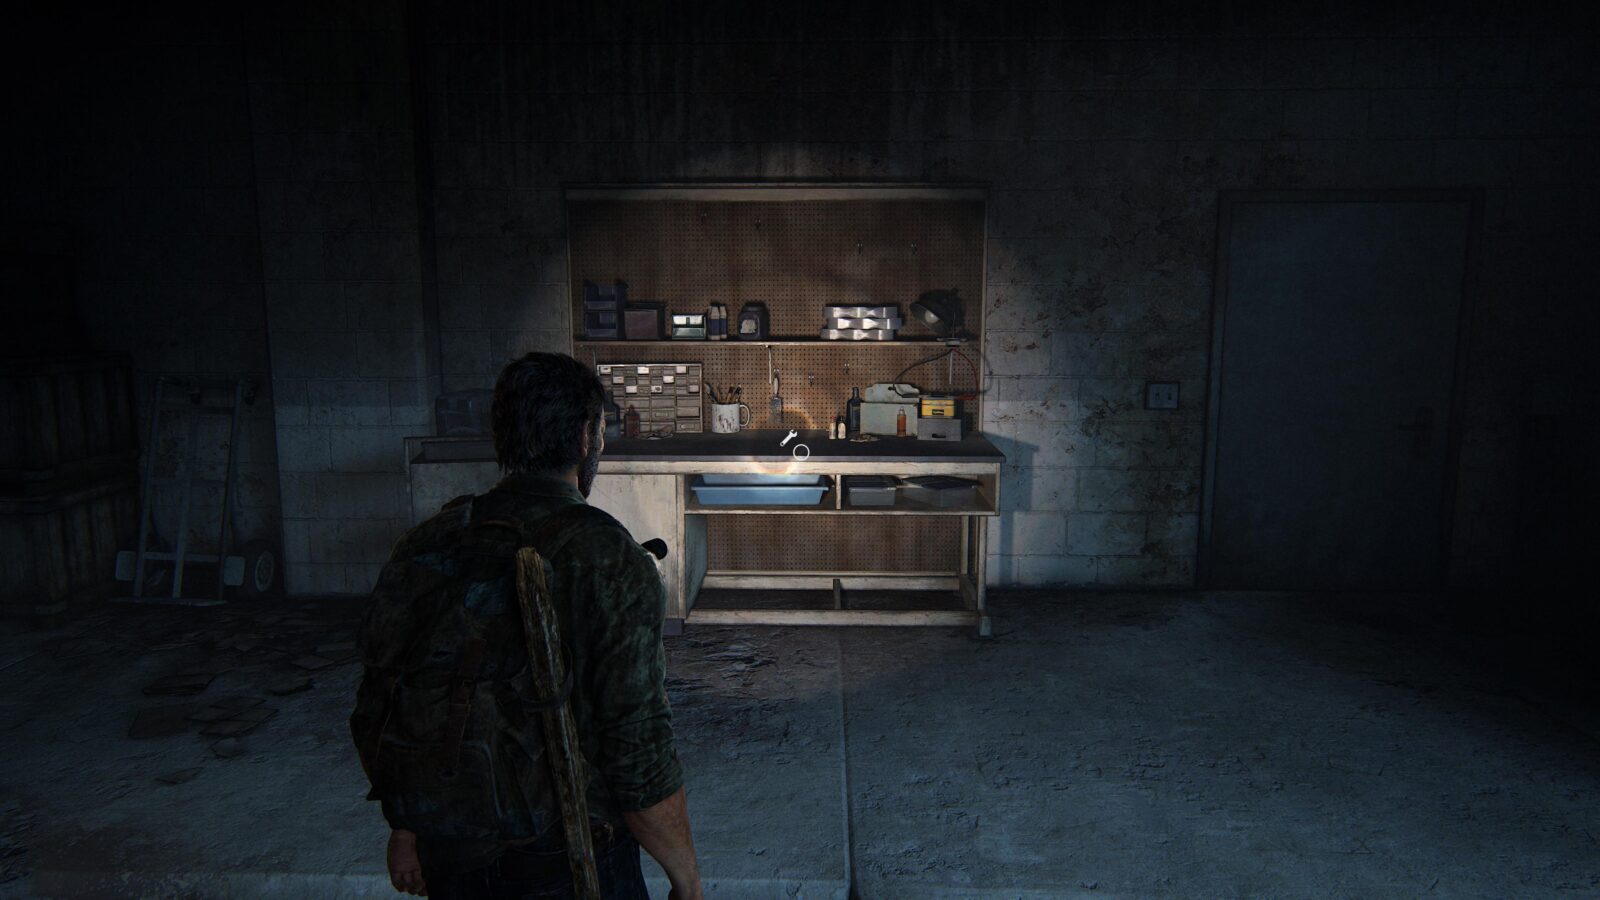
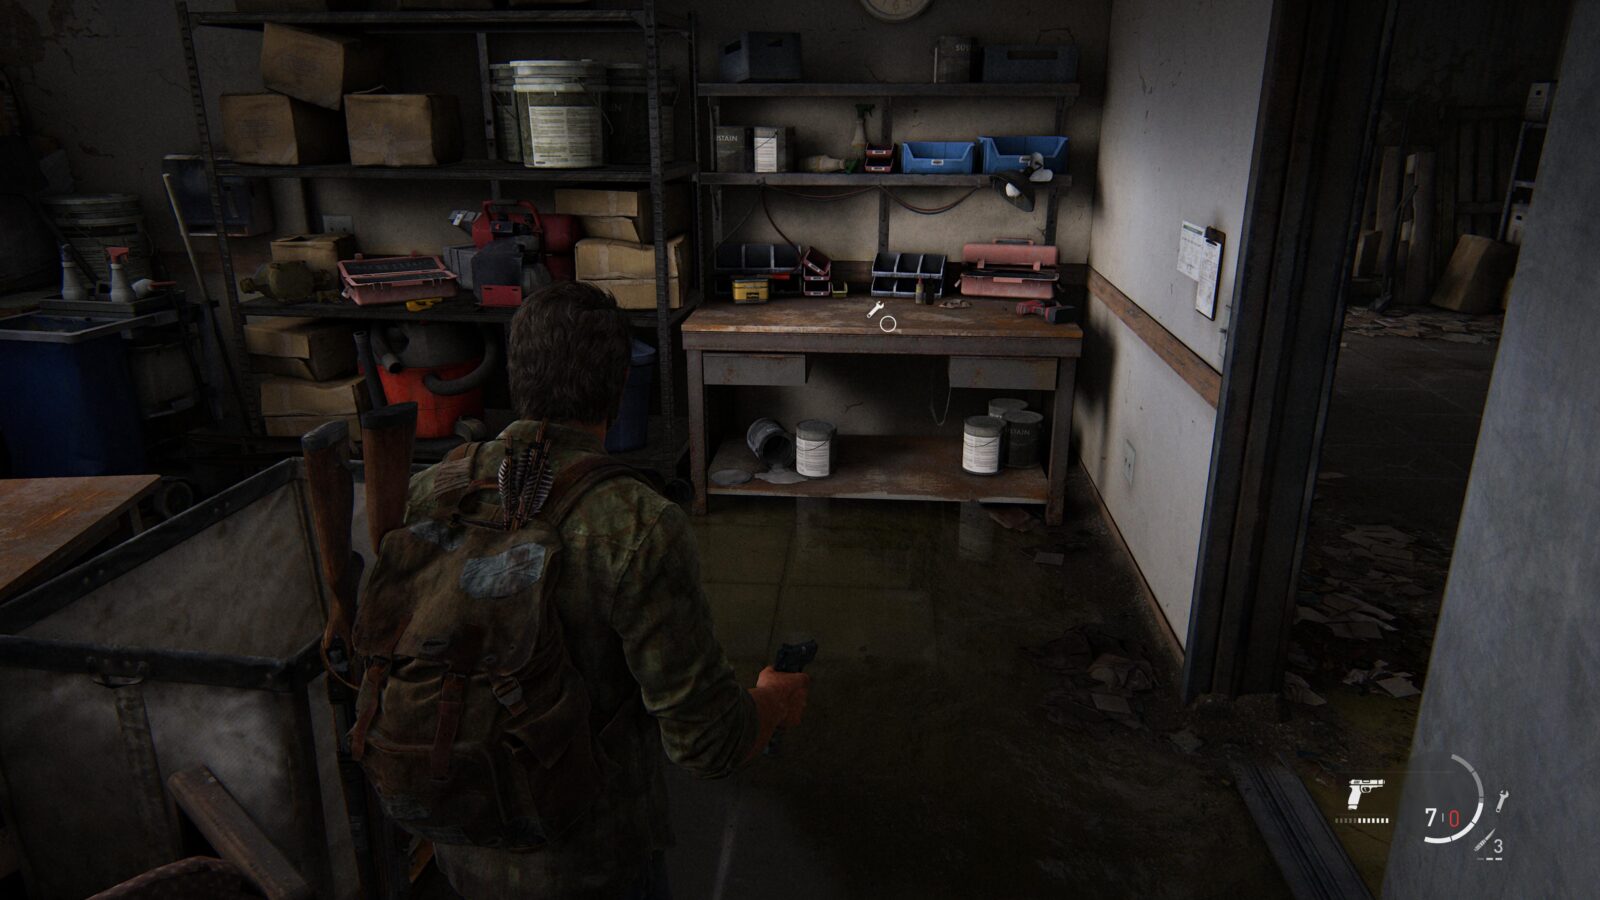
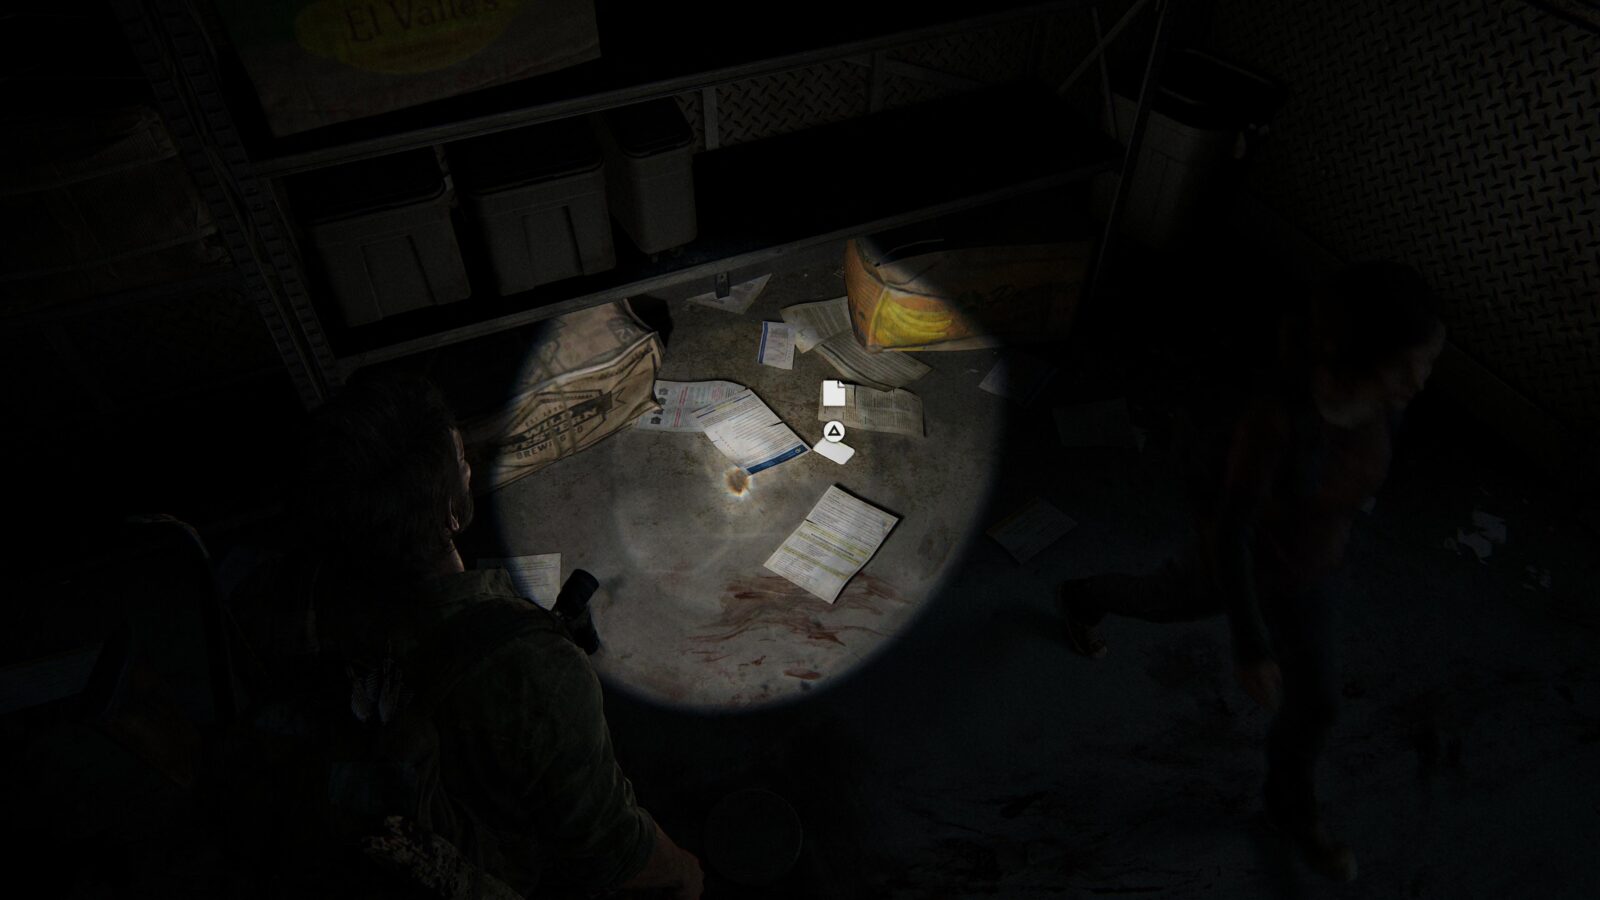
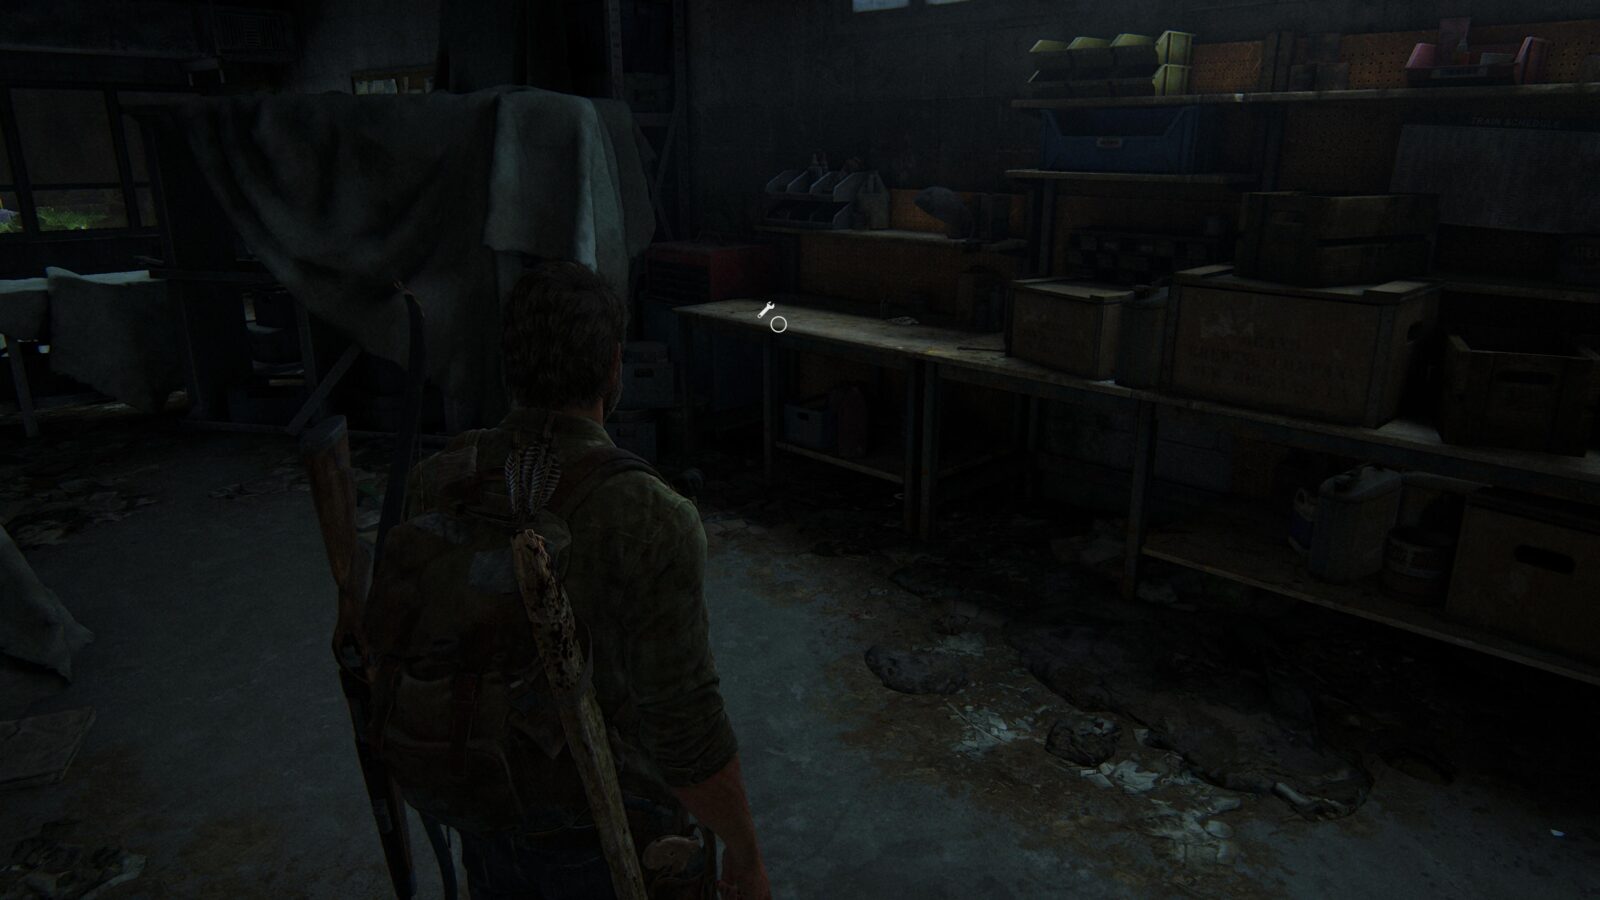
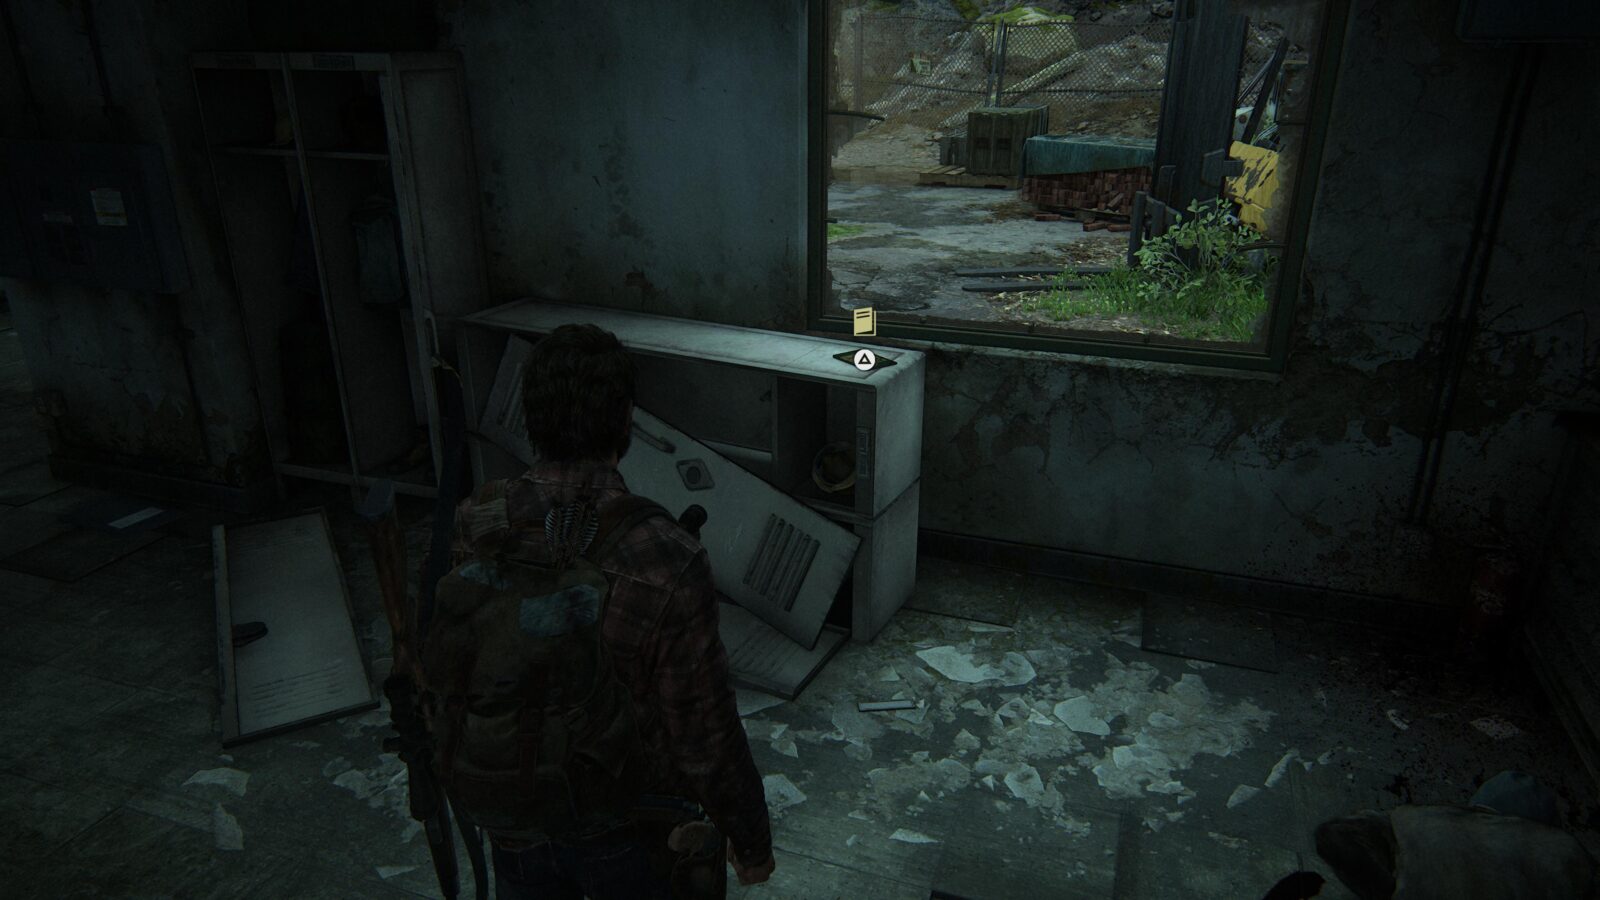
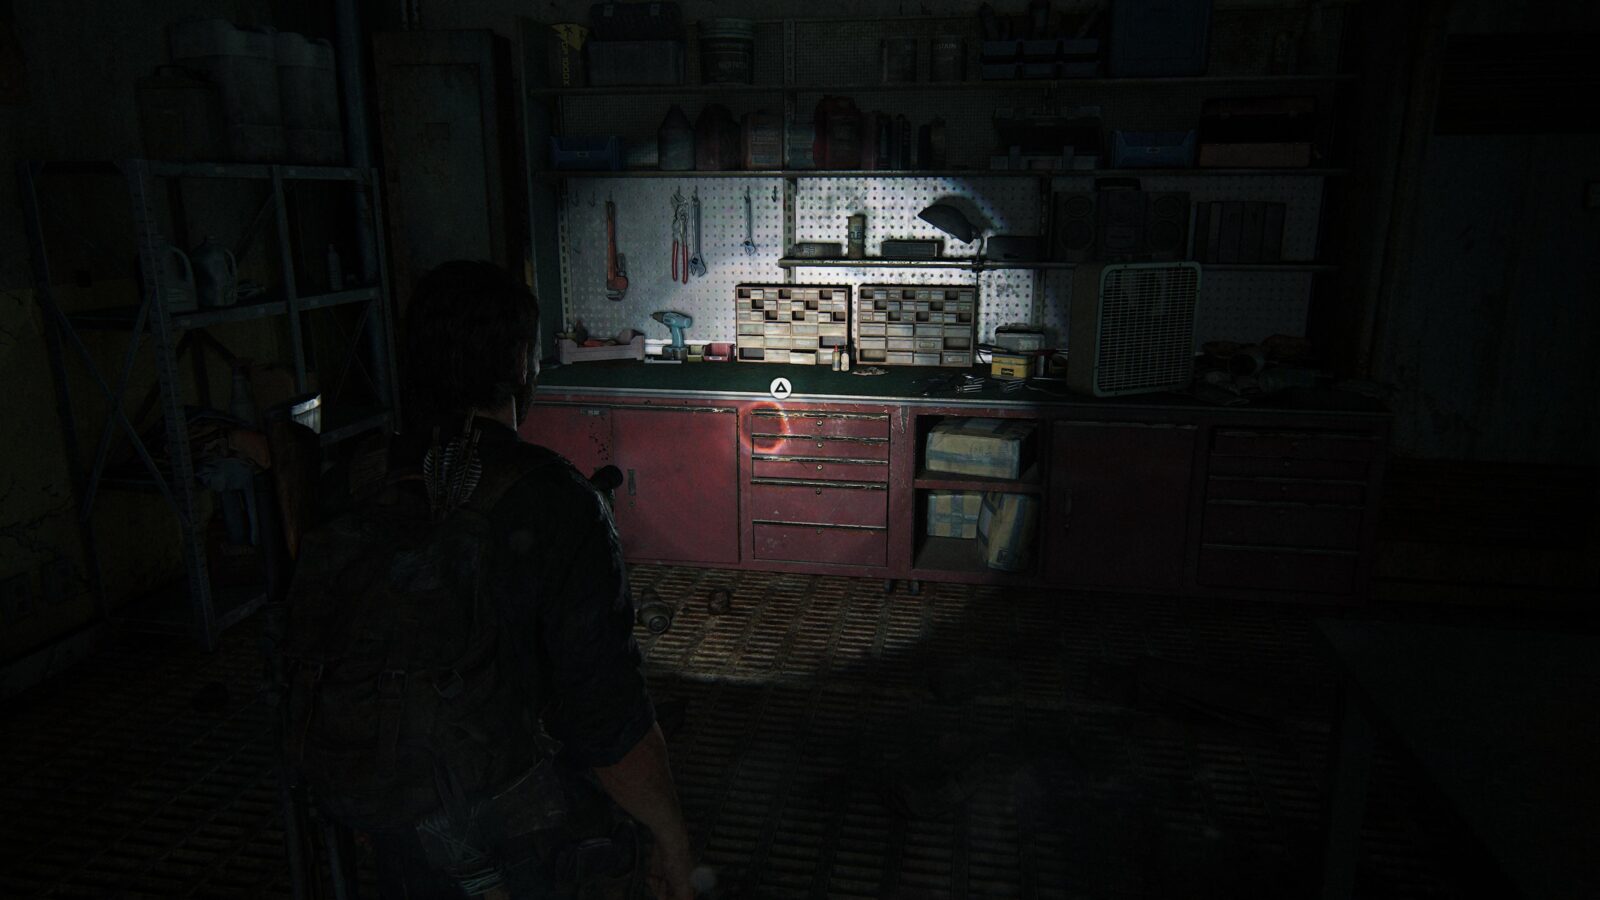
Workbench Tool #2 – Directly to your left as you enter the garage is a tool on a metal shelf.
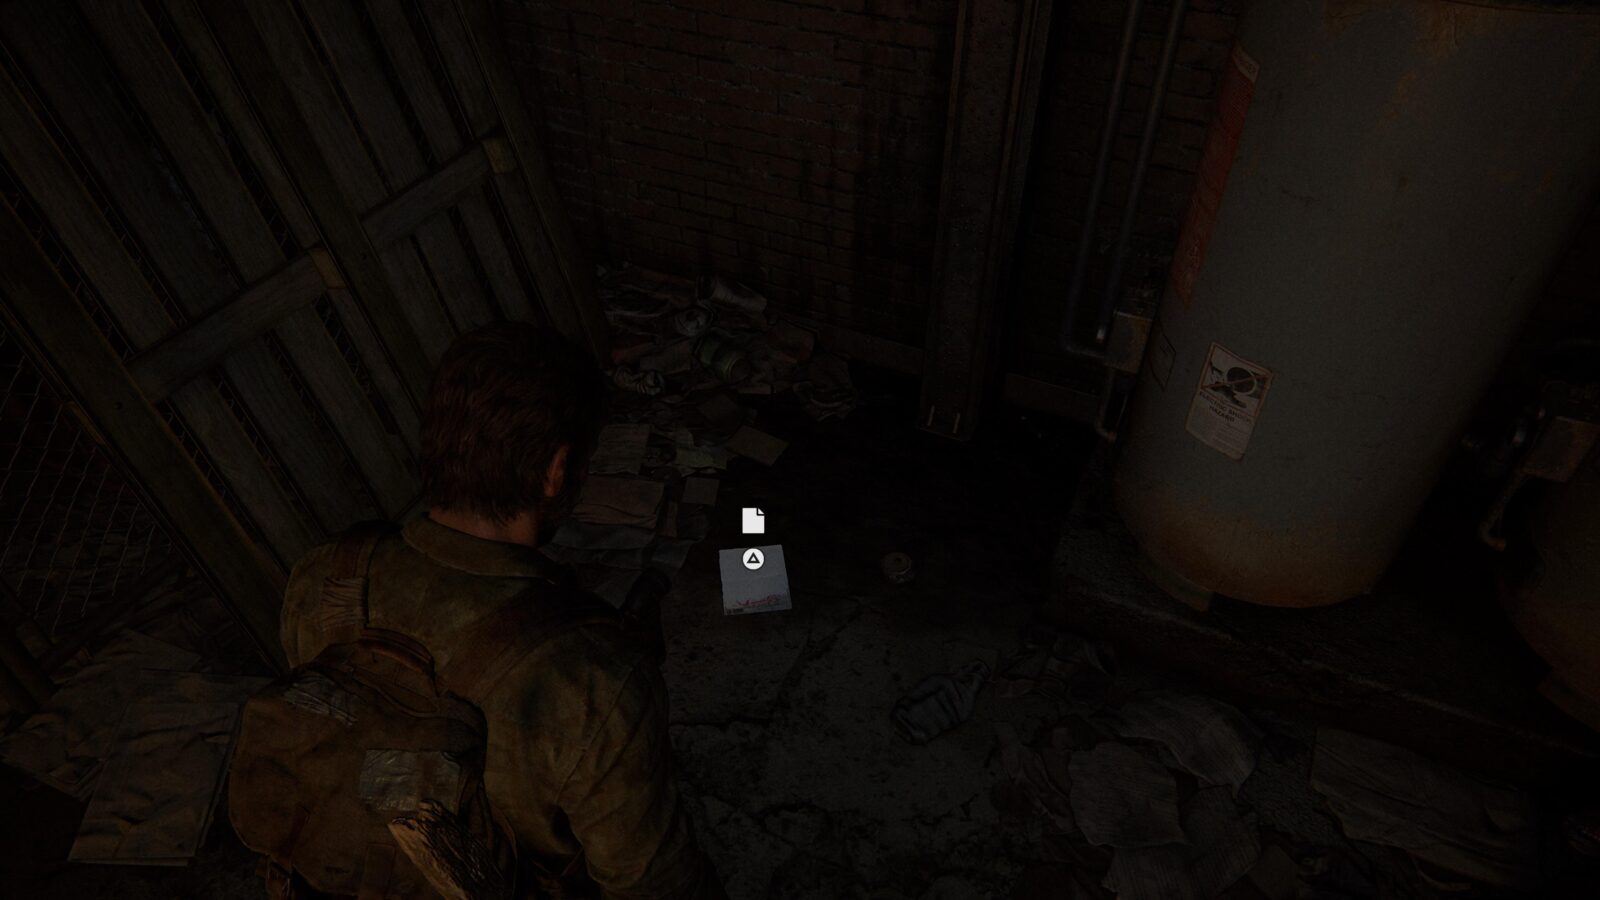
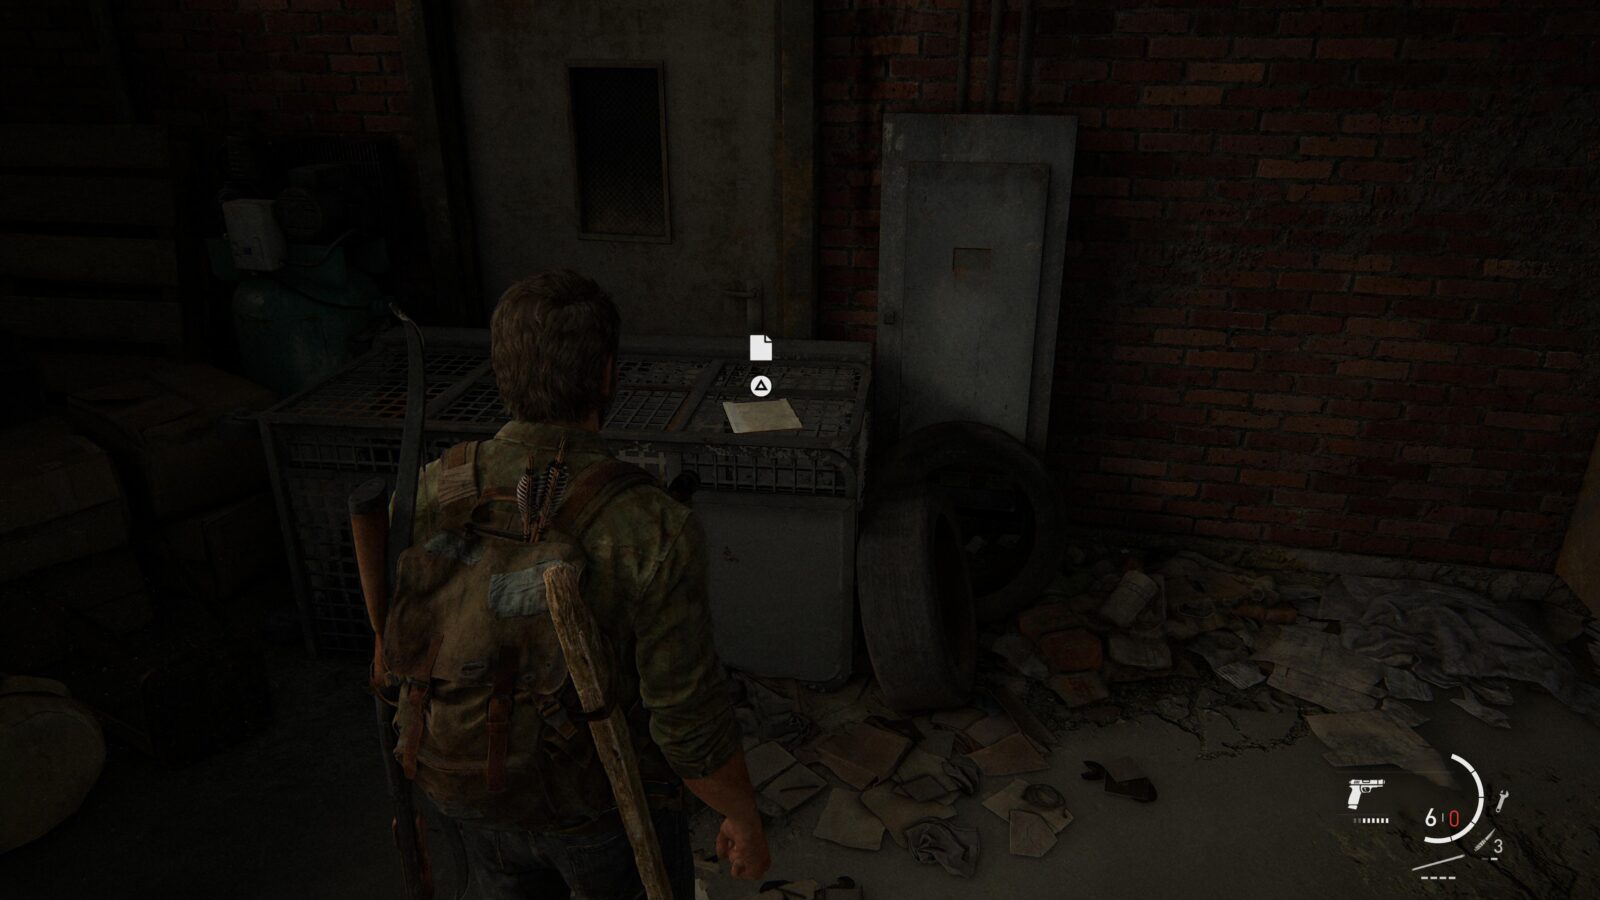
Artifact #29 Tourists Manifest – In the far right corner behind the corpse on the table is a note on a tipped over cage.
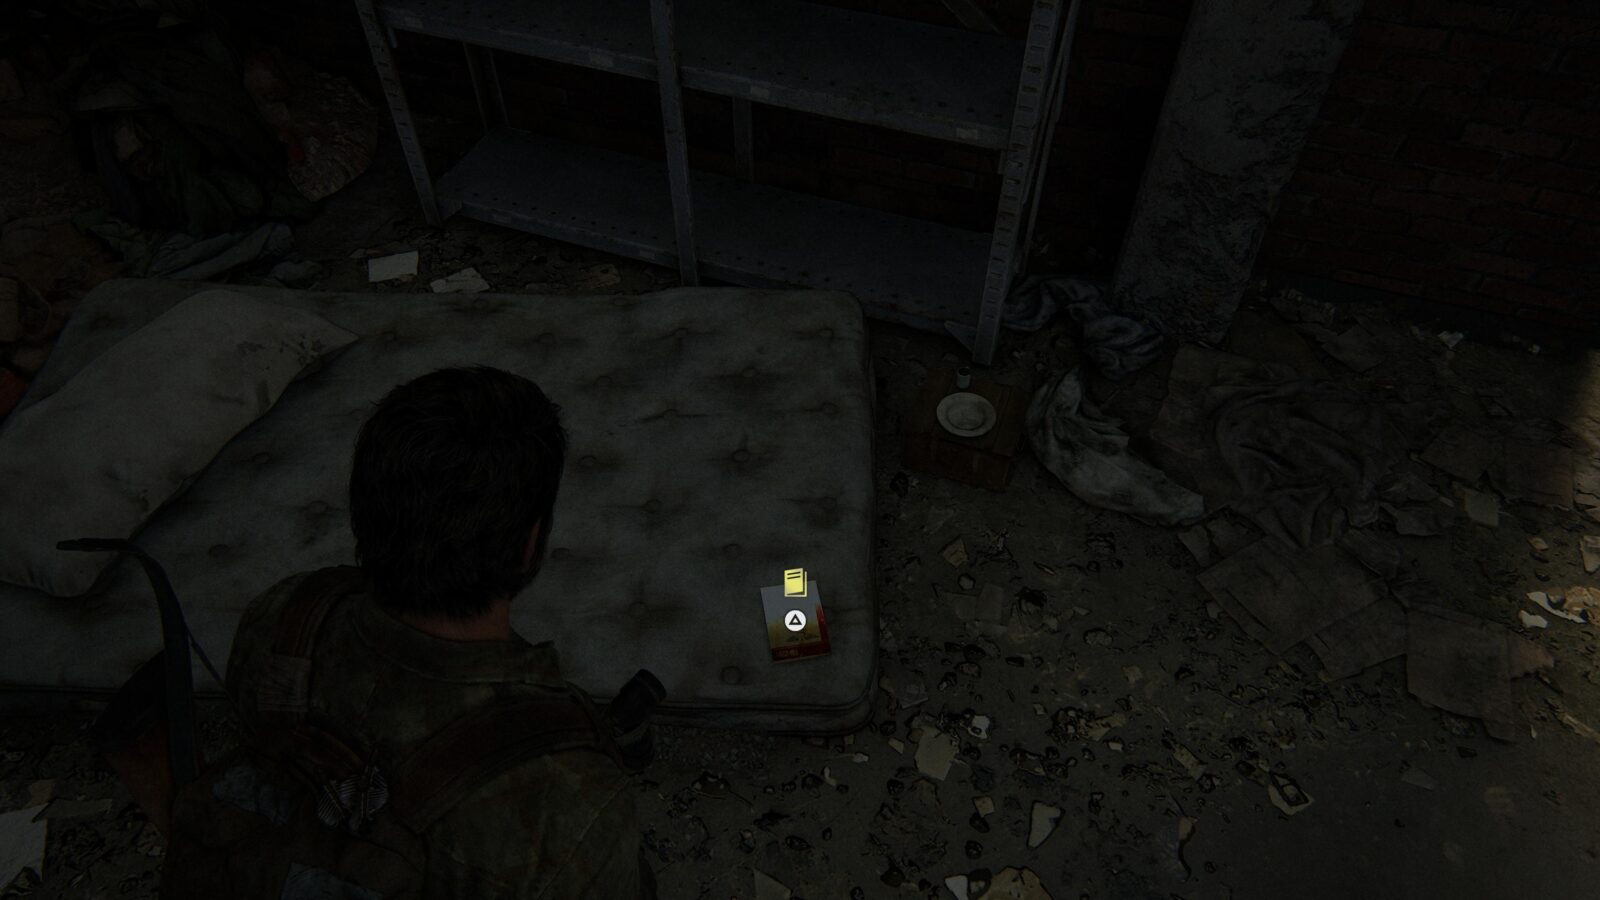
Training Manual #2 Health Splinting – Head upstairs and into the side room with several mattresses on the ground. On the corner of one is a training manual.
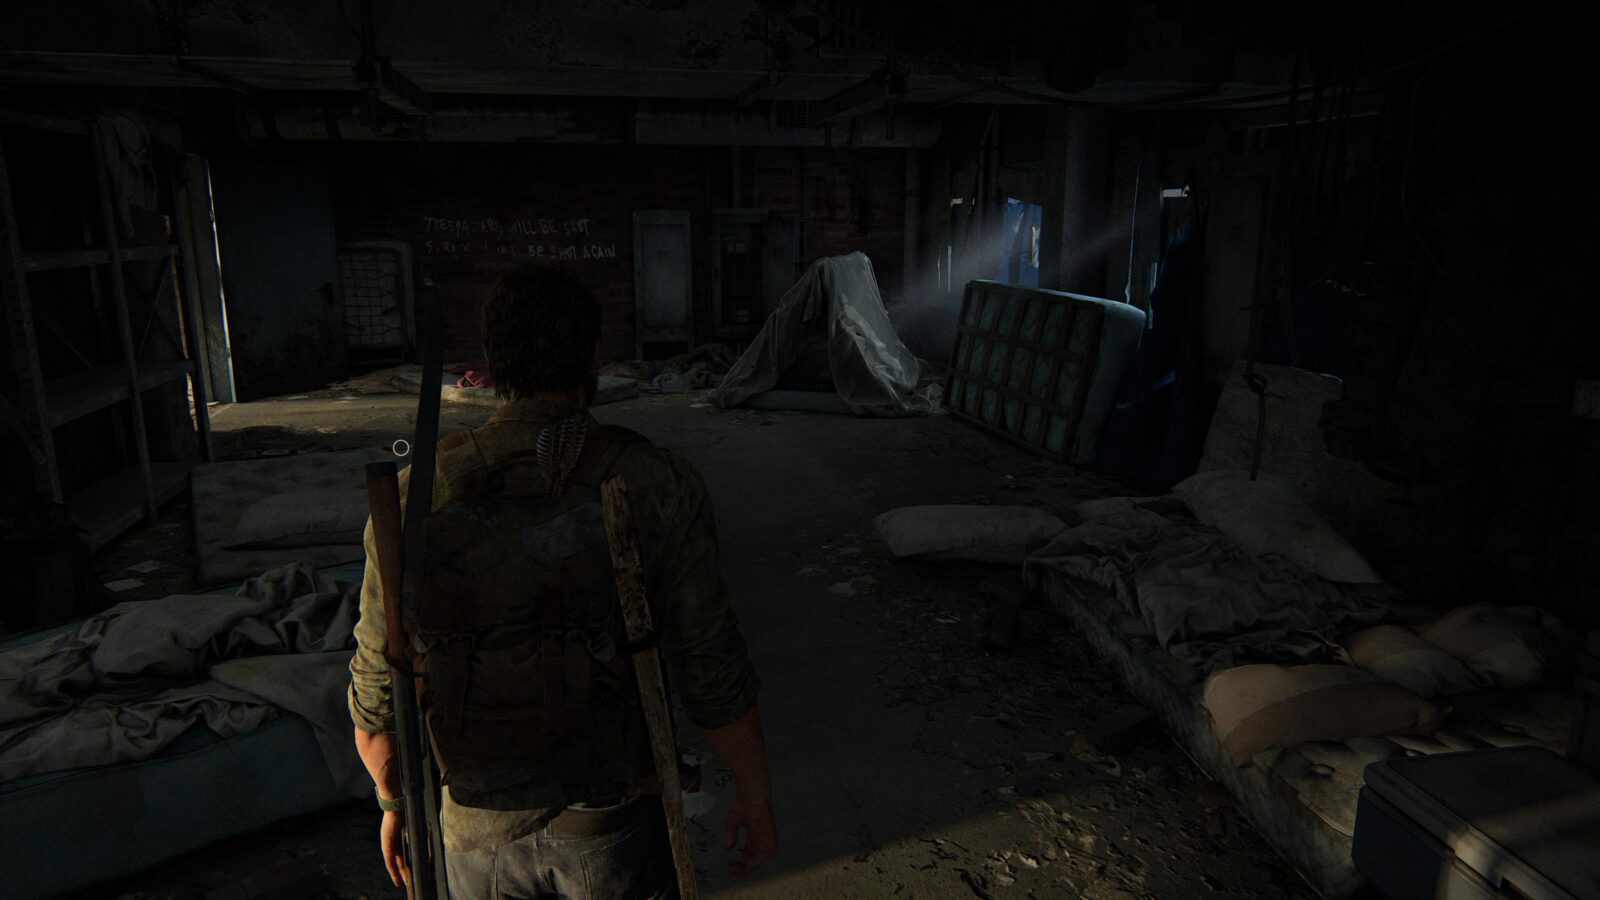
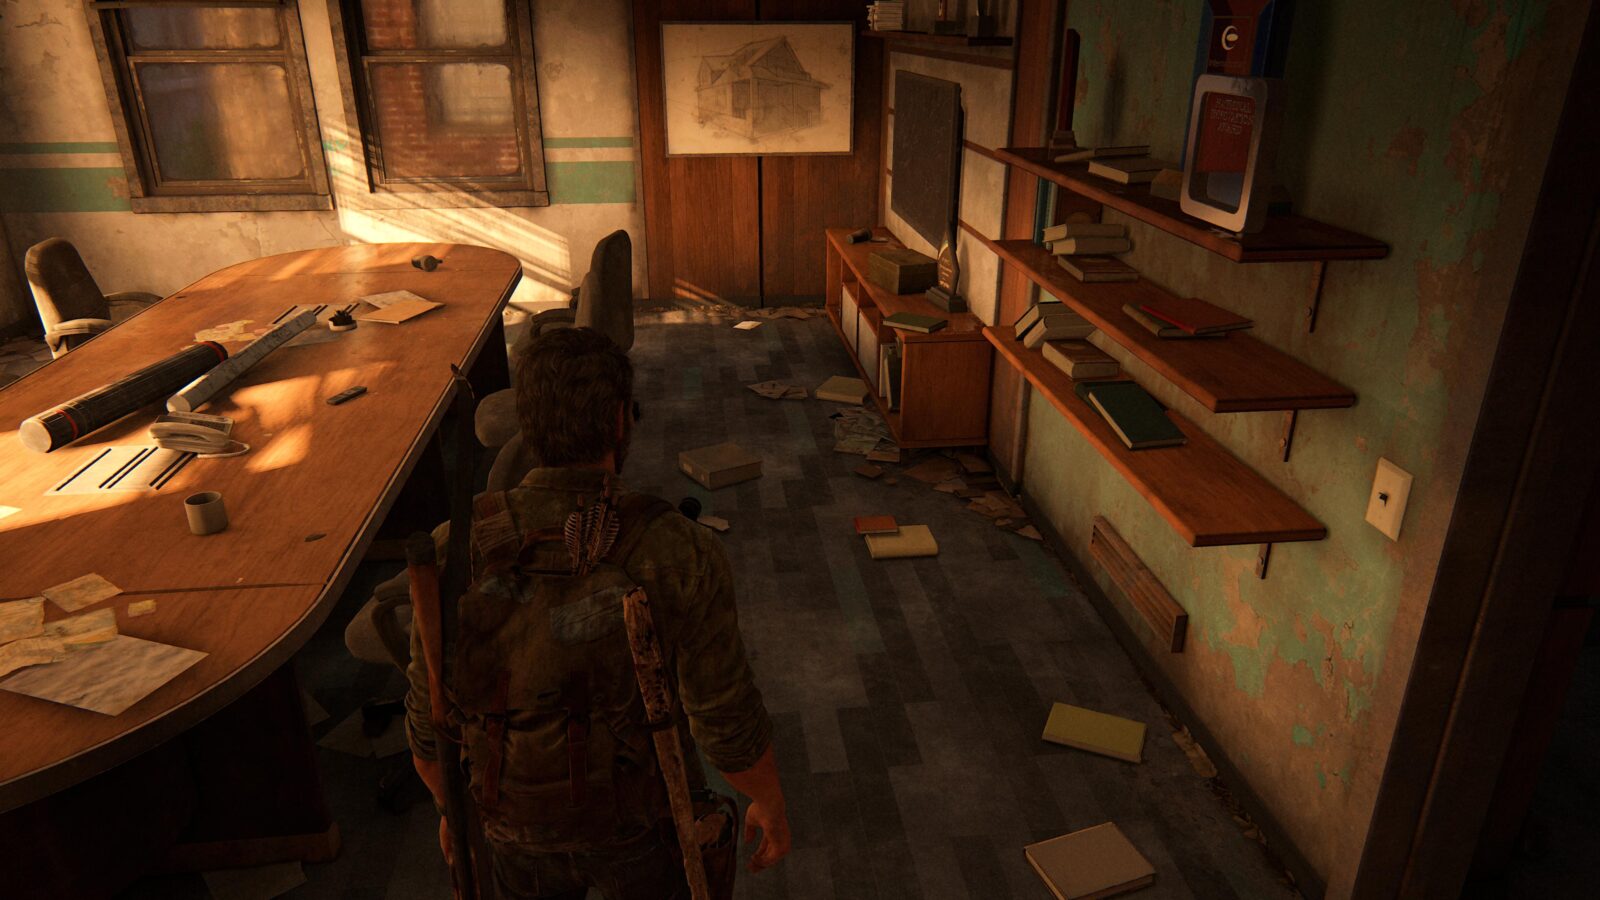
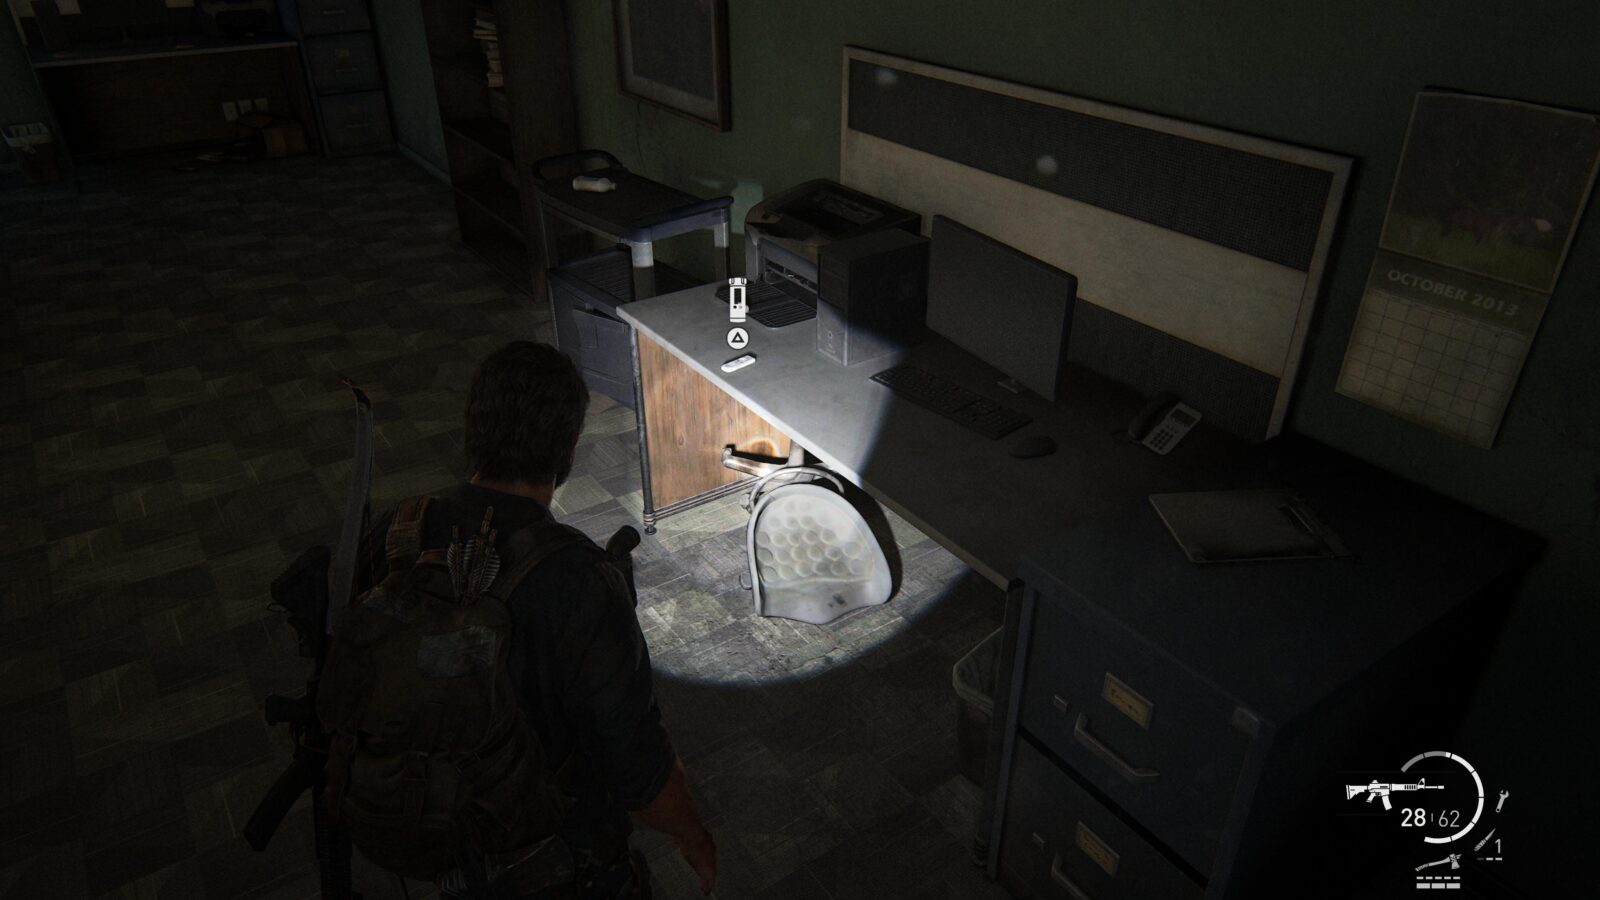
Artifact #30 Ambush Map – Go into the room at the end of the hallway and you can find a map on the wall to your right as you enter.
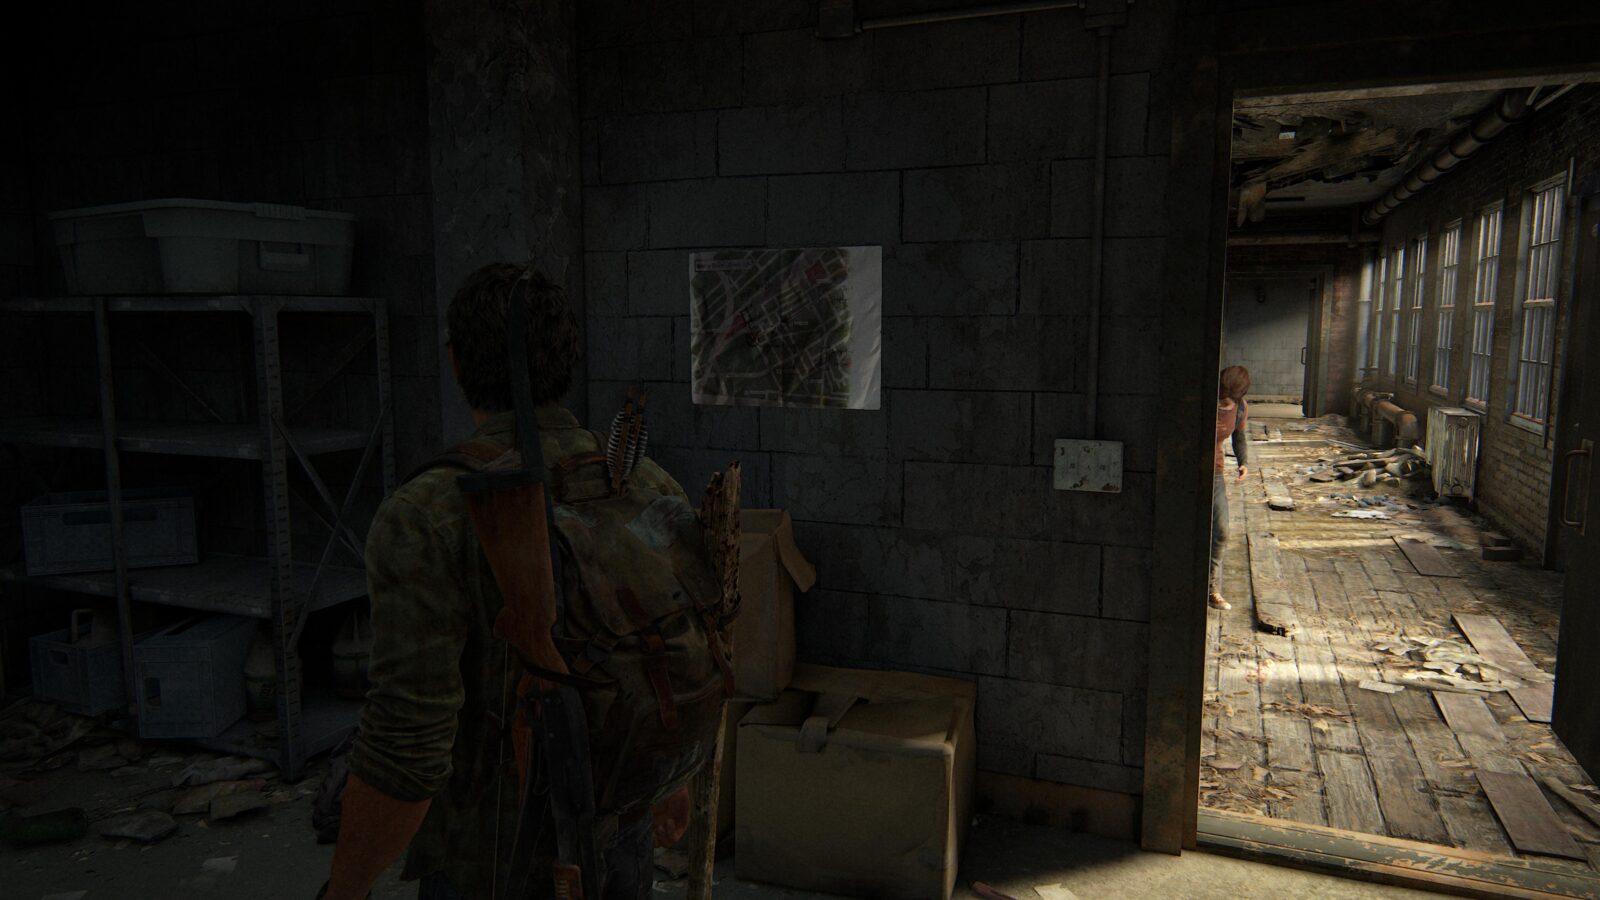
Workbench #3 – In the same room as the Ambush Map is a workbench.

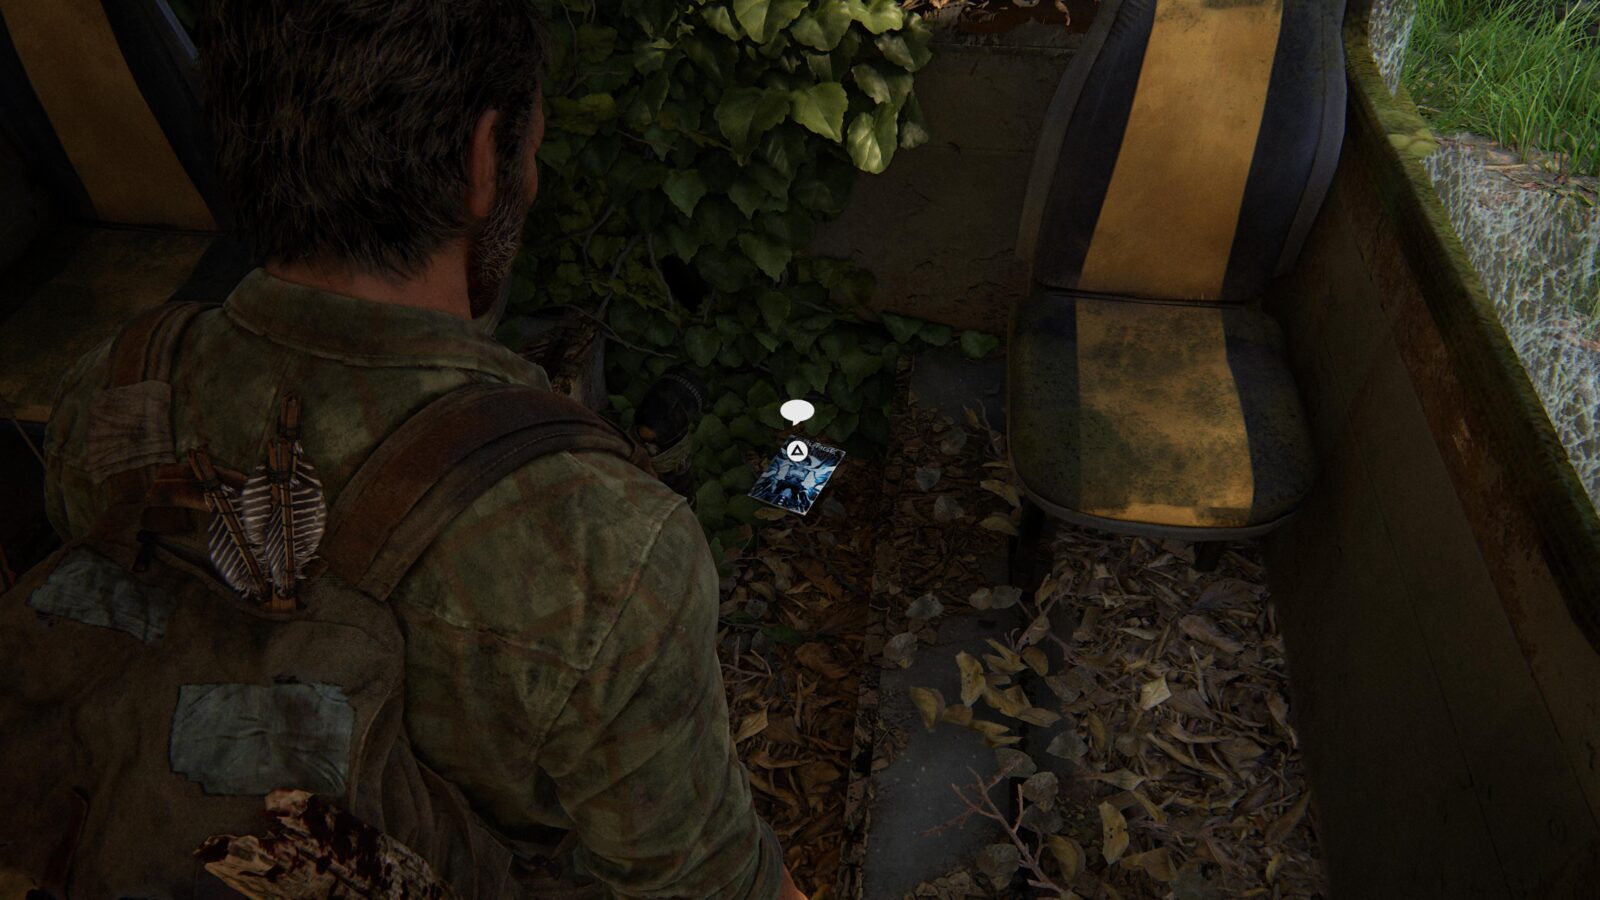
Comic #1 Termination Shock – Head out of the building and onto the highway. In front of you is a bus that you can enter. At the back of the bus is a comic on the floor.
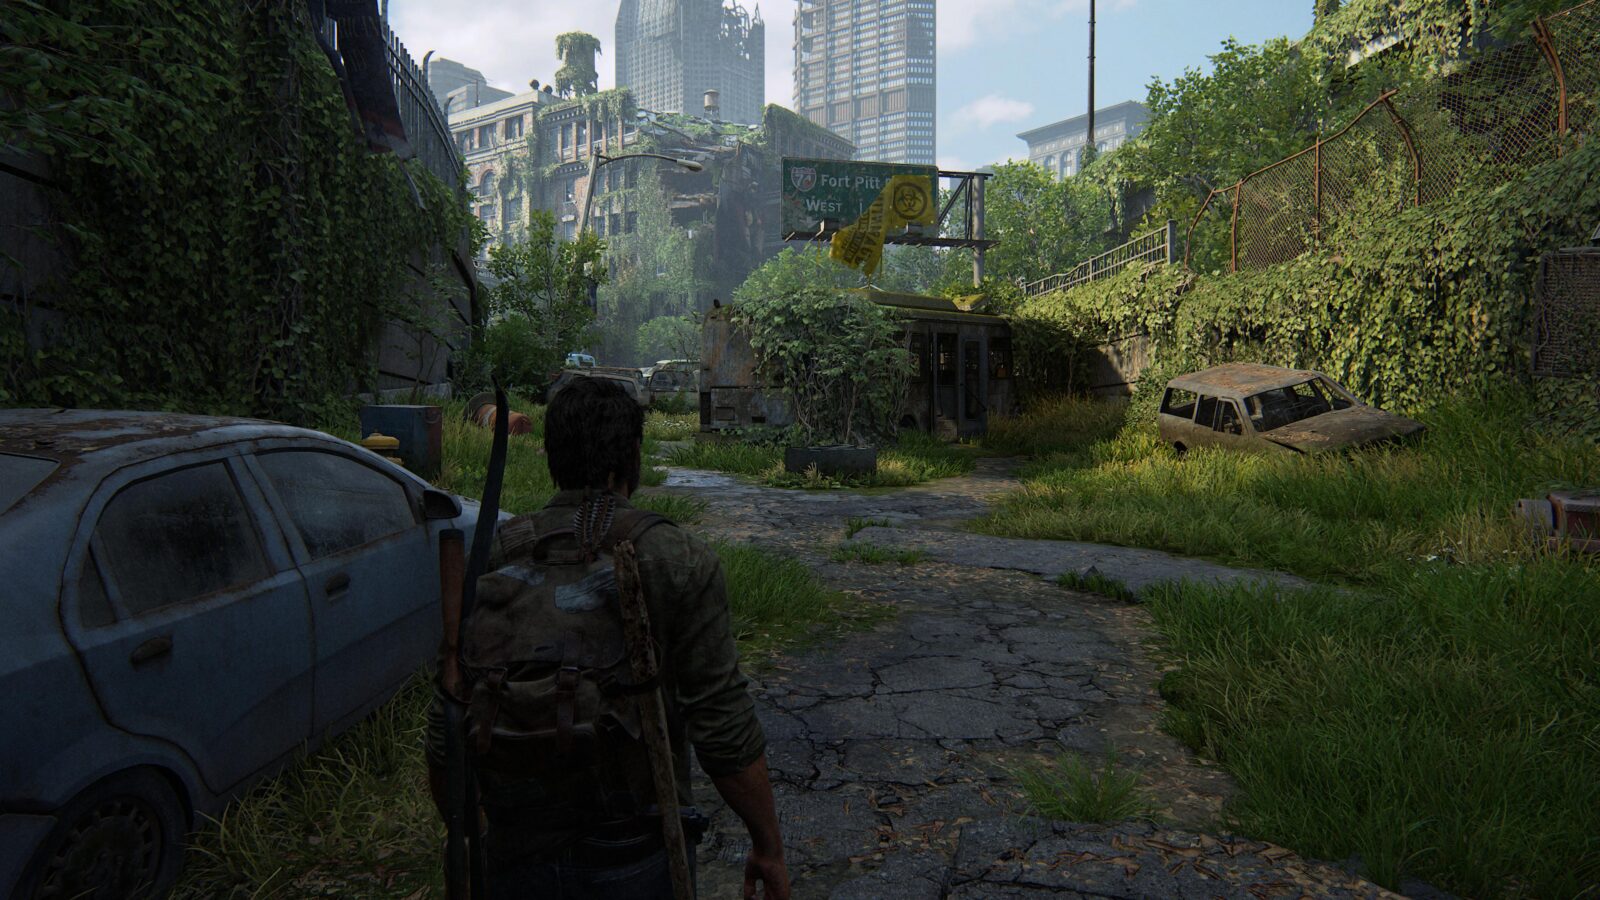
Optional Conversation #15 – Leave the bus and continue up the highway until you see a brown car with a dead body laying on the ground with its leg inside the car. Ellie will strike up a conversation about it.

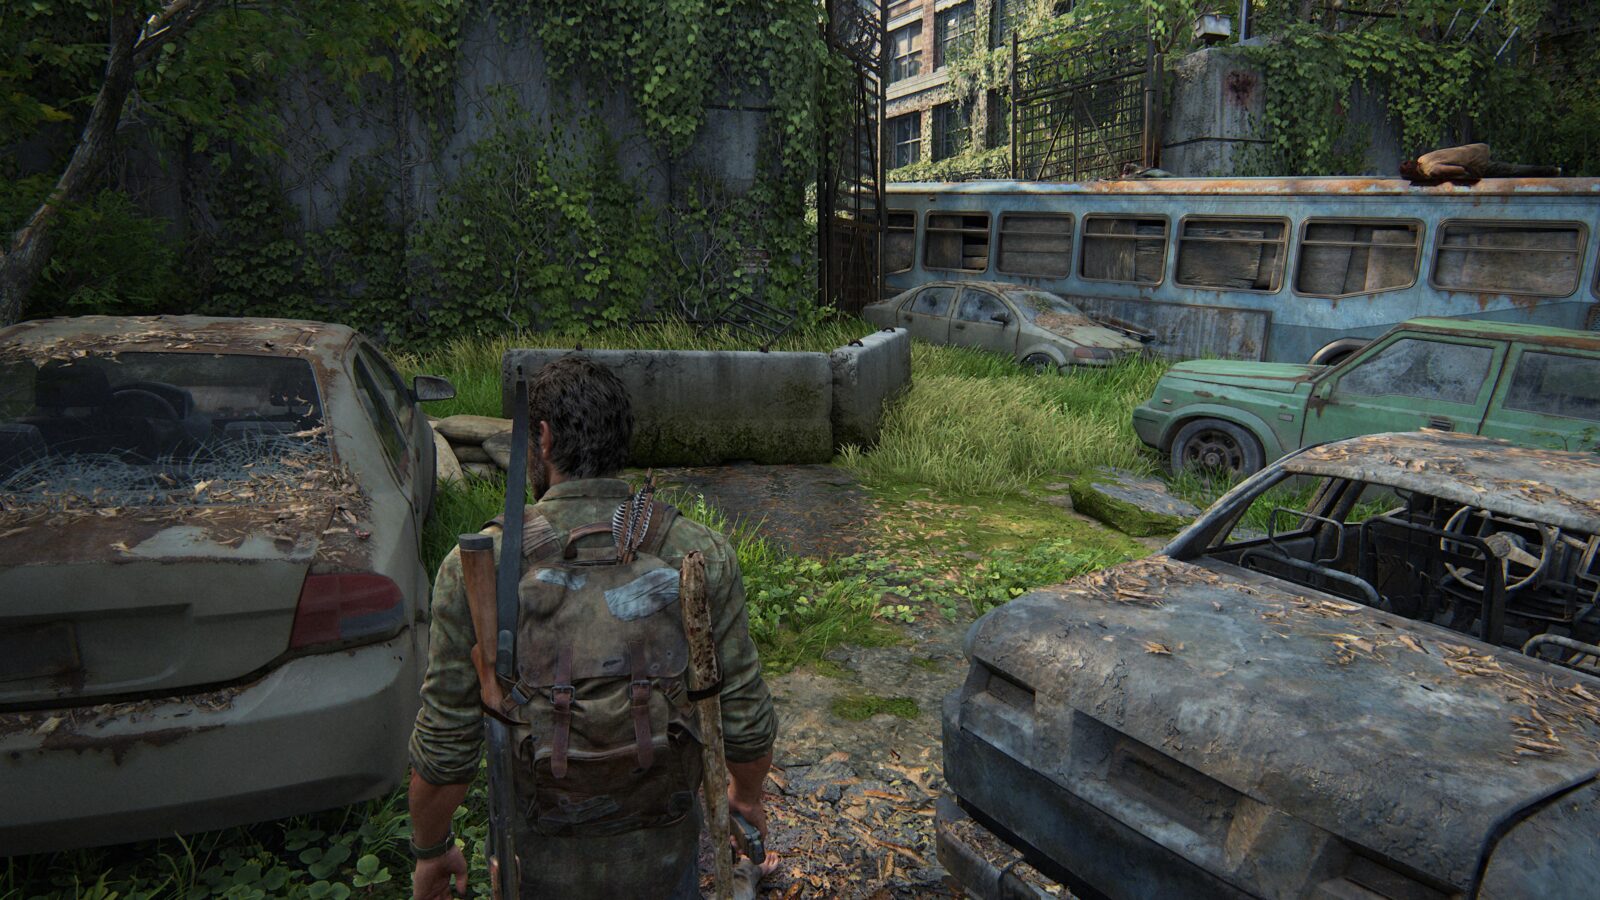
Joke #1 – After killing the Hunters at the end of the highway, stand around in front of the bus and wait until Ellie pulls out her joke book. This might take a few minutes.

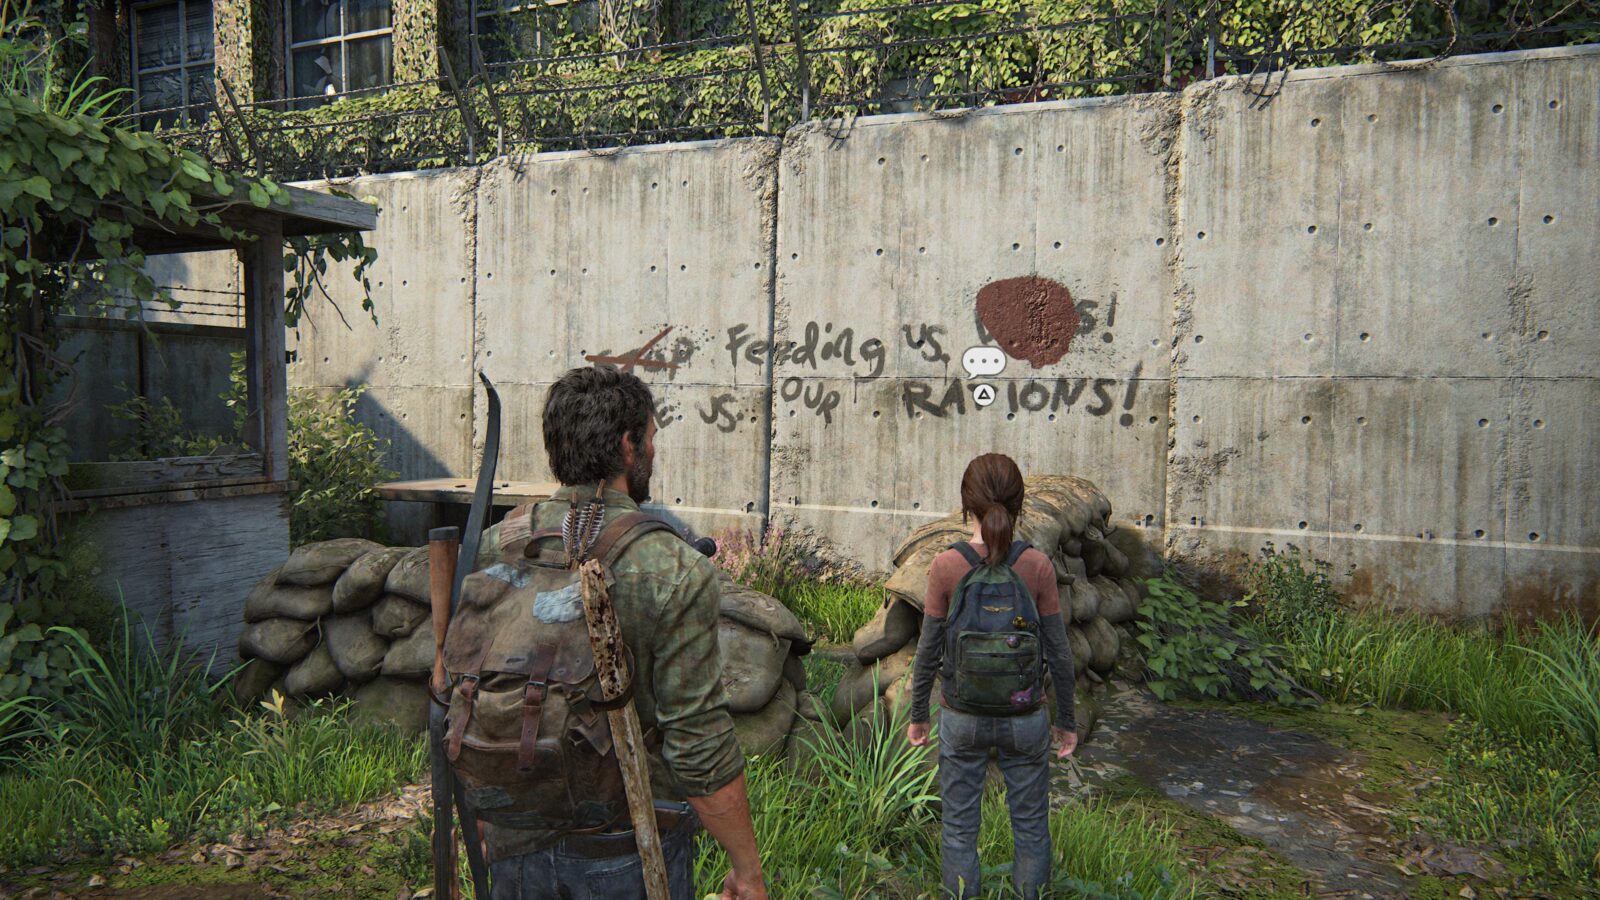
Optional Conversation #16 – Hop over the bus and look at the graffiti on the wall to your right. Ellie will walk over to it and comment on it leading to a conversation.

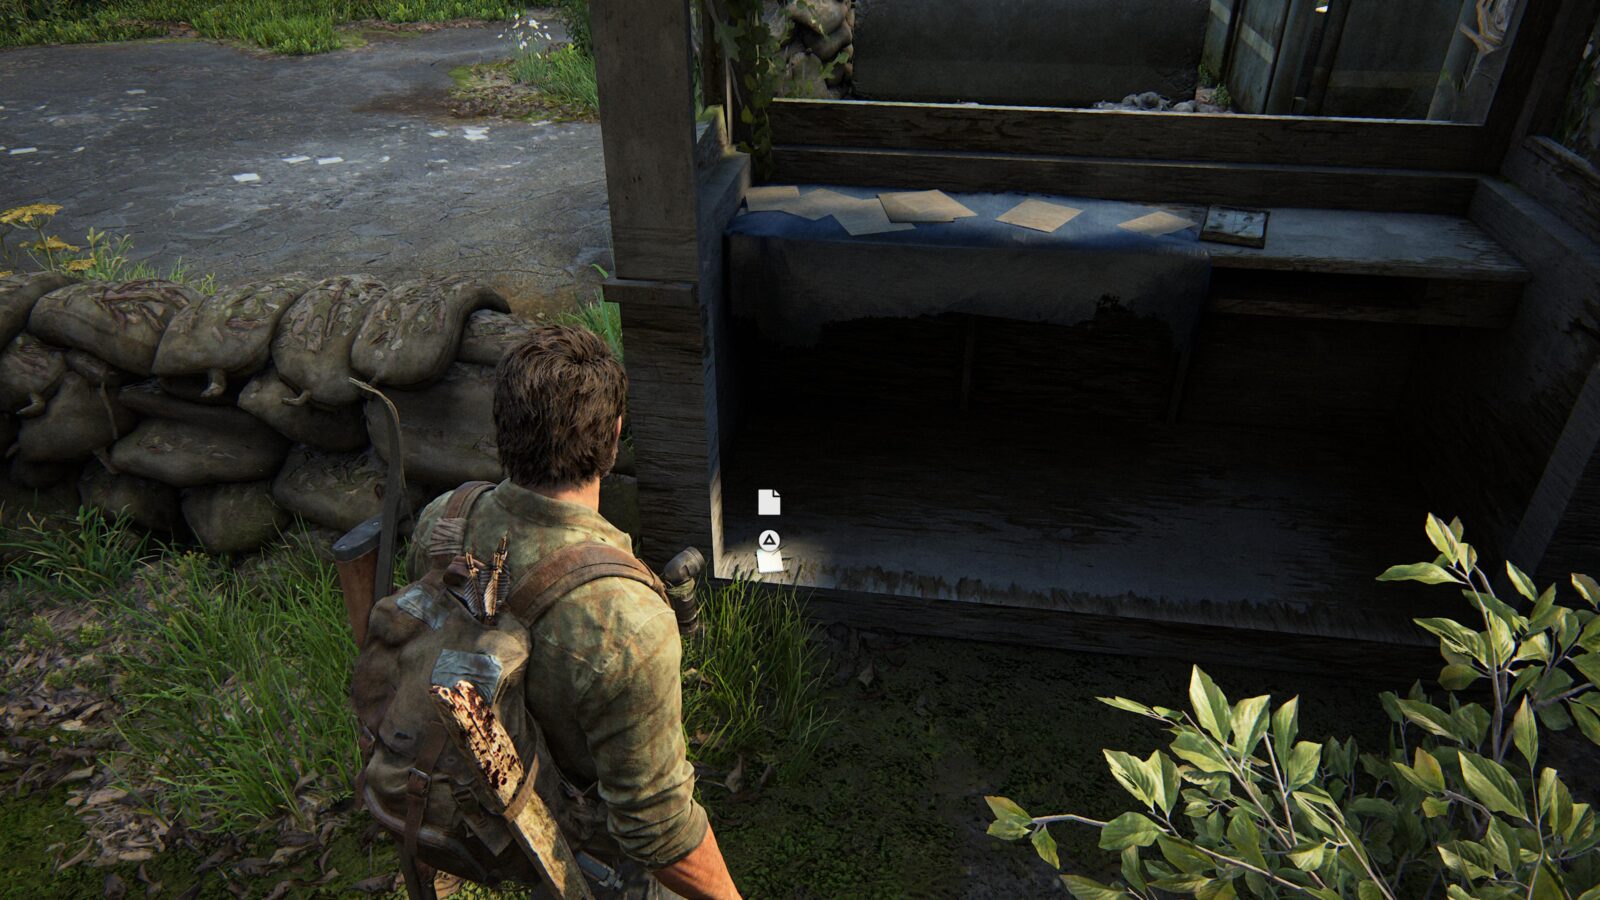
Artifact #31 Lost Hill Note – Jump over the sandbags in front of the graffiti and search the guard booth for a note.
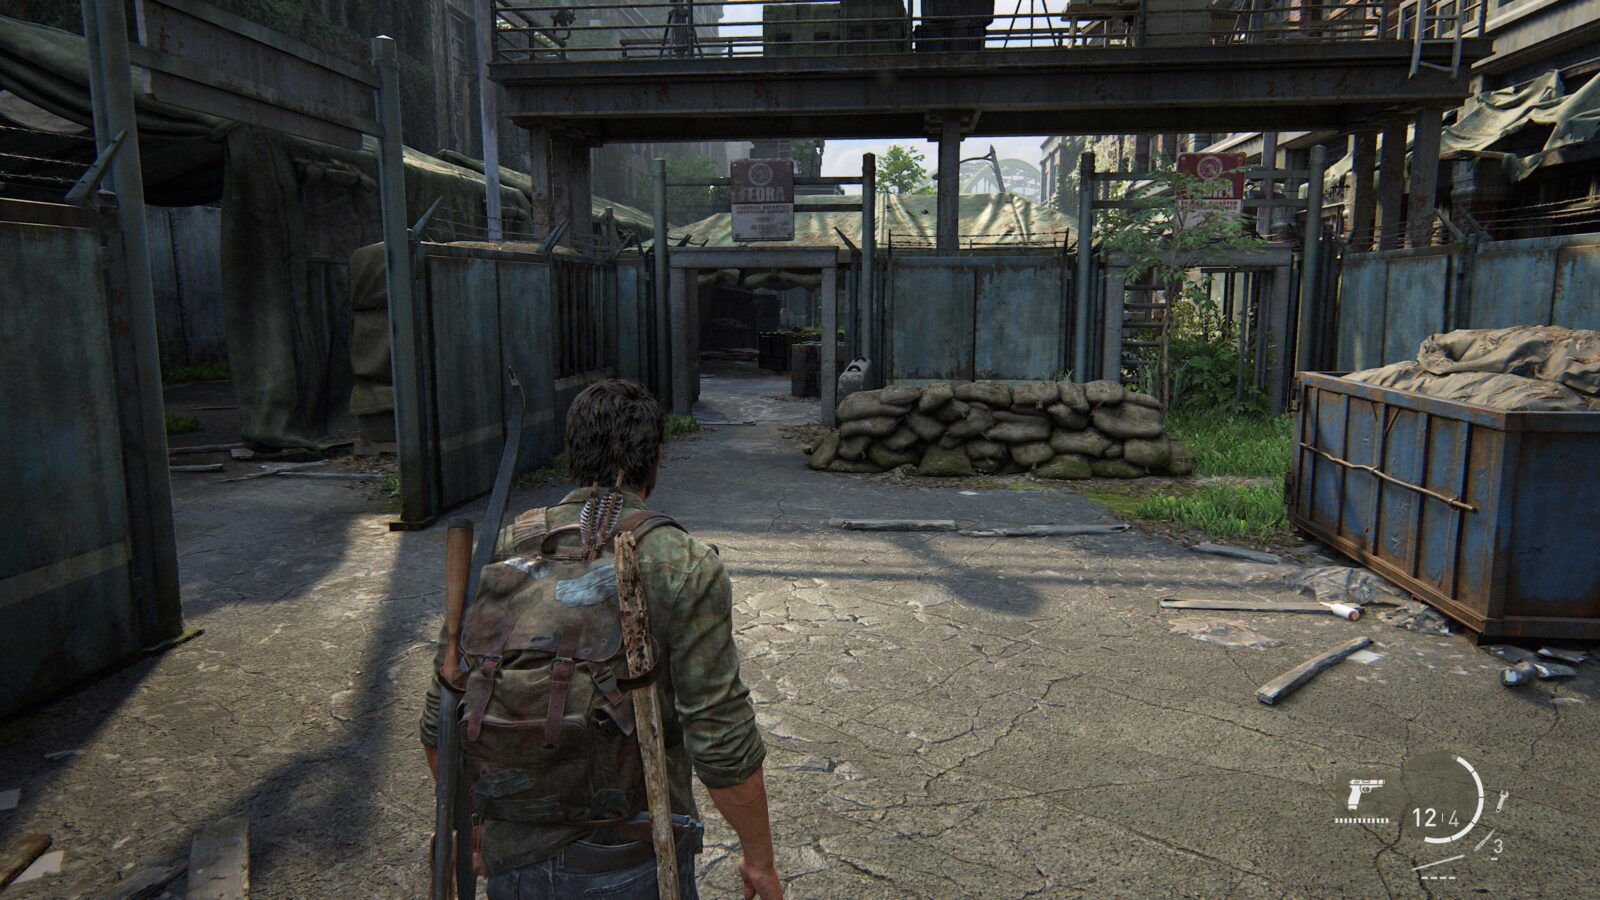
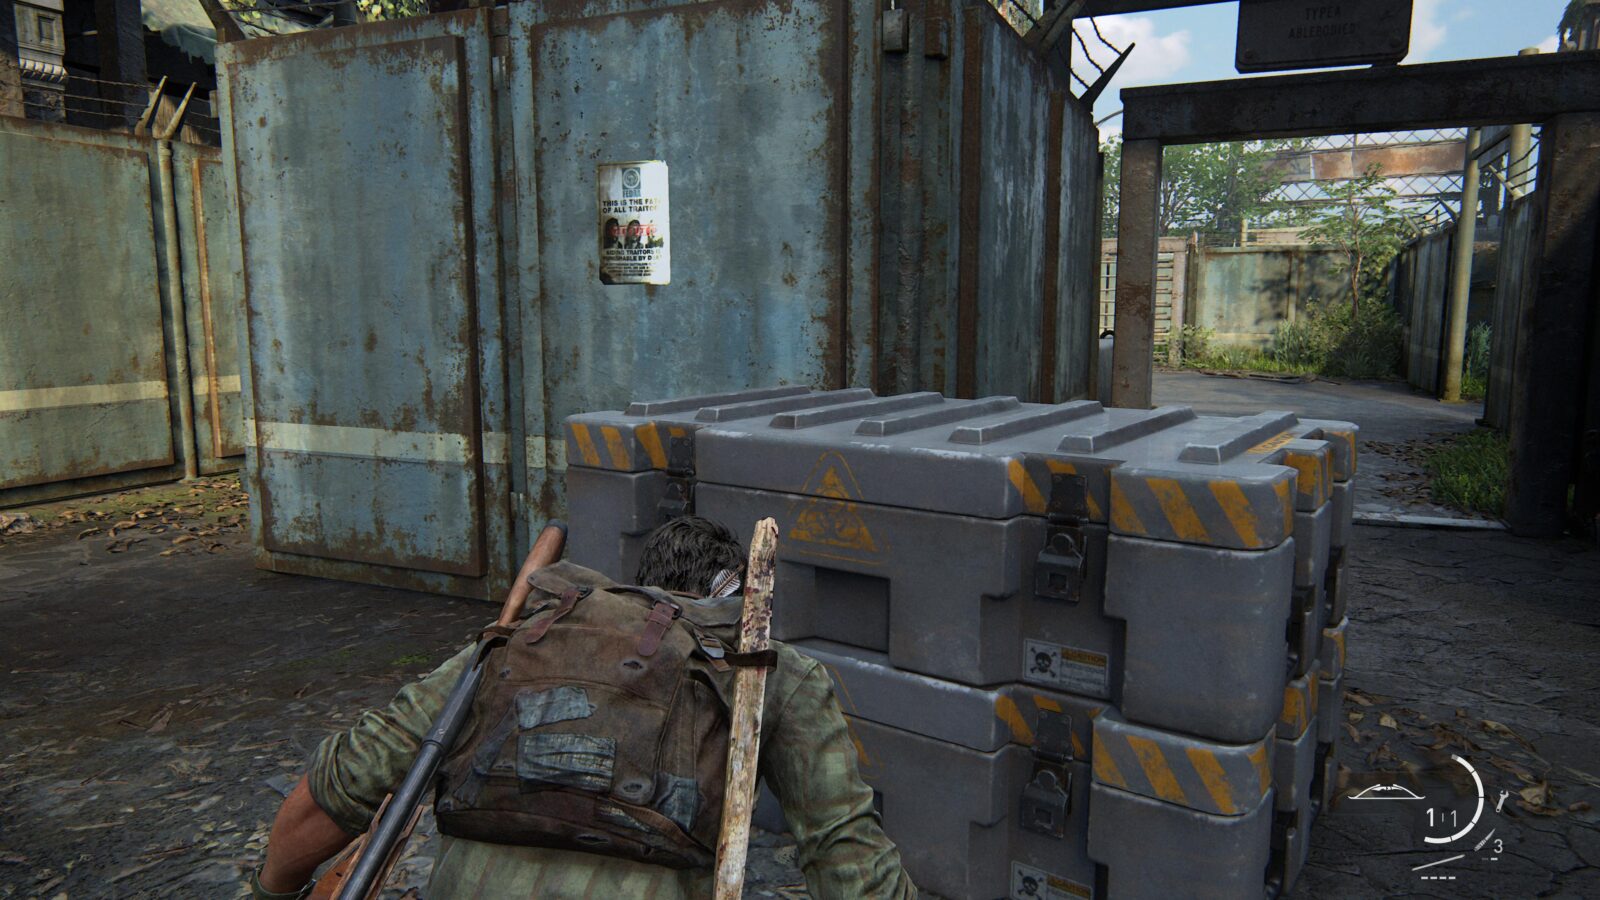
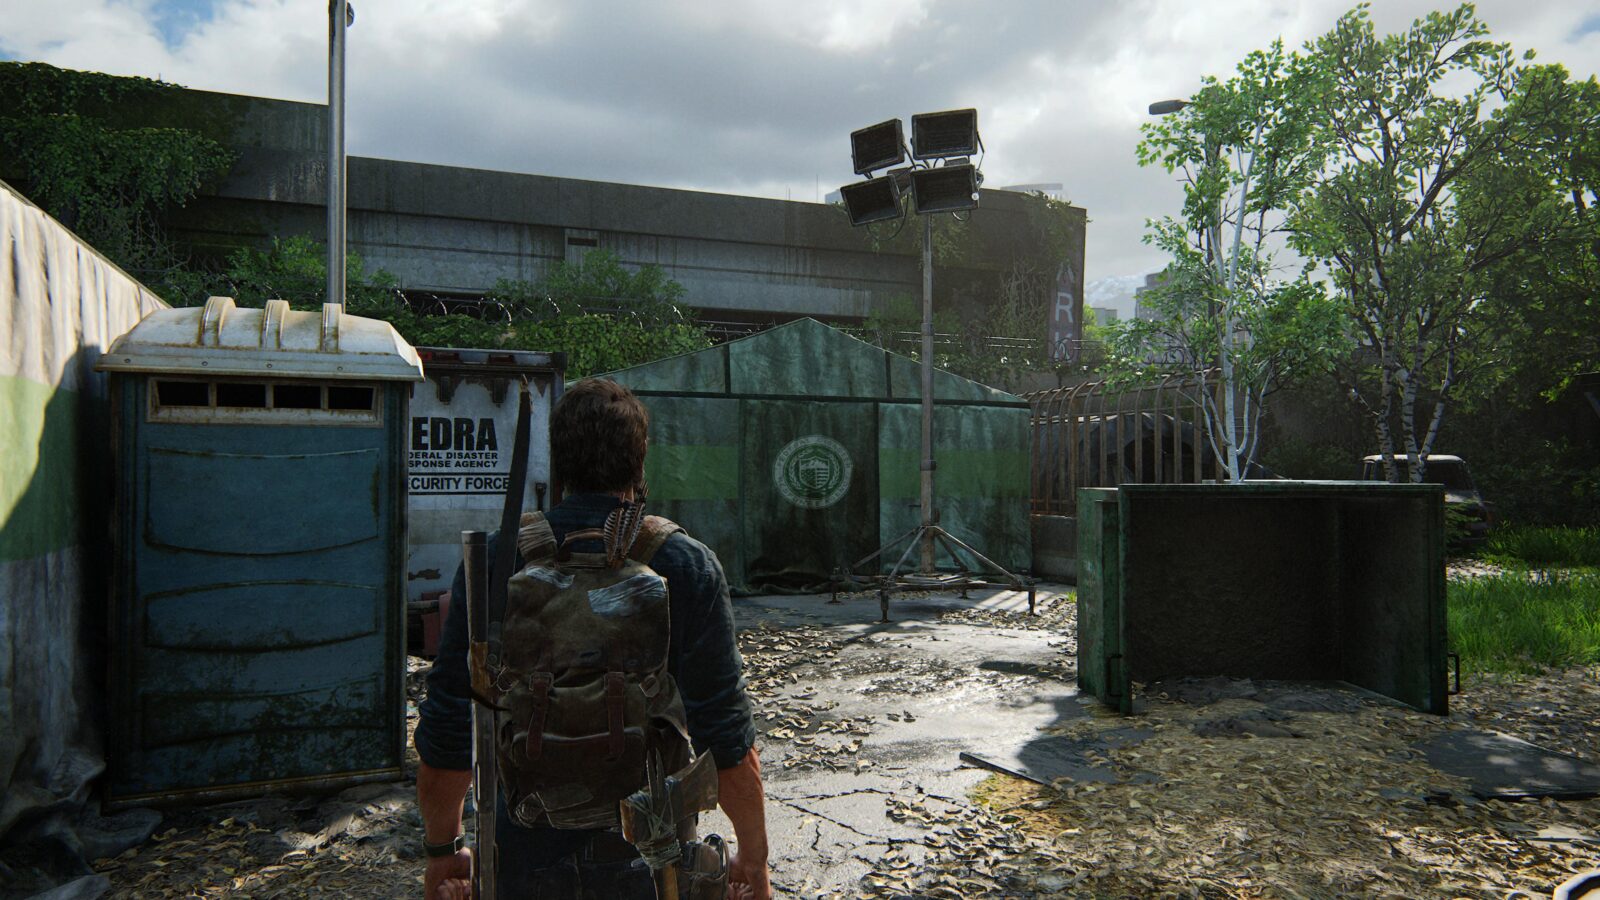
Artifact #32 Traitors Flyer – Head through the checkpoint and you will run into three Hunters talking about their recent exploits. Wait for them to disperse and walk into the middle area with the large canopy. As you do, check the blue metal dividers to your right for a flyer.
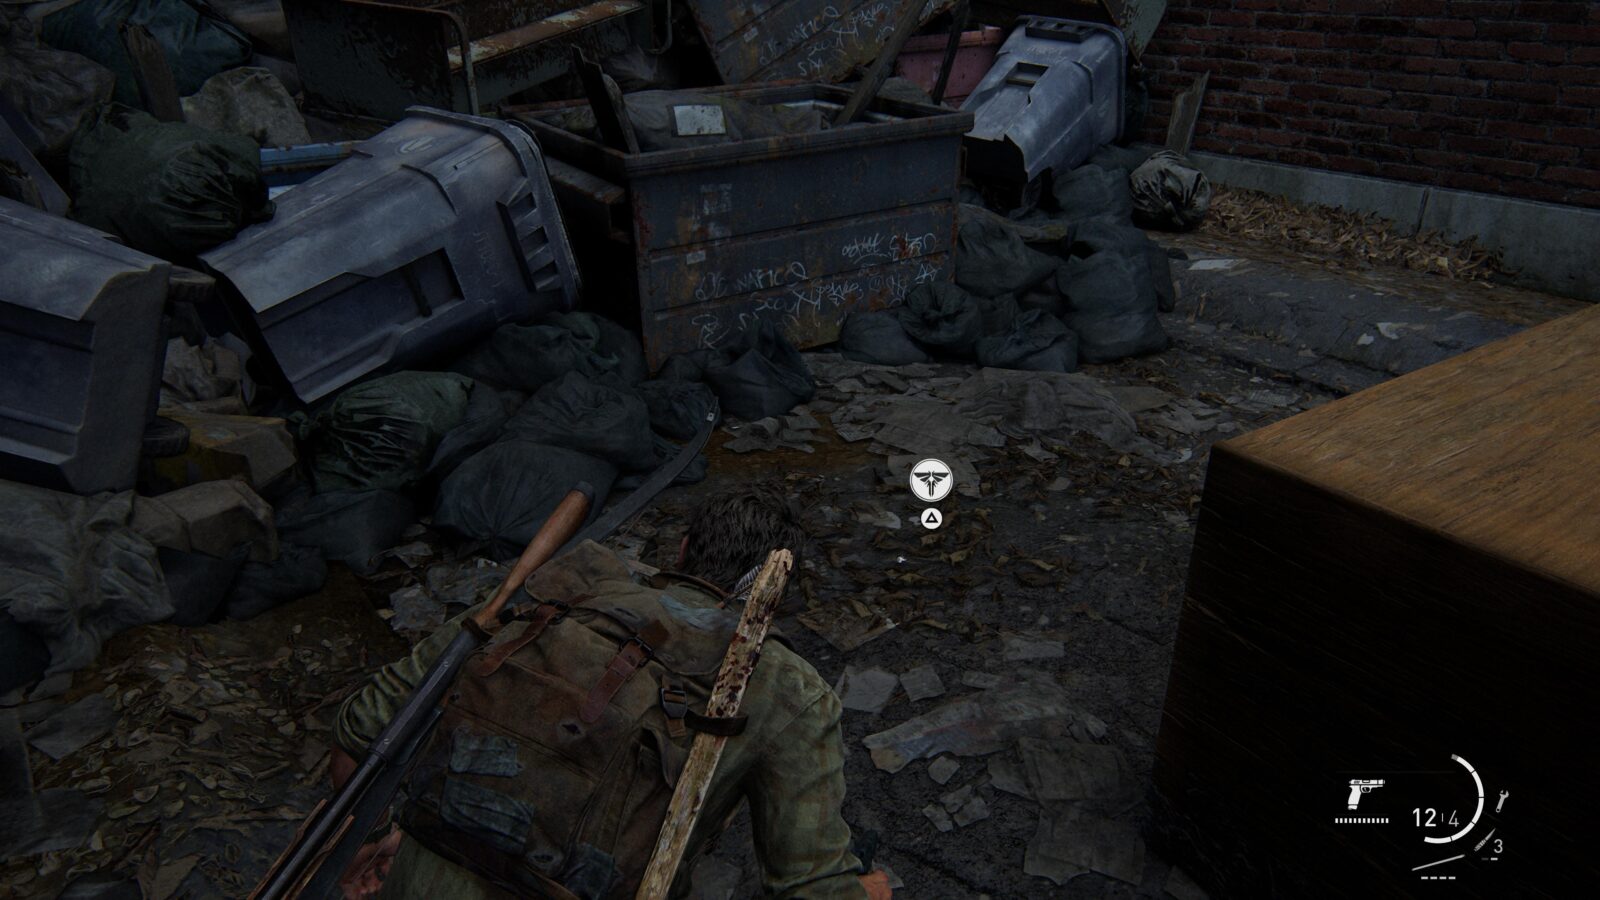
Firefly Pendant #11 Kazden Risk 000153 – Head towards the bookstore and go down the left side of the building to find an alley. At the back of the alley on the ground is a pendant.

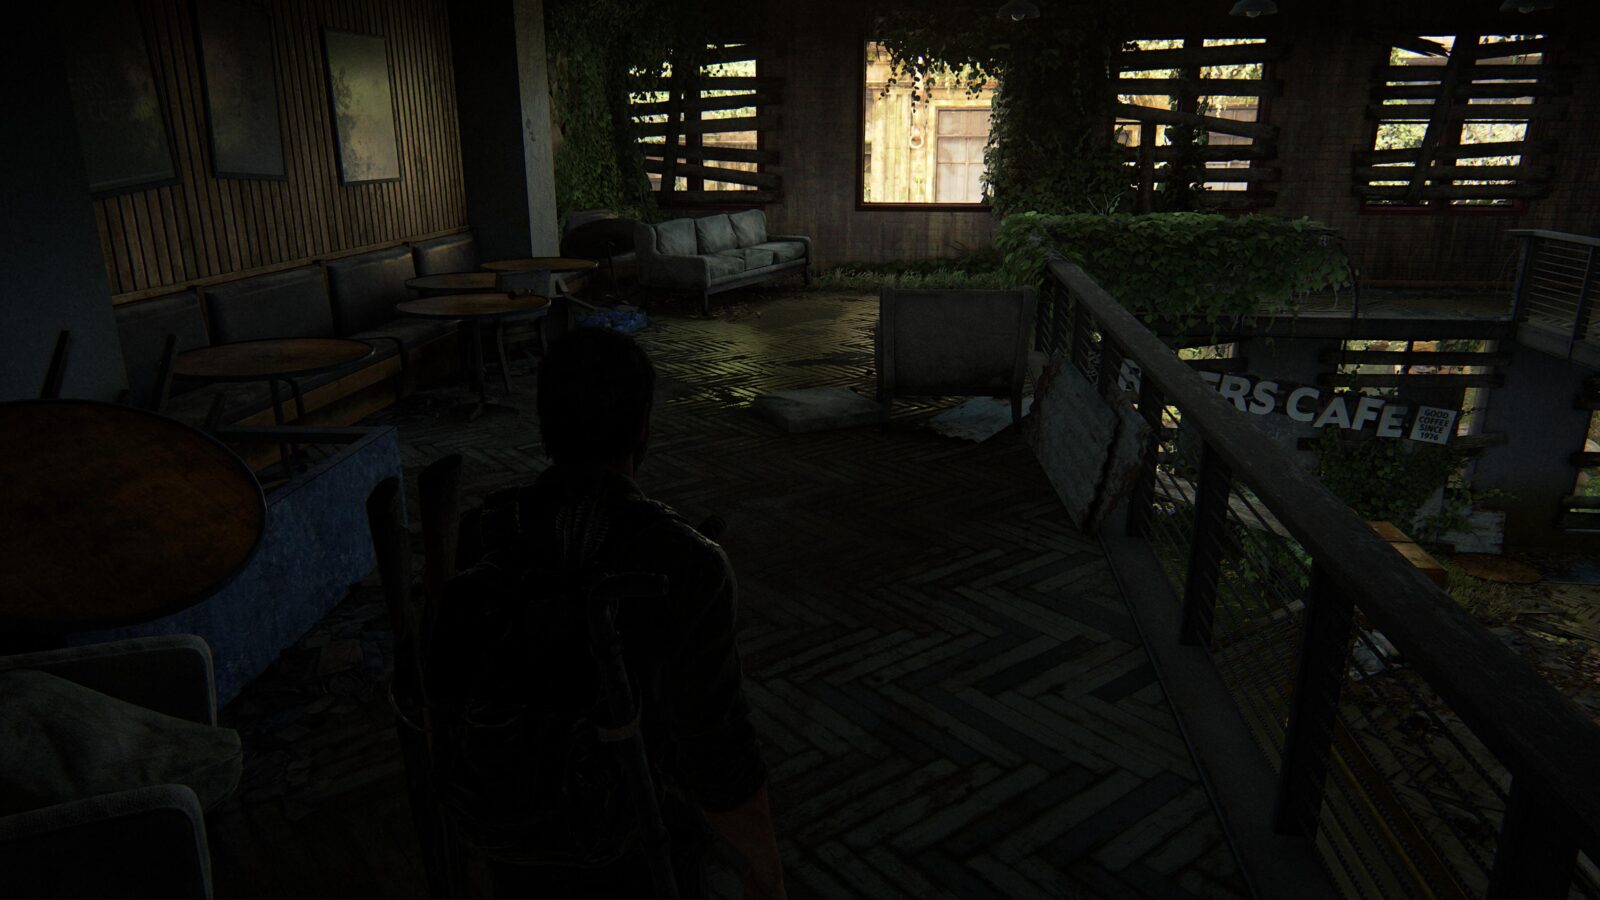
Joke #2 – After clearing out all the Hunters in the bookstore, head up to the 2nd floor and wait around in front of “Rivers Cafe” until Ellie pulls out her trusty joke book.
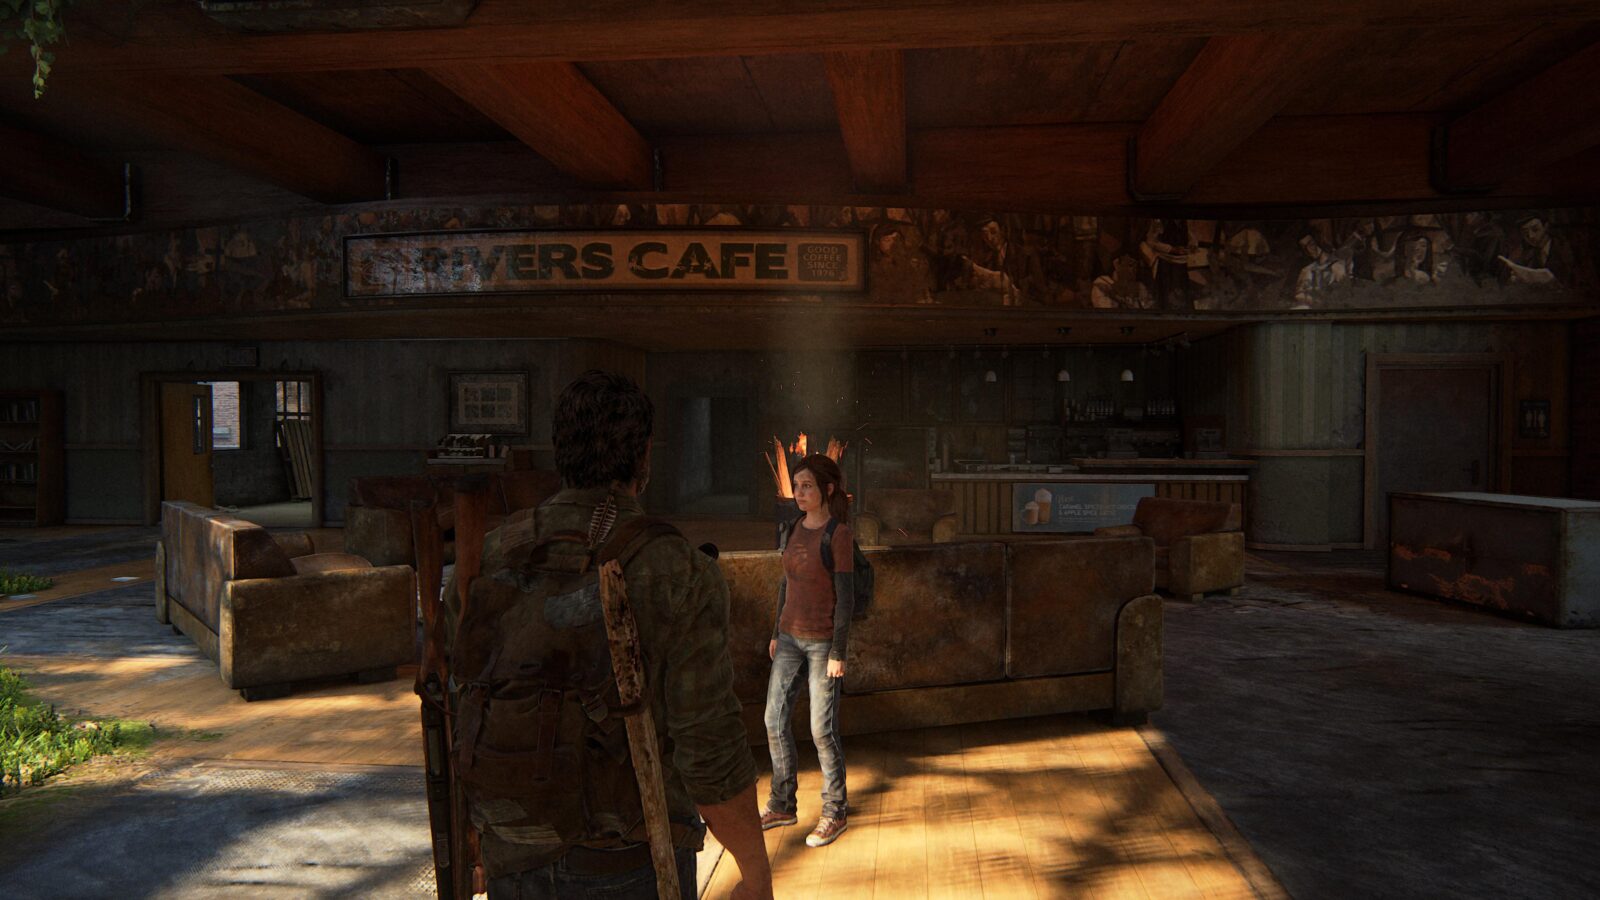

Shiv Door #5 – After listening to Ellie’s jokes, head towards the counter of the Rivers Cafe and you will notice a Shiv Door to your right.
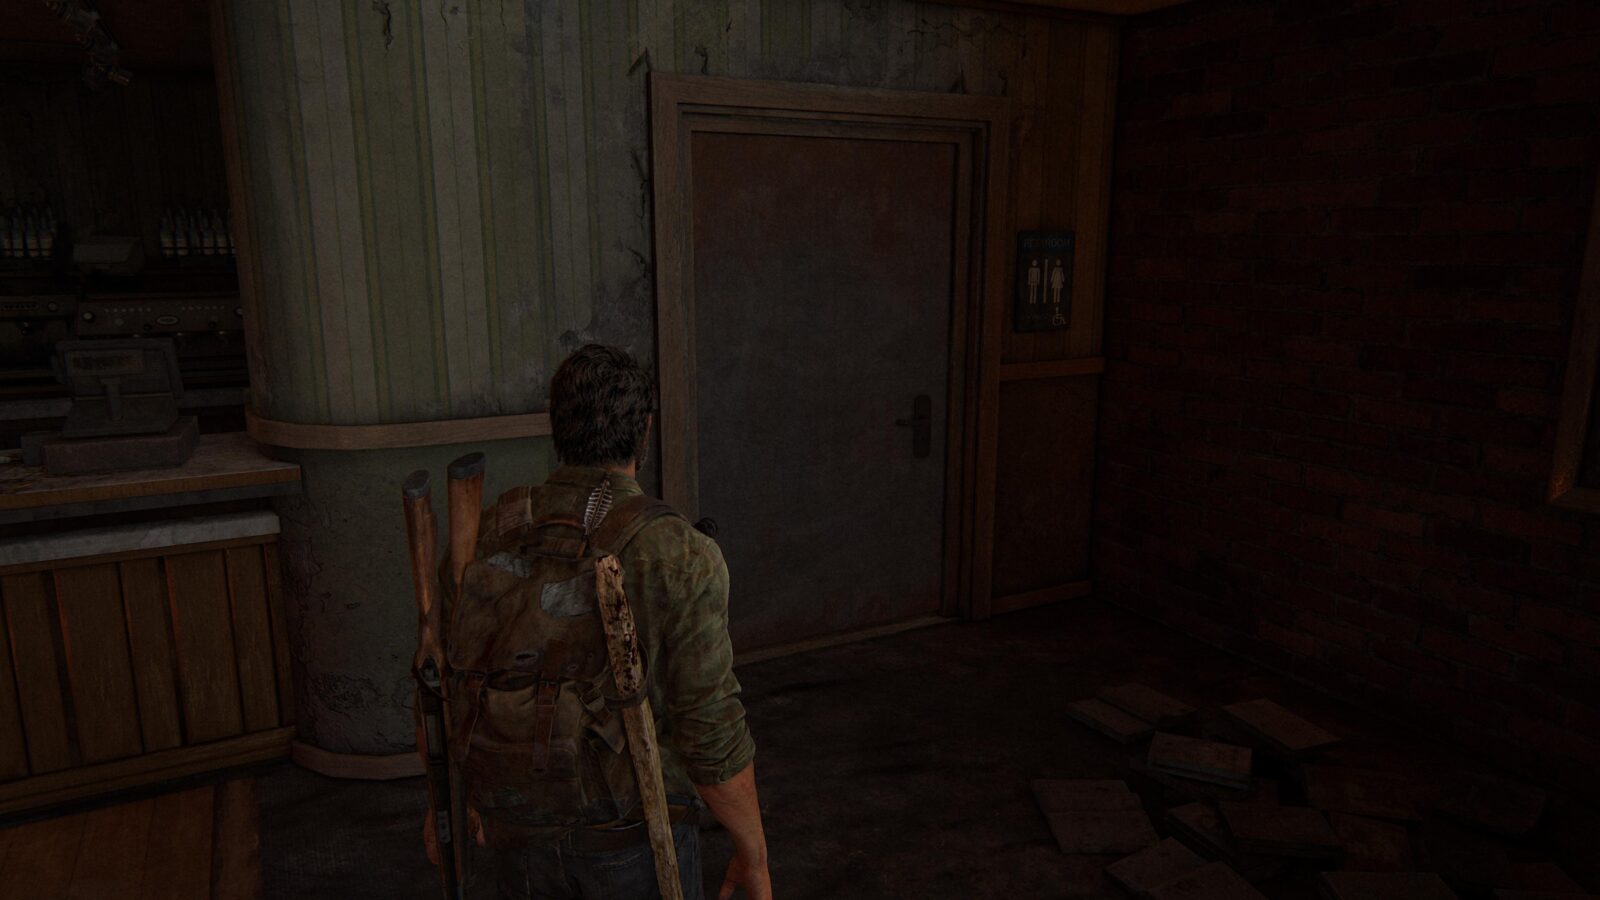
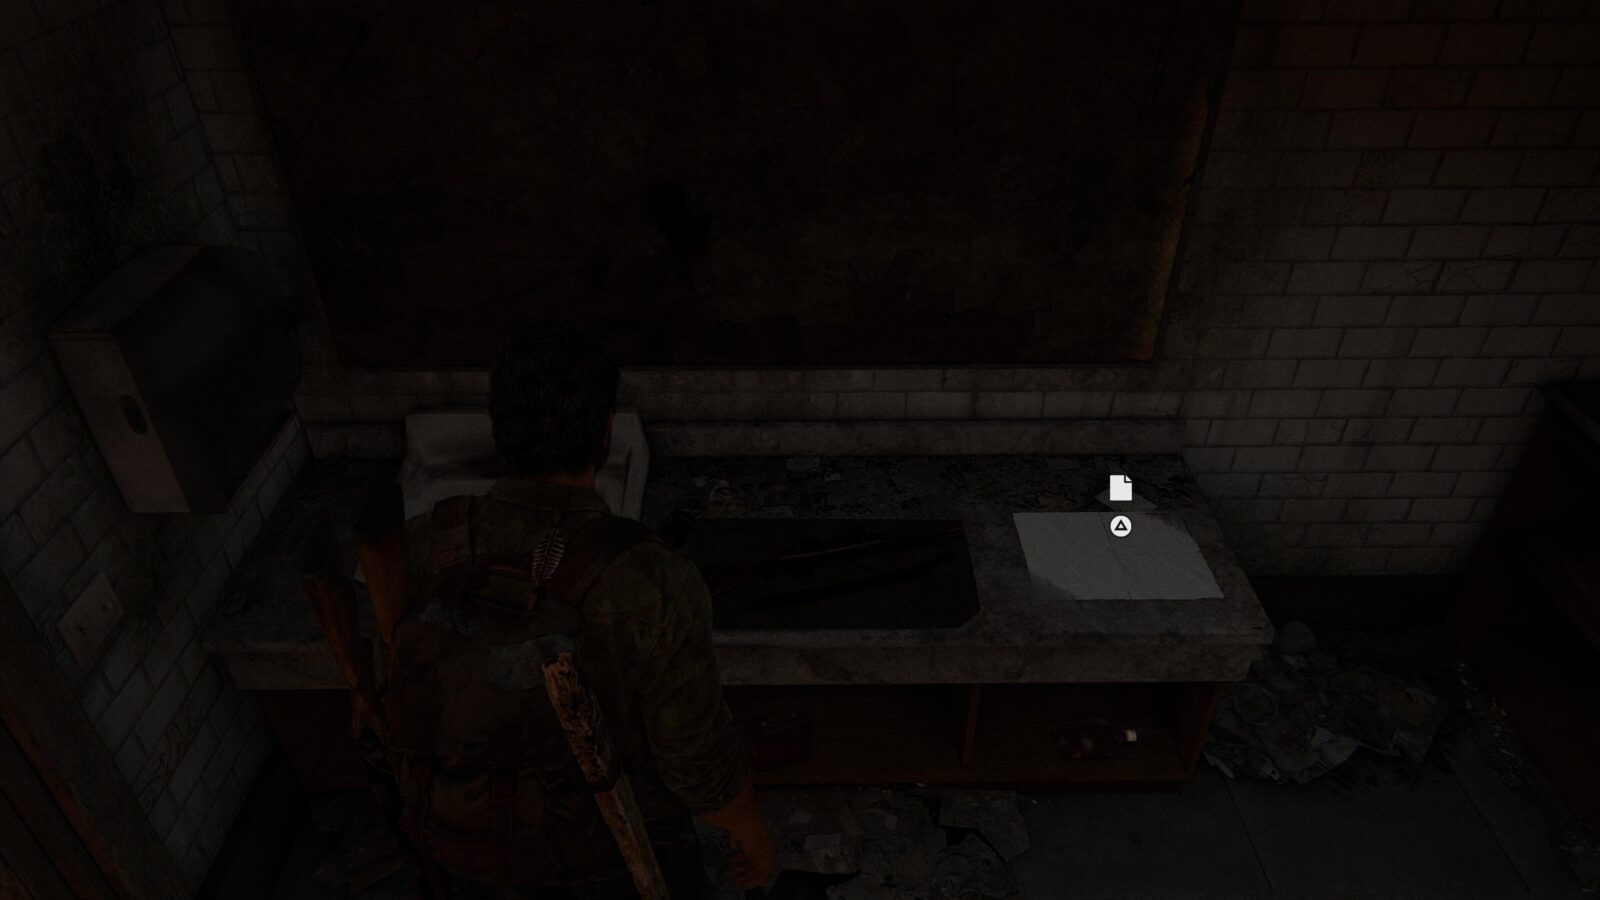
Artifact #33 Lost Areas Map – Inside the Shiv Door is a map.
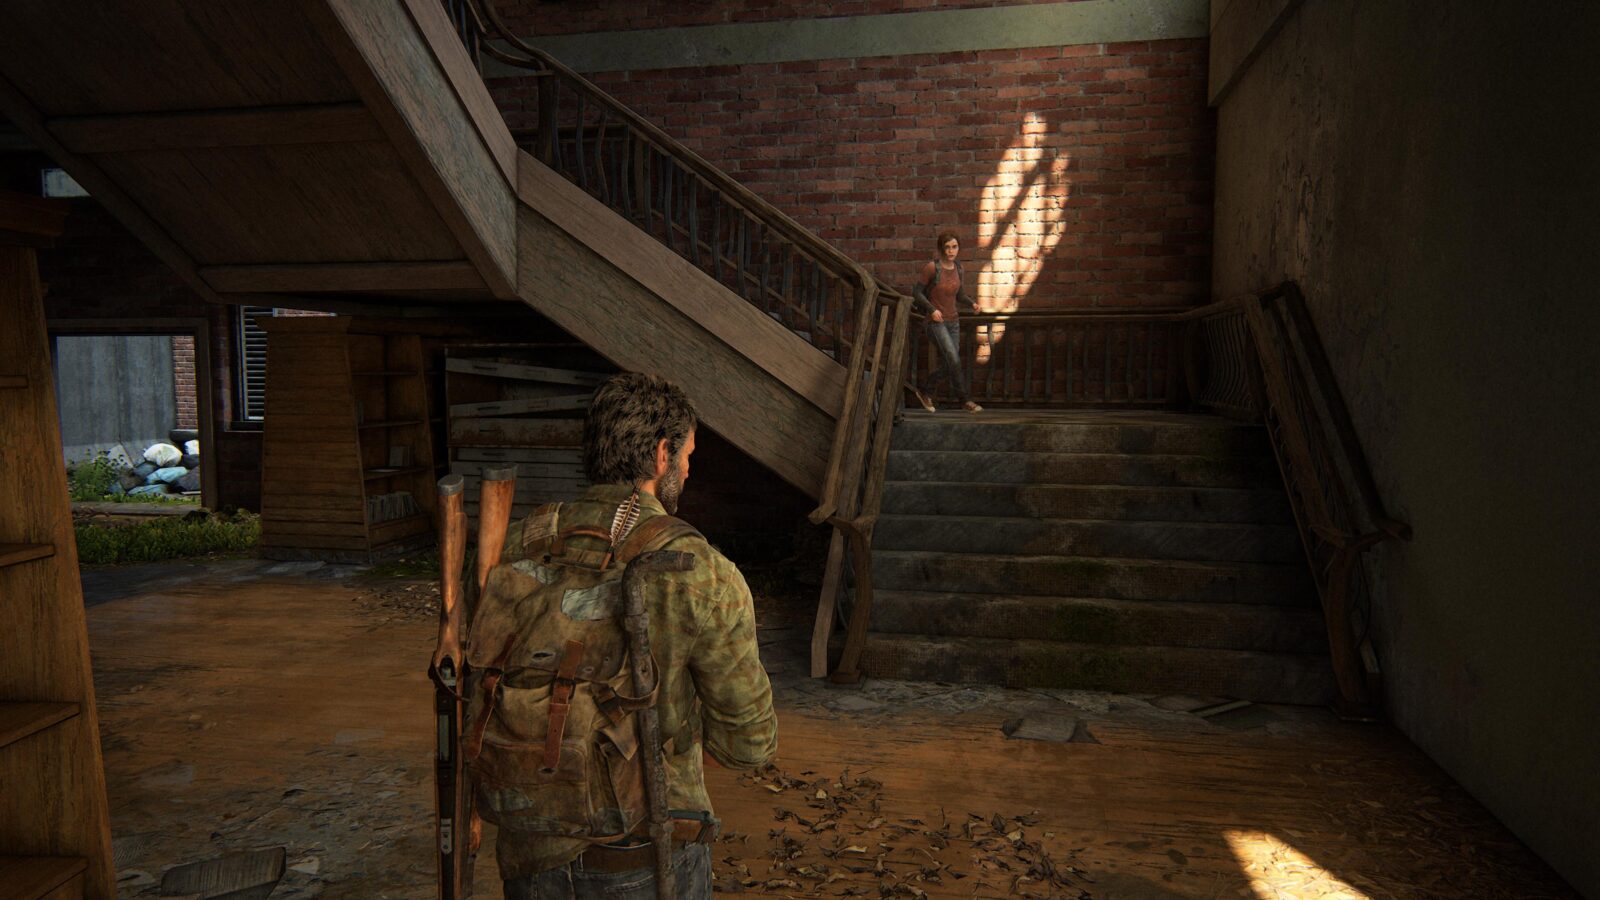
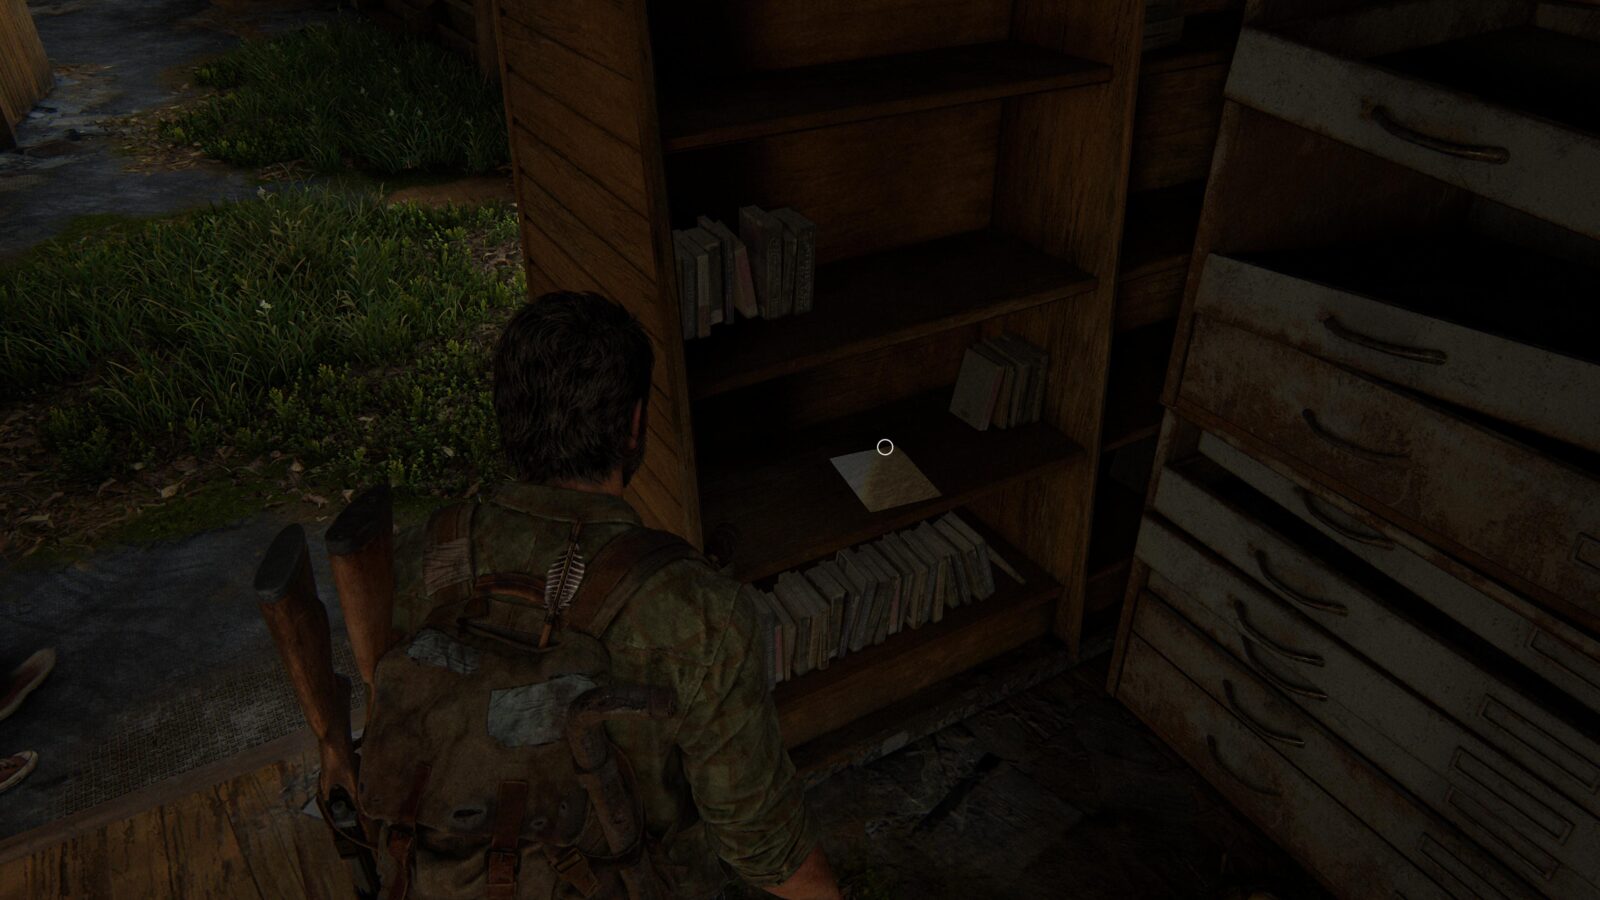
Artifact #34 Applicant Checklist – Head down the stairs at the front of the bookstore and check the shelf under the stairs for a note.
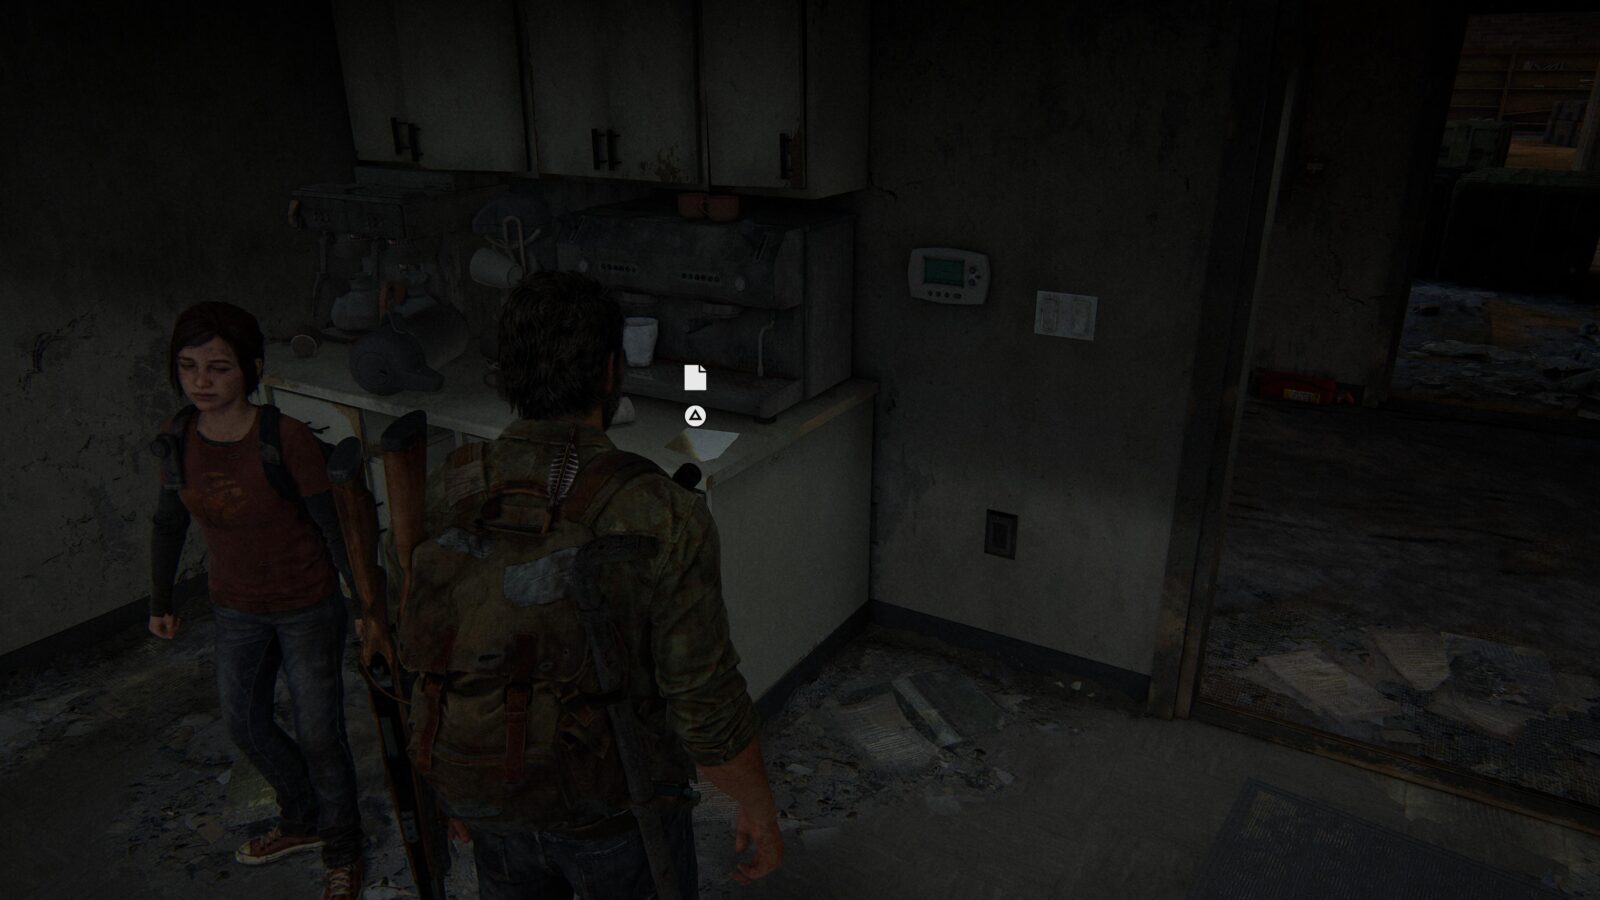
Artifact #35 Abandon Zone Note – Head to the back of the bookstore to find a kitchen. On the counter to your right as you enter is a note.

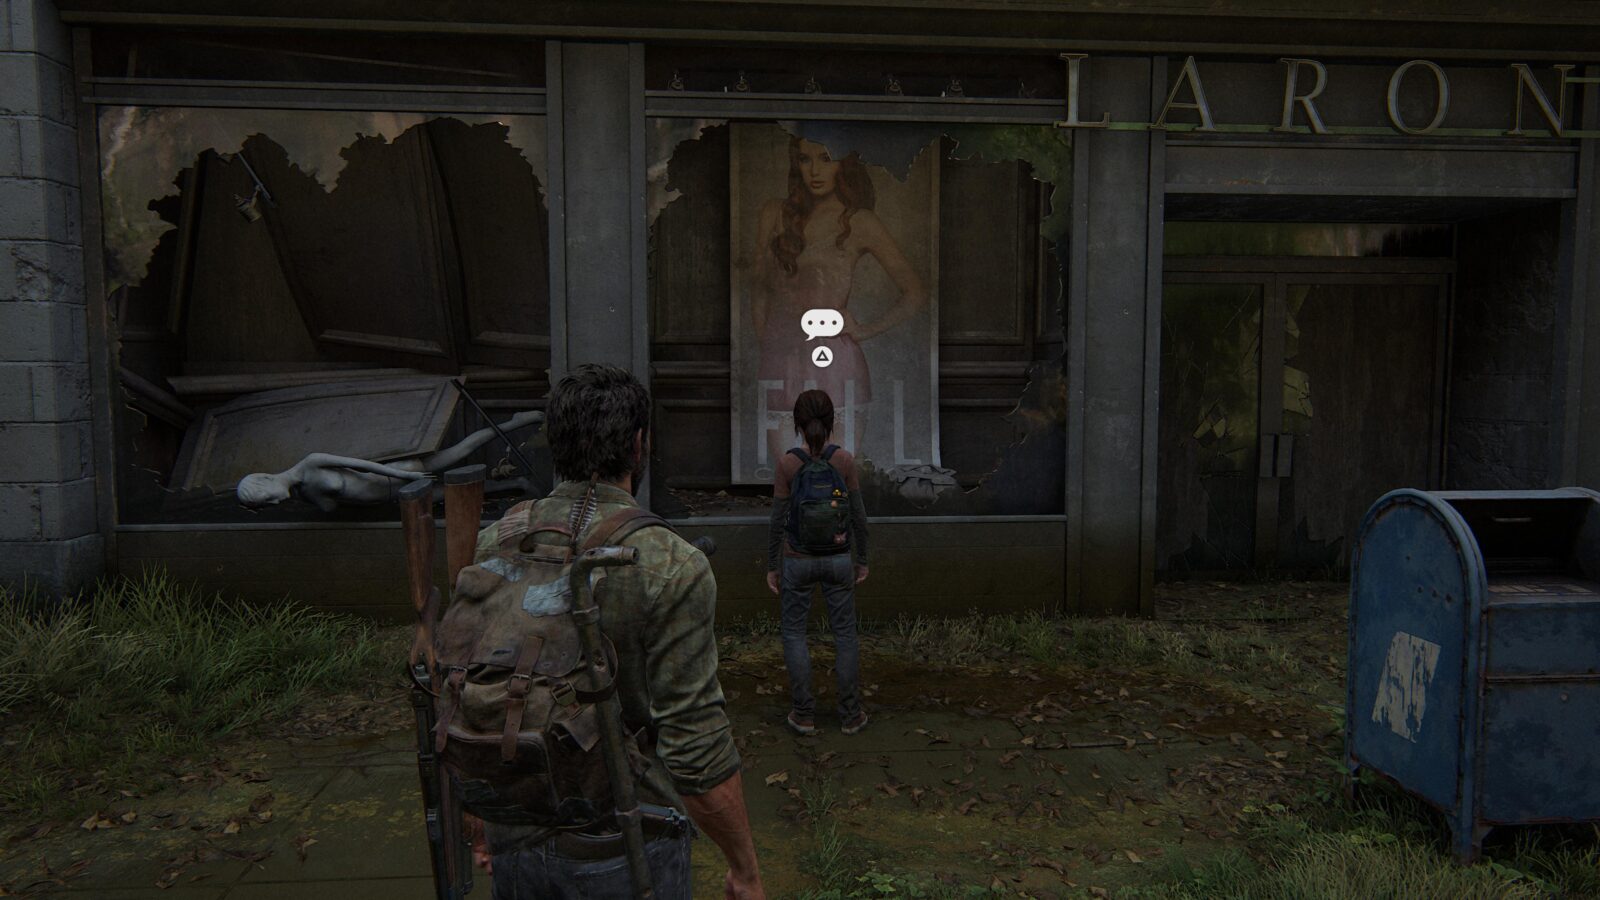
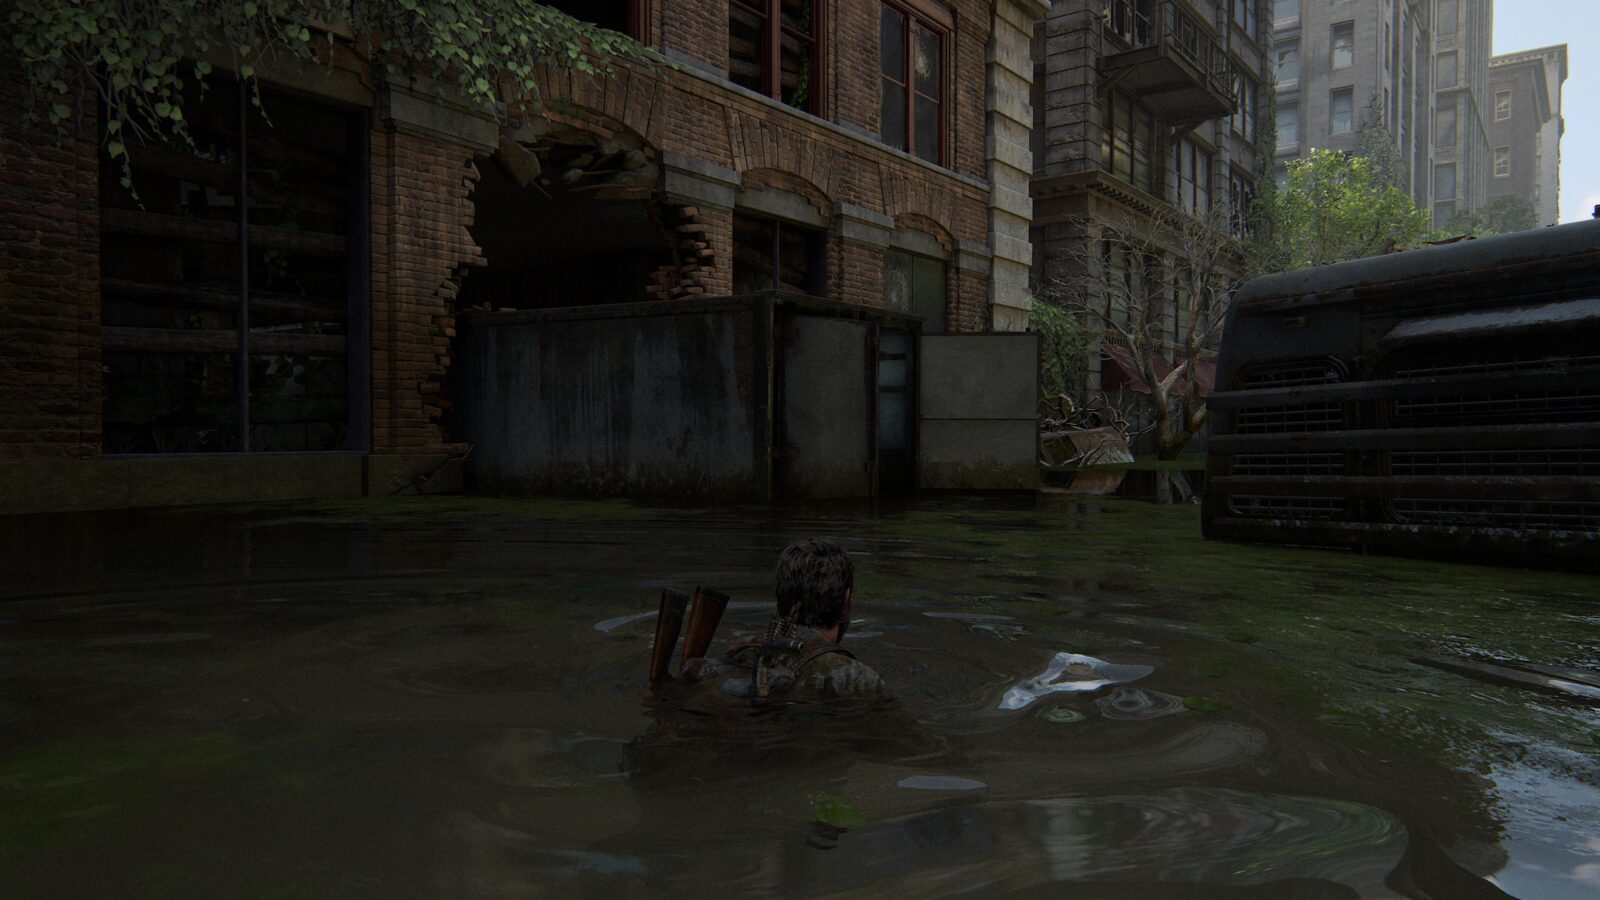
Optional Conversation #17 – After making your way onto the flooded street where Ellie and Joel see two Hunters removing a wooden plank bridge, turn around and look for the “Laron’s” store. There is a poster of a woman in the window. Wait for Ellie to come over to it and she will start a conversation.

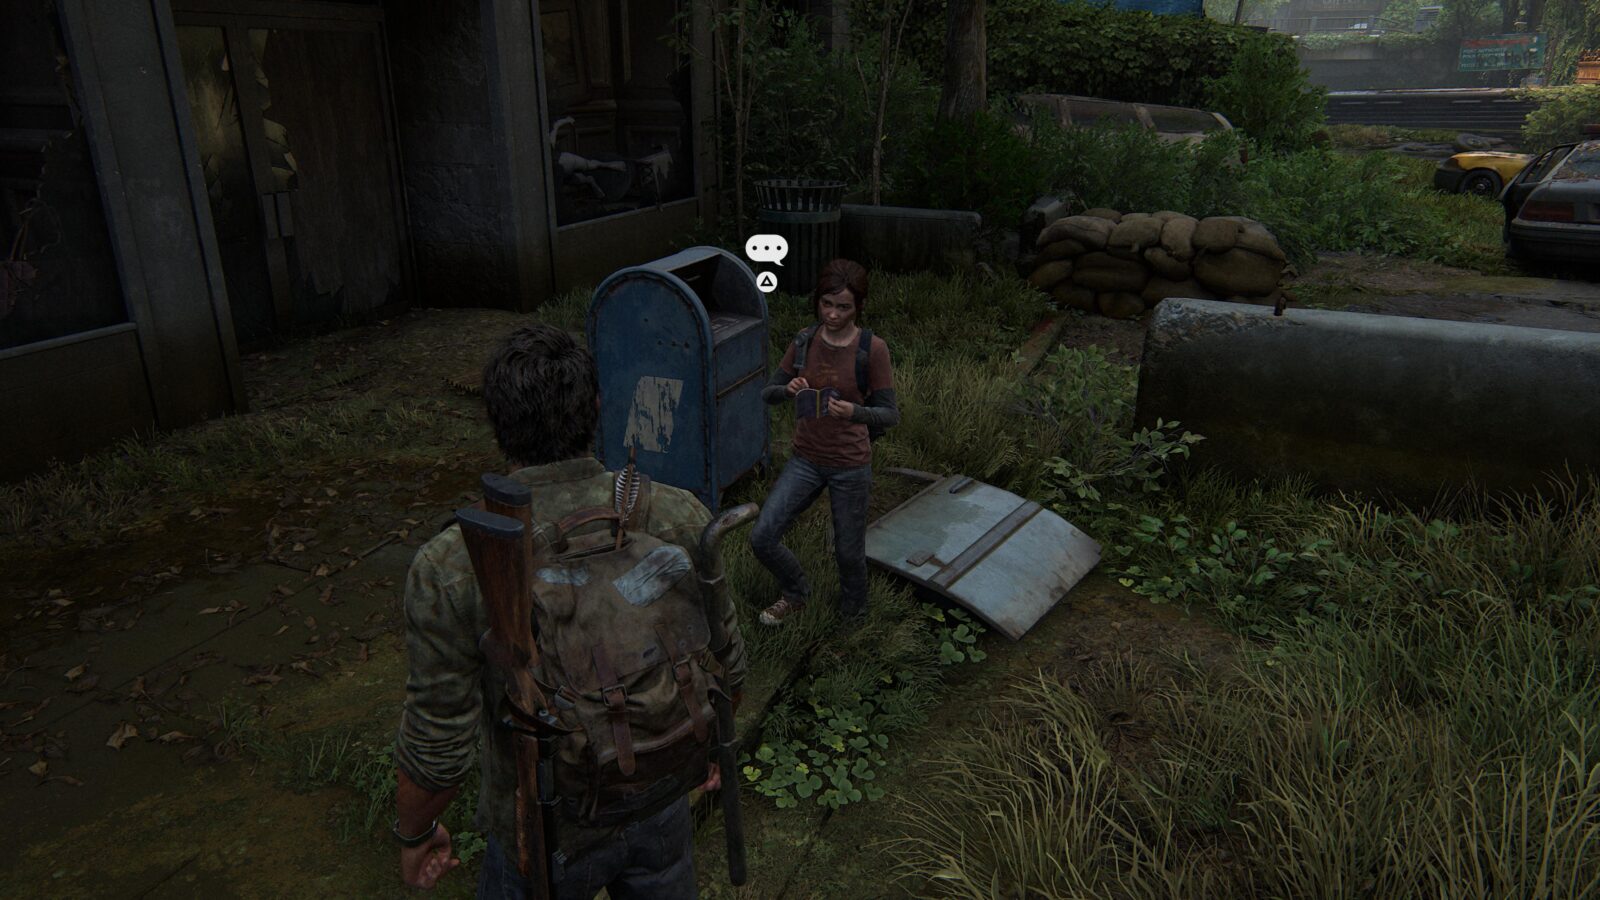
Joke #3 – After Ellie talks about the skinny woman in the window, hang around for a few minutes for Ellie to read from her joke book again.
Shiv Door #6 – Head back towards the flooded area of the street and just as you get to the Savage Starlight advertisement on the bus shelter, look to your left. There will be a door with a red X that you can open with a shiv.
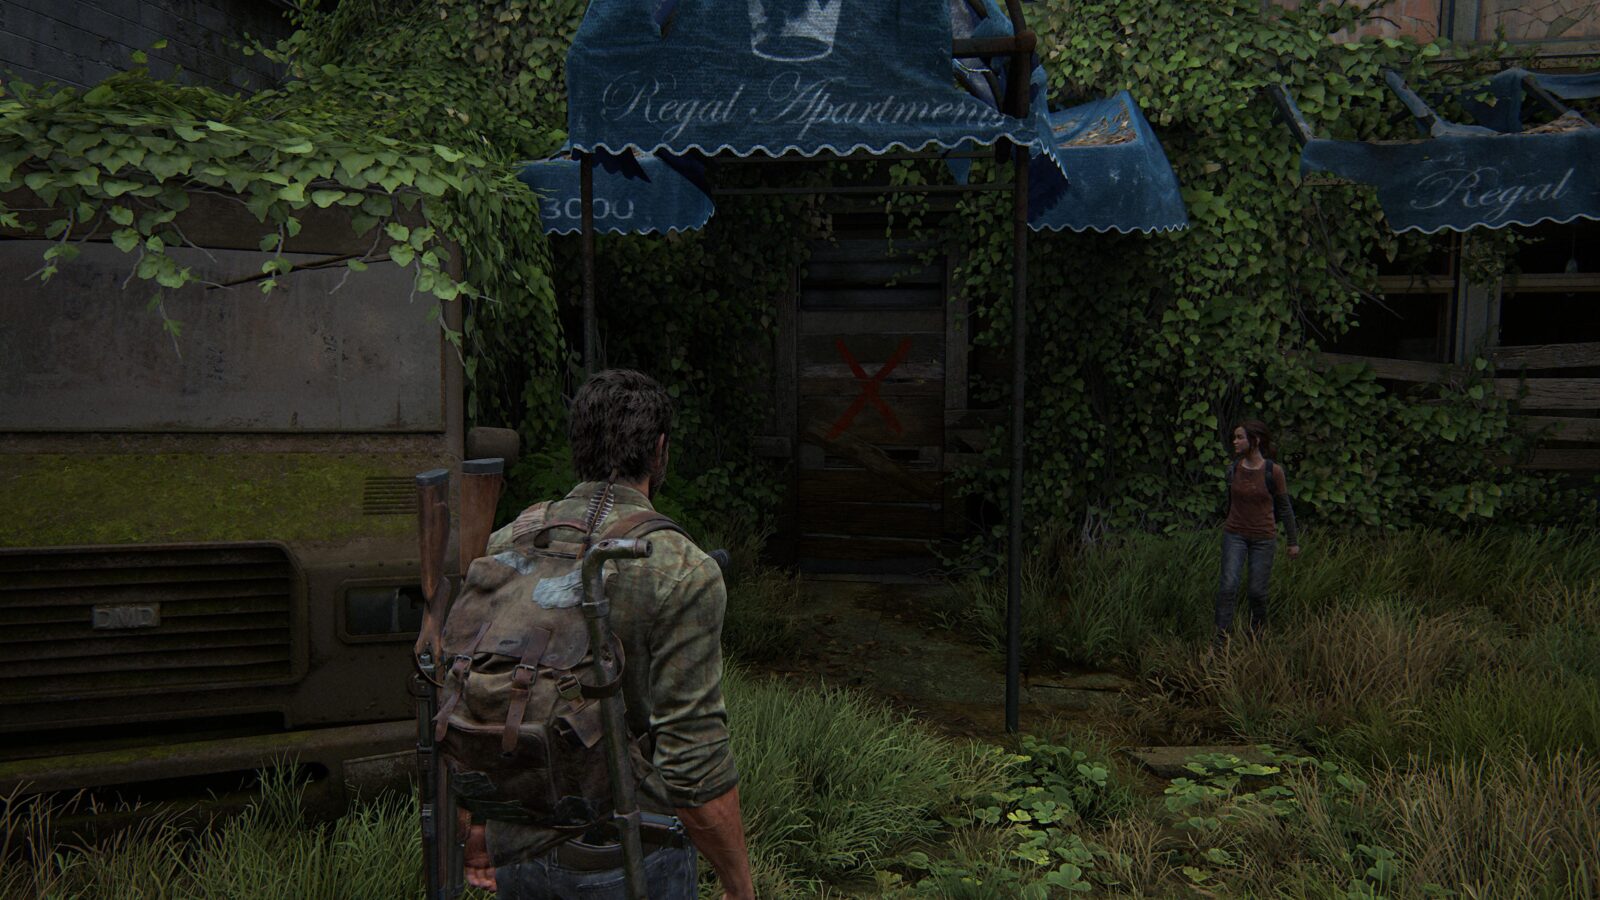
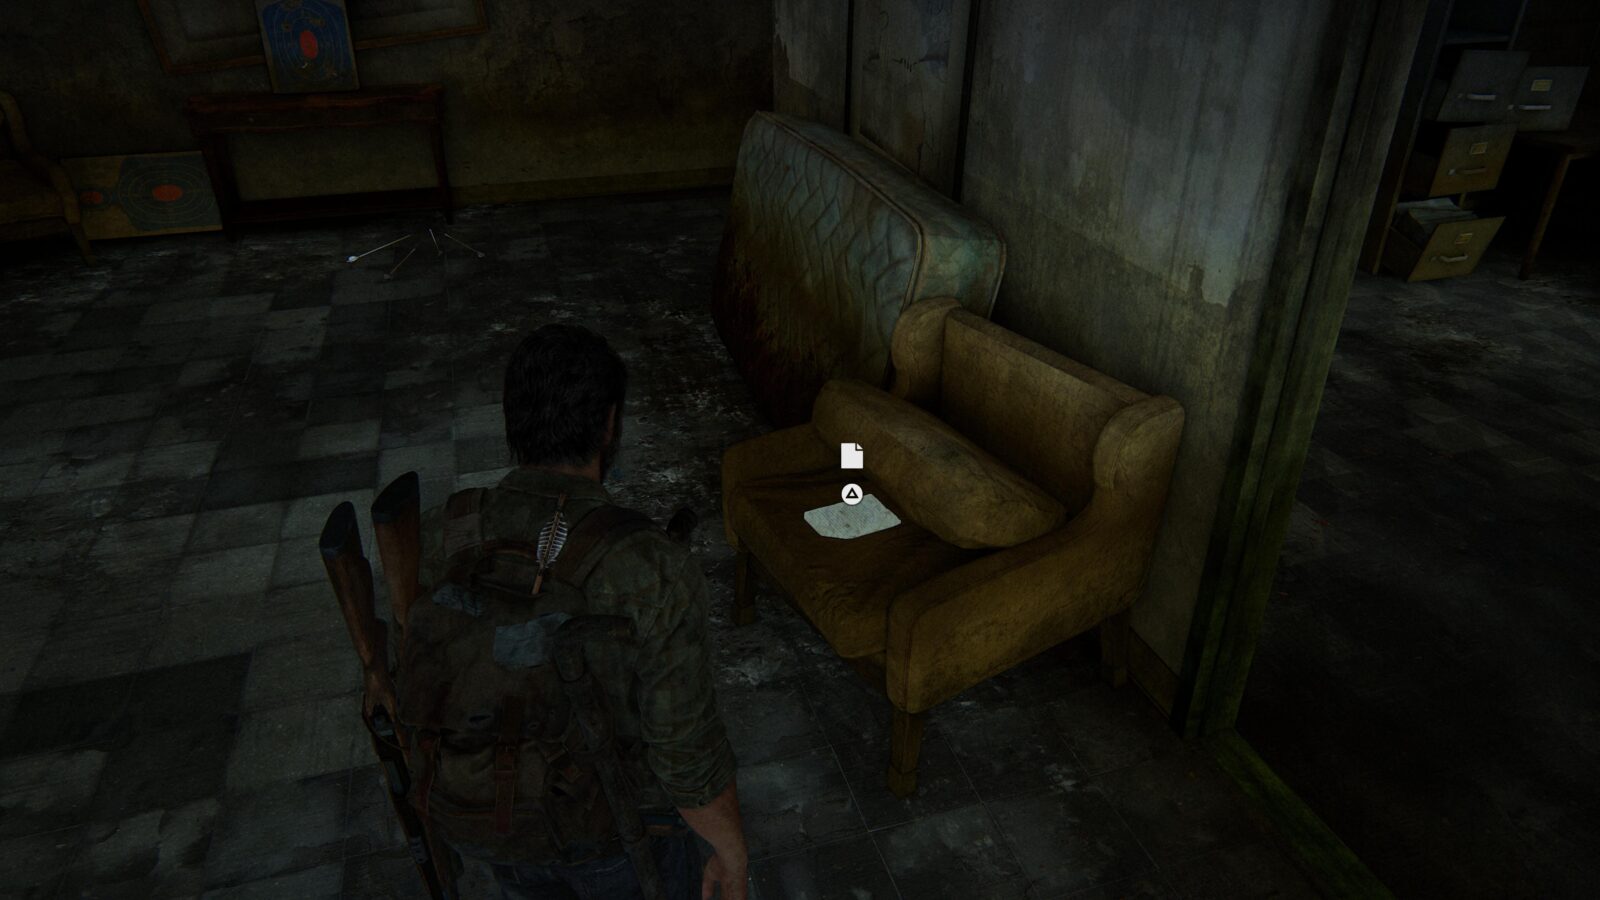
Artifact #36 Mother’s Letter – Inside the Shiv Door is a note on a chair.
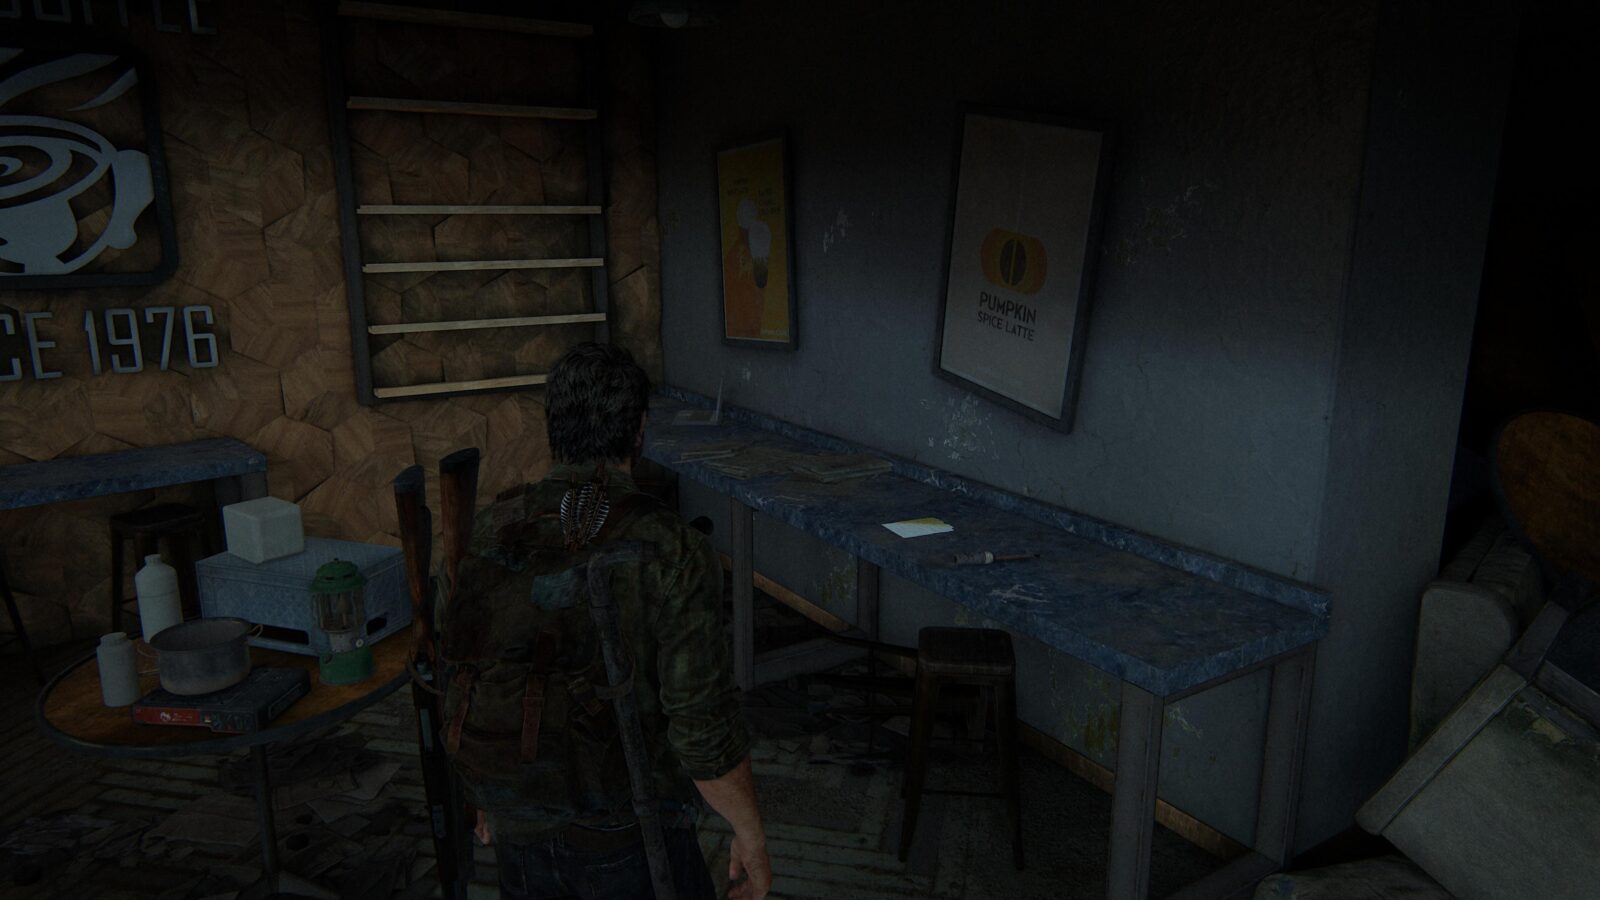
Artifact #37 Stash Note – Swim through the back of the crashed truck and into the coffee shop. Go up stairs and look for the “Good Coffee Since 1976” sign. To the right of the sign is a note on a bench.
Hotel Lobby
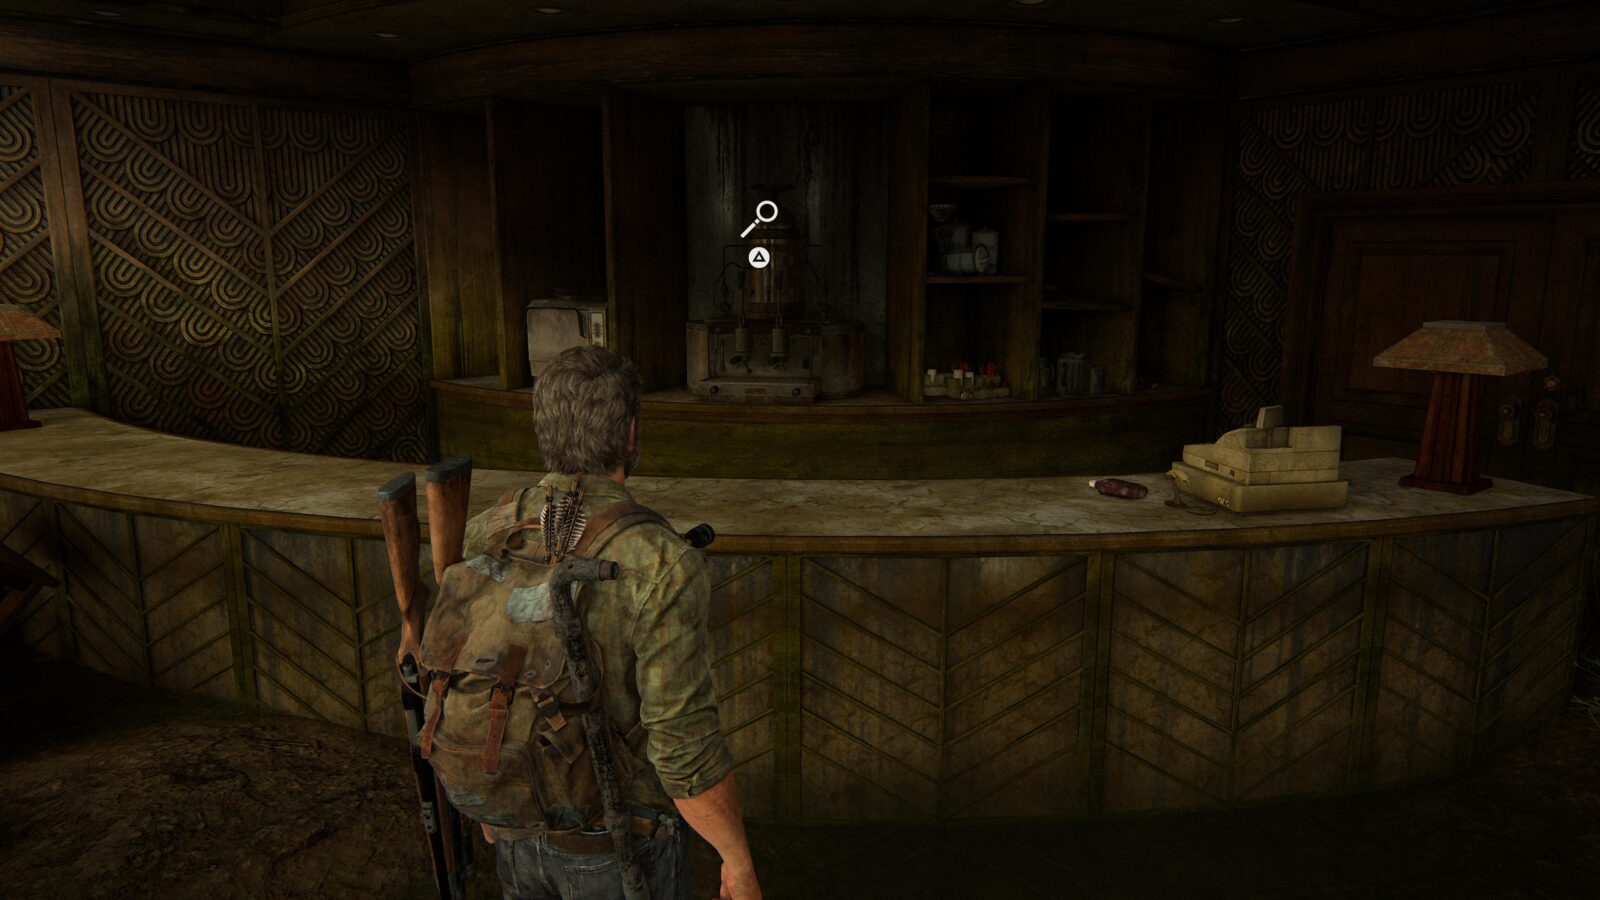
Optional Conversation #18 – Once Joel and Ellie enter the hotel, walk to the left to find a large barista coffee machine. Approach it and a prompt will appear for Joel.

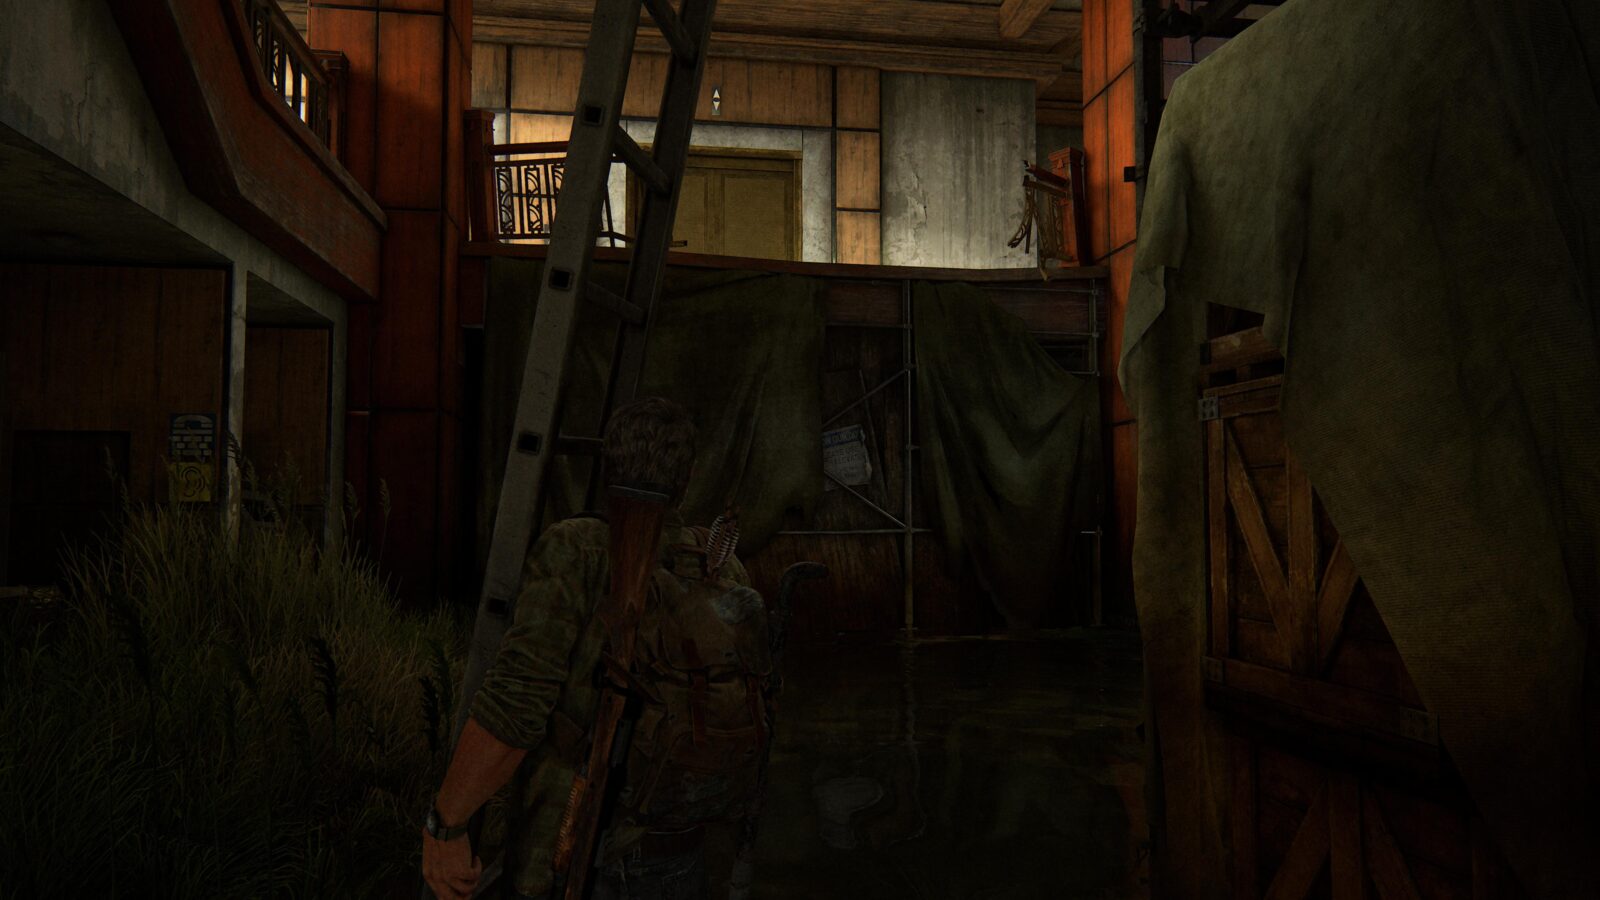
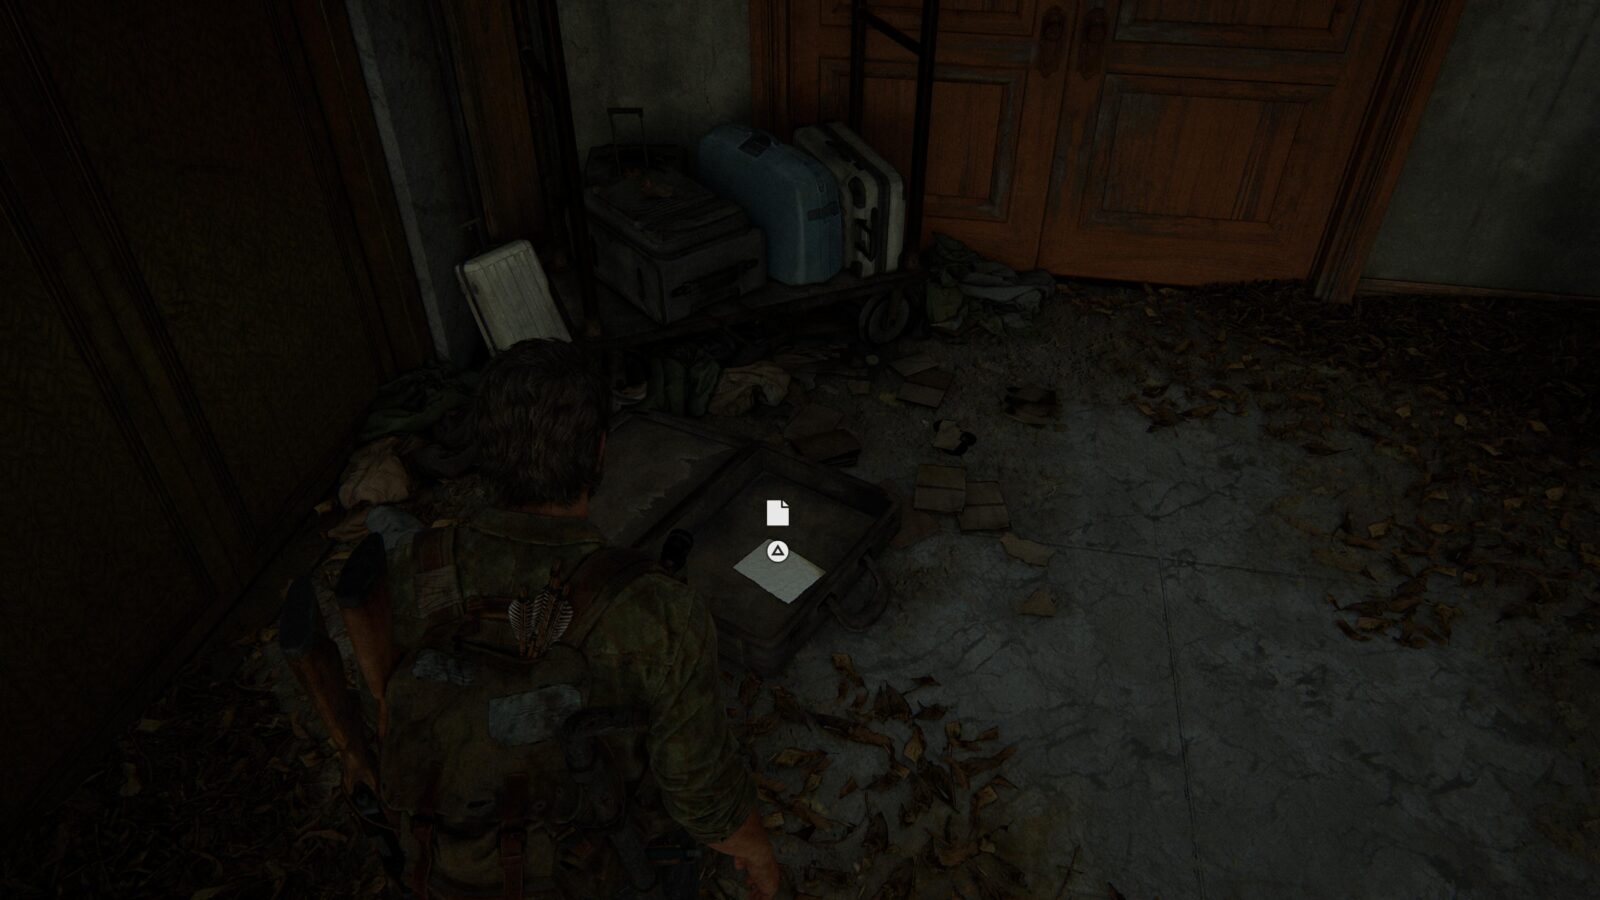
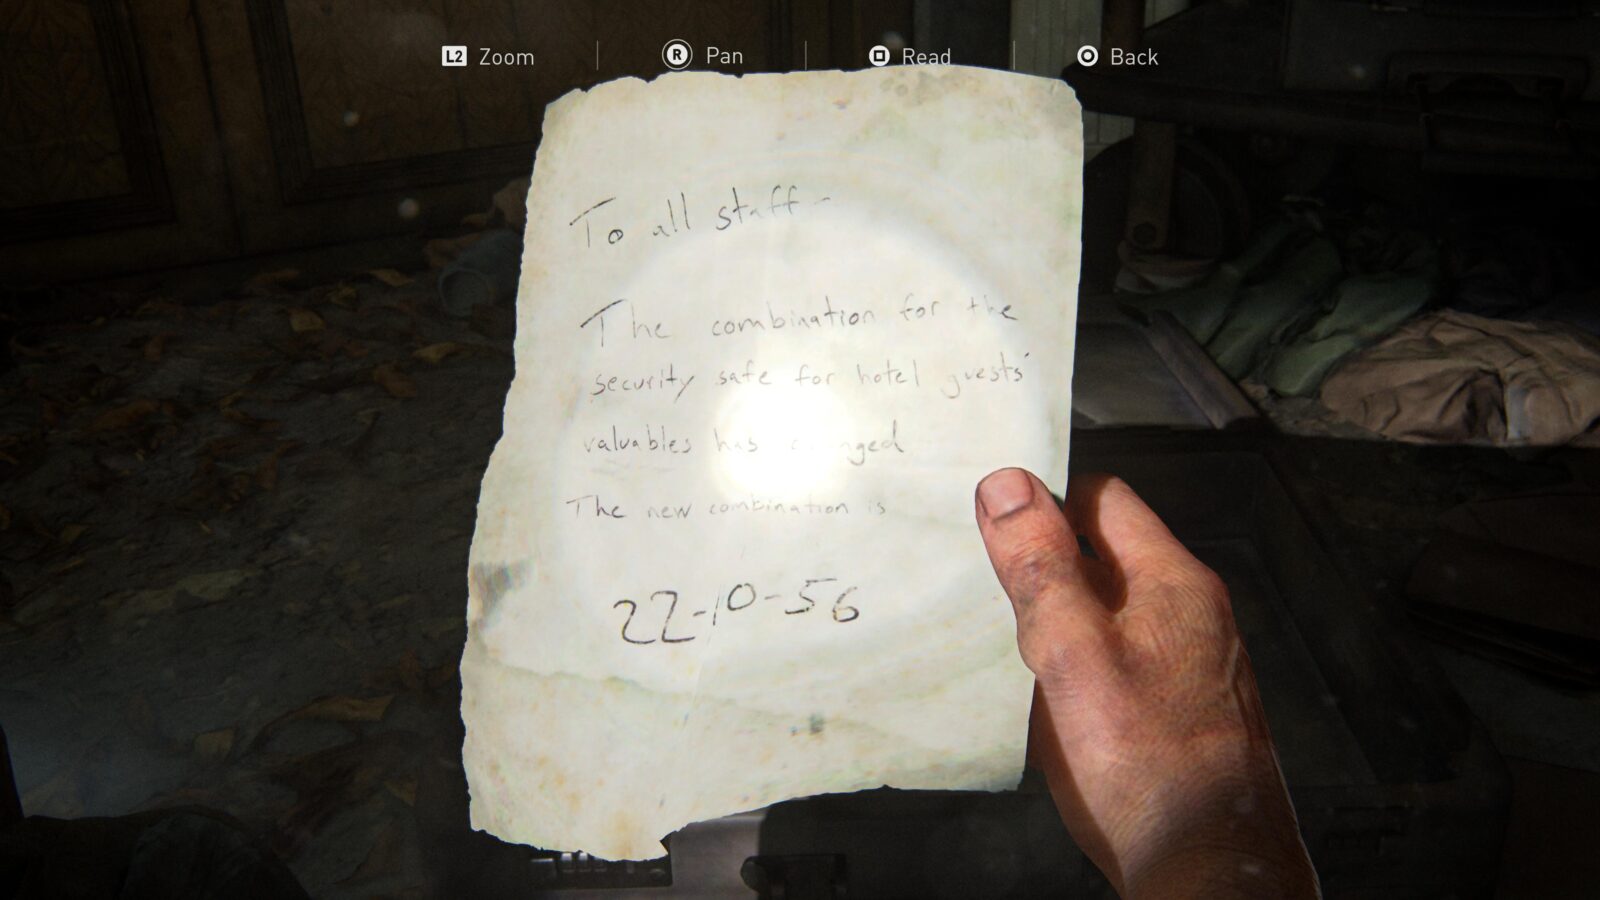
Artifact #38 Note to Staff – Grab the ladder nearby and place them at the ledge next to the broken staircase. Climb the ladder and shimmy across the gap at the top of the broken staircase to find an open suitcase with this note. This note will reveal the code for Safe #3.

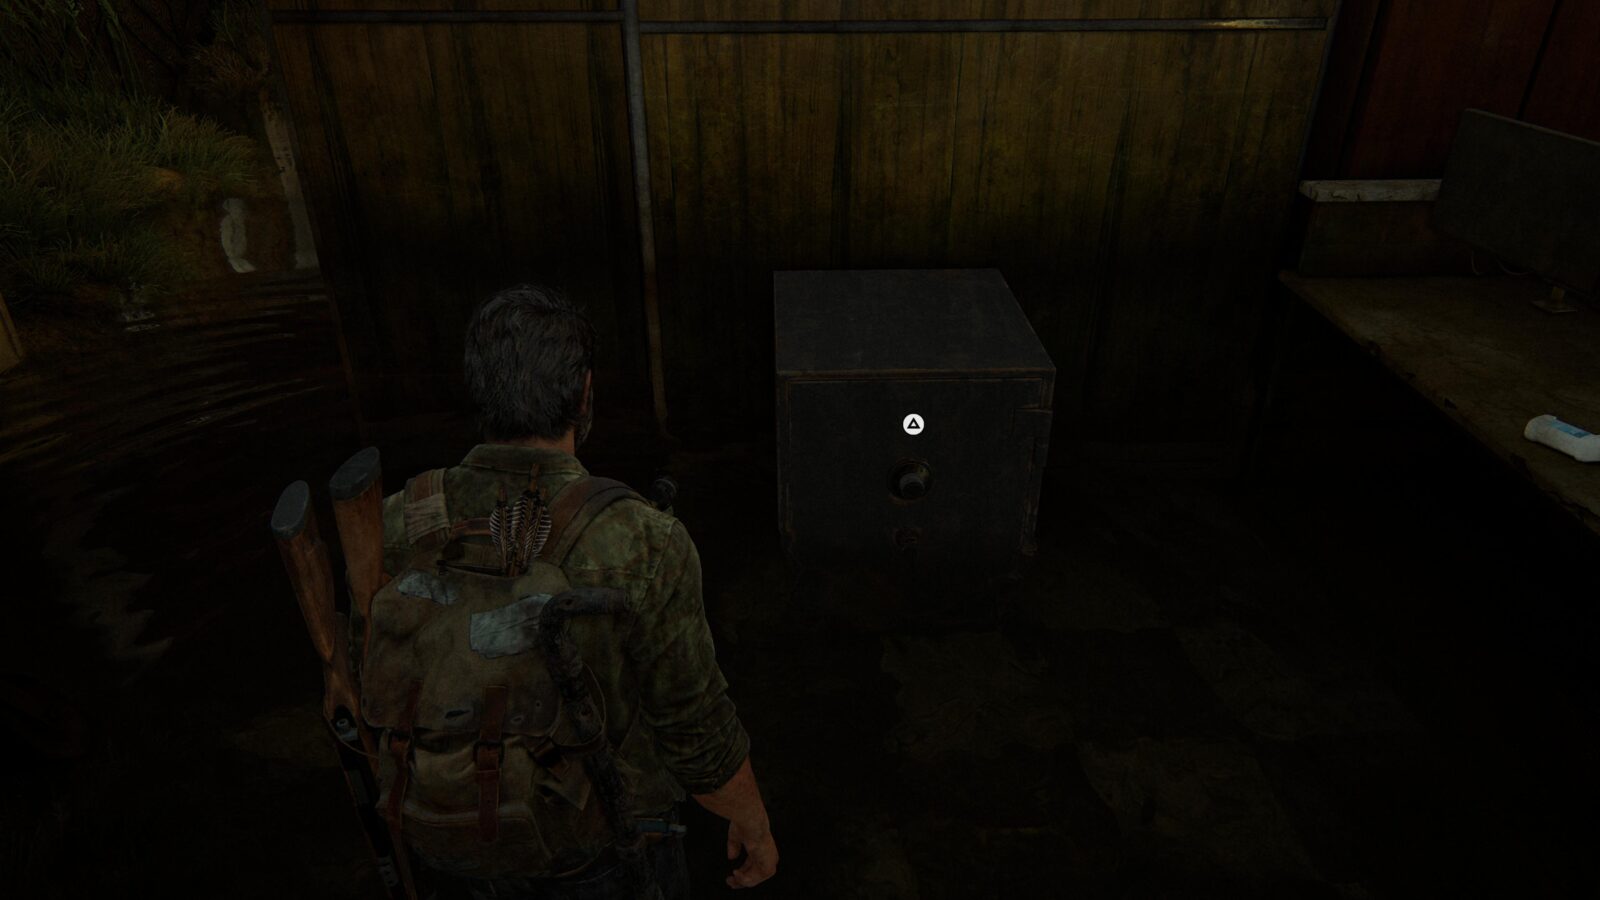
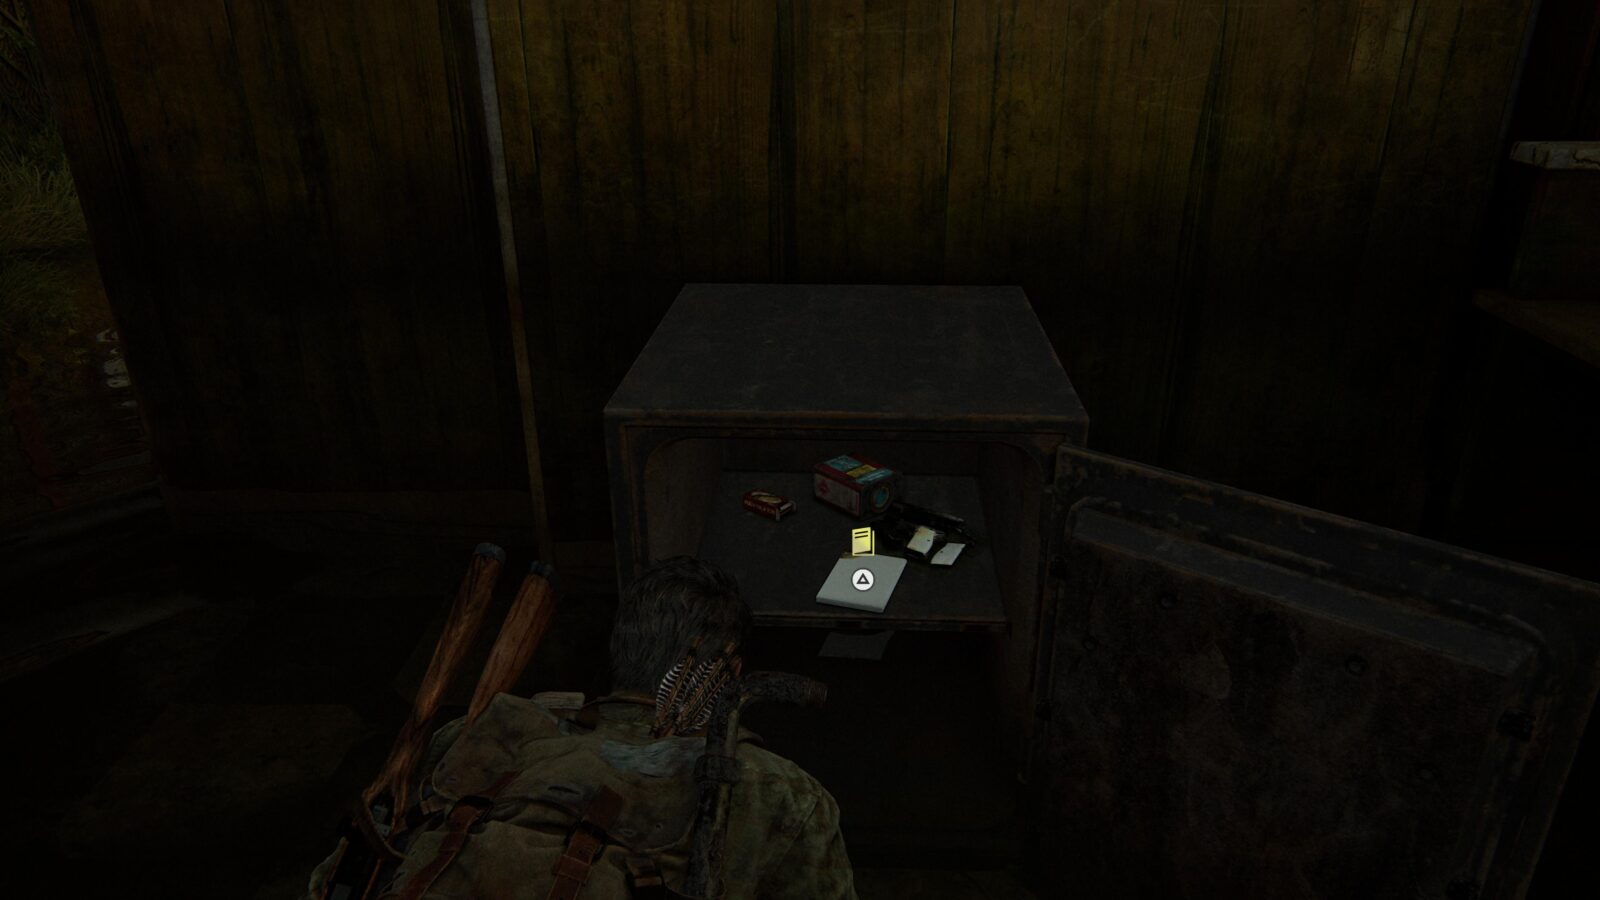
Safe #3 – Head back down the ladders and go behind the reception desk by the hotel entrance. Behind the desk is a safe. The code is 22-10-56.
Training Manual #3 Shiv Reinforcement – Can be found inside Safe #3.
Joke #4 – After collecting Artifact #38, Safe #3, and Training Manual #3 (these appear to be requirements for Joke #4 to trigger), climb up the ladder once again and wait for Ellie to “lighten the mood” with her joke book.

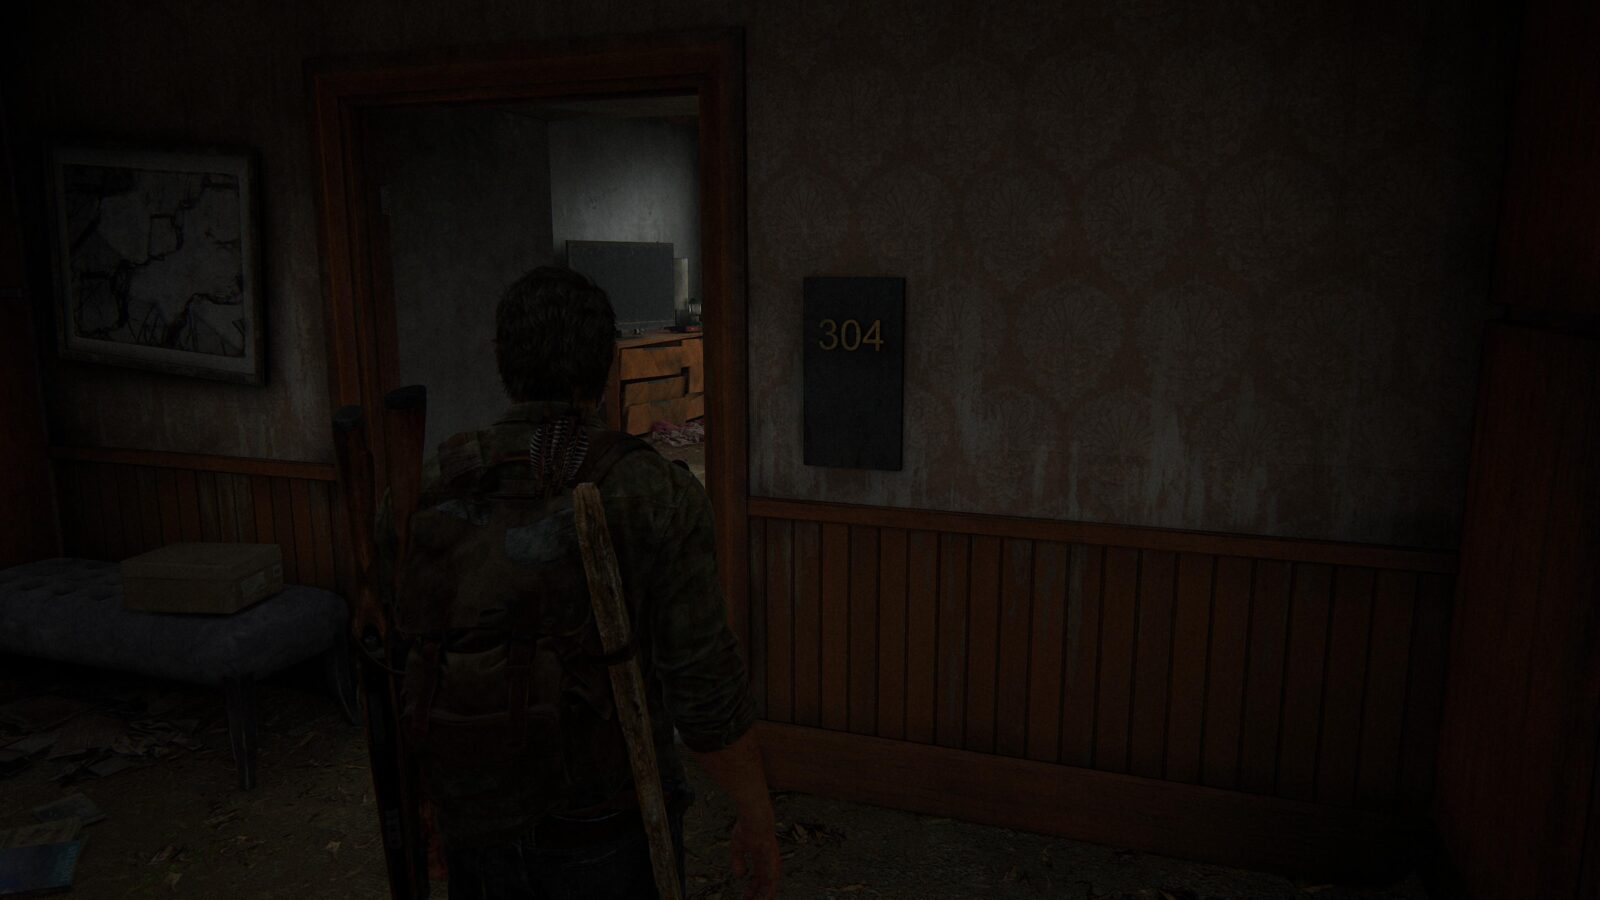
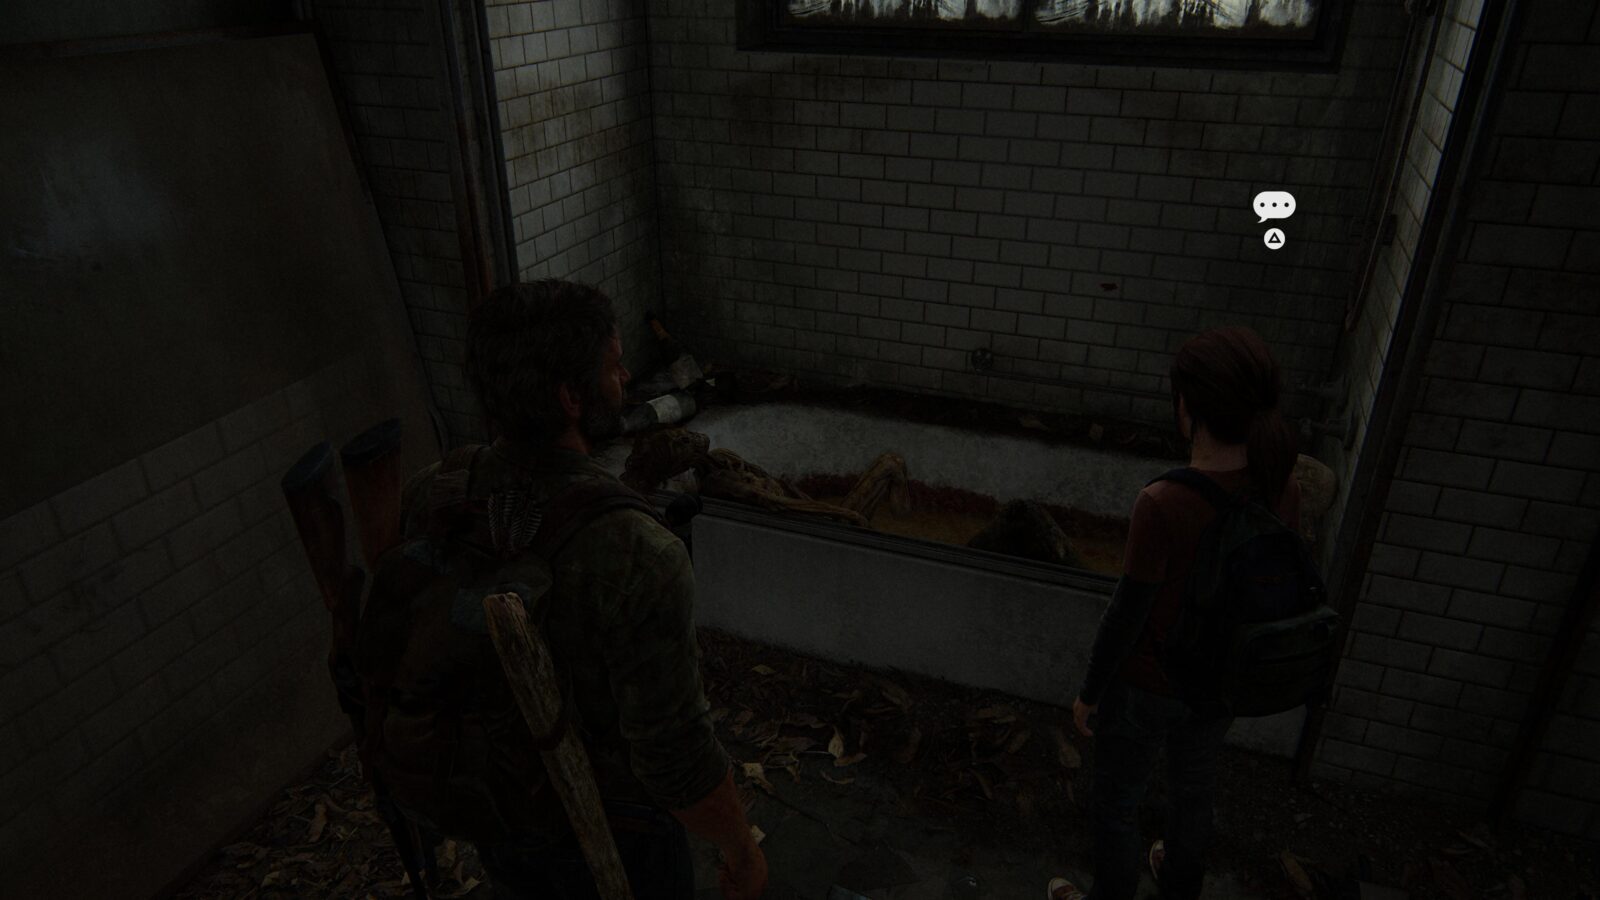
Optional Conversation #19 – Fight or stealth your way through the halls of the hotel and look for room 304 on the second floor. Enter the bathroom of room 304 and wait for Ellie to approach the bath tub to initiate an optional conversation.
Artifact #39 Hotel Keycard – You have to pick this up while in the basement of the hotel as part of the story line.
Workbench #4 – After escaping the basement you will walk up some stairs and come across some rooms. One of the rooms has a desk and a workbench.
Comic #2 Accretion – Climb up the ladder after Joel and Ellie are together again. Exit the room with the large white board and take an immediate left to reach the broken part of the balcony. Shimmy across the gap and look for a comic on a coffee table.
Firefly Pendant #12 Colby Reed 000232 – Drop down some broken steps and look to your left to find two restrooms. Enter the Women’s restroom and check the corner bathroom stall to find a pendant on the floor.

Training Manual #4 Melee Knots – Walk down the hallway and you will pass a training manual on a table to your left.
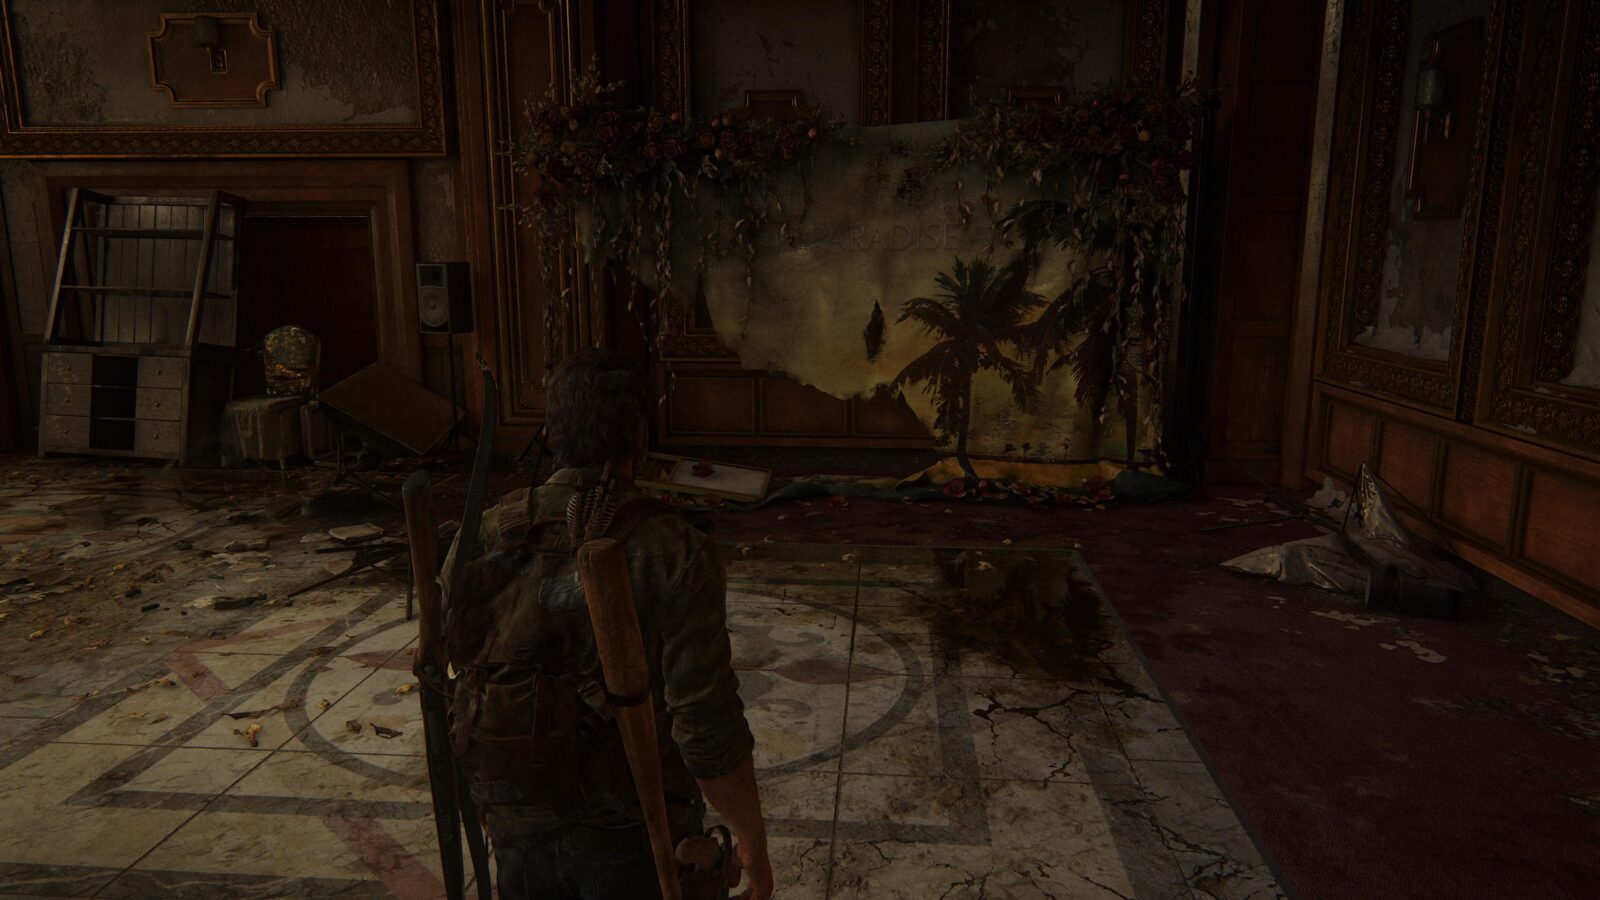
Optional Conversation #20 – Keep going and enter the dining room where you will find a backdrop. Approach the backdrop and wait for Ellie to come over and start a conversation. You will have to press ![]() 3 times to complete this optional conversation.
3 times to complete this optional conversation.

Financial District
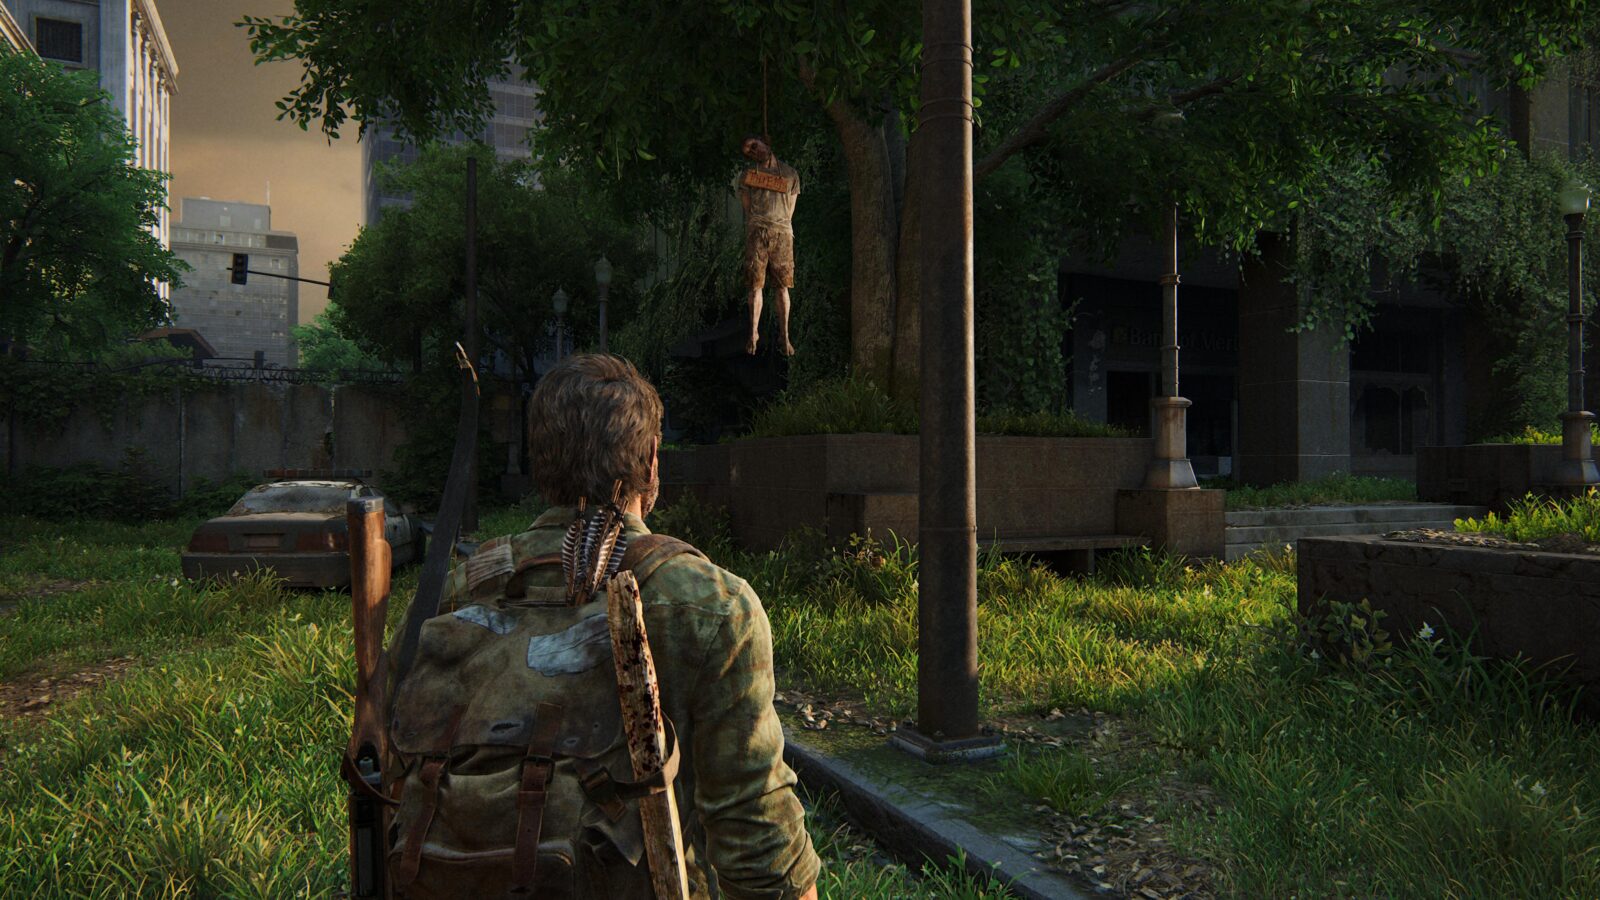
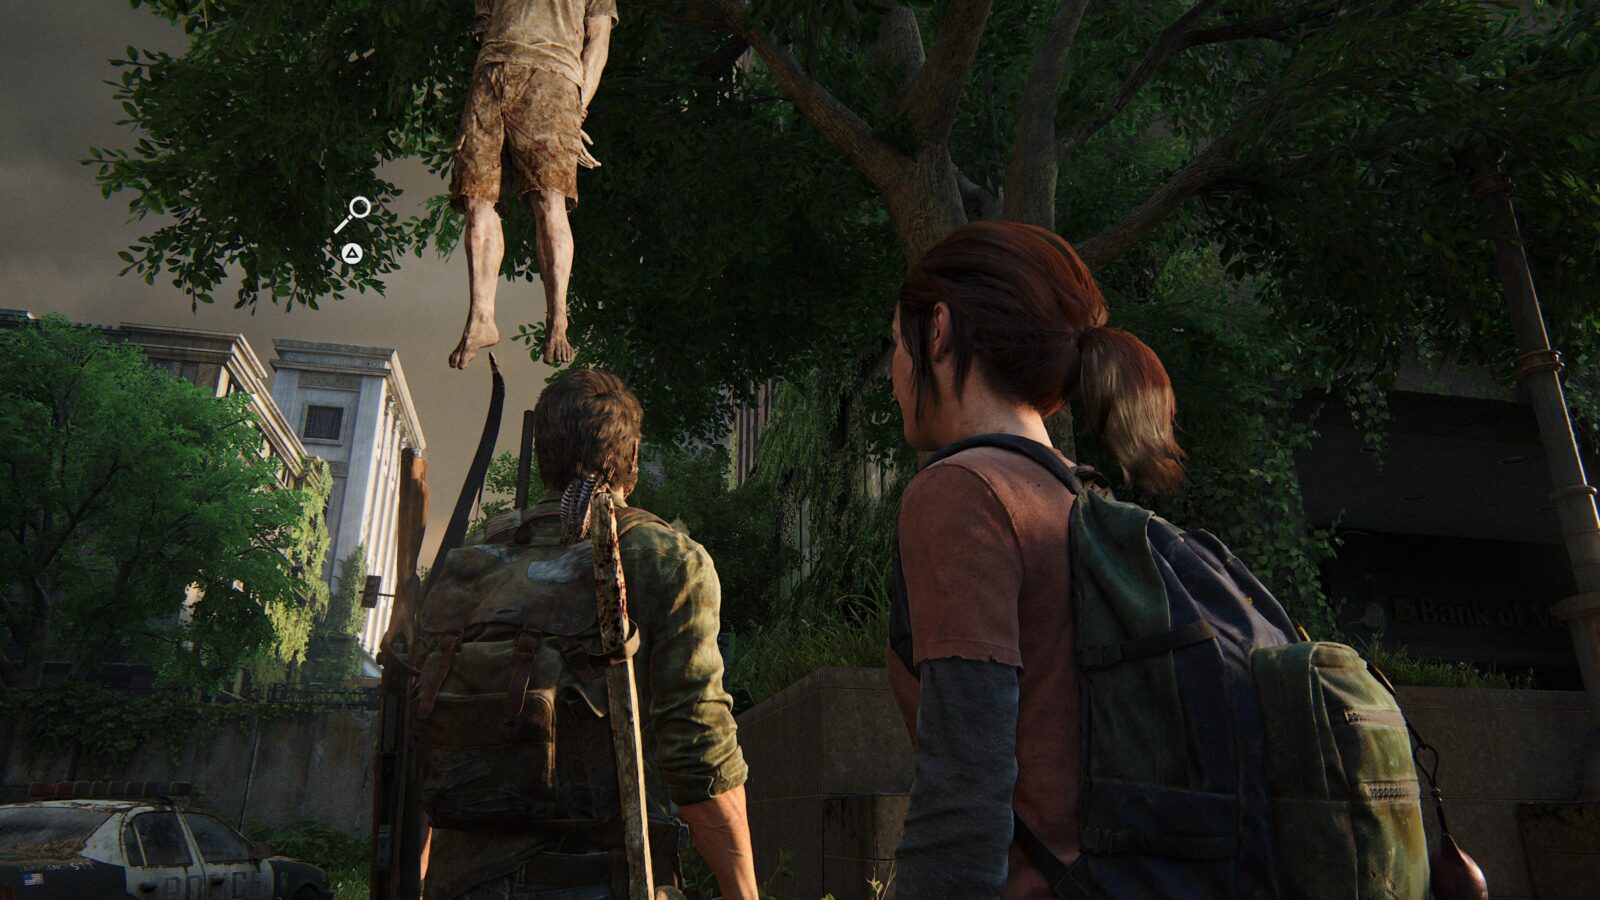
Optional Conversation #21 – After dealing with the Hunters outside, look for a hanging corpse and go over and inspect it to initiate a conversation with Ellie.
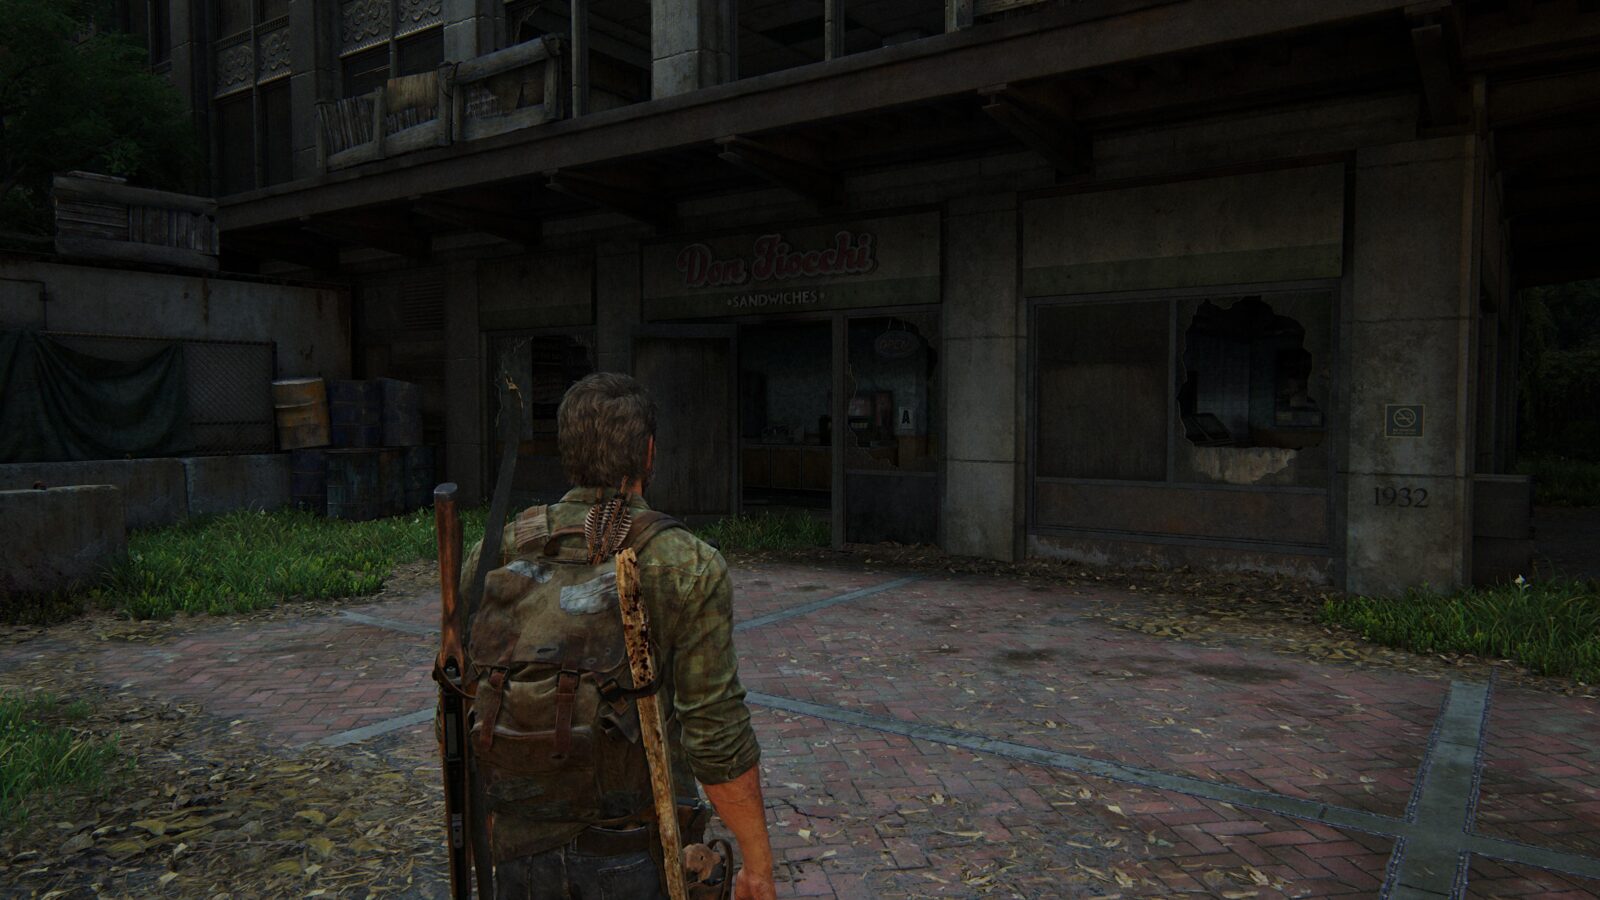
Artifact #40 Fireflies Note – Look for a store called “Don Fiocchi Sandwiches” and go into the freezer room in the back to find a note on the ground.

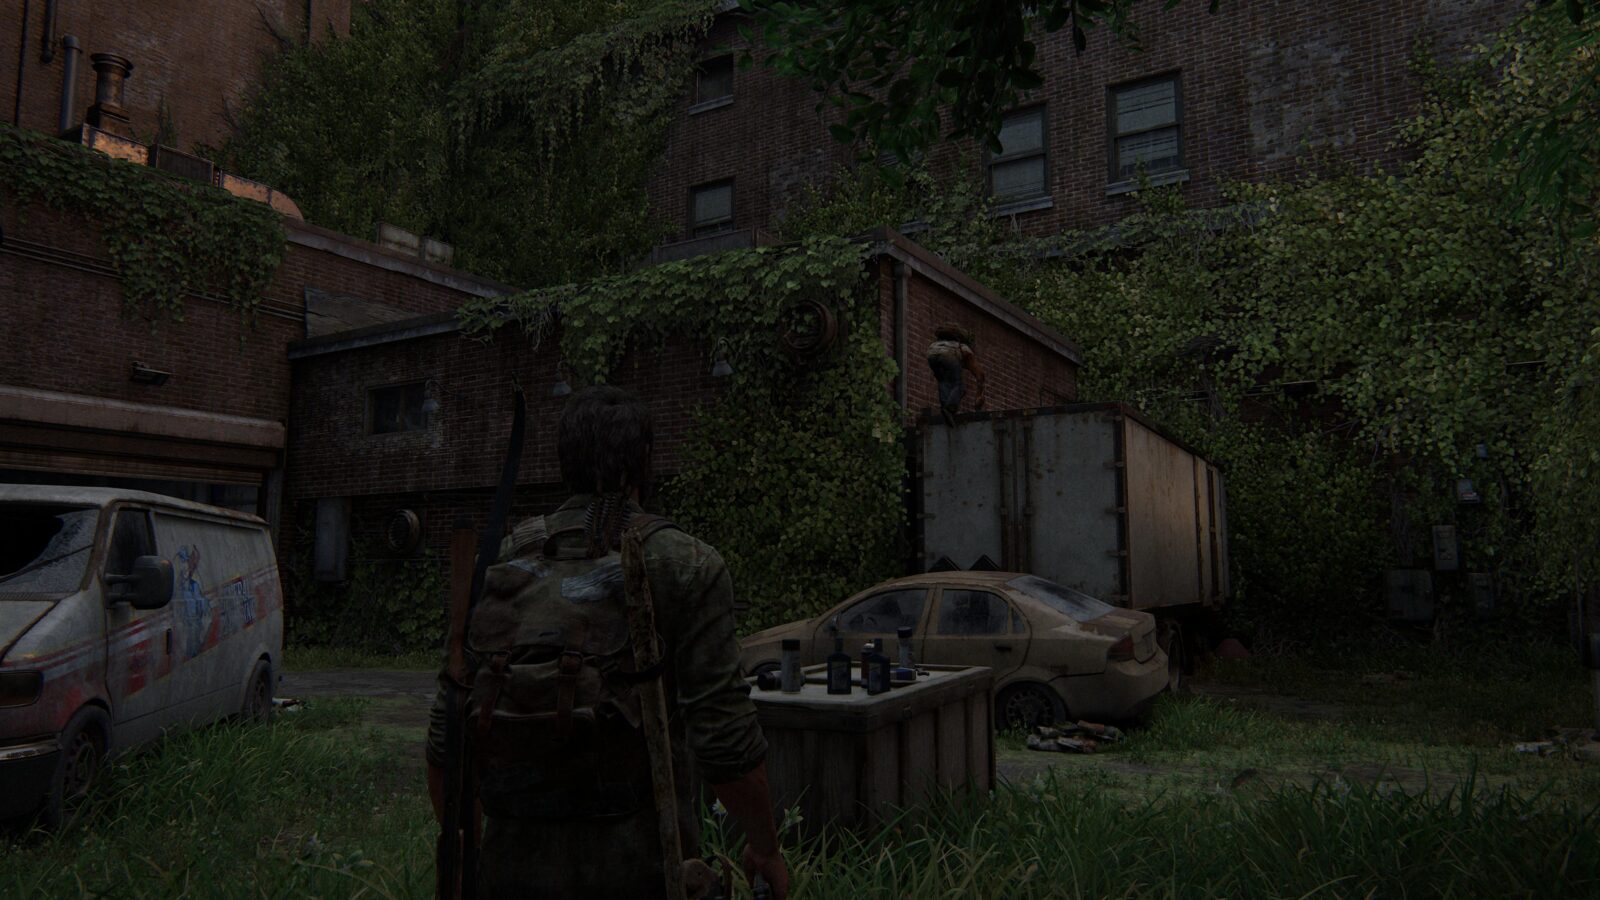
Workbench #5 – Continue through the garage and you will find this workbench right on your path.
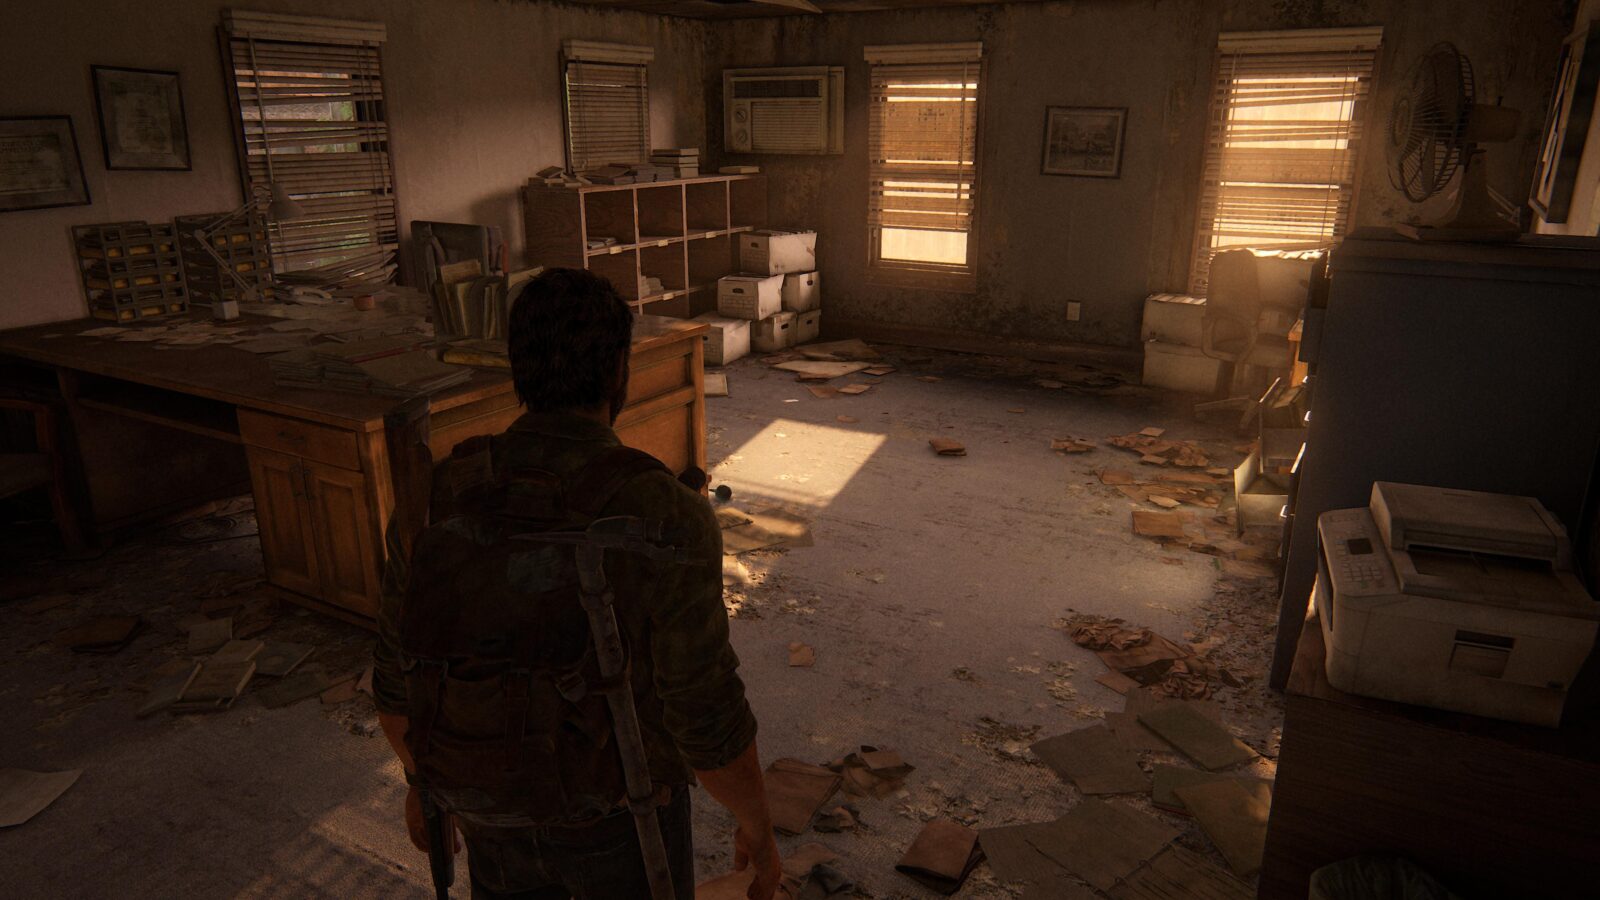
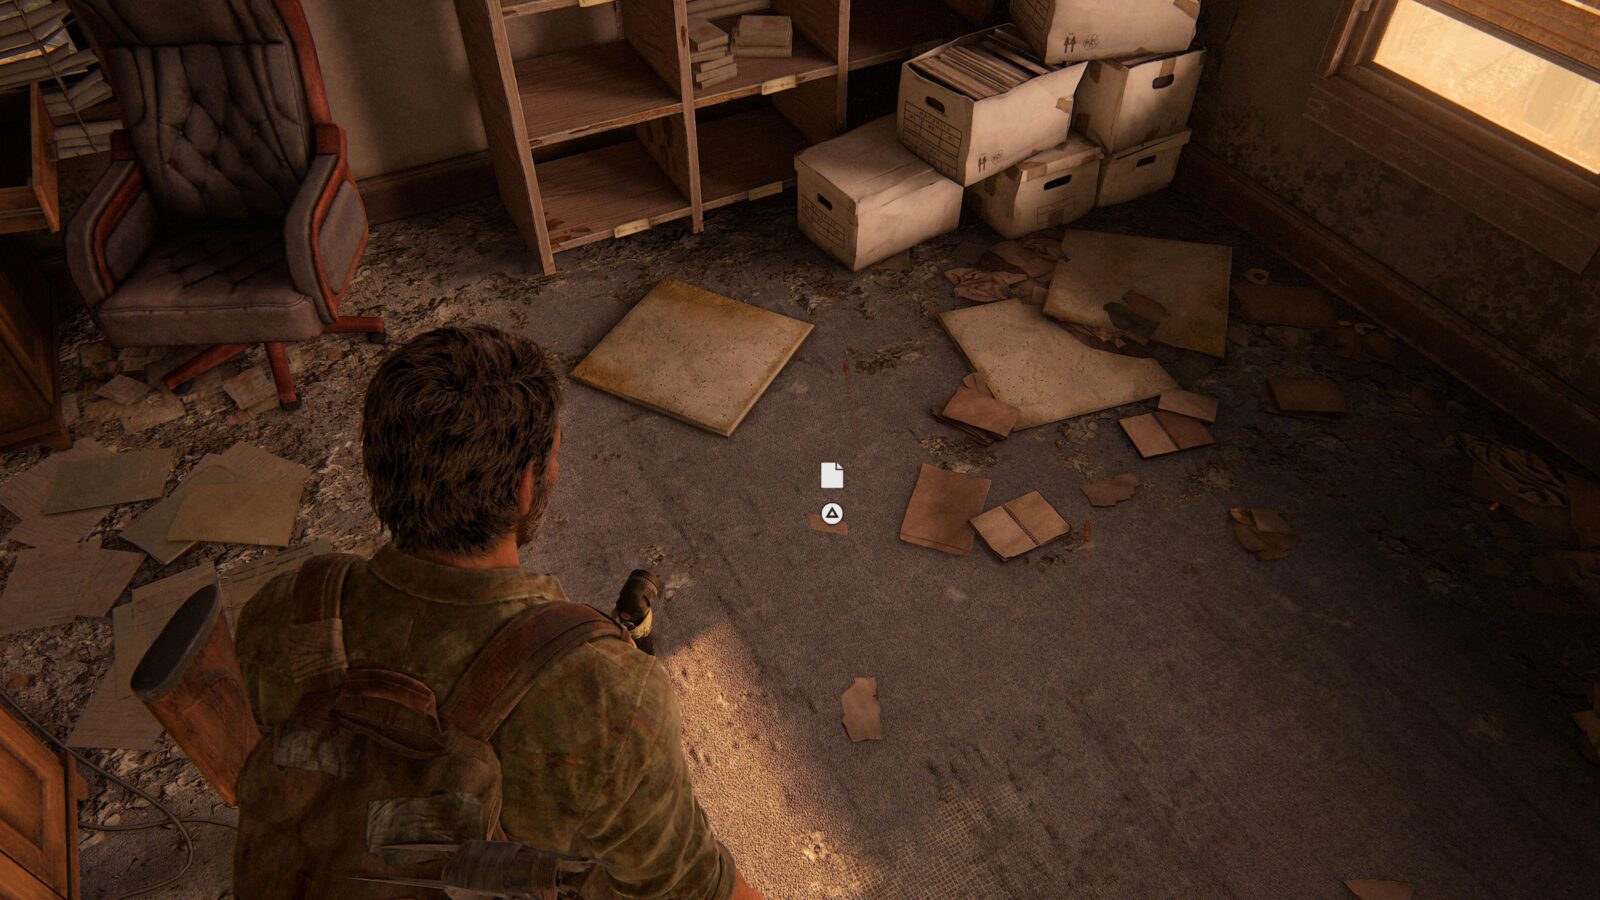
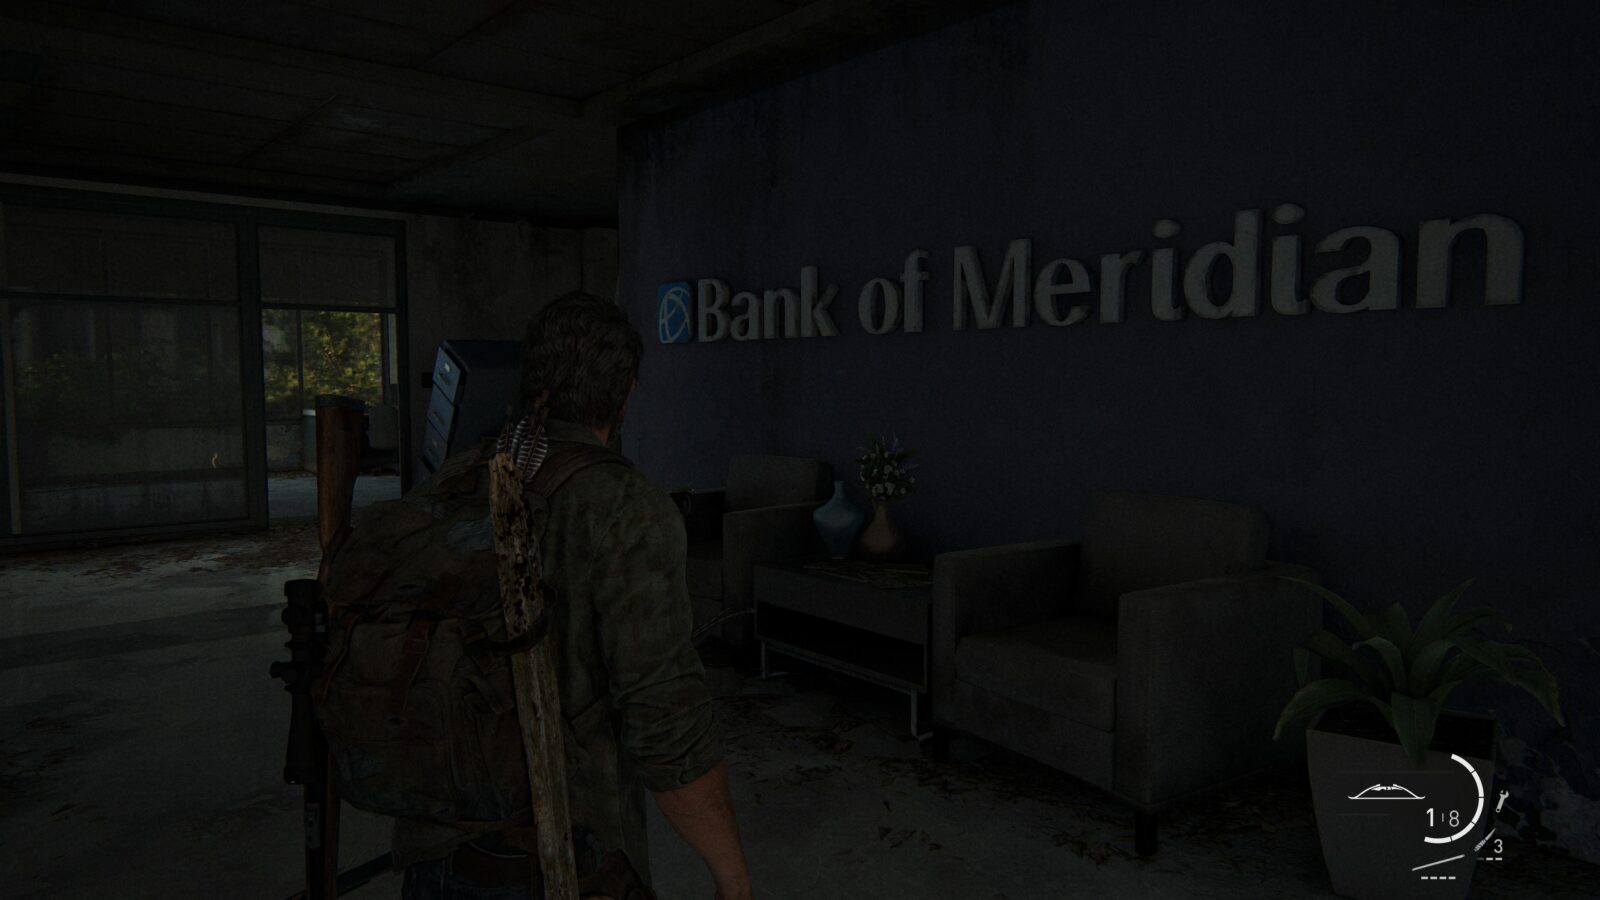
Artifact #41 Final Attack Note – After using the workbench, head upstairs into the “Bank of Meridian” and search the office to find a note on the ground near the overgrown parts.

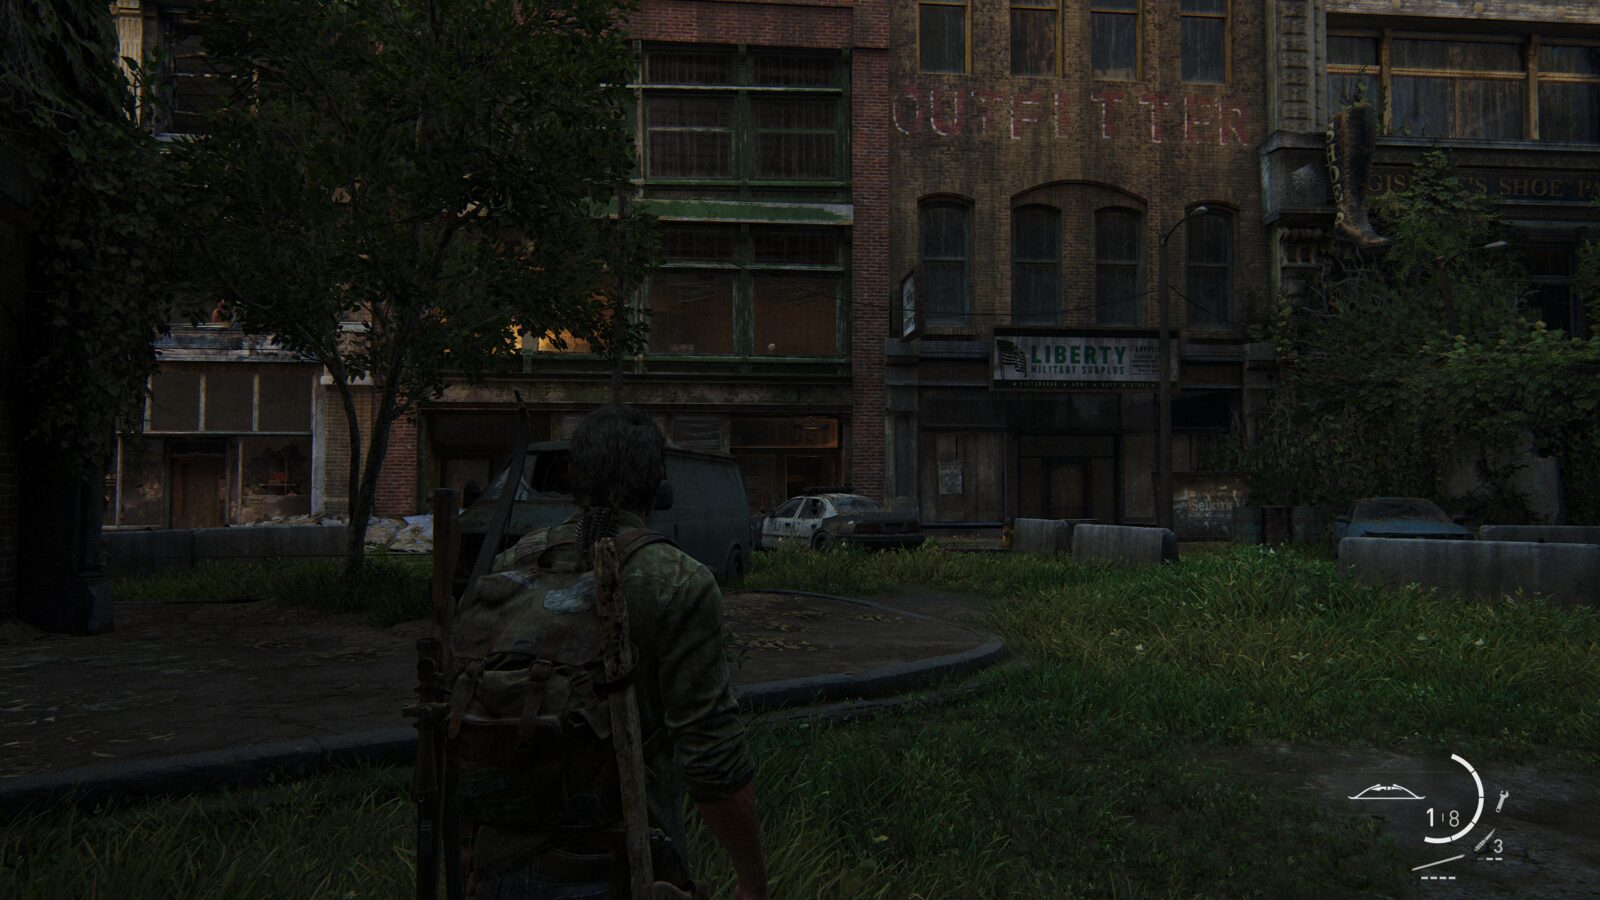
Artifact #42 Mob Attack Note – Leave the Bank of Meridian and walk down the street until you see a building with a green exterior on the second floor. There will be 3 Hunters patrolling inside. Kill them and search behind the desk near one of the staircases for a note.
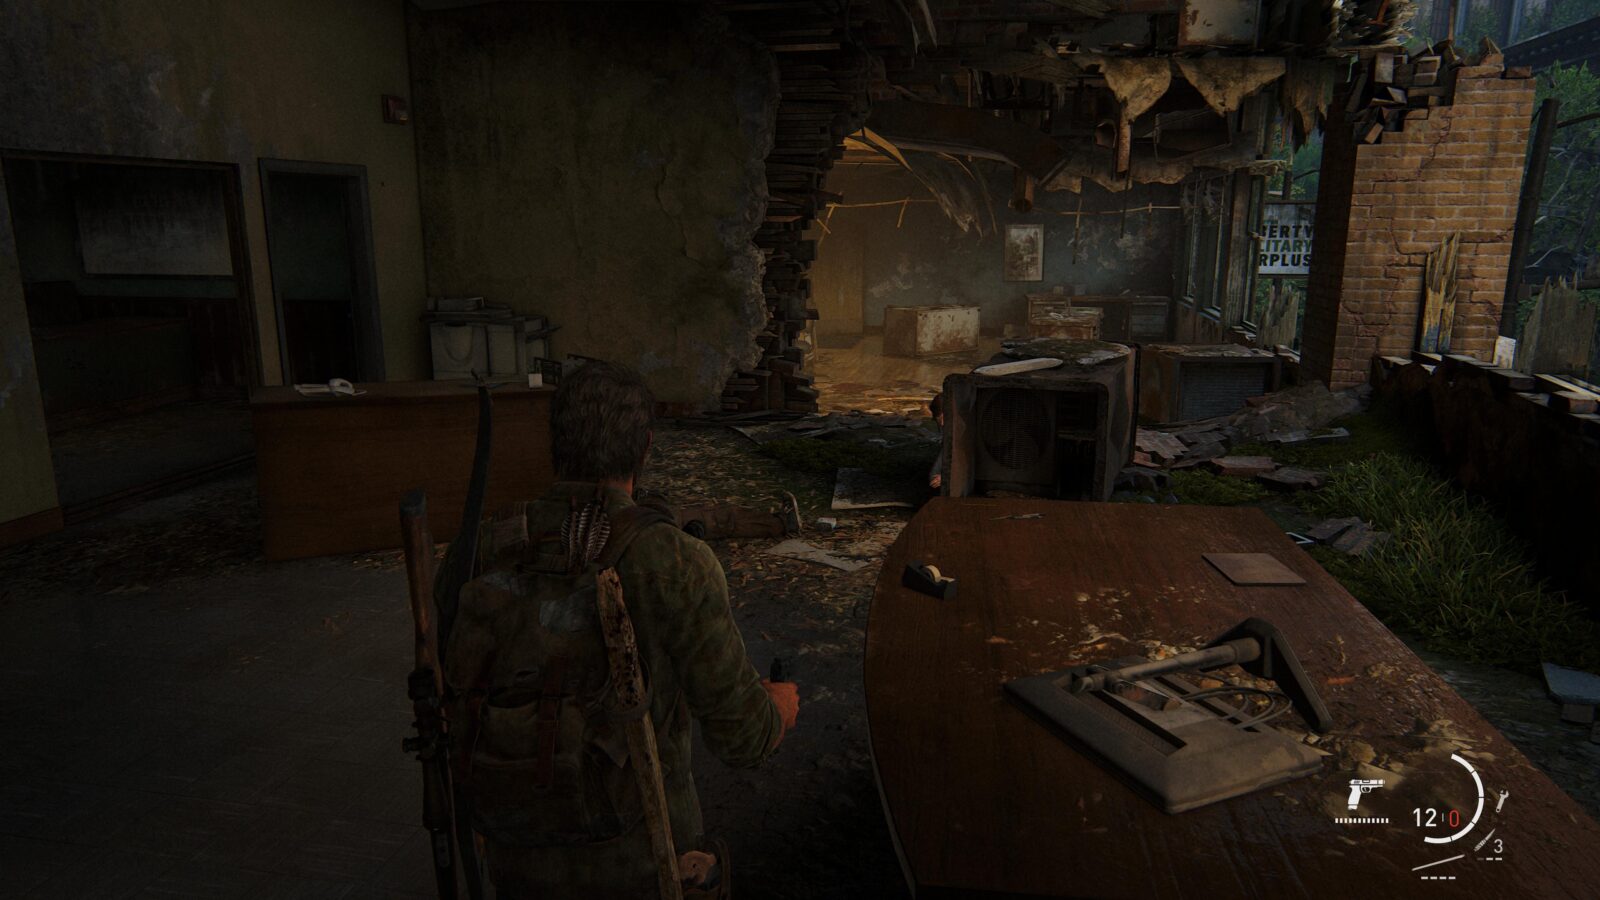
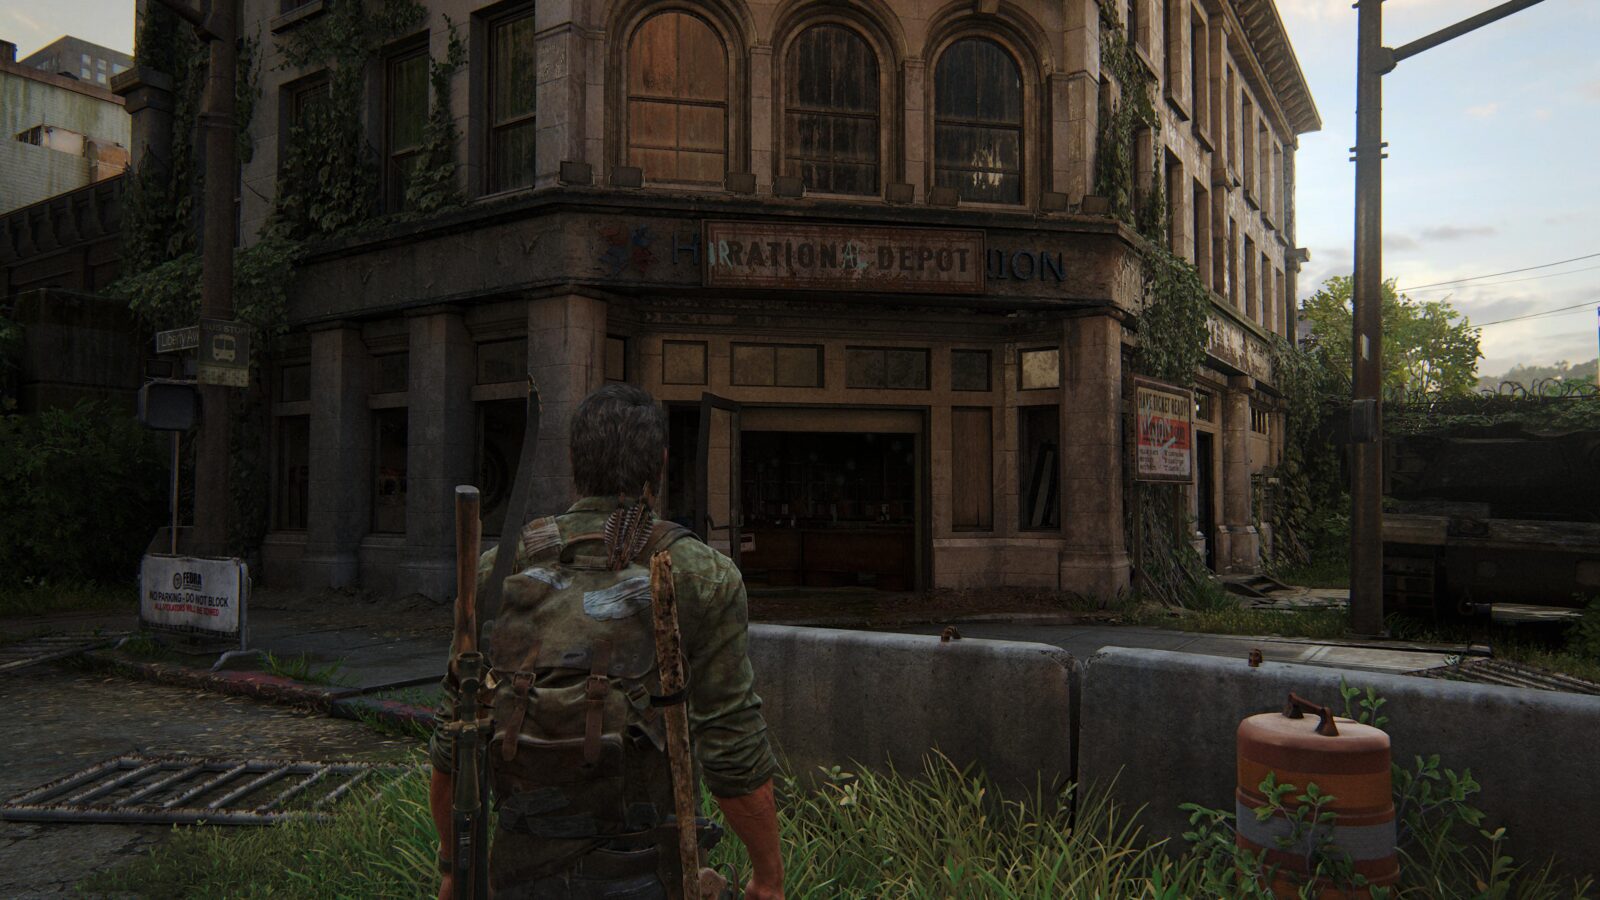
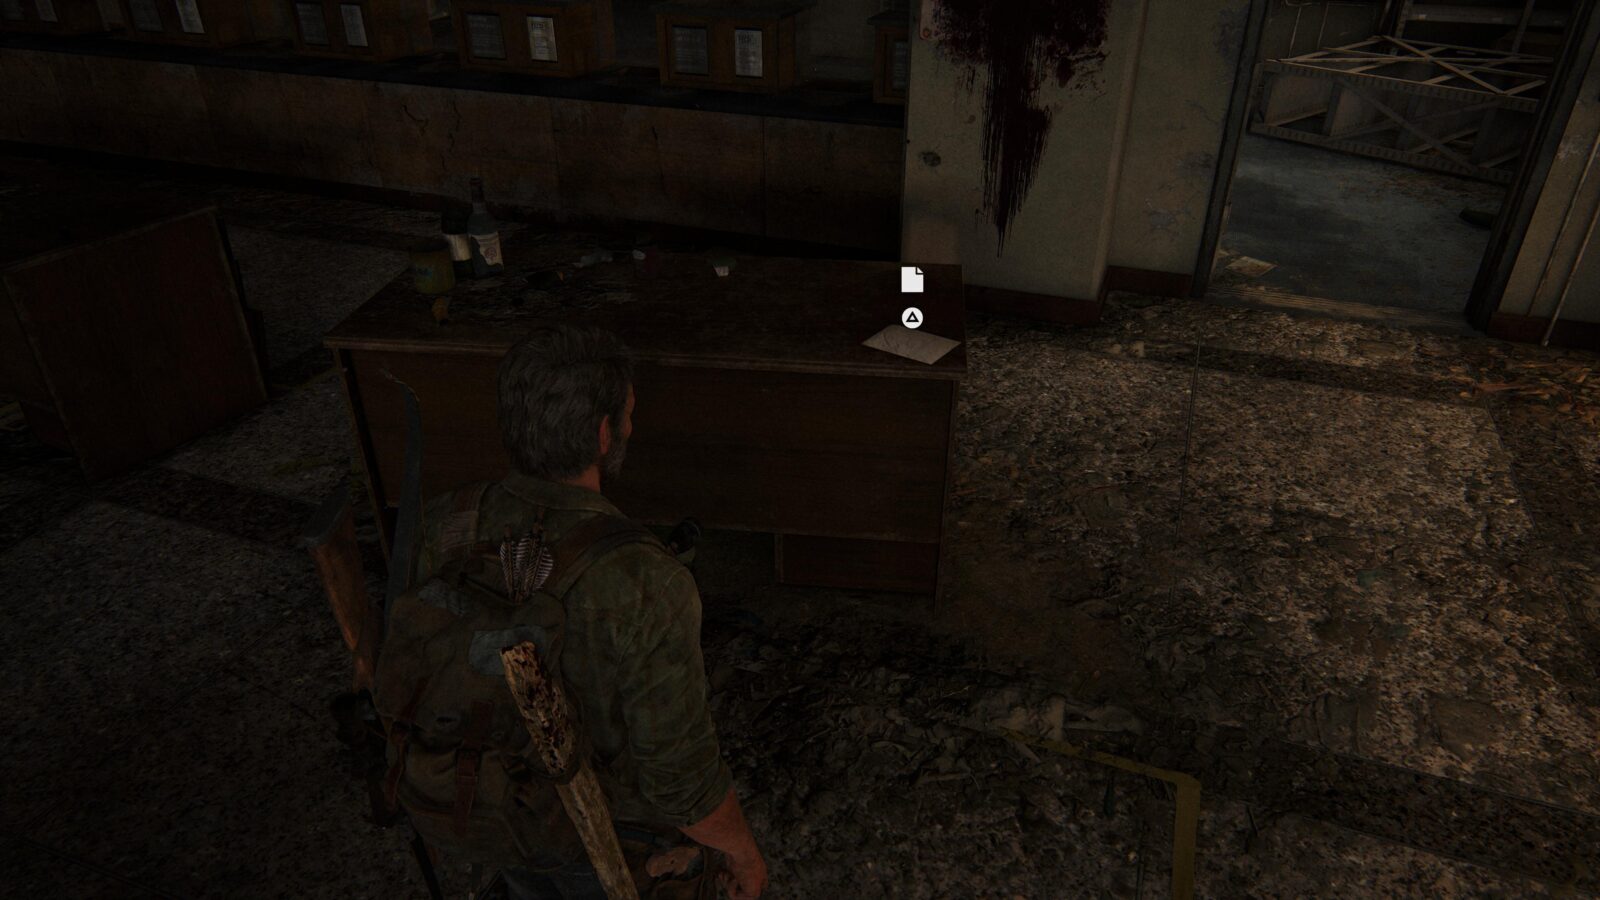
Artifact #43 Truck Note – Head inside the Irrational Rations Depot and check the desks inside for a note.
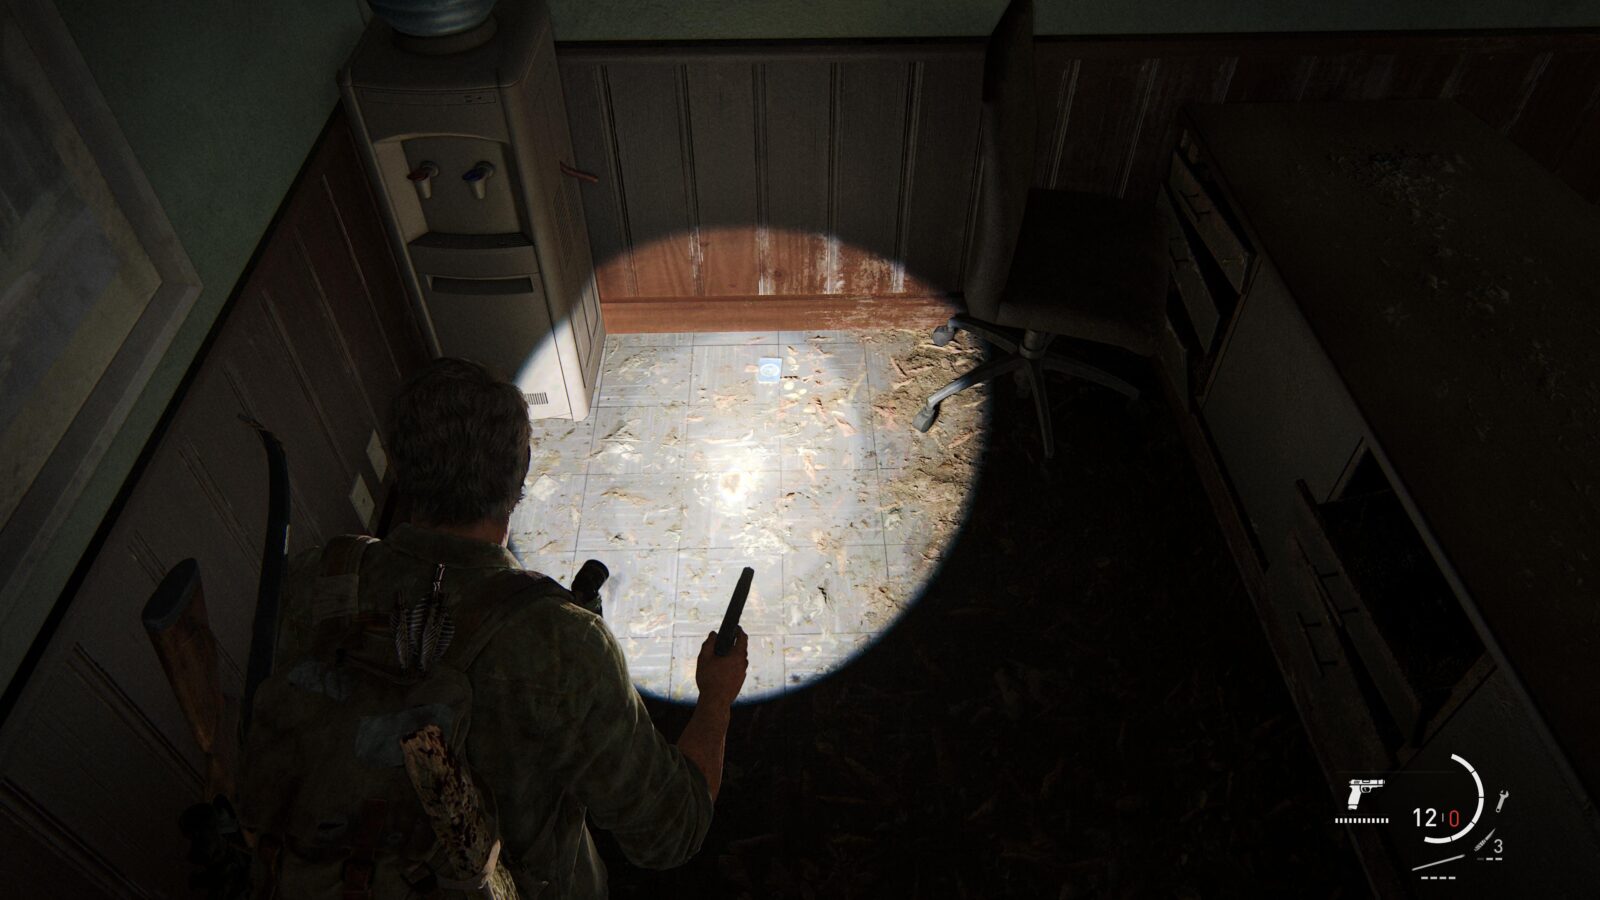
Shiv Door #7 – In the back of the Rations Depot is a shiv door you can unlock.

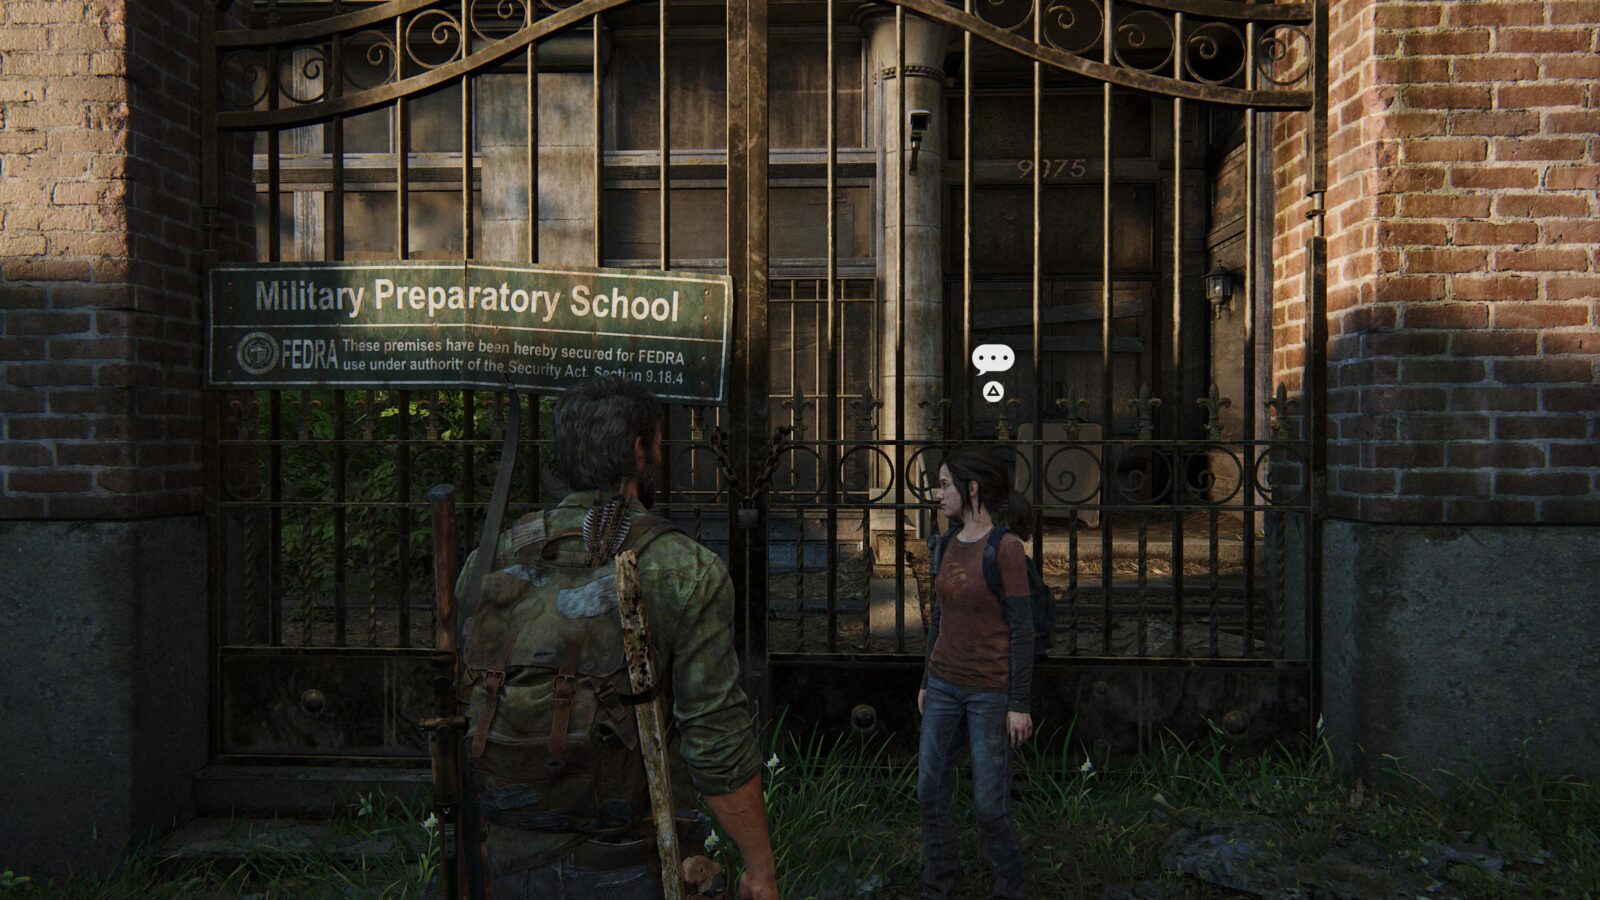
Optional Conversation #22 – Climb up the fire escape and jump down the other side. Look for the FEDRA “Military Preparatory School” gate and wait for Ellie to talk about it.

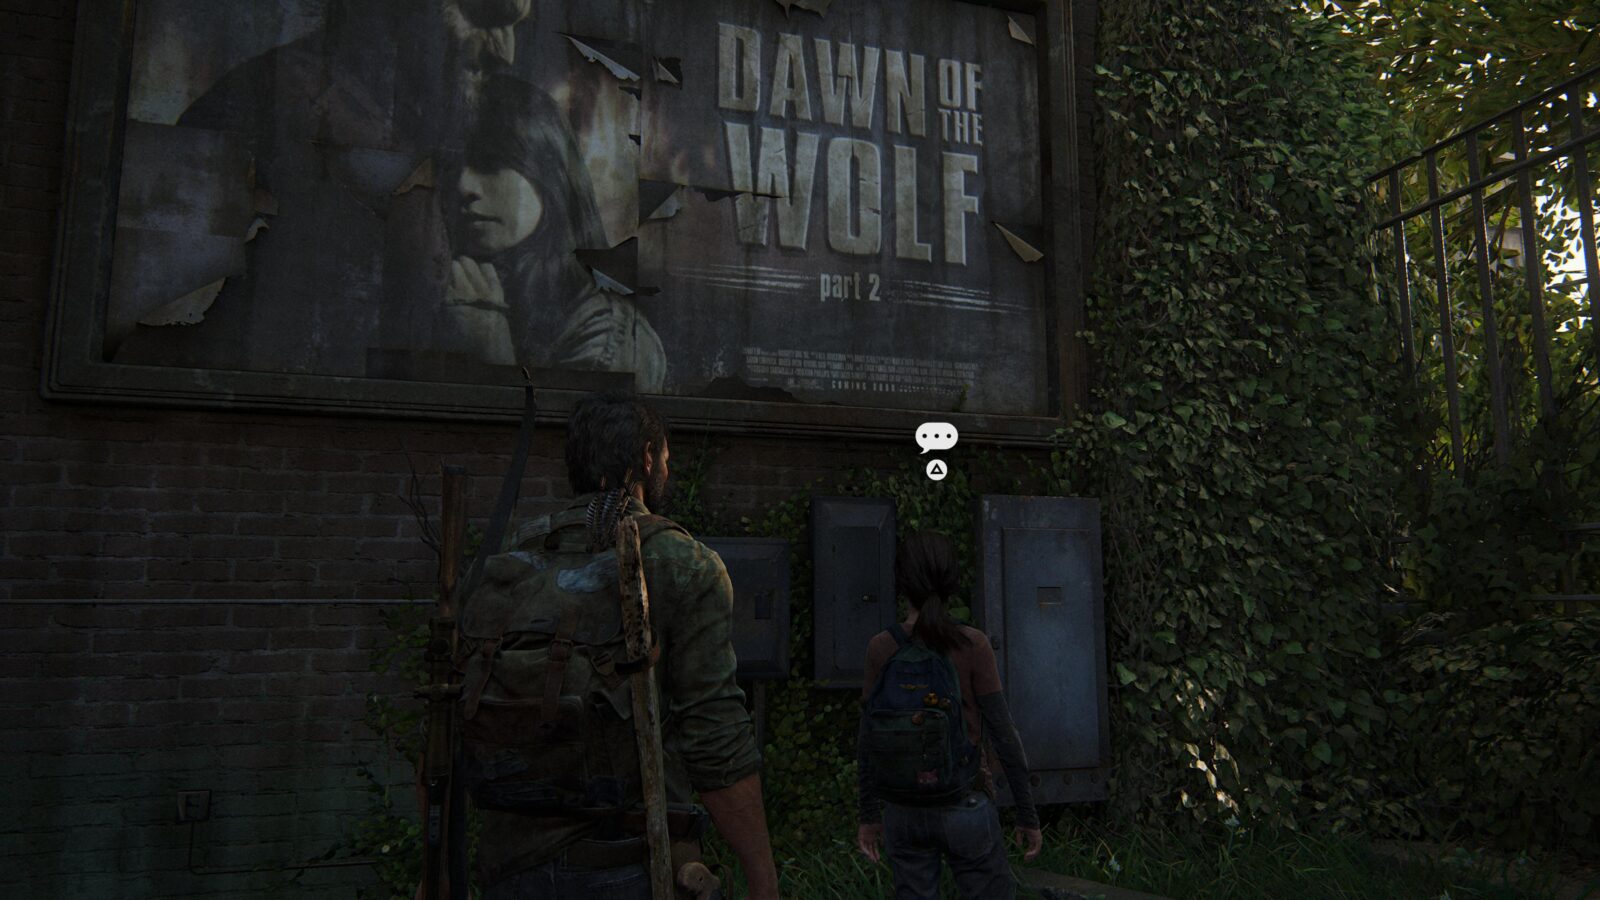
Optional Conversation #23 – Turn around from the gate and head towards the “Dawn of the Wolf part 2” movie poster. Ellie will mention that she’s seen these before and an optional conversation will appear.

Escape the City
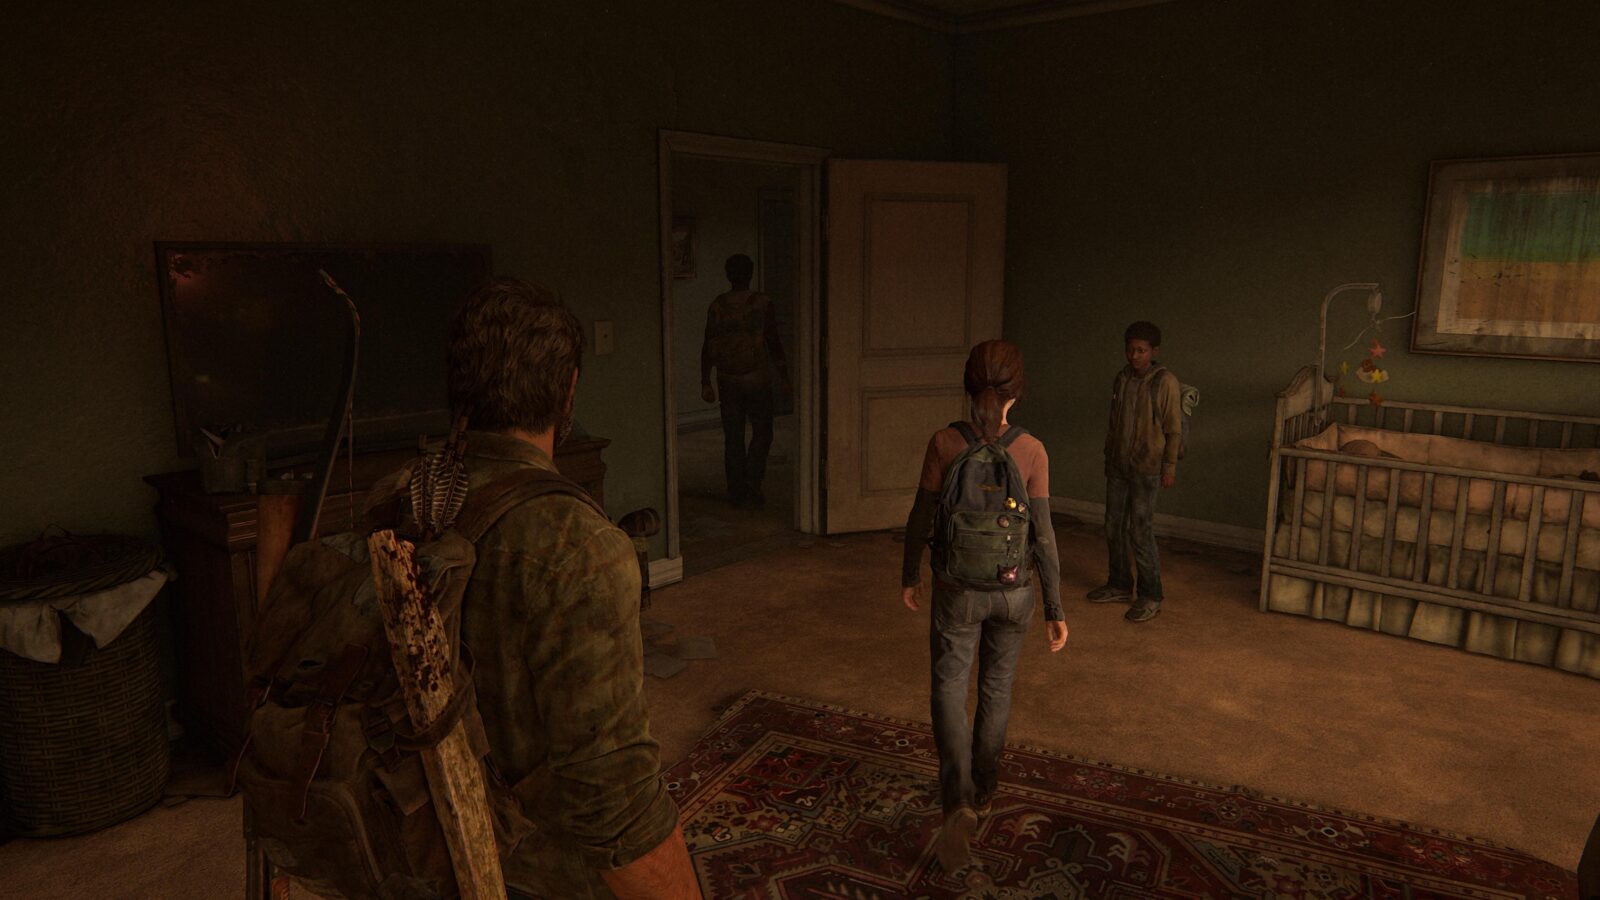
Training Manual #5 Molotov Construction – After meeting Henry and Sam in the apartment bedroom, leave the room and search the counter in the kitchen for a training manual.

Shiv Door #8 – Go downstairs in the apartment building to room 201 and open the door with a shiv.
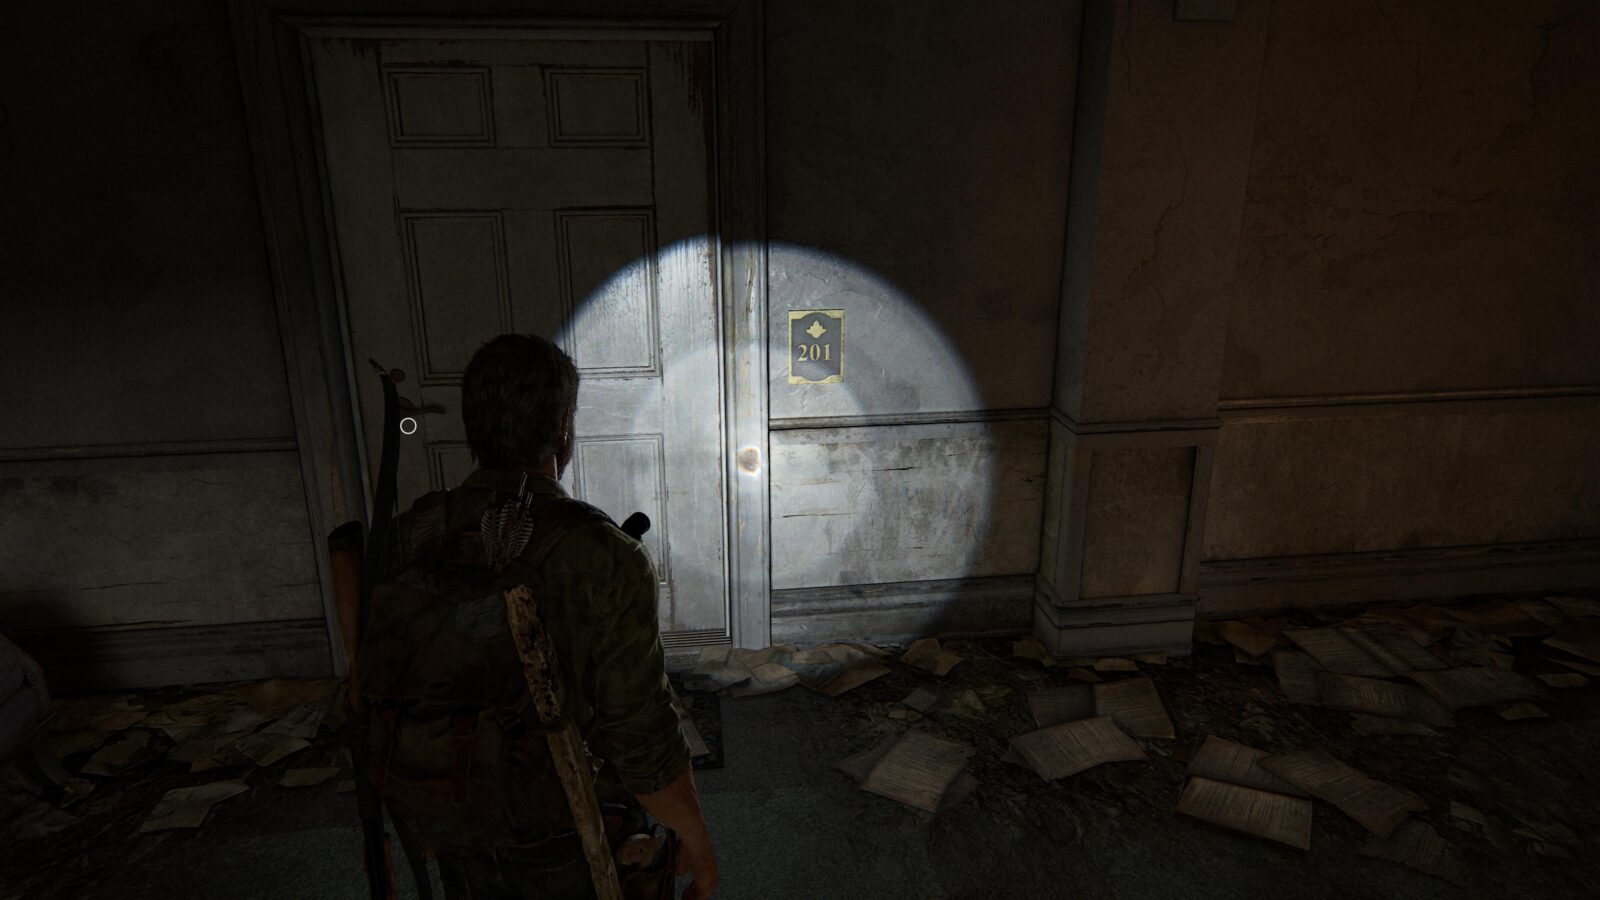
Comic #3 Deep Phase – Inside the bedroom of room 201.
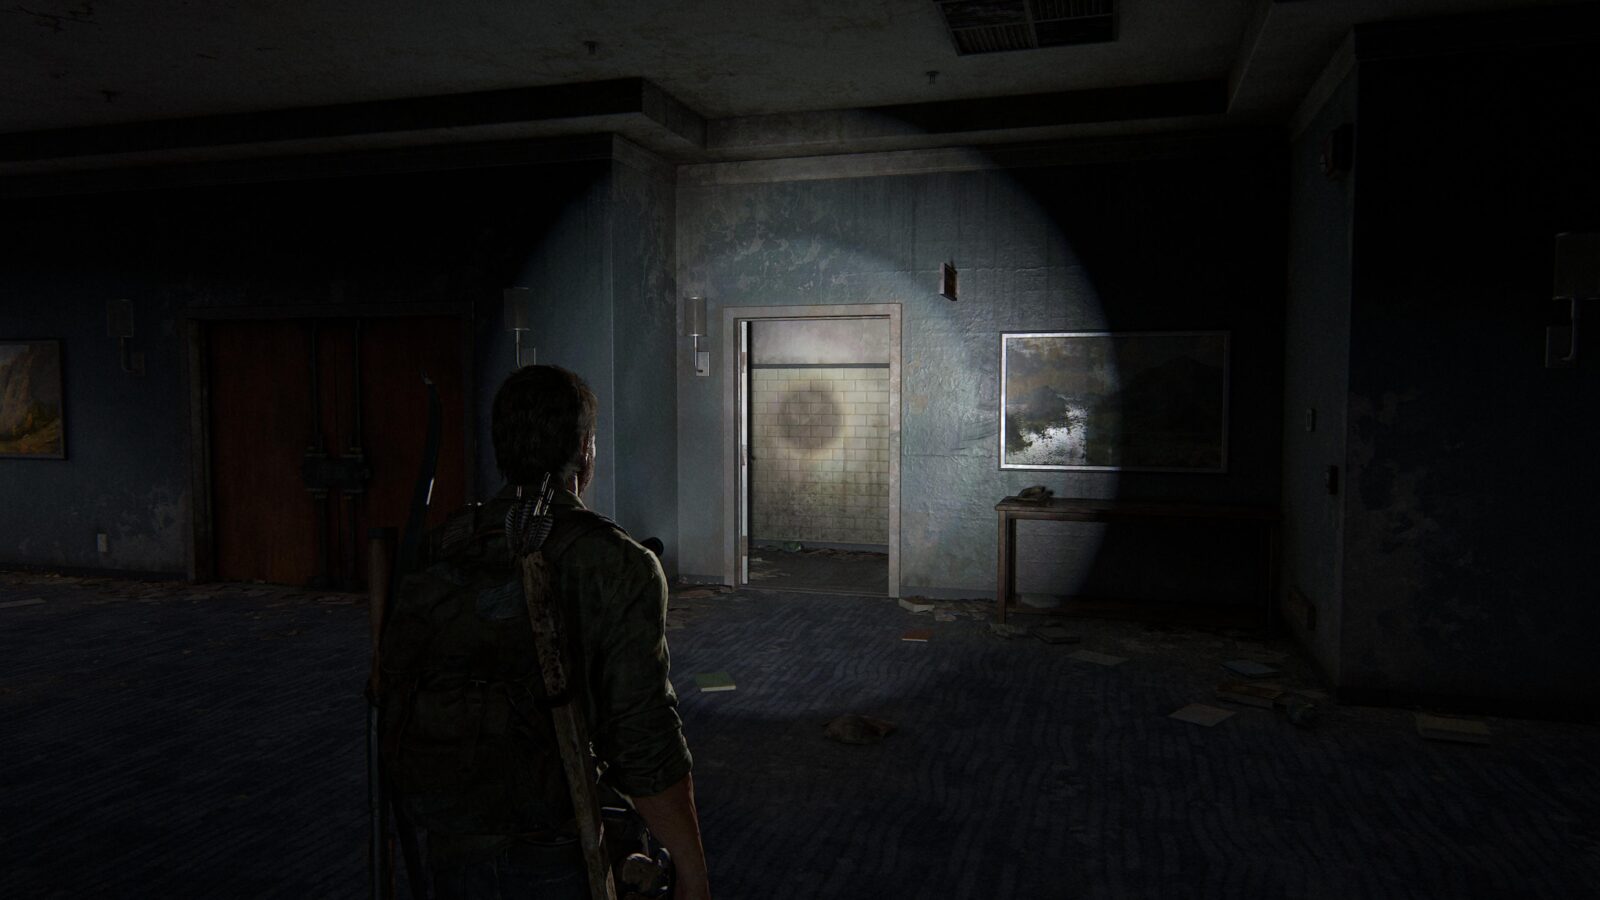
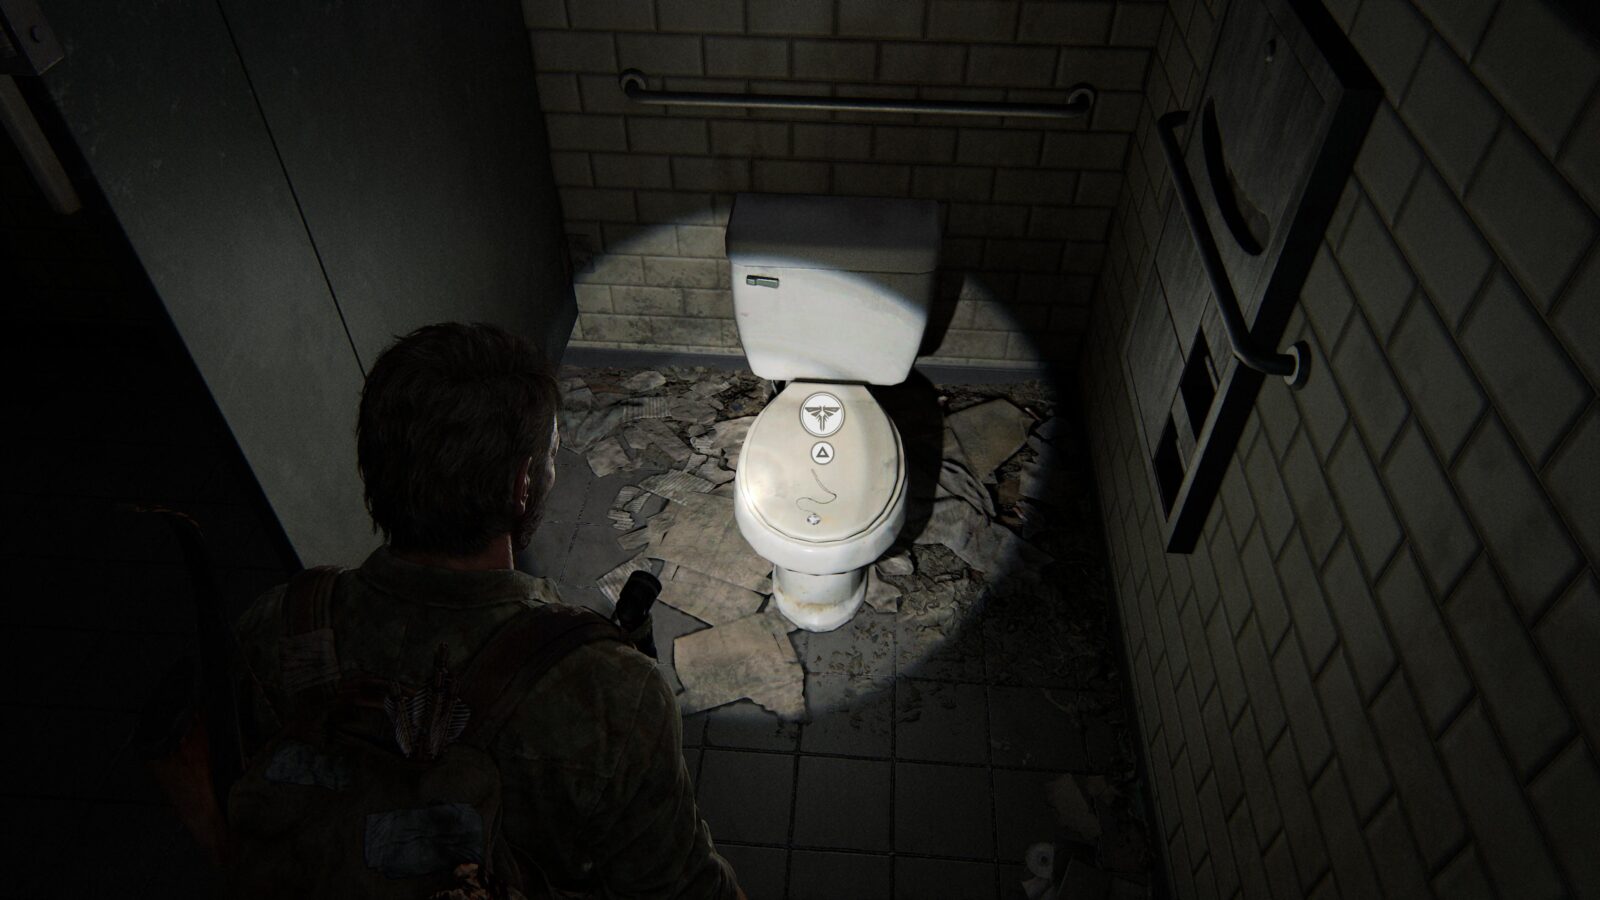
Firefly Pendant #13 Lucas Rios ??0295 – Climb up into the building after dealing with the Hunters behind the toy store but before going into Henry’s safe room, turn around and head into the restroom opposite the double doors. On the toilet is a pendant.
Artifact #44 Trial Note – Go into Henry’s safe room and enter the meeting room directly in front fo Joel. On the ground near a TV is a note.

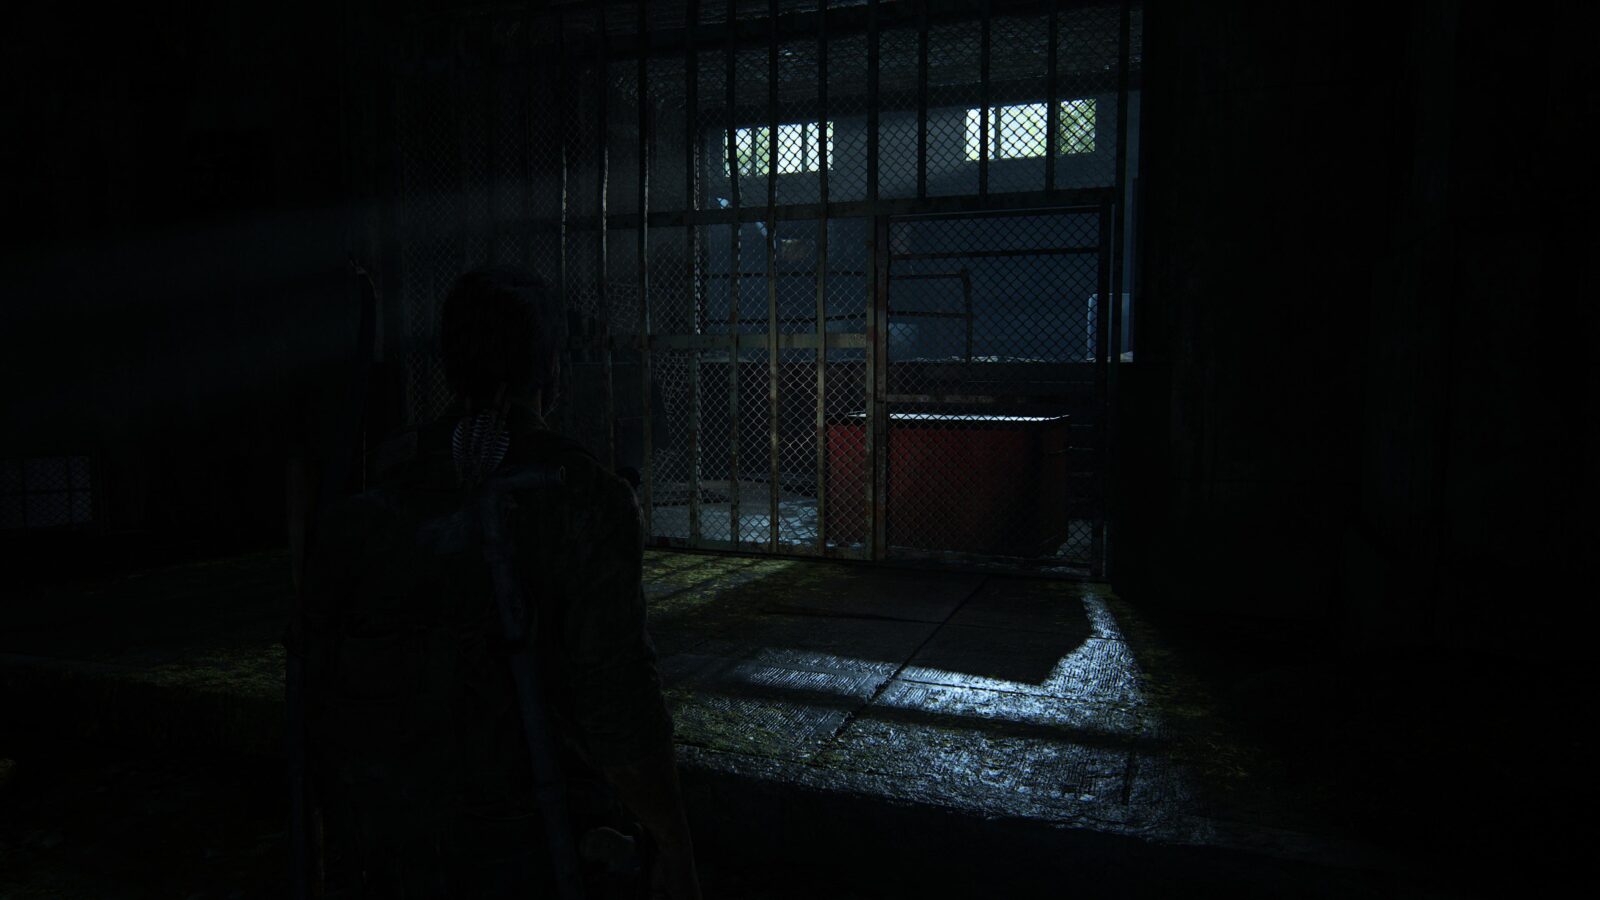
Chapter-Specific Trophy: Lights Out – You must make your way up to the generator underneath the two snipers at the top of the security checkpoint and turn it off without being seen. This is a lot easier than you think as there are plenty of cover to hide behind as you slowly make your way up. I would advise sticking to the right while avoiding the spotlight as well as the single Hunter patrolling in front of the generator. Once you make it to the generator—making sure to stick to the right and use any cover you can—wait for the Hunter on the ground to walk all the way left so you can get to the generator and hide behind the fire there. Once the Hunter has moved right and then is heading back left again, you can come out from behind the fire and choke him out (this probably isn’t necessary as you can get to the generator and turn it before he notices you but turning the generator off aggros every enemy in the area and he’ll quickly clobber you with his 2×4). Once he’s dealt with you are free to turn off the generator.


The Suburbs
Sewers
Comic #4 Antiparticles – On the beach after Joel and Ellie reunite with Henry and Sam, you can find a boat that has washed ashore. Inside the boat’s cabin is a comic.
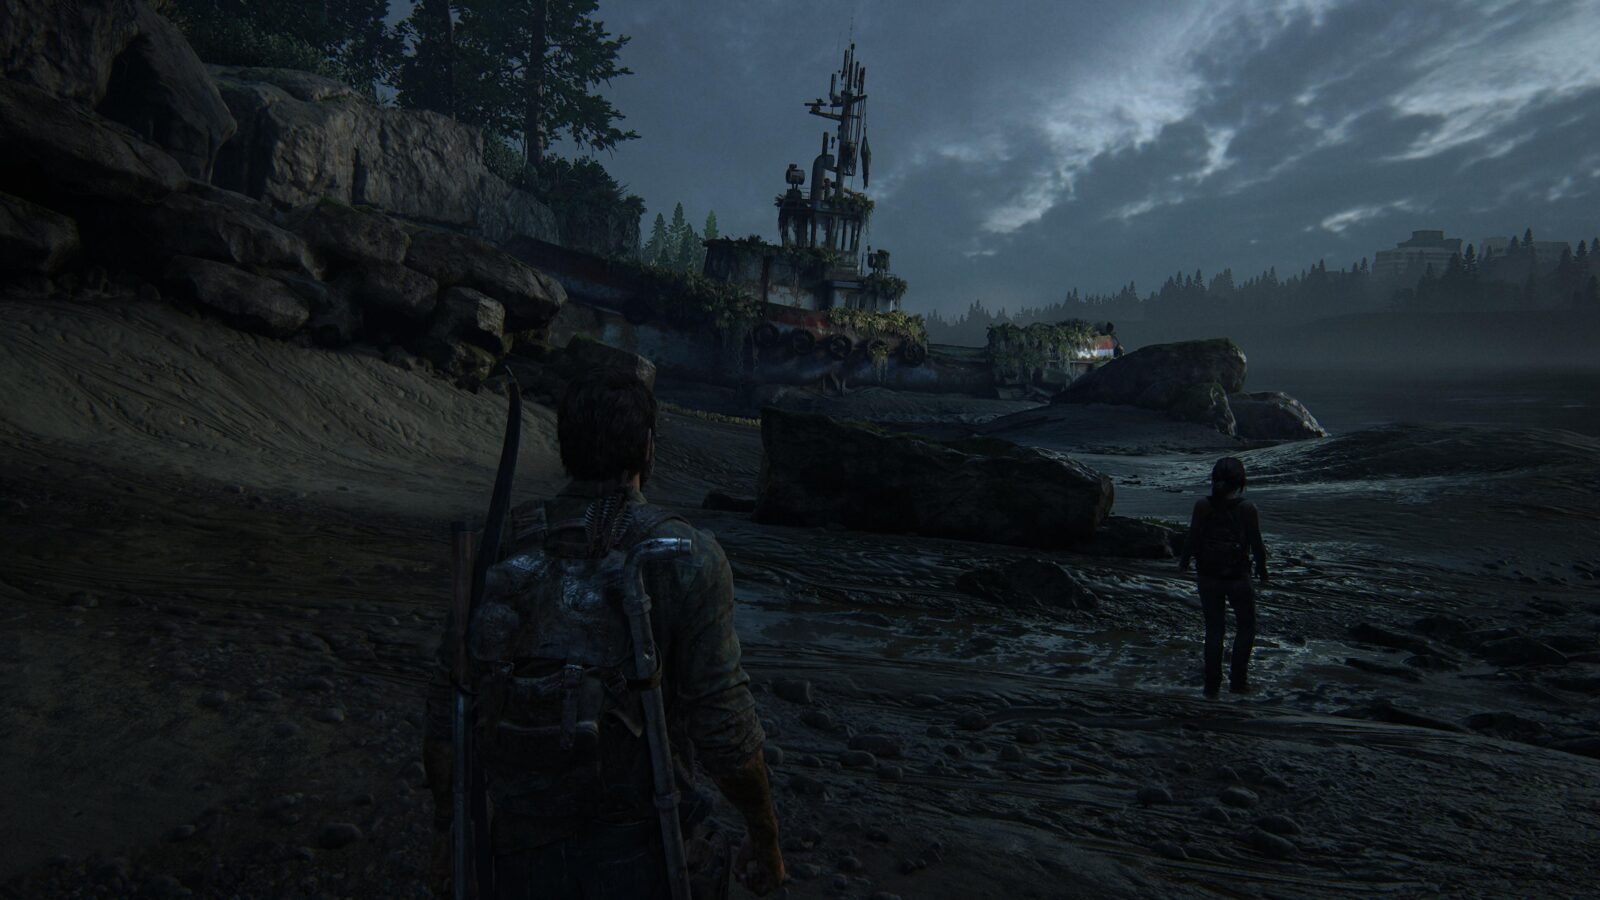

Artifact #45 Boat Note – Also inside the boat is a note on the seat.
Firefly Pendant #14 Josh Scheffler 000127 – While still on the boat, jump down into the hole on the deck to find a pendant in the water.

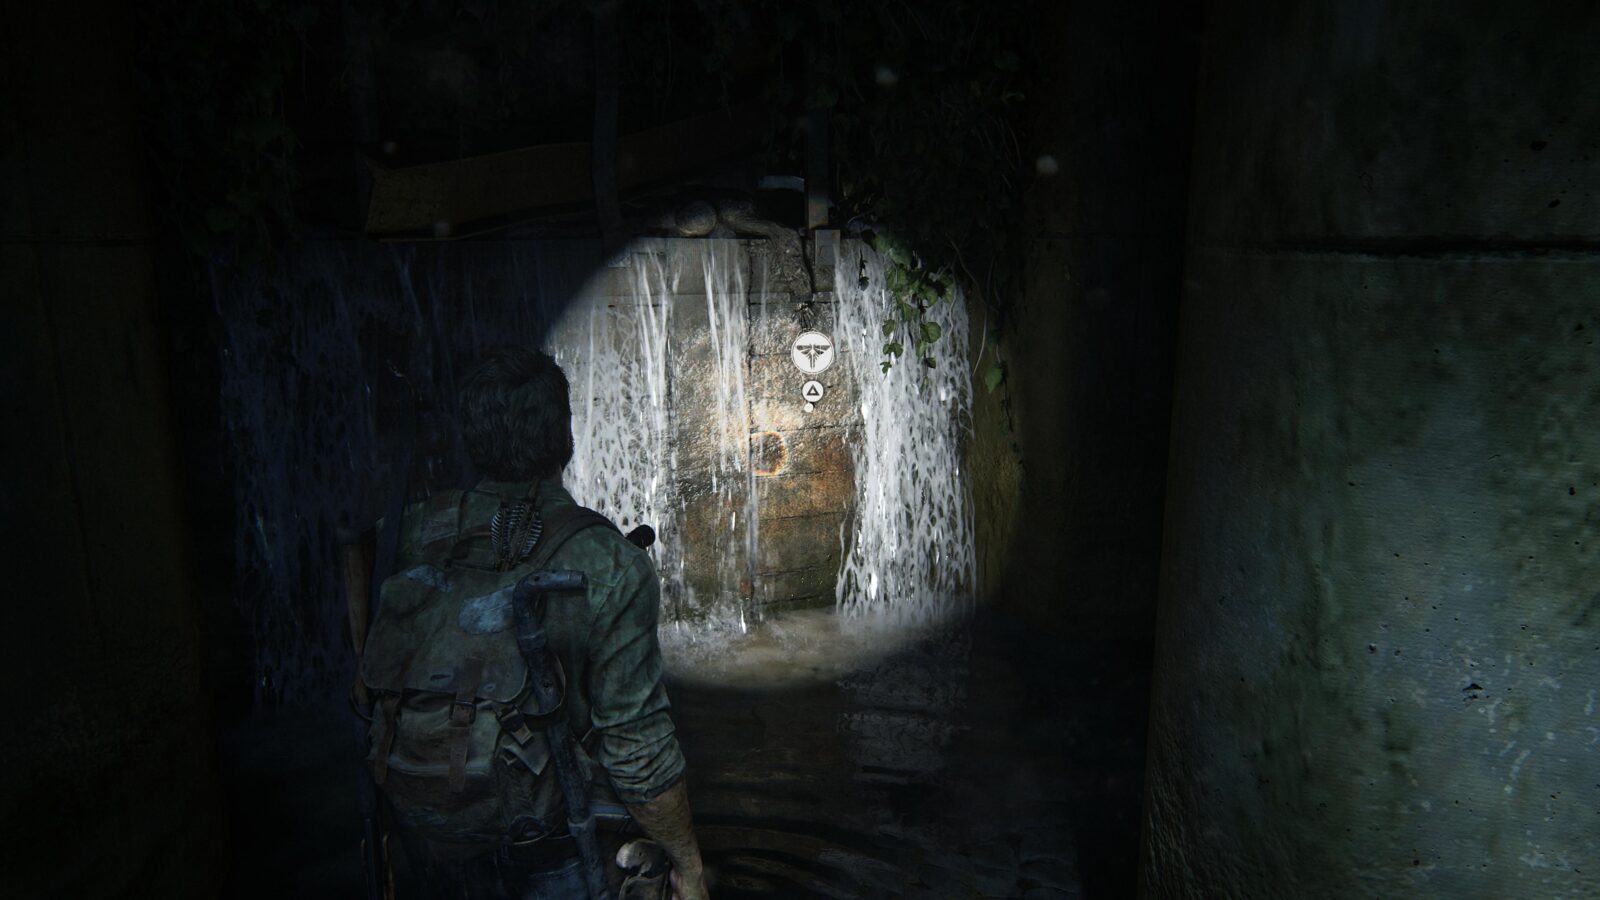
Firefly Pendant #15 Robert Righetti ??0219 – Inside the sewers you can find a drainage channel on the right wall. Climb inside and look to your left to see a corpse with a pendant in its hand.

Artifact #46 Sewers Note – Further into the sewers Ellie will suggest to Joel that they should check out the right path that splits off. At the end of this path is a gated area that Ellie can open via crawling through a small vent. Inside this gated area is a table with a note.

Firefly Pendant #16 Eddie Fuentes 000168 – In the water room you can find a partially submerged car in the water. Swim down and search the ground around the hood of the car to find a pendant.

Artifact #47 Trading Note – Clear the blockage prevent the sluice gate from opening and swim to the other side. Climb the ladders and enter the room before throwing the palette down. In this room is 2 Clickers and a note by a sleeping bag.
Chapter-Specific Trophy: Waterlogged – You have to ride the sewer contraption with Henry and Sam to unlock this trophy. This is time-sensitive as you only have a short time before Ellie activated the mechanism that moves it. As soon as Ellie jumps off the palette, swim back to the ledge and climb up so you can run to the contraption before it sets off. Hold ![]() to make Joel swim and run faster.
to make Joel swim and run faster.

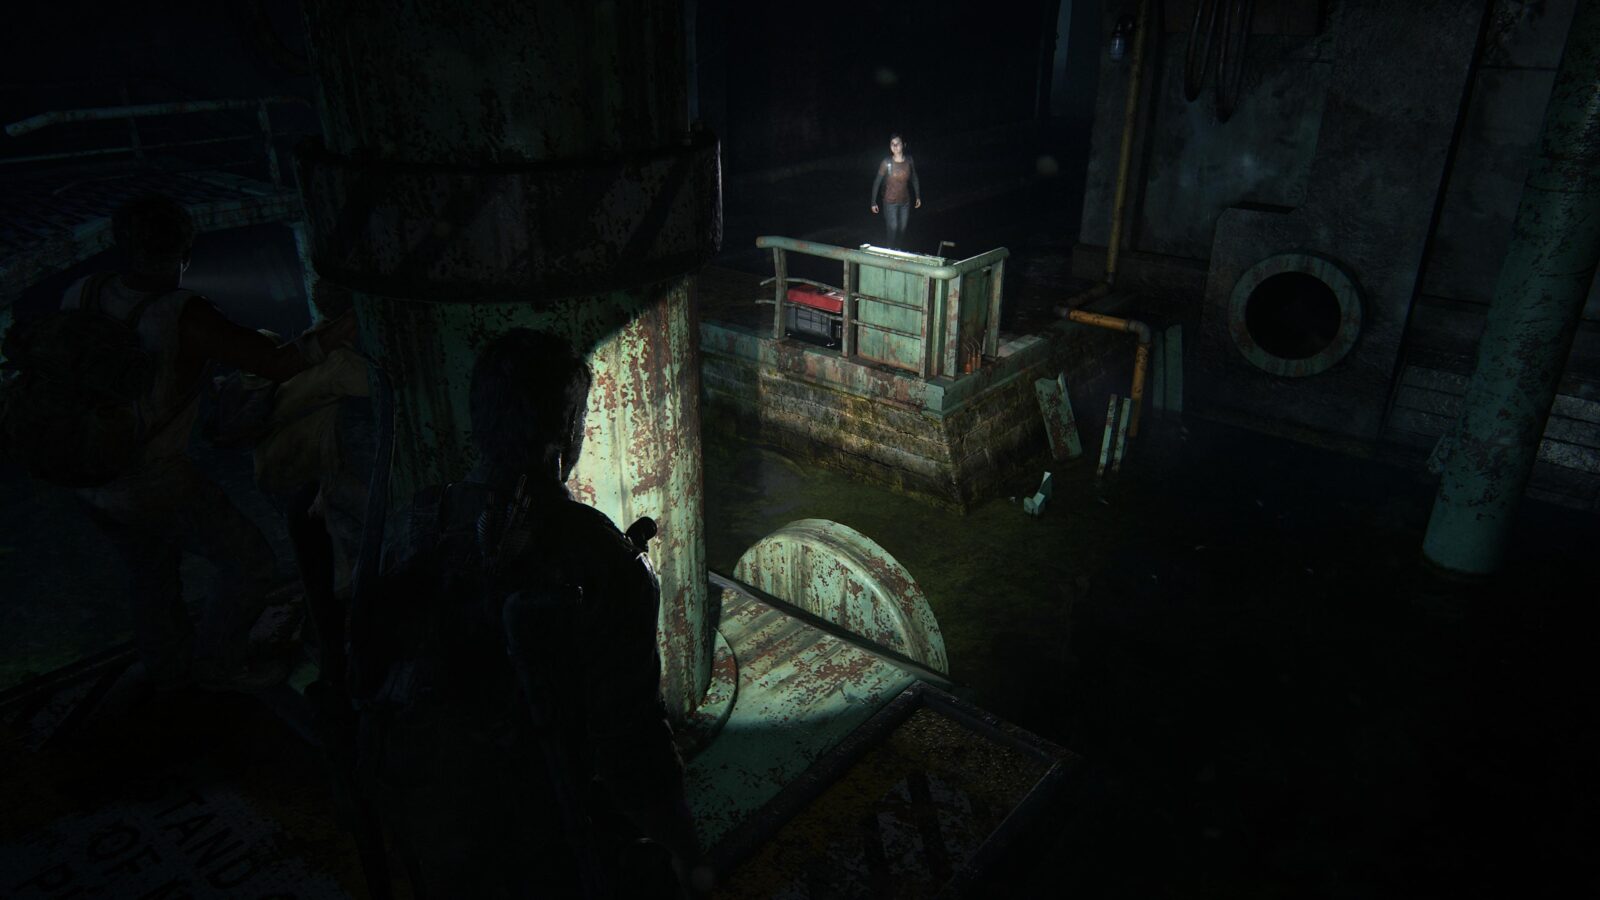
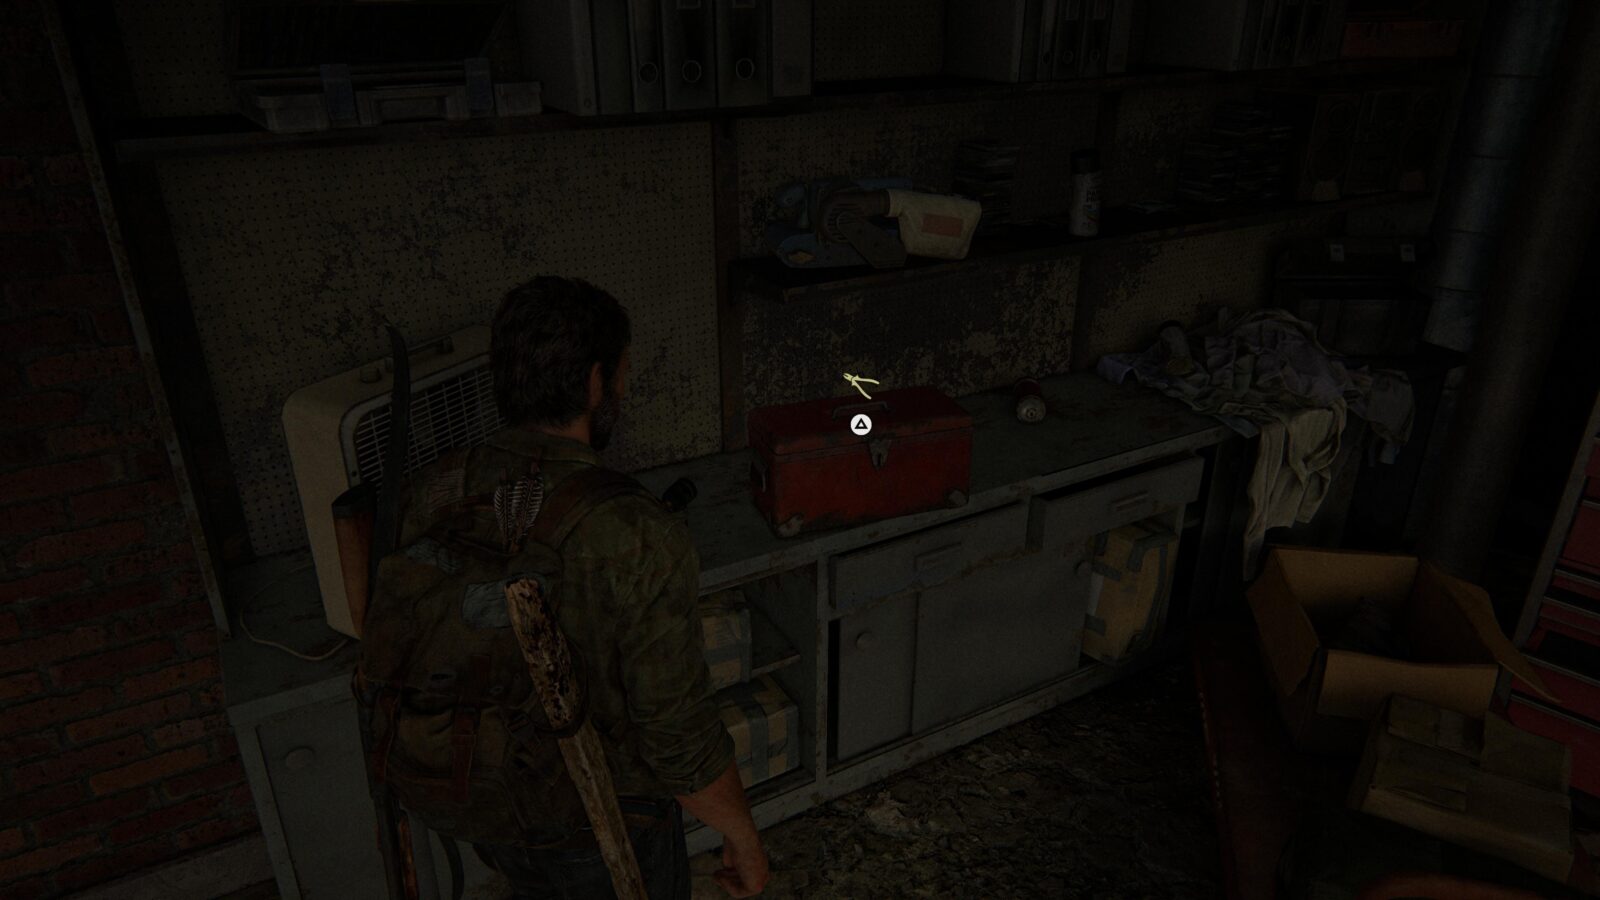
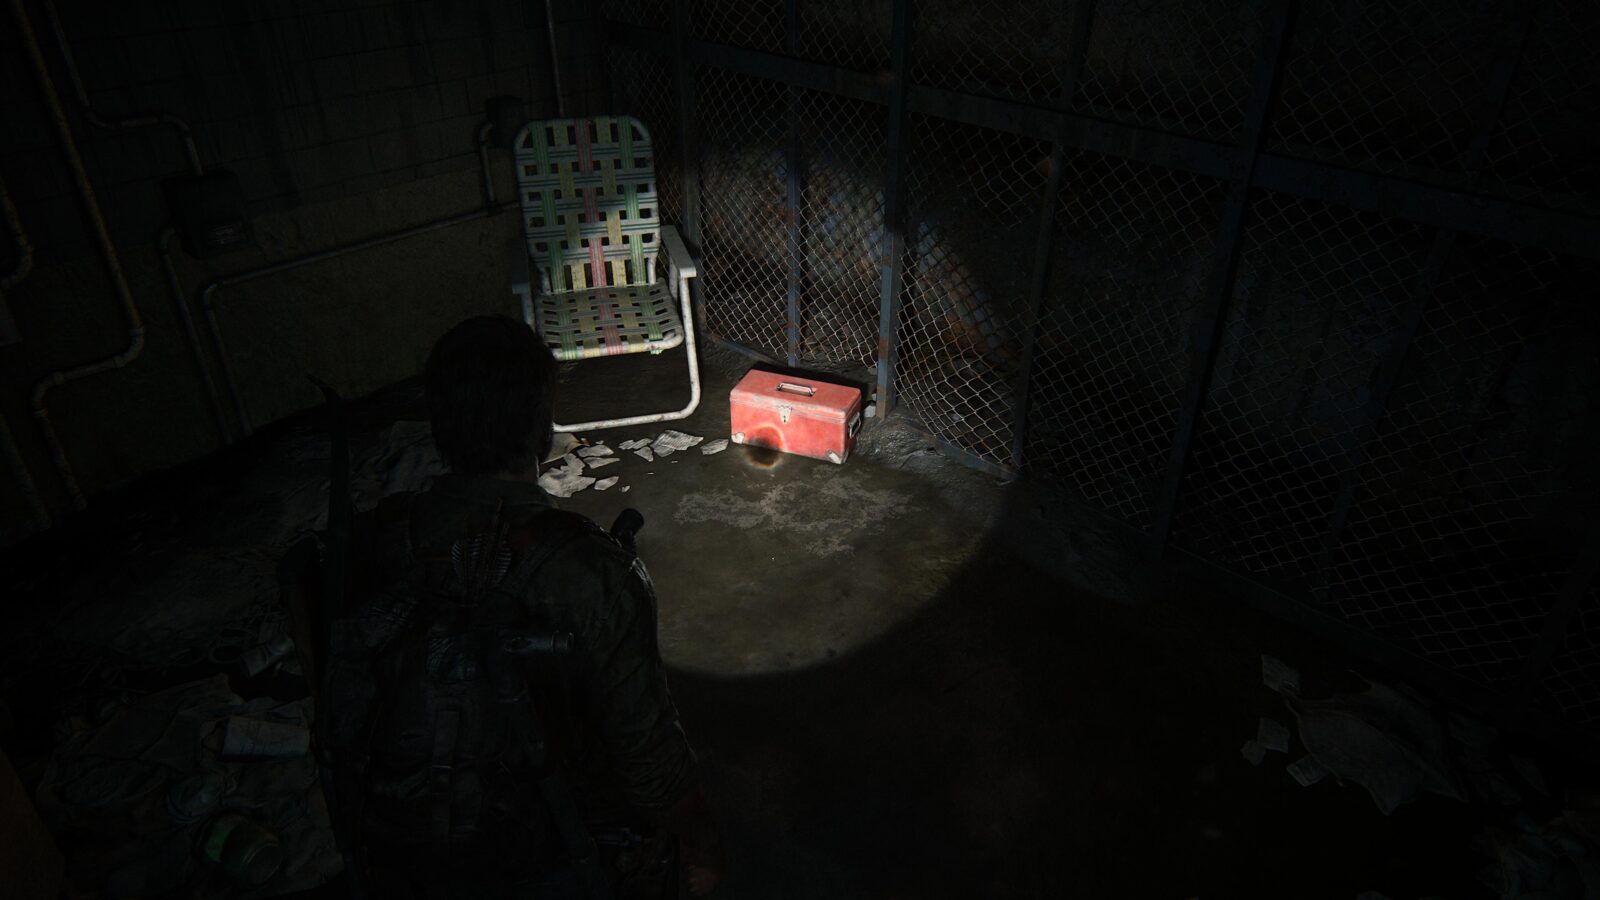
Workbench Tool #3 – After riding the sewer mechanism you will come across a storage room on your left. Inside on the ground is a toolbox.
Training Manual #6 Bomb Containment – After triggering the sound trap and finding the Shorty weapon, you will come to some metal shelves. On these shelves is a training manual.

Artifact #48 Rain Catcher Note – After fighting the Clicker and Runner ambush you can find a room to your right filled with rain catchers. Near a corpse is a note.
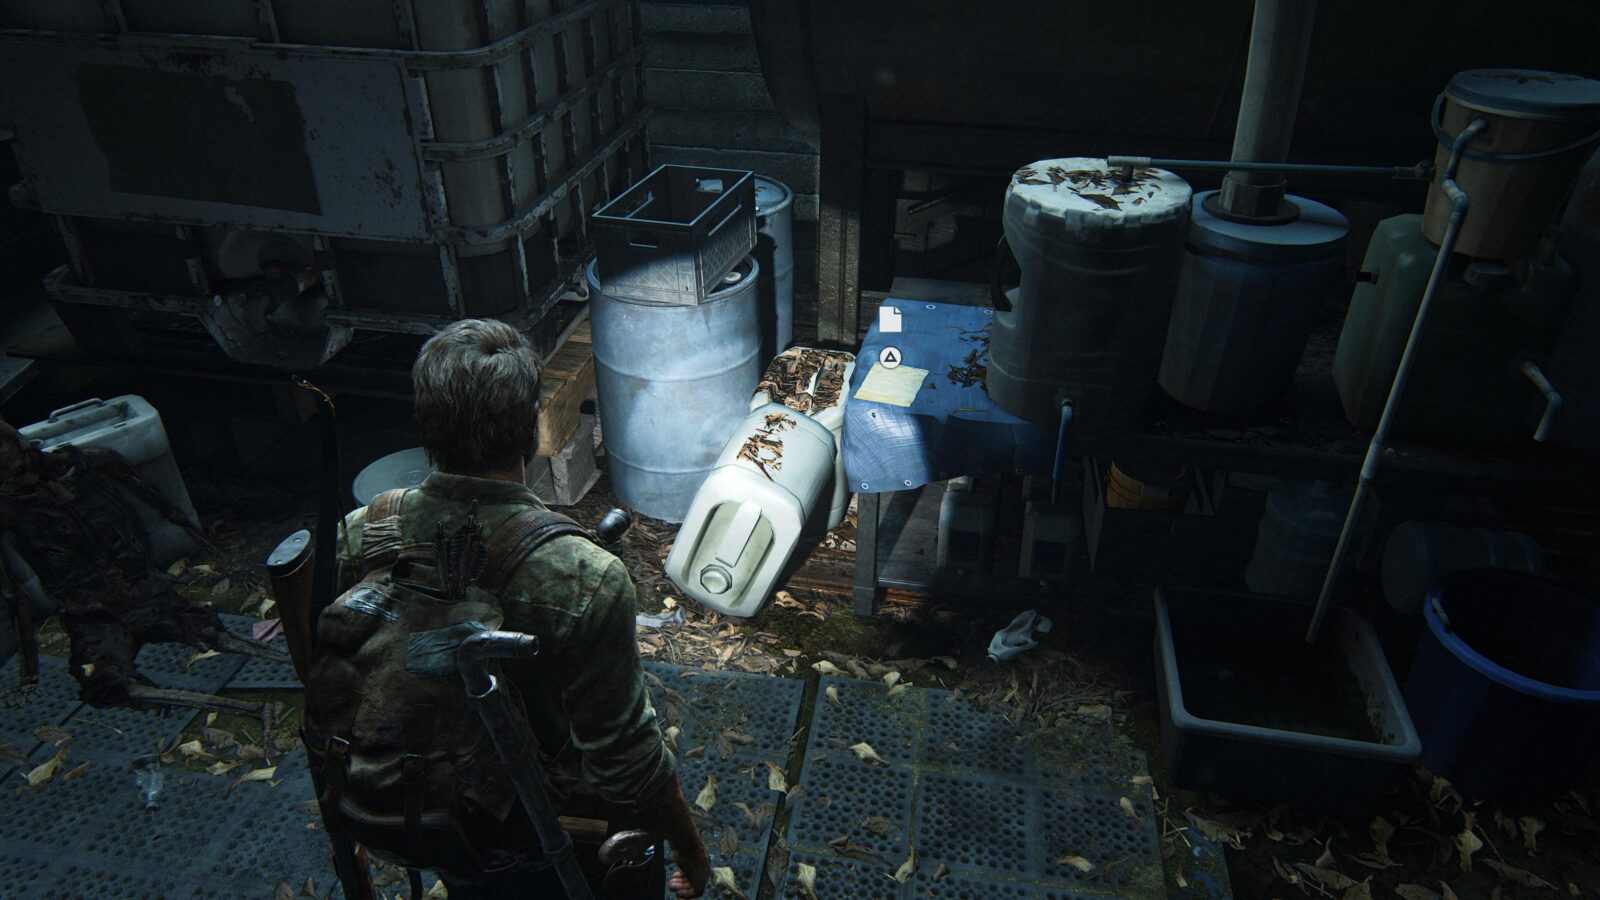
Artifact #49 Cornered Note – Continue through the sewer and keep your eye on the left wall for a gray door. Inside by a corpse is the saddest note in the game.

Progress towards Build Em Up, Break Em Down
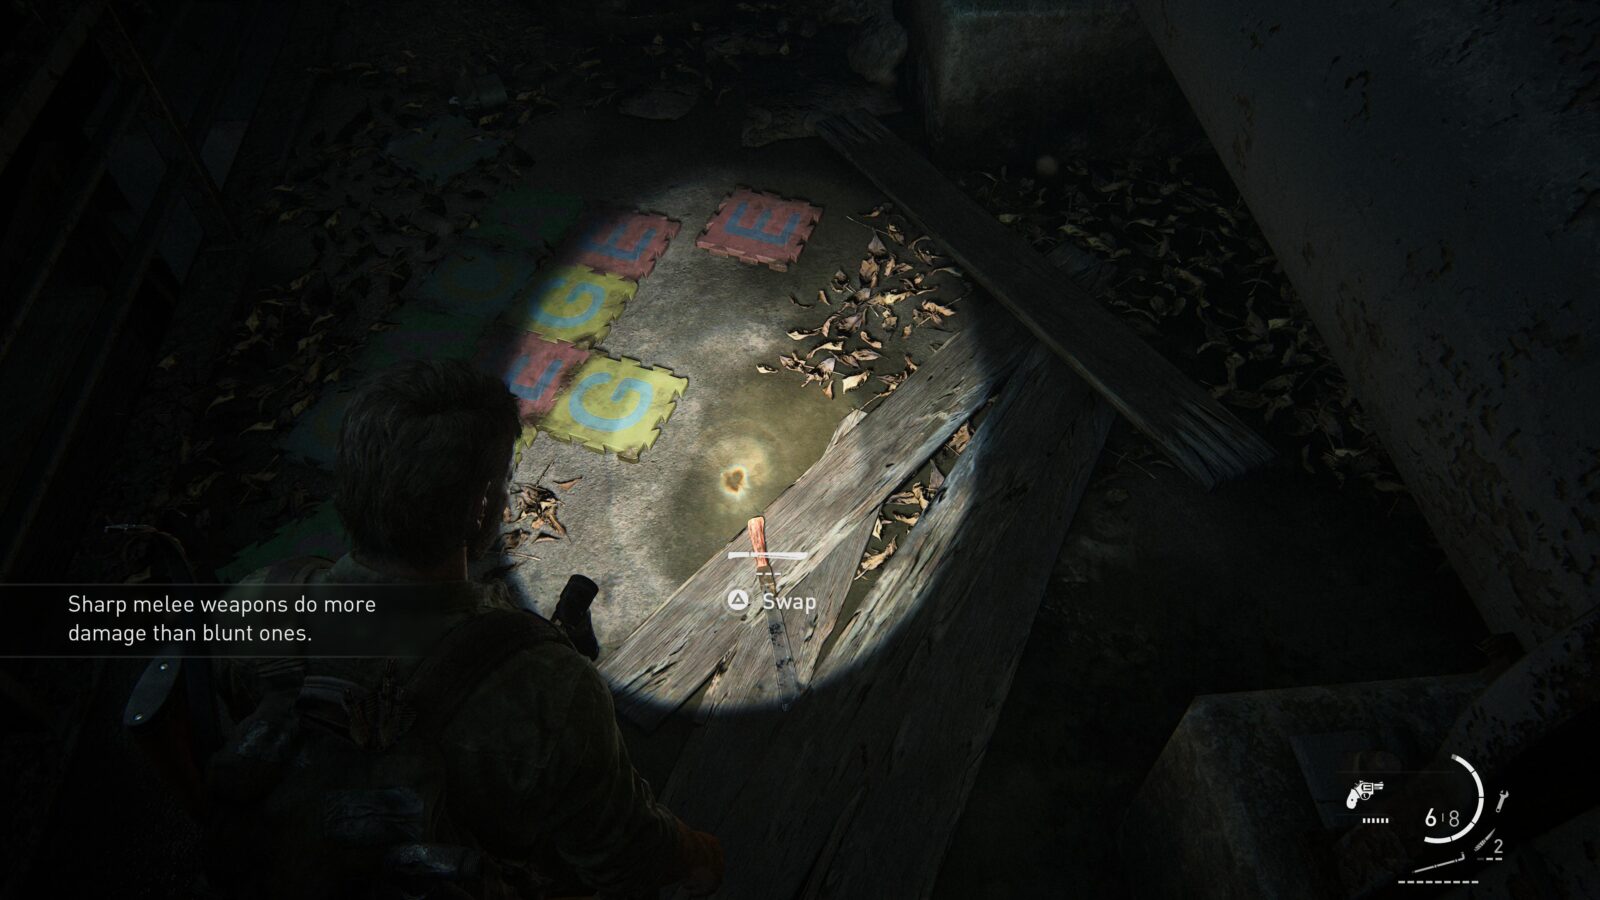
In the same room as the Cornered Note artifact is a machete up the stairs. Upgrade it and break it. Upgraded Melee Weapon Broken 4/5.
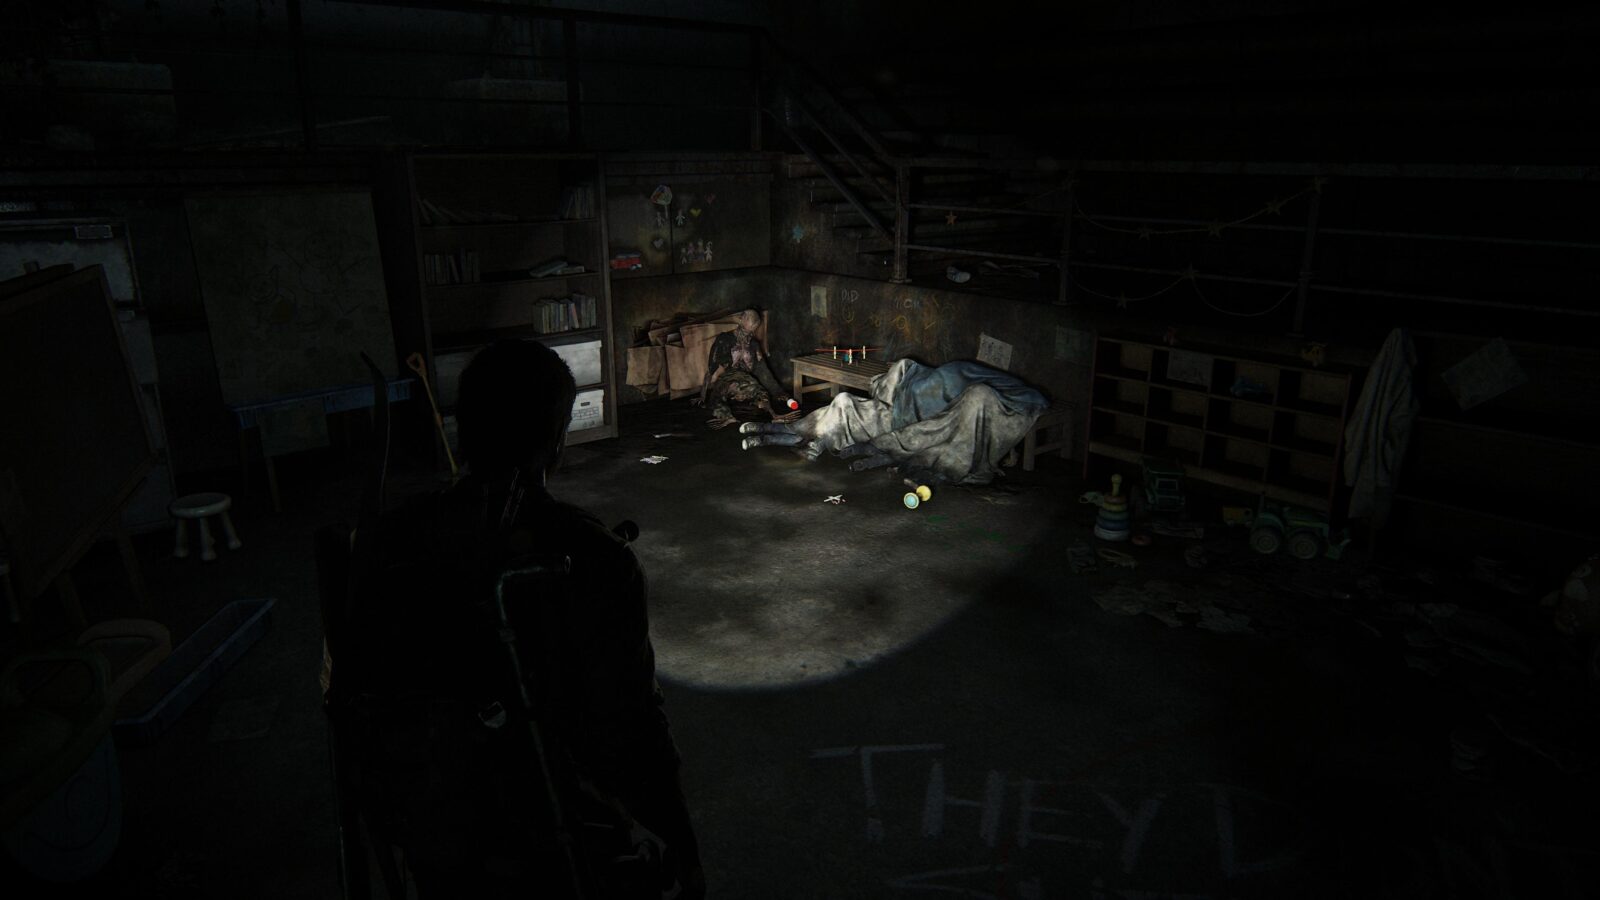
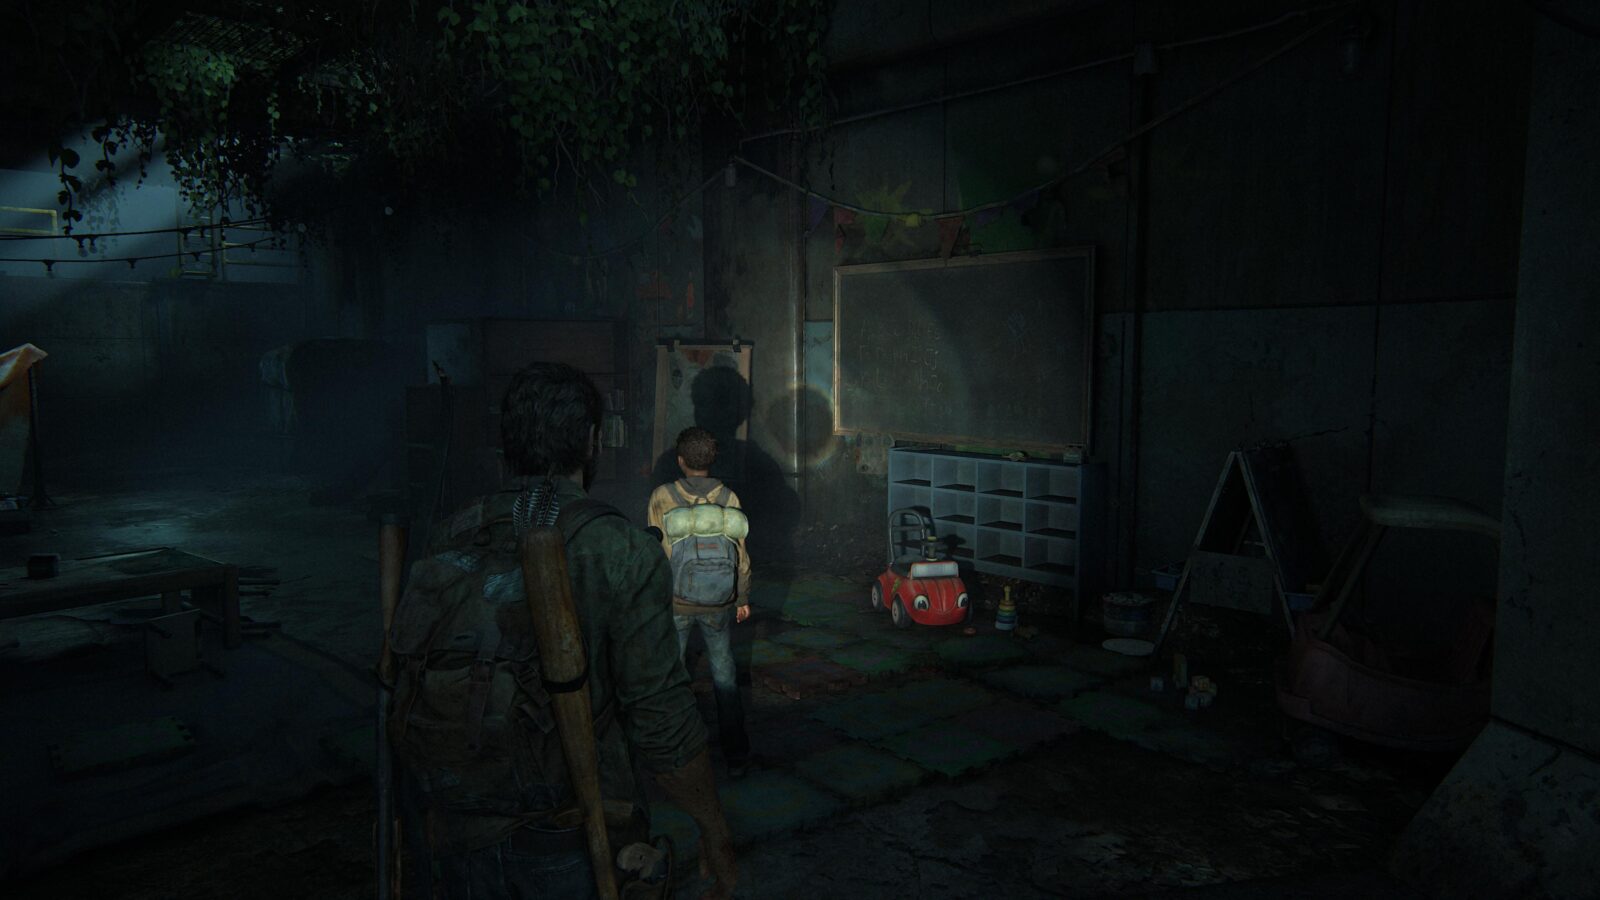
Artifact #50 Kid’s Drawing – In the area filled with Stalkers and Clickers is a classroom just before the exit. In the classroom there is a chalkboard with a drawing below it.

Suburbs
Artifact #51 Looting Note – In the suburbs head into the first enterable house on your right. Go up the stairs and look for a note on a table in the bedroom.
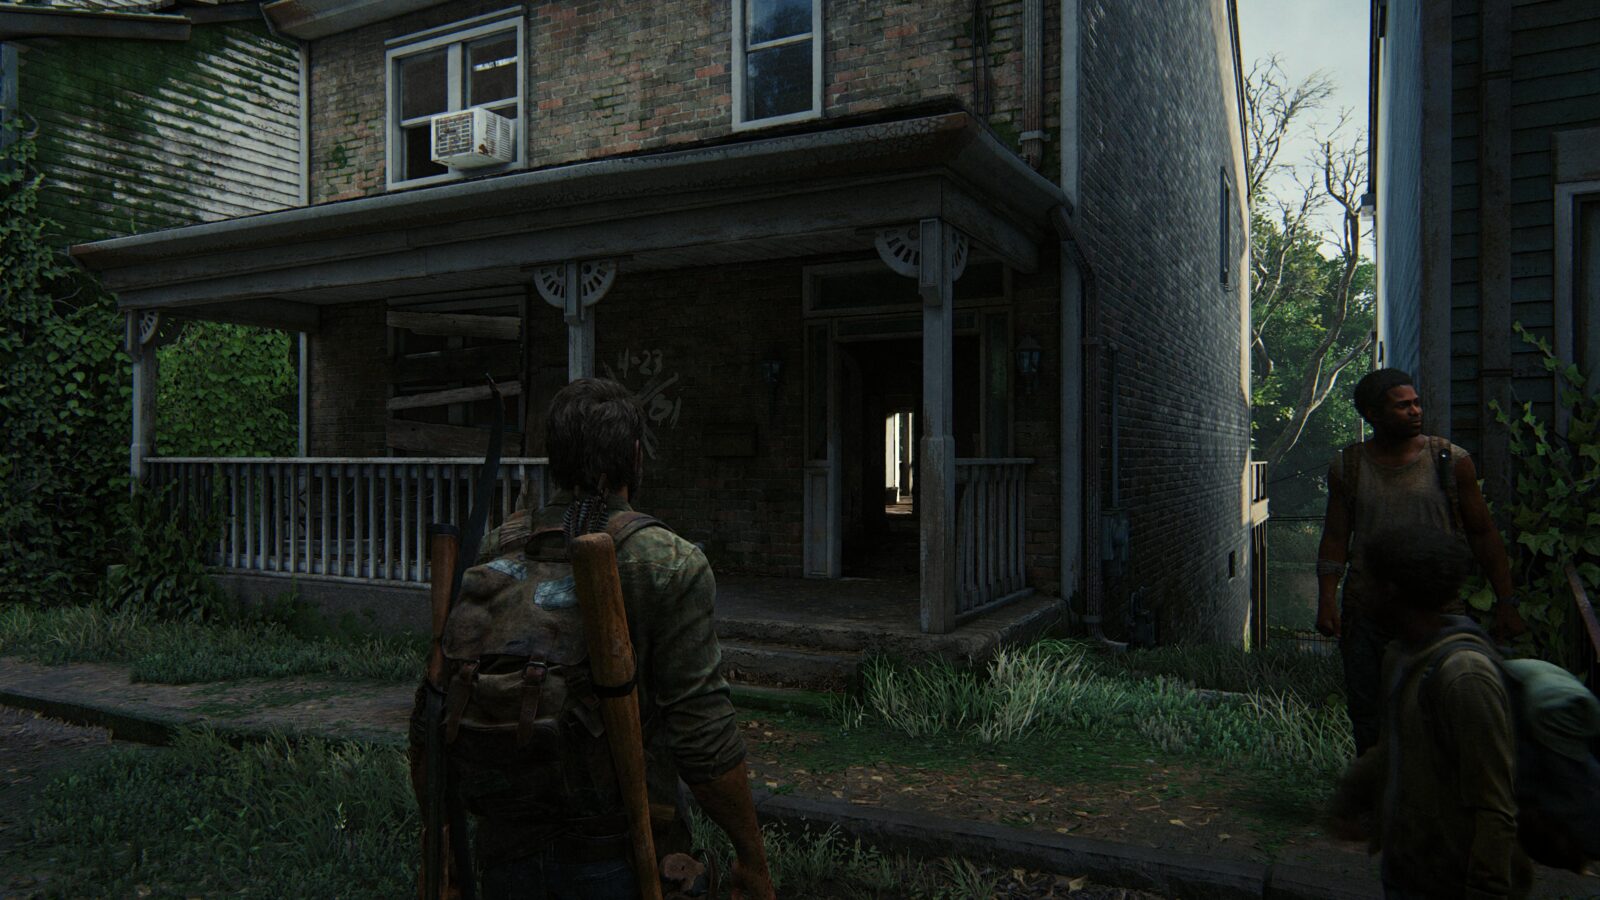
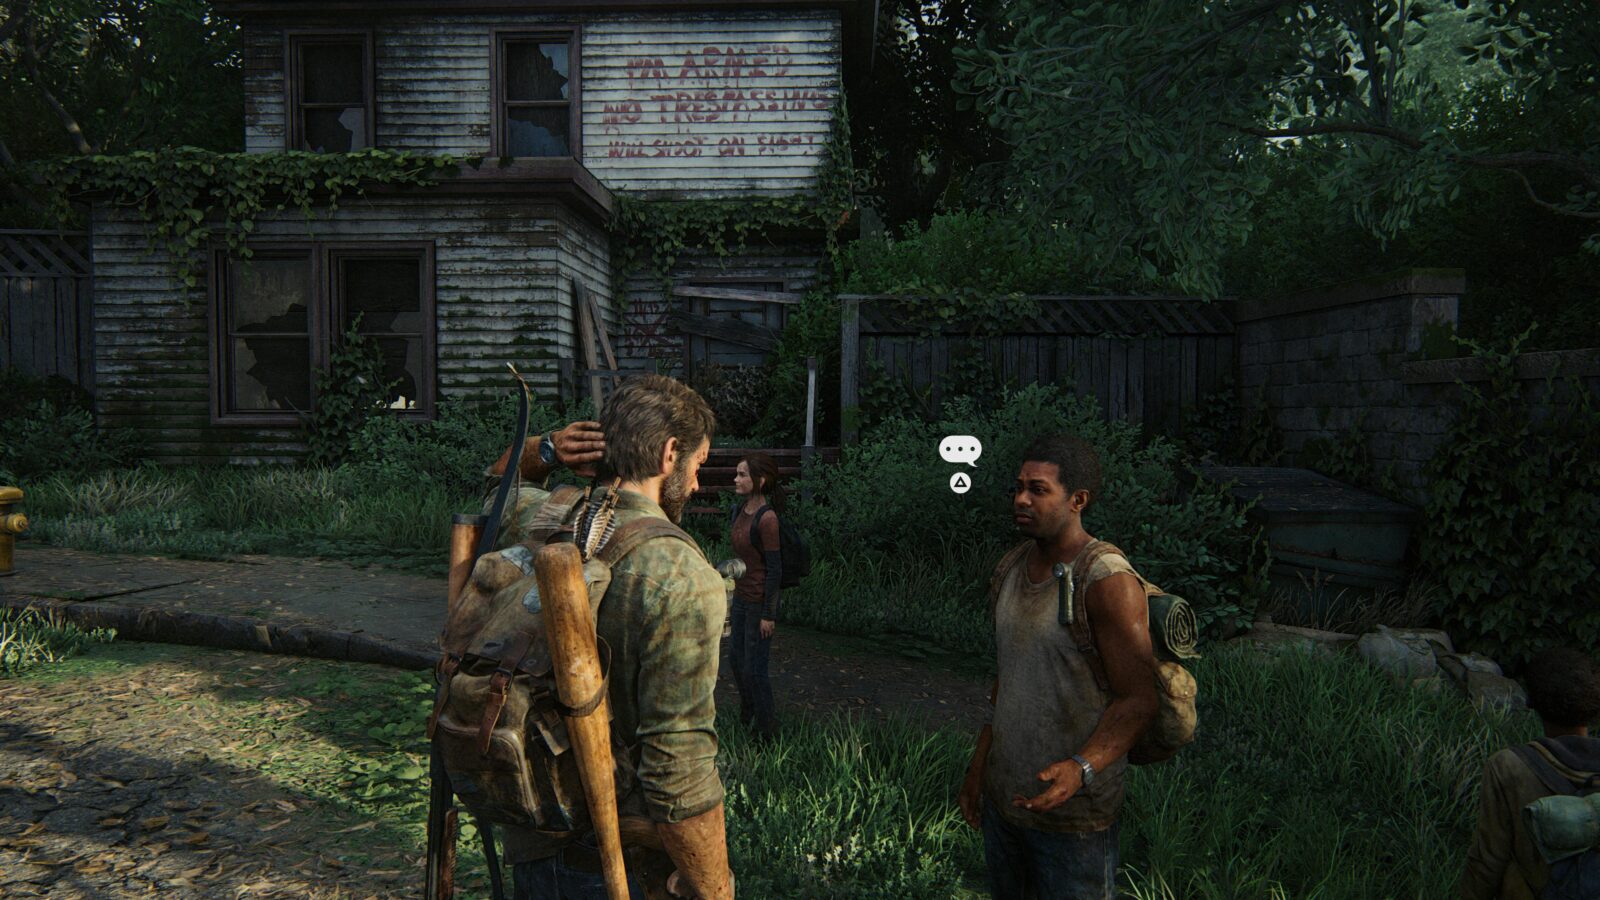
Optional Conversation #24 – Go to the end of the street and turn around to find a house with a hole in the wall. Go inside and listen to Henry reminisce about BBQs and then head to the house directly opposite with the “No Trespassing” sign. Henry will then ask Joel if he remembers the looting at which point you can press ![]() to initiate a conversation.
to initiate a conversation.
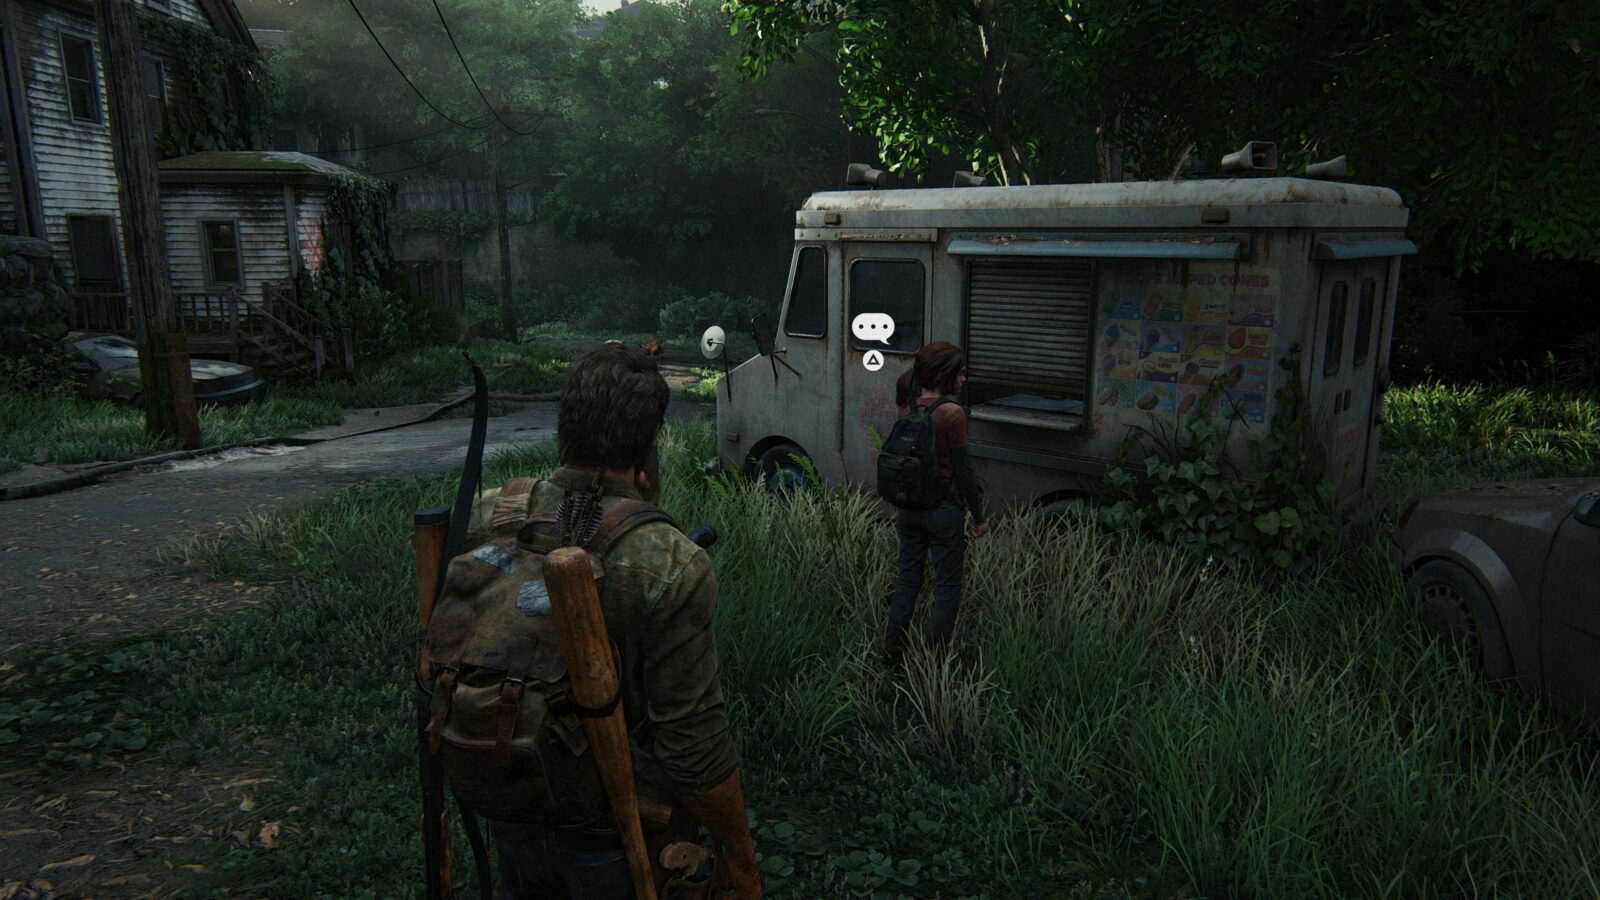
Optional Conversation #25 – Head around the bend in the street and towards the Ice Cream Truck and wait for Sam to tell Ellie all about them. She will ask Joel to confirm and you can press ![]() to blow her mind.
to blow her mind.
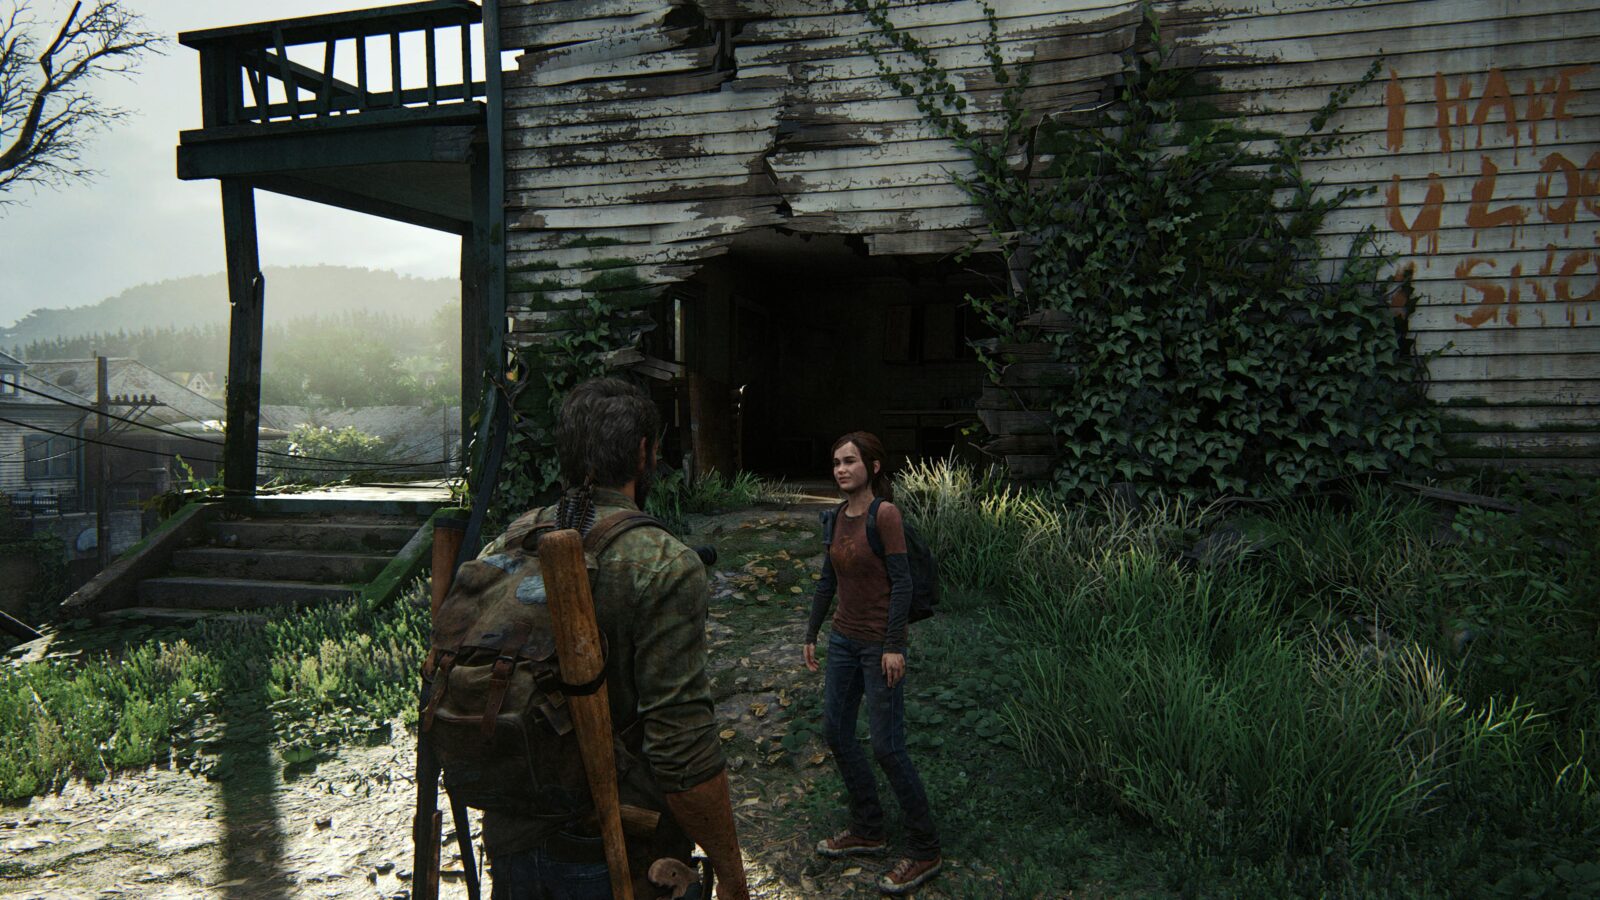
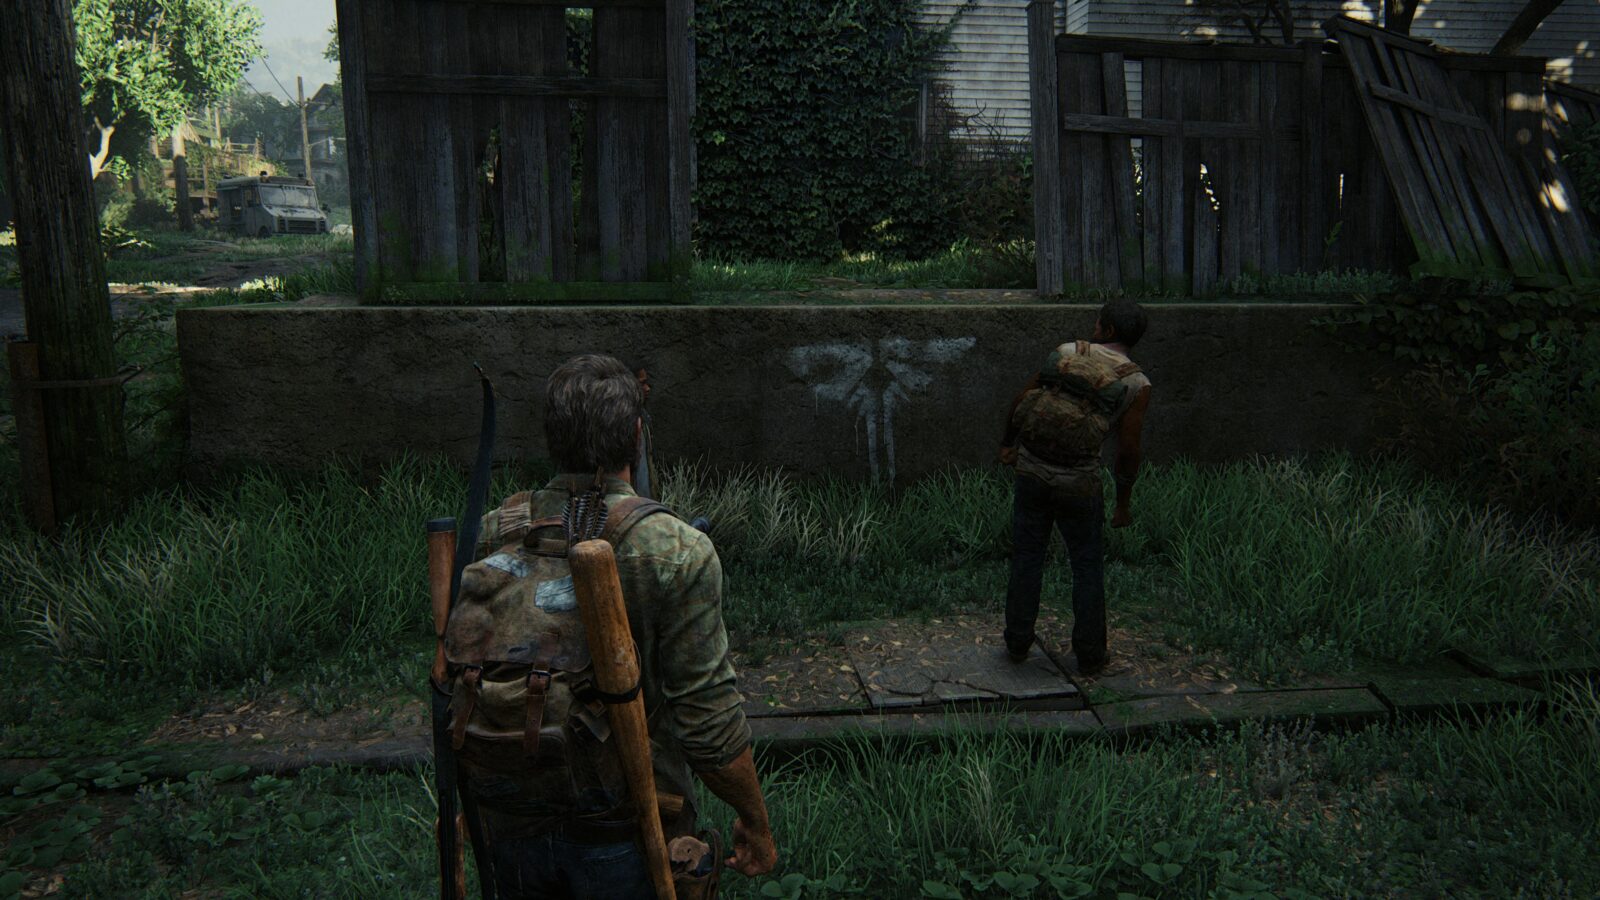
Joke #5 – Head to the end of the road and look for the Firefly logo graffiti on a wall. Henry will speak about the Fireflies and if you wait around long enough Ellie will pull out her joke book. No need to press ![]() on this one.
on this one.
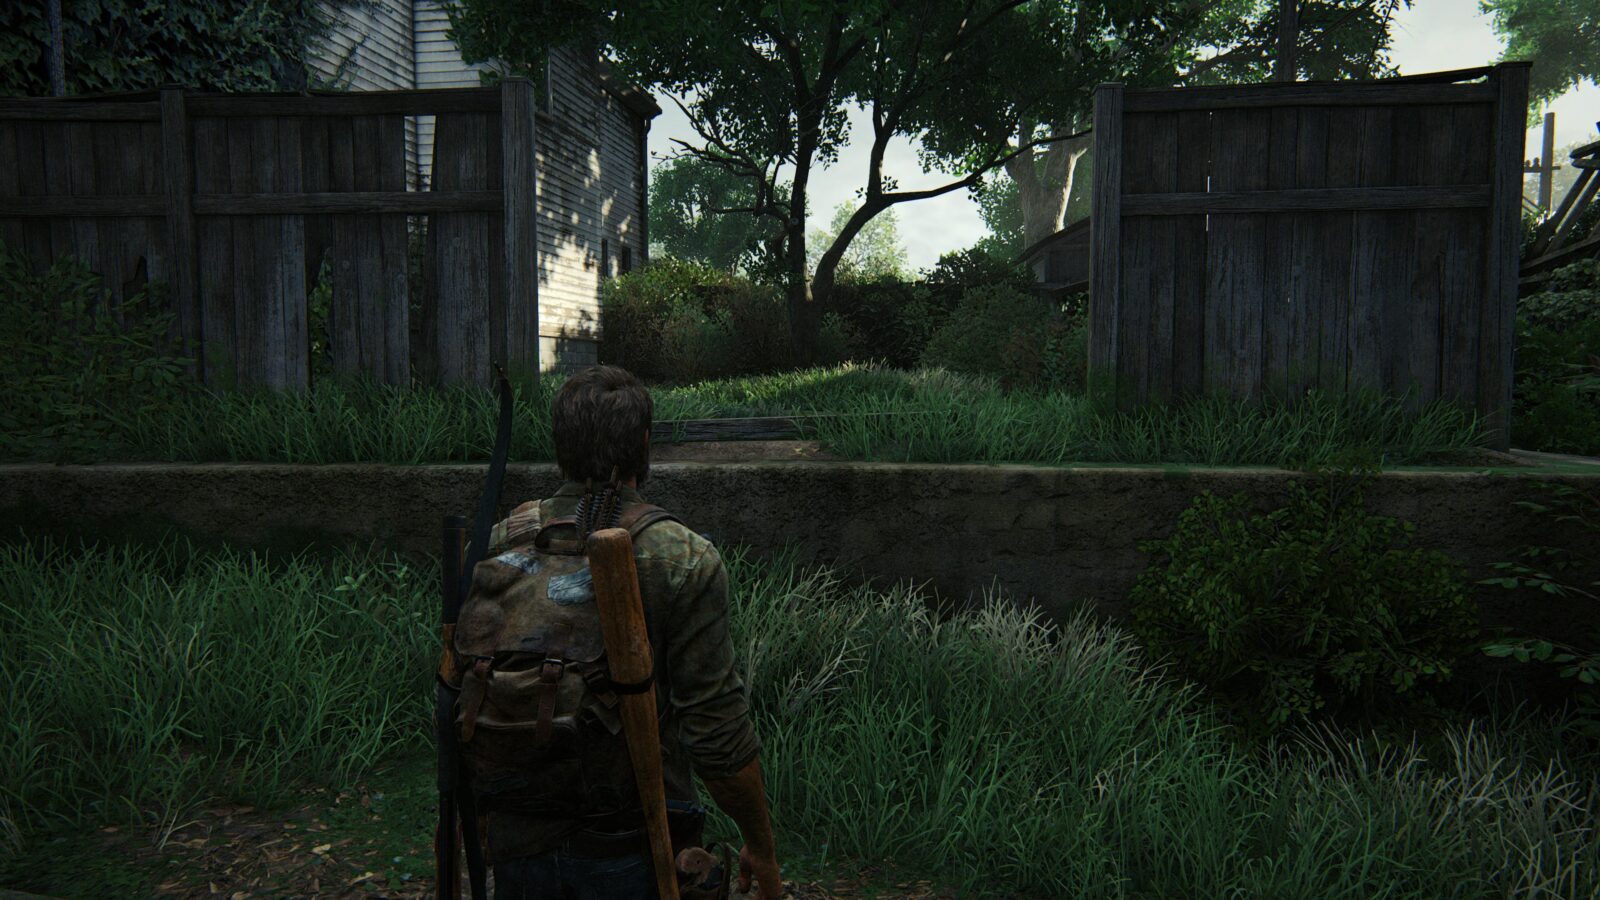
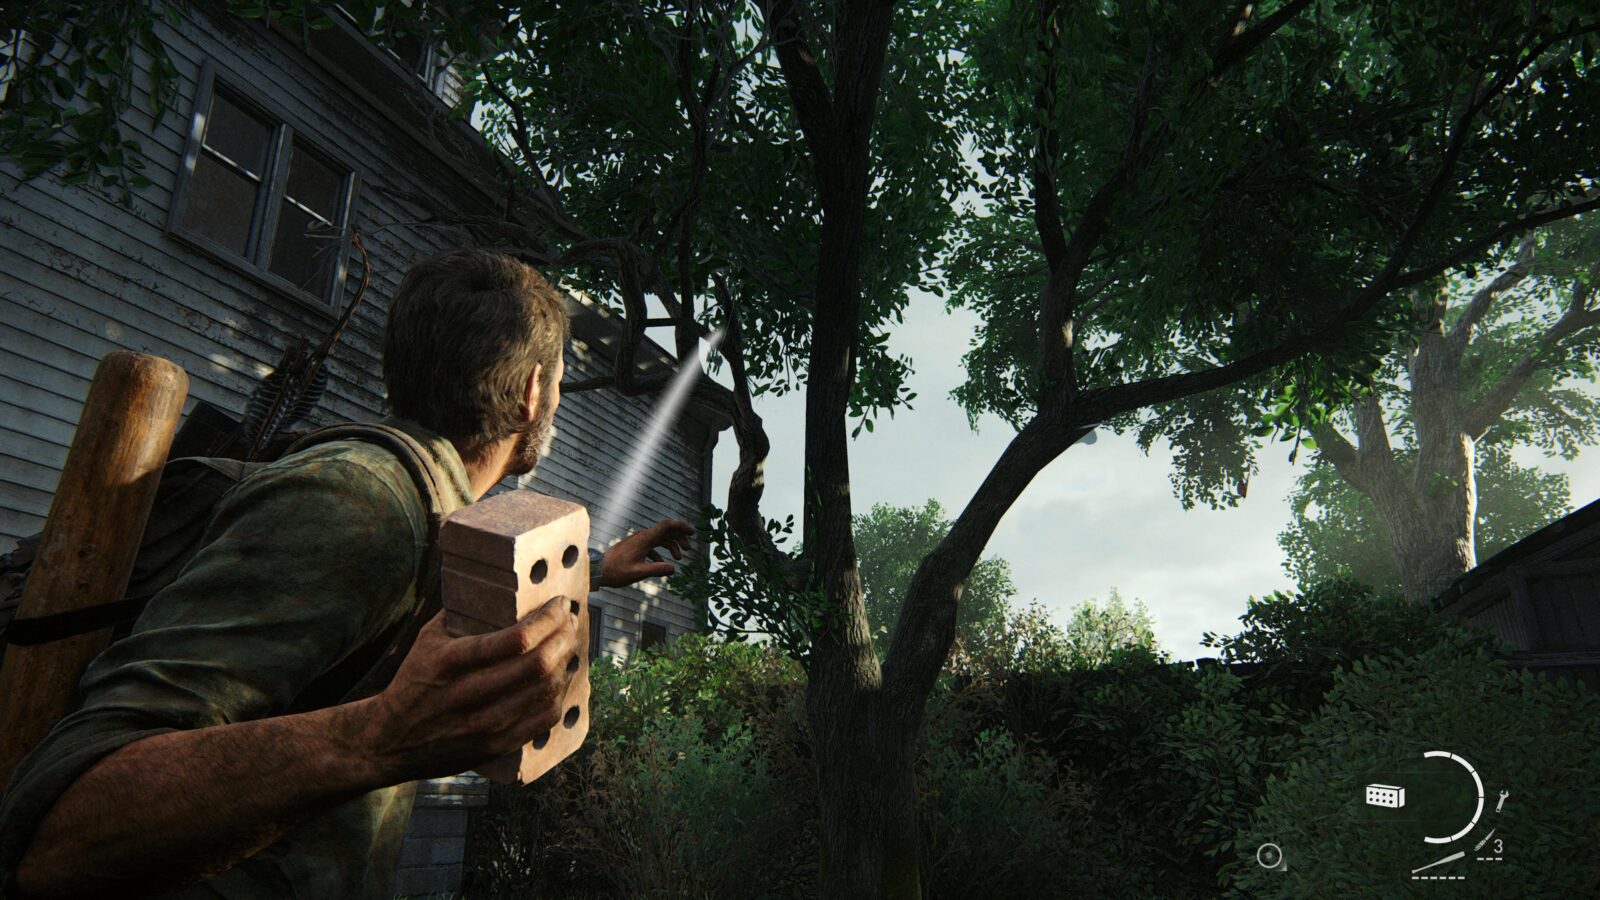
Firefly Pendant #17 Matthew White 000118 – After listening to Ellie’s jokes climb into the garden next to the white house. Aim a brick, bottle, or gun at the pendant in the tree and shoot it down.
Workbench #6 – Run back up the street past the Ice Cream Truck and into the open garage on the right to find a workbench.
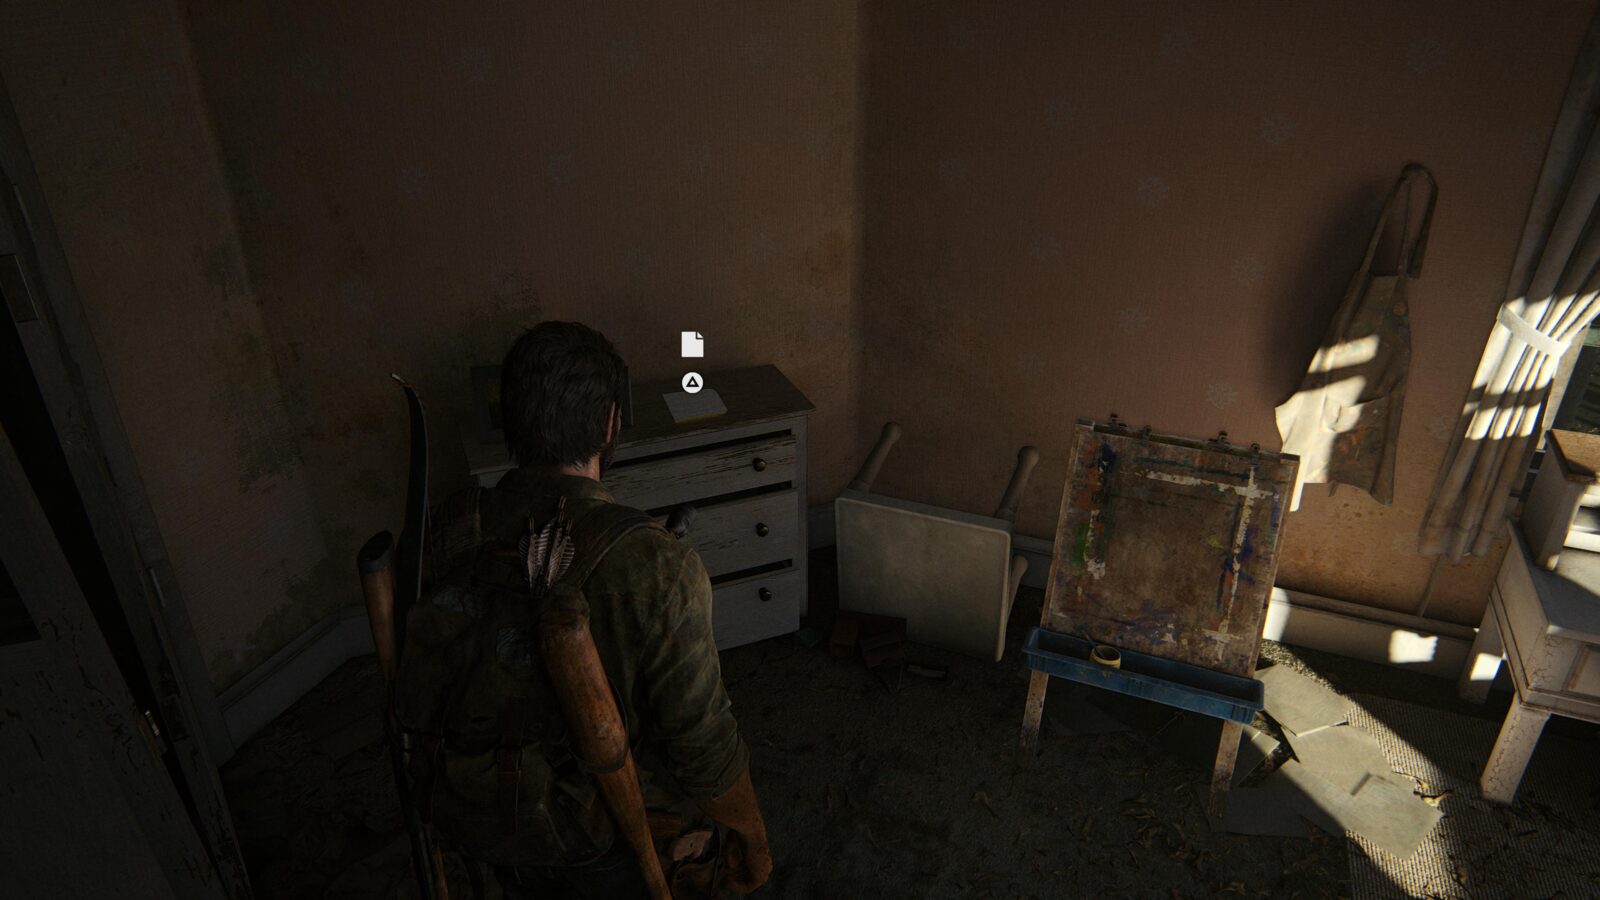
Artifact #52 Father’s Note – Go into the house next to the garage and head up stairs to the bedroom. There is a note on the desk in there.
Training Manual #7 Melee Techniques – Head out of the bedroom and look up to find a string you can pull to open a hatch. Let Ellie climb in there and she will find a training manual for you.
Artifact #53 Survivor’s Note – Go up the stairs in the white house next door and go into the first bedroom you see. There is a note on the ground by the drawers.
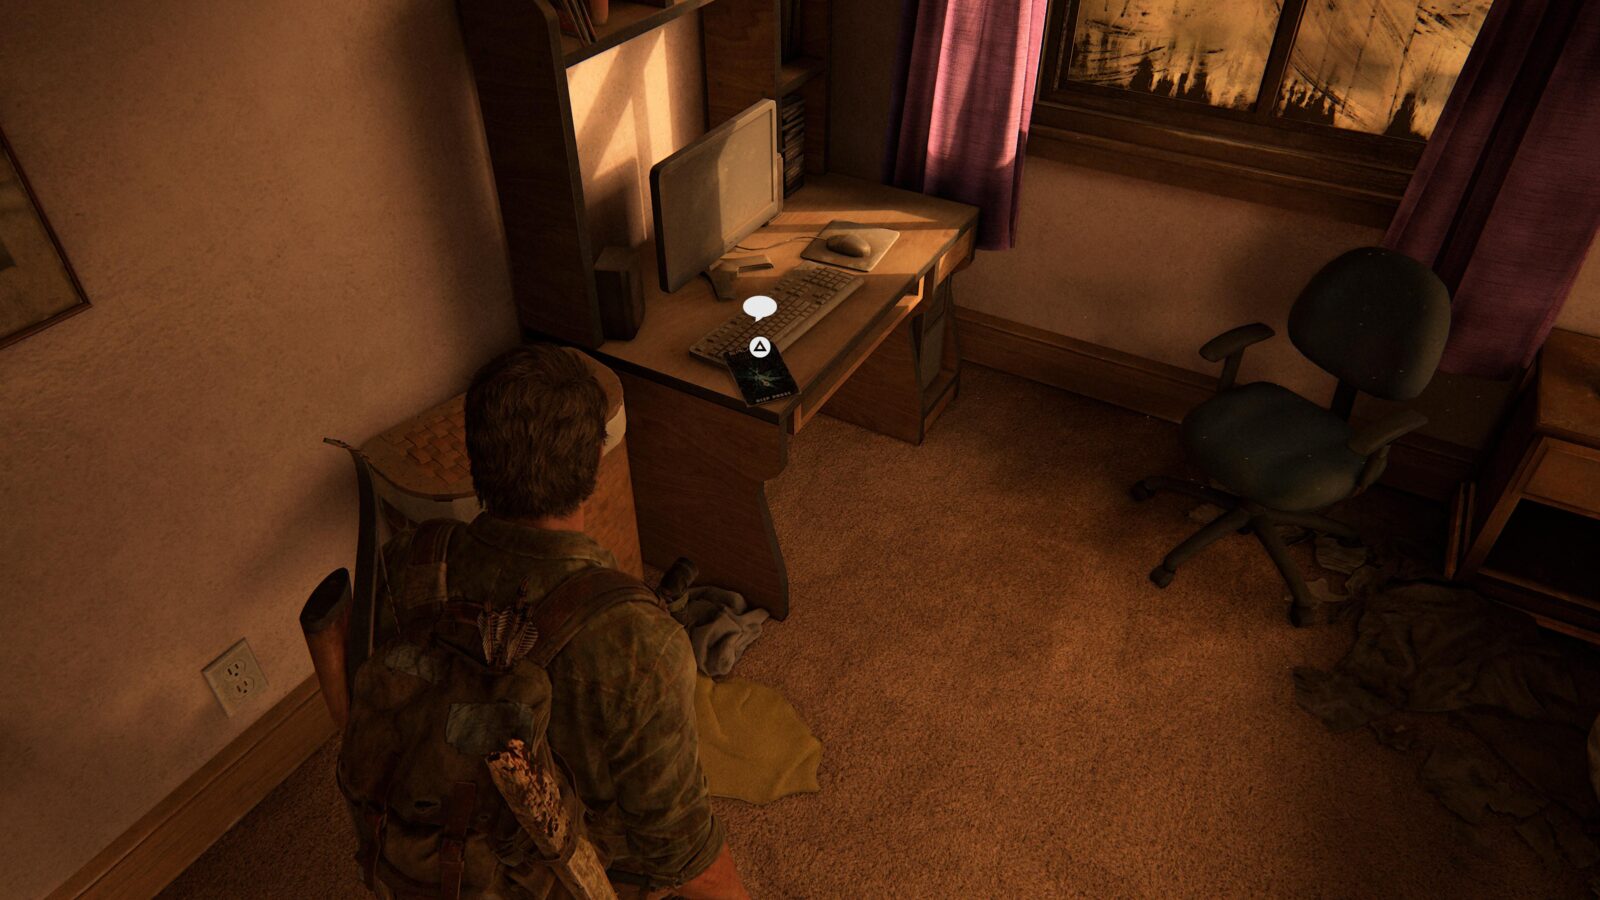
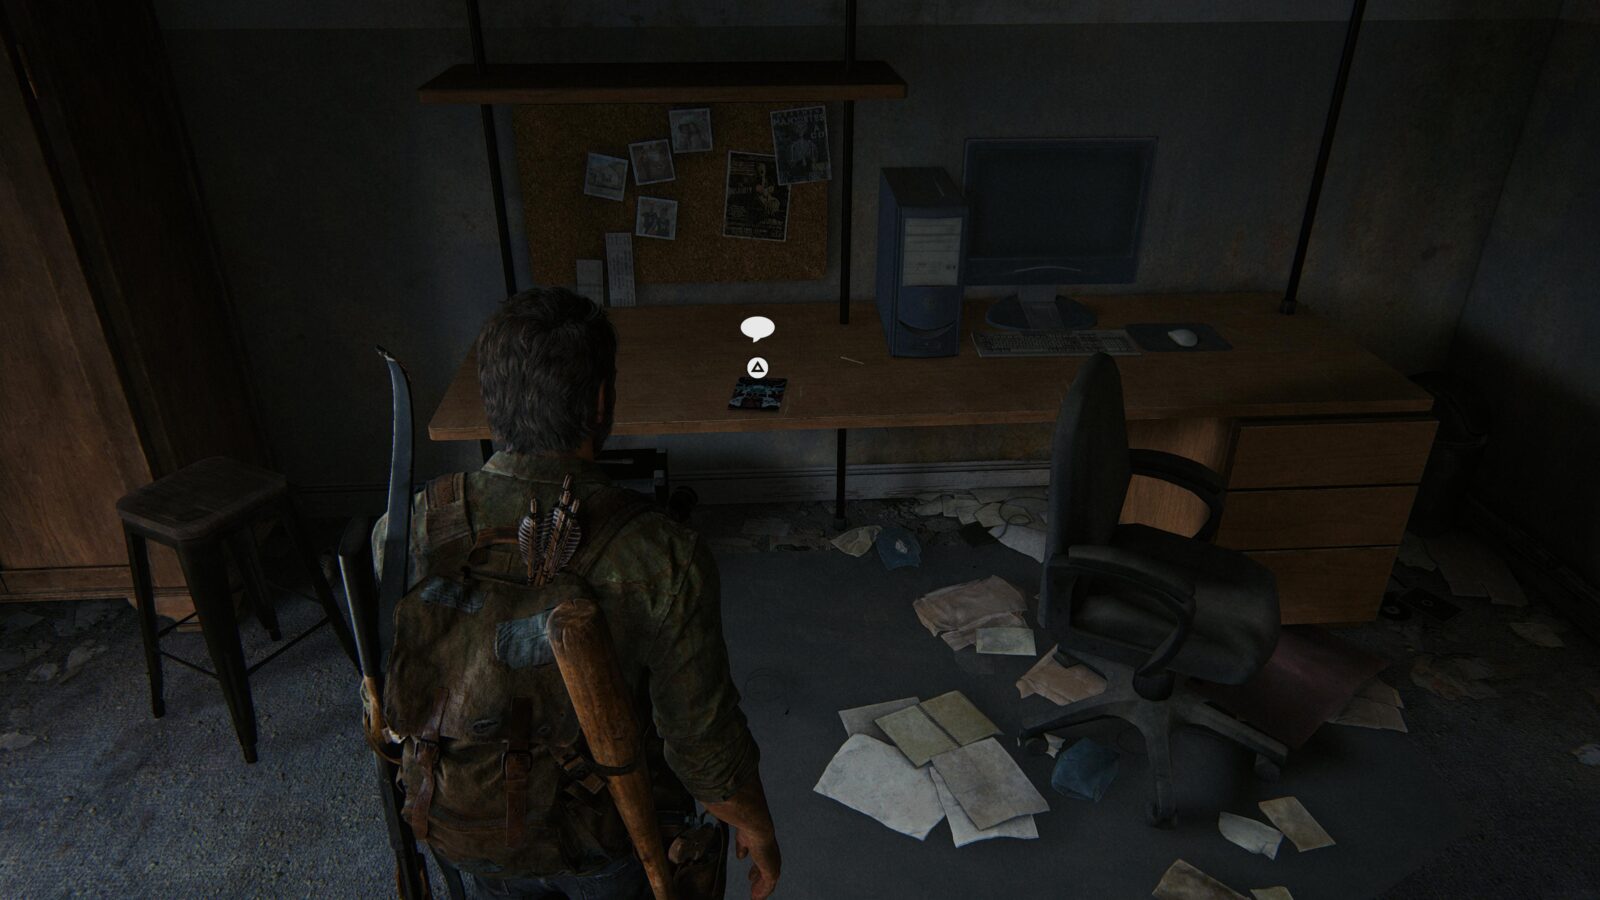
Comic #5 Messenger Particle – On the same floor as the Survivor’s Note artifact is another bedroom at the foot of the stairs leading up to the 3rd floor. In this bedroom is a comic on an old computer desk.
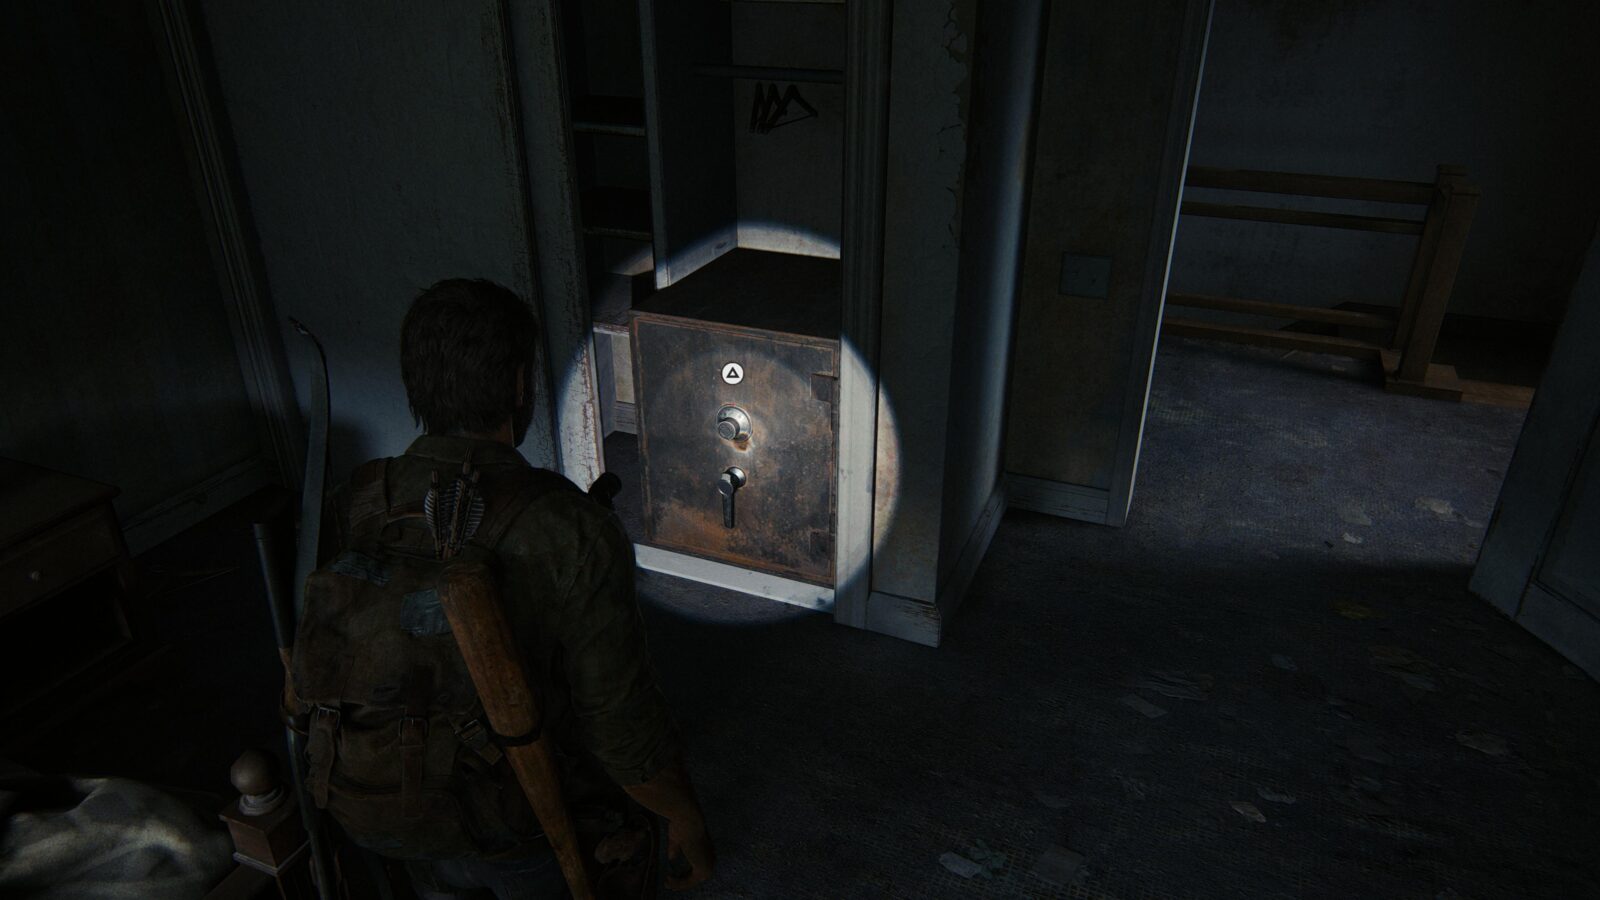
Artifact #54 Matchbook – Go up another floor and you will walk past a matchbook on a shelf. This matchbook will reveal the code for Safe #4.
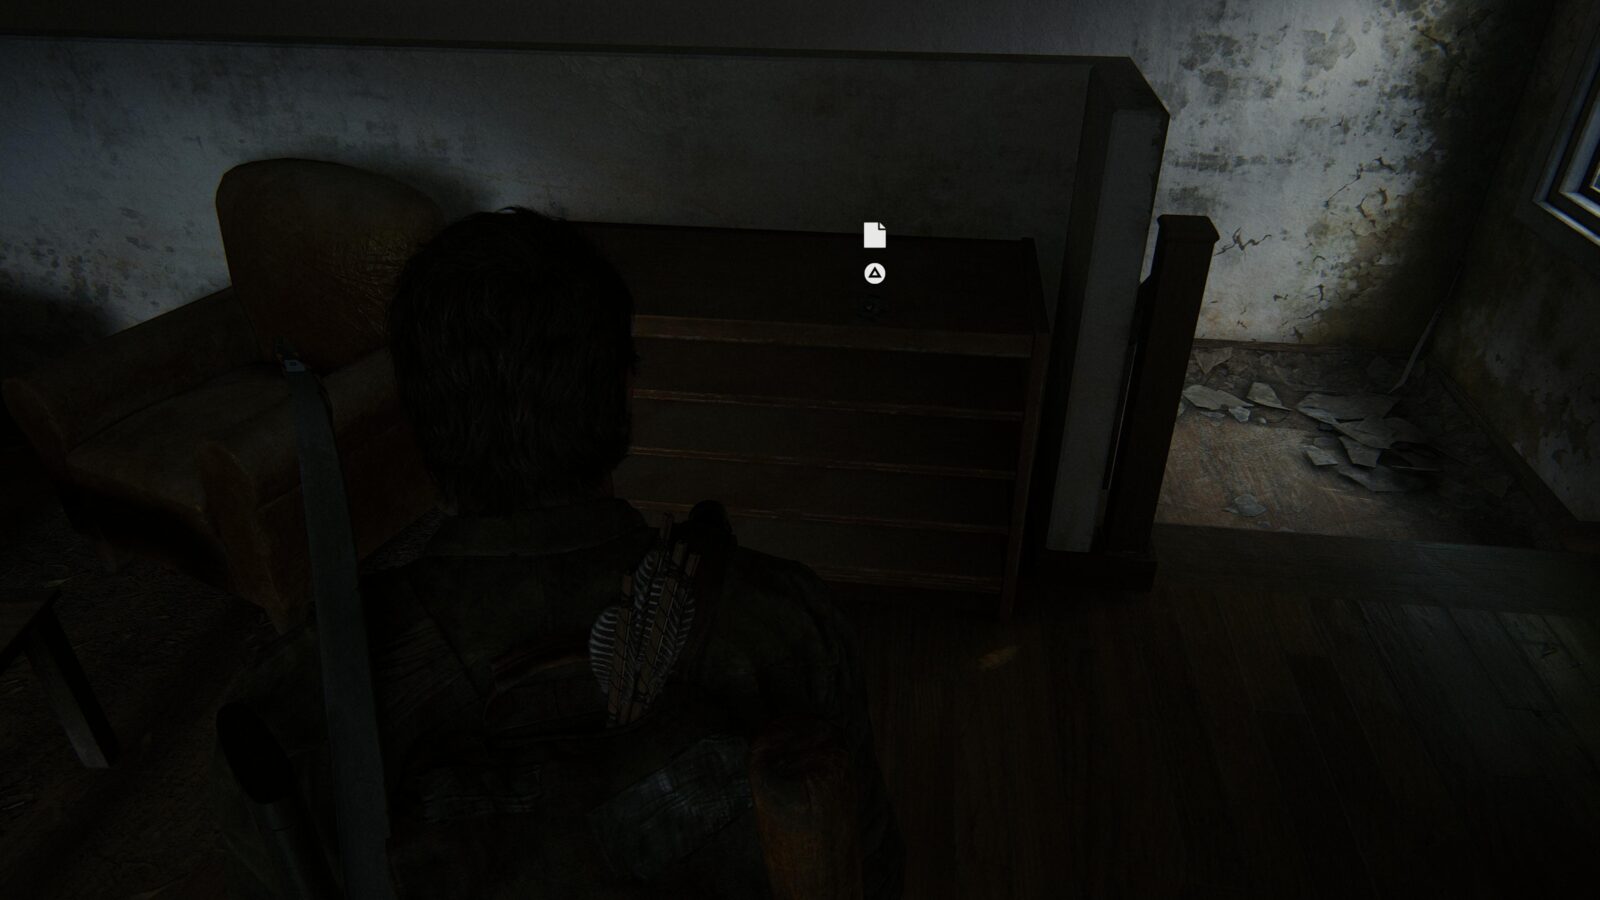
Safe #4 – Go back down to the bedroom now that you know the code to the safe and punch it in. The code is 08-21-36. This is the final safe.

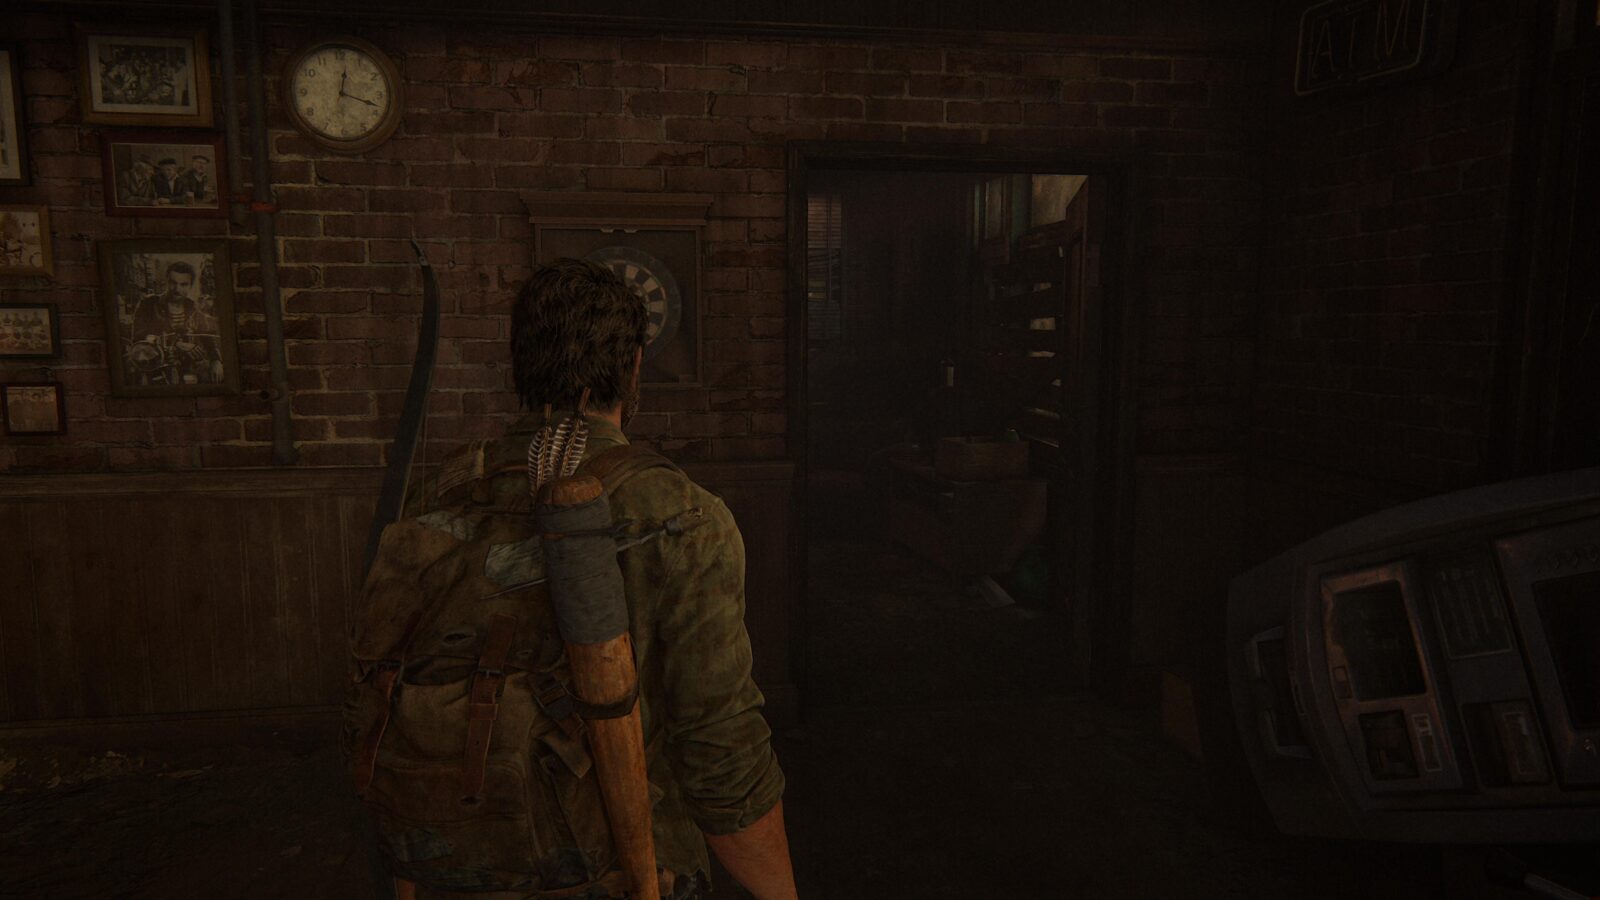
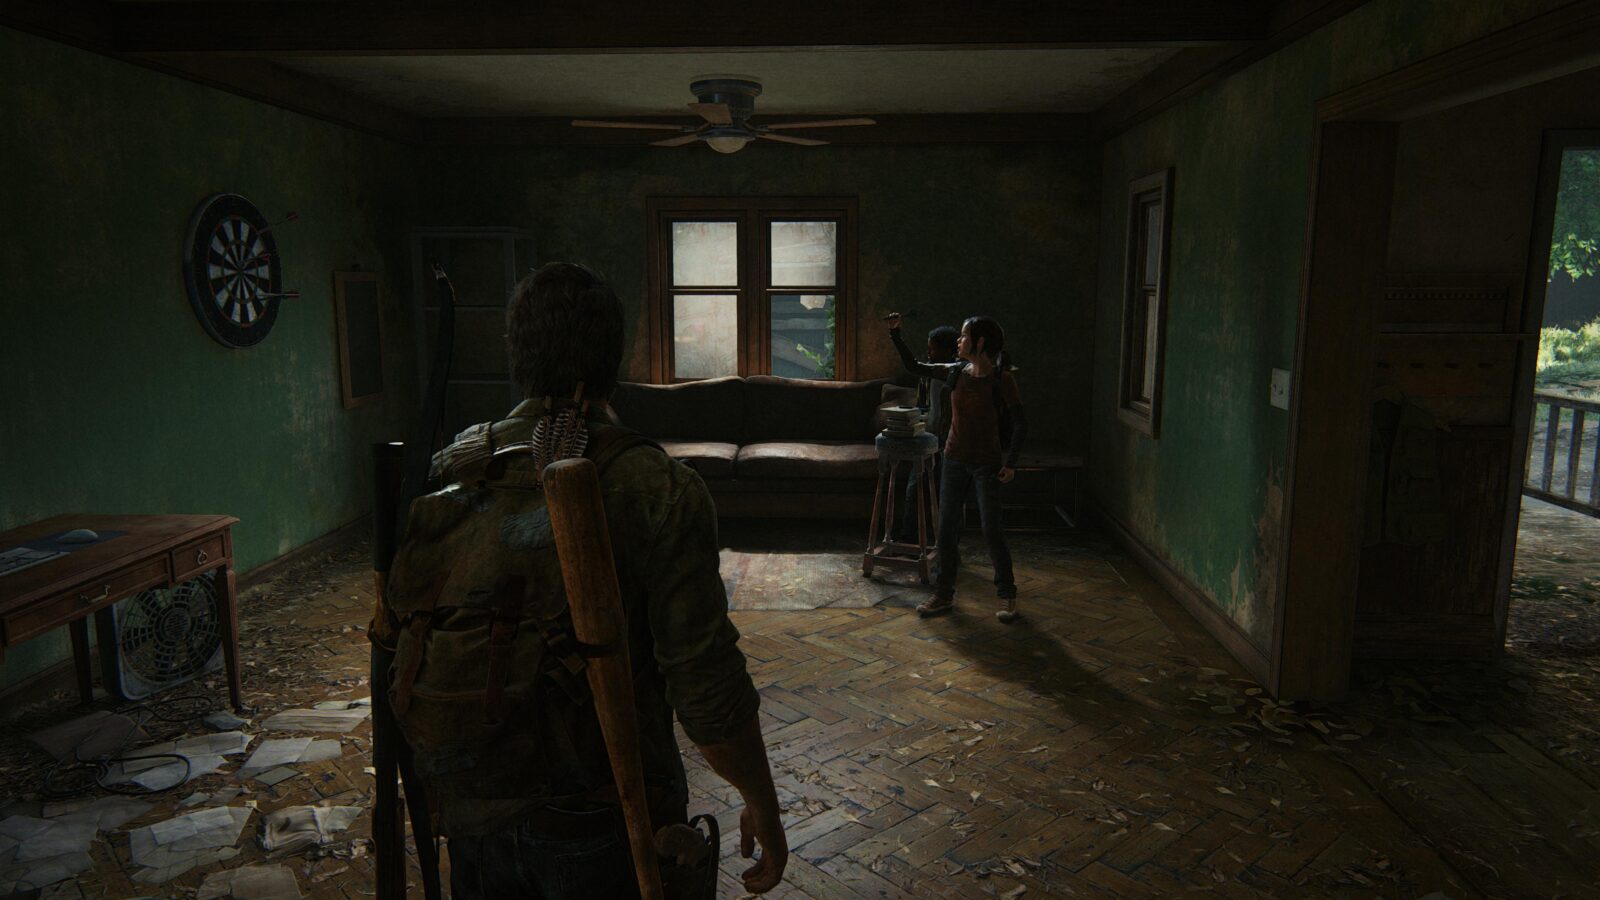
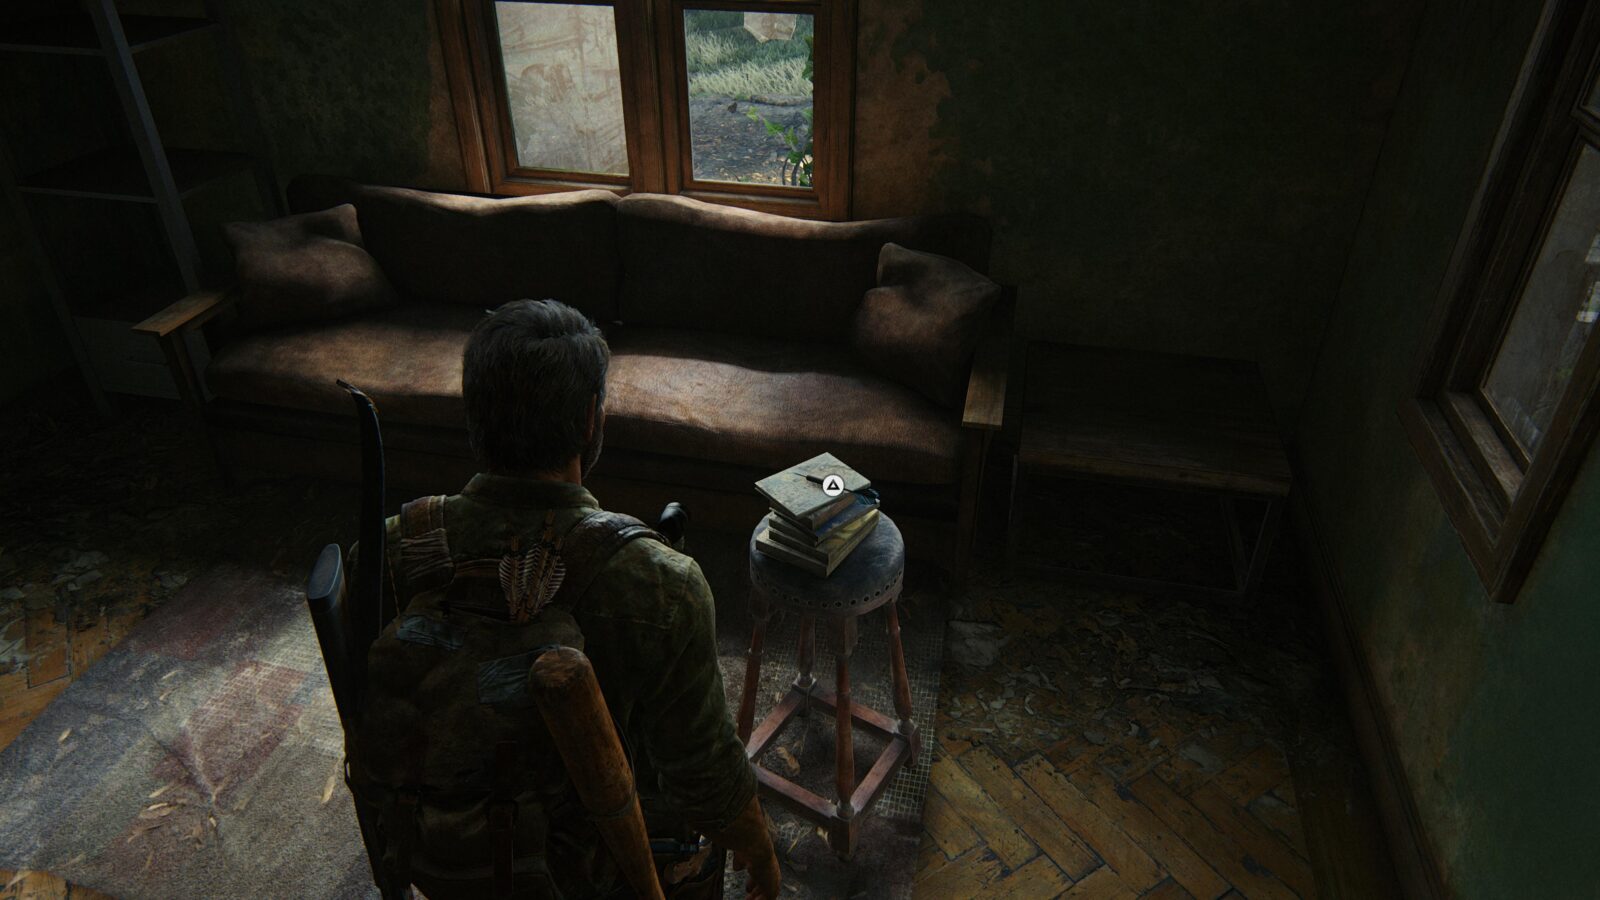
Optional Conversation #26 – Go back downstairs and head over to the dart board in the main room. Ellie and Sam will be having a little game. Wait for them to finish and let Joel have a throw by pressing ![]() on the dart sitting on the stool. Henry will then come over and comment about kids being kids again. This isn’t much of a conversation but it counts as one so make sure not to miss it.
on the dart sitting on the stool. Henry will then come over and comment about kids being kids again. This isn’t much of a conversation but it counts as one so make sure not to miss it.
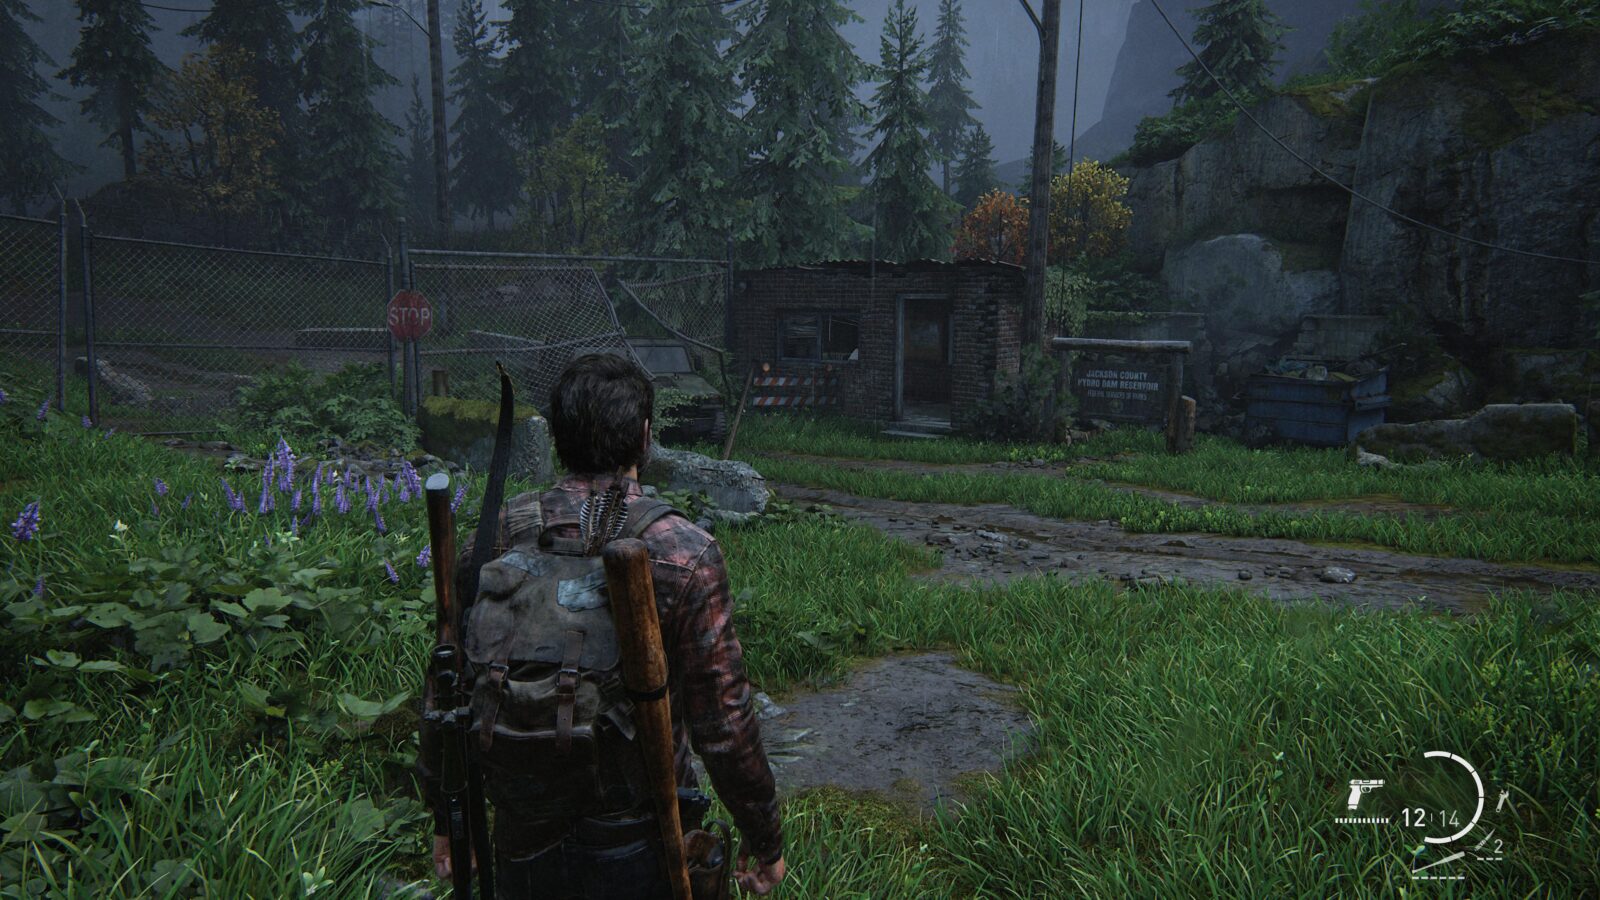
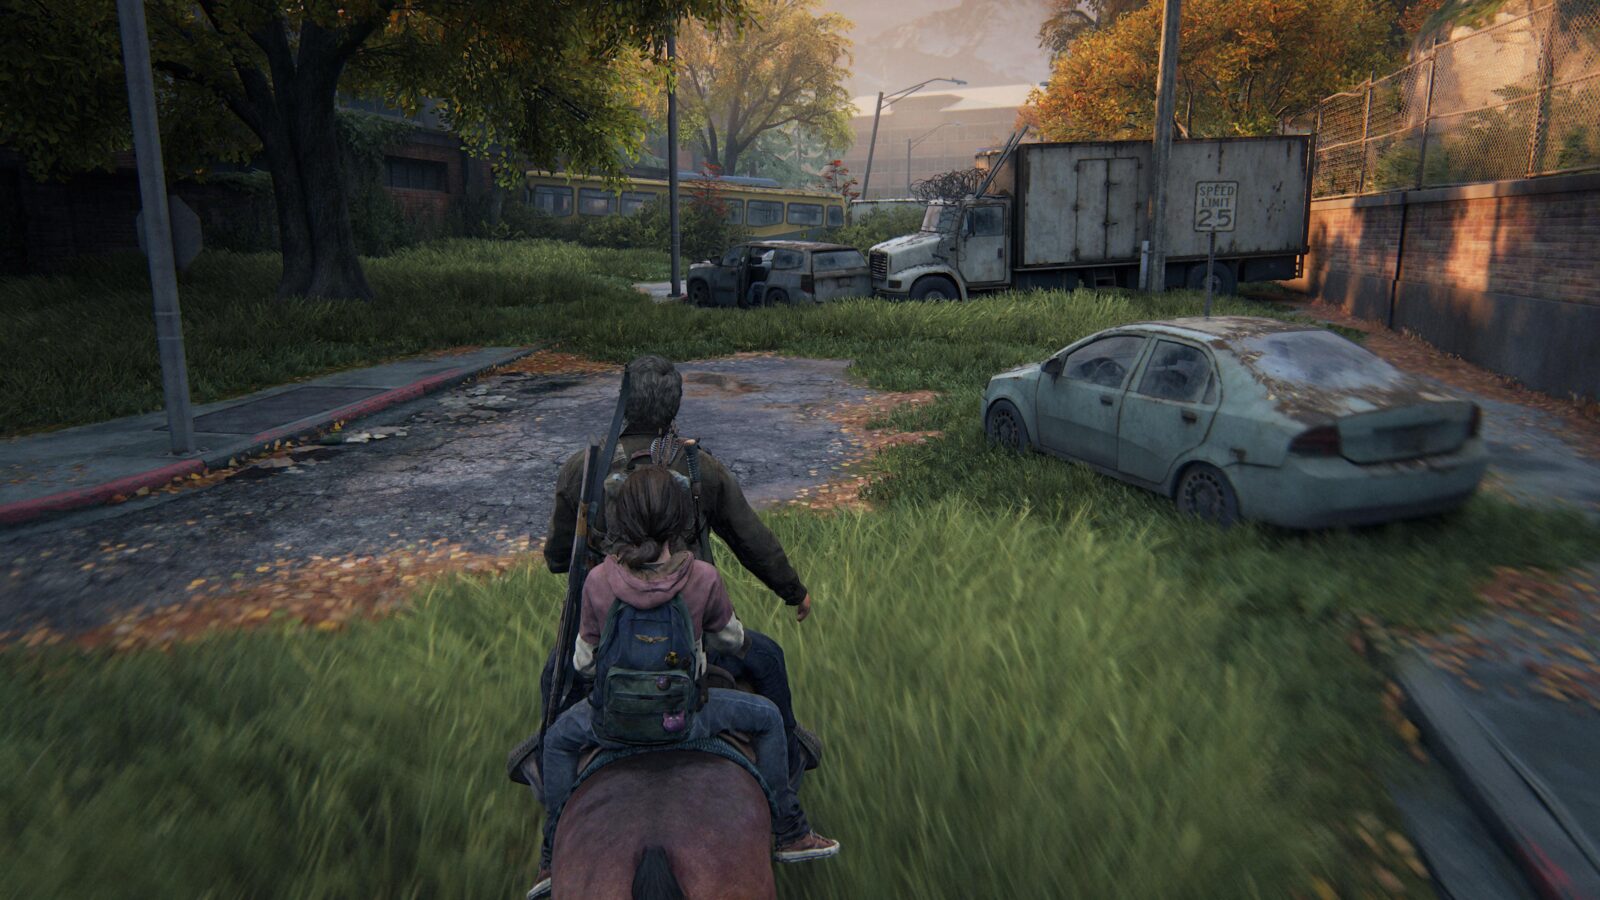
Tommy’s Dam
Hydroelectric Dam
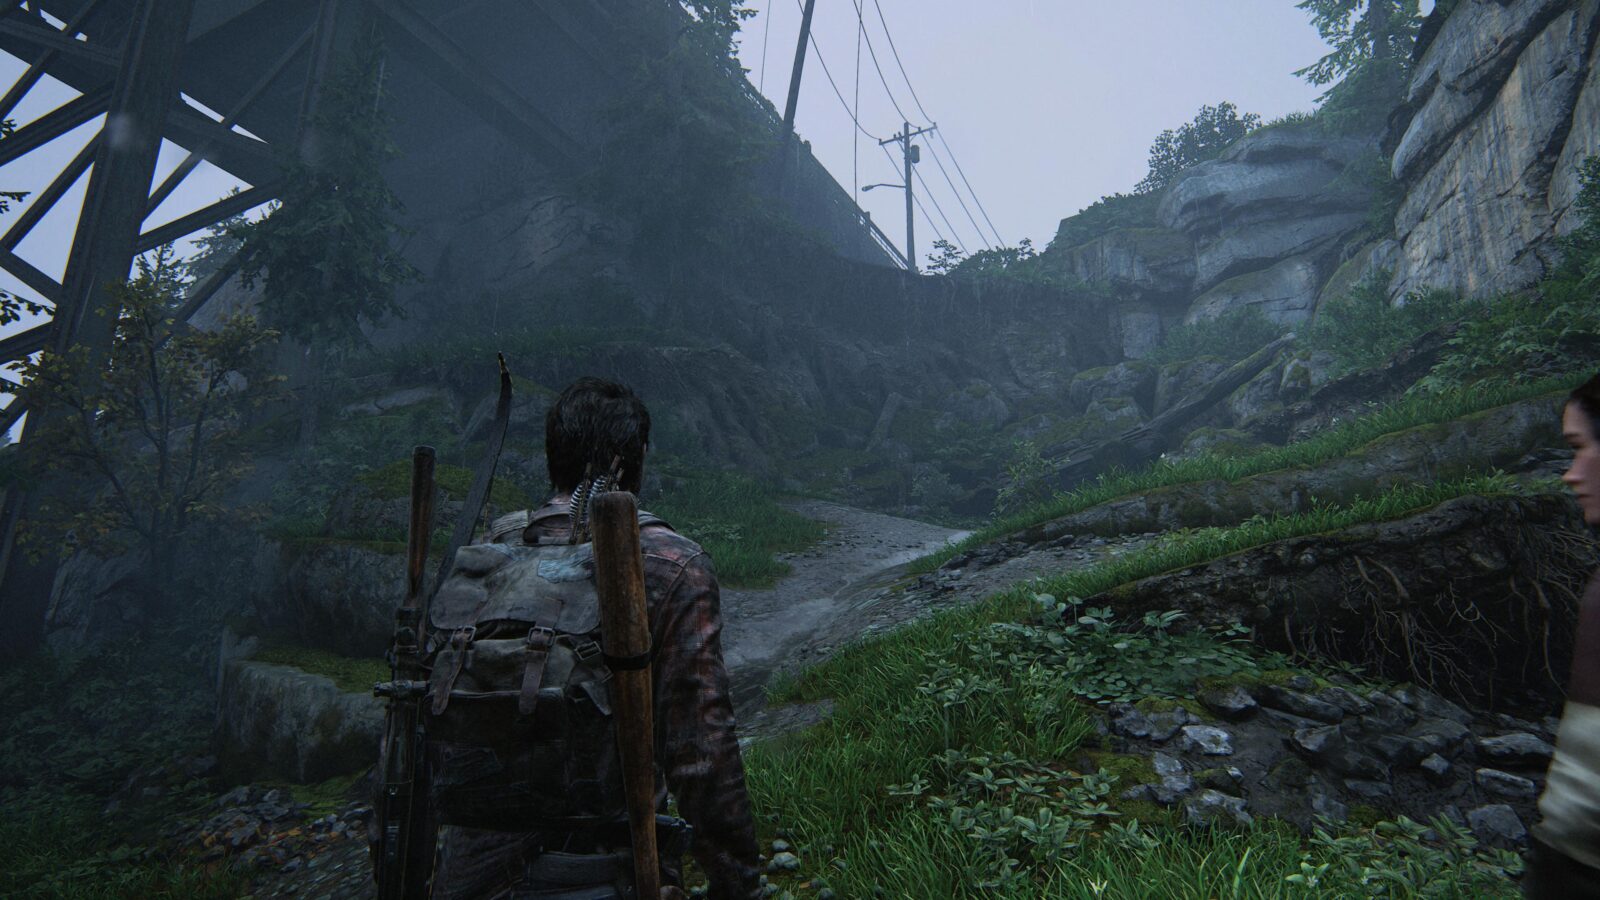
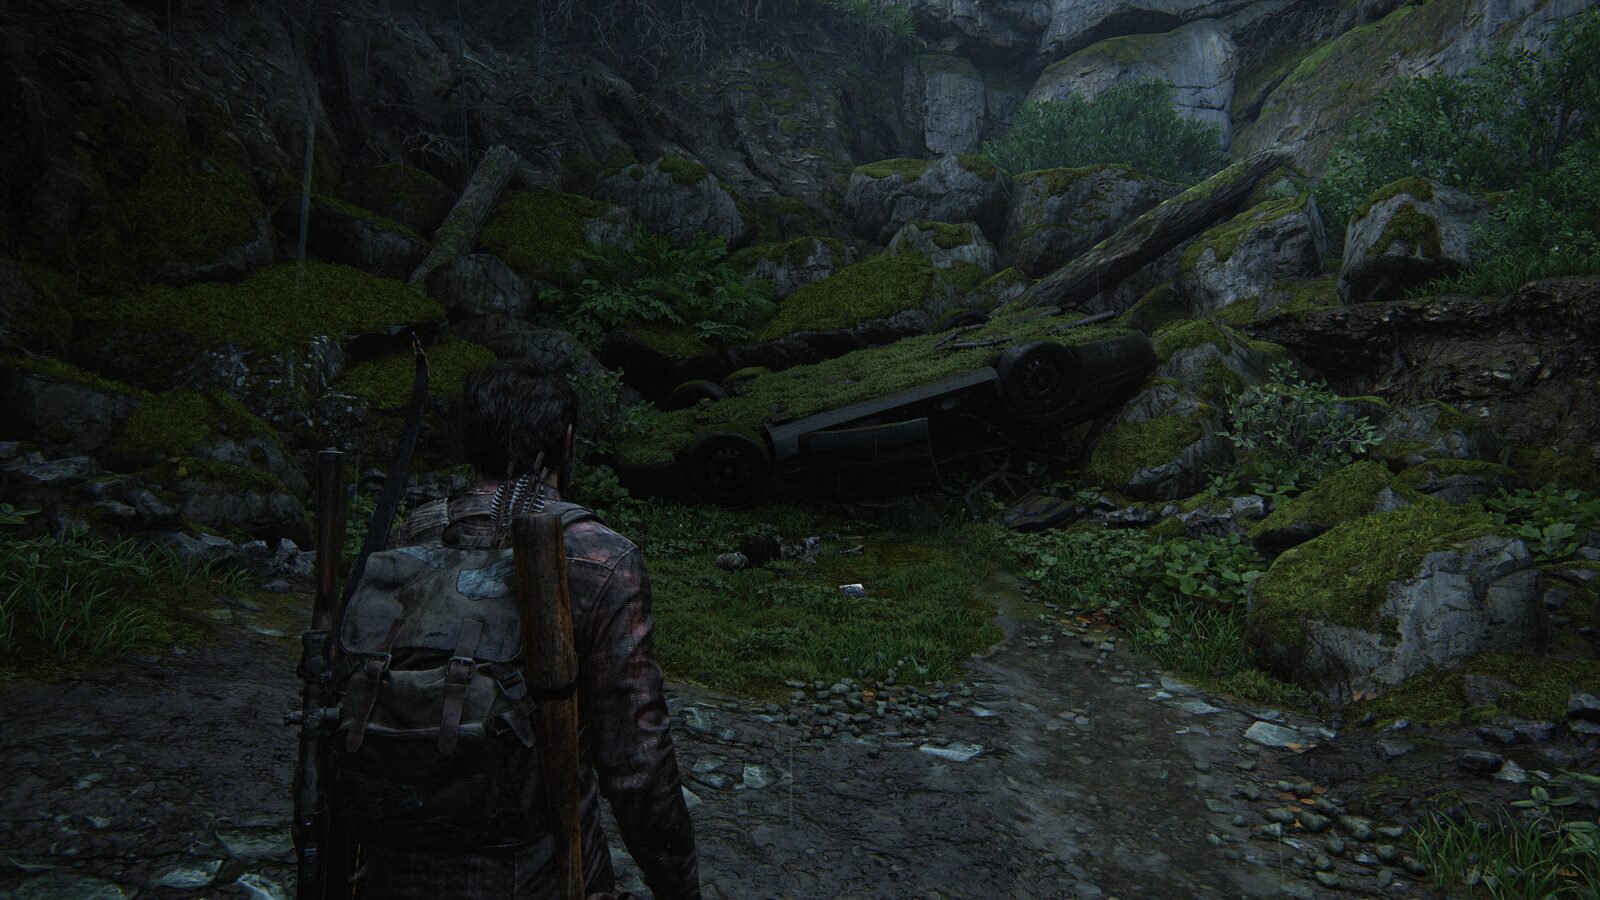
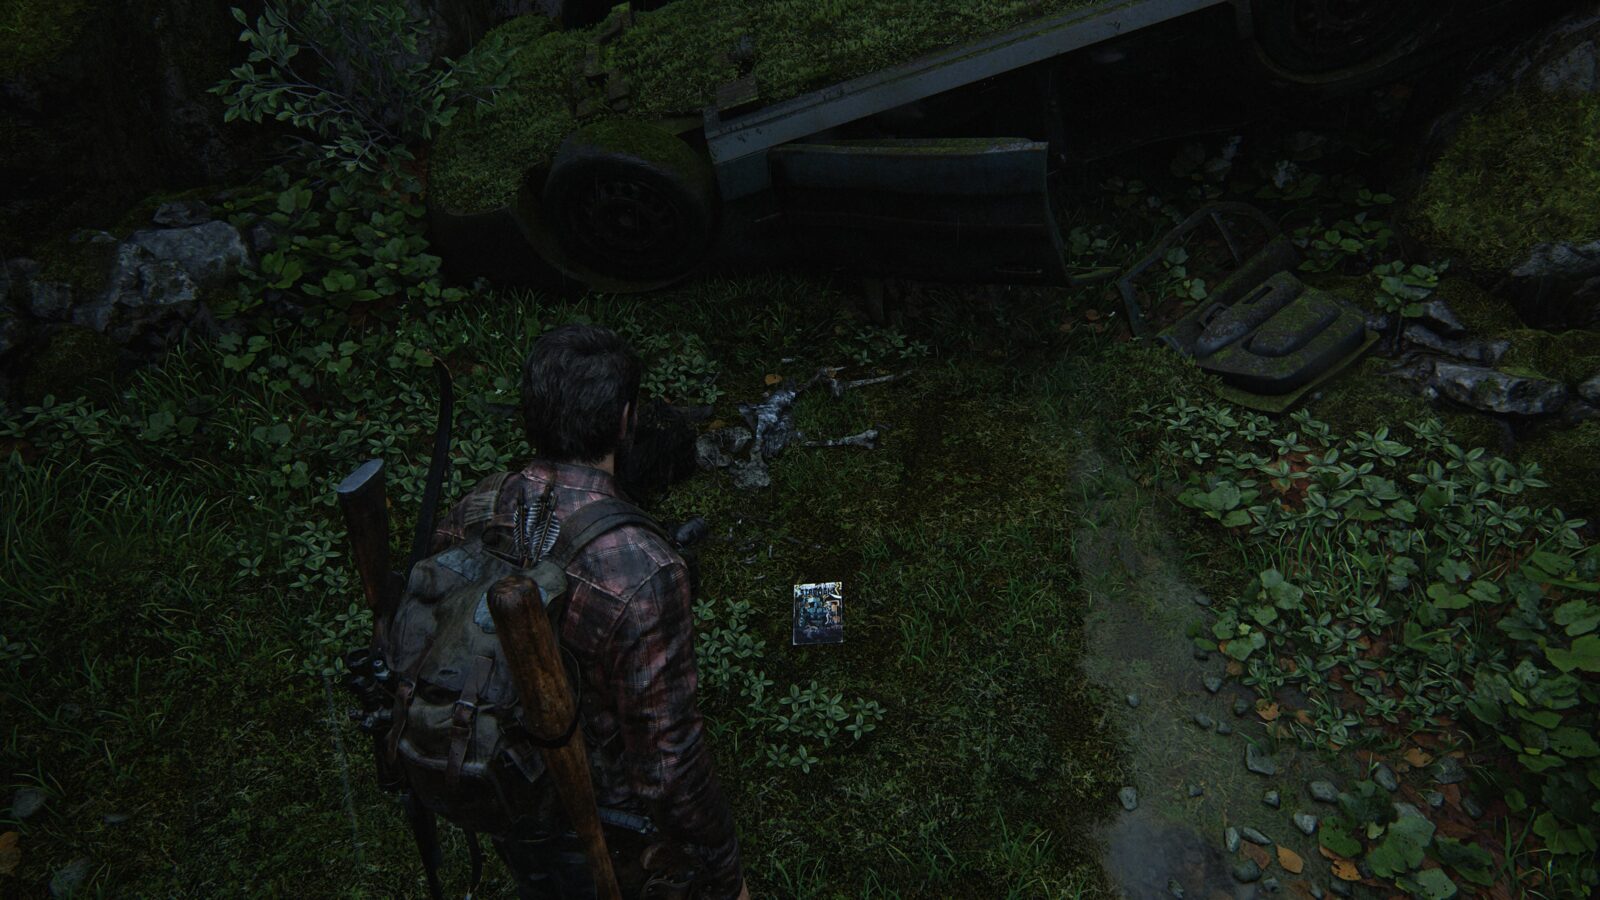
Comic #6 Foreign Element – At the start of the chapter head down to the river and follow it towards the bridge. As you get closer you will see a muddy slope that goes up to where the bridge begins and there will be an old car wreckage at the top. On the ground in front of the wreckage is a comic.
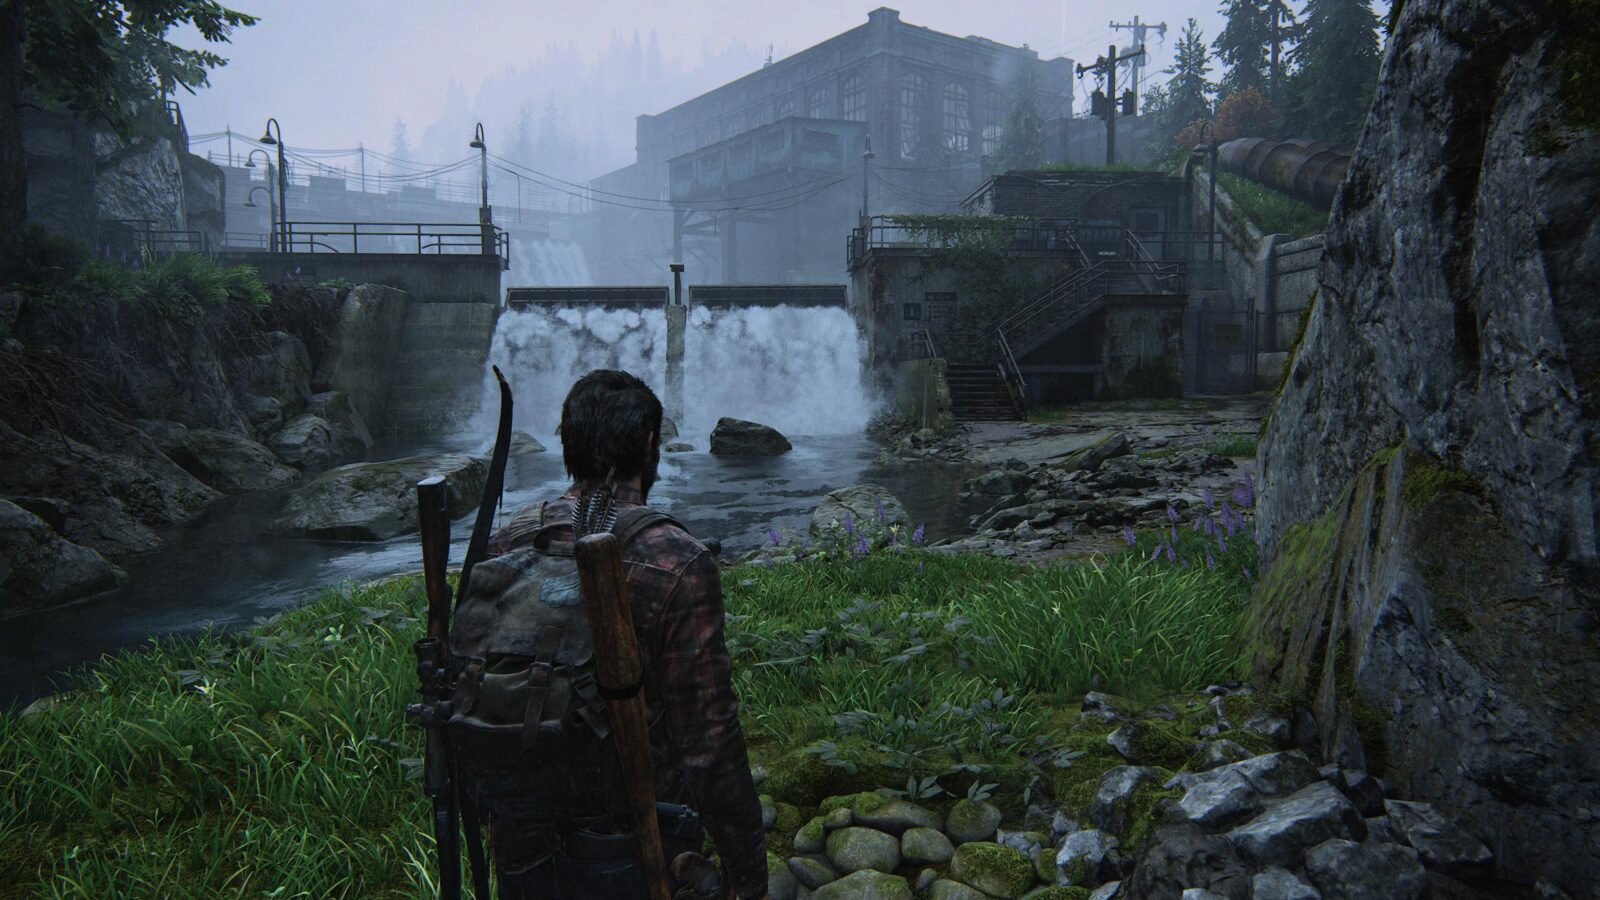
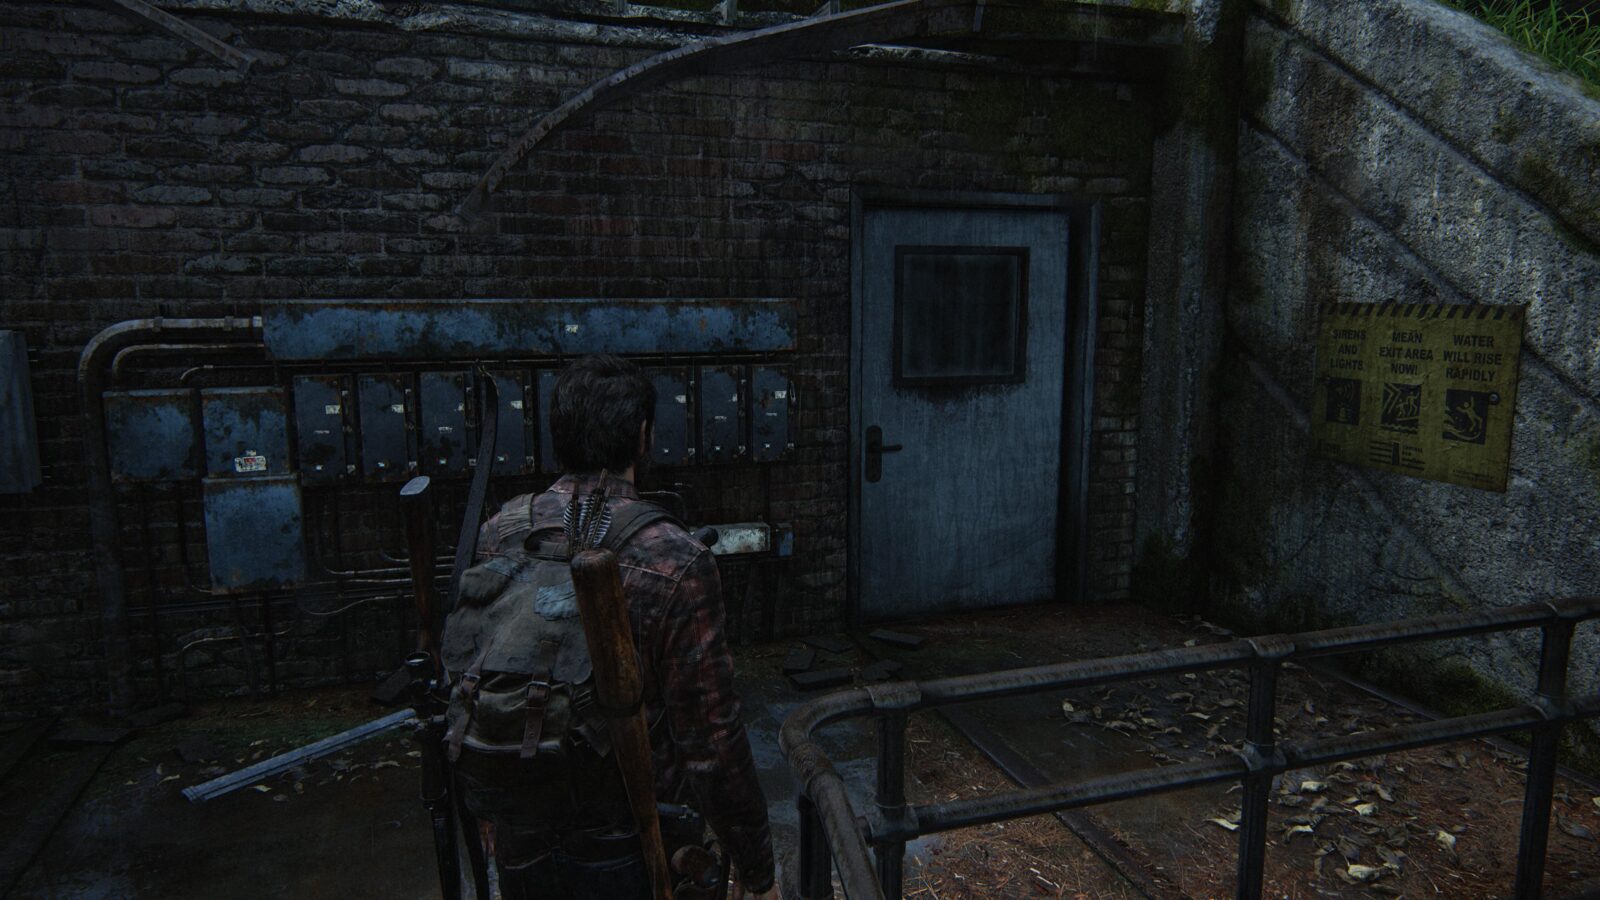
Shiv Door #9 – Continue following the river and you will come to the hydroelectric dam. At the top of the metal stairs is a shiv door. This one is really hard to miss.
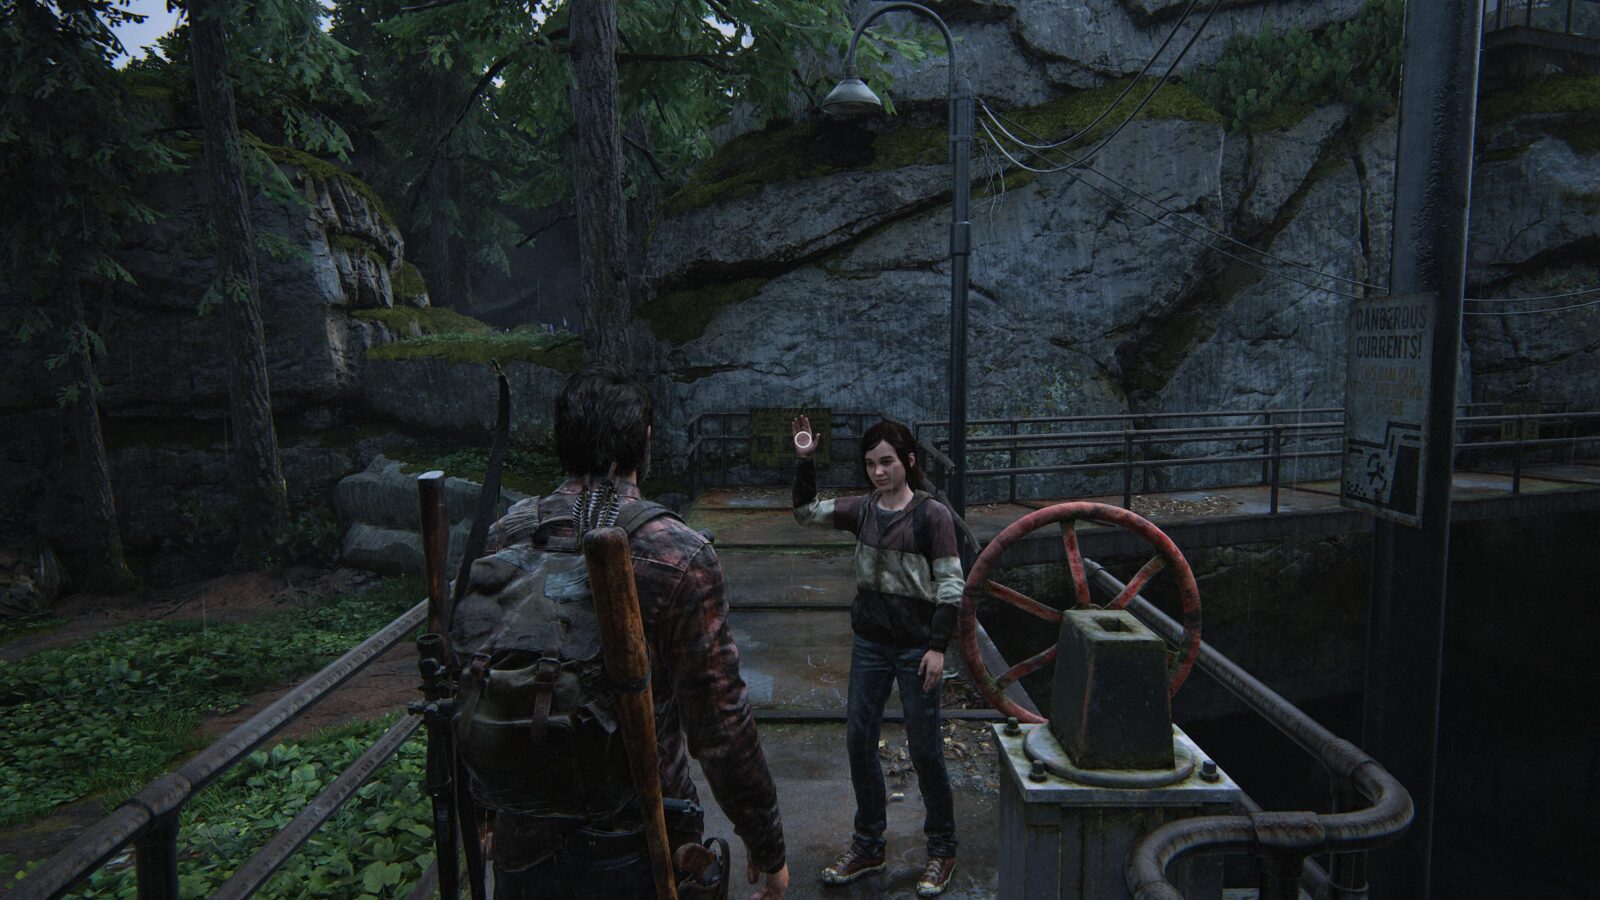
Chapter-Specific Trophy: Left Hanging – You have to ignore Ellie when she asks for a high-five. After solving the dam puzzle and creating a path to cross over to the other side, walk past Ellie and ignore her (stay strong, you can do it!). Once you walk past her she will say “Really? Gonna leave me hanging?) at which point the trophy will unlock. You can hit “RESTART CHECKPOINT” as soon as the trophy pops and give her the high-five she clearly earned.

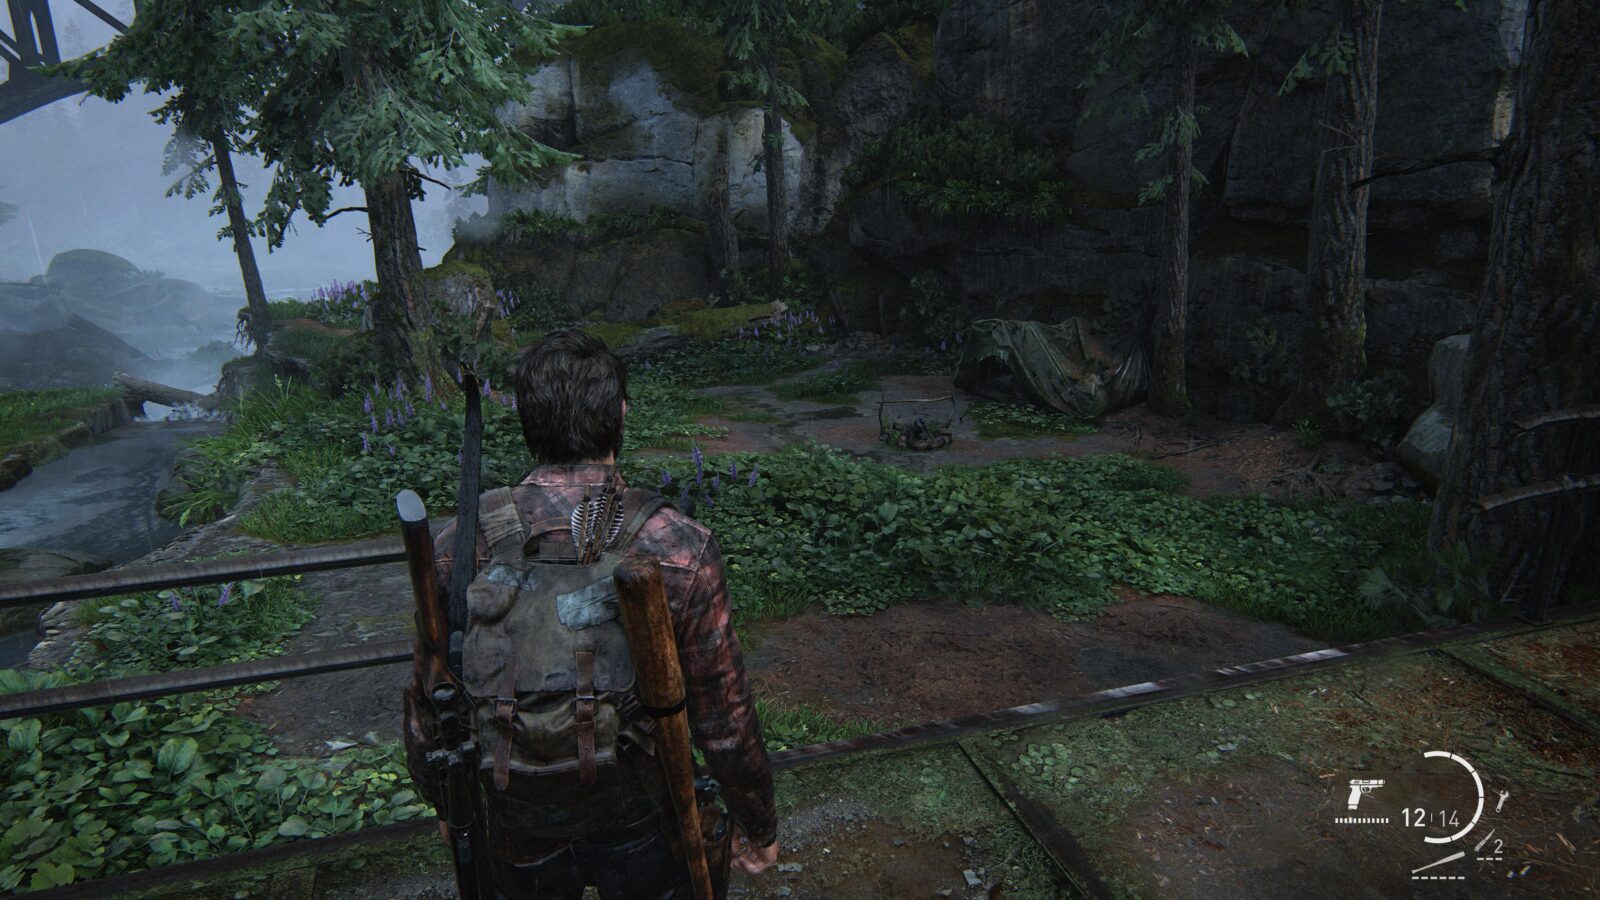
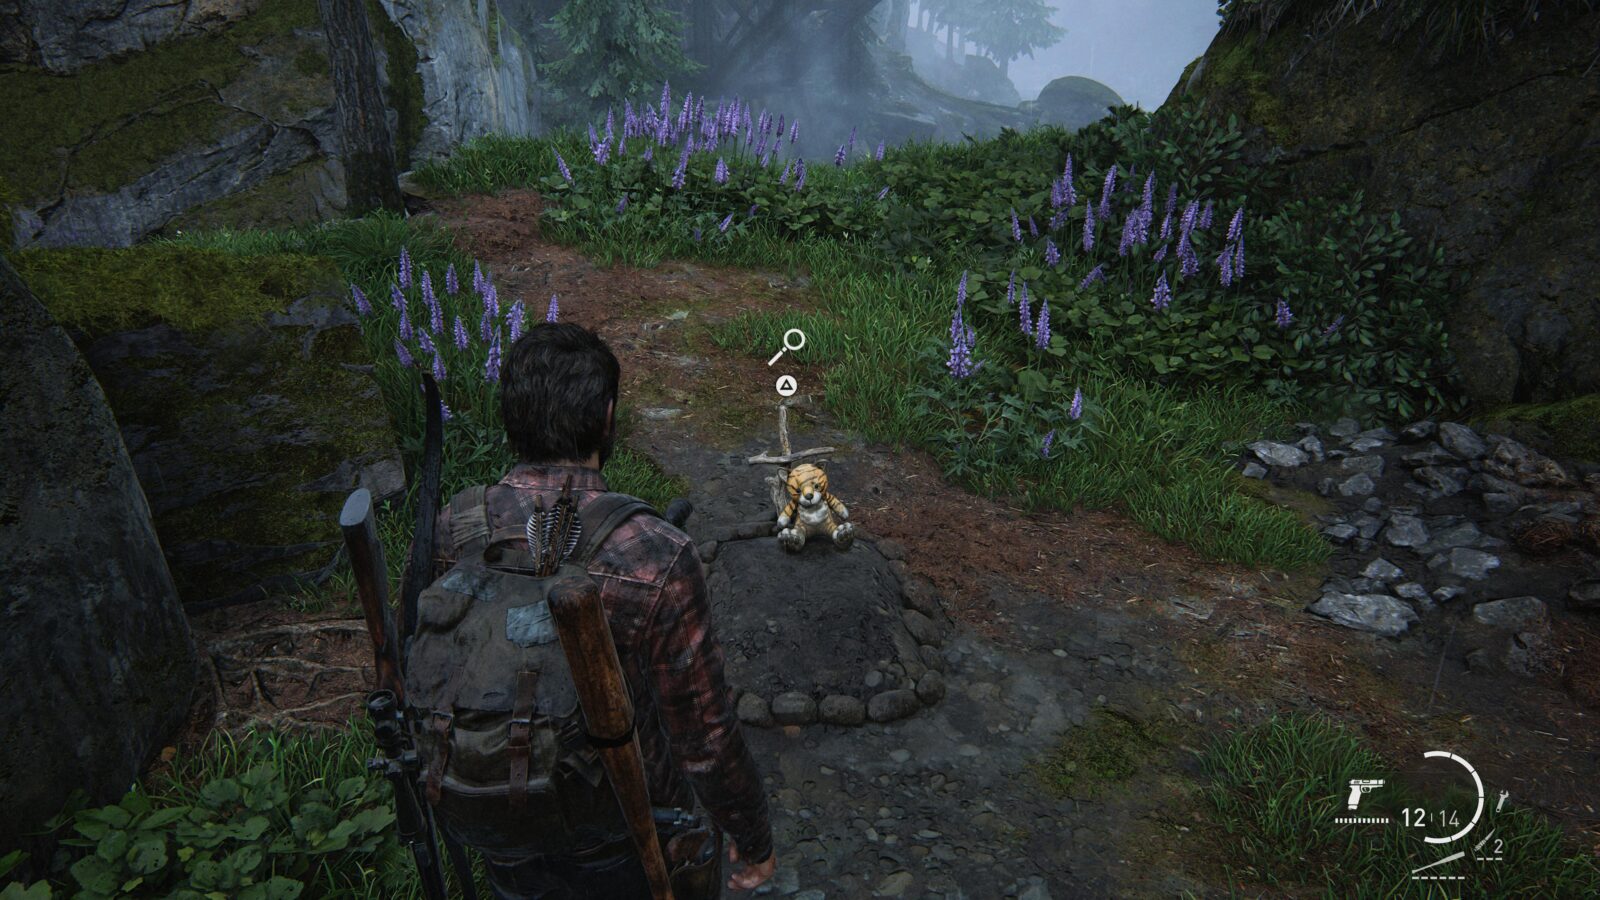
Optional Conversation #27 – After solving the dam puzzle, hop off the catwalk to the left where the old campfire is and climb over the log nearby. You will notice a small grave with a teddy bear on top. Press ![]() when you get close to initiate a conversation.
when you get close to initiate a conversation.
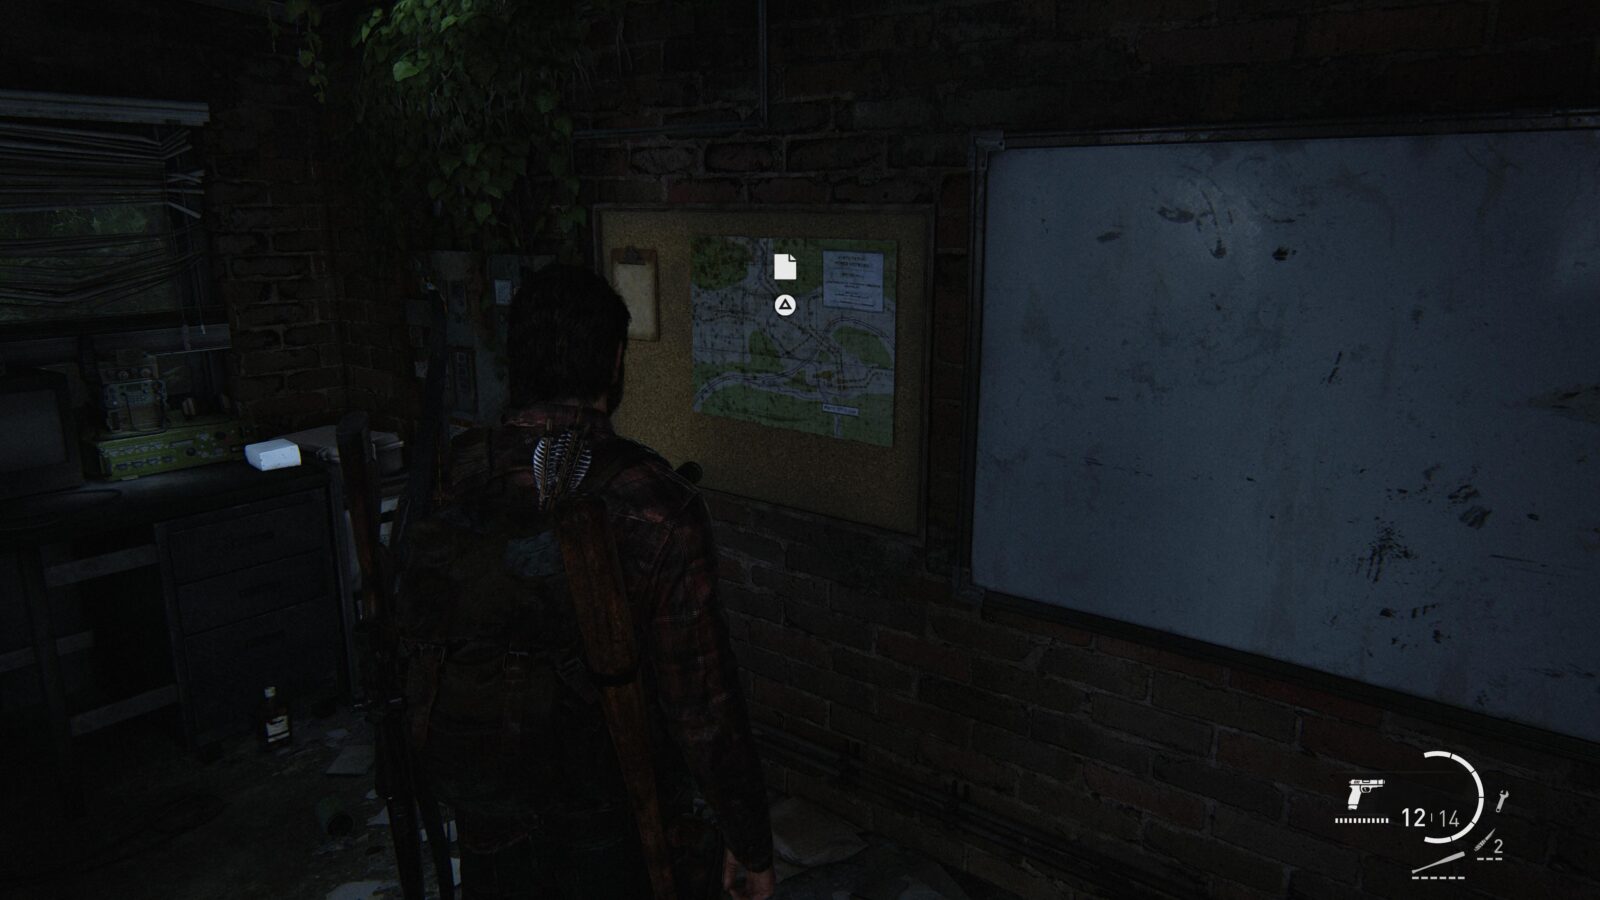
Artifact #55 Power Plant Map – Continue towards the dam and you should see a yellow bulldozer. Just beyond the bulldozer is a guard post next to a chainlink fence with a map inside.
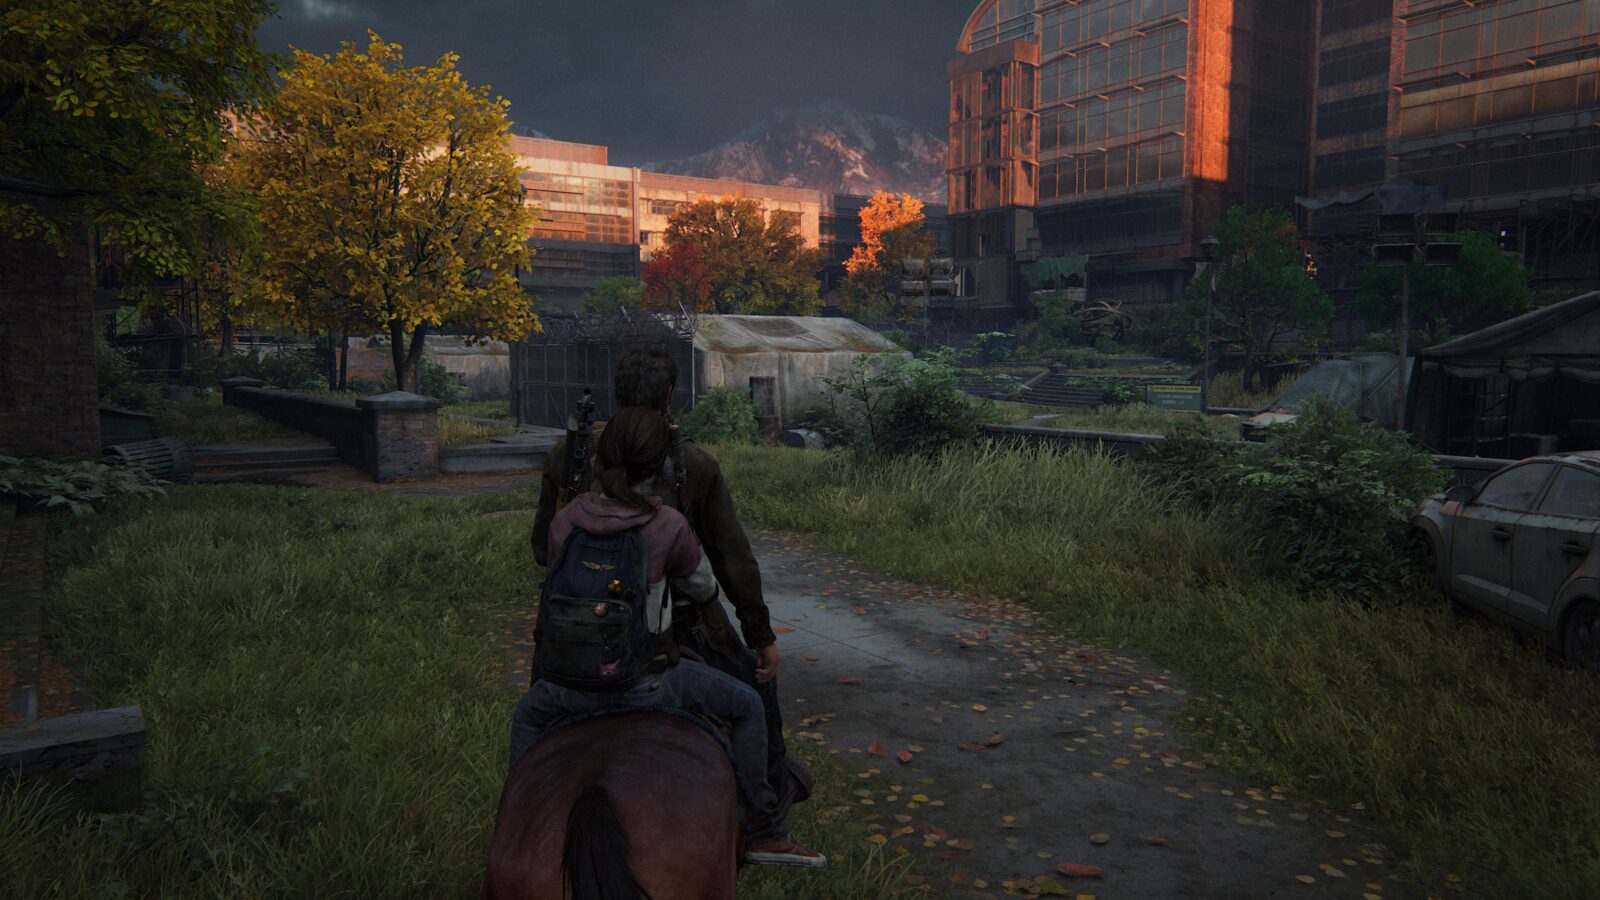
Optional Conversation #28 – Inside the dam you will see two horses. Ellie will run over to one and begin petting it and mention she’s ridden one before. Press ![]() to initiate a conversation.
to initiate a conversation.

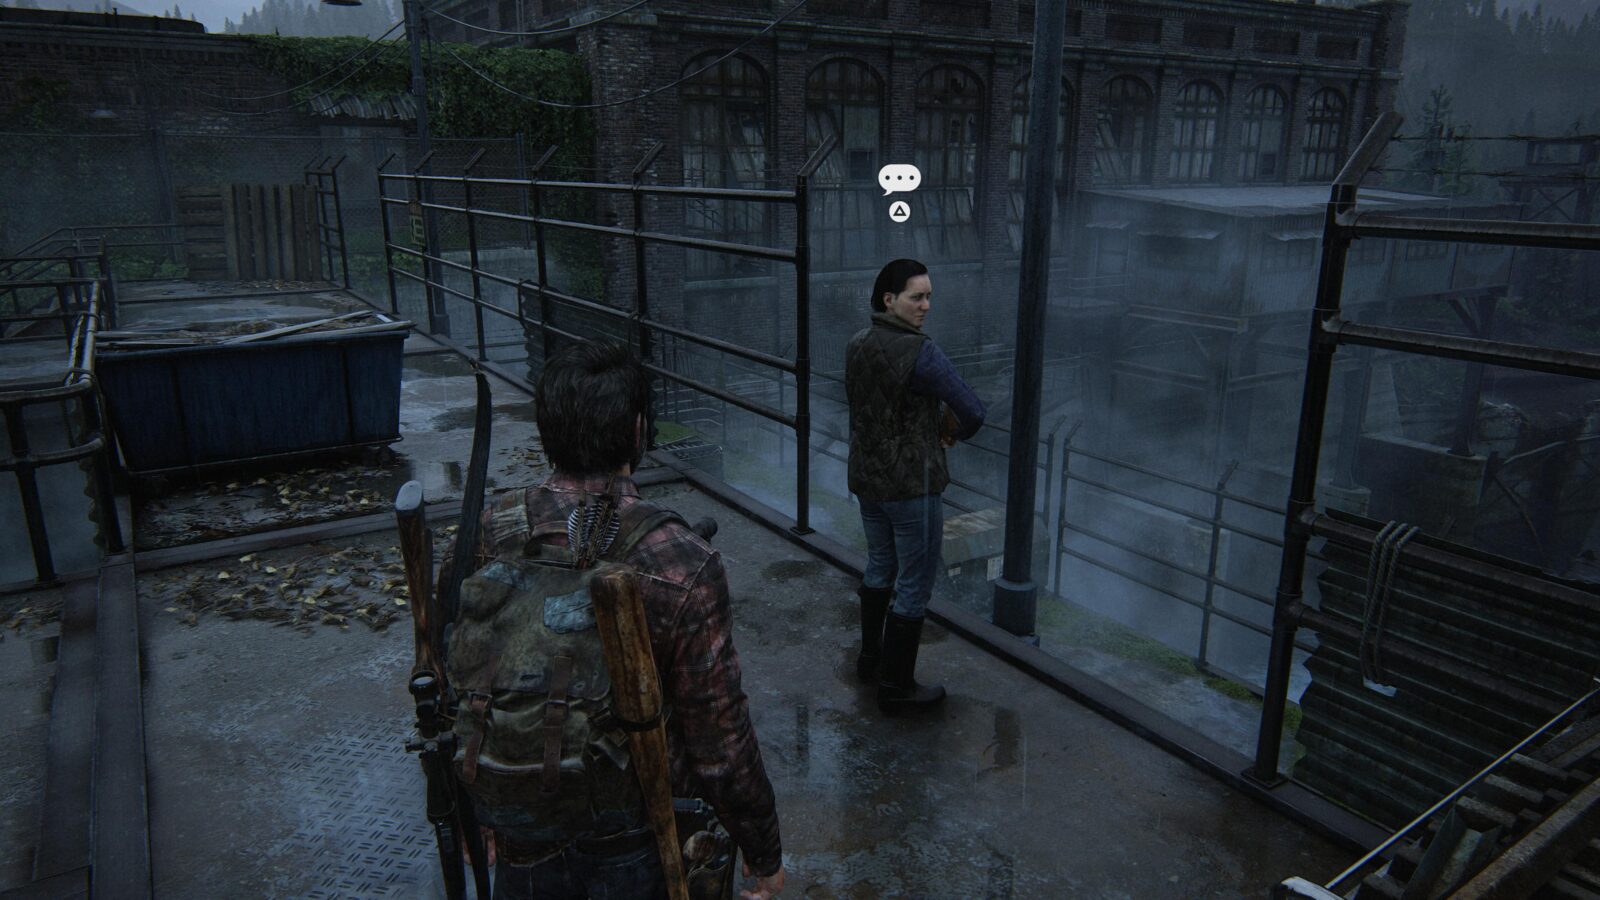
Optional Conversation #30 – Keep following Tommy and you’ll cross over the dam’s turbines. There will be a woman on guard duty on the right side of the damn. Approach her and talk to her.

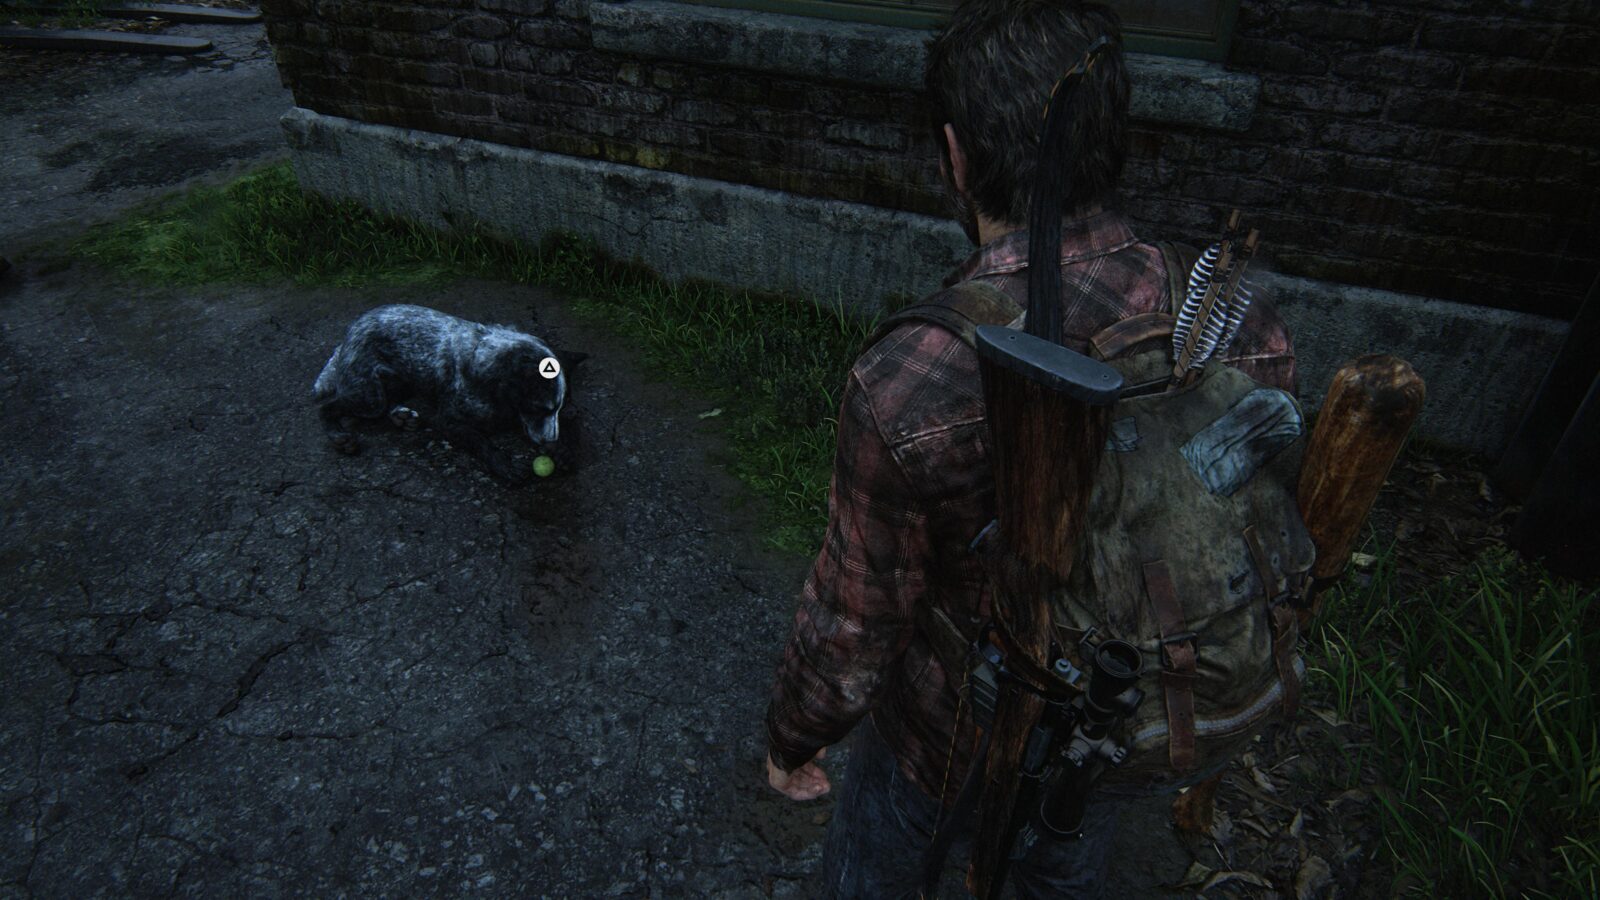
Chapter-Specific Trophy: Who’s a Good Boy? – You have to pet the dog—Buckley—at the damn to unlock this trophy. At the other side of the damn where the control room is will be a good boy. Pet him (you’re not going to not pet him, right?)

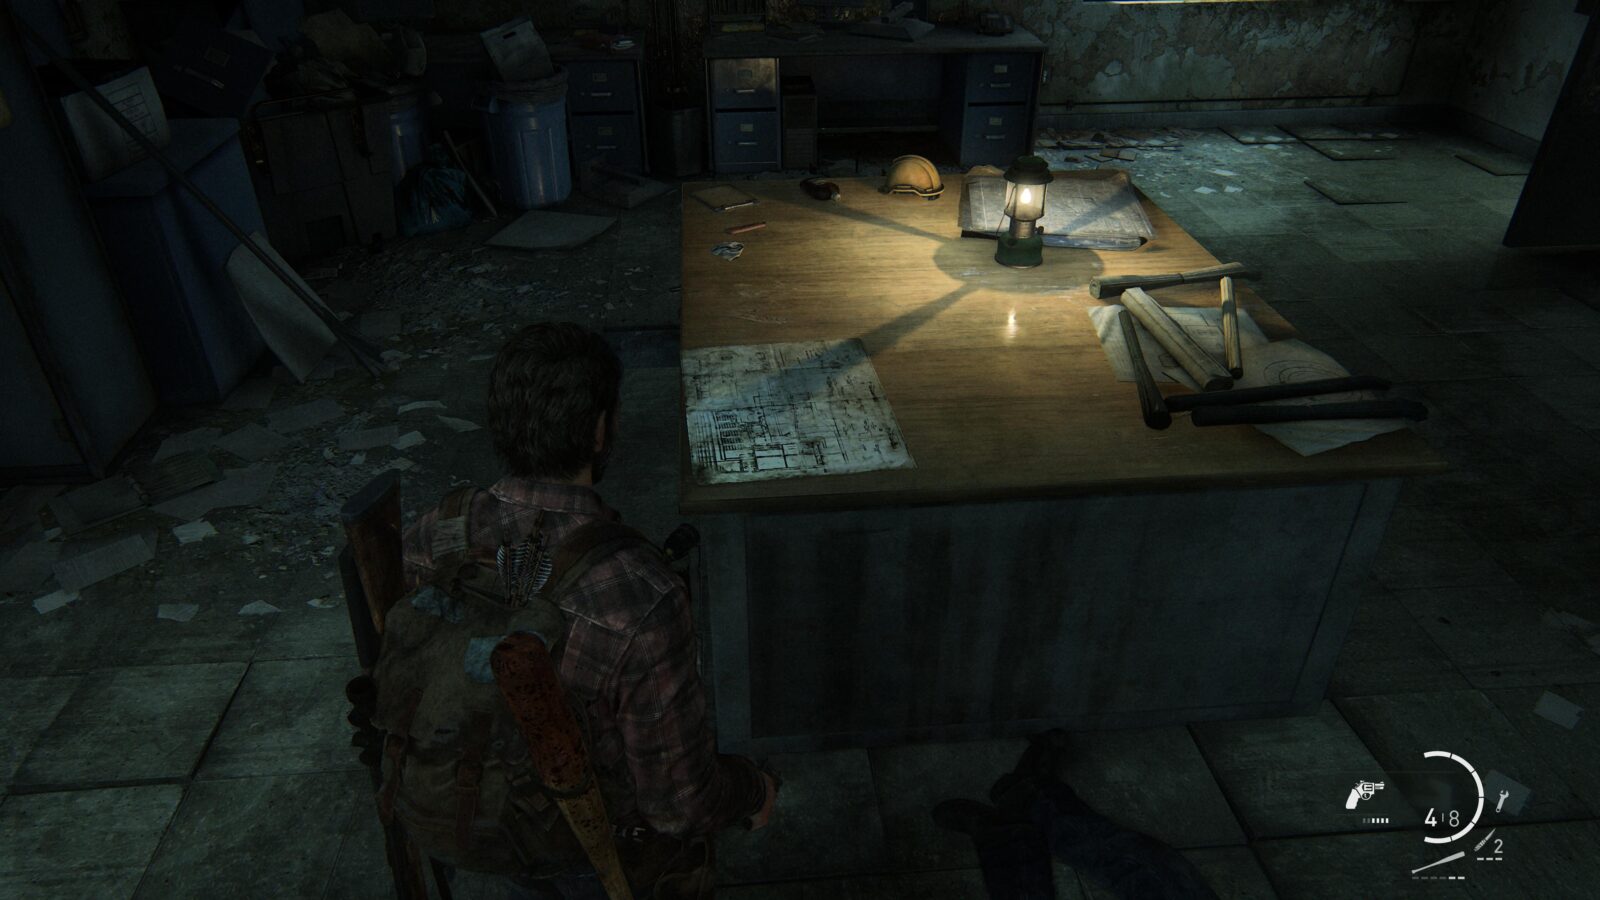
Training Manual #8 Smoke Chemistry – Inside the Control Room is a training manual on an overturned locker to the left of the control unit.
Workbench #7 – Next to Training Manual #8 is a workbench to the left of the control panels. You need to interact with this one now as it will become unavailable in the upcoming fight.

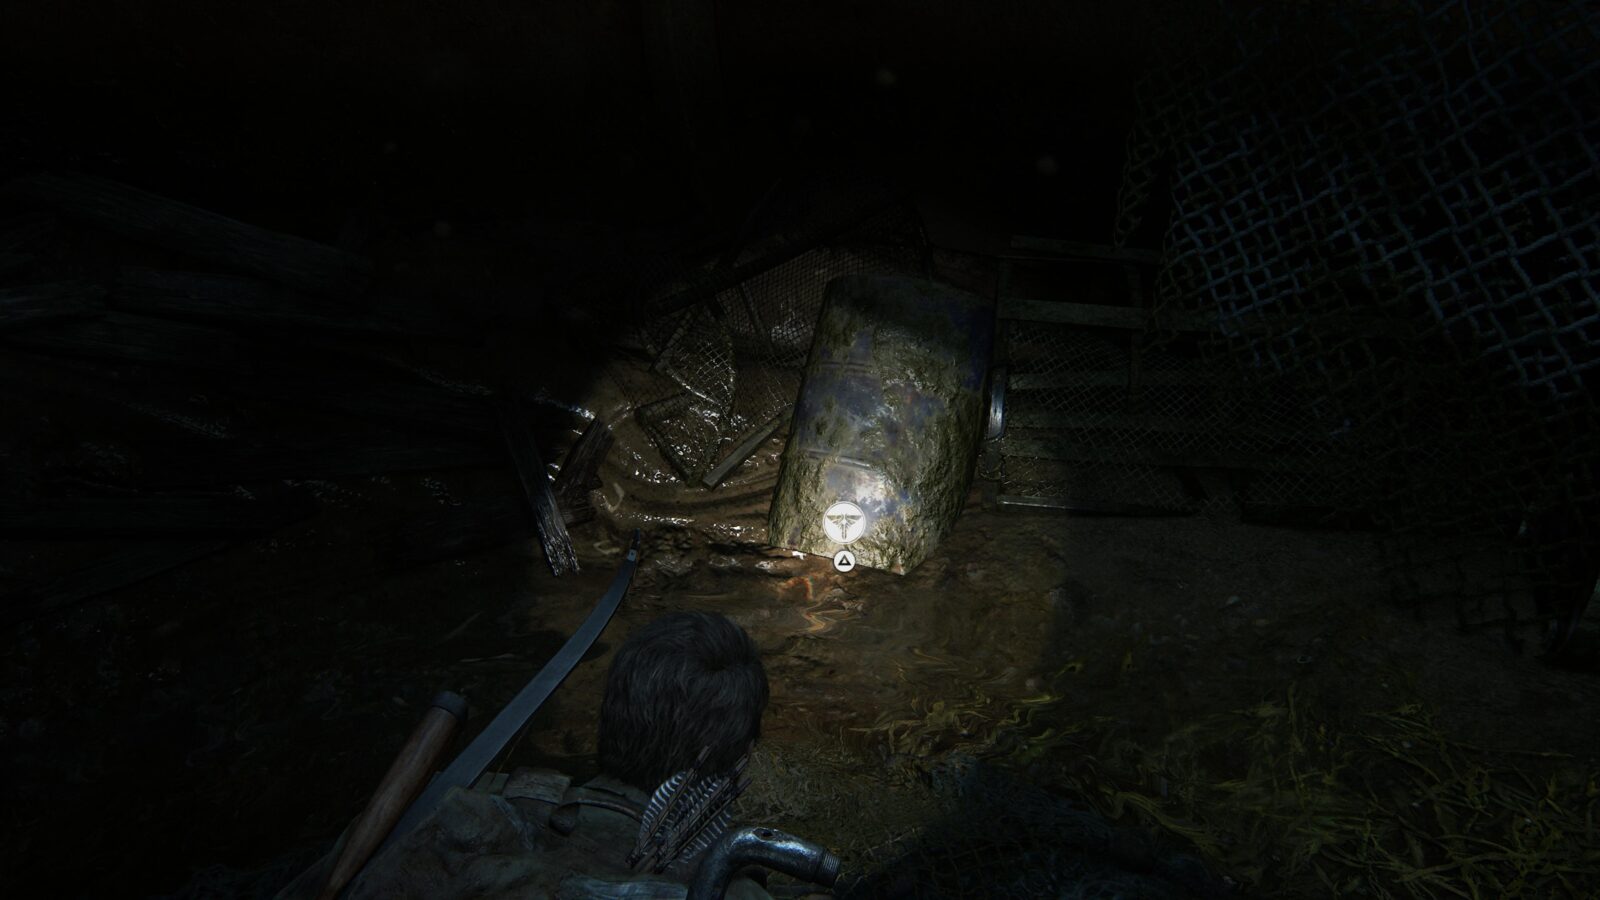
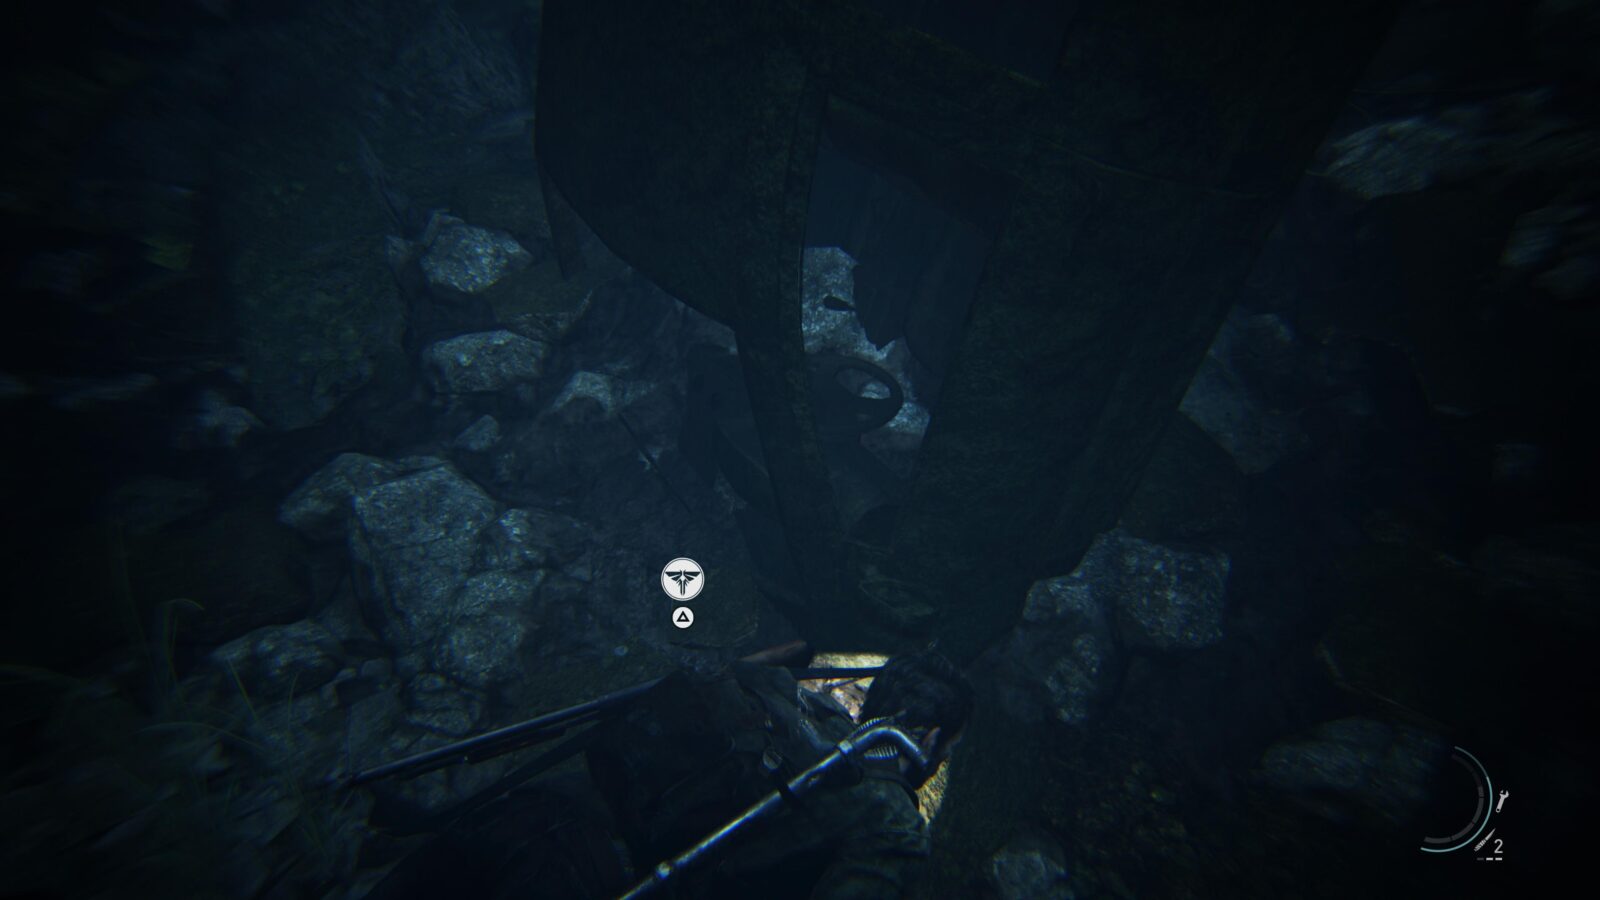
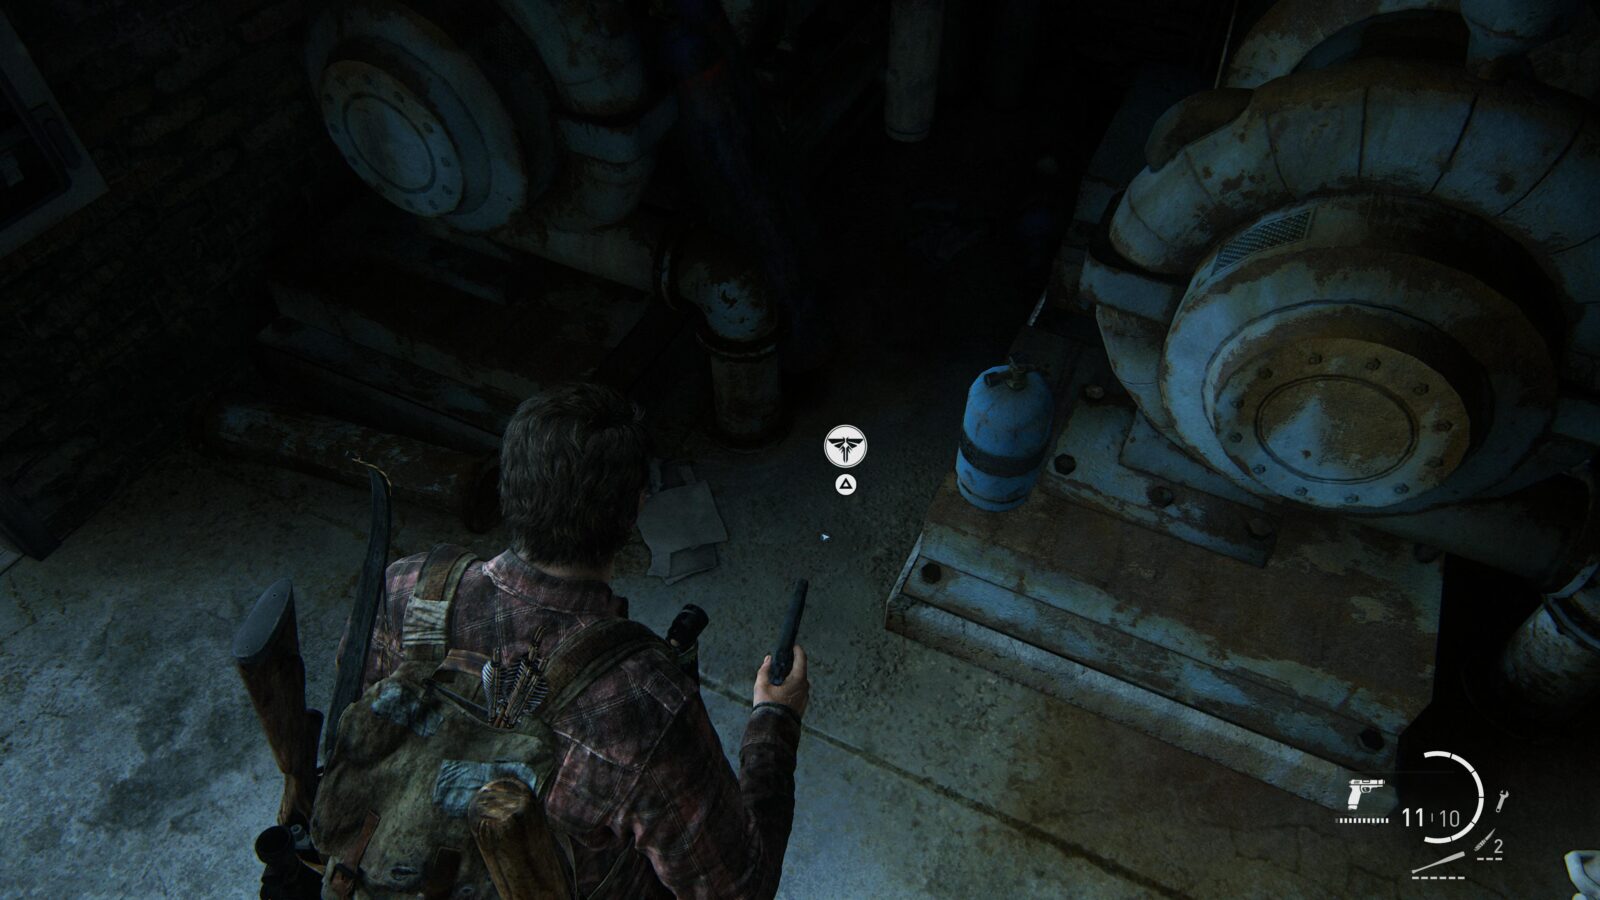
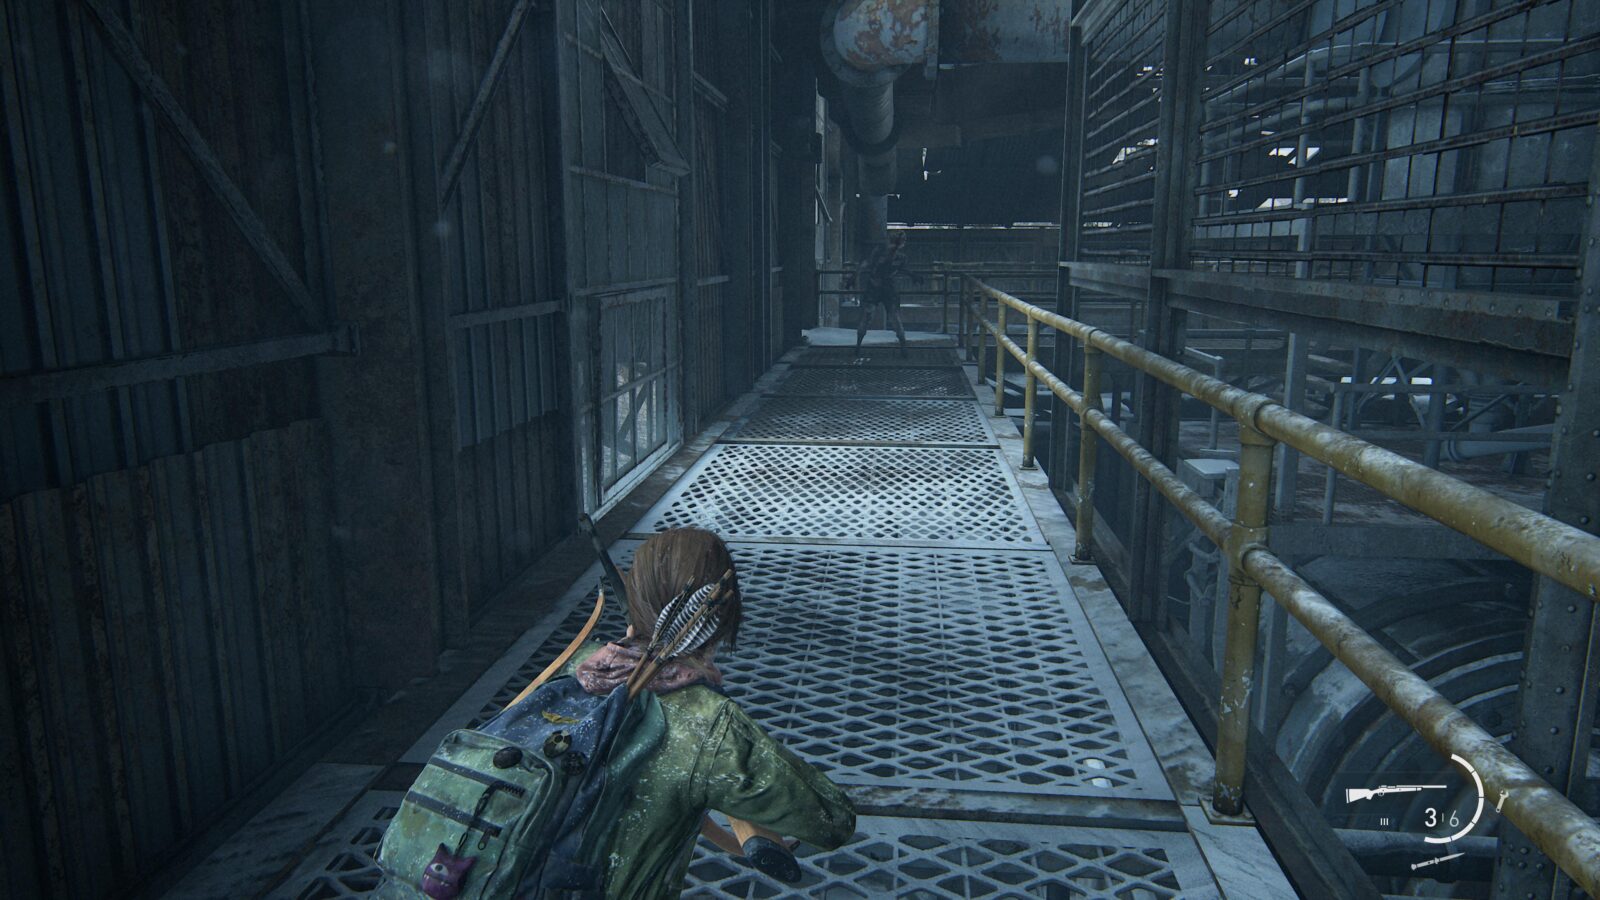
Firefly Pendant #18 Ryan Oliverio 000194 – During the assault on the dam you will have to fight back towards where Tommy and Joel left Ellie and Maria. At the very start of the fight, run to the very back of the ground floor past the turbines to find a room. Near some machinery next to the open door is a firefly pendant.
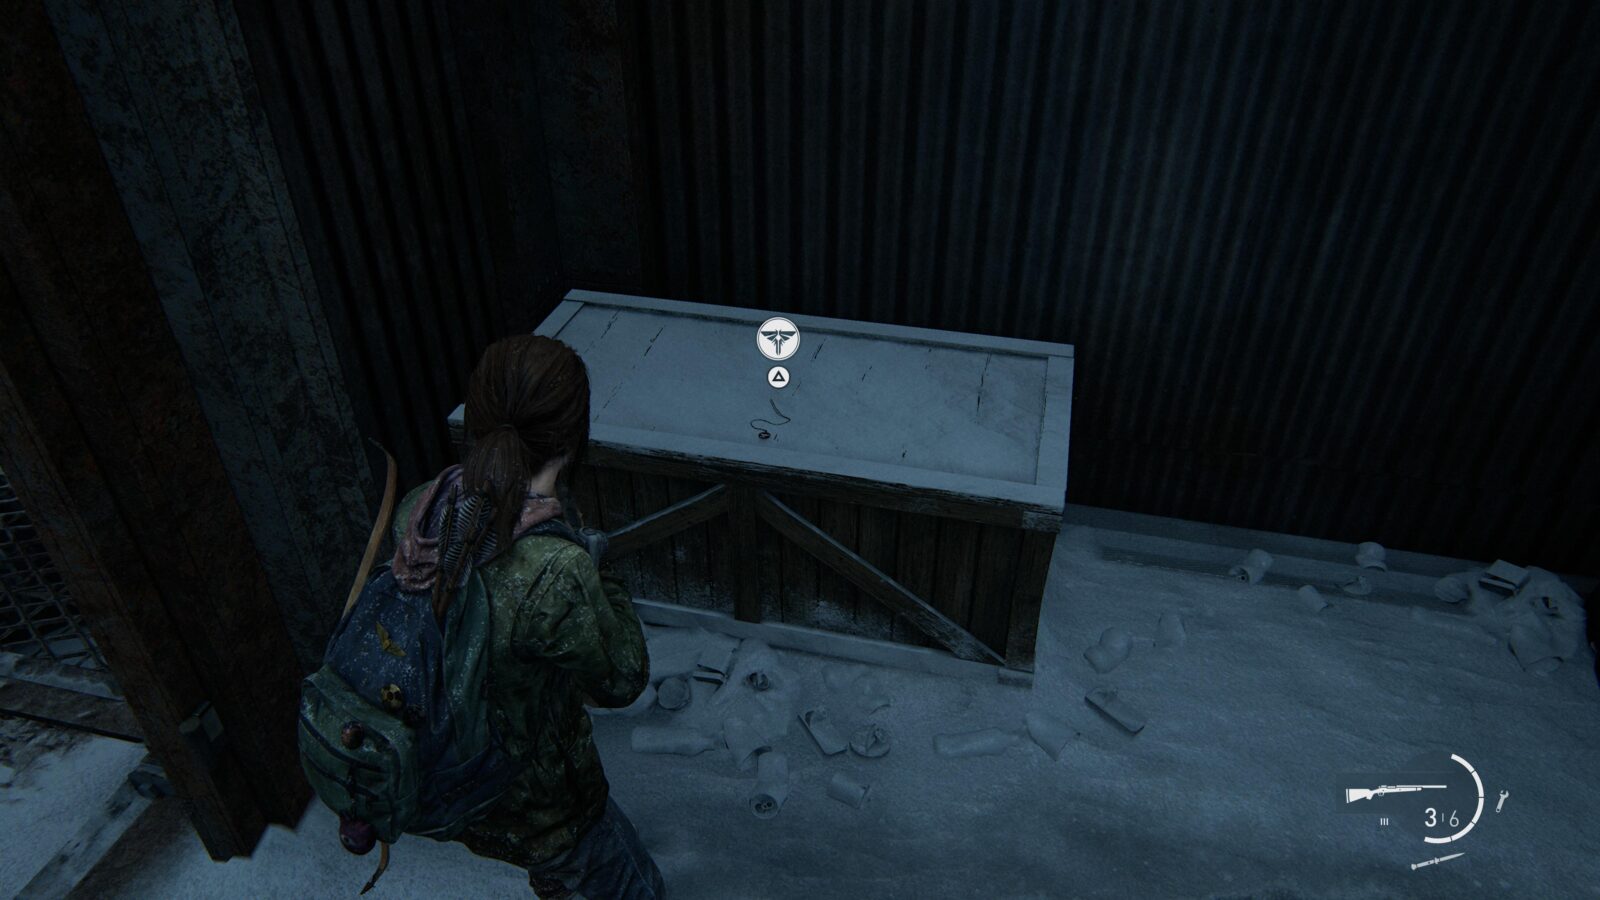
Artifact #56 Plant Schematics – The plant Schematics are on the table in the middle of the Control Room and can be picked up now. You might have seen this artifact earlier but it didn’t have a ![]() prompt so you couldn’t have picked it up.
prompt so you couldn’t have picked it up.
Progress towards Build Em Up, Break Em Down
As you leave the control room during the Hunter assault, you will come across a hand-axe leaning against a wooden box. Upgrade it, break it. Build Em Up, Break Em Down should unlock after. Upgraded Melee Weapon Broken 5/5.
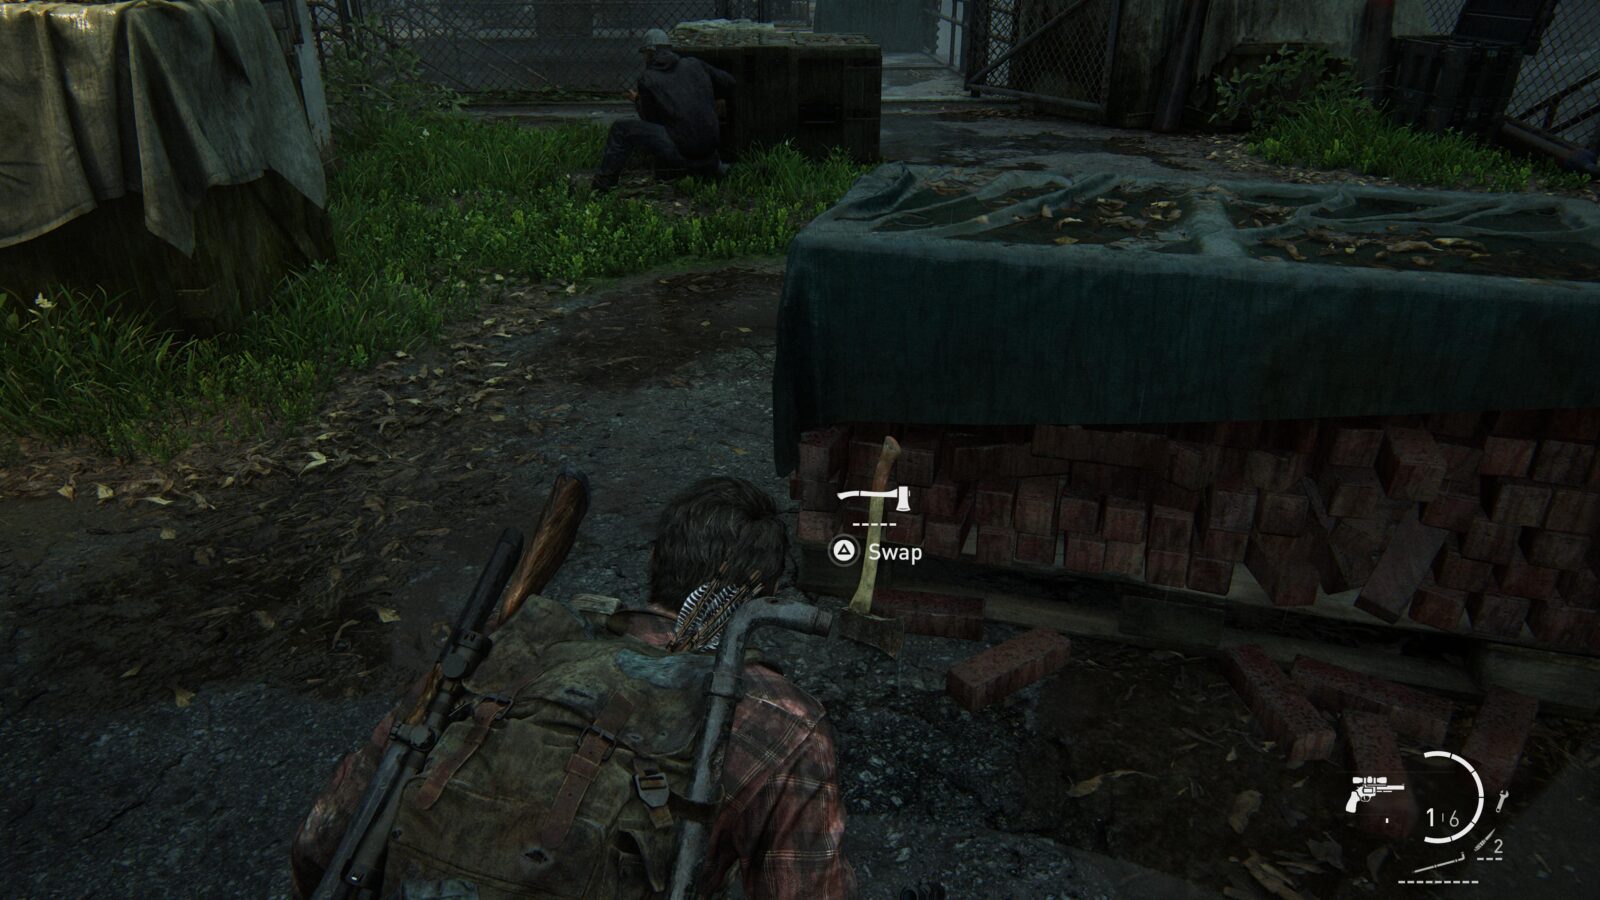
Trophy: Build Em Up, Break Em Down will unlock as soon as you break the axe upgrades which can easily be done on top of the dam.
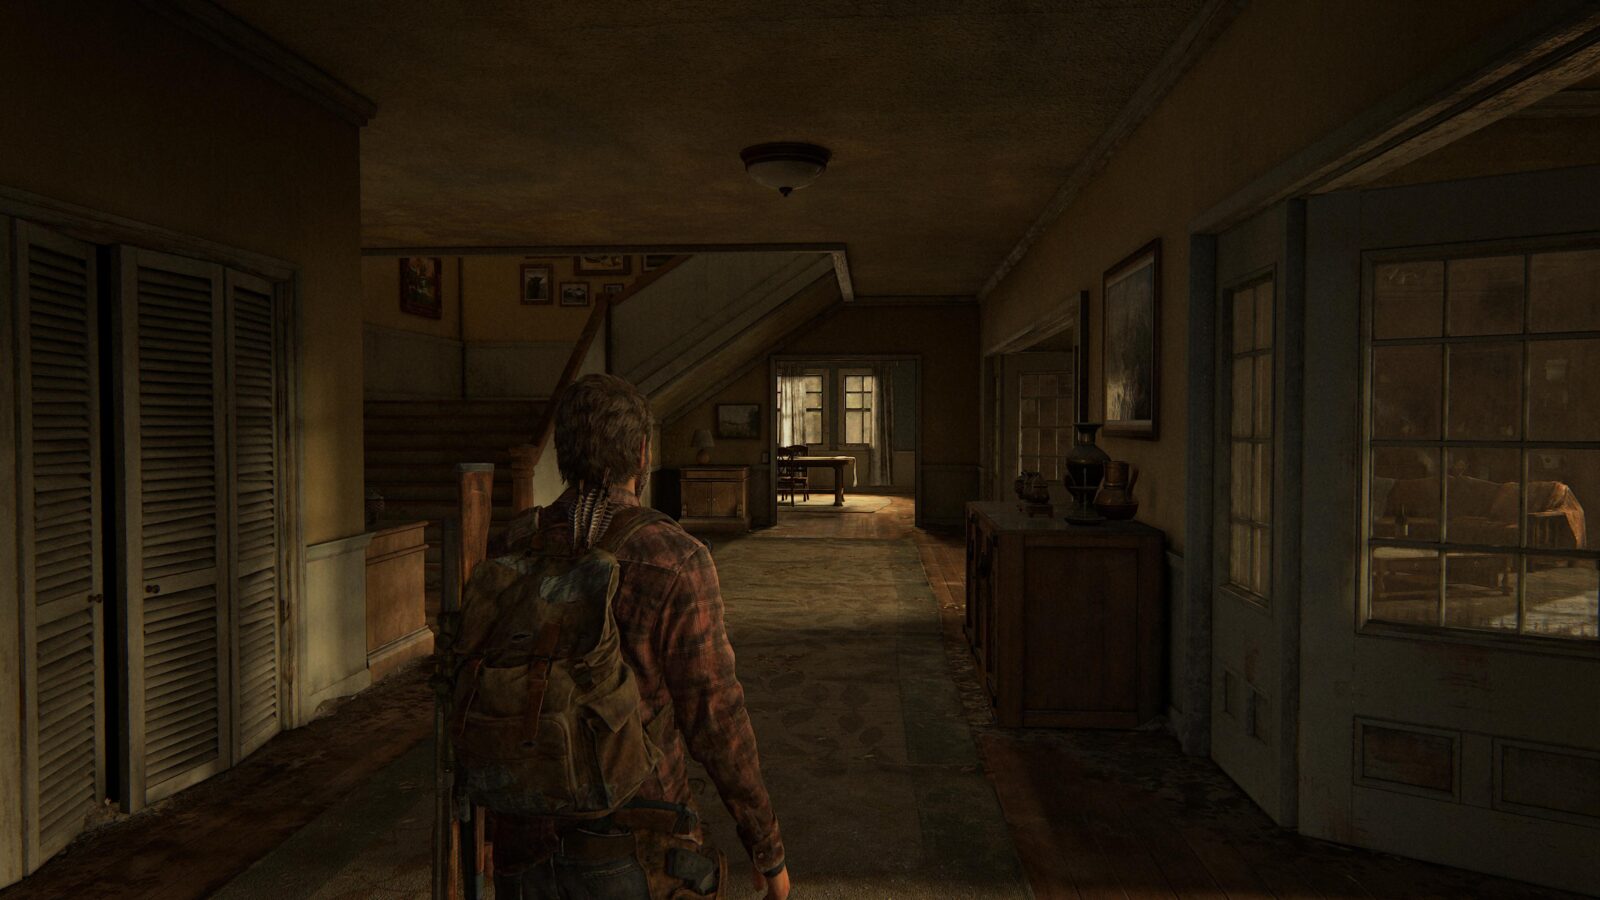
Ranch House
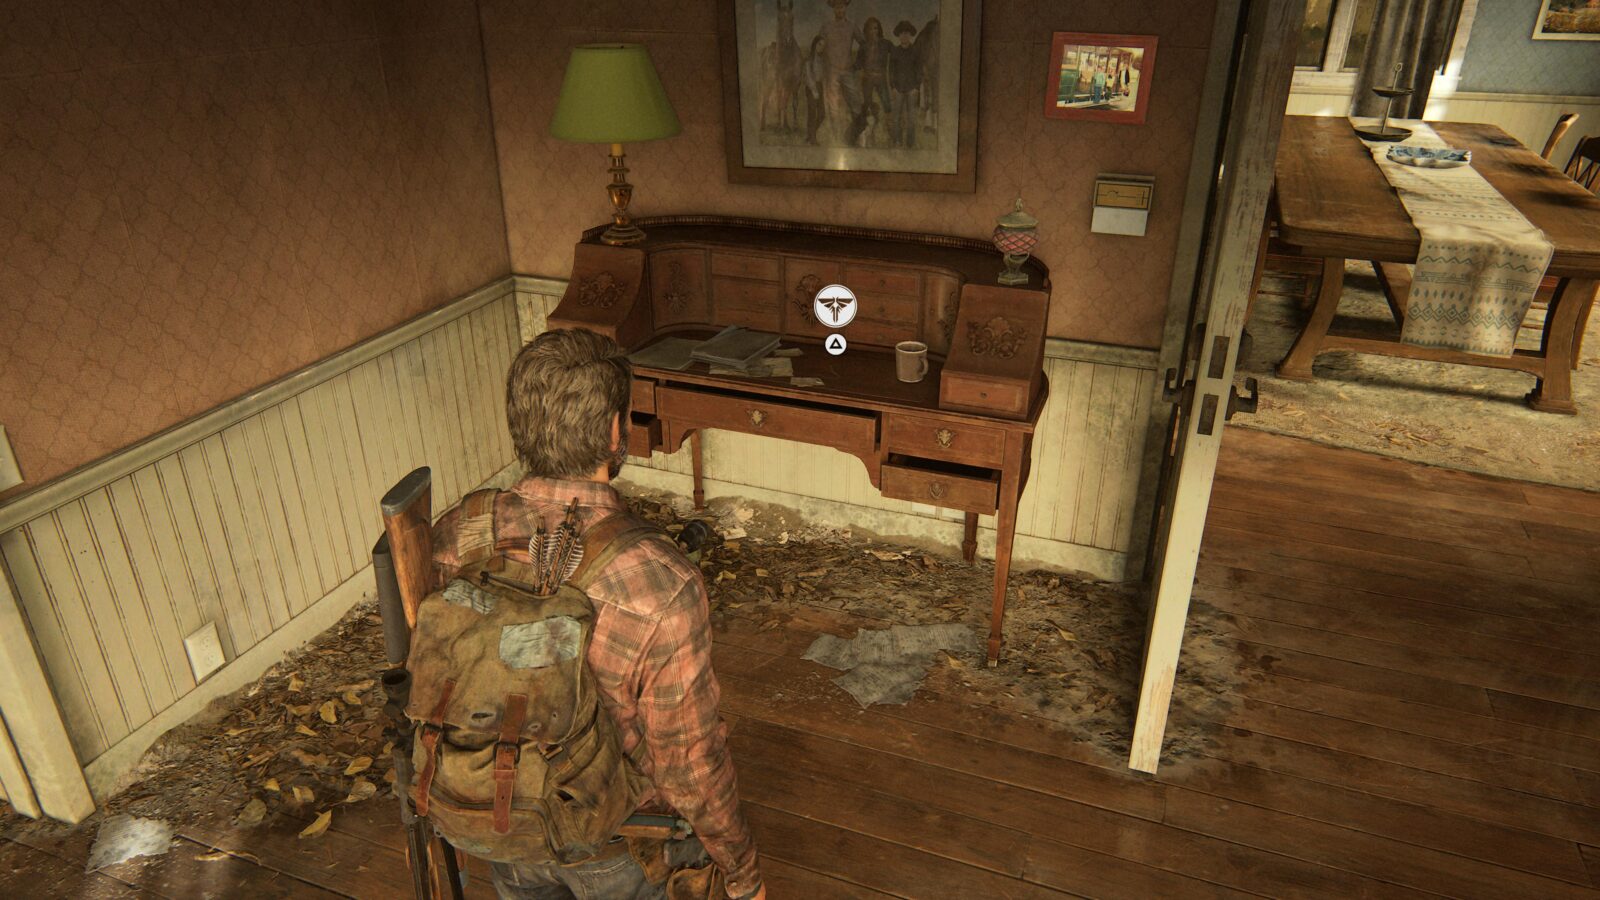
Firefly Pendant #19 Brent Pino 000317 – Inside the ranch house is a firefly pendant on a desk in the room connected to the living room.
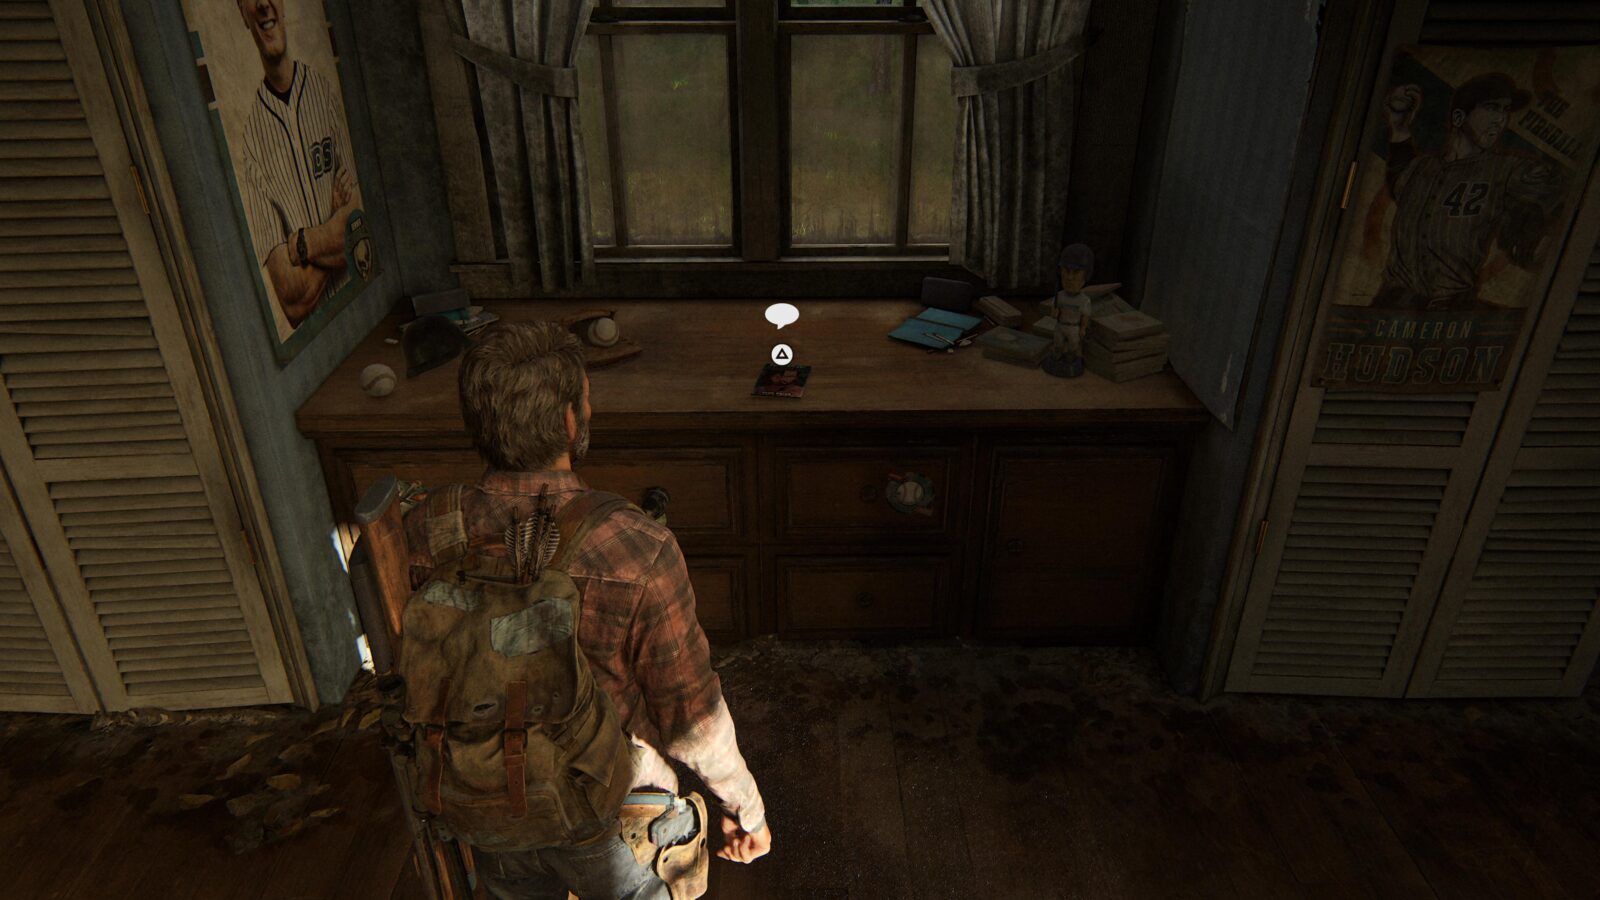
Comic #7 Zero Point – Go upstairs and search the bedroom to the left at the very top of the steps to find a comic book by the window.

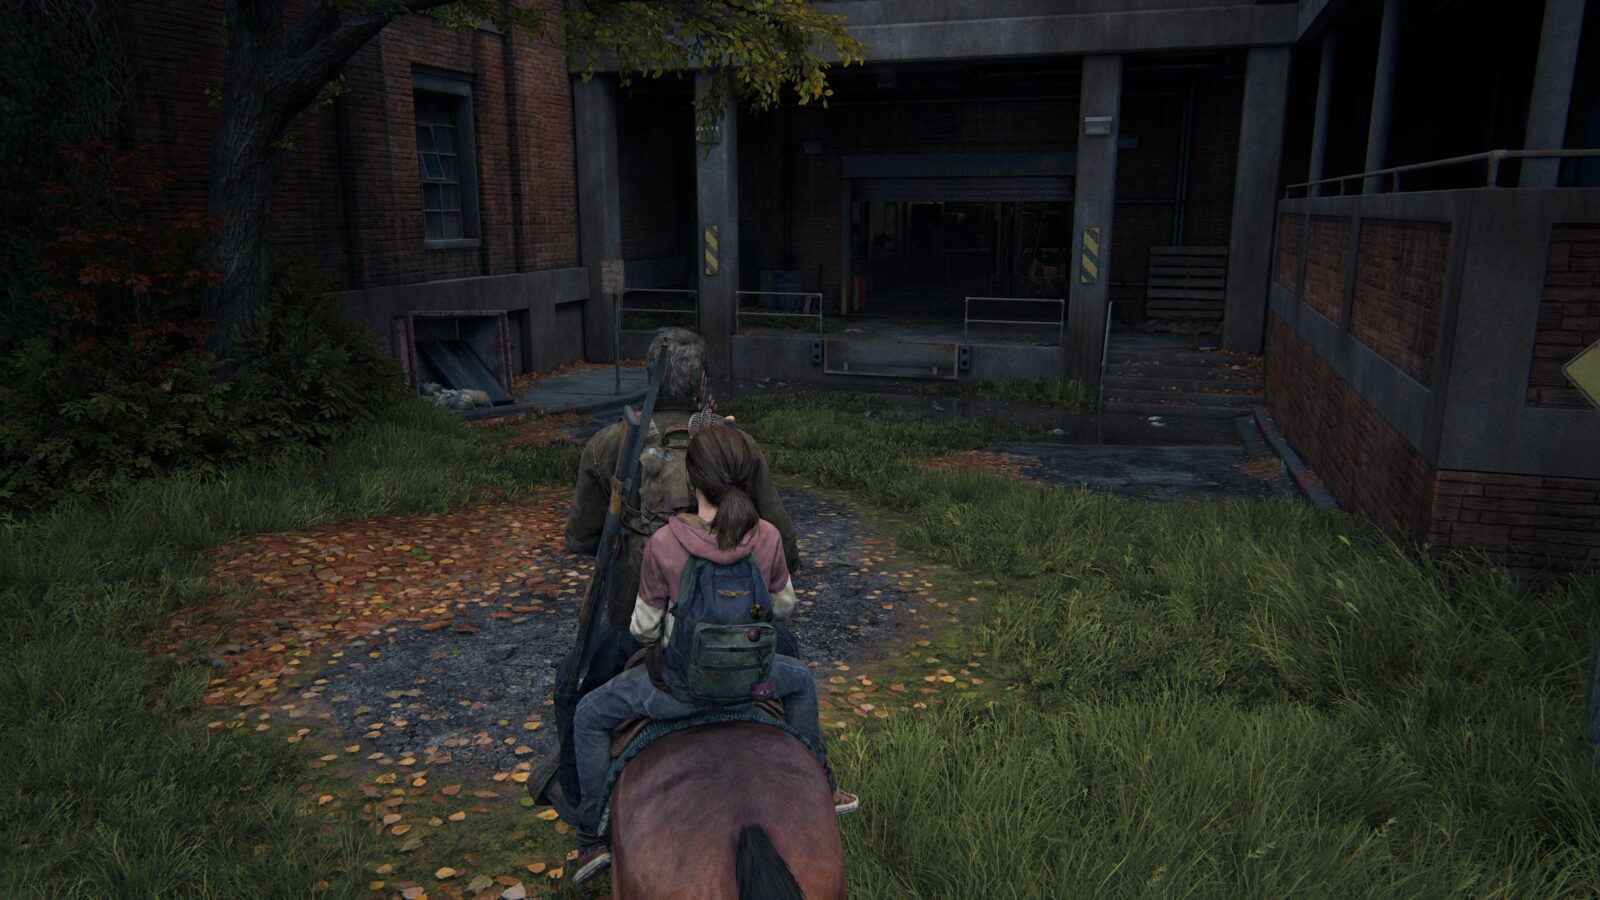
The University
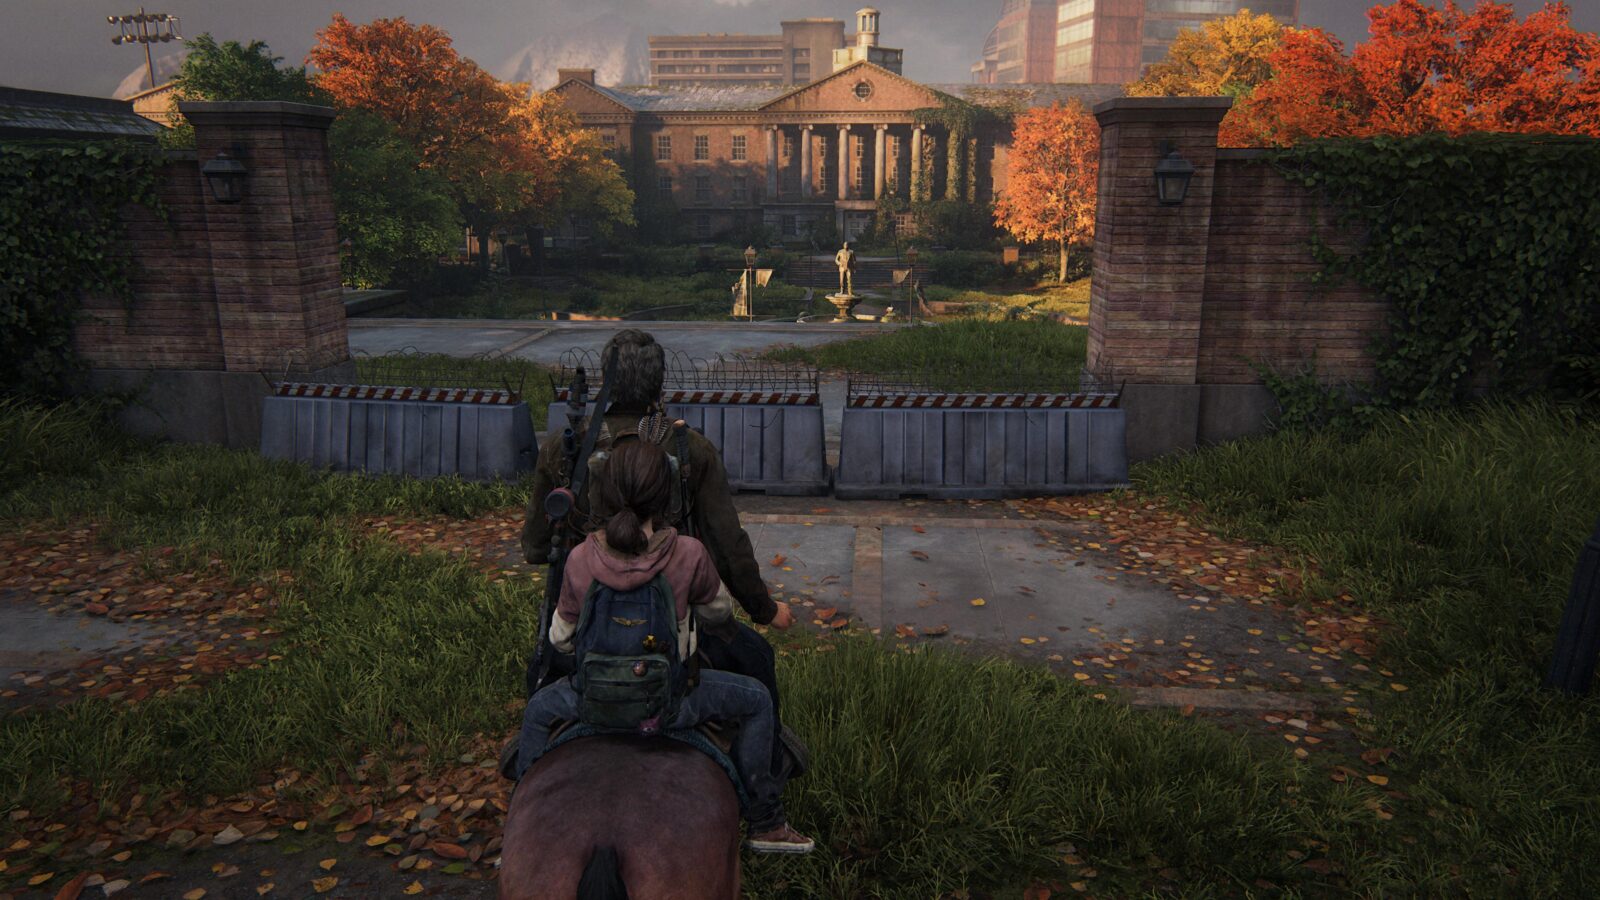
Go Big Horns
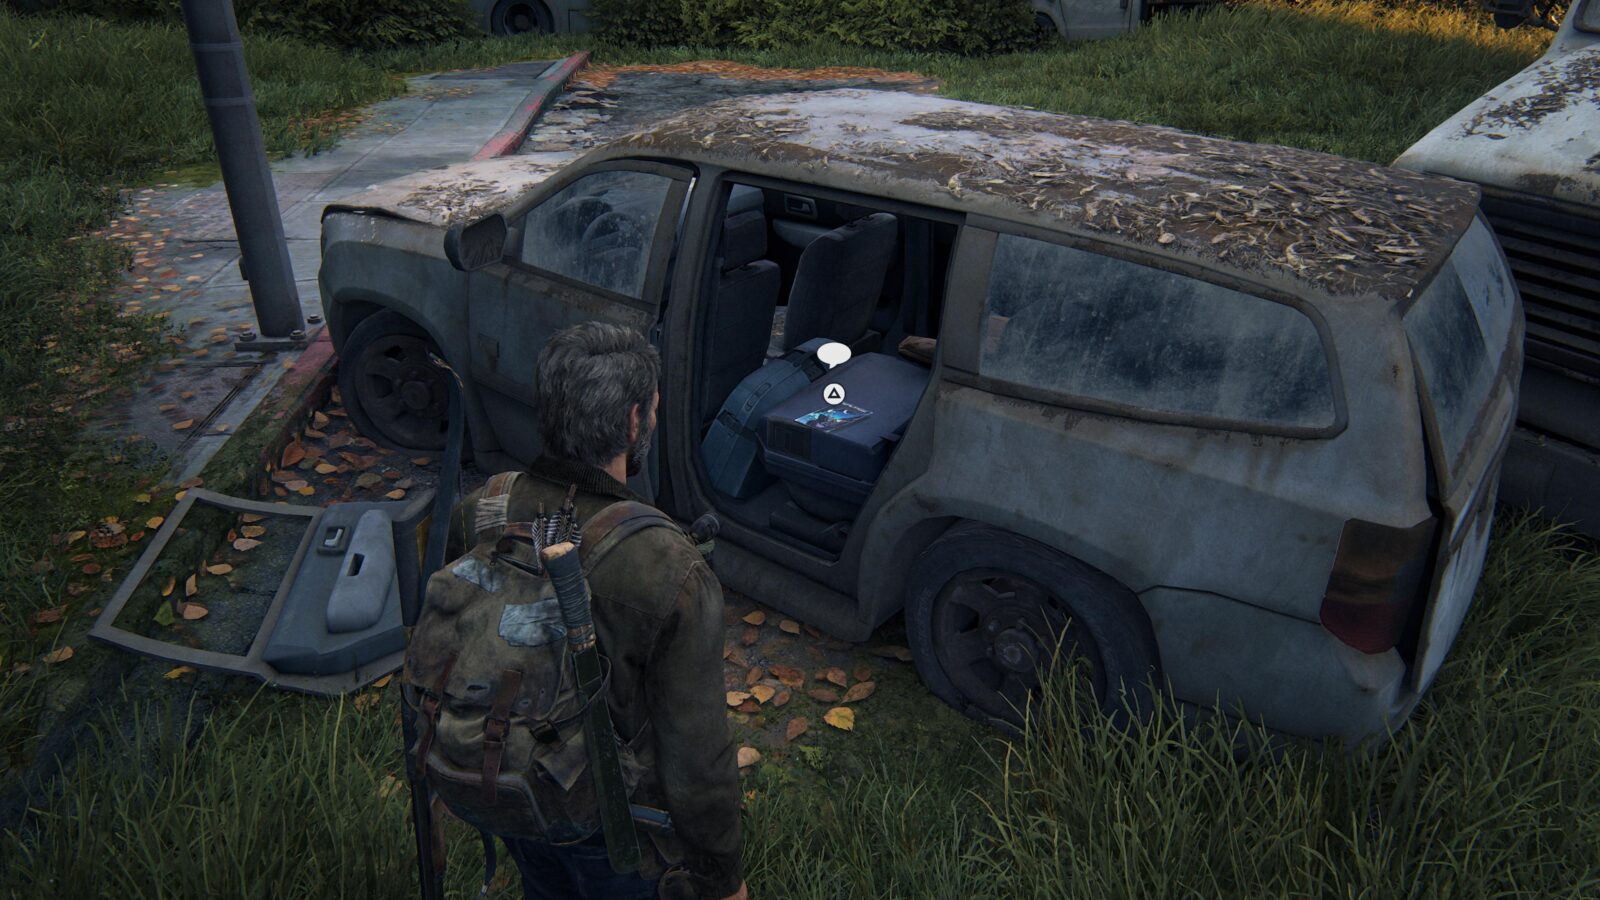
Comic #8 Free Radicals – At the start of the chapter turn around and follow the road up to where it is blocked by a truck. The vehicle next to it will have a comic in the back passenger seat.
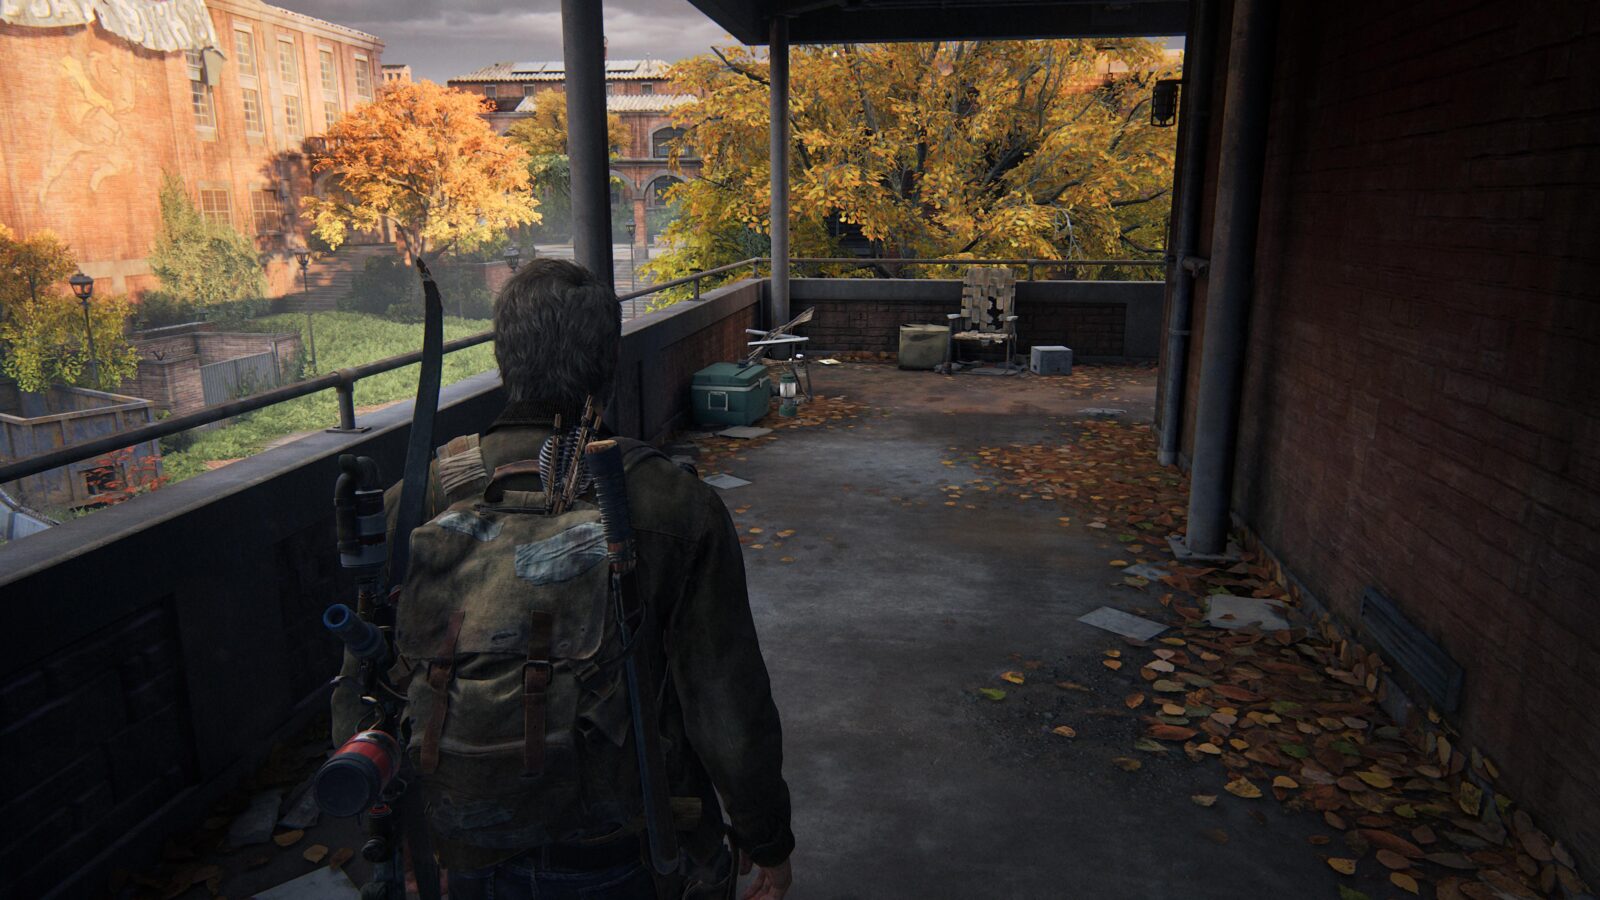
Workbench #8 – Enter the University ground and stop when you get to the roadblocks with barbed wire on them. Look to your right to find a garage. Inside is a workbench.

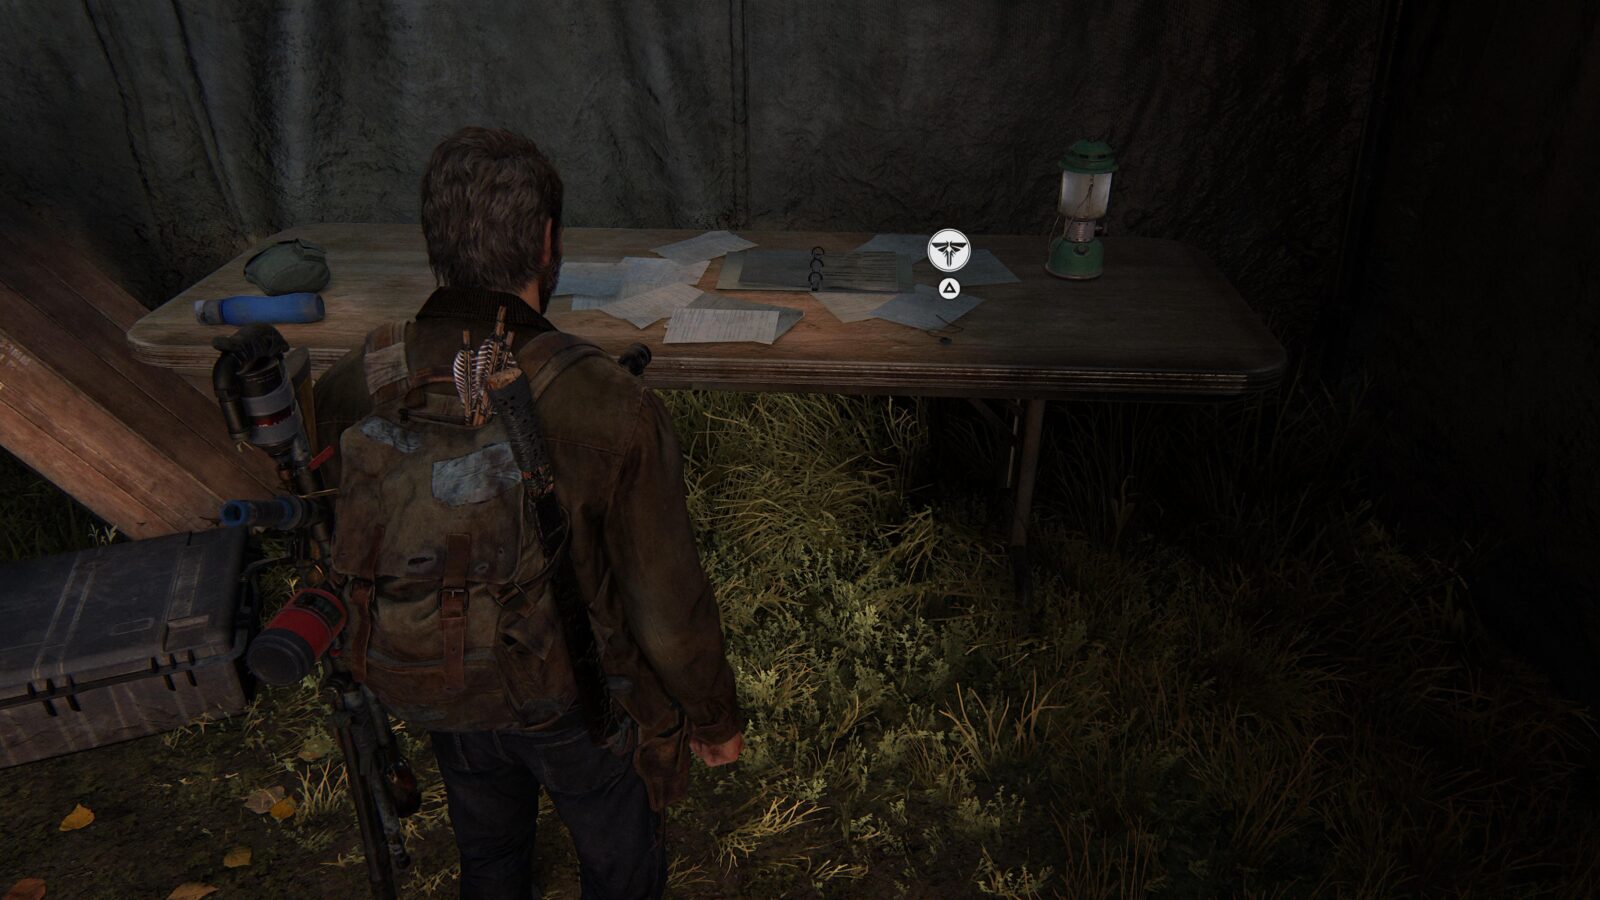
Artifact #57 Snipers’ Nest Log – Go up the stairs inside the garage and onto the balcony to find a snipers nest with a note on the ground.
Optional Conversation #31 – Jump over the barbed wire roadblocks and look up and to the left to see a large Ram painting. Press ![]() .
.

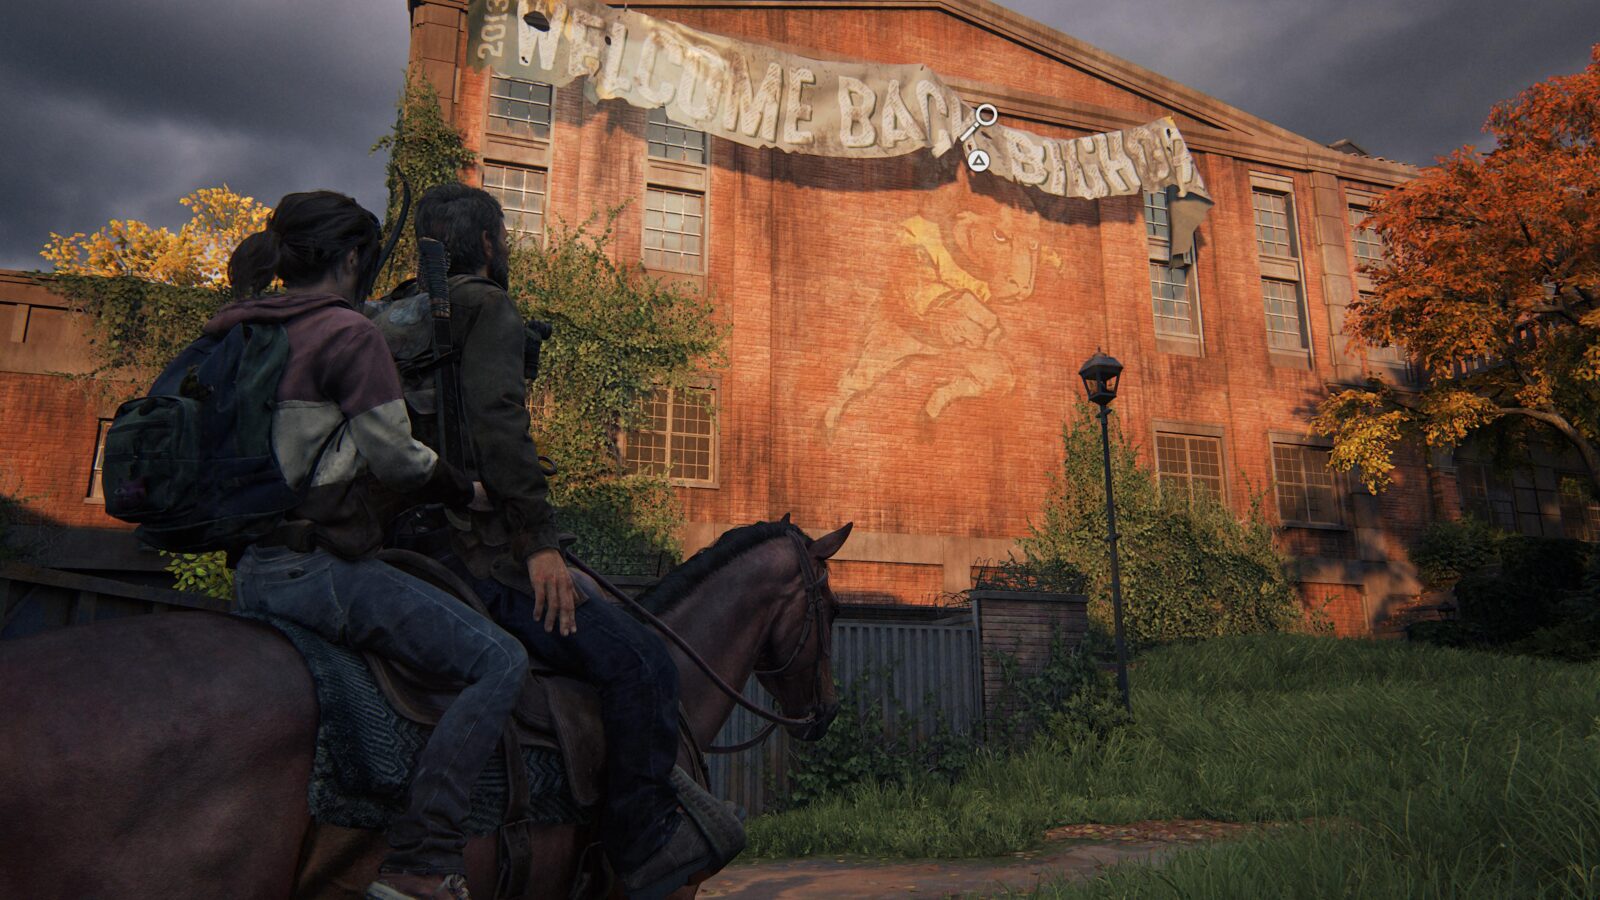
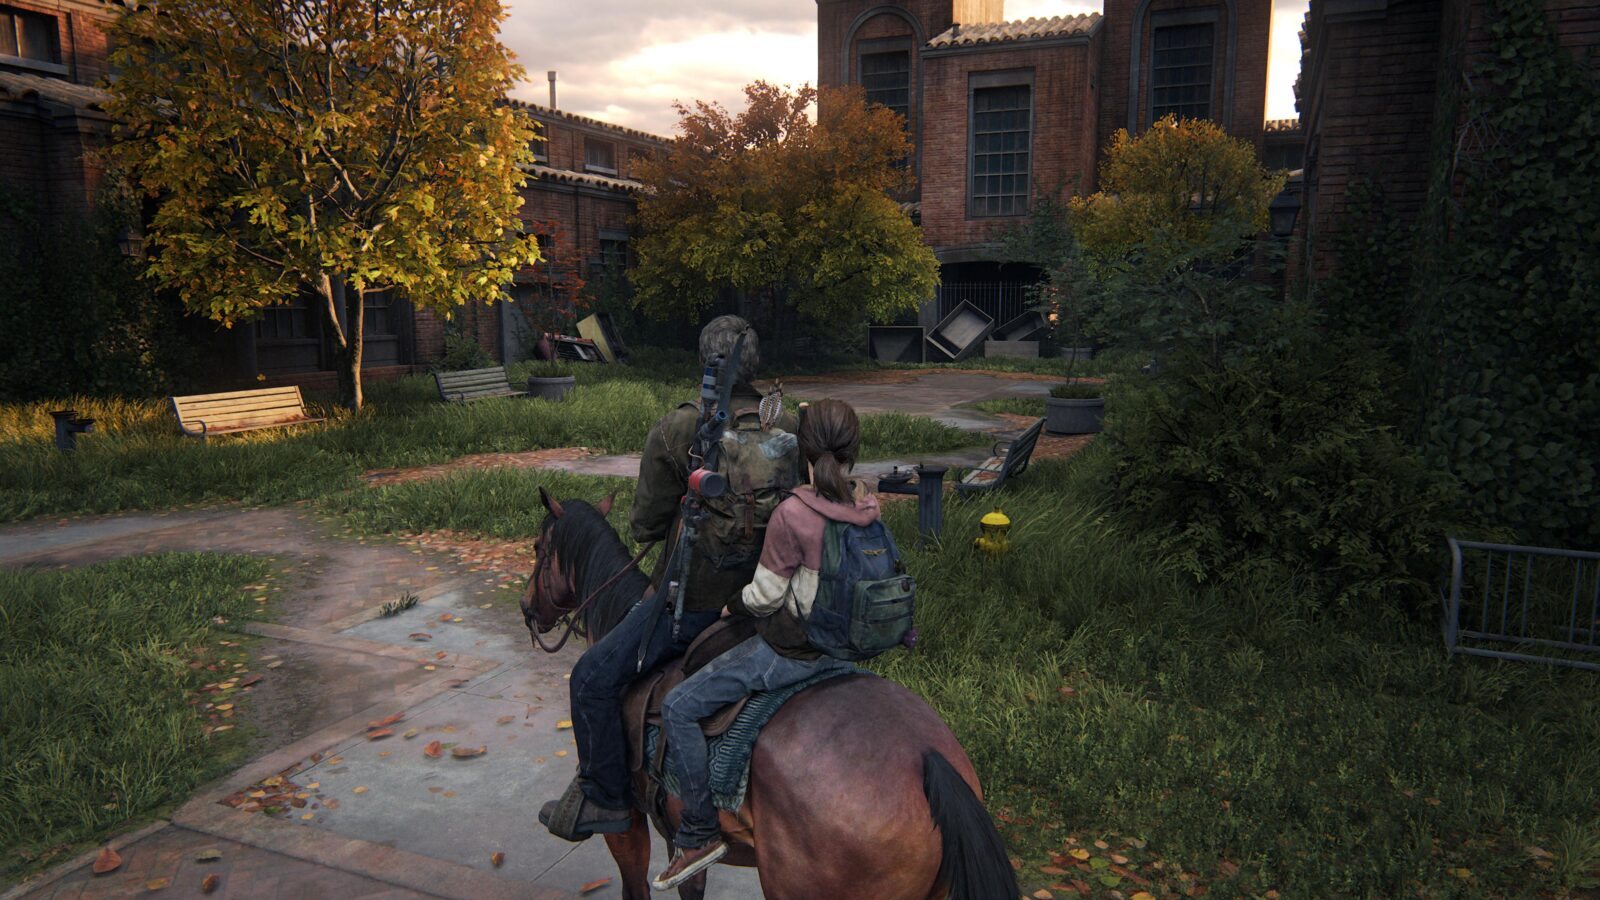
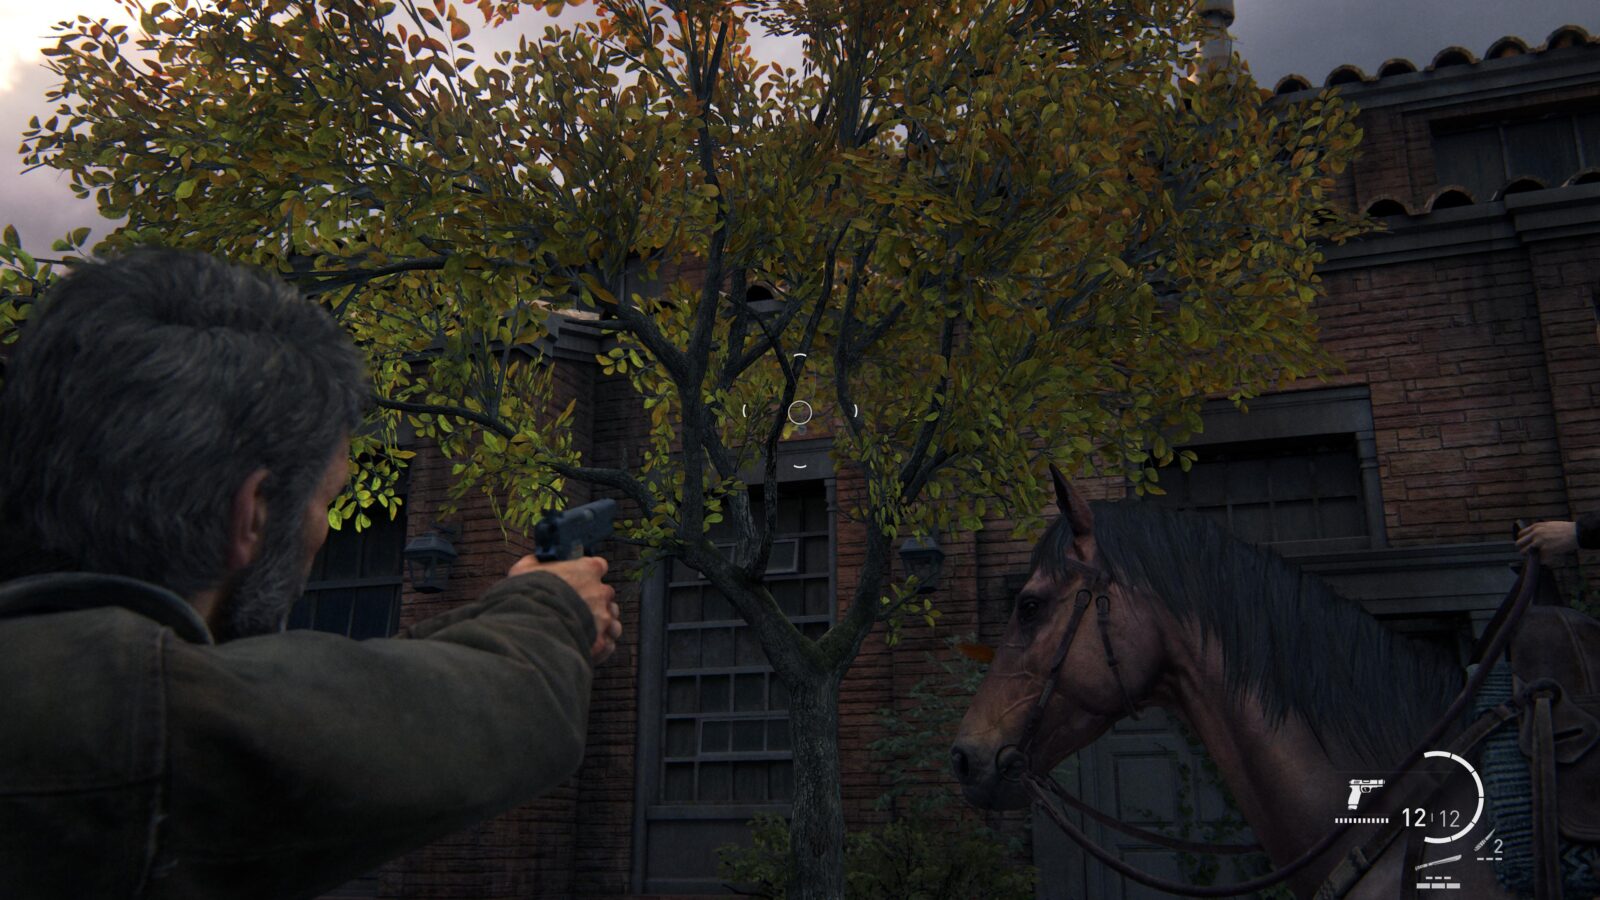
Firefly Pendant #20 Hope Pino ??0318 – Go up the next set of steps—on horseback—and take a right into a dead end. Check the tree on your right next to the very last bench for a pendant. Shoot it or knock it down to be able to pick it up.
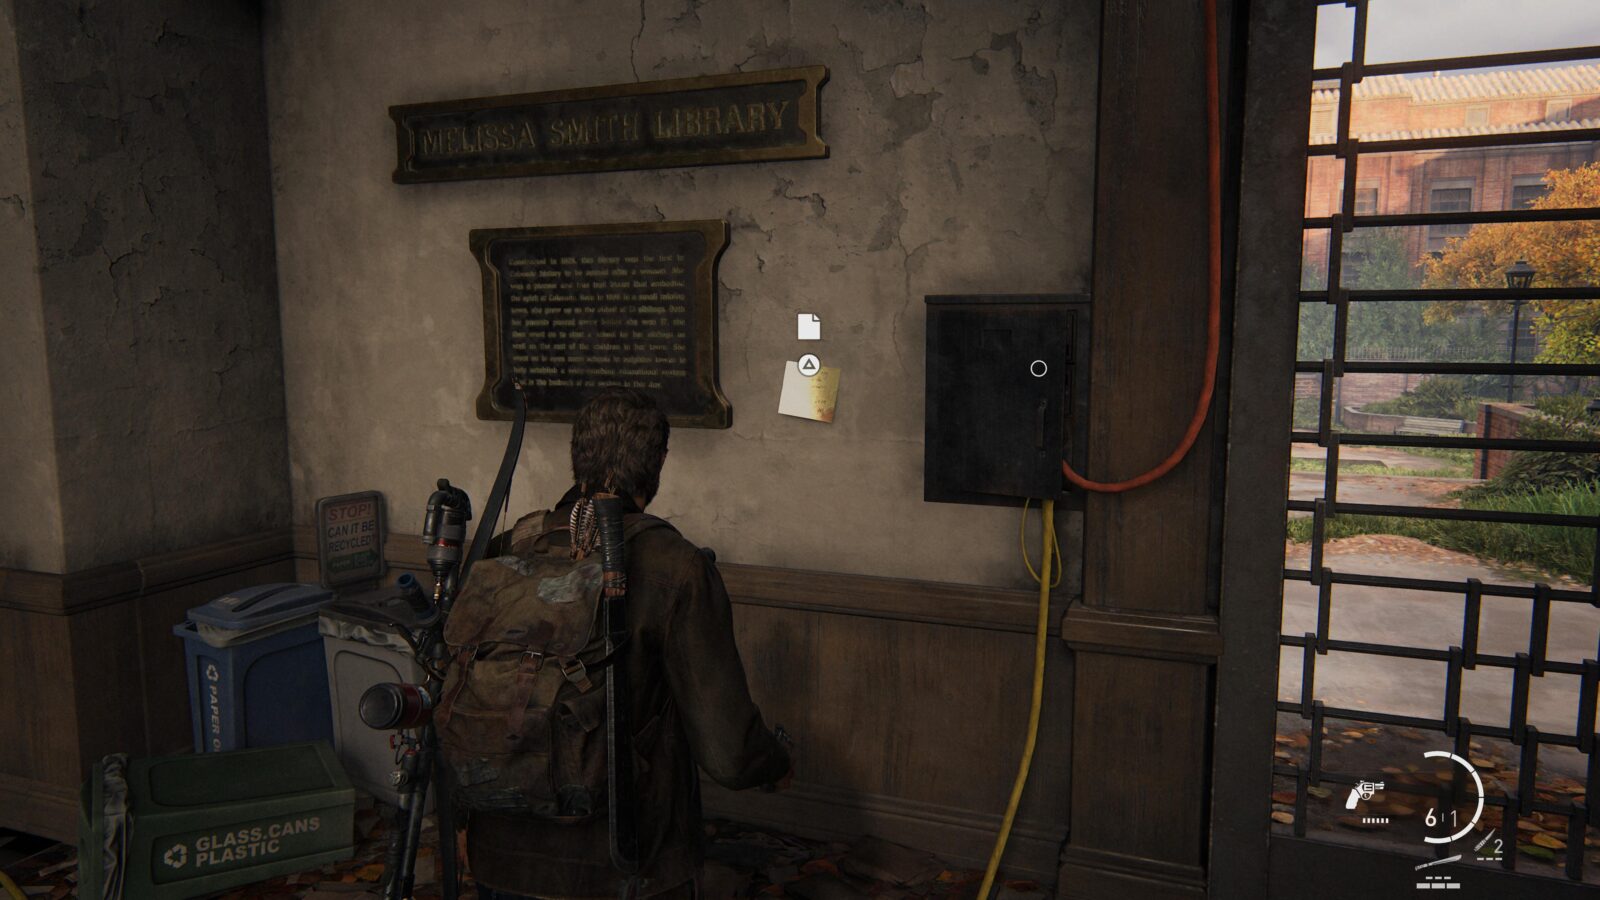
Artifact #58 Wall Panel Note – Joel will leave Ellie to look after the horse while he explores an area filled with Runners. On the ground floor, by the exit with the wires coming from the panel, is a note pinned to the wall.

Firefly Pendant #21 Alex Rohner 000260 – Open the gate after killing the Runners and continue on to the next barbed wire roadblocks. Get off the horse and climb the dumpster into the a room to your right. On a table in there is a pendant.


Training Manual #9 Health Sterilisation – Jump over the barbed wire roadblocks and hang right to find another dumpster you can climb to get to the second floor of a building where the Fireflies were sleeping (there are mattresses on the ground). On a desk inside is a training manual.

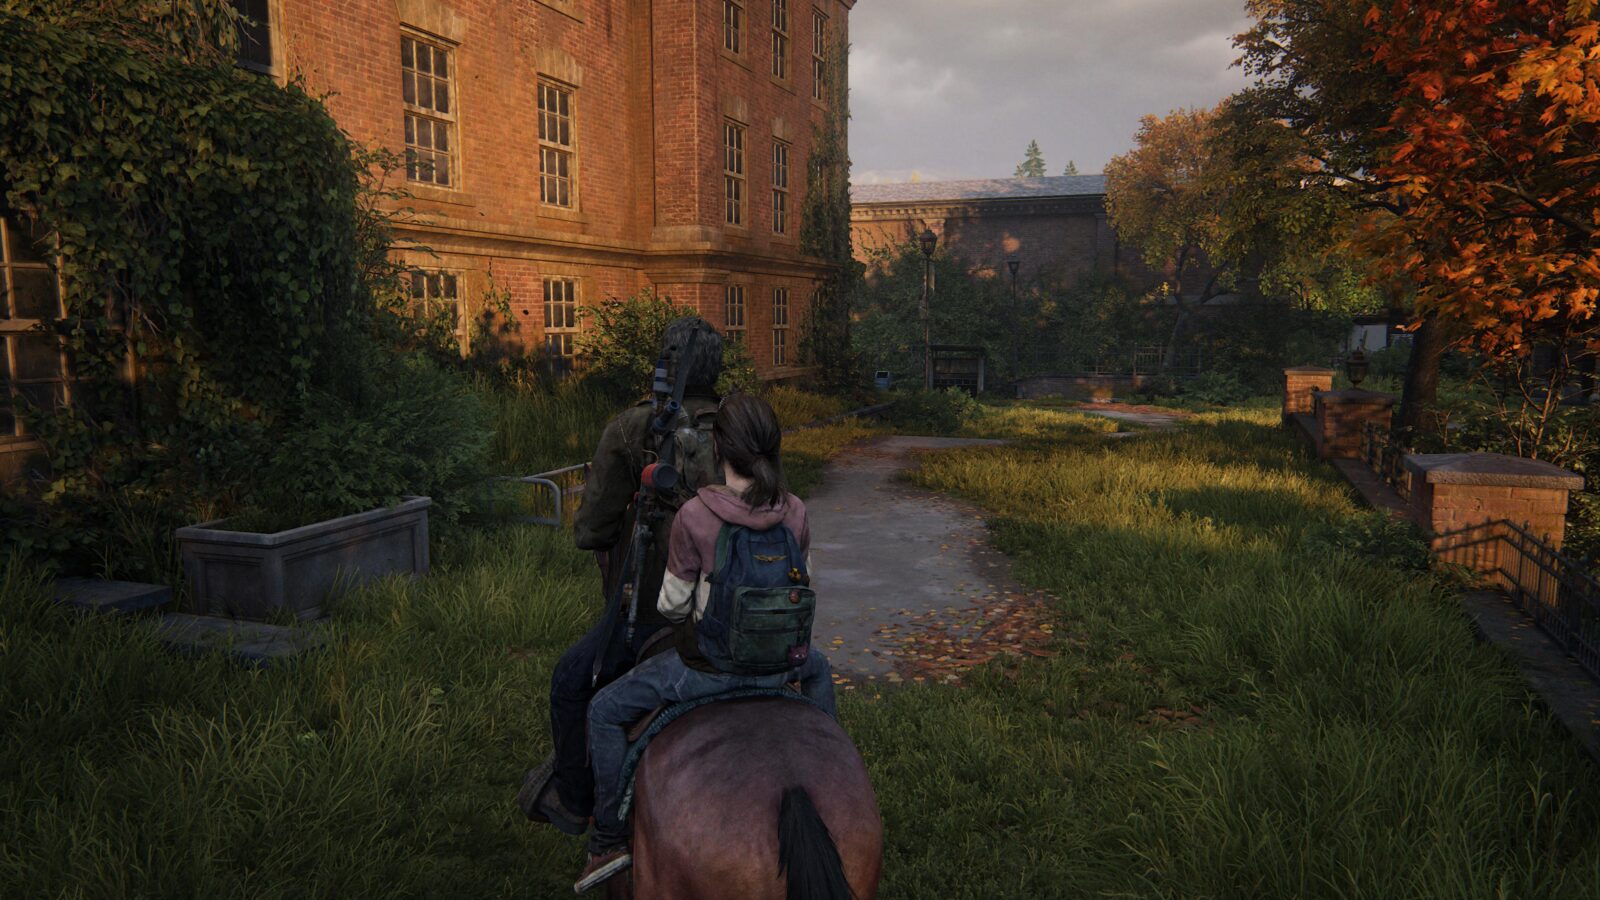
Optional Conversation #32 – Move towards the front of the square and you will see a path to the right that will let you proceed. As you take this path, keep an eye on the wall of the building to your left for a Firefly logo graffiti. Press ![]() when you see it.
when you see it.
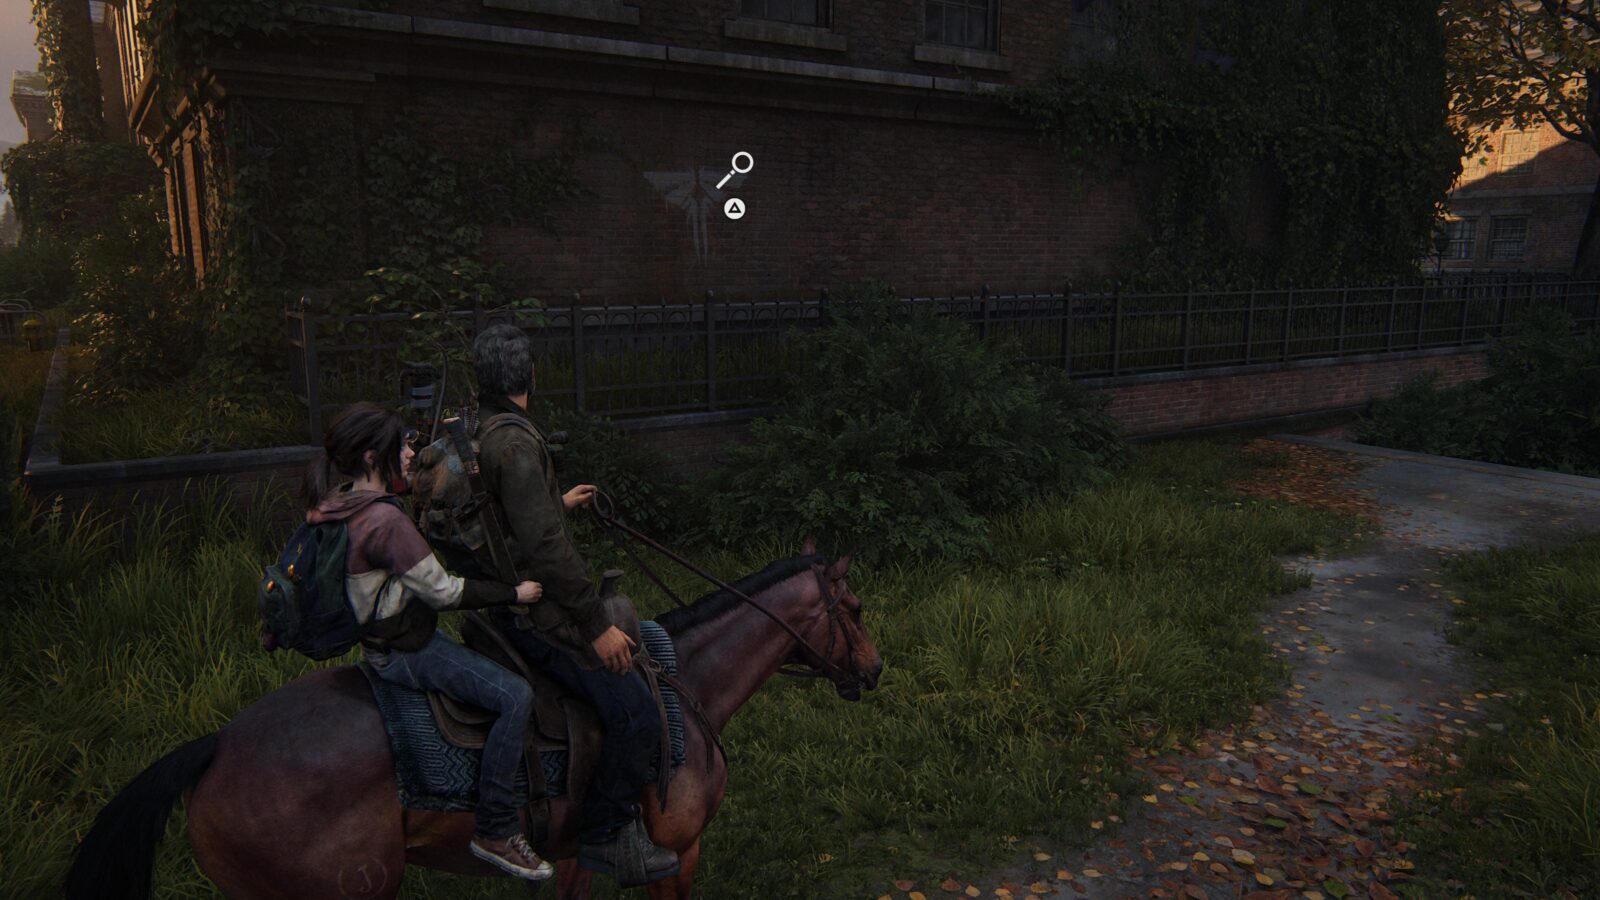
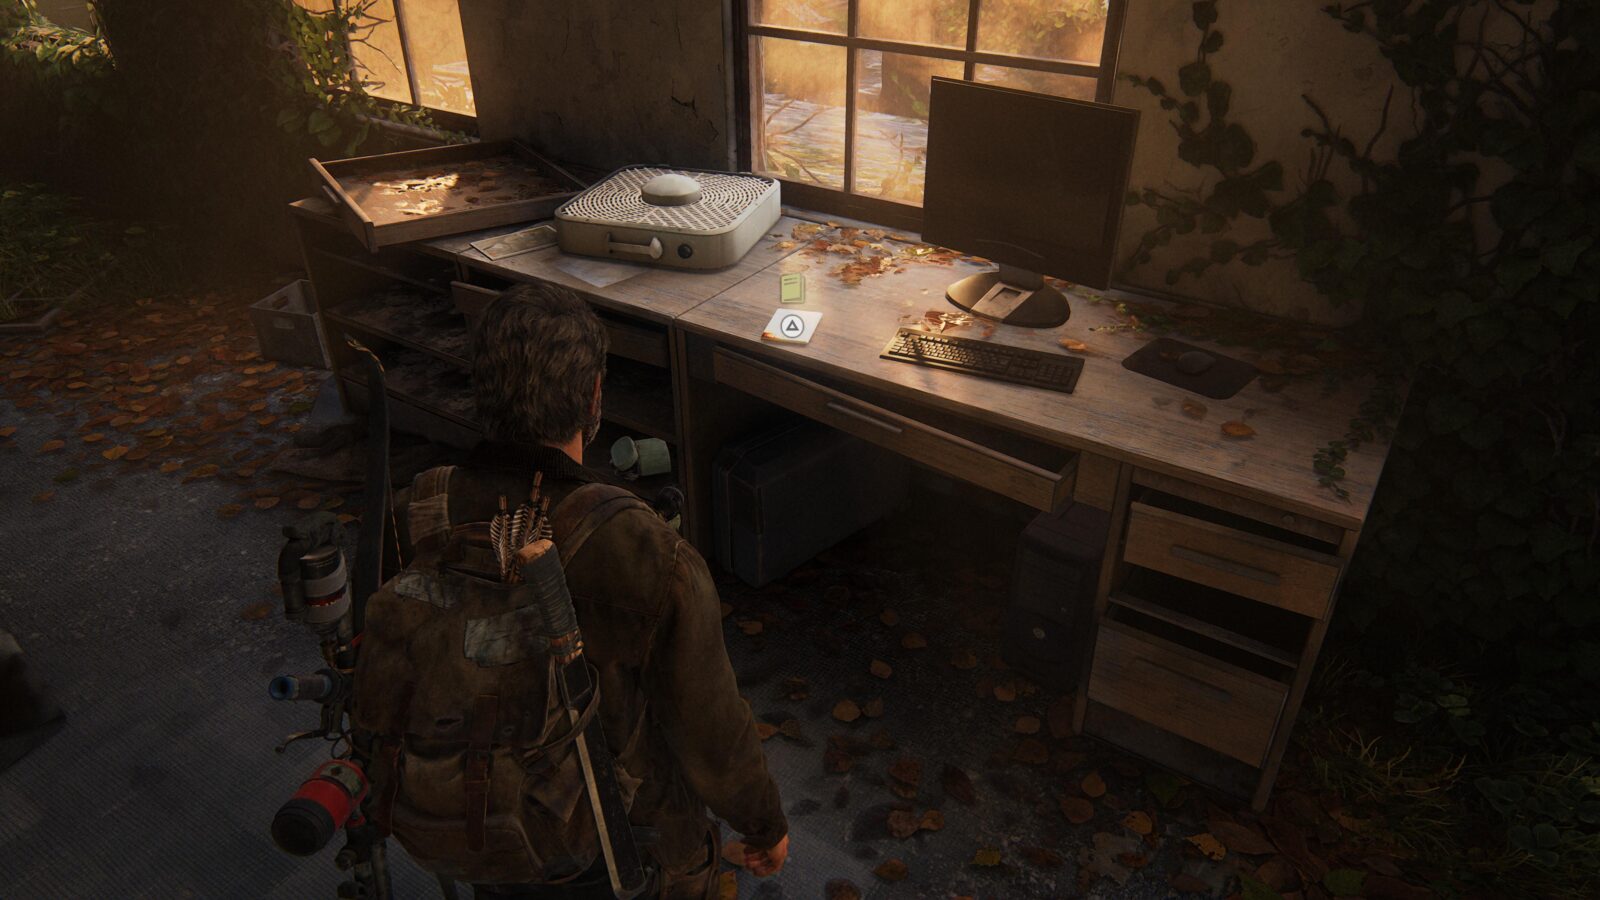
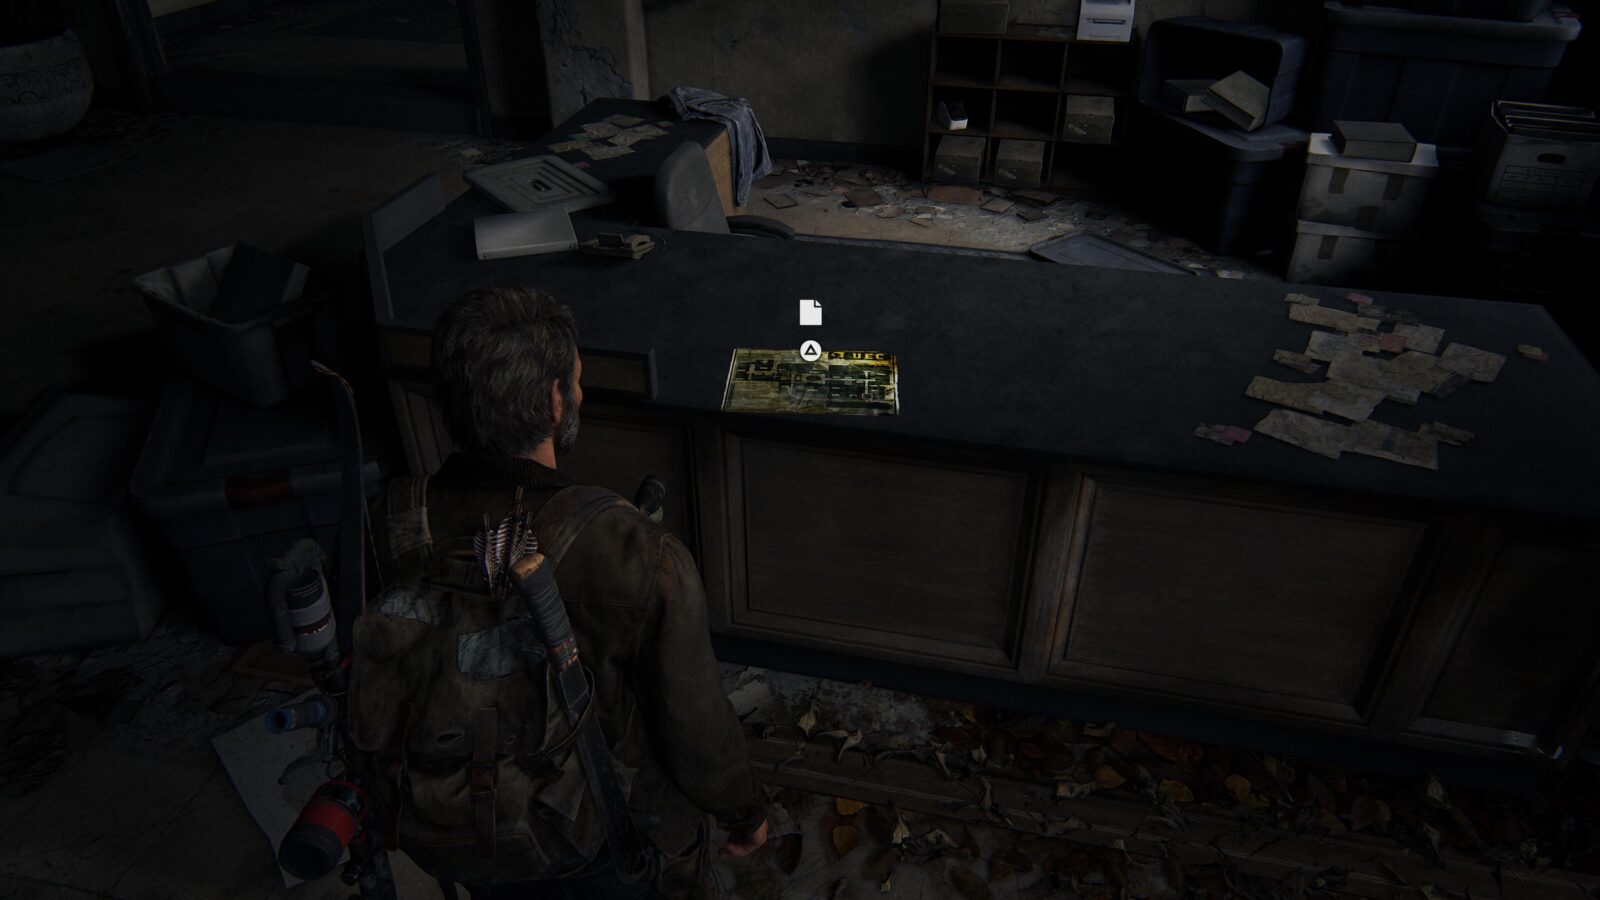
Artifact #59 UEC Campus Map – Keep going until you have to get off the horse and leave Ellie behind. Duck under the blockage at the door and look directly ahead of you for a map on a desk.

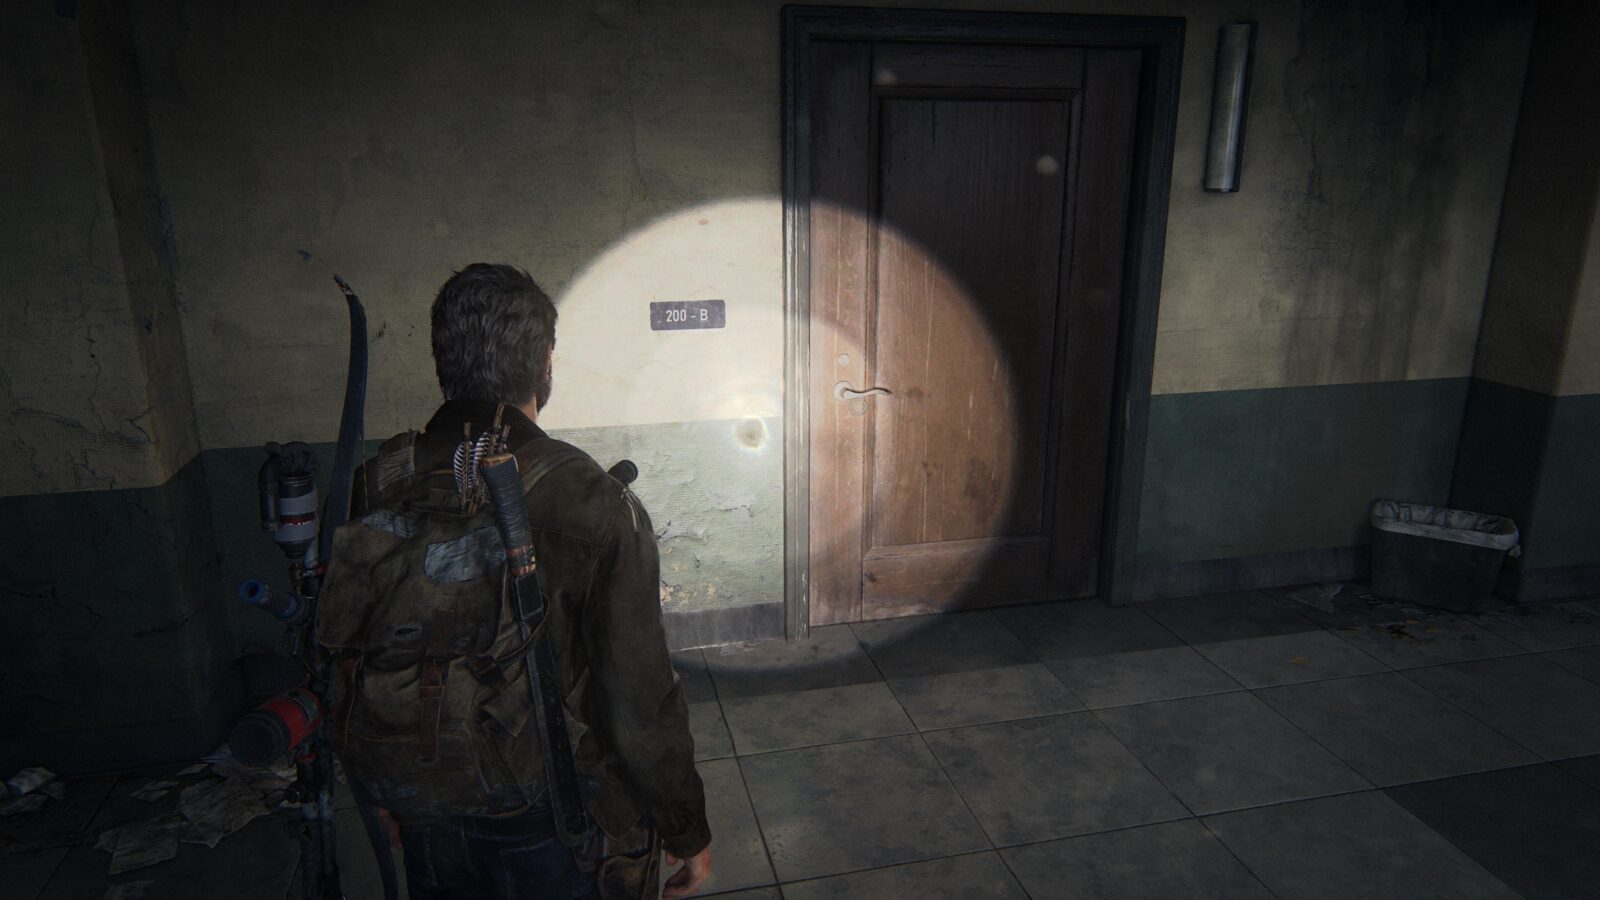
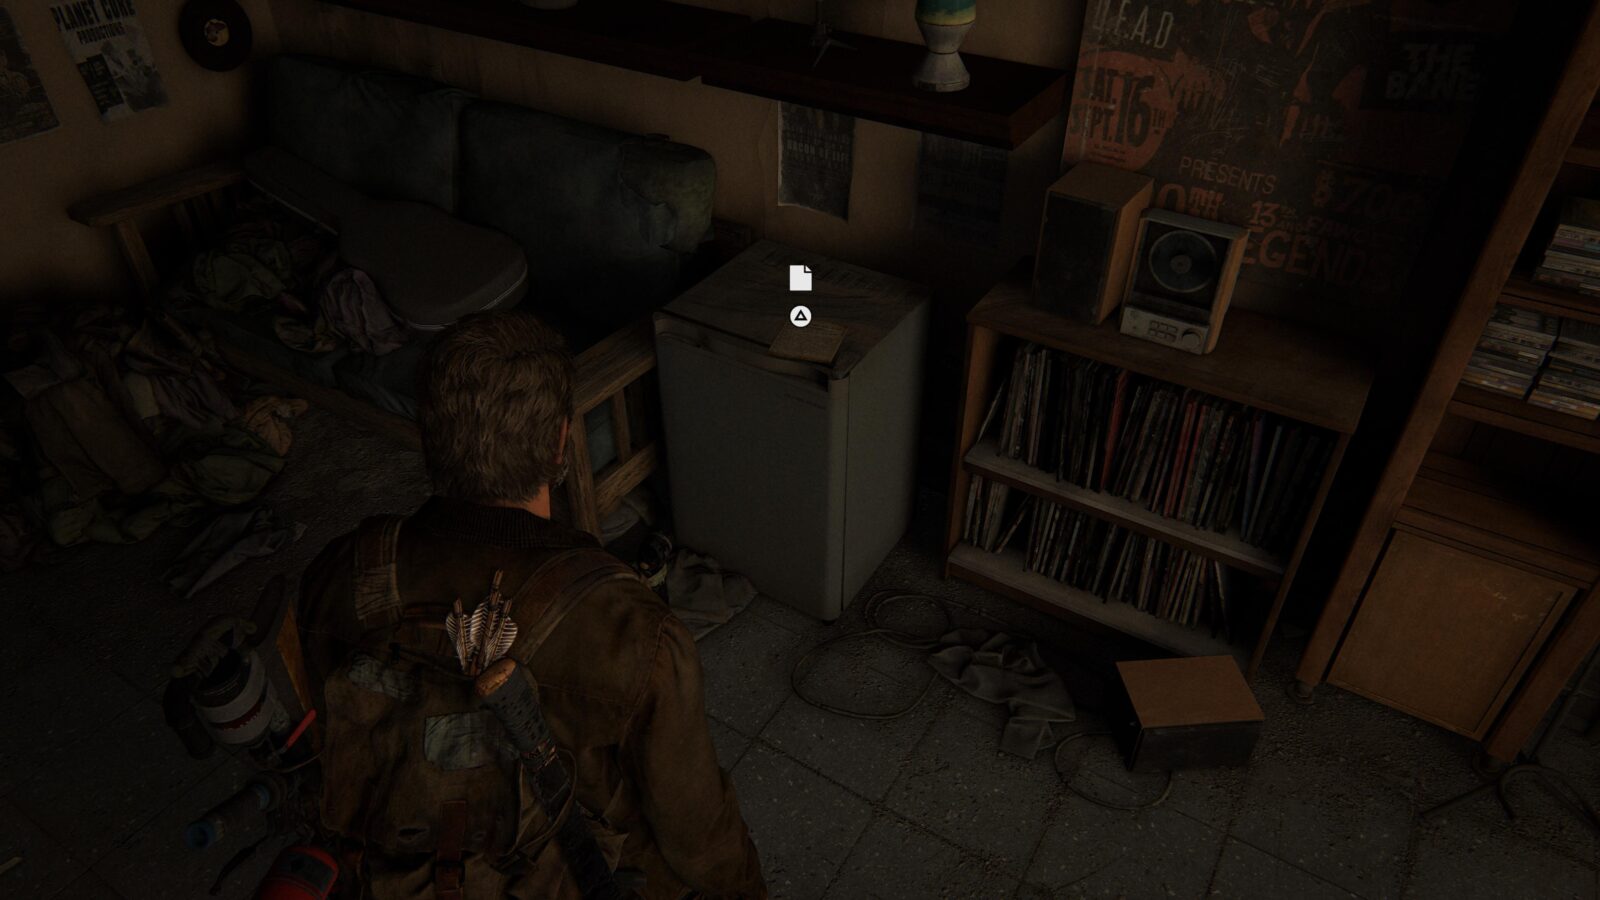
Artifact #60 Student’s Journal – Go upstairs to room 200-B and check the drawer for a journal.

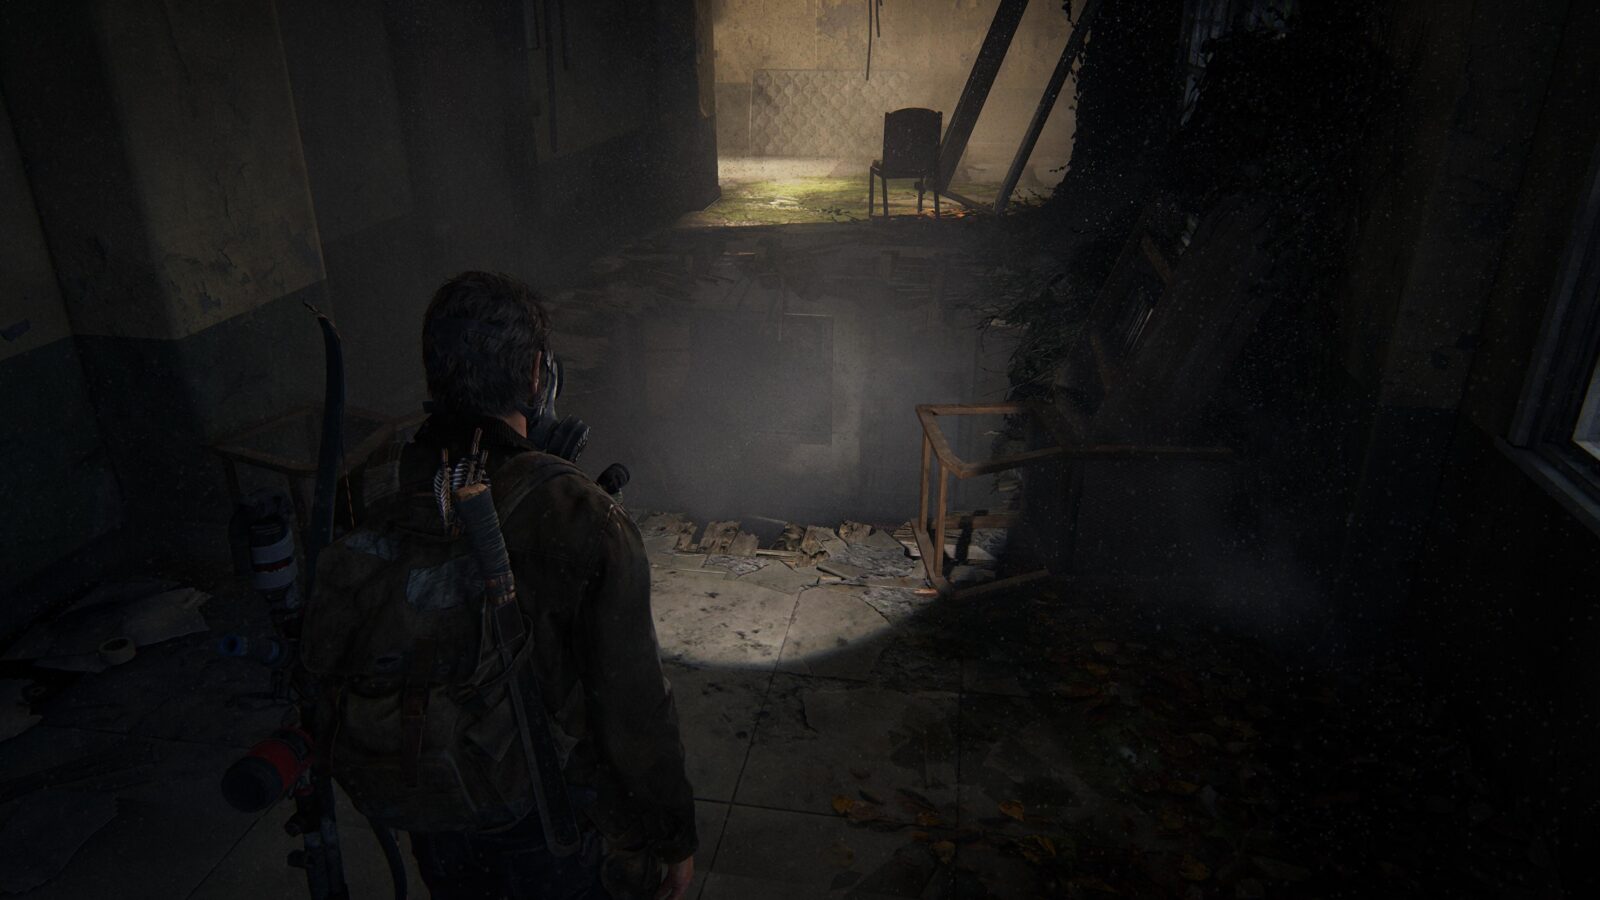
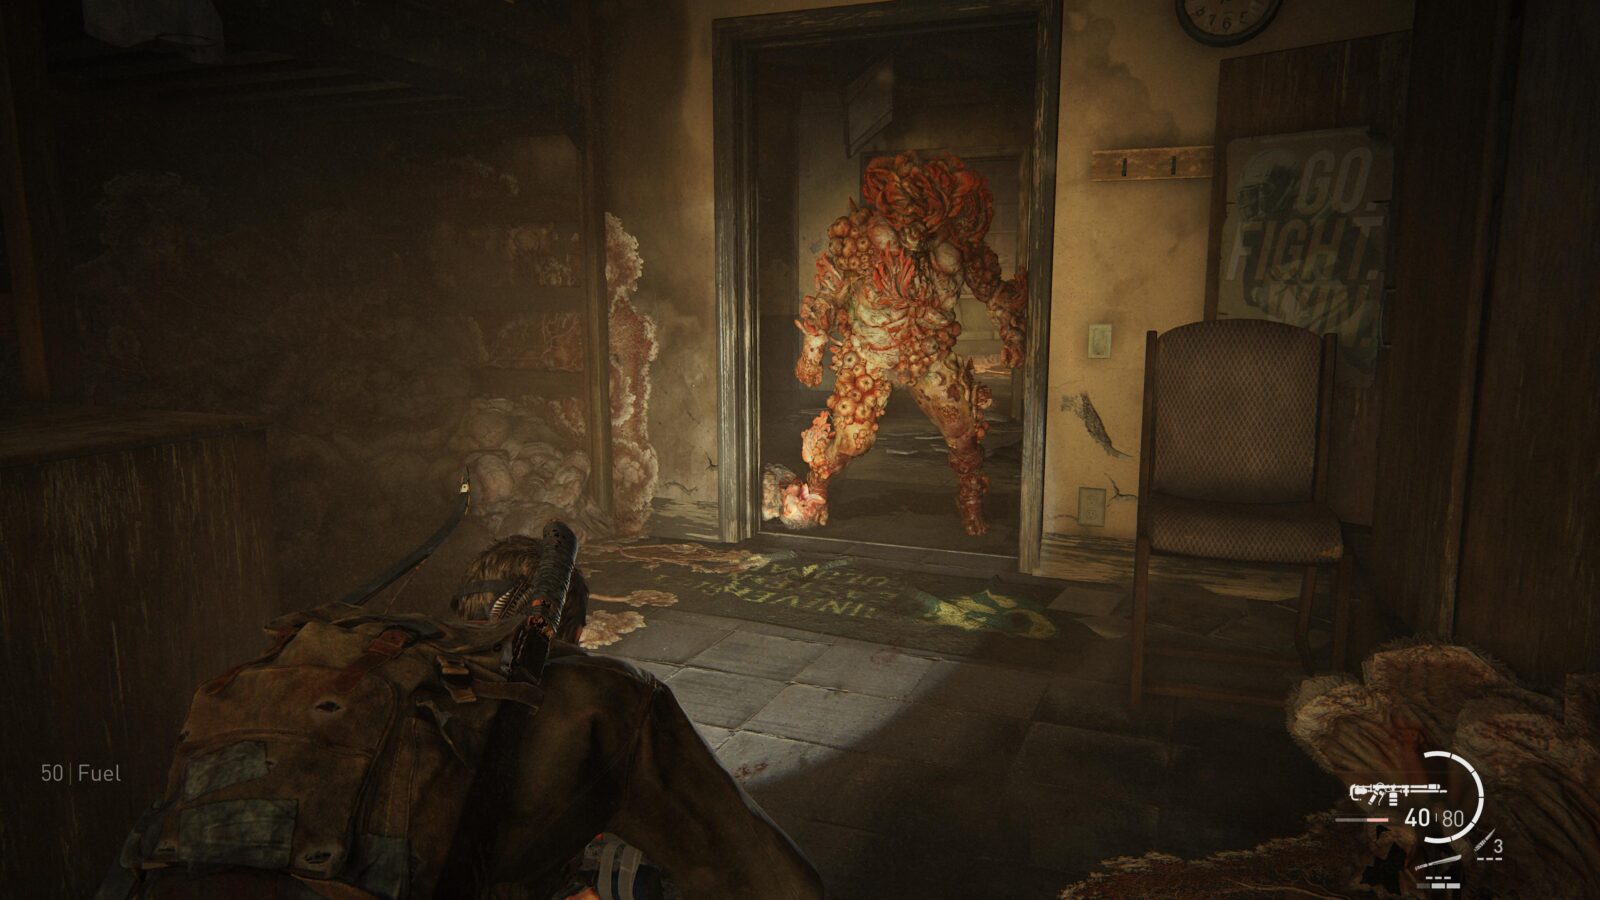
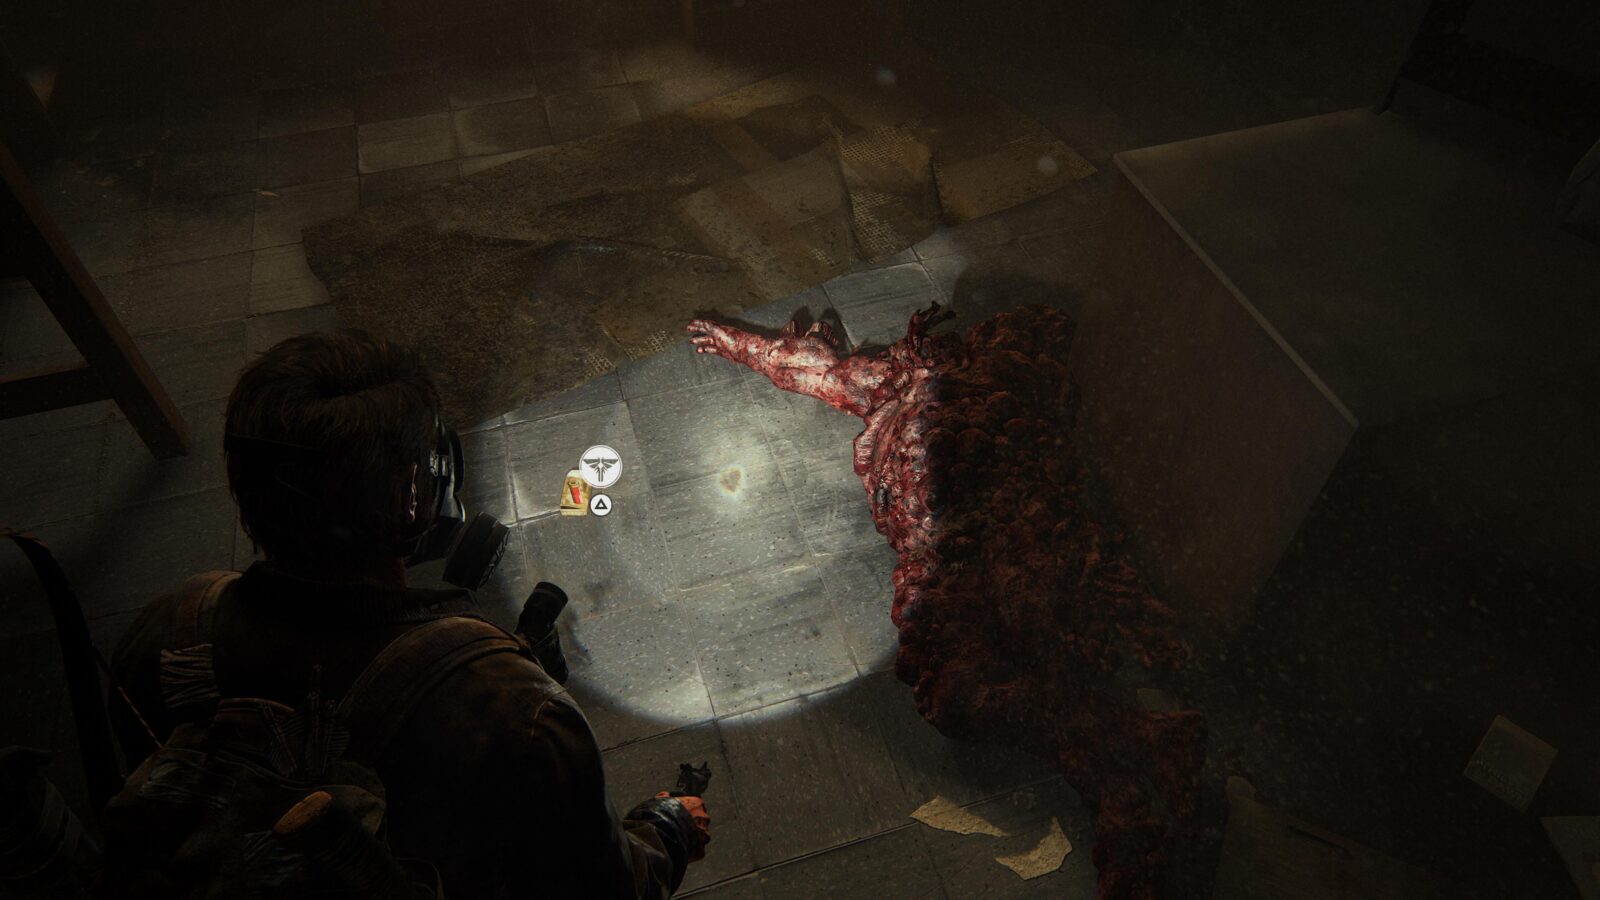
Firefly Pendant #22 Joe Warren 000310 – For those of you playing on Grounded and/or perma-death mode, this one is going to suck. In order to get this pendant you have to drop down into the hole where the spores are coming from and kill the Clickers and the Bloater in there. The pendant is dropped by the Bloater.
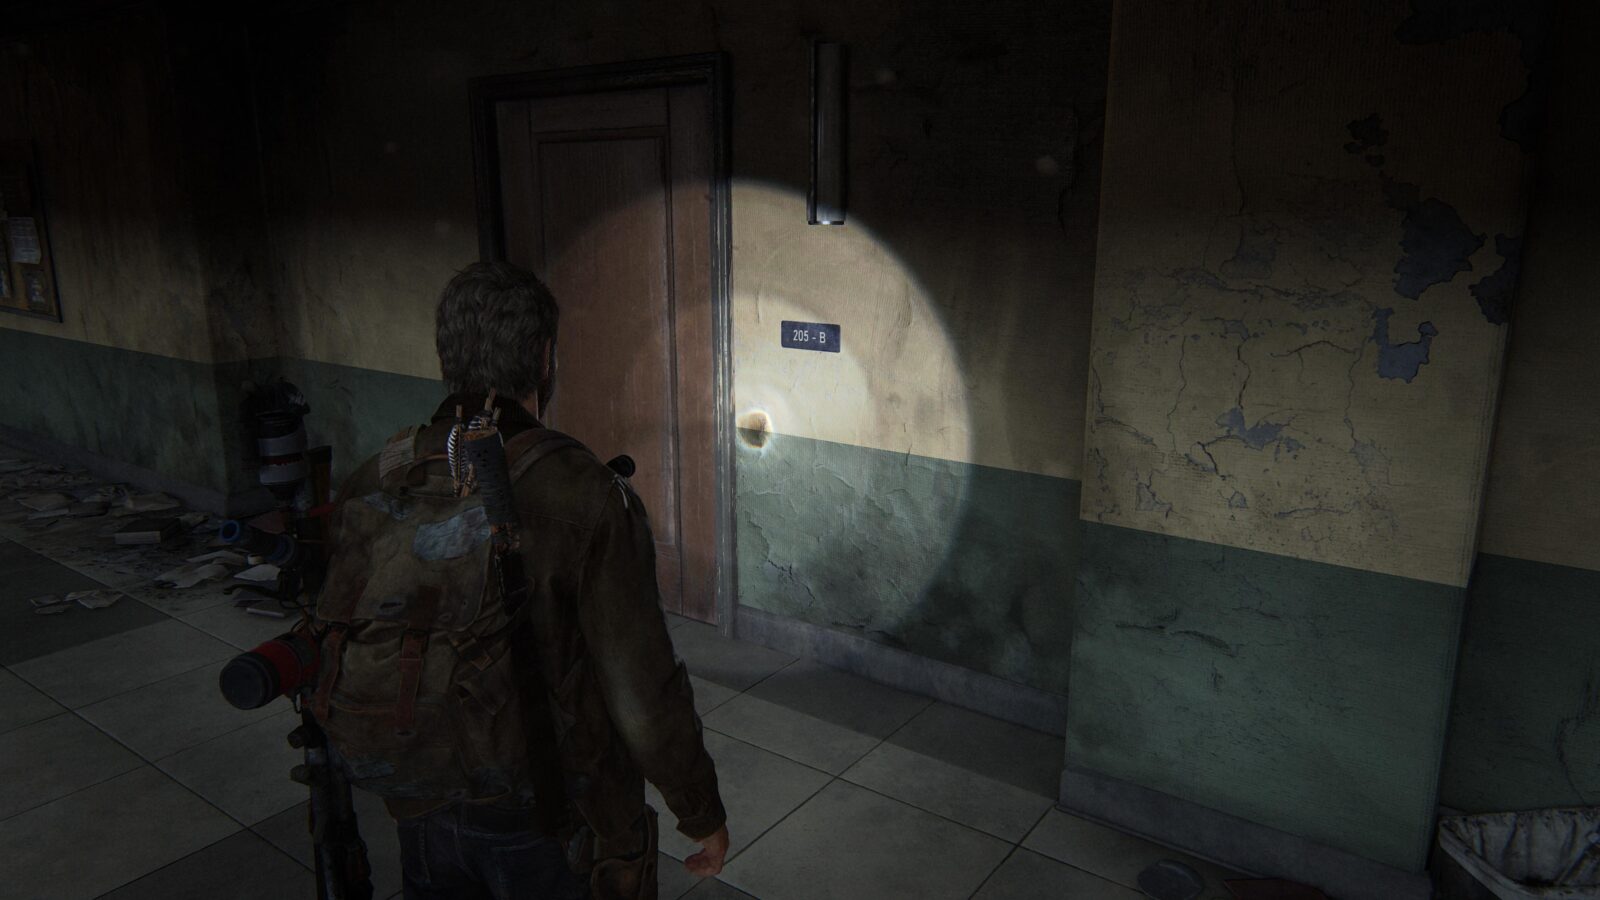
Artifact #61 Newspaper Clipping – Head upstairs and take a right to find room 205-B. Inside on a table is a note.
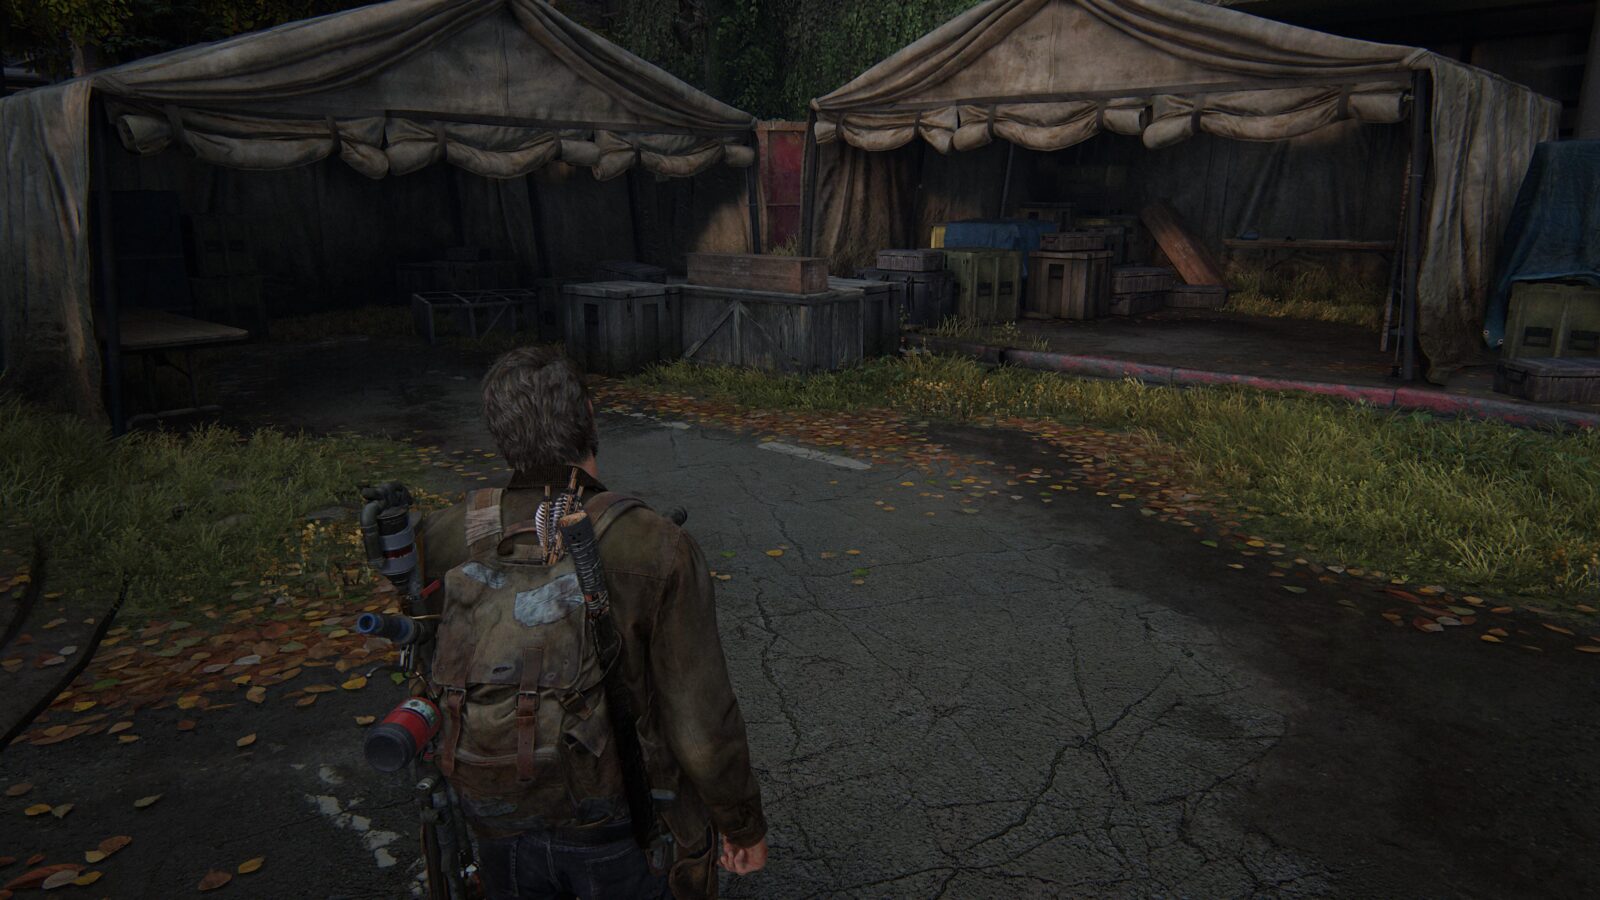
Firefly Pendant #23 Erik Griggs 000111 – After opening the gate proceed forward until you reach an area with many old abandoned tents. On the far left in the very last tent is a pendant.
Science Building
Workbench #9 – Climb up into the science building and head into the room to your left to find a workbench.

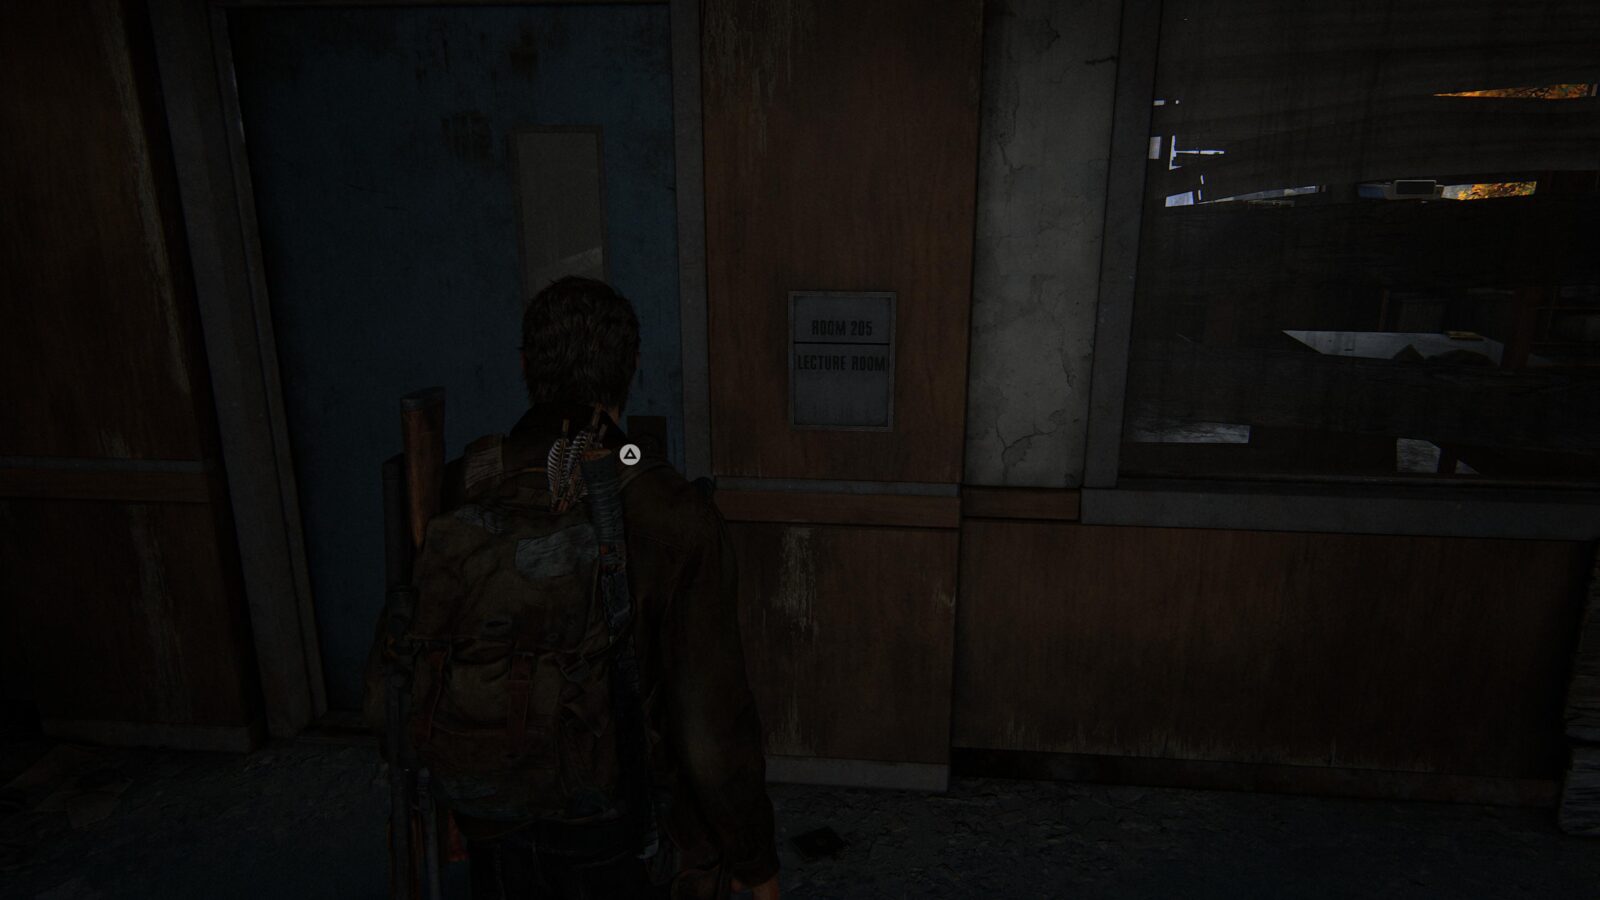
Shiv Door #10 – Go to the end of the corridor to find a room called “Lecture Room”. Open the door with a shiv.

Training Manual #10 Molotov Deployment – Inside the Lecture Room on a table.
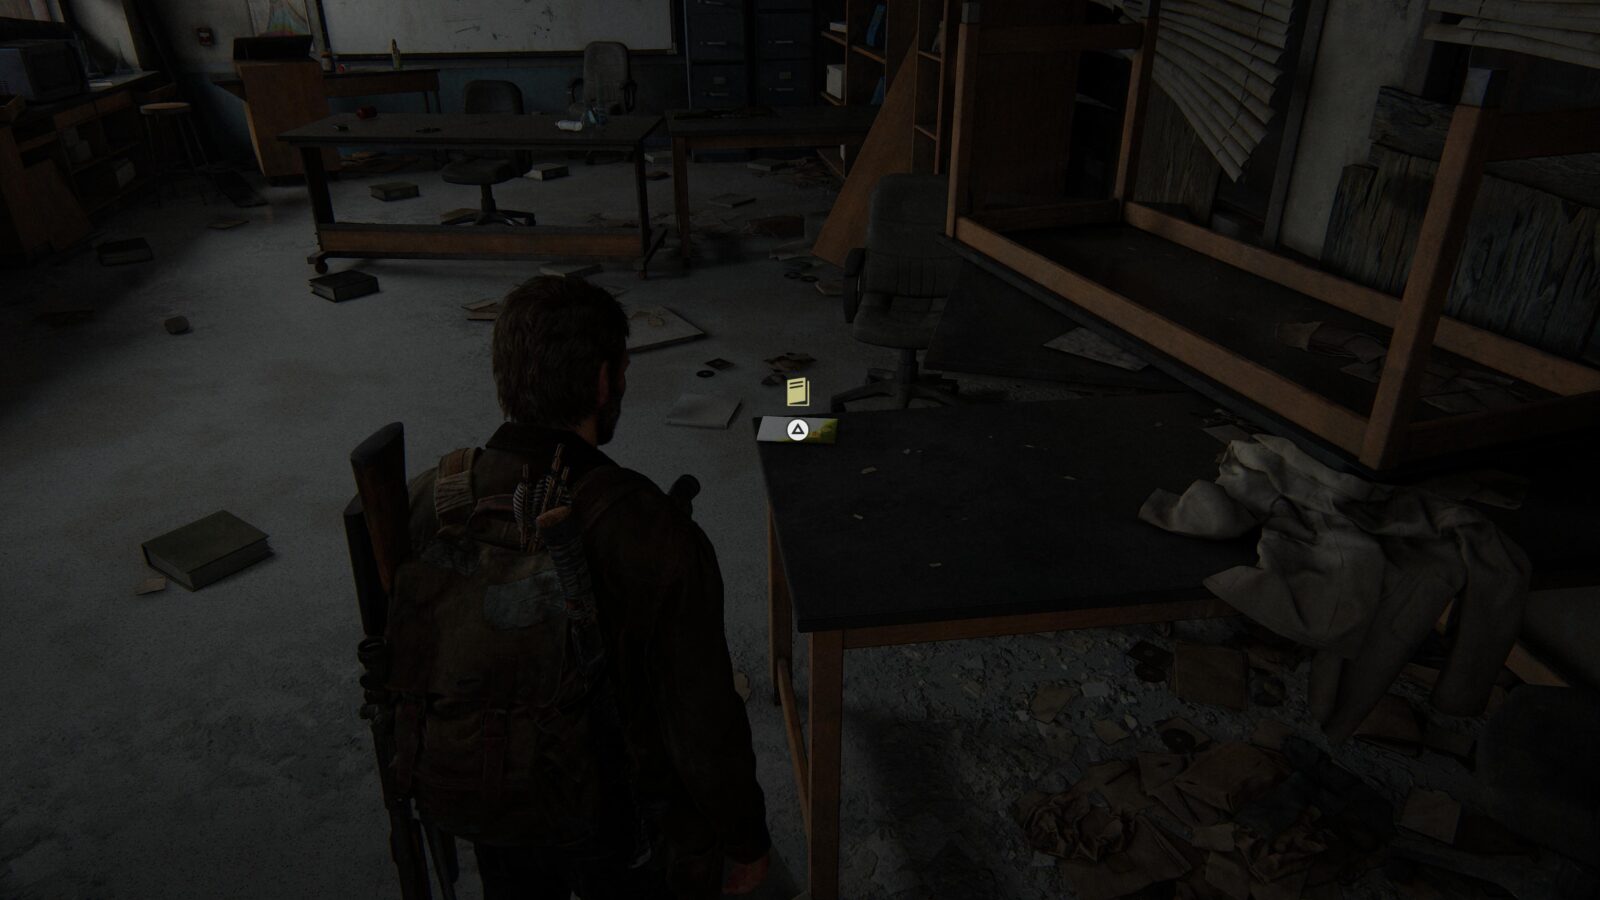
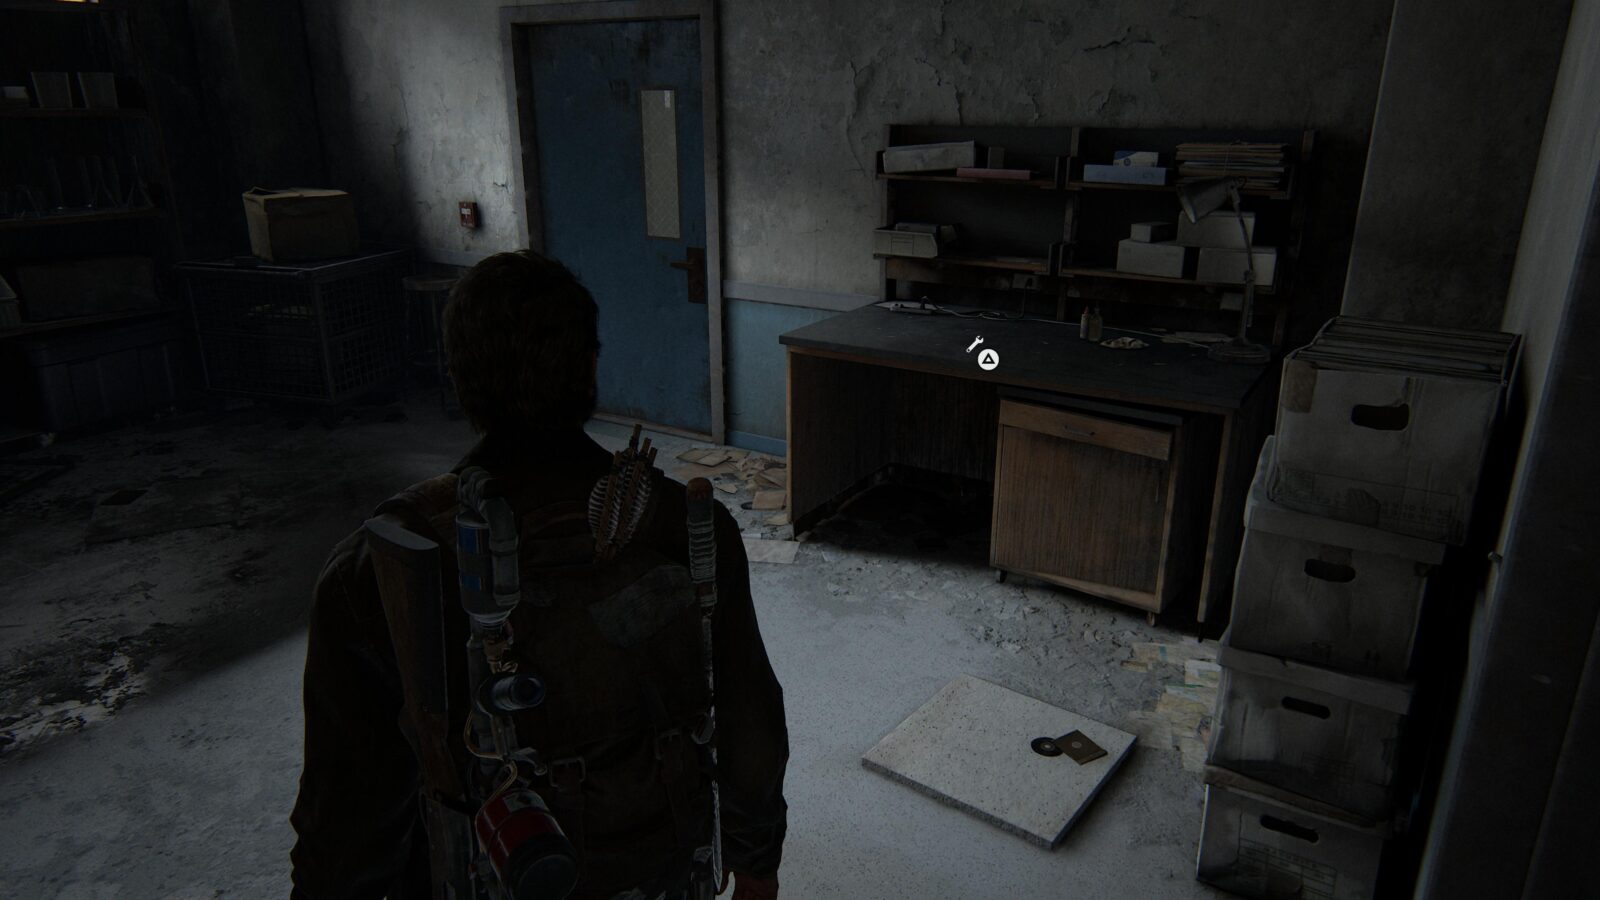
Workbench Tool #4 – Inside the Lecture Room on a table opposite Training Manual #10.

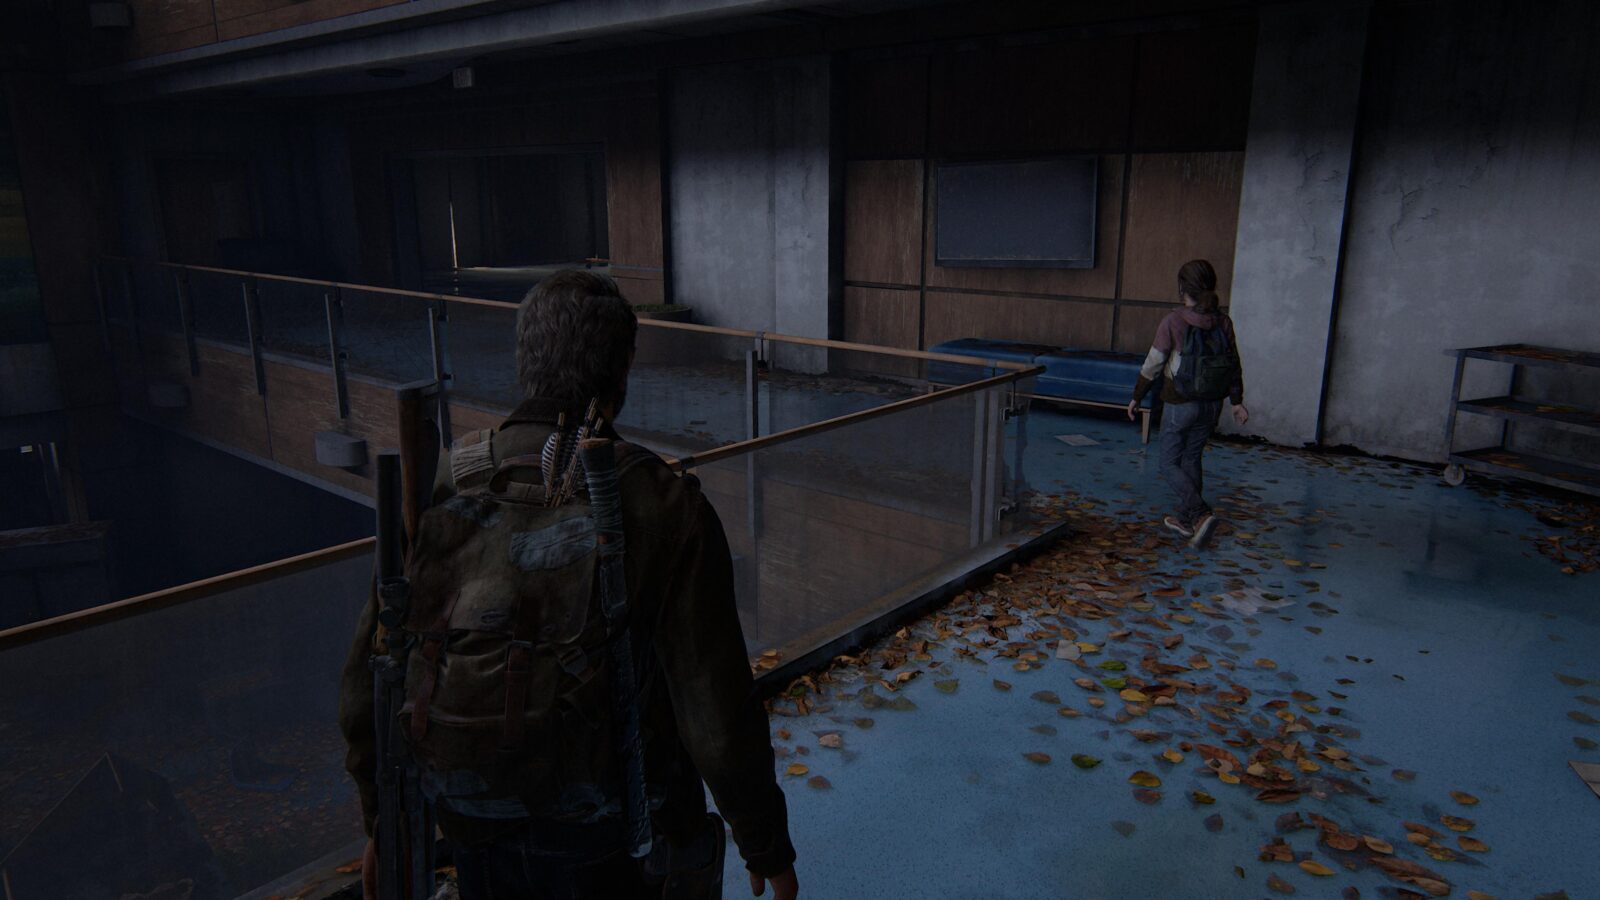
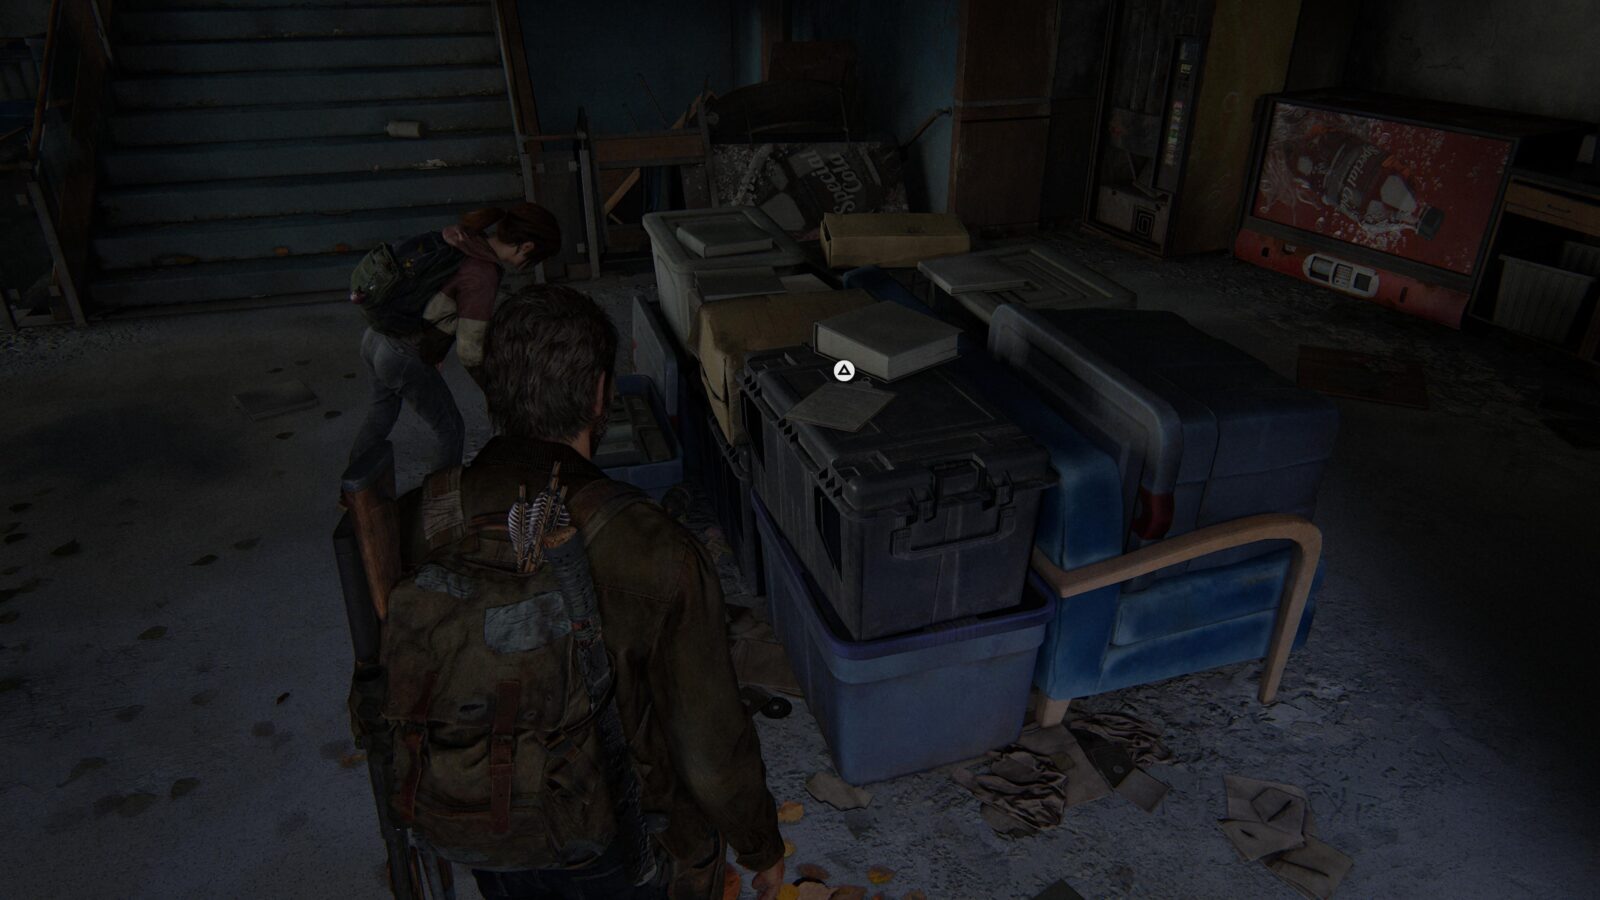
Optional Conversation #33 – Proceed to the next area where you can find a clipboard on some plastic cases next to the staircase. Press ![]() to start a conversation.
to start a conversation.
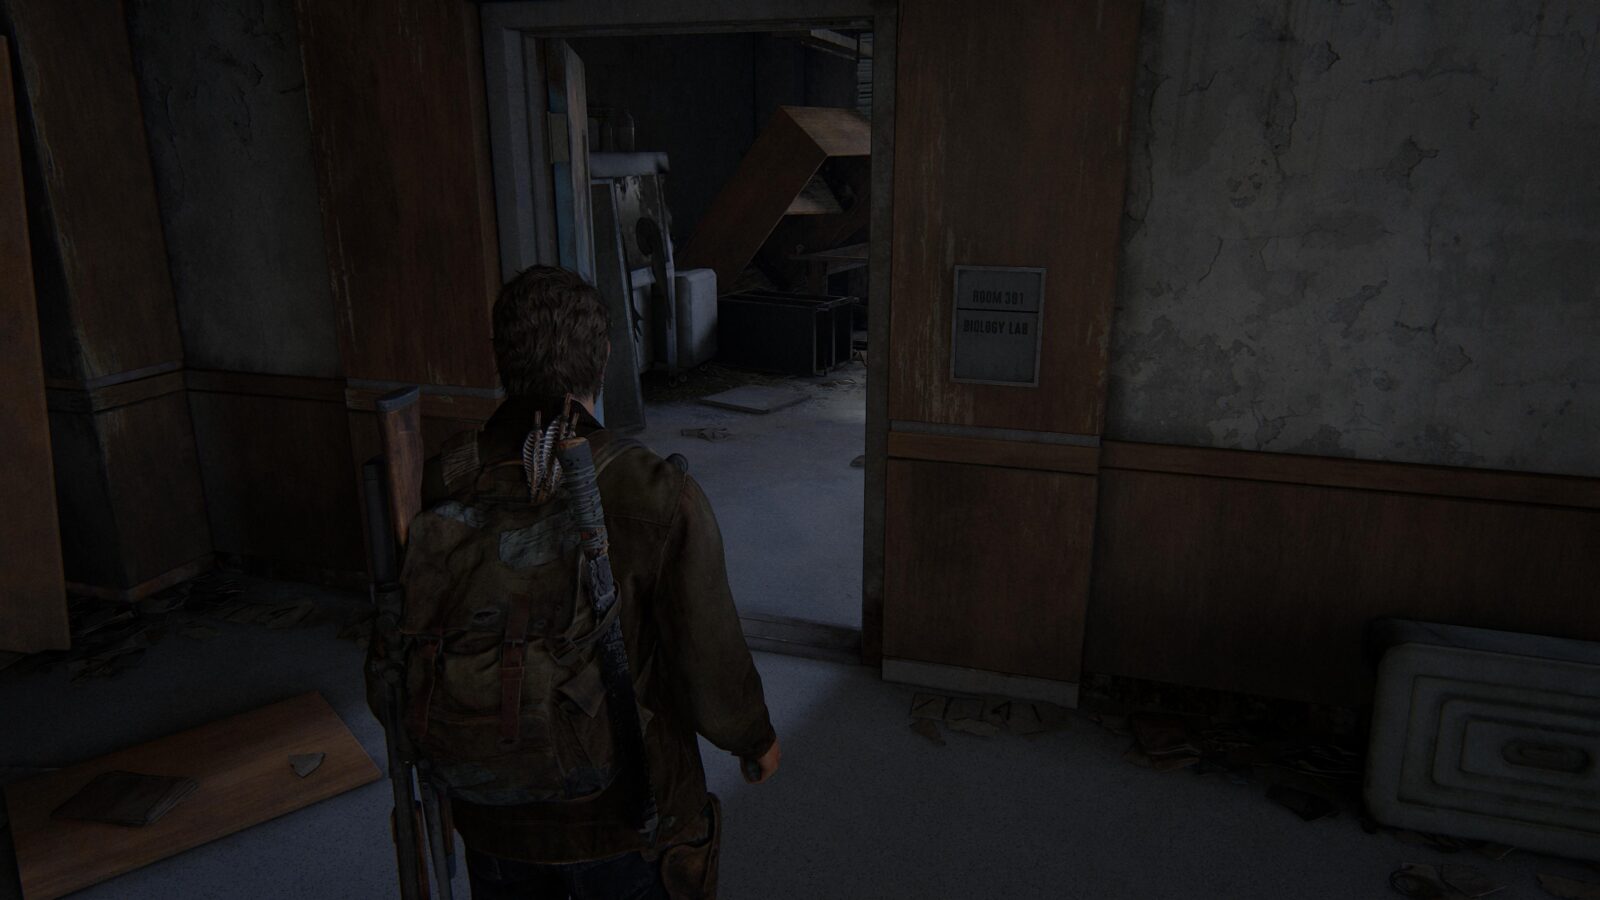
Artifact #62 Office Recorder – Head up to the next floor and follow the corridor all the way left to find the Biology Room. Inside on a desk is a tape recorder.

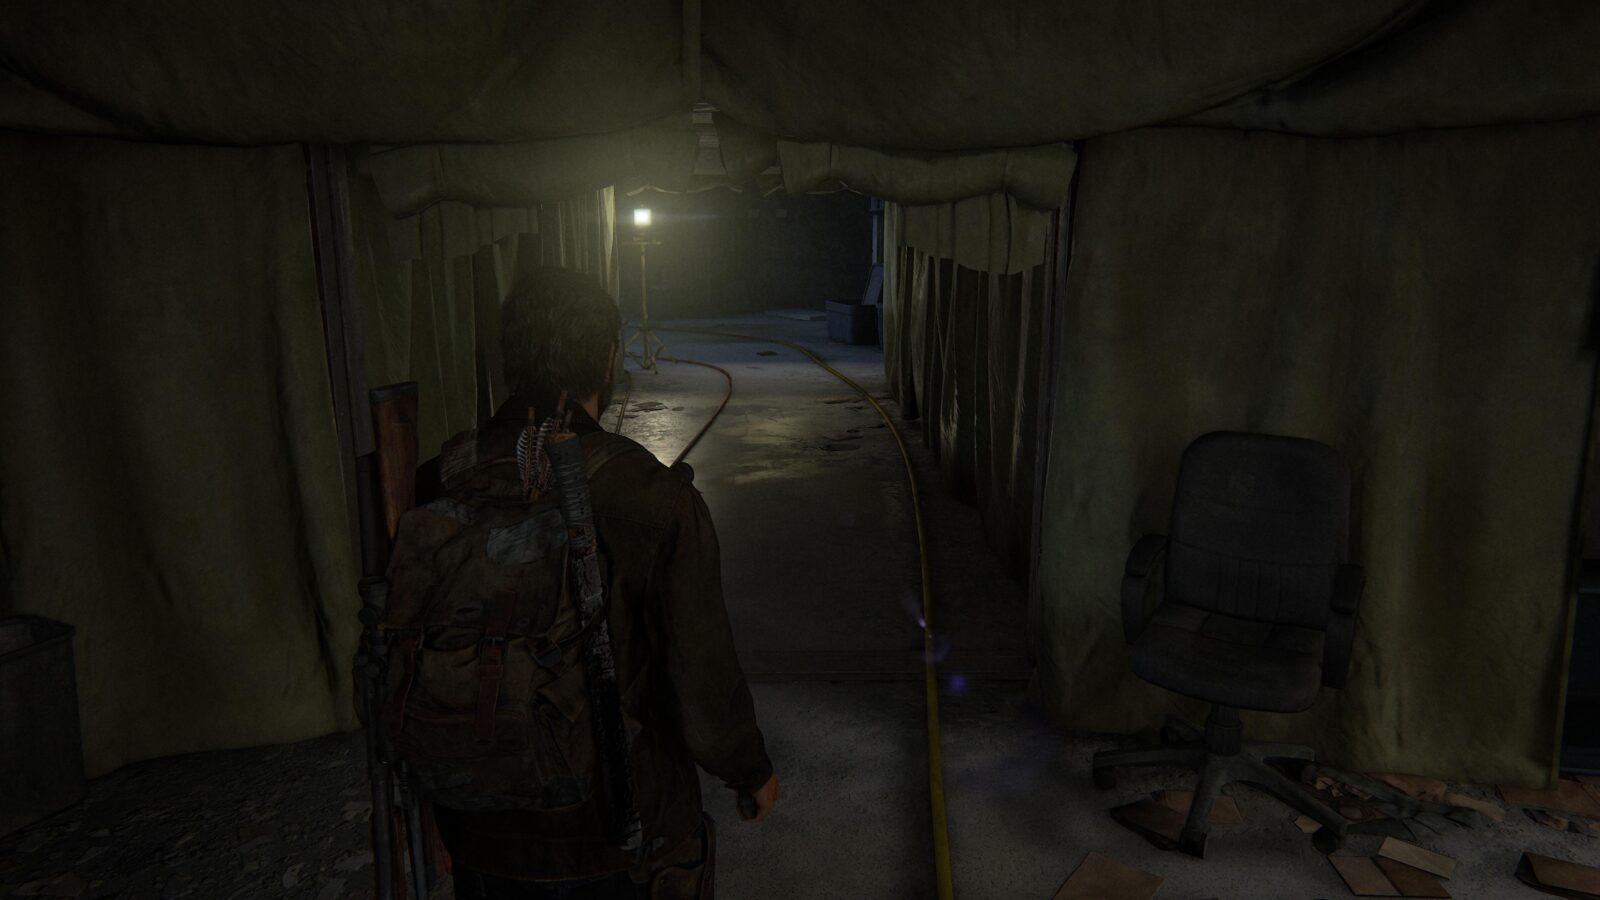
Artifact #63 Fungal X-Rays – Head to the end of the corridor—where it’s tented—and head left to find these X-Rays on a table.
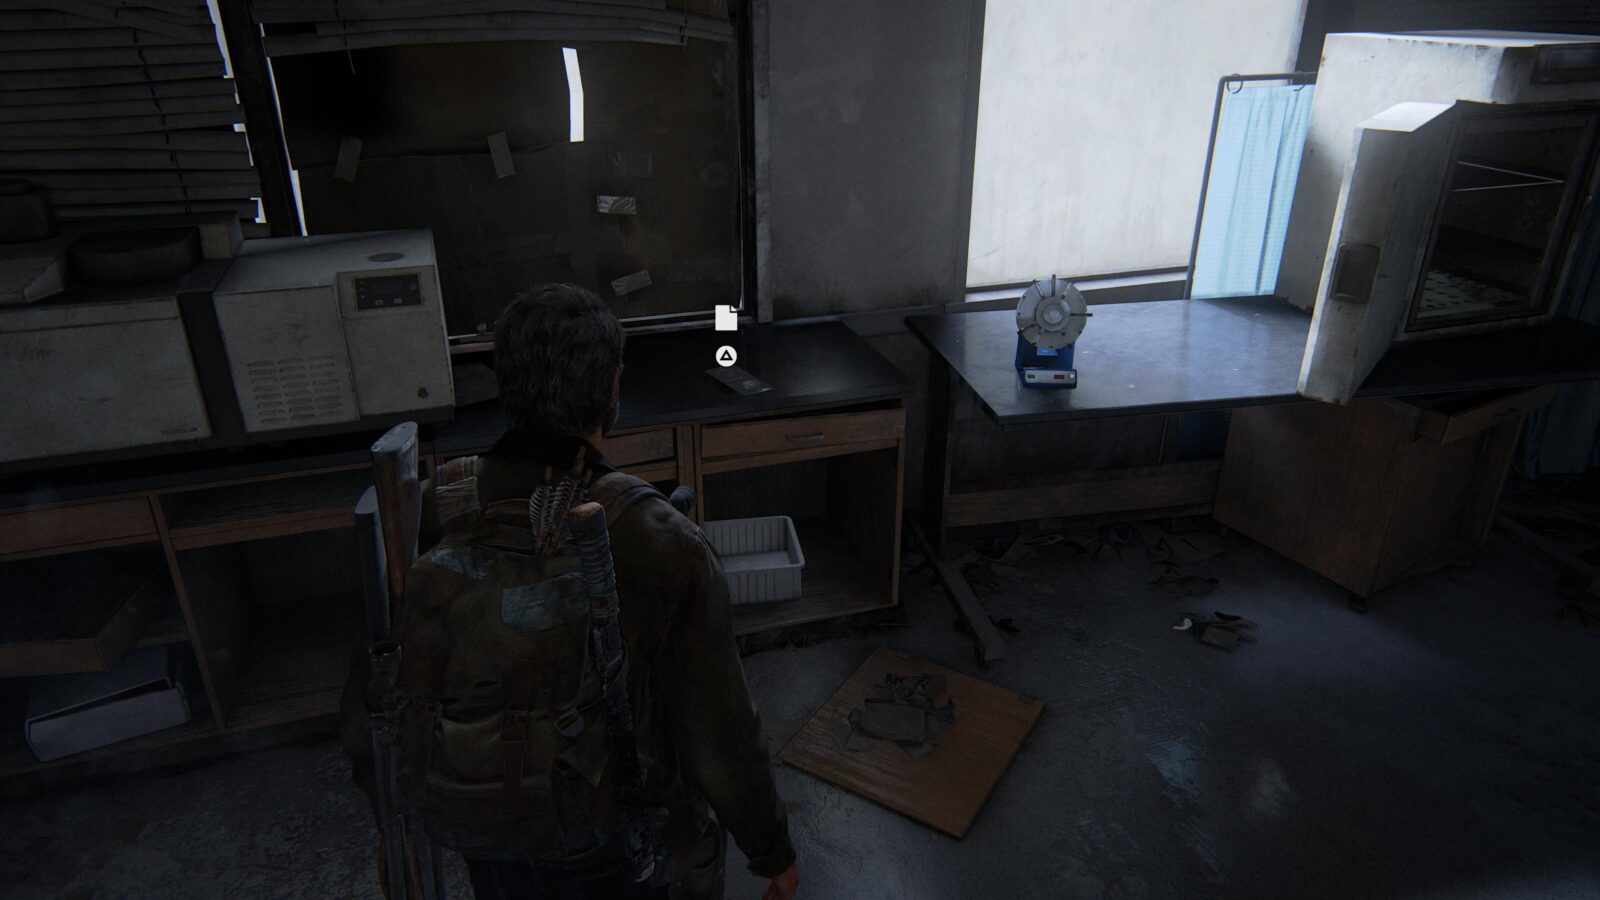
Artifact #64 Lab Recorder – Enter the Biology Lab in the tented area and check the tables for a tape recorder.
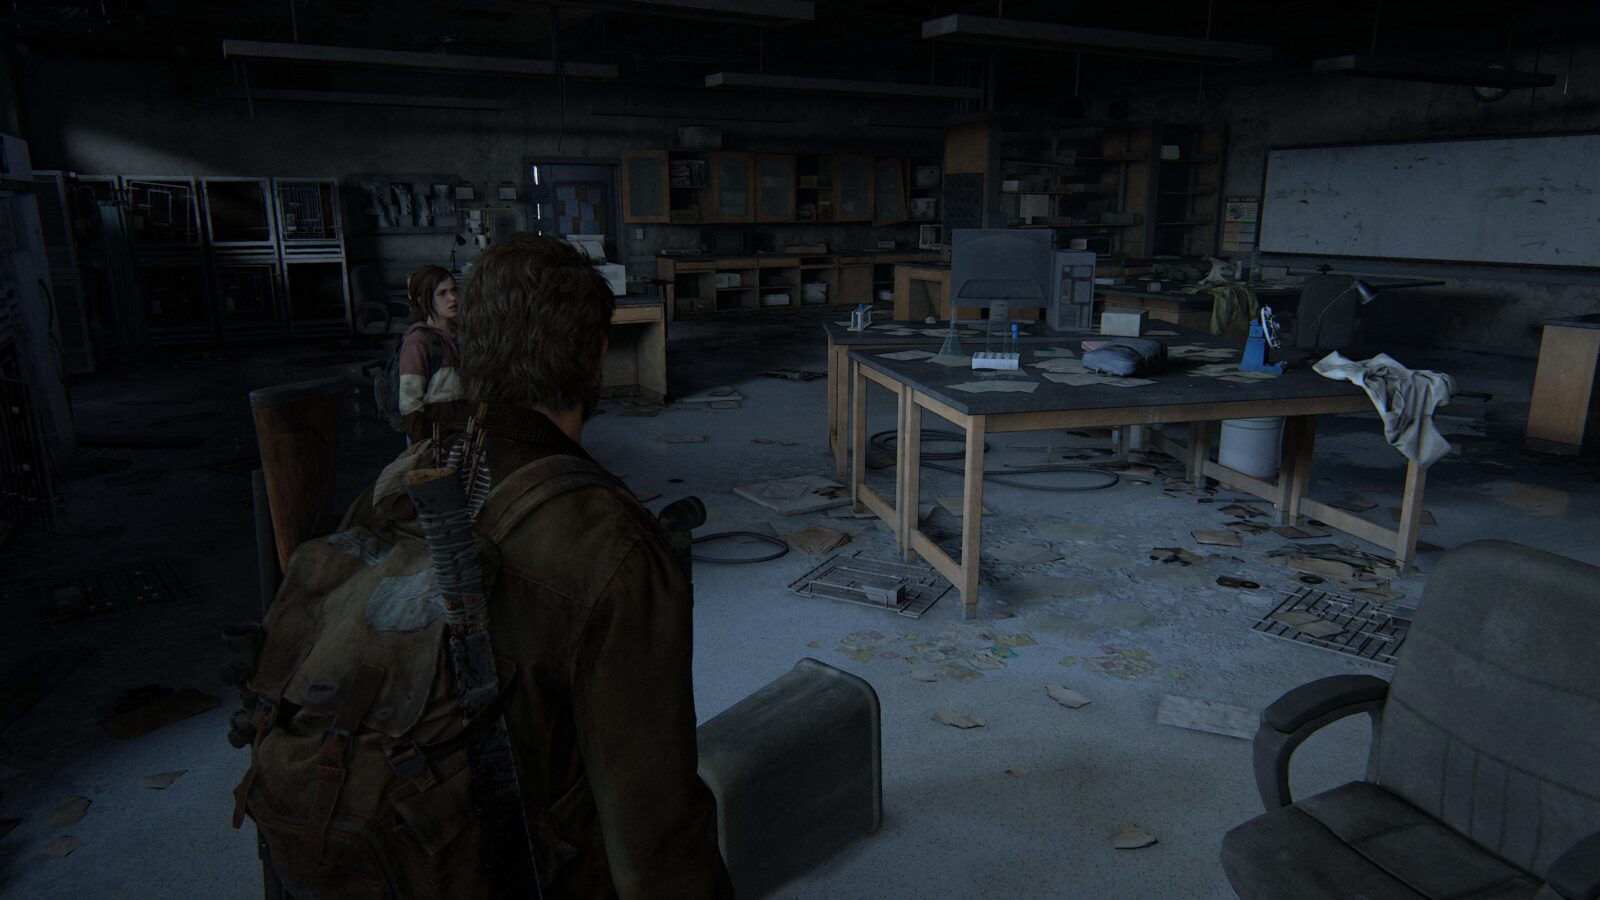
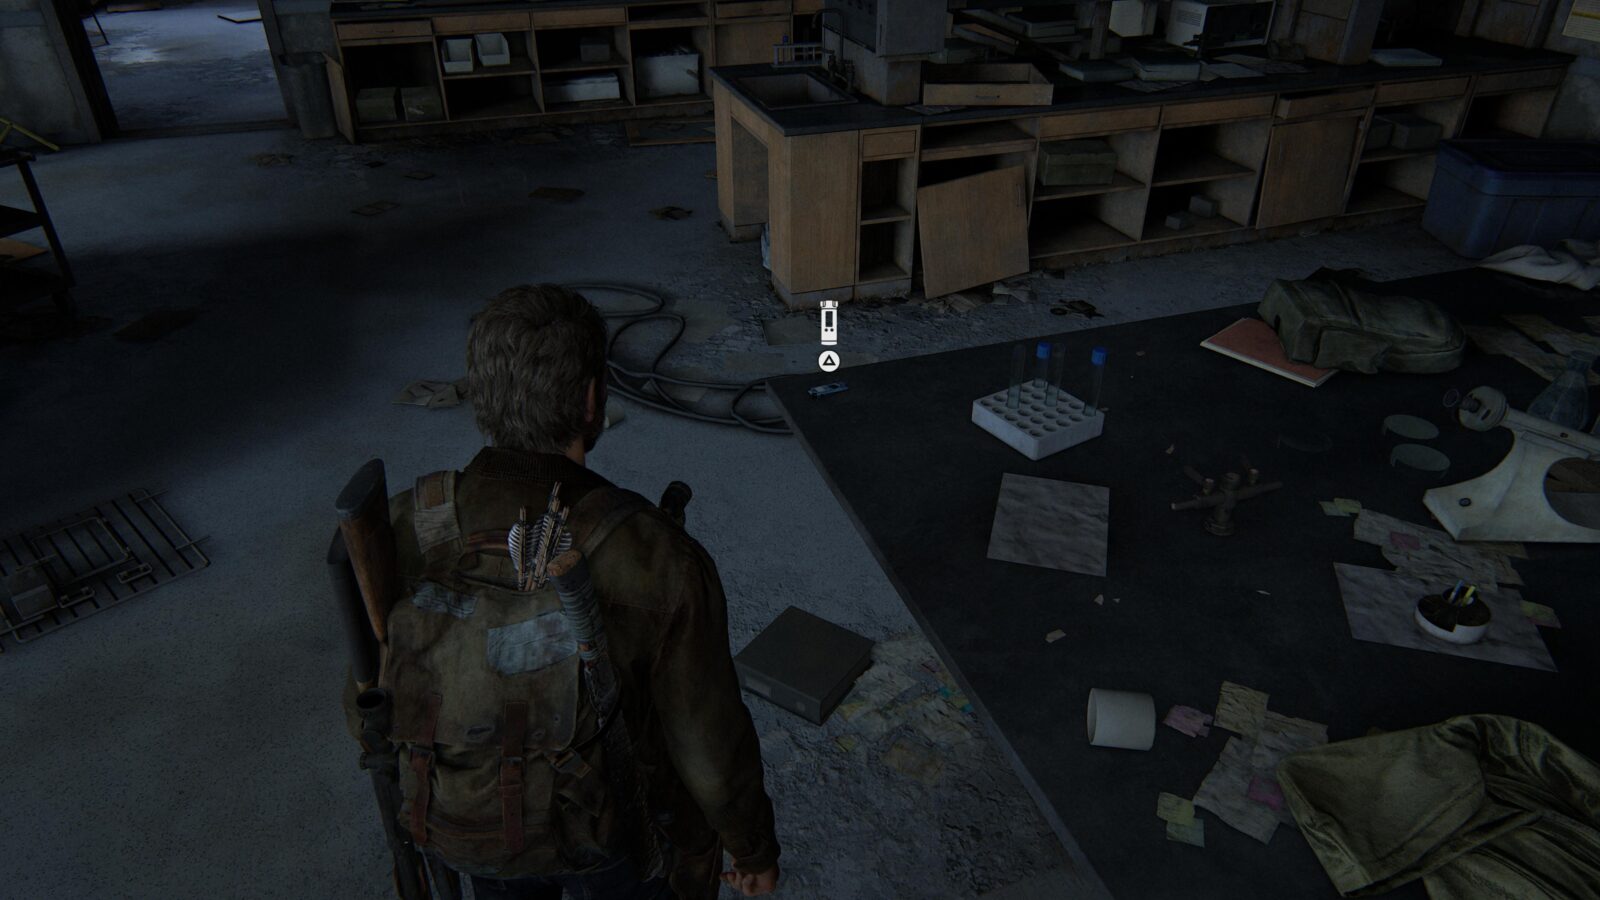
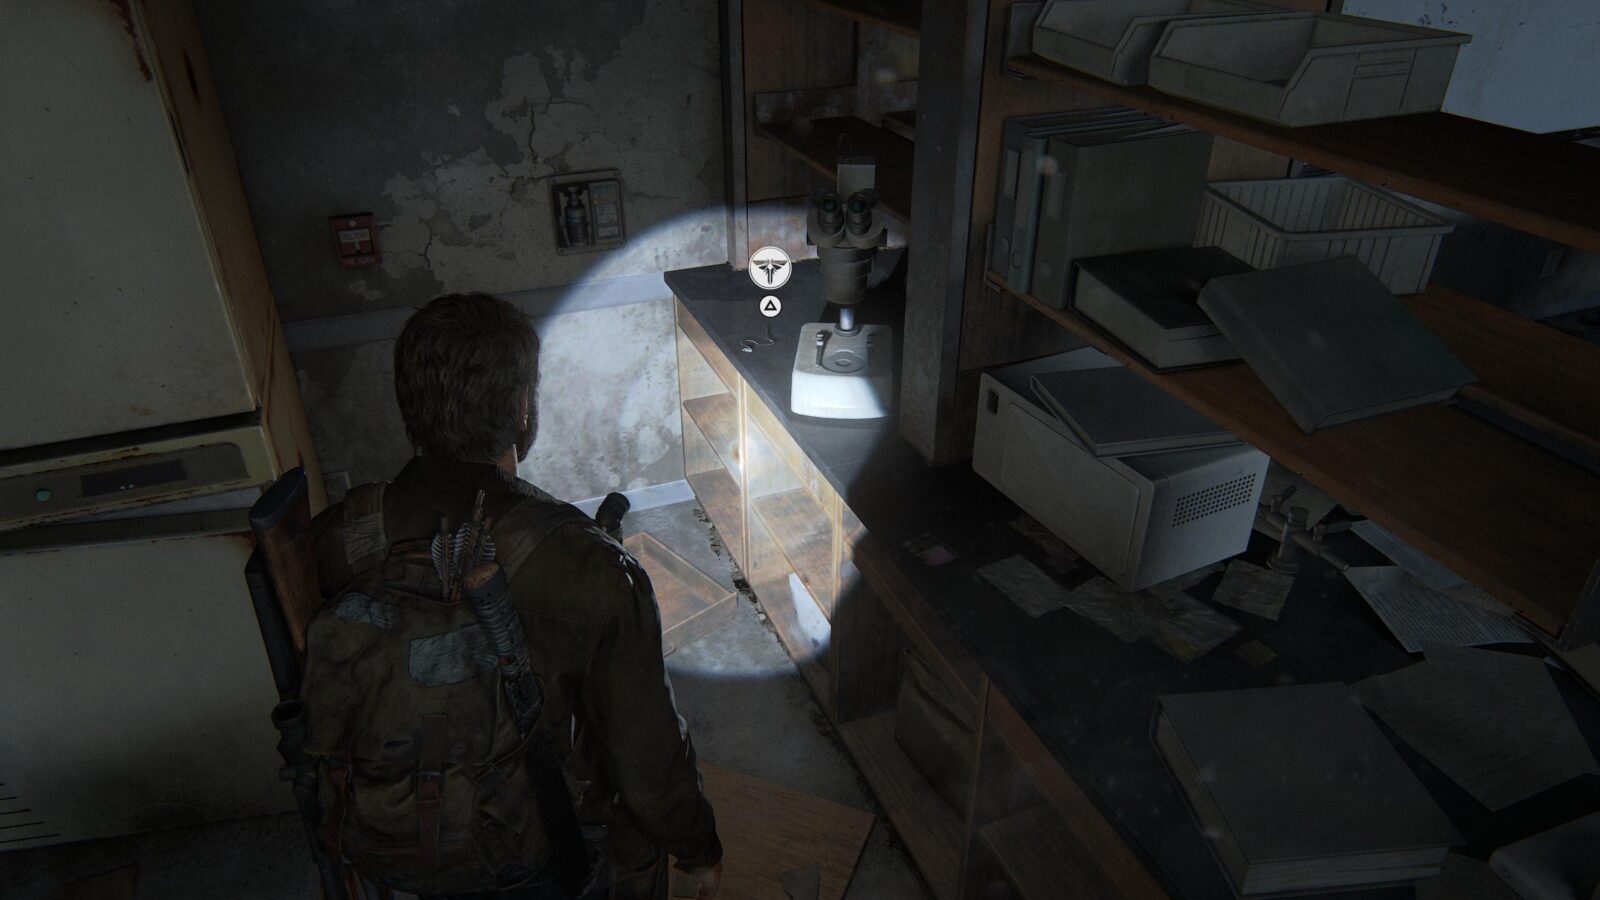
Firefly Pendant #24 Sadie Pearle Hickman 000231 – In the same room as Artifact #64 is a pendant in the corner by the refrigerator.
Artifact #65 Firefly’s Recorder – Automatically acquired during the next cutscene.
Lakeside Resort
The Hunt
Artifact #66, #67, #68, #69, #70, #71, #72, and #73 – The following Items are all automatically in your inventory at the start of the chapter: Switchblade, Walkman, Sam’s Robot, Note from Mom, No Pun Intended: Volume Too, To Get To The Other Side, No Pun Intended, Joel & Sarah Photo.
Comic #9 Uncertainty – While chasing the deer you will come to an old rundown factory. As you enter, look to your left to find a room. Inside in a drawer is the comic.

Firefly Pendant #25 Travis Kristof 000283 – After David boosts you onto the metal catwalks, follow them until a Clicker emerges from a side room. Enter the side room to find a pendant.
Optional Conversation #34 – Climb the ladder and head into the final room. Up some steps to your right is a corpse that will have a ![]() prompt when you get near. Interact with it for a conversation.
prompt when you get near. Interact with it for a conversation.

Cabin Resort
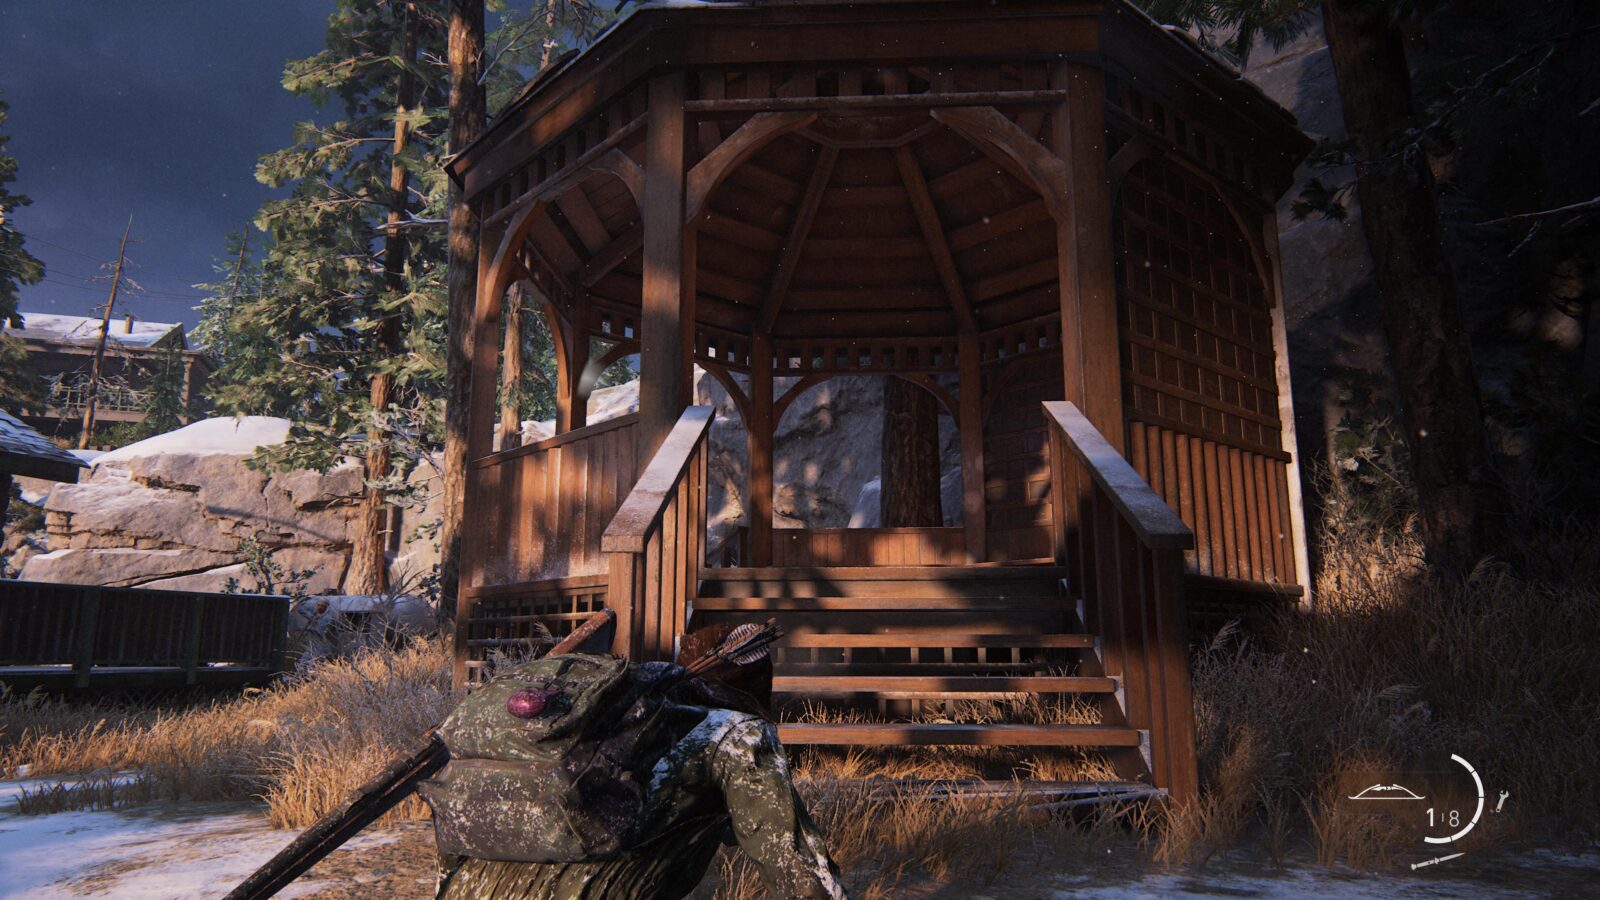
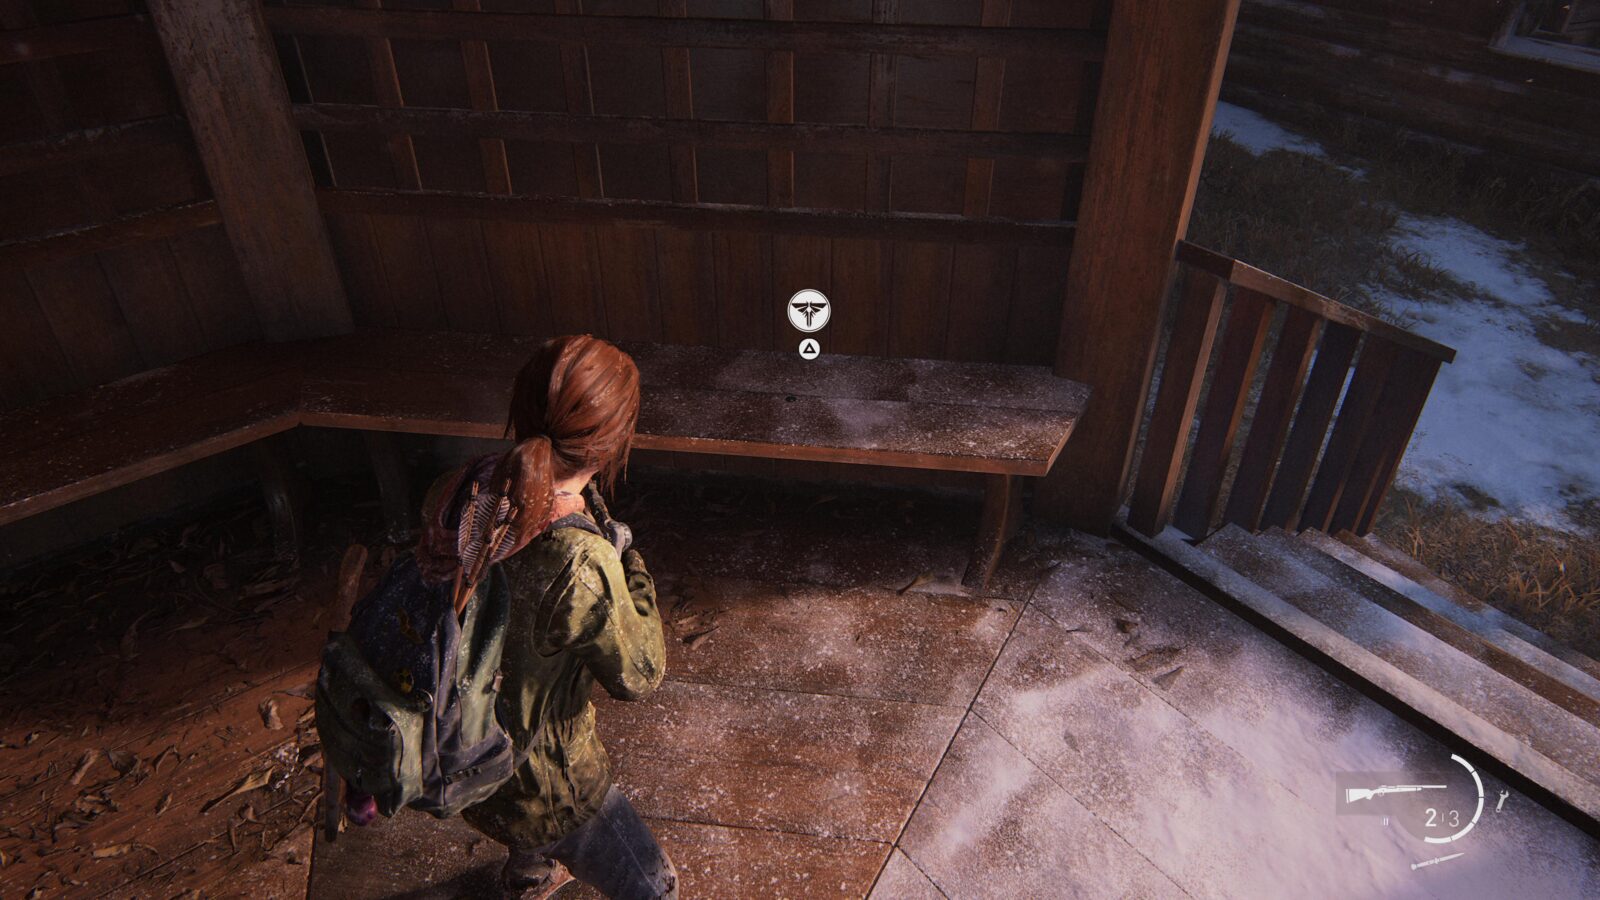
Firefly Pendant #26 Paul D. Braun ??0153 – During the combat encounter in the cabins—after the horse chase—you will see a gazebo upon exiting the first cabin you entered. On the bench in the gazebo is a pendant.
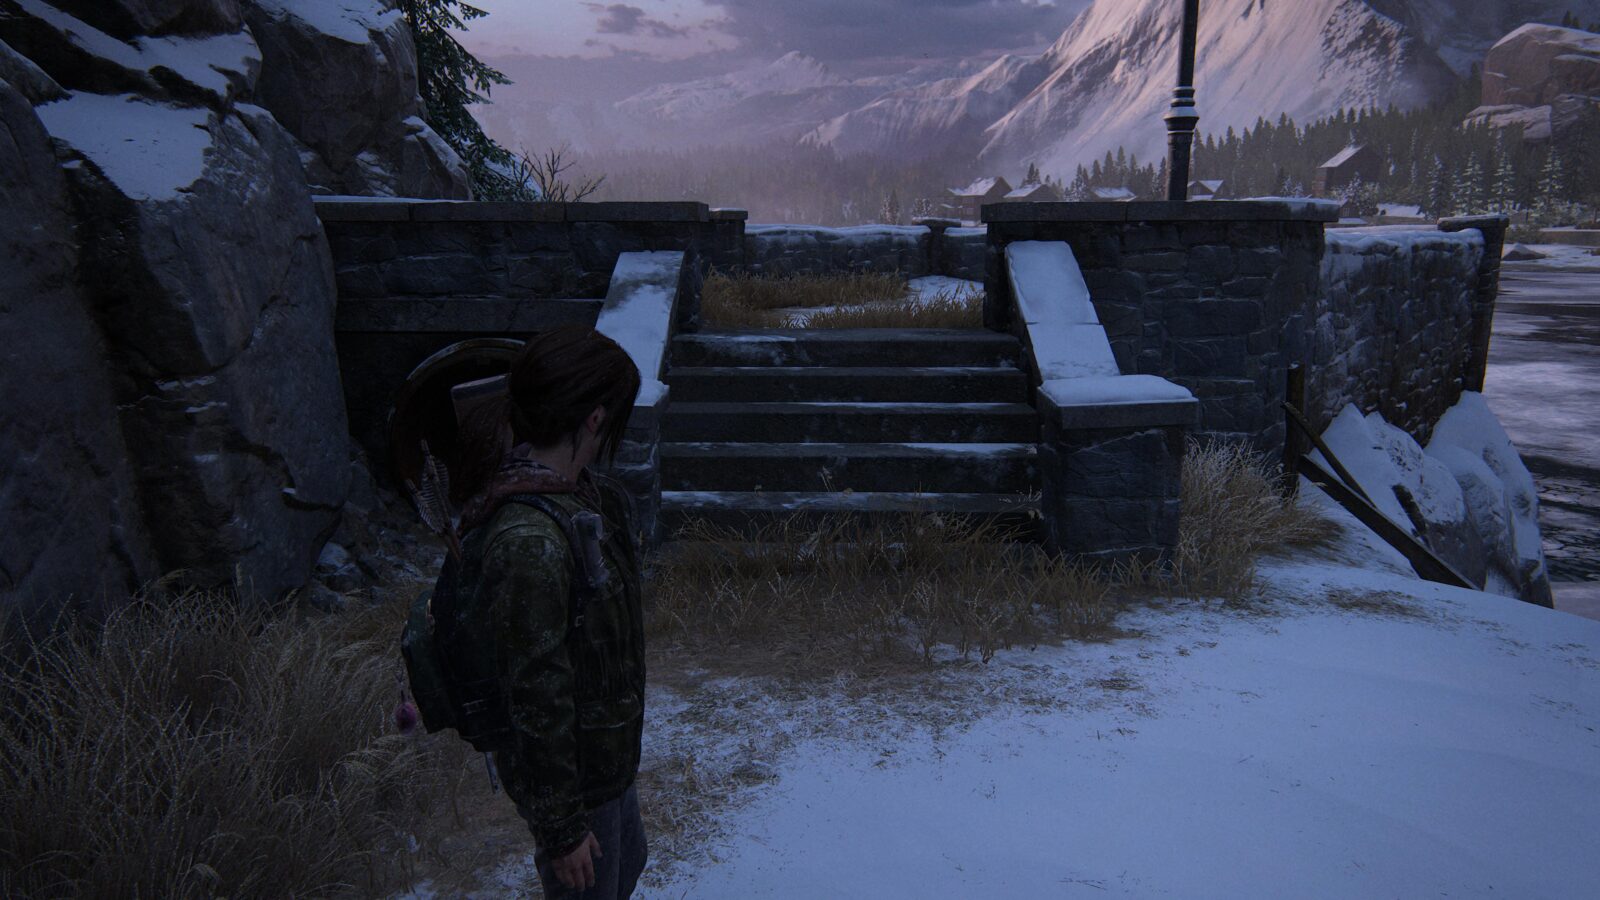
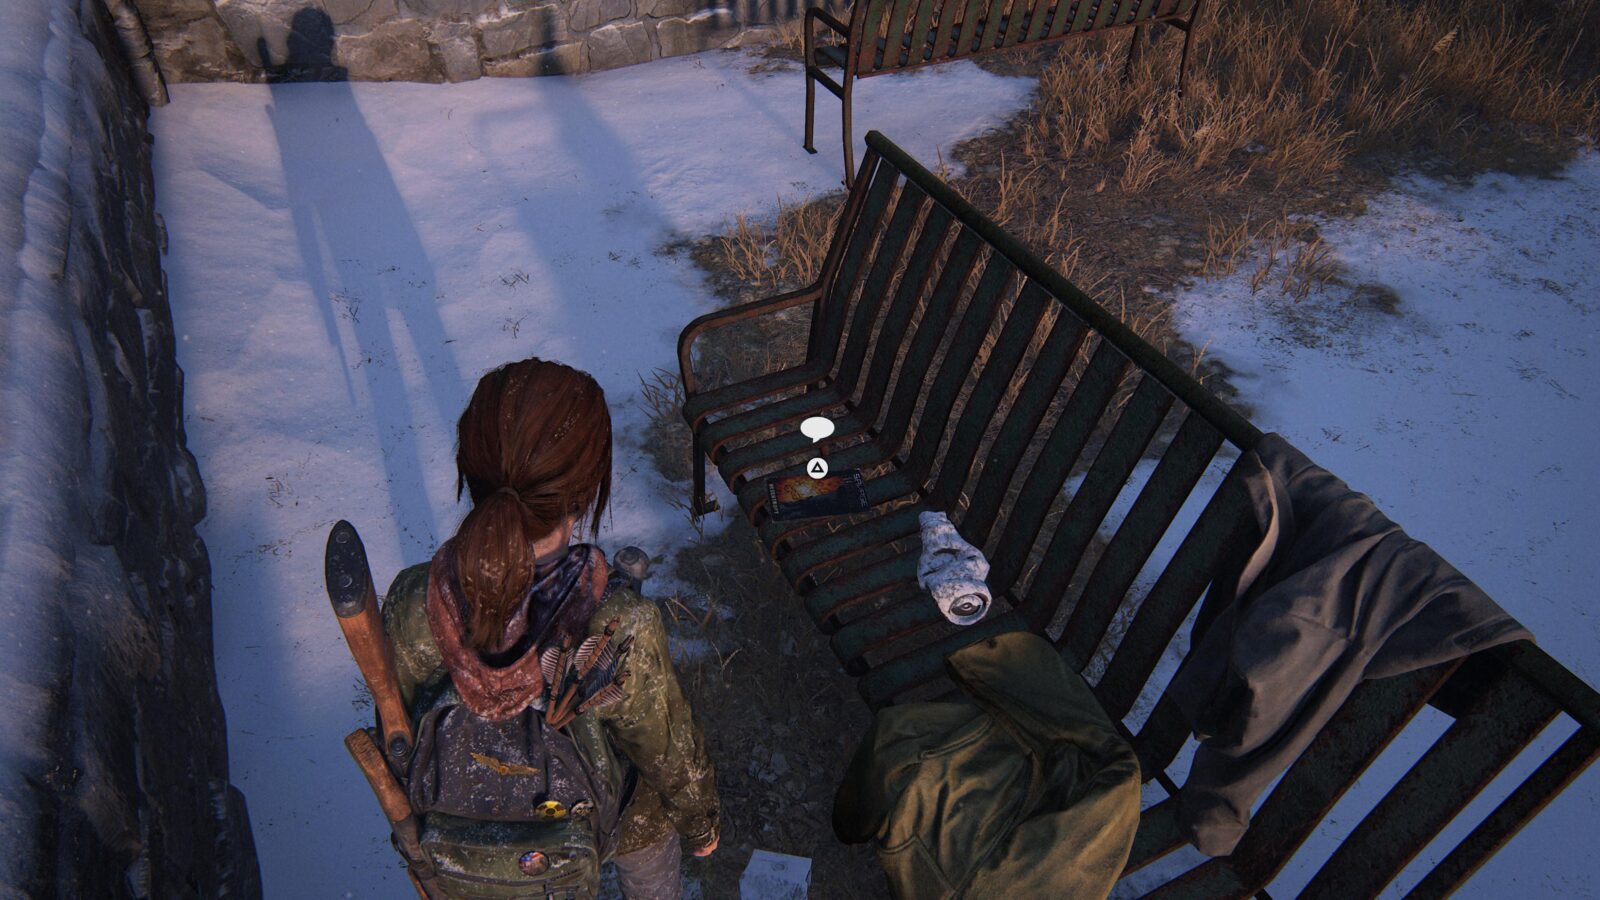
Comic #10 Negentropy – While following the nature trail after the cabin fight you will crawl through a pipe. On the other side, turn around and head up the stairs to find a comic on one of the benches.
Artifact #74 Lake Resort Map – Automatically acquired during a cutscene.
Shiv Door #11 – When you get to Silver Lake during the snow storm there will be a motel you can enter. Go in and jump through the windows at the back and you will see a shiv door.
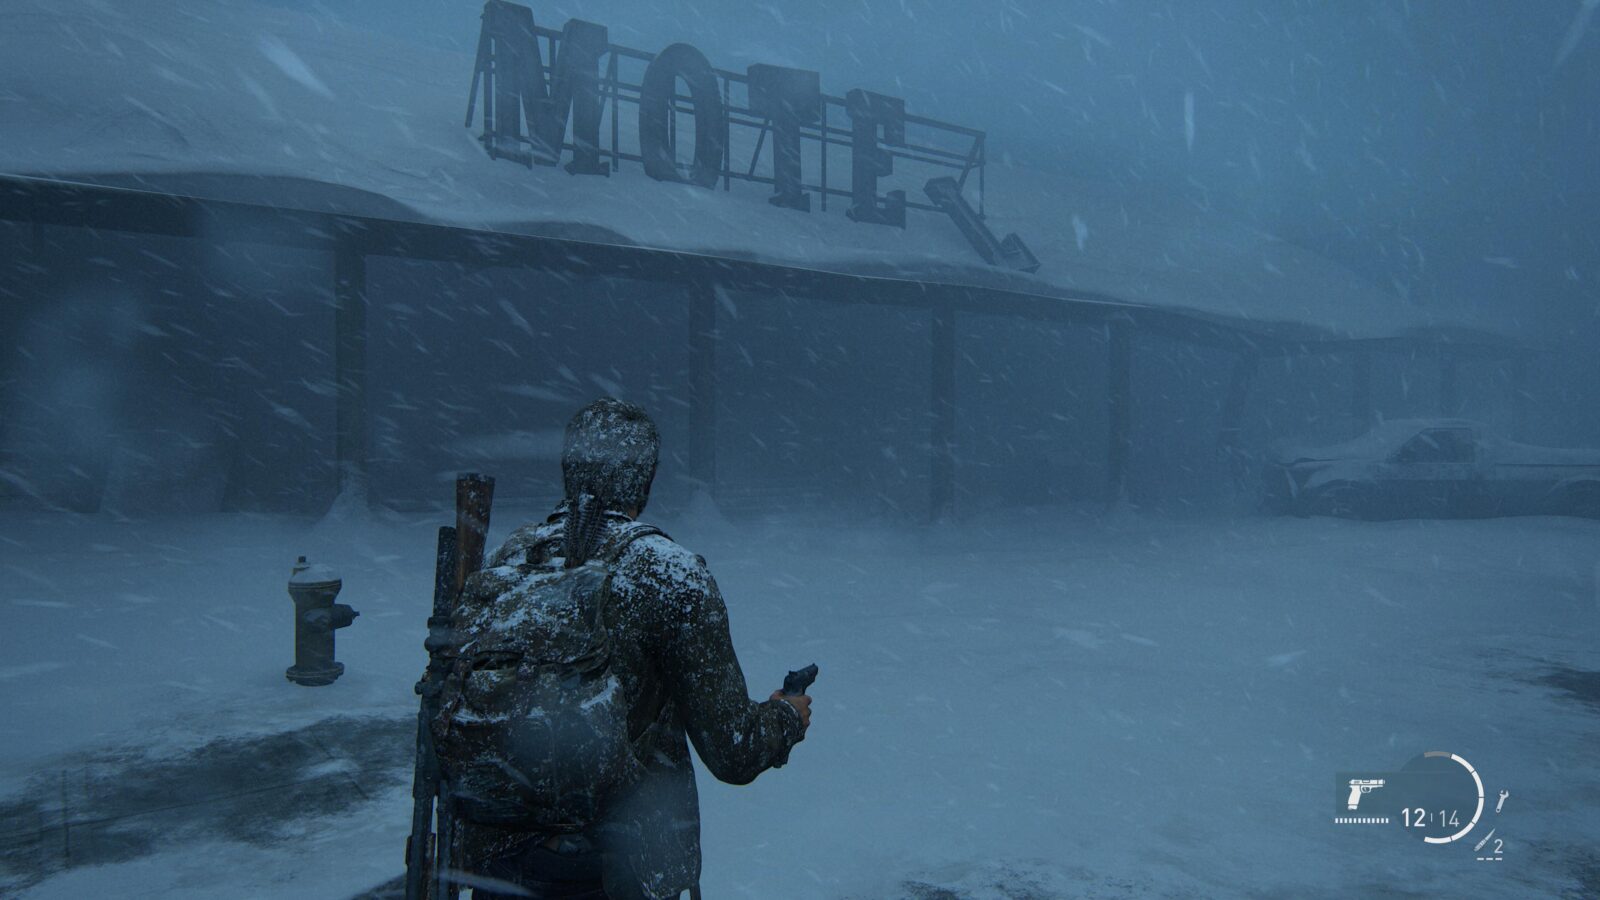
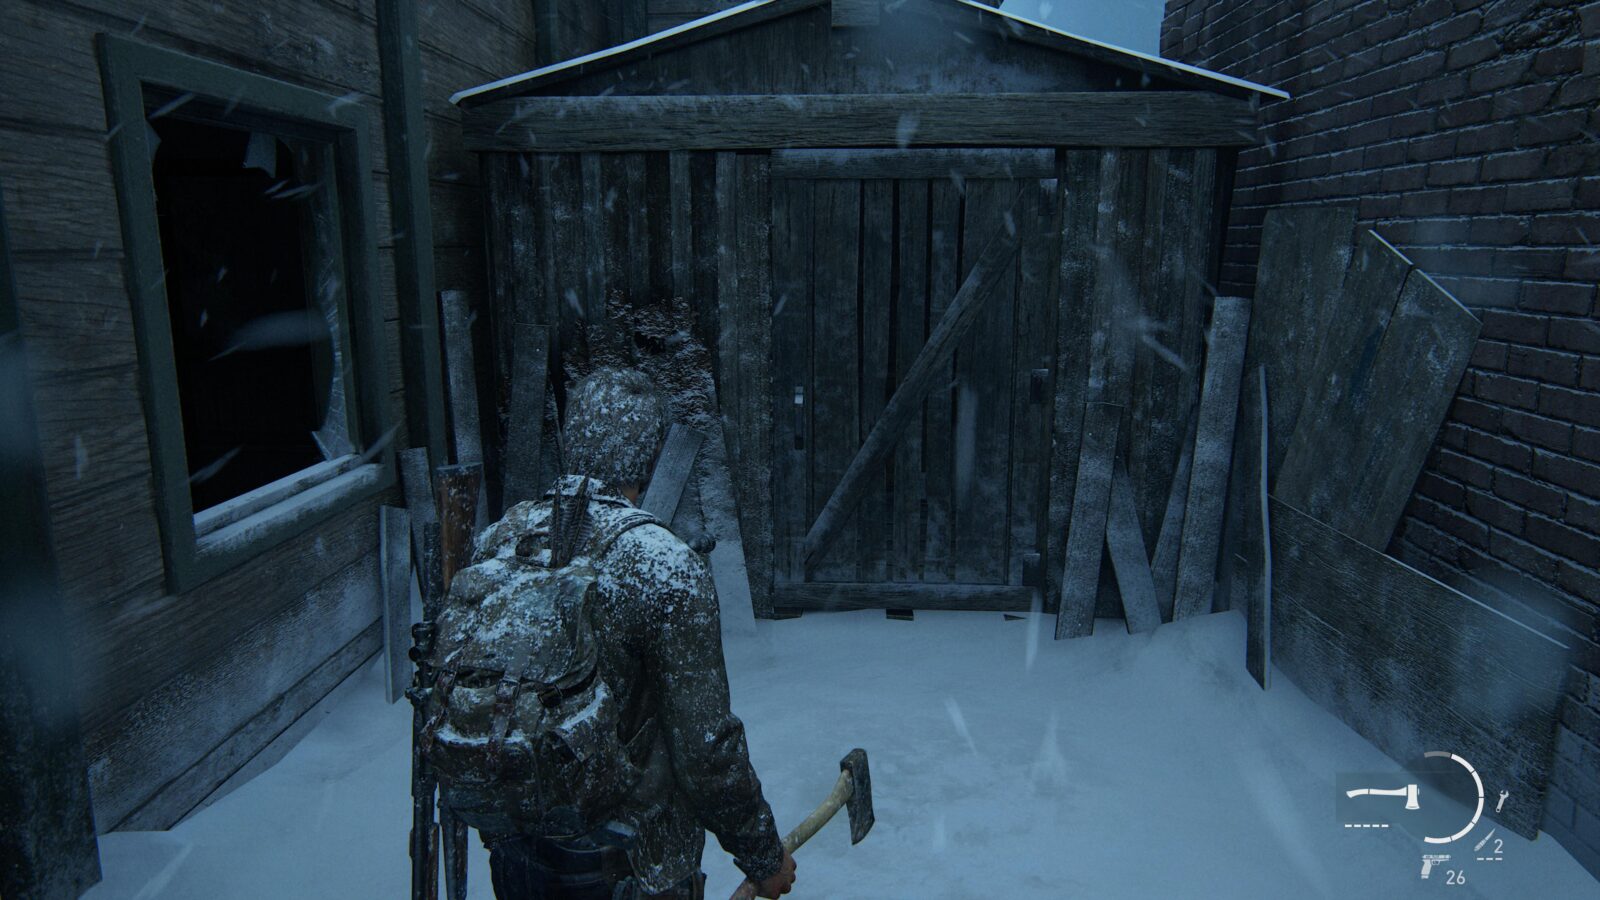
Training Manual #11 Smoke Shaping – Inside the shiv door behind the motel.
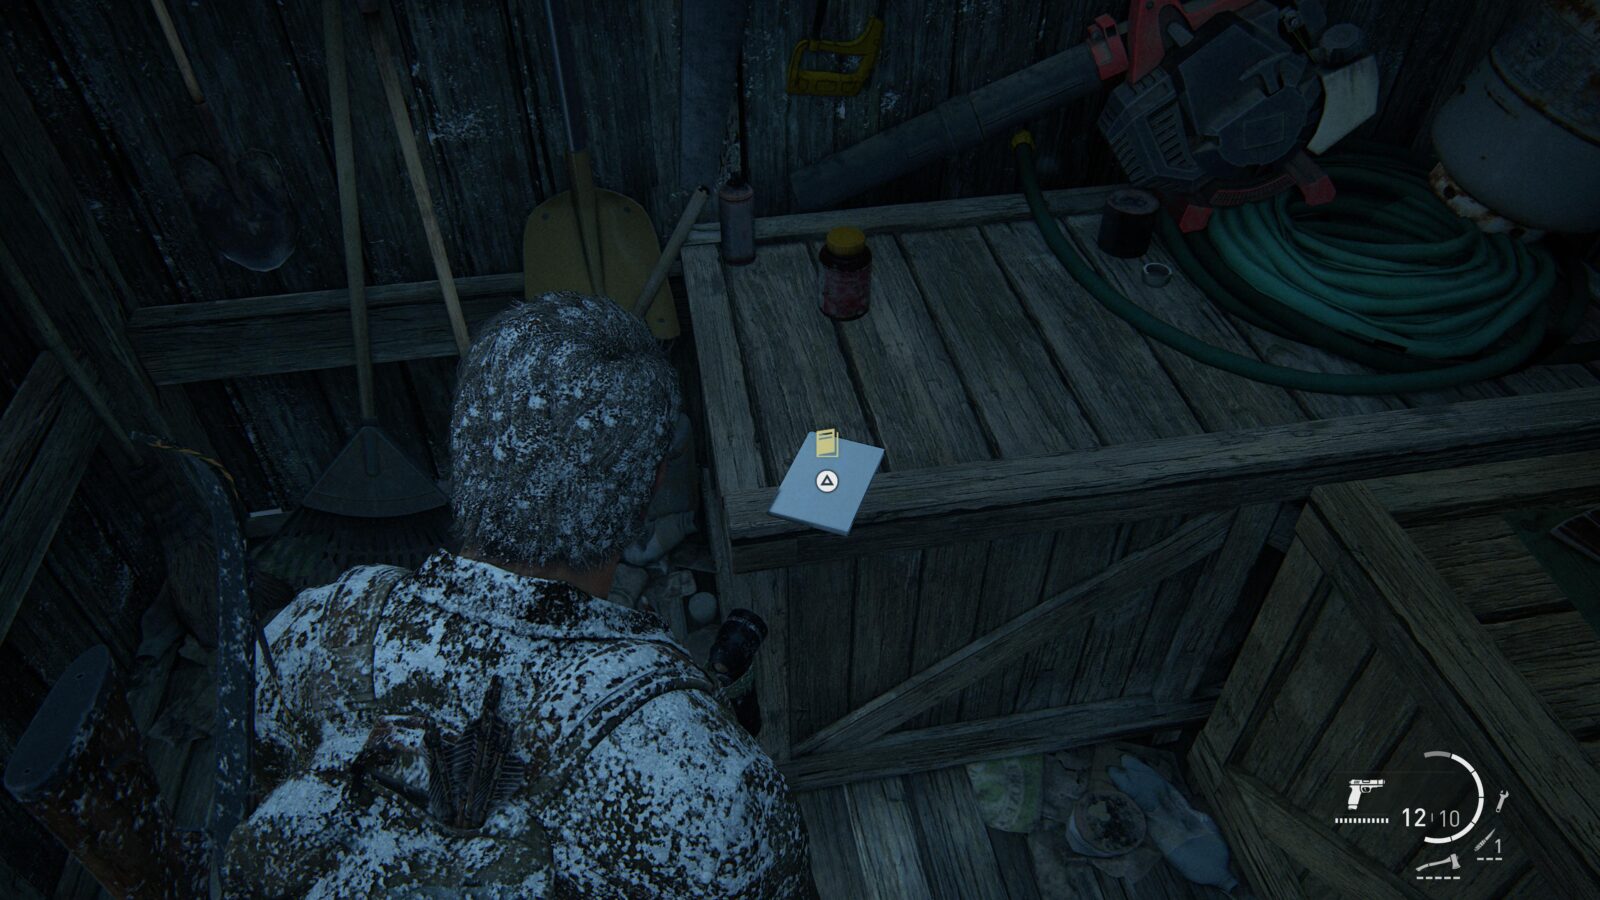
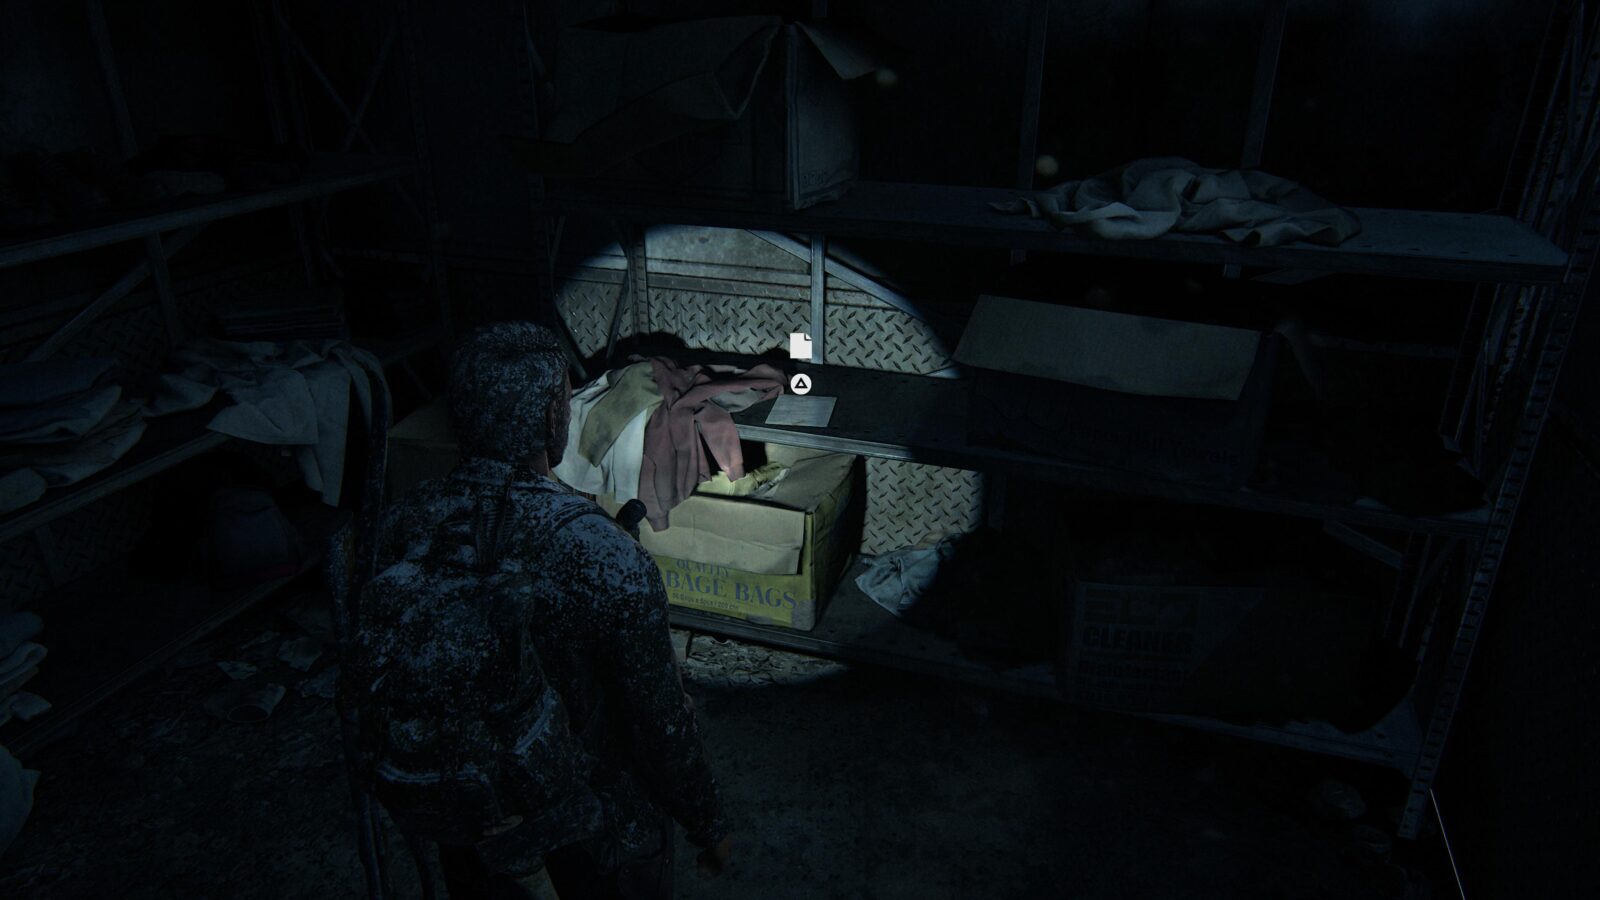
Artifact #75 Meat Ledger – After fighting your way through some Hunters during the snow storm you will enter a room with some metal shelves all filled with shoes, clothes, and bags. On the shelf to the right is the ledger.

Bus Depot
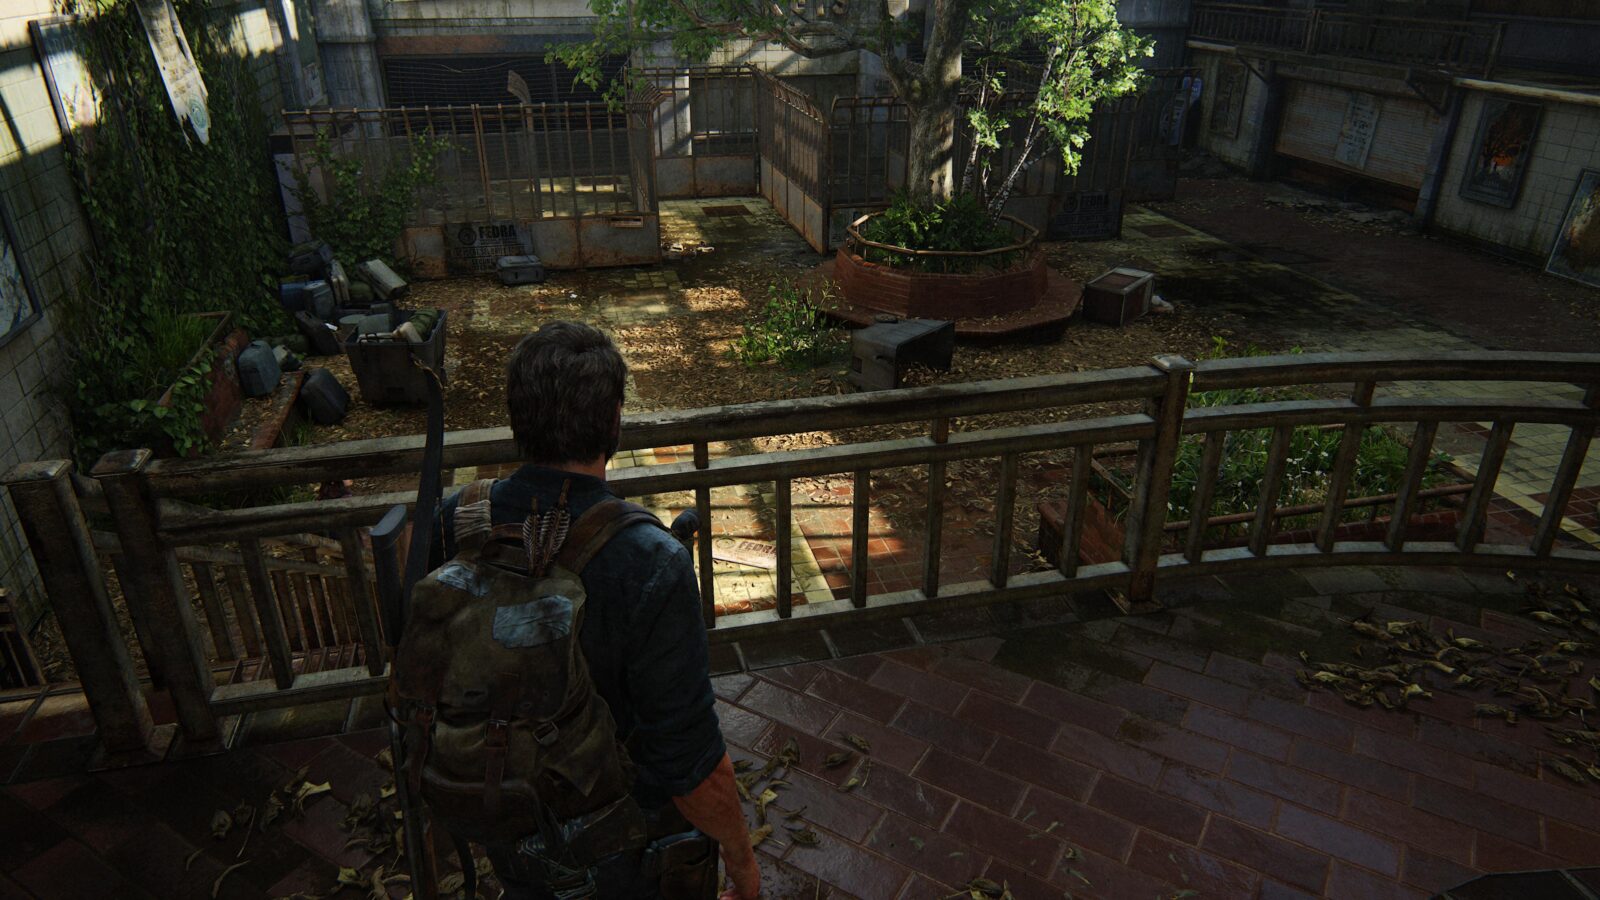
Highway Exit
Optional Conversation #35 – At the start of the chapter Ellie is understandably not very talkative. Joel tries to strike up a conversation with her anyway. Press ![]() when she keeps ignoring Joel.
when she keeps ignoring Joel.
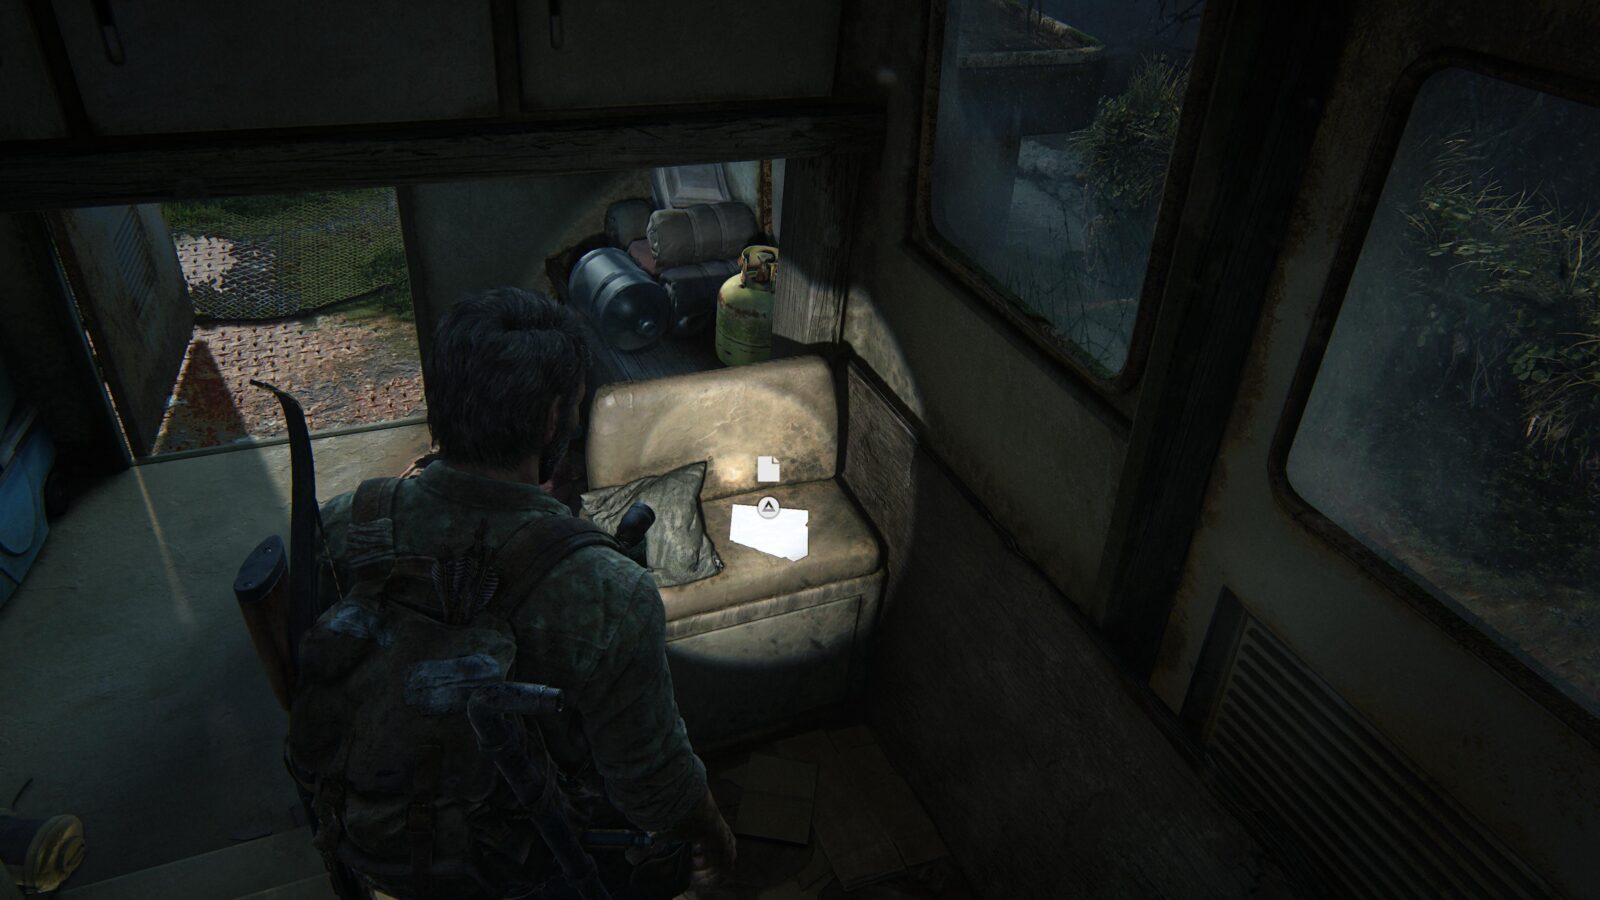
Artifact #76 Family Photograph – On the highway is an overgrown RV with a very old corpse hanging out of it. Go inside and pick up the photograph on the sink.

Optional Conversation #36 – Explore the RV and then leave. Walk over to where Ellie is waiting and she will have an optional conversation for Joel.
Firefly Pendant #27 Katerina Perich 000149 – Head down the off ramp and swing left once you get off. Behind a car on the ground to your left is a pendant.
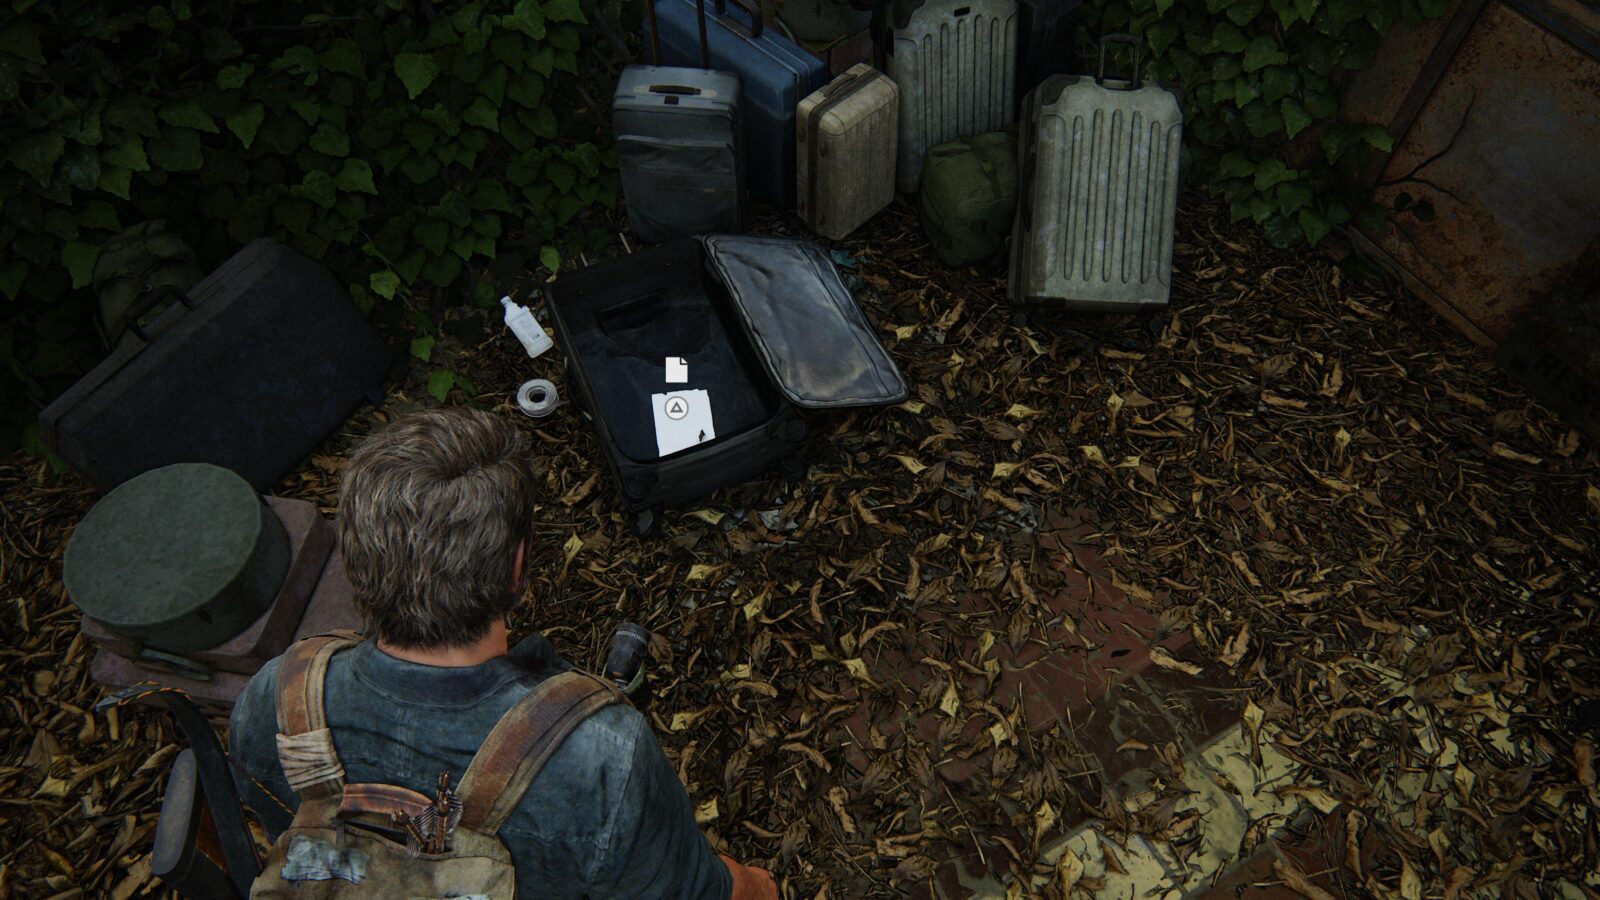
Artifact #77 Note to Wife – Head into the bus station and take the steps down on the left. There will be some luggage by a metal divider. Inside one of the suitcases is a note.
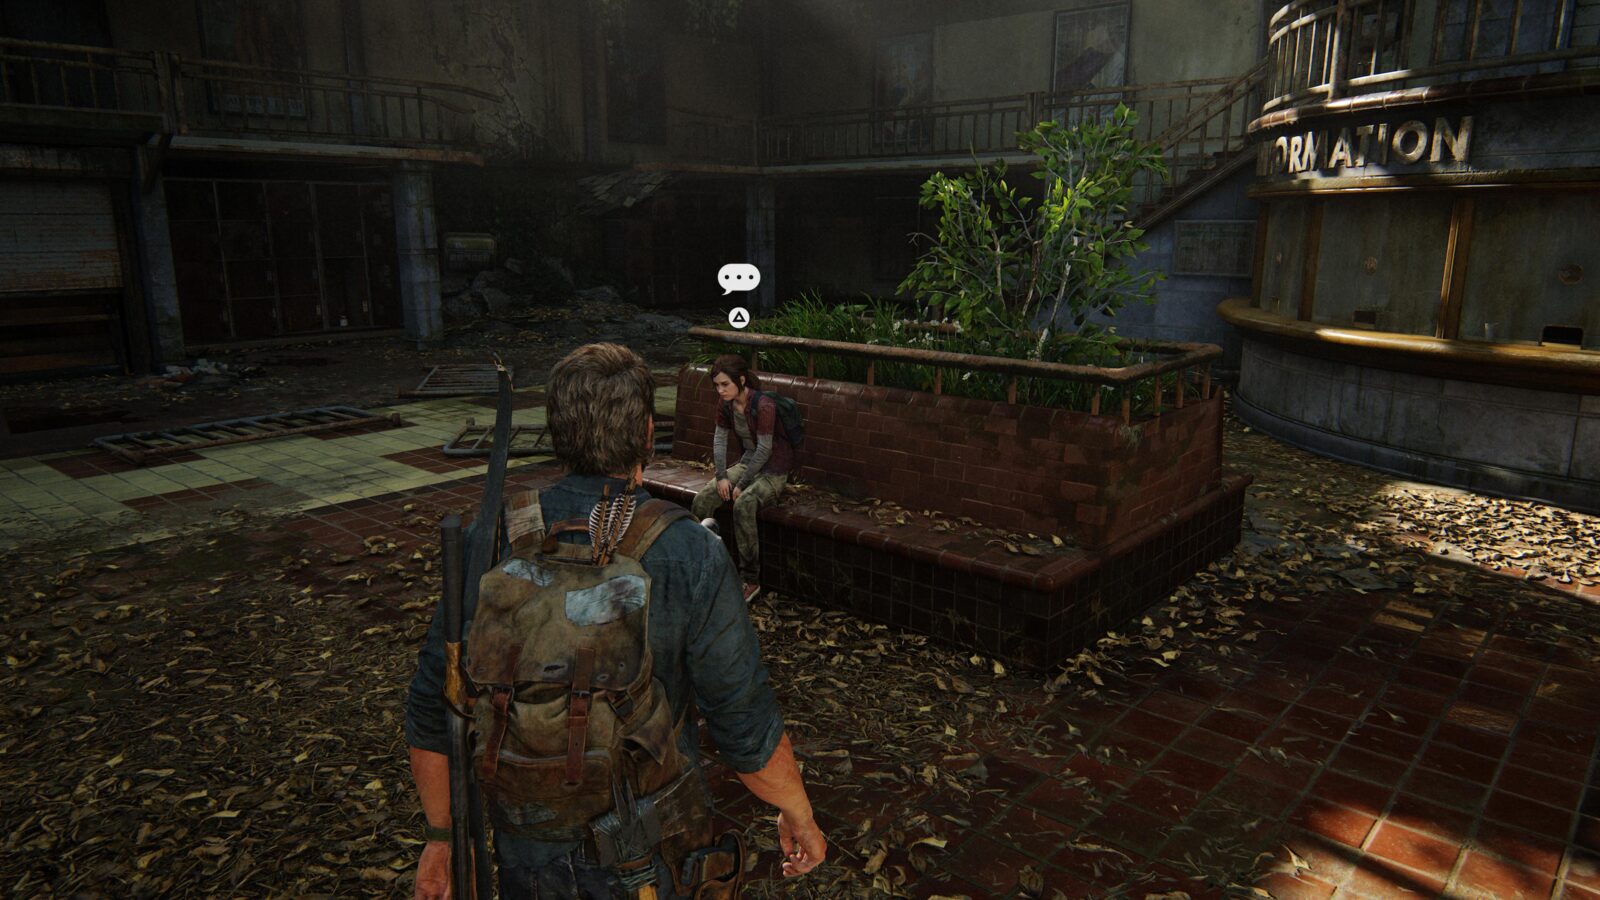
Optional Conversation #37 – Inside the bus station Ellie will be sitting by herself on a bench. Approach her and press ![]() when the prompt appears to initiate a conversation.
when the prompt appears to initiate a conversation.
Optional Conversation #38 – Ellie will run off and you’ll chase after her. When you catch up to her, approach the thing that caught her attention and a ![]() prompt will appear.
prompt will appear.

Optional Conversation #39 – Go up to the roof with Ellie and press ![]() when prompted for the best optional conversation in the game.
when prompted for the best optional conversation in the game.

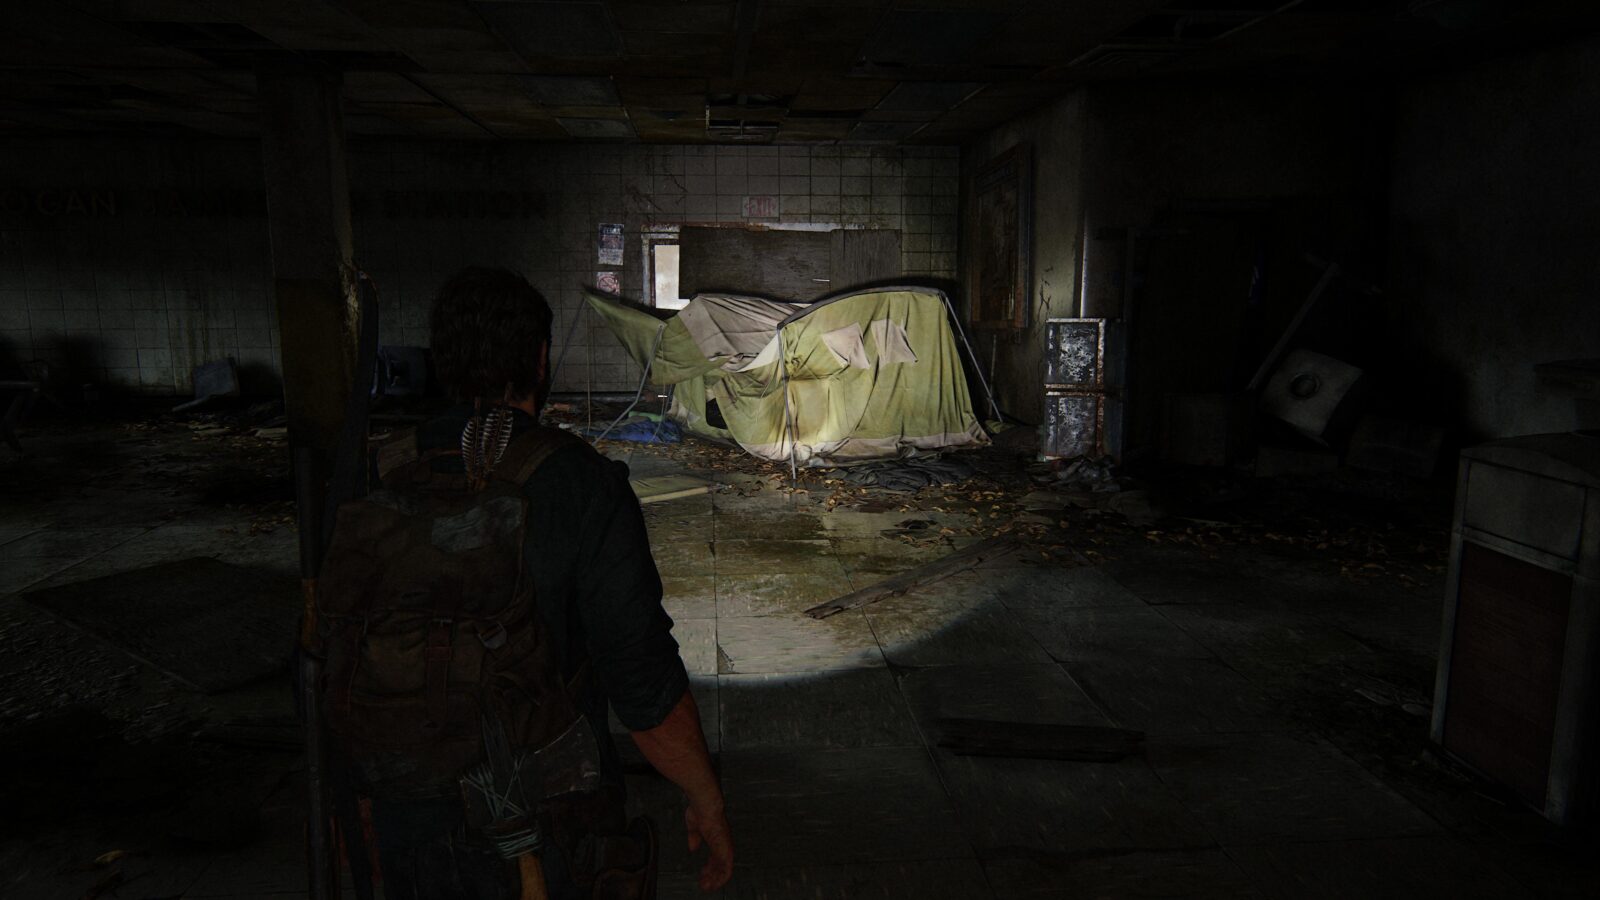
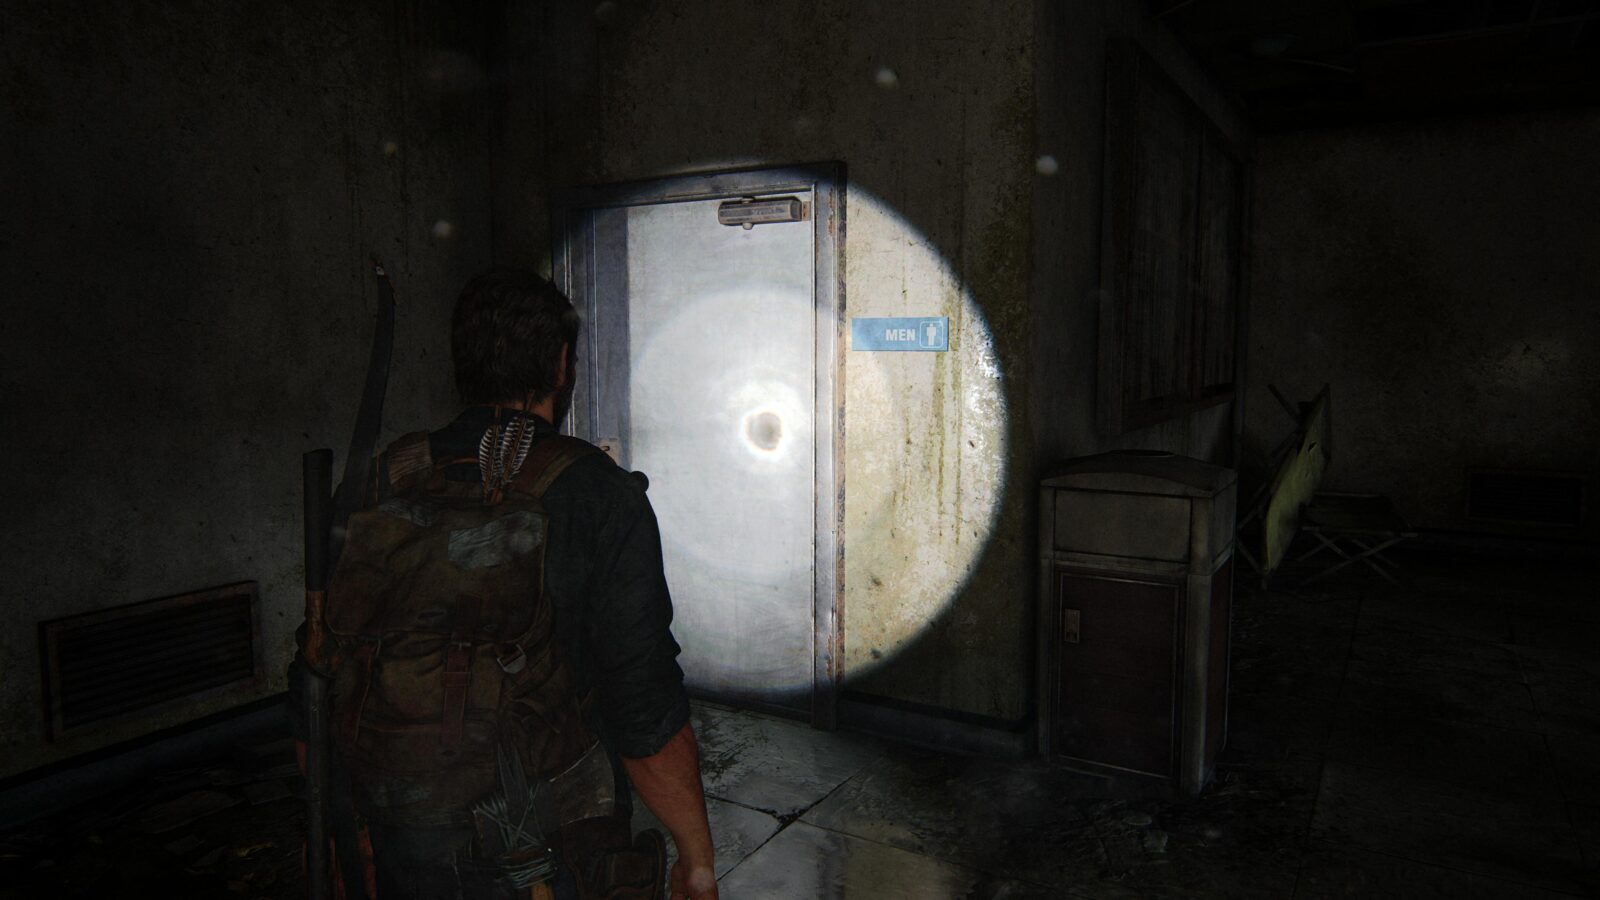
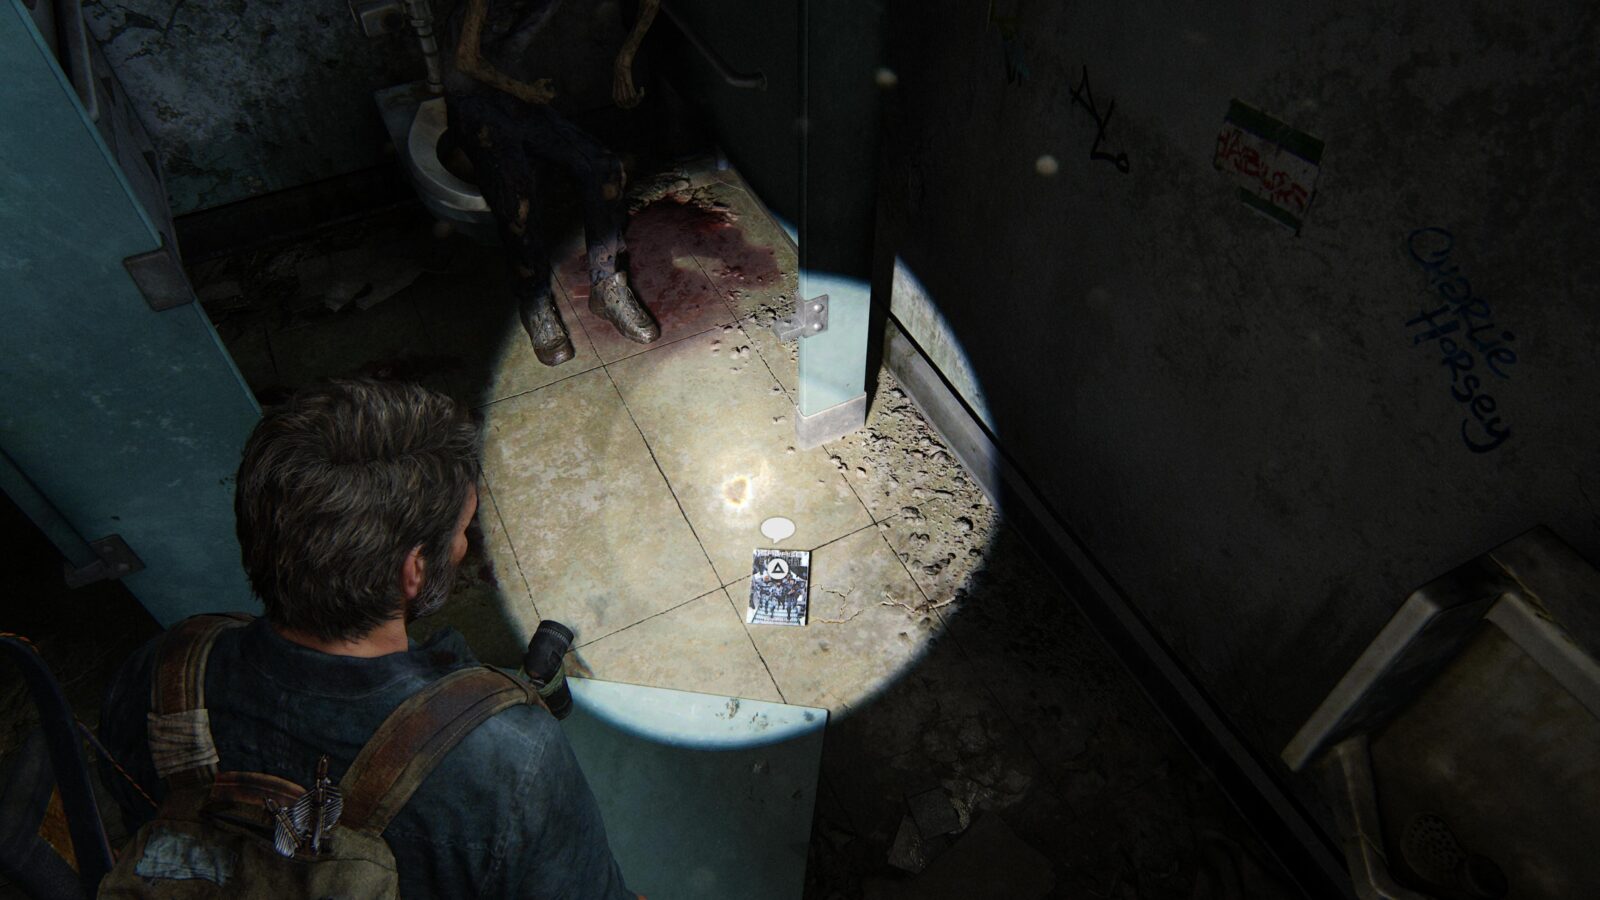
Comic #11 Precipitate – Go downstairs and you will enter a dimly lit room with a green tent inside. To your right as you came through the door is a male restroom. The comic is inside on the ground by a stall.
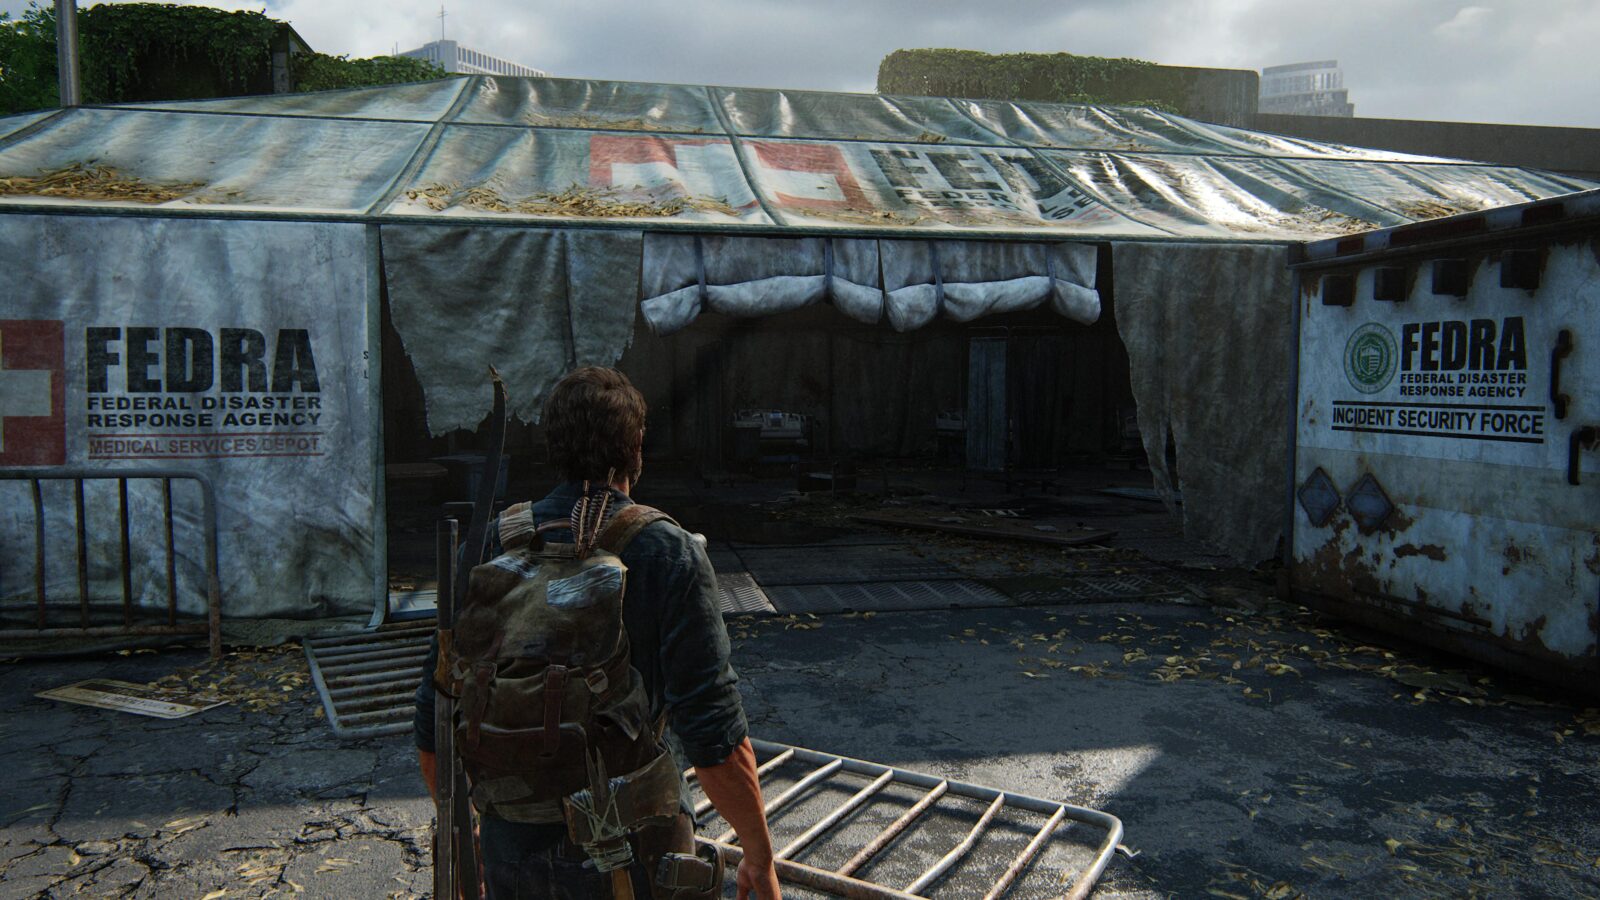
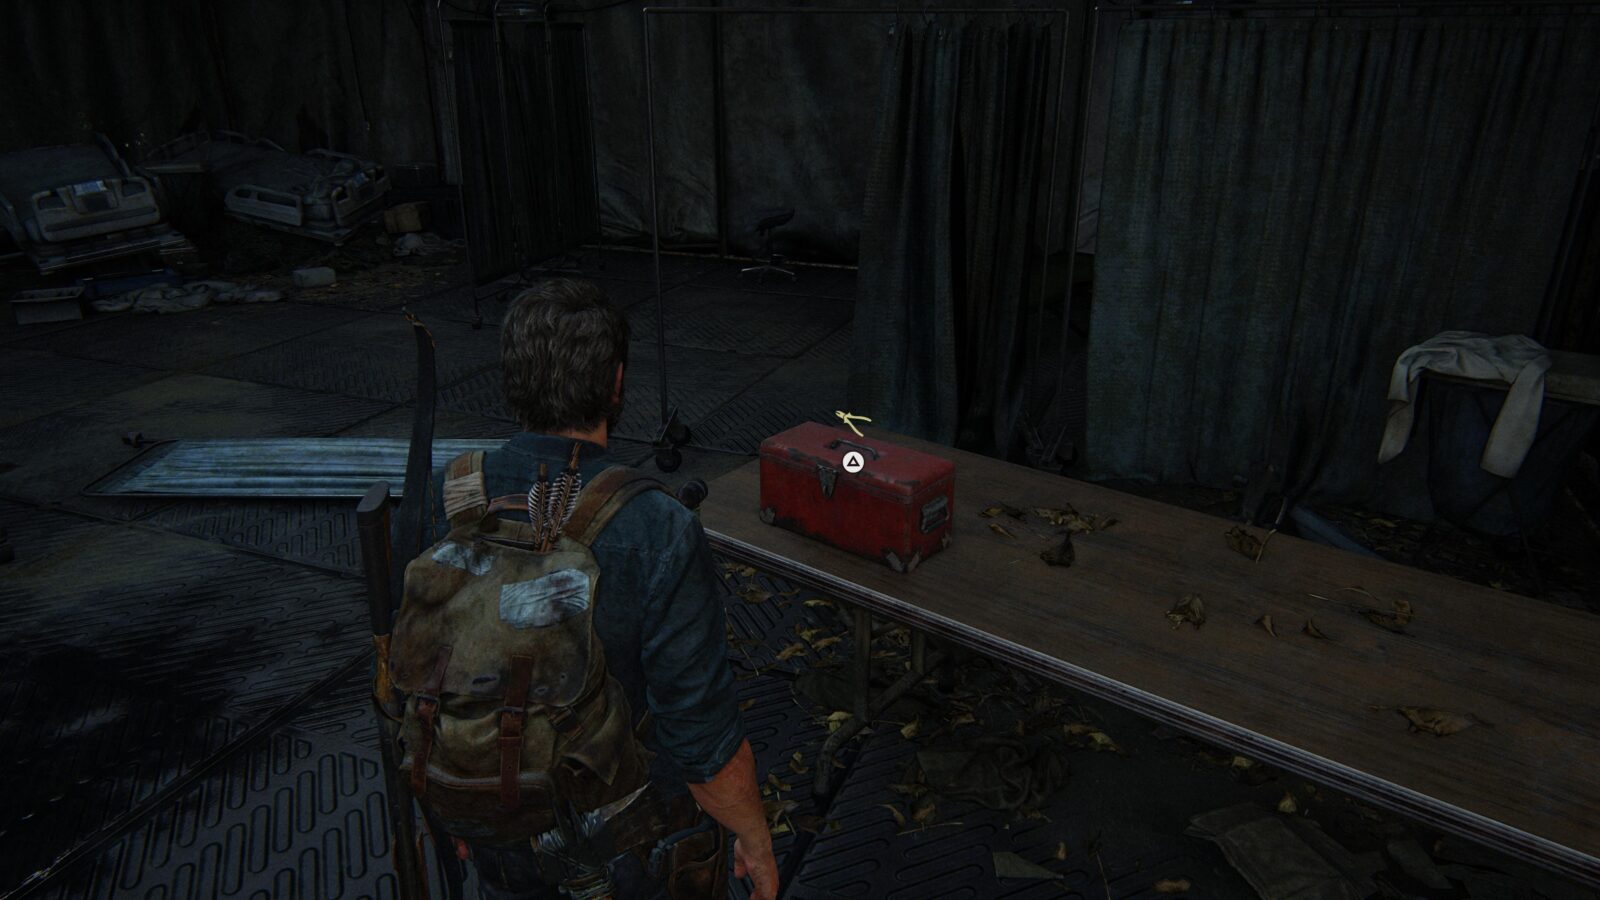
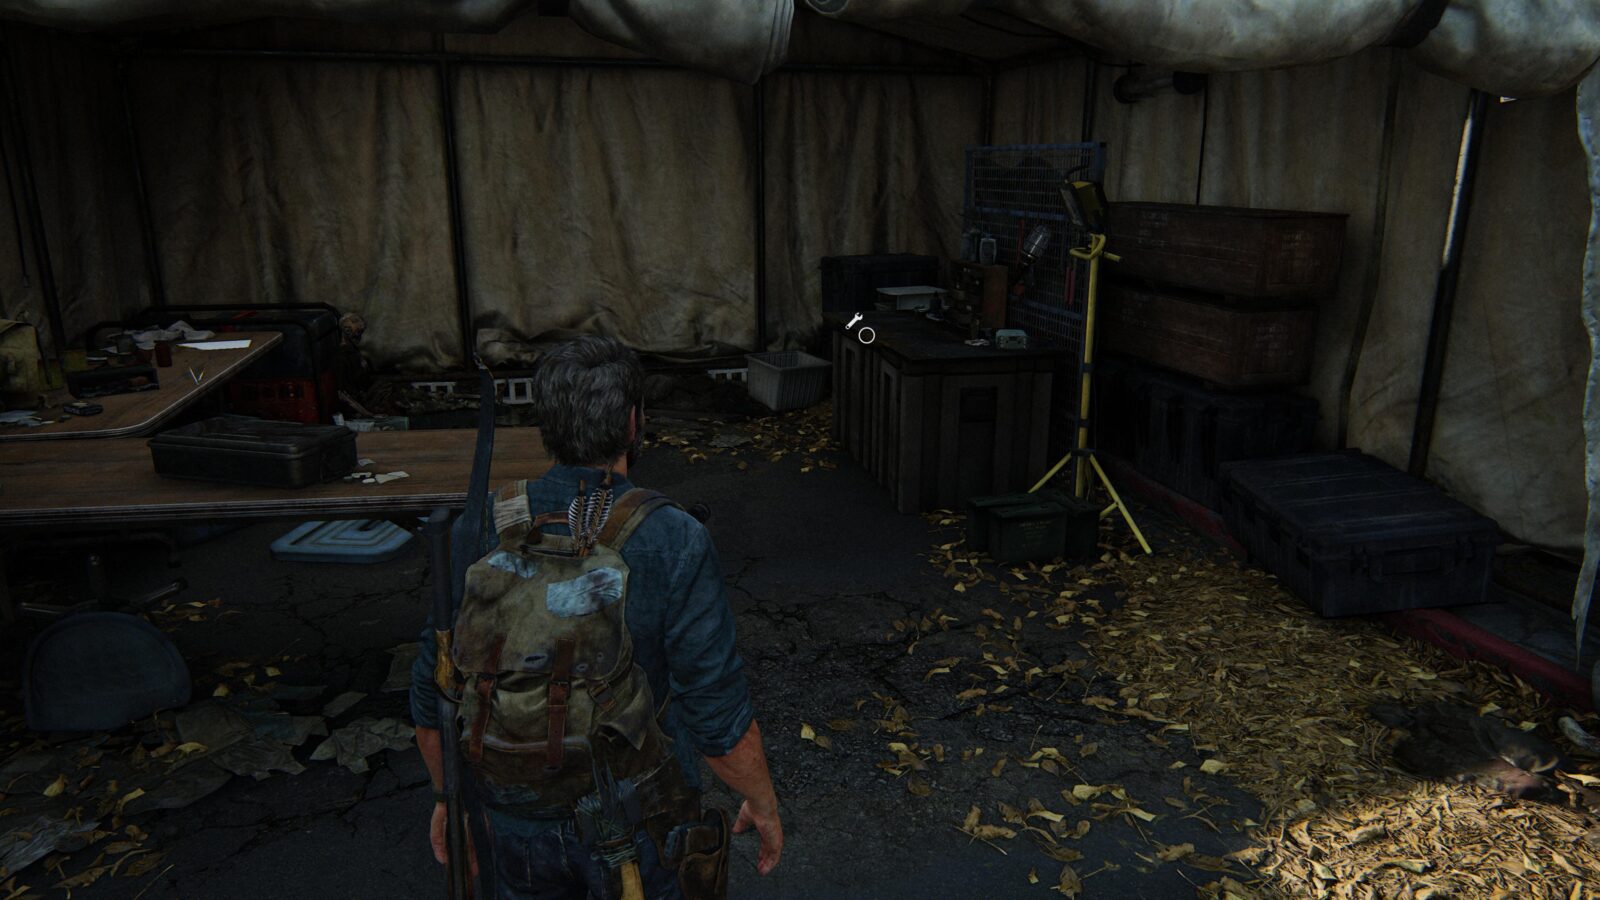
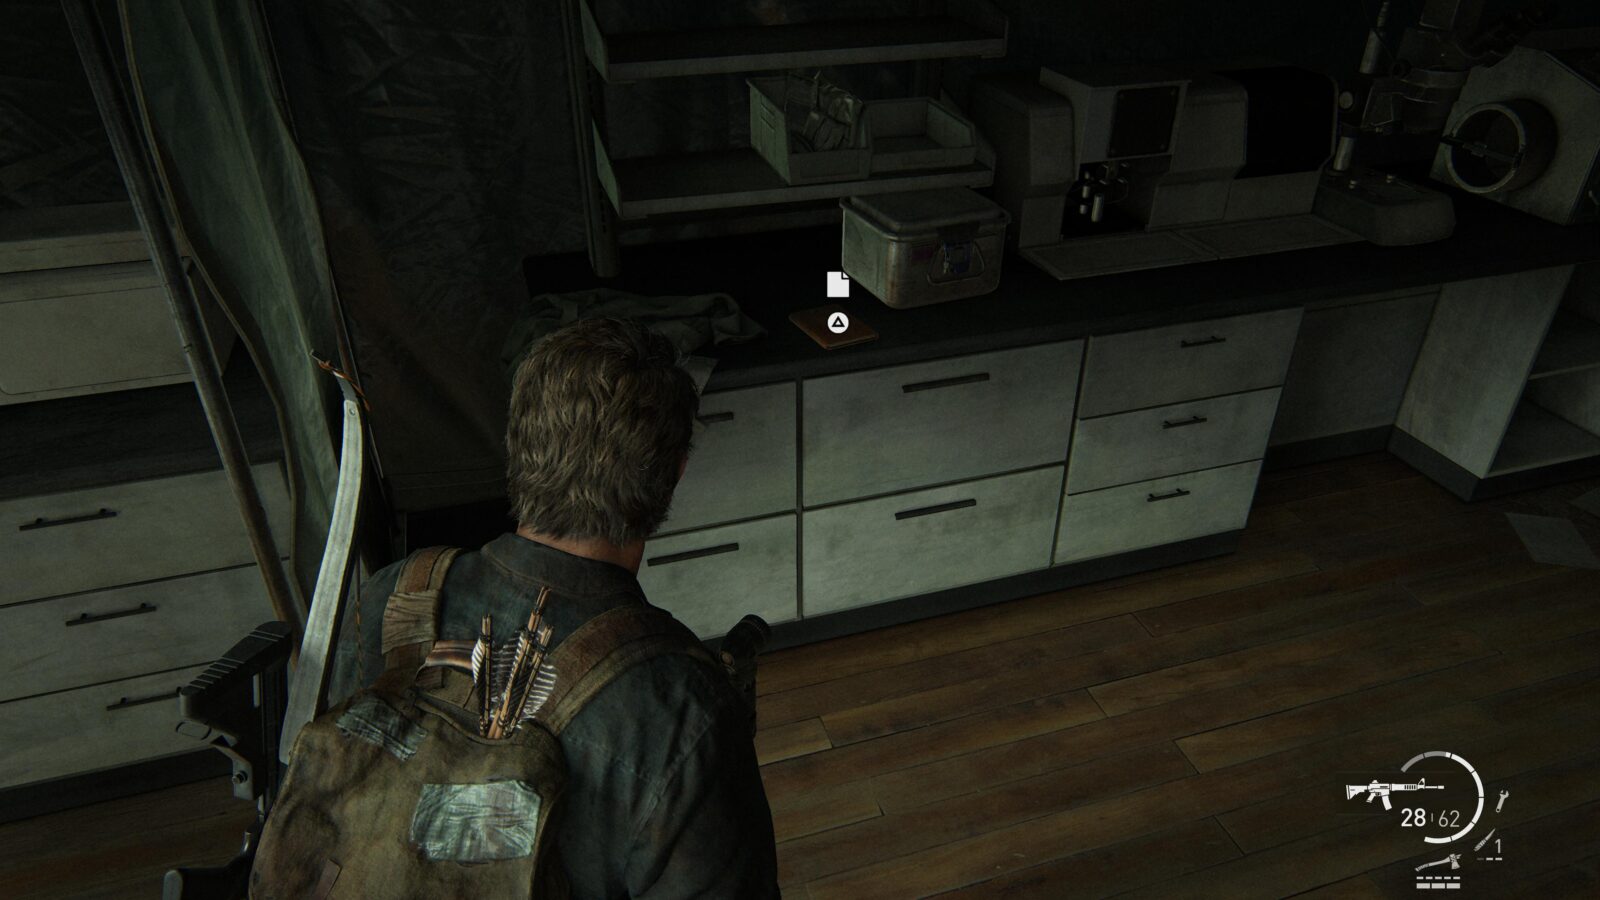
Workbench Tool #5 – The very last workbench tool can be found on a table in a medical tent. When you exit the bus station and are greeted by an abandoned tank, head to the large medical tent behind the tank and to the left. There will be a FEDRA Incident Security Force trailer at the entrance of the tent. The tool is on the table to your right.
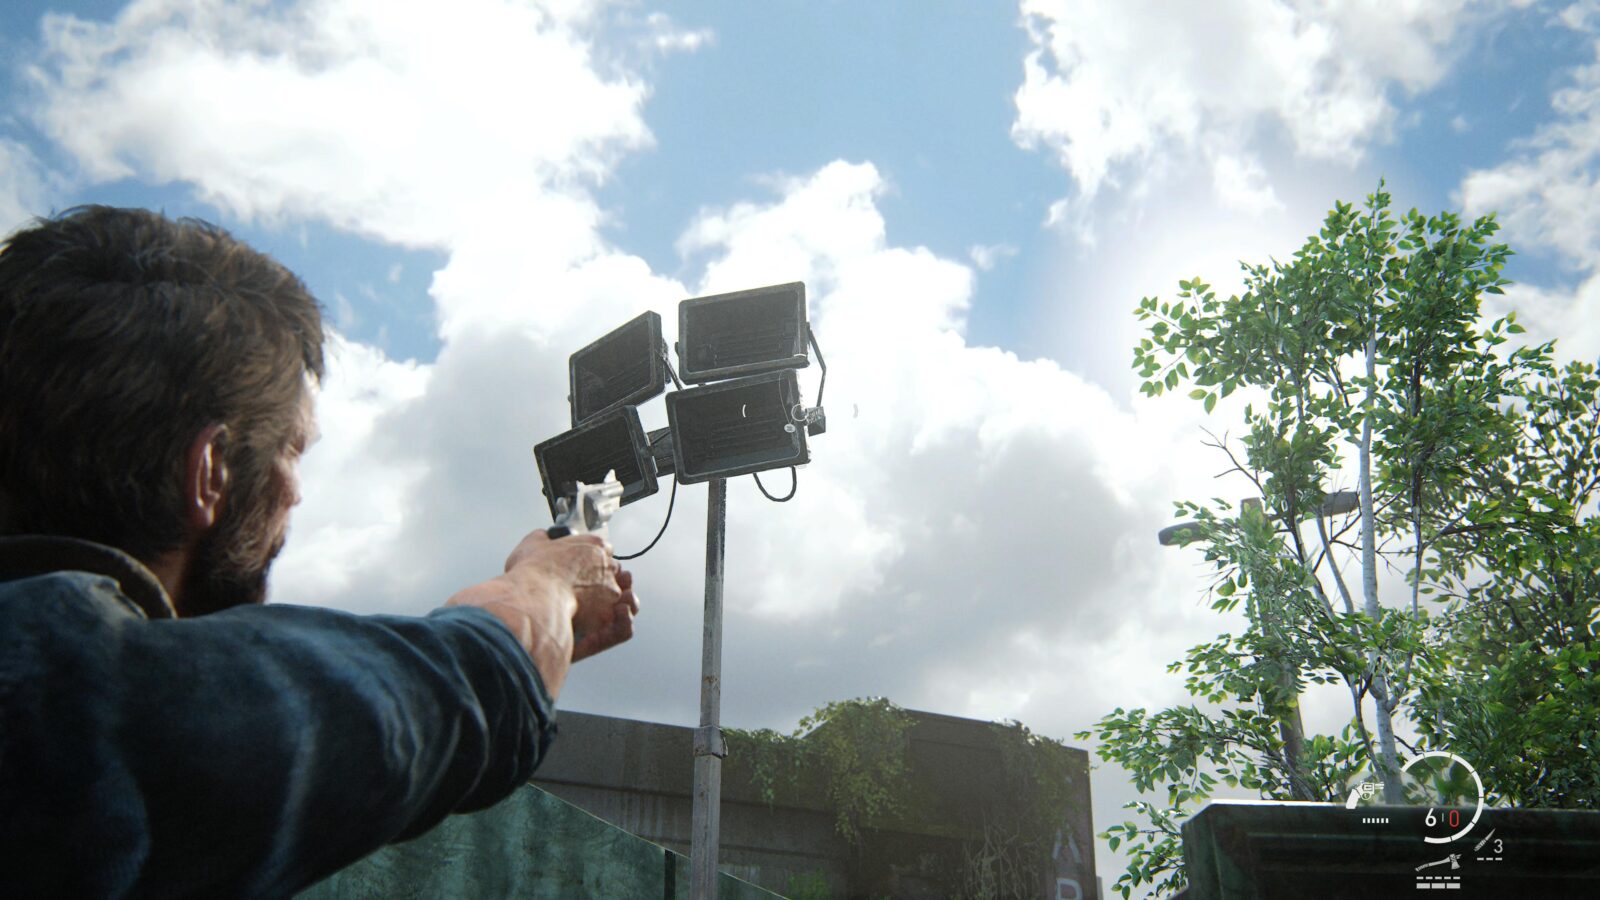
Firefly Pendant #28 Nicole Hoo 000201 – Head out of the medical tent and head left (right if you’re facing the tent entrance) and you will see a floodlight where the medical tent ends. Hanging from the floodlight is a pendant.
Workbench #10 – Head in the opposite direction of the floodlight to find a tent with a workbench inside.
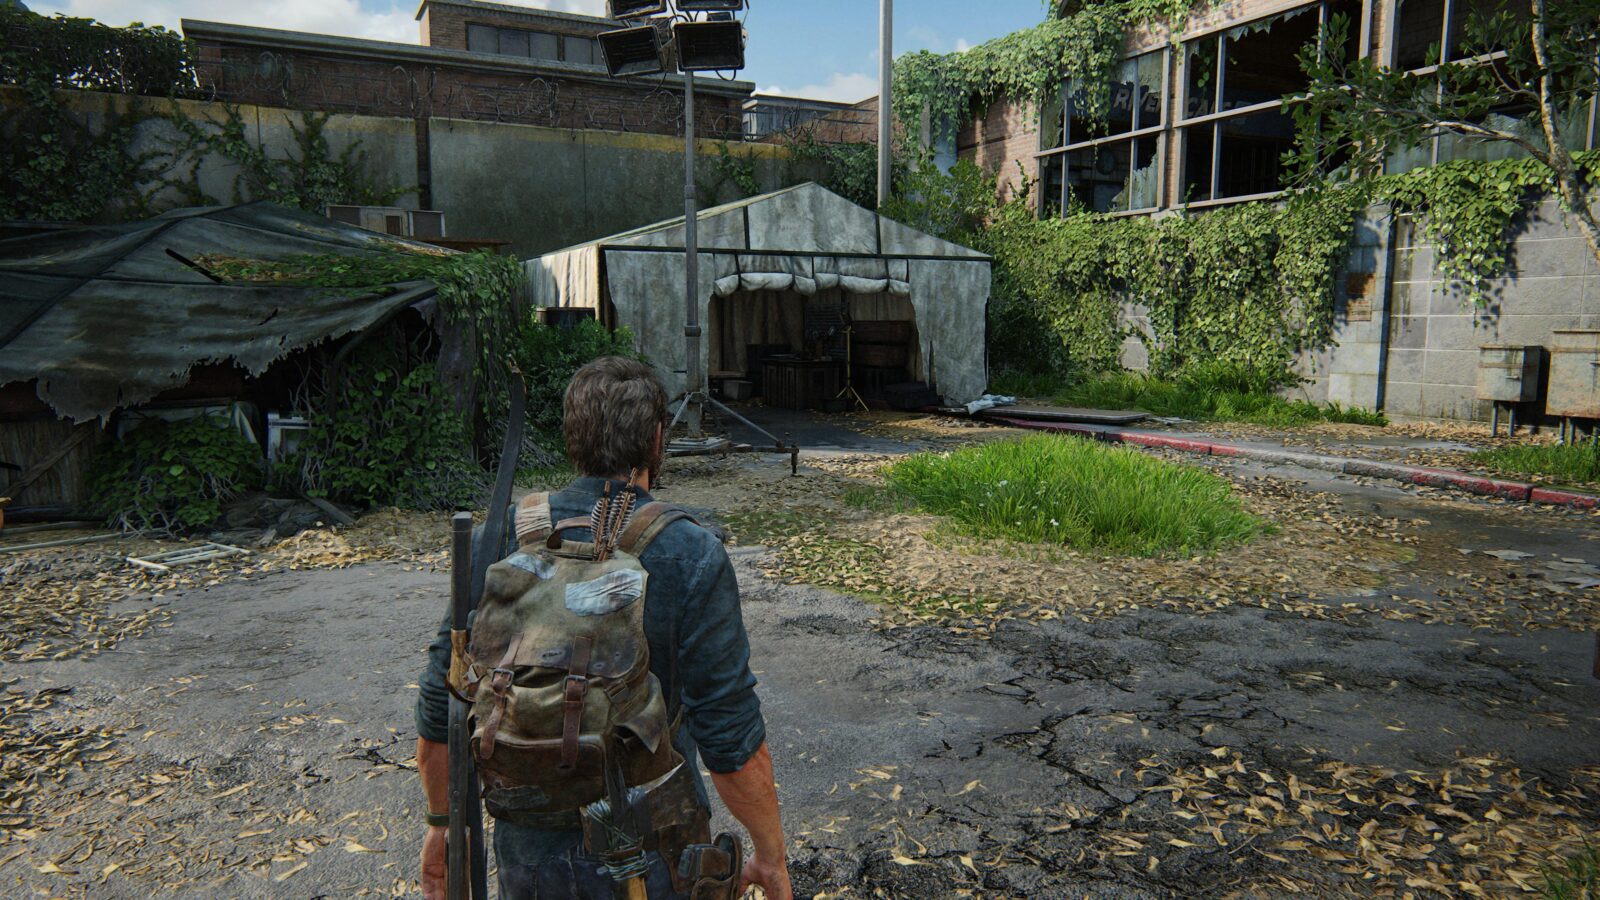
Artifact #78 Salt Lake Q.Z. Map – Opposite Workbench #10.
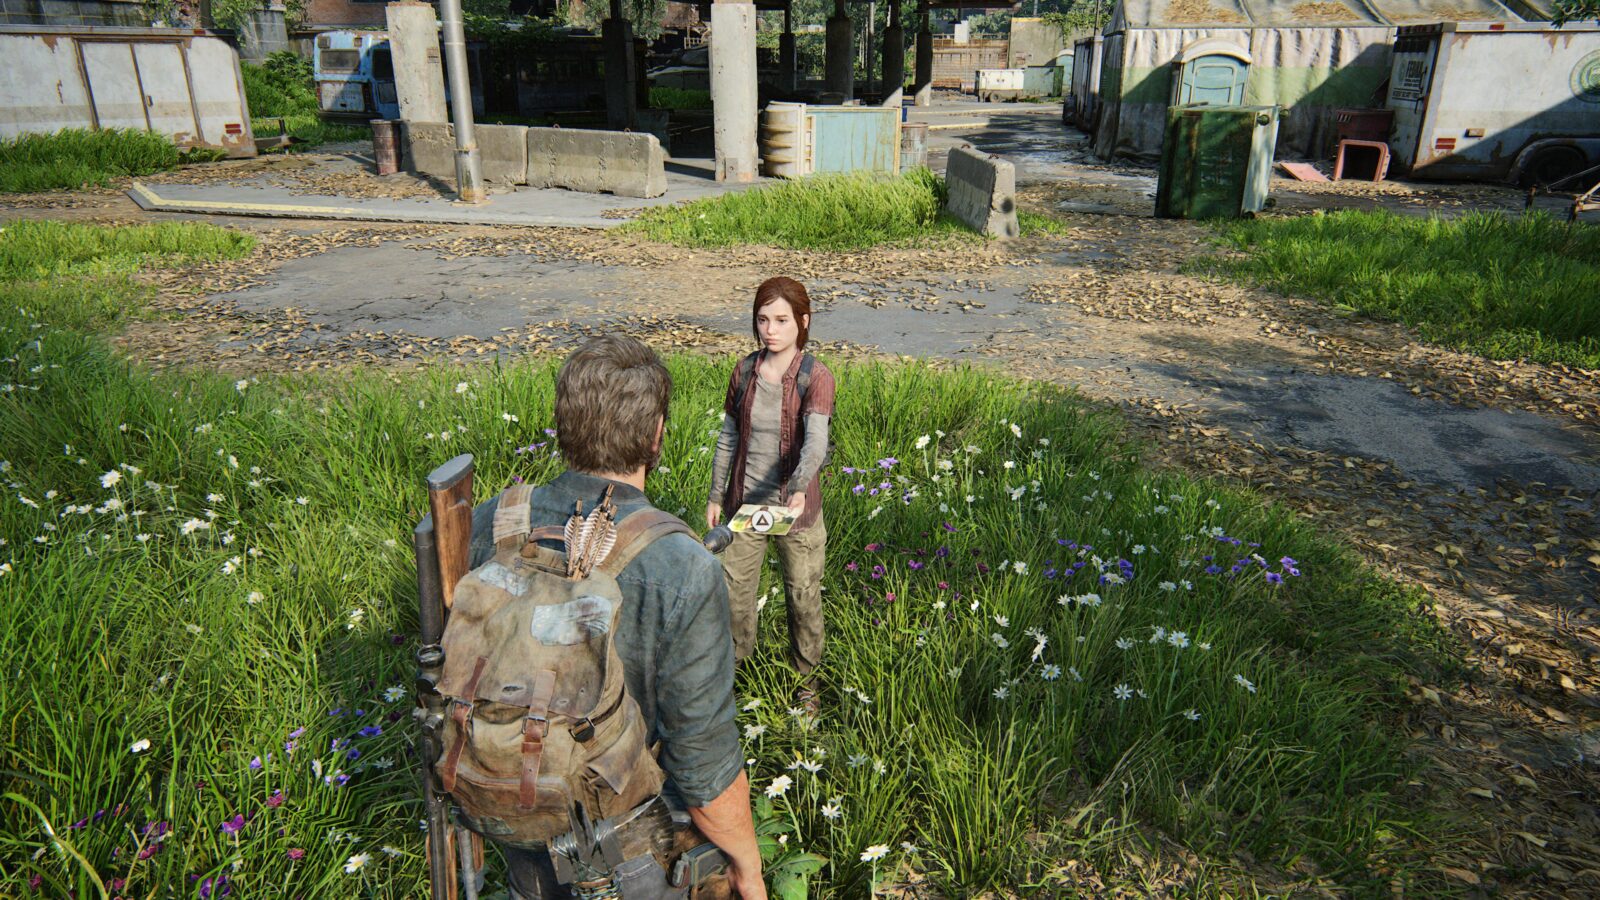
Optional Conversation #40 – As you approach the bus to leave the area Ellie will get Joel’s attention and give him a gift. Press ![]() when the prompt appears for the last Optional Conversation in Part 2. There are more Optional Conversations in Left Behind.
when the prompt appears for the last Optional Conversation in Part 2. There are more Optional Conversations in Left Behind.


Artifact #79 Joel & Sarah Photo – Given to Joel by Ellie as part of Optional Conversation #40.
Underground Tunnel
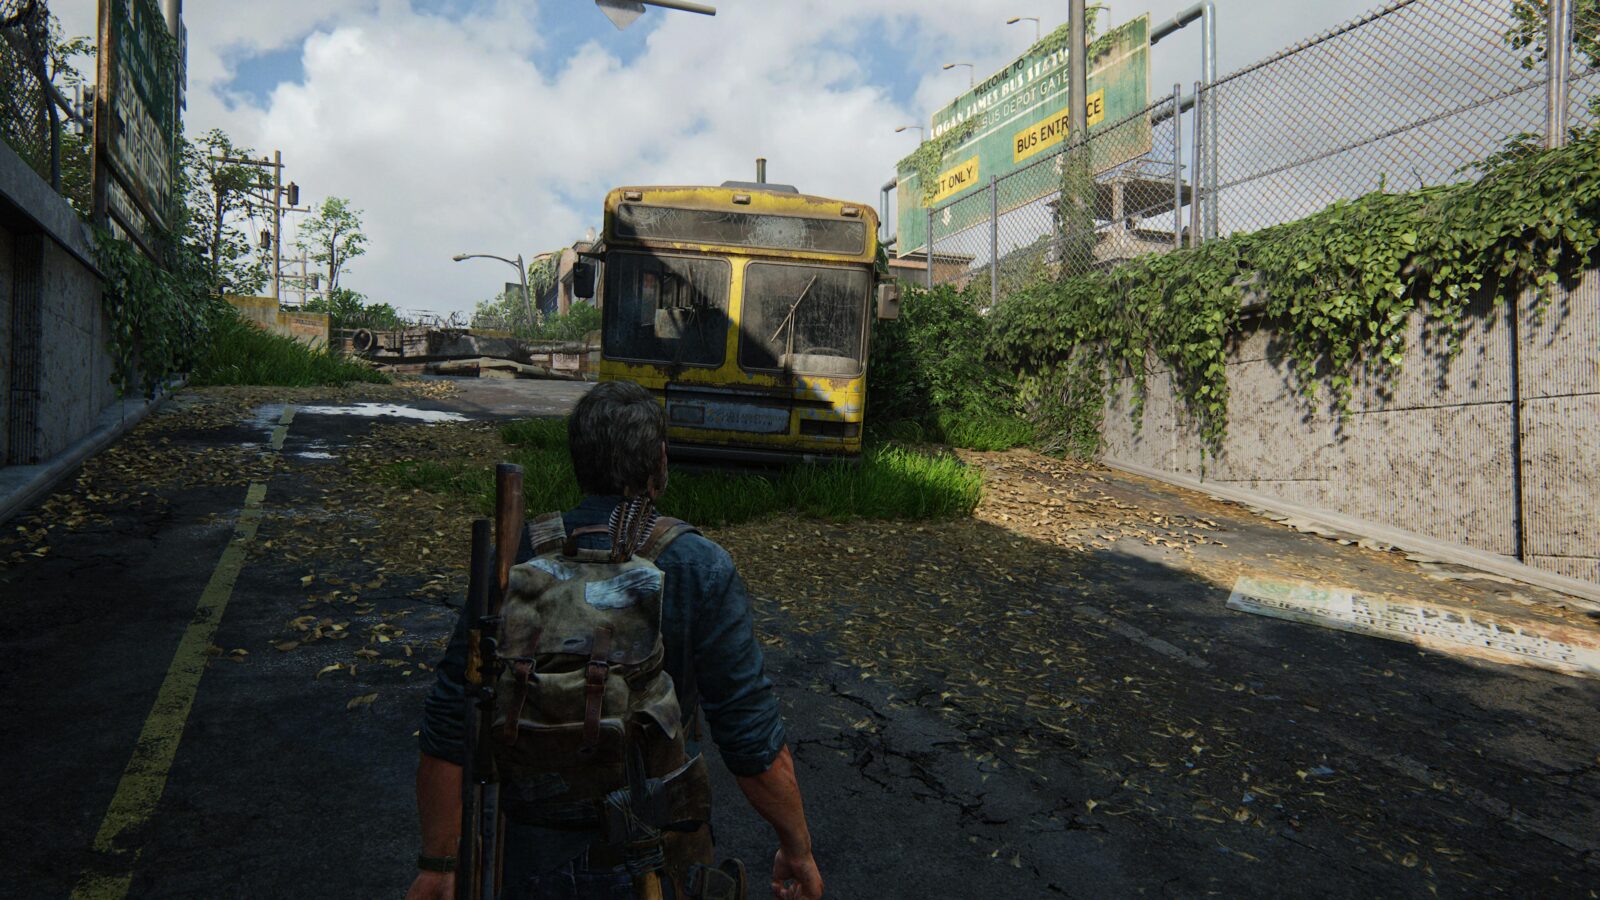
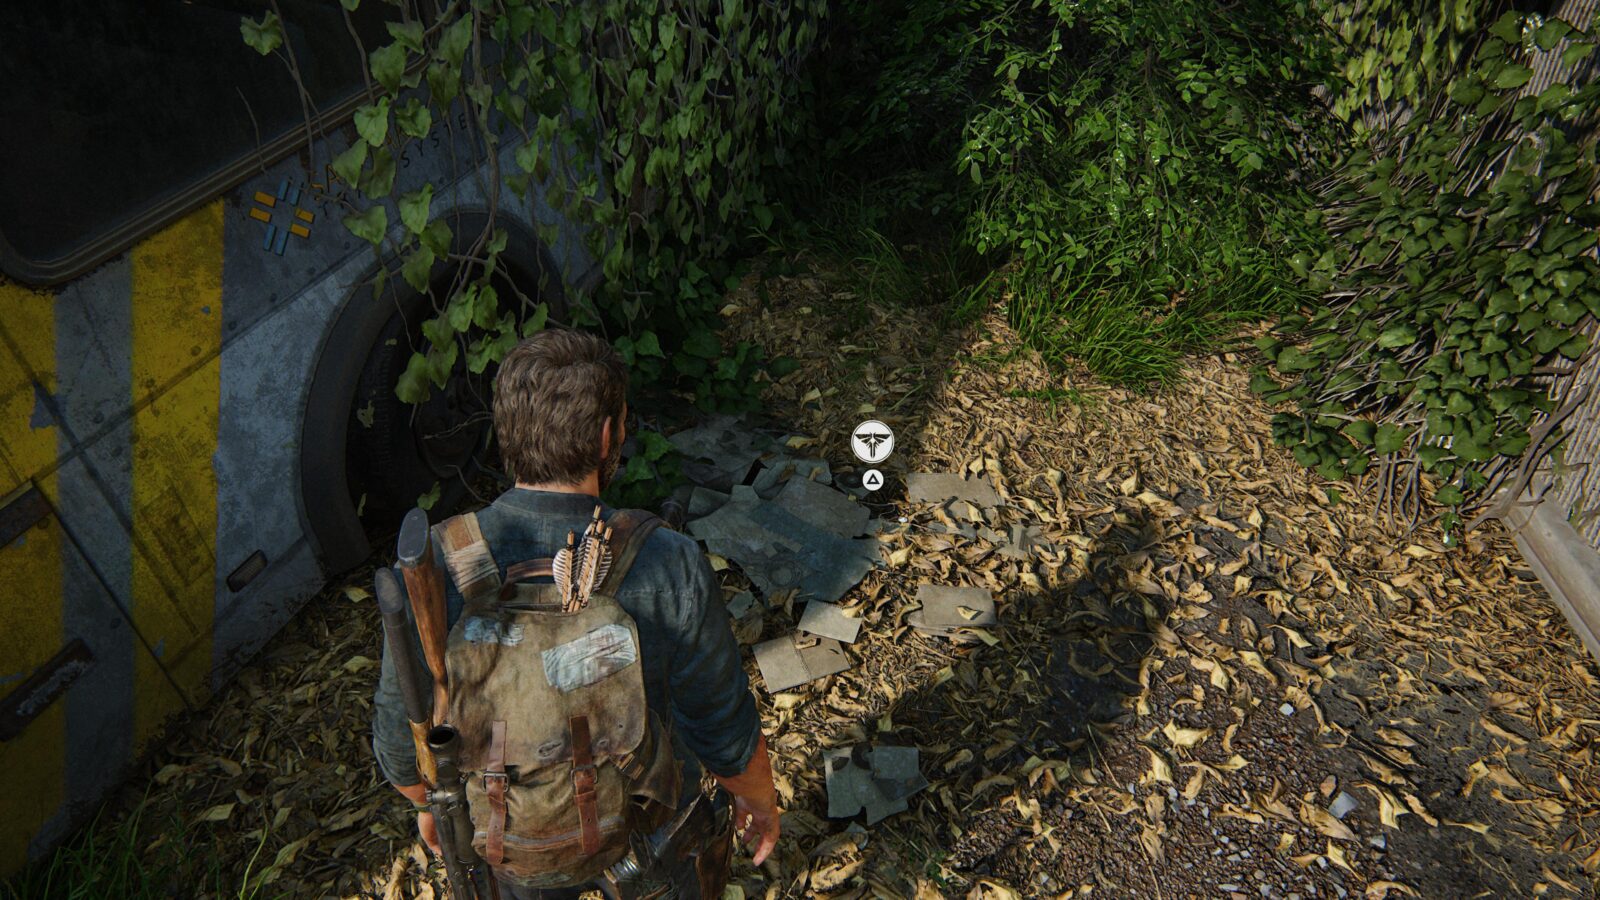
Firefly Pendant #29 Natalie Hoo 000202 – After traversing through the bus you will have to take a ramp down into a tunnel. At the top of the ramp is another bus. In the overgrowth next to the bus is a pendant. If you’ve gone into the tunnel you’ve gone too far.
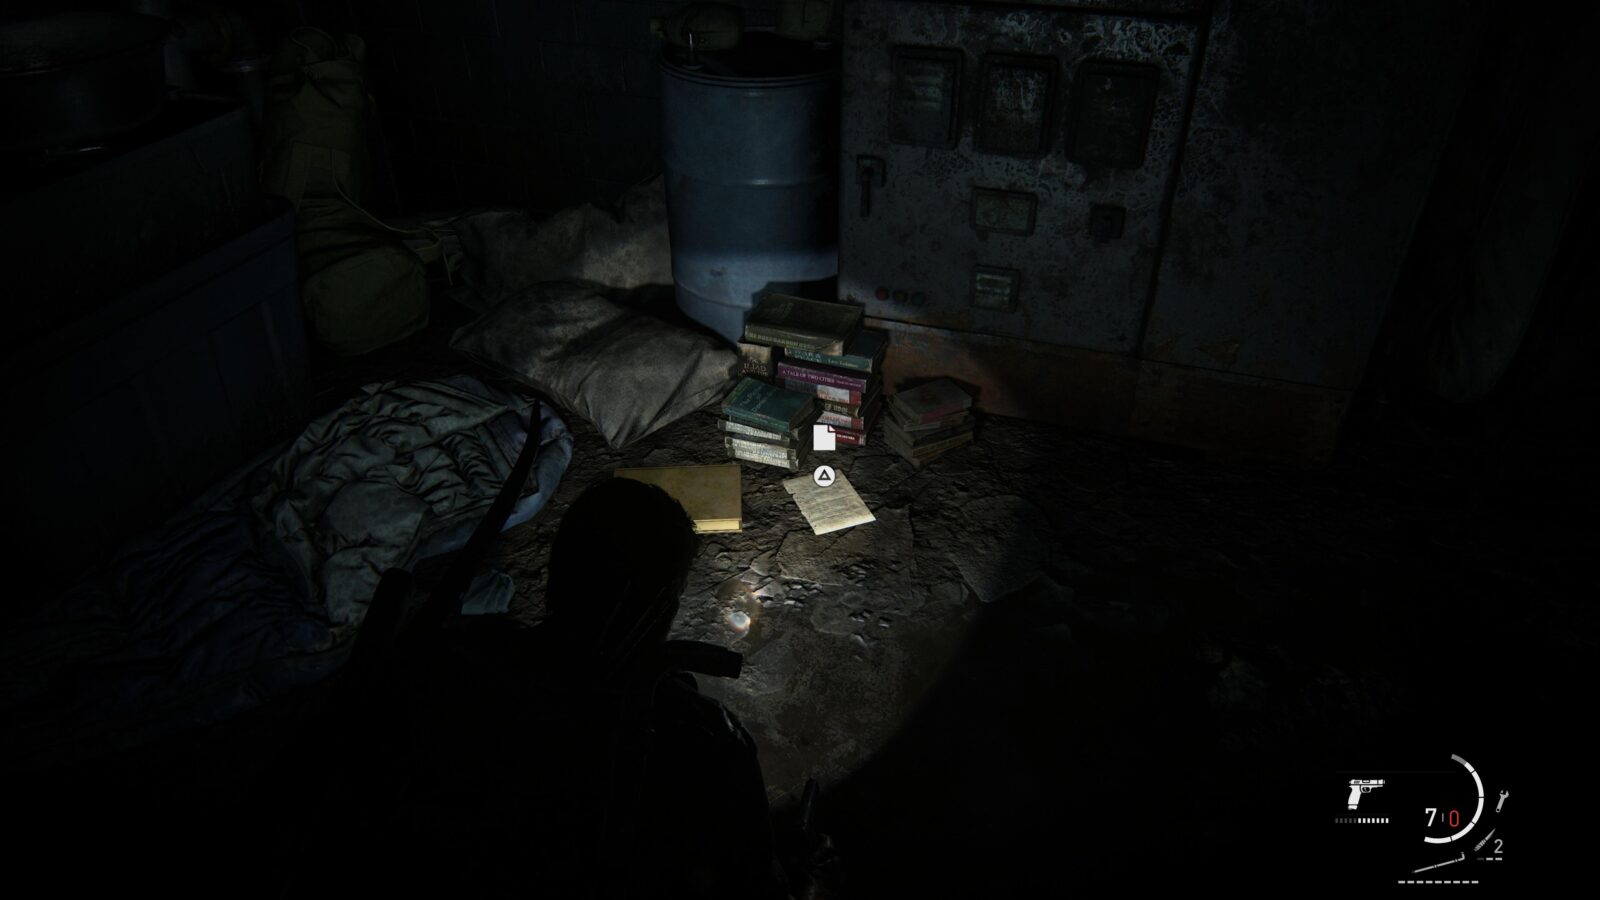
Training Manual #12 Bomb Shrapnel – The final training manual is in the tunnel with all the infected. At the end of the tunnel just before where the two bloaters are roaming is a white truck. Climb up the front of it and onto the roof to find the last training manual.

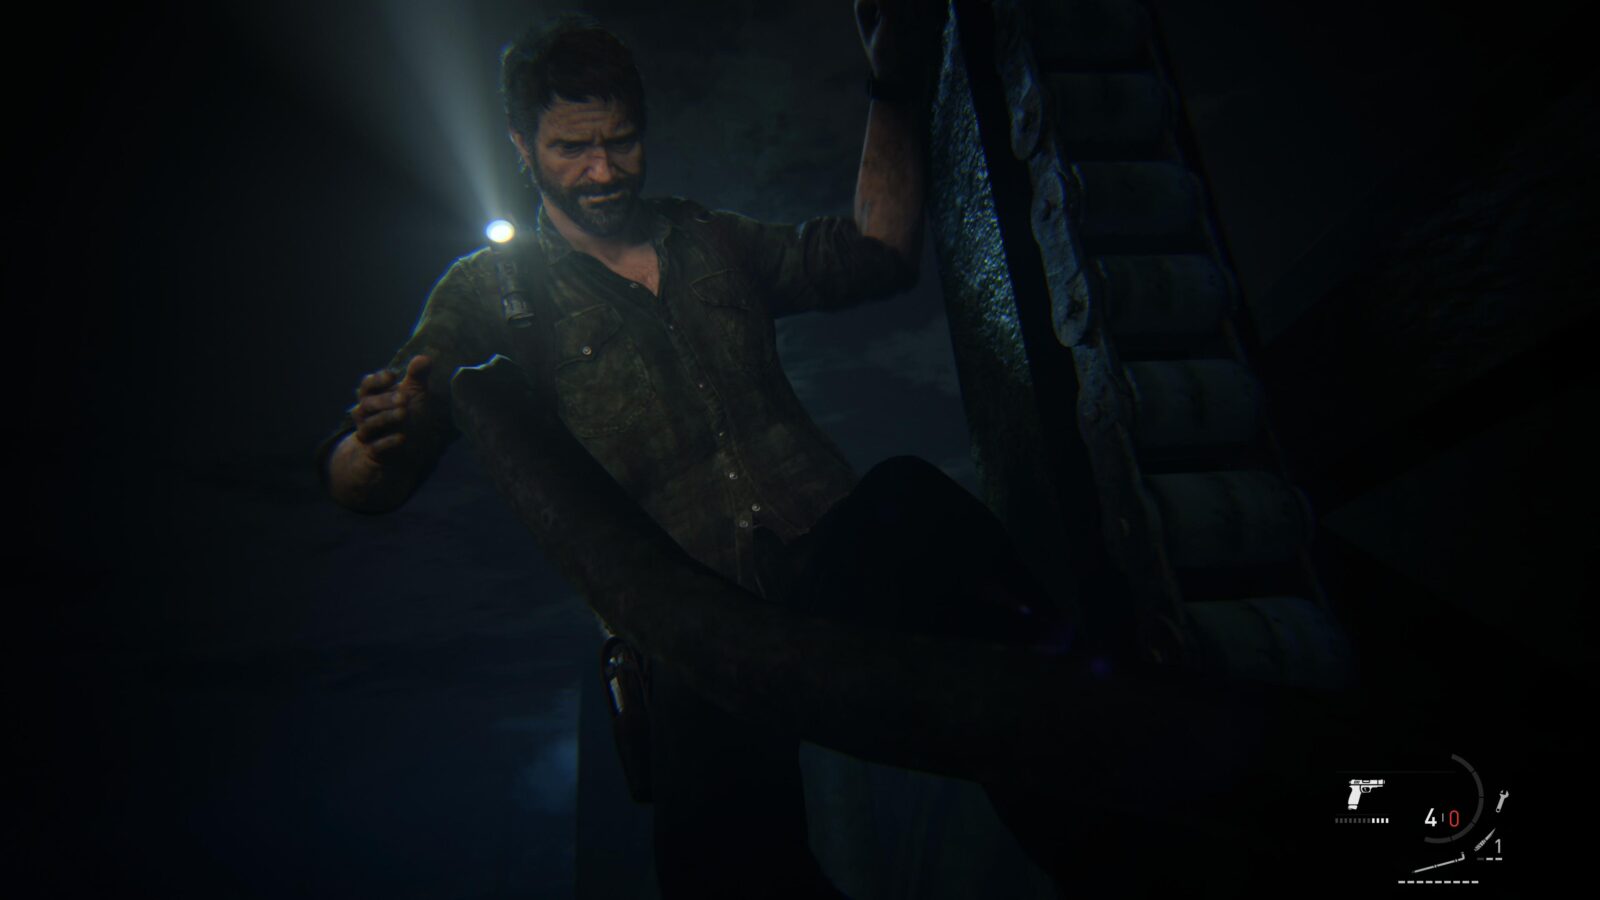
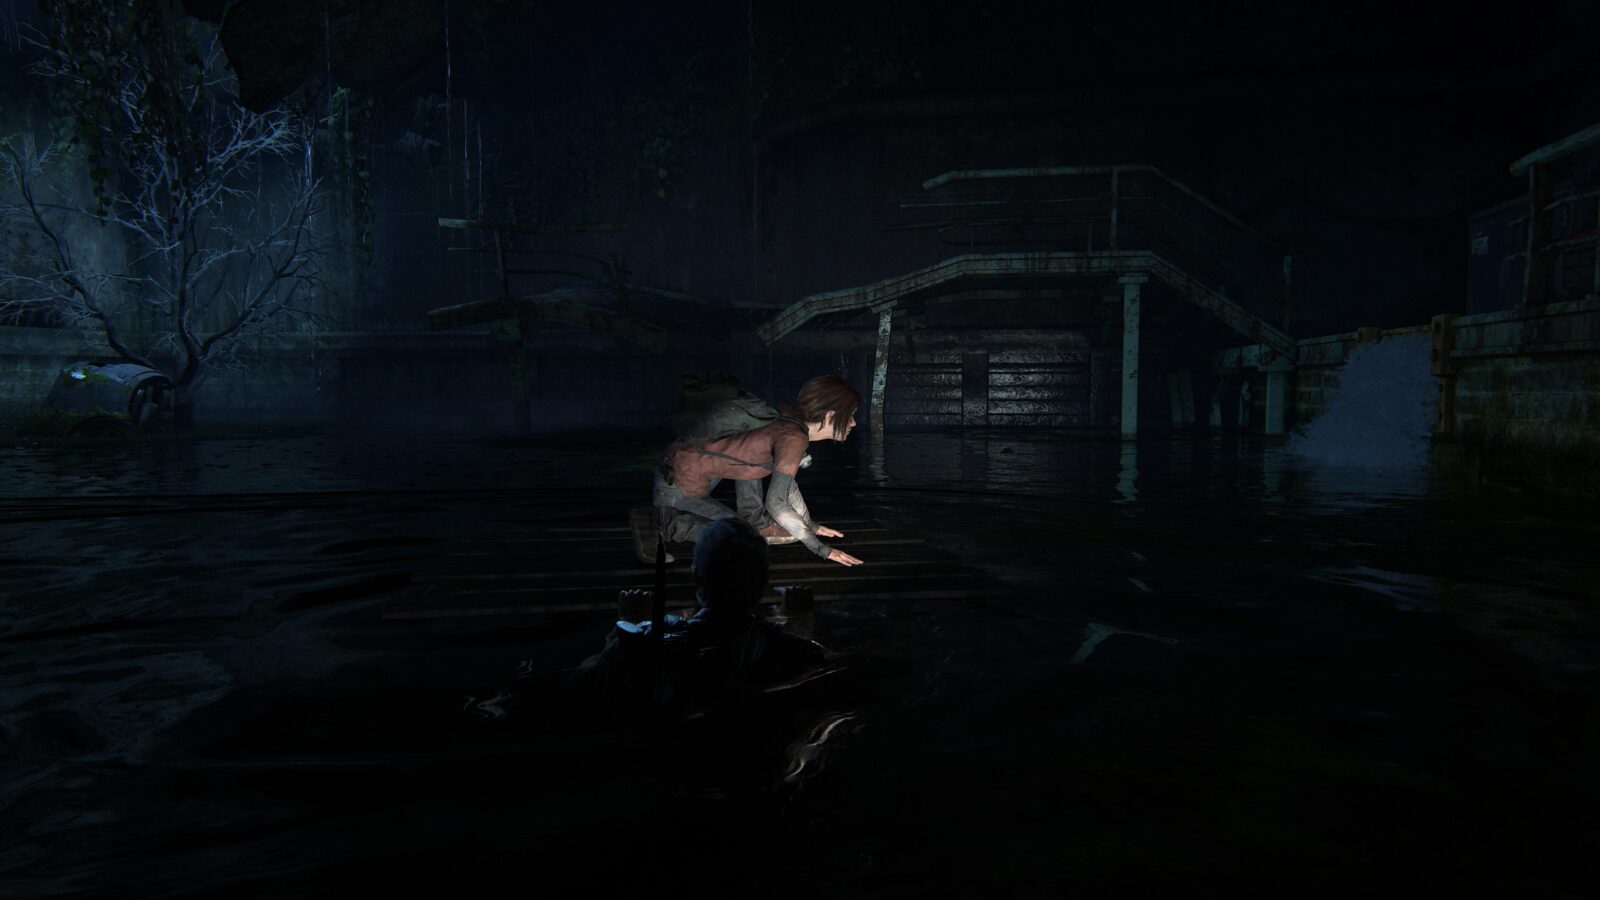
Comic #12 Catalysis – After climbing over the truck to escape the infected Joel will have to swim under a lodged fire truck to drop a ladder down for Ellie. Climb onto the metal vents and follow it to the end to find a comic.

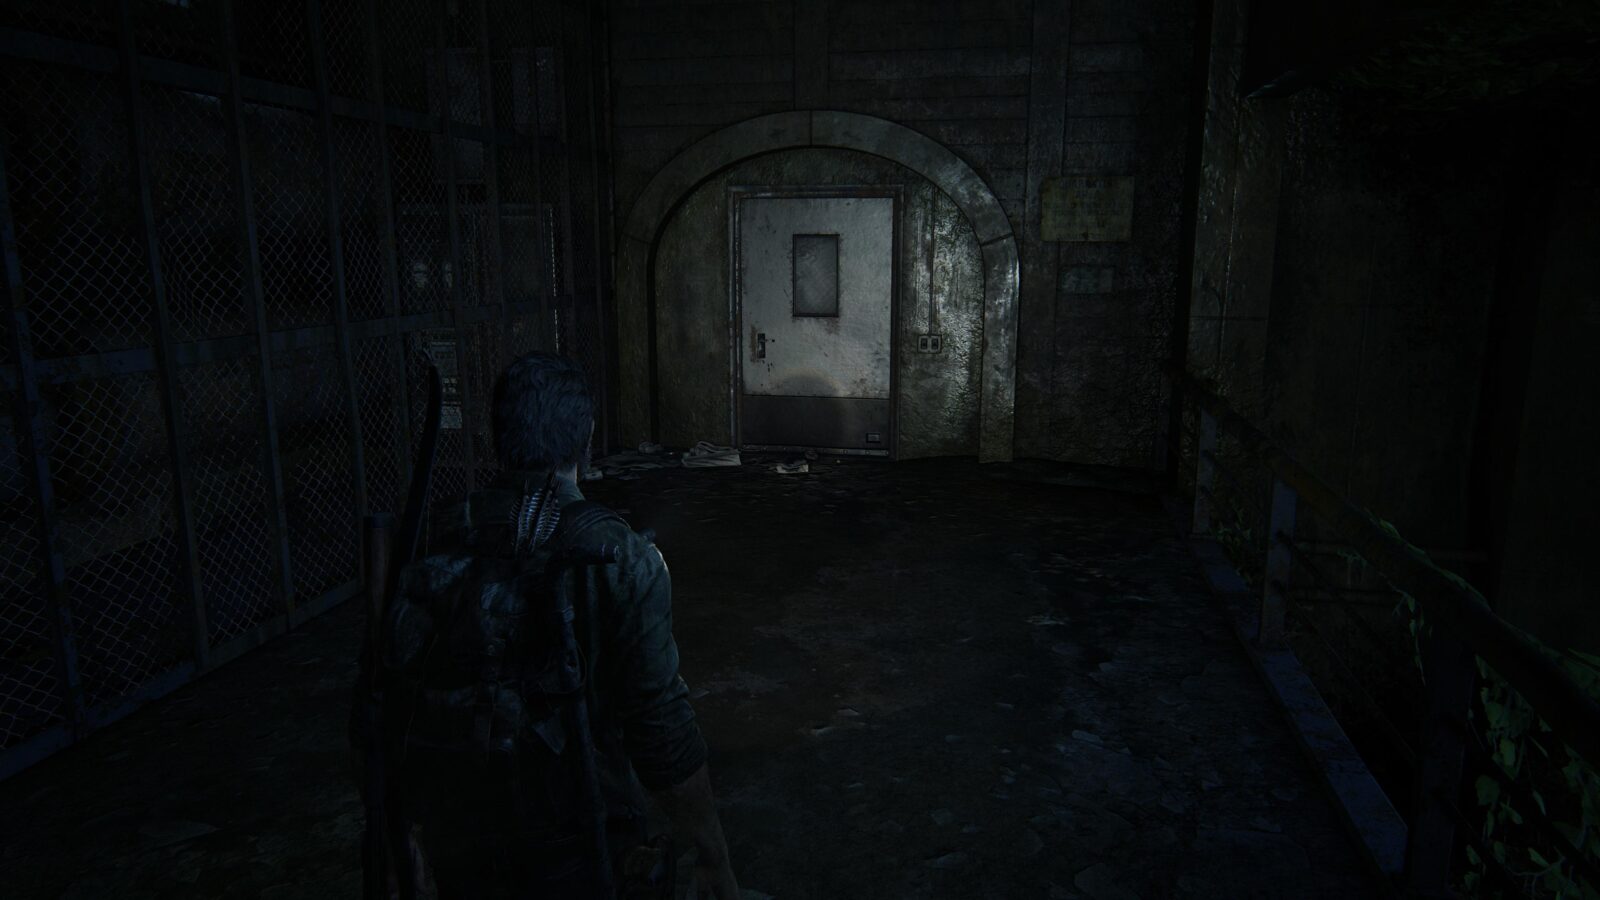
Workbench #11 – The final workbench is in the room behind the chainlink fence that Ellie opens for you at the end of the tunnel.
Shiv Door #12 – In the corridor after workbench #11 is a shiv door immediately to your right.
Firefly Lab
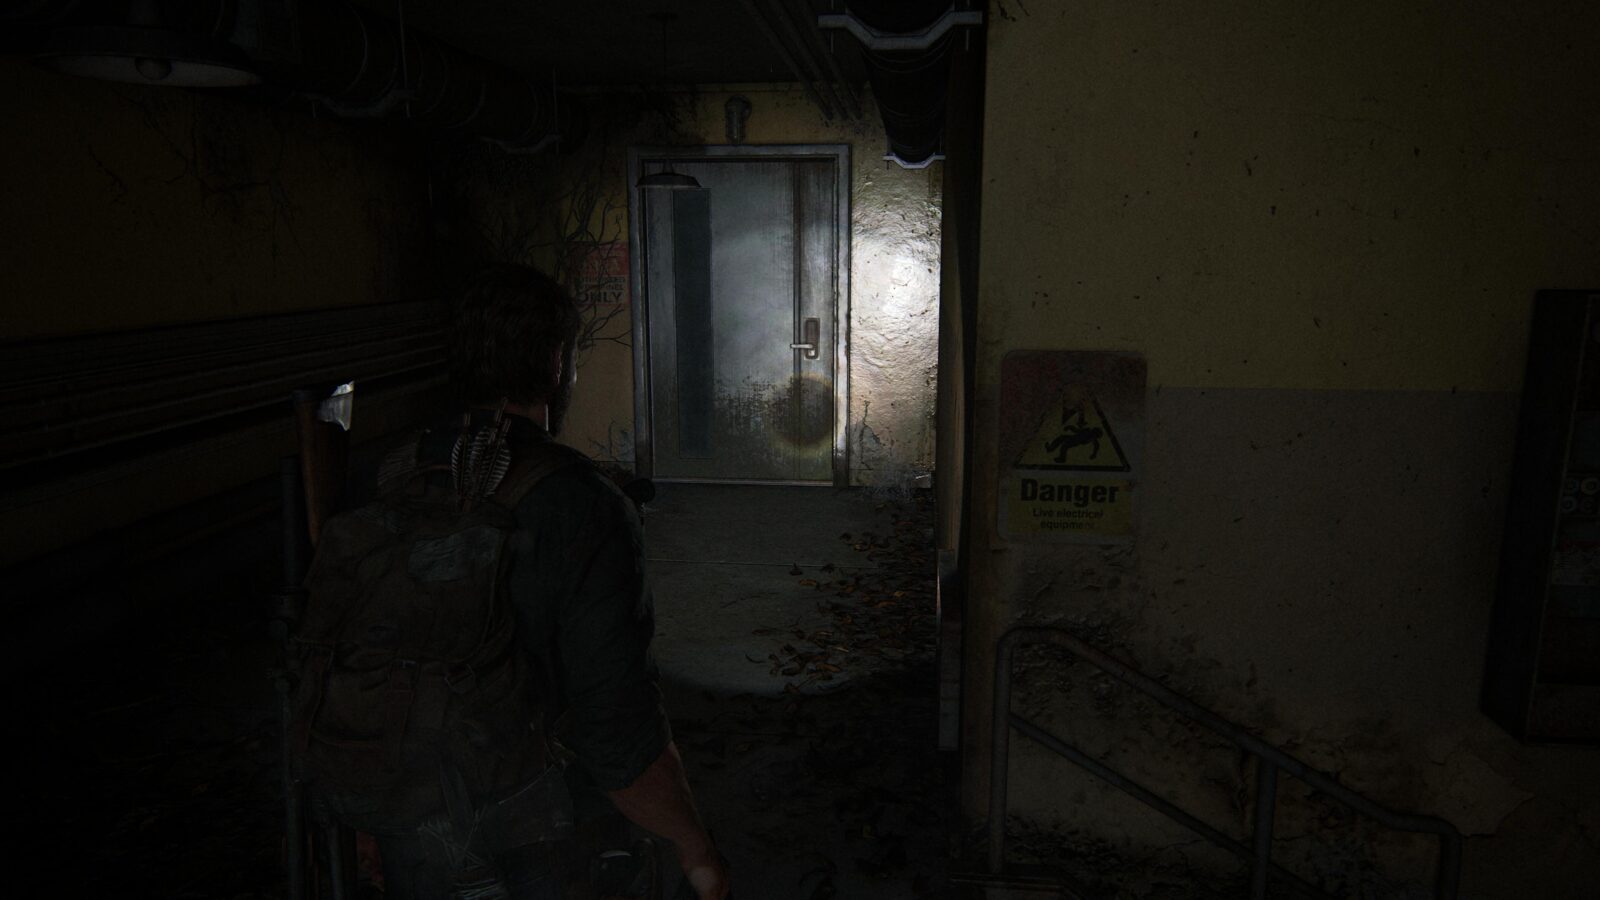
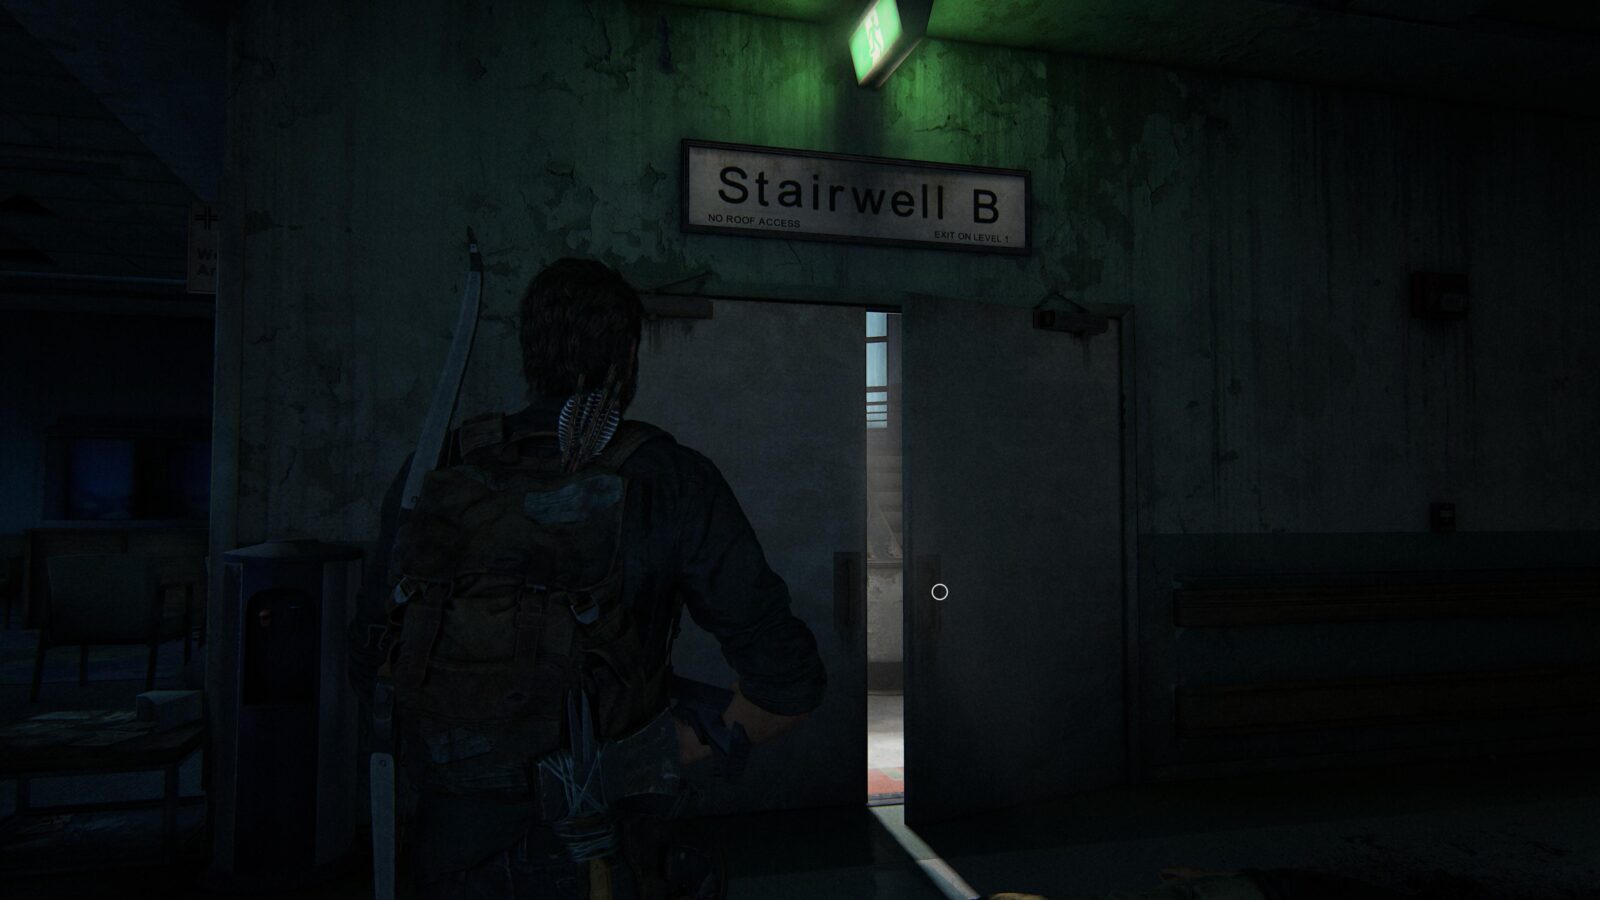
The Hospital
Artifact #80 Surgeon’s Recorder – In the hospital you will reach Stairwell B which leads up to the 6th floor. When you emerge the stairwell you will see a tape recorder on the reception desk.

Shiv Door #13 – Behind the reception desk is the final shiv door.
Firefly Pendant #30 Byrony Stewart-Seume ??0304 – Inside the shiv door on a table to your right is the last Firefly pendant.
Artifact #81 Marlene’s Recorder 1 – Leave the shiv door and go into the room opposite the reception desk. Inside on a desk is Marlene’s tape recorder.
Artifact #82 Marlene’s Journal – Go into the Surgery corridor and head into the green tent to your right. Inside on a desk is Marlene’s journal.
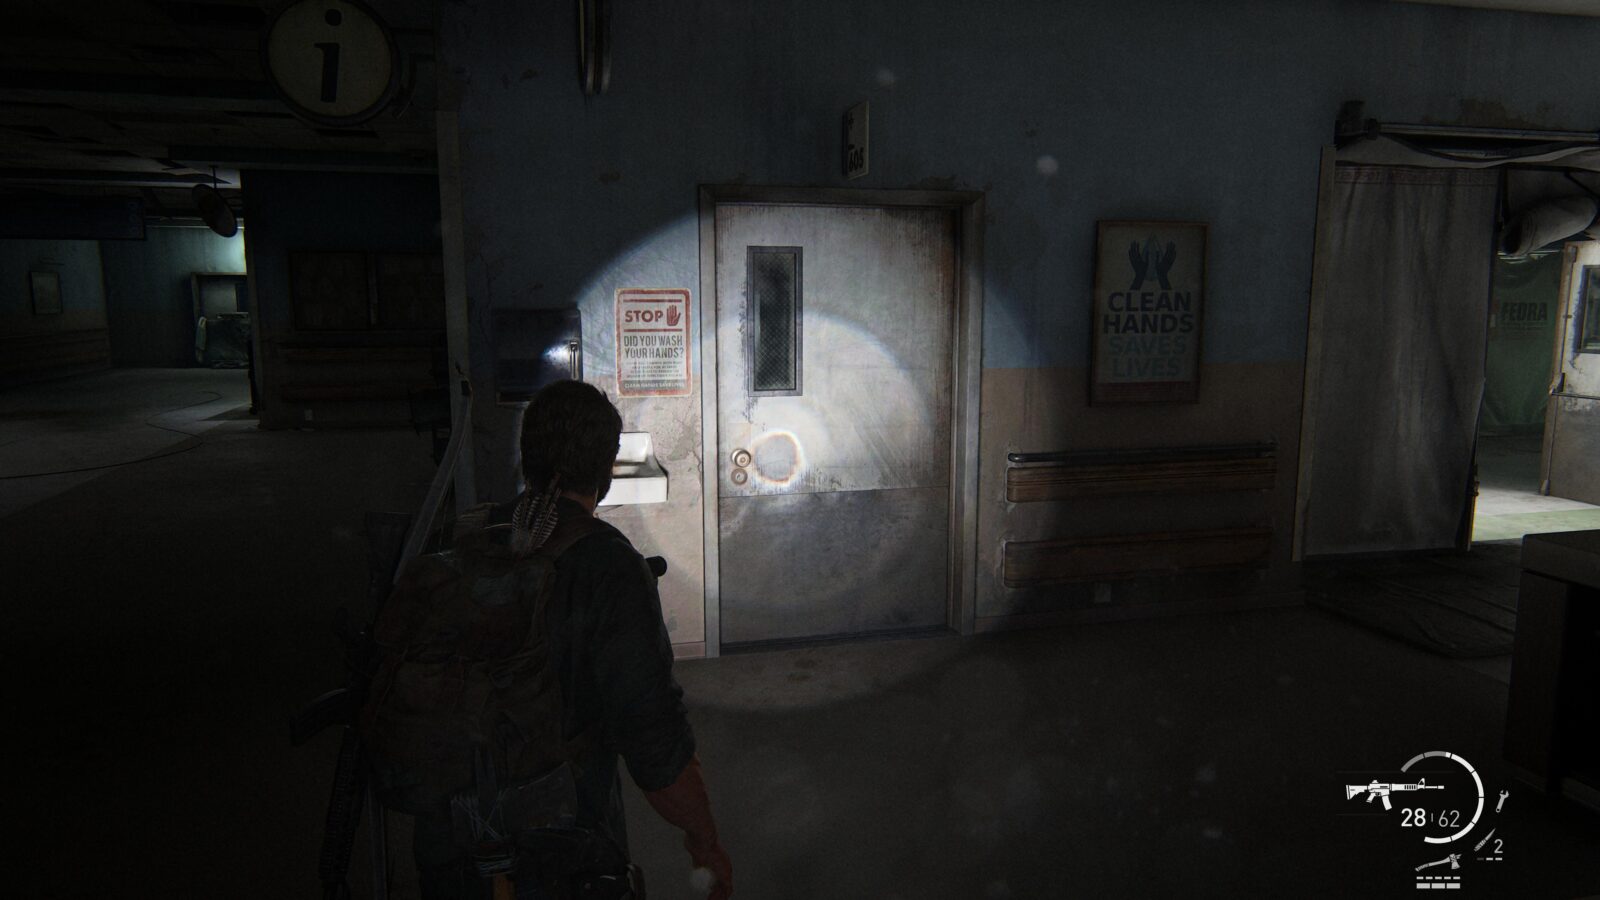
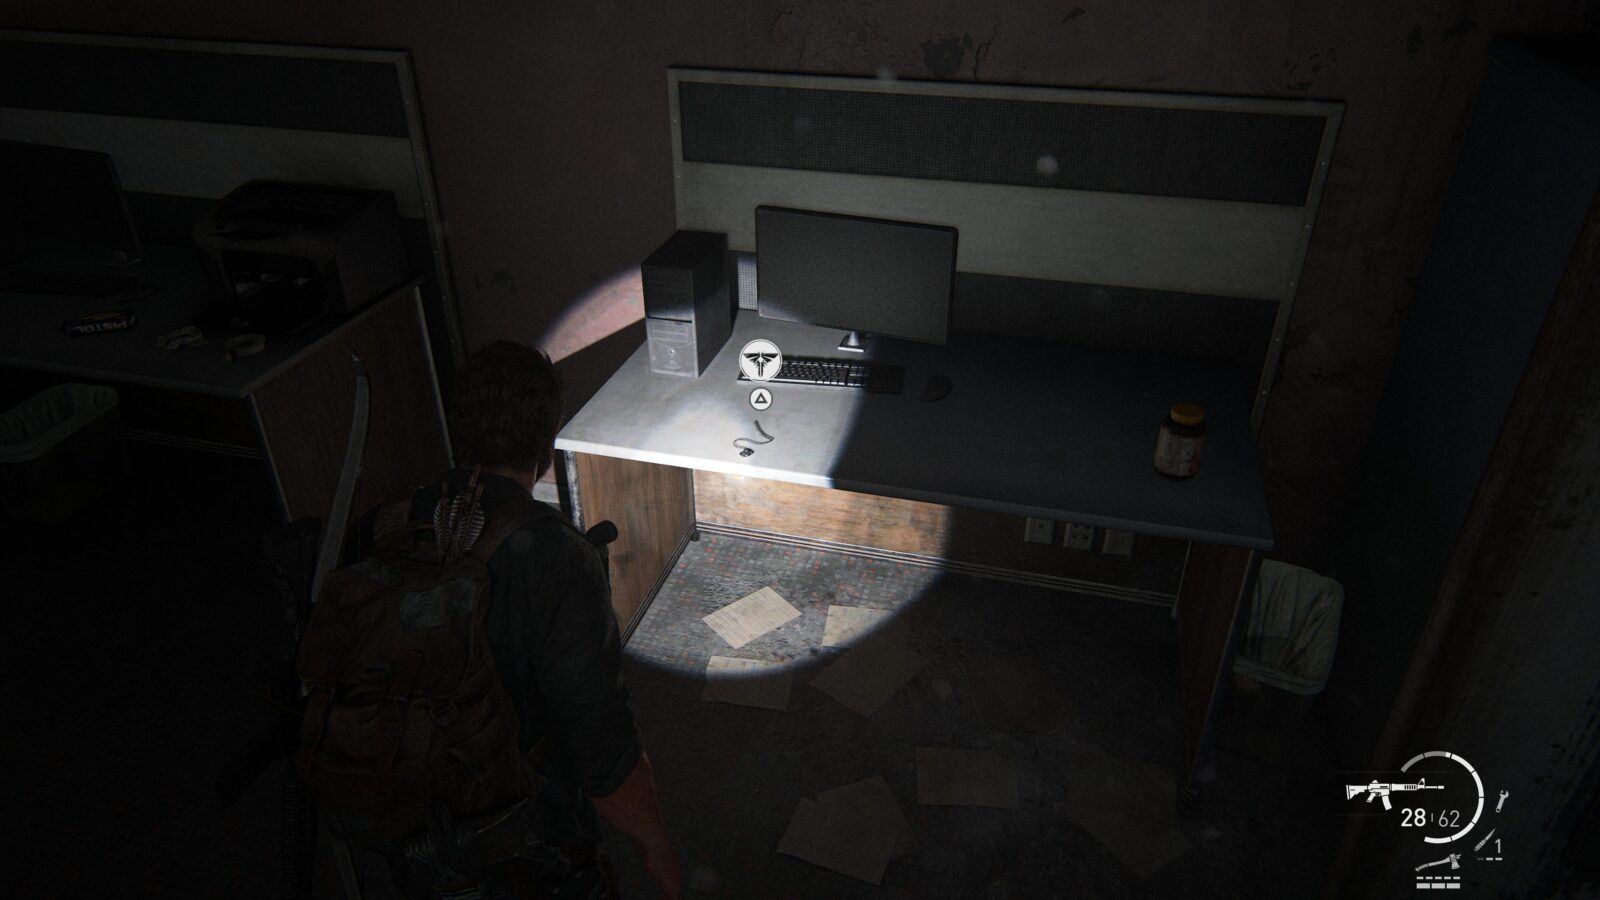
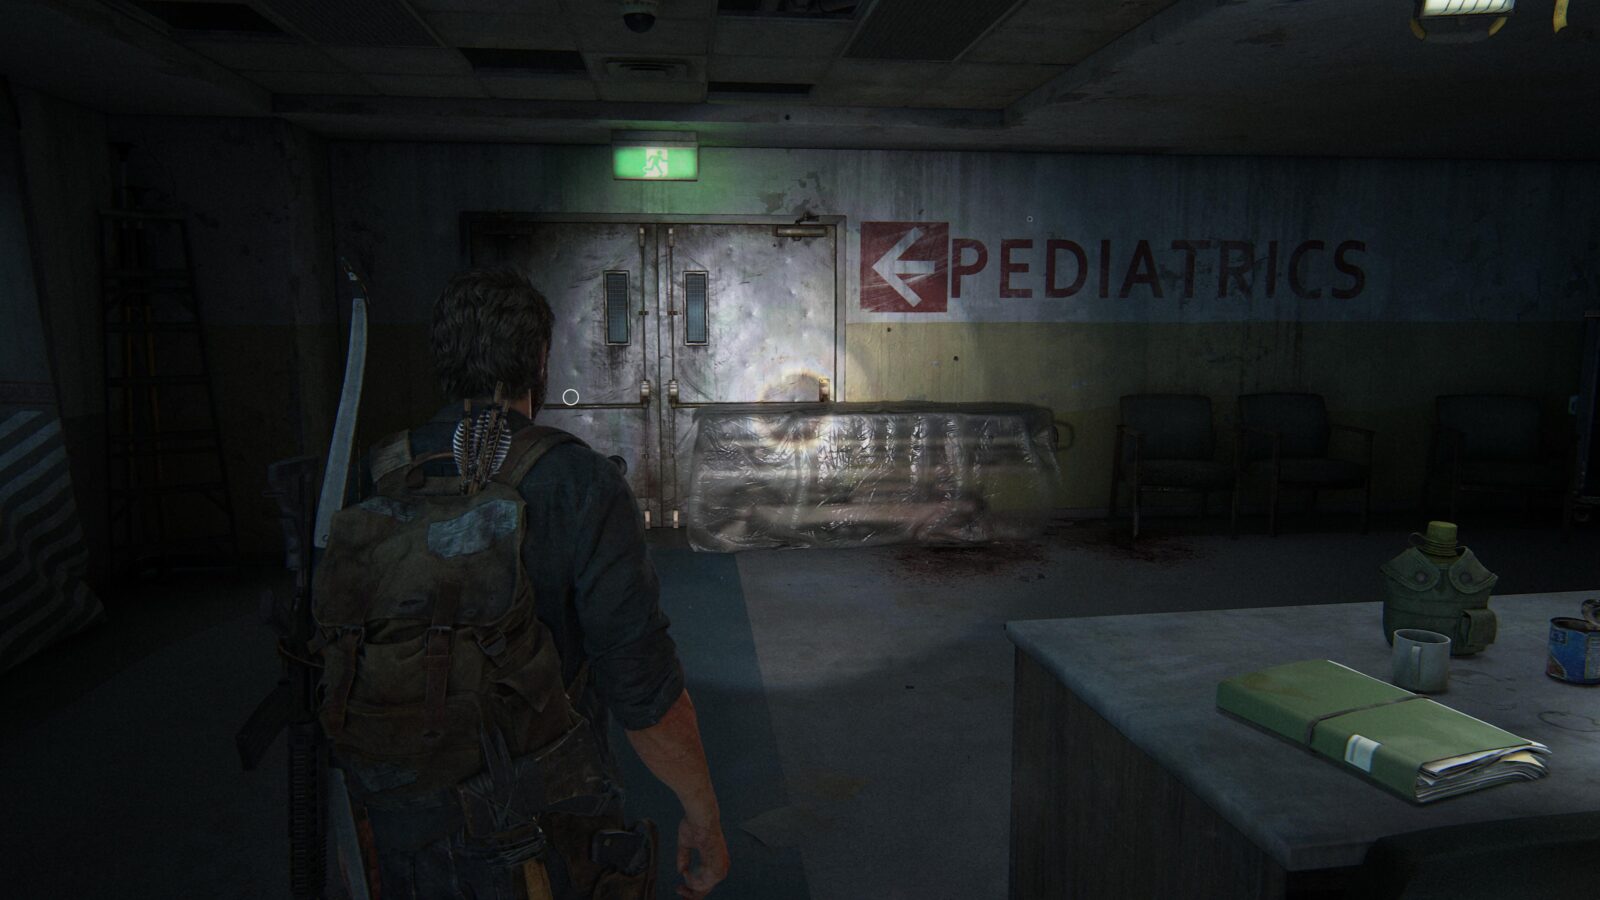
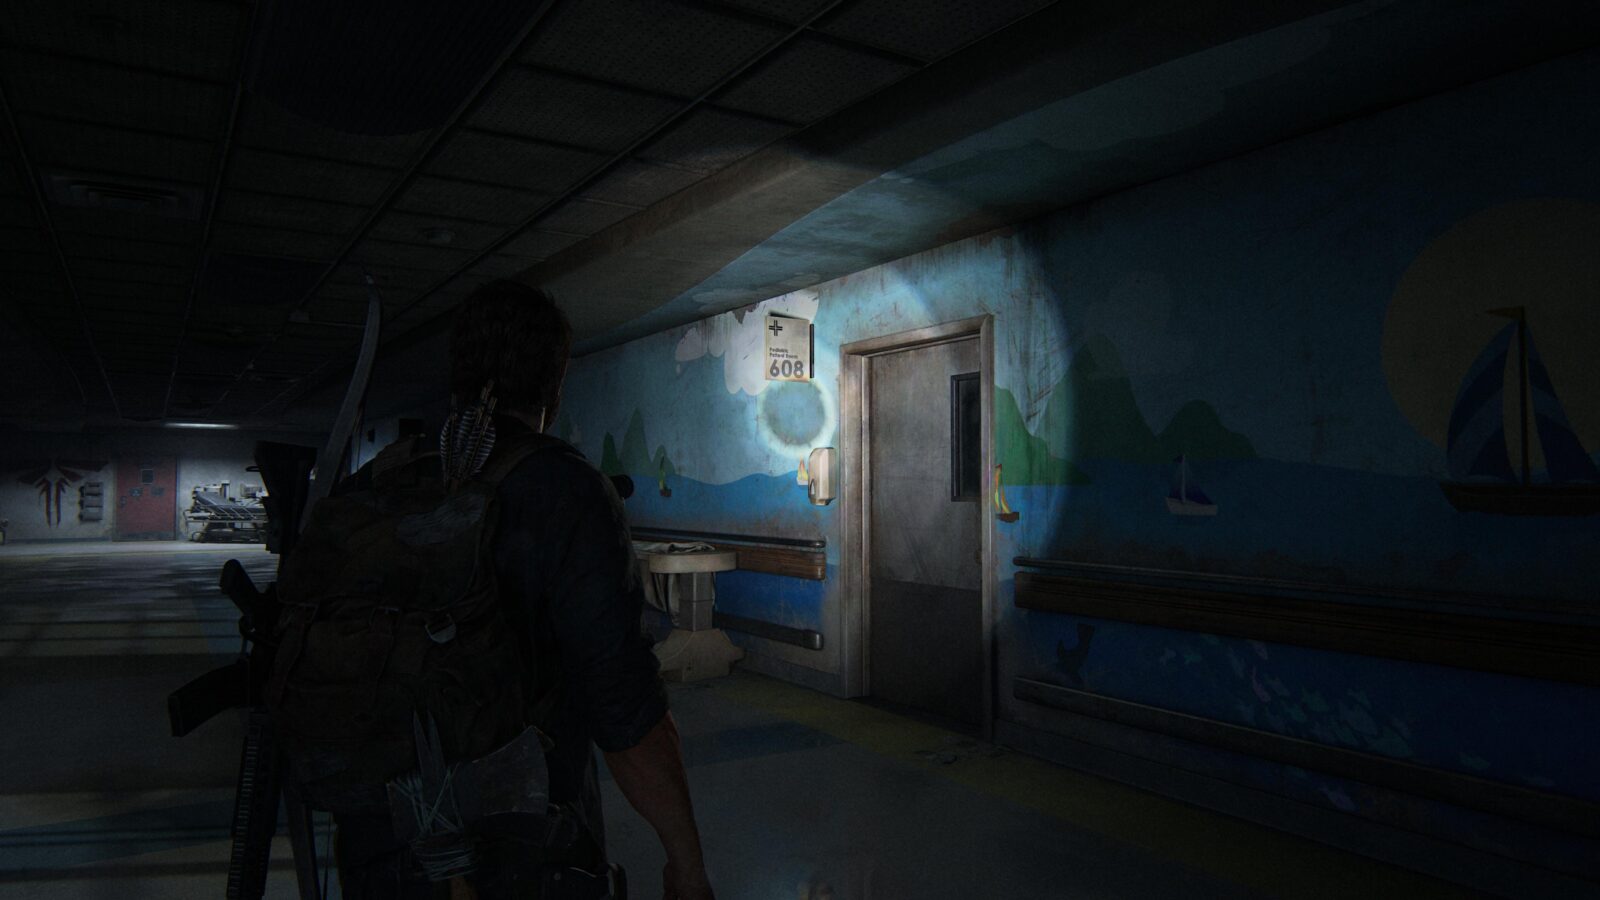
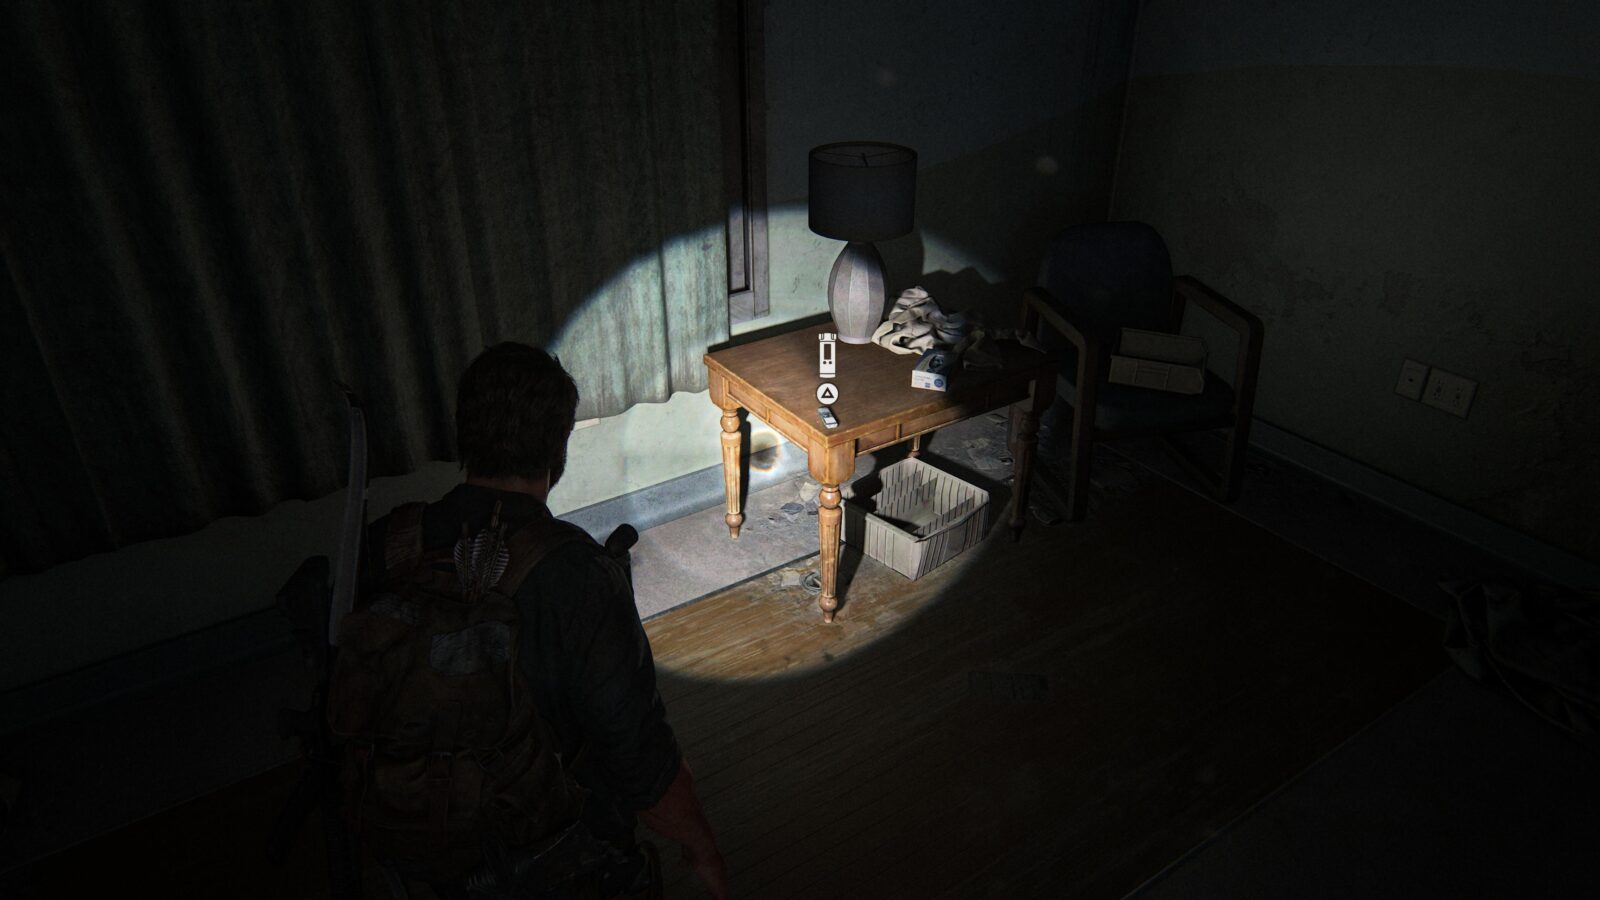
Artifact #83 Marlene’s Recorder 2 – Fight through some more Fireflies and enter the Pediatrics corridor. Look to the right of the corridor for room 608. Inside on a table is the last artifact in Part 1. There are more collectibles to get in Left Behind.
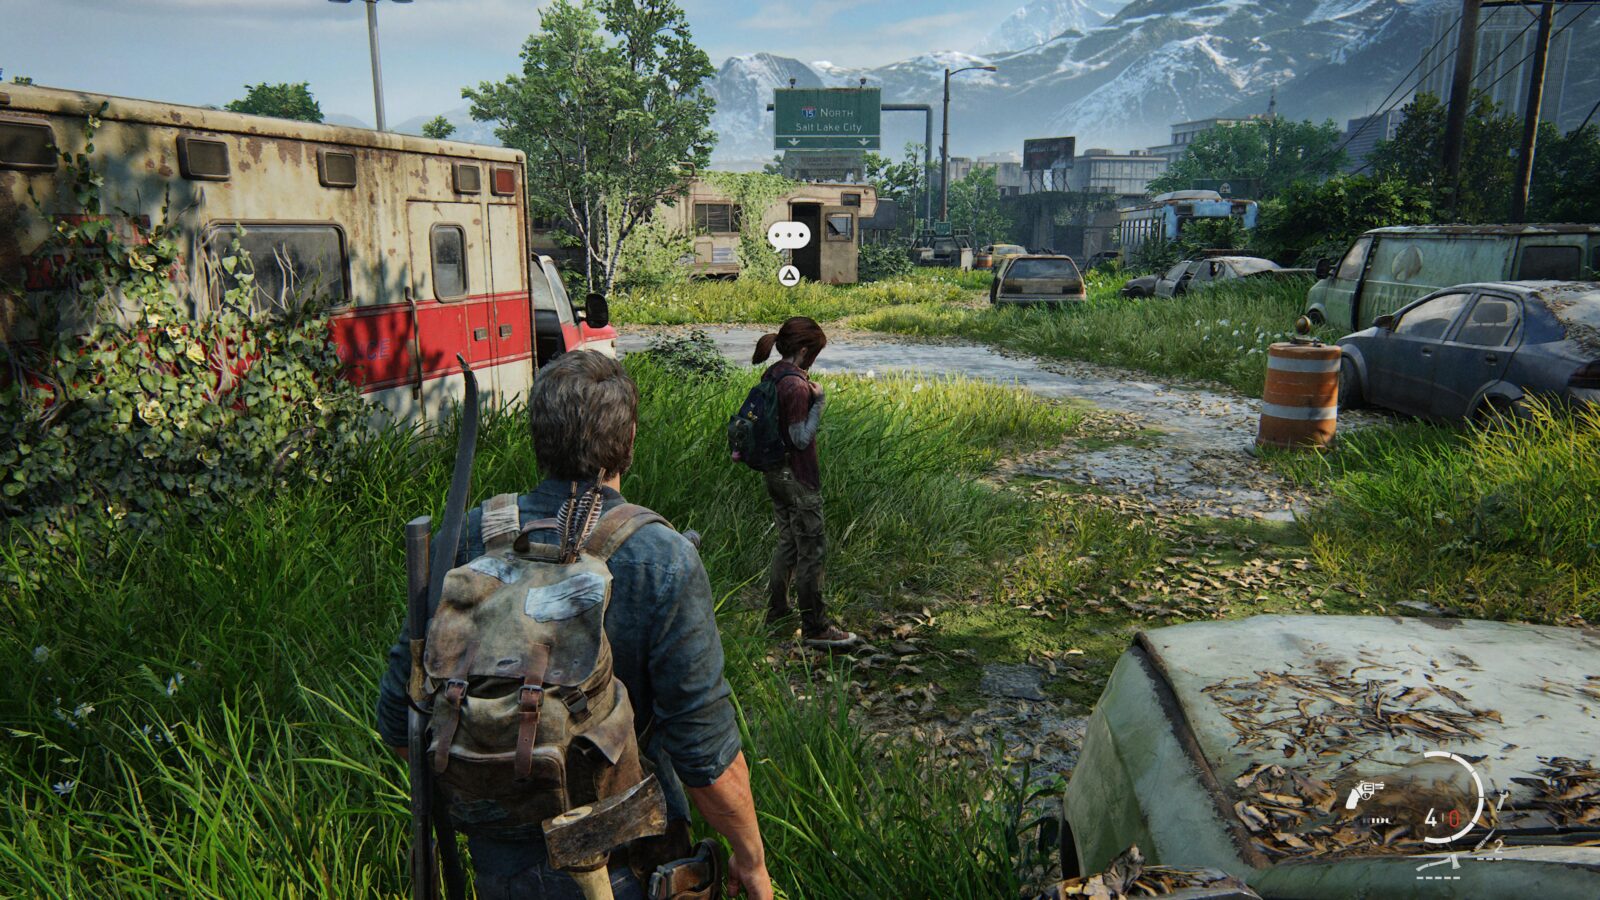
Jackson
Epilogue
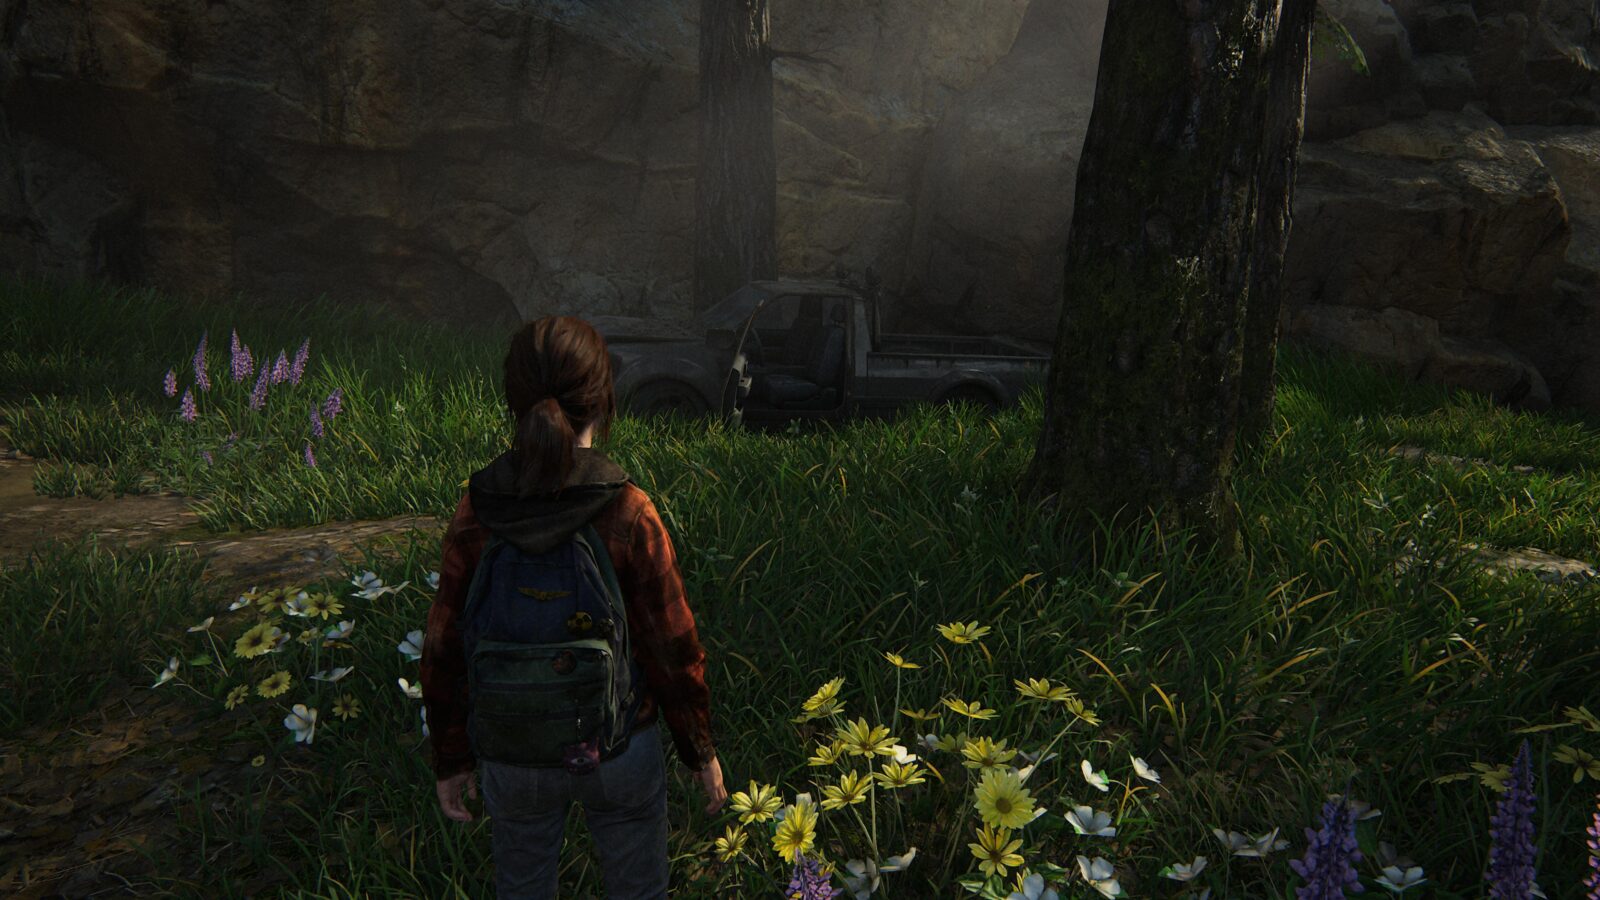
Comic #13 Singularity – After climbing through the barbed wire with Joel, walk to the right through the trees to find an old broken down truck with the last comic on the driver’s seat.

Left Behind
Back in a Flash
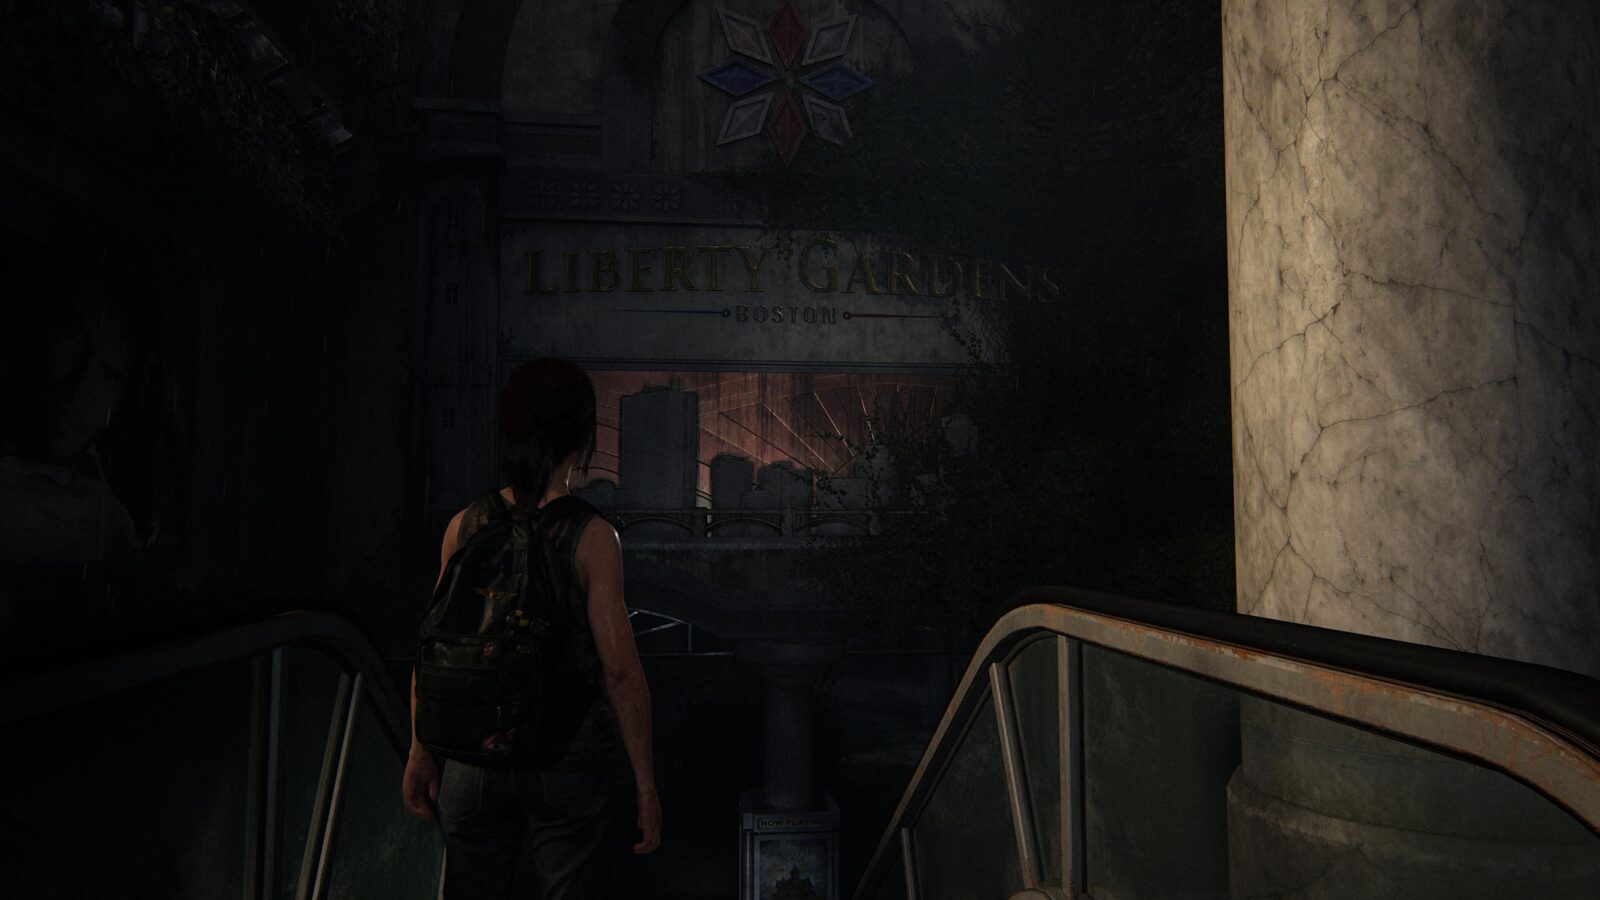
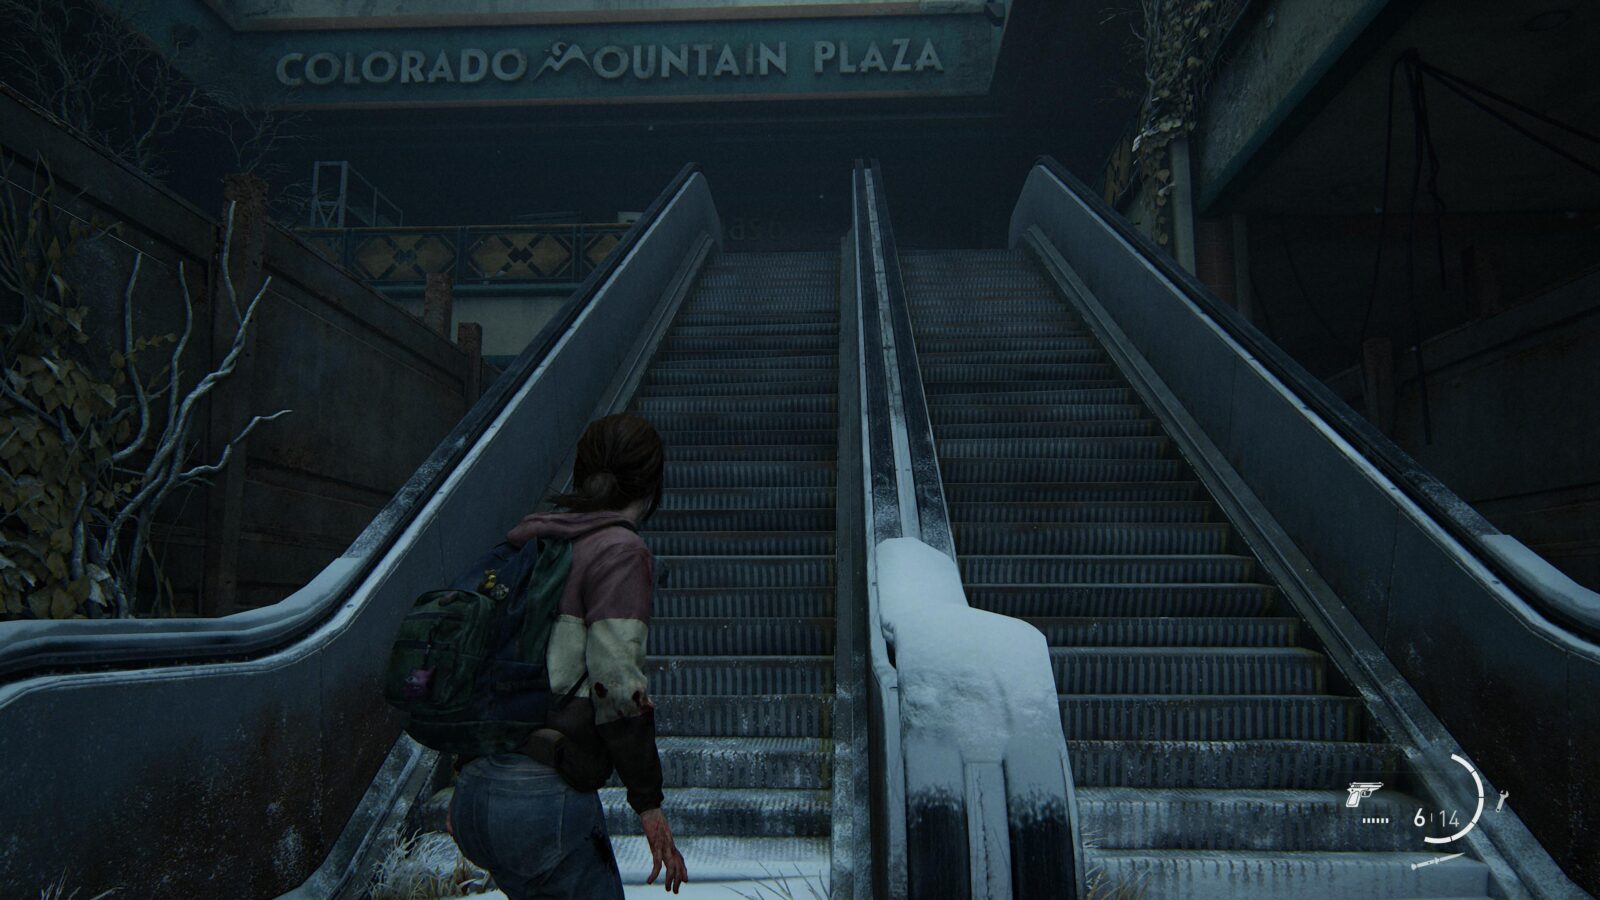
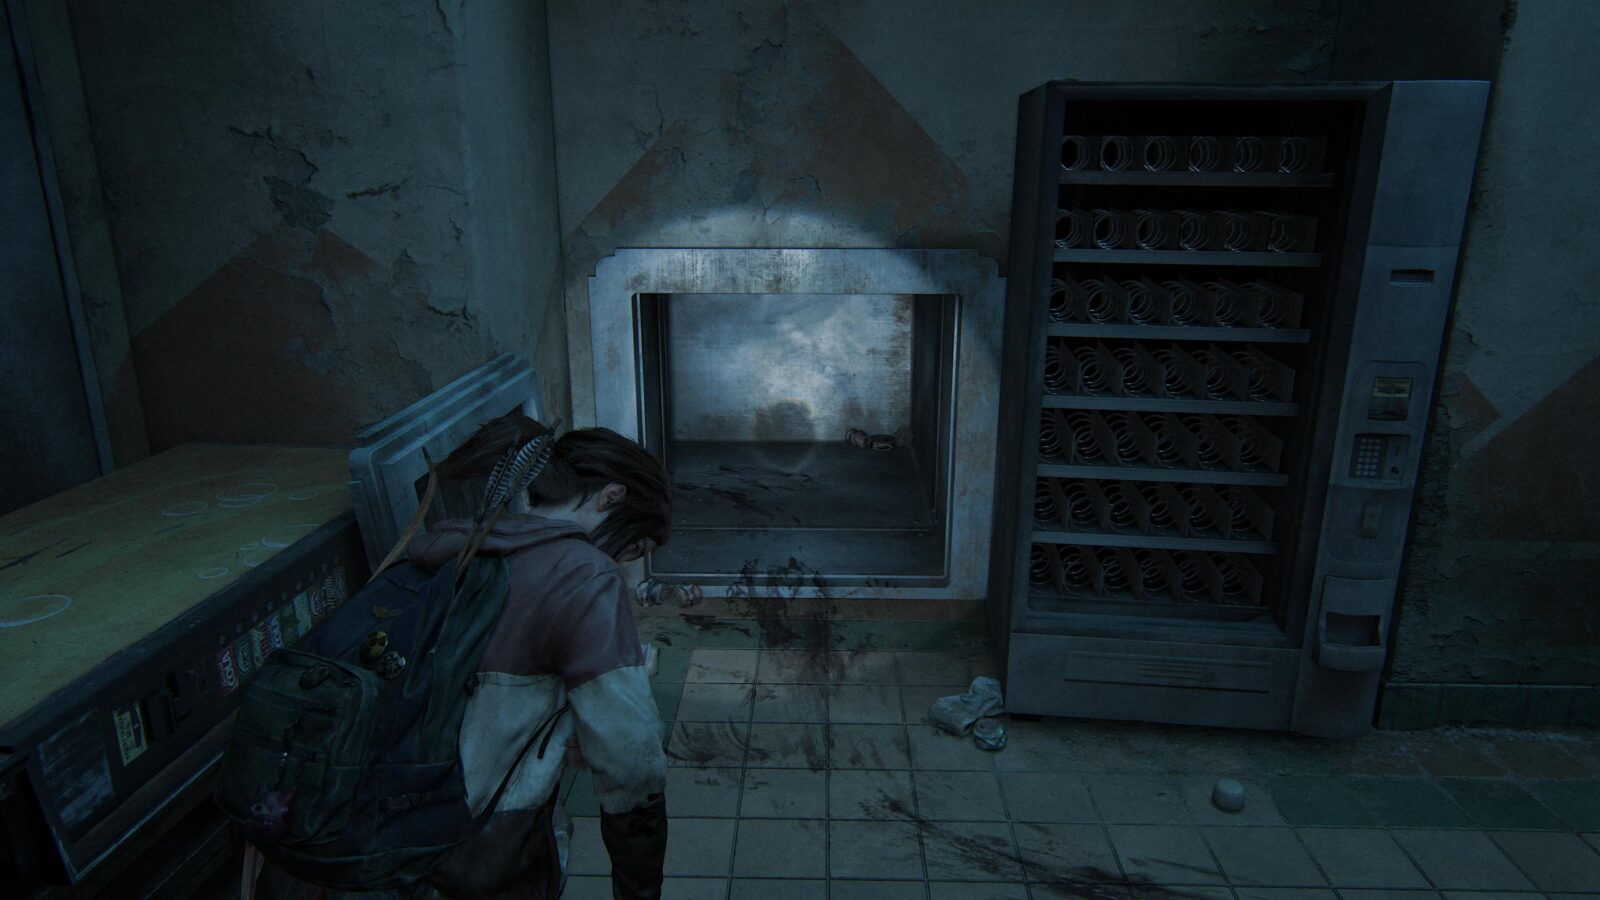
Artifact #84 Combination Note – Head up the escalator and follow the path to Weston’s Pharmacy. Inside you can find a note behind the counter on the ground.

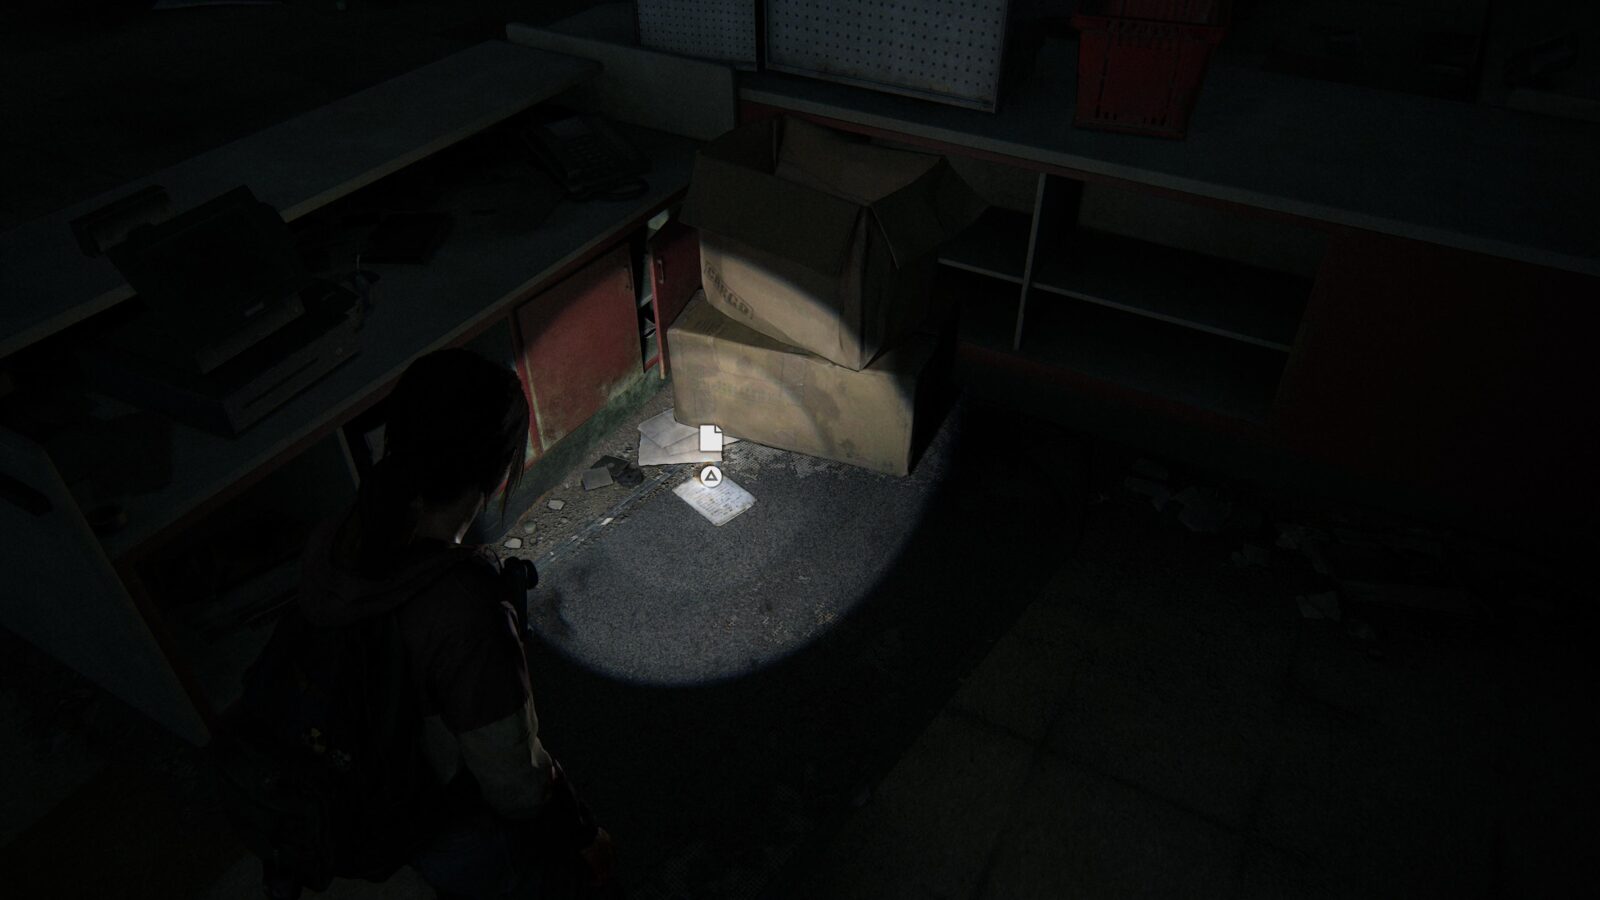
Artifact #85 Pharmacy Key – Automatically acquired when investigating the corpse in the American Princess store.
Artifact #86 Pharmacist’s Note – After obtaining the Pharmacy Key the corpse will shift and a note will fall from its pocket. Pick it up when it does.
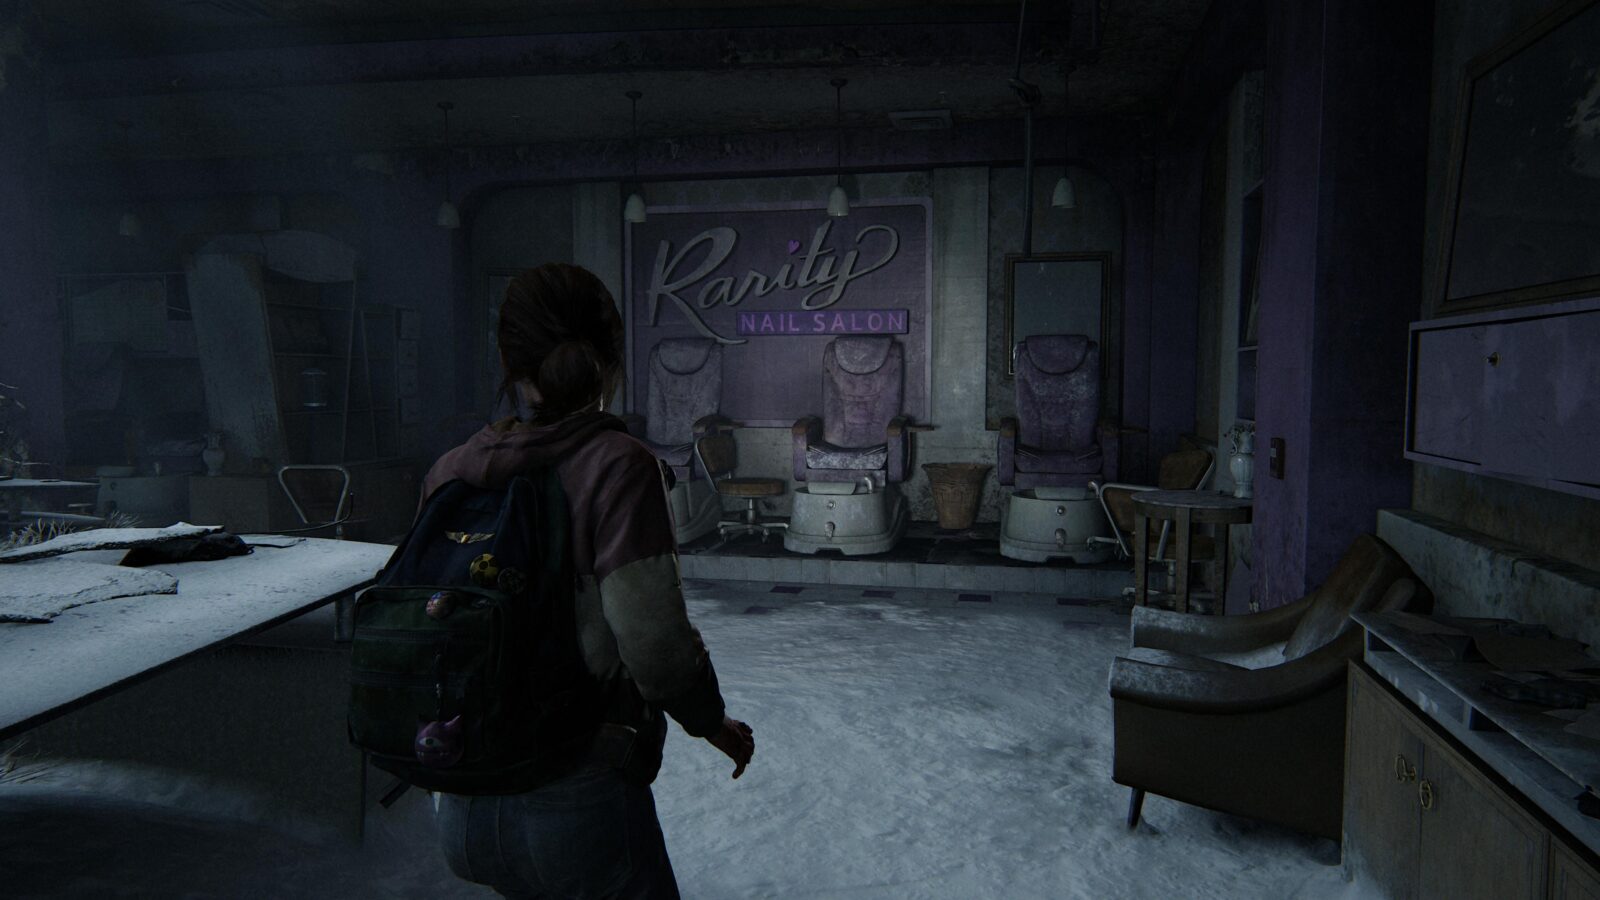
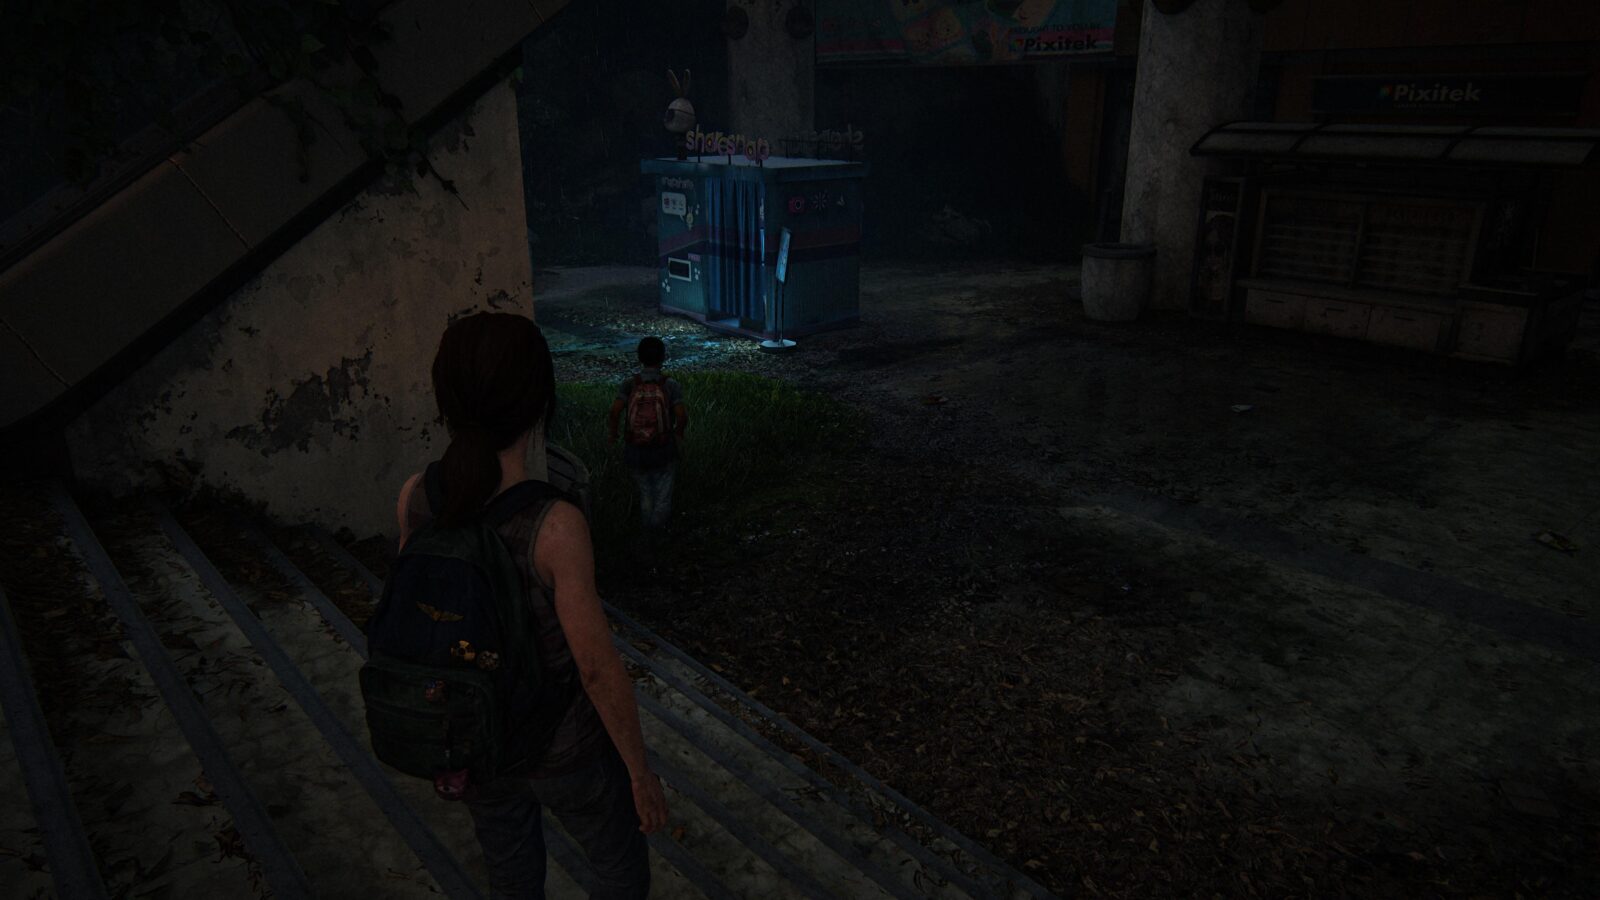
Artifact #87 Salon Note – Head through the Pixitek store and you’ll emerge from the other side in Rarity’s Nail Salon. Before you jump over the collapsed vent to exit the salon, grab the note on the ground by the corpse.
Mallrats
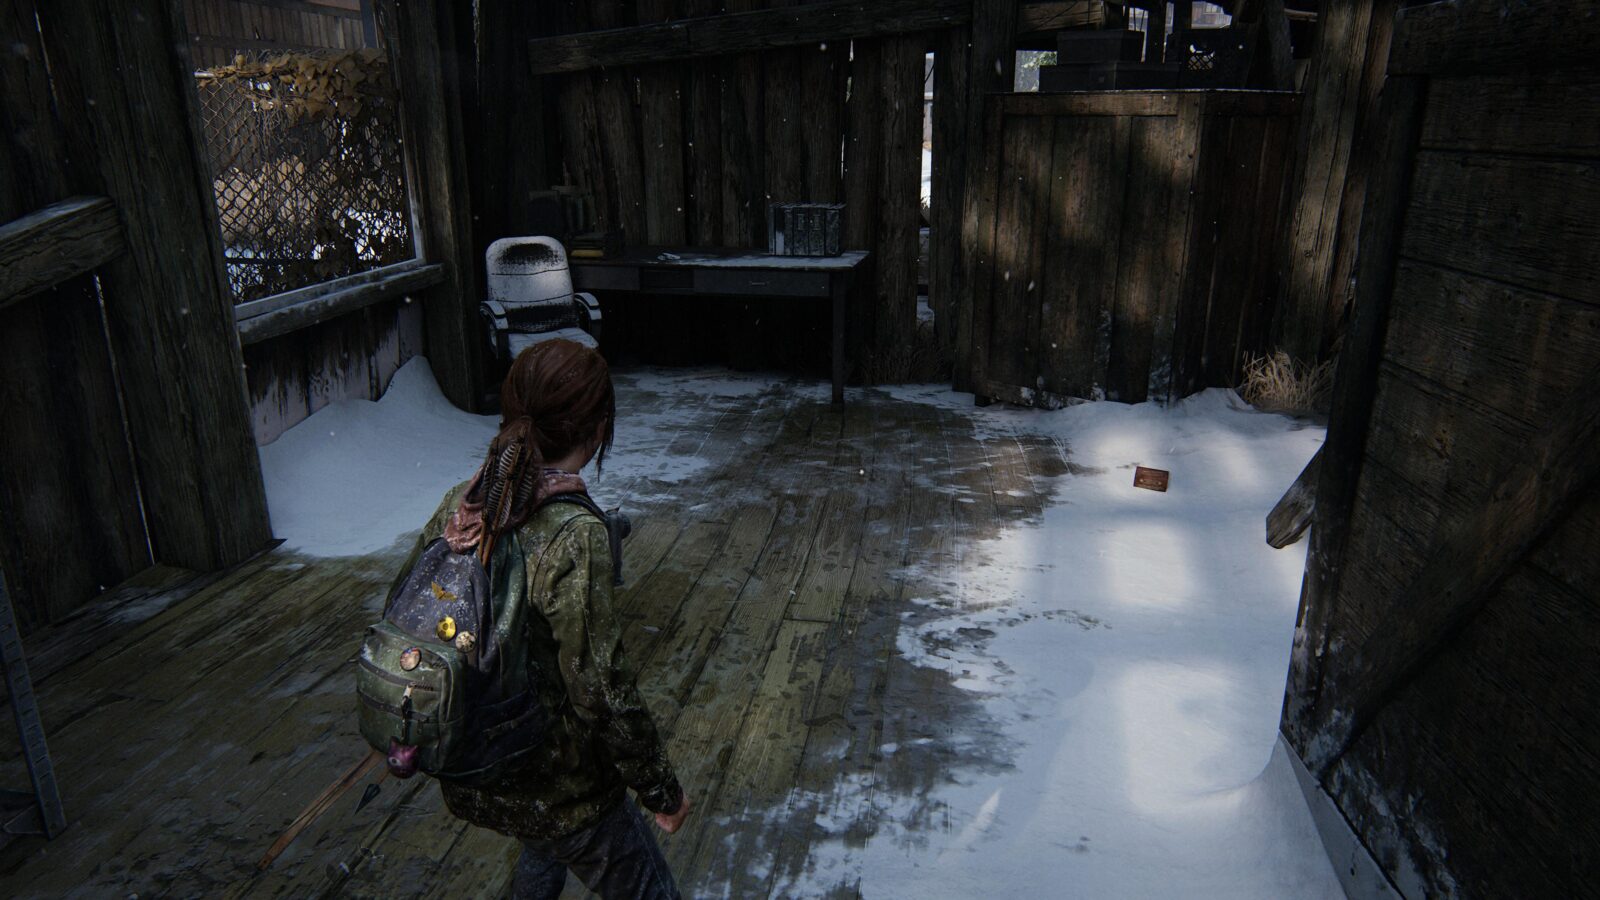
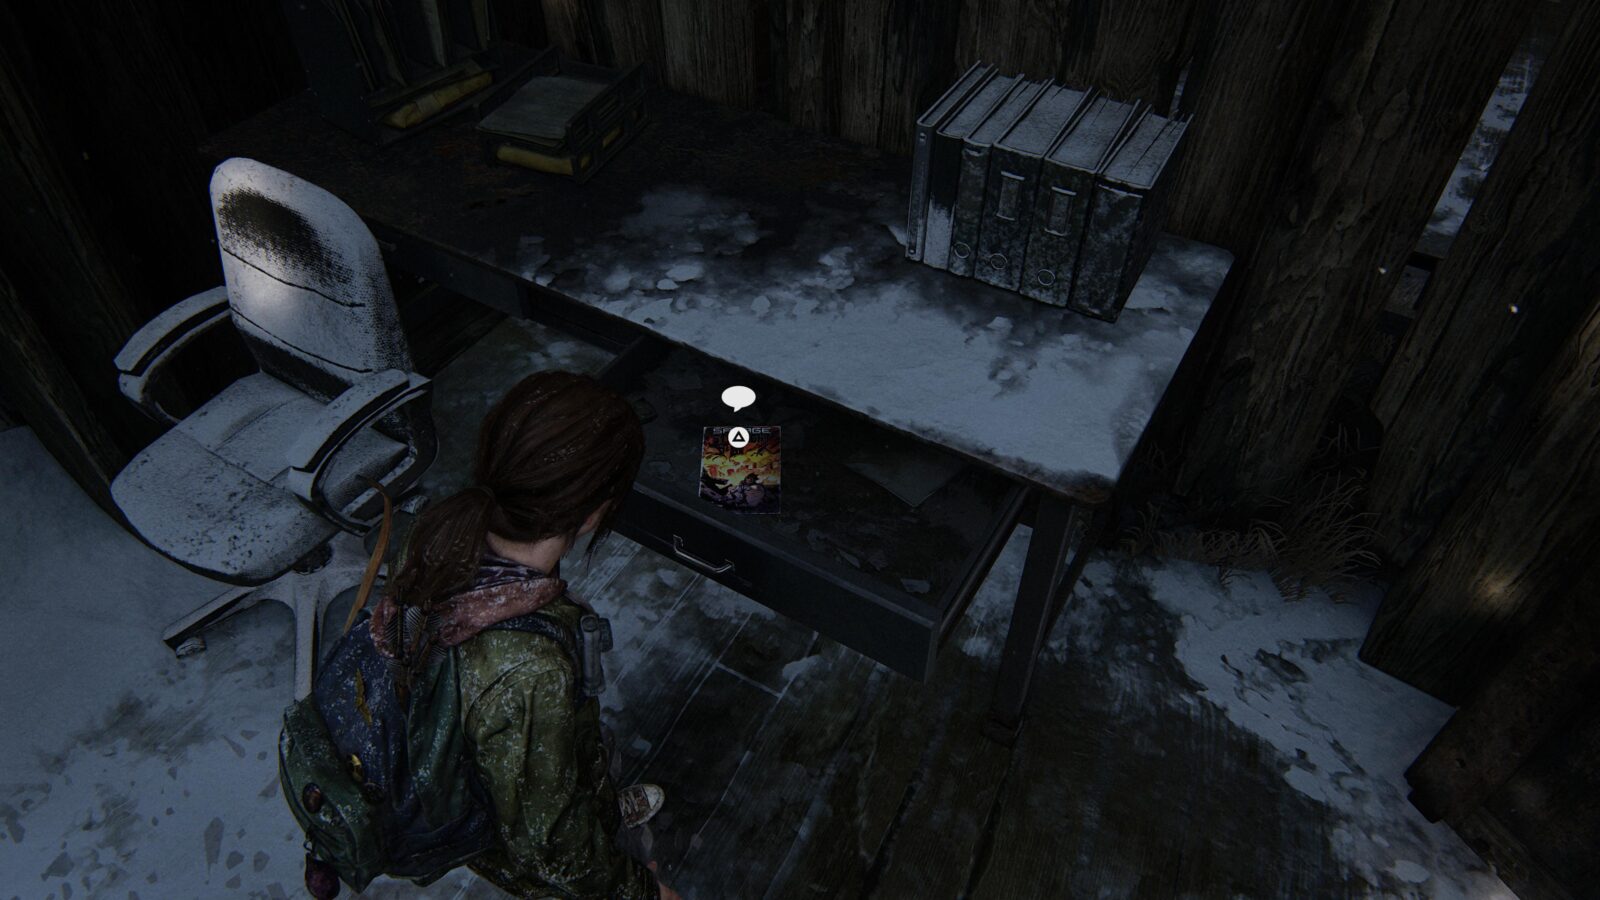
Artifact #88 Wanted Poster – Head up stairs with Riley and duck under a partially blocked door. In the room you enter is a table with a wanted poster on it.

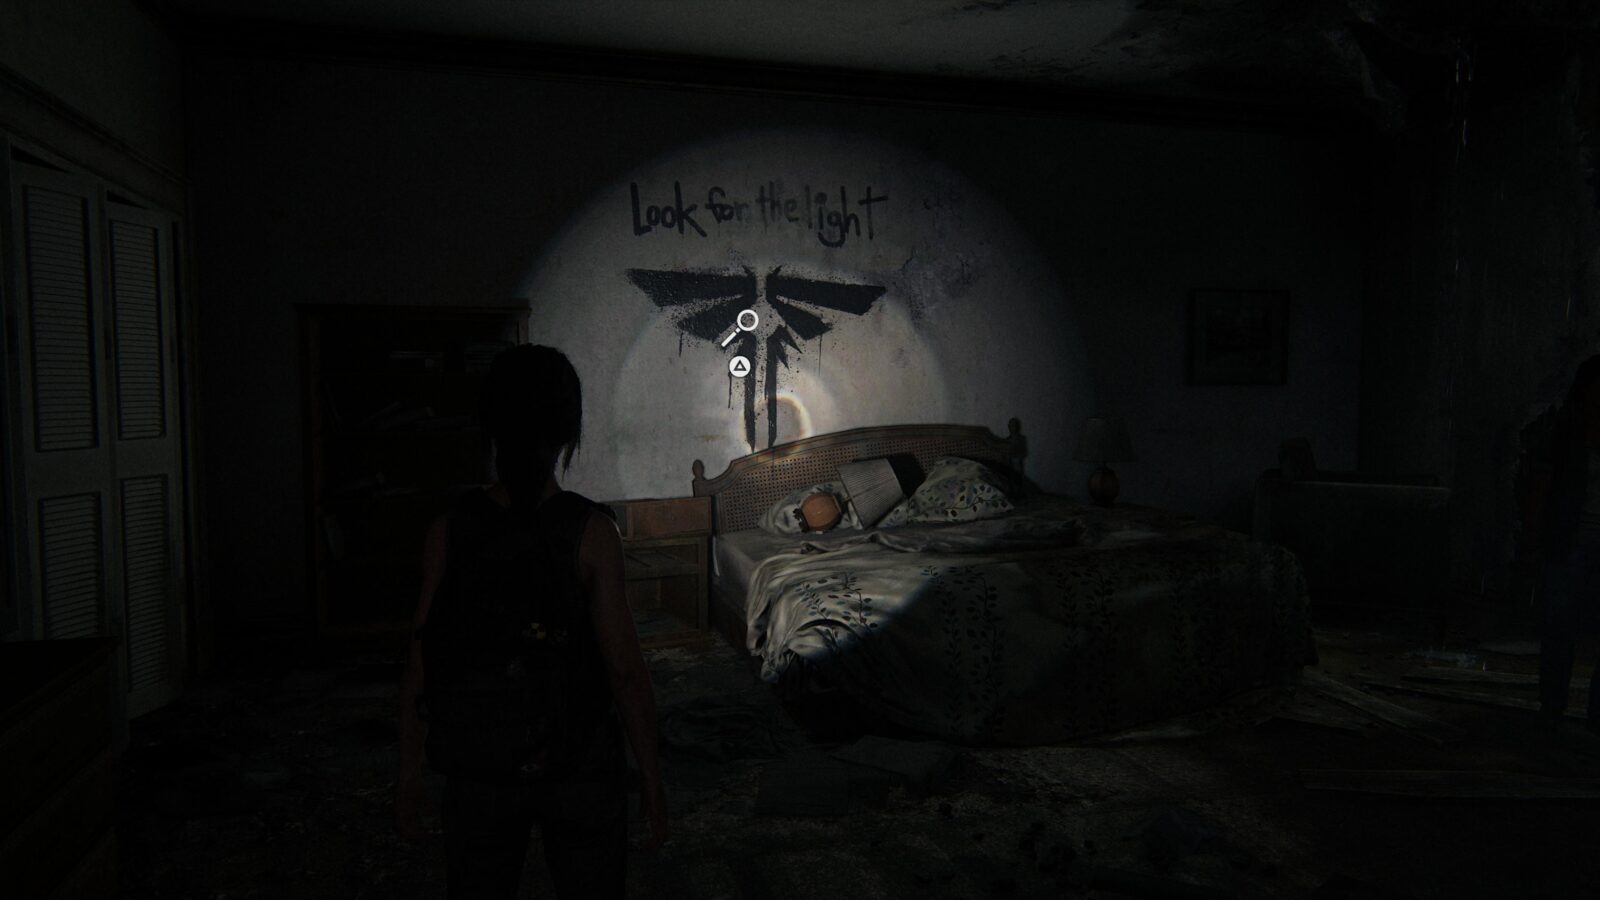
Optional Conversation #41 – Keep following Riley and you’ll enter a bedroom with a Firefly logo spray painted on the wall. As you approach you should see the ![]() prompt.
prompt.
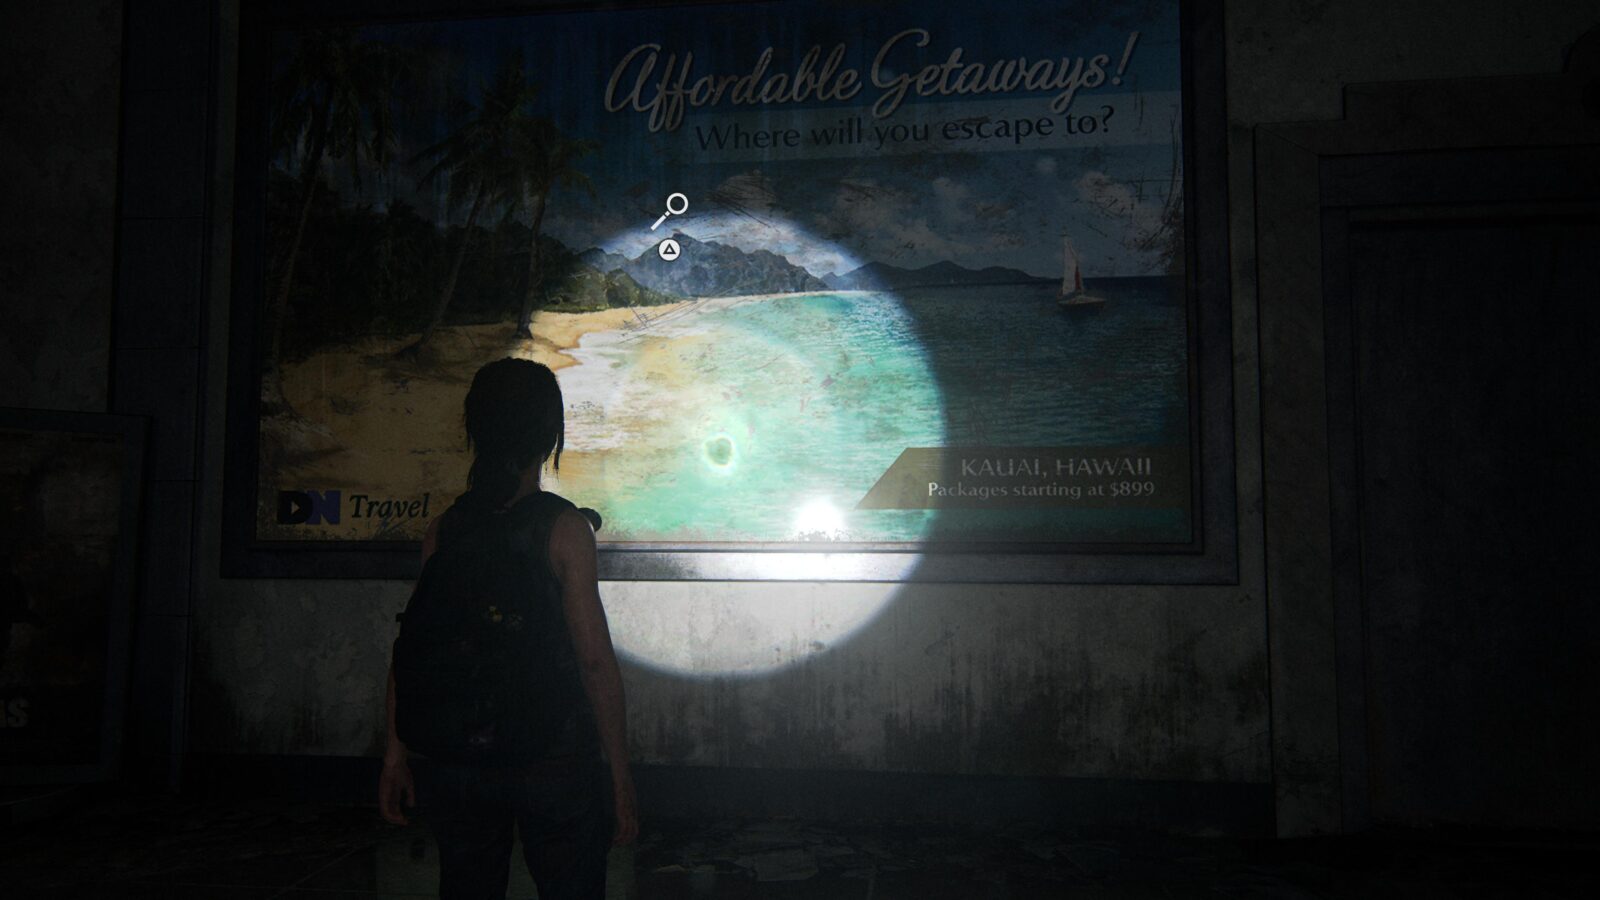
Optional Conversation #42 – Head down the escalator when you get into the mall and make a 180° turn and walk towards the large pictures on the wall. The one on the right is of Kauai, Hawaii and will have a ![]() prompt.
prompt.
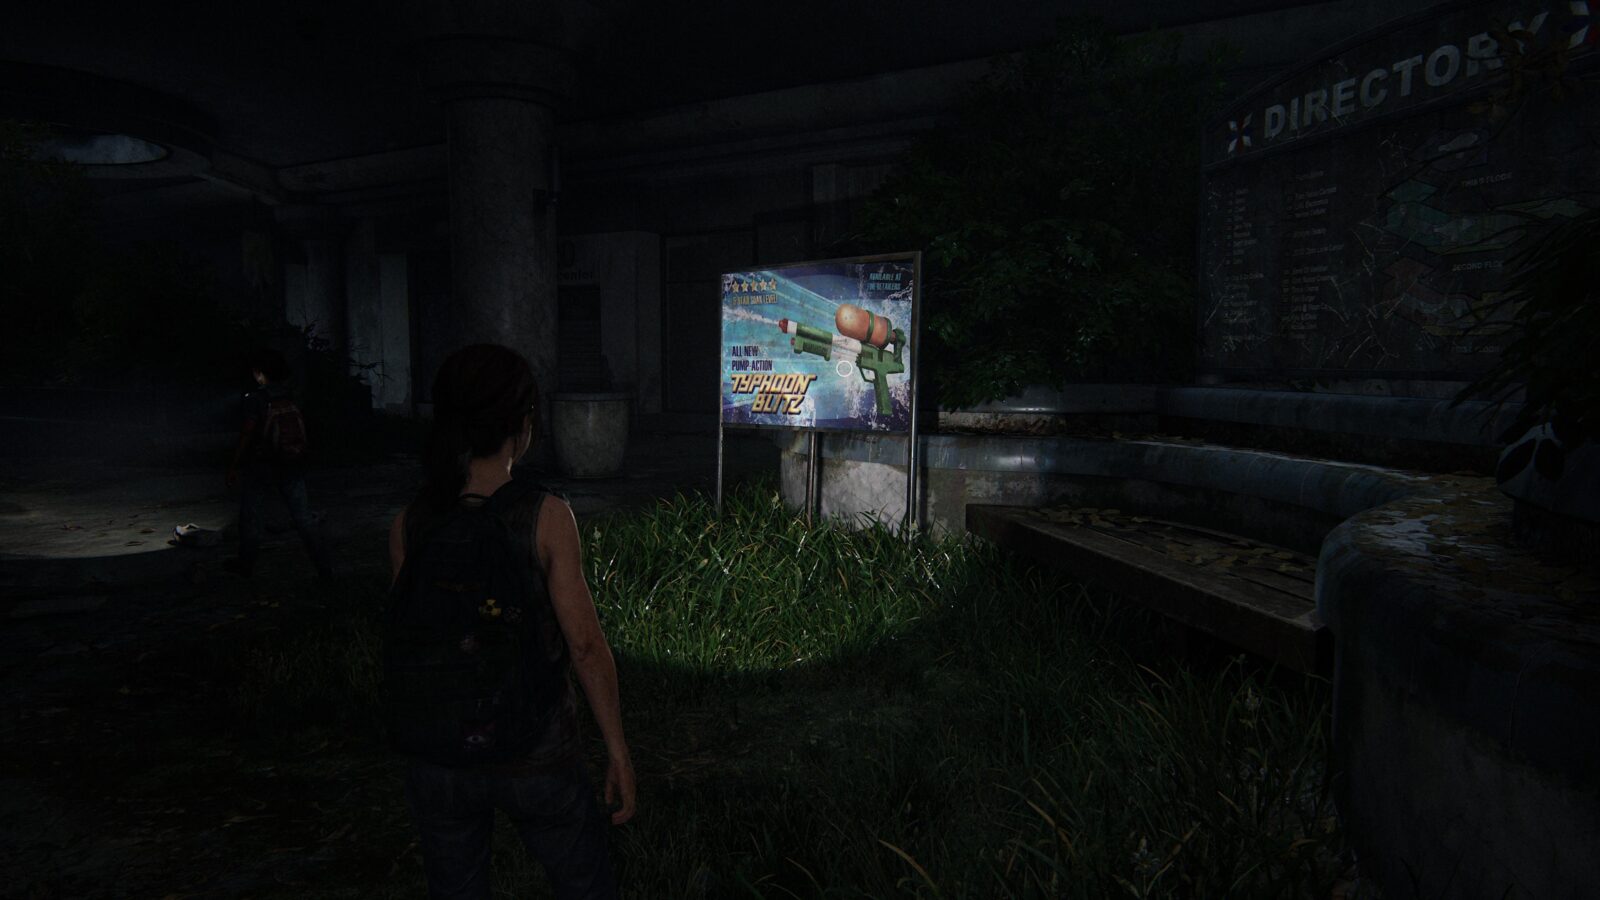
Optional Conversation #43 – Head further into the mall and you will see a Typhoon Blasters advertisement on your right (it’s on the left side of the overgrown benches in the middle of the mall pathway). Approach it to start an optional conversation.
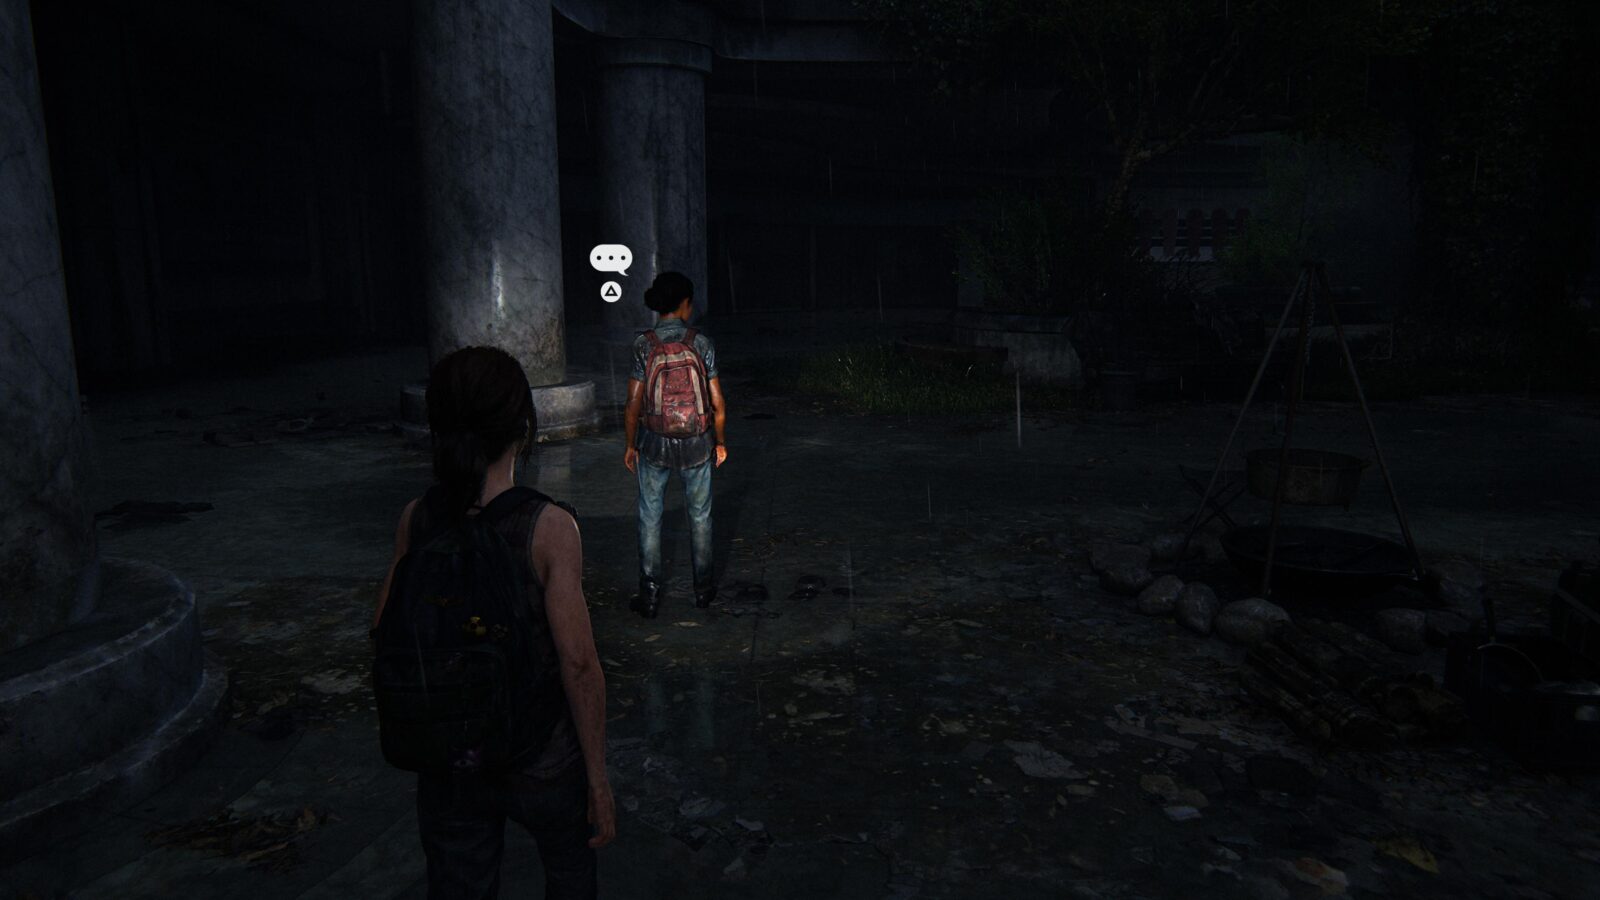
Optional Conversation #44 – Head down some more escalators and Riley will ask about a man named Winston prompting another optional conversation.
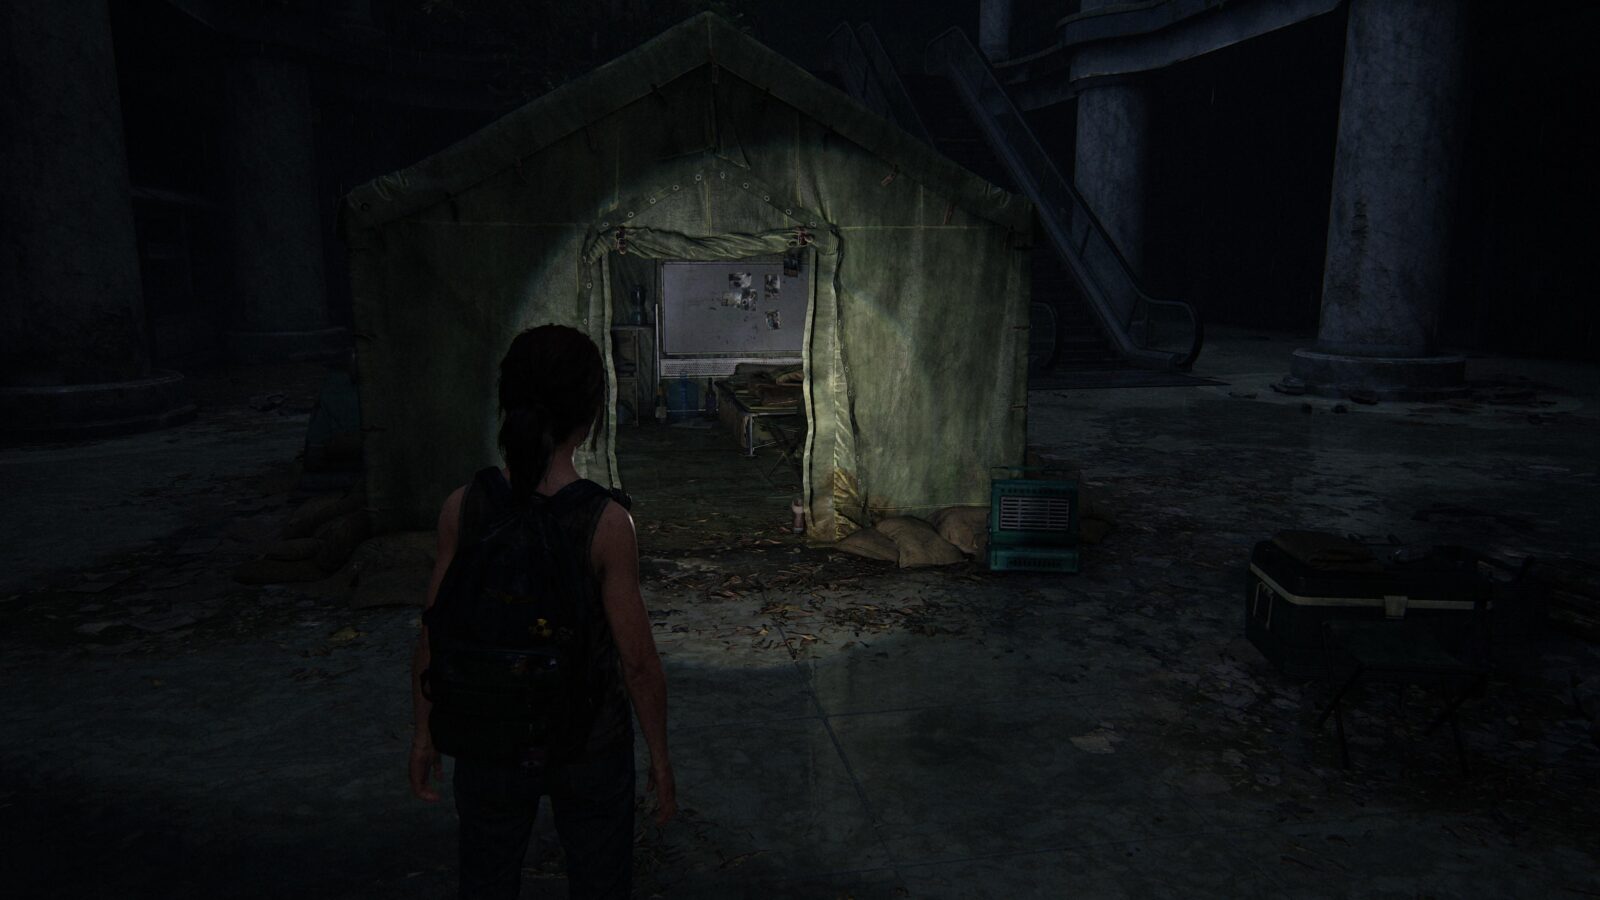
Optional Conversation #45 – Go inside Winston’s old tent and interact with the pile of magazines and newspapers at the back.

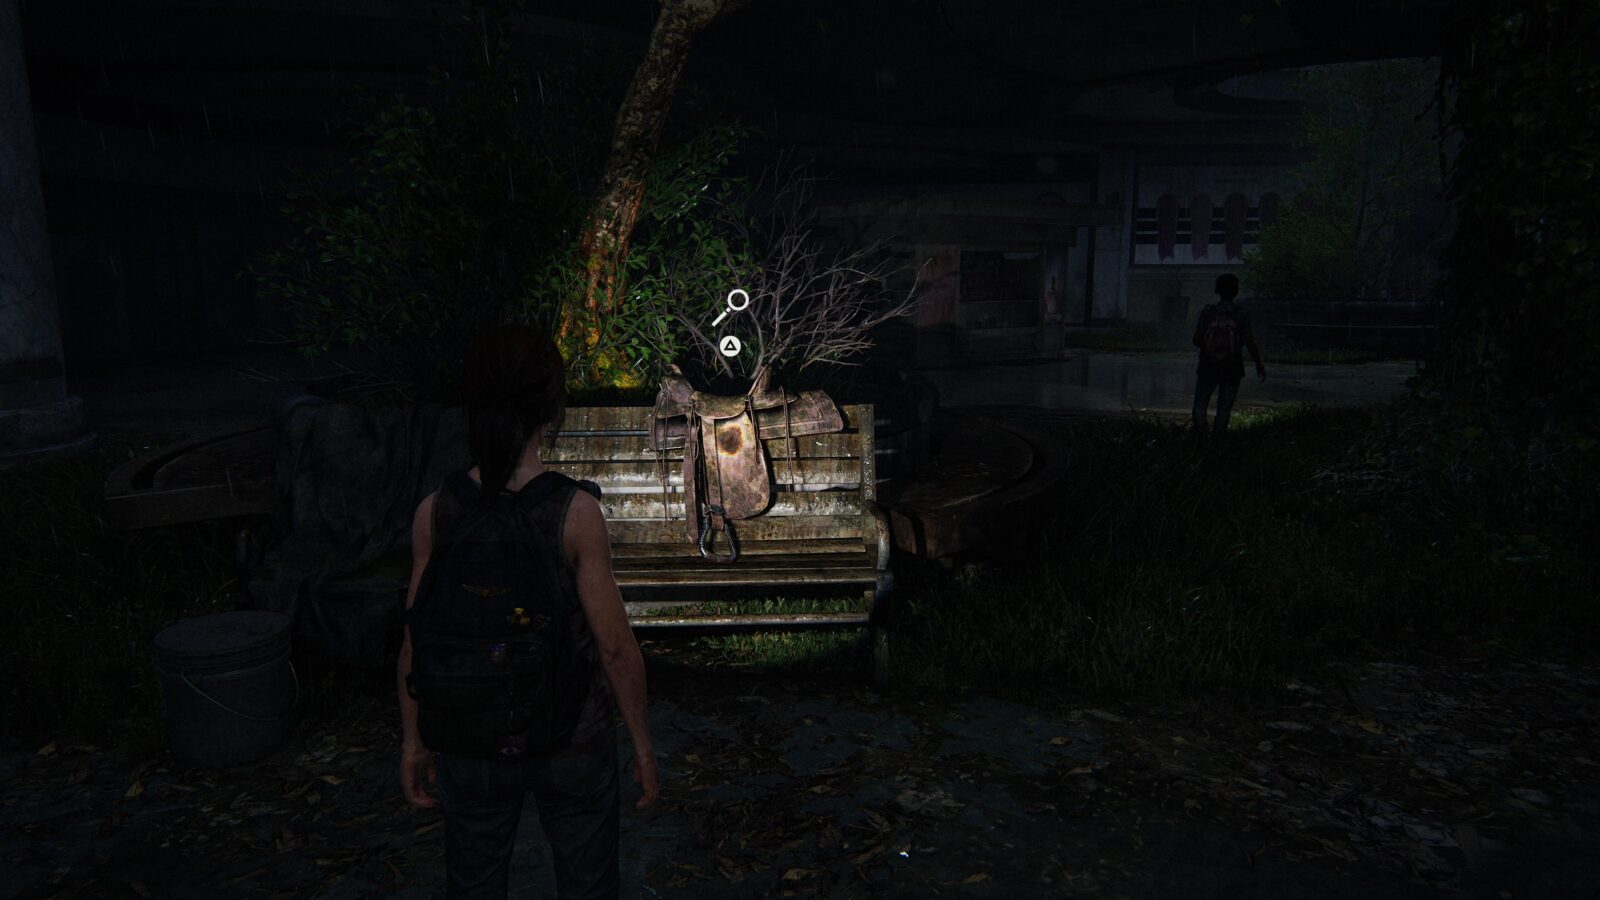
Optional Conversation #46 – Leave Winston’s tent and interact with the horse saddle directly opposite.
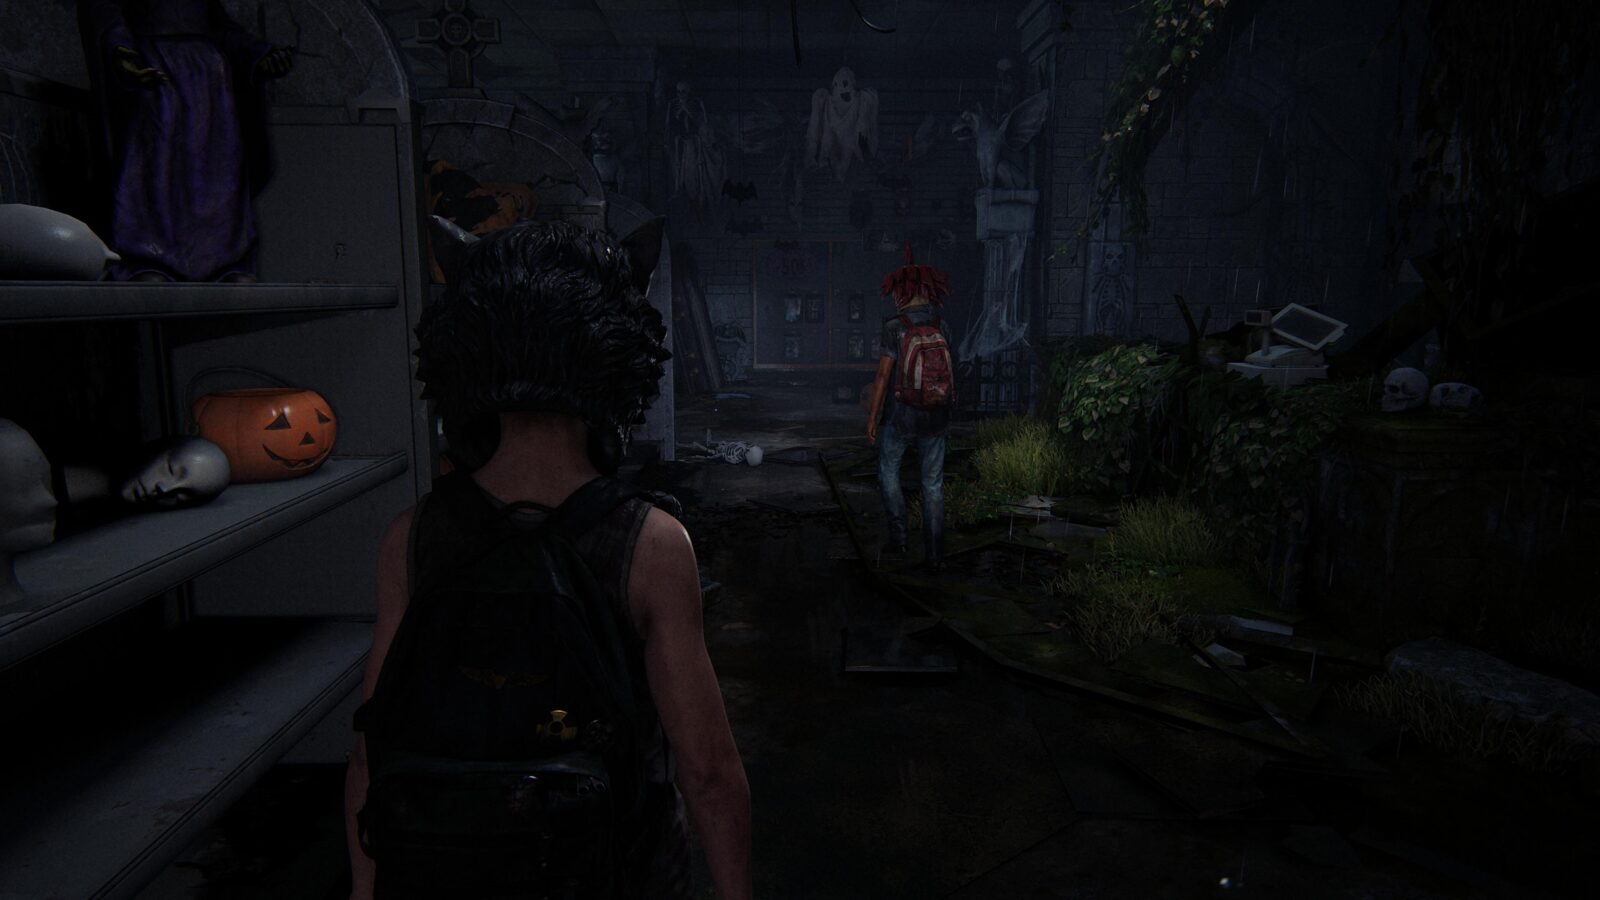
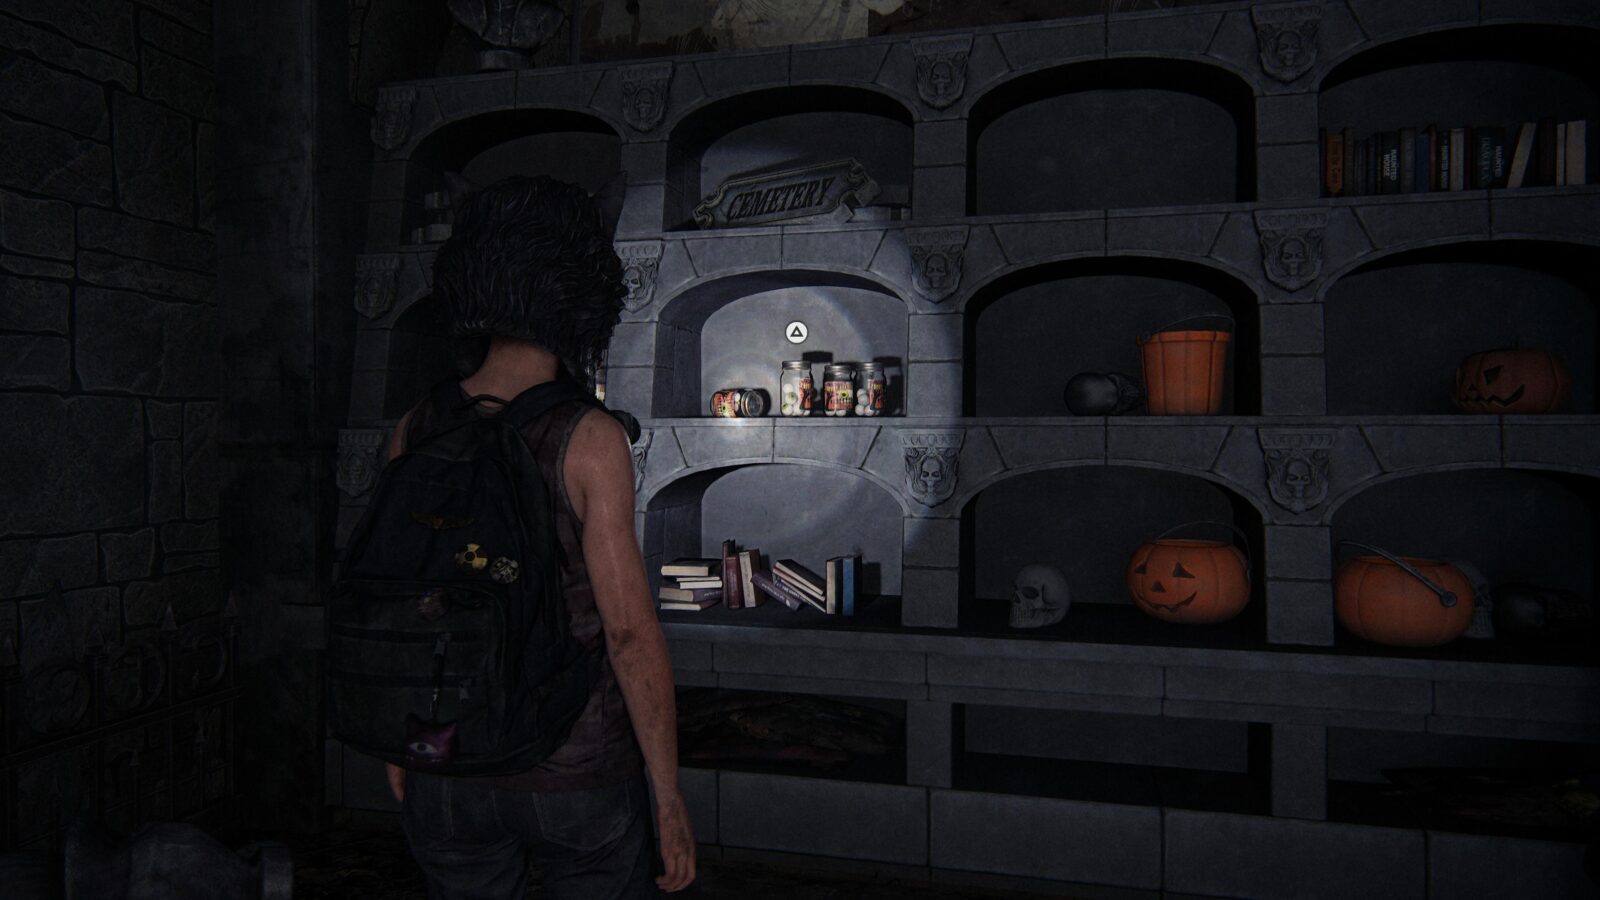
Optional Conversation #47 – Put on the wolf mask and run to the back of the store. Turn right and you should see a jar on the wall you can interact with.
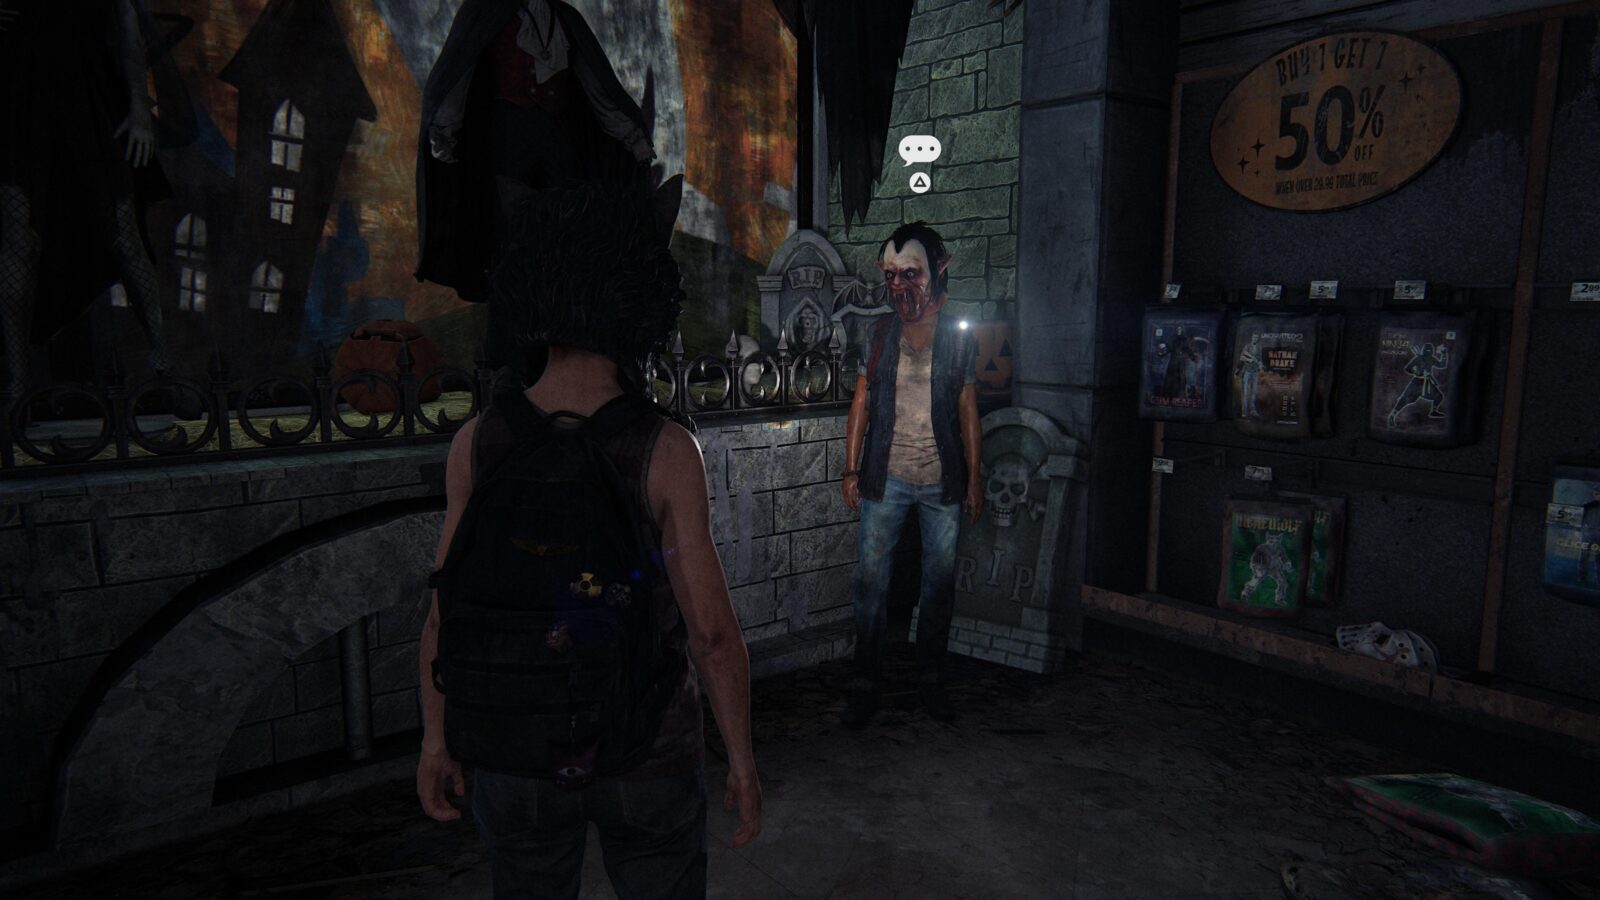
Optional Conversation #48 – Go to the back left corner of the store and Riley will put on a vampire mask and an optional conversation can be triggered.
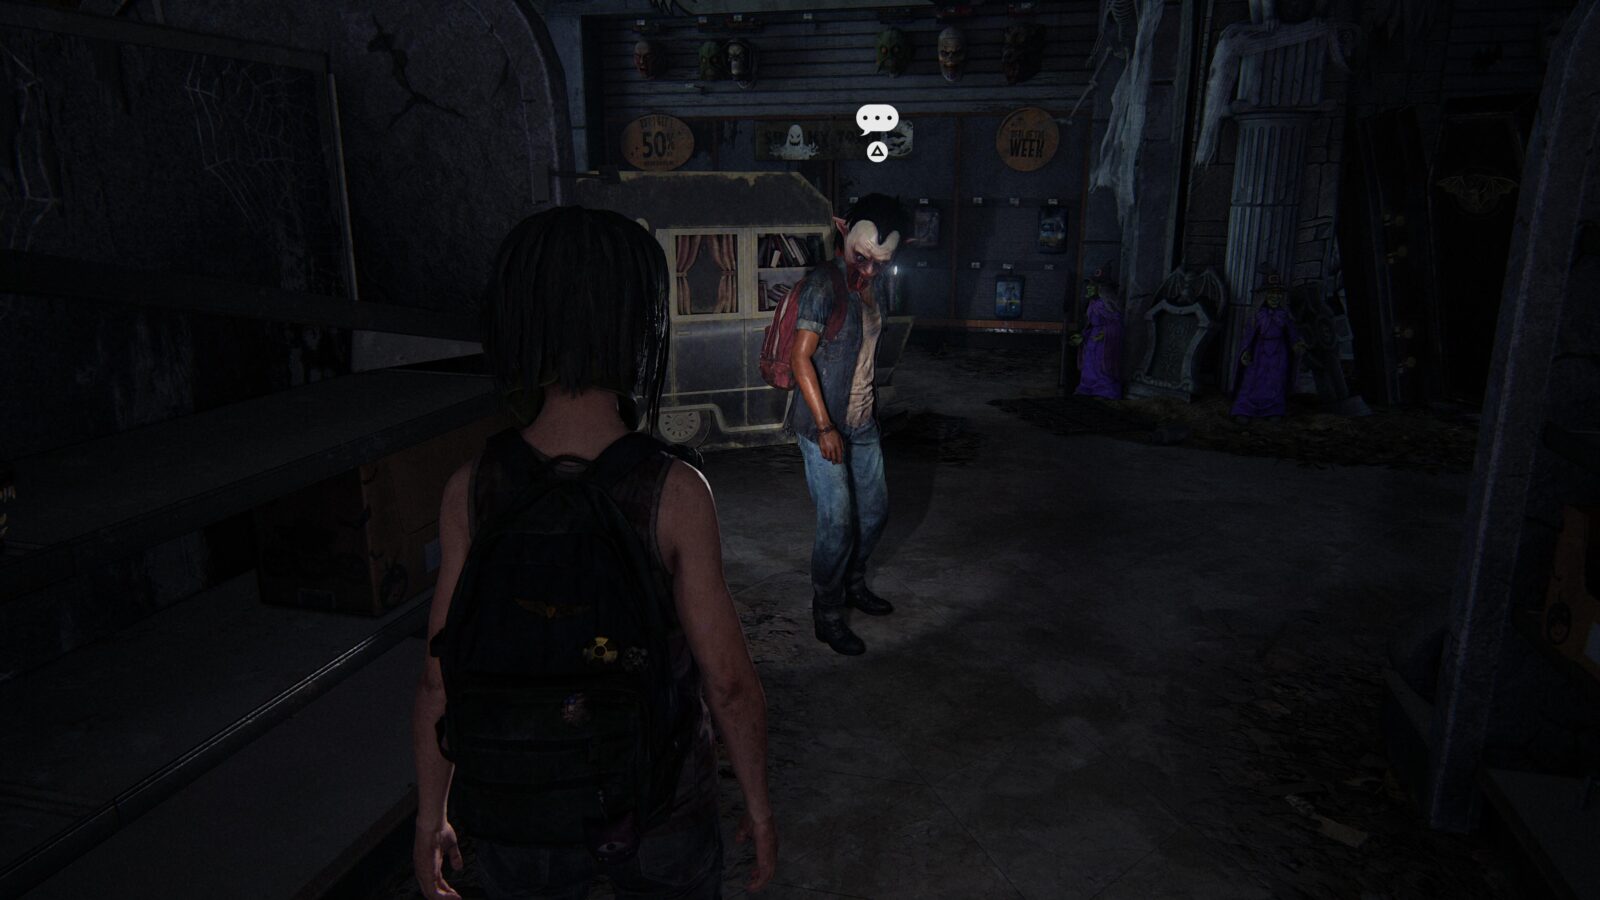
Optional Conversation #49 – Go into the middle aisle and put on the witch mask. When you see Riley next she will have an optional conversation.

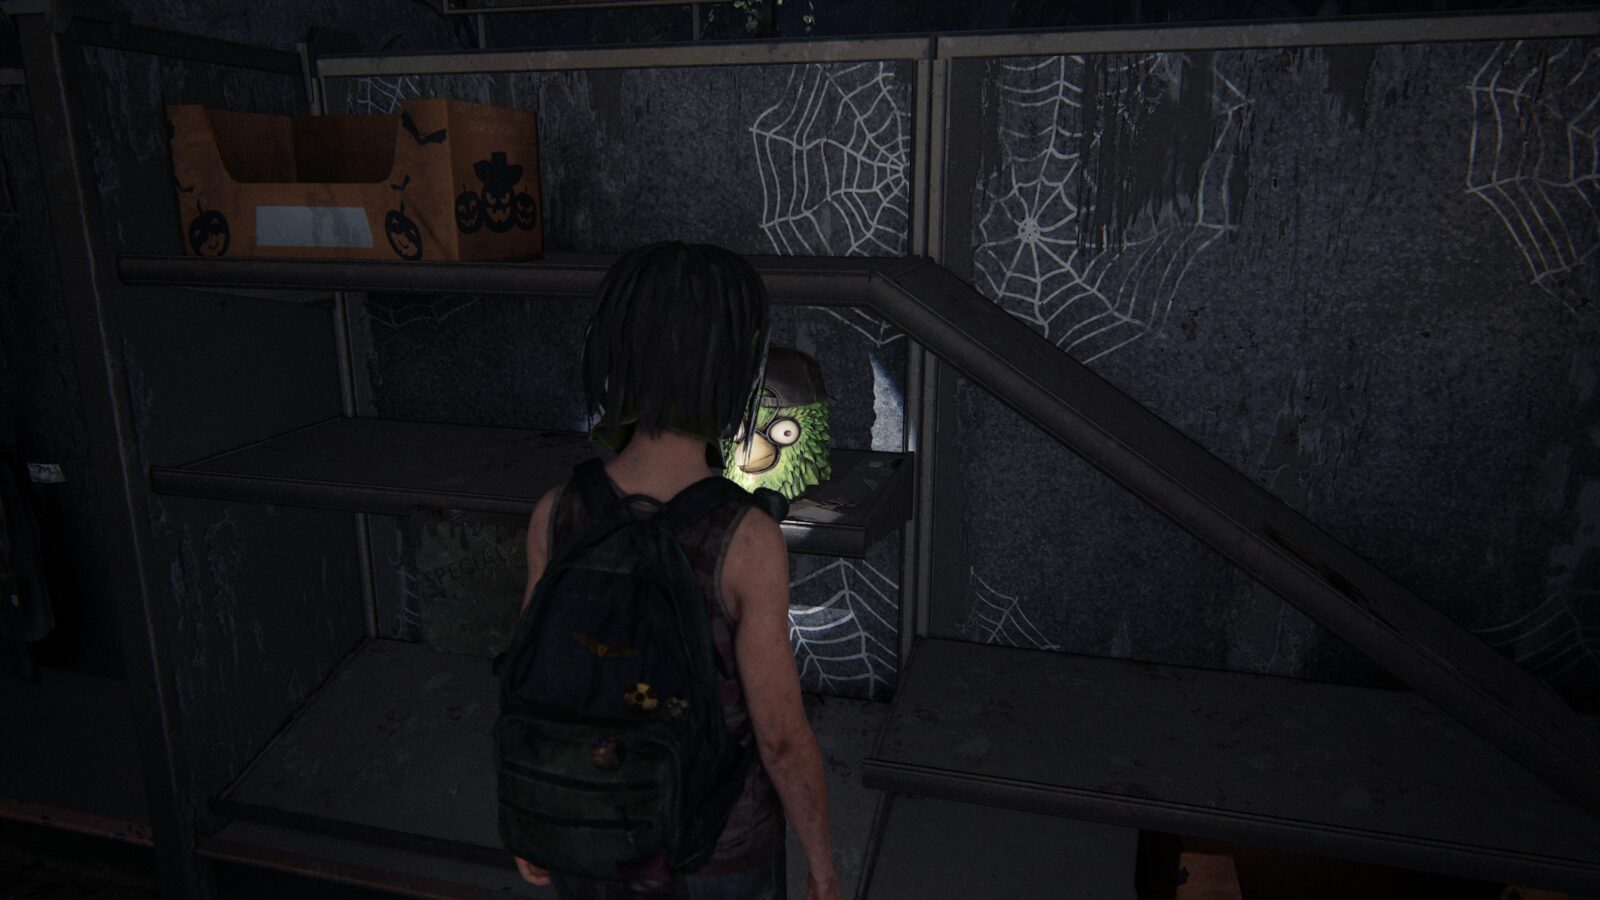
Optional Conversation #50 – Go to the far left aisle and put on the Triple Phoenix mask for another optional conversation with Riley.
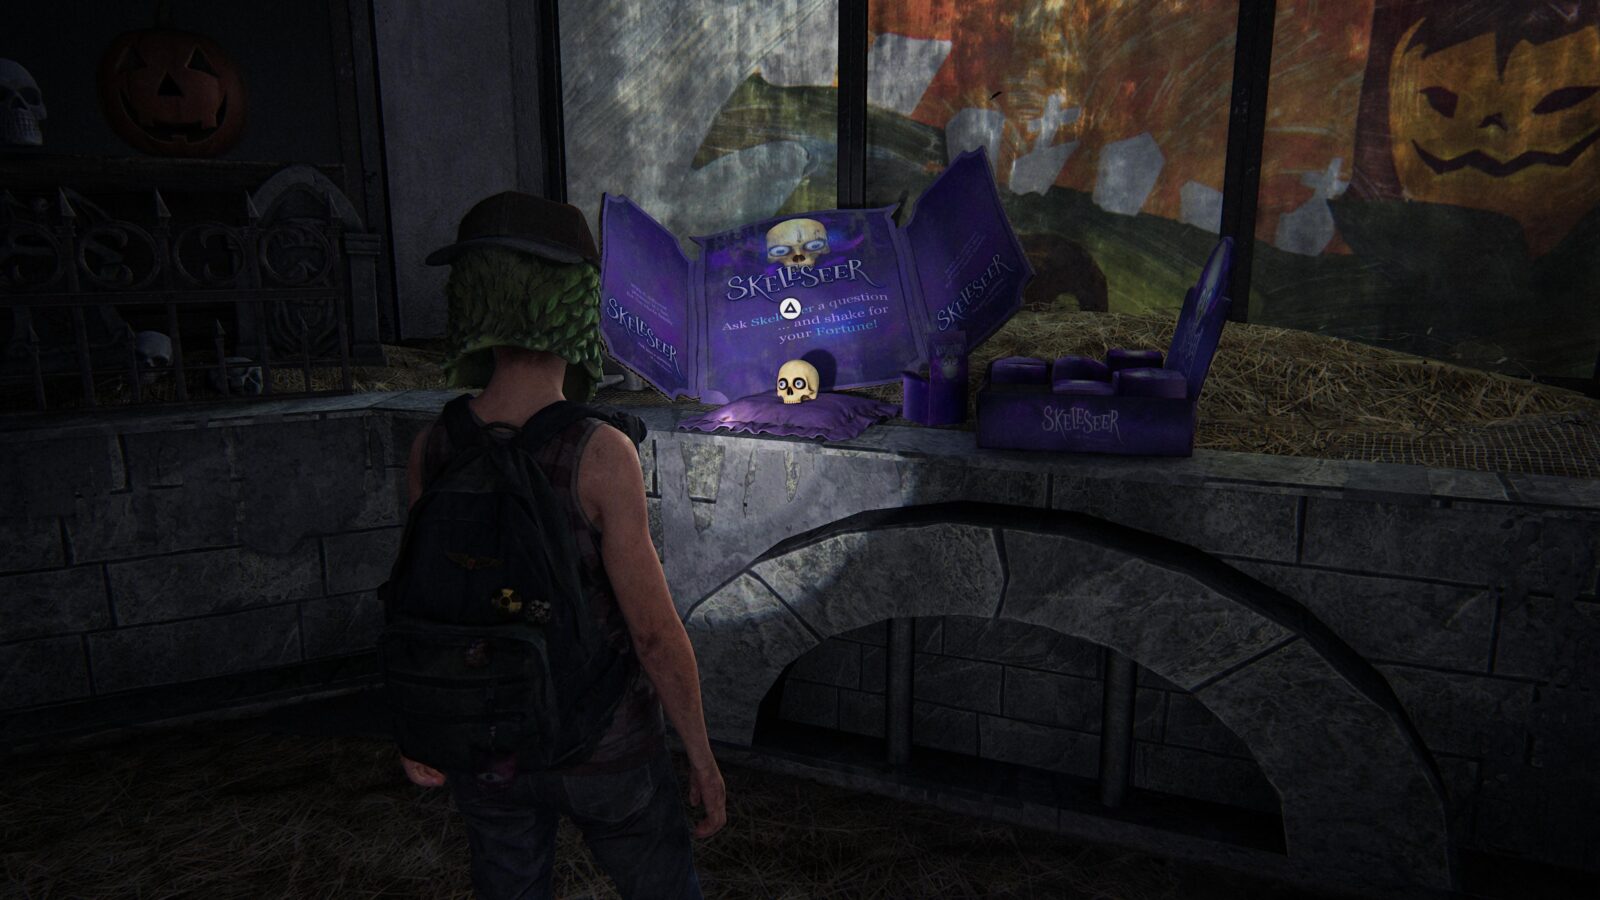
Optional Conversation #51 – Interact with the Skeleseer skull several times until you can’t any longer and Riley will come pick it up (you might have to take a few steps back to trigger her AI to pick it up). Once she picks it up you can start an optional conversation.
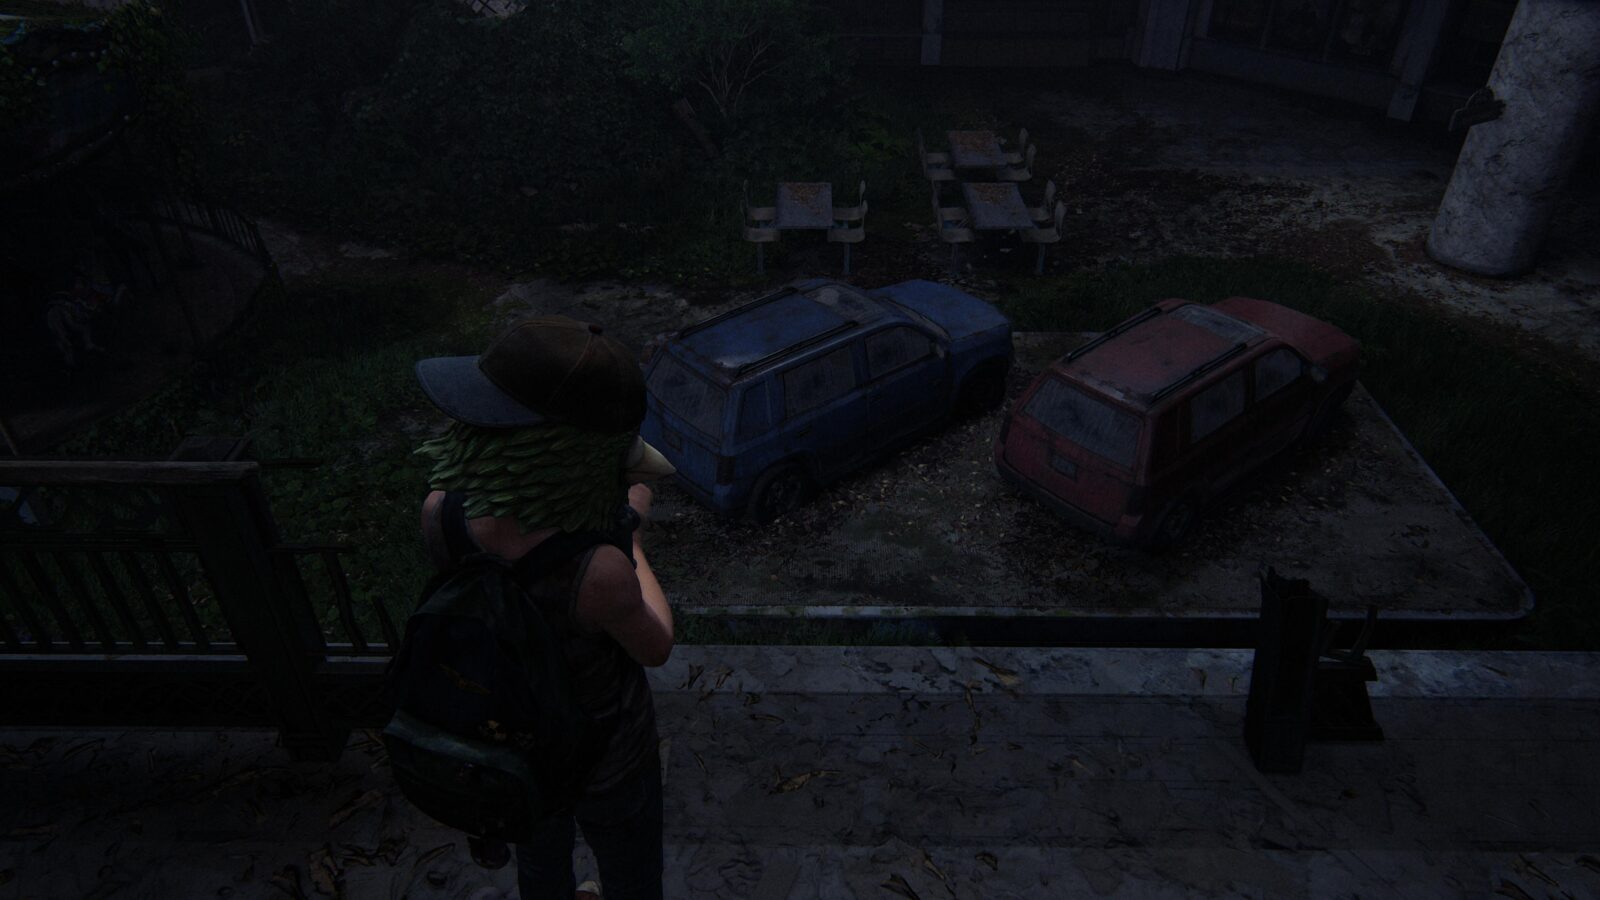
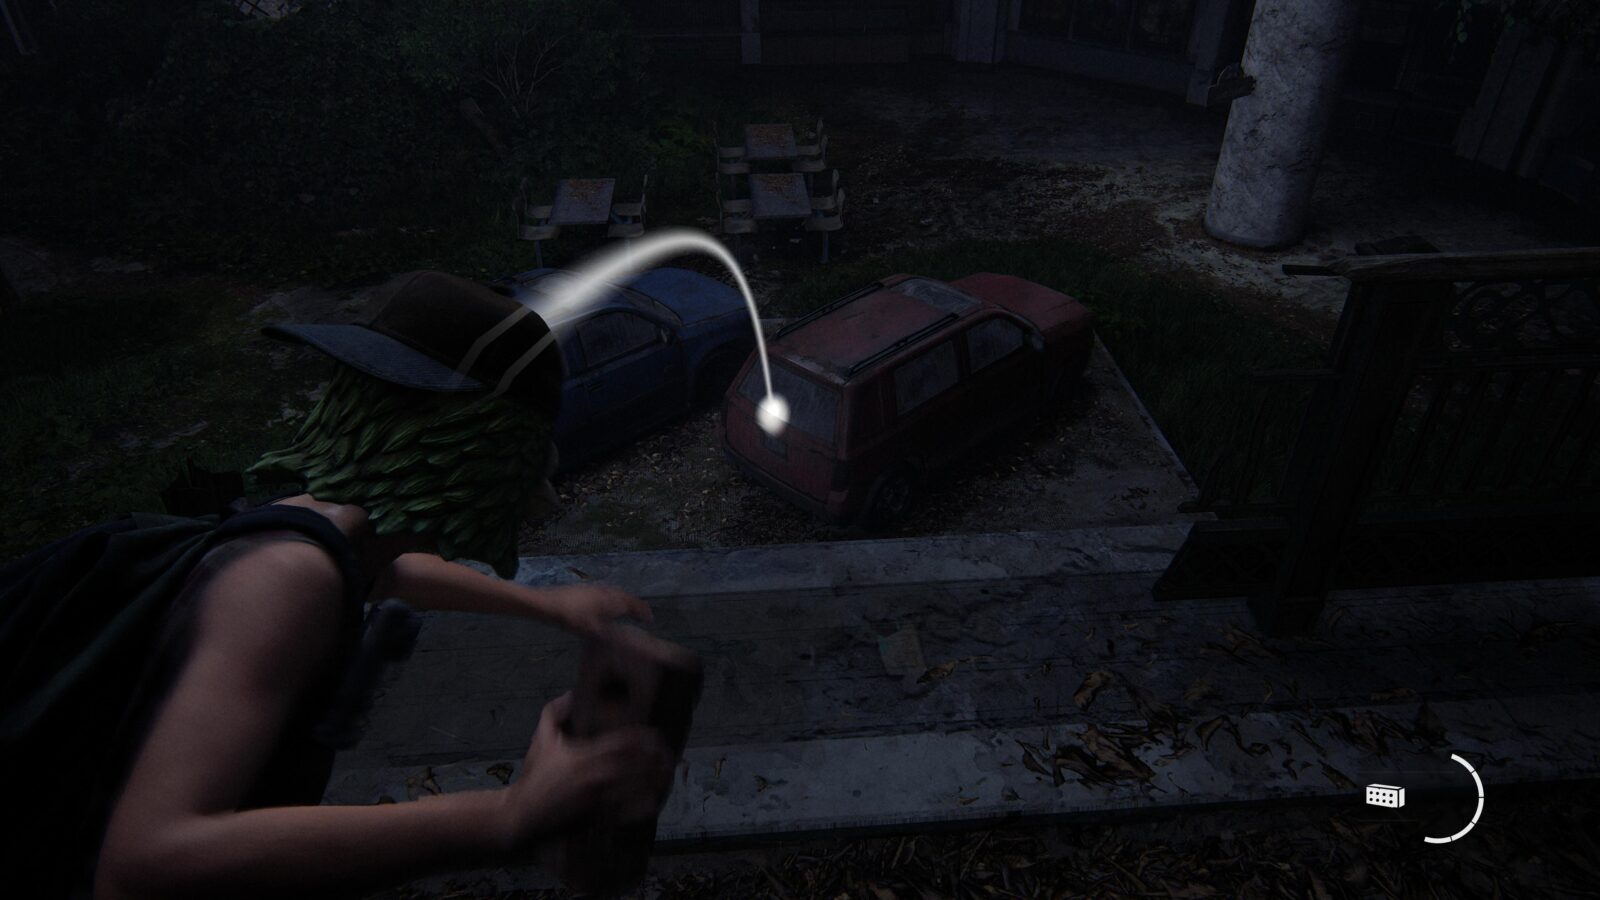
Chapter-Specific Trophy: Brick Master – Upon leaving the Halloween store Riley will challenge Ellie to a car window smashing contest. First one to smash all the windows on their car wins. Riley misses quite frequently so as long as you aren’t panicking or rushing you should have this without much of a challenge. You have to break the windows on the other side of the car too so make sure to run around to the other side of the balcony when you’ve broken all the others.
Optional Conversation #52 – This optional conversation is triggered by winning the car window smashing contest.
Artifact #89 Warning Note – Follow Riley downstairs after winning the brick throwing contest and head into a room on the left to find a note in the kitchen.
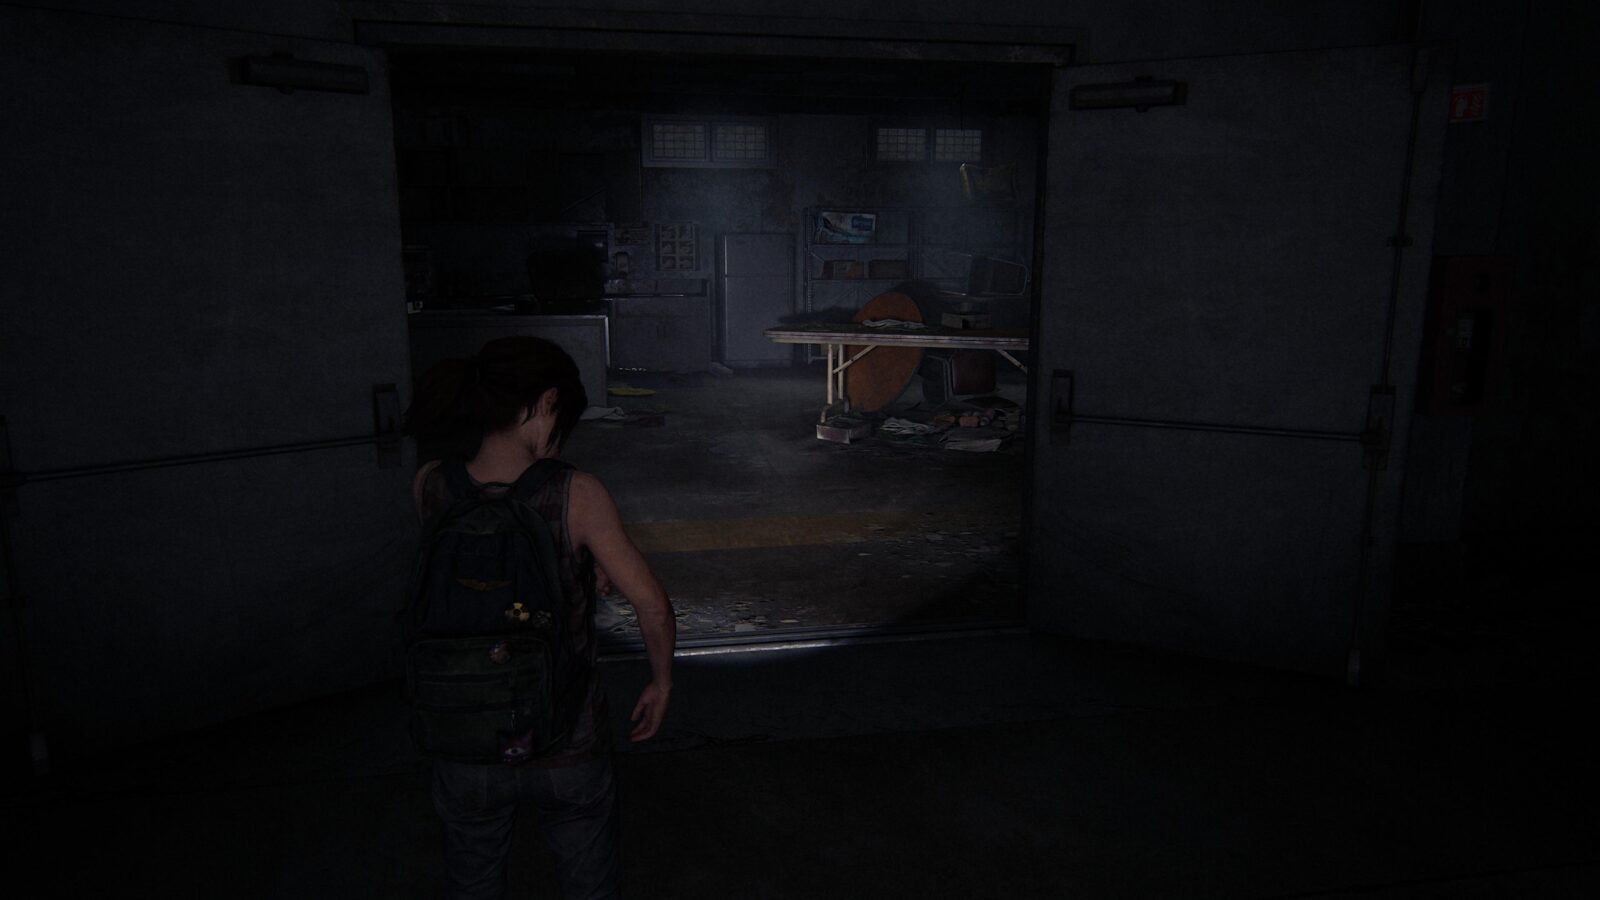

So Close
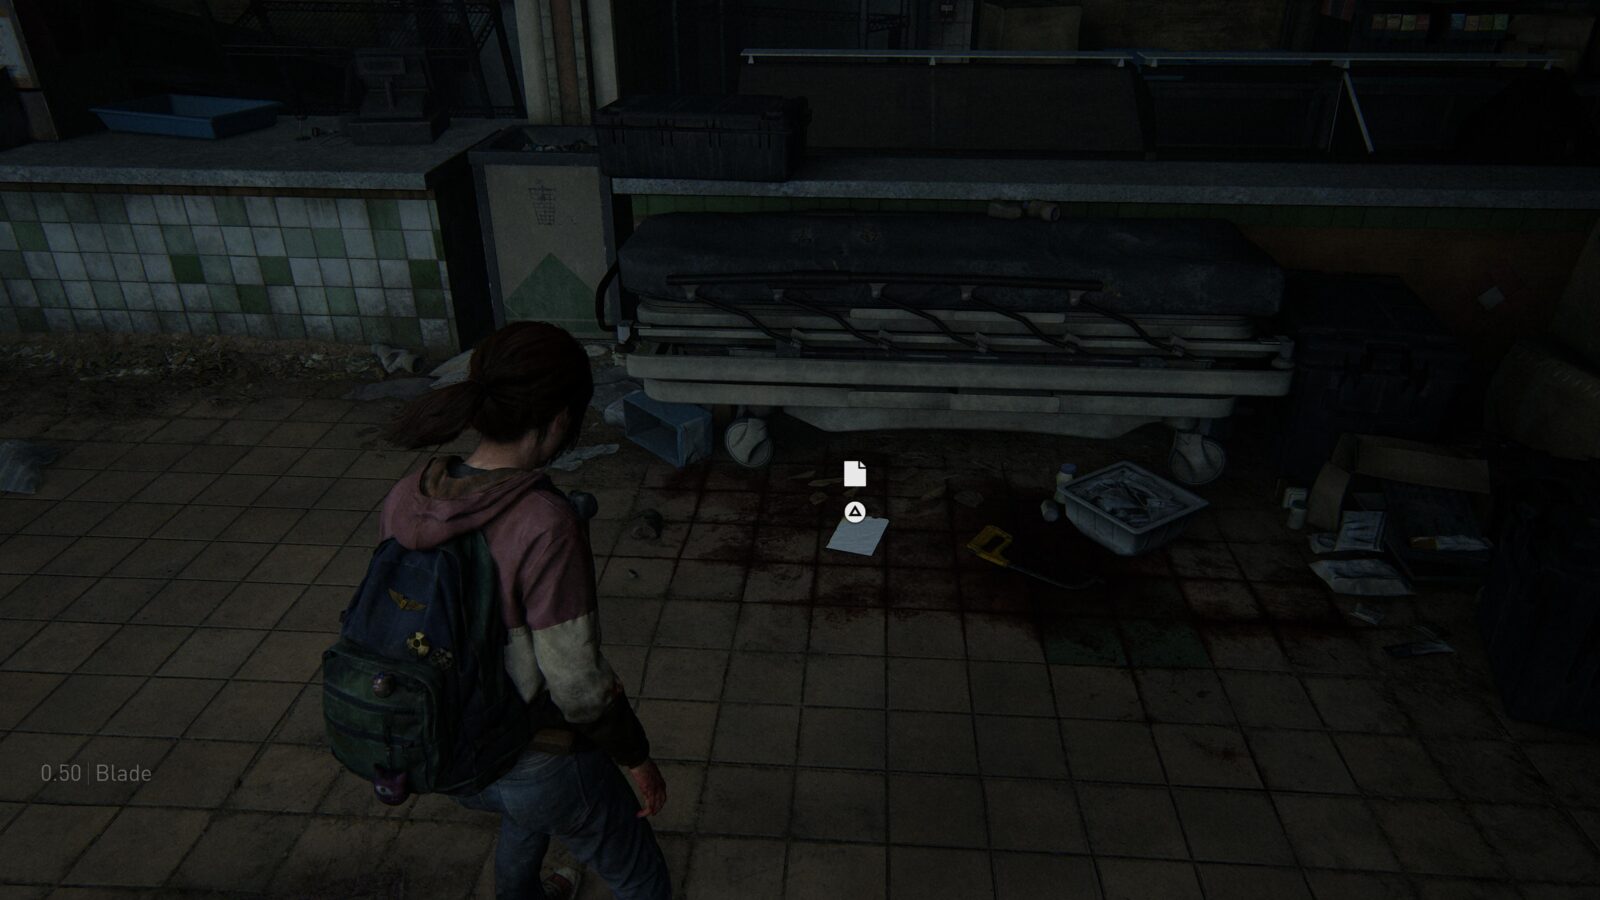
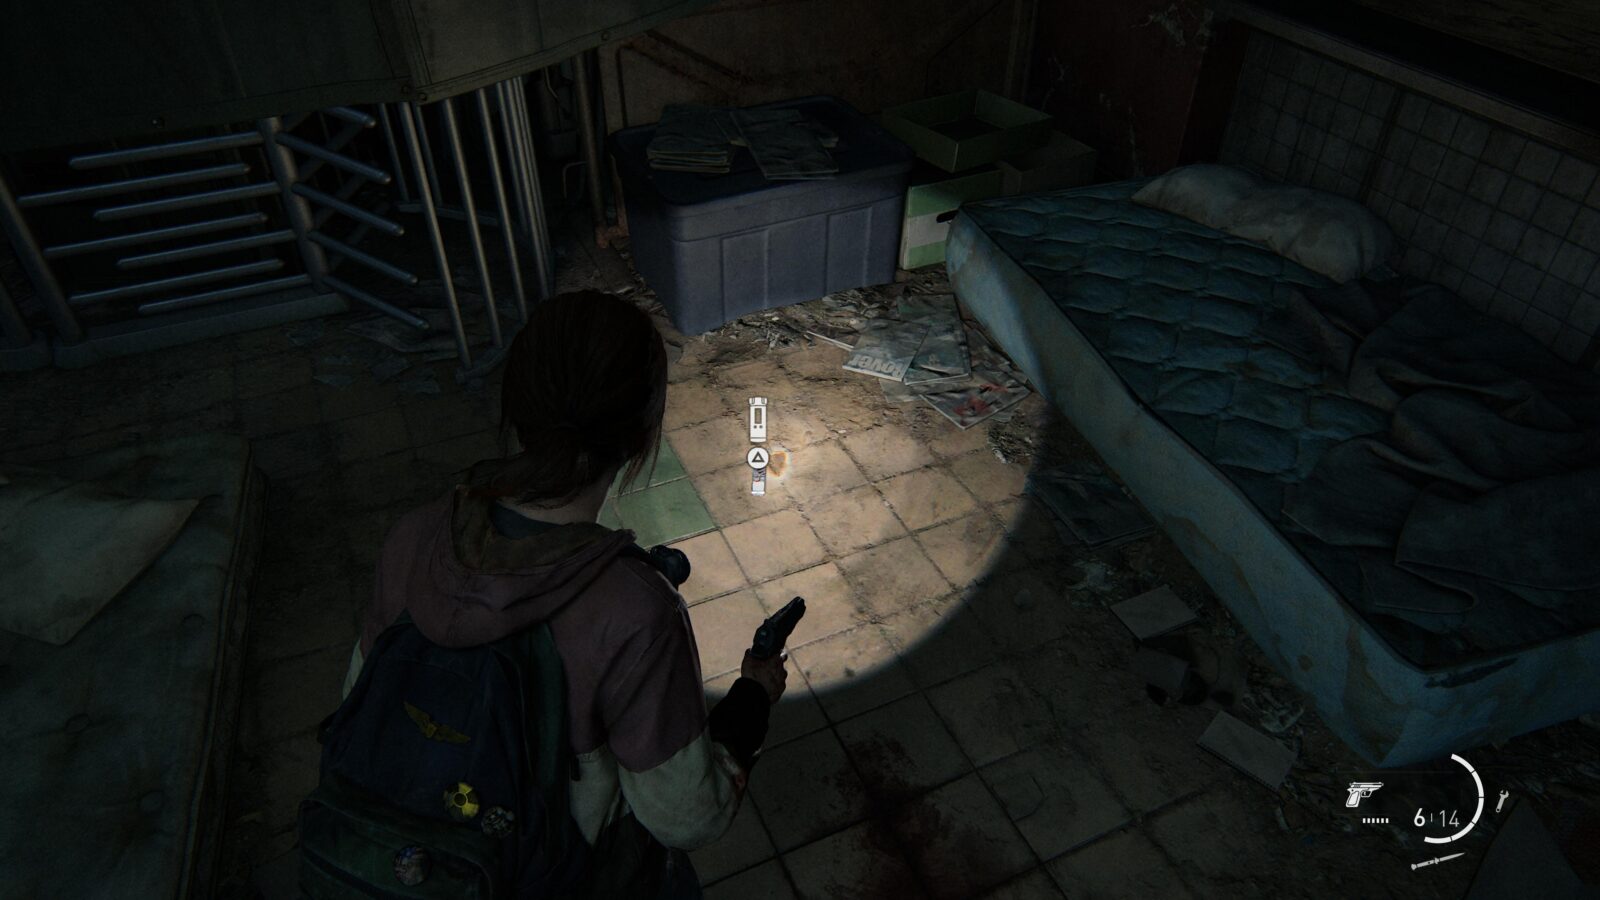
Artifact #90 Atrium Note – As soon as you have control of Ellie again, head right and look for a medical gurney. There will be a note on the floor in front of it.
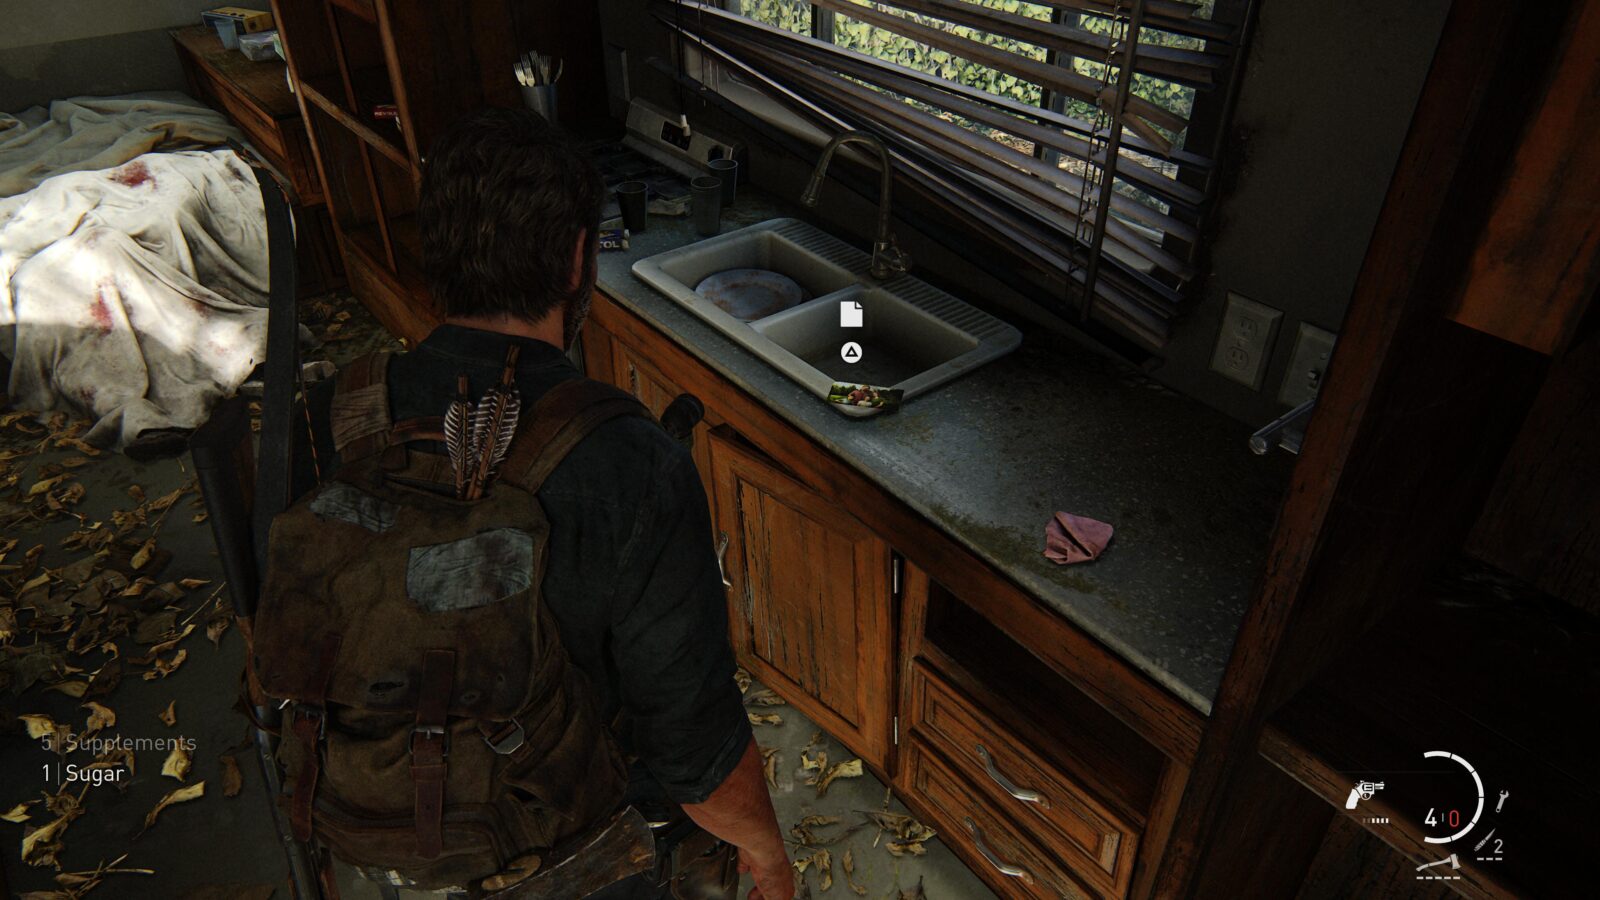
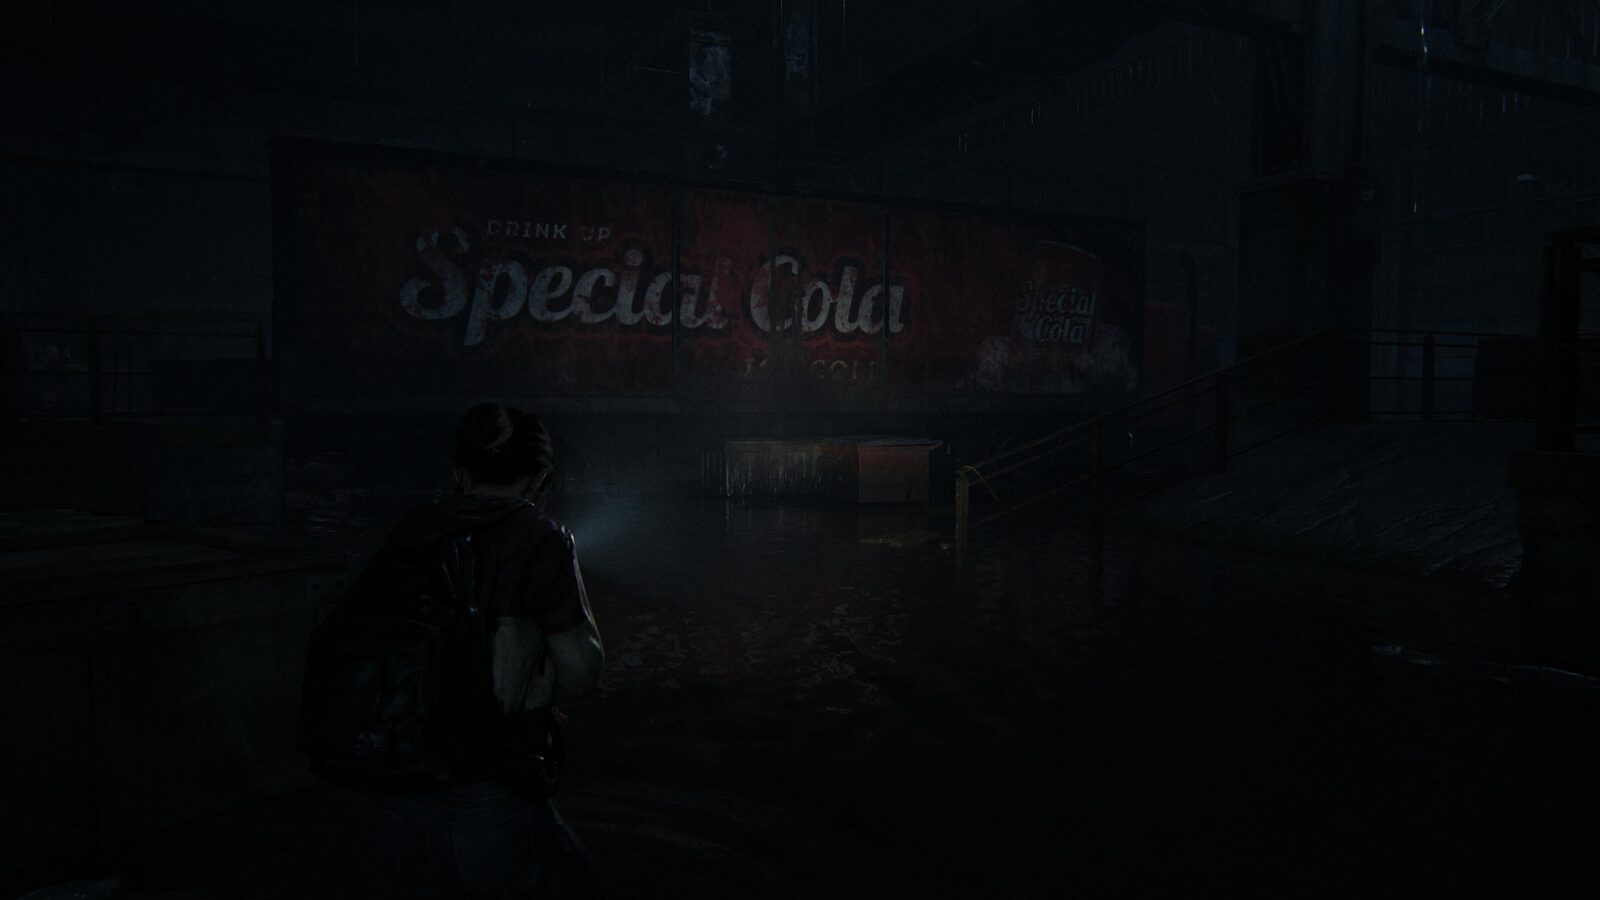
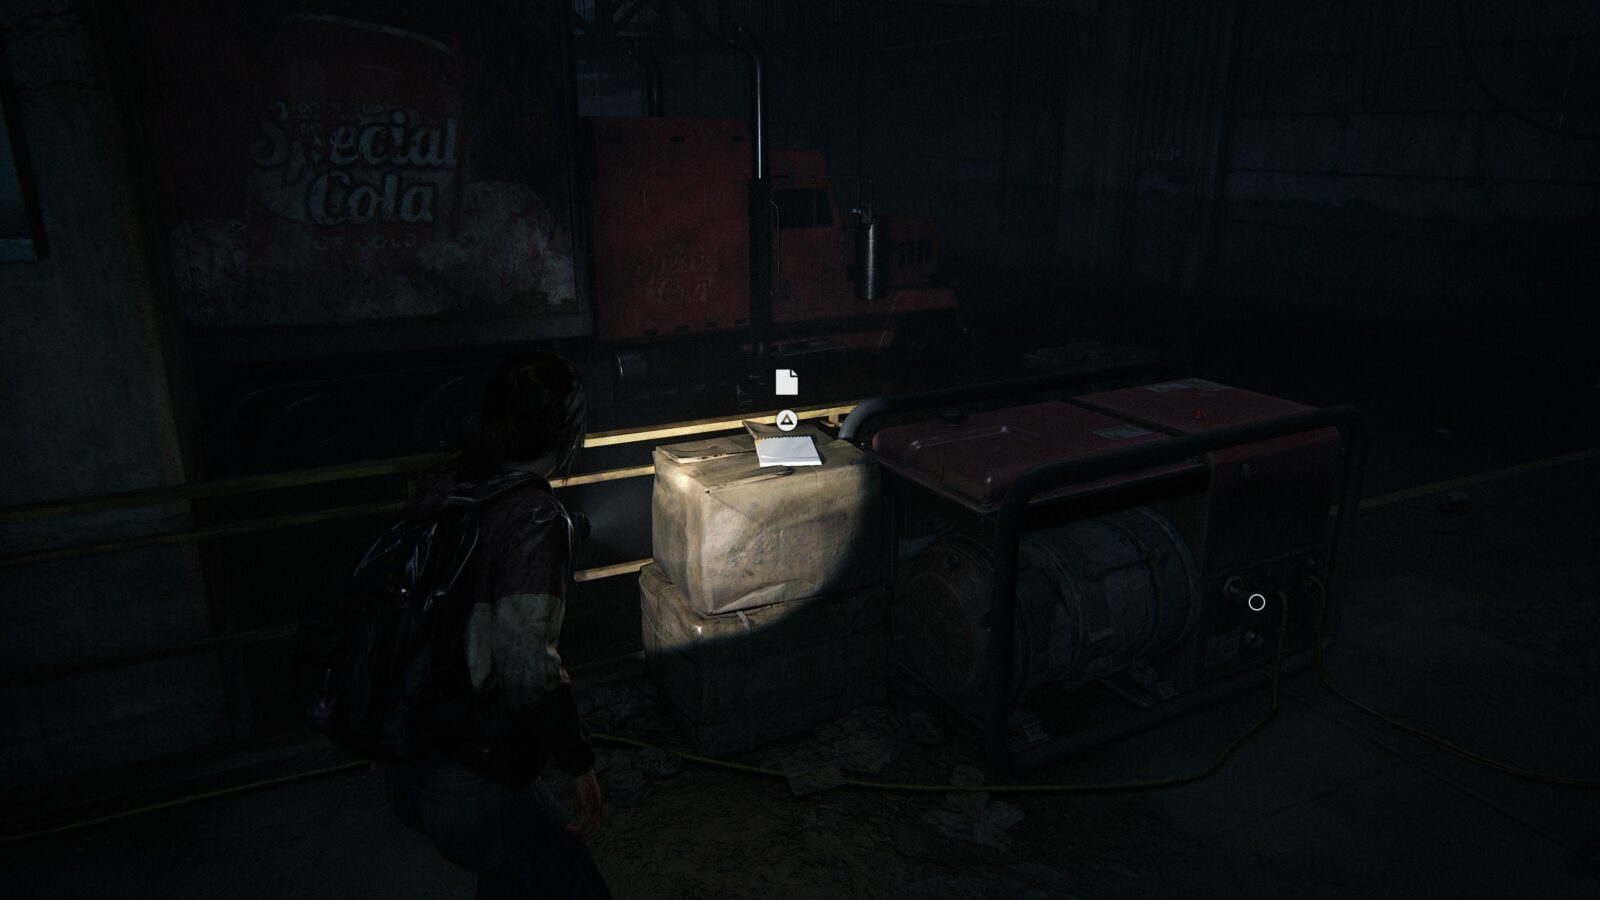
Artifact #91 Generator Note – Head into the loading dock and look for a note next to the generator opposite the Special Cola truck.
Artifact #92 Atrium Recorder – Return to the atrium after starting the generator in the loading dock and head up the escalators. At the top turn left and search the ground in the makeshift tent for a recorder.
Artifact #93 Medical Supplies – Automatically acquired during a cutscene.
Fun and Games
Optional Conversation #53 – Interact with the carousel at the start of the chapter and a cutscene will play out where Riley gives Ellie the Volume Too pun book.

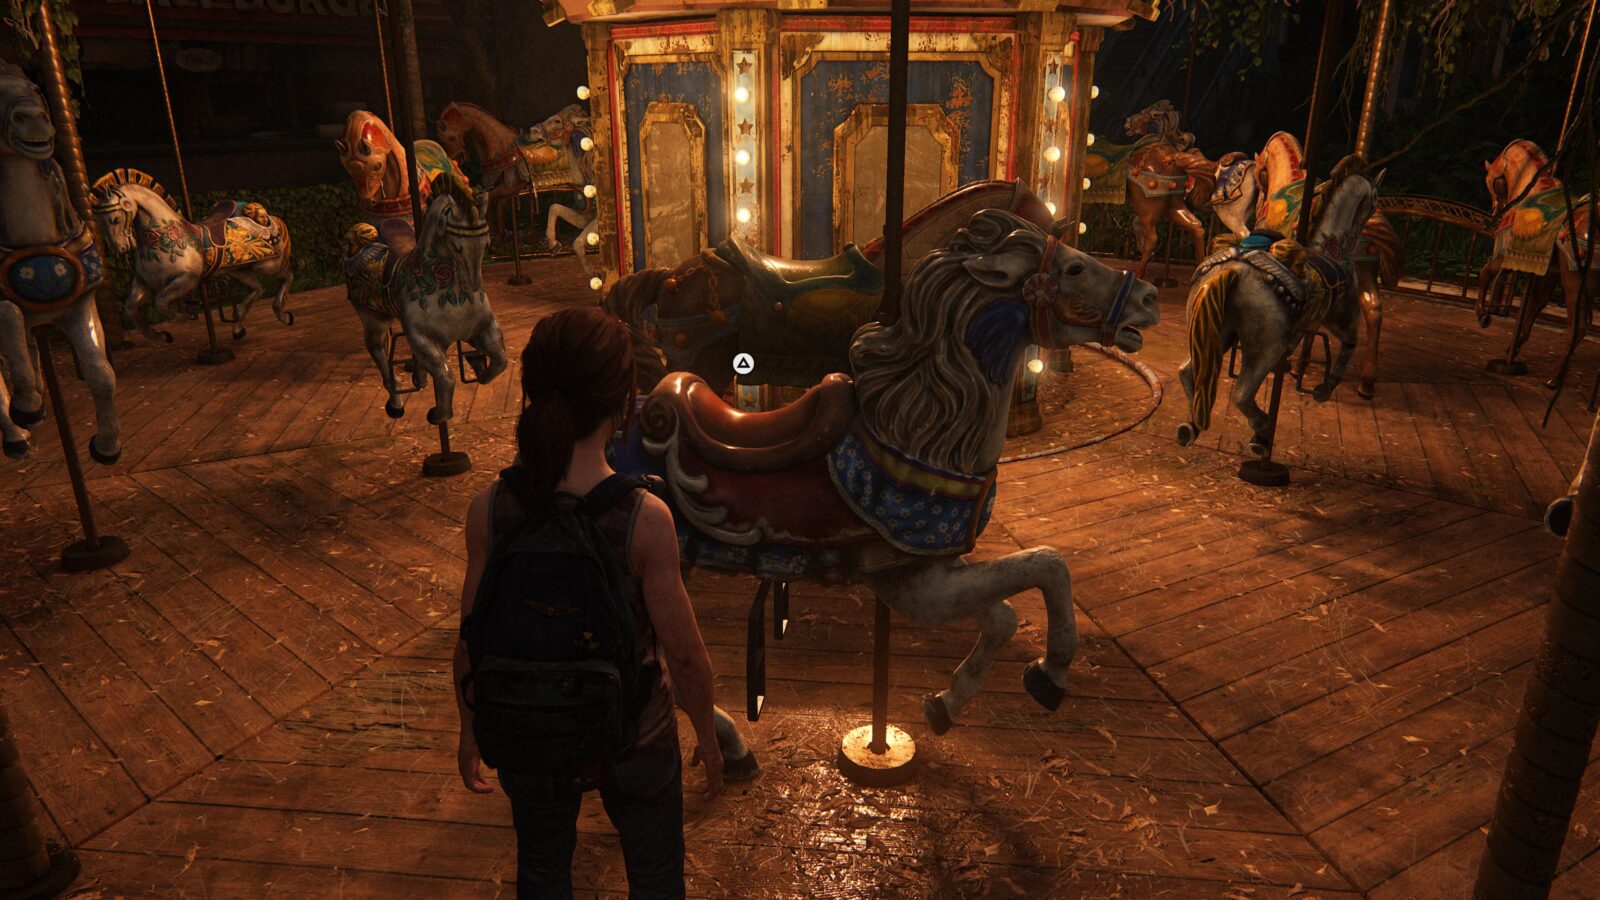
Artifact #94 No Pun Intended Volume Too – Acquired during the carousel cutscene.
Joke #6 – Immediately press ![]() after the cutscene to read from the joke book. Tell jokes until Ellie runs out. This is the last joke sequence in the game.
after the cutscene to read from the joke book. Tell jokes until Ellie runs out. This is the last joke sequence in the game.
Optional Conversation #54 – After the jokes head under the escalator in front of you to the photo booth. to take some cool photos with Riley.
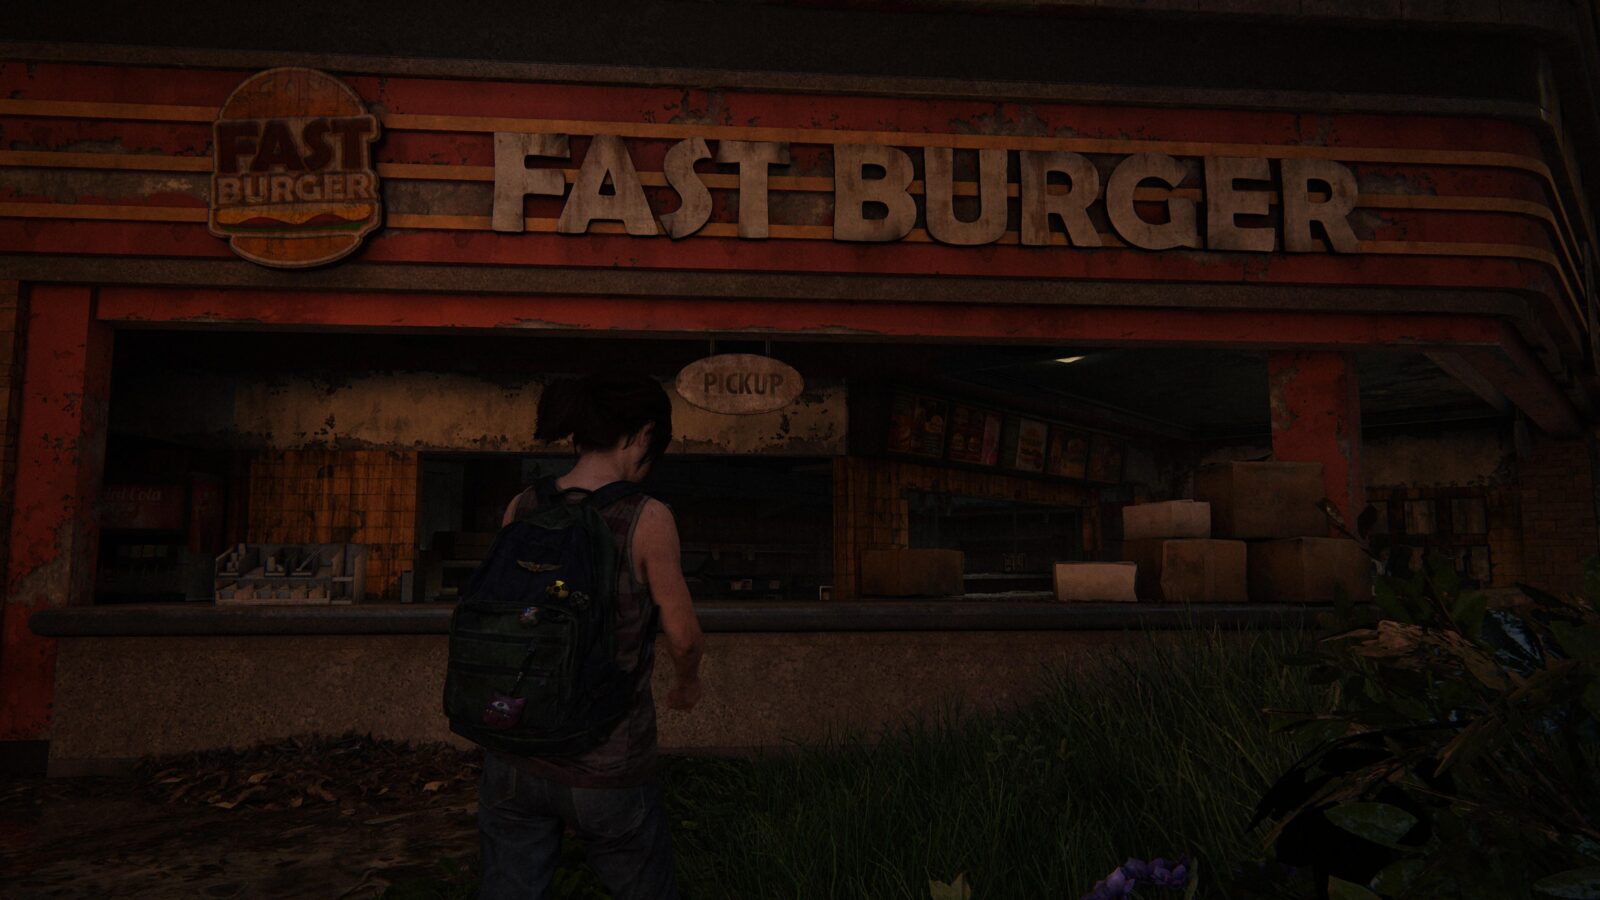
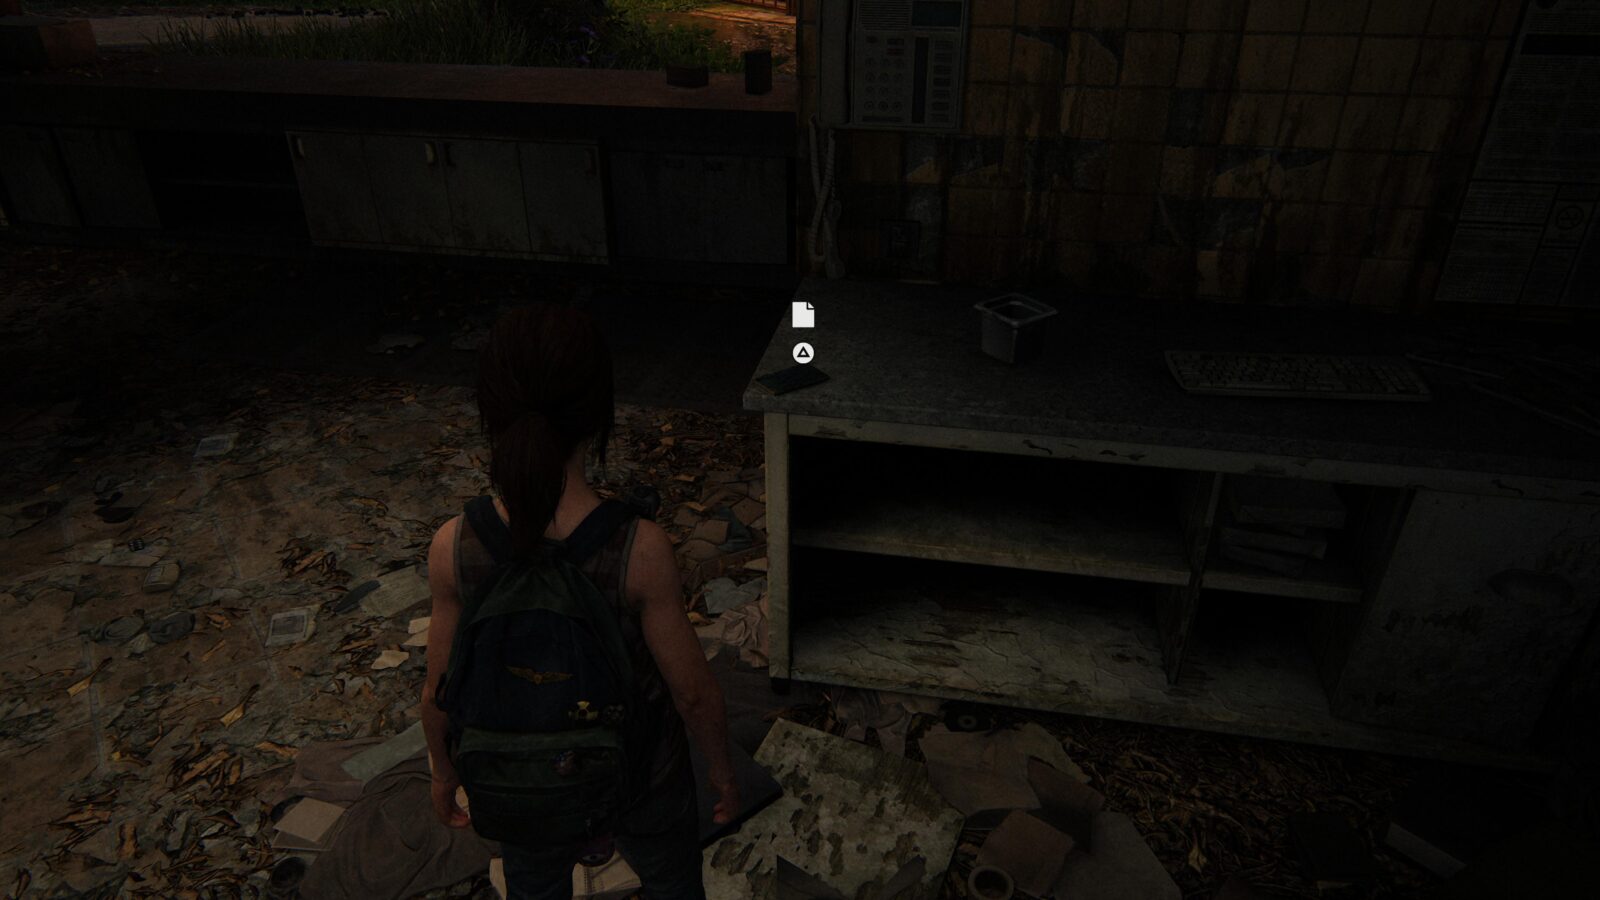
Artifact #95 Kitchen Note – Head back up the stairs to the carousel and hop over the desk at Fast Burger to find a note on a desk.
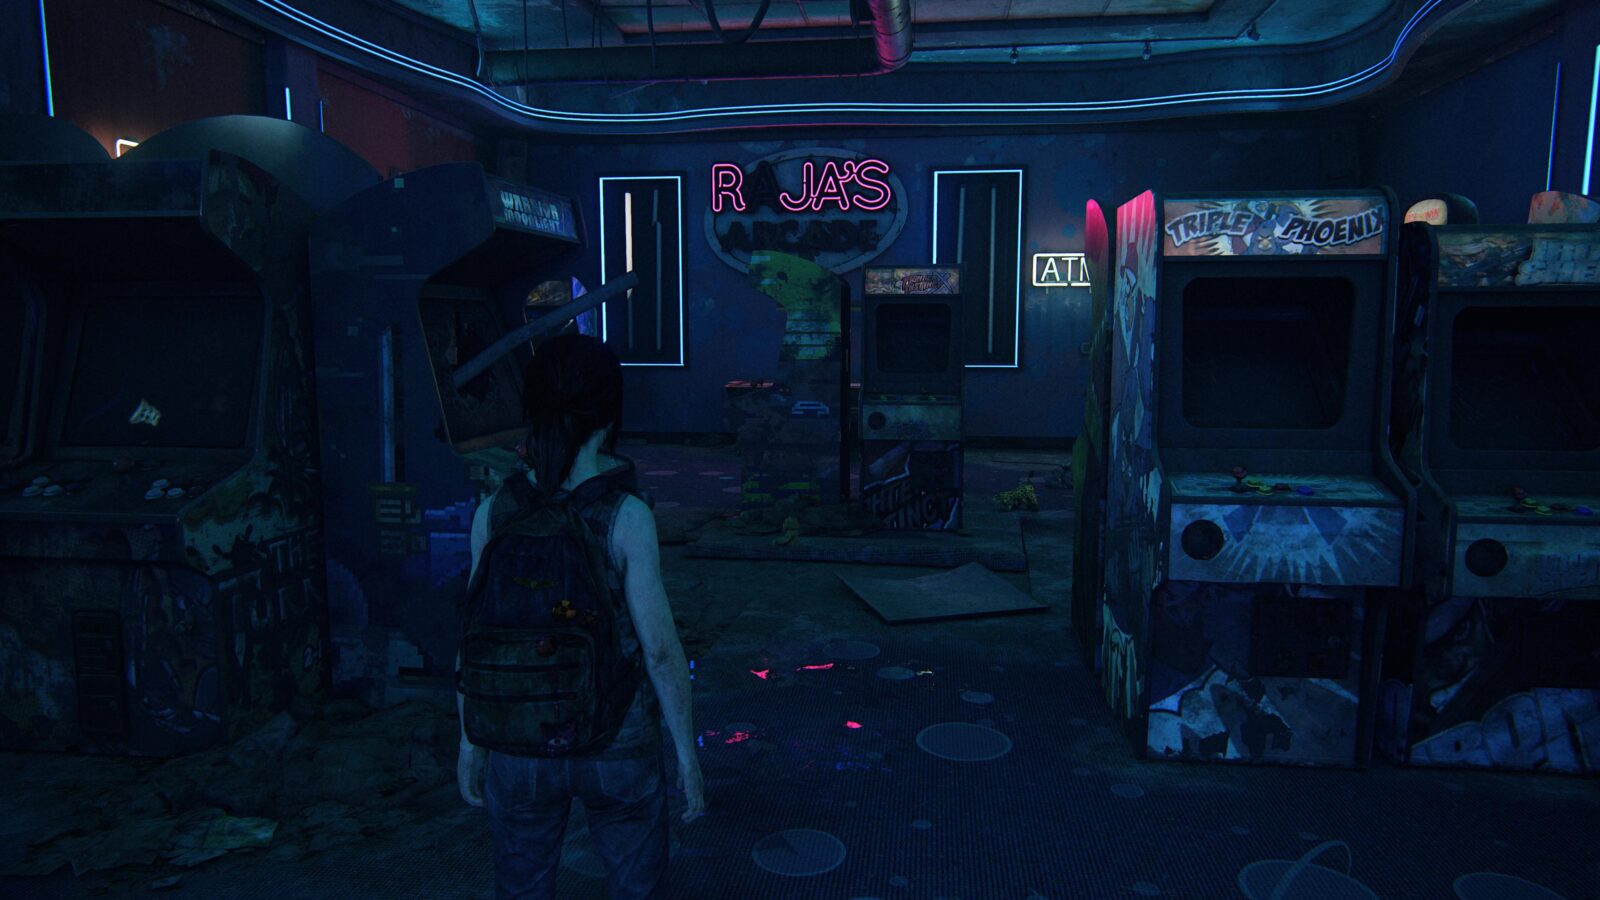
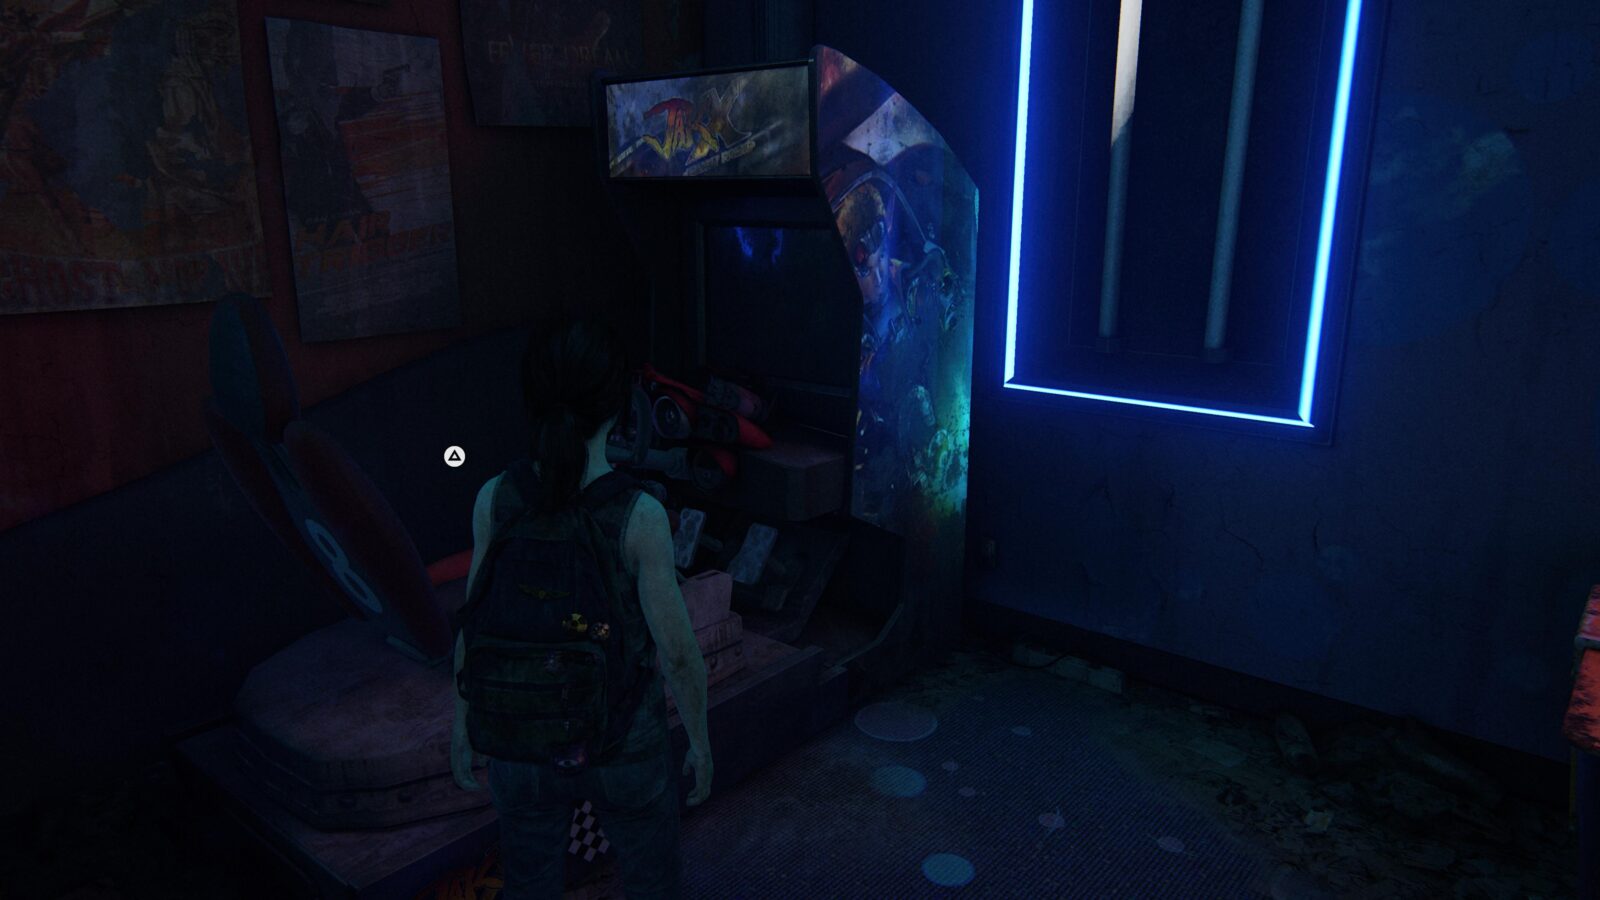
Chapter-Specific Trophy: Nobody’s Perfect – You must “Play” the Jak X game in Raja’s Arcade. The machine is in the far left corner as you enter. Find it and press ![]() to interact with it.
to interact with it.
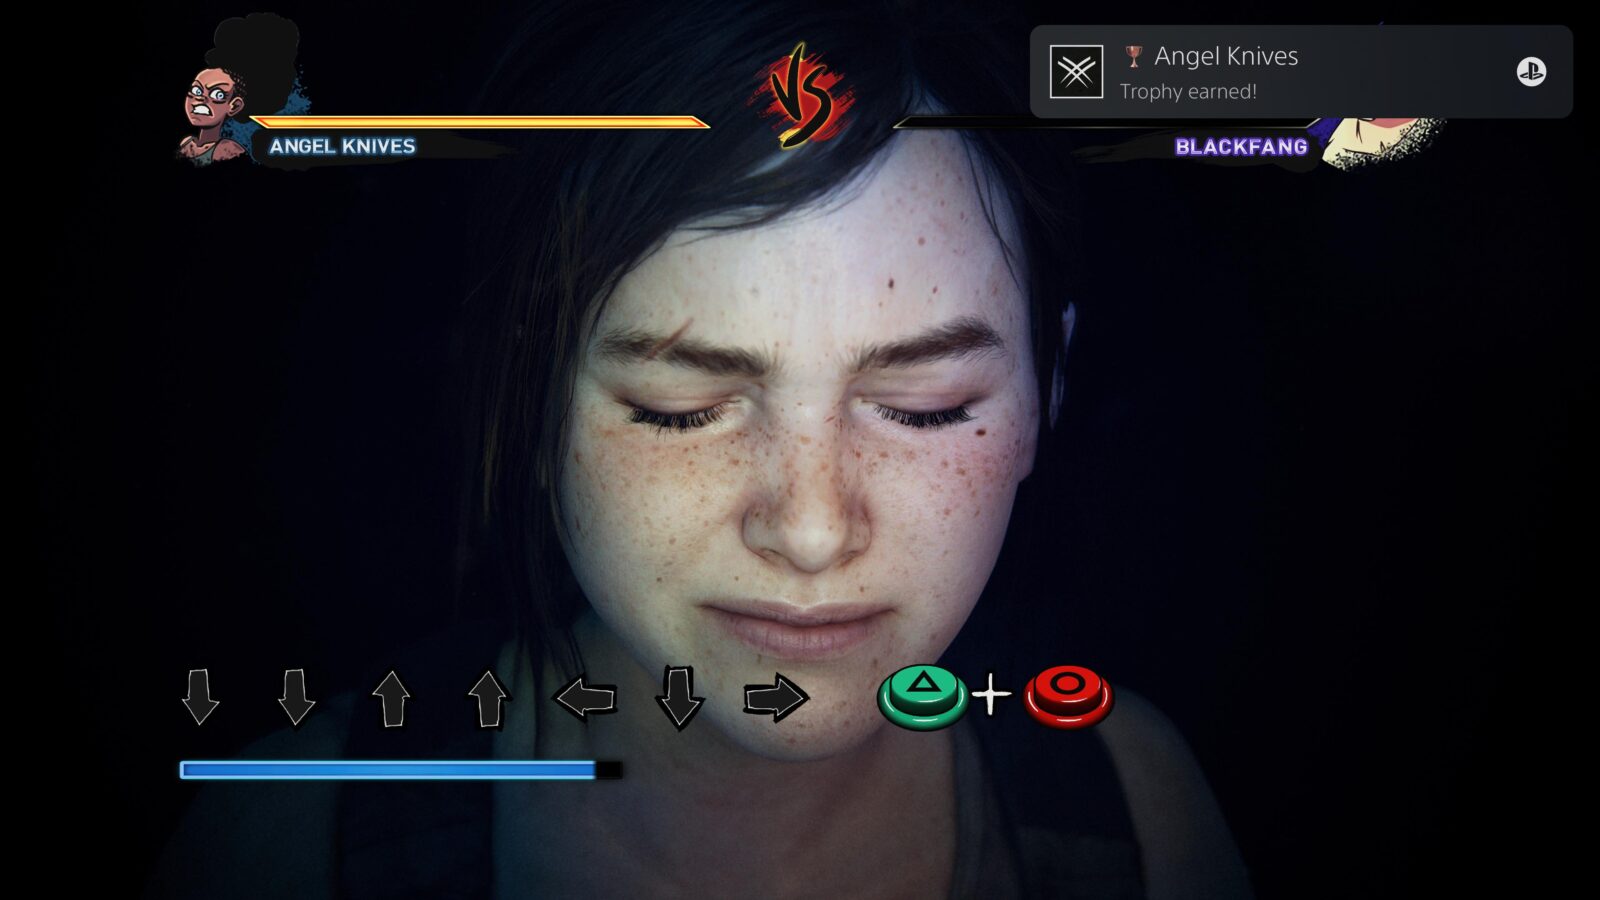
Chapter-Specific Trophy: Angel Knives – You must defeat Black Fang without being hit. To do this you need to interact with the Angel Knives arcade machine in Raja’s Arcade. During the fight you will have button combinations appear in the bottom left of the screen and you have to hit them precisely and the time limit for each one is rather generous. If you mess up you can restart the checkpoint via the pause menu.
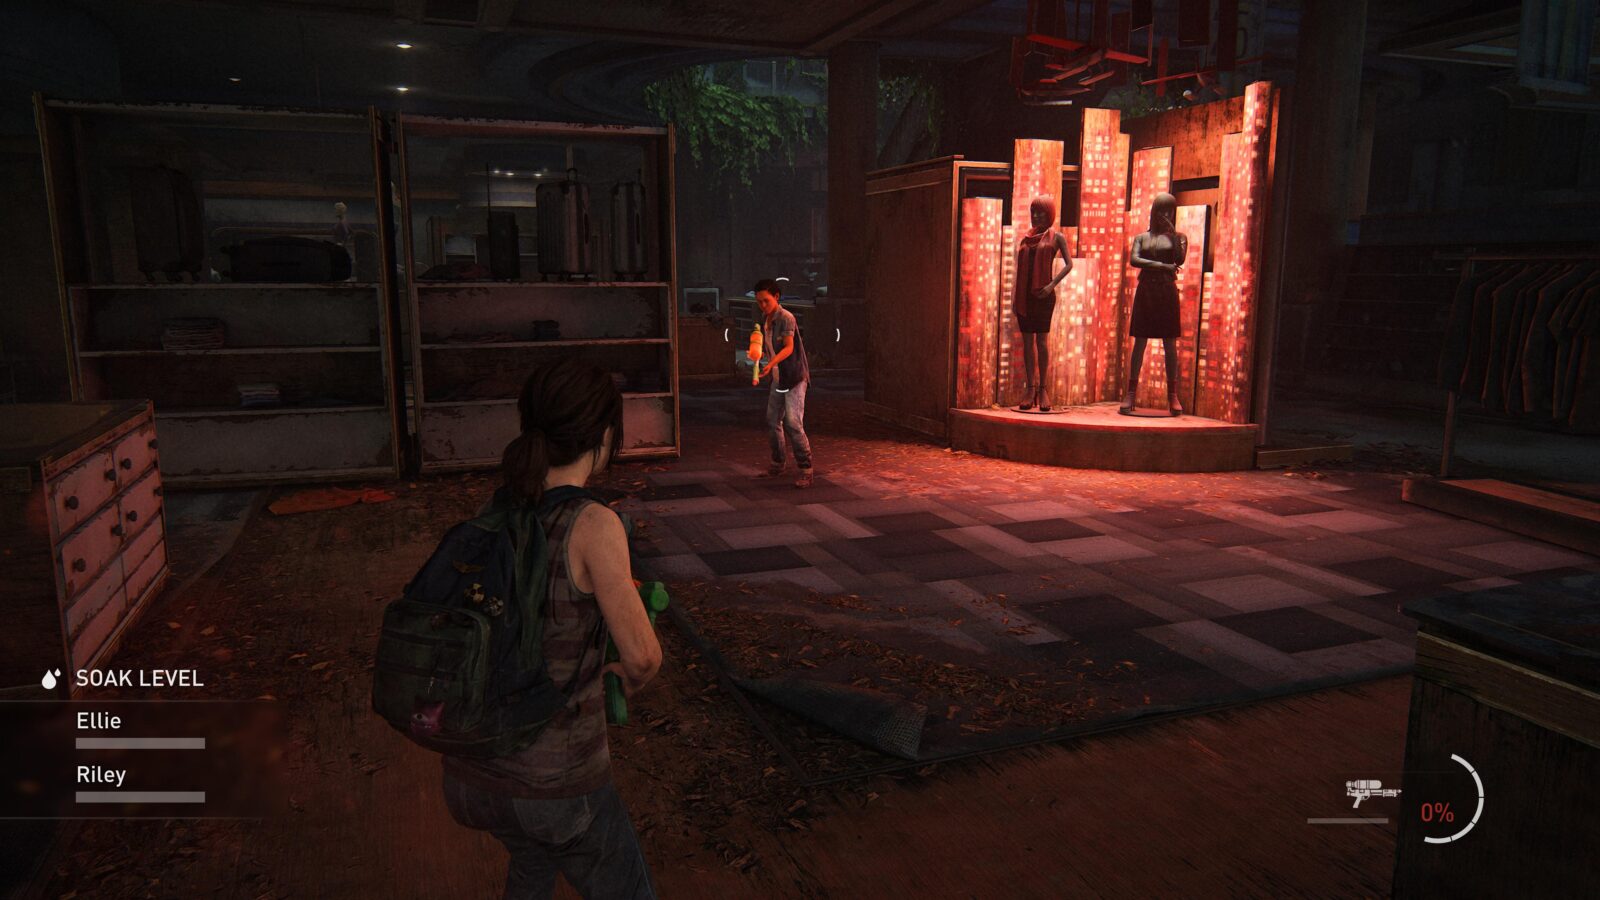
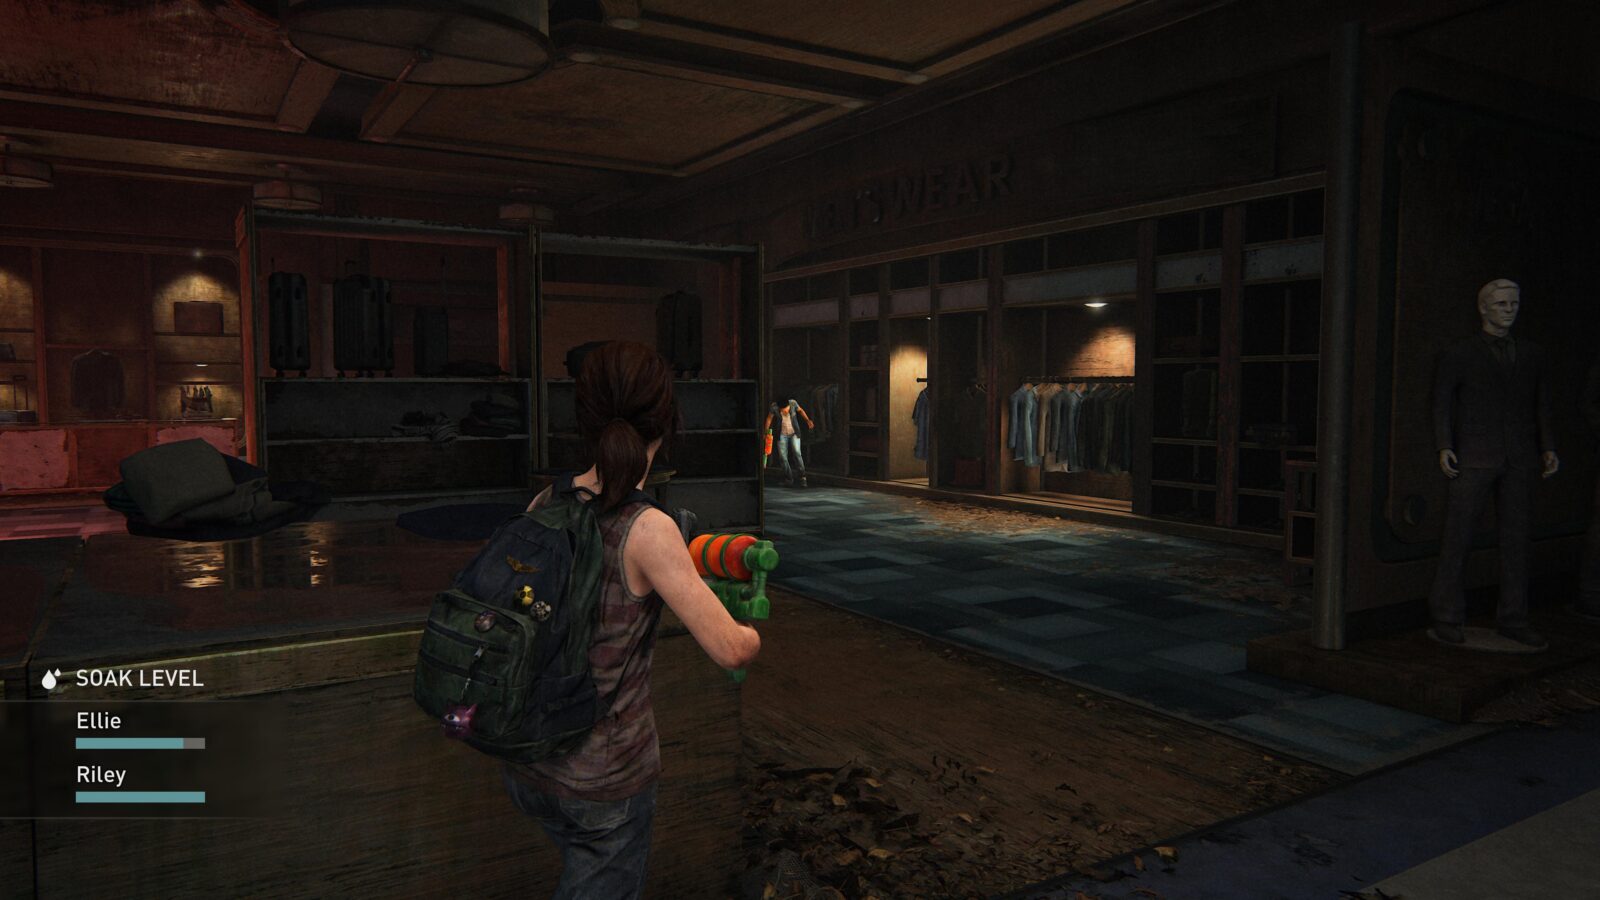
Chapter-Specific Trophy: Skillz – Win the water gun fight. This is a bit tougher than the previous trophies. After a straight up water gun fight Riley will then propose a best 2-out-of-3 match where she runs and hides and whoever hits the other with their water gun first wins the round. If you listen carefully you can hear Riley moving around so make sure you’re behind cover and get ready to blast her when you see her.
The Enemy of My Enemy
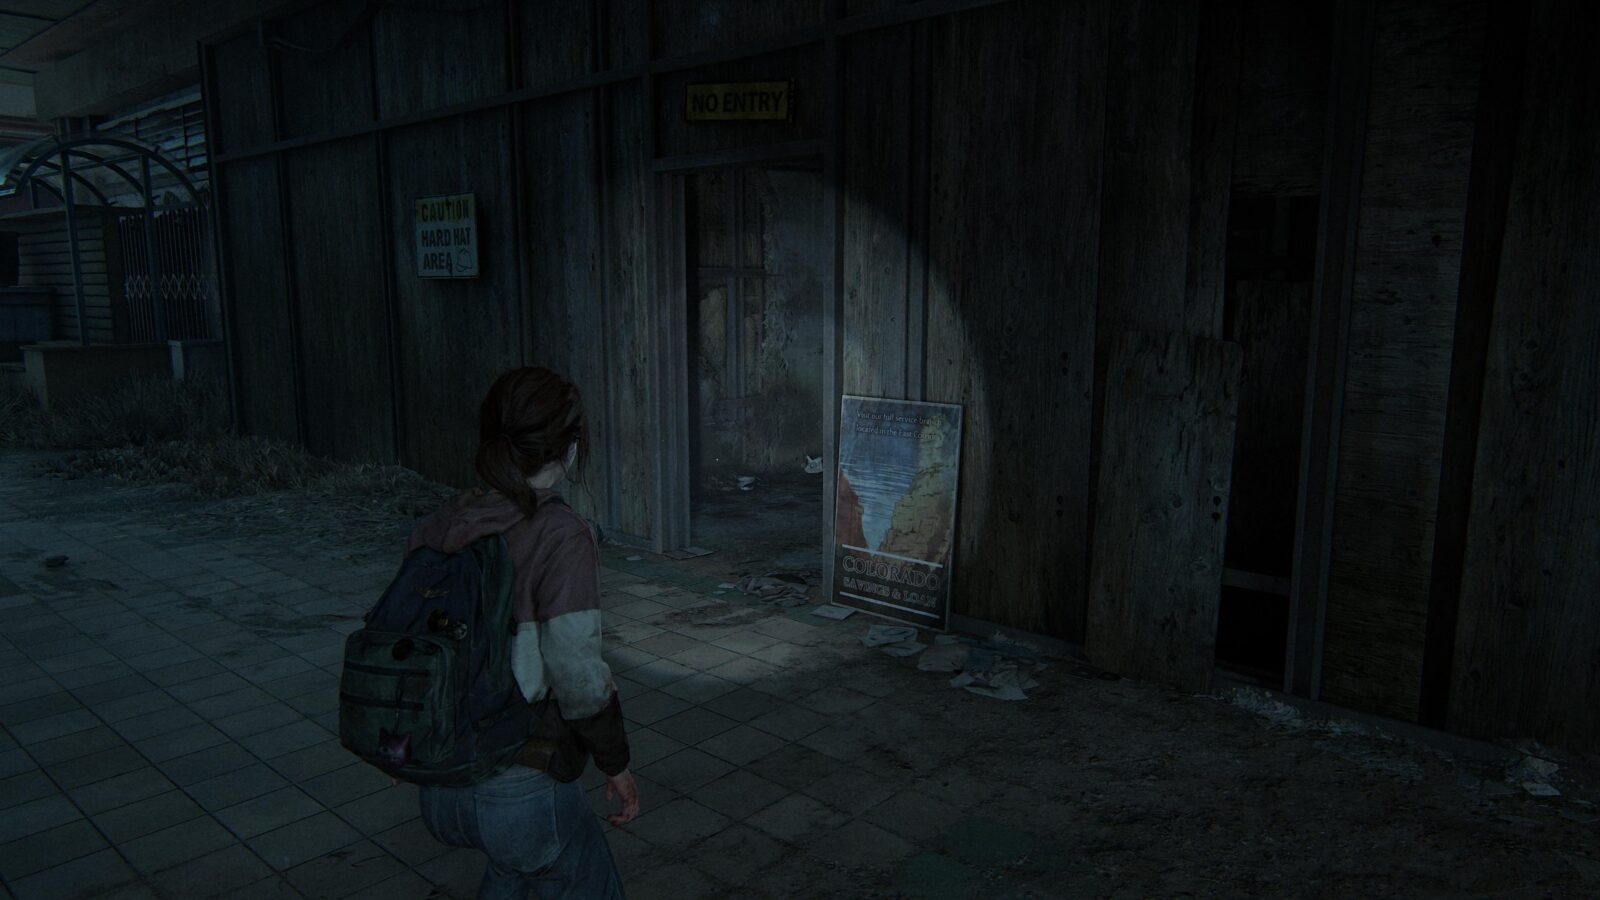
Artifact #96 Crew Photo – As you walk past the TV Hut storefront you will see an open door to your right with a No Entry sign. Inside on a corpse is a photo.

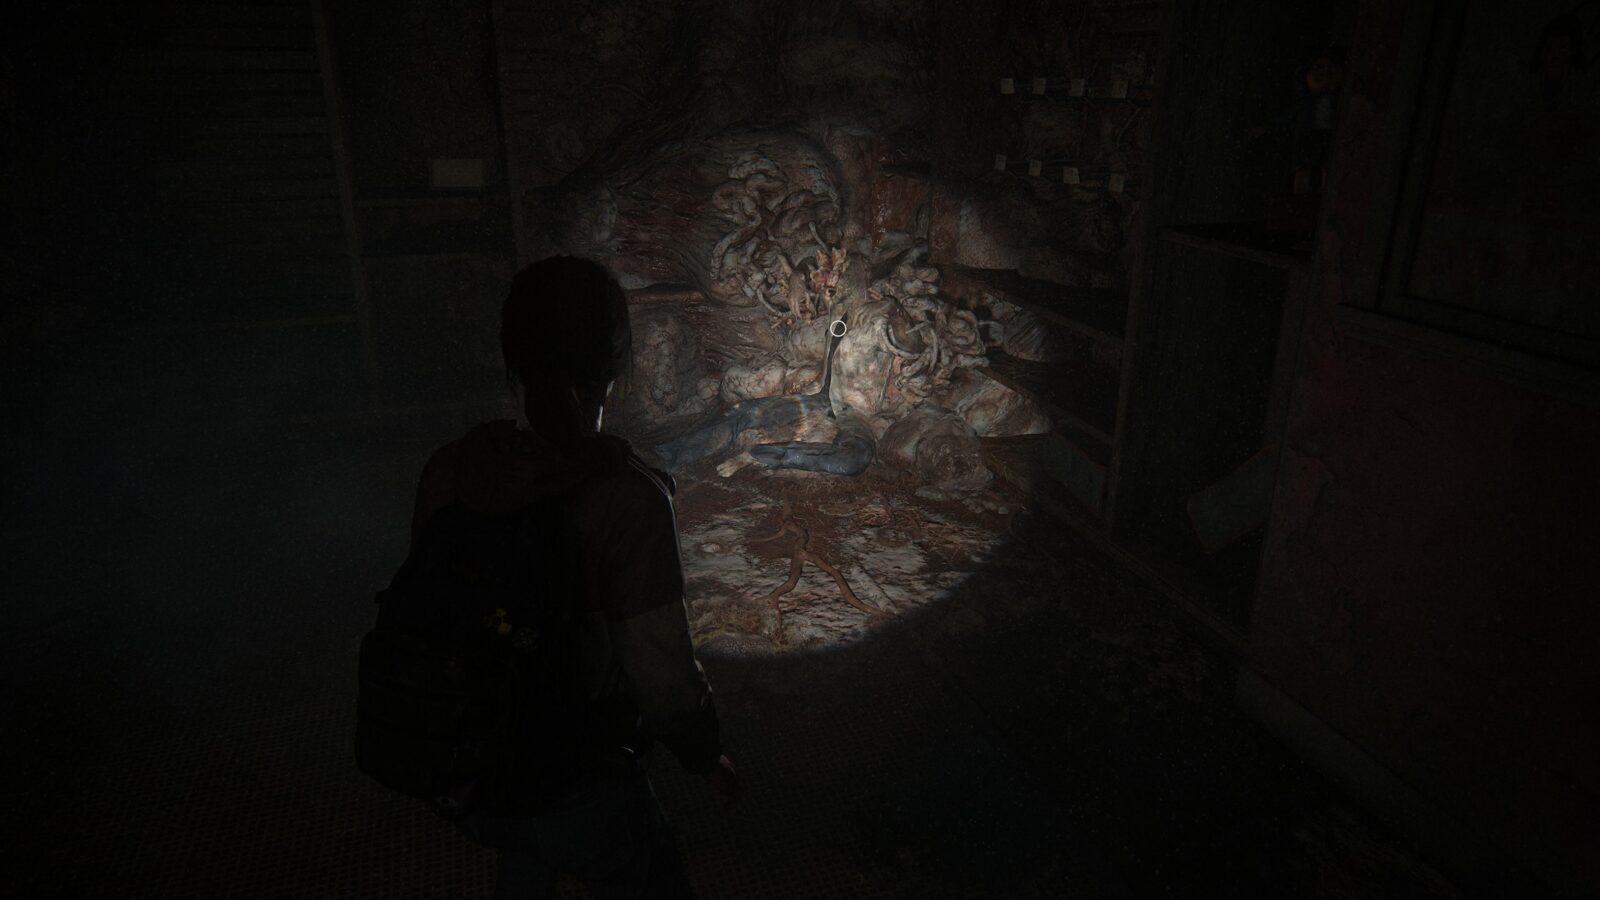
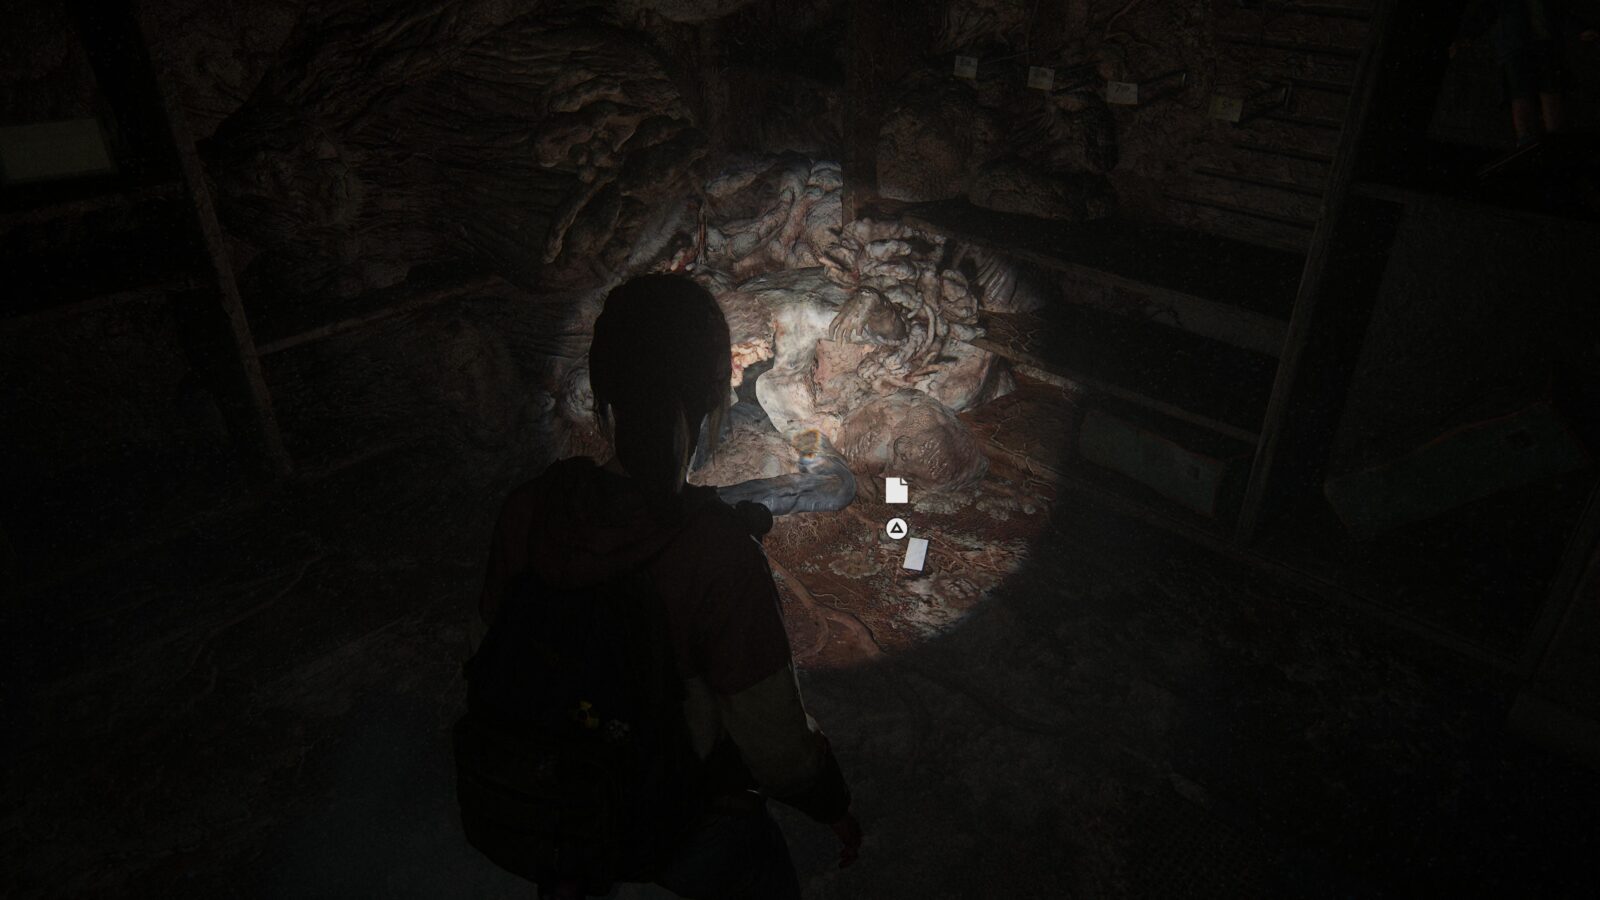
Artifact #97 Duct Recorder – Enter the vent down the side of Octopus Records and follow the blood trail to find a corpse with the last artifact.
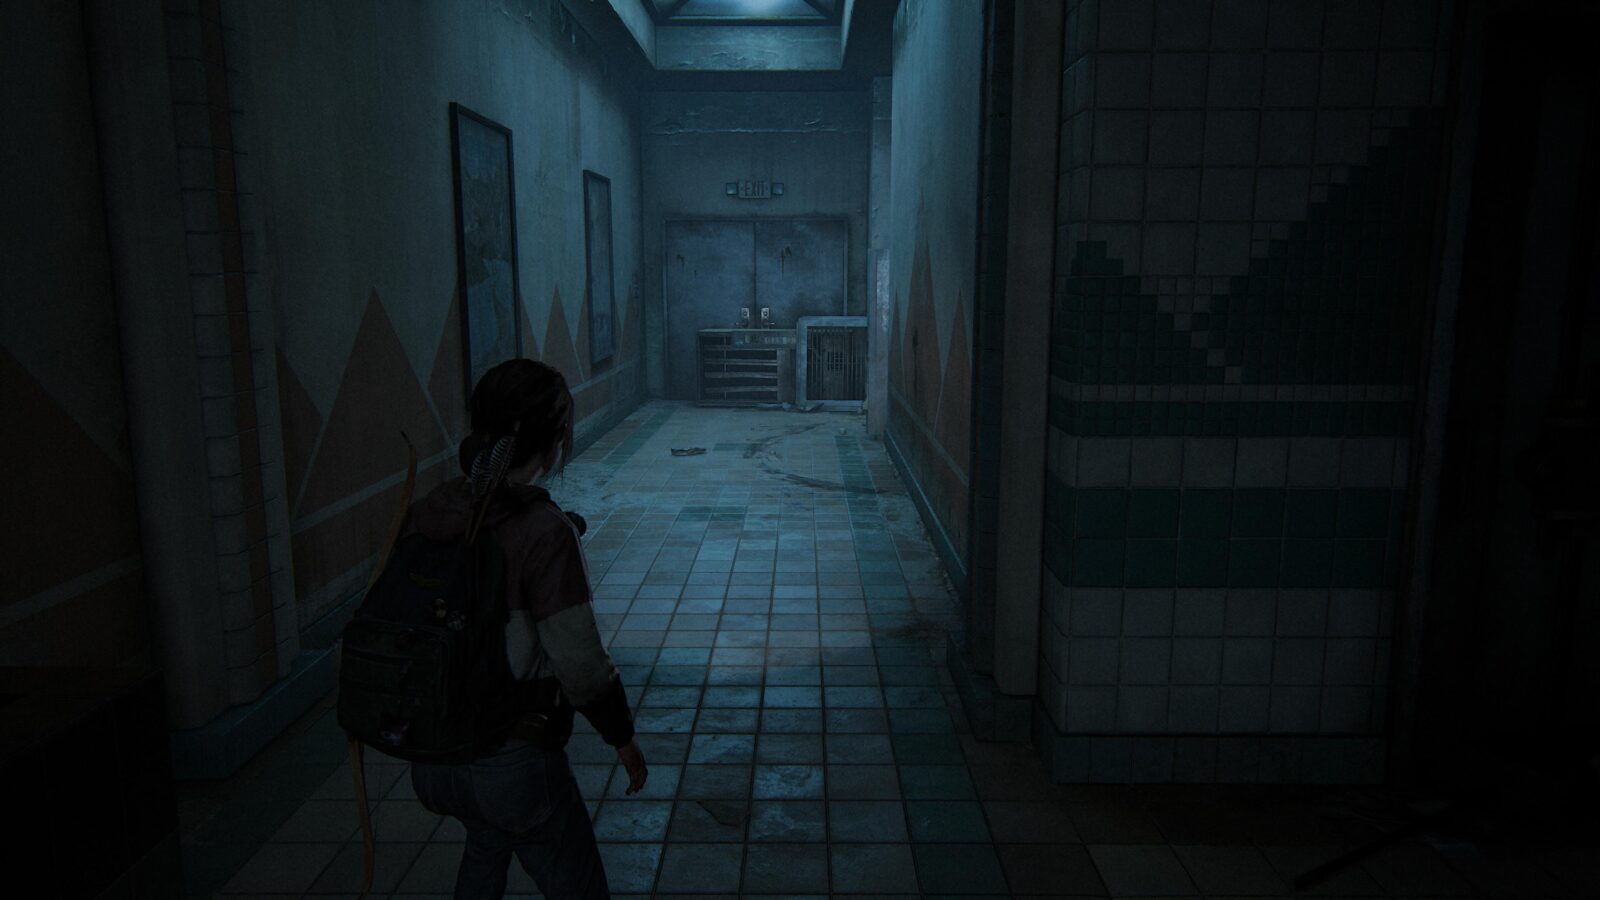
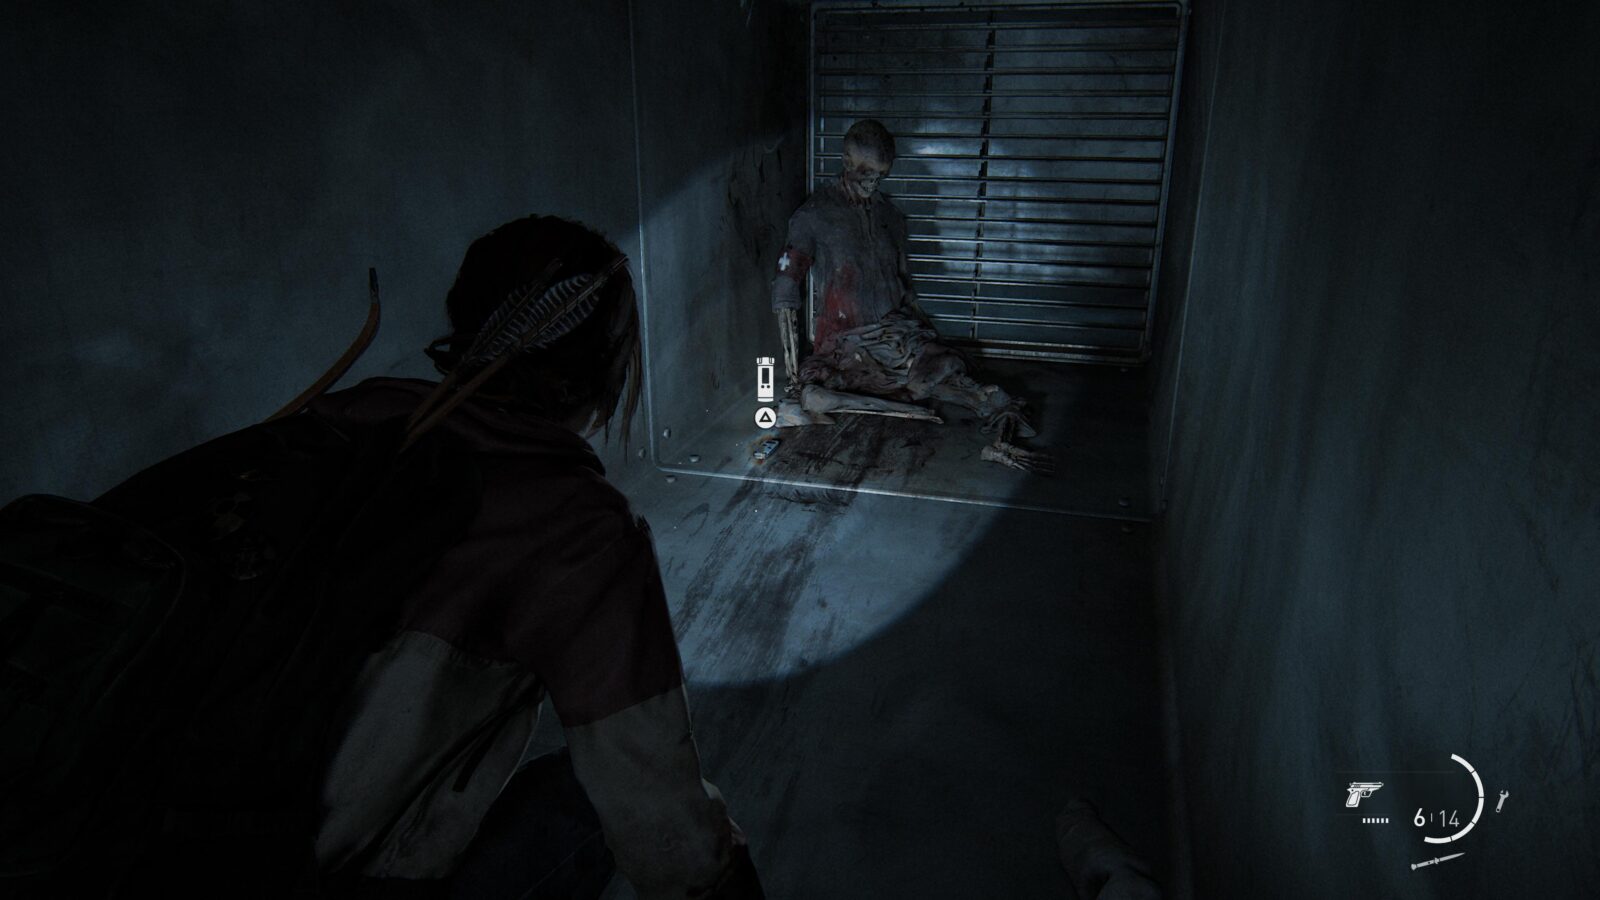
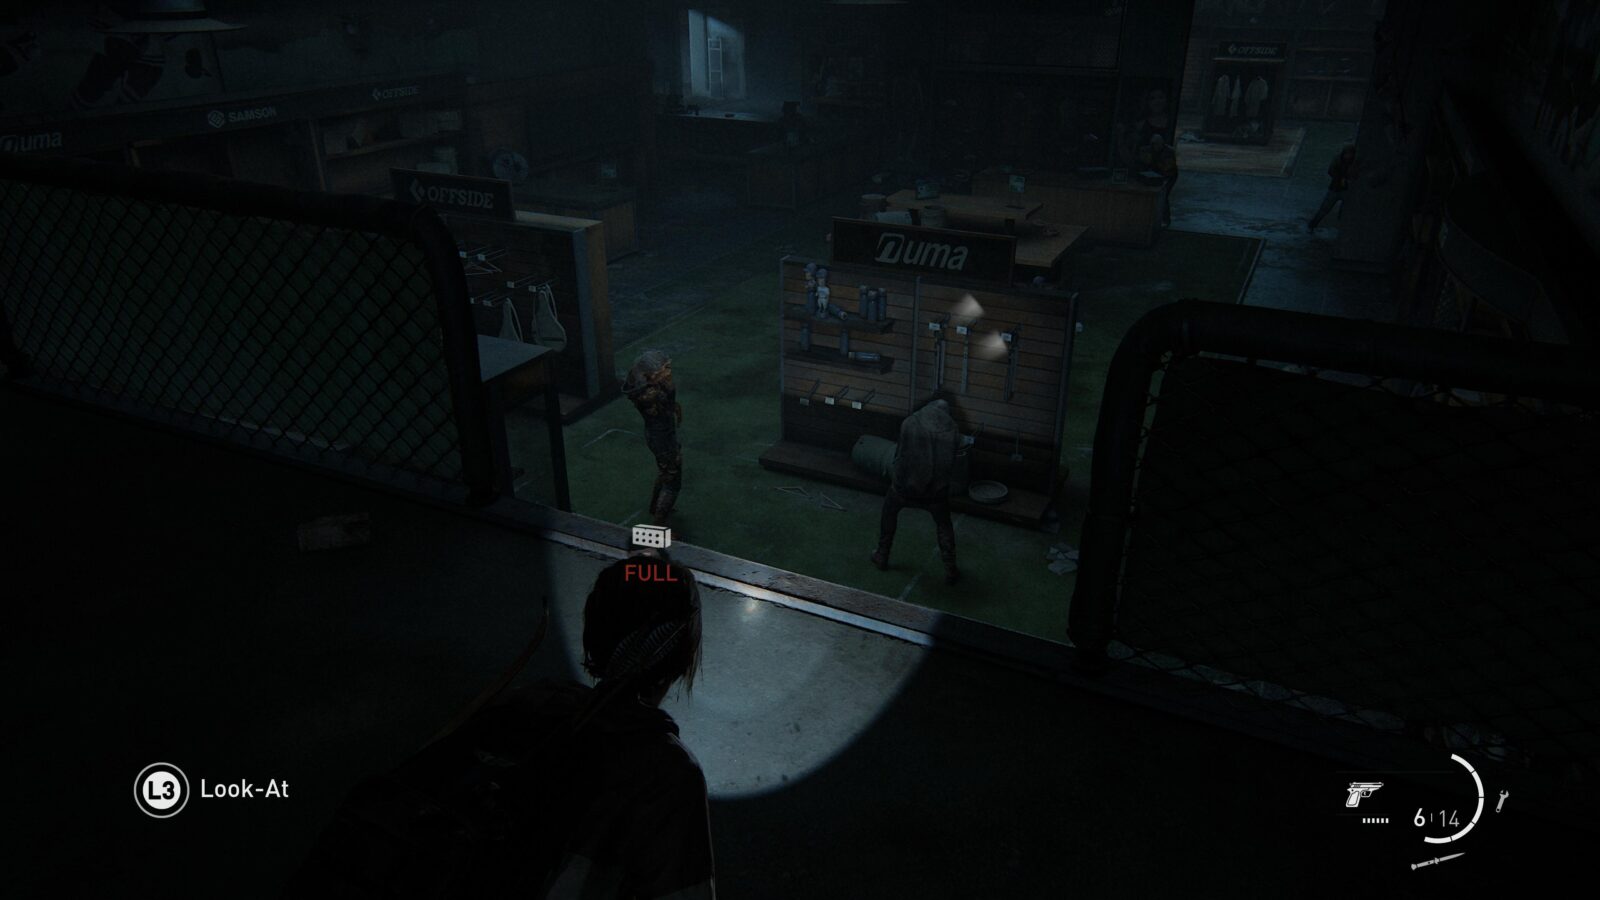
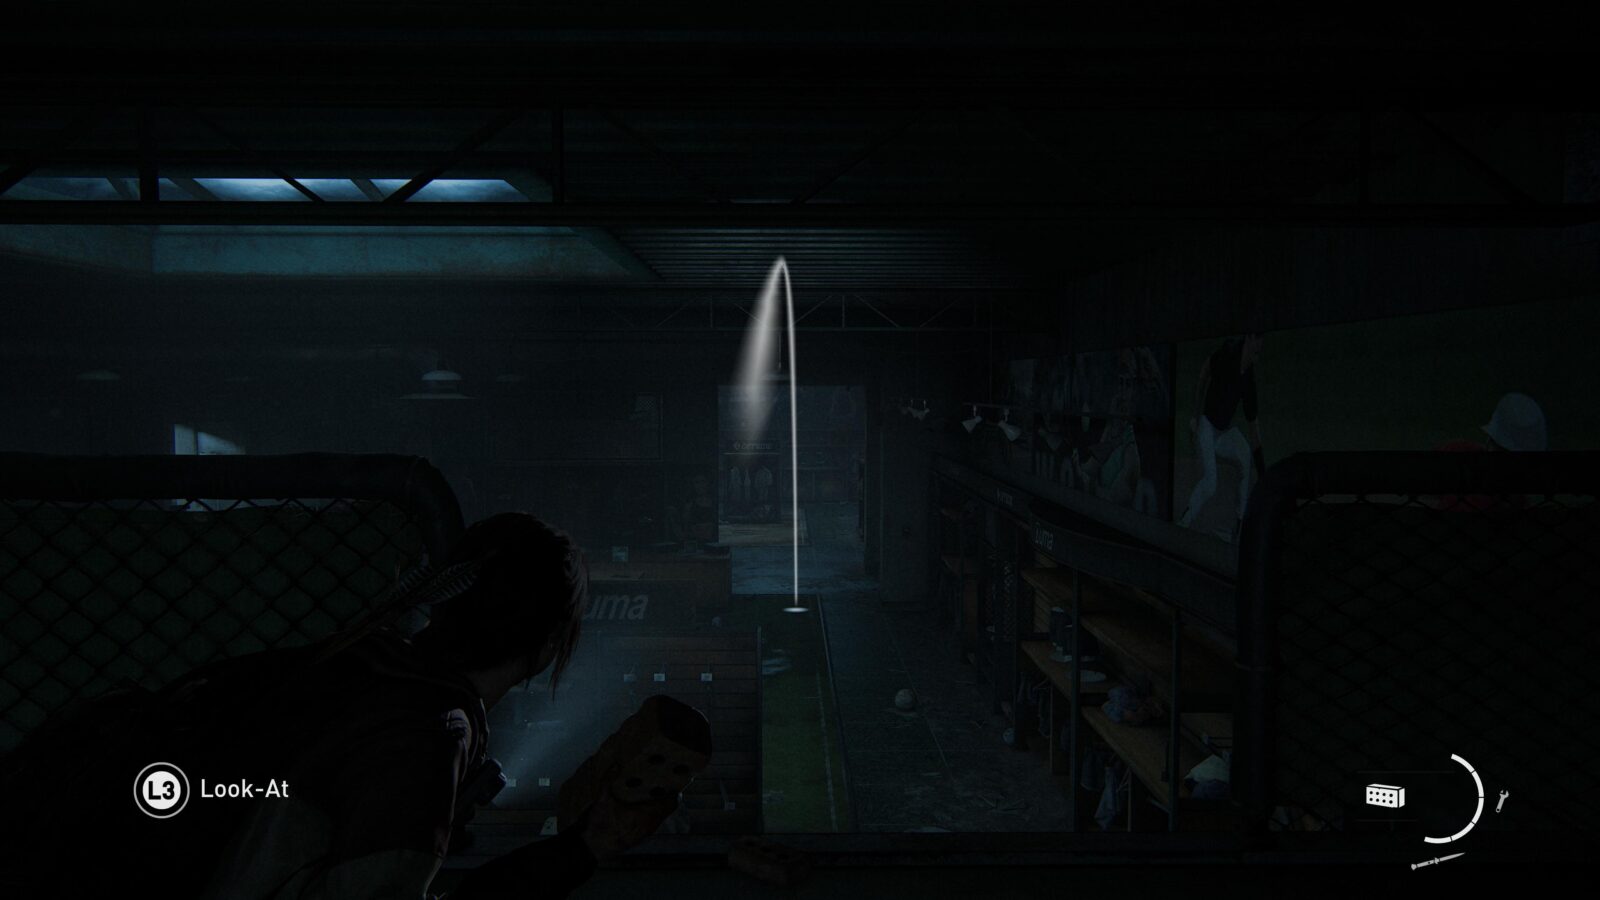
Chapter-Specific Trophy: Live Bait – You have to lure infected towards living enemies to unlock this trophy. The first opportunity you get is immediately after leaving the vent after picking up Artifact #97. Grab a brick and wait for the Hunters to enter the room below you. When they do, throw a brick to attract the Clickers nearby to the enemies. Once one of them grabs and kills a Hunter the trophy will unlock. Another opportunity is when you enter the electronics shop. Some Hunters will come in through the broken roof and you can throw a brick or bottle near them to attract the infected hiding in the back room. This one is more dangerous, however, as there is very little places to hide.
Thank you for choosing PlatGet as your source for The Last of Us Part 1 & Left Behind Collectibles Guide. Consider checking out our other guides!
Follow us on Twitter @GetPlat or Instagram @platget for updates on new reviews and guides, as well as small anecdotes about our platinum journeys.