PlayStation 4, PlayStation 5
Sonic Superstars Gold Enemy Guide
Collectible Guide
Where and how to find all 22 Gold Enemies in Sonic Superstars
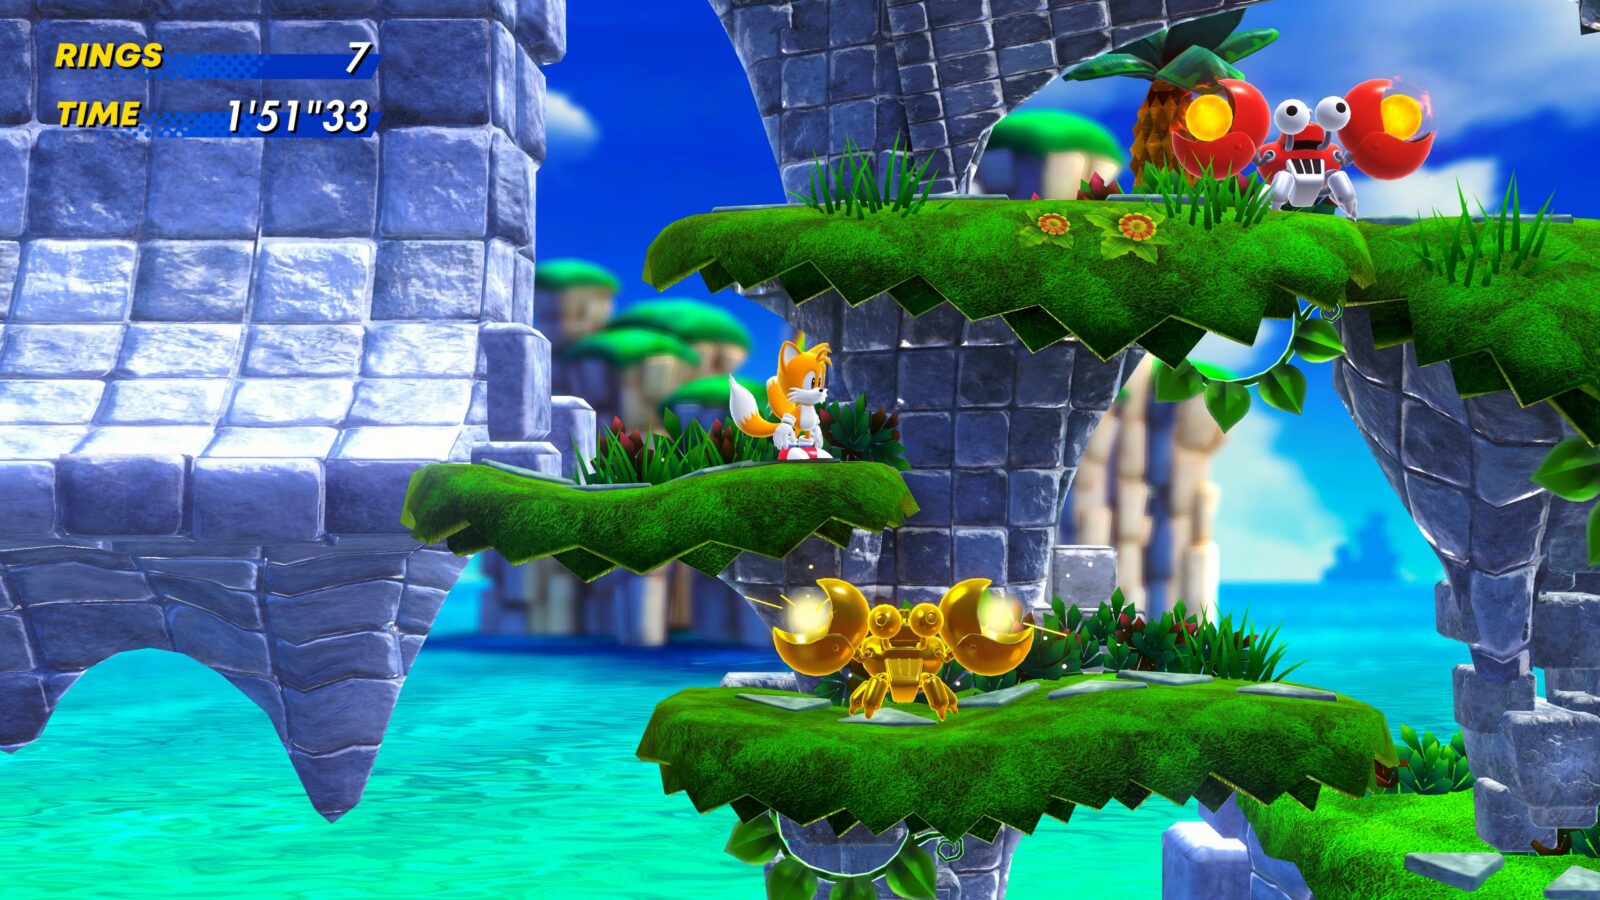
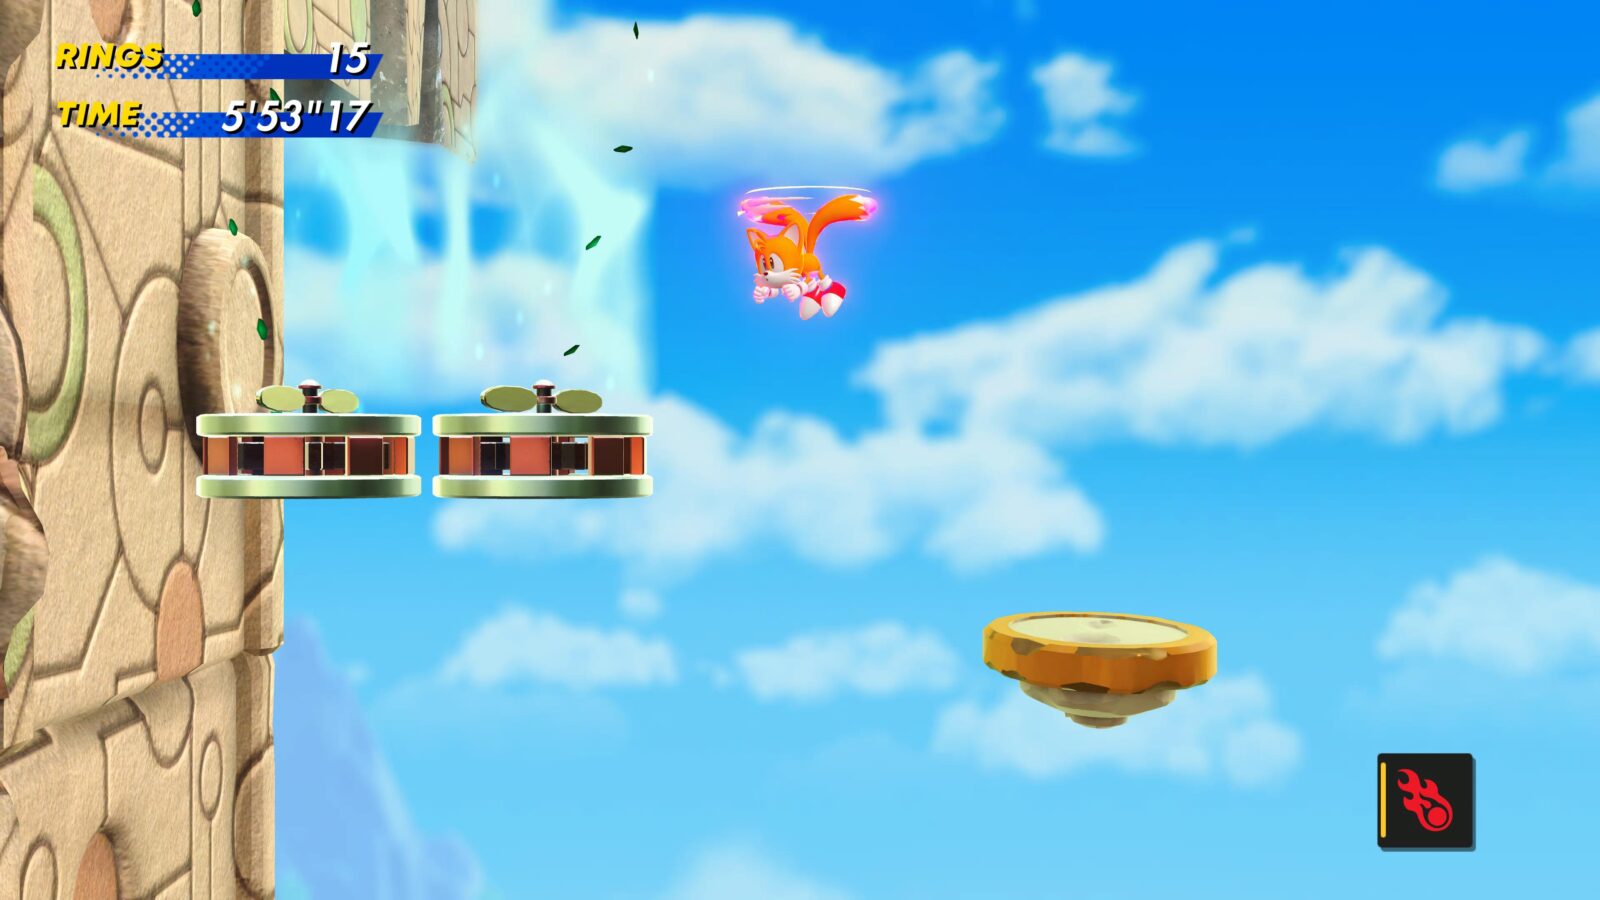
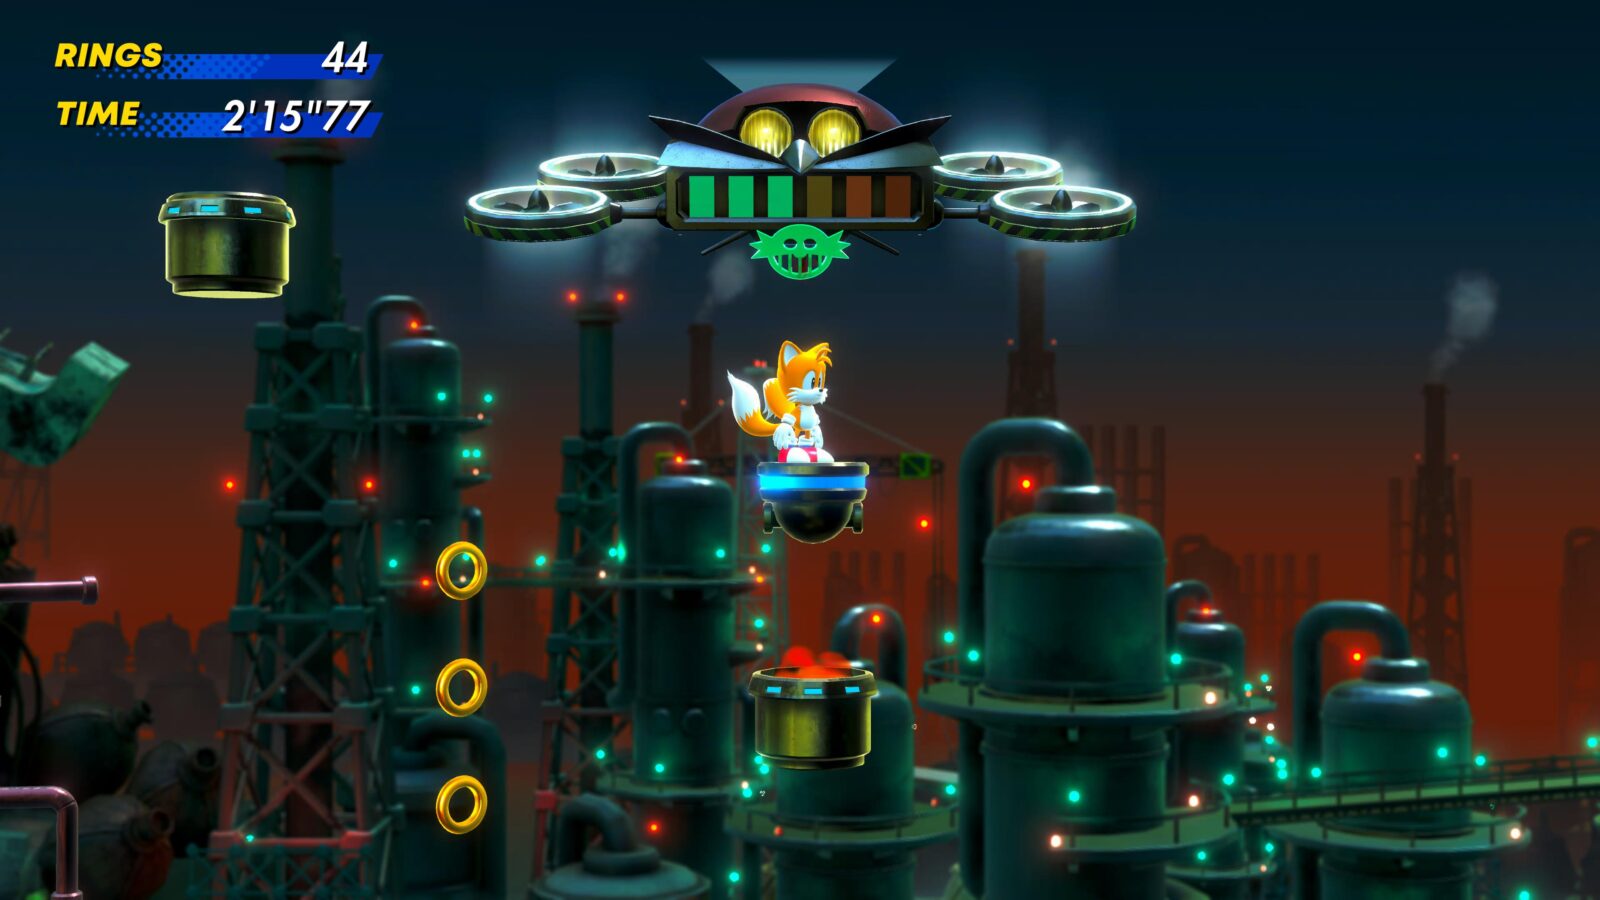
There are a total of 22 Gold Enemies hidden throughout the various Acts in Sonic Superstars. They’re all very difficult to find and will all drop a medal for you when you’ve defeated them. To make finding them easier, I definitely recommend playing as Tails. Tails can fly (kind of), which makes reaching most of these Gold Enemies a lot easier!
You can track your progress from the World Select area when you enter a doorway. A menu will come up asking what you want to do, and on that screen, you’ll see a small gold enemy icon if you have already collected the gold enemy in that level.
If it were that simple, it’d be a breeze. Unfortunately, you also need to beat the level without dying, after defeating the enemy. If you die after grabbing it, you’ll need to replay the whole level again!
There’s currently an exploit that can help with this, especially with the last boss, but it might be patched out soon! See Sonic Superstars Infinite Super Form Glitch.
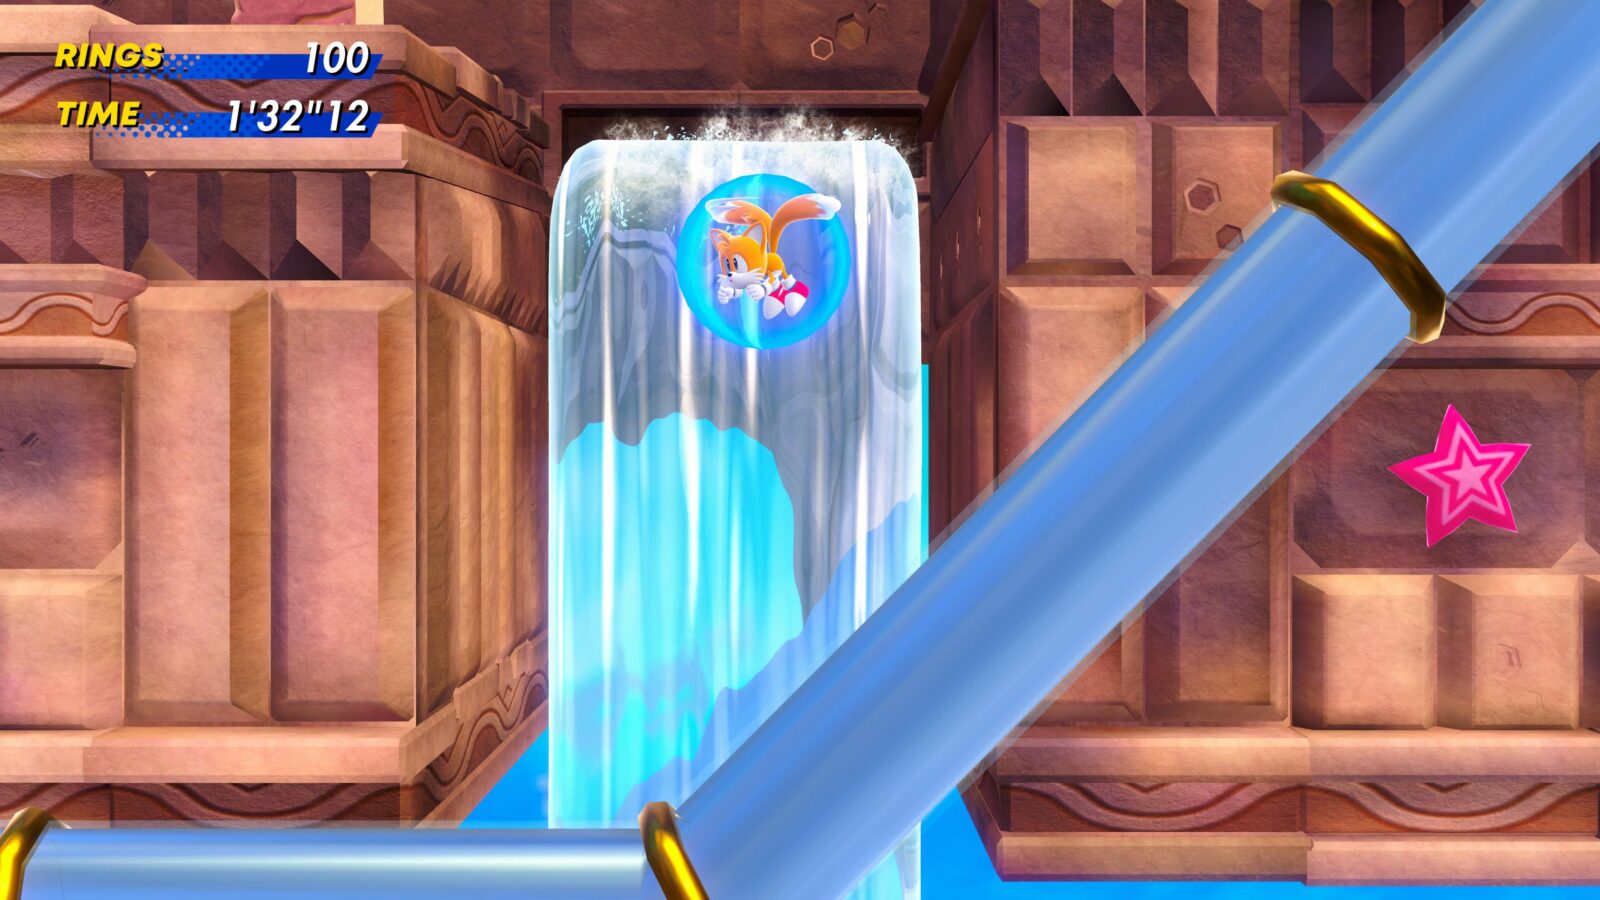
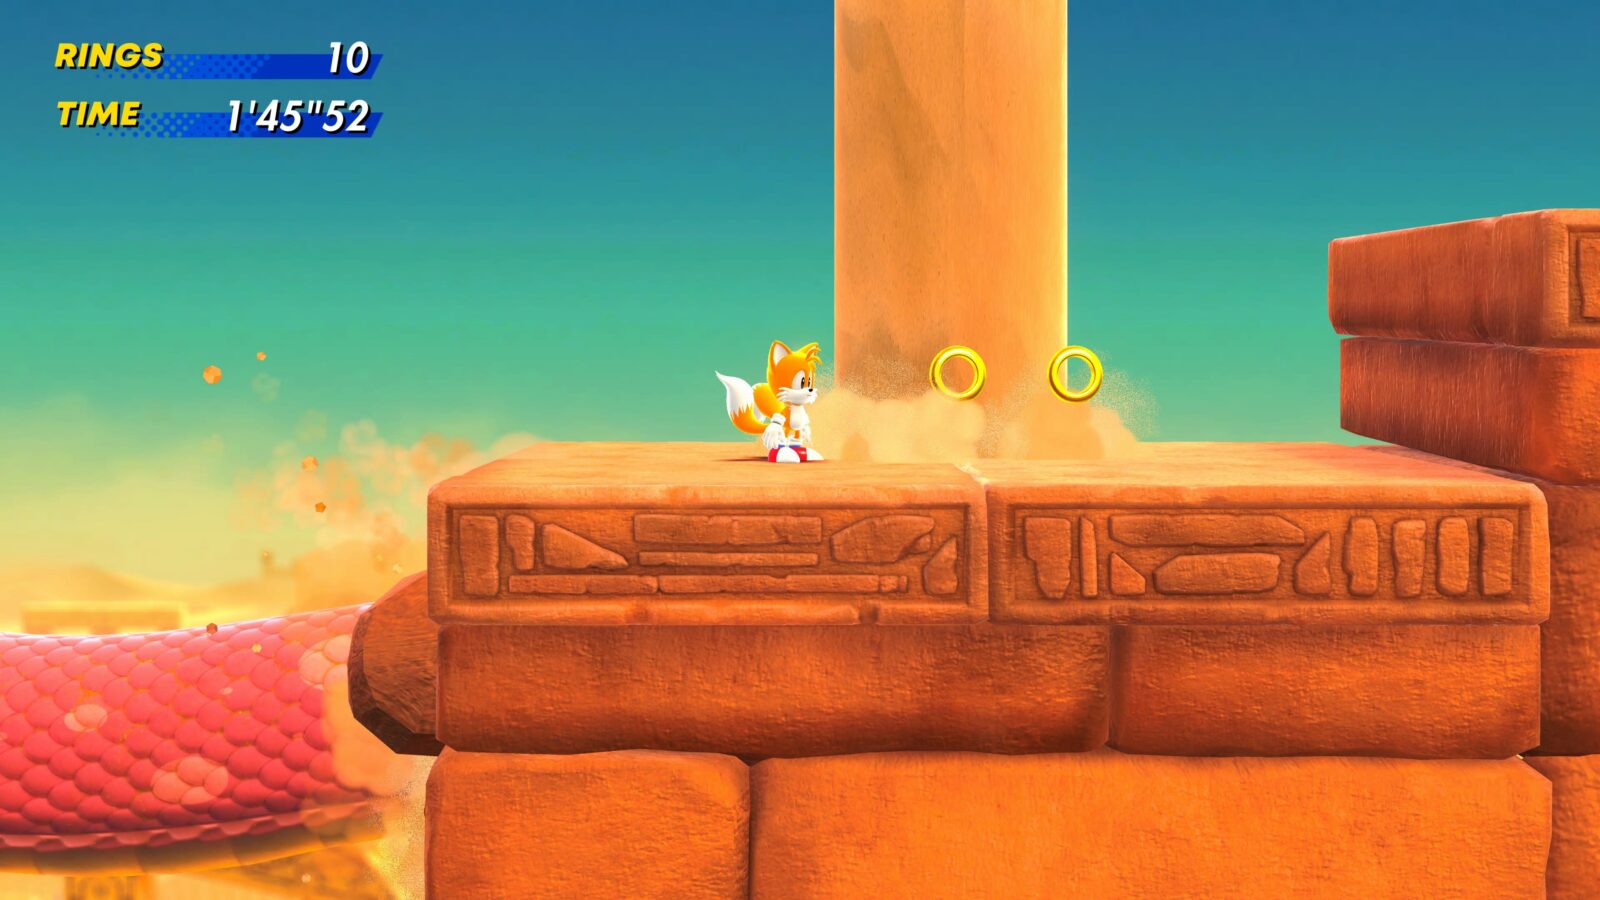
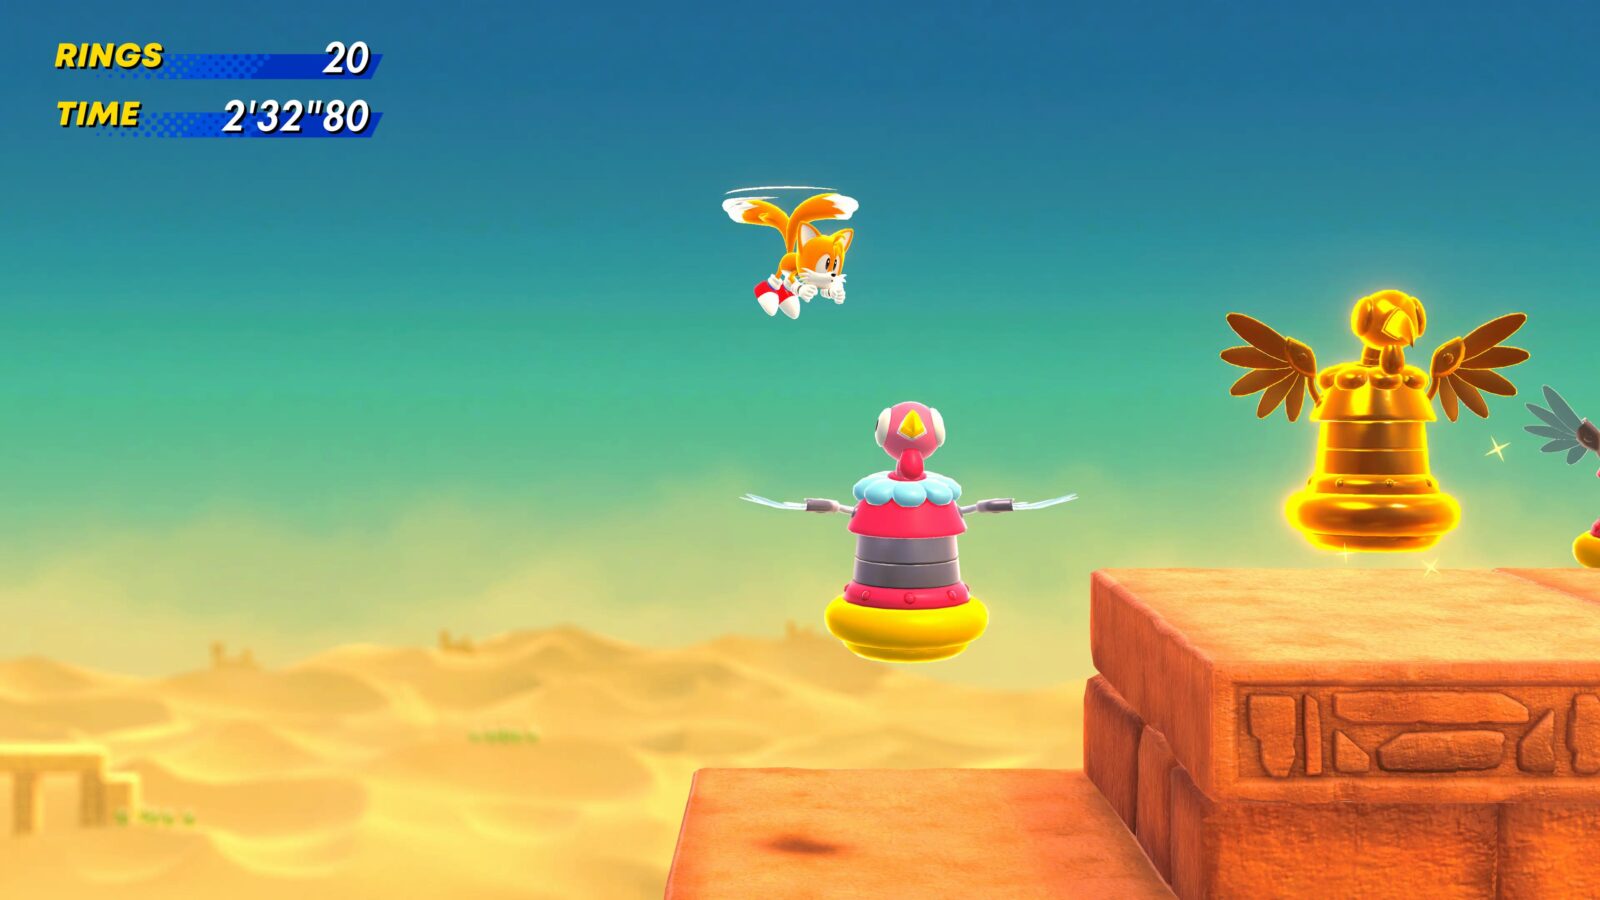
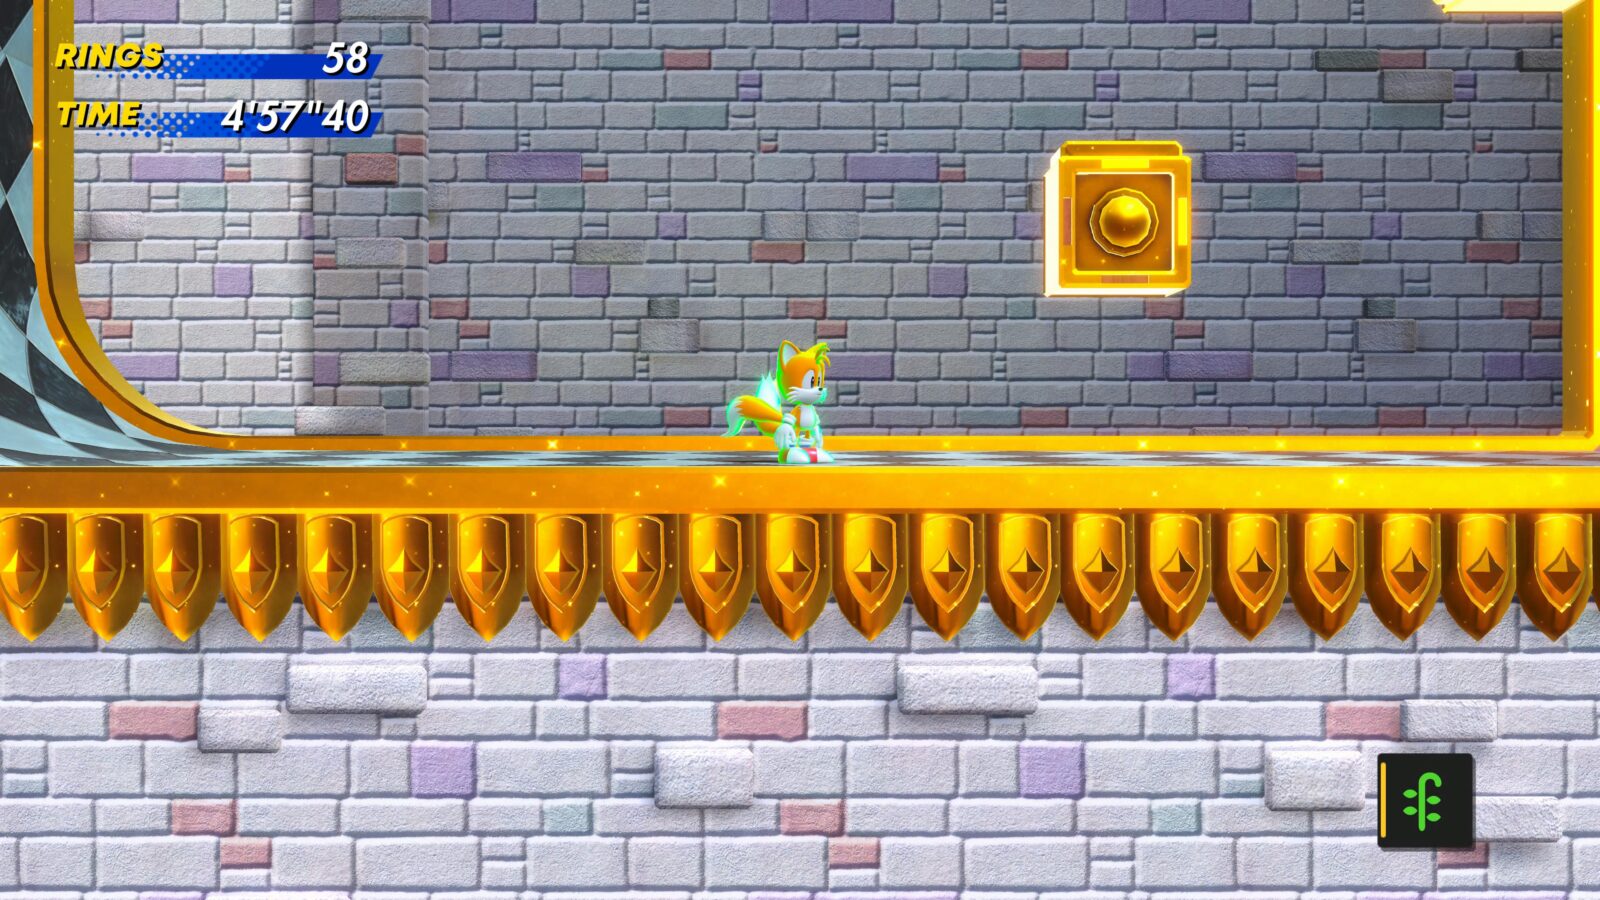
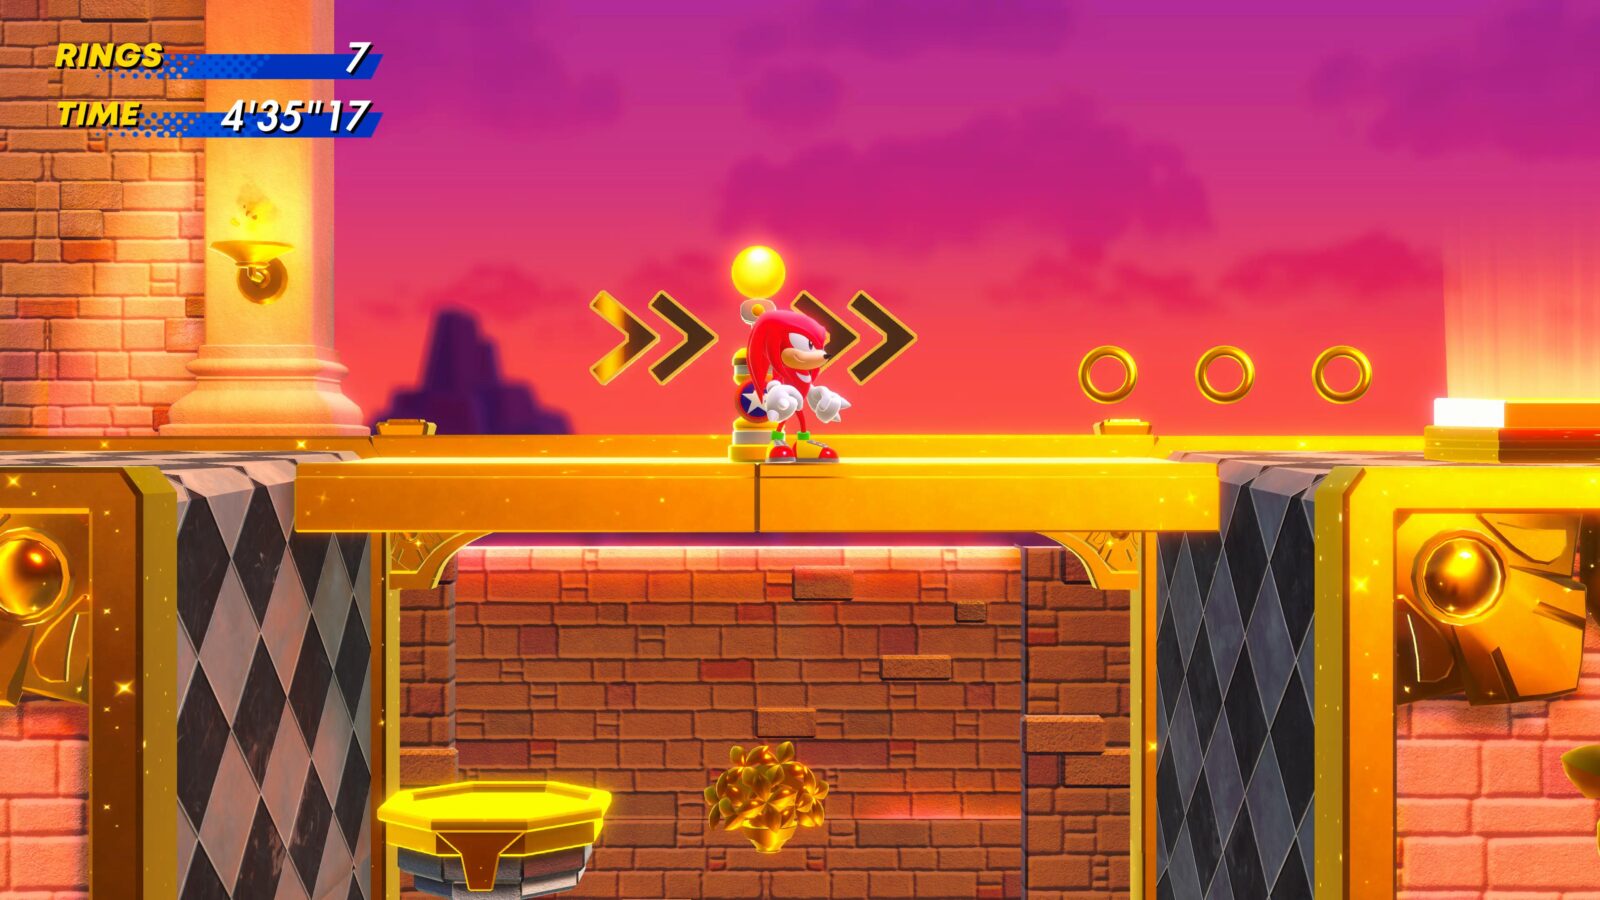
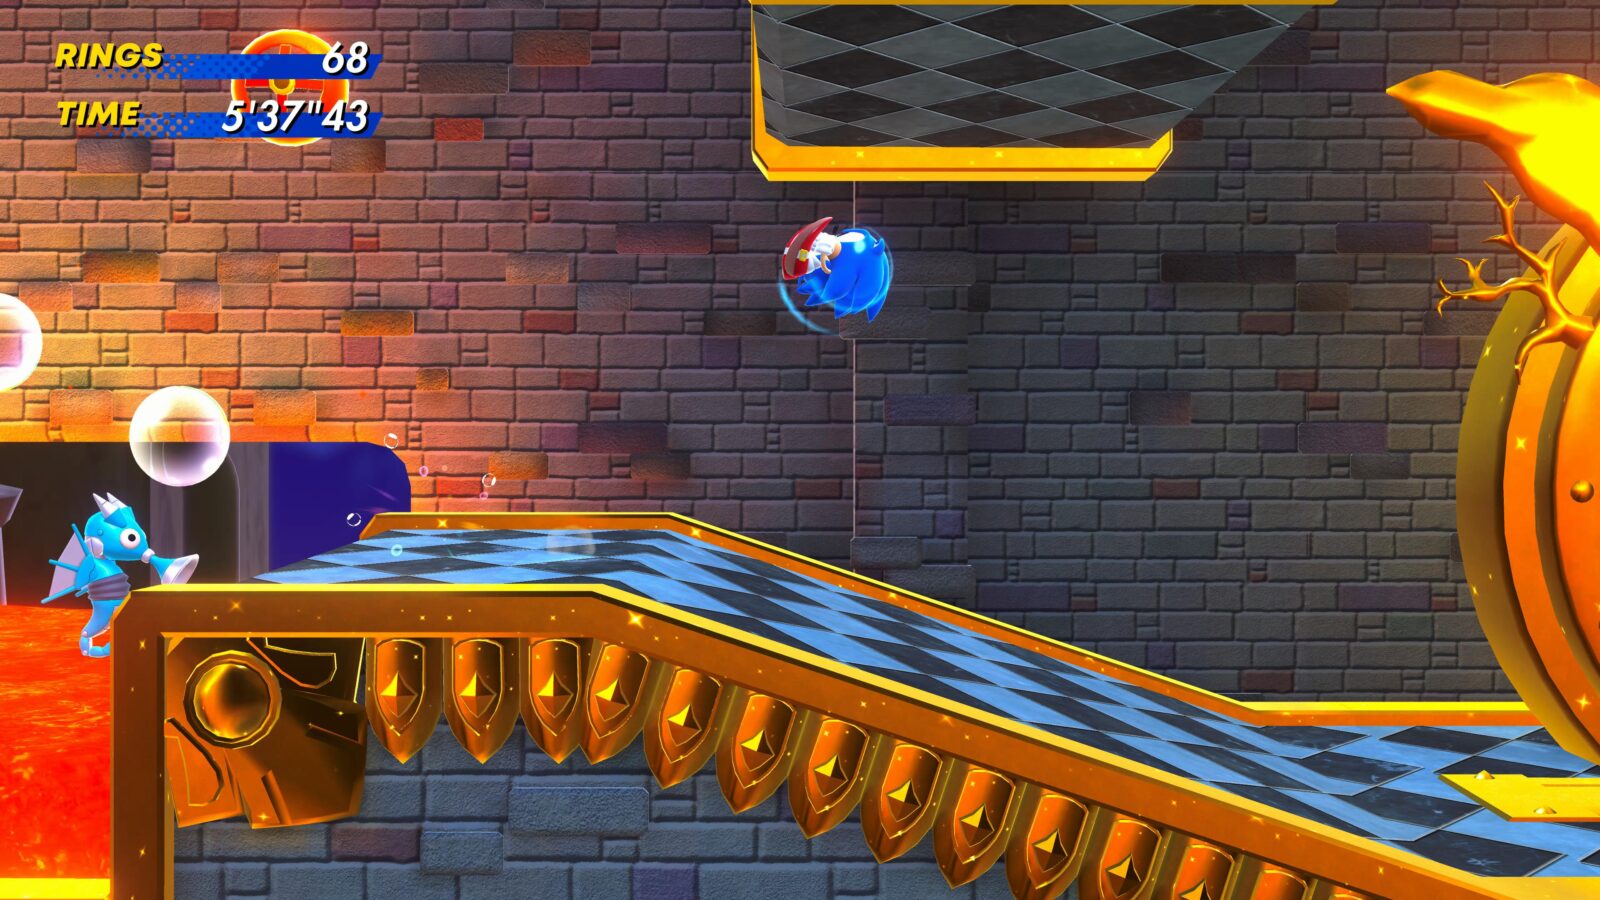
BRIDGE ISLAND | Act 1
Procced through the level until you reach this checkpoint next to a large halfpipe, it’s about halfway through the level on the middle path.
After this, fly to the end of the large halfpipe and you’ll see this gilded critter skittering back and forth on a small platform.

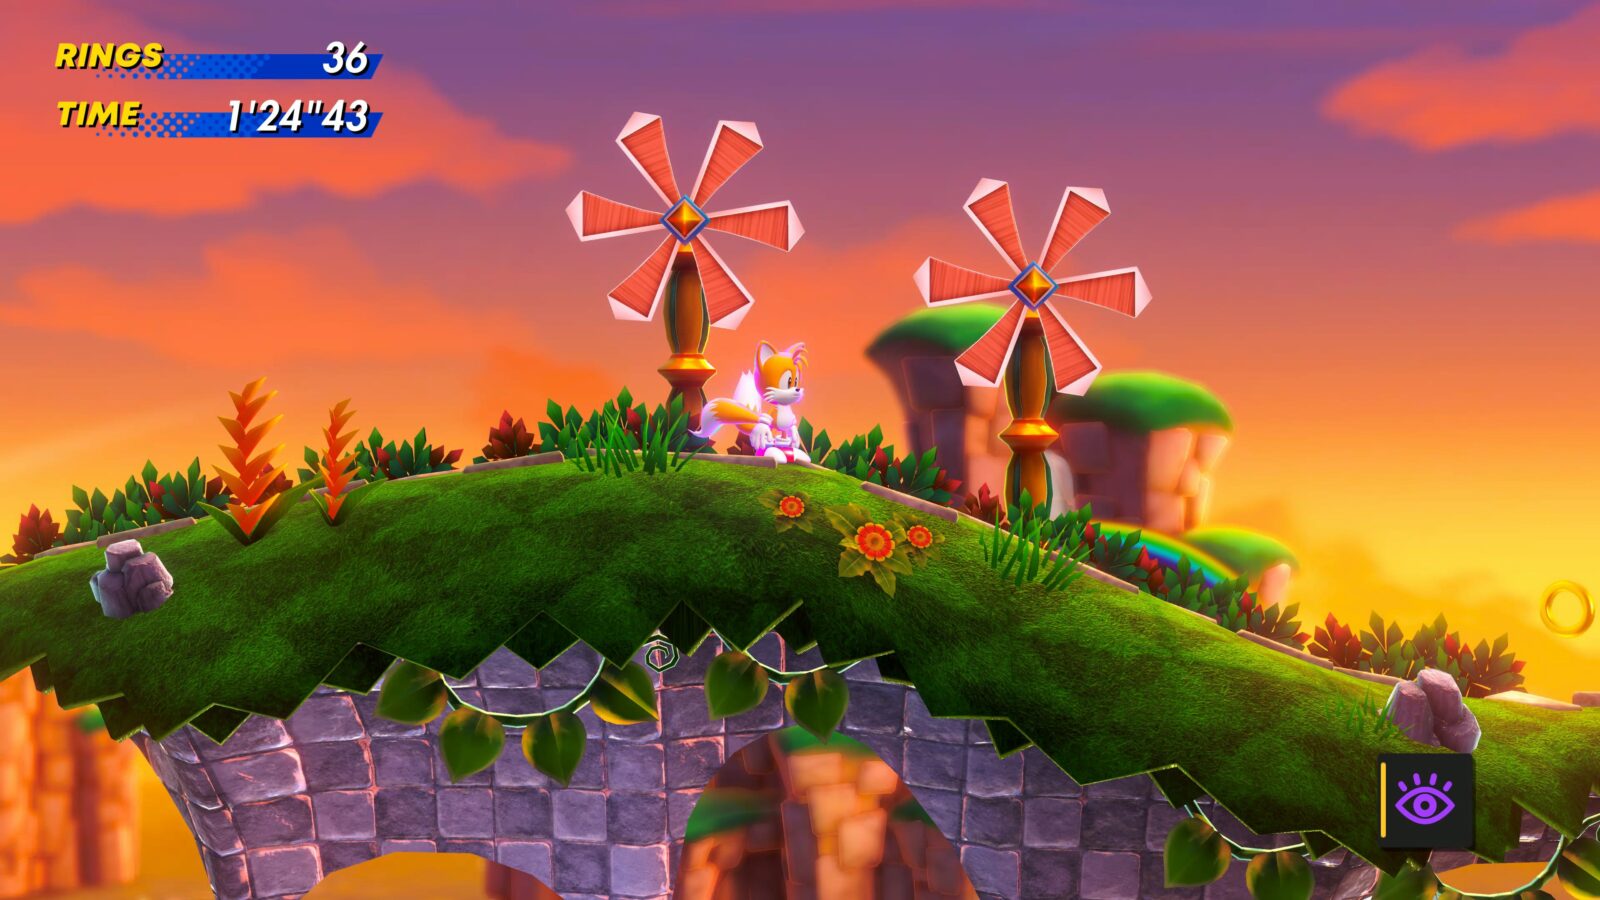
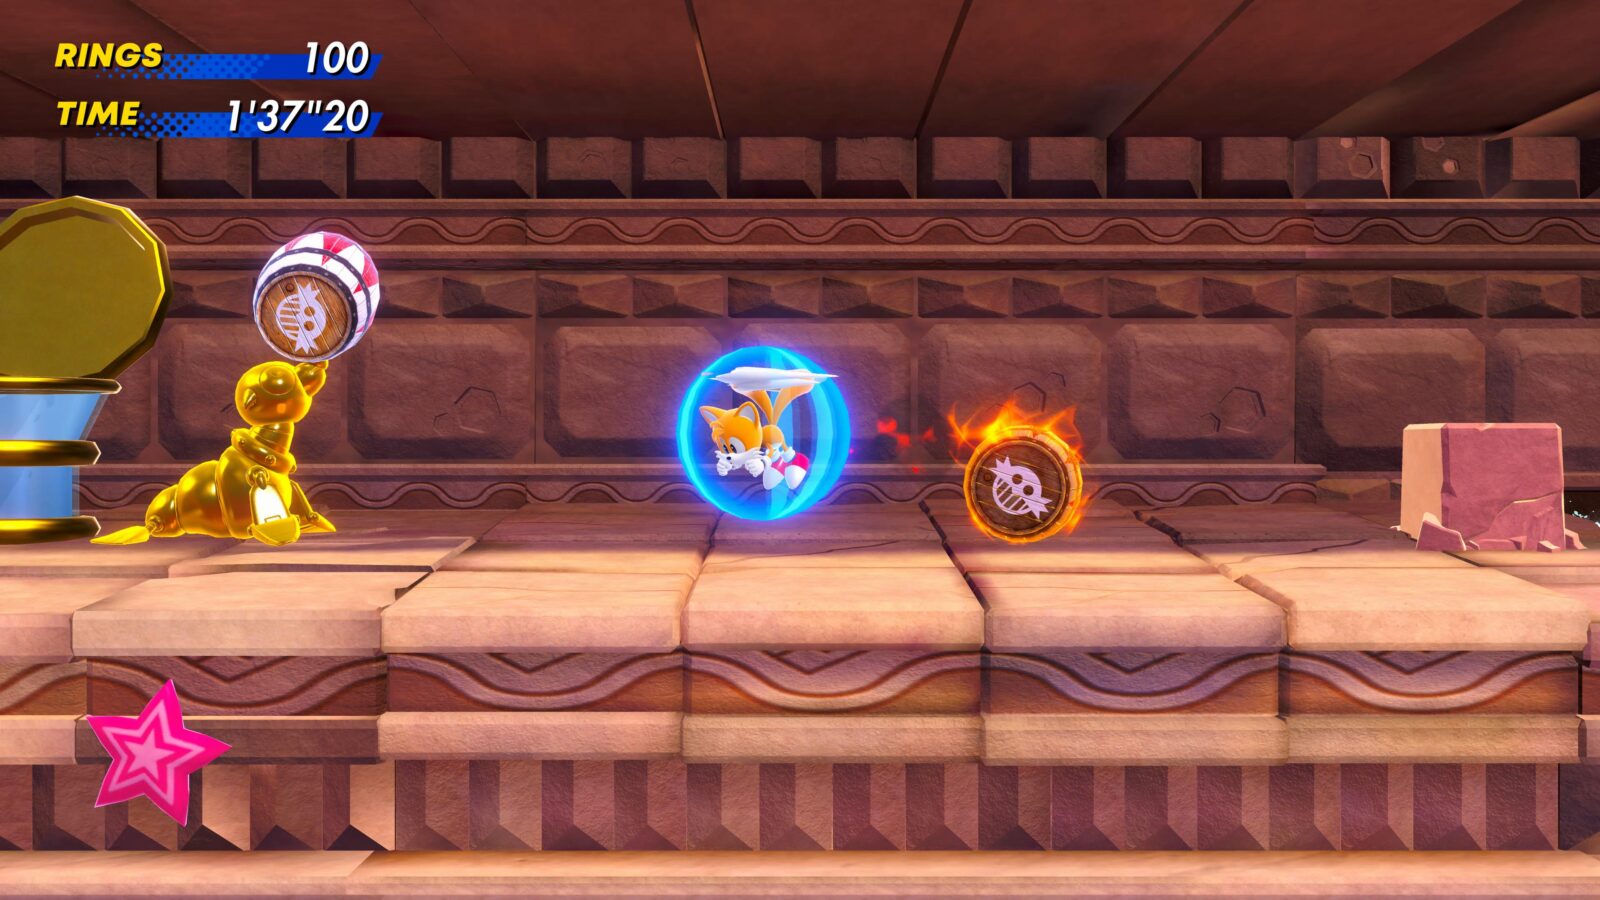
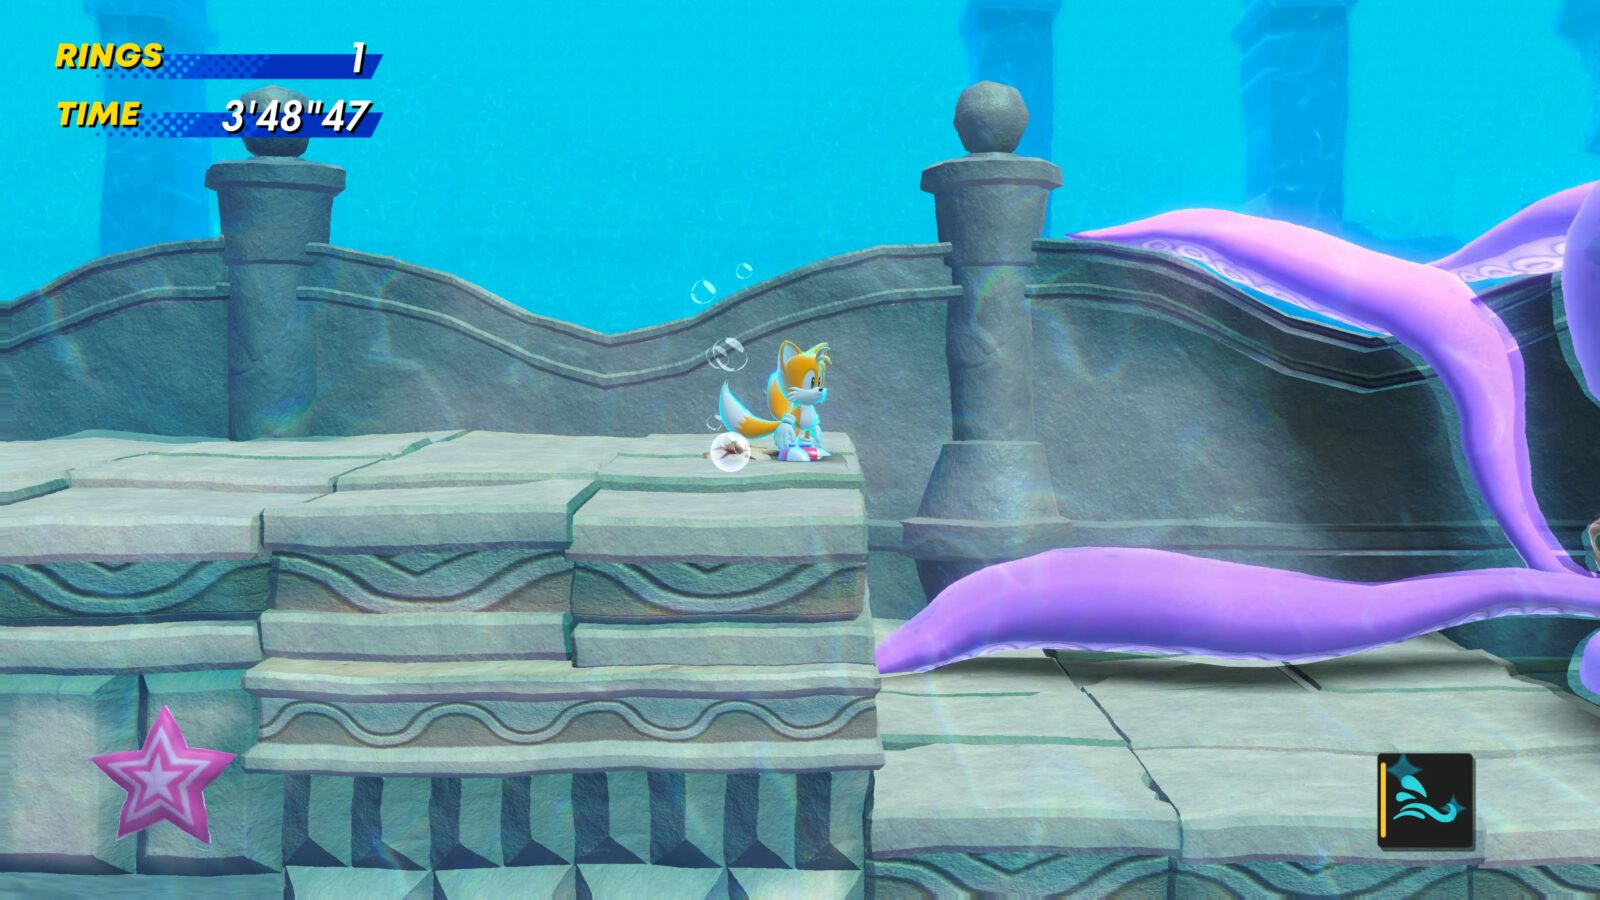
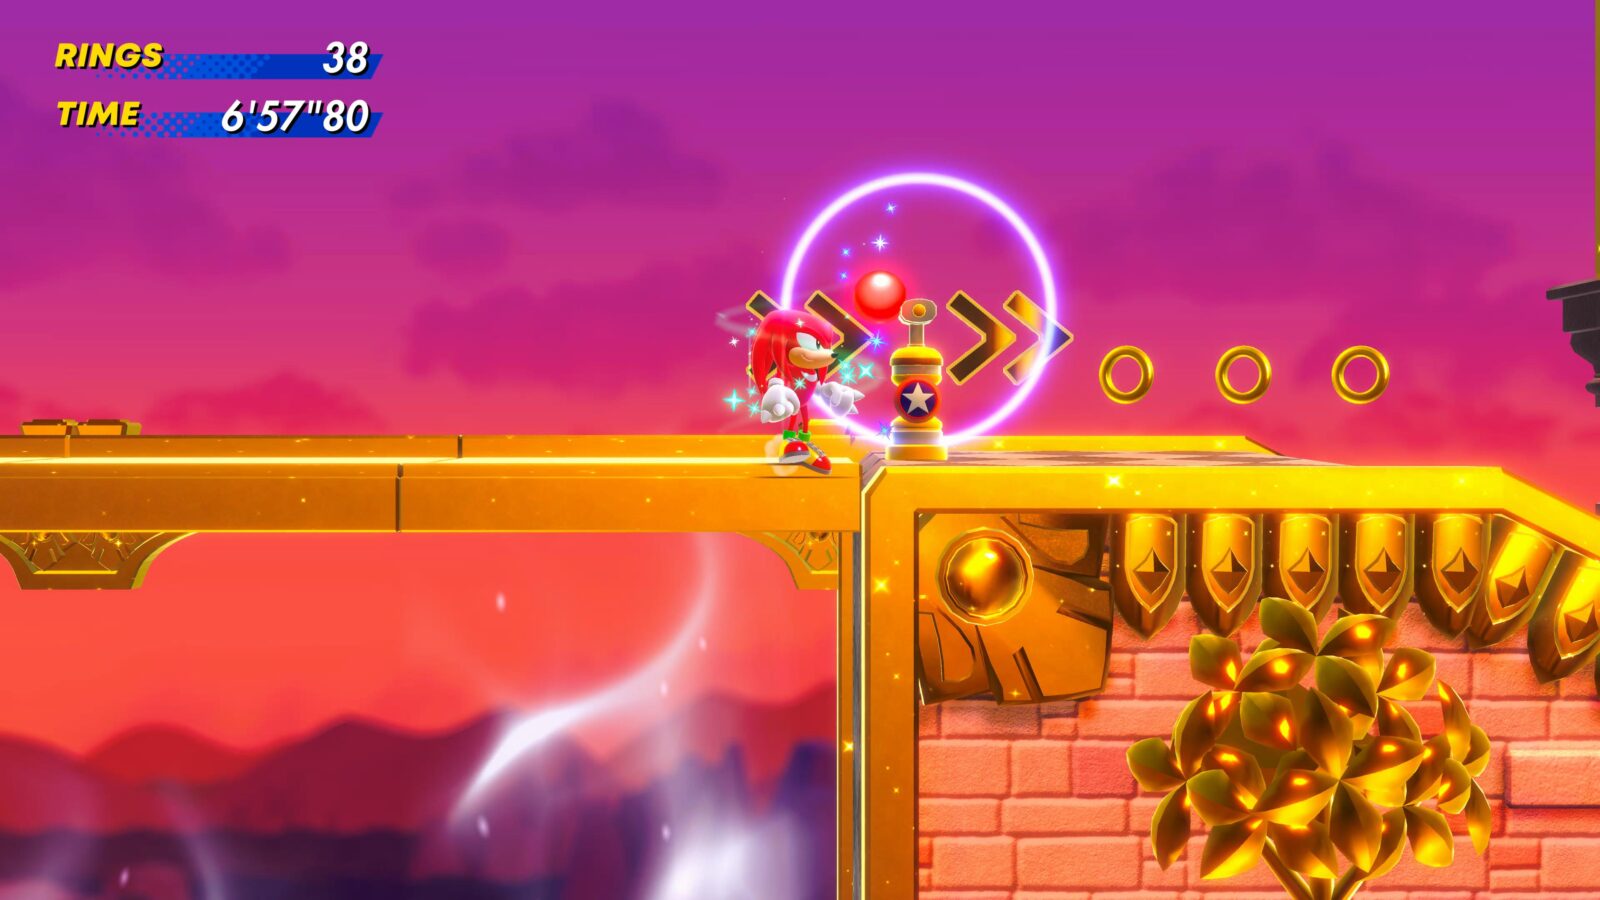
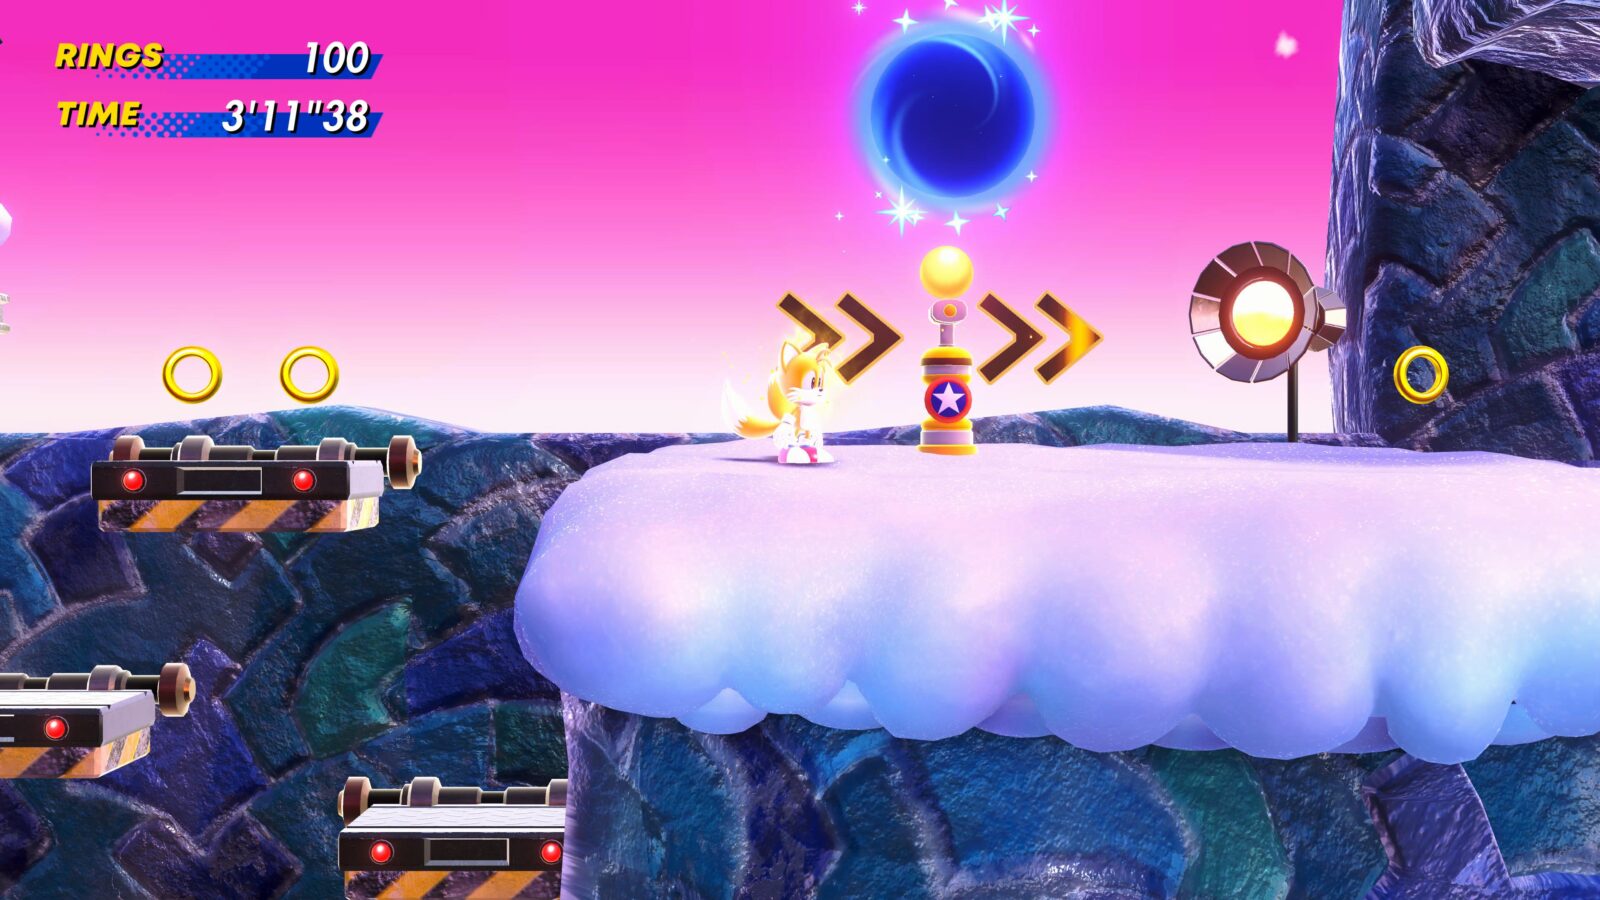
BRIDGE ISLAND | Act 2
This one’s right near the end of the level, and really high up. Naturally, it’s easy to reach with Tails, so just stay as high up as possible for the whole level and you’ll hopefully find this guy right near the end.
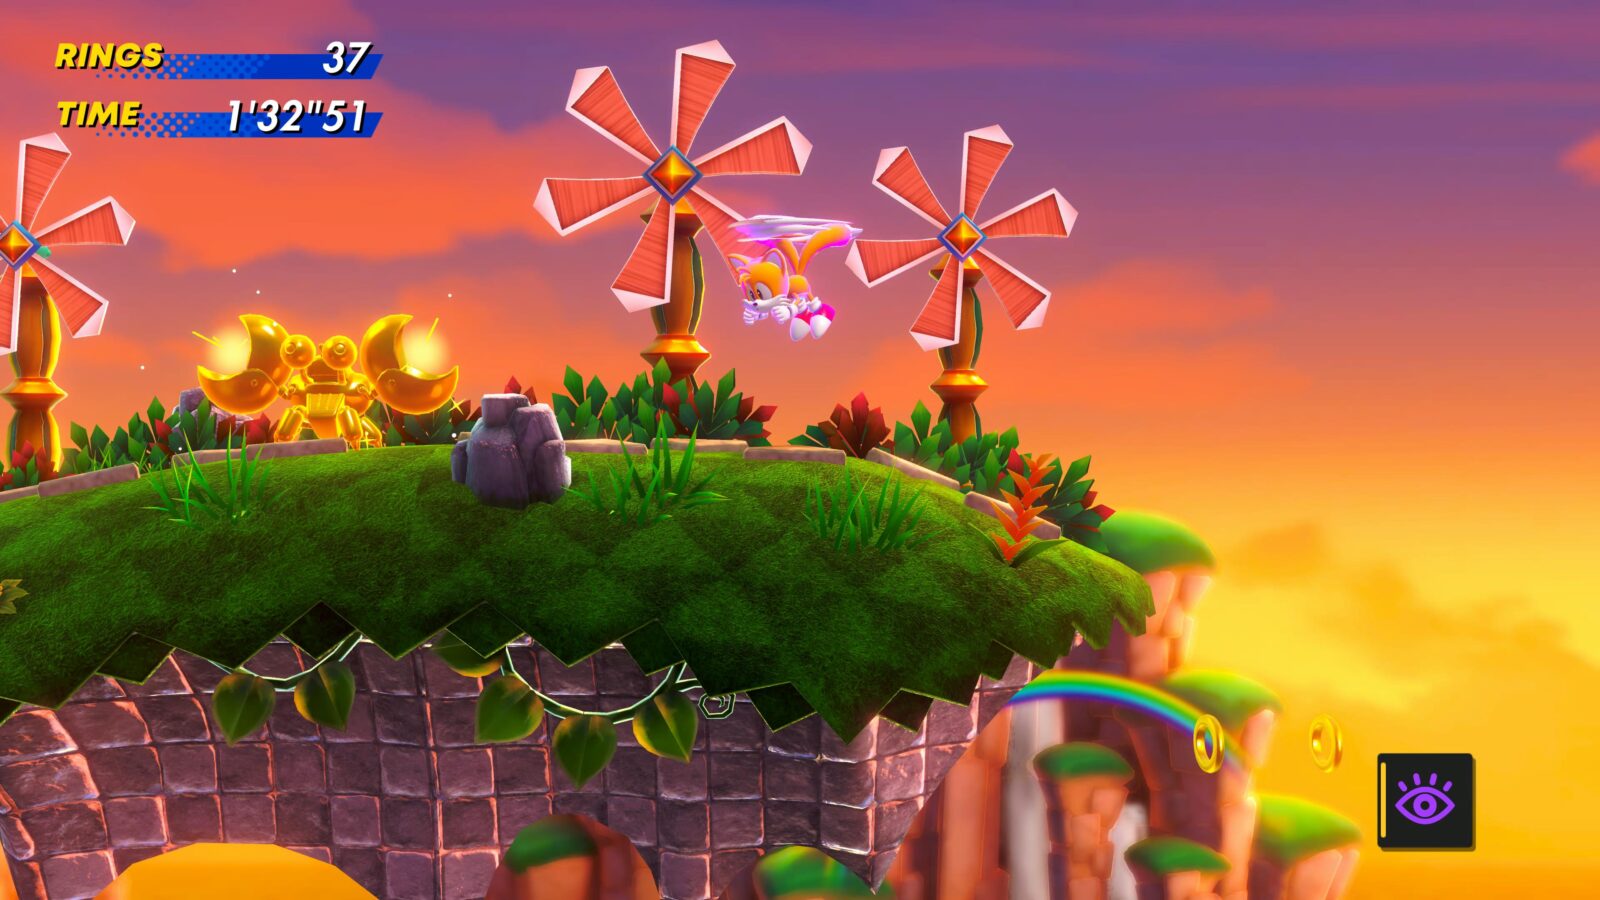
If you are struggling to find it, look for these two windmills on the top level, the gold enemy is on a platform directly above these. You’ll know when you’re at the right windmills as the Purple Emerald’s ability will be automatically selected.
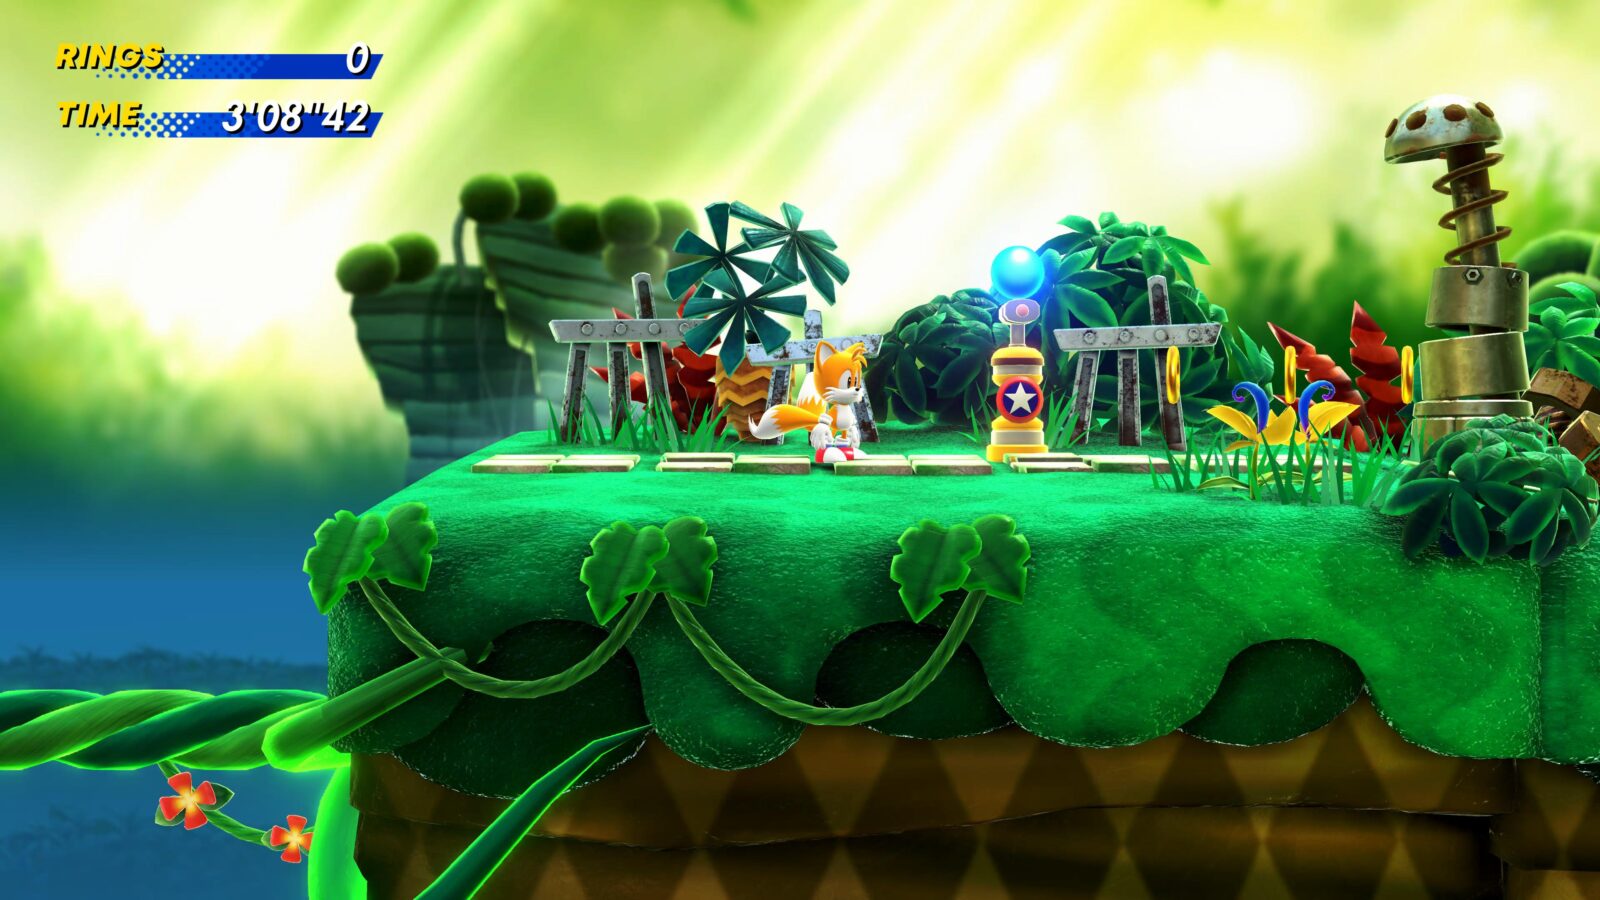
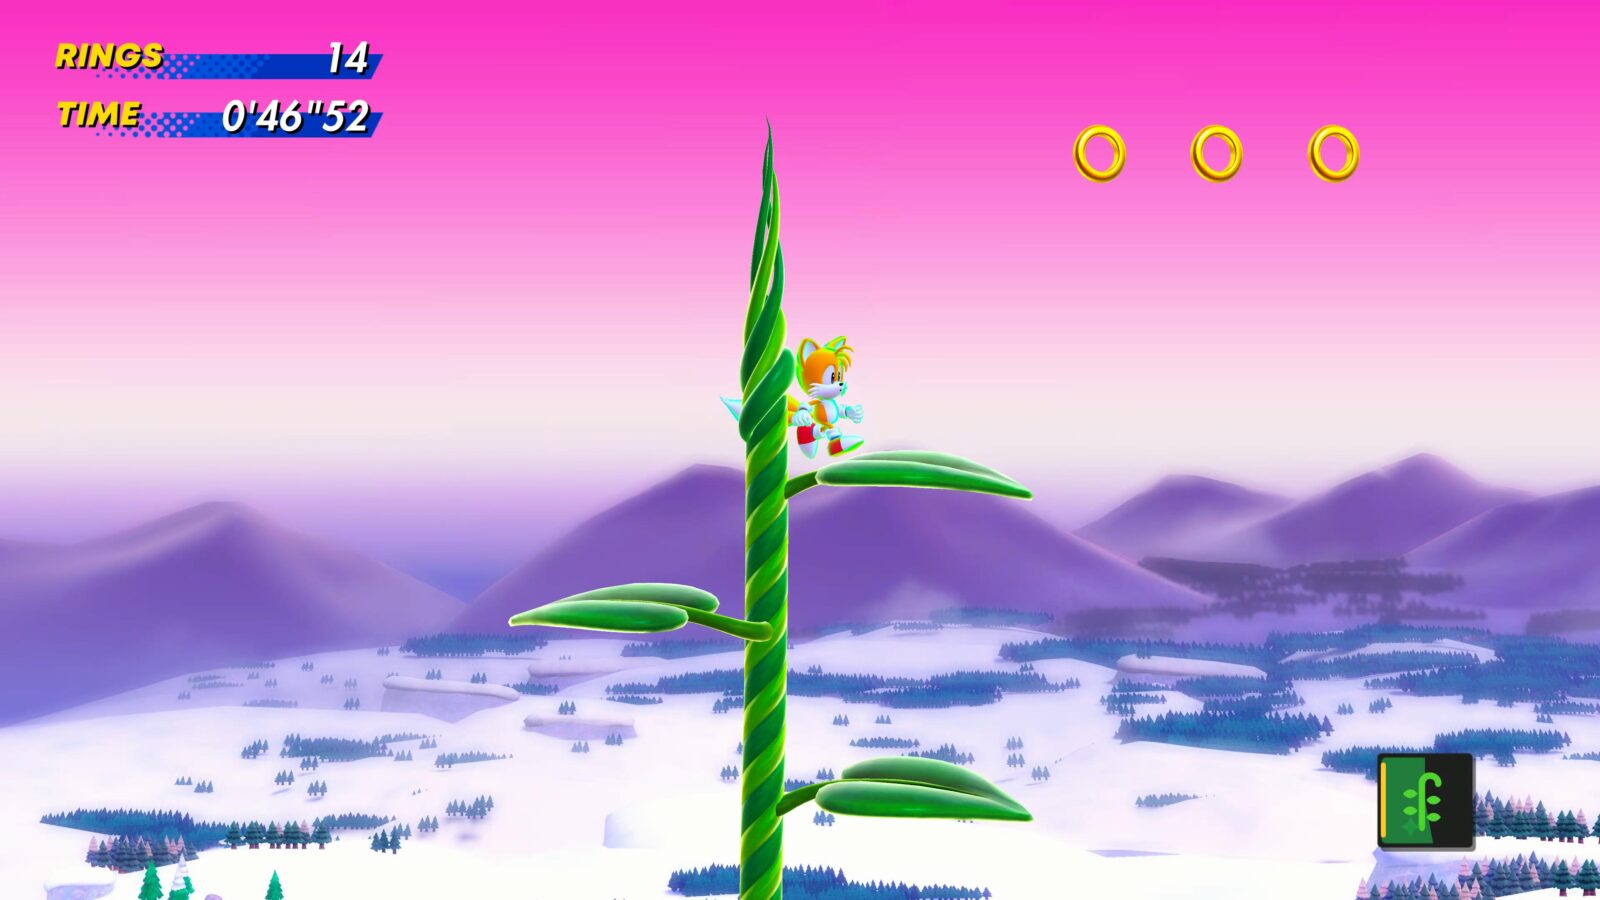
SPEED JUNGLE | Act 1
Playing as Tails so that you can fly up high, proceed to this checkpoint on the highest possible path:
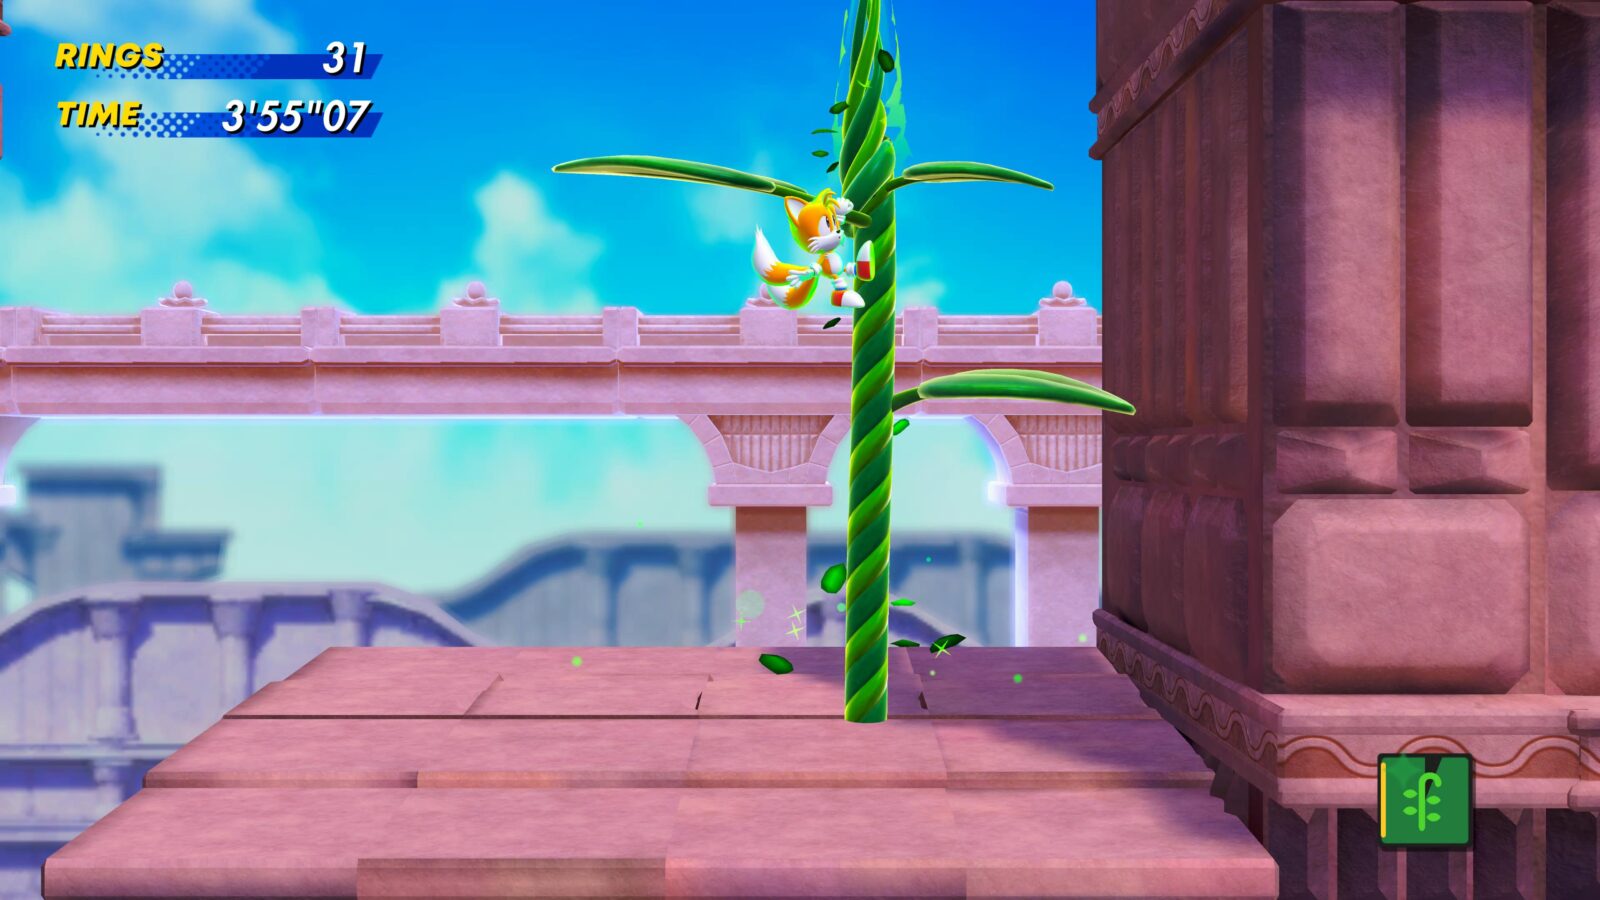
Once there, turn around, drop onto the vine, and walk ahead a bit. See it?
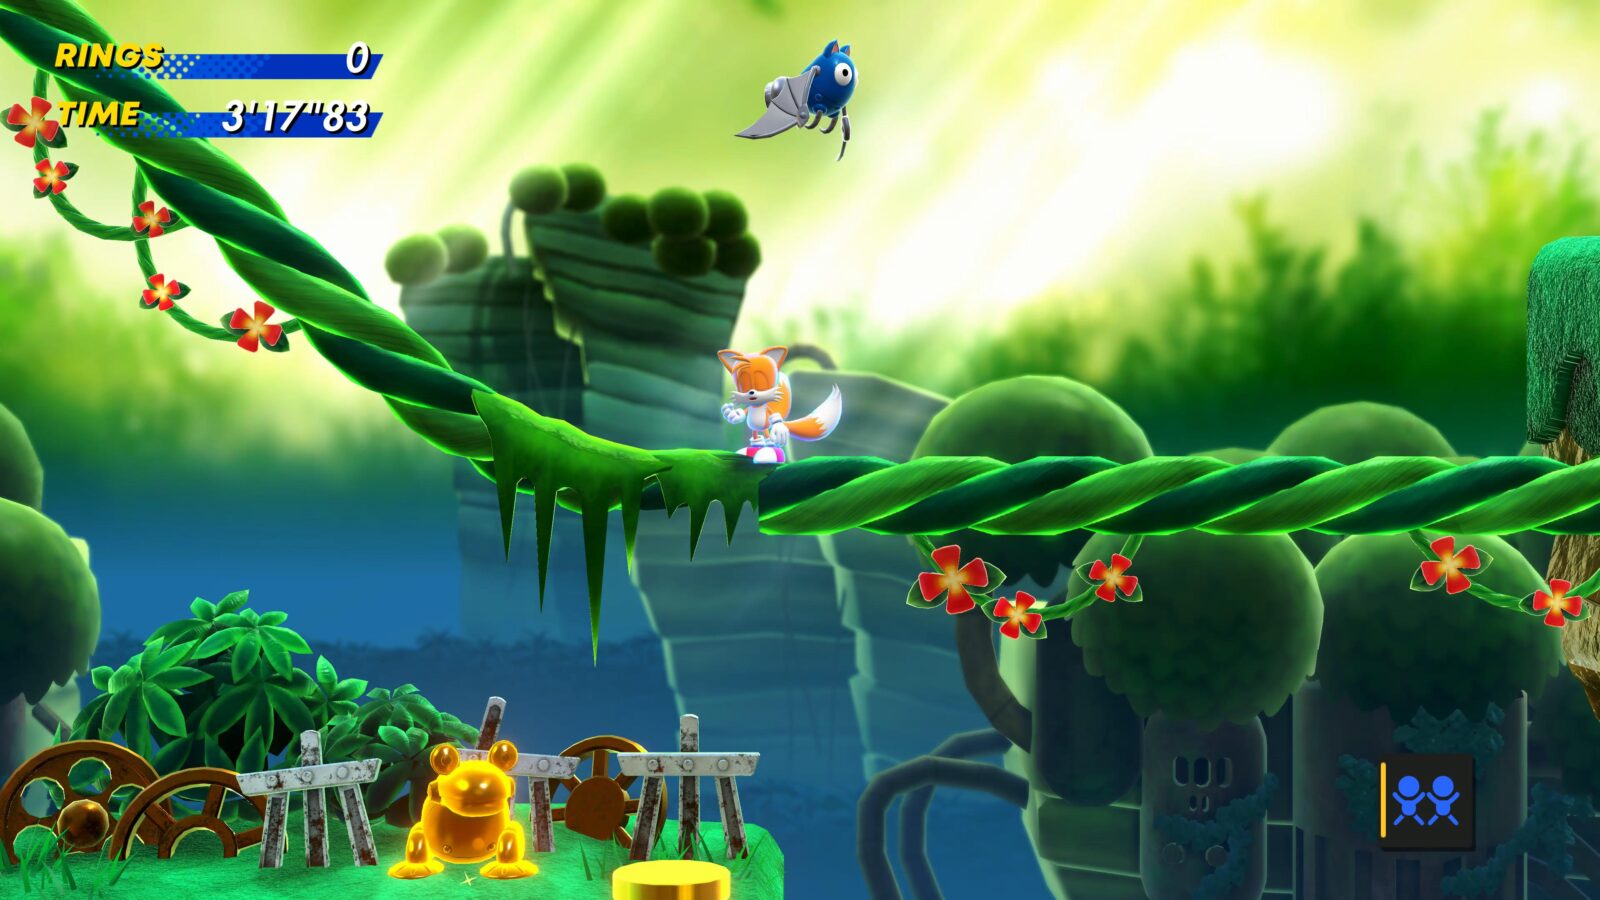
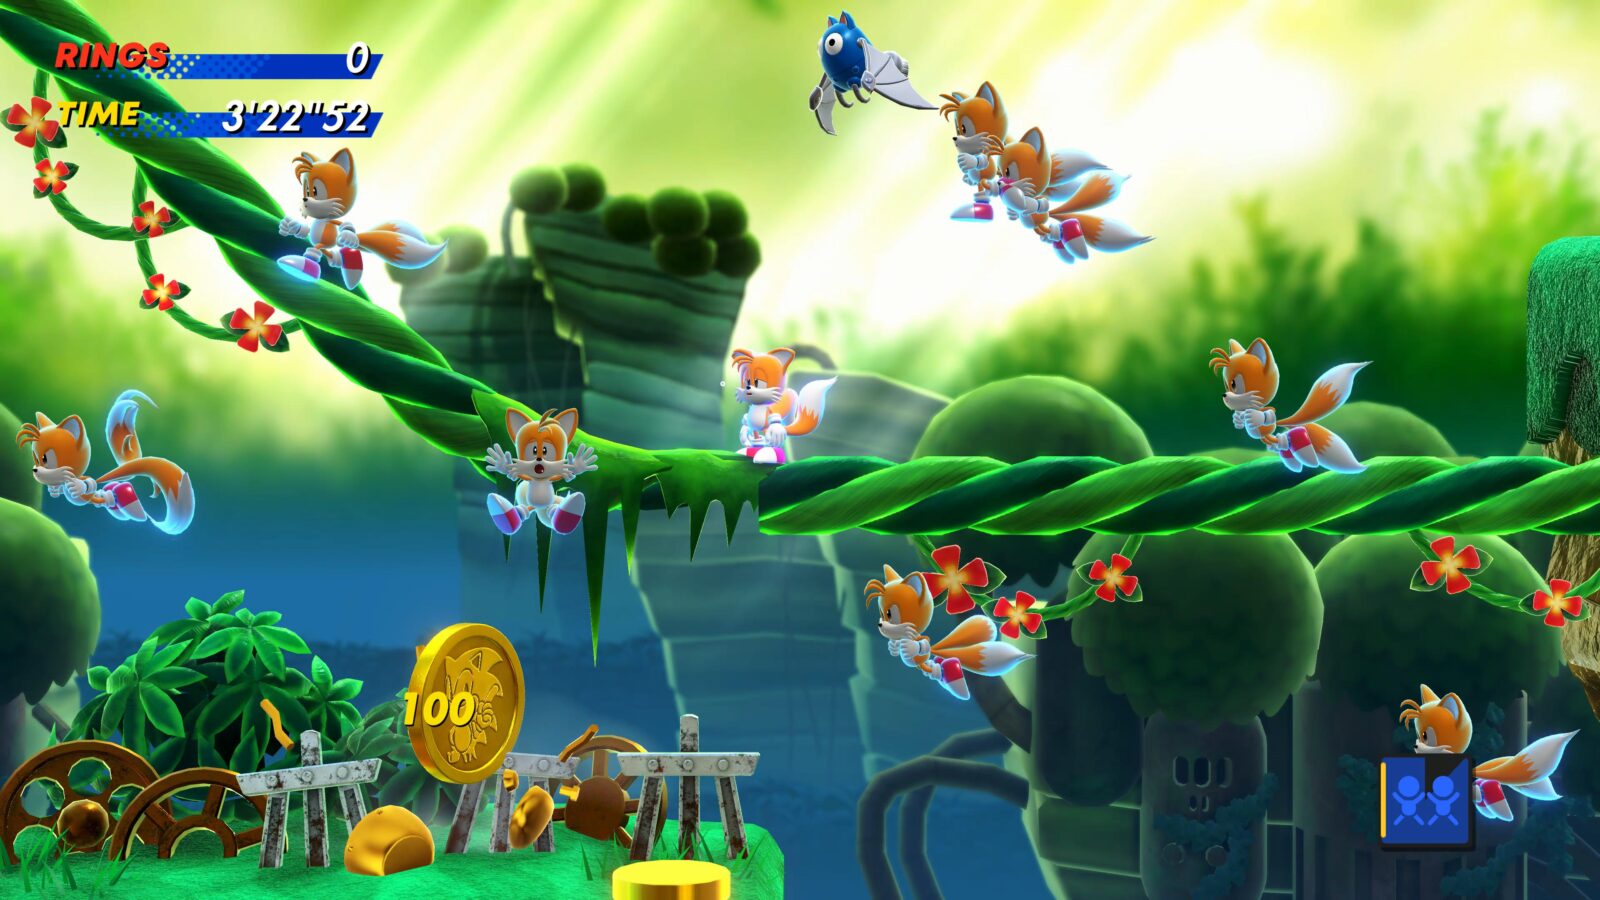
The Gold Frog is directly below this vine. Now that you know where it is, fly around the platform to your left and defeat it.
Alternatively, use the Blue Chaos Emerald’s Avatar ability to hit the enemy from the vine.
SPEED JUNGLE | Act Sonic
This level is divided up into two types of section; sections where Fang the Hunter is chasing you on his hoverbike, and sections where you explore at a slower pace after being fired through a series of tunnels.
Proceed through the level as normal until you’ve complete two Fang the Hunter sections, you’ll then be deposited out at this checkpoint.

Head up in this area, while also going as far left as you can. You’ll eventually see the gold beetle on a platform.
SPEED JUNGLE | Act 2
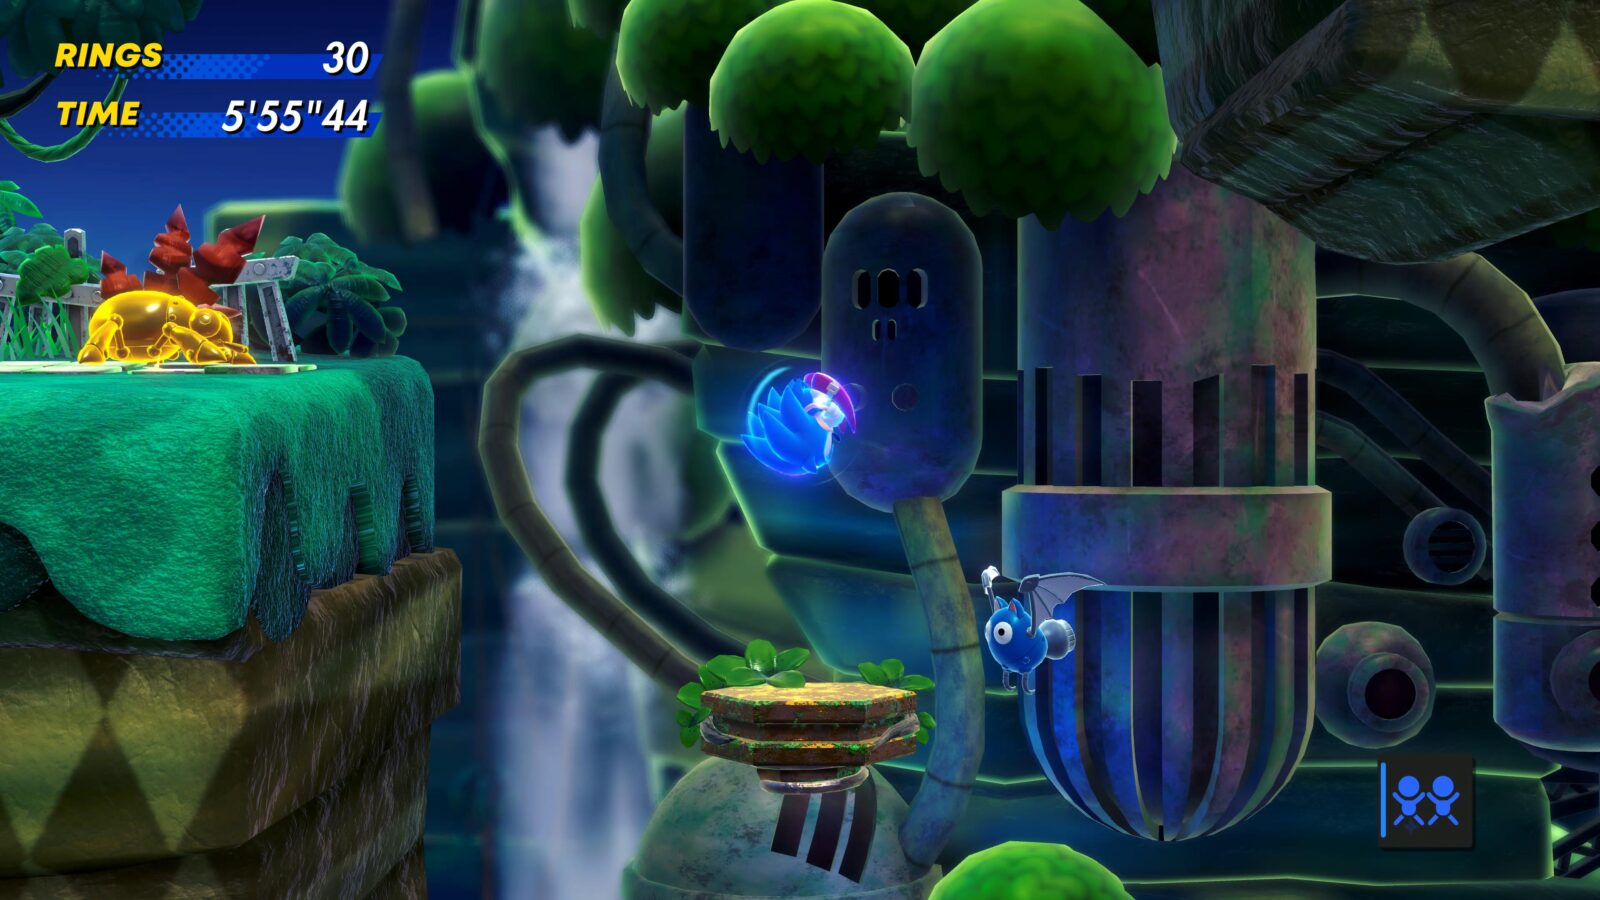
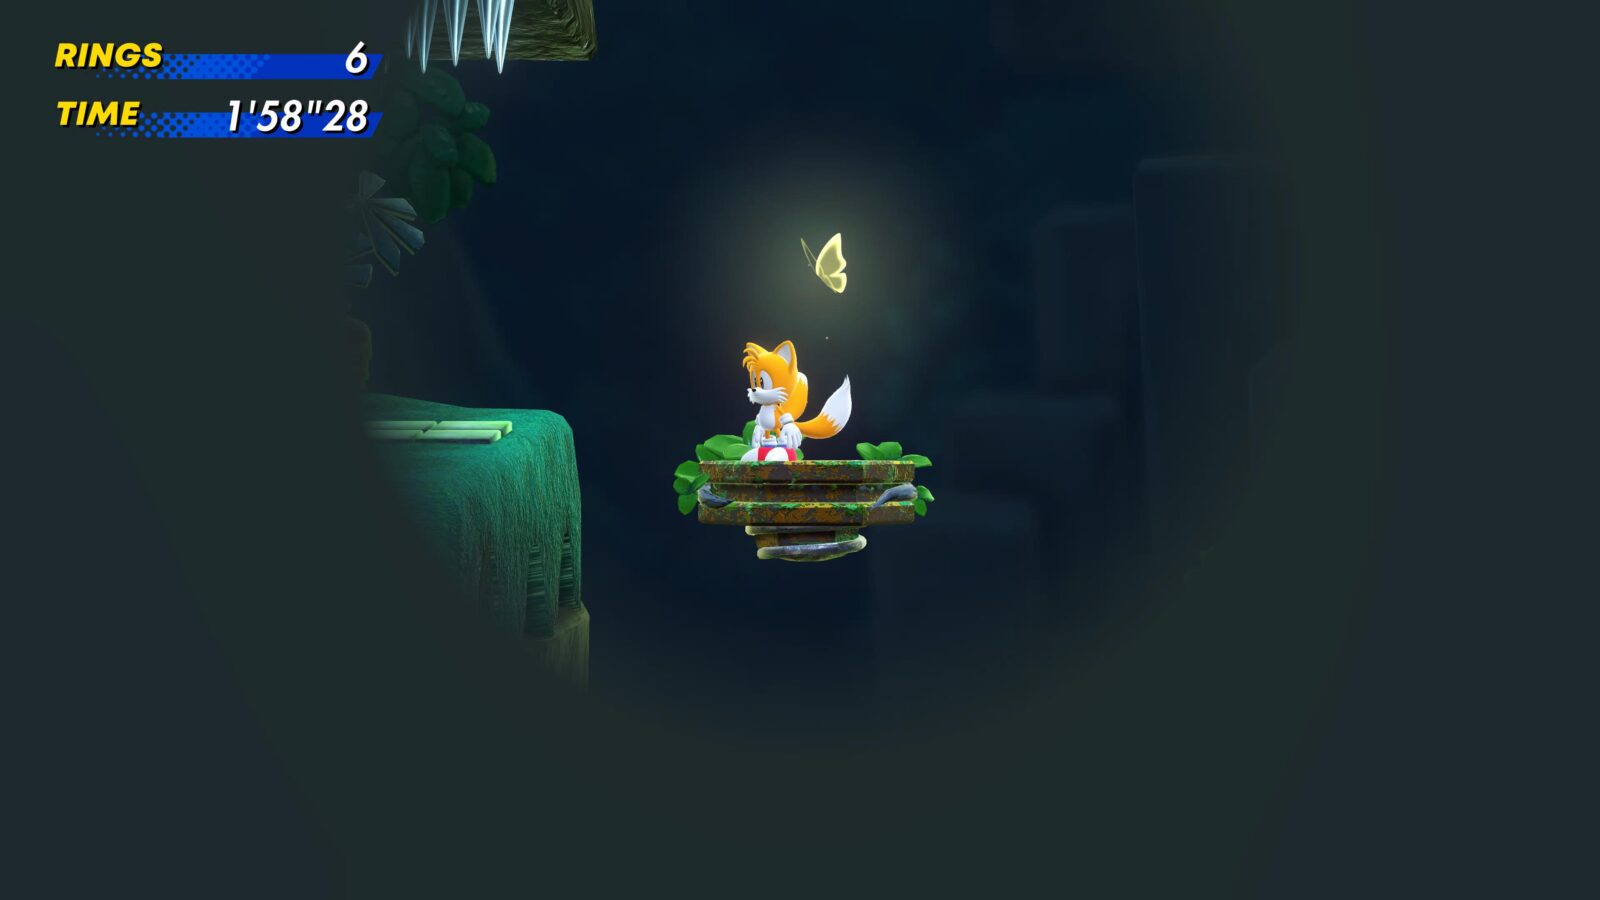
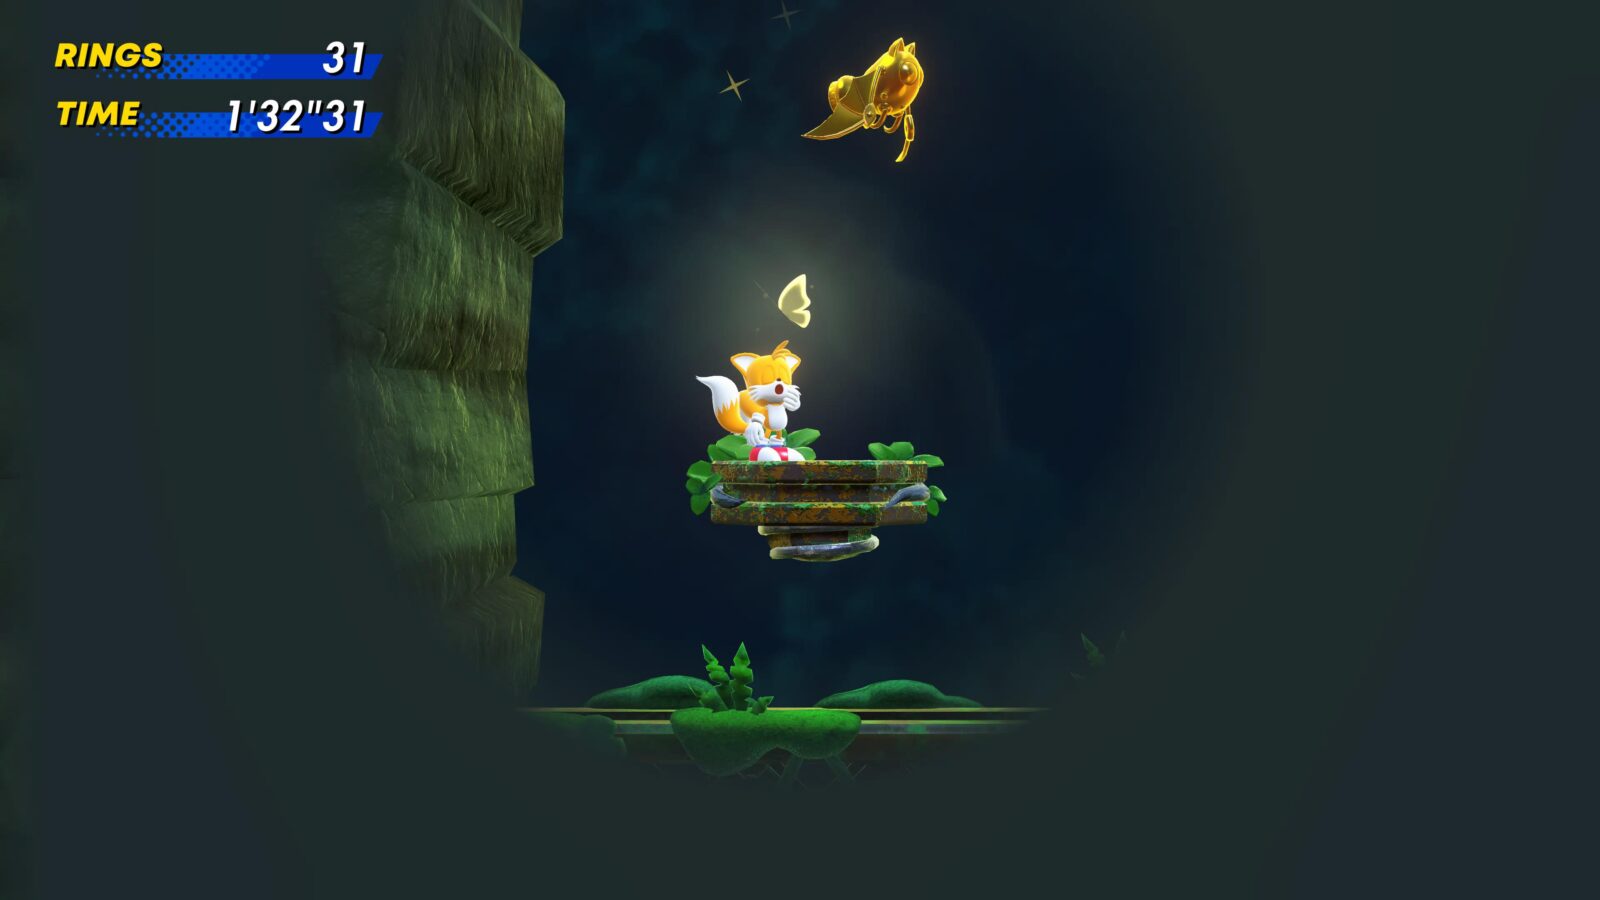
Act 2 of SPEED JUNGLE features several dark cave areas, where you must navigate using the light from a butterfly.
In the second of these cave areas, you can find the golden bat in the top-left corner of the cave.
From the entrance, go up until you hit a beam you can’t pass, then go right and through the narrow passage.
Then, immediately start going up again and you’ll see a passage on your left with spikes in it.
Pass down this passage to find the golden bat above a small platform at the left end.
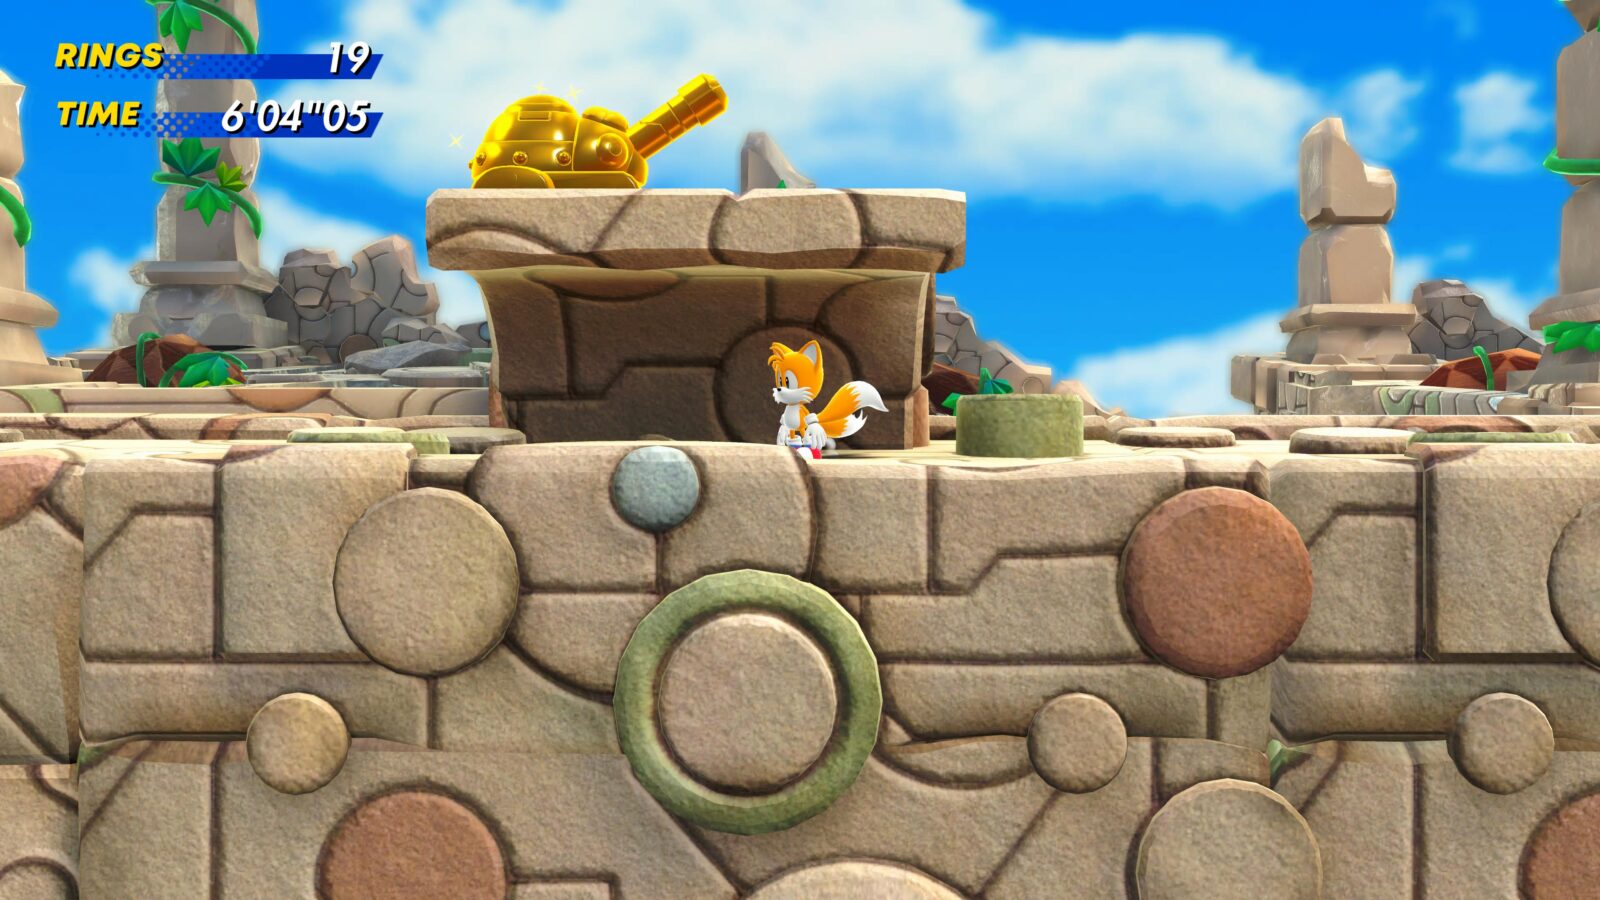
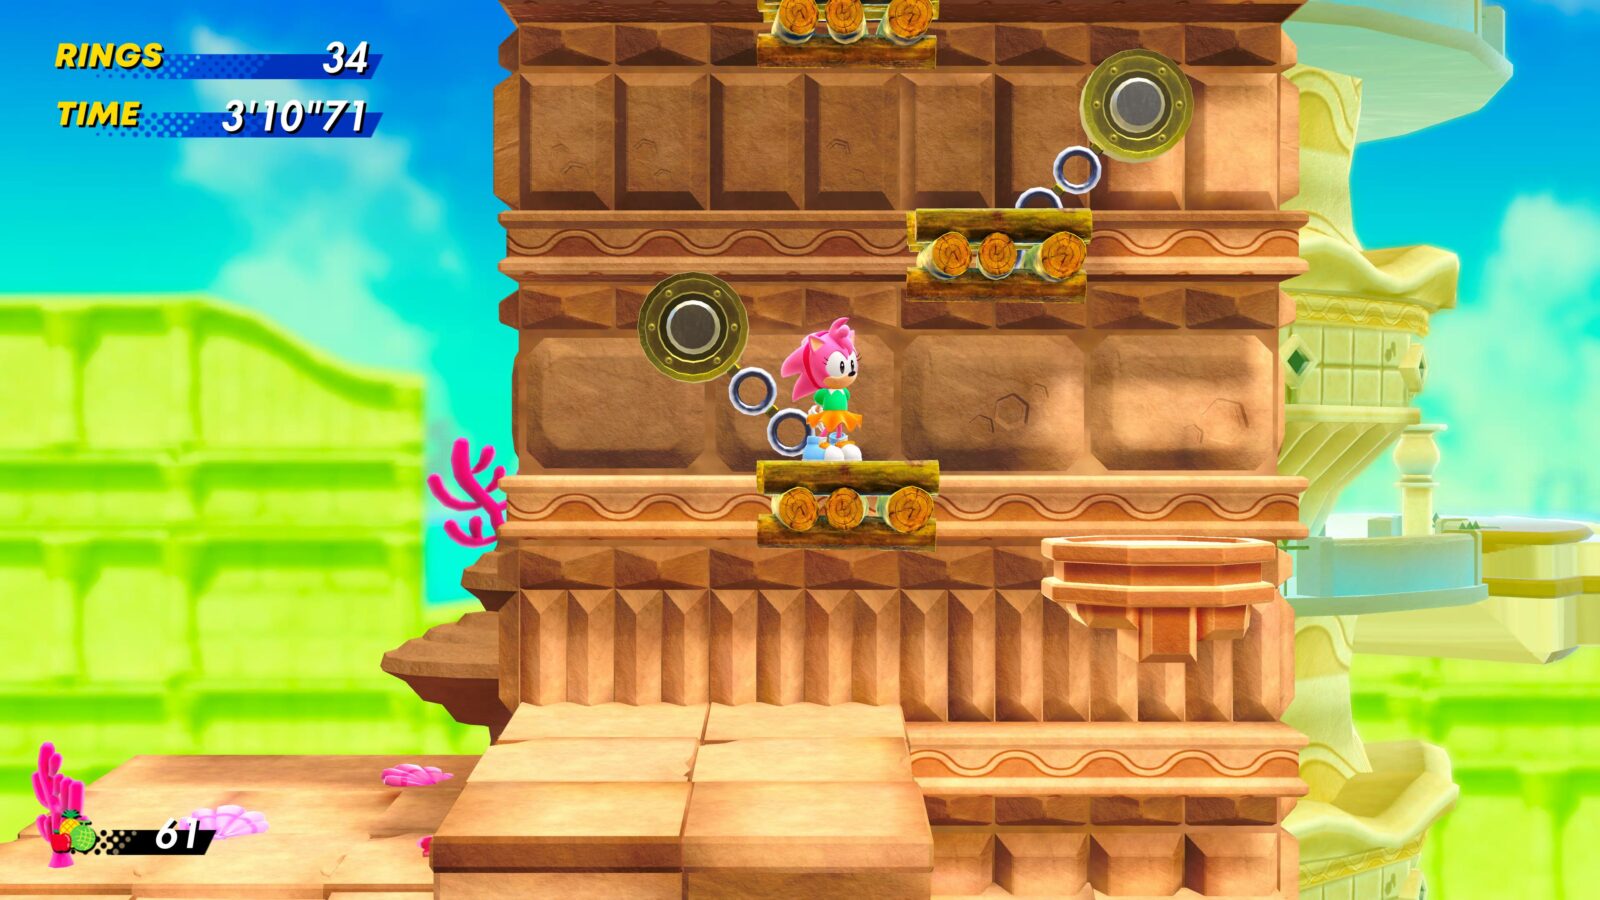
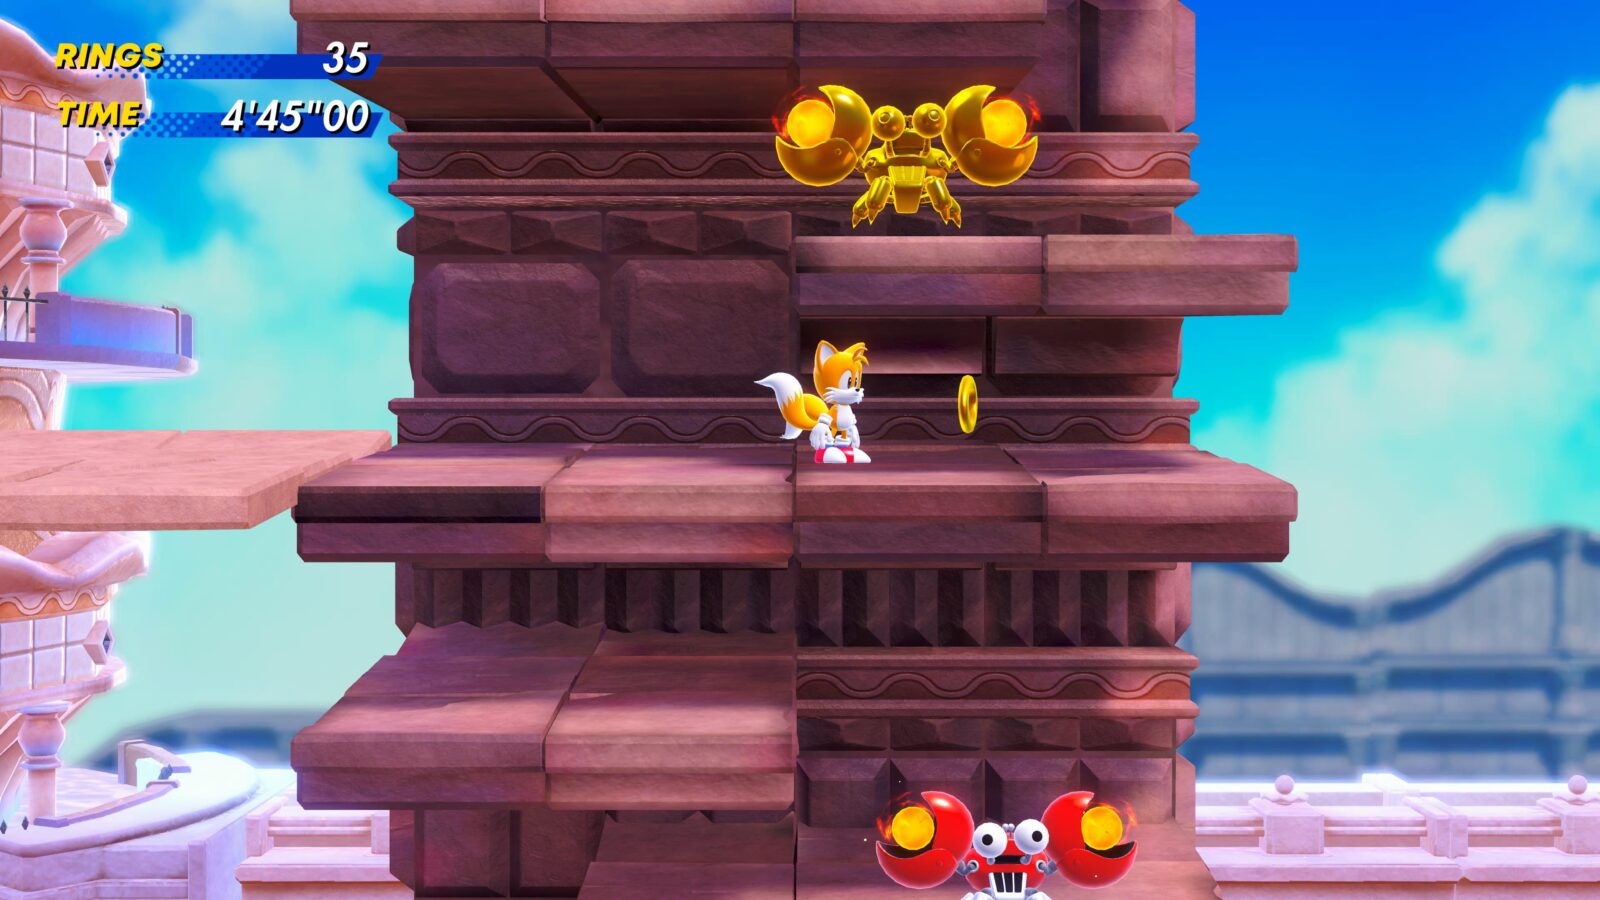
SKY TEMPLE | Act 1
Go through the stage as normal until you’re eventually blown up to a much higher platform by a series of huge turbines. At this point, you’ll be facing left instead of right.
Hold ![]() left and keep moving in that direction until you hit a large ledge that stops you in your tracks.
left and keep moving in that direction until you hit a large ledge that stops you in your tracks.
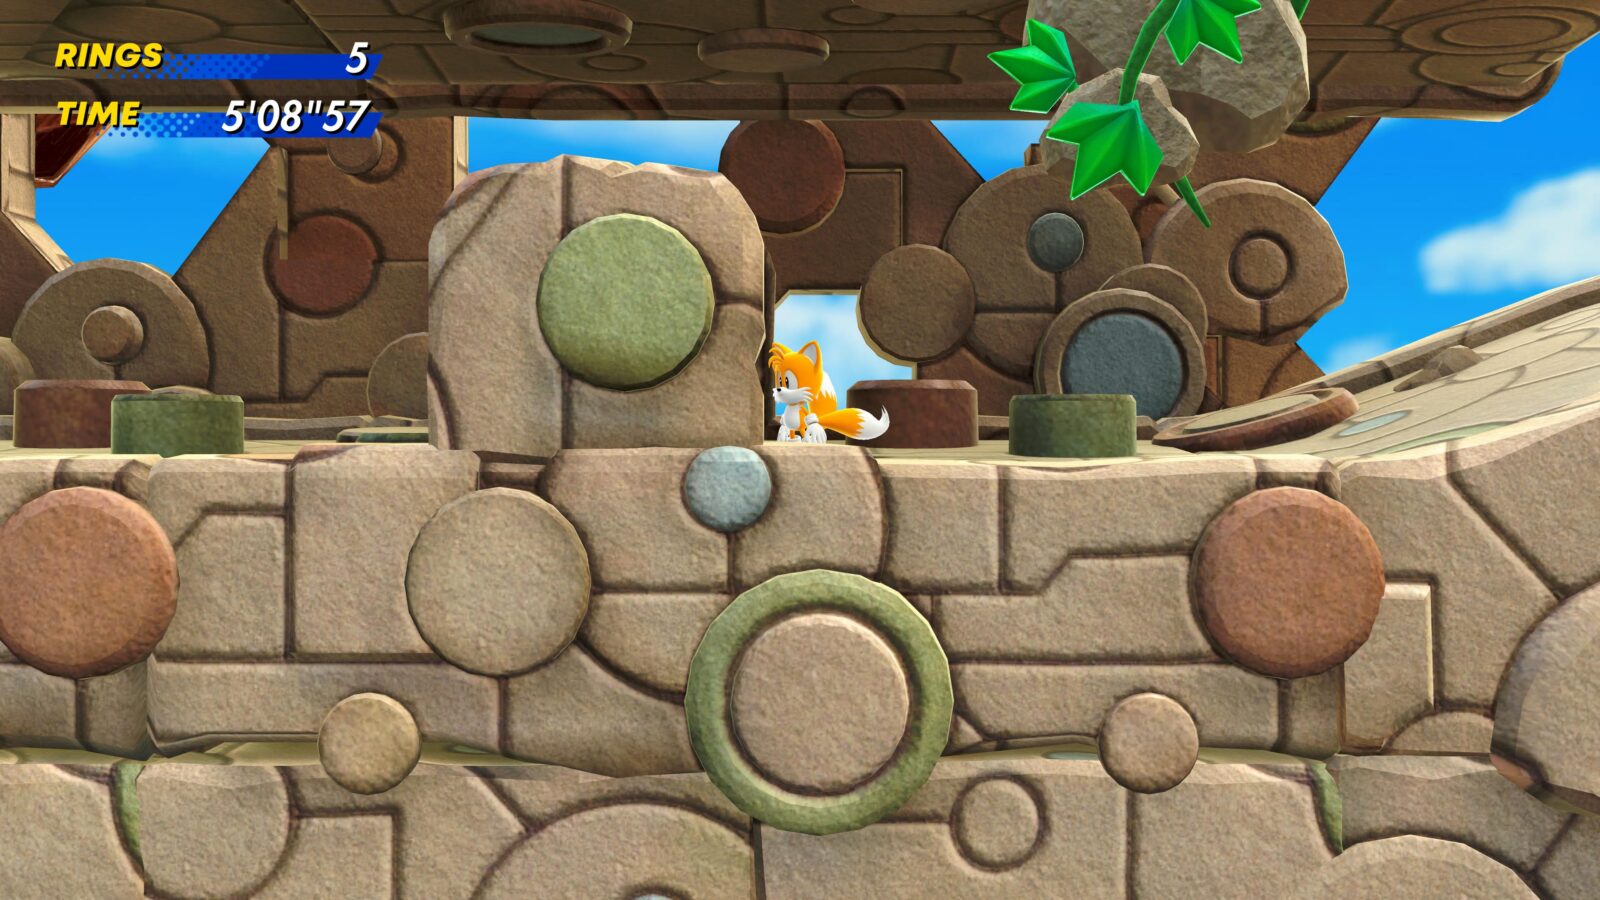
Go back to the right out of the tunnel and then fly upwards until you see some more turbines, ride them even higher up then onto the ledge to your left.
Continue left on this platform and you’ll see a gold elephant tank enemy.
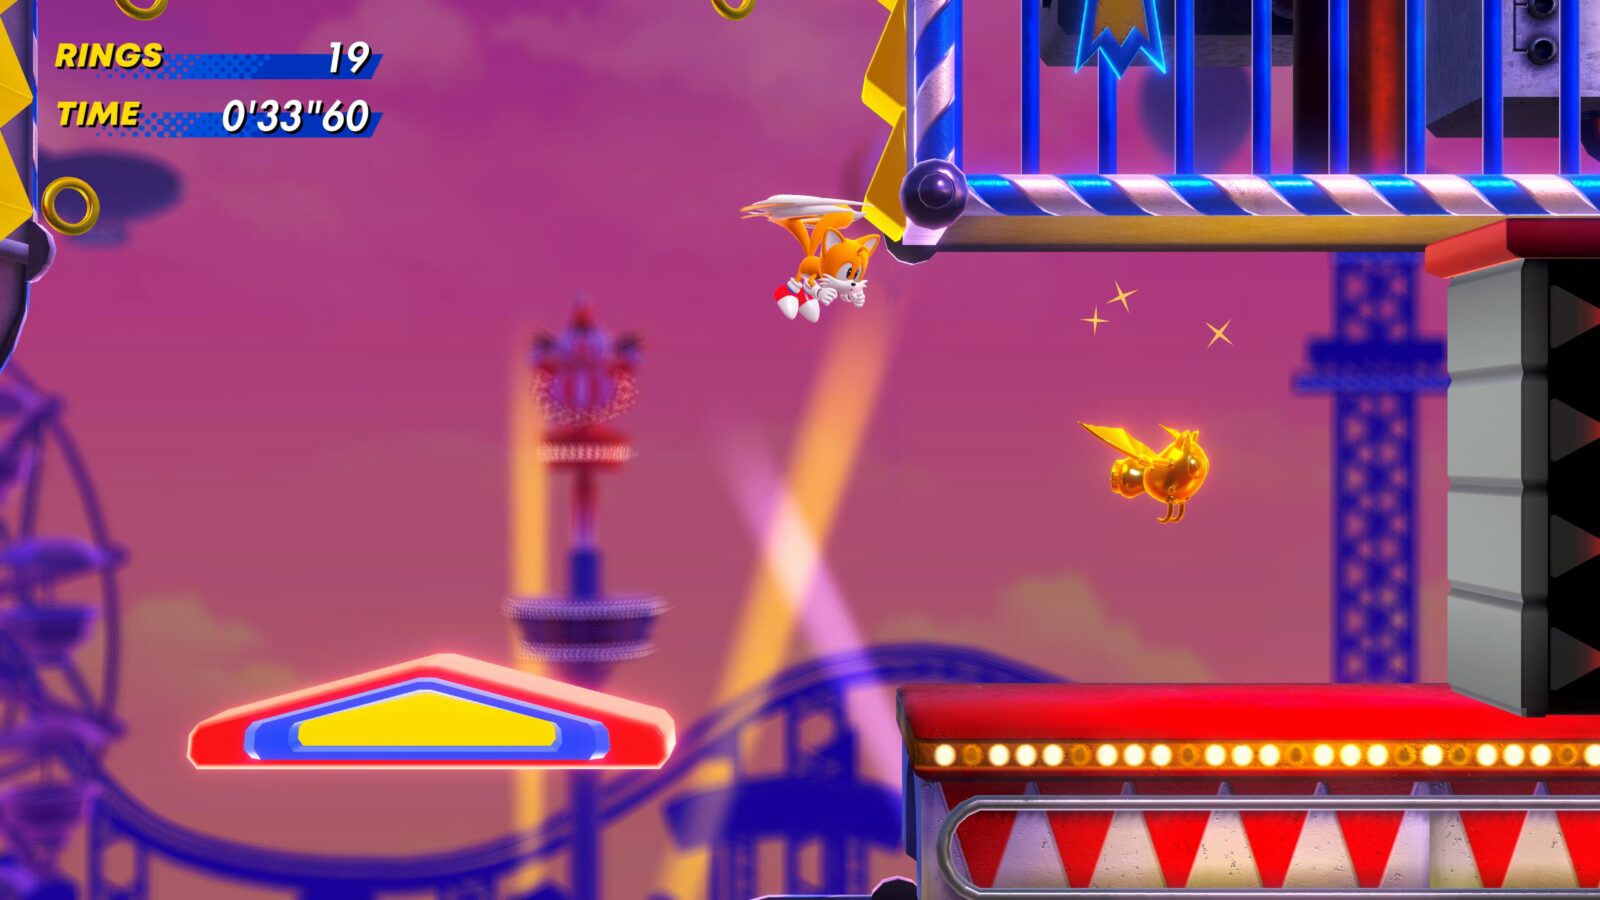
PINBALL CARNIVAL | Act 1
This is probably one of the easiest Gold Enemies to find. From the start of the level, use Tails to stay as high up as you can as you move right, and you’ll find this gold bat in front of a one-way gate on the highest path.
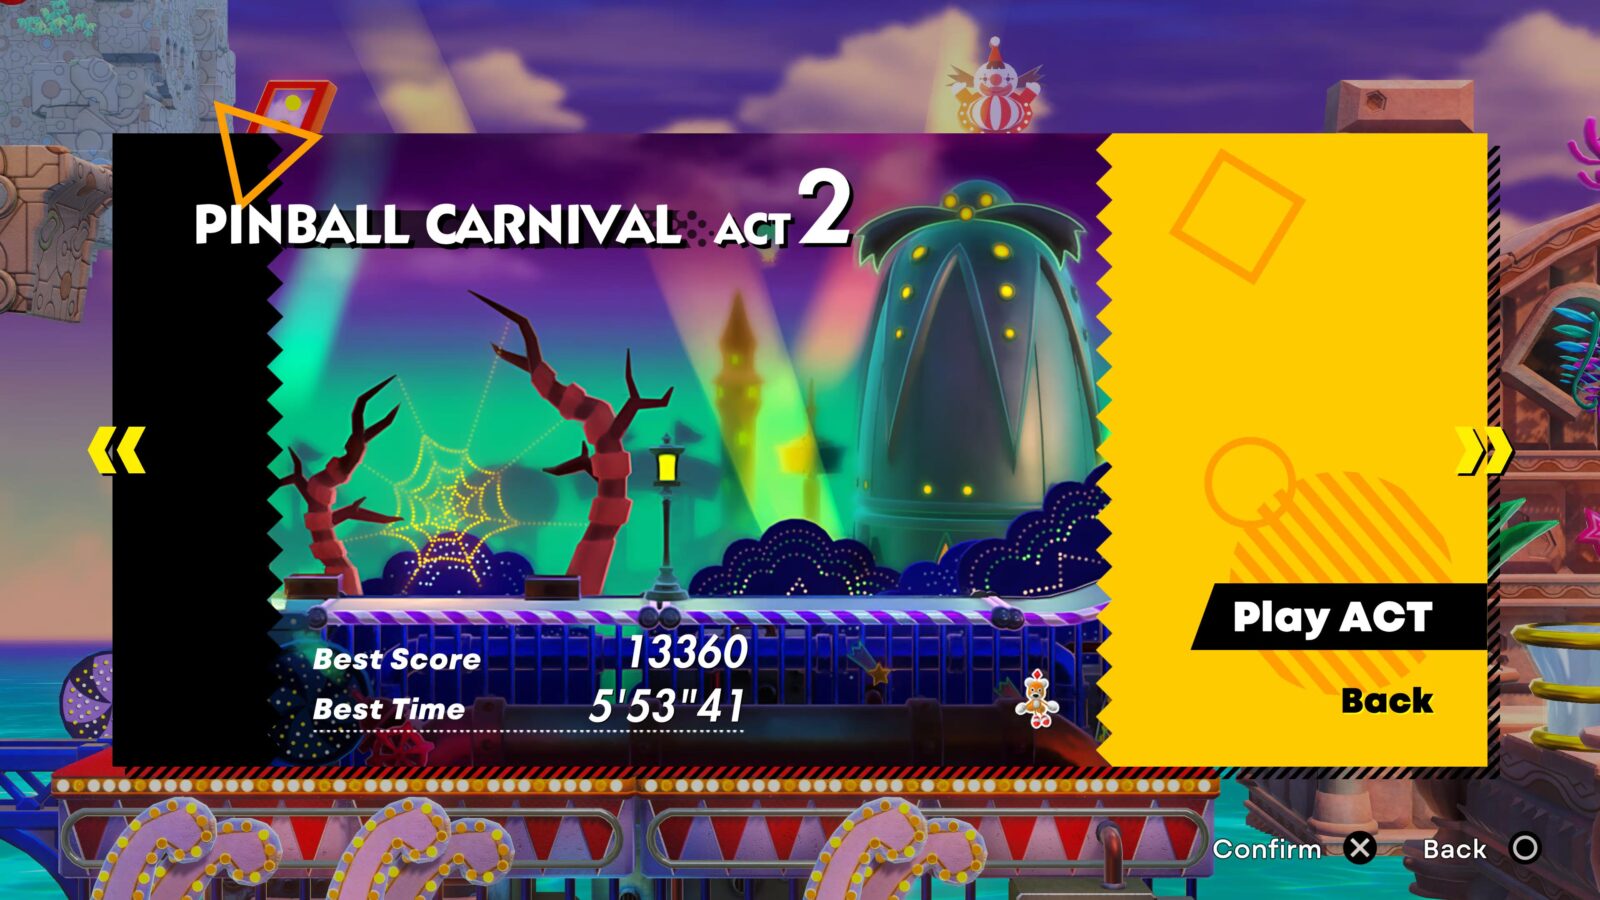
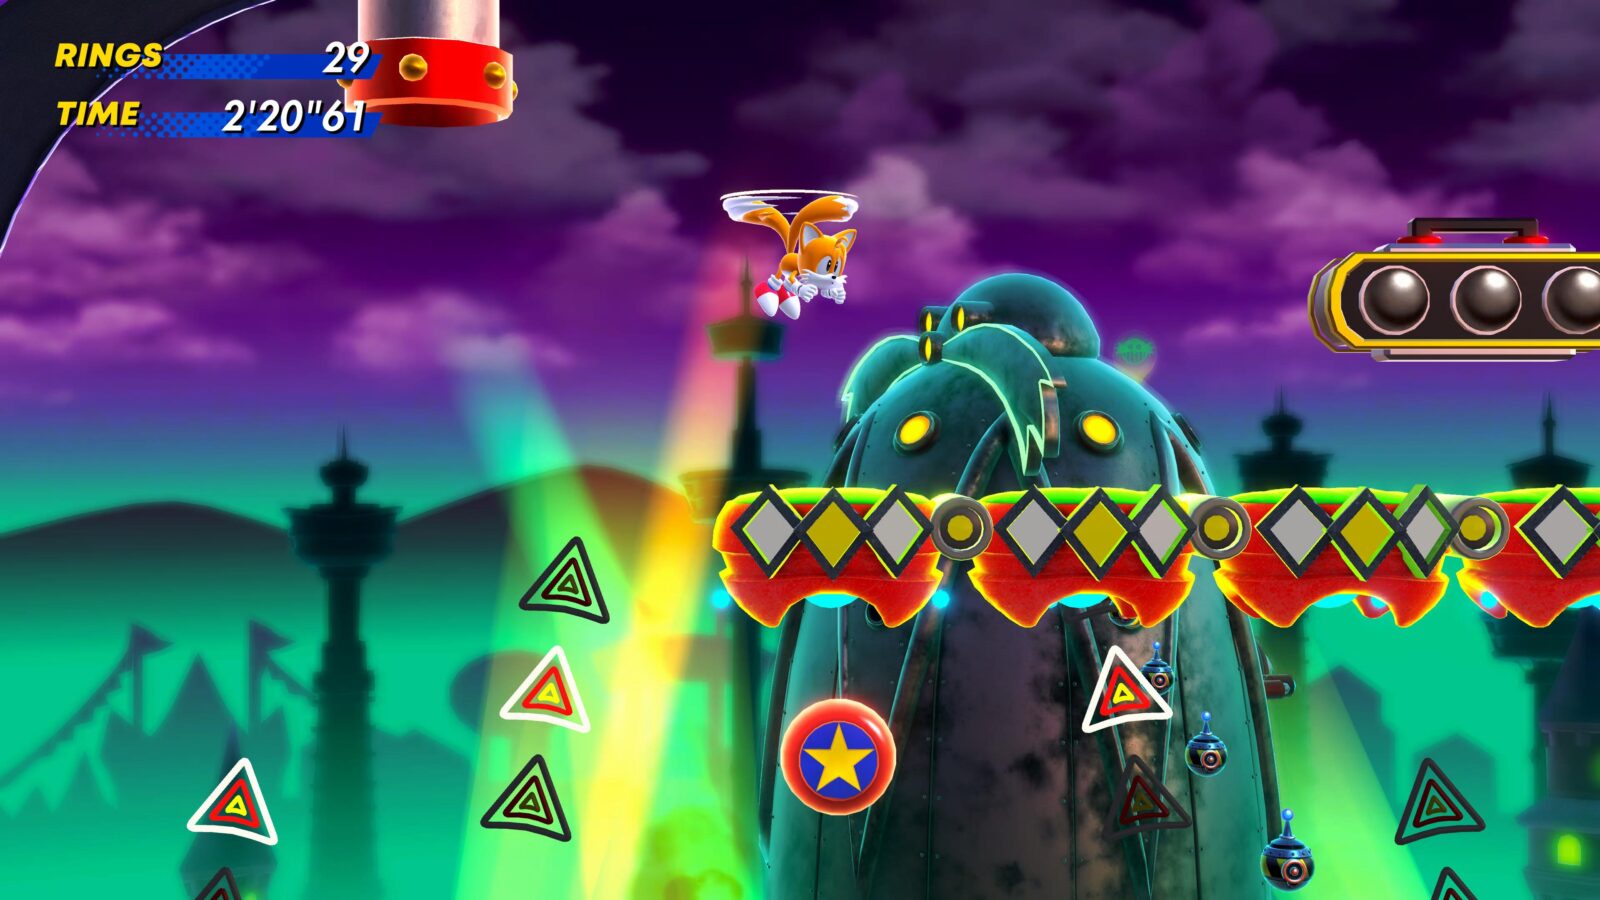
PINBALL CARNIVAL | Act 2
This gold enemy isn’t a gold enemy at all. Just a very weird Tails-shaped balloon thing. It’s actually really infuriating that they’re not more clear about this as finding it was a right chore.
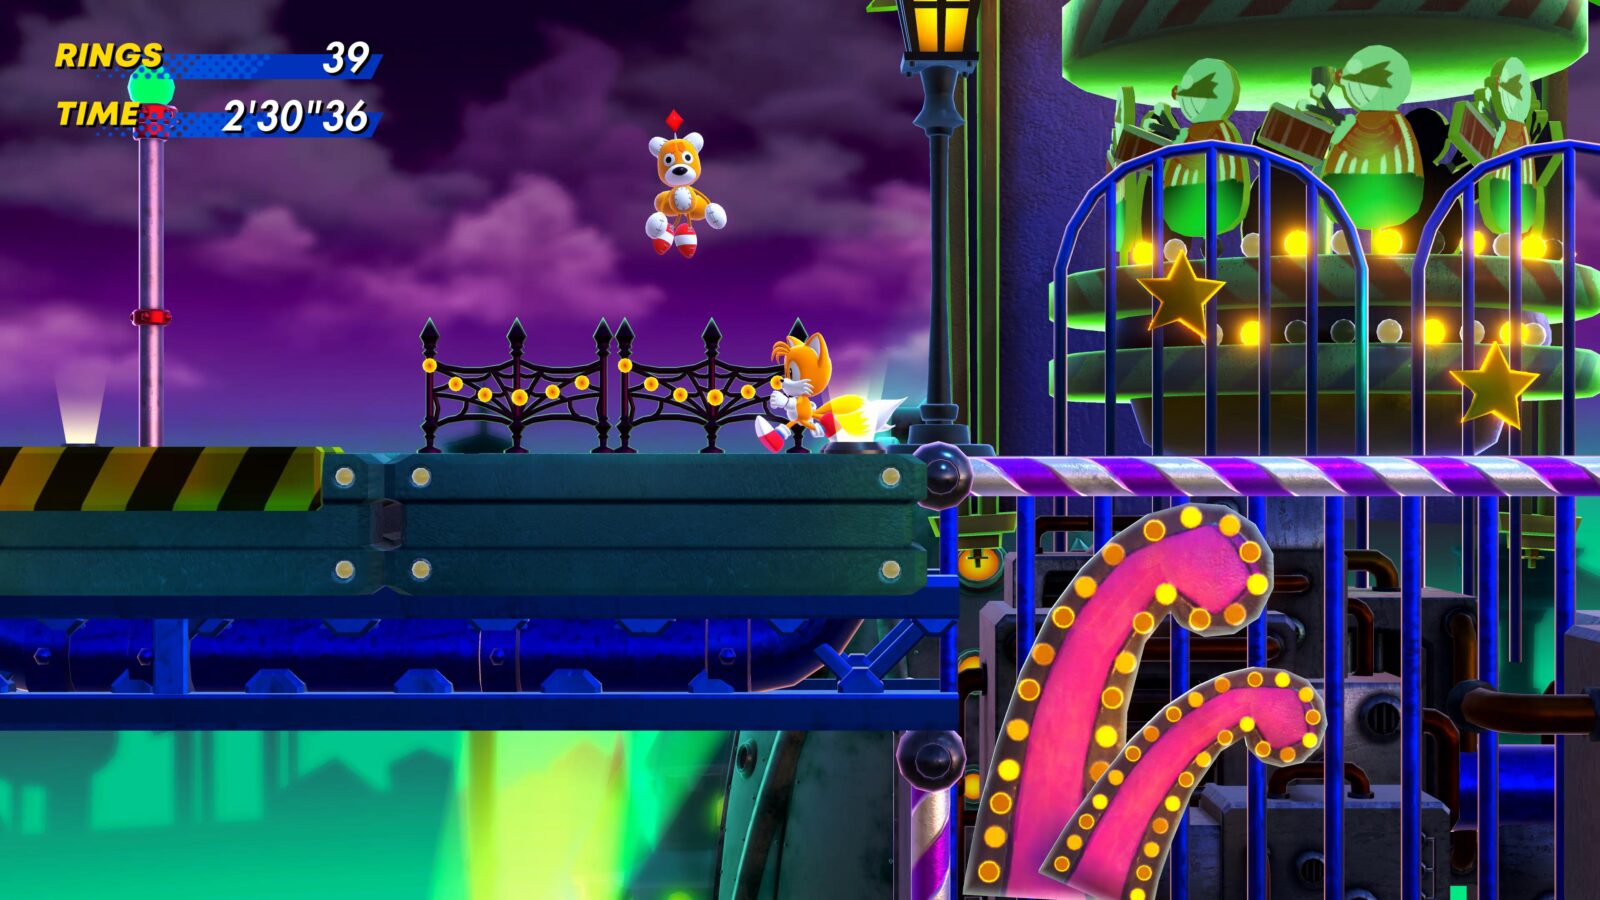
While playing as Tails, stay as high as you can in each Pinball area. Eventually, you’ll find a Rollercoaster at the top of one of the Pinball Machines.
This is the specific Pinball machine I found it at. It should be around the 5th Pinball Machine you enter.

The rollercoaster will deposit you on a platform with this creepy balloon Tails floating above it.
LAGOON CITY | Act 1
Stay on the highest possible path and you’ll eventually reach this waterfall, which comes in through a hole in the ceiling.
Either use the Light Blue Chaos Emerald to climb the waterfall or just fly up to the top as Tails.
Inside the room at the top of the waterfall, you’ll find this golden seal enemy on your left.
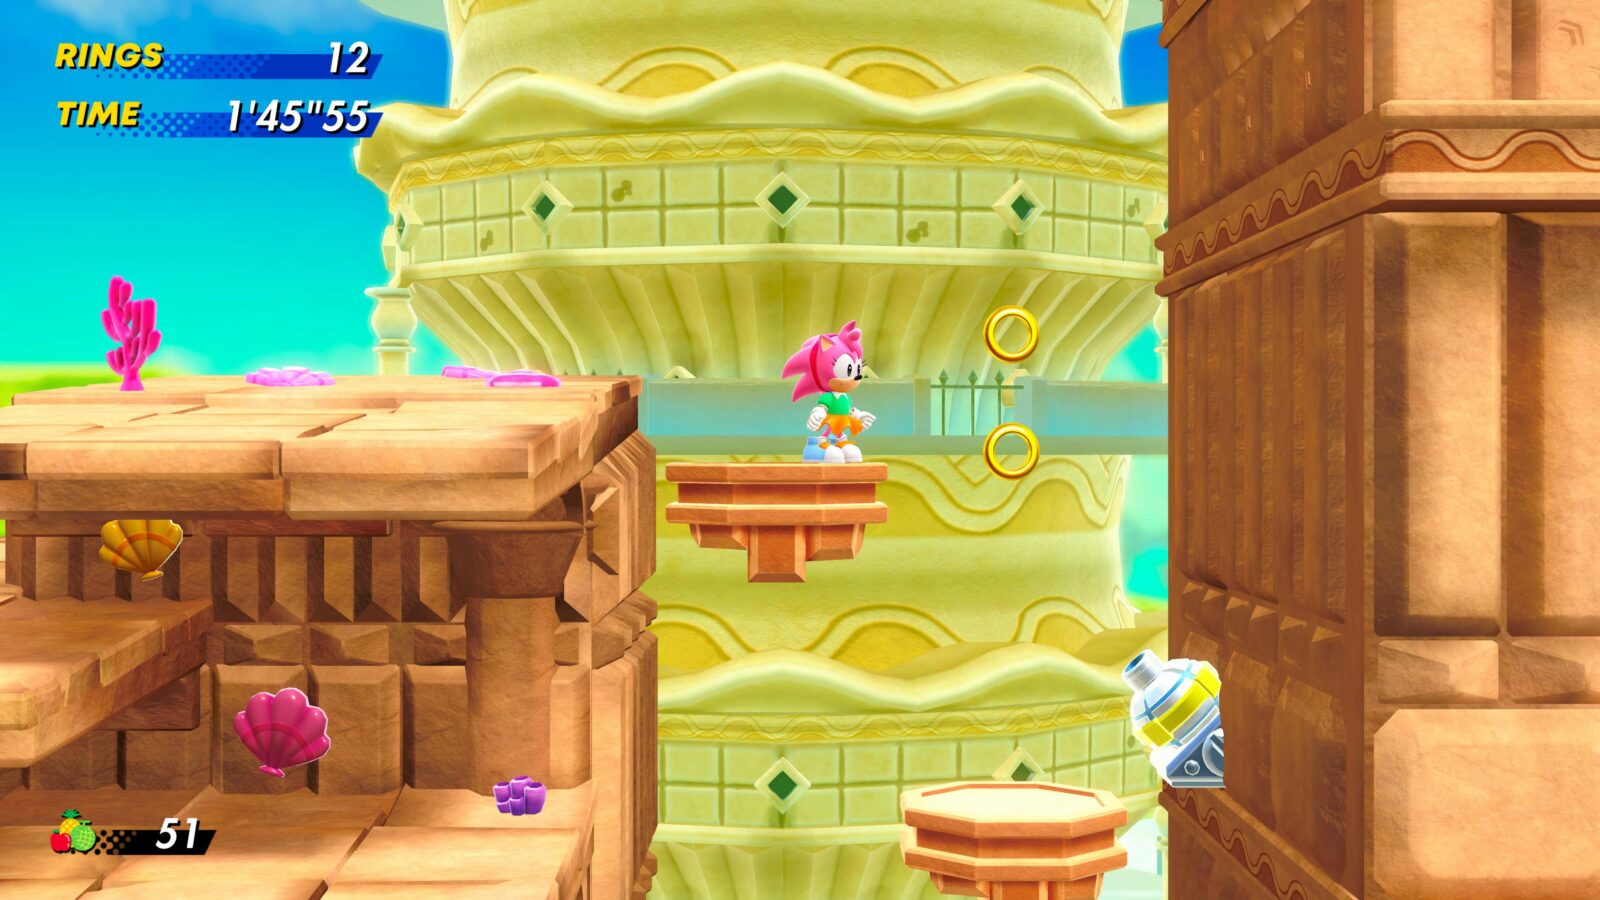
LAGOON CITY | Act Amy
After the second waterslide section in Act Amy (there’s two slides in each section; so not the second slide), you’ll come to a massive pineapple you can thwack out of the way with your hammer.
Cross the bridge after the pineapple and then begin making your way upwards as high as you can. If you fall into the water below the bridge, use the Light Blue Chaos Emerald or the Red Chaos Emerald to get back out.
So, continuing up and to the right, climb these swinging platforms and you’ll find a waterjet at the top.
The jet of water will shoot you into the air, and you’ll land in a tunnel.
Follow the path up and to the right and you’ll drop down by a strawberry cart.
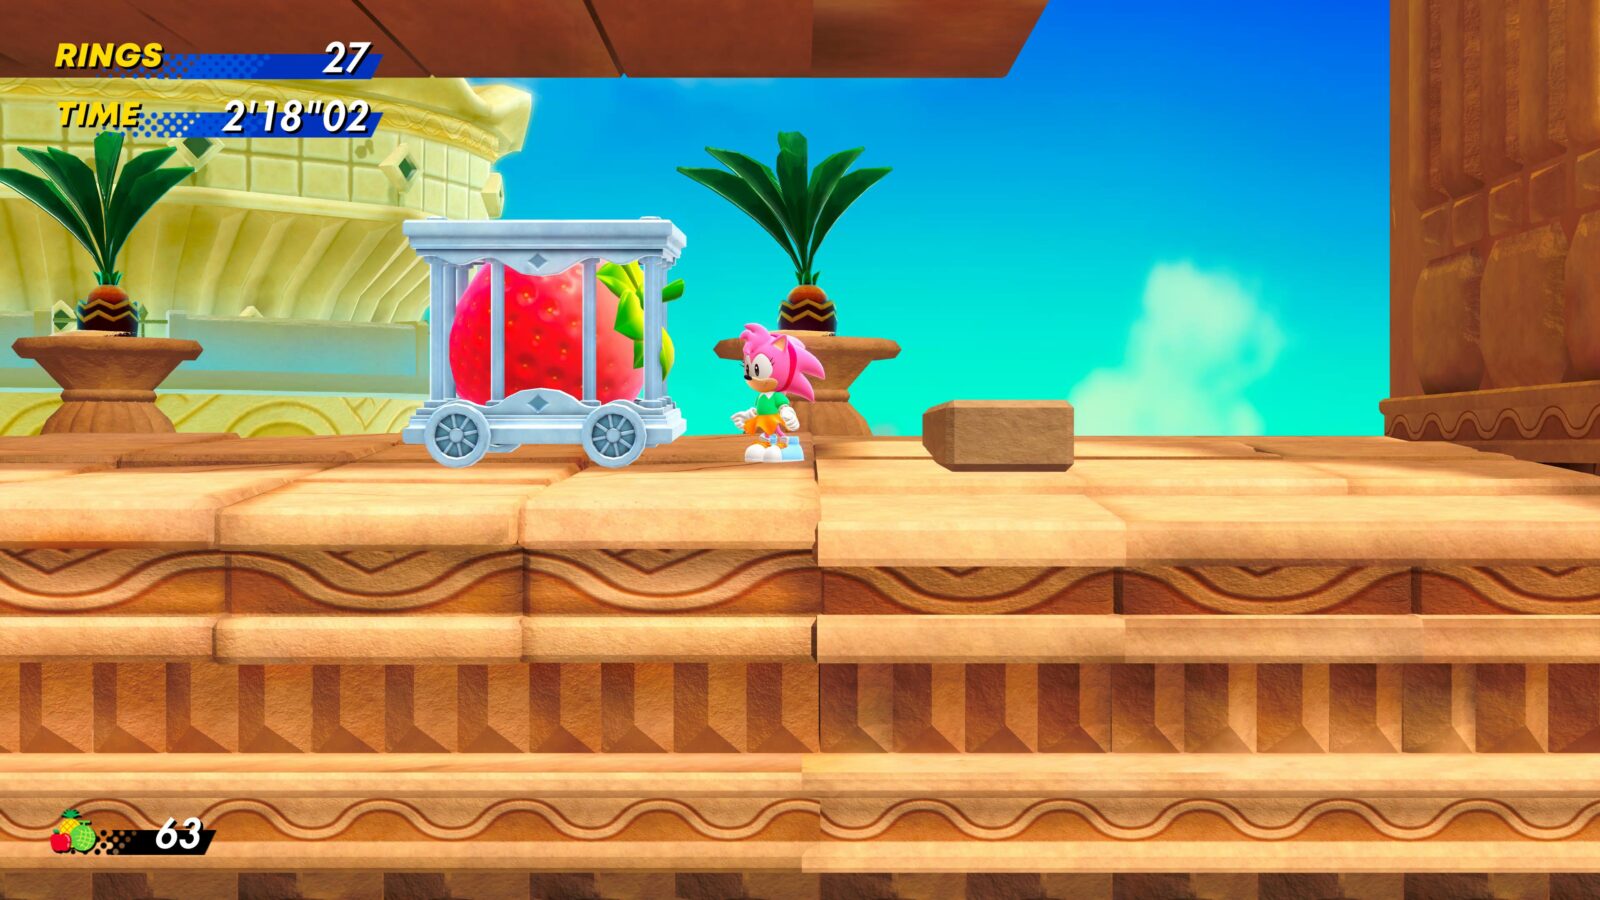
Make sure you jump over the cart, then pass through the tunnel to the other side.
There, activate the Green Chaos Emerald power and use it to climb your way to the highest possible platform. You could also use the Red Chaos Emerald for this.

Be careful not to let the water jet shoot you onto the water slide.
If that happens, you can make your way back over the top of the level using the Red Chaos Emerald power.
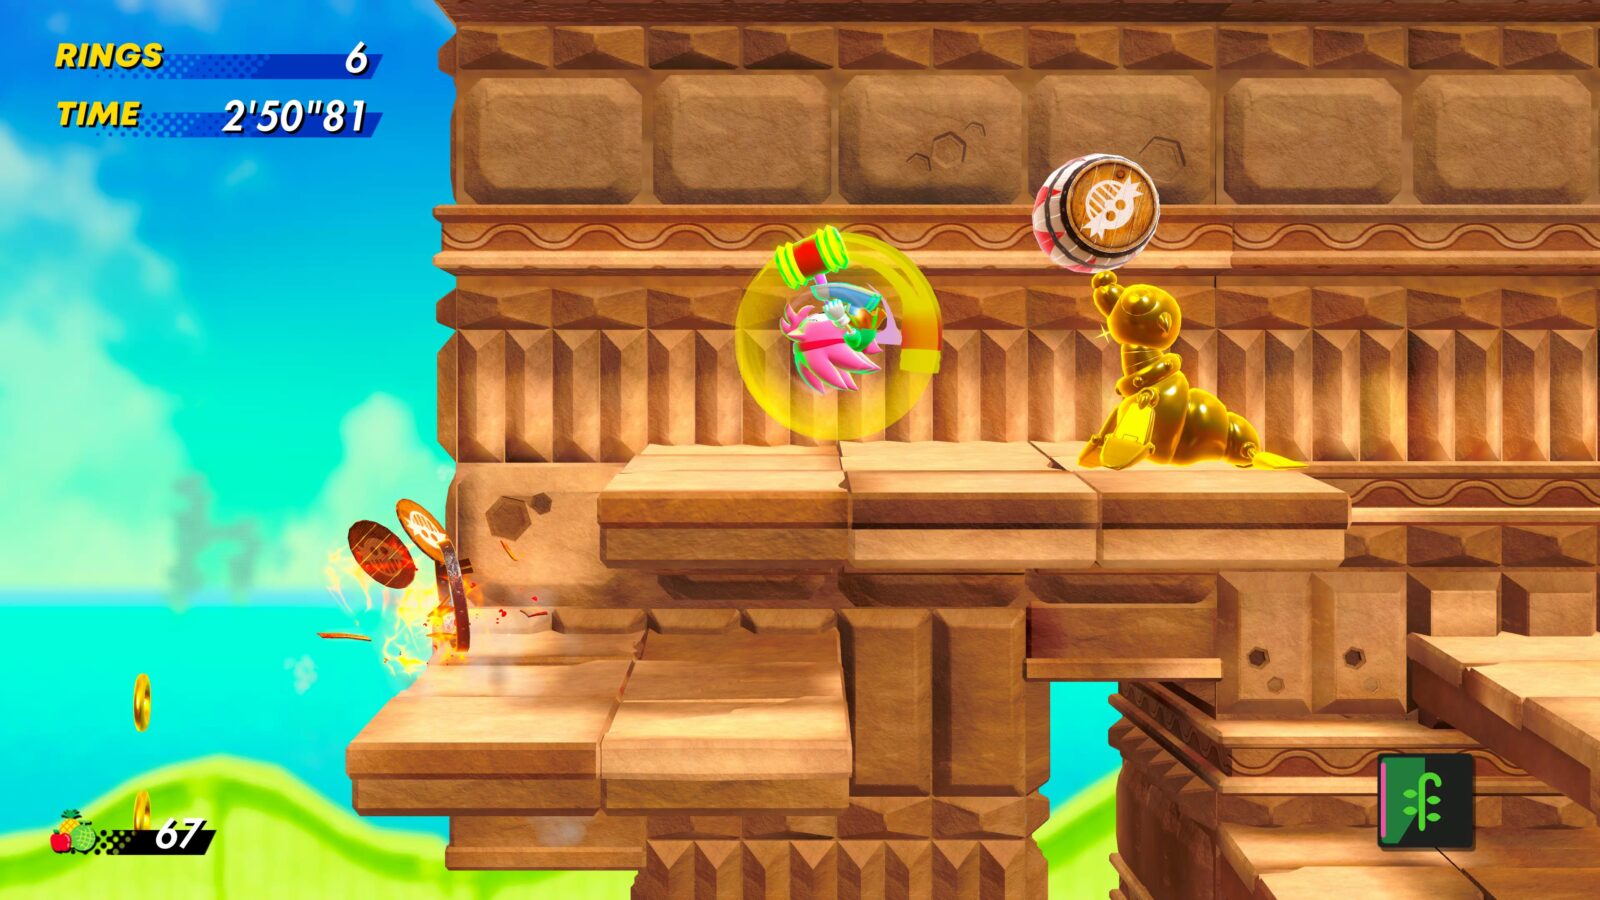
When you reach the top, you’ll see this gold seal just chilling out, throwing barrels.
LAGOON CITY | Act 2
Proceed through the level as normal until you reach the giant purple octopus. Just before it, use the Light Blue Chaos Emerald’s Water ability to swim up to the surface.
At the surface, fly up to the secret room with the medals in it.
Then, continue flying up to the platform above there.
From there, use the Green Chaos Emerald’s Vine ability to climb up as high as you can go.
Next, fly to your right until you see a water jet.
Let it fire you up and to the right, and when you land you’ll see the Golden Crab we’re looking for!
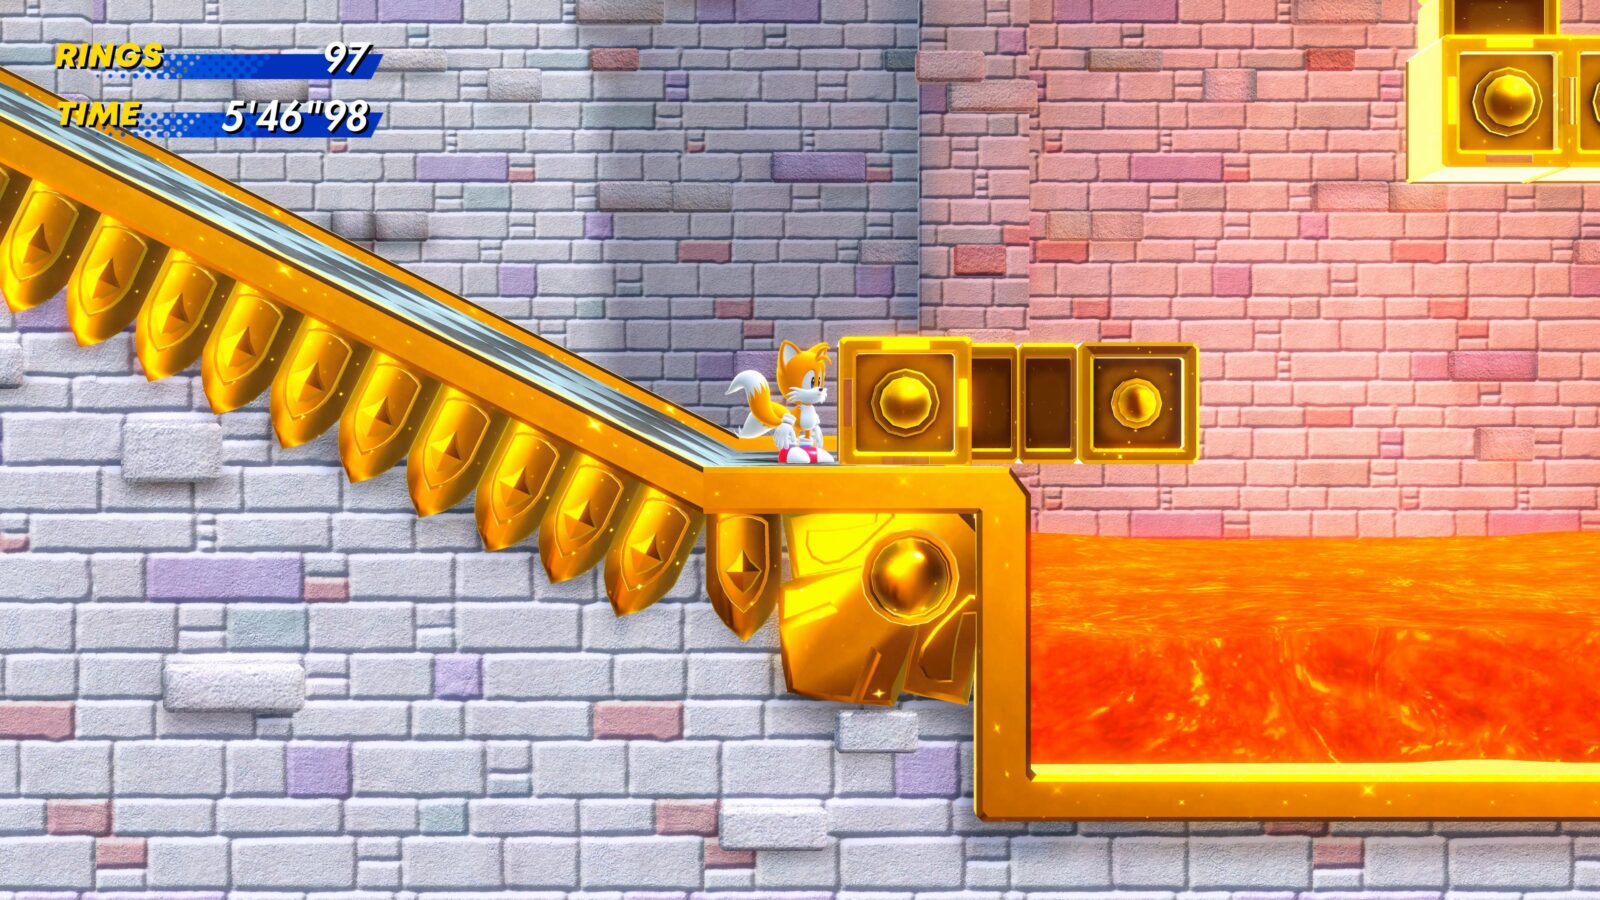
SAND SANCTUARY | Act 1
After the first checkpoint on the highest path, run along the back of the snake and you’ll reach a sand pillar.
Climb up the sand pillar and you’ll see two orange and yellow rails to your left.
Ride them left to another Sand Pillar and then climb that one to the top.
From there, head all the way to the right, destroying the vulture hammers along the way.
Eventually, you’ll reach a gold Vulture Hammer!
PRESS FACTORY | Act 1
This one’s pretty annoying because the factory constantly slams down, causing you to jump upward. This is annoying because you need to stay as low as possible for the first part of the level, until you reach this area, with lots of yellow platforms.
This area loops, so if you go down you can go down infinitely, and if you go up, that also happens infinitely.
There are a couple of different exits from this area, you need to find the one that looks like this, with a ring box.
Keep along this path and you’ll eventually see this gold bat enemy near a large screw.
PRESS FACTORY | Act 2
Proceed through the level as normal until you enter the first space rocket.
It will fly off to the left and eventually crash. Follow the platforms to your right without falling off. This is obviously easier with Tails.
Eventually, you’lll reach some pistons that shoot platforms into the air.
Instead of following them, drop down and you’ll sprint over to a collapsible platform.
Continue right and you will eventually see a green button just after one of those bauble devices.
Continue right a short distance and you’ll find this gold squid-bot enemy amid a group of its own kind. The easiest way to kill it is to just use the Blue Chaos Emerald’s Avatar ability.
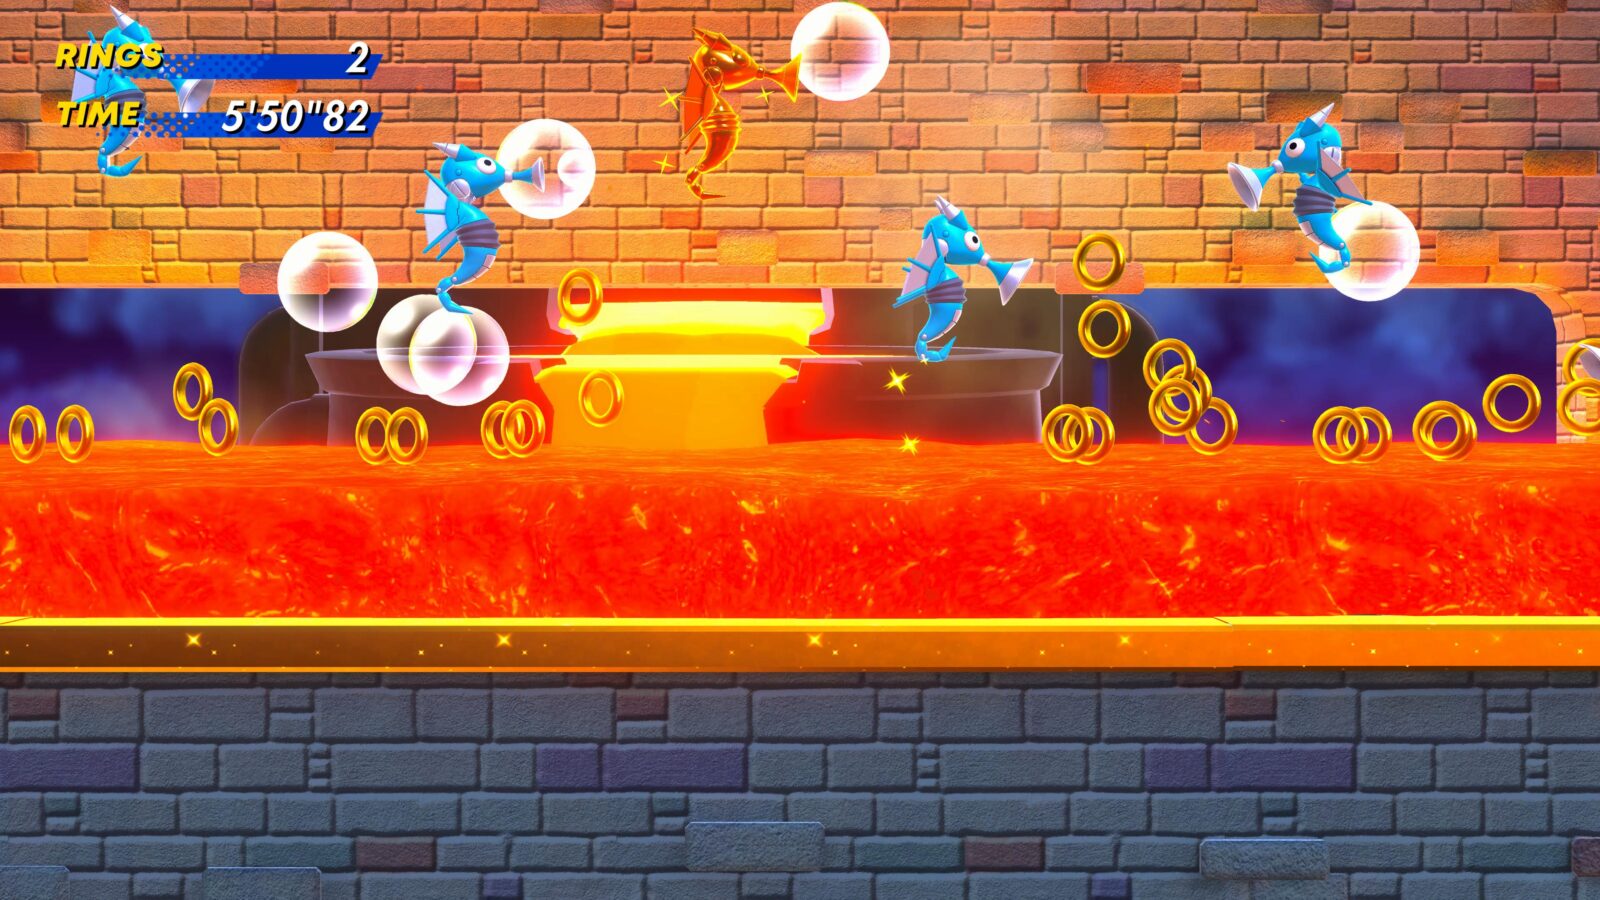
GOLDEN CAPITAL | Act 1
Eventually, as part of the normal path in GOLDEN CAPITAL Act 1, you’ll stand on a gold panel that bounces you up and onto the path in the background.
Follow it until you’re pushed to the foreground again.
Then continue heading right, drop down past the pinball section and you’ll reach a lava lake.
At the other side of the lava, begin flying up and to the right until you see a group of blue seahorse enemies.
Follow the trail of seahorses and bubbles to the right and you’ll find this gold Preying Mantis enemy.
GOLDEN CAPITAL | Act Kuckles
This is one of the more complicated ones, so bear with me here. You need to first progress to this checkpoint.
Ahead, there’ll be several launch pads which, when lit, will launch you skyward. On the second set of these panels, you need to use the left-most panel to be launched up to a fan.

From that fan, you can glide into an entrance in the left wall.
Continue following this path leftward, past another checkpoint.
Cross the pinball area to the path on the direct opposite side.
Continue left to another set of launch pads. Again, use the left-most one. You’ll be pushed up to another checkpoint!
Climb up the wall in front of you until you reach some spikes.
From there, glide over and climb the wall on your left, then climb up to the top of it.
Next, glide back over to the other side, where you will find this golden enemy hidden above the checkpoint!
GOLDEN CAPITAL | Act 2
For story reasons, you can’t use your Chaos Emeralds in this level. If you want to, though, you can play the same level from Trip’s Story and you’ll have your Emeralds and can still get the gold enemy!
To begin with, first progress through the level until you reach this checkpoint:
From there, begin going left and you’ll find a pit of lava with some Seahorses.
The middle seahorse is golden! This is the one you want to hit, of course.
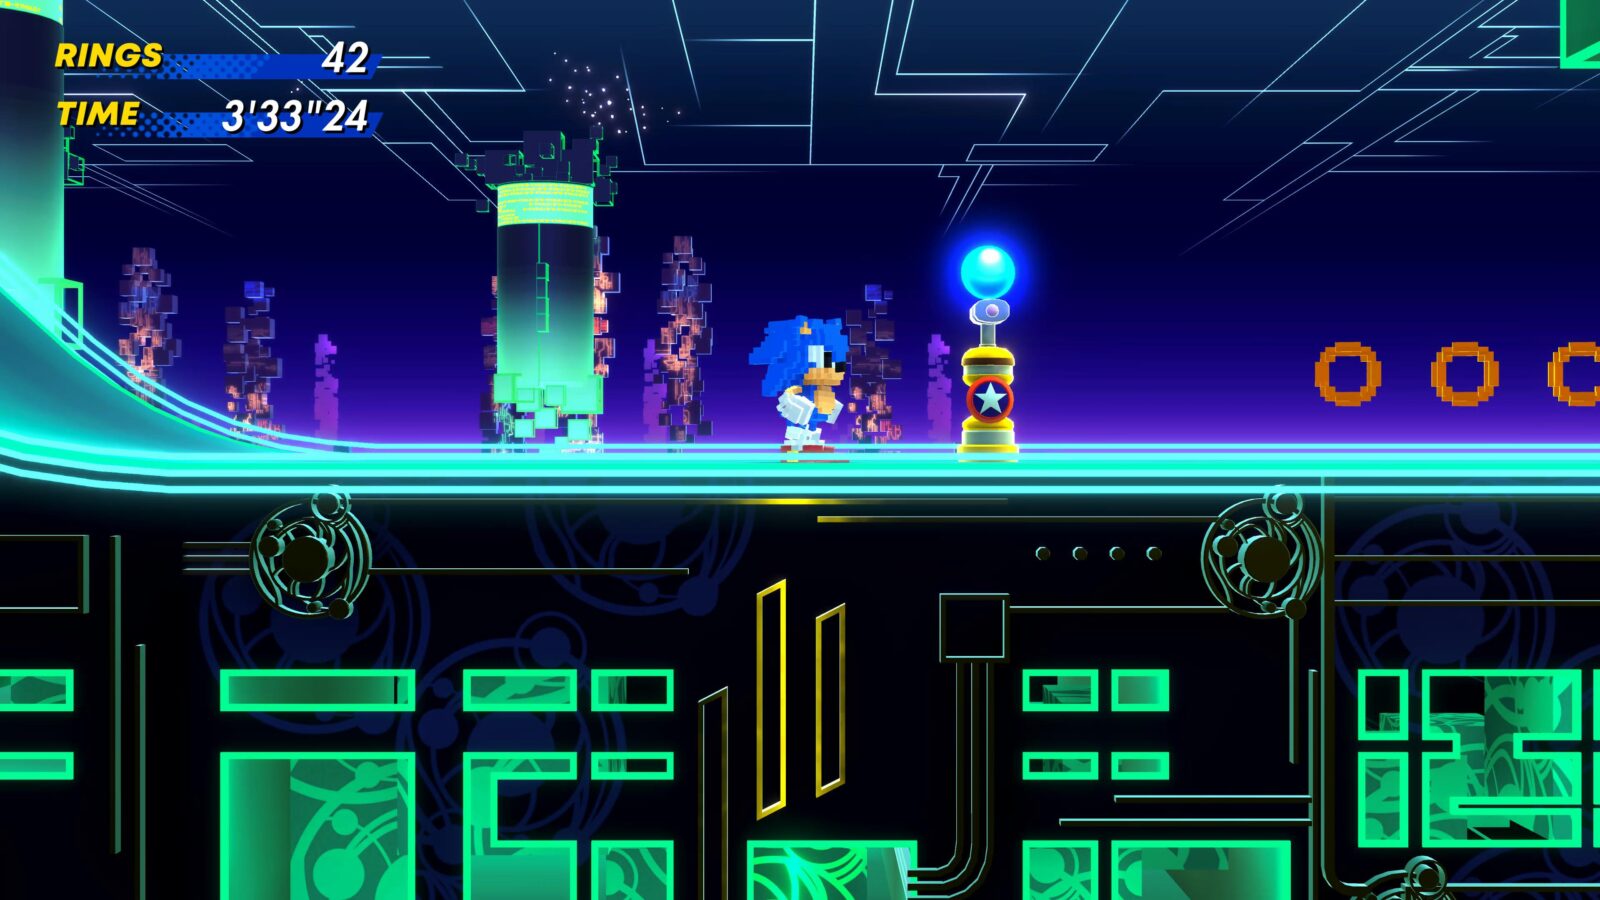
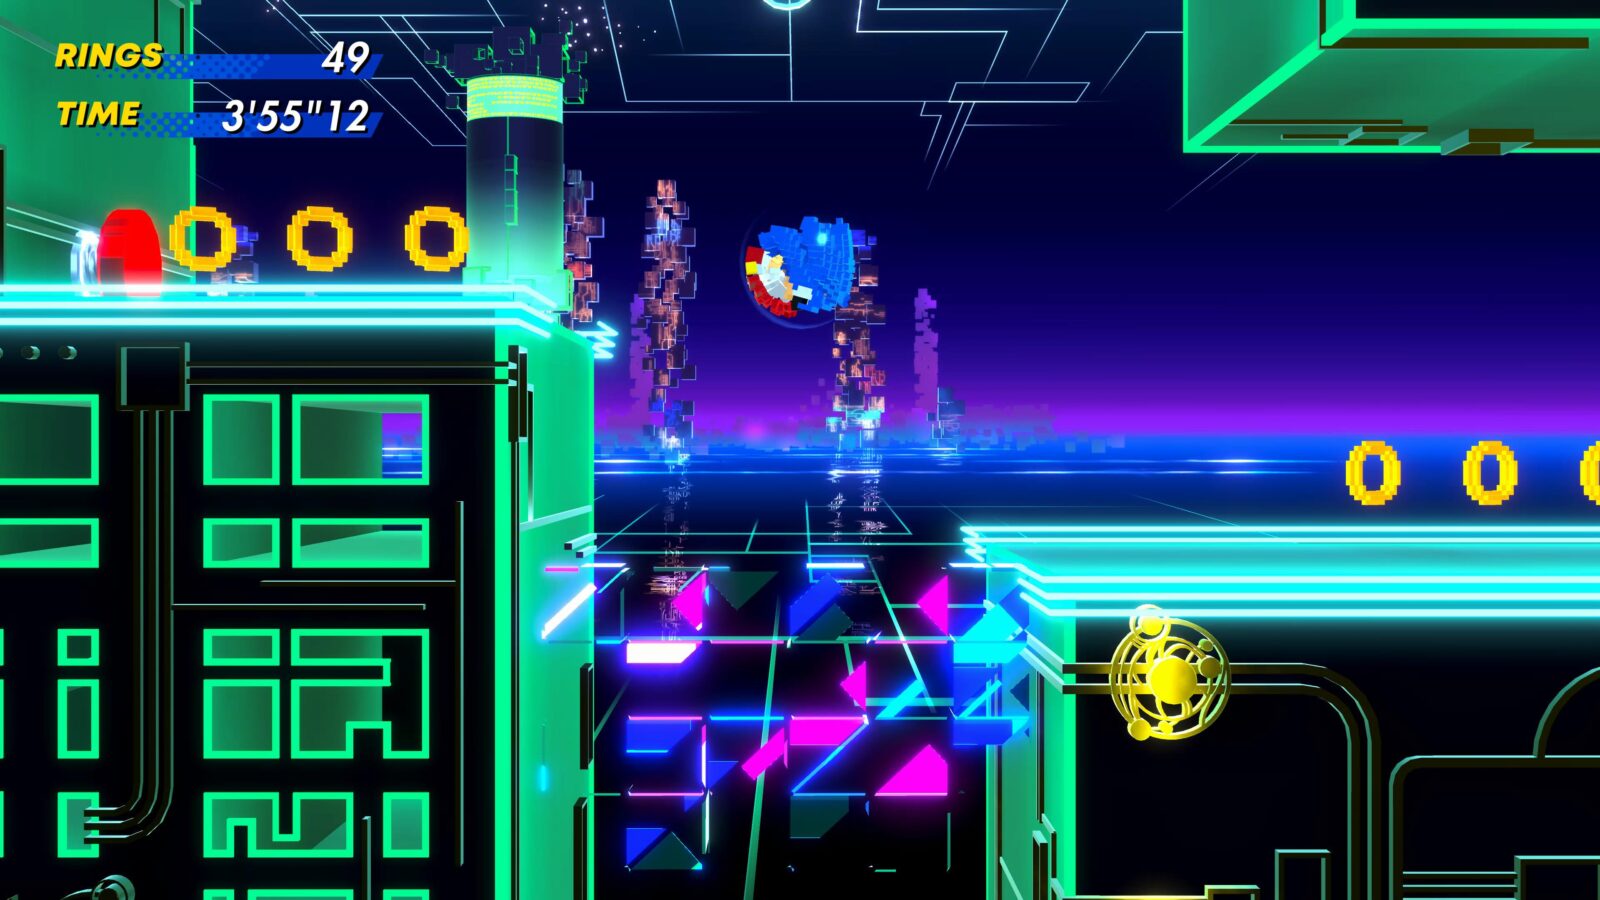
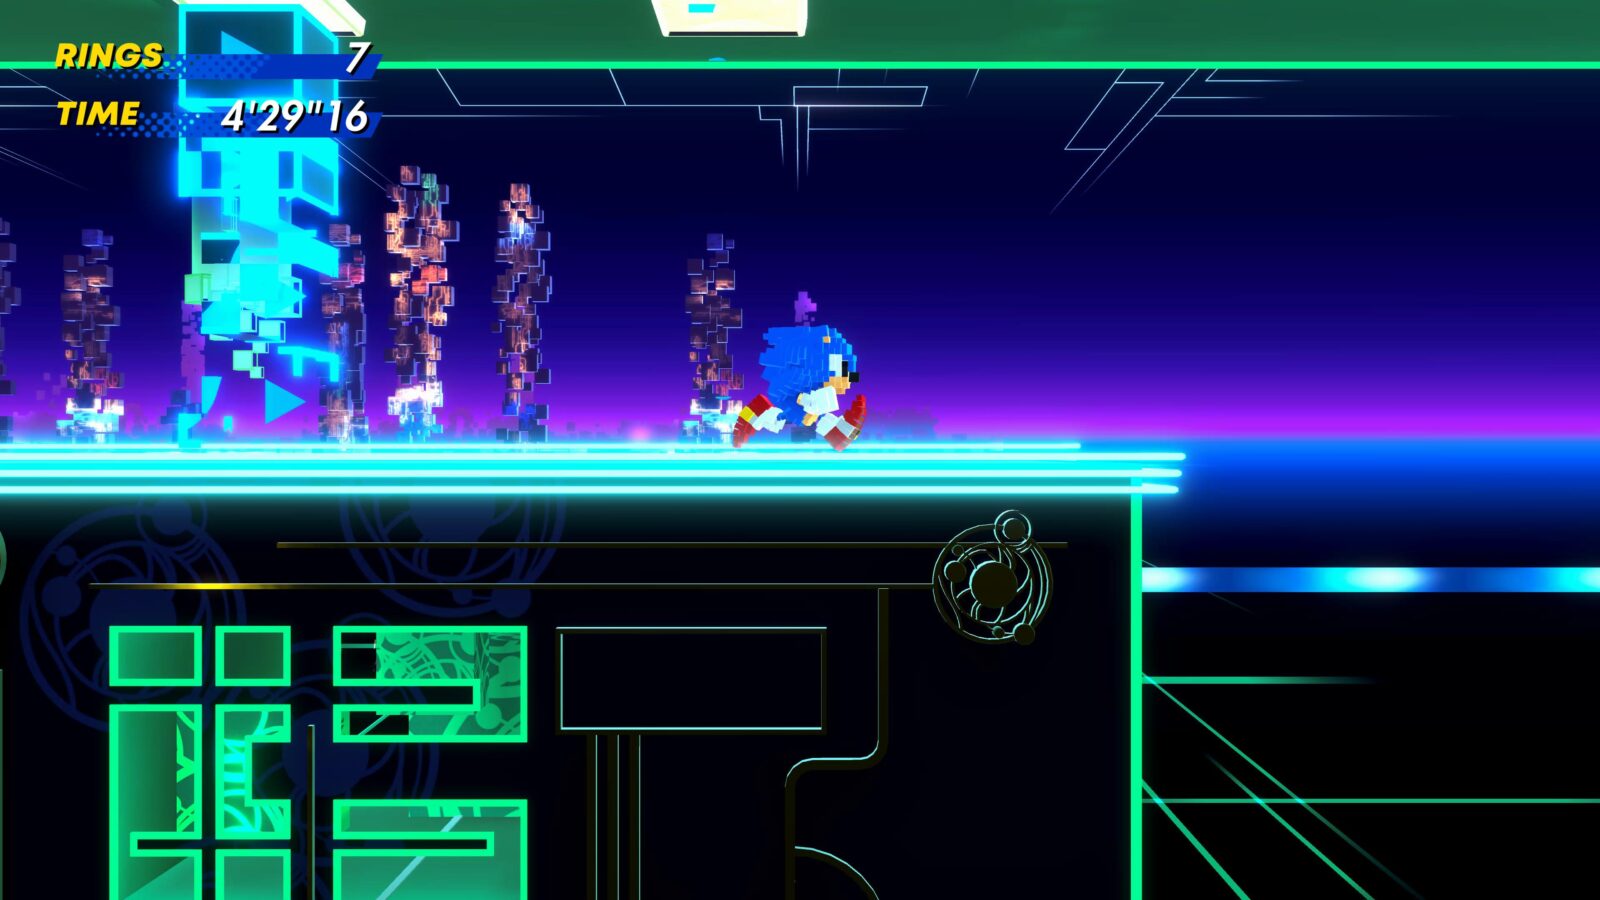
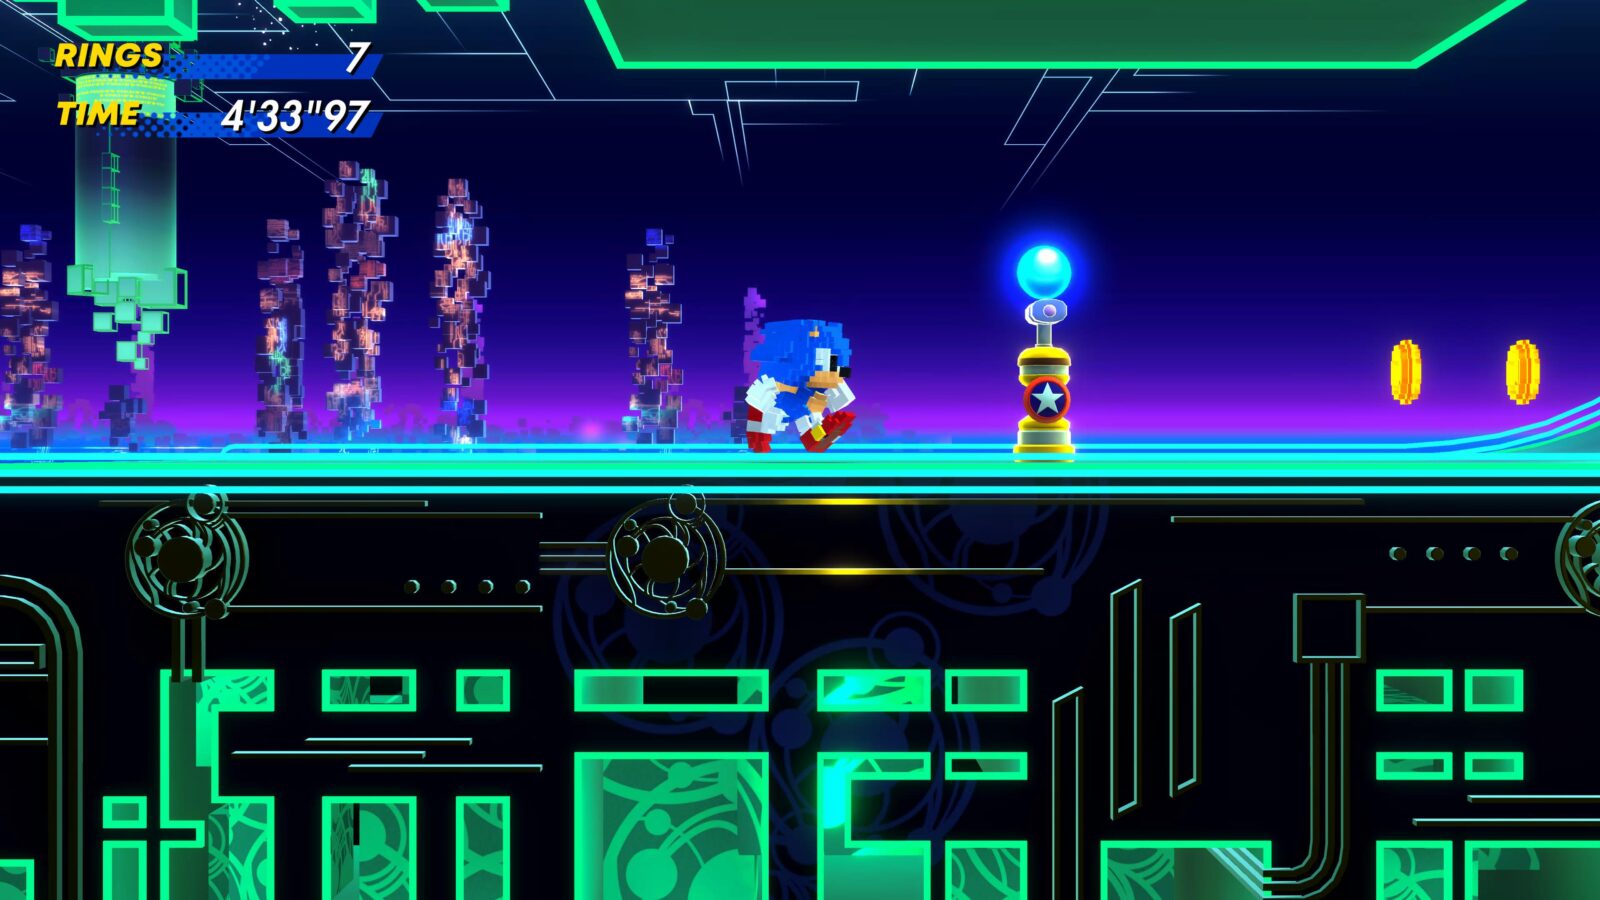
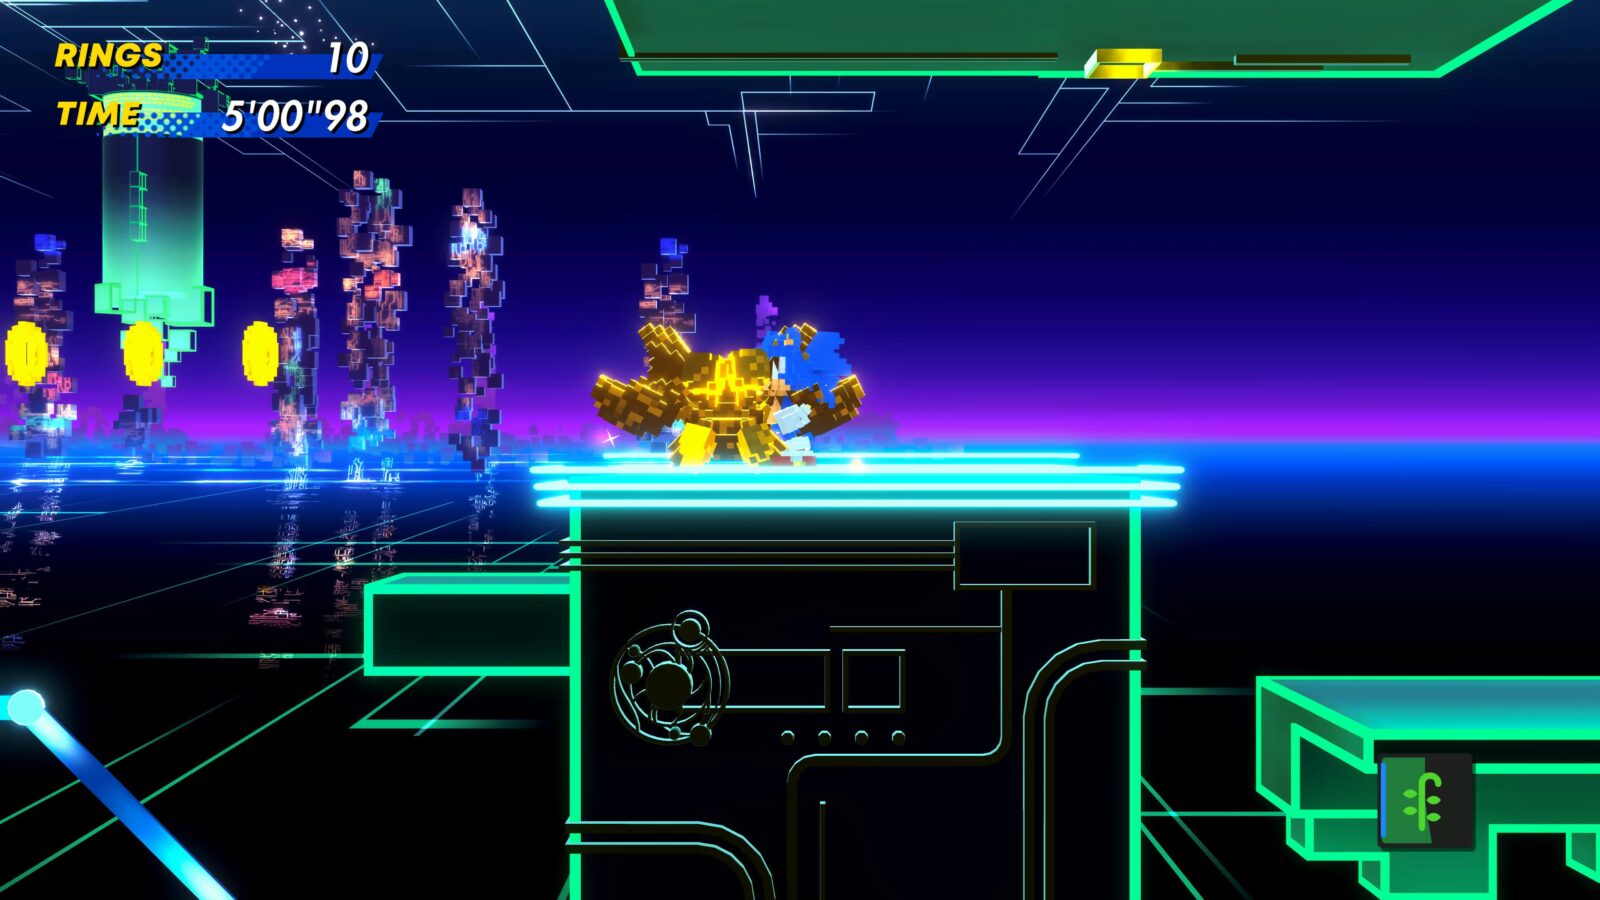
CYBER STATION | Act 1
Proceed until the Checkpoint after the mouse puzzle.
From there, go right and stand on the purple platform which disappears if you stay on it. Let it disappear and you’ll drop onto another one.
Let that one collapse too and you’ll drop onto a blue wire and begin traveling along it.
Let it carry you and you’ll land on another collapsible platform. Jump off this one.
Start heading right and you’ll pass through several gateways back to back, then drop onto another wire.
That wire will deposit you at another Checkpoint.
From there, fly (or use Vine) up and to the left slightly, and you’ll see the gold enemy you’re looking for!
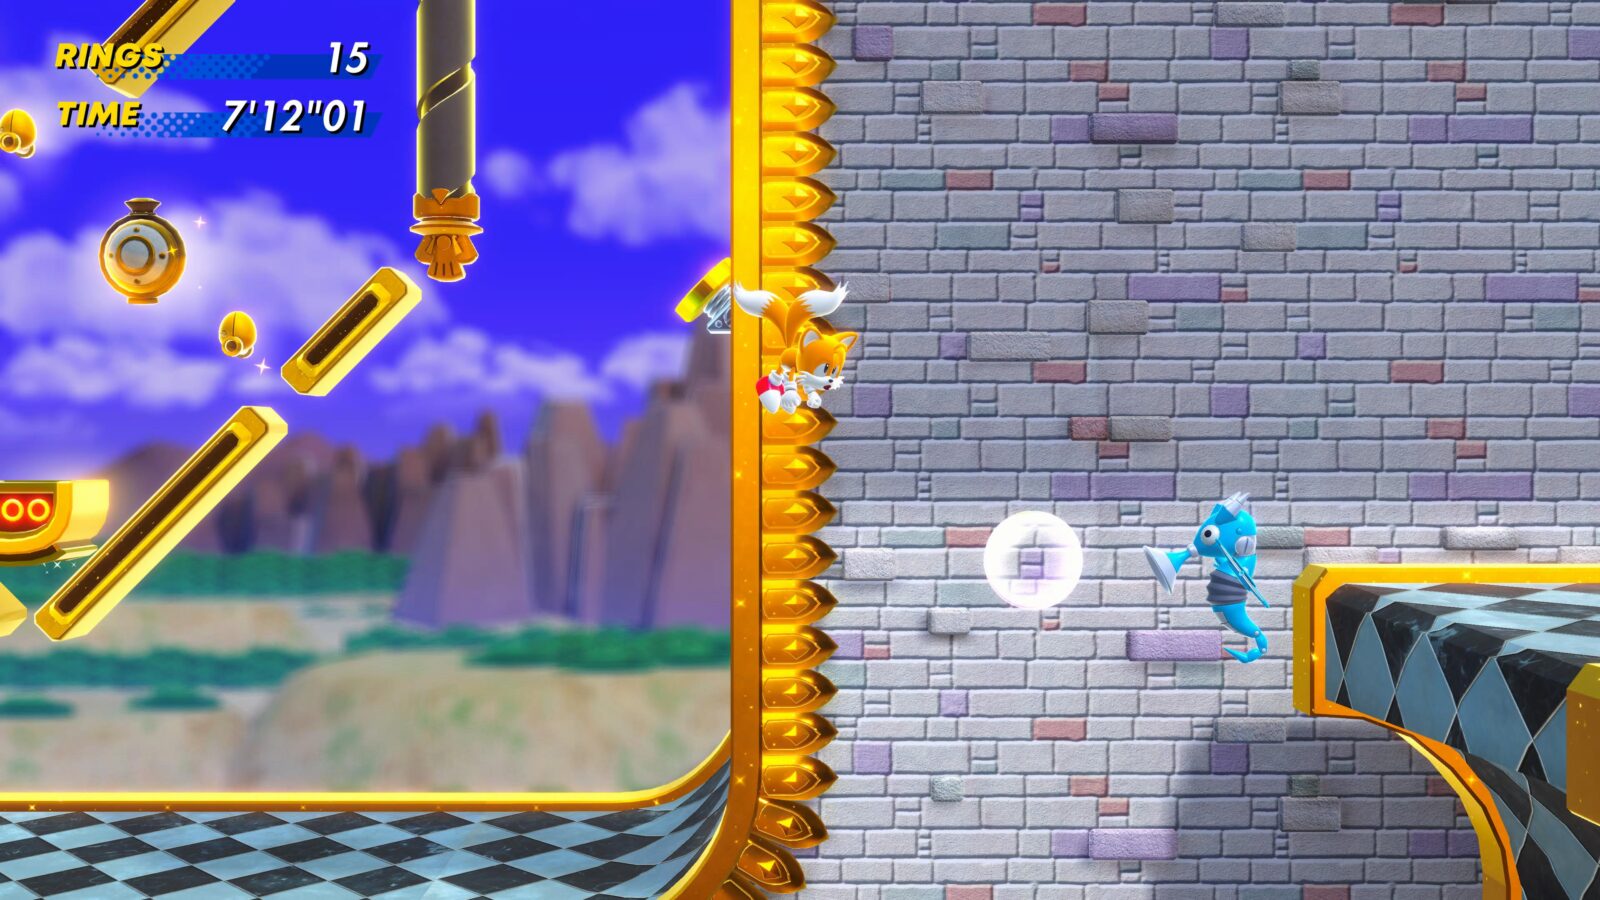
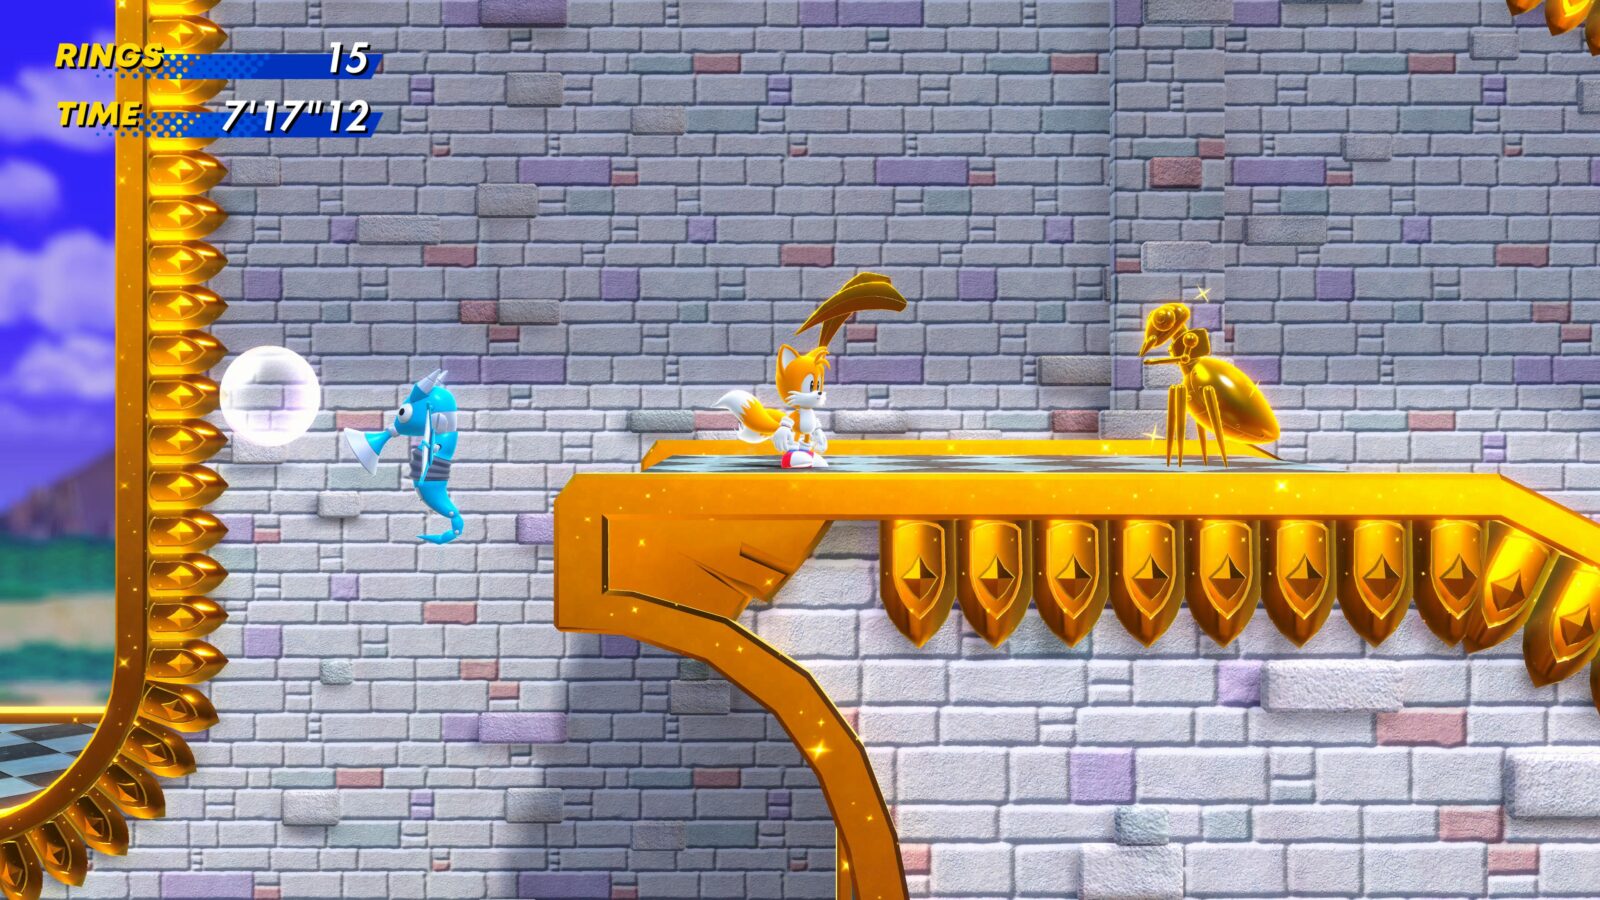
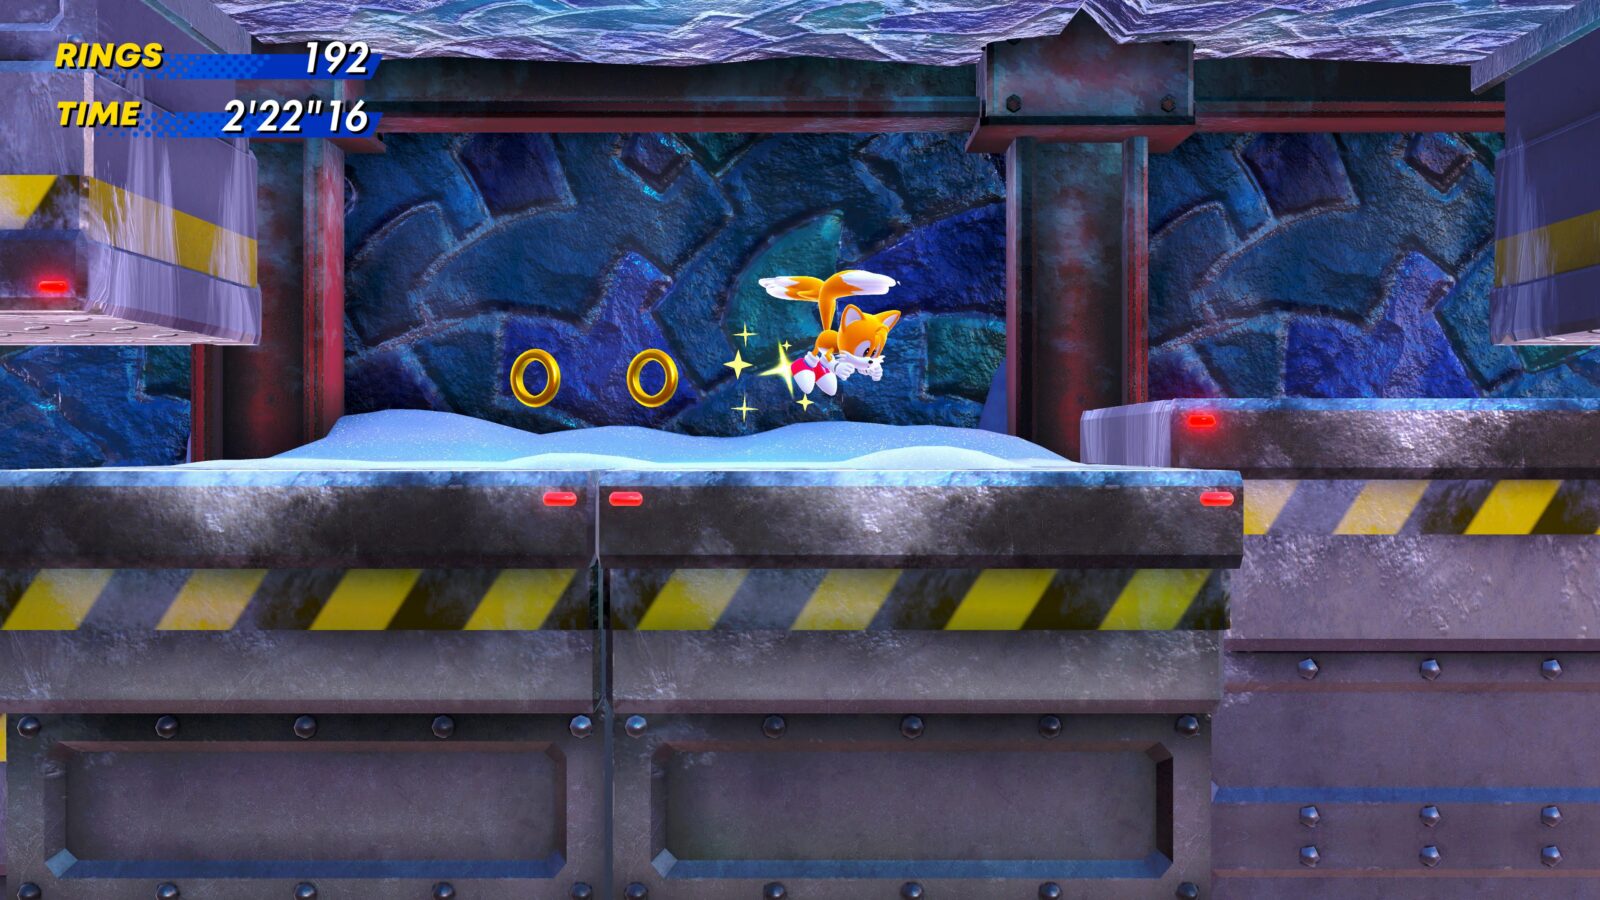
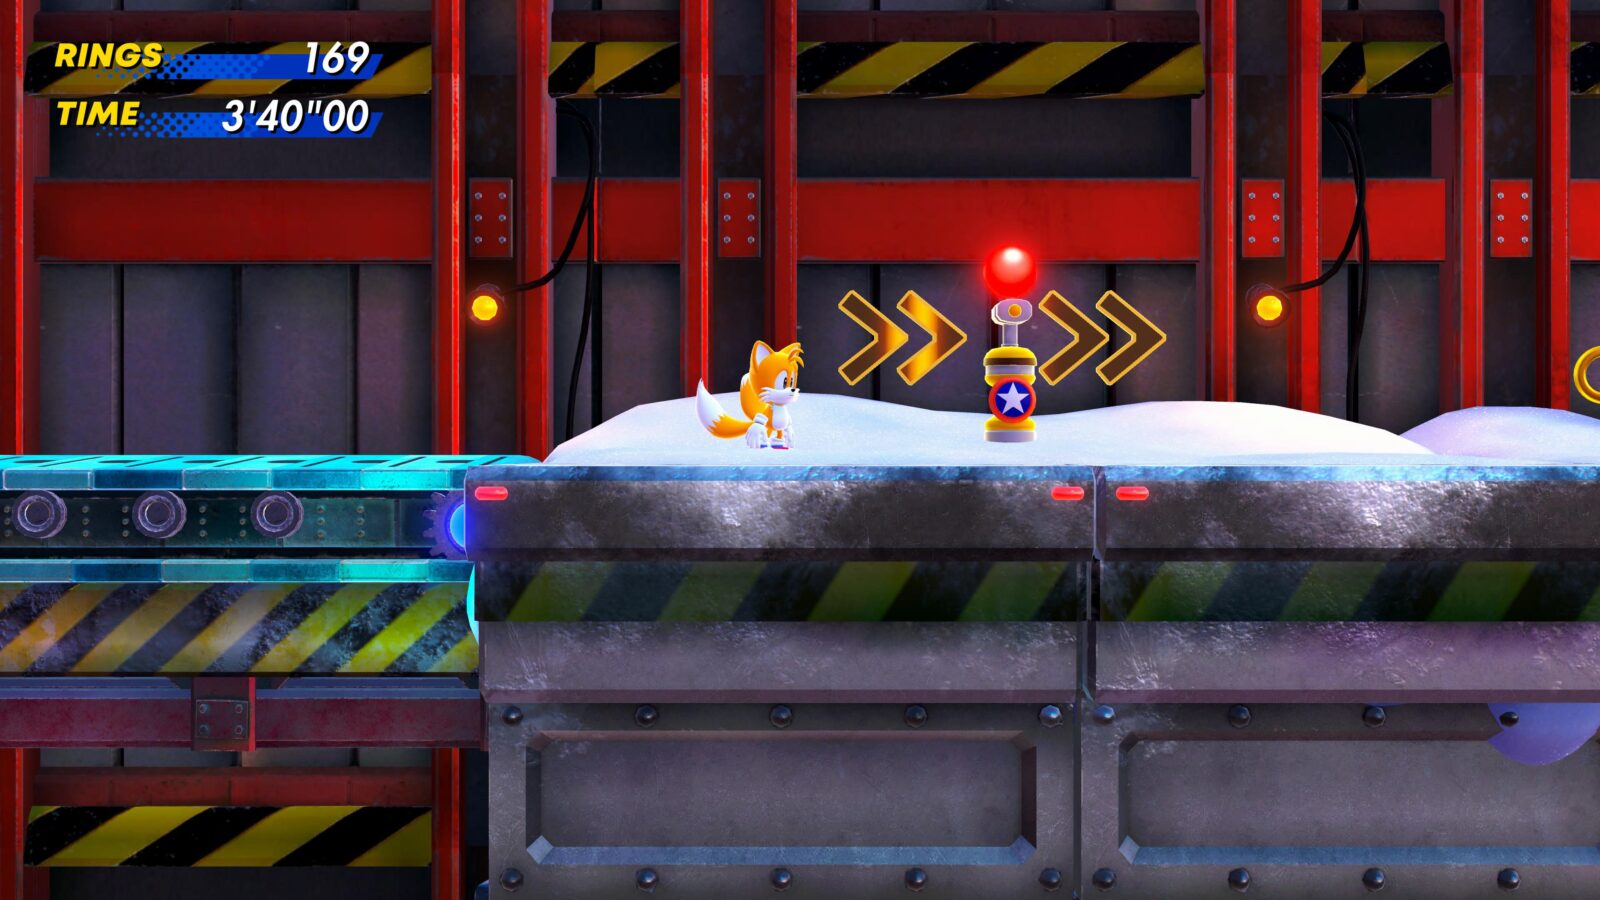
FROZEN BASE | Act 1
Proceed through the level until you reach this checkpoint on the highest possible path:
From there, go left, jump up the platforms, and look for this golden vulture hammer badnik on the cliff to your left.
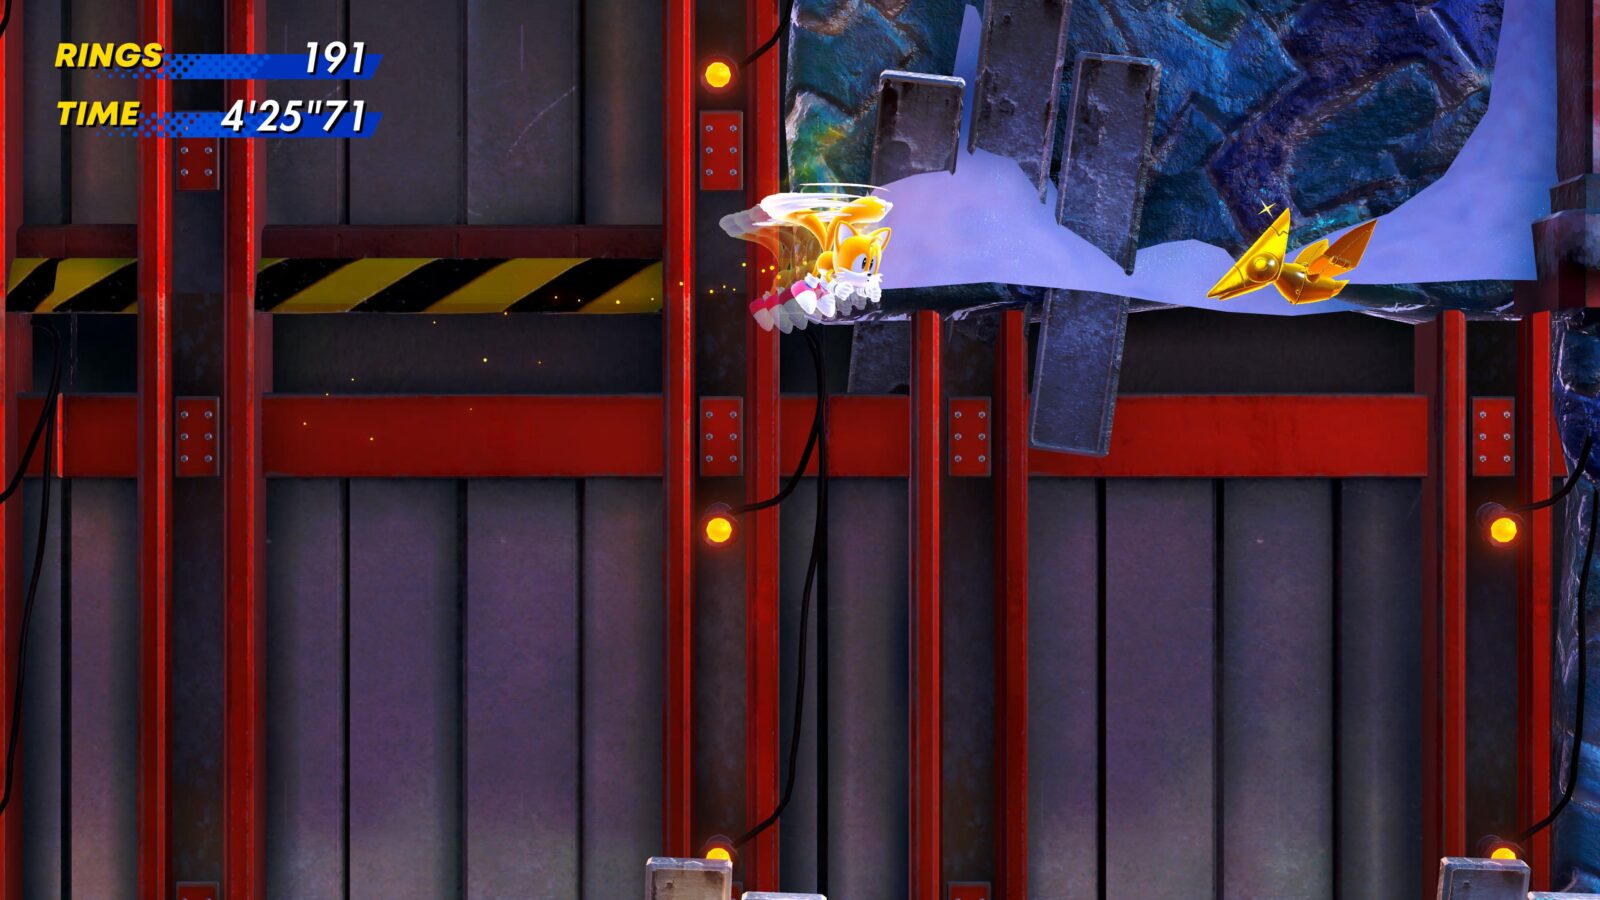
FROZEN BASE | Act Tails
Progress through the level until after you’ve flown up through a shaft full of purple round badniks.
At the top, begin flying up and to the left. You should have just enough stamina to reach another cliff with a bonus ring on it.
From there, use the Green Chaos Emerald power to climb up into the air.
From the top of your vine, fly up and to the right, along the trail of rings, onto another cliff.
Keep heading right, past the series of hills and enemies and then fly up through the gold medal and onto the path above and to your right.
From there, spin dash left into the loop and through the speed boosters.
Make your way up and to your right until you hit another checkpoint directly above you.
From there, continue right through the cave, being careful not to be squished by the moving walls.
At the other side of the moving walls, fly up as high as you can onto a blue conveyor belt, which pushes you right onto a checkpoint.
Continue right along the blue conveyors until you reach the end.
The gold enemy is flying back and forth above the last section of the blue conveyor. Fly up and take it out.
EGG FORTRESS | Act 1
Proceed through the level until this checkpoint, before a door with a metal caterpillar at the other side.
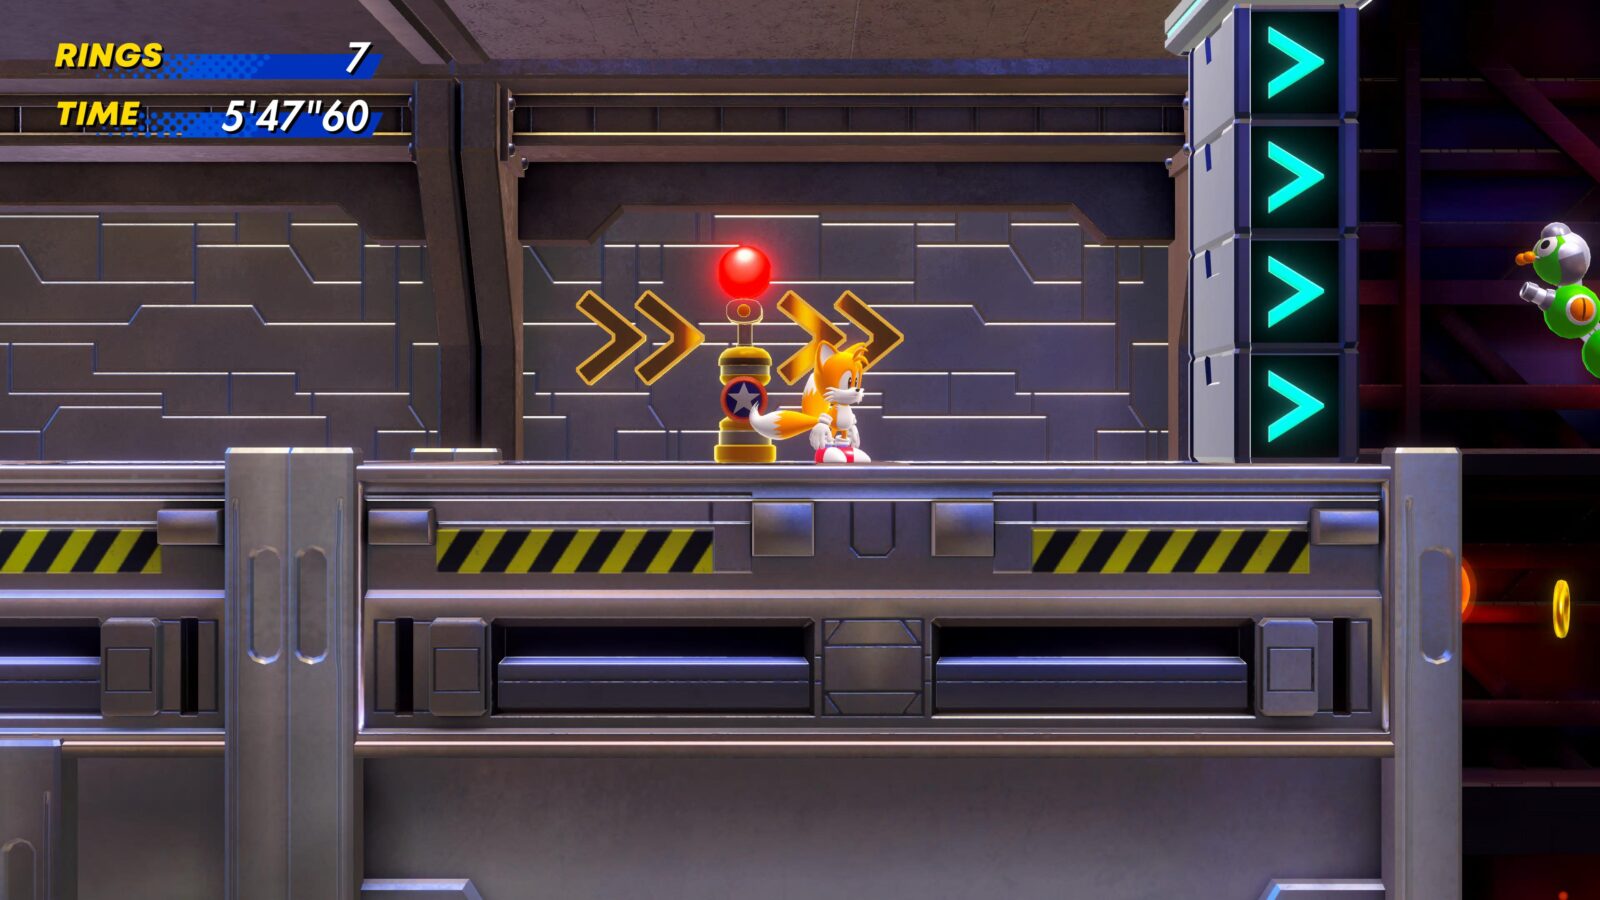
Pass all the way through that room and then enter the vent at the end, you’ll be sucked up and to the right, entering a new area.
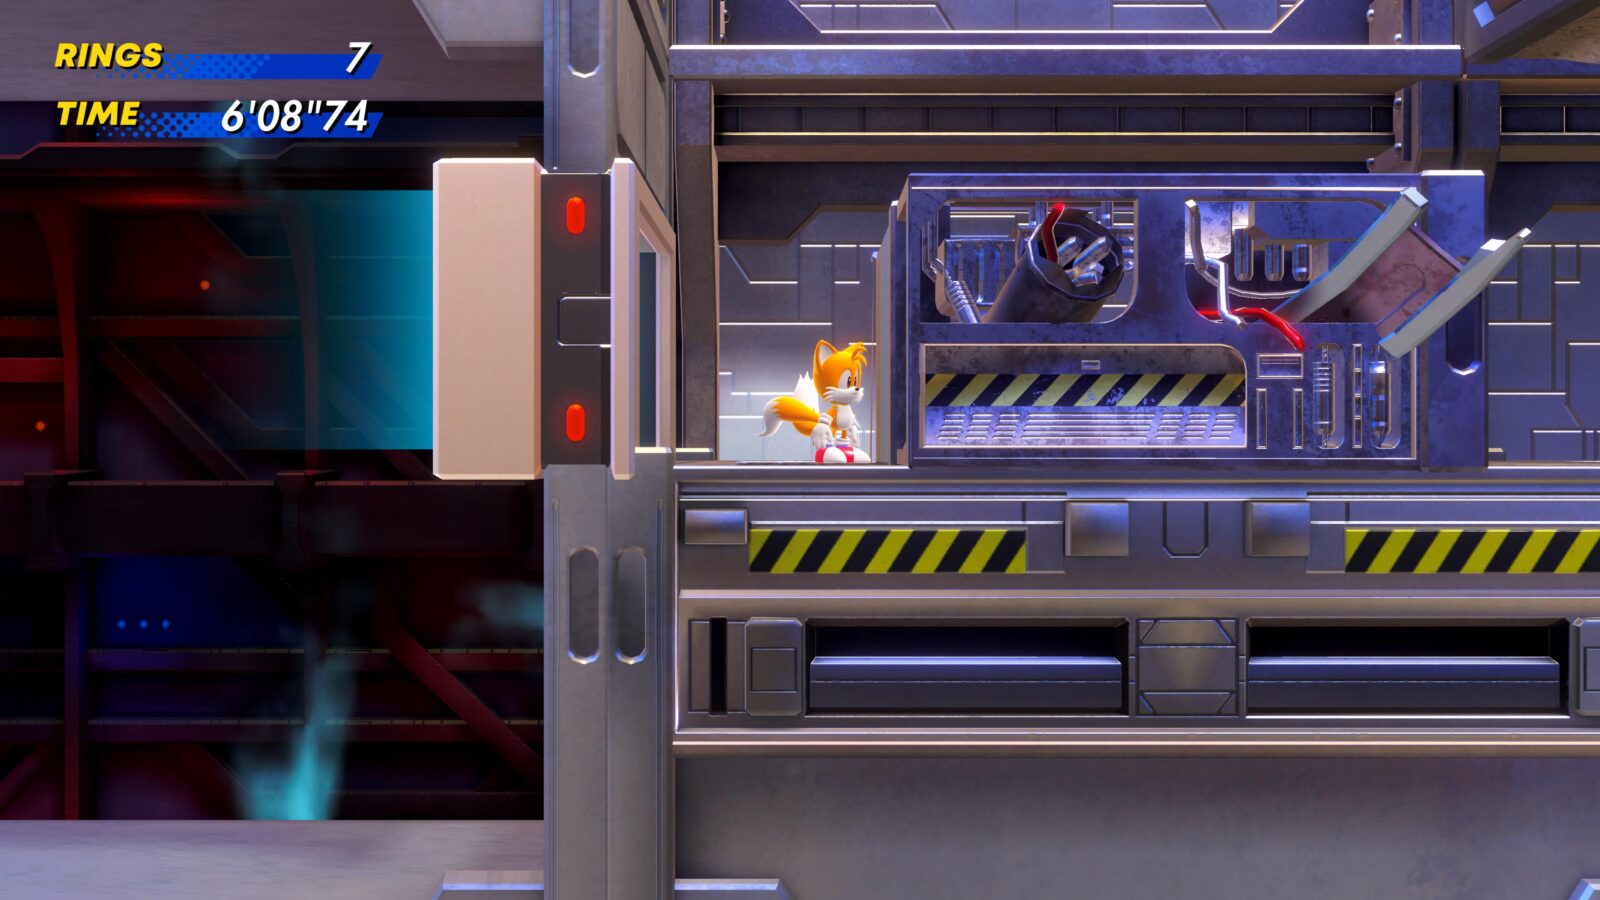
Head up and left from there to find this gold badnik next to a drawing on the wall.
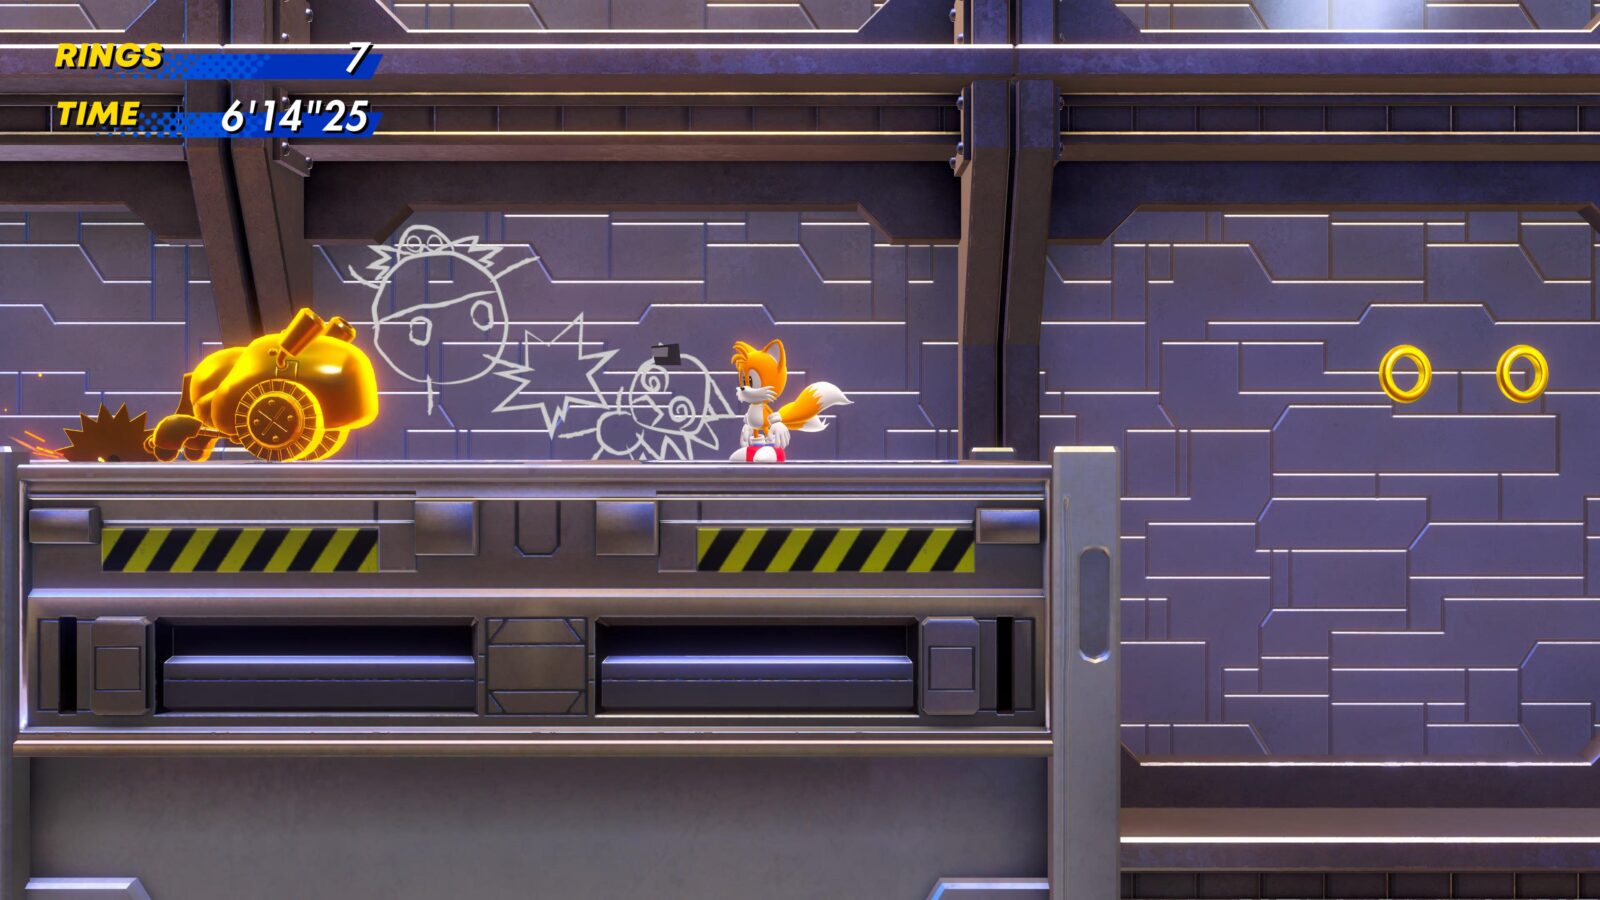
EGG FORTRESS | Act 2
As you’ll recall, the level is split up by rooms filled with disappearing platforms. Some are metal platforms that drop down into the ground, while others are white futuristic platforms which dematerialise.
To find this gold enemy, you need to make your way through the level through the first futuristic platform room and into the second one.
In this room, stay as high up as you can and you’ll find it hard to miss the Golden Caterpillar Badnik up there.
As easy as this one is to find, the real challenge is now finishing the level, including the boss, without dying! Your best bet would be to use the Sonic Superstars Infinite Super Form Glitch if it still works!
Gilded Success
Congratulations; if you collected them all so far then you’ll receive a well-deserved (currently Ultra Rare) Gold Trophy!
If you have any trouble or want to leave some advice for future hunters, please use our comments section below to share your experience!
Thanks for Reading
Plat Get!
Thank You!
Thank You for choosing PlatGet as your source for this Sonic Superstars Gold Enemy Guide.
Wondering what to complete next? Browse our complete guide selection or check out our friends at PlatPrices.com to filter the PS Store based on price, trophy difficulty, or completion time.
Got a question, some feedback, or just want to say thanks? Drop a comment in the discussion section below, we'd love to hear from you! No account required!!