PlayStation 4
Shadow Warrior 3 Upgrade Point Locations Guide
Game Guide
Where to Find All Character and Weapon Upgrade Points in Shadow Warrior 3
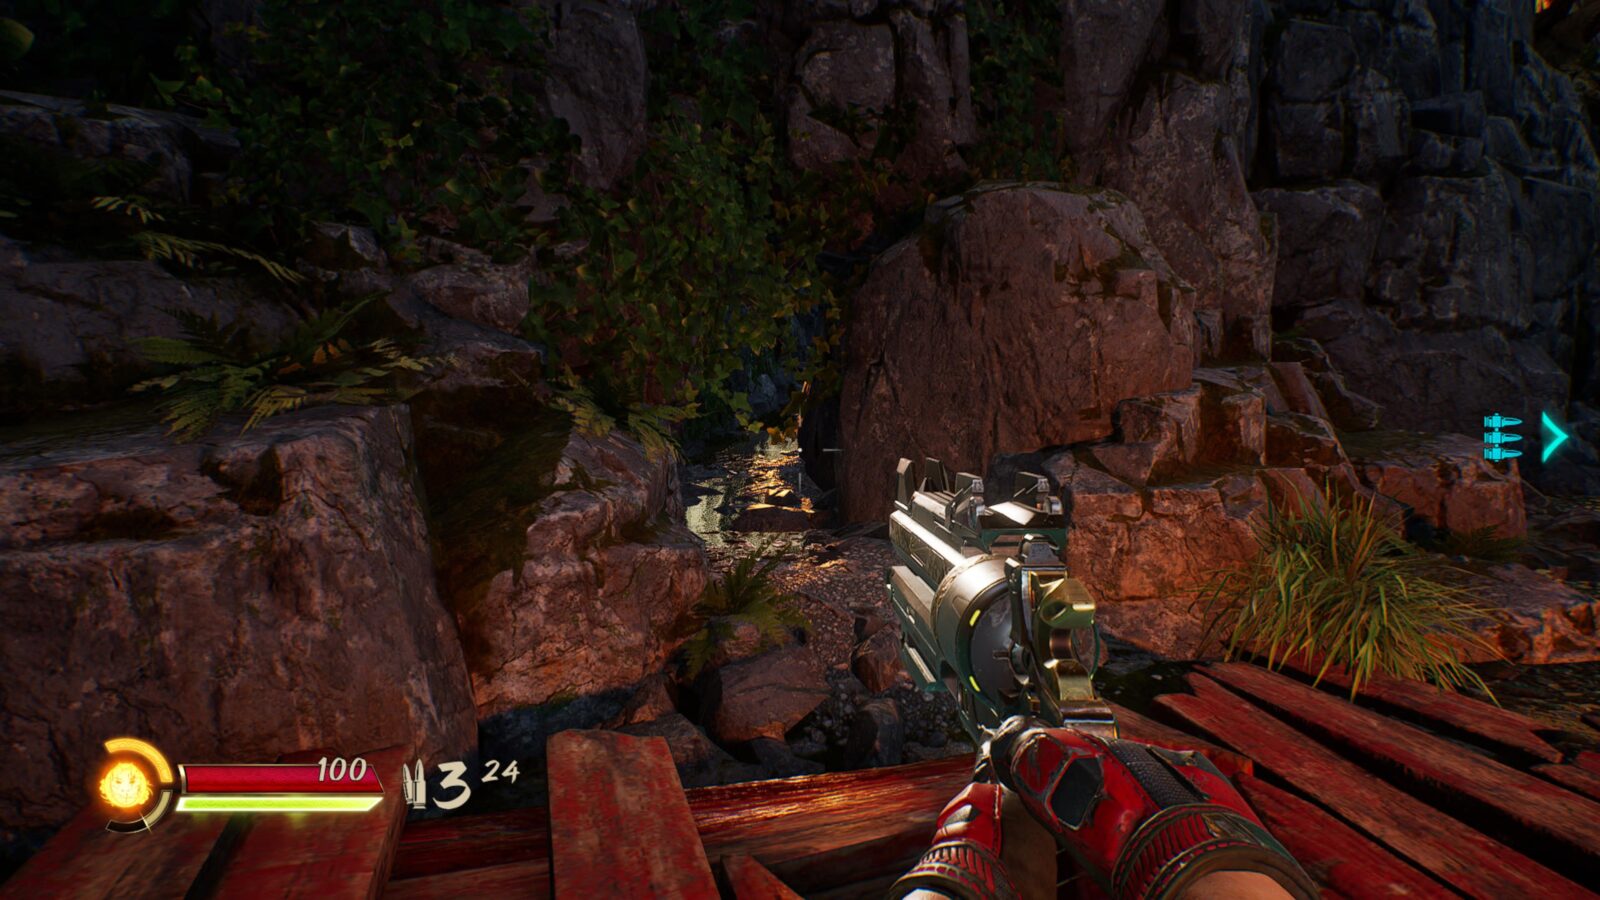
Welcome to our Shadow Warrior 3 Upgrade Point Locations Guide. Within, we’ll endeavour to show you how and where to collect all of the Upgrade Points used to upgrade Wang and his arsenal of weaponry.
Note that there are no Upgrade Points to collect during Chapter 1: The Dragons Back.
There is no Chapter Select or New Game Plus in Shadow Warrior 3, so if you miss any of these Upgrade Points, it is impossible to go back for them without starting a new game.
If you notice that you’ve just missed an Upgrade Point, you could try reloading the last checkpoint from the ![]() pause menu to go back for it. If that’s not enough, you can restart the level. But if you miss a point in a level you’ve completed then you’ll just have to restart the game.
pause menu to go back for it. If that’s not enough, you can restart the level. But if you miss a point in a level you’ve completed then you’ll just have to restart the game.
Sucks, doesn’t it?
Challenges
Midway through Chapter 2, you’ll gain access to a “Challenges” tab in the ![]() menu. Within, you’ll find several objectives you can try to complete before reaching the end of the game. Completing these will earn you extra Upgrade Points.
menu. Within, you’ll find several objectives you can try to complete before reaching the end of the game. Completing these will earn you extra Upgrade Points.
The challenges are as follows:
| Challenge | Objective | Point Reward Type |
|---|---|---|
| Blademaster | Kill 100 enemies with the katana. | Weapon |
| Mr. Doctor | Heal yourself by a total value of 5000 HP. Keep an eye on this one, it can sometimes stop tracking. If this happens, just Exit to Main Menu and load back in. | Character |
| Gore Tools Sensei | Kill 100 enemies using Gore Tools. | Character |
| Ammo Harvester | Gather 100 ammo packs. | Character |
| One Punch Wang | Push away enemies with the Chi Blast 100 times. | Character |
| Danger Zone | Kill at least 2 enemies with a single Crimson Bull projectile 15 times. | Weapon |
| Staggered | Stagger 50 enemies using the Shuriken Spitter. | Weapon |
| Multi-Strike | Kill at least 2 enemies with one katana strike 15 times. | Weapon |
| CQC | Kill 50 enemies with the Riot Gun while at very close range. | Weapon |
| Bullseye | Headshot kill 25 enemies using The Outlaw. | Weapon |
| Multi-tasking | In 5 seconds or less, kill at least 3 enemies in different ways: using the katana, a ranged weapon, and an environmental hazard. | Weapon |
| Target Practice | Kill 25 Kugutsu demons on balloons before they land | Weapon |
| Death from Above | While in mid-air, kill an enemy with the Basilisk 5 times. | Weapon |
| Survivor | Kill 25 enemies while being low on health. | Character |
| Dodge this! | Kill 50 enemies with Fire Barrel explosions. | Character |
| Mind your step! | Kill 10 enemies by pushing them off the ledge with the Chi-Blast. | Character |
| Face-2-Face | Kill 25 enemies shortly after using the Grappling Hook on them. | Character |
| Run-and-Gun | Kill 10 enemies shortly after a wallrun | Character |
| Debuffed | Kill 50 enemies affected by Electric and Ice Barrels | Character |
You should keep an eye on them throughout your playthrough to make sure you’re always making progress towards them.
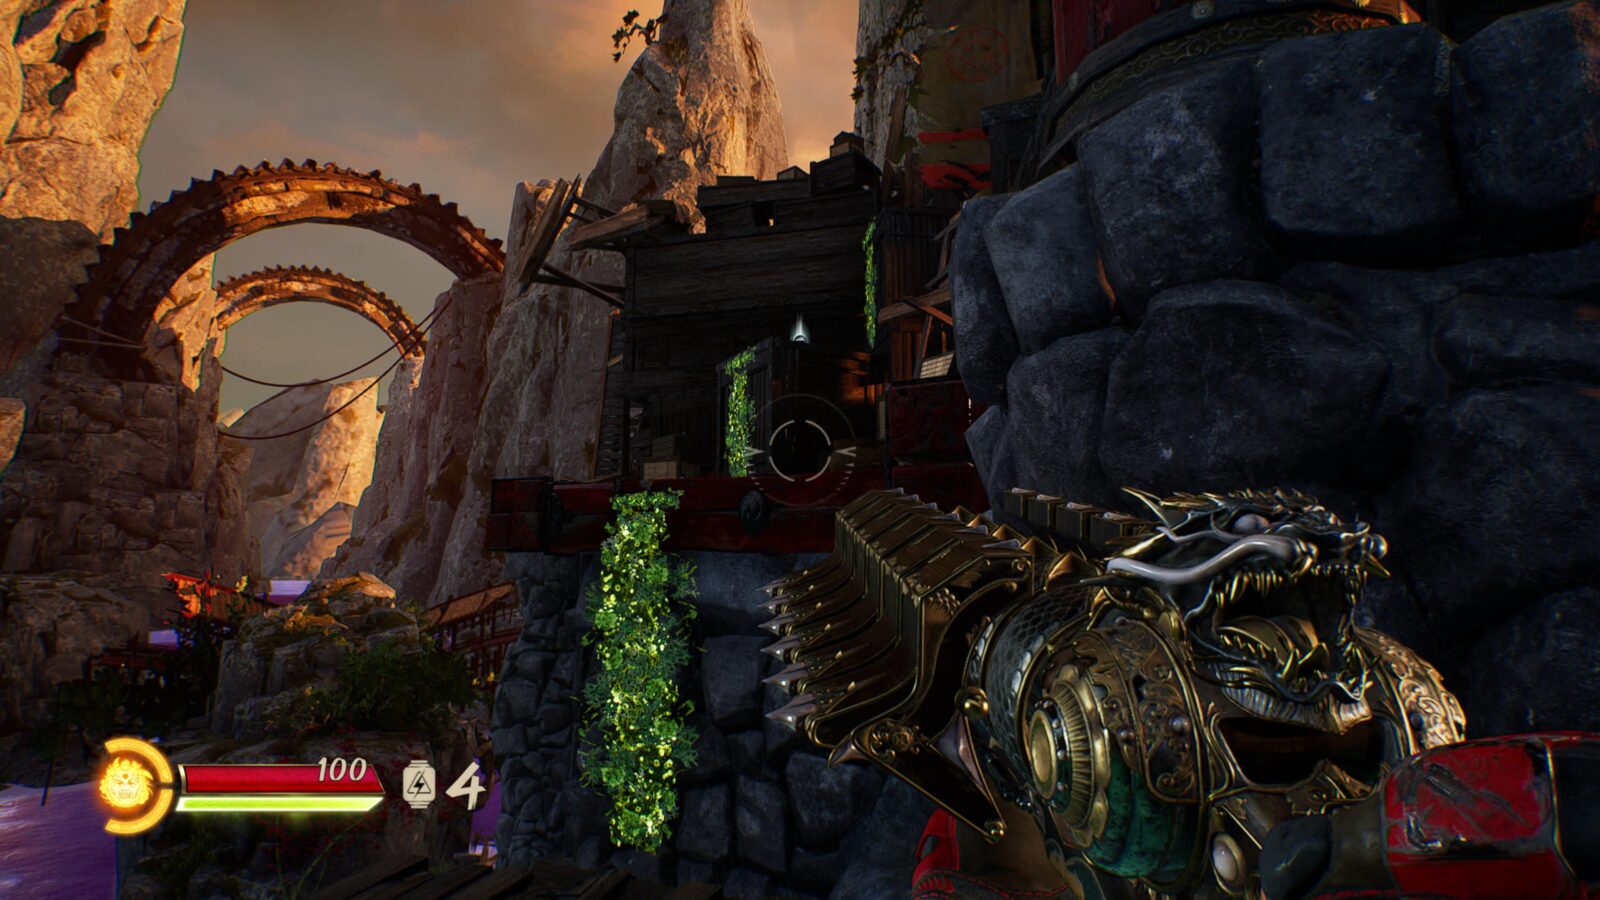
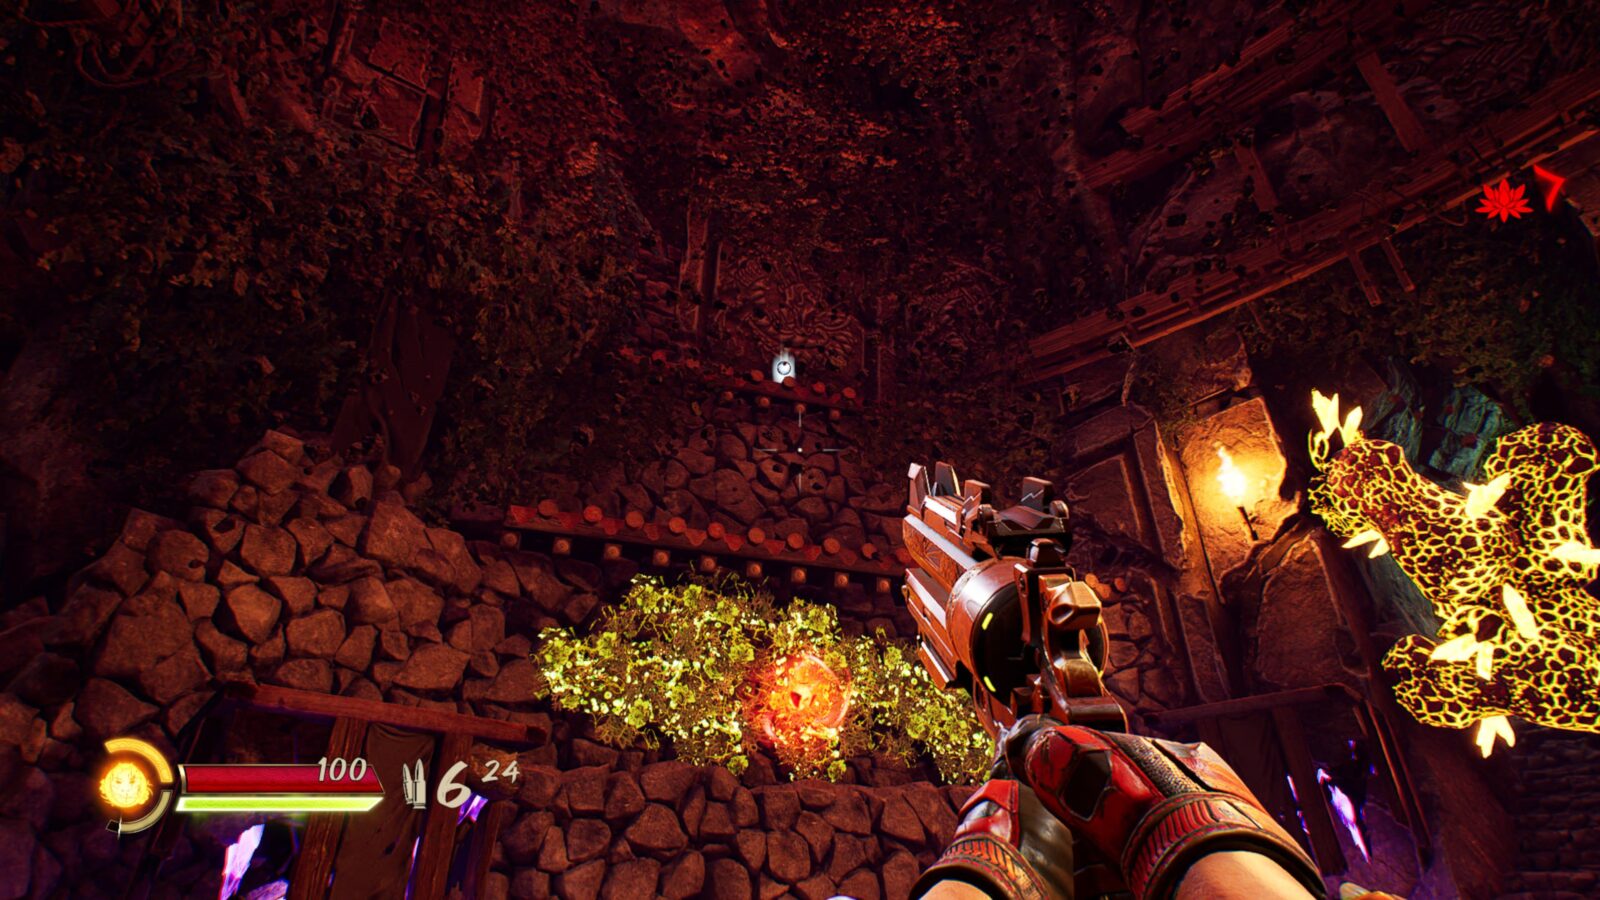
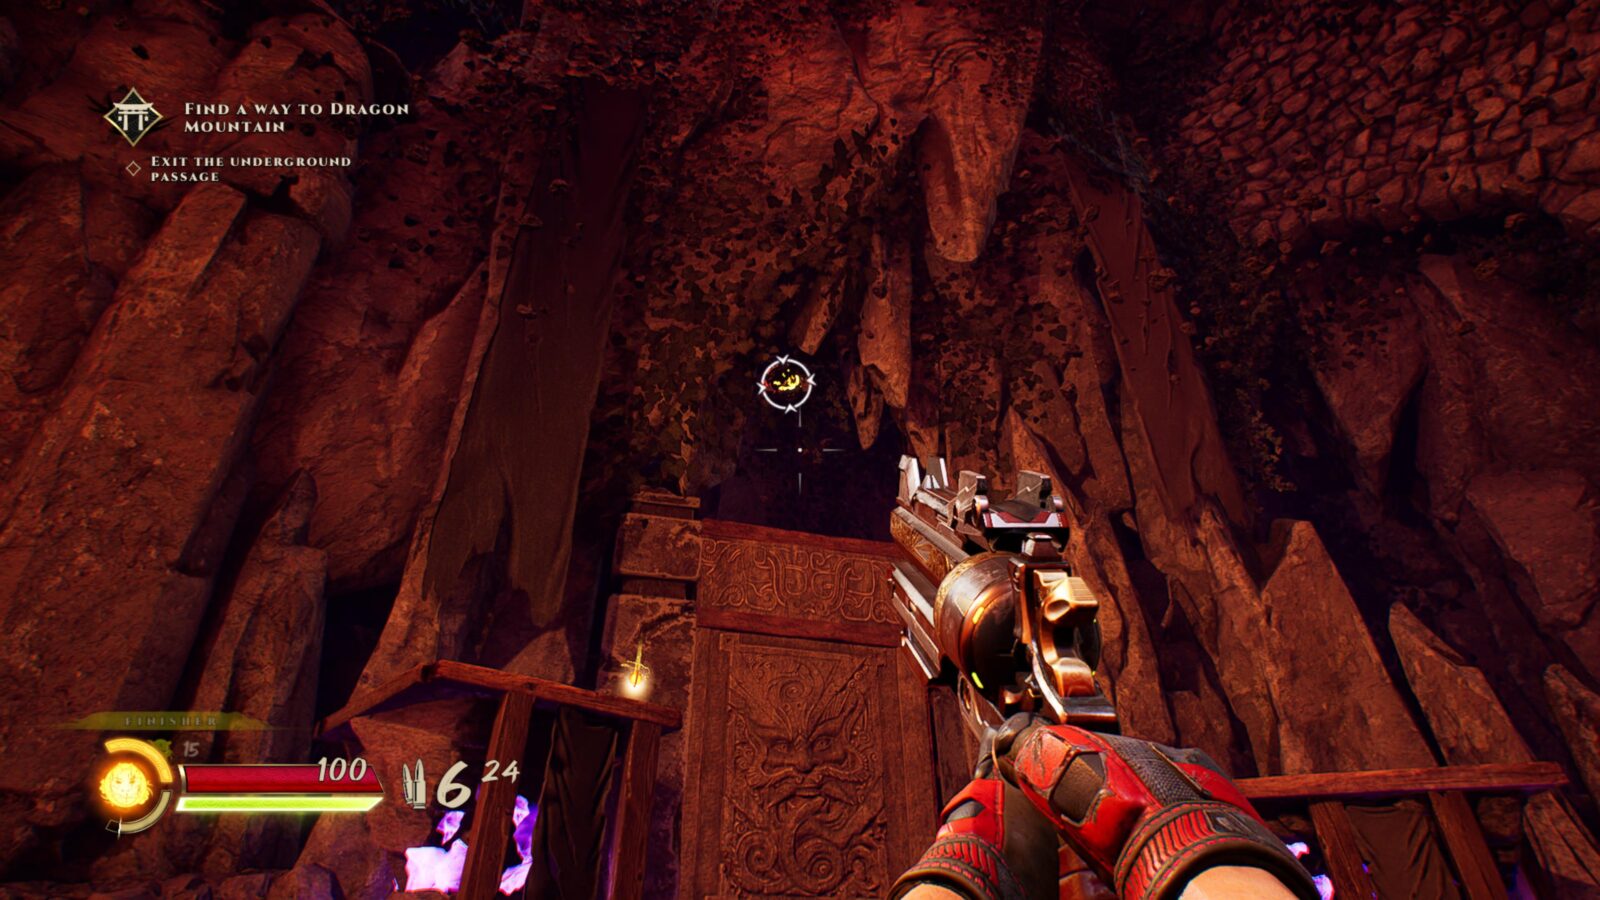
Chapter 2: Way to Mokoto
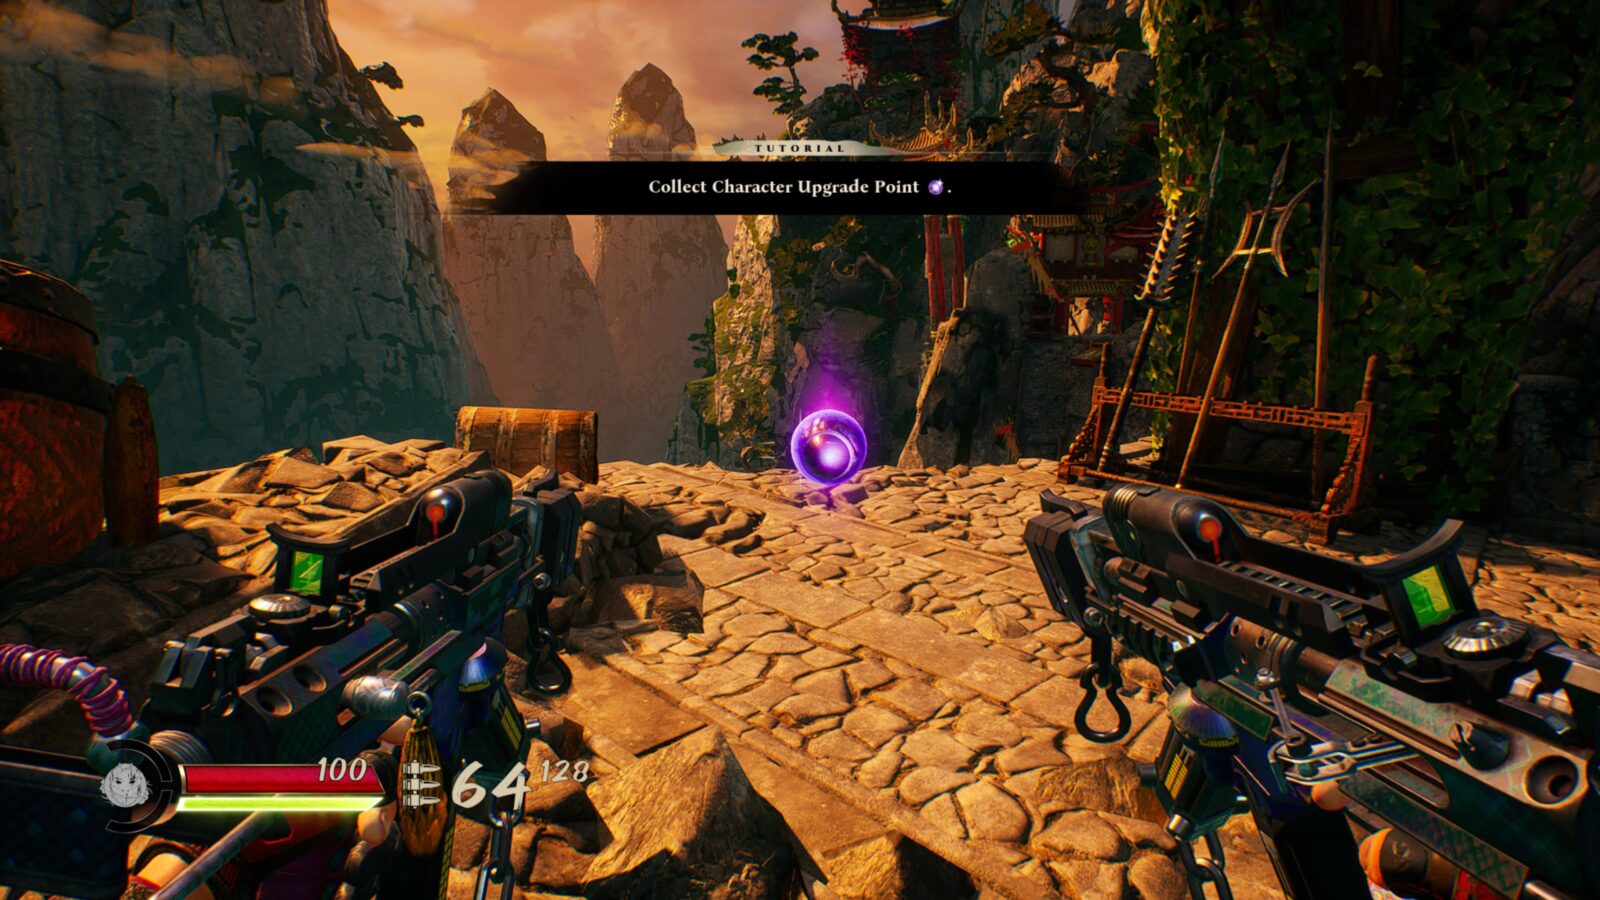
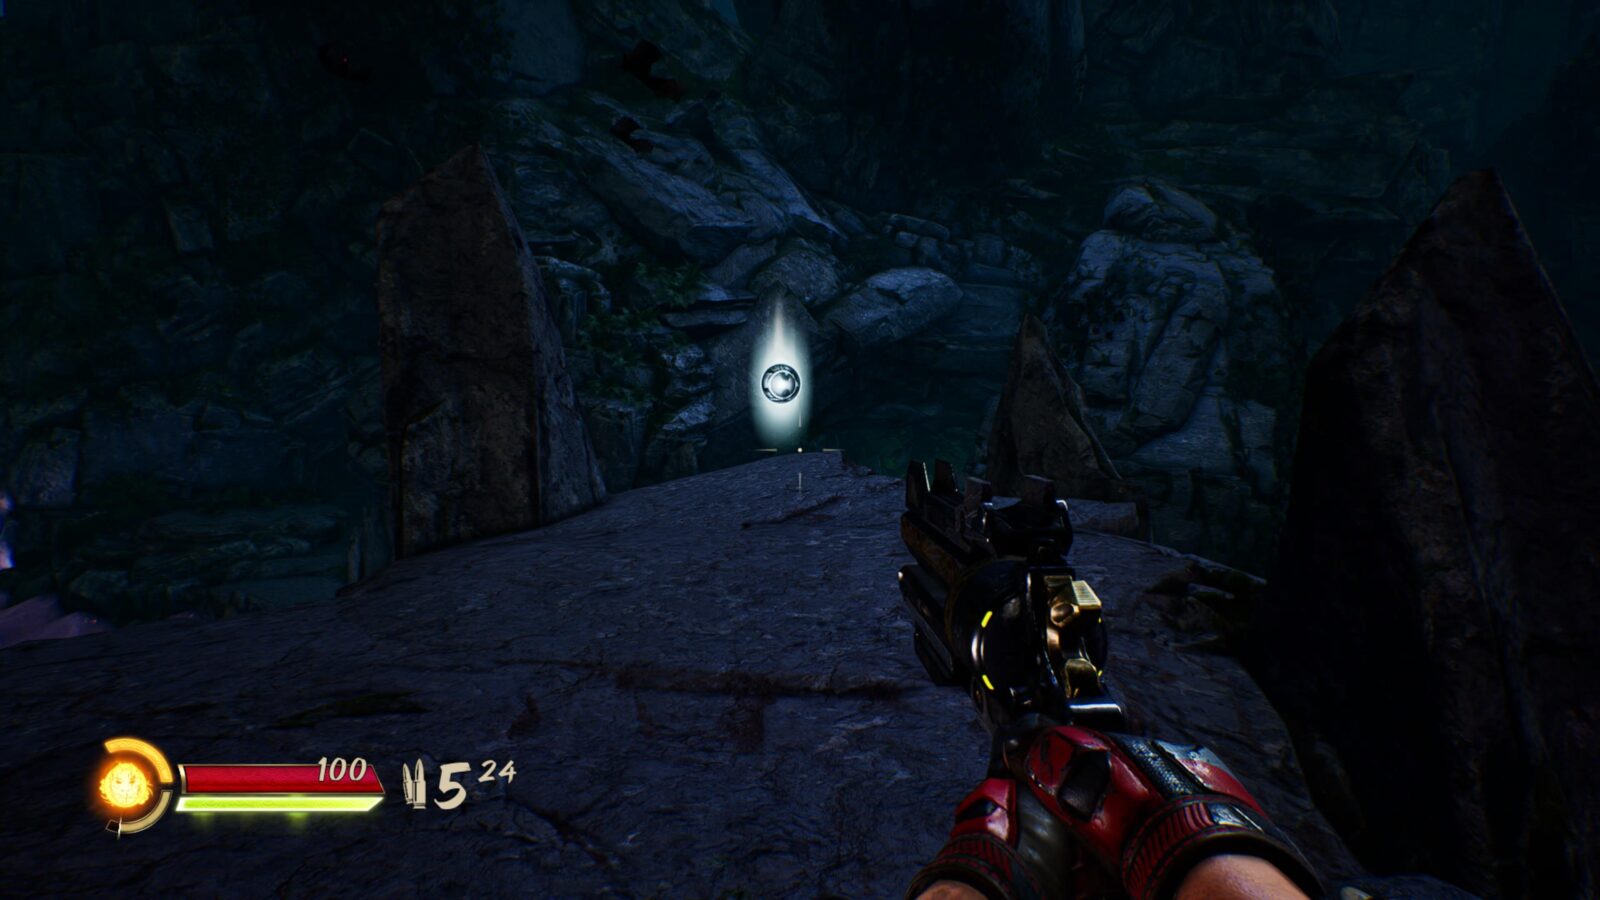
Chapter 2 Character Upgrade Point #1
The first Character Upgrade Point in the game is on a ledge along the main path. The game will tell you to collect it as part of the tutorial.
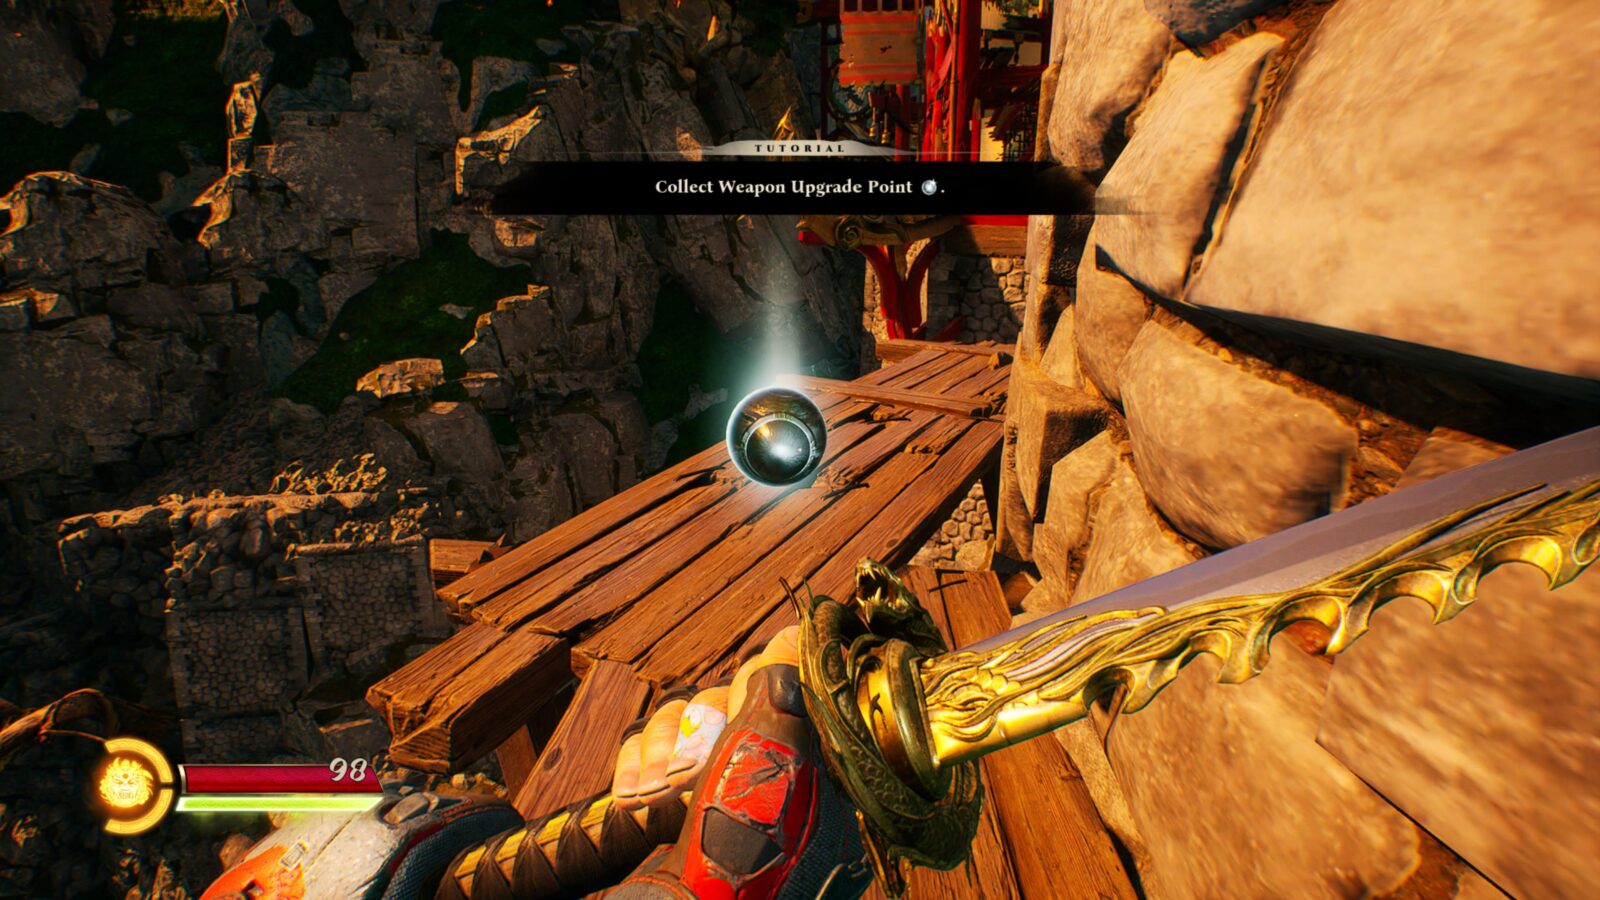
Chapter 2 Weapon Upgrade Point #1
You will run into this first Weapon Upgrade Point shortly after the Grapple tutorial, it is unavoidable and is on the main path.
Chapter 2 Weapon Upgrade Point #2
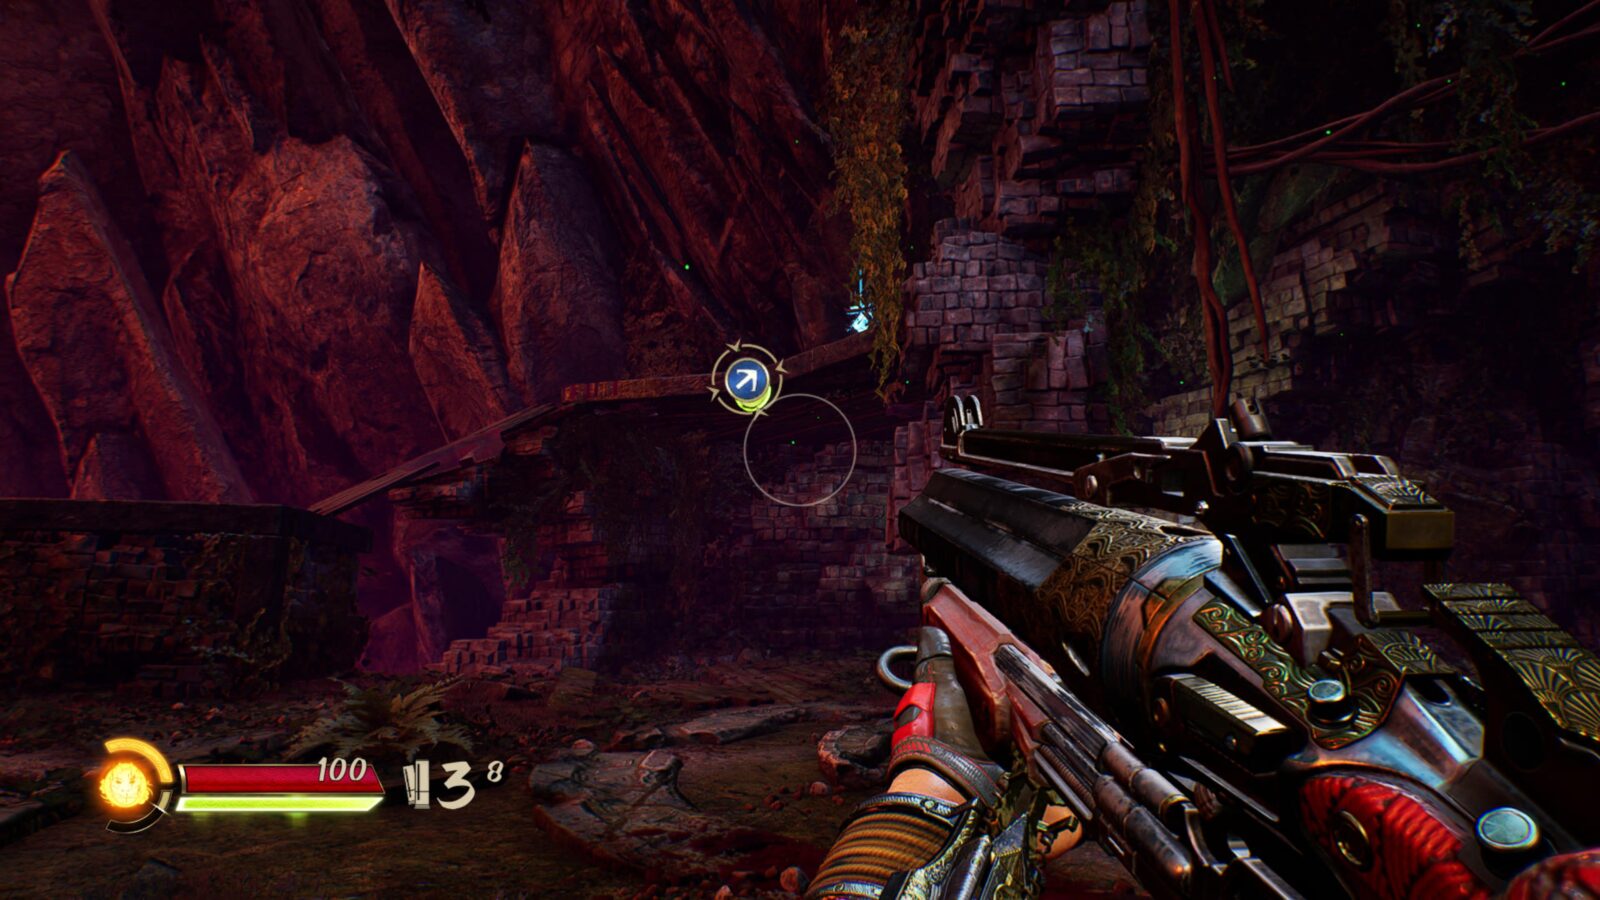
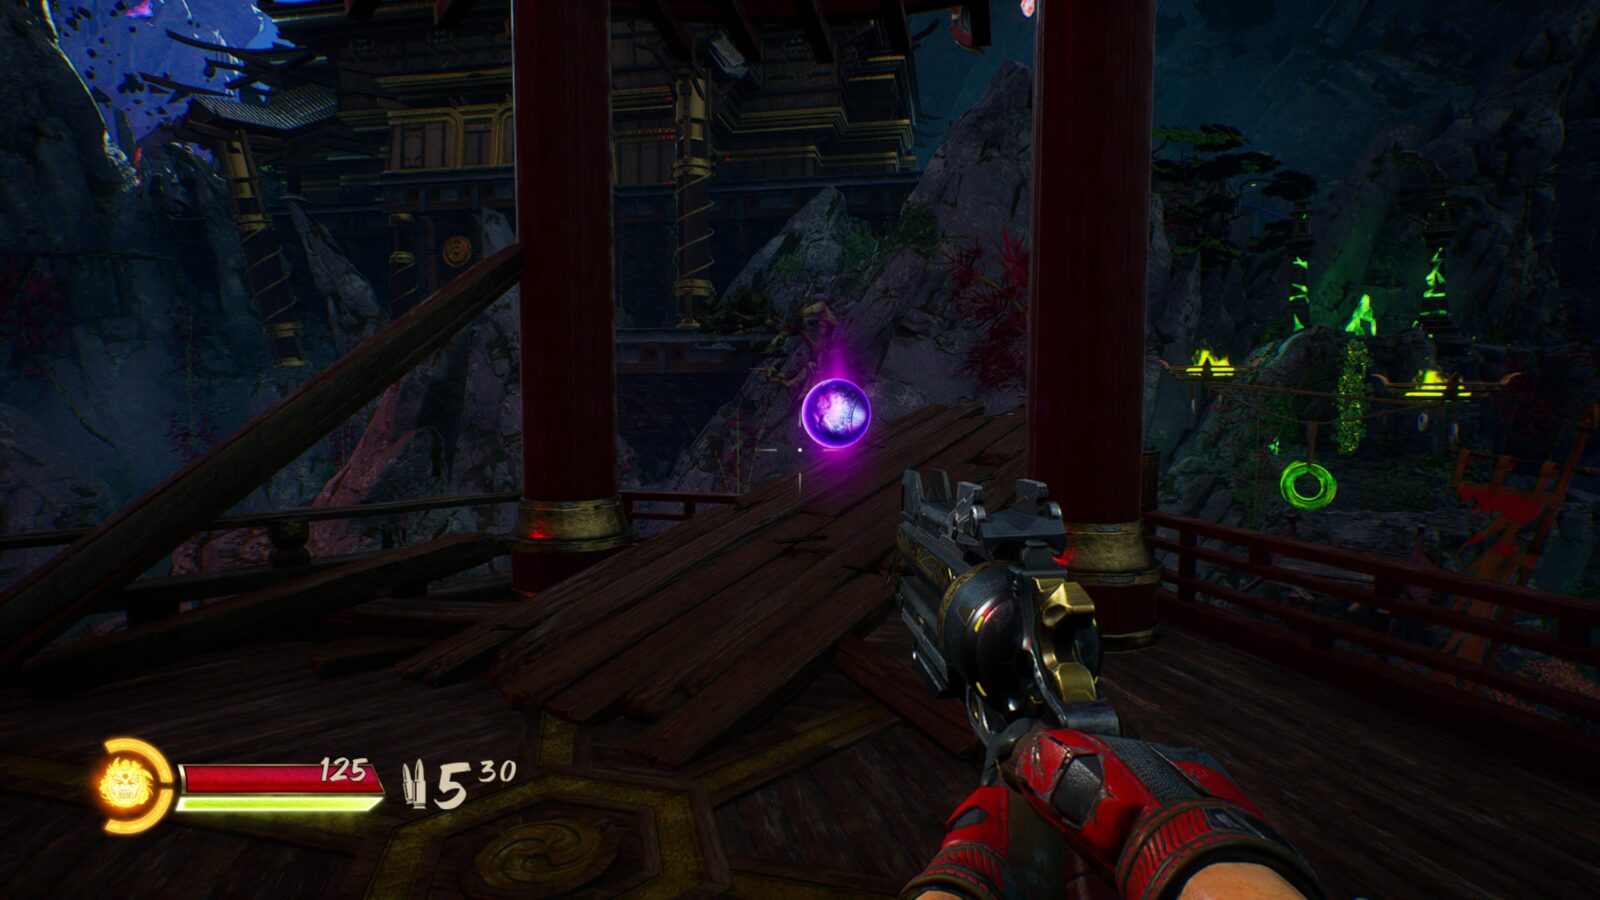
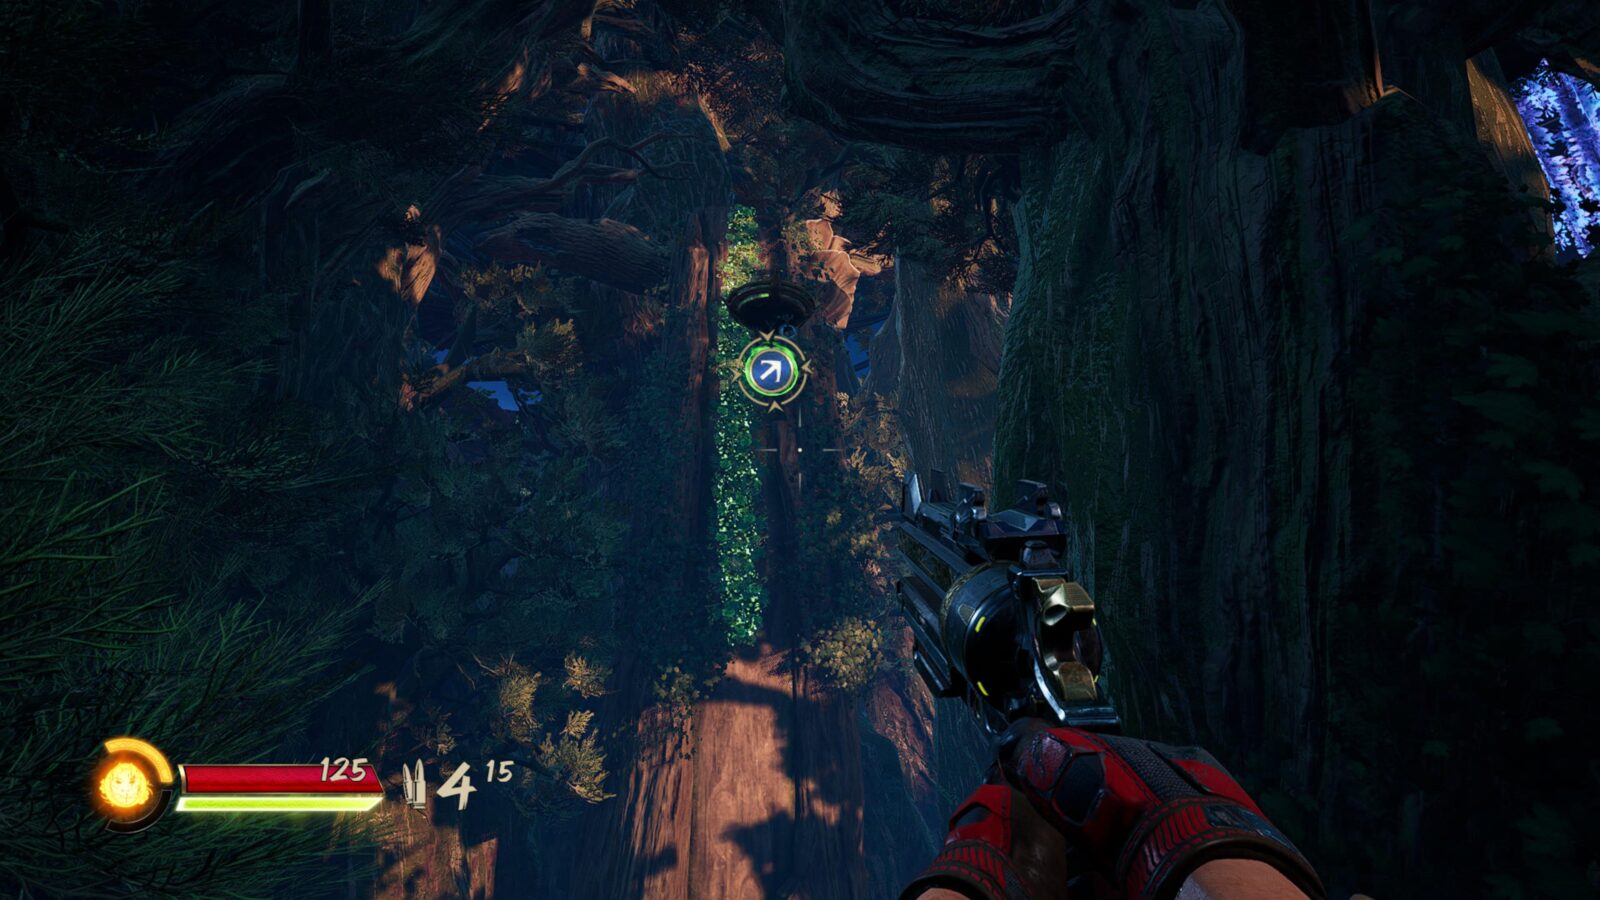
Later in the level, after a sliding section, you’ll trigger a cutscene that is related to the Kumo Brotherhood Gates.
When the cutscene ends, jump off the ledge towards the statue on the ledge down and to your right.
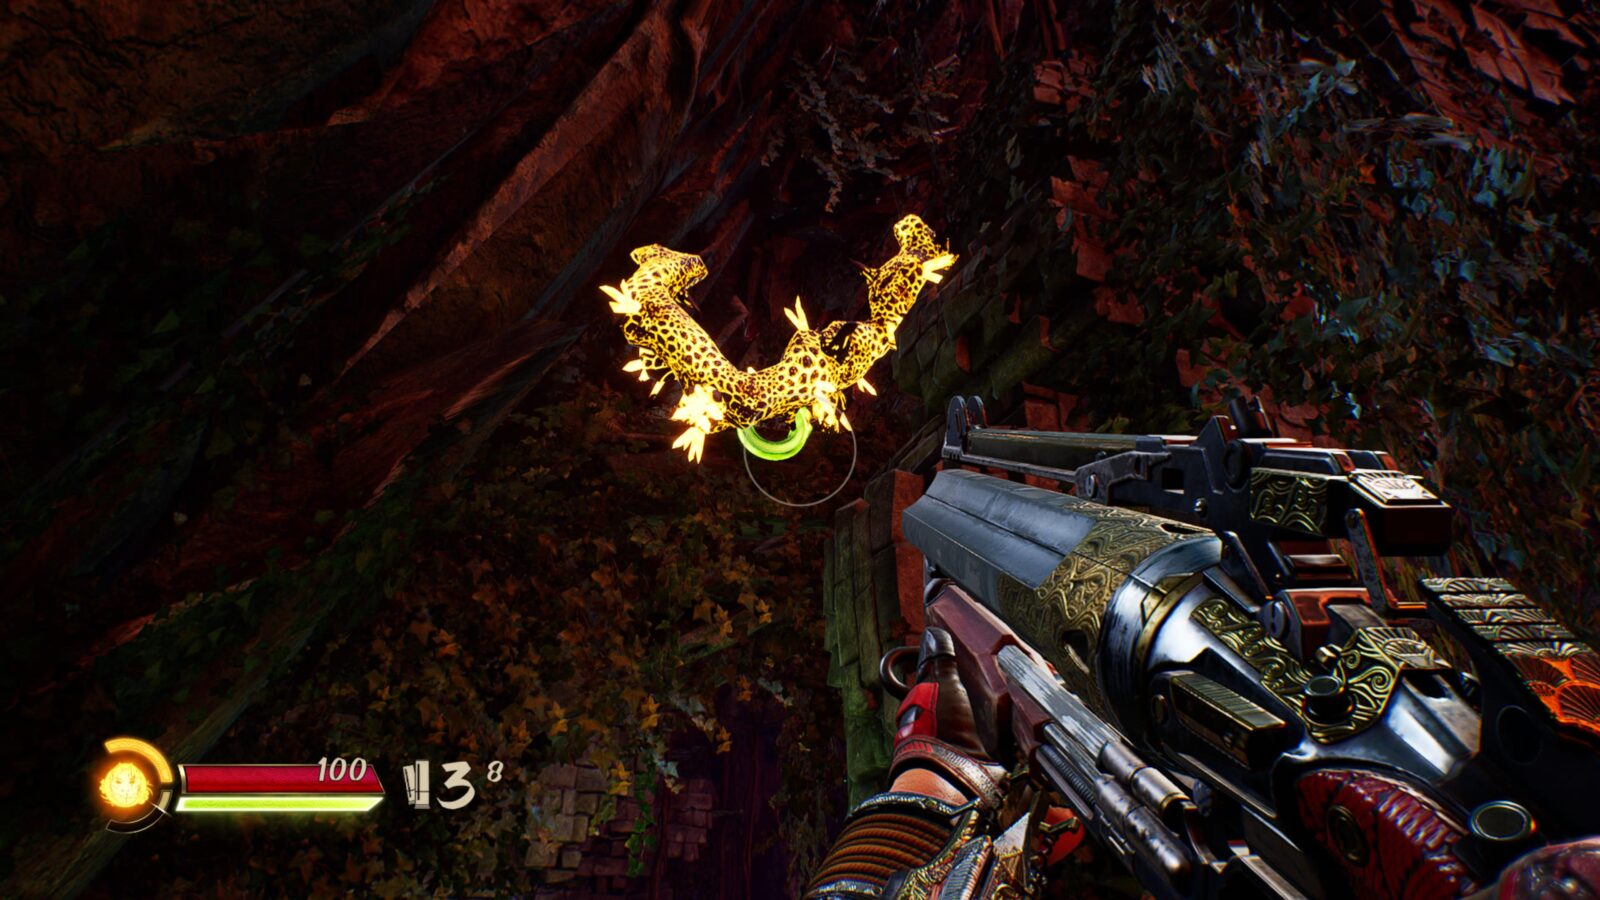
Behind the statue, you’ll find this Upgrade Point.

Chapter 2 Character Upgrade Point #2
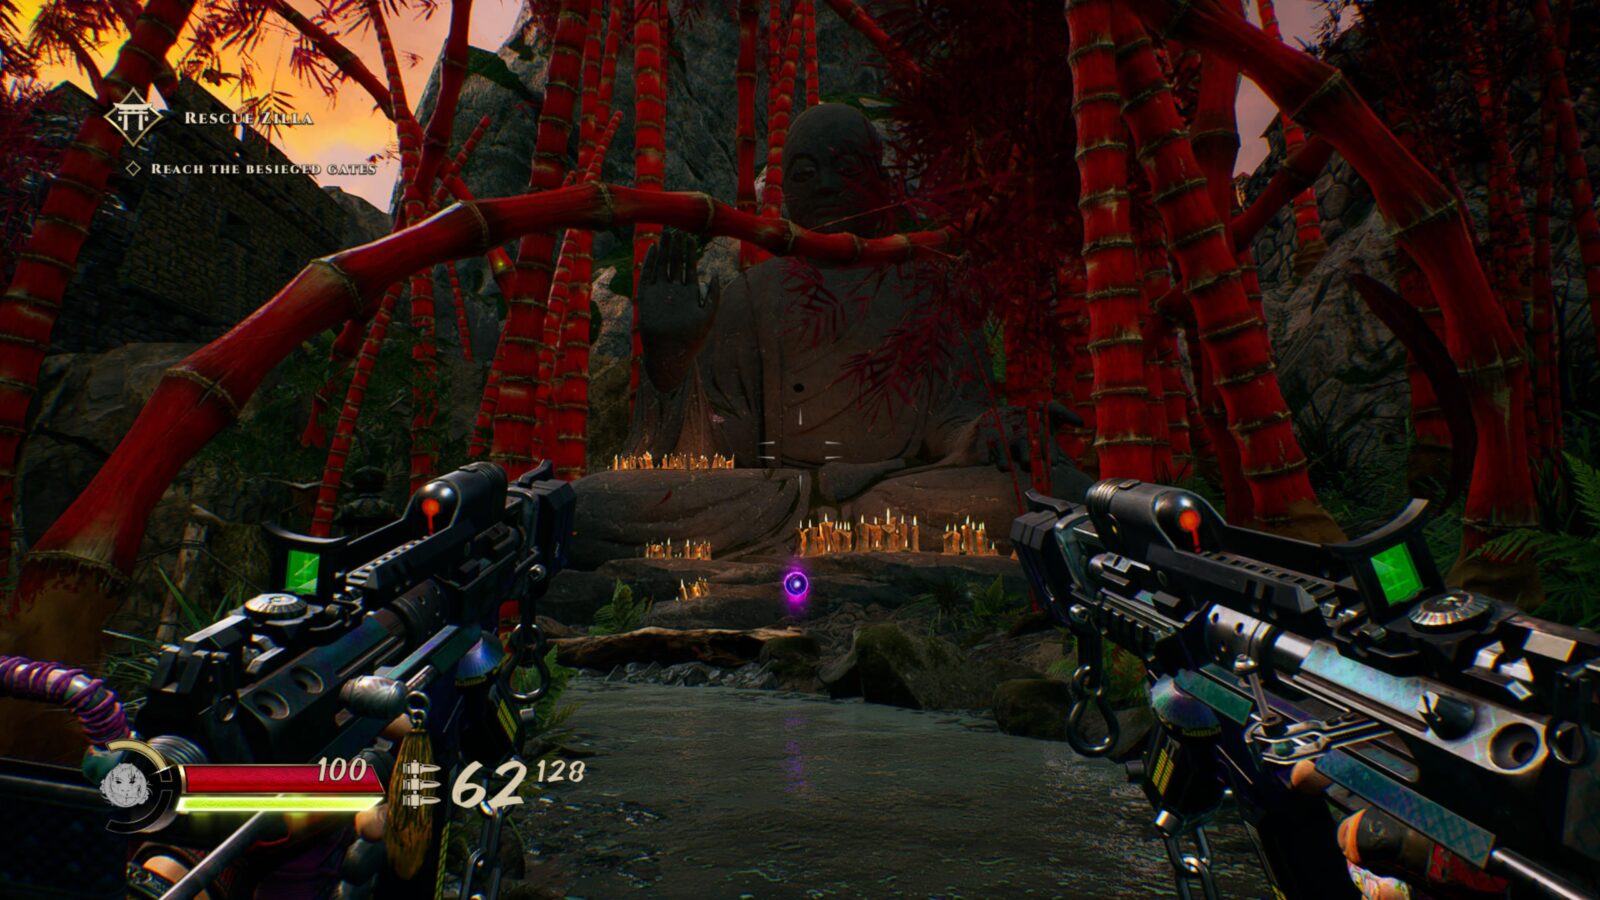
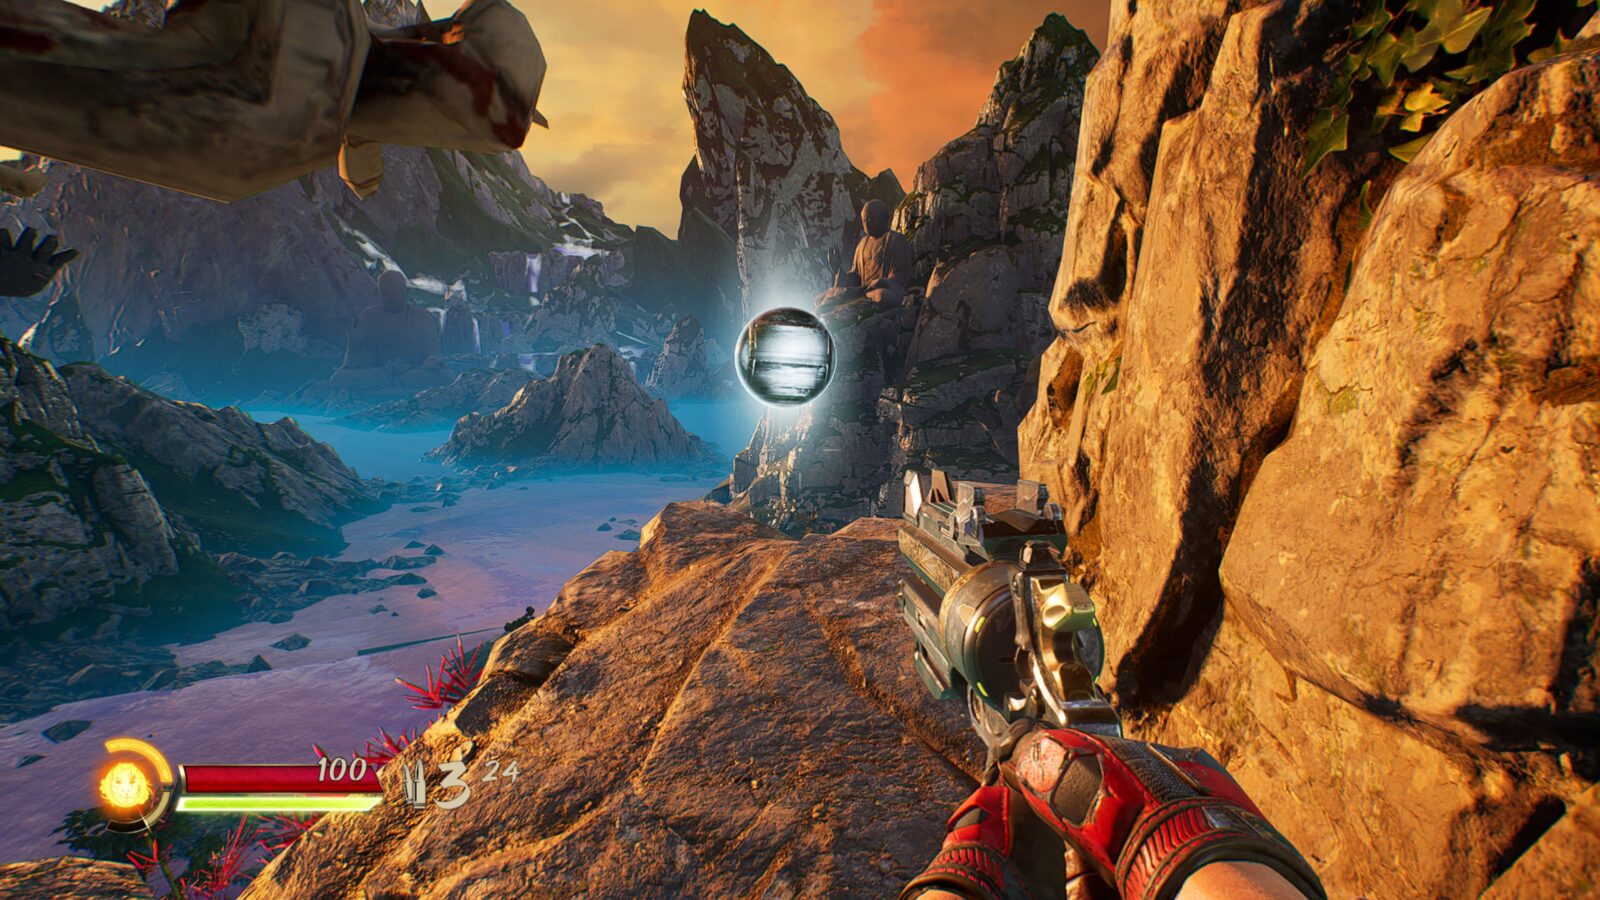
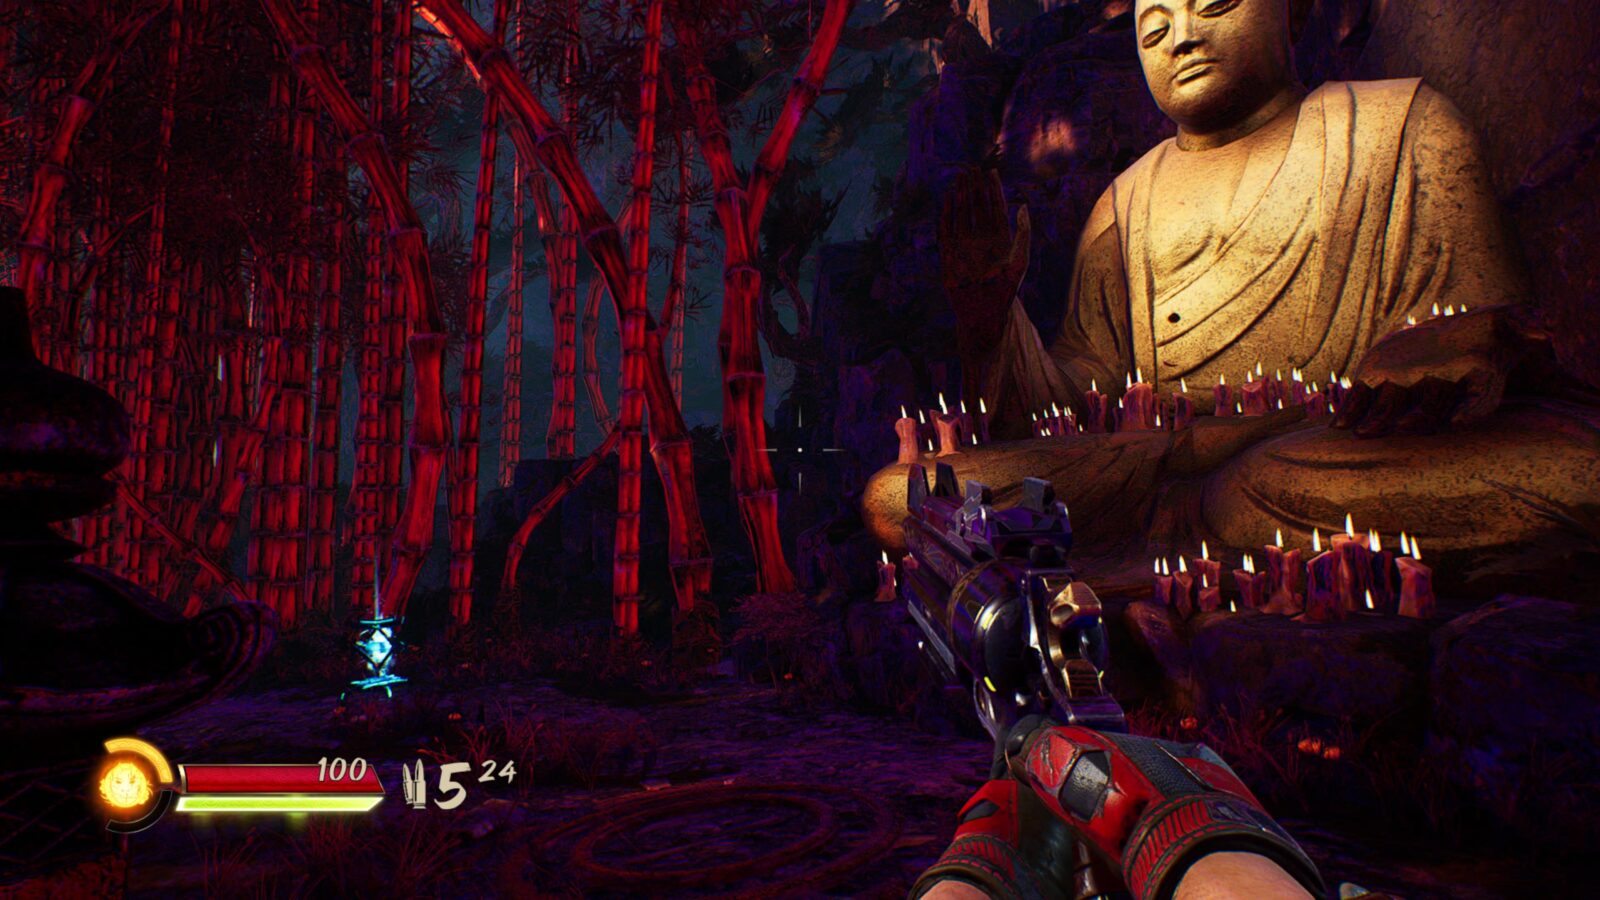
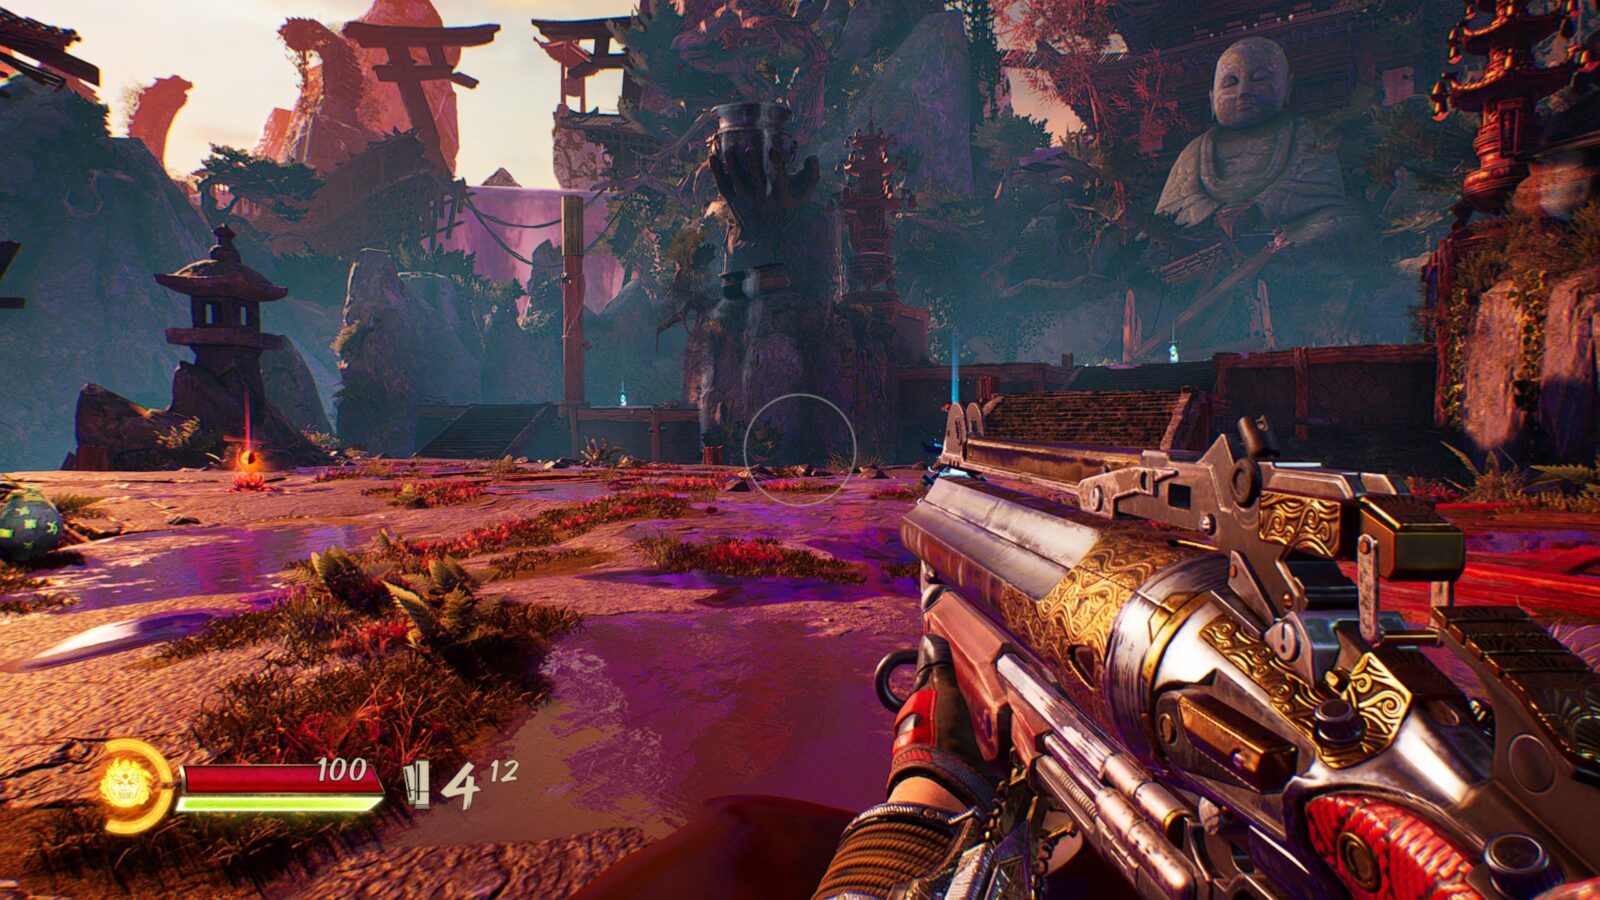
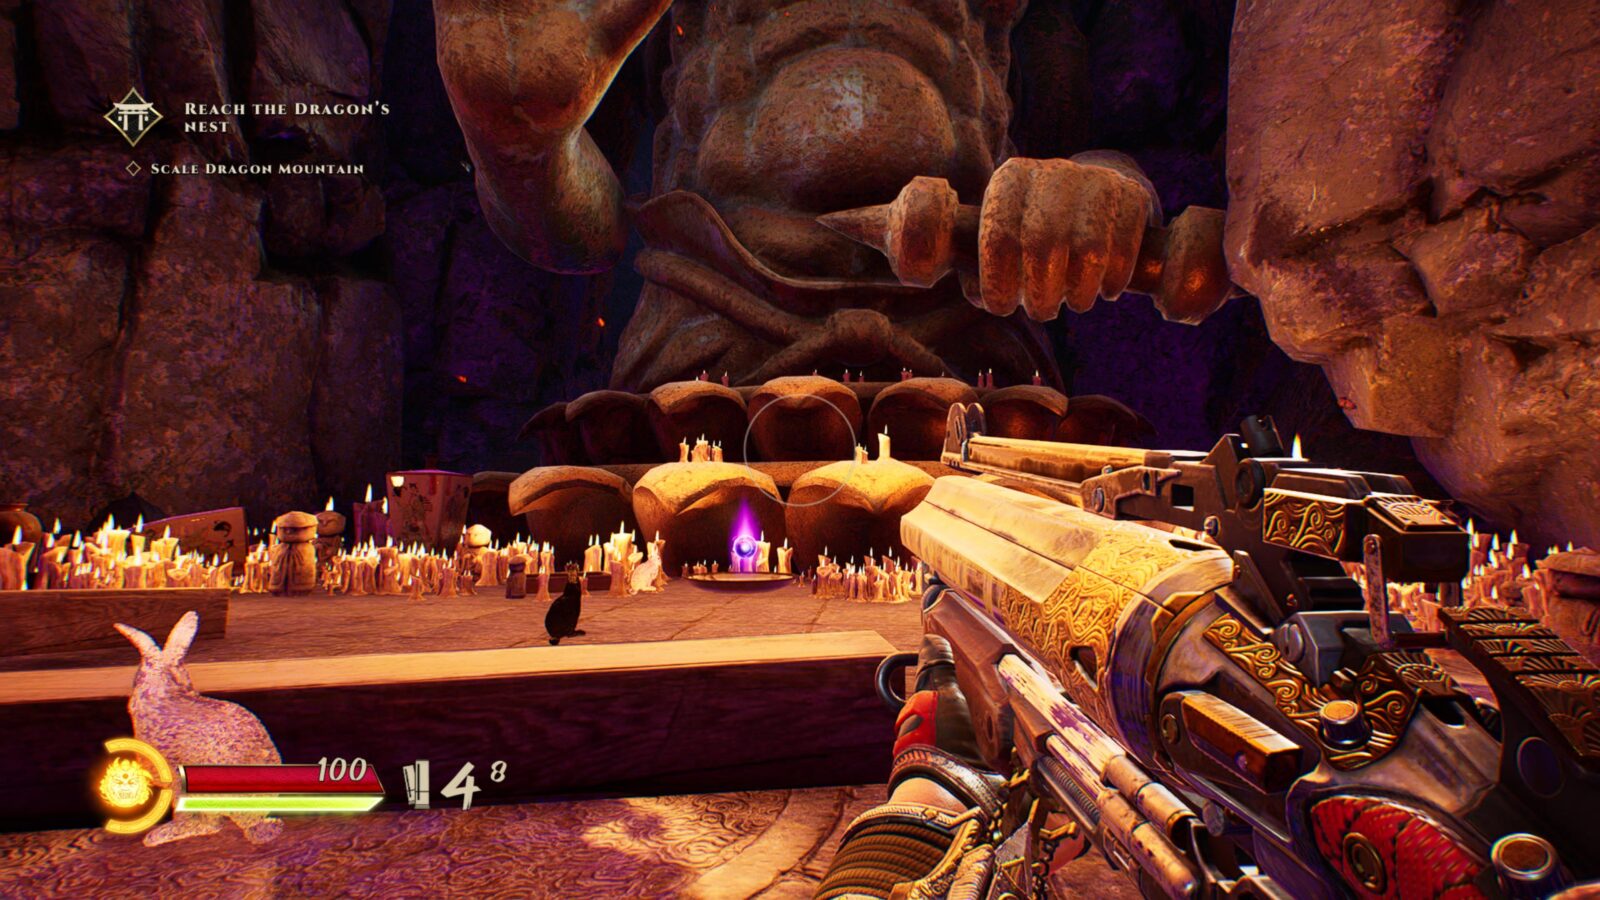
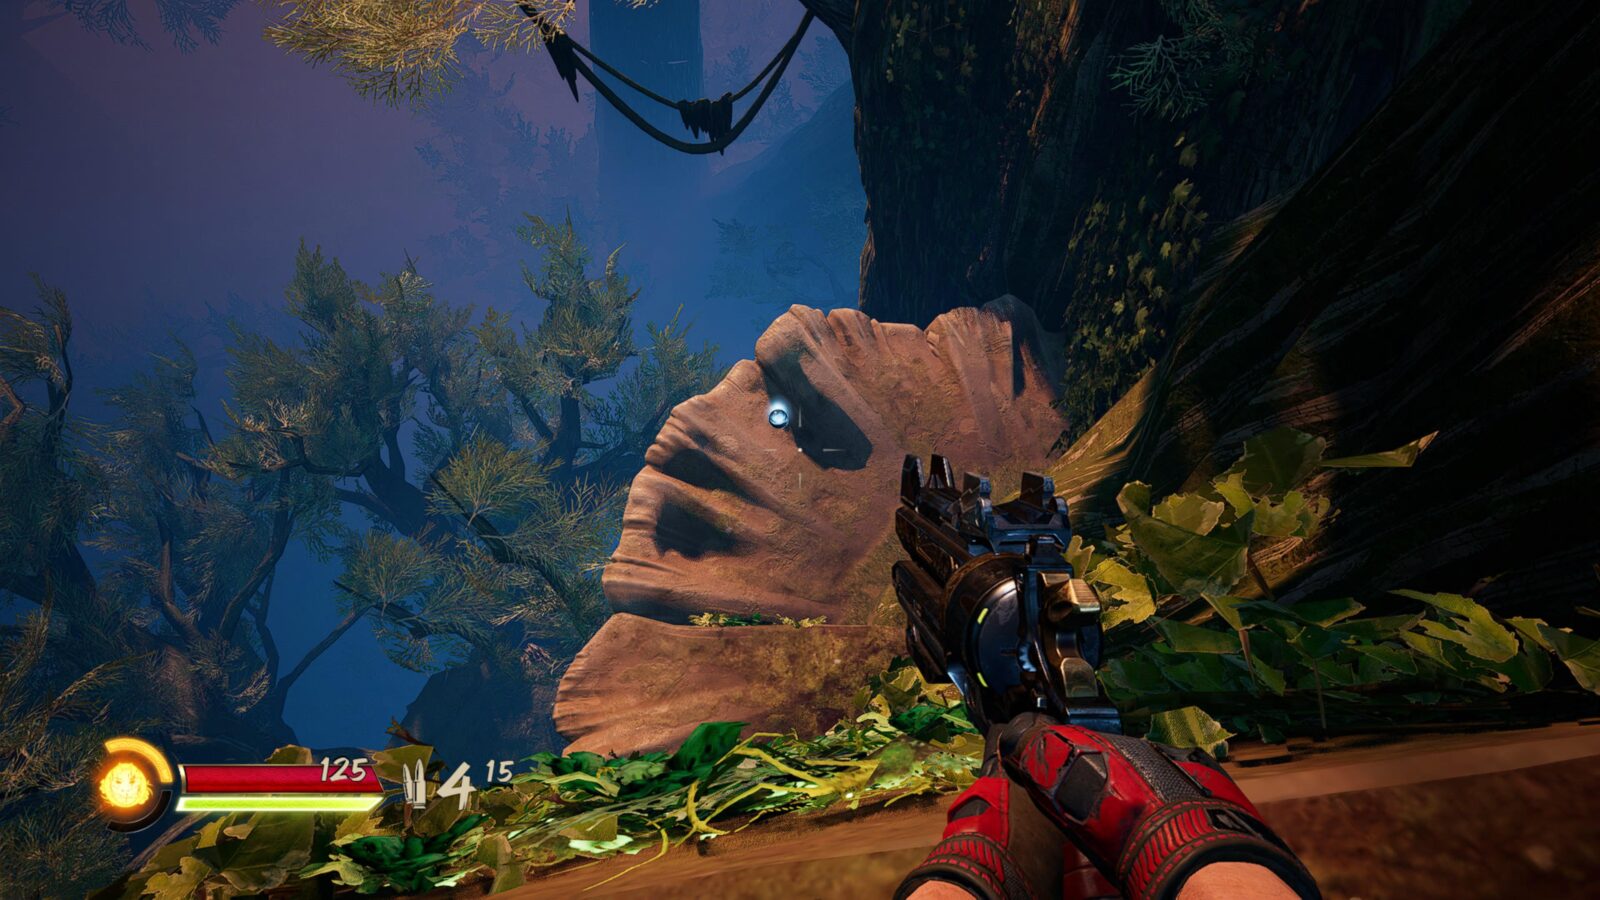
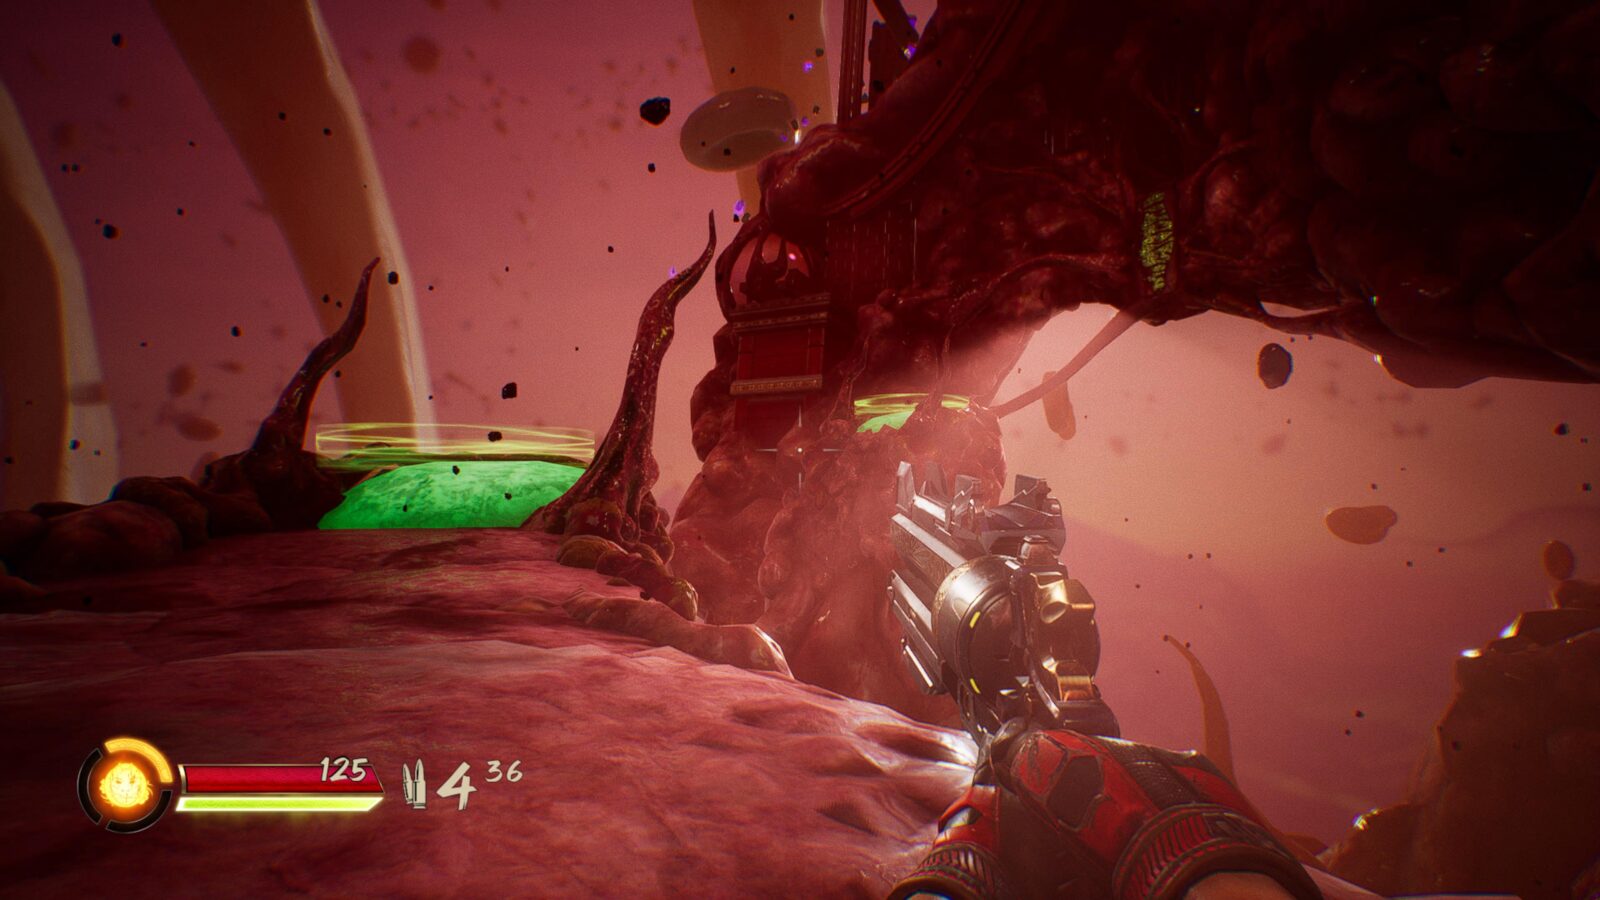
At a certain point in the stage, you’ll come to a large Buddha statue. At its feet, in a large bowl, you’ll find the second Character Upgrade Point. This one, too, is difficult to miss given its location on the main path.
Chapter 2 Character Upgrade Point #3
After collecting Character Upgrade Point #2, you will slide down a long path with a wallrun at the end.
When you land, don’t grapple the grapple point ahead of you. Instead, turn to your right and you should see this Point.

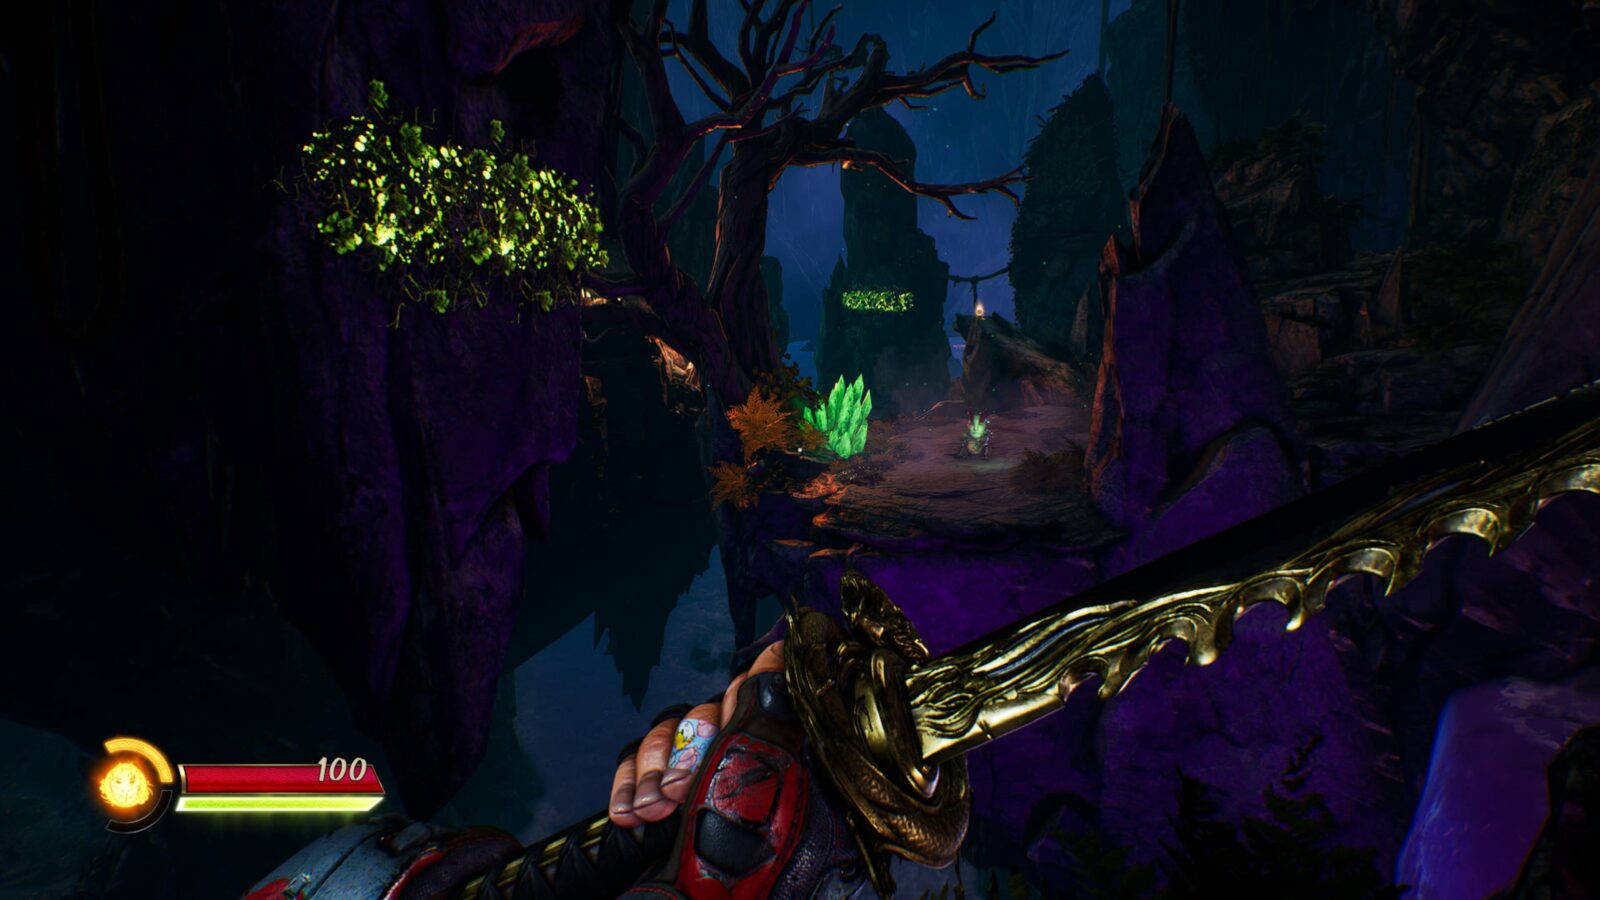
Chapter 3: Makoto’s Thunderdome
Chapter 3 Weapon Upgrade Point #1
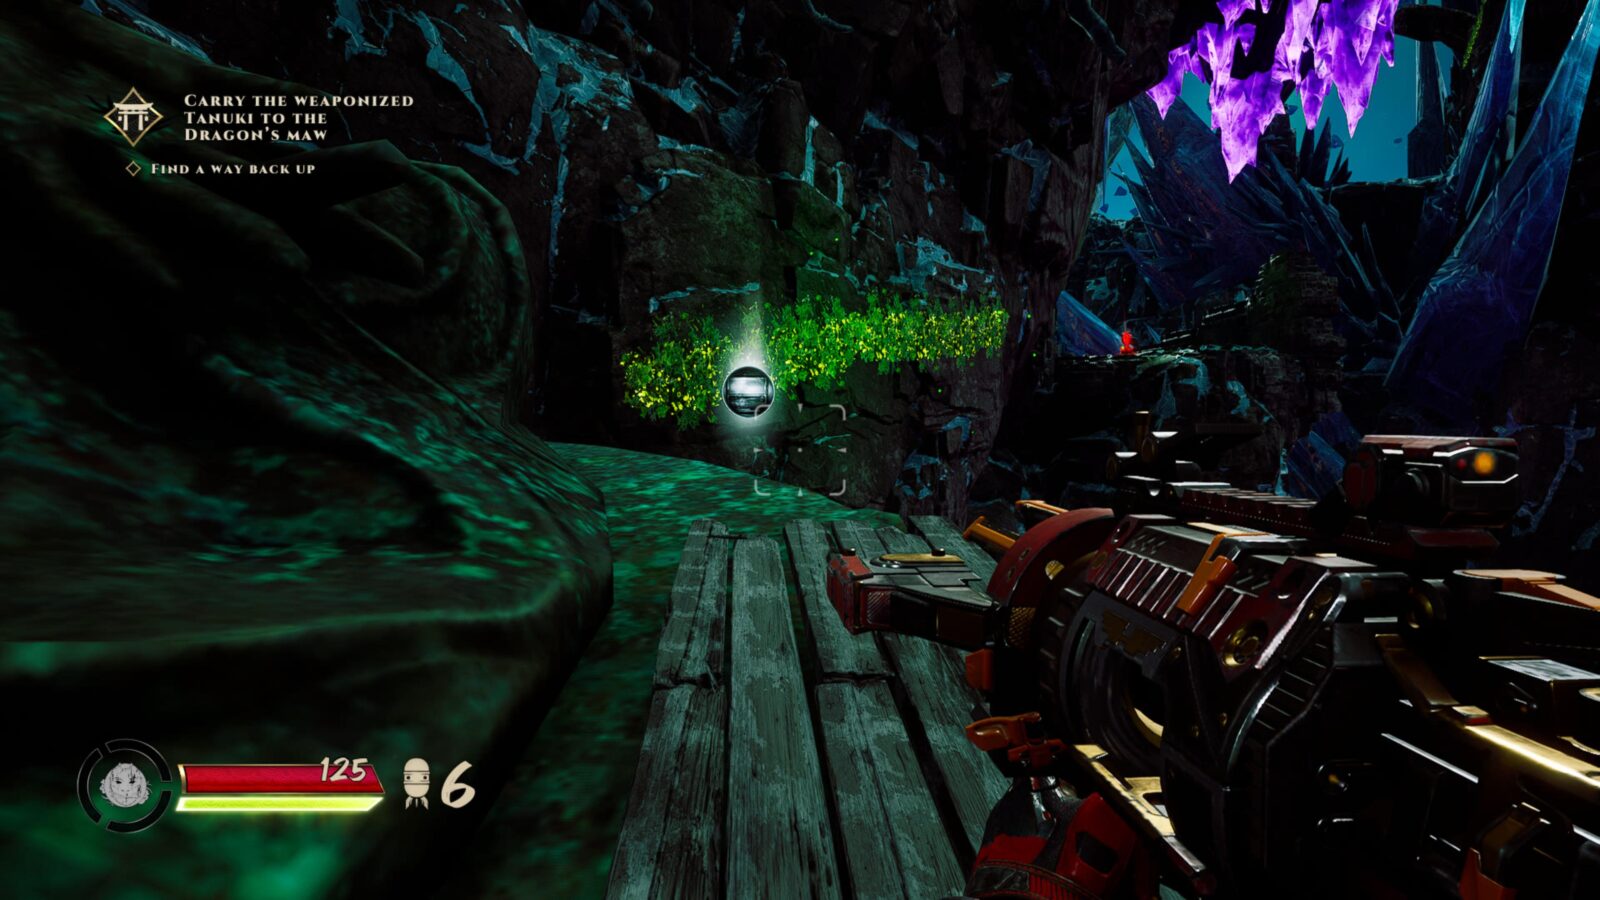
During the Tanuki chase at the start of the level, you’ll come to a section where you wallrun on a stalactite and then land on a large platform.
Look to your right and climb up the ledges there.

At the top of the wall, follow the path around and you’ll see a wall run leading to this Upgrade Point.

Chapter 3 Weapon Upgrade Point #2
This Point is unavoidably in your path when the Tanuki chase resumes after your first Laser Shogun encounter.
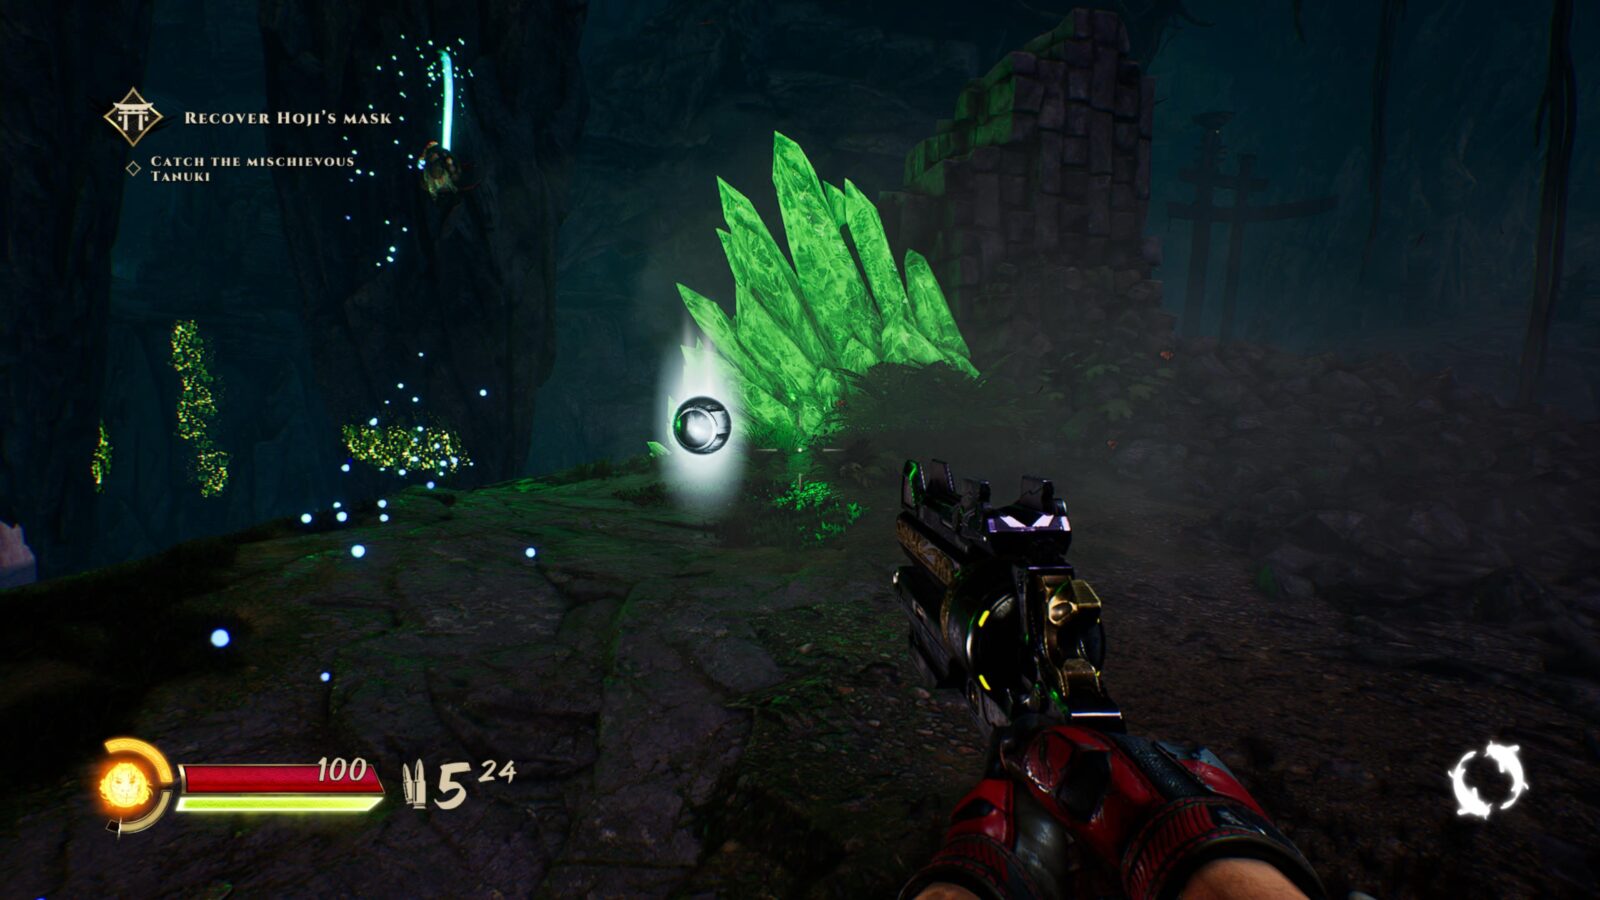
Chapter 3 Weapon Upgrade Point #3
Continue chasing the Tanuki and he’ll eventually jump into the water.
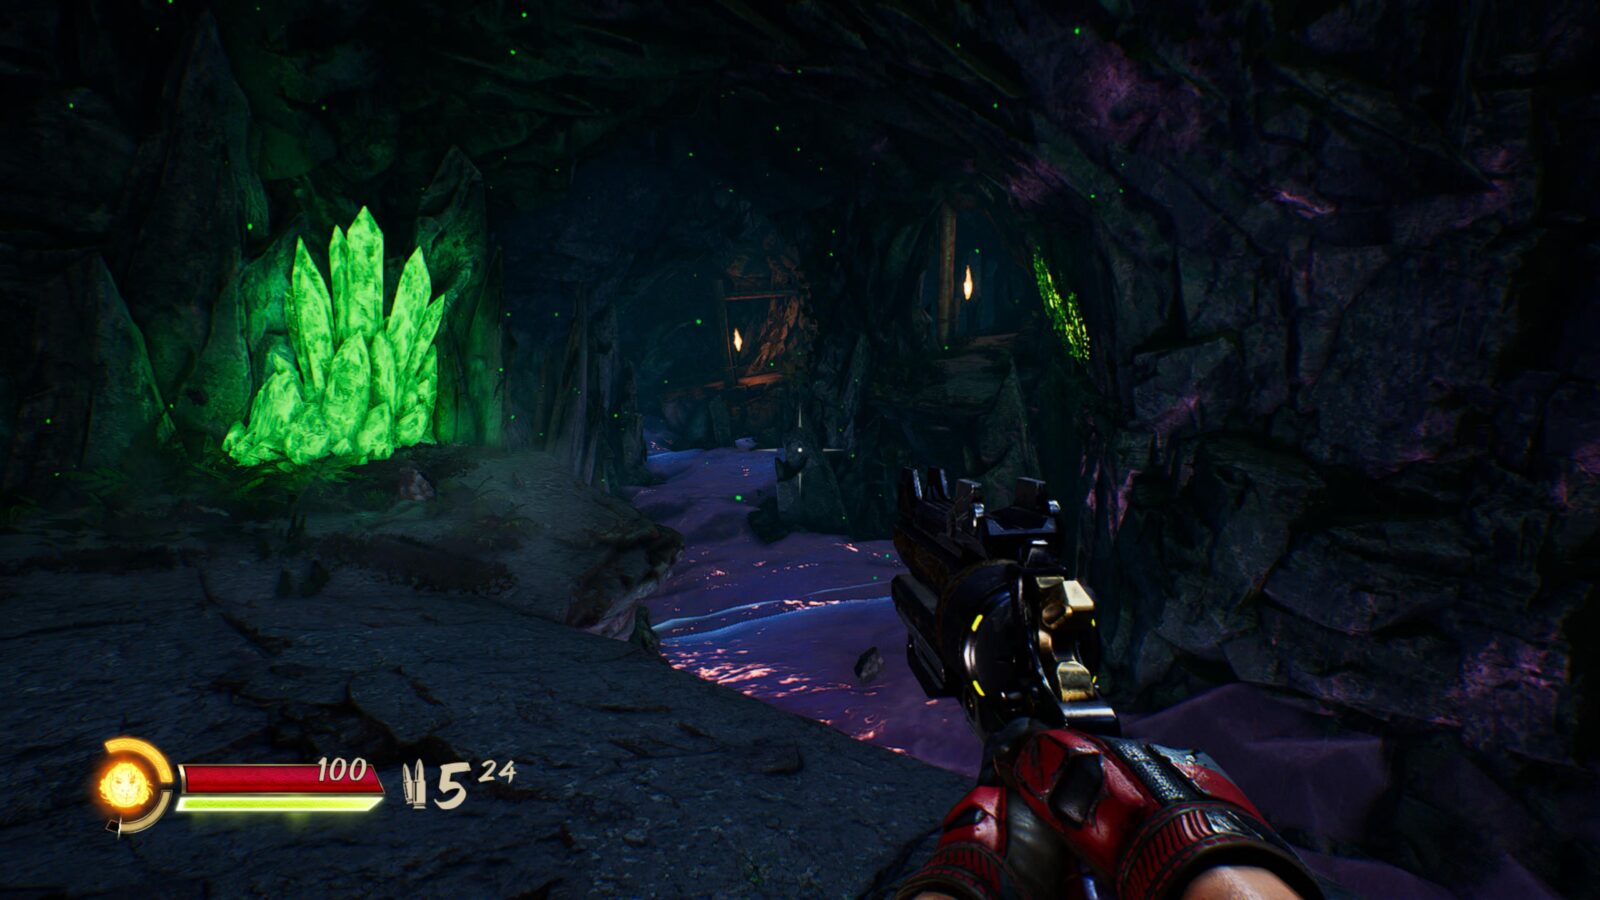
There, look for a path to your left.
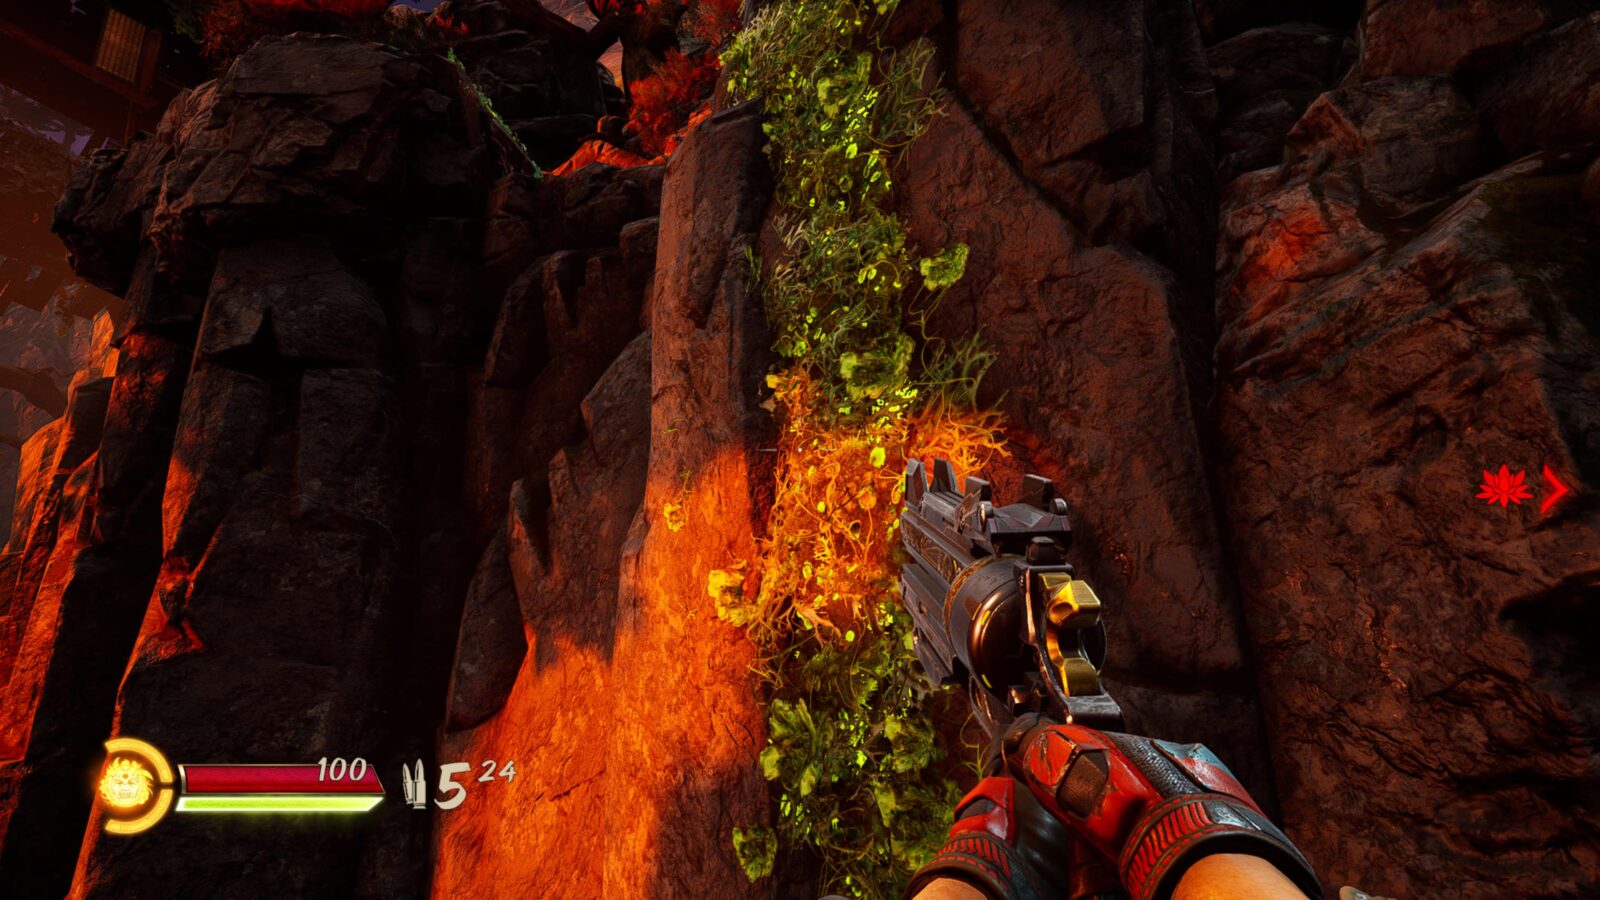
Follow it and the path will wrap around on your left, leading to a vine-covered wall.

Climb up the vine-covered wall to find this Upgrade Point.
Chapter 3 Character Upgrade Point #1
Not long after the big battle where Makoto keeps striking the arena with lightning, you’ll need to wall run twice to get under a bridge.
Do so and then continue up the path until it turns to the right.
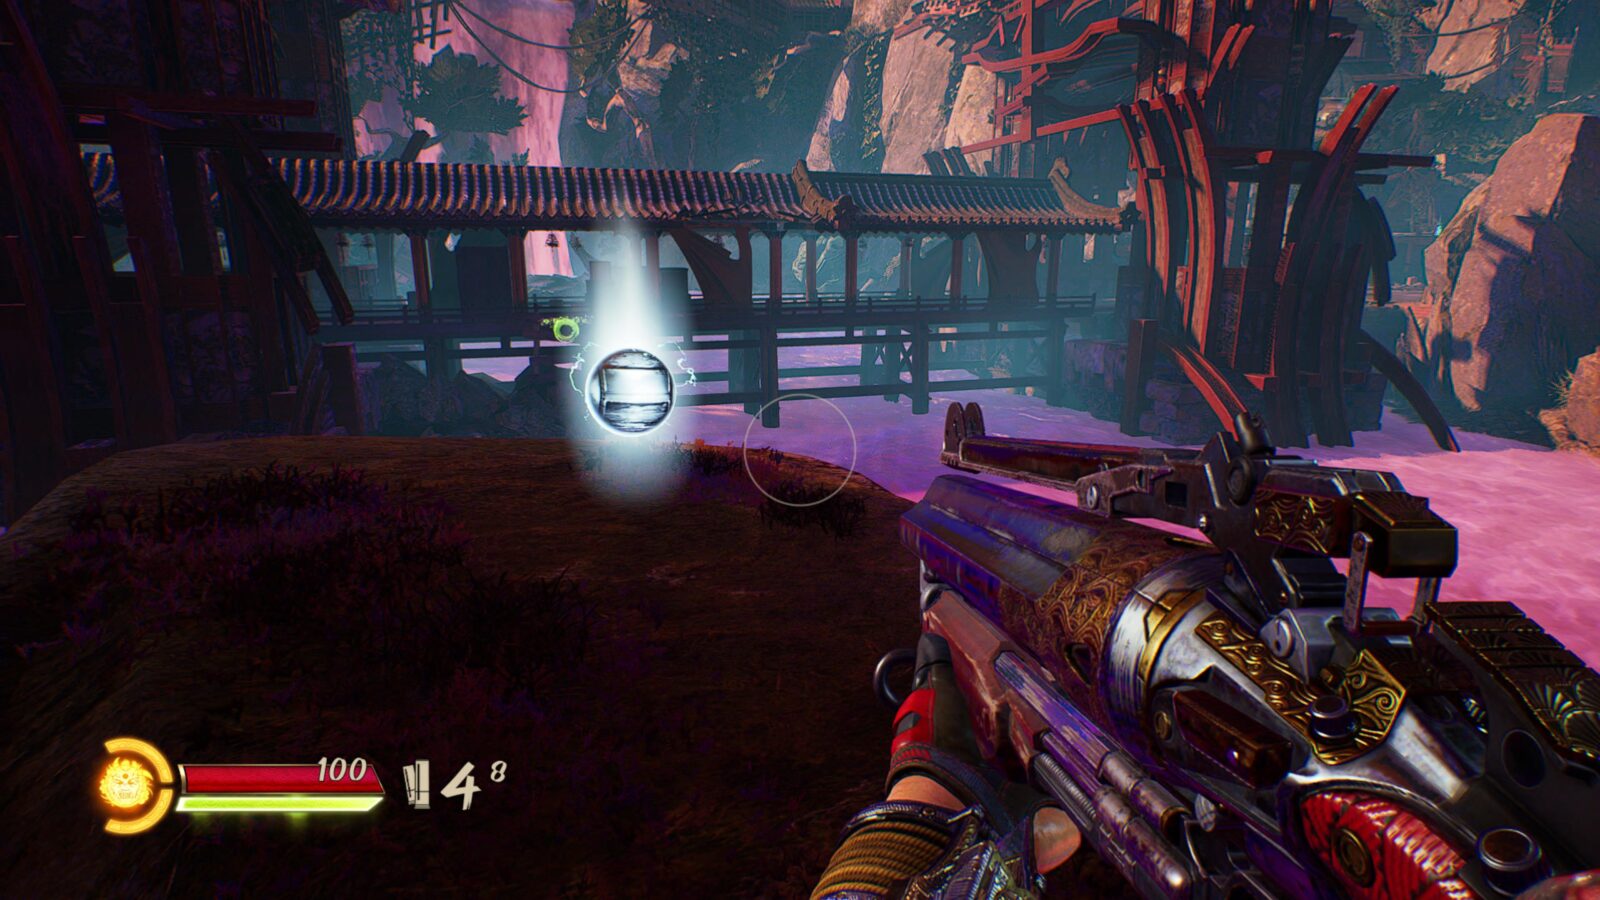
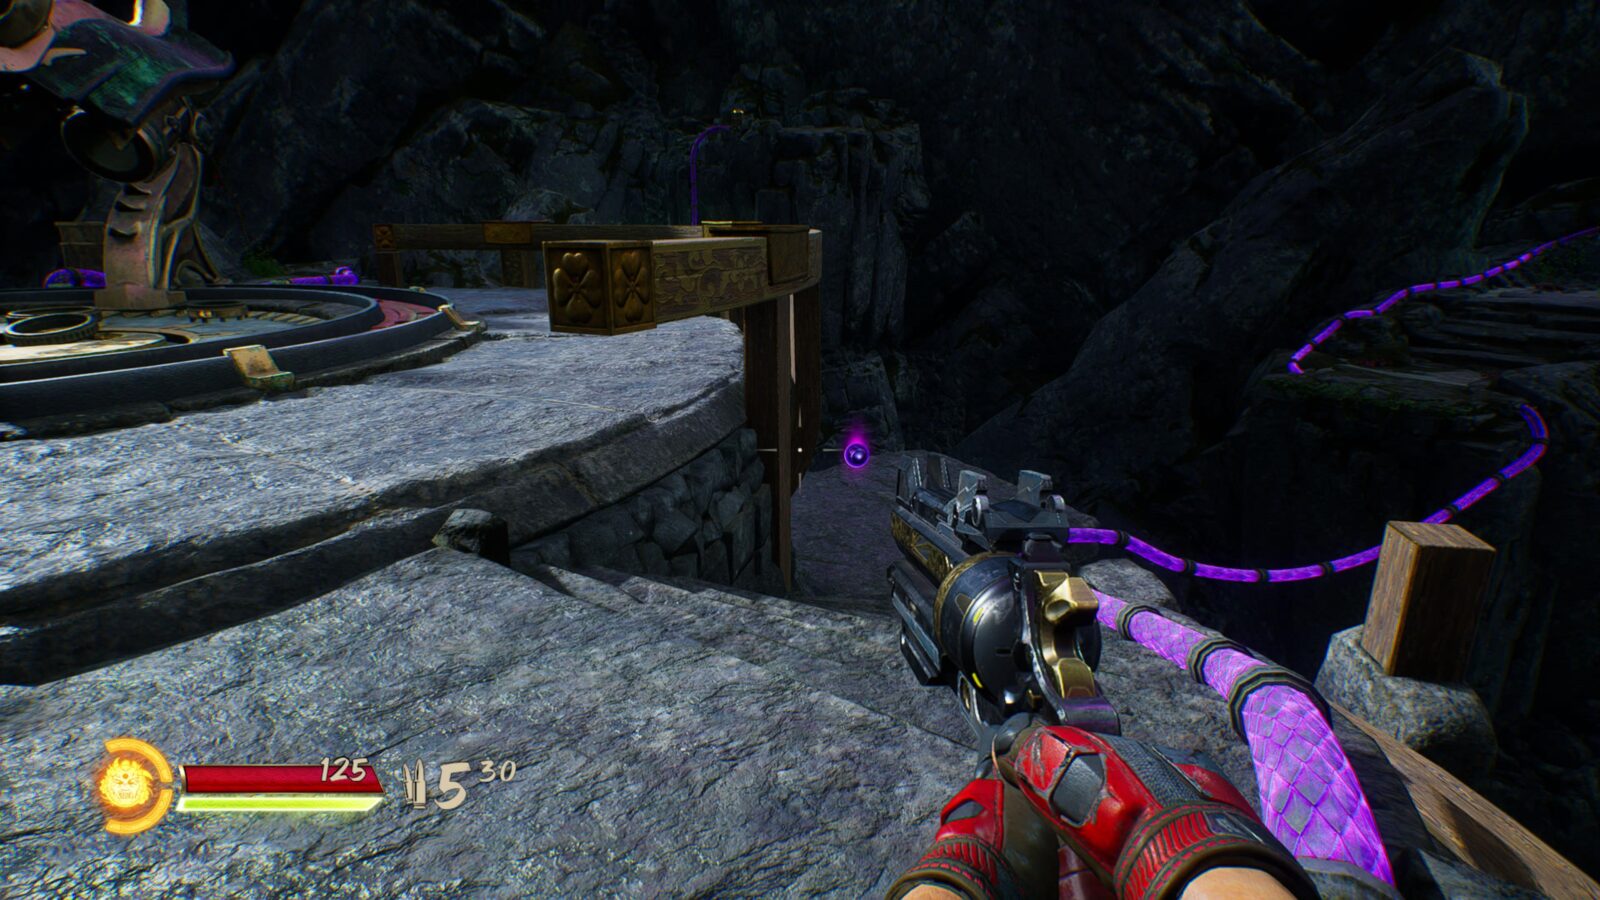
Instead of following it to the right, go left and you’ll find this upgrade point by a body of water with a whirlpool in it.
Chapter 3 Weapon Upgrade Point #4
After your encounter with the Mogura Twins, continue past the glowing roots and up the main path until you see a large tree.
There, look down over the edge on your left, next to the waterfall, and you’ll see this Upgrade Point.
You can safely jump down and grab it.
Chapter 4: That Damn Dam
Chapter 4 Character Upgrade Point #1
When you reach the top of the broken tower, don’t continue along the plank leading outside. Instead, turn left, further into the tower past some crates.
Follow the path to a Character Upgrade Point at the end.
Chapter 4 Weapon Upgrade Point #1
Progress through the stage until you acquire the Basilisk Weapon. At the grapple point, stop.
Look for a small hole in the wall to the right of the red wooden platform on the ground.
Go inside and the path will lead to an Upgrade Point.
Chapter 4 Weapon Upgrade Point #2
From Weapon Upgrade Point #7, continue on, using the grapple to progress.
Continue along the main path slightly until you reach the dam wall. Don’t shoot the glowing roots.
Instead, turn around to see a ledge with some vines on it.
Climb up the ledge and then walk along the stone structure to find another Weapon Upgrade Point.
Chapter 4 Character Upgrade Point #2
This Upgrade Point will be in your path as you make your way through the level. There’ll be a thin plank between a waterfall with the Point at the end. It would be difficult to miss.

Chapter 4 Weapon Upgrade Point #3
The final Weapon Upgrade Point in this Chapter will be directly in your path when you reach the top of the next tower structure.

Chapter 4 Weapon Upgrade Point #4
When you reach the top of the Dam in this chapter, look out for a gap between some crates on your left.

You can slide under this gap and then follow the path there to an Upgrade Point.
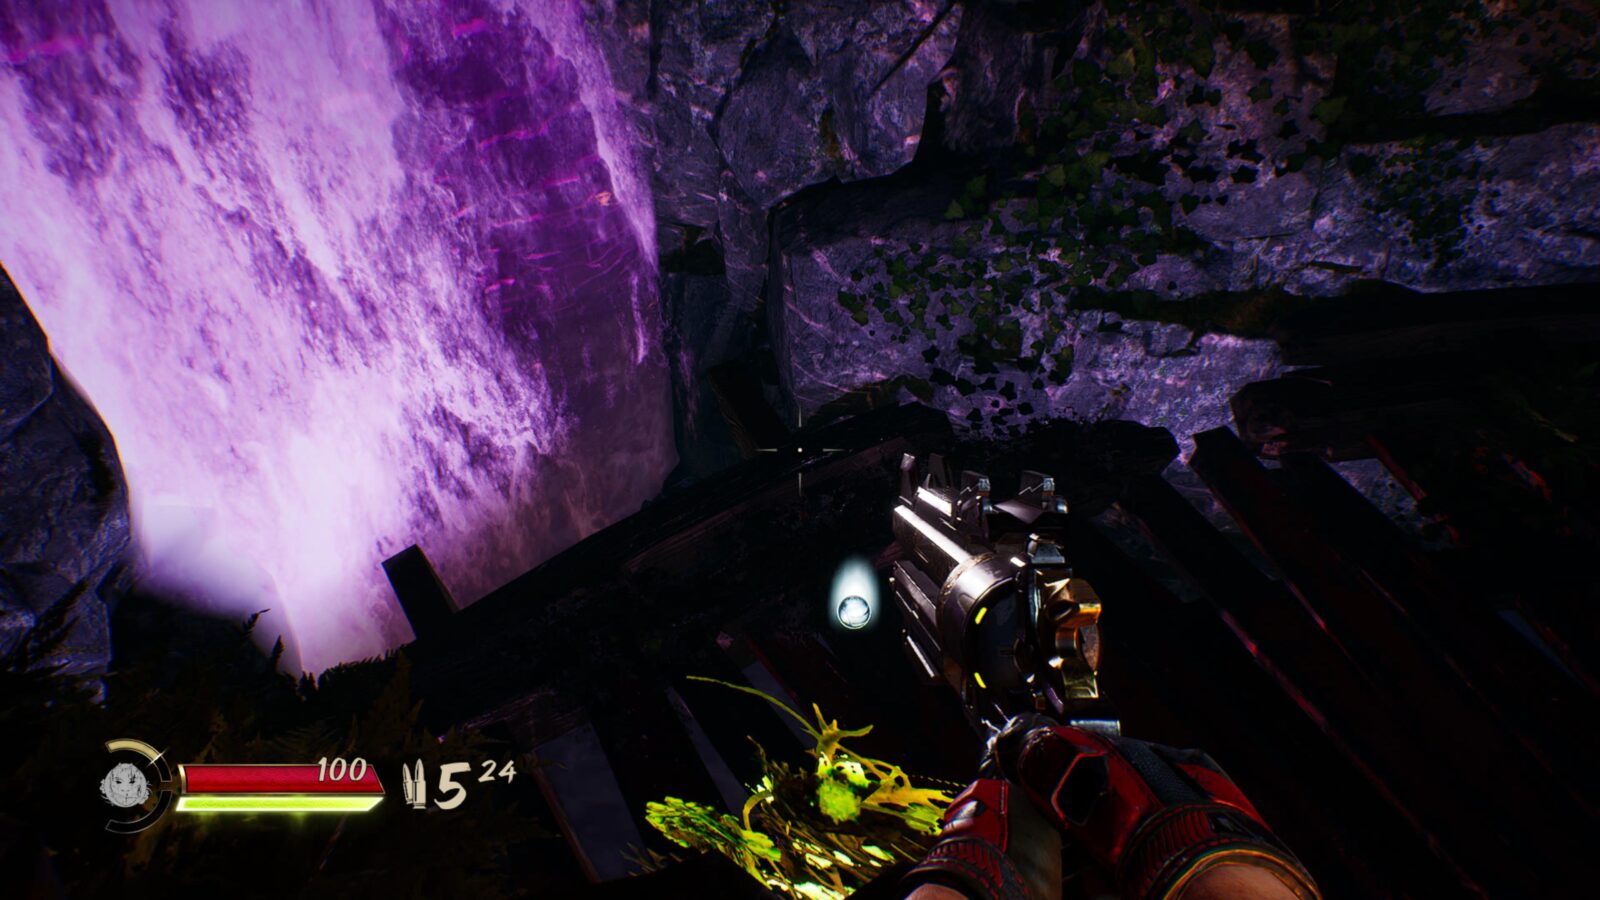
Chapter 5: Walking on Eggshells
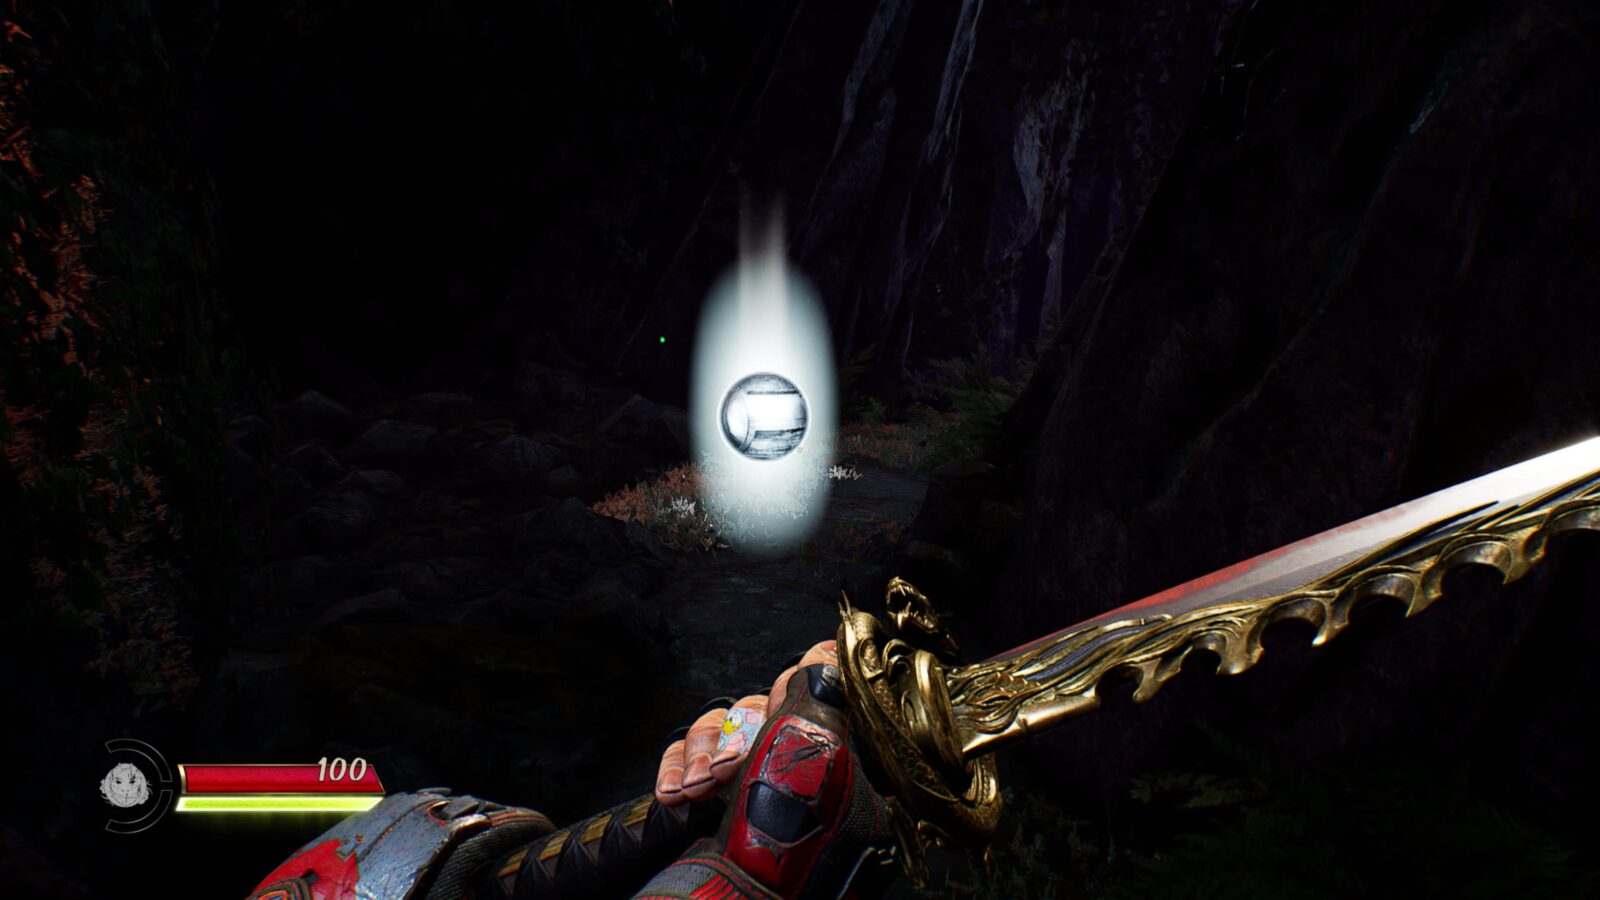
Chapter 5 Weapon Upgrade Point #1
While making your way through the cave at the very start of the level, you’ll eventually land on a platform with a rabbit on it. You’ll know you’re in the right place if the next platform has an ammo pickup on it.
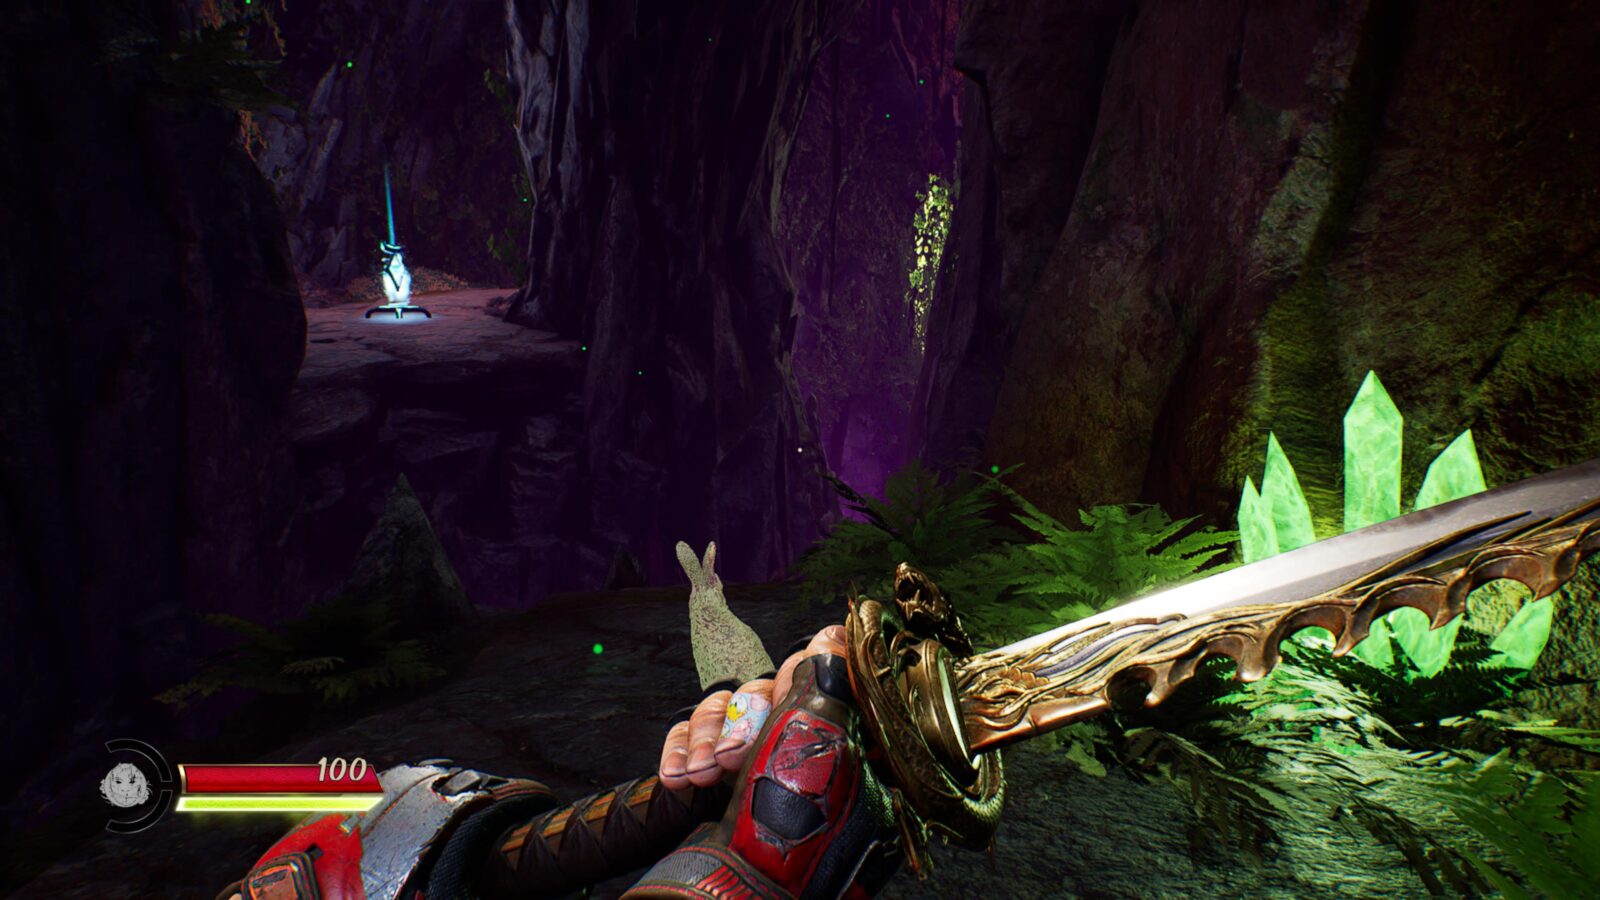
There, look to your left and you’ll see some climbable vines.
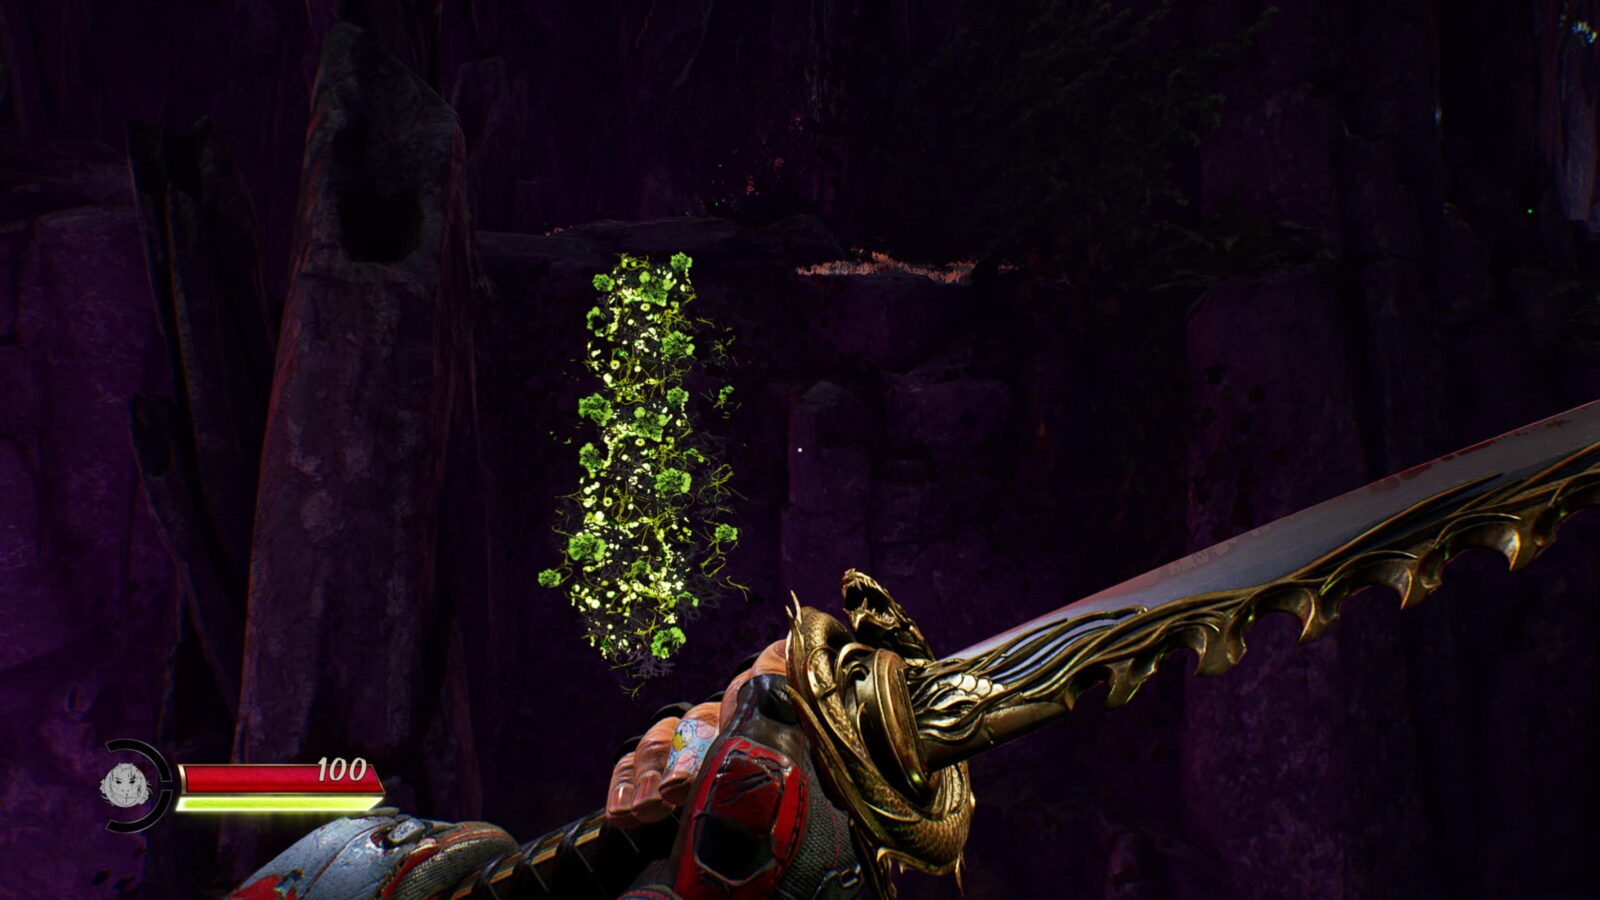
Use them to climb up to a Weapon Upgrade Point.
Chapter 5 Weapon Upgrade Point #2
After the large battle with Mogura enemies, don’t progress from the area. Instead, climb up onto the platform on the right side of the arena using the grapple hook.
Then look up to see some glowing vines.
Shoot them to destroy them and then grapple up there to find another Weapon Upgrade Point.
Chapter 5 Character Upgrade Point #1
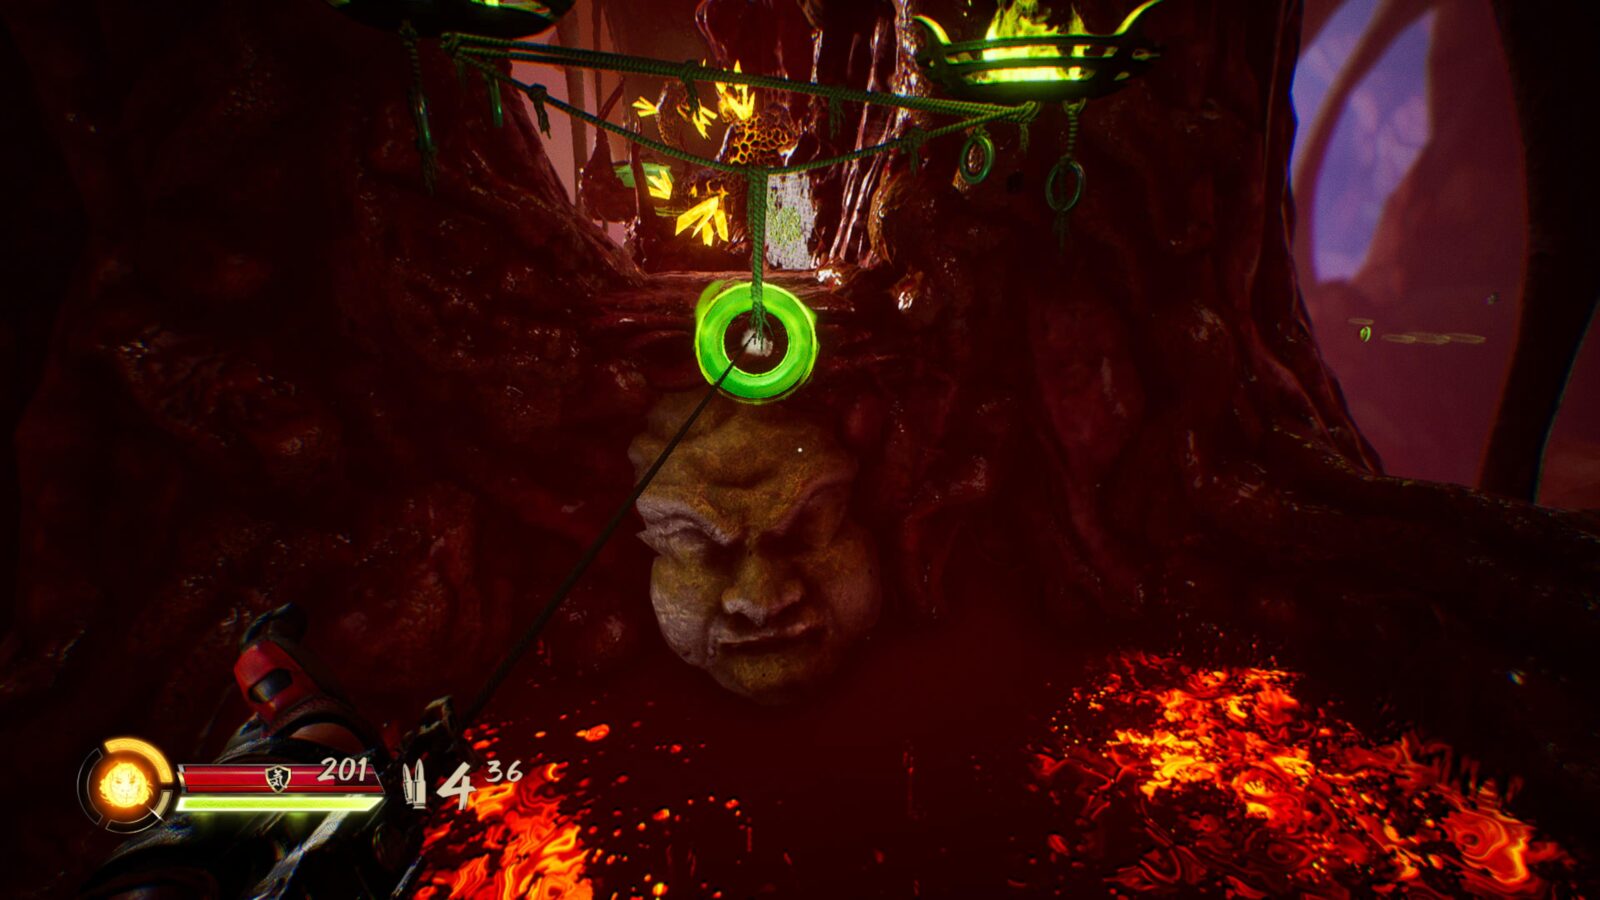
Continue until you reach a large open part of the cave, with a wallrun leading to a creepy baby-head statue.
At the baby-head statue, stop and look up for a grapple point.
The grapple will take you to another wallrun, leading to this Character Upgrade Point.

Chapter 5 Weapon Upgrade Point #3
Later in the level, there’s a large room with lots of elevator platforms and wallruns. To get out of the room, you need to trigger various switches and wallrun up and out of the room.
On the last lift platform, which is just in front of a cave mouth and has a switch you need to shoot directly below it, stop and wait for it to raise again.
From the top of the platform, turn and look to the top of the tower structure in the center of the room. There, you’ll see another Weapon Upgrade Point. Jump over and collect it.
Chapter 5 Weapon Upgrade Point #4
Continue out of the room where Weapon Upgrade Point #3 is and you’ll see this next one on the main path, hard to miss.
Chapter 5 Weapon Upgrade Point #5
Proceed until a large battle with some enemies called “Hattori.” When the battle is over, look up at the left side of the room to see an Upgrade Point near the top of the wall.
To reach it, turn around and look through the gap above the large stone slab opposite it. There, you should be able to see a switch.
Shoot the switch and the slab will lower, allowing you to ride it up to a path which wraps up and around opposite the Upgrade Point.
From there, you can simply double-jump across to the Upgrade Point.
Chapter 5 Weapon Upgrade Point #6
At the Buddha statue where you collected the Shuriken Spitter, make your way up onto the ledge behind the red bamboo to the left of the statue.
There, you’ll find this Weapon Upgrade Point in an alcove.
Chapter 5 Weapon Upgrade Point #7
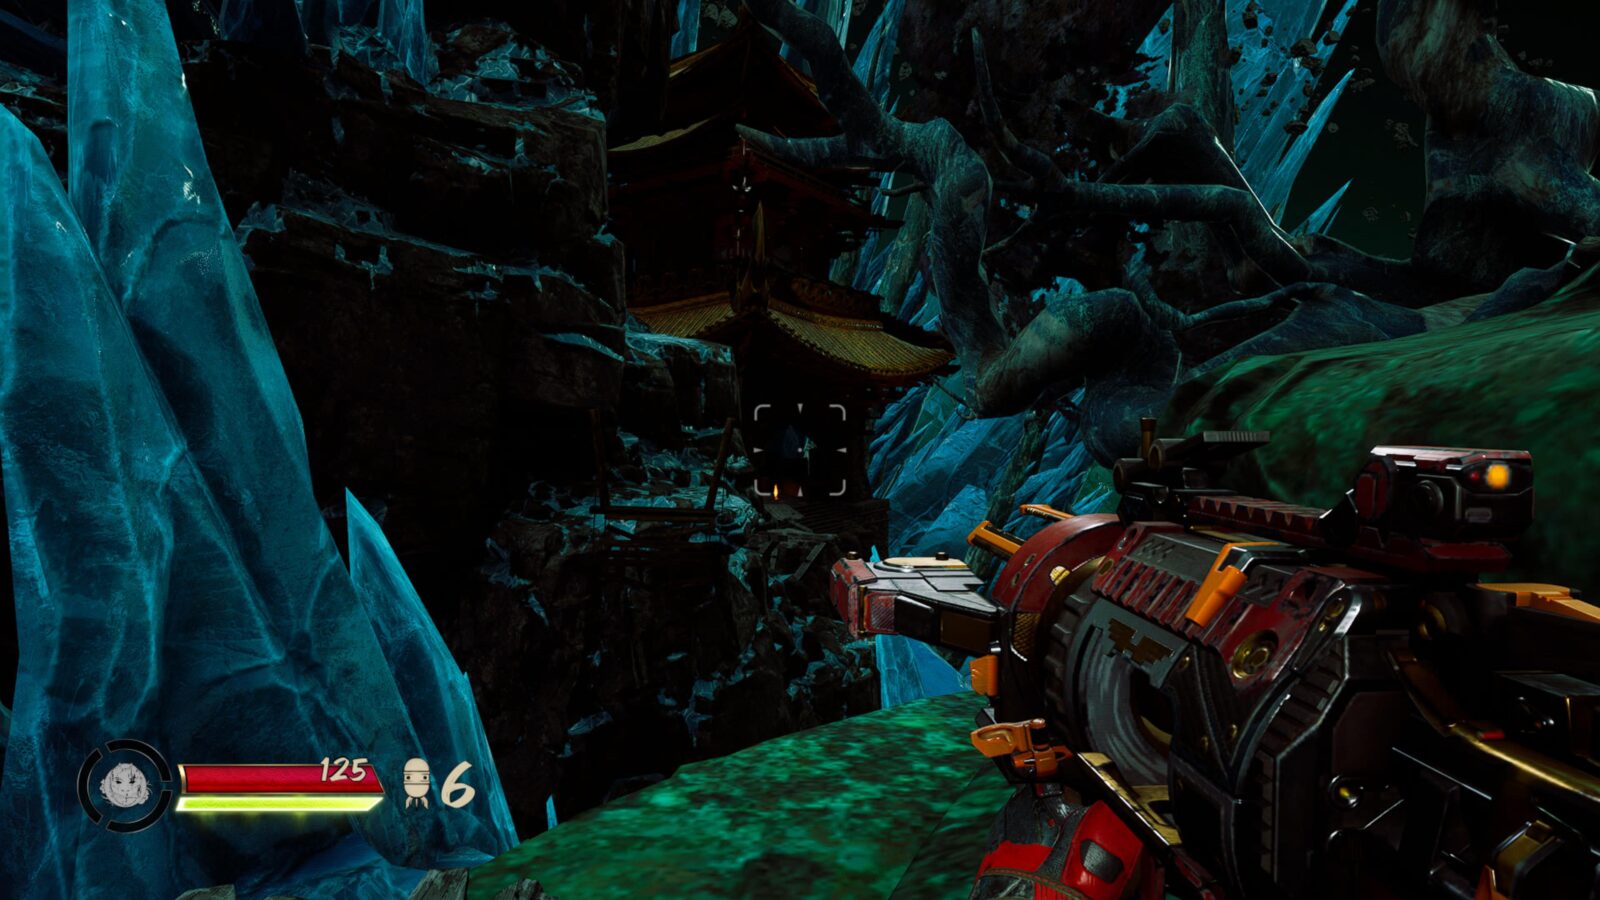
Proceed from the red bamboo forest through the gates into the small temple area and defeat the enemies there. To progress, you’ll need to shoot some glowing vines on a wallrun and then wallrun to the other side of the river.
Do this and then stop at the other side. You’ll see a Weapon Upgrade Point on a platform ahead of you.
To reach it, go around the building on your right and you’ll see some glowing roots through the hole in the building’s wall.

Shoot them to open the door, allowing you to head inside, follow the subsequent path, and jump to the Upgrade Point.
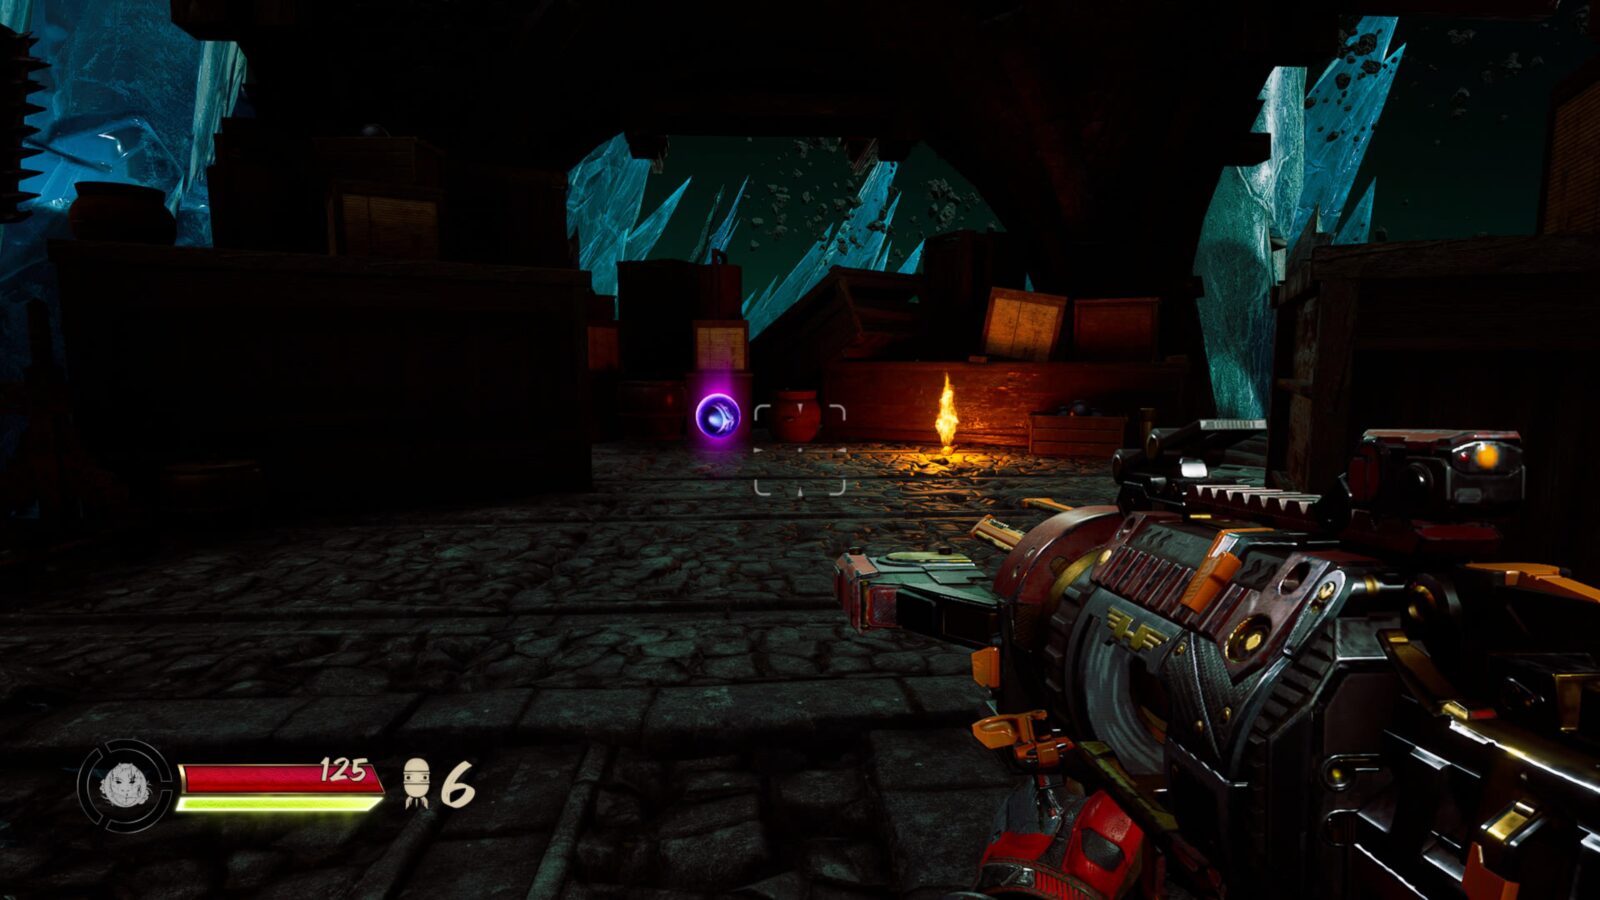
Chapter 5 Weapon Upgrade Point #8
Eventually, you’ll reach a large area where a huge battle takes place, involving several Laser Shogun, Hattori, and Seeking Shokera enemies.
At the back of the area, where the Laser Shoguns spawn, there’s a collapsed wooden structure with a wallrun wall behind it.
While wallrunning on that wall, shoot the vines underneath the collapsed wooden structure, revealing a small cave with an Upgrade Point inside.

Chapter 5 Weapon Upgrade Point #9
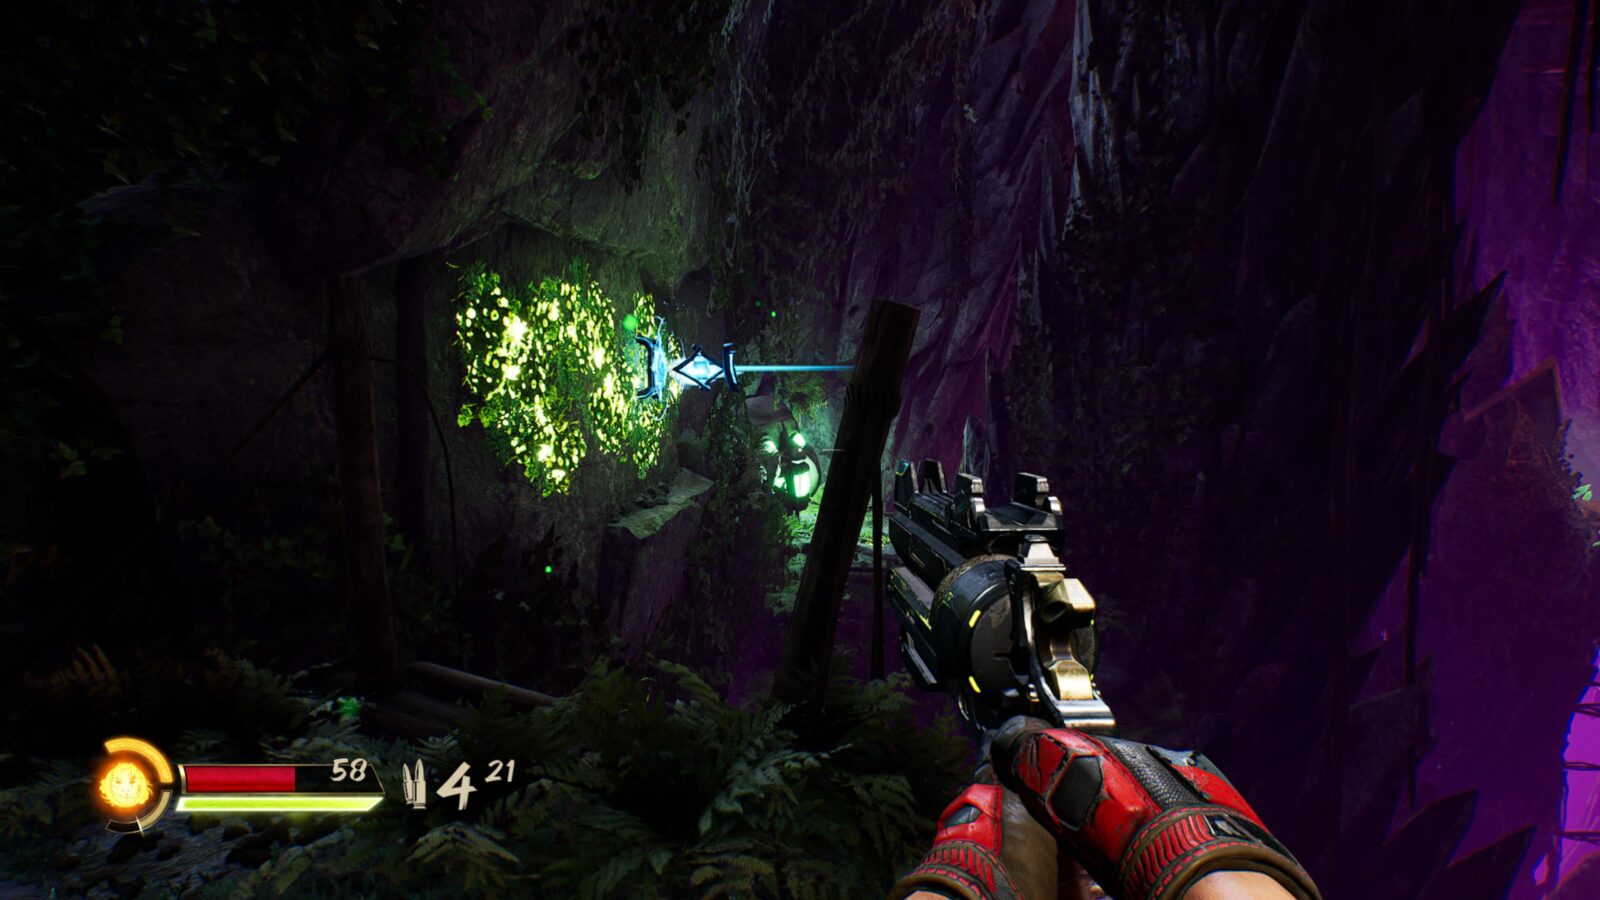
Continue on and shoot down two sets of glowing roots in order to drop a drawbridge.
Once you’ve done so, look to your left and you’ll find another set of glowing roots.
Shoot them and a path will be revealed, which you can then follow to find another Weapon Upgrade Point.
Chapter 5 Character Upgrade Point #2
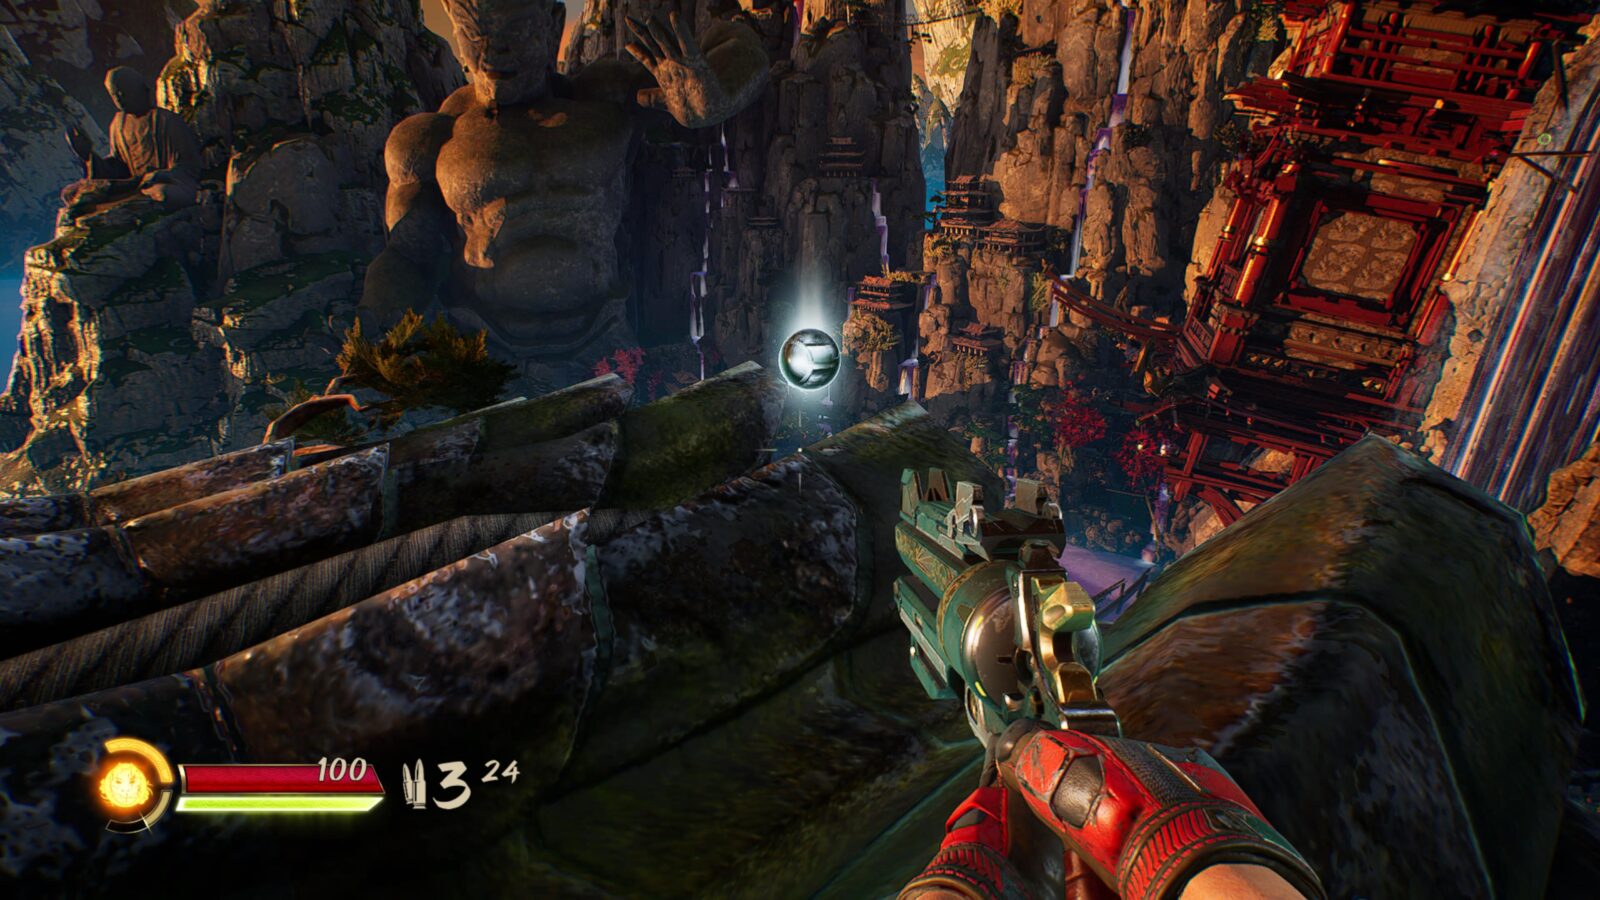
After you’ve collected Weapon Upgrade Point #9, proceed across the bridge and continue on until you reach a huge statue. At the statue’s base, you’ll find this Character Upgrade Point in a large bowl.
Chapter 6: Egg Express
Chapter 6 Weapon Upgrade Point #1
When you get off the raft for the first time and reach a large battle, defeat the enemies and then look out over the river. There, you’ll see this Upgrade Point floating over the water.
Use the grapple overhead to swing yourself around and pick up the Upgrade Point.
Chapter 6 Weapon Upgrade Point #2
After the second large battle, this Upgrade Point will be directly in your path.
Chapter 6 Weapon Upgrade Point #3
Immediately after collecting Weapon Upgrade Point #2, look to your right to find some vines leading up the wall.
Climb them and follow the path to some glowing vines you can shoot.
Shoot them to reveal a grapple you can use to enter the wooden structure and collect the Weapon Upgrade Point.

Chapter 6 Character Upgrade Point #1
When you return to the raft, stay on it until it (and the egg) get rerouted over a waterfall.
When you land, do not use the grapples on your right, turn around immediately and enter the cave.
Inside the cave you will find this Upgrade Point.

Chapter 6 Character Upgrade Point #2
On your way back to the egg this Upgrade Point will be along the main path, hard to miss.
Chapter 6 Weapon Upgrade Point #4
Once you’ve collected Character Upgrade Point #2, use the grapple nearby to reach the upper area and then look left.
You should see this next Point ahead of you on the ledge in the distance.
To reach it, continue up the hill while hugging the left wall a short distance until you find a hidden cave entrance.
Head inside and follow the path to a ledge from which you can jump to the Upgrade Point.

Chapter 7: Doomsday Device
Chapter 7 Weapon Upgrade Point #1
After the first major battle in the area with the spinning trap devices, at the top of the stairs, look for a small gap under a dead tree on your left.

Crouch underneath and you’ll find a Weapon Upgrade Point.
Chapter 7 Weapon Upgrade Point #2
This Upgrade Point will be very hard to miss on the main path, shortly after the last Upgrade Point.

Chapter 7 Character Upgrade Point #1
Proceed until you’re at the feet of a large Buddhe statue and then continue on by shooting the switch to the left and jumping to the platform that opens, using it to reach the next stone platform.
From there, look to your right, and you’ll see a vine wall you can climb.
Climb up it to a wooden outpost tower, then climb up the back of that to retrieve an Upgrade Point at the top.
Chapter 7 Character Upgrade Point #2
When you reach the third Relay Cannon, go behind it and walk down the steps to find another Character Upgrade Point.
Chapter 7 Weapon Upgrade Point #3
Return to the relay and then turn to look at the large building.
Go down the left side of the building and look over the railing. You should be able to see this Weapon Upgrade Point which you can jump down and grab.

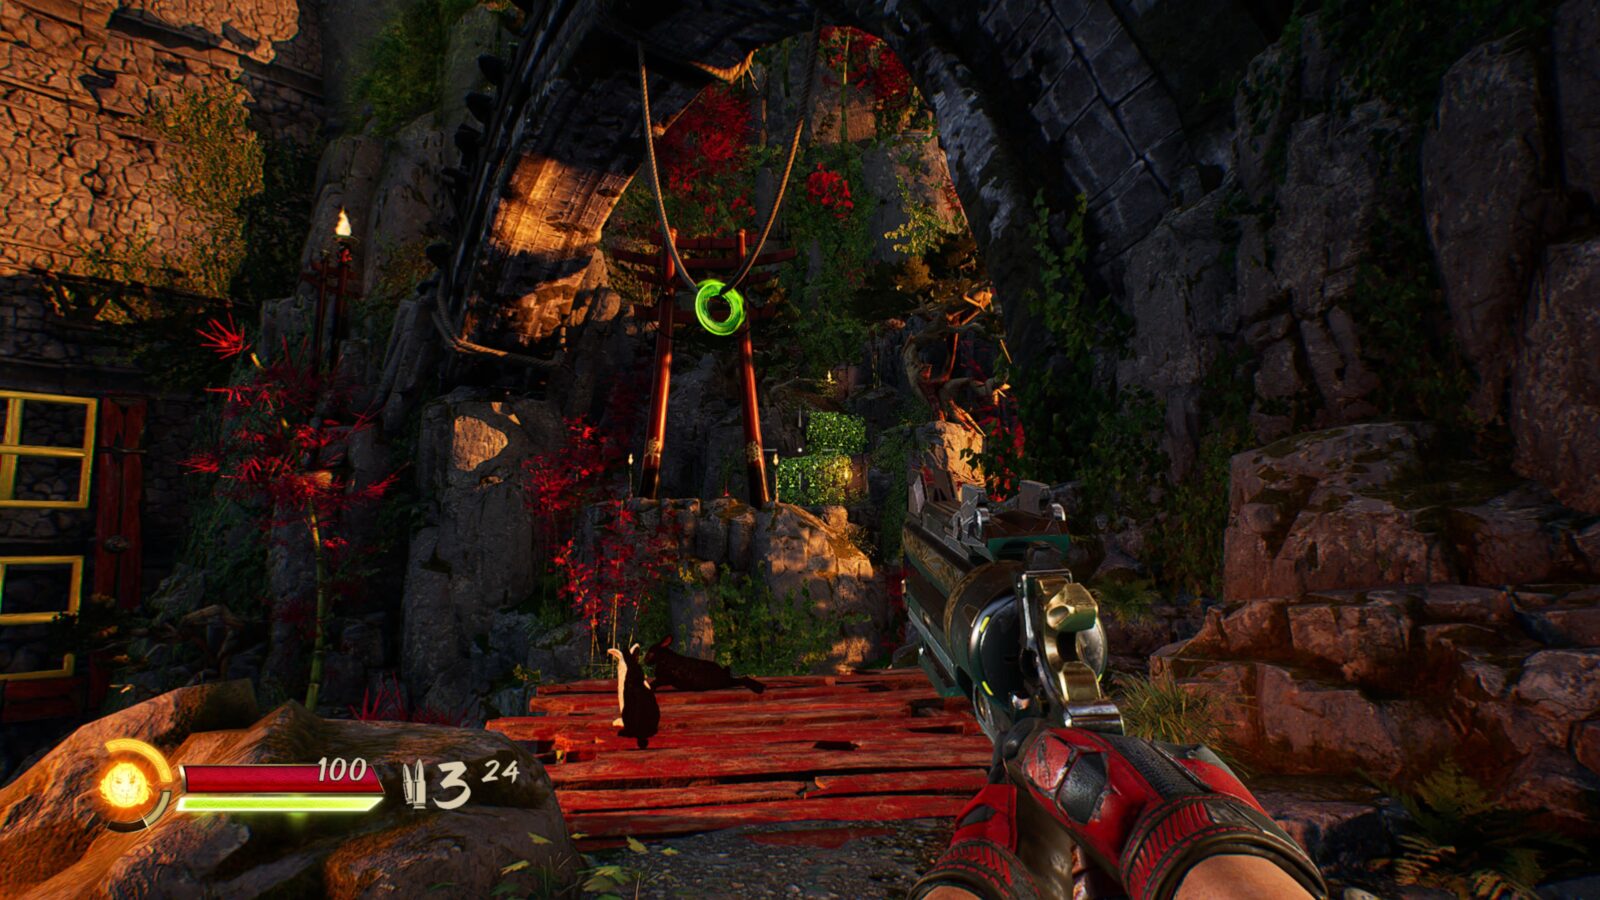
Chapter 8: Wayfarer’s Forest
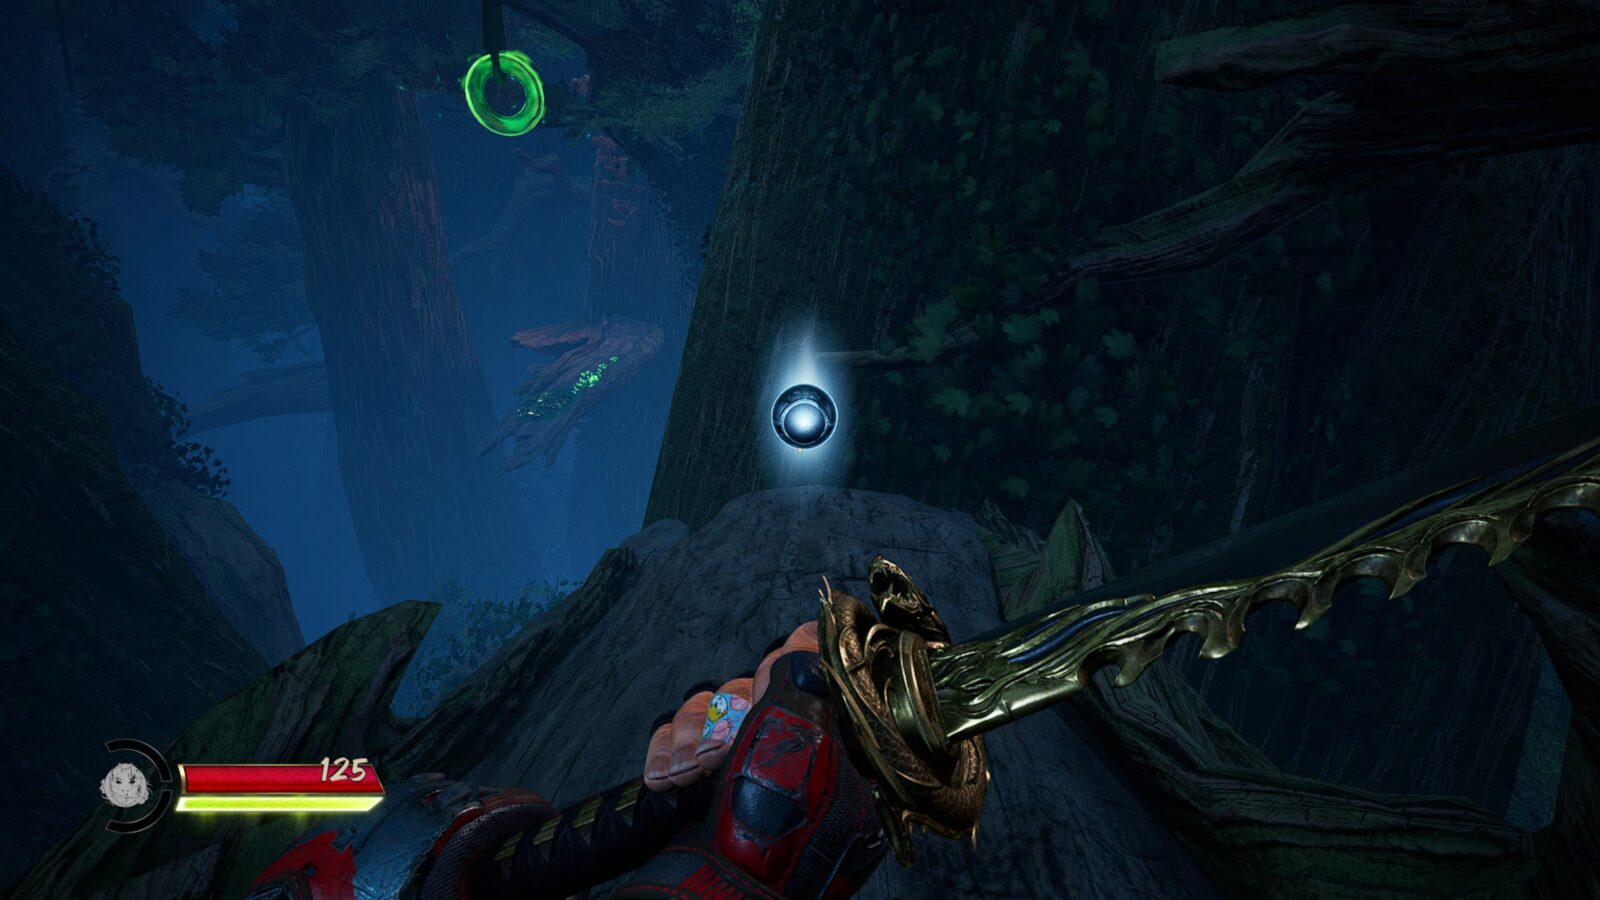
Chapter 8 Weapon Upgrade Point #1
At the start of the level, once you’ve made it past the rubble to the clearing, look out over the forest. From there, you should see this Upgrade Point for you to grab.
Jump down to it and collect it along the main path.
Chapter 8 Weapon Upgrade Point #2
Continue through the forest and eventually, as you’re swinging from a tree, Wang will make a comment referring to himself as “King of the Jungle.”
When you land, look to your right and you should see some mushrooms attached to the large tree you were swinging from.
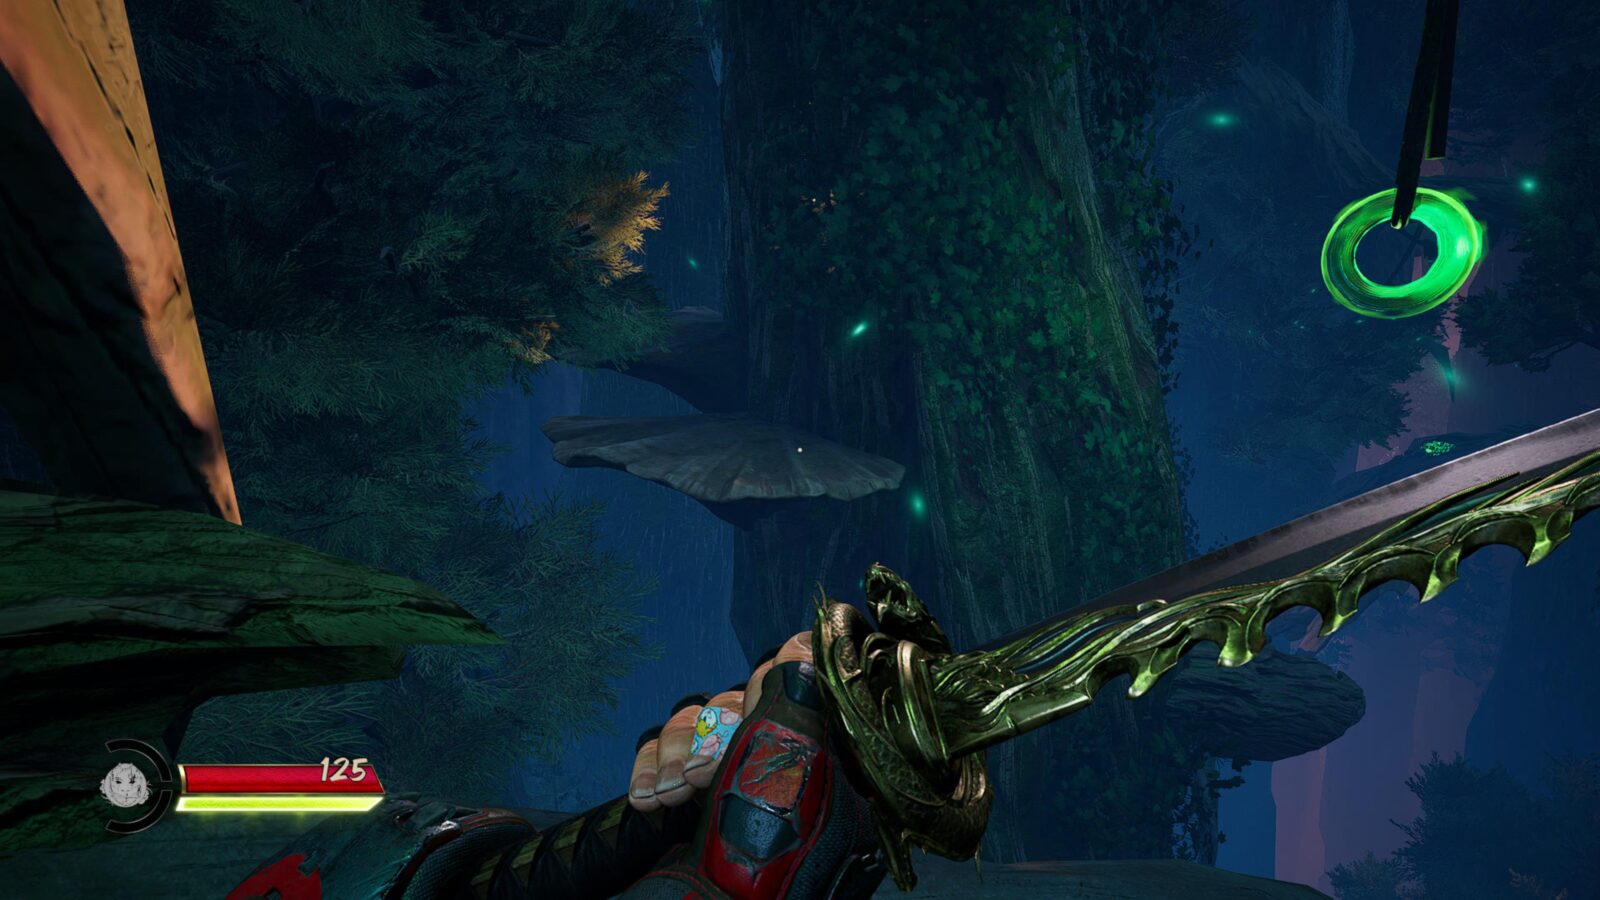
Jump to the mushrooms and follow them to an Upgrade Point.
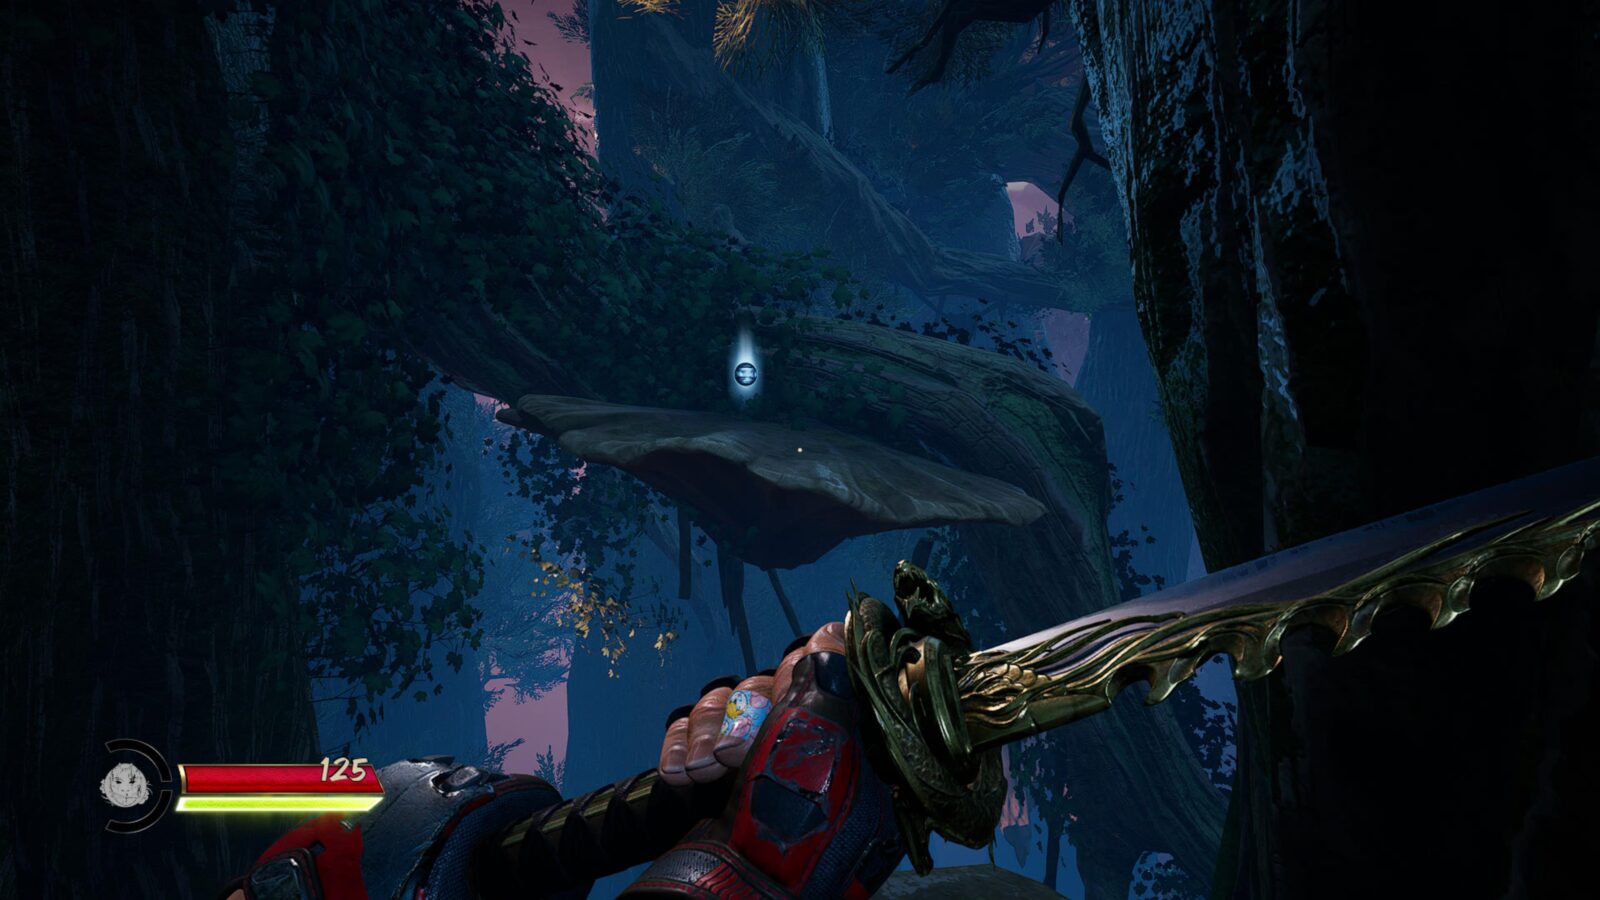
Chapter 8 Weapon Upgrade Point #3
This Upgrade Point will be unavoidably in your path after your first large arena battle in this Chapter.

Chapter 8 Character Upgrade Point #1
After collecting Weapon Upgrade Point #3, look for a large mushroom platform on a tree to your right.
Jump to it and then look for a long tree branch you can jump to.
Jump onto it to find some green vines.
Climb the vines to find this Character Upgrade Point at the top.
Chapter 8 Character Upgrade Point #2
This Upgrade Point is hard to miss along the main path after the second large arena battle.
Chapter 8 Weapon Upgrade Point #4
Later in the Chapter, there’s a long section of the game which involves a lot of grappling.
One particular grapple point leads to a huge tree with a very long section of vines on it. You’ll need to grapple to the vines and climb to the top of the tree.
From the top of this tree, turn around and look down to see some mushrooms left of the grapple.

Jump off to the mushrooms and then jump down from there to another mushroom with an Upgrade Point on it.
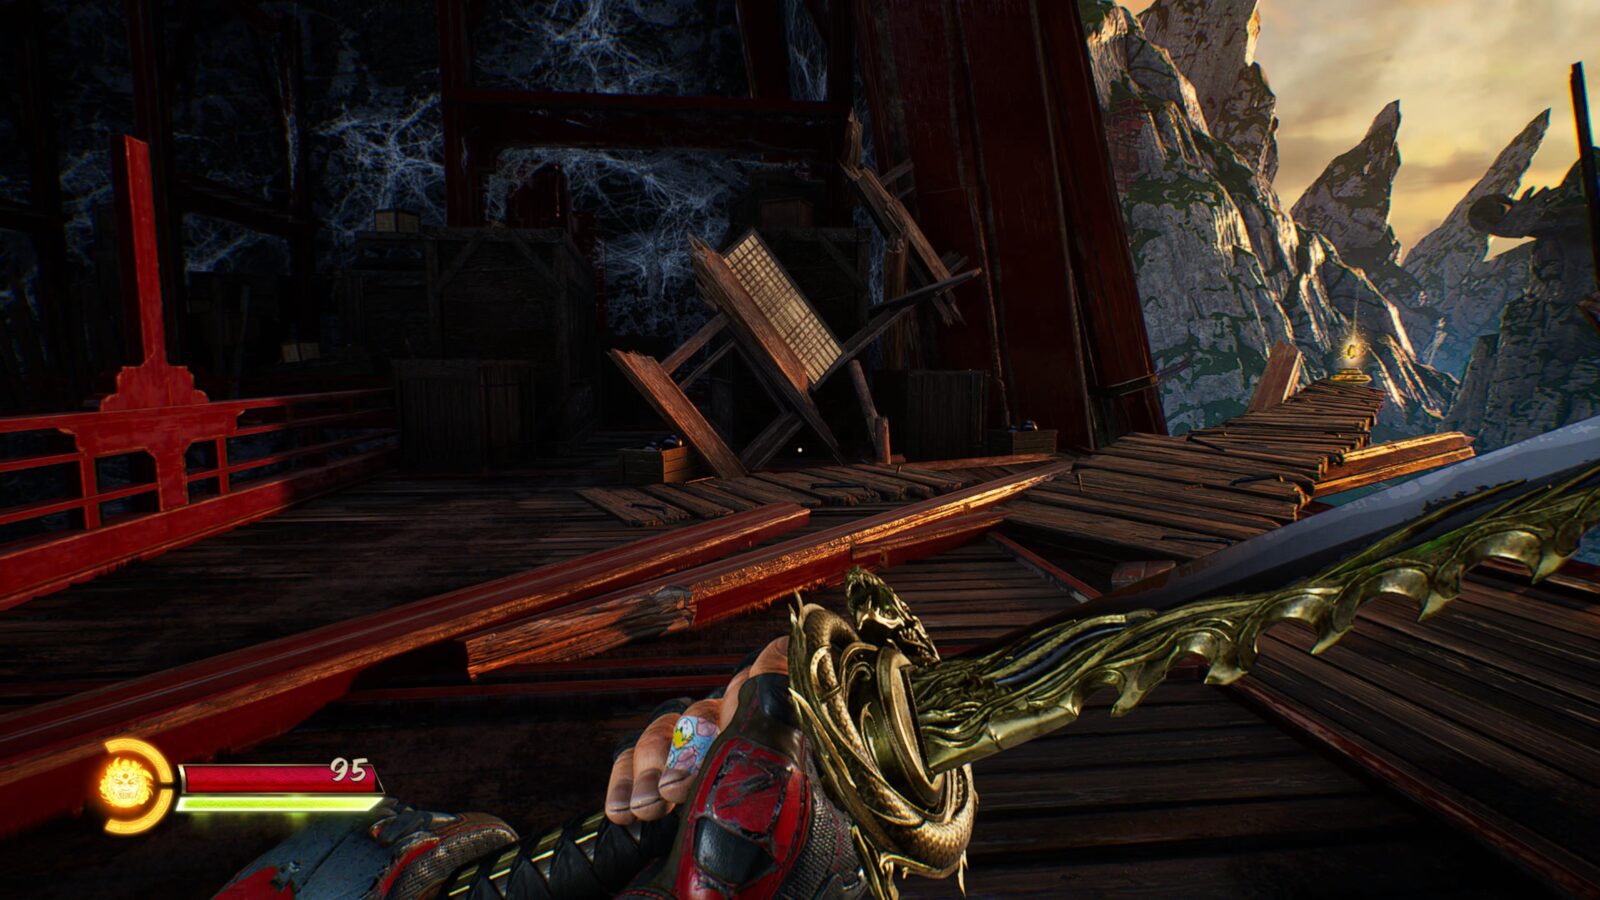
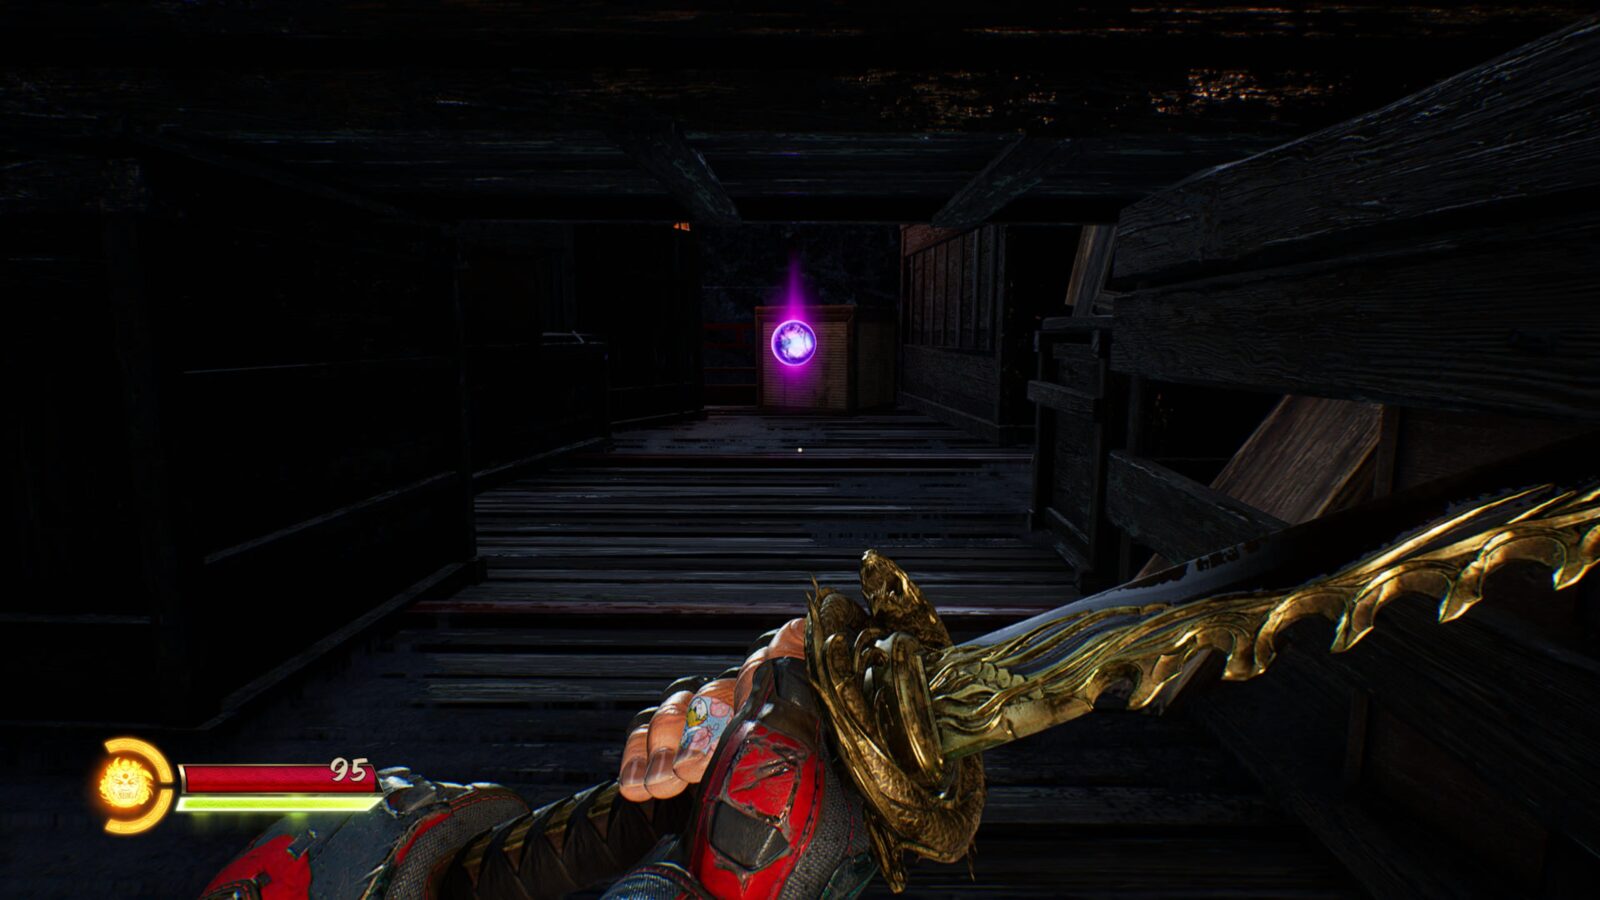
Chapter 9: The Fast and the Furry
Chapter 9 Weapon Upgrade Point #1
Directly in your path after the bomb-making cutscene. Hard to miss.
Chapter 9 Weapon Upgrade Point #2
After your very first encounter with the Gassy Obariyon enemy type, continue along the main path until you reach a wallrun segment.
Look to your left instead of using the wallrun and you’ll see a hidden path that goes around the rock wall.

Follow it to find this Upgrade Point.

Chapter 9 Weapon Upgrade Point #3
Hard to miss along the main path after you’ve destroyed the dragon statue.
Chapter 9 Character Upgrade Point #1
After you collect Weapon Upgrade Point #3, turn around and look for a broken rope bridge.
Jump to it and then follow the path into a building, where you’ll find this Upgrade Point.
Chapter 9 Character Upgrade Point #2
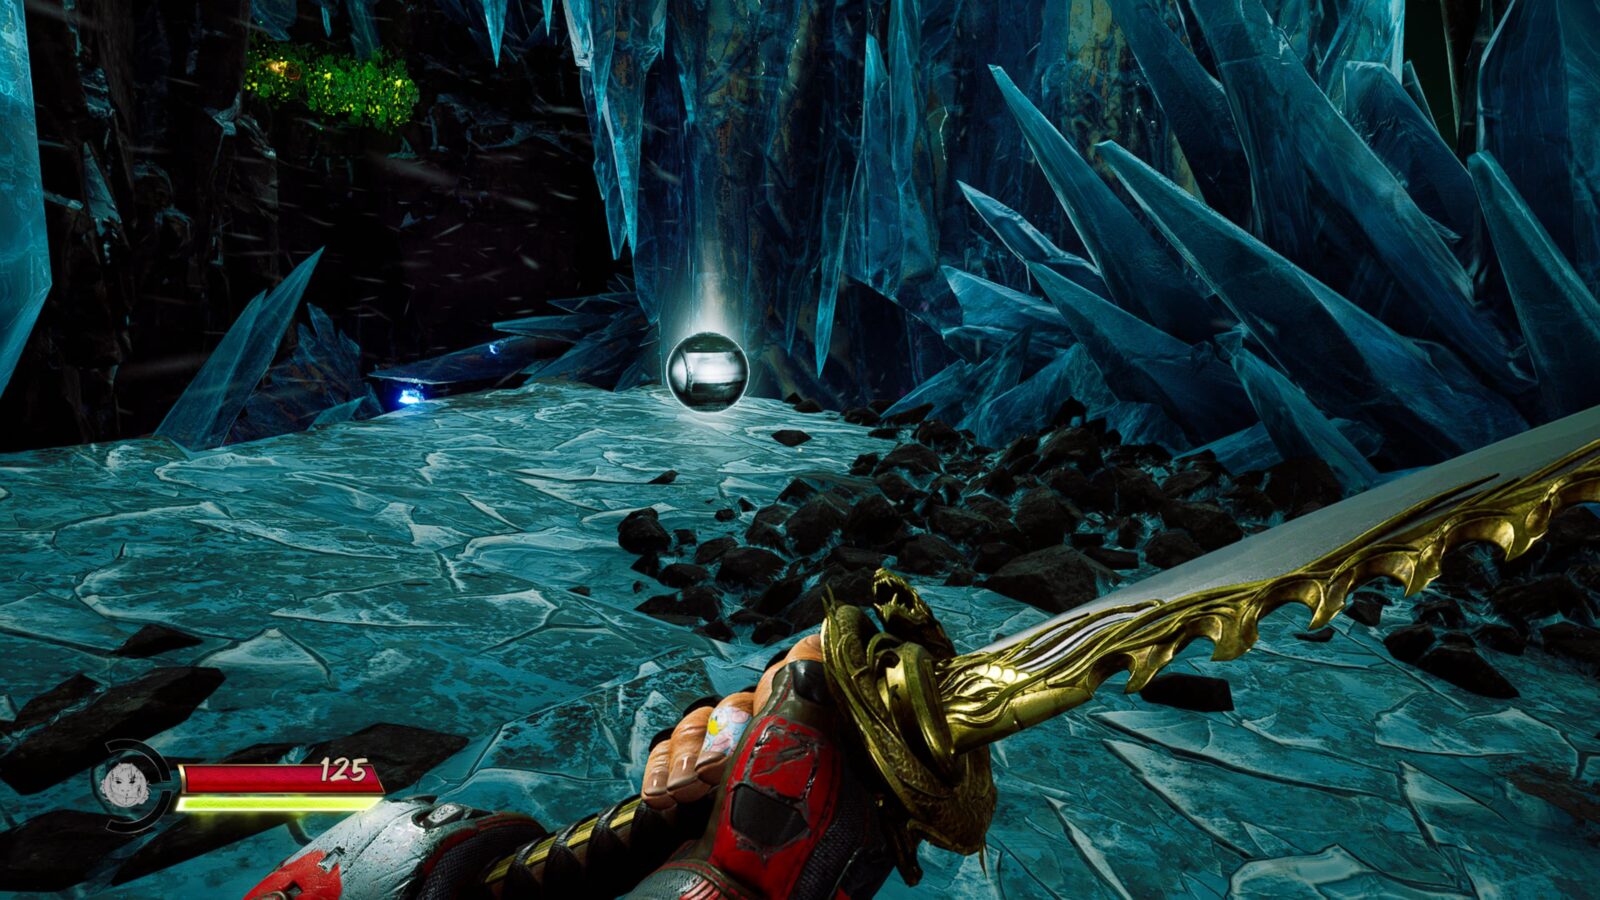
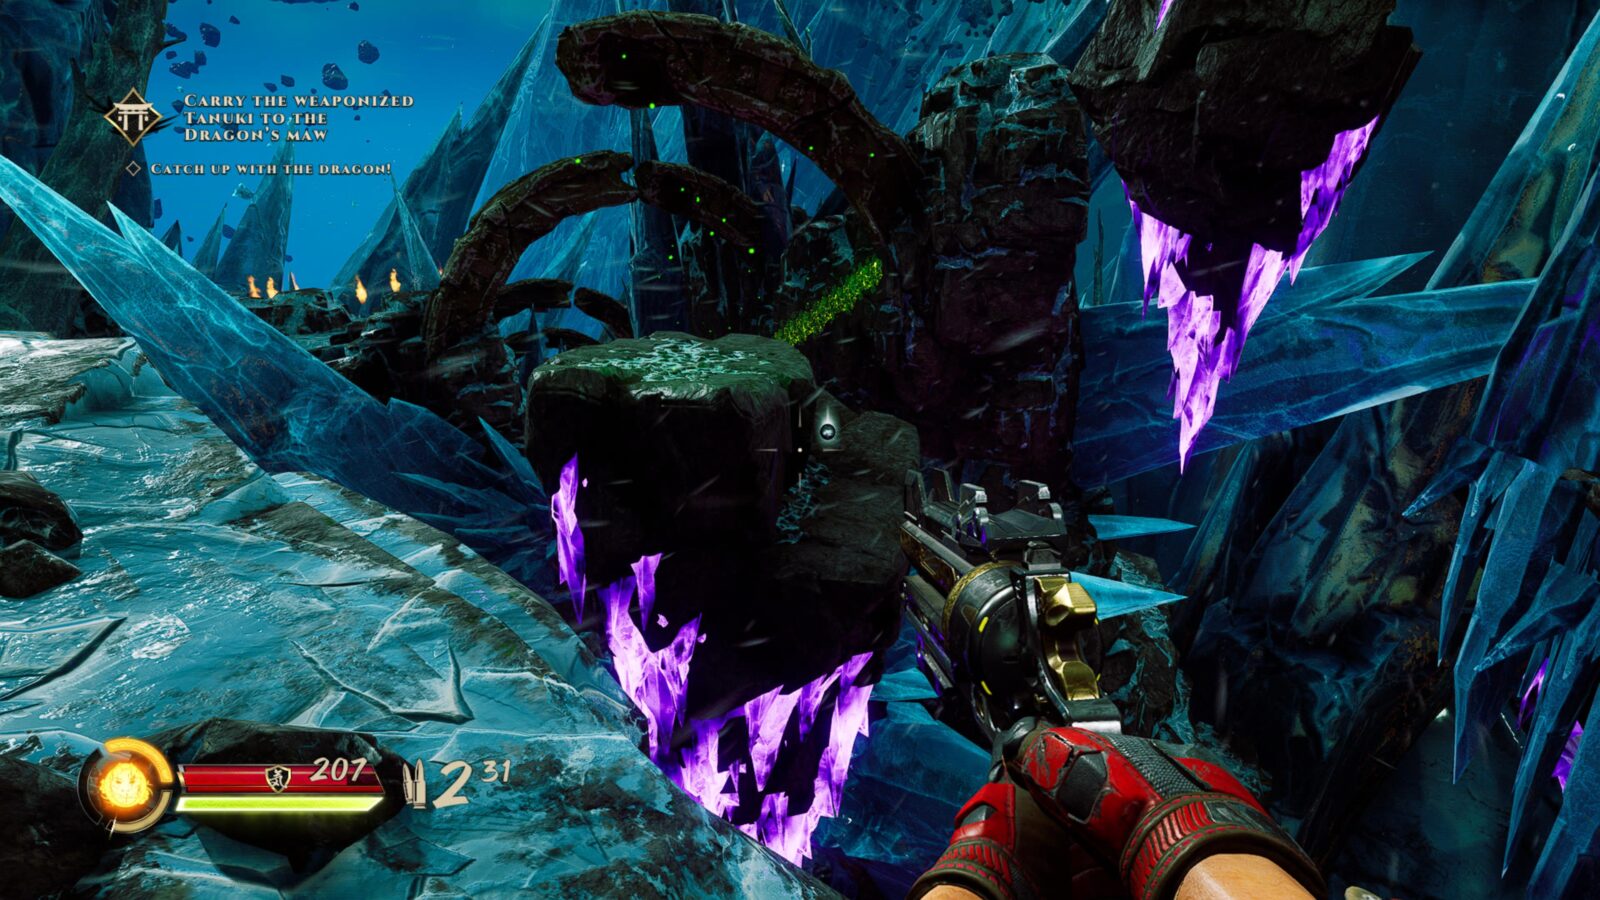
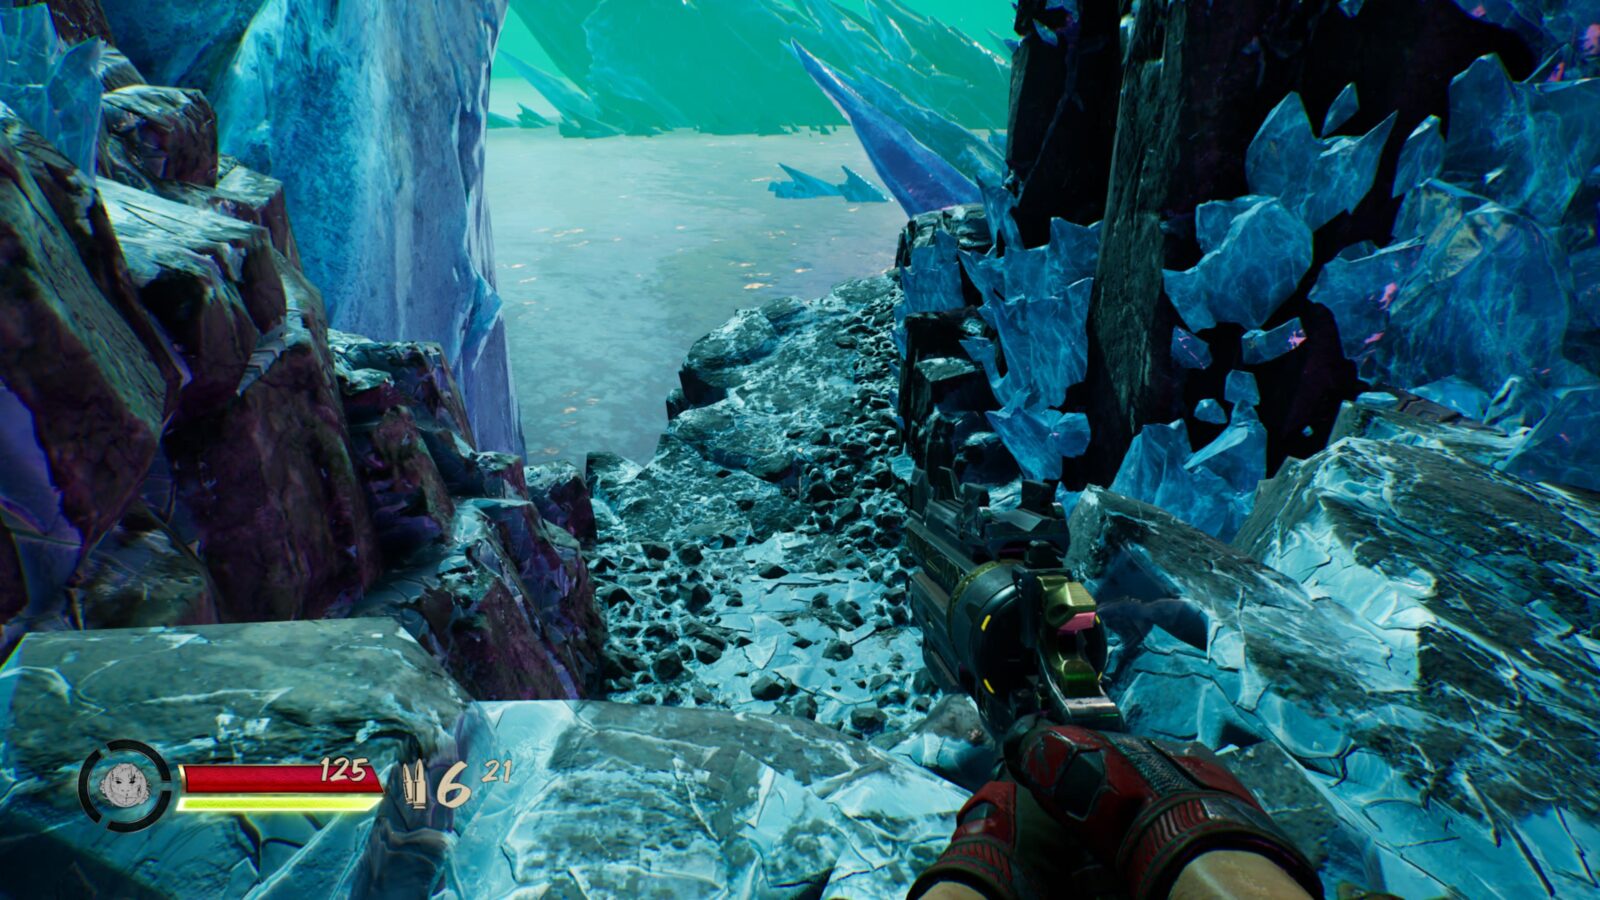
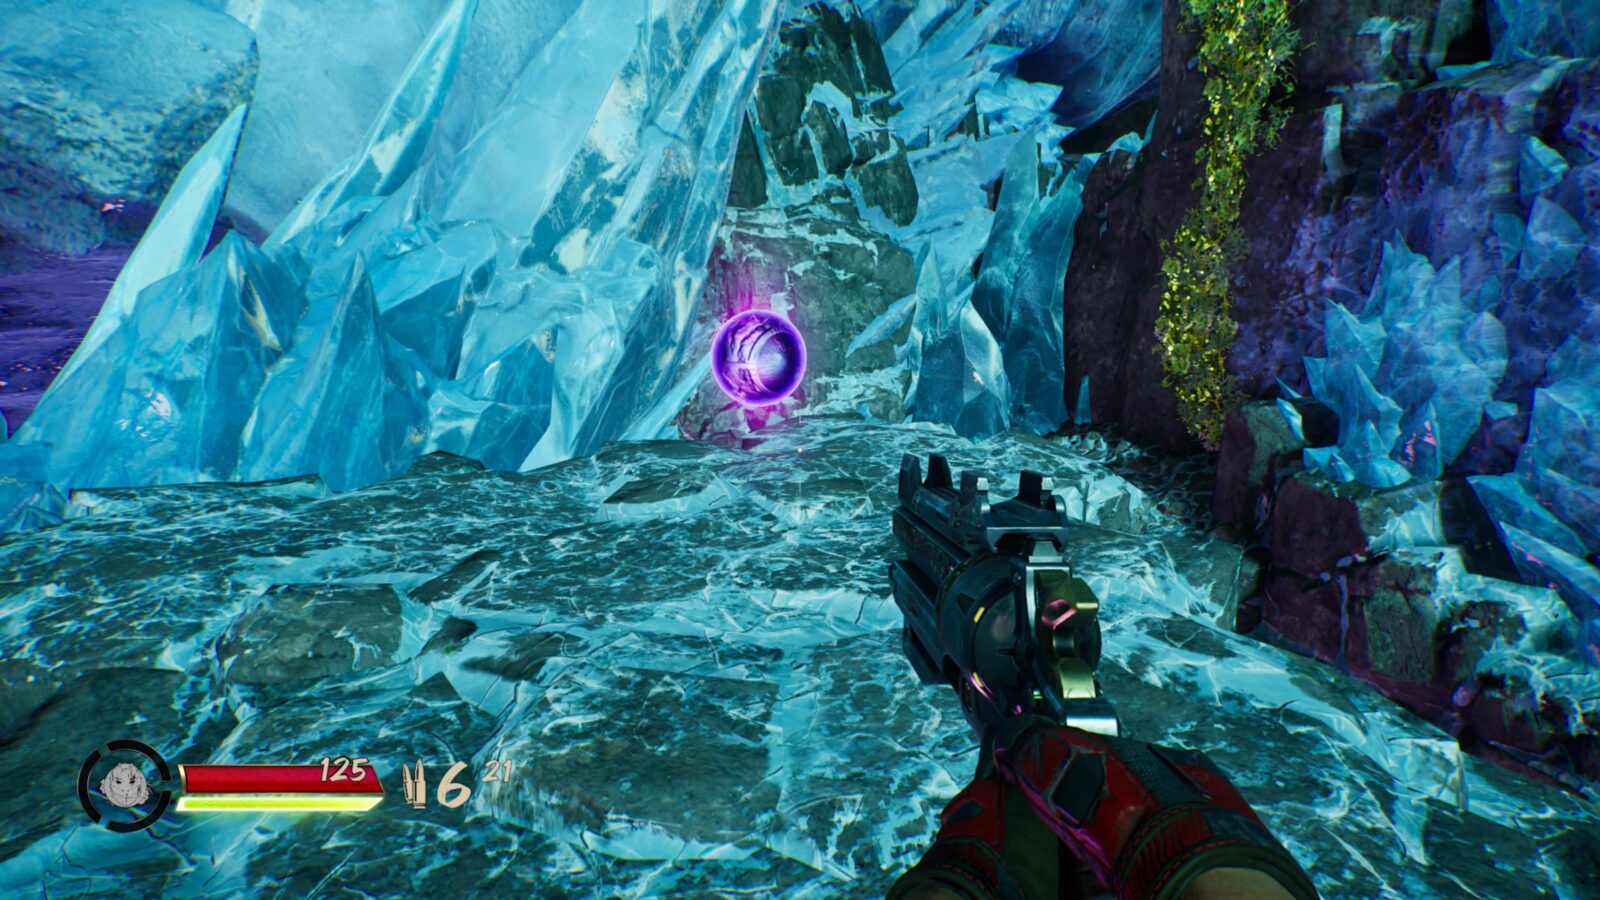
This Point is hard to miss as it’s along the main route in the Ice Cavern section.
Chapter 9 Weapon Upgrade Point #4
Continue from the last collectible proceed a short distance until you see the Dragon in the sky above you.

Ahead of you, there should be a floating rock with a small ledge on its right side. The Upgrade Point should be on that ledge.
Chapter 10: Midnight Snack
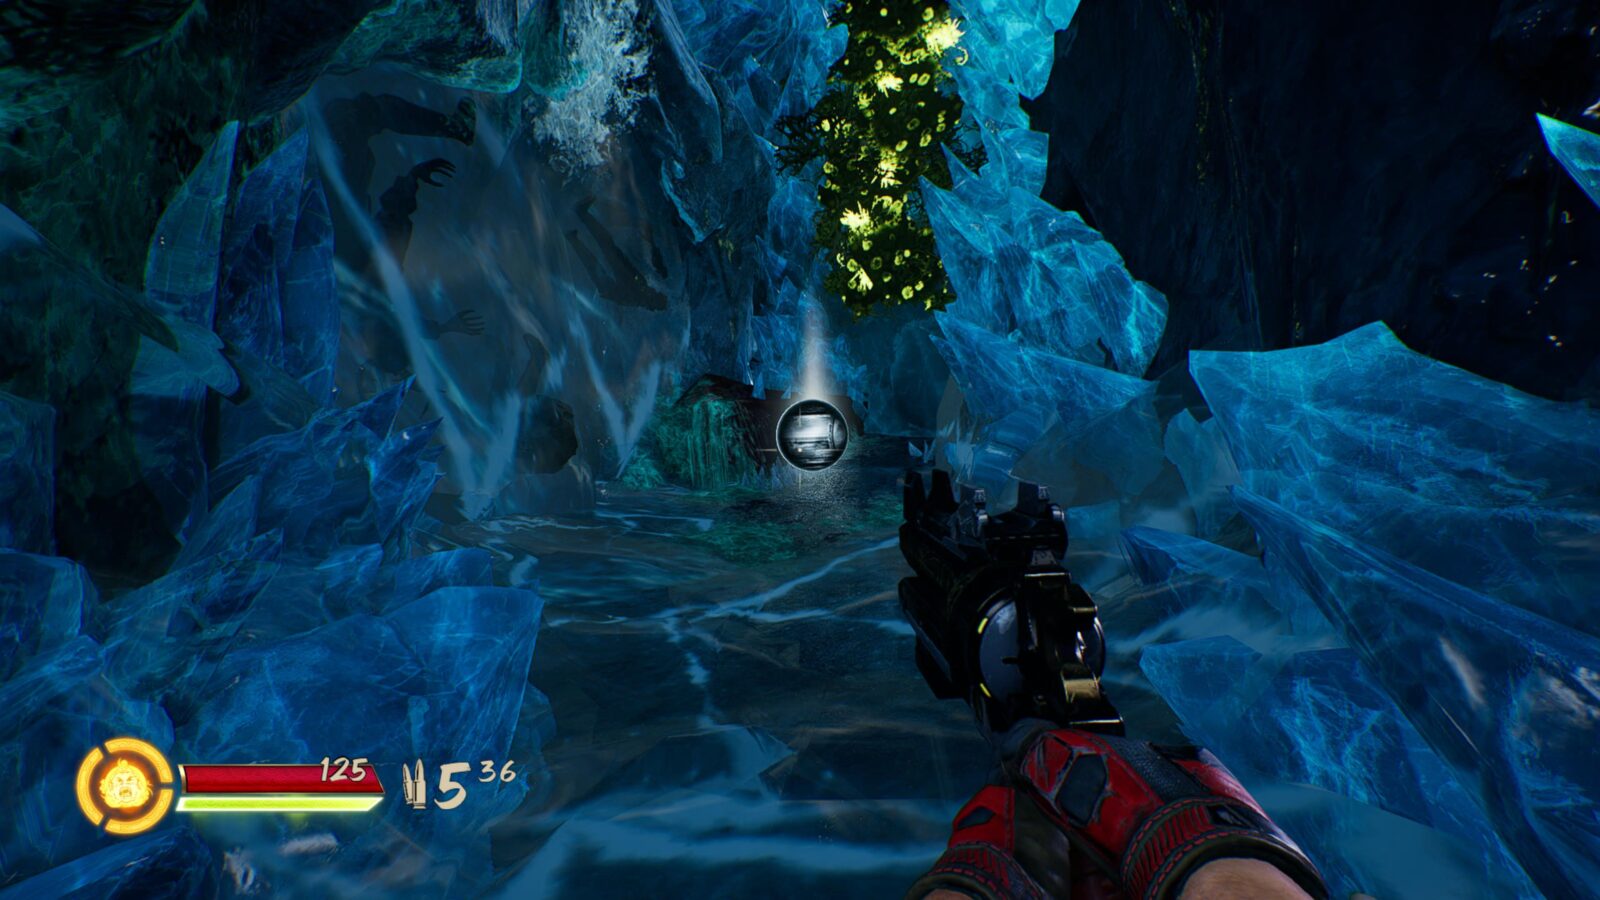
Chapter 10 Weapon Upgrade Point #1
Difficult to miss on the main path once you make it past the first section of the chapter with the collapsing cavern.
Chapter 10 Weapon Upgrade Point #2
Climb up the vines from the last Upgrade Point and then proceed until an ice bridge breaks ahead of you.
Look on your right for a floating snow-covered platform.
Jump to it and then look for another one you can jump to, leading to a green wallrun wall.
Reach and wallrun the wall to collect the Upgrade Point floating next to it.

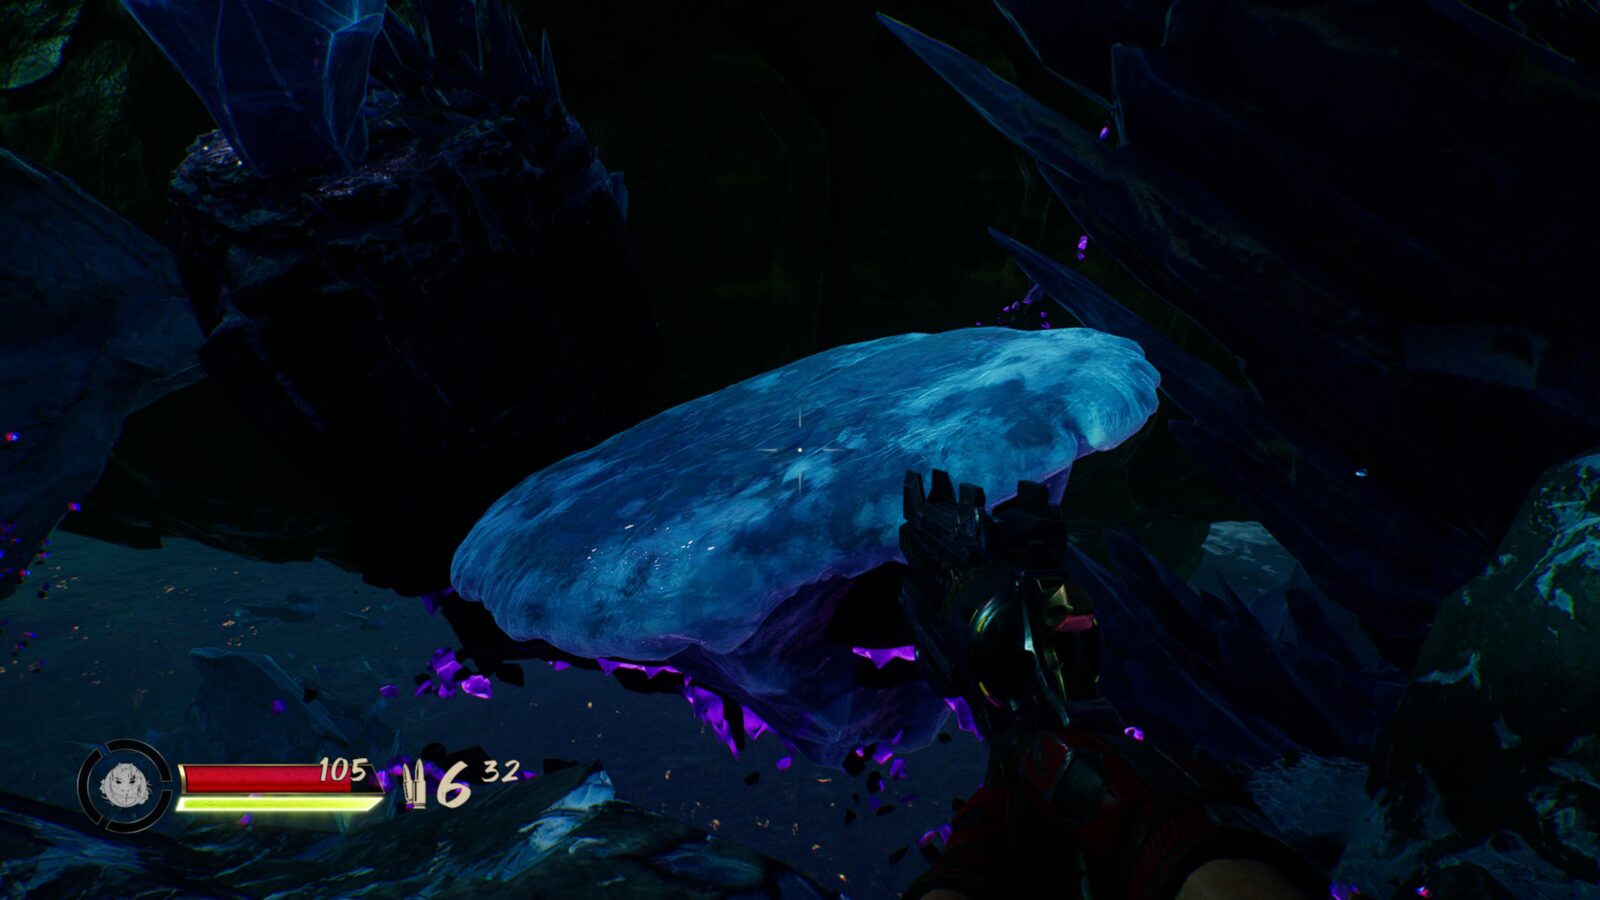
Chapter 10 Weapon Upgrade Point #3
Eventually, you’ll fall through some brittle ice that breaks underfoot and wind up outside again. There, you’ll find this Upgrade Point along the main path.

Chapter 10 Character Upgrade Point #1
A short while after the last Upgrade Point, you’ll swing across two grapples back to back and reach a tall vine wall you need to climb.
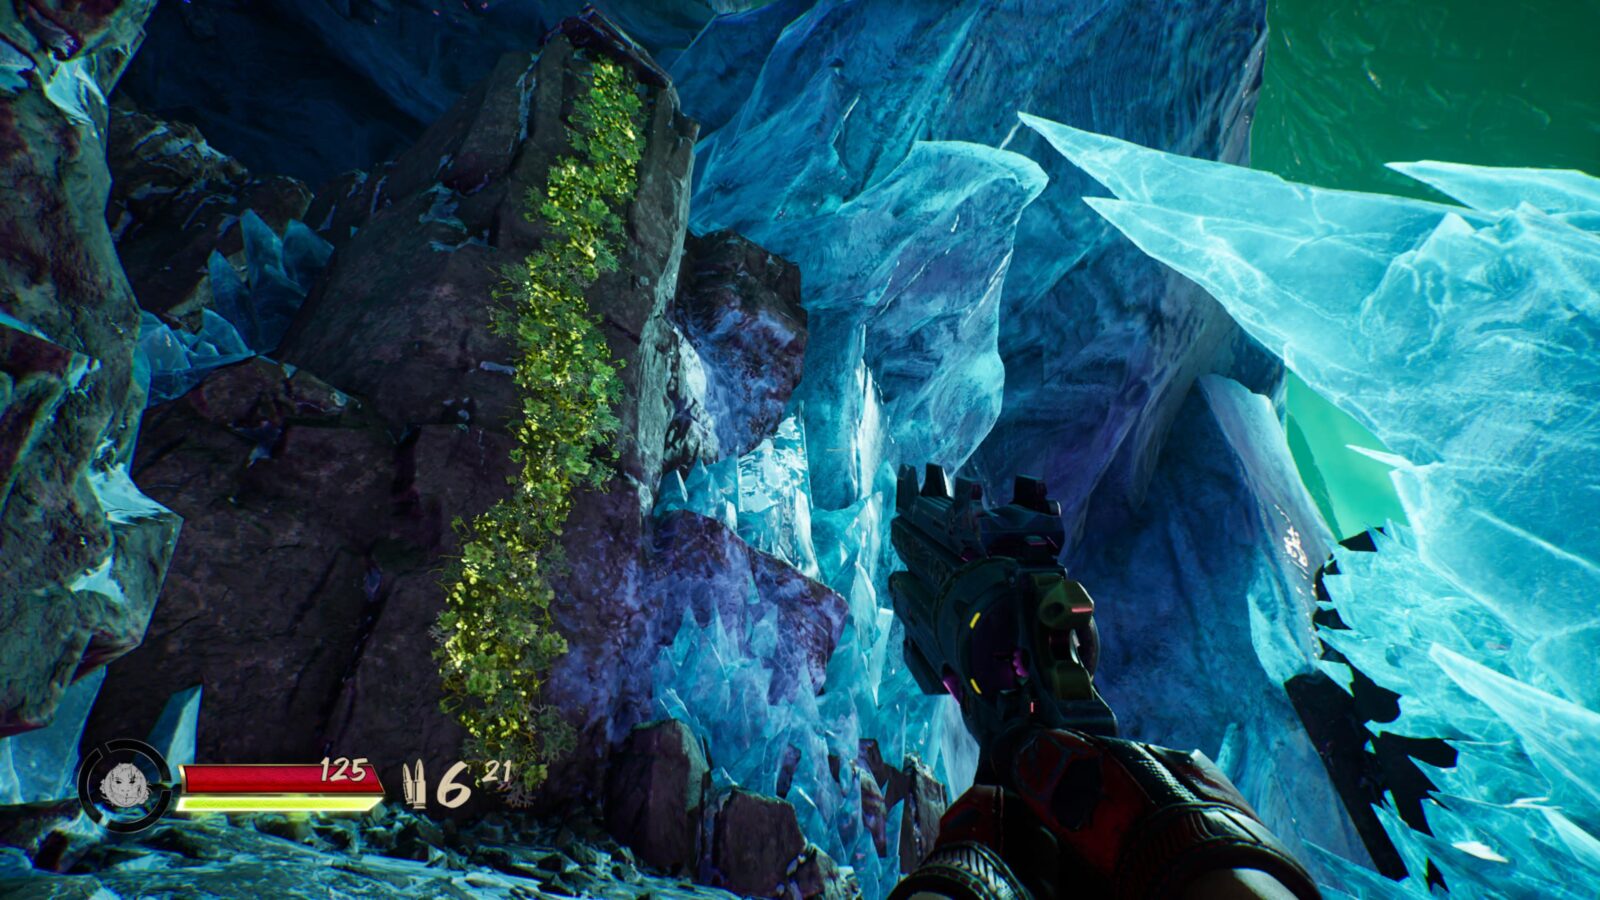
Instead of climbing it, continue right past the wall and drop down to the path below.
Follow it right around and up onto the rock formation and you’ll find another Character Upgrade Point.
Chapter 11: Intestinal Inspector
Chapter 11 Weapon Upgrade Point #1
At a certain point while you’re traveling across the dragon’s back, you’ll find yourself climbing a large spire of ice. Halfway up said spire, you’ll come to an ice archway next to some green mushrooms. Don’t go through it. Instead, look for a small cave entrance on your right that you can crouch into.
Head inside and you’ll find this Weapon Upgrade Point.
Chapter 11 Character Upgrade Point #1
After the first major battle arena inside the Dragon, continue until you reach a green bounce pad that leads directly to another green bounce pad.
Instead of using the bounce pads, follow the wall on your left along to a hidden path.
Follow it to the end and you’ll find this Upgrade Point.
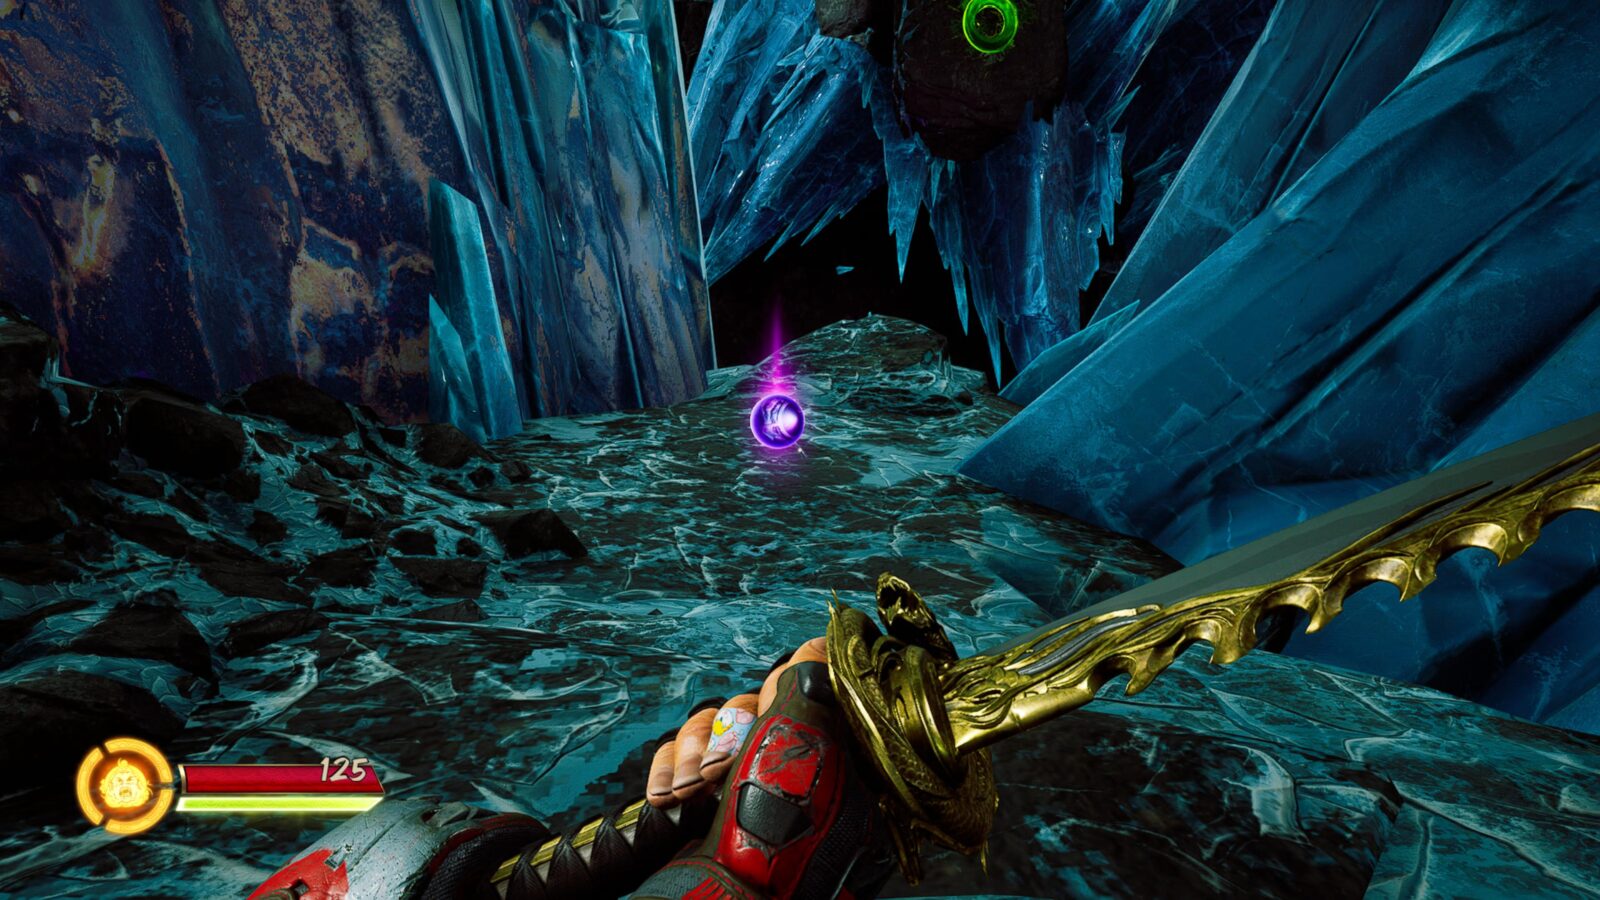
Chapter 11 Weapon Upgrade Point #2
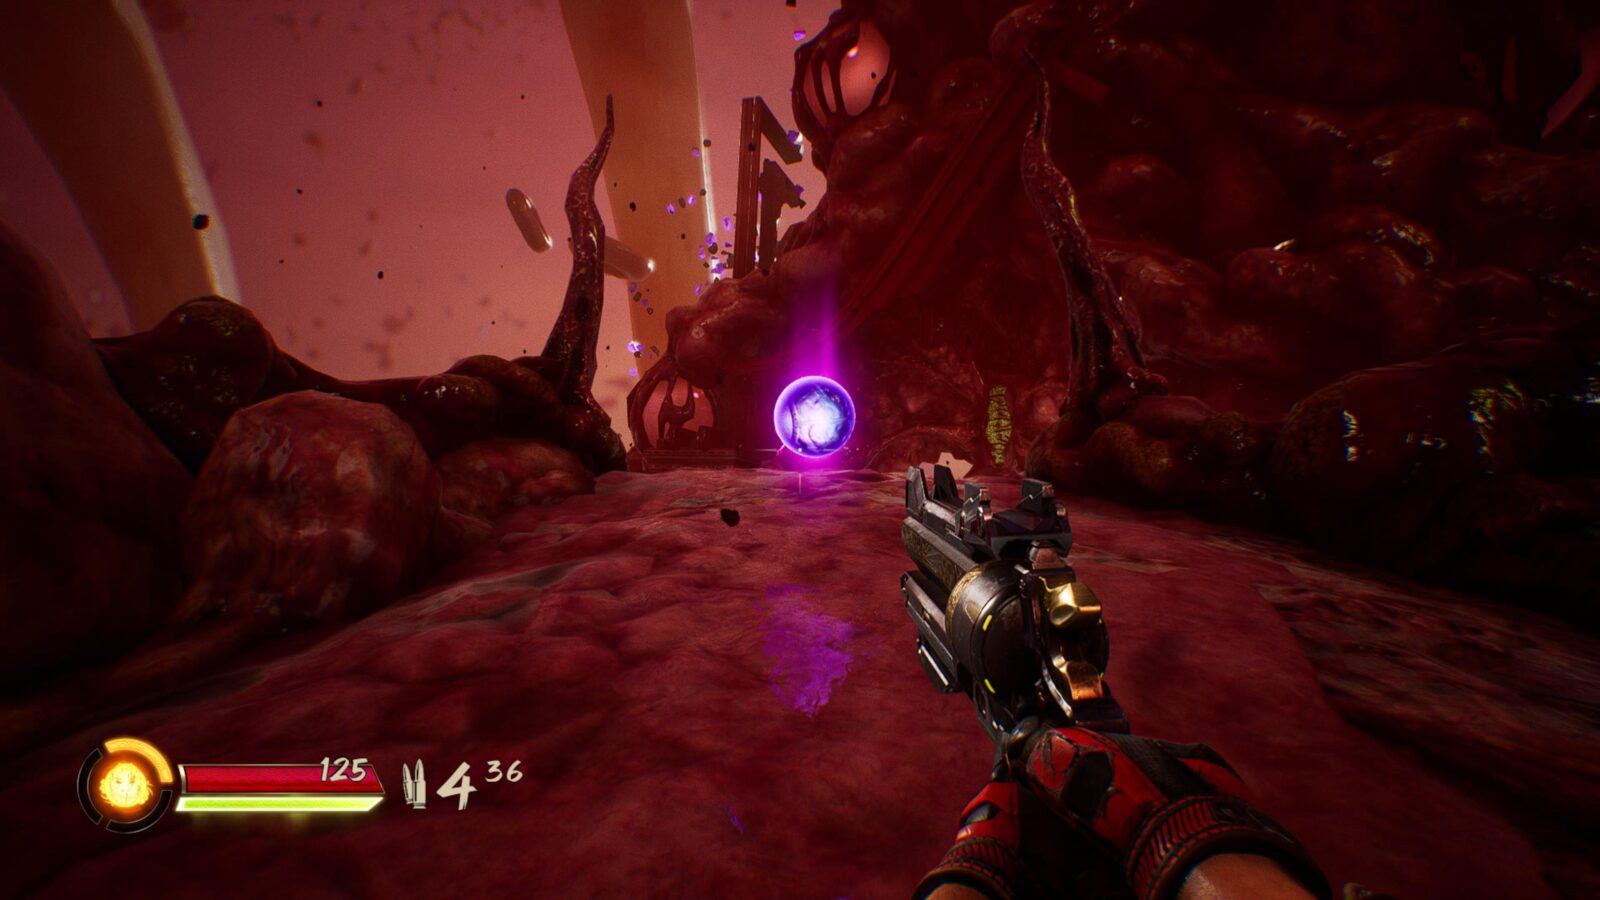
After a large battle, you’ll slide down into a hole towards some lava. Time will slow, allowing you to use your grapple to save yourself.
When you land, turn around to see another Upgrade Point across the lava.
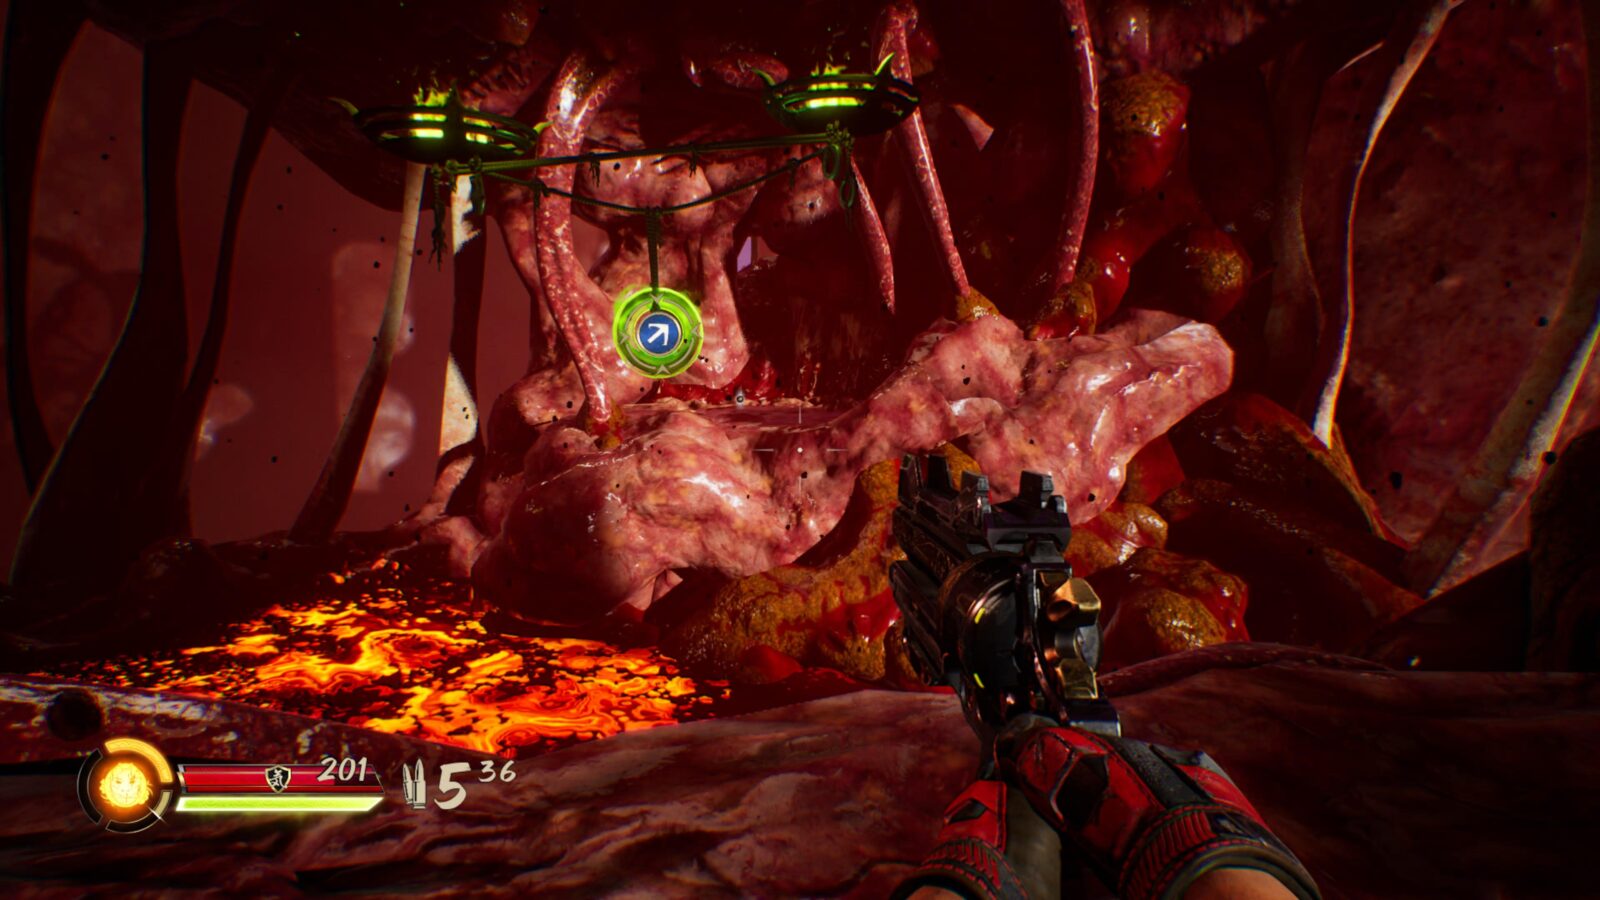
Use the Grapple Point to swing across the gap and collect the Upgrade Point.

Chapter 11 Weapon Upgrade Point #3
The final Upgrade Point in the game can be spotted through some bones on your left, later in the level, when Wang is musing about whether the Dragon is hungry.
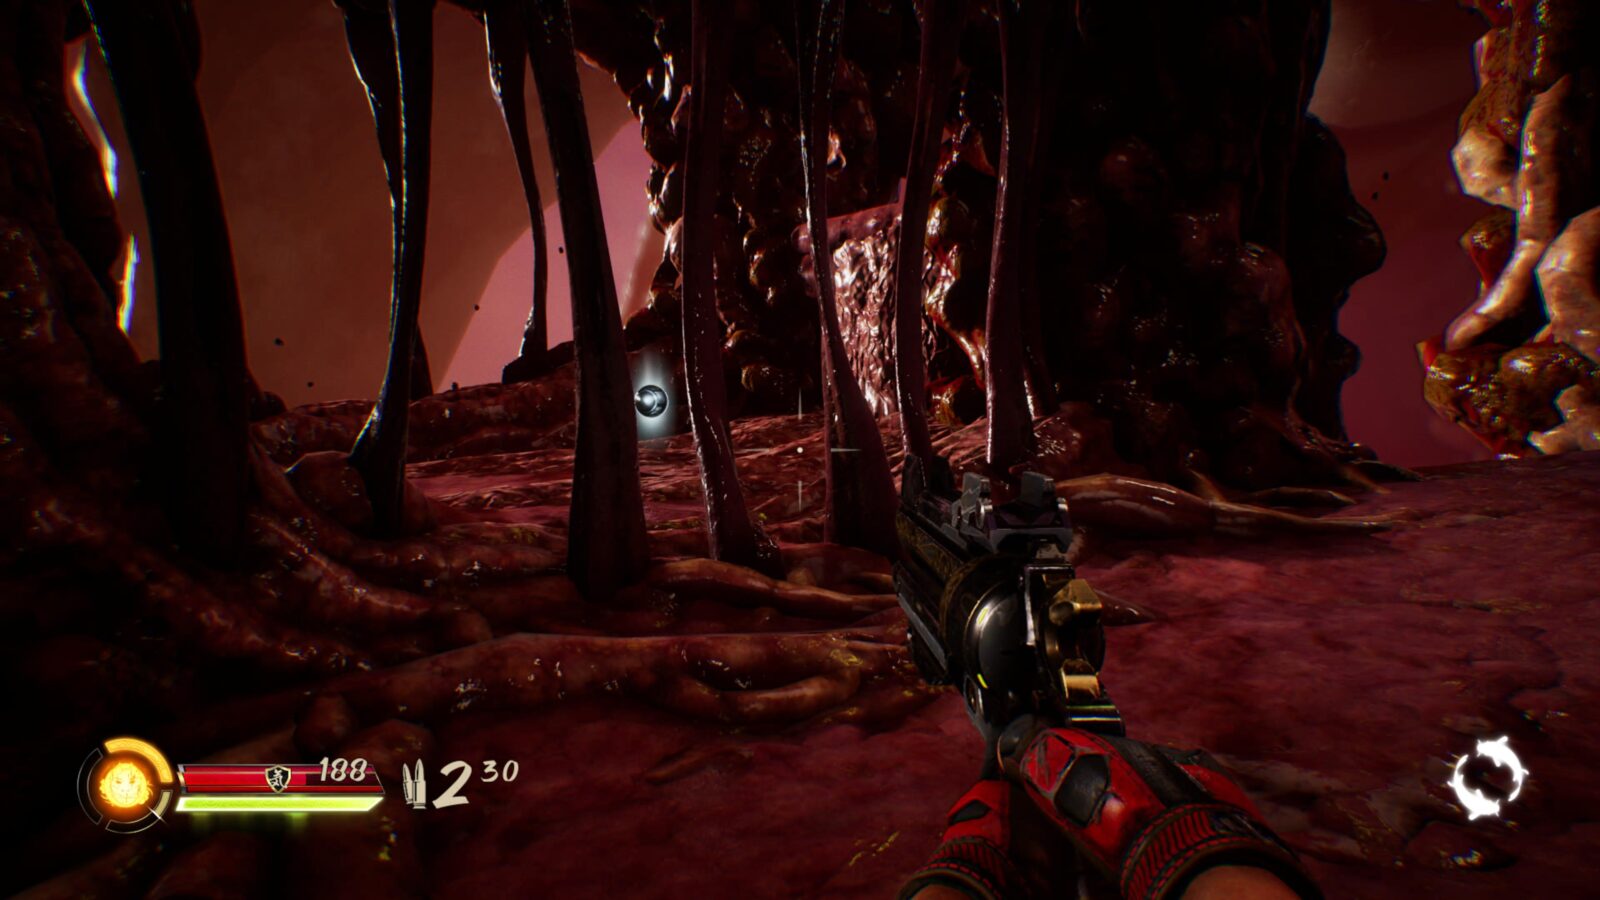
Continue up the ledge ahead of you, but then turn around and you’ll see a way to reach the Upgrade Point.
Jump to the ledge and drop down to retrieve it.
Thank you for choosing PlatGet as your source for a Shadow Warrior 3 Upgrade Points Locations Guide. Consider checking out our other guides!
Follow us on Twitter @GetPlat or Instagram @platget for updates on new reviews and guides, as well as small anecdotes about our platinum journeys.