
PlayStation 5
Sable Trophy Guide


General Info
FAQ
How long does it take to beat Sable and unlock all trophies?
Around 20 hours.
How difficult is it to beat Sable and unlock all trophies?
Easy (3/10).
Does Sable have online trophies?
No.
Does Sable have difficulty-specific trophies?
No.
Does Sable have missable trophies?
No.
Does Sable have glitched trophies?
No.
What is the minimum number of playthroughs required to unlock all trophies in Sable?
One.
Does Sable have a Platinum Trophy?
Yes.
Trophy Guide
Sable Trophy Guide and Road Map for PlayStation 5
Welcome to our Sable Trophy Guide. Sable is a tranquil and enjoyable Indie Open-World RPG that is unfortunately riddled with bugs. The game has a tendency to freeze up, glitch out, or just straight up stop loading things in. Fortunately, not one of these myriad bugs I was impacted by had any effect on the trophies or my ability to earn them!
Despite these bugs which I’d face about once per hour, the game is still very enjoyable. The deserted post-apocalyptic basin that we get to explore is teeming with curiosities. There’s no death or difficulty, simply exploration and reward! The art style, too—which reminds me of Rollerdrome—helps to elevate this game’s endless charm.
If you do find yourself glitched out, stuck in an object, or frozen, you can usually either Fast Travel elsewhere or save the game and restart it to fix the issue. It’s a small price to pay for the opportunity to enjoy this game, however, it is still a price that we shouldn’t be paying at all in 2023.
Phase One | Uncover the Map, Find NPCs, Complete Quests, and earn Masks
During this first phase of our Sable Trophy Guide, you should simply focus on enjoying yourself.
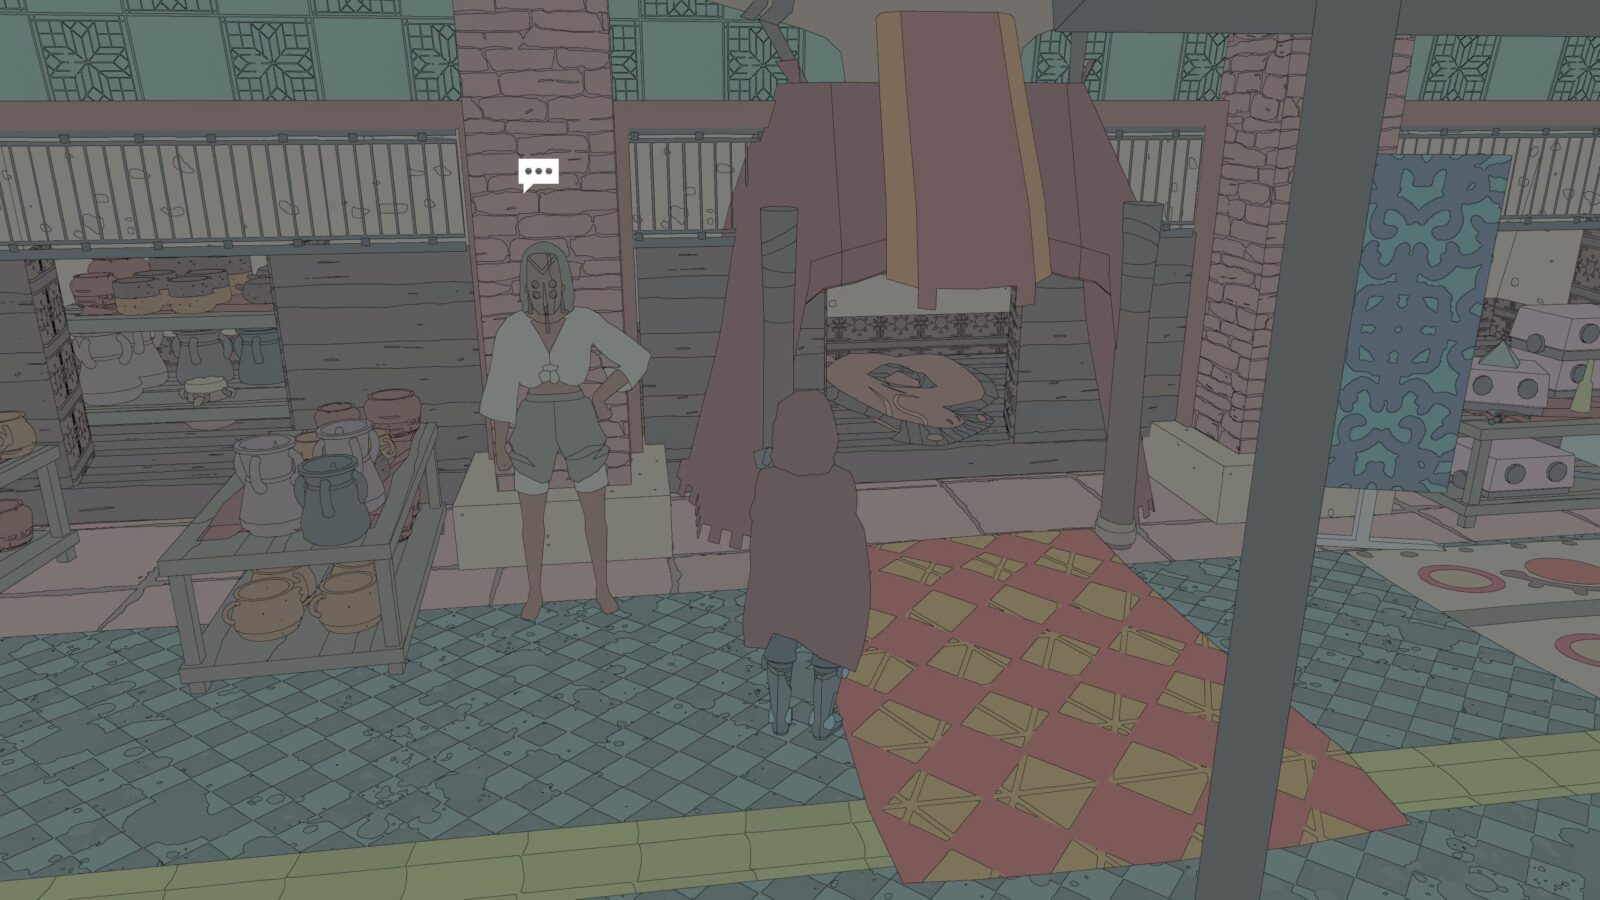
Sure, there are things you can do here to make your trophy journey less of a hassle—which are listed below—but, ultimately, nothing is missable in this small open-world indie adventure. Enjoy exploring, allow yourself to get distracted and lost in the desert, and interact with everything that piques your curiosity. However, along the way, you should speak to every NPC you can, as this is how you’ll get Quests as well as Badges. Badges are how you’ll create Masks and eventually collect them all.
The main questline is called “The Gliding” and there are many other quests that will be automatically completed along the way as you make your way further and further out into the open deserts. You should uncover the map as you go, making sure to explore the unexplored and purchase maps from Cartographers as you find them. The game ends when you return to the Ibexii Camp and choose your final mask from the selection you’ve gathered. Obviously, don’t do this until you’re ready to end your trophy journey.
While doing so, it would be wise to also do the following throughout this phase:
- Allow me to reiterate; speak with all NPCs you encounter, even those without speech bubbles. Press
 to initiate a conversation, as they might offer a quest.
 - Capture Butterflies/Dragonflies in the desert by approaching them and pressing . Aim to collect one of each type for the Vivarium, and sell any extras.
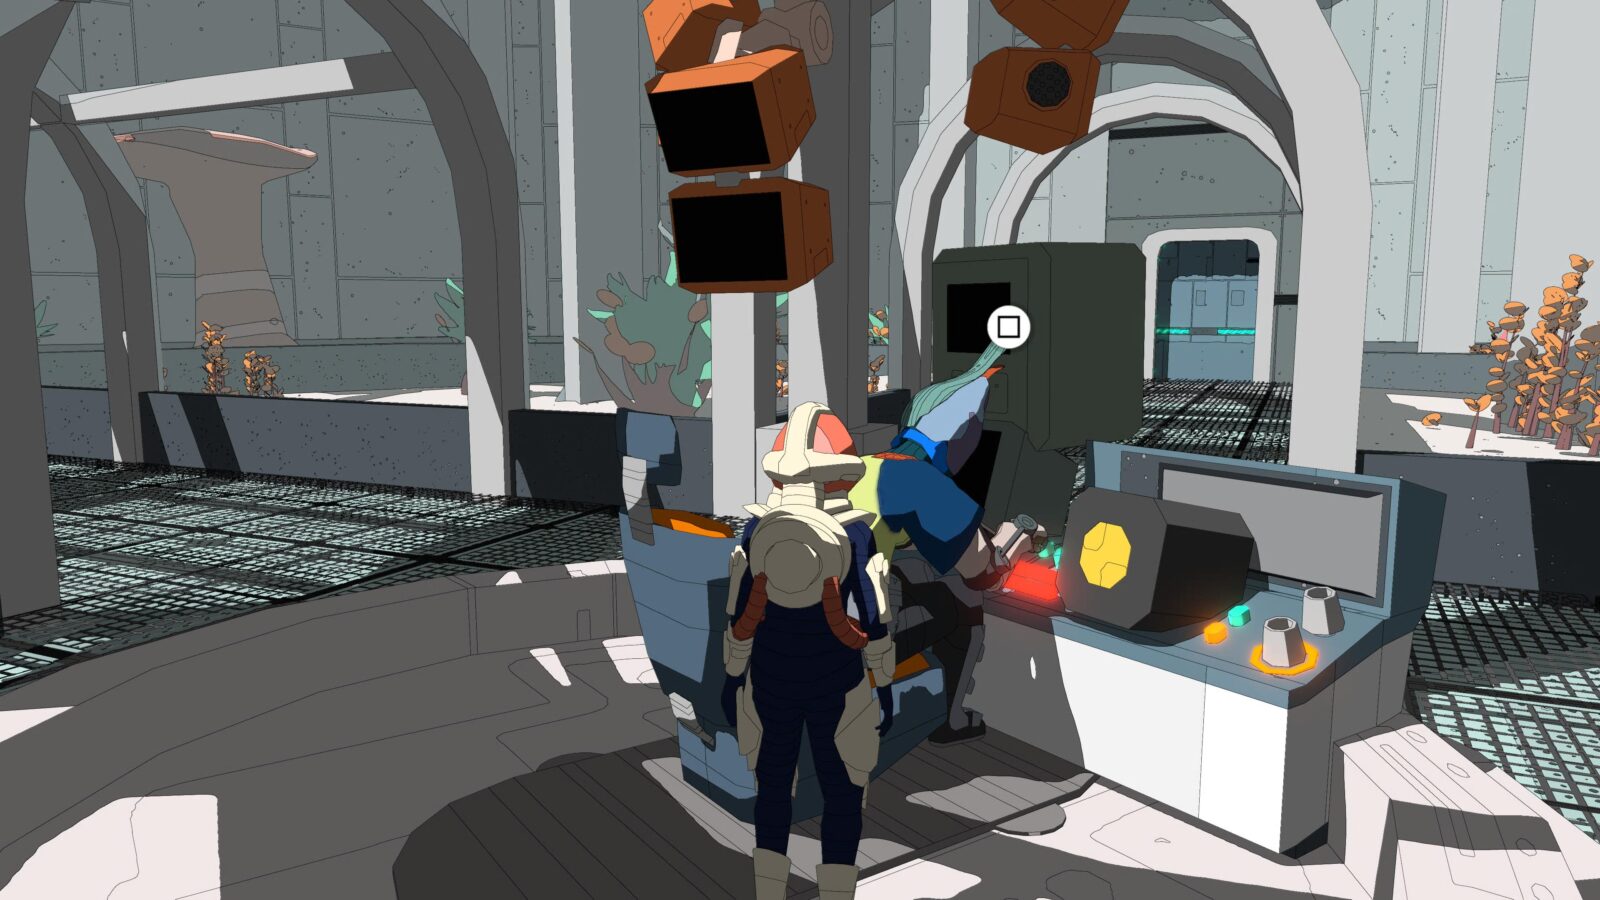
- Drive through rings protruding from the sand on your bike to activate them. Unlocking all rings in an area reveals a nearby ruin with a “Chum” at the top and a Hicaric Ring inside. If you find a locked ruin, search the sand nearby for rings to drive through.
- Investigate greyed-out areas on the map after purchasing one. These locations often feature fast-travel points and numerous NPCs to interact with. Also, follow pillars of smoke on the horizon, as they may lead to points of interest.
- Gather “Chum” worms by pressing on them when you see them. They will plant themselves into the ground and produce an egg. You will need to collect at least 100 of these, but there are far more available (165) throughout the game. The controller vibrates quite violently when one is nearby, so check every nook and cranny whenever you feel a consistent rumble.
- Complete every quest you receive. While they may not always provide a badge needed for a mask, they often lead to locations with a high chance of containing a “Chum” for you to collect.
- Although we’re getting the majority of Masks in this phase, we’re leaving some annoying ones like The Angler Mask until later.
Unmissable Story Trophies

Got Your Nose
Collect an elephant beetle
You will need to catch Beetles for Saima quite early in the story for the Quest “Beetle Detour.” The Beetles in the nearby nest, where the compass waypoint leads you, are Elephant Beetles. The quest requires you to catch three, but actually the “Got Your Nose” trophy will unlock when you catch the first one.
To catch one, climb up the nearby upside-down teardrop-shaped rock formations with big green patches on their sides. These patches have a round brown seed at the center and fall off the rock when you climb into them.

Back on the ground, pick the seed up, and throw it to a nearby Beetle. It will begin eating the seed and you can walk right up and grab the beetle with ![]() while it is distracted!
while it is distracted!


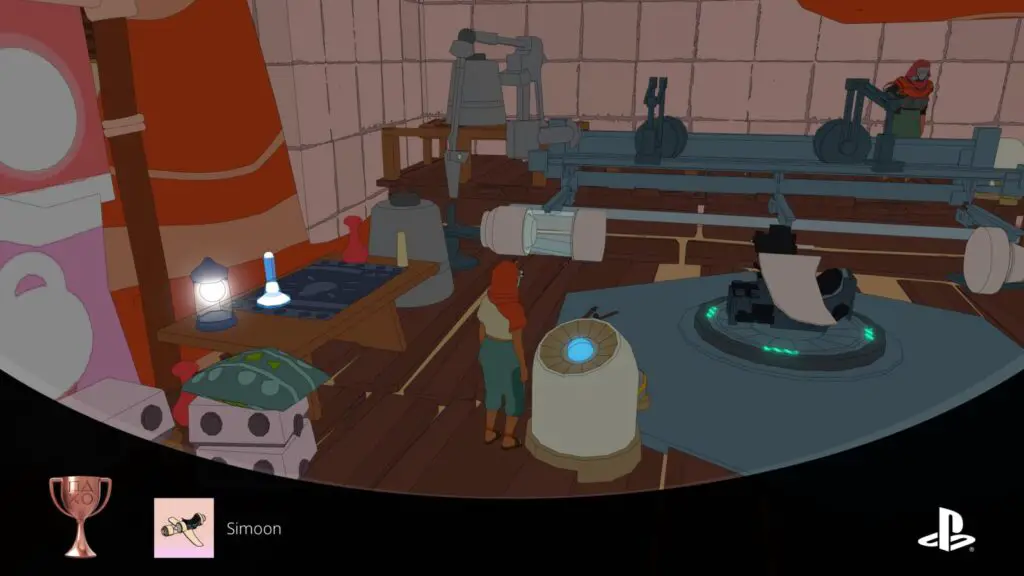
Simoon
Build your hoverbike
As part of the story, you will build your hoverbike with Sizo before leaving Ibex Camp. This whole chain of quests acts as something of a tutorial and gets you into the swing of the game’s mechanics before setting you loose on the open world.
It’s a totally unavoidable part of the story and so the “Simoon” trophy will unlock naturally.
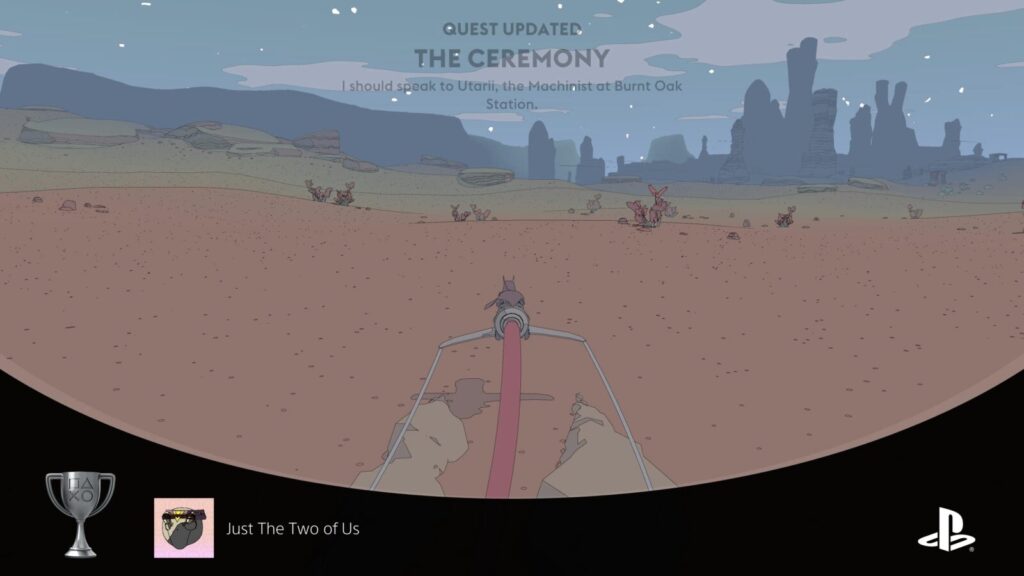
Just The Two of Us
Leave the Ewer
As part of the story, you will eventually leave “The Ewer,” which is the small region where Ibex Camp is on the map. Upon doing so for the first time, the “Just the Two of Us” trophy will unlock naturally.
NPC/Quest Trophies
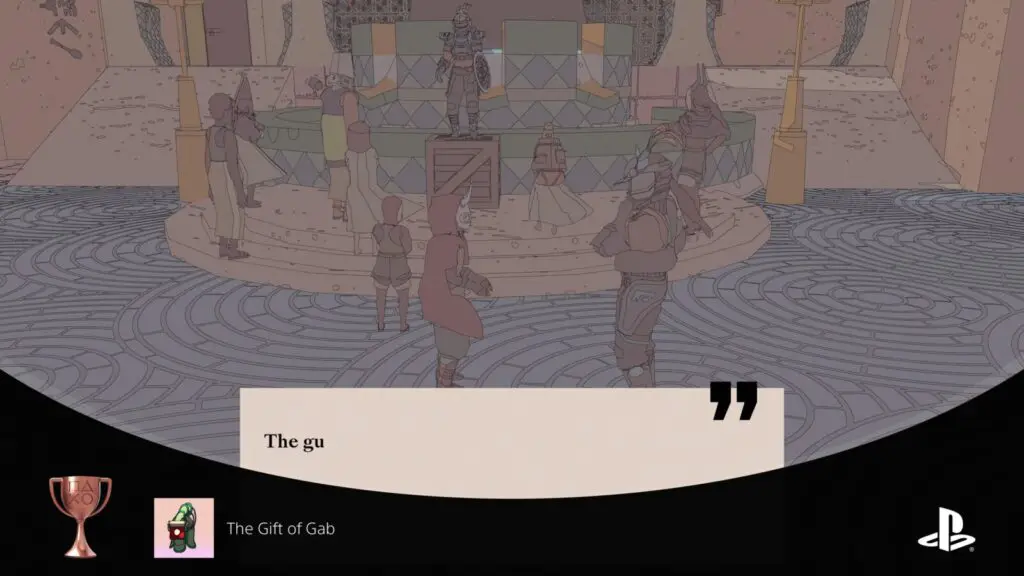
The Gift of Gab
Talk to 15 NPCs
As one of your key objectives in this phase of our Sable Trophy Guide is to speak to every NPC you come across, you should unlock the “Gift of Gab” trophy fairly naturally throughout this phase and not very far into the game, either.
You’ll speak to good deal of NPCs through simple progression, but will eventually need to speak to a total of 30 NPCs for the Silver-Tongued Sable trophy.

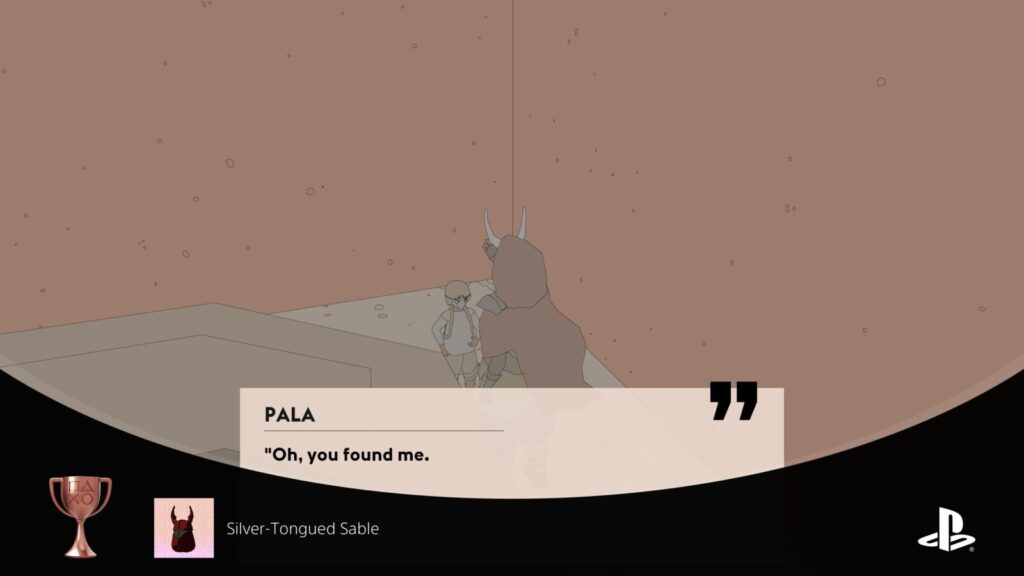
Silver-Tongued Sable
Talk to 30 NPCs
Speaking to 30 NPCs and therefore unlocking the Silver-Tongued Sable Trophy, much like the Gift of Gab trophy, should occur painlessly throughout this phase of our Sable Trophy Guide. You’ll need to speak to far more than 30 NPCs to have any hopes of earning the Platinum, that’s for sure.

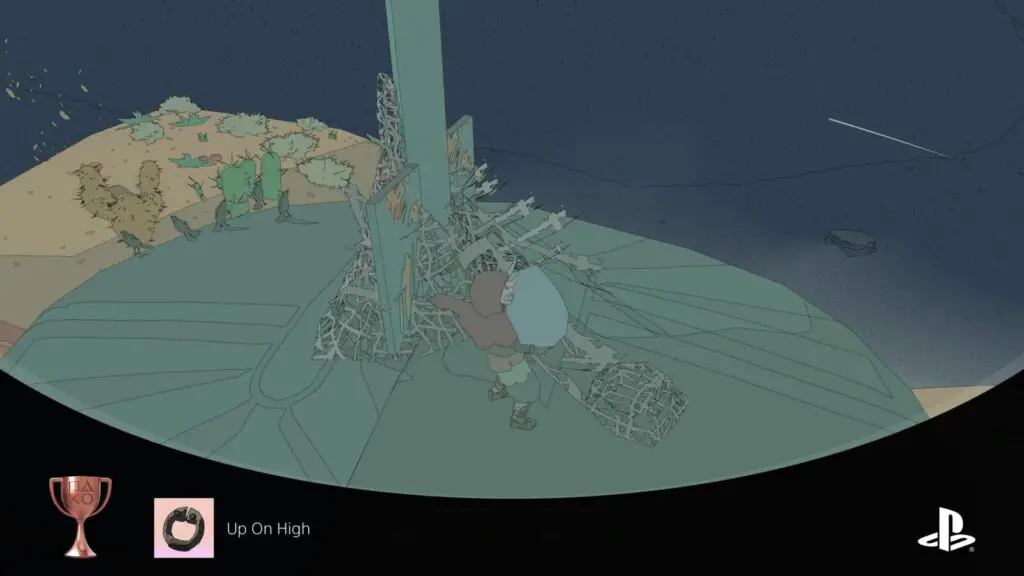
Up On High
Unblock the wind tower
One of the first quests you’ll come across outside of The Ewer is one for “Utarii,” the machinist who you’ll meet at Burnt Oak Station. This quest is called “A Stubborn Snag.”
As part of this quest, you will approach and climb a tower to a turbine at the top, where you can remove the blockage. As soon as you do so, the “Up On High” trophy will unavoidably unlock.
Nesting Giant
Get into the Hercules Beetle Nest
At the Hercules Beetle Nest south of Burnt Oak Station, where you will go for the badge-related quest titled “Remnants of Change” received from Ifaa at Burnt Oak Station, there’s a huge pipe leading to the actual nest with a big beetle blocking the way.
To get rid of it, you need to bring one of the weird seeds from the top of the nearby ruins to it. However, simply approaching it caused the Nesting Giant trophy to unlock for me.
I suspect that it shouldn’t unlock until you get past him, but the trophy gets triggered by mistake as you approach him.
Completing this quest will earn you a Beetle Badge.


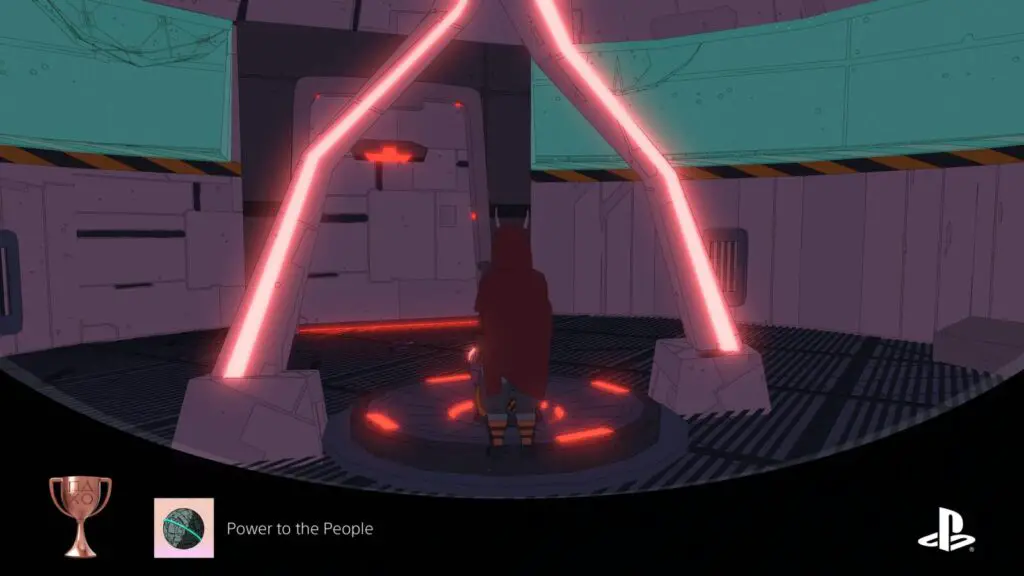
Power to the People
Return power to Eccria
When you arrive in Eccria for the first time, you will see a cutscene where the city’s inhabitants are protesting the power outage. A Guard will approach you called Sandip and this automatically begins the “Heartbreak in the City” Quest.
As part of this quest, you will repair a rusted power core and then take that to the Atomic Heart where, by placing the core in the mechanism at the center, you will restore power to Eccria and unlock the Power to the People trophy!

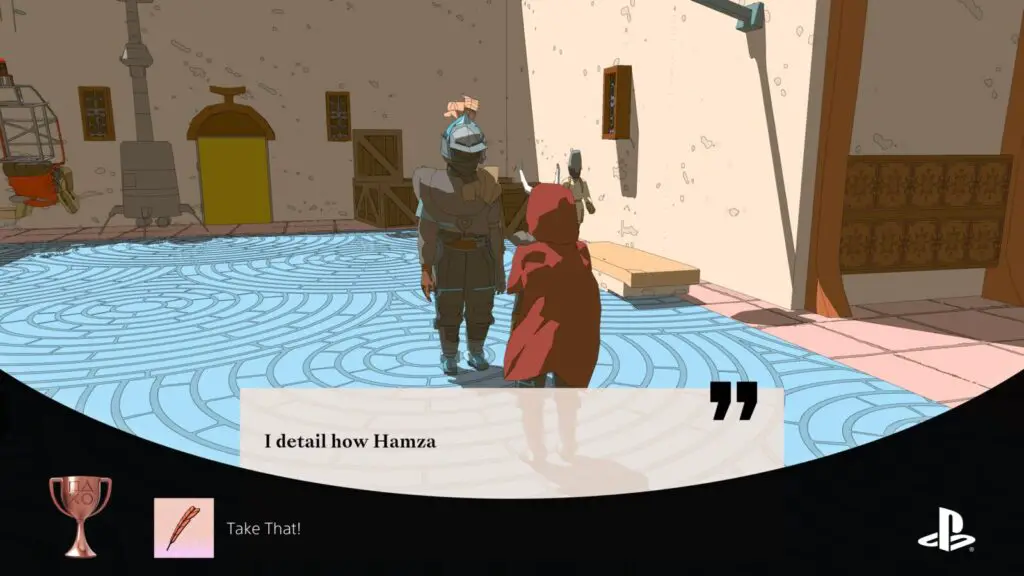
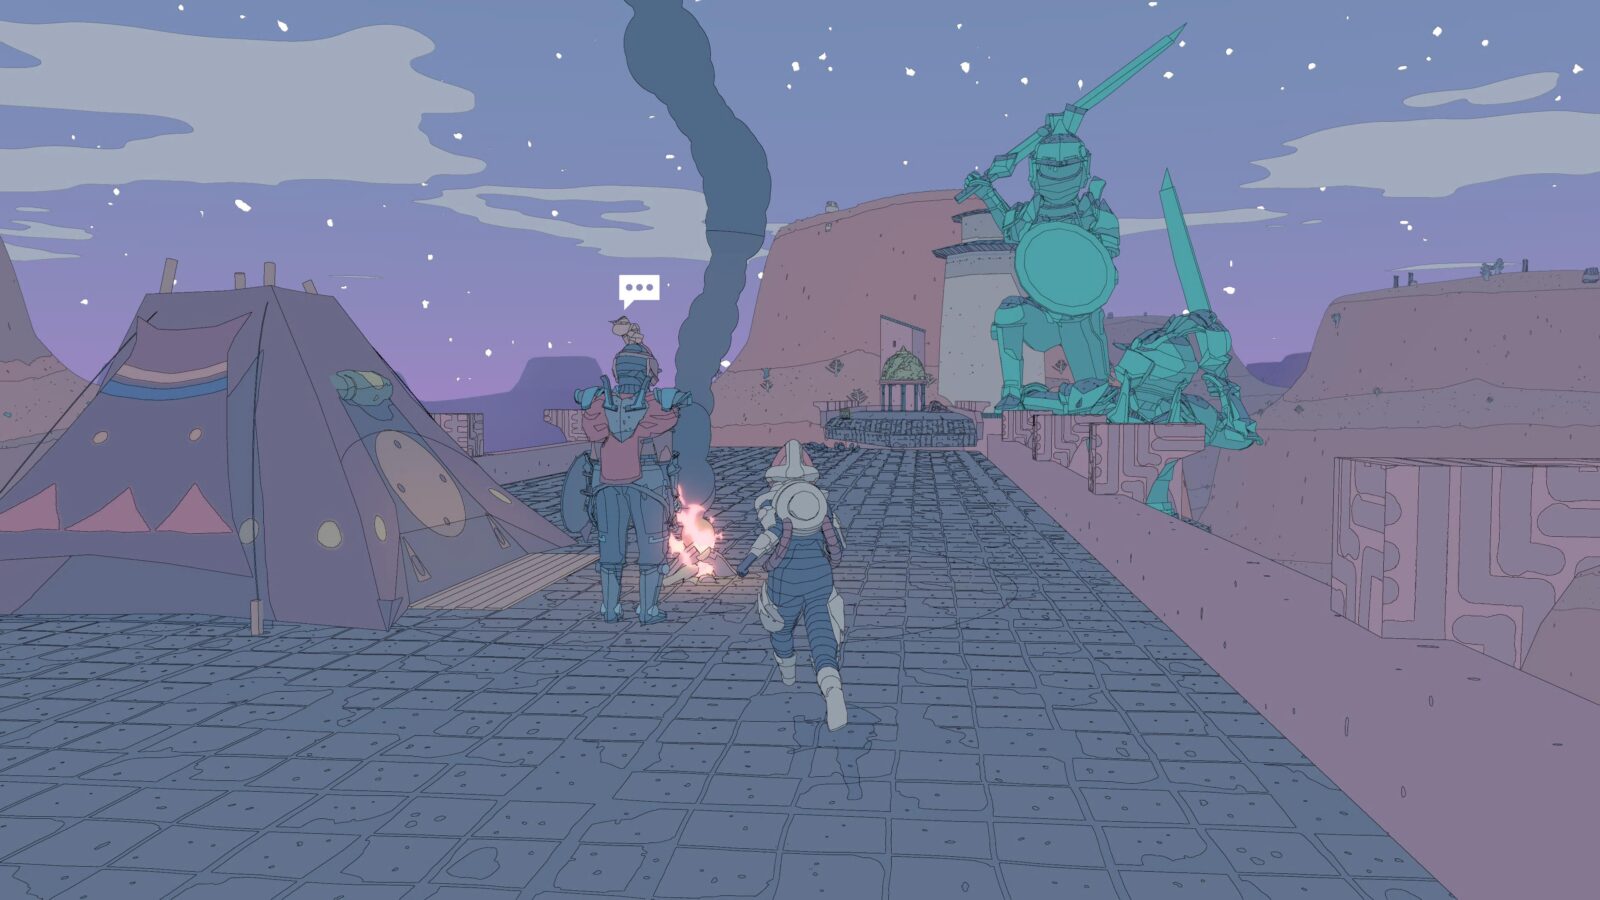
Take That!
Point the finger at a suspect
After restoring power to Eccria and unlocking the Power to the People trophy, you will be asked by Guard Sandip to accuse someone of stealing the original Power Core.
Technically, you’re supposed to gather lots of evidence by speaking to NPCs and completing errands around Eccria to build up your suspect list and pick someone you’re sure about.
That said, you can accuse anybody you like. Regardless of who you choose to accuse, the “Take That!” trophy will unlock and you will receive a Guard Badge from Sandip.
Don’t worry about accusing Merchant Iria, Sandip will be too scared to arrest her, thus allowing you to still access her Merchant Badges.

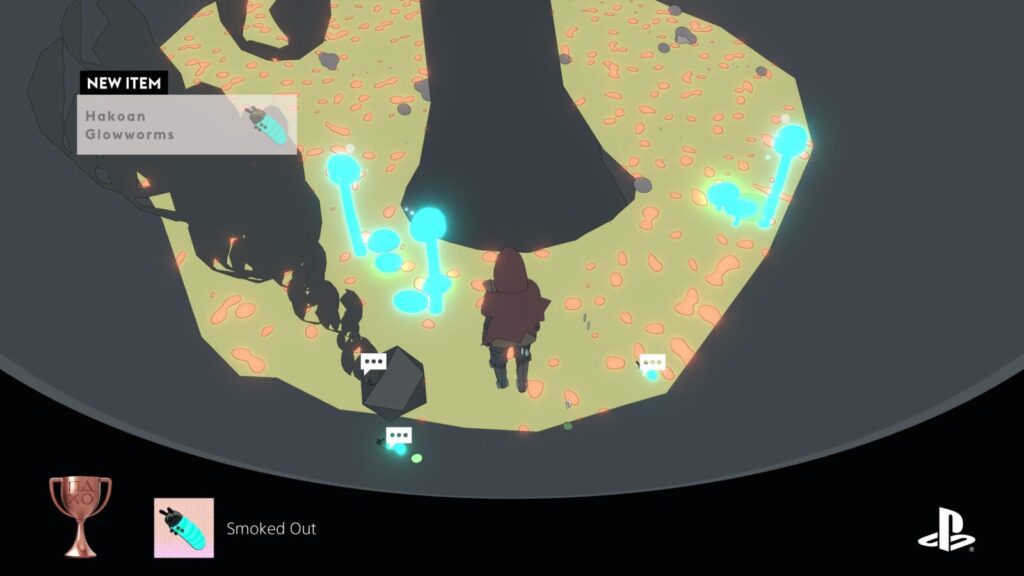
Smoked Out
Collect a Hakoan glowworm
The easiest way to earn the “Smoked Out” trophy is to complete the Quest titled “Nozi’s Nibbles,” which you can start by approaching the flatworm-looking creature under one of the canopies on the left side of the Beetle Market in Eccria.
The quest will lead you to the Seven Sisters Station, where you will learn to catch Glow Worms and can capture the five you need for “Nozi’s Nibbles.” As you only need one for the Smoke Out trophy, it will unlock once you capture your first.
Inside the cave the quest takes you to, there are large grey stones on the ground. Place one into one of the acid pools and it will begin smoking (you can safely enter the pool without taking damage.) Pick up a smoking stone and then walk under the glow-worm nests with it to cause them to fall on the ground where you can pick them up.
You might as well fill your pockets with Mushrooms and glow worms while you’re here to sell later.

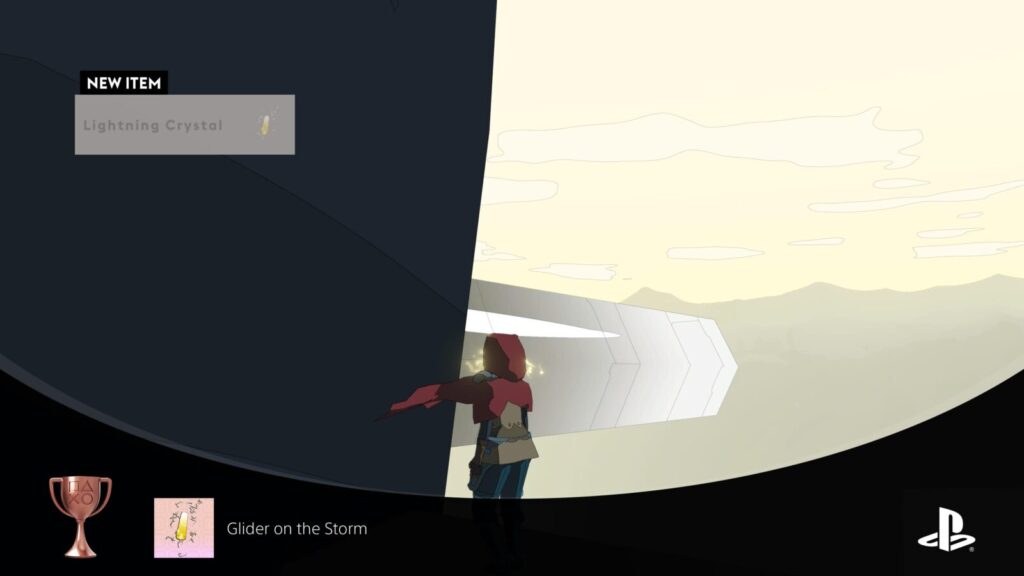
Glider on the Storm
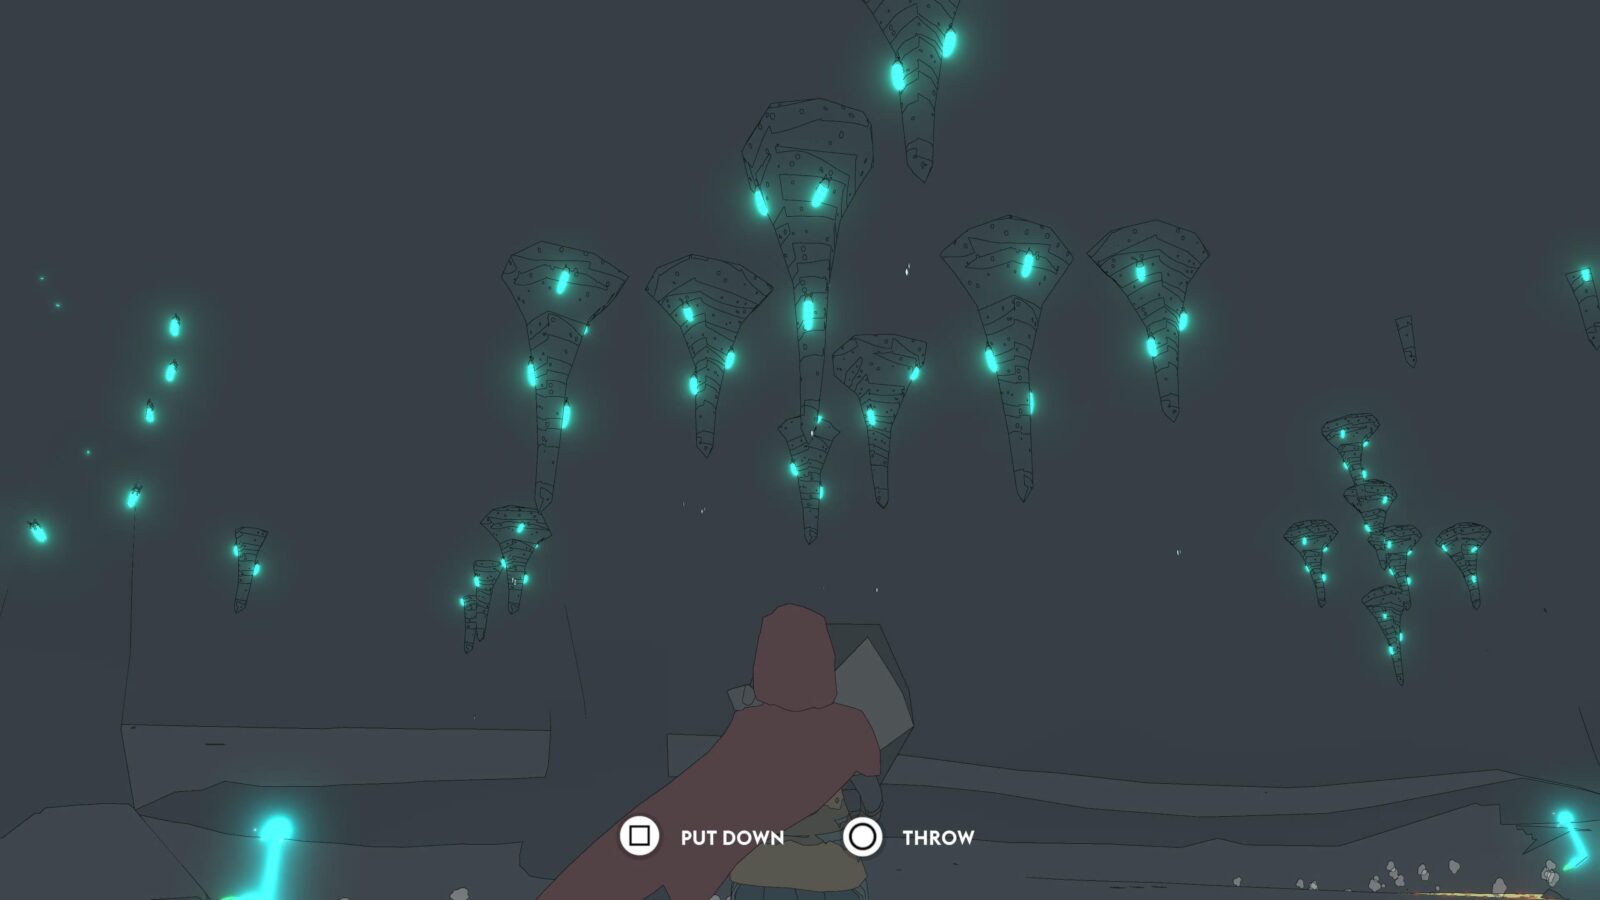
Harvest a lightning crystal
Speak to the Machinist called “Zahra” at Seven Sister Station and ask them for a Machinist Badge. They’ll ask you to gather some lightning crystals and then send you on your way with a quest titled “Lightning in a Bottle.”
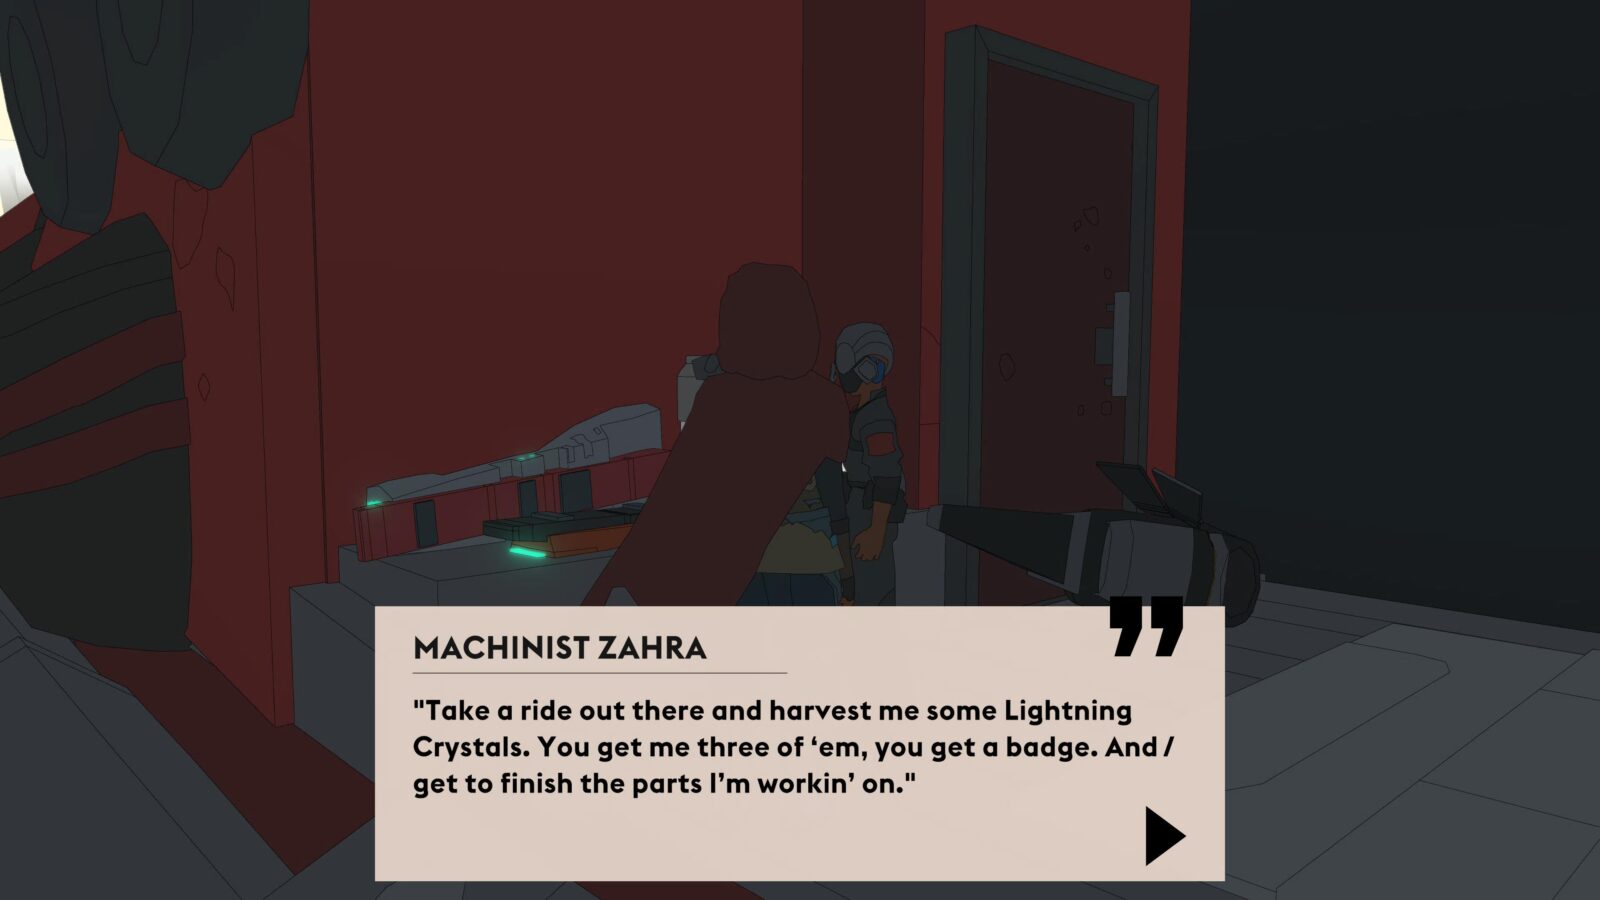
As part of this quest, you will collect several Lightning Crystals. Upon collecting your first, the “Glider on the Storm” trophy will unlock!
I actually strongly recommend spending some time on Crystal Plateau collecting far more than just the three crystals you need. They sell for a whopping 100 Cuts each, so if you have a good pocketful of them, you won’t need to worry about money for a while.

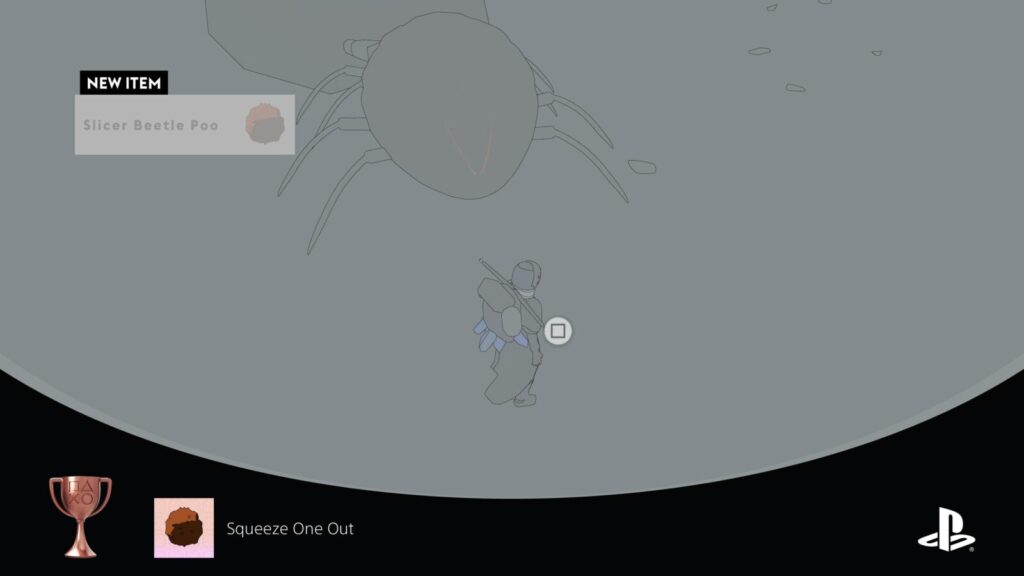
Squeeze One Out
Collect a slicer beetle poo
Speak to Innkeepr Afii at Seven Sister Station and they will tell you eagerly that they have something you could help with. Inquire as to what they need and they will give you the quest titled “The Long Drop,” for which you will need to go and collect poo from the nearby Slicer Beetle Nest.
Do so, and upon collecting your first sample, the “Squeeze One Out” trophy will unlock!
To… um… extract the excrement, you will need to climb up onto the stone pillars and grab the seeds that sit at the top of a few select pillars. Drop them to the ground below while staying atop the pillar and wait for a Slicer Beetle to come over to eat the seed.
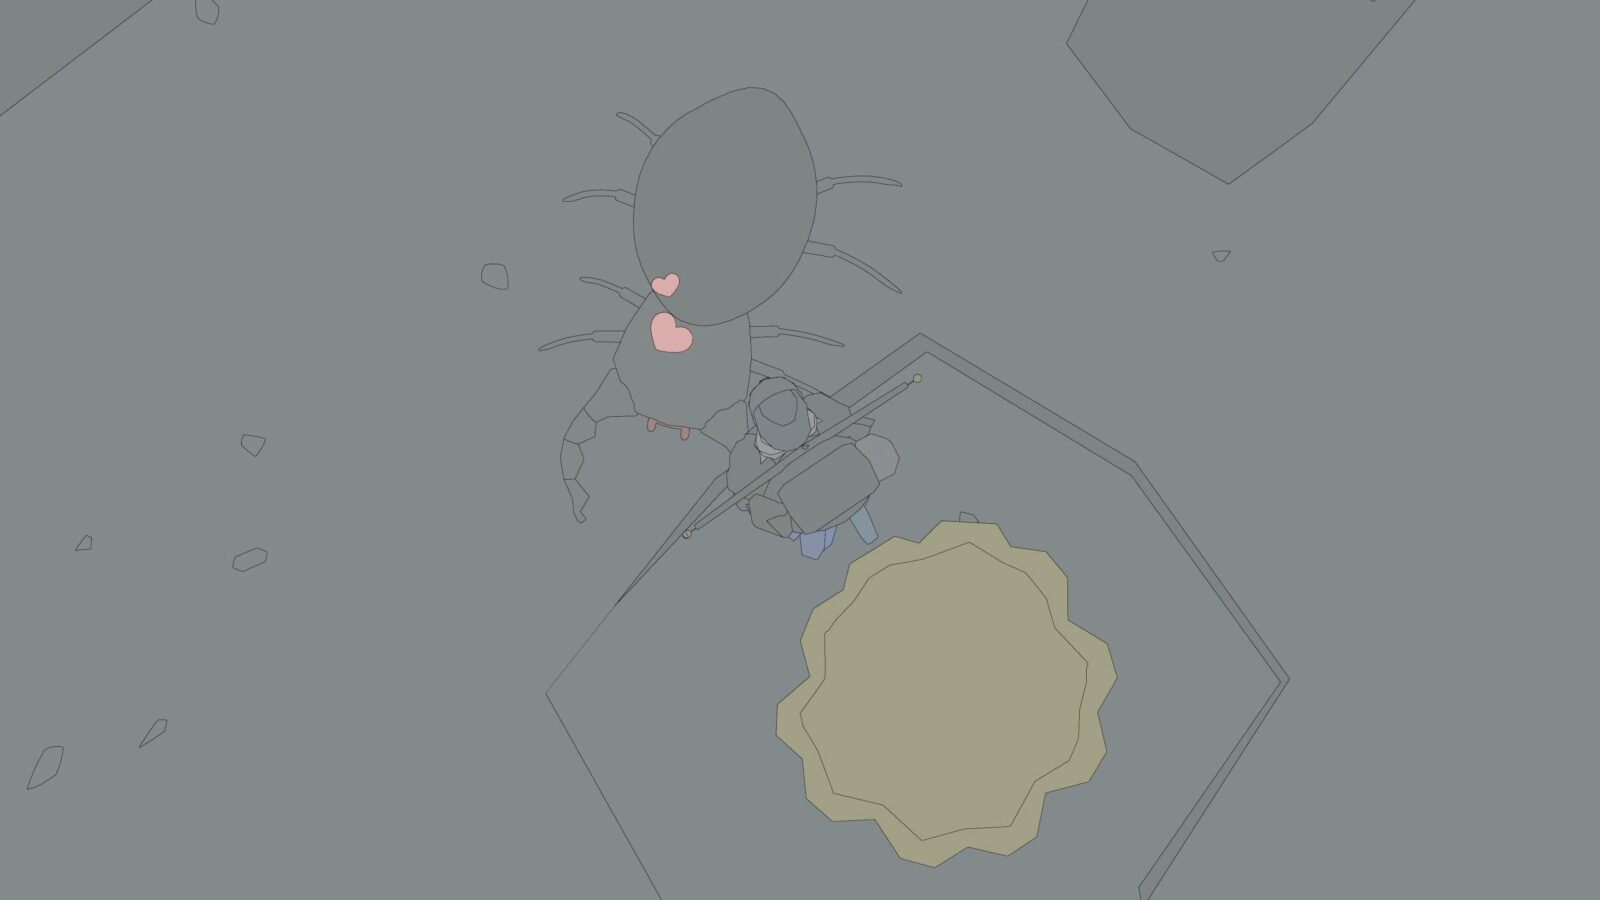
Once it’s distracted, jump onto the red portion of its back and you’ll receive a… deposit. You can then collect it from the ground.
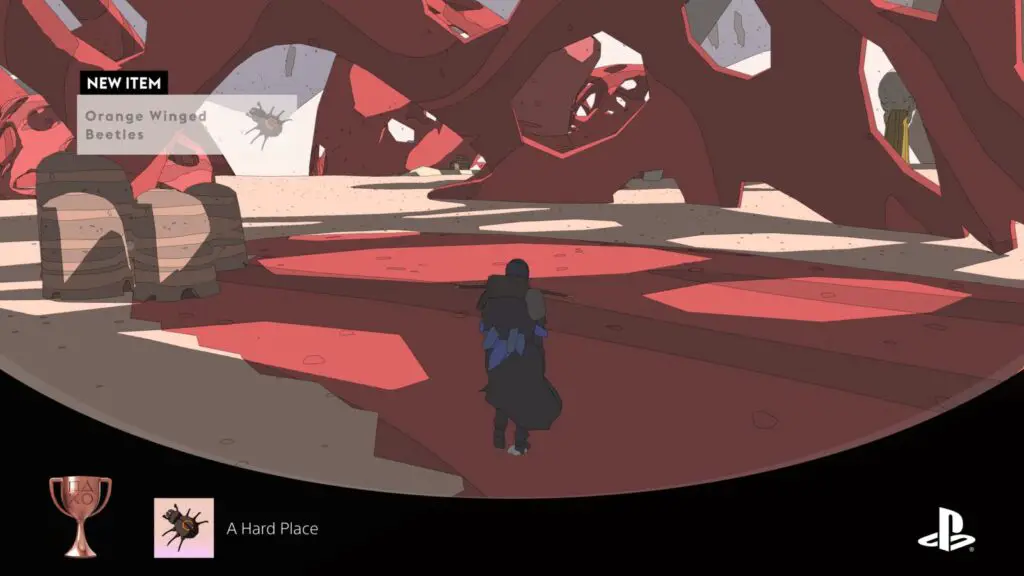
A Hard Place
Collect a orange ringed beetle
Speak to Innkeepr Ofuu at Marrow Bone Station and they will tell you excitedly that they have something you could help with. Inquire as to what they need and they will give you the quest titled “Orange Ringed Delights,” for which you will need to go and collect Orange Ringed Beetles from the nearby Orange Ringed Beetle Nest in the North-Eastern Wash.

Do so, and upon collecting your first Orange Ringed Beetle, the “A Hard Place” trophy will unlock!
Orange Ringed Beetles dig into the sand when you get too close to them, but if you trick them into walking onto the red stone floor by baiting them with seeds, they will try to dig into the floor and knock themselves out. Grab them before they flip themselves over again!

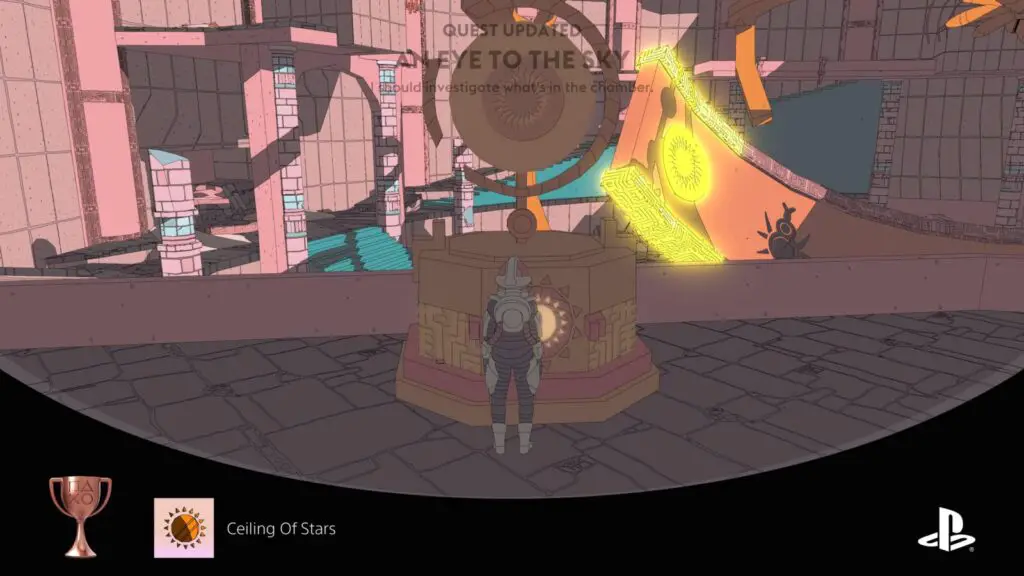
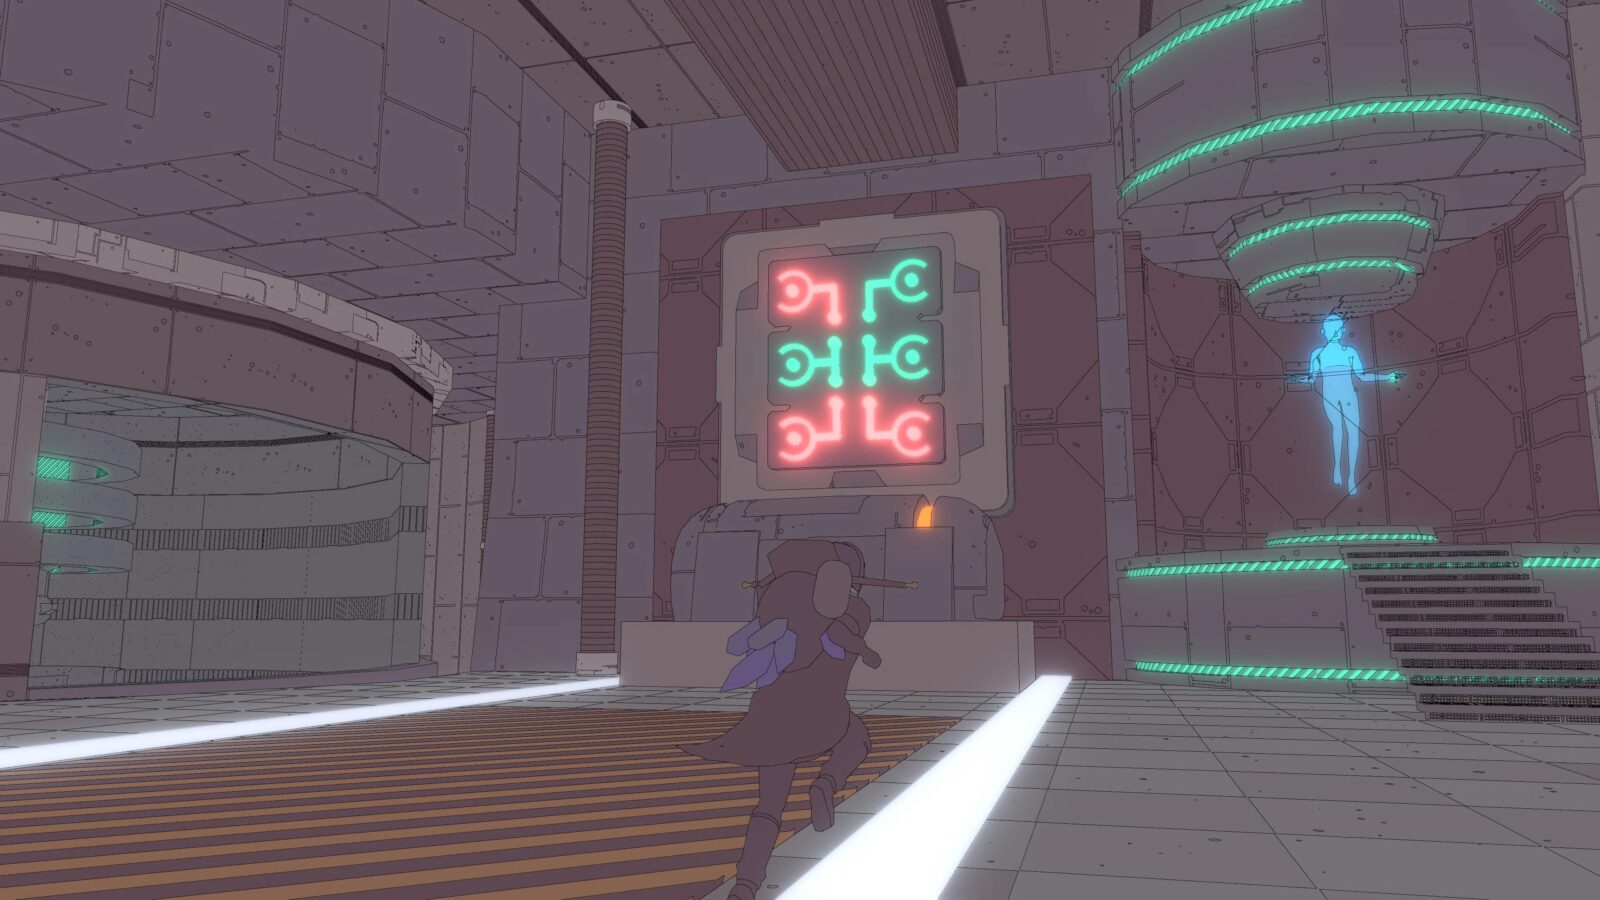
Ceiling Of Stars
Complete the puzzle in the Watch
In the very Southeast corner of the map, there’s a huge ruined building called “The Watch.” Inside, you will find a large intricate sundial puzzle. Completing the puzzle will unlock a door on the second floor, which contains a quest objective for the “An Eye to the Sky” Quest from Kaalan at Bone Marrow Station.
To solve the puzzle, first interact with the yellow mask-like item on the third floor and activate the puzzle by stepping on the button in front of it. Once done, three red rings will appear around the Sundial. Make your way around the structure and interact with the controls on the North, East, and West sides of the puzzle to turn the sundial’s concentric rings. You need to rotate them until the sphere on the ring is placed inside the matching red ring.
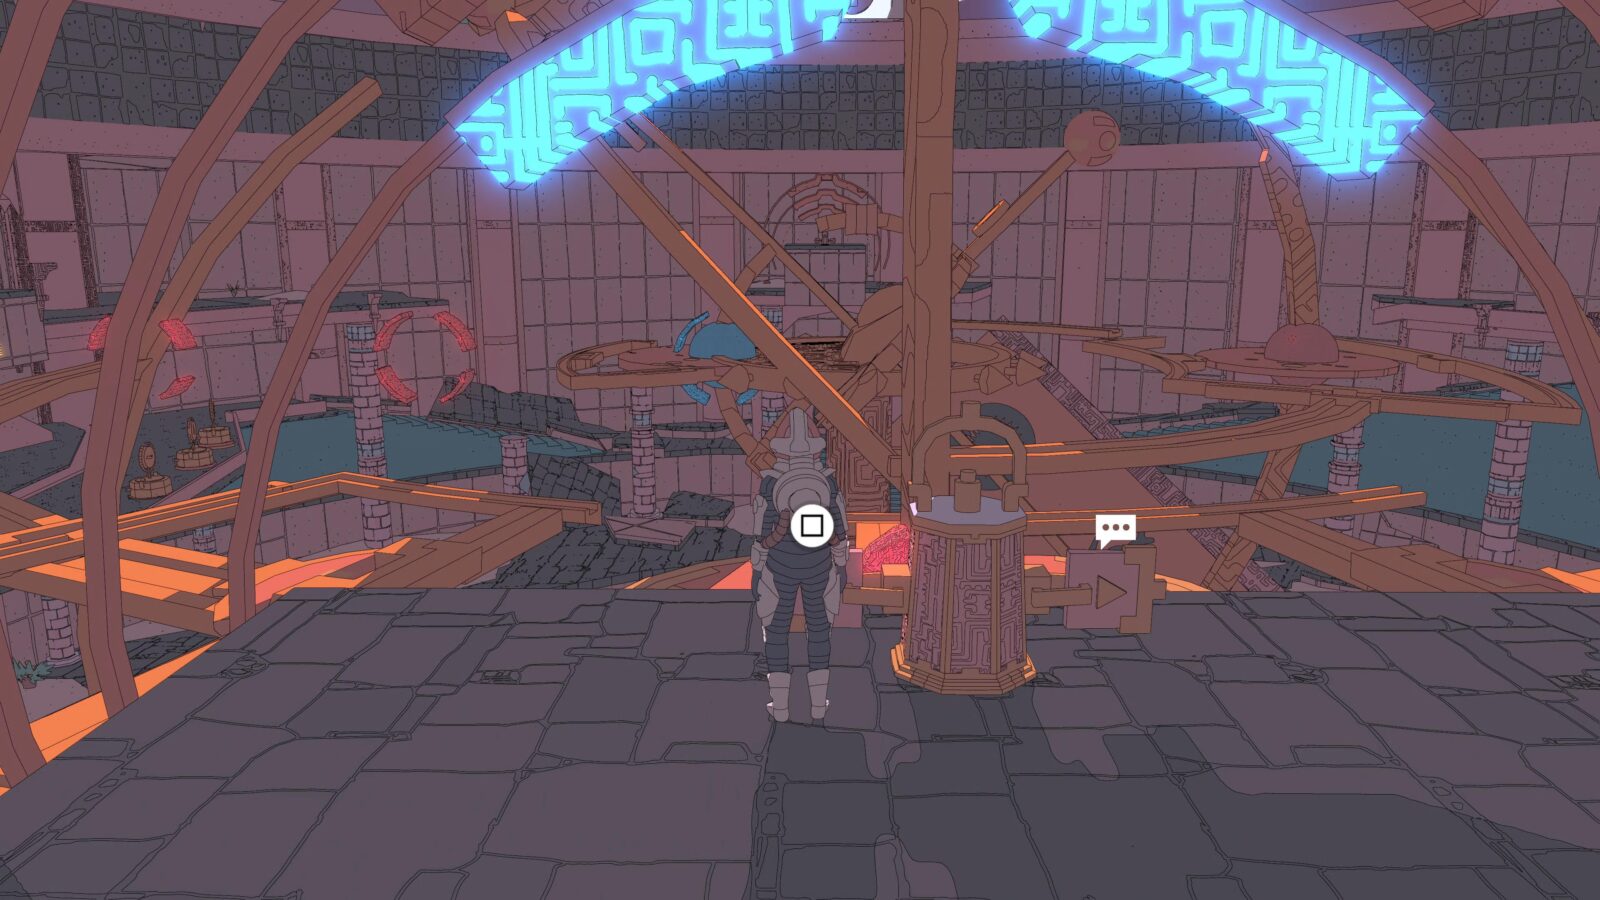
Once all three rings are in the correct position, the pedestal on the second floor will spawn an orb of sunlight energy. You can grab as many of these as you need. Look at the sundial, and you will see that one or more symbols are illuminated. Use the sunlight orbs to activate the matching symbols nearby. Turn on the pedestals that match and illuminated icon and remove the power or ignore pedestals with an icon matching an icon which is not illuminated.
Once the activated pedestals and the symbols on the sundial match, the face-shaped door near the energy pedestal will open and the Ceiling of Stars trophy will unlock.

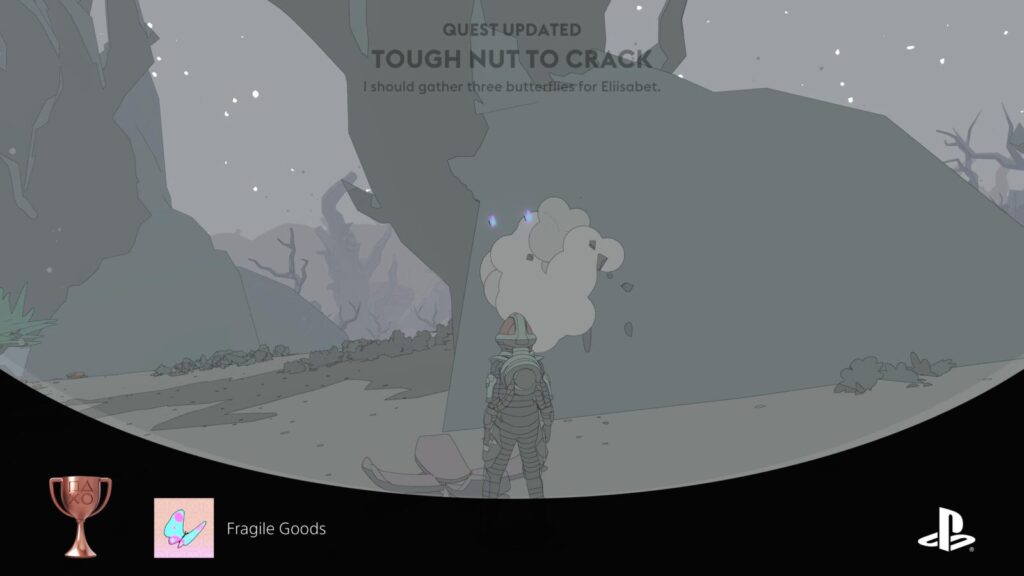
Fragile Goods
Destroy a Nimoor plant
Near the Cartographer’s Balloon at the southeast corner of the map, there’s a Petrified Forest, which Eliisabet sends you to when you meet up with her in The Wash after completing her first quest and meeting her at the Bridge of the Betrayed. Much like that first quest, Eliisabet will give you one of her Guard’s Badges if you complete this quest for her.
As part of her quest, you will need to look for “Nimoor Plants” in the Petrified Forest. These plants are very easy to spot because they glow in the dark. However, they don’t show up at all during the day.
Once you’ve found one, throw it at one of the nearby trees. The fruit will burst open, unlocking the “Fragile Goods” trophy and revealing the “Nimoor Butterflies” within.
Collect three of these Butterflies for Eliisabet, but remember to grab an extra one for the Vivarium too!
Mask Trophies
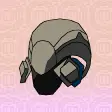
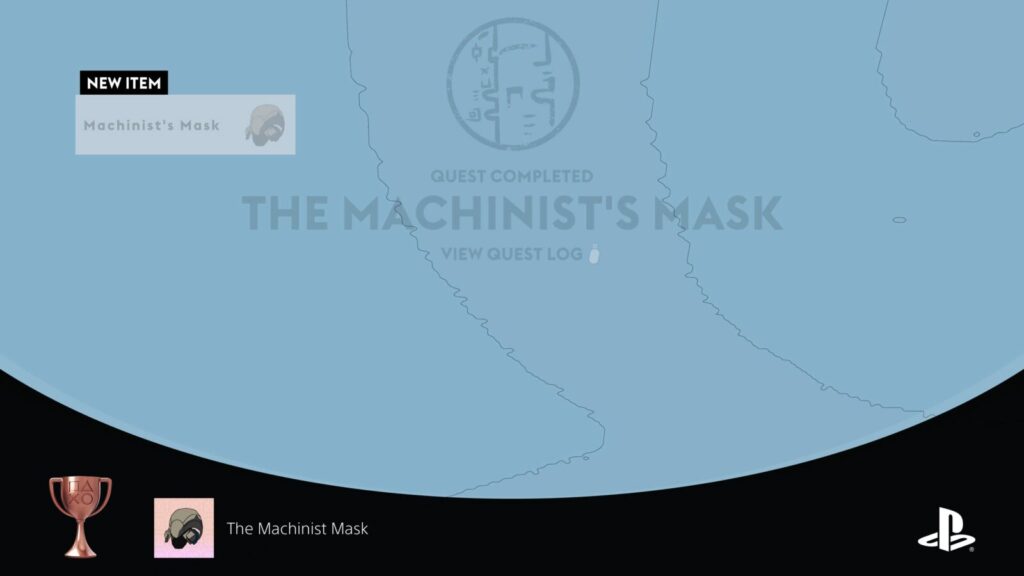
The Machinist Mask
Unlock the Machinist Mask
To receive the Machinist Mask from a Mask Caster, you must first collect three Machinist badges by completing quests for Machinists. You will receive one by default as a part of the story after building your Hoverbike (Simoon).
The next can be acquired by completing the quest associated with Up On High.
The third can be collected by handing in three of the Lightning Crystals you need for Glider on the Storm.
You will also need to complete the Quest “An Eye to the Sky” to unlock the Ceiling of Stars trophy, which also awards you a Machinist Badge.
When you have the required badges, visit any Mask Caster and ask them for the Machinist Mask.
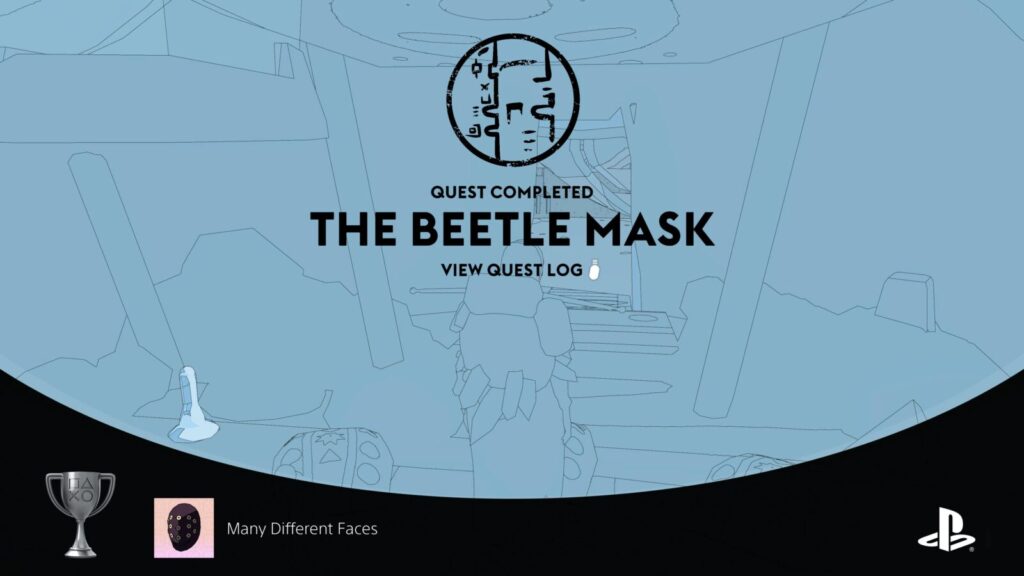
The Beetle Mask
Unlock the Beetle Mask
To receive the Beetle Mask from a Mask Caster, you must first collect three Beetle badges by completing quests for Innkeepers.
One can be received for handing in three of the Larval Husks you’ll collect when earning Nesting Giant to Inkeeper Ifaa.
Another can be earned for delivering Inkeeper Afii three pieces of the Slicer Beetle Poo you collect for Squeeze One Out.
And a third can be collected by handing Innkeeper Ofuu three of the Orange Ringed Beetles you need for A Hard Place.
When you have the required badges, visit any Mask Caster and ask them for the Beetle Mask.

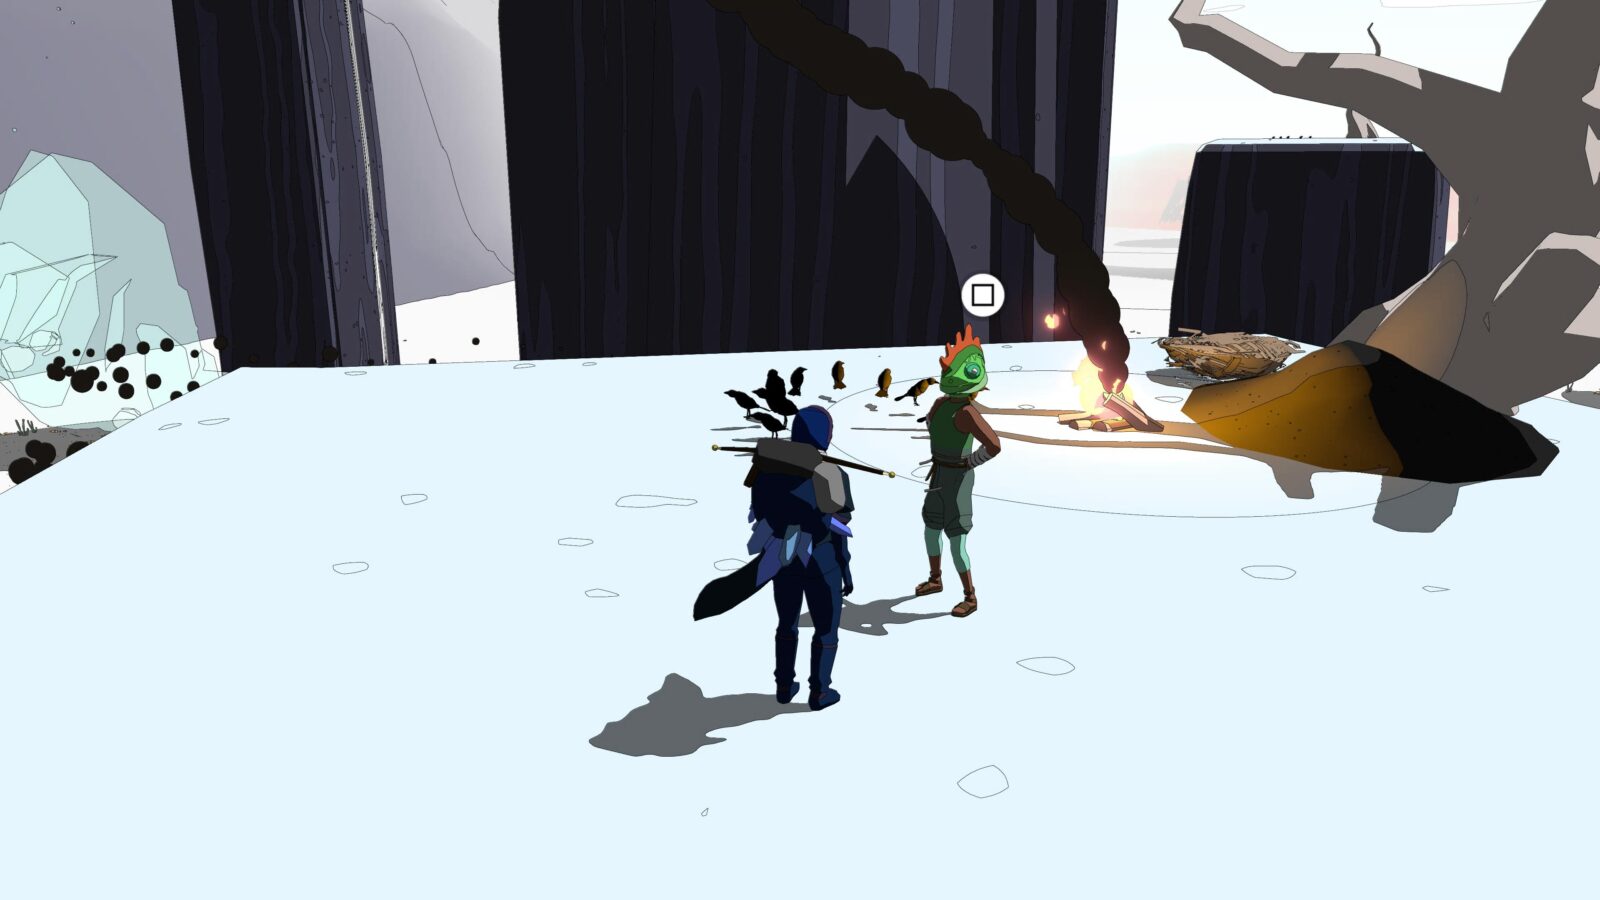
The Climber Mask
Unlock the Climbers mask
To receive the Climber Mask from a Mask Caster, you must first collect three Climber badges by completing climbing-based quests for NPCs.
One can be received as part of the “Sometimes a Well is Just a Well” quest. Start it by speaking to Bashir at Five Bells Camp near Eccria.
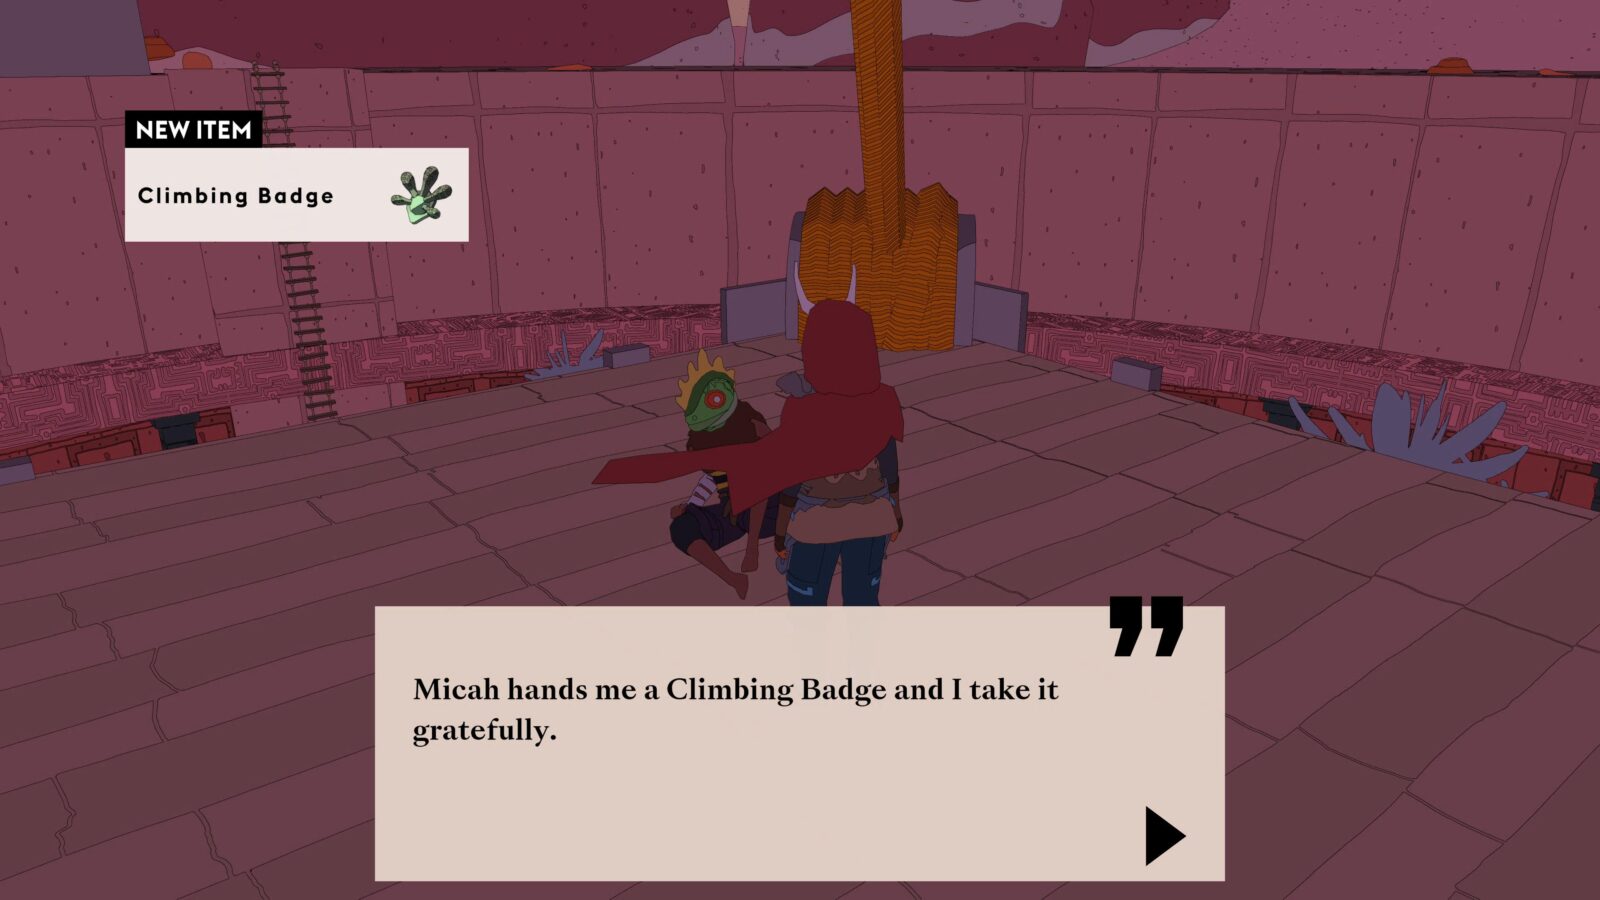
Another can be earned for helping our Hunter Zebi and his partner Dilhan at the Geyser Tower in Sodic Waste.
And a third can be collected by completing the Tower of Steel quest you’ll get upon approaching Kemble’s Cube in the Badlands, southeast of the Cartographer’s balloon.
When you have the required badges, visit any Mask Caster and ask them for the Climber Mask.

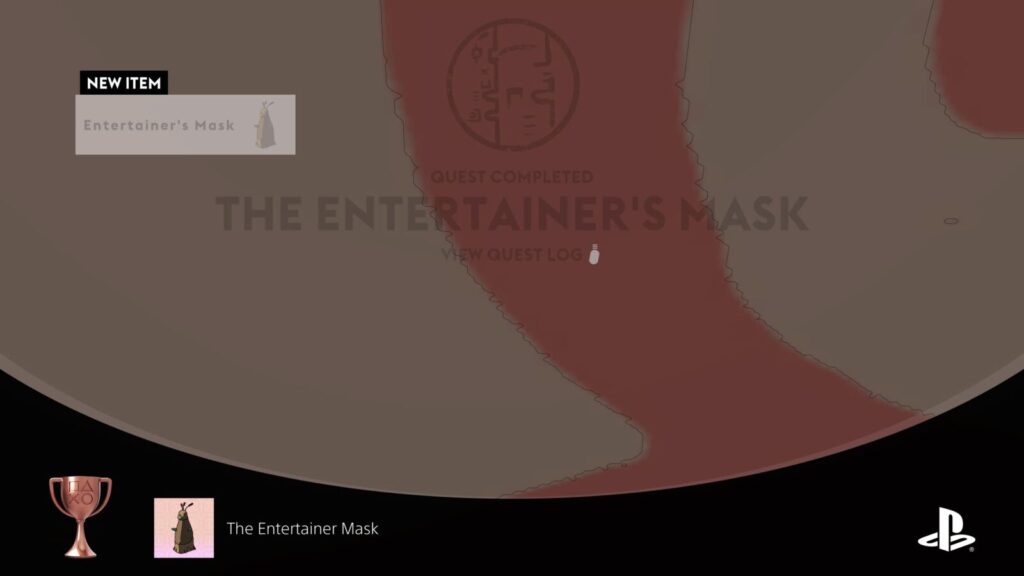
The Entertainer Mask
Unlock the Entertainer mask
To receive the Entertainer Mask from a Mask Caster, you must first collect three Entertainer’s badges by completing quests for NPCs.
One can be received for the “Glide and Seek” quest. Start it by speaking to the group of kids in Eccria.
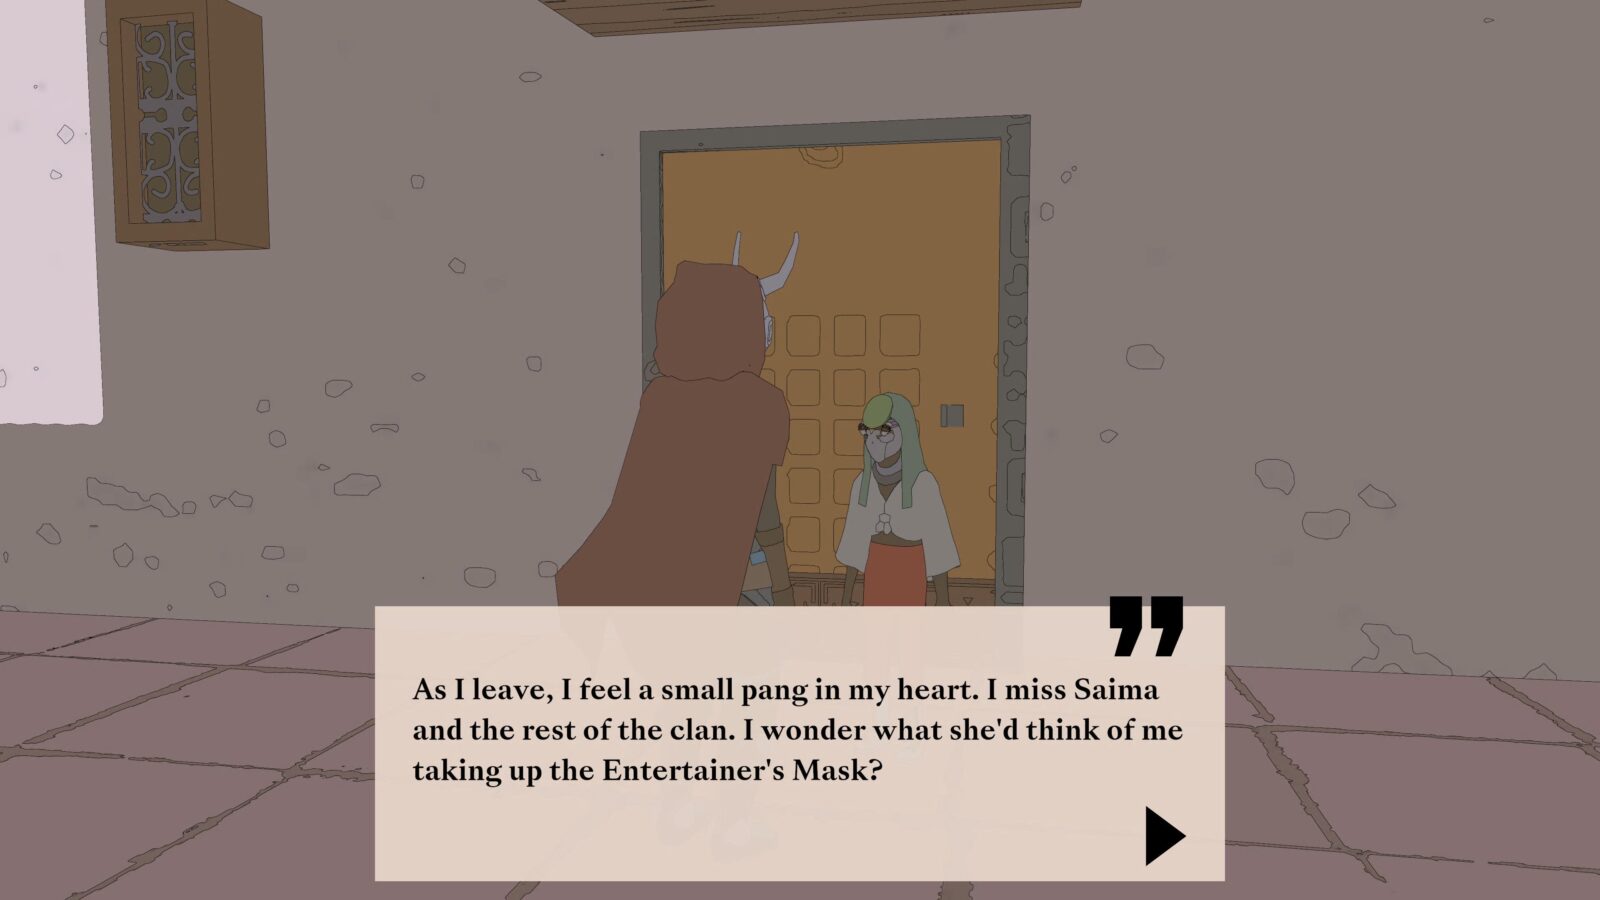
Also in Eccria, there’s another NPC who needs help near the lake at the north end of Eccria. Complete the “Oasis Flower” quest for him to get his badge.

And the third badge can be collected by during the “Searching for Llhor” quest. To find Llhor, first go to this location:

From that plateau, you will see a cave on a cliffside. Llhor is in that cave. Using the cut-outs on the stone pillars between you and the cave, make your way over and speak to Llhor inside. Answering their questions (in any way) will earn you the badge.
When you have the required badges, visit any Mask Caster and ask them for the Entertainer Mask.
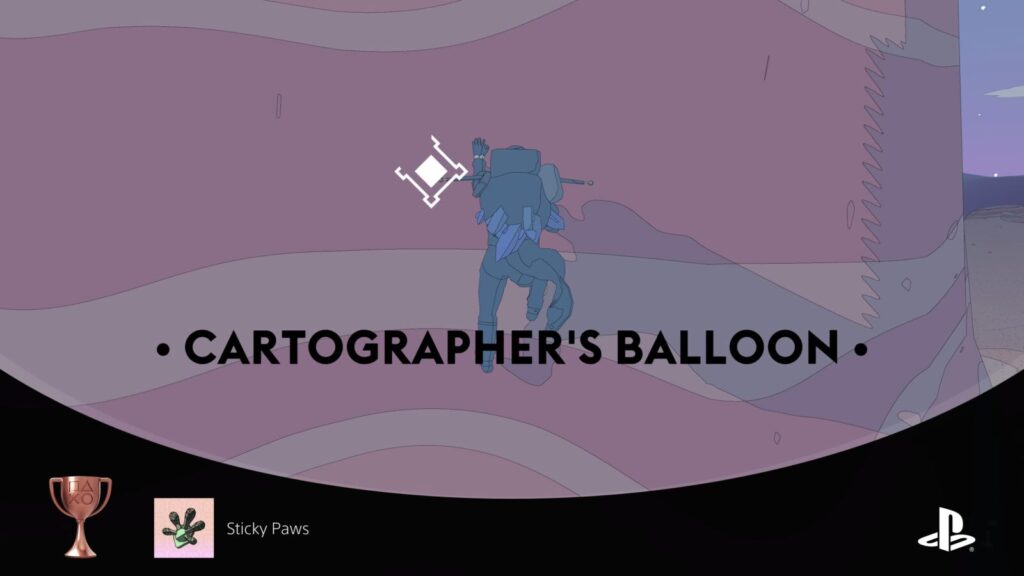
The Cartographer Mask
Unlock the Cartographers mask
To receive the Cartographer’s Mask from a Mask Caster, you must first collect three Cartographer badges by purchasing them from Cartographers.
Cartographers can be found at Cartographer’s Balloons in high-up places. There’s one in each region and they’re pretty easy to spot from a distance thanks to the large balloons.
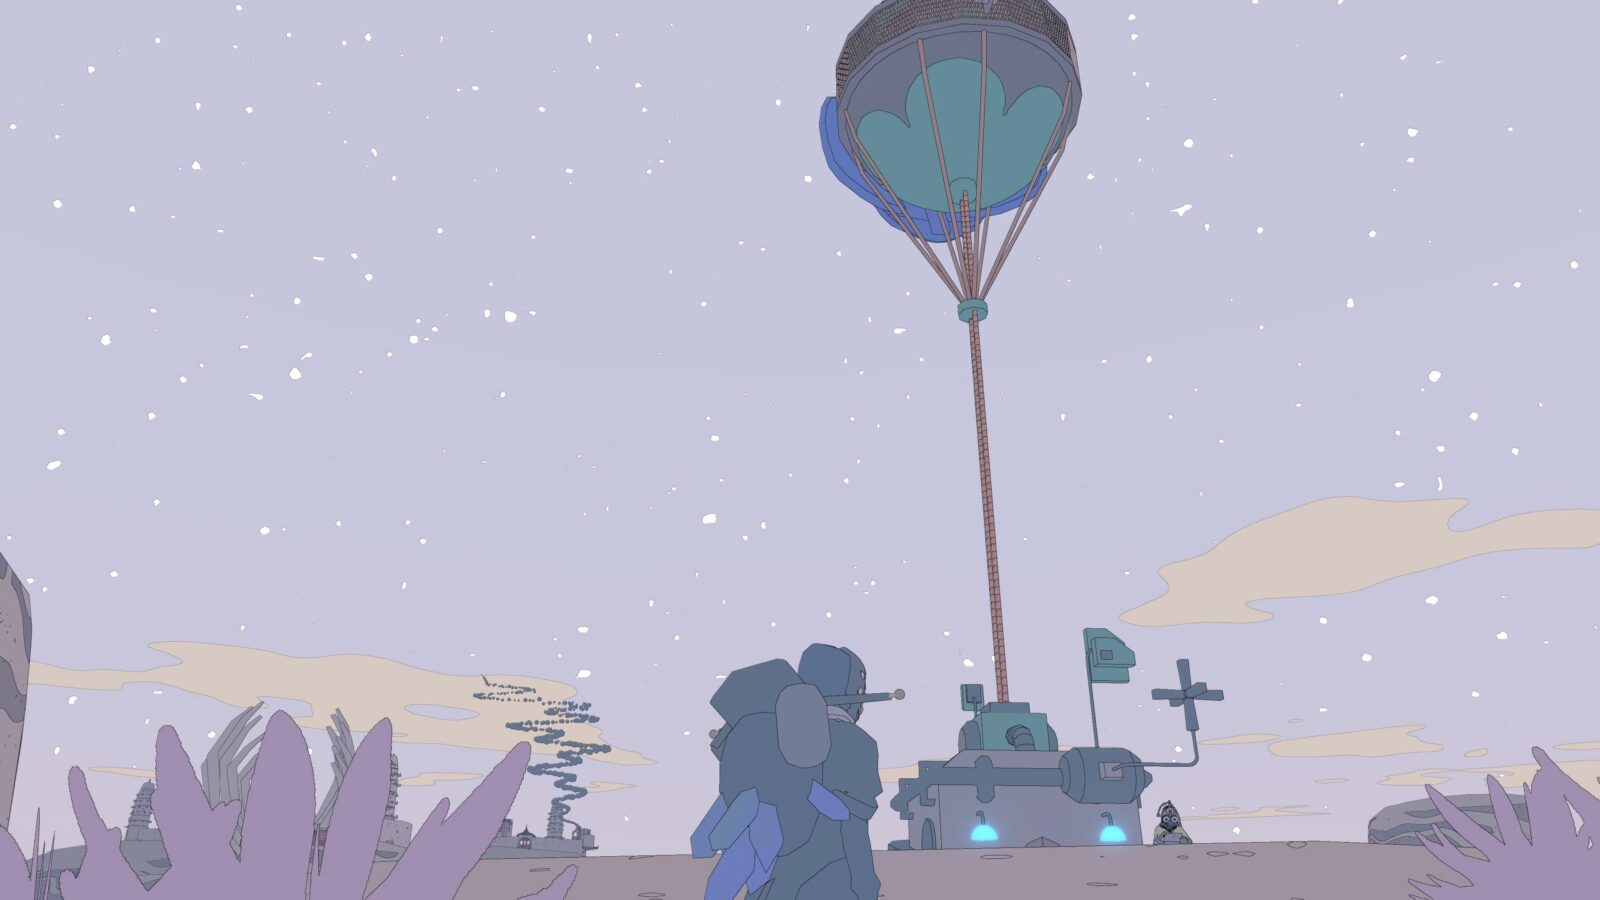
When you climb all the way up to a Cartographer’s Balloon, you can buy a Map of the Region as well as a Cartographer’s Badge. There are far more than just three Cartographers, but you will only need three in total to get the mask.
When you have the required badges, visit any Mask Caster and ask them for the Cartographer Mask.

The Guard Mask
Unlock the Guard mask
To receive the Guard Mask from a Mask Caster, you must first collect three Guard badges by completing quests for NPCs.
One will be earned alongside the Take That! trophy.
The other two can be retrieved by speaking to Eliisabet. First, speak to her at Burnt Oak Station and then meet her at the Bridge of the Betrayed in the Badlands to receive a badge from her.
Next, visit her again at the Bone Marrow Station in the Wastes, you can get another badge from her after earning the Fragile Goods trophy.
There’s also a fourth badge you can get from Eliisabet if you meet up with her again at Seven Sisters Station and complete “Luminescent Adolescent” for her.
When you have the required badges, visit any Mask Caster and ask them for the Entertainer Mask.

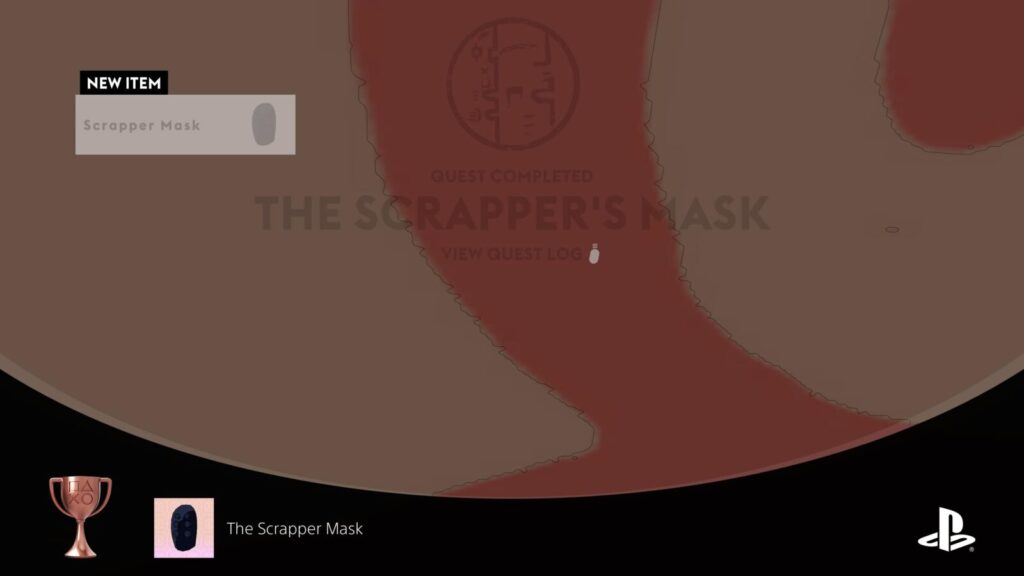
The Scrapper Mask
Unlock the Scrapper mask
To receive the Scrapper Mask from a Mask Caster, you must first collect three Scrapper badges by bringing Scrap to Altyn at Burnt Oak Station.
You can find Scrap Metal in abandoned ships and facilities like The Whale and The Dunboyne. It’s available in abundance, too. You can sometimes find individual pieces of scrap on the floor or will sometimes find whole boxes full of scrap.
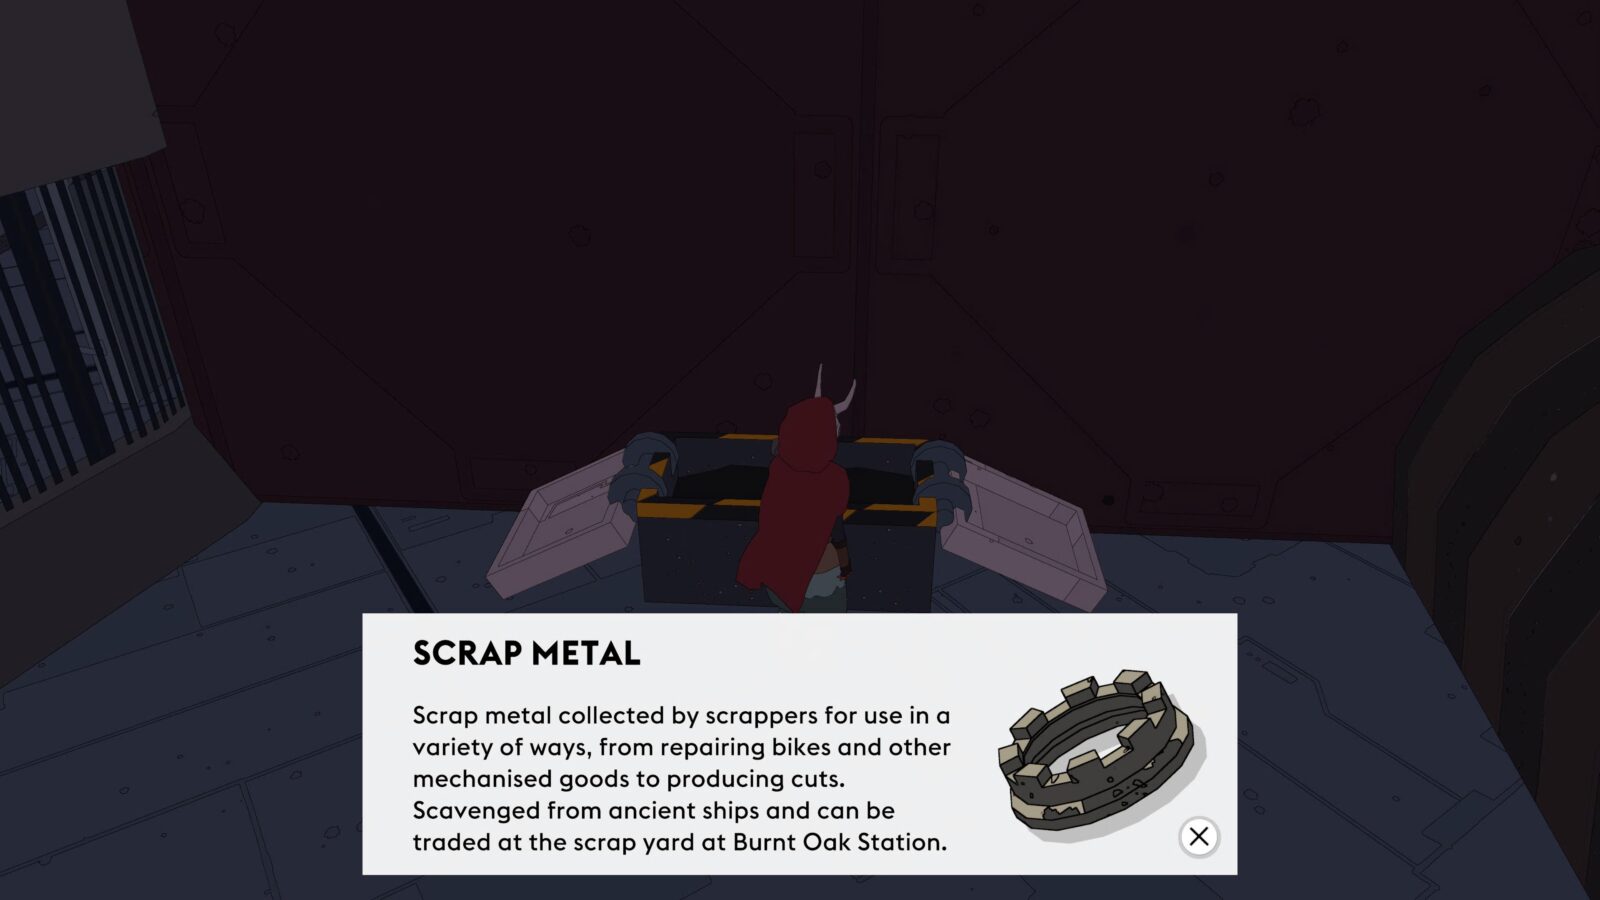
Whenever you have a good amount of scrap saved up, you can bring it back to Altyn and he’ll exchange it for Cuts and badges. Keep bringing Altyn scrapmetal until you have all three of the Scrapper Badges.
There’s a whole lot of scrap hidden throughout the game, far more than you’ll ever need so don’t worry about needing to find and collect all scrap or anything like that. There’s more than enough to go around.
When you have the required badges, visit any Mask Caster and ask them for the Scrapper Mask.
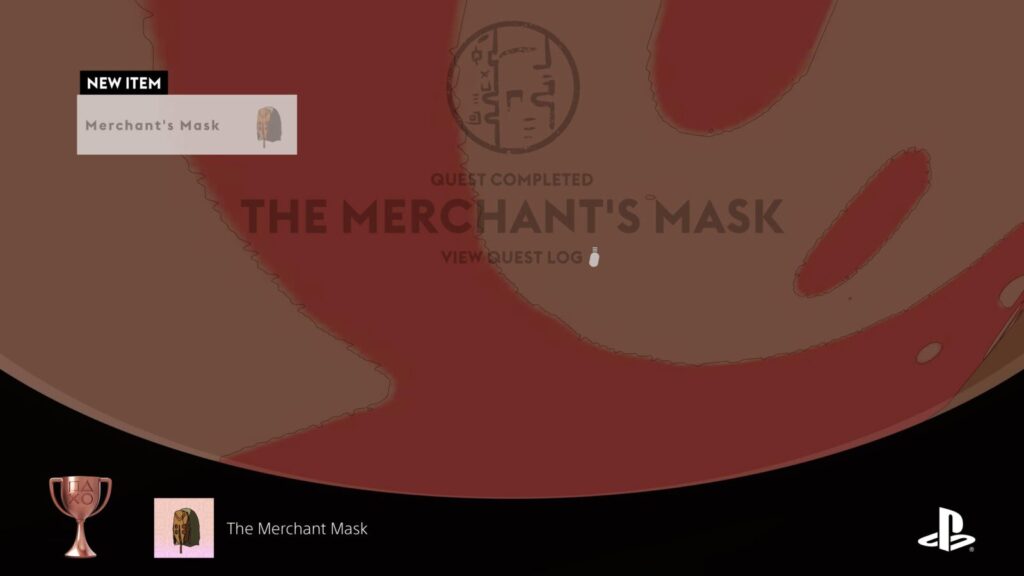
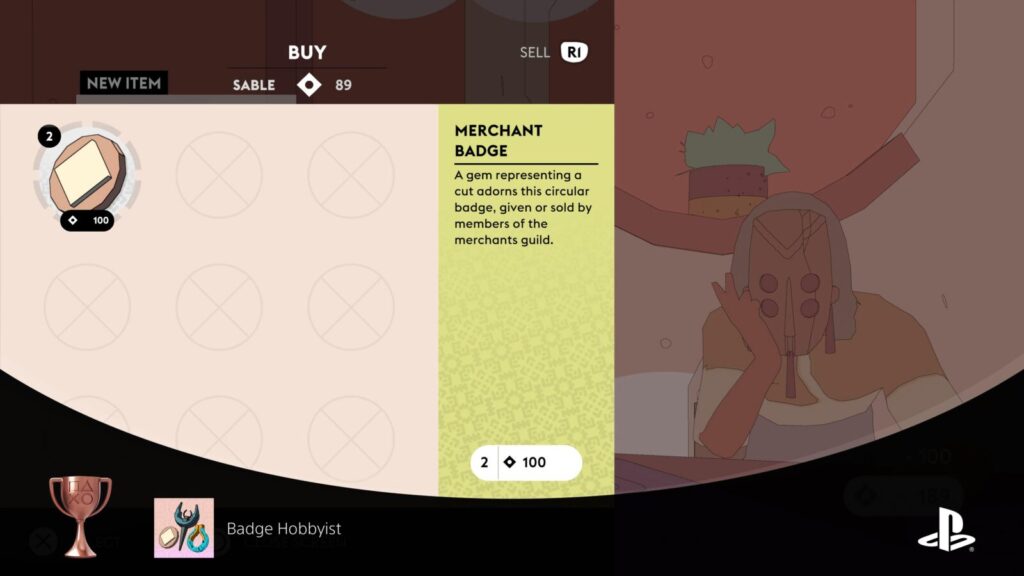
The Merchant Mask
Unlock the Merchants mask
To receive the Merchant Mask from a Mask Caster, you must first collect three Merchant badges.
The easiest way to earn all three badges is to purchase them for 100 cuts each from Merchant Iria at Eccria’s Beetle Market.
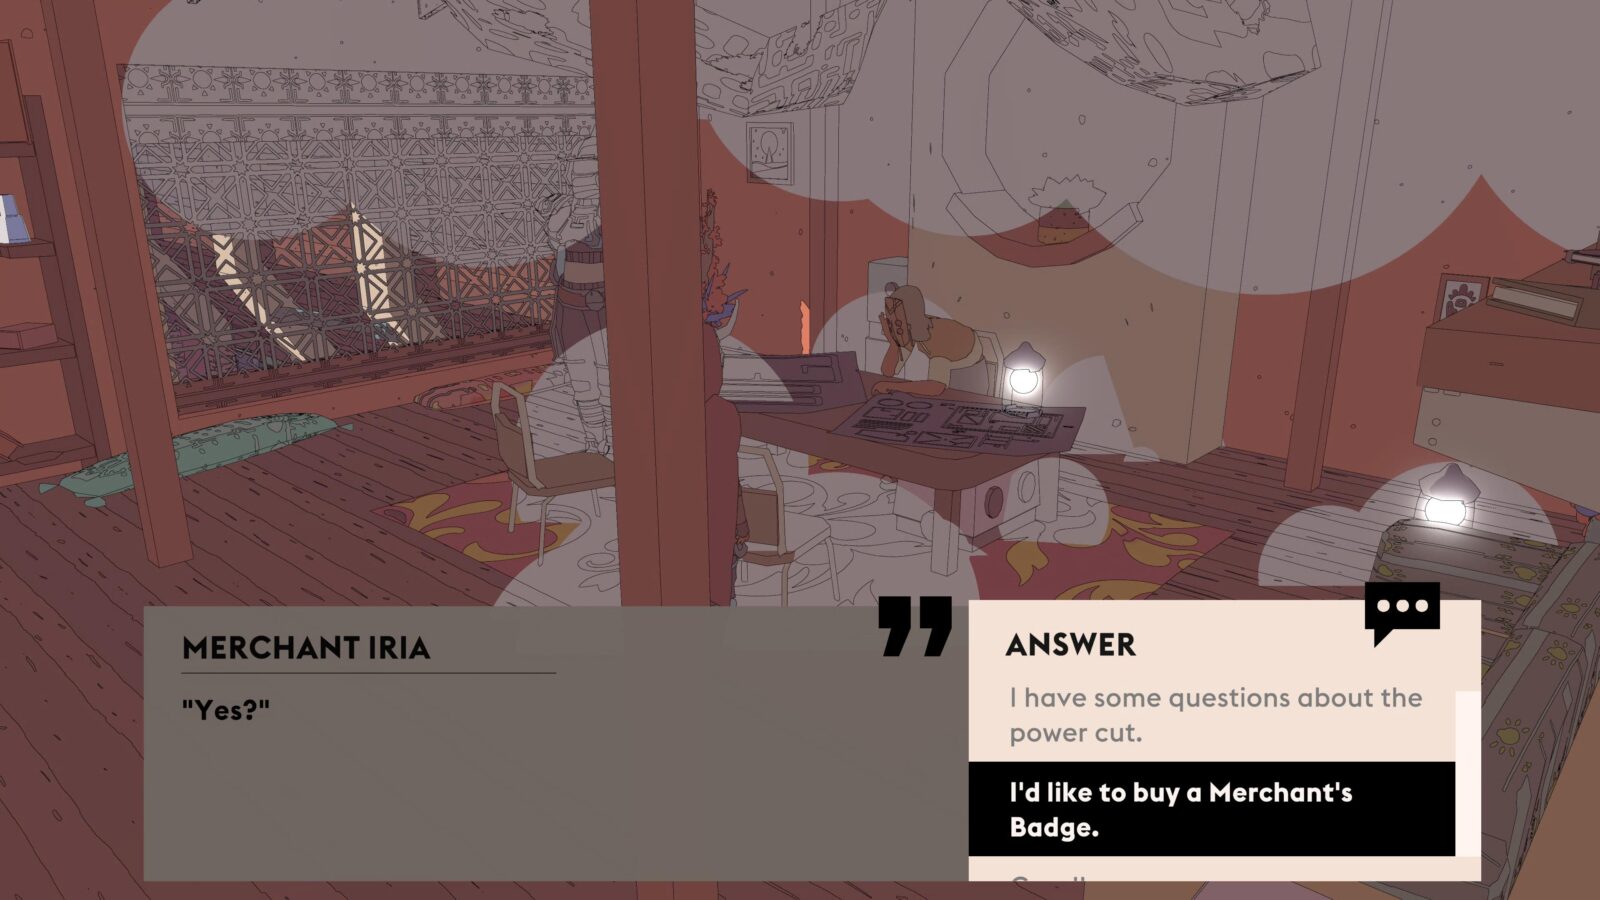
To get past the locked gate, pick a Pomegranate from the strange curled white plants at the town outskirts or purchase one from the market stall under the bridge. Then, take the pomegranate to the guard at the back of the Beetle Market and he’ll gleefully open the gate to Iria for you.
When you have the required badges, visit any Mask Caster and ask them for the Merchant Mask.

Many Different Faces
Collect 5 masks
You will actually be collecting far more than just 5 Masks throughout your trophy journey so you needn’t worry about this mask much. It will unlock naturally as you earn more of the trophies listed above.

Badge Hobbyist
Collect 5 badges
Upon collecting your fifth badge, the “Badge Hobbyist” trophy will unlock. You will collect 24 in pursuit of the masks listed above.
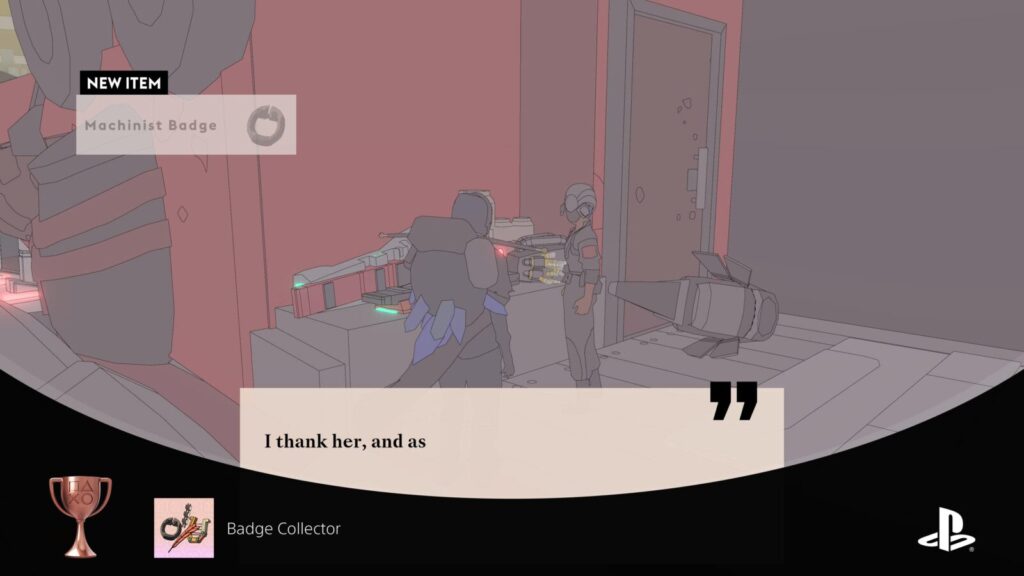
Badge Collector
Collect 10 badges
Upon collecting your tenth badge, the “Badge Collector” trophy will unlock. You will collect 24 in pursuit of the masks listed above.
Phase Two | Misc Cleanup
At this point in your trophy journey, you should hopefully know your way around the map a bit better, and have access to lots of Fast Travel Locations. The first thing you should do, if you haven’t already, is finish buying Cartographer’s Maps. These will be extremely useful in expediting the remainder of your trophy journey.
Once you’re ready, there are three main focuses here:
- Finish collecting 100 Chums and earn Chum Expert
- Open all Abandoned Ships and unlock Amateur Historian
- Earn your Angler Mask and complete the Vivarium
Besides the above, there are a handful of misc trophies which will require some vigilant exploration of the map, nothing to extraneous though!
Chum Trophies

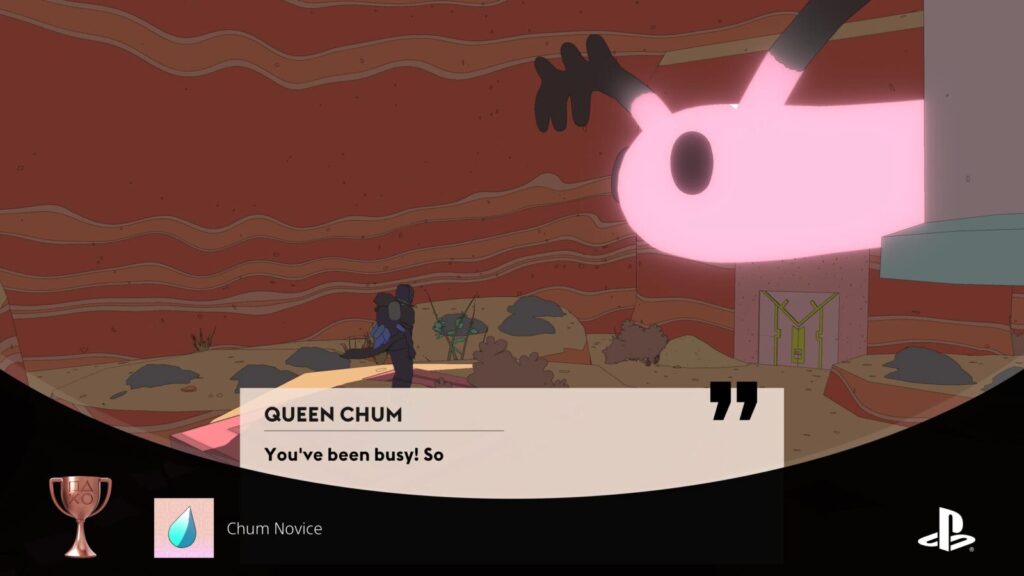
Chum Novice
Deliver your first Chum egg
The “Chum Novice” trophy will unlock when you deliver your first egg to Queen Chum. However, before you can do so, she wants you to have at least five for your first delivery. Once you have five Chums, head to the Chum Lair Southwest of Burnt Oak Station, give the eggs to the Queen, and she will increase your stamina in return. You will then immediately unlock the Chum Novice Trophy.
See the Chum Expert trophy for more information about Chums and where to find them.

Honorary Chum
Deliver 60 Chum eggs
Continue delivering batches of eggs to the Queen Chum after unlocking Chum Novice. In total, the Queen wants 100 of the 165 Chum Eggs in the game for the Chum Expert trophy, but the “Honorary Chum” trophy will unlock after your fourth Egg Delivery, at which point you will have delivered 60 in total.

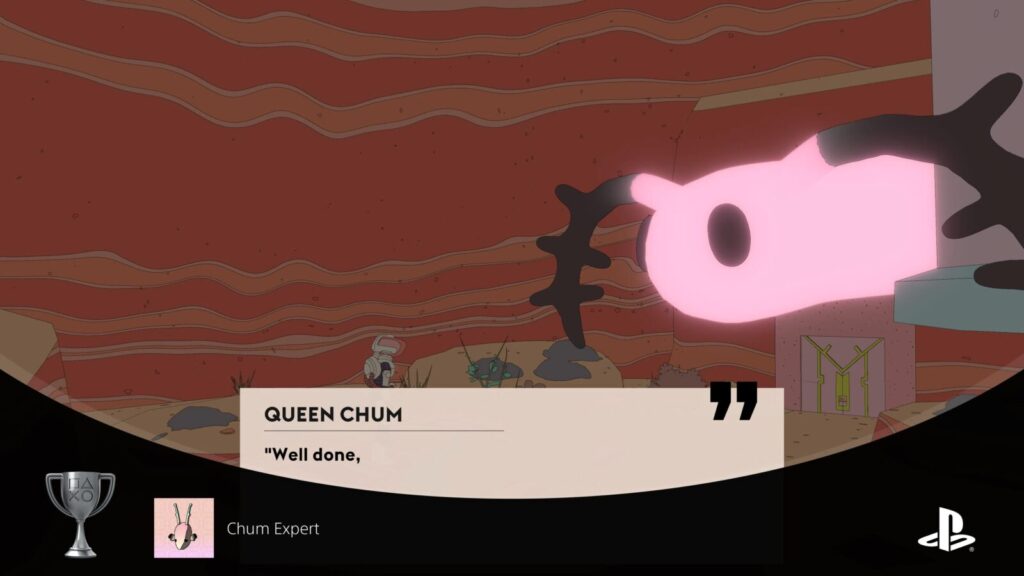
Chum Expert
Complete Building a Queendom
To unlock the “Chum Expert” trophy, you need to find and collect 100 Chum Eggs before bringing them to the Queen Chum. Upon delivering your 100th Egg, the Chum Expert trophy will unlock, and the Queen Chum will have maxed out your Stamina.
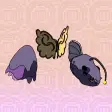
Chums are found all over the world of Sable, but are most notably found near points of interest, such as abandoned facilities, ancient ruins, and inhabited settlements. They are cute worm-like creatures with tiny wings on their sides.
When you interact with one by pressing ![]() , it will burrow itself into the ground and then present you with an egg for the Queen.
, it will burrow itself into the ground and then present you with an egg for the Queen.

You should find a lot of Chum Eggs naturally throughout your playthrough, as many of the locations you will visit for quests and badges will have Chums nearby. The easiest way to find Chums is to use the controller vibrations. Your controller will begin vibrating quite violently and consistently when a Chum is nearby. Once you feel the vibrations, start searching nearby nooks and crannies for the little Chum.
The Queen Chum can be found southwest of Burn Oak Station. Inside the ruins here, you will find a giant pillar hanging from the ceiling, with the Queen Chum wrapped around it.

You can interact with her via ![]() and she will ask you to find Eggs and bring them to her. The first delivery is just 5 eggs, while she asks for 15 eggs on your second visit. She will then ask for 4 batches of 20 eggs back-to-back, adding to a total of 100 Eggs to deliver.
and she will ask you to find Eggs and bring them to her. The first delivery is just 5 eggs, while she asks for 15 eggs on your second visit. She will then ask for 4 batches of 20 eggs back-to-back, adding to a total of 100 Eggs to deliver.
Ancient Ship Trophies
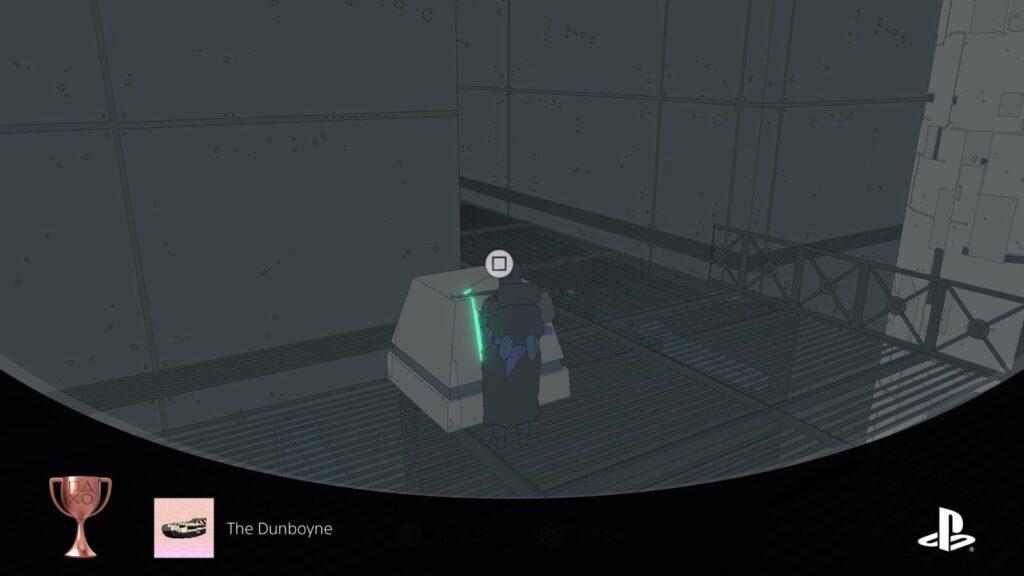
The Dunboyne
Open the door in the Dunboyne
The Dunboyne is one of the six ancient (but futuristic) shipwrecks you can find and enter in Sable. You will need to open all six and interact with the Holographic AI inside to restore function to The Whale and unlock the Amateur Historian trophy.
The Dunboyne trophy will unlock when you complete the puzzle in The Dunboyne and open the inner door where the AI is found.
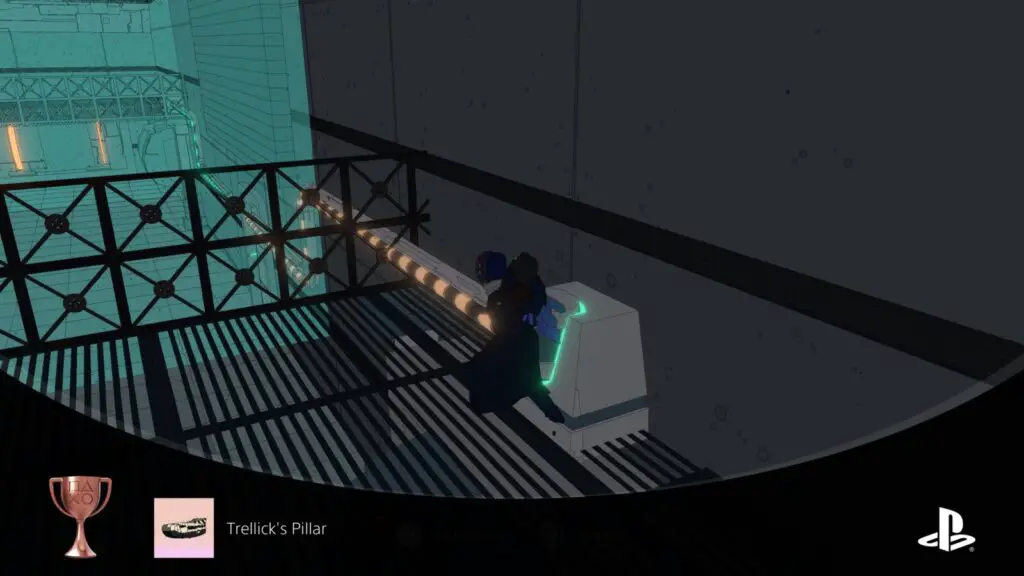
Trellick's Pillar
Open the door in Trellick's Pillar
Trellick’s Pillar is one of the six ancient (but futuristic) shipwrecks you can find and enter in Sable. You will need to open all six and interact with the Holographic AI inside to restore function to The Whale and unlock the Amateur Historian trophy.
The Trellick’s Pillar trophy will unlock when you complete the puzzle in Trellick’s Pillar and open the inner door where the AI is found.
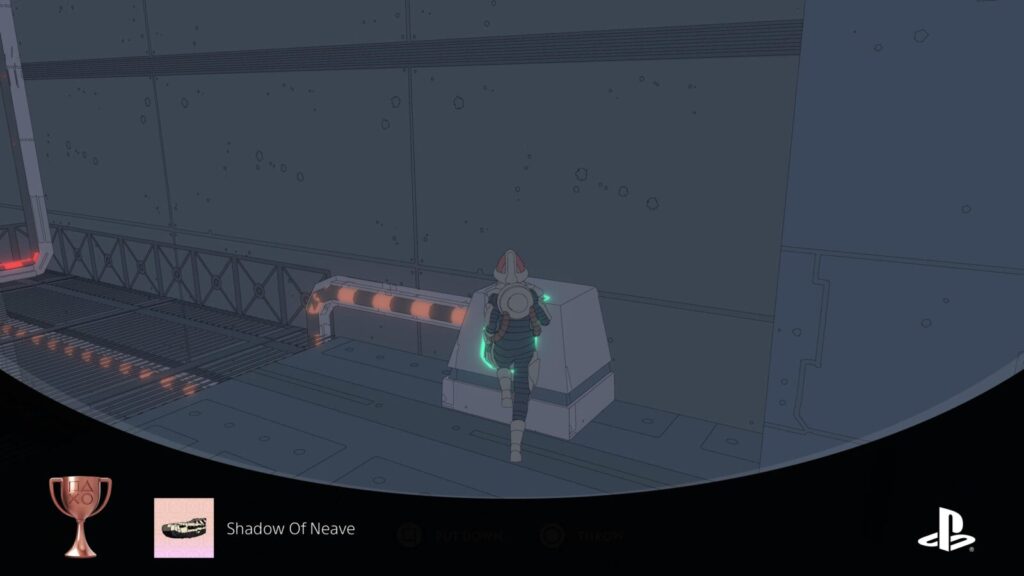
Shadow Of Neave
Open the door in Shadow Of Neave
Shadow Of Neave is one of the six ancient (but futuristic) shipwrecks you can find and enter in Sable. You will need to open all six and interact with the Holographic AI inside to restore function to The Whale and unlock the Amateur Historian trophy.
The Shadow Of Neave trophy will unlock when you complete the puzzle in Shadow Of Neave and open the inner door where the AI is found.
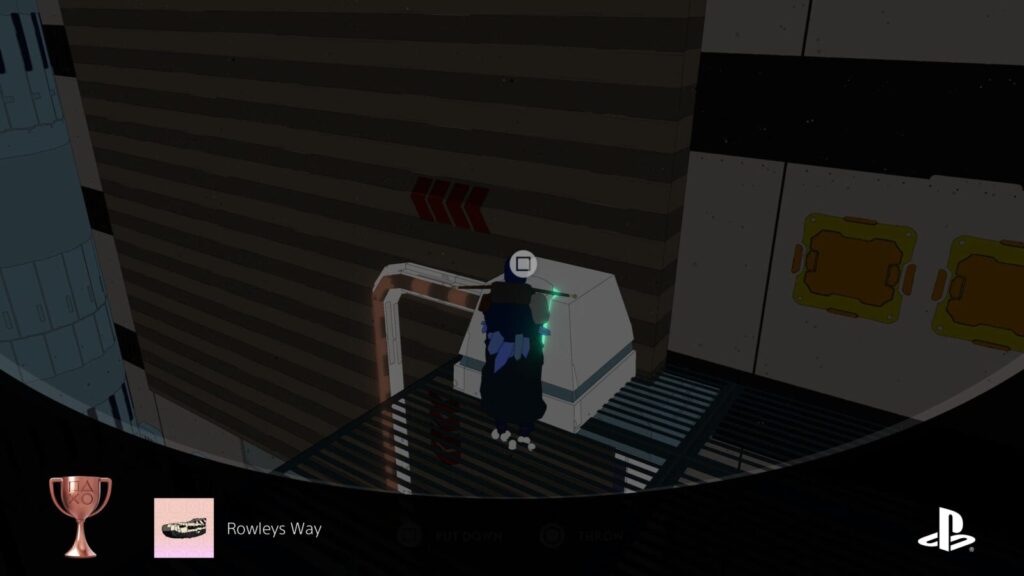
Rowleys Way
Open the door in Rowleys Way
Rowleys Way is one of the six ancient (but futuristic) shipwrecks you can find and enter in Sable. You will need to open all six and interact with the Holographic AI inside to restore function to The Whale and unlock the Amateur Historian trophy.
The Rowleys Way trophy will unlock when you complete the puzzle in Rowleys Way and open the inner door where the AI is found.
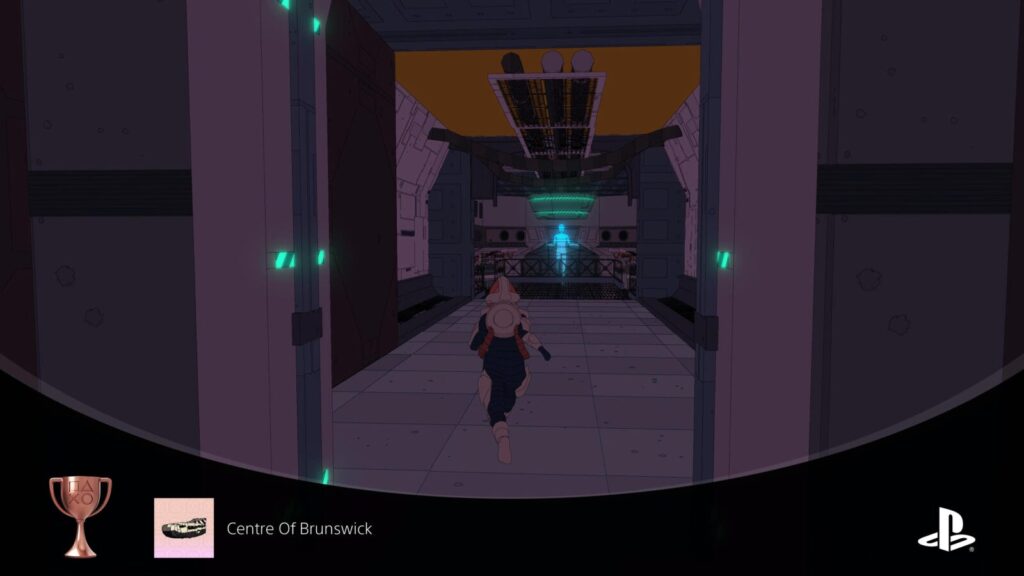
Centre Of Brunswick
Open the door in Centre of Brunswick
Centre Of Brunswick is one of the six ancient (but futuristic) shipwrecks you can find and enter in Sable. You will need to open all six and interact with the Holographic AI inside to restore function to The Whale and unlock the Amateur Historian trophy.
The Centre Of Brunswick trophy will unlock when you complete the puzzle in Centre Of Brunswick and open the inner door where the AI is found.
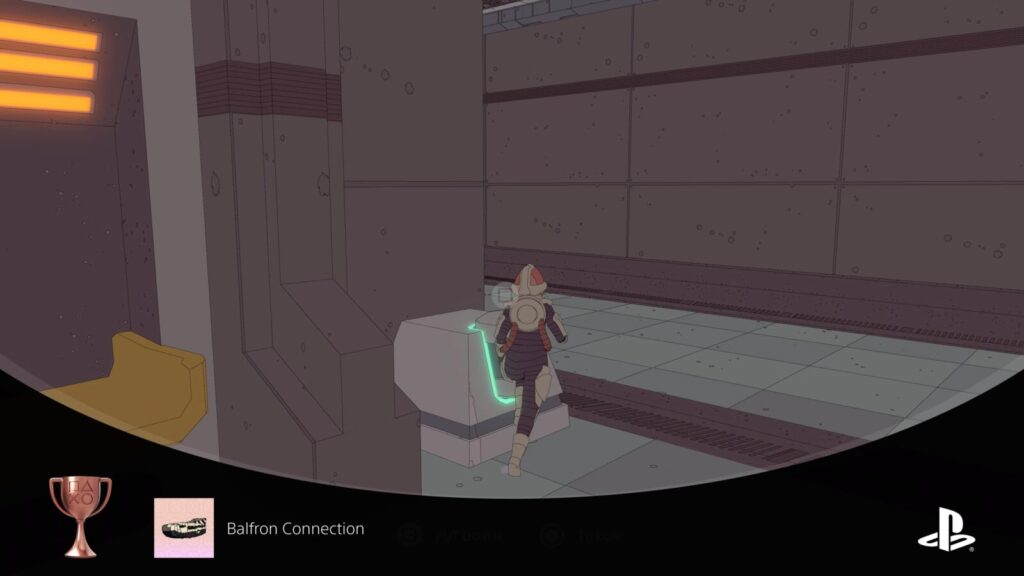
Balfron Connection
Open the door in Balfron Connection
Balfron Connection is one of the six ancient (but futuristic) shipwrecks you can find and enter in Sable. You will need to open all six and interact with the Holographic AI inside to restore function to The Whale and unlock the Amateur Historian trophy.
The Balfron Connection trophy will unlock when you complete the puzzle in Balfron Connection and open the inner door where the AI is found.
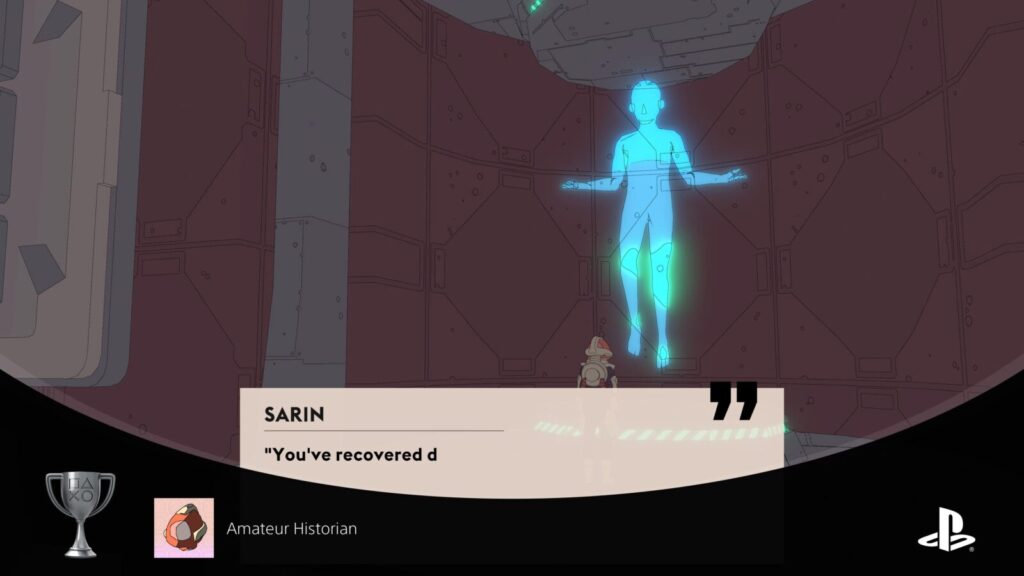
Amateur Historian
Complete Historical Reconnection
Southwest of Eccria, you will find a huge abandoned facility called “The Whale.”

When there, make your way into the main chamber, where you will find an abandoned AI called Sarin. Speaking to Sarin will reveal it doesn’t recall much of its history but would like you to help restore it.
To do so, you need to travel to the six abandoned ships, enter their main chamber, and then speak to the AI there. Ask it for any Unread Messages and then leave for the next ship.
You can see the ships quite clearly on the map as you purchase new maps from Cartographers. They look like large grey building-shaped marks on the map until you approach them and a Fast Travel point will be added.
Once you have visited and spoke to the AI at all six ships, return back to The Whale and speak to the AI there again. Once it has thanked you for your efforts, you will receive the Amateur Historian trophy as well as access to two locked rooms containing a rare outfit and shiny new ship parts.
Fishing and Vivarium Trophies
Quite the Catch
Catch your first fish
The very first time that you find and capture a fish in Sable, the “Quite the Catch” trophy will unlock. You will do this unavoidably in your efforts to earn the Angler Mask.

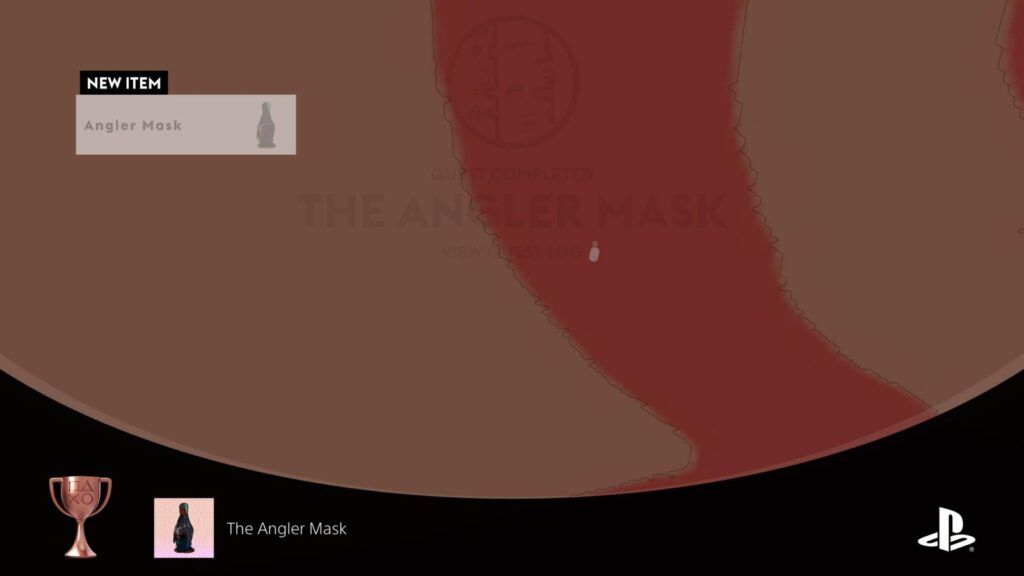
The Angler Mask
Unlock the Angler Mask
To receive the Angler Mask from a Mask Caster, you must first collect three Angler badges by completing quests for Yoshi at the “Angler’s Hut” in Sansee, south of Burnt Oak Station.

When you arrive at his hut, speak to the Angler “Yoshi” who’s fishing with a net over the sand.
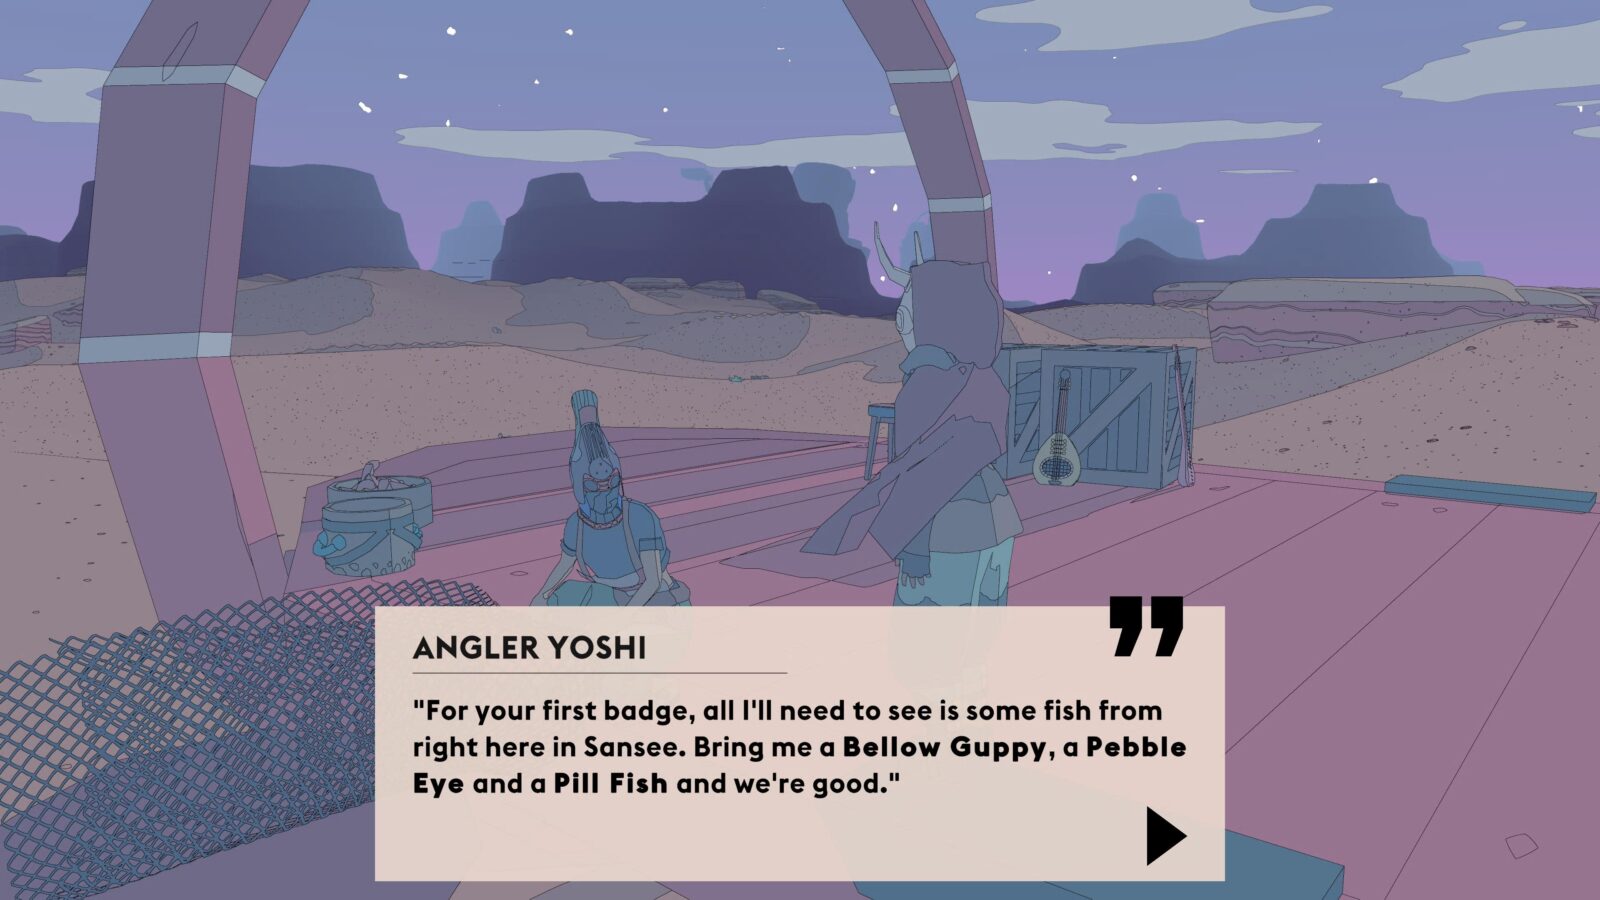
He will give you a fishing rod and a quest to catch some fish for him. There are three such quests to complete, and each time that you bring him the fish he asked for, he’ll thank you with an Angler’s Badge.
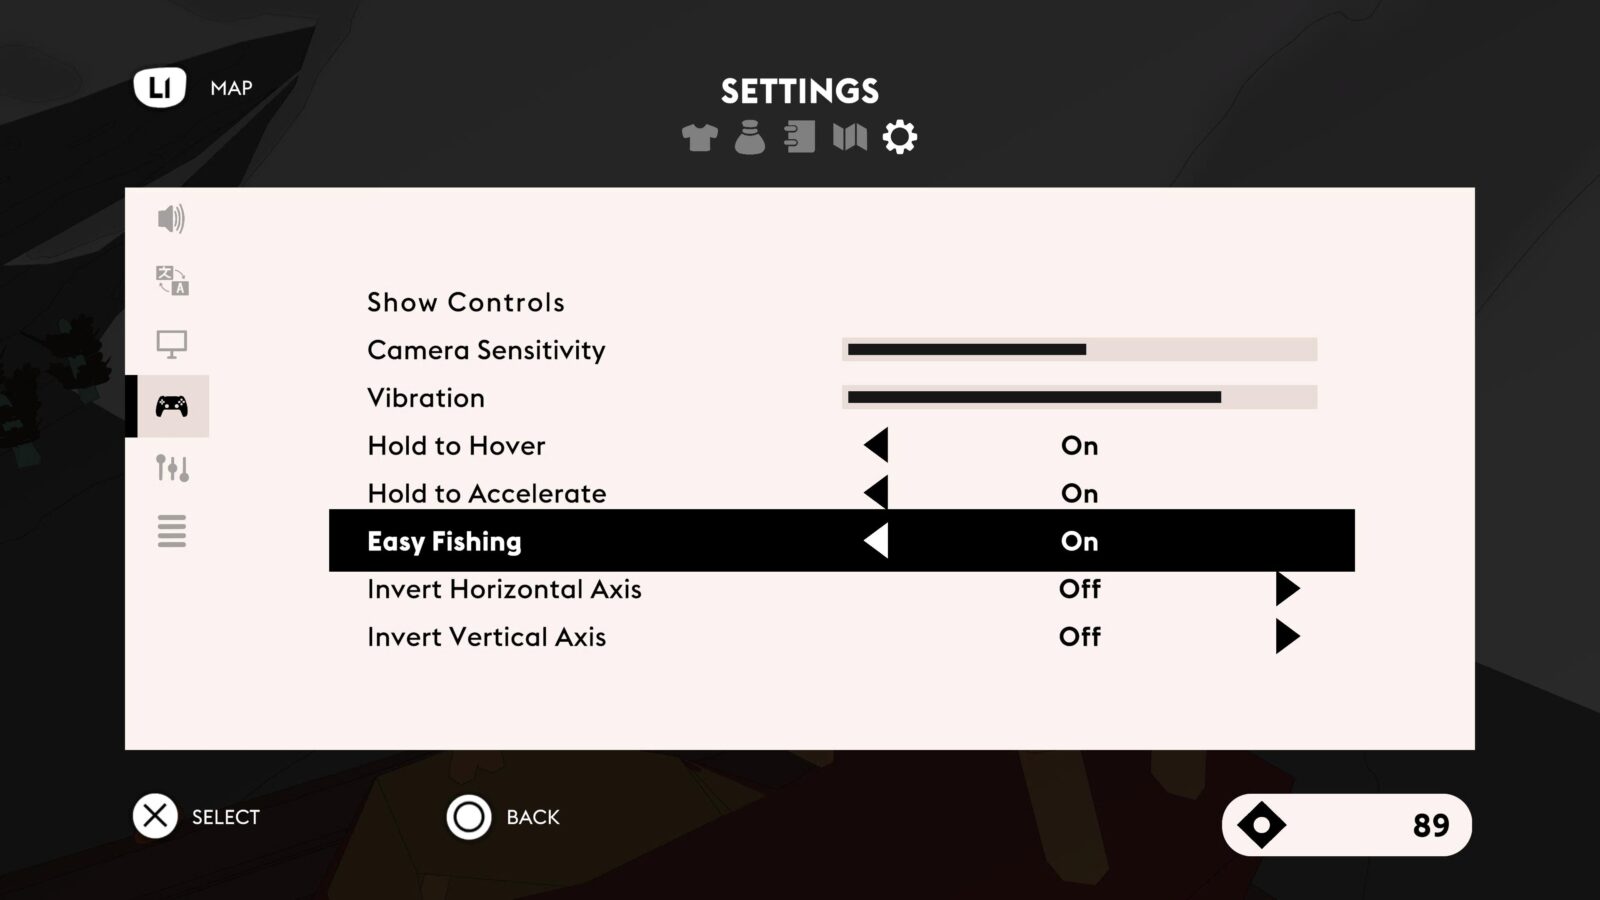
For help finding all of the fish he asks for, check out the Vivacious Vivarium Trophy, where I’ve provided details. Note that you can turn on “Easy Fishing Mode” in the Controls Settings for a much more pleasant fishing experience.
When you have the required badges, visit any Mask Caster and ask them for the Angler Mask.
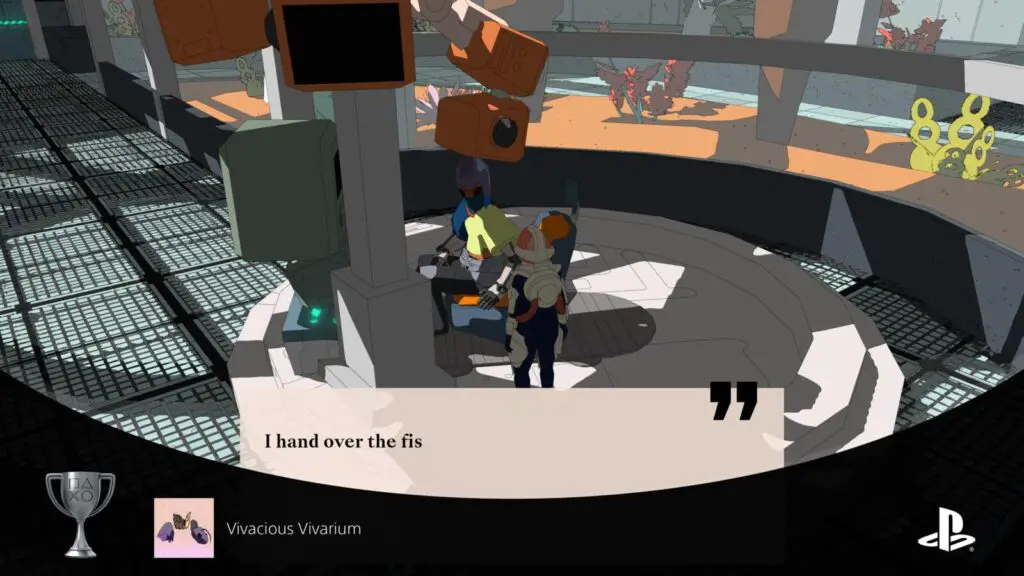
Vivacious Vivarium
Complete the collection in the Vivarium
In the wash, west of Marrow Bone Station, you will find a huge facility called “The Vivarium.” Inside, sat at a desk at the center, there’s an NPC called Research Casii.
Speak to the researcher and they will ask you to help them complete the Vivarium. To do so, you will need to catch one of every type of Fish, Butterfly, and Dragonfly in the game and bring them back to the Vivarium.
Use the table below to find and capture everything you’ll need. Upon completion of the Vivarium, the Vivacious Vivarium trophy will unlock.
| Exhibit | Type | Region | Instructions |
|---|---|---|---|
| Oasis Dragonfly | Dragonfly | All |
Near bodies of water, like the lake north of Eccria. Press
|
| Crystal Butterfly | Butterfly | Hakoa |
Near the Lightning Crystals. Press
|
| Teacup Angler | Fish | Hakoa |
Can be caught by fishing directly into the gas plumes around Hakoa.
|
| Shaded Leaf Butterfly | Butterfly | Redsee |
Found in many areas including Thieving Magpie Well southwest of Eccria. Press
|
| Stepwell Dragonfly | Dragonfly | Redsee |
Only in Thieving Magpie Well, southwest of Eccria. Press
|
| Hummer | Fish | Redsee |
Near the Cartographer’s Balloon in Redsee, there’s a tropical palm forest. Fish anywhere in this forest for a chance to catch a Hummer.
|
| Sucker Fish | Fish | Redsee |
Starting from Eccria, head directly southeast until you reach some large arch-like stone formations. Fish here to find a Sucker Fish.
|
| Storm Fish | Fish | Redsee |
In the sand just south of the Redsee Cartographer’s Balloon.
|
| Sand Ray | Fish | Redsee |
Starting from Eccria, head west until you enter a large dust bowl, where the sand drops downhill quite significatnly. The Sand Ray can be caught anywhere in here.
|
| Sunshine Butterfly | Butterfly | Sansee |
They can be found near plants in Sansee but only during the day. Press
|
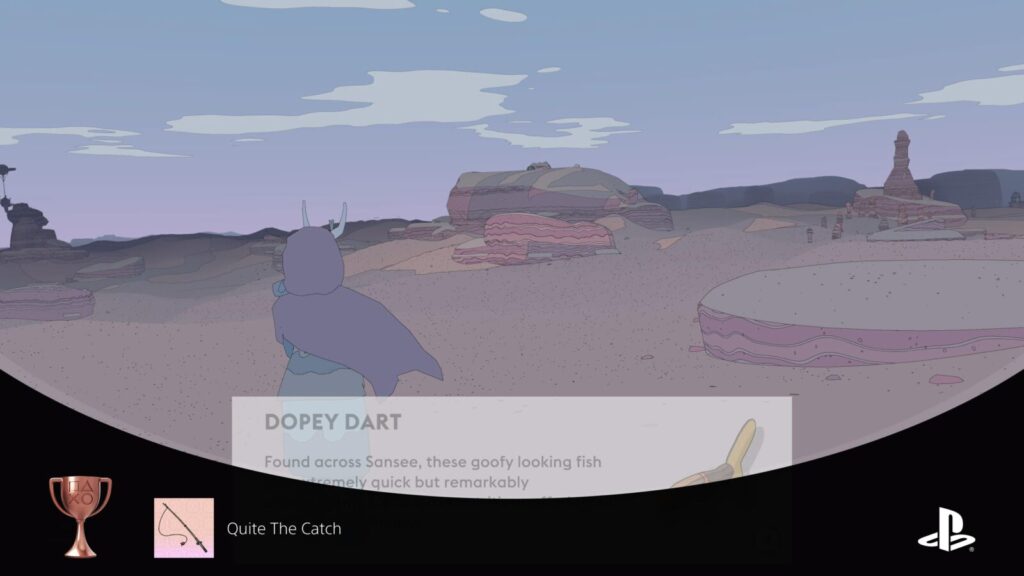
| Dopey Dart | Fish | Sansee |
One of the most common fish to find in Sansee. Fish anywhere.
|
| Pebble Eye | Fish | Sansee |
Can only be caught in the shadows. Try to find a nice spot that is perpetually in the shade, such as around the rocks and roots of the Hercules Beetle Nest. I don’t believe fishing at night will count.
|
| Pill Fish | Fish | Sansee |
Caught around the base of cacti. Try fishing in the cactus Forest on the far-east edge of Sansee, leading up to Sodic Waste, east of The Ewer.
|
| Bellow Guppy | Fish | Sansee |
The most common fish to find in Sansee. Fish anywhere.
|
| Salt Butterfly | Butterfly | Sodic Waste |
Near plants in the Sodic Waste. Press
|
| Shelled Cup | Fish | Sodic Waste |
Fish near Geyser Tower in Sodic Waste to find the Shelled Cup.
|
| Scabby Fish | Fish | The Badlands |
Pretty common, just fast travel to the Cartographer, drop to the sand below, and begin fishing.
|
| Flutter Thrust | Fish | The Badlands |
Pretty common, just fast travel to the Cartographer, drop to the sand below, and begin fishing.
|
| Light Koi | Fish | The Badlands |
Only spawns in green bushes. There’s a good cluster of these near the entrance to the “Mysterious Shrine”
|
| Chalk Butterfly | Butterfly | The Wash |
Near plants in the Wash. Press
|
| Nimoor Butterfly | Butterfly | The Wash |
Only found inside Nimoor Plants in the Petrified Forest in Northeast Wash. See Fragile Goods.
|
| Bloated Eye Clam | Fish | The Wash |
Fish near the roots of the trees of the Petrified Forest in Northeast Wash
|
| Trifle Jelly | Fish | The Wash |
Fish at the base of the white dunes near Marrow Bone Station.
|
| Little Kicker | Fish | The Wash |
Fish anywhere in The Wash.
|
| Ghost Soul | Fish | The Wash |
Fish in the boneyard southwest of Marrow Bone Station.
|
Misc Trophies
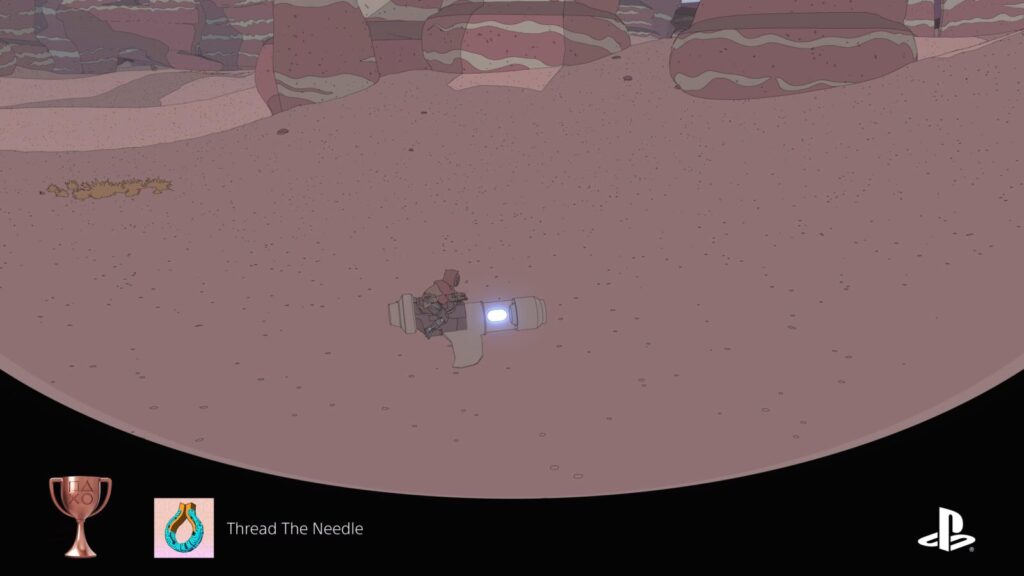
Thread The Needle
Reveal a Hicaric arch monument
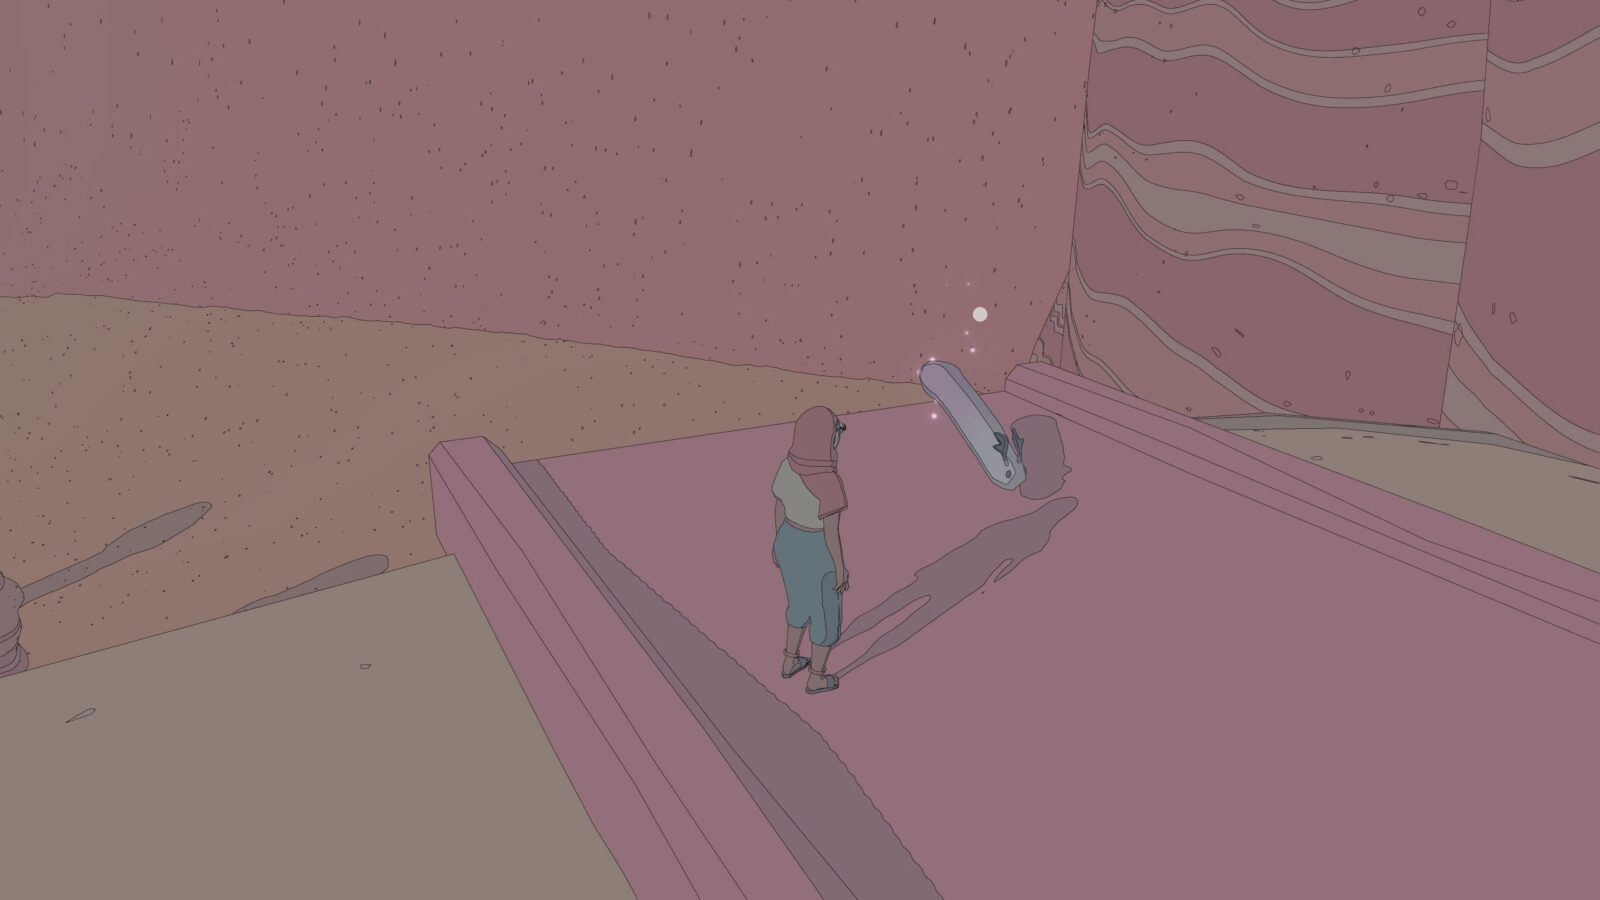
All across the desert in Sable, there are ruins buried in the sand near sets of stone rings. Driving through these rings with your Hoverbike will activate them. Activating every ring in the area will cause the obstructed ruins to become accessible.
When you do this for the very first time, the “Thread The Needle” trophy will unlock. Head inside the ruins that rose from the ground and collect the Hicaric Ring from inside. You’ll need it (and five more) for The Quick and the Curious.
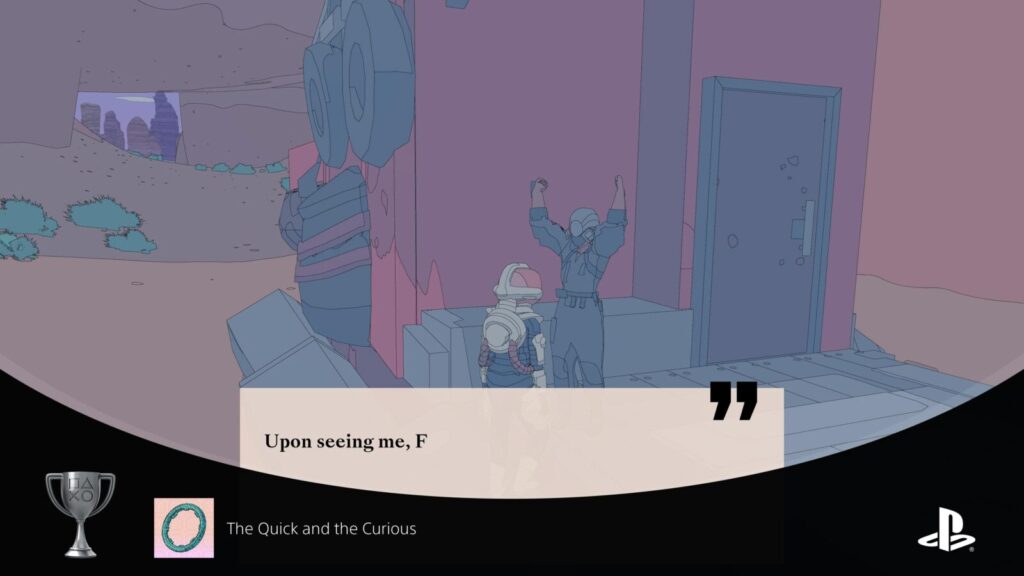
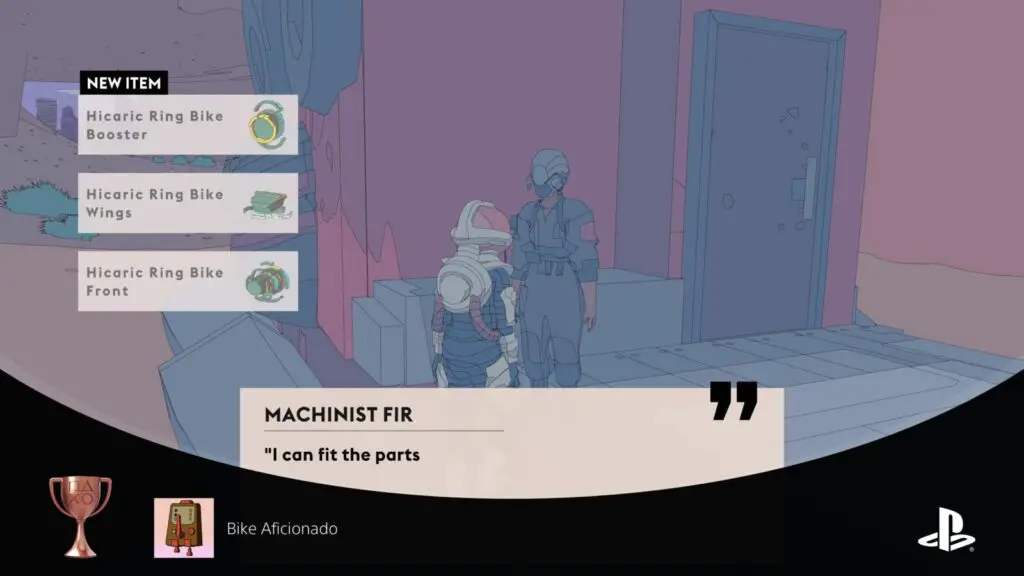
The Quick and the Curious
Complete An Ancient Race
To unlock the “The Quick and the Curious” trophy, you will first need to find all six Hicaric Rings hidden across the map. There’s one in each region, inside ruins that are buried underground. Close to these ruins, you will find 4 rings.

Drive through all four rings on your bike to activate the ruins and then collect the Hicaric Ring from inside, repeat for each region.
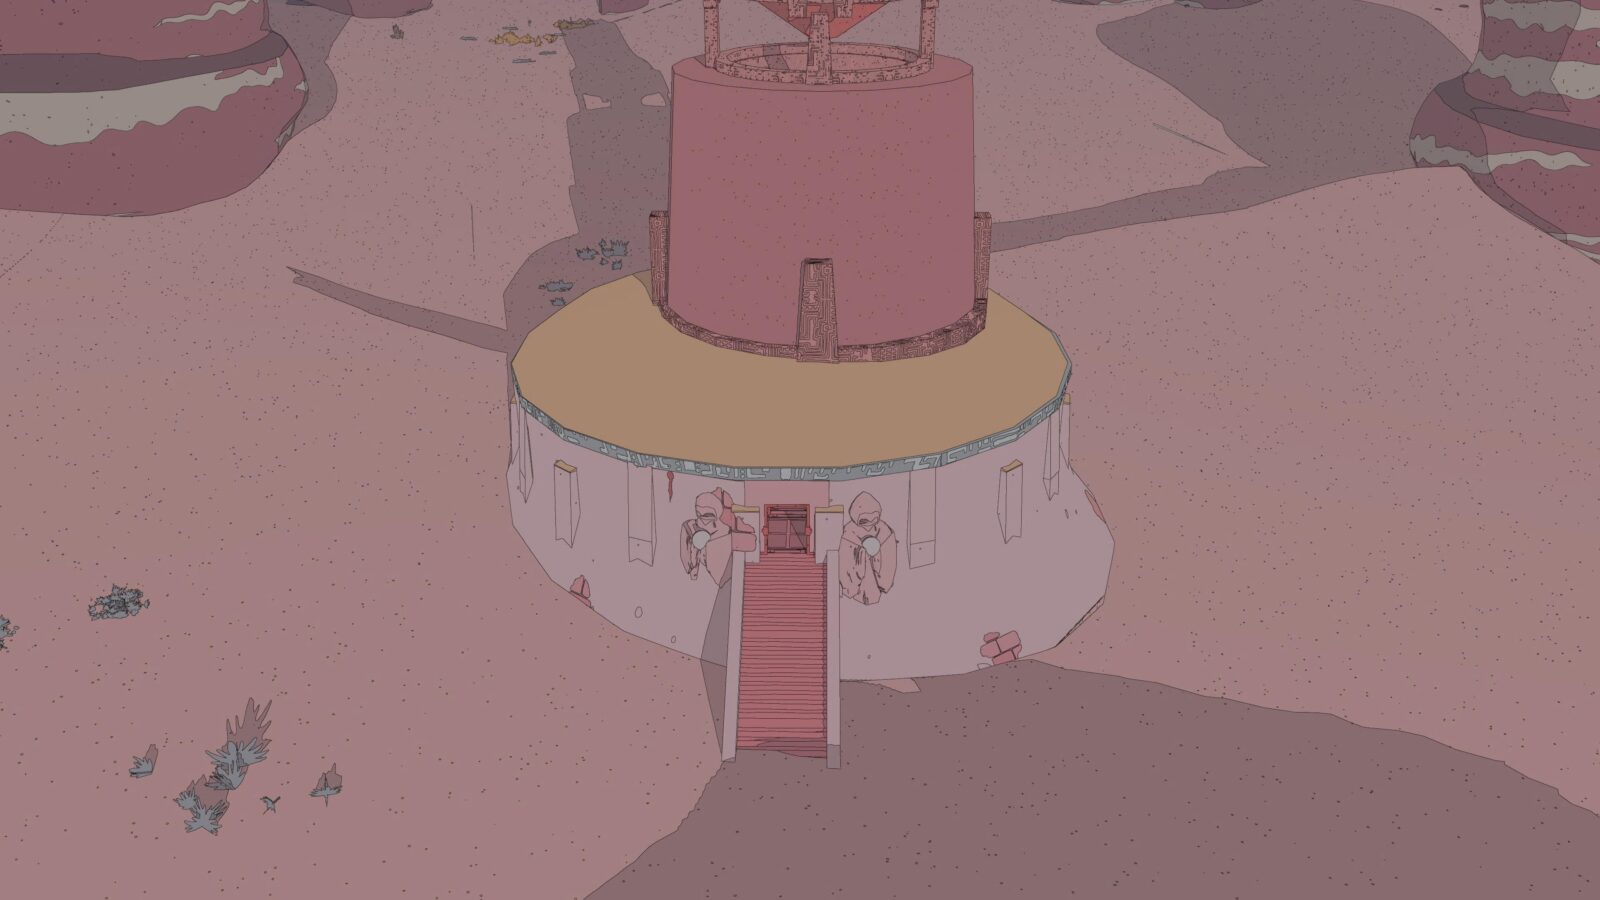
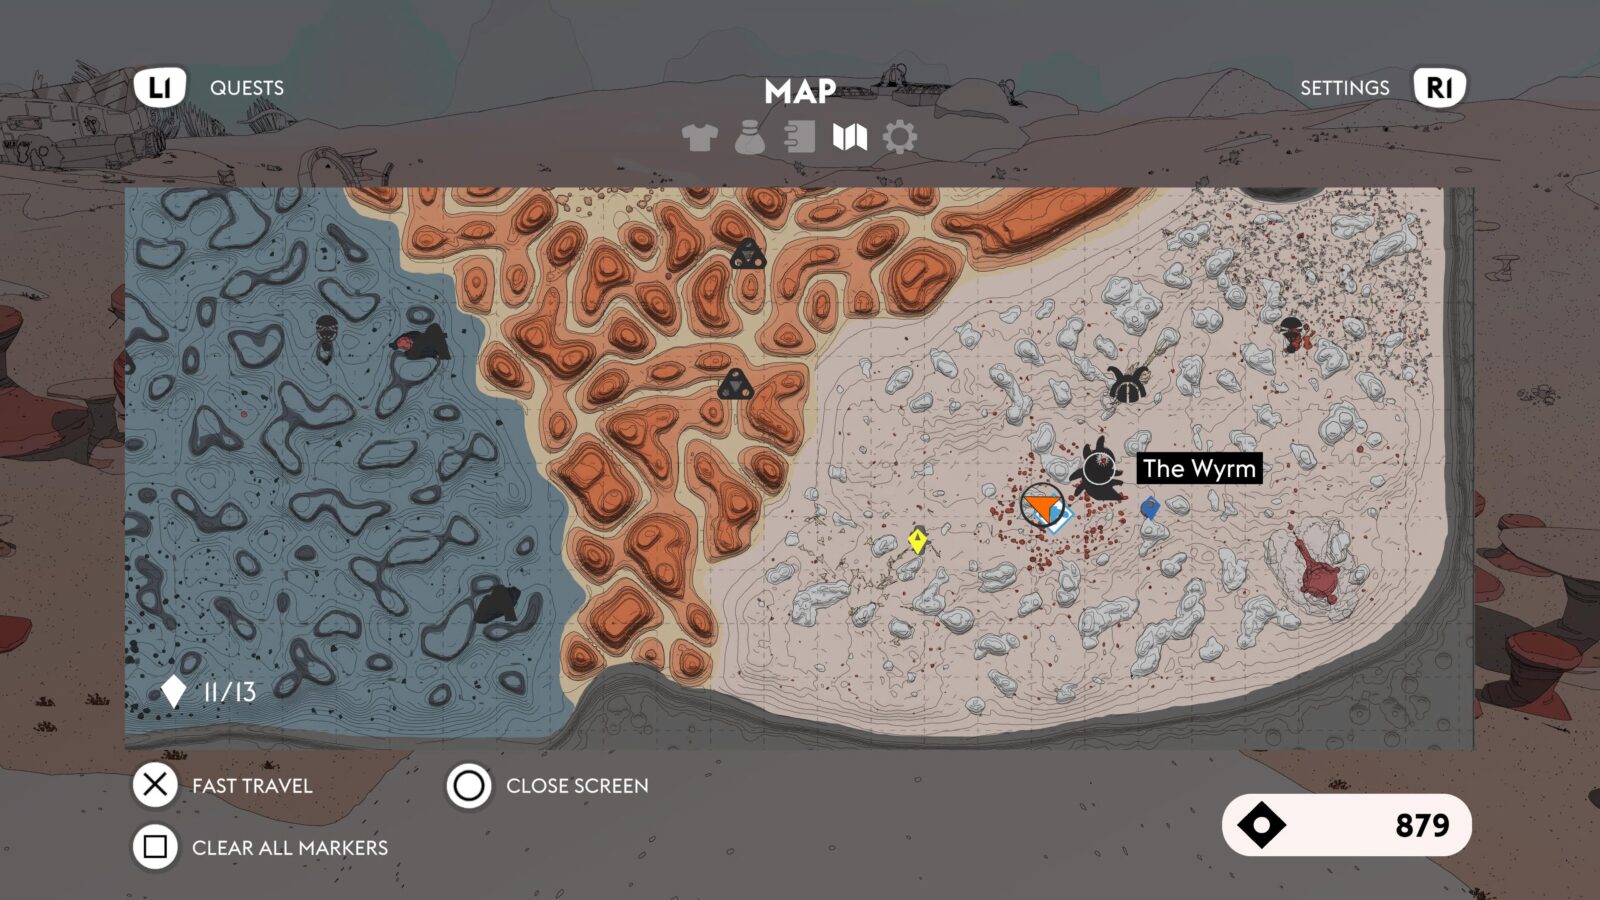
Once you have all six Hicaric Rings, take them to the “Mysterious Shrine” in the Badlands, east of the Cartographer’s Balloon.
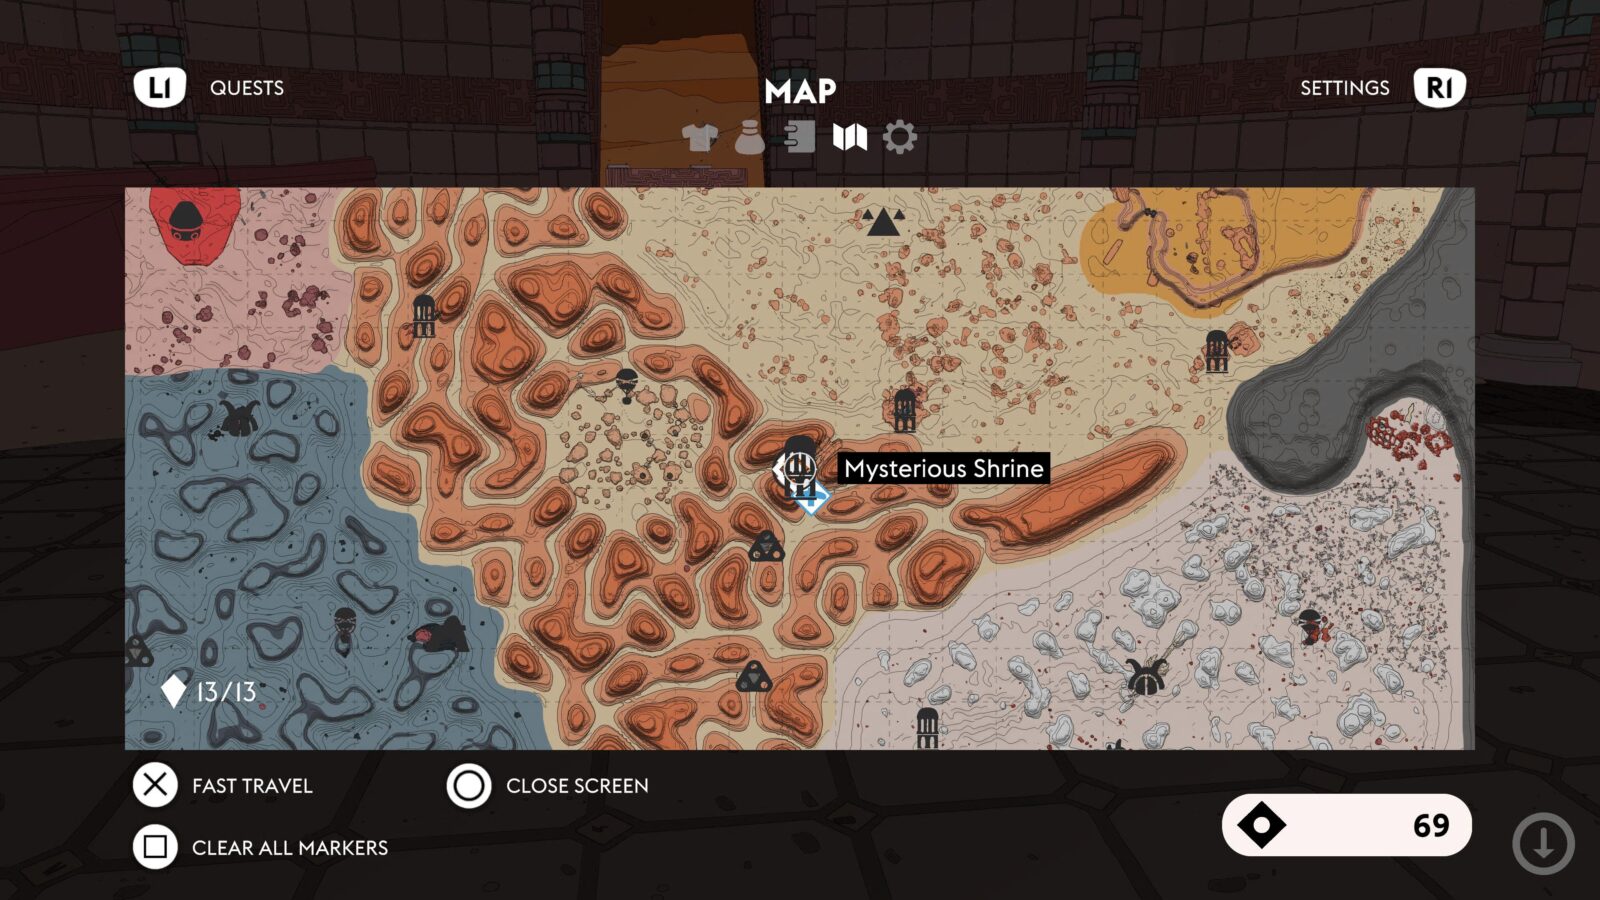
Inside, you will meet a Machinist called “Fir.” Place your Hicaric Rings on the pedestals behind Fir and then wait a few in-game days before returning to the Shrine.
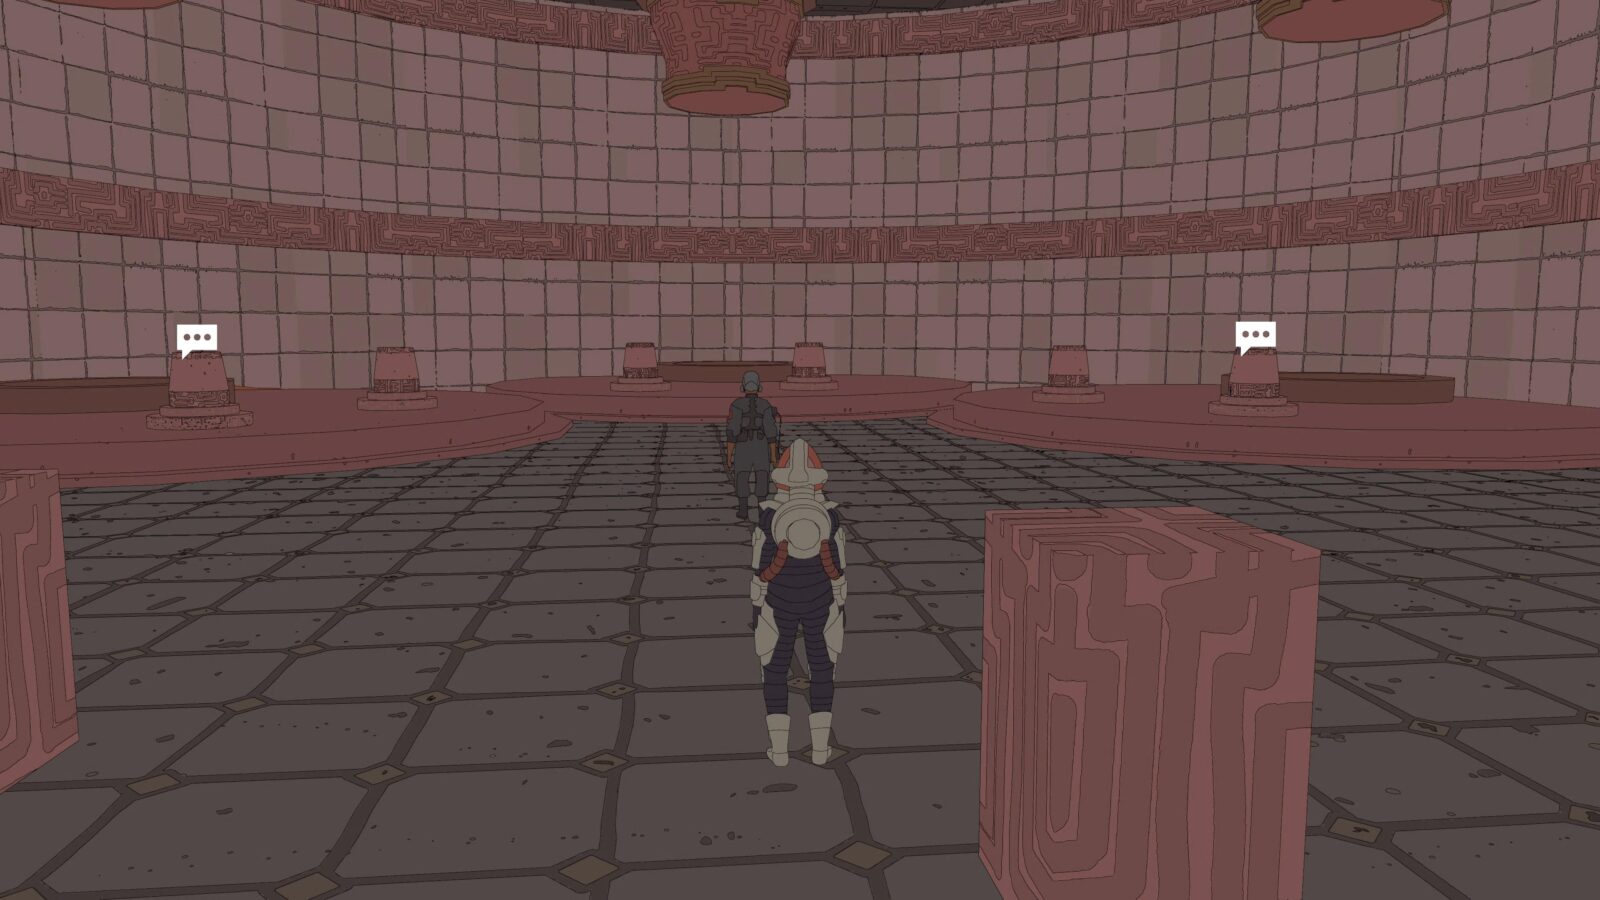
There, speak to Fir again and he will offer you the Hicaric Ring Wings, Hicaric Ring Front, and Hicaric Wing Booster Bike Parts and you’ll receive the “The Quick and the Curious” trophy.
These ruins are clearly marked on the map in the form of red circles, but you can use our gallery below to find all six.


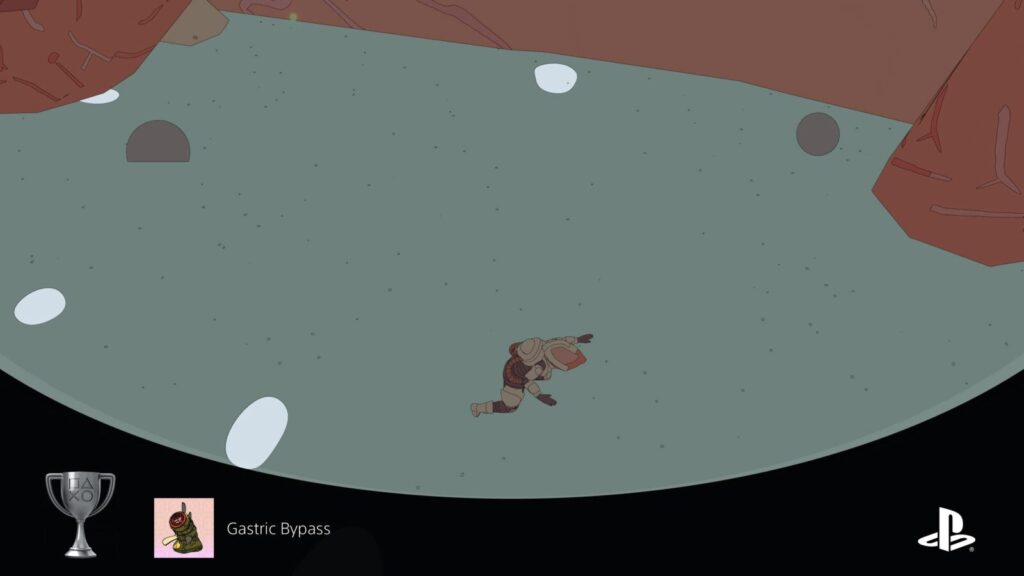
Gastric Bypass
Traverse a hidden cavern
In “The Wash,” southwest of Bone Marrow Station, you will find a huge statue of a worm called “The Wyrm.”
To unlock the “Gastric Bypass” trophy, you need to figure out how to get inside it.
First, climb up to the statue’s mouth, where you’ll find a small encampment set up by a previous visitor. Inside the mouth, look for the small yellow plant-like organisms nearby. Approach one and press ![]() to whistle.
to whistle.

A strange orb will roll out of the organism and land in front of you. Grab it and throw it into the puddle of acid at the center of the Wyrm’s mouth. Doing so will cause the sphincter at the back of the room to open, giving you access to the creature’s innards.
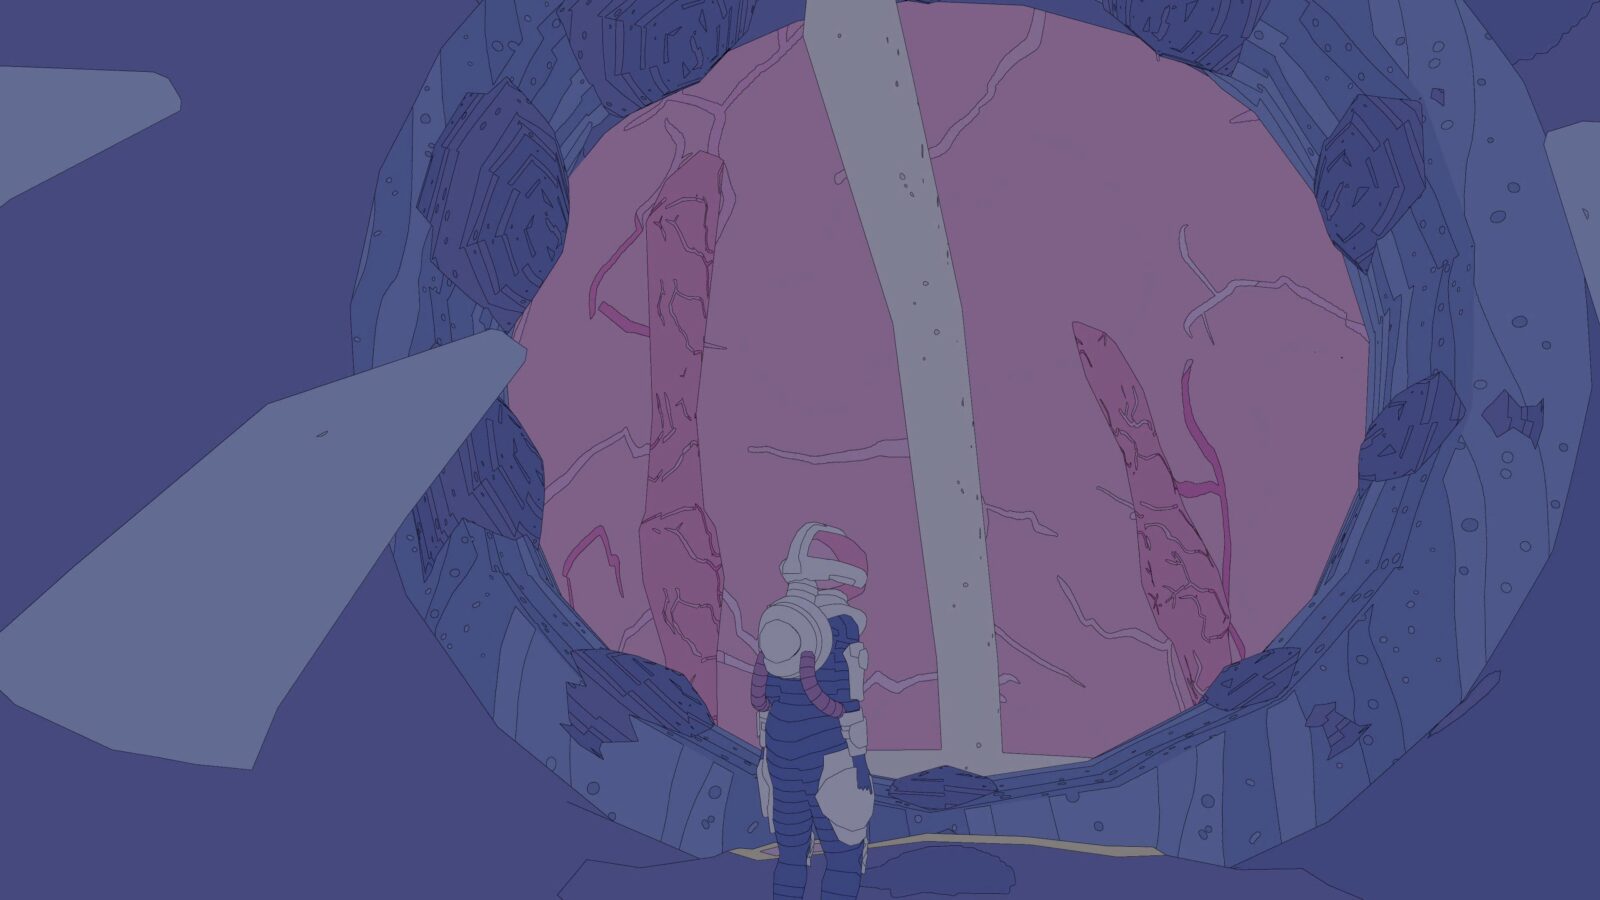
Continue deeper into the creature to receive your very own Gastric Bypass trophy!
Sticky Paws
Climb 500m in total
The “Sticky Paws” trophy asks that you climb a cumulative total of 500m throughout your entire playthrough of Sable. You will actually find yourself climbing a lot more than this. Especially when trying to reach Cartographer’s Balloons to buy Maps.
All in all, this trophy should unlock naturally but if you manage to somehow avoid it; you know what to do! Get climbing!
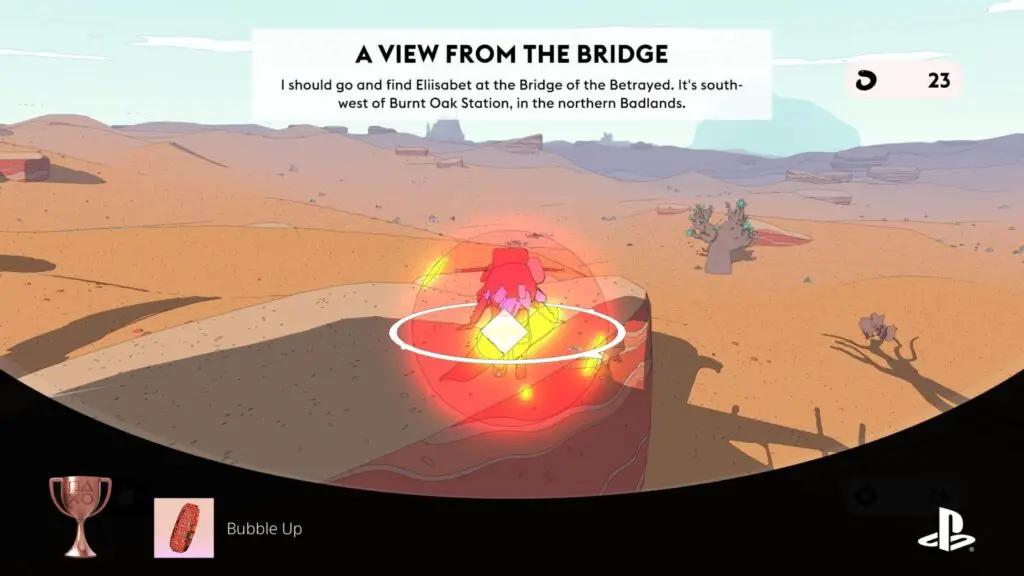
Bubble Up
Hover for 1500m using the Perpetual
Quite early in the game, you will receive the ability to Glide using a stone called the Perpetual. To glide, all you need to do is hold ![]() while in mid-air.
while in mid-air.
The “Bubble Up” trophy will unlock when you have used your glide ability to travel a total distance of 1500m through the air. Fortunately, this is a cumulative trophy so you needn’t try to achieve this by travelling that far in a single glide. Instead, you will probably earn the trophy naturally while exploring the game and completing quests.

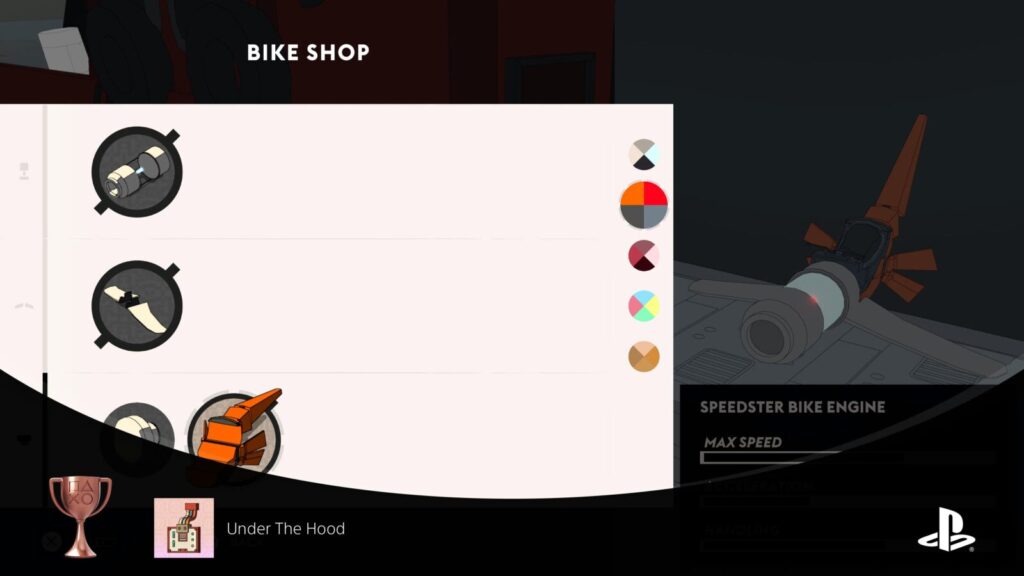
Under The Hood
Customise your hoverbike with a Machinist
When speaking to any “Machinist” in Sable, you can choose the “Customize Your Bike” option to open a menu where you can view all of the bike parts and colour options you’ve unlocked/received/purchased throughout the game.
Installing any of these customisations for the first time at any Machinist in Sable will unlock the “Under the Hood” trophy. In all likelihood, you’ll probably earn this naturally.

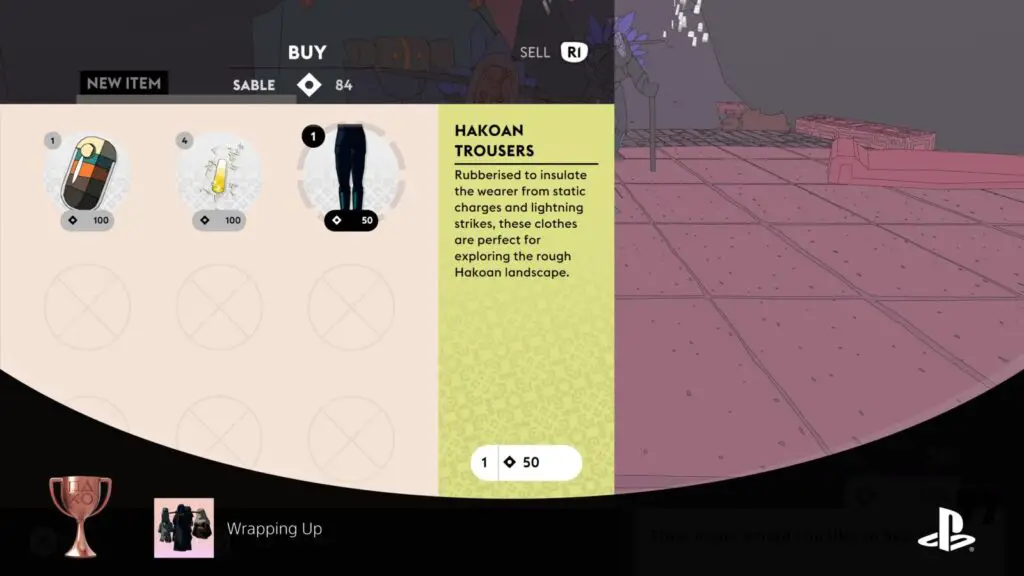
Wrapping Up
Collect 6 items of clothing
Throughout Sable, you will receive various items of clothing for completing quests. You can also find clothing items at merchants for you to purchase using Cuts.
The “Wrapping Up” trophy will unlock when you collect your sixth unique item of clothing (not including masks).
You will need to collect a total of 12 for the Playing Dress Up trophy.
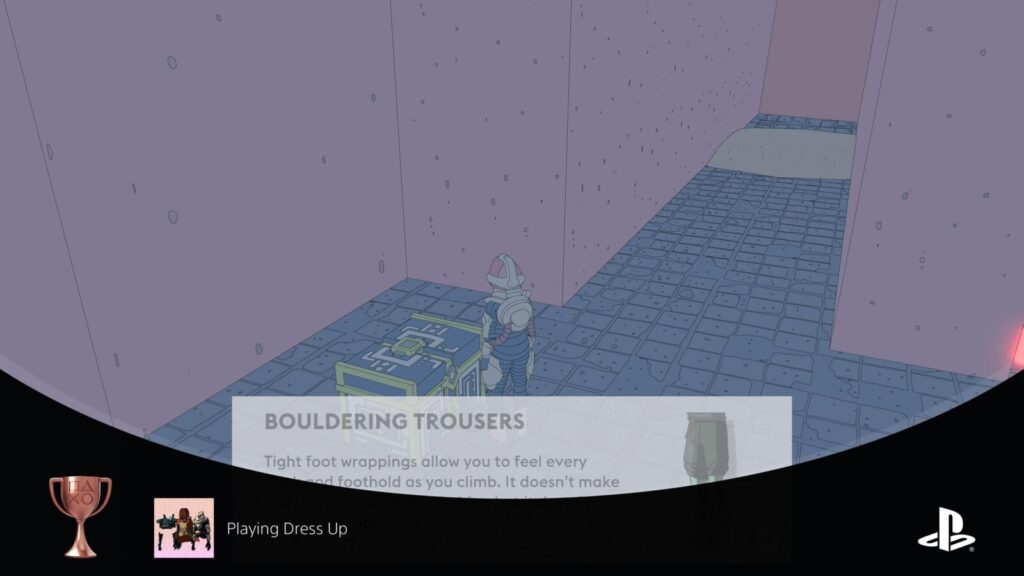
Playing Dress Up
Collect 12 items of clothing
Once you have unlocked the Wrapping Up trophy, continue unlocking/purchasing clothing items throughout the game until you reach a total of 12 unique clothing items in your inventory (not including masks).
When you have successfully done so, the “Playing Dress Up” trophy will unlock.
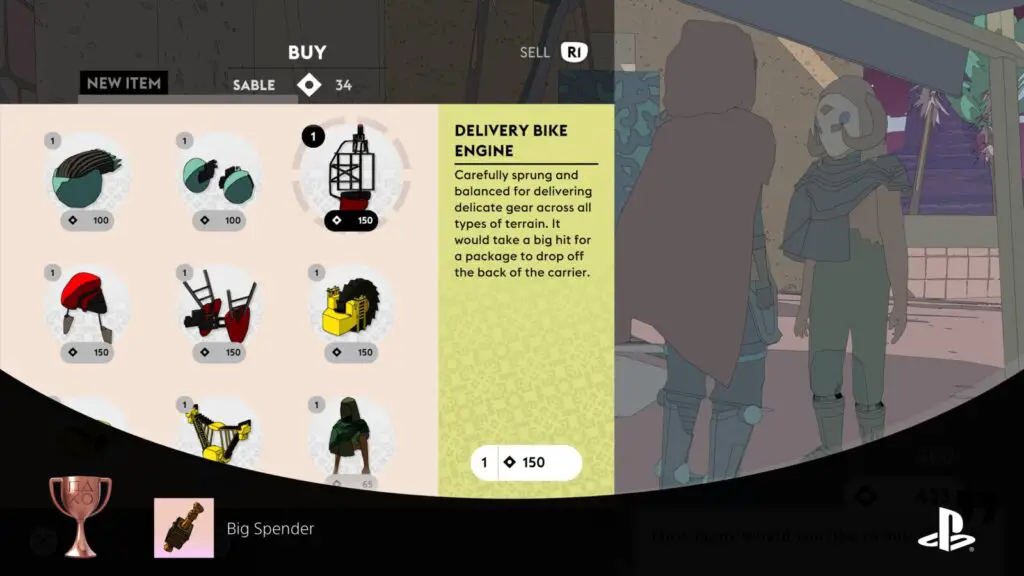
Bike Collector
Collect 10 bike parts
To unlock the Bike Collector Trophy, you need to own a total of 10 Bike Parts, including the Three Simoon Parts you started with. Note that you will eventually need 20 Bike Parts for the Bike Aficionado trophy.


Bike Aficionado
Collect 20 bike parts
To unlock the “Bike Aficionado” trophy, you will need to own at least 20 unique Bike Parts, including the Three Simoon Parts you started with.
You can and will find/unlock Bike Parts for free throughout the game. For example, you can get three from The Whale after unlocking Amateur Historian, and three more from The Quick and the Curious. That being said, the quickest and easiest way to earn this trophy is to just visit the Merchants at each settlement and buy their bike parts until you have 20.
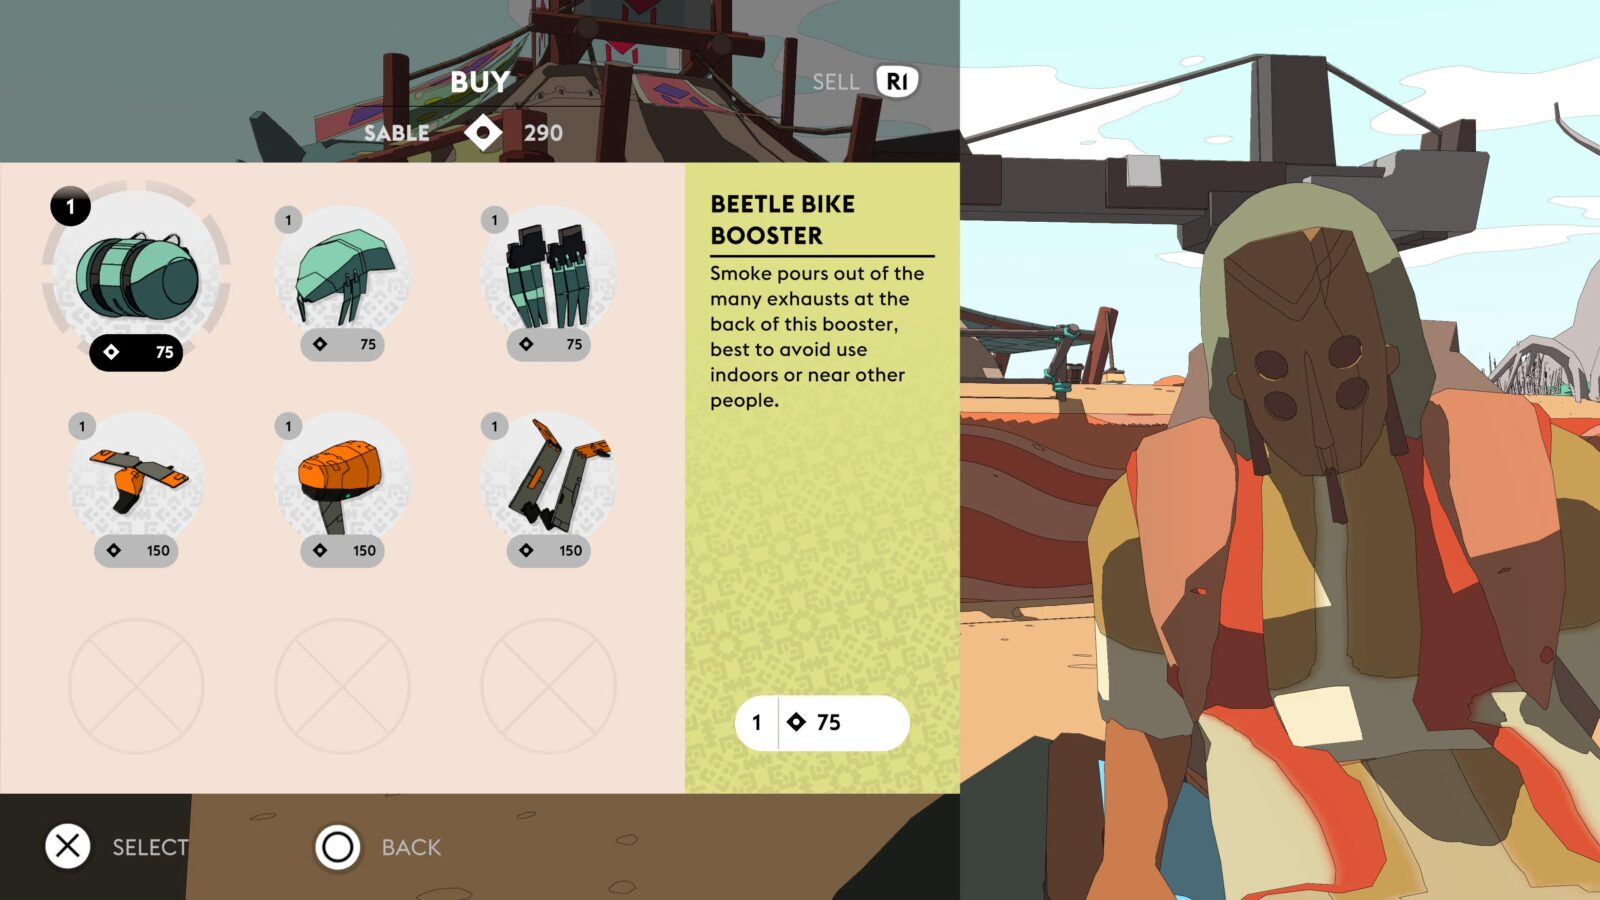
Of course, you’ll need money for that. You should hopefully have a good amount of Cuts saved up from just playing through the game, but you can also farm Cuts by selling Scrap MEtal at Burnt Oak Station or selling Lightning Crystals to merchants for 100 Cuts each.
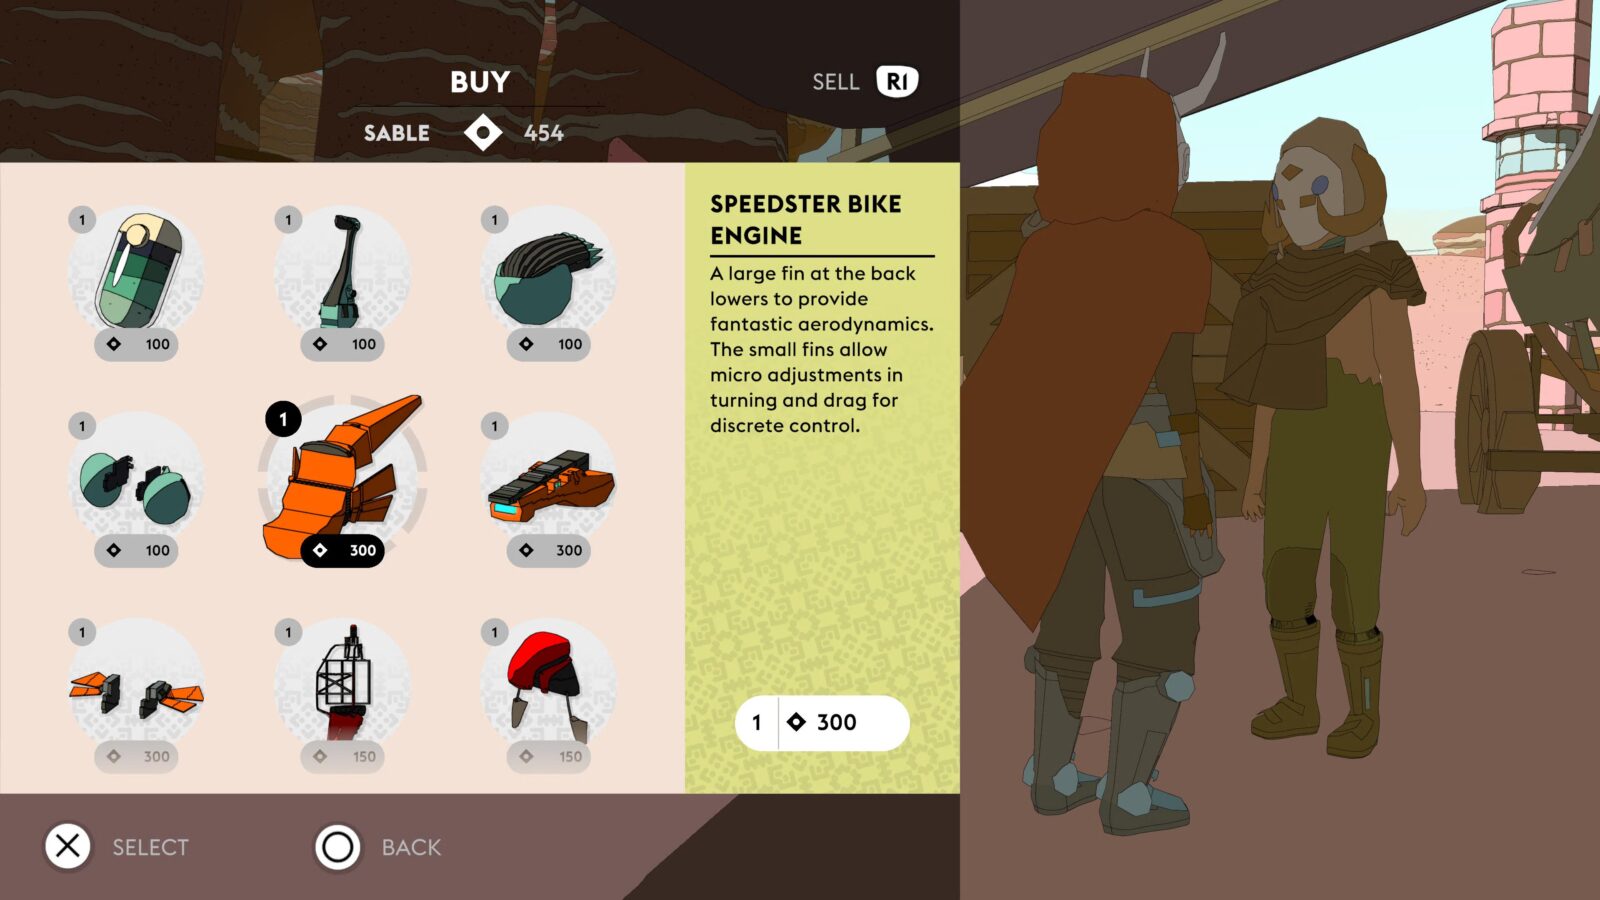
Big Spender
Spend 1000 Cuts
The “Big Spender” trophy will unlock once you have spent a cumulative total of 1000 cuts in Sable. As we recommend buying the “Speedster” bike parts from the Merchant in Eccria for 300 cuts each, that leaves you with just 100 more to spend.
If you buy the merchant badges from Iria too, that’s 1,200 cuts in total, meaning you’re quite likely to earn this trophy naturally.
More Than A Box Of Sand
Open 20 chests
To unlock “More Than A Box of Sand,” you need to find and open 20 loot containers. The description says “Chests” but it’s not only chests that count. You can also loot baskets like the one in the icon, but even Scrapmetal containers in abandoned facilities count. In fact, whenever I picked up a piece of armor or bike part that was placed in the world, even that contributed to my trophy progress!
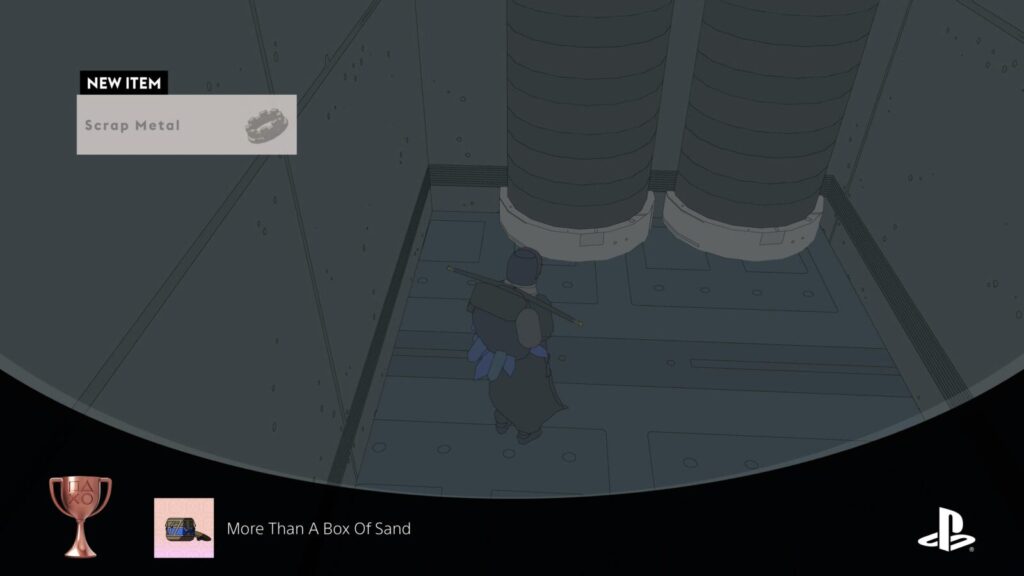
Treasure Tracker
Open 40 chests
After unlocking the “More Than a Box of Sand” trophy, continue on and open a further 20 loot containers to unlock Treasure Tracker too.

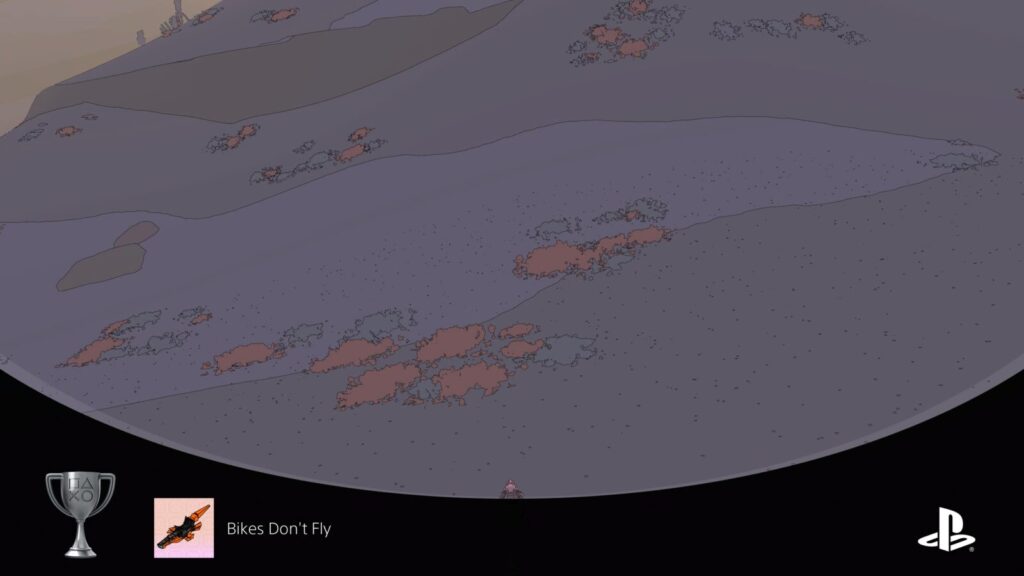
Bikes Don't Fly
Get 5 seconds of air time on the hoverbike
Exactly as the trophy description says, you will need to get 5 seconds of “air time” while riding the Hover Bike. Ignoring the fact that you’re being asked to get Air Time in a vehicle that doesn’t touch the ground, here’s how I recommend going about this…
As I stated near the start of this guide, it’s wise to invest in the “Speedster” bike parts from the merchant next to the bridge into Eccria. These are some of the fastest bike parts in the game and are more than enough to get you the airtime you need.
With the right parts equipped (something equally as fast), drive out into the desert and build up as much speed as you can. You essentially need to look for the perfect ramp-shaped dune or rock to propel you up into the air for a total of 5 seconds.
If you manage to stay in the air for a full five seconds before your bike “touches” back down, the Bikes Don’t Fly trophy will unlock.
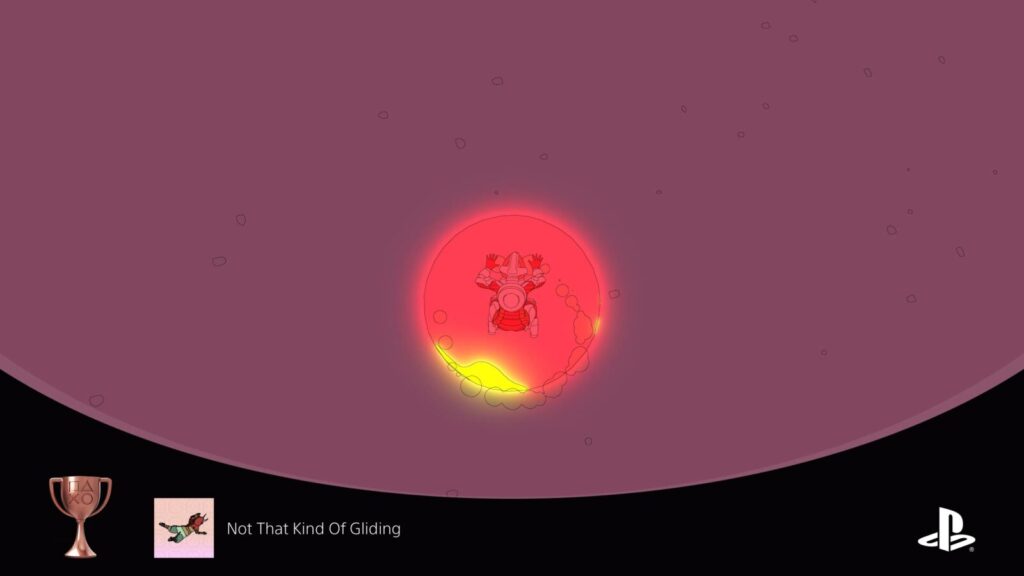
Not That Kind Of Gliding
Fall from a great height
To unlock the “Not That Kind of Gliding” trophy, all you need to do is jump from a very high location and then let Sable catch themselves before hitting the ground. This happens automatically so don’t press anything or attempt to catch yourself after jumping.
An easy spot to do this from is the Cartographer’s Balloon near Eccria. Just Fast Travel up there, climb to the top of the shelter, then jump off. Just before hitting the ground, Sable will activate the bubble automatically to prevent you from taking damage, unlocking the trophy.
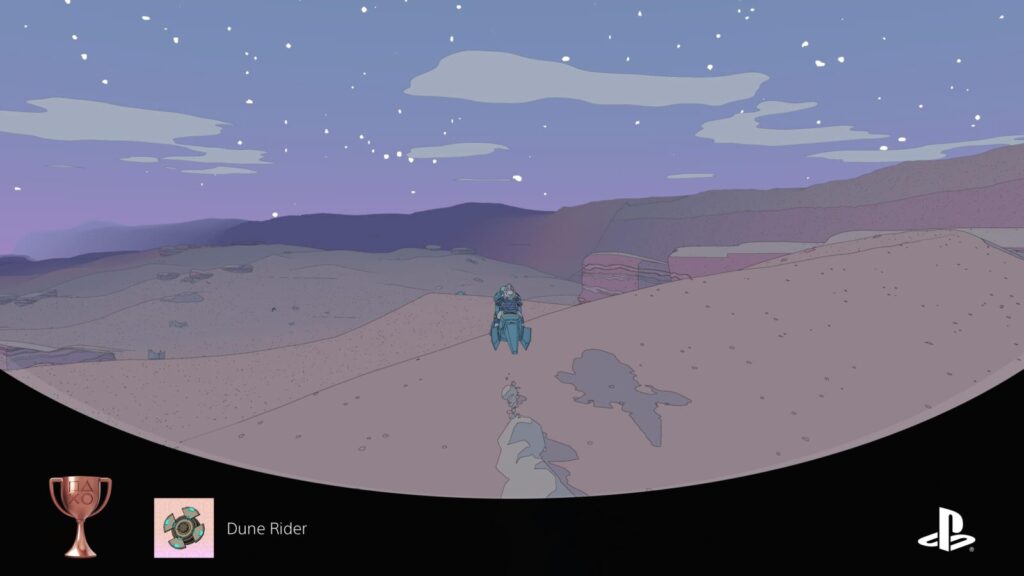
Dune Rider
Travel 50km on the bike
Very likely to occur naturally, the Dune Rider trophy asks that you simply travel a cumulative distance of 50km on the Hoverbike. You’re most likely to earn this while traveling the desert looking for fish and Chums at the end of your trophy journey.
Unfortunately, the trophy is in no way trackable. So, if you don’t have this trophy by the time you’ve done everything else, simply ride across the sand on your bike until it does.
Phase Three | Choose Your Mask
With everything else done, it’s time to return to the Ibexii Camp at the Ewer and make your final decision on the mask Sable will wear for the rest of her life. It’s the final step of our Sable Trophy Guide so you can expect to have your Platinum real soon!
Choose Your Mask
The Gliding
Choose your mask
This should be your final action in the game, so save this one for when you’re ready to unlock the Platinum and set your controller down. Once you have at least one mask from the Mask Caster, you will receive a new message from Jadi at the Postbox. You can find Postboxes at any major settlement/camp.
Once you’ve heard her message, the Ibexii will return to the Ibex Camp and you can now return there to finish off the story by selecting the mask you think best suits Sable’s future. Upon doing so, the game will end and the “The Gliding” trophy will unlock after the credits!
PlatGet!

Glider
Unlock all other trophies
After collecting every trophy in this Sable Trophy Guide, the "Glider " Platinum Trophy will unlock. Congratulations!
Thanks for Reading
Plat Get!
Thank You!
Thank You for choosing PlatGet as your source for this Sable Trophy Guide.
Wondering what to complete next? Browse our complete guide selection or check out our friends at PlatPrices.com to filter the PS Store based on price, trophy difficulty, or completion time.
Got a question, some feedback, or just want to say thanks? Drop a comment in the discussion section below, we'd love to hear from you! No account required!!


