PlayStation 4 PSVR
Iron Man VR Trophy Guide


General Info
FAQ
How long does it take to beat Iron Man VR and unlock all trophies?
About 15 Hours.
How difficult is it to beat Iron Man VR and unlock all trophies?
Easy (3/10).
Does Iron Man VR have online trophies?
No.
Does Iron Man VR have difficulty-specific trophies?
Yes.
Does Iron Man VR have missable trophies?
No.
Does Iron Man VR have glitched trophies?
No.
What is the minimum number of playthroughs required to unlock all trophies in Iron Man VR?
One.
Does Iron Man VR have a Platinum Trophy?
Yes.
Trophy Guide
Iron Man VR Trophy Guide and Road Map for PlayStation 4
This Iron Man VR Trophy Guide was created to accompany my Platinum Review, check that out if you have a few minutes!
Iron Man VR has a pretty difficult platinum. If not for the difficulty-specific trophy you’d be done with this plat in around 5-7 hours and wouldn’t even break a sweat earning the rest of the trophies, but Invincible difficulty is a real kick in the teeth, so be ready for it.
Within this Iron Man VR Trophy Guide, I recommend a quick normal difficulty run before attempting Invincible difficulty, but it is possible to plat the game with a single playthrough if you’re determined enough to put yourself through that.
Holding out until you’ve completed a Normal mode run (and the challenges) will give you much more of a fighting chance, you’ll have additional suit abilities and upgrades as well as more experience in general with the game’s frustratingly fiddly control scheme.
Phase One – Iron Man VR Normal Difficulty Playthrough
Chapter Specific Trophies
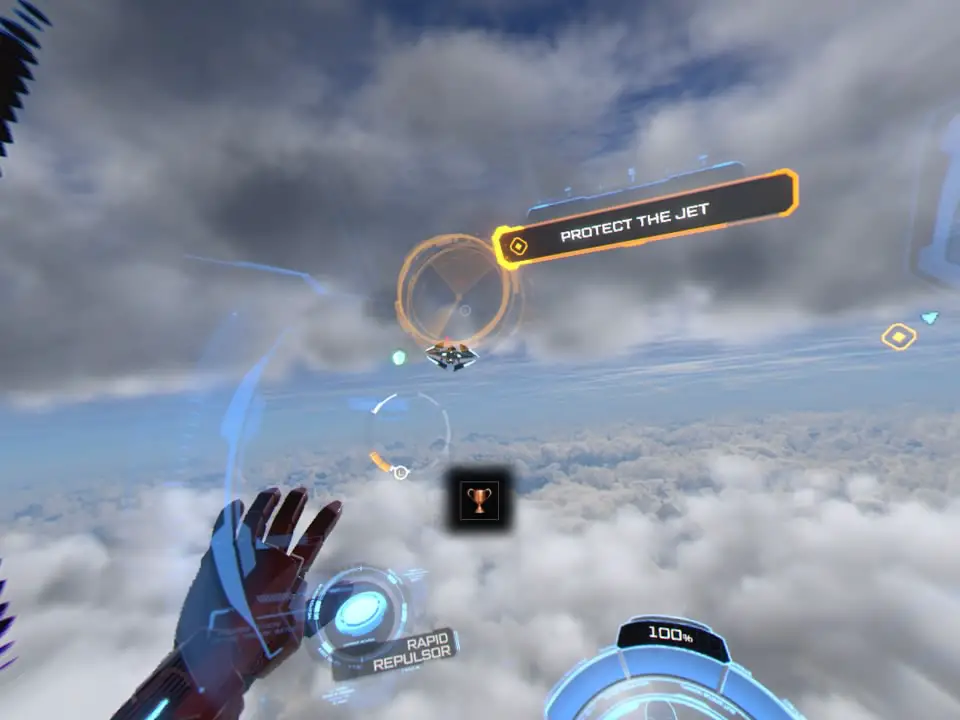
The Iron Man VR campaign is pretty fun for the most part. It involves a Prologue, Epilogue and 12 chapters spread across multiple environments with plenty of drones to fight along the way. Simply completing the story will earn you the following 13 trophies:

Diagnostics Complete
Complete the Prologue.

Out of the Blue
Complete Chapter 1 – Out of the Blue

Reloaded
Complete Chapter 2 – Reloaded

Hostile Takeover
Complete Chapter 3 – Hostile Takeover

Best Practices
Complete Chapter 4 – Best Practices

Cage Match
Complete Chapter 5 – Cage Match

Living Laser
Complete Chapter 6 – Living Laser

Ghost in the Machine
Complete Chapter 7 – Ghost in the Machine

Bite the Bullet
Complete Chapter 8 – Bite the Bullet

Uncanny Valley
Complete Chapter 9 – Uncanny Valley

Laser Focused
Complete Chapter 10 – Laser Focused

Rock Bottom
Complete Chapter 11 – Rock Bottom

Resilient
Complete Chapter 12 – Resilient
Along with that your actions will also earn you the following 2 unmissable trophies:

Suit up!
Suit up!

Dressing Down
Revive a relic.
Not to mention the 2 difficulty trophies you’ll earn from completing the game on normal difficulty:

I am Iron Man
Complete all story missions on Heroic difficulty.

Superior Iron Man
Complete all story missions on Super Heroic difficulty.
Don’t forget to look for this trophy in Chapter 11: Rock Bottom:

The Tailor’s Sketches
Assemble Yinsen’s drawings.
During that Chapter, you’ll come to a point where you need to build a power source using items found in the workshop. You’ll also be able to find a backlit tracing table, with a switch to turn on its light. Within the room, on the various counters and desks that you can approach, you’ll find sheets of paper with parts of a schematic on it, they are not hard to find and there’s no rush in looking for them, so take your time and check thoroughly.
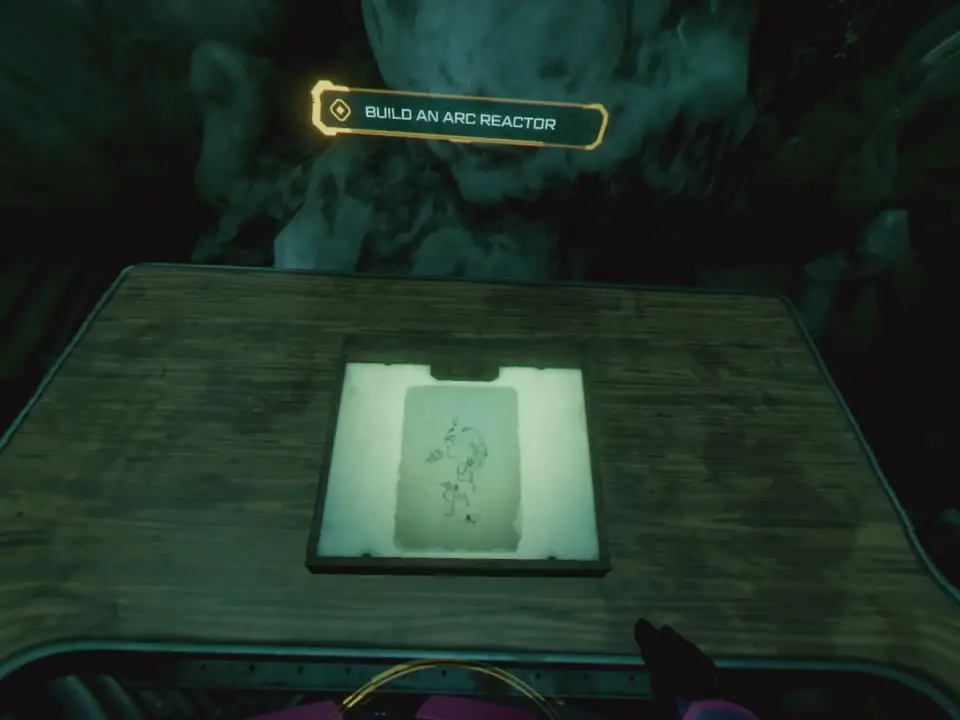
You will need to find all of these sheets and place them on top of each other on the backlit tracing table. This is the only missable chapter-specific trophy.
Also along the way, you’re going to want to strive for a few misc trophies found outside of combat, in stages where you’re playing as Tony Stark and not Iron Man.
Misc Tony Stark Trophies
Your first opportunity for one of these is in the aeroplane at the start of the game. On the table in front of you, you’ll find a tablet device which says “Swipe” on it, below some arrows indicating the swipe direction.
Pick this up with one hand and use the other to swipe as instructed. Keep doing this until you reach a screen with a Stark Industries staff spotlight on it and this trophy will pop:

Human Resources
Salute the staff who keep Stark Industries running.
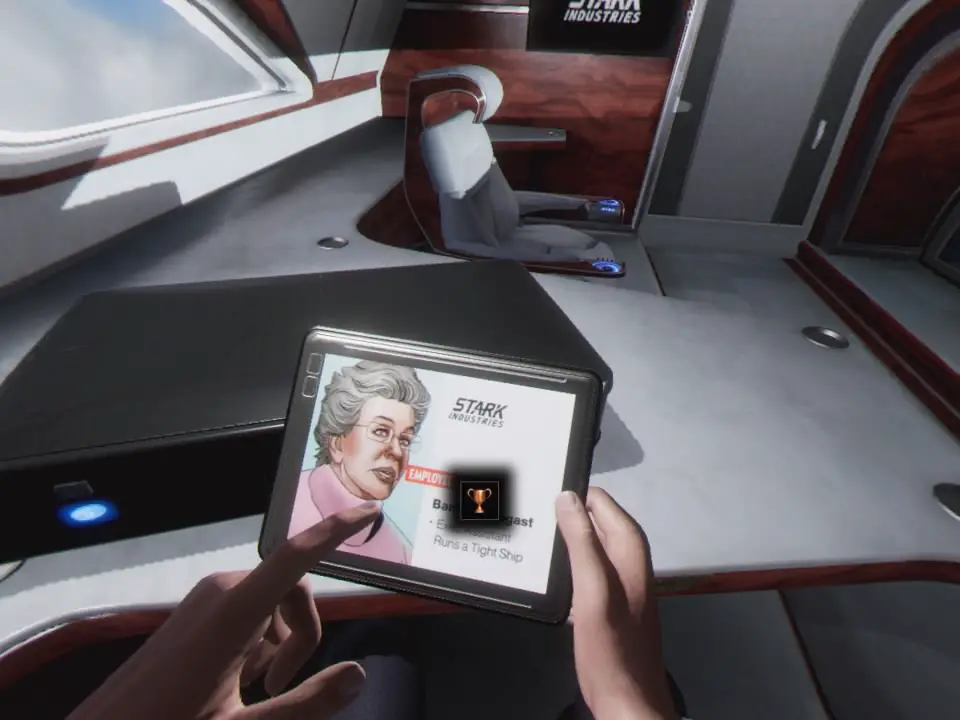
If you missed the tablet on the plane, don’t worry, there’s another one in the Garage on which you can do the same.
Your next opportunity for a Trophy is when you return to the Stark Mansion after the Aeroplane sequence. You’ll start beside your bed with a counter nearby that you can move to. On said counter, you’ll find some grapes which you can grab and you’re going to want to try and catch one in your mouth.
While holding the stem with one hand, pick grapes off one at a time with the other hand. Throw one of these up in the air and then position your head underneath it while looking up. If you successfully catch one in your mouth, Tony will make a chewing sound and the trophy will pop.

Two Calories
Catch a grape in your mouth.
If you manage to use all the grapes and the trophy doesn’t pop then don’t worry there’s another set of grapes in the garage. While in the garage, facing your suit, turn 180 degrees so that you’re facing your shelving unit which should already have a trophy or two on it, and you’ll see some stairs to the left which you can go up.
Heading up the stairs will take you to a kitchen space and you can open the fridge here, within which you will find another bundle of grapes in the top drawer.
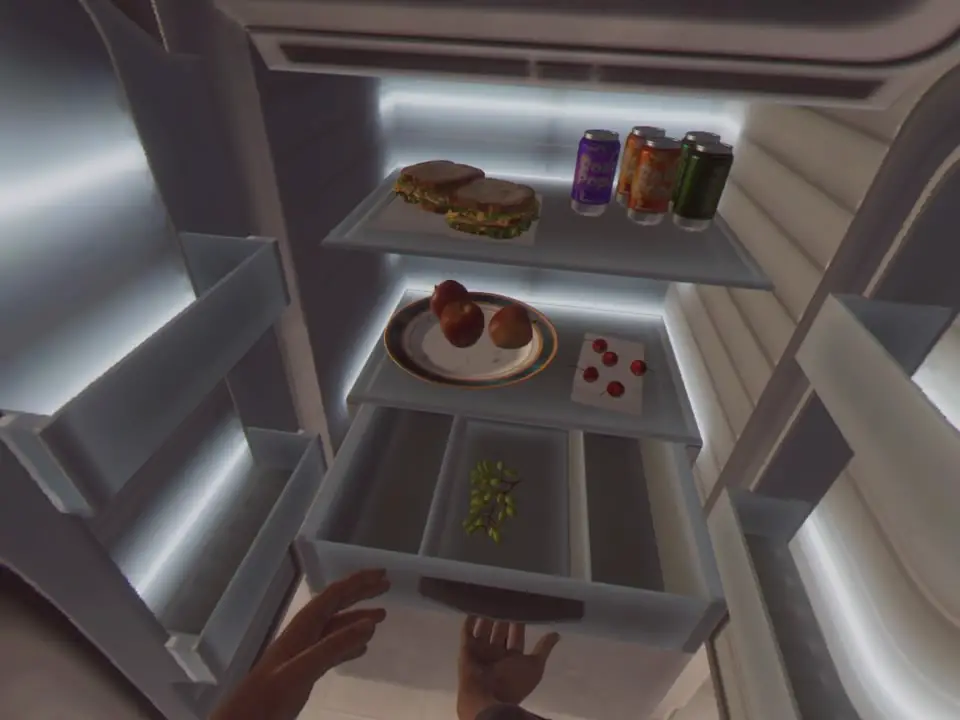
If you’re still struggling, try throwing the grapes higher. I was unable to earn the trophy until I started really launching those bad boys at the ceiling.
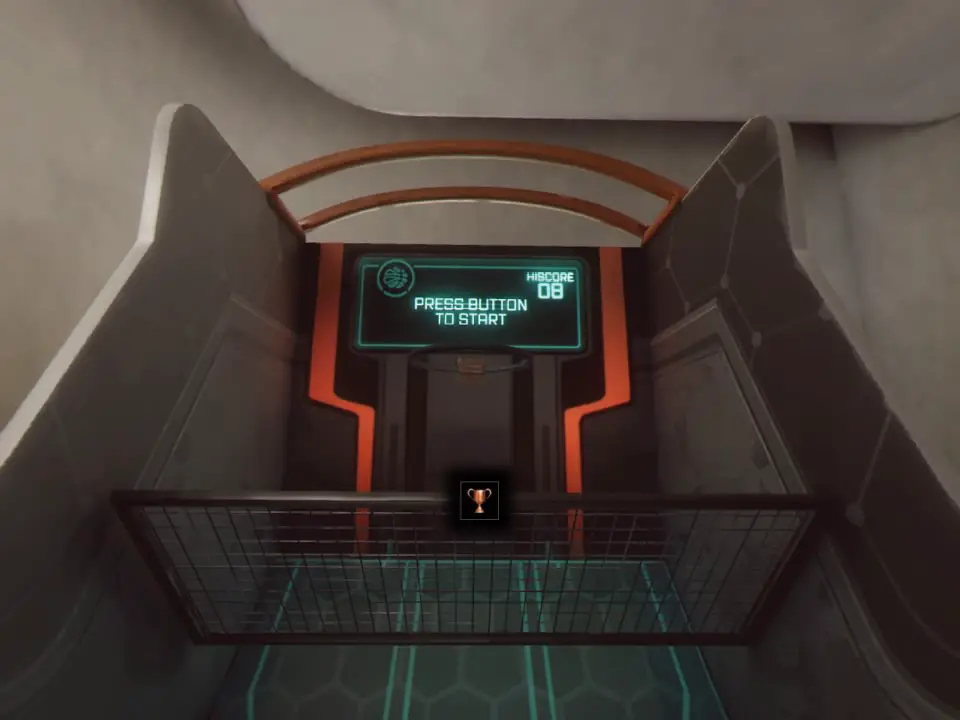
Your next trophy opportunity is in the same location as this fridge. If you’ve managed to enter this kitchen area without noticing the enormous basketball machine in the corner then you need to take in your surroundings a bit more! Head on over to the machine and push the button to begin the minigame.

Iron Hoop Dreams
Set a new basketball record.
You’ll have a mere stress-inducing 30 seconds to beat the high score of 7. All you really need to do is toss the basketballs into the hoop 8 times and you’ll have yourself another trophy. However, in my experience it’s very inconsistent. Something which worked 4 times in a row might suddenly cause the basketballs to go flying off to the right or shooting up towards the ceiling.
All I can really say is aim directly down the middle, rock forward on the balls of your feet to add a very slight amount of momentum and then try to flick the ball up and over into the hoop. You don’t need as much power behind it as you might think so just try to get the power right and then cross your fingers and hope the gods of VR physics bless you with 8 consistent shots.
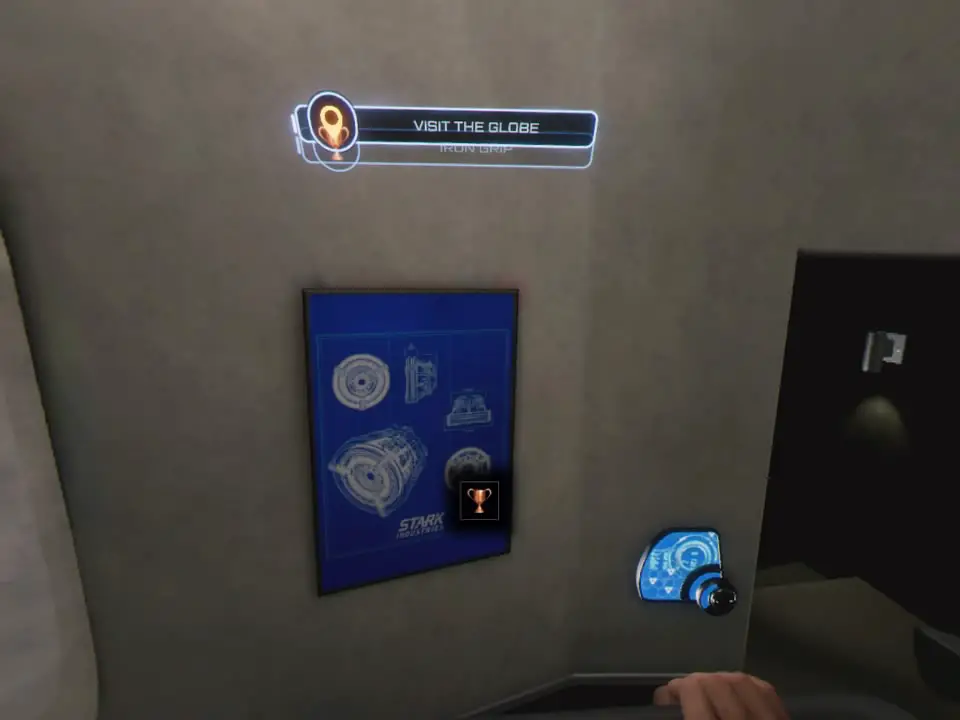
The final misc trophy you want to grab here is the Iron Grip trophy. Turn around from the Basketball machine and you’ll see a pull-up bar. Move over to it and the grab onto the bar. All you have to do then is move your arms down, back up, down again, back up again, and so on until Tony remarks that he’s just beat a record (there’s no UI or tracking for this unfortunately) at which point the trophy should pop.

Iron Grip
Set a new pull-ups record.
Moving your hands too far in either direction vertically will cause Tony to let go, so the only challenge here is staying within the thresholds for that – as well as the thresholds of your PS Camera’s view – long enough for the trophy to be earned.
Note also that Stark will start to breathe heavily and make struggling noises if you are doing it correctly, if he remains silent then you need to reposition yourself or make bigger movements.
If it helps, I sat down for this so that the camera could still see my hands when I raised them above my head, and then I would stare straight ahead moving the bar from the top of my view down to the bottom of my view and back up again, slowly.
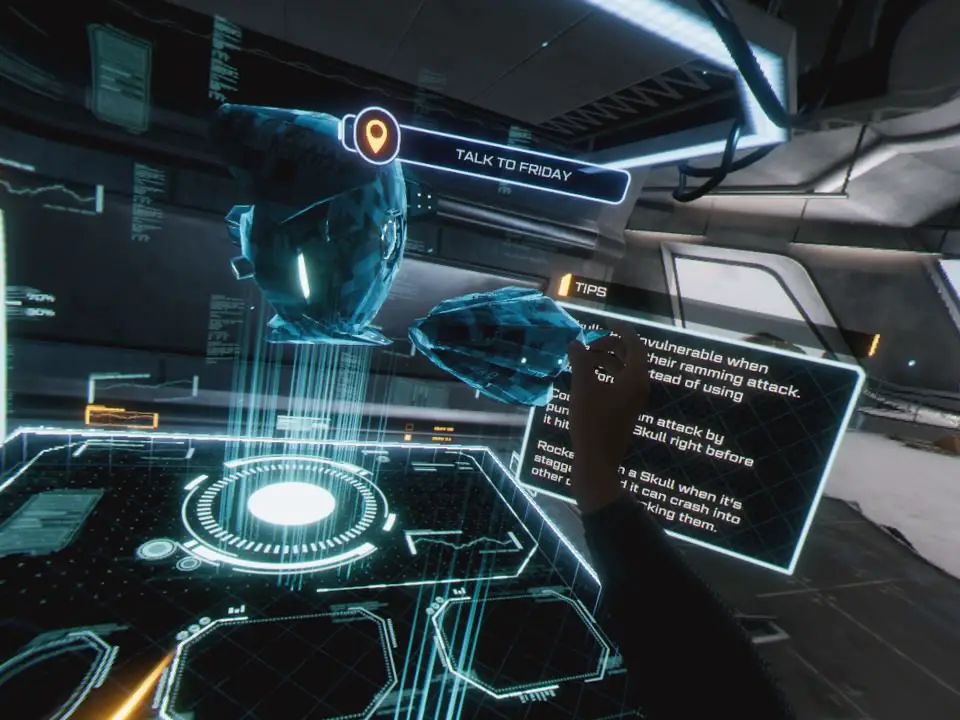
Drone Research
Another thing you’ll need to do while in Stark’s Mansion is to visit the station over near Gunsmith to the left of your Iron Man Suit. You’ll see a place you can teleport to over there which will open a holographic display featuring the different types of enemies in the game. After each new enemy kill, that enemy will be added to this Drone Research Station, allowing you to view details about it.
When you select a Drone to view, you will earn an upgrade point or two. By viewing all of the Drones available in the game via this display, you’ll earn this trophy:

Disassembly Required
Unlock and view all Drone Research.
This trophy is practically unmissable because you will definitely fight each type of Drone on your way to finishing the main campaign, all you need to do is remember to visit the station once you’ve complete Chapter 7 – at which point you will have fought every drone type. Once at the station, select and view each drone and once you’ve viewed the last one your trophy will pop.
Misc Combat Trophies
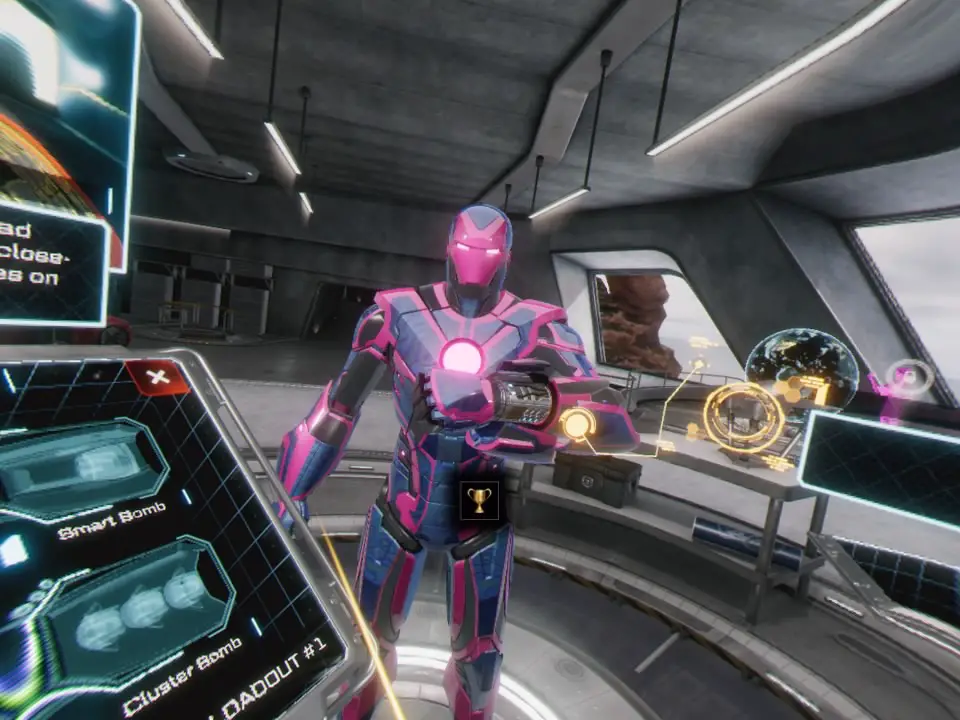
Each of the combat trophies in this portion of our Iron Man VR Trophy Guide are actually trackable from both the loading screens and the cosmetics section of the Suit Upgrade Station, because they each will unlock a new colour scheme for the suit!
You’re really just going to have to keep your mind on earning these as you play. There are a few which require you to destroy either 250 or 50 enemies with each type of attack, these will most likely occur naturally, just make sure you switch out your attack patterns frequently and you should earn these 4 naturally:

Overheat
Destroy a total of 250 enemies with Repulsors.

War Machine
Destroy a total of 250 enemies with Auxiliary weapons.

Iron Heart
Destroy a total of 50 enemies with the Unibeam.

Warm Up the Gauntlets
Destroy a total of 50 enemies with melee.
Which leaves 4 slightly more difficult combat trophies which you’l need to actively go after. I’ll share these in the order that I earned them, sharing details of how they were accomplished.

Jazz Hands
Destroy two enemies with Repulsors simultaneously—one with each hand.
The first I achieved, without even realising I’d done it, was the Jazz Hands trophy. This is pretty easy, really, as long as you’re hitting enemies with both hands whenever there’s more than one, you’ll likely earn this naturally too. Try to do it on groups of weaker enemies and load up some Combat Challenges once they’re available if you need a more consistent environment to earn this in.

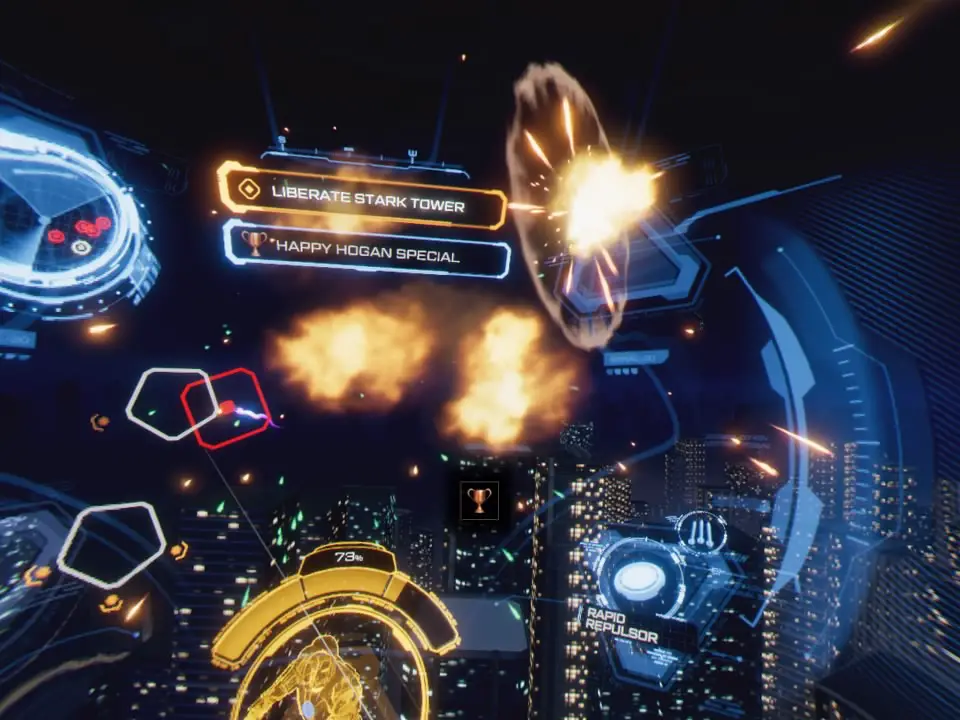
Happy Hogan Special
Destroy two enemies with a single Rocket Punch.
Killing two enemies with one punch is pretty difficult, but not if you punch one enemy into another. This is pretty simple if you can punch a tougher enemy into a weaker one which should explode upon impact.
I managed this on the Shanghai stage in Chapter 3 and it occurred naturally with no additional effort. It seems that there is a system in place which makes this exact thing more likely to happen by gently nudging any punched drones towards nearby enemies. The best drones for this are the “Skull” drones.
Note also that you can punch three times in a row quite easily. You only need to hold a button to charge the first punch, but if you throw an additional two punches with alternating hands immediately afterwards you can throw 3 consecutive punches with a single rocket punch charge.

Crowd Control
Destroy six enemies with a single Auxiliary weapon shot.
Killing 6 enemies with one Auxiliary attack can be tricky, but you just need the right amount of enemies. At the start of Chapter 7, after the large defensive turret is revealed, you should get attacked by a huge swarm of enemies. With Smart Missiles equipped, target as many of them as you can and then fire.
Note that it is much better to do this with just one wrist because it needs to be 6 kills from one attack. If you get 4 enemies with your left wrist-mounted missiles and 2 kills with your right wrist-mounted missiles, that might be 6 kills overall but it is two separate attacks.
If you don’t get the trophy during this mission which is swarming with drones to target, then just keep trying to get 6 smart-missile kills at every opportunity as you play through the game. The further you progress, the more enemies they will throw at you, so it is bound to get easier and easier to pull off.
From my experience, there’s no other auxiliary weapon which is better equipped to pulling off this trophy with some semblence of accuracy, so best to keep at least one set of Smart Missiles equipped until you’ve earned the trophy.

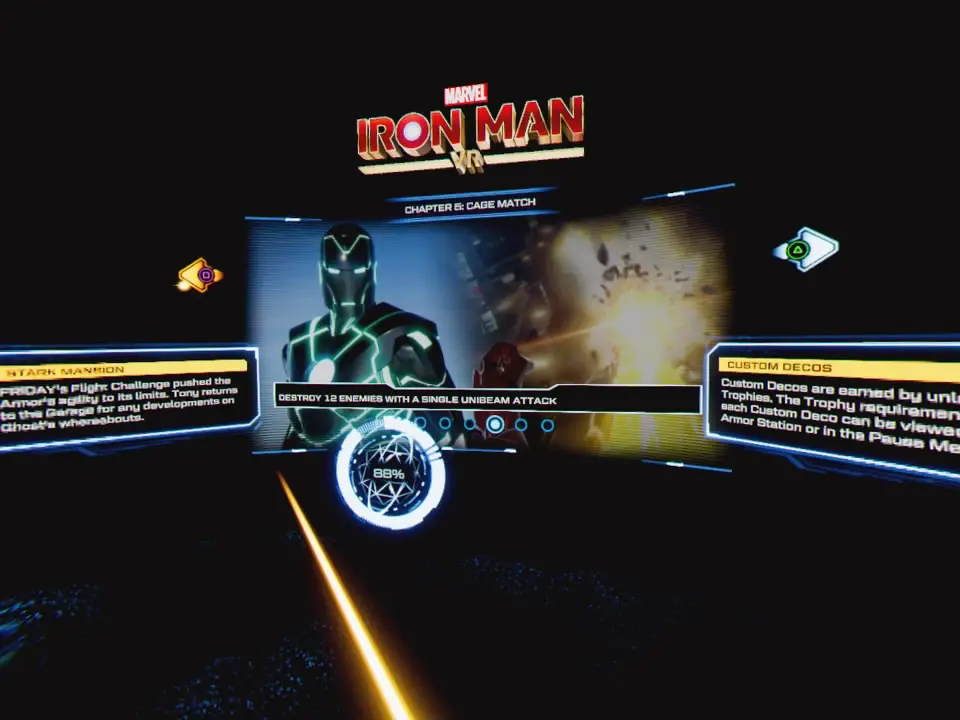
No Kill Like Overkill
Destroy 12 enemies with a single Unibeam attack.
The most difficult of these combat trophies to earn is the above, for killing 12 enemies with a single Unibeam attack. I made plenty of attempts at this and struggled to ever get a group big enough, or when I finally did have a group of 12 or more, the Unibeam wouldn’t last as long. I managed to finally pull this off during the Combat Challenge in Shanghai, but I would recommend you try doing it during the Malibu Beach Combat Challenge.
Use the first two waves to charge up your Unibeam and then once you reach Wave 3, a swarm of smaller and easier-to-kill enemies spawn in large numbers, this is the perfect opportunity to pop your Unibeam and decimate them.
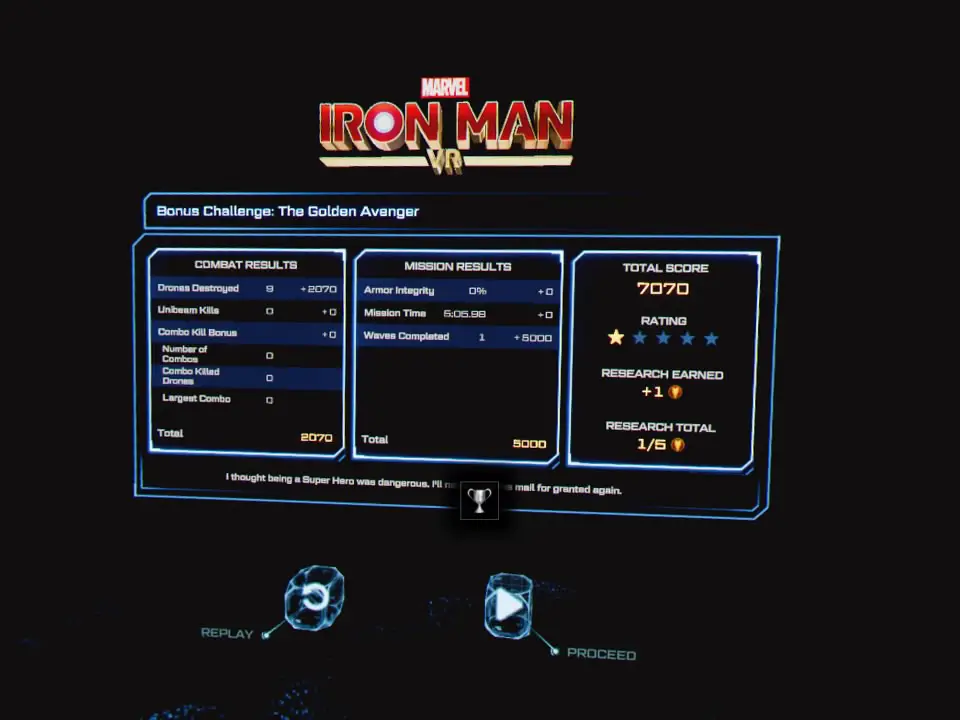
Bonus Challenge
Sadly, we’re not done with this campaign yet. There’s one last trophy tied to a Story Mission and boy is it a doozy.

The Week After Retirement
Help a hero on one last mission.
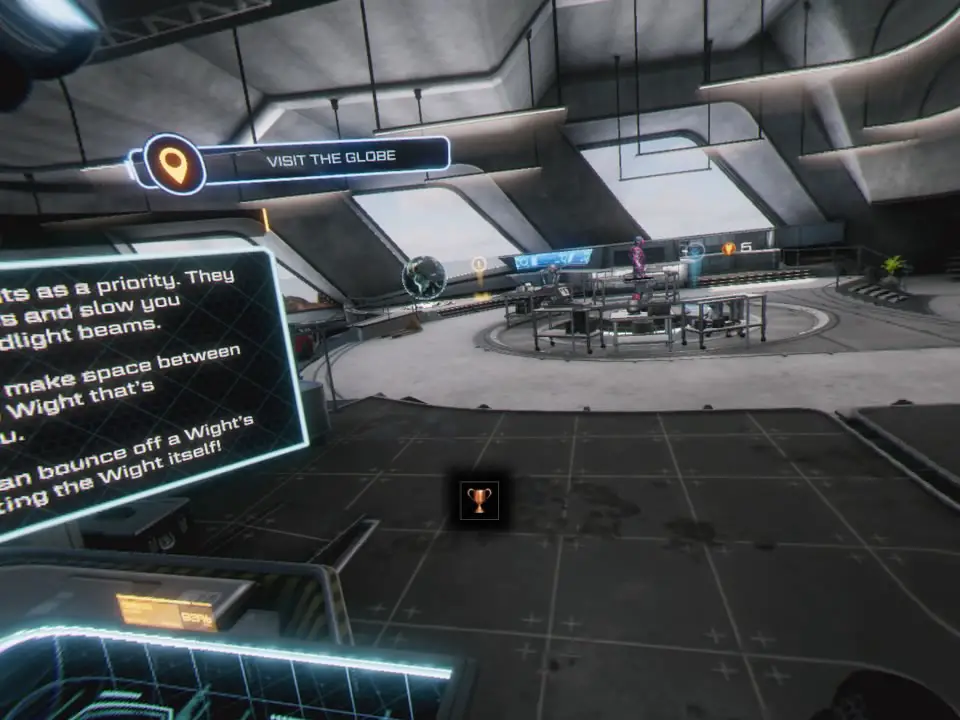
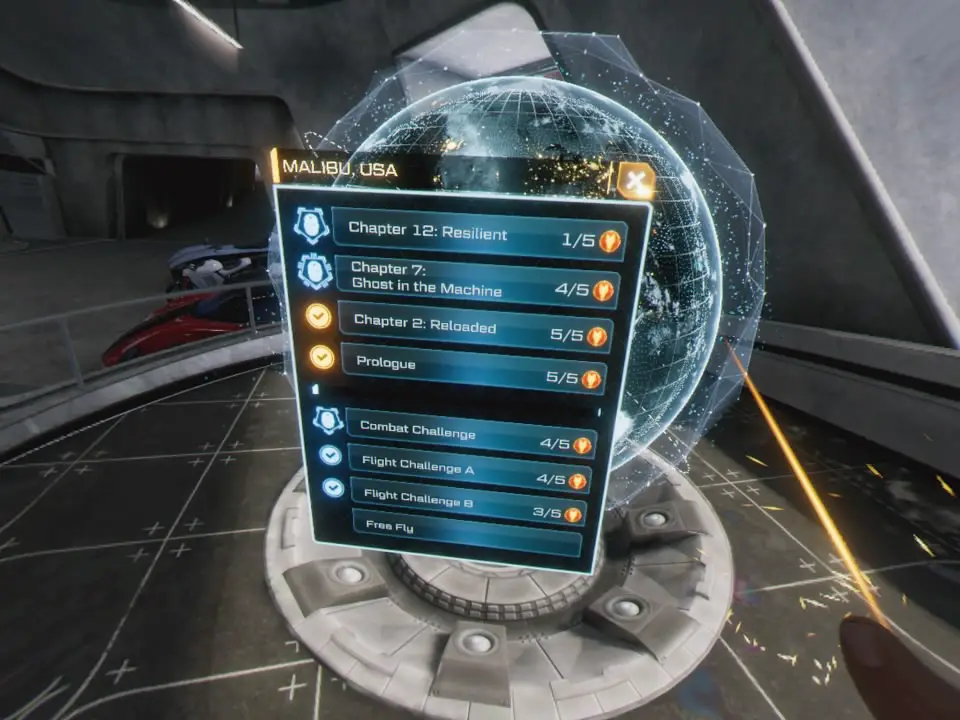
To unlock this Bonus Challenge Mission, go to the holographic globe once you’ve finished Chapter 12 of the main story campaign and Tony will exclaim that there is something new on the map. It will be yellow rather than blue and quite difficult to miss.
The main issue with this mission is that it is locked to Invincible difficulty plus the mission never ends. It is an endurance challenge so dying is how you end the mission.
“Excellent”, you may be thinking to yourself… Because surely you just have to kill a couple of enemies and then you can let yourself get killed and claim your trophy!
Unfortunately, that isn’t the case. You’ll need to play the level enough to earn yourself a one-star rating. Only then will the trophy pop, and the mission is incredibly difficult! If you struggle for a while, come back to this after your Invincible Difficulty playthrough and perhaps the additional experience will mean you have an easier time… Good luck!
Phase Two – Flight & Combat Challenges and Suit Upgrades
Suit Upgrade Trophies
By now, you should be very close to having bought all of the Suit Upgrades and will have already earned one of three relevant trophies, those are:

Stark Technology
Craft your first weapon.

Coat of Arms
Craft all weapons.

Technical Genius
Craft all Augments.
You’re probably concerned at this point that you would need to earn 5 upgrade points for every mission by getting a 5-star rating and that is – thankfully – not the case. I had ratings of 2-4 for every mission and at this point only had two 5-star ratings. On top of that, despite me not doing many of the Challenges until I was done with the story, I was very close to having all 3 trophies.
Flight and Combat Challenge Trophies
So, what we will be doing in this phase, is making our way around the holographic globe, completing combat and flight challenges one at a time. Prepare to hate the game’s loading times now, as you will be sitting (or more likely standing) staring at loading screens for around 3 minutes straight, just to do a 3-minute-long challenge and then have to wait through loading screens again.
After each challenge completion (star rating doesn’t matter for this trophy, just play and complete each challenge once) assess the number of upgrade points you have, buy as many upgrades as possible, then start another challenge.
After only 5 or 6 total challenge completions you should now hopefully be able to buy the rest of your suit upgrades. If not, just keep going, there are more than enough upgrade points available.
If you finish a challenge with 4 stars and think you could do it with 5 stars in another attempt, then it is absolutely worth making that other attempt. We will later need 5 star ratings on 5 missions/challenges, so any you can earn here will be a huge help. If not, don’t worry, we’ll come back to this and I have a few tips.
Once the Combat and Flight challenges are all taken care of, you’ll also have these two trophies:

Hypervelocity
Complete all of FRIDAY’s Flight Challenges.

Execute Program
Complete all of Gunsmith’s Combat Challenges.
If you managed to play the Bonus Challenge Mission in the last phase of the Trophy Journey, then you will also earn the following trophy at this point:

In Extremis
Complete all Missions.
Note that – interestingly – even though you need to earn at least 1 star on the Bonus Mission for the “The Week After Retirement” trophy to pop, you don’t need to have earned any star rating for this “In Extremis” trophy to pop.
Phase Three – Iron Man VR Invincible Difficulty Trophy
How to Beat Invincible Difficulty in Iron Man VR
Now for the most difficult trophy in the game;

Invincible Iron Man
Complete all story missions on Invincible difficulty.
At this point it should be the only trophy you need aside from “Unstoppable” which is earned for receiving a 5-star rating on 5 missions. More talented players may already have that one at this point, however, and others may also potentially need the “Infamous” trophy, but don’t worry I’ll cover both of those in the next phase.
The reason we’re doing the Invincible Iron Man trophy first is because with the additional bonus score for the difficulty setting you may actually earn a couple more 5-star ratings!
For now, though, just focus on getting through the missions on Invincible. Note that when you’re at the Holo-globe, some missions have an iron man mask icon next to them and others only have a checkmark. The Iron Man mask indicates the difficulty on which you completed the stage previously and so the stages which only have a checkmark don’t track the difficulty and don’t need to be completed (i.e. the Epilogue & Chapter 2).
You’ll notice also that Combat Challenges also track difficulty but don’t worry, you don’t need to do those as the trophy is just for Story Missions.
Thankfully, that reduces the number of missions we need to endure on Invincible difficulty by a fair few as the Prologue, Epilogue, Chapter 2, Chapter 4 and Chapter 8 don’t need to be done, but don’t let that fact fool you! Invincible difficulty is very, very difficult. Expect to take a lot of damage and prepare to use dodge manoeuvres as much as you can. You can dodge by pointing a palm in the opposite direction of where you want to go and then double-tap the trigger to quickly push yourself away from danger.
In my attempts, I had an okay time up until chapter 7. From there on, things became more difficult and chapters 9 and 11 are damn near impossible. But, if I can do it, then so can you. You’ll be glad to hear that the final Chapter is actually fairly easy as the number and frequency of checkpoints is much more agreeable.
If ever your health gets to 33% or lower, take this opportunity to retreat and fly laps around the map, avoiding damage, until your shields recover. This is the most important key to survival, you need to keep an eye on your health and be as evasive of the enemies as you possibly can. Play it extremely safe.
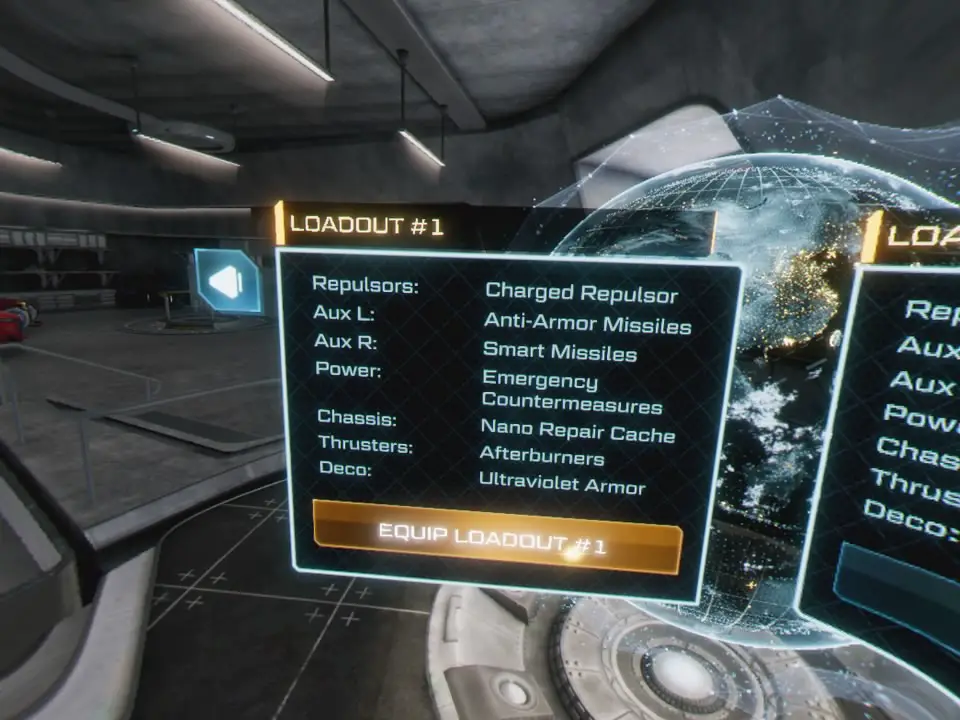
I highly recommend using the “Nano Repair” augmentation on your suit to allow you to heal quicker and sooner. Other useful Upgrades include the Emergency Countermeasures (making you stronger at low health) and the Afterburners (allowing you to dodge quicker and more frequently).
With time, and as much patience and determination as it cost me, you’ll soon be looking at that trophy adorning your screen, and if you did a particularly good job, the Platinum too. If it’s a no-go on the Platinum front, read on for the final phase…
Phase Four – 5 Stars
Earning 5 Star Ratings in Iron Man VR
There are two trophies in this portion of the Iron Man VR Trophy Guide related to 5-star ratings:

Infamous
Achieve a 5-Star rating on a mission.

Unstoppable
Achieve a 5-Star rating on five missions.
The good news is that we don’t need to get a 5 Star rating on every single mission or challenge in the game, just five of them. The bad news is that some of the 5-star ratings you probably already have, such as the Epilogue, Chapter 2 and the Prologue do not count towards this trophy. You will need to get an entirely new set of five 5-star ratings.
Luckily, you don’t need to try and 5-star the difficult and long-winded story missions. Combat Challenges also count towards this trophy, so if you manage to 5-star any of those you’ll get the trophy much quicker. Given that Combat Challenges are quicker to complete, I suggest earning 5-star ratings on those.
I recommend switching your difficulty back down to normal because the additional score for playing on Invincible is absolutely not worth the additional headache of fighting those tougher enemies. If you’re still struggling, try switching the difficulty down to Easy (you’ll receive no difficulty bonus) and go for speed, trying to complete the combat challenges as fast as you can.
The Four I completed along with their score requirements are as follows:
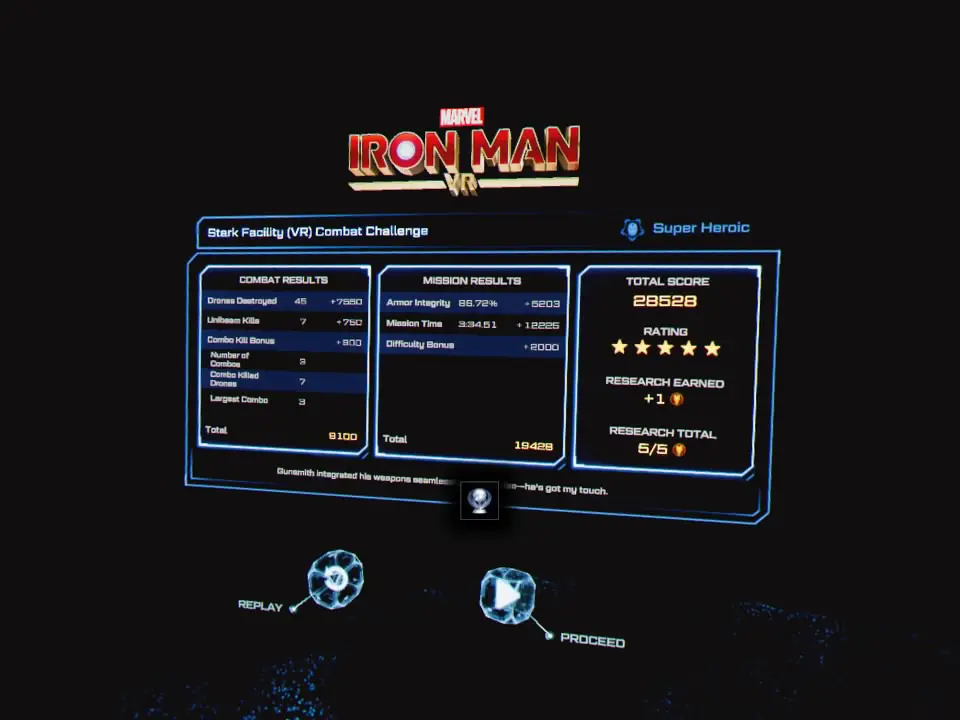
- Stark Facility (VR) Combat Challenge – 5-star: 28,000 points or more
- Malibu Combat Challenge – 5-star: 26,000 points or more
- Shanghai Combat Challenge – 5-star: 32,000 points or more
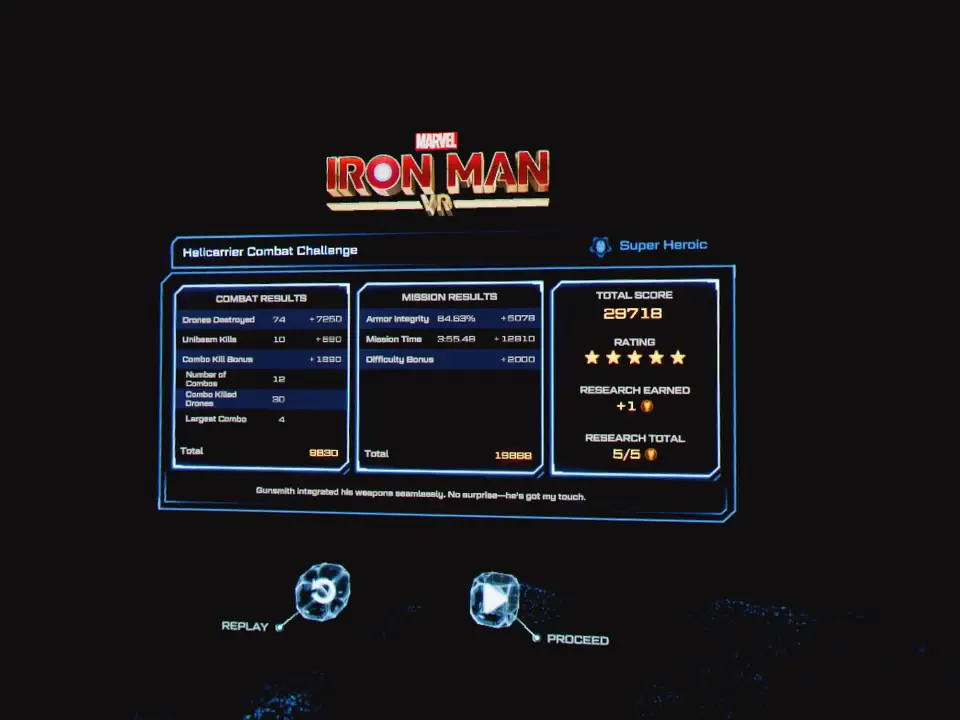
- Helicarrier Combat Challenge – 5-star: 28,000 points or more
In order to maximise your score earnings you will need to do a few things. Firstly, try and get as much “Combo” bonus score as possible, which you can do by using Smart Missiles on a cluster of enemies, or using the repulsors in quick succession to take out large groups of smaller, weaker drones.
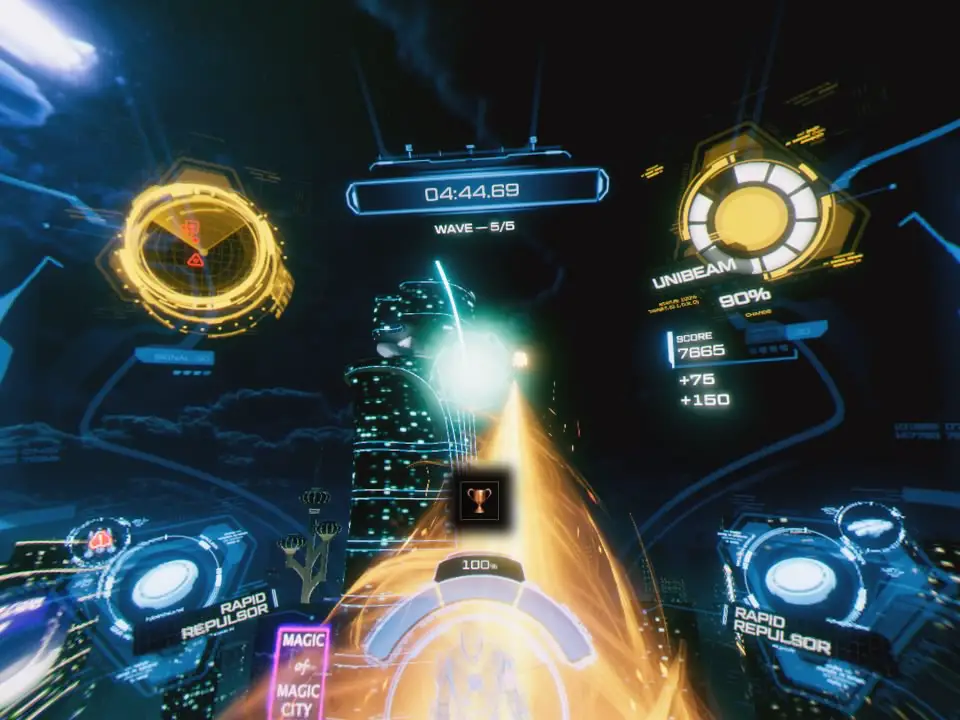
Secondly, Unibeam kills give you bonus score, so use the Unibeam as much as you can. This should be around twice per challenge, you’ll likely charge one at around Wave 3 and the next at Wave 5.
Lastly, be as quick as you can. The best approach, in my experience, is to play the challenge slowly once, taking in the lay of the land, the location of power-ups (there is one per wave which will speed things up exponentially) and what kinds of spawns to expect. Then, on your second attempt, grab every power-up at the start of the wave and focus on using it to take out the bigger enemies like Skulls and Revenants while you have it.
Best of luck to you. If you get stuck on any particular challenge, just move on to a different one as you might have an easier time elsewhere. With time, skill, and a decent amount of luck you’ll soon be staring at your own Platinum screenshot. Don’t forget to catch a glimpse of your completed trophy cabinet back at the mansion garage!
Thank you for choosing PlatGet as your source for this Iron Man VR Trophy Guide, consider checking out our reviews and other guides!
Check out our Marvel’s Avengers Trophy Guide for more Marvel Trophies!
Follow us on twitter @GetPlat or Instagram @platget for updates on new reviews and guides, as well as small anecdotes about our platinum journeys.