PlayStation 4
Ghost of Tsushima Mythic Tales Guide
Game Guide
Where to Find and How to Complete the Mythic Tales in Ghost of Tsushima.
This guide is a sub-guide of our main Ghost of Tsushima Trophy Guide.
Sucker Punch’s fantastic Samurai epic, Ghost of Tsushima, features many interesting questlines both in the main campaign and in the Side Quests found throughout Tsushima Island, but the real stand-out side-quests come in the form of Mythic Tales. These lore-clad hikes across the plains, mountains and valleys of Tsushima will take a good bit of detective work and patience to solve, but fear not for we have the solutions for you right here!
Act 1 Mythic Tales
The Heavenly Strike
This will likely be the first Mythic Tale quest you take on, and as such it’s quite quick and easy compared to the others.
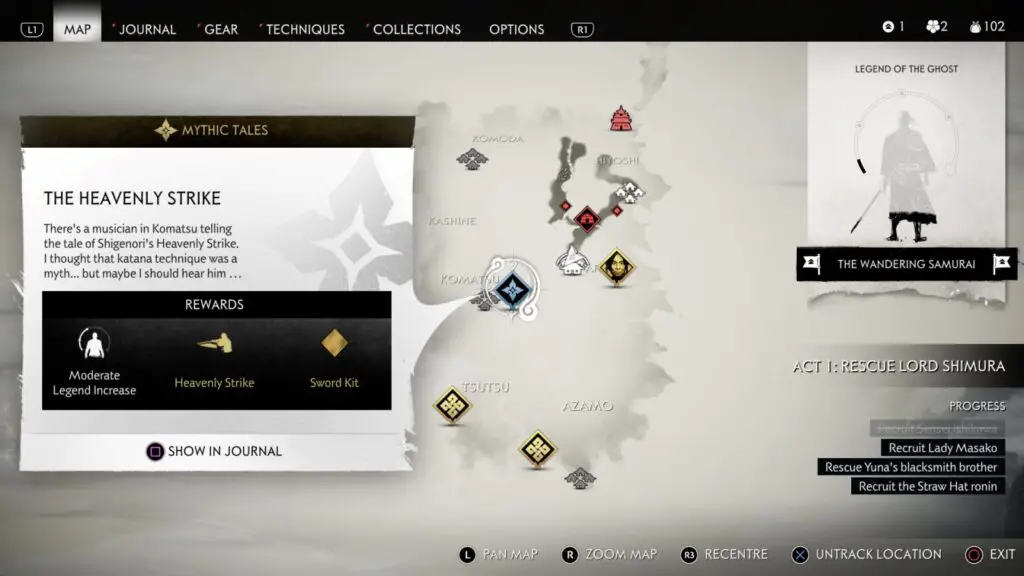
To begin with, find the musician Yamato in Komatsu, his approximate location should be marked on your map with a Blue Diamond icon.
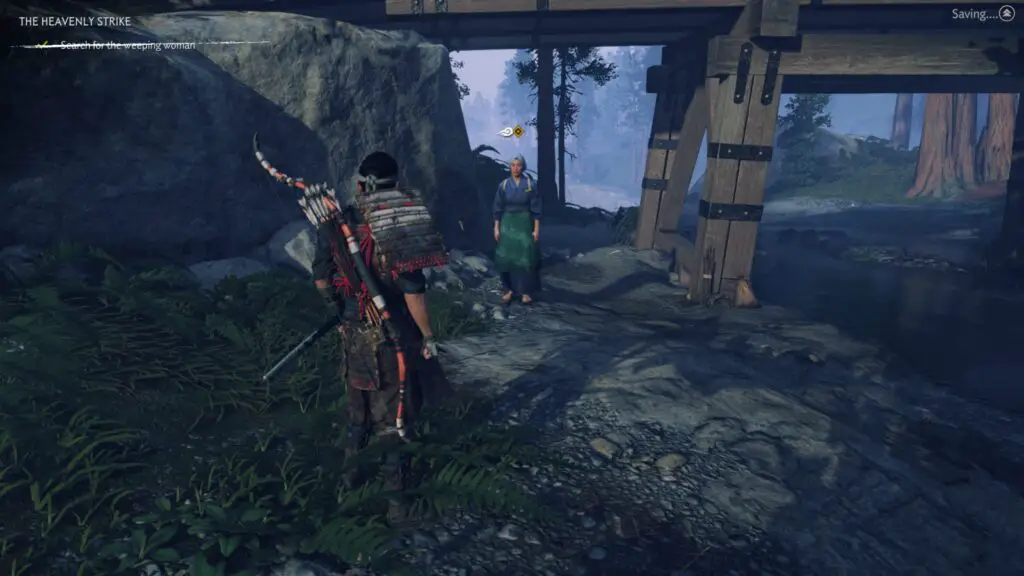
After speaking to the musician, your guiding wind will take you to a bridge, under which you’ll find a woman who is keen to take you to a nearby Mongol Camp.
Follow her there and dispatch the enemies within. Once done, investigate a painting and some tables inside the watchtower and then speak with the woman again. She’ll charge you with finding the White-leafed tree.
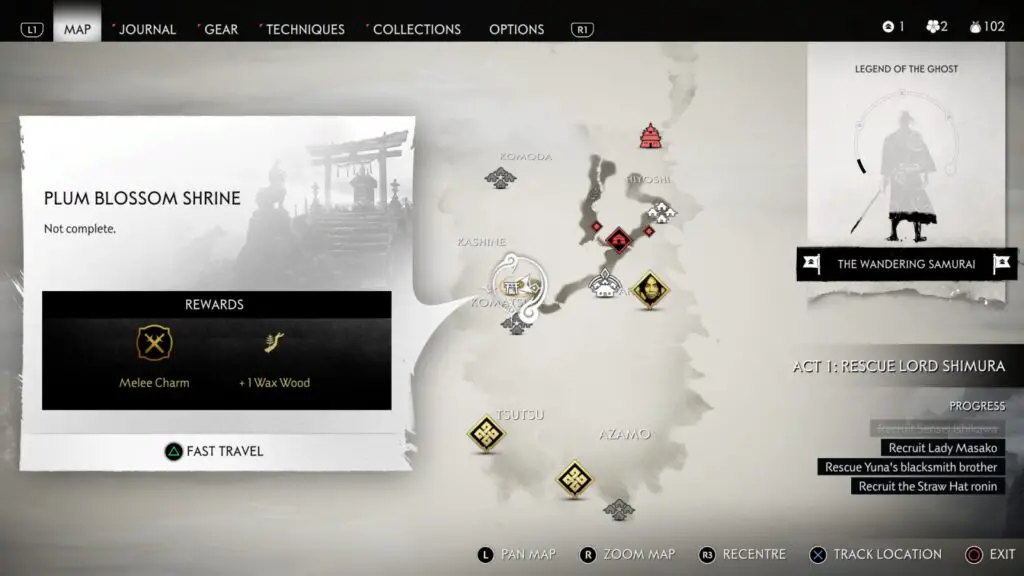
Follow the guiding wind to your next destination, the investigation area for the white leafed tree and you’ll find some Torii gates leading up a winding path to the Plum Blossom Shrine where you’ll find the white-leafed tree.
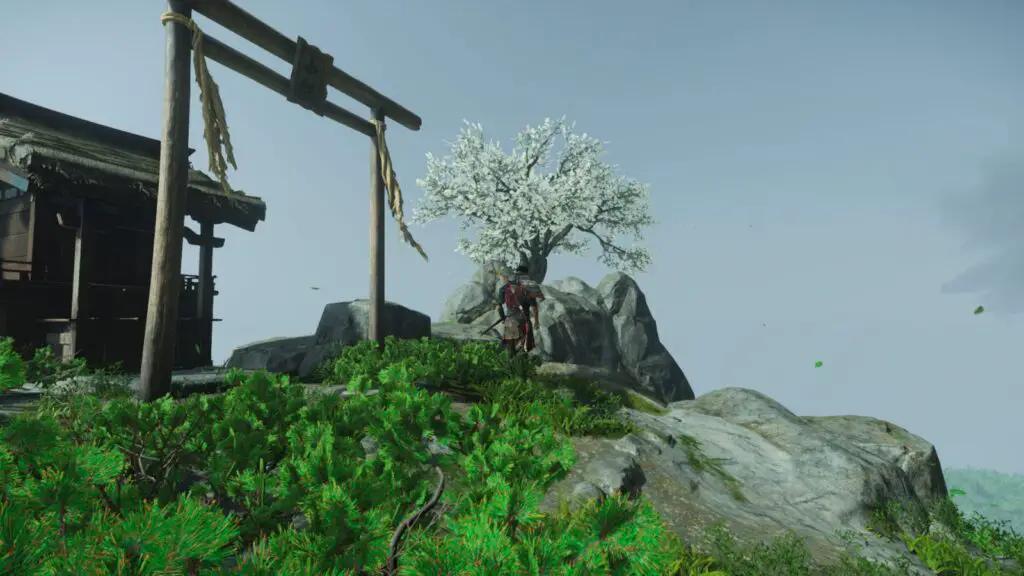
Survey the area from here to find that there’s an entire grove of white-leafed trees nearby – which is your next objective!
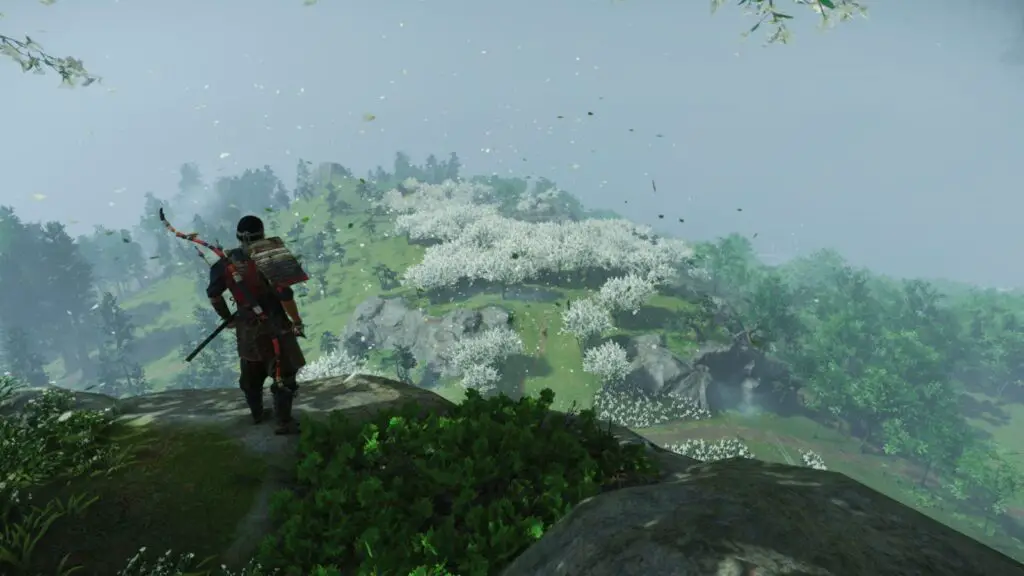
Follow the guiding wind down from the shrine to the grove where you’ll find some Mongol warriors guarding a small homestead. Defeat them.
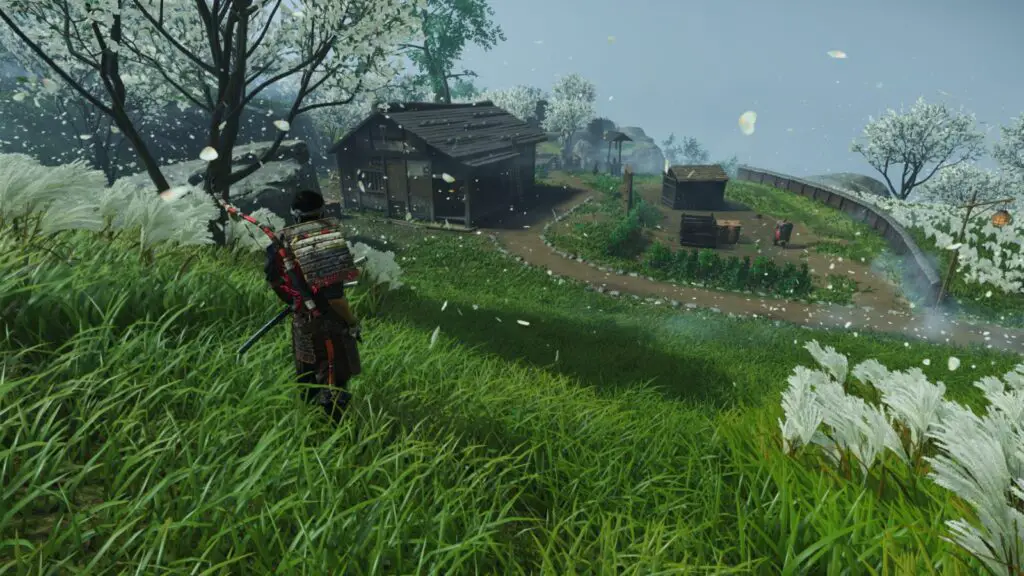
Once they have been dealt with, look for the nearby hostage and release him. He’ll tell you about a place called “Shigenori’s Rest”. Head there.
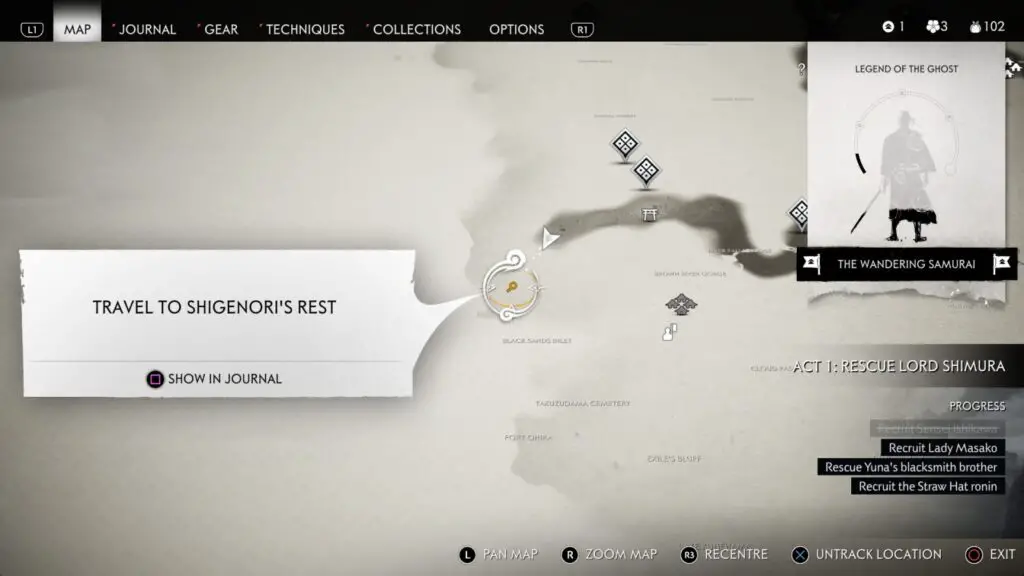
Once there, find some more white-leafed trees atop a tall hill and some Mongol warriors thirsty for battle. Take them out but don’t put your sword away yet, you’ll need to face a powerful warrior in a one-on-one duel.
Defeat Yasuhiro Koga to unlock the Heavenly Strike ability and complete this quest!
The Legend of Tadayori
Just south of a river-bend called “Rustling Bend” near a bamboo strike collectable, you’ll find a small camp. Here there’s a musician by the name of Yamato who is eager to share with you the tale of Tadayori and his light yet unbreakable armour.
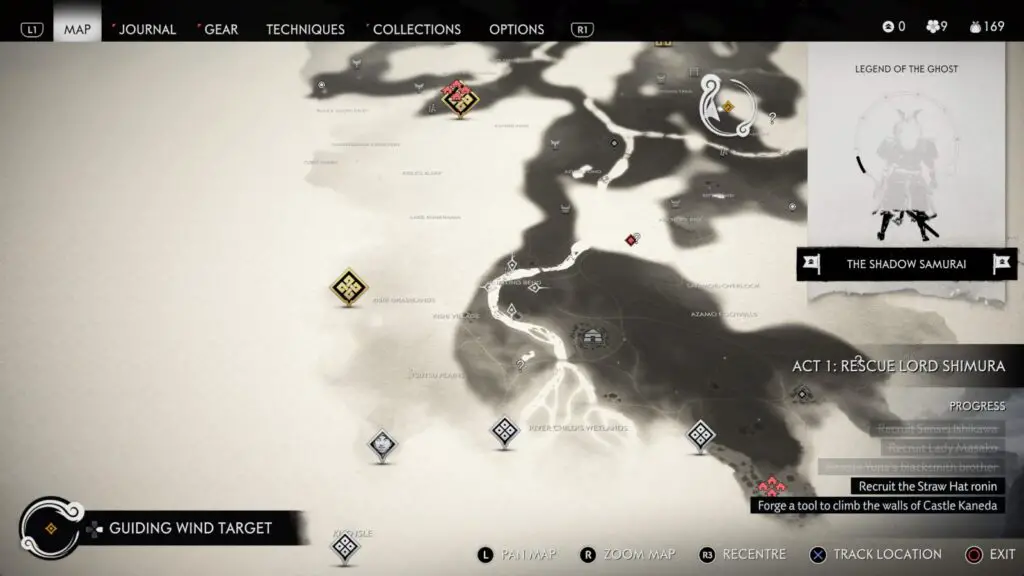
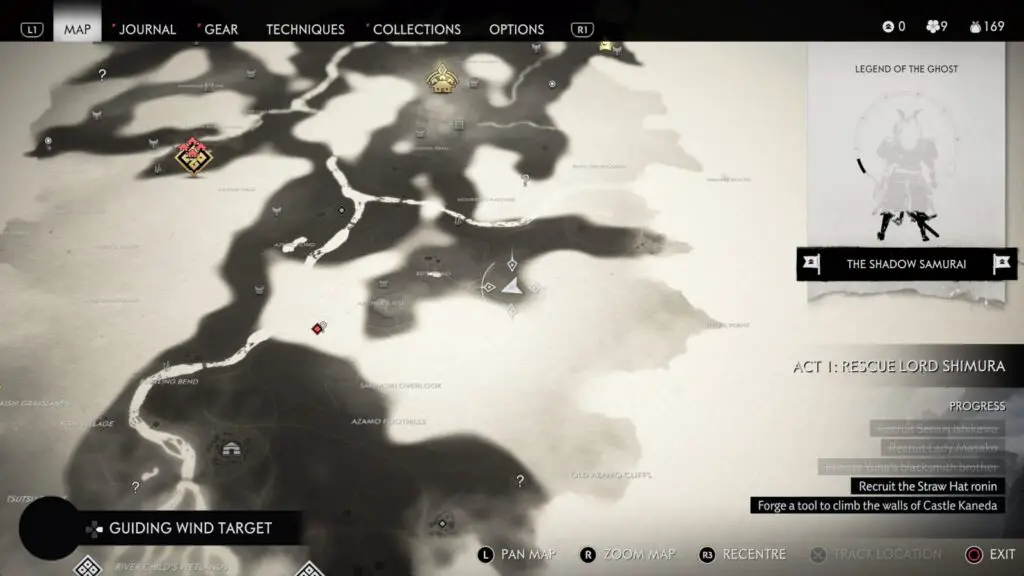
After hearing his tale and watching the fantastic ink-on-paper cutscene you’ll be given a clue to look for a “violet crown” near a field of equally violet chrysanthemums. Head to the search location on your map to find a rocky hill decorated with those very flowers.
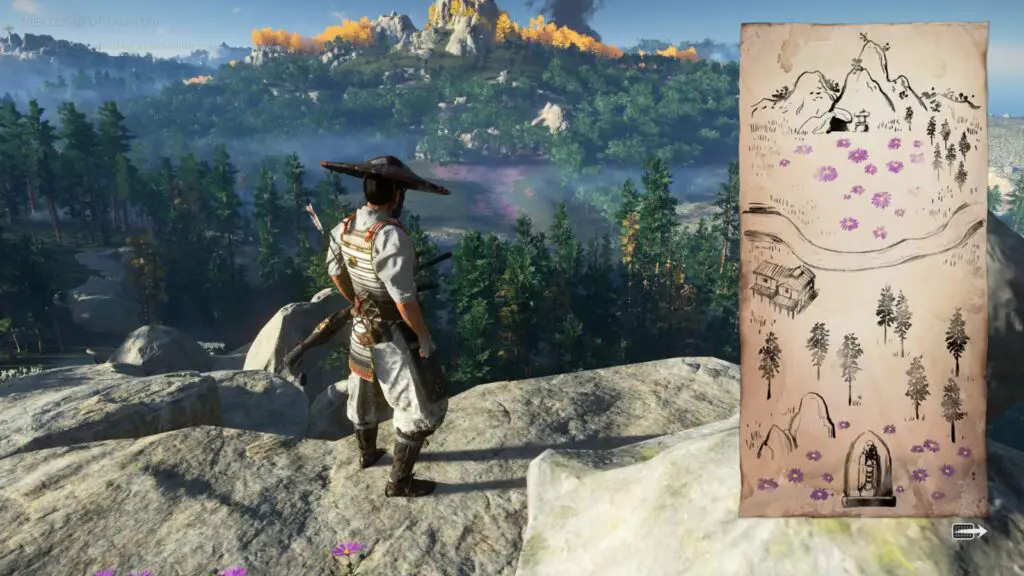
At the top you’ll find a small shrine with a few items to inspect, including a hand-drawn map.
When facing the shrine, turn 180 degrees and approach the cliff ledge. There, look out across the horizon and you should see another field of chrysanthemum flowers over the river.
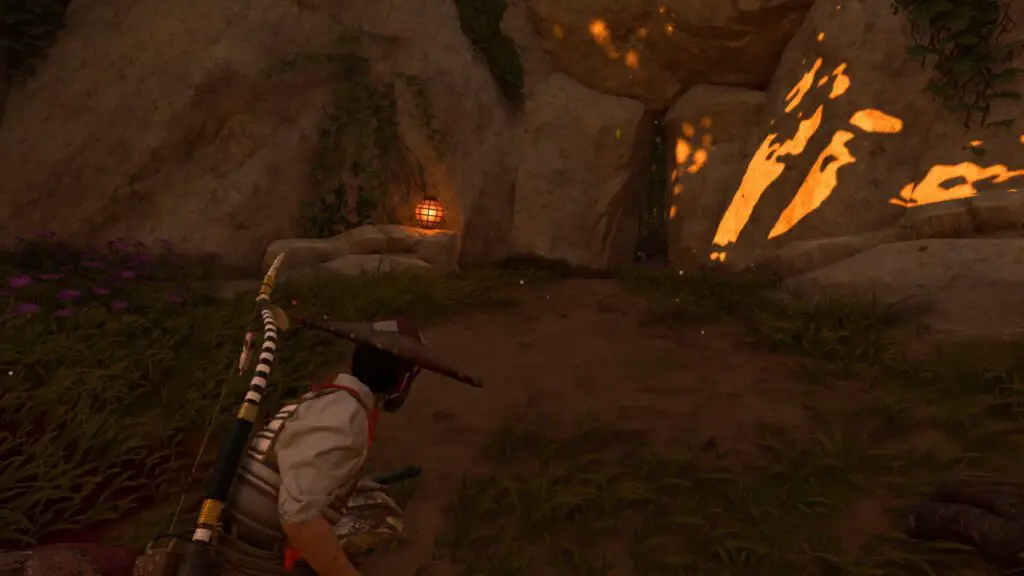
Head over there and approach the rocky formation towards the back. Jin will comment that the walls are too sheer to climb and that there must be another way through. Indeed there is, Jin.
Look for a small lantern and you’ll find a small opening under the rocks which Jin can squeeze through, leading to an upwards-climbing dirt path. Follow it to the top to find a small paper lantern and a gap in the rock wall. Head inside to find yourself in Tadayori’s Rest.
Make your way to the graves at the back of the area and inspect each one.
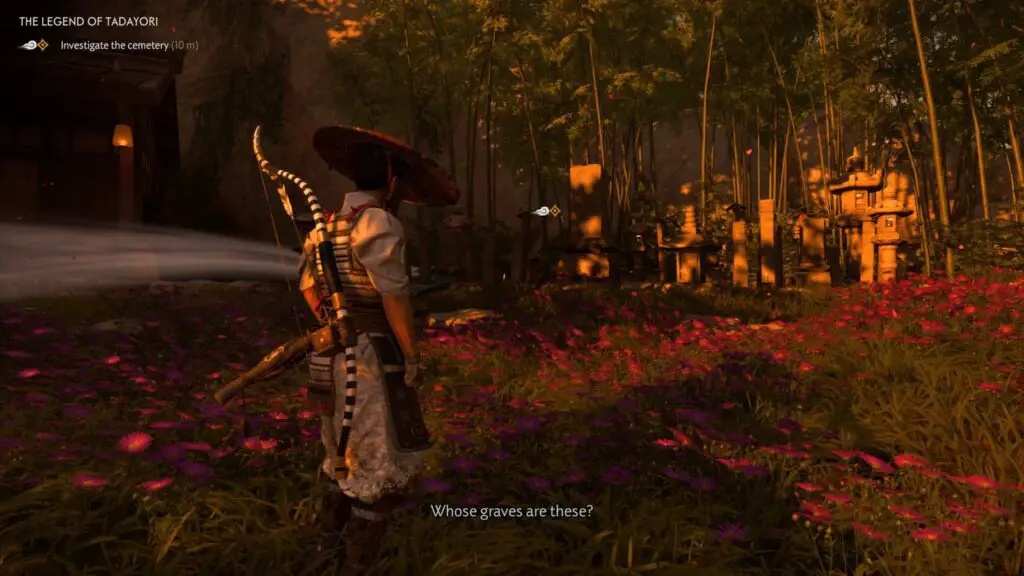
You will then be approached by a female warrior, Kaede, who insists on fighting you. Defeat her in a one-on-one duel to earn yourself the right to wear Tadayori’s armour. But you’ll first need to go and collect it!
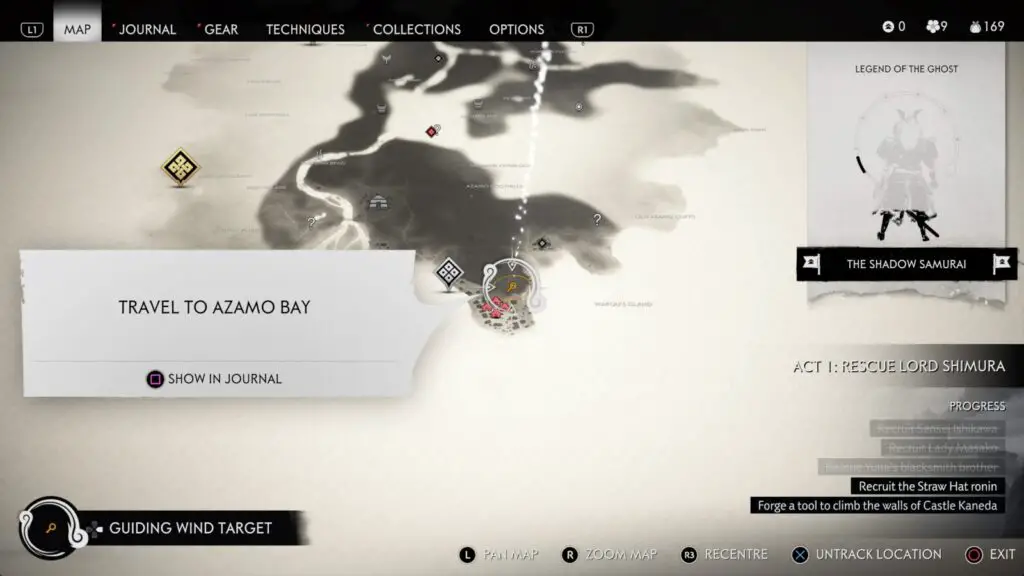
Make your way to the new location on the map, Azamo Bay. From the nearby “Tangled Crossroads” Mongol base you’ll see a path leading up a tall cliffside, head up here while still following the guiding wind.
When you reach your objective, you’ll find the Musician Yamato being backed against the cliff by a moderately large group of Mongol warriors.
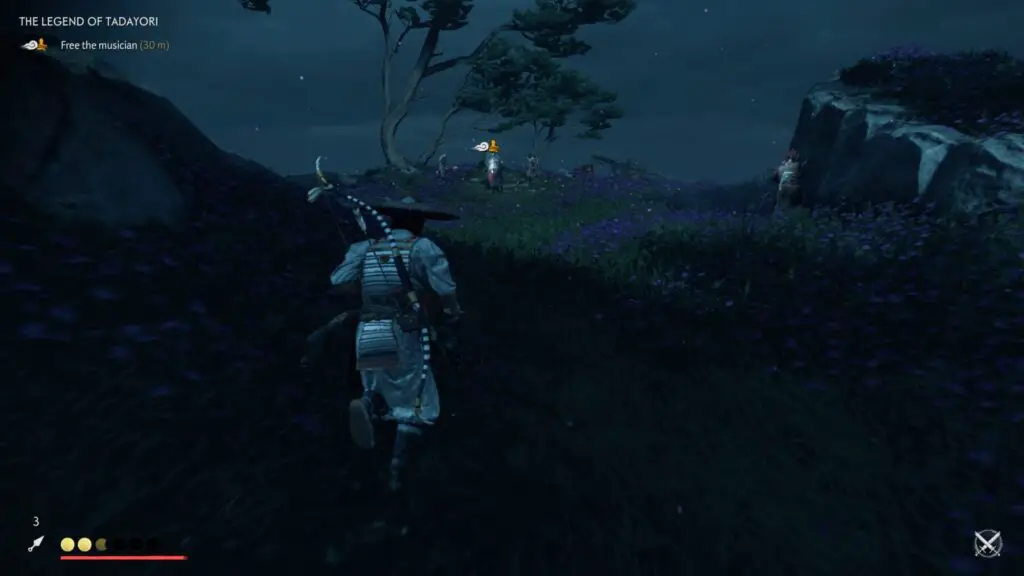
Head towards him as quickly as you can, don’t let the Mongols defeat him! Enemies who are about to kill him will be identified with a red skull and cross-bones icon so you will need to prioritise them.
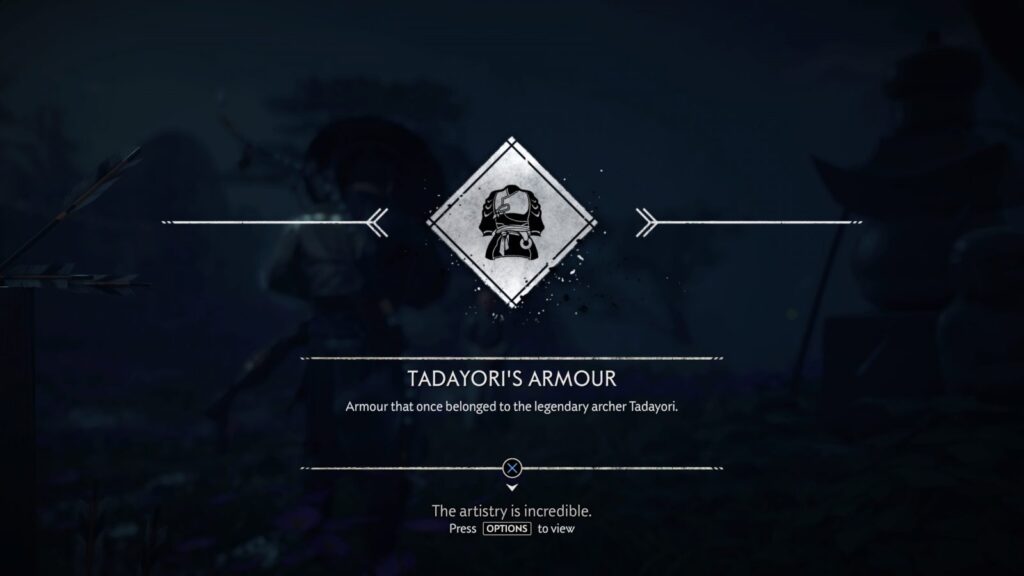
Once he is safe and sound, head over to the statue on the cliff edge and hold ![]() to push it, revealing Tadayori’s armour hidden beneath. You’ll then claim the armour and a large group of Mongols will attack.
to push it, revealing Tadayori’s armour hidden beneath. You’ll then claim the armour and a large group of Mongols will attack.
You are going to need to defend Yamato again so be careful to prioritise any enemies who are attacking him! Once it is all over, speak to the musician and the questline will end, the armour being yours to keep!
The Curse of Uchitsune
Speak to peasants again until one talks to you about Uchitsune, telling you the whereabouts of the next musician where this Mythic Tale will officially start.
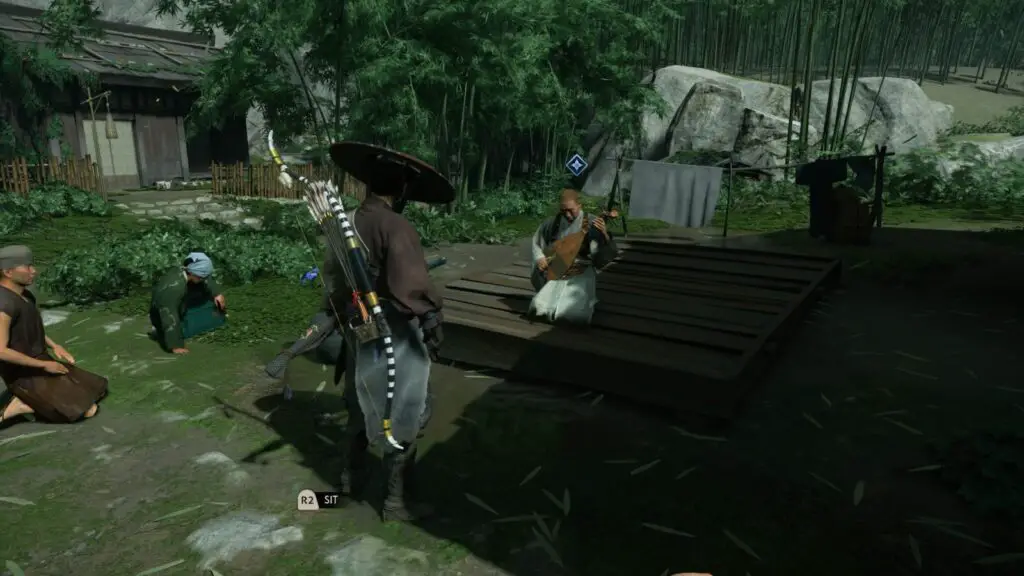
The Musician is in the Hiyoshi Springs area and so you should be able to just fast travel back there. Listen to his tale and you’ll be given your first clues, an investigation area on the coast and a new flower; Blue Hydrangeas.
Head to your new investigation area, which isn’t too far away but is a huge area! Your goal is actually very easy to find though as it is exactly where the magnifying glass is on the map.
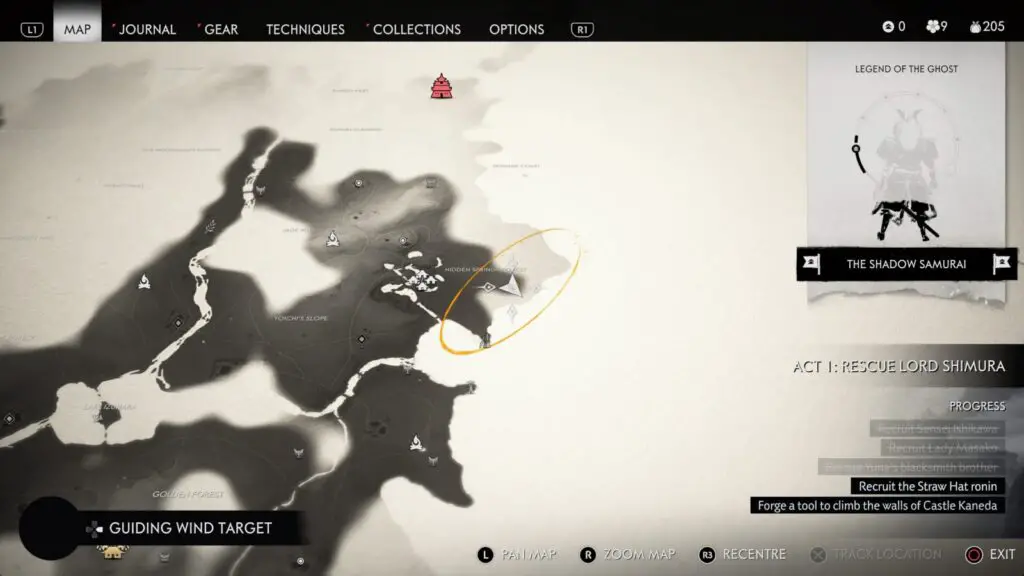
Head directly east from the musician, following the guiding wind, and you’ll start seeing small patches of Blue Hydrangeas. Keep going and there’s a large rocky hill with a stone door in it’s base, Jin will comment that the tomb is “cracked open”. Head inside here!

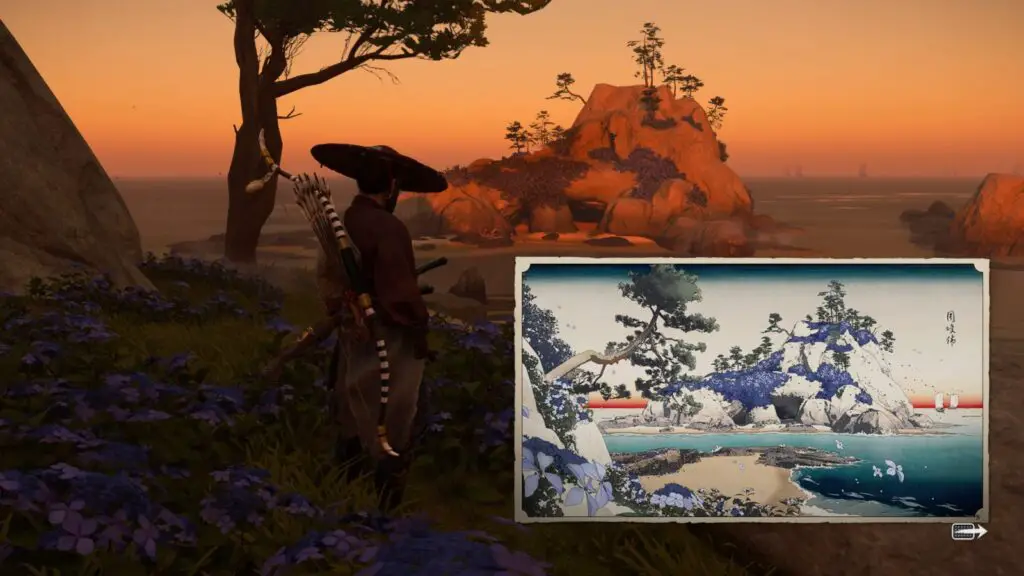
Squeeze under a gap in the stone once inside and you’l find yourself inside a tomb, as you might expect. Inspect the painting which will give you your next objective. You need to find the island in this painting, which is no small task! Start by leaving the tomb and you’ll receive a warning from a masked man with a bow.
Once this very short exchange ends begin heading north towards the next investigation area on the coast. From a vantage point nearby you can see there are plenty of islands to the north and all of them are too far away to see any flowers, but one looks similar in shape.
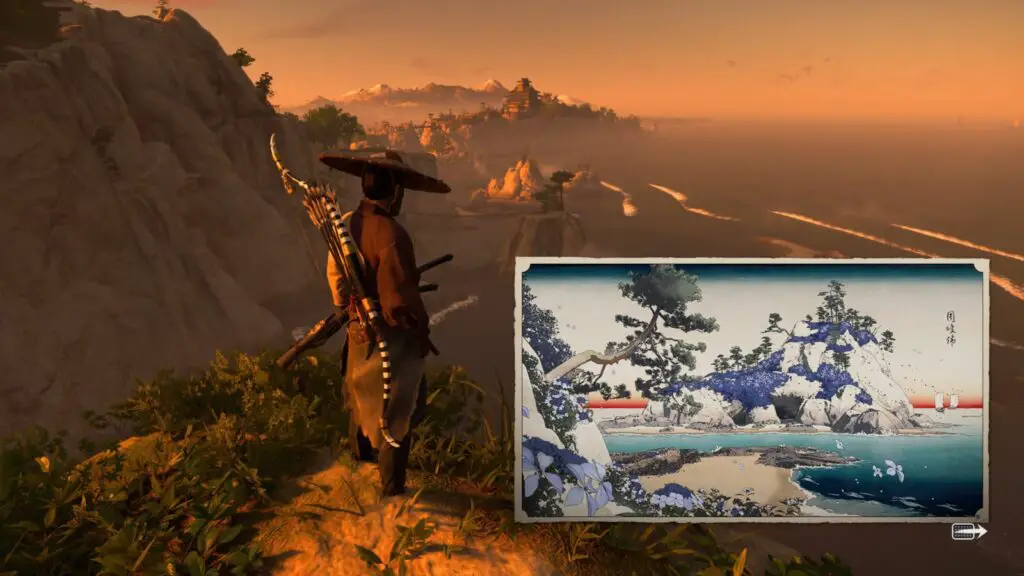
Continue along the cliff edge towards these islands and you’ll soon reach the torii gates for the Mending Rock shrine. continue north past them.
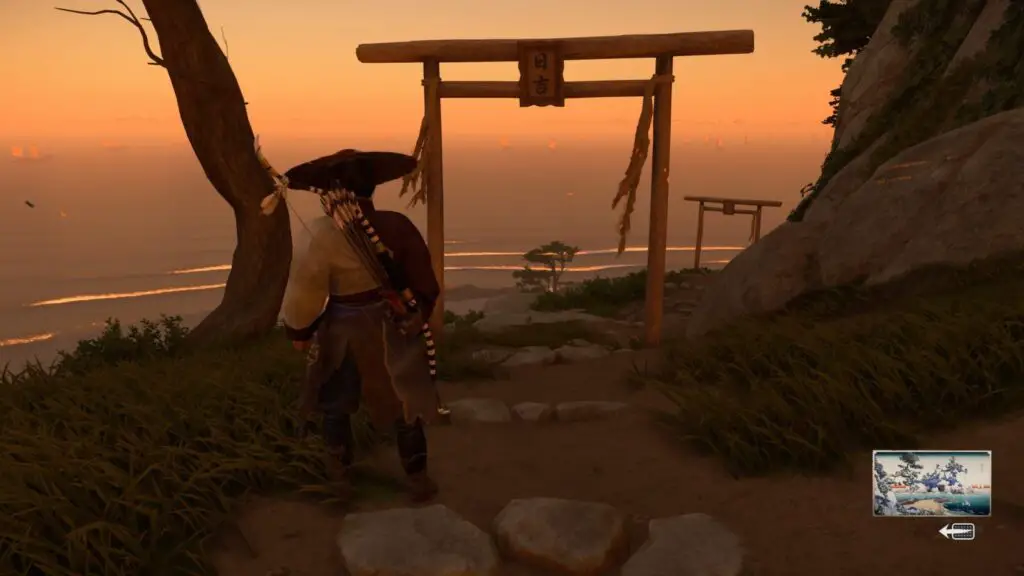
You’ll begin to see more and more blue flowers and then be given the instruction to follow them. They lead down a cliff-side path to the beach where you’ll see that the island ahead of you is the one in the painting. Oddly the Mongol ships are even in the painting…
I hope you don’t mind getting wet, because we’re now taking a dip in the ocean in order to swim to the island.
Head inside one of the two cave mouths to find… another painting. This time of a mountain wearing a coat of blue flowers. You’ll now have a new investigation area on the map. Leave the cave to receive another warning and then head to your new investigation area.
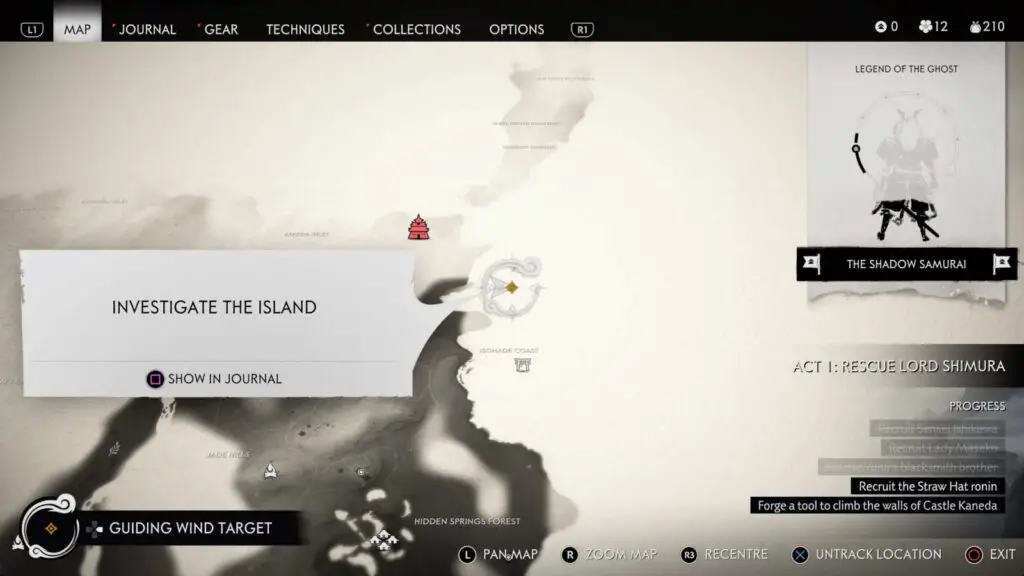
From the crossroads where the magnifying glass icon is on your map you will be able to very clearly see the mountain you’re looking for, so head right up to it!
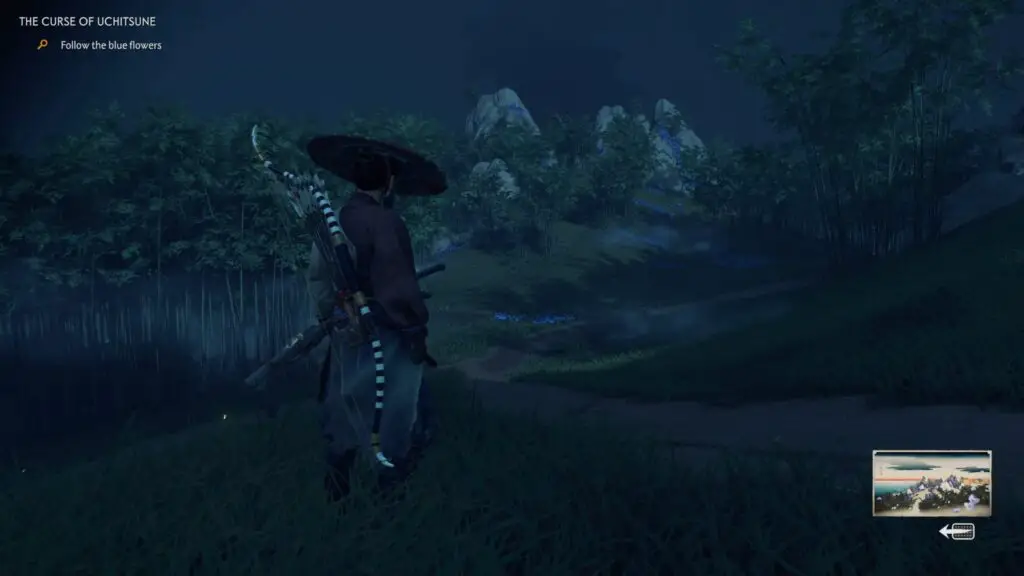
Near the top you’ll find a shrine with a longbow on it. Uchitsune’s Longbow.
Grab hold of it and the “curse” will take effect, you’ll wake up bloody and surrounded. A man in a Tengu mask will challenge you to a duel to the death.
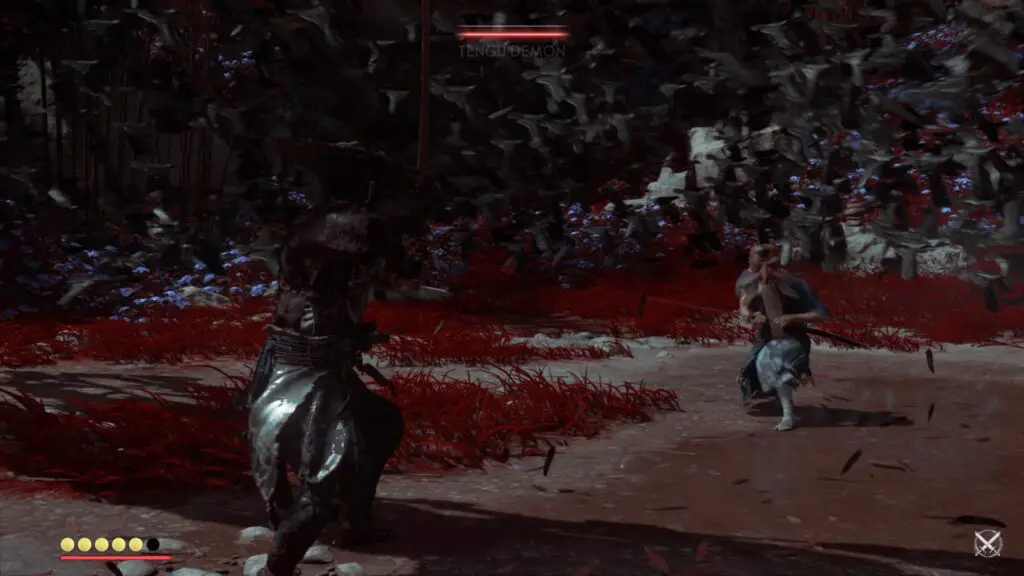
Defeat the Tengu Demon and your nightmare will end. You will awaken again in-front of the shrine, this time alone and with Uchitsune’s Longbow in your permanent posession. Congratulations! The quest is now complete and you have access to Explosive Arrows.
Act 2 Mythic Tales
The Unbreakable Gosaku
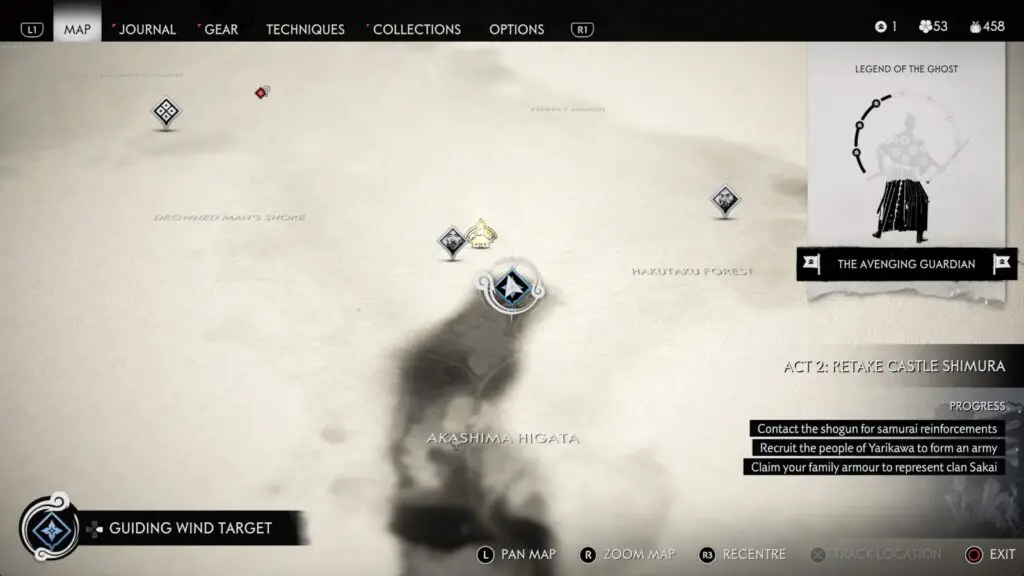
To begin this quest you will need to find Yamato again, this time in a farm in southern Toyotama. However, to actually finish the quest, you will need 6 keys. Keys which you can actually find before even beginning the quest. To earn a key you will need to liberate one of 6 farms across Tsushima and each time the final hostage you free will give you a key. The farms you need to liberate are as follows:
- Koshimizu Farmstead in Toyotama
- Iijima Farmstead in Toyotama
- Kuta Farmstead in Izuhara
- Aoi Village in Izuhara
- Ohama Farmstead in Izuhara
- Yagata Farmstead in Izuhara
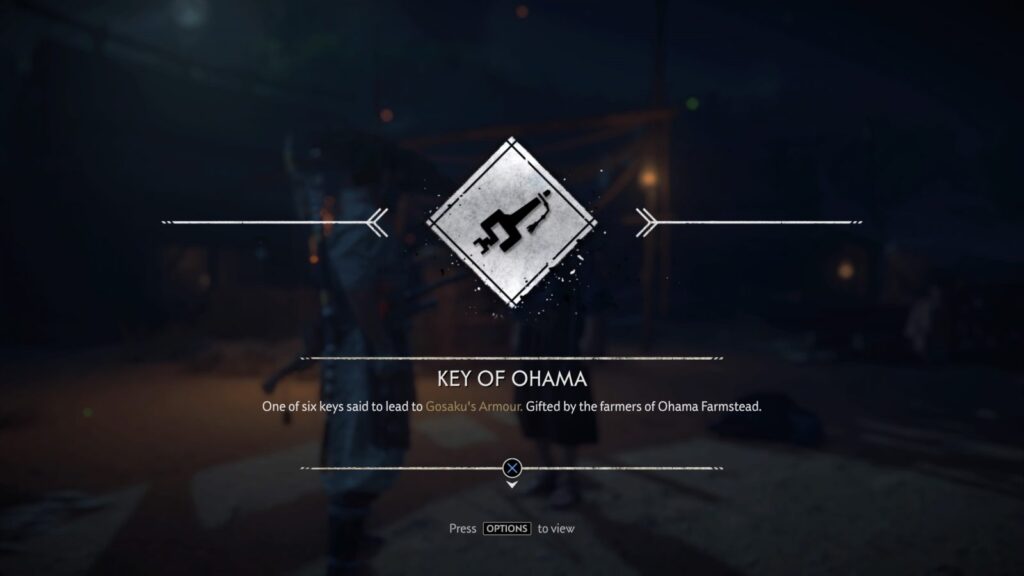
Once you have all 6 keys, speak to Yamato (if you haven’t already) to begin the quest. Your Journal and Map should now indicate the location of the Gosaku armour, which you can take the keys to.
If you don’t have the keys, each farmstead will be marked on your map as an investigation area which you can follow the guiding wind to.
The armour is found atop a hill in the south of Toyotama, within Akashima Prefecture. Fast travel to anything you have nearby, which at the very least will be the Akashima Lighthouse.
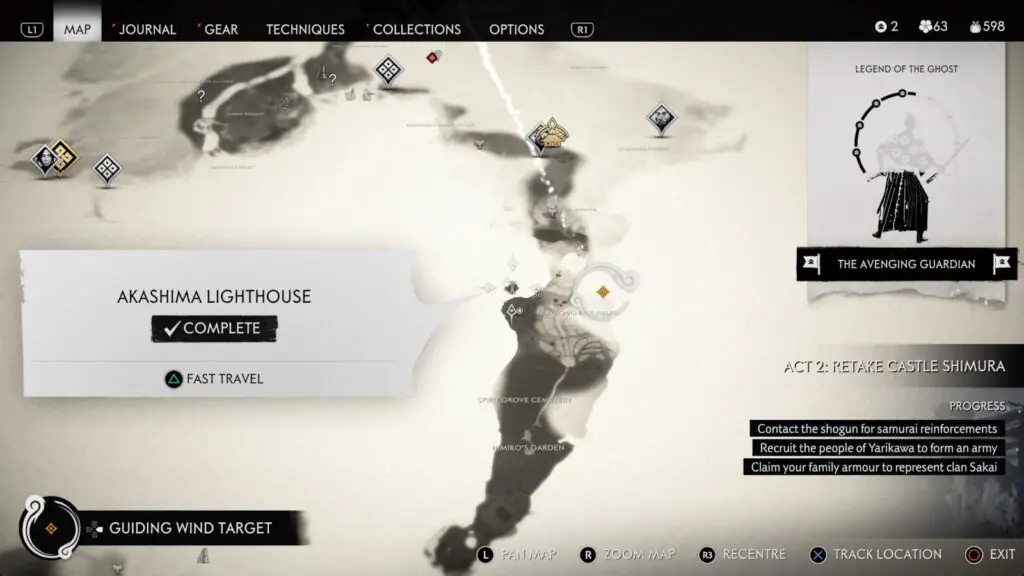
From there follow the guiding wind to the armour. You’ll meet some resistance in the form of Mongol warriors who are looking for the armour. Once they are dealt with you’ll need to unlock the nearby door.
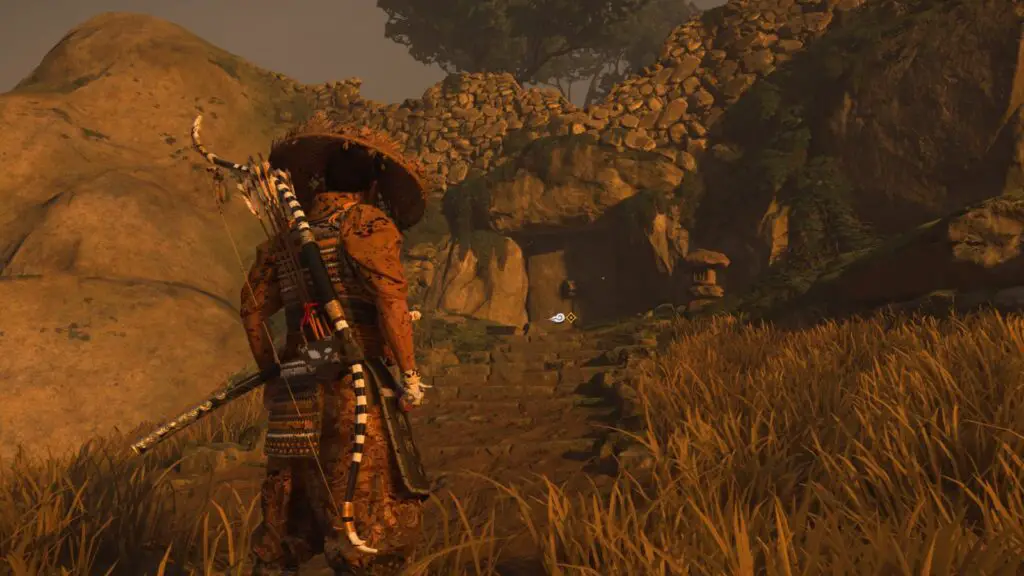
Then there is a fair bit of traversal up to the top of the hill, where you’ll find the armour lying in wait.
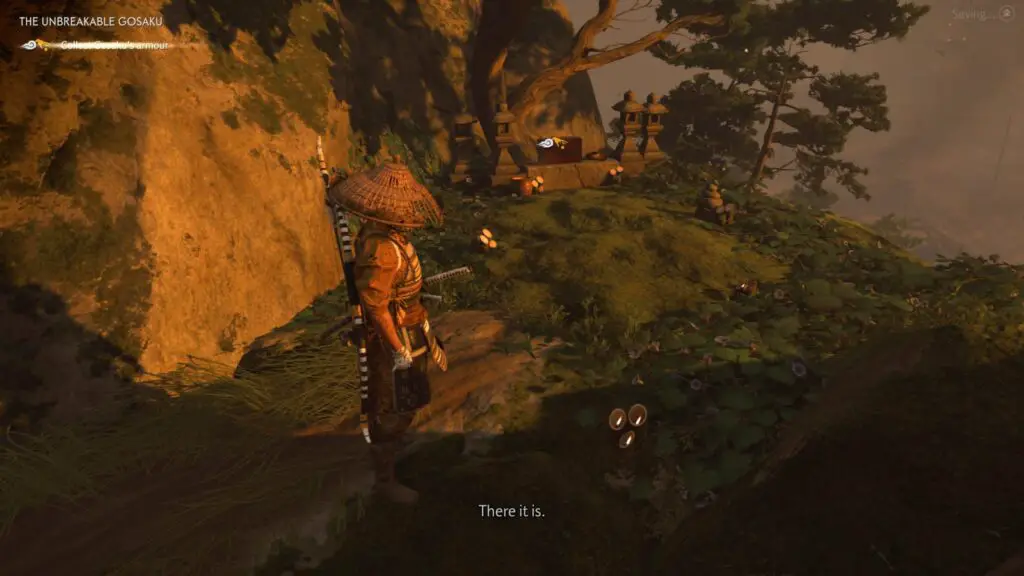
There’s no duel involved in this Mythic Tale, as long as you have the keys you’re worthy of taking the armour for your own! Easy!
The Spirit of Yarikawa’s Vengeance
A peasant will tell you of the Spirit of Yarikawa and it’s vengeful slaughtering in the night. This will activate the quest’s starting point just outside the ruins of Old Yarikawa, where Yamato can be found once again, waiting to tell you this new tale.
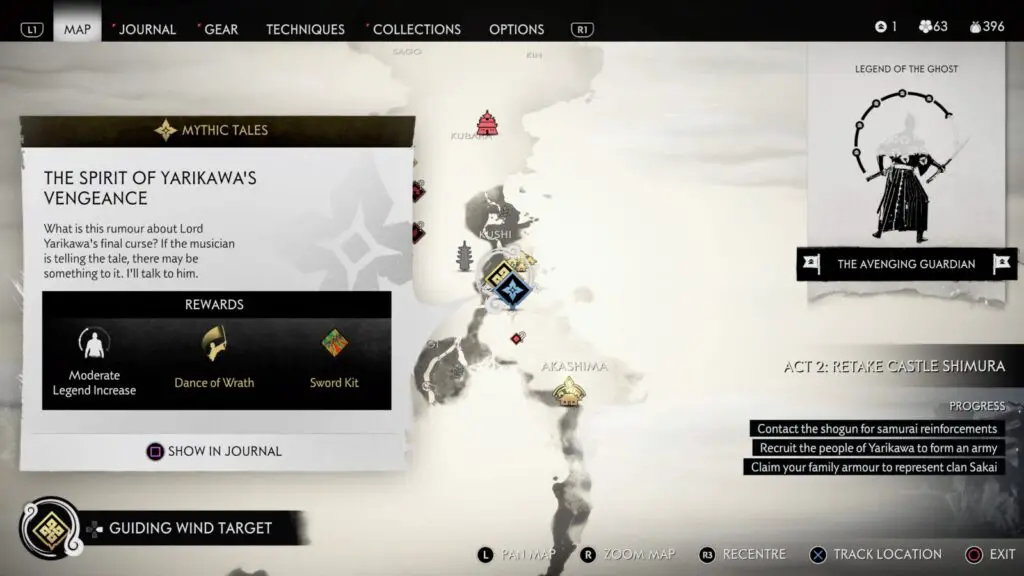
When you get to Yamato, he will be with a group of peasants investigating some freshly murdered corpses and talking about the Spirit of Yarikawa. Speak to Yamato to hear the tale and gain your next objective.
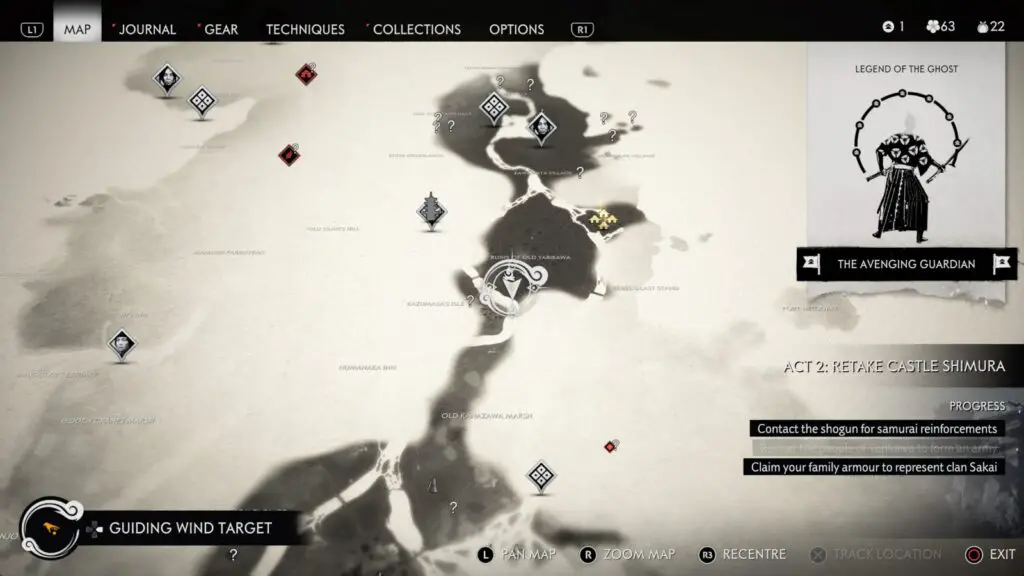
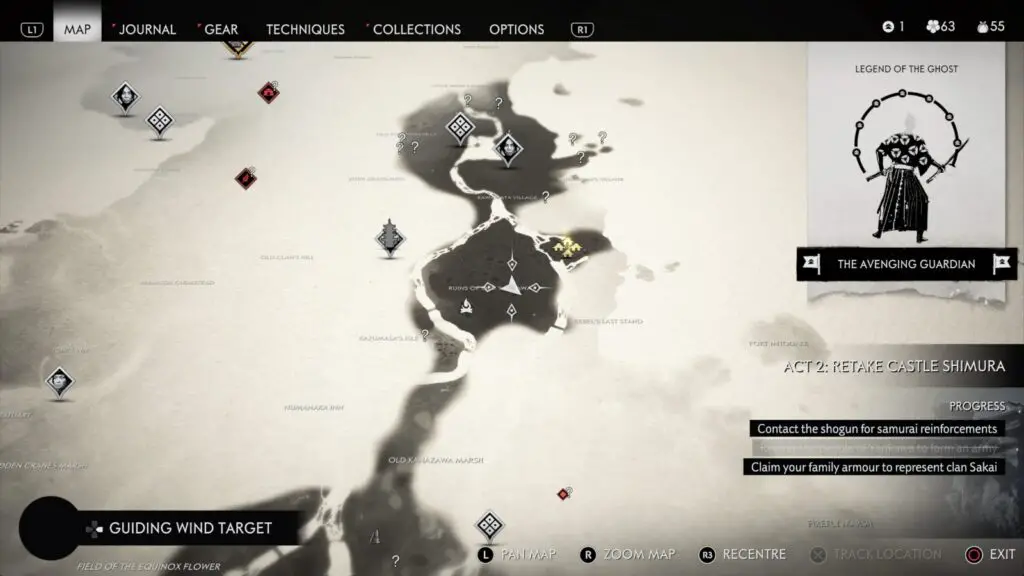
You’ll be given an investigation area on the map as usual but this one spans the entirety of Old Yarikawa, quite a distance to explore! Luckily, we’re given some useful information, we need to find some white smoke! Well, that should be easy enough.
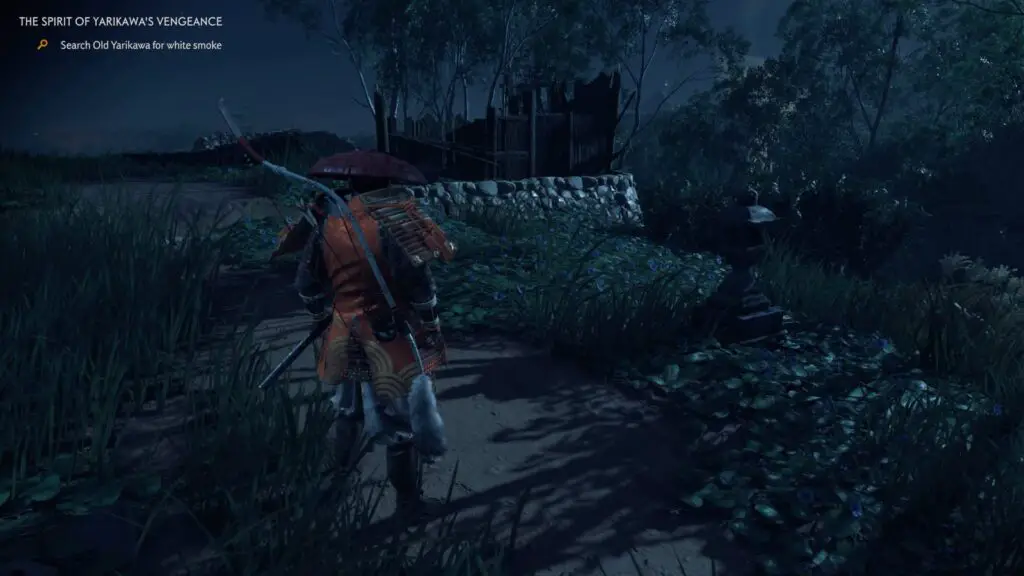
Head up the hill behind Yamato to the ruined village there and then look to the south-west and you’ll see the smoke, Jin will even point it out. So, head on over there!
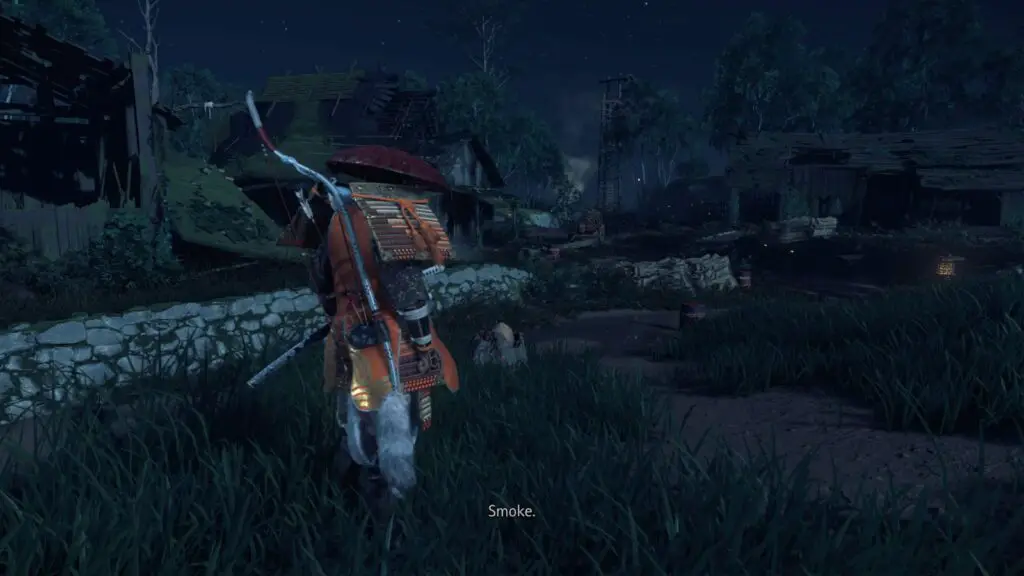
The smoke is coming from a small shrine just south of the Survivor Camp.
When you arrive, you’ll see that there is a message waiting for you, grab it to find that someone has taken a hit out on a local man by the name of “Heitaro”.
Speak to the old man near the fire in the Survivor Camp, this is none other that Heitaro! He wants you to follow him, so do just that. He will lead you to grave marker atop a nearby hill, where he will tell you his tale of sorrow. Jin will offer him some advice and then our search will begin anew, we’re on the lookout for white smoke again!
Head north up the nearby path to enter back into the ruined village we passed through earlier. From there, head West and you should see the smoke rising up through the trees near a completely destroyed home.
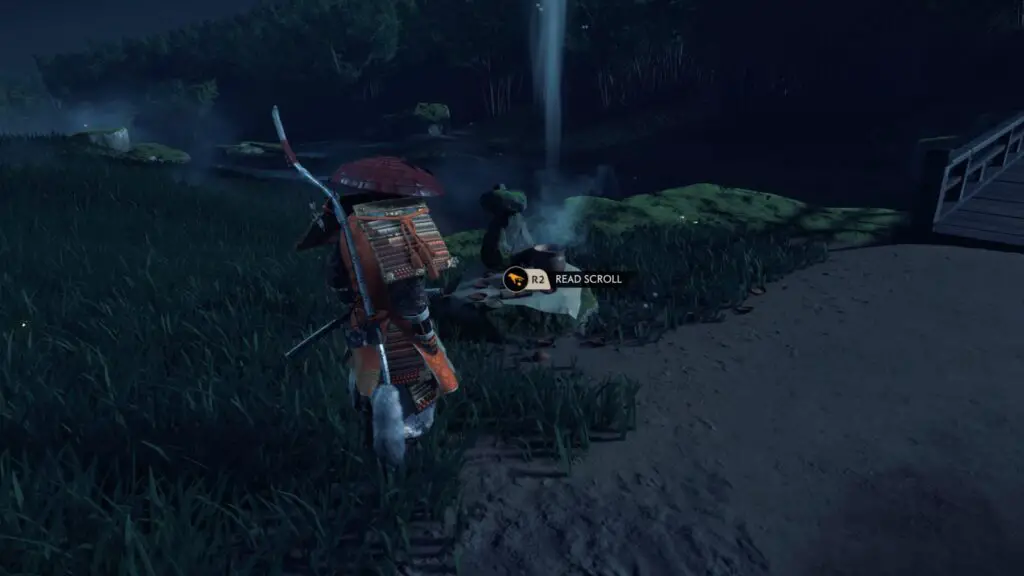
Go to the source of the smoke to find it is another small shrine.
Read the scroll found there to learn that a local peasant has requested that the Spirit take out an entire encampment of Mongols along the Kushi River.
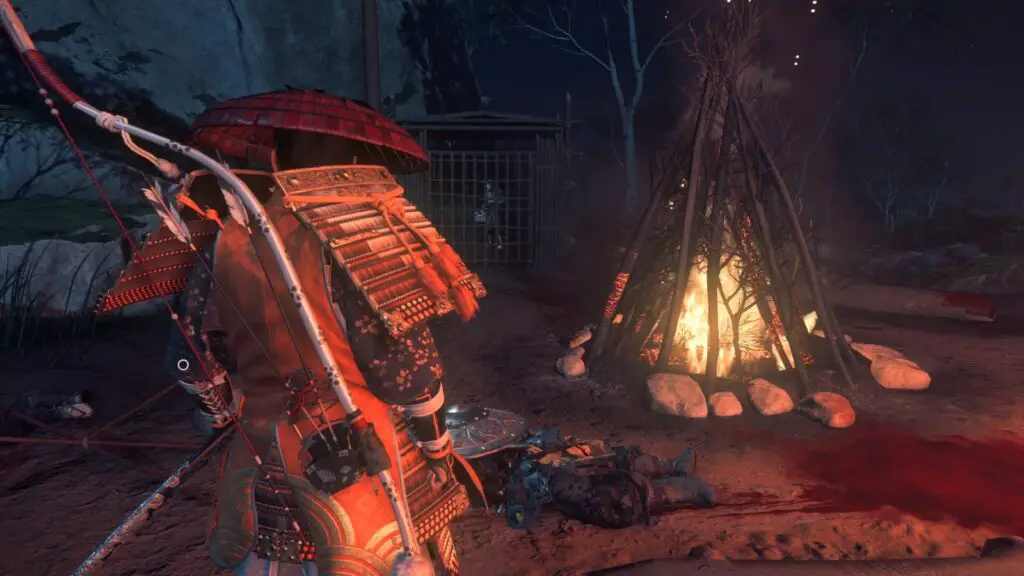
From here you’ll be able to see fire burning to the south. Follow the guiding wind to these flames and you’ll come face-to-face with the aforementioned encampment.
However, there are no Mongols left to speak of! The spirit has already fulfilled this hit. But he left a witness, a hostage in a small cage. Free the man to learn what he knows!
Sadly what he knows isn’t much, and we’re out looking for smoke once again! Our next shrine lies to the East inside the ruined village, so begin heading in that direction.
Once you reach the shrine you’ll find there is no message, the Spirit already claimed it, but Jin’s astute hearing picks up the sounds of nearby battle. Follow the Guiding Winds!
As you draw near, you’ll see the spirit fleeing the scene, clad in white. Whilst investigation the scene you’ll find you can’t enter the nearby building because the doorways are blocked. There’s a small opening at the back of the building, however, which Jin can squeeze through.
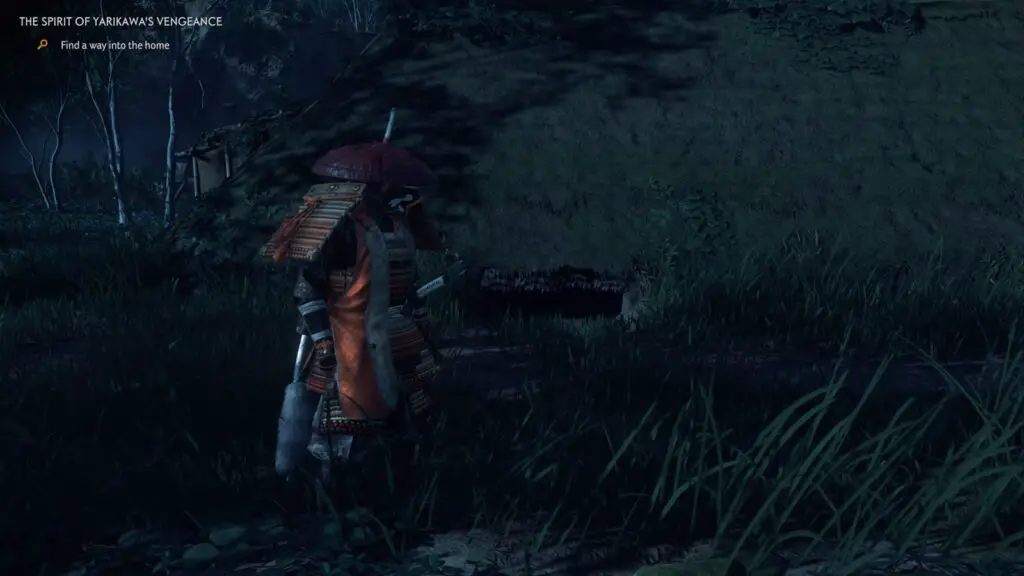
Investigate the many points of interest in this room to learn more about the elusive Spirit and gain your next objective which is… To look for more smoke…
Leave the building the same way you entered it and turn your attention to the north, you’ll be able to see the smoke from here.
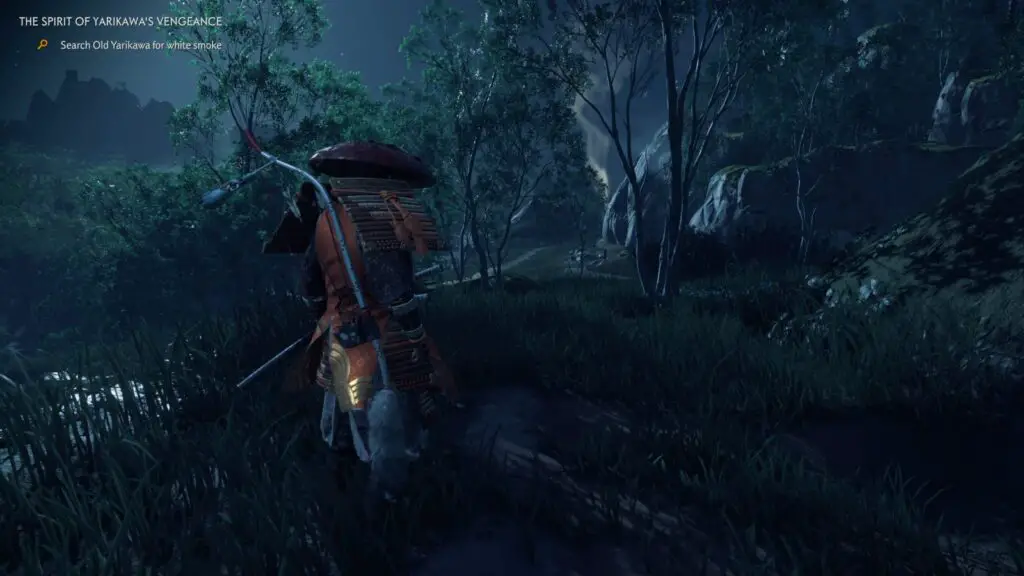
When you arrive at the shrine you’ll find someone has taken a hit out… On you! Follow the guiding wind to the nearby investigation area and begin your search for the location mentioned in the scroll. Head south until you see smoke rising once again and follow it to it’s source.
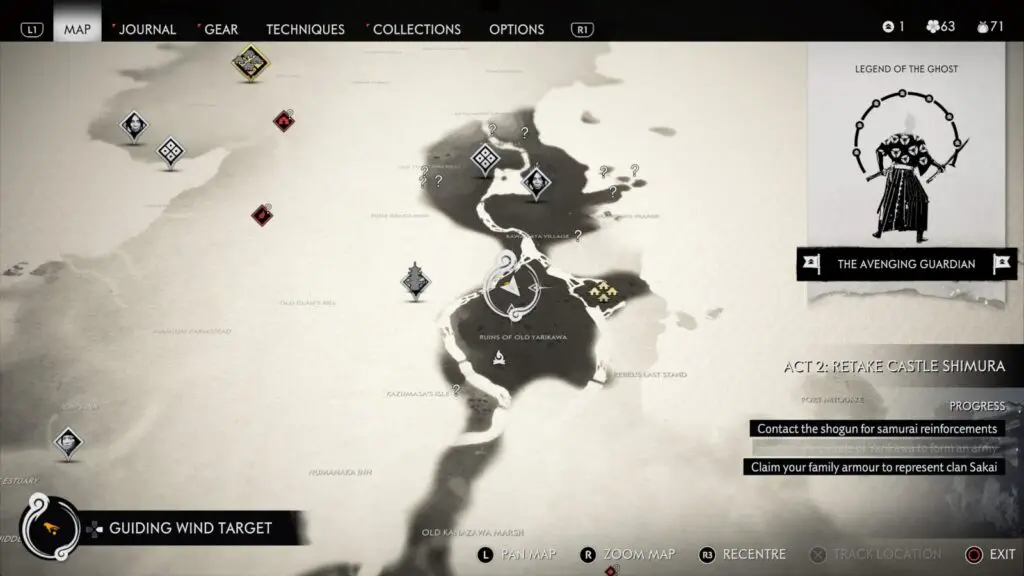
The beautiful Garden of the Gods is filled with sculptures of deities but we’re not here to appreciate the arts. There’s another message on a nearby shrine. This Spirit is giving us quite the run-around, but it ends here, as the spirit enters the gardens, poised to fight!
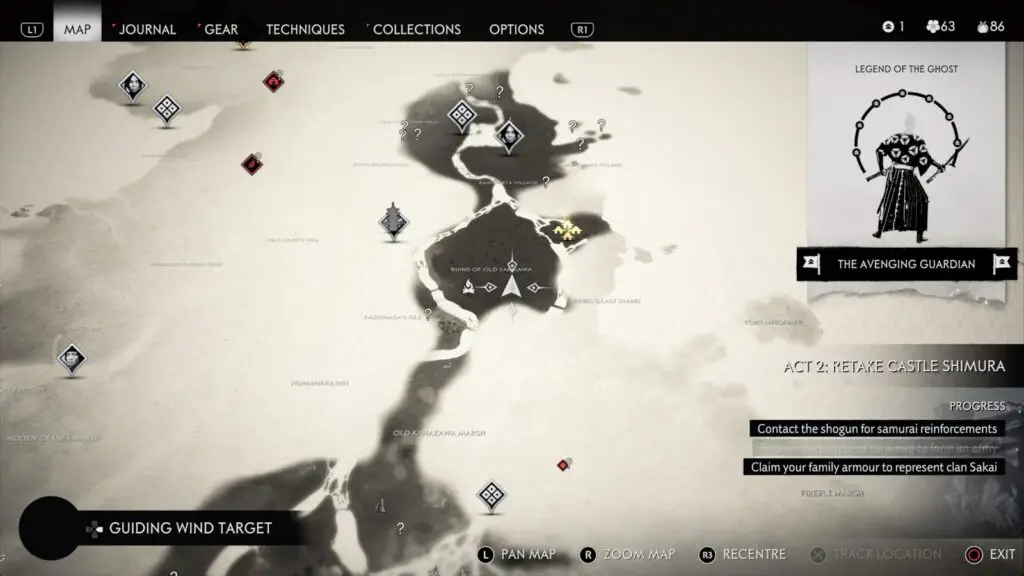
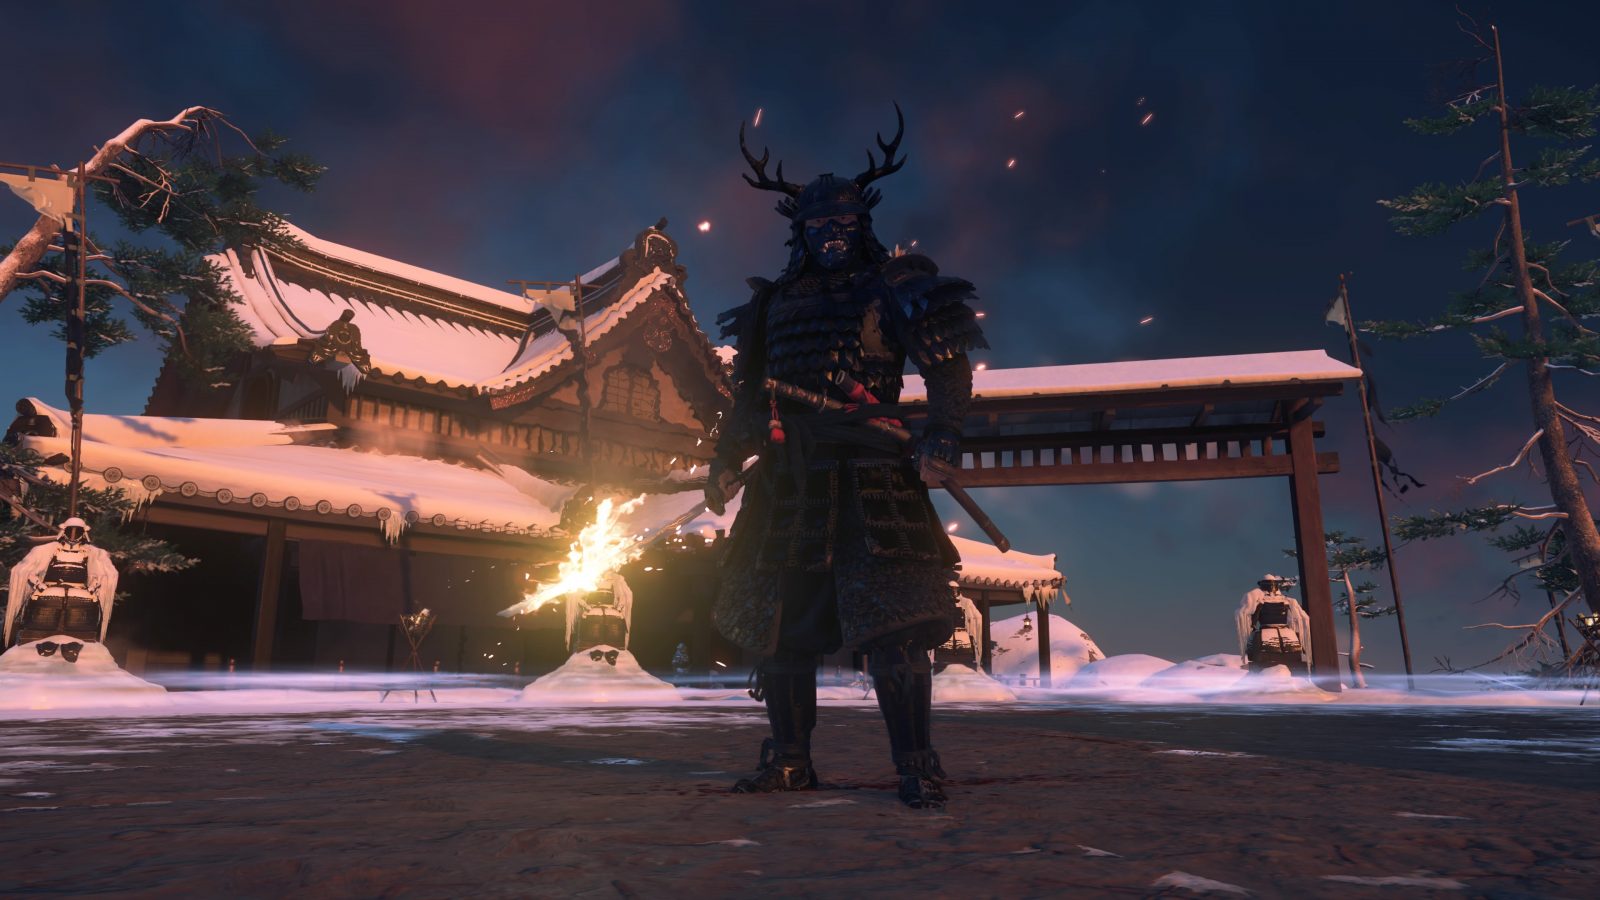
It’s time to duel. Give her a taste of Sakai steel and finish it with her own technique. Ending this long quest for good and earning yourself use of the Resolve-hungry Dance of Wrath technique, the useful “Charm of Toxic Demise” and the sword kit “Omukade’s Revenge”.
The Six Blades of Kojiro
Our next Mythic Tale begins in “Umugi Cove” which is found in the south of Umugi Prefecture in Toyotama. There, you’ll find Yamato, once again waiting to tell you a legendary tale, so that a demon doesn’t kill him.
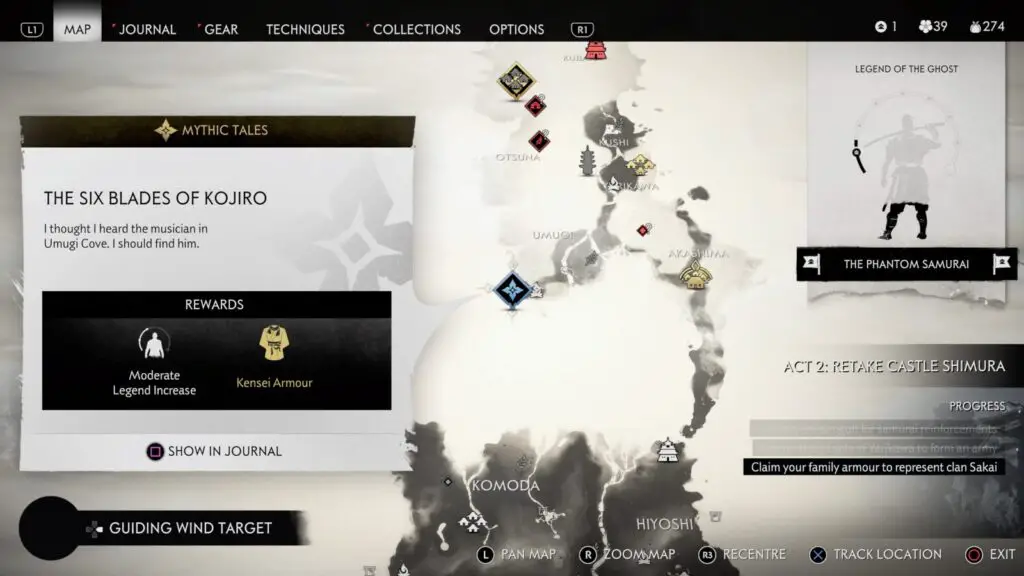
Yamato will tell you that Kojiro wants you dead, and there are 5 other Straw hats who he has recruited to help him kill you off. To earn the “honour” of duelling Kojiro, you will need to find and defeat the 5 Straw Hats hidden in across the Toyotama region. You may have already fought and killed some of these Straw Hat Ronin before.
There will be some new icons on your map depicting samurai silhouettes alongside question marks, indicating the location of each Straw Hat, head to each location and complete the duels.
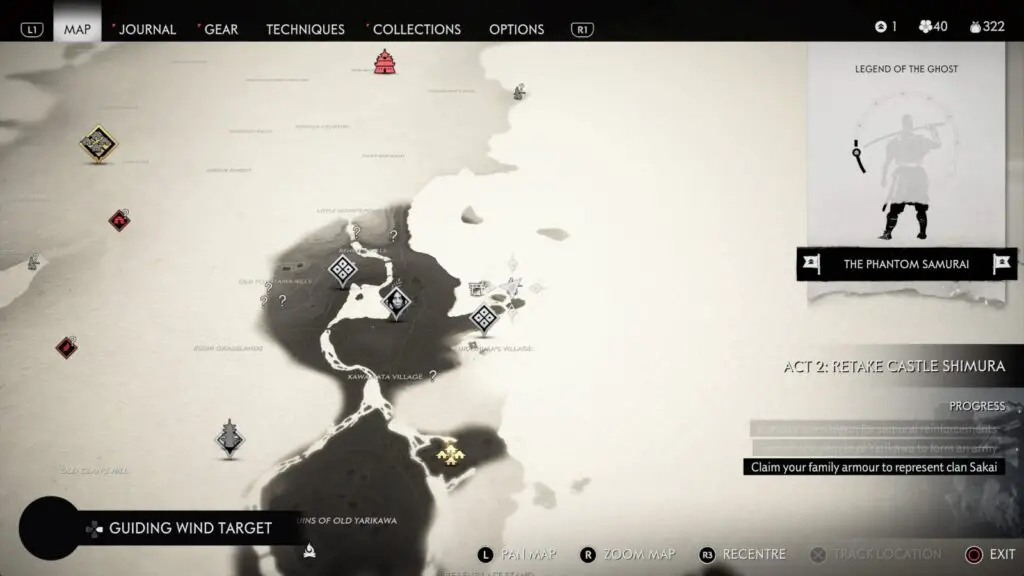
There’s nothing new about these duels versus any other kind of duel in the game, but these Ronin are fast so be sure to keep your guard up and attack only after a successful dodge or parry.
With all 5 defeated, return to Yamato in Umugi Cove to see if he knows where we can find Kojiro. Yamato will tell you that Kojiro is waiting for you in a cave at the Omi Monastery. This location will be marked on your map, so you just need to go there.
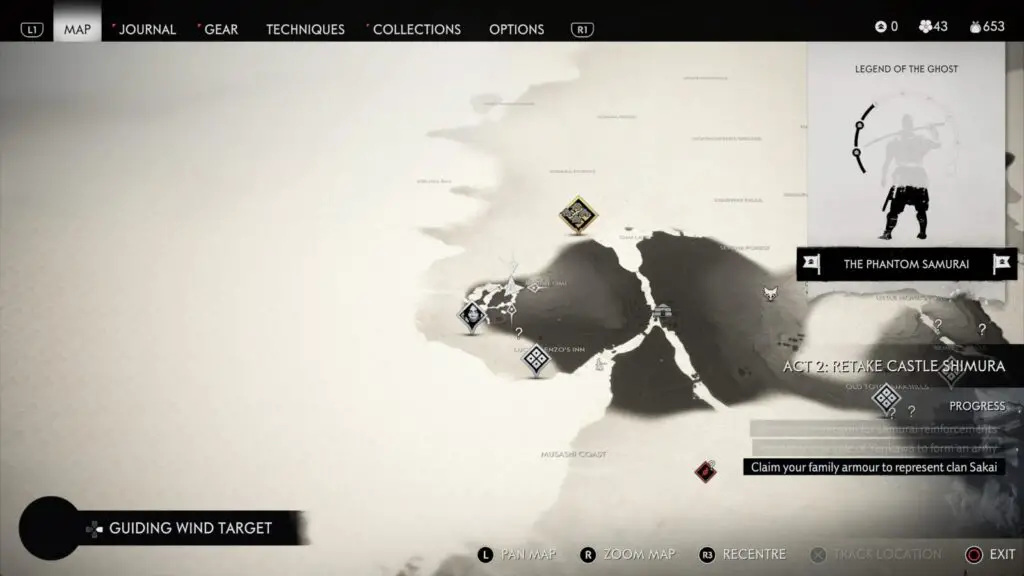
The map marker will lead you to a small cave entrance near an enormous statue in the beautiful monastery. There, you will find your quarry waiting to cut you down. Before you go in, make sure you have full Resolve, because this is one of the hardest duels right here.
This fight is difficult because Kojiro is so fast, has a crazy amount of health and hits insanely hard. Be very patient in this fight, more so than the others, because even one hit can be fatal. Kojiro also likes to combo his attacks so be careful to dodge multiple times where necessary and don’t strike immediately after a dodge or counter.
If and when you manage to defeat Kojiro, you’ll come away with the Kensei Armour, which I honestly don’t think is all that good, but oh well!
Act 3 Mythic Tales
The Undying Flame
Speak to enough peasants and one will tell you of Mount Jogaku and the power there which can light your sword aflame. They will mention the Musician’s song as the source of this information to which Jin says he wishes to hear the song for himself. A new blue marker will appear north of Jogaku Temple.
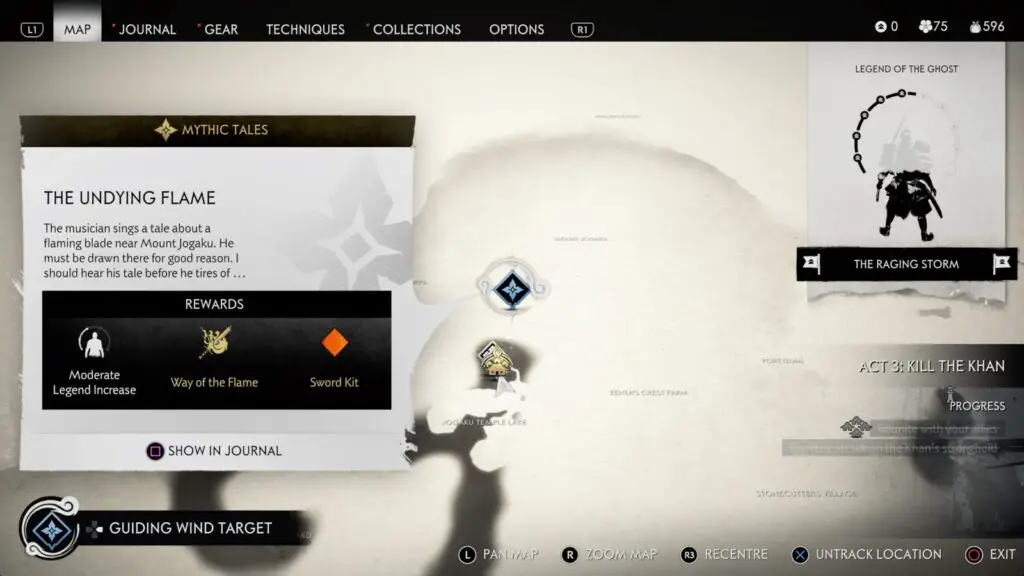
Head to it to find Yamato struggling to light a fire. Help him out by lighting it for him and he will tell you his latest tale, about a red-hot rock which can light a sword aflame found atop Mount Jogaku. The legend says the rock is still there, and you can bet we’re going to go find out!
A new investigation area will now appear on the map, it’s nearby but it’s enormous, it’s the entirety of Mount Jogaku, after all! Worry not, all we need to do is reach the peak as that is where the rock is supposed to be. Reaching the top is fairly easy as there’s a path which pretty much takes you straight to the top, littered with campfires.
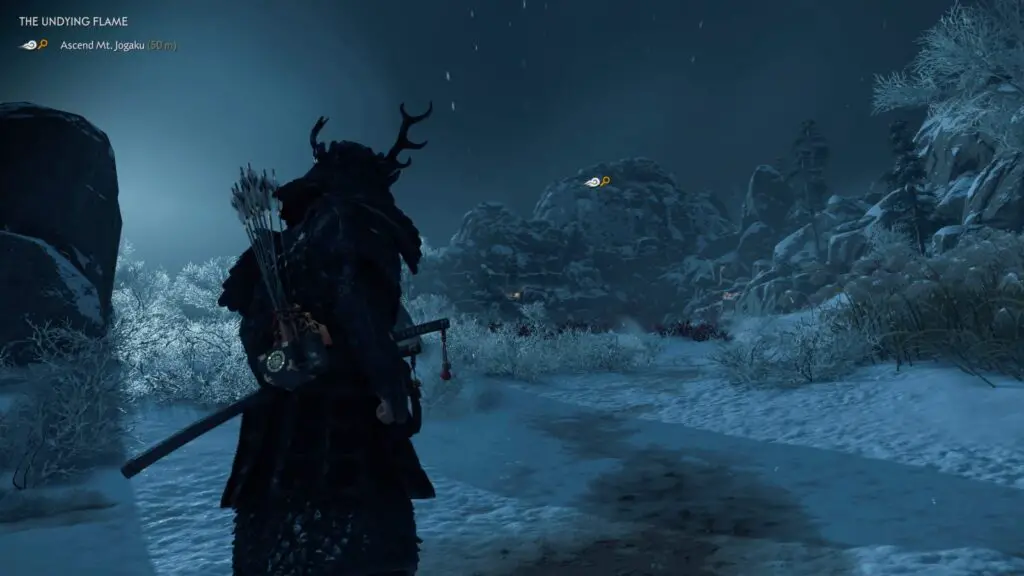
However, these campfires serve a secondary purpose. The icy blizzard around Mount Jogaku is too much for Jin to handle and so he will need to make stops quite frequently at the campfires along the way, otherwise he will collapse from the cold.
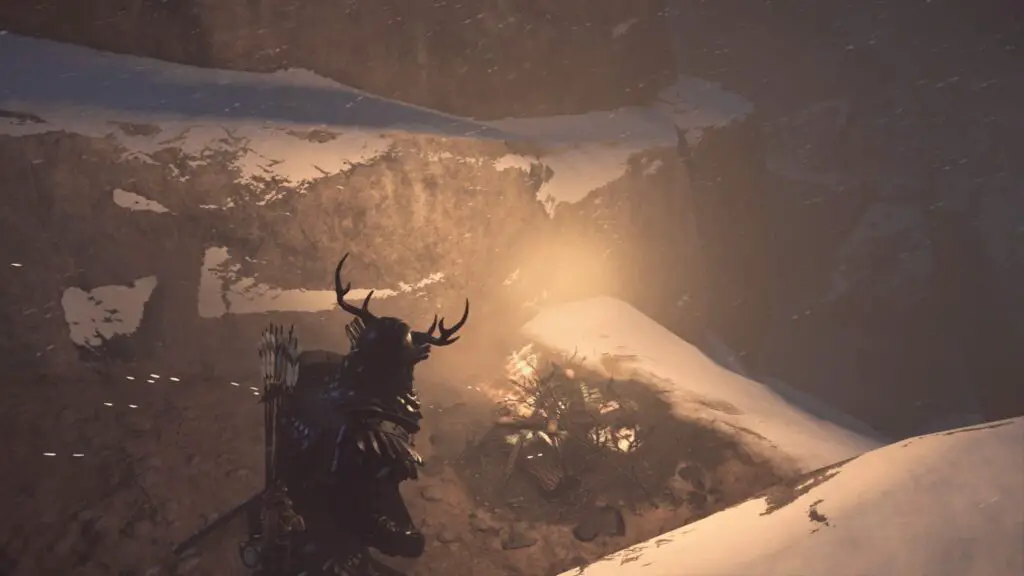
From each campfire, you should be able to see the next, faintly. So before moving on, take in your surroundings and figure out where you need to go next then make your way there as quickly as you can. There are often several dogs to fight between camps, if you take too long fighting them it may be best to run back to the previous camp to rest for a moment.
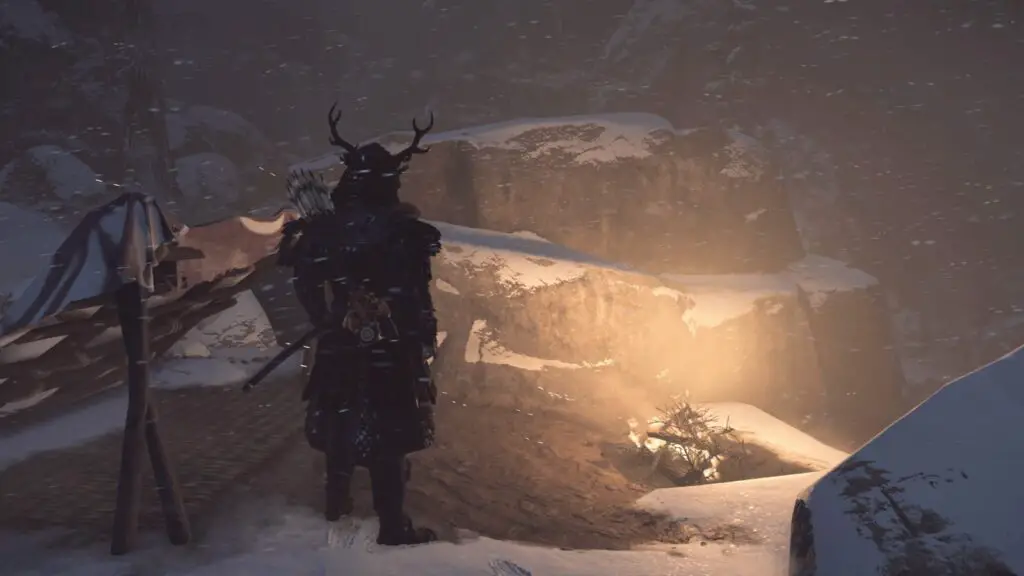
After a little while the next camps will stop being lit and will be harder to find, but if you just use your instincts you’ll see that there is a clear and distinct path to each camp and you will just need to press ![]() on the fire when you arrive to light it.
on the fire when you arrive to light it.
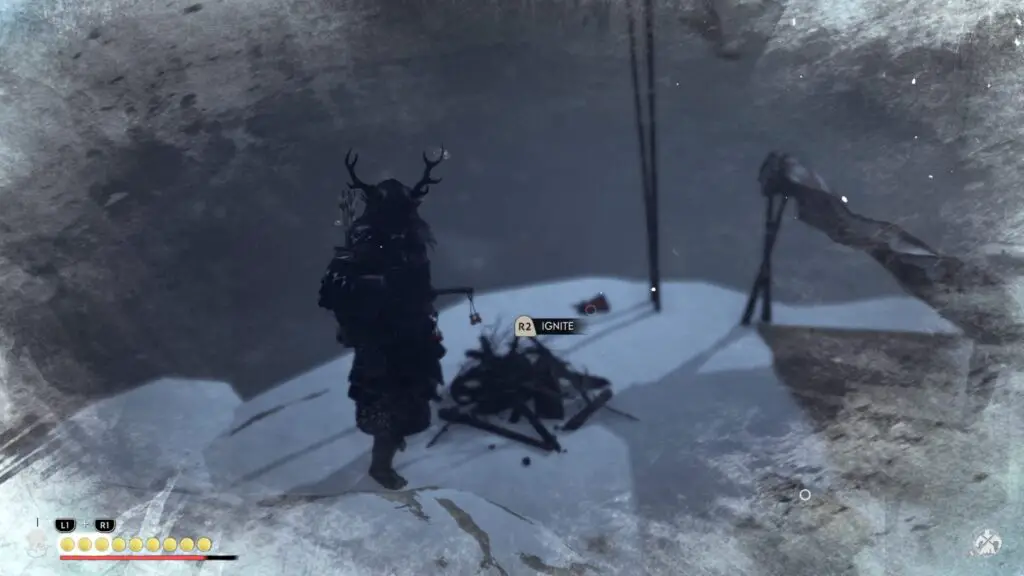
At each of these camps, you’ll find a discouraging note from the person who left it but if you don’t let that stop you and continue on just a little further, the weather will become more bearable just after you spot a bear and jump across a ledge above it. Here you’ll find a dojo and a man called Bettomaru who offers to teach you the Way of the Flame and all you have to do, is pick up a rock.
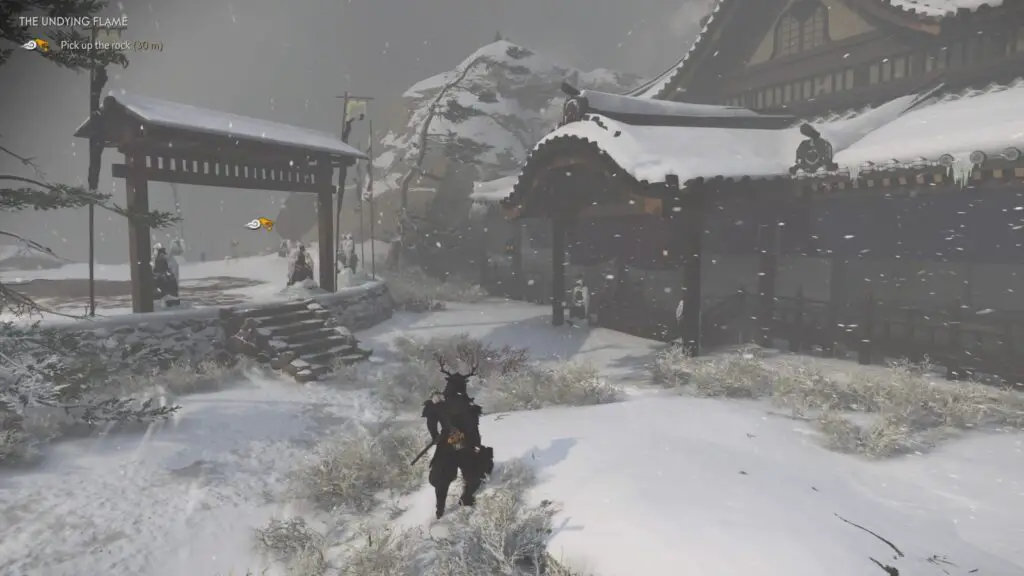
Go to the black rock indicated by the orange hand icon and press ![]() to grab it, then you will need to duel Bettomaru.
to grab it, then you will need to duel Bettomaru.
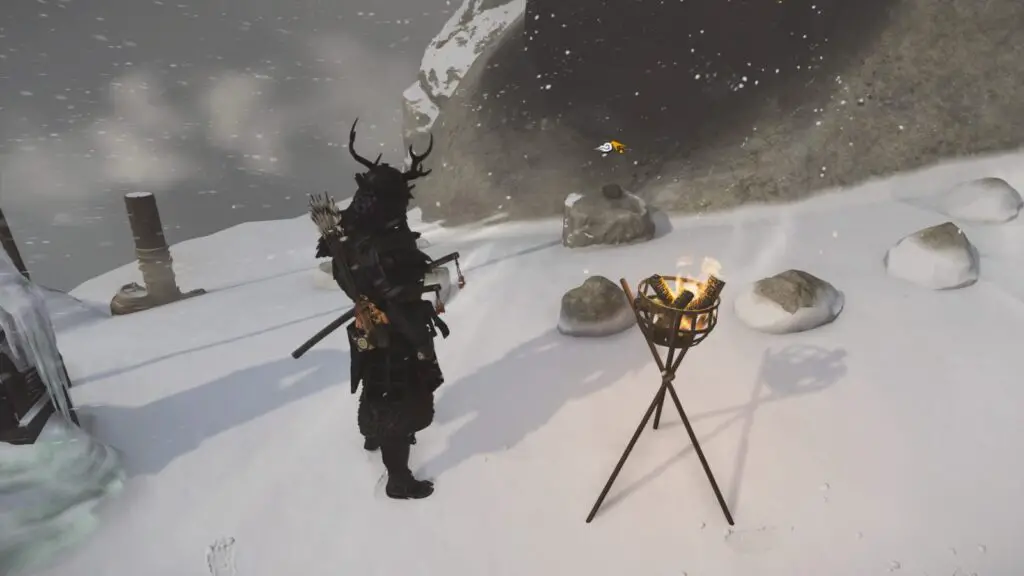
Mid-duel you will be told to press ![]() to light your sword aflame, do so and the duel won’t last much longer. Thank Bettomaru and leave for your descent down the mountain.
to light your sword aflame, do so and the duel won’t last much longer. Thank Bettomaru and leave for your descent down the mountain.
Lighting your sword requires incendiary oil and it must be equipped as your quick-fire weapon, but as you can imagine it is a very valuable ability for your fight against the Mongol army.
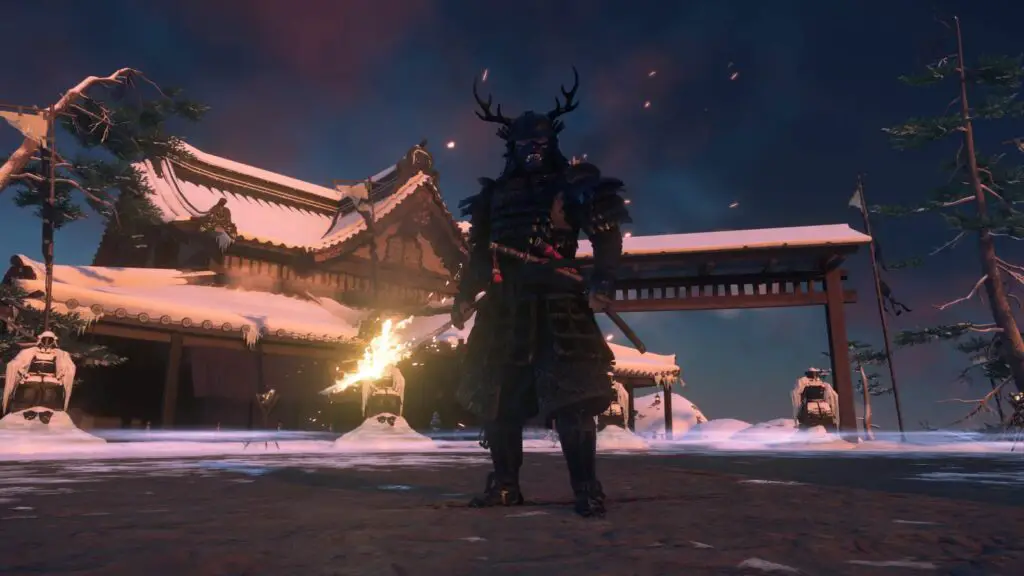
Descending the mountain is as simple as heading to the top of the nearby stairs and pressing ![]() to fast-travel to the base. From there, turn around to see that there is no longer a snowstorm and if Jin had just been patient enough to wait until morning, reaching the top would have been a simple stroll.
to fast-travel to the base. From there, turn around to see that there is no longer a snowstorm and if Jin had just been patient enough to wait until morning, reaching the top would have been a simple stroll.
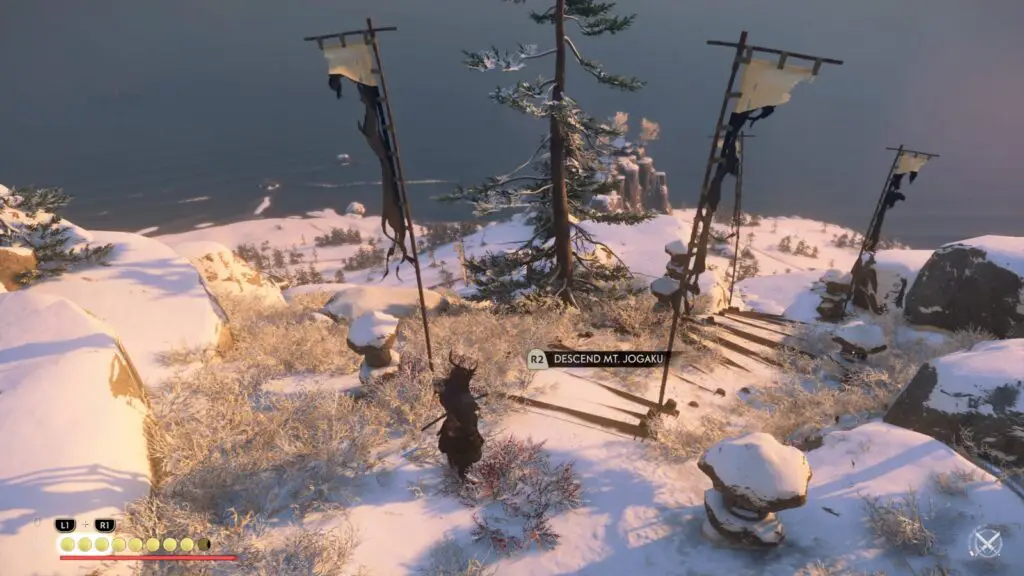
Nevermind, though, Jin wishes to speak to the musician again, so head a short way downhill ahead of you to find him at the same camp as before.
Speak with Yamato a final time to end the quest and earn yourself two new vanity items as well as – if you’ve done all the other Mythic Tales – a well-deserved trophy!
Thank you for choosing PlatGet as your source for this guide, consider checking out our reviews and other guides! If you’re in the midst of platting this title then check out our full Ghost of Tsushima Trophy Guide for more helpful info!
Follow us on twitter @GetPlat or Instagram @platget for updates on new reviews and guides, as well as small anecdotes about our platinum journeys.
Discussion
We've Partnered with NordVPN

