PlayStation 4, PlayStation 5
Exo One Trophy Guide


General Info
FAQ
How long does it take to beat Exo One and unlock all trophies?
Around 2-5 Hours depending on how much you struggle with the Sound Barrier and Height Trophies..
How difficult is it to beat Exo One and unlock all trophies?
Easy (3/10).
Does Exo One have online trophies?
No.
Does Exo One have difficulty-specific trophies?
No.
Does Exo One have missable trophies?
No.
Does Exo One have glitched trophies?
No.
What is the minimum number of playthroughs required to unlock all trophies in Exo One?
Technically one, but I'd recommend at least two..
Does Exo One have a Platinum Trophy?
Yes.
Trophy Guide
Exo One Trophy Guide and Road Map for PlayStation
Welcome to our Exo One Trophy Guide. I heard of Exo One years ago, and thoroughly enjoyed some gameplay footage I watched. From then I desperately hoped it would come to PlayStation. About a year ago it showed up on the PlayStation Store, and it has sat in my wishlist gathering cobwebs since then until, finally, at the tail-end of June ’24, it was released. It was—honestly—everything I hoped for. I genuinely love this grandiose little physics game so much and it was well worth the wait.
In terms of a trophy journey, there’s nothing too difficult. Some of the planets are a little frustrating, which does lead to some annoying trophies, but overall I found the experience to be manageable and wholly enjoyable. There are a couple of speed run trophies, which can be daunting, but once you have the hang of the mechanics, you can really sail through the game.
Phase One | First Playthrough & All Energy Pickups
For this first phase of the Exo One Trophy Guide, I wouldn’t recommend trying too hard to earn the 60-minute speedrun trophy when you’re completely new to the game. Instead, I think you should take your time. Try to understand the mechanics and try to collect all the energy pickups (see Maximum Energy.)
Unlocking the Maximum Energy trophy means getting all the pickups in a single playthrough, using level select later won’t help you, so your best bet is to use this time (while your completion time is less important) to carefully collect every pickup in your first playthrough. Most of them are in very plain sight except for a couple, so do check out our Pickup Locations Guide under Maximum Energy.
Beyond that, you could also use this time to try and earn the Sound Barrier Trophies and Height Trophies, but those can be mopped up later via Level Select and so are less priority than Maximum Energy.
Complete the Game

Journey's End
Complete the game
Just reach the game’s credit sequence to have the “Journey’s End” trophy unavoidably unlock. You may even receive one of the three Speed Run Trophies depending on how fast you are, but we’ll focus on those in Phase Two.
Collect All Energy Pickups

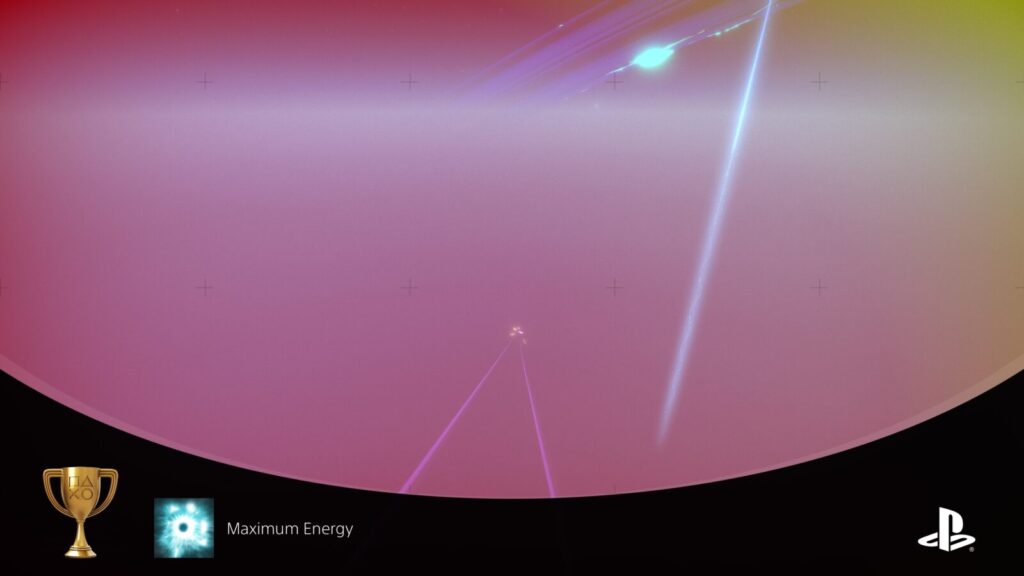
Maximum Energy
Collect every energy pickup
To unlock the “Maximum Energy” trophy, you need to find and collect all the Energy Pickups hidden throughout each level. Most of them are very easy to find due to the bright beam of white light emitting from them up into the air, but there are a couple that are a bit easier to miss. There’s essentially one on every planet except Sojournus, but to make up for this, there’s two on Daramulum.
Use the mini-guide below to locate and collect all of them:
Sagan
The first Energy Pickup, on Sagan IV, is very easy to spot from a distance.

You’ll find it easily inside a metal tunnel on your way through the level.

Gnowee
The Energy Pickup on Gnowee is amid some large metal structures, at the top of a tall stone spire. Surrounding this spire are winding air currents which can be used to easily glide up to the top of the spire and collect the pickup.

Quirinus
On your way through the Quirinus level, you’ll see the Energy Pickup very high up in the air, sat atop a large metal cube.

To reach this cube, approach the orange booster directly below it, which is attached to the side of a metal structure. This metal structure has a bowl in the top of it. Essentially, you want to drop into the bowl in such a way that you slingshot yourself through the booster with an upwards velocity. The booster will multiply this velocity and send you way up into the air. While in the air, glide safely down on top of the cube and collect the Energy Pickup

Nautica
On your way through the Nautica level, as you get closer to the Energy Pickup, you’ll see a booster gate at the top of a metal ramp.

Pass through the booster gate and it will launch you directly at the Energy Pickup. Glide down towards it, and you should be able to easily collect it before your energy runs out.

Nautica Pt. 2
During the second section of the planet Nautica, you’ll need to collect some glowing blue pickups to activate the launch-gate and finish the level. Between two of these pickups, high up in the air, you can find the Energy Pickup. The easiest way to reach it is to climb up the mountain, build speed going down it, and then glide to the pickup from there.

Daramulum
Daramulum actually has two Energy Pickups on it, but they’re fortunately quite close together.
Progress through the level until you reach this very obvious and unmissable sandwich-like structure over the water:

As you can see in the image above, this structure’s two plates have an energy pickup between them, but there is no beam of light indicating its presence, making it a tricky one to find!
Climb the rock formations on the right-hand side of the water, like I’ve done in the image above, and then use a high point there as a jumping-off point to glide over and enter between the two plates.
After collecting that one, you can continue on to collect the very obvious one a short distance away inside the large metal cube structure—the one with a bright beam of light attached to it.
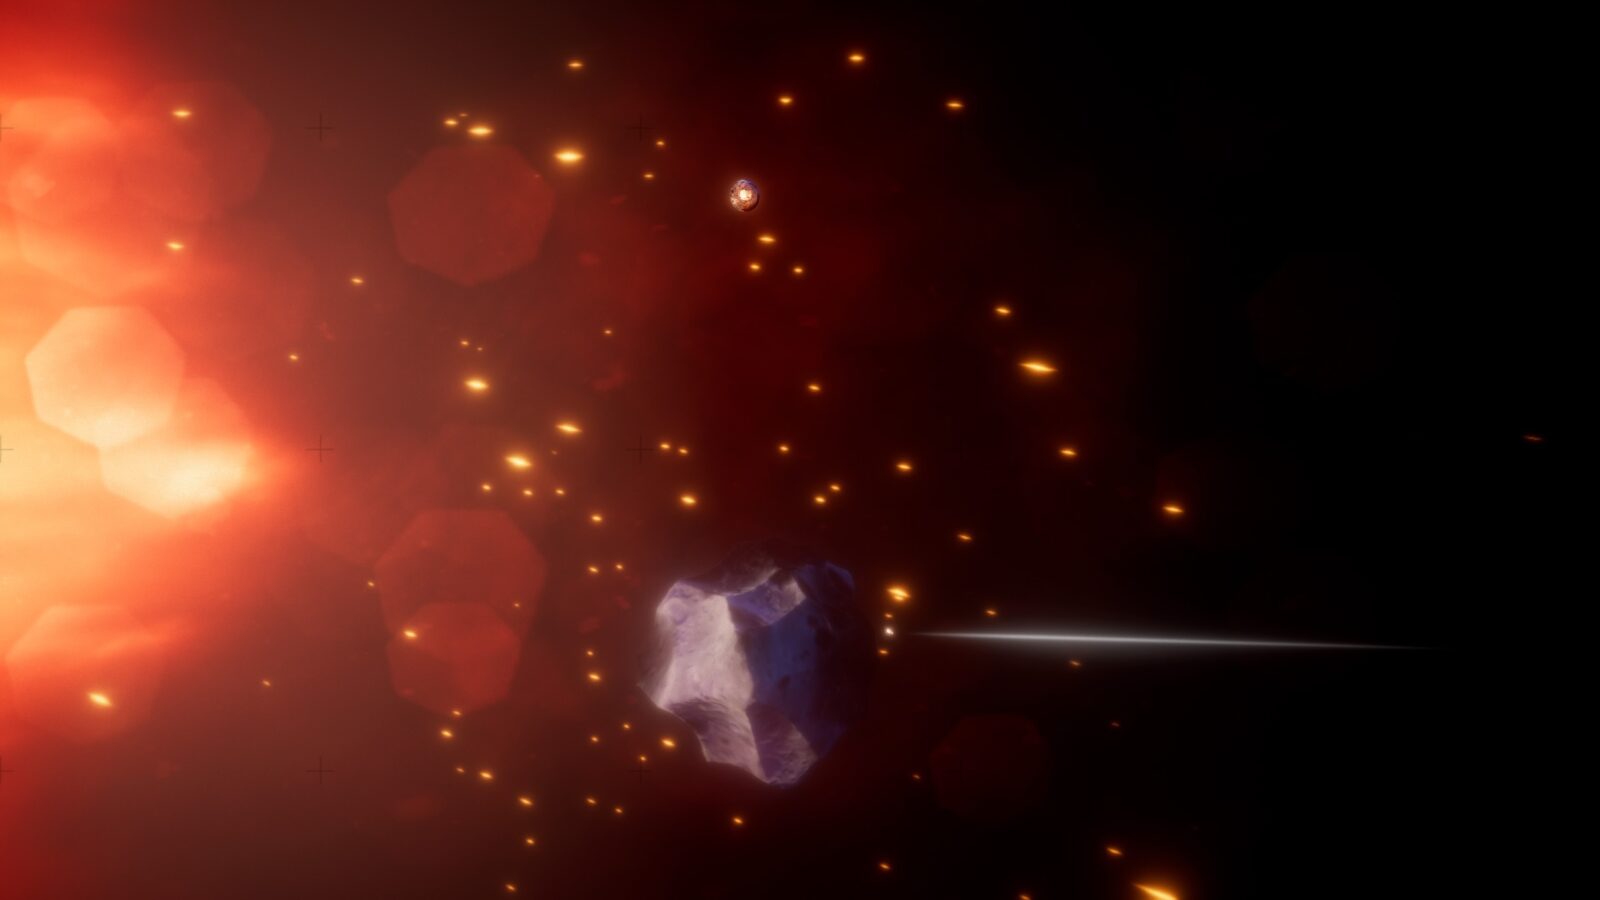
Coronides
From the main peanut-shaped body at the Coronides, look around for a meteor with a white beam of light on it, this is where the Energy Pickup is.
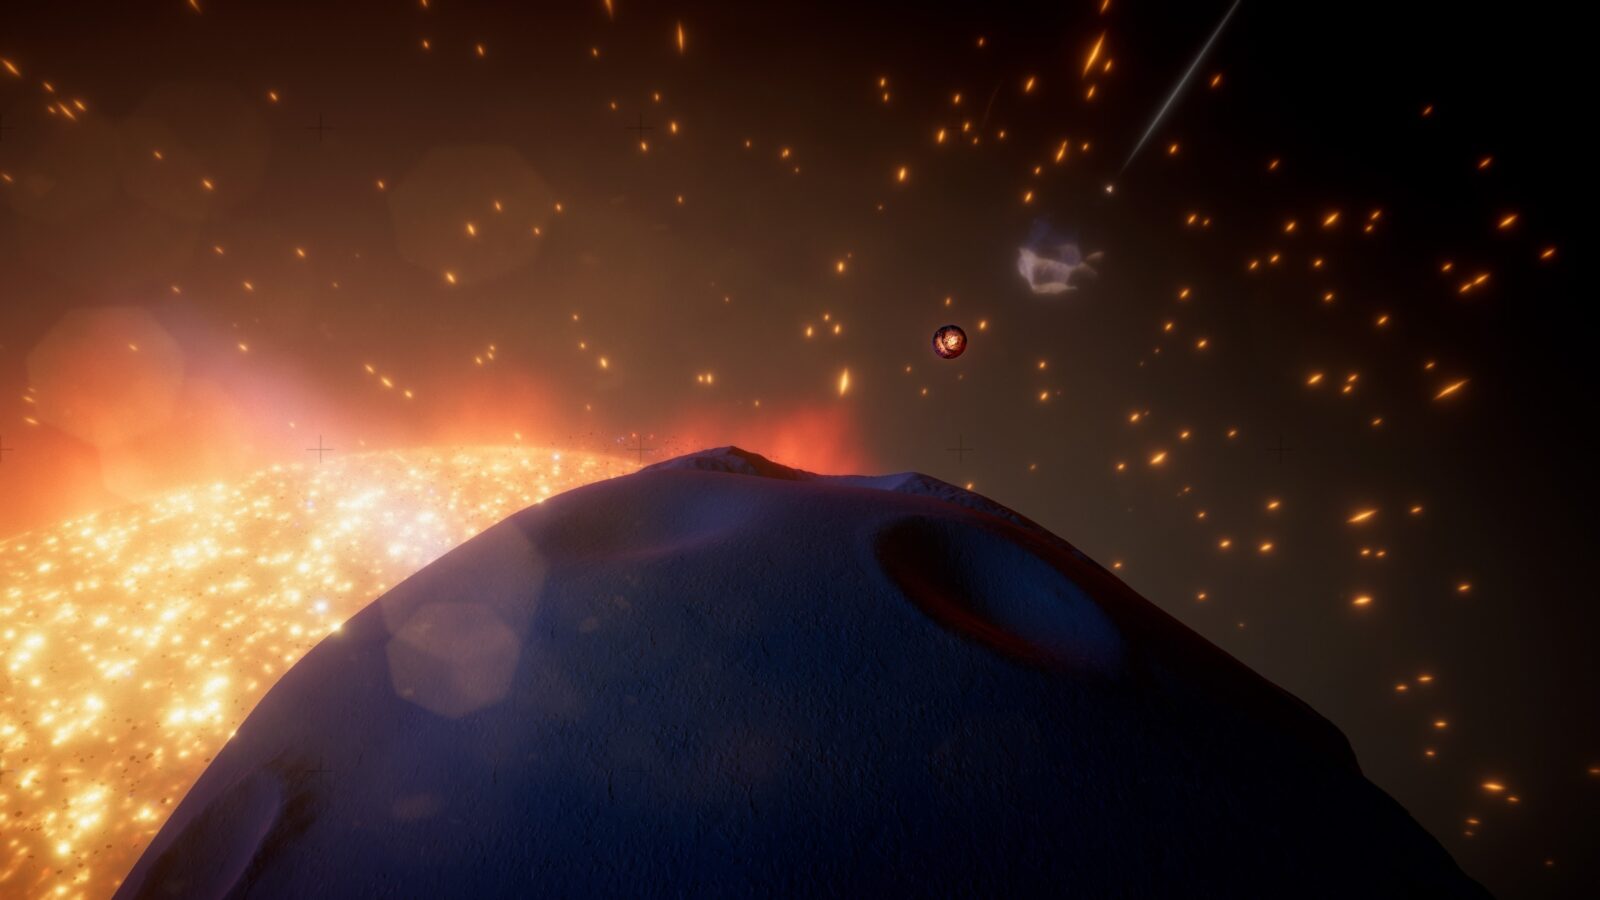
To reach it, you generally need to head in the opposite direction from the level’s exit. Use the craters on the main meteor to get enough height and speed to break the peanut’s orbit and reach the Energy Pickup.
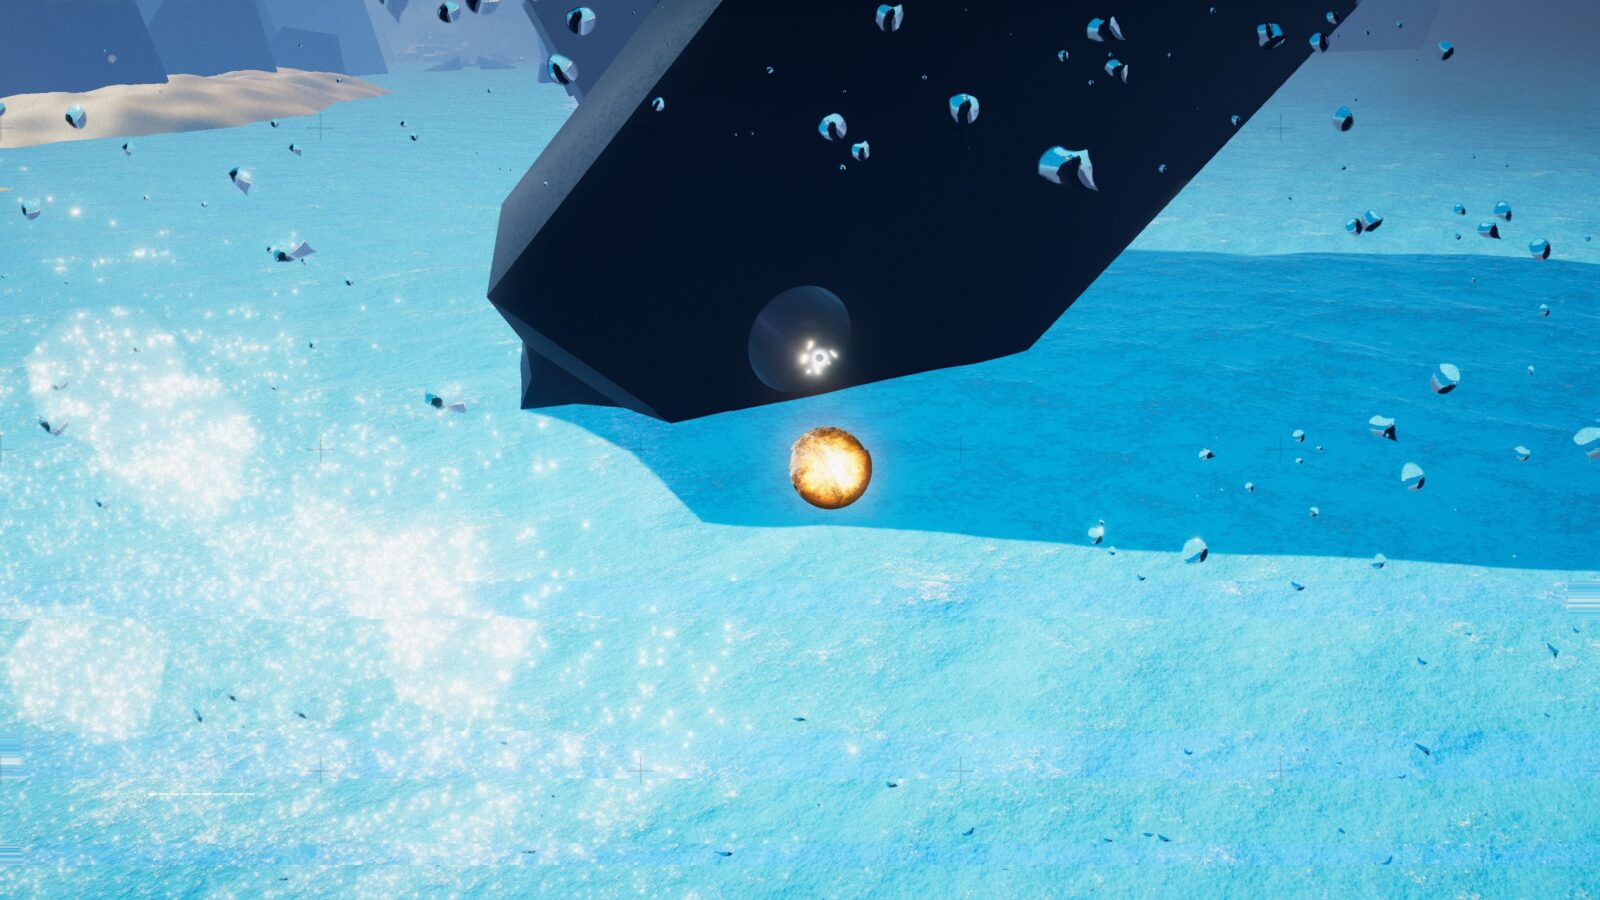
Darwin
The Energy Pickup on Darwin is very hard to miss, it’s in clear sight as you progress through the earlier parts of the level. You’ll see it inside a hole bored through one of the large metal monoliths in the water.
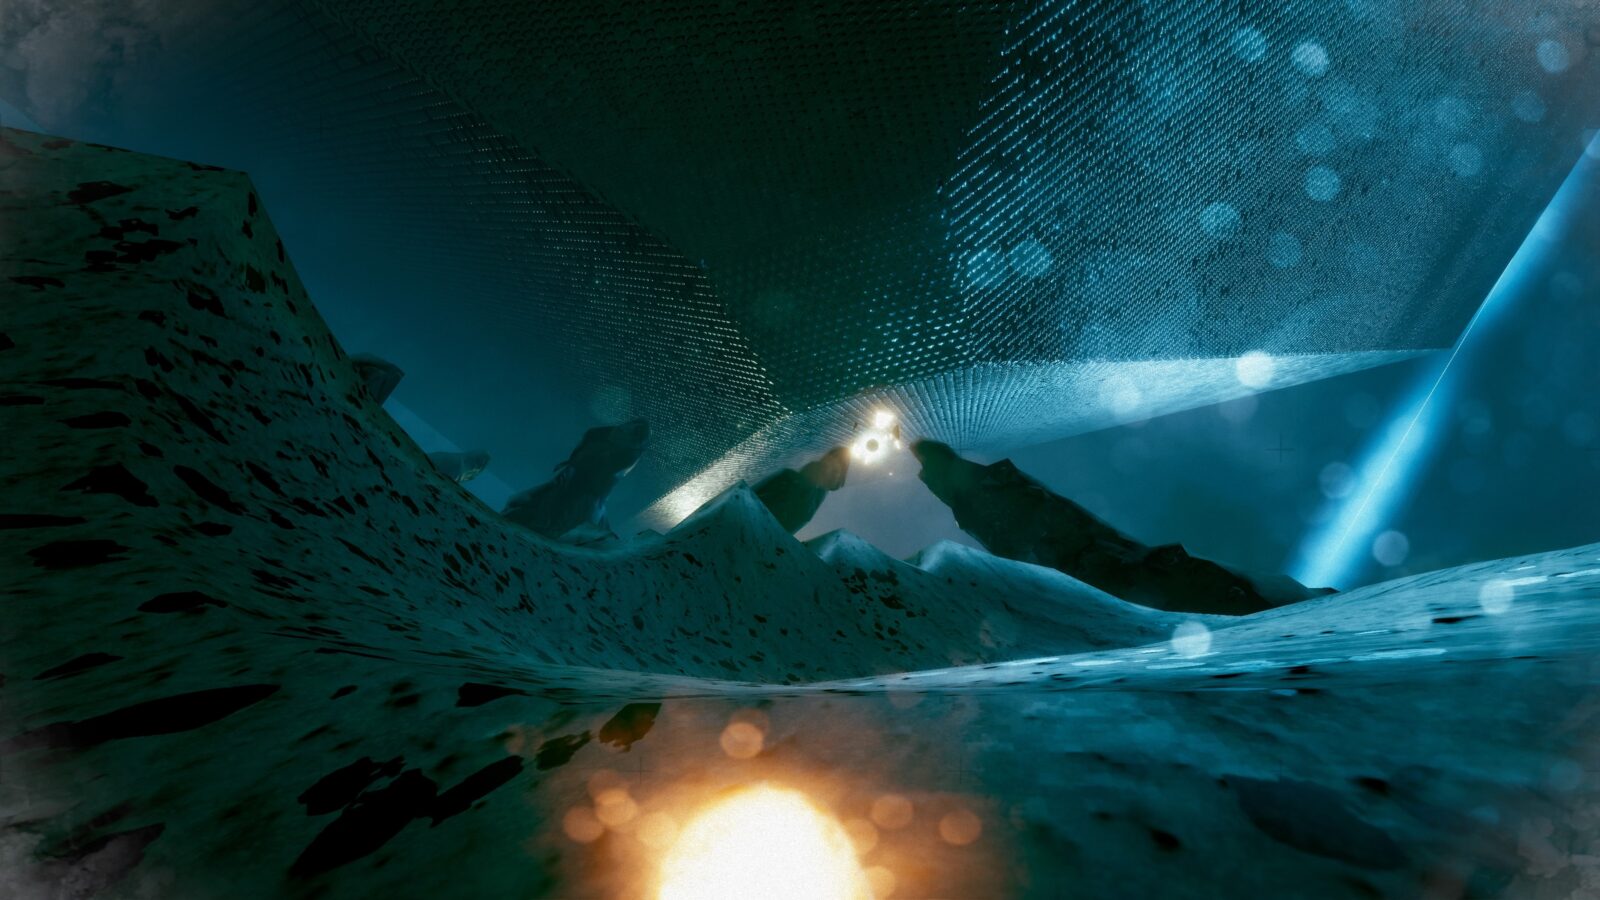
Obias
The Energy Pickup on Obias is another obvious one. You’ll find it directly beneath the huge inverted metal pyramid in the middle of the level.
Coelus
The Energy Pickup on Coelus is one of the hardest ones to reach by far, and it takes quite a while to get to as well. Firstly, as you make your way through the level towards the Energy Pickup, collect purple particles, which then surround you and give you access to a speed-boost. Don’t use the speed boost, just stockpile them for now. You’ll want around 3 to 5 of these powerups in the bank.

When you’ve collected enough, and have reached the Energy Pickup, dive directly downwards and the rise back up via the clouds to point yourself skyward and then hold ![]() to ready your speed boost. Release
to ready your speed boost. Release ![]() to then launch yourself incredibly high up into the air, hopefully high up enough that you can reach or glide to the Energy Pickup and collect it.
to then launch yourself incredibly high up into the air, hopefully high up enough that you can reach or glide to the Energy Pickup and collect it.

Phase Two | Speed Run Playthrough
Hopefully, after your first playthrough of the game, you’ve now got a fairly good understanding of the mechanics; how to build speed, how to maintain speed, how to get yourself in motion on each planet, and so on. Your main goal in this phase will be to beat the game in just 60 minutes. That’s really not too difficult to achieve and, fortunately, if you feel you’ve wasted too much time on any particular planet, you can just use the “Restart Level” option in the ![]() menu to return to the beginning of the level (resetting your timer to what it was when you entered that level) and try again.
menu to return to the beginning of the level (resetting your timer to what it was when you entered that level) and try again.
Thanks to that handy feature, you can actually waste a bit of time practicing each level if you feel you need to do so, then just Restart Level when you think you’ve got a good approach nailed down.
Speed Run Trophies

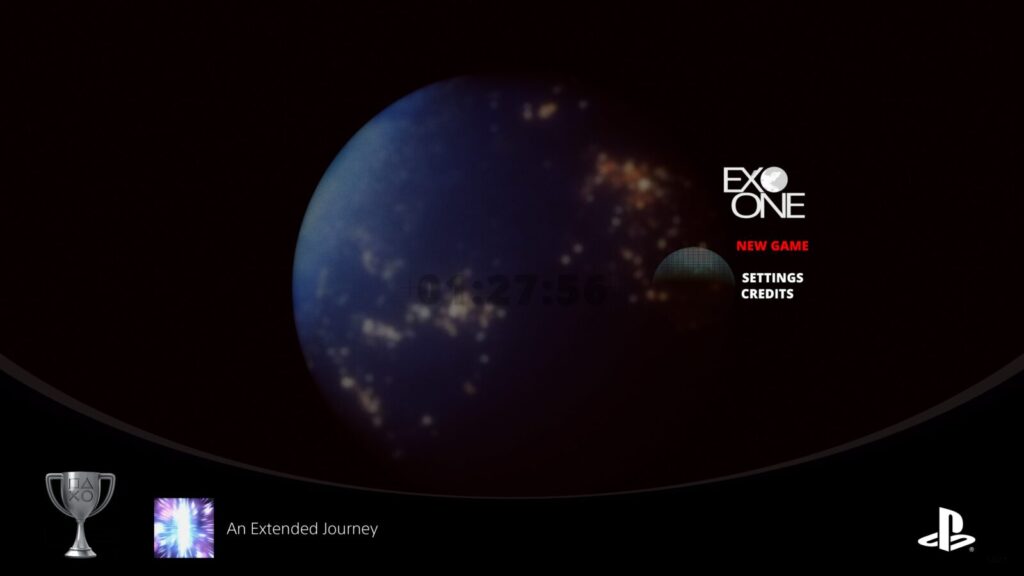
An Extended Journey
Complete the game in less than 180 minutes
180 Minutes is 3 whole hours. Honestly, I would struggle to stretch a playthrough out to three whole hours unless I was really going for every trophy in a single playthrough. There’s a good chance you’ll earn this trophy naturally. If not, you can stack it with the 60-minutes Speedrun Trophy and unlock “An Extended Journey” alongside Light Speed Journey.

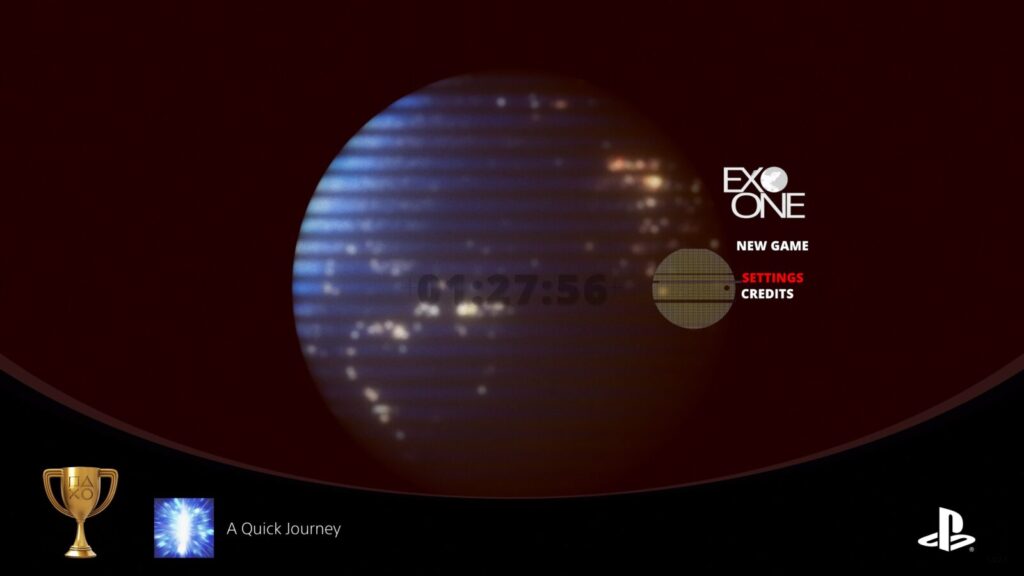
A Quick Journey
Complete the game in less than 90 minutes
To unlock “A Quick Journey,” you would need to complete the game in less than 1 hour and 30 minutes. I personally earned this one naturally on my first playthrough so I feel like this is more of a natural completion time for most players, provided you don’t spend too much time struggling with the mechanics and/or working on other trophies.
This trophy does stack, so you can unlock it alongside Light Speed Journey.

Light Speed Journey
Complete the game in less than 60 minutes
The “Light Speed Journey” trophy asks that you complete the game in an hour or less. This is actually a bit of a challenge, but if you have the hang of the mechanics you can really soar through some levels. There are levels like Nautica and Daramulum which can be a painful slog to get through, but with the right approach you can make up for time by absolutely blazing through levels like Coronides and Sojournus XXIII in just a couple of minutes.
Don’t forget the method I described earlier, either; by using the “Restart Level” option in the ![]() menu, you can reset the clock to whatever it was when you first entered a level if you feel you’ve wasted too much time in there.
menu, you can reset the clock to whatever it was when you first entered a level if you feel you’ve wasted too much time in there.
Your overall time will be revealed to you at the end of the game, after the credits roll. This time will then always display on the Main Menu too. Unbelievably, I actually completed the game in 01:00:01—one whole second over the 60-minute time limit—and the trophy still unlocked for me! So there does seem to be some sort of narrow leeway provided.

Phase Three | Level Select Cleanup
This option is truly not clear enough, but if you go left on the main menu, you’ll notice a holographic planet that you can highlight.
Pressing ![]() on this holographic planet opens the Level Select Menu. From here, you can replay any of the game’s planets in an attempt to mop up the various Sound Barrier and Height trophies associated with each one. There’s also a couple of misc trophies that can technically be earned on any planet.
on this holographic planet opens the Level Select Menu. From here, you can replay any of the game’s planets in an attempt to mop up the various Sound Barrier and Height trophies associated with each one. There’s also a couple of misc trophies that can technically be earned on any planet.

Sound Barrier Trophies

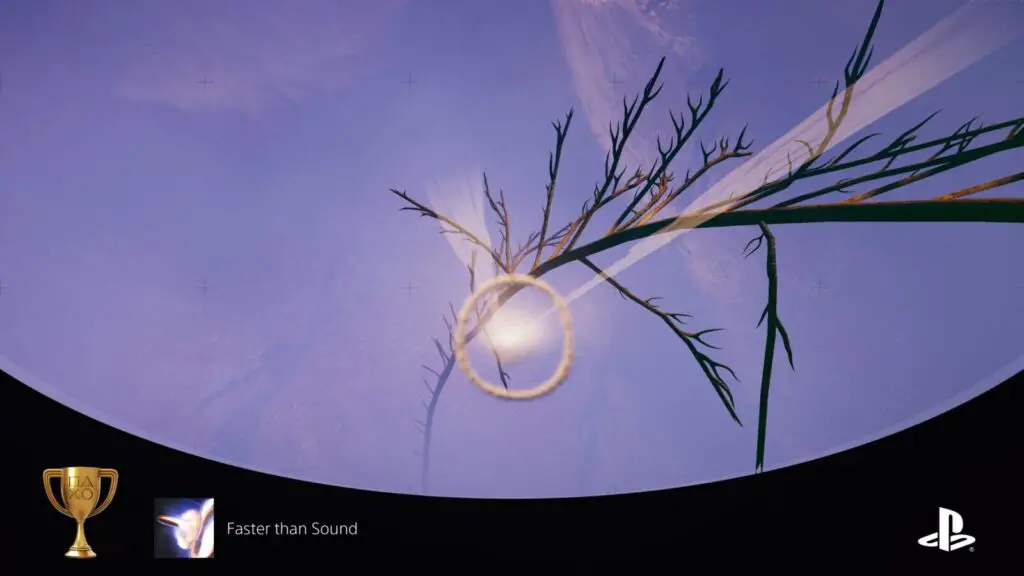
Faster than Sound
Break the sound barrier
Because you’ll need to break the sound barrier on pretty much every planet for all the trophies in this section, you can expect to earn the “Faster than Sound” trophy along the way quite easily. Breaking the Sound Barrier is quite simple. The easiest way to do it is to gain as much height as you can, and then hold ![]() until you see and hear the sound barrier burst around your ship.
until you see and hear the sound barrier burst around your ship.

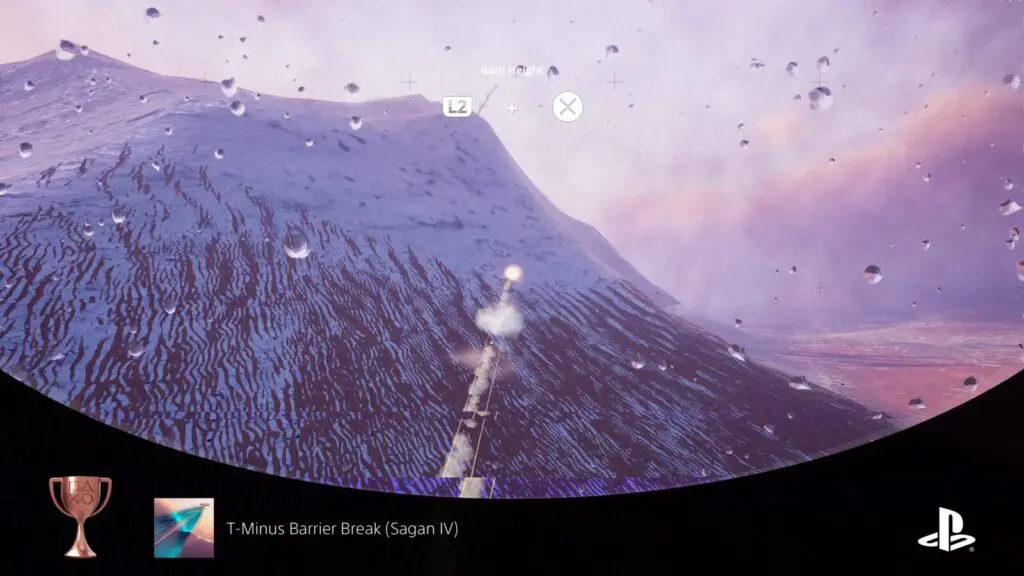
T-Minus Barrier Break (Sagan IV)
Keep your speed above the sound barrier for 3 seconds on Sagan IV
Use the steep valleys of Sagan IV to reach high above the clouds around mid-way through the level. With enough height, you can easily use ![]() +
+![]() to gather enough speed to break the sound barrier. You then want to level out as quickly as you can by releasing
to gather enough speed to break the sound barrier. You then want to level out as quickly as you can by releasing ![]() . Ideally, you want to do this within the clouds so that you can maintain your speed, but you do only need to hold a barrier-breaking speed for 3 seconds.
. Ideally, you want to do this within the clouds so that you can maintain your speed, but you do only need to hold a barrier-breaking speed for 3 seconds.

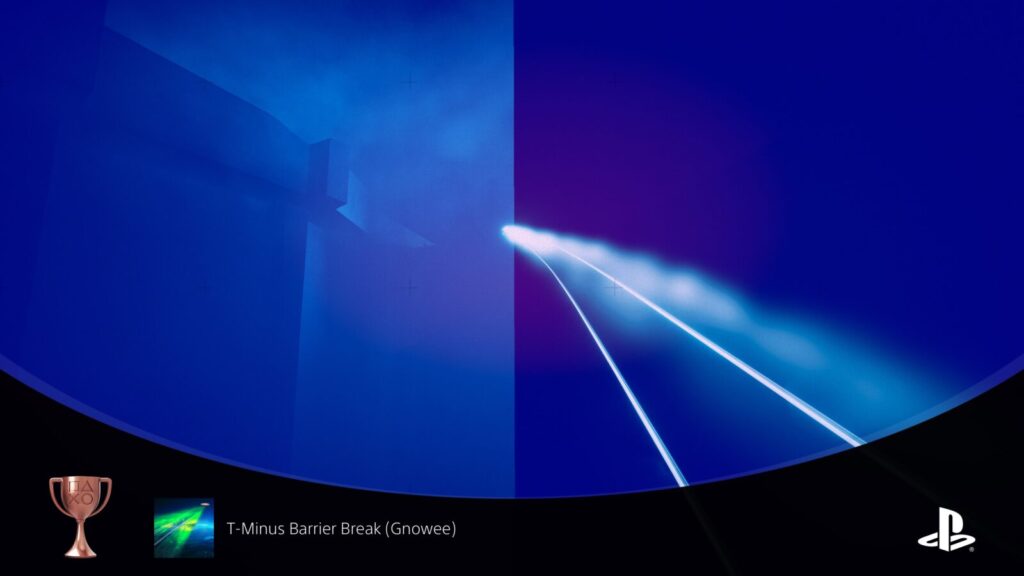
T-Minus Barrier Break (Gnowee)
Keep your speed above the sound barrier for 5 seconds on Gnowee
The easiest way I found for earning the T-Minus Barrier Break Trophy on Gnowee is by starting at the top of the spire where the energy pickup is, using the spiral air currents to reach the top. From there, launch yourself off the spire using it’s half-pipe shape and then hold ![]() +
+![]() to soar downwards into the foggy trench—being very careful not to hit the trench of the ground below.
to soar downwards into the foggy trench—being very careful not to hit the trench of the ground below.
Once the sound barrier breaks, release ![]() and use the clouds in the trench to maintain speed and regain height. If you manage to maintain this top speed for at least 5 seconds, you should unlock the trophy before reaching the air currents near the end of the trench.
and use the clouds in the trench to maintain speed and regain height. If you manage to maintain this top speed for at least 5 seconds, you should unlock the trophy before reaching the air currents near the end of the trench.

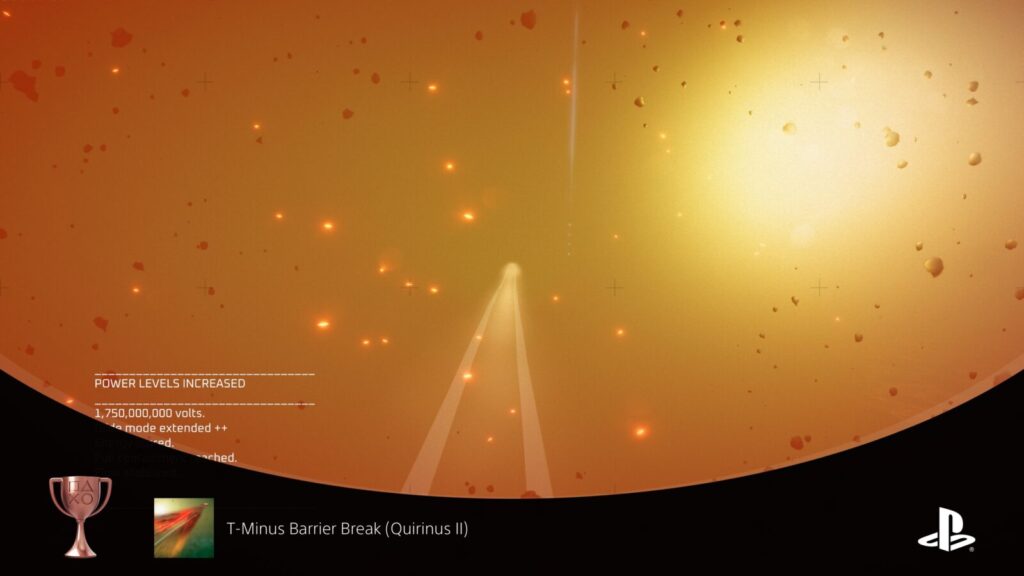
T-Minus Barrier Break (Quirinus II)
Keep your speed above the sound barrier for 6 seconds on Quirinus II
Quirinus II has a lot of cloud cover. As you’ve probably noticed by now, Cloud Cover is the best way to maintain a Barrier-breaking speed. Gain some height using slopes and valleys and then when you’re high enough, hold ![]() +
+![]() to get up to speed before releasing
to get up to speed before releasing ![]() and leveling out within the clouds to maintain the speed for 6 seconds.
and leveling out within the clouds to maintain the speed for 6 seconds.

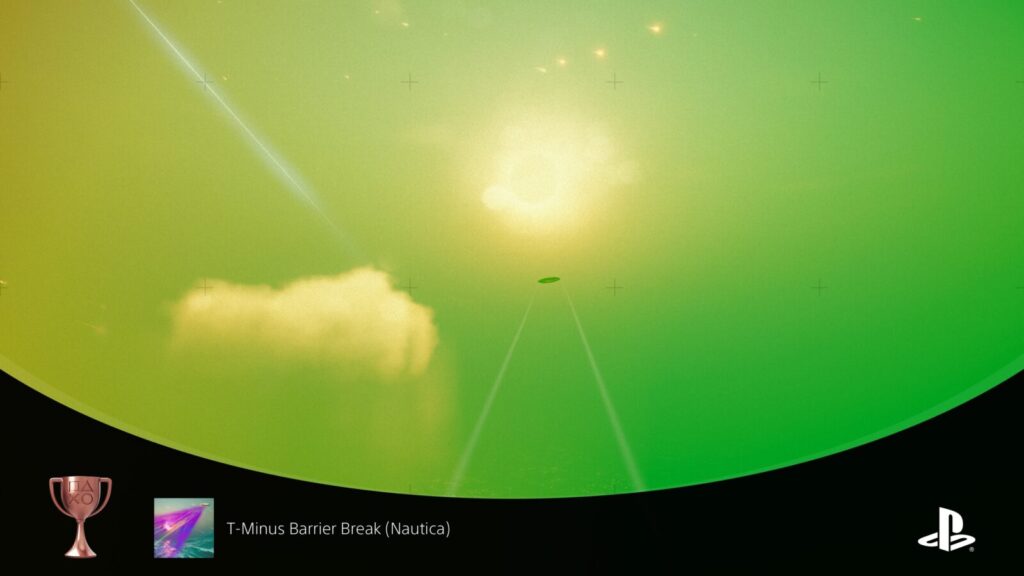
T-Minus Barrier Break (Nautica)
Keep your speed above the sound barrier for 6 seconds on Nautica
The first half of the Nautica level is one of the hardest places to earn the Barrier Break trophy, especially when you’re expected to maintain it for 6 whole seconds. The key to success here, though, lies in the clouds.
You want to start by getting as much height as you can, the jets of water from the meteorite impacts are very helpful for doing this. Once you’re high enough to reach the clouds, use them to gain as much height as you can.
Then, from the highest point you can reach, hold ![]() +
+![]() to build up speed. If you time it right and can break the Sound Barrier before getting below the cloud layer, you should be able to release
to build up speed. If you time it right and can break the Sound Barrier before getting below the cloud layer, you should be able to release ![]() right as the barrier breaks and then use the clouds to maintain speed and regain some of the height you sacrificed to achieve the speed of sound.
right as the barrier breaks and then use the clouds to maintain speed and regain some of the height you sacrificed to achieve the speed of sound.
An alternative, albeit somewhat frustrating method, is to climb the large stone spire near the Energy Pickup. You can essentially roll your way up it, while using some of the surrounding clouds to reach higher and higher sections of the spire. Once you’re at the top, it’s a great place to drop from to break the speed barrier. Don’t forget you need to maintain that speed for 6 seconds, though, so try and drop into some clouds that you can glide through to maintain the required speed.

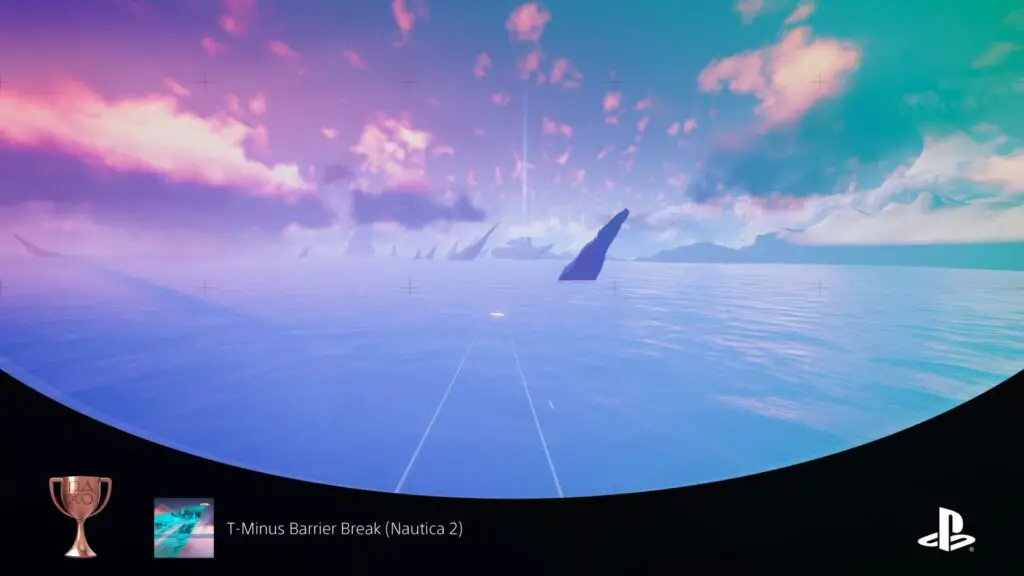
T-Minus Barrier Break (Nautica 2)
Keep your speed above the sound barrier for 6 seconds on Nautica...again
In the second section of the Nautica level, attaining speed of sound is way easier. There aren’t too many clouds in this part of the level, so maintaining your speed will require a little finessing, but it’s very easy to get up to speed via the use of the huge sloped mountain range. Just roll down it with ![]() and use any one of the ramped edges to launch yourself toward cloud cover before flattening out into a glide. Maintain the speed for 6 seconds and the trophy is yours!
and use any one of the ramped edges to launch yourself toward cloud cover before flattening out into a glide. Maintain the speed for 6 seconds and the trophy is yours!

T-Minus Barrier Break (Daramulum)
Keep your speed above the sound barrier for 2 seconds on Daramulum
Daramulum is a tricky level to navigate, especially since there’s not much space and no cloud cover, so getting up to speed is hard enough, never mind maintaining it. Fortunately, though, you only need to stay above the Sound Barrier for a total of 2 seconds on Daramulum. This is pretty easy to do via use of any of the long sloped hills or tall drops in the level.
Alternatively, you can go all the way to the end of the level and then, instead of leaving, throw yourself off the cliff and use ![]() +
+![]() to get up to speed very quickly. Maintain that for just 2 seconds with a glide and the trophy is as good as earned.
to get up to speed very quickly. Maintain that for just 2 seconds with a glide and the trophy is as good as earned.
As another alternative, you can follow the instructions for the Got High on Daramulum trophy and then use the height gained there to build up the speed needed.


T-Minus Barrier Break (Sojournus XXIII)
Keep your speed above the sound barrier for 3 seconds on Sojournus XXIII
Sojournus seems like a tricky place to achieve the speed of sound because your ship is totally powerless at the beginning. However, once you reach cloud cover in the second half of the level, you get power from the lightning storms. What’s more; you get an extra double-jump every time lightning strikes you!
Using this double-jump exploit, keep gaining height as you glide through the stormclouds until you’re well above them. From there, hold ![]() +
+![]() until you break the Sound barrier, then release
until you break the Sound barrier, then release ![]() before you go below the cloud layer. Use the clouds to maintain height and speed until the trophy unlocks. You only need to maintain the speed of sound for just 3 seconds!
before you go below the cloud layer. Use the clouds to maintain height and speed until the trophy unlocks. You only need to maintain the speed of sound for just 3 seconds!

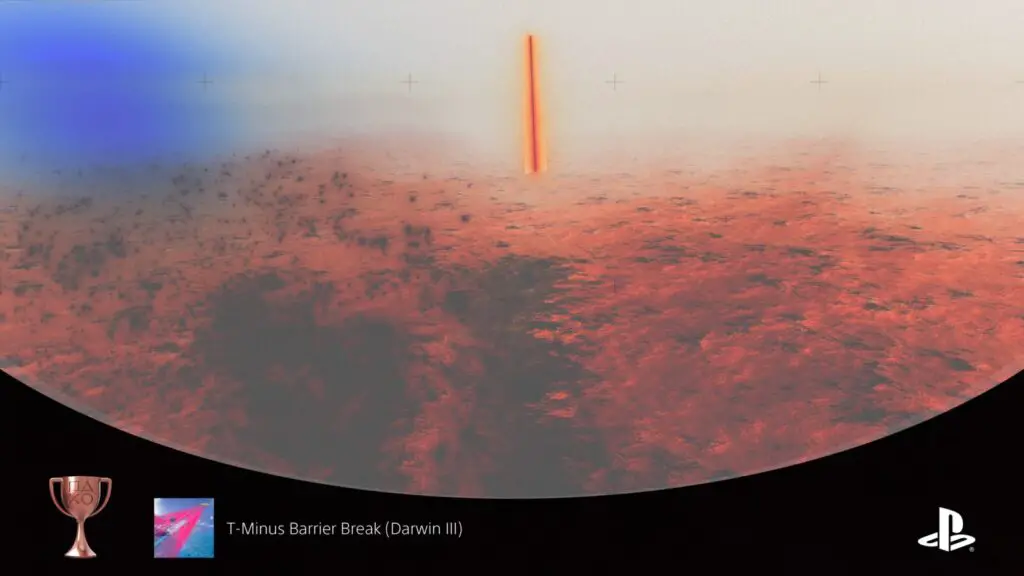
T-Minus Barrier Break (Darwin III)
Keep your speed above the sound barrier for 9 seconds on Darwin III
For the first part of the level on Darwin III, you’re moving towards a huge cube-like structure with air-streams leading up to it. However, once you get beyond that structure, you reach a portion of the level with a lot of cloud cover. Using these thick clouds, your double jump, and the hills of the nearby plateaus, launch yourself as high up into the air as you can, and then hold ![]() +
+![]() to get up to speed. Once you’ve broken the sound Barrier, release
to get up to speed. Once you’ve broken the sound Barrier, release ![]() to level out inside cloud cover and then use the clouds to maintain your speed.
to level out inside cloud cover and then use the clouds to maintain your speed.
You’ll need to stay up to speed for 9 whole seconds, but there should be more than enough cloud cover for you to achieve that.
Alternatively, follow the instructions for Got High on Darwin III to get a lot of height very early in the level, and then use ![]() +
+![]() to break the sound barrier from up there. Since there is a lot of cloud cover in that area, you can easily maintain speed for 9 seconds—and then some.
to break the sound barrier from up there. Since there is a lot of cloud cover in that area, you can easily maintain speed for 9 seconds—and then some.

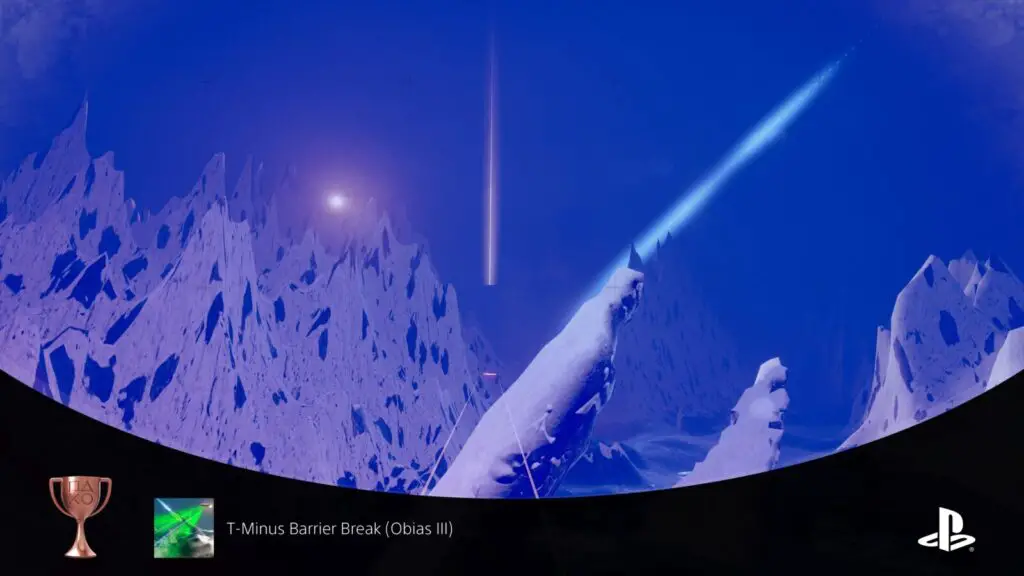
T-Minus Barrier Break (Obias III)
Keep your speed above the sound barrier for 6 seconds on Obias III
Obias III’s surface is covered in very steep structures. To easily get up to speed, drop yourself onto a steep surface and ride it down to the bottom before gliding. This should be more than enough for you to not only get up to speed, but maintain it with some deft flying.
You can also use another sloped surface to launch yourself high into the air, and then use cloud cover to help you maintain the required speed.

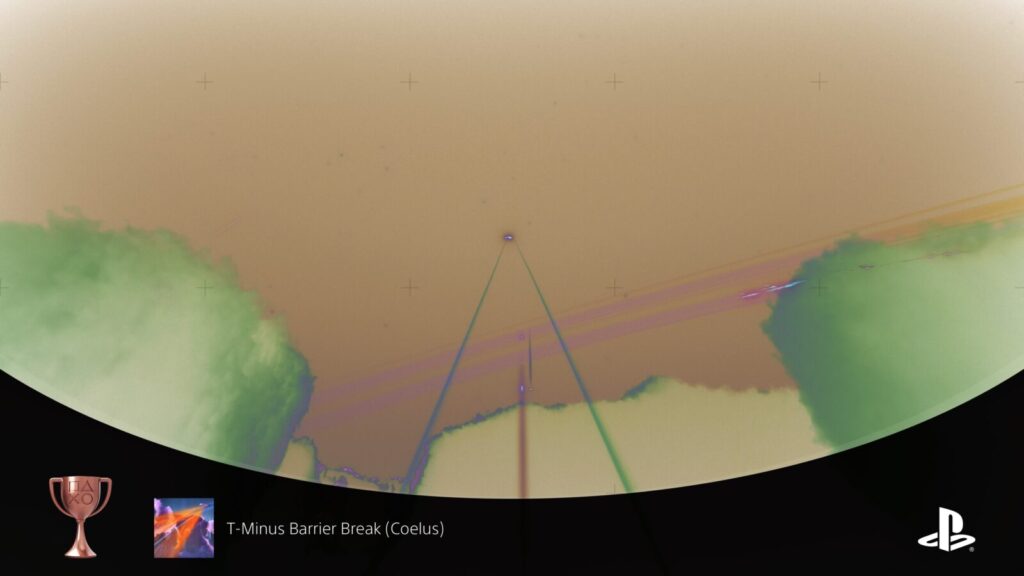
T-Minus Barrier Break (Coelus)
Keep your speed above the sound barrier for 9 seconds on Coelus
To achieve the T-Minus Barrier Break trophy on Coelus, start with the method for collecting the Energy Pickup on this planet (See Maximum Energy.) The purple charges on this planet can be used to boost your ship instantly to the speed of sound. You can use 3-5 of these charges to gain a massive boost of speed. At the right angle, you can launch yourself high into the air.
From the high point you reach, you can then hold ![]() +
+![]() to careen down towards the planet’s surface, breaking the sound barrier again, but then once you reach the cloud layer, release
to careen down towards the planet’s surface, breaking the sound barrier again, but then once you reach the cloud layer, release ![]() to level out and then use the clouds to maintain your speed. You’ll need to maintain speed for a whopping 9 seconds on Coelus, but the planet’s basically made for enabling insane speeds over long distances.
to level out and then use the clouds to maintain your speed. You’ll need to maintain speed for a whopping 9 seconds on Coelus, but the planet’s basically made for enabling insane speeds over long distances.
Height Trophies

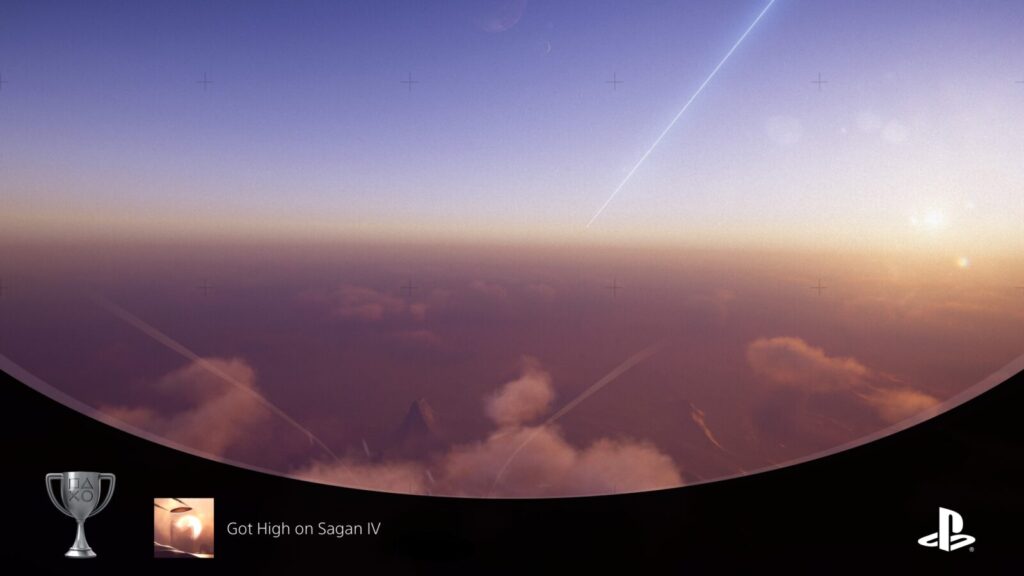
Got High on Sagan IV
Reach a great height on Sagan IV
Around mid-way through the Sagan IV level, you’ll come to an area with a lot of cloud cover. Among these clouds are some very steep formations and valleys. You essentially want to gain by first using the clouds, then drop onto a steep valley or a sloped hill and then use the steepest formation you can find to launch yourself skyward. At the peak of your glide, execute your double-jump to add a few feet and hopefully reach the height needed, which isn’t much on this first planet.
Apparently you can also earn the trophy by climbing up the large metal structure near the exit of the level, if you’re struggling to earn the trophy with the above method, try that instead.

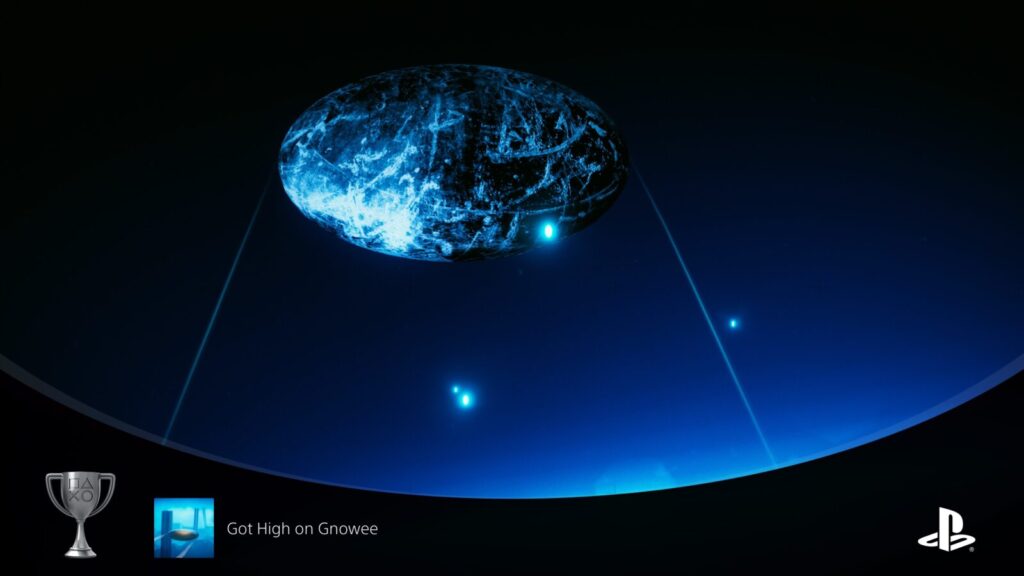
Got High on Gnowee
Reach a great height on Gnowee
Gnowee is another difficult level to gain height on. Progress through the level until you reach the area with the two speed boosters. These boosters will launch you deeper into the level, but ignore them for now.
They’re positioned very close to some of the steepest valleys I could find. By repeatedly dropping onto one side of the valley and then launching yourself skyward from the other side, you can continuously get faster and faster, reaching higher and higher each time.
I basically had a good streak of dropping into the valley perfectly about 3 times in a row to eventually have enough speed to launch myself high enough for the trophy.

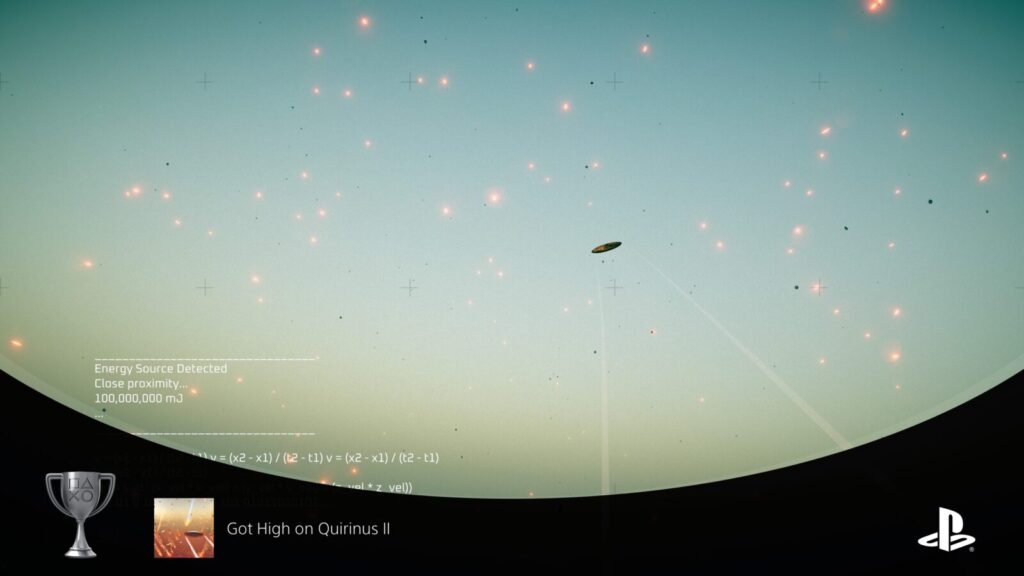
Got High on Quirinus II
Reach a great height on Quirinus II
There’s a booster on Quirinus II that you need to hit at an angle in order to reach the Energy Pickup on top of the floating cube (See Maximum Energy.) As it happens, this booster is also the best way to get height on Quirinus II. To do so, use the bowl-shape of the building that the booster is on to get a good run-up and to hit the booster while moving upwards. Hit it with enough speed and then activate glide to get as much height as you can, employing the use of your double-jump if needed to get a bit of extra height.

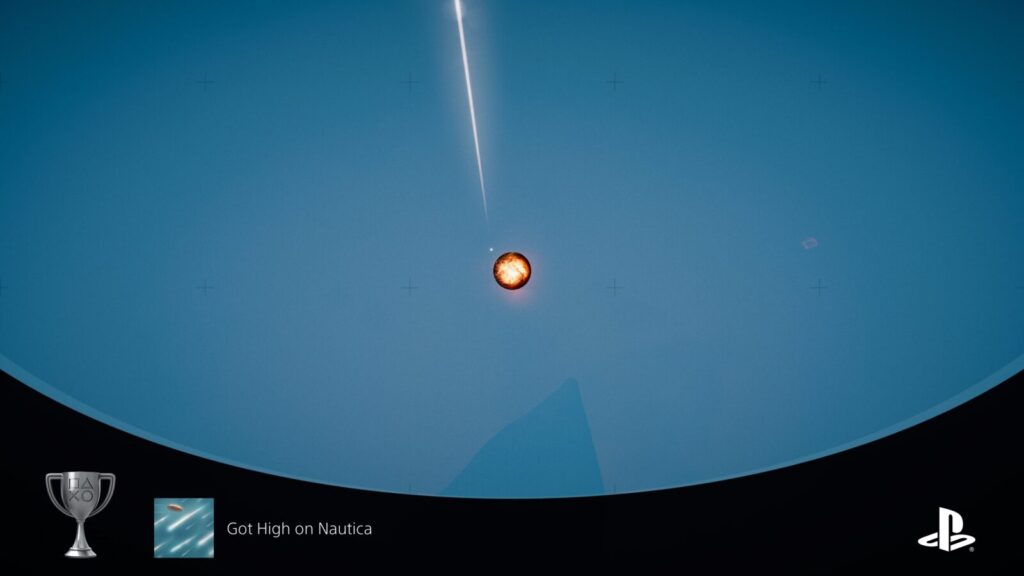
Got High on Nautica
Reach a great height on Nautica
The “Got High on Nautica” trophy is one of the harder trophies, but there’s an exploit that works fairly consistently. Start by progressing until the Speed Booster near the Energy Pickup. From there, go left towards the huge spire and use the surrounding clouds to make your way up it. You can basically roll all the way up, even some of the more vertical walls can be awkwardly rolled up.

Make your way right up to the highest tip of the spire, which overhangs the Energy Pickup slightly. From there, double-jump off of the mountain tip but then do not press ![]() to glide or
to glide or ![]() to drop. You need to just free-fall. It takes a little while (close to 10 seconds) but the trophy will eventually unlock on the way down.
to drop. You need to just free-fall. It takes a little while (close to 10 seconds) but the trophy will eventually unlock on the way down.


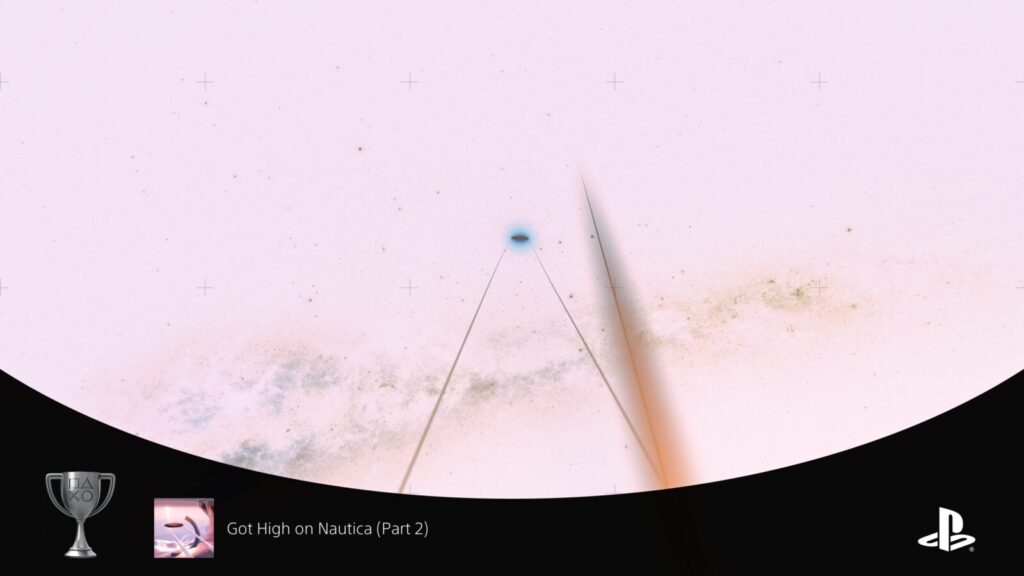
Got High on Nautica (Part 2)
Reach a great height on Nautica (Part 2)
In the second section of the Nautica level, there’s a huge snow-ramp up near the top of the mountain, where one of the three blue pickups are.

Going from the curved metal structure, you’ll need to blast down the hill and then do your best to hit one of the sloped edges and/or one of the spikes at the cliff edge at just the right angle that you can glide almost directly upwards. Maintain that glide for as long as you can until, hopefully, you reach just high enough to unlock this trophy.

This is another very difficult trophy, and I spent about 25 minutes just rolling down that hill and gliding back up it until I finally got the angle I needed.


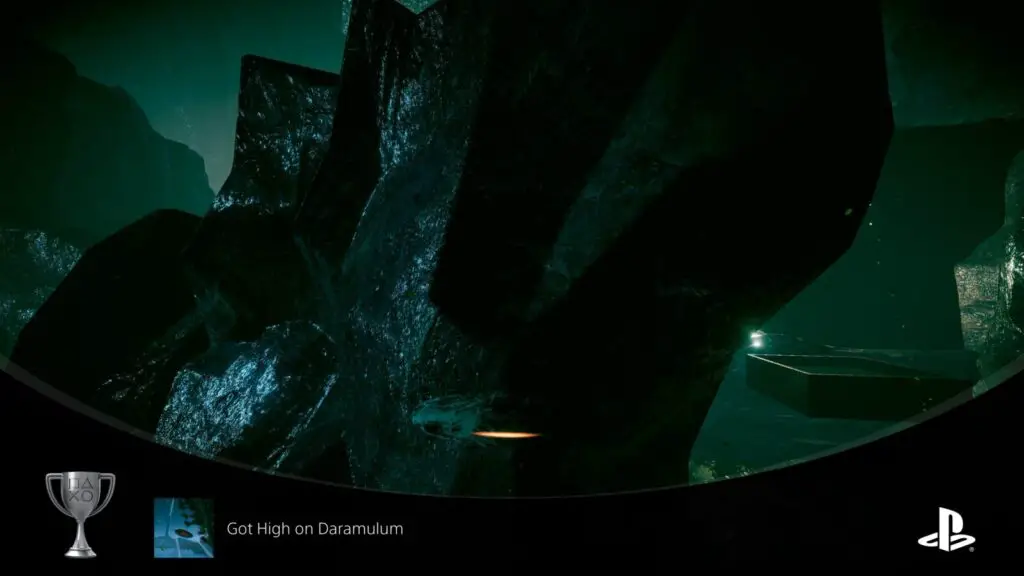
Got High on Daramulum
Reach a great height on Daramulum
After the sequence in the large sphere, you’ll transition to the second part of the level, where you find yourself in a pool. Continue onwards until the path takes a sharp turn towards the two-layered structure with the secret energy pickup in it.

On your right, as you round the corner, there’s a large stone formation. You basically want to climb this formation up as high as you can go.

You’ll see two tall trees in the distance ahead of you, which you want to essentially be moving towards.
At a certain point, there’s a large gap with a ledge ahead of you which is way higher than the one you’ve been climbing up. For whatever reason, if you double-jump and then glide towards the cliff face ahead, the trophy will unlock.

It’s actually possible to proceed higher and further up this formation, but the trophy doesn’t unlock unless you specifically glide towards the spot shown in the trophy screenshot below. I am unsure what causes this.

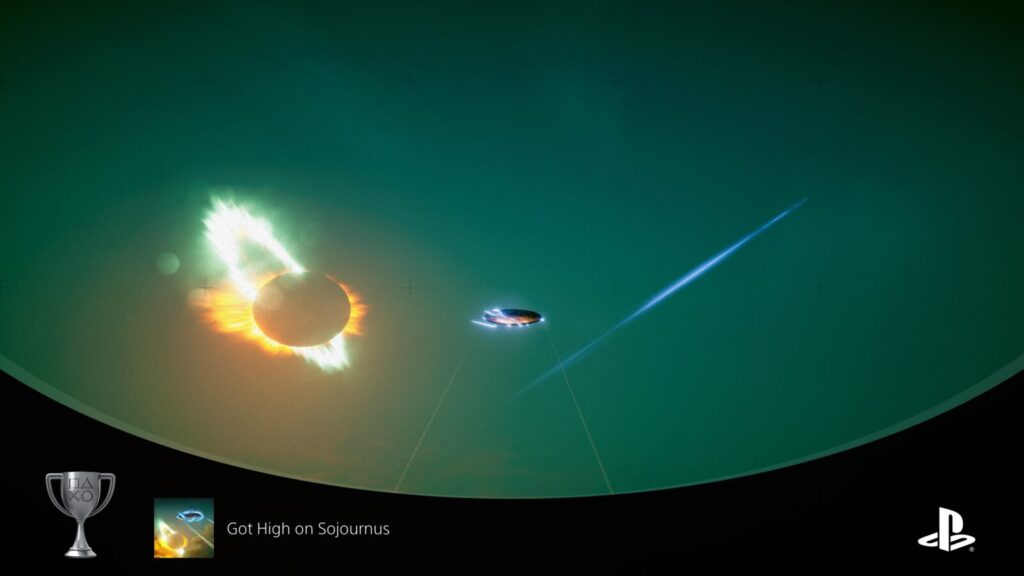
Got High on Sojournus
Reach a great height on Sojournus
Getting enough height on Sojournus is not actually as difficult as it may seem. First, you want to proceed through the level until you reach the thunderstorm clouds, where you get power from the lightning storms. Additionally; you get an extra double-jump every time lightning strikes you!
Using this, you can gain a lot of height by just gliding through the clouds to the top of the cloud cover and then double-jumping. This might not get you enough height, but if you then drop through the clouds with ![]() and aim yourself just right, you can use the many half-pipe-like valleys of Sojournus to slingshot yourself directly up into the air. Use the speed along with the clouds to climb high into the sky and then, with your double-jump, add a little extra height.
and aim yourself just right, you can use the many half-pipe-like valleys of Sojournus to slingshot yourself directly up into the air. Use the speed along with the clouds to climb high into the sky and then, with your double-jump, add a little extra height.

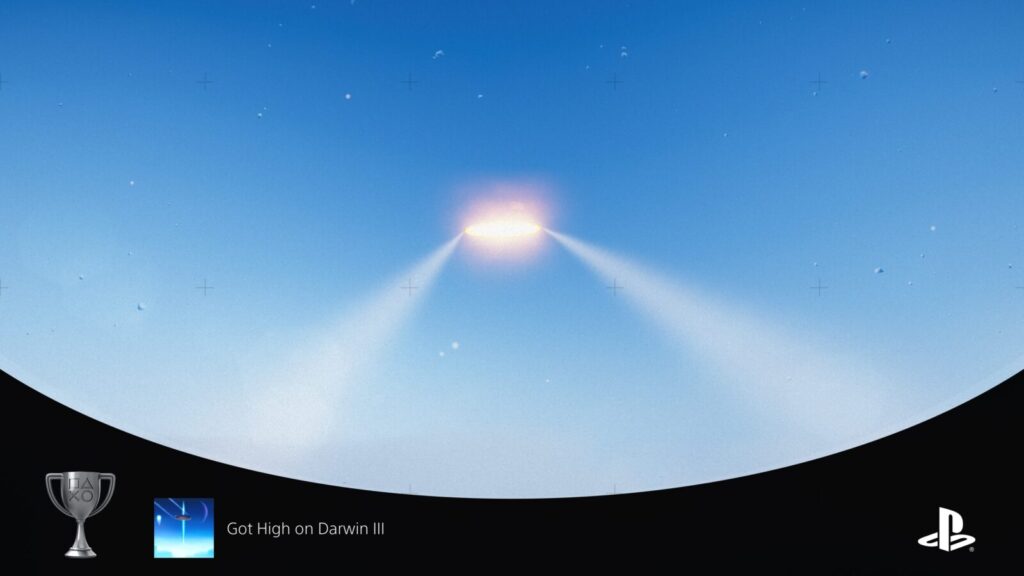
Got High on Darwin III
Reach a great height on Darwin III
Shortly after the very obvious Energy Pickup on Darwin III, there’s a gust of wind passing through a metal monolith.

Ride this gust of wind up into the air, but then take a hard left towards the clouds. These clouds tower up quite high into the air, so you can basically just keep circling around and passing through the clouds to get higher and higher.

Eventually, at the very top of the tallest clouds, use your double-jump to add a little extra height, and the trophy should unlock!

Got High on Obias III
Reach a great height on Obias III
The surface of Obias III is covered in spike-like sloped structures, all of which are very steep. Some of them are even deep bowl formations along the mountain ranges. Use them as half-pipes to get as much height as you can. The higher you drop from, the higher you’ll launch on the upswing, so keep doing that. If you manage to hit the Speed of Sound on the way down and successfully launch yourself back up while maintaining that speed, you’ll rocket high into the air.
Don’t forget your double-jumps if you need a little extra height.


Got High on Coelus
Reach a great height on Coelus
The way to reach a great height on Coelus goes hand-in-hand with the method for collecting the Energy Pickup on Coelus (see Maximum Energy.) Essentially, you want to gather up as many of the purple energy charges as you can—around 5 would be ideal—then, with your ship facing skyward, hold ![]() until your boost is applied fully and then release to launch yourself at the speed of sound way up into the sky.
until your boost is applied fully and then release to launch yourself at the speed of sound way up into the sky.

Do this effectively enough and at the right angle, and the trophy is easily attained.

Other Trophies

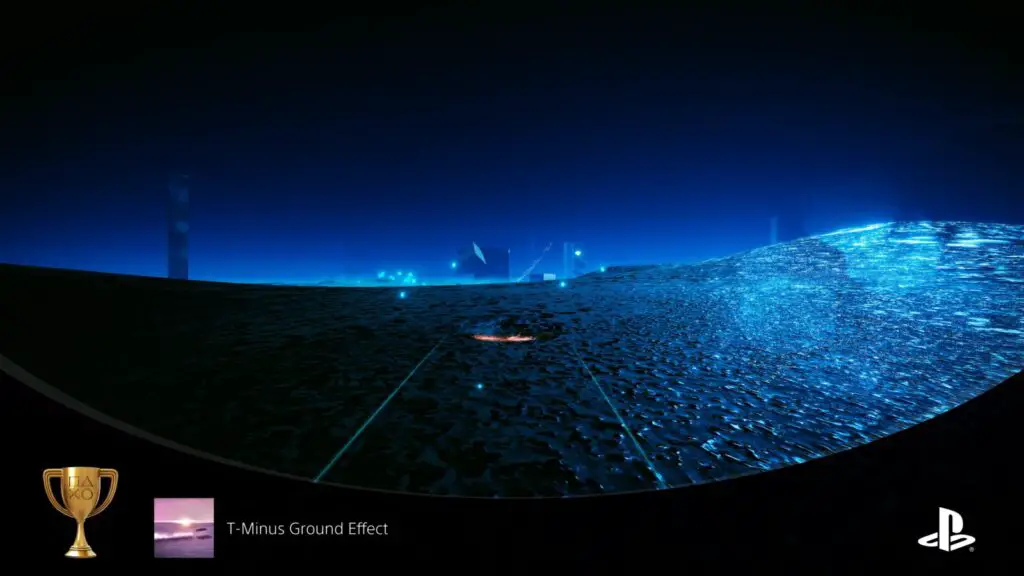
T-Minus Ground Effect
While gliding, stay close to the ground for over 5 seconds
To unlock the T-Minus Ground Effect trophy, you essentially just need to glide with ![]() while close to the ground for 5 seconds. This isn’t too difficult to manage, and you’ll likely earn it naturally. That said, there are parts of Gnowee that have clouds very low to the ground, you can use these to maintain your energy while gliding if that’s something you’re struggling with. Remember to tap
while close to the ground for 5 seconds. This isn’t too difficult to manage, and you’ll likely earn it naturally. That said, there are parts of Gnowee that have clouds very low to the ground, you can use these to maintain your energy while gliding if that’s something you’re struggling with. Remember to tap ![]() to gently reduce your height if you start pulling away from the surface too much.
to gently reduce your height if you start pulling away from the surface too much.

No Barriers
Glide close to the ground and over the speed of sound for 5 seconds
The “No Barriers” trophy is a pretty difficult one. You’ll need to get yourself up to speed by either holding ![]() down a steep hill or by dropping from a great height. Then, once you break the sound barrier, begin holding
down a steep hill or by dropping from a great height. Then, once you break the sound barrier, begin holding ![]() to glide and then stay low to the ground while gliding over the speed of sound until the No Barriers trophy pops after 5 seconds.
to glide and then stay low to the ground while gliding over the speed of sound until the No Barriers trophy pops after 5 seconds.
The issue, however, is that you often lose speed very quickly and without clouds to help you maintain that speed, you would either have to be travelling well over the speed of sound so as to maintain your speed for long enough, or find some low cloud cover to fly through.
I actually earned this trophy while working on the Got High on Nautica (Part 2) trophy, and so the method I would recommend is very similar to the instructions noted there within our guide. Start near the curved structure at the top of the mountain and then hold ![]() to roll yourself down the mountain.
to roll yourself down the mountain.

Once you break the speed of sound, use the edges of the hill to launch yourself up into the air. However, once you’re airborne, instead of progressing onward or trying to gain height, do a wide turn back towards the mountain and then glide along the snowy surface.
If you manage to get yourself going fast enough, your speed should hold out for just long enough that you can maintain it for the full 5 seconds and unlock the No Barriers trophy!

PlatGet!

ExoOne
Earn every throphy
After collecting every trophy in this Exo One Trophy Guide, the "ExoOne" Platinum Trophy will unlock. Congratulations!
Thanks for Reading
Plat Get!
Thank You!
Thank You for choosing PlatGet as your source for this Exo One Trophy Guide.
Wondering what to complete next? Browse our complete guide selection or check out our friends at PlatPrices.com to filter the PS Store based on price, trophy difficulty, or completion time.
Got a question, some feedback, or just want to say thanks? Drop a comment in the discussion section below, we'd love to hear from you! No account required!!