PlayStation 4
Destroy All Humans! (2020) Trophy Guide


General Info
FAQ
How long does it take to beat Destroy All Humans! and unlock all trophies?
Around 15 Hours.
How difficult is it to beat Destroy All Humans! and unlock all trophies?
Easy (3/10).
Does Destroy All Humans! have online trophies?
No.
Does Destroy All Humans! have difficulty-specific trophies?
No.
Does Destroy All Humans! have missable trophies?
No.
Does Destroy All Humans! have glitched trophies?
No.
What is the minimum number of playthroughs required to unlock all trophies in Destroy All Humans!?
One, Plus Challenge Modes..
Does Destroy All Humans! have a Platinum Trophy?
Yes.
Trophy Guide
Destroy All Humans! 2020 Remake PlayStation 4 Trophy Guide and Road Map
Destroy All Humans was an excellent PS2 title back in the day (also available on other consoles) and it’s silly humour paired with unique weapons and abilities made it quickly become a memorable classic for a lot of players, so it is no surprise that THQ Nordic pulled it’s IP out of their collection, blew off the dust and gave it a stellar touching-up.
This recently remade title features a completely new trophy list separate from the original’s which is, quite frankly, much easier to pull off.
There are no missable trophies thanks to free-play exploration modes and a chapter select, which is a very welcome choice!
Glitch Warning: This isn’t too major but it will sometimes require you to restart a mission. Due to the violently chaotic nature of the physics systems used in the game, objects have a chance to fall through the stage or get pushed inside other objects. Sometimes, these objects are required for objective completion and if you can no longer get to them then you can no longer complete your objective so you will need to restart the mission. Nothing game-breaking but it can be frustrating.
Phase One – Prioritise Main Objectives, Purchase Upgrades & Complete Optional Objectives
The first thing to focus on is just getting the Story Missions out of the way. As nothing is missable, you can really just approach the game any way you want. If you want to break up Story content with exploration and additional challenges then you really can just go for it! Have a blast!
However, at the bare minimum in the phase, you will want to be prioritising the Story so that you can unlock all 6 of the “Invasion Sites”. If you want to speed up your platinum journey greatly, you can also keep your eye out for optional objectives. These appear at the bottom of your objective list in the bottom left of your HUD and are blue instead of the yellow colour which main objectives are listed in.
You’ll need to complete all of these for the Platinum, so why not focus on getting them during your first attempt to reduce the need for back-tracking and mission replays. Along the way you will most likely unlock a good hefty chunk of the misc trophies without even trying.
Unmissable Trophies
By simply completing the story, you will be adding these trophies to your collection, so there’s absolutely nothing to worry about with any of these:

Goin’ to Seed
Invade Turnipseed Farm

Rockwell Death Knell
Invade Rockwell

Immodesta
Invade Santa Modesta

Area of Dissect
Invade Area 42

Union Busting
Invade Union Town

Capitol Punishment
Invade Capitol City

Unilateral Disarmament
Destroy a Certain irritating Simian Warlord once and for all

Impeached
Destroy the pathetic human attempt at a robot overlord

For the Glory of the Furon Empire!
Destroy humanity’s last hope and initiate the subjugation of the species
Upgrade Trophies
Using the Upgrade tab in the Mothership menu you can upgrade Cryptosporidium’s stats and abilities using the DNA you collect from completing objectives – optional or otherwise – harvesting brain stems, collecting Furon Probes and more.
Throughout your playthrough, it’s fairly safe to say that you are going to upgrade Crypto and his Saucer at least once, otherwise you’d have a pretty difficult time of it. That means you’re pretty much guaranteed the two trophies below, too.

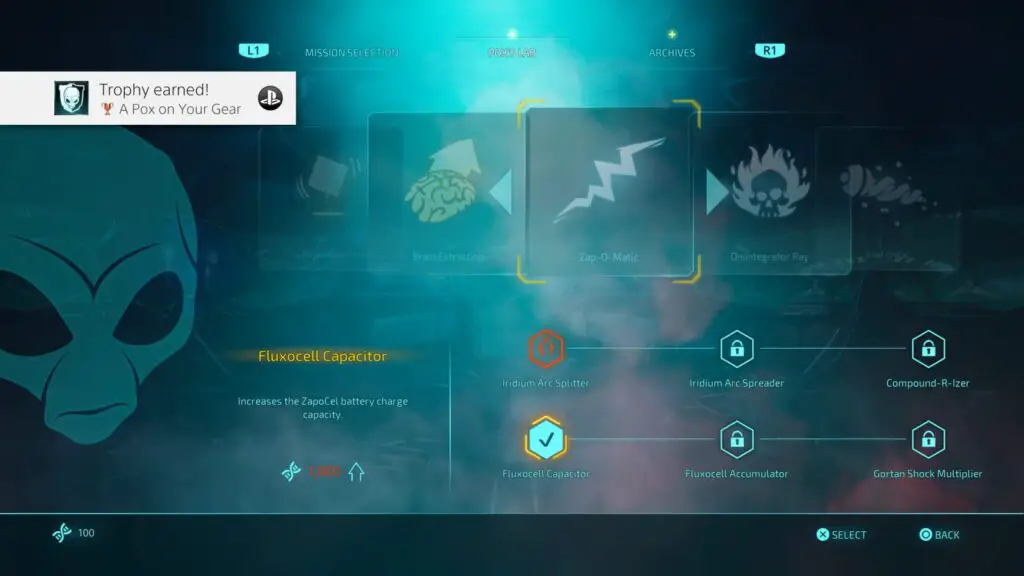
A Pox on Your Gear
Upgrade Crypto at Pox’s Lab in the Mothership

And a Pox on Your Ship Too
Upgrade your saucer at Pox’s Lab in the mothership
The last upgrade-based trophy you are going to need is not for purchasing every upgrade – You won’t actually need to do that – it’s for purchasing all of the upgrades in a single branch.

Grade A Upgrade
Fully upgrade one of the branches of a weapon or ability

I recommend focusing on upgrading Crypto’s shields very early in the game so that you can take more of a beating once you get further in, but ultimately the choice is up to you!
Phase Two – Optional Objective Cleanup
After you’ve completed the story, you may have one or two – or ten, I wont judge – optional objectives which you missed, either because you were being a bit more carefree, or you were having so much fun you didn’t even think to check for some. That’s okay, you can use the “Holopoxdeck” from the Mothership to replay any missions for which you have an incomplete optional objective.
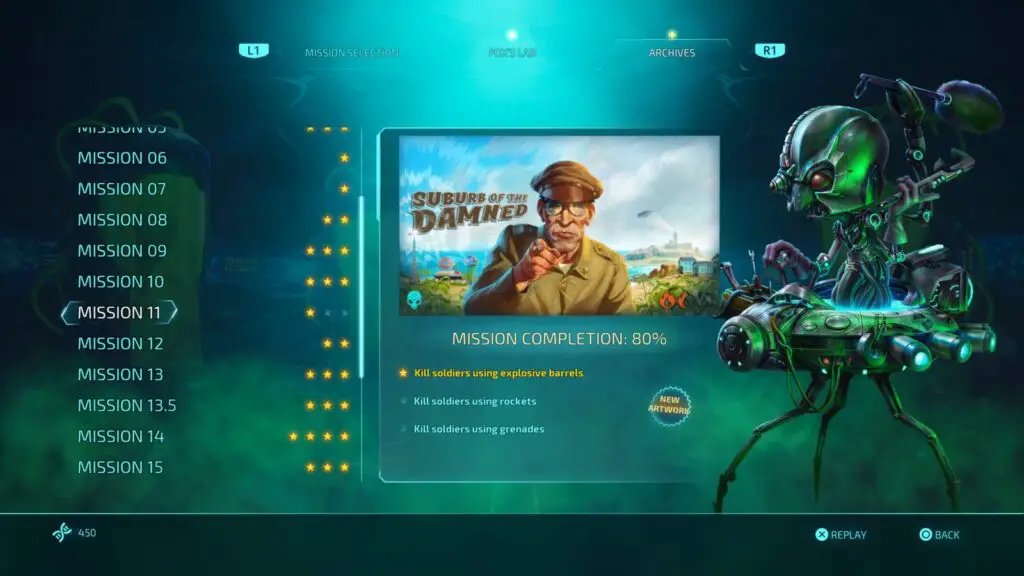
Replaying Missions for Optional Objectives
Note that, unfortunately, you will have to fully complete the stage after completing the optional objectives for it to count, so it will in-fact be a full replay of the stage as opposed to a quick dip in and out. However, the levels in Destroy All Humans! are satisfyingly short so it shouldn’t take you too long to clean up the few you may have missed and it’s good to know that you won’t have to complete any previously completed optional objectives, only the one you have missing.
Here are some general tips which should help you with a majority of the optional objectives:
- The combat objectives can be extremely difficult to unlock. To make things easier, upgrade Crypto’s zap-o-matic weapon to take it from being a last resort when your ammo runs out to being your go-to choice for most combat scenarios.
- You will find that most objectives, optional or otherwise, are easier to complete if you stay undetected, which is actually very easy. Take a Holobob disguise
 very early on and then scan
  the brains of every person you see on the way to your objective.
 - If you see an EMP turret avoid by walking outside of its yellow radius on the map, you can walk through this radius if you must, but be careful not to stay too long.
- If you see a Majestic agent (again, yellow radius on the map) use
 to distract them or someone nearby, you’ll then be able to simply stroll past completely unobstructed. Walking past a Majestic Agent without doing this will cause your Holobob disguise to deplete incredibly quickly.
 - Some optional objectives early on in the game will ask you to kill/destroy something large using only a human of a specific type. These objectives can be irritating and seem impossible but they’re not, just persevere and know that the human doesn’t need to stay alive, you can keep repeatedly grabbing their corpse before it despawns and use it as a weapon repeatedly.
Completing every single optional objective will mean that you earn the following trophy:

The Mandatory Option
Complete all optional mission objectives! (Use the Holopoxdeck if you have to.)
However, even if you already have that trophy from your initial story playthrough without needing to replay a mission at all, you will still need to do it at least once in order to earn this trophy:

Return of the Clone II – Reloaded
Re-visit a mission in the mothership archive’s Holopoxdeck
Phase Three – Challenge Modes
After completing the last two phases of your trophy journey, you should be pretty heavily upgraded – or if not, you’ll have the required DNA available to make it so.
Note that you will want to fully upgrade the following skills to make this phase much easier on yourself:
- The Dash Ability which makes Races a whole hell of a lot easier.
- The Zap-o-Matic which will be extremely useful in a few challenges.
- The Strongest weapon, “The Ion Detonator”, useful for several challenges.
- Psychokinesis which is required for Abduction challenges from Santa Modesta onwards.
That will make this phase much easier, as you’ll need to do a very good job in each of the challenges to get a 3-star rating. There are four challenge types in each of the six “Invasion Sites” and you’re going to want to get 3-star (maximum) ratings for every single one.
Three Stars on Every Challenge

Down to the Challenge
Revisit a missionless invasion site and complete a challenge there
This first trophy is the easiest of all Challenge trophies. All you have to do is complete any challenge once. Regardless of your rating at the end, as long as you complete a challenge this trophy is all yours!

Champion of Abduction
Ace an Abduction challenge with a three-star rating
Get your first three-star rating on an Abduction Challenge to earn this trophy. These challenges are by far the most difficult as you will need to be insanely quick so a lot of practice is needed.
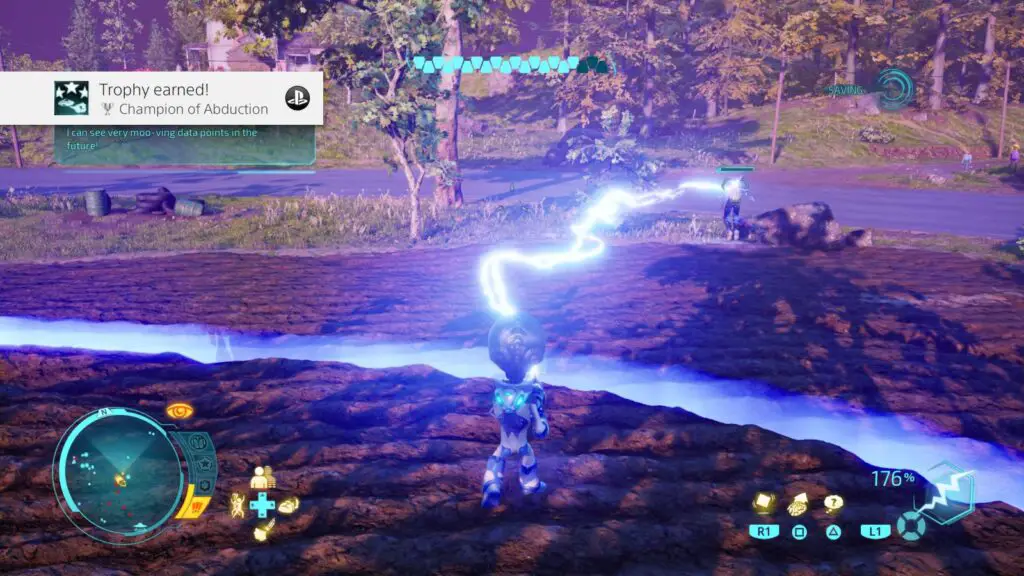
Abduction challenges require you to pick up an item with PK ![]() and throw it into the large purple/blue beam which slowly moves around the stage.
and throw it into the large purple/blue beam which slowly moves around the stage.
These are fairly easy at first until you get to Santa Modesta. Here, you will need to be able to pick up cars in order to earn enough score, and whether enough cars will be present depends on pure chance for the most part. From here on out, the Abduction challenges will easily be the most difficult and frustrating part of the game.
You also can’t pick up cars without upgrading your Psychokinesis abilities and even when the ability is maxed out, the cars take a little while to get off the ground.
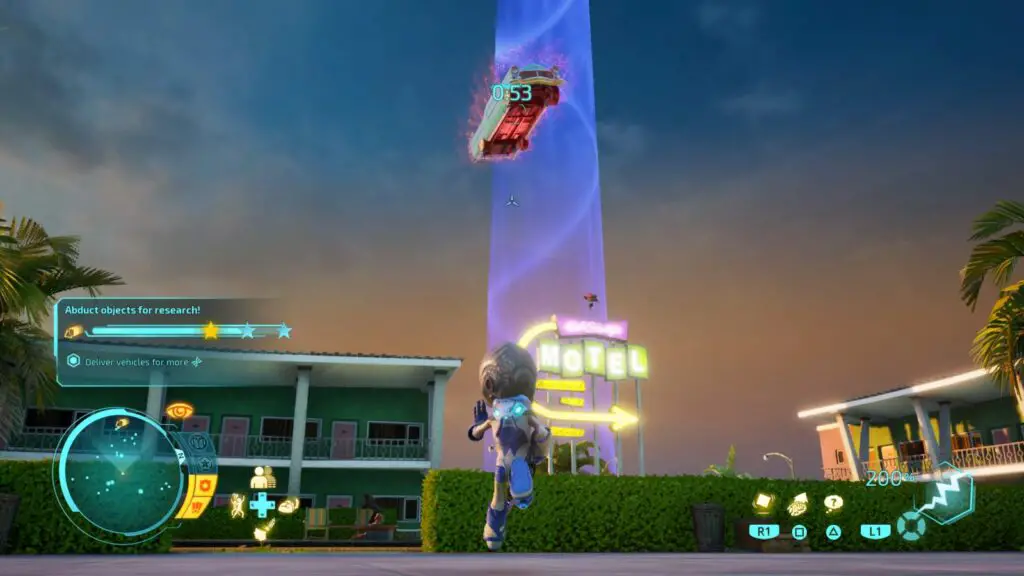
In order to get three stars on an abduction challenge, make sure you’re completing the optional objective (blue objective) at the same time, the score increase you’ll get is extremely significant and it’s near impossible to earn three stars without adhering to the restrictions they introduce.
For example, in Rockwell you will need to kill humans before throwing them into the beam, so hitting them with the zap-o-matic and then throwing their corpses into the beam will earn you double score per human.
One insanely useful thing to know is that if you need to give the beam dead humans, you can actually just throw their corpses into the path of the beam. For whatever reason, the beam will pick up a human corpse as long as it has been thrown at least once.
This is the only way I could find for beating the Abduction mission in Capitol city. The beam will circumnavigate a tall monument in the centre of a plaza and by throwing the agents you need to abduct at the monument, you will kill them on impact and the abduction beam will simply travel around like an oversized Roomba, sucking up all the corpses you pile into the middle.

Furon Master Race
Ace a Race challenge with a three-star rating
Get your first three-star rating on a Race Challenge to earn this trophy.
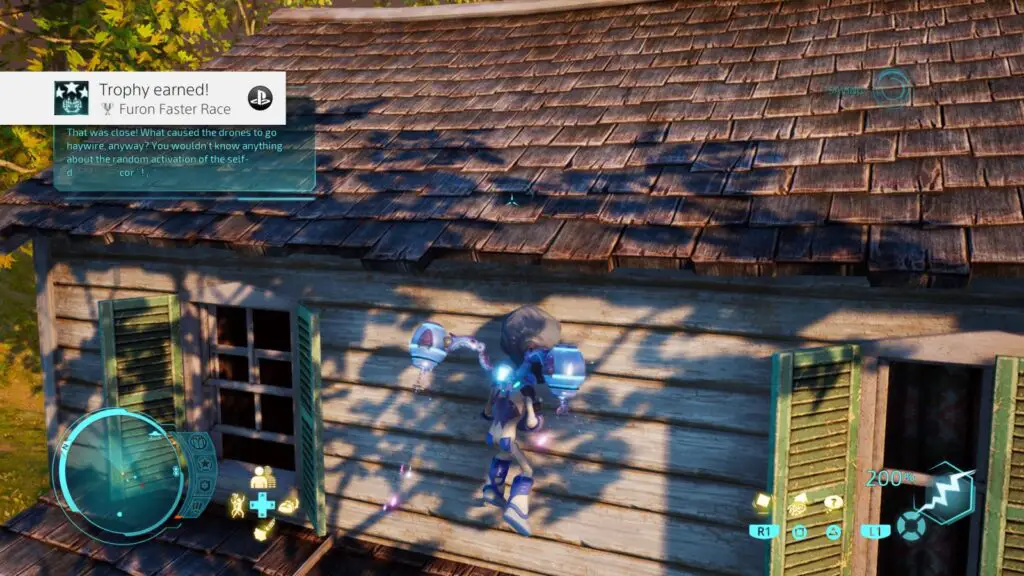
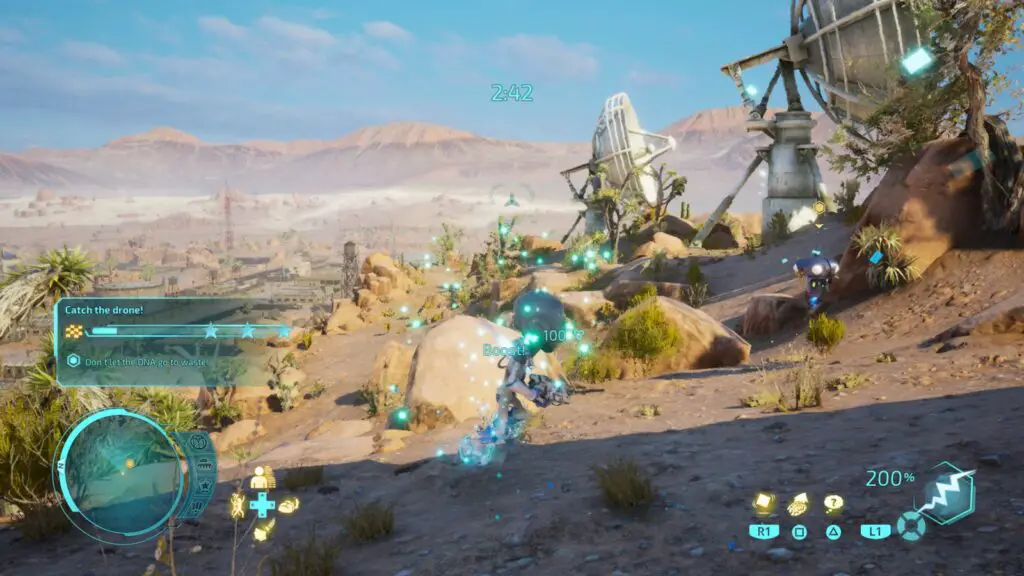
Races will have you follow a drone which is dropping DNA capsules as it flies through the stage. You can’t actually catch it until it stops at the end as it will always move faster than you, but you do need to recover the DNA capsules it drops.
Getting a three-star rating depends heavily on your completion time and how many capsules you recover along the way. It’s safe to let one or two DNA capsules go uncollected but you will really need to complete the stage as quickly as you can.
Completing the Races quickly will require good control over the jet-pack and a fully-upgraded dash ![]() ability. Upgrading the dash will allow you to hold
ability. Upgrading the dash will allow you to hold ![]() to begin skating. Buying the “Infinite S.K.A.T.E” upgrade will mean that you can do this forever and not just a limited time, this allows you to complete the races twice as fast, making a three star rating simple to acquire.
to begin skating. Buying the “Infinite S.K.A.T.E” upgrade will mean that you can do this forever and not just a limited time, this allows you to complete the races twice as fast, making a three star rating simple to acquire.

Righteous Rampage
Ace a Rampage challenge with a three-star rating
Get your first three-star rating on a Rampage Challenge to earn this trophy.
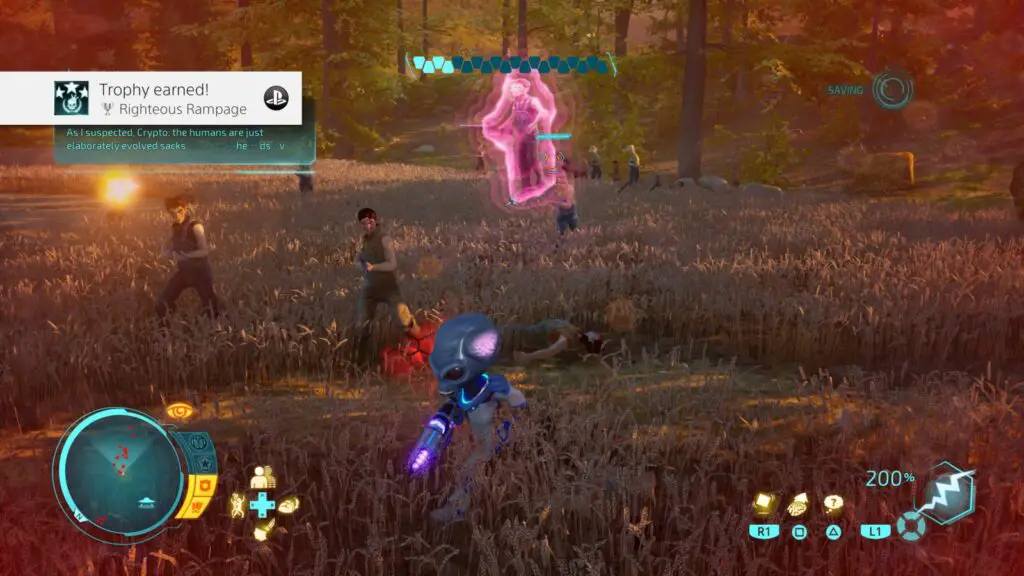
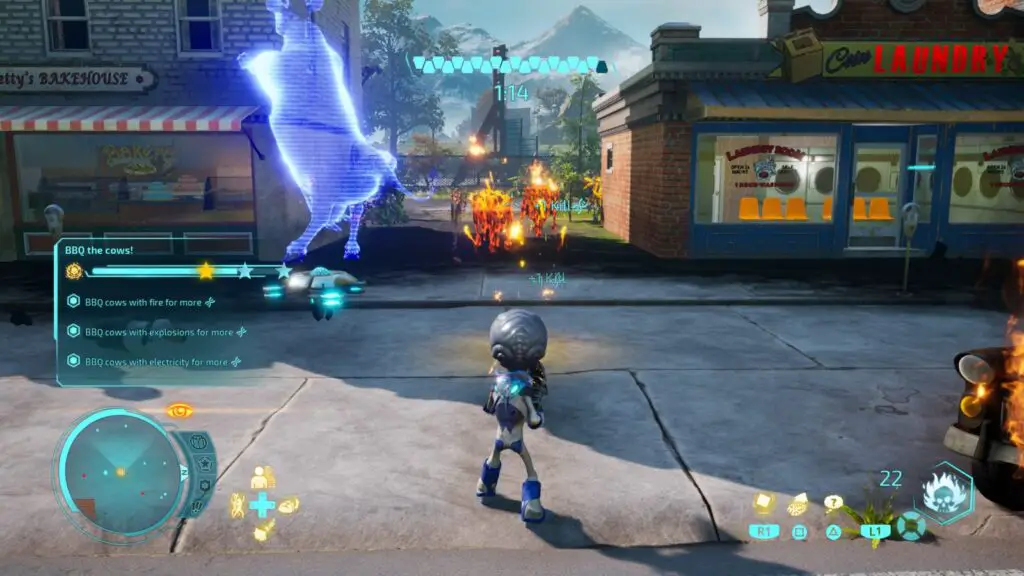
Rampage Challenges ask you to kill enemies within a time limit. You will have x amount of time to kill as many enemies as possible – the more enemies you kill, the higher your score.
To earn a three-star rating you will want to adhere to the optional objective as much as possible, this will give you double score for each kill. For example, if it asks you to use fire then equip the disintegrator and blast away. If it asks you to use explosions, you can either use explosive barrels and boxes nearby or you can just pull out your Ion Detonator and wreak havoc.
It helps to have your weapons upgraded for this, particularly the Ion Detonator and the Zap-o-matic. Start by upgrading your Zap-o-matic as it will prove most useful for the most number of challenges.

The Art of Armageddon
Ace an Armageddon challenge with a three-star rating
Get your first three-star rating on an Armageddon Challenge to earn this trophy.
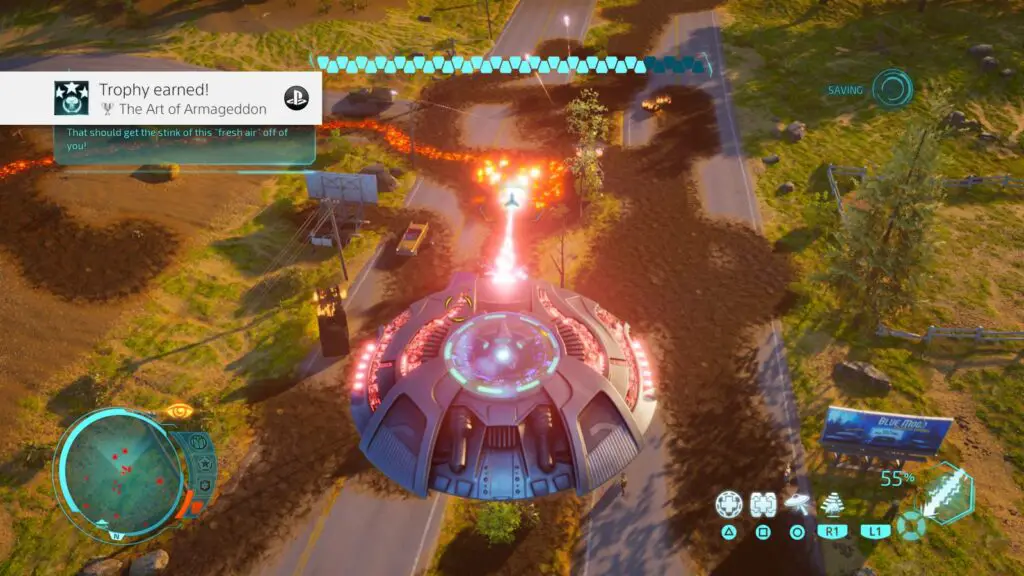
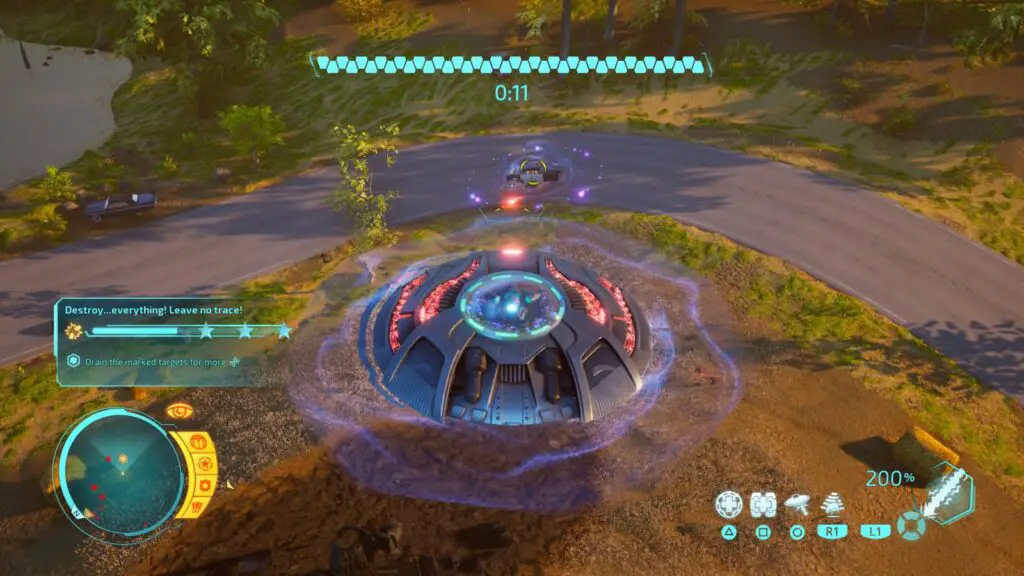
Armageddon challenges are always flying saucer missions in which you will need to use your ship’s weapons to destroy as many buildings, vehicles and military assets as possible.
However, there is always an optional challenge which asks you to “Drain” (mash ![]() while aimed at a vehicle) marked targets. Doing this alone will earn you around 80% of the score you need and you can just destroy a few buildings while moving between targets. There is no building you can destroy which will ever give you as much score as draining the marked targets will, it basically renders the main objective obsolete.
while aimed at a vehicle) marked targets. Doing this alone will earn you around 80% of the score you need and you can just destroy a few buildings while moving between targets. There is no building you can destroy which will ever give you as much score as draining the marked targets will, it basically renders the main objective obsolete.
Once you have 2-star or better on every challenge in a single Invasion Site you’ll earn this trophy:

Jerk of All Trades
Obtain at least a two-star rating for each challenge type
And once you’ve made your way through all 24 challenges and emerged with three-star ratings galore, then you’ll be blessed with the following trophy:

Ace of Space
Ace all challenges!
Phase Four – Miscellaneous Trophy Cleanup
A vast majority of the trophies in Destroy All Humans! are just miscellaneous trophies asking you to duse your abilities in a specific way. As I stated towards the start of this guide, a lot of these will just pop naturally with zero effort on your part, but there are still one or two real tricky ones which will need your full attention. Regardless of difficulty, you’ll find the instructions for all 18 misc trophies below…
Miscellaneous Crypto Ability Trophies
The following trophies require you to use an ability either for the first time or to complete a specific objective, but can be completed at any time in any stage.

Brain Drain
Consume a human brain to kickstart your shield regeneration
For this trophy, you will need to extract and collect the brains of a human enemy. To begin extracting a human’s brain, aim at them and when the yellow reticle appears, hit ![]() to begin the extraction process. After a short while, their head will pop and their brain will appear in mid-air, all green and floaty.
to begin the extraction process. After a short while, their head will pop and their brain will appear in mid-air, all green and floaty.
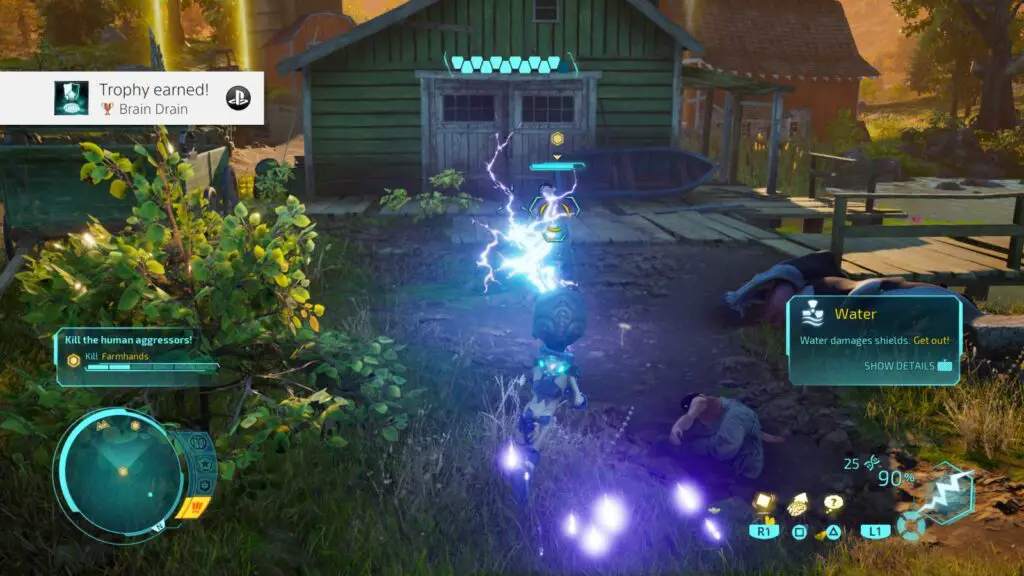
Run, walk or fly into said brain to collect it and earn this trophy. Note that the trophy’s requirements are for you to start healing from collecting the brain, so this may not work while you have full health.
You can speed up this process by mashing ![]() .
.

Reuse, Abuse, Recycle
Transmogrify an object to replenish your ammunition
All you need to do for this trophy is transmogrify an object to turn it into ammunition. While aiming at an object such as a road block or wooden crate, you can press ![]() to begin turning it into ammo.
to begin turning it into ammo.
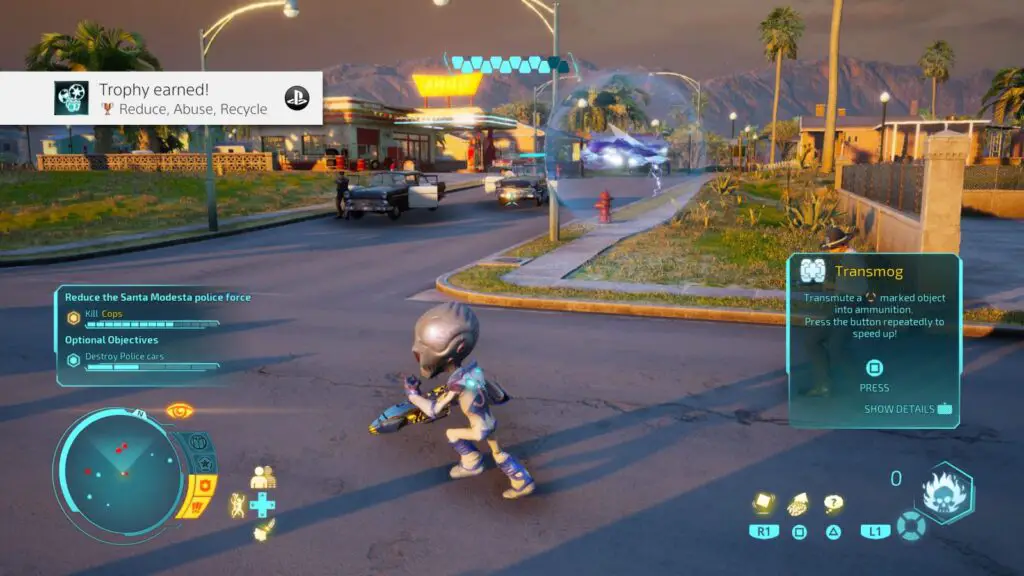
You can mash ![]() multiple times to transmogrify faster.
multiple times to transmogrify faster.

Swift Harvest
Accelerate Brain Extract or Transmog by mashing that button like you mean it
So, do you recall how in the last two trophy instructions I explained how they could be sped up by hitting ![]() multiple times? Well, if you do indeed mash square while extracting a brain or transmogrifying an item, you’ll be treated to the sound of this trophy popping.
multiple times? Well, if you do indeed mash square while extracting a brain or transmogrifying an item, you’ll be treated to the sound of this trophy popping.
So, in essence, all you have to do is look at a human or transmogrifiable item and hit ![]() multiple times until the trophy pops. Real easy stuff!
multiple times until the trophy pops. Real easy stuff!

No Time to Waste
Destroy a human with a weapon and another with a psi ability at the same time
The requirements for this trophy sound more difficult than they are. Here’s how I managed it:
Simply pressing ![]() will begin the process of extracting the targeted human’s brain. You’ll be linked to them from that point on via a green psychokinetic stream and can go about your business as normal whilst you wait for their brain stem to burst from their noggin. That includes using the Zap-o-matic or Disintegrator on other innocent humans.
will begin the process of extracting the targeted human’s brain. You’ll be linked to them from that point on via a green psychokinetic stream and can go about your business as normal whilst you wait for their brain stem to burst from their noggin. That includes using the Zap-o-matic or Disintegrator on other innocent humans.
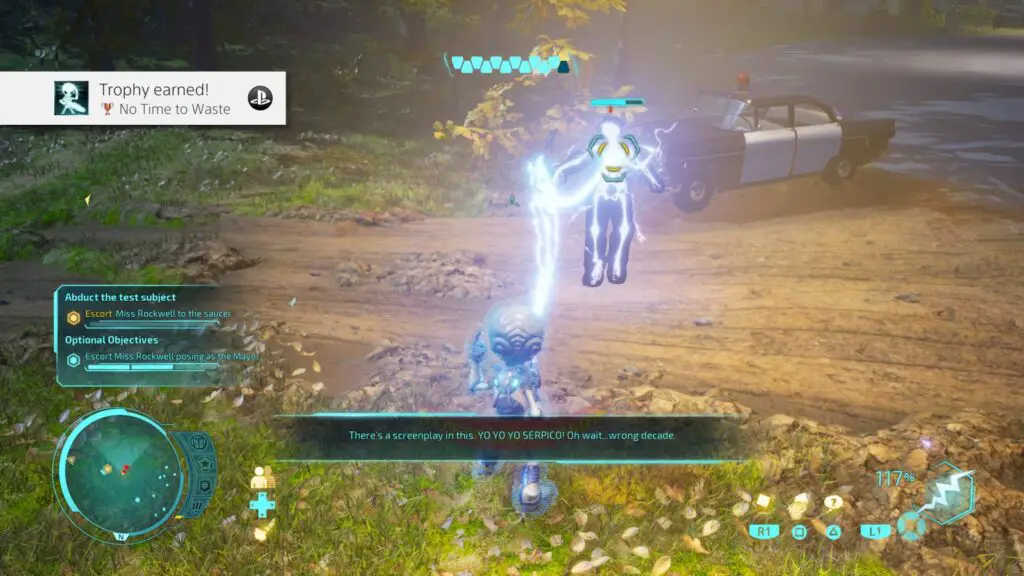
To earn the trophy you will want to begin the process of brain-stem-extraction by pressing ![]() and then use
and then use ![]() to attack other enemies. Do this a few times and the timing should naturally line up with minimal effort, rewarding you with the above trophy.
to attack other enemies. Do this a few times and the timing should naturally line up with minimal effort, rewarding you with the above trophy.

Covert Thoughts
Stay covert by scanning primitive human thoughts
Whenever you use ![]() to adopt a holographic disguise in the form of the targeted human, this disguise will slowly deplete until your true form is eventually exposed. To prevent this from happening and prolong the amount of time for which you are in disguise, you can press
to adopt a holographic disguise in the form of the targeted human, this disguise will slowly deplete until your true form is eventually exposed. To prevent this from happening and prolong the amount of time for which you are in disguise, you can press ![]() to scan the minds of nearby humans while aiming at them.
to scan the minds of nearby humans while aiming at them.
Simply doing this for the first time will net you the above trophy.

Hot to Trot
Evade a rocket by dashing
This trophy is much easier once you have upgraded your dash ability a bit as you can move faster and further. To dash, all you need to do is push ![]() in the direction you want to dodge and hit
in the direction you want to dodge and hit ![]() (hold it to keep moving and “S.K.A.T.E” if you have upgraded the skill).
(hold it to keep moving and “S.K.A.T.E” if you have upgraded the skill).
There are a few different types of enemies who will use rockets but the RPG-launcher-wielding soldiers are the first you will see. The best place to earn this trophy is is in Mission 11: Suburbs of the Damned. RPG-Launcher soldiers will spawn as part of the second wave of enemies.
When a rocket begins to get close to you, just hit ![]() while moving away from it to one side and the trophy will pop.
while moving away from it to one side and the trophy will pop.
I earned this during Mission 18 against the boss found there as he will use a lot of Missiles so it’s a great place for it.

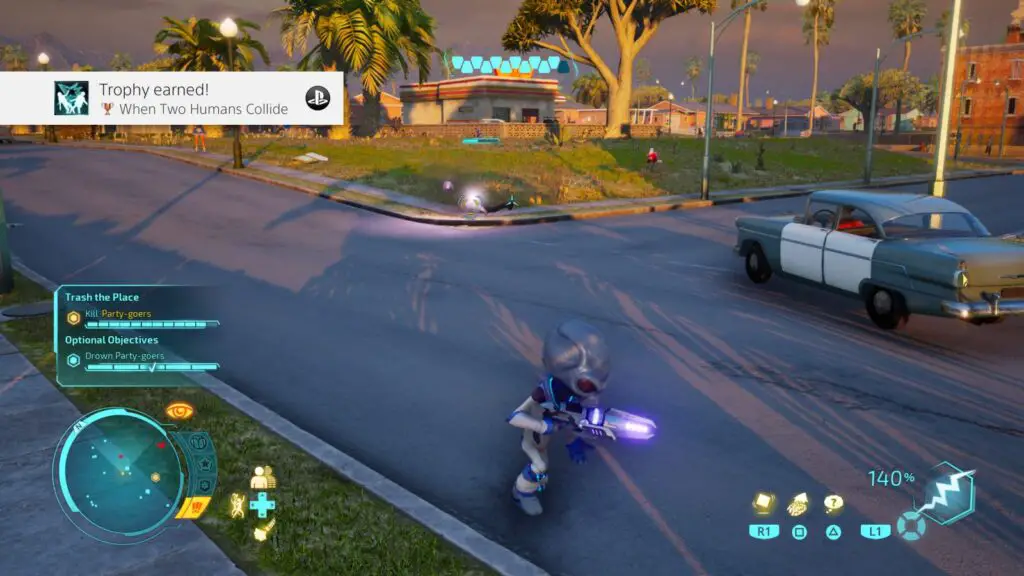
When Two Humans Collide
Use PK to destroy a human with another human
This can actually be quite tricky to do because the hit-boxes aren’t the best in this game, but you will find yourself doing it so often that it’s pretty unlikely that this trophy wouldn’t be yours by now.
Basically you just want to grab a human with your psychokinesis – hold ![]() – and then throw them at another human by aiming in their general direction and releasing
– and then throw them at another human by aiming in their general direction and releasing ![]() . Should they actually collide rather than ragdoll-phasing through each other, the trophy will pop. If not, grab another human and get bowling again!
. Should they actually collide rather than ragdoll-phasing through each other, the trophy will pop. If not, grab another human and get bowling again!

Man’s Inhumanity to Man
Destroy multiple humans with a human-made explosive
To earn this trophy you’ll need your psychokinesis ![]() abilities again. Much like the trophy above this one, you’ll want to grab an item by holding
abilities again. Much like the trophy above this one, you’ll want to grab an item by holding ![]() and launch it at some humans by releasing
and launch it at some humans by releasing ![]() while aiming in their direction.
while aiming in their direction.
The difference here is that the item you grab has to be an explosive and you will need to hit and kill at least two humans with it. It’s pretty likely you will do this without having to think about it.
There are many types of explosives from small ammunition boxes to explosive barrels to huge 10-foot missiles.
Also, you don’t technically have to throw the explosive, you can mash ![]() while aiming at an explosive to cause it to go off, but throwing it is easier… and more fun!
while aiming at an explosive to cause it to go off, but throwing it is easier… and more fun!

Pyrokinesis
Set something on fire, then use it to destroy a hapless human
This one took me a while to figure out because it seemed like no matter what I shot with the disintegrator, it would get destroyed long before being set aflame. The trophy icon made me believe barbecues were involved but hitting those with the disintegrator just dismantled them.
Eventually, while messing around in the Turnipseed farms area I discovered that you can set haybales on fire with the disintegrator without… well, disintegrating them.
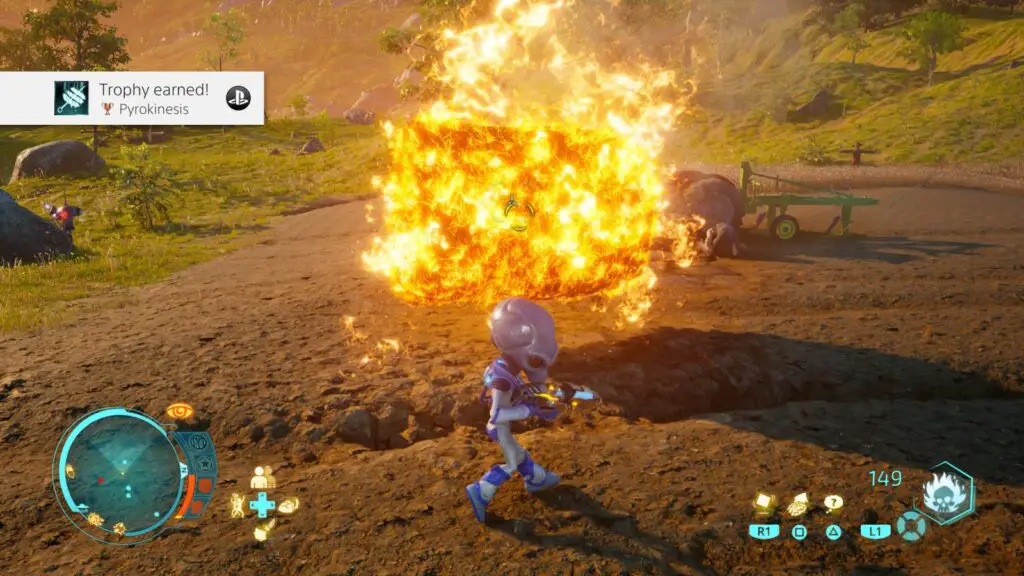
Head to Turnipseed Farms or Rockwell, find a hay bale, light it on fire with the disintegrator, and then throw it at any human. If the human dies, this trophy will pop!

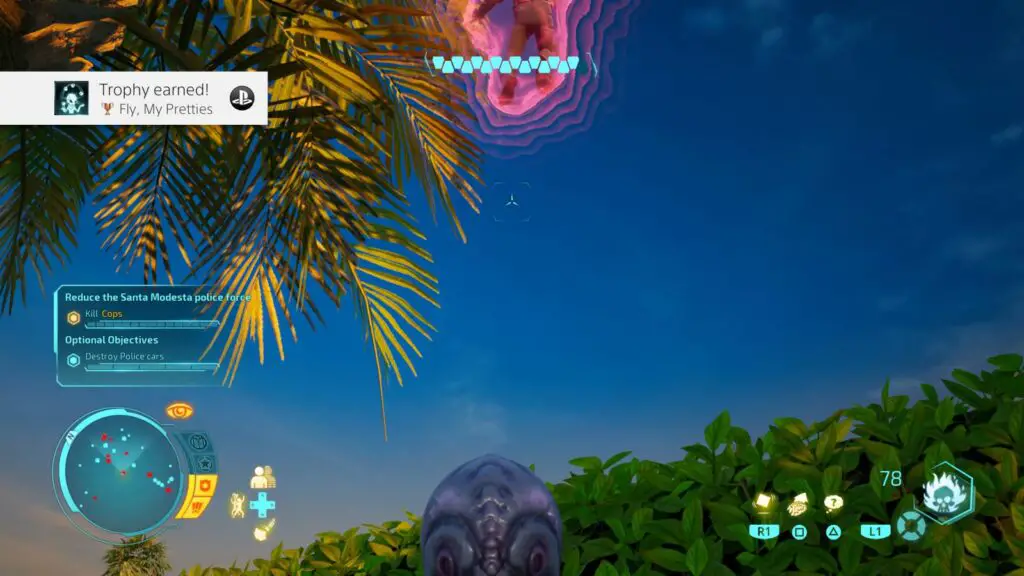
Fly, My Pretties
Throw a human into the air and juggle them
This trophy’s requirements sound more difficult than they actually are. Rather than having to become a world-renowned circus act, all you really need to do is launch a poor hapless human into the sky and then catch them on their way down.
You should know the drill by now, hold ![]() to grab a human with psychokinesis, release
to grab a human with psychokinesis, release ![]() to launch them while you’re looking directly upwards. Try to keep your reticle aimed over their body as they fall and as soon as the yellow reticle appears, hold
to launch them while you’re looking directly upwards. Try to keep your reticle aimed over their body as they fall and as soon as the yellow reticle appears, hold ![]() again to catch them.
again to catch them.
Miscellaneous Saucer Ability Trophies
The following trophies will require you having access to your Flying Saucer, with which you’ll need to accomplish specific feats in order to unlock them.

Rejected for Probing
Throw something into something else with the saucer’s Abducto Beam
You should certainly have this trophy by this point in your trophy journey. This is because there is an Optional Challenge during Mission 2 which asks you to destroy the Fairgrounds by throwing objects at the tents and stalls using the tractor beam, which is exactly what this trophy wants you to do.
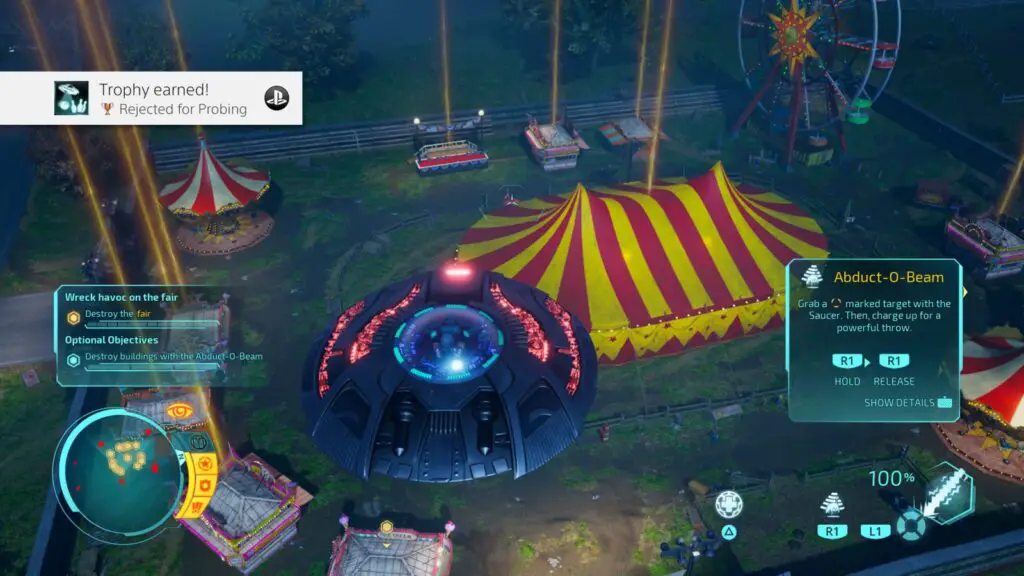
After unlocking it in Mission 2, press and hold ![]() over an object to grab it with your “Abducto Beam” and then if you release
over an object to grab it with your “Abducto Beam” and then if you release ![]() while moving in a certain direction, the object will be flung along the same trajectory.
while moving in a certain direction, the object will be flung along the same trajectory.

Simply Repulsive
Use your saucer’s Repulse-O-Tron to fend off homing missiles
During Mission 7: This Island Suburbia, Orthopox will introduce you to a new ability, the repulse-o-tron. With this new ability, when you press ![]() while in your Flying Saucer, a forcefield will eject outwards from the spacecraft. It’s main purpose is to defend from incoming missiles, which is exactly what you will want to do for this trophy.
while in your Flying Saucer, a forcefield will eject outwards from the spacecraft. It’s main purpose is to defend from incoming missiles, which is exactly what you will want to do for this trophy.
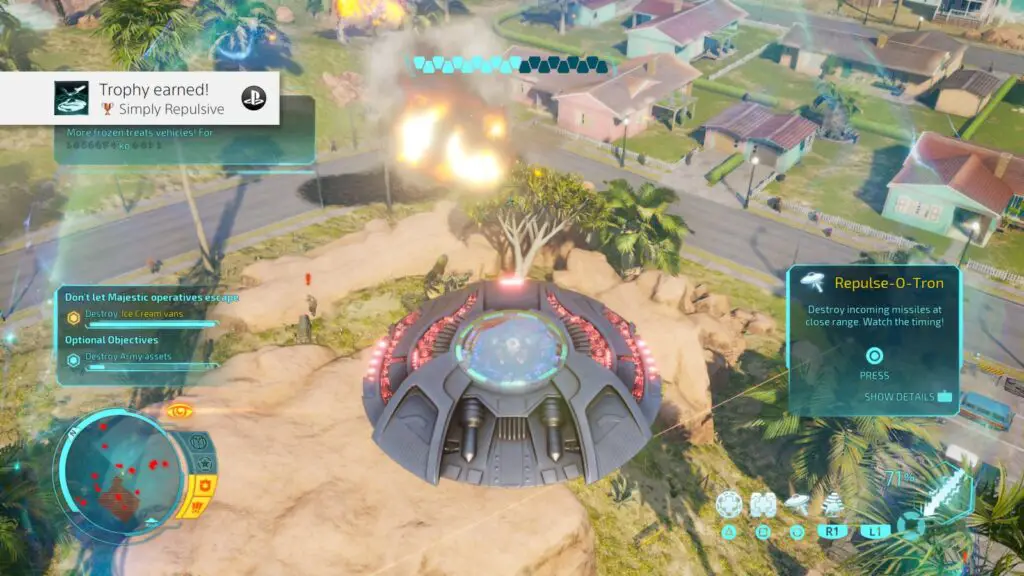
In that very same mission, there will be some Anti-Aircraft SAM turrets on the ground which fire missiles at you, simply wait for one to get close and then hit ![]() . It’s basically the same trophy as the “Hot to Trot” one, but in the Saucer instead.
. It’s basically the same trophy as the “Hot to Trot” one, but in the Saucer instead.

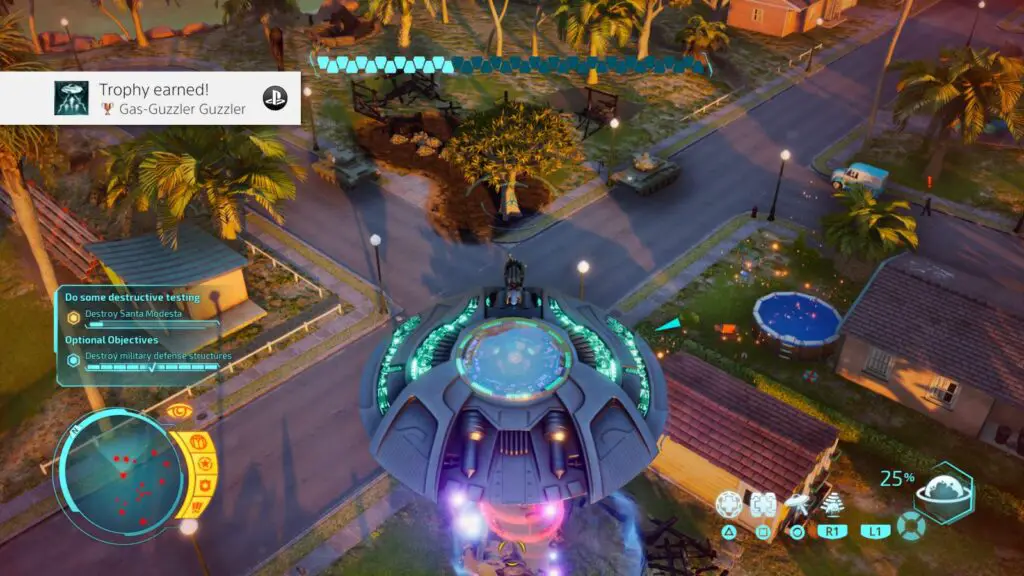
Gas-Guzzler Guzzler
Abduct and drain a vehicle to replenish your saucer’s shields
During the very first mission, you’ll be introduced to the ability to drain enemy vehicles in order to recharge your Saucer’s shields by pressing ![]() .
.
This trophy asks that you perform one additional step which is to grab a vehicle with your abduct-o-tron by holding ![]() and then –without releasing
and then –without releasing ![]() – press
– press ![]() to begin draining said vehicle while it’s inside your tractor beam.
to begin draining said vehicle while it’s inside your tractor beam.

As Is Tradition
Abduct a cow with your saucer
All you have to do for this one is to hold ![]() to grab a cow with your Abducto Beam. The quickest way to earn this is to just load up the Turnipseed Farms stage as there are cows everywhere here.
to grab a cow with your Abducto Beam. The quickest way to earn this is to just load up the Turnipseed Farms stage as there are cows everywhere here.
Miscellaneous Santa Modesta Trophies
The next few trophies are specific to the Santa Modesta Invasion Site which contains objects you will need to interact with.

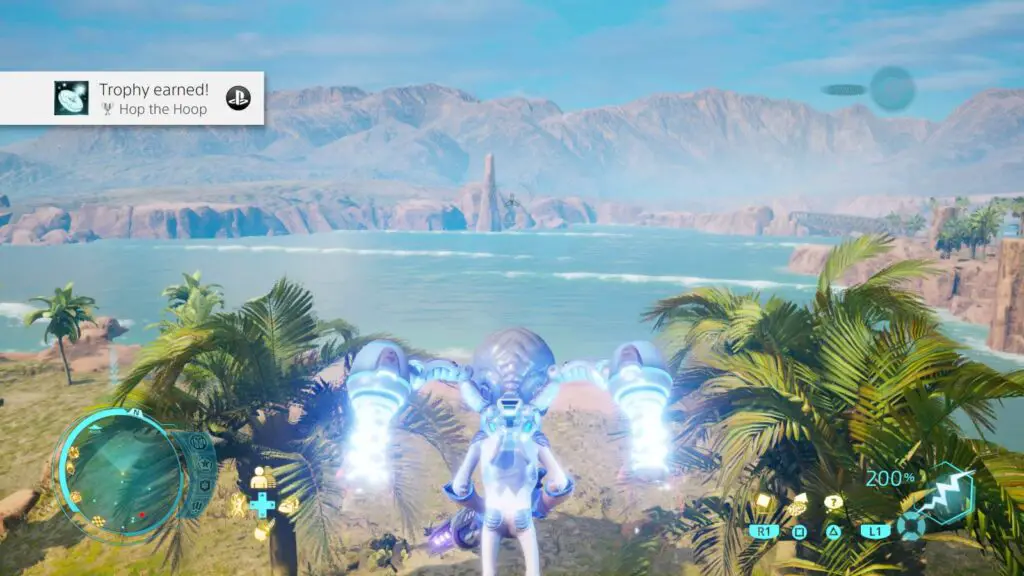
Hop the Hoop
Display Furonic aeronautic prowess by soaring through giant human pastry without soiling your feet
In Santa Modesta, near the television station you need to defend in Mission 11, there is a donut shop with a huge donut-shaped sign on the top of it. To earn this trophy all you need to do is jetpack through it.
The trophy won’t pop if your feet touch the donut, but you can touch it with your head or shoulders just fine and still earn the trophy.

Do Feed the Sharks
Demonstrate Furon free spirit near a warning sign placed by the human authorities
In Santa Modesta, there is a long stretch of beach with plenty of sunbathing pedestrians, beach towels, and umbrellas. You can find it by heading to the Motel with the Pool from Mission 4: Alien Pool Party and then going to the coastline on the opposite side of the motel from where the pool and car park are.
Here, there are several wooden shacks. Check each of them for a sign which is telling you not to feed sharks and then stand next to it. While standing next to the sign, look around for a human to grab by holding ![]() while looking at them. Do so and then turn towards the ocean where you’ll want to release
while looking at them. Do so and then turn towards the ocean where you’ll want to release ![]() to launch them to their death.
to launch them to their death.
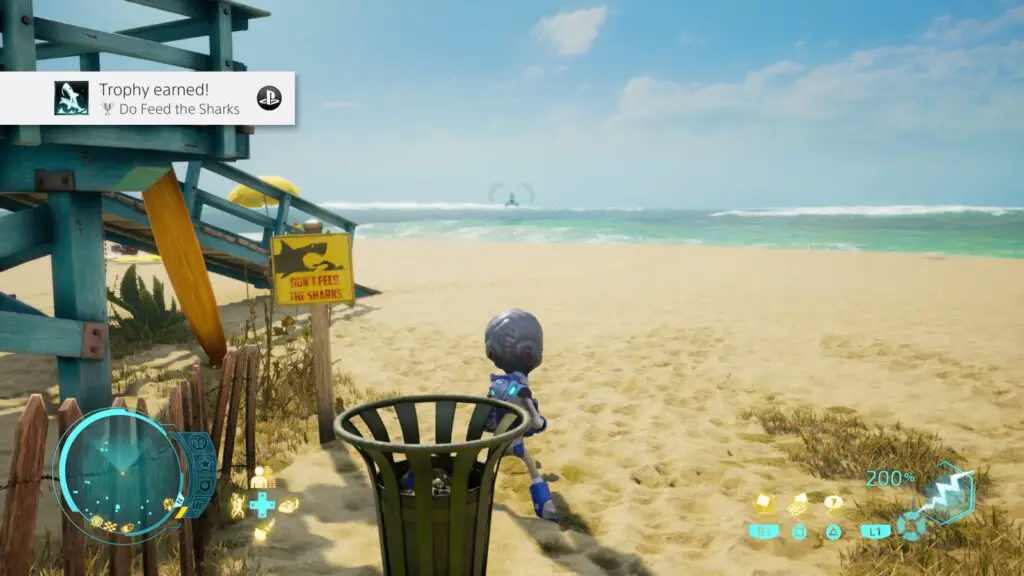
In short, stand next to the yellow sign, grab a human, and throw them into the ocean. The trophy will then pop.
Other Trophies
The last two trophies don’t particularly fit into any other category, but will be easy enough to earn with minimal effort. In-fact, I’m willing to bet you’ll have both of them long before this phase of the journey;

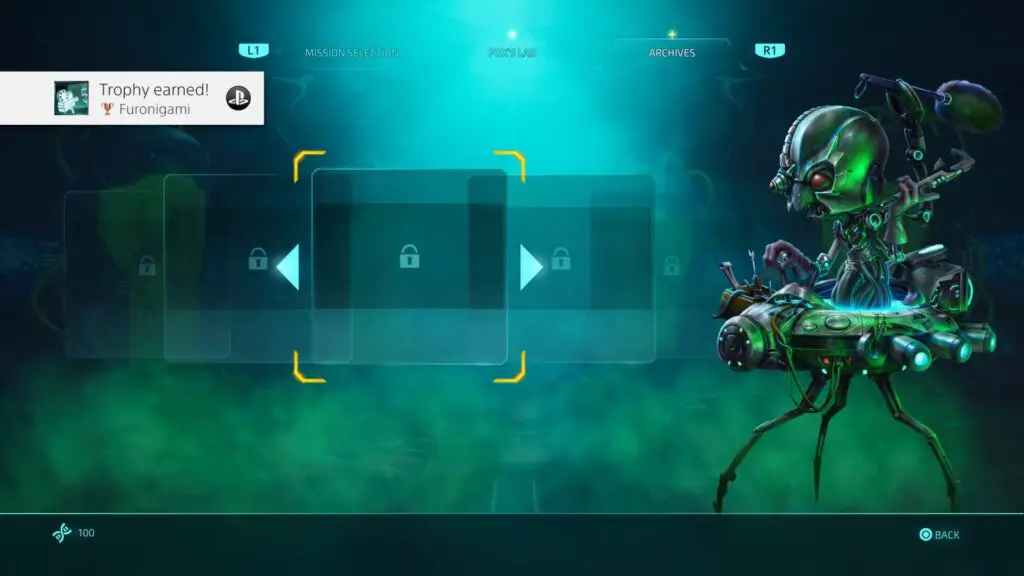
Furonigami
Explore the more offbeat parts of the mothership
Within the “Archives” tab of the Mothership Menu is an option called “Furonigami”. It’s essentially just a gallery where you can view concept art you’ve unlocked for completing optional objectives throughout the game. To earn the trophy all you have to do is access this part of the menu.

Invasion of the Body Swappers
Try out a new look for Crypto in the mothership’s archives
Also within the “Archives” tab of the Mothership Menu, you’ll find the option “Skin Selection”. Here you’ll see there are a few skins to unlock and highlighting one which you haven’t unlocked will display the requirements for unlocking it. They’re all unlocked for completing specific optional objectives.
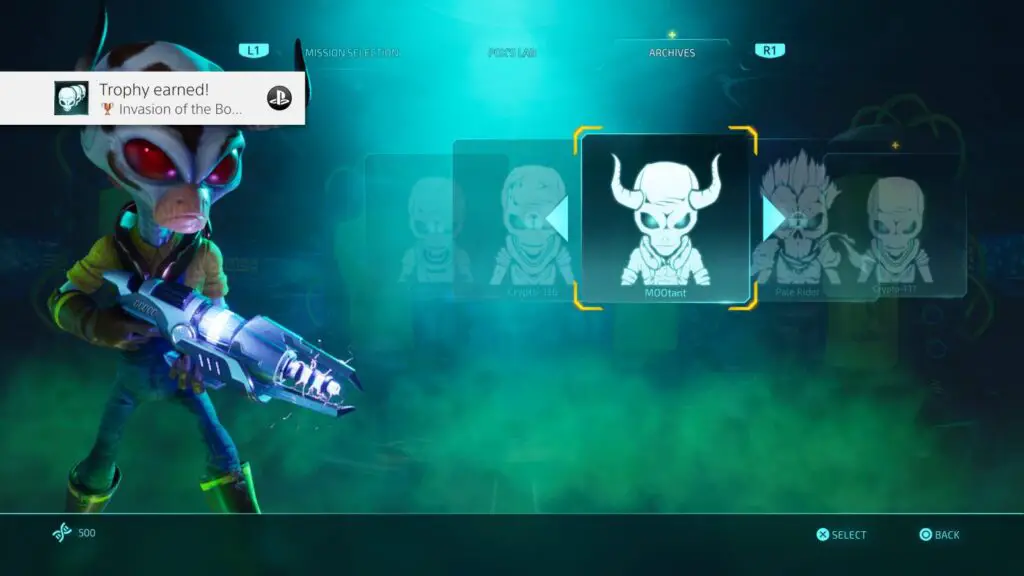
Once you have unlocked one, simply go to this option in the archives and equip it to see the trophy appear in the corner of your screen!

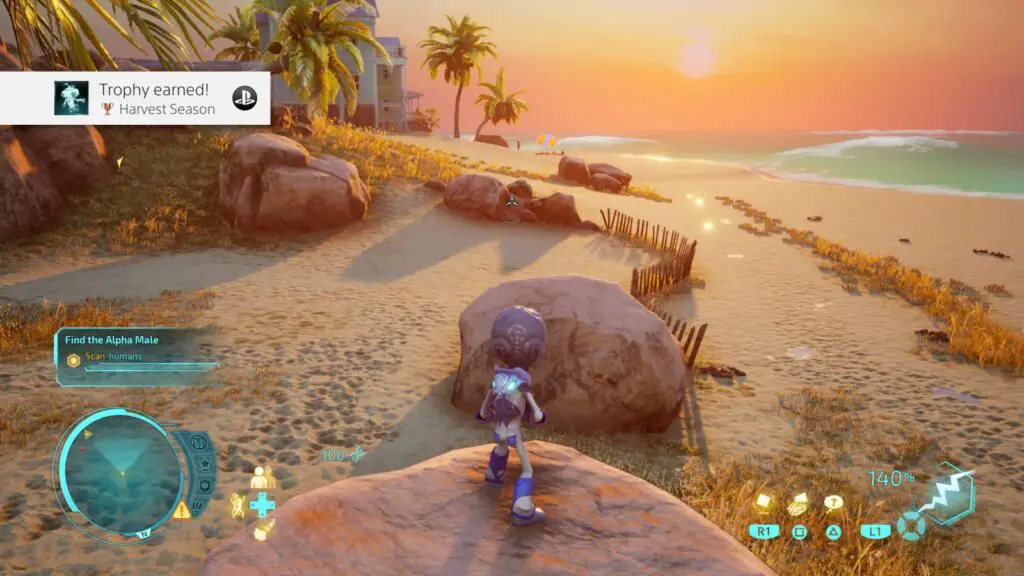
Harvest Season
Recover a Furon Probe
When I first saw one of these Furon probes in the game, and the fact that there are a lot of them to be found in each stage, I thought to myself “Ugh, I bet there’s a very unpleasant collectable trophy tied to those”. Well, actually, that’s not the case!
This is the only trophy tied to Furon Probes and, while they do give you additional DNA and I recommend collecting any that you see within reach, you do not need to collect them all for the platinum trophy! You just need one!
Plat Get!
And finally, once you’ve acquired every last one of the above trophies, you’ll be rewarded with a big ol’ shiny platinum for your cabinet! Happy hunting!

Furon Perfection
Obtain all trophies
Thank you for choosing PlatGet as your source for this guide, consider checking out our reviews and other guides!
Follow us on twitter @GetPlat or Instagram @platget for updates on new reviews and guides, as well as small anecdotes about our platinum journeys.