PlayStation 5
A Plague Tale: Requiem Collectible Locations Guide
Game Guide
Where to Find All Souvenirs, Flowers, Feathers, Tools, Chests, and Old Protector’s Items in A Plague Tale: Requiem.
Welcome to our A Plague Tale: Requiem Collectible Locations Guide. Within, we will make you aware of every collectible or important item you’ll need to recover in every Chapter. When spread out like this, there actually aren’t that many collectibles to find per chapter.
Use the guide below as you play through the story to ensure you never miss a collectible. Please note that this guide assumes you’re doing your collectible playthrough on Narrative Difficulty. We recommend this because there are much more Knife spawns on Narrative Difficulty, which are crucial for opening Secret Chests.
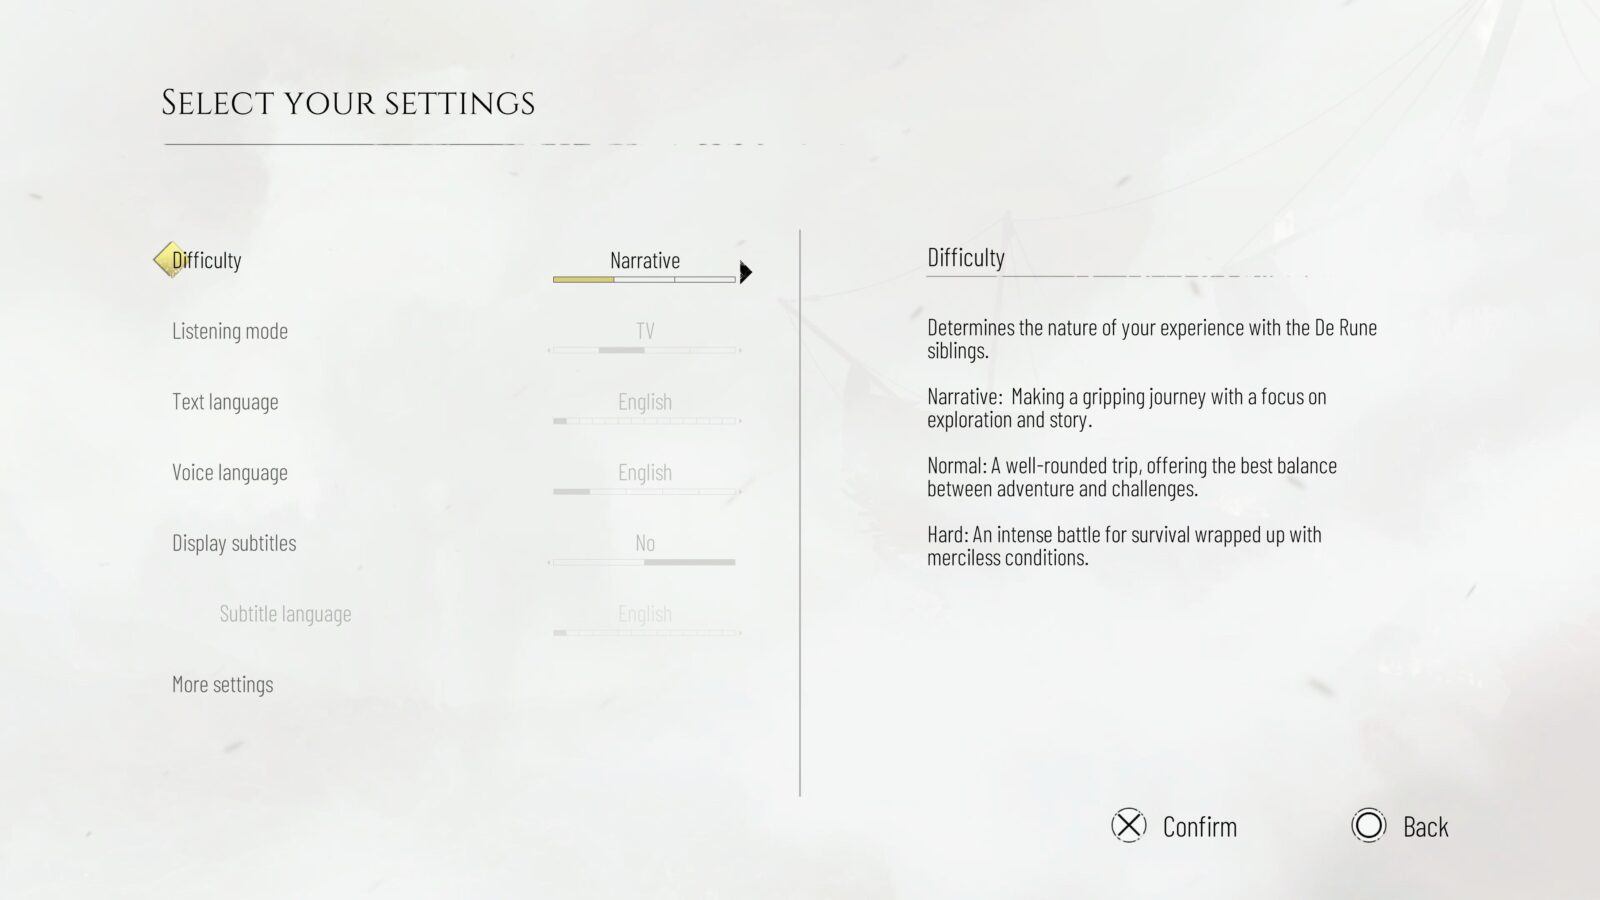
If you are doing your Collectible Playthrough on a higher difficulty or New Game Plus, you will find that some of the knives in this guide won’t spawn.
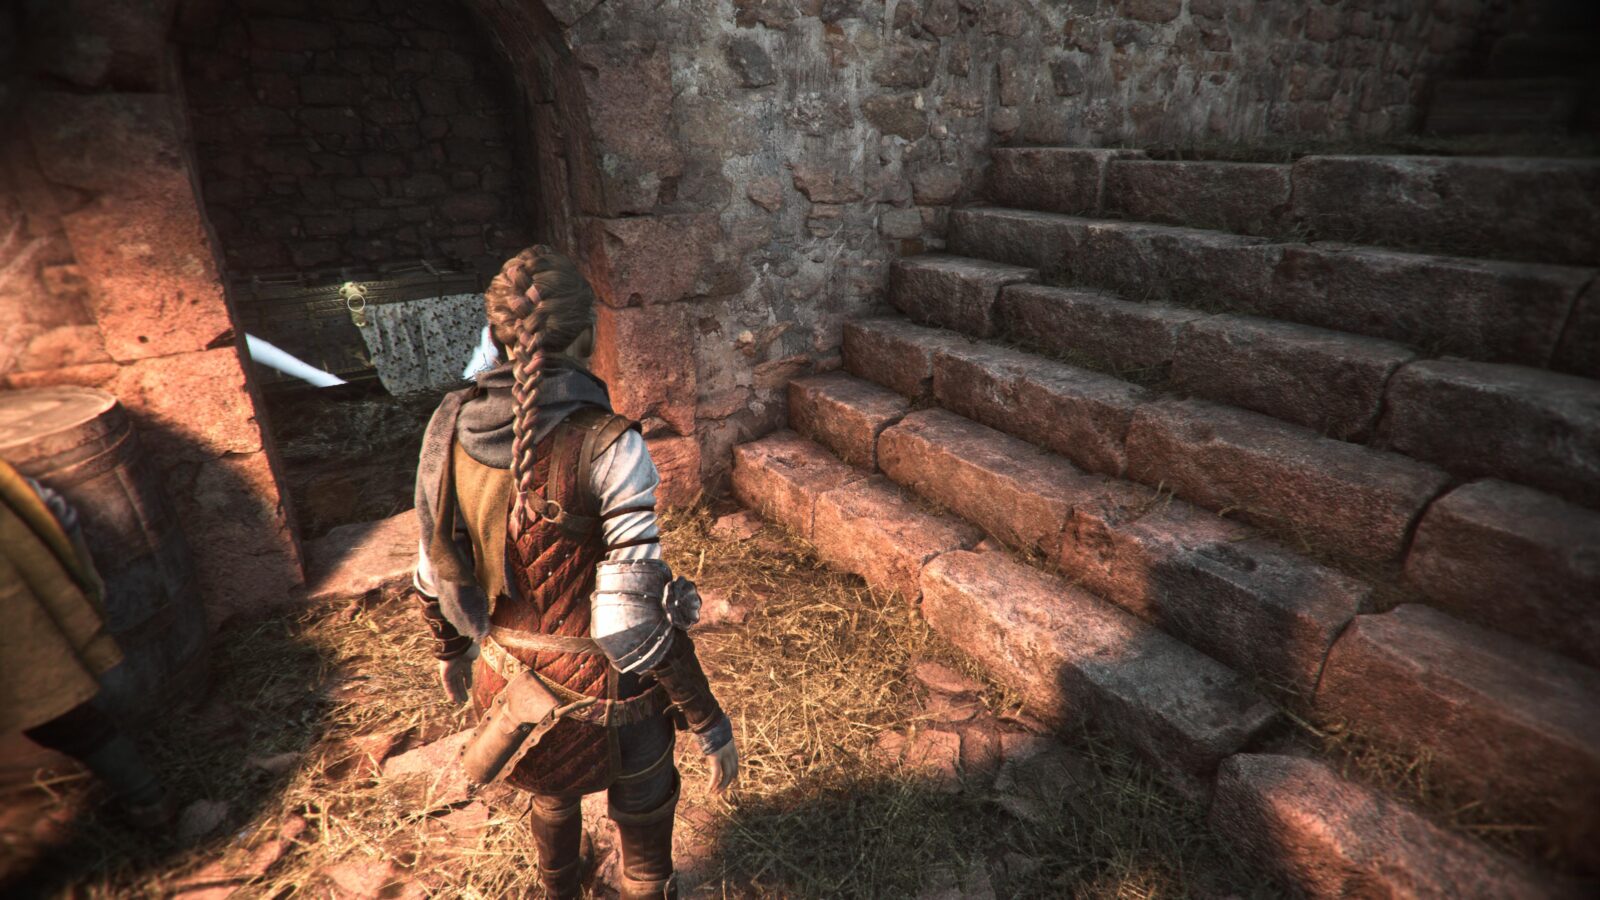
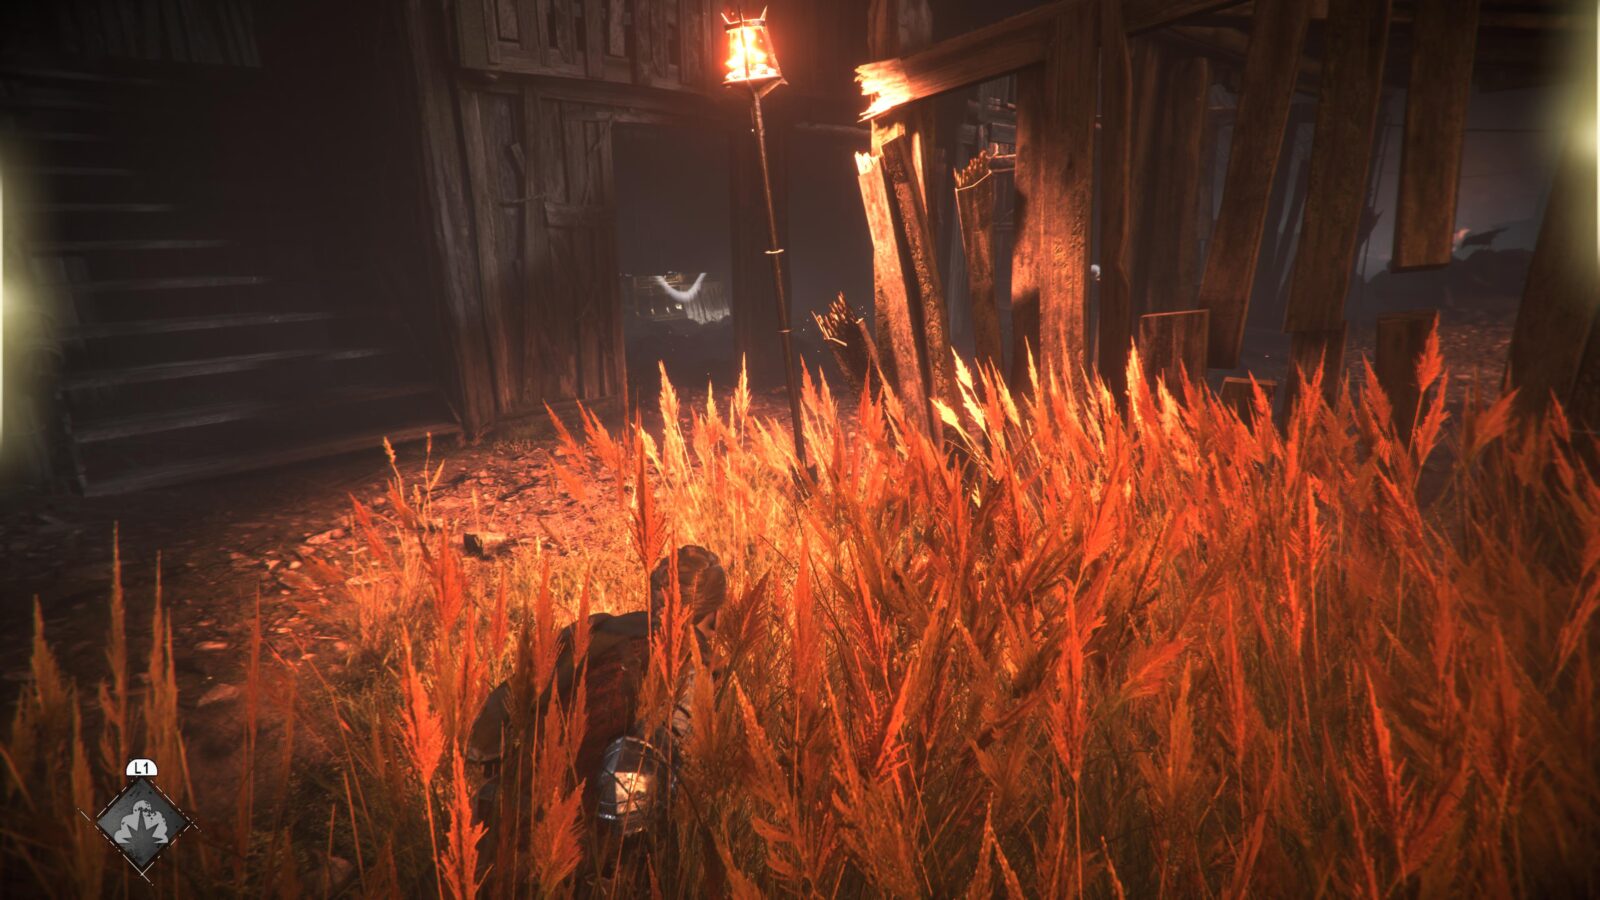
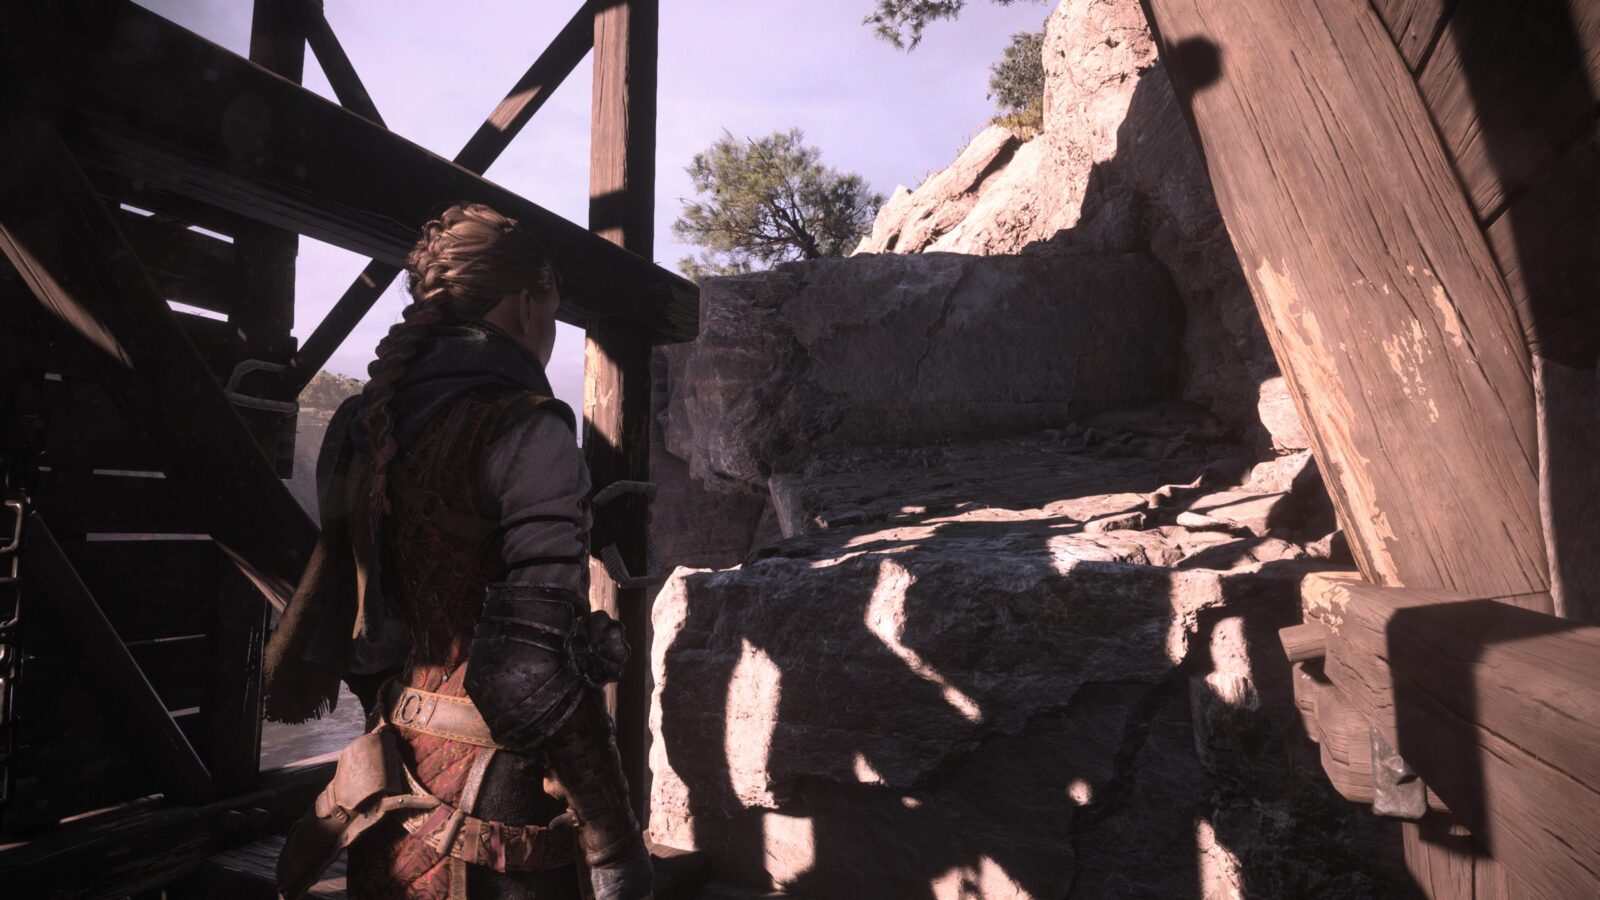
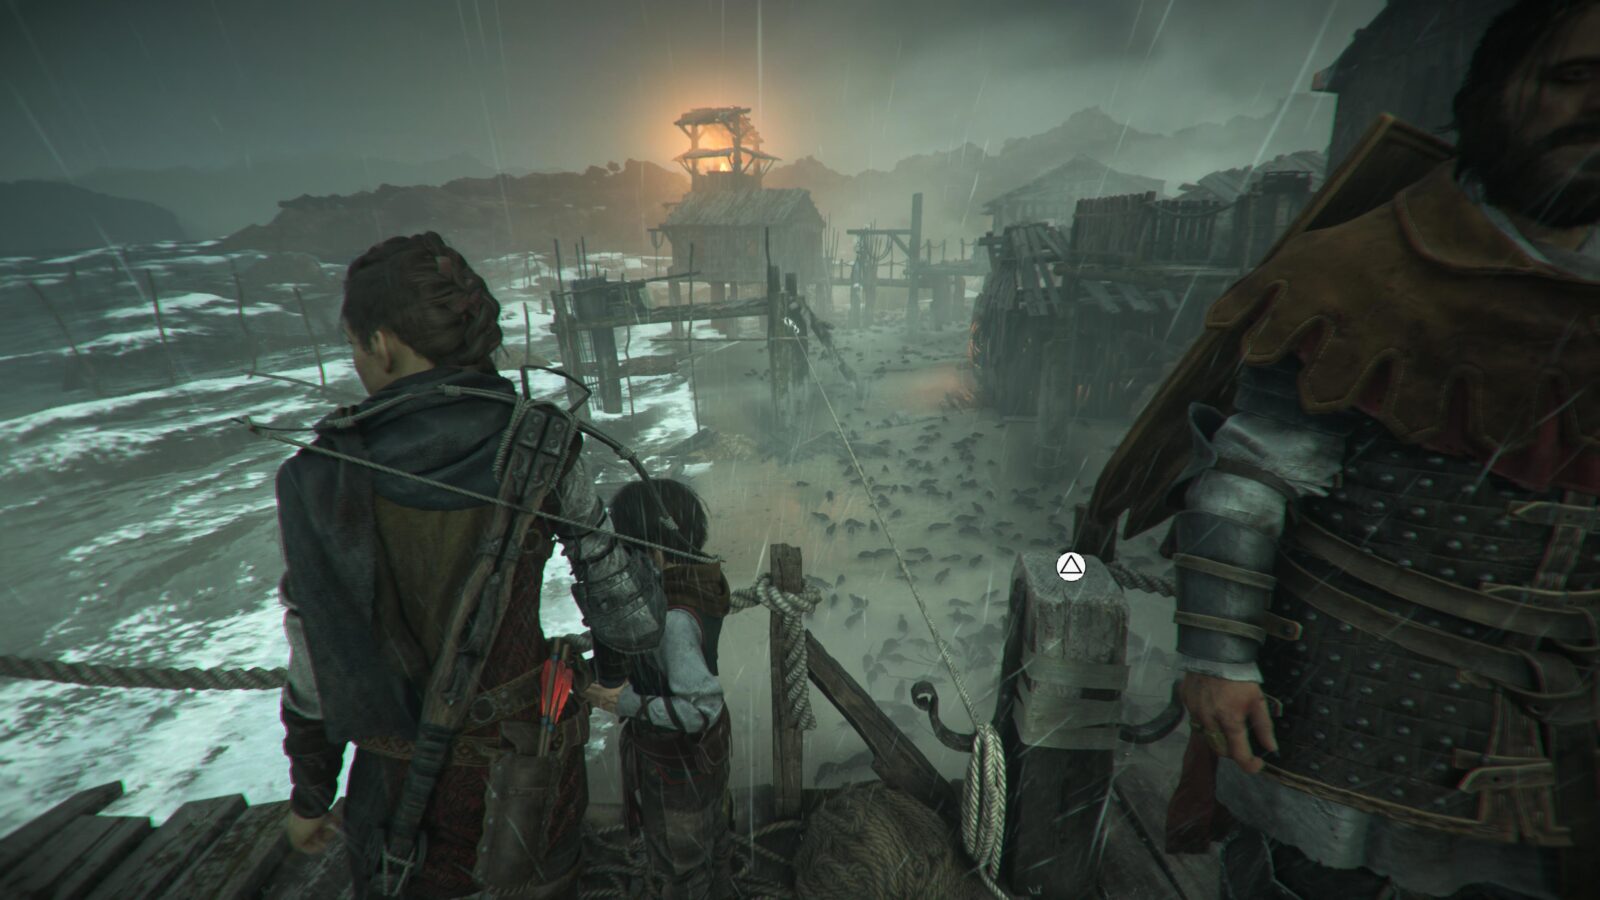
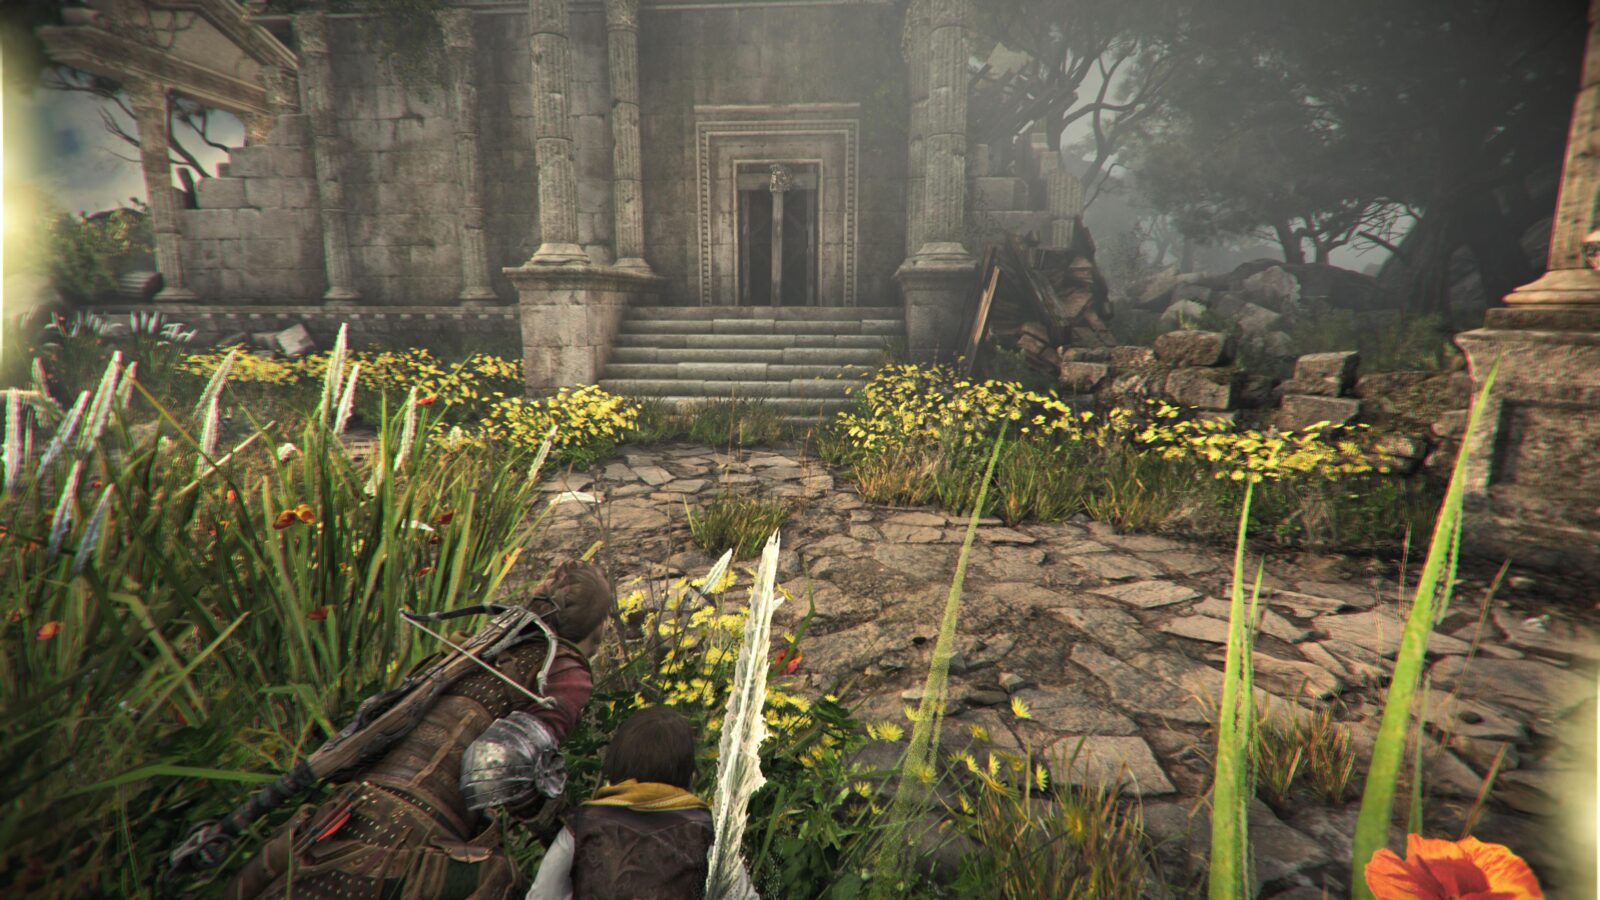
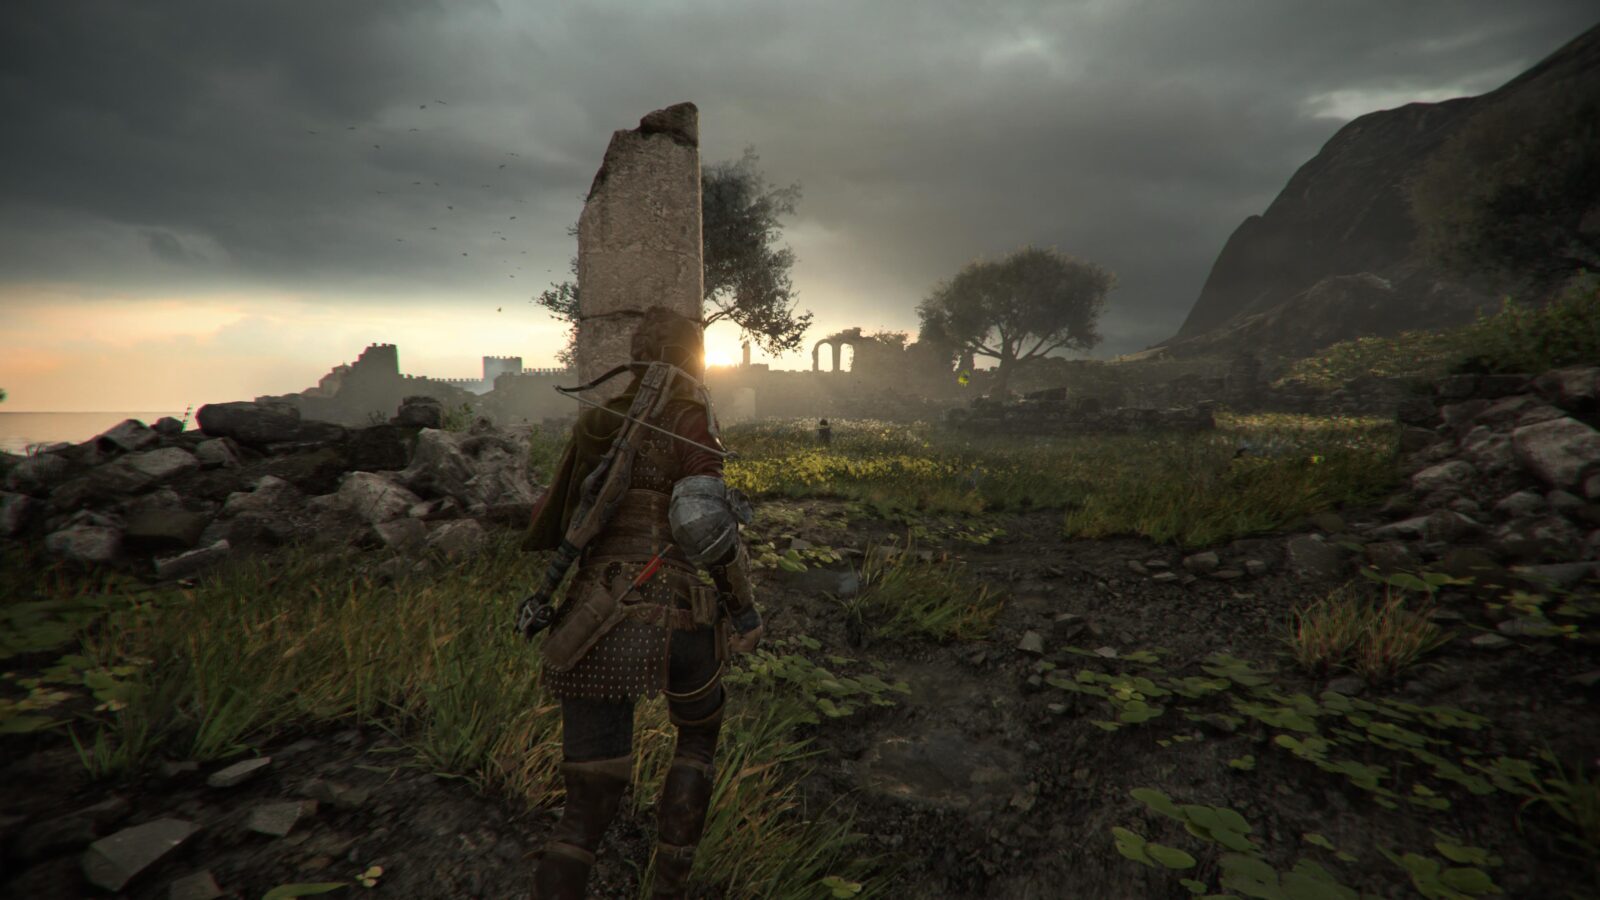
Chapter Two: Newcomers
| Souvenirs | 2 |
| Hugo’s Collection (Flowers/Feathers) | 1 |
| Knives | 1 |
| Secret Chests | 0 |
| Tool Chests | 0 |
Our collectible locations guide starts here in Chapter 2 because there are no collectibles throughout Chapter 1.
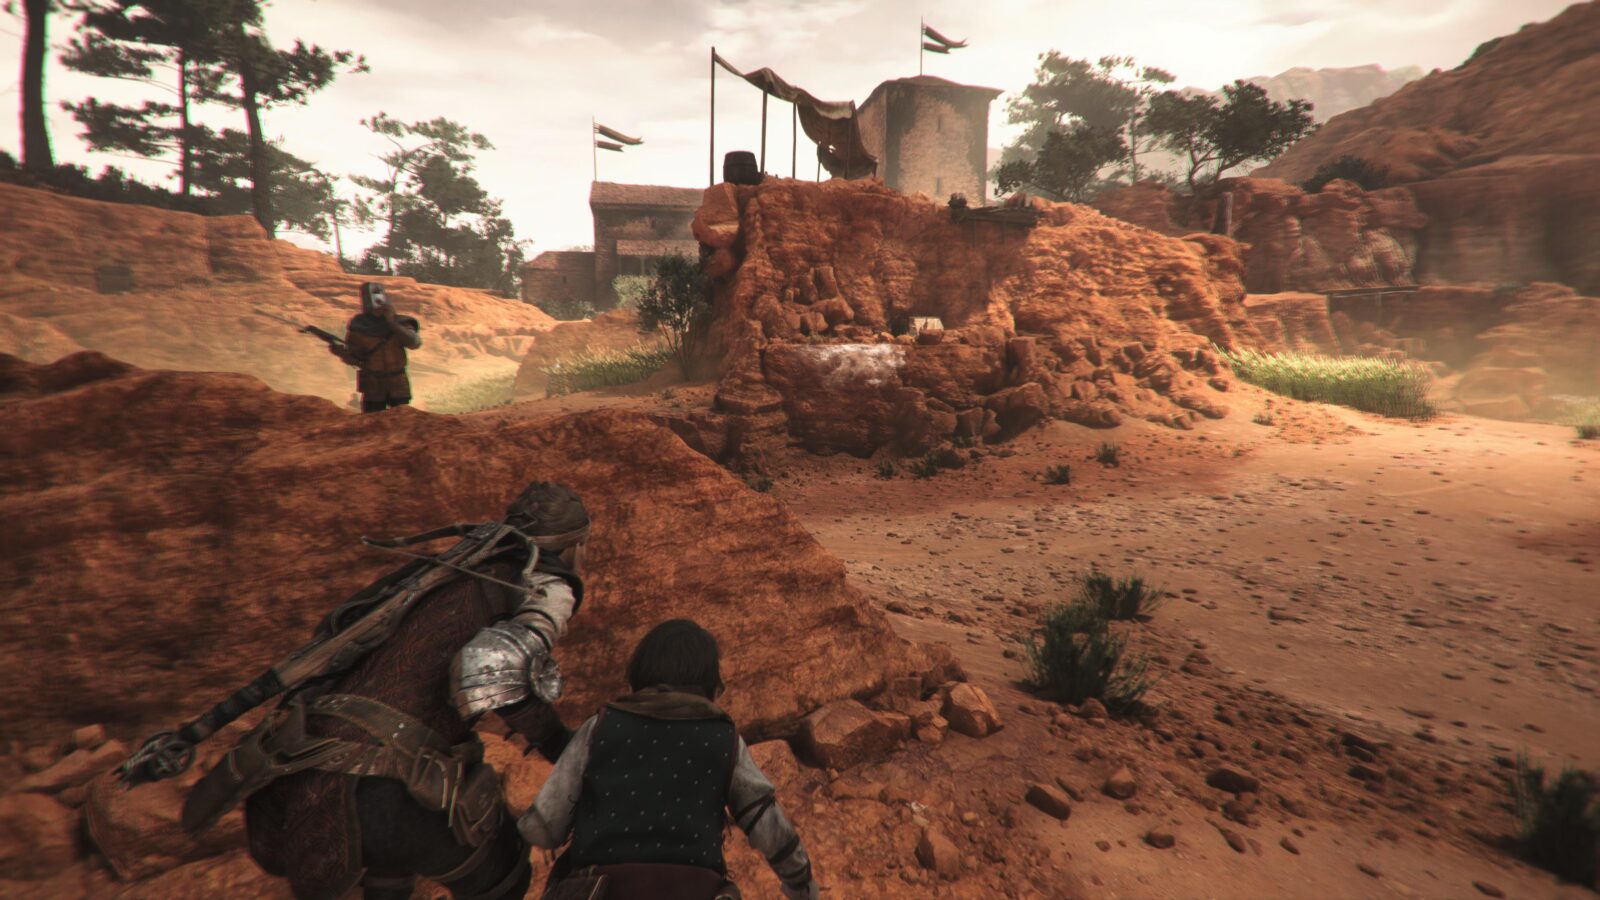
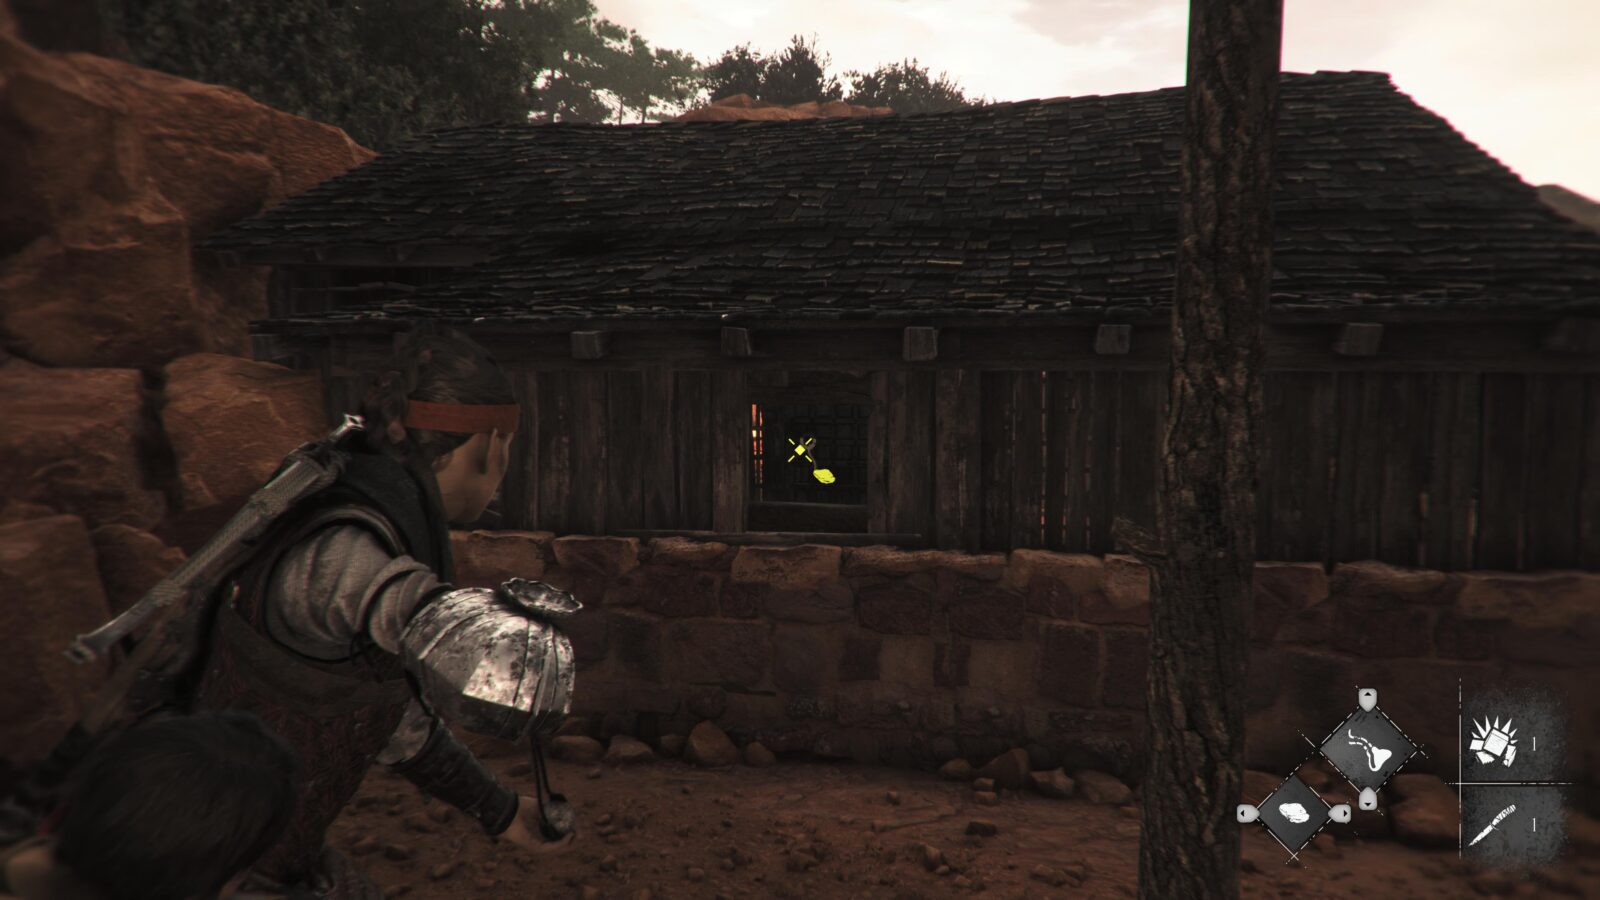
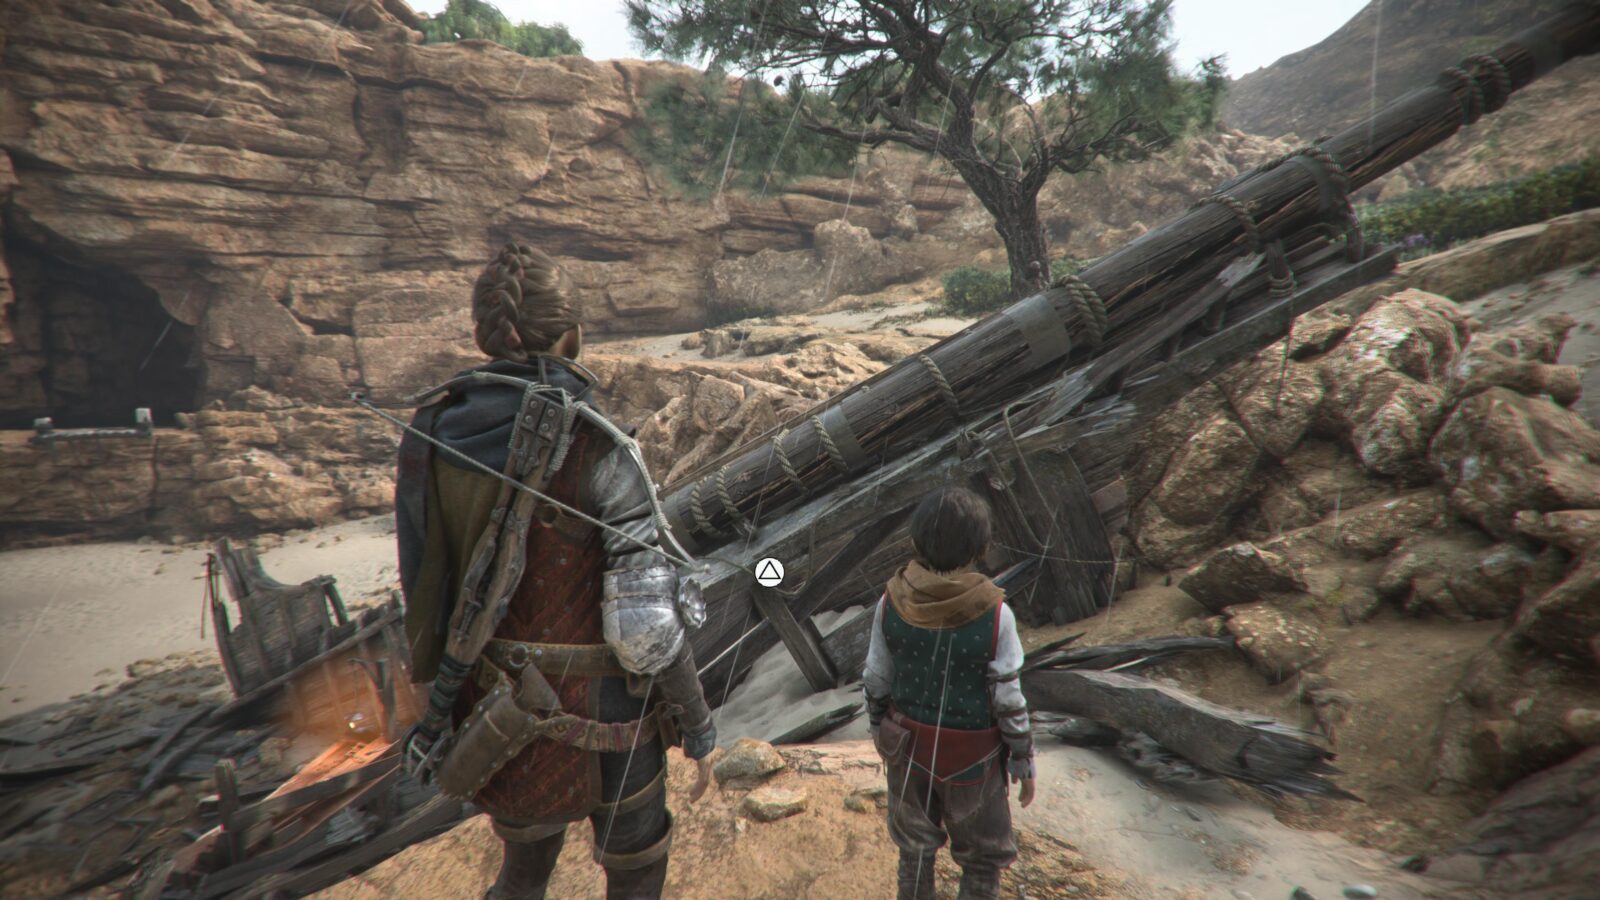
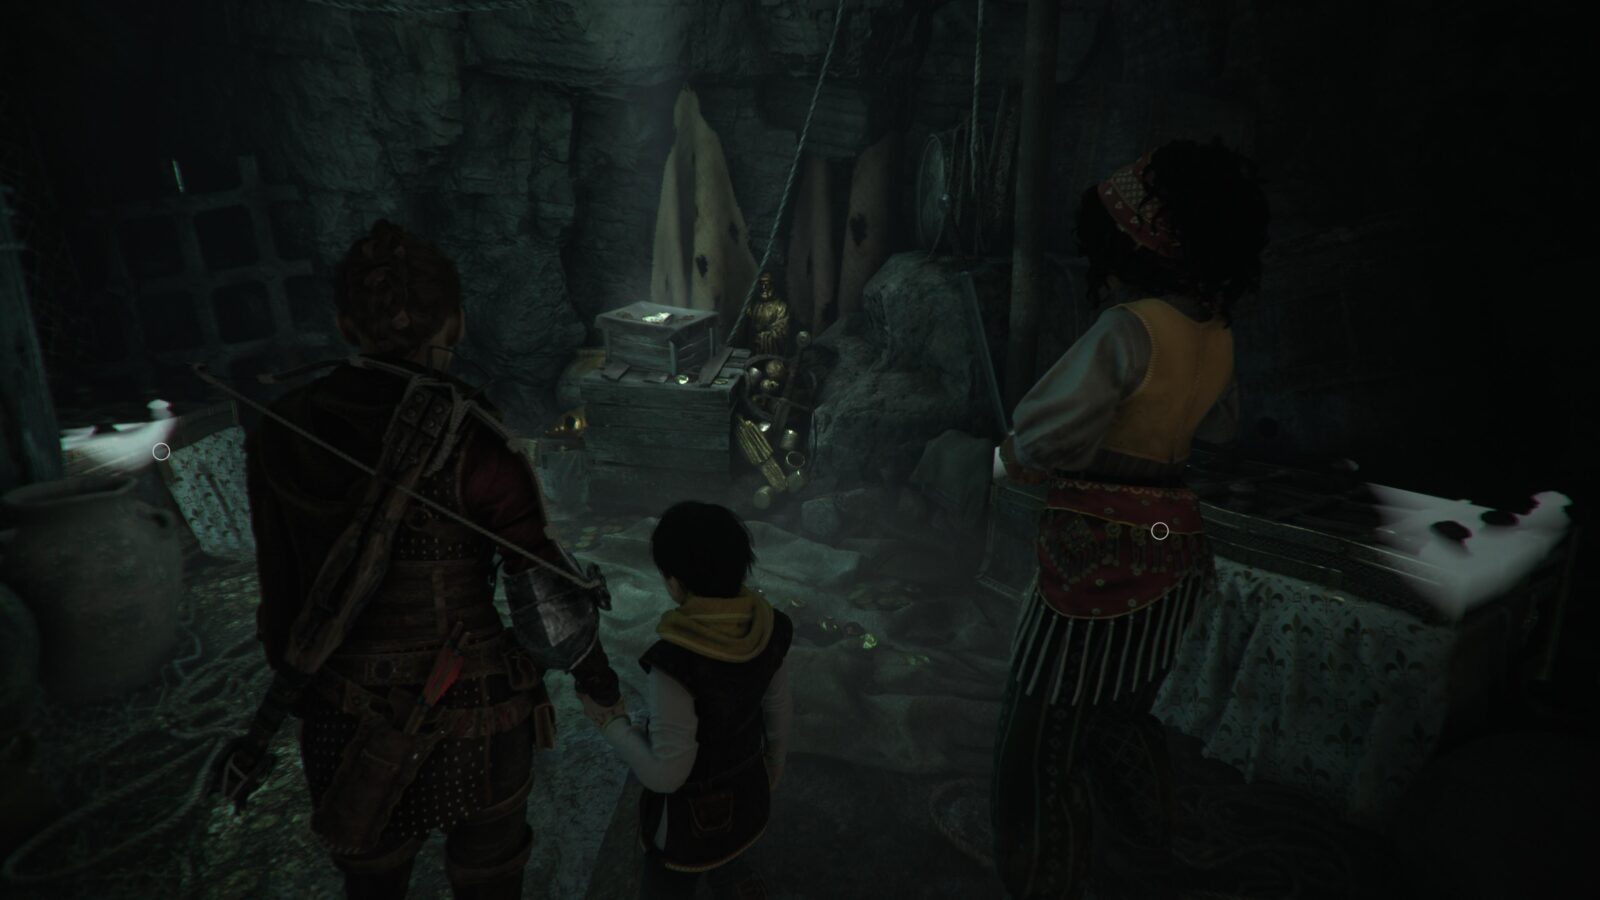
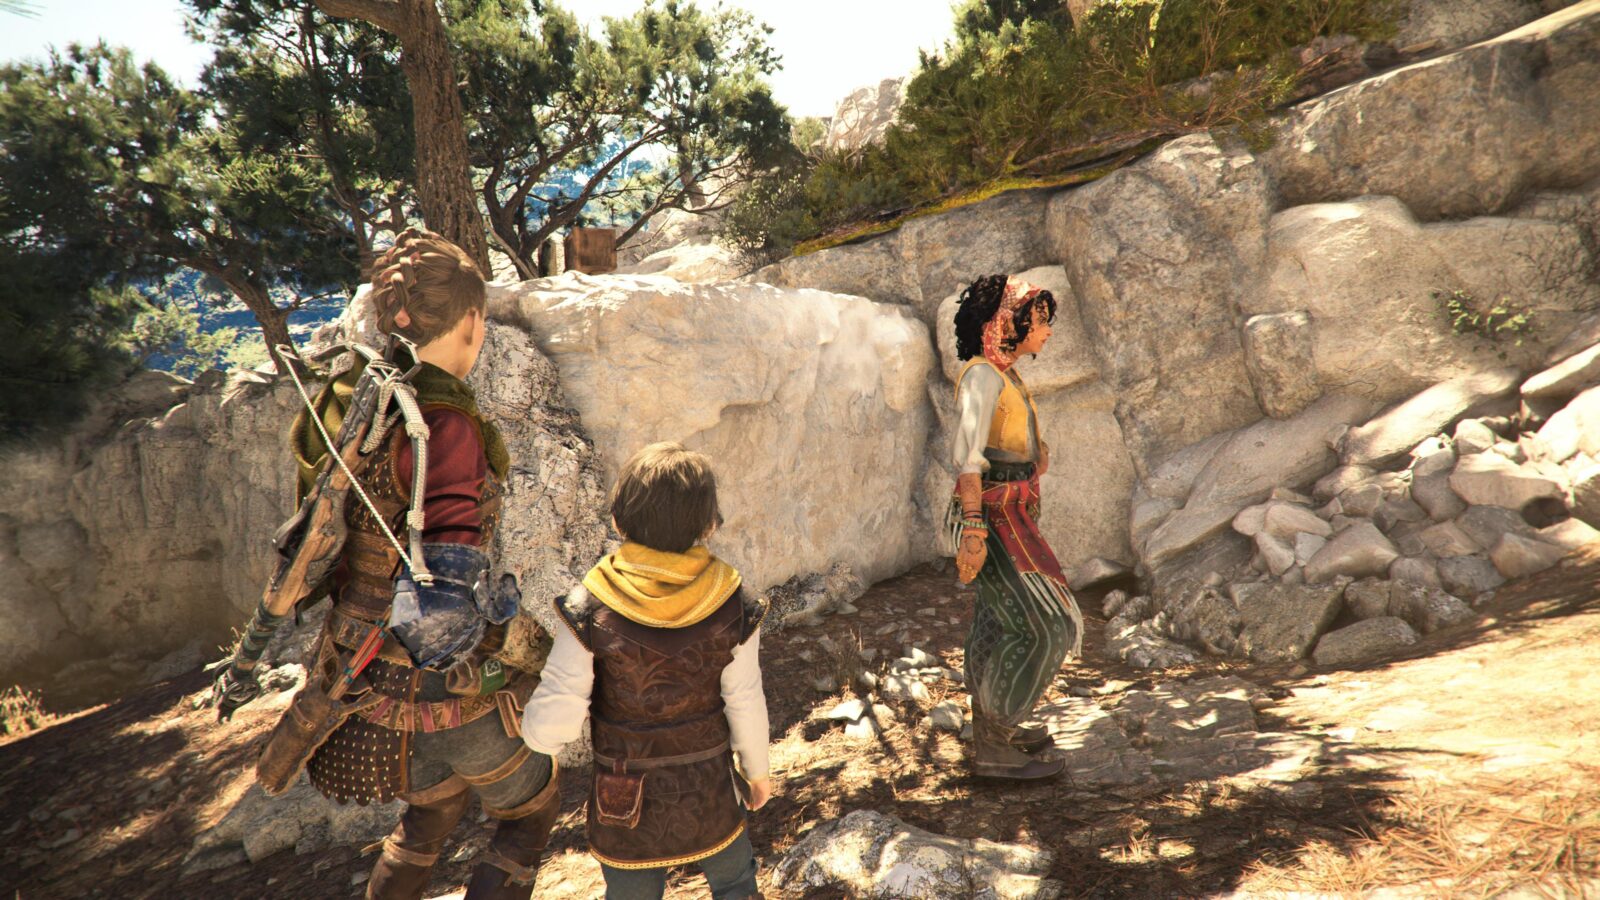
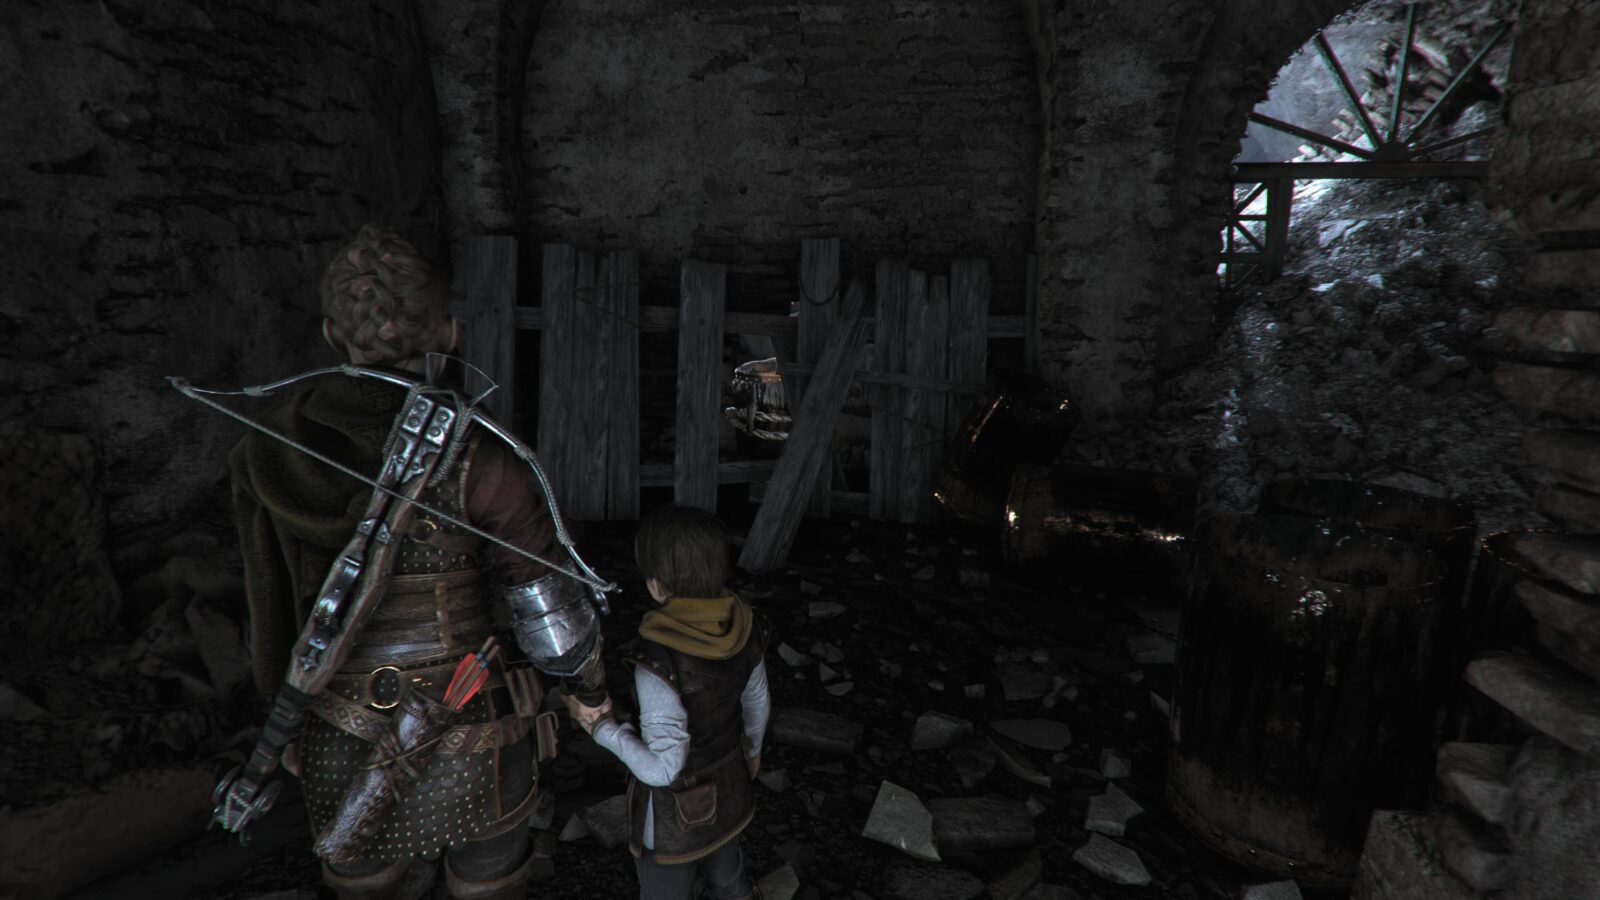
Near the start of the chapter, you will come to a large market tent (Current Objective: Walk to the house), shortly after Amicia points out the weathervane in the distance.
Inside the tent, turn right after the woman in the blue dress offers a new hairstyle, and then follow the path until you reach another outdoor area where Hugo will approach the woman at the flower stall ahead.
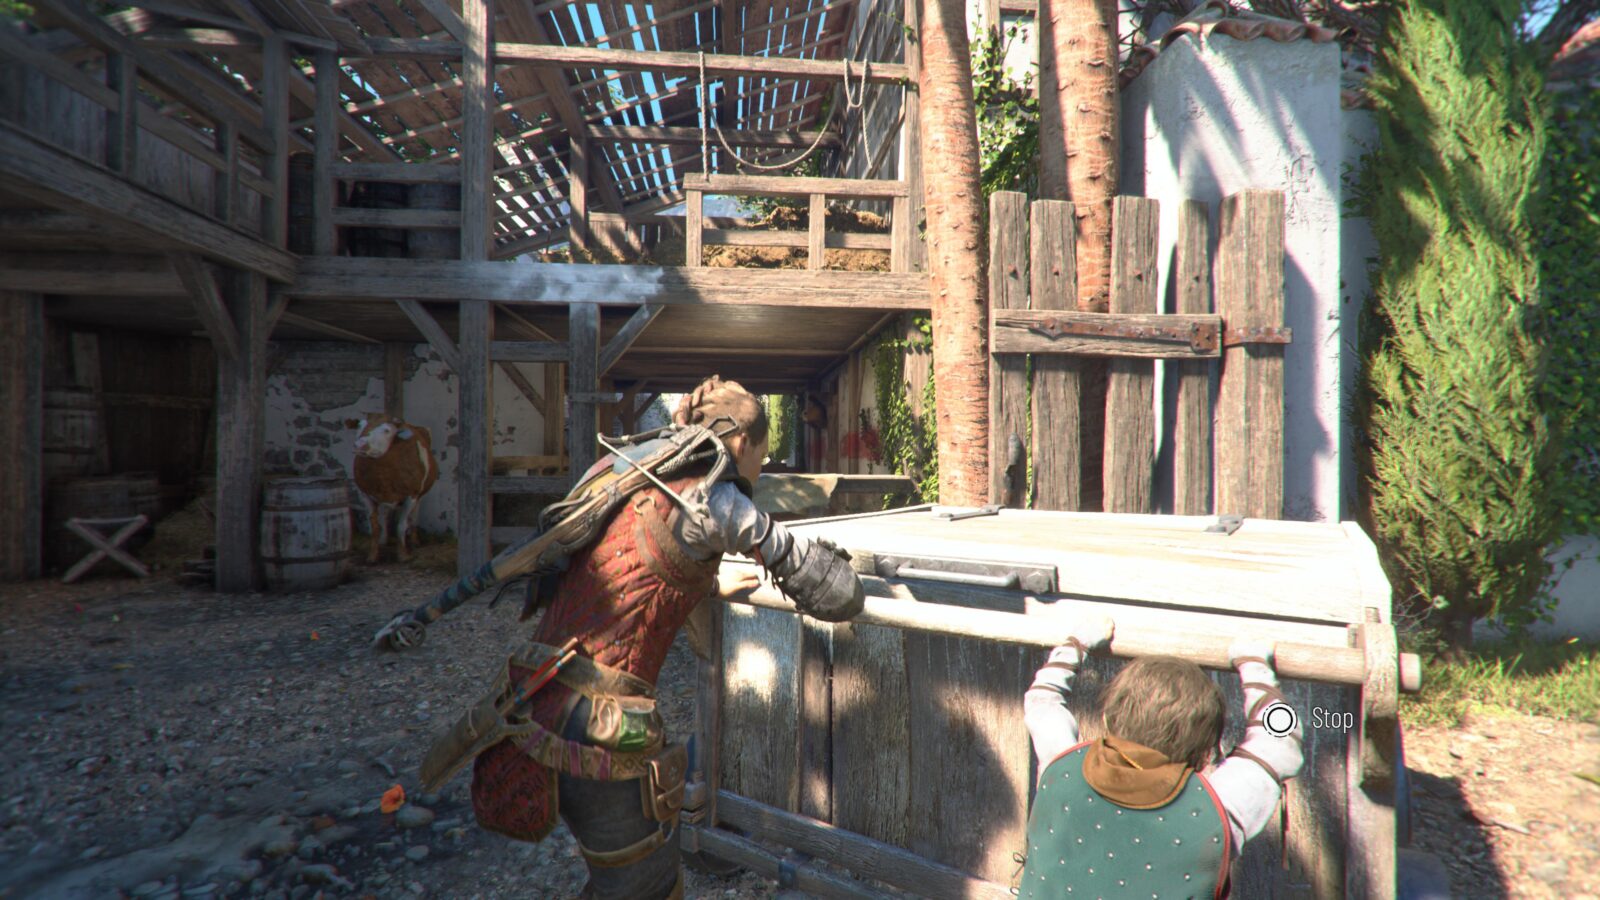
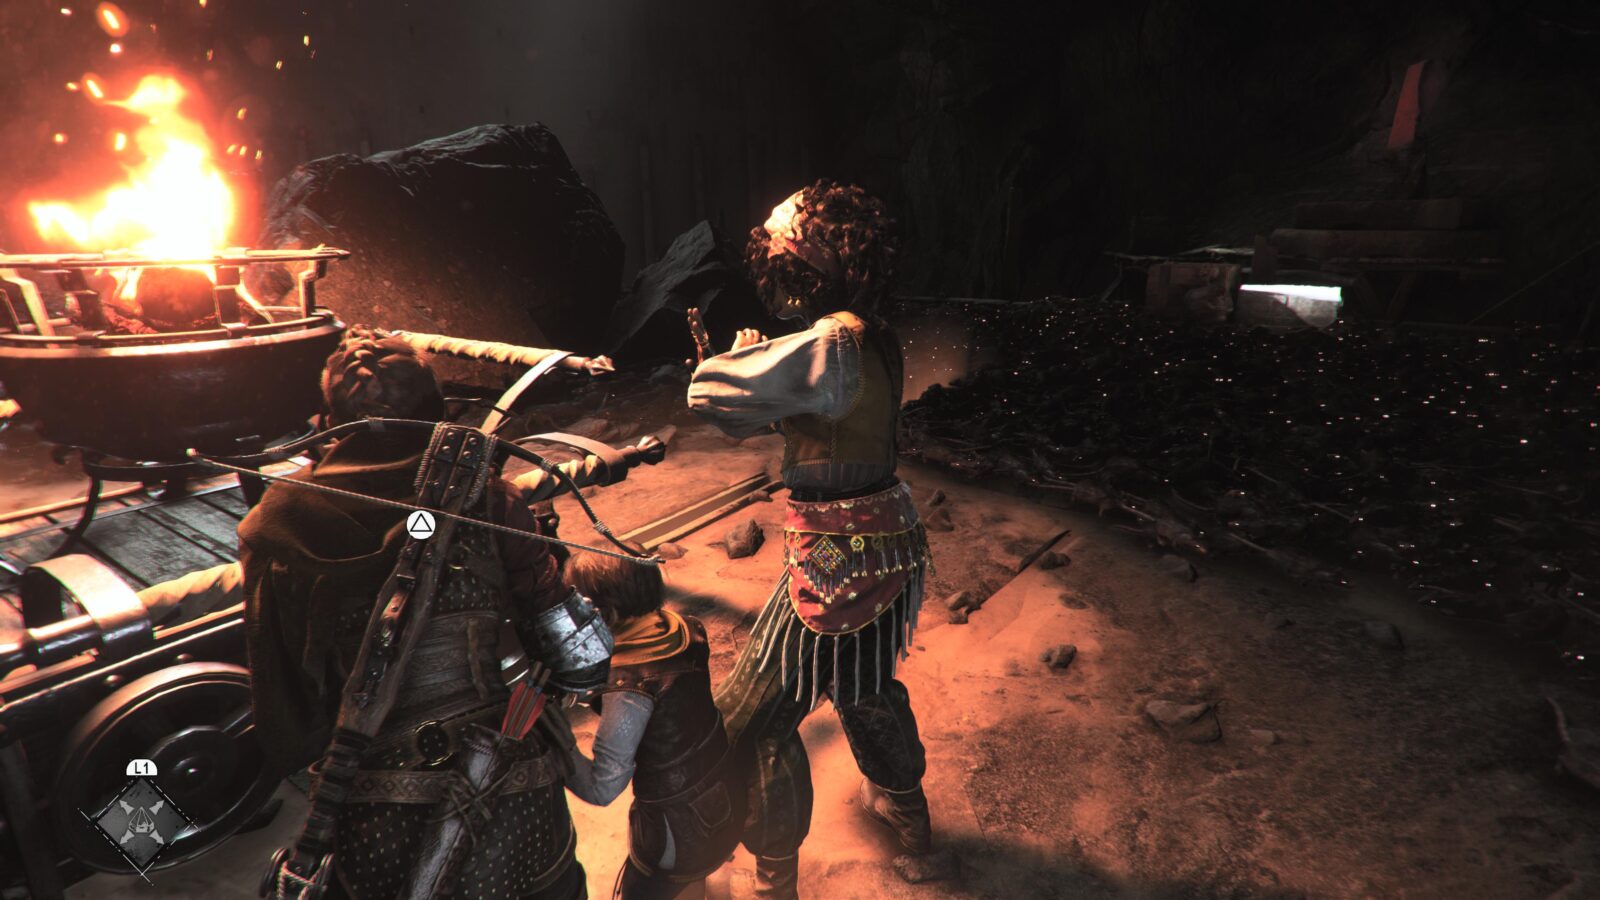
Once the dialogue ends, continue left and follow the path all the way to the market stall at the end. Speak to the Stall Manager to start the minigame.

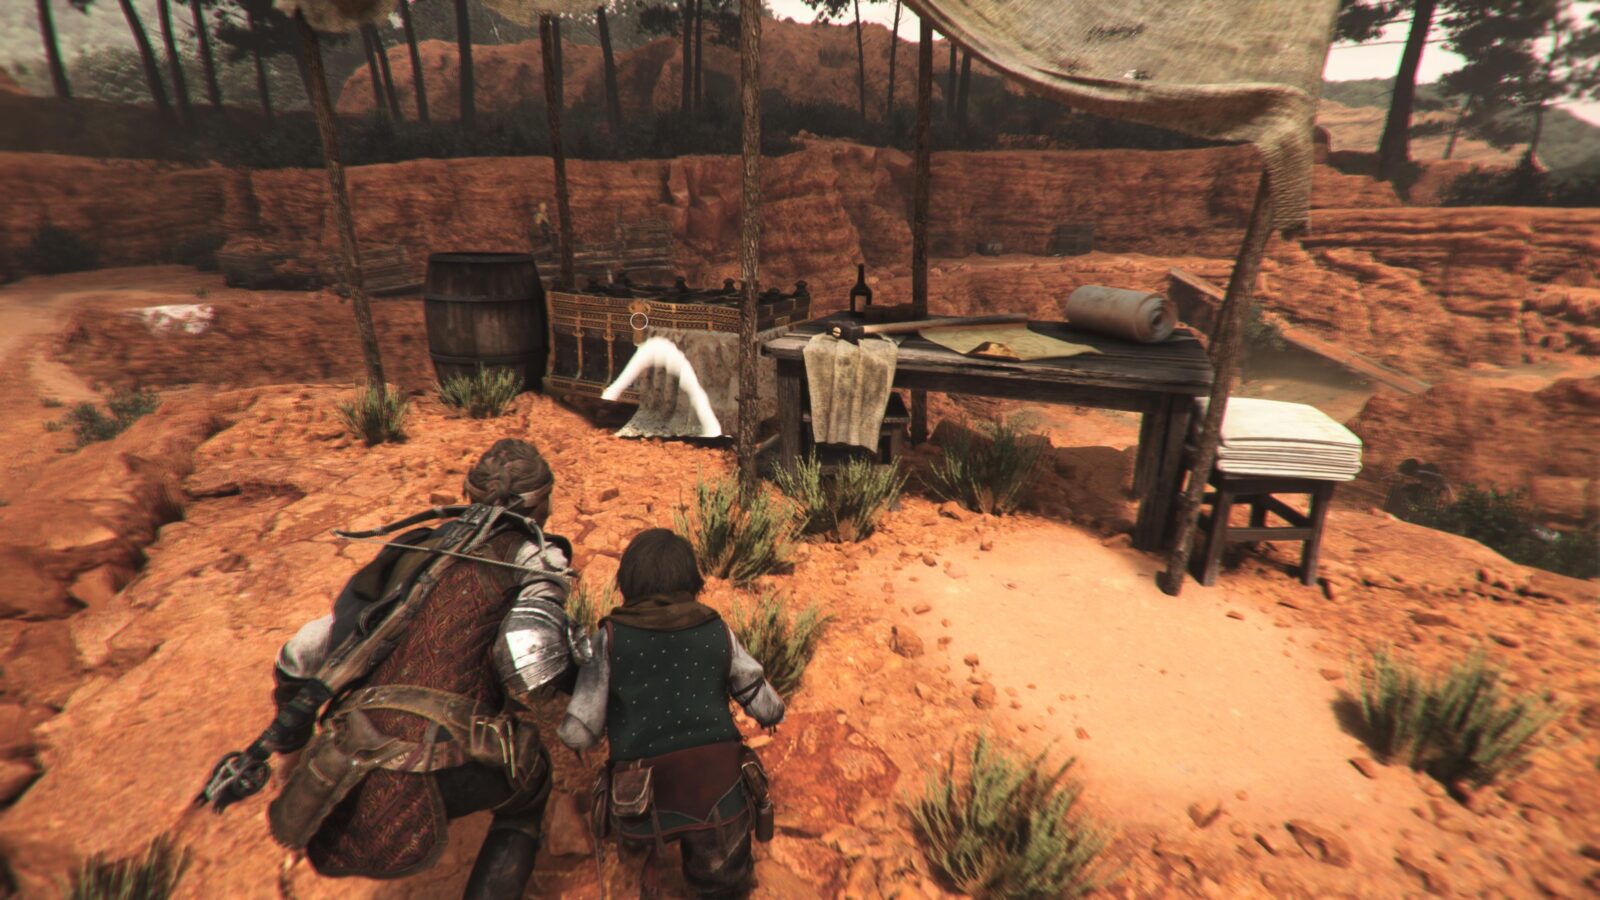
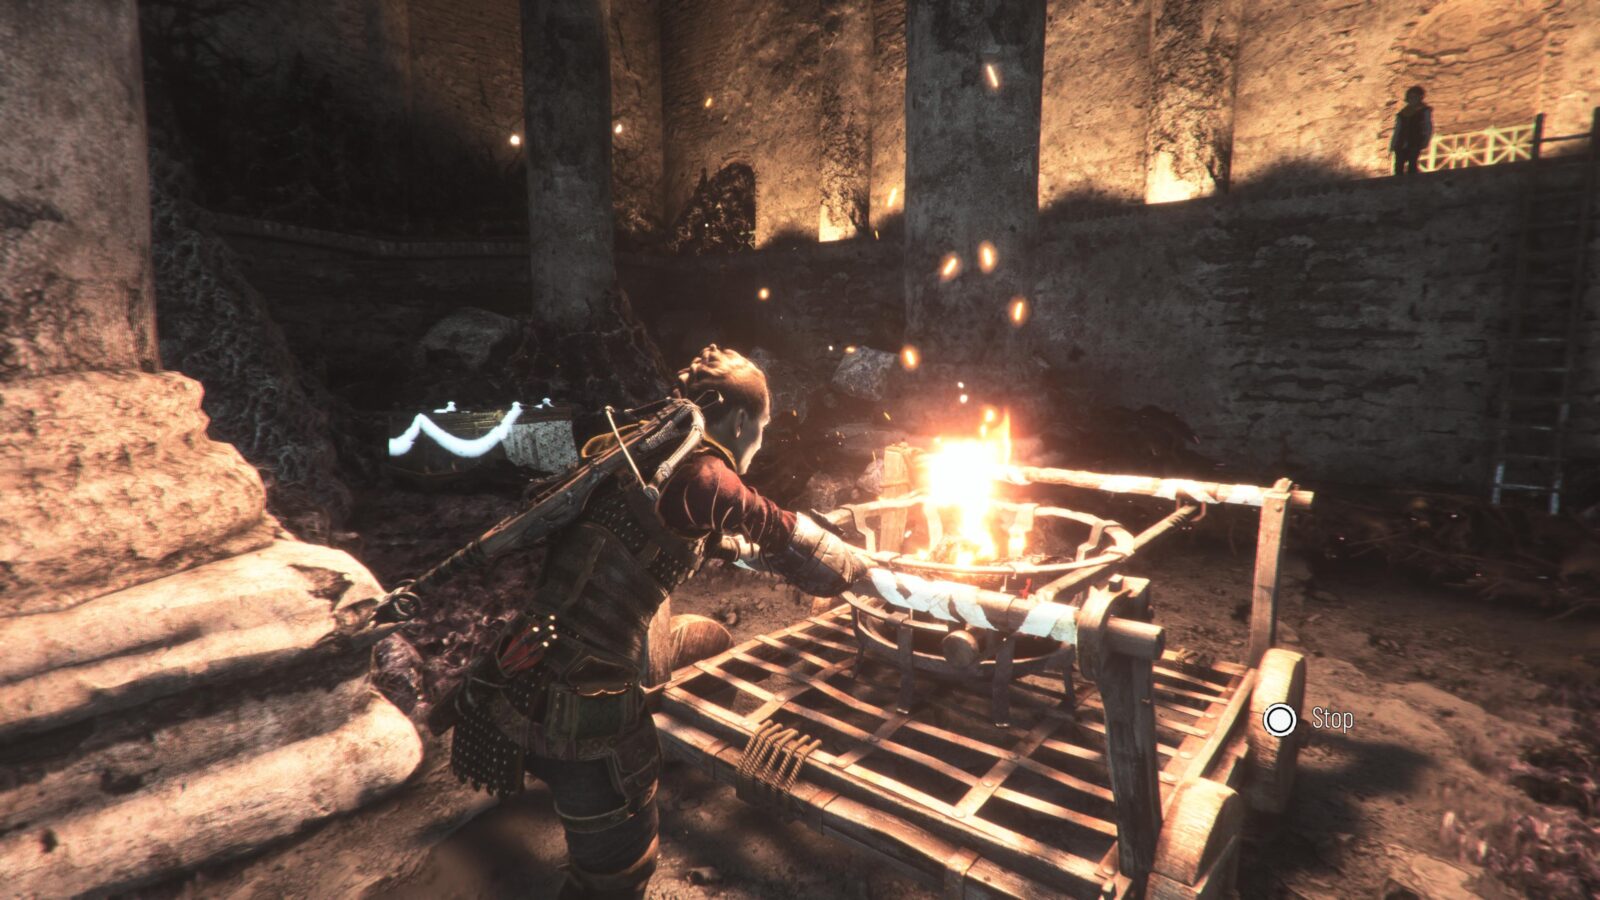
Throw the pots with ![]() and
and ![]() at the bases of the paper cube structures stacked behind the stall manager. Knock down all four structures to end the minigame and be announced the best player for that day. This will be registered as your very first Souvenir Collectible (1/21).
at the bases of the paper cube structures stacked behind the stall manager. Knock down all four structures to end the minigame and be announced the best player for that day. This will be registered as your very first Souvenir Collectible (1/21).

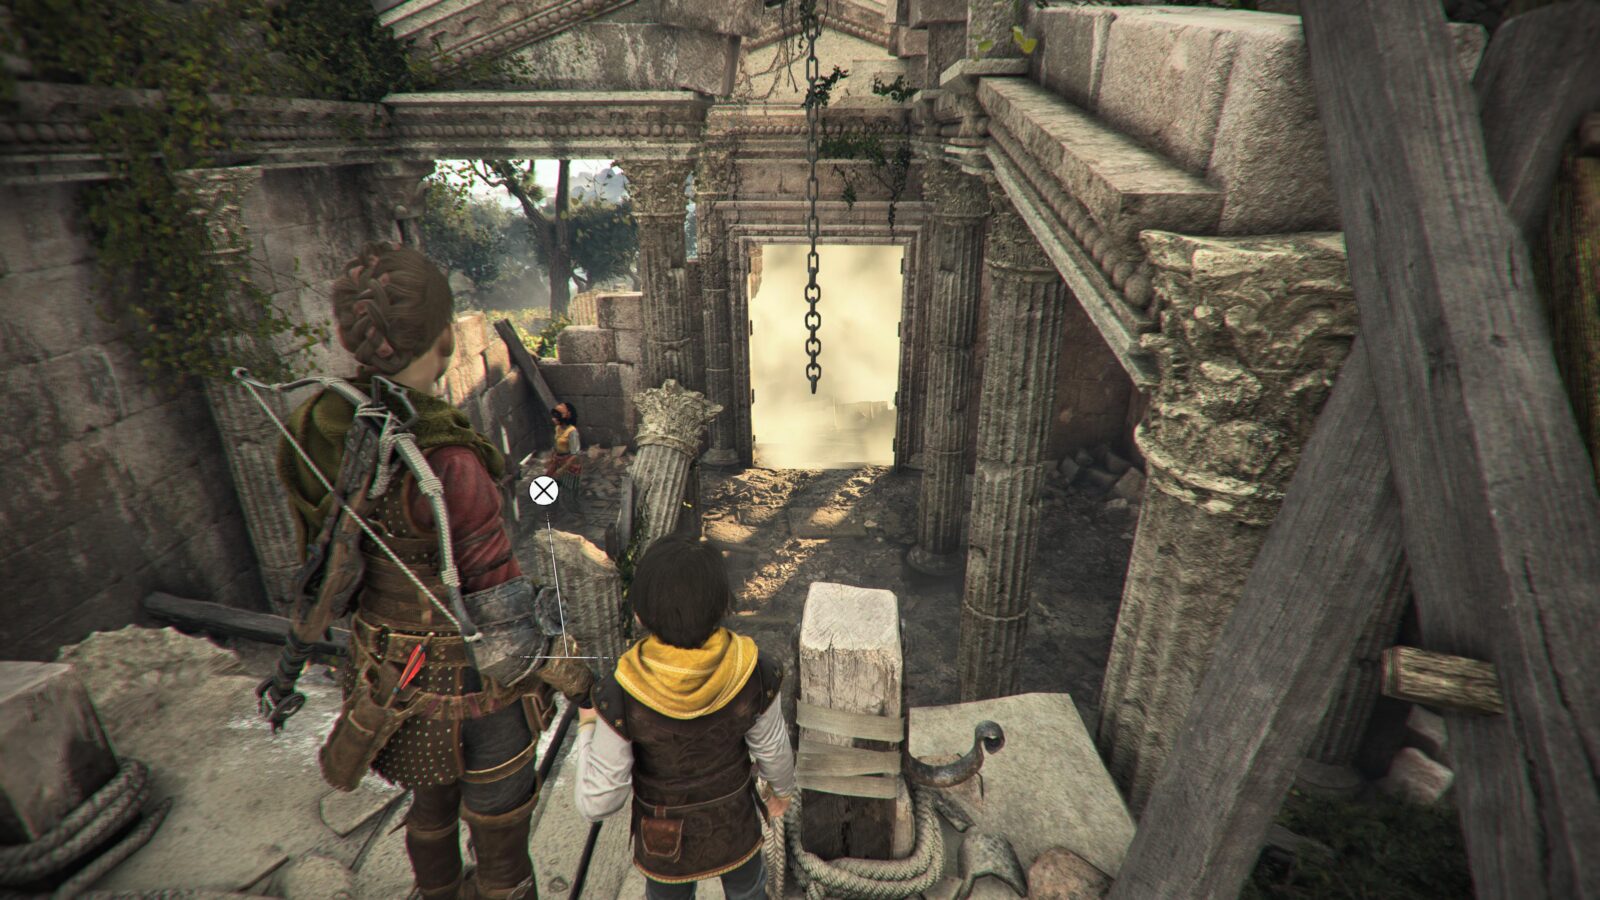
Continue on until you get the objective “Follow the Order’s Symbols” in the Sub-Chapter “Confrontation in the stands.” You’ll get your first knife unavoidably along the way, but you don’t need them until Chapter 3.
During this section, you will end up sneaking past a large group of enemies (including the game’s first archer) to a metal door below a Symbol of the Order.
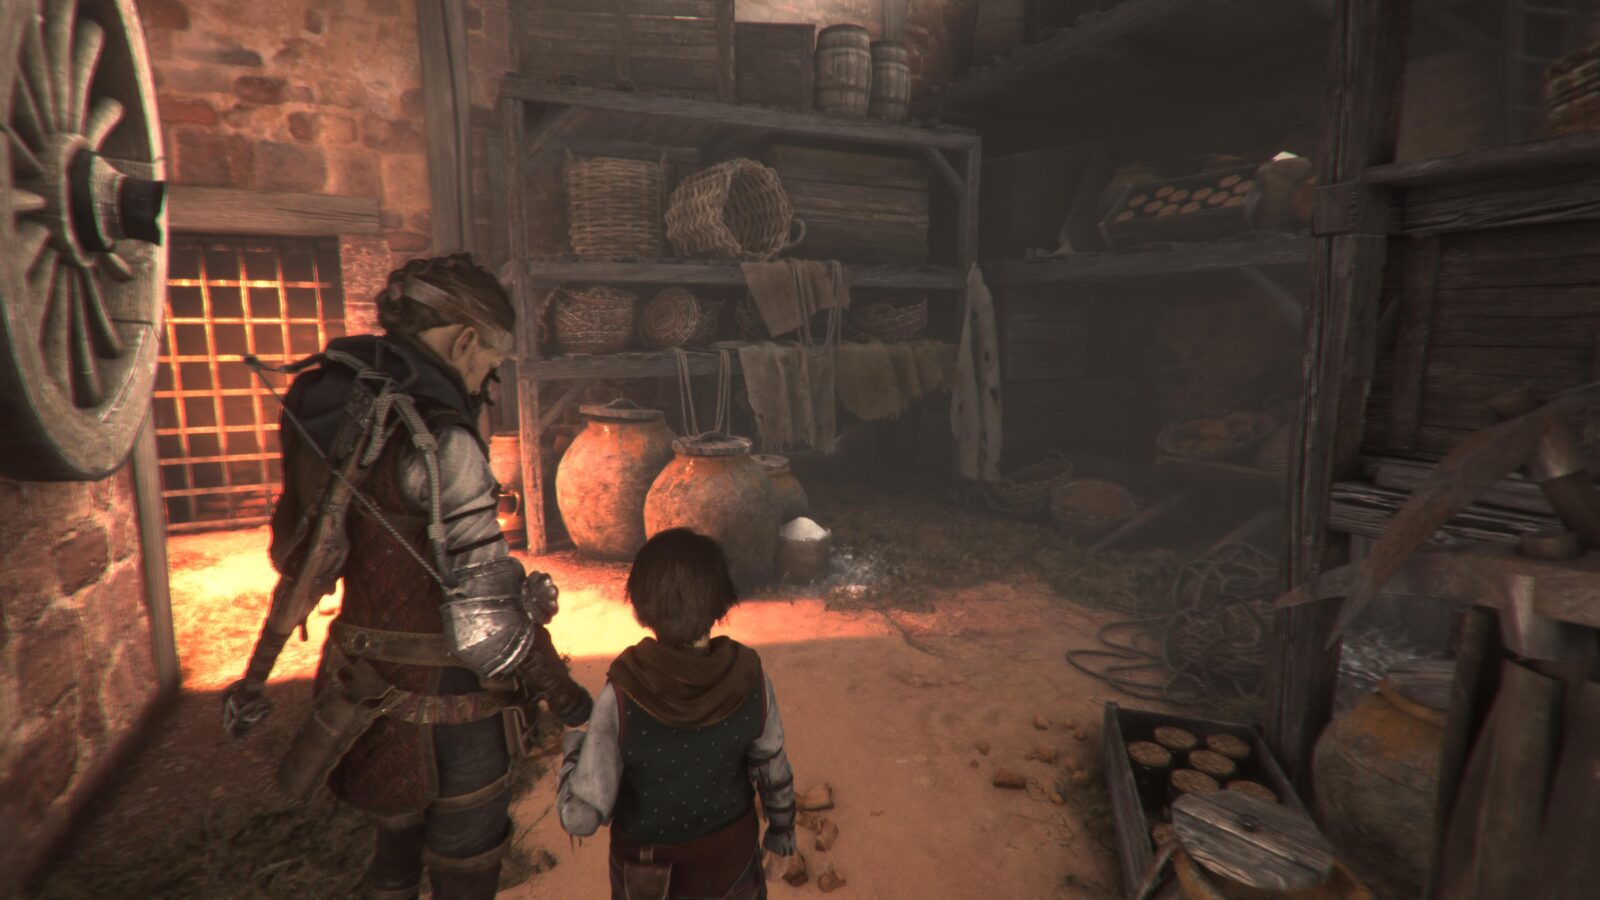
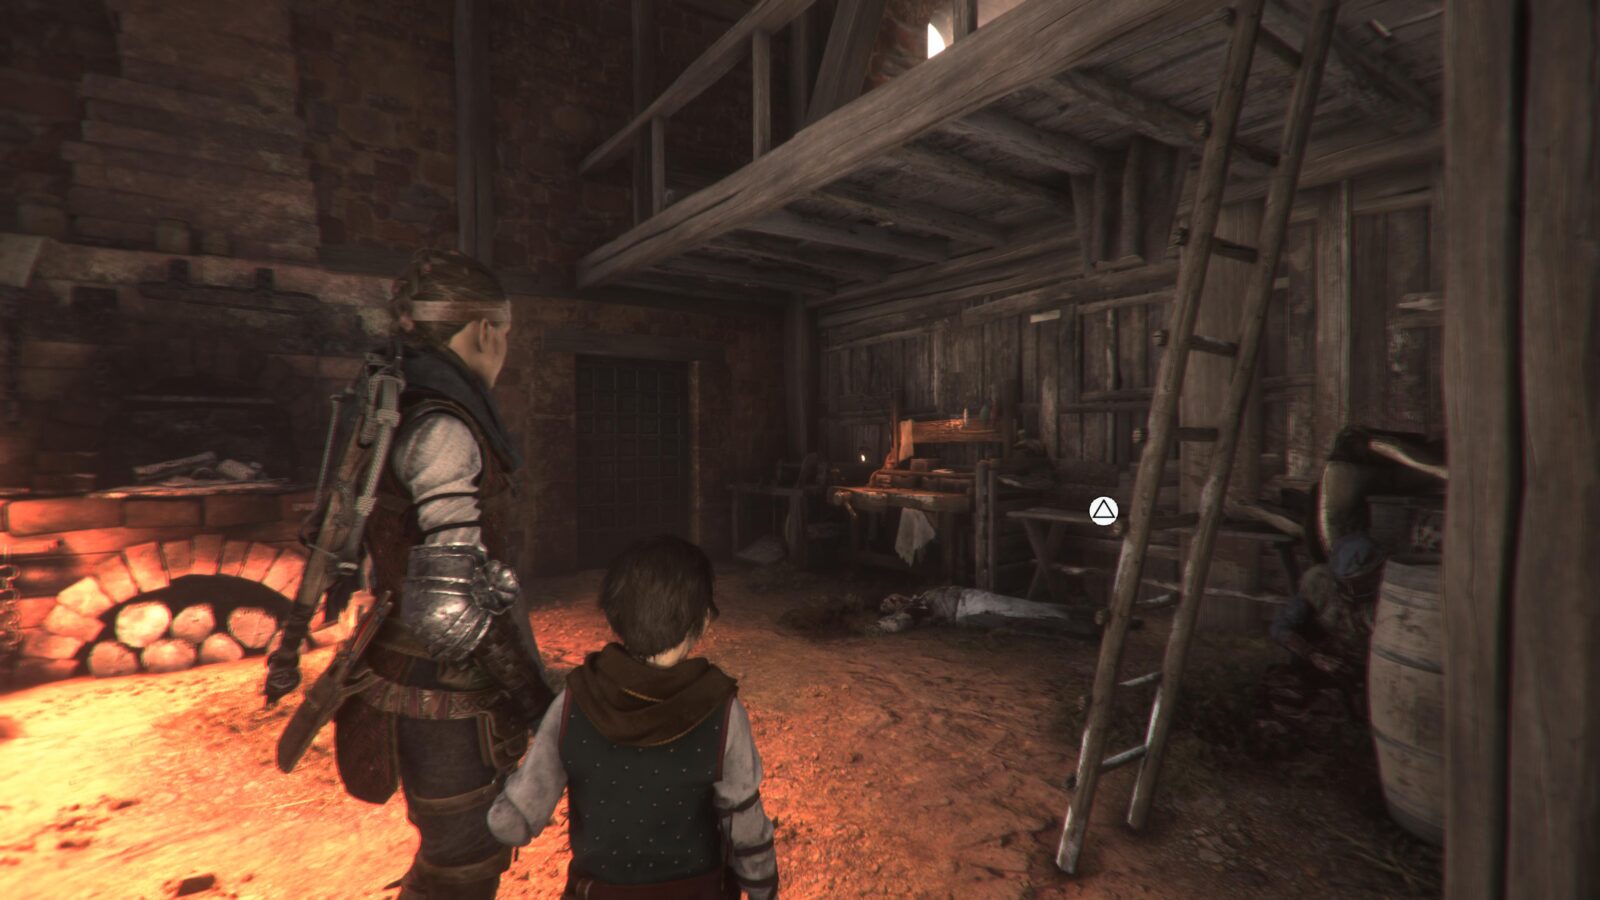
Continue on through the room filled with bodies and up the stairs on your right.
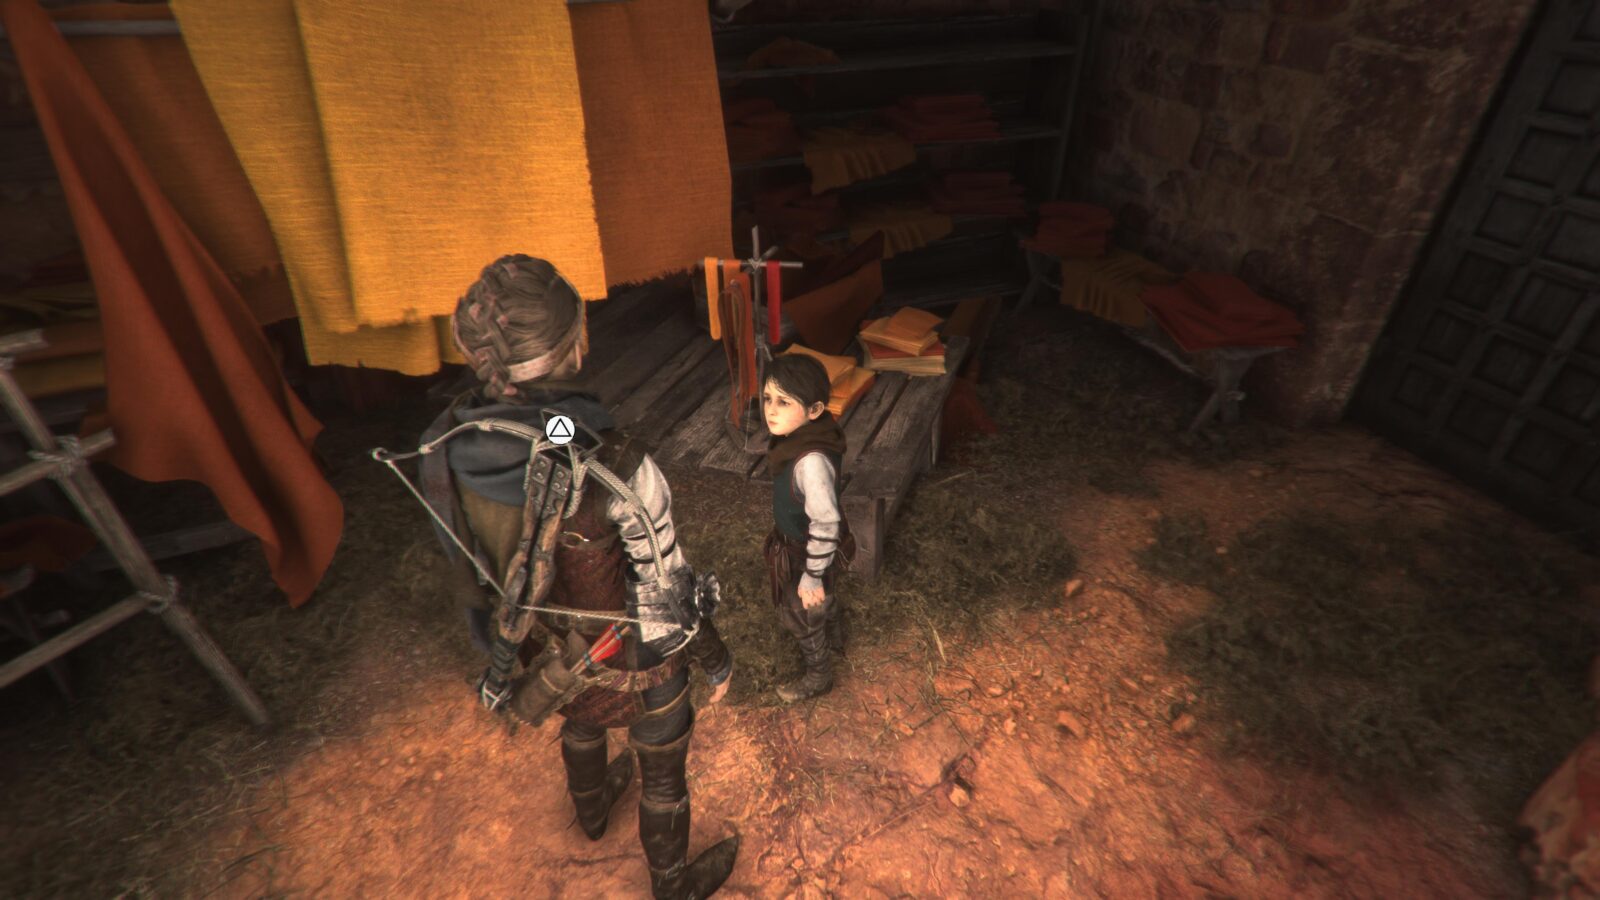
In the upstairs area, you will find a woman coughing, to which Amicia remarks, “There’s one still alive!”
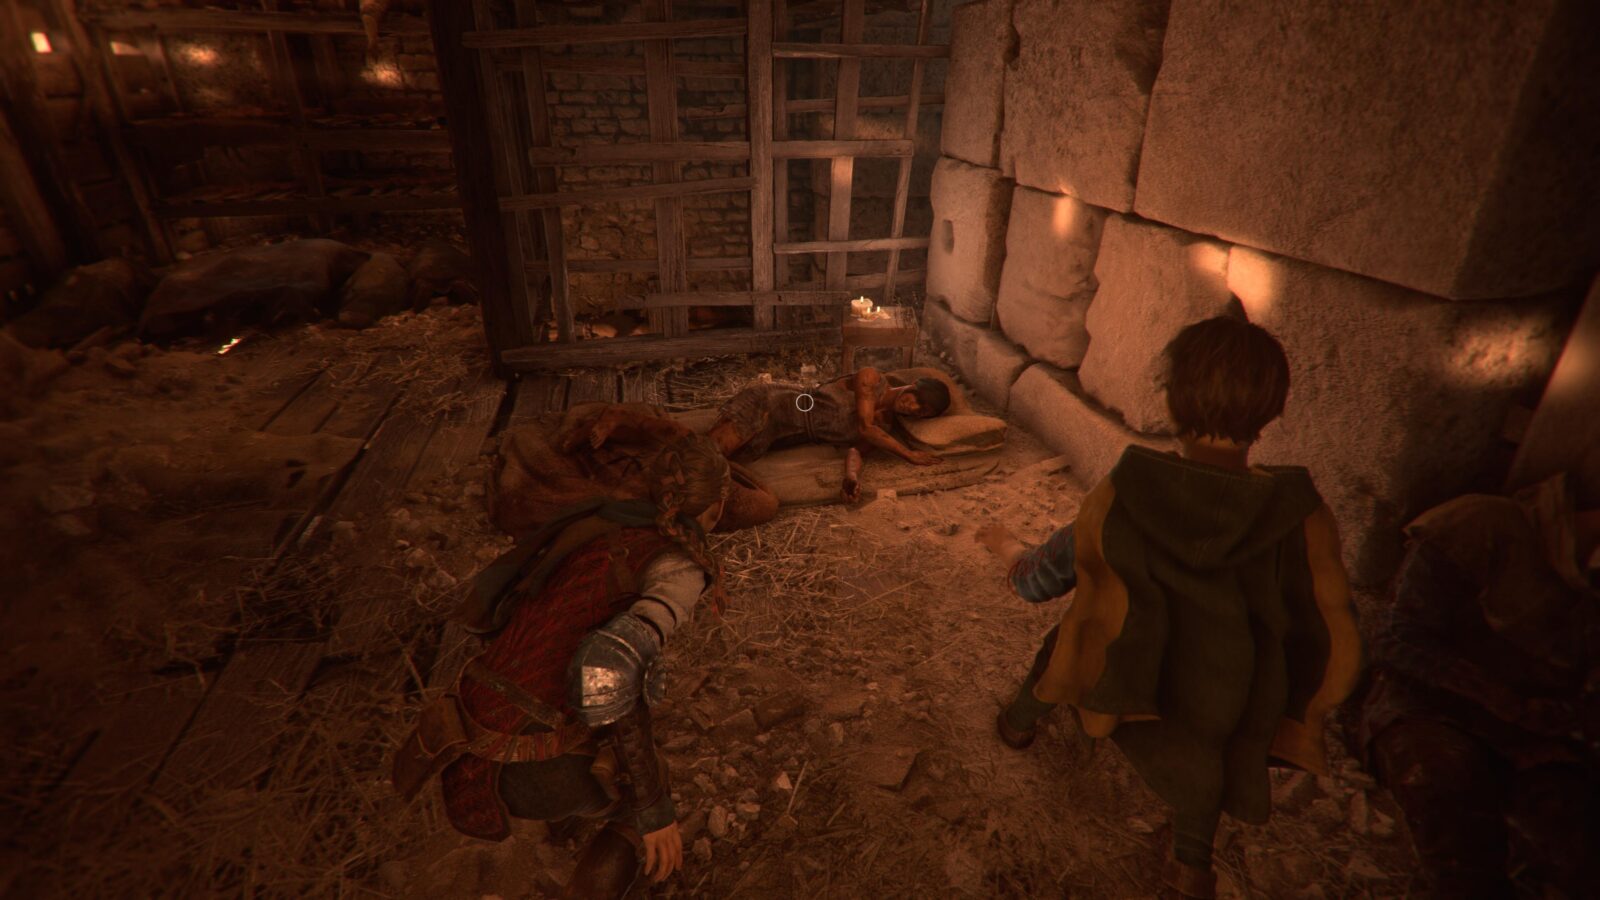
Approach the woman and interact with her to unlock your second Souvenir Collectible (2/21).
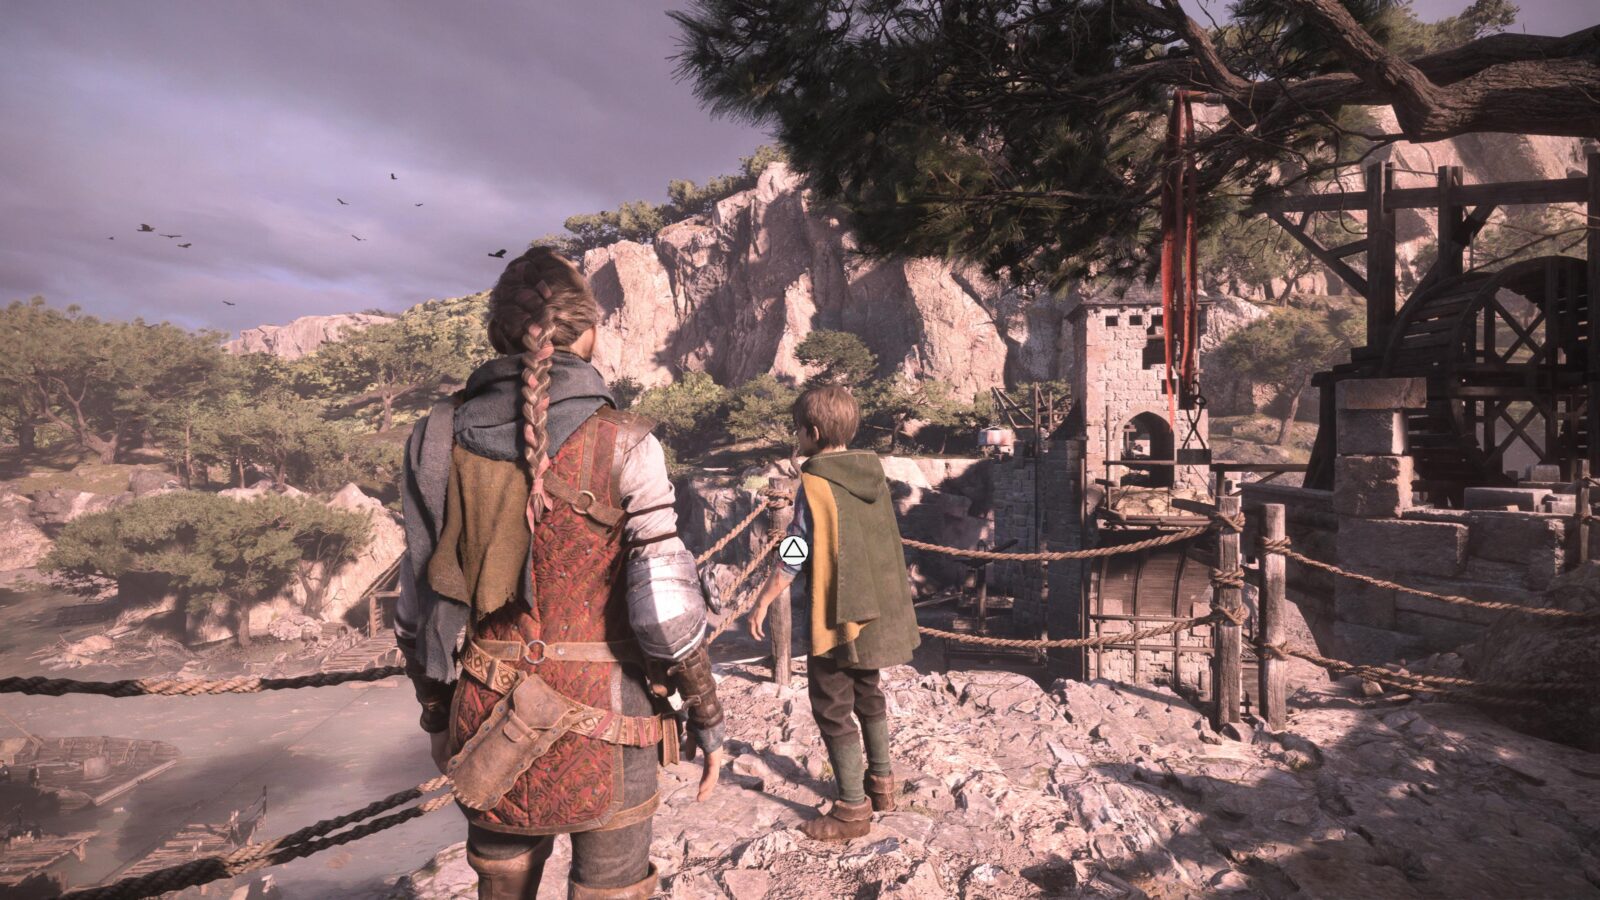
You may once again continue on with the story, stopping only when you reach the objective “Reach the South Tower” during the Sub-Chapter titled “Ignifer,” just after riding the elevator back up to the town at the surface.
Once there, continue following the linear story route until Lucas breaks away from you in a vegetable garden to go sit at a flower.
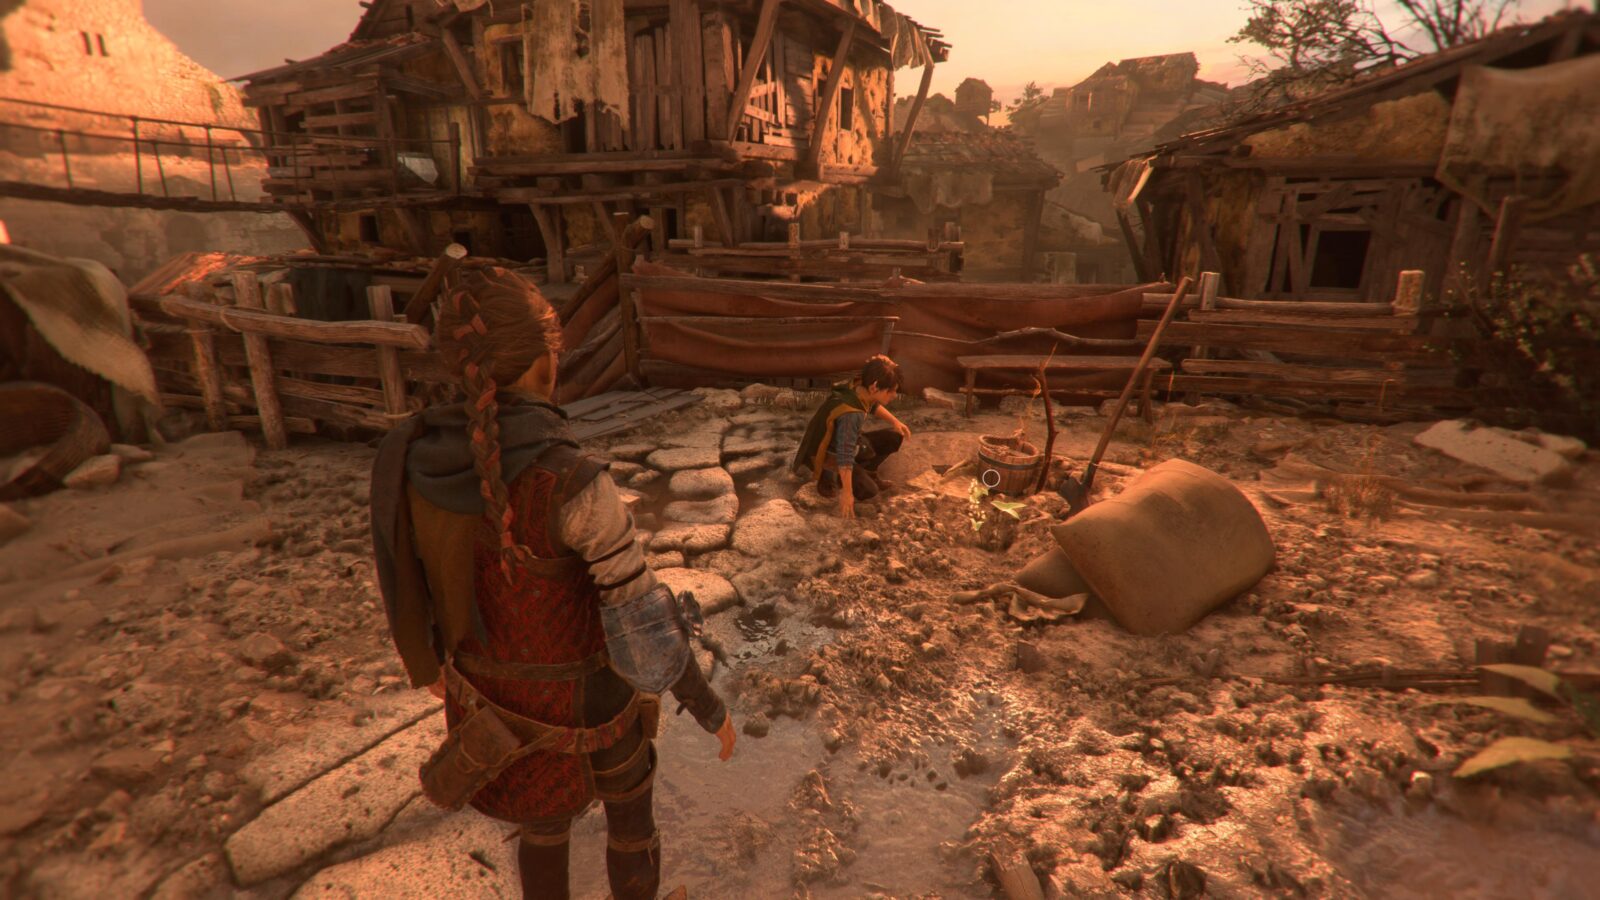
Approach and inspect the flower, which is part of Hugo’s Collection (Flower 1/5 – Arrowhead).
That’s all three collectibles in Chapter 2, so feel free to let loose and just enjoy the rest of the Chapter.
Chapter Three: A Burden of Blood
| Souvenirs | 2 |
| Hugo’s Collection (Flowers/Feathers) | 1 |
| Knives | 1 |
| Secret Chests | 1 |
| Tools | 3 |
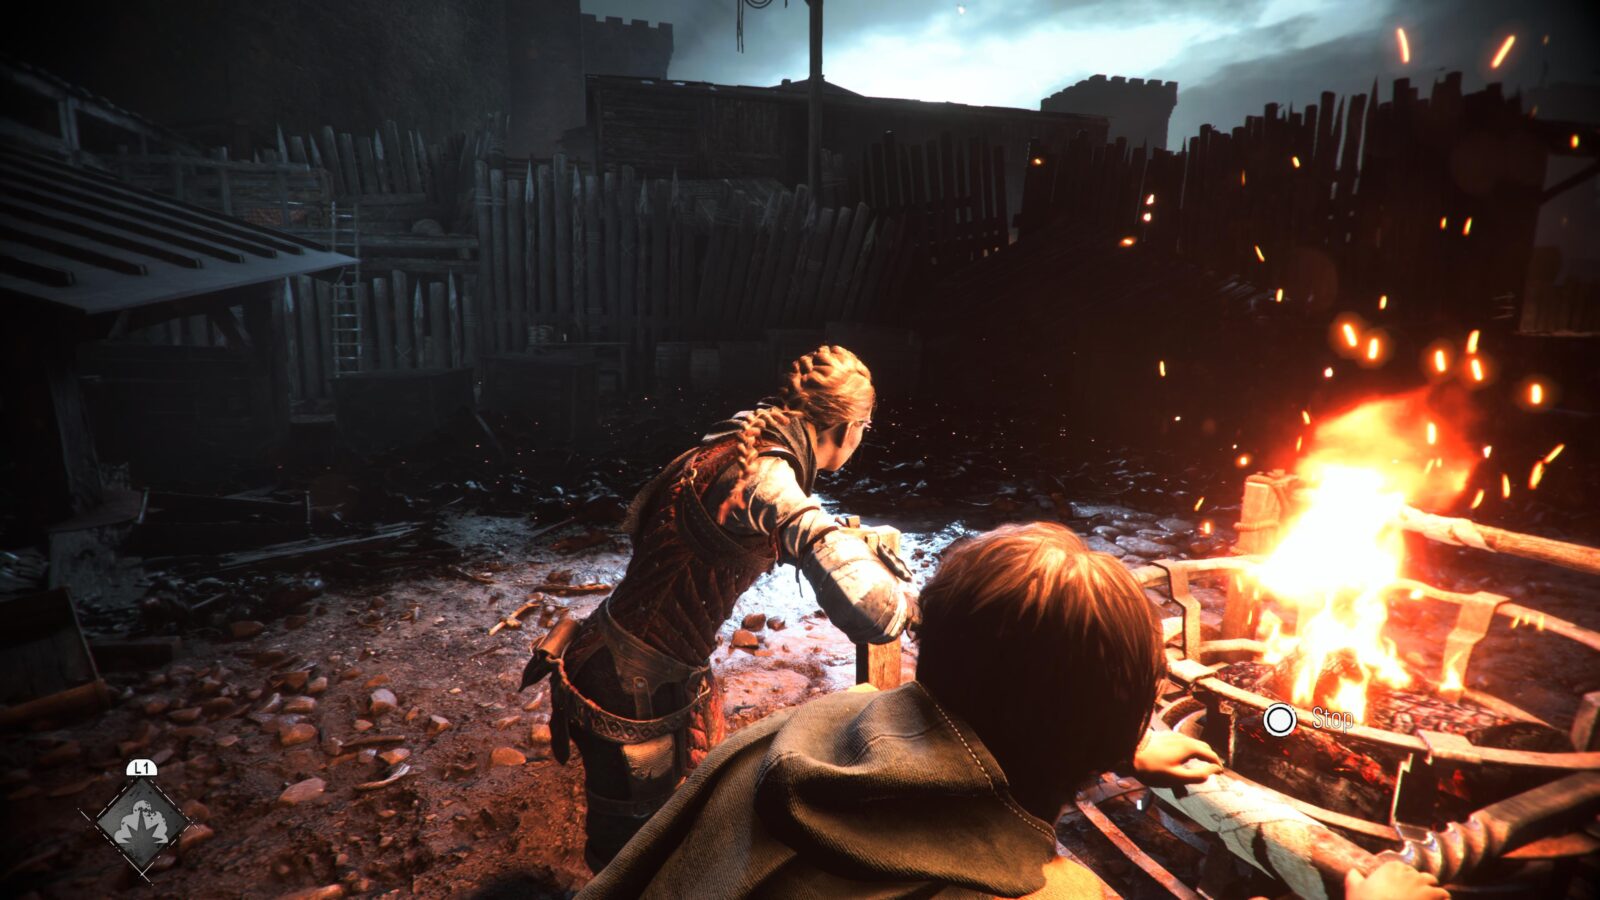
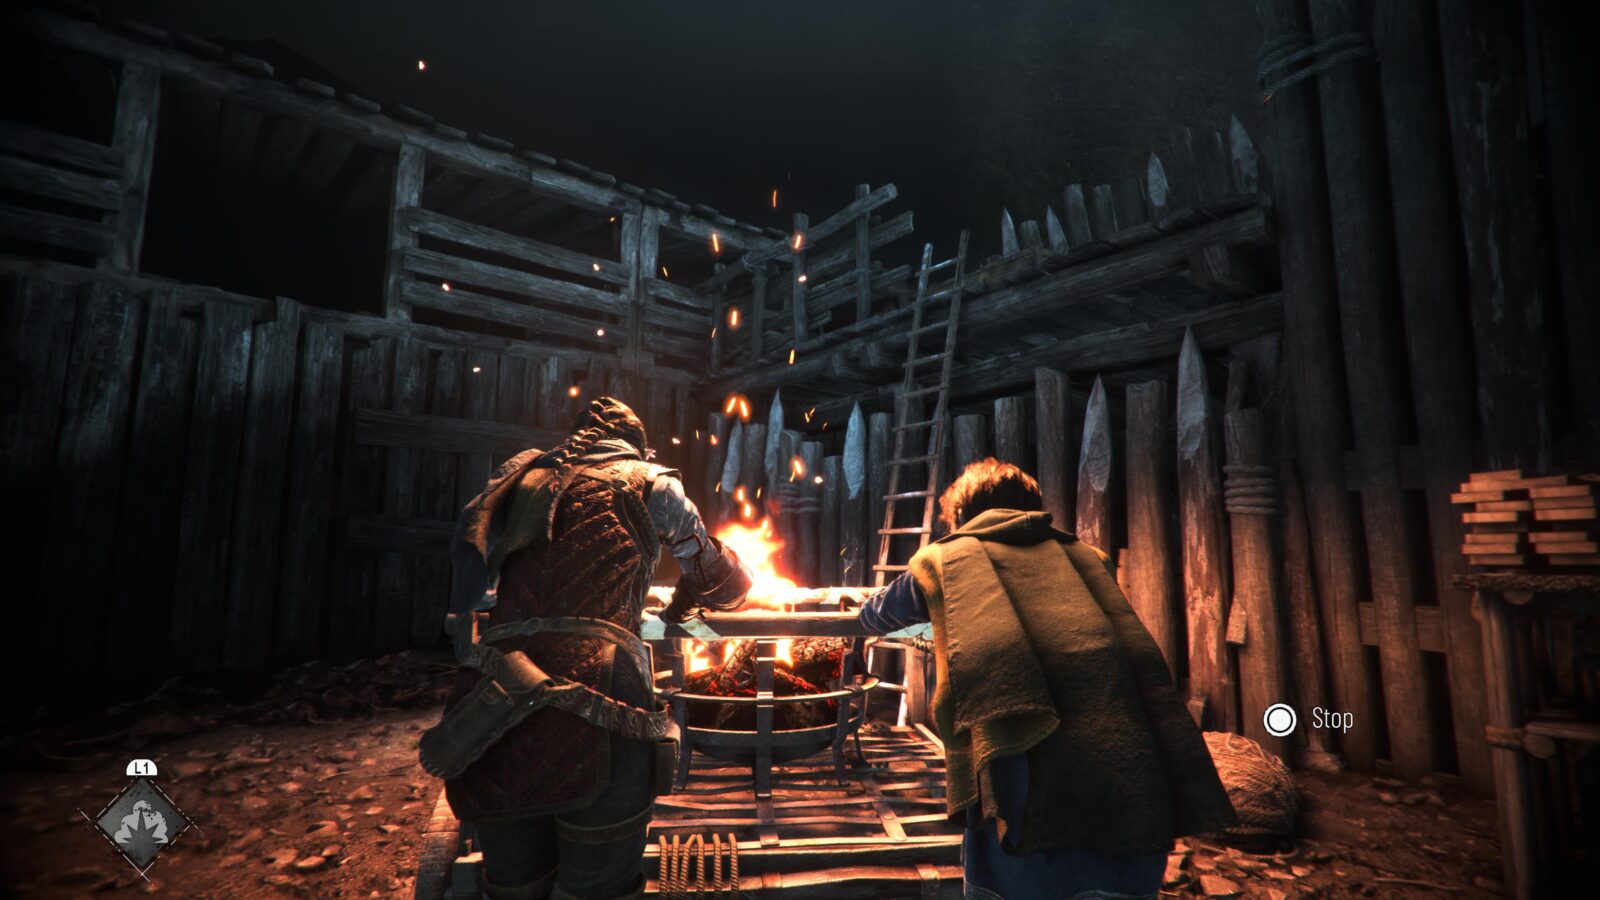
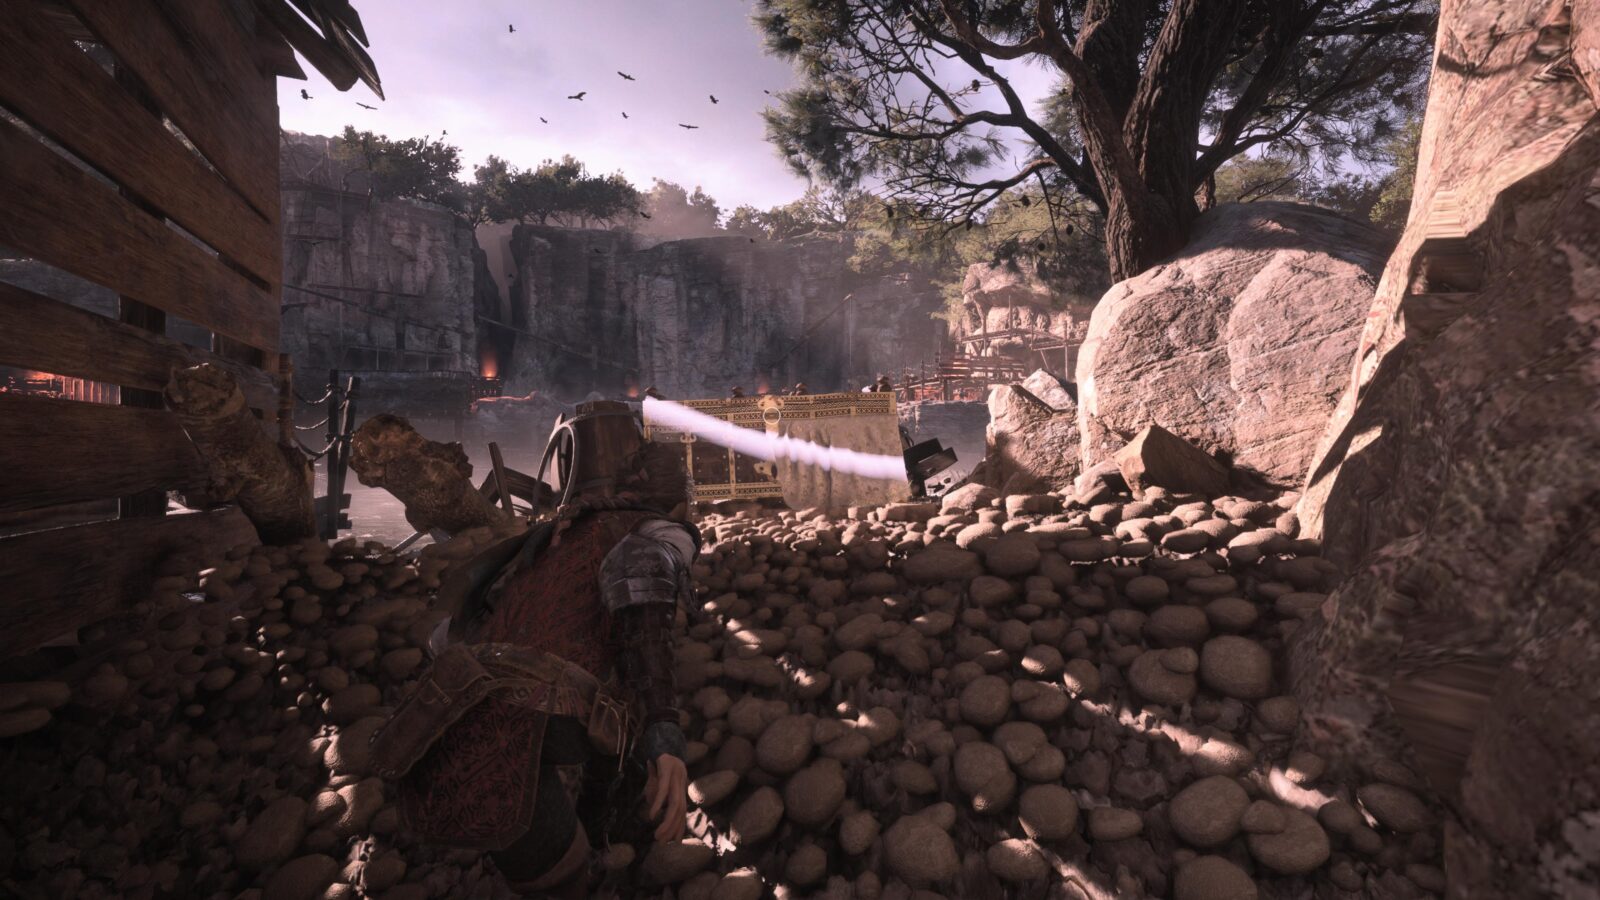
For Chapter Three, it’ll be quite a while before you need to look out for any trophies. Just casually enjoy this chapter until you get access to “Extinguis,” which you can use to extinguish flames. This will happen while your objective is “Exit the City” in the Sub-Chapter “The Gate.”
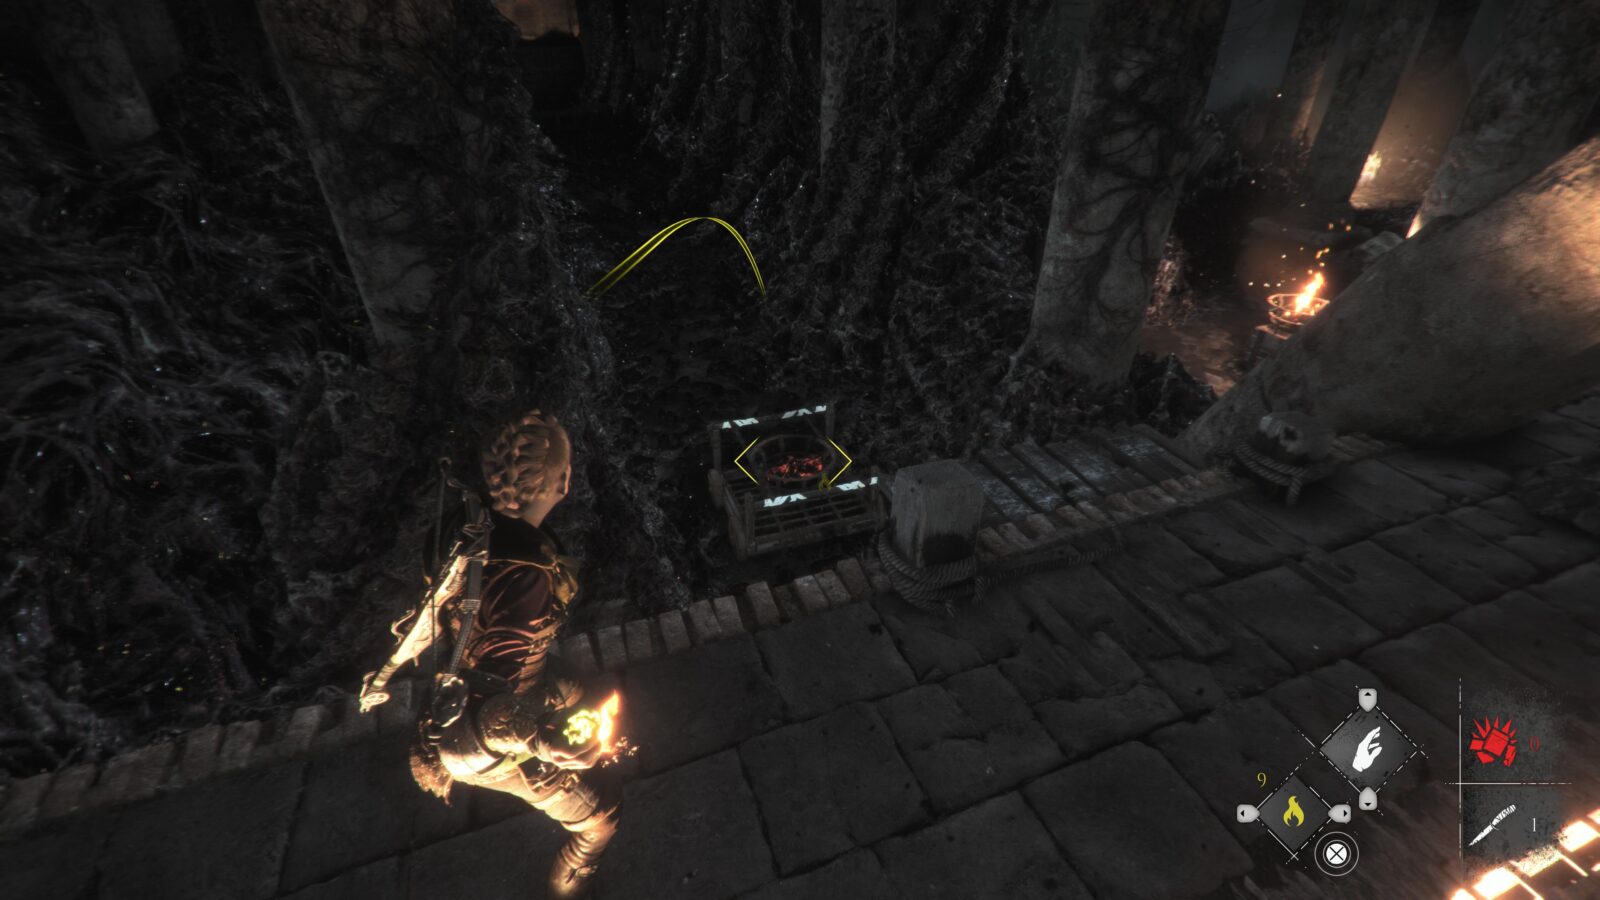
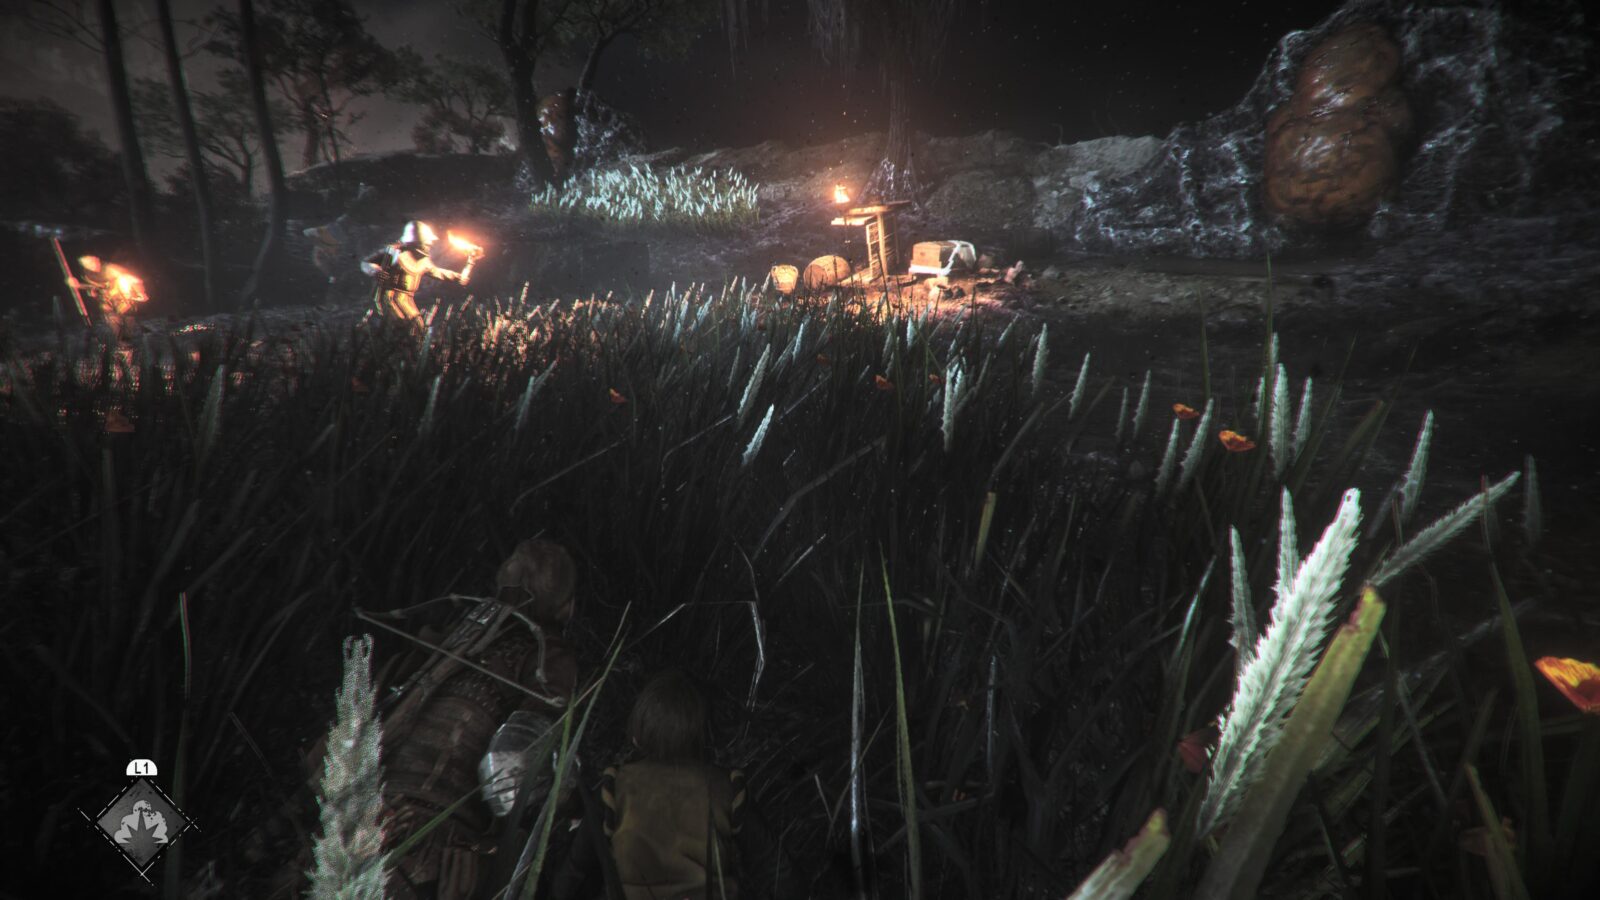
Use it to take out the three enemies in the area by extinguishing their torches so that the rats can get them!
After taking out the third guy, you need to climb the steps next to him to reach another brazier. From there, you will see some steps across the sea of rats, which you can move by lighting the next brazier.
Do so and cross over to the stairs on the other side and head up them.
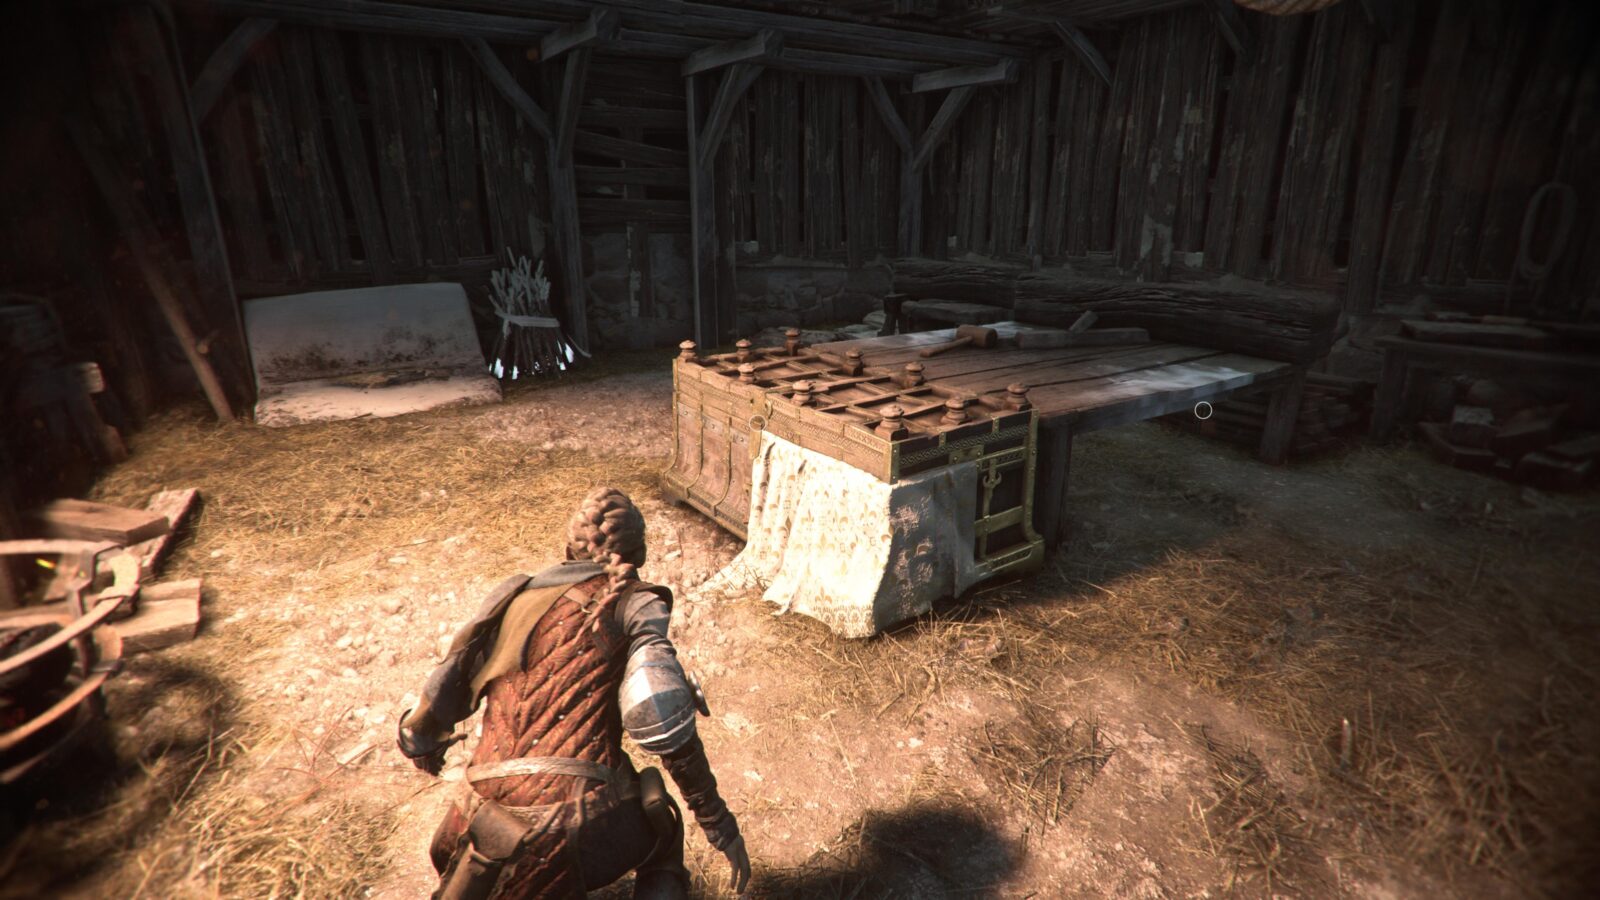
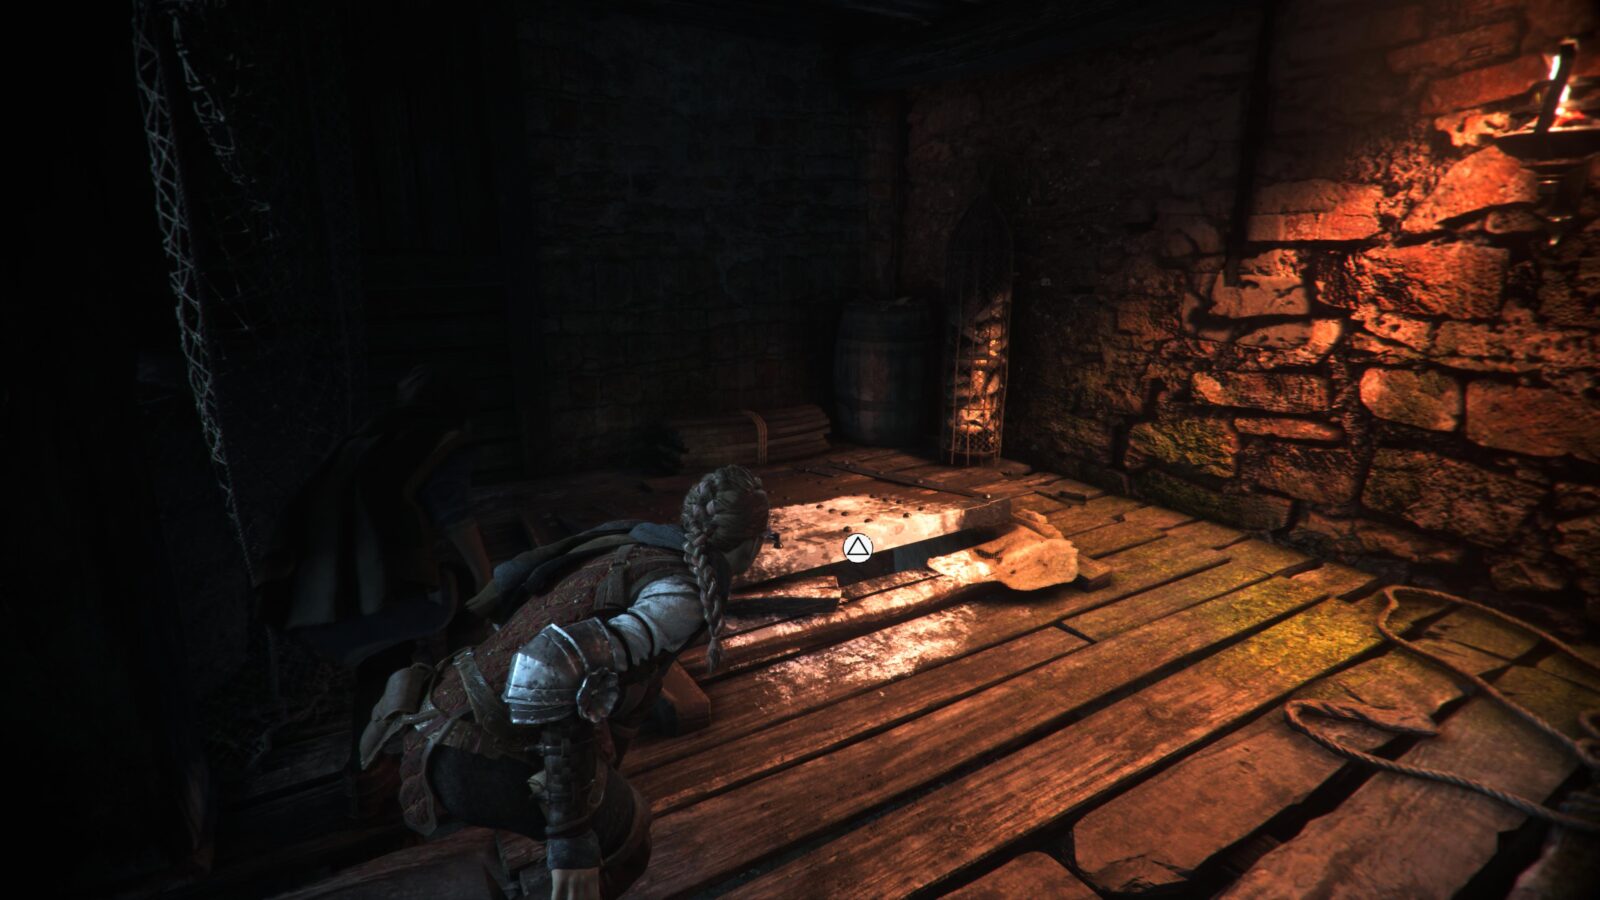
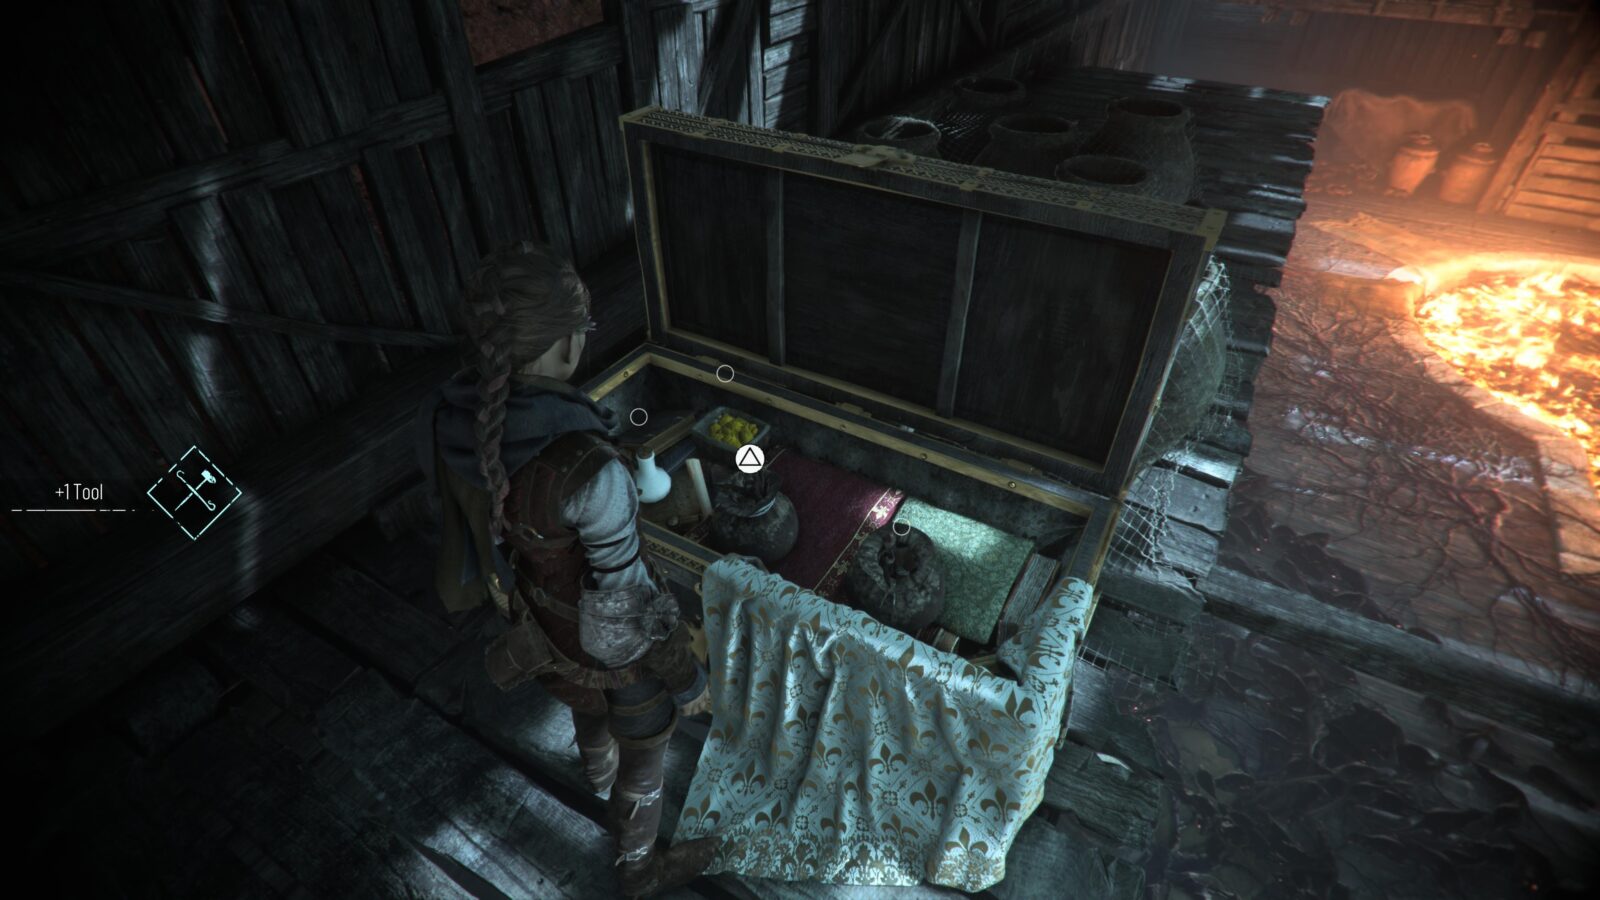
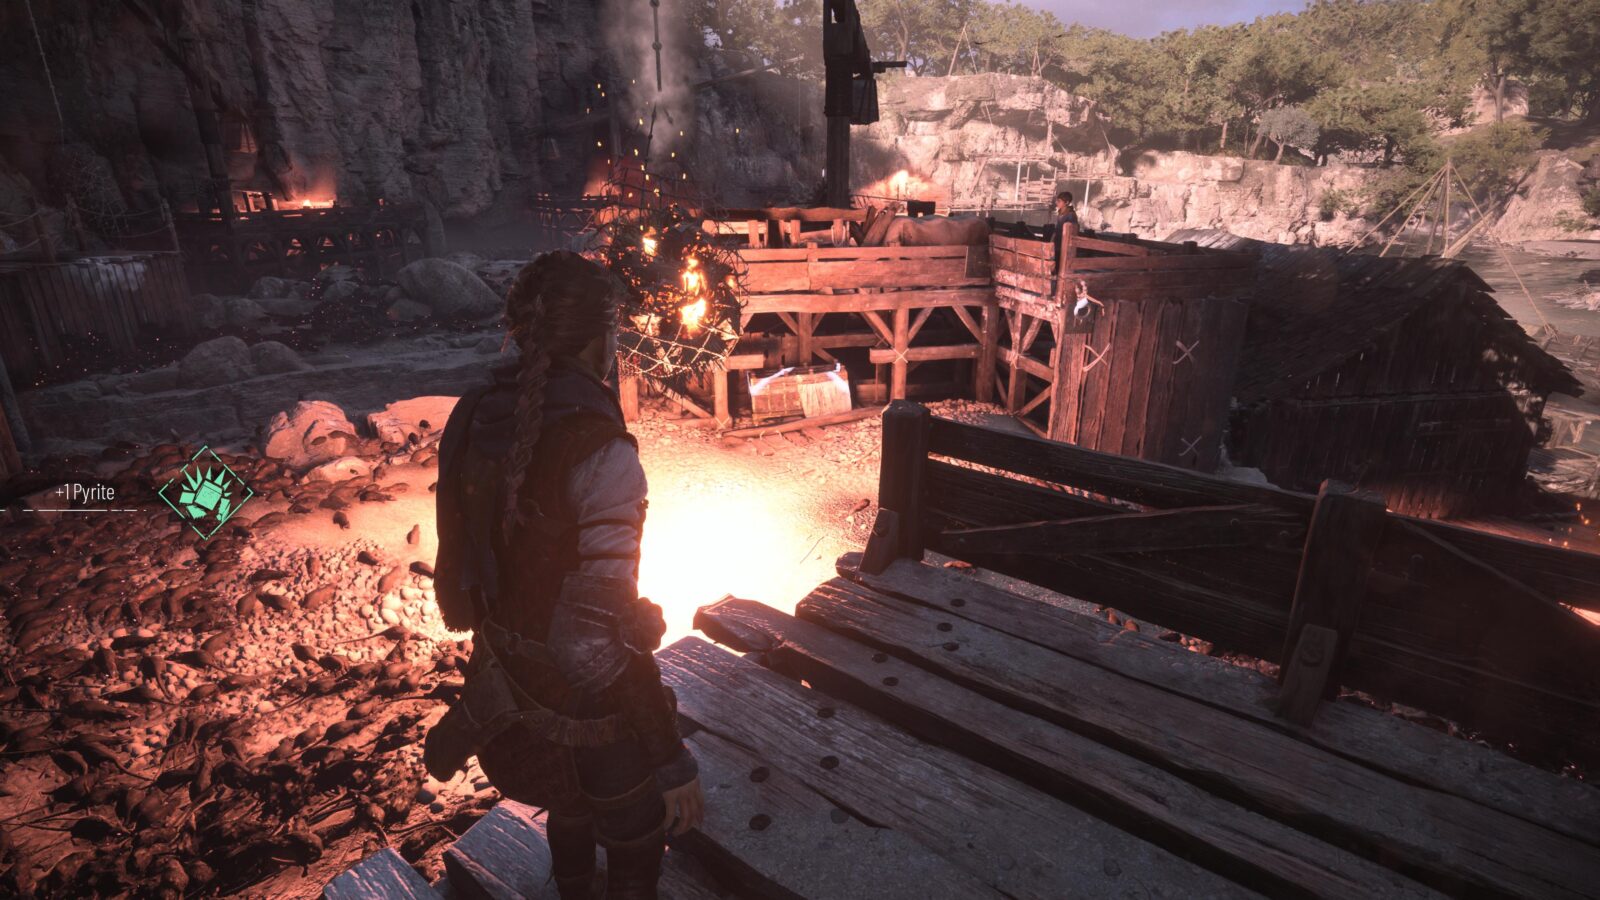
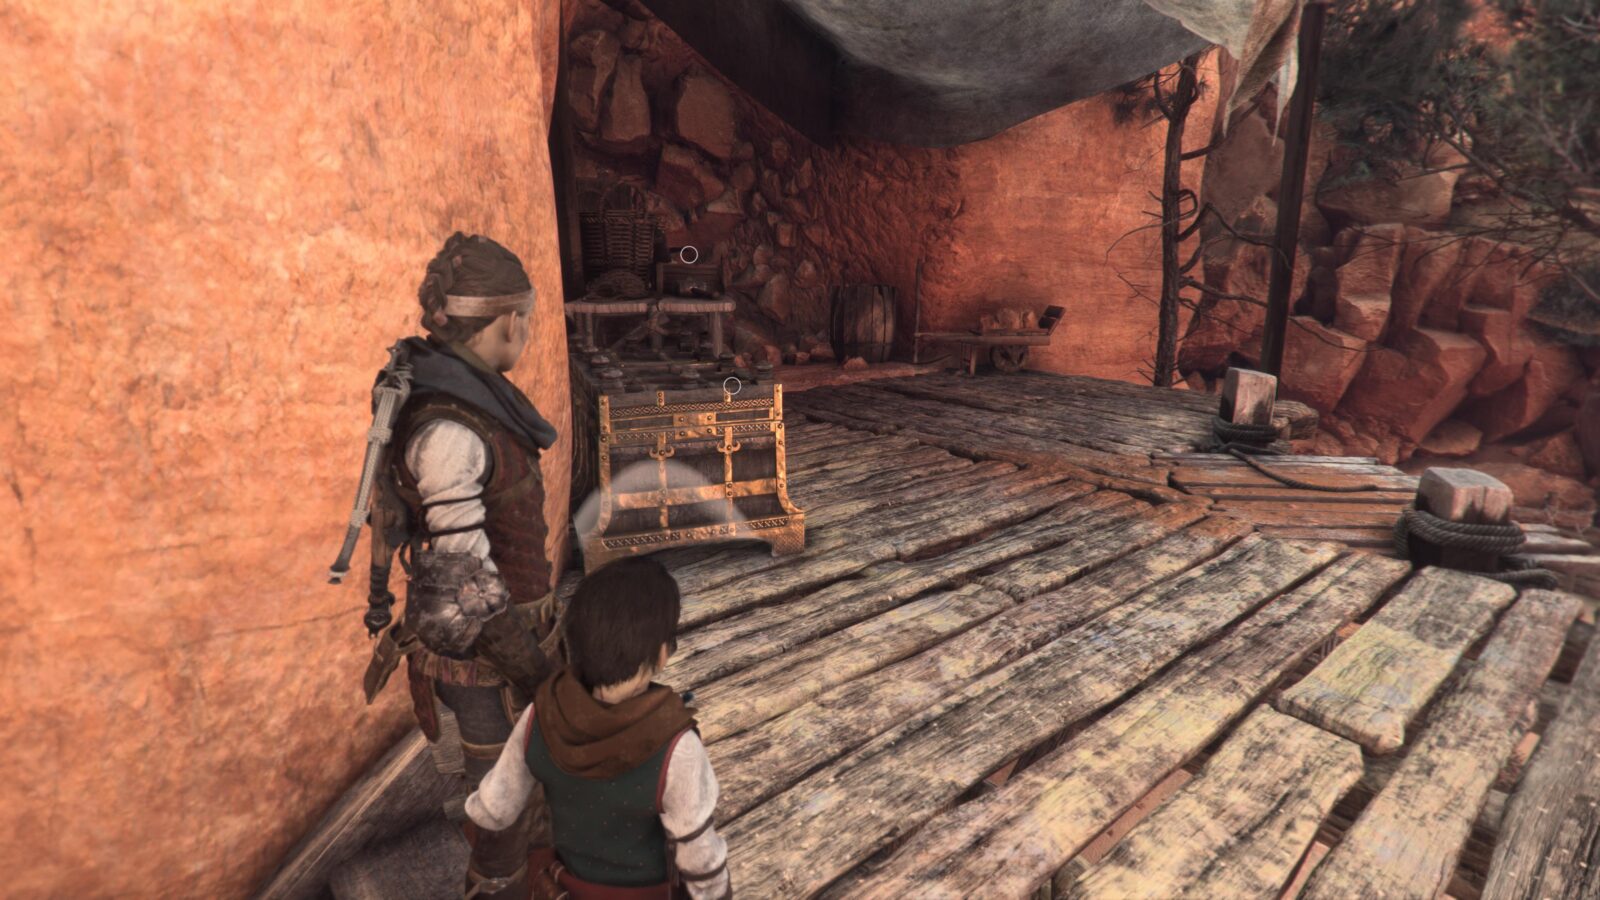
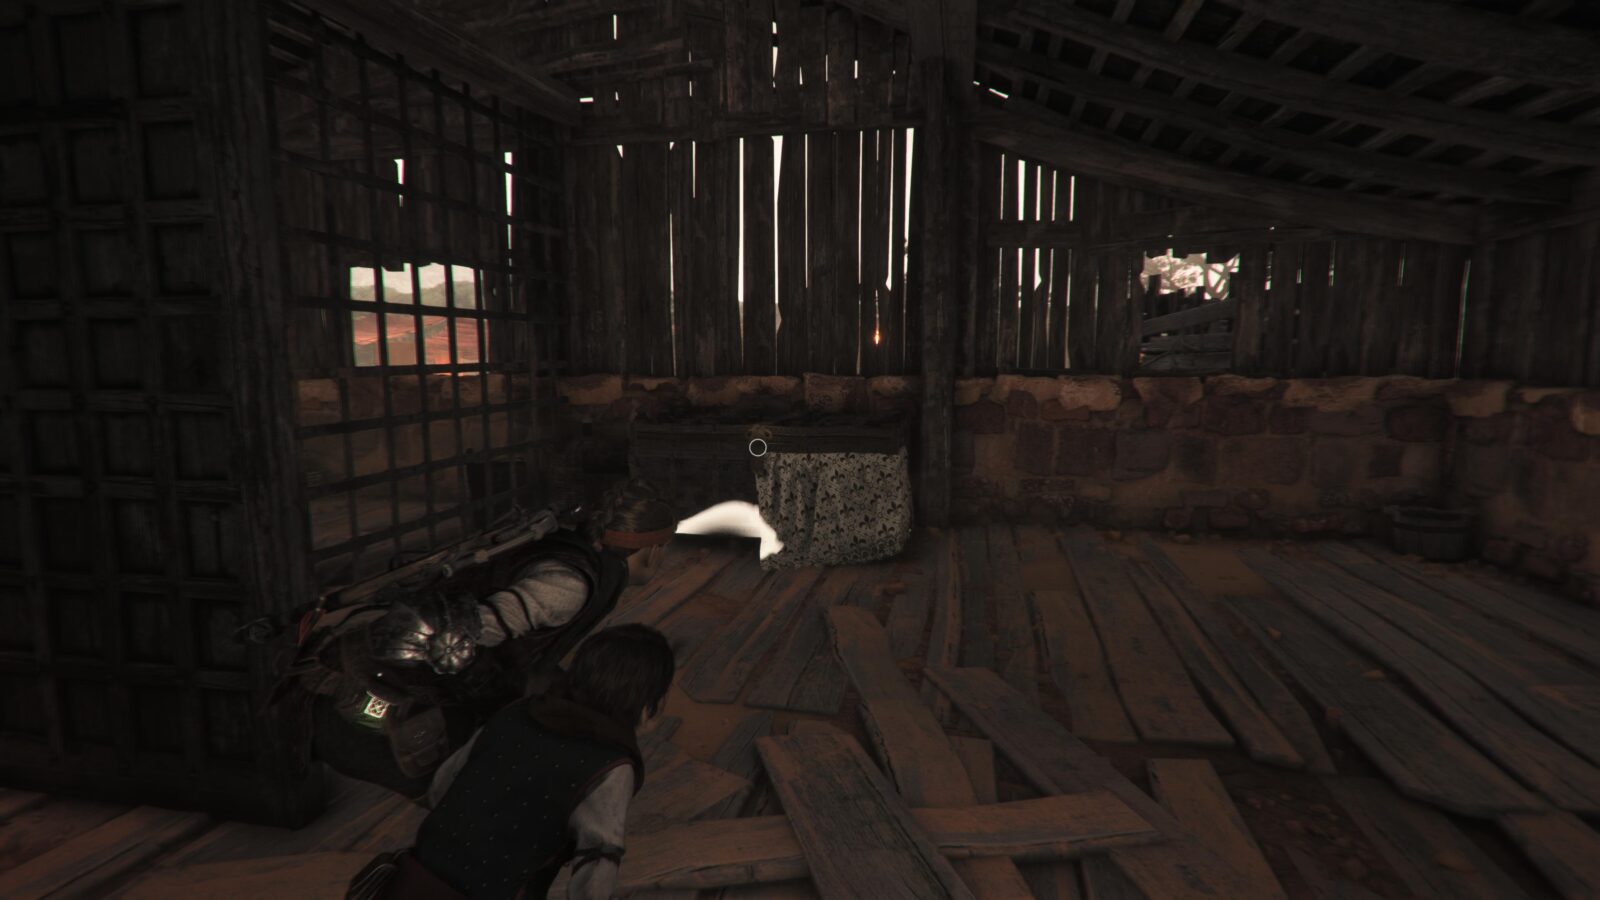
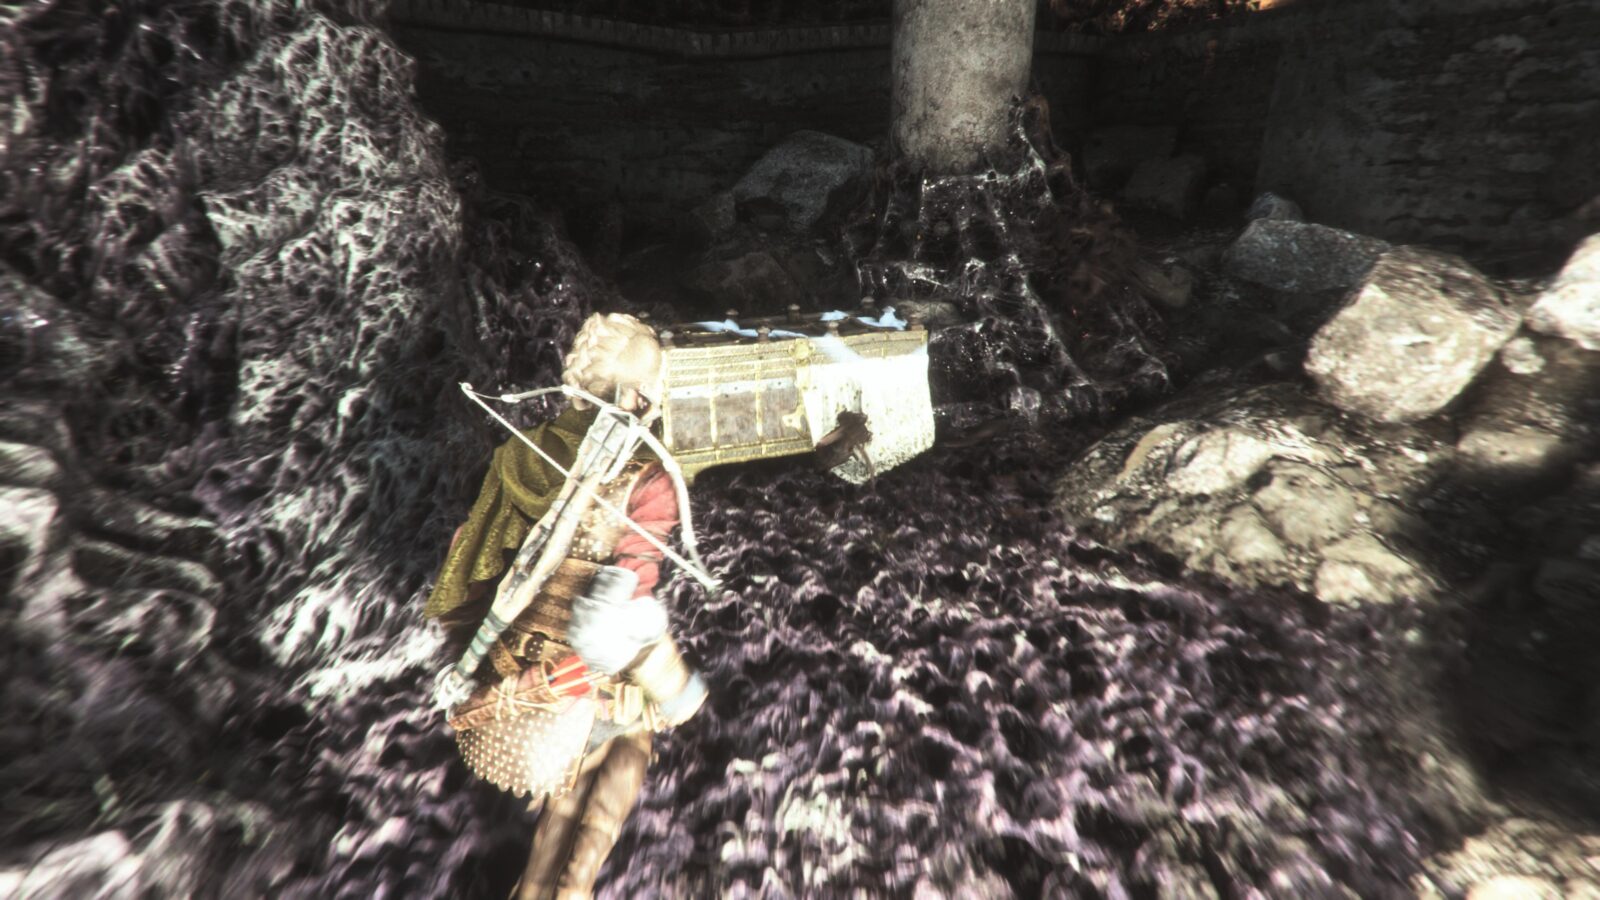
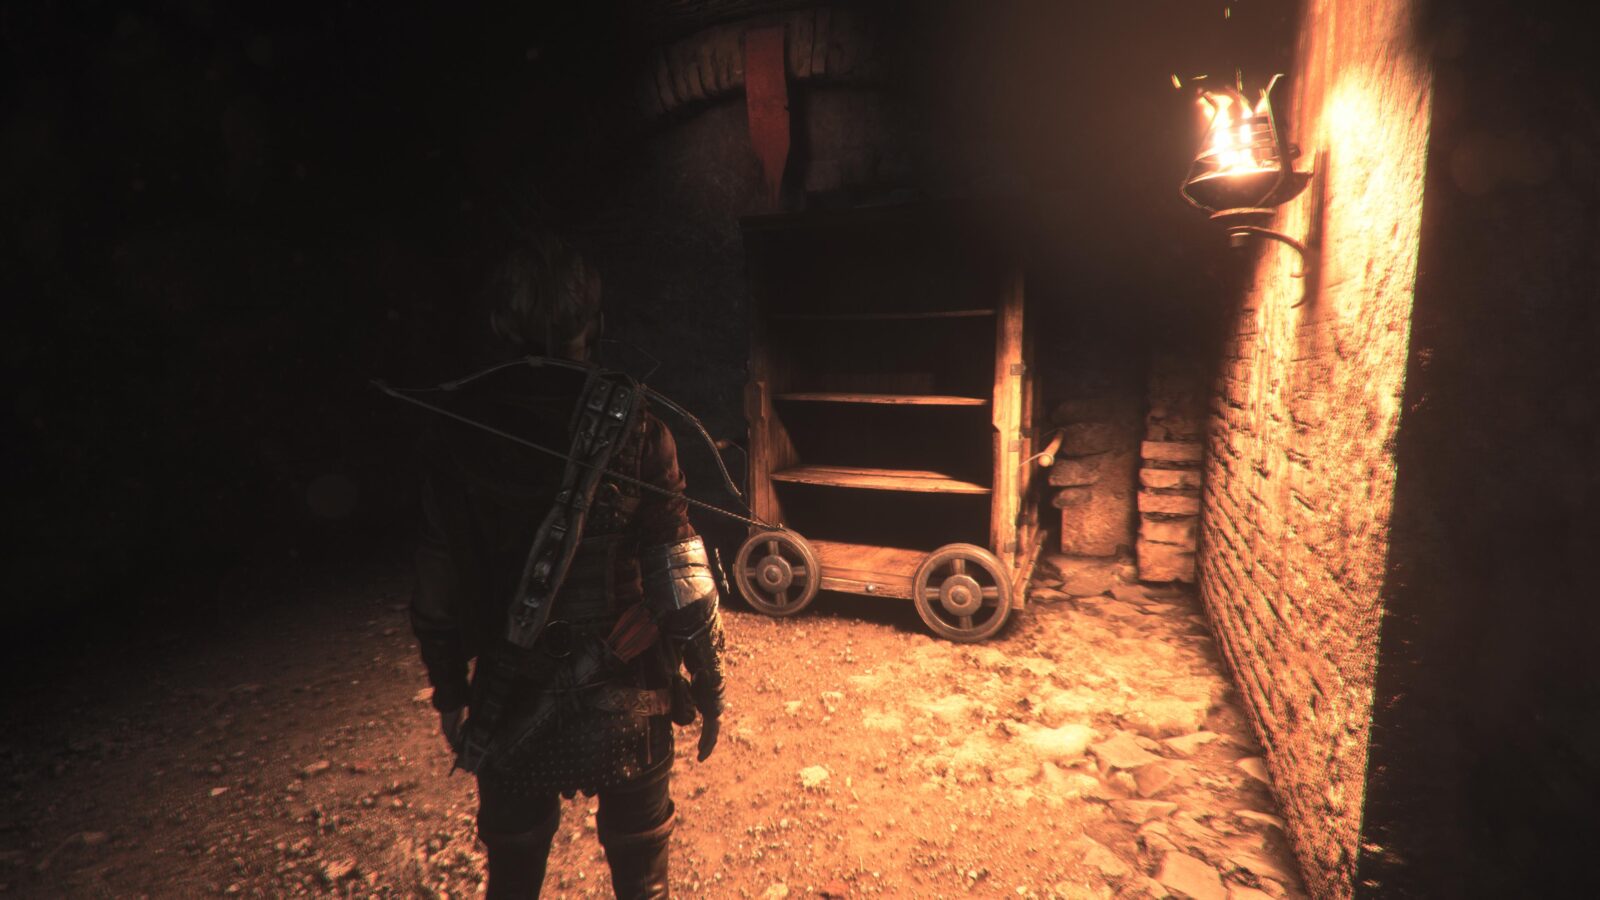
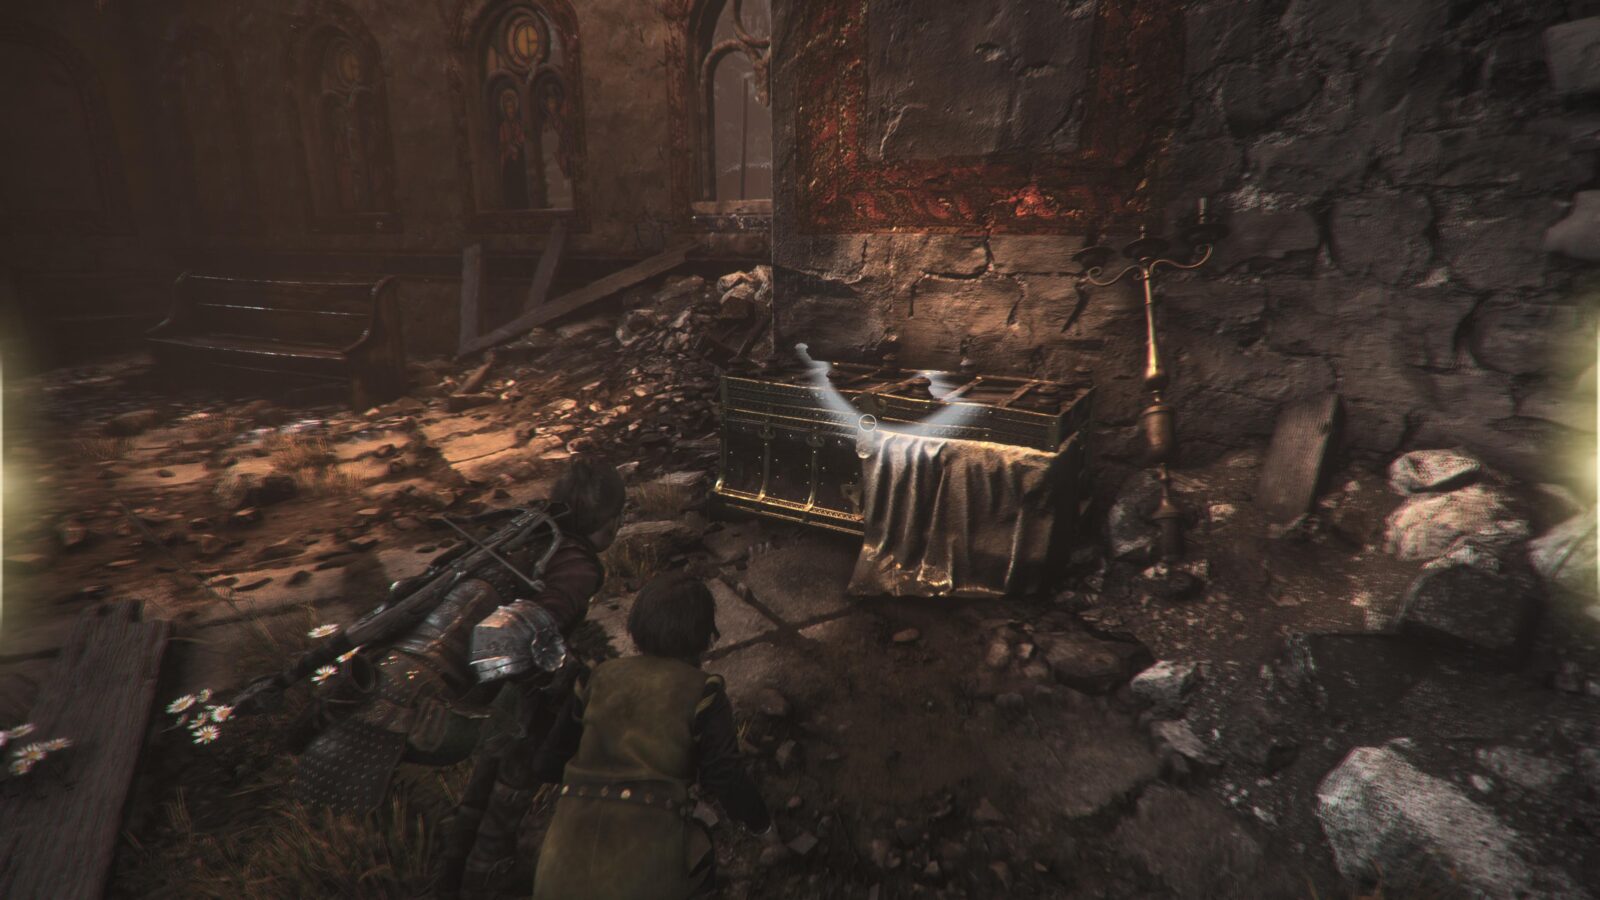
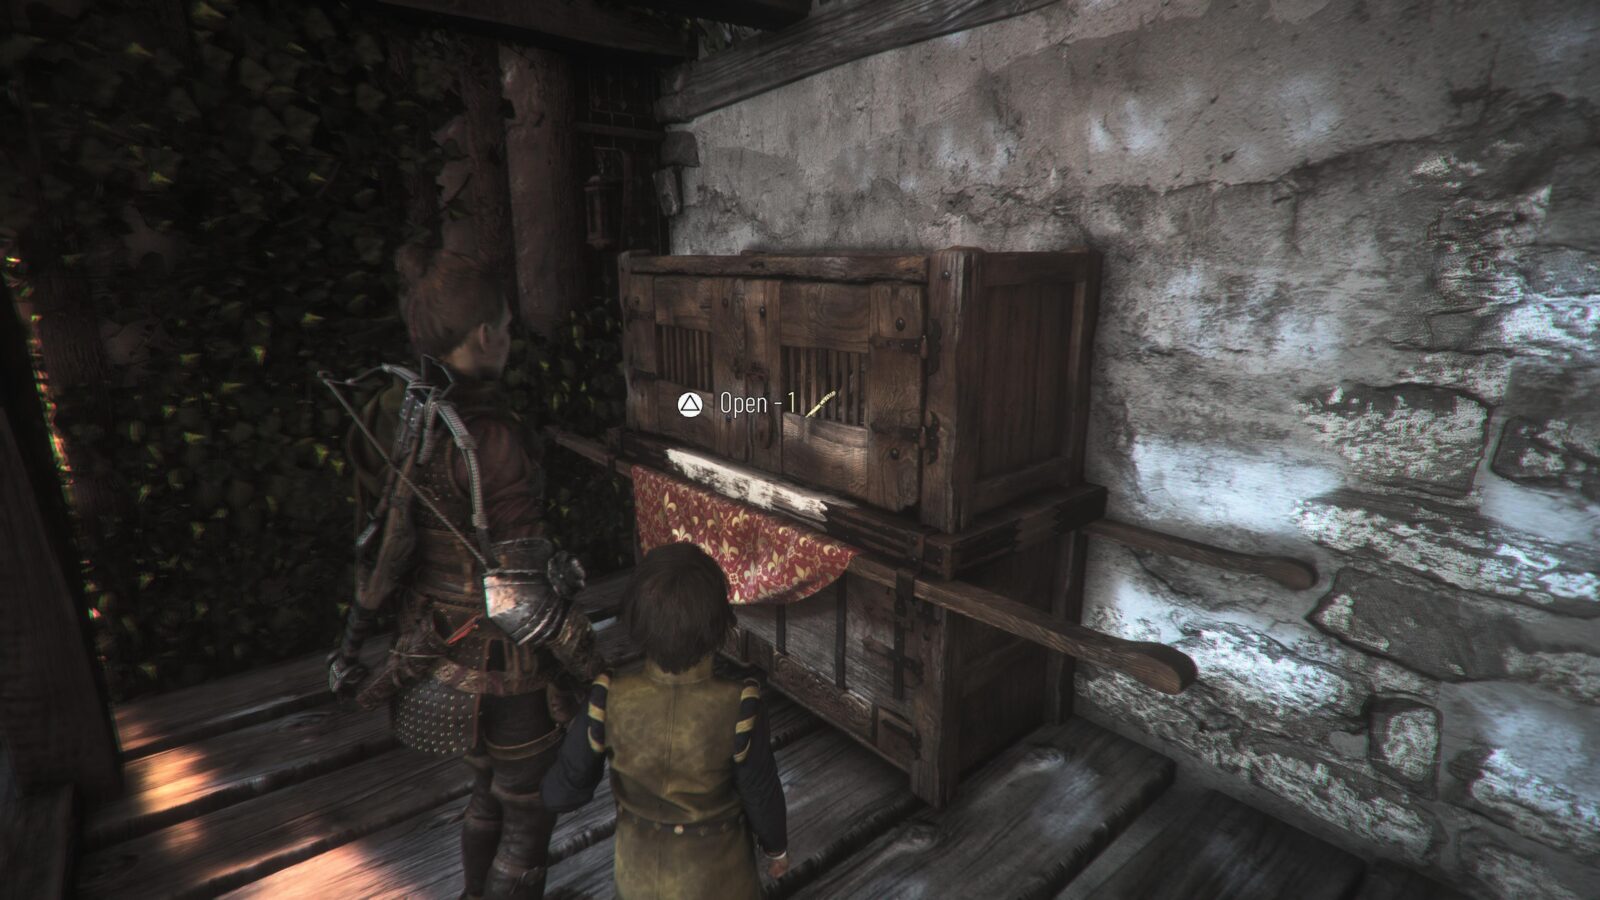
Halfway up, you’ll see a side room on your left containing a large hard-to-miss Chest. Inside this chest, you will find your first Tool (1/34).
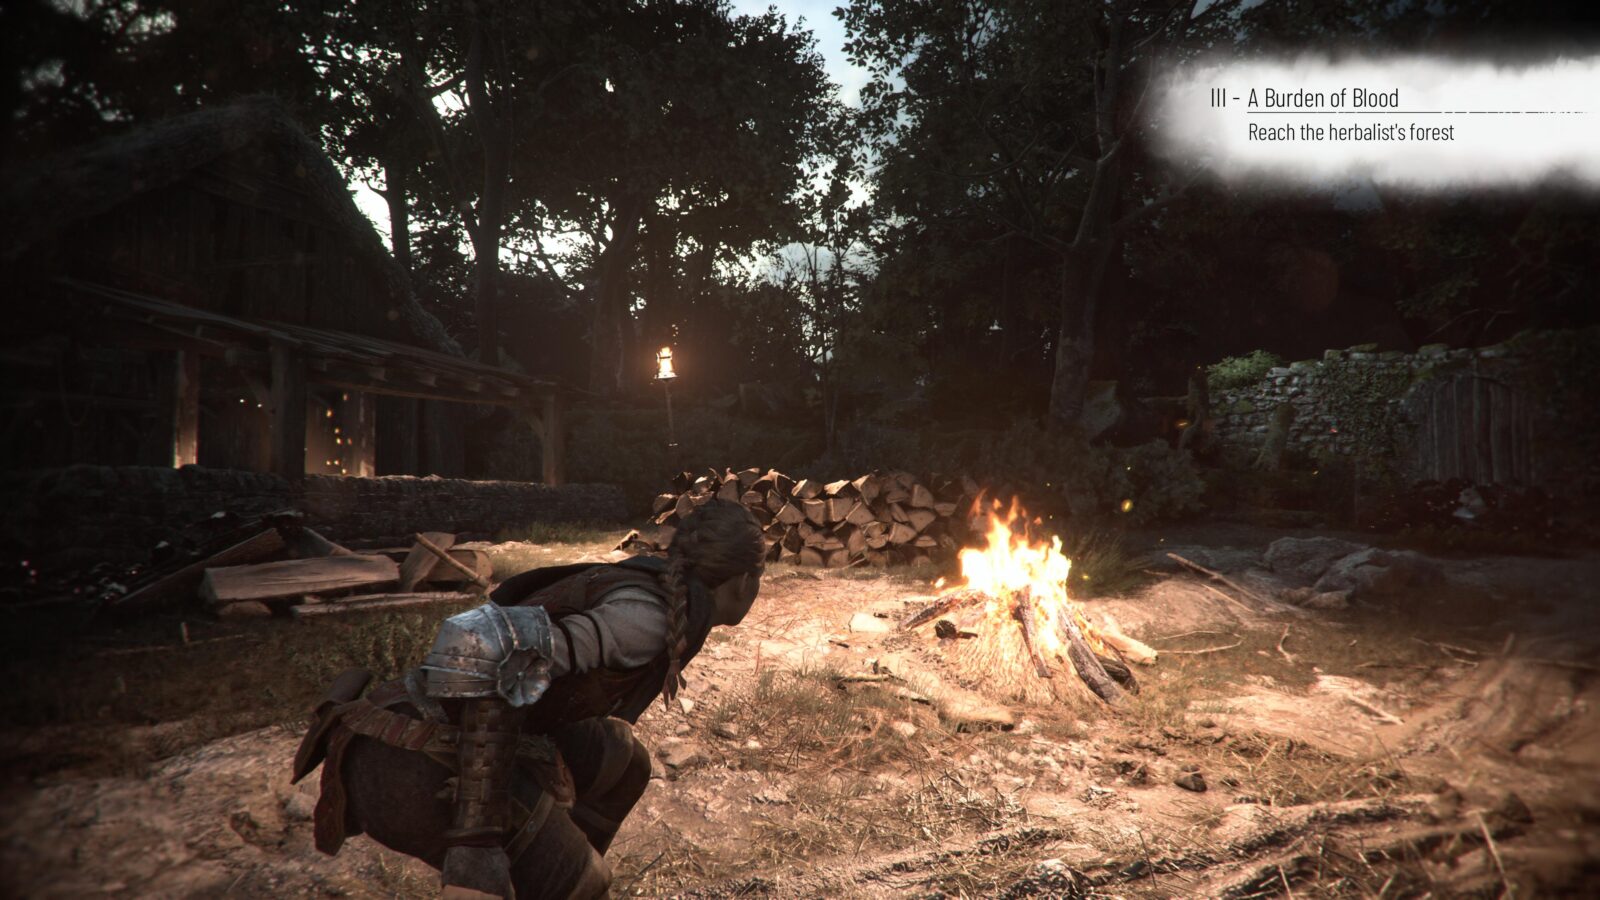
Continue on until you’re out of the city, and your objective changes to “Reach the Herbalist’s Forest,” still in the Sub-Chapter titled “The Gate.”
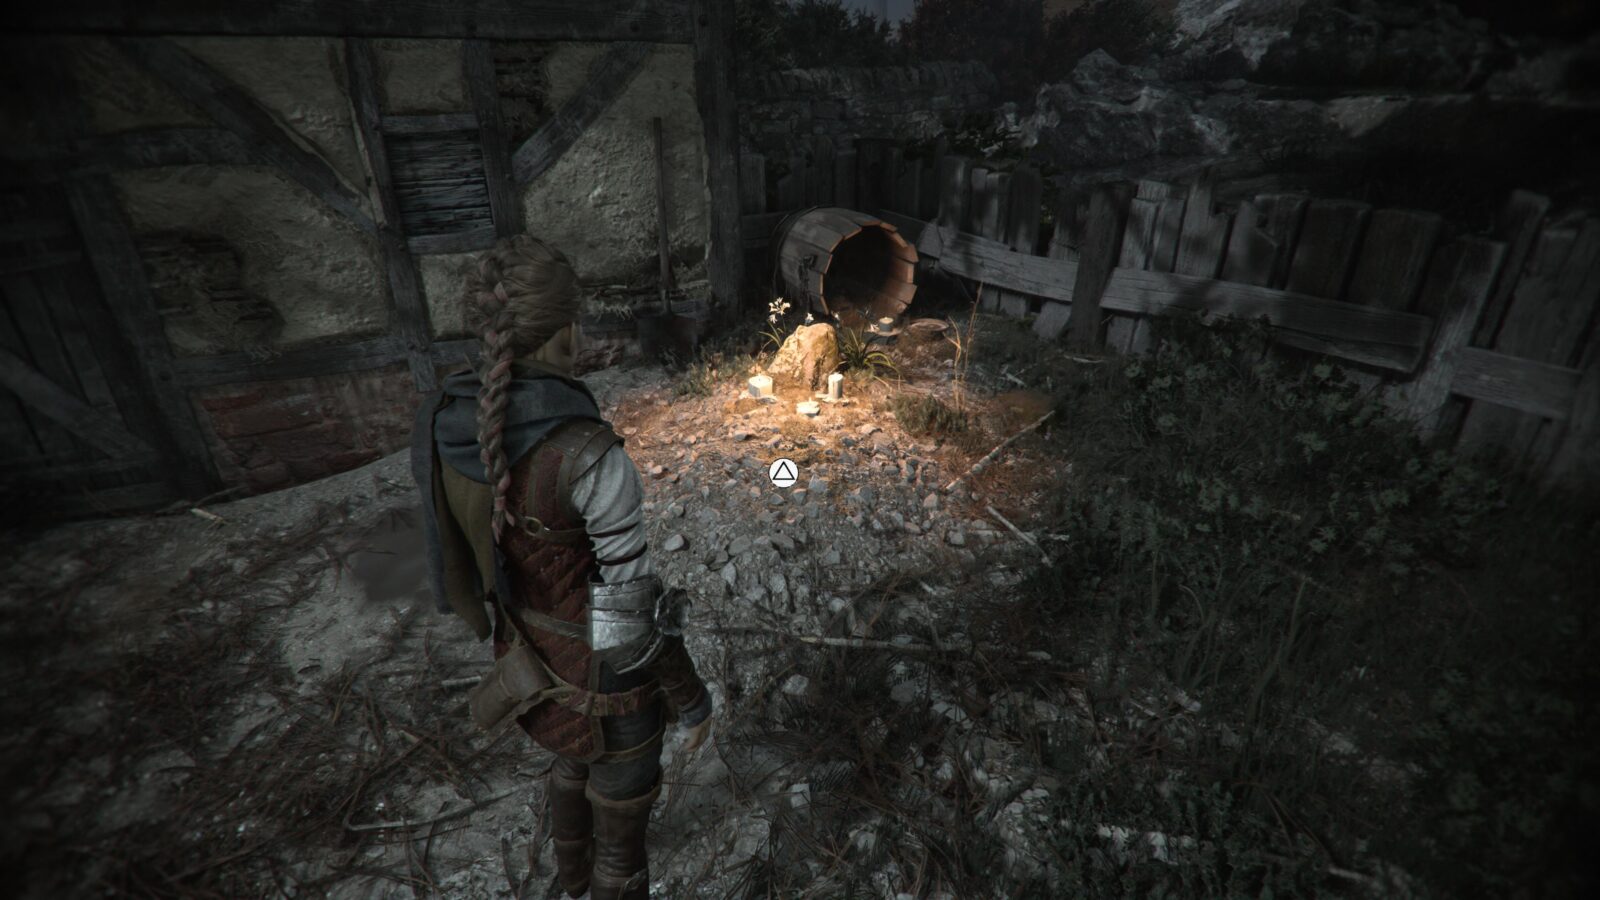
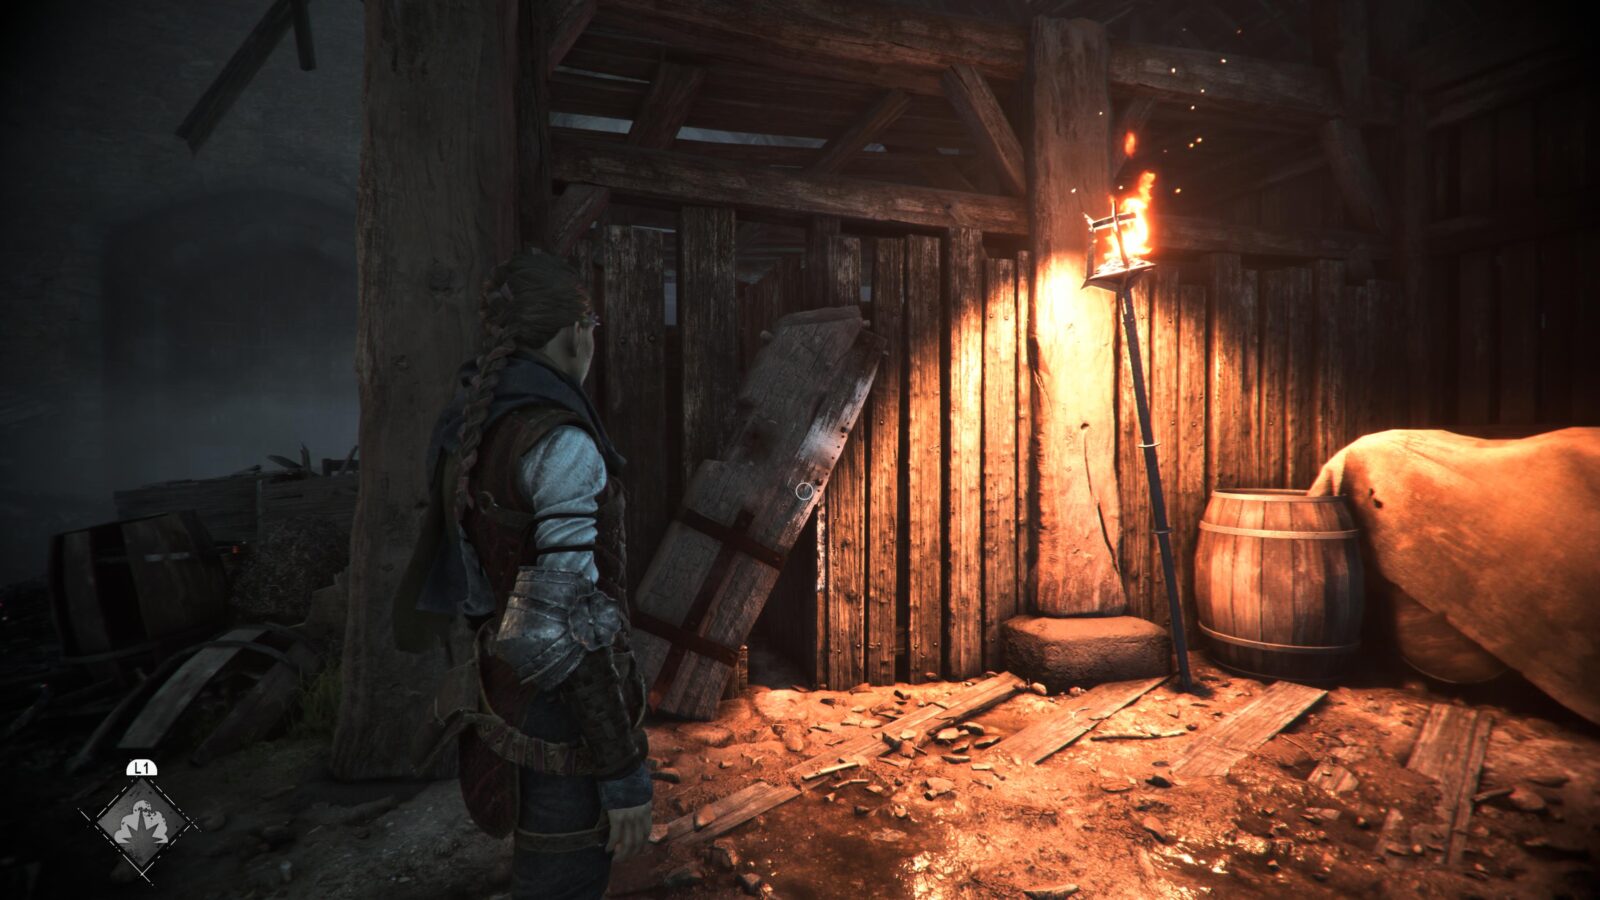
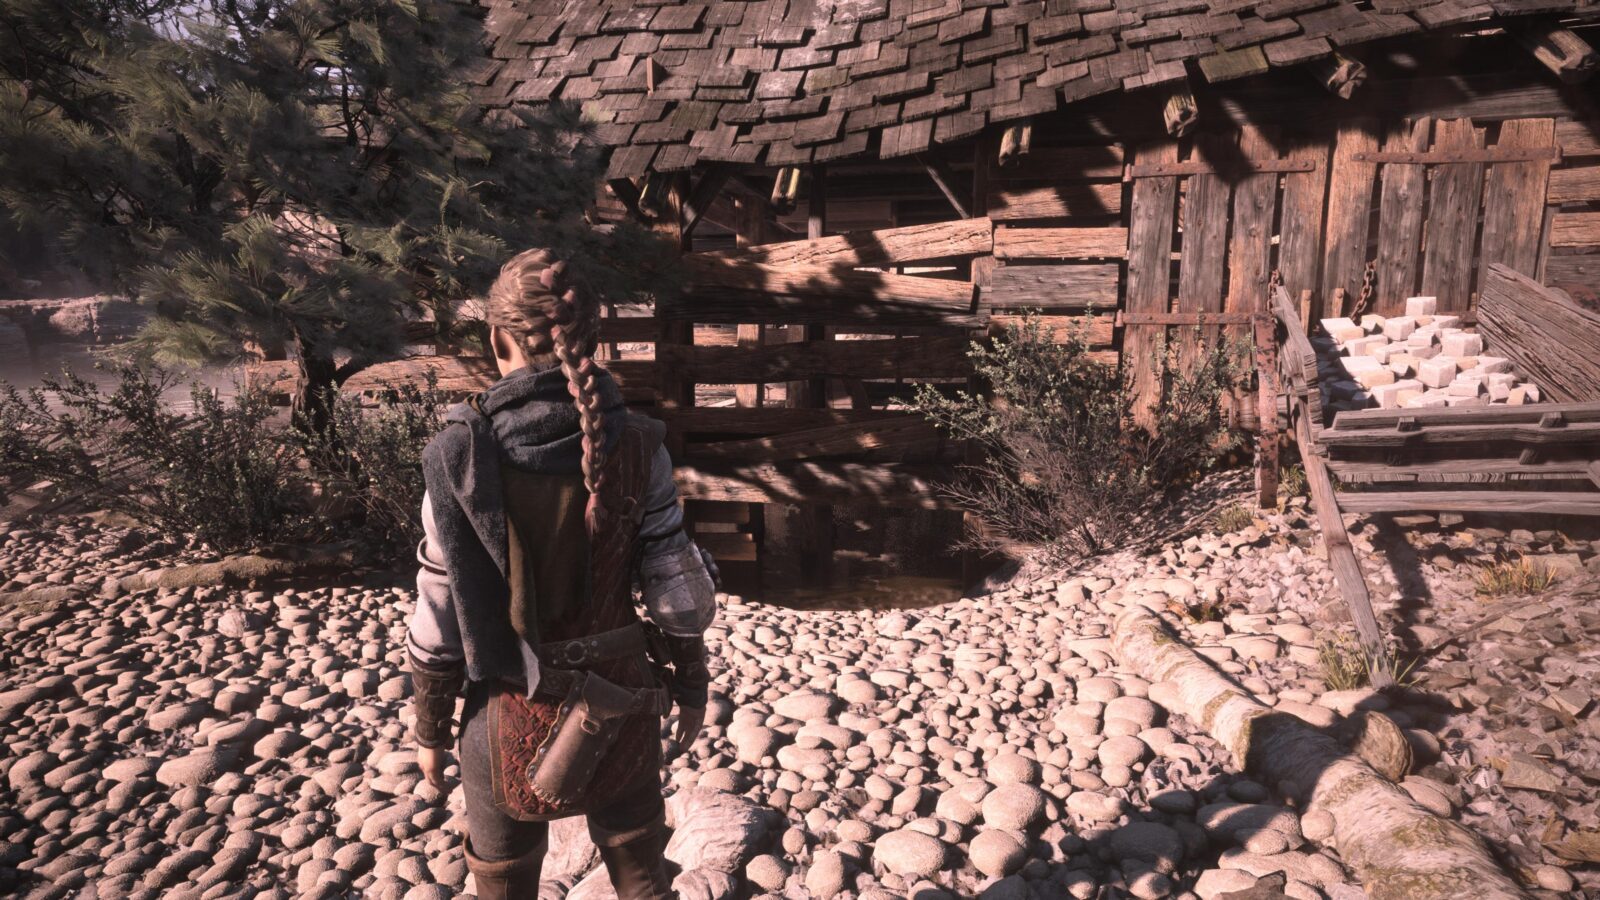
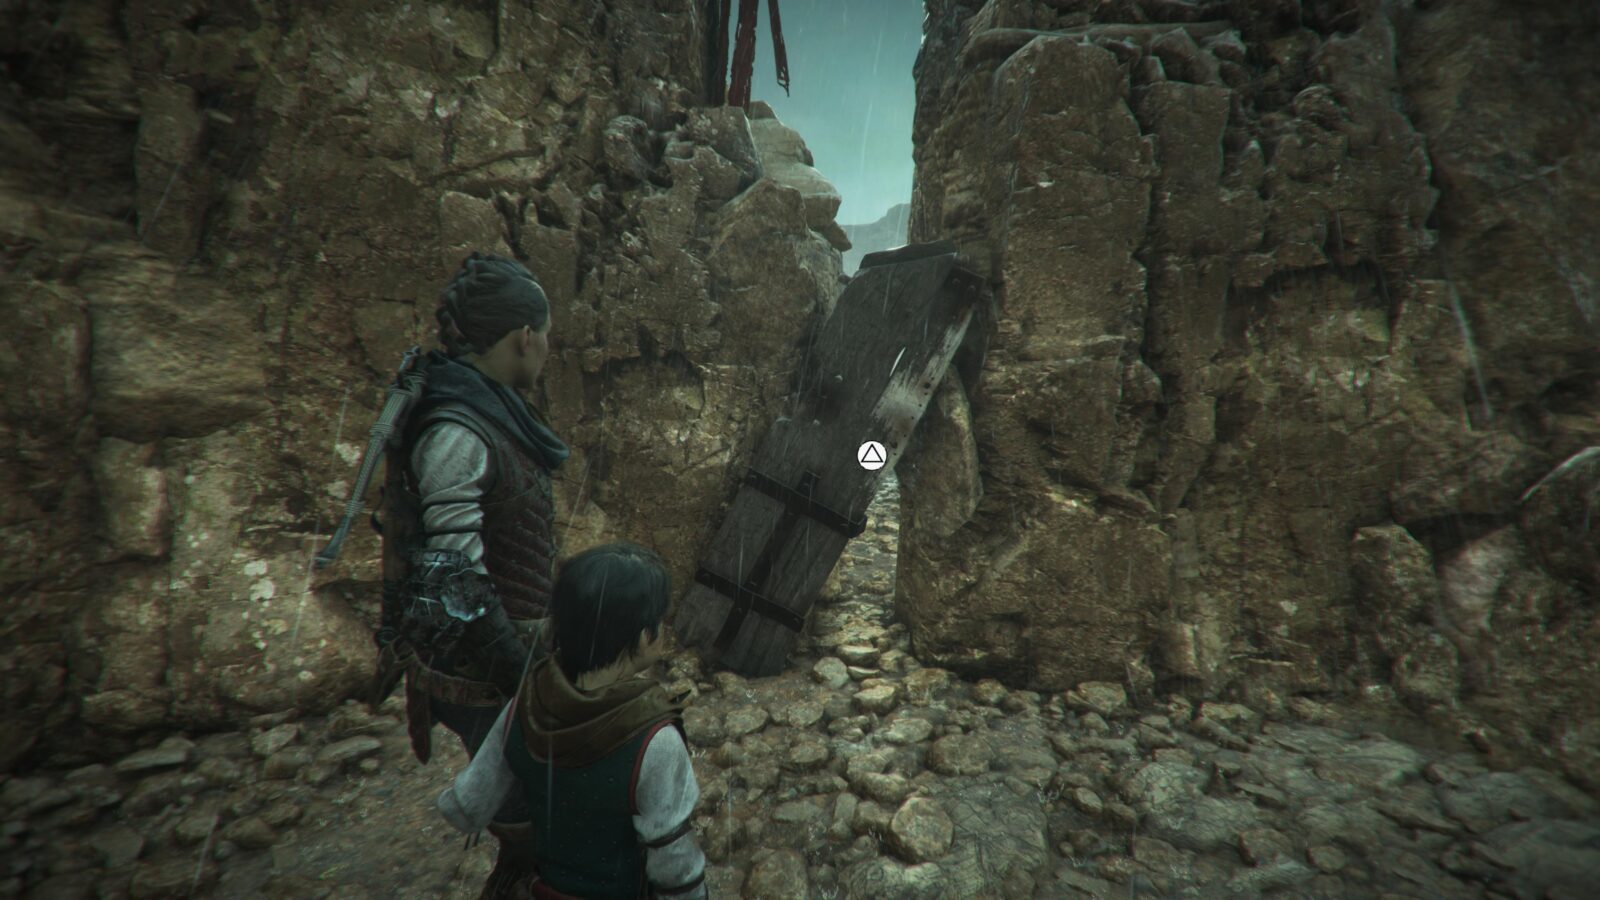
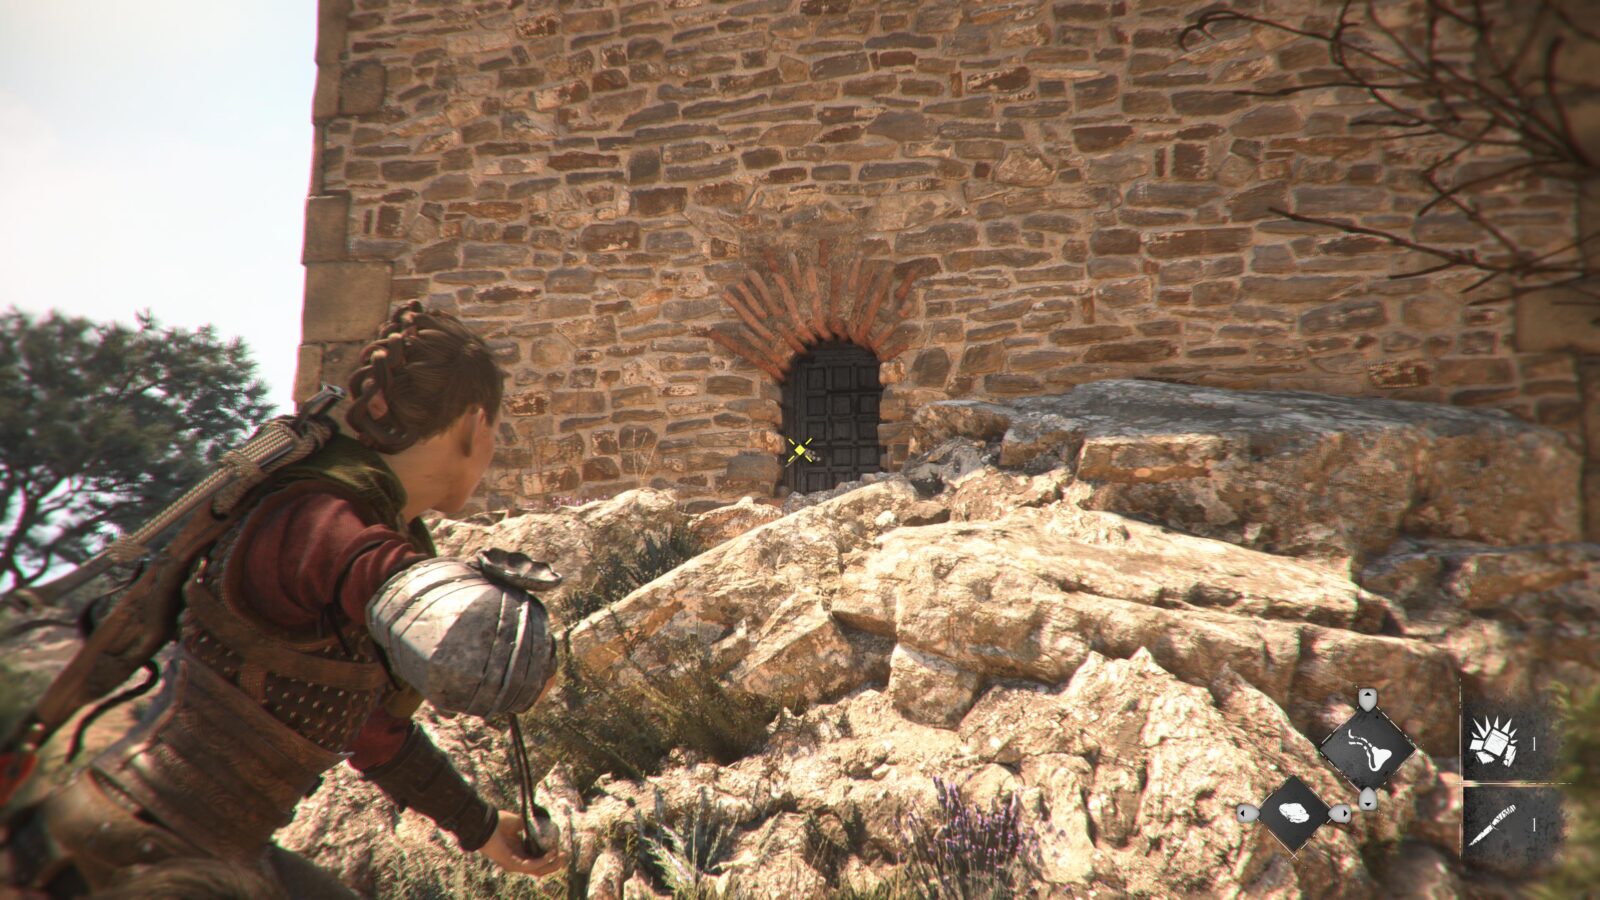
Continue down the path, which curves around past the Stables, until you reach a rusted metal gate with a red ribbon hanging from it. The Stables are part of the Story route, so be sure not to pass through them until you’re done here.
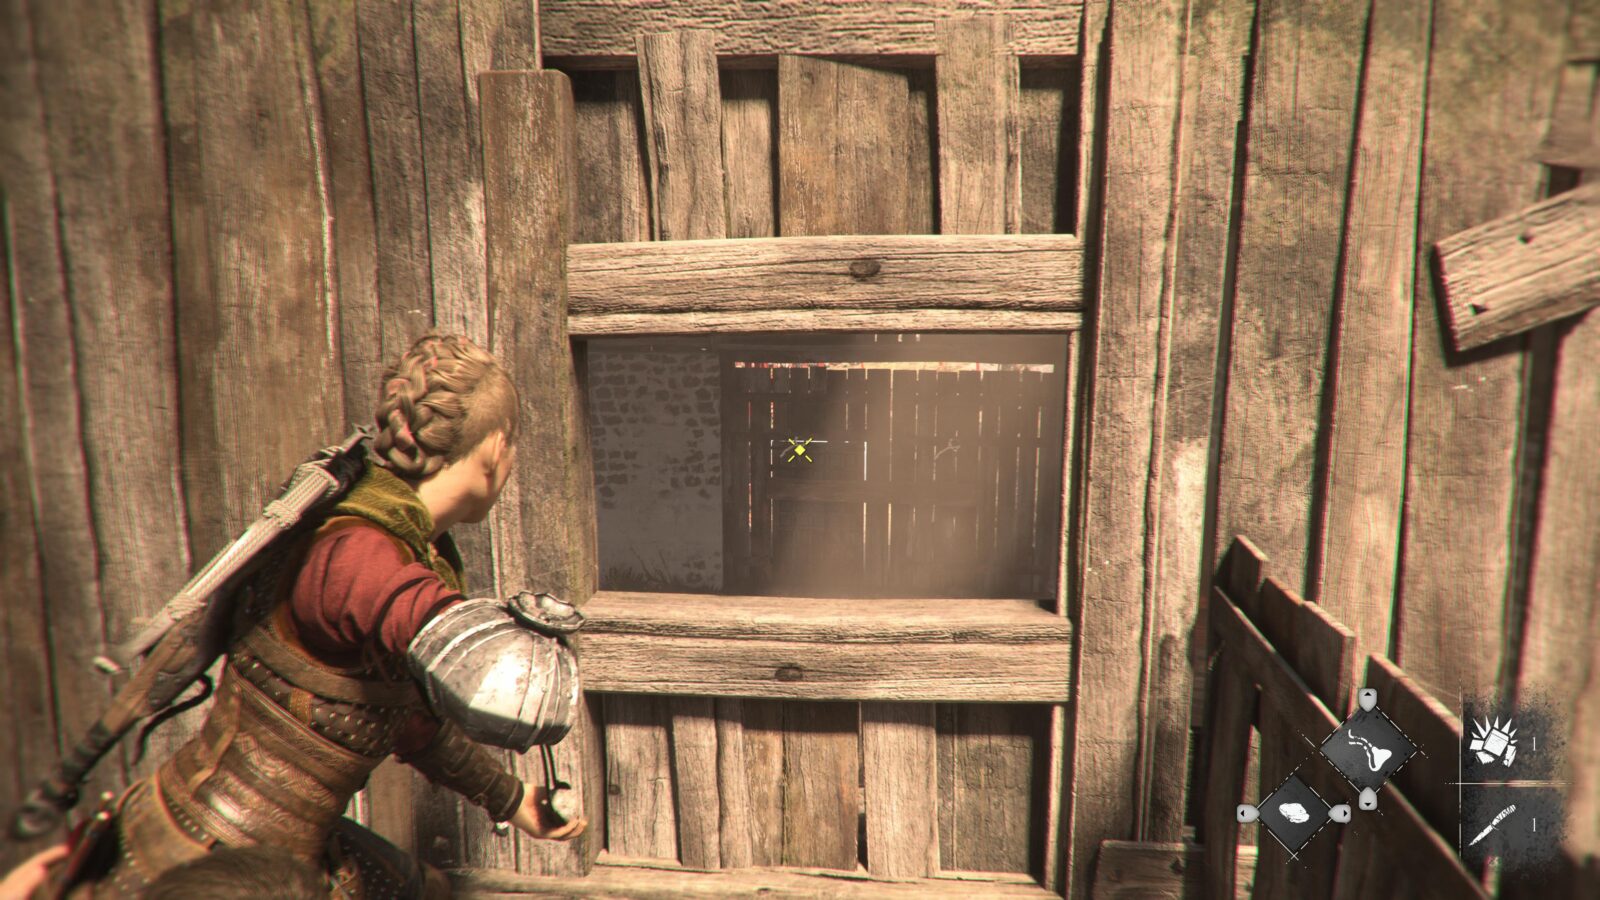
Go around to the other side of the fenced-off area and aim at the padlock on the back side of the gate. Hit it with a stone to break it and enter the small fenced-off area.
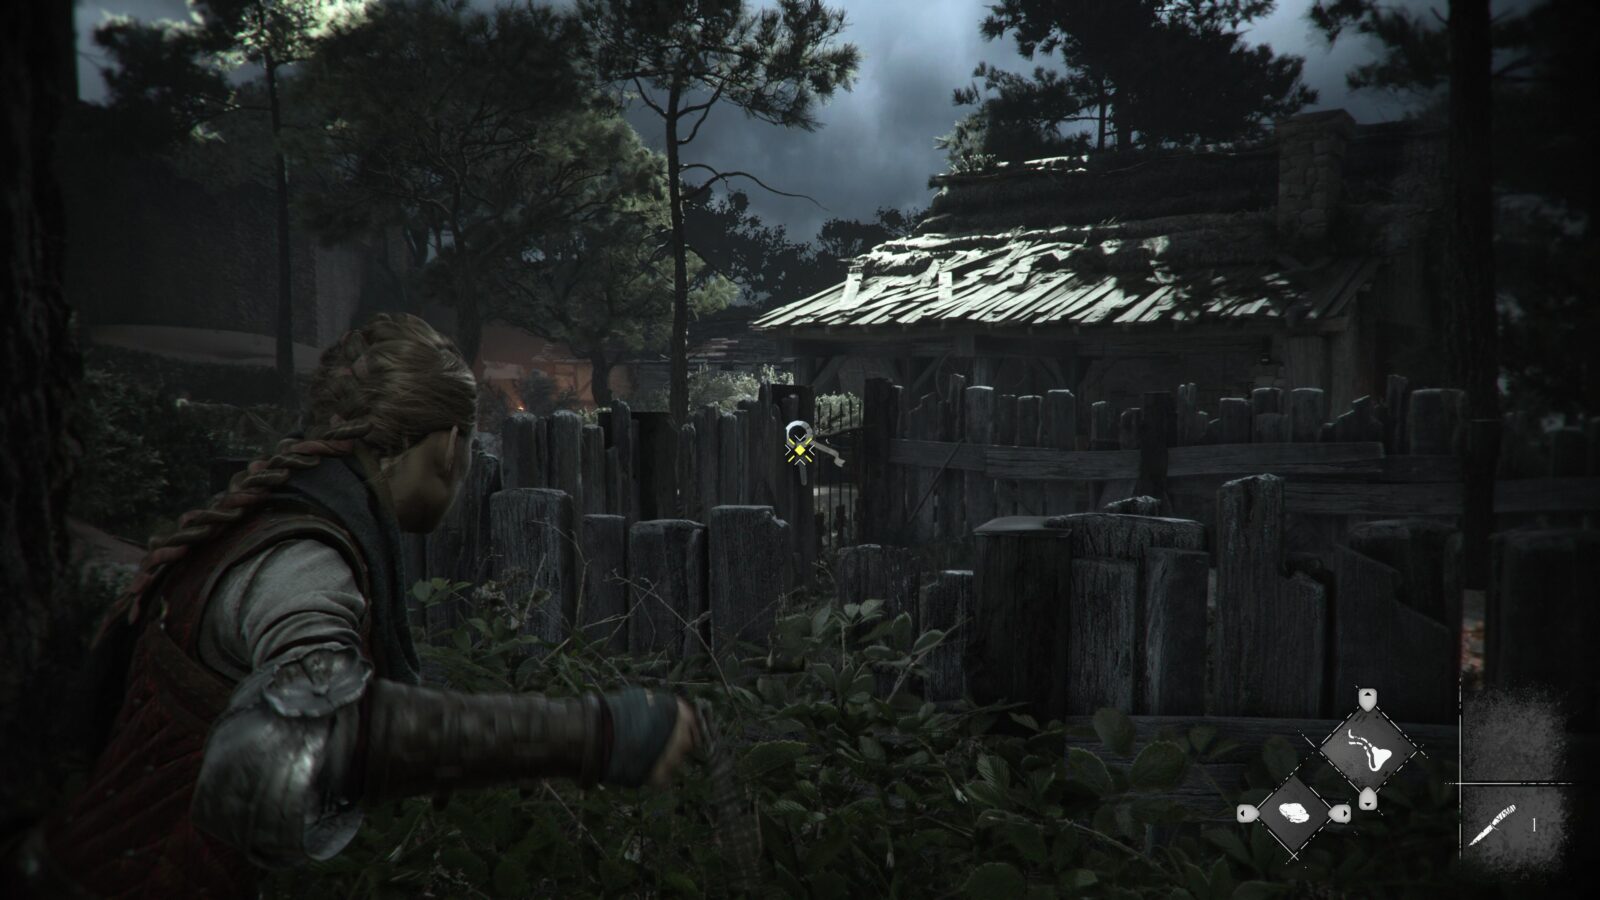
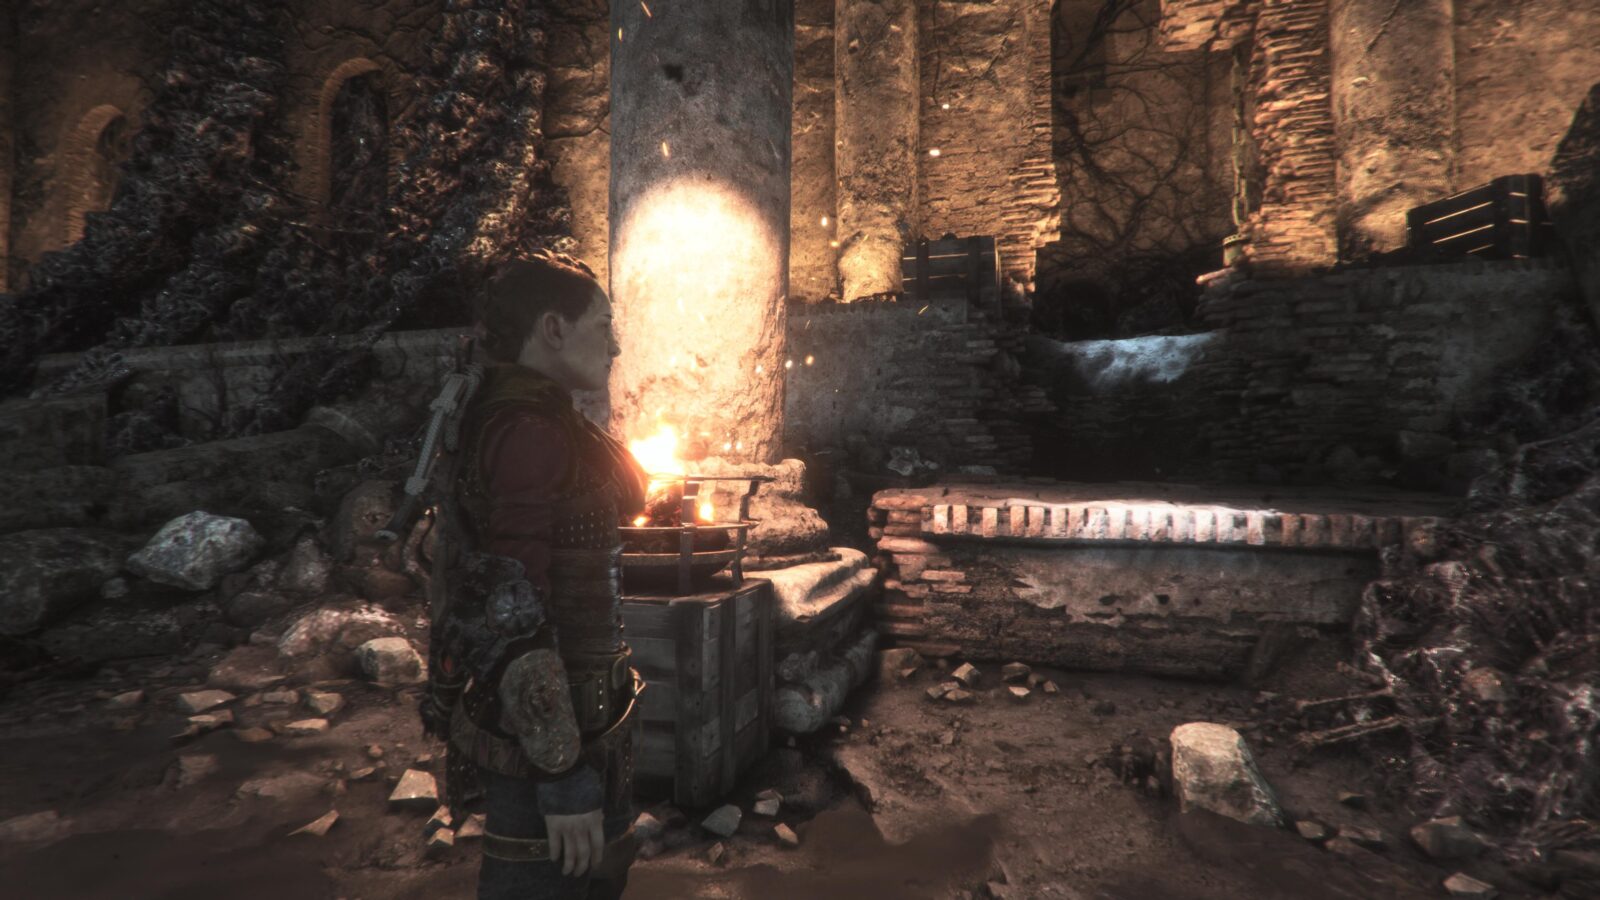
Lit up at the center, you’ll see a Grave. Interact with it to receive Souvenir Collectible 3/21!
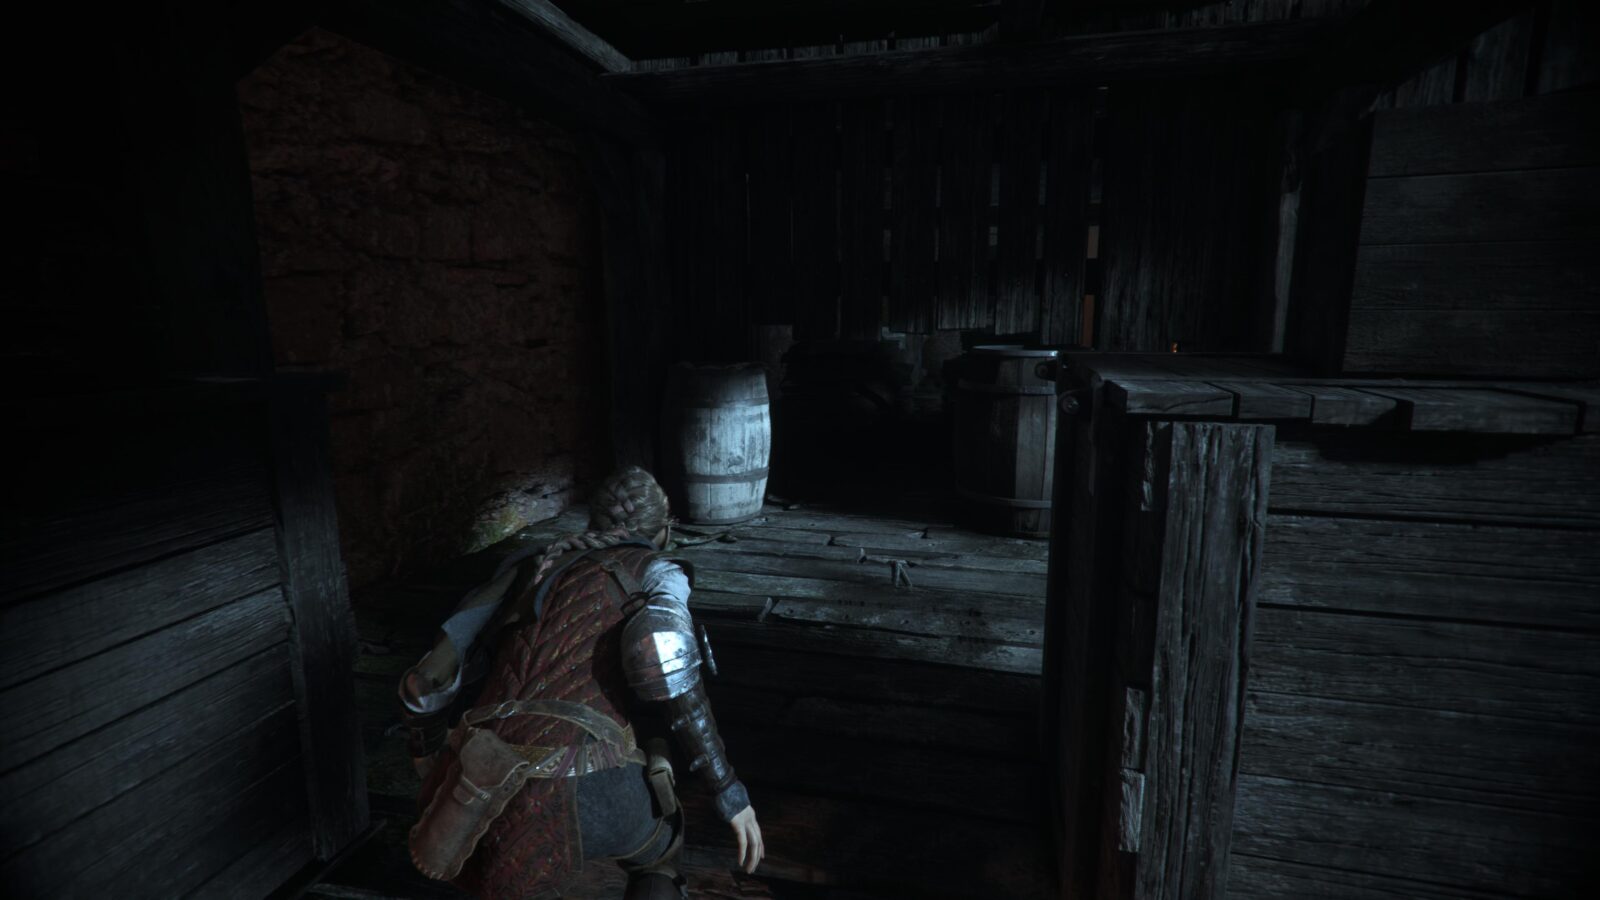
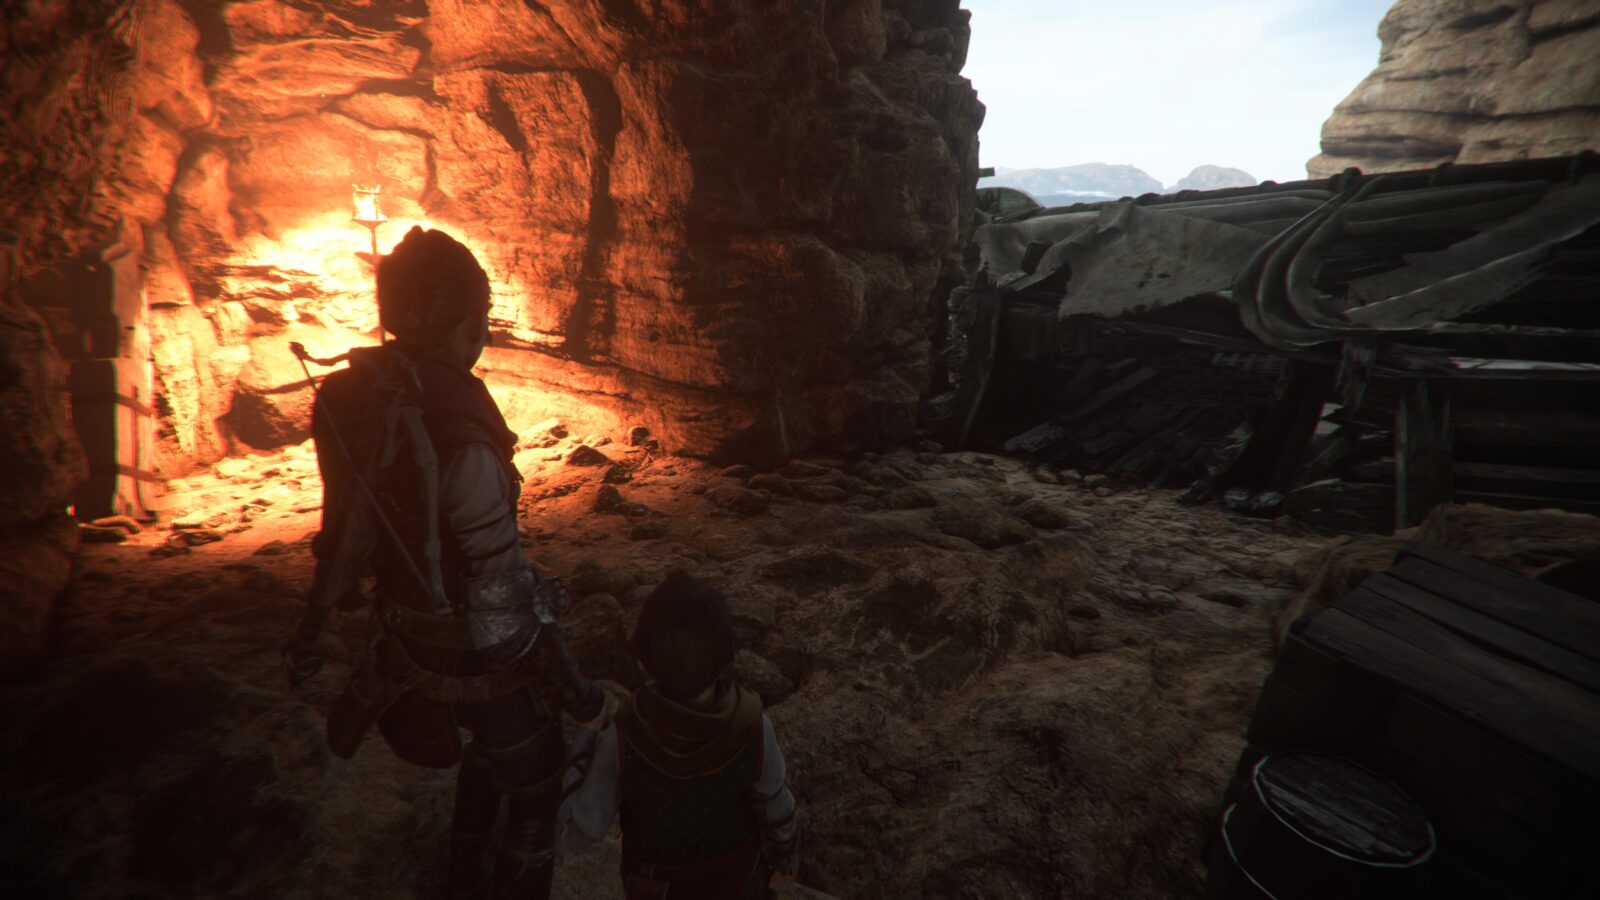
Once you have it, you can safely proceed through the stables and continue on. Note that the first Workbench and a Knife can be found in the Stables. Your objective will remain “Reach the herbalist’s forest” for a short while as you move on into the Sub-Chapter titled “At the Edge of the City.”
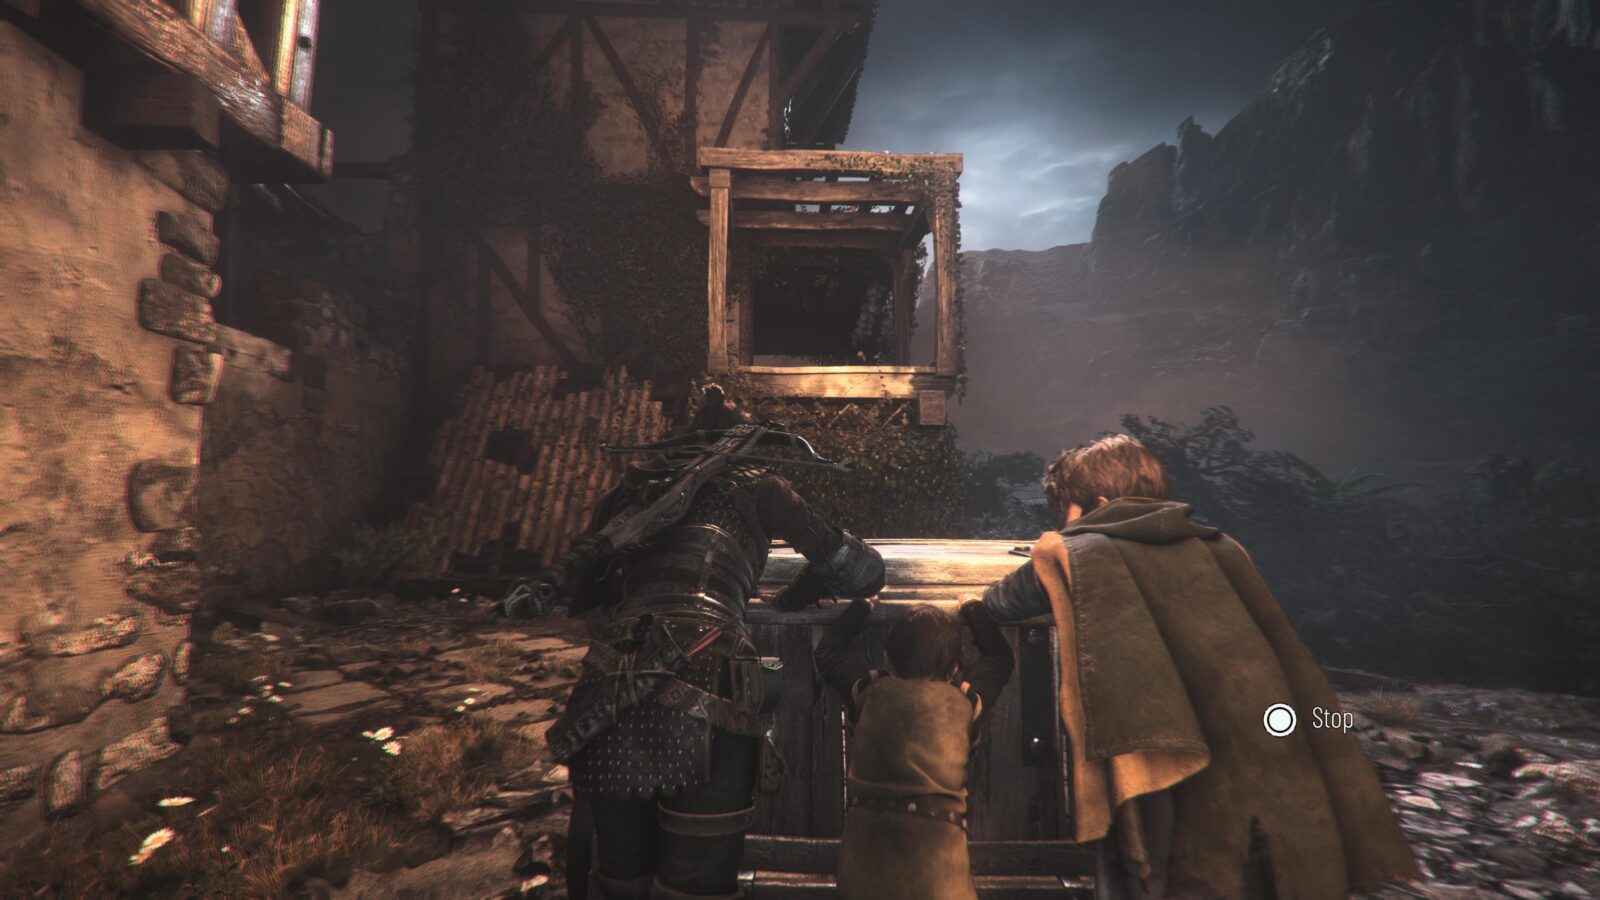
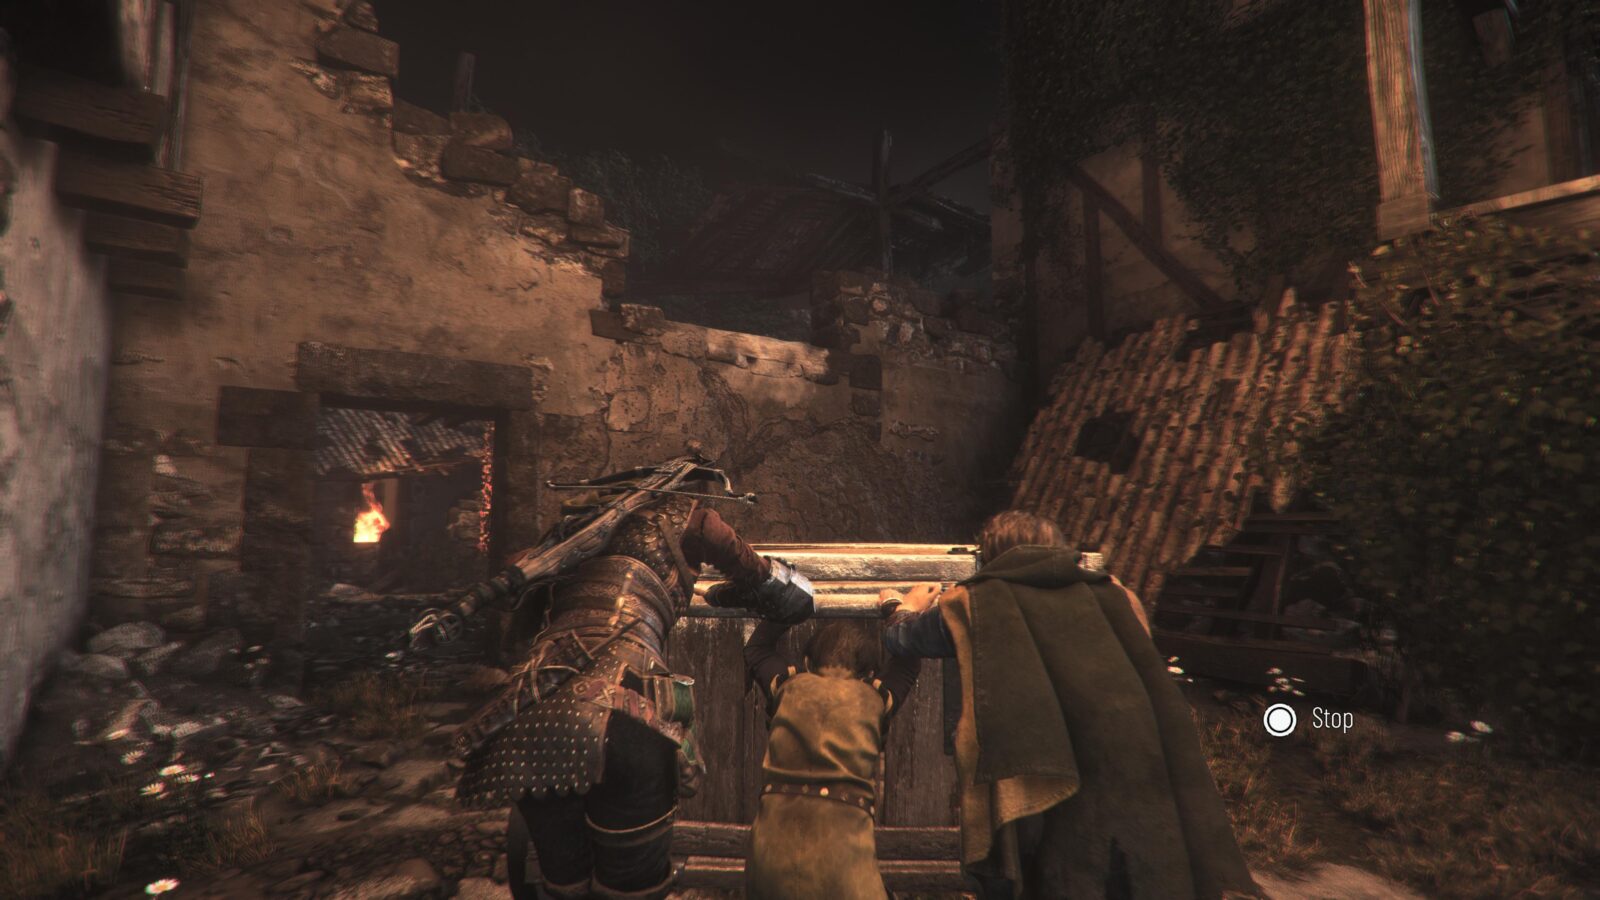
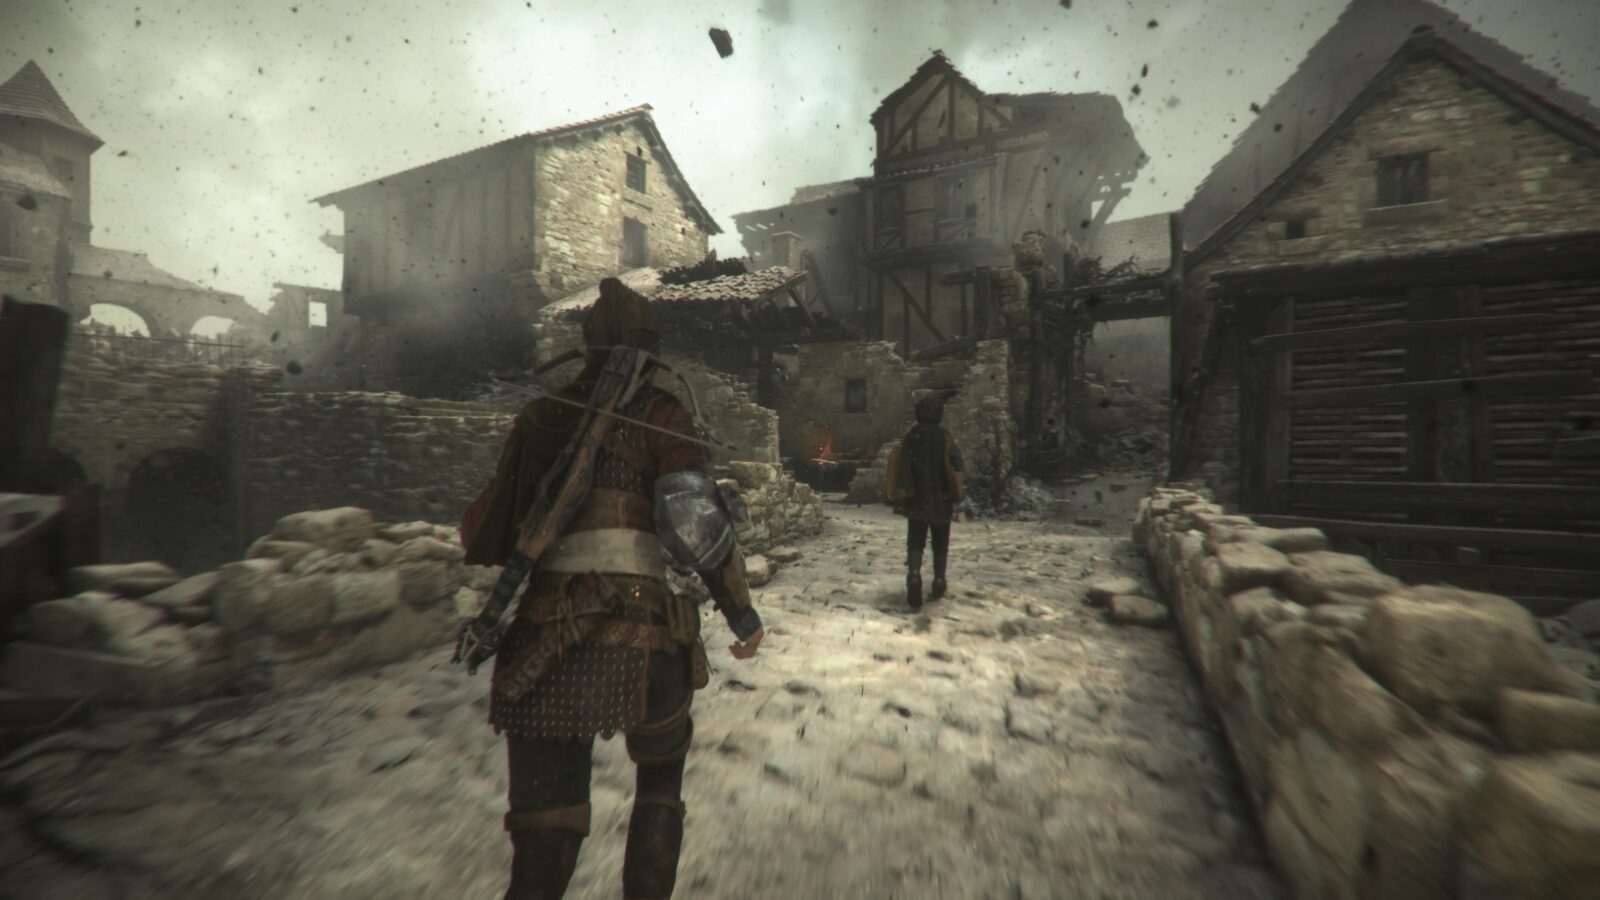
Climb down the ladder and out of the door into a rat-infested village that you’ll need to move through.
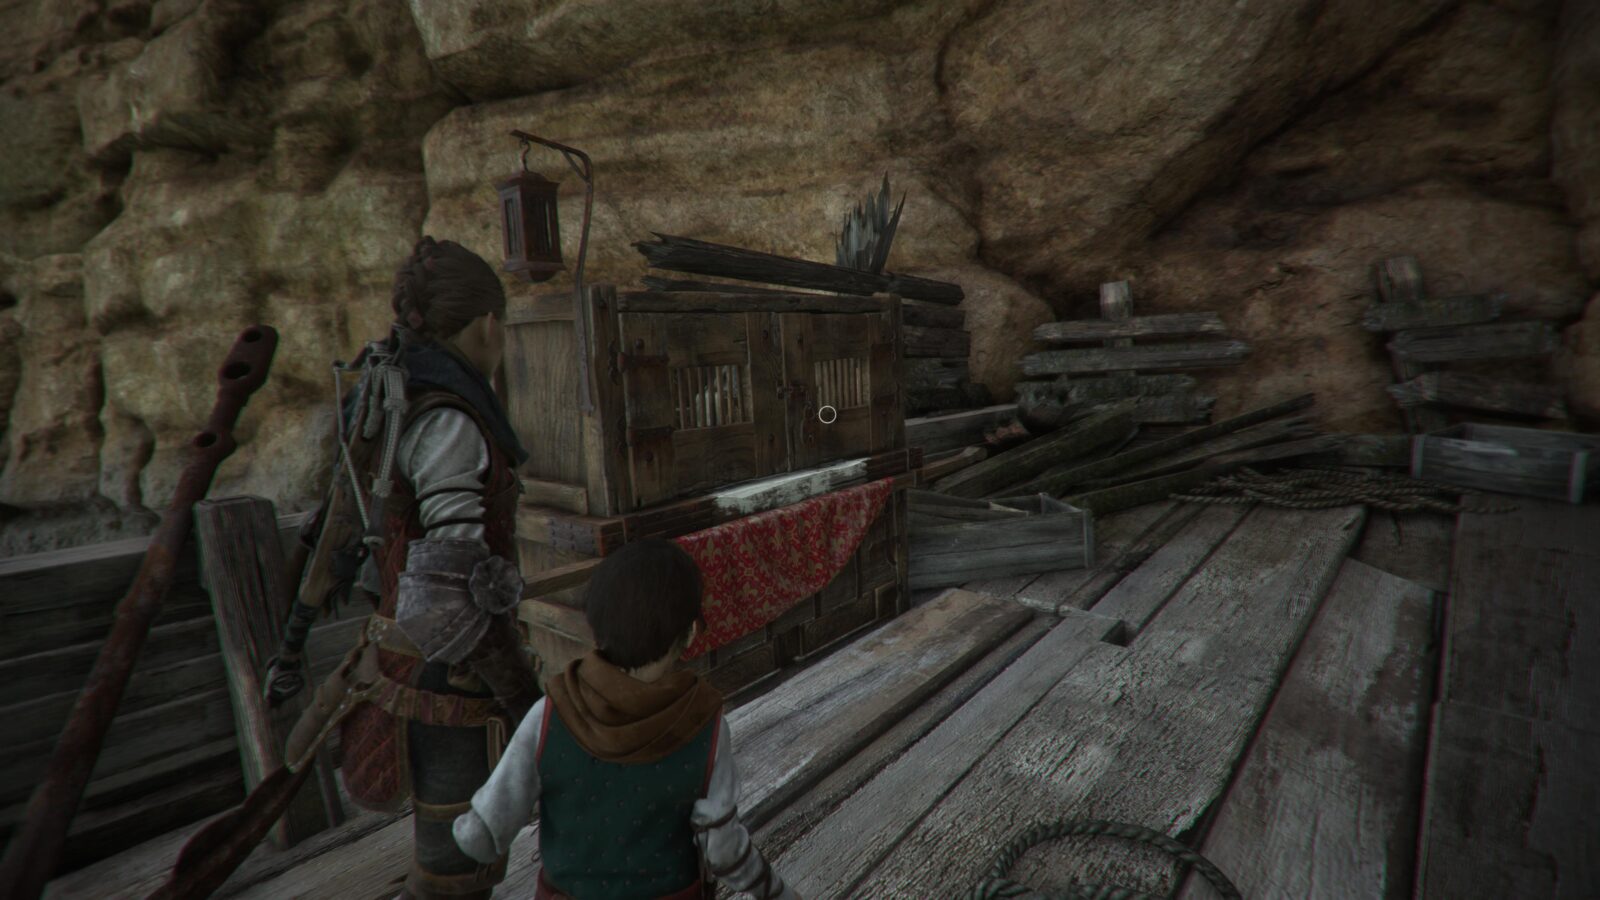
Continue carefully through the village, lighting the torches to remain safe. In the last house on the left side of the village, just before the gate out, there’s a chest containing another Tool (2/34).
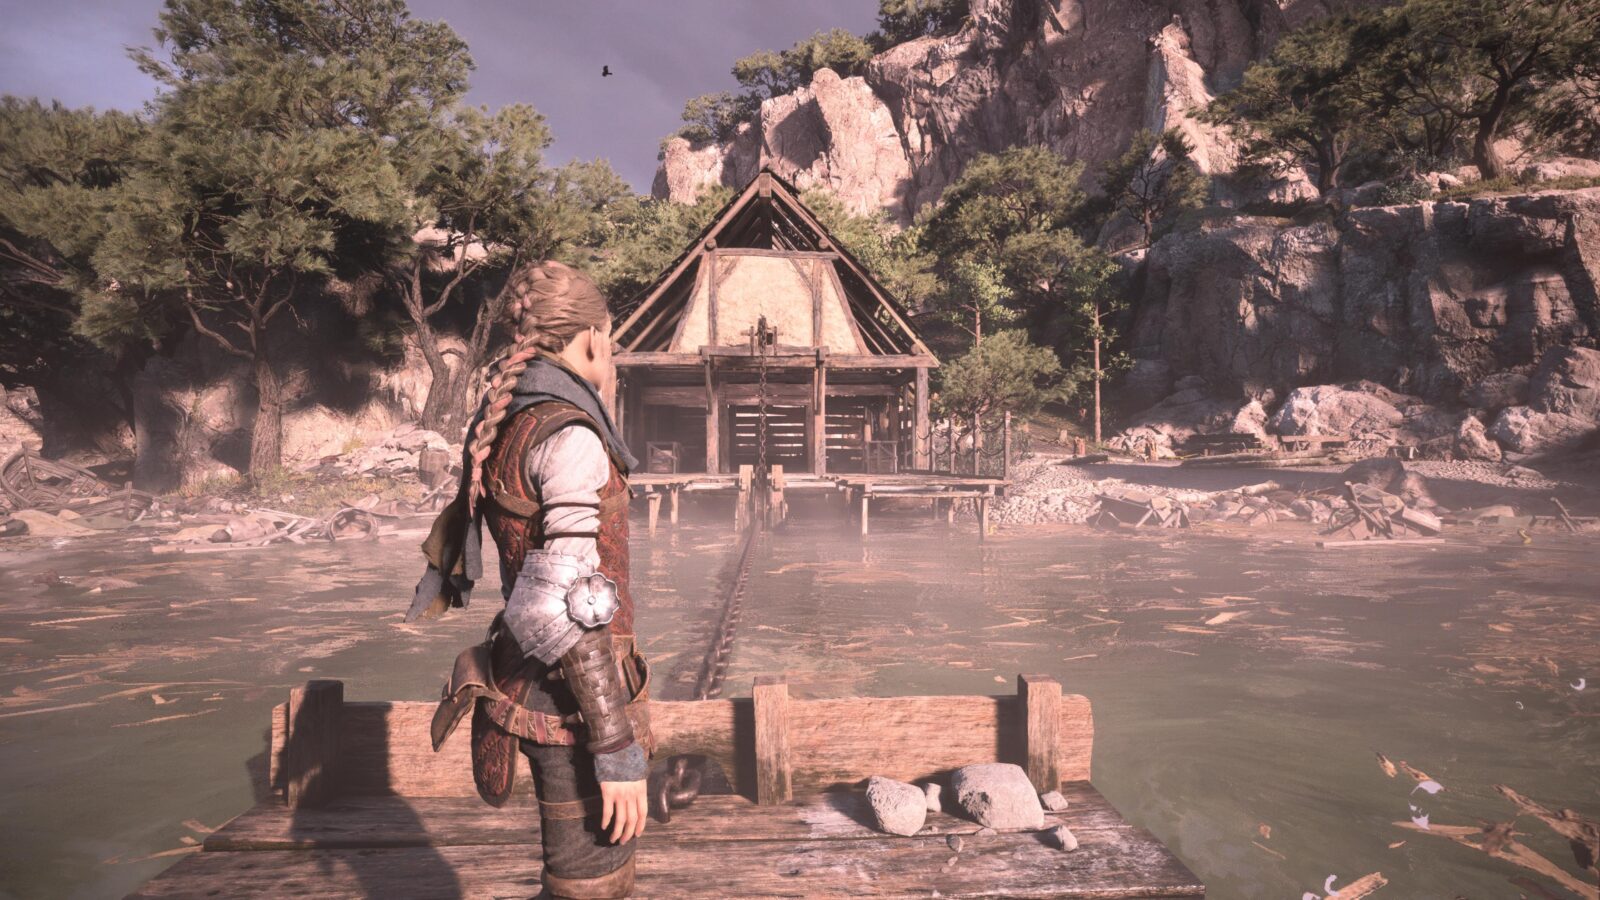
Continue out of the village to arrive at the Herbalist’s Hut. Do not go inside yet!
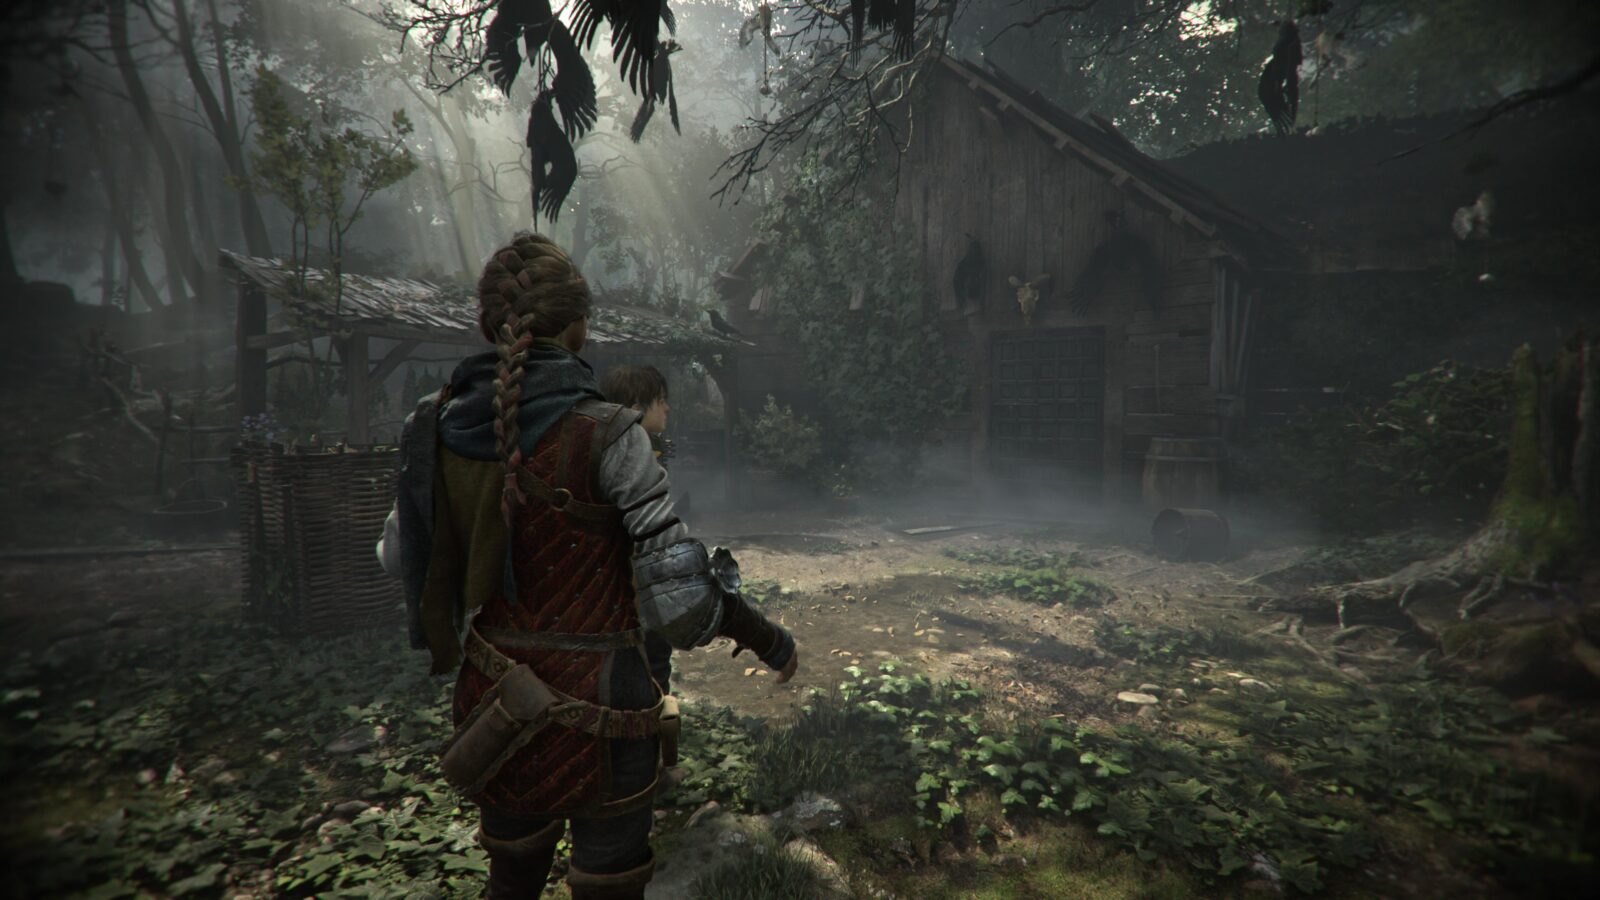
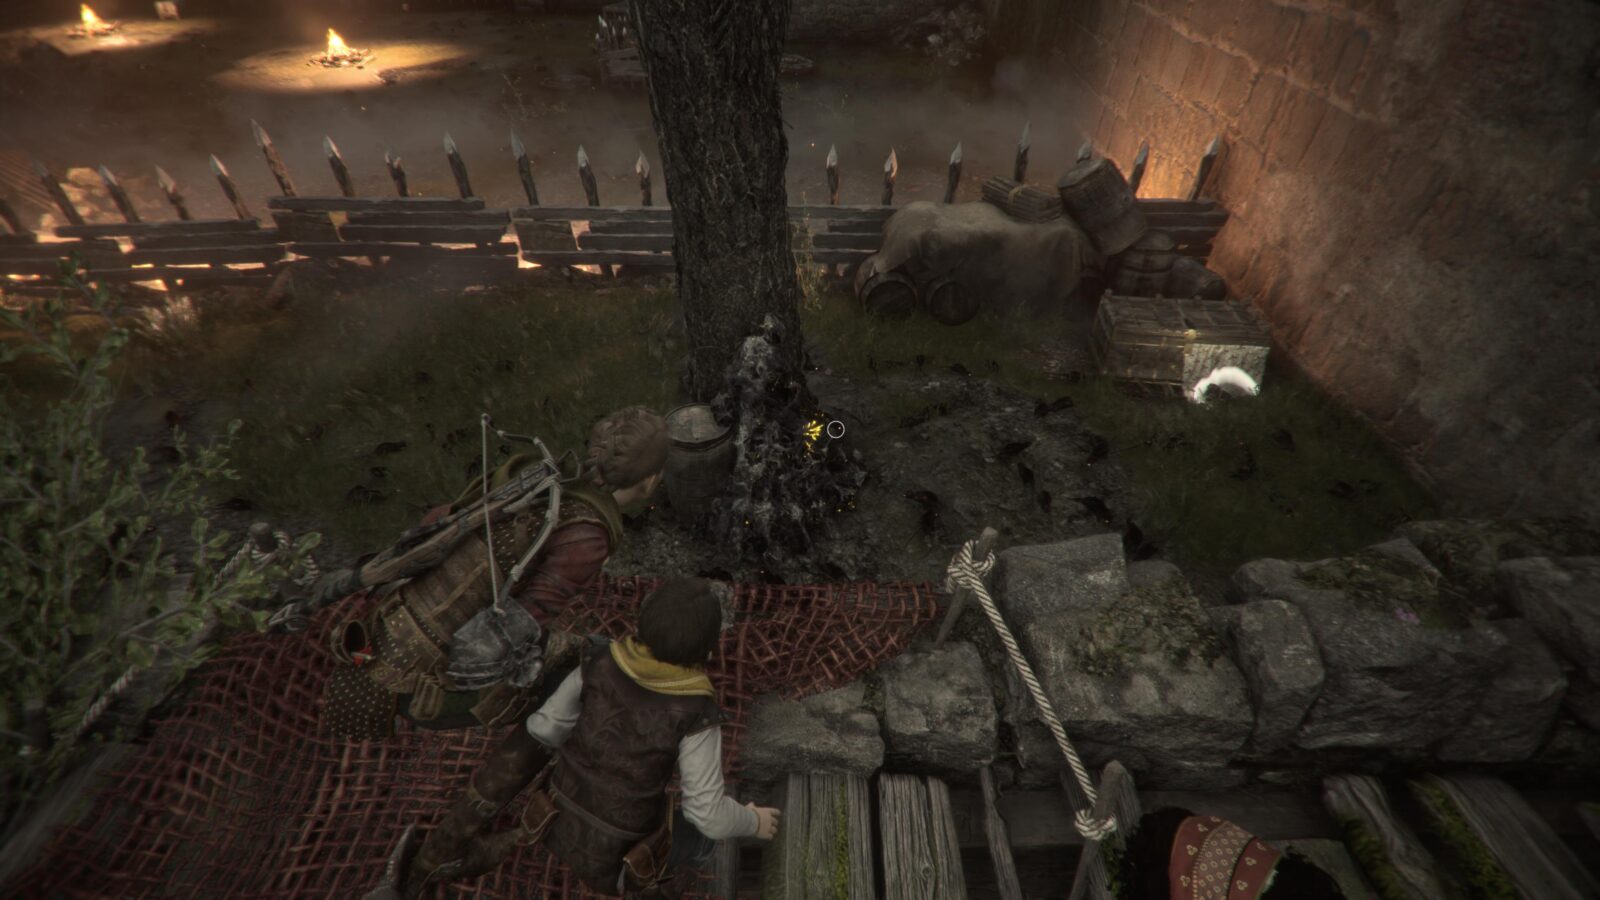
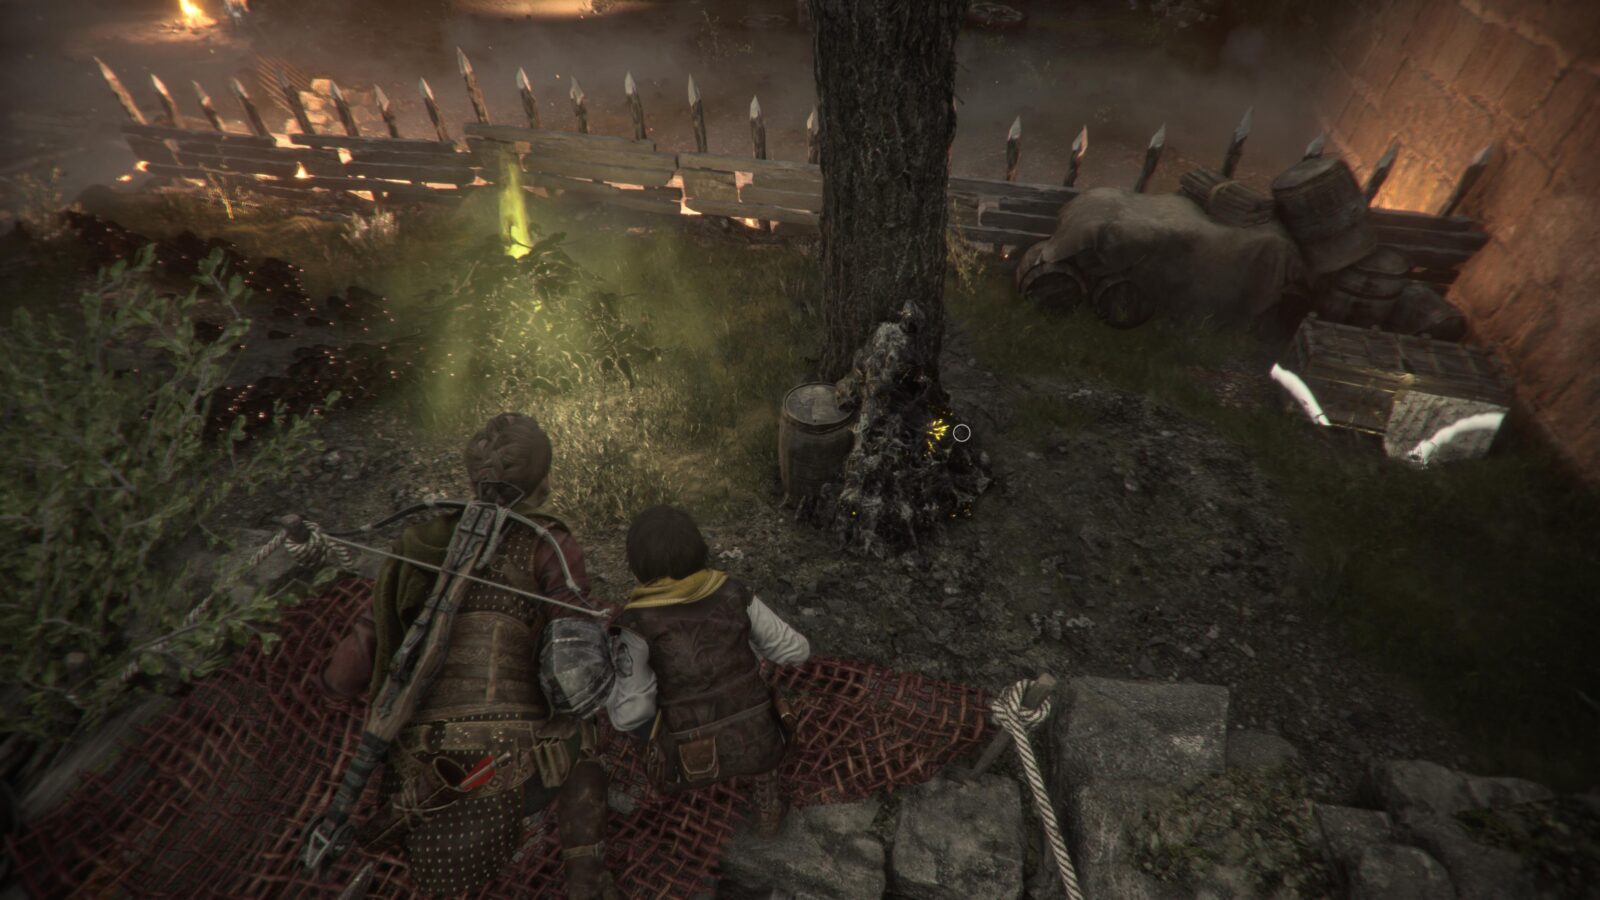
Instead, turn left and walk all the way to the dead-end. There, look up to the tree, where you’ll see a plant hanging from a rope. Use your sling to shoot it.
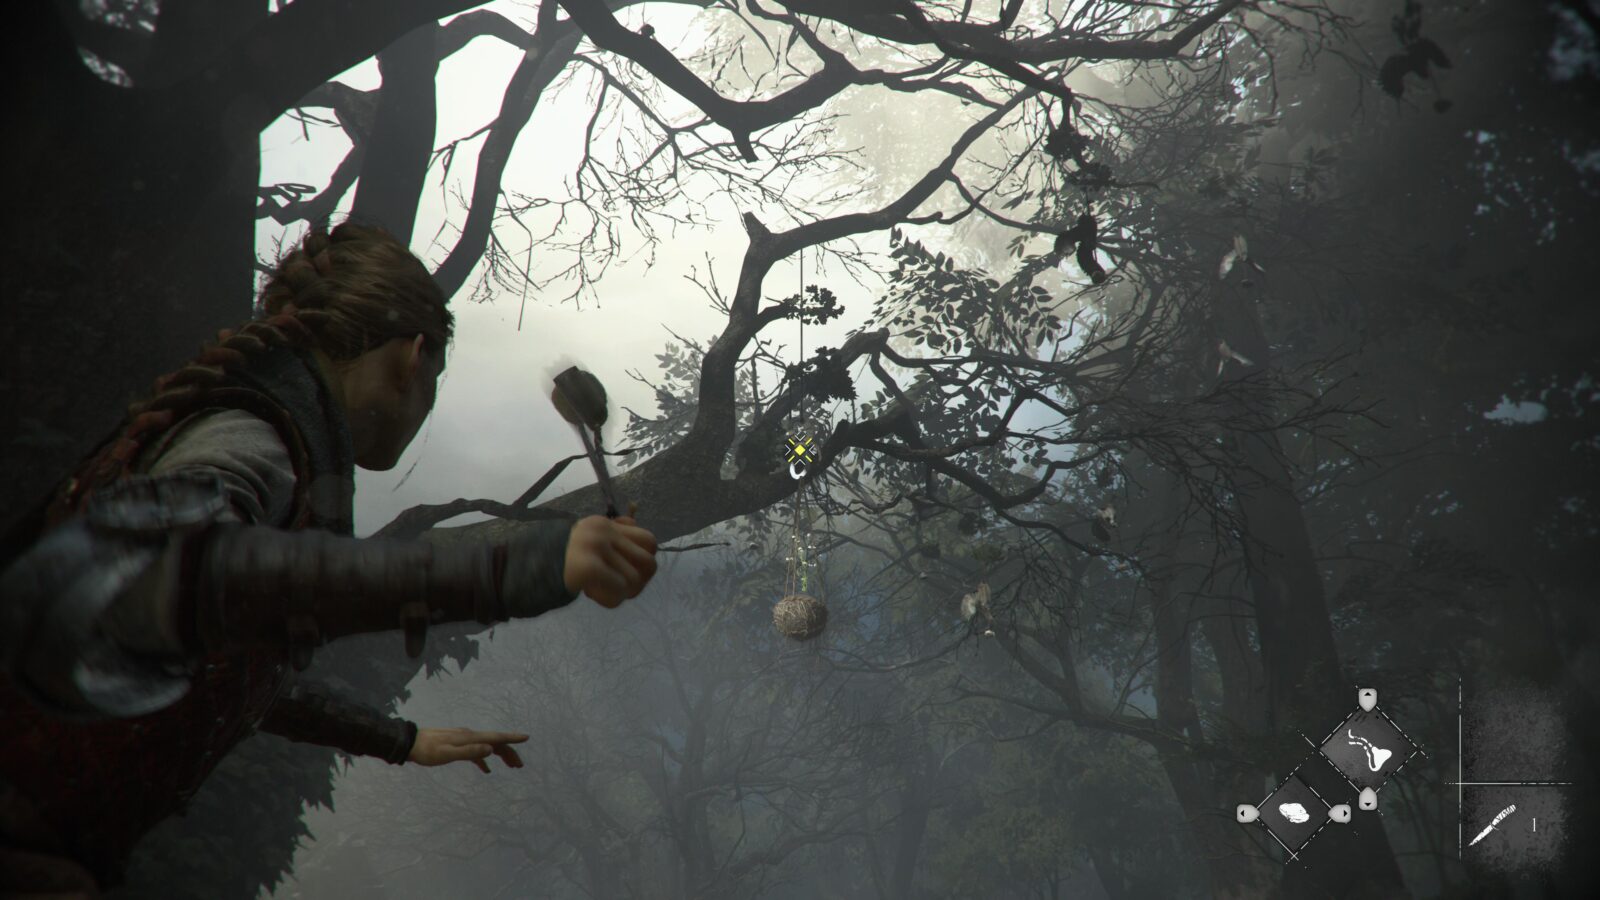
When the plant hits the ground, go over and collect the Camomile (Hugo’s Collection – Flower 2/5).

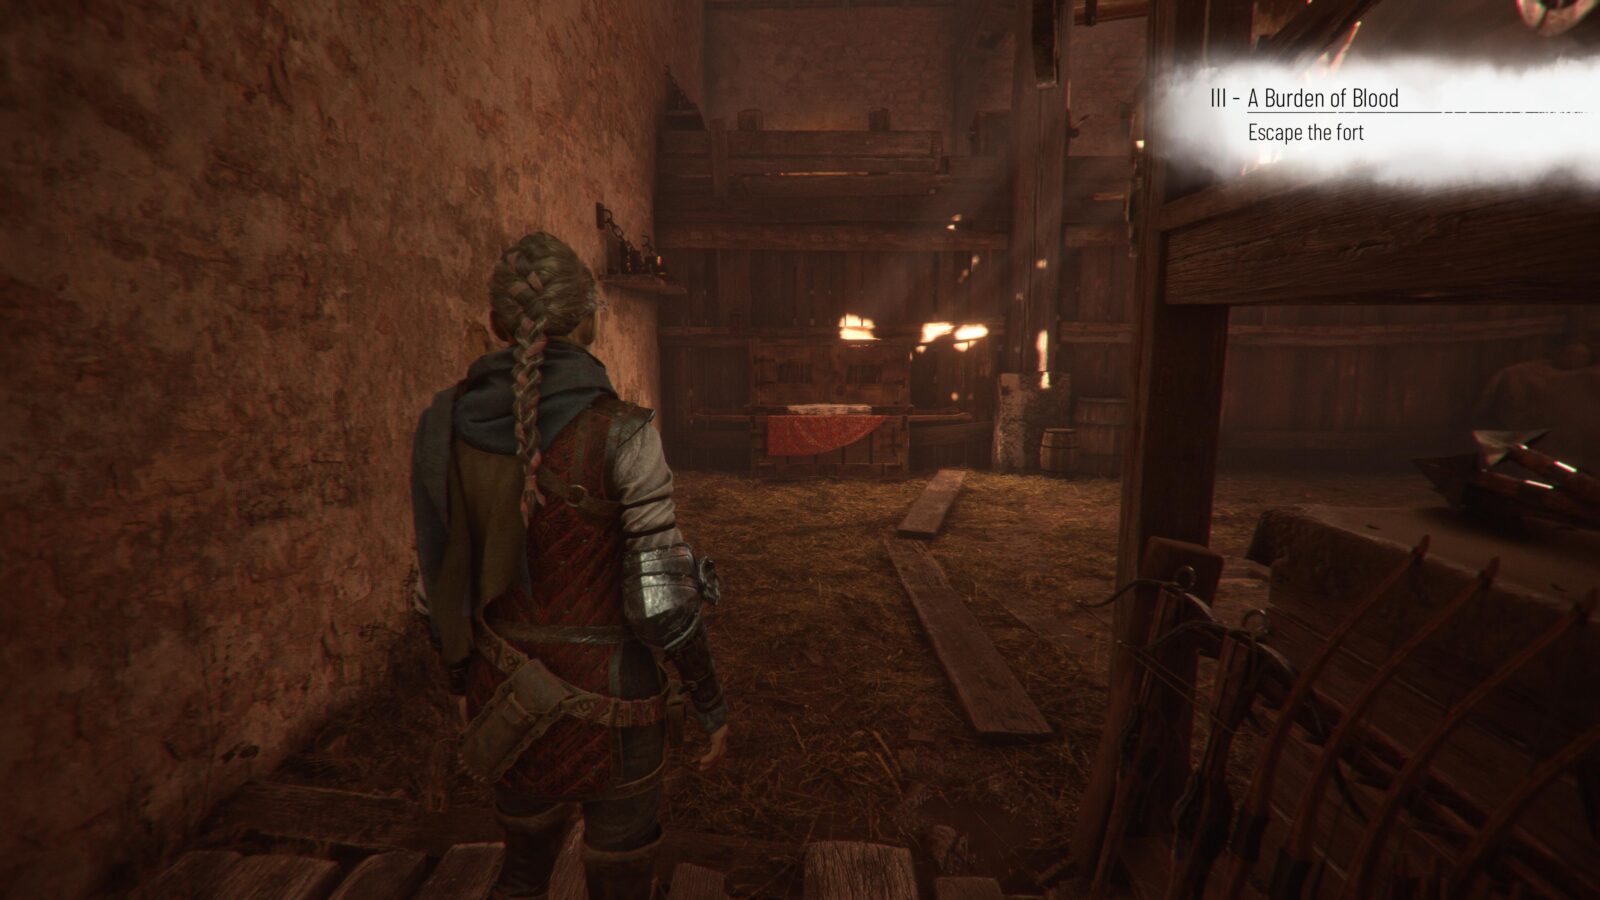
Continue on through the chapter for a long while until your objective is to “Escape the Fort” in the Sub-Chapter “The Warehouse.”
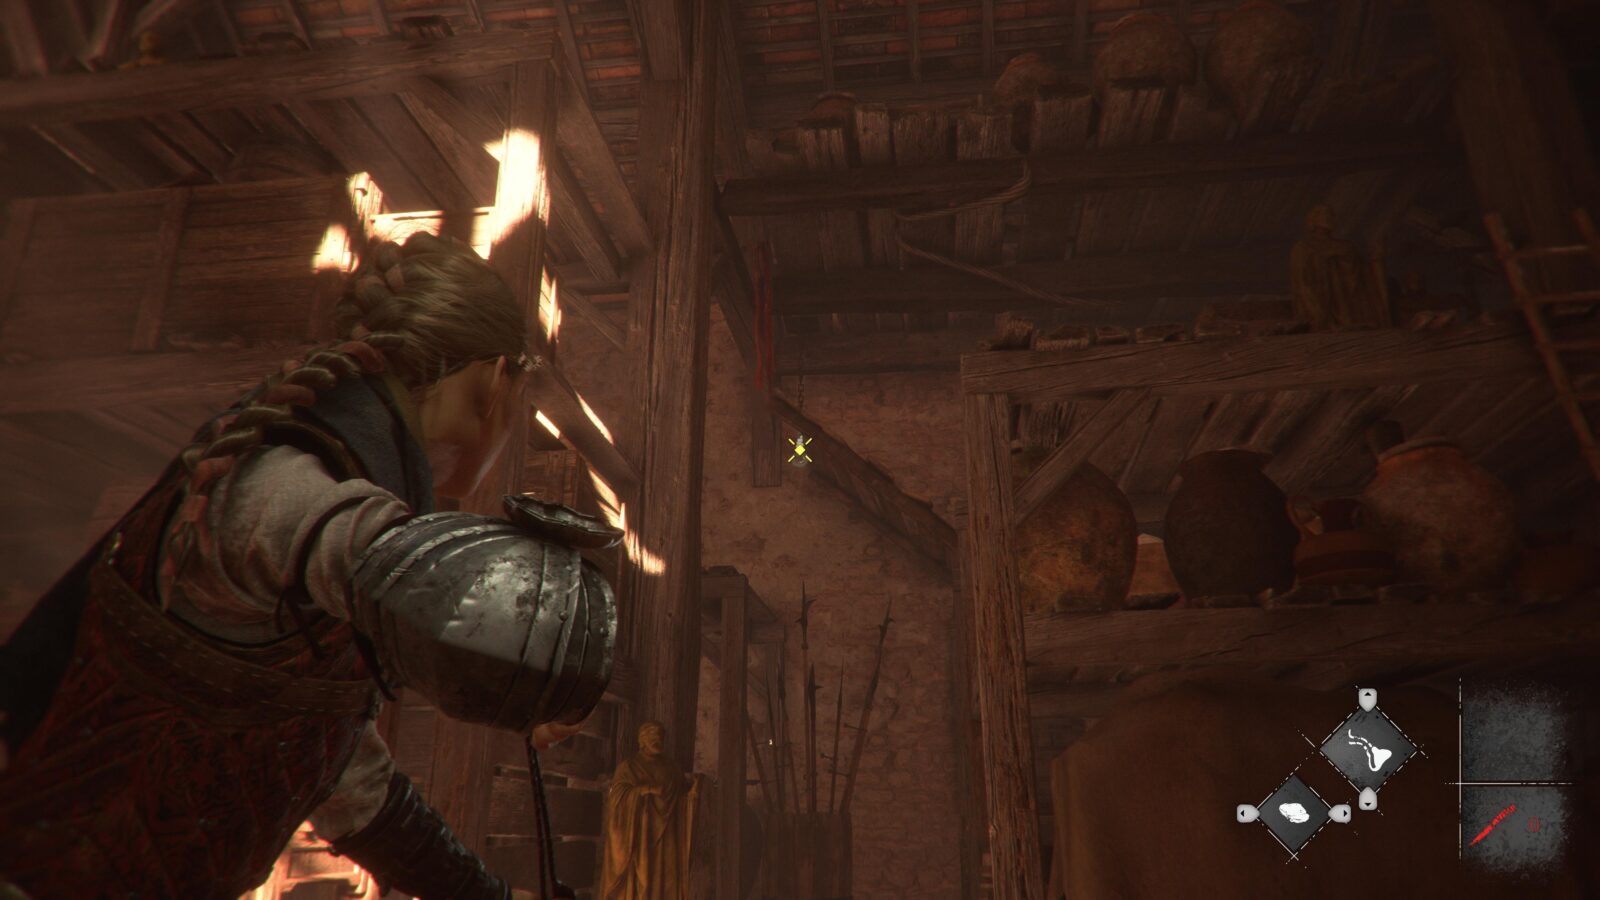
When you pick up your Sling and other gear in the Warehouse, turn around and look ahead of you.
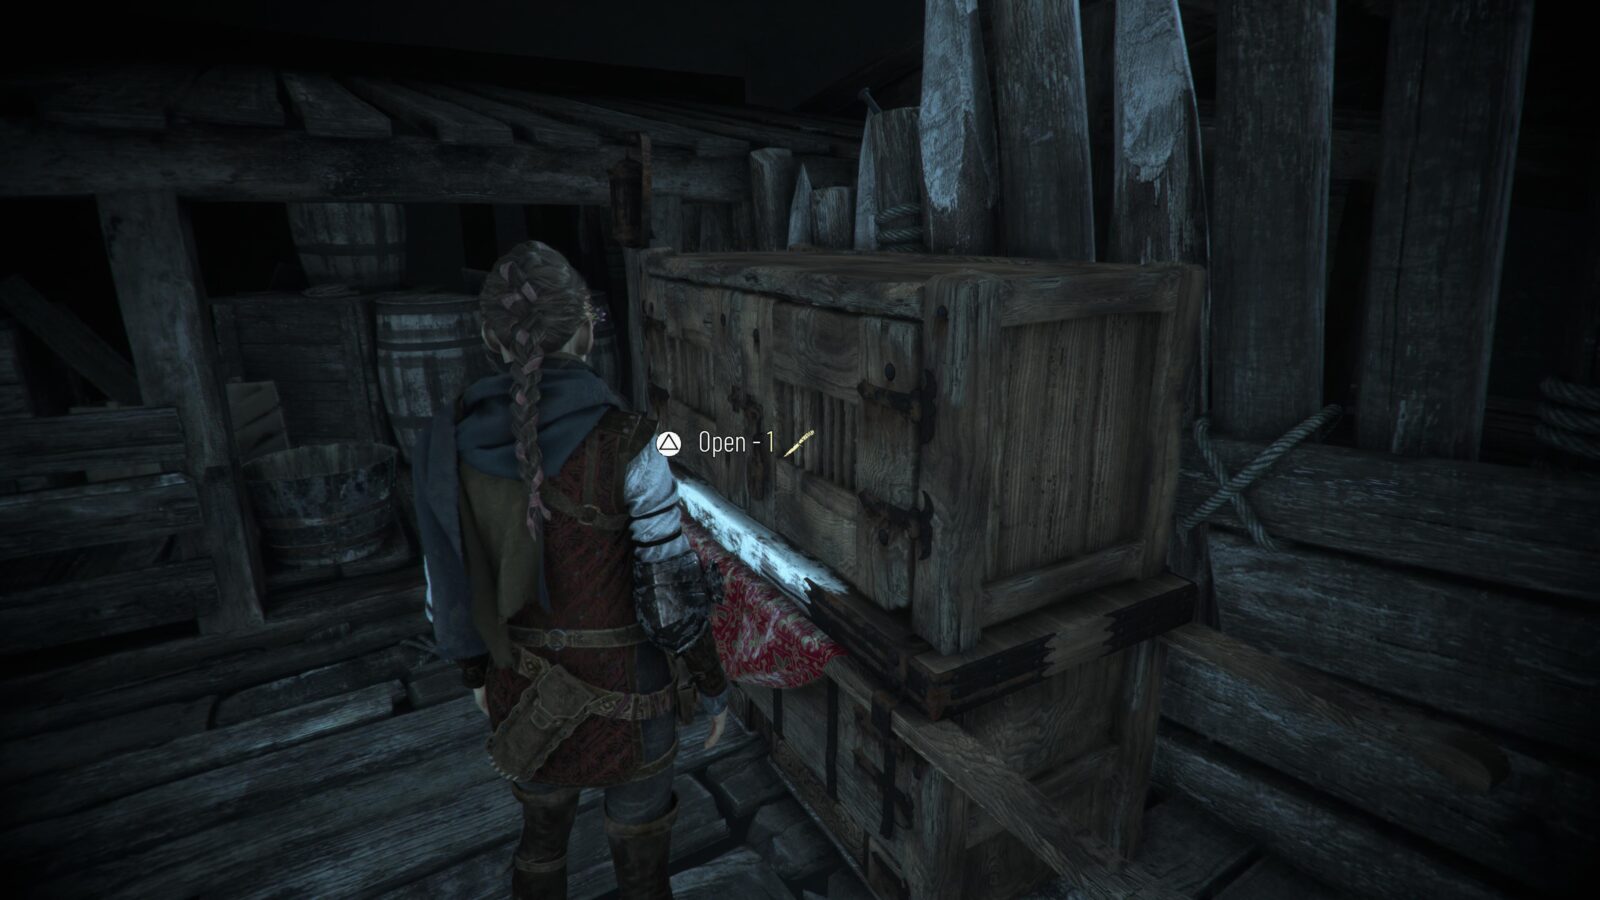
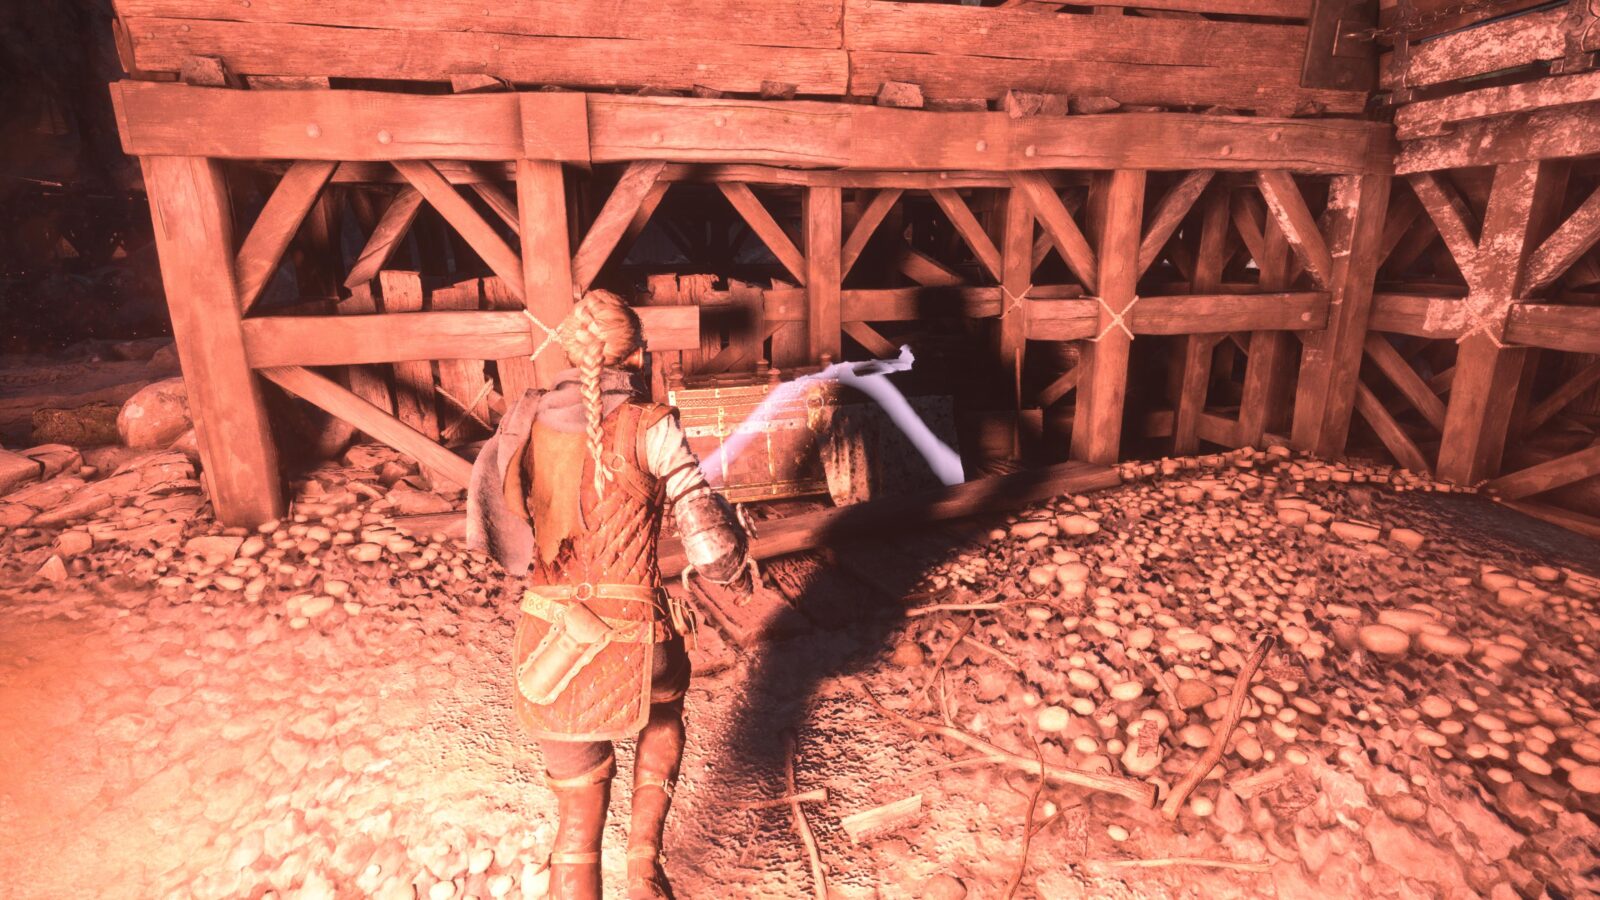
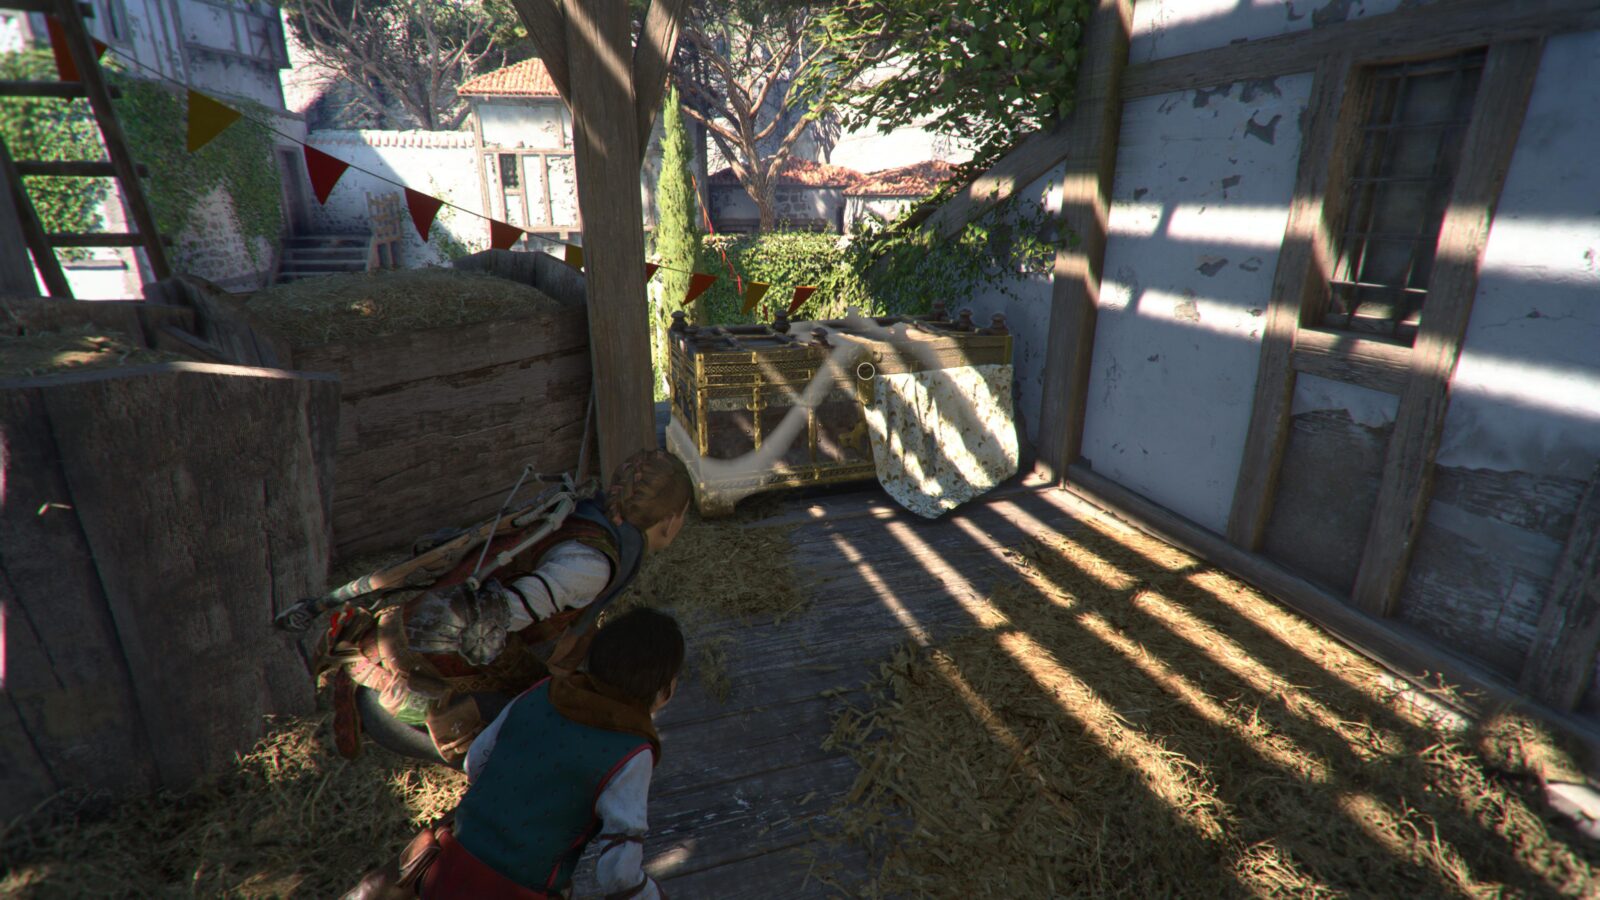
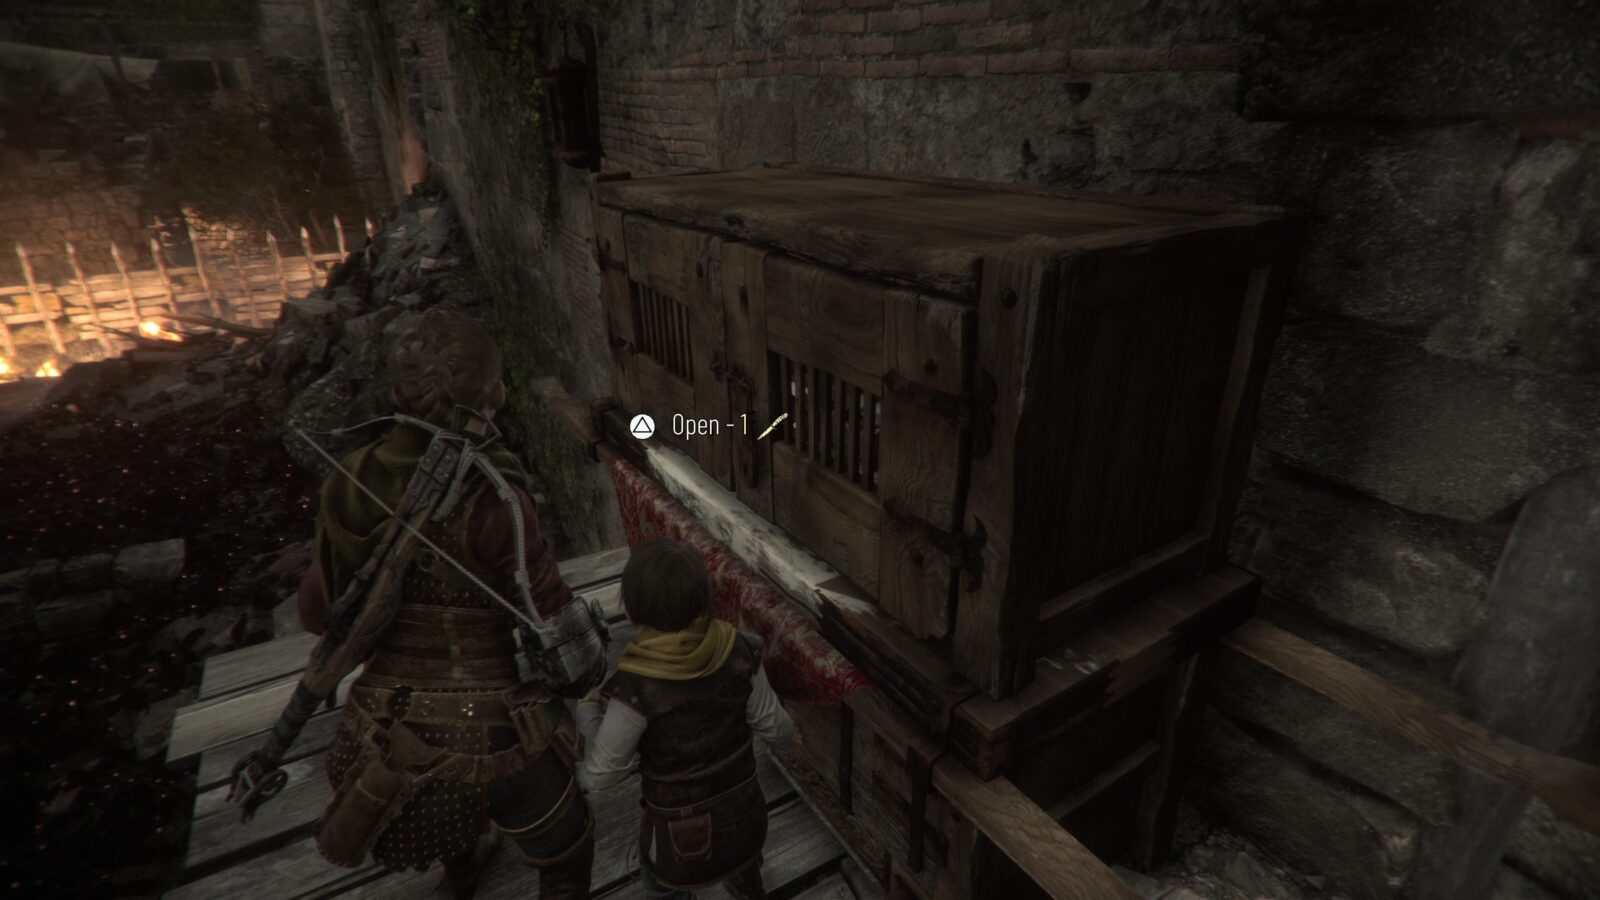
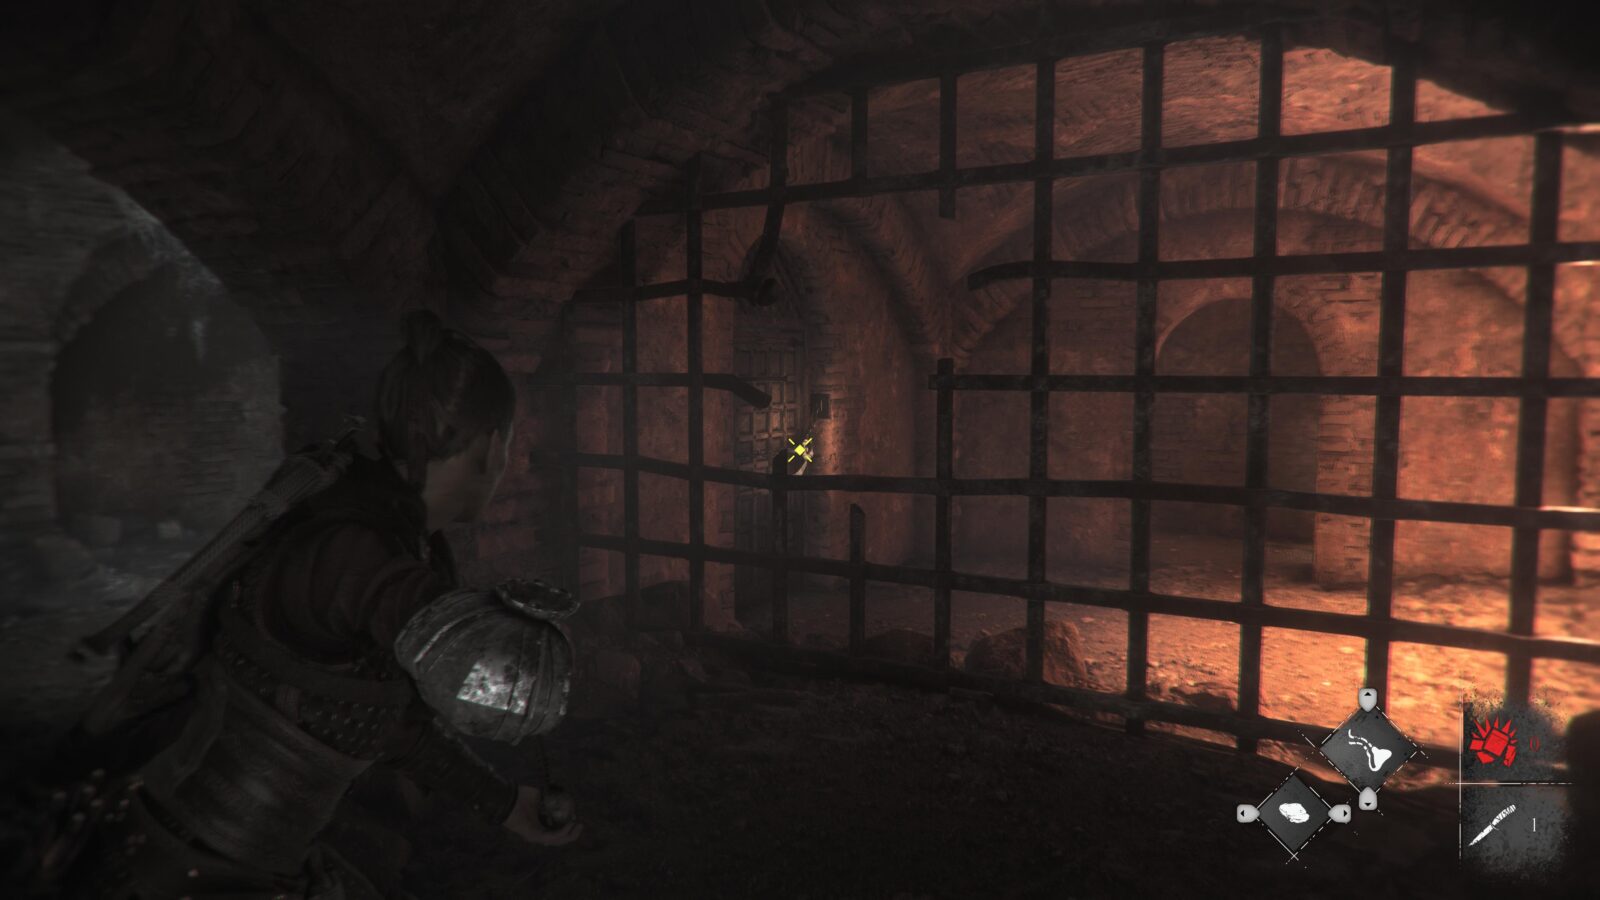
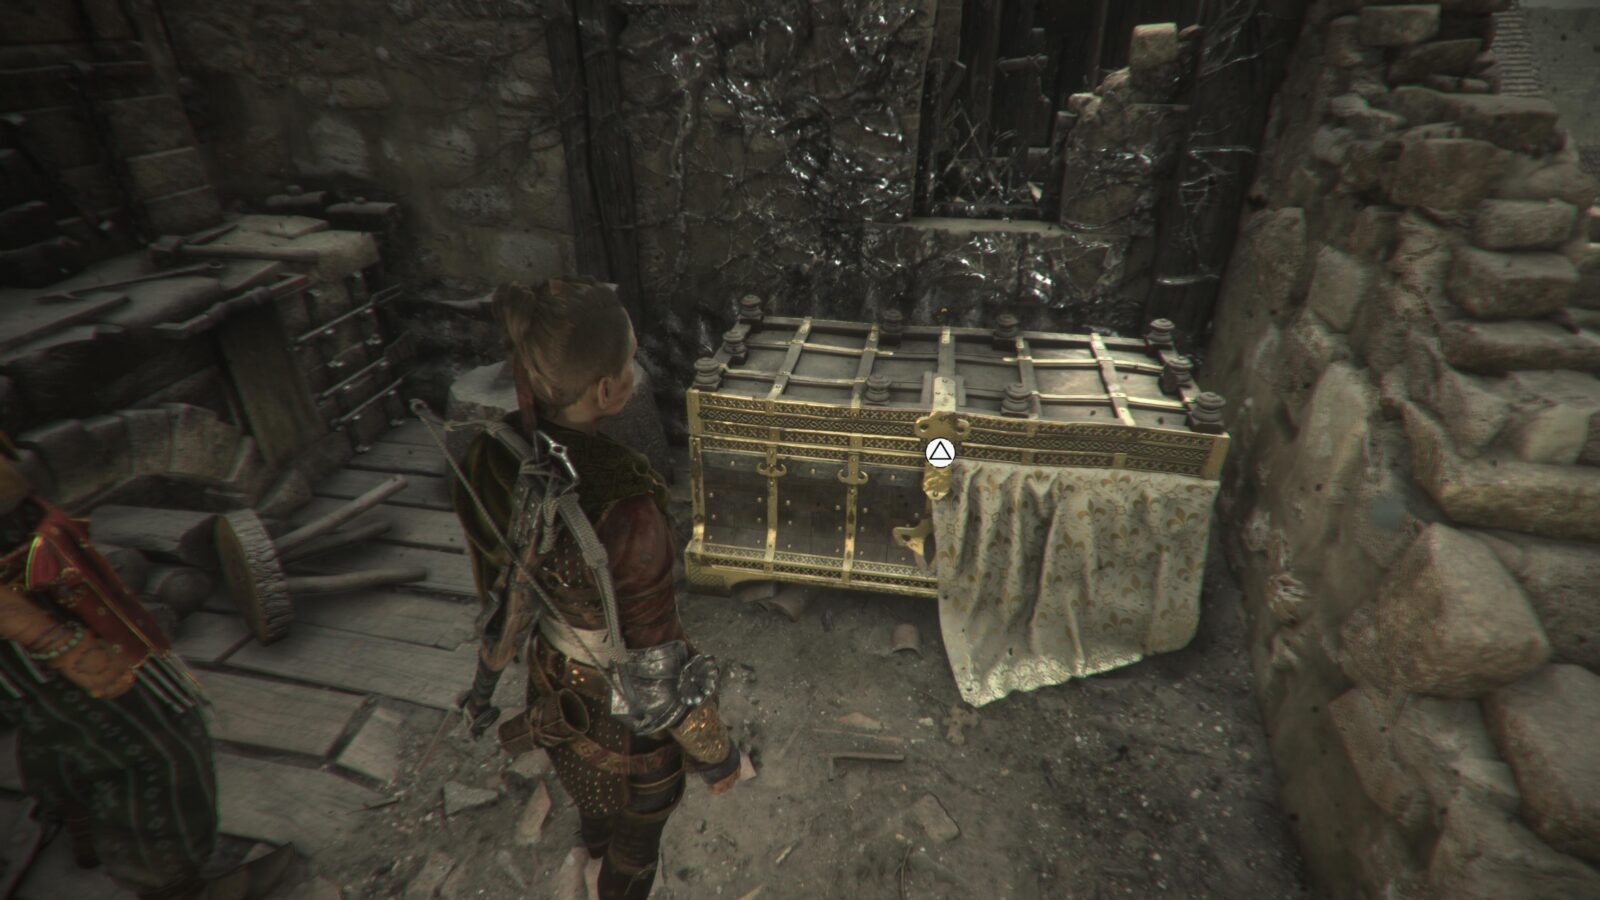
Opposite the table that had your gear on it, there’s a large Secret Chest (1/10)! Open it using the knife you just recovered, and then remember to grab Tool 3/34 from inside!
From now onwards, always make sure you have a knife on you. If you use a knife in combat by accident, just pause and select “Reload section” to get your knife back. It is imperative that you never end up without a knife when a Secret Chest is nearby.
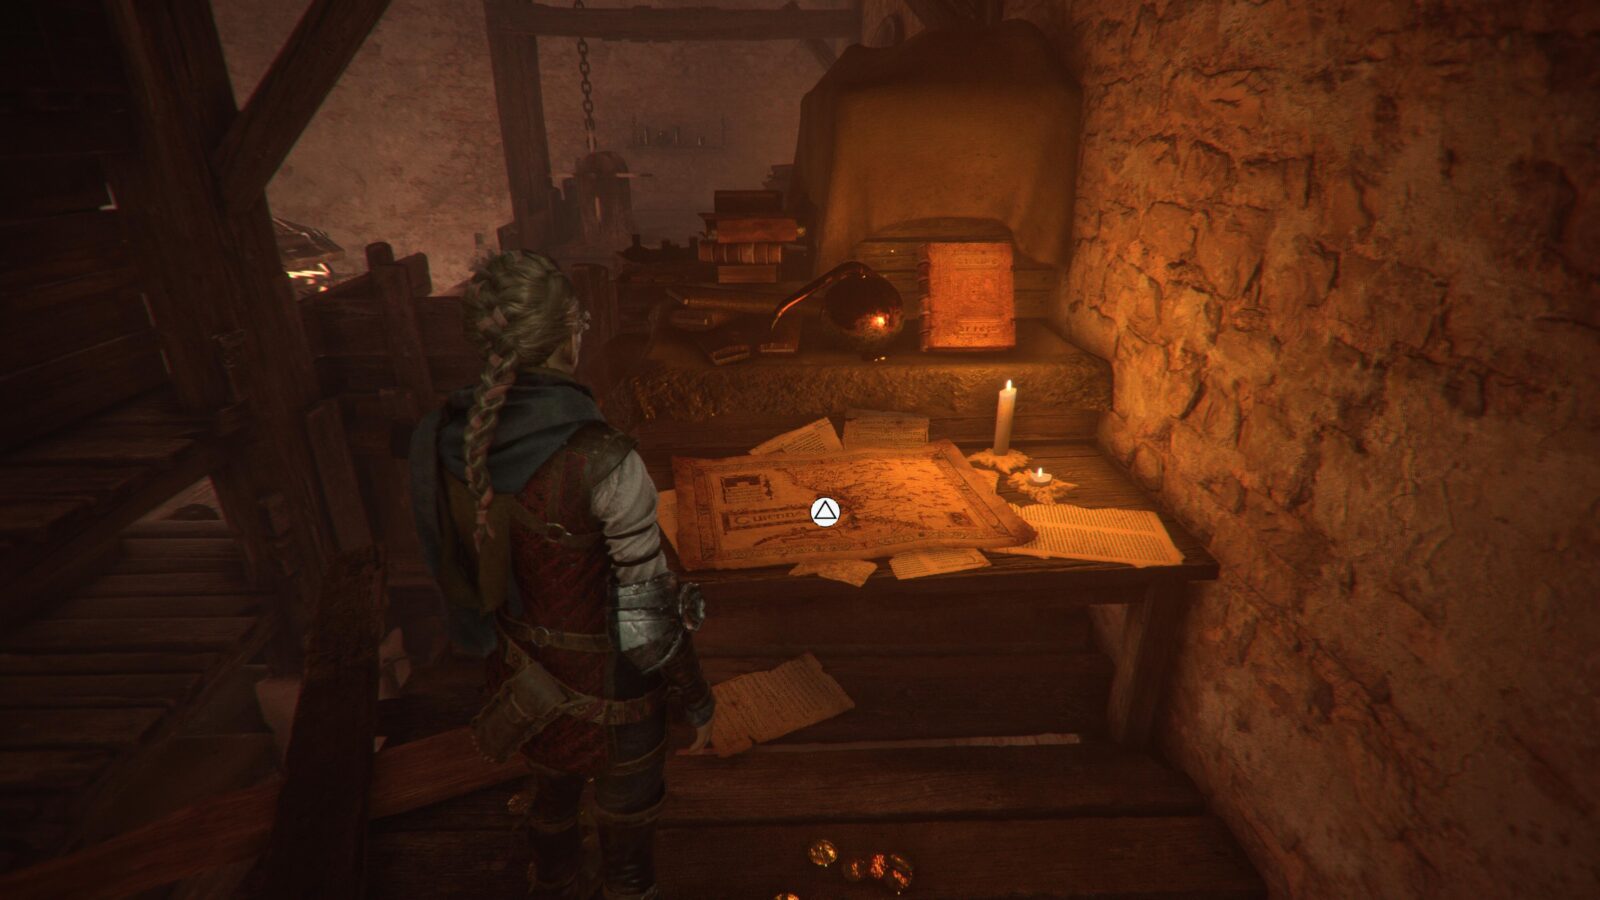
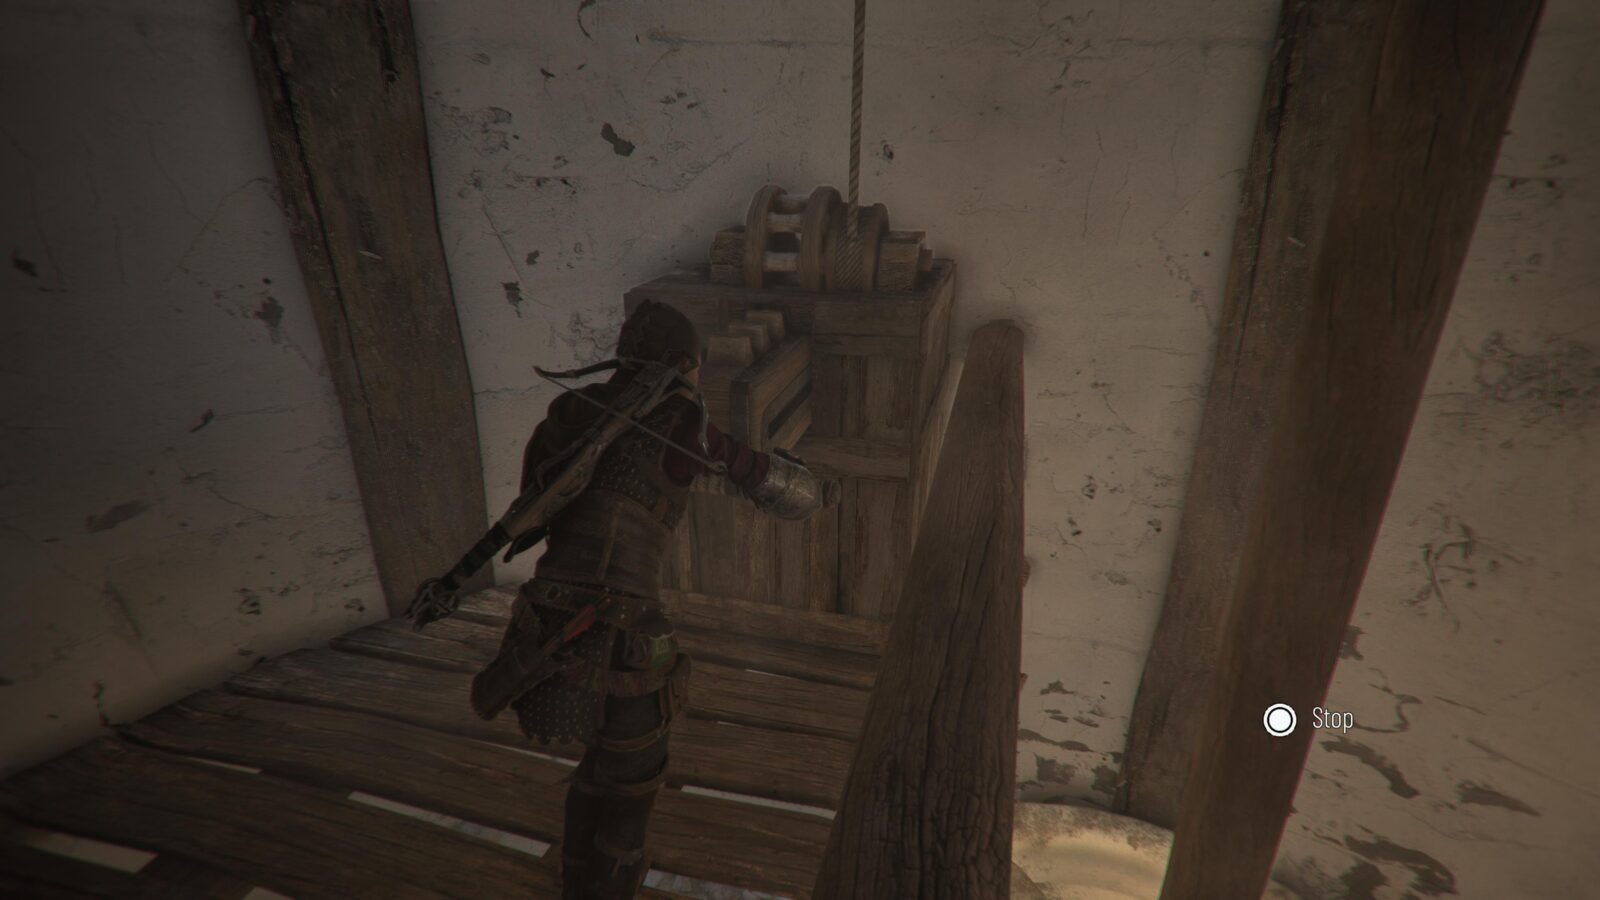
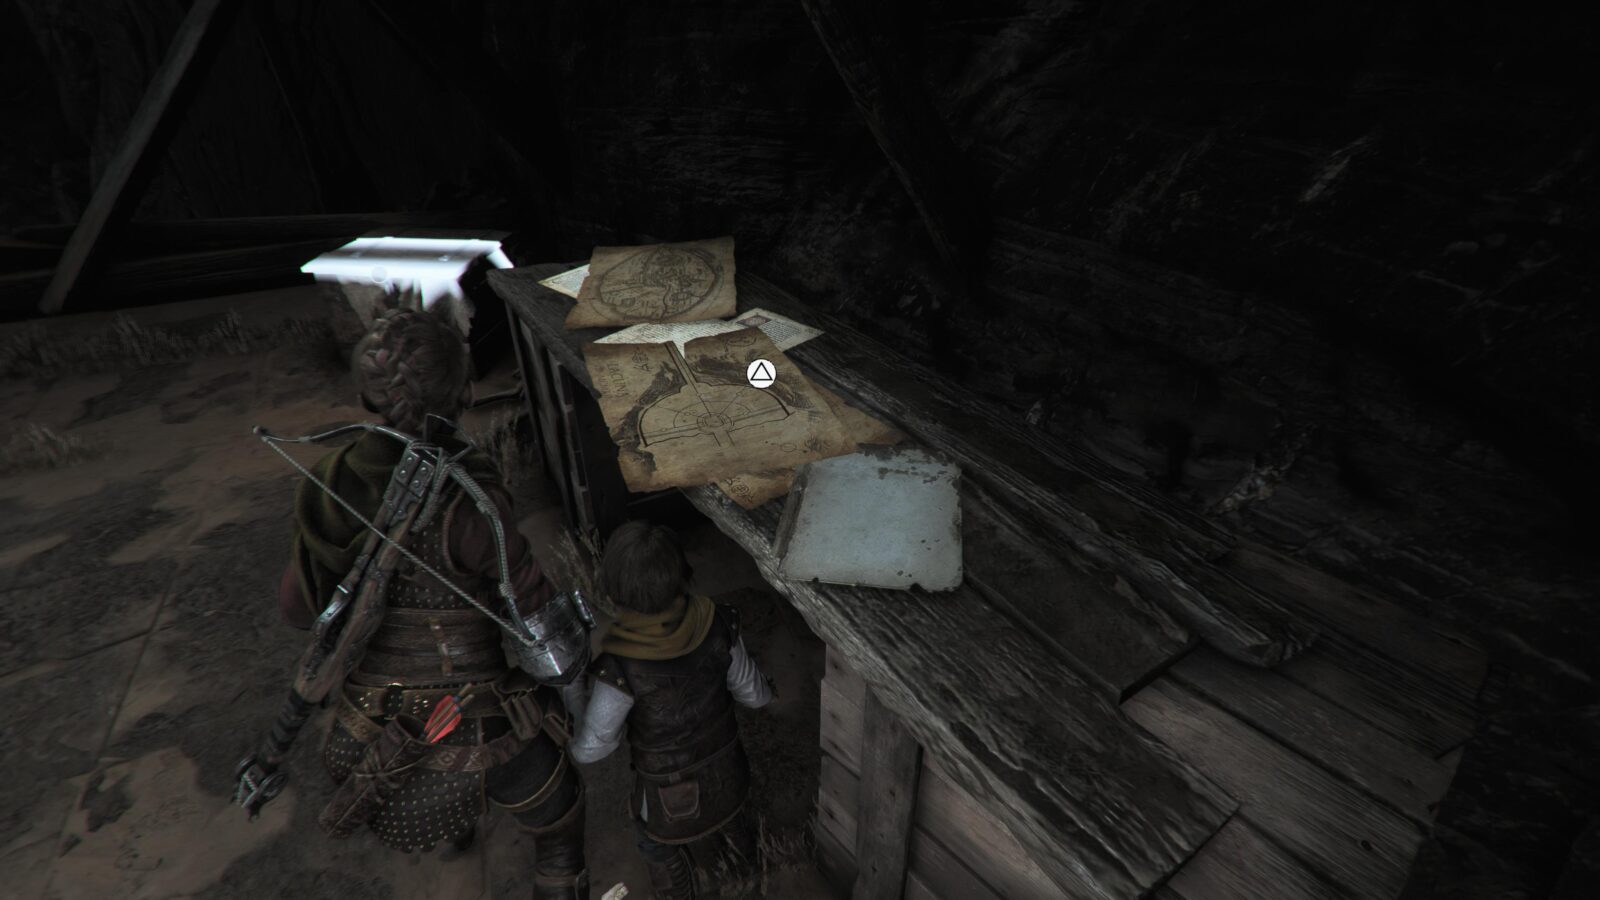
Still inside the Warehouse, backtrack a bit towards the ladders you climbed down earlier. Nearby, you will see a bridge that you can shoot down with your sling.
Do so and then climb the ladders to cross it and find a map that you can interact with. This map is Souvenir Collectible 4/21.
Now you can safely continue on to Chapter Four.
Chapter Four: Protector’s Duty
| Souvenirs | 2 |
| Hugo’s Collection (Flowers/Feathers) | 1 |
| Knives | 1 |
| Secret Chests | 1 |
| Tools | 3 |
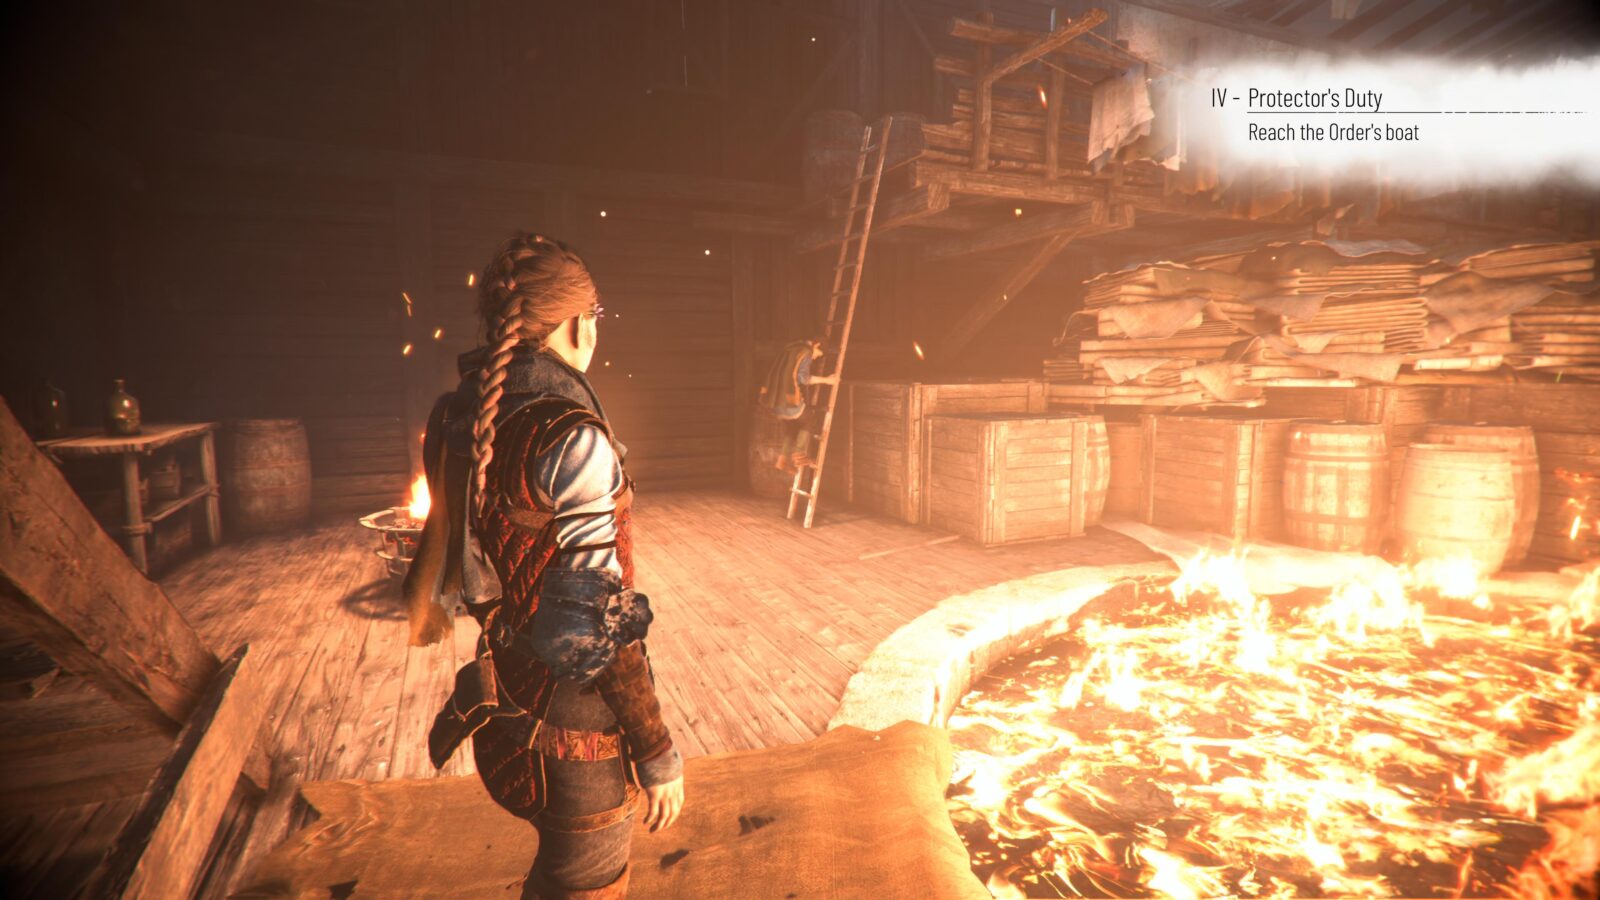
Our first collectible in Chapter Four is a nice easy one. Just proceed to the docks of the Sub-Chapter “Night Work,” where your objective will be to “Reach the order’s boat.”

There, at the beach, head down a branched-off path on the right-most side to reach a dead end where you’ll find Flower 3/5 (Hugo’s Collection – Gentian).

Once you have it, continue through the level along the fairly linear path until you reach a hatch that can be opened with ![]() . DO NOT OPEN THE HATCH YET!
. DO NOT OPEN THE HATCH YET!
Instead, continue past it and then duck under a hole in the wall opposite.
In this room, grab the movable crate and then move it over to the opposite wall. You can then climb up onto it to reach a ledge to a balcony.

Here, in one of the corners and on the ground, you will find some Silk. Interact with it to receive Souvenir Collectible 5/21.
You may now return and head through the hatch in the ground, starting the Sub-Chapter “Risky Itinerary.”
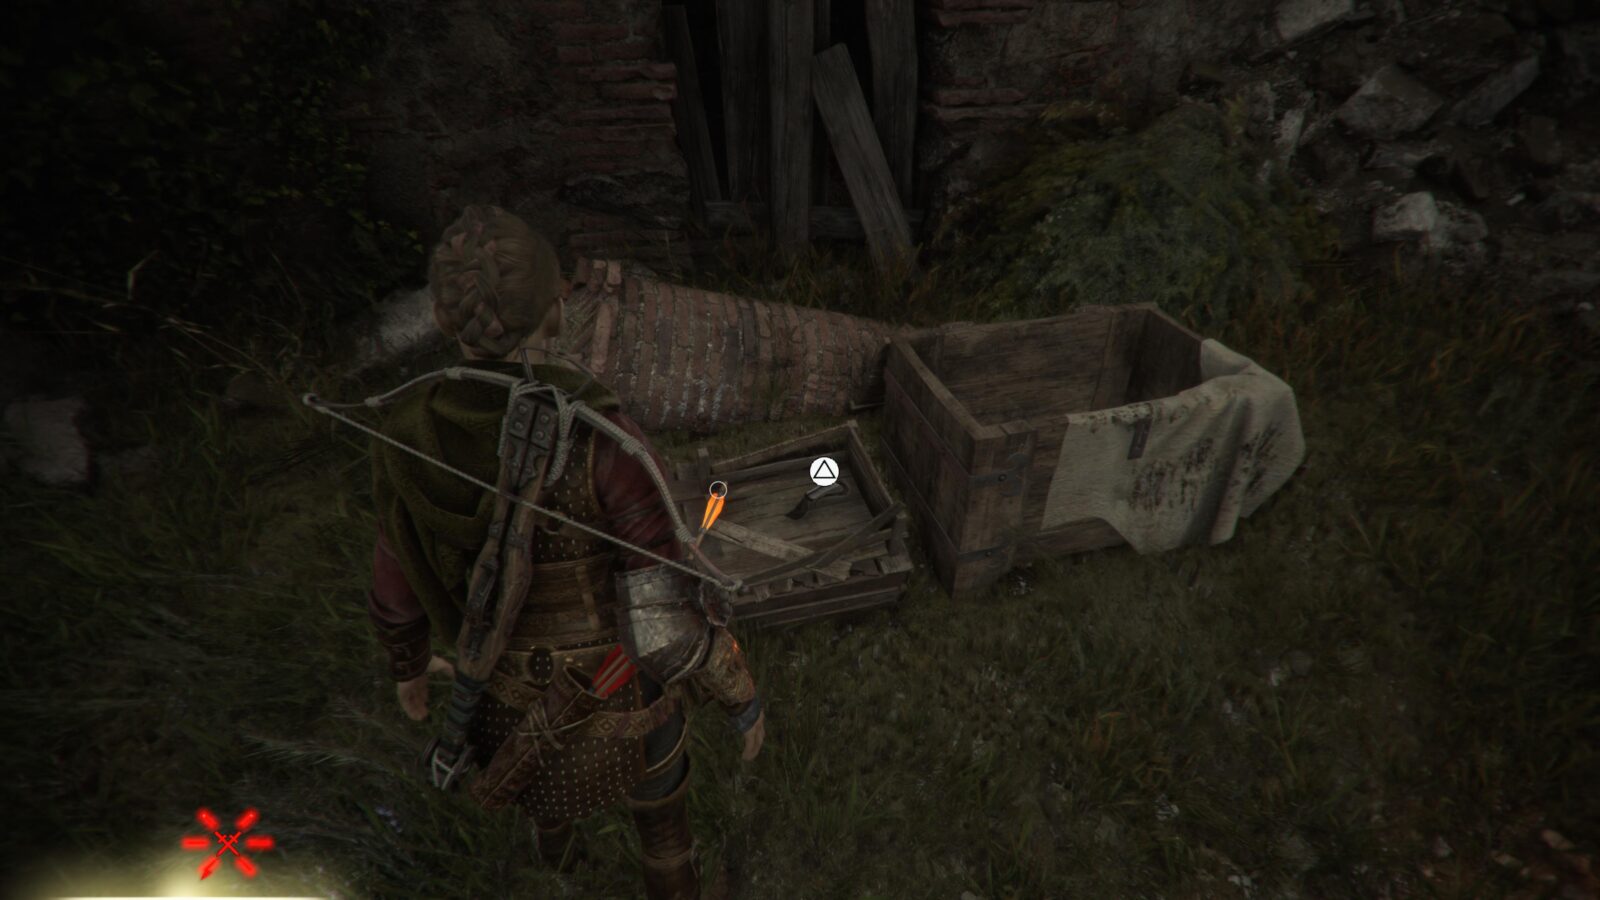
At the start of this next section, you will find a knife stuck into one of the wooden panels.

Remember not to use this knife, as you’ll need it for a collectible later.
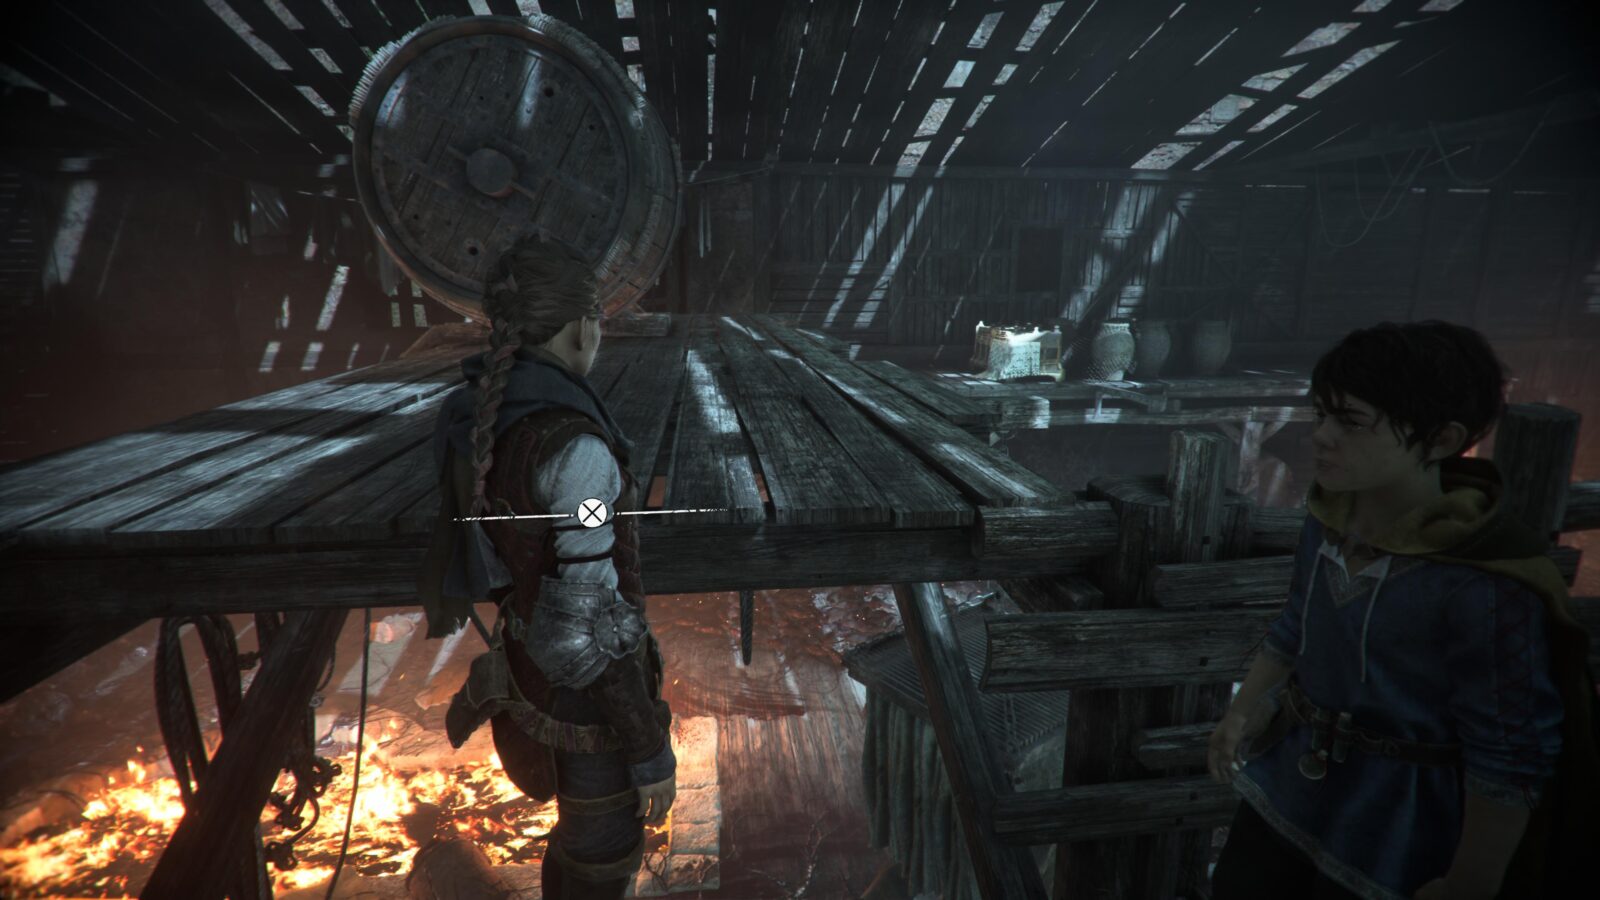
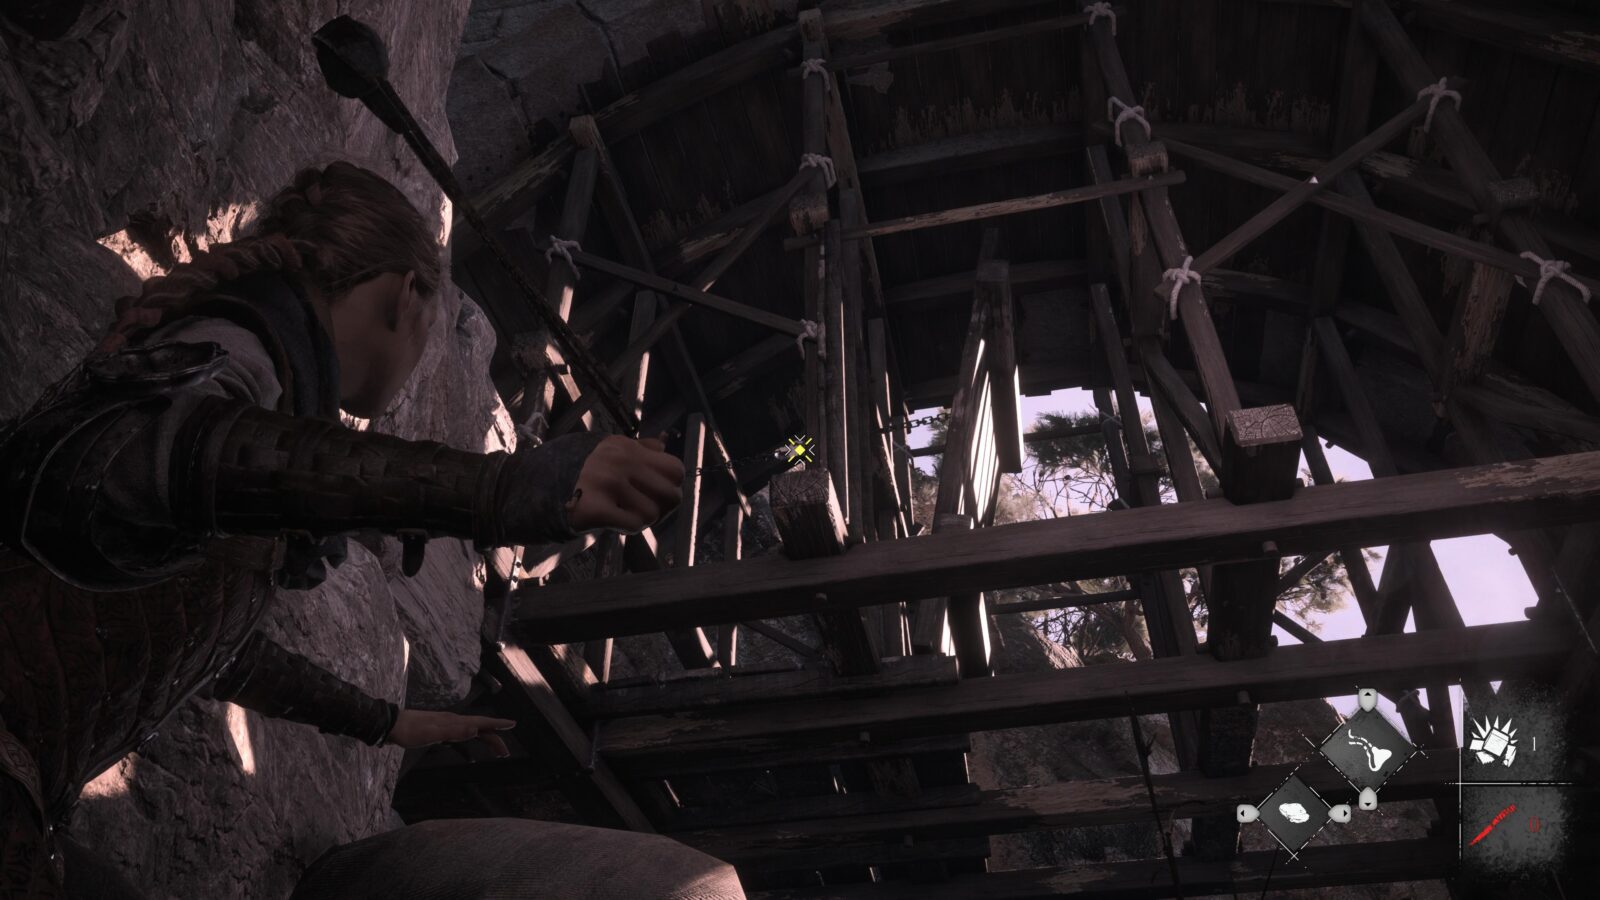
Proceed through the level until you reach a section where you and Lucas must push a cart with a brazier on it to keep the surrounding rats at bay.
Look out for a ladder on your left and push the cart towards it.
Once there, climb up the ladder to find Secret Chest 2/10! Use the knife you grabbed earlier to open it up, and don’t forget to grab Tool 4/34 from inside.
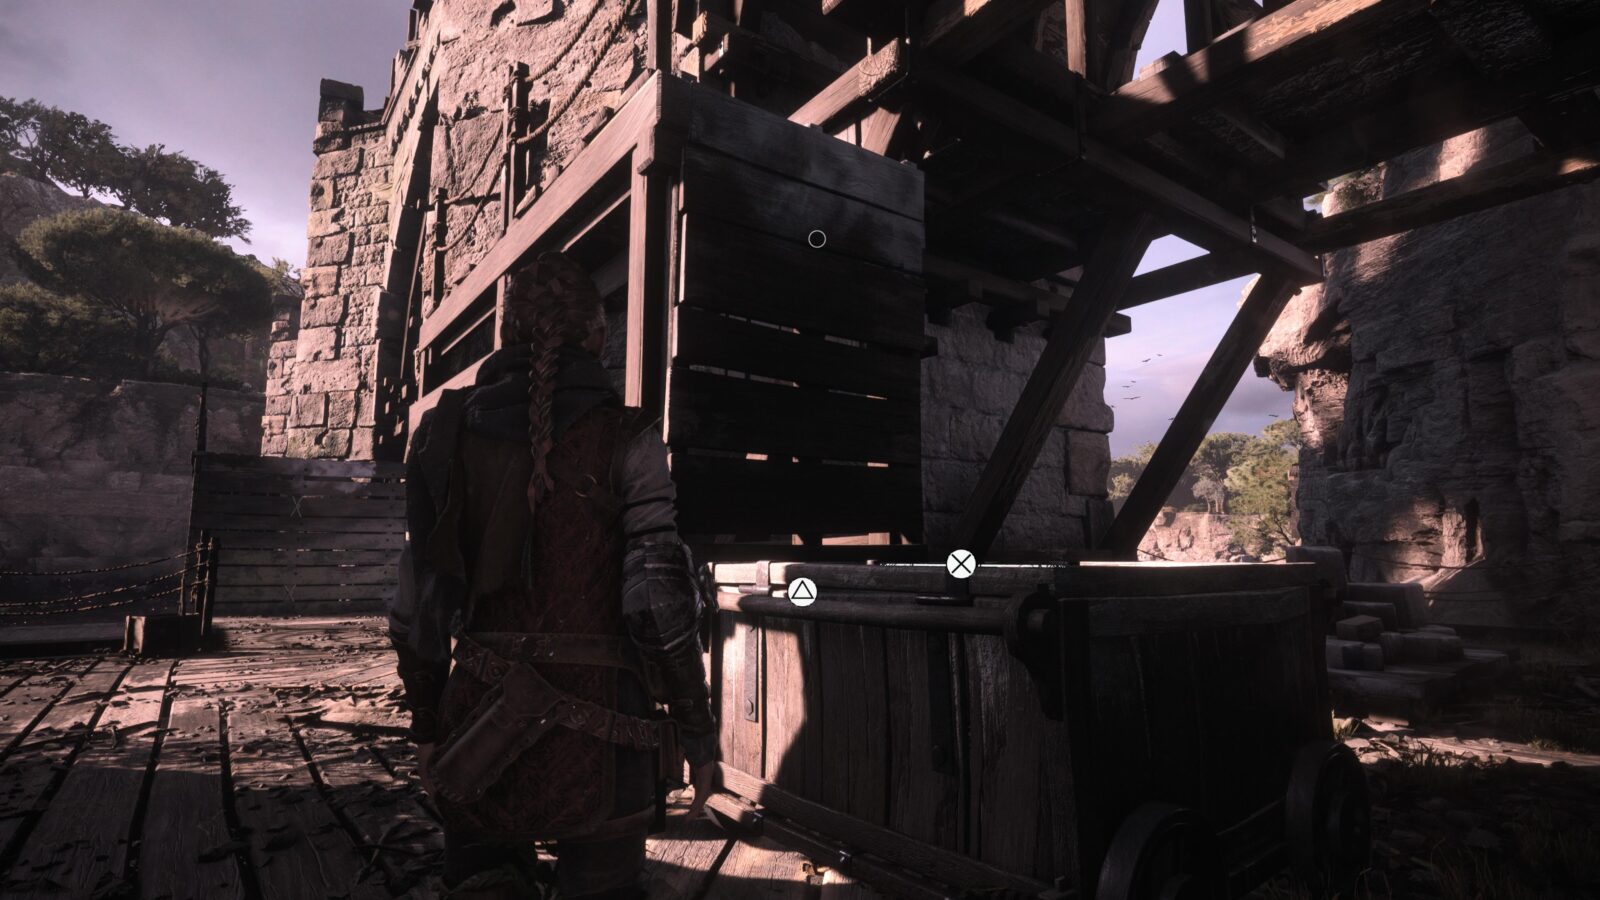
Continue on into the Sub-Chapter titled “The Tar Workshop.” There, you will need to work with Lucas to create Tar via the contraptions.
After you’ve done so, climb up the ladder Lucas came down and cross the walkway with the large Keg on it. Beyond it, on a walkway against the opposite wall, you’ll see a large chest.
Open it to find Tool 5/34 inside!
Continue out of the Tar Workshop and back outside. Keep along the main story path until you reach a crack you’re supposed to squeeze through. DO NOT PROCEED.
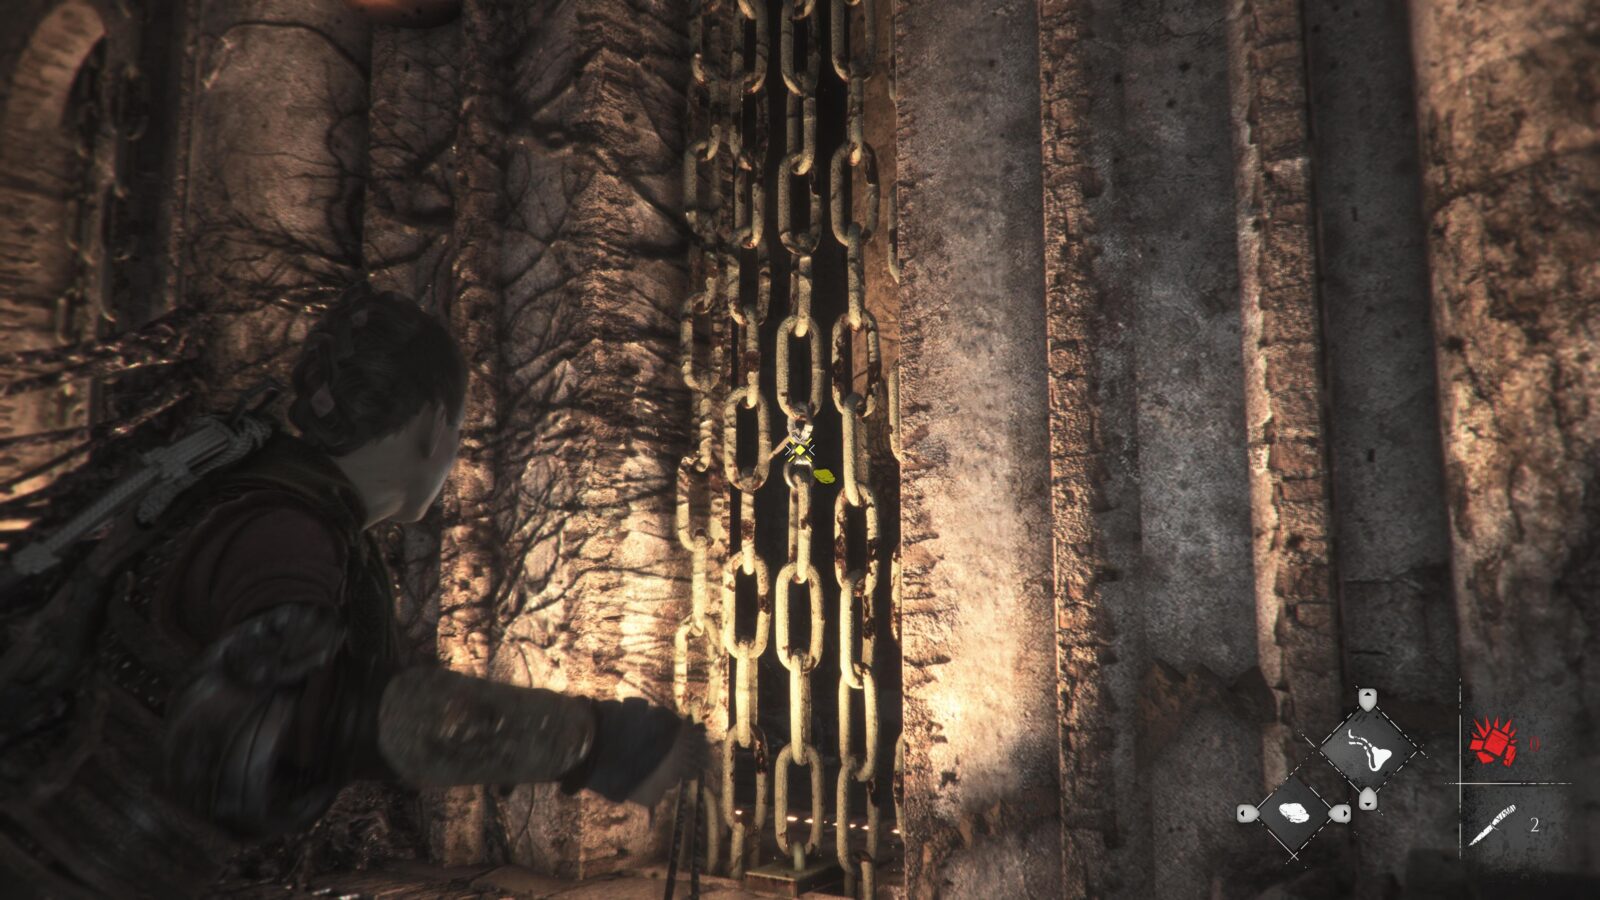
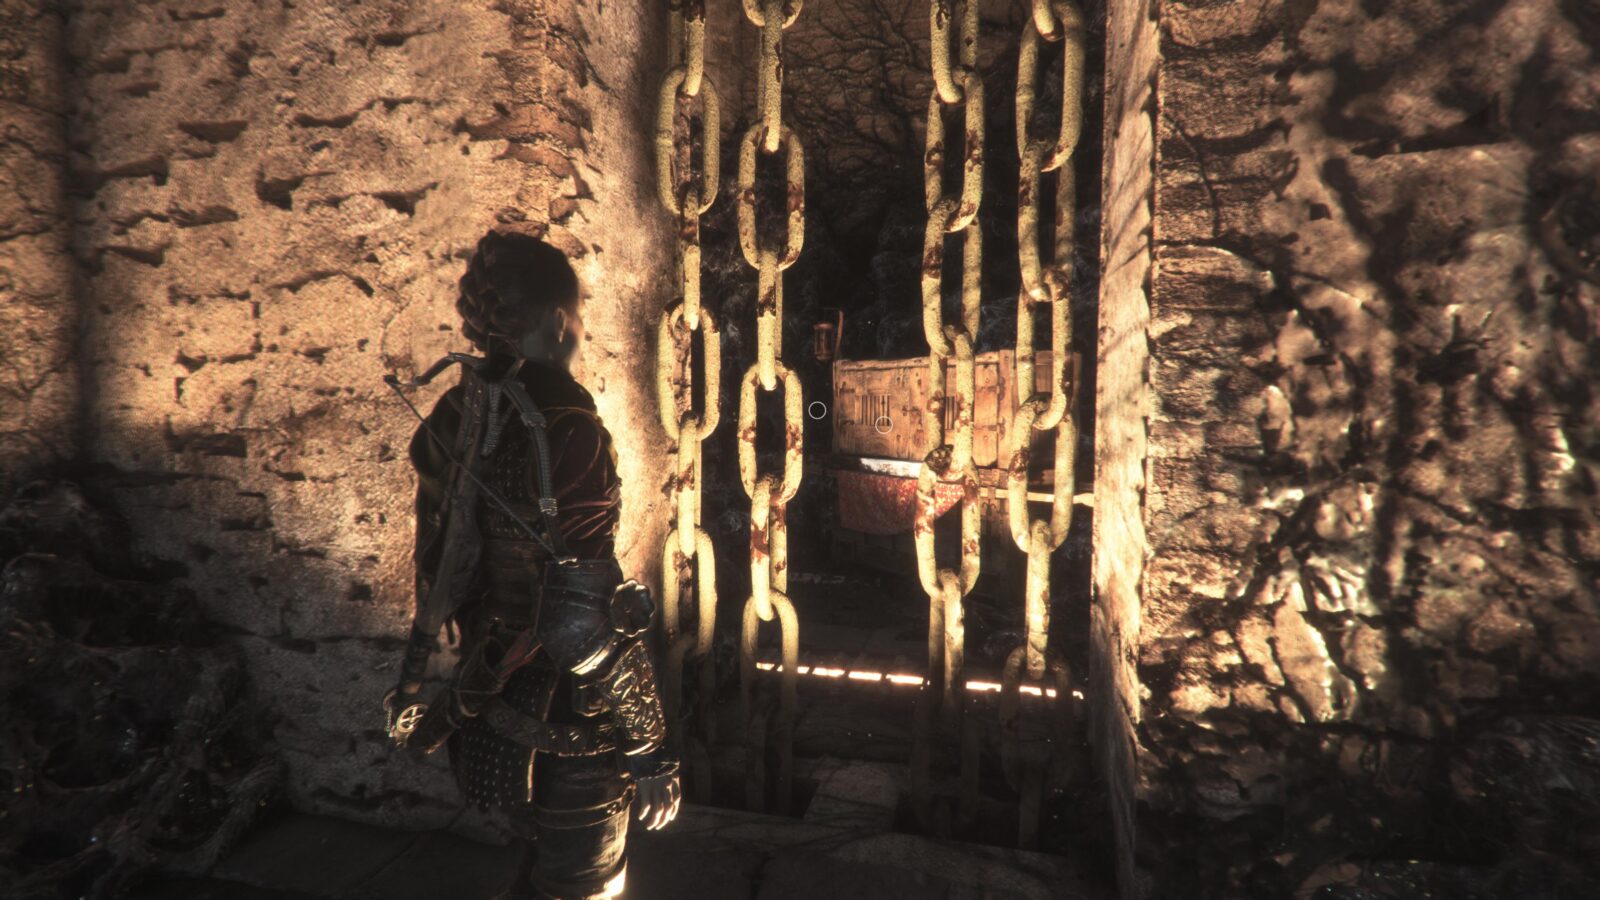
Instead of going through it, turn around and look at the fallen structure behind you. There, you’ll see a chain that can be broken with the Sling.
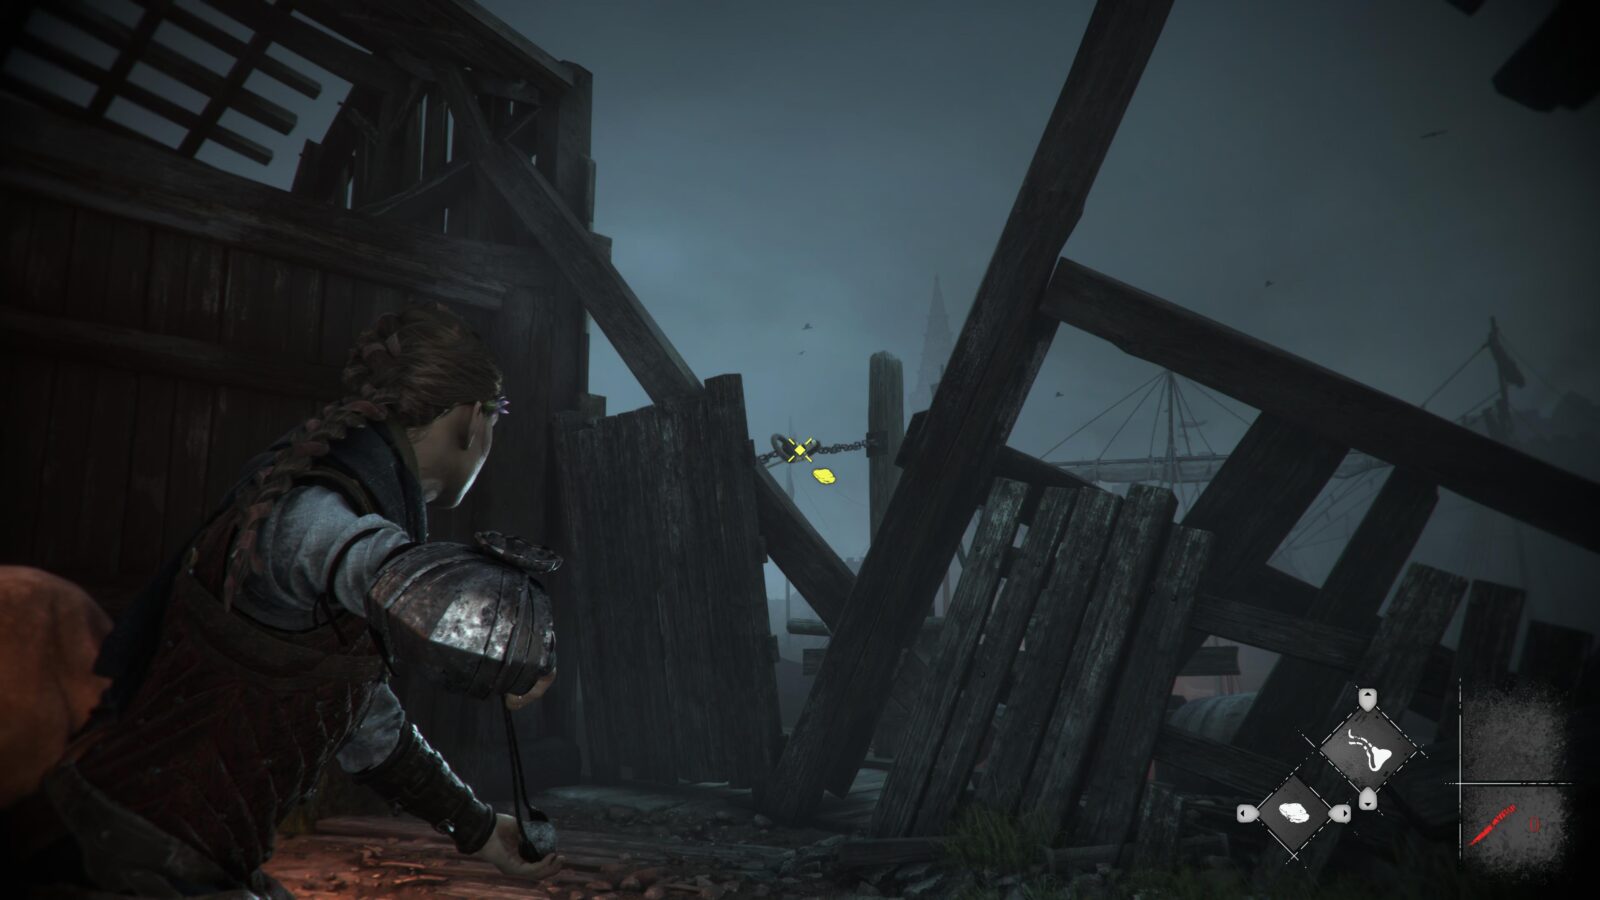
Break the chain with a stone, and a panel will fall away, revealing a secret path.
Head down to the end of the wooden pier and collect Souvenir Collectible 6/21 at the ![]() prompt there.
prompt there.

Proceed now past a long section with a Tar Pool Puzzle and more until you reach the Sub-Chapter titled “The Mass Grave of the Marshes,” and your current objective is to “Get to Joseph at the Pontoon.”
There, you will see a huge burning bonfire in the section with all the guards. Sticking out of a nearby tree stump next to a log stack, you will find another Knife. Be sure to grab it for later, and remember not to use it!
Continue past the bonfire and towards the building on the left with an archer on the roof.

Inside this building, you’ll find another Chest containing Tool 6/34.
The rats make it hard to get to, but you can just combine a pot with tar, throw it onto the ground, then light the tar puddle on fire with Ignifer to clear a path for yourself.
Alternatively, you can get the rats to kill a guard nearby, then they’ll be too busy eating the guard to bother you.
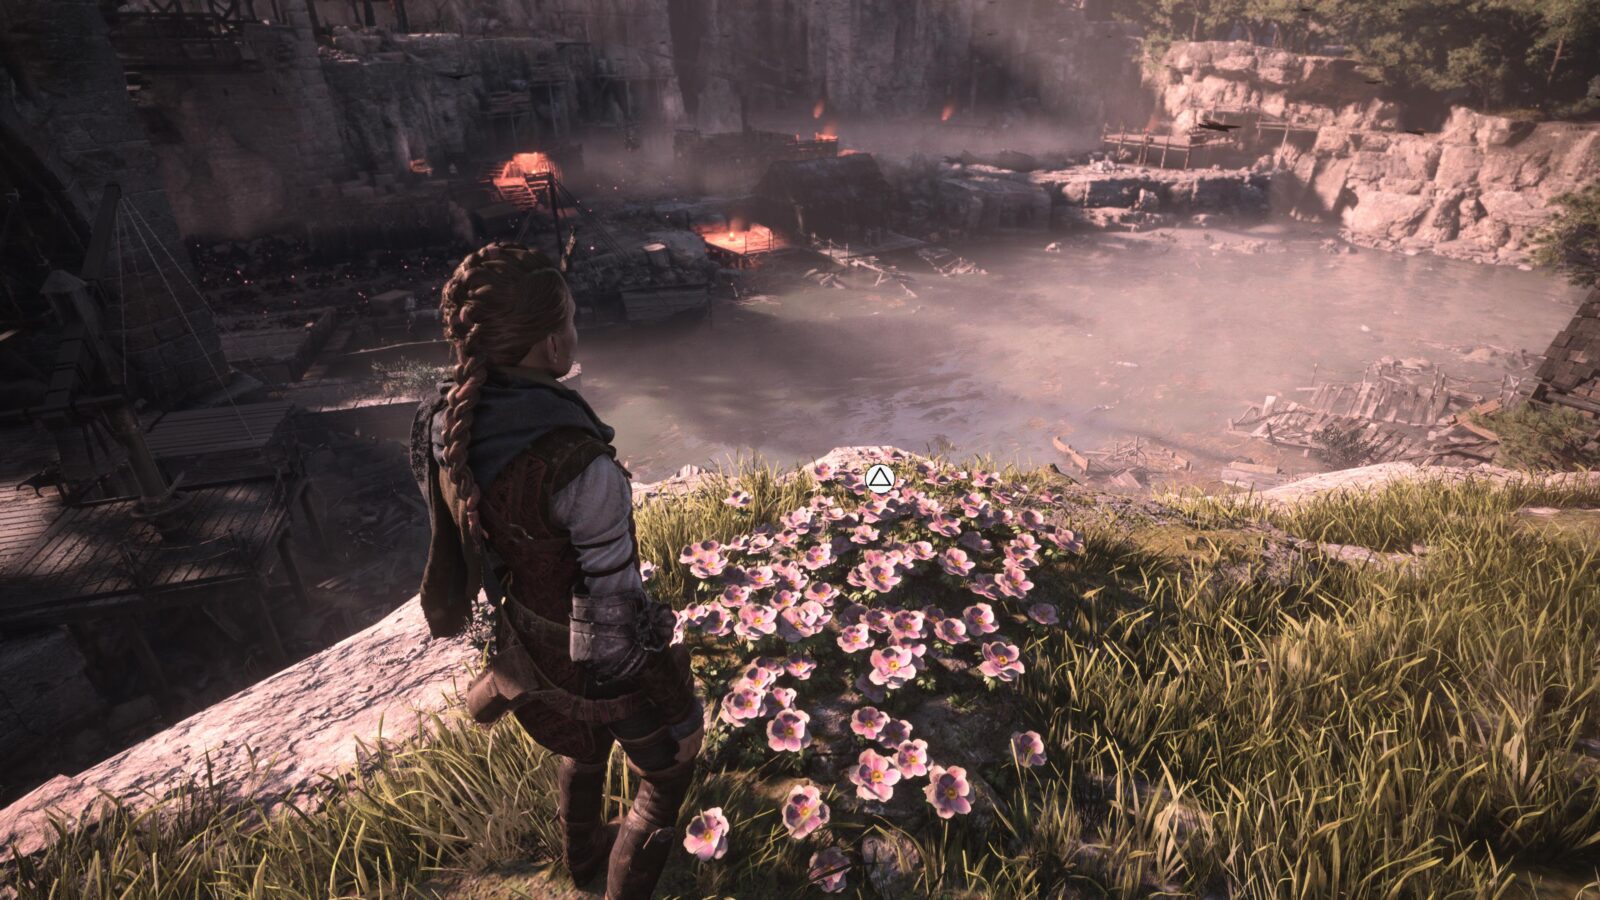
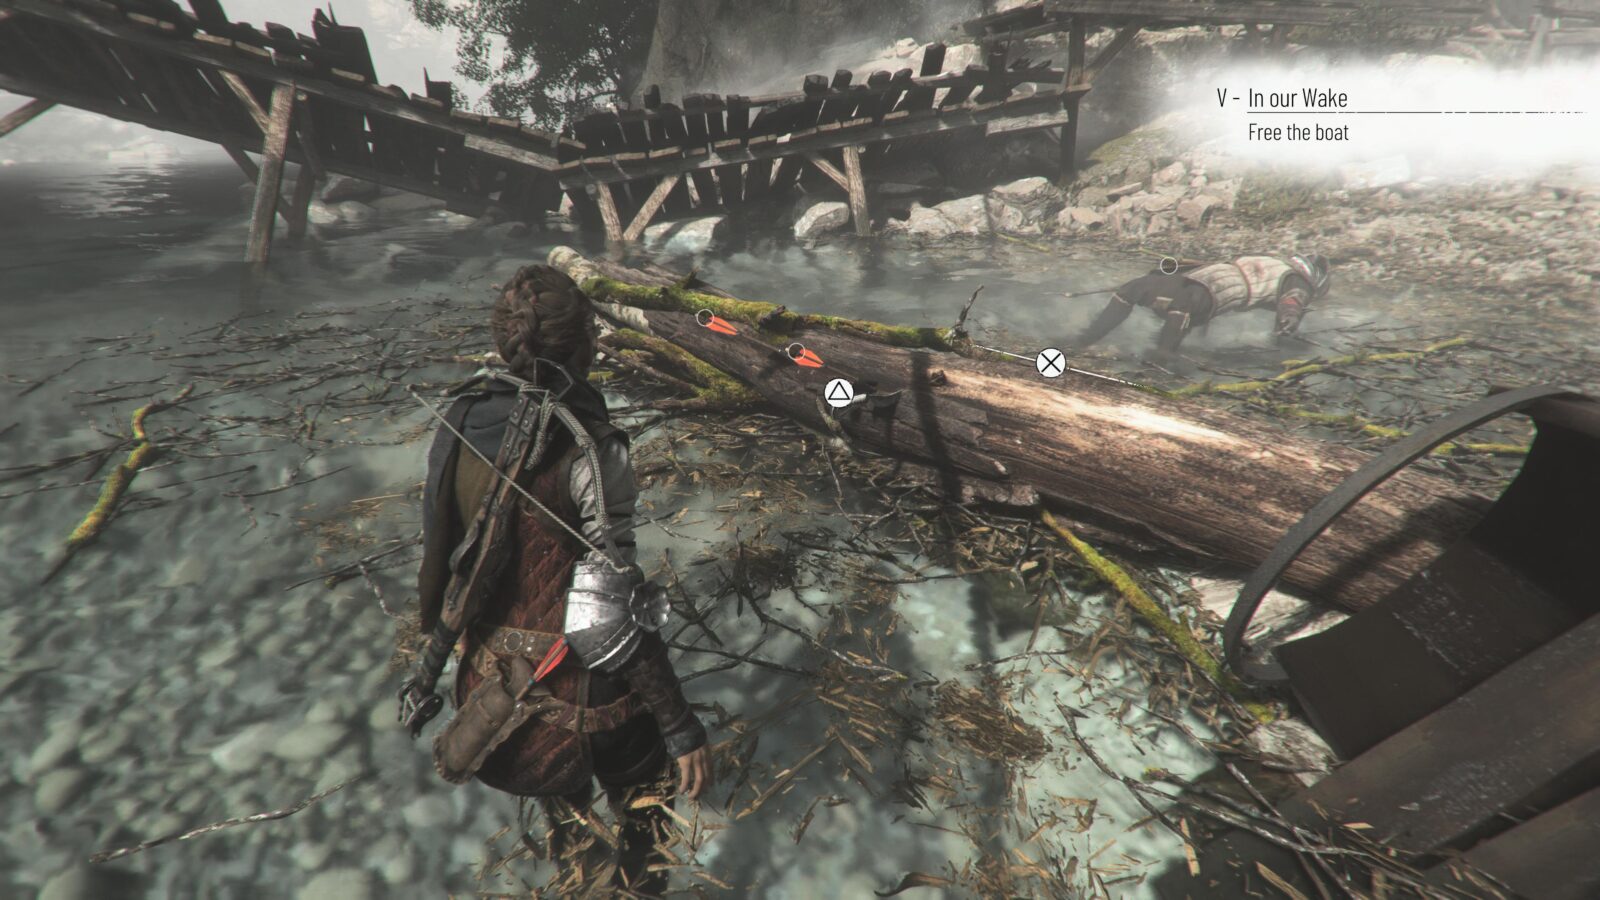
Chapter Five: In Our Wake
| Souvenirs | 2 |
| Hugo’s Collection (Flowers/Feathers) | 1 |
| Knives | 2 |
| Secret Chests | 1 |
| Tools | 3 |
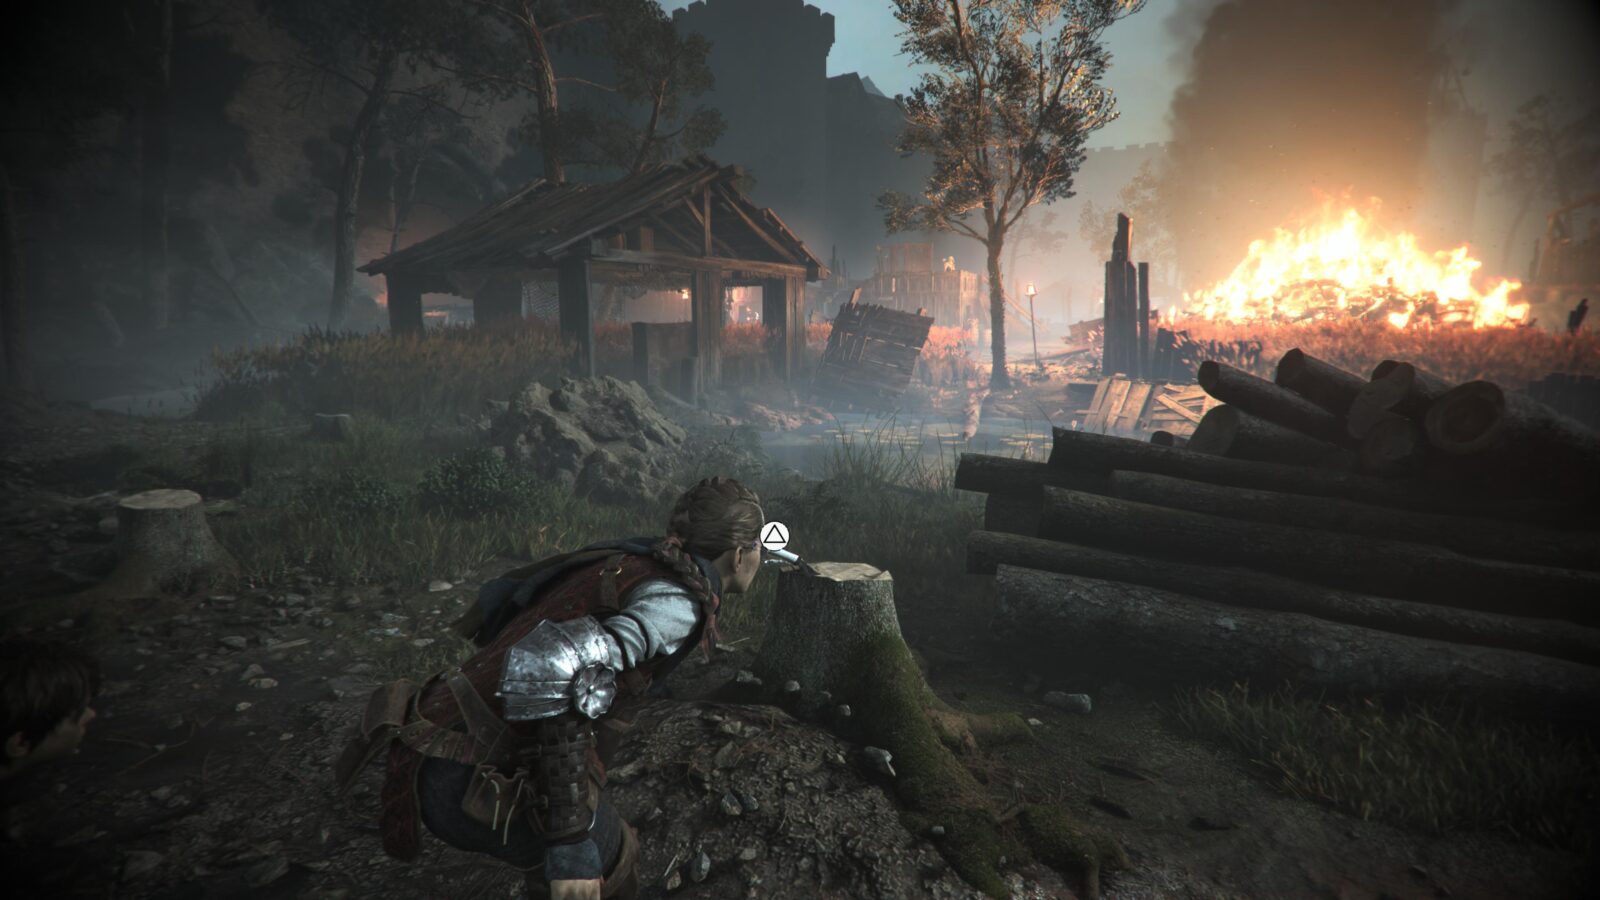
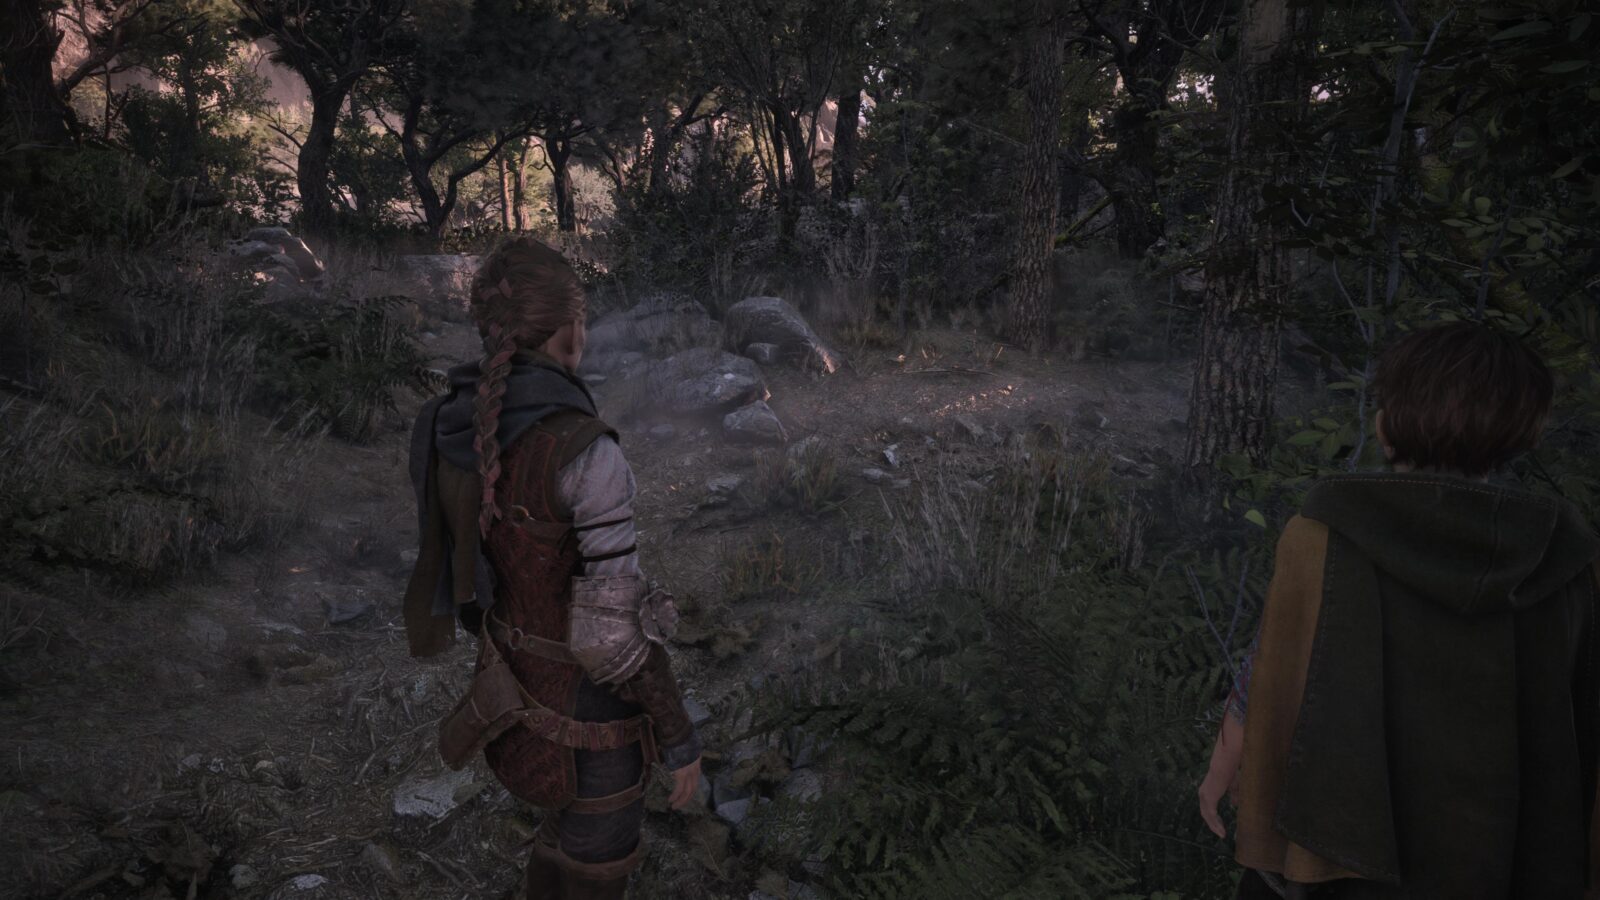
From the boat at the start of Chapter Five, head up the linear path into the woods.
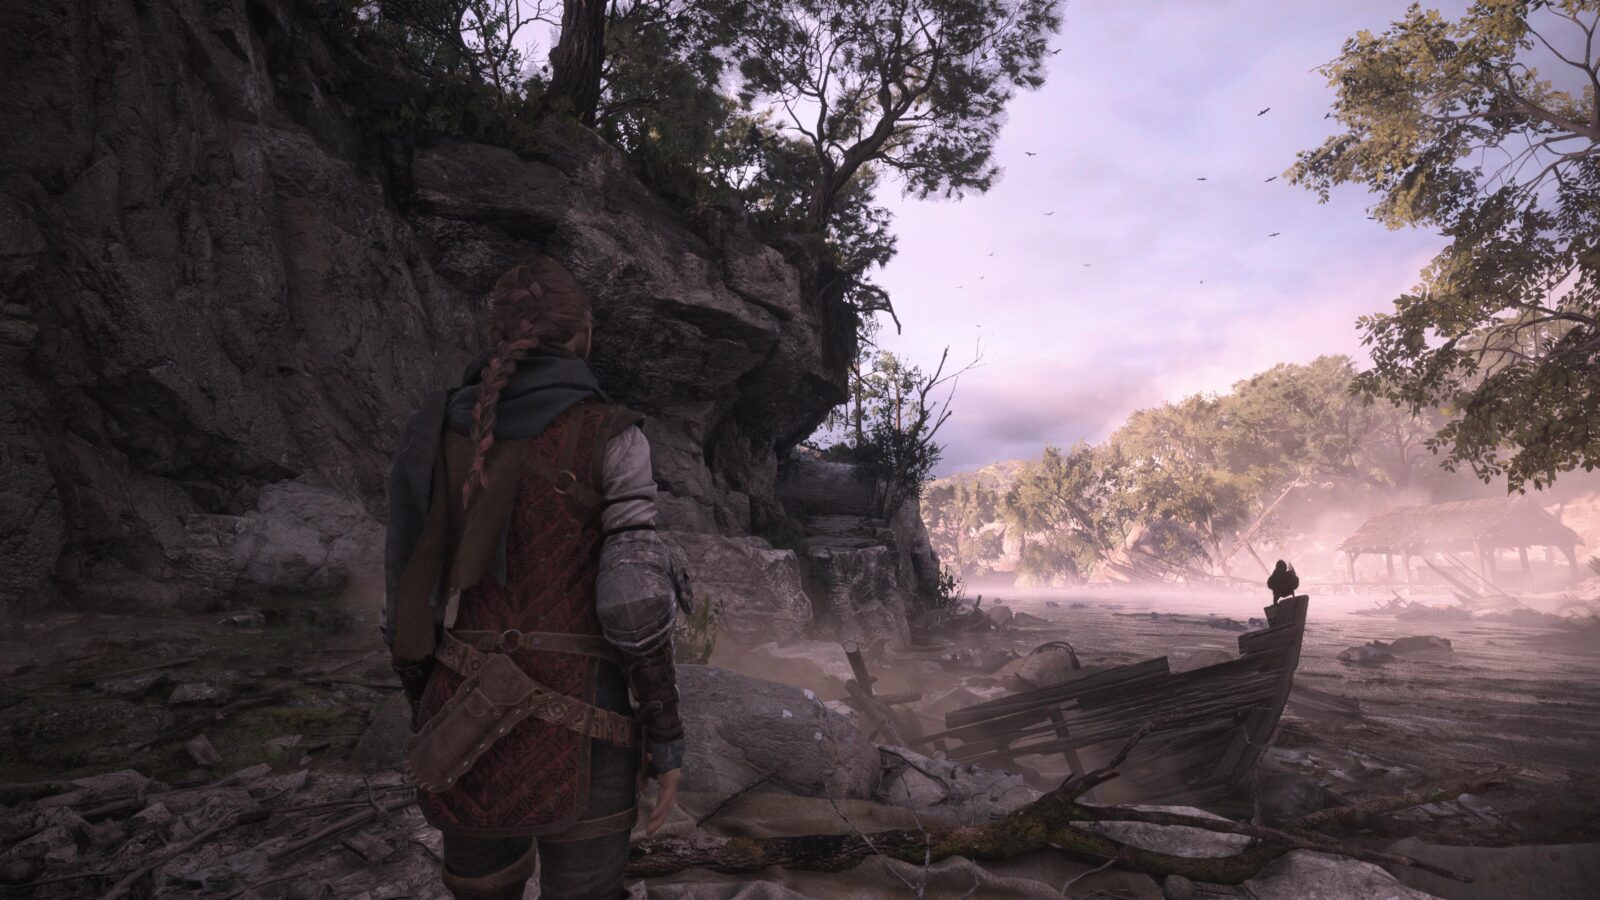
When the path splits, choose the right path and then follow it. You’ll eventually come to a tree with a Red Ribbon hanging from it, indicating a Souvenir location.
Approach the tree and you will hear a Stag cry and then Lucas and Amicia will talk about it, thus unlocking Souvenir Collectible 7/21.

To be clear, that means that you don’t need to interact with anything, the Souvenir conversation will happen as soon as you hear the Stag. You just need to be on the right path.
If you come to an opening blocked by a fallen tree log, this is the way to proceed but you should not go this way until you’ve heard the Stag’s Roar.

Continue on a short ways until your objective changes to “Cross the construction site,” in a rat-infested construction site.
Here, there’s a large puzzle to complete with Lucas involving the three cranes and the temporarily-burning haystacks hanging from them.
When reach the third crane, you will need to use it to cross over to the final wooden section and then reunite with Lucas.
Once there, look back at the third crane to see a Chest hidden underneath it, right under where the haystack is hanging.
Set the haystack alight and then take the opportunity to quickly open the Chest and retrieve Tool 7/34.
In the exact same place, return to the final wooden platform and then look up to find a ladder held up by a breakable chain.

Break the chain with your sling and then climb up the ladder and then follow the linear path to a small wooded area.
There, Lucas will go and stand in a well-lit spot, next to the rope fencing. Approach and interact with him to make a new Souvenir Collectible (8/21).
Before heading back down the ladder, make sure you grab the Knife on the barrel if you need it!

You may now continue on with the Construction Site Puzzle. You’ll eventually cross the river into the “Reaction Ferry“ Sub-Chapter, but your objective will still remain the same; “Find a way to reach the boat.”
After breaking the counterweight, go around the back of the hut that had the counterweight in it.

There, you’ll find a ladder that leads up to an upper floor. Here, you’ll find Secret Chest 3/10! Use your knife to open it and don’t forget to grab Tool 8/34 from inside it.

Return to the side of the building that used to contain a fully-functional counterweight before you arrived.
There, on the side of the hut, there’s a small gap you can crawl under.
This leads out to the other side, where you’ll find a Chest containing Tool 9/34.
Continue on now a short way into the Sub-Chapter “Bridge under construction.” Your objective will still remain the same.
During this section, you must climb and cross the semi-constructed bridge. From the ground, however, before beginning your climb, look for a small footbridge held up by a chain on the left side. Break the chain.
Grab the movable crate and wheel it over to the ledge below the small footbridge you just freed.
Then, climb up and cross the footbridge to find some ledges you can climb.
Clamber up the ledges to the clifftop, where there’s another Flower for Hugo’s Collection (Flower 4/5 – Anemone).
There are no more collectibles for a good while now. Just progress through the level until you have a crossbow in the Sub-Chapter “Grapples” while your objective is to “Get rid of the bandits.”
When the tutorial for the crossbow comes up, you should be near a fallen tree. This tree has a knife sticking out of it. That’s the only thing left to look out for in this Chapter.
Chapter Six: Leaving All Behind
| Souvenirs | 2 |
| Hugo’s Collection (Flowers/Feathers) | 1 |
| Knives | 3 |
| Secret Chests | 1 |
| Tools | 4 |
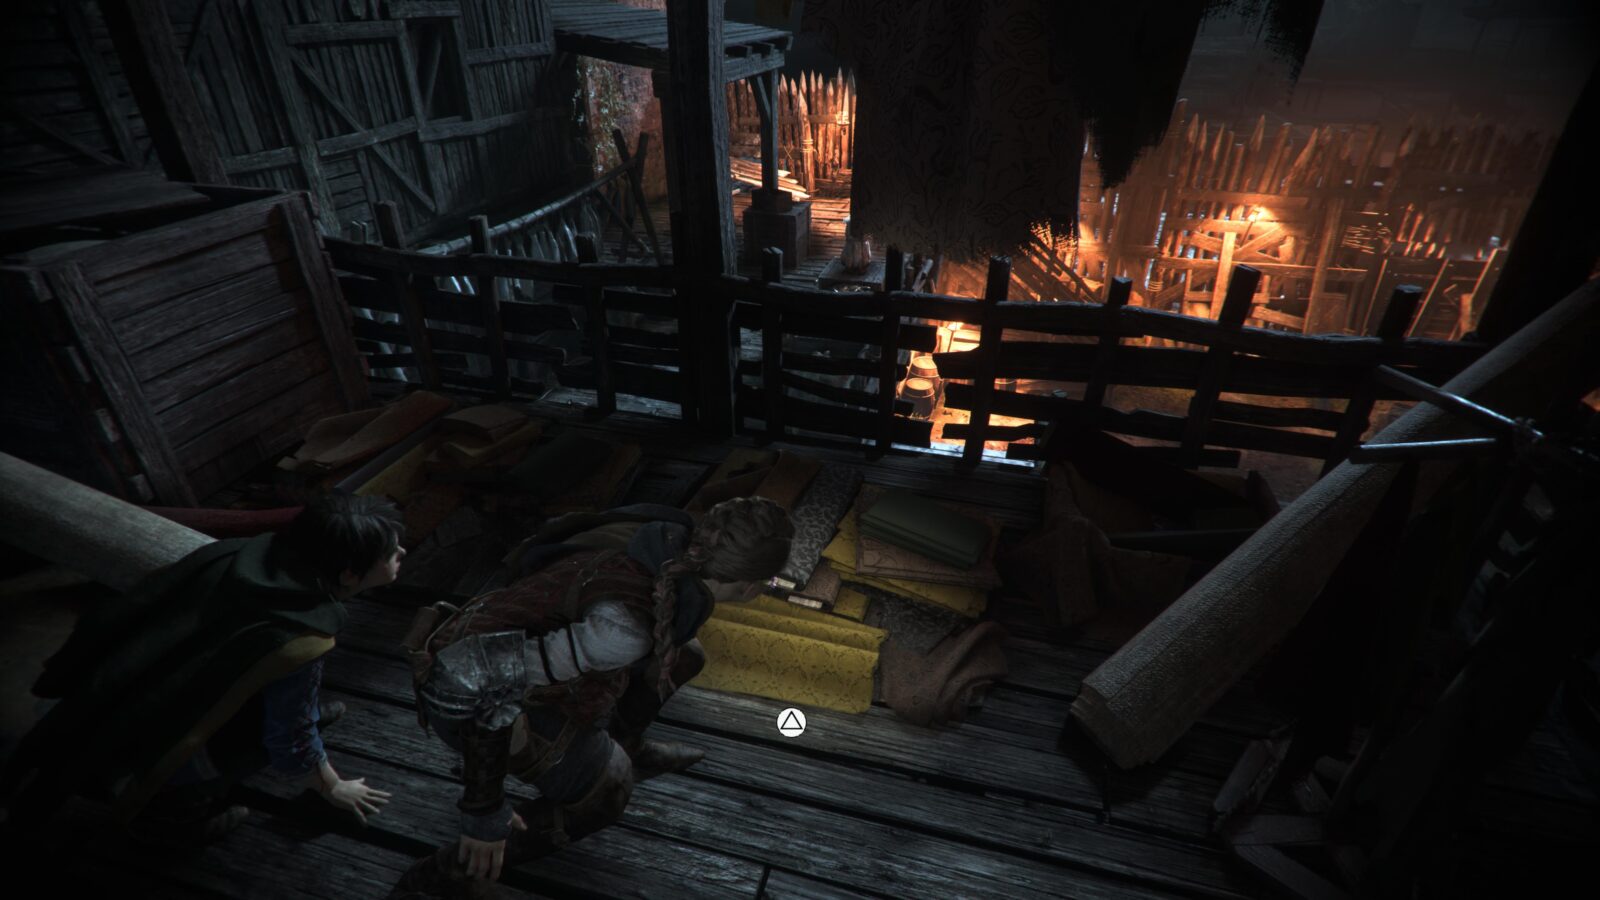
Near the start of the Chapter, Amicia will challenge Hugo to race her to a big tree. In an effort to help console him, she allows him to win.
Approach Hugo near the tree where there’s a bundle of feathers on the ground. Interact with them to receive your first Feather! Hugo’s Collection (Feather 1/7 – Jay).

Continue on until you arrive at a small campsite. A woman will greet you when you arrive. This happens in the Sub-Chapter “A Pilgrim Road,” and your objective will be to “Ask for a way to the coast.”
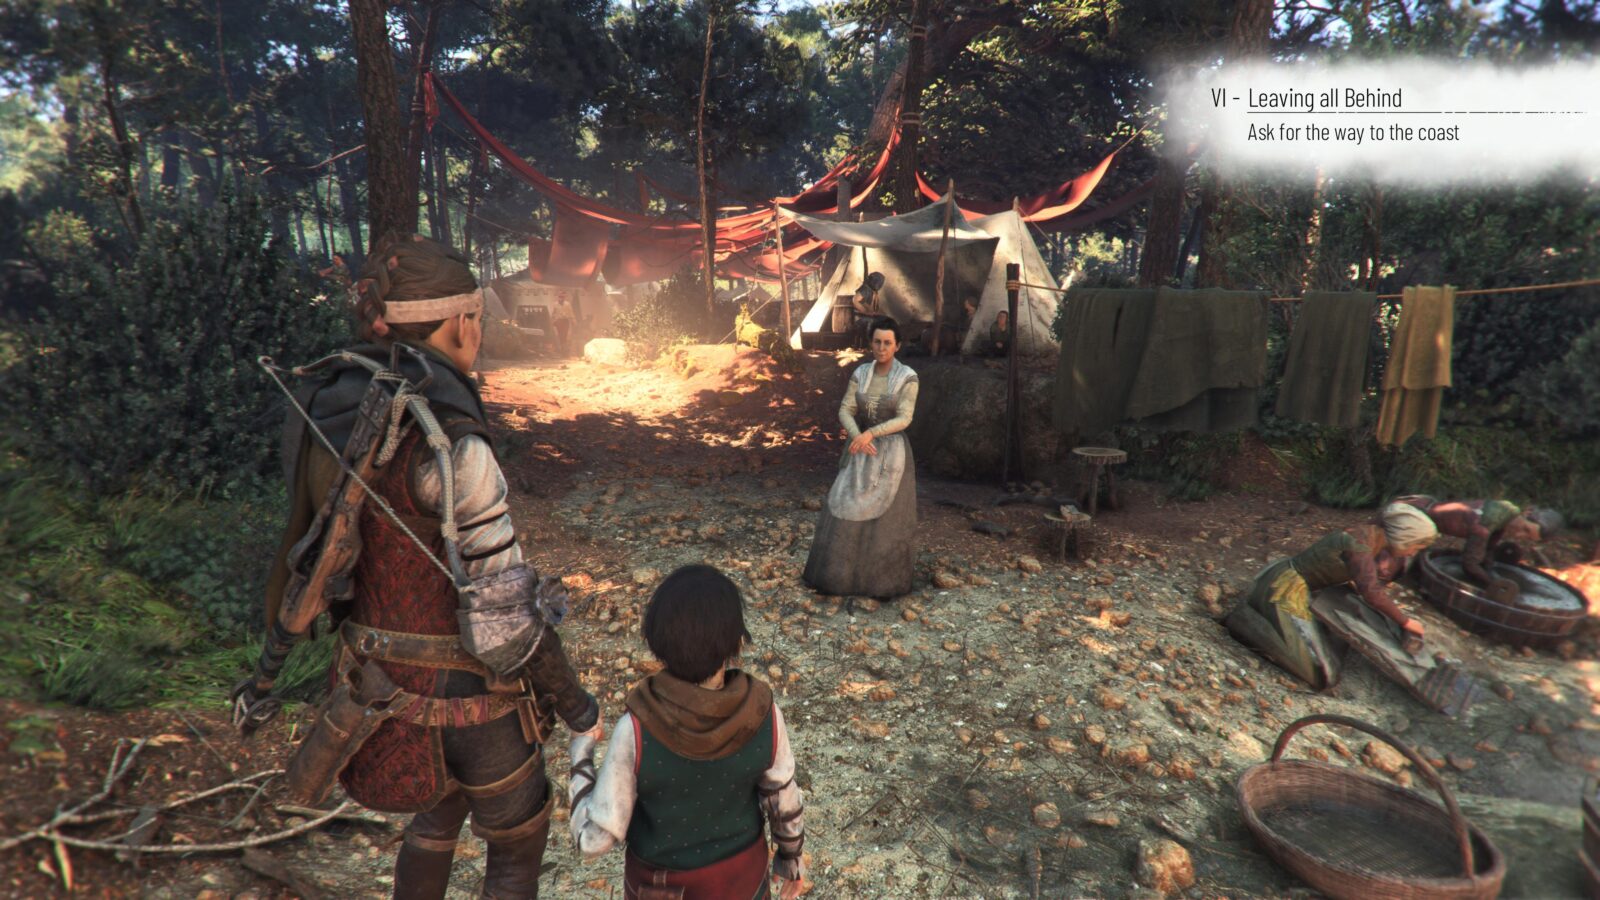
Go left from the woman who greets you and, sticking to the left side, look for a path that branches off between some tents.
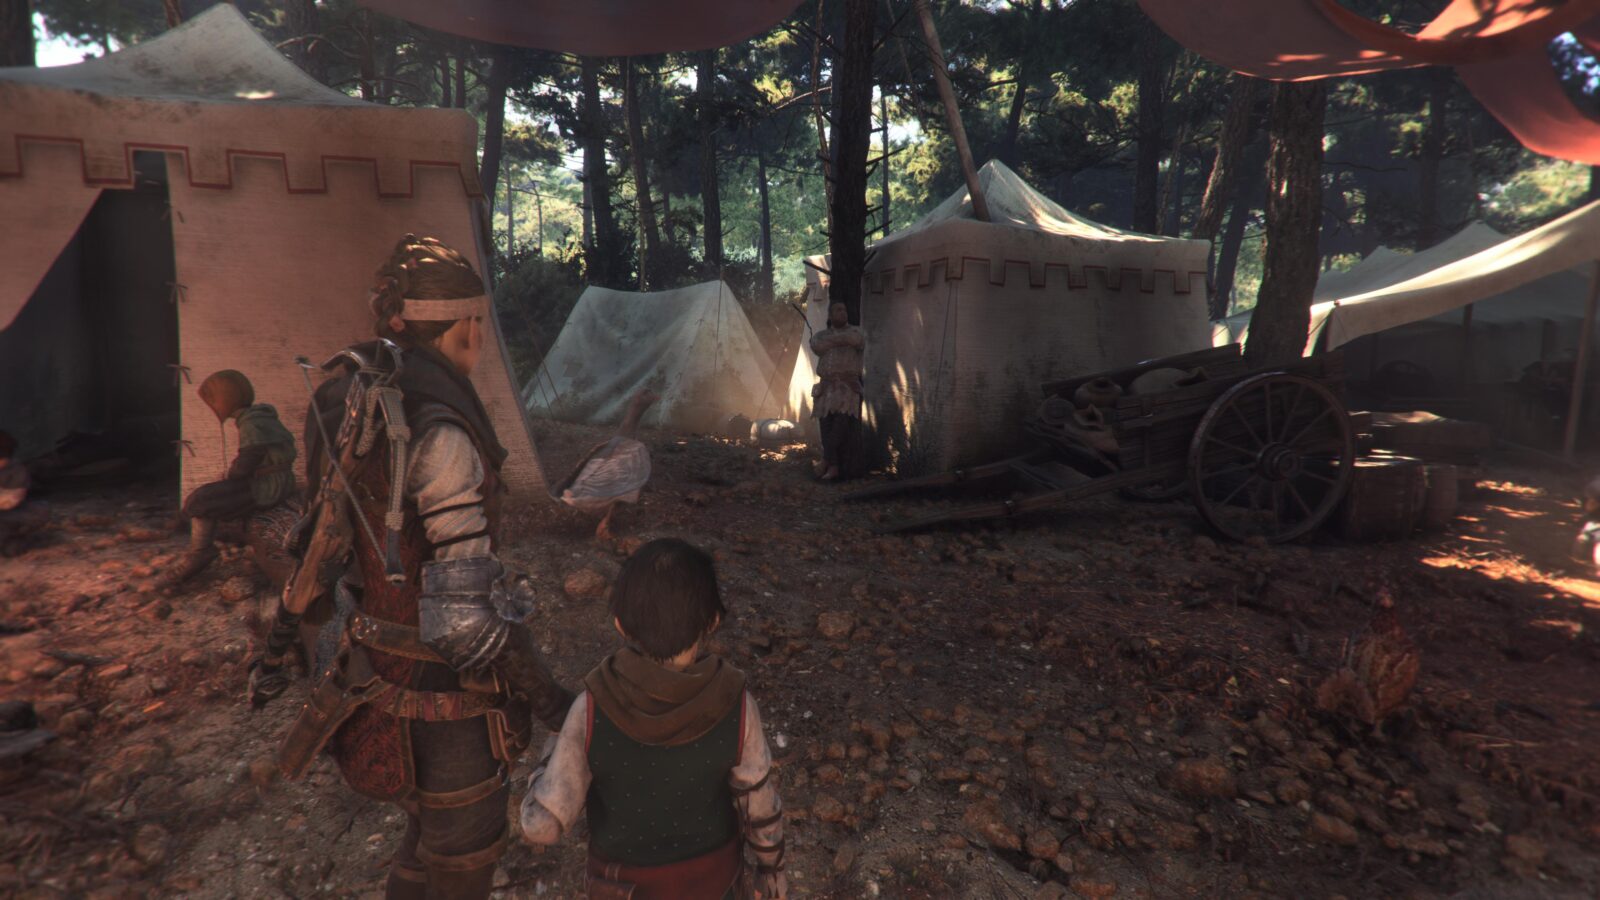
At the end of this path, you’ll find a swing. Interact with it to receive Souvenir Collectible 9/21!
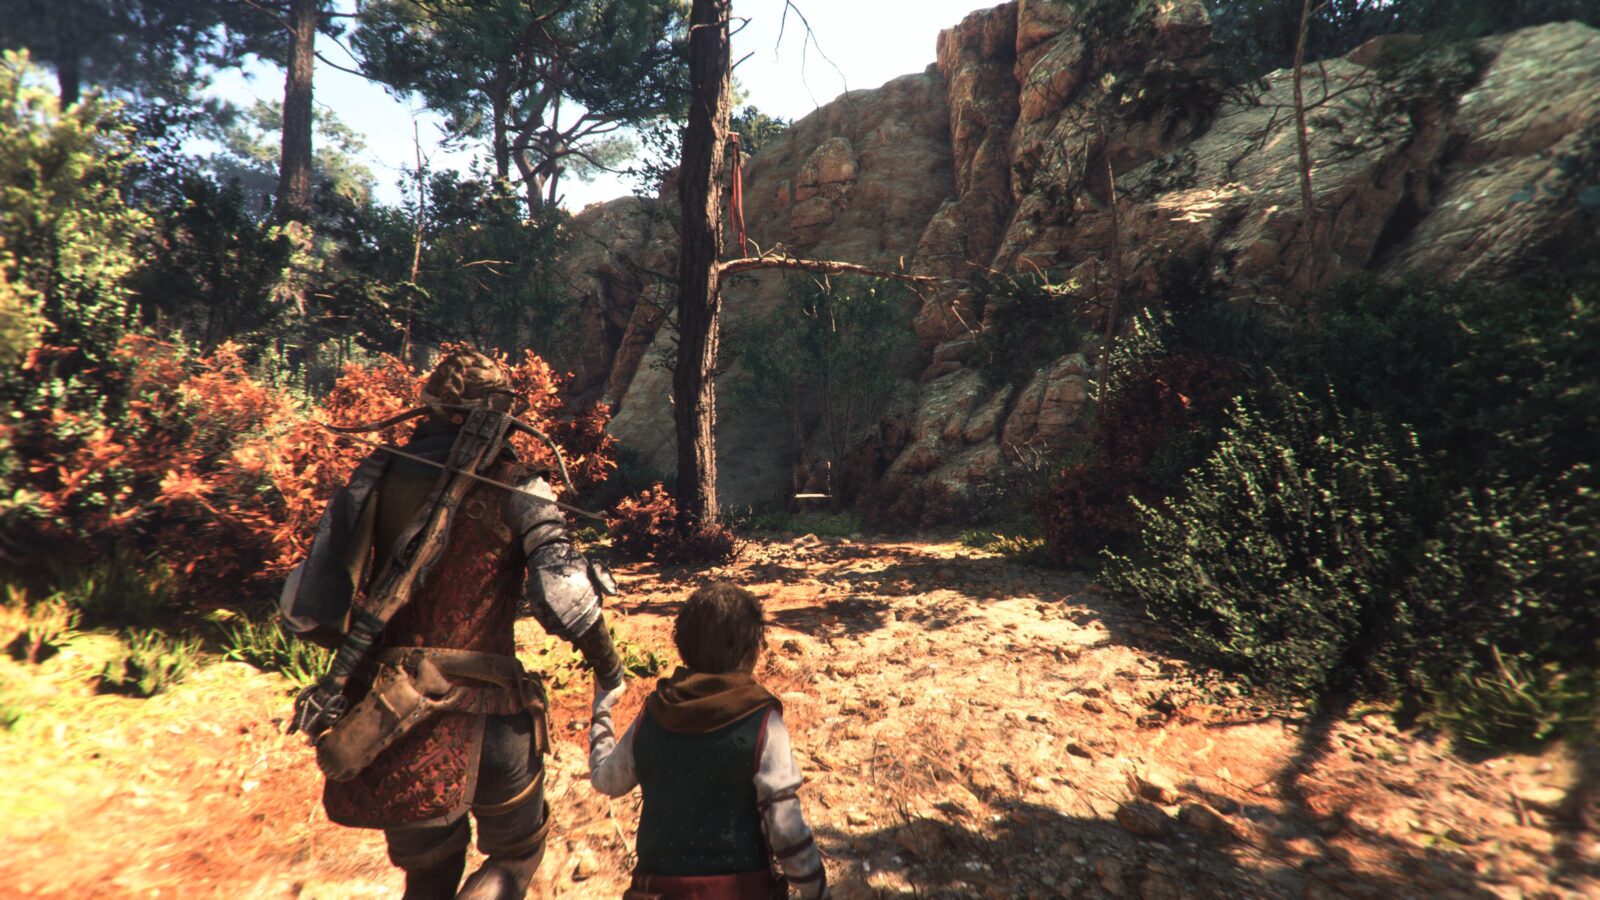
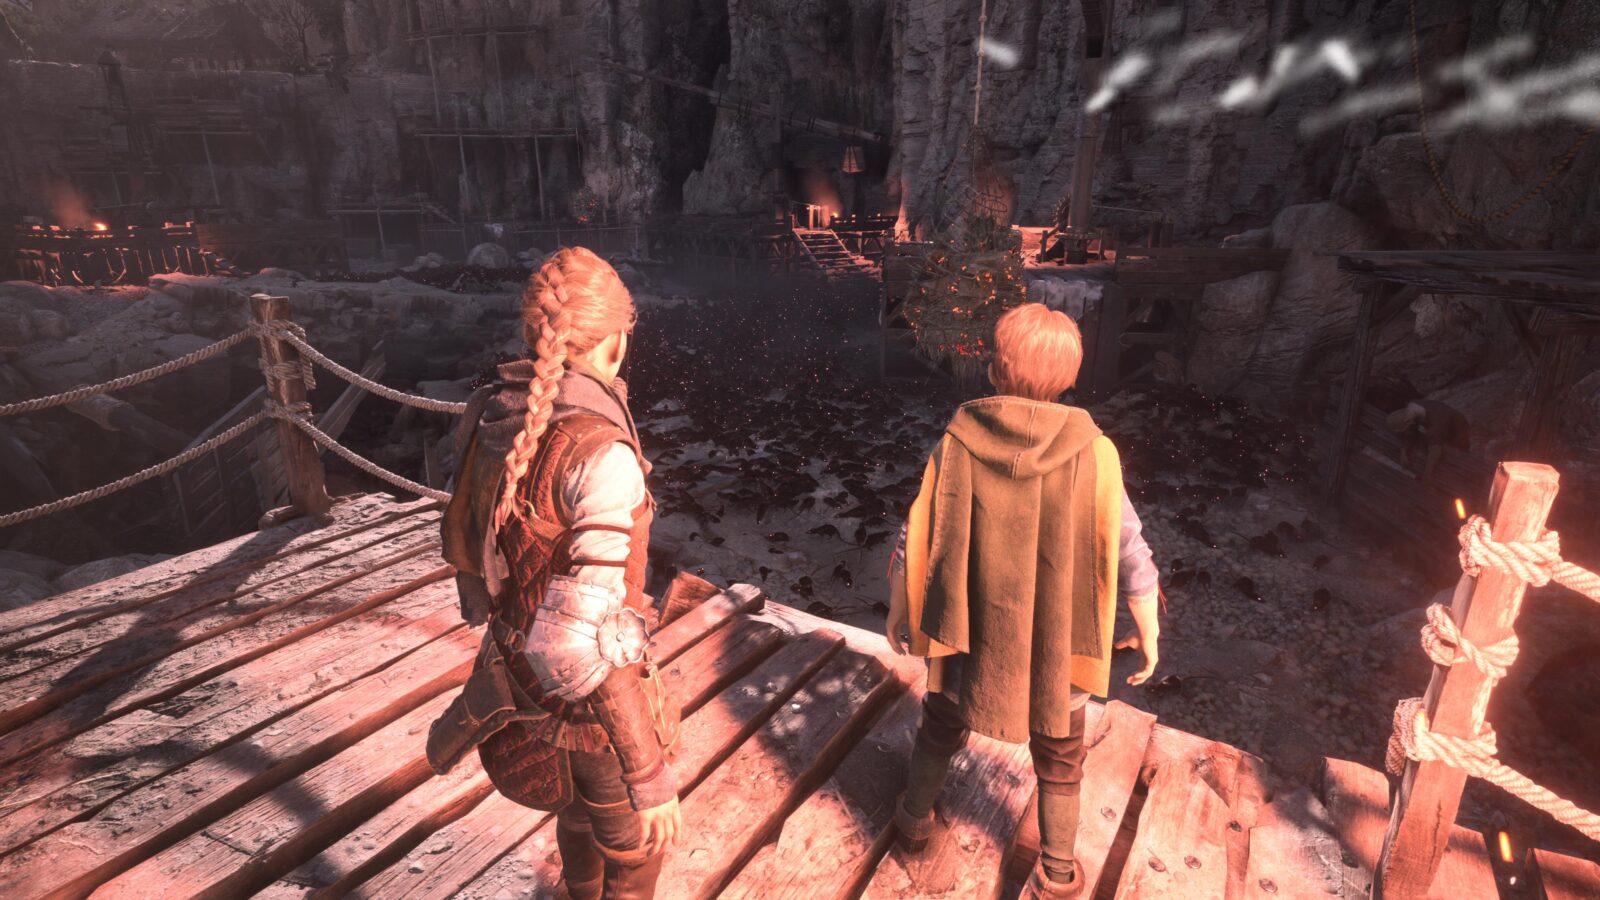
You can now continue on with the story until you enter a quarry during the Sub-Chapter titled “Connection.” Here, your objective is to simply “Find a way out.”
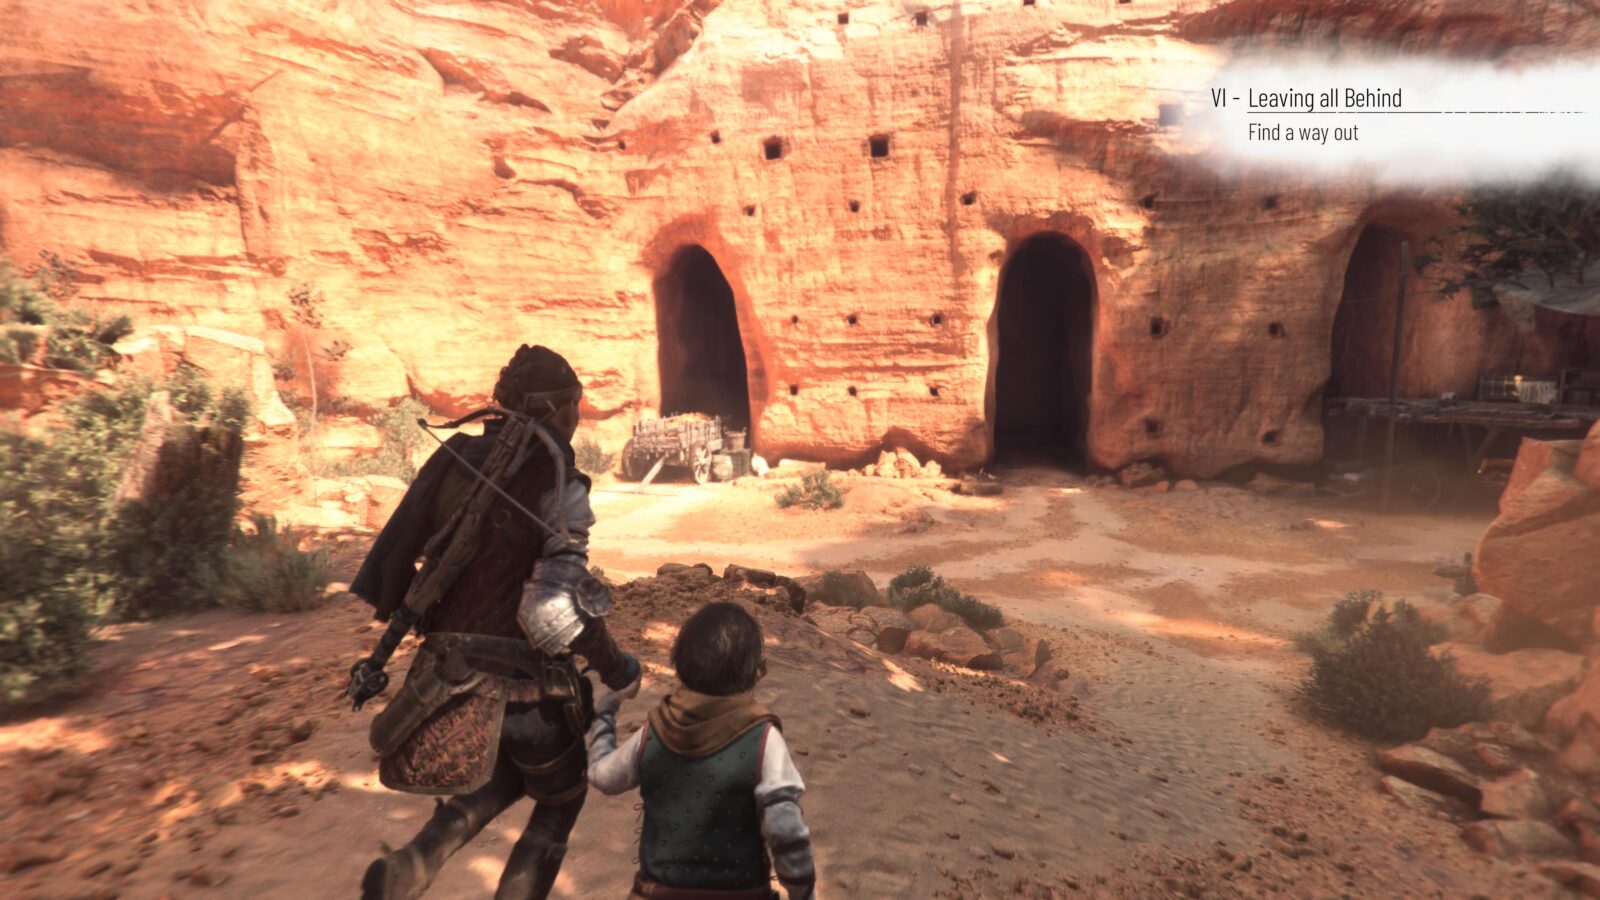
When arriving at the quarry, there are two doorways. Enter the right-most one and then turn right inside.
At the dead end, send Hugo under the gap in the wall, and he’ll open a door for you.
Enter the door and climb the stairs to find a large chest containing Tool 10/34.
Continue on in this same section until after the first group of enemies in the Quarry. You’ll need to leave via a door to end the encounter.
At the other side of the door, there’s a Knife sticking out of a Mine Cart in the center of the room. If you missed it, don’t worry, there’s another one coming up…
Continue on until you leave the Quarry, entering the Sub-Chapter titled “The orches,” where your current objective is to “Reach the building.”
There, out in the open atop a white ledge ahead of you, you’ll find a crate with another Knife next to it.

On that same rock formation, but on top of it, there’s an abandoned stall with a Chest under it.
Make your way up there to reach it and collect the Tool (11/34) from inside.
Continue on until you escape this encounter via the door. The Sub-Chapter now will be “Call of the Rats” and your main objective is to “Find a Way Out of the Building.”
As soon as you enter the doorway, look for a gap under a shelf in the corner ahead of you and slightly left.
Crouch underneath and into a hidden room containing a Secret Chest (4/10) which you must use a Knife to open. Don’t forget to grab Tool 12/34 while you’re there too!

Continue on now, heading down the corridor and through the doorway. This room is pretty awesome. You’ll get to experience some exciting new story events before needing to cross another sea of rats to a wooden walkway at the other side.
Enter the next doorway to reach a small room with a Workbench and a Ladder.
Climb up the ladder and then crouch under the small hole in the wall, allowing you to drop down into another small room.

There, Hugo will ask you if you’d like him to change your bandage. Interact with him to trigger Souvenir Collectible (10/21).
Return via the nearby door to the previous room with the Workbench.
In the next area is another encounter. It’s a very easy encounter, though, because you can just use Hugo’s new ability to take them out.
Next to a rat-filled basin at the bottom of the stairs on your right-hand side, there’s a wooden cart with a Knife sticking out of it.
You can’t safely reach it at first, but if you move the rats somewhere else and give them an enemy to eat, they’ll be too busy swarming his body to bother you.
Continuing from there, go all the way to the right, and you’ll see a footbridge leading to a hut.
Head towards the hut, but go around the back of it and then shoot the lock on the cage door through the window.
Enter the hut and open the big chest inside the cage, which contains another Tool (13/34).
That’s the last collectible for this Chapter, so just enjoy the rest of it and come back for Chapter 7.
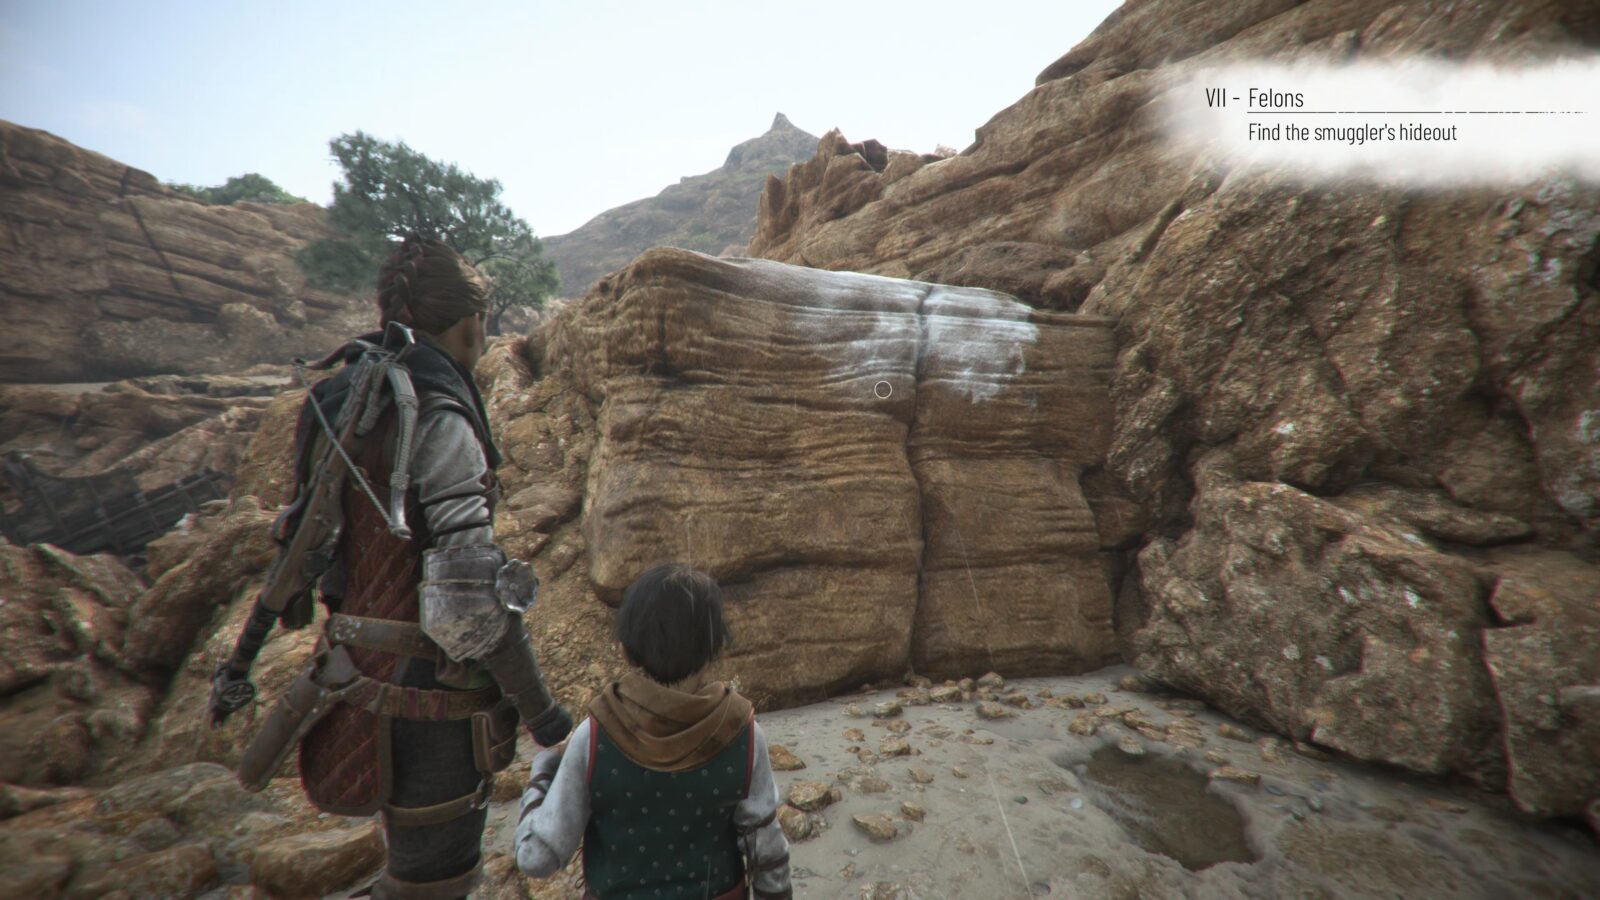
Chapter Seven: Felons
| Souvenirs | 2 |
| Hugo’s Collection (Flowers/Feathers) | 1 |
| Knives | 2 |
| Secret Chests | 1 |
| Tools | 3 |
From the start of the chapter, follow the linear path until you reach a beach.
Keeping the cliff on your left, head left down the beach. Hugo will run off to scare a flock of Seagulls.
Near there, against the cliff, you will find a small wooden hut with some stairs leading up to it.

Head inside and collect the Knife from the Mattress if you need it, then go through the window to your left.

This leads out to a small closed-off path. Walk to the end of it, where you will find another Feather on the ground, part of Hugo’s Collection (Feather 2/7 – Black-headed Gull).
Continue on now until you reach a section where you’re pushing a brazier cart in some caves. The Objective will be to “Reach the shipwreck,” in the Sub-Chapter “Passage in the Caves.”
While pushing the brazier, look out on your left for a chest surrounded by rats in an alcove.
Use Ignifer to light the brazier nearby, thus allowing you to open the Chest and retrieve Tool 14/34.
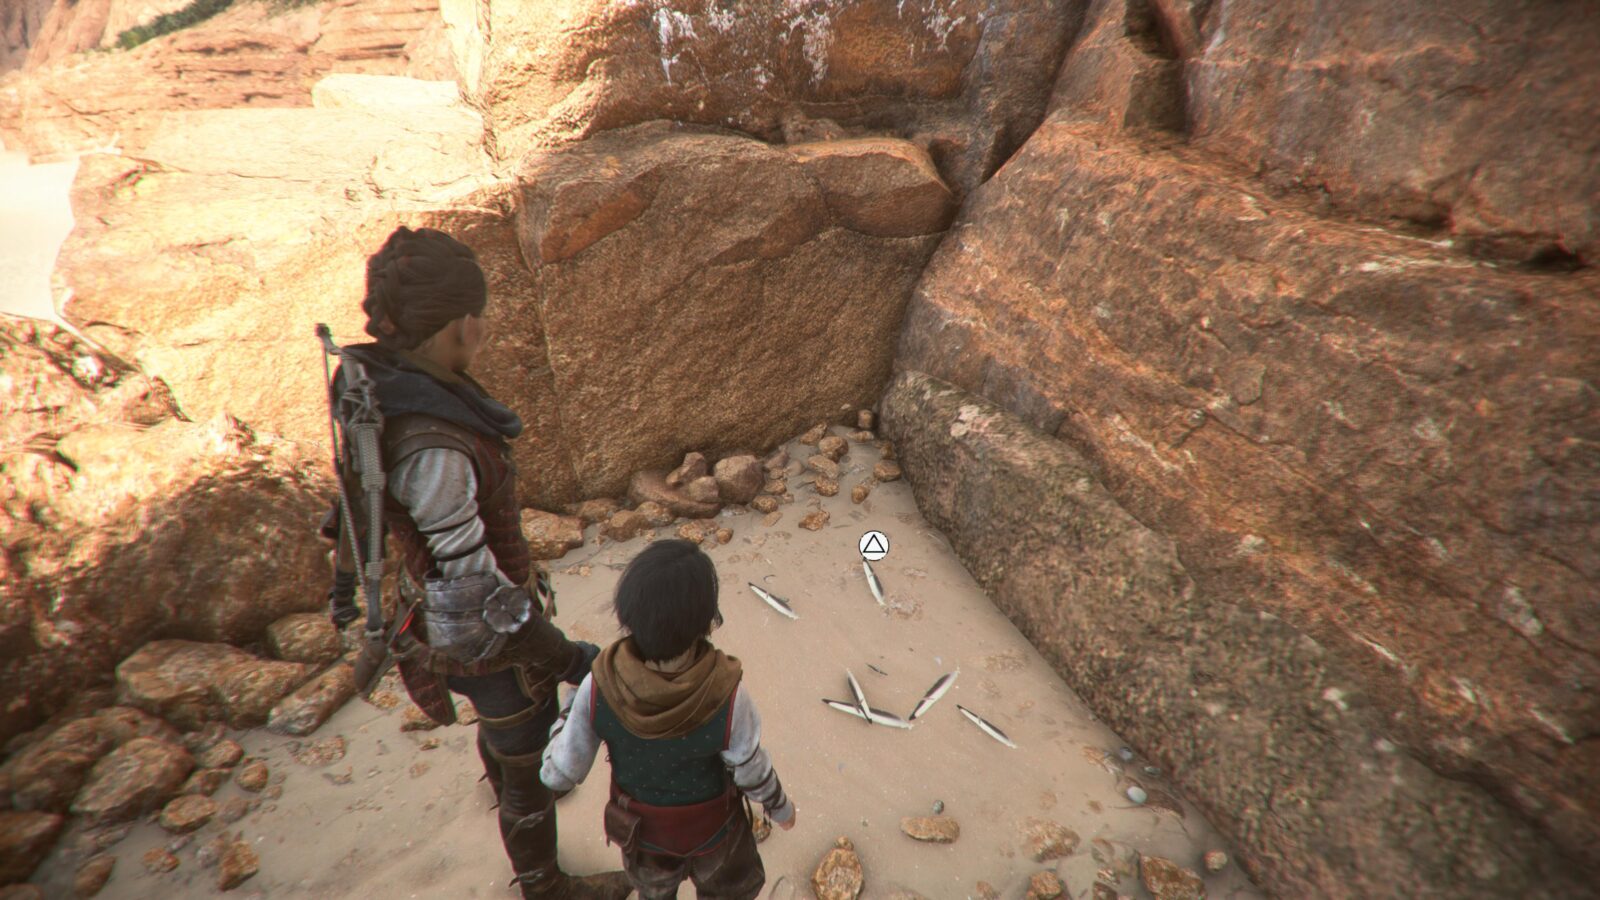
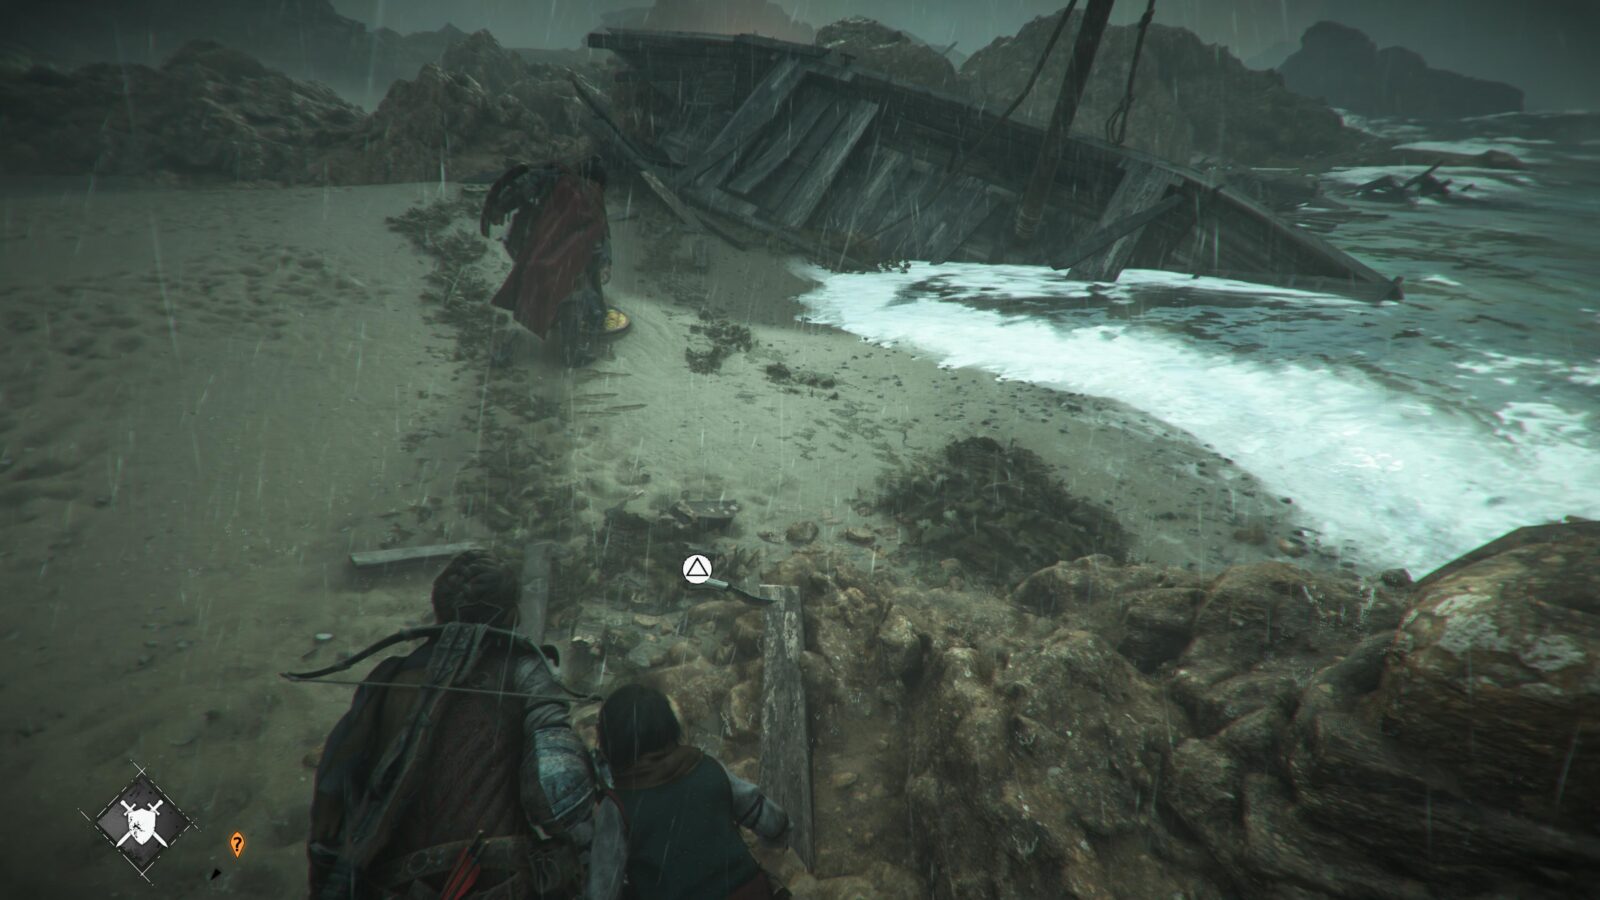
Continue through the rat-infested cave until you reach the beach at the other side. You objective here will be to “Find the Smuggler’s Hideout.”

Here on the beach, to your left, there’s a Workbench in a Shipwreck. Continue past it and climb the cliff ledge to your left, which will lead around to the top of the Shipwreck.
Interact with the ![]() prompt on the Shipwreck to trigger Souvenir Collectible 11/21.
prompt on the Shipwreck to trigger Souvenir Collectible 11/21.
Continue through the chapter now, through another rat puzzle and an enemy encounter. This is during the Sub-Chapter “More Rats,” but your objective won’t change.
Continue past the Guards and Rats until you drop down a ledge to reach a blocked passage next to a torch, do not enter the doorway yet!

To the right of the torch, you’ll see a small opening that you and Hugo can crouch under. Use it to get onto the small boat to your right.
On the boat, you will find a Secret Chest 5/10 that you can open with the Knife you collected earlier. Don’t forget to grab Tool 15/34 from inside!
You’ll need to replace the knife you just lost, which you can do later on the beach during the Sub-Chapter titled “Combat according to Arnaud.”
Here, where your objective is to “Reach Sophia’s Boat,” keep an eye out for some rocks along the coast with a Knife on them. They’re just before a large Shipwreck.
Continue on into the Sub-Chapter titled “The Fishing Village,” where your objective remains the same.
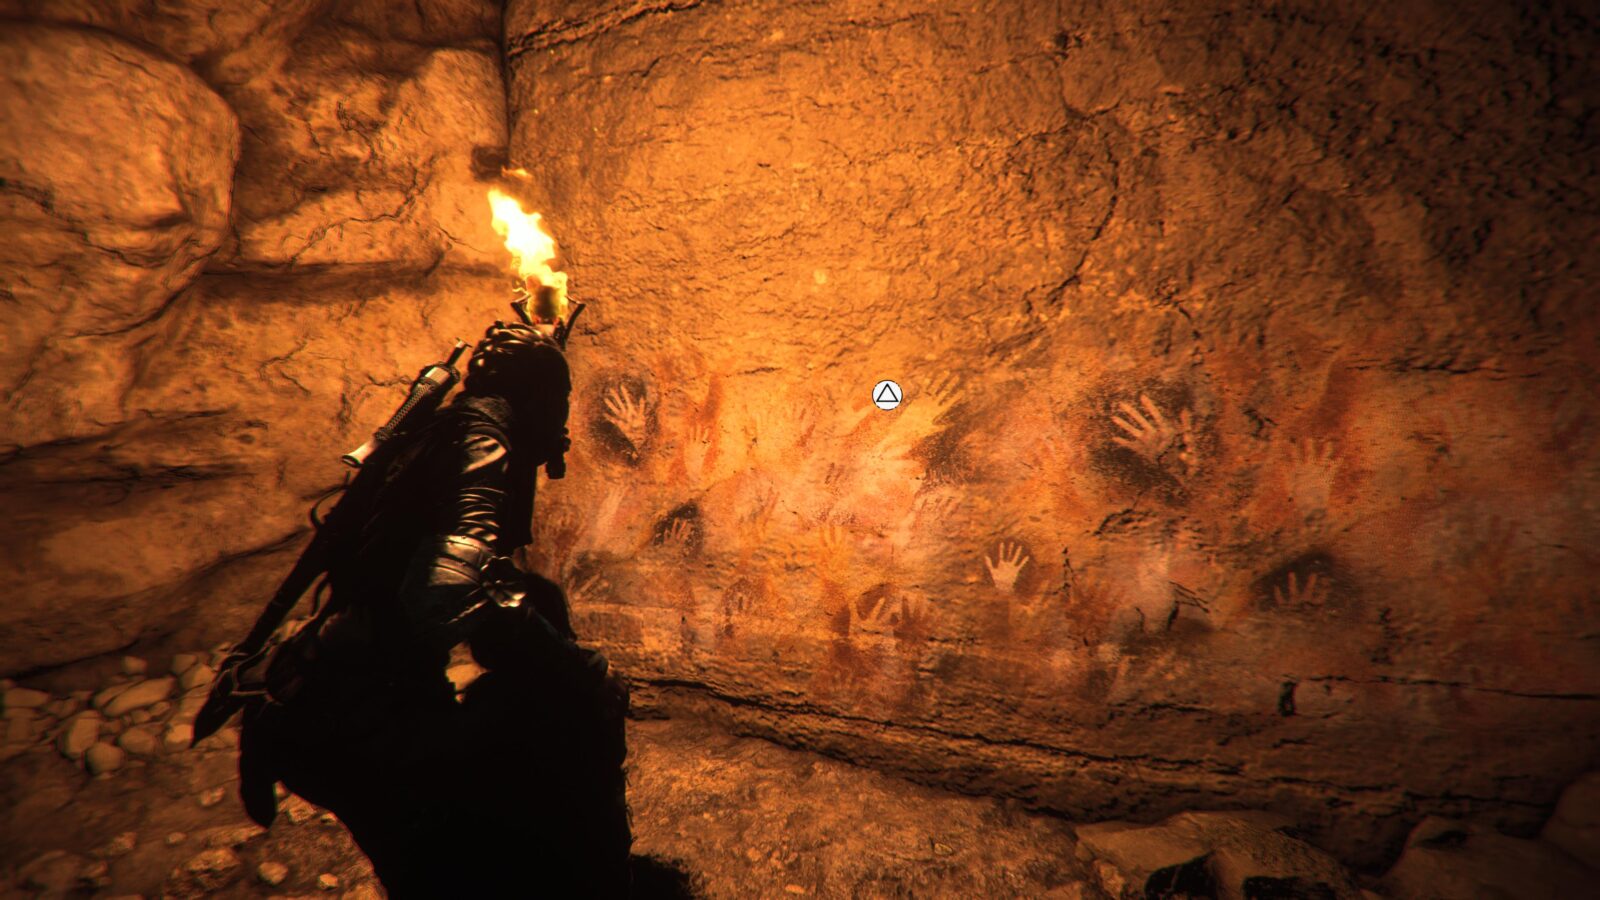
After moving some wooden rubble to one side so that you can pass through to the next beach, stop and look up to your left. There are some ledges here which you can climb up to reach a cave.
Grab the torch from the wall inside the cave and bring it in with you.
At the very end, there’s a cave painting that you can interact with. Do so to trigger Souvenir Collectible 12/21.
Continue on now, dropping back down from the cave and entering the Fishing Village, where there are yet more enemies.
When you arrive, head up the stairs ahead of you to the upper levels.
Keeping the coast on your right, move along the upper levels until you come to a ledge from which you can see this platform in the distance with a Chest on it.

You will see a rope heading to that platform from an anchor point in the distance on the further set of walkways.
Make your way to that rope pull and then use it to pull the platform down, dropping the chest onto the seashore.
Move the rats using Hugo’s ability and then go and recover Tool 16/34 from inside the chest.

That concludes the collectibles in Chapter 7, so just make your way to the end of the Chapter and come back here whenever you’re ready for more.
Chapter Eight: A Sea of Promises
| Souvenirs | 2 |
| Hugo’s Collection (Flowers/Feathers) | 1 |
| Knives | None Needed |
| Secret Chests | 0 |
| Tools | 1 |
Chapter Eight has far fewer Collectibles than the last few Chapters, you may be pleased to note.
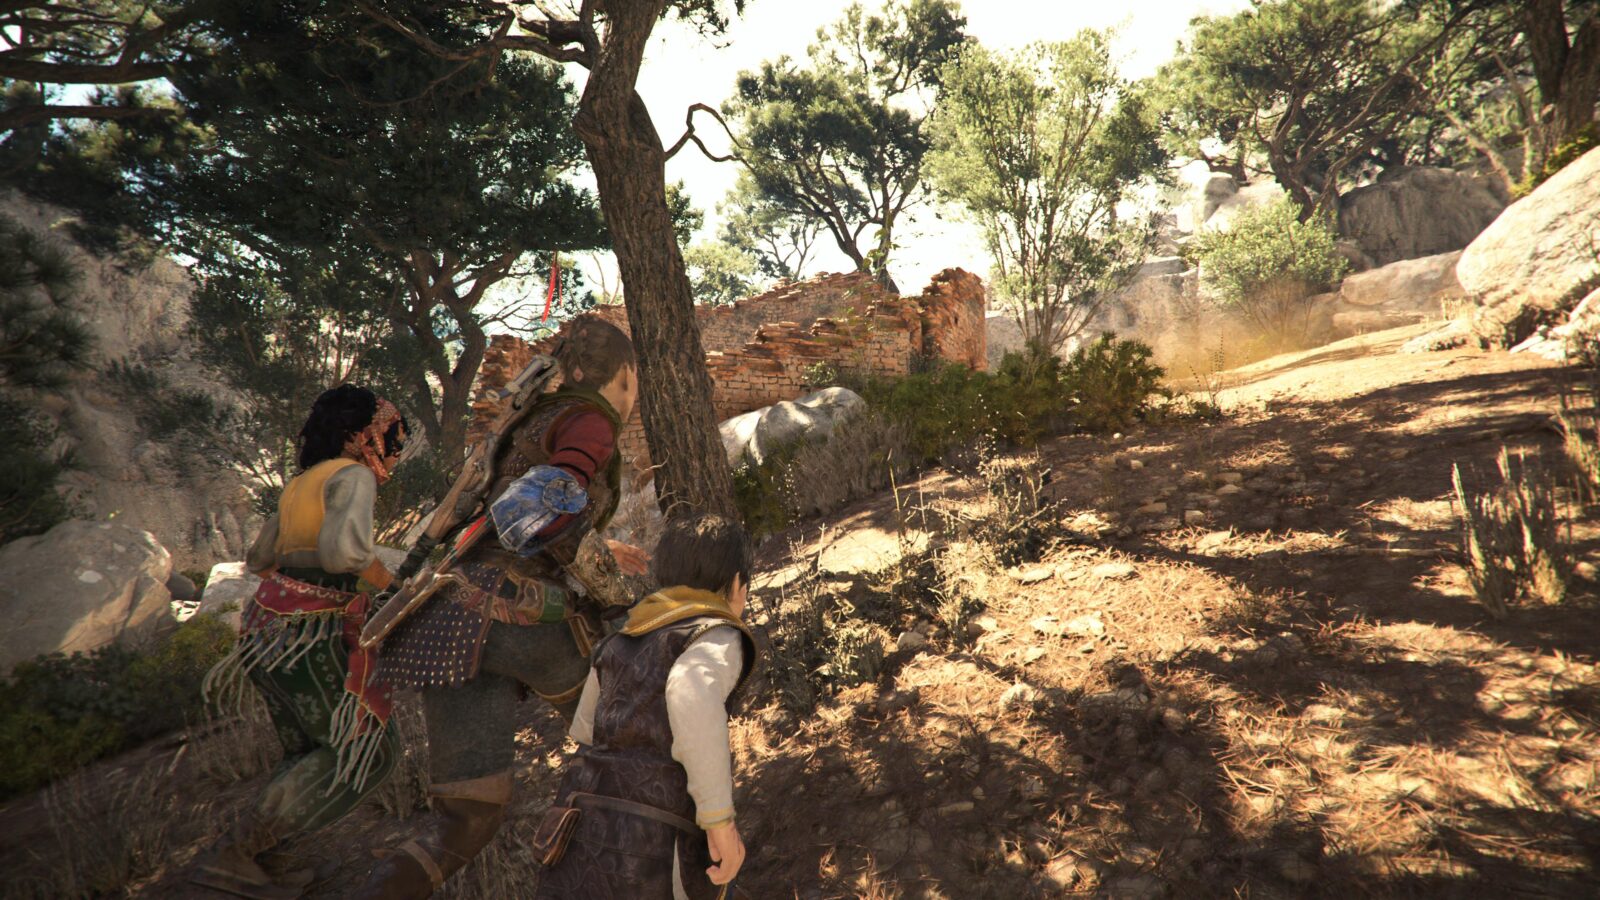
The first collectible can be found when you arrive at the Island. First, follow Arnaud to the Market Square nearby. There, in the Sub-Chapter titled “Celebration of the Brighter Days,” your current objective will be to “Look around for information about the island.”
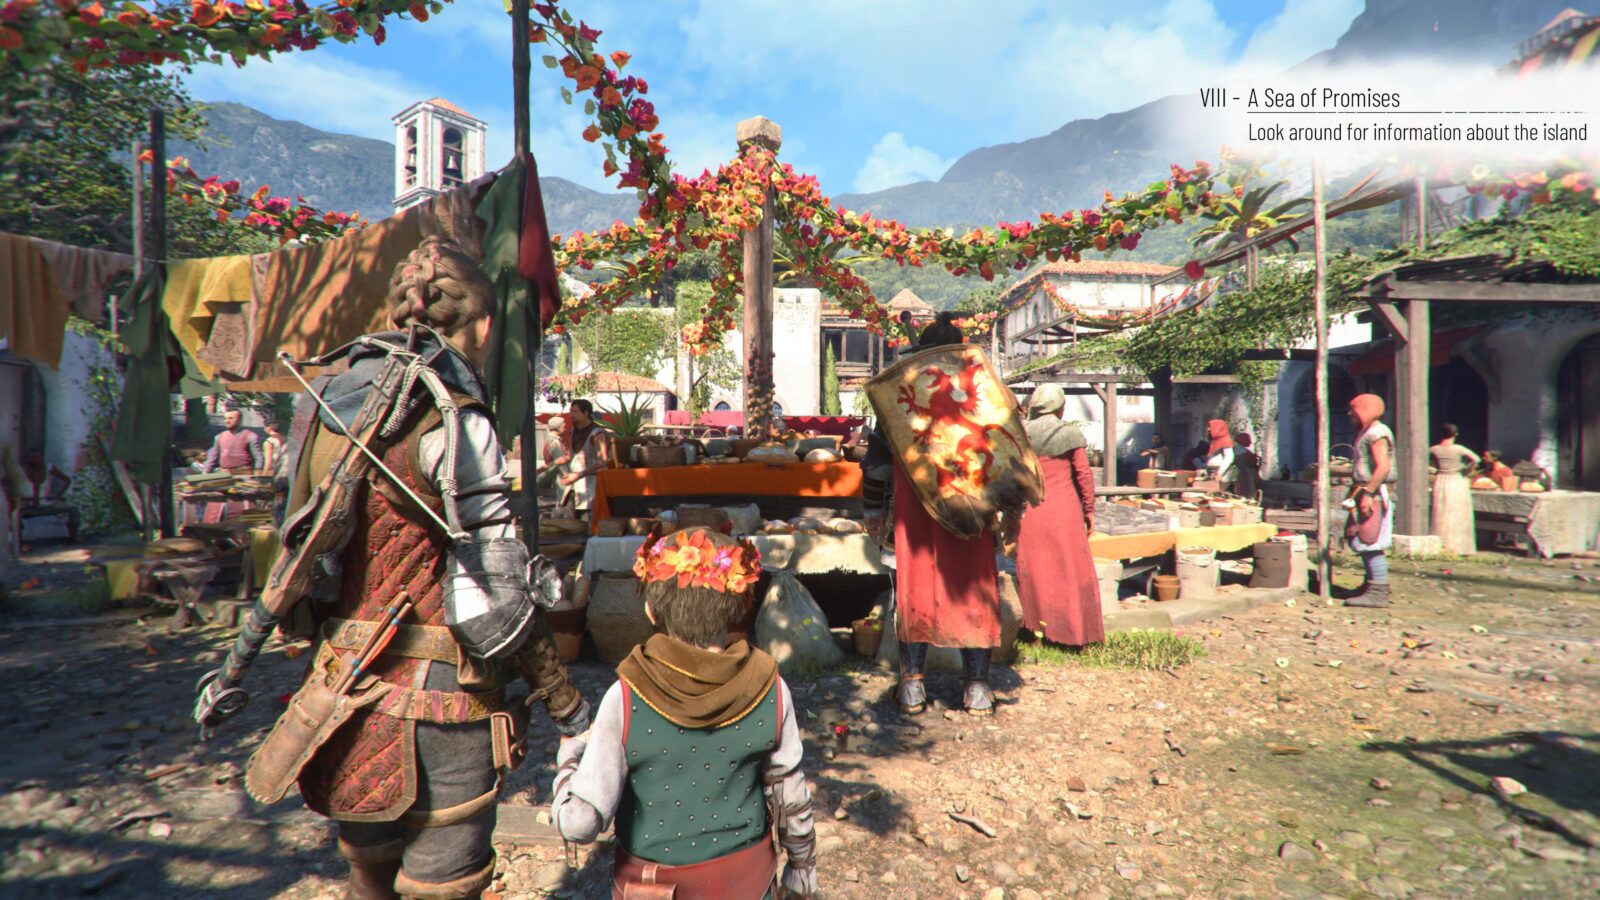
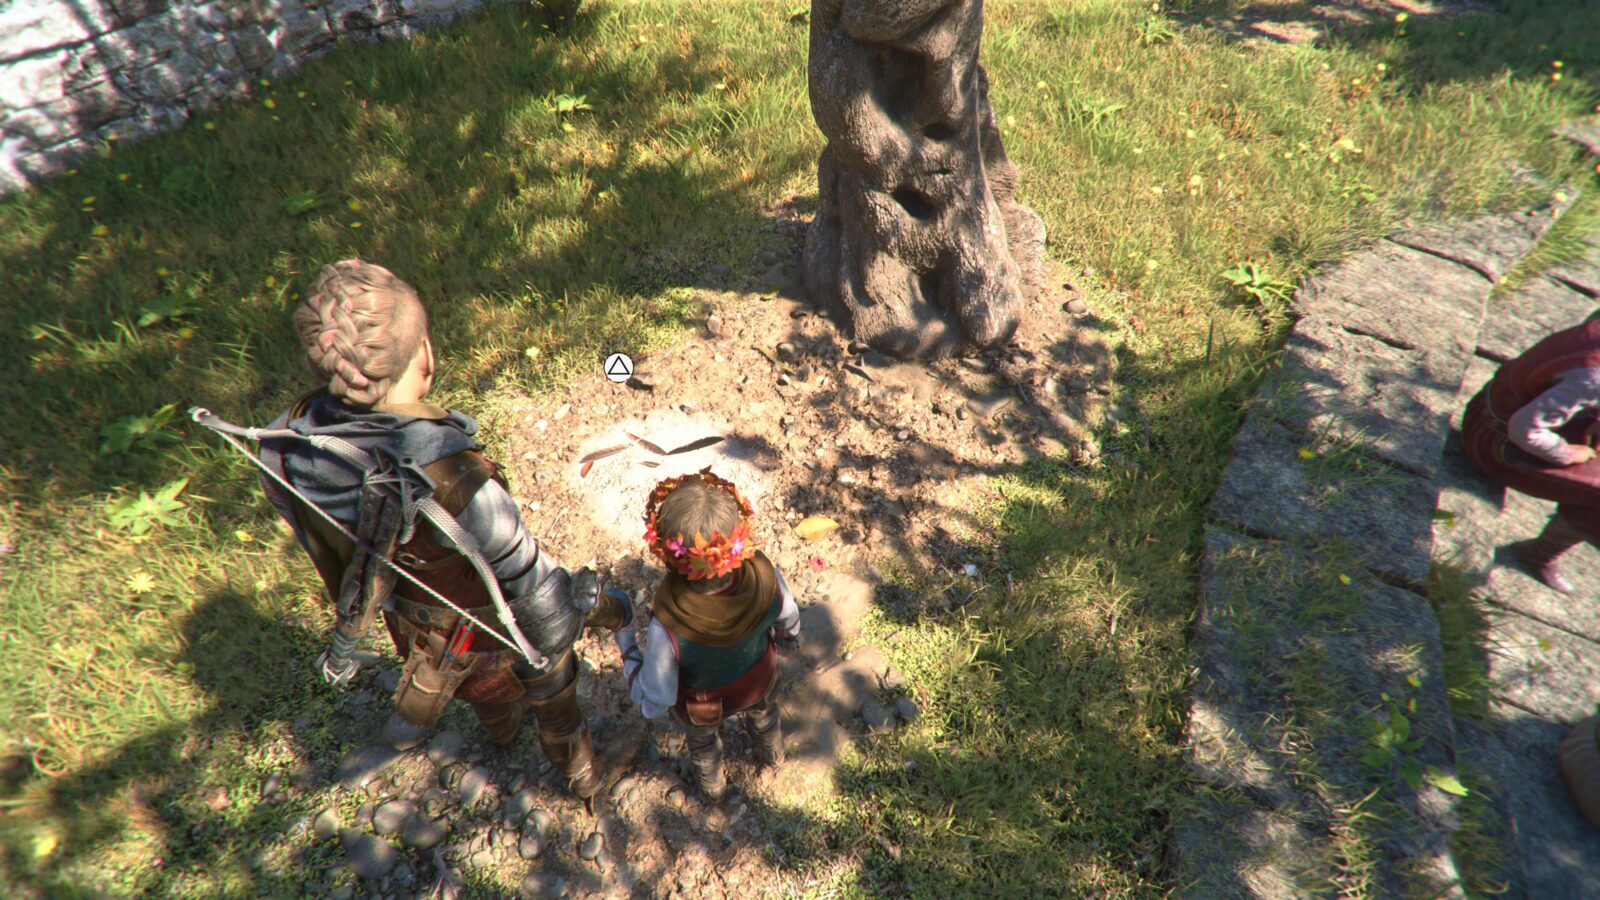
Go left around the market, and you’ll see a large walled garden on your left.
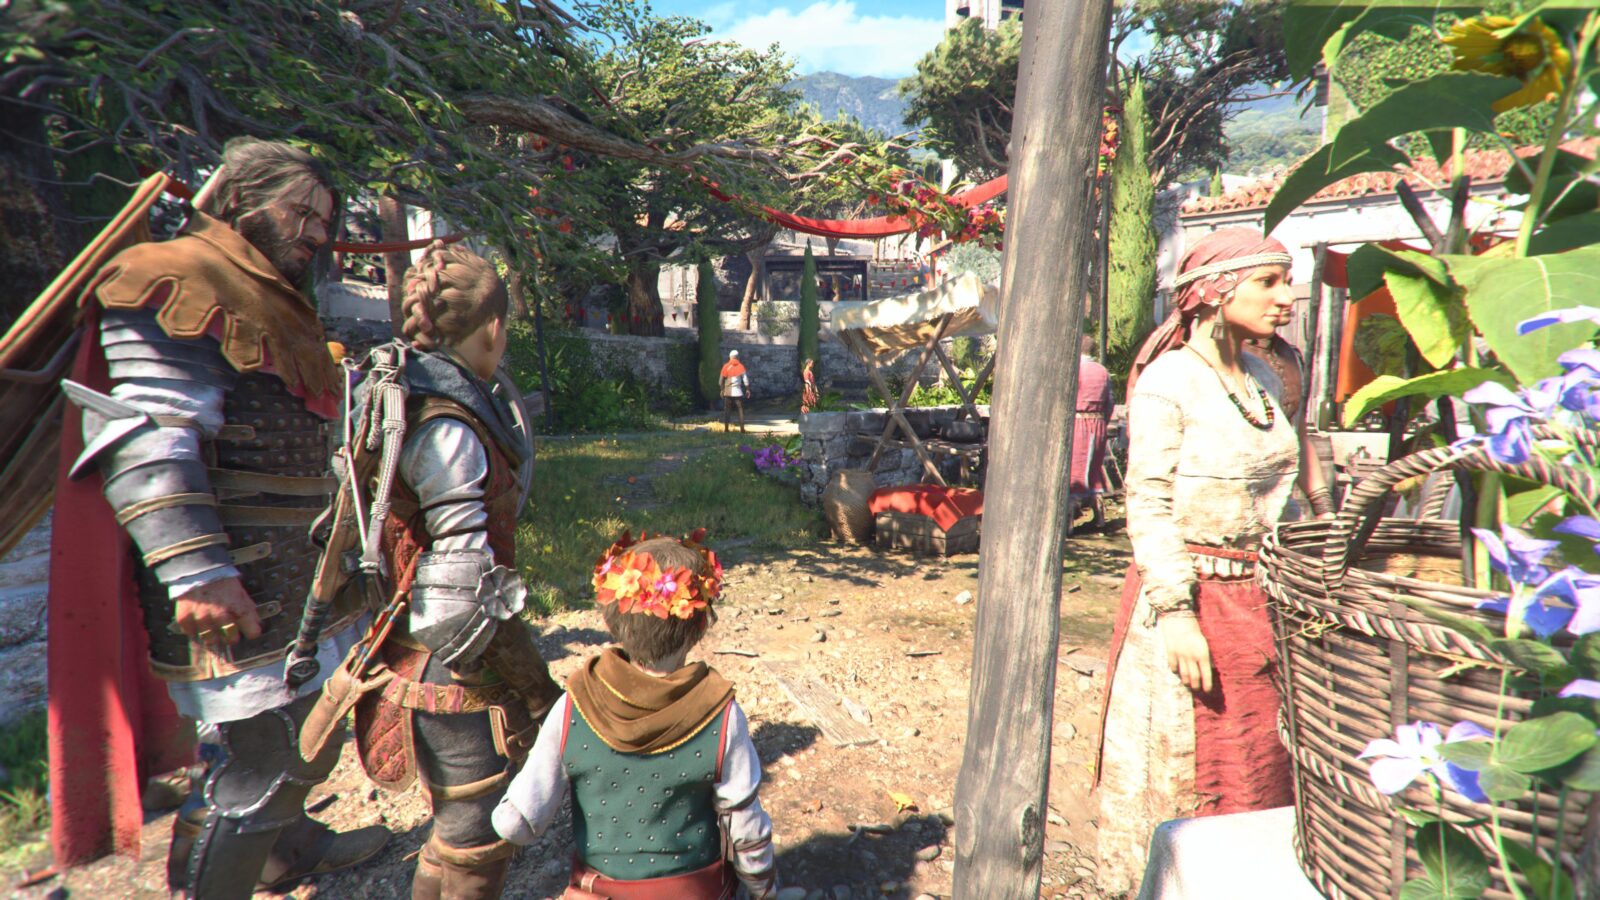
Enter the garden and follow the path, which ends at a tree with some feathers on the ground behind the seated civilians.
Collect one of these feathers to add it to Hugo’s Collection (Feather 3/7 – Black Kite).
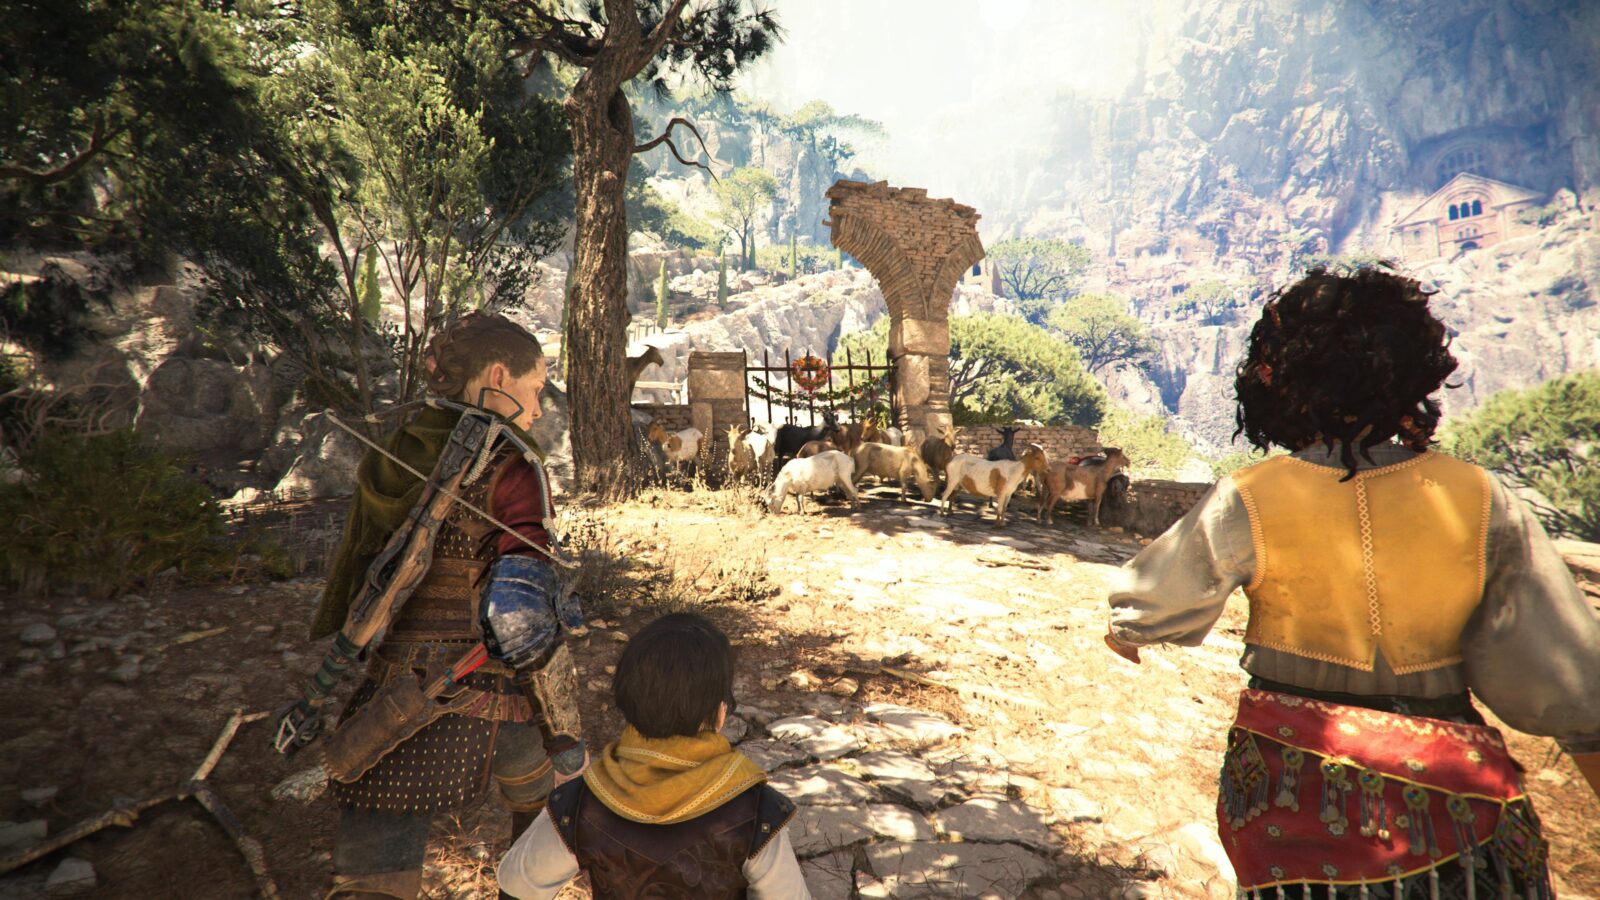
Return to the market and now go across to the stone arch on the opposite side from the Garden.

Pass under the arch to enter an alleyway with some Goats in it. Interact with the ![]() prompt next to Hugo to trigger Souvenir Collectible 13/21.
prompt next to Hugo to trigger Souvenir Collectible 13/21.
Now, return back to the market and leave via the exit on the opposite side from where you came in (turn right as you exit the alley).
As you head down this road, keep an eye out on your left for some stairs leading down.
Go down them and speak to the manager at the stall down there. He will introduce you to his pot-throwing minigame. This is where you can earn the Perfect throw trophy.
Whether you earn the trophy or not, however, simply playing the minigame will still trigger Souvenir Collectible 14/21.
Continue through the main story now for quite a while until you find yourself pushing a movable crate so that you can climb onto a barn. This will happen in Sub-Chapter “Stopping Arnaud,” where your objective will be to “Escape from the Count’s soldiers.”
Place the crate against the white ledge and then clamber up. At the top, cross to the opposite edge of the upper floor, and you will see a chest on the right containing Tool 17/34.
That’s everything for Chapter Eight. Just play on now until the end of the chapter, and then come back here for more!
Chapter Nine: Tales and Revelations
| Souvenirs | 3 |
| Hugo’s Collection (Flowers/Feathers) | 1 |
| Knives | 1 |
| Secret Chests | 2 |
| Tools | 6 |
| Old Protector’s Items | 16 (all) |
Enjoy the start of this Chapter until you end up searching the island for Bird Statues.
At the first Bird Statue, stop and look to your right. You will see a road leading past some houses. Follow this road all the way to the end without going down any of the branching side paths.
You will pass another Bird Statue and come to a house with a tree in the garden.
Continue into the garden and follow this path all the way to the river.

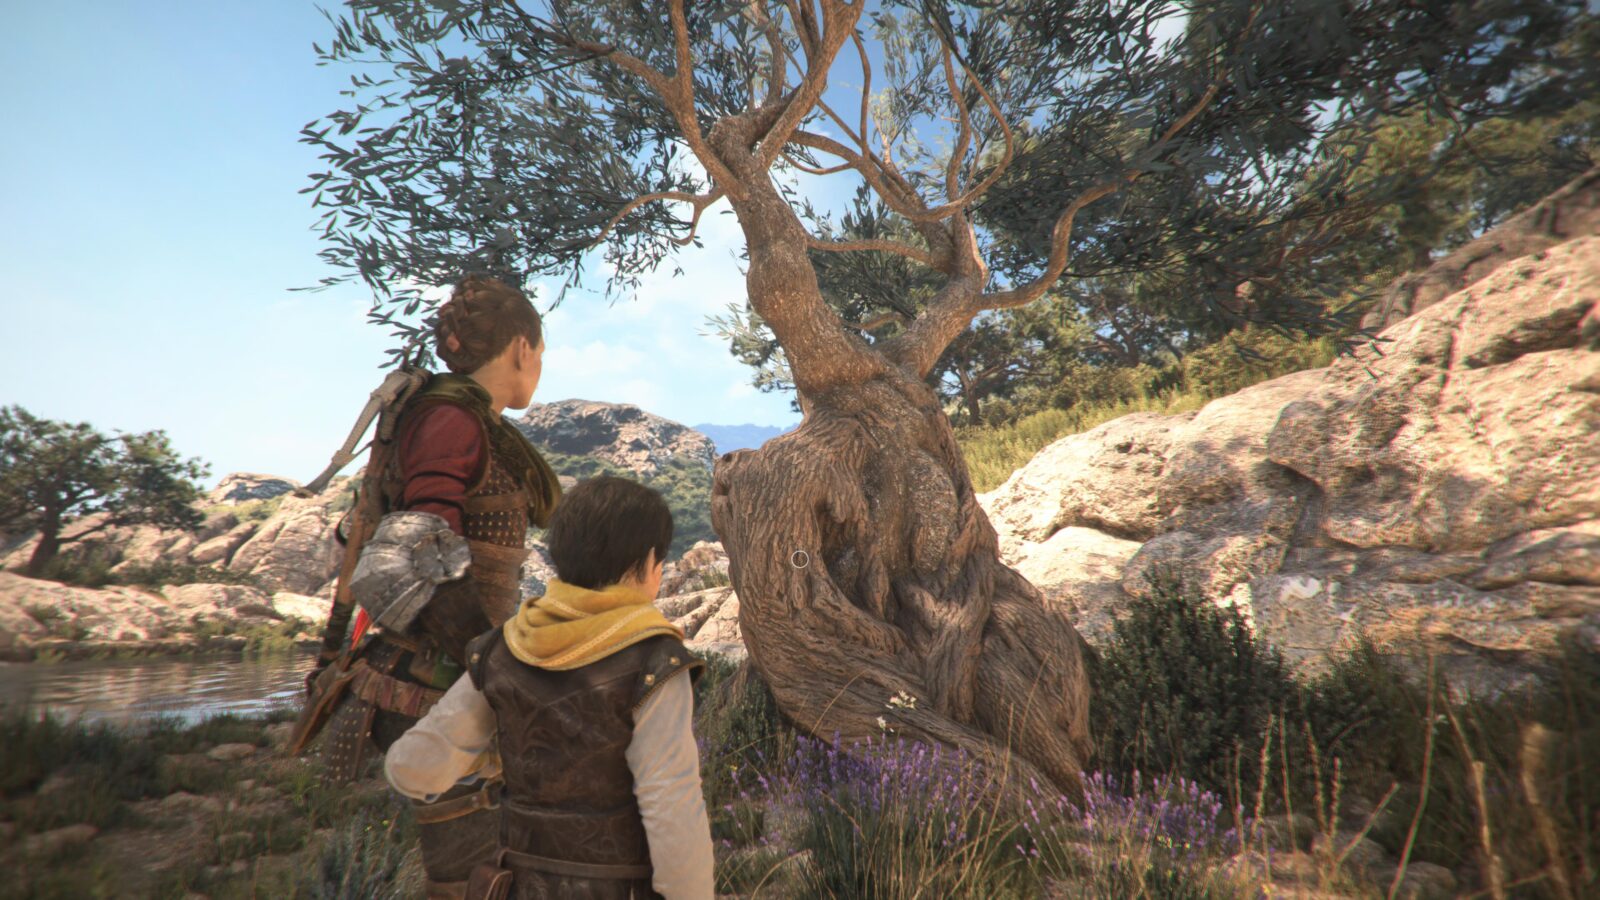
Turn right and follow the riverbank upstream to reach a large Olive Tree. Interact with it to trigger Souvenir Collectible 15/21.
Return to your objective of following the Bird Statues until you come to a hill with four large windmills on it.
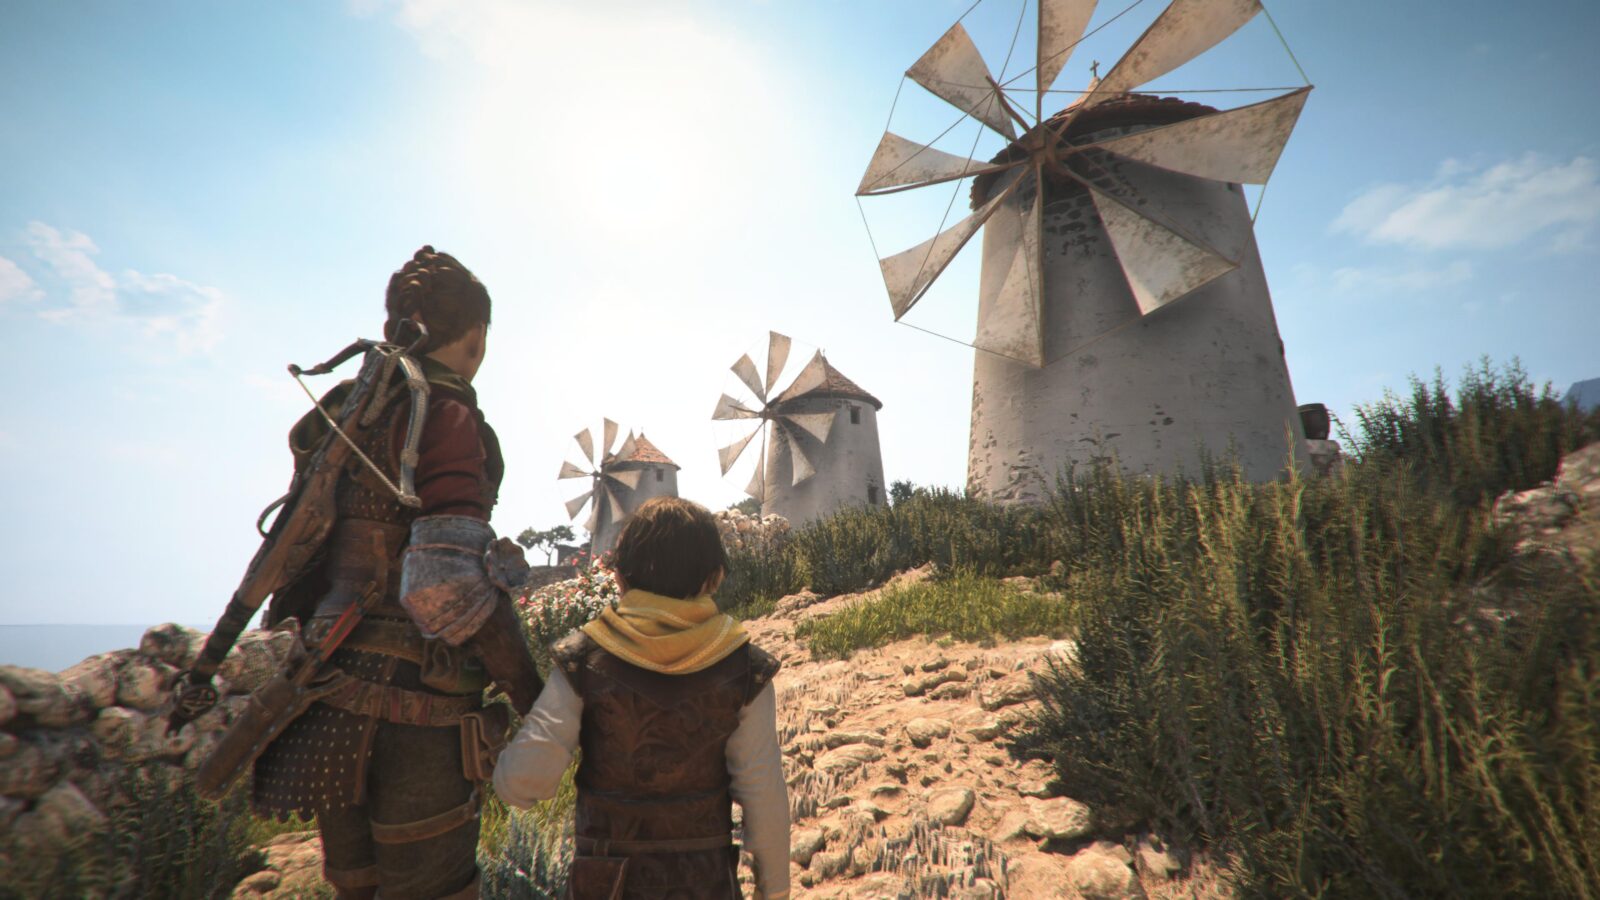
Each Windmill can be entered and contains a lever used to turn it on or off. There are also symbols above the doors to indicate which Windmill is which.
The windmill near the large tree is Windmill 1, and the Windmill by the ruins is Windmill 4. Go inside Windmills 1 & 2 and then switch them off. Next, enter Windmill 4 and turn it on. Windmill 3 is already on, as it should be, so there’s no need to change it.
Once done, look for a path between Windmills 2 & 3, indicated by some stone archways.

Pass under the archways and then turn right to see a ladder leading into a cave. If you have turned on/off the correct Windmills, the door inside the cave should now be open.
Enter and walk all the way to the end of the cave. There, you’ll find Tools 18 & 19/34 in chests. You will also find some secret armor that regenerates Amicia’s health faster.
With the cave plundered, return to the Windmills and then look for the Kites flying nearby.

Below the kites, there’s a solitary wooden building.

Climb onto the building’s roof to shoot down a hanging crate through a hole in the roof.
Then, drop down onto the balcony and shoot the chains off the gate to unlock it.
Now you may enter the building and recover Tool 20/34 from the chest inside.

Leave the building and look out into the distance ahead. You’ll see a large dual-pronged mountain ahead. This is where we’re going next.
Head towards the mountain until you reach the mountain path. There, you will see a ruined tower.
Shoot the lock off the door through the window and then head inside.
Immediately on your left when you enter the door, there is a Knife, but don’t grab it unless you need it.
Climb the ladder, and you will find a Secret Chest (6/10) at the top, which you need a Knife to open. If you already had one, you can now go and immediately replace your knife with the one downstairs.
Don’t forget to grab Tool 21/34 from the Secret Chest while you’re there.
Continue all the way to the top of this tower now, and you’ll find a ![]() prompt at the top. Interact with it to trigger Souvenir Collectible 16/21.
prompt at the top. Interact with it to trigger Souvenir Collectible 16/21.
You can now continue with the Bird Statue puzzle and then proceed along the story path, leading up toward the big mountain. Along the way, you will be blocked by a herd of Goats.
Your objective at this point will be to “Find a way around the checkpoint” during the Sub-Chapter “On the mountain.”
Take the “Goat Path” to the left and follow it until you reach a crumbled building on your left with a Goat trapped inside.
Behind the building, there’s a pile of dried grass that you can burn. Do so to reveal a small gap that Hugo can fit under.
Send him into the building, and he’ll open the door. Open the chest inside to receive Tool 22/34.
Next, interact with the goat to trigger Souvenir Collectible 17/21.

Continue up the mountain path via the white ledge nearby. As you progress, keep your eye out for another ledge you can climb on your left.
Scramble up and open the Secret Chest (7/10) at the top with your knife. Remember to grab Tool 23/34 from inside.
Continue on towards the sanctuary now. You will need to avoid being spotted by guards, and since they are not enemies, you can not fight them.
After the second stealth section in the Sub-Chapter “Entering the Sanctuary,” you’ll find yourself in a tower.
You must climb to the very top of this tower, making sure not to exit yet. At the top, walk to the end of the ridge you will find another Feather (4/7) for Hugo’s Collection!

You may now proceed for a long while until your objective changes to “Explore the Sacred Quarters.” This happens in the Sub-Chapter titled “Phoenix.”
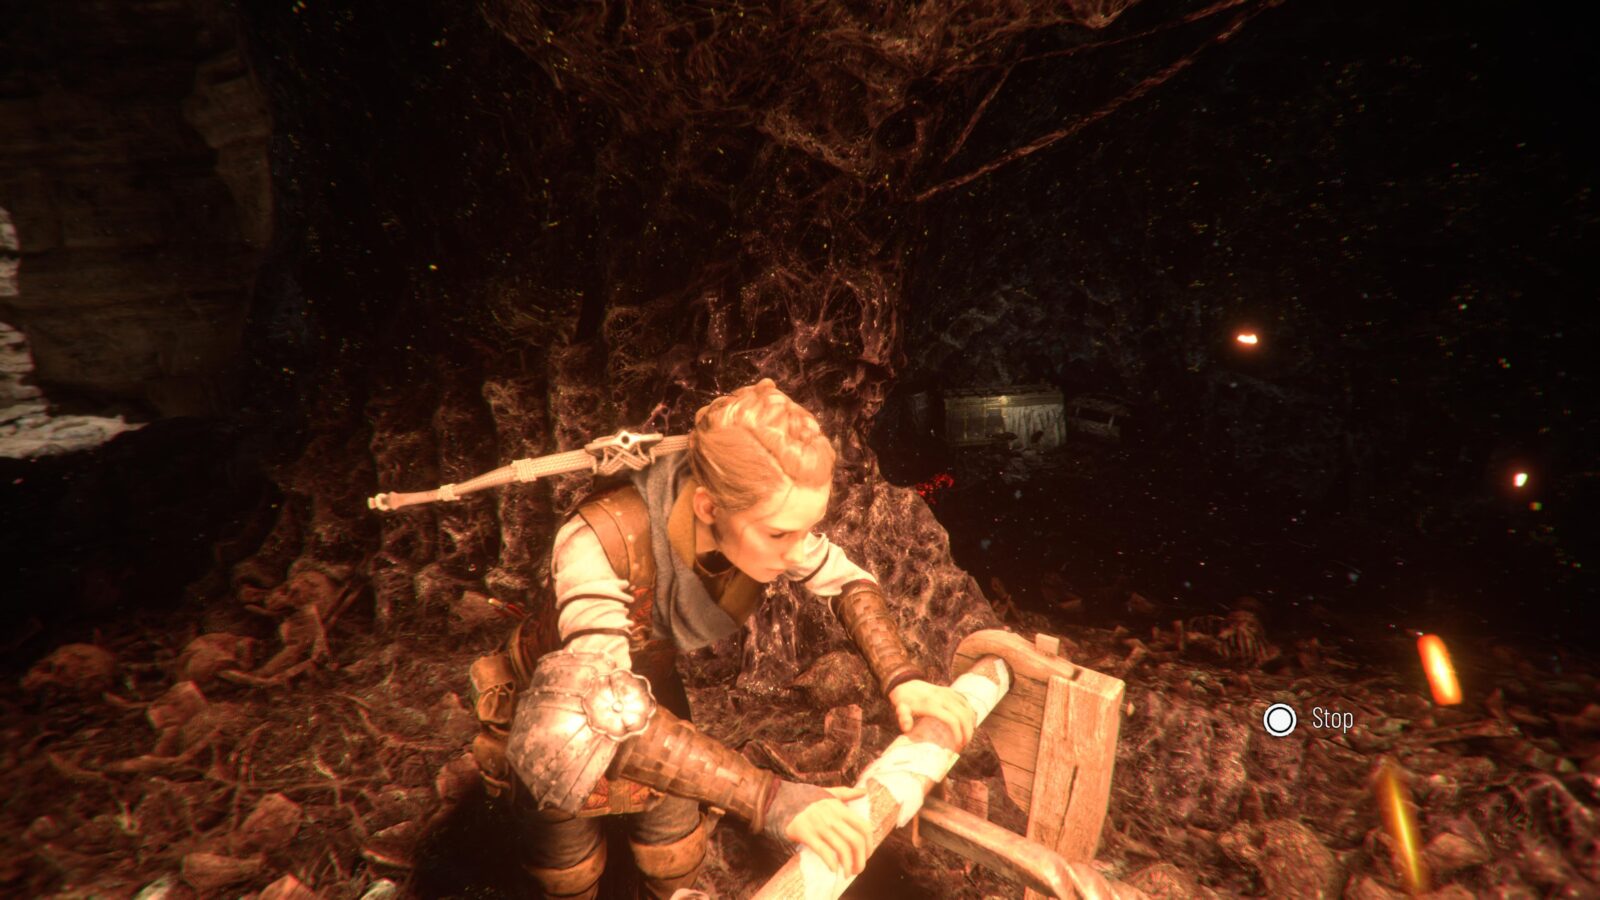
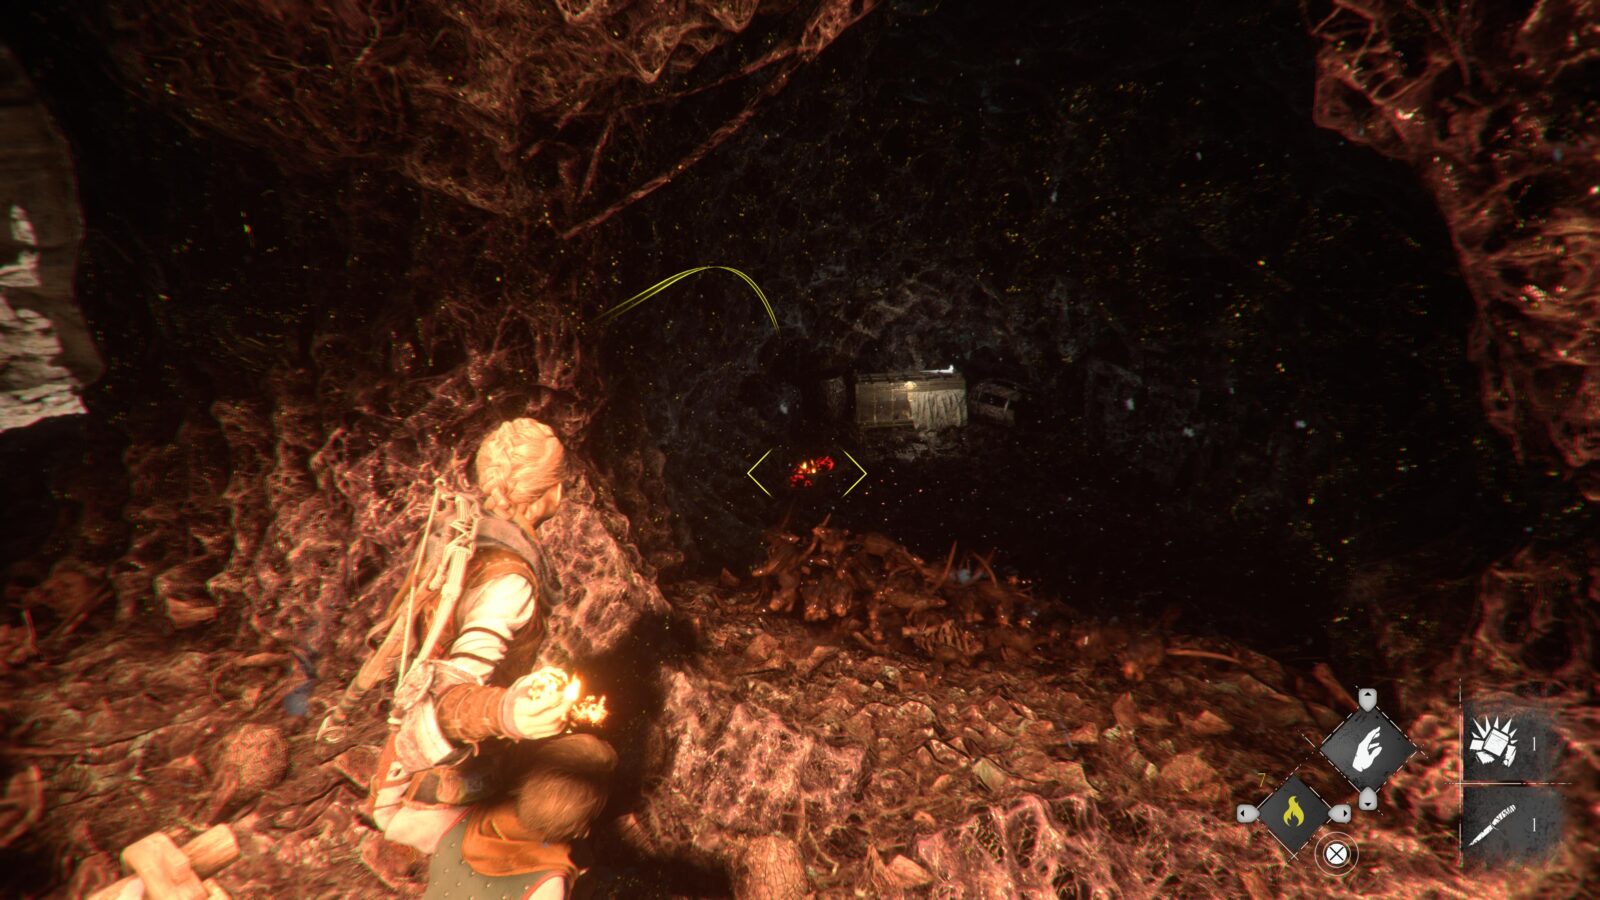
Here is where you can find all of the Old Protector’s Items. All 16 of these collectibles are found right here during this section.
Make sure that you do not speak to Sophia until you have interacted with all 16 Protector’s Items and acquired their associated trophy.
You’ll know when you reach the right place because Hugo will run off to sit under a tent.
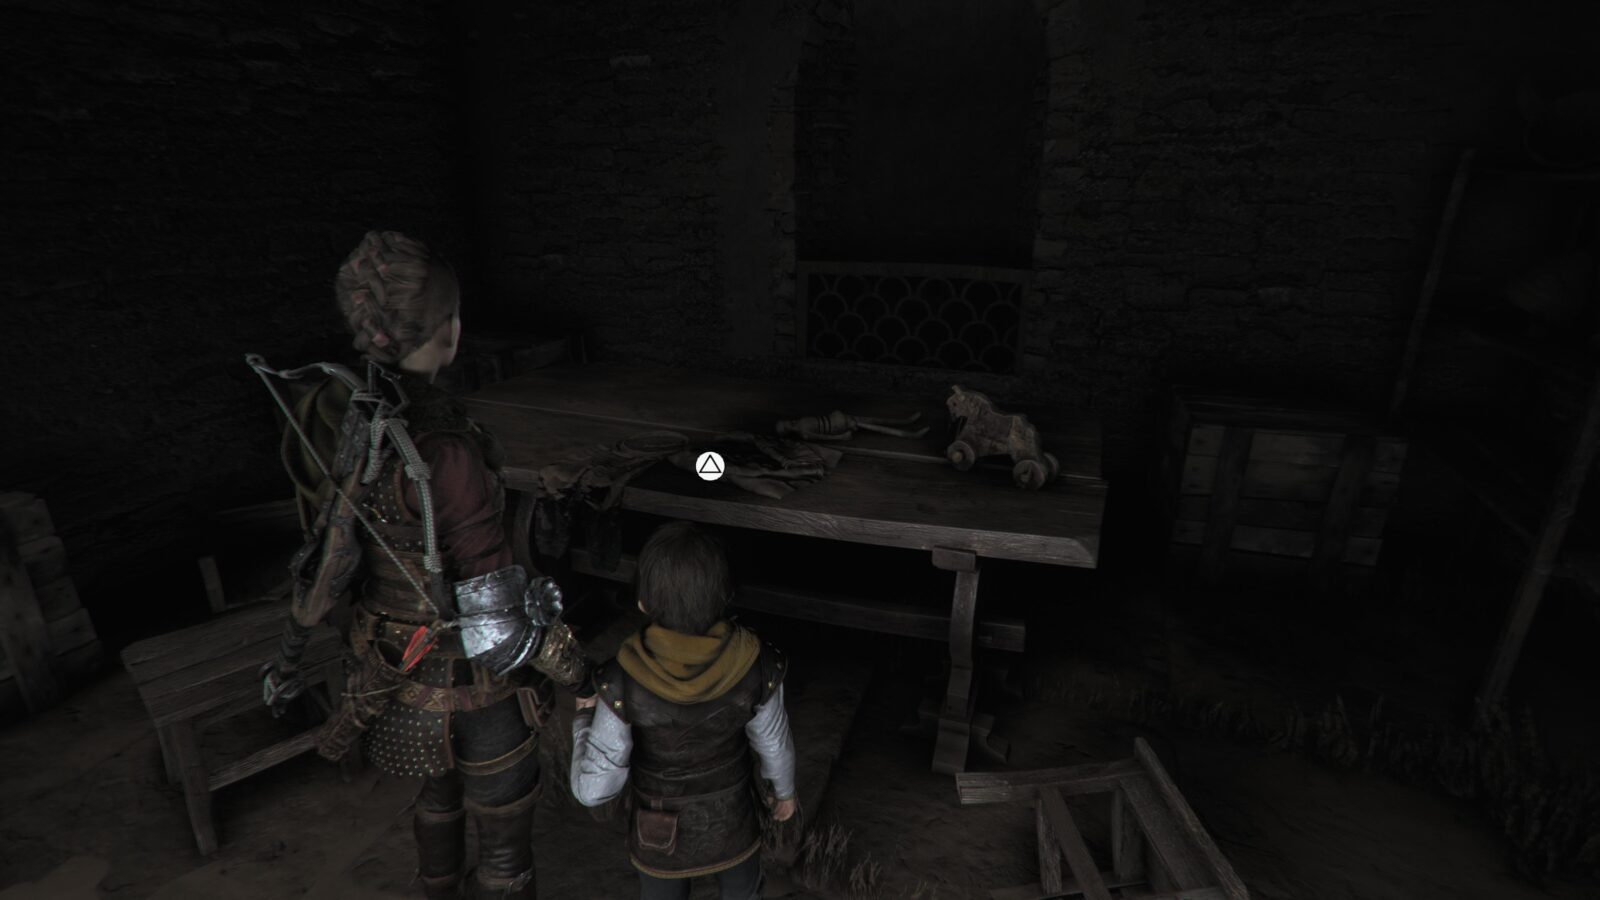
In the first room, interact with the tent (1/16) in the corner where Hugo is, the small wooden carvings (2/16) on the table to the left, the bed (3/16), and the small toy horse (4/16) at the center.
Continue on into the next room, where you will find a toy chest (5/16) on the right, a Weapons Rack (6/16) & Wax Tablet drawings (7/16) in the corner, and a suit of armor (8/16) opposite the door that you entered through.
Once you have those eight, move out into the courtyard. There’s nothing to collect here, but you can reach the next room by crossing the courtyard to the other side.
In the next room, inspect the oven (9/16) in the left corner, the small flask (10/16) at the back, the black powder (11/16) on the right, The flasks (12 & 13/16) on the right, and the lab table (14/16) in the center of the room.
Lastly, head upstairs where Sophia wishes to speak to you, but don’t speak to her yet. Interact with the scrolls (15/16) on the shelves near the windows and the grid on the floor in the middle (16/16).

That’s everything in the very lengthy ninth Chapter.
Chapter Ten: Bloodline
| Souvenirs | 1 |
| Hugo’s Collection (Flowers/Feathers) | 1 |
| Knives | 2 |
| Secret Chests | 1 |
| Tools | 4 |
At a certain point during Sub-Chapter “Slavers” when your objective is to “Reach the Fort,” you will need to use your crossbow with an anchor point to pull down a door.
On the same roof as the anchor point, in very plain sight, is a large chest containing Tool 24/34.

Continue on into the “The old temple” Sub-Chapter. Continue through this Sub-Chapter until you have worked with Sophia to use a Chandelier to break down a doorway.
At the other side of the door, there are two paths; a stone path ahead and a dirt path to your left.
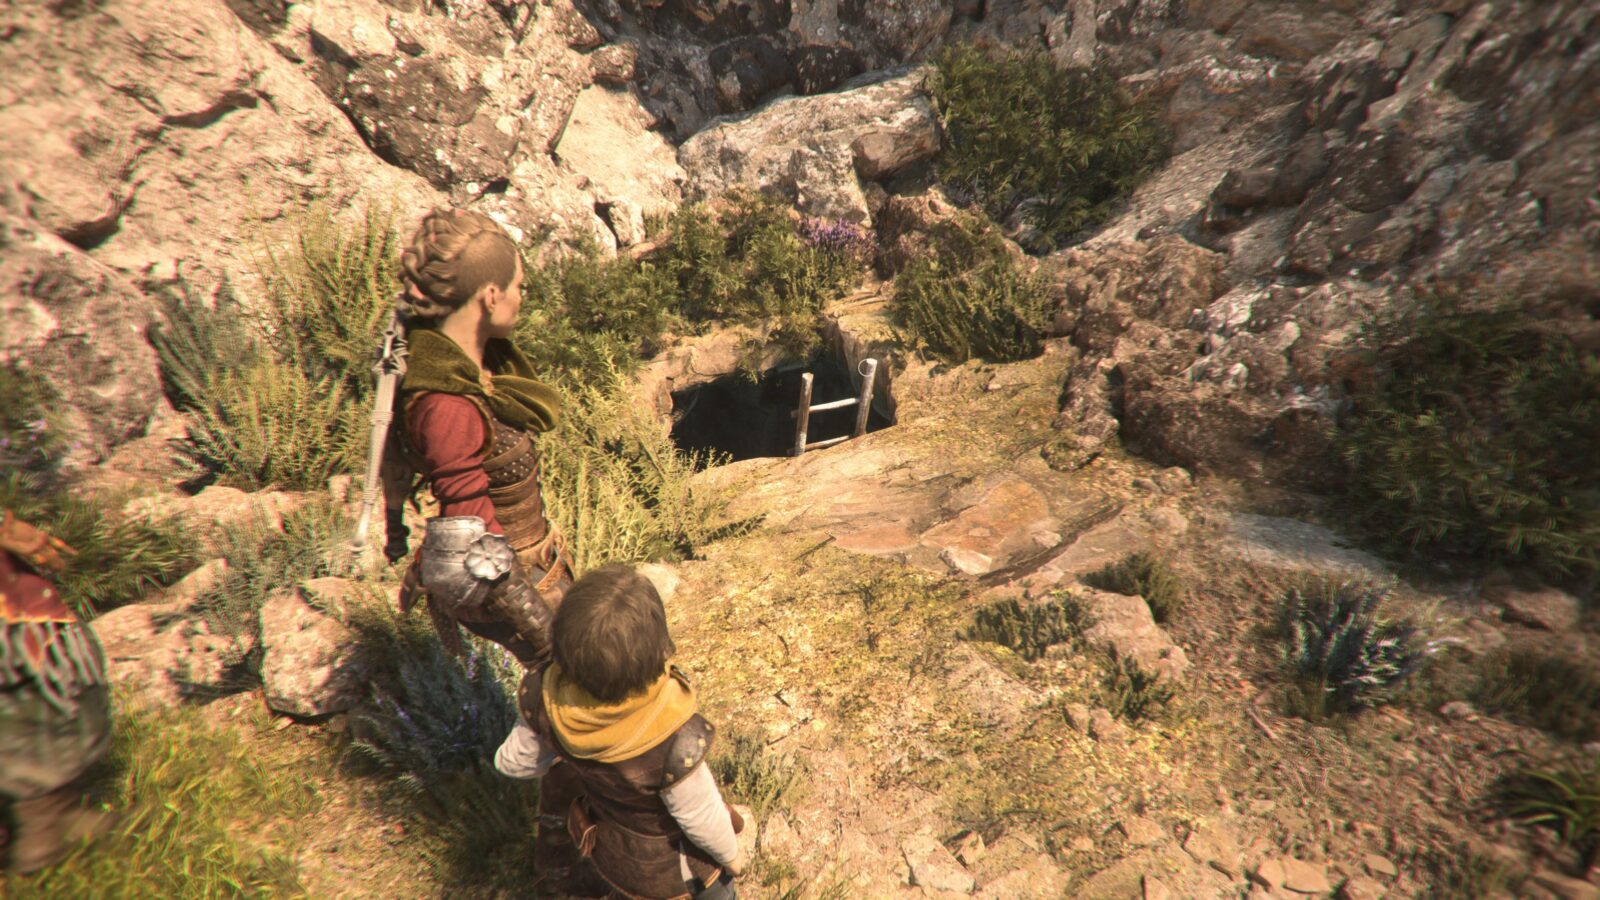
Follow the dirt path, and you’ll reach a ledge that you can drop down.
Climb down and look along the cliff edge ahead to find a bundle of feathers! Grab one for Hugo’s Collection (Feather 5/7 – Raven).
Continue on a short way, and a cutscene will play, after which Hugo runs off.
When you catch up to him, enter the ruins he was next to, and then turn left to see an Anchor Point.

Go around to it and use your crossbow with it to pull down the wall ahead of you.

Climb up the wall you crumbled and then turn right to see a tree.
Approach the tree and interact with it to trigger Souvenir Collectible 18/21.
Continue on until the next enemy encounter in an open area.

Straight down the middle of the area, there’s a stone path.
Follow it past a ruined building on your right until you reach a second ruined building on your right.

Go inside and collect the Knife from the table near the front door on the ground floor.
Next, go upstairs and open the chest to retrieve Tool 25/34.

Continue on to the Sub-Chapter titled “In the courtyard,” where your objective is to “Use Sophia’s prism.”
Here, you will need to use the light from Sophia’s prism to evade the rats and make it across the courtyard.
Once you’ve lit the campfire in this section, look for a tower in the corner on the right side. Light the campfire near it and then ask Sophia to help you reach it, then the tower.
Ask Sophia to use her prism on the brazier to light the way to the tower. Walk over there and then climb upstairs to find a Secret Chest (8/10) containing Tool 26/34.
Continue on until you’ve crossed the flaming trench, letting the rats into the next area with you.
In this area, there’s a chest in the left corner, closest to where you started.
It is surrounded by rats, however, so you will need to use Odoris to lure them away long enough for you to open it and retrieve Tool 27/34.
Continue along the main story route now until you reach the Sub-Chapter titled “The chapel,” where your objective is to “Survive the assault.”
While avoiding the enemies, look in the corner on the right for a Knife.
That’s everything you need from Chapter Ten, and you can safely just cruise along into Chapter Eleven.
Chapter Eleven: The Cradle of Centuries
| Souvenirs | 2 |
| Hugo’s Collection (Flowers/Feathers) | 1 |
| Knives | 1 |
| Secret Chests | 1 |
| Tools | 2 |
In the Sub-Chapter titled “Byzantine technology,” where your objective will be to “Explore the underground area,” you will need to use an explosive tank to destroy a door.

After passing through the doorway, look to your right to see another explosive tank hidden behind a flimsy wooden fence. Hit the tank with Ignifer to blow it up.
Continue into the newly-opened alcove, where you will find another Feather for Hugo’s Collection (Feather 6/7 – European Goldfinch).
Return to the previous room and use the explosive barrels on the opposite side to blow open the gate.
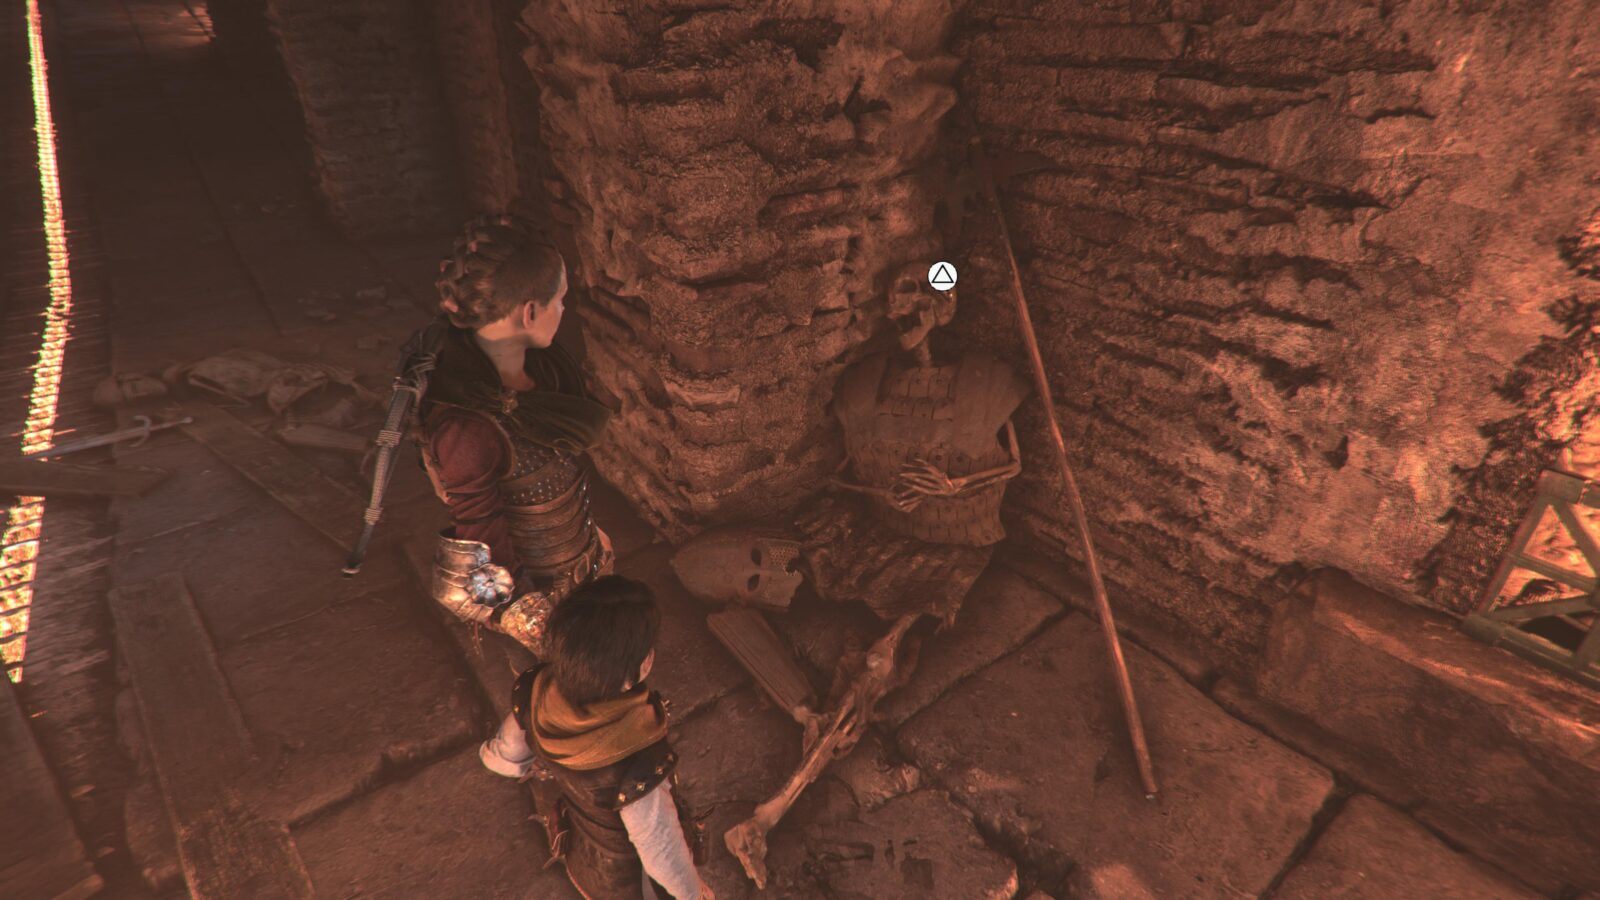
Pass through the gate and then immediately turn right to see a Skeleton with a Knife stuck in its face.
Continue on again now until you reach the “Defence System” Sub-Chapter.
Here, there’s a large puzzle in a huge chamber filled with moveable braziers.
Pull the brazier on the right towards you so that you can reach it.
Then, begin pushing it toward the lit bridge on the far side. When you reach the huge rock, stop and look to your right, where you’ll see a ledge and a chest.
Use Sophie’s prism on the brazier to reach the chest, and then jump down over the edge to the left of the chest.
Down there, interact with the table to trigger Souvenir Collectible 19/21.
Continue past the brazier puzzle and watch the upcoming cutscene about Aelia to enter the Sub-Chapter titled “Aelia,” where your objective is to “Open the gate” right in front of you.
Instead of doing that, turn around and look for a small doorway with a red ribbon on it to your left.

Send Hugo through the small hole next to the door, and he will open it for you.
Inside, on the table, you will find Souvenir Collectible 20/21.
Return to the previous room and solve the puzzle to open the large gate and proceed through another cutscene.
Here, there’s another large puzzle in which you must rebuild the bridge for your companions.
After raising the first bridge platform and crossing the rats to a Brazier next to some white ledges, climb the ledges and then shoot the buckle off the central chain to your left so that you can pass through.
At the other side, turn left immediately and walk to the end, where you will see another chain with a Secret Chest (9/10) beyond it.
Squeeze through to claim your prize. Don’t forget to grab Tool 28/34 from inside the chest!
Now, drop down to the brazier you need to push and begin slowly moving to the other side of the room.
After clearing an obstacle and returning to the cart, keep your eye out for a chest on your left. When you see it, get as close as you can and then use Tar on the Brazier to extend the light’s reach.
Quickly dash over to the chest and open it before the Tar’s effects wear off. Inside, you will find Tool 29/34!
There are now, thankfully, no more collectibles to look out for until you reach Chapter 13!
Chapter Thirteen: Nothing Left
| Souvenirs | 1 |
| Hugo’s Collection (Flowers/Feathers) | 1 |
| Knives | 1 |
| Secret Chests | 1 |
| Tools | 4 |
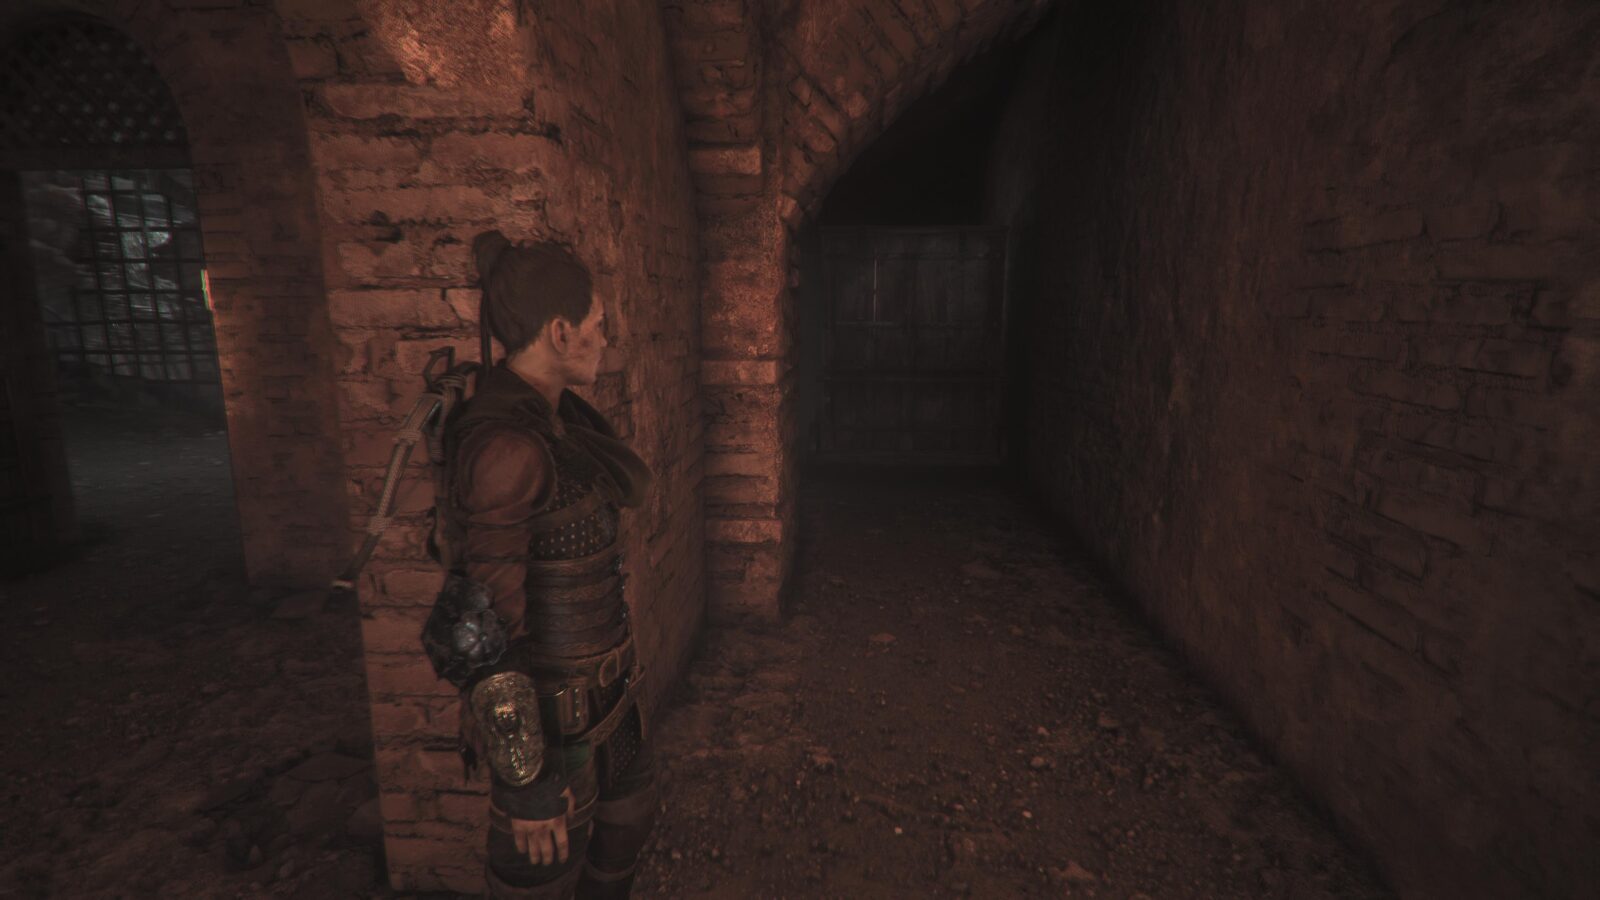
At the start of the chapter, you’ll have control of Amicia for a short moment before triggering another cutscene. Shortly after that, you will enter a room on your left.

In the new room, turn to your right, and you’ll see a doorway.

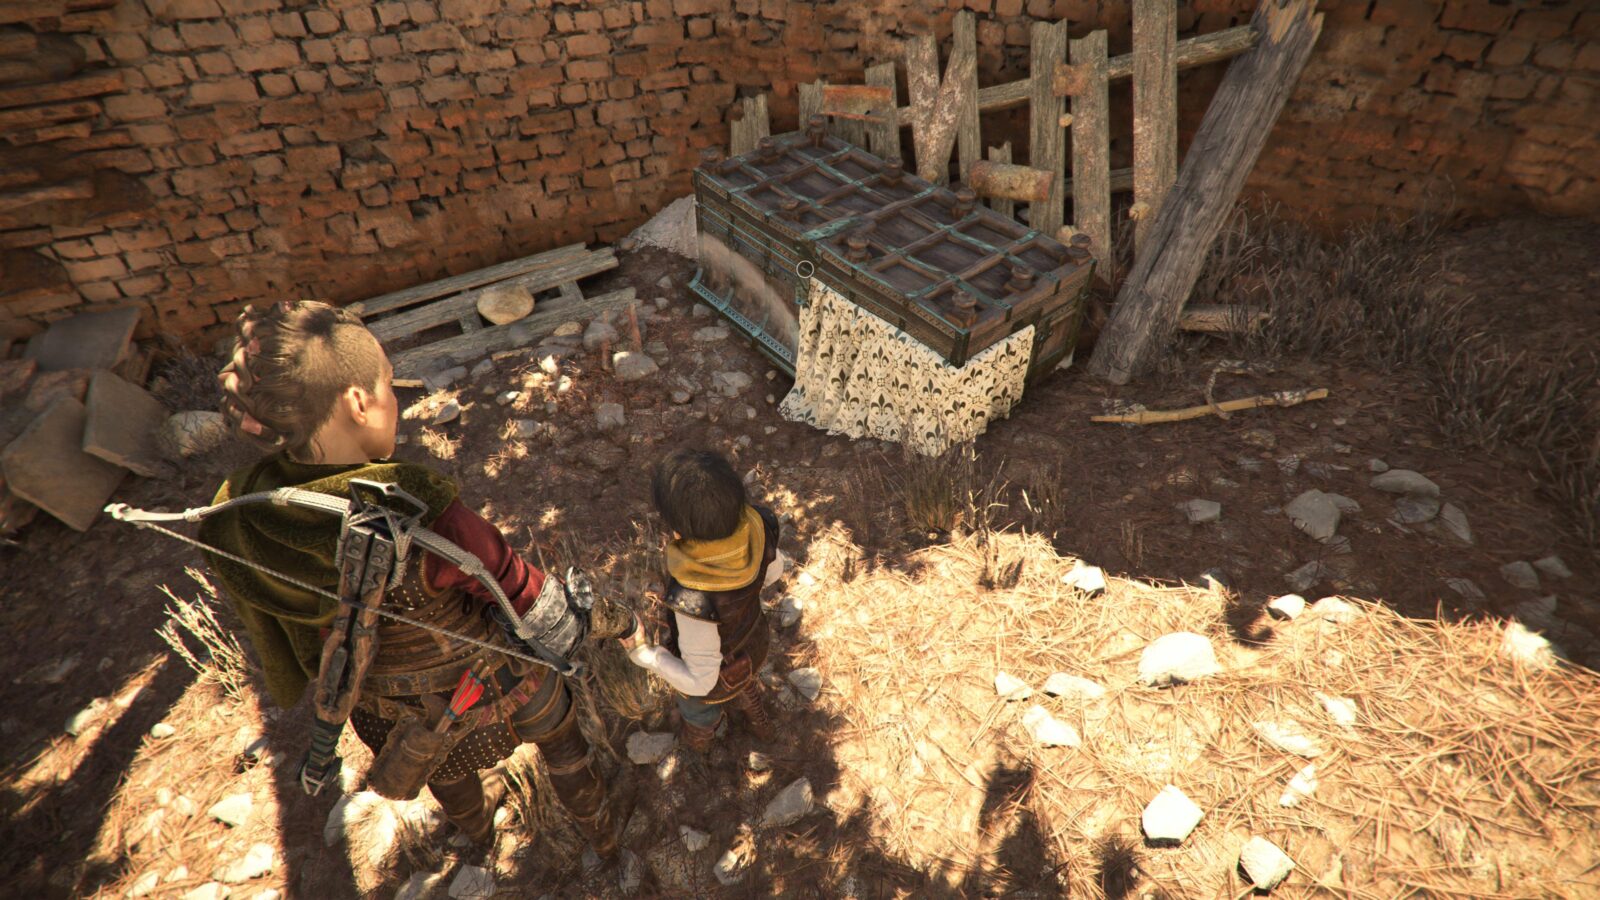
Go through it to find a chest containing Tool 30/34.

Return to the previous room and leave via the only other exit. Continue down a corridor into another open room.
In this room, look on the right side of the room for a lock that you can shoot off a door.
Enter the unlocked cell and pass through to the next hallway. There, you’ll see a cart that you can pull.
Pull it out of the way and then leave the cell again to see a new corridor that you’ve opened up by moving the cart. Head down the corridor and hop the fence.
Turn right to see another movable cart. Moving it out of the way reveals a small gap you can crouch into.
Inside, interact with the ![]() prompt on the table left of the entrance to acquire Souvenir Collectible 21/21!
prompt on the table left of the entrance to acquire Souvenir Collectible 21/21!

Once you’re back at surface level in the Sub-Chapter “Fresh Air,” with the objective to “Reach the port,” continue along until you reach a group of guards.
At the center of the area, near one of the large egg sacks where one of the shielded guards is patrolling, you will find a large chest that contains Tool 31/34.
In that same area, you will find an overturned cart on the ground in the far-left corner. That cart has a Knife sticking out of it.

Continue on a little way into a burning village with more guards. In this village, inside a church guarded by a small group of guards, you will find a Chest.

Approach and open it to collect Tool 32/34.
Continue on now, still in the “Ruined village” Sub-Chapter, until you reach a cart that you need to push to a white ledge opposite it.
Instead of doing that, though, look slightly to the left of the white ledge to see a different ledge you can also reach above the building you just exited from.
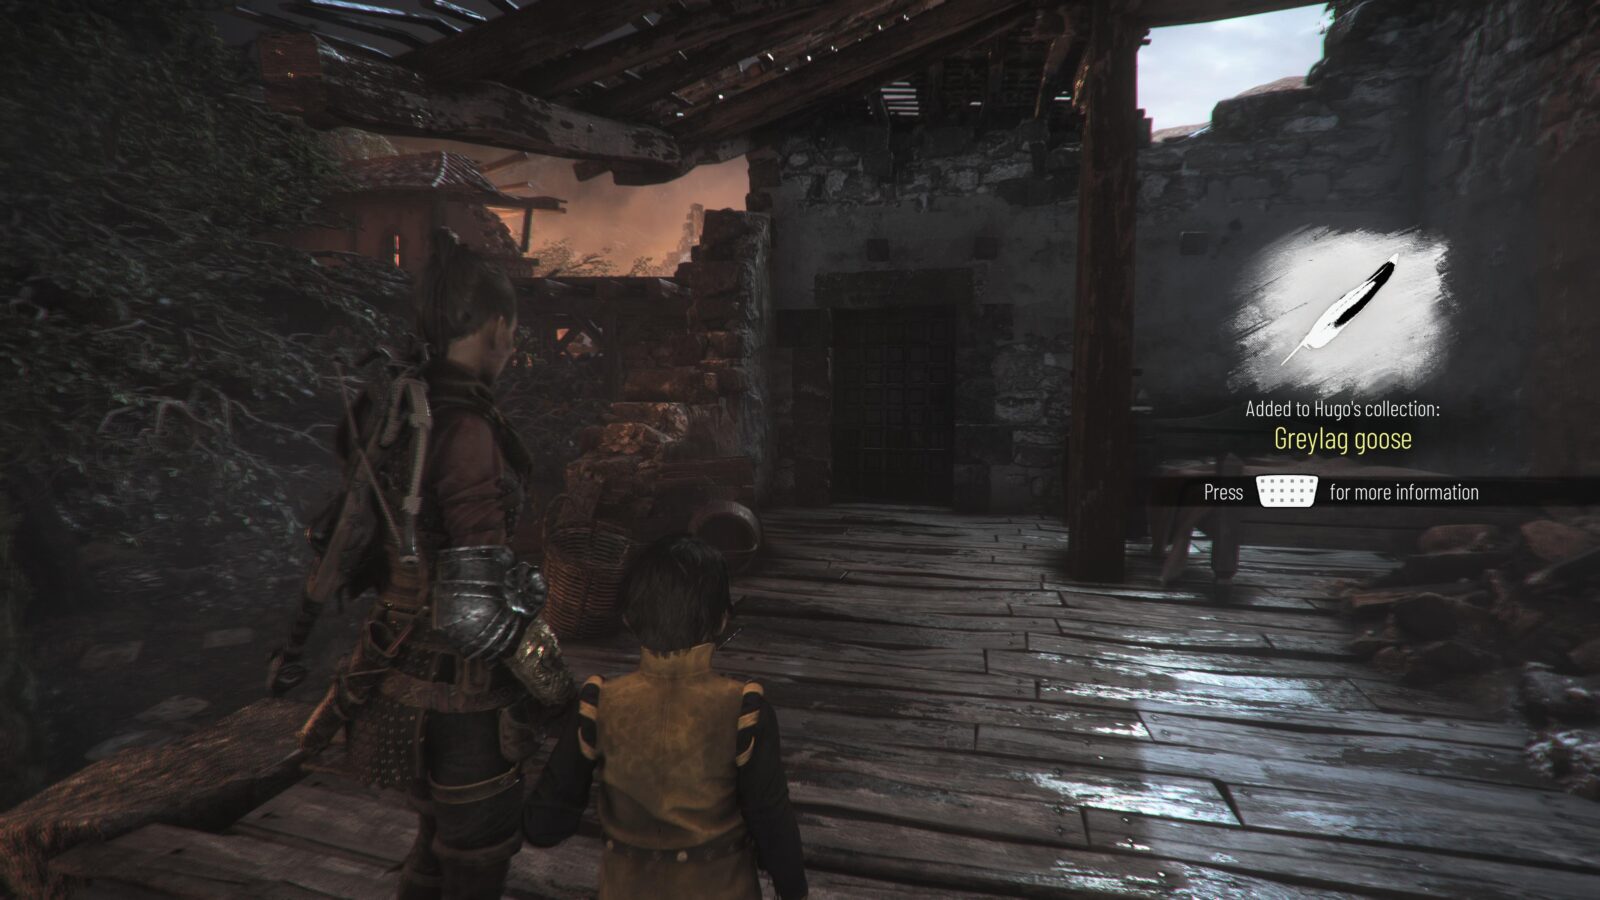
Push the cart over to that left-most ledge and clamber up. At the top, you will find the final Feather collectible on the ground. Collect it to add it to Hugo’s Collection (Feather 7/7 – Greylag Goose).

The final collectible in Chapter 13 is also close by. From the feather, turn to your right to see a doorway.
Head inside that room to find a Secret Chest (10/10) inside. Open it with a knife, and remember to grab Tool 33/34 from within!
Once again, there’s a long break without collectibles. Chapters 14 and 15 have no collectibles at all, so just enjoy the game and come back here to this guide when you reach Chapter Sixteen.
Chapter Sixteen: King Hugo
| Souvenirs | 0 |
| Hugo’s Collection (Flowers/Feathers) | 1 |
| Knives | 0 |
| Secret Chests | 0 |
| Tools | 1 |
The final two collectibles in A Plague Tale: Requiem can be found right near the start of Chapter 16.
To begin, head to the crumbled building directly in front of you and go inside. There, you’ll find a Workbench with a chest containing Tool 34/34 right next to it.
Continue along the main route again a short distance until Lucas stops to inspect some flowers. Inspect the flowers with ![]() to collect Flower 5/5 for Hugo’s Collection, a Carnation.
to collect Flower 5/5 for Hugo’s Collection, a Carnation.

That concludes our A Plague Tale: Requiem Collectible Locations Guide, as there are no more collectibles in the remainder of Chapter Sixteen or beyond.
If you missed any, you should be able to use Chapter Select to revisit Sub-Chapters and recover the missed items.
Thank you for choosing PlatGet as your source for A Plague Tale: Requiem Collectible Locations Guide. Consider checking out our other guides!
Follow us on Twitter @GetPlat or Instagram @platget for updates on new reviews and guides, as well as small anecdotes about our platinum journeys.