PlayStation 5
Forspoken Trophy Guide


General Info
FAQ
How long does it take to beat Forspoken and unlock all trophies?
40-50 Hours.
How difficult is it to beat Forspoken and unlock all trophies?
Easy (3/10).
Does Forspoken have online trophies?
No.
Does Forspoken have difficulty-specific trophies?
No.
Does Forspoken have missable trophies?
No.
Does Forspoken have glitched trophies?
No.
What is the minimum number of playthroughs required to unlock all trophies in Forspoken?
One.
Does Forspoken have a Platinum Trophy?
Yes.
Other Useful Guides:
How to Craft Frey’s Original Equipment in Forspoken
Trophy Guide
Forspoken Trophy Guide and Road Map for PlayStation 5
Welcome to our Forspoken Trophy Guide. Forspoken is an open-world Fantasy RPG with similar gameplay to more modern Final Fantasy titles. The blend of fast-paced magic parkour and over 100 element-based magic spells provides a somewhat unique and occasionally-intense gameplay experience.
The trophy journey is pleasant and straightforward for the most part. Though there are plenty of collectibles and side activities that you will need to spare time for, everything is clearly marked on the in-game map as you defog it. This means no need for collectible guides or maps or anything like that, everything you’ll need is in-game!
The only really arduous trophy is Above and Beyond which requires you to complete 105 Spellcraft Challenges. This is no small feat and you’ll likely find yourself still chipping away at them once everything else is done.
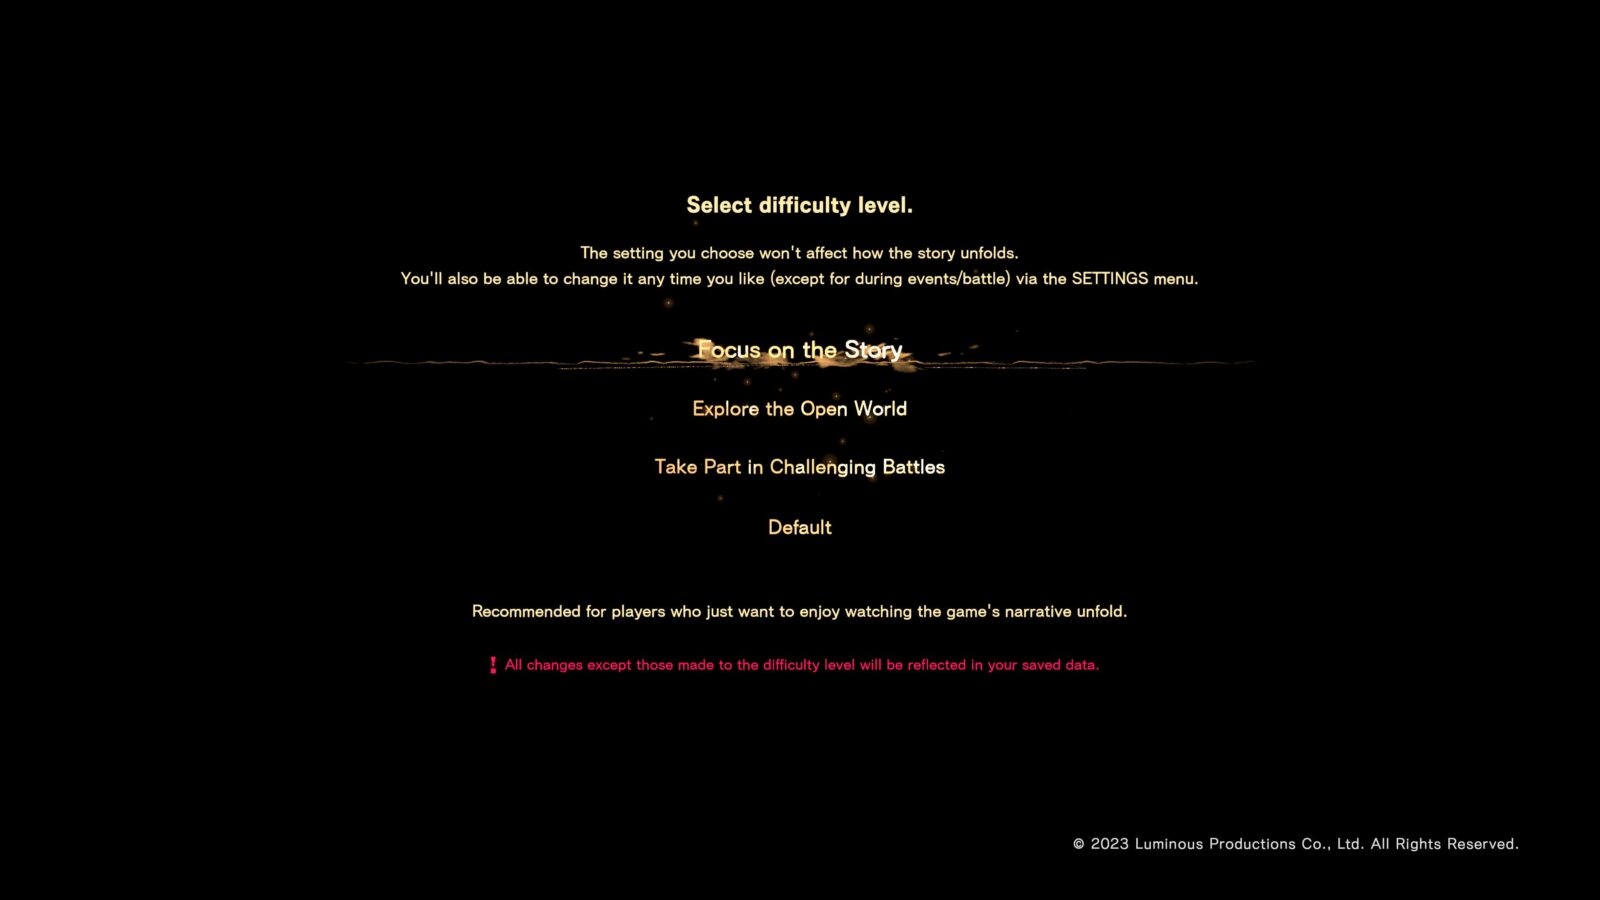
Fortunately, nothing is missable and the developers have actually been very lenient with some of the trophy requirements to ensure you don’t get locked out of any by progressing the story. On top of that, you can play on any difficulty you like with no repercussions to worry about!
Phase One | Complete Story Objectives, Optional Events, and Optional Detours
Your main objective during this first phase of our Forspoken Trophy Guide should be to focus on the story and completing story-related events. However, throughout the game, you will also see various Detours and Events pop up on your map in the form of yellow icons.
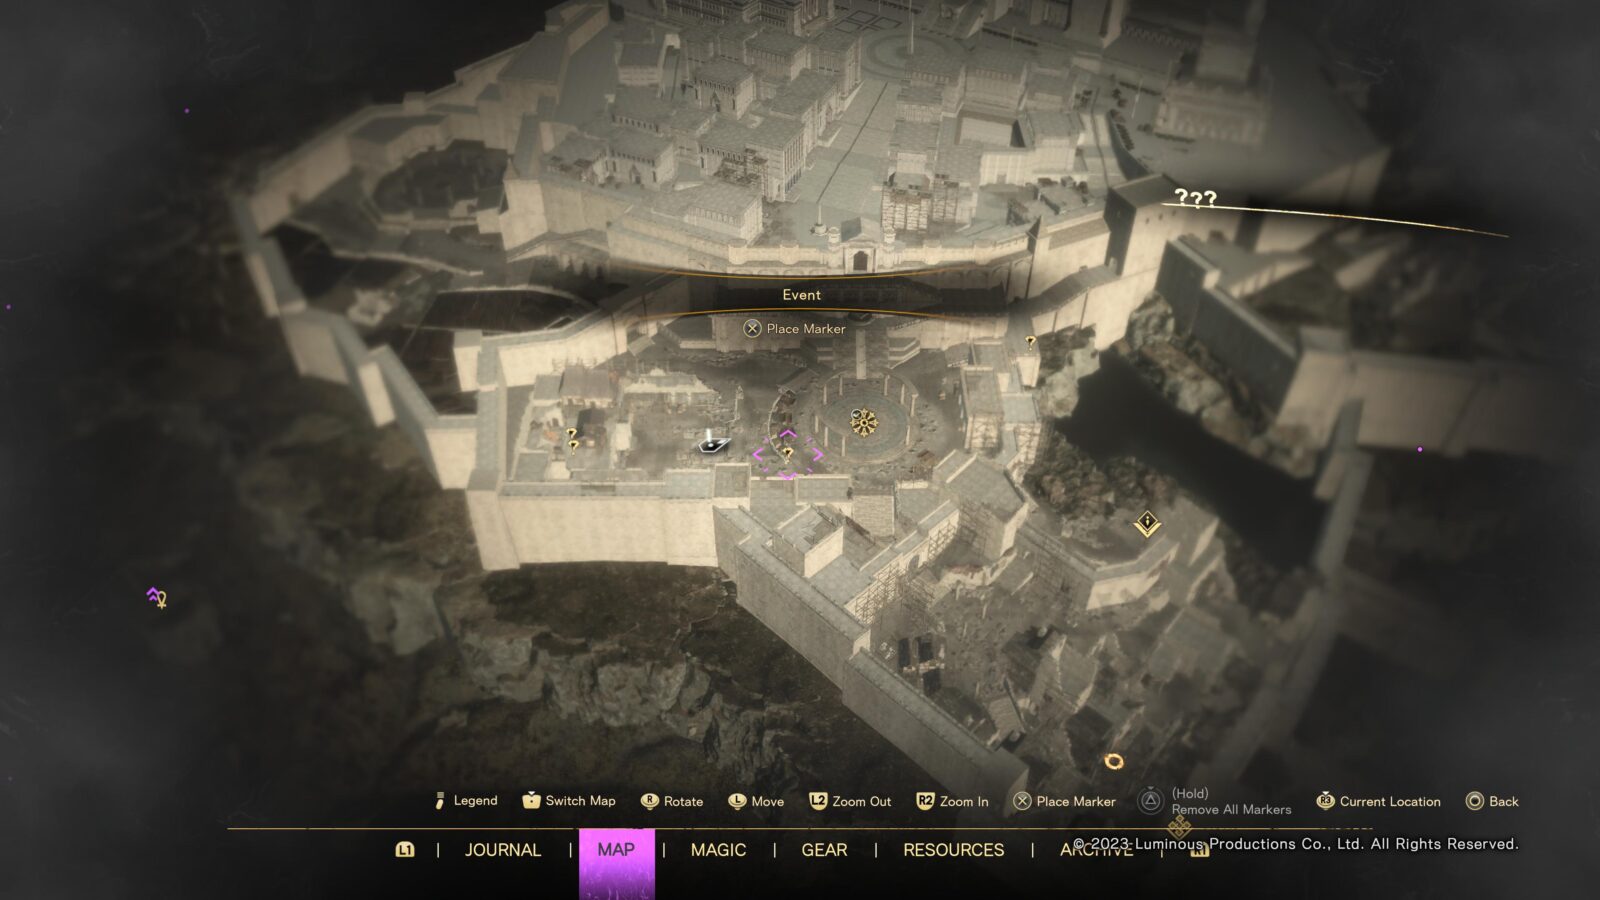
These Side Activities (Detours & Events) will give you progress towards completing your Archive, which you will need to fill to at least 80%. Therefore, you can safely miss 20% of most Side Activities and still earn the trophy. However, to be on the safe side and reduce cleanup dramatically, you should complete Detours and Events as and when they become available.
This is because some of the Side Activities can become locked or unavailable as you progress through the story, making it difficult to clean them up in the post-game. Each time you reach the end of a Chapter, the game will warn you via a pop-up notification that you’re entering the next part of Frey’s Journey. This is a good point to check the map for Events or Detours you’ve not yet completed.
Everything else is optional, and you can clean it up later. I do recommend doing side activities as you come across them while exploring, thus making the clean-up at the end less of a chore, but it’s ultimately up to you how you wish to play.
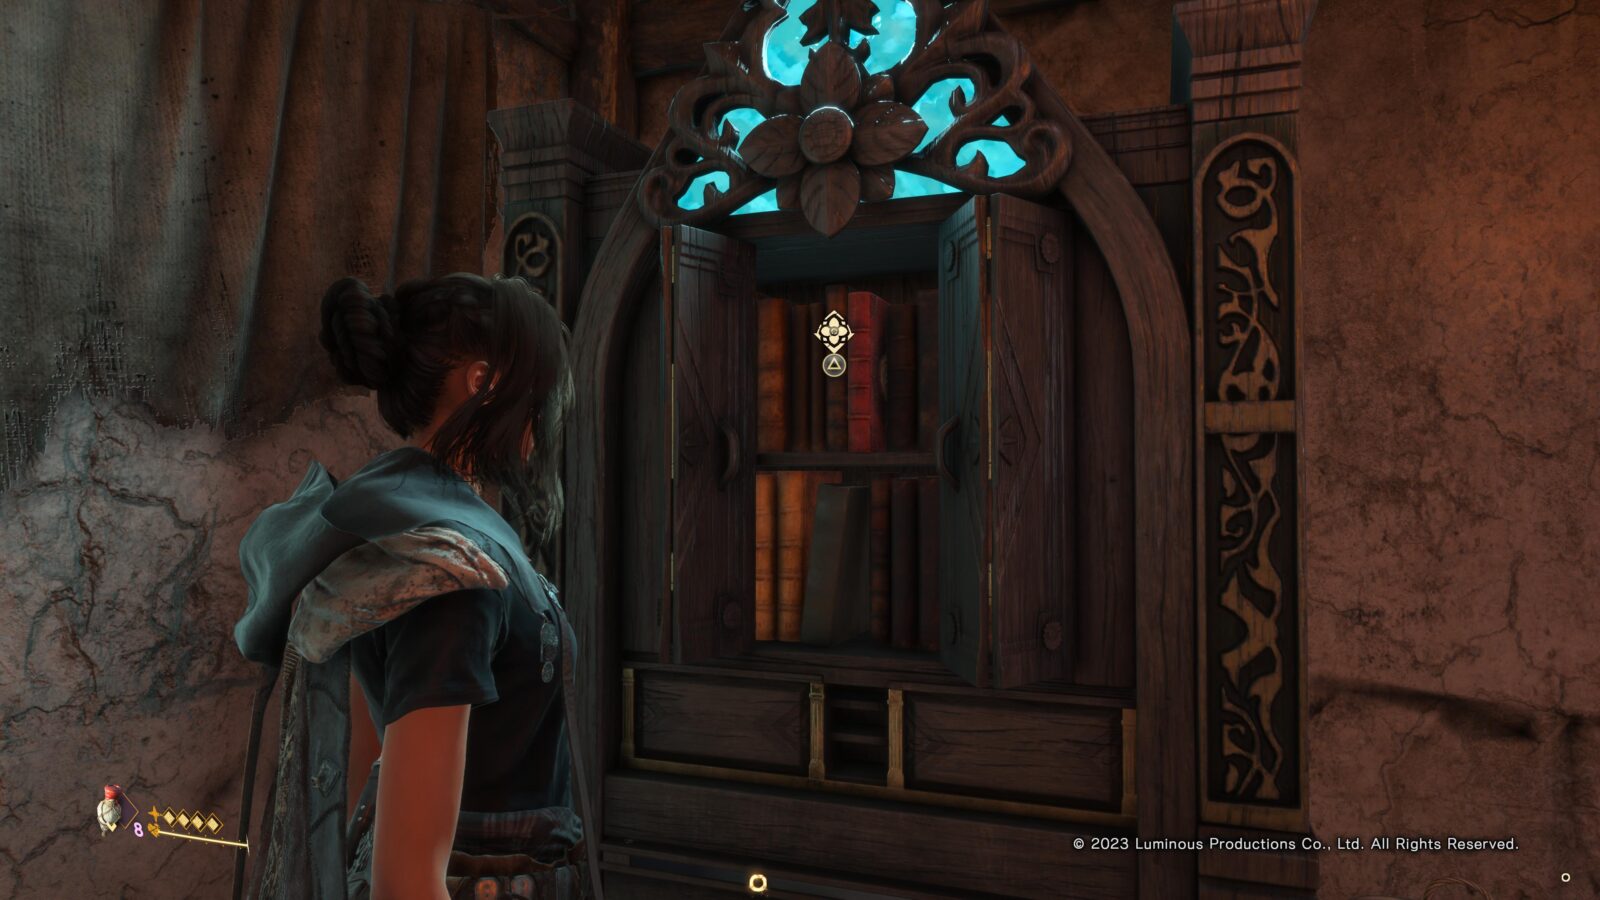
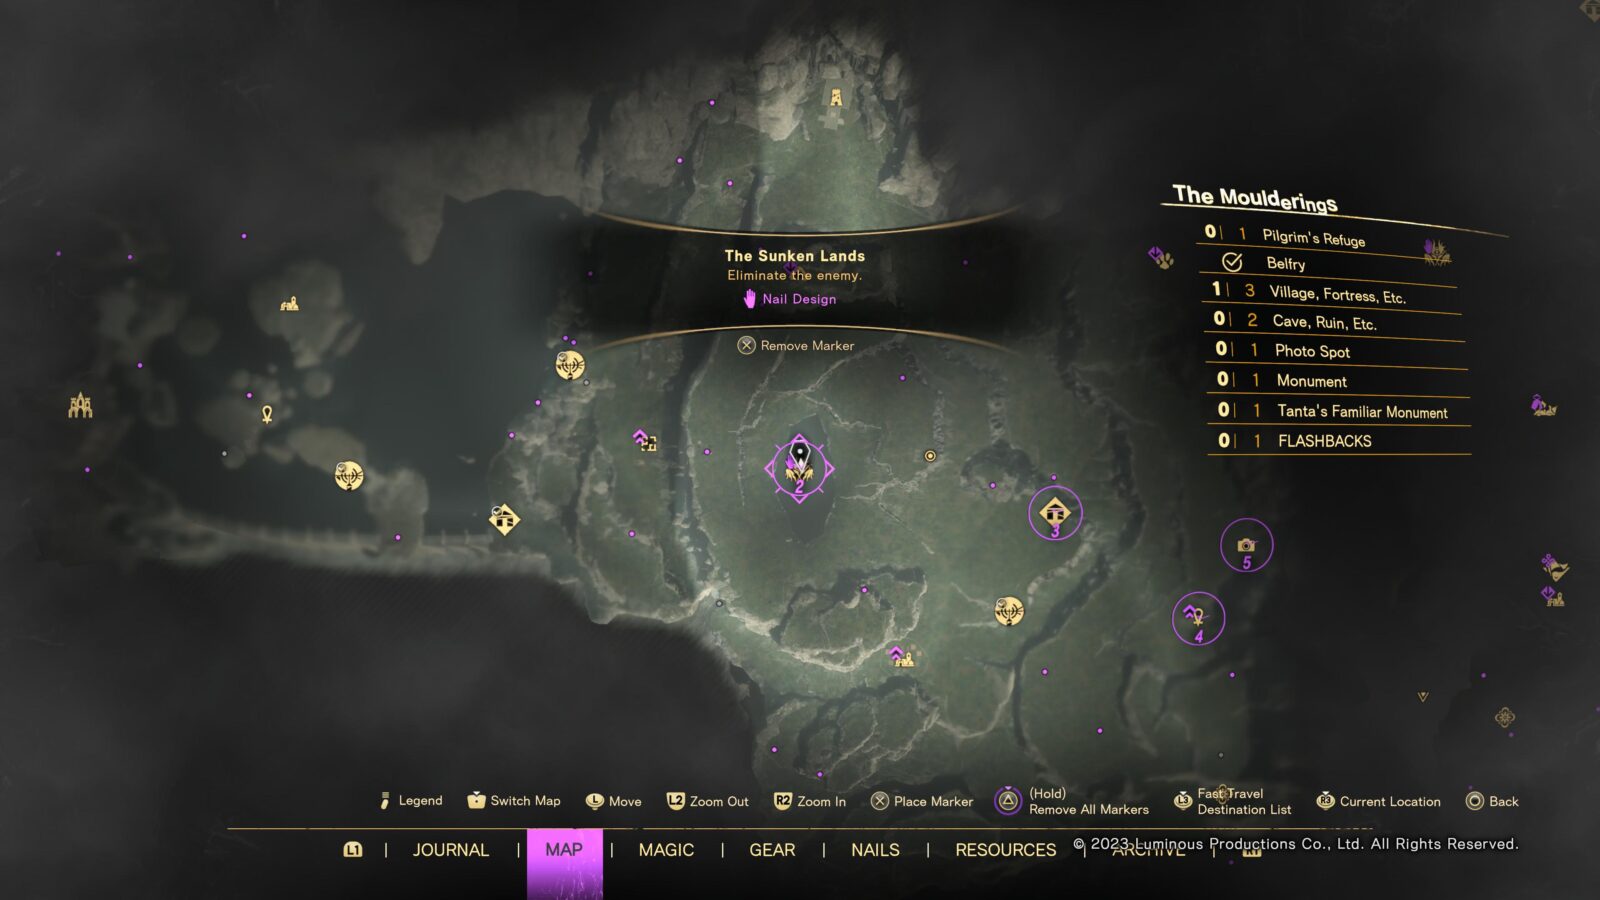
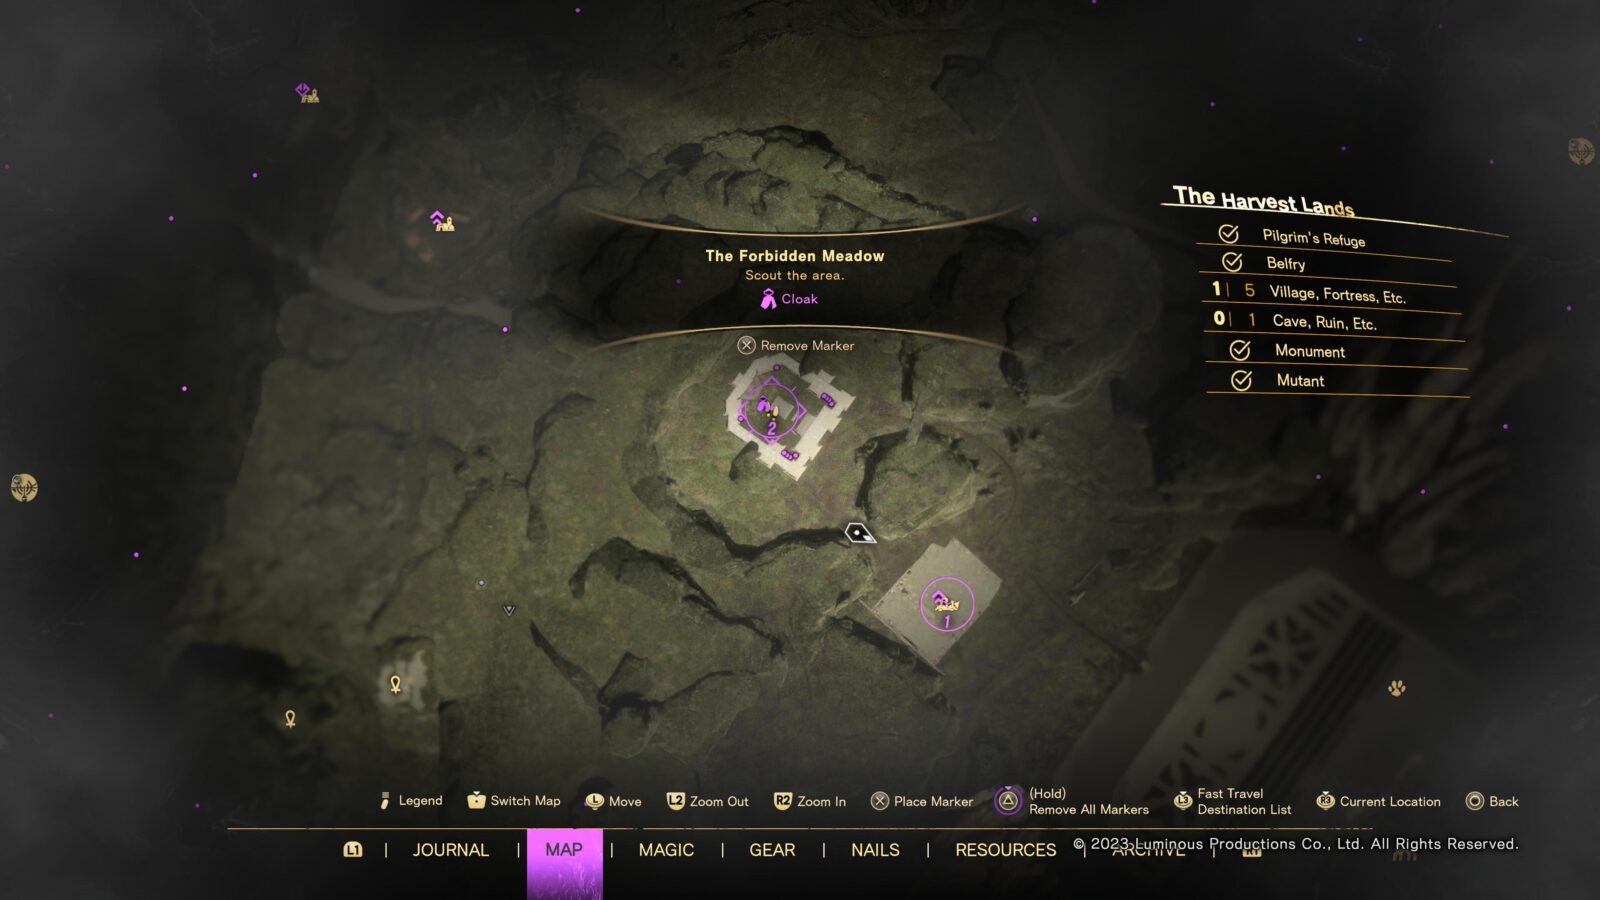
One thing that I must strongly recommend you do—in order to ease future cleanup—is to visit any Belfries or Refuges you come across. These can be fast-traveled to later, making cleanup much quicker. Pressing ![]() at a Belfry will tag all surrounding Side Activities on your map for later! And while visiting refuges, you could also check for and complete new Spellcraft Challenges from the bookshelves there, which will also aid with extraditing cleanup.
at a Belfry will tag all surrounding Side Activities on your map for later! And while visiting refuges, you could also check for and complete new Spellcraft Challenges from the bookshelves there, which will also aid with extraditing cleanup.
Don’t worry about anything being missable, as you can resume the game and explore its open world after the post-credit cutscene. There’s technically a post-game “Chapter 13.”
Unmissable Story Trophies

Attachments
Acquire a mysterious golden bracelet.
You will acquire the “Attachments” trophy unavoidably at the end of the first Story Chapter.

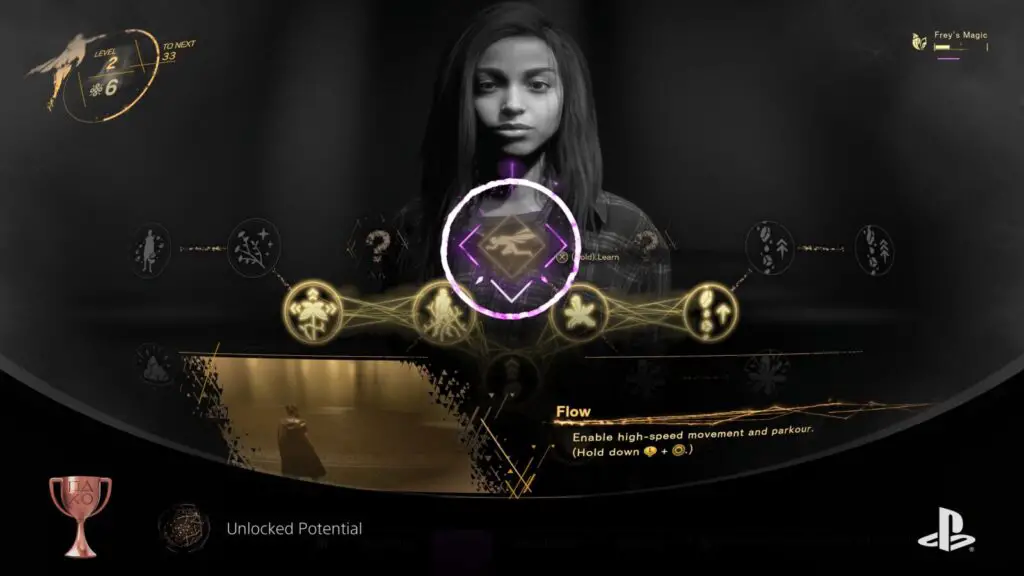
Unlocked Potential
Spend mana to learn a spell for the first time.
The “Unlocked Potential” trophy will be acquired when you purchase a new spell for the first time. This is actually unavoidable as a tutorial in the second Chapter will request that you purchase a new spell using mana in an effort to teach you how it works.

Stuck
Journey through a beautiful yet deadly other world.
You will acquire the “Stuck” trophy unavoidably at the end of the second Story Chapter.

The Interloper
Swear vengeance on a deadly foe.
You will acquire the “Interloper” trophy unavoidably at the end of the third Story Chapter.

What Must Be Done
Survive a nightmarish ordeal.
You will acquire the “What Must Be Done” trophy unavoidably at the end of the fourth Story Chapter.
Might and Main
Emerge victorious from a showdown in a great fortress.
You will acquire the “Might and Main” trophy unavoidably at the end of the fifth Story Chapter.

Damned If You Do...
Taste the sweetness of peace and the bitterness of disaster.
You will acquire the “Damned If You Do…” trophy unavoidably at the end of the sixth Story Chapter.

The Hue of Blue
Submit yourself to otherworldly justice.
You will acquire the “Damned If You Do…” trophy unavoidably at the end of the seventh Story Chapter.

The Truth Will Out
Emerge victorious from a trial to end all trials.
You will acquire the “The Truth Will Out” trophy unavoidably at the end of the eighth Story Chapter.

Breaking Point
Learn a hard truth, and accept a harder one.
You will acquire the “Breaking Point” trophy unavoidably at the end of the ninth Story Chapter.

None the Wiser
Emerge victorious from a conflict in a twisted reality.
You will acquire the “None the Wiser” trophy unavoidably at the end of the tenth Story Chapter.

Forspoken
Hold the fate of a world in your hands.
You will acquire the “Forspoken” trophy unavoidably at the end of the eleventh Story Chapter.

Awakening
Lay waste to a great evil for the sake of humankind.
You will acquire the “Awakening ” trophy unavoidably at the end of the twelfth Story Chapter.
Phase Two | Collectibles and Archive Cleanup
With the story complete, we now shift focus in this second Phase of our Forspoken Trophy Guide to the various side-activities that have fought for your attention up to this point.
The length of this phase can vary depending on how much exploration you did during the story, but there are some parts of the map that the story never would have taken you. Plus, with access to all four Tanta Powers, there will be a lot of places you couldn’t have even reached prior to now.
You don’t exactly need to do absolutely everything, but it wouldn’t hurt, to be honest. By just completing everything, you’re guaranteeing yourself many of the trophies in this phase without having to overcomplicate things by being picky. Plus you’ll net a lot of Mana to buy spells with!
Regardless, a little direction doesn’t hurt either. Below are the only types of Side-Activity that you absolutely must complete if you hope to have a chance at the Forspoken Platinum Trophy:
- Abominations (4 total)
- Flashbacks (20 total)
- Founts of Blessing (12 total)
- Monuments (only 50/54 needed)
- Photo Spots (50 total)
- Tanta’s Familiars (20 total)
- Points of Interest with Equipment Pieces*
*To expand on that last point, you will need to complete quite a lot of the game’s “Points of Interest.” Some of these will award you Pieces of Equipment and you actually need to find and retrieve all 25 Cloaks, 15 Necklaces, and 30 Nail designs.

As a result, you will need to complete any point of interest that have these pieces of Gear as a reward. Fortunately, such locations are clearly marked. A purple icon next to a Point of Interest’s gold icon will show you what the reward will be. You’ll need to complete all Points of Interest with a Cloak, Necklace, or Hand icon next to it.
This will mean completing roughly 70 Points of Interest. There is actually a trophy that asks that you complete a total of 100 Points of Interest. So, I recommend getting all of the equipment first and then just completing around 30 more randomly-selected Points of Interest to finish up.
The below Side Activities are all considered “Points of Interest”:
- Bridges
- Caves
- Cognoscents’ Guilds
- Fortresses
- Locked Labyrinths
- Relics of the Tantas
- Ruins
- Tanta Gates
- Traces
- Villages
The only types of Side Activities that you will not need to complete for any trophy are Belfries, Pilgrim’s Refuges, and Mutants. However, as I’ve stated before, Refuges and Belfries are key to speeding up the cleanup process thanks to them becoming Fast Travel locations upon discovery.
Remember, whenever you find yourself at a Refuge, it’s wise to check for any Spellcraft Challenges you can take on from the bookshelf near the bed. There are 105 in total and you will need to complete them all in the next and final phase of this Forspoken Trophy Guide, so be sure to continue progressing these as you play.
Lastly, you will see literally hundreds of little purple dots on the world map. These are Chests and you don’t actually need to open any of them. However, you should open any that you happen across at first. This is because they sometimes hold Old Coins and you will need to gather a total of 64 Old Coins. After that, though, you can stop opening Chests if you wish.
Side-Story Trophies

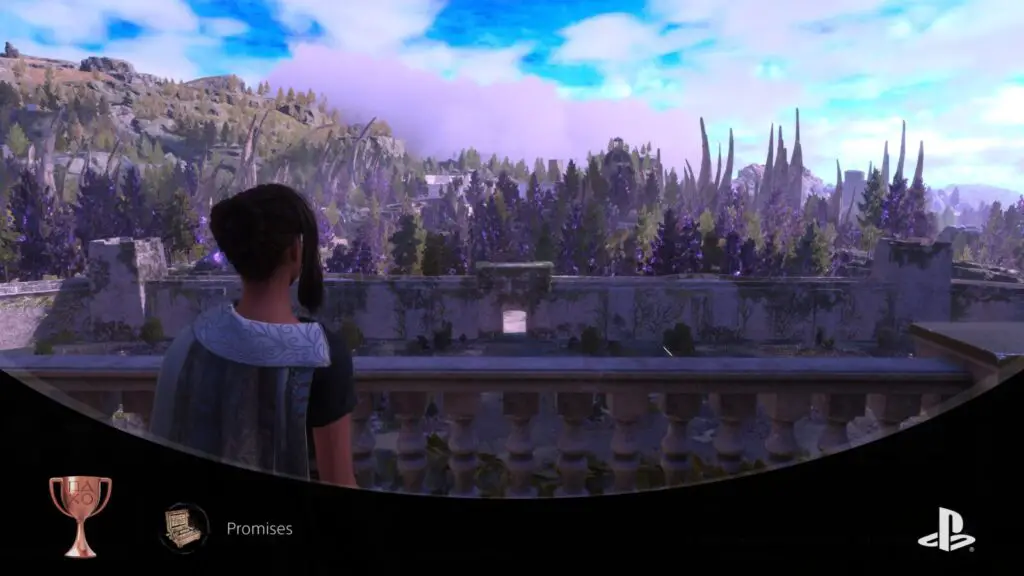
Promises
Make a promise to someone very special.
After completing the Story’s 12 Chapters, go and speak to Johedy in Cipal. This will start a Detour Side-Quest called “Lost Lullabies.” Follow the objective markers for this detour until it is complete. Once done, the “Promises” trophy will unlock and you’ll have a better understanding of Frey’s past.

Rebirth
See to the needs of the people of Cipal.
After you have completed the story’s 12 Chapters, you will find Pilo in Cipal, desperate to give Frey a tour of Cipal following the story’s events. Speak to him and accept his offer to begin the Detour.
Eventually, your tour of the city comes to an abrupt end as Pilo is inundated with requests from the townsfolk. It’s at this point that the Detour takes a Detour as you’re asked to complete the requests of the three citizens lined up. One needs cat food, the other flowers, and the last NPC needs Bench Parts.
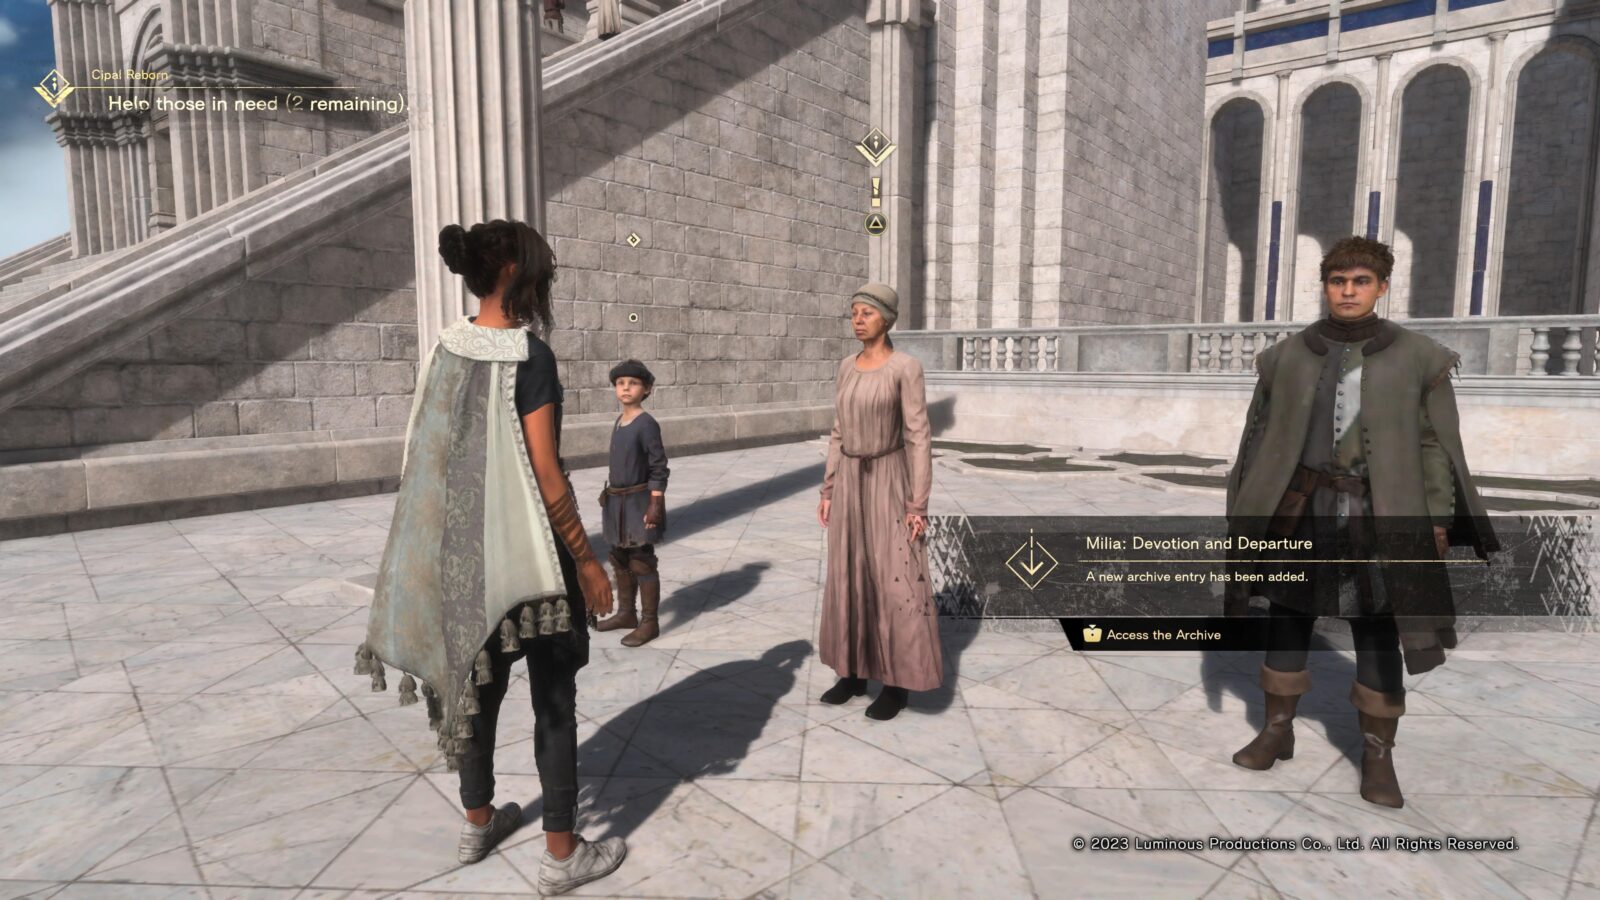
Each of these requests is fully tracked on the map, so just head to the waypoints and complete the objectives until all three citizens’ requests have been taken care of.
You will return to Cipal and celebrate your success by dancing with Pilo, after which the “Rebirth” trophy will unlock!
Moves
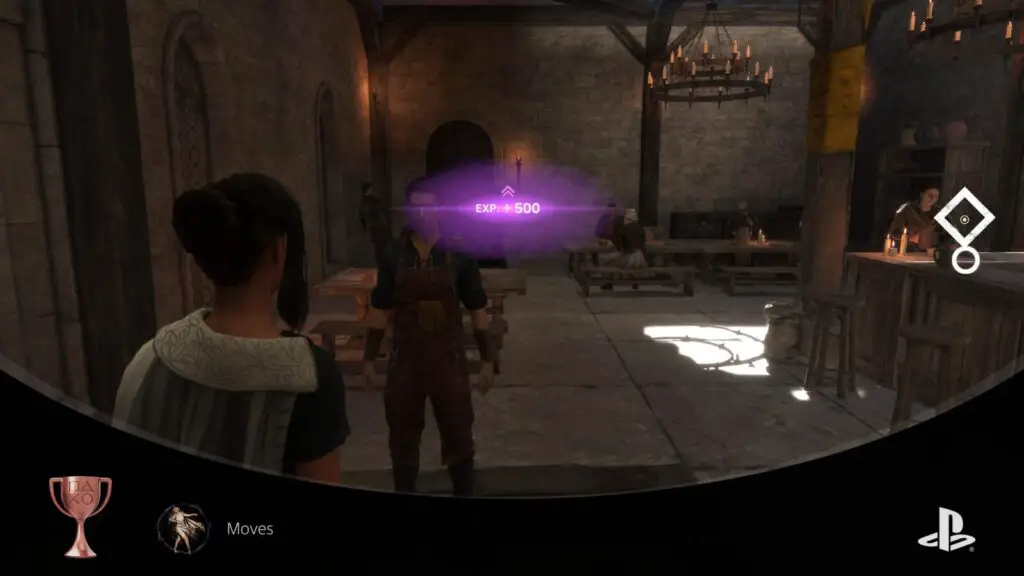
Earn the praise of the mighty Pilo with your dancing.
After unlocking the Rebirth trophy following another dance with Pilo, you can challenge him to another dance at any time inside Cipal’s tavern. Speak to him, ask him to dance, and then enter the on-screen button prompts with the correct timing to impress Pilo, completing the “Dancing in Cipal: Encore” Detour.
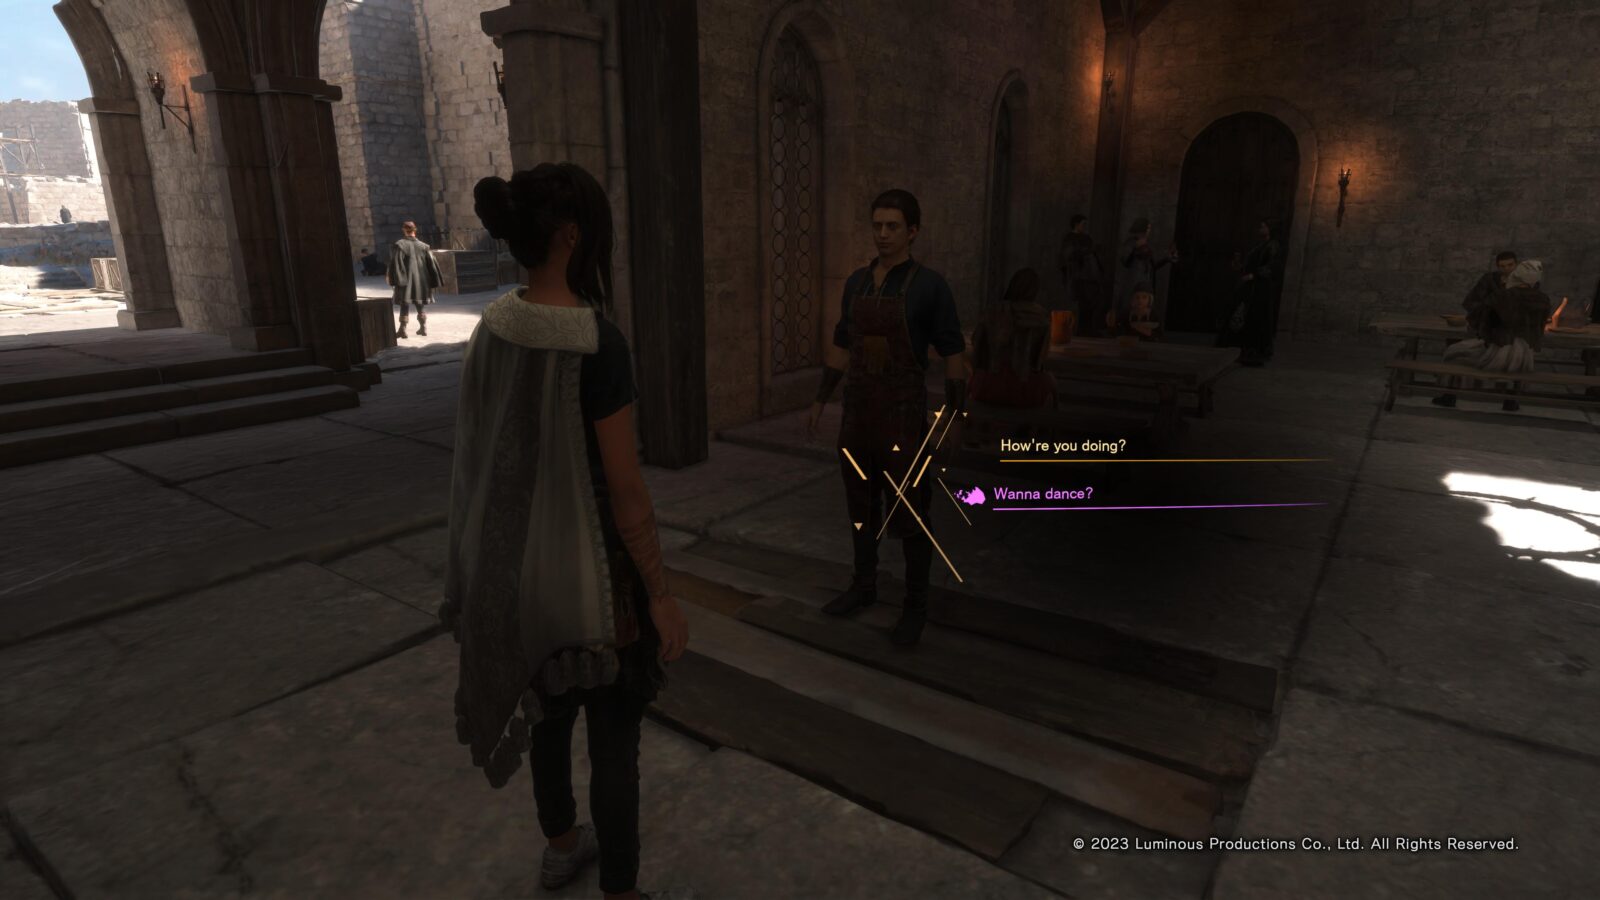
If you fail a button prompt, you may simply speak to Pilo again for another attempt. After completing that Detour, you can ask Pilo to dance again to begin the “Dancing in Cipal: Finale” Detour. This version of the dancing minigame is much more difficult than before and you’ll need to be very quick on the button presses to get them out in time. It could require quite a bit of practice on your part.
If you successfully complete the “Dancing in Cipal: Finale” Detour, the “Moves” trophy will unlock.

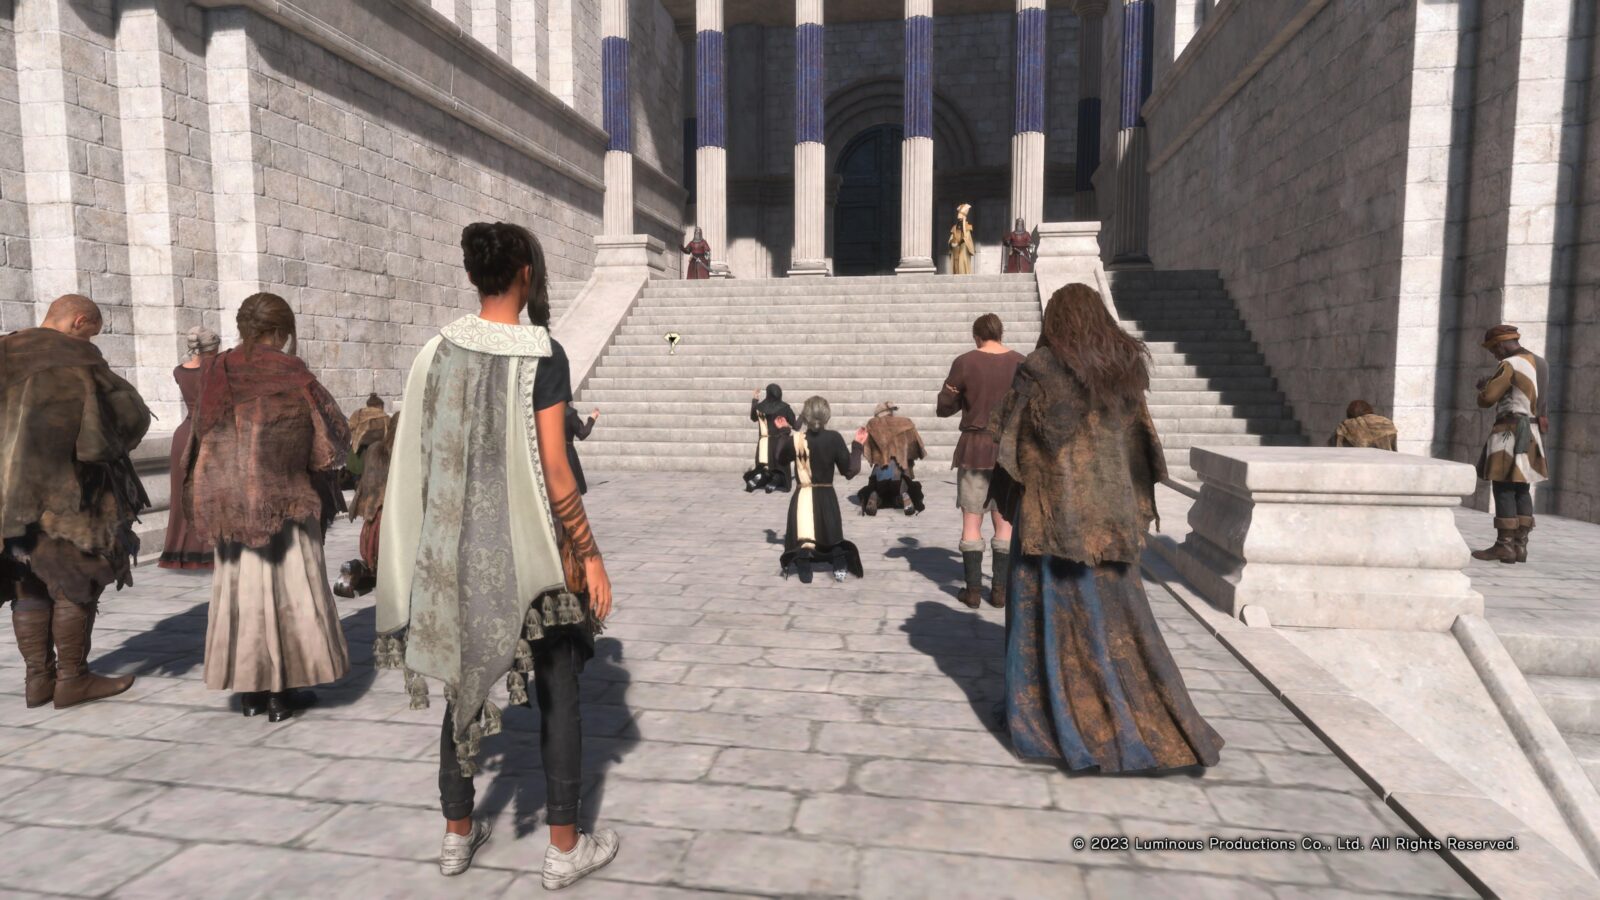
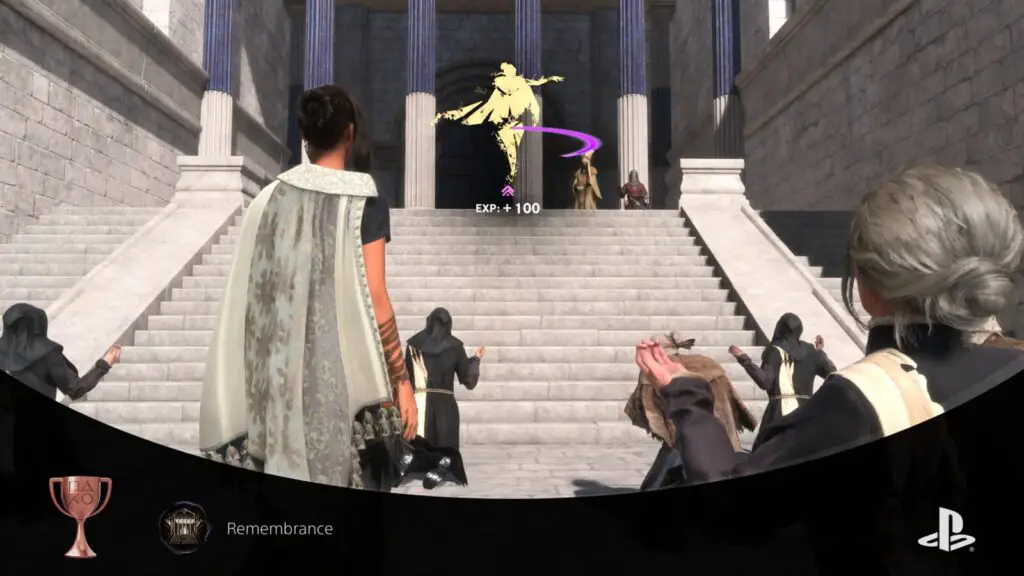
Remembrance
Say a complete set of remembrances to the departed.
Each time a character close to Frey dies, you can visit the Event on the stairs at the north-most building in Cipal and say a prayer for them.
There are four Characters that you can do this for in total, which you can see inside the spoiler element below.
Spoilers! Click to Show
The characters for whom you will need to pray are Olevia, Robian, The Tantas, and Cinta.
You can pray for Olevia, Robian, and the Tantas by simply completing the story. However, before you can pray for Cinta, you must unlock the Promises trophy.
Once you have said a prayed at least once for each of the four characters, the “Remembrance” trophy will unlock.

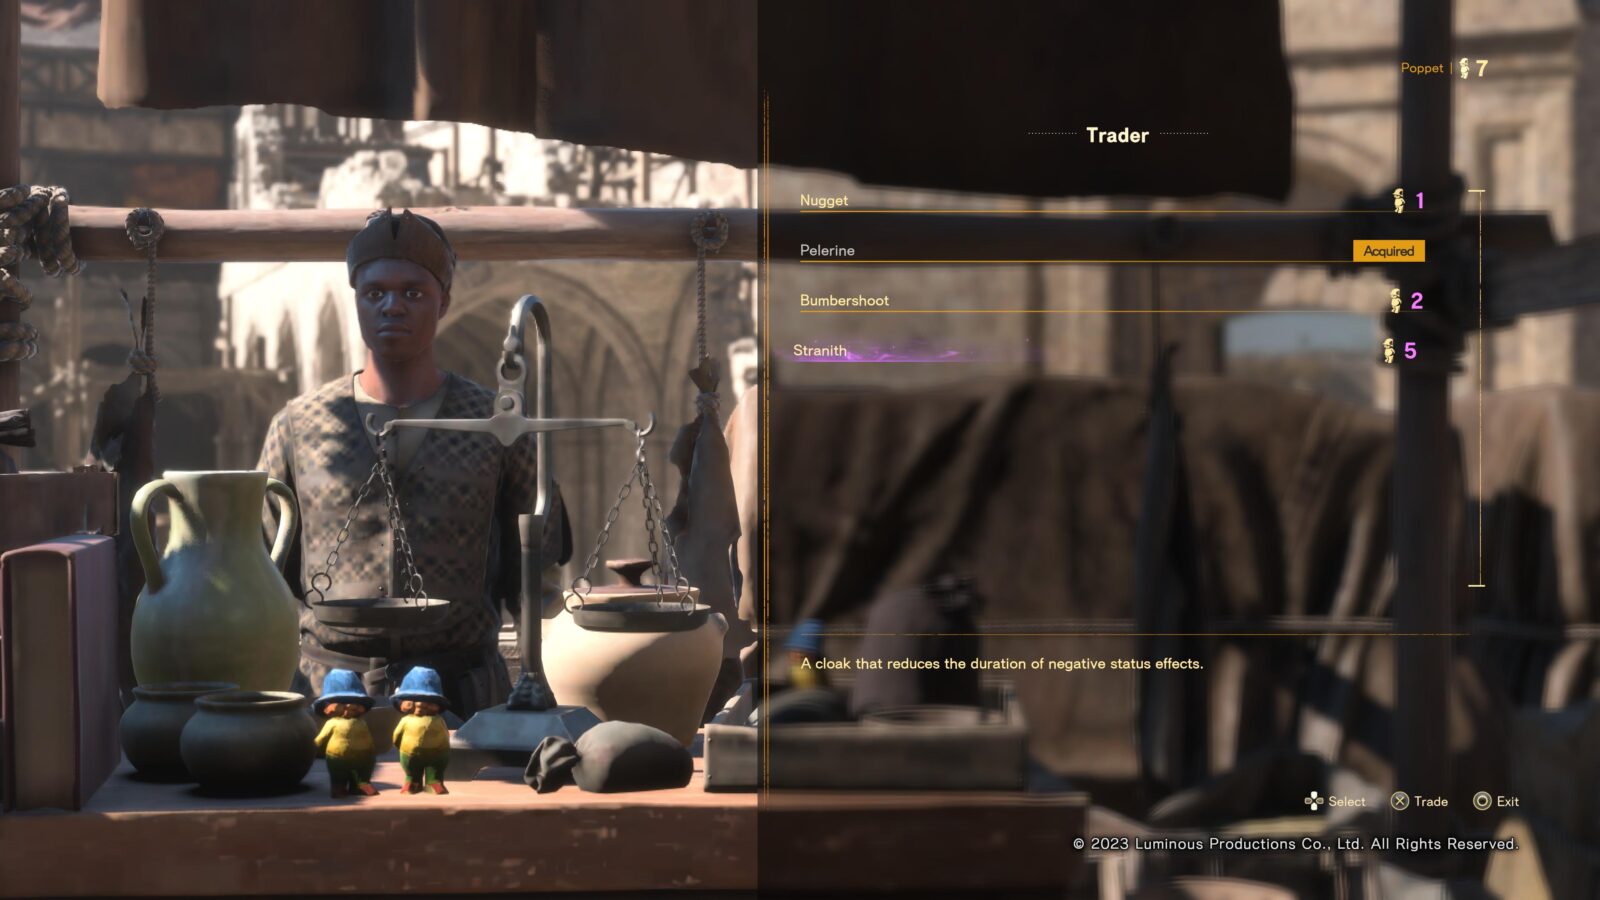
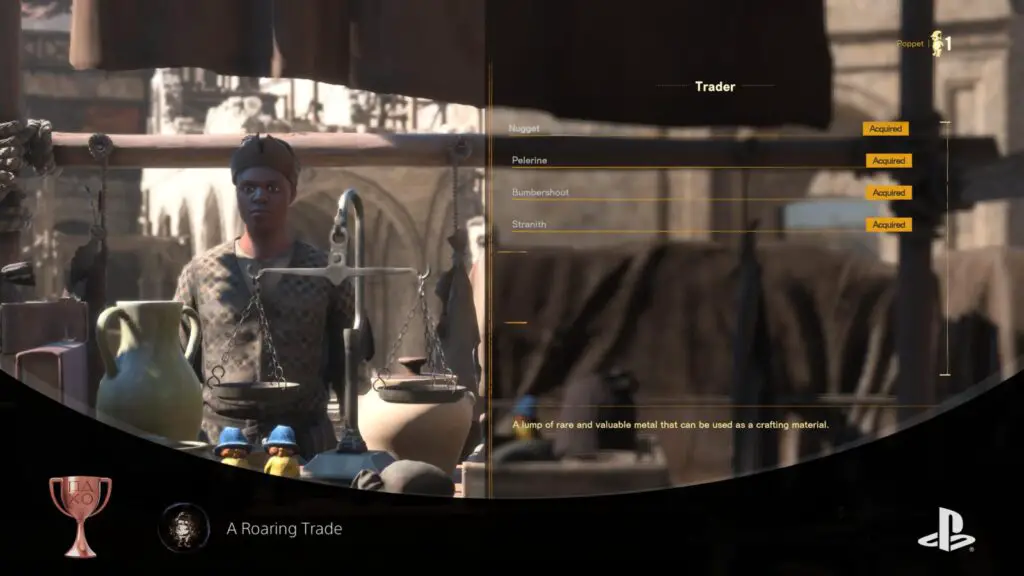
A Roaring Trade
Trade poppets for all available items.
Next to the Town Plaza in Cipal, there’s a merchant at a stall who trades items in exchange for “Poppet” figurines. To unlock the “A Roaring Trade” trophy, you must purchase all four of his items by using all 9 Poppets that you can find.
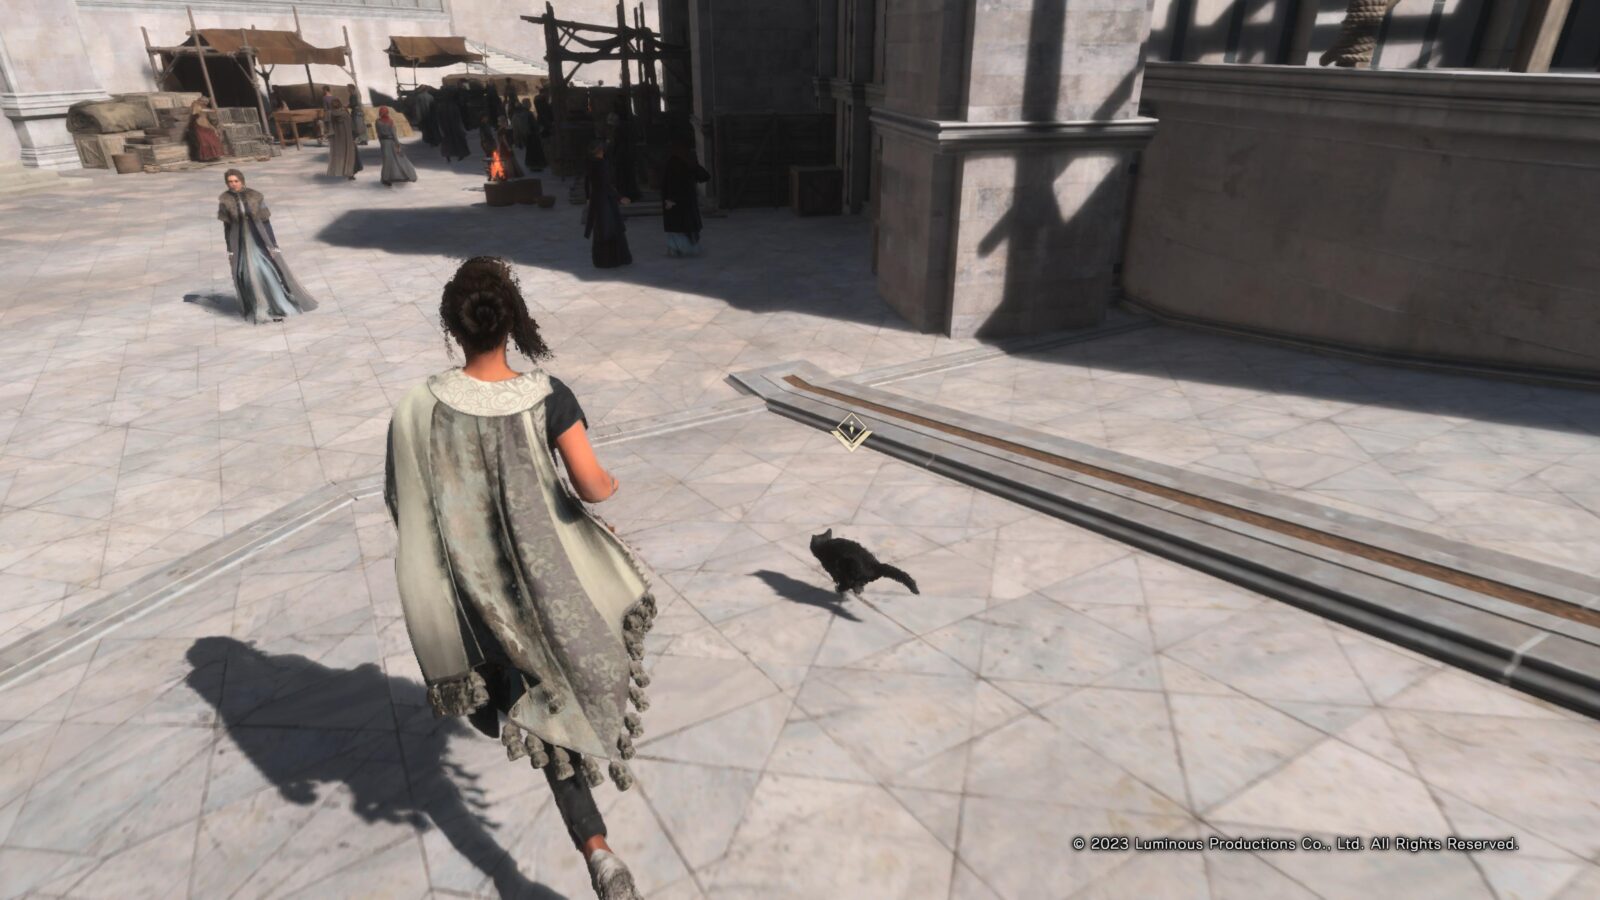
Each Poppet comes from a Detour in Cipal and all 9 relevant Detours will involve chasing a cat through the streets of Cipal to find the Poppet in a small item bag at each Cat’s final destination.
Once you have all 9, return to the Tradesman and exchange all four items to retrieve your trophy.
Collectible Trophies

Pilgrimage: Initiate
Visit your first monument.
You will unlock the “Pilgrimage: Initiate” trophy upon activating a Monument for the first time. There are 54 Monuments in Forspoken, but you will need to find a total of 50 at most, for the Pilgrimage: Adept trophy.
When you arrive at a Monument, it will be covered in “Break.” Destroy the corruption with your magic ![]() and then interact with the monument to complete it and receive a buff.
and then interact with the monument to complete it and receive a buff.

Pilgrimage: Novice
Visit twenty monuments.
You will unlock the “Pilgrimage: Novice” trophy upon activating a Monument for the twentieth time. There are 54 Monuments in Forspoken, but you will need to find a total of 50 at most, for the Pilgrimage: Adept trophy.

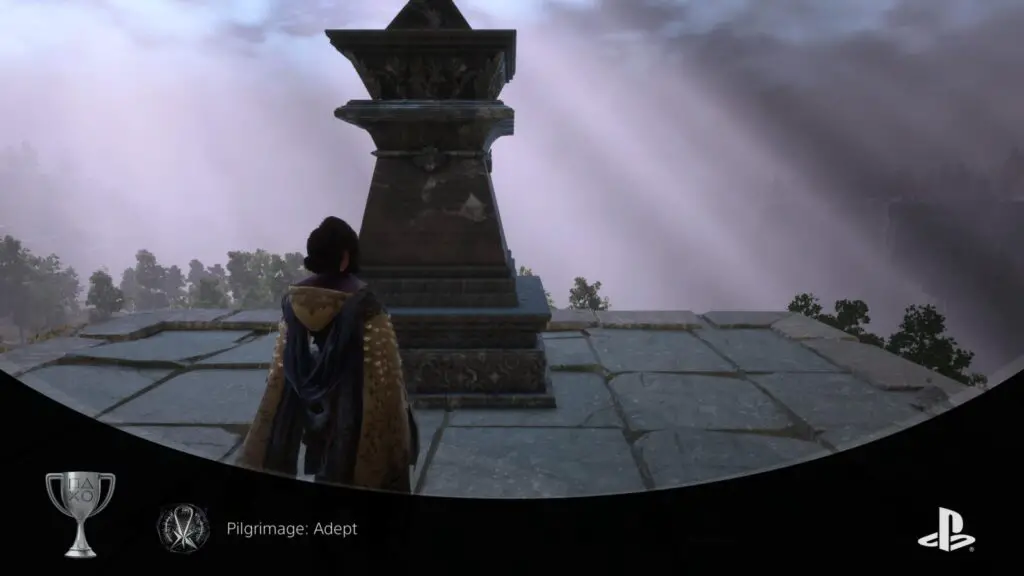
Pilgrimage: Adept
Visit fifty monuments.
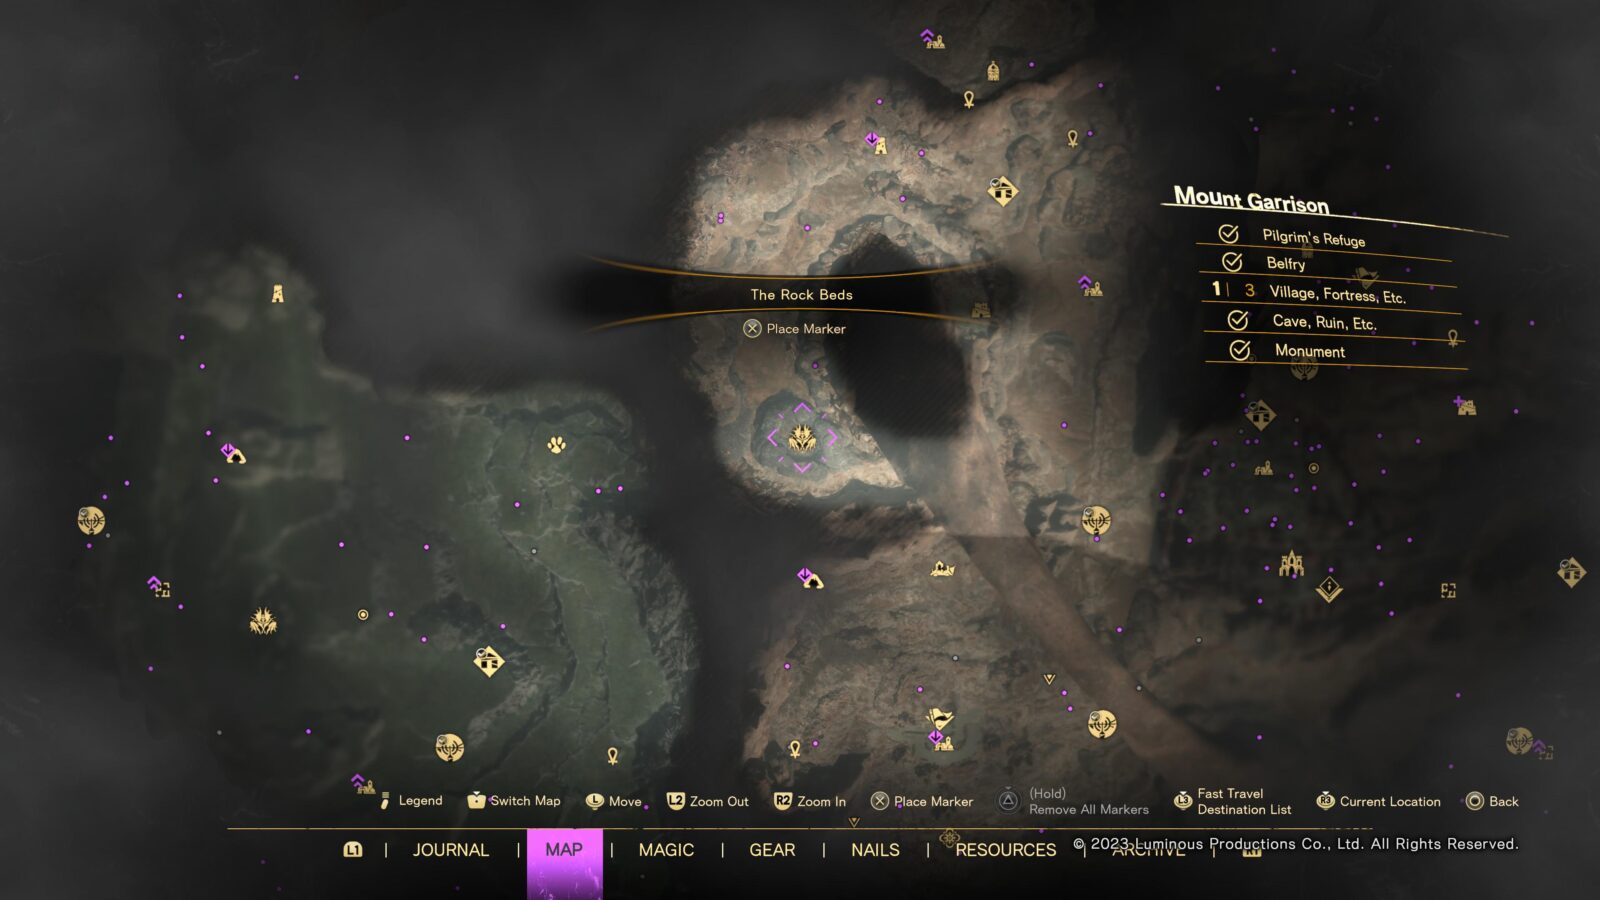
Monuments are automatically marked on the map whenever you defog an area, either by traveling to it or pressing ![]() at a Belfry. There are 54 of them in total, so you can afford to even miss four of them.
at a Belfry. There are 54 of them in total, so you can afford to even miss four of them.
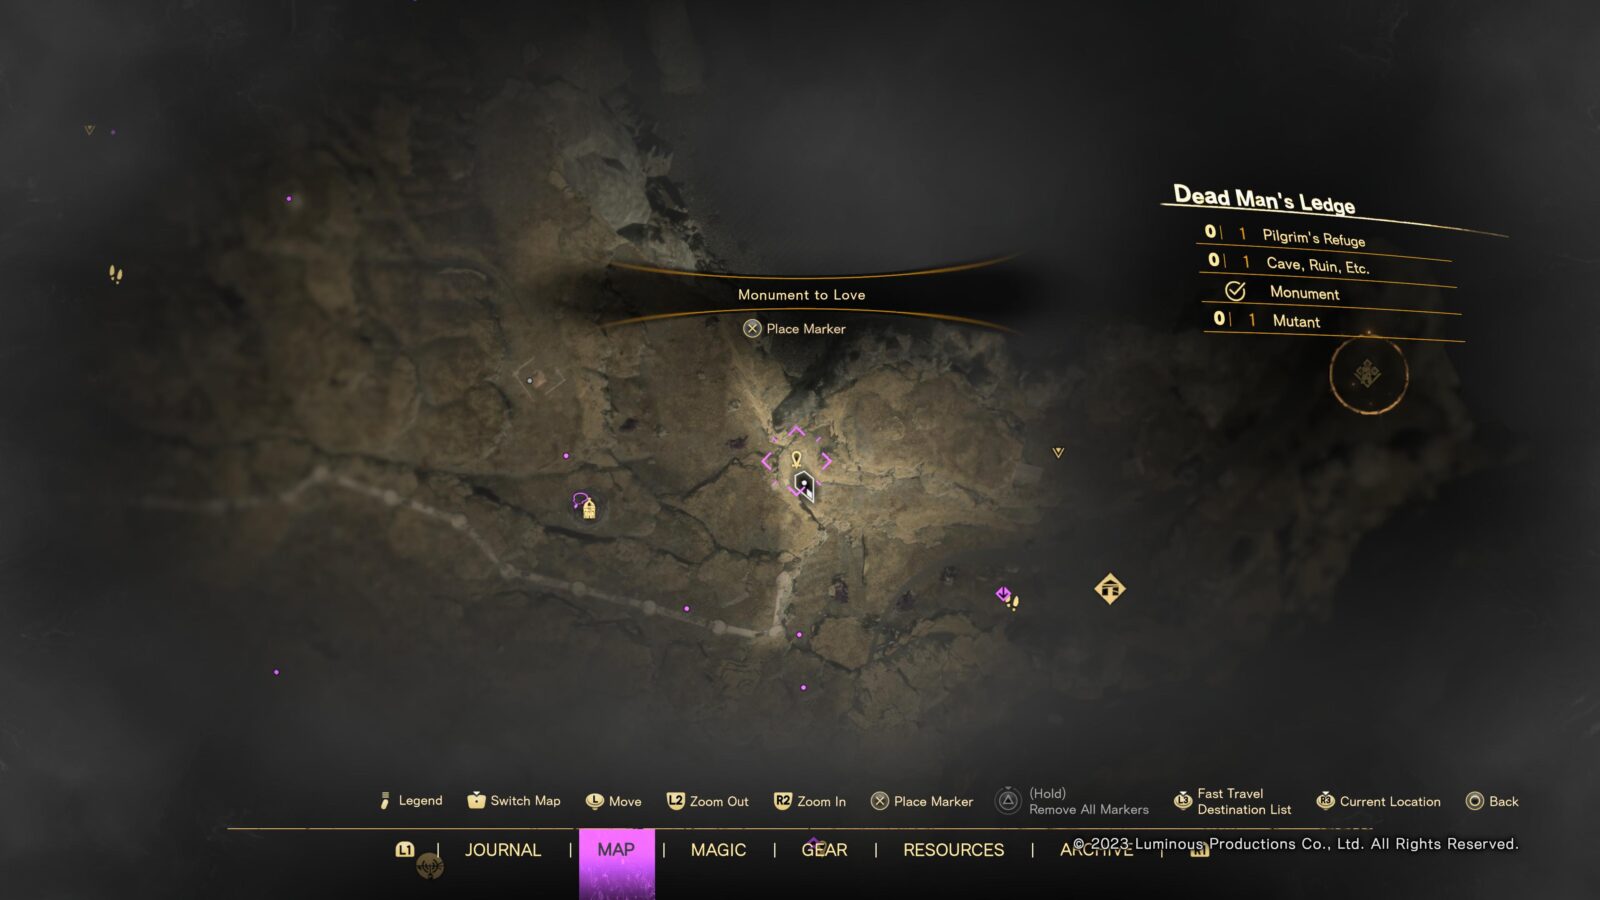
There are a variety of different types of “Monument” and not all of them will count towards this trophy. Completing the “Monument to Wisdom” trials and “Tanta’s Familiar” Monuments won’t affect your progress toward this trophy. However, they are needed for other trophies, so you’ll be doing them all regardless!
When you arrive at a Monument, it will be coated in the “Break” and you will need to use a charged Burst Shot from Frey’s Magic to destroy it in a single attack. Once cleared, you can simply press ![]() on the Monument to activate it and receive its blessing.
on the Monument to activate it and receive its blessing.
Upon completion of your fiftieth Monument, the “Pilgrimage: Adept” trophy is all yours.

Explorer: Seeker
Visit ten points of interest.
The “Explorer: Seeker” trophy will unlock when you have visited at least 10 Points of Interest and completed the objective there.
You will eventually need to do this 100 times for Explorer: Trailblazer.

Explorer: Pathfinder
Visit fifty points of interest.
The “Explorer: Pathfinder” trophy will unlock when you have visited at least 50 Points of Interest and completed the objective there.
You will eventually need to do this 100 times for Explorer: Trailblazer.

Explorer: Trailblazer
Visit one hundred points of interest.
To unlock the “Explorer: Trailblazer” trophy, you will need to visit a grand total of 100 Points of Interest. You will need to complete plenty of the game’s “Points of Interest.” Some of these will award you Pieces of Equipment and you actually need to find and retrieve all 25 Cloaks, 15 Necklaces, and 30 Nail designs for the Kit and Caboodle trophy.
As a result, you will need to complete any point of interest that have these pieces of Gear as a reward. Fortunately, such locations are clearly marked. A purple icon next to a Point of Interest’s gold icon will show you what the reward will be. You’ll need to complete all Points of Interest with a Cloak, Necklace, or Hand icon next to it.
This will mean completing roughly 70 Points of Interest, leaving just around 30 more for you to visit and mop up.
The below Side Activities are all considered “Points of Interest”:
- Bridges
- Caves
- Cognoscents’ Guilds
- Fortresses
- Locked Labyrinths
- Relics of the Tantas
- Ruins
- Tanta Gates
- Traces
- Villages

Realized Potential
Learn all the spells that can possibly be learned.
The “Realized Potential” trophy can be a little bit misleading. There are actually 12 spells that you learn from Founts (See Call of the Fount: Beautified) which are not required for this trophy. This trophy specifically only refers to spells that you can purchase using Mana in the “Magic” ![]() menu.
menu.
In total, you will need 3,200 Mana to purchase every one of Frey’s, Sila’s, Prav’s, and Ola’s Spells. Once you have purchased them all, the “Realized Potential” trophy is all yours.
You can get more mana by levelling up, completing flashback challenges, and walking over Mana Wells on the ground.

Call of the Fount: Baptized
Acquire magical powers for the first time at a Fount of Blessing.
The “Call of the Fount: Baptised” trophy requires you to find and use a Fount of Blessing for the very first time. The earliest one you will find is the Mulberry Fount, right near where you first get access to the Open World Map, just Southeast of Cipal.
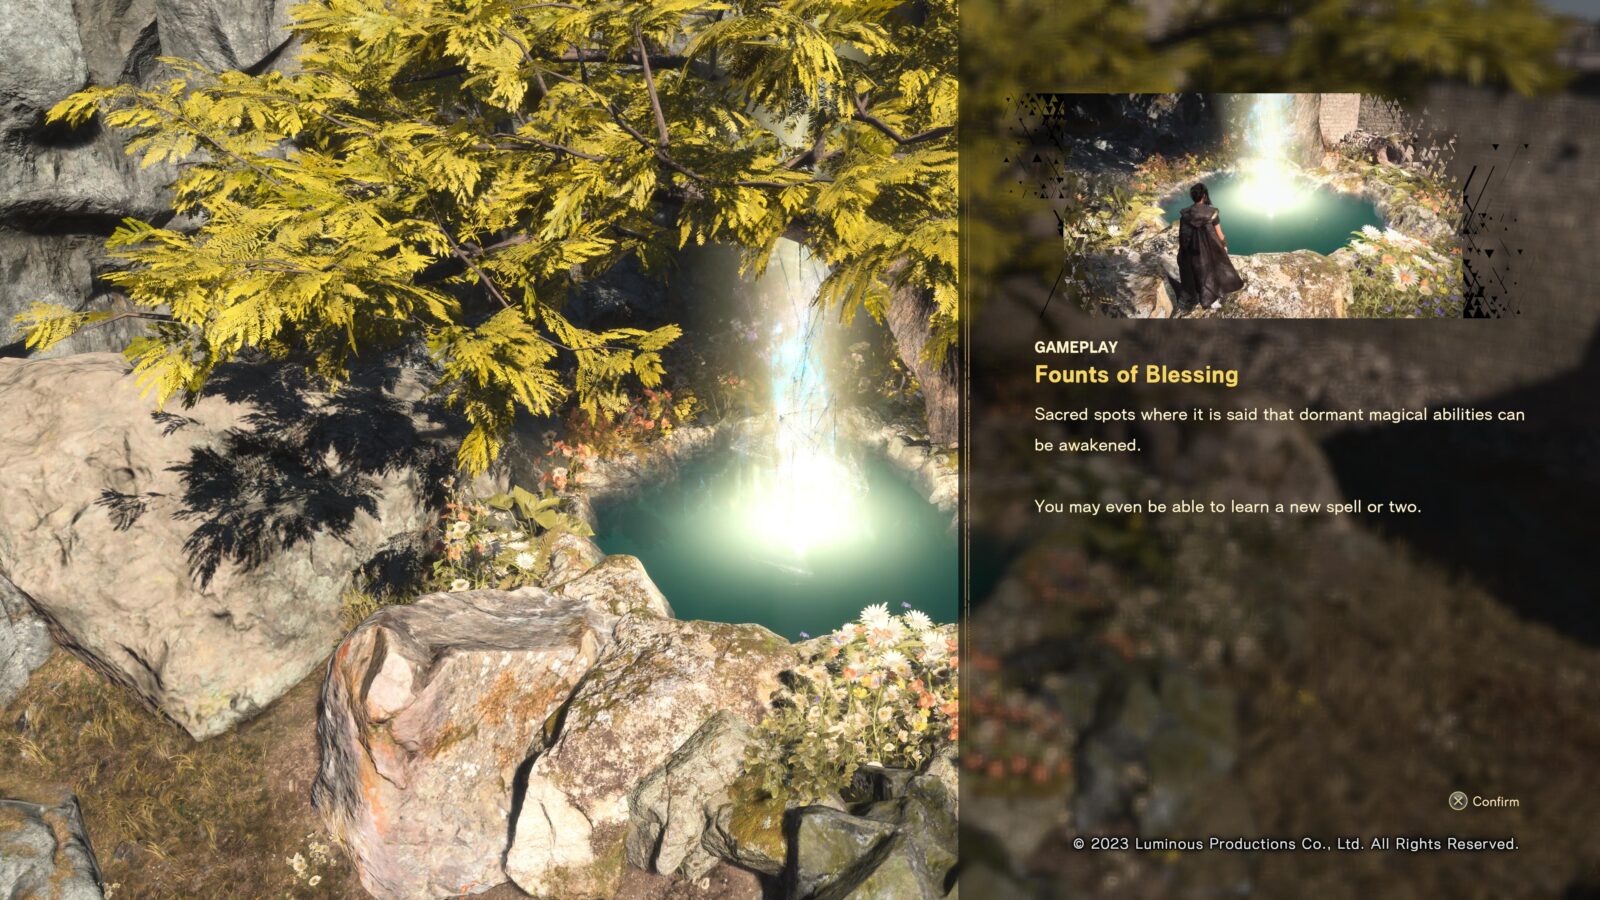
However, you will eventually need to find and use all 12 Founts to unlock the Call of the Fount: Beatified trophy.

Call of the Fount: Beatified
Acquire the magical powers available from all the Founts of Blessing.
There are 12 Founts available throughout the world of Forspoken, and each one will give you a new Spell to help you get around or interact with your environment better. It’s recommended that you do these early as they’ll enable you to get other collectibles with ease.
If you’re struggling to find a Fount’s location on the map, go to a locked “?” Spell in your Magic ![]() menu and press
menu and press ![]() to be taken to that Fount’s location on the map, which will also mark it on the map permanently.
to be taken to that Fount’s location on the map, which will also mark it on the map permanently.
Once you have visited all 12 and acquired all 12 spells in this way, the “Call of the Fount: Beautified” trophy is all yours.

Paragon
Learn every spell.
The “Paragon” trophy requires you to unlock all 12 Fount-related Spells as well as the other Mana-Purchasable spells. Essentially, once you have unlocked Call of the Fount: Beautified and Realized Potential, Paragon will unavoidably unlock immediately afterward.

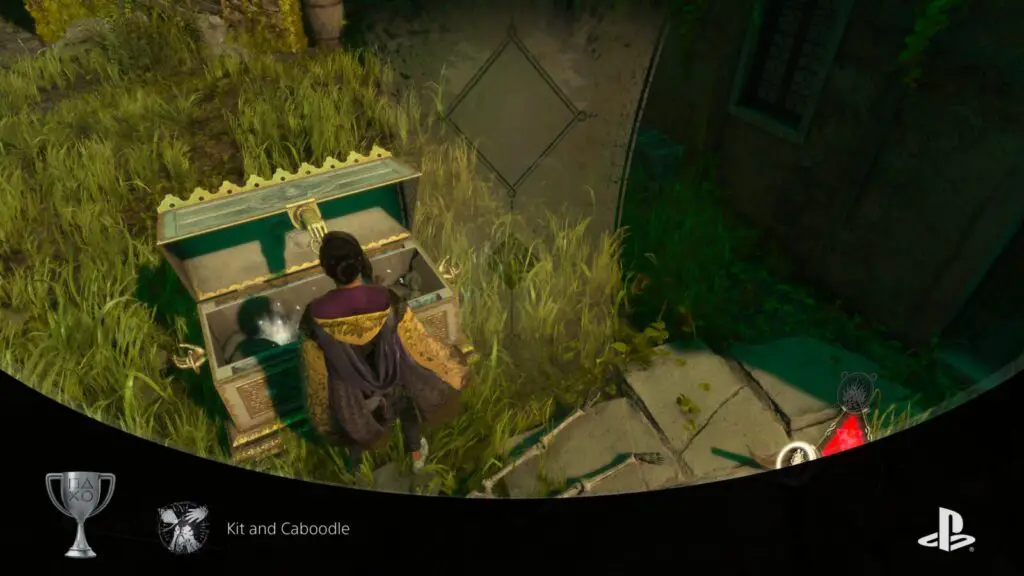
Kit and Caboodle
Acquire every piece of equipment (except those only obtainable via sub-quests).
There are a total of 70 Pieces of Equipment (25 Cloaks, 30 Nail Designs, and 15 Necklaces) that you can collect from Points of Interest in Forspoken. On the map, a Point of Interest will be clearly labeled via a small purple icon as to what the reward will be. Therefore, you will need to go to and complete every Point of Interest that has a small icon of a Cloak, Necklace, or Hand next to it.
Note that there are two pieces of Gear that you can receive from Johedy during the story, but they are not required for this trophy. You can safely miss those two missable necklaces and still earn the Kit and Caboodle trophy without issue.
There is one Cloak and three Nail Designs that you will receive automatically and unavoidably while progressing through the story. There are also two Cloaks that must be bought in exchange for Poppets from a Cipal Merchant (See A Roaring Trade). There are also two pieces of equipment that you must craft for yourself (See Craftsperson). These 8 pieces of equipment may or may not be required for the Kit and Caboodle trophy, it’s hard to say at this time. However, you will need to acquire them for other trophies anyway, so it doesn’t matter either way.
Once you have collected them all, the Kit and Caboodle trophy will unlock!

Through the Eyes of Another: Empath
Complete your first flashback challenge at a Monument to Wisdom.
One of the types of monuments you will come across is the “Monument to Wisdom.” These particular monuments will return a great reward if you are able to succeed in the Flashback Challenge that they offer.
This will often mean defeating waves of enemies or sprinting to a destination within a rather lenient time frame in order to earn Mana or resources based on your performance.

Complete one of these challenges for the very first time to unlock the “Through the Eyes of Another: Empath” trophy. You will eventually find yourself needing to complete every one of these for the “Through the Eyes of Another: Visionary” trophy.

Through the Eyes of Another: Seer
Complete flashback challenges at ten Monuments to Wisdom.
After earning the Through the Eyes of Another: Empath trophy, continue completing Monuments to Wisdom found all across Athia until you have completed a total of ten. At that point, the “Through the Eyes of Another: Seer” trophy will unlock.
You will need to complete 10 more to unlock “Through the Eyes of Another: Visionary“.

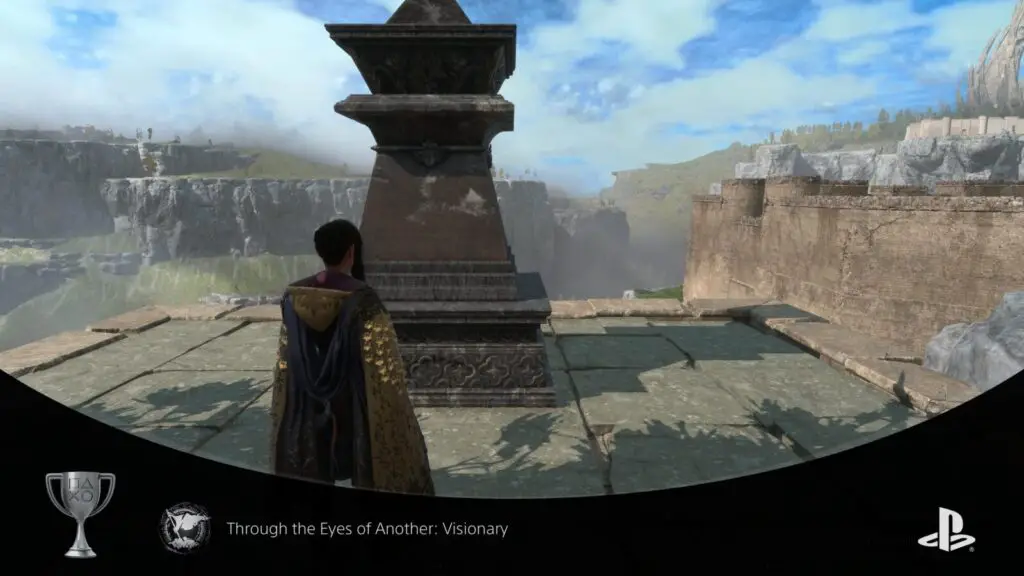
Through the Eyes of Another: Visionary
Complete all the flashback challenges at the Monuments to Wisdom.
After earning the Through the Eyes of Another: Seer trophy, continue completing Monuments to Wisdom found all across Athia until you have completed ten more, for a total of twenty. At that point, the “Through the Eyes of Another: Visionary” trophy will unlock.

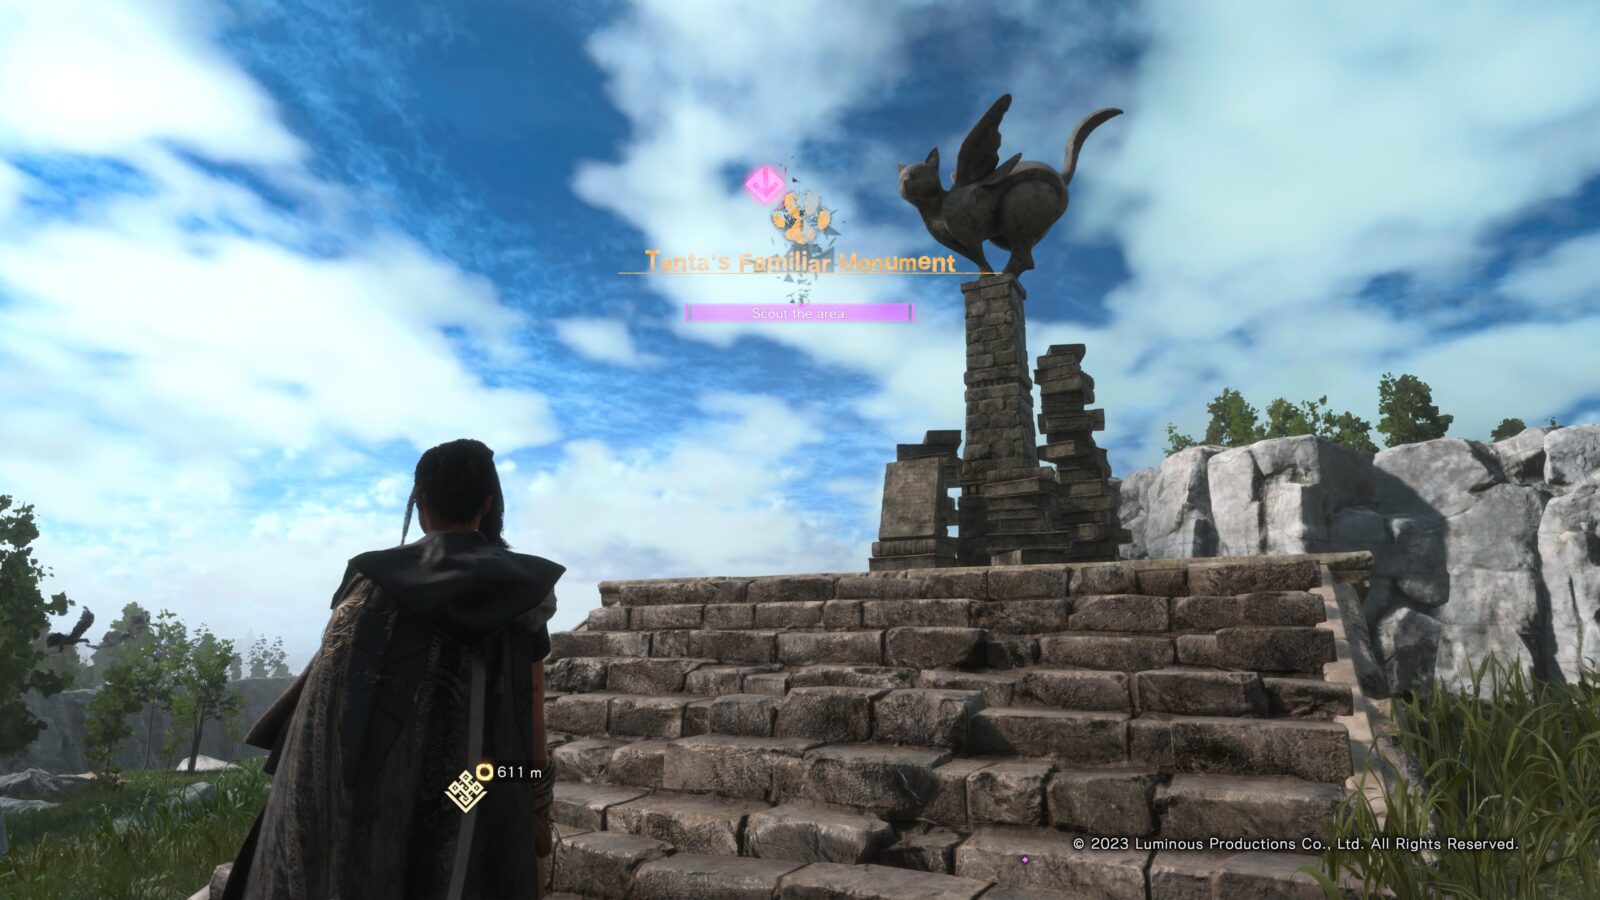
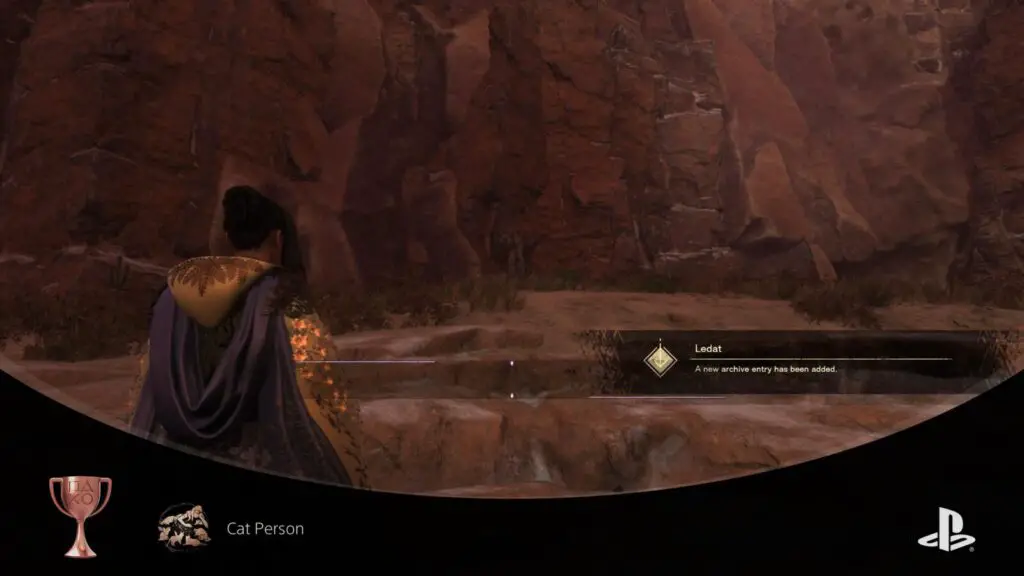
Cat Person
Befriend all the Tantas' familiars.
Throughout the map in Forspoken, some of the Monuments you can find (not required for the Pilgrimage: Adept trophy) are Monuments to Tanta’s Familiars. When you approach one of these monuments, a very unique-looking cat will spawn on a stone platform nearby. Press ![]() to scan for its location if you don’t see it immediately.
to scan for its location if you don’t see it immediately.
As you approach the cat, you will eventually see a ![]() prompt appear. Hold
prompt appear. Hold ![]() from that point on to crouch, and push
from that point on to crouch, and push ![]() very slowly so that you can slowly approach the familiar without spooking it. If the Familiar gets spooked, it will look at you with a “!” icon above its head. At this point, you must immediately stop moving until the cat returns to grooming itself. If you move while the familiar is alert, it will teleport away and you’ll need to try again.
very slowly so that you can slowly approach the familiar without spooking it. If the Familiar gets spooked, it will look at you with a “!” icon above its head. At this point, you must immediately stop moving until the cat returns to grooming itself. If you move while the familiar is alert, it will teleport away and you’ll need to try again.
You can retry a Monument to Tanta’s Familiar by approaching the statue and pressing ![]() to “Wait for the Familiar to appear.”
to “Wait for the Familiar to appear.”
If you successfully sneak up on a cat without spooking it, you will see an ![]() Pet prompt appear. Press
Pet prompt appear. Press ![]() here (without releasing
here (without releasing ![]() and spooking the cat) and you will befriend the Familiar, thus making it appear in Refuges throughout the same region.
and spooking the cat) and you will befriend the Familiar, thus making it appear in Refuges throughout the same region.
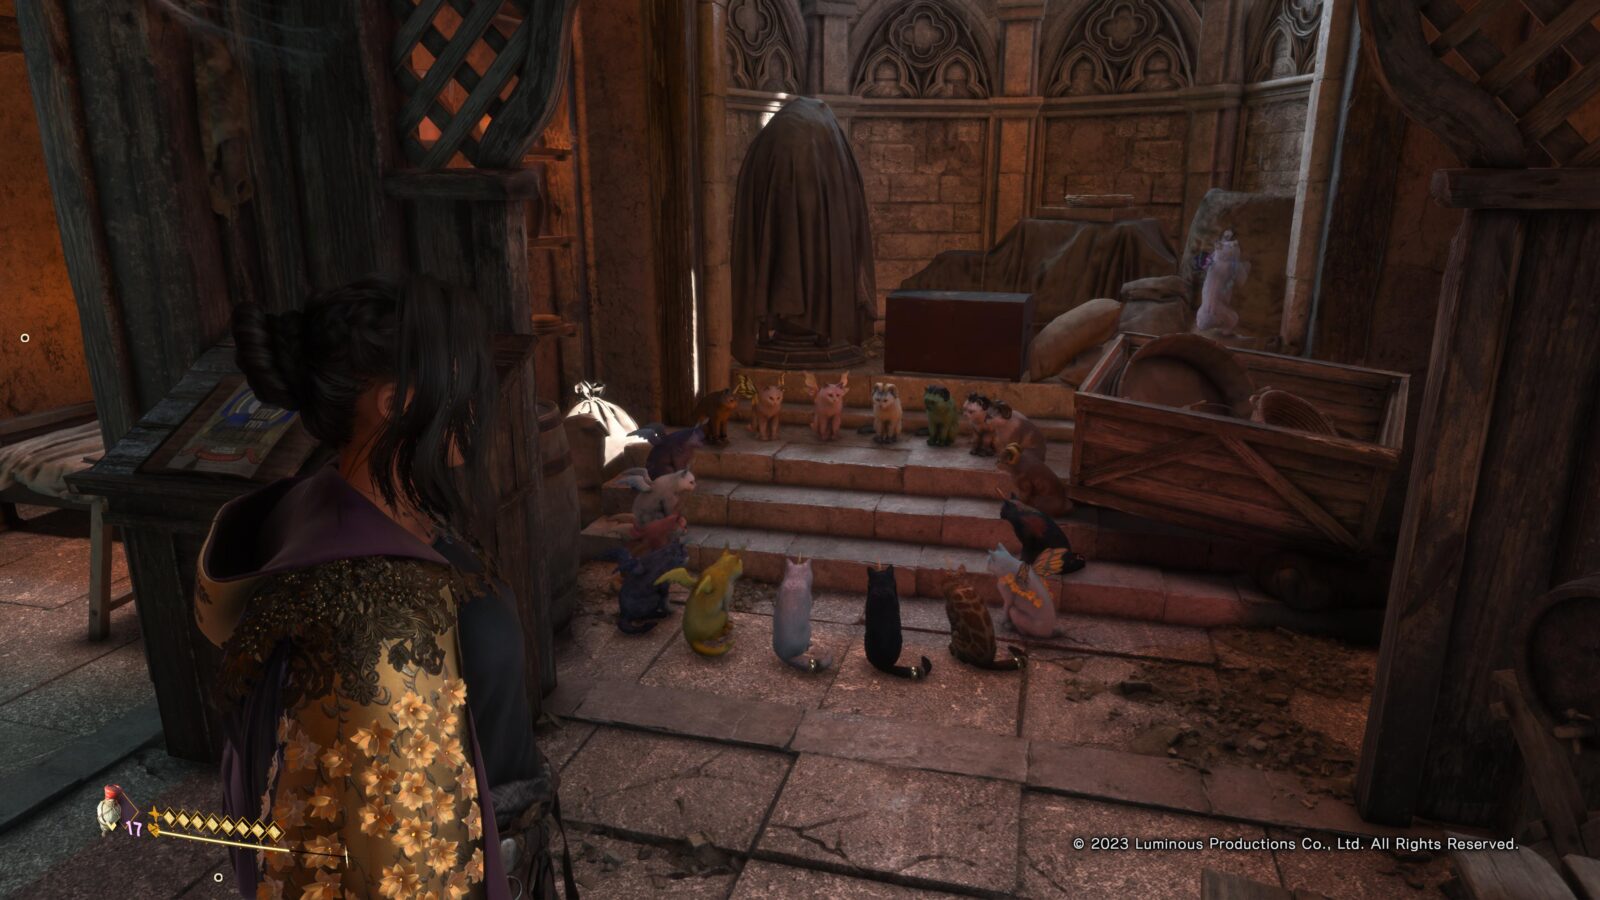
There are a total of 20 of these Monuments to Tanta’s Familiars, and you will need to befriend the Familiar at each and every one of them. Upon doing so, the “Cat Person” trophy is all yours.

Abominizer
Defeat all four abominations.
Abominations are huge optional bosses that can be found in various locations throughout Athia. They are some of the strongest foes you can possibly face, so be sure to gear yourself up appropriately ahead of each battle. Switching the difficulty down to Easy is always a solution if you find yourself having serious difficulties.

The Abominations will all respawn after defeat, so you can even face them multiple times if you feel the need to do so. There have been very few reports that the trophy doesn’t unlock when it should, so fighting these Abominations a second time is a good way to mitigate that.
Once you have visited and defeated all four, the “Abominizer” trophy is all yours.


Archivist
Unlock 80% of the Archive.
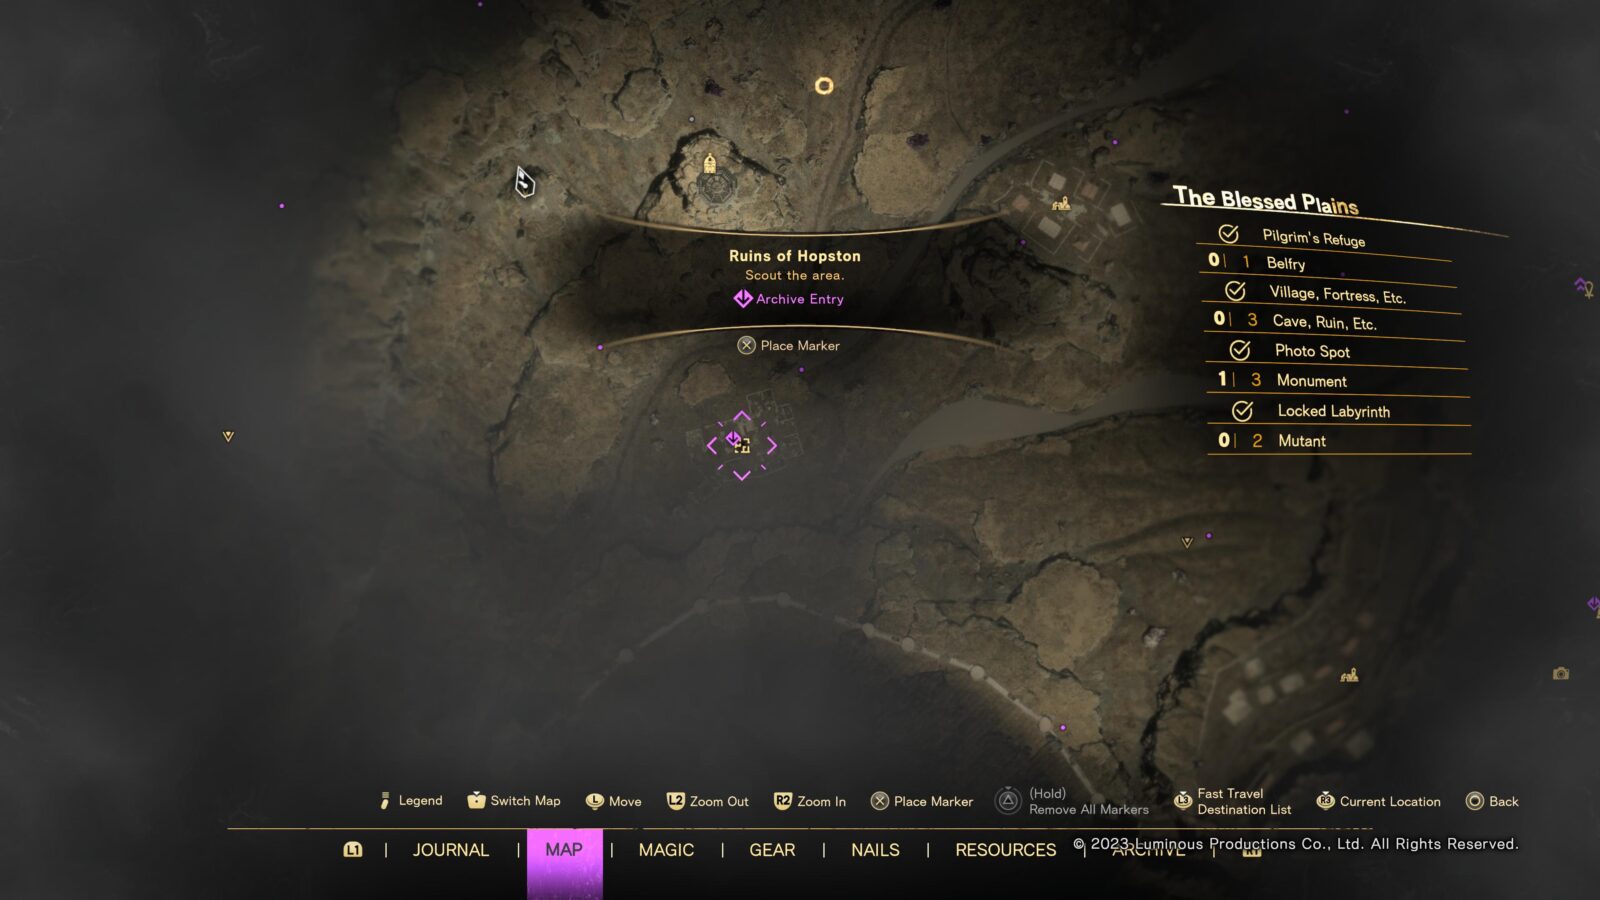
80% of the Archive equates to 464 total Archive Entries. The reason the trophy only asks for 80% of the archive is to prevent players from getting locked out of the Platinum when they inevitably miss one or two missable archive entries throughout the story. Fortunately, the remaining 80% of non-missable Archive Content can be retrieved via other means, such as battling new enemy types, visiting points of interest, and completing side activities.
This may even occur naturally while you are working on all the other collectible trophies in this Forspoken Trophy Guide. If not, though, simply continue visiting Points of Interest (especially those that specifically offer an Archive Entry as the reward) until the “Archivist” trophy unlocks.


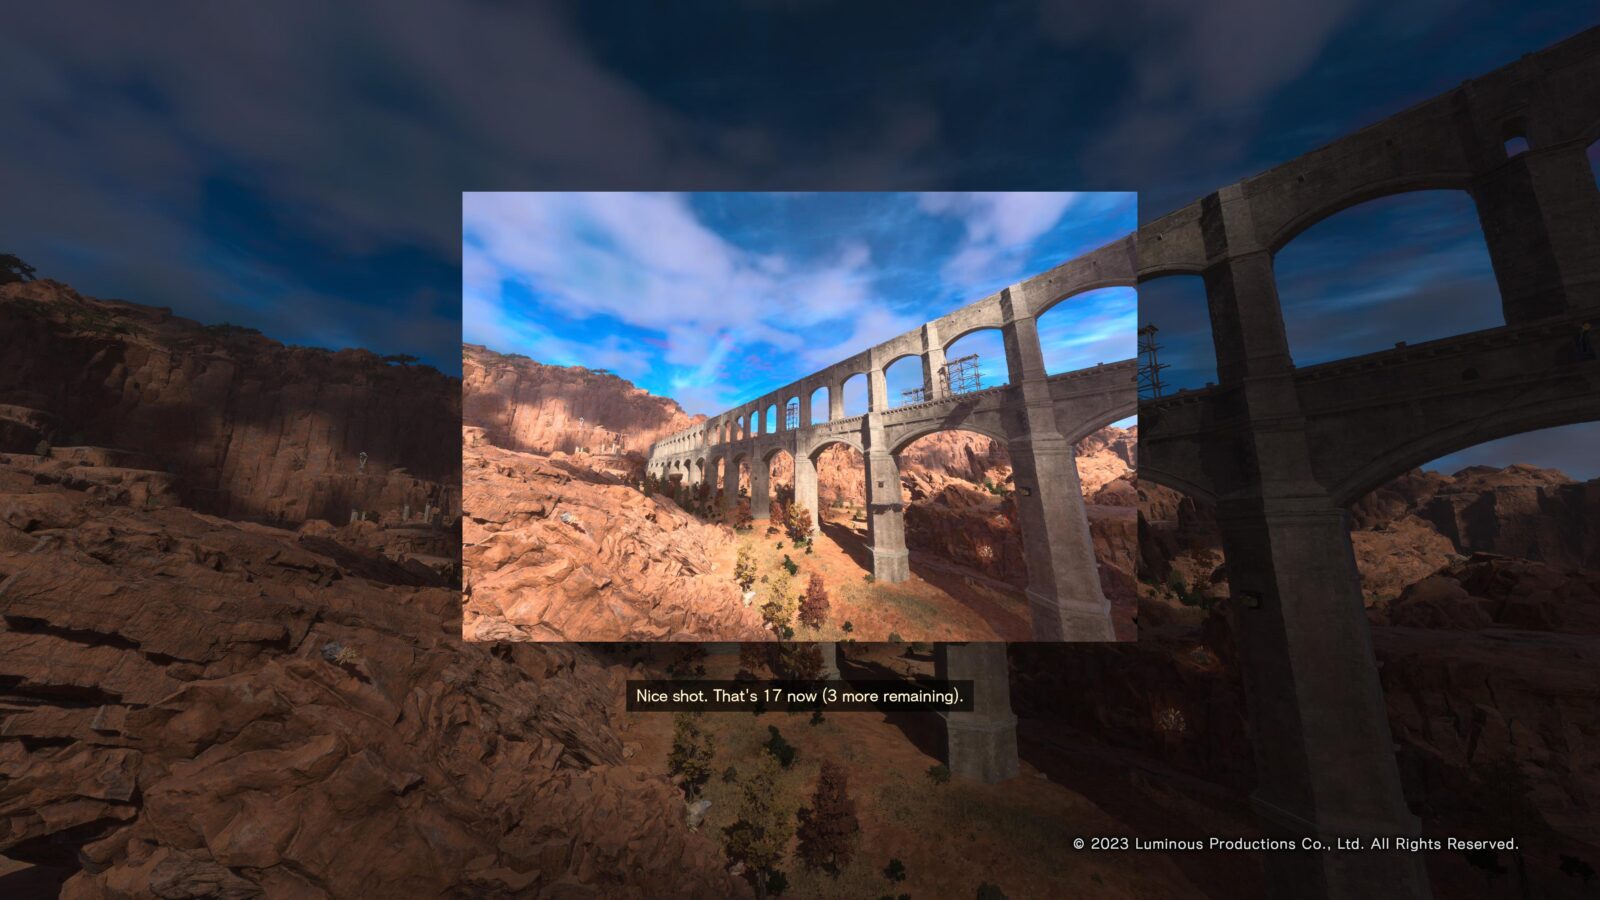
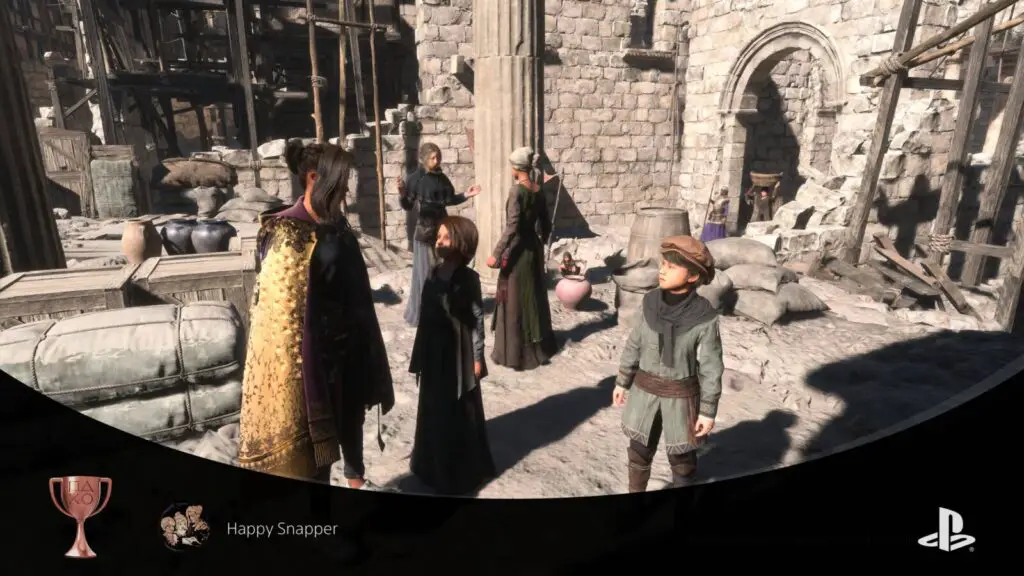
Happy Snapper
Show pictures taken at all the photo spots to the children.
One of the Detours you will unavoidably pick up while progressing the story is one for the children of Cipal, who want you to use your Mobile Phone to take photos of Athia. They want you to return to Cipal after every 10 photos you take, and they will give you new photo mode filters in exchange. However, you can safely wait until you have all 50 photos and show them all at once.
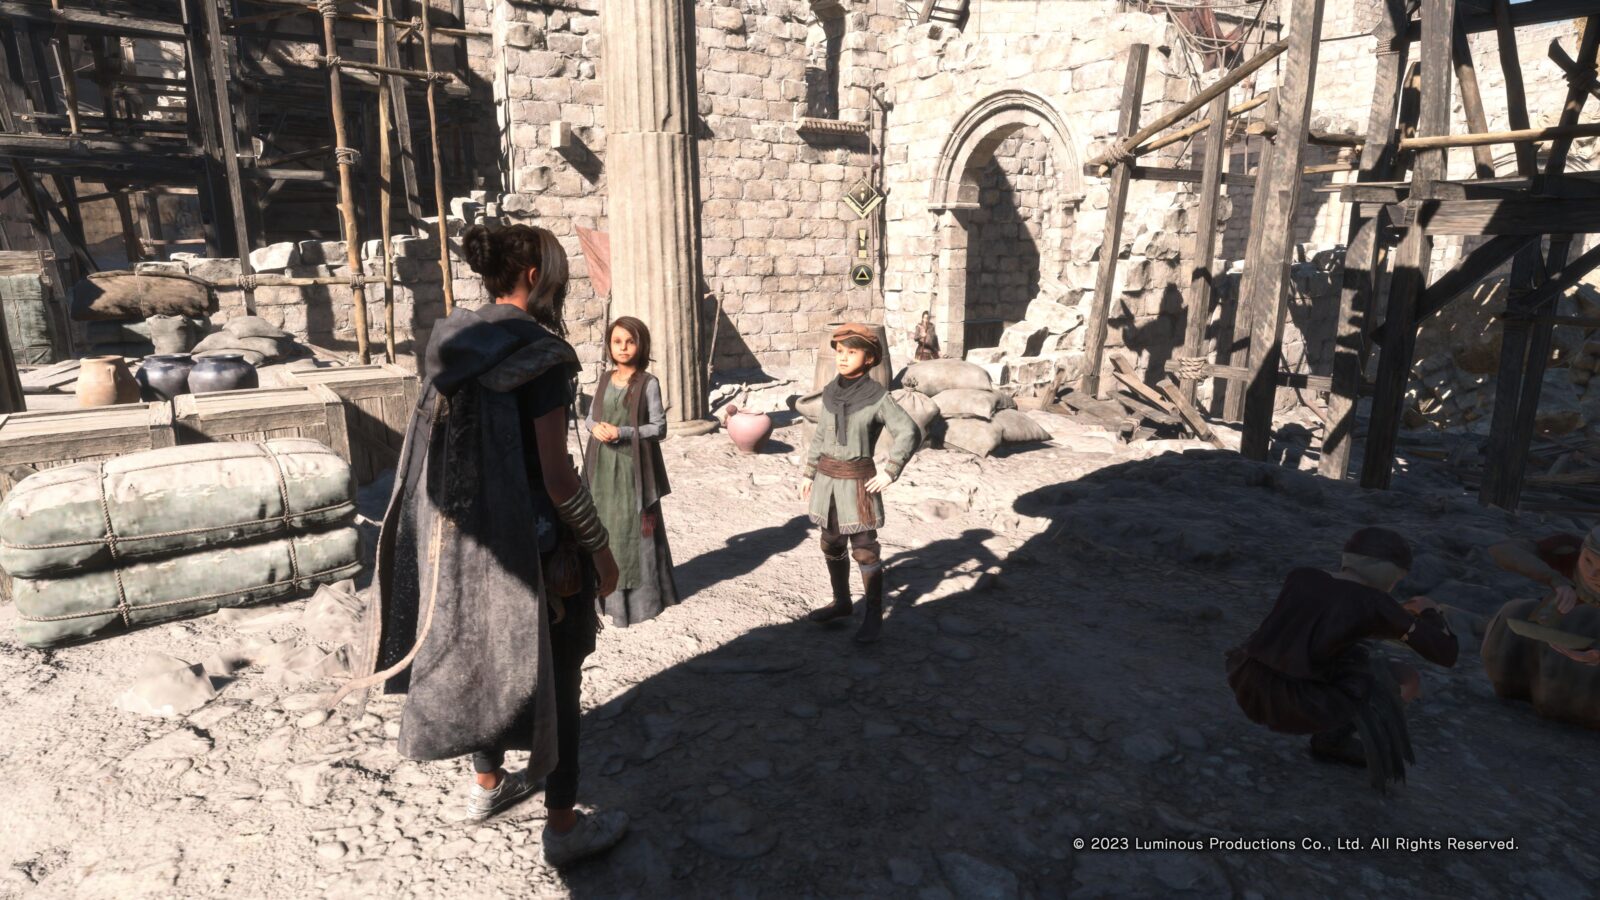
You can only show the children photos taken at specific Photo Spots throughout Athia, you can’t just snap 50 selfies with Photo Mode and show them that. Photo Spots are clearly marked on the map as you defog it, and you can see how many Photos are left in a region by hovering over it and checking the collectible trackers.
There are exactly 50 Photo Spots and when you approach one, you must press ![]() on the prompt to bring up your camera. Some arrows at the edges of your screen will guide you to move (
on the prompt to bring up your camera. Some arrows at the edges of your screen will guide you to move (![]() ) or zoom (
) or zoom (![]() /
/![]() ) on a specific subject.
) on a specific subject.
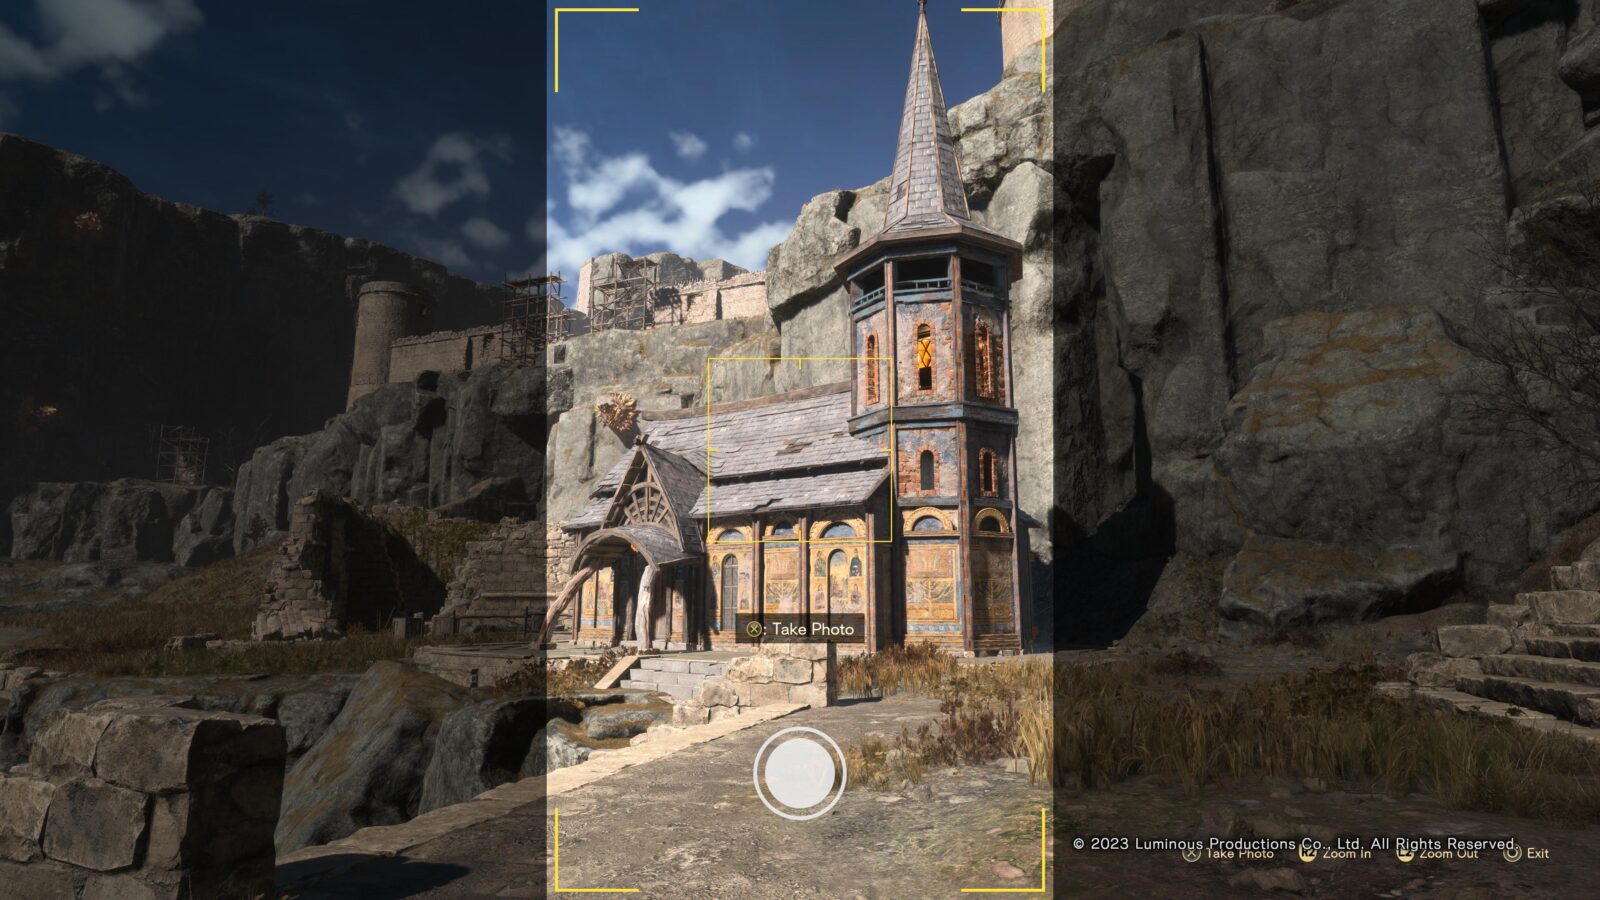
Once the framing is correct, a ![]() prompt will appear. Press
prompt will appear. Press ![]() to take the photo and the game will remind you how many you have so far and how many you need for your next reward from the children.
to take the photo and the game will remind you how many you have so far and how many you need for your next reward from the children.
Phase Three | Misc Cleanup
With some of the biggest hurdles out of the way now, you simply need to mop up the remaining trophies and grab that Forspoken Platinum Trophy.
Aside from a good stack of Combat Trophies (most of which you may have already earned), the only real hindrance you still face is the Spellcraft Challenges.
You will need to upgrade every single spell in your arsenal. That’s a whopping 105 Spellcraft Challenges across the four Tanta Magic types, so it’s quite a bit of work if you haven’t been passively working on it up to this point.
Complete All Spellcraft Challenges

Above and Beyond
Upgrade all your spells.
Inside the Archives in Cipal, and the Guild Towers & Pilgrim’s Refuges all across Athia, you will find Spellcraft Challenge Bookshelves. These are the only place where you can accept new Spellcraft Challenges.
After interacting with one, you will see your Magic Menu and will have the option of accepting new challenges, the objectives of which are detailed at the bottom of the screen.

Once you complete a challenge, the spell you completed the challenge for will be able to be upgraded via your Magic Menu ![]() . Before accepting a challenge for a spell, though, you must obviously have unlocked it. So unlocking the Above and Beyond trophy for upgrading all 105 spells is impossible until you have the Paragon trophy for unlocking them all first.
. Before accepting a challenge for a spell, though, you must obviously have unlocked it. So unlocking the Above and Beyond trophy for upgrading all 105 spells is impossible until you have the Paragon trophy for unlocking them all first.
Some of the challenges can be really difficult, while others are extremely easy, but the idea is the same for them all. Whatever the objective is of the Spellcraft Challenge, it must be completed with the selected spell. For example, if the objective is to “Attack downed enemies,” just hitting them with normal spells or a finisher attack won’t do anything, you specifically need to use the relevant spell (which sometimes means charging the spell by holding ![]() first) to hit an enemy that you have downed.
first) to hit an enemy that you have downed.
To make things infinitely easier on yourself, pay close attention to the perks and buffs offered by your gear. You should also look at what perks you can imbue gear with at the crafting table. As a good example, I was struggling to knock enemies down for some of the challenges until I noticed that some of the Nail Designs offer better knockdown chances.

Miscellaneous Trophies

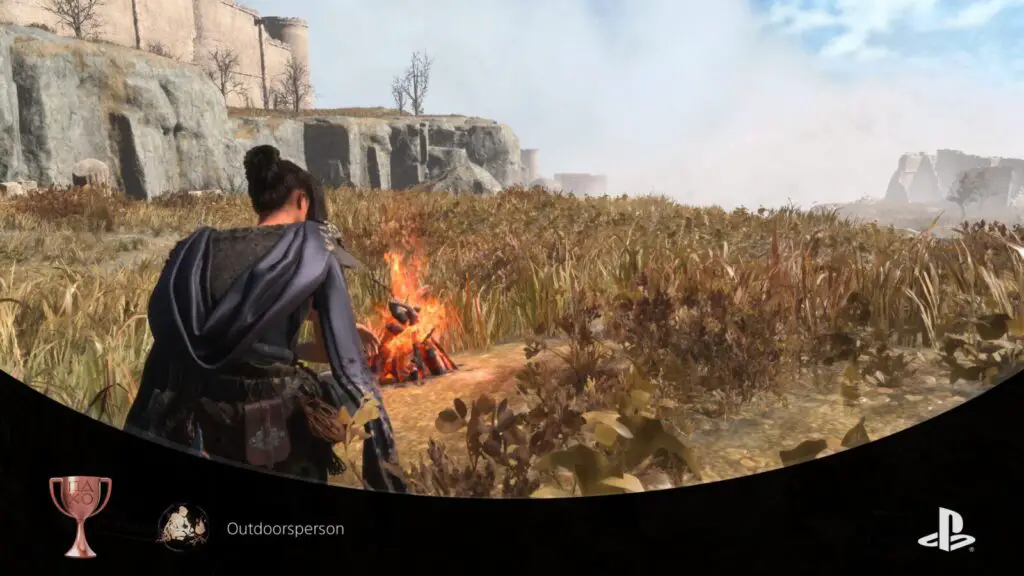
Outdoorsperson
Set up camp.
You will be taught to set up camp during Chapter 3. You will need to gather an appropriate amount of firewood and then hold ![]() to place your camp.
to place your camp.
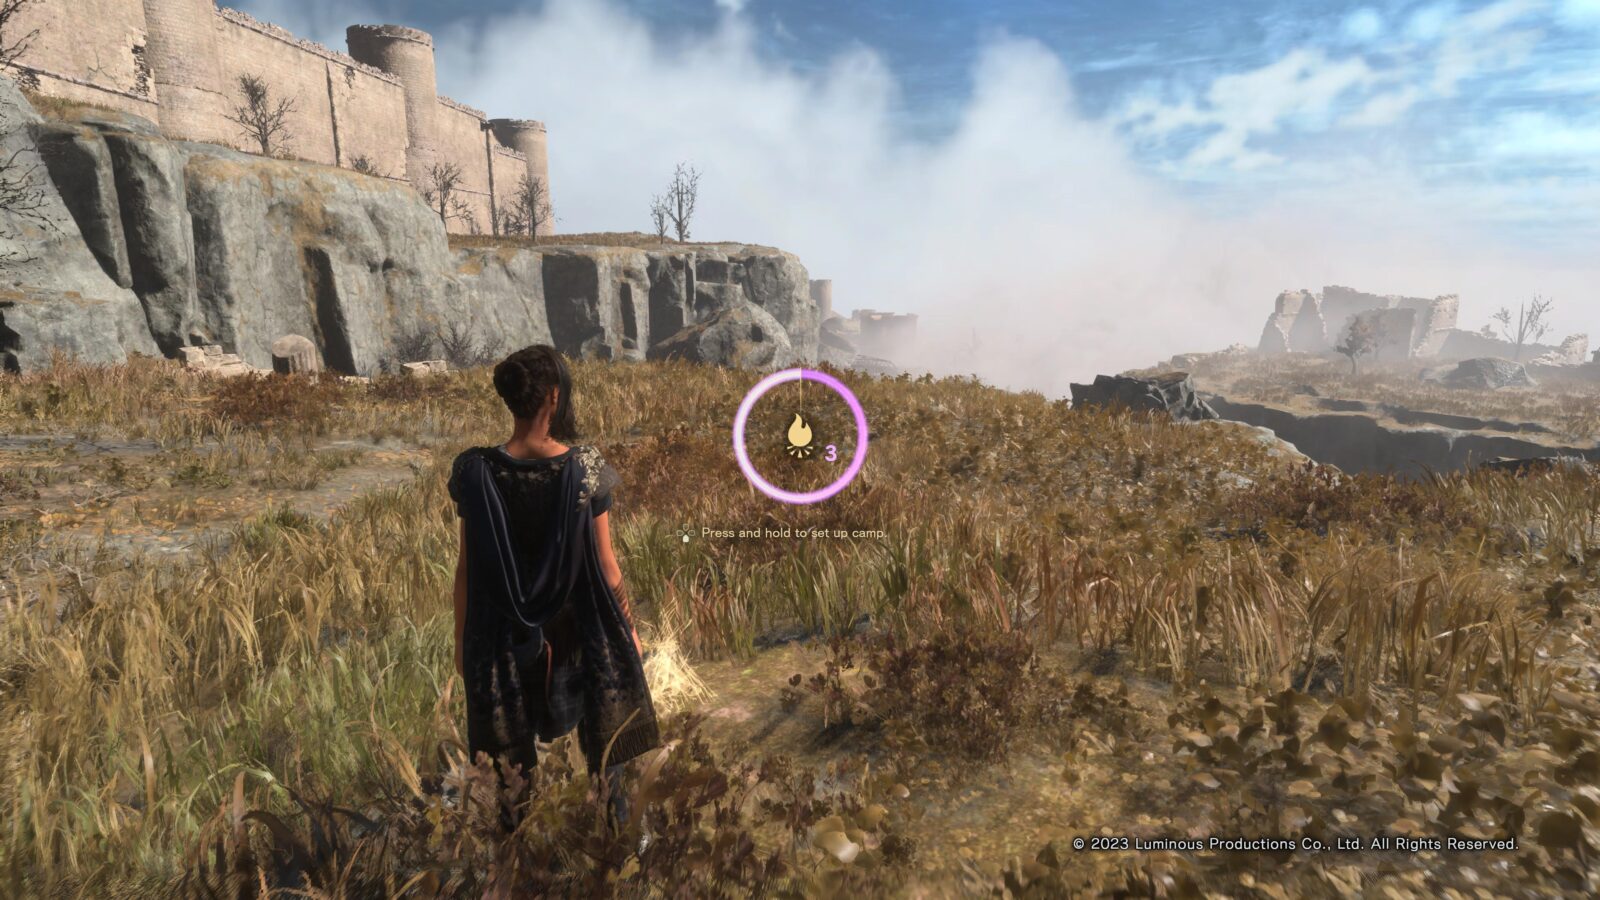
This should technically unlock when you do so for the story, but if it does not, you can set a camp at any time from this point on. All you need is some firewood and plenty of room for a campfire. When ready, hold ![]() to set up camp and unlock the “Outdoorsperson” trophy.
to set up camp and unlock the “Outdoorsperson” trophy.

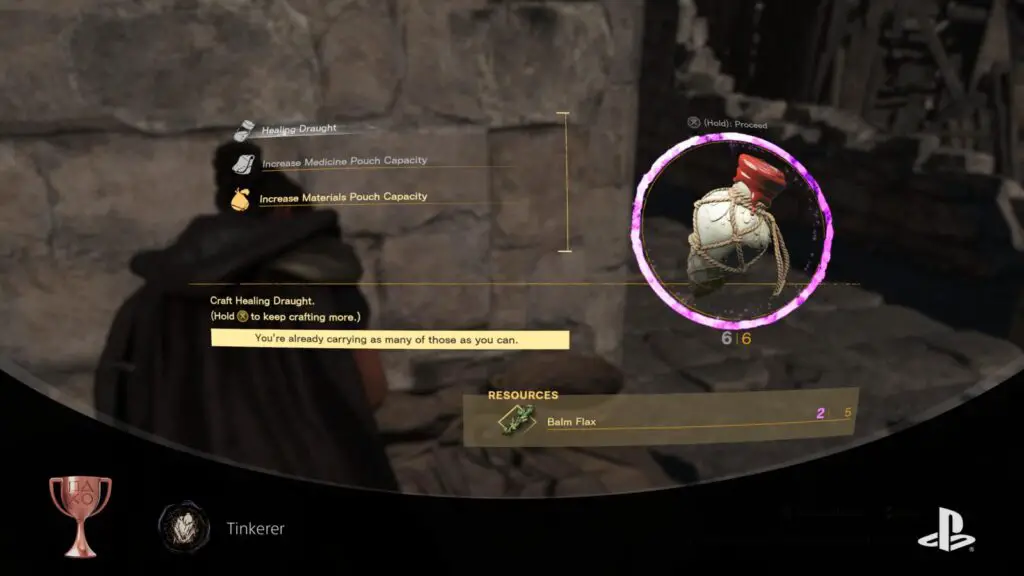
Tinkerer
Craft an item for the first time.
It’s pretty unlikely that you’ll miss this trophy, especially since crafting is required for some other trophies too, but the “Tinkerer” trophy will unlock when you craft any item for the first time.
During Chapter 3, you’ll get introduced to Crafting and even be given some Balm Flax for crafting Healing Draughts! After this, there’s a Crafting Table right next to you, which you can then use to unlock the trophy immediately.
If, for whatever reason, you saw fit not to do this when the opportunity presented itself, you will find many more Crafting Tables throughout the game that can be used to acquire the trophy anytime that you have enough resources.

Craftsperson
Craft a healing item and two of Frey's original pieces of equipment.
The “Craftsperson” trophy requires you to do 2 things essentially;
- Craft a Healing Item
- Craft 2 Pieces of Frey’s Original Equipment
The former is very easy and you’ve undoubtedly done this before, but the latter task requires quite a bit of effort.
See our How to Craft Frey’s Original Equipment guide for details. Once you’ve crafted both pieces of equipment and a Healing Item, the trophy will unlock!


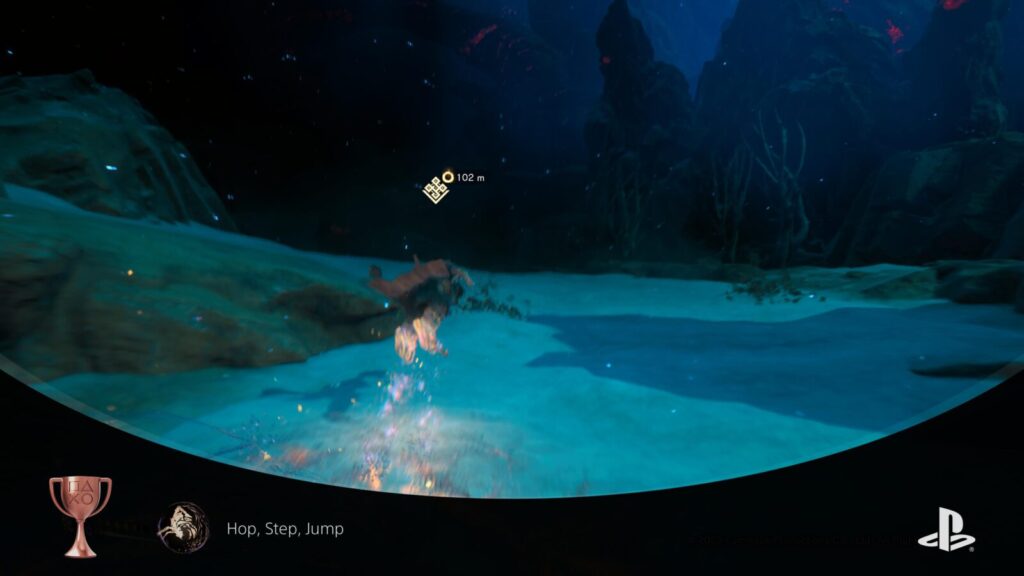
Hop, Step, Jump
Perform five Shimmies in a row.
Before you can even begin to work on the Hop, Step, Jump trophy, you must first unlock the “Shimmy” ability in your Magic tree. It is the upper-left “?” option in the Magic menu and is unlocked by visiting the Mulberry Fount in Praenost. To see where it is, simply highlight the spell in the Magic Menu and then press ![]() . You’ll automatically be taken to that Fount’s location on the Map!
. You’ll automatically be taken to that Fount’s location on the Map!
Once you have the spell, it will allow you to press ![]() while holding
while holding ![]() to perform “Shimmy” dashes, where the protagonist will kick off the ground for a speed boost. This boost increases by a small amount if you time your
to perform “Shimmy” dashes, where the protagonist will kick off the ground for a speed boost. This boost increases by a small amount if you time your ![]() presses with the moment that she lands on the ground.
presses with the moment that she lands on the ground.
Perform five of these shimmies in a back-to-back string (tapping ![]() again each time you land after a shimmy) to unlock the trophy.
again each time you land after a shimmy) to unlock the trophy.

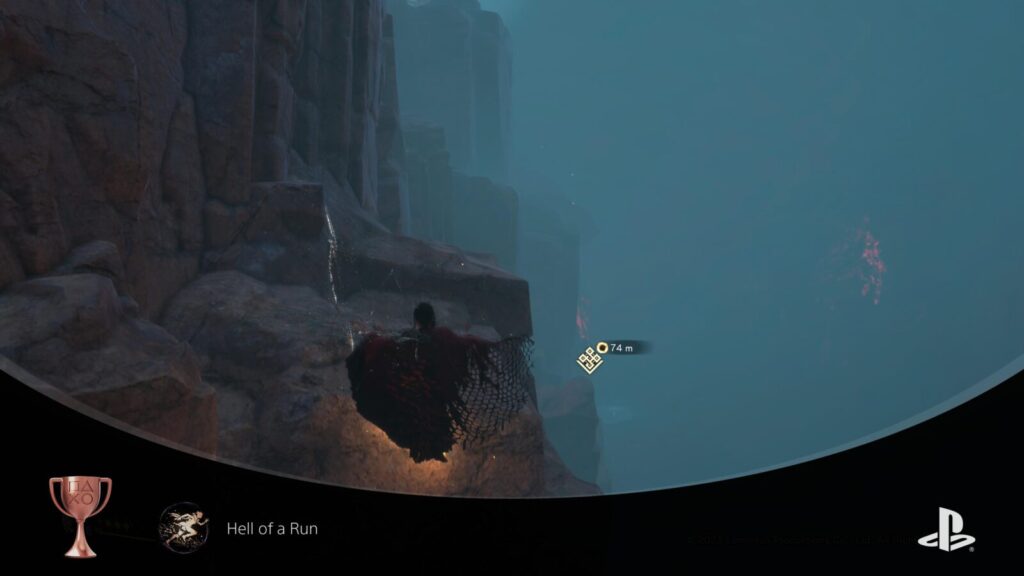
Hell of a Run
Perform magic parkour for twenty seconds continuously.
The “Hell of a Run” trophy is very simple and will likely unlock naturally. All you need to do is to perform “Magic Parkour” (acquired in Chapter 2) by holding ![]() and then continuing to use it for a full 20 seconds at least.
and then continuing to use it for a full 20 seconds at least.
You can even just run in circles while holding ![]() if you can’t get enough space (unlikely).
if you can’t get enough space (unlikely).

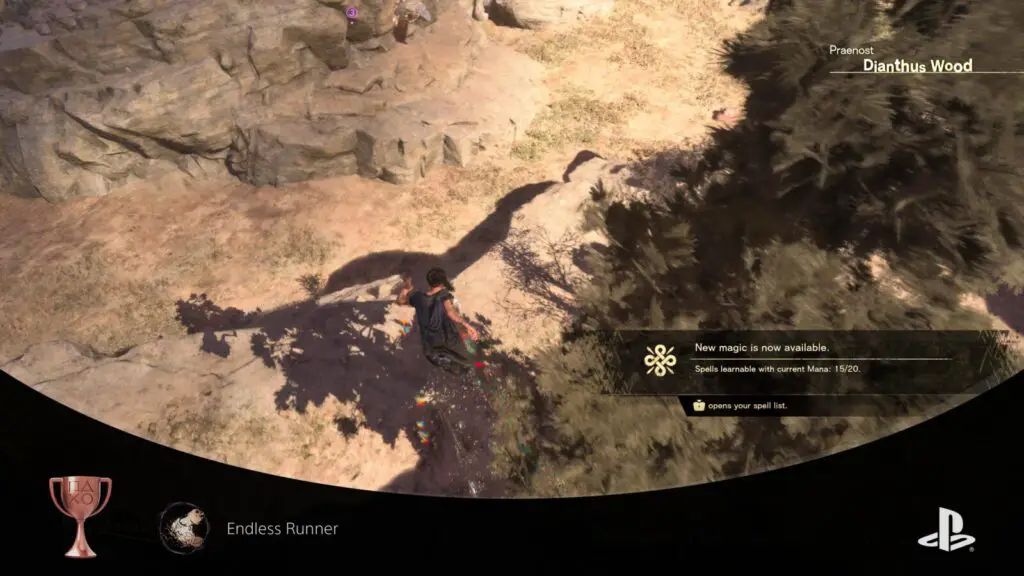
Endless Runner
Travel a total of 100 km (62 mi) using magic parkour.
To unlock the “Endless Runner” trophy, you simply need to travel a total distance of 100 kilometers while holding ![]() to perform “Magic Parkour.” As this is the main mode of transport in Forspoken’s Open World, you’re bound to unlock this trophy naturally during your time gathering collectibles during Phase Two of this Forspoken Trophy Guide.
to perform “Magic Parkour.” As this is the main mode of transport in Forspoken’s Open World, you’re bound to unlock this trophy naturally during your time gathering collectibles during Phase Two of this Forspoken Trophy Guide.

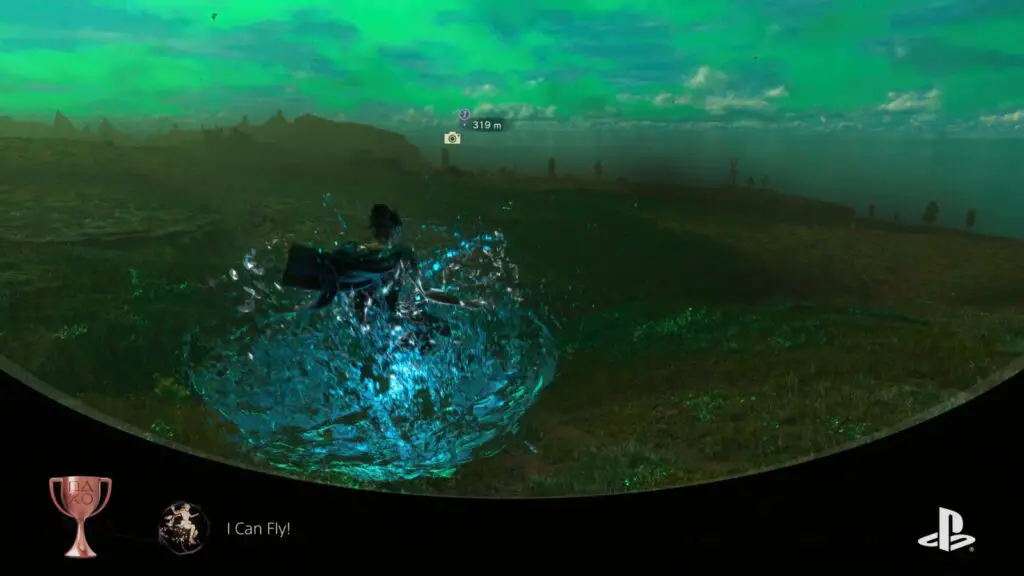
I Can Fly!
Use Float to stay airborne for ten seconds.
Before you can earn the “I Can Fly!” trophy, you must first unlock the “Float” ability in your Magic tree by visiting the relevant Lilac Fount in Inner Visoria. To see where it is, simply highlight the spell in the Magic Menu and then press ![]() . You’ll automatically be taken to that Fount’s location on the Map!
. You’ll automatically be taken to that Fount’s location on the Map!
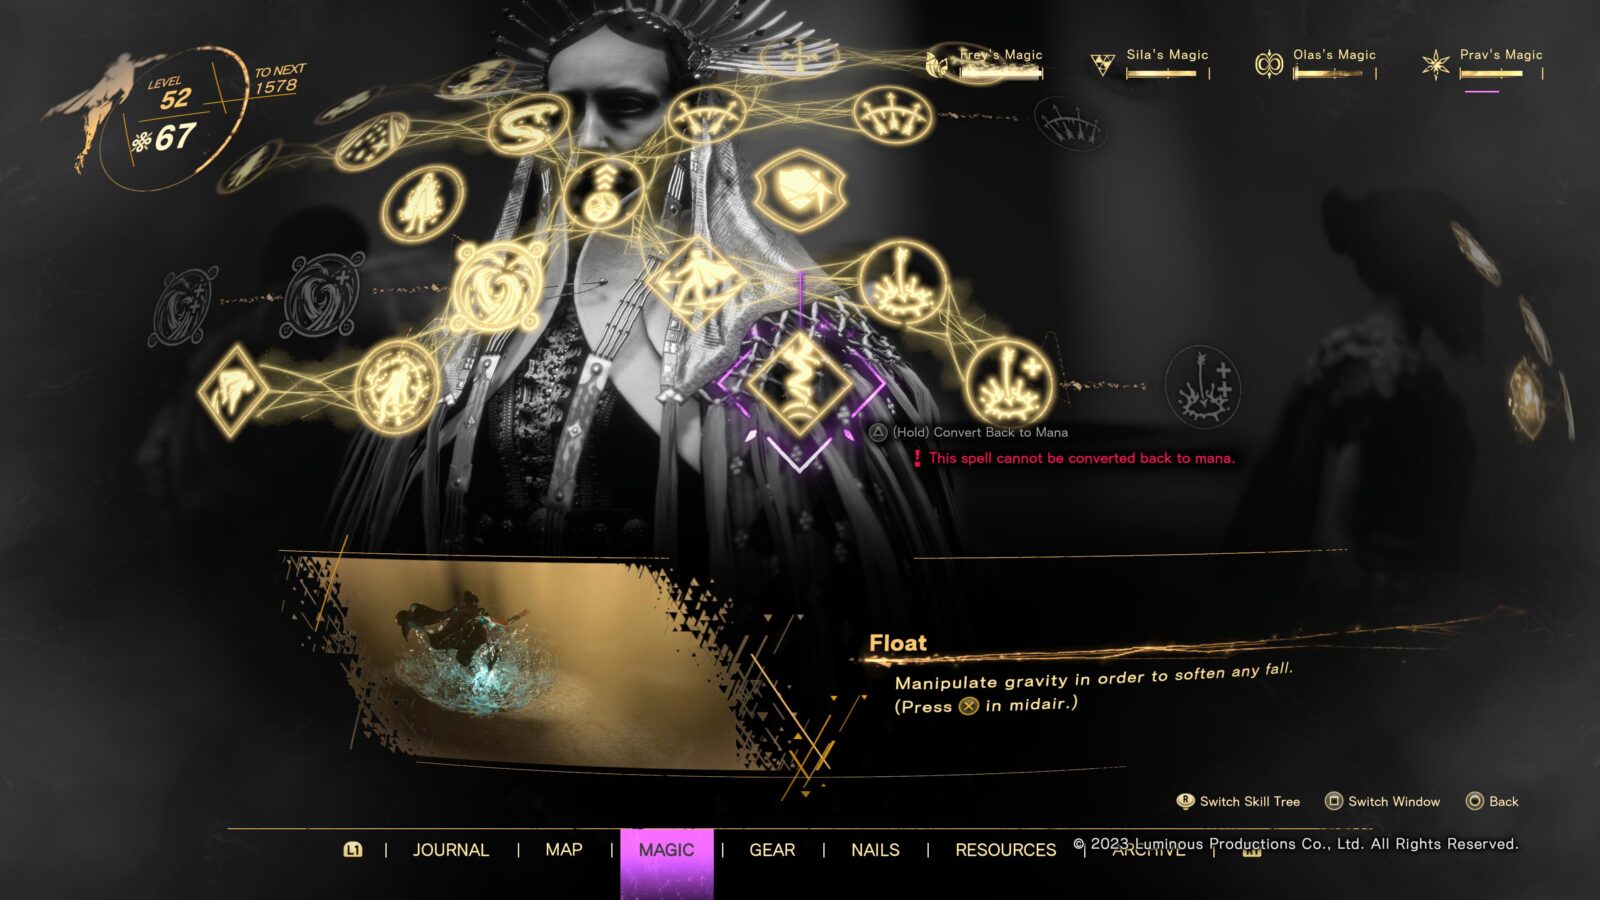
Once you have the spell, it will allow you to glide through the air by holding ![]() . To unlock the “I Can Fly!” trophy, you need to stay airborne with this ability for a full 10 seconds without pause or landing between them.
. To unlock the “I Can Fly!” trophy, you need to stay airborne with this ability for a full 10 seconds without pause or landing between them.
You may find that your stamina depletes too quickly and that you cannot possibly glide for as long as you need to. In this event, go to any Refuge and accept the Spellcraft Challenge for this spell from the Bookshelf. The Challenge is to simply glide for 6 seconds, which is a lot more possible.
Go out and complete this to be able to upgrade the spell. Once upgraded, it consumes less Stamina and you can stay airborne for far longer than before.

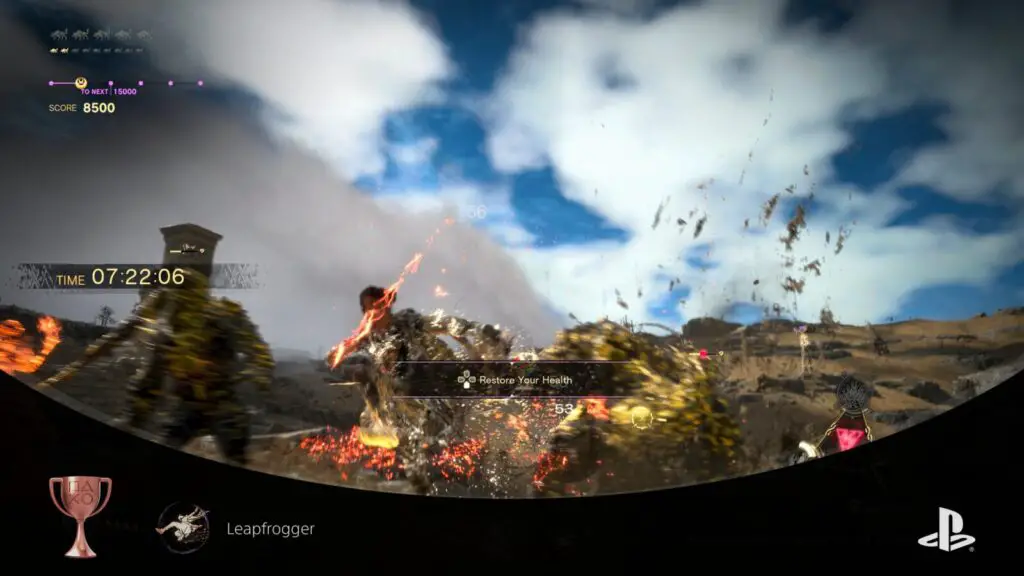
Leapfrogger
Jump over enemies a total of ten times.
Getting around quicker is not the only utility for the “Magic Parkour” skill you acquired during the story’s second Chapter. It can also be used in battle to avoid enemies or close/create distance in tight situations. While holding ![]() to perform Magic Parkour in battle, if you run at an enemy, you will perform a leapfrog maneuver, putting you on the other side of the enemy.
to perform Magic Parkour in battle, if you run at an enemy, you will perform a leapfrog maneuver, putting you on the other side of the enemy.
To unlock the “Leapfrogger” trophy, all you have to do is perform this leapfrog move a total of 10 times.

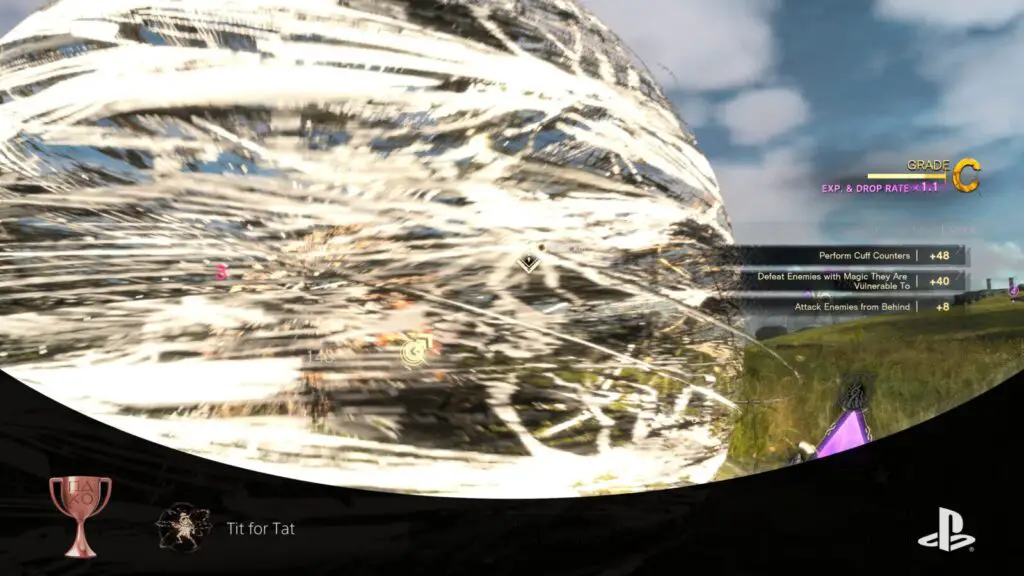
Tit for Tat
Perform ten precision counters.
Whenever you take a direct hit in Forspoken, the attack will be automatically blocked (though you’ll still receive damage) using stamina. When this happens, a ![]() prompt will flash up over Frey for a brief moment.
prompt will flash up over Frey for a brief moment.
Pressing ![]() in this moment, triggers a powerful counterattack. Performing 10 of these counter-attacks is all it will take to unlock the “Tit for Tat” trophy!
in this moment, triggers a powerful counterattack. Performing 10 of these counter-attacks is all it will take to unlock the “Tit for Tat” trophy!

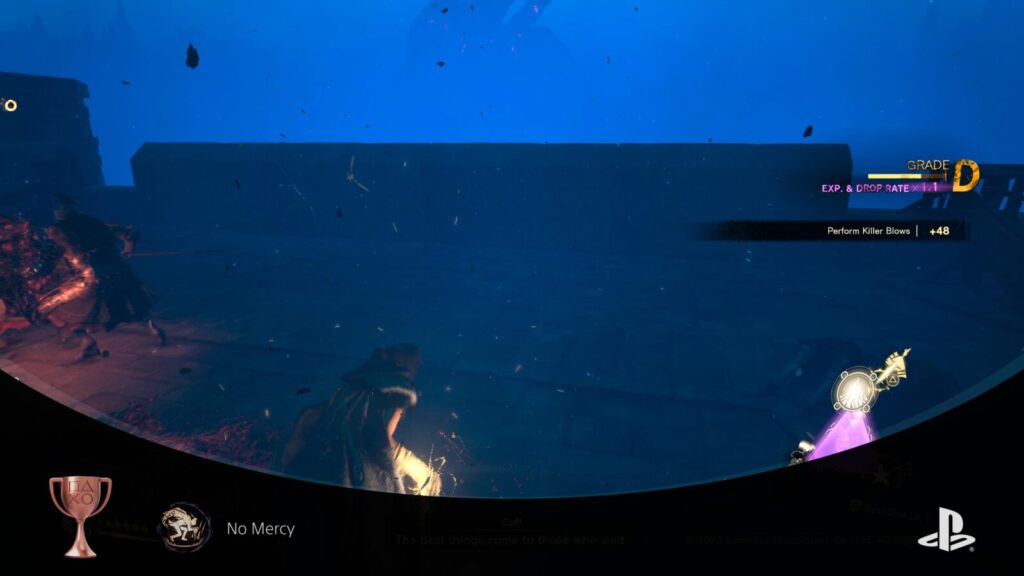
No Mercy
Perform thirty Killer Blows.
When you knock down or stun an enemy in Forspoken, you will see a ![]() prompt over them when close enough. Press
prompt over them when close enough. Press ![]() to leap onto them and deal a large amount of damage, often enough to finish the enemy off.
to leap onto them and deal a large amount of damage, often enough to finish the enemy off.
Performing these downed finisher attacks a total of 30 times will unlock the “No Mercy” trophy.

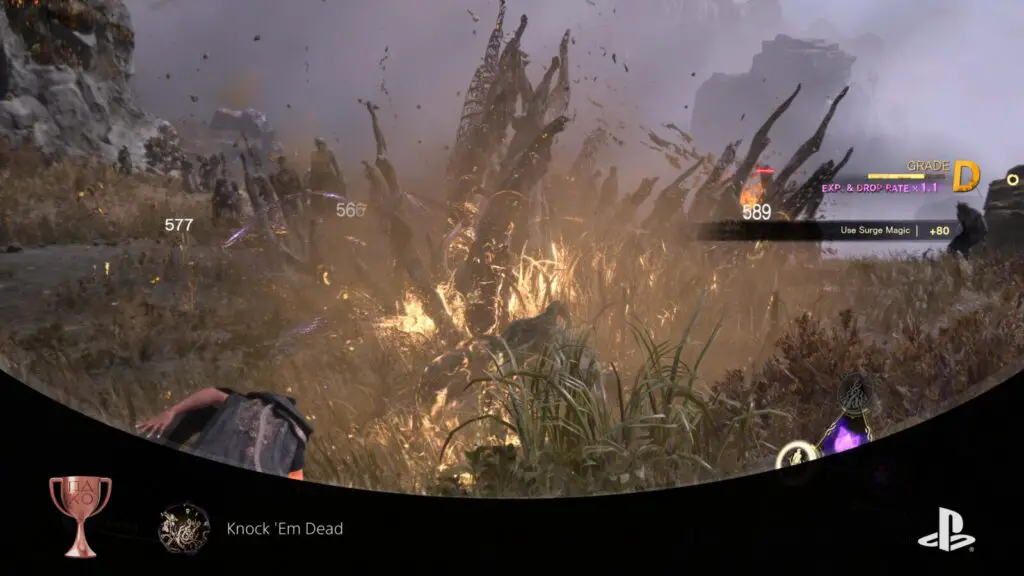
Knock 'Em Dead
Finish three or more enemies with a single blast of Surge Magic.
Surge Magic is a powerful type of spell that charges up throughout the course of battle. When charged, you can press ![]() +
+ ![]() together to activate it, dealing massive damage to anyone caught in its range. Each of the four Tanta Magic Types has at least one Surge Spell.
together to activate it, dealing massive damage to anyone caught in its range. Each of the four Tanta Magic Types has at least one Surge Spell.
To unlock “Knock ‘Em Dead,” all you need to do is to use one of these Surge Spells to wipe out three or more enemies in a single use of the attack. This is incredibly easy to do, and very likely to happen naturally. Just find a big enough crowd of weak enough enemies, and you can destroy far more than just 3 of them with one Surge Attack. Roaming Break-Zombie Hoardes are the best places to try and get this trophy, but like I said, it’ll probably happen naturally.

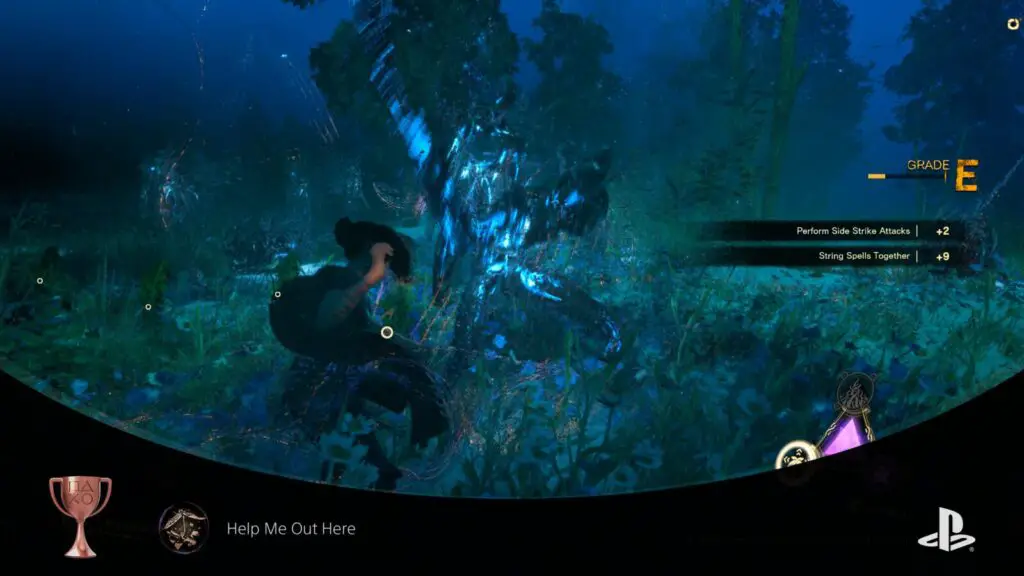
Help Me Out Here
Use the Disperse spell three times in a single battle.
The “Help Me Out Here” trophy will unlock if you’re able to trigger Frey’s “Disperse” spell three times in a single battle. The Disperse Spell spawns a flower capable of spitting seeds at nearby enemies – great for flying opponents!
You will probably need a battle with a large group of enemies or some kind of boss to ensure it lasts long enough for your Disperse spell to recharge after each use. Squeezing three uses of the spell into a single encounter will unlock the trophy.

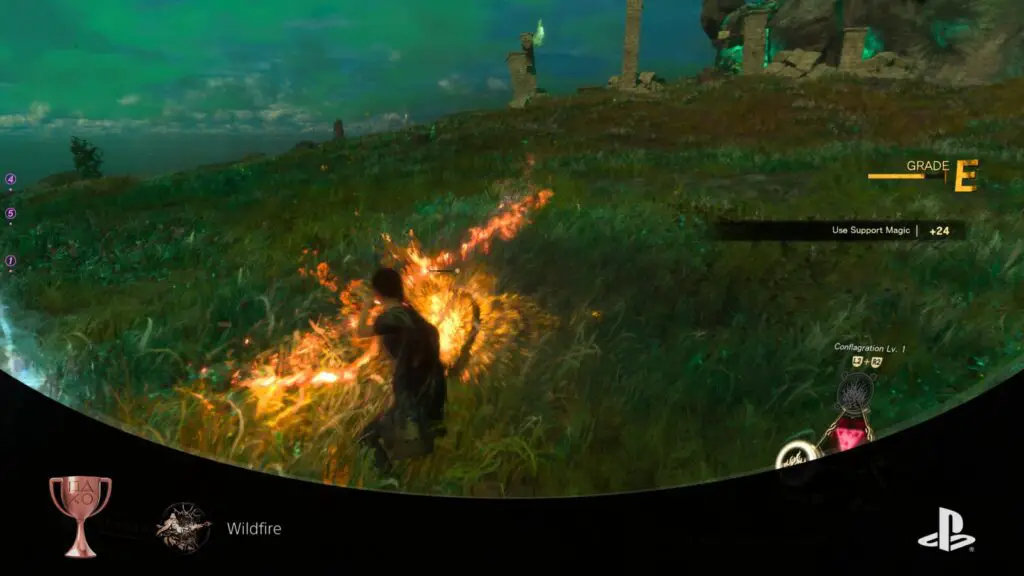
Wildfire
Defeat an enemy bound by the Tangled status effect with Sila's magic.
One of Frey’s spells is called “Bind” and spawns vines within a radius. Enemies inside that radius will receive the “Tangled” status effect, making them unable to move for a short while. After binding any enemy in this way, quickly switch to Tanta Sila’s Fire Magic and attack the enemy until they are defeated. This will unlock the “Wildfire” trophy.
The idea is essentially that you tangle an enemy or two in some vines, and then use Sila’s fire magic to ignite the vines and cause a “Wildfire.”

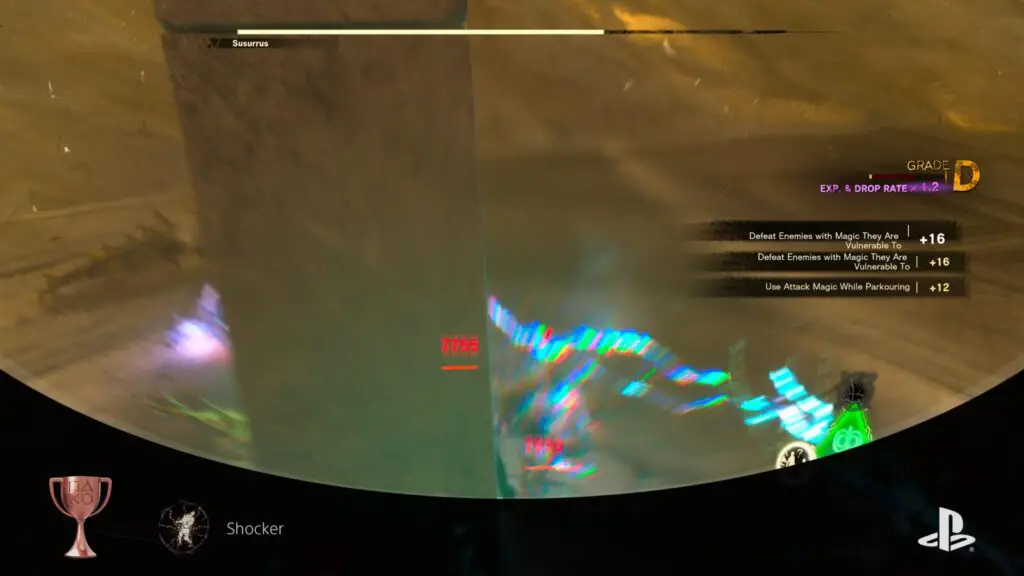
Shocker
Electrocute three enemies at once.
After acquiring the magic of Tanta Ola in Chapter 11, you will have access to electric spells which can electrocute enemies. The easiest way to electrocute three enemies at once and unlock the “Shocker” trophy is by using Tanta Ola’s Surge Magic Spell; Tempest.
Tempest activates in a spherical radius around Frey, so make sure that there are three or more enemies fairly close to you before using your accumulated Surge Magic to trigger Tempest by pressing ![]() +
+ ![]() together with Ola’s Magic equipped.
together with Ola’s Magic equipped.

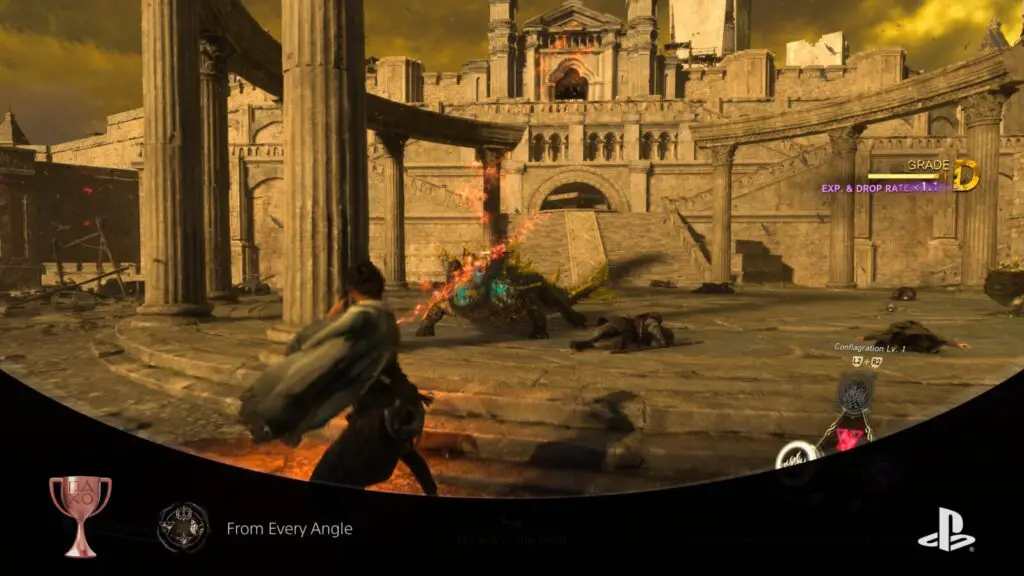
From Every Angle
Use all four types of Tanta magic in a single battle.
By the time you have reached Chapter 12 of the story, you will have access to all four types of Tanta Magic. You can switch between the four by holding ![]() +
+ ![]() together and using
together and using ![]() to make your selection. Alternatively, you can cycle through them with
to make your selection. Alternatively, you can cycle through them with ![]() &
& ![]() .
.
To unlock the “From Every Angle” trophy, you simply need to cast a single spell from all four types of magic within one battle. If the battle ends or you stray too far from it, you’ll need to start again.

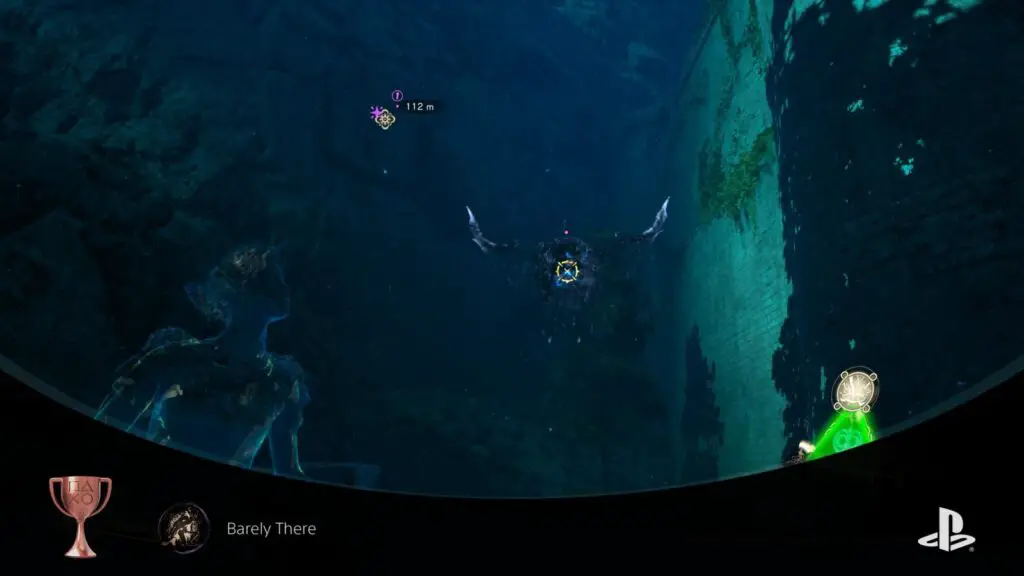
Barely There
Hide for ten whole seconds—so long that people will forget you were there.
Before attempting the “Barely There” trophy, make sure that you have first completed the story and received Ola’s “Suppression” spell from the Juniper Fount in Avoalet.

Once you have it, you can activate the spell by equipping it and pressing ![]() . This will make you completely invisible to enemies. Try it on any group of enemies. Once invisible, remain completely still until the spell expires and you become visible once more.
. This will make you completely invisible to enemies. Try it on any group of enemies. Once invisible, remain completely still until the spell expires and you become visible once more.

The “Barely There” trophy will unlock once done.
If you’re struggling to get enemies to behave themselves and they keep ruining your attempts, it’s best to reduce a group of enemies down until there’s only one enemy left. This enemy will likely cause minimal hassle, allowing you to focus on doing what you need to do.
PlatGet!

Forspoken
Earn every single trophy.
After collecting every trophy in this Forspoken Trophy Guide, the "Forspoken " Platinum Trophy will unlock. Congratulations!
Thanks for Reading
Plat Get!
Thank You!
Thank You for choosing PlatGet as your source for this Forspoken Trophy Guide.
Wondering what to complete next? Browse our complete guide selection or check out our friends at PlatPrices.com to filter the PS Store based on price, trophy difficulty, or completion time.
Got a question, some feedback, or just want to say thanks? Drop a comment in the discussion section below, we'd love to hear from you! No account required!!