
PlayStation 4, PlayStation 5
Dredge Trophy Guide


General Info
FAQ
How long does it take to beat Dredge and unlock all trophies?
Around 20 Hours.
How difficult is it to beat Dredge and unlock all trophies?
Easy (3/10).
Does Dredge have online trophies?
No.
Does Dredge have difficulty-specific trophies?
No.
Does Dredge have missable trophies?
No.
Does Dredge have glitched trophies?
No.
What is the minimum number of playthroughs required to unlock all trophies in Dredge?
One.
Does Dredge have a Platinum Trophy?
Yes.
Trophy Guide
Dredge Trophy Guide and Road Map for PS4 & PS5
Welcome to our Dredge Trophy Guide. Dredge is an interesting eldritch-themed fishing and inventory-management game which proves to be both addictive and relaxing, despite the myriad eldritch horrors hoping to ruin that relaxation.
Overall you’re in for a thrilling yet overall therapeutic trophy journey, in which you’ll experience the chilling story, complete all side-activities, and collect every fish in the sea.
What are you waiting for? Hop aboard and experience this 10/10 Indie Masterpiece.
Phase One | Story "Pursuits"
For the initial phase of our Dredge Trophy Guide, you should simply focus on completing the main quests. Quests are called “Pursuits” in this game and there are only a handful of Pursuits overall, even fewer of which are required for the story.
There’s one primary Pursuit that you’ll eventually receive, called “The Collector,” this pursuit will send you to all four corners of the map, one by one, until you’ve gathered five important artifacts for the Collector himself.
By progressing this single Pursuit (and some others in the process) you will unlock a handful of unmissable trophies before reaching the penultimate point of the story. After this point of no return, you will be able to earn one of two ending trophies. Once you’ve done so, continuing from the title screen will bring you right back to the point of no return where you can earn the other ending trophy too.
Once you have both ending trophies, it’s time to move on to Phase Two. Absolutely nothing is missable and there are no difficulty settings to concern yourself with. If you find the timing difficult to achieve in the fishing minigame, there is an easier fishing setting in the accessibility options that you can employ to ease things out.
Along the way, don’t hesitate to complete any other Pursuits or secure any upgrades or anything like that as almost everything you do will help you in the rest of your Trophy Journey!
Unmissable Story Trophies

Introductions
Complete the introduction quest.
As you may have guessed, you will unlock the Introductions Trophy very early in the game after following just a few basic objectives.


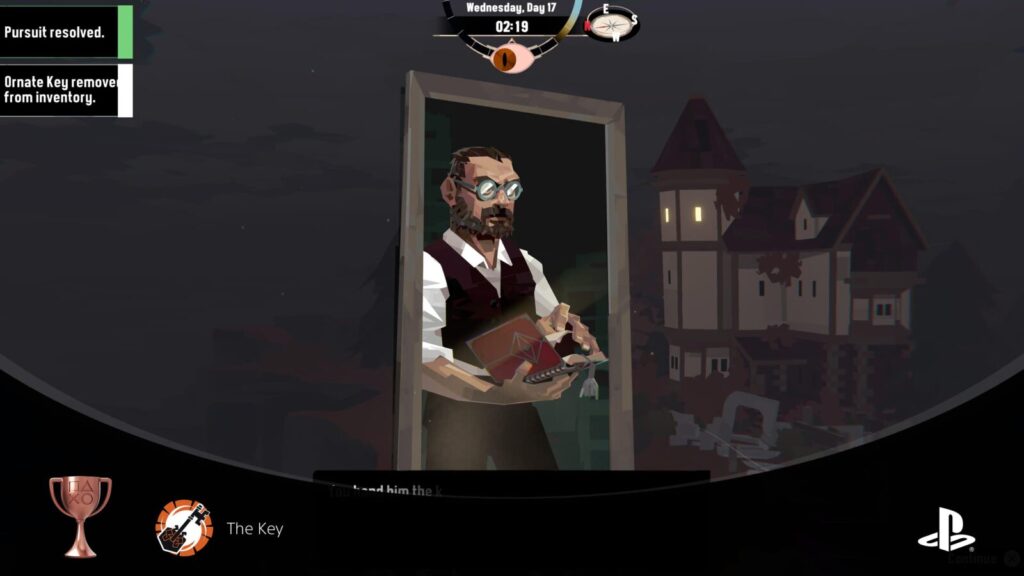
The Key
Deliver the Key.
The Key Artifact can be found in a shipwreck around the back of Greater Marrow. Deliver the key to the Collector to progress the story, receive the “Haste” ability, and unlock the “The Key” trophy!

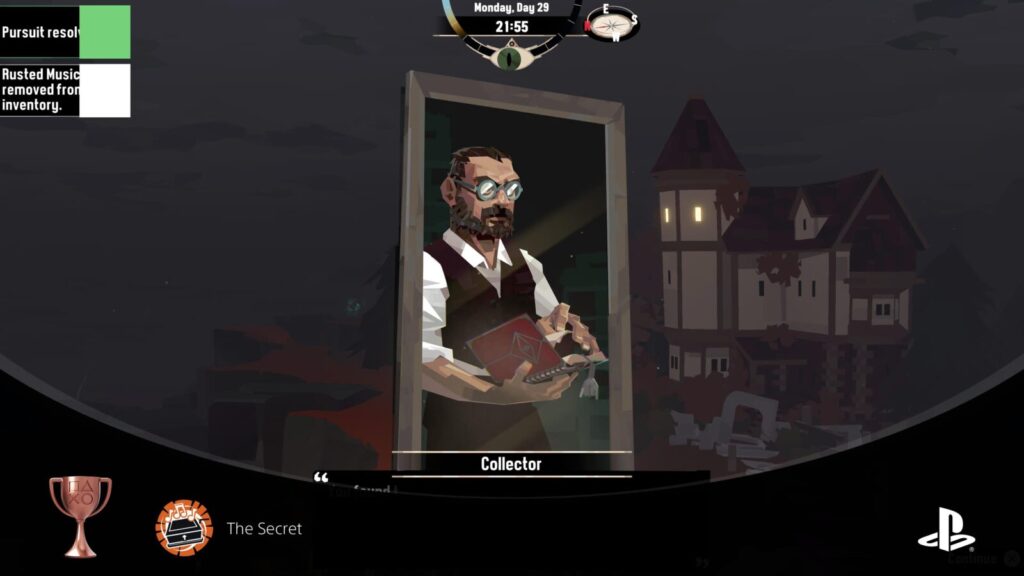
The Secret
Surrender the Music Box.
The Music Box Artifact can be found by following the “Hermitage” Pursuit in Gale Cliffs. Deliver the Music Box to the Collector to progress the story, receive the “Manifest” ability, and unlock the “The Secret” trophy!

The Bond
Entrust the Ring.
The Ring Artifact can be found by fishing with Hadal Equipment at the center of Stellar Basin. Before you can do that, you will need Hadal Fishing equipment and will need to progress the “Collect All Samples” pursuit for the Researcher in Stellar Basin.
Deliver the Ring to the Collector to progress the story, receive the “Banish” ability, and unlock the “The Bond” trophy!


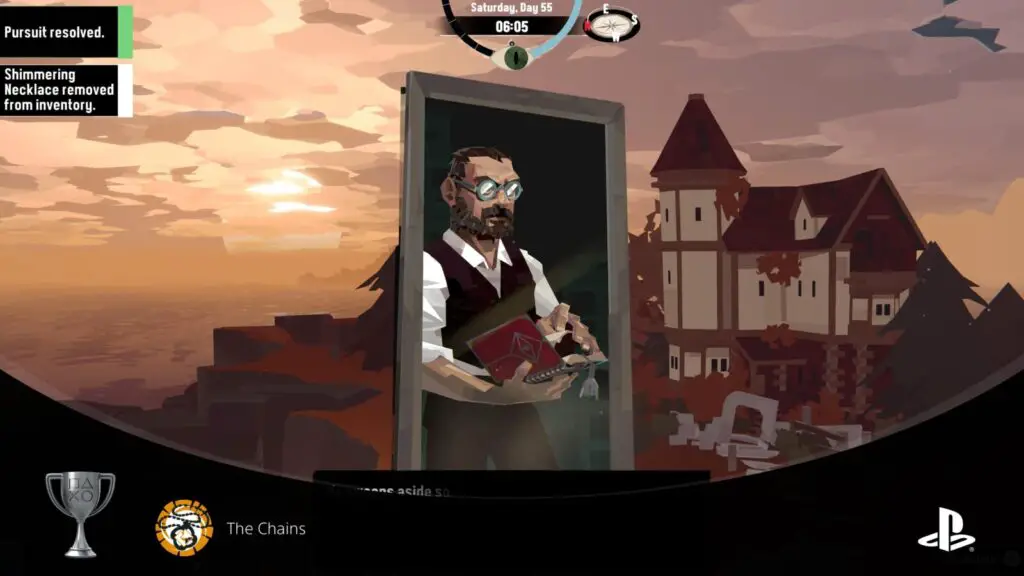
The Chains
Relinquish the Necklace.
The Necklace Artifact can be found by following the “The Bitter End” Pursuit for the Airman in Twisted Strand. Deliver the Necklace to the Collector to progress the story, receive the “Atrophy” ability, and unlock the “The Chains” trophy!

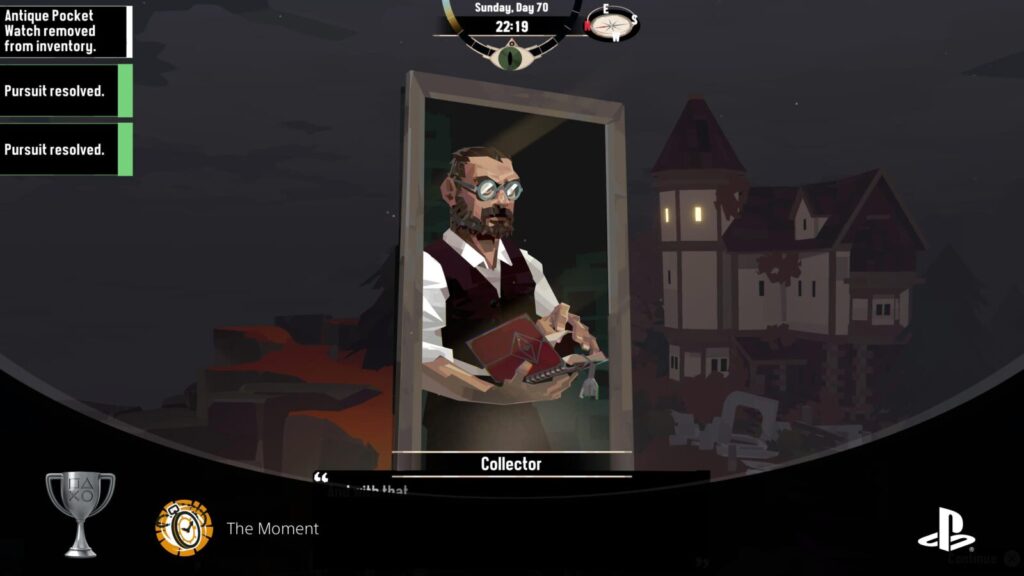
The Moment
Give up the Pocket Watch.
The Pocketwatch Artifact can be found by following the “Flames of the Deep” Pursuit for the Fanatic in Devil’s Spine. Deliver the Pocketwatch to the Collector to progress the story, and unlock the “The Moment” trophy!
Shortly after this, you’ll be met with the Point of No Return. It is safe to proceed past this point to receive one of the two endings, as the game will bring you right back to just before this point.
Story Ending Trophies

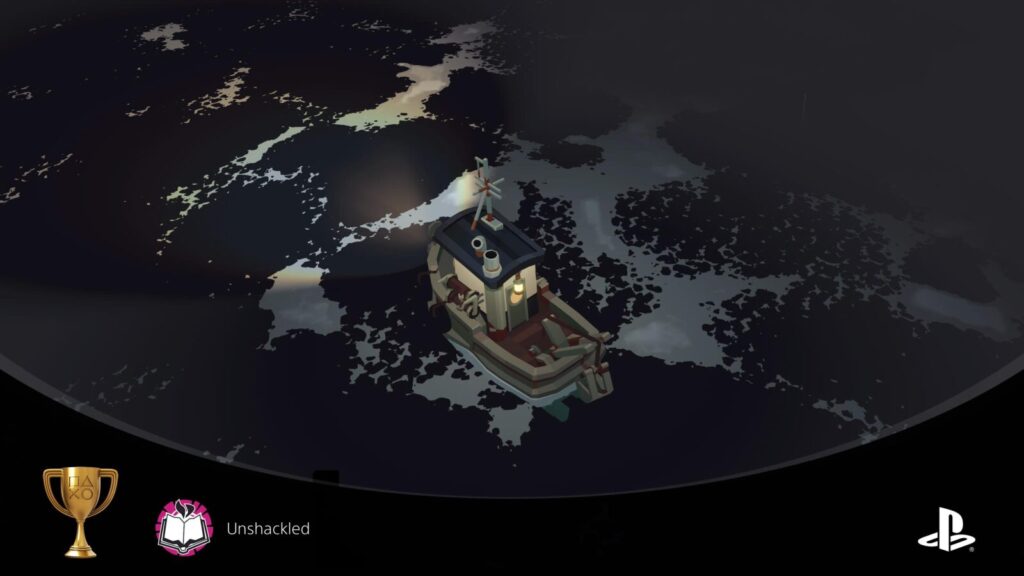
Unshackled
Find a use for the relics.
Technically the bad ending, but undeniably the simplest to acquire, the Unshackled trophy will unlock if you finish the story by doing the following things;
First, simply deliver the Pocketwatch to the Collector. You will be warned of the point of no return but then offered the option to say you’re ready. Select it and the Collector will board your boat.
Sail him to the red X on your map west of Greater Marrow and then watch the cutscene until your trophy unlocks.

Sated
Throw it back.
The “Sated” trophy will unlock when you reach what is technically Dredge’s good ending. As you can imagine, this ending requires a little bit more work, but nothing too crazy.
The first thing you need to do is meet the Old Mayor. I read multiple times online that you don’t need to meet the Old Mayor, but I was unable to trigger the Good Ending without first finding him.
The Old Mayor can be found at campsites in four locations on the map. The one I chose to visit is the campsite south of Devil’s Spine on one of the eastern islands there.
After meeting the Old Mayor and exhausting all dialogue options, return to Greater Marrow and speak to the Lighthouse Keeper, who will now be willing to discuss the silver and crimson book with you.
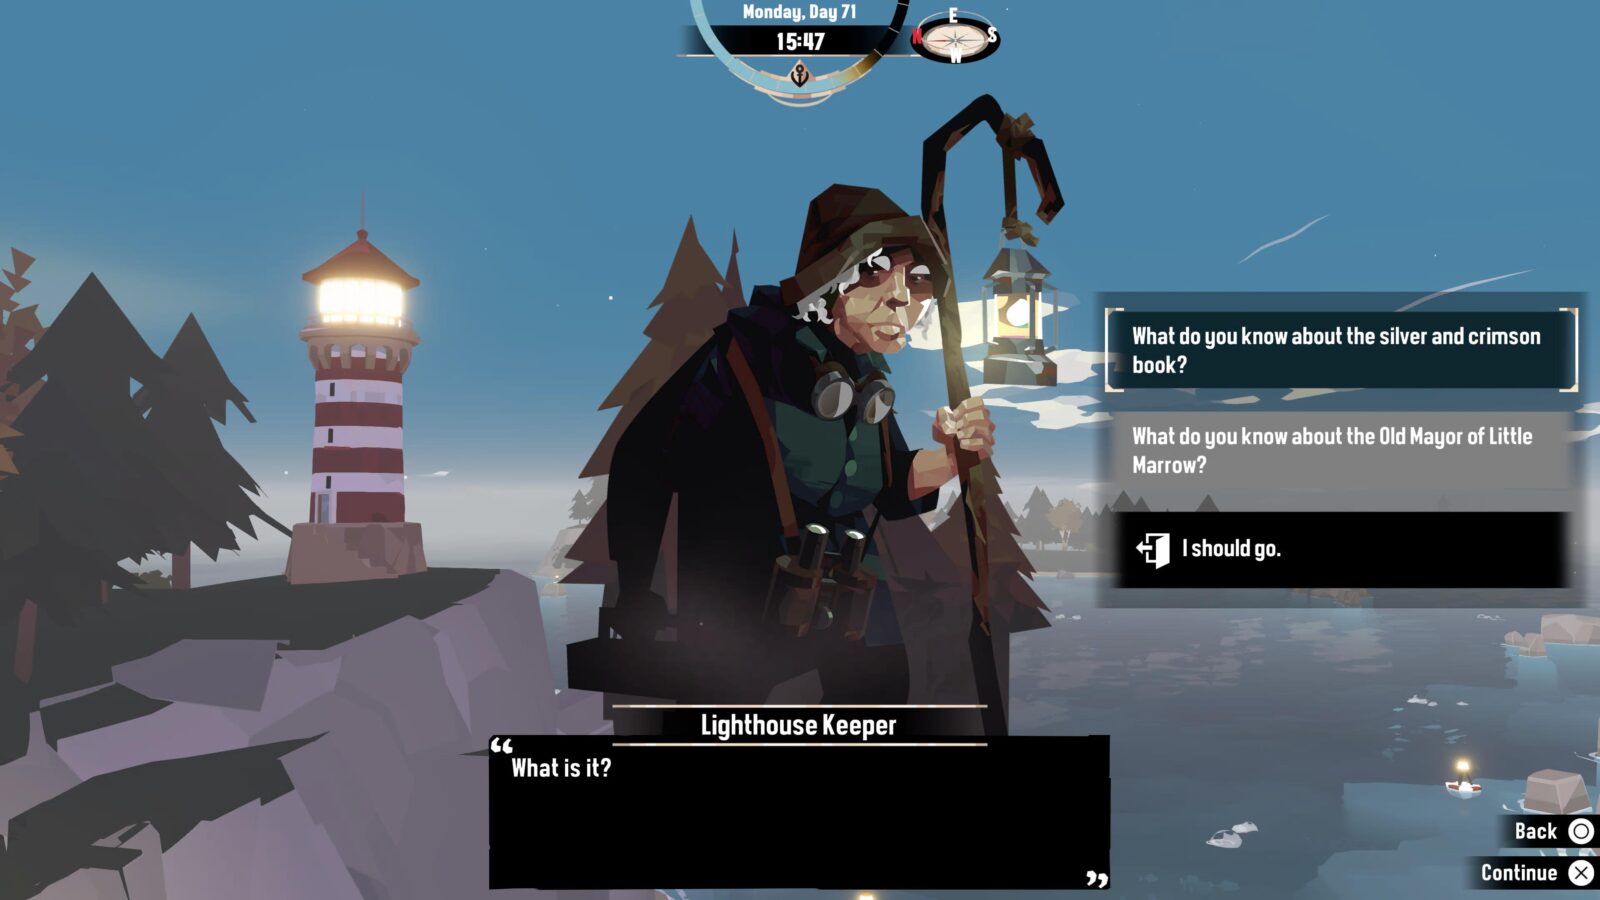
Inquire about it to unlock a new dialogue option at the Collector, where you ask him about the book:
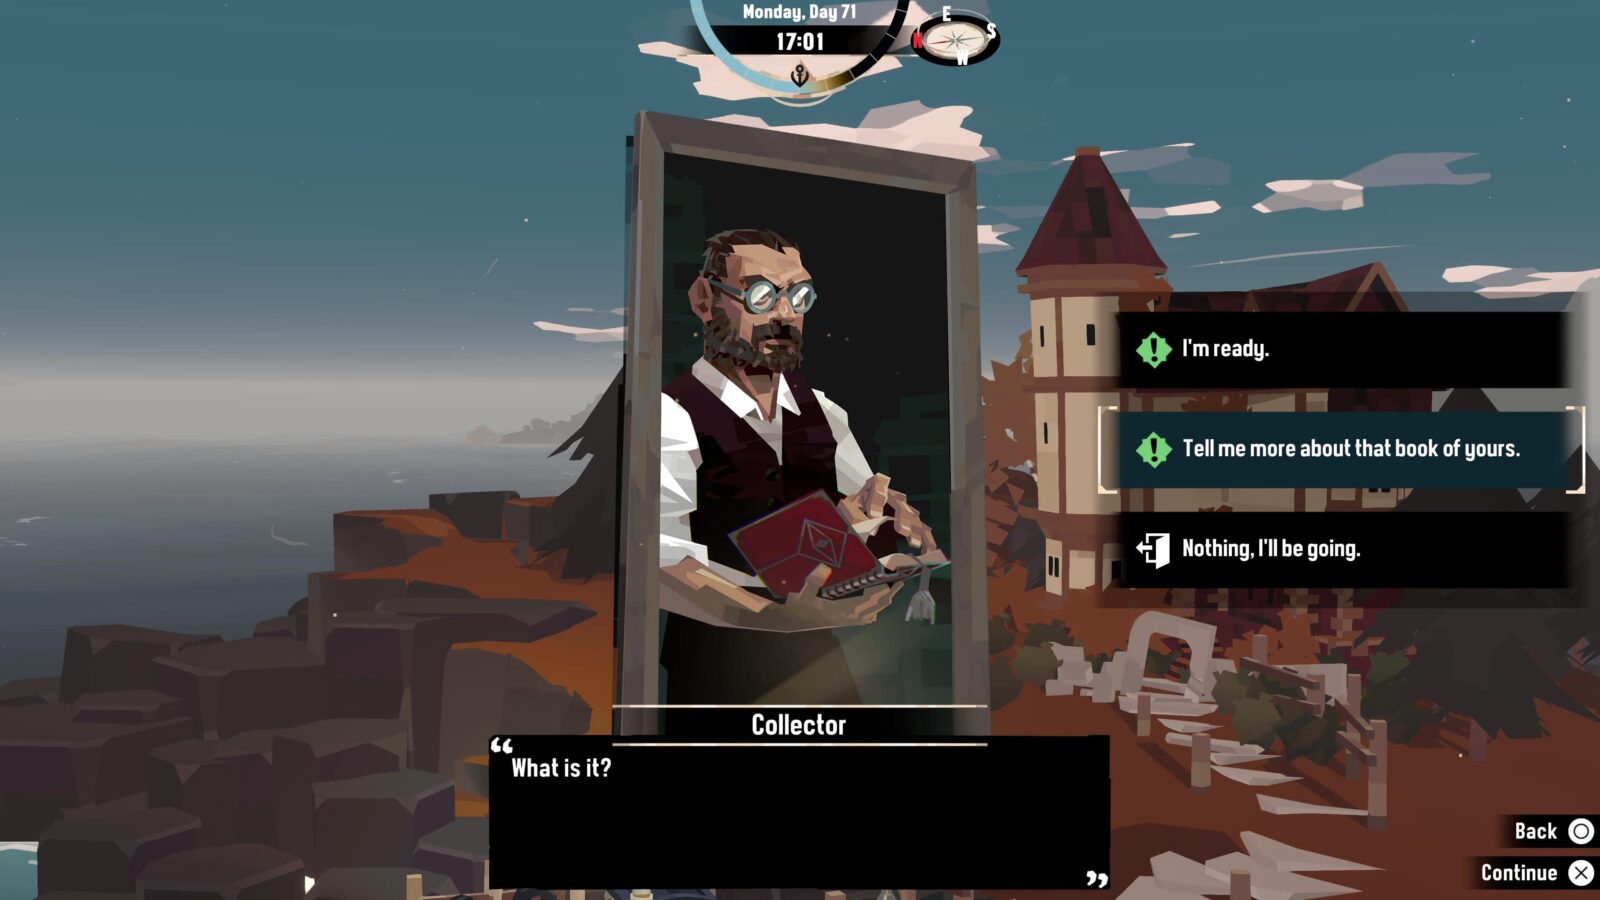
Select “Give me the book,” “[Step closer.],” and then “[Take the book.].” Once you have it, return to the Lighthouse Keeper again, via whom you will now be able to access the good ending. Tell her “I have the book” followed by “I’m ready” to begin the final sequence.
The Lighthouse Keeper will shine her light out into the distance and you will need to follow it until you reach the right location.
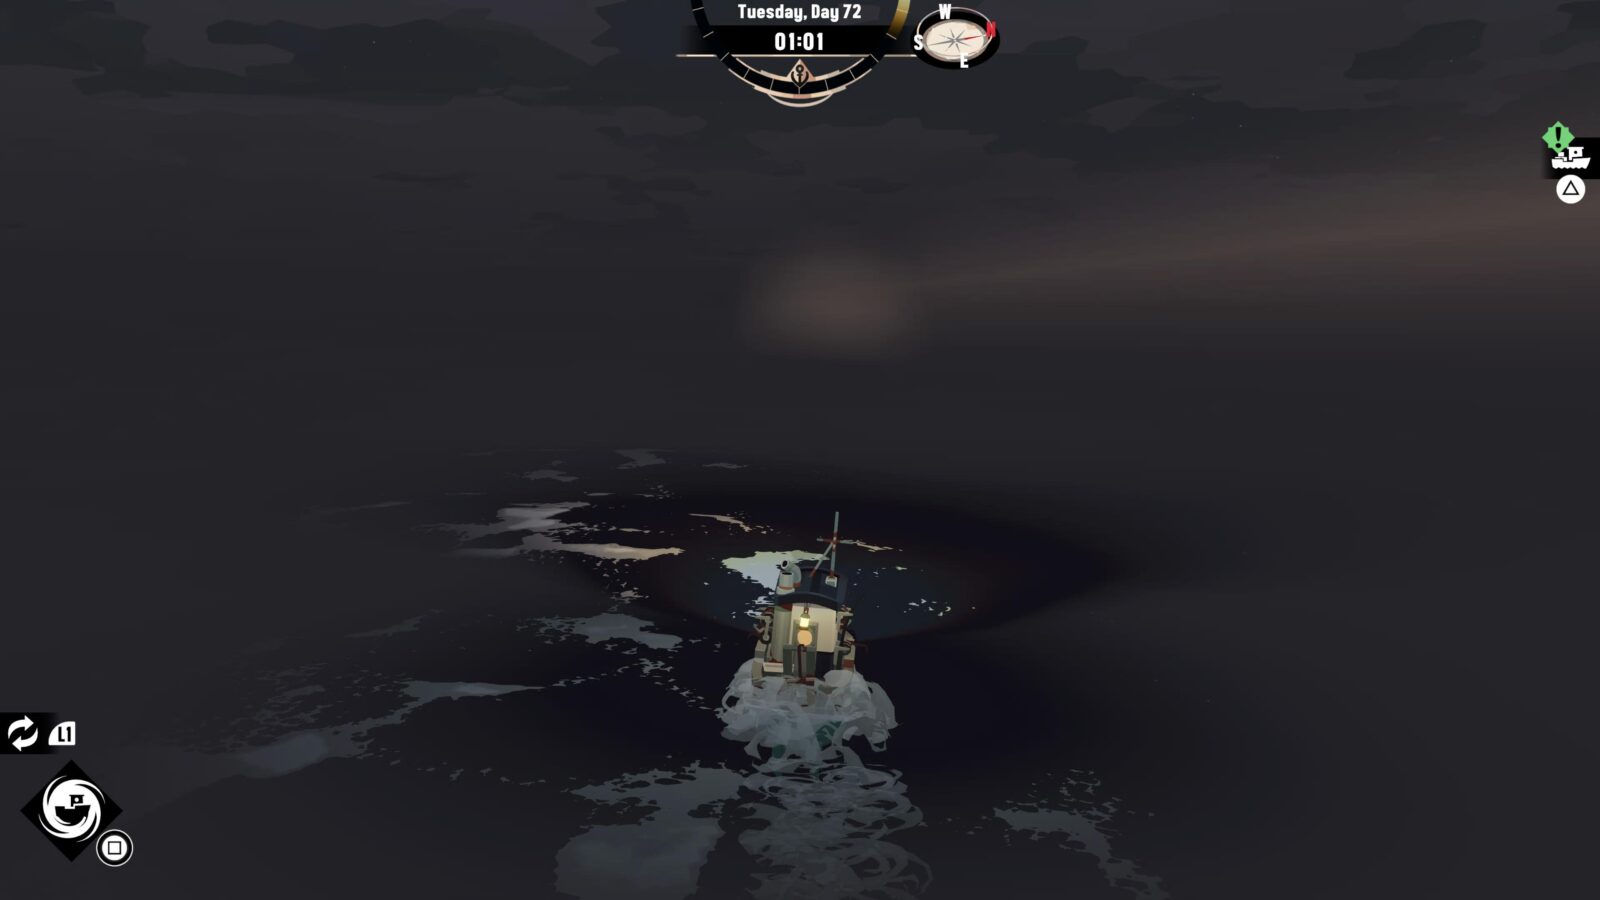
Once there, you’ll be prompted. Select “Throw it back” and watch as the “Sated” trophy unlocks.

Phase Two | Side-Pursuits, Docks, and Shrines
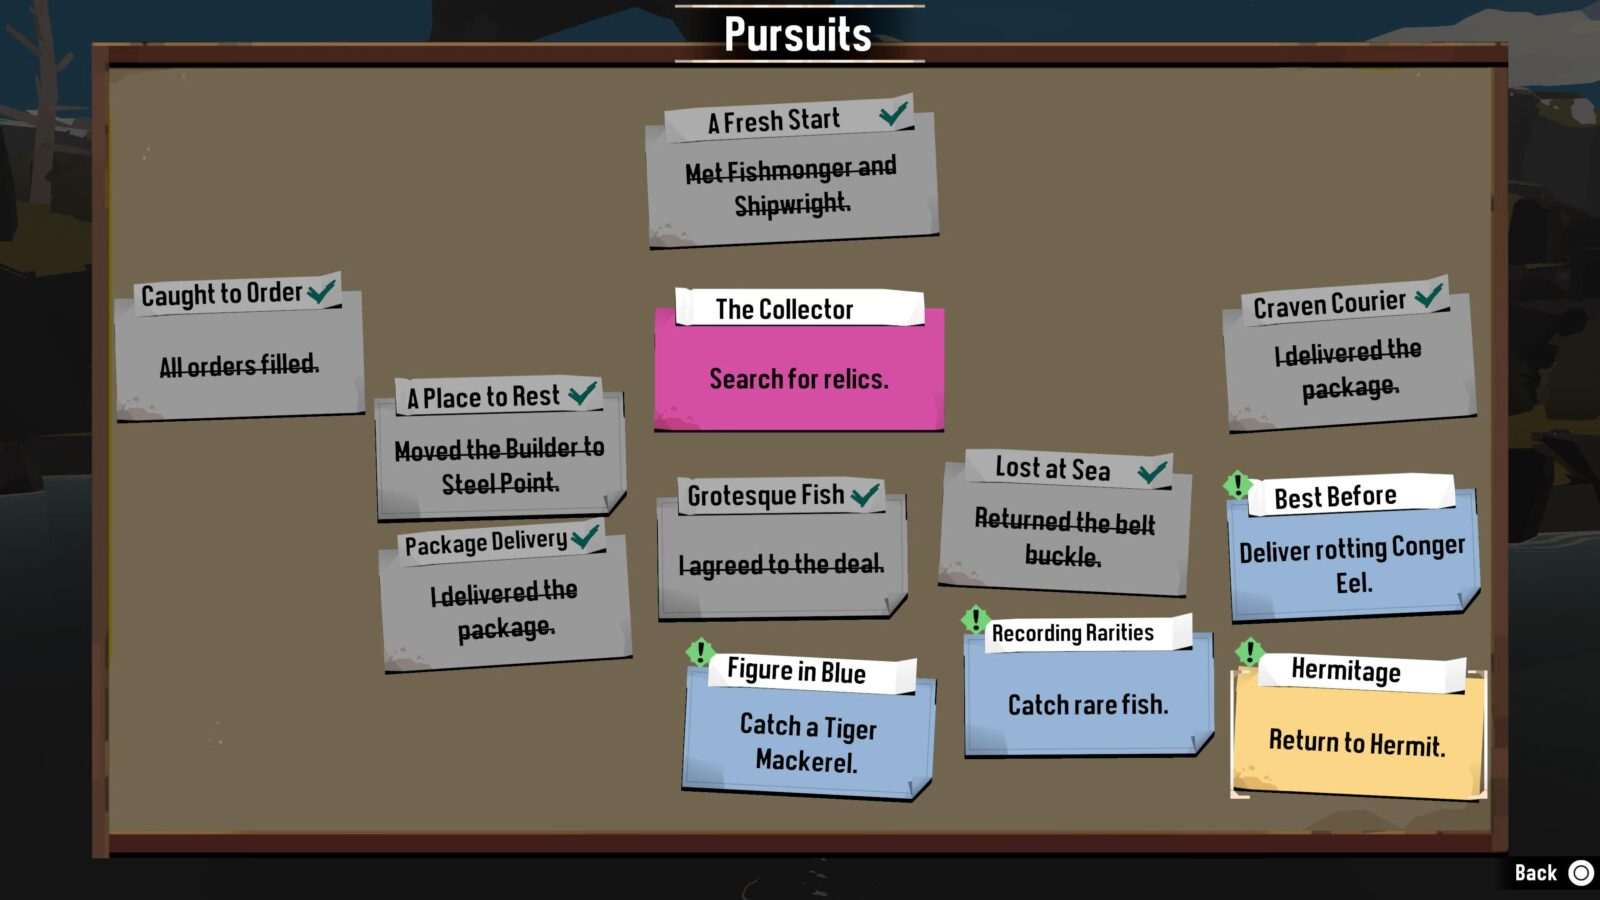
With the story complete, you will have a handful of semi-complete side-pursuits available in your Pursuits Menu (![]() ). There will also be a few Pursuits you never located.
). There will also be a few Pursuits you never located.
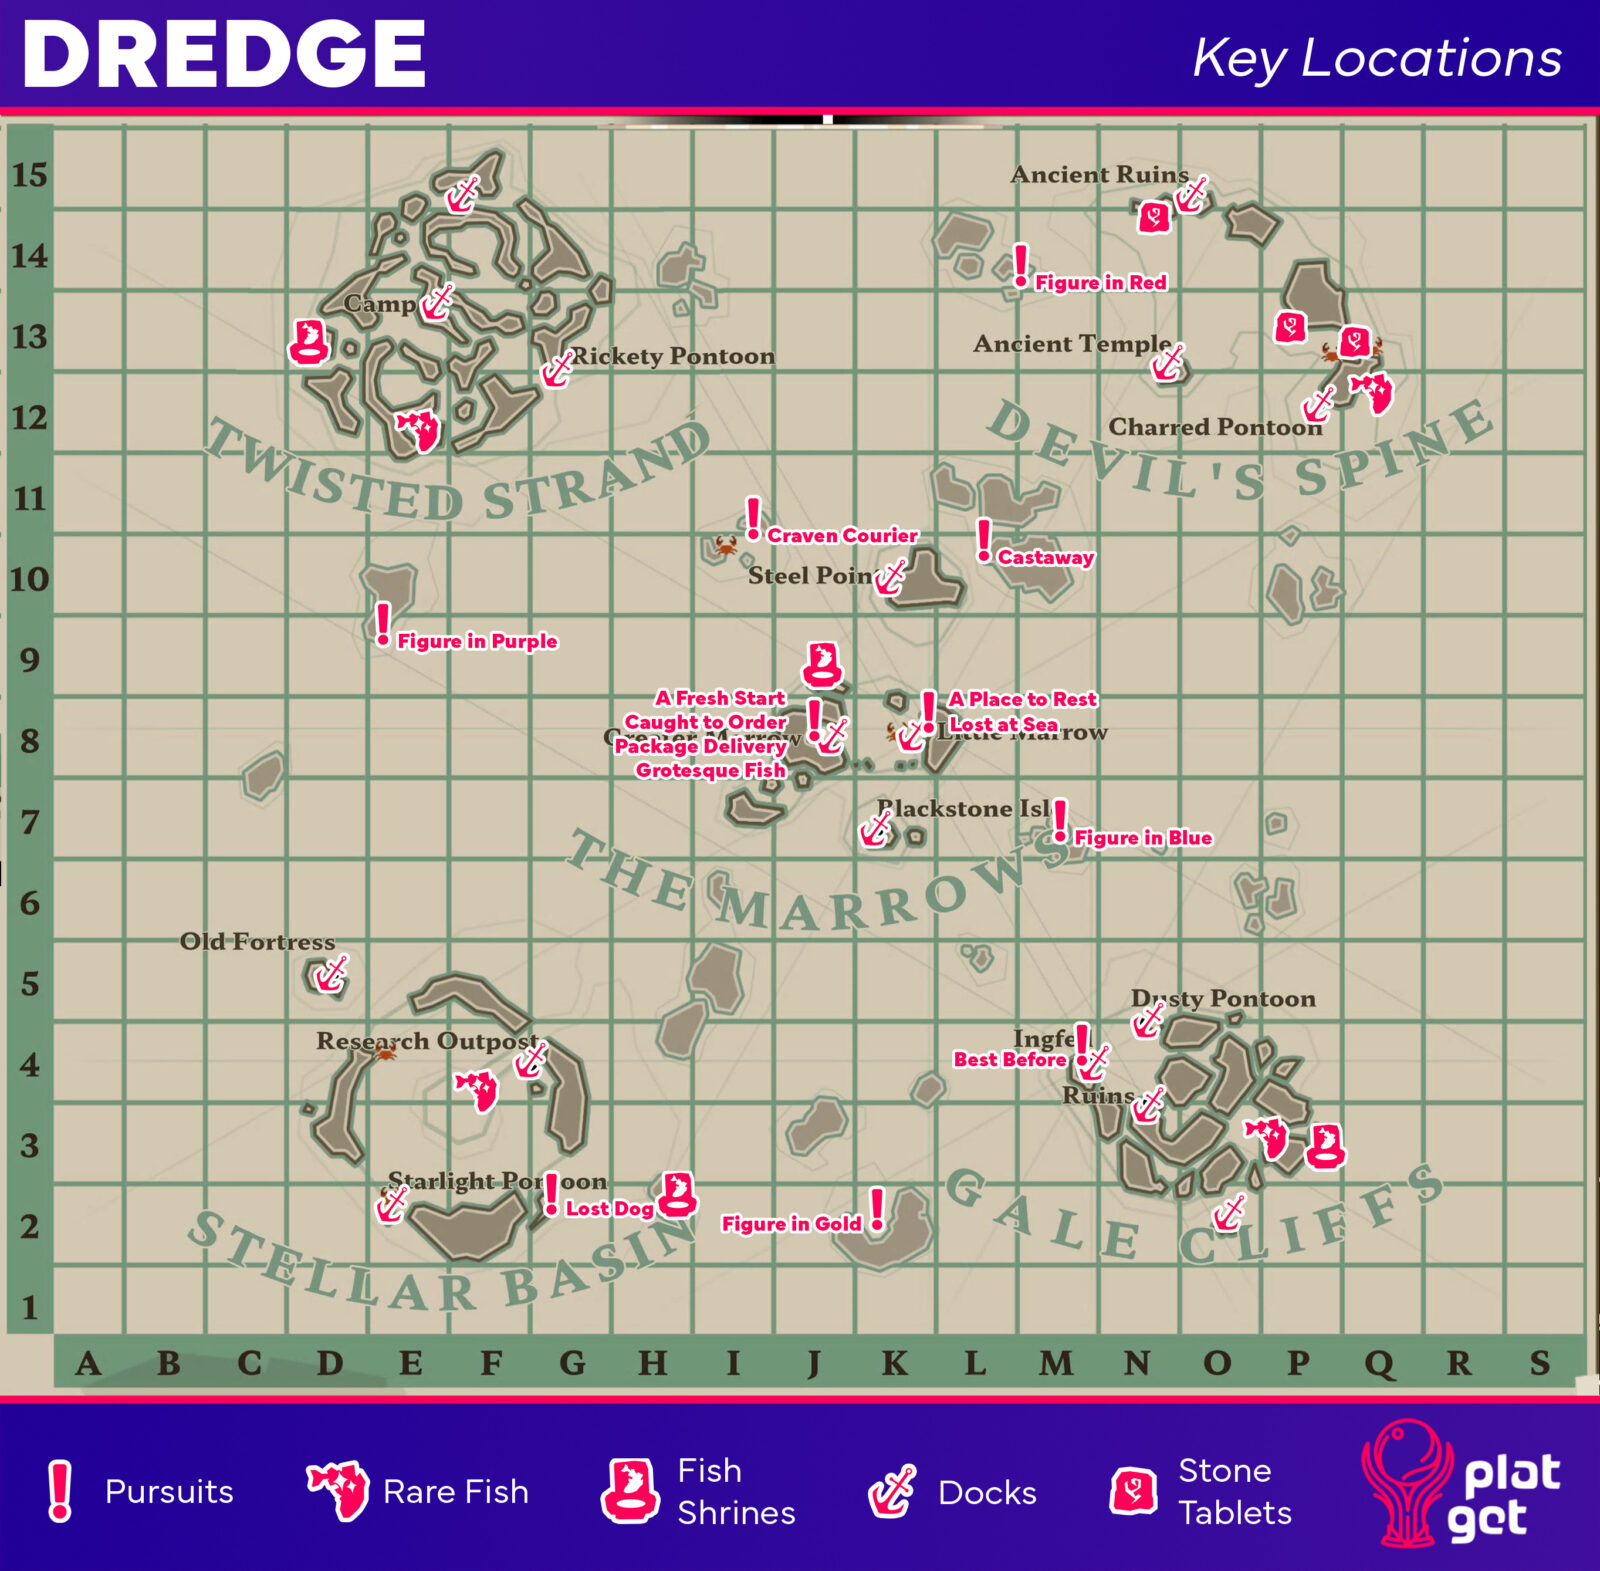
Using the map below, make sure you visit every pursuit’s starting position and then follow it through to completion. Repeat until your Pursuits Screen is filled with complete pursuits. One of these pursuits, for the Traveling Merchant on the Pontoons, is to catch four incredibly rare fish. Their locations have also been marked below.
Along the way, you will also want to complete all of the Fish Shrine puzzles, which are marked on the map too!
Lastly, I would also recommend using this time to visit every possible dock (since many of them are the locations of Pursuits anyway) and unlock the related trophy for having visited them all.
Complete All Pursuits

Providence
Complete all side quests. One way or another.
Using our map above, visit the location of every Pursuit in Dredge and complete the objectives until you have completed all of them. You can track your active Pursuits via the ![]() menu and view your objectives there.
menu and view your objectives there.
Most of them require you to collect specific fish, which is a good thing really since we’ll need to catch them all later.
Solve All Shrine Puzzles

Servant of the Shrines
Solve all fish shrine puzzles.
There are four Fish Shrines hidden across the map of Dredge. Each one asks for different sacrifices and once you complete one of these deliveries, you will receive a rare piece of equipment.
To unlock the “Servant of the Shrines” trophy, you will need to complete all four Fish Shrines. Their locations are marked on our map at the top of this phase.
The Fish Shrine in Twisted Strand requires that you simply deliver any Abberation (mutated fish). You can guarantee yourself an Abberation by using the “Atrophy” skill that the collector gave you.
The Fish Shrine in Greater Marrow requires you to deliver 5 curved fish. The best one for this is Cod because you can find them near the shrine and they’re easy to catch.
The Fish Shrine in Stellar Basin requires you to deliver these four Oceanic predators:
- Hammerhead Shark | Oceanic Equipment | Day or Night | Spawns at H1
- Blacktip Reef Shark | Oceanic Equipment | Night | Spawns at I11
- Bronze Whaler | Oceanic Equipment | Day | Spawns at I6
- Ghost Shark | Abyssal Equipment | Day or Night | Spawns at I4
Lastly, the Fish Shrine in Gale Cliffs requires one Decorator Crab and two Rock Crabs. You can find both of these crabs by simply placing a Crab Pot near the shrine at a depth of 0-5m. Then, just sleep for a couple of days at the nearby Pontoon and go collect your spoils.
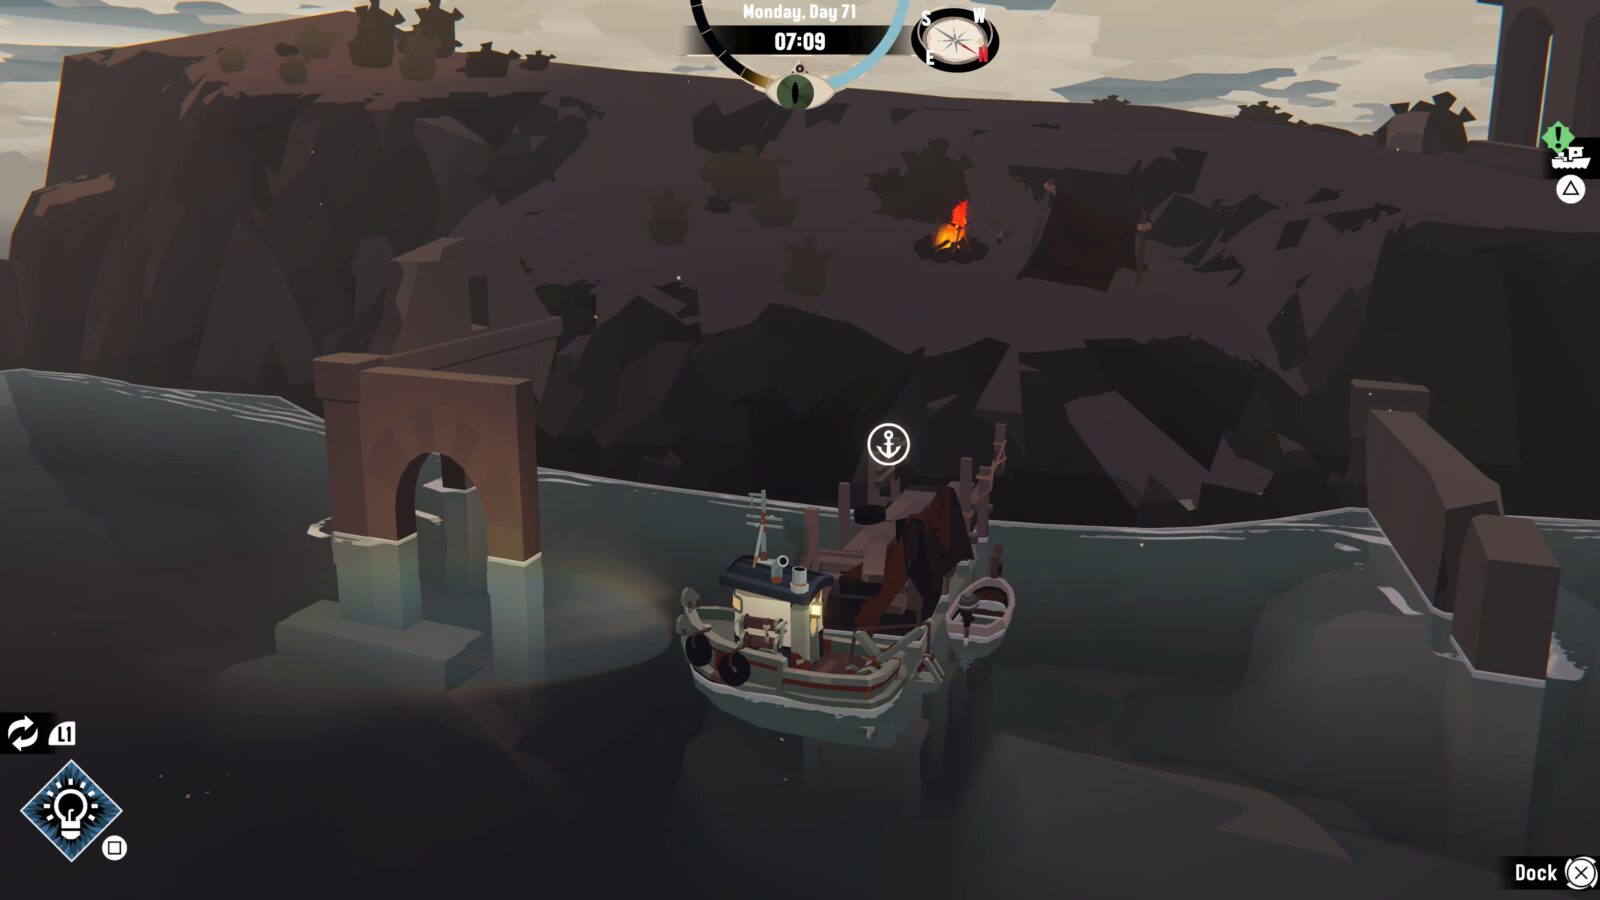
Visit All Docks

Safe Havens
Visit every dock in the game.
For your convenience, every Dock in the game has been clearly labeled on the map at the top of this Phase. Simply sail to and dock at each of the locations to unlock the Safe Havens trophy with ease.
Phase Three | Catch 'em All
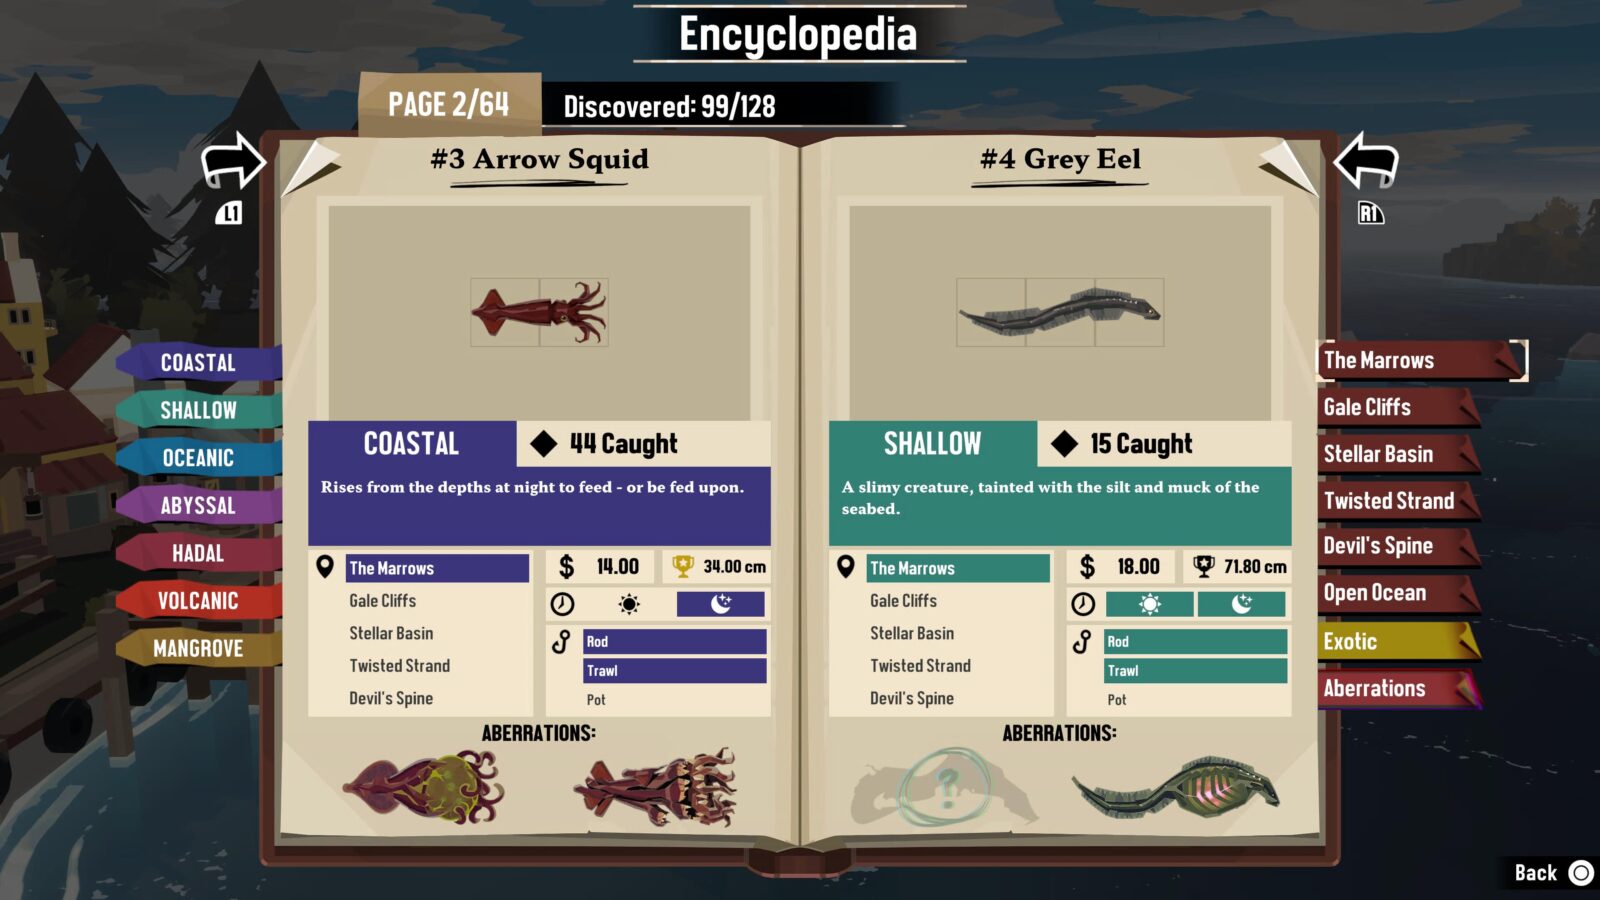
I’m sure you knew this was coming… Phase Three of our Dredge Trophy Guide is going to involve hunting down any fish not yet in your Encyclopaedia and then catching them via the appropriate means. The Encyclopaedia is your best possible guide for this section as it not only tells you what fish you’re missing, but it tells you what region they’re in, what time of day they can be caught, and what methods you must use to catch them!
While you’re here, you obviously won’t just need to catch every species of fish and crustacean, but you’ll also need to snag yourself one of every possible Abberation, too. This is easily accomplished, however. Just read on, this next part is actually pretty chill!
Fish Species Trophies
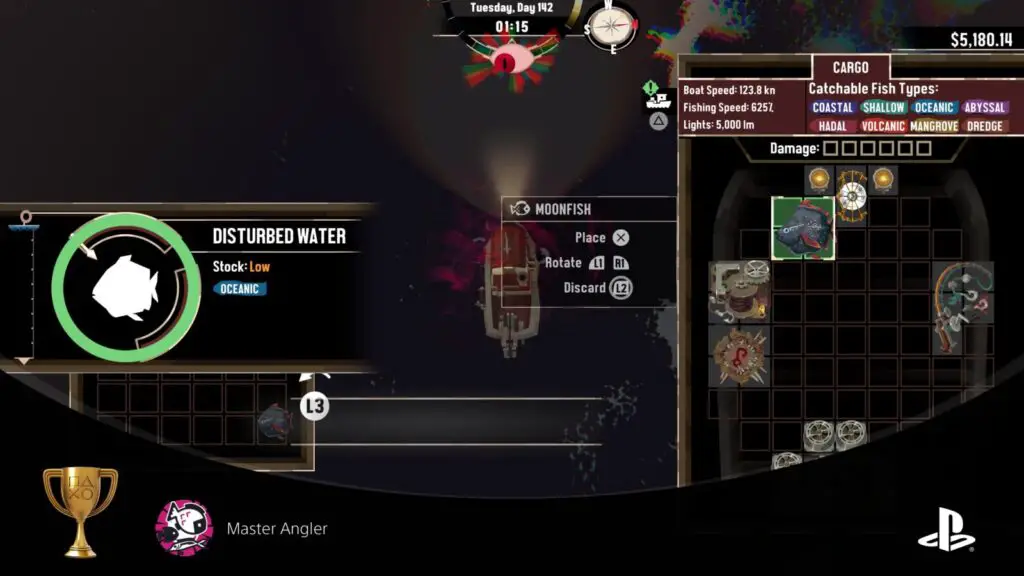
Master Angler
Catch all known species of fish.
While exploring, you can access your Encyclopaedia at any time to check out the species you have collected so far, the species you still need to collect, and details of any aberrations or fishing requirements.
This trophy doesn’t require you to catch every type of aberration, but you will need to for Aberration Attractor, so feel free to use the Atrophy ability to increase your chances of finding aberrations.
This trophy will likely push you to not only research new fishing equipment but to research and install it too. Especially the Oceanic fishing trawler, the only way to catch Anchovies and their aberrations. This is all good progress, though, which will help you drastically during the next phase of our Dredge Trophy Guide.

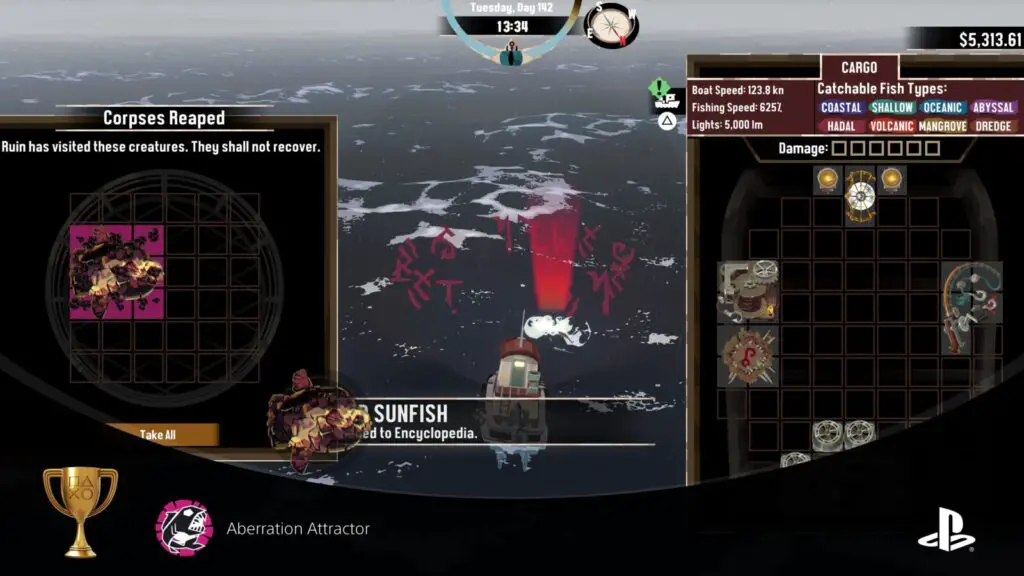
Aberration Attractor
Catch all aberrations.
This Aberration Attractor trophy is near-identical to the Master Angler trophy, except this time you need to catch all Aberrations.
This is actually not as difficult as it sounds. As you browse the encyclopedia, it will tell you the location and fishing requirements of each fish you haven’t yet unlocked.
Under each normal fish species, you will see any aberrations that can spawn for that species, with greyed out ones being ones you still need to catch.
The easiest way to force an aberration to spawn is to face a fishing spot holding that species of fish and then use the “Atrophy” skill from the Collector to instantly kill all the fish in that spot. Typically, though all the fish captured via this method are low quality, you will be pretty much guaranteed an Aberration.
You can then just rest for a day to regain the Atrophy skill and use it on the next species until you have completed your collection.
You’ll be pleased to know that aberrations of Crustaceans don’t spawn so you won’t need any Crab Pots for this trophy. That said, there are some trawling-only aberrations like the Anchovie King, so be sure to trawl plenty and get your trawling gear upgraded.
Phase Four | Research and Upgrades
Well, well, well, check you out! Made it quite far now, haven’t you?
Just kidding, can you imagine if we patronized you like that?
Welcome to Phase Four of our Dredge Trophy Guide. By this point in your trophy journey, you should have a lot of money and a lot of resources to spend on upgrading your ship. If you’ve already been upgrading your ship as much as possible, however, you should actually be pretty close to finishing this phase already but will be very void of money or resources.
You’ll need to start heading out on expeditions to catch fish and dredge resources to then bring back and sell or apply to upgrades. I recommend taking a nice heavy-duty trawling net out on expeditions. This way, your cargo hold can be reserved for resources while your trawling net fills up with catches to sell.
Use the money you accumulate to then buy Upgrades and Research Points from the Pontoon merchant.
Research Trophies

Researcher: Rods
Research all rods.
When at a dock, you can access the “Research” option, next to Rest. In this menu, you can spend any research points that you’ve gathered into your cargo or storage by completing pursuits, dredging, or shopping.
In the post-game, your best bet will be to just sell fish like crazy so you can buy research points from Pontoons. You can purchase a point, rest for a day, and then purchase another point. Repeat until you have all the points you need.
Once you have researched every item on the “Rods” tab of the Research menu, the “Researcher: Rods” trophy will unlock.


Researcher: Nets
Research all nets.
When at a dock, you can access the “Research” option, next to Rest. In this menu, you can spend any research points that you’ve gathered into your cargo or storage by completing pursuits, dredging, or shopping.
In the post-game, your best bet will be to just sell fish like crazy so you can buy research points from Pontoons. You can purchase a point, rest for a day, and then purchase another point. Repeat until you have all the points you need.
Once you have researched every item on the “Nets” tab of the Research menu, the “Researcher: Nets” trophy will unlock.


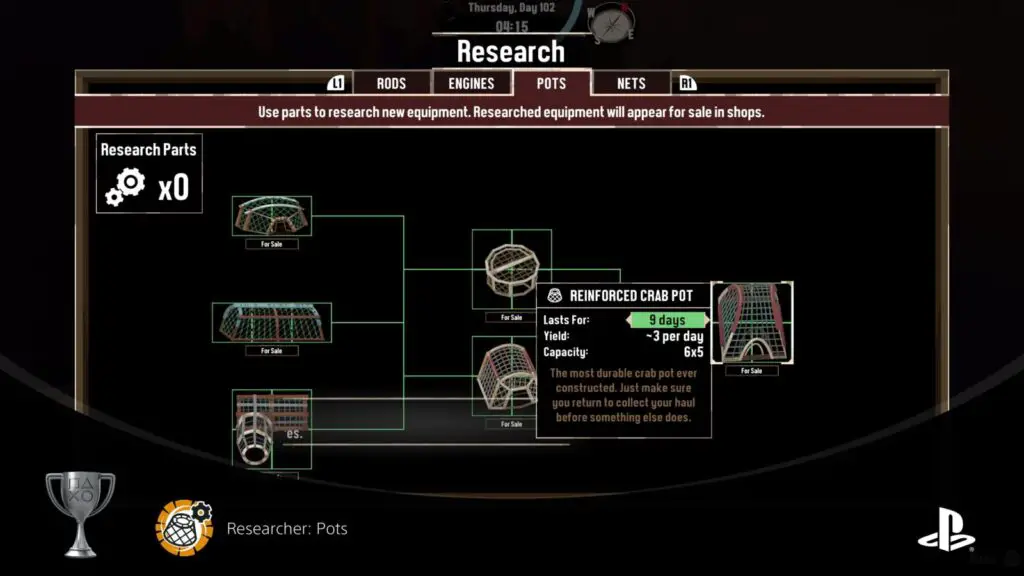
Researcher: Pots
Research all pots.
When at a dock, you can access the “Research” option, next to Rest. In this menu, you can spend any research points that you’ve gathered into your cargo or storage by completing pursuits, dredging, or shopping.
In the post-game, your best bet will be to just sell fish like crazy so you can buy research points from Pontoons. You can purchase a point, rest for a day, and then purchase another point. Repeat until you have all the points you need.
Once you have researched every item on the “Crab Pots” tab of the Research menu, the “Researcher: Pots” trophy will unlock.

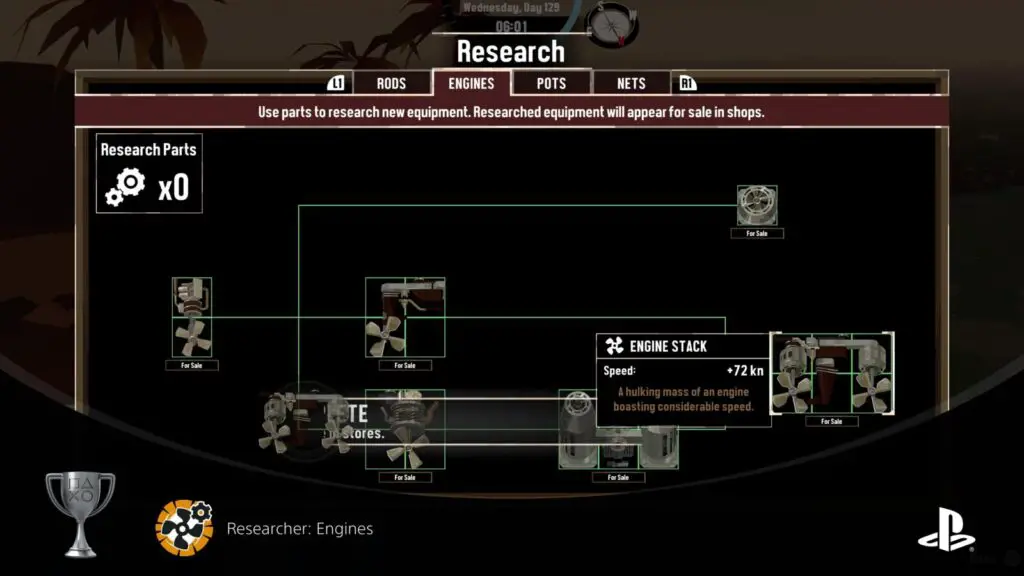
Researcher: Engine
Research all engines.
When at a dock, you can access the “Research” option, next to Rest. In this menu, you can spend any research points that you’ve gathered into your cargo or storage by completing pursuits, dredging, or shopping.
In the post-game, your best bet will be to just sell fish like crazy so you can buy research points from Pontoons. You can purchase a point, rest for a day, and then purchase another point. Repeat until you have all the points you need.
Once you have researched every item on the “Engines” tab of the Research menu, the “Researcher: Engines” trophy will unlock.
Upgrade Trophies

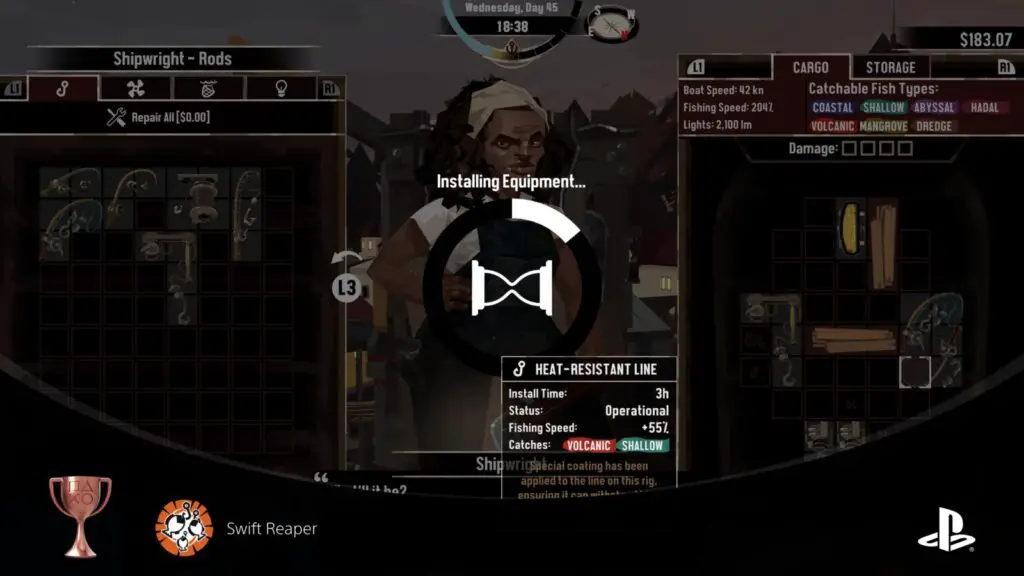
Swift Reaper
Have a combined fishing speed of 200%.
There are several ways to increase your fishing speed, including reading books in your cabin and finding a rare fishing talisman to install on-board. However, the easiest way to increase fishing speed is by simply researching, purchasing, and installing higher-quality fishing equipment.
When you’re at the Shipwright, you will be able to preview the Fishing Speed stat of any Fishing equipment by highlighting it and reading the details in the pop-out window. Your “combined fishing speed” is the overall fishing speed stat of your combined fishing equipment. Only installed equipment will count, of course.
Honestly, the Swift Reaper trophy unlocked naturally for me and I ended up increasing my fishing speed far beyond just 200% throughout the game.

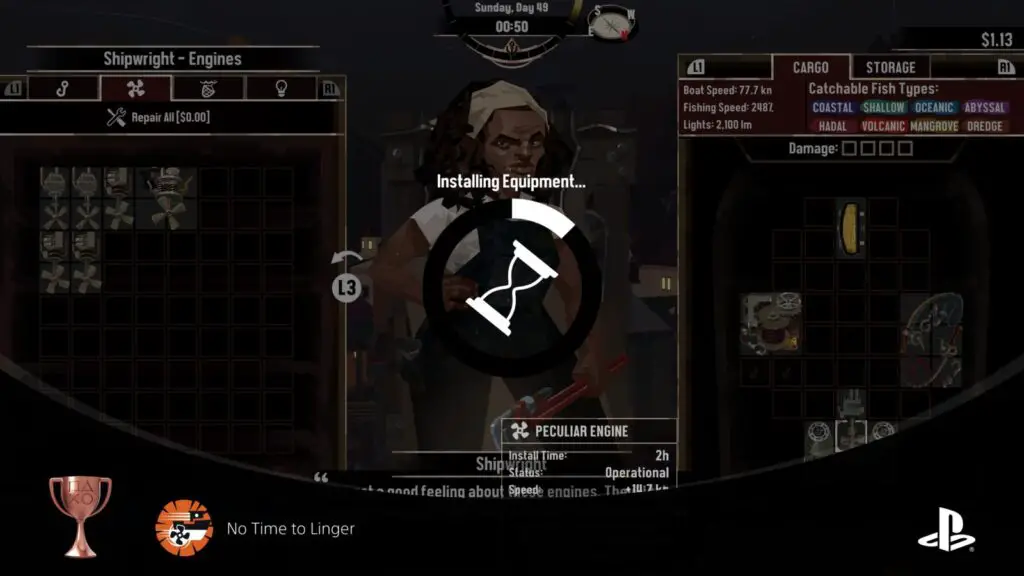
No Time to Linger
Have a combined engine speed of 75kn.
There are several ways to increase your engine speed, including reading books in your cabin. However, the easiest way to increase engine speed is by simply researching, purchasing, and installing higher-quality engines on your ship.
When you’re at the Shipwright, you will be able to preview the Speed stat of any Engine by highlighting it and reading the details in the pop-out window. Your “combined engine speed” is the overall speed stat of your combined engines. Only installed equipment will count, of course.
To be fair, the No Time to Linger trophy unlocked naturally for me and I ended up increasing my engine speed far beyond just 75 measly knots throughout the game.

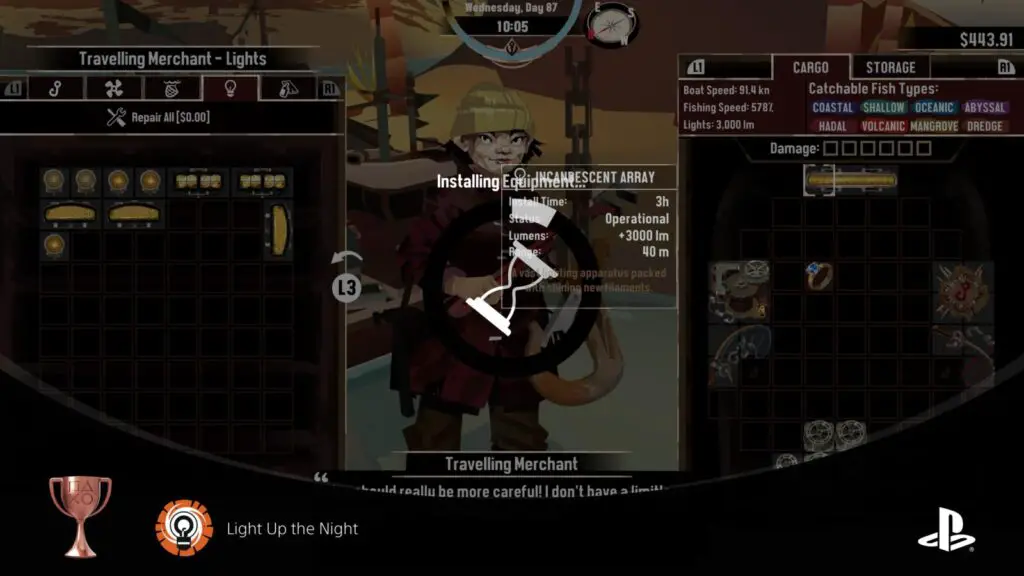
Light Up the Night
Have a combined light strength of 3000 lumens.
Pretty much the only way to increase the Lumens output of your ship is by purchasing and installing higher-quality lights on your ship.
When you’re at the Shipwright, you will be able to preview the lumen stat of any Light by highlighting it and reading the details in the pop-out window. Your “combined light strength” is the overall lumens stat of your combined lights. Only installed equipment will count, of course.
The easiest way to earn this trophy is by purchasing and installing a single “Incandescent Array.” That said, you won’t have room for one on your ship until you have the Tier 4 Hull Upgrade.

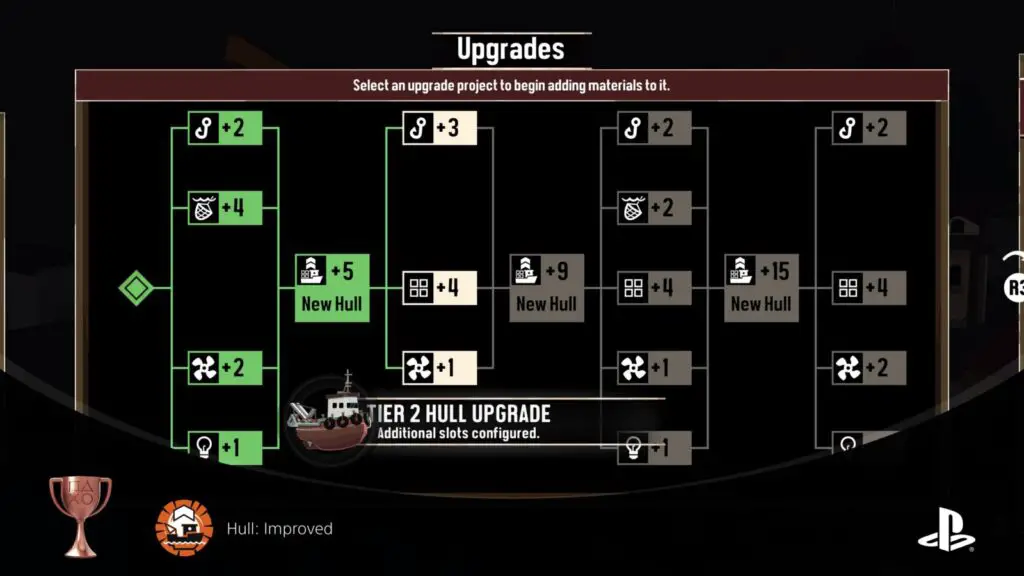
Hull: Improved
Upgrade to the 2nd tier hull.
The “Hull: Improved” trophy will unlock when you upgrade your ship via the dry docks to its second Hull shape. See Hull: Advanced for more info.

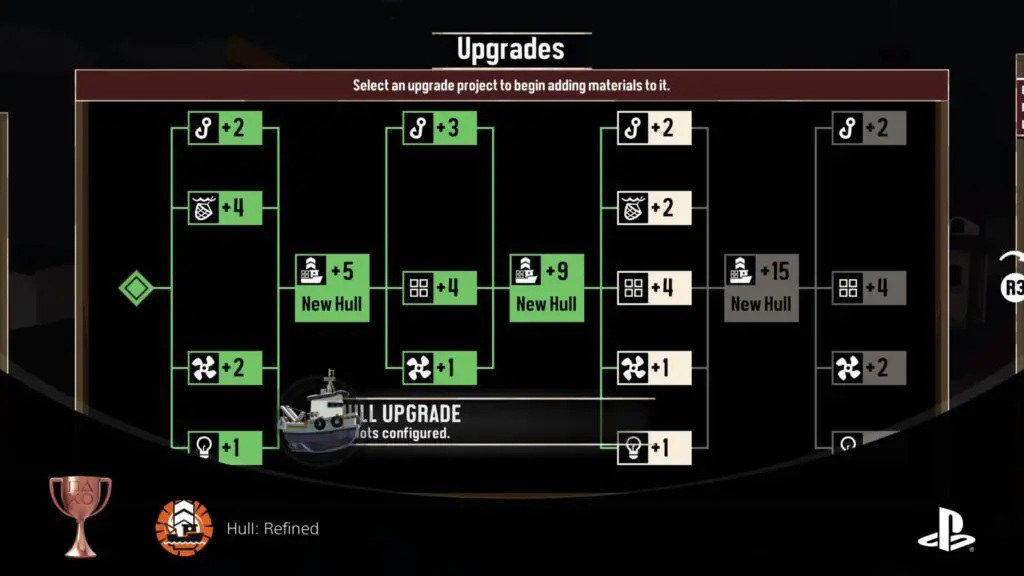
Hull: Refined
Upgrade to the 3rd tier hull.
The “Hull: Refined” trophy will unlock when you upgrade your ship via the dry docks to its third Hull shape. See Hull: Advanced for more info.

Hull: Advanced
Upgrade to the 4th tier hull.
You can upgrade your ship via the Dry Dock at Greater Marrow or any of the four floating Pontoons. On the Dry Dock menu, you will have a few upgrades you can purchase to add equipment slots to your ship, followed by a large hull upgrade.
Each smaller upgrade must be completed to unlock the larger hull upgrades. Before you can purchase an upgrade using money from selling fish and trinkets, you will need to fill every slot of the upgrade with the depicted resources. You can get Wood, Cloth, and Metal from Dredging spots all over the map, but the Advanced Metal will need to be found in rare locations or purchased from Floating Pontoon Shipwrights.
Throughout the game, keep filling out these upgrade slots and you should be able to get to Tier 3 Hull by the end of the story, leaving a bit of cleanup in the post-game to bring you up to a Tier 4 Hull.
This is as far as the trophy journey requires you to go. You do not need to purchase the final column of equipment slot upgrades.

Phase Five | Swabbing the Deck
As with any trophy journey, the final phase of our Dredge Trophy Guide involves mopping up a few remaining miscellaneous trophies, most of which you’ll undoubtedly have already earned or at the very least progressed.
Miscellaneous Trophies

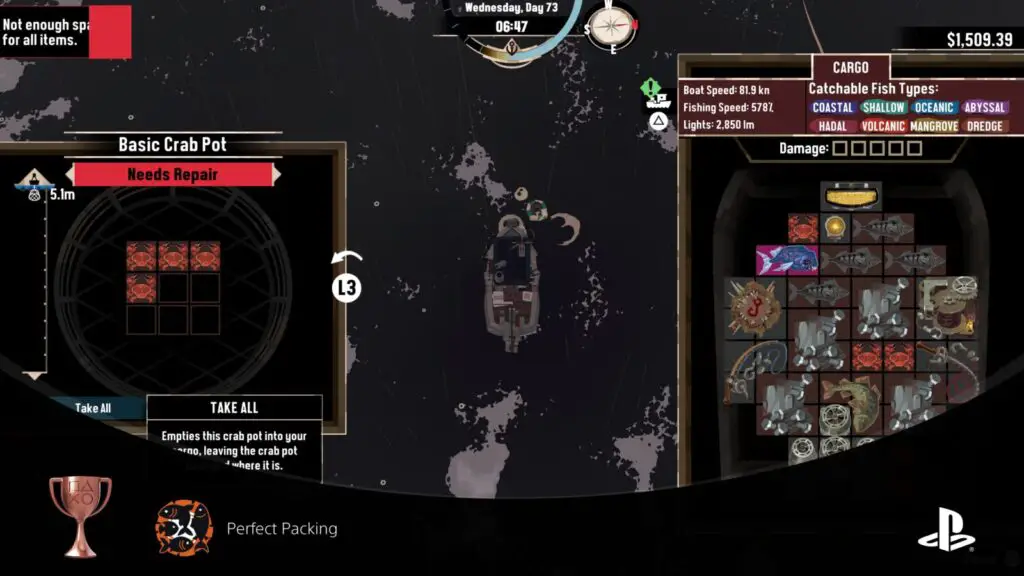
Perfect Packing
Have a full cargo.
The “Perfect Packing” trophy requires you to fill every possible slot in your cargo. The easiest way to do this, in my opinion, is to go out into the shallow waters of Greater Marrow and place lots of Crab Pots.
Then, go fishing as normal and catch as much as you can, filling almost every slot but undoubtedly leaving a few single slots in awkward locations. That’s what the Crab Pots are for!
Check each of your Crab Pots and look for the small red “Common Crabs.” These take up just one slot each so you can fill in any remaining gaps with them.
As soon as every slot in your cargo is filled, the Perfect Packing trophy will unlock immediately.

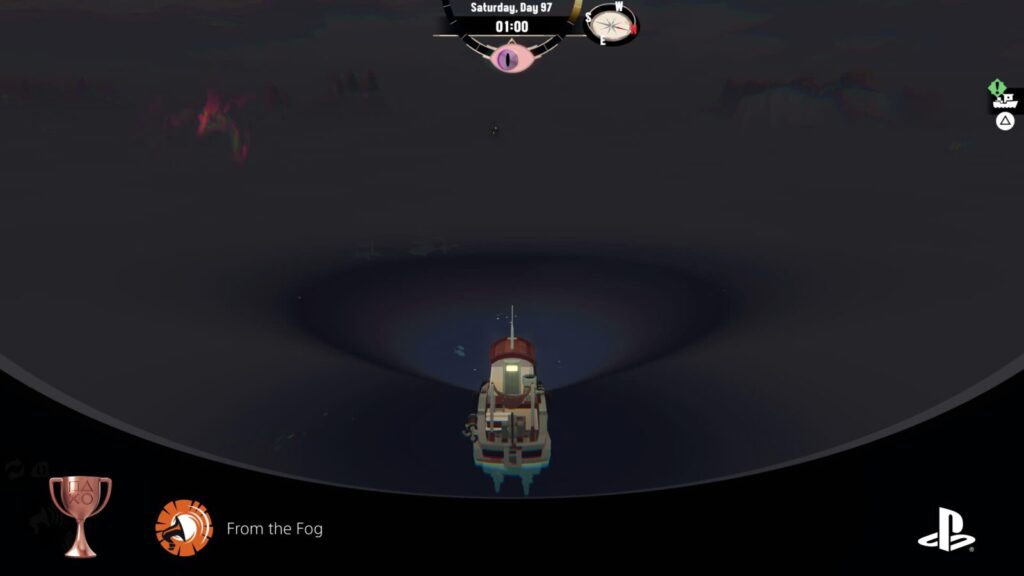
From the Fog
Hear a Foghorn echo.
At night, when it is dark and foggy, sail out into the open ocean and then equip the Foghorn via ![]() . Next, begin sounding your horn with
. Next, begin sounding your horn with ![]() while sailing into the thick fog.
while sailing into the thick fog.
Eventually, you will hear a “response,” which is actually just your own horn echoing. This doesn’t happen every time and seems to be a little bit RNG-based, so just remain persistent until you hear the response and the “From the Fog” trophy unlocks!

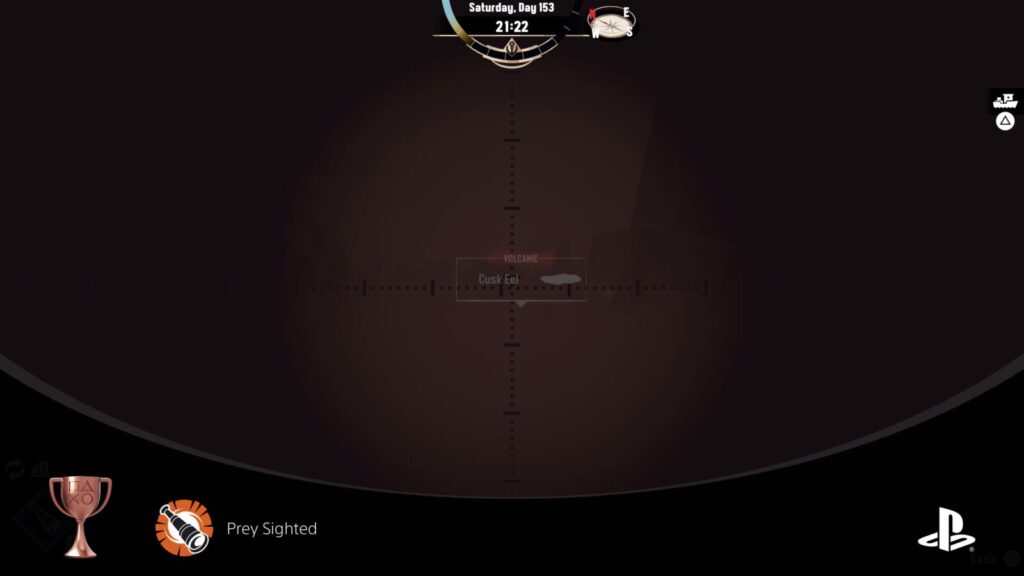
Prey Sighted
Spot a fish of each category through your Spyglass.
The “Prey Sighted” trophy requires you to use your spyglass, a useful tool that you have access to from the beginning of the game. You can switch to it via ![]() and then use it with
and then use it with ![]() .
.
Since time only passes in Dredge while you are moving, the Spyglass can be a good way to assess your surroundings while time is frozen and select the fishing spot you wish to pursue next.
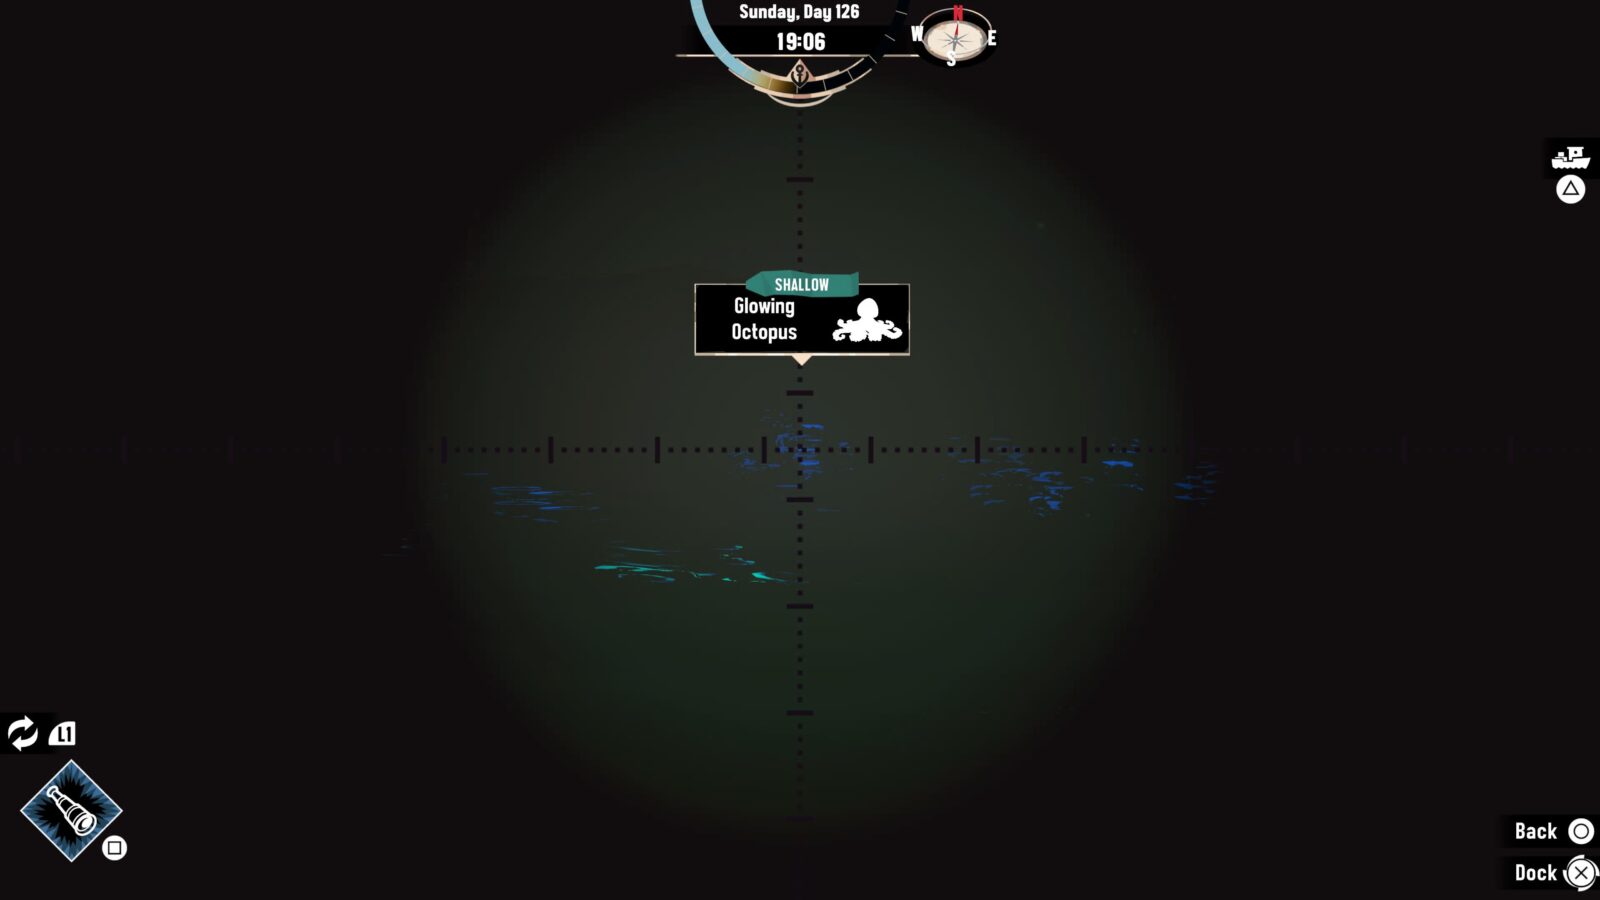
To unlock the “Prey Sighted” trophy, you need to use your Spyglass to spot a fishing spot of each type; Coastal, Shallow, Oceanic, Abyssal, Hadal, Volcanic, and Mangrove.
Abyssal and Hadal waters are easier to find near Stellar Basin, while Volcanic is found at Devil’s Spine, and Mangrove spots spawn at Twisted Strand.
Just aim your spyglass at each of these kinds of fishing spots one time and the trophy will unlock. It doesn’t need to be in a single use of the spyglass, either.

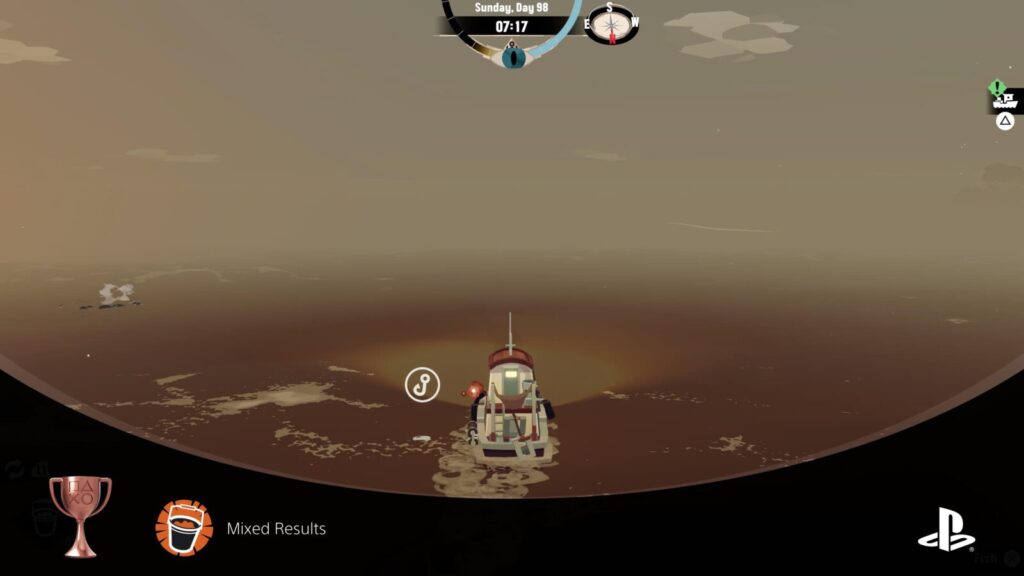
Mixed Results
Use Mixed Bait to attract 3 different species to a single spot.
After helping the Airman at Twisted Strand for the story, you will be able to revisit him to ask for Mixed Bait at any time. Once you’ve had at least one bucket of Mixed Bait, you will be able to buy buckets from the merchant at the Pontoons.
Each time you want extra meat from the Airman, you’ll need to bring him a selection of fish to mix together to create the bait, though the efficacy of the bait doesn’t seem to change much, if at all, depending on the fish.
Once you have bait, you can equip it via the ![]() wheel and then drop it into the water with
wheel and then drop it into the water with ![]() . Doing so will create a new fishing spot right next to you with a selection of fish from the area. That’s correct; more than one species of fish at a single fishing spot.
. Doing so will create a new fishing spot right next to you with a selection of fish from the area. That’s correct; more than one species of fish at a single fishing spot.
What’s more, the Mixed Results trophy requires you to use Mixed Bait to spawn a fishing spot with at least three unique species at it. This is rather RNG-based and you’ll just have to essentially cross your fingers and hope the trophy pops each time you use some Mixed Bait.
You don’t need to catch every fish at the spot, as the trophy will unlock before you even know how many species you spawned. If the trophy doesn’t unlock as soon as you drop the bait, move on and drop another bucket elsewhere.

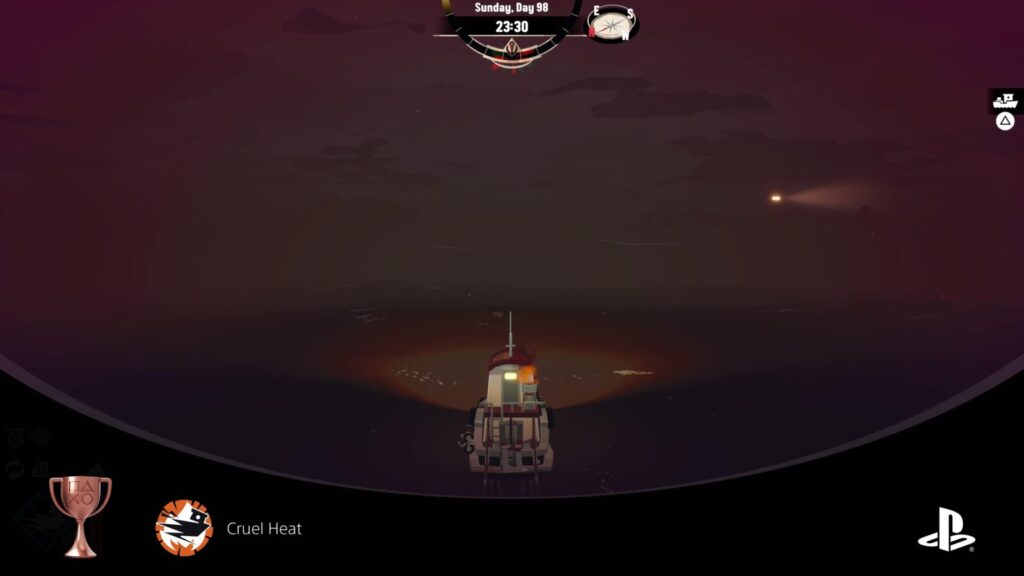
Cruel Heat
Keep your Haste burn meter above 50% for 10 seconds.
You will receive the “Haste” ability from the Collector as part of the story. Once you have it, you can equip it via ![]() and then activate it via
and then activate it via ![]() . Using it will increase your ship’s movement speed dramatically, but will instantly begin causing you to panic, increasing your paranoia. Quite a trade-off, but useful for a quick last-ditch sprint to a dock.
. Using it will increase your ship’s movement speed dramatically, but will instantly begin causing you to panic, increasing your paranoia. Quite a trade-off, but useful for a quick last-ditch sprint to a dock.
When you are using Haste, a small meter in the bottom left will begin to fill quickly, then drain slowly once you release ![]() .
.
To unlock the Cruel Heat trophy, you need to keep this gauge at least 50% filled for a total of 10 seconds. The best way to do this is to increase it to around 75-80% and then release ![]() . Watch the gauge slowly drop and then hold
. Watch the gauge slowly drop and then hold ![]() again at around 60% to increase it back to 75-80% before releasing once again.
again at around 60% to increase it back to 75-80% before releasing once again.
Keep this up for at least 10 seconds, juggling the gauge above 50% until the Cruel Heat trophy unlocks!

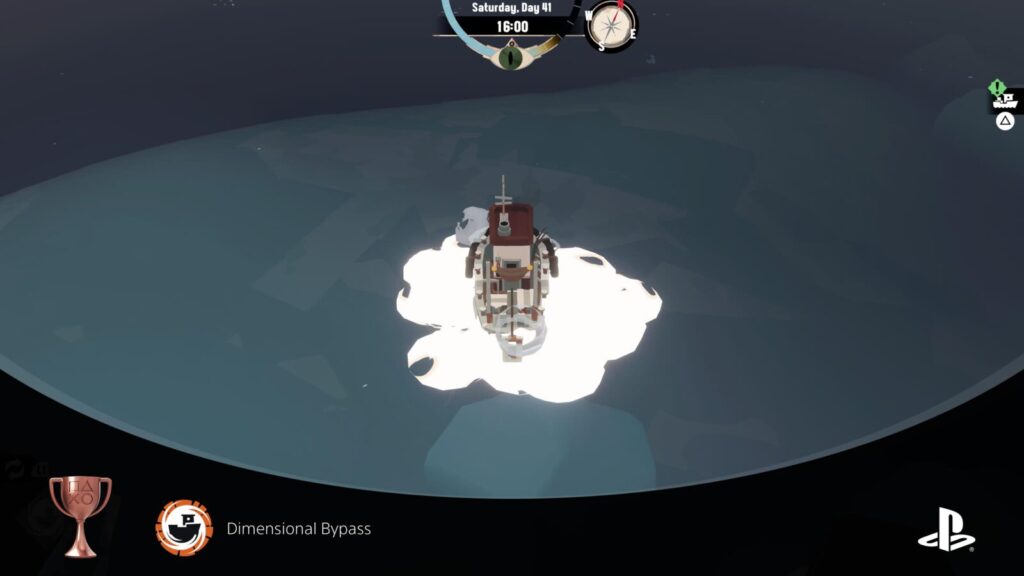
Dimensional Bypass
Traverse a long distance using Manifest.
You will receive the Manifest ability from the Collector when you deliver the Music Box as part of the story. To unlock the Dimensional Bypass trophy, simply equip the Manifest ability by holding ![]() and selecting it. Then, with it equipped, hold
and selecting it. Then, with it equipped, hold ![]() to be transported back to Blackstone Isle, unlocking the trophy.
to be transported back to Blackstone Isle, unlocking the trophy.

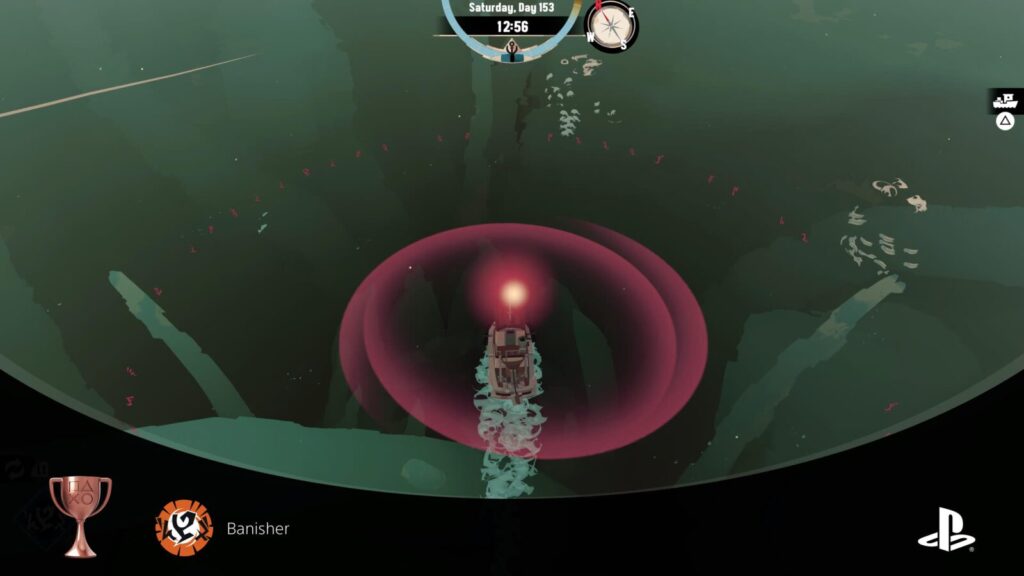
Banisher
Banish 10 threats.
You will unavoidably receive the “Banish” ability from the Collector as part of the story. Once you have it, you can switch to it with ![]() and then activate it with
and then activate it with ![]() , creating a large pulsating orb that repels sources of evil for a short time. This includes the Kraken at Stellar Basin, the Sea-serpent at Gale Cliffs, the Mind Flayers at Twisted Strand, and the Mother Piranha at Devil’s Spine.
, creating a large pulsating orb that repels sources of evil for a short time. This includes the Kraken at Stellar Basin, the Sea-serpent at Gale Cliffs, the Mind Flayers at Twisted Strand, and the Mother Piranha at Devil’s Spine.
To unlock the “Banisher” trophy, you simply need to use this ability on those evil creatures a cumulative total of 10 times.
The easiest way to farm this trophy is just to go to Stellar Basin’s Pontoon.

There, travel to the center of the basin and use Banish on the Kraken to send it slithering back underground. Then, immediately return to the Pontoon and rest for 24 hours.

Rinse and repeat until the trophy unlocks!

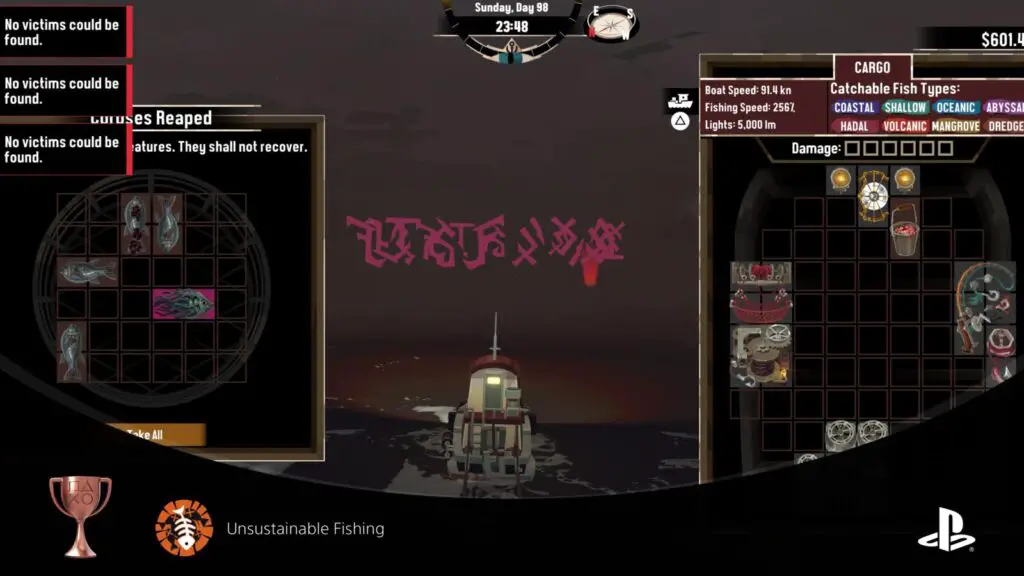
Unsustainable Fishing
Use Atrophy on a fishing spot a long way away.
Atrophy is an incredibly useful skill which you’ll receive from the Collector unavoidably throughout the story campaign. Once you have it, you can equip it with ![]() and activate it by holding
and activate it by holding ![]() while your ship is pointed at a fishing spot.
while your ship is pointed at a fishing spot.
To unlock the “Unsustainable Fishing” trophy, you need to use this skill to kill all the fish in a spot quite a distance away.
The best way to do this is to look for a distant fishing spot with the Spyglass, point your ship towards it and then hold ![]() . If it doesn’t work, sail slightly closer and hold
. If it doesn’t work, sail slightly closer and hold ![]() again. Repeat until the fishing spot is just inside the range of Atrophy and it finally works. If it’s far enough away, the Unsustainable Fishing trophy should unlock!
again. Repeat until the fishing spot is just inside the range of Atrophy and it finally works. If it’s far enough away, the Unsustainable Fishing trophy should unlock!

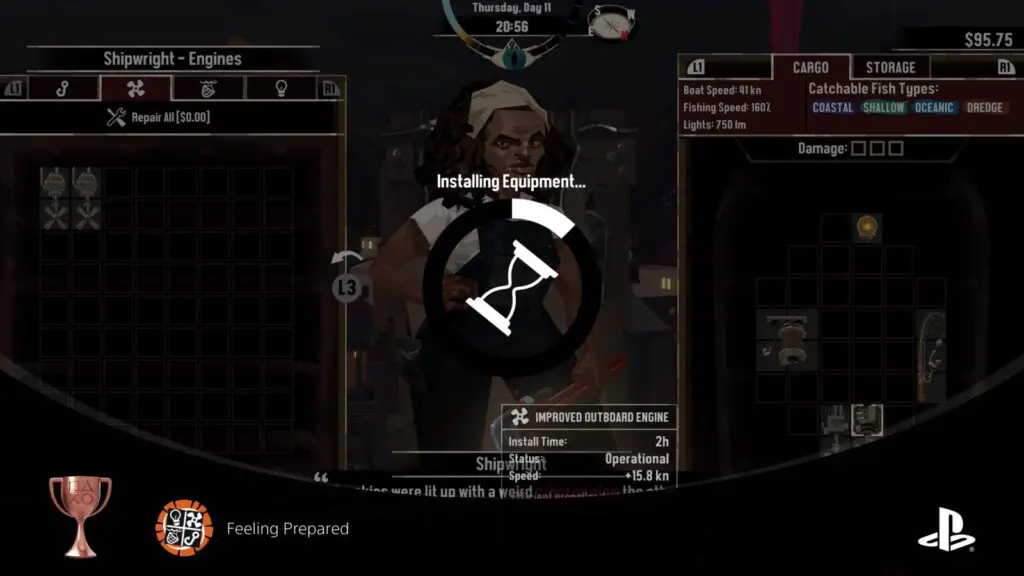
Feeling Prepared
Install equipment into every slot on your ship.
To unlock the “Feeling Prepared” trophy, every equipment slot on your ship must have some form of matching equipment on it. Equipment slots are cargo slots with icons on them, indicating their purpose and the equipment you can install there. Additionally, equipment placed in your ship’s cargo hold will only be operational if installed in the correct equipment slot.
This trophy is way easier to earn at the start of the game, when your ship is smaller and has fewer equipment slots. That said, it’s still very possible to earn in the post-game on your bigger ship, you’ll just need to purchase more equipment.

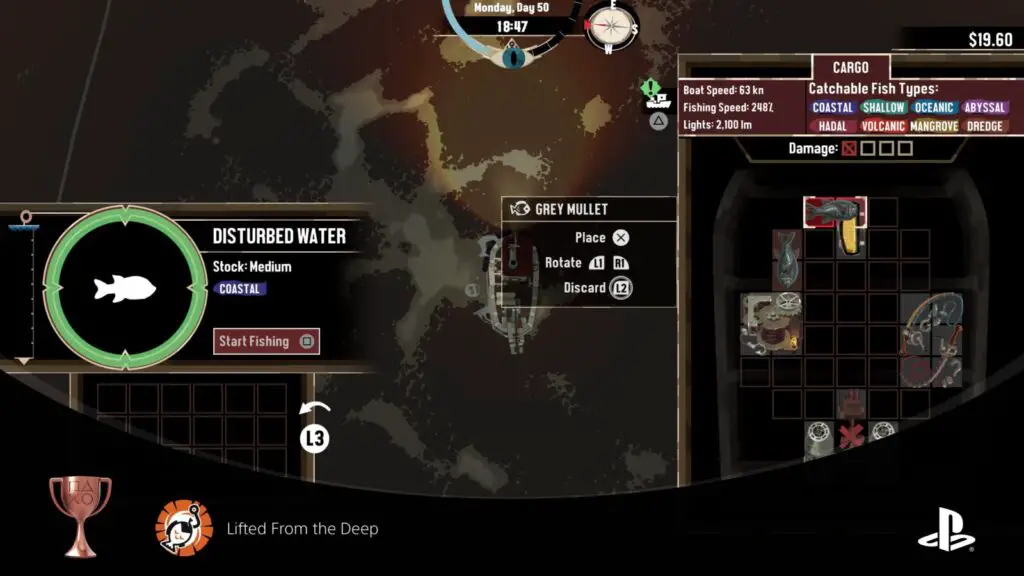
Lifted From the Deep
Catch 250 fish using rods.
The “Lifted From the Deep” trophy is bound to progress—and possibly even unlock—naturally. All you need to do is to catch a cumulative total of 250 fish via the fishing minigame. Specimens caught with the Crab Pots or by Trawling will not count.

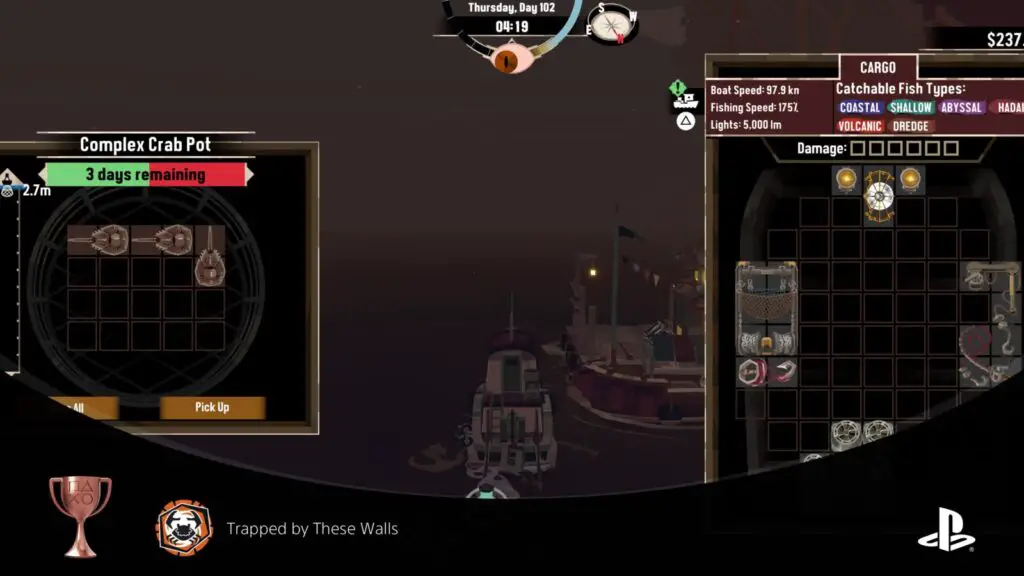
Trapped by These Walls
Catch 100 crabs in crab pots.
To unlock the “Trapped by These Walls” trophy, you simply need to catch a total of 100 Crabs in Crab Pots. Once you have unlocked them, you can buy them from the Fishmonger or the Pontoon Fish Markets. When one (or more) is in your inventory, switch to Crab Pots with ![]() and then place one with
and then place one with ![]() .
.
To farm the 100 Crabs needed for this trophy, just buy a lot of crab pots (the bigger and more sturdy, the better) and then place them all around the coast of an island or two. Find a nice place to rest, rest for about 3 days, then go and check each of your pots.
Repeat this process, returning any Pots that need repair, until you eventually unlock the trophy.

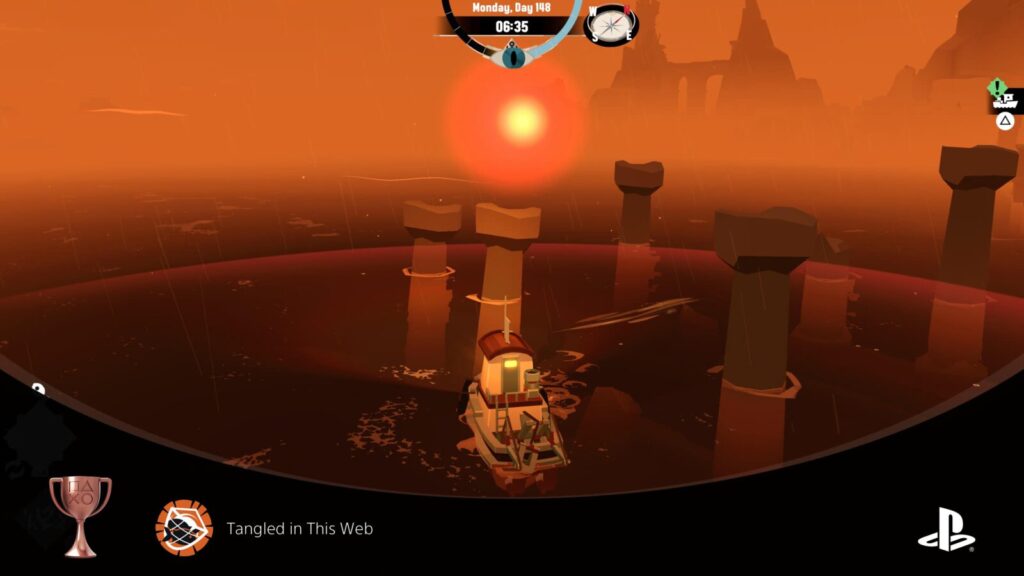
Tangled in This Web
Catch 150 fish in trawl nets.
The “Tangled in This Web” trophy requires you to catch a cumulative total of 150 fish in the Trawling Net. Once you have one equipped on your ship in any Net slots you have available, you can lower it into the water by selecting it with ![]() and then pressing
and then pressing ![]() .
.
The Trawling Net will passively catch fish as you sail across the waters and will even store them independently of your Cargo. The only downside is that it needs to be repaired occasionally.
To farm this trophy, just strap a Trawling Net to your ship, dip it into the water, and sail out in the open water. Just keep catching and selling fish until the trophy unlocks!

Lives for Profit
Sell a total of $2500 worth of fish.
The “Lives for Profit” trophy simply requires you to earn a cumulative total of $2500 by selling your catches. As this is your main source of income throughout the game, you’re likely to progress and maybe even unlock it naturally.
Don’t have it yet? Well, what are you waiting for? Go catch some fish and sell them!


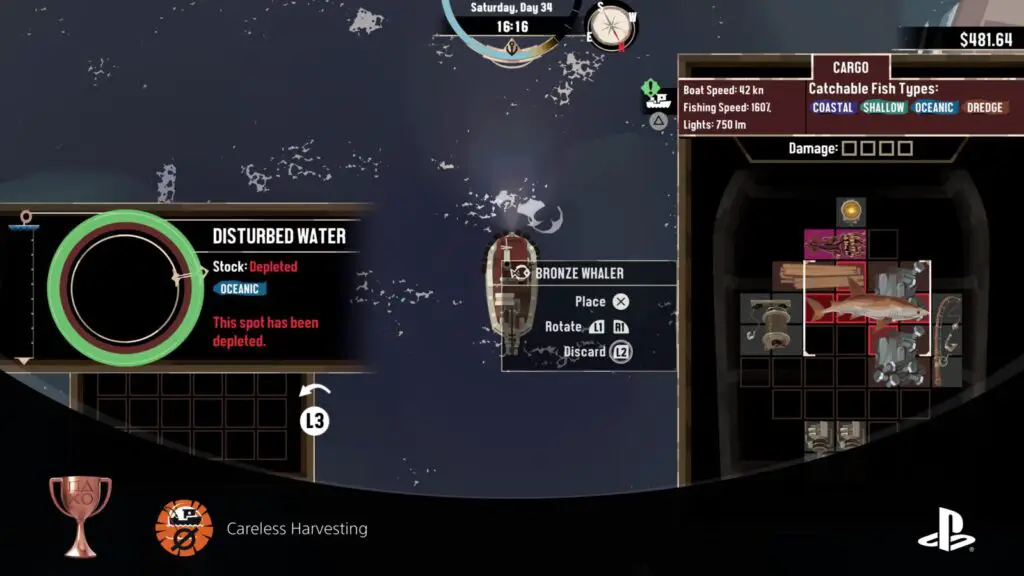
Careless Harvesting
Deplete a total of 25 fishing spots.
When fishing at a spot, it is possible to catch everything and fully deplete the fishing spot, causing it to disappear. Some spots with really rare fish will even deplete after just one catch!
To unlock the Careless Harvesting trophy, you basically just need to fish at and completely deplete a total of 25 fishing spots. This is bound to at least progress naturally.

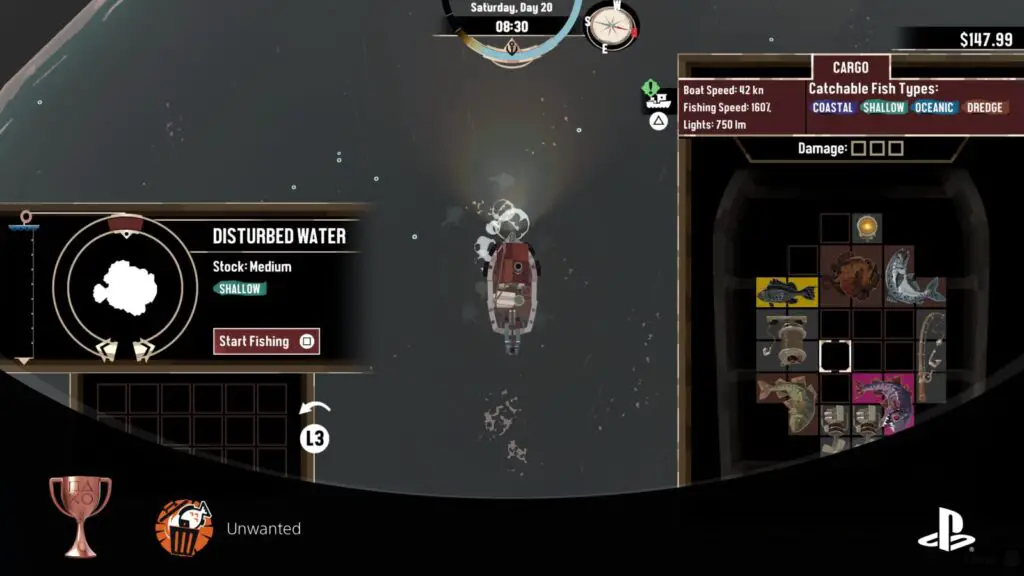
Unwanted
Discard 25 fish.
Throughout your journey, you’ll always be faced with the predicament of inventory management. Each time you catch a fish, you’ll need to find space for it in your cargo hold. If you can’t, either your new fish or one of your previous catches will need to be discarded. You can discard a currently-highlighted fish by holding ![]() .
.
To unlock the “Unwanted” trophy, you just need to discard a cumulative total of 25 fish, something you’re very likely to do naturally.

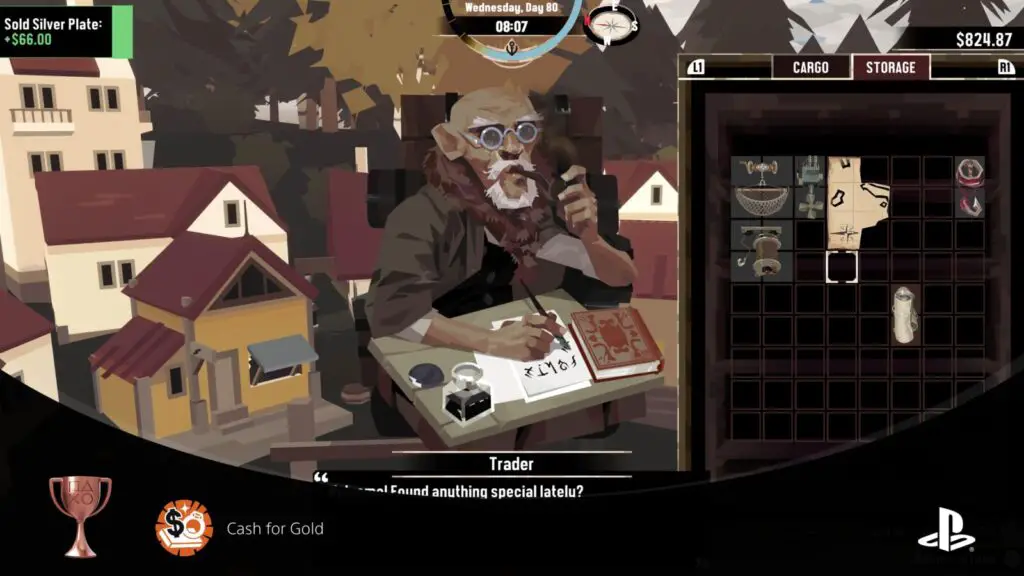
Cash for Gold
Sell a total of $1500 worth of trinkets.
Trinkets can be found while Dredging and will be given as rewards for some activities.

When you have a trinket, you can sell it to the Trader at Little Marrow for a small amount of money. You can sell trinkets from your storage, so I recommend moving them to storage whenever you get the chance and then taking regular trips to the Trader to sell your stock.
Keep this up until you’ve earned at least 1500 dollars in this way.
PlatGet!

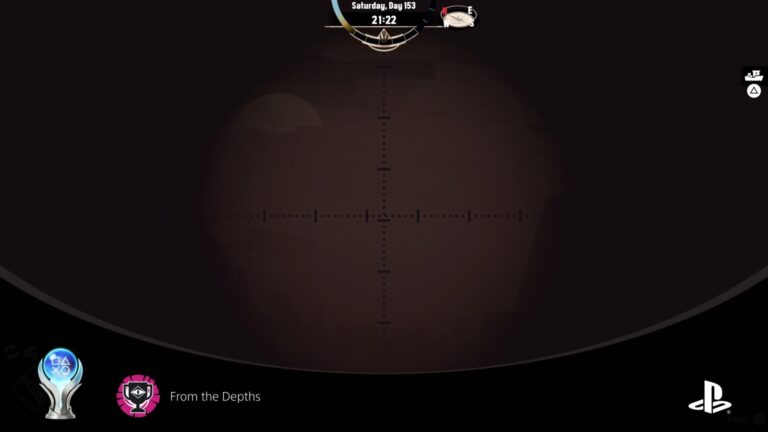
From the Depths
Obtain all other trophies.
After collecting every trophy in this Dredge Trophy Guide, the "From the Depths " Platinum Trophy will unlock. Congratulations!
Thanks for Reading
Plat Get!
Thank You!
Thank You for choosing PlatGet as your source for this Dredge Trophy Guide.
Wondering what to complete next? Browse our complete guide selection or check out our friends at PlatPrices.com to filter the PS Store based on price, trophy difficulty, or completion time.
Got a question, some feedback, or just want to say thanks? Drop a comment in the discussion section below, we'd love to hear from you! No account required!!


