PlayStation 5
Astro’s Playroom Collectables Guide
Game Guide
Introduction
Welcome to the Astro’s Playroom Collectable Guide!
Here, you’ll find a step-by-step walkthrough for every collectable in every stage. I’ve put this together in chronological order, so you can just jump in for the very first time you’re playing the game, and follow along as you go – or, better yet, play the game for yourself first and then use this walkthrough to find any you may have missed while using the map to very quickly hop between stages!
Astro’s Playroom Collectable Walkthrough
CPU Plaza
There are 4 Puzzle Pieces in CPU Plaza, the main hub of the game from where you’ll access the other 5 levels.
First, go left past the entrance to Memory Meadow and you’ll see a ramp against the wall. Walk up it and pull the cables which are exposed, this will cause some platforms to emerge from the wall.
Begin climbing up them until you reach another set of cables, pull them to reveal more platforms. Take the left route from the dark grey tilting platform, where you’ll find your first Puzzle Piece.
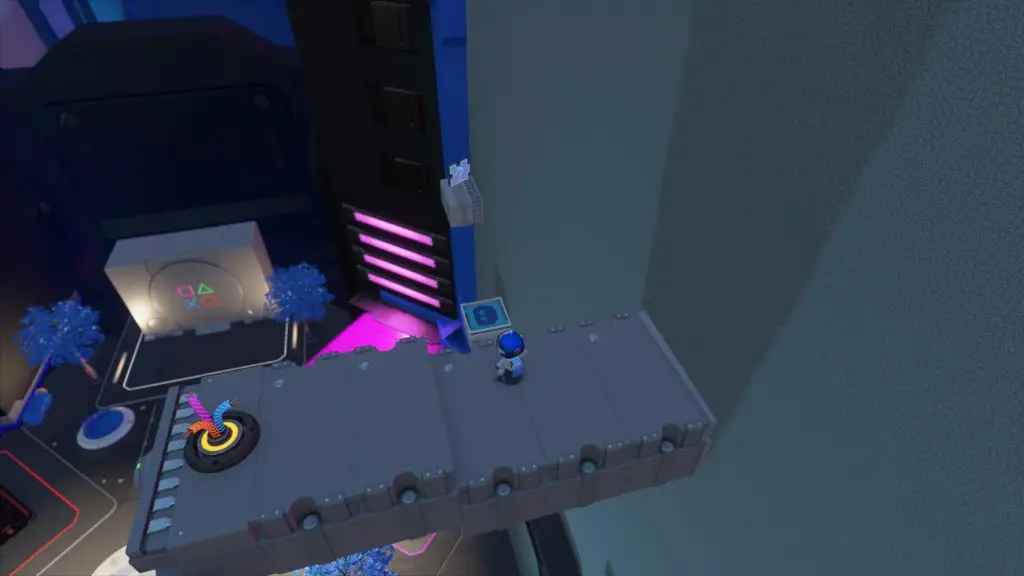
Continue climbing up the platforms until you reach some cables on a long platform jutting out of the wall. This will cause a PS1 controller adapter to fire from the platform you’re on, across the room. Tightrope-walk across this and pull another cable for more platforms.
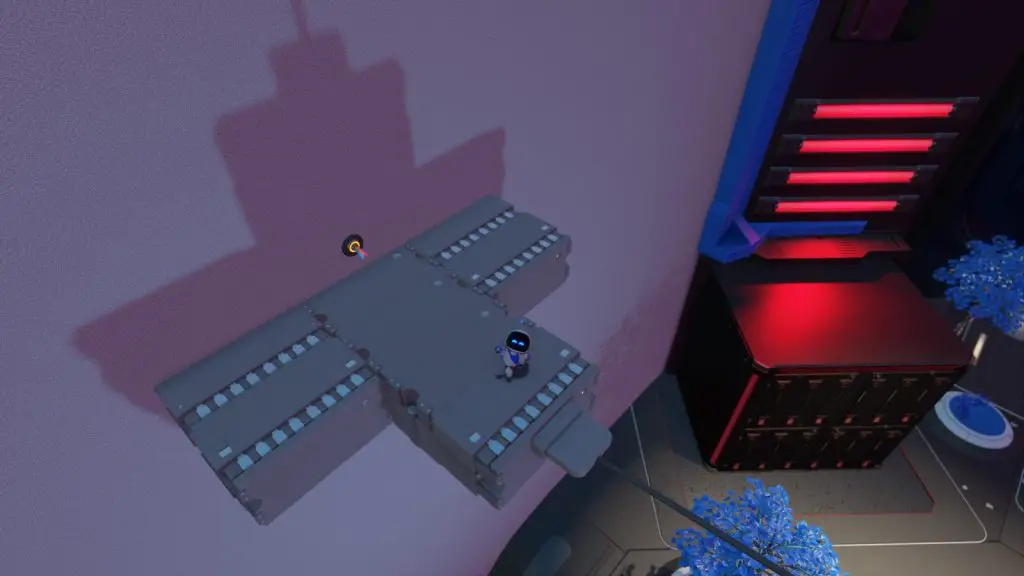
Follow the platforms up and to the left to find your Second Puzzle Piece.
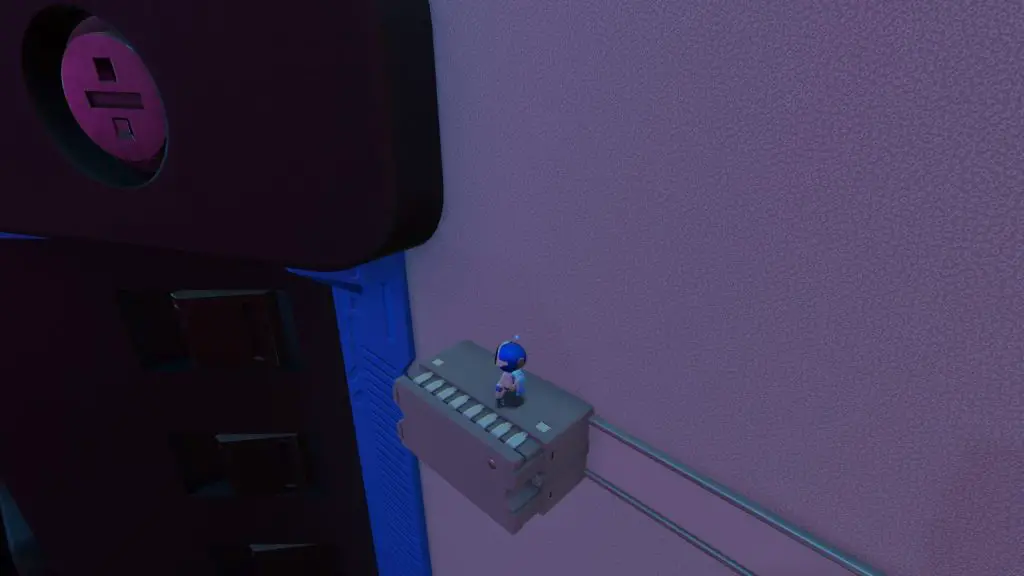
Then, continue climbing up this wall, pulling another set of cables as you go. At the top, you’ll find a dark grey metal beam, at the end of which you’ll find the third Puzzle Piece.
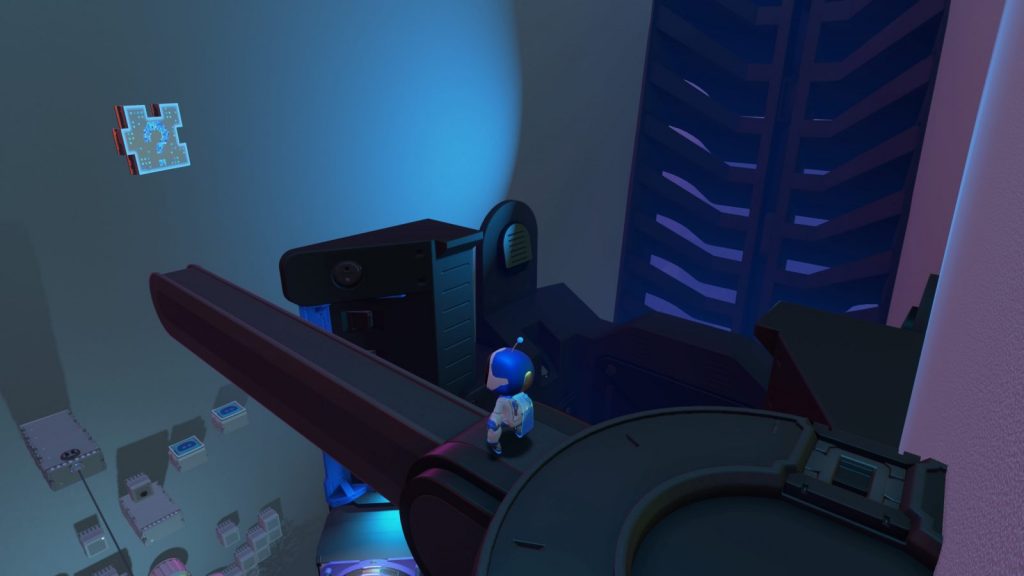
Now, sticking to the side of the room you’re on, head back down to the ground and against this wall you’ll see another ramp which instead heads downstairs.
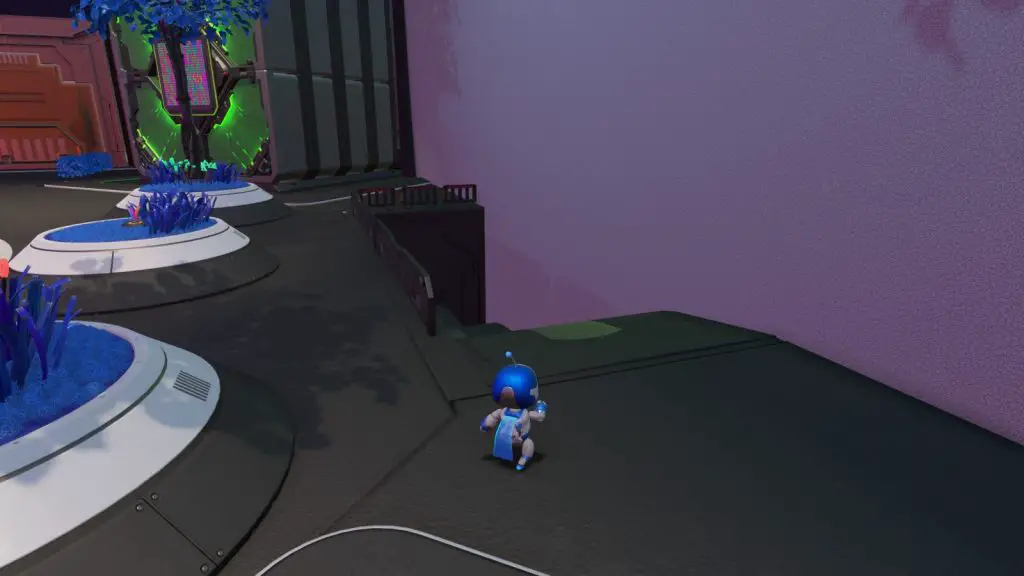
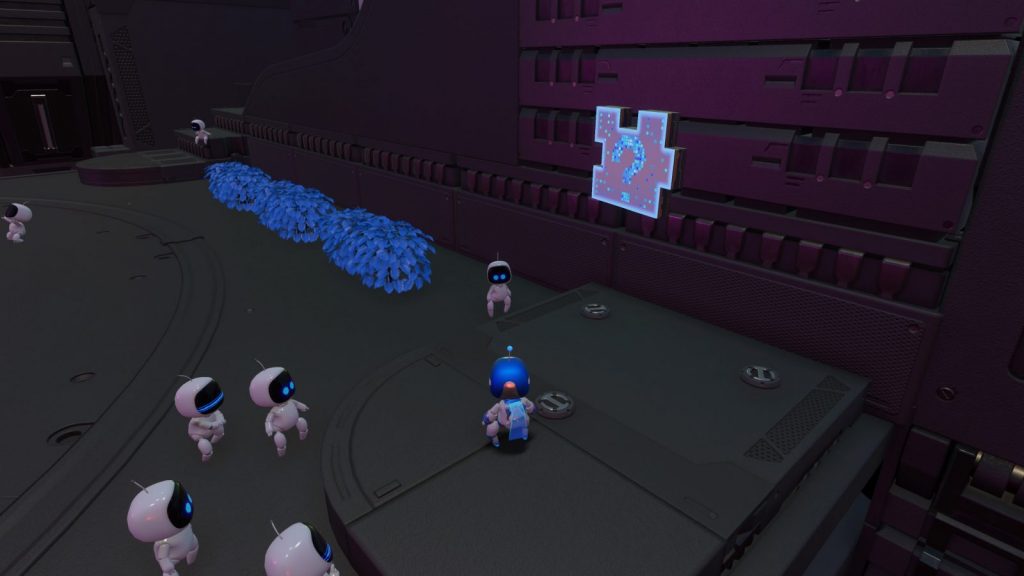
Down here, in the corner you’ll find three cables on the floor of a platform where three robots are hanging out. Pull all three cables and the final Puzzle Piece will appear.
Memory Meadow
Gusty Gateway
From the start of the level, look up and to the right and you’ll see the first Puzzle Piece on a cylindrical platform. Use the platforms in the immediate area to reach and collect it!
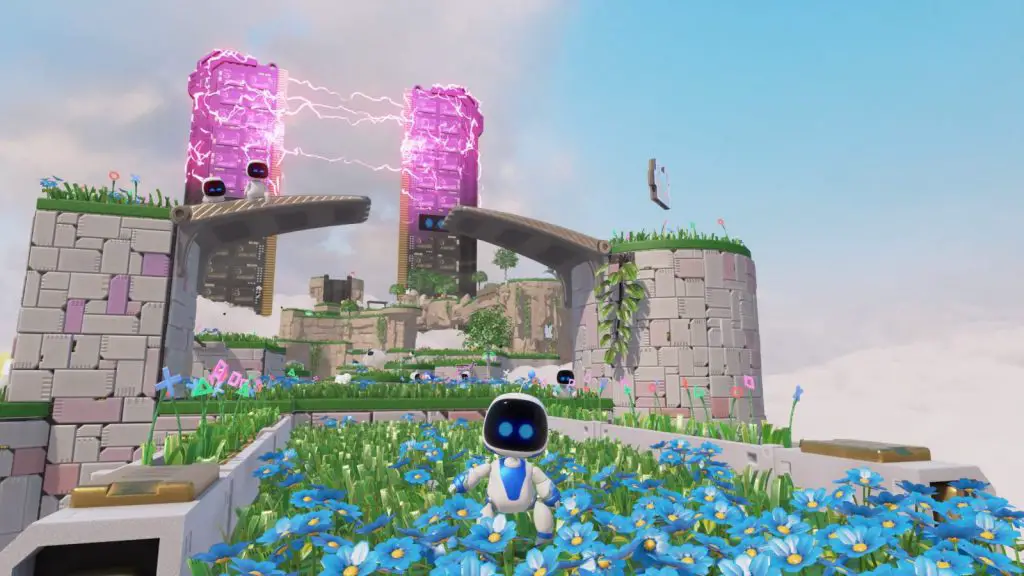
Cross the tightrope to the next large grassy platform, and you’ll see a cloud blowing at you and a Puzzle Piece in clear view, walk over and grab it.
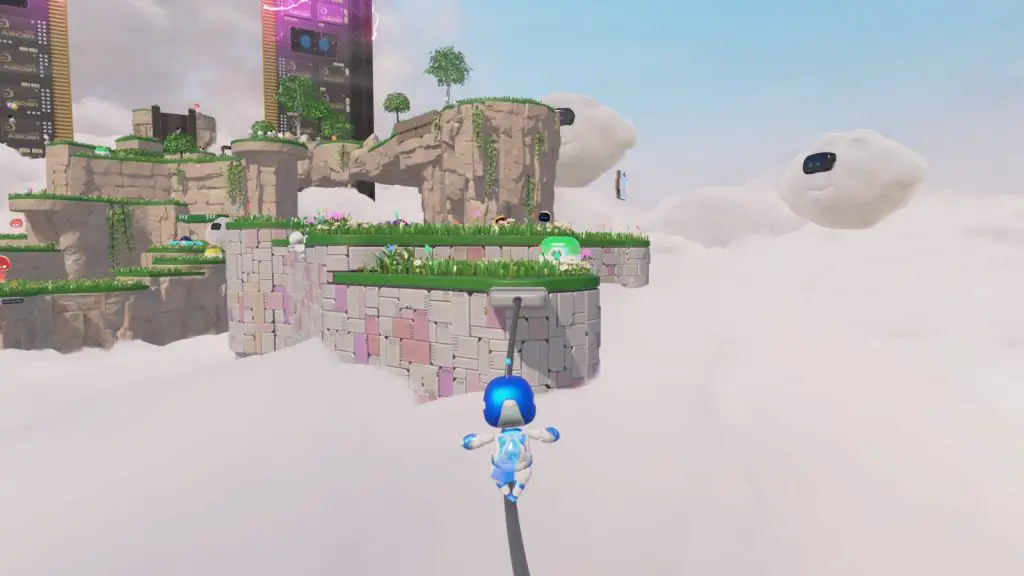
A little while later on, you’ll come across a grey mud pit. On a nearby circular platform, you’ll see a flower. Spin-attack the flower by holding ![]() to spawn a bridge. The cloud in the corner will blow on this bridge causing it to rotate.
to spawn a bridge. The cloud in the corner will blow on this bridge causing it to rotate.
Ride the bridge to reach a platform behind the cloud and follow this ledge round to some cables in the ground. Pull on them to get an Artefact; The PlayStation Controller.
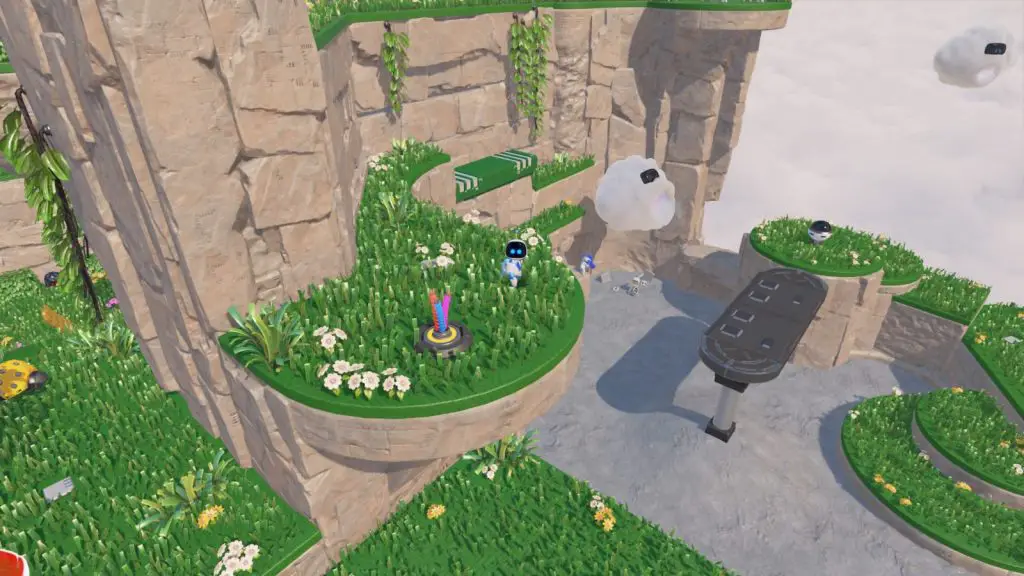
Continue through the stage until you find another grey mud pit, where you’ll see a bot trying to carry too many boxes, Death Stranding style. In the corner of this area, on the wall, you’ll find a Puzzle Piece.
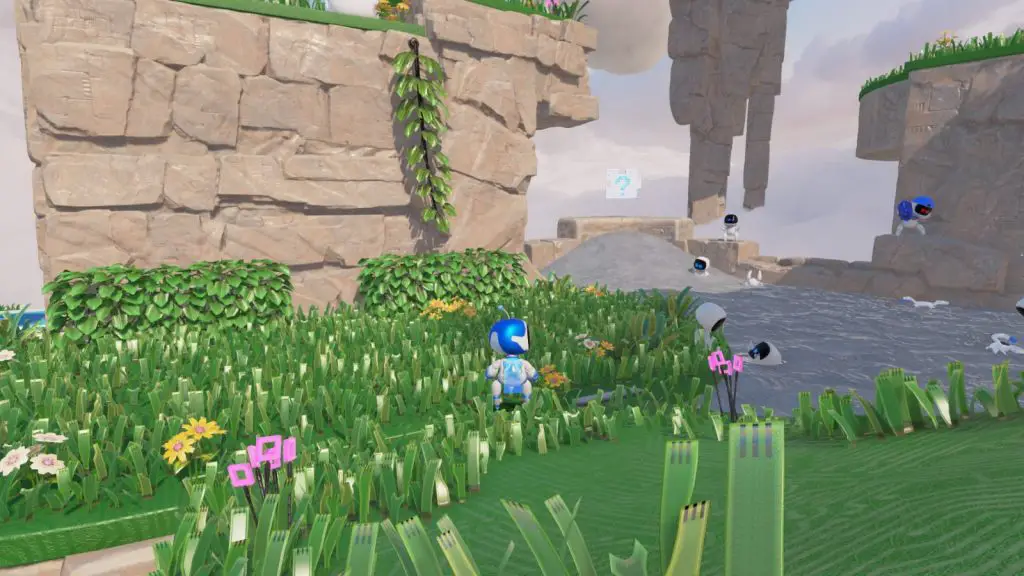
Shortly after that, you’ll need to ride a cloud to reach the next area. Instead of jumping off and making progress, ride it all the way to the wall on the other side and jump on the platforms in the wall.
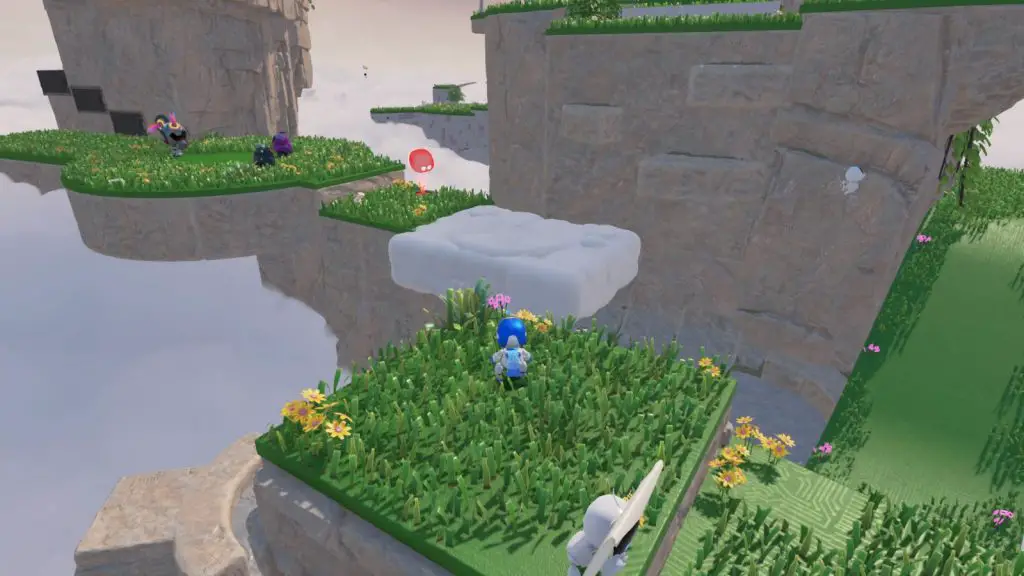
Climb up the wall to the grassy area on top and then onto the highest point in this area where you’ll see some cables you can pull from the ground. Do so and you’ll get the next Artefact; The PlayStation Mouse.
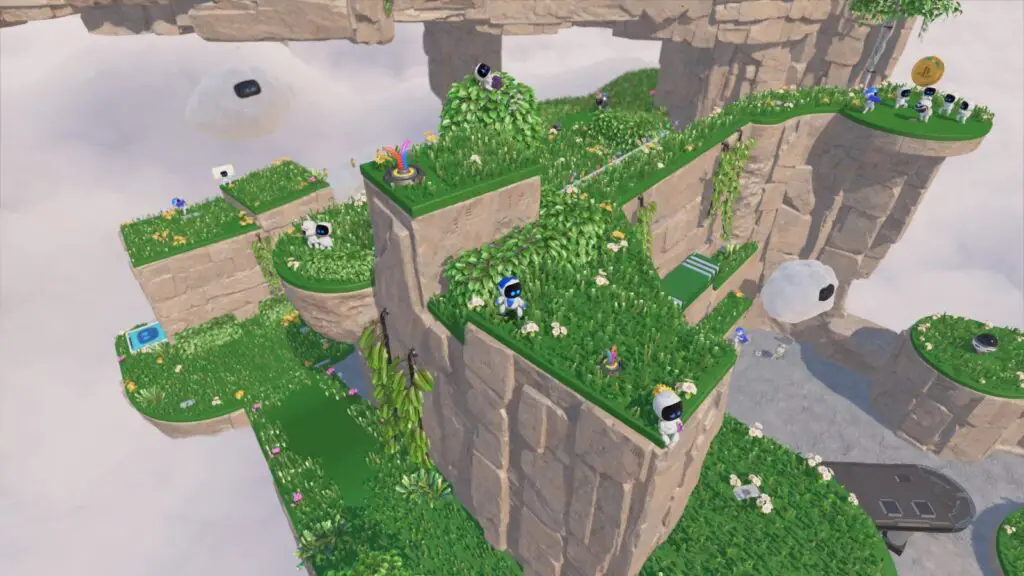
Continue through the stage now, past another large cloud and a few enemies. You should eventually be able to see the final Puzzle Piece in this stage on top of a Stone Pillar ahead of you. Jump onto the black bus-shelter-like thing to reach it.
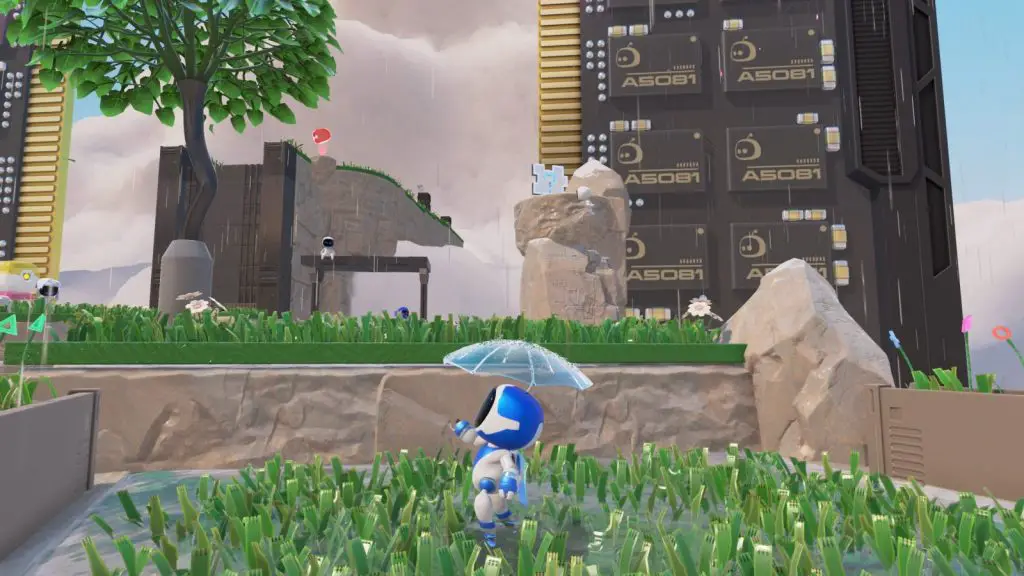
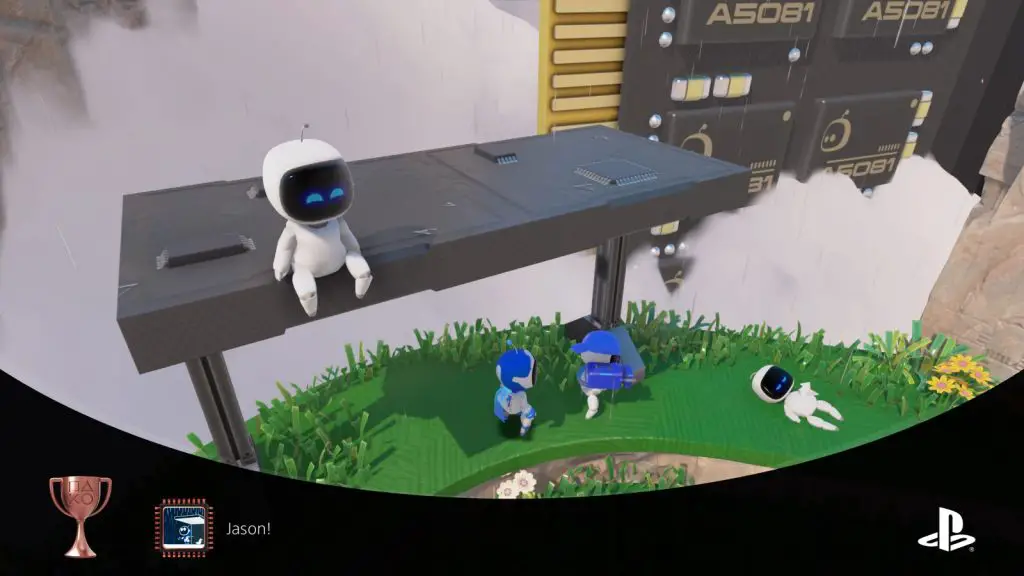
Also, you can stand under the bus shelter for a few seconds to unlock a trophy.
Fast Lane Fields
Once you’re fully in Samus Aran ball mode and have reached the first plane of pink grass, look for a bridge on the left towards the end of this area, you’ll see a Puzzle Piece underneath it.
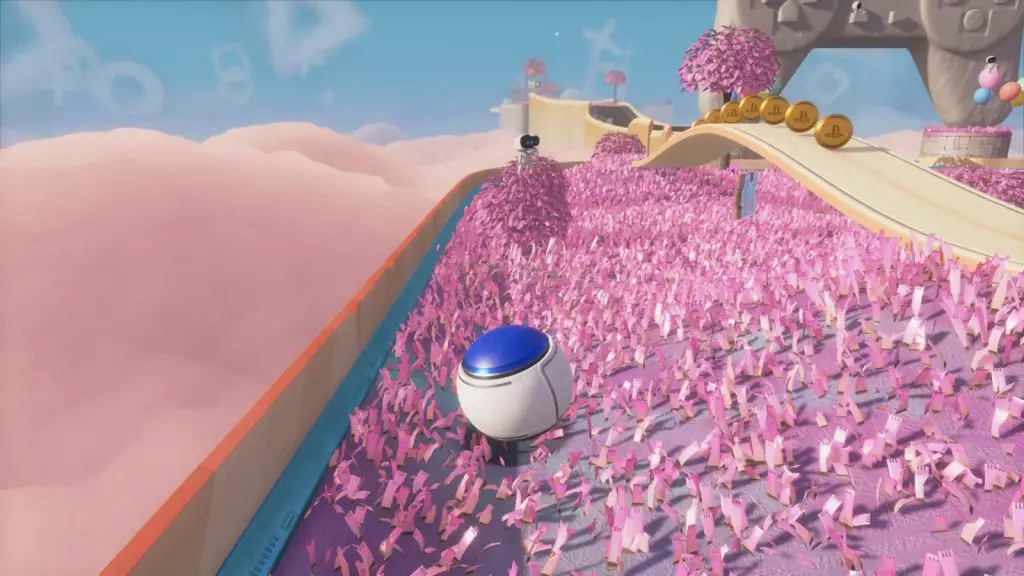
Continue onto the tarmac and you’ll see the next Puzzle Piece in plain sight.
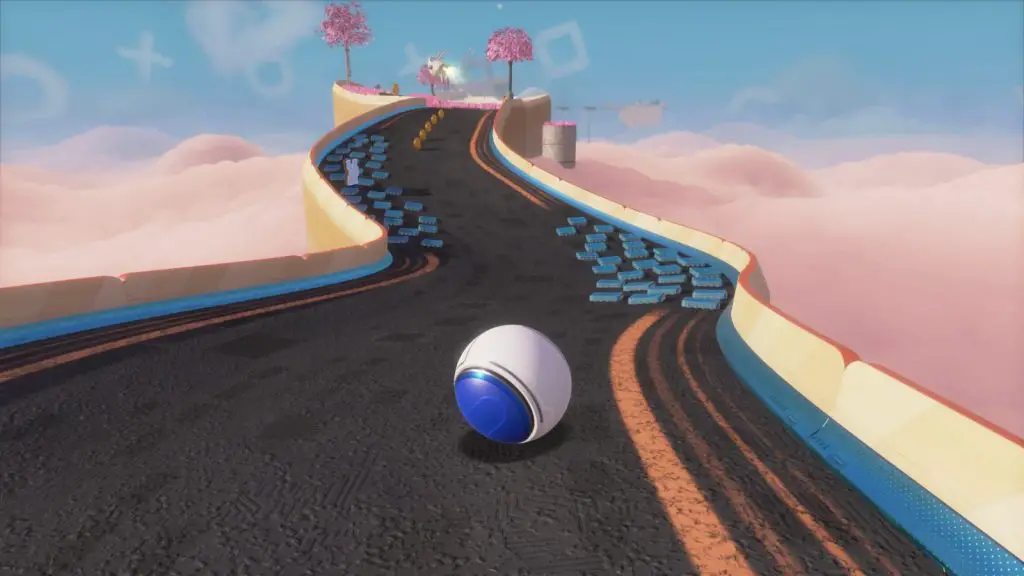
Continue on until you’re given a choice; go left or right. Take the left route and you’ll receive an Artefact at the end; the PlayStation Memory Card.
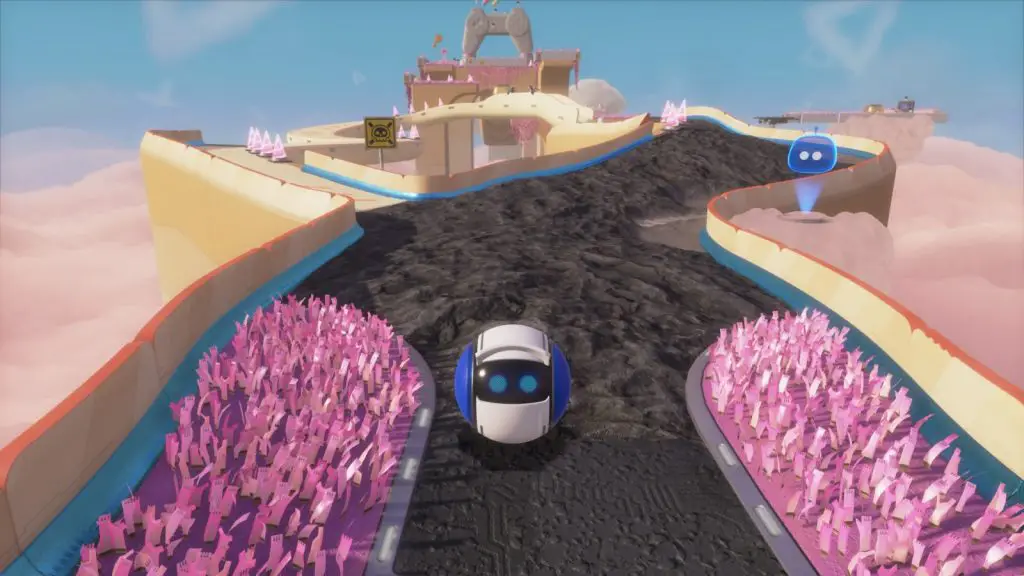
Continue on a short way and you’ll knock a skittle over in order to leap across a gap onto a grassy patch. From here, go to the right and use the moving platforms to reach the Artefact at the end; The PlayStation Game Disc.
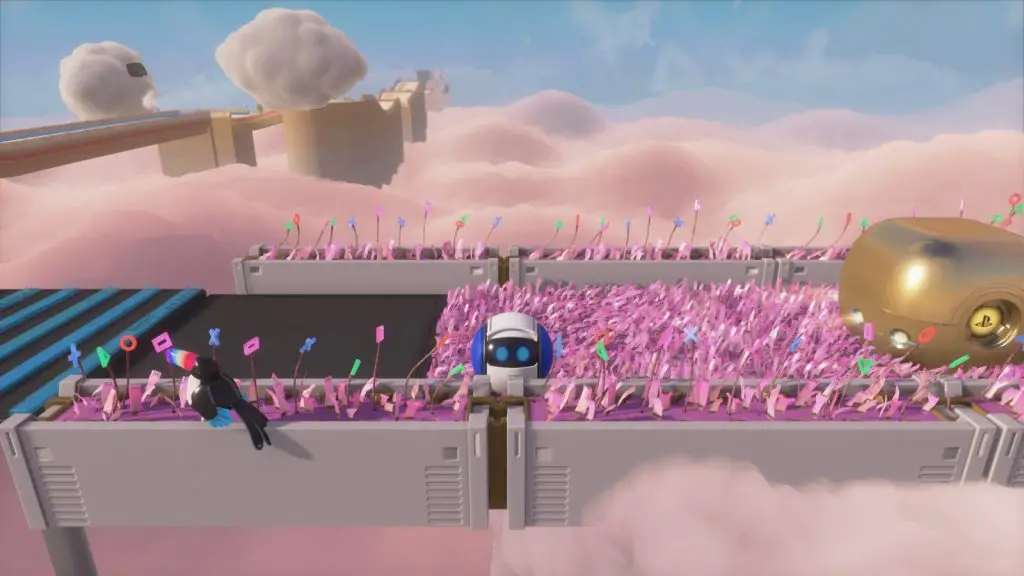
Continue on to a checkpoint next to a large wide slide. Do not go down the slide. Instead, go to the right and follow the path round to a bounce pad consisting of coloured cables, which will launch you up to the next Puzzle Piece.
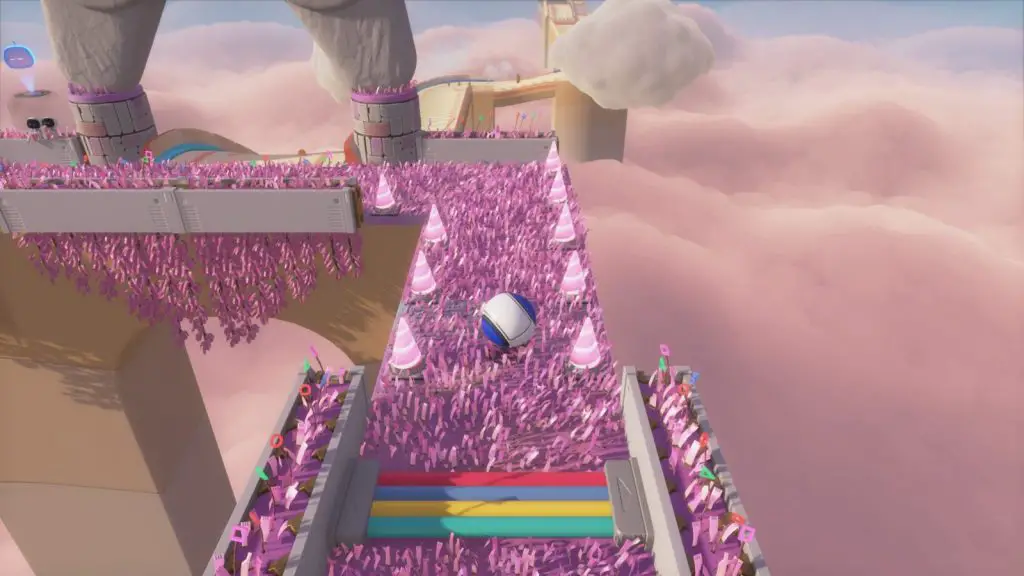
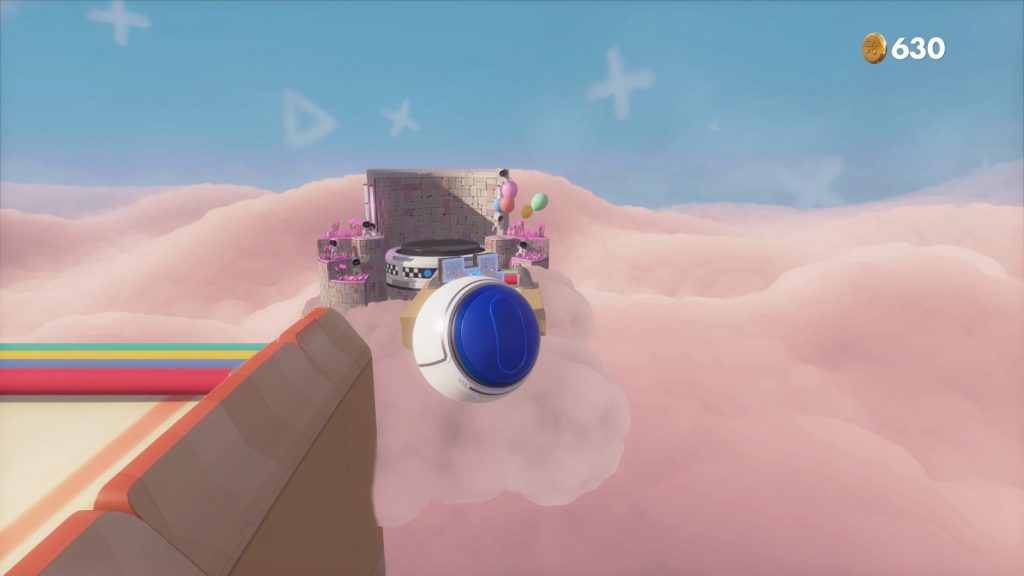
Now you may go down the large slide. Stick to the right-hand side as much as you can and, provided you don’t deviate off to the left at all, you’ll get the next Puzzle Piece with ease!
Electro Cloud
From the start of this stage, jump across the two grey clouds and climb up to the next area. Pull some wires to spawn some platforms you can use to climb higher. Up here, look to the left and drop down onto the bounce pad indicated by some coins.
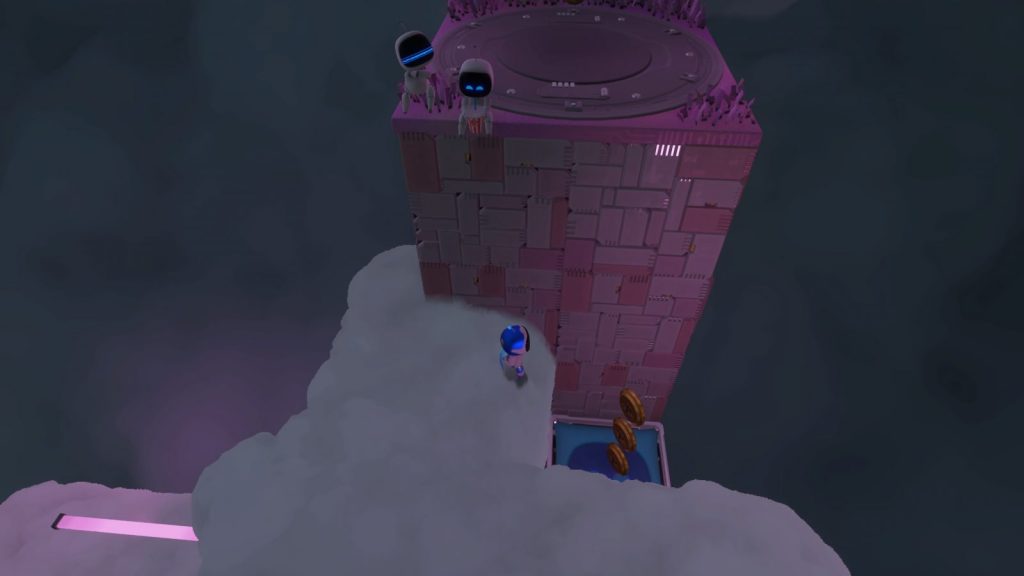
Use the bounce pad to read a higher platform and then walk to the end of it to blow a windmill and reveal a large new area. Collect the Puzzle Piece which is in clear sight.
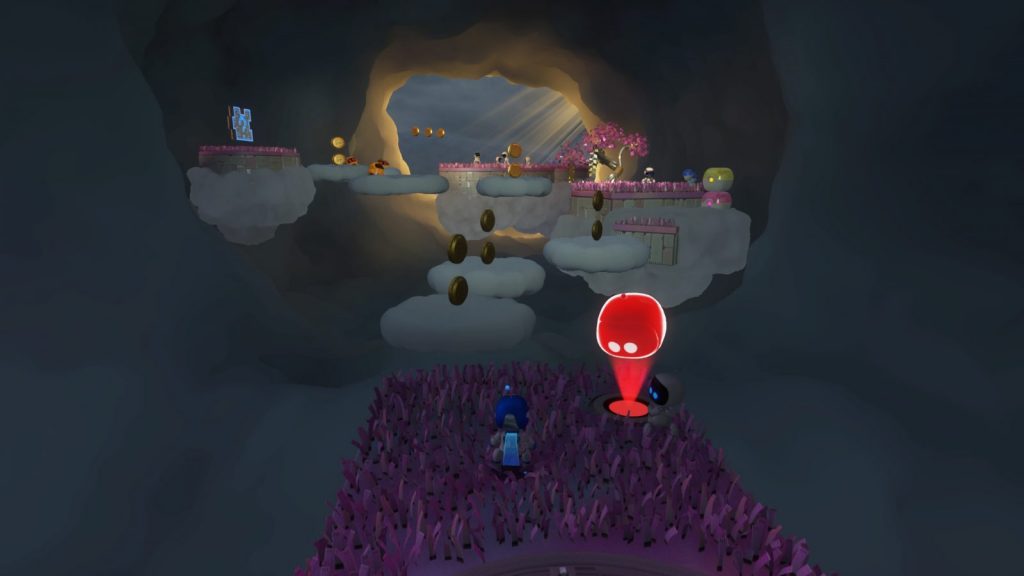
Continue through this area to some cables which when pulled will give you an Artefact; PS One LCD Monitor.
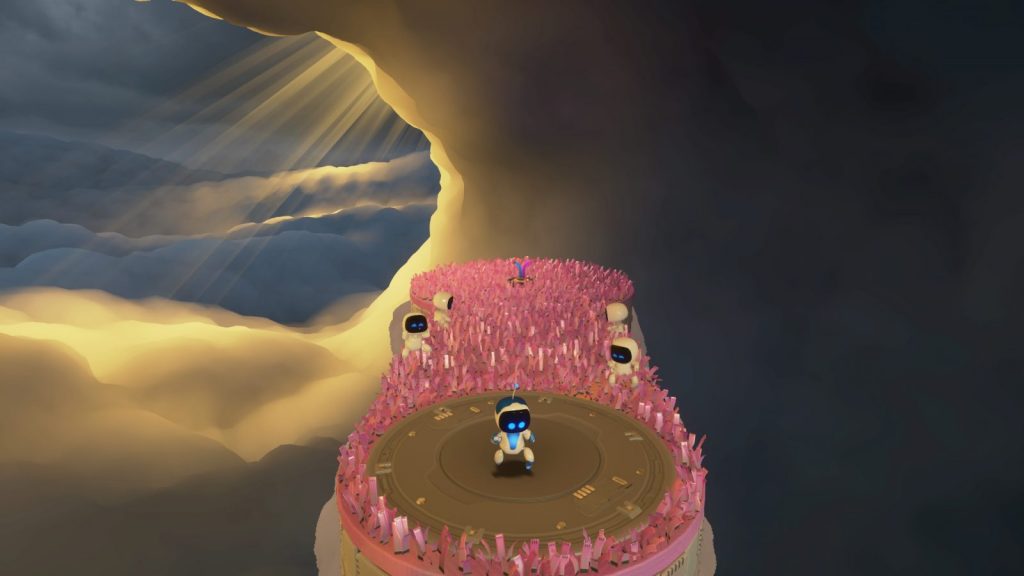
Return to the main path and you’ll eventually find yourself riding a purple platform and avoiding electric enemies. There’s a Puzzle Piece in clear sight along this path.
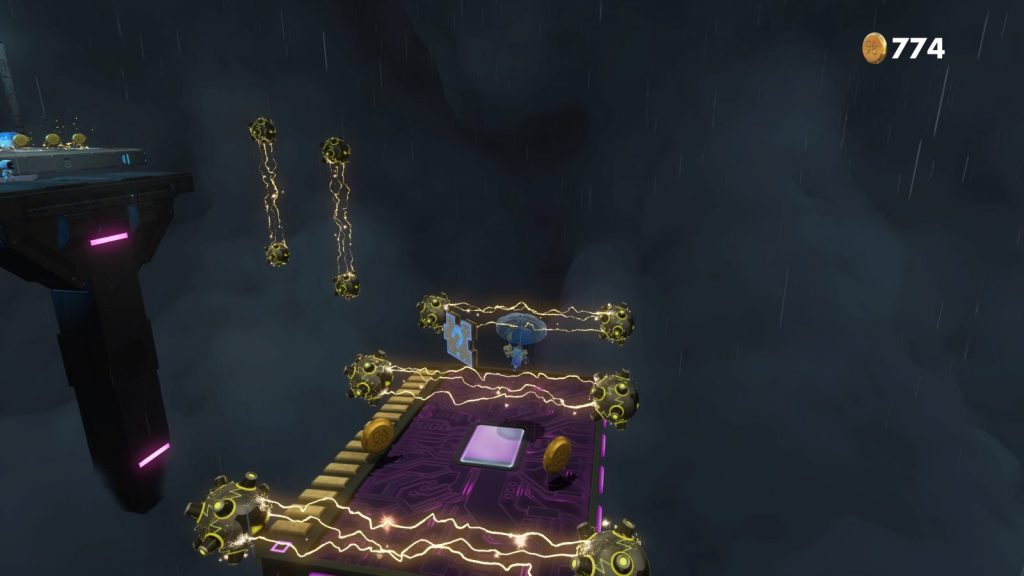
Continue past the rotating electrified platforms and eventually the next Puzzle Piece will come into clear sight. Simply grab it on your way past.
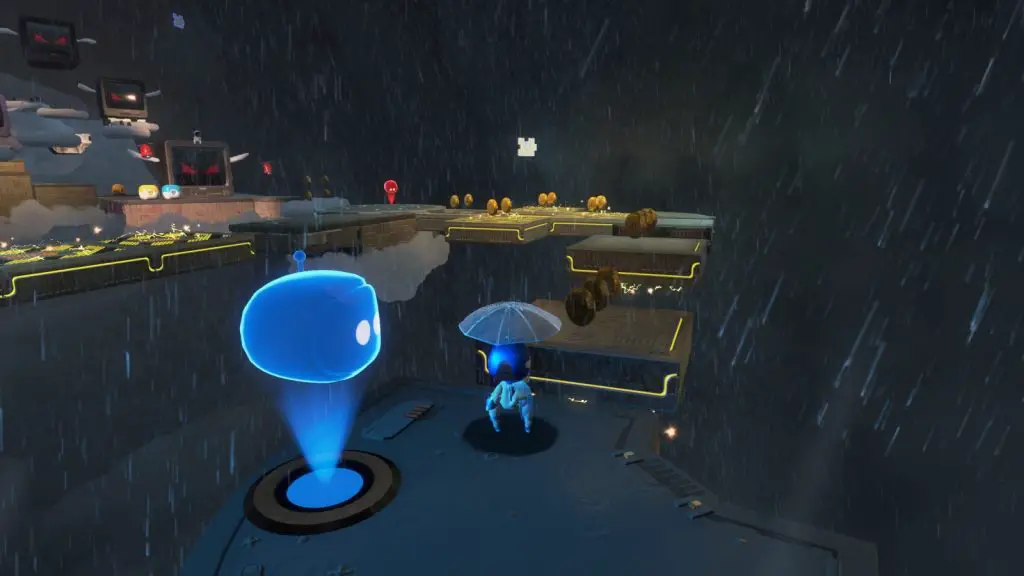
Immediately after the last collectable – at the checkpoint – take the left path and follow it around to some cables, which when pulled will give you the next Artefact; the PlayStation Multitap.
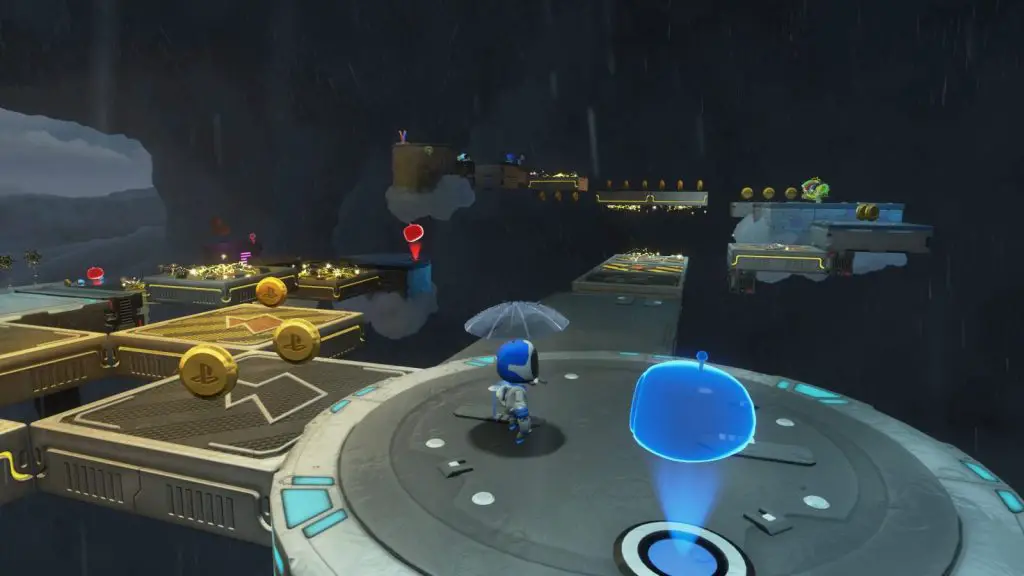
Continue along the main path until you reach an angry CRT TV which is stomping on some metal platforms. Head past it and around to the left, where you can use grey clouds to hop over on top of the TV. Ride the TV up to the final Puzzle Piece in this stage.
Bumper Broadway
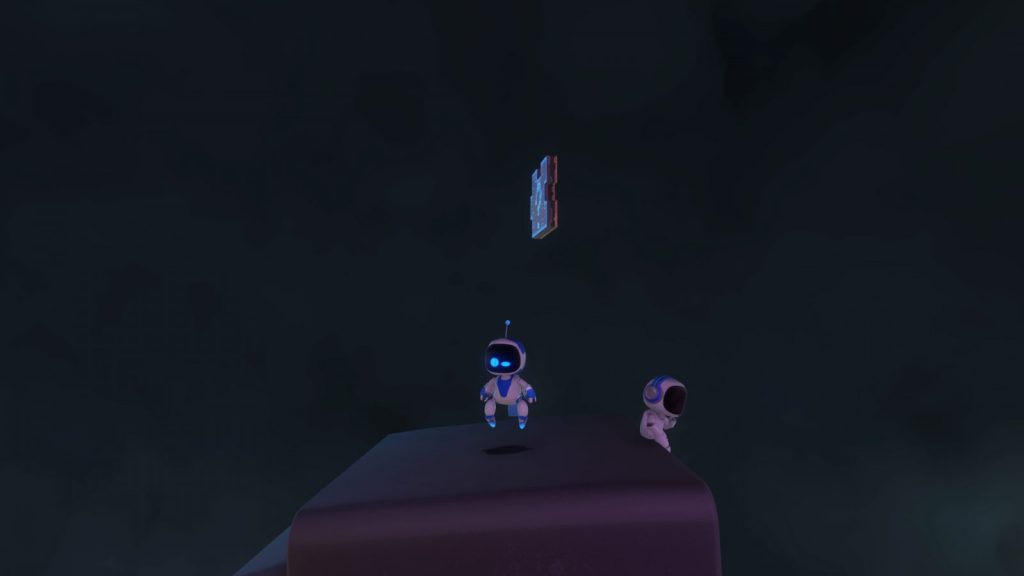
A short distance into this stage, you’ll reach a pinball-like section with many bumpers. In the top-left side of this area, you’ll see a Puzzle Piece. To reach it, use the nearby yellow launch pad to jump up and onto the metal rail leading to the collectable.
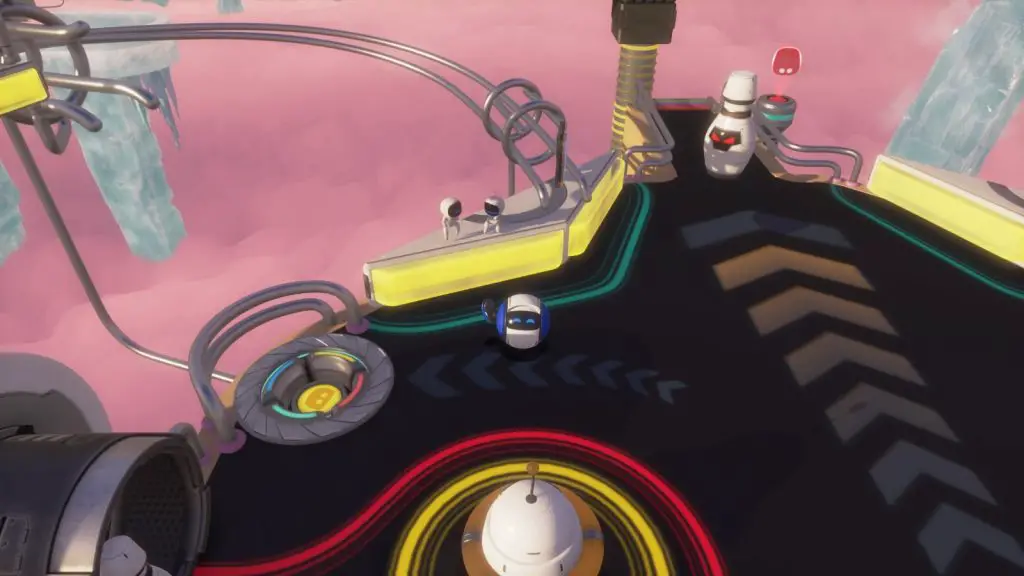
Continue along the main path until you find yourself heading down some icy steps. At the bottom of the last icy step, you’ll find the next Puzzle Piece.
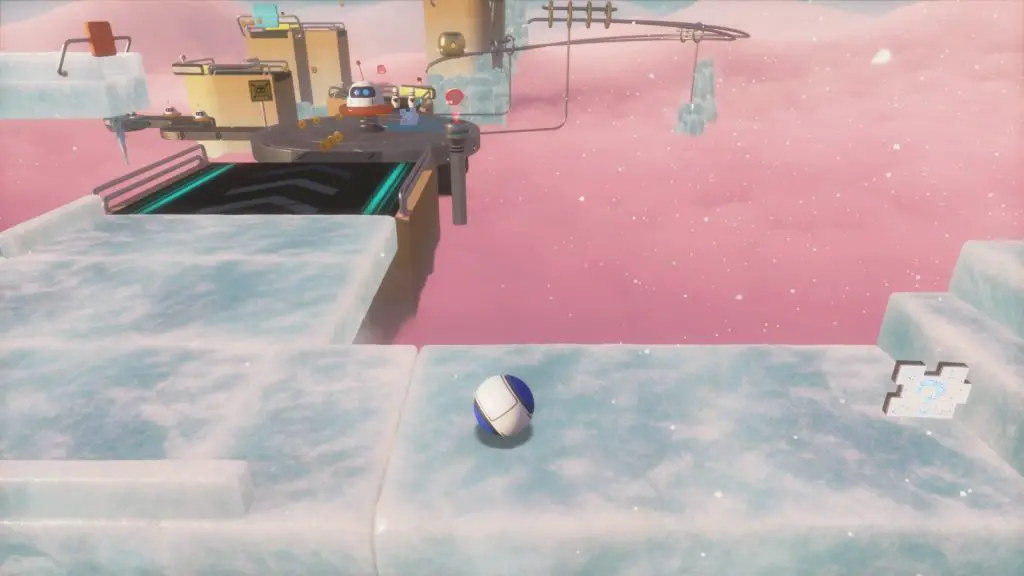
Immediately afterwards, take the narrow icy path on the left. This is treacherous and difficult, but leads right to the next Artefact; DUALSHOCK Controller.
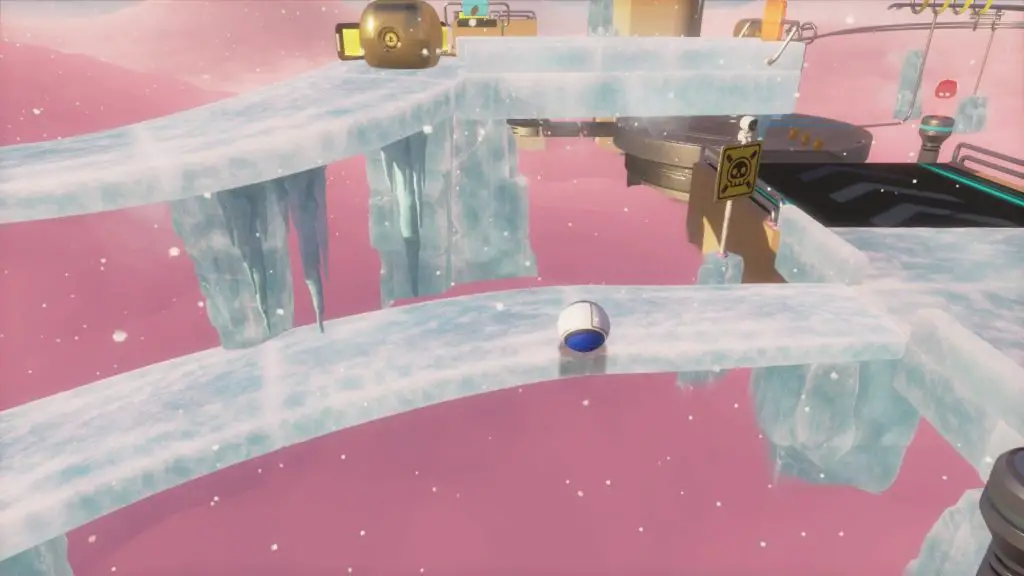
The next Puzzle Piece is clearly visible directly after the previous collectable. It’s on a circular platform next to a large enemy on a spring.
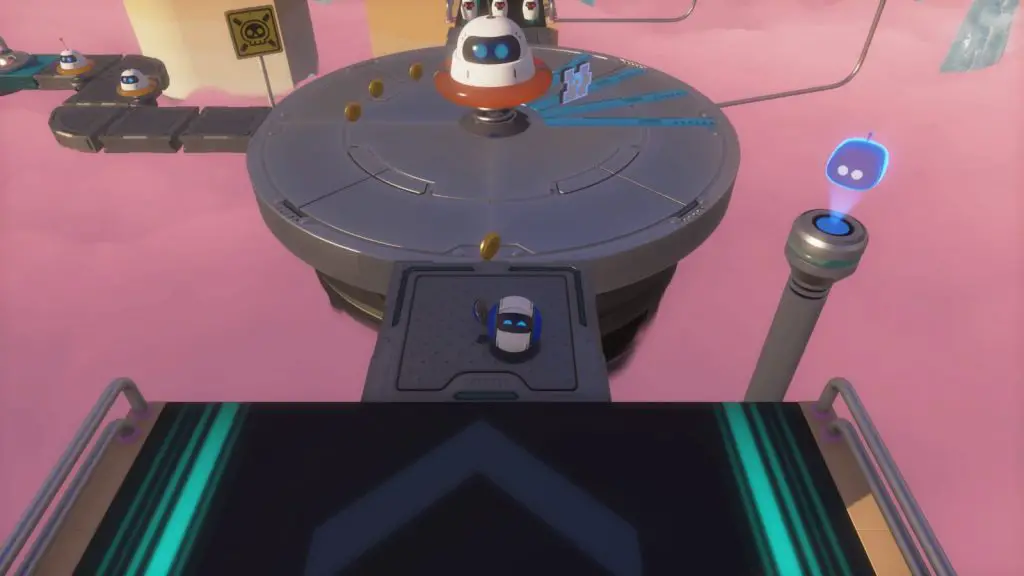
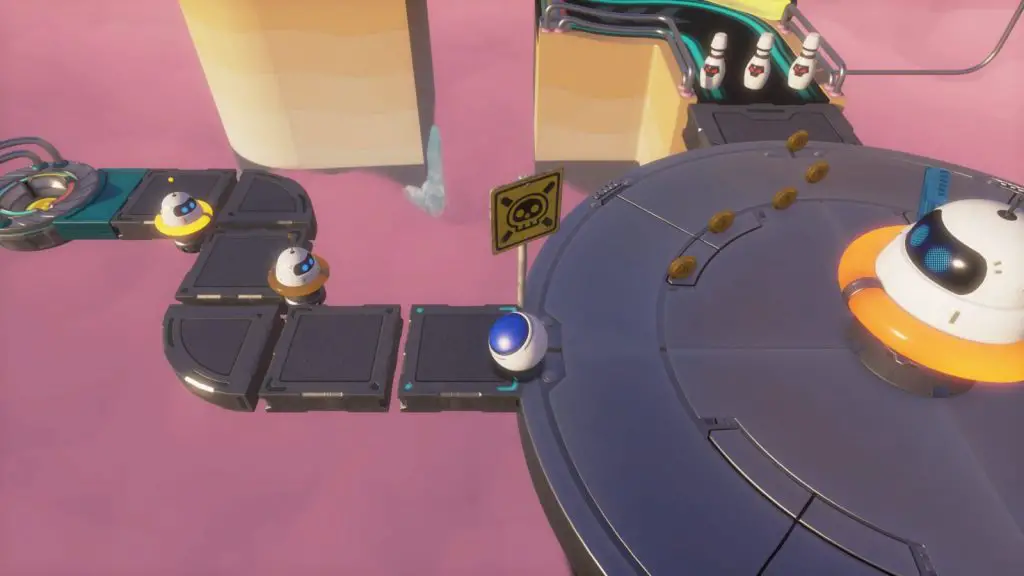
The final Artefact in Memory Meadows can be found by taking the narrow path on the opposite side of the circular platform from the last collectable. It is the PocketStation.
SSD Speedway
Turbo Trail
The first Puzzle Piece is right above you when you start, turn around and break the glass panel on the ground with your glide ability to reveal a launch pad with which you can reach the collectable.
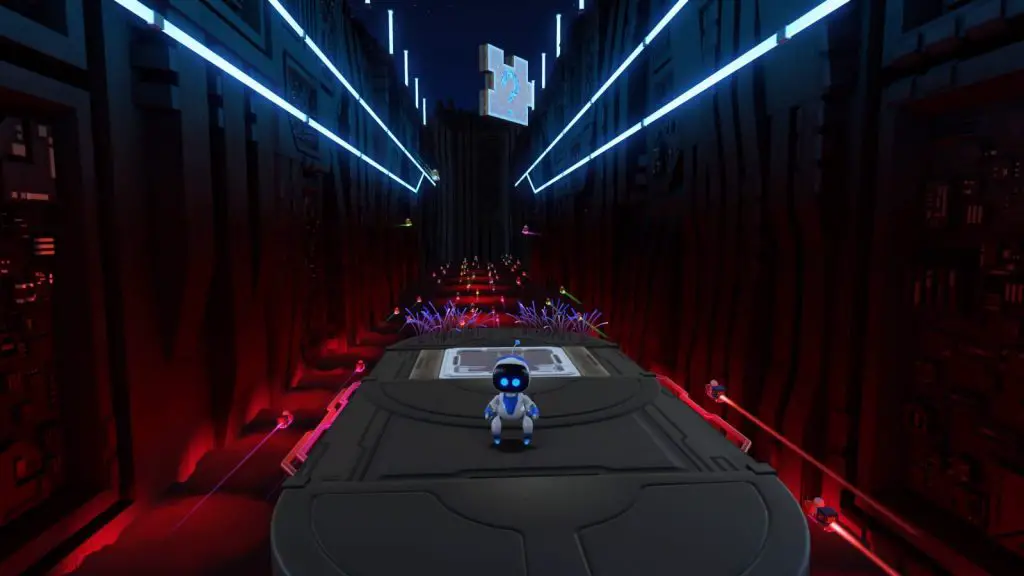
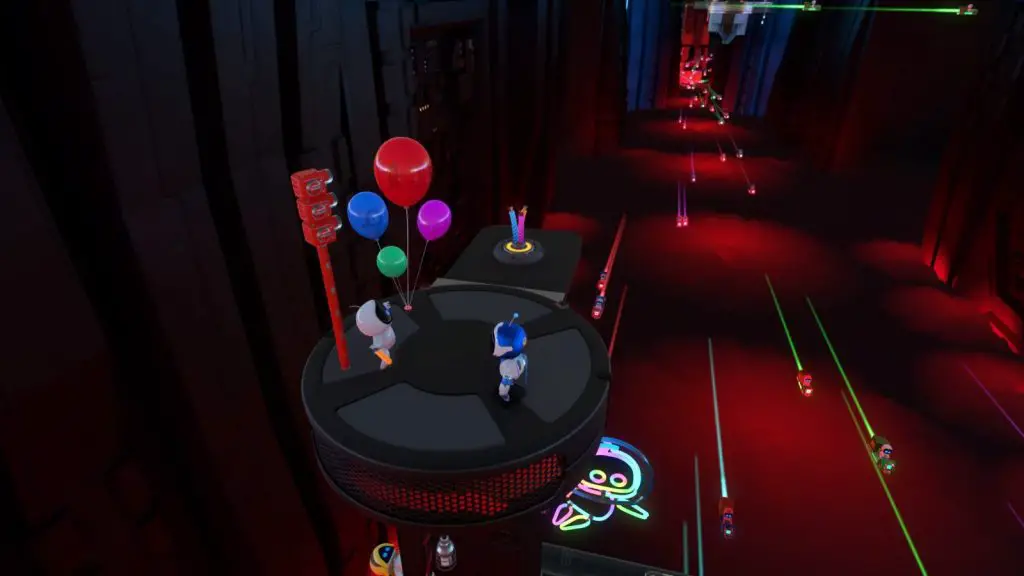
Once you’re hang-gliding, do your best to reach a small circular platform above a larger more obvious platform to the left. There’s a bot with some balloons indicating where to land. Once you do, pull the exposed wires to reveal the first Artefact; Buzz Controller.
At the next Hang-gliding section, aim yourself at the black ring to the right, inside which you should be able to see a Puzzle Piece. Launch yourself at it to grab it.
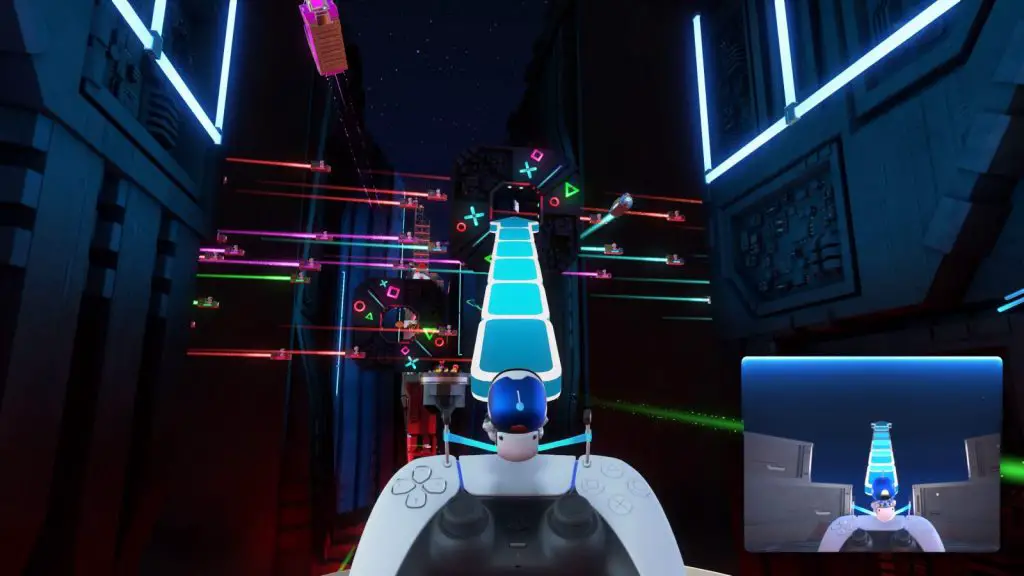
During the next hand-gliding section, a Puzzle Piece will appear just before the platform you need to land on. Use motion controls to glide towards it and make it yours!
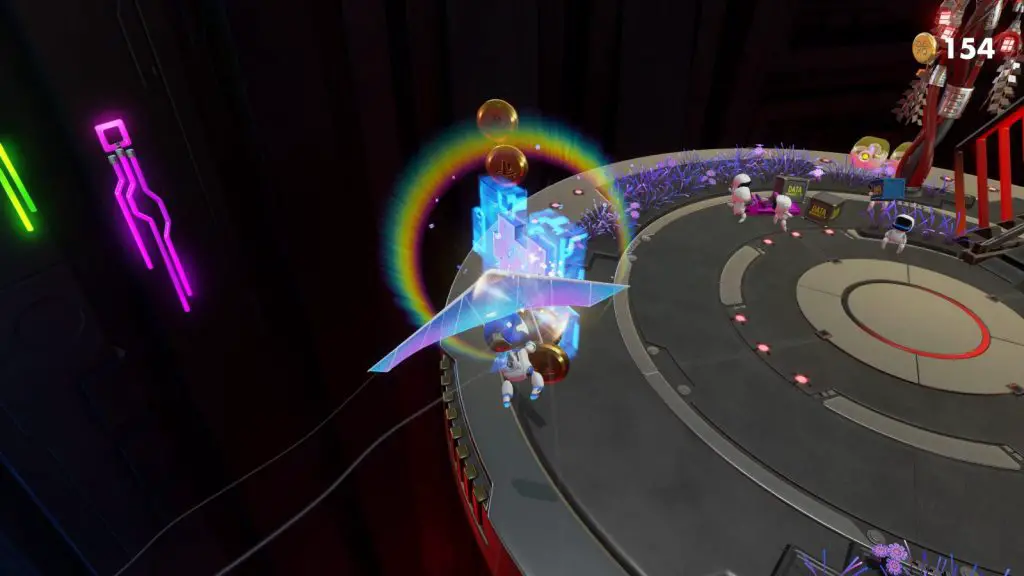
On this platform, head to the back and look over the edge on the left to see a bot dressed as Pyramid-head, and a trail of coins.
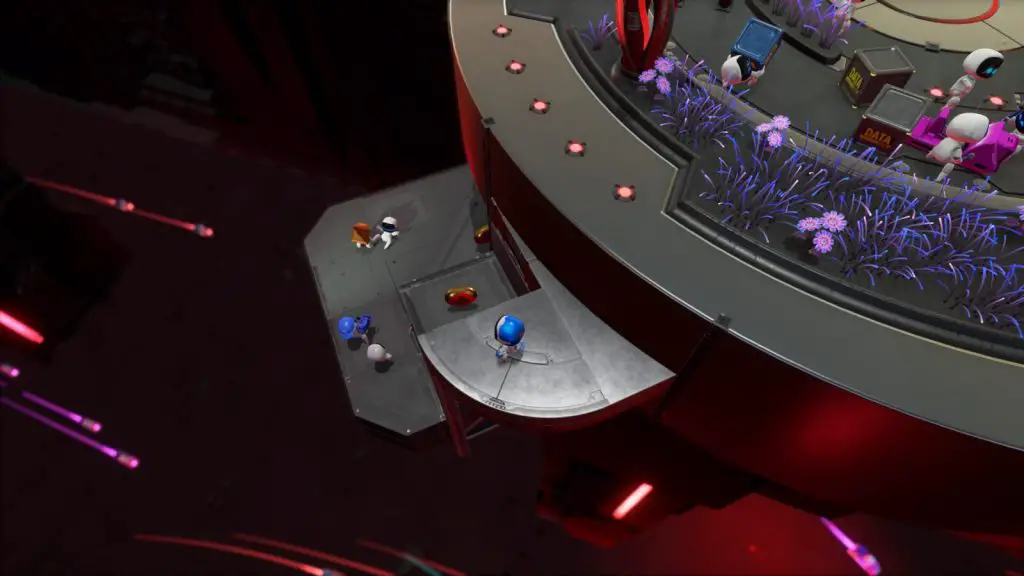
Follow the coins and they’ll take you to the next Puzzle Piece.
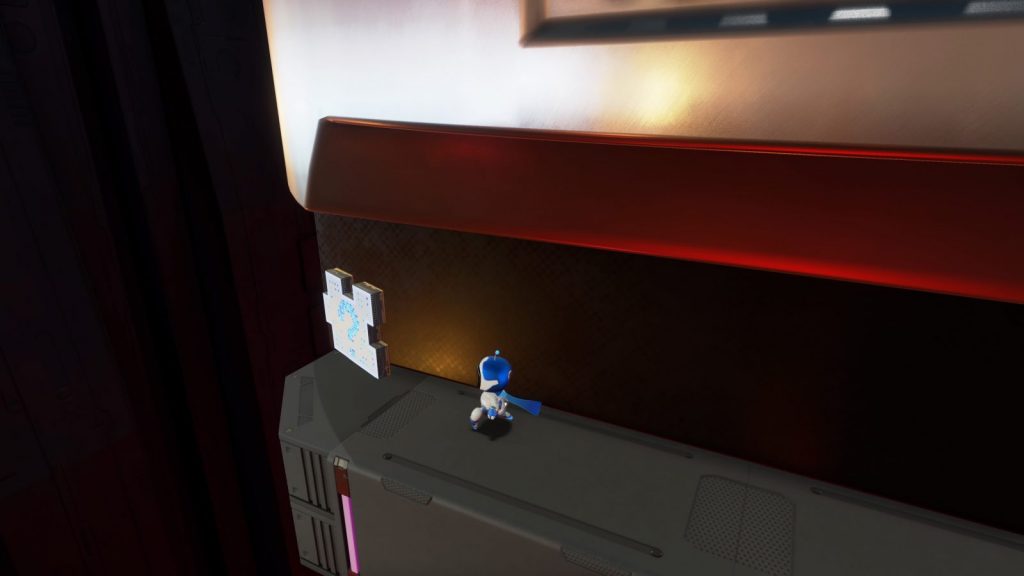
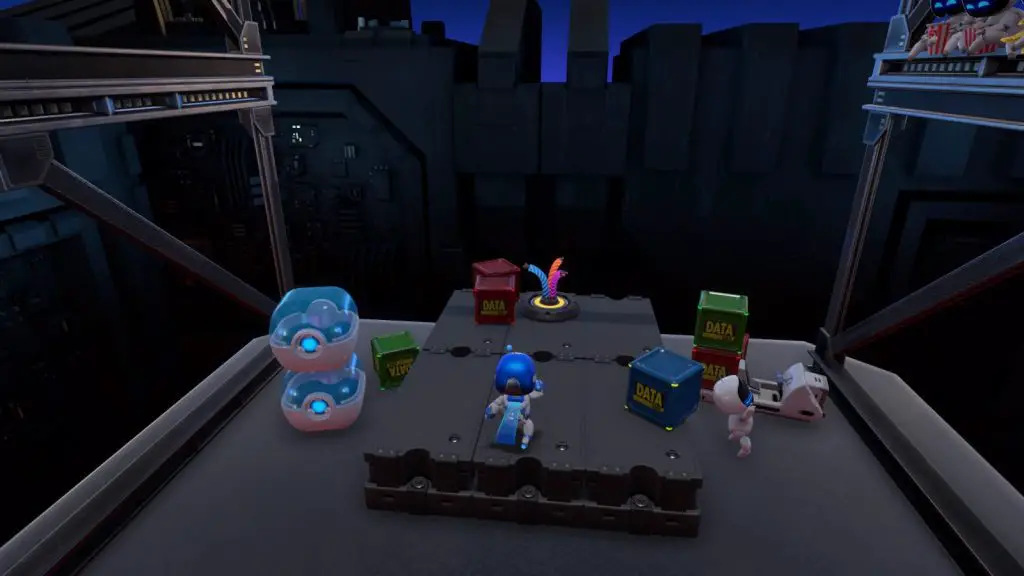
Once you reach a big rocket, head past it to find a platform at the back with plenty of DATA boxes, hit them with ![]() to reveal the cables hidden underneath.
to reveal the cables hidden underneath.
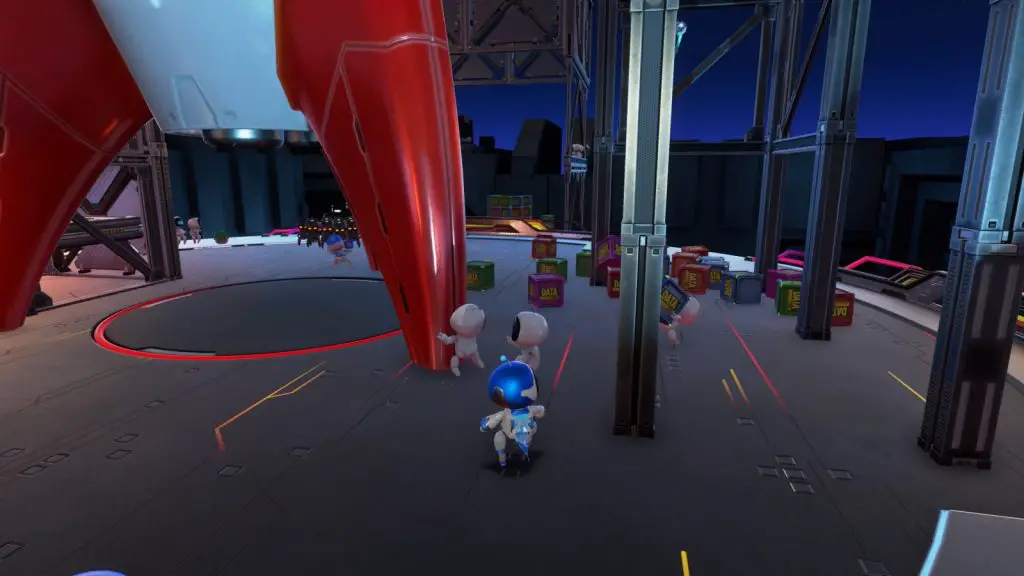
Pull on them to unlock the next Artefact; DUALSHOCK 2 Controller.
Caching Caves
After the first checkpoint, drop down the gap on the left to find a Puzzle Piece among a large group of coins.
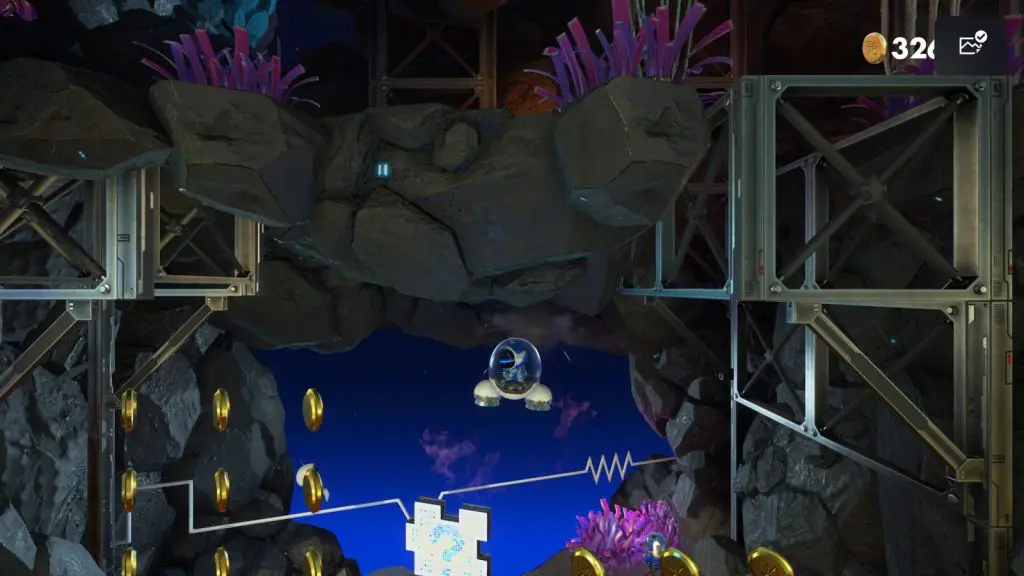
Continue on until you see a cave opening on the left, with some purple vines hanging in front of it.
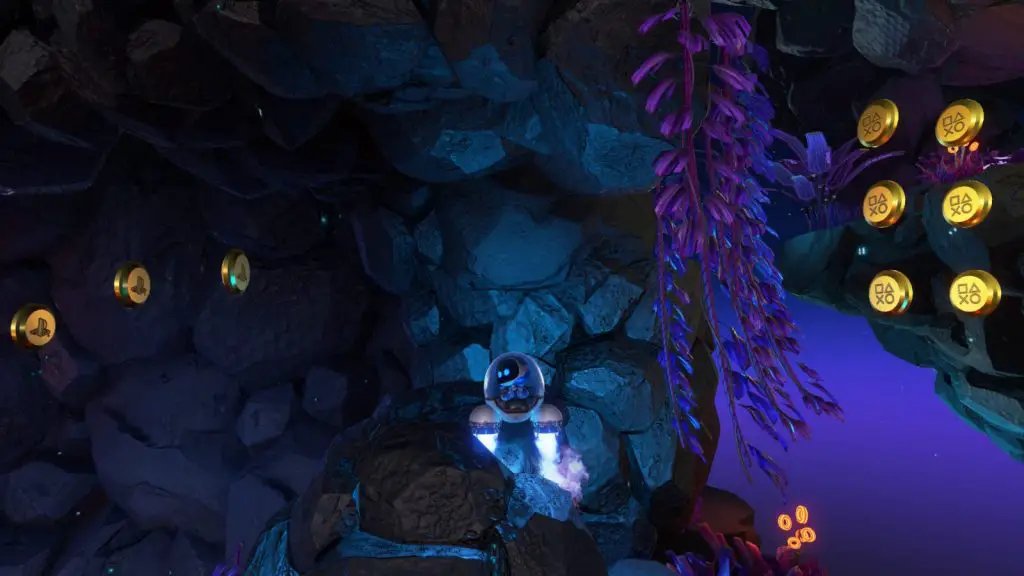
Head inside this cave to find a fuse which you can light using your Rocket’s boosters. This will, in turn, blow up the TNT, revealing the next Artefact; PS2 Multitap.
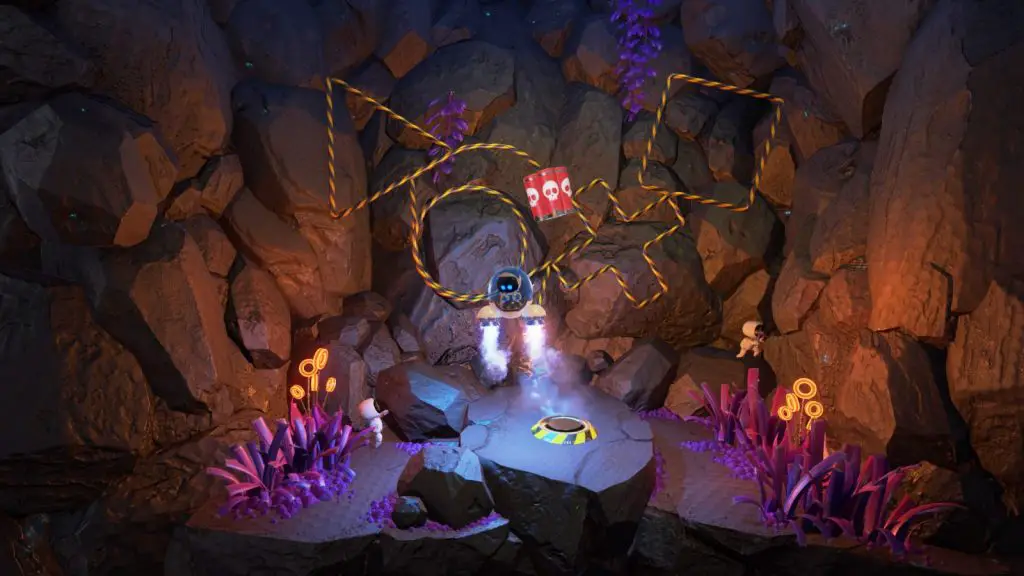
Continue through the stage and you’ll find a row of TNT enemies on the ground. Use your boosters to light their fuses, causing them to blow up and break away some of the floor. Head down through the new opening to find the next Puzzle Piece.
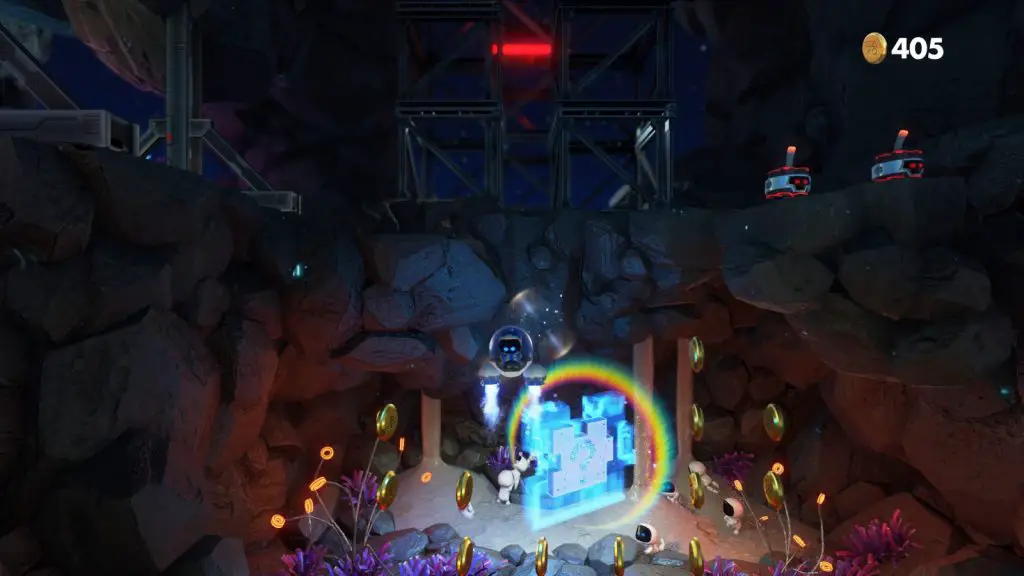
Continue upwards a small amount and look for a path to the right, near some electrified panels consisting of exposed wires. In a cavern to the right, you’ll find a bright purple Spider-Web.
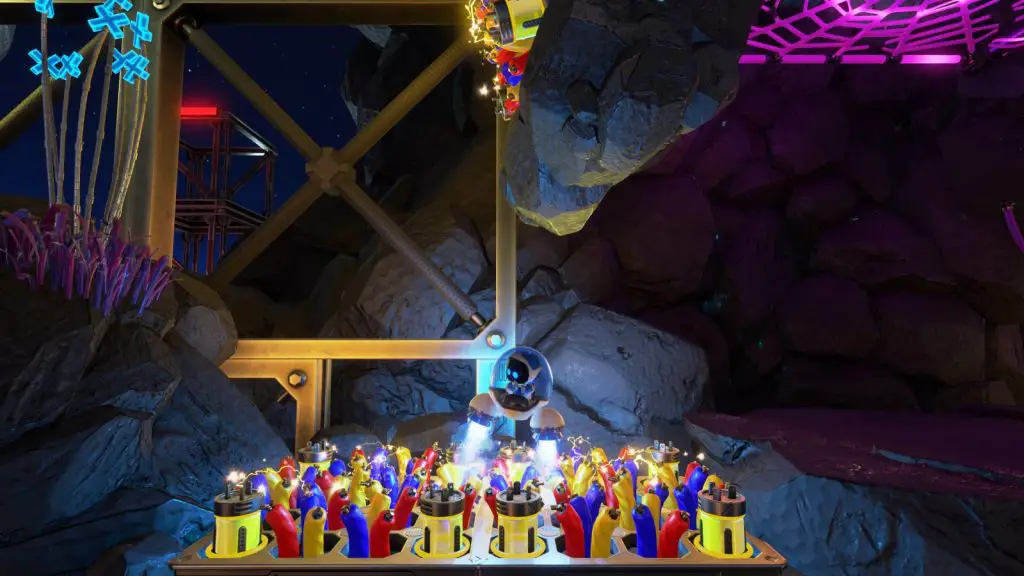
To the right of this web is another Puzzle Piece.
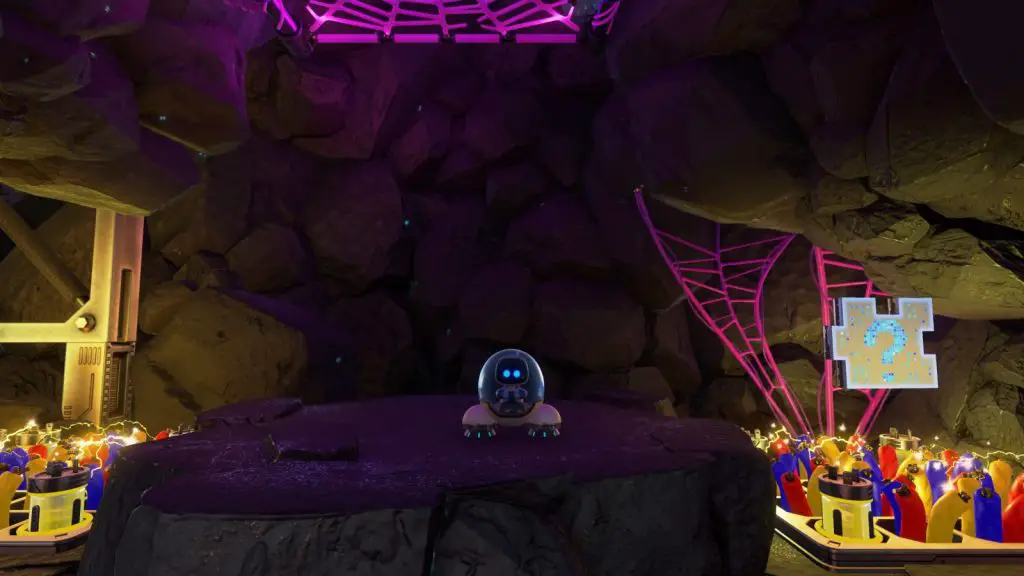
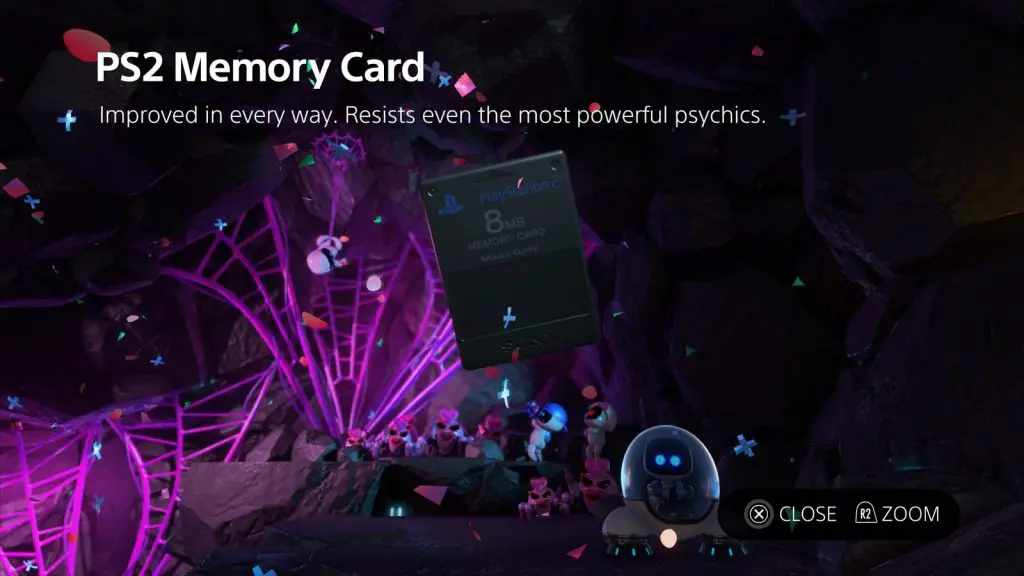
Boost up through the spider-web, and then the next one, and you’ll find the next Artefact; PS2 Memory Card.
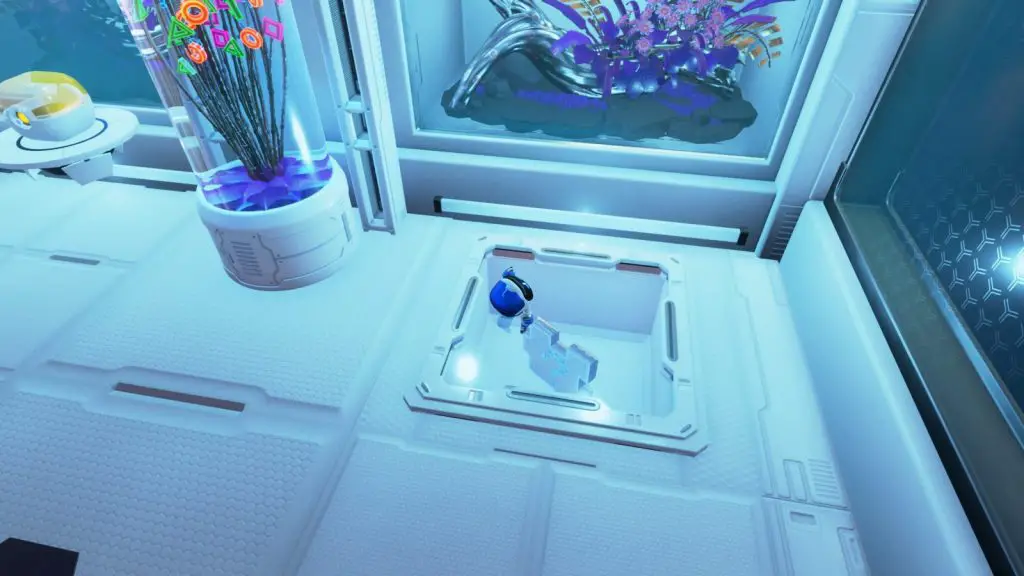
Continue on to the end of the level, and you’ll be removed from the Rocket pod. Drop down from the platform with the flag-waving bot and you’ll find a glass panel in the back-right corner. Break it to retrieve the Puzzle Piece within!
Deep Dataspace
At the start of the level, immediately head to your left and jump down to the circular platform with 3 flowers on it. Spin-attack the flowers by holding ![]() .
.
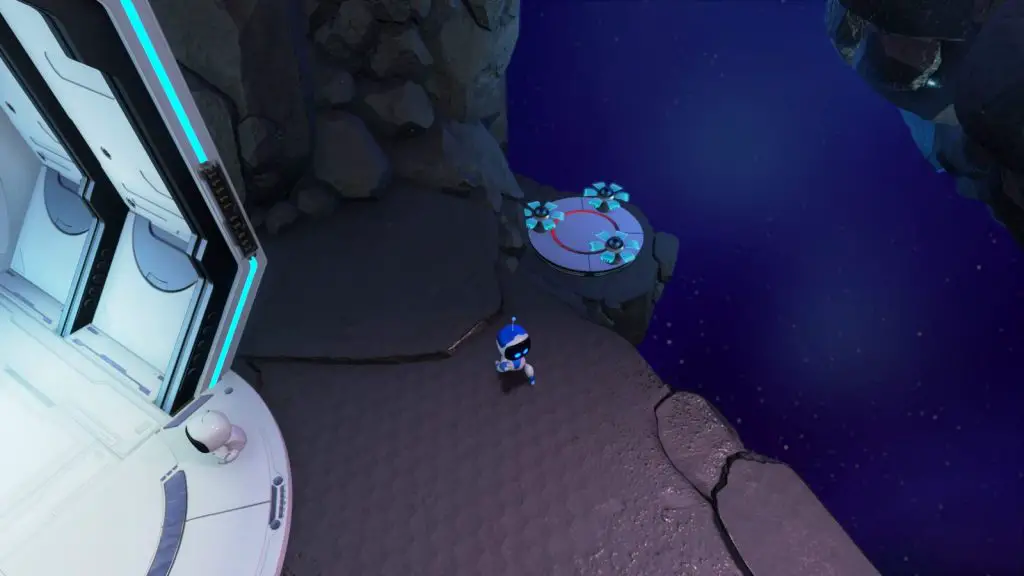
This will reveal the Puzzle Piece underneath.
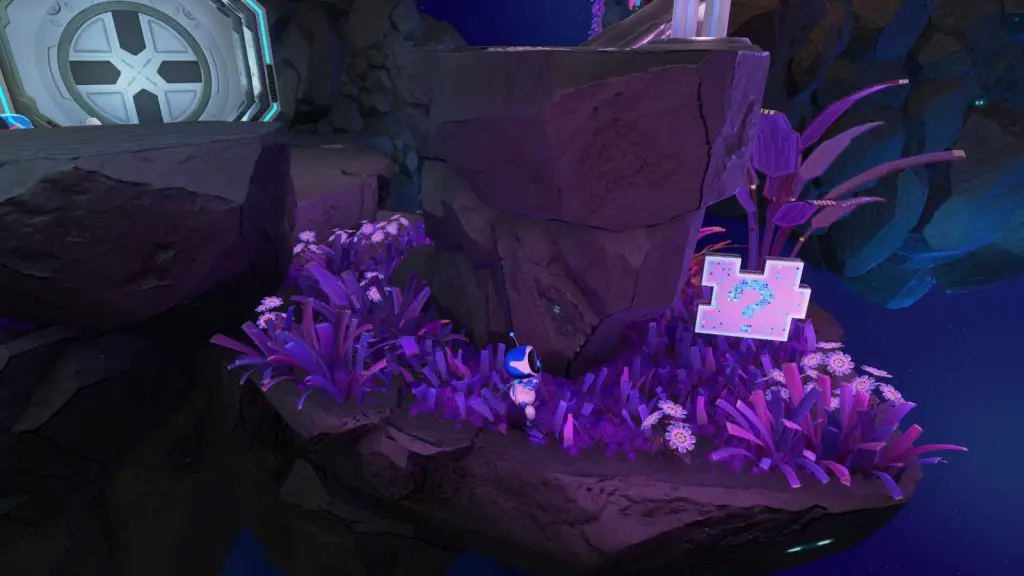
Behind the rock directly ahead of where you started, among the purple grass, there’s another Puzzle Piece.
Next to the next Checkpoint are some metallic jump pads. Use these to reach the other side of the white blocks, where you’ll see a bot stood on the globe from Little Big Planet.
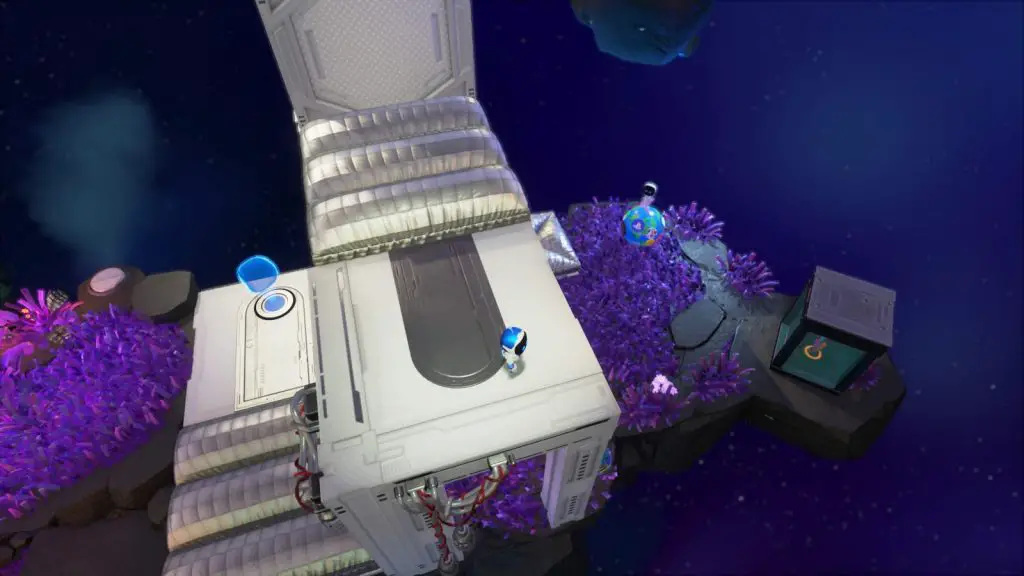
At the other side, turn around to face the white blocks again to find a Puzzle Piece hidden underneath. Remember this location, you’ll return when you have the Machine Gun.
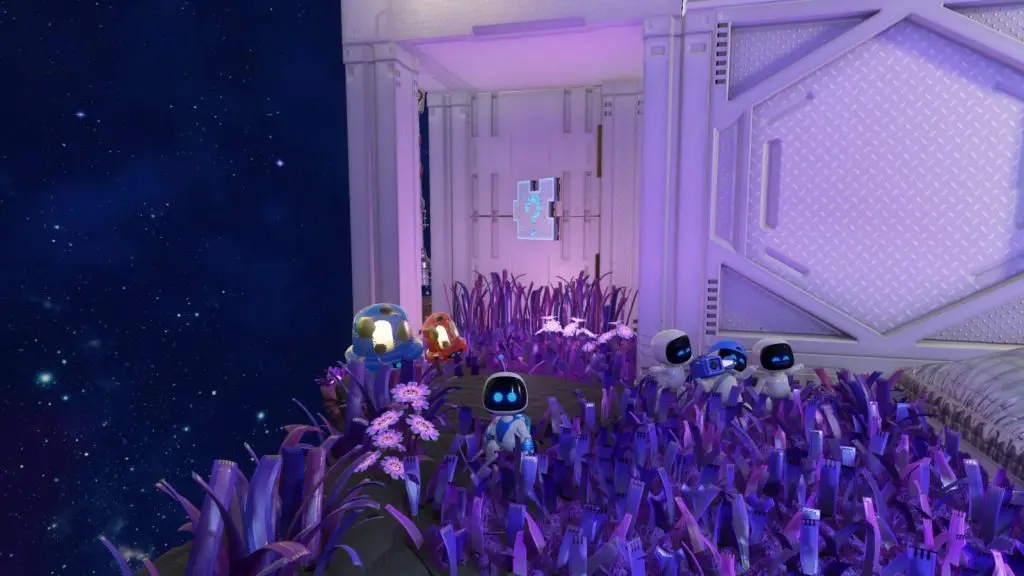
After the next checkpoint, turn to your right and face the electric enemy. Head towards the folded satellite he’s guarding and kill him.
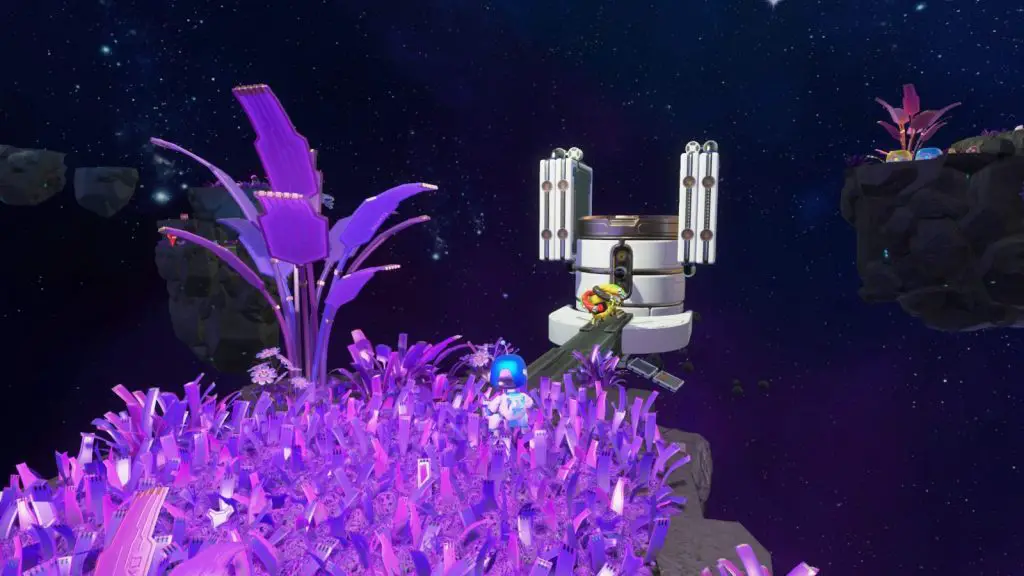
Blow on the controller to activate the satellite, use it to cross over to another rocky platform.
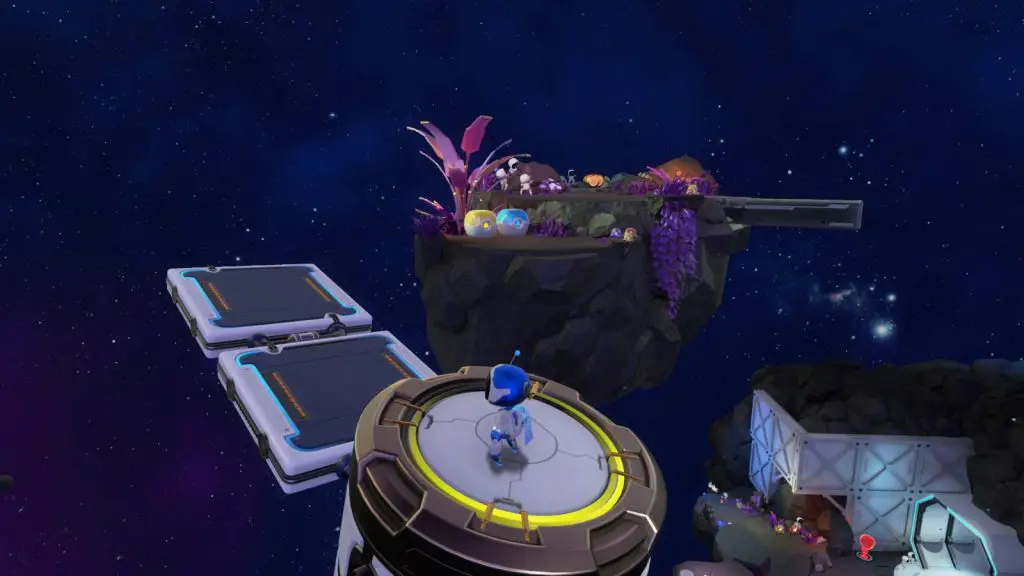
Follow the trail of coins to the end of this platform and a Meteor will hit the platform, with exposed cables on the side facing you. Pull them to reveal the next Artefact; PS2 Game Disc.
Head back to the aforementioned checkpoint and look ahead, you’ll see a small TNT enemy.
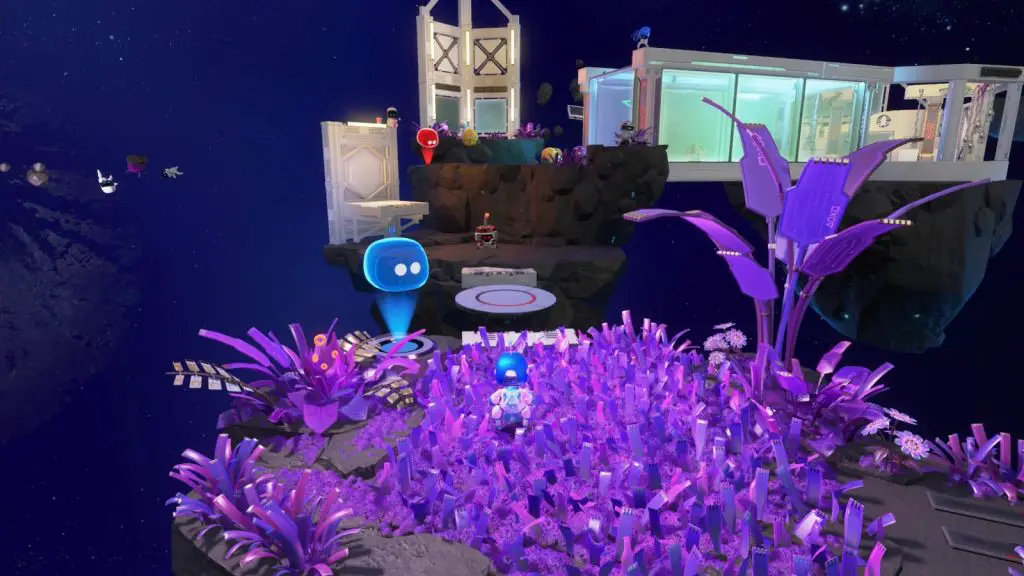
Cause him to explode with your glide ability and collect the Puzzle Piece from the hole where he used to be.
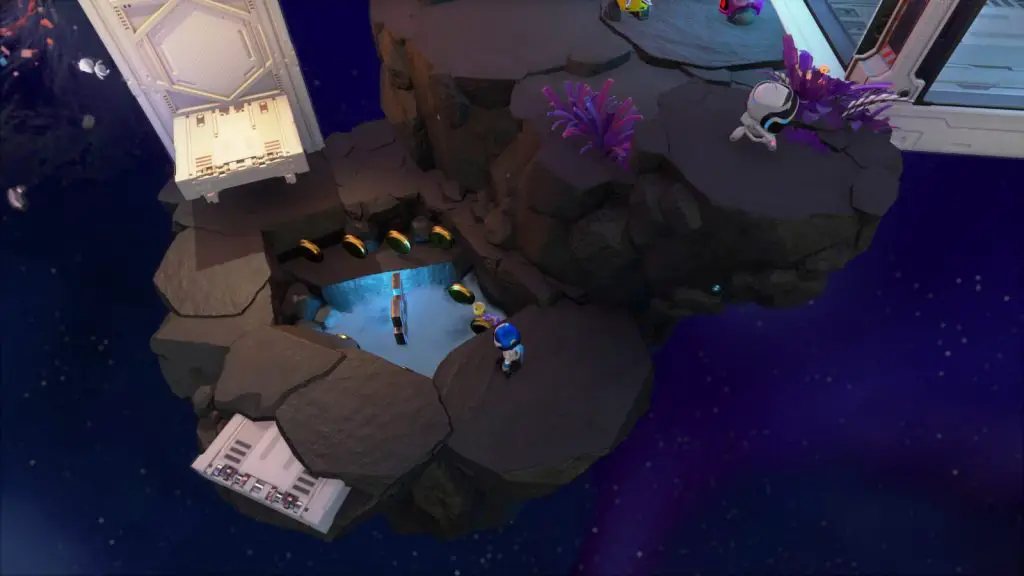
Continue on until you have the Machine gun, it’s now time to return to the location I mentioned before. You’ll notice a glass container with wires inside, shoot it with the Machine Gun to gain access to the cables.
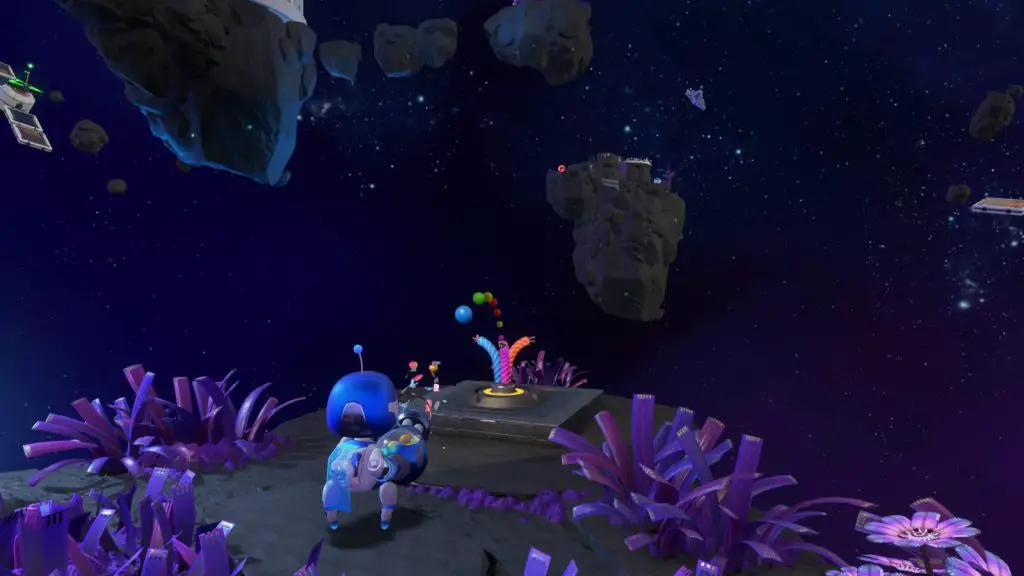
Pull on them to get the next Artefact; EyeToy Camera.
Orbital Obstacles
A short ways into this stage, you’ll enter a water-filled asteroid, inside, you’ll find the Puzzle Piece in plain sight.
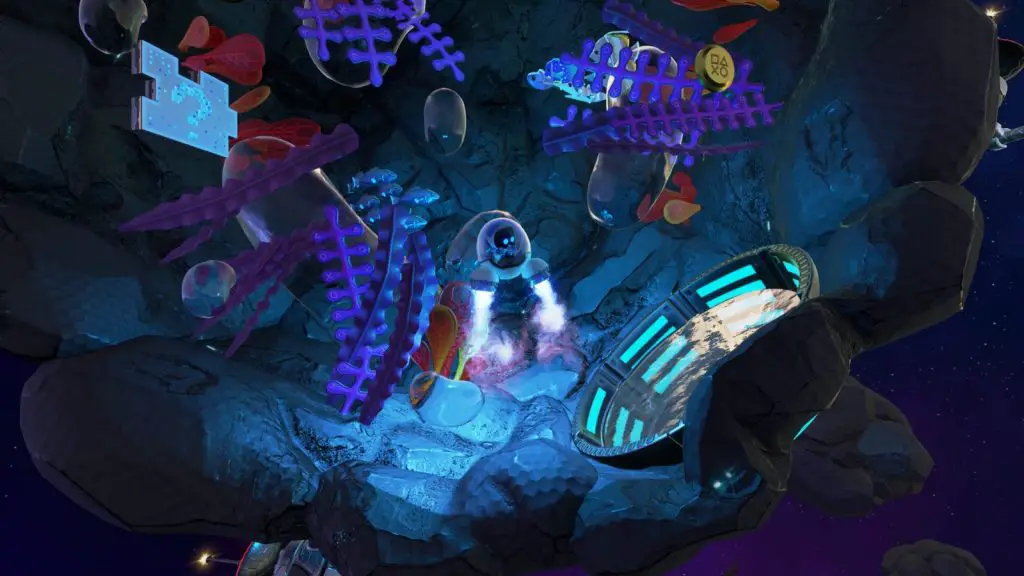
Reach the next checkpoint and you’ll see a trail of coins leading down to the right, follow them.
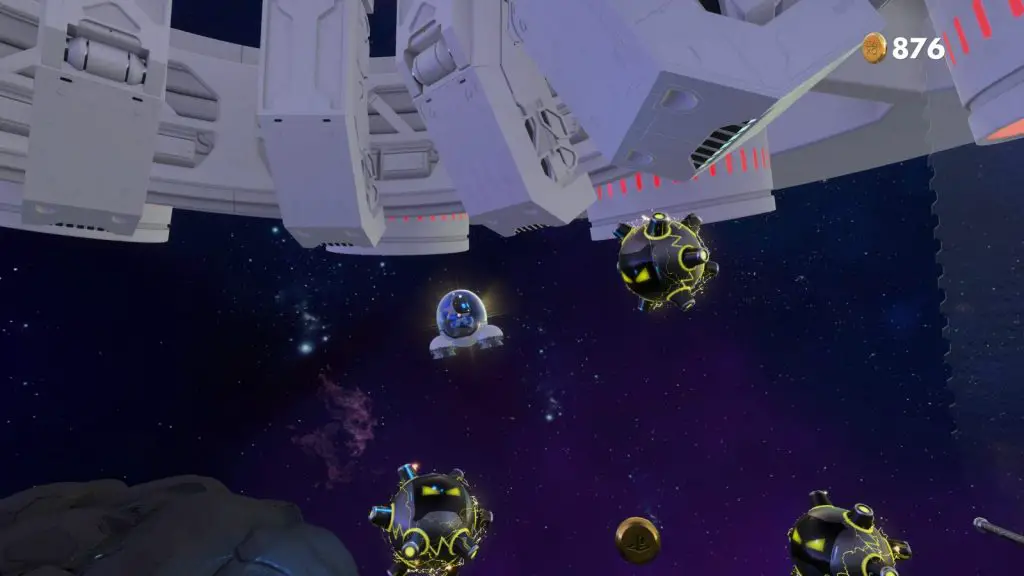
They’ll lead you into a rock where you’ll find the next Puzzle Piece.
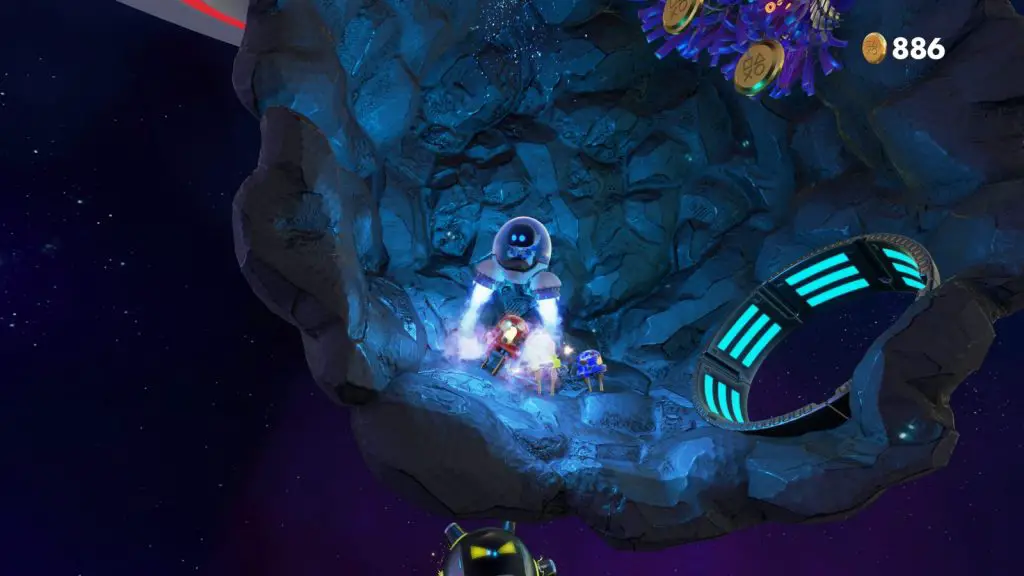
As you continue up the white tunnel above, you’ll pass some Cannons on either side of the wall, navigate around the electric enemy into the secret passage on the right.
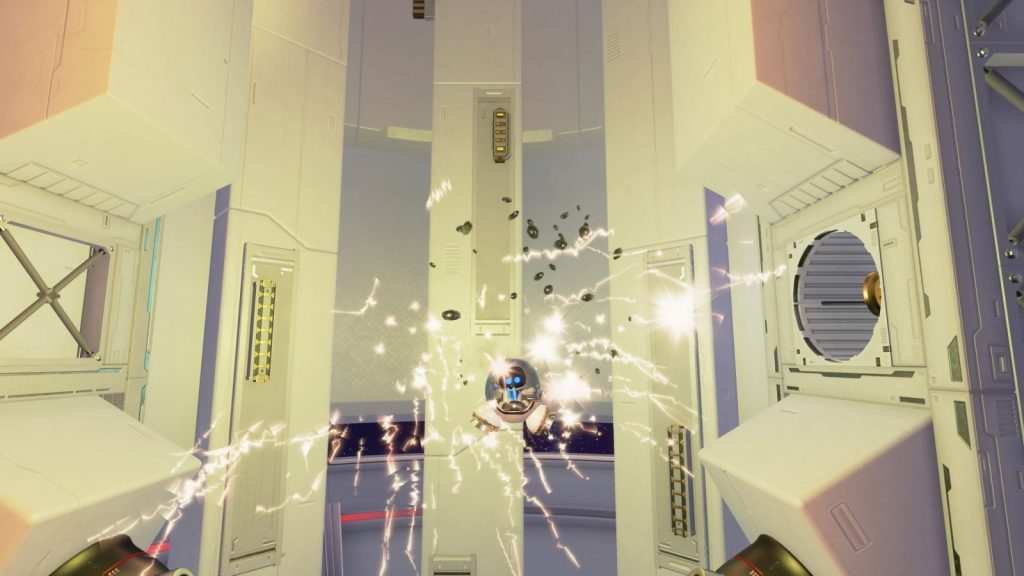
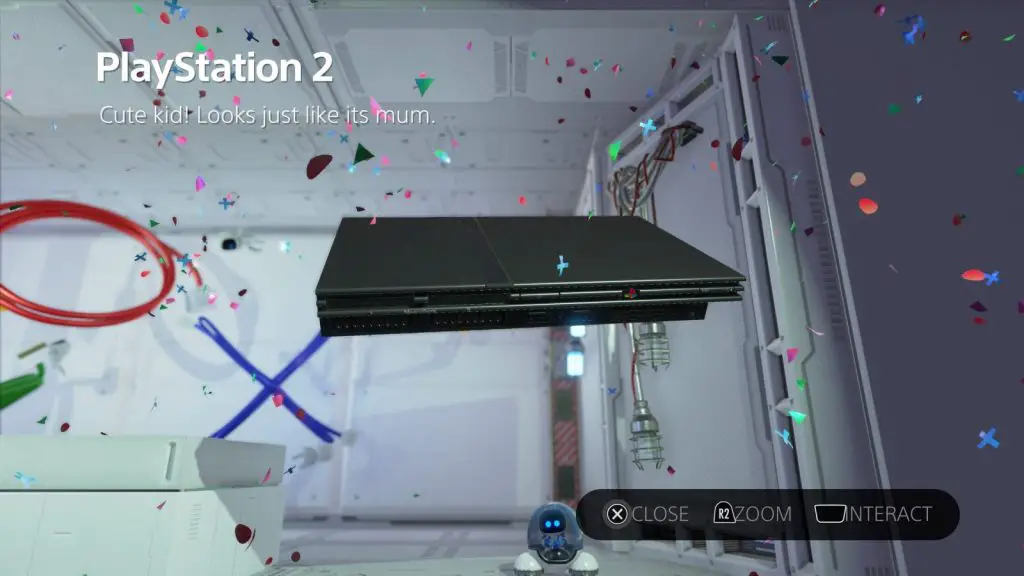
Continue to the end of this passage for your next Artefact; The PlayStation 2.
Continue through the white structure, past the next two checkpoints until you reach electrical enemies in a circular formation, rotating. Among these enemies you’ll find the next Puzzle Piece.
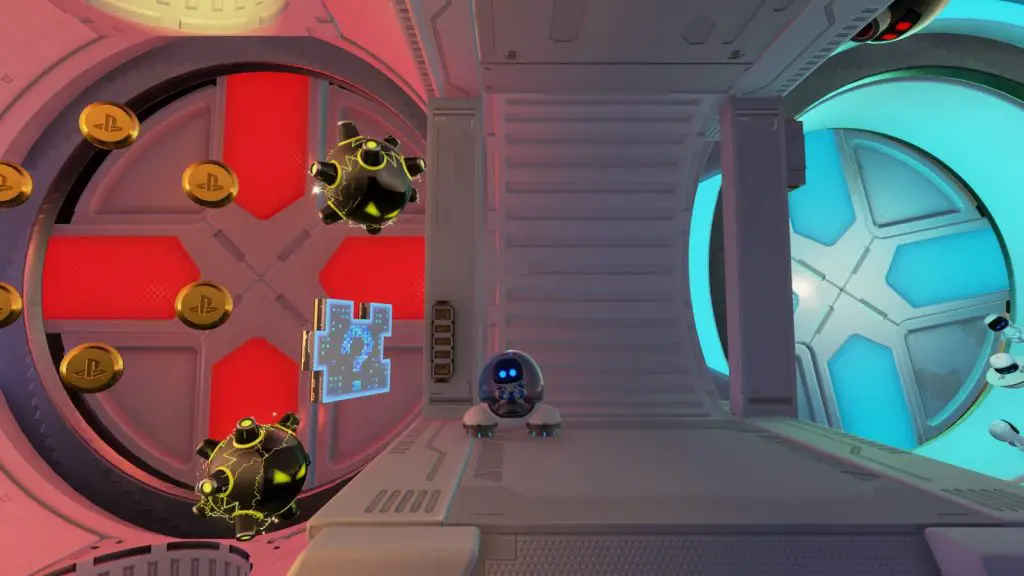
From there, head down into a frozen chamber via a tunnel below you.
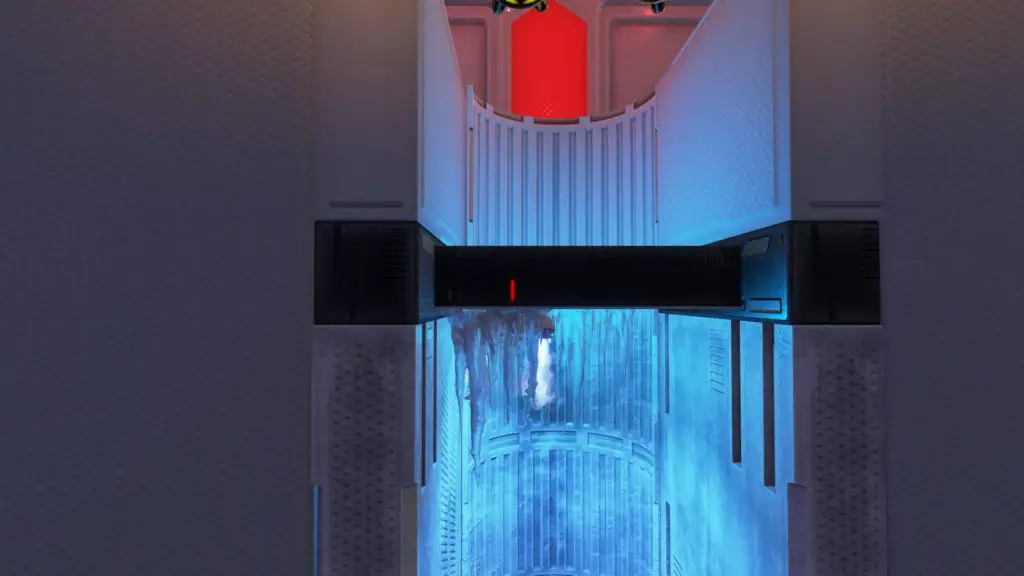
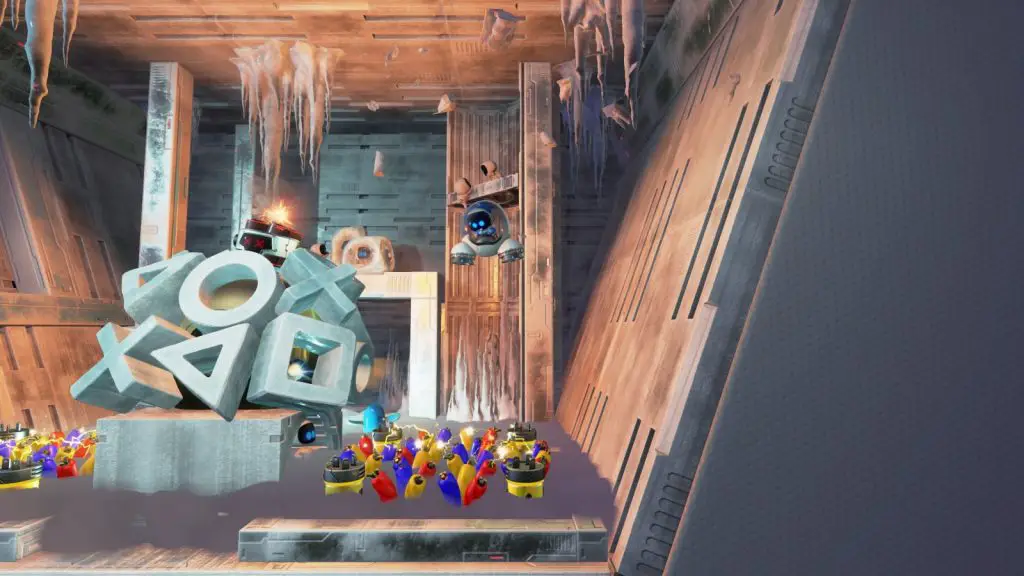
Head through this area and light the TNT enemy at the end for your next Artefact; SingStar Microphone.
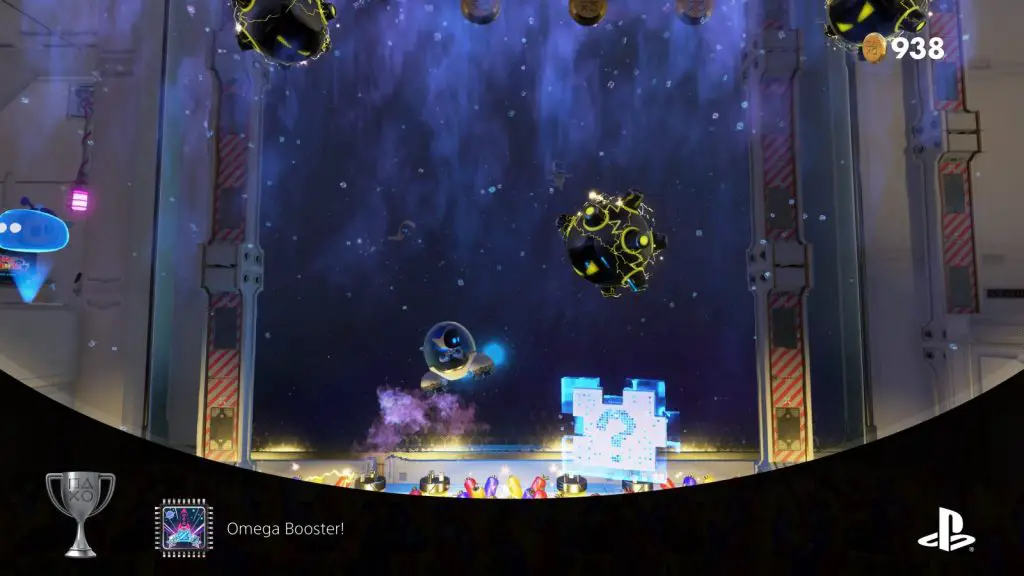
Continue on past the next two checkpoints until you reach a room with several cieling fans. Fly as low as you can and you’ll find the Puzzle Piece on the far right.
Cooling Springs
Bot Beach
Bot beach contains 4 Puzzle Pieces and 2 Artefacts.
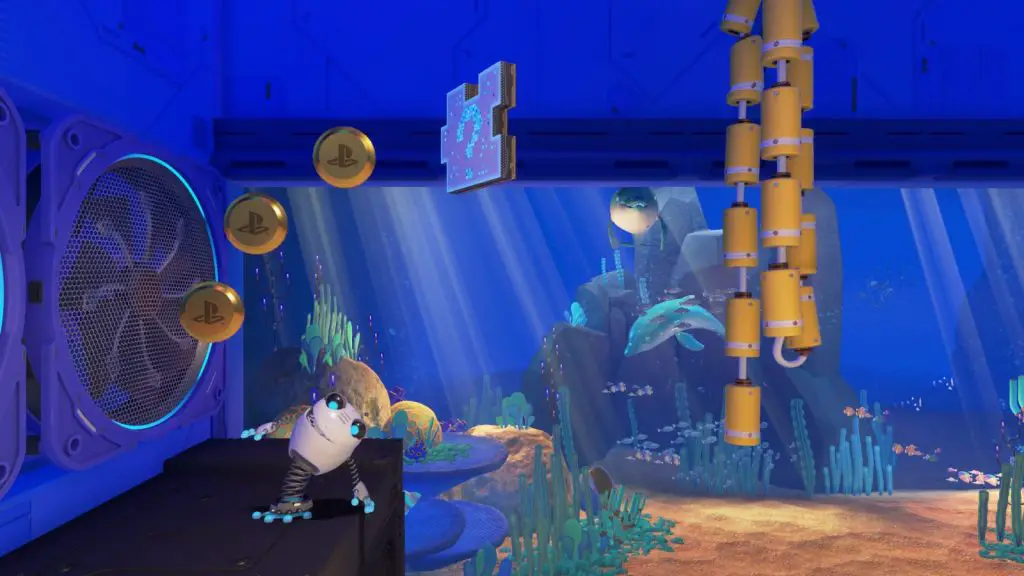
When you arrive in the Cooling Springs level, head down the slide ahead of you and you’ll be deposited in the water near a beach. Paddle over to the shore and look to your left where you’ll see a giant umbrella with a few smaller umbrellas nearby. Use the nearby smaller umbrella as a trampoline to reach the top of the larger umbrella. This, you can use to then trampoline upwards along a trail of coins to a Puzzle Piece at the end.
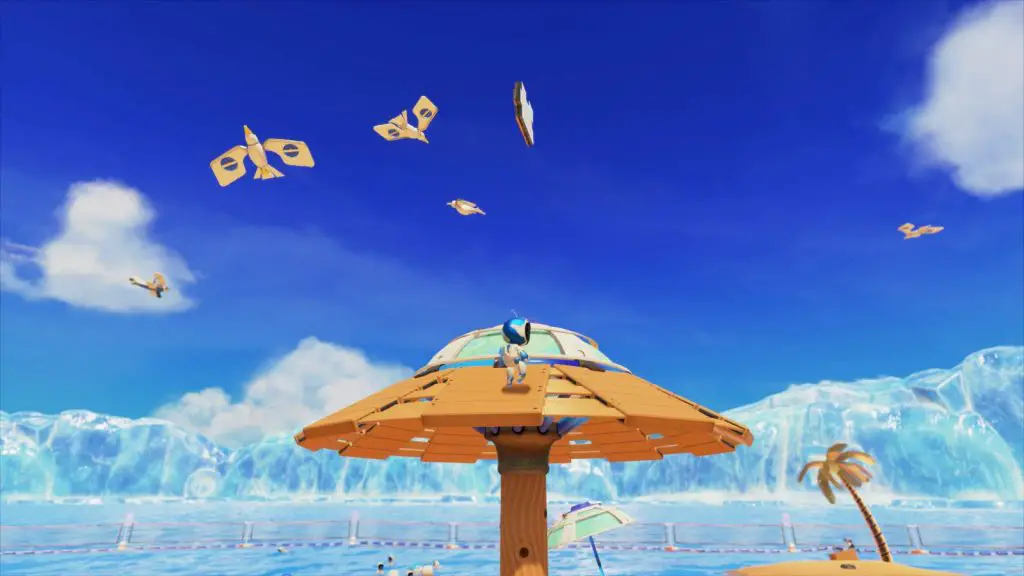
Continue along the beach towards a large round bot which is a Locoroco reference. From there you can see a small island with a Toucan bird sat on a box. Pull the exposed wires at the center of the island to get your first Artefact; the SIXAXIS controller.
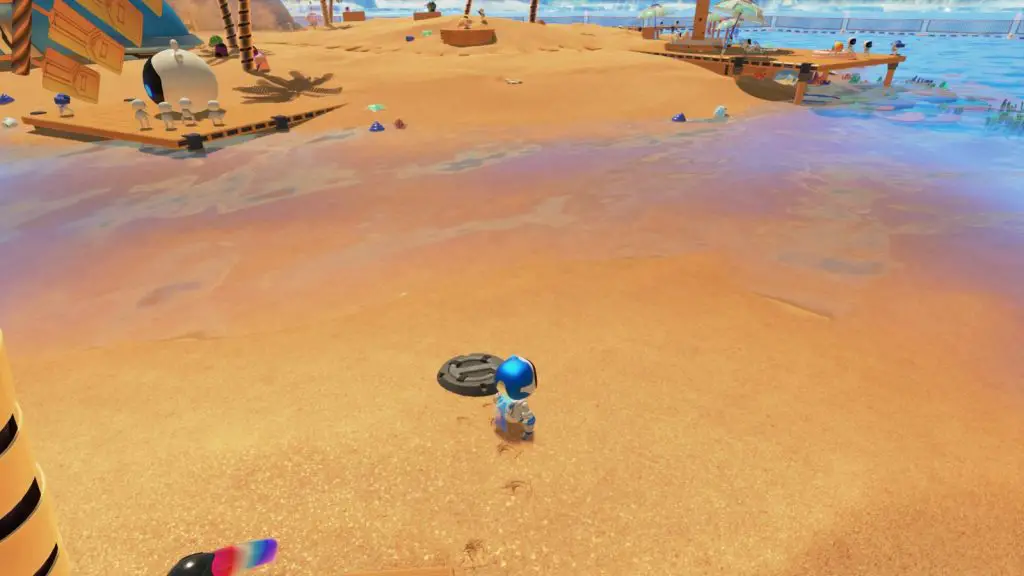
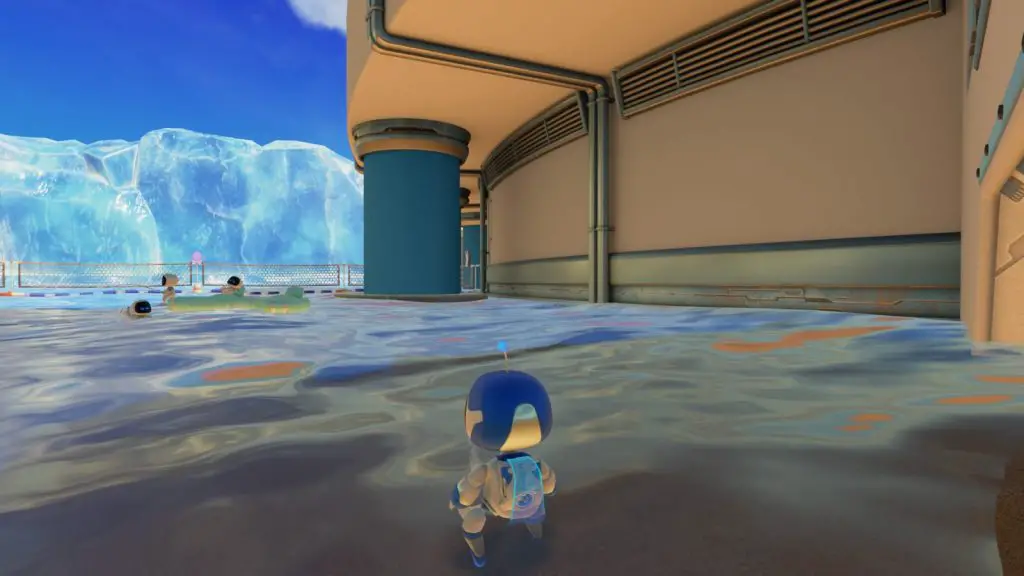
Head back to the shore and continue left along the beach to reach the large blue pipe. Follow it to another set of exposed cables. From there, look to the left and you’ll see a large blue pipe with a white platform around it. There’s another Puzzle Piece here! Go ahead and grab it!
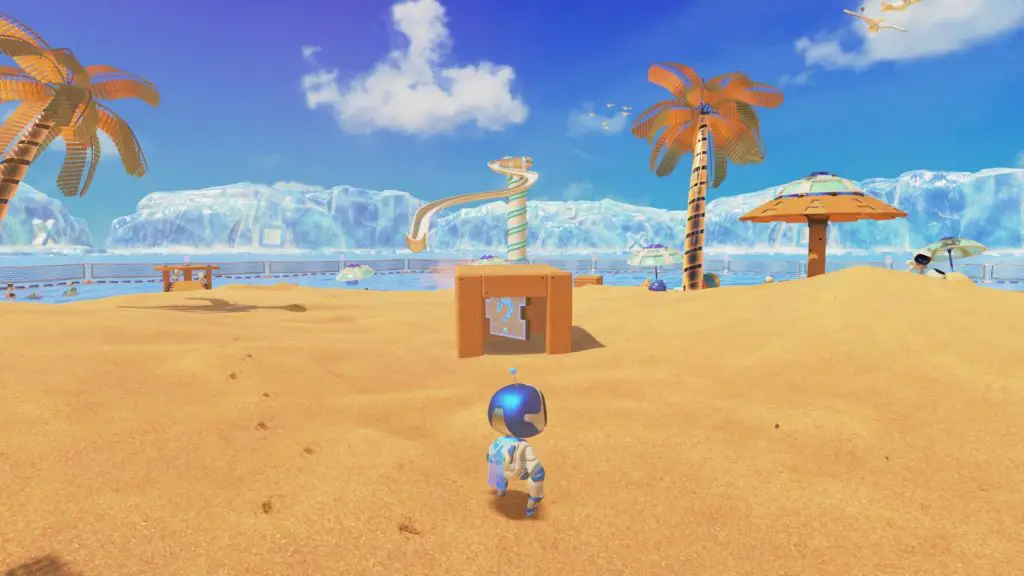
Now head to the center of the main island, where you’ll see a wooden box. Around the back of this box, facing the large fans, there’s an opening which will allow you to grab the Puzzle Piece within!
At the opposite side of the beach, you’ll find various wooden boxes floating in the water. The left-most and largest one has some exposed wires on top. Pull the cables to get your second Artefact; the PS Eye Camera.
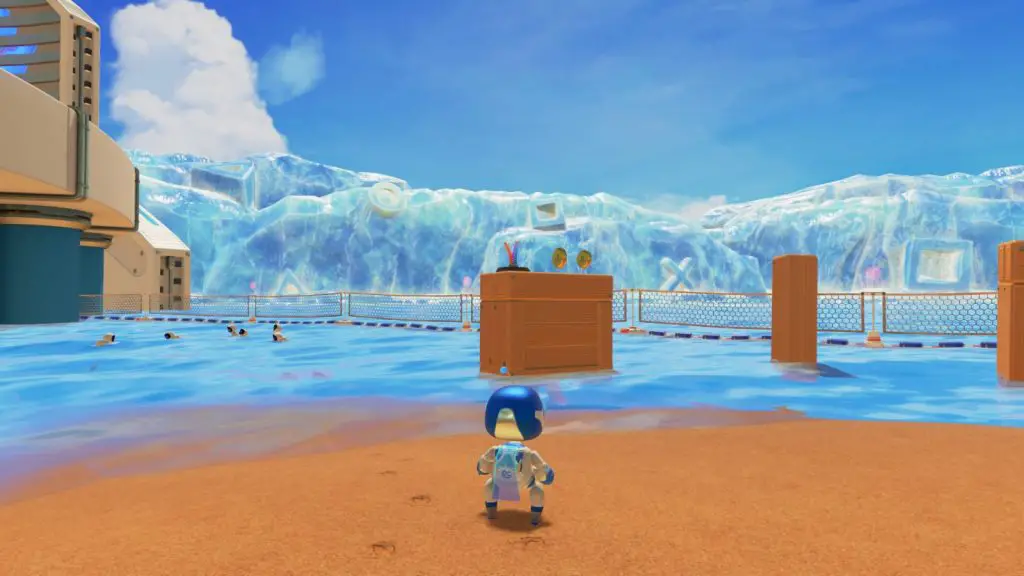
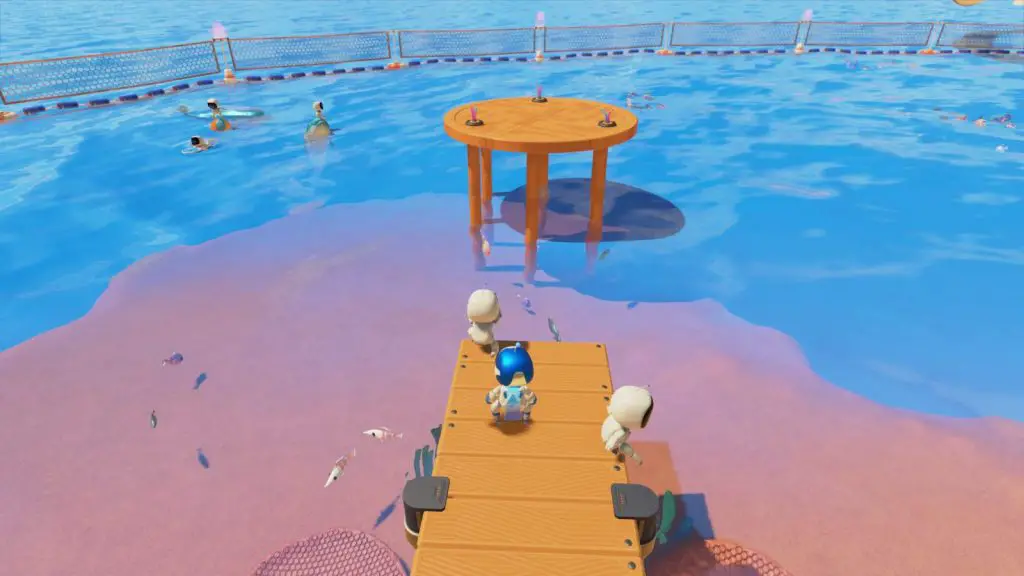
Now, head towards the front of the beach where you’ll see some bots playing with Dolphins in the water, near a circular platform. Head down the nearby jetty and jump then glide across to the circular platform and pull all three sets of exposed wires to reveal the final Puzzle Piece in Bot Beach.
Springy Spa
Springy Spa contains 4 Puzzle Pieces and 2 Artefacts.
Once you’ve suited up into the Frog Suit at the start of this area, immediately charge a jump and launch yourself into the glass panel on the left, where you’ll find the first Puzzle Piece.
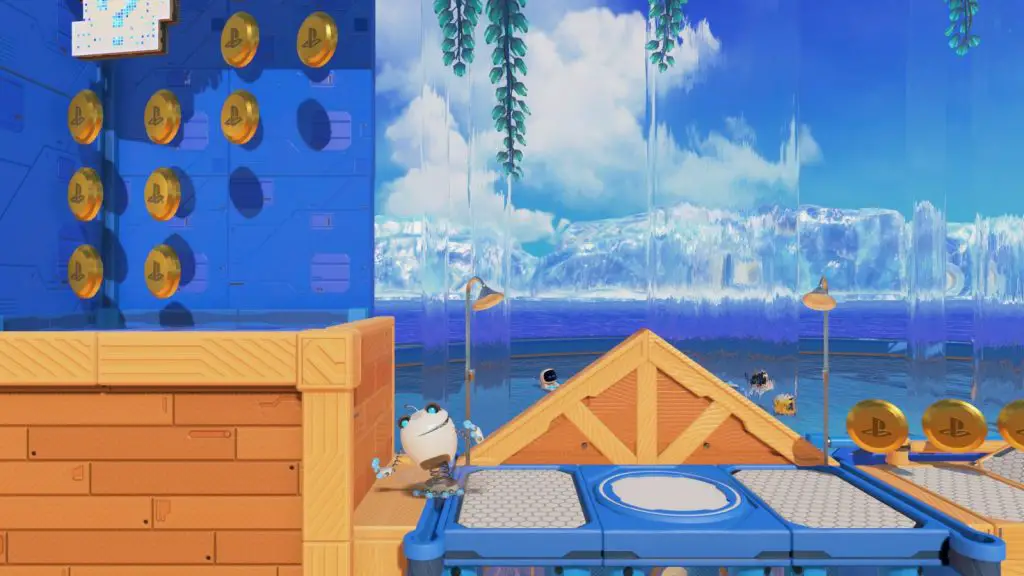
Continue through the platforming stage until you reach an area where there’s a bot with a magnifying glass and a butterfly in the background. Here, up in the top-left corner of your screen, you should be able to see your second Puzzle Piece.
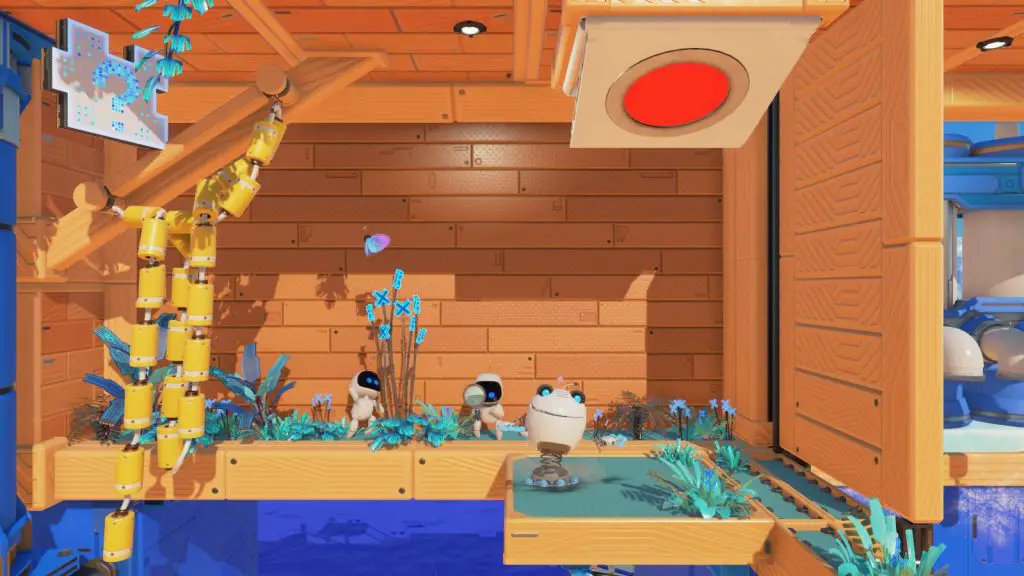
Continue on across some lilypads until a final lilypad which gets levitated by a geyser of water. Here, you’ll be able to see another glass panel on the right.
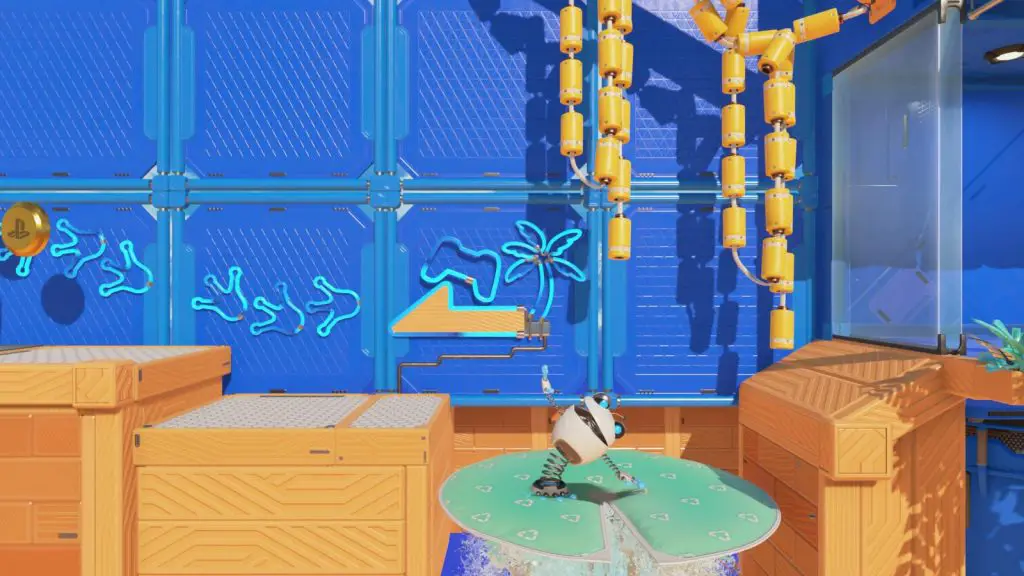
Charge up a jump and blast right on through, the third Puzzle Piece is waiting for you here.
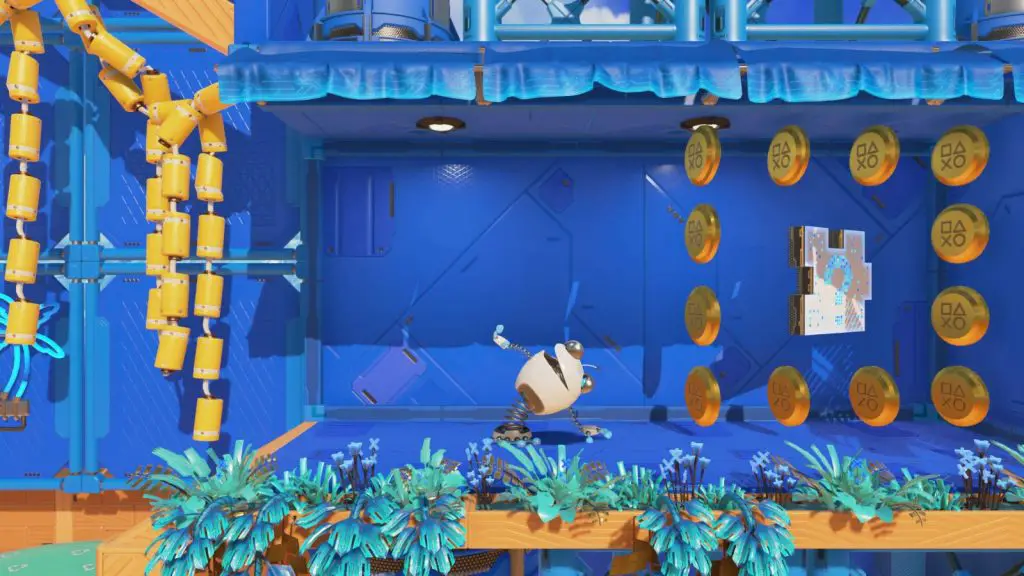
The next and final Puzzle Piece is unmissable as it falls directly within your path.
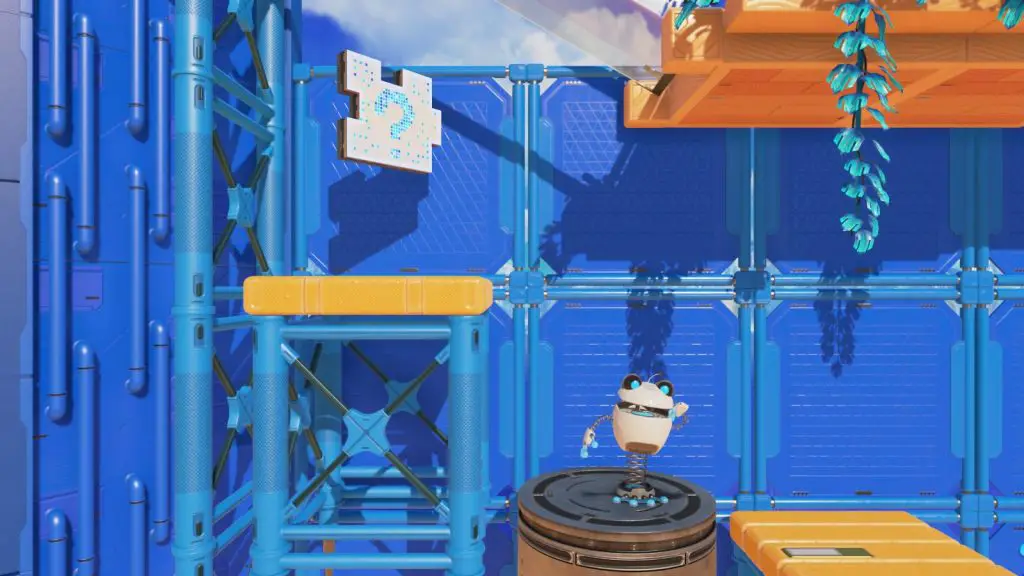
Shortly afterwards you’ll come to another Neon Sign telling you to go right. Ignore it and go left, breaking through another glass panel. Here you’ll find a very welcoming-looking box with a trail of coins leading inside. Jump on in, then leap back out to be given your first Artefact; the PS Move Sharpshooter.
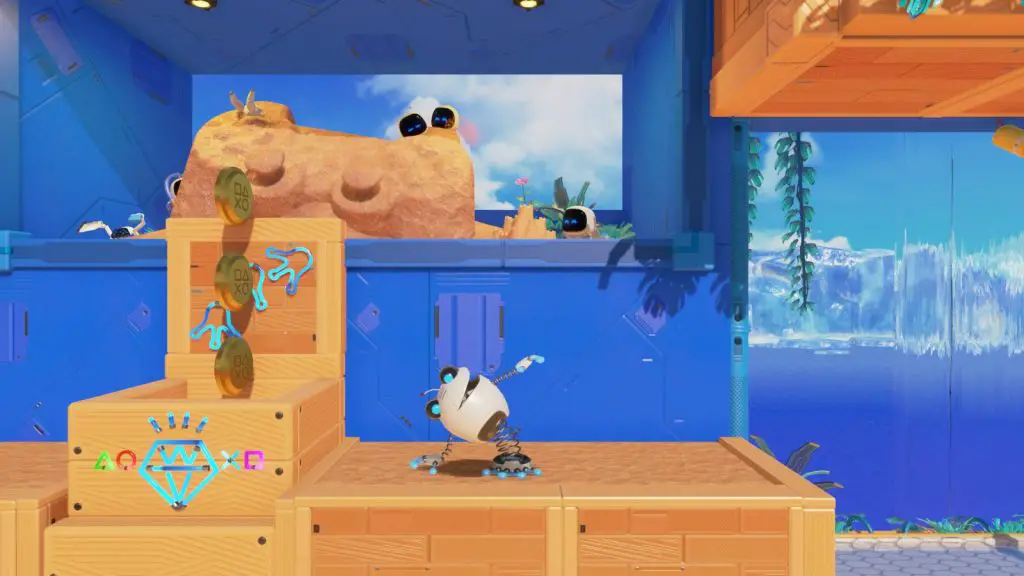
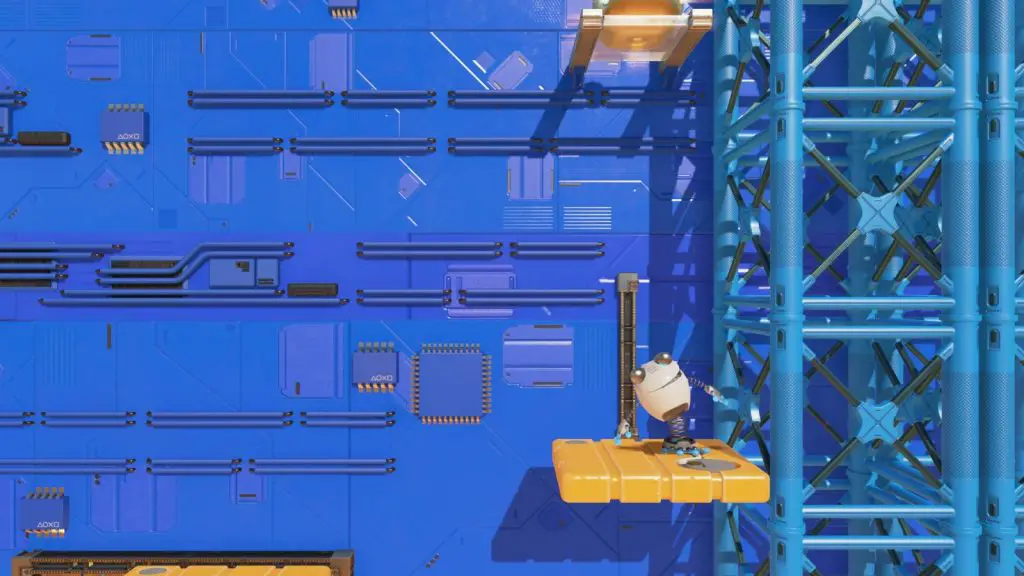
Continue through the stage until you reach a set of moving orange platforms, head all the way to the right of this area and you should see a vertically-moving orange platform against the blue scaffolding at the right side. use the platforms to your left to reach it and the ride it upwards to find a gold box. Jump up and break the gold box to get the final Artefact; PS Move Shooting Attachment.
Frigid Floes
Springy Spa contains 4 Puzzle Pieces and 2 Artefacts.
Once you’ve gone down the slide into the Frigid Floes area, look to your right and pull the cables you see there. Use the pipe you get to throw it at the platform hanging over the water ahead of you to drop it into the water.
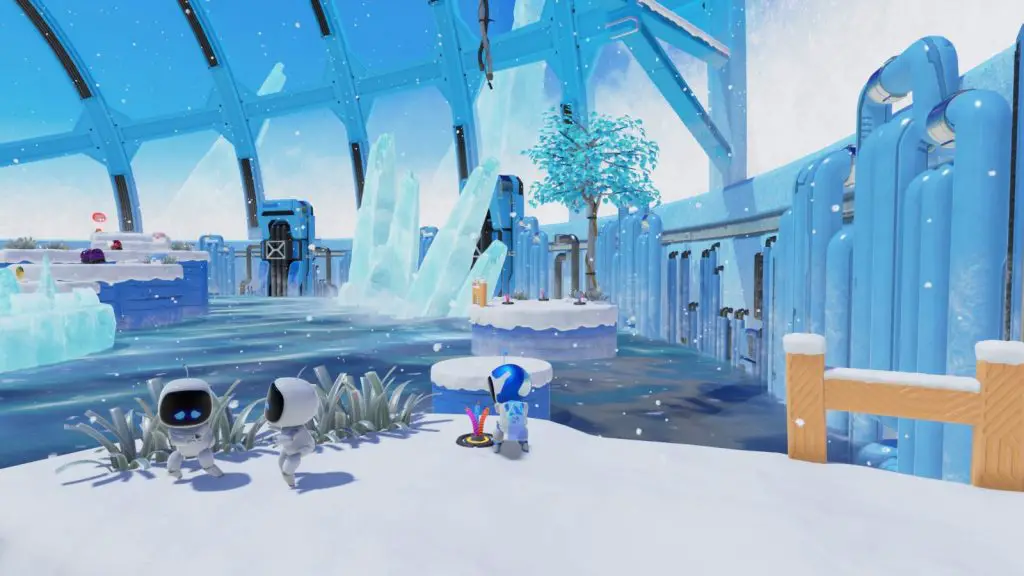
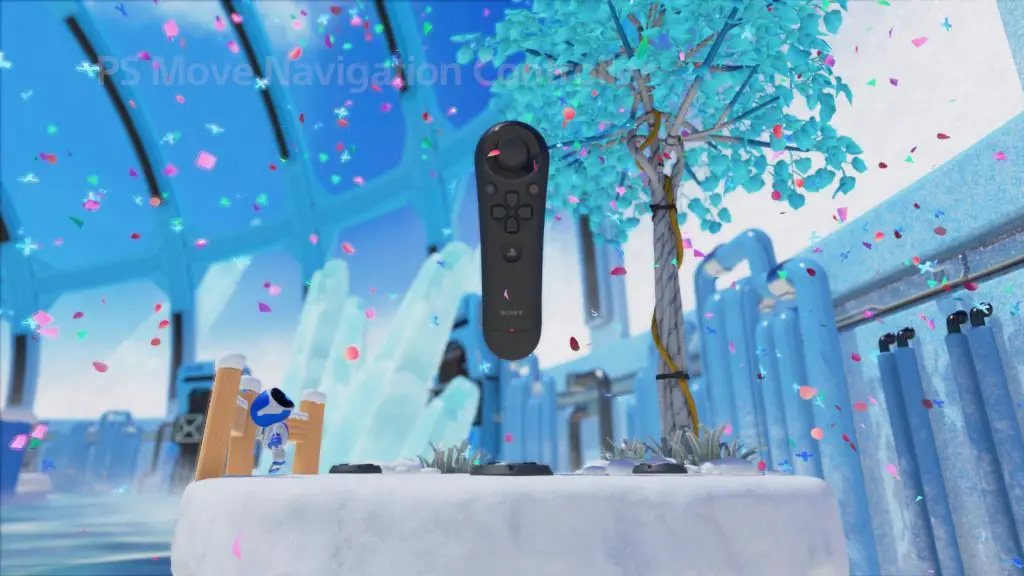
Use the platform to reach the circular snow-topped island ahead and pull out the three cables there to reveal the fourth set of cables. Pull on those for your first Artefact; PS Move Navigation Controller.
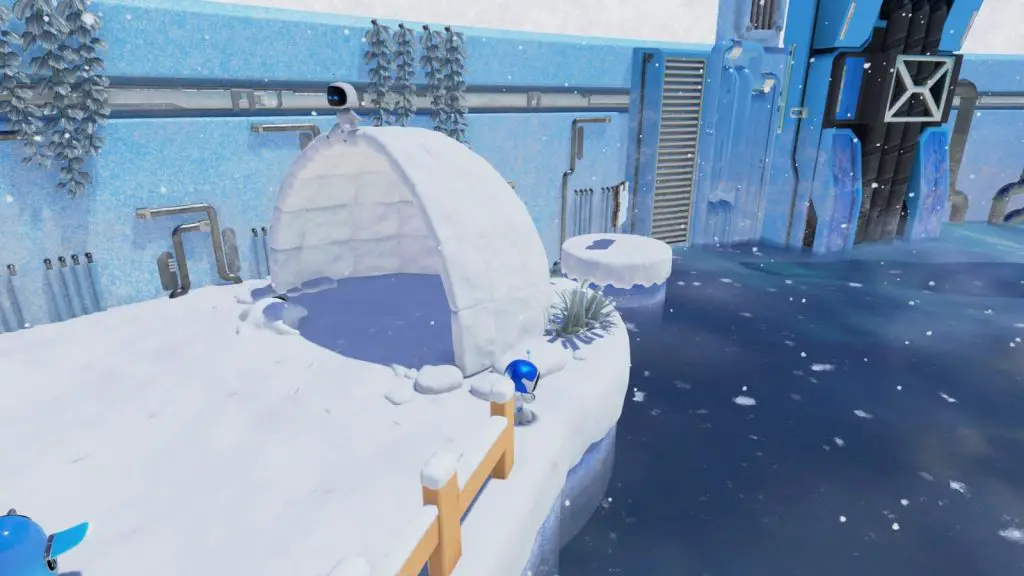
Return to the large platform you arrived on and then head to the opposite side where you’ll find an igloo. On a platform in the water behind this igloo, you’ll find your first Puzzle Piece.
Continue on through the level onto a circular ice block, kill the enemies and then head to the left across some ![]()
![]()
![]()
![]() shaped ice blocks to reach a circular snow-topped area with some cables. Pull both cables and then a larger set will appear. Pull this third set for your final Artefact; a PS3 Game Disc.
shaped ice blocks to reach a circular snow-topped area with some cables. Pull both cables and then a larger set will appear. Pull this third set for your final Artefact; a PS3 Game Disc.
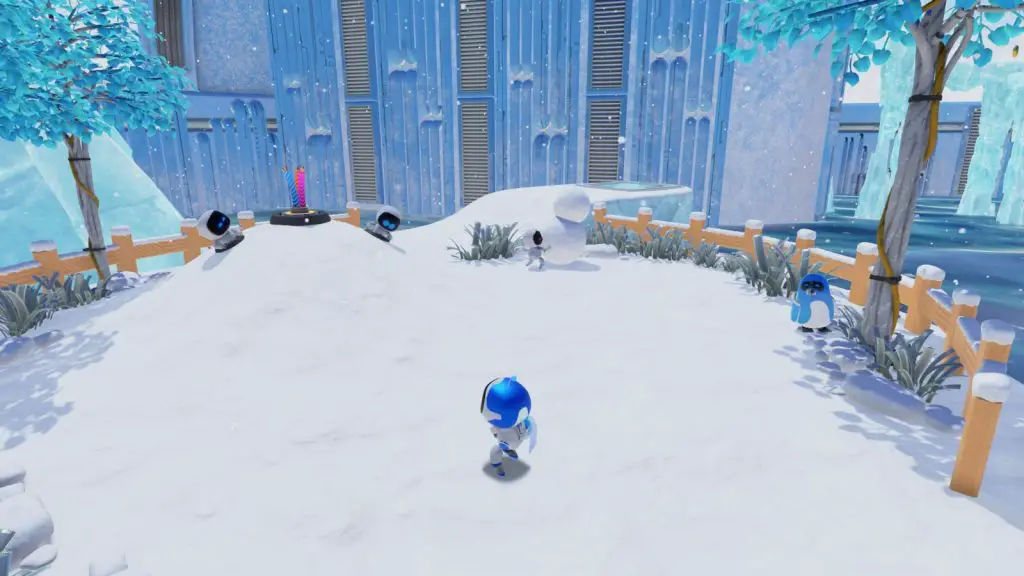
Use the glass-covered bounce-pad at the back of this area to return to the large ice platform and continue on in the other direction. There you’ll find an ice half-pipe you can slide across to jump over a gap. At the other side, drop down into the gap onto a level below, where you’ll find that the platform you were on has a Puzzle Piece underneath.
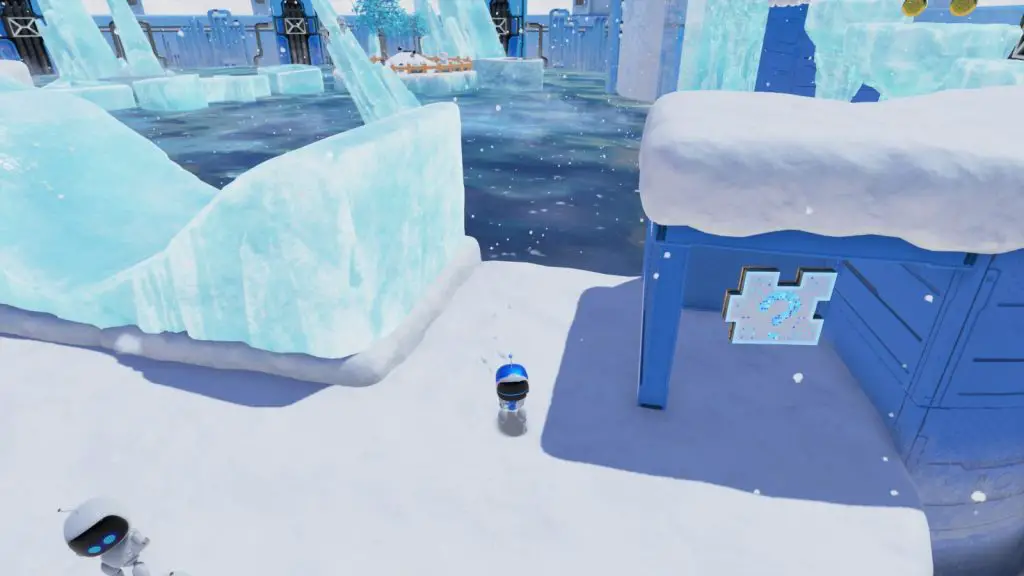
The next Puzzle Piece is clearly visible on some ice platforms further through the level, just keep progressing and you’ll see it.
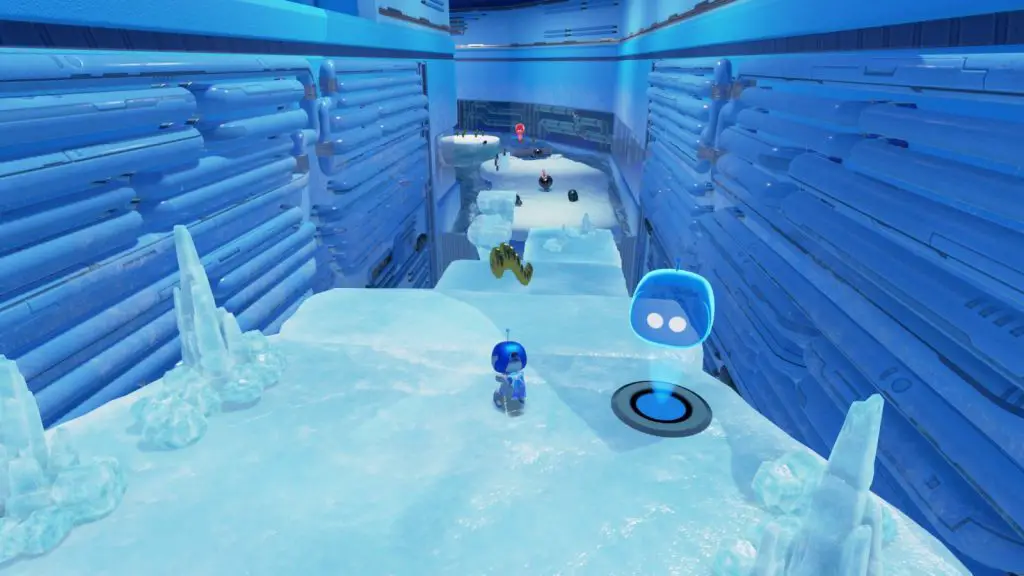
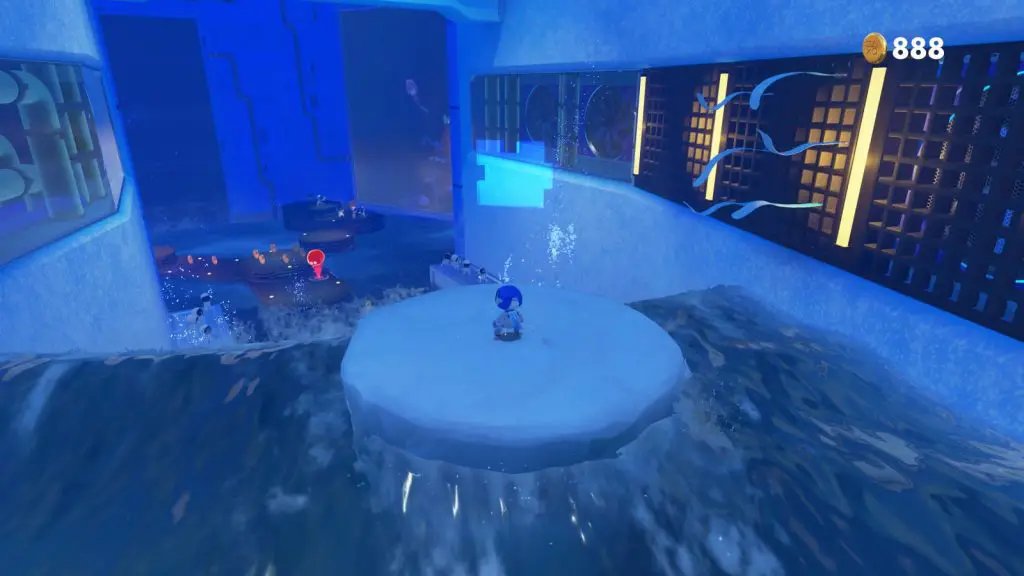
Soon afterwards, you’ll find yourself on a floating platform which you need to blow on the mic to move. Once you do, it’ll begin floating down some rapids. Jump onto a second ice platform about halfway down the rapids which will then also begin to move. From this platform you can grab the final Puzzle Piece, clearly visible ahead of you.
Hotel Hopalot
Hotel Hopalot contains 4 Puzzle Pieces and 2 Artefacts.
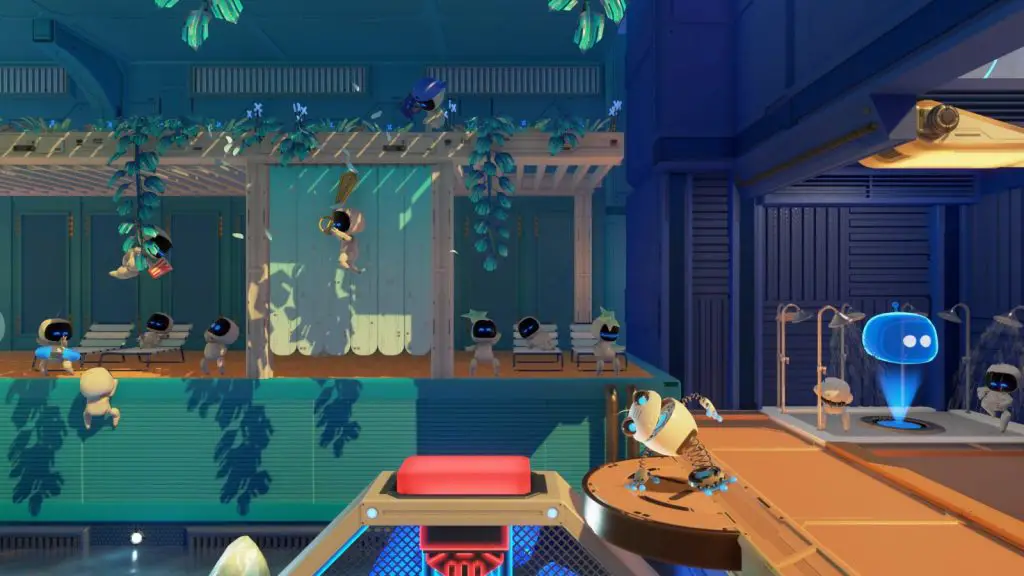
Once you’re back in the frog suit, head left and land on the metal button there to spawn a couple more platforms. From the highest of these two platforms you’ll be able to reach the first Puzzle Piece.
During the on-rails lilypad section, the second large coin is above a platform wide enough to land on. Do so and from there you’ll be able to see the second Puzzle Piece to your right. Jump across the platforms to reach and grab it. This one’s a little tricky so don’t feel bad if you don’t reach it first try.
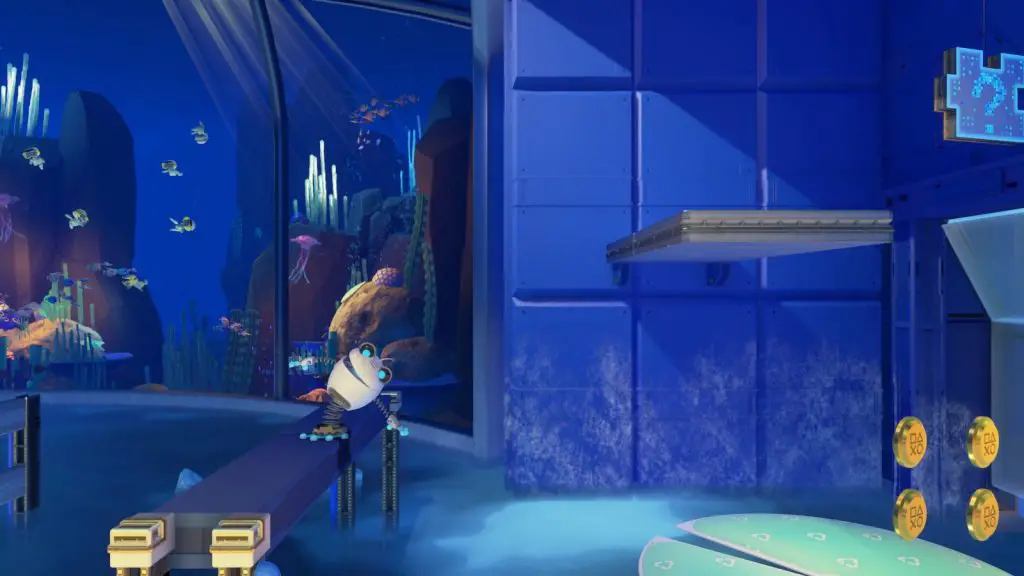
Shortly after that you will reach a section where you need to break glass blocks to climb higher. At the top of these glass blocks, you’ll see the third Puzzle Piece clearly visible on your left.
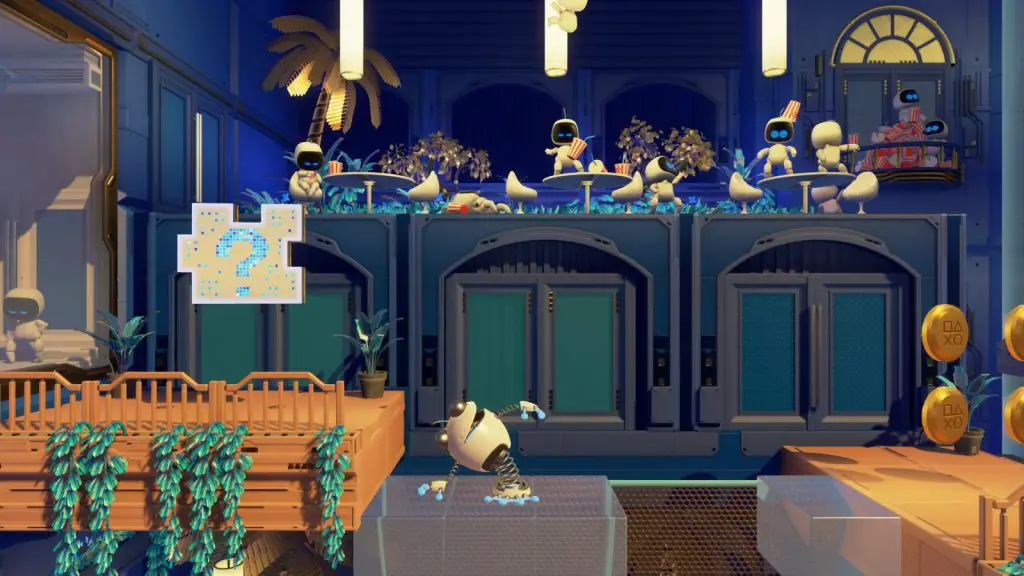
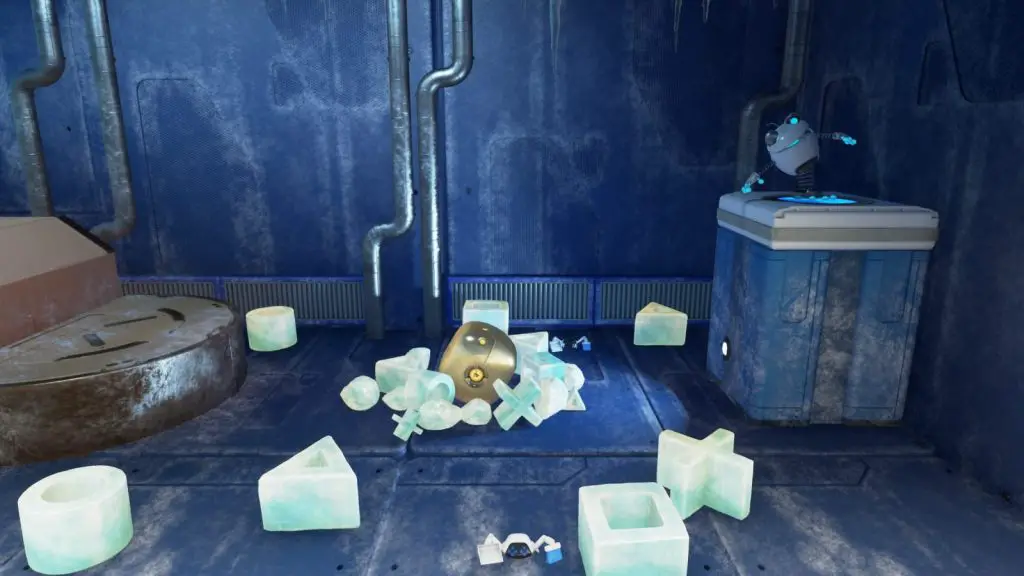
At the end of a small indoor beach, you’ll activate a button which causes another lilypad geyser to spawn. At the top, you’ll see a moving chandelier to your left. Go right instead, into a small frosty room. Hit the panel at the end to drain the water so you can grab the first Artefact; PSP UMD.
After using the chandelier to reach the other side, head through a narrow passage and you’ll find a bot with a large pair of scissors in the background.
Continue on using the rotating octagonal platform to reach a red panel which activates another lilypad geyser nearby. Ignore it and continue heading left to find a bonus room with a lot of gold coins and a square platform which begins rotating when you land on it.
Continue left via this rotating platform to find the final Artefact in this level; the PlayStation Portable.
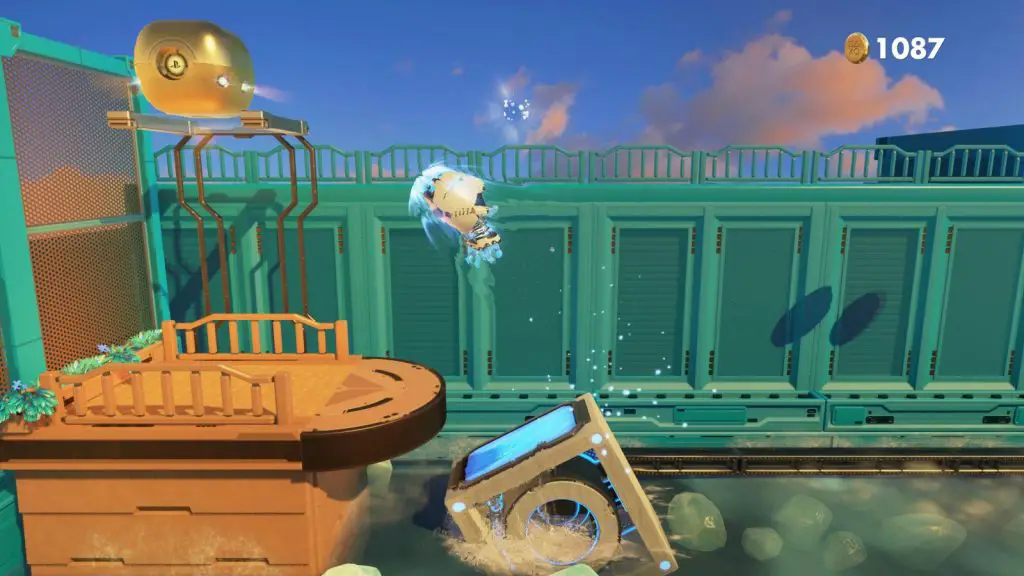
Head back and use the lilypad to progress. At the top of this lilypad geyser, immediately head left to find the final Puzzle Piece in Cooling Springs.
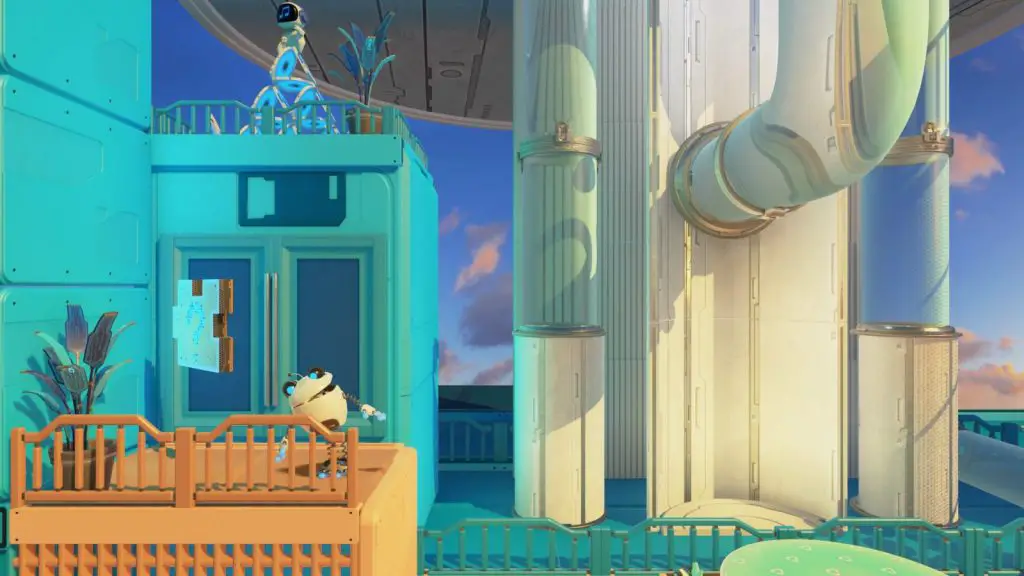
GPU Jungle
Render Forest
Render Forest contains 4 Puzzle Pieces and 2 Artefacts.
Head to the first checkpoint in this area and then look over the cliff edge on your right where you’ll see a bot dressed as Aloy doing some target practice.
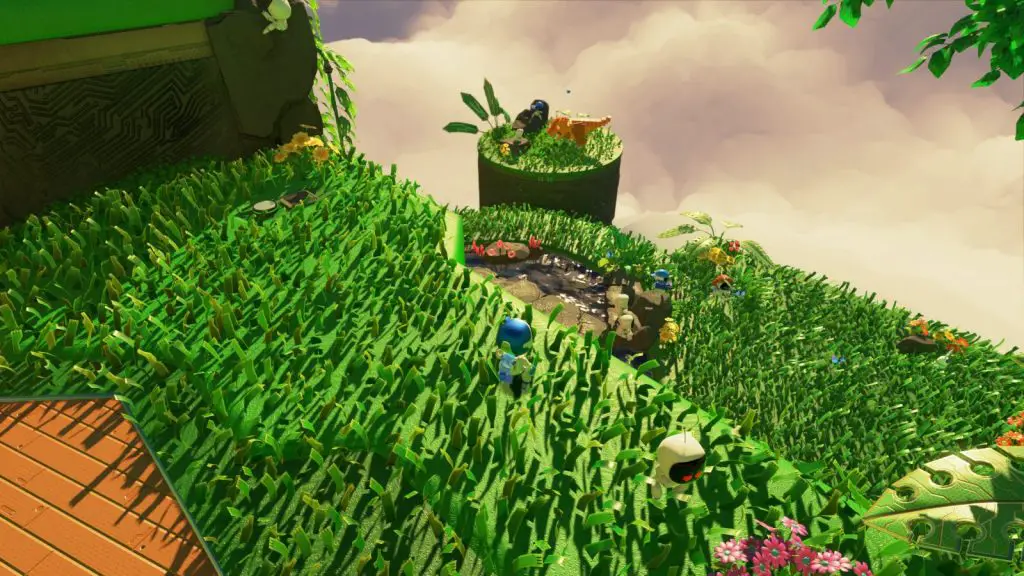
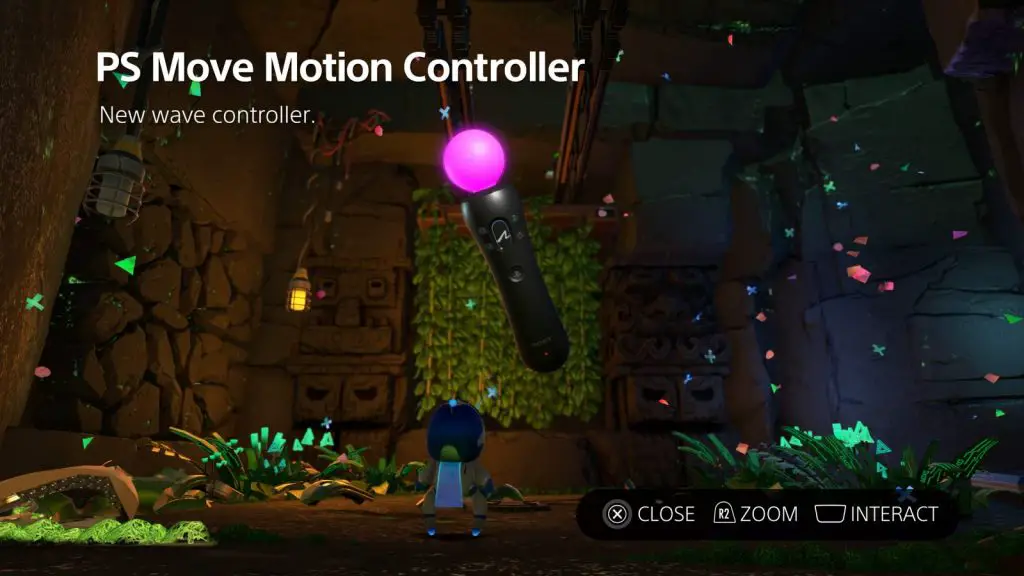
Drop down into this area and then head left, sticking to the cliff-face until you find a cave with some vines covering the entrance. Blow on the mic to gain entrance. Go inside and pull the cables out of the ground to get the first Artefact; the PS Move Motion Controller.
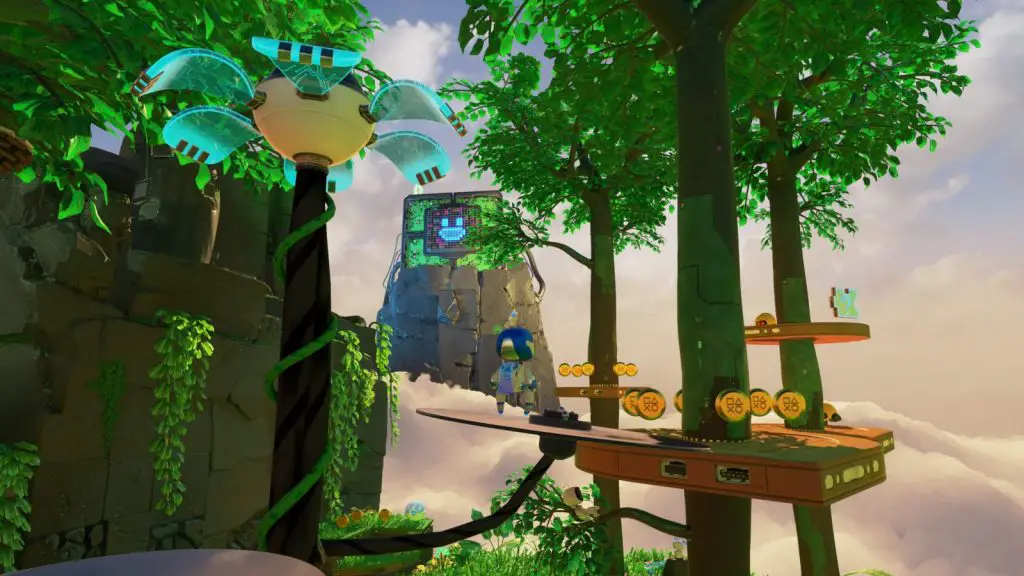
Now, pull the cables jutting out of the wall next to the earlier-mentioned checkpoint and climb up the platforms which spawn. To your left is a circular platform with drill-nosed enemies circumnavigating it’s surface. Kill them to reveal a flower. Hold ![]() to spin-attack the flower and it will grow, giving you some platforms with which you can reach the Puzzle Piece in the treetops nearby.
to spin-attack the flower and it will grow, giving you some platforms with which you can reach the Puzzle Piece in the treetops nearby.
Once you reach the next checkpoint, look to your left to see some wood panelling at the end of a narrow passage, which has some cables jutting out of it.
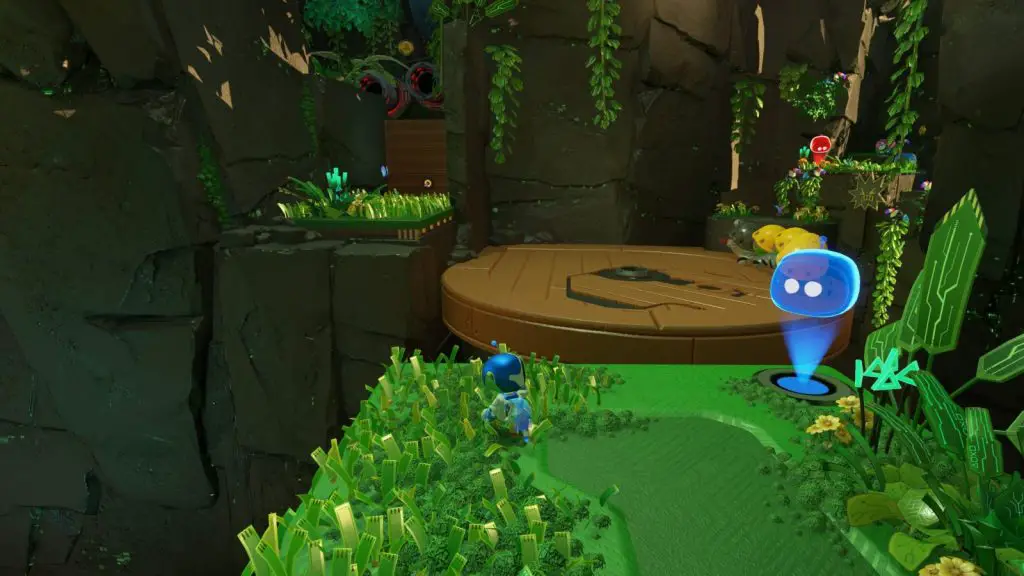
Jump on over and pull on the cables to reveal a launch pad. Jump on it to land on a cable, avoid the incoming bird enemies, and reach the Puzzle Piece at the end. You’ll then be launched back to the checkpoint.
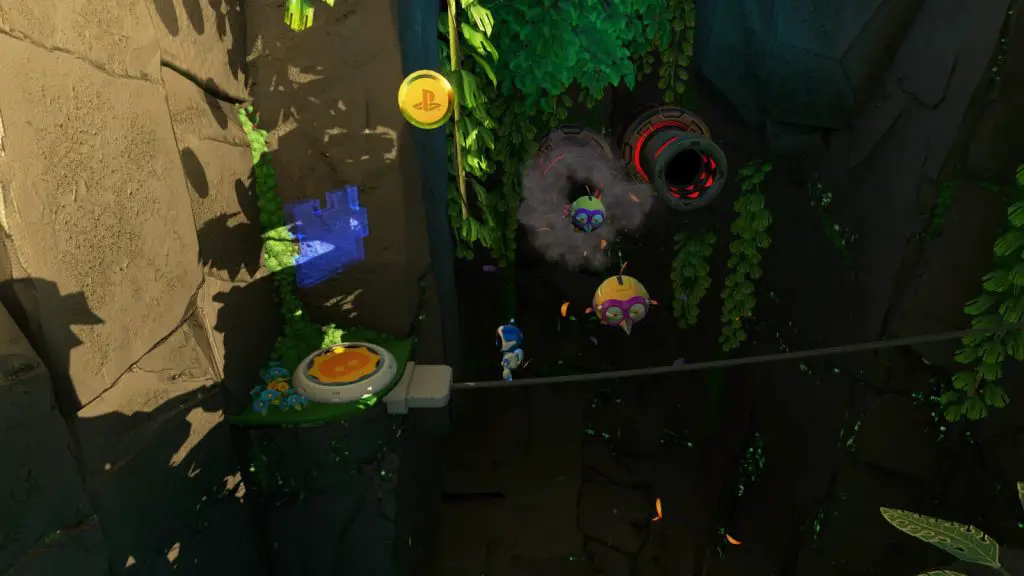
From here, pull the cables out of the small platform nearby to get a throwable. Use it to destroy the hanging objects to your right. One of them has a Puzzle Piece inside.
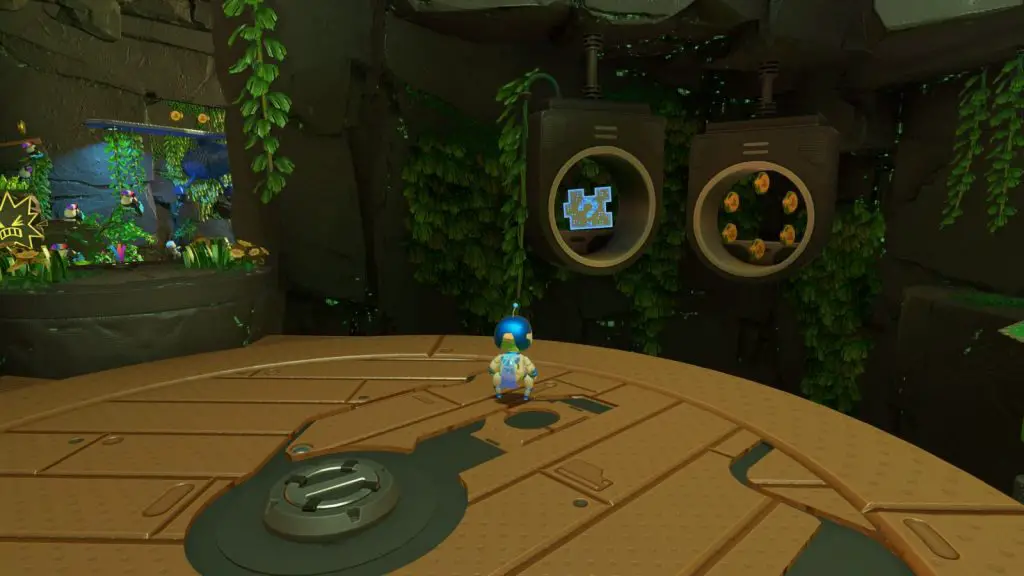
Shortly after the fourth checkpoint, a large yellow capacitor will roll down a hill at you. Move out of the way, kill the bots, and proceed into the next area. On the left, you can find some wooden platforms if you look over the cliff edge.
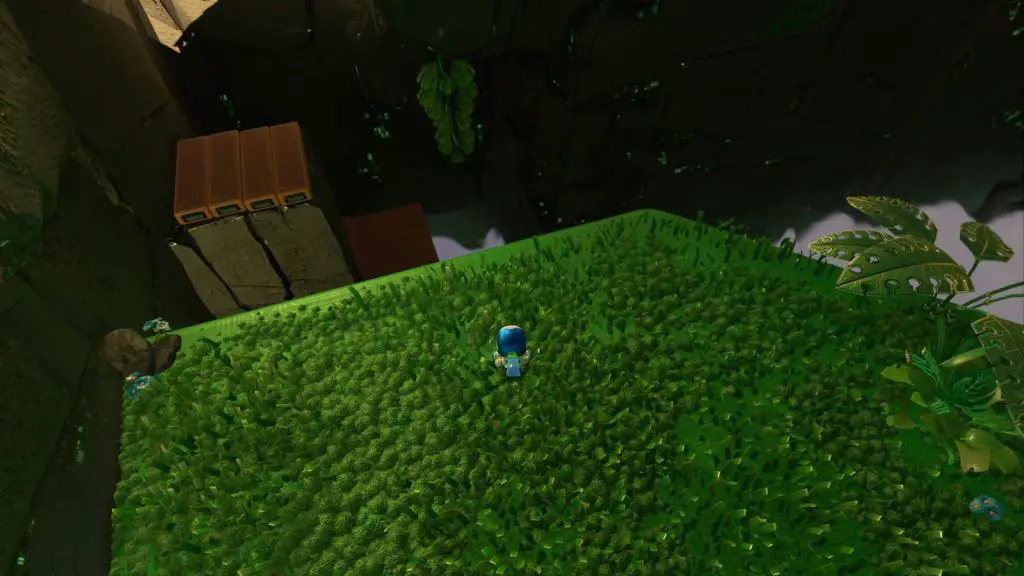
Jump onto these and turn around to see the platform you were on was concealing a hidden area with some cables to pull. Tug on them to receive the second Artefact in this stage; a PlayStation Vita Game Pack.
After you’ve crossed the rope bridge at the very end of this stage, look over the left edge of the platform you’re on, and you’ll see the final Puzzle Piece on a platform below.
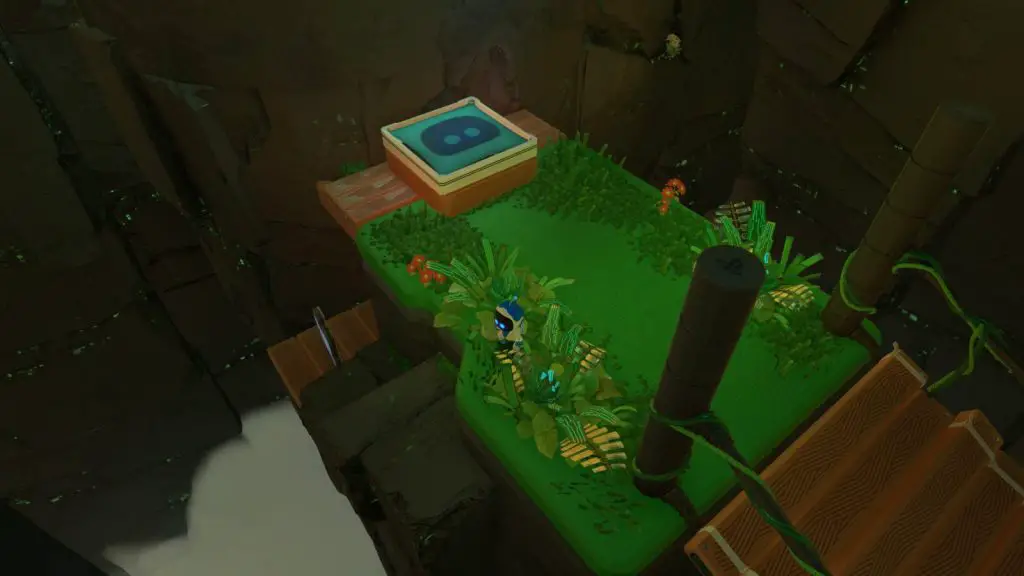
Teraflop Treetops
Teraflop Treetops contains 4 Puzzle Pieces and 2 Artefacts.
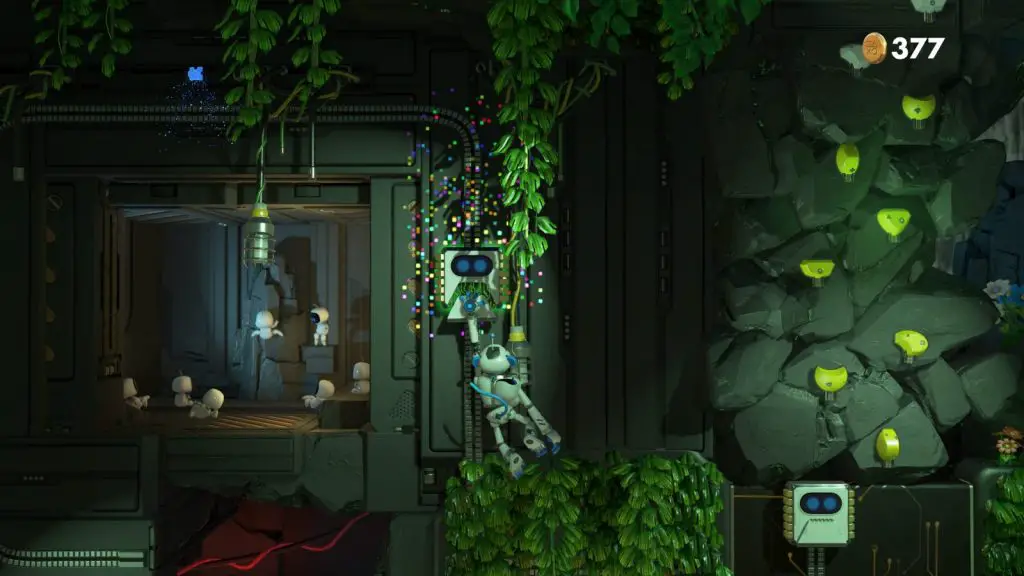
Begin climbing the wall in your monkey suit, until you reach a computer chip which will begin moving up the wall like a zip. About halfway up it’s scripted path, there’ll be a yellow handhold to your left.
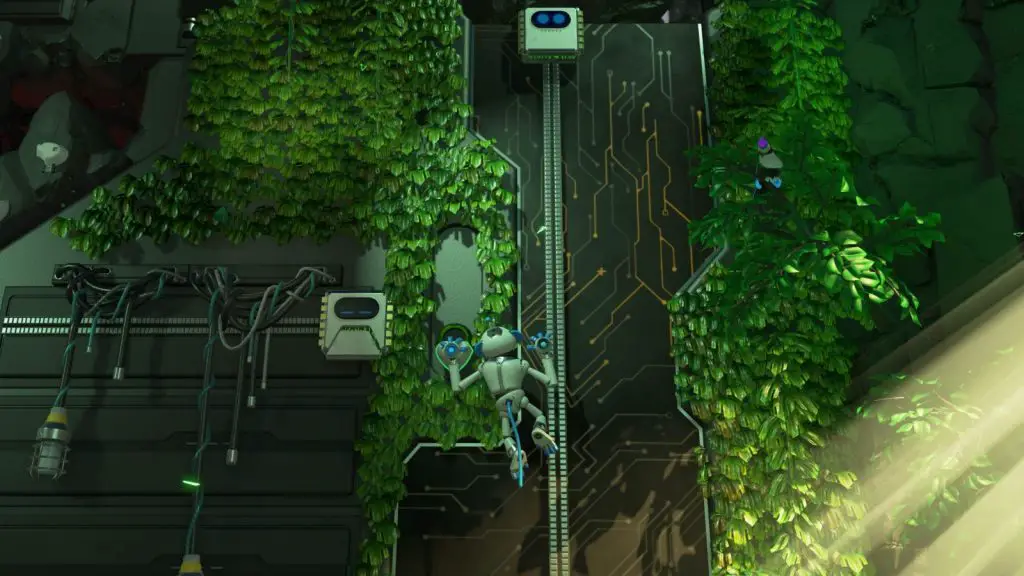
Try to grab this and then begin climbing along the newly-opened left-bound path until you reach this stage’s first Puzzle Piece at the end.
Continue the climb and you’ll reach some long horizontal bars you can swing from using motion controls. The second bar has the second Puzzle Piece at the left-most end. Just tilt your controller left to move over to it.
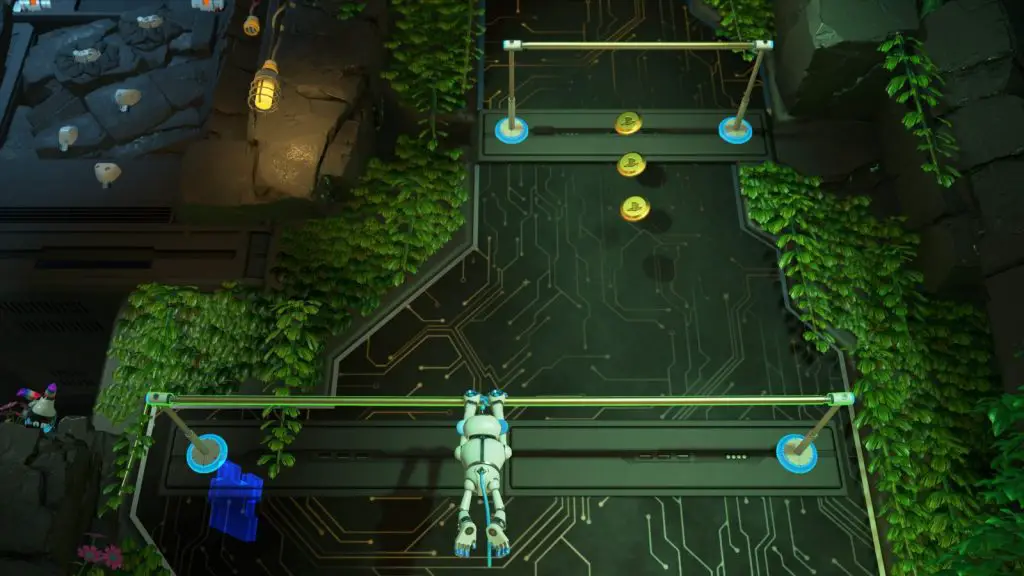
Use motion controls to swing yourself up to the handholds above the last collectable and then climb up to the bar above. This will reveal an Artefact; the PlayStation Camera.
Continue your upward climb and you will see the next Puzzle Piece clearly in your path.
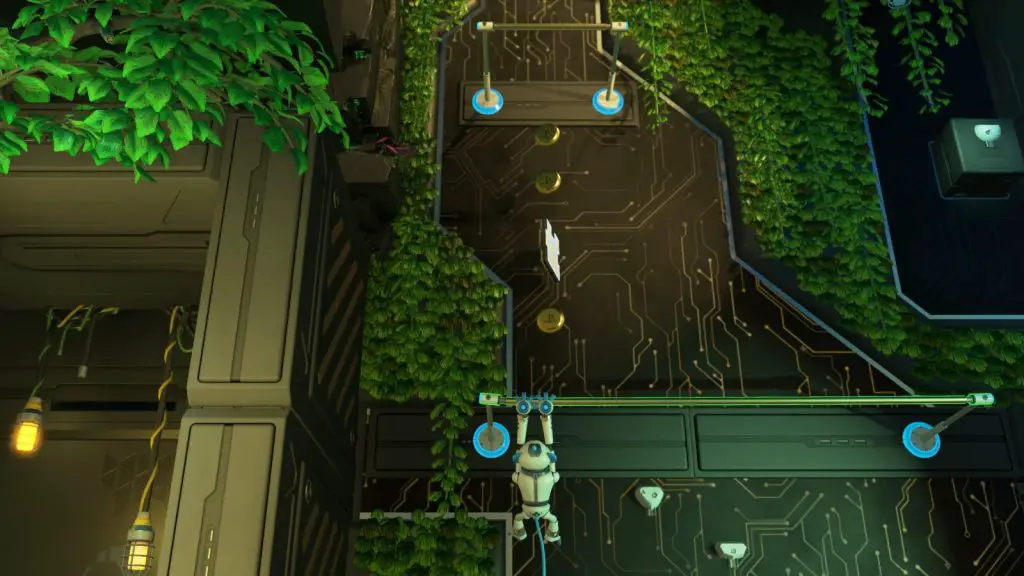
Collect it but then drop back down and shimmy to the right-hand side of the bar and then swing up to the hand-hold directly above you.
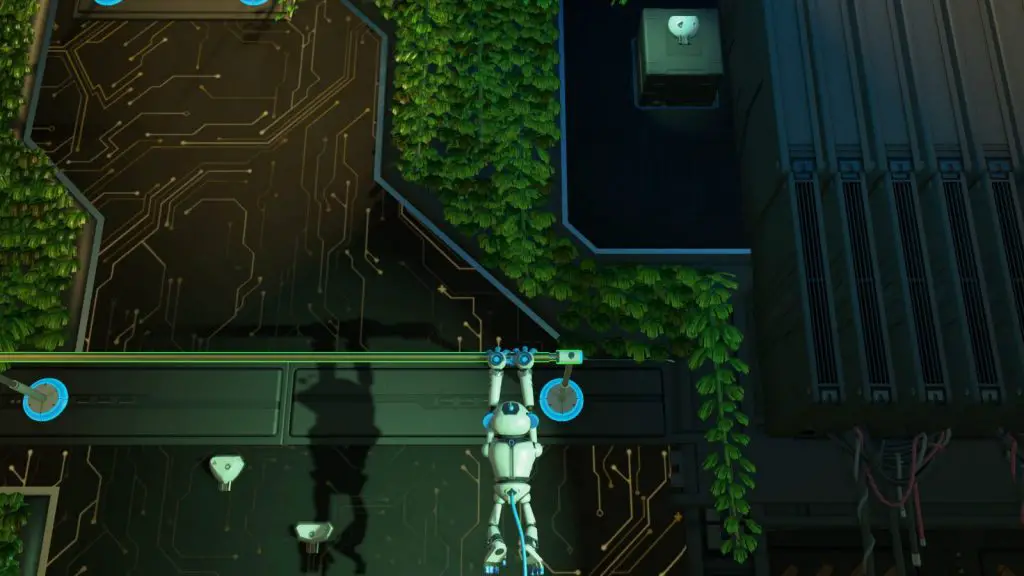
This handhold will reveal a path on the right which leads to the final Puzzle Piece.
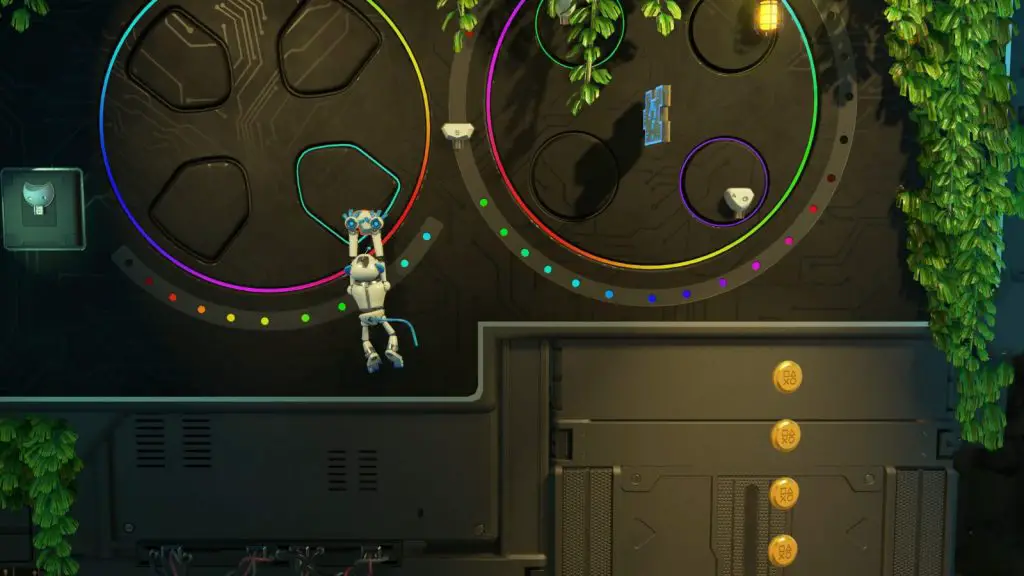
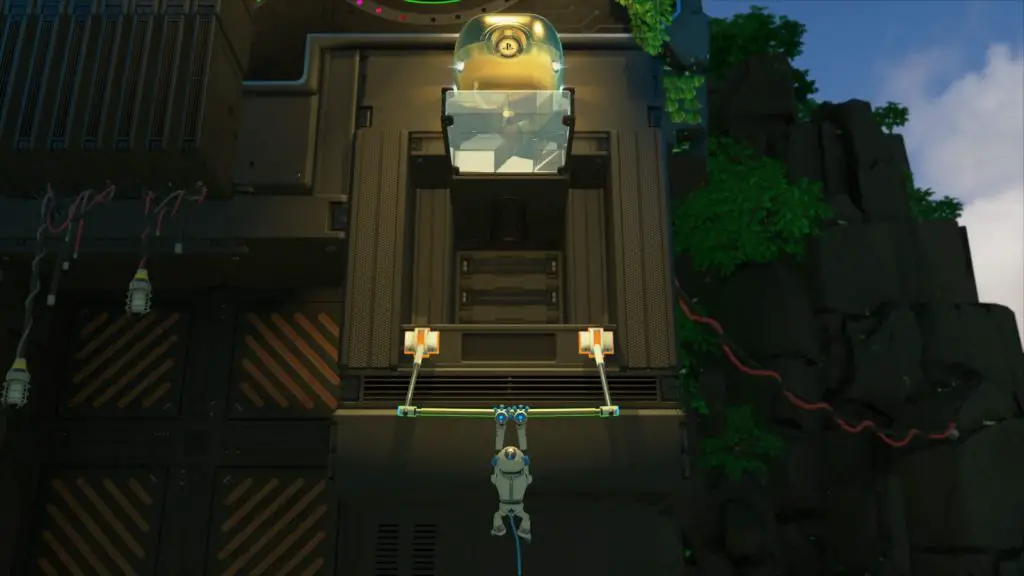
Once you have it, drop down along the trail of coins and grab the bar below you which will reveal the stage’s final Artefact; the DUALSHOCK 4 Wireless Controller.
Raytrace Ruins
Raytrace Ruins contains 4 Puzzle Pieces and 2 Artefacts.
At the start of the stage there are some cables sticking out of the ground on your right. Pull them out to reveal some stone blocks, at the top of which is a Puzzle Piece.
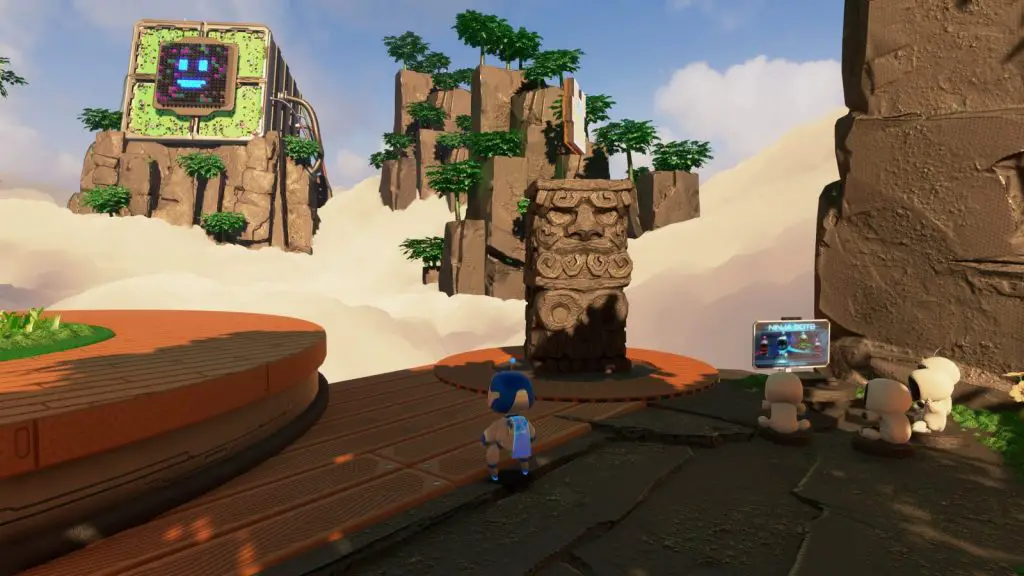
At the second checkpoint in this stage, there’s a path behind it which wraps around the cliffside.
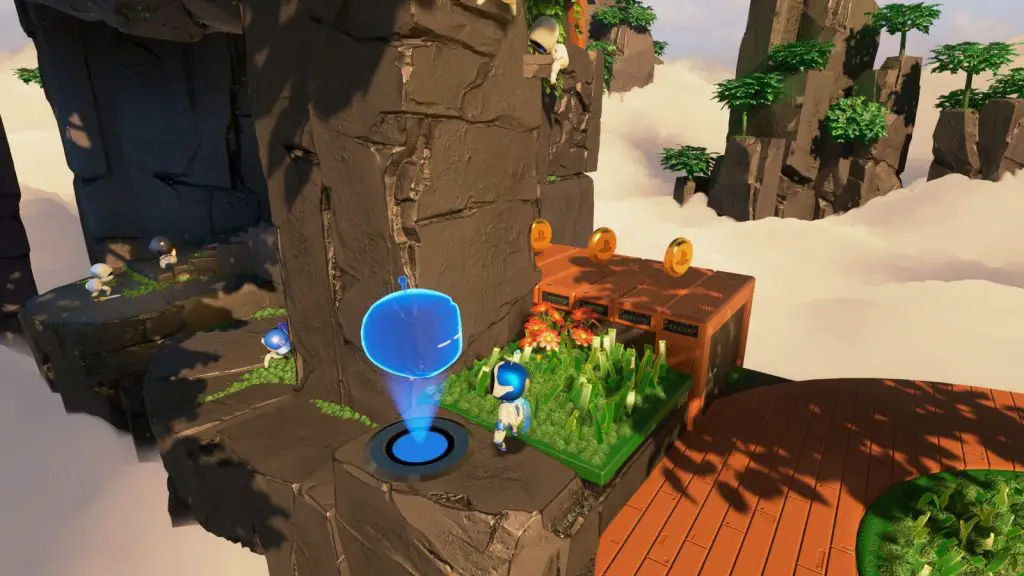
Follow it to find a Puzzle Piece around the corner.
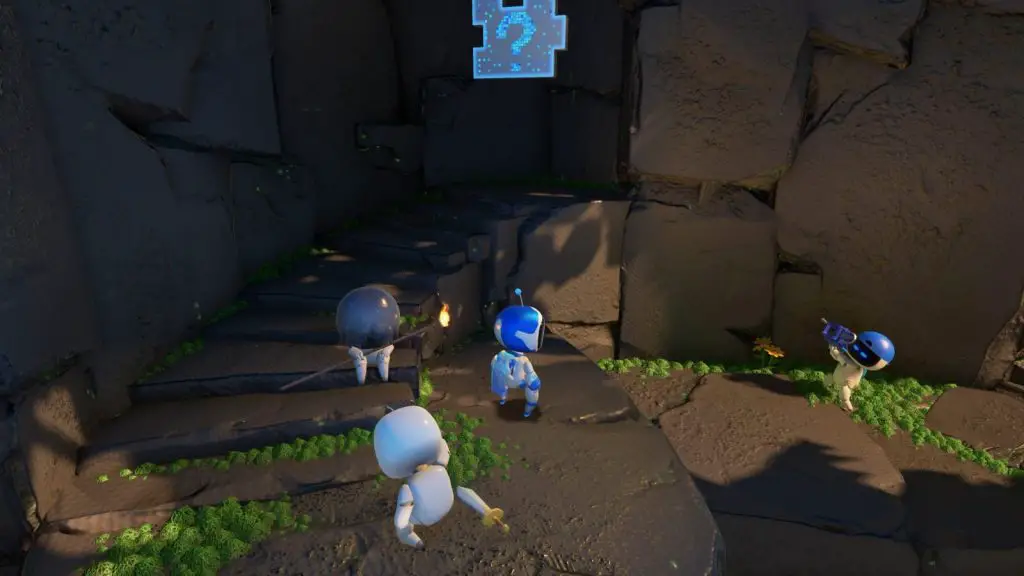
Just after the second checkpoint, you’ll pull some cables to reveal a yellow launch pad, use it to reach a higher platform but then head right and pull the cables you find there to reveal an Artefact; the PSVR Processor Unit.
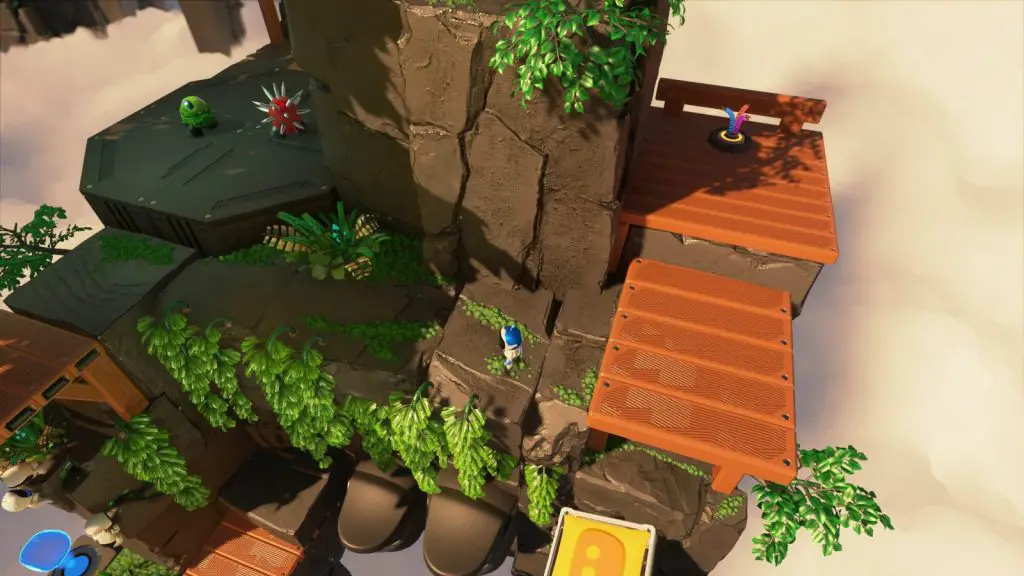
Continue on until you cross a tightrope with a fan blowing at you. At the other side, jump and glide to a platform with a flower on it to your right. Hold ![]() to spin-attack the flower, revealing a large tower with many surrounding platforms. Use them to climb to the top where you’ll find another Puzzle Piece on the side of the tower.
to spin-attack the flower, revealing a large tower with many surrounding platforms. Use them to climb to the top where you’ll find another Puzzle Piece on the side of the tower.
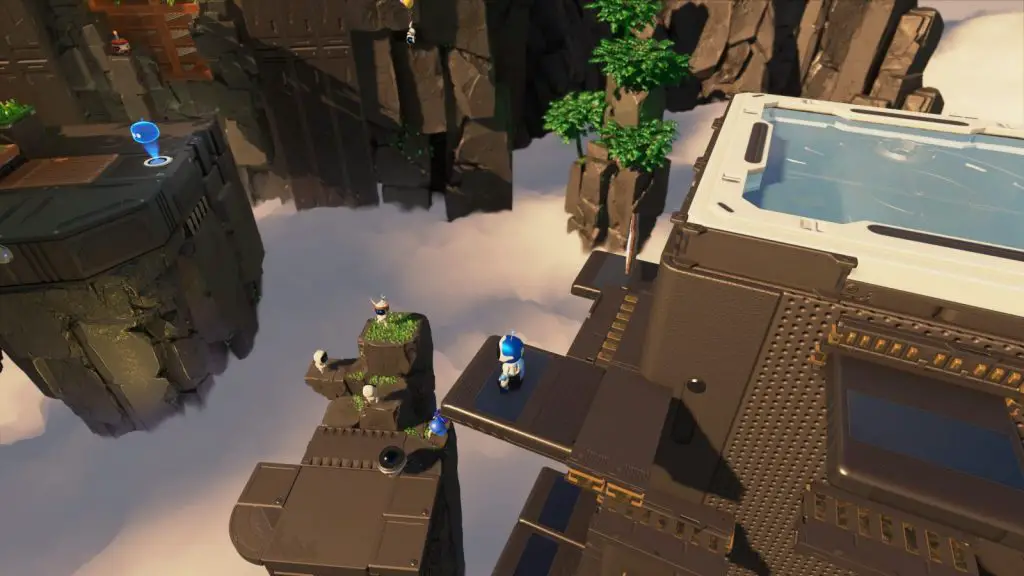
Carry on climbing up this Xbox Series X tower until you are standing on the glass surface at the top. Smash it with your glide ability and some cables will be exposed. Pull on them to reveal the stage’s final Artefact; The PlayStation Vita.
Continue on until you beat the level’s boss. As you’re crossing the tightrope at the end, look to your right, you’ll see a target you can shoot through the hole in the wall.
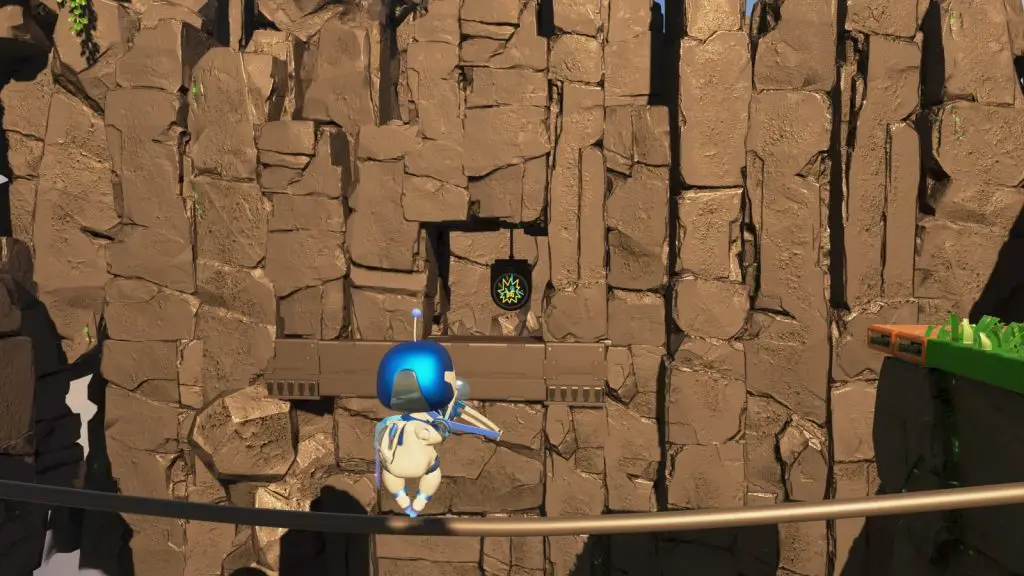
Hitting it will reveal some more platforms leading to the stage’s final Puzzle Piece.
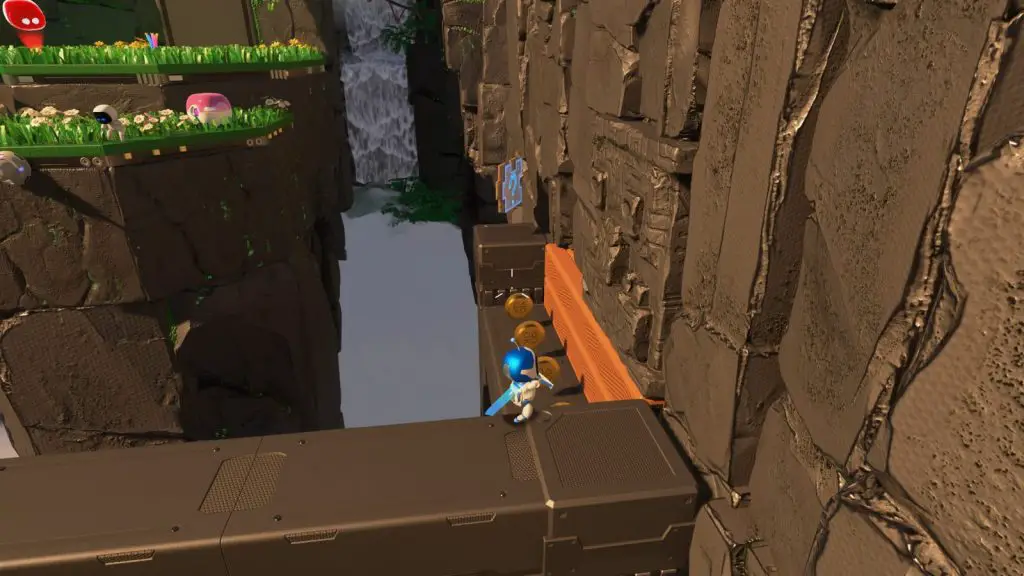
Mt. Motherboard
After passing the first bird-launching cannon, you’ll be able to see the Puzzle Piece on the left above you.
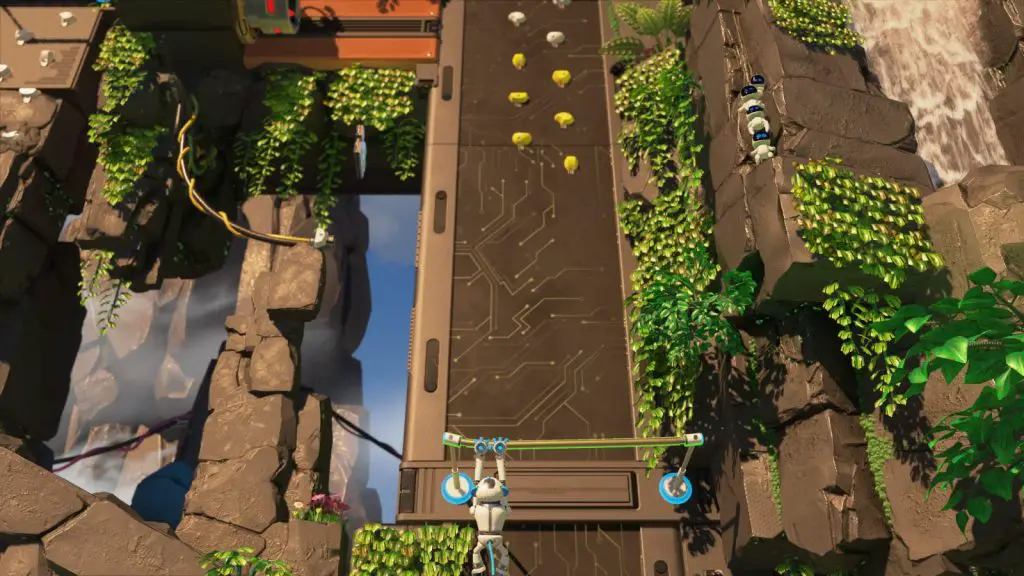
Just below the last collectable, there is a rope you can grab onto. Use this to swing to the handholds on the left and then follow the path to the top, where you’ll find an Artefact; PS VR Headset.
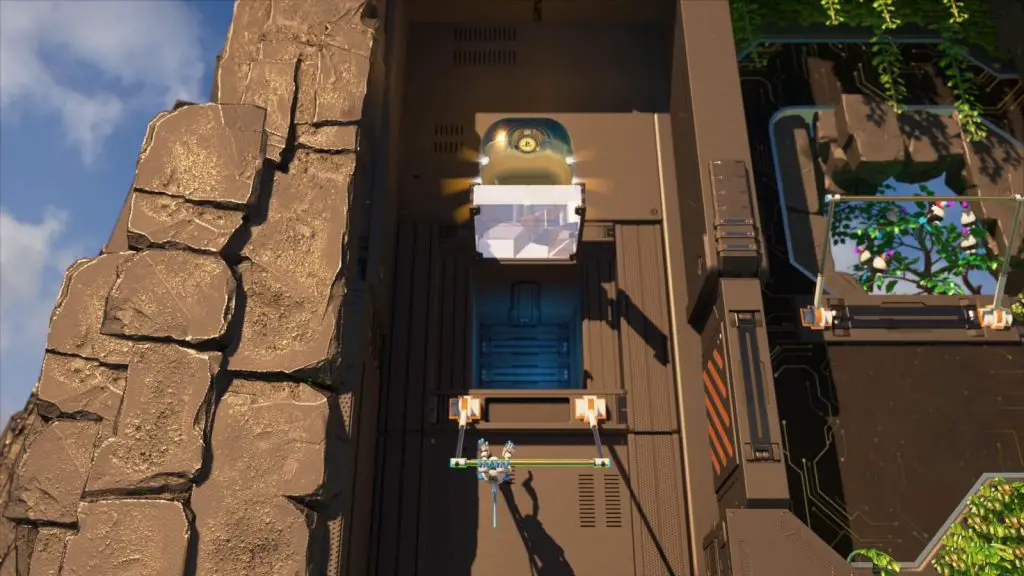
Grab the computer chip above the last collectable to be taken straight to the next Puzzle Piece.
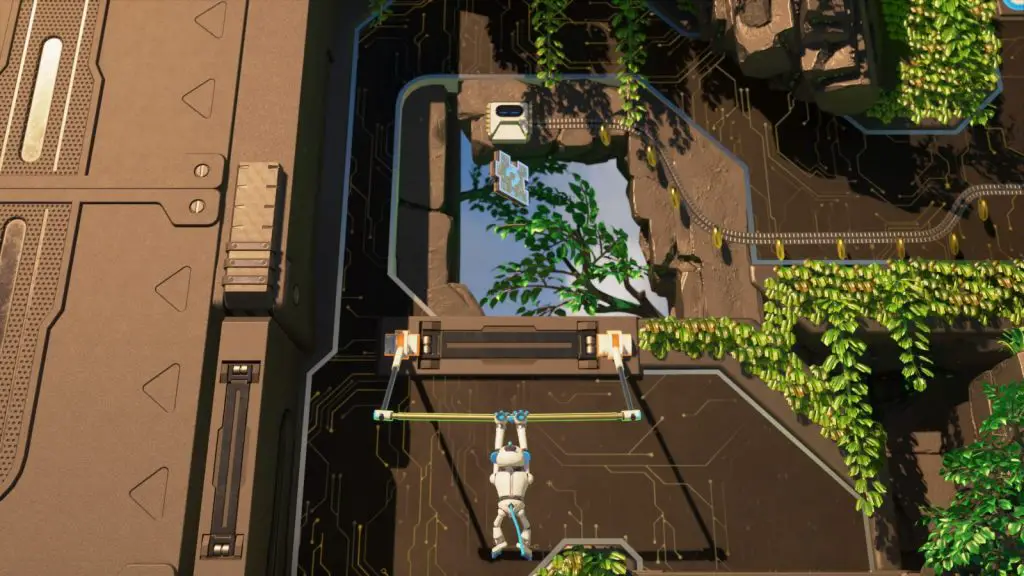
After climbing across the cylinders which fall as you cross them, use the bar to swing up and to the right to grab another bar. Do the same again to get over the wall next to you where there’s a Puzzle Piece in clear sight.
You’ll fall down a slope to some more handholds, grab hold of these and then climb down them to the yellow handhold at the bottom. Once you grab it, another Puzzle Piece will appear above you. Grab this and then continue your climb.
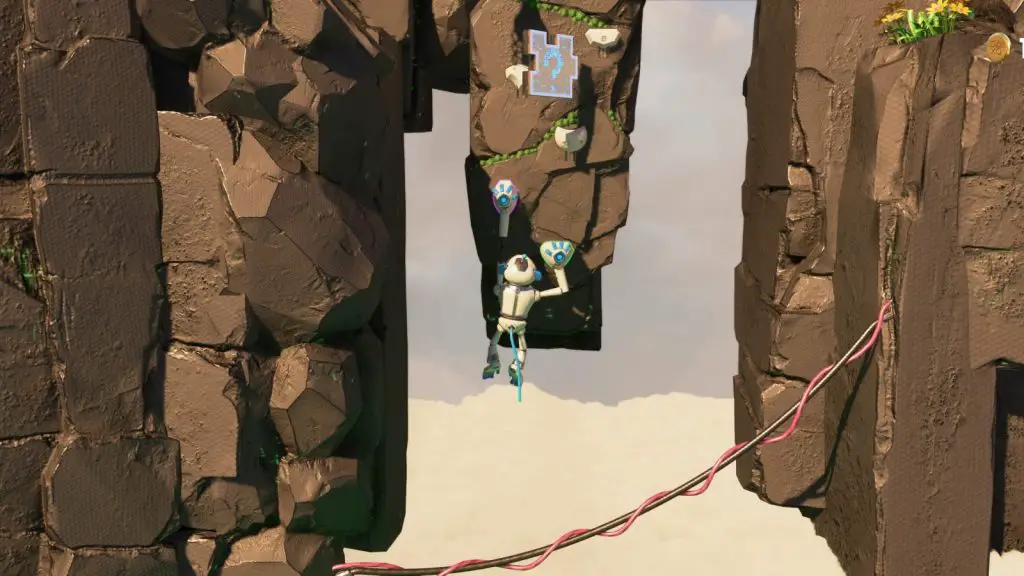
Climb all the way up this wall until you reach a bar which, when grabbed, will reveal the next Artefact; PS VR Aim Controller.
PS Labo
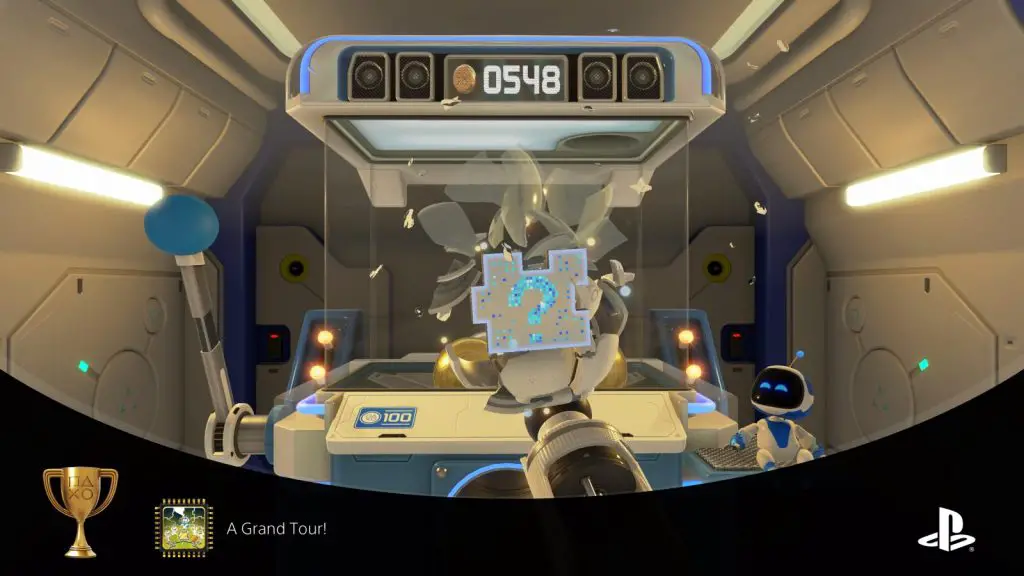
All 28 of the Puzzle Pieces and 10 Artefacts in the Labo stage are found inside the vending machine, so get collecting those coins and hope you get them all! Good luck!
Thanks for choosing us for your guide needs, I hope this more walkthrough-like format proved quite useful in expediting your Platinum Journey!
Click here to go back to the main Astro’s Playroom Trophy Guide.
Discussion
We've Partnered with NordVPN

