PlayStation 4
Senran Kagura Burst Re:Newal Trophy Guide


General Info
FAQ
How long does it take to beat Senran Kagura Burst Re:Newal and unlock all trophies?
About 20 Hours.
How difficult is it to beat Senran Kagura Burst Re:Newal and unlock all trophies?
Easy (3/10).
Does Senran Kagura Burst Re:Newal have online trophies?
No.
Does Senran Kagura Burst Re:Newal have difficulty-specific trophies?
Yes.
Does Senran Kagura Burst Re:Newal have missable trophies?
No.
Does Senran Kagura Burst Re:Newal have glitched trophies?
No.
What is the minimum number of playthroughs required to unlock all trophies in Senran Kagura Burst Re:Newal?
One, plus chapter select cleanup.
Does Senran Kagura Burst Re:Newal have a Platinum Trophy?
Yes.
Trophy Guide
Trophy Guide and Road Map for Senran Kagura Burst Re:Newal on PlayStation 4
You can really do the following steps in any order. In my playthrough, I started with dressing room trophies in Stage 5 and then completed Stage 1 and half of Stages 3 & 4 before completing Stage 2 and then finishing up.
However, for the sake of this guide, I’m putting them in the most sensical order; feel free to mix and match if you get bored with a particular stage, also note that you’ll likely pop many of the Misc trophies from Stage 5 during natural gameplay, so review your remaining misc trophies once you reach that stage.
Stage 1 – Hanzo National Academy
The Hanzo National Academy are posed as the protagonists of the story, so it makes sense to start there. I also feel like the Hebijo arc has the better storyline and ending from what little story I paid attention to.
Story Trophies
There are 5 chapters in both story arcs with 8 missions in each. To begin, simply play through these 40 missions, keeping your eye out for collectables along the way to make stage 4 a little easier (or just refer to the collectable guide while you play).
Completing them will net you the following trophies:

For Justice’s Sake
Cleared the Prologue of Hanzo National Academy Arc.

Everyday Youth
Cleared Chapter 1 of Hanzo National Academy Arc.

Encounter
Cleared Chapter 2 of Hanzo National Academy Arc.

Good and Evil
Cleared Chapter 3 of Hanzo National Academy Arc.

New Power
Cleared Chapter 4 of Hanzo National Academy Arc.

Skirting Shadows
Cleared Chapter 5 of Hanzo National Academy Arc.
At this point, you may have noticed that you only have to complete 7 missions in the 5th chapter for the credits to roll. Well, there’s still an 8th mission, you just need to go back into the missions list to see a new mission waiting for you there. Completing it will get you this trophy:

Crushed the Demon of Fists
Overcame your Senior's trial.
Note that this final mission can be pretty damn difficult as you will need to defeat the enemy 5 times, back-to-back, with each of the five Hanzo Academy characters.
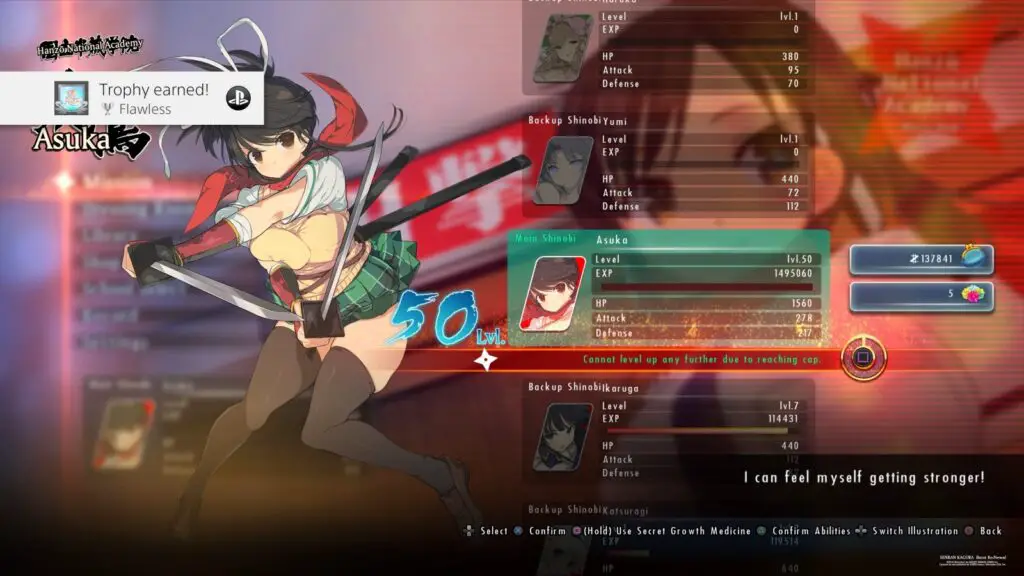
In my playthrough, I focused on levelling up Asuka and using the “strange medicine” on her, to increase her to level 50. Because of this, all of my other Hanzo characters were between level 8 and 13. To ensure you have an easier time with this mission, try levelling up some other characters however you see fit. Try to be at least level 20 with all 5 to have a much easier time.
Note that during this stage, if you’re trying to gather all collectables, some of them require defeating very powerful hidden Shadow enemies. I don’t recommend trying to take these on with a character lower than level 20. You can probably manage it at level 10 and above in Frantic mode, with a bit of a struggle.
During this and the next 2 stages, keep track of how many A-ranks you’re getting too, as you’re going to want to try and get this trophy as you go:

Valedictorian
Obtained 10 A ranks in the mission results.
But in my experience you will just get it naturally without any added effort.
Stage 2 – Hebijo Clandestine Girls’ Academy
More Story Trophies
This stage is exactly the same as the last. Complete the missions and then the additional boss level.

To the Will of Evil
Cleared the Prologue of Hebijo Clandestine Girls' Academy Arc.

Daily Training
Cleared Chapter 1 of Hebijo Clandestine Girls' Academy Arc.

A Chance Meeting
Cleared Chapter 2 of Hebijo Clandestine Girls' Academy Arc.

Yin and Yang
Cleared Chapter 3 of Hebijo Clandestine Girls' Academy Arc.

The Power of Our Bond
Cleared Chapter 4 of Hebijo Clandestine Girls' Academy Arc.

Crimson Girls
Cleared Chapter 5 of Hebijo Clandestine Girls' Academy Arc.

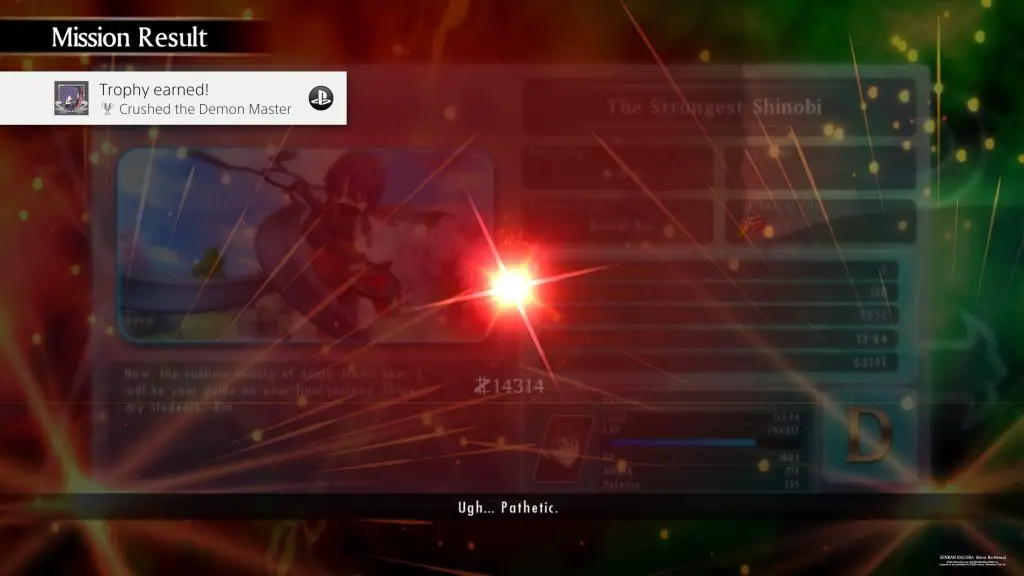
Crushed the Demon Master
Overcame your Master's trial.
My notes for Crushed the Demon of Fists also apply to Crushed the Demon Master, both are similar fights which require you to use all 5 of the respective school’s fighters back-to-back against a boss.
Stage 3 – Free Missions
How to Earn the Free Missions Accomplished Trophy
Underneath Chapter 5 in the missions menu for either school there is a “Free Missions” option. These unlock as you play and can be completed by any of the available characters, so great for reaching level 50 or increasing a Yin or Yang level.
Simply work through all of them with the character of your choice for the following trophy:

Free Missions Accomplished
Cleared all Free Missions.
Stage 4 – Collectables
Scroll Trophies
The collectables you need to find are scrolls hidden throughout each level. Successfully finding them will net you the following trophies:

Tireless Exploration
Obtained a total of 30 secret documents.

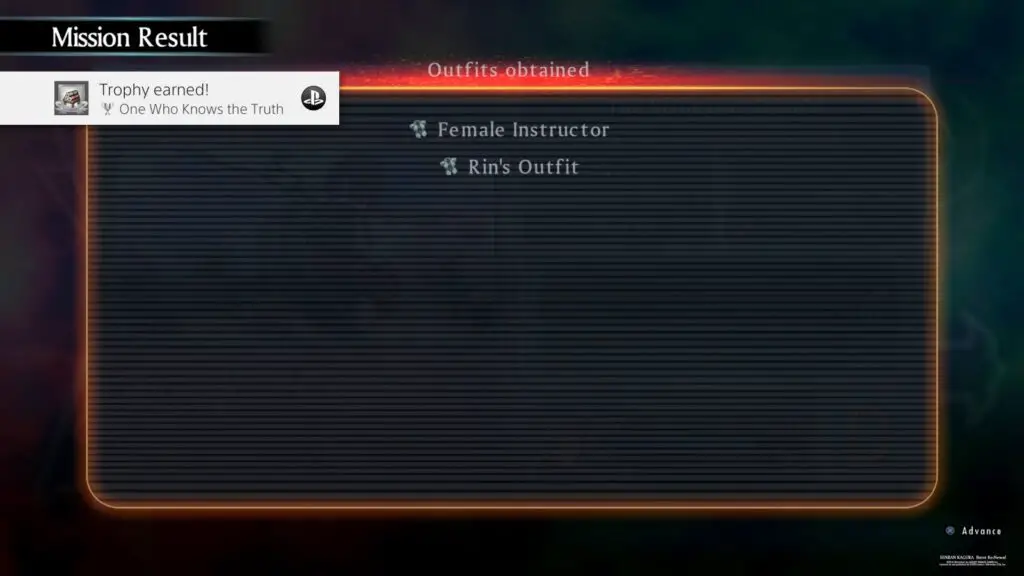
The One Who Knows the Truth
Obtained all secret documents.
Shadow Enemy Trophies
Note that some of the scrolls are found by defeating shadow enemies hidden throughout some of the levels (more details in the collectable guide below), each of the shadow enemies has their own trophy. Due to this, you won’t get The One Who Knows the Truth without also getting these trophies:

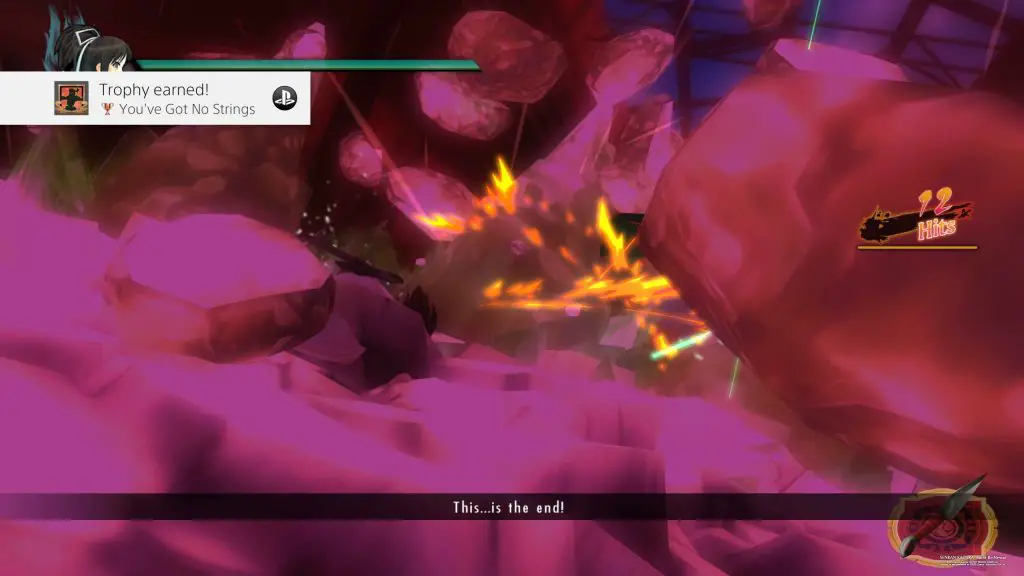
You’ve Got No Strings
Defeated a Puppet.

Class Dismissed
Defeated a Lesser Shinobi.

Fair Fight
Defeated an Acolyte Shinobi.

Uphill Battle
Defeated a Greater Shinobi.

We Don’t Need No Stinking Badgers
Defeated a Badger Shinobi.

Murder of Crows
Defeated a Crow Shinobi.

Stuffed and Mounted
Defeated a Bear Shinobi.

All the Way Down
Defeated a Turtle Shinobi.

No Monkey Business
Defeated a Monkey Shinobi.

Run, Rabbit, Run
Defeated a Rabbit Shinobi.
Senran Kagura Estival Versus Collectables Guide
Below, I’ve documented every level with a collectable in the order that they appear as well as directions for where to find the collectable. They’re divided up by campaign. If you prefer not to follow the guide, just ensure you smash any boxes, jars and other destructible containers you come across.
Hanzō National Academy:
Chapter 1
Mission: 1 “Combat Practice”
Collectables: 2
- In a box in the area directly behind you when you start the mission.
- In a box in the area in-front of you when you start the mission.
Mission: 2 “Get Hibari’s Scroll”
Collectables: 1
- In a box right behind you when you start the mission.
Mission: 3 “Street Sweeping”
Collectables: 1
- In the round park where the second wave of enemies spawn, inside a box.
Mission: 4 “Get Back the Purse”
Collectables: 3 (1 shadow enemy)
- At the start of the mission, head left. It’s in a box.
- After you’ve cleared the enemies in the round park area, look for a ghostly shape with red eyes at the end of the street branching off the right side. This is your first shadow enemy, defeat it for the collectible and the trophy You’ve Got No Strings.
- In the playground area off to the left of the round park you will find this collectable inside a box.
Mission: 5 “Punish the Harasser”
Collectables: 3
- In the locker room where you start, look for a box on top of one of the lockers, it’s inside there.
- After you defeat the first group of enemies in the locker room, head down the corridor directly opposite the one you need to head down for your objective to find a box containing this collectable.
- After the last collectible, head in the opposite direction down the other corridor to find another box containing another collectable.
Mission: 6 “Wager for the Plushie”
Collectables: 1
- There’s a box by the swingset in the park, it’s in there.
Mission: 7 “Hibari’s Tutoring”
Collectables: 2
- It’s hard to describe the locations for these collectables as the stage is very same-y, but they can be found in boxes around the edge, one in a corner and one by some of the wooden benches. Just work your way around the track, breaking boxes.
Chapter 2:
Mission: 1 “Katsuragi’s Training”
Collectables: 1
- Dropped by an enemy, just ensure you grab it.
One is dropped by one of the enemies in this stage.
Mission: 3 “Intercept Hebijo”
Collectables: 2
- Both dropped by enemies, just be sure to grab them.
Mission: 4 “Hated and Insanity”
Collectables: 2
- In a box in the area where you start
- In a box behind a log in the area where you fight Yomi
Mission: 5 “Thirst for Victory”
Collectables: 2 (1 shadow enemy)
- In the first area where you start, head all the way to the right and find it inside a box.
- Once you’ve beat the first wave of enemies, head into the right-most corner to find another ghostly shape waiting for you. Beat it for the collectable and the Run, Rabbit, Run trophy.

Chapter 3:
Mission: 2 “Solo-Sneaking Hibari”
Collectables: 1
- Unmissable, just complete the mission.
Mission: 5 “Hibari’s Transfer”
Collectables: 3
- Inside a box on the lower level.
- Also inside a box on the lower level.
- Inside another box, but this time on the upper level.
Mission 3-8 “Hibari’s Location”
Collectables: 2
- Dropped by an enemy, just be sure to grab it.
- The second one is unmissable. Just complete the mission.
Chapter 4:
Mission: 1 “The Gray Area”
Collectables: 1
- Unmissable, just complete the mission.
Mission: 2 “Yin-Yan Scroll Trial”
Collectables: 1 (1 shadow enemy)
- To the left of where you start, once the first wave of enemies have been defeated, you’ll be able to find another ghostly shape. Defeat it for the collectable and the trophy We Don’t Need No Stinking Badgers.
Mission: 8 “Hebijo’s Battle Plan”
Collectables: 1
- When the mission starts, head into the left corner in-front of you and you’ll find it in a jar.
Chapter 5:
Mission: 5 “Ultimate Crimson”
Collectables: 1
- Unmissable, just complete the mission.
Mission: 7 “Path of the Shinobi”
Collectables: 1
- Unmissable, just complete the mission.
Mission: 8 “Daidōji Appears!”
Collectables: 1
- Unmissable, just complete the mission.
Hebijo Clandestine Girl’s Academy:
Chapter 1:
Mission: 1 “Combat Practice”
Collectables: 1
- When you spawn, head forwards and to the left, the collectable is inside a jar here.
Mission: 5 “First Step”
Collectables: 1
- Unmissable, just complete the mission.
Mission: 6 “Until We’re Out of Sprouts”
Collectables: 2
- Turn around at the start and head right to find the collectable in a box.
- Turn around again and head into the right corner to find another collectable in yet another box.
Mission: 7 “To the Job!”
Collectables: 1 (1 shadow enemy)
- This one’s another Shadow enemy. Once you’ve defeated everyone in the round area, face your objective and then head left, you’ll see the ghost there. Defeat it for the collectable and the Class Dismissed trophy.
Mission: 8 “Awakened Instincts”
Collectables: 1
- Turn around and head right at the start to find this one in a box.
Chapter 2:
Mission: 1 “Fire Advisory”
Collectables: 3
- When the mission starts, head left to find the collectable in a jar.
- There’s another one in another jar, forwards and to the left of where you started.
- The last one is to the right of where you started in a – yep, you guessed it – jar.
Mission: 2 “Leave None Behind”
Collectables: 1
- Head left from where you started to find this one inside a box.
Mission: 3 “Outshoot Mirai”
Collectables: 1
- This one’s inside a jar to the left and a little back from where you started.
Mission: 4 “Farewell to Yesterday”
Collectables: 1 (1 shadow enemy)
- Once you defeat the first wave of enemies, turn around and head as far back as you can go. You should see another shadow enemy. Defeat it for the collectable and the All the way down trophy.
Mission: 6 “In Line for Ramen”
Collectables: 1
- This stage is split into 3 streets but you can’t get into the street on the left because of the forcefields. You can go over the top of the buildings though, which is what you will need to do to get to the box housing this collectible. Once you’ve defeated the first wave of enemies, head into the next area and then jump over the buildings on your left, by jumping up as high as you can and then hitting
 .
.
Mission: 7 “Housewife Battle”
Collectables: 2
- When you start, turn around and head to the right to find this collectable in a box.
- Once you reach the round area, make sure you head into the playground and break the box by the slide to get this collectable.
Chapter 3:
Mission: 1 “Irredeemable Abomination”
Collectables: 1
- When you start, head to the waterfall furthest from you, straight ahead. There’s a box to the left of it which contains this collectable.
Mission: 2 “Where is My Heart?”
Collectable: 1
- Head to the right from where you start to a dead-end where this collectable can be found in a box.
Mission: 3 “For My Comrades”
Collectables: 1
- Inside a box where you start, ahead of you.
Mission: 4 “As a Shinobi”
Collectables: 1
- Head forward and left from your starting point to find this collectable in a box.
Mission: 5 “Crimson Fate”
Collectables: 1
- Turn around at the start and head as far back as you can, to an opened gateway. There’s a jar near the gate with the collectable inside.
Mission: 7 “Backstreet Girls”
Collectables: 1
- In a box in the next area.
Chapter 4:
Mission: 1 “Shifty Eyes”
Collectables: 1
- I struggled to find this one at first. Play through the mission until you reach a bridge which goes over a small moat-like area. Jump off the bridge to the right and then follow the river until you see another bridge overhead. Use to jump up to the area at the right entrance of the bridge in order to break the box containing this collectable.
Mission: 2 “Call Me…the Sprout!”
Collectables: 1
- Head back and to the right of where you started. Look to the upper left side to find the box containing this collectable.
Mission: 3 “Of Evil & Friendship”
Collectables: 1
- Turn around from where you start and head to the left, you’ll find the collectable in a jar here.
Mission: 4 “What Doesn’t Kill Me”
Collectables: 2
- Head left from the start to find it in a box.
- Once you reach the boss battle, head to the right and find the collectable in a box.
Mission: 5 “Call from the Heart”
Collectables: 1
- Turn around when the mission starts, you’ll find it in a box by a waterfall.
Mission: 6 “An Enticing Trap”
Collectables:
- In a box forward and right from where you start.
Mission: 7 “Dancing Umbrella”
Collectables: 2
- Head left from the mission start to find the collectable in a box.
- The other is dropped by an enemy, just be sure to grab it.
Mission: 8 “Path of the Shinobi”
Collectables: 2 (1 shadow enemy)
- First one is dropped by an enemy, be sure to grab it.
- After clearing all the enemy waves in the first are head in the opposite direction of your objective to find another shadow enemy. Defeat it for the collectable and the trophy Stuffed and Mounted.
Chapter: 5
There’s only one in the 5th chapter;
Mission: 8 “The Strongest Shinobi”
Collectables: 1
- Unmissable, just complete the mission.
Free Missions:
There are only 4 collectables in the Free Missions and they are all from shadow enemies.
Chapter 2:
Mission: 2 “To Hide a Tree…”
Collectables: 1 (1 shadow enemy)
- Once you’ve defeated the first two enemy waves, turn around and head left to find the shadow enemy in this stage. Defeat it for the collectable as well as the Fair Fight trophy.

Chapter 3:
Mission: 1 “Hebijo Outdoor Exercise”
Collectables: 1 (1 shadow enemy)
- Just like the collectible for Chapter 4, Mission 1 of the Hebijo campaign, once you reach the bridge jump off it towards the right and then follow the water round to another bridge. Jump up and you should see the shadow enemy through the gateway. Be quick, though, you only have 4 minutes to beat this enemy and finish the mission, Frantic mode is useful here. You will get the Murder of Crows trophy and a collectable for beating this enemy.
Mission 3-4 “Crash the Encirclement”
Collectables: 1 (1 shadow enemy)
- Follow the objective until you reach a point where you could either go right or left across the rooftops. The objective marker will tell you to go right, so head left. Eventually you’ll see your shadowy adversary waiting for you. Defeat this enemy and get the collectable as well as the trophy No Monkey Business.
Chapter 4:
Mission 4-3 “Late for Class”
Collectables: 1 (1 shadow enemy)
- This one’s not hard to spot, just keep checking classrooms as you go and you definitely won’t miss it. After defeating your second wave of enemies you should see it on your right in the next classroom. Defeat this shadow enemy and bag yourself the collectable and the Uphill Battle trophy to boot.
Stage 5 – Miscellaneous
Misc Gameplay Trophies
Most of these next few trophies will most likely pop through normal gameplay as you complete the game’s various campaigns, but in-case they don’t, there are some tips below:
Valedictorian
Obtained 10 A ranks in the mission results.
I’ll be very surprised if you don’t have this one quite early on, but in trophy hunting anything can happen. Try to pick levels with a lot of standard enemies and no boss fights against main characters, then use your strongest character to get through the stage as fast as you can, you’re almost guaranteed a high rating this way.
Unparallelled Grace
Cleared a mission without taking a single hit.
I really thought this one would be difficult, so when I first got it, it was because I was trying very hard. I was singling enemies out to fight them 1-on-1, blocking every attack I could with ![]() and dodging constantly with
and dodging constantly with ![]() . However, I achieved this feat many, many times as I played through the game.
. However, I achieved this feat many, many times as I played through the game.
On easy, the enemies attacks are so slow and openly telegraphed that it’s easy to just brute force them with a fast character like Asuka. No dodging, no blocking, just pure non-stop frantic-mode attacking.

Godlike Combo
Successfully performed a 300 hit combo.
This one also sounds more difficult than it is. The best characters for this, I’ve found, are either Asuka or Kagura. They’re both very fast and capable of dishing out multiple attacks very quickly, but also their shinobi arts attacks involve dealing a lot of blade hits in a short amount of time, which all count towards the combo.
You’ll probably get it naturally though.

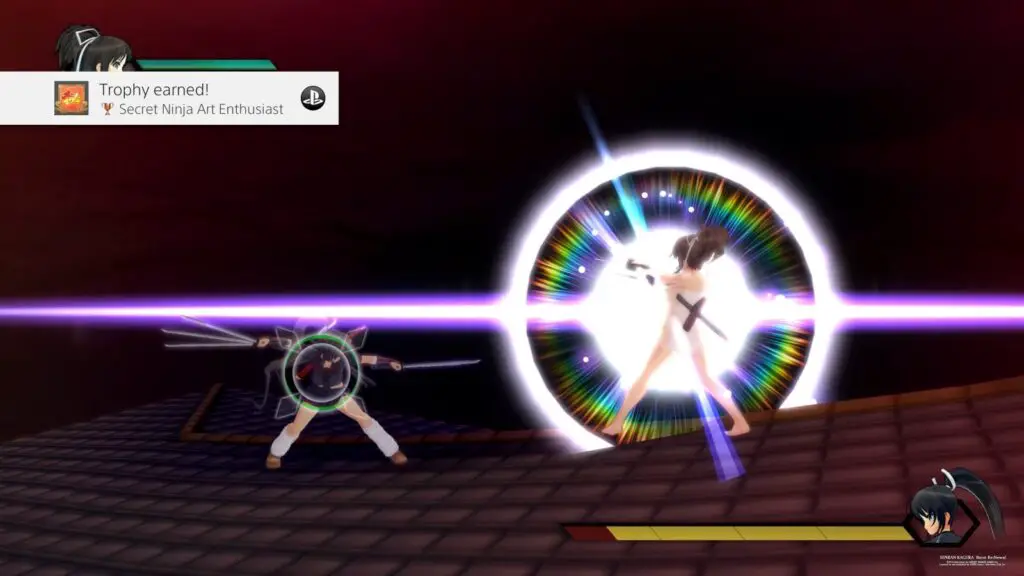
Secret Ninja Art Enthusiast
Activated a total of 100 Secret Ninja Arts in real combat.
If you don’t get this naturally then, no offense, but I don’t think you’re playing the game right.
Secret Ninja Arts are special attacks you can use after using a shinobi transformation ![]() or in Frantic mode. When the yellow bar under your health gets full you will get a scroll, indicated below it. With 1 scroll you can press
or in Frantic mode. When the yellow bar under your health gets full you will get a scroll, indicated below it. With 1 scroll you can press ![]() +
+ ![]() for a Ninja Arts attack. With 2 scrolls you can press
for a Ninja Arts attack. With 2 scrolls you can press ![]() +
+ ![]() to do a stronger Ninja Arts attack.
to do a stronger Ninja Arts attack.

Parry Expert
Performed a total of 100 parries in real combat.
This one can be tricky depending on how you play. I played pretty much all-out offensively for the most part, and had to force myself to start blocking enemy attacks. Enemies telegraph their attacks in a fairly obvious way, but you also need to time your ![]() press just right so that you can trigger a parry instead of just blocking them.
press just right so that you can trigger a parry instead of just blocking them.
I assumed you’d have to hit ![]() the moment they hit you, like in most games, but you can actually start holding
the moment they hit you, like in most games, but you can actually start holding ![]() a short while before their attack even hits you and it will still count. Play around with it and get a good feel for it.
a short while before their attack even hits you and it will still count. Play around with it and get a good feel for it.
If you’re still struggling, the training dummy enemies (or puppets as the game calls them) are really slow and very easy to block, so try a level with plenty of those.

Burst
Activated Burst Mode a total of 10 times in real combat.
Easy peasy. With your green burst bar full, press ![]() to enter burst mode. Just do it 10 times!
to enter burst mode. Just do it 10 times!

Bring it on!
Performed a total of 10 taunts in real combat.
Many missions require you to defeat a wave of enemies and then move to another area to fight the next wave. In that moment of time in-between fights, hit ![]() to taunt. Do this 10 times and the trophy will pop, even though there’s nobody around to feel taunted by you!
to taunt. Do this 10 times and the trophy will pop, even though there’s nobody around to feel taunted by you!

Wow, 1000!
Defeated a total of 1,000 enemies in real combat.
This will pop naturally. There’s no way you will get every other trophy and not get this one. Just keep playing.

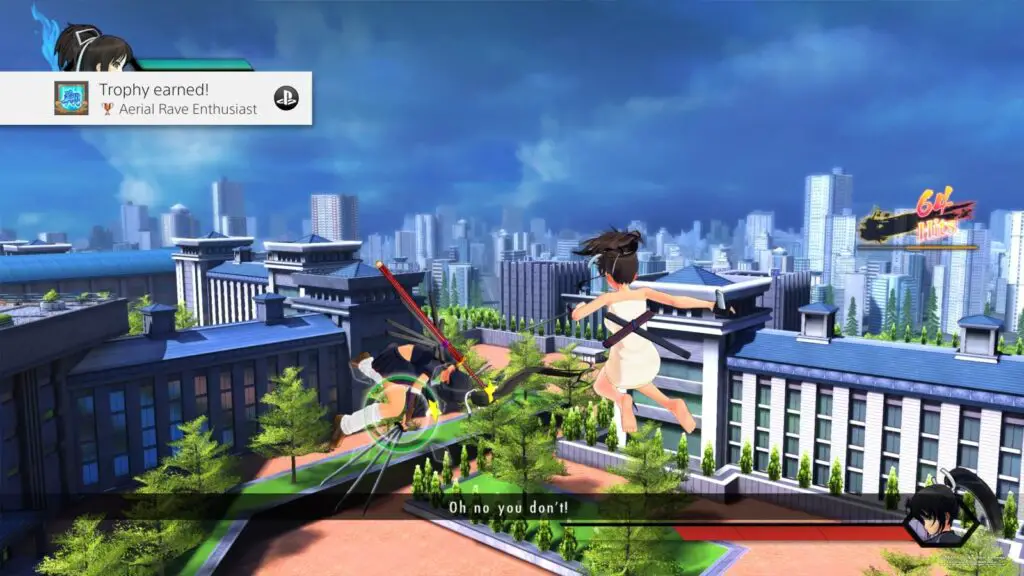
Aerial Rave Enthusiast
Activated 5 consecutive Aerial Raves.
Some combos (usually something like ![]() ,
, ![]() ,
, ![]() ) will knock an enemy into the air. If you then press
) will knock an enemy into the air. If you then press ![]() your character will launch themselves towards that enemy where they can do a full
your character will launch themselves towards that enemy where they can do a full ![]() combo, knocking the enemy back again at which point you can press
combo, knocking the enemy back again at which point you can press ![]() to close the gap again. Do this repeatedly until the trophy pops.
to close the gap again. Do this repeatedly until the trophy pops.
Some characters, however, will knock an enemy to the ground as part of their ![]() combo, which we don’t want. Once again, I’m going to recommend Asuka. She can do repeated aerial raves for quite a long time. I used this method to defeat many tough enemies as Asuka.
combo, which we don’t want. Once again, I’m going to recommend Asuka. She can do repeated aerial raves for quite a long time. I used this method to defeat many tough enemies as Asuka.

Everything on the Line
Activated Frantic Mode in real combat.
You will get this the first time you use Frantic mode by pressing ![]() +
+ ![]() instead of
instead of ![]() to start a mission.
to start a mission.

Peerless Ninja
Challenged a ★ mission.

Explosive Ninja
Challenged a ★★ mission.

Top Ninja
Challenged a ★★★ mission.
These are the most pointless difficulty-based trophies I have ever seen. All you need to do is load a mission up on 1-star, 2-star and 3-star difficulty. You don’t need to successfully finish the levels at all. You can change difficulty by pressing ![]() in the mission select menu.
in the mission select menu.

Daily Drills
Performed Self-Training at the Training Grounds.
Literally just load up the Training Grounds option from the menu. Don’t do anything, just load it up to get the trophy and then you can leave.

Strange Medicine
Obtained a total of 300 secret growth remedies.
I expected this one to be a bit of a grind, but I managed to get it without really having to go after it extensively.
Strange Medicine can be found in containers throughout each level, so you’ll probably find quite a few while you look for collectables, but enemies will also drop them for you. You can also buy them from the store, which I did a lot.
If you don’t care about buying videos and images you’ve already seen from the shop, then you can save your money and spend it on strange medicine instead.
Dressing Room Trophies

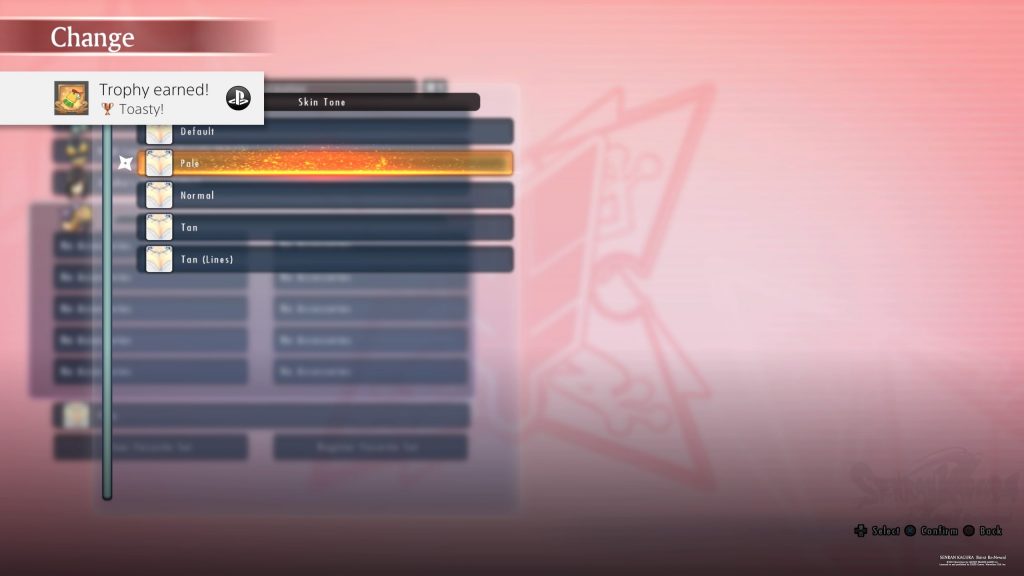
Toasty!
Changed a character's skin tone in the Dressing Room.
This is one of the options in the dressing room. Go to the dressing room option in the menu and then open the option for changing a character’s outfit. Near the bottom is an option for changing the character’s skin tone.

Time to Change!
Changed a character's outfit in the Dressing Room.
Exactly what it says. In the dressing room, change a character’s clothing.

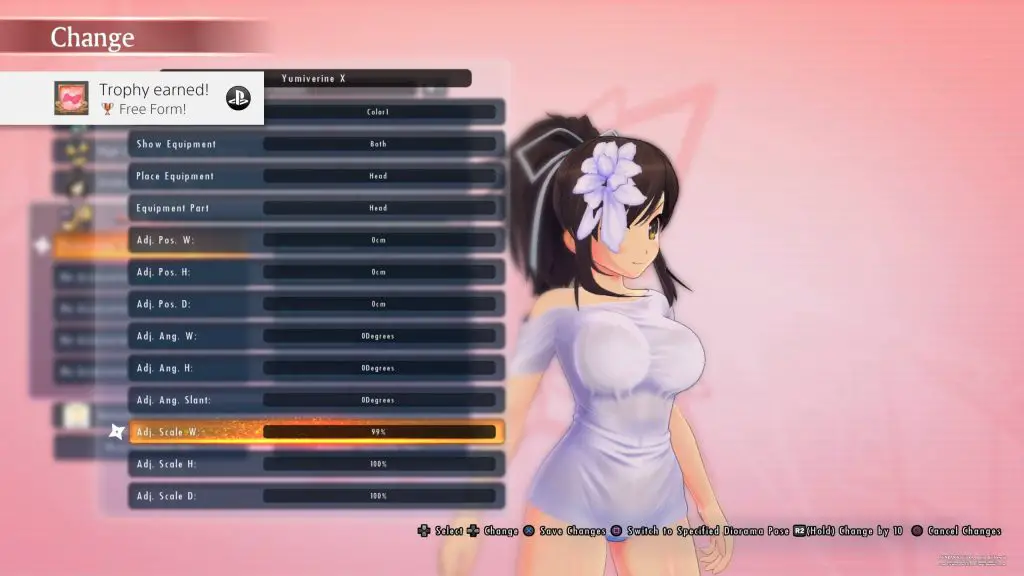
Free Form!
Changed the size of an accessory in the Dressing Room.
In the dressing room, amongst the clothing and skin tone options there are also several slots for adding accessories. Add an accessory and then press ![]() with the accessory highlighted to open a menu allowing you to position and scale an accessory. Change any of the “Adj. Scale” values to get this trophy to pop.
with the accessory highlighted to open a menu allowing you to position and scale an accessory. Change any of the “Adj. Scale” values to get this trophy to pop.

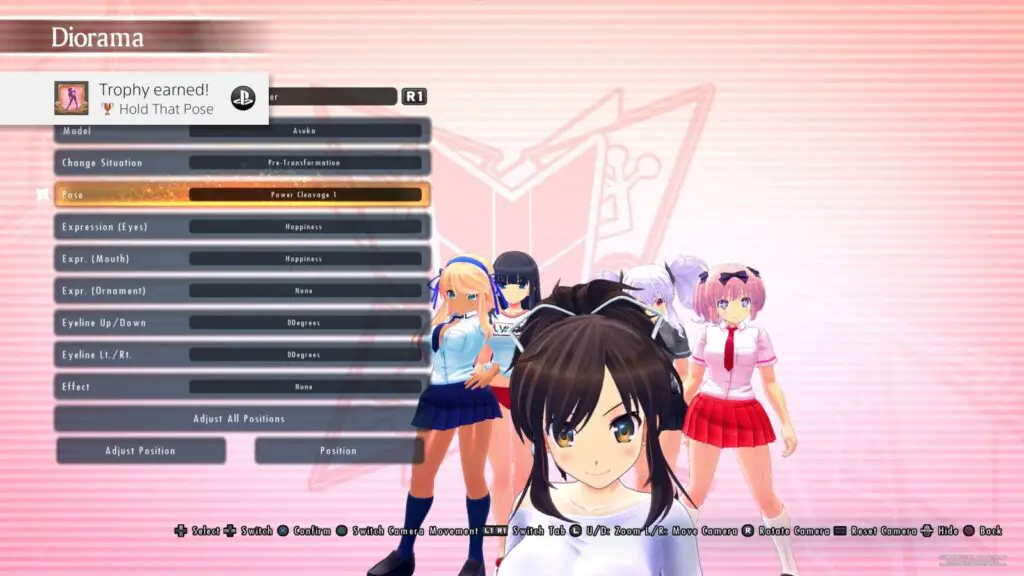
Hold That Pose
Made a character pose in Diorama Mode.
In the dressing room, instead of going to “Change” select “Diorama Mode”. To see various options for setting up a diorama with the characters, one of these options allows you to select a pose for the selected character. Do so and you’ll get this trophy!
Conclusion
Once you’ve done all of the above, you’ll obviously net this trophy:

Path of the Shinobi
Obtained all trophies.
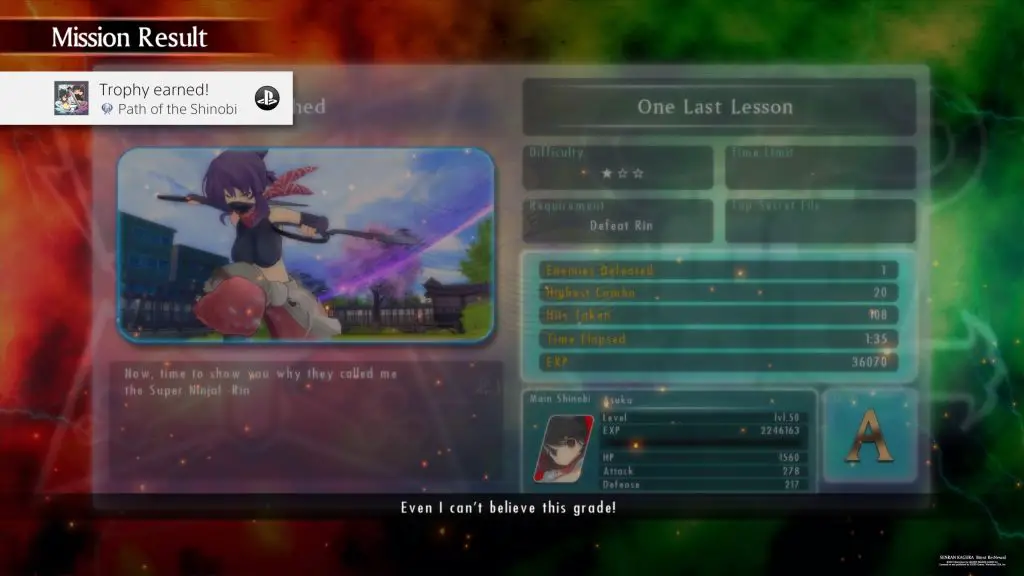
Check out my review of this game for more of my personal experiences with it, and enjoy!
Thank you for choosing PlatGet for your trophy guide needs.