PlayStation 4, PlayStation 5
The First Descendant Trophy Guide
General Info
FAQ
How long does it take to beat The First Descendant and unlock all trophies?
Around 80 Hours.
How difficult is it to beat The First Descendant and unlock all trophies?
Easy (3/10).
Does The First Descendant have online trophies?
No.
Does The First Descendant have difficulty-specific trophies?
No.
Does The First Descendant have missable trophies?
No.
Does The First Descendant have glitched trophies?
No.
What is the minimum number of playthroughs required to unlock all trophies in The First Descendant?
One.
Does The First Descendant have a Platinum Trophy?
Yes.
Trophy Guide
The First Descendant Trophy Guide and Road Map for PS4 & PS5
Welcome to our The First Descendant Trophy Guide. The First Descendant is a “Free” to Play Online Third Person Shooter game with Shoot n Loot mechanics similar to games like Destiny and Warframe. The game makes constant use of cheap RNG tactics to force you into wasting your life away farming and farming resources just to get one part of a thing that you’ll then need to wait 4-16 hours to craft anyway…
And for some reason… Some absolutely inexplicable reason… We love it. We’ve been playing the heck out of it and, let me tell you, it’s been playing the heck out of us too.
Part of me is only writing this guide so that I can scrape back some value out of the countless hours I’ve wasted just trying to get Blue Beetle Coil Blueprints, Character Codes, and a lot more.
The trophy journey itself is mostly painless, with ma good majority of the trophies coming from normal gameplay, but there are just a handful which require you to really dig your heels in and go above-and-beyond for that Platinum. Those trophies alone, which we’ll cover in Phase Three of this guide, take the time-to-plat from around 30 hours to more like 80 hours!
Phase One | Complete the Story Campaign
To kick things off, just get stuck into the story. There’s quite a lot of content here and—along the way—you’ll gain access to numerous different resources and components that will come in handy in later parts of the trophy journey. If you get an itch to go off and arm resources, unlock specific characters, or upgrade your favorite characters and gear, then don’t let me stop you! Enjoy the game your way, and we can worry about those grindy trophies later. For now, just enjoy the story and get to grips with the game’s mechanics.
After completing the Sterile Land, you’ll stop receiving trophies for story progression. However, I strongly recommend you continue playing through the story until you beat the Fortress Region and complete the story’s final mission. By doing so, you’ll ensure you have access to every mission and possible resource you could need for acquiring every trophy in TFD’s lengthy Trophy Journey.
Unmissable Story Trophies

Ready to Move On?
Complete Retrieve the Ironheart operation and return to Albion
“Ready to Move On?” is one of the first trophies you’ll earn. It unlocks naturally as a part of the early story beats.


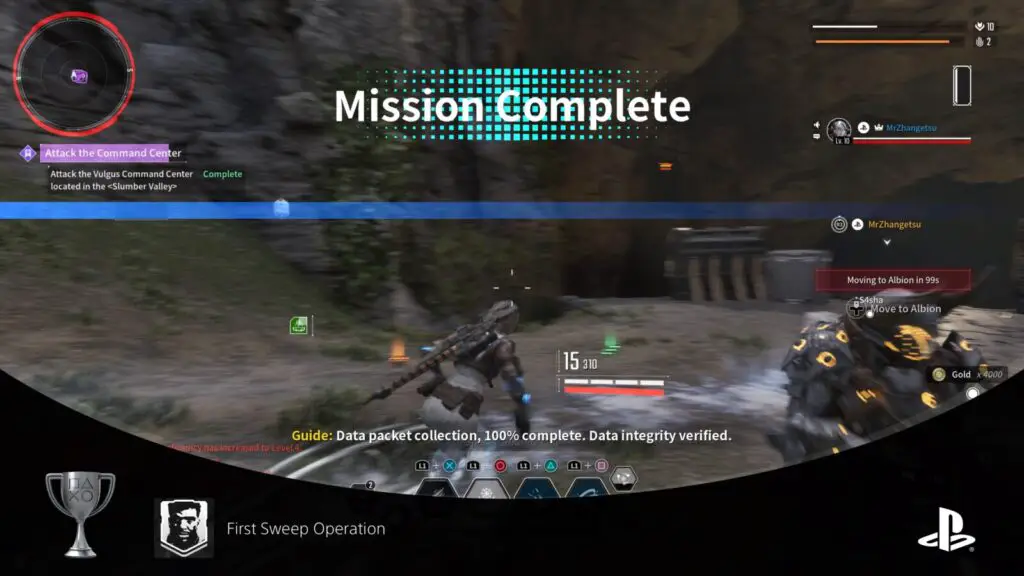
First Sweep Operation
Complete all available missions and Descendant duties in Kingston
The First Descendant’s Story follows a fairly repetitive gameplay loop;
- You first enter a new region and then speak to some NPCs.
- You’ll then get 2-5 Missions in the area, marked by purple icons on your HUD and Map.
- After completing those Missions, you’ll either get access to the next region or an Infiltration Mission.
- Infiltration Missions are longer, more story-led missions that take 15–20 minutes to complete on average, and typically end with a boss fight.
- In the next area, you’ll need to speak to another NPC and then you’ll be given more purple mission icons.
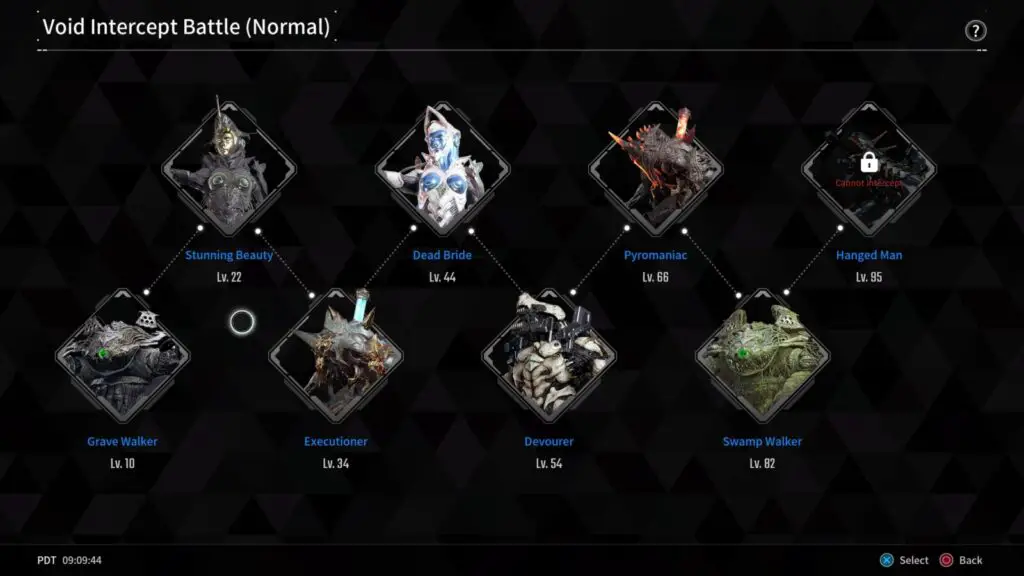
- This repeats until you’ve explored every area in a region, then you’ll be returned to Albion to take on a Void Intercept Boss Fight.
After clearing every mission and infiltration in a region, you receive that region’s trophy. In the case of “First Sweep Operation,” you’ll need to do this in the Kingston Region.

Pre-emptive Strike for the Future
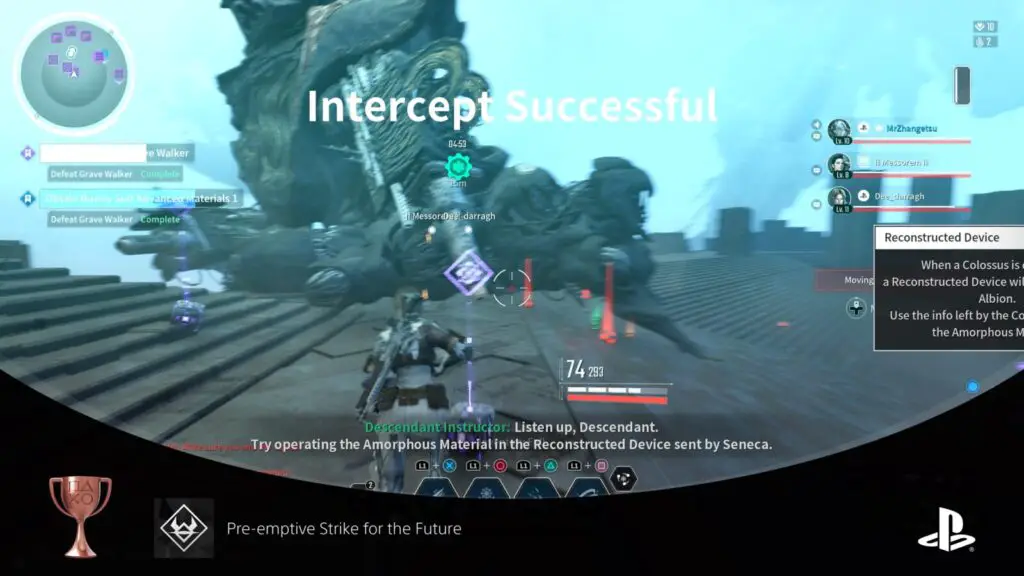
Complete a Void Intercept Battle for the first time
Void Intercept Battles are repeatable battles against powerful “Colossus” Bosses. They play a large role in farming components for both characters and weapons, so you’ll find yourself completing a lot of these.
When it comes to the story, however, you’ll need to face one after each region you clear in order to progress the story further. As such, there are 8 you will need to face in order to complete the story, and they will each unlock after clearing a region.
The first Colossus Void Intercept Battle you get access to is the Grave Walker, which you’ll unlock after clearing Kingston and unlocking First Sweep Operation. You’ll then have to defeat Grave Walker to progress the story and, upon doing so, will unlock the “Pre-emptive Strike for the Future” trophy.

Hope Within the Dust
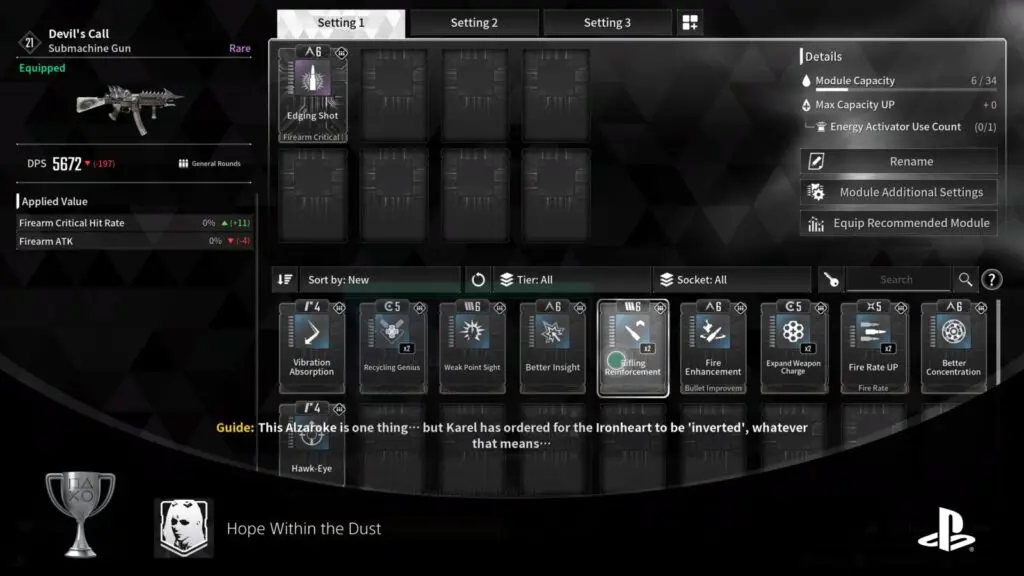
Complete all available missions and Descendant duties in The Sterile Land
As per First Sweep Operation, complete all the Missions and Infiltrations in the Sterile Land to unlock “Hope Within the Dust.”

Knock, Knock! Who is it?
Complete all available missions and Descendant duties in Vespers
As per First Sweep Operation, complete all the Missions and Infiltrations in the Vespers region to unlock “Knock, Knock! Who is it?”

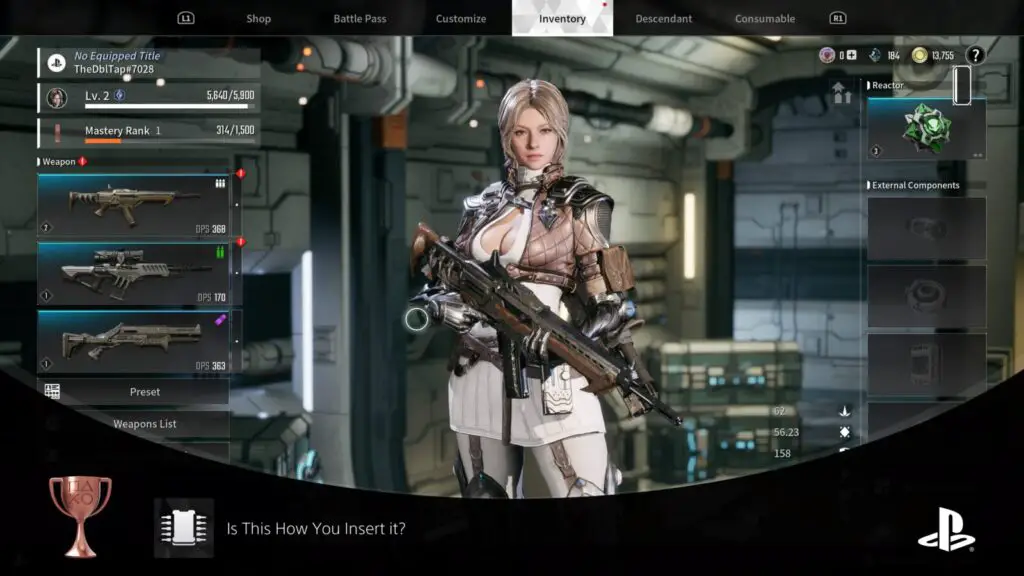
Is This How You Insert it?
Equip a module for the first time
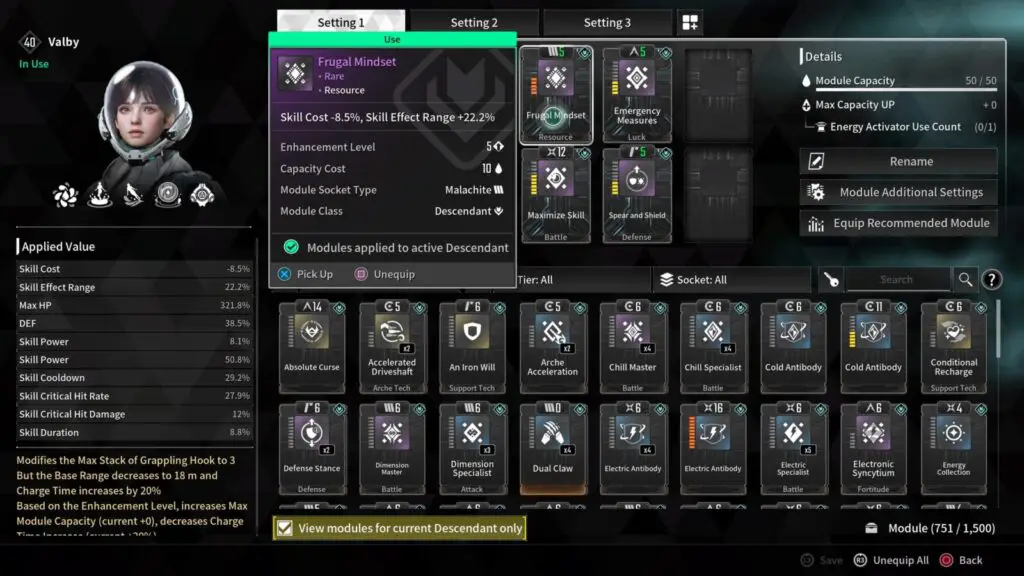
Modules are one of the many ways to modify and upgrade your characters and equipment. Modules each have their own specific effects which can do many things from increasing your health and shields to reducing your skill cooldown and improving your accuracy. There are literally hundreds of Modules, each with different effects that can be used to create some really effective builds.
In order to unlock the “Is This How You Insert It?” trophy, you simply need to equip any module in any slot of either a Character (Descendant) or a Weapon for the first time.
Phase Two | Miscellaneous Trophy Cleanup
With the Story complete, there’s a decent amount of stuff to get to work on which isn’t particularly grindy, so I’ve separated these tasks out. The trophies in Phase Three will require significant time and effort, but the trophies I’ve listed here can pretty much be worked on in a few hours without banging your head against the RNG wall too much.
Equipment Trophies

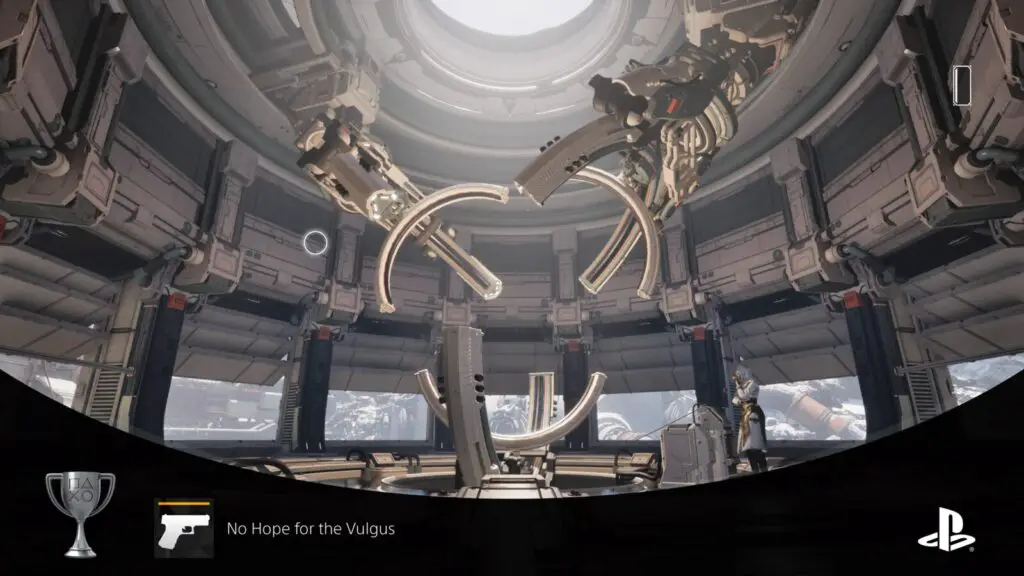
No Hope for the Vulgus
Obtain an Ultimate tier weapon
Ultimate Weapons are a gold/yellow colour and typically need to be crafted via Anais by first collecting or crafting the four weapon components and then crafting the gun itself.
The easiest one of these weapons to farm and craft is the Thunder Cage, which you’ll have a Side Mission for as well. To farm the components for Thunder Cage, you’ll need to run the following Battlefield Missions until you have all four components:
| Component | Battlefield Mission | Location | Drop Rate |
|---|---|---|---|
| Polymer Syncytium | External Reactor | Sterile Land, Rockfall | 20% |
| Synthetic Fiber | Kuiper Mine | Sterile Land, Repository | 20% |
| Nano Tube | High-Powered Jammer | Sterile Land, Restricted Zone | 20% |
| Blueprint | Logistics Facility | Sterile Land, Ironworks | 20% |
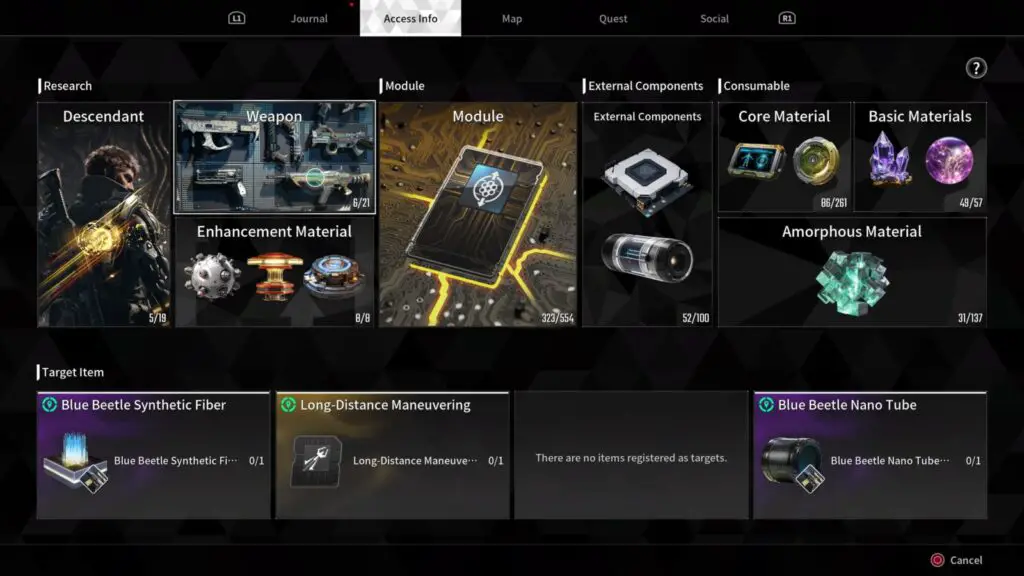
To easily check which components you have, press ![]() , then tab over to “Access Info” and select “Weapon.”
, then tab over to “Access Info” and select “Weapon.”
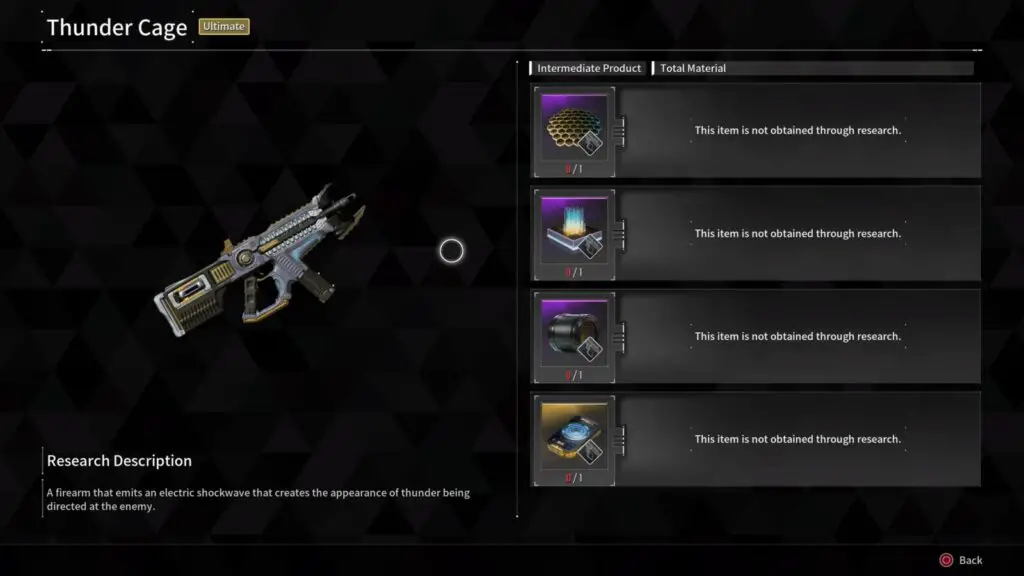
From there, select the “Thunder Cage” weapon to see a list of components and the quantities you’re carrying.
Once you have the four components, take them to Anais in Albion and pay 100,000 gold to begin the Research. Research on Thunder Cage takes 4 hours, but once the research is complete you’ll have your first Ultimate Tier weapon and will unlock the “No Hope for the Vulgus” trophy.

Ready, Extract, Complete
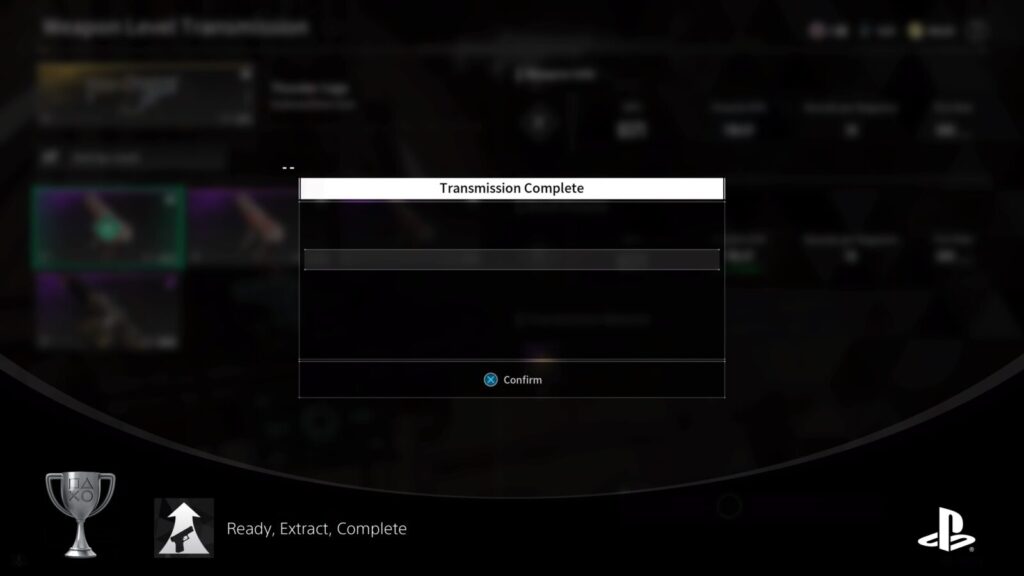
Level up a weapon through Weapon Transmission
From Mastery Rank 3 onwards, you will be able to transfer the level of a weapon to another via the Workbench in Albion, by choosing the “Weapon Level Transmission” option.
Essentially, let’s say you have a Level 40 gun that you really enjoy using, but you’re far enough in the story that everything that drops is Level 60, or even 100. You can make your Level 40 weapon a higher level by consuming a higher-level weapon into it via Weapon Level Transmission.
Whenever you get an Ultimate-tier weapon, like the Thunder Cage, it will be Level 1, and pretty useless because of that. However, by using the Weapon Level Transmission feature of the Workbench, you can significantly increase the weapon’s level, making it more formidable.
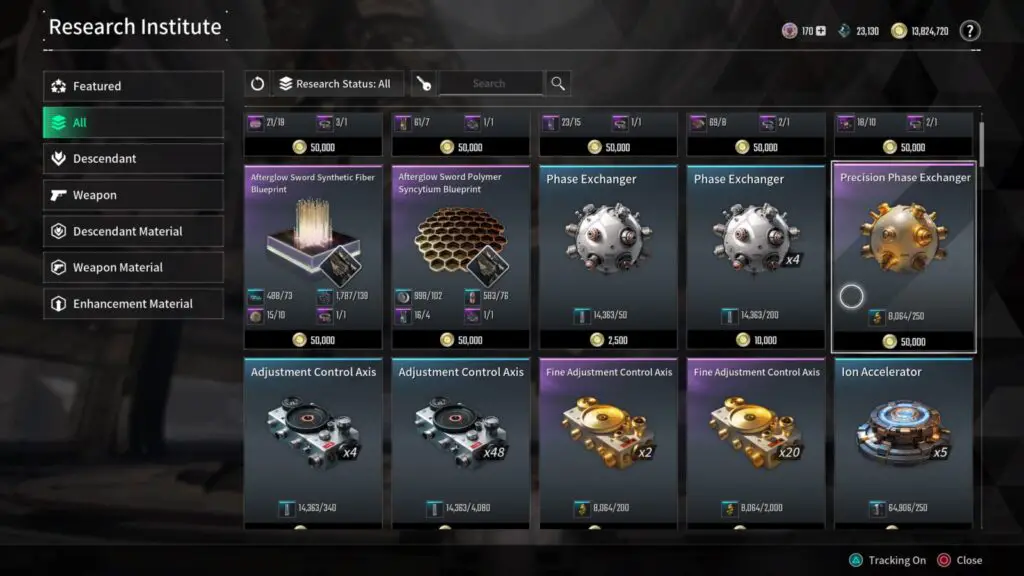
To use the Weapon Level Transmission function, you will also need a Phase Exchanger. These items can only be received either via the Battle Pass or by crafting them at Anais. Ultimate-tier weapons will require a Precision Phase Exchanger instead.
They’re fairly easy and cheap to craft, but you do have to wait a few hours for the research to complete.

Growing Possibility
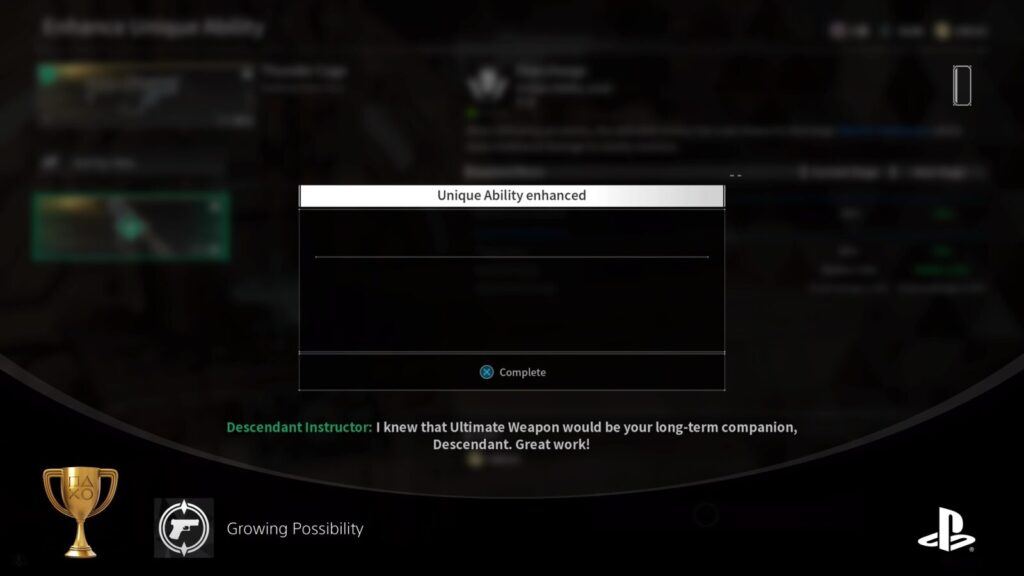
Enhance a weapon's Unique Ability for the first time
From Mastery Level 5 onwards, you can improve the unique ability of an Ultimate-Tier weapon via the workbench in Albion.
To do so, however, you will need two of the same weapon. Essentially, you combine the two weapons to enhance the ability of one.
Fortunately, once you have crafted the Thunder Cage and reached Master Level 5, you can speak to the Descendant Instructor to receive a tutorial quest for doing this. The Instructor will give you a second Thunder Cage entirely free, no research or resources required.
Take it to the workbench, following the objectives of the side quest, and you’ll be able to upgrade the Unique Ability of your Thunder Cage for free, unlocking this trophy in the process!

Out of Weapons
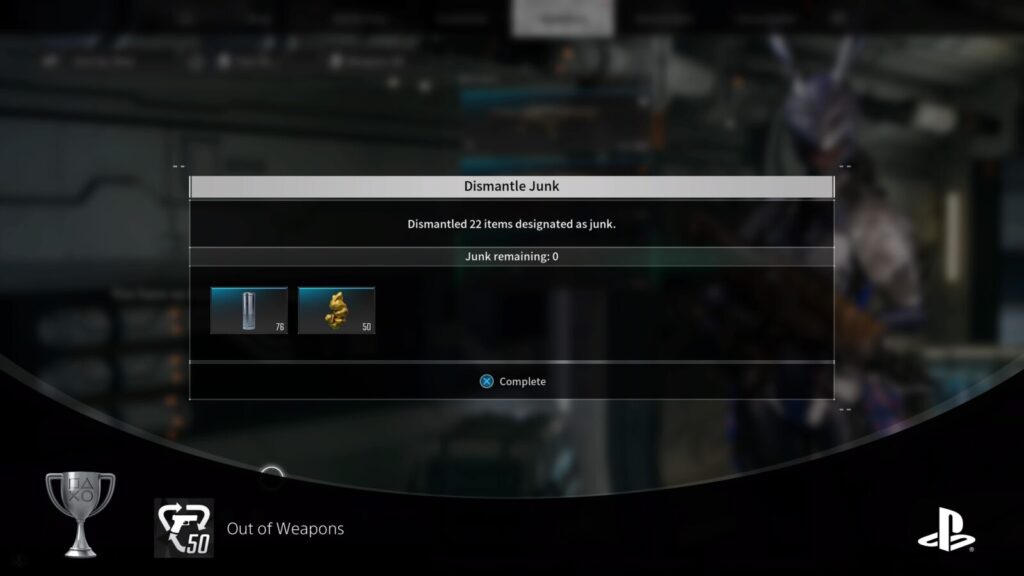
Dismantle weapons 50 times
There is an incredibly high chance that you will unlock the “Out of Weapons” trophy naturally. You’ll be picking up weapons left right and center for hours and hours all throughout the story campaign and any and all side-content. With that many weapons filling up your limited inventory slots, you’re bound to scrap far more than just 50 of them.
However, on the off chance that you sell all of your surplus weapons, here’s your signal to start scrapping them!
It’s easy enough, you can mark a weapon as junk by tapping ![]() on it in your inventory, then just hold
on it in your inventory, then just hold ![]() to scrap every weapon that you’ve marked as junk. You’ll then get some crafting resources back in return. If your inventory is full of weapons you don’t want, hold
to scrap every weapon that you’ve marked as junk. You’ll then get some crafting resources back in return. If your inventory is full of weapons you don’t want, hold ![]() to mark them all as junk, and then hold
to mark them all as junk, and then hold ![]() to scrap the lot (excluding ones you have equipped.)
to scrap the lot (excluding ones you have equipped.)

The Sensible Life of Research
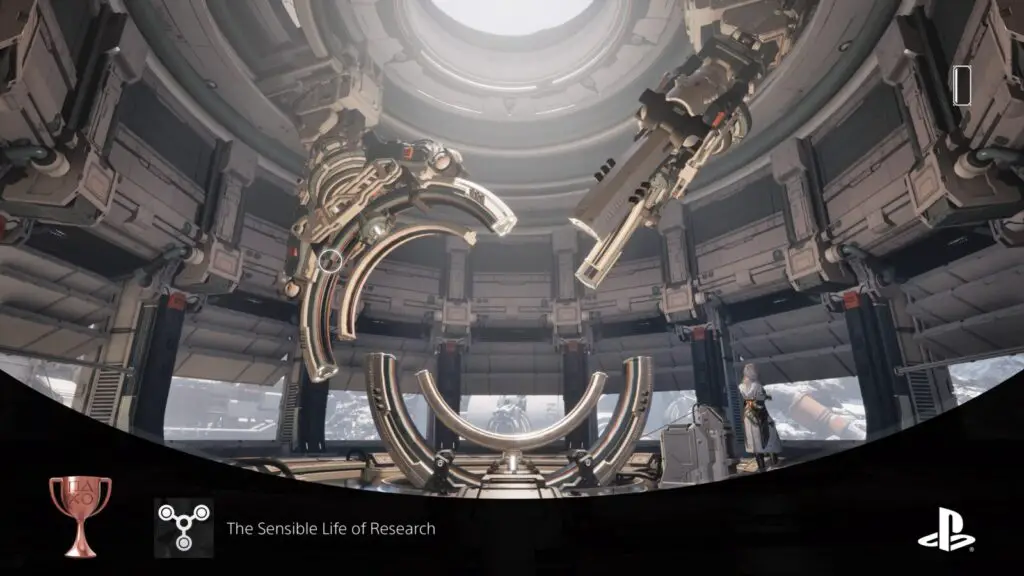
Complete research for the first time
In Albion, there’s an NPC called Anais, via whom you can research many things from Upgrade Materials to Weapons, to full-on Descendants. There are even a couple of side-quest tutorials that pop up as you work through the story, teaching you the ropes by having you craft the “Bunny” Descendant and the “Thunder Cage” weapon.
Using Anais’ services for the first time to craft absolutely anything will unlock the “The Sensible Life of Research” trophy. If you don’t earn it naturally throughout your time playing the story, you’ll certainly unlock it while working on other trophies such as No Hope for the Vulgus.

This Reaction's a First
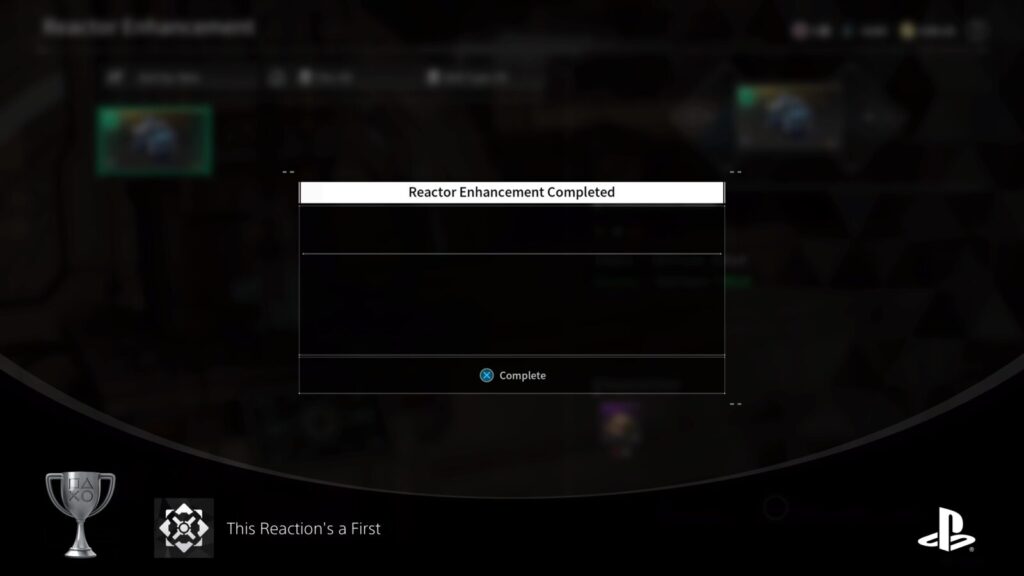
Enhance a Reactor for the first time
Reactors are special items you can equip to enhance your stats. Depending on the type of reactor, you can also significantly improve the efficacy of your descendant’s skills.
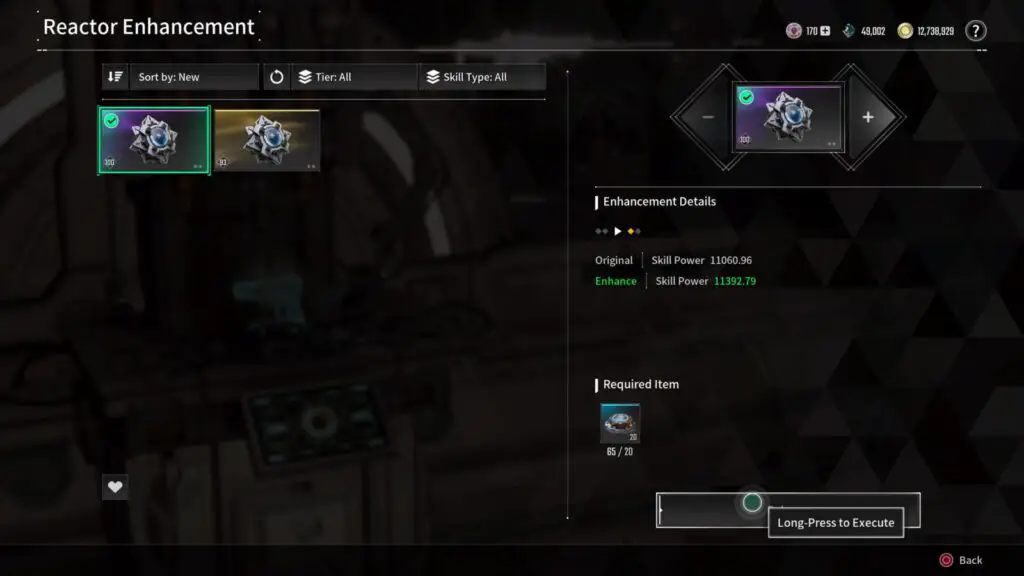
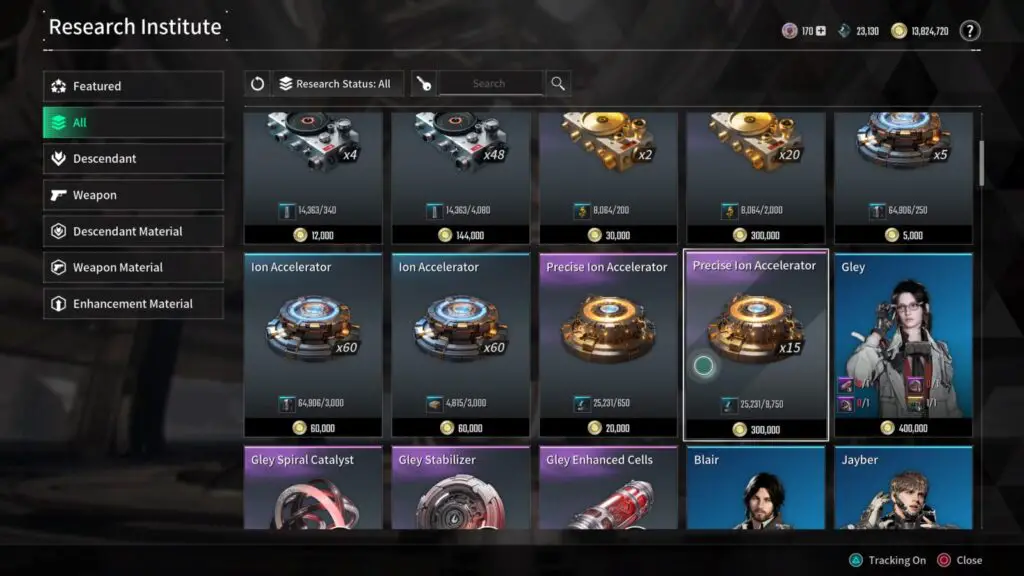
To enhance a reactor, you will need to have several Ion Accelerators, which you can craft via Anais. Additionally, this functionality is not unlocked until you reach Mastery Rank 6.
Ultimate-tier Reactors need “Precise Ion Accelerators” rather than a standard Ion Accelerator.
When you have a Reactor you wish to upgrade, and the required resources and Mastery Rank, go to the Workbench in Albion and then enhance your reactor to improve its effects. Upon doing this for the first time, the “This Reaction’s a First” trophy will unlock immediately.
Mastery Rank 10

Power! O, Infinite Power!
Reach Mastery Rank Level 10
Okay, so, technically the “Power! O, Infinite Power!” trophy is a bit of a grind, but after completing most of the story and (I’m sure) a plethora of other content, you’ll have earned enough Master EXP to be somewhere around Mastery Rank 12-14.
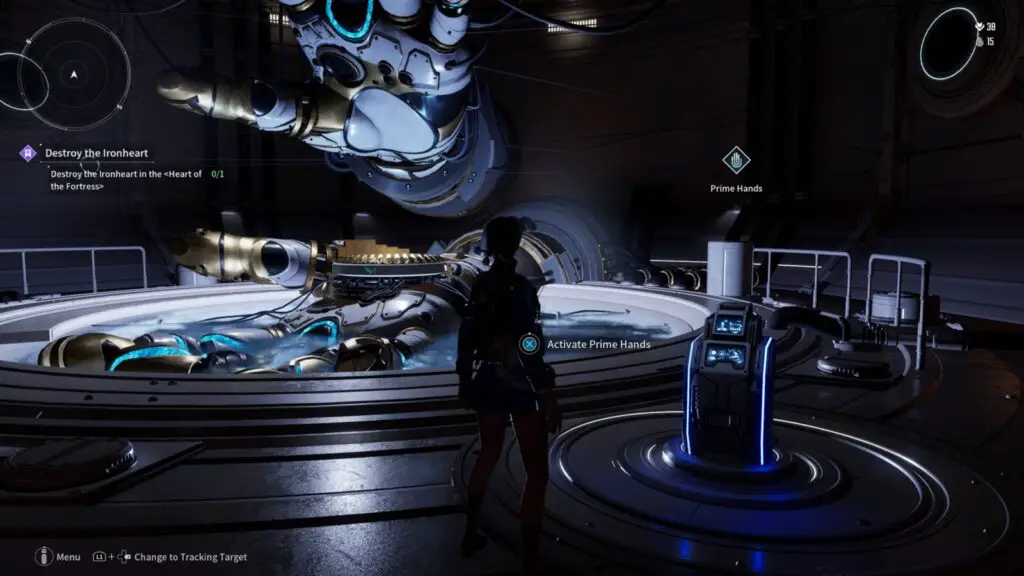
Each time you reach a new Mastery Rank, go to the “Prime Hands” in Albion to make the upgrade official. Don’t worry if you forget to upgrade for a while, either, as you’ll continue to earn Master EXP even if you don’t Rank Up.
Increasing your Mastery Rank has many perks including increased inventory, consumable, and storage slots, increased Descendant Module Capacity, and more.
Your Mastery Rank persists between characters, too, so you won’t lose progress by switching characters.

Module Trophies

This Is Great, Sevenfold
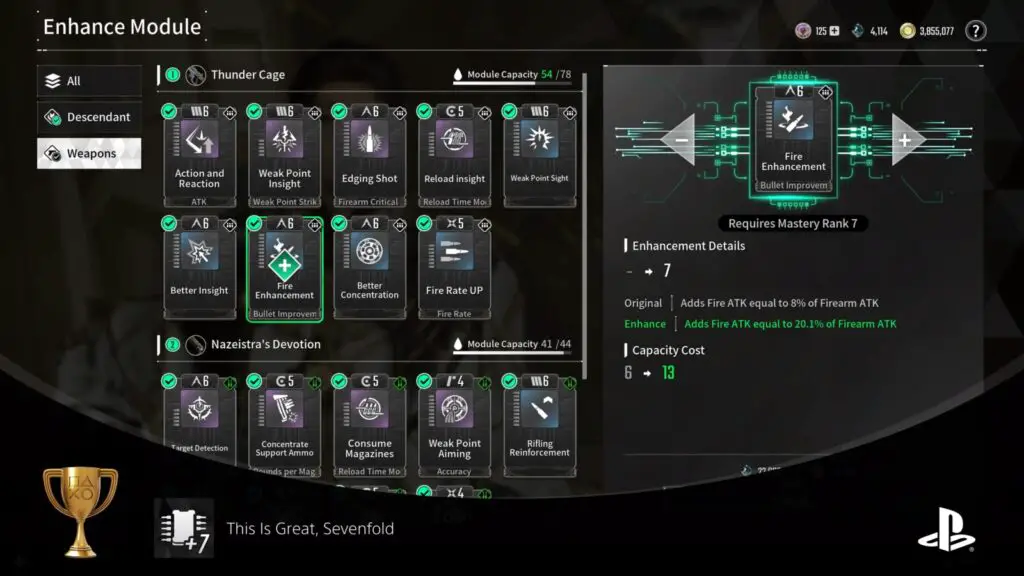
Enhance any module to +7
By speaking to Sillon in Albion, you can improve the efficacy and effect of your weapon and descendant modules.
To unlock the “This is Great, Sevenfold” trophy, you need to improve a single module at least 7 times. Note that while most modules can be improved up to 10 times, some can only be improved 5 times.
Each time you upgrade a module, it will cost you an increasing number of Kuiper Shards, as well as an increasing amount of coins. Kuiper Shards drop from most enemies in most activities, so you’ll earn a lot of them naturally, but you can also get Kuiper Shards by dismantling modules (see Execute Order 77 ).
I recommend upgrading an “Increased HP” Module for this trophy, as that’ll be one of the most useful modules to have upgraded, and that module is also used in a lot of great builds from what I’ve seen.

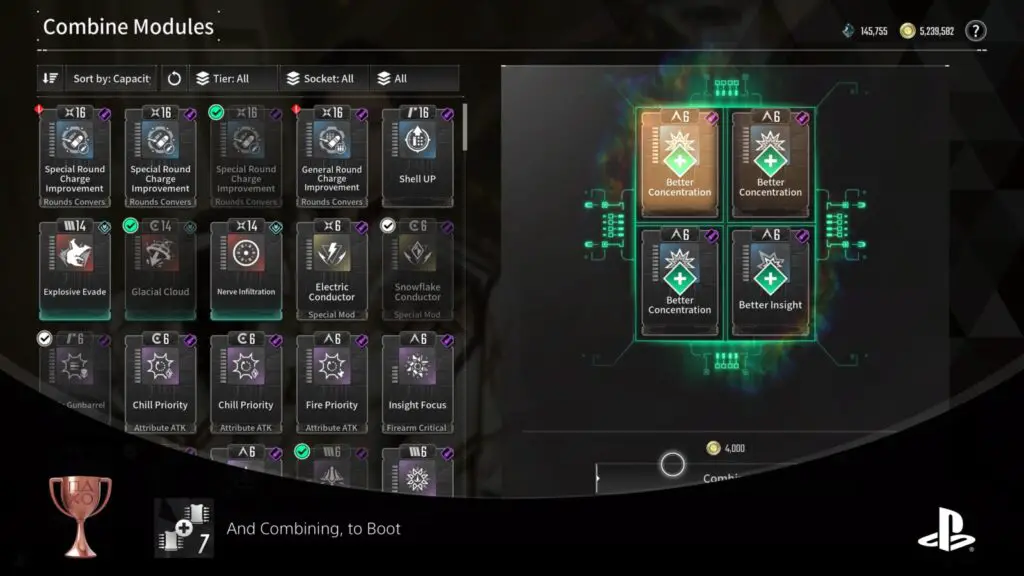
And Combining, to Boot
Combine modules 7 times
By speaking to Sillon in Albion, you can combine 4 modules you don’t want in exchange for 1 random module.
To unlock the “And Combining, to Boot” trophy, you will need to do this at least 7 times. To begin, you’ll need to have collected at least 28 modules you don’t want or need. This won’t be difficult because you get Modules from almost every activity and enemy, so your module stores will fill up pretty quickly.
A good bet is to use modules you have duplicates of, as you’ll rarely need any module more than once.

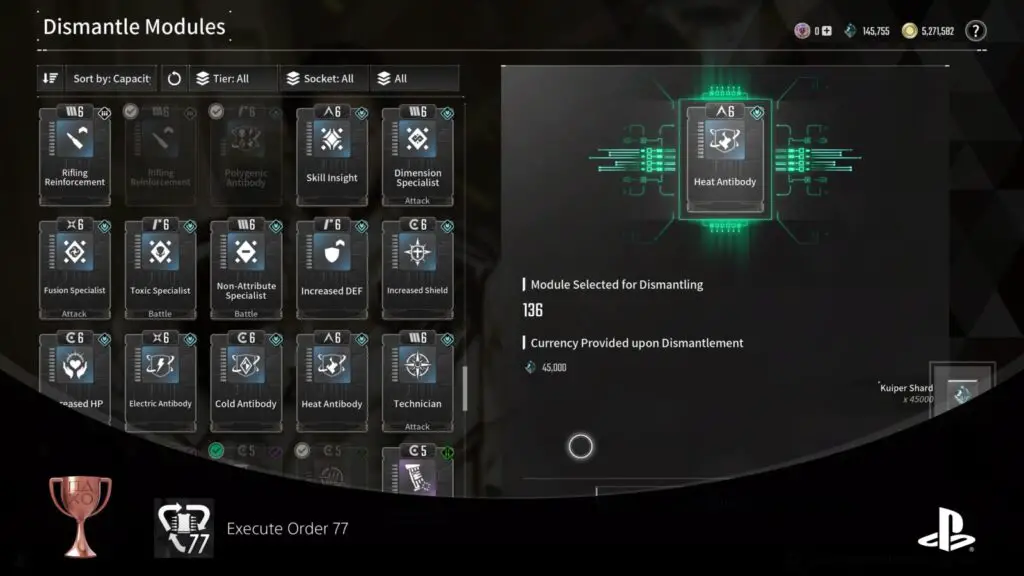
Execute Order 77
Dismantle modules 77 times
By speaking to Sillon in Albion, you can dismantle unwanted or unneeded modules in exchange for Kuiper Shards, which can then be used to upgrade modules you do want (See This Is Great, Sevenfold).
To unlock the “Execute Order 77” trophy, you simply need to dismantle a cumulative total of 77 modules in this way. You’ll be collecting modules like crazy, whether you want to or not. Practically every activity and enemy can drop modules so you’ll quickly end up with an inventory filled with modules.
A good option is to dismantle any duplicate modules you have, as you’ll very rarely need multiples of the same module.
Activity Trophies

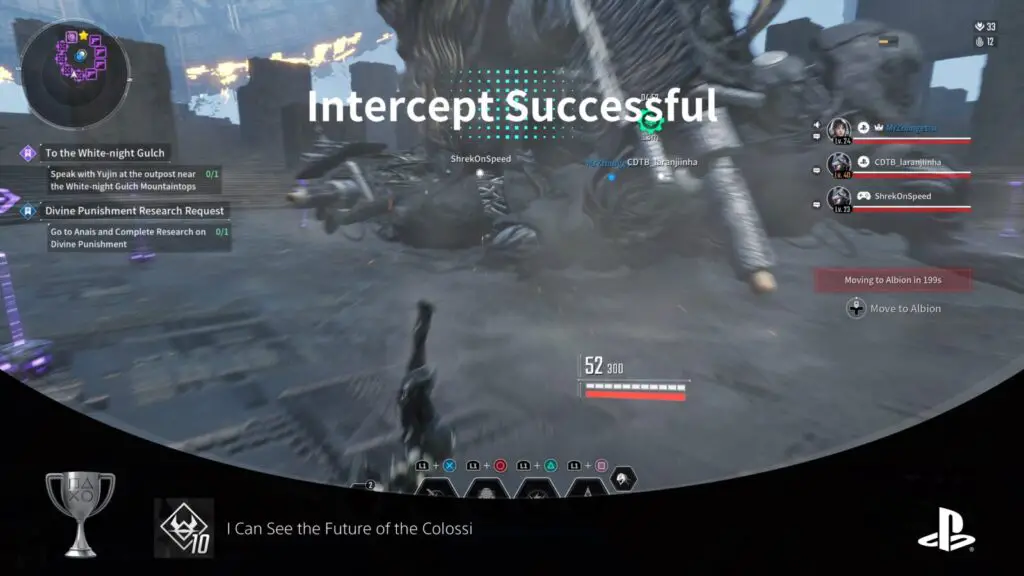
I Can See the Future of the Colossi
Complete 10 Void Intercept Battles
If you went to the effort of completing the Main Story campaign, then you will already have at least 7 out of 10 Void Intercept Battles under your belt, which means merely completing just three more to unlock the “I Can See the Future of the Colossi.”
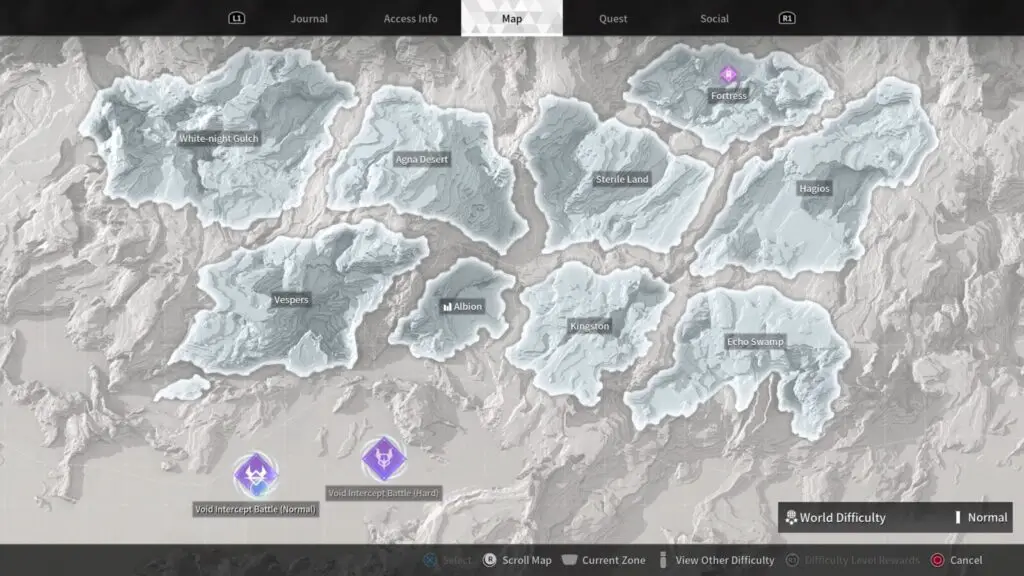
You can easily replay Void Intercept Battles via the World Map. Even just fighting the Level 10 Grave Walker 2 more times will be more than enough.
That said, since most Descendant and Weapon components need to be acquired from Amorphous Patterns that can only be opened at the end of Void Intercept Battles, you’ll likely find yourself fighting Colossi far more than just 10 measly times.

Special Operation Task Squad
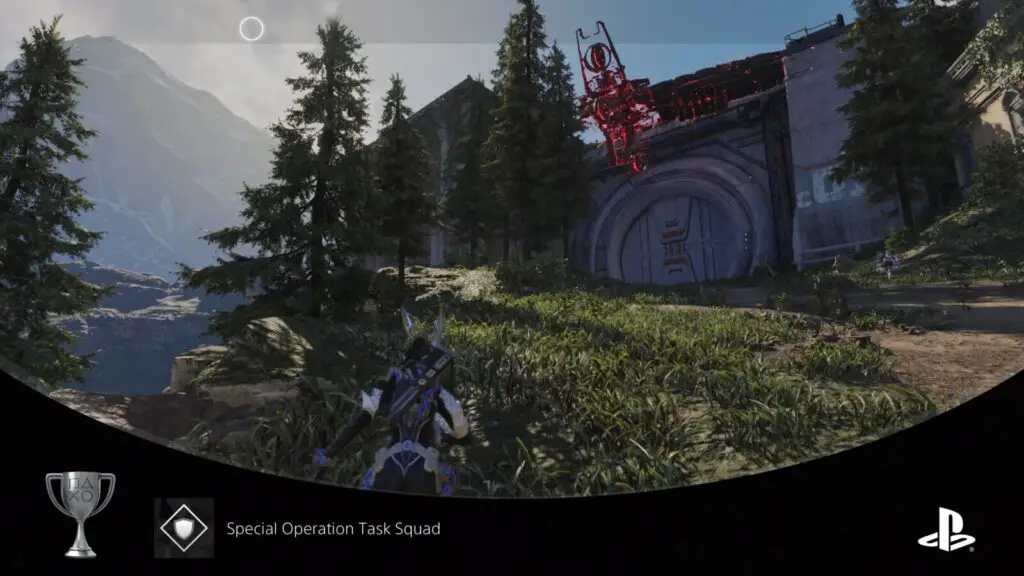
Clear up to Wave 7 in the Kingston Albion Resource Defense mission
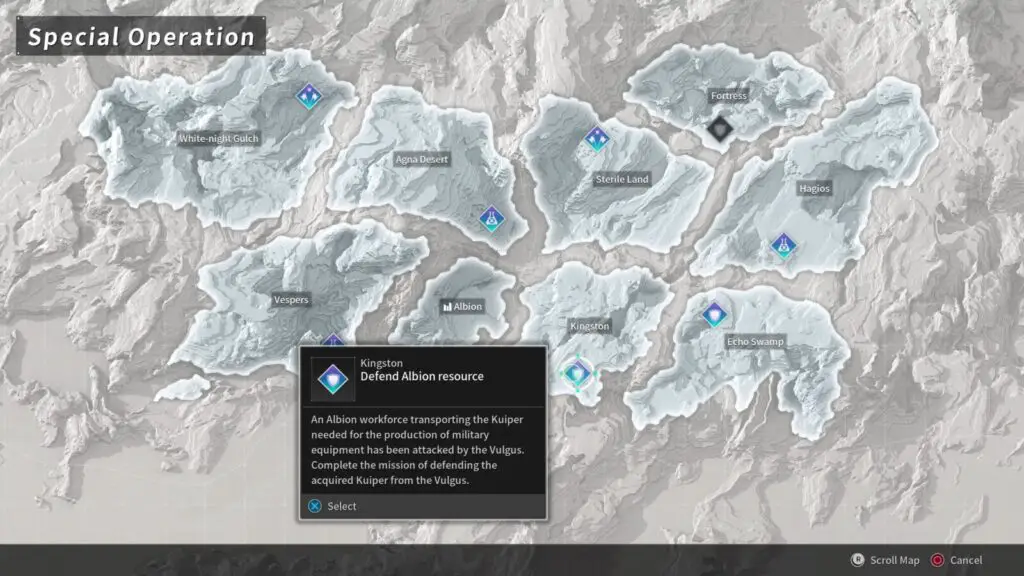
In The First Descendant, there are some wave-based missions called “Special Operations.” Every region on the map has one available and they’re typically something you’ll end up running in the hopes of specific patterns to acquire specific character or weapon components. On top of that, they’re a really great way to earn exp quickly (something you’ll really want to do for Slot Maketh Module).
The first of these that becomes available is the “Defend Albion Resource” Special Operation in Kingston; the first region.
In this mission, you will receive rewards at specific wave thresholds, the first of these is after Wave 7. Fortunately, though slow, the first 7 waves are very easy and the enemies go down very quickly. Reaching the final wave is a whole other challenge, but reaching Wave 7 in a walk in the park.
Upon clearing Wave 7 of Kingston’s Special Operation, you will receive the “Special Operation Task Squad” trophy.

Good Things Happen Twice
Successfully remove Colossi parts 2 times (excluding Retrieve the Ironheart operation)
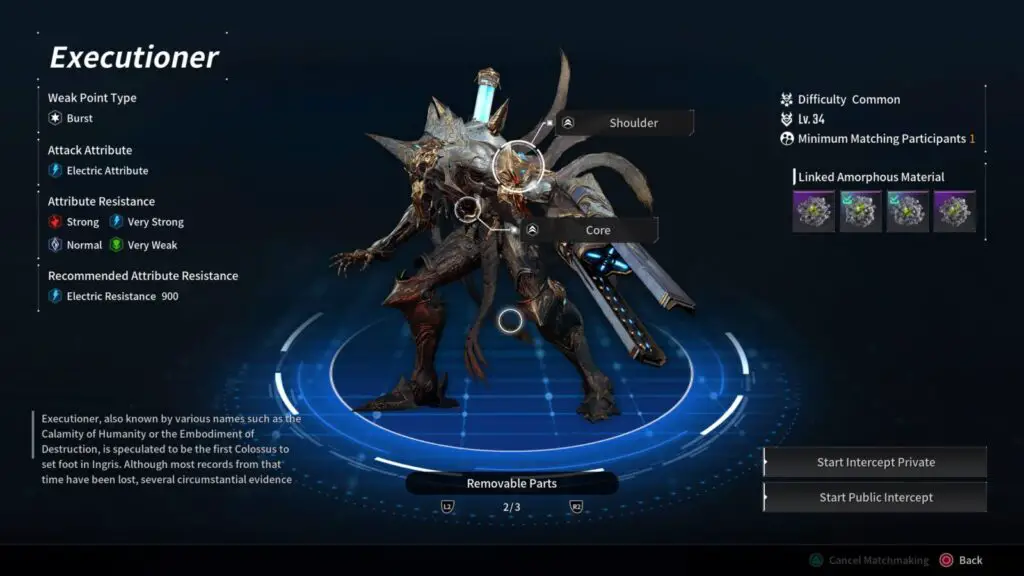
When you are fighting Colossi in the Void Intercept Battles, you’ll notice that they have various destructible components all along their body. Typically on their knees, chest, or shoulders.
The larger components, usually just the ones on their shoulders, can be grappled once they are damaged enough. When shooting these components, you’ll notice that they change color. From blue, to light blue, to yellow, and then—finally—white. When a component is yellow or white, you can grapple to it.
Once a removable part has been grappled, you’ll be able to directly attack it with physical strikes by mashing ![]() . Deal enough damage in this way without being knocked off, and the part itself will fall away.
. Deal enough damage in this way without being knocked off, and the part itself will fall away.
To unlock the “Good Things Happen Twice” trophy, you need to do this a cumulative total of two times. As noted in the trophy description, though, doing this during the “Retrieve the Ironheart” Operation does not count towards the trophy.

Phase Three | Endgame Trophy Grind
The last few trophies in this The First Descendant Trophy Guide require significant time investment and the farming of rare resources. In particular, the Slot Maketh Module trophy will take up a lot of your time.
You can continue to play the game however you like from this point on; farm characters and weapons that you want, replay activities you enjoy, work on powerful builds for your favorite characters. While doing so, however, keep the below tasks in mind, and do what you can to gather the resources and EXP you’ll need to achieve the remaining trophies.
Collect At Least 5 Characters

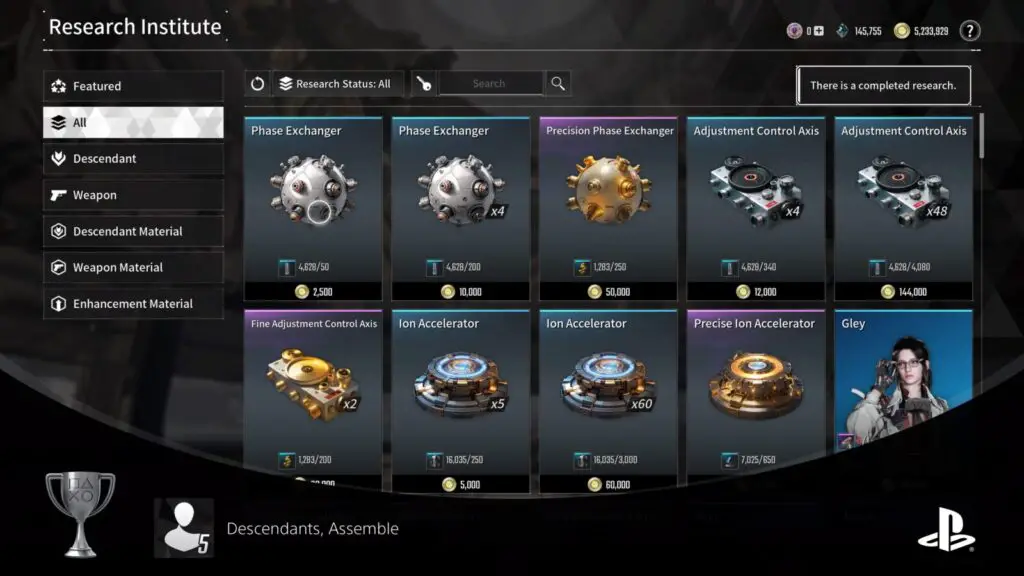
Descendants, Assemble
Own 5 Descendants
To unlock the “Descendants, Assemble” trophy, you will need to unlock at least 5 Descendants.
Typically, Descendants are quite difficult to unlock. First, you need to find the blueprints for all of their components, then you need to find the Descendant’s Code, then you need to collect all the resources for crafting the components, research them via Anais for 4 hours, and then research the descendant themselves for even longer. This is a lot of work.
Fortunately, there are 4 descendants in the game who require significantly less work, so you can actually avoid doing all of that by only collecting the five easiest descendants to collect.
The first one is obviously your first descendant, who you will get for free. At the start of the game, you can pick Ajax, Viessa, or Lepic, and you’ll get them instantly, no farming required!
As you progress through the story and unlock more regions, there are 4 Descendants you can acquire with just a little bit of farming. The components for Bunny, Freyna, Sharen, and Blair do not need to be crafted, they actually drop in their complete form. Therefore, you can simply run and re-run the relevant activities until you have all four of their components and then deliver them to Anais to research the descendant. This requires less time, less resources, and a lot less farming!
The table below details the components you need, where to find them, and their drop rates. Once you have all 4 components for a Descendant, take them to Anais to research the Descendant and add them to your roster!
| Descendant | Component | Activity | Location | Drop Rate |
|---|---|---|---|---|
| Bunny | Enhanced Cells | Vulgus Field Generator | The Fallen Theater, Kingston | 20% |
| Bunny | Stabilizer | Magister Lab | The Fallen Theater, Kingston | 20% |
| Bunny | Spiral Catalyst | Vulgus Data Transmitter | Grand Square, Kingston | 20% |
| Bunny | Code | Logistics Facility | Ironworks, Kingston | 20% |
| Freyna | Enhanced Cells | The Shelter | Timberfall, Vespers | 20% |
| Freyna | Stabilizer | Ruins Path | The Lumber Yard, Vespers | 20% |
| Freyna | Spiral Catalyst | Ruins Underground Entrance | The Ruins, Vespers | 20% |
| Freyna | Code | Vulgus Strategic Outpost—You’ll get the “Amorphous Material Pattern: Freyna” from it Open the pattern via the Void Fusion Reactor in the same area |
Rockfall, Sterile Land | 100% |
| Sharen | Enhanced Cells | Seed Vault | Abandoned Zone, Echo Swamp | 20% |
| Sharen | Stabilizer | The Chapel | Derelict Covert, Echo Swamp | 20% |
| Sharen | Spiral Catalyst | The Asylum | Vermillion Waste, Agna Desert | 20% |
| Sharen | Code | Caligo Ossuary | The Mining Site, Agna Desert | 20% |
| Blair | Enhanced Cells | Mystery’s End | Moongrave Basin, White-night Gulch | 20% |
| Blair | Stabilizer | Bio-Lab | Hatchery, White-night Gulch | 20% |
| Blair | Spiral Catalyst | The Haven | The Corrupted Zone, Hagios | 20% |
| Blair | Code | Old Mystery | Forward Base, Hagios | 20% |
After collecting and unlocking a total of 5 Descendants, the “Descendants, Assemble” trophy will unlock!
"Prestige" Characters 10 Times

What Was Always Expected
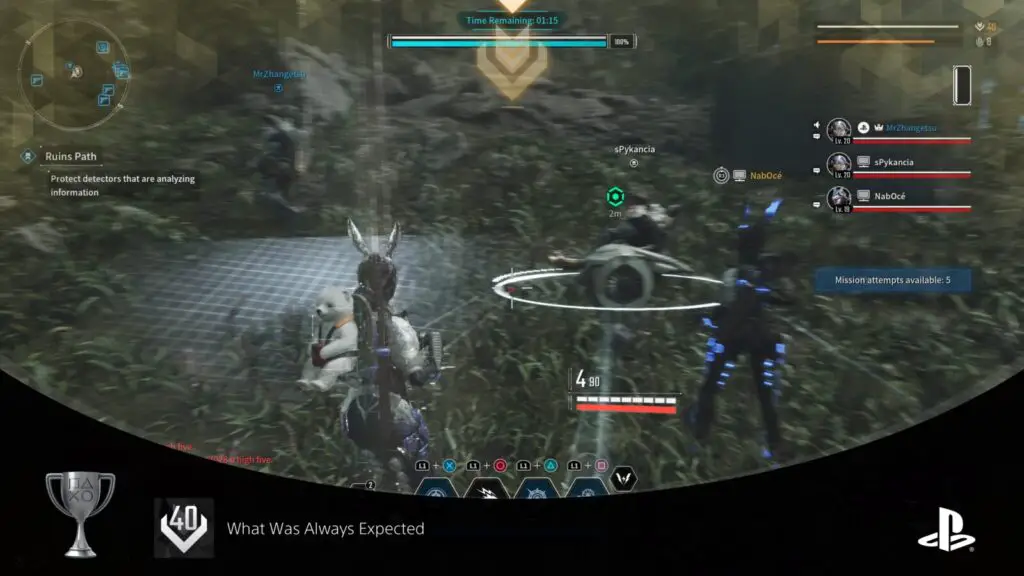
Reach Level 40 with any Descendant
There’s a fairly strong chance that—unless you swap out frequently—you will reach Level 40 with at least one character before finishing the story. However, the reason I’ve put this trophy here is that you will need to reach Level 40 10 times over to earn the Slot Maketh Module trophy.

Slot Maketh Module
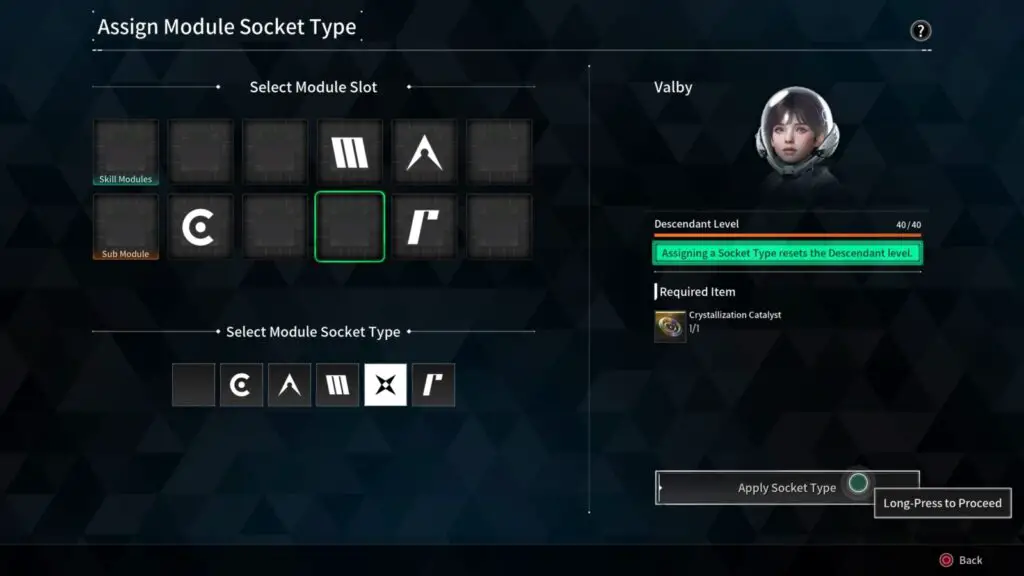
Assign module socket types 10 times
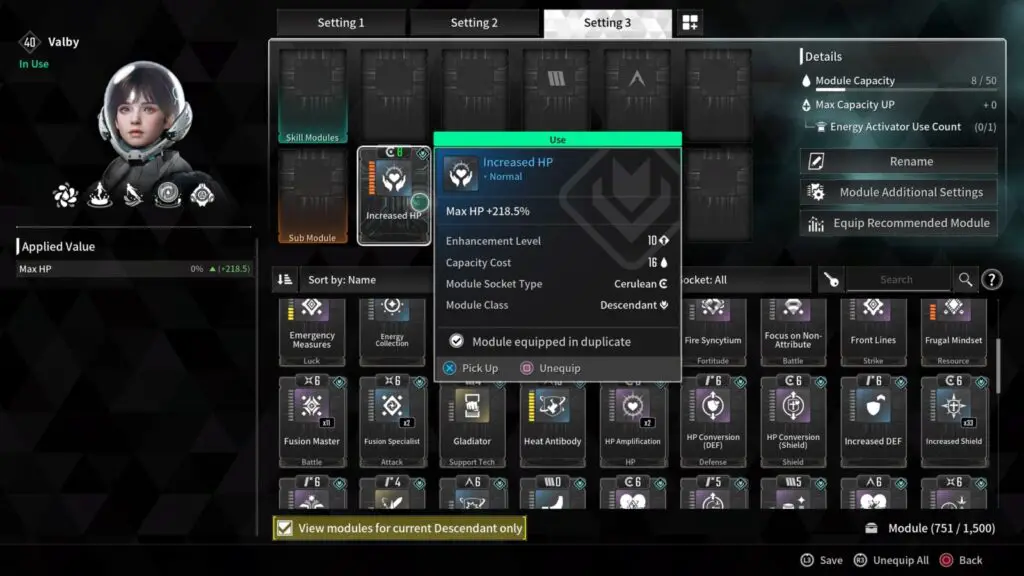
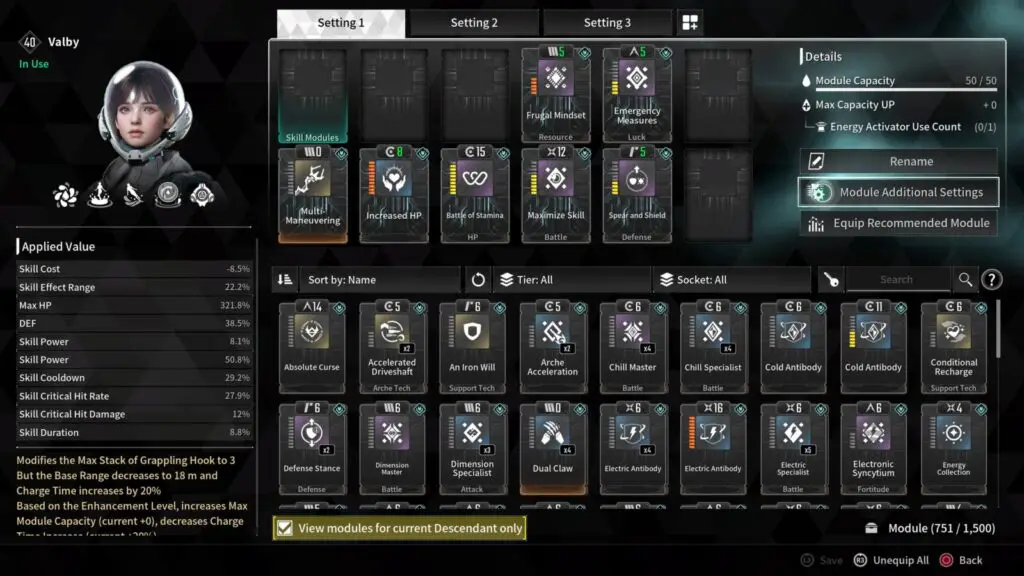
You’ll notice that when placing modules on a Descendant or a Weapon, some of the module slots have an icon on them.
When you place a module into that slot with a matching icon, the cost of that module is halved. For example, a maxed-out Cerulean “Increased HP” Module costs 16 Module Capacity to place. However, if it is placed in a Cerulean slot, the cost is reduced down to just 8.
By taking advantage of this, you can equip a Descendant or Weapon with an array of highly advantageous modules despite your limited module capacity.
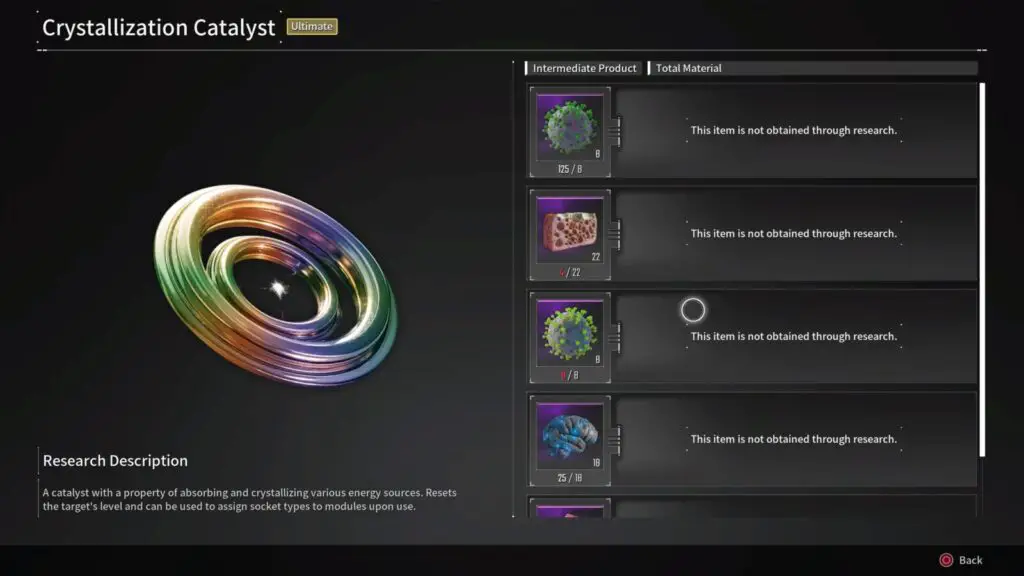
Each Descendant and Weapon only has two such slots by default, but you can add more by using a “Crystallization Catalyst.” This enhancement material needs to be crafted via Anais in Albion by bringing her several rare resources:
Module Capacity Trophies

Place for Something Special
Expand the module capacity of a weapon that uses Special Rounds
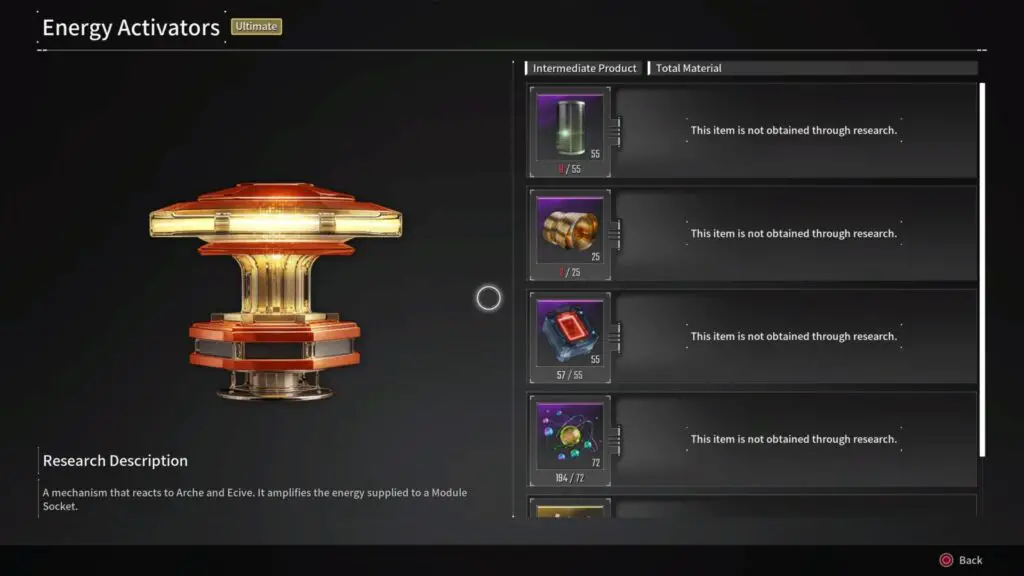
To expand the Module Capacity of a Descendant or Weapon, you first need an Enhancement Material called an “Energy Activator.” These need to be created via Anais in Albion, and crafting them requires a series of rare resources:
| Resource | Quantity | Acquisition |
|---|---|---|
| Low-Carbon Activator | 55 | Available at the Vulgus Strategic Outpost in The Fallen Theater, Kingston |
| Conductive Metallic Foil | 25 | Found in encrypted storage boxes & vaults, or dropped by monsters on specific missions in the Vespers region |
| Heat Plasma Battery | 55 | Dropped by Monsters in “The Haven” and “Old Mystery” missions in the Hagios region |
| Polyatomic Ion Particle | 72 | Retrieved from Monsters on missions in the Fortress region |
| Energy Activator Blueprint | 1 | Can be acquired from most Amorphous Material Patterns, however, has a low drop chance. |
To unlock the “Place for Something Special” trophy, though, you only need one Energy Activator. You’ll actually get one for free after completing the story’s final mission, and there’s a Side Quest you can collect from the Descendant Instructor in Albion that leads to another free one. You get that Side Quest after reaching Level 40 with any Descendant for the first time. You should use one for this trophy, and the other for Modules Maketh Descendant.
If you used these already in other places, though, you’ll need to farm the resources listed above and craft a new one via Anais.
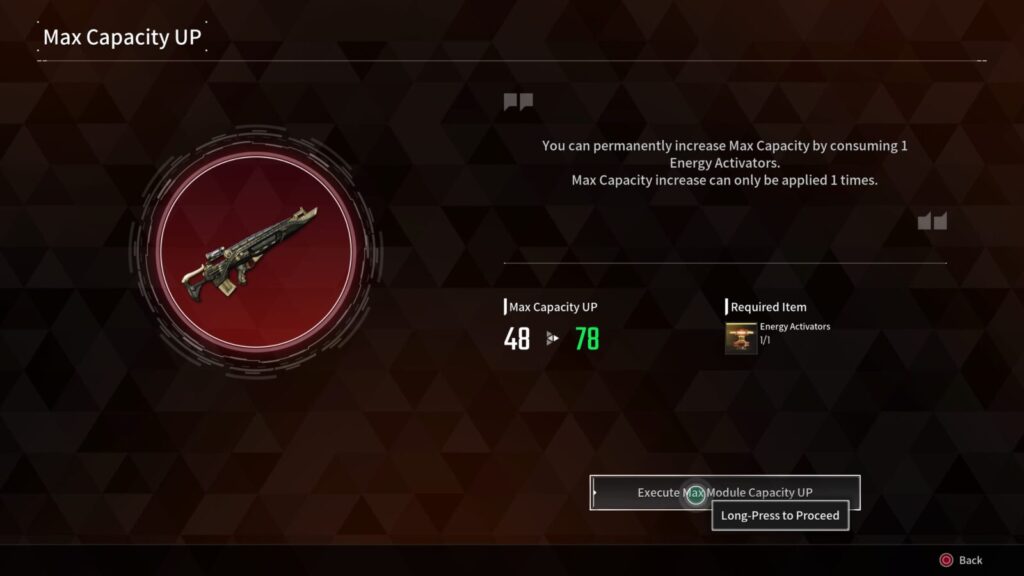
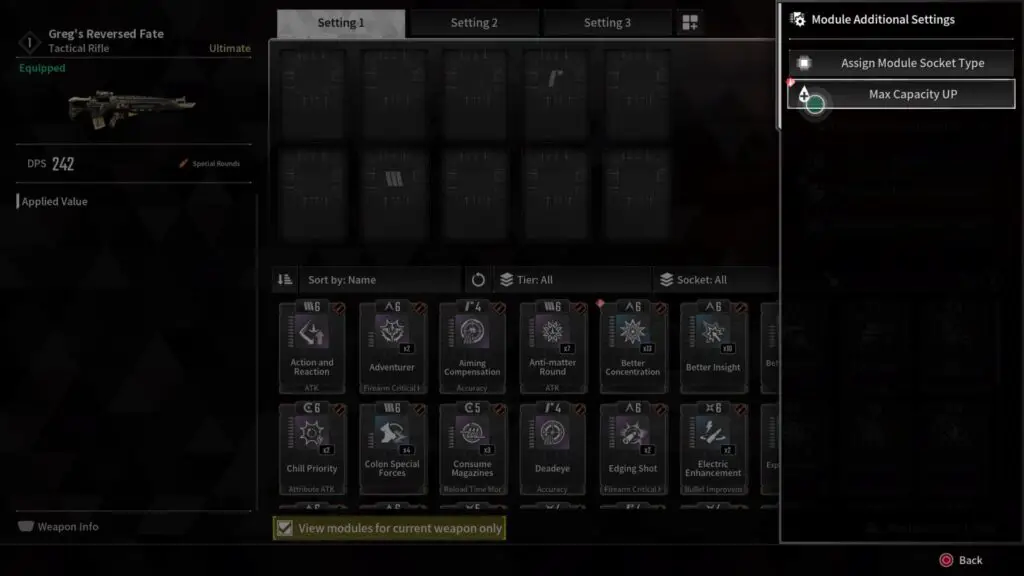
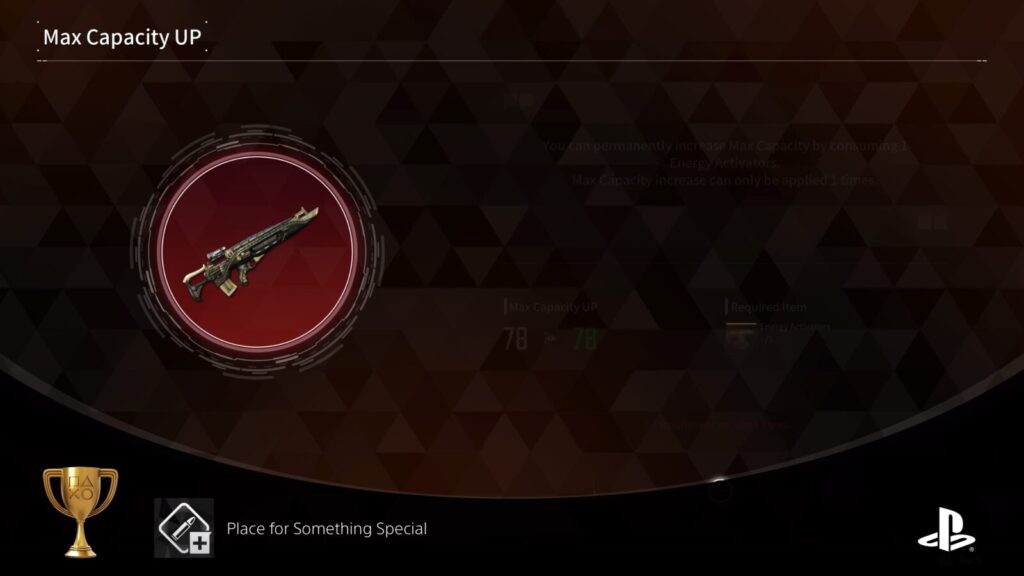
Once you have an Energy Activator, don’t just use it on any old Weapon or Descendant, you will only unlock this trophy if you use it on a weapon that uses Special Rounds. Special Round weapons have an orange bullet icon on them. I used mine on the “Greg’s Reversed Fate” Ultimate Special Weapon.
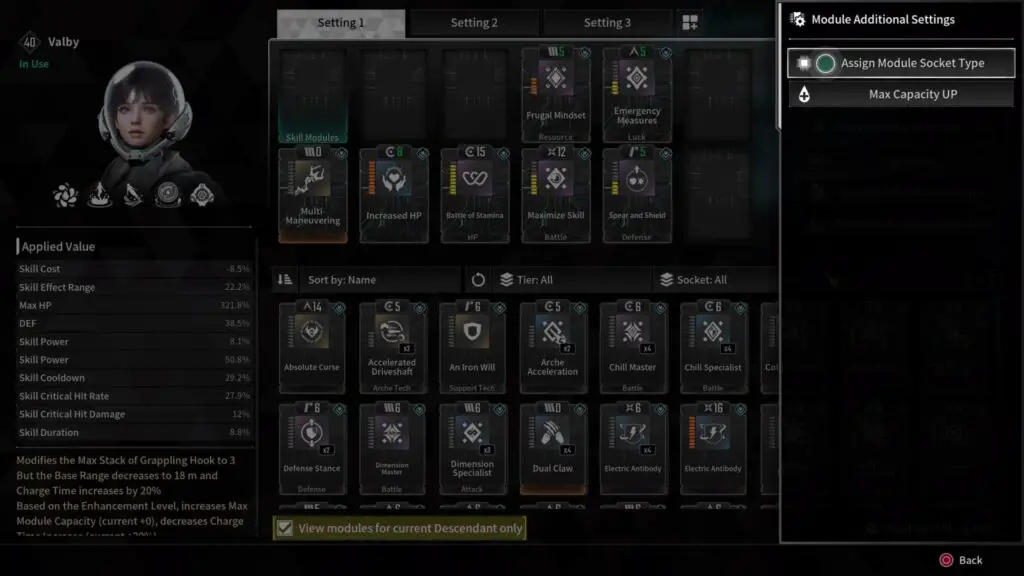
To use the Energy Activator, open the weapon’s Module menu, then select “Module Additional Settings” and then “Max Capacity UP.”
Use the Energy Activator and the Maximum Module Capacity of your weapon will increase, unlocking the “Place for Something Special” trophy.

Modules Maketh Descendant
Expand a Descendant's Module Capacity
To expand the Module Capacity of a Descendant or Weapon, you first need an Enhancement Material called an “Energy Activator.” These need to be created via Anais in Albion, and crafting them requires a series of rare resources:
| Resource | Quantity | Acquisition |
|---|---|---|
| Low-Carbon Activator | 55 | Available at the Vulgus Strategic Outpost in The Fallen Theater, Kingston |
| Conductive Metallic Foil | 25 | Found in encrypted storage boxes & vaults, or dropped by monsters on specific missions in the Vespers region |
| Heat Plasma Battery | 55 | Dropped by Monsters in “The Haven” and “Old Mystery” missions in the Hagios region |
| Polyatomic Ion Particle | 72 | Retrieved from Monsters on missions in the Fortress region |
| Energy Activator Blueprint | 1 | Can be acquired from most Amorphous Material Patterns, however, has a low drop chance. |
To unlock the “Modules Maketh Descendant” trophy, though, you only need one Energy Activator. You’ll actually get one for free after completing the story’s final mission, and there’s a Side Quest you can collect from the Descendant Instructor in Albion that leads to another free one. You get that Side Quest after reaching Level 40 with any Descendant for the first time. You should use one for this trophy, and the other for Place for Something Special.
If you used these already in other places, though, you’ll need to farm the resources listed above and craft a new one via Anais.
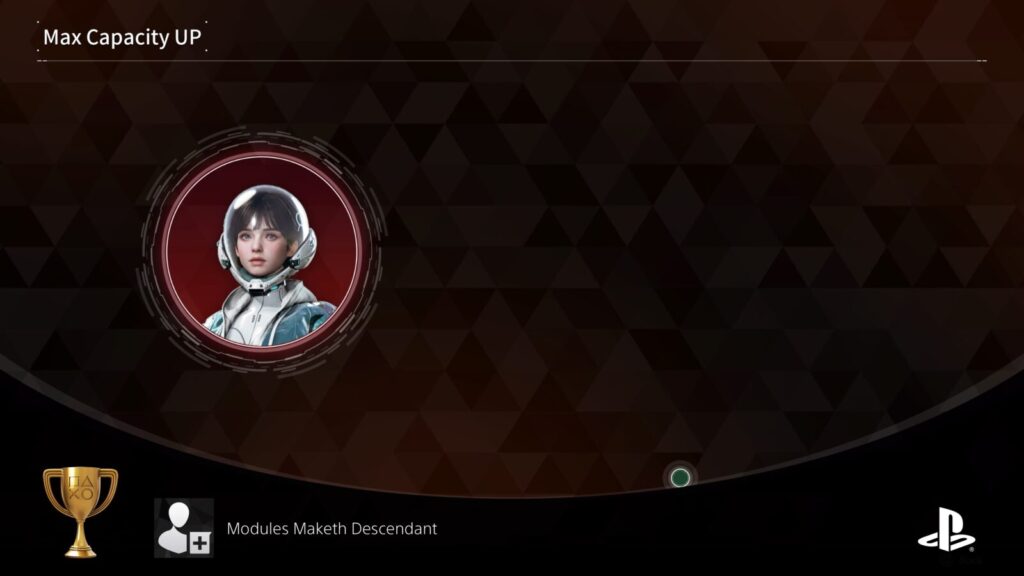
To use the Energy Activator, open any Descendant’s Module menu, then select “Module Additional Settings” and then “Max Capacity UP.” Use the Energy Activator and the Maximum Module Capacity of your Descendant will increase, unlocking the “Modules Maketh Descendant” trophy.
PlatGet!

The True Descendant
Obtain every trophy in The First Descendant
After collecting every trophy in this The First Descendant Trophy Guide, the "The True Descendant" Platinum Trophy will unlock. Congratulations!
Thanks for Reading
Plat Get!
Thank You!
Thank You for choosing PlatGet as your source for this The First Descendant Trophy Guide.
Wondering what to complete next? Browse our complete guide selection or check out our friends at PlatPrices.com to filter the PS Store based on price, trophy difficulty, or completion time.
Got a question, some feedback, or just want to say thanks? Drop a comment in the discussion section below, we'd love to hear from you! No account required!!
Discussion
We've Partnered with NordVPN

