PlayStation 4, PlayStation 5
Marvel’s Guardians of the Galaxy Collectible Guide: Chapters 1 – 4
Game Guide
Where to Find all Outfits, Guardian Collectibles, Items, and Archives in Marvel’s Guardians of the Galaxy 2021.
Welcome to our Guardians of the Galaxy Collectible Guide, created to accompany our Guardians of the Galaxy Trophy Guide.
The collectibles in Guardians of the Galaxy are quite easily missable (at the time of writing) because using Chapter Select actually resets your compendium collectibles to whatever they were at the start of that chapter, so in order to earn the Platinum, you will need to collect all required compendium collectibles in a single run.
Note that this doesn’t affect Outfits or Guardian Collectibles, but you might as well collect them while you’re at it. Especially since the Guardian Collectibles act as Compendium Items when interacted with on the ship.
To help ease the pain of this, our Collectible Guide is written in a chronological walkthrough-like format to help ensure you collect everything you need along the way. In this guide, I will help you locate:
- All 45 Outfits
- All 15 Guardian Collectibles
- All 32 Items
- All 34 Archives
Note that the Items and Archives are part of the compendium, which you only need to collect 65% of (100% is impossible anyway, due to some collectibles and choices preventing you from collecting others). The compendium also consists of Characters, Factions, Creatures, and Places, all of which will unlock naturally throughout the story and require no additional effort on your part.
Saving at the start of every chapter is advisable. This way if you miss a collectible, you can replay the chapter immediately and try again. Note that as you don’t need every Guardian Collectible, Item or Archive, you can miss a few, but if you miss too many you’ll struggle to earn the platinum in just one run. You will also definitely need every Outfit.
Due to the fact that some collectibles become unavailable depending on various choices and/or actions, I have tried to make clear where and when this is the case to aid you in a successful playthrough.
Please note that once you have collected every Outfit in our Collectible Guide, you will still need to acquire and equip the following Outfits (they unlock naturally):
| Outfit | Unlocks in… |
|---|---|
| Gold-Lord Star-Lord Outfit | Chapter 14 |
| Golden Guardians Drax Outfit | Chapter 14 |
| Golden Guardians Gamora Outfit | Chapter 14 |
| Golden Guardians Groot Outfit | Chapter 14 |
| Golden Guardians Rocket Outfit | Chapter 14 |
| Sun-Lord Star-Lord Outfit | Chapter 16 – For finishing the game (Also a Digital Deluxe Item) |
| City-Lord Star-Lord Outfit | Chapter 16 – For finishing the game (Also a Digital Deluxe Item) |
| Social-Lord Star-Lord Outfit | Chapter 16 – For finishing the game (Also a Pre-Order Item) |
| Sleek-Lord Star-Lord Outfit | Chapter 16 – For finishing the game |
| Space-Lord Star-Lord Outfit | Chapter 16 – For finishing the game |
As some of them unlock at the end of the game, you will need to start a New Game Plus save and then go through your outfits equipping all the newly-acquired ones.
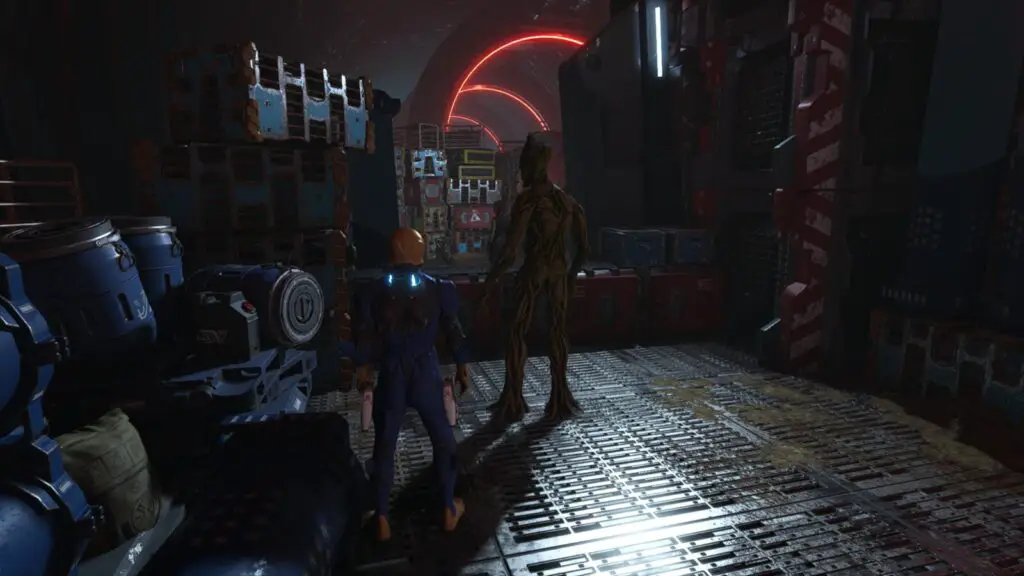
Chapter 1
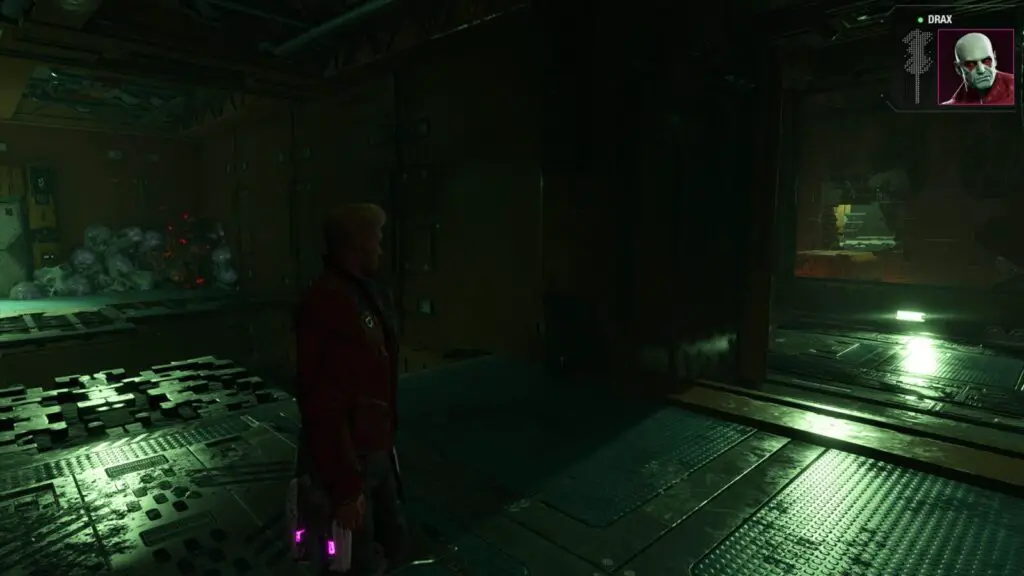
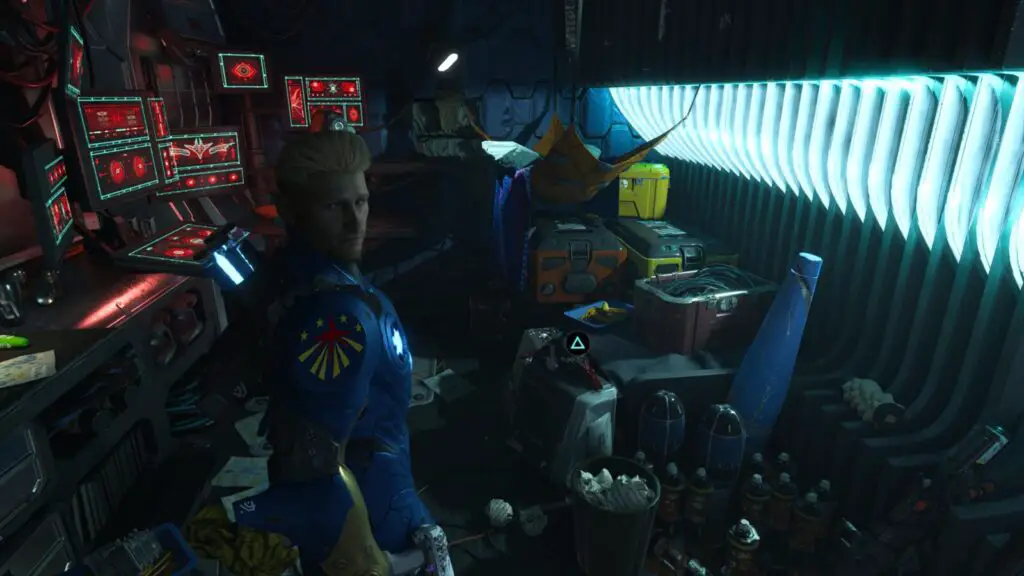
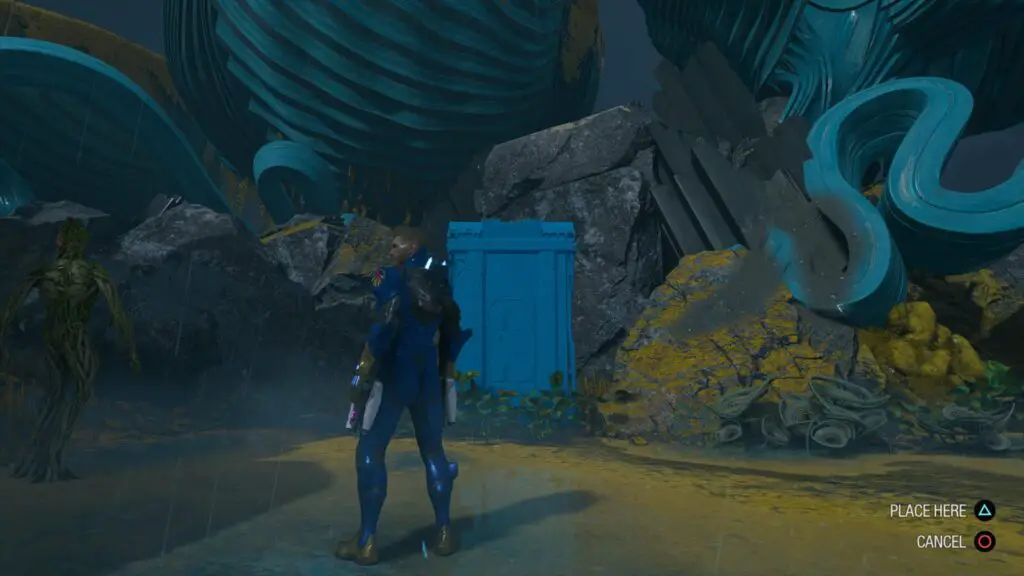
When you leave Peter’s room at the start of Chapter 1, turn right and enter Rocket’s room. On the ground to your right, you will see the Team Costumes Archive.
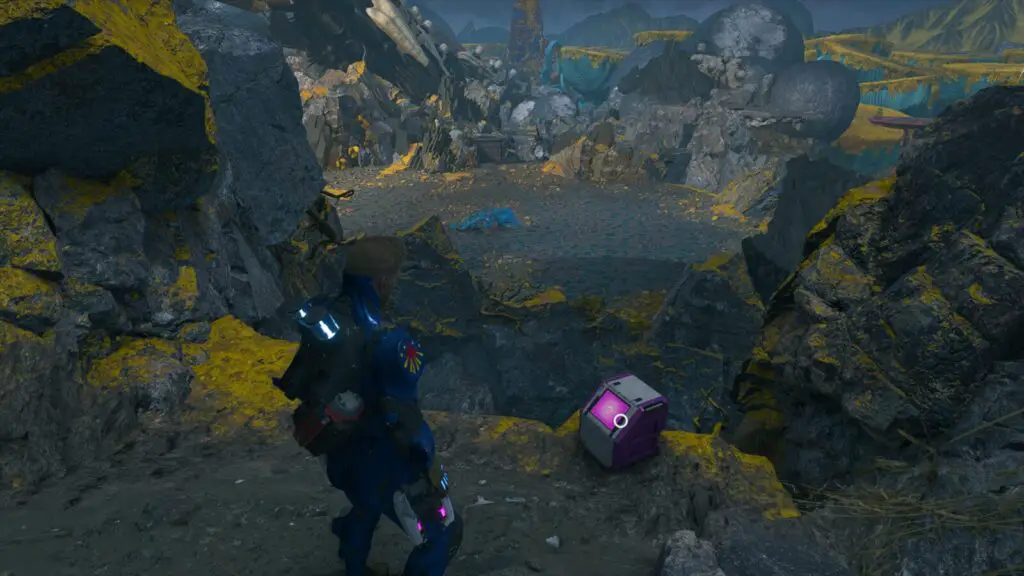
Continue the story until you reach the “Quarantine Zone”. As soon as you arrive there, look for the Nano-Resin Incident Report Archive on the yellow crate on the ledge to your left.
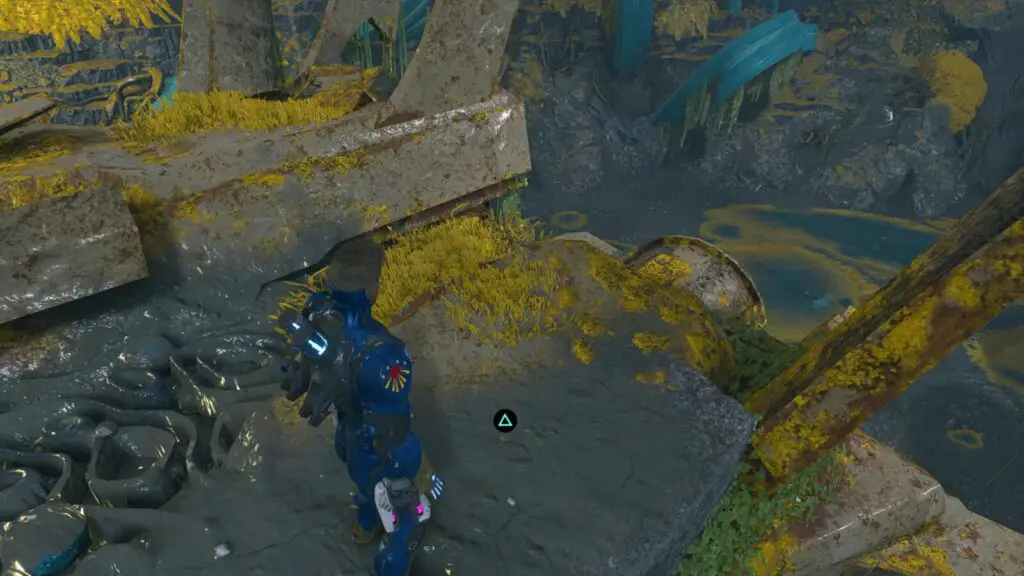
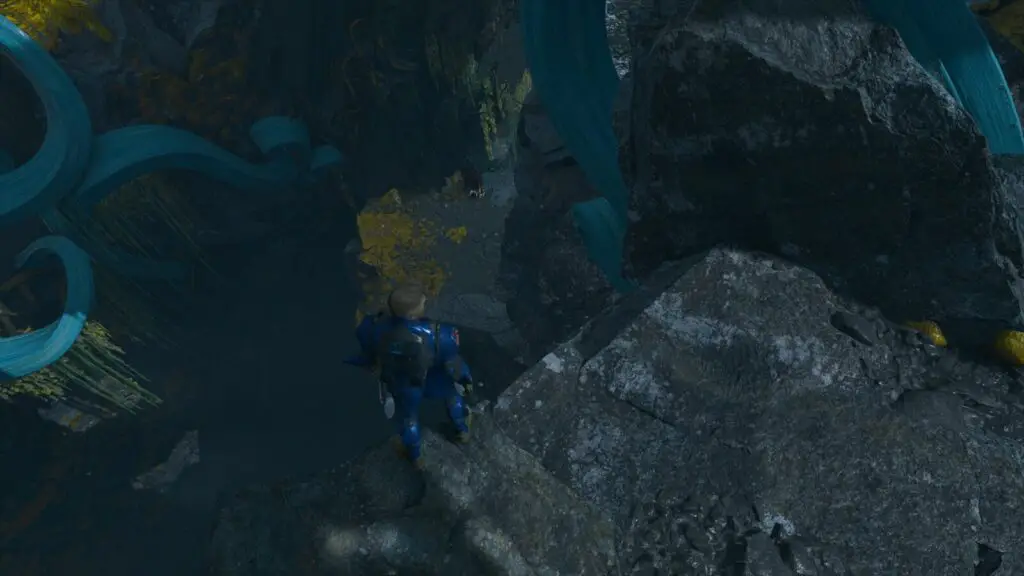
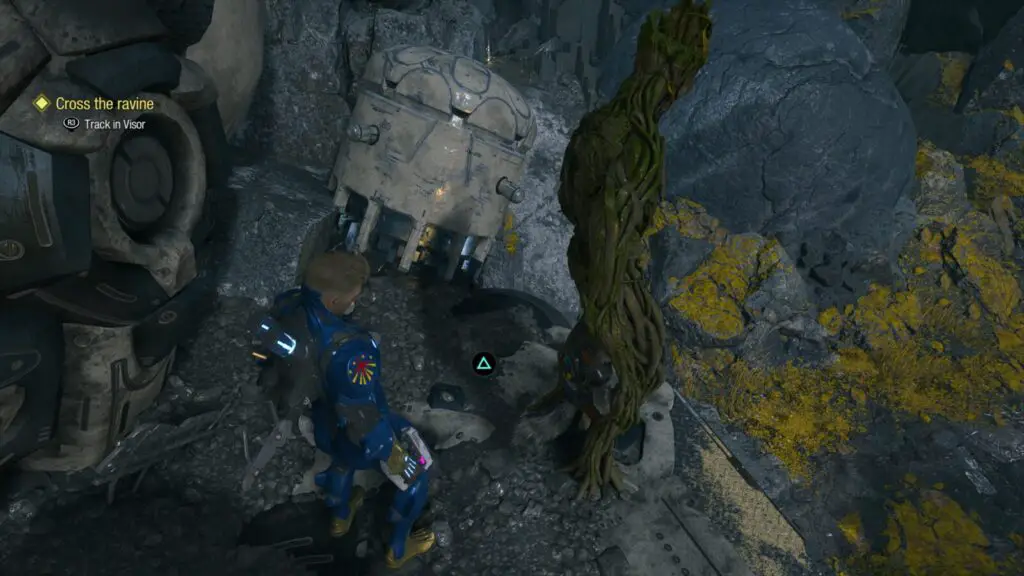
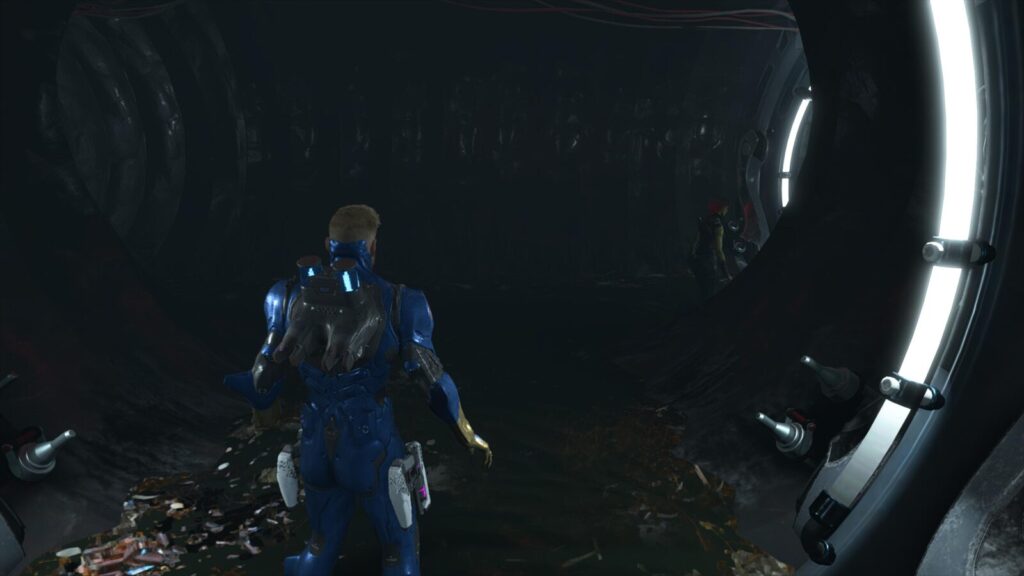
A short while later, after sliding down a metal sheet, you’ll come to a fork in the road. Rocket will say “Pretty sure that way’s a dead-end”. Go right, towards this supposed “dead-end”. Start going that way and then take a hard right on the blue metal plating.
Walk along it to the edge and look down to your left, where you’ll see an opening.
Enter the opening and look for the Guardians of the Galaxy (2014) Rocket Outfit on the ground inside.
Return to the fork in the path and go left this time. You’ll need to crouch through a half-opened door. Once through, immediately look to your left and pick up the Pride and Fall Archive at the end of the room.
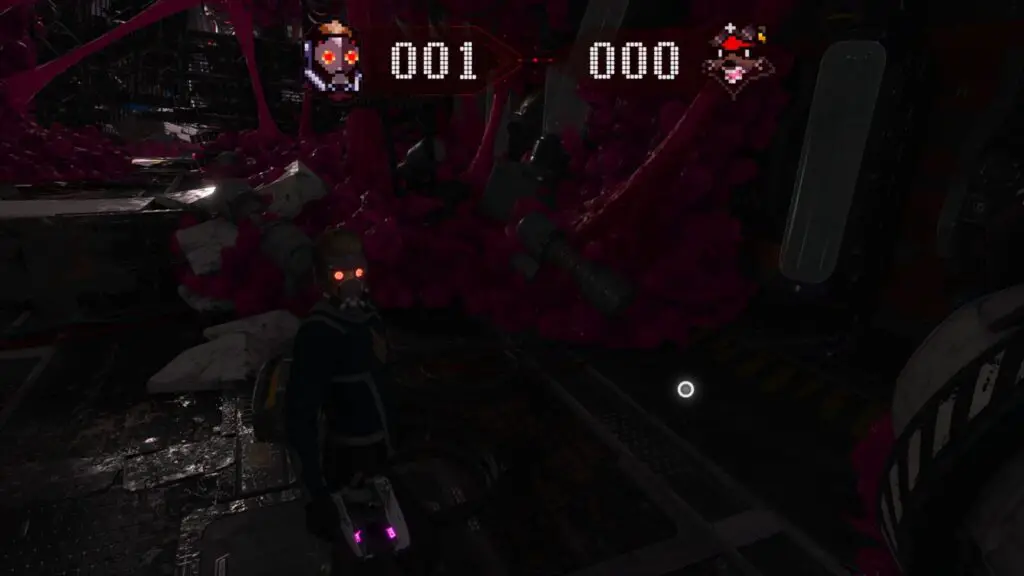
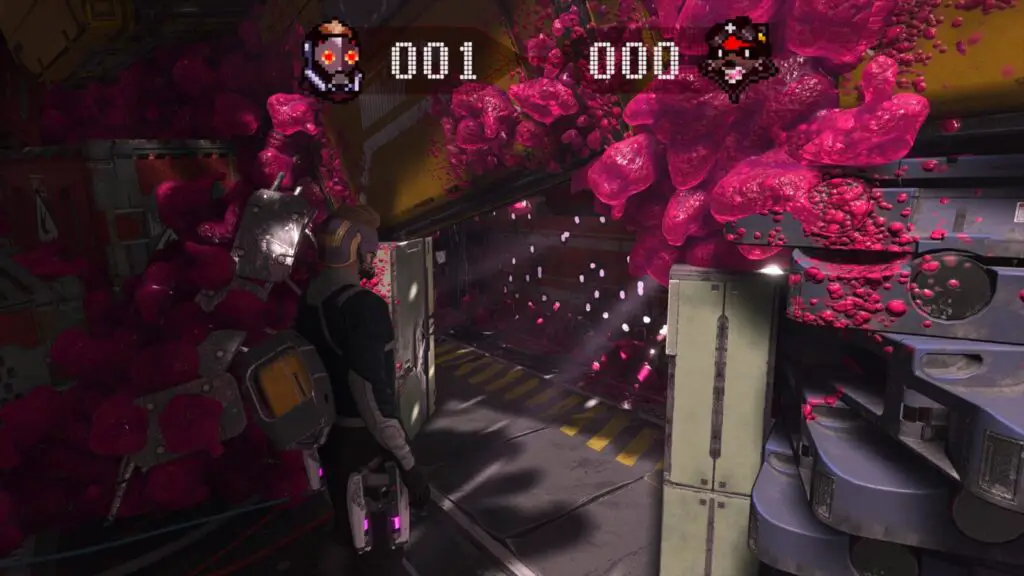
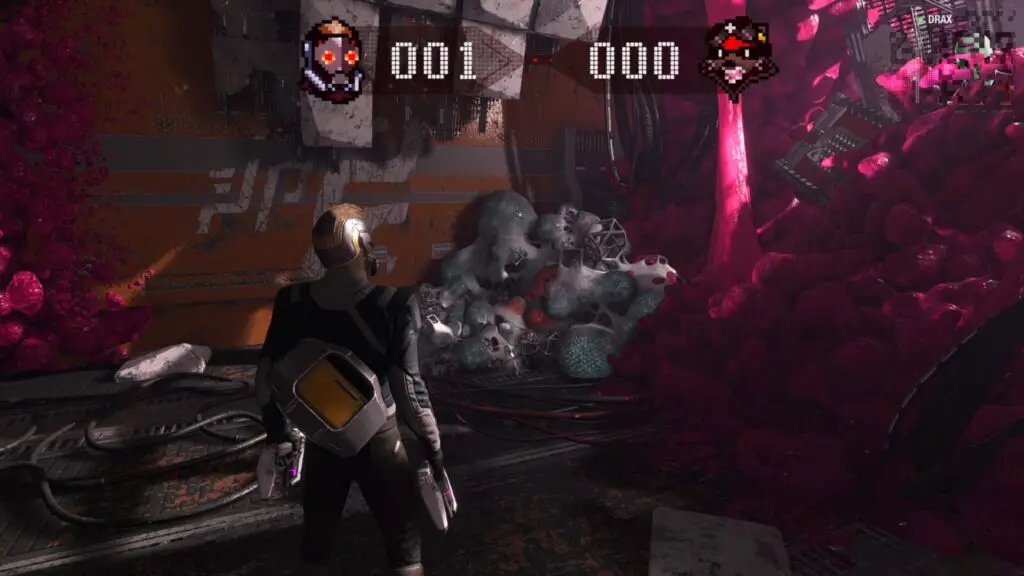
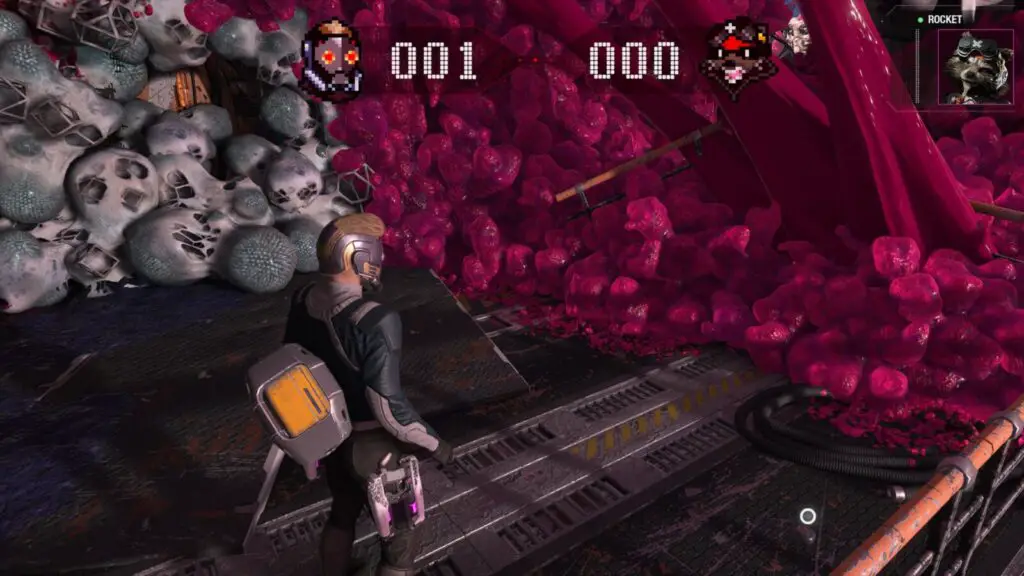
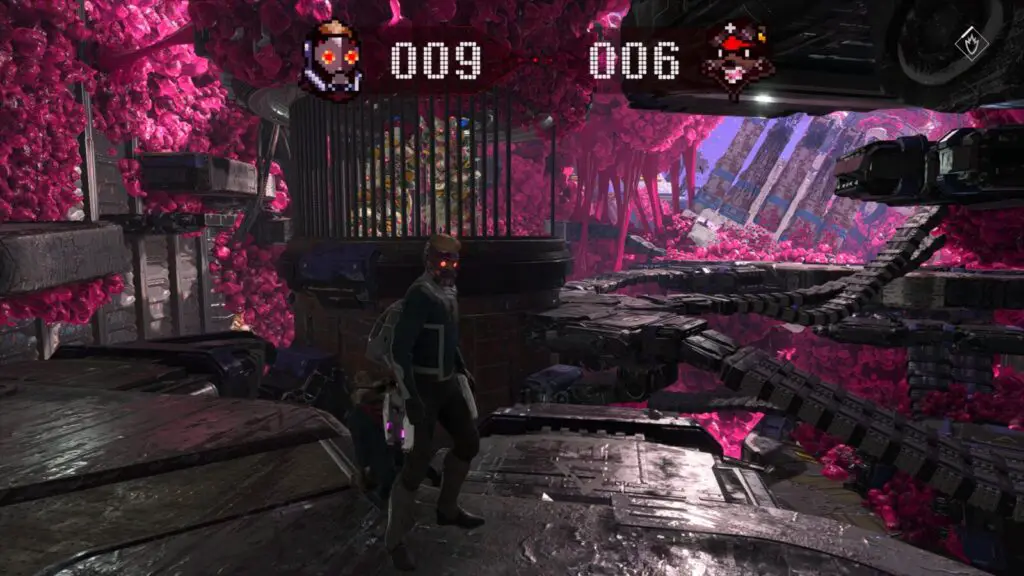
Continue until Rocket makes a bet with Starlord. There will be a counter at the top of the screen, indicating which of you has destroyed the most parasite nests.
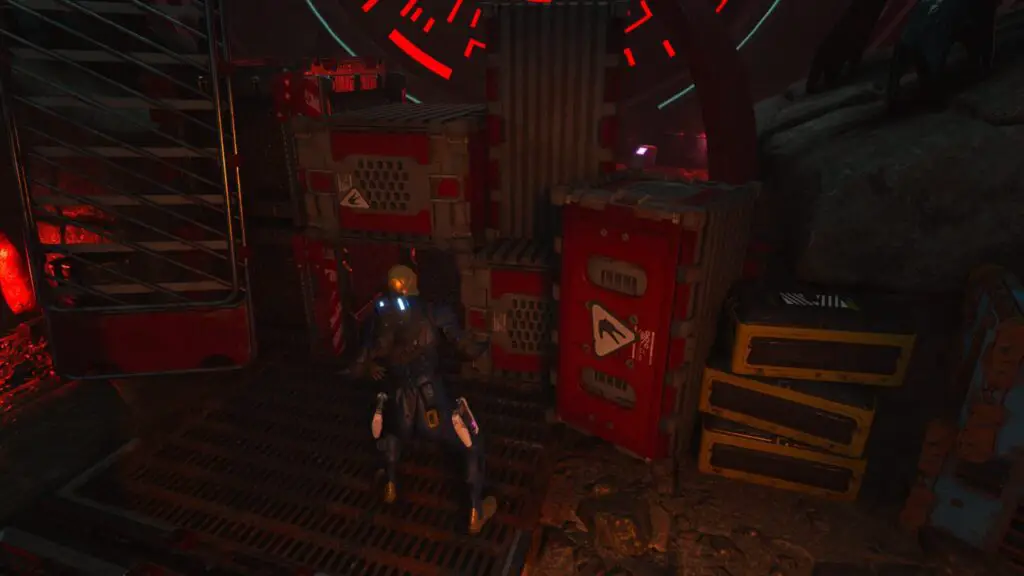
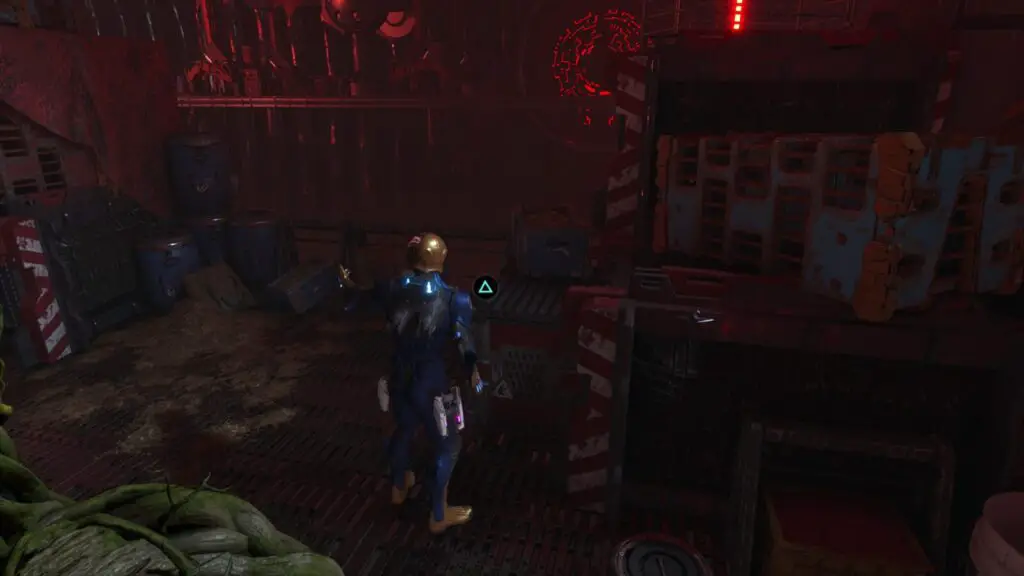
Head inside the ship and continue until there’s a short obstacle you need to actively vault over. On the ground to the right of it, you’ll see the QZ Disposal Archive. Collect it.
Continue until you have involuntarily dropped down into a new area of the ship, and crouch under the containers as you make your way through.
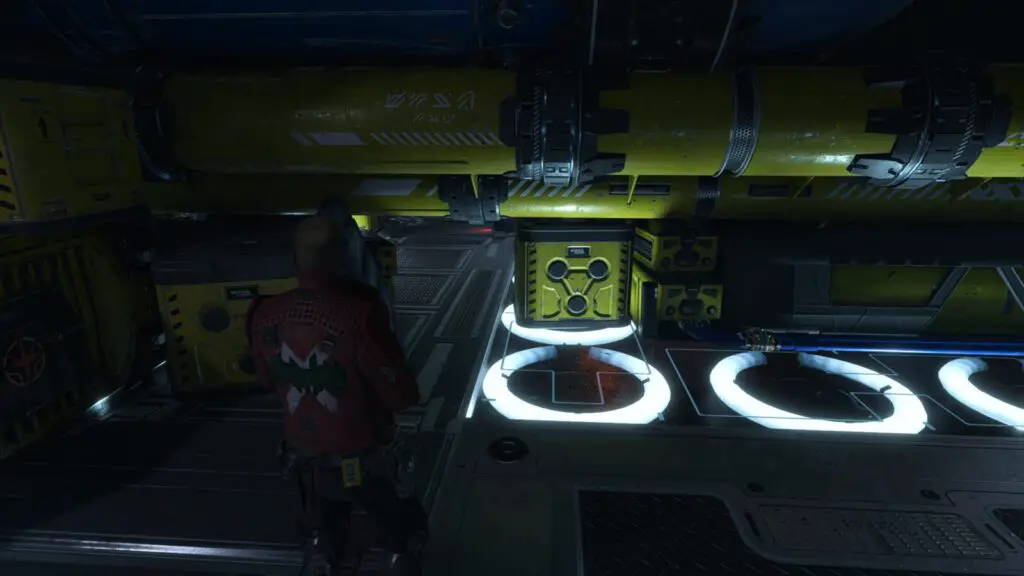
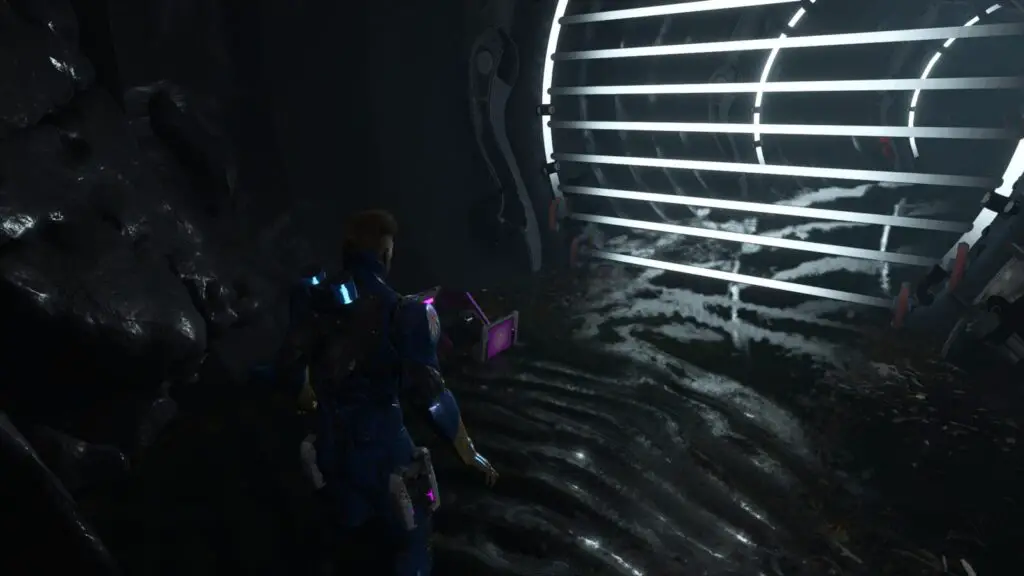
Look for some “Brittle Material” in the corner of the room and shoot it to reveal a Ravager Comm Bracelet Guardian Collectible under it.
After your first big conflict against some green balls, climb up to the floor above, where there is some Brittle Material blocking the way. Opposite the Brittle Material, on the ground, is the Failed to Send Message Archive.
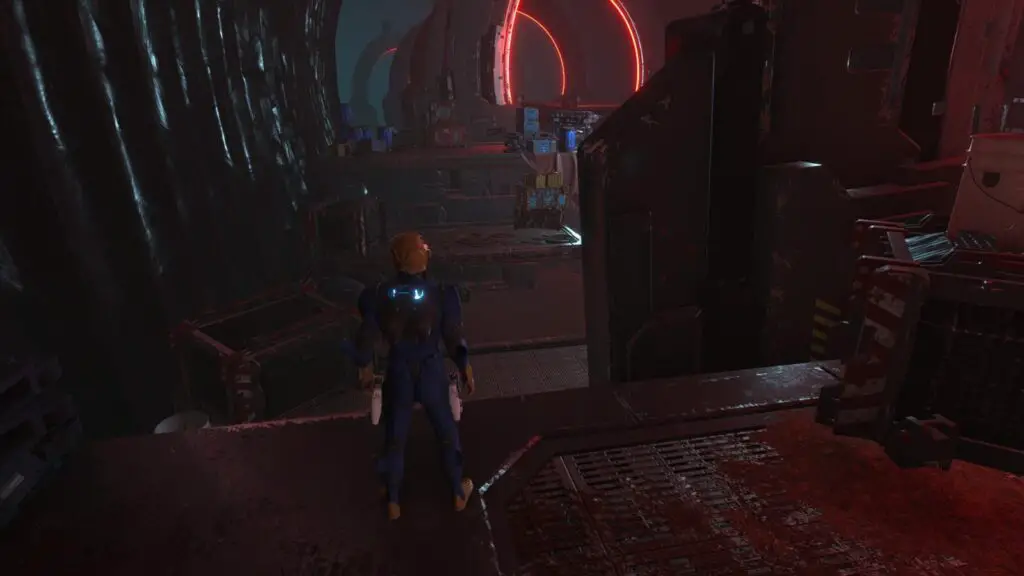
Proceed a bit further into the eye of a large robot and the bet between Rocket and Starlord will intensify. This large room is filled with targets to help you increase your score over Rocket’s. You should focus on beating Rocket’s score as much as you can for now as there’s a trophy for beating him.
Once you’re happy with your score, look for a cage on the top floor of the room and go inside it to find the Unthinkable Archive.
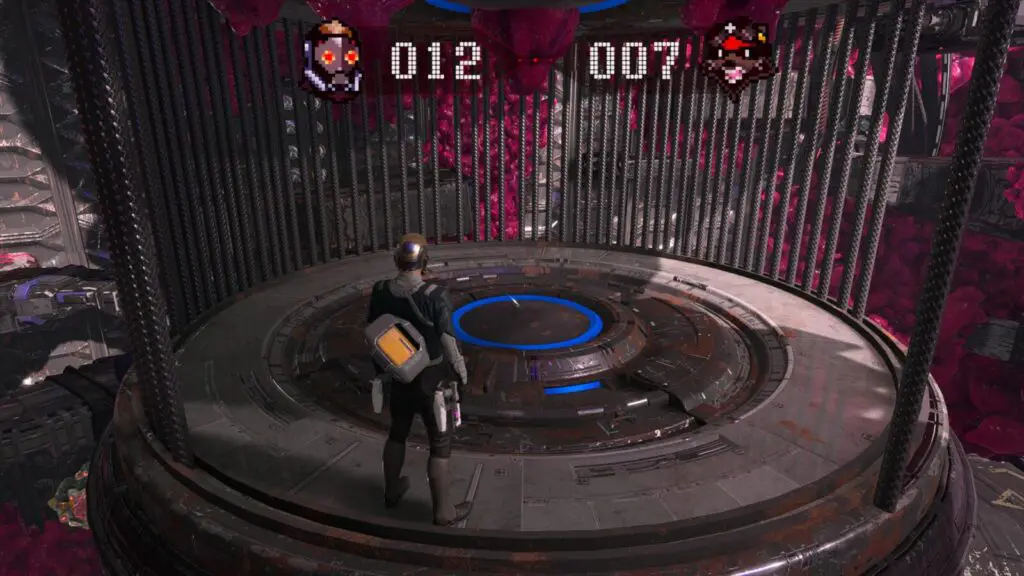
You will now want to proceed through the level for quite a while until after a cutscene where Groot and Rocket are reunited. If you beat Rocket’s score, you should unlock the trophy here.
After that cutscene, go around the corner to your right and crouch under a gap in the pink goop.

There’s a purple container inside, containing the Guardians of the Galaxy (2014) Groot Costume.
Proceed through the level until after you’ve been introduced to weapon upgrade workbenches.

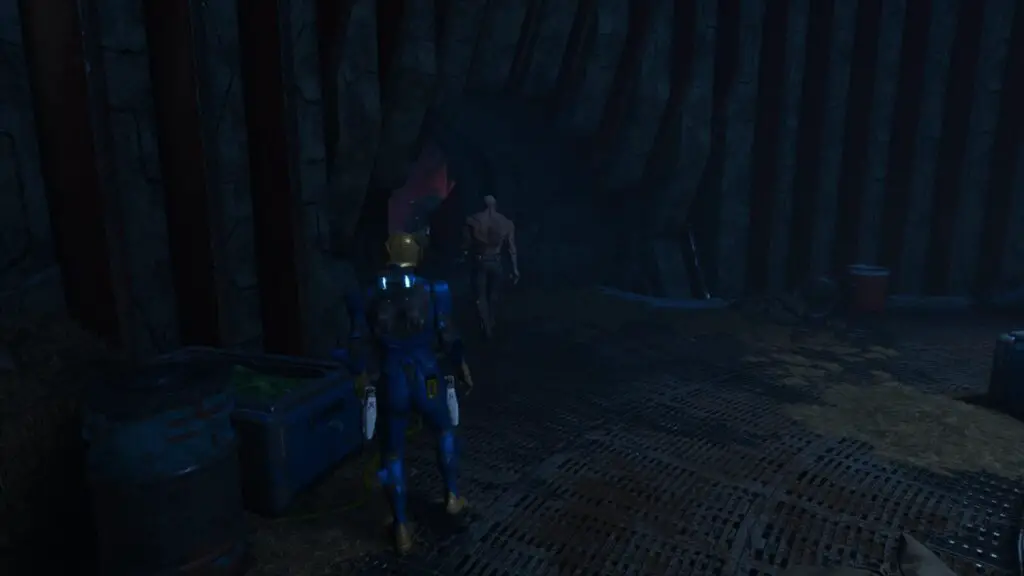
Not long after that, you’ll drop (again, involuntarily) into an area where a new enemy type is introduced.
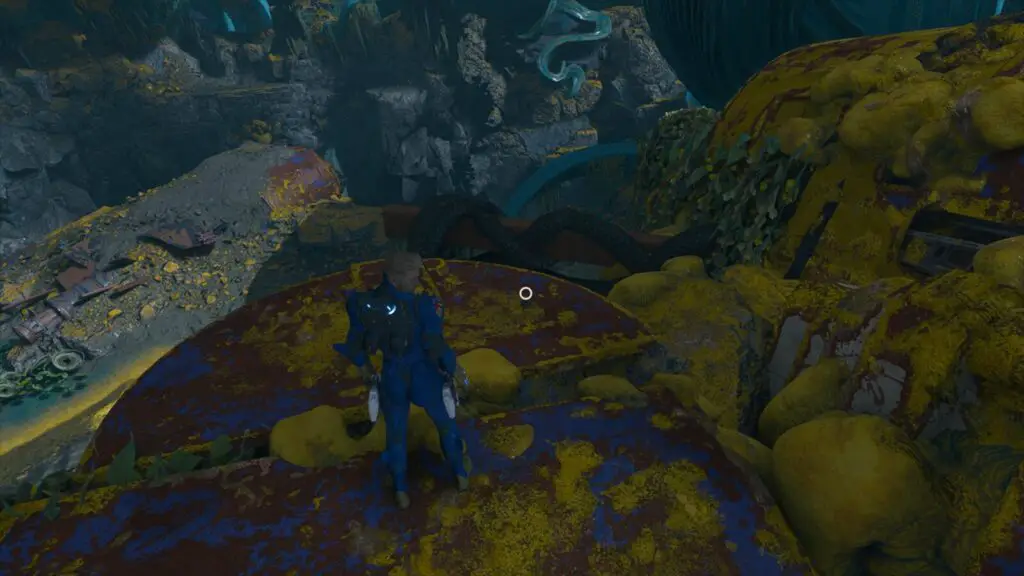
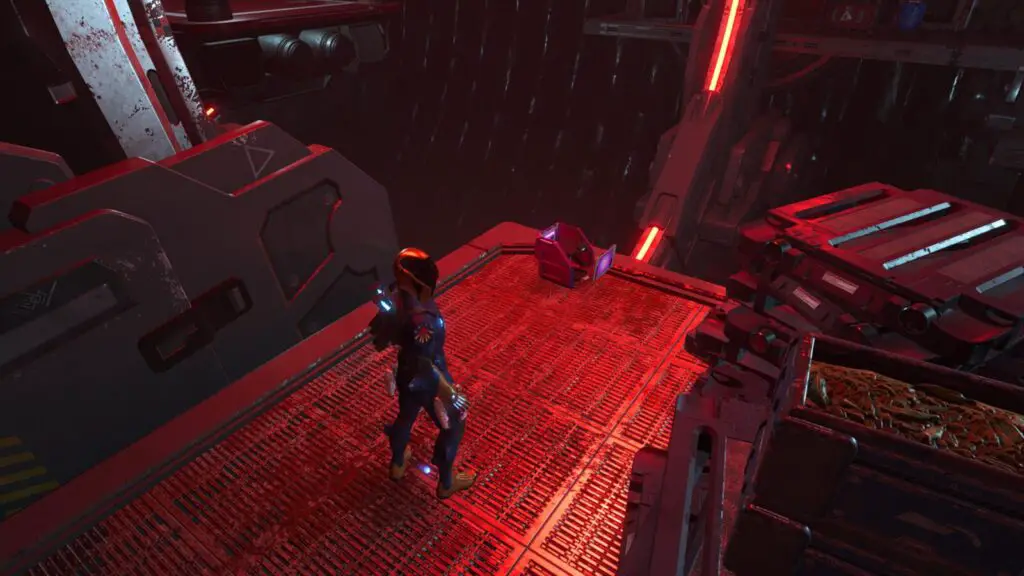
After you have defeated them, jump up onto the ledge above and then immediately turn around to see some Brittle Material. Shoot it with your newly acquired rapid cooldown ability and you will find the Spinal Control Unit Guardian Collectible underneath.
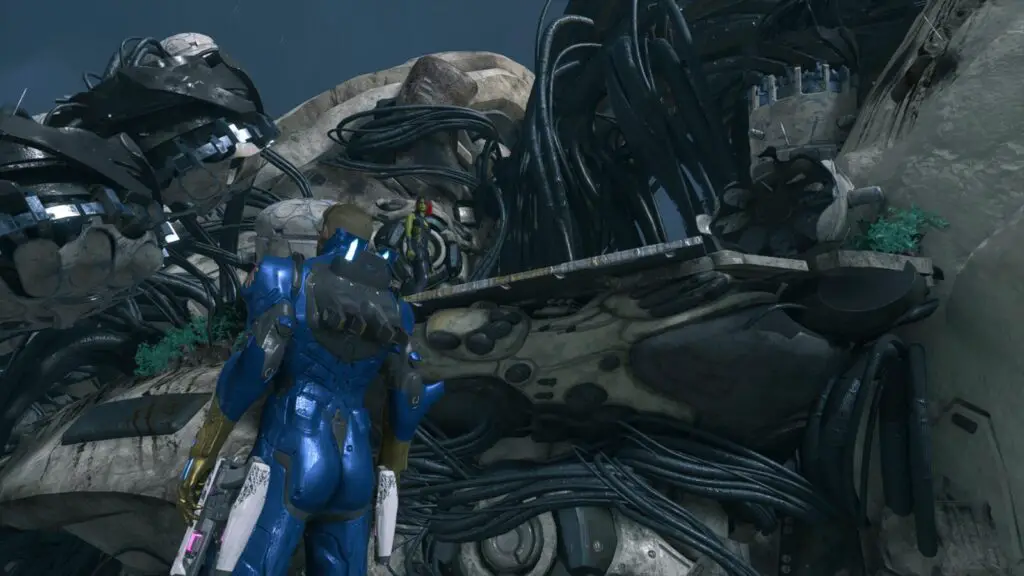
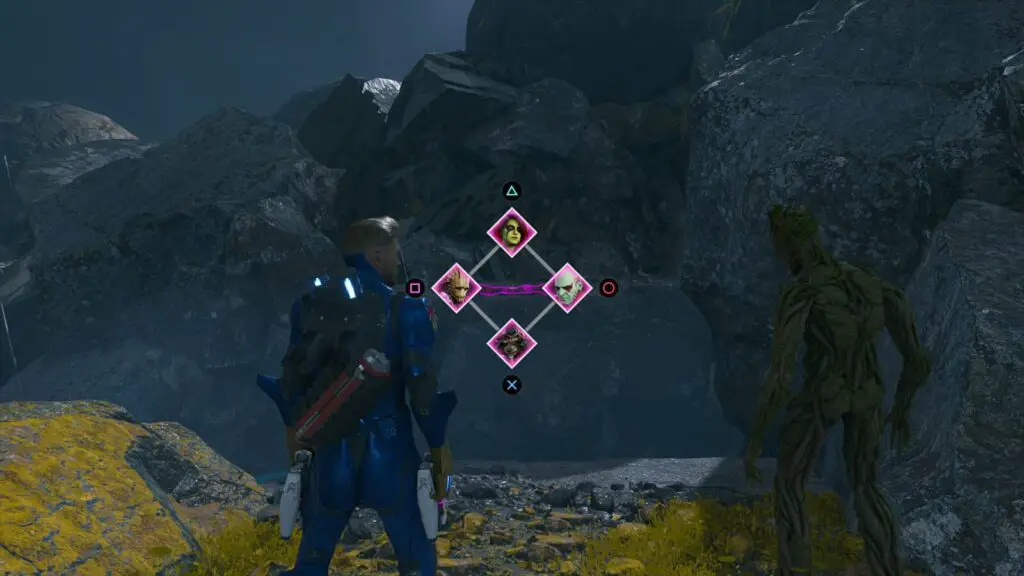
Proceed onwards until you’re reunited with Drax and Gamora. You will use their abilities to climb up to a new room where the dialogue leans heavily on speculation of what their upcoming enemy is going to look like.
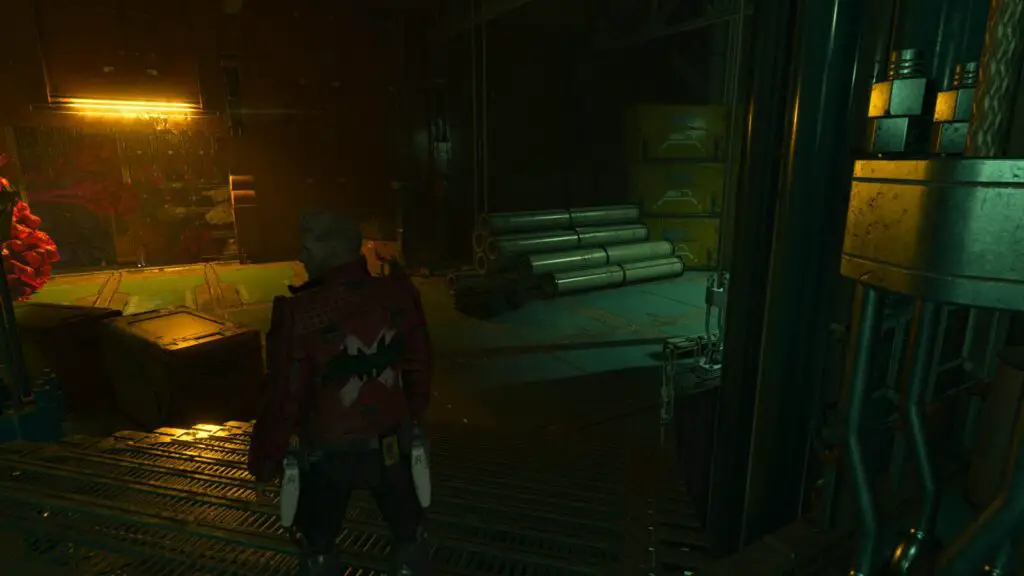
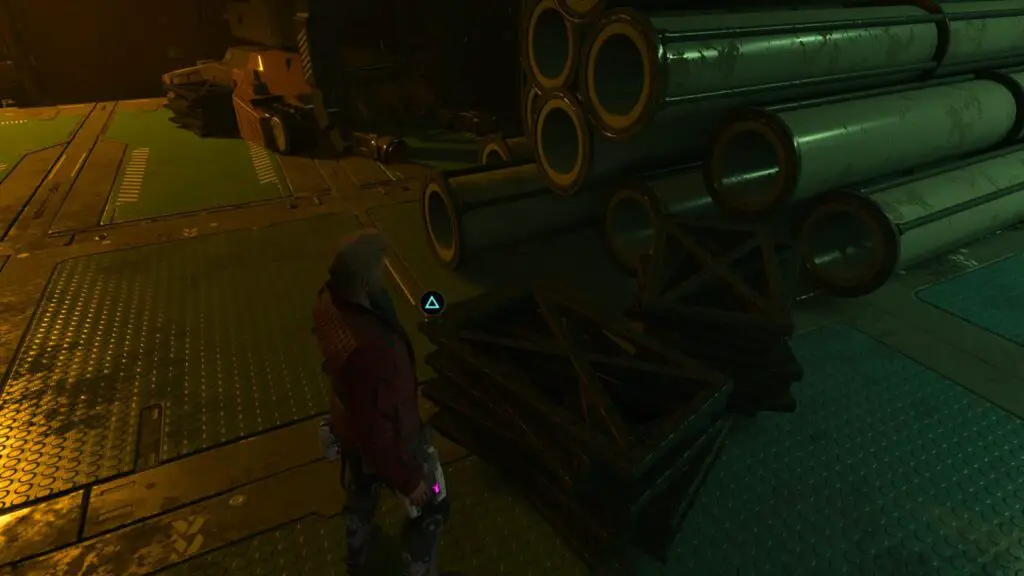
In the center of the room, there are some big steel pipes. Approach them and collect the A Miracle! Archive on the metal frames next to them.
Chapter 2
You should note that there’s a costume that you may see while you’re here, submerged underwater. Rest assured that this cannot be collected in this Chapter, but we will come back for it in Chapter 7.
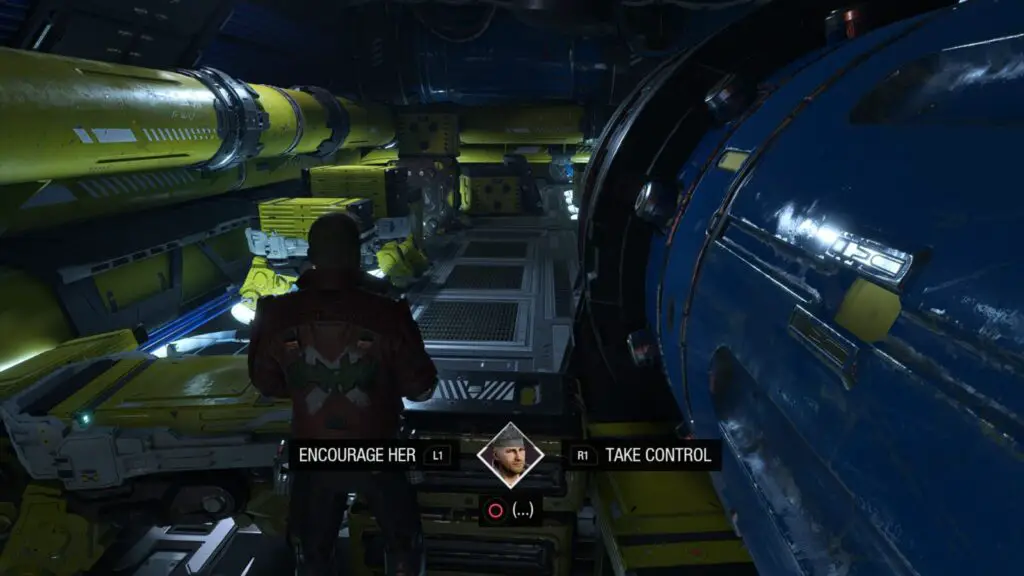
Near the start of Chapter 2, you’ll be following a character called Nikki. She’ll eventually give you a choice to either Encourage her, or Take Control. Choose whichever you like, but immediately after doing so, stop following her.
Ahead of you, at the corner where Nikki turns right, you’ll see some yellow pipes with a small gap under them.
Crouch underneath to enter a secret room with the Nova Lord Starlord Outfit inside.
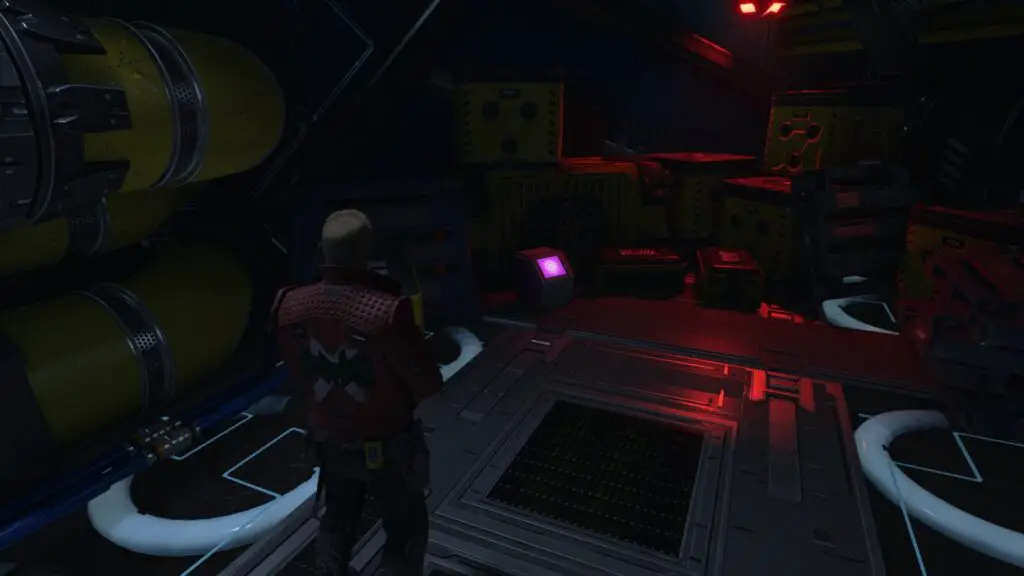
Continue the story and Nikki will eventually take you to her secret hideout. Inside, look for some purple monitors behind some metal crates.
Behind those crates, you will find the Broken Translation Device Guardian Collectible.
IMPORTANT: DO NOT MISS. During the Elevator Ride with Ko-Rel and Nikki, side with Nikki at every opportunity. If you fail to do so, she will not trust you enough to give you the Nikki’s Personal Device Item, and you won’t be able to access several collectibles in Chapter 7.

The correct dialogue choices are:
- Stick Up For Nikki
- Re-Activate Elevator
- Try to help Nikki
- Take the blame
If you do everything correctly here, you’ll get the item at the end of the dialogue.

Chapter 3
Note: During this mission, you’ll need to choose whether to sell Groot or Rocket, which will change Chapter 4 quite extensively. I recommend that you choose to sell Groot, this will get you a lot more money, which is very helpful for Chapter 6.

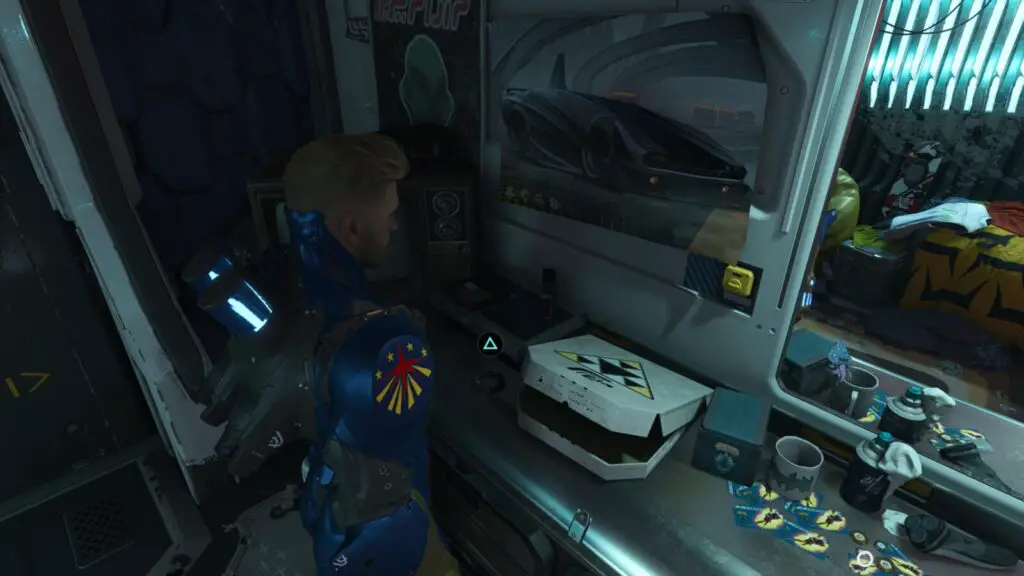
Chapter 3 starts on your Spaceship. Go into Rocket’s room again to find the Spinal Control Unit Item. This will only appear if you picked it up as a Guardian Collectible in Chapter 1.
When you interact with it, Rocket will talk to you about it (If he’s finished arguing with Drax). You need to talk through all possible dialogue to add it to the compendium.
Now, go into Star-Lord’s room and look for the Ravager Comm Bracelet Item by the mirror. Pick it up and exhaust all dialogue with Gamora when you put it back down. This will only appear if you picked it up as a Guardian Collectible in Chapter 1.
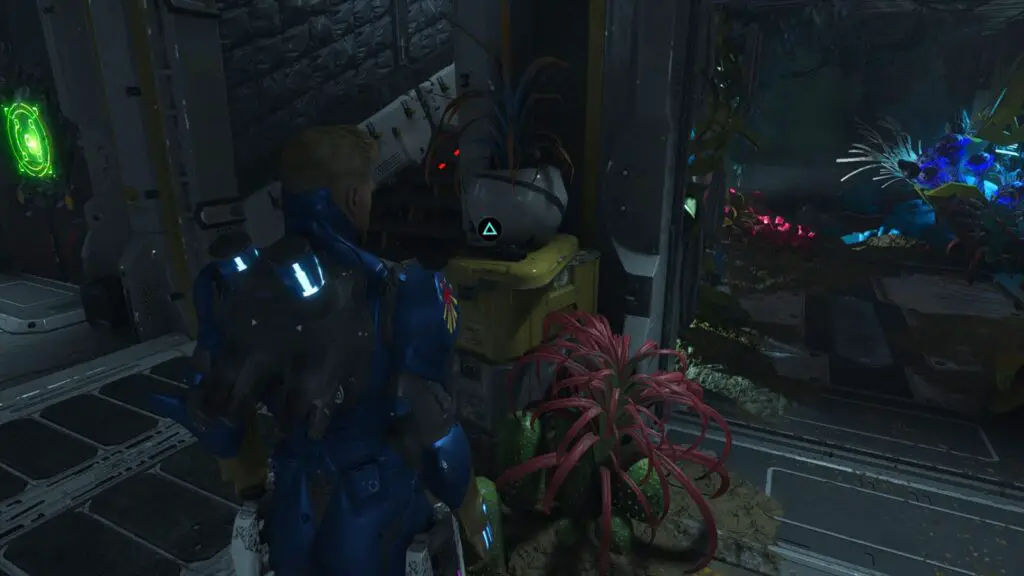
Next, go into the hangar (downstairs) and look for the Broken Translator Device next to a flower pot on a storage crate. Pick it up and exhaust all dialogue with Groot/Rocket when you put it back down. This will only appear if you picked it up as a Guardian Collectible in Chapter 2.
Proceed through the level as normal until you’ve told Rocket to use a “Wing Control” console to open the path forward. At the top of the red ramp, turn left and you’ll see a crashed spaceship.
On the ground next to it, you’ll see the Collateral Damage Archive.
Return to where the other guardians are, but do not go where you’re supposed to. Instead, go right down the path next to Rocket…

…and look for an opening at the end of the path which leads into a cave.
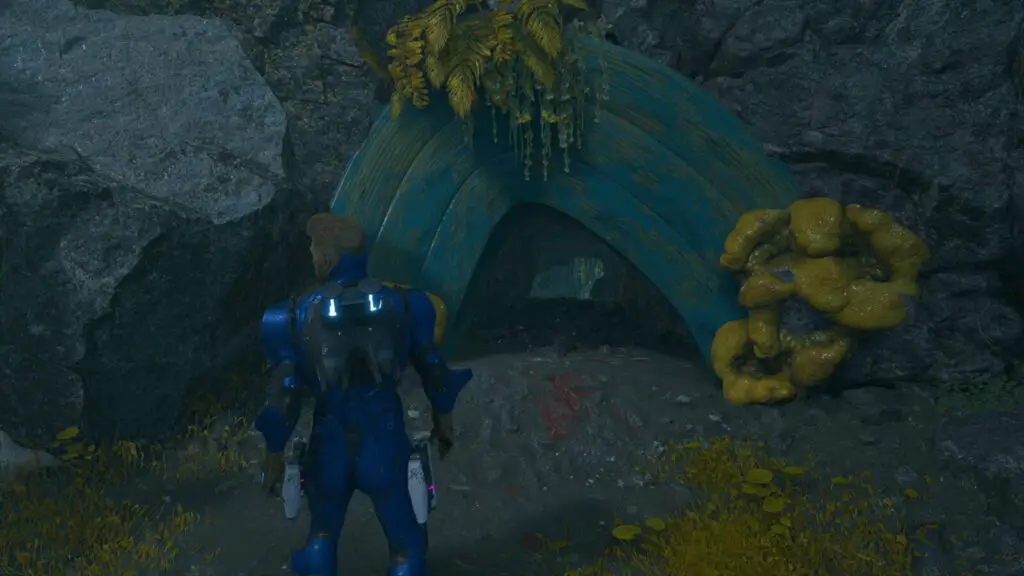
It may seem like there’s nothing in here, but look for some destructible goo (yellow in visor-view) and shoot it out of the way to enter a new area with more Jellies.
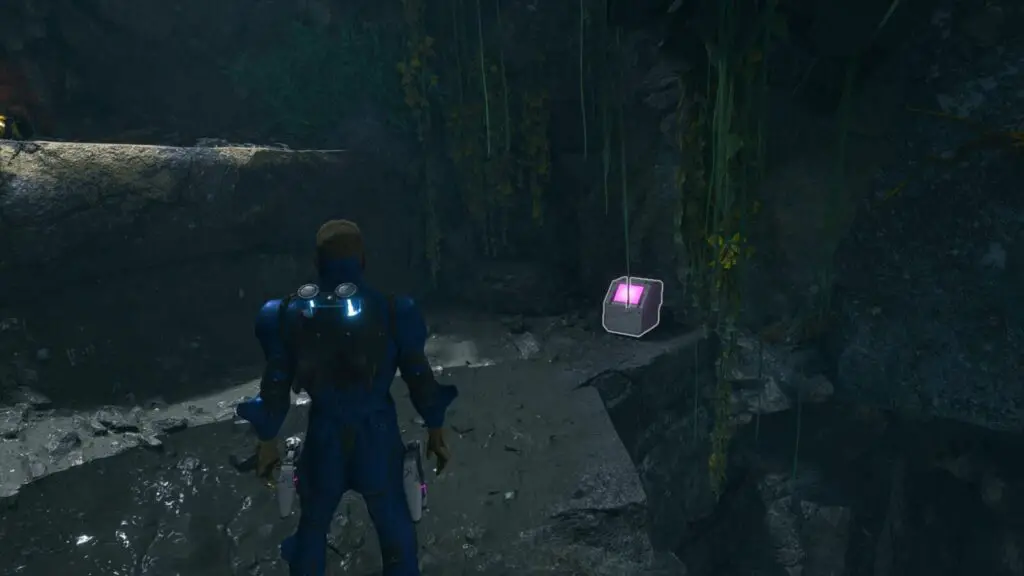
Defeat them and then look for some Brittle Material that you can shoot. Enter the opening behind the Brittle Material and look for the Guardians of the Galaxy (2014) Gamora Outfit on a ledge nearby.
Continue through the level as normal and kill your first Slakebeast (a big blue octopus-faced quadruped).

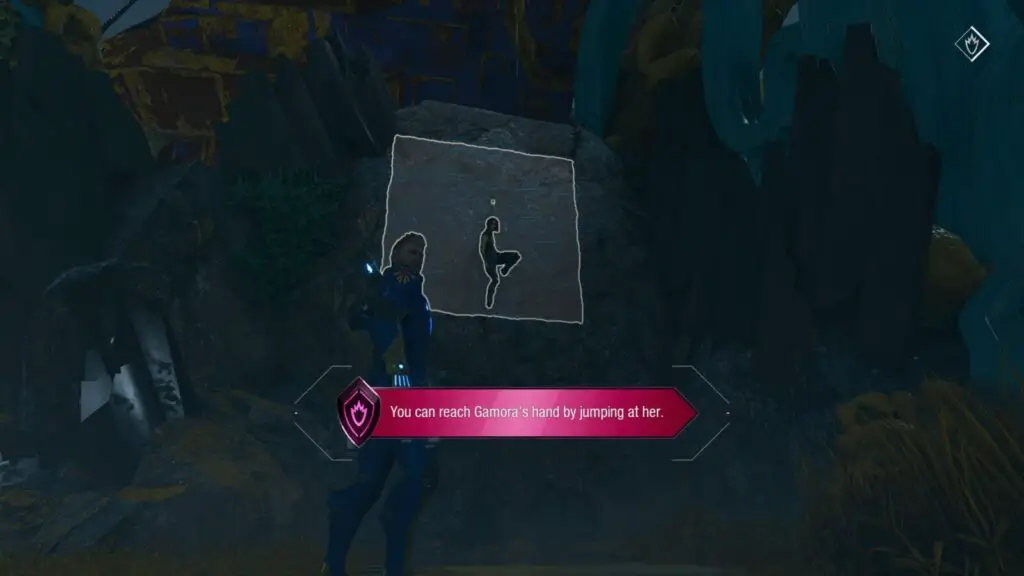
After that, use Gamora to help you up a wall where you can shoot down a big reactor unit for Drax to carry.
Instruct Drax to place the pillar against the wall opposite the spaceship wing.
Use the pillar to reach the ledge, and then jump to the platform below you to pick up the Chitauri Sear-Cuffs Guardian Collectible on there.
Return to the guardians and then make Drax put the pillar where it’s supposed to go. Then, instruct Gamora to cut the cables holding the spaceship up, causing the wing to drop down and form a ramp.
Walk up the wing and then look for the Off the Grid Archive to the left.
Proceed through the level until you unlock the Ice element for Star-Lord’s blasters. You’ll initially use this ability to freeze two platforms in place and then you’ll ask Gamora to cut away some obstructive cables.
Pass through the opening where the cables were, and then immediately look on the ground to the left. There, you’ll see the Stupid Job Archive.
After a big conflict with two Slakebeasts, command Groot to build a bridge so that you can get over to the Waterfalls.
Cross his bridge and then go left at the end, where you’ll see some Brittle Material.
Break through it and then use your Ice Blasters to freeze the water geyser.
Jump up the ledges and collect the Five Horsemen of the Apocalypse Groot Costume.
Chapter 4
Chapter four is a bit of a weird one. The Chapter changes depending on whether you chose to sell Groot or Rocket during Chapter 3. You can make whichever choice you want, but this will change the layout of Chapter 4. All required collectibles can still be obtained, but their locations are different, which means I’ve prepared two guides for you; the Groot Sold path and the Rocket Sold path.
Groot Sold Path
Proceed through the level until you have sneaked past some guards to enter Lady Hellbender’s Throne Room. Inside, immediately go right to collect the Don’t Do It Archive on a ledge quite far down this path.
Continue following this path until you’re on the left side of the same room, you can find a purple container with the Guardians of the Galaxy (2014) Drax Outfit inside.
Continue onwards and you’ll take an elevator down from the Throne Room into a big room full of sleeping guards. Don’t follow the other guardians here.
Instead, very carefully clamber over bar-like the wooden table on your right and then avoid knocking over bottles or touching any guards as you shimmy between a sleeping guard and a red container.
Crouch under the containers at the back of here into a small area containing the Five Horsemen of the Apocalypse Rocket Outfit.
Continue the correct way through the room of sleeping guards and sneak into the next area. Inside, there are a few prison cells in different rooms. Drax will split off to explore a room on your left, follow him inside.
To the right of this room’s entrance, behind a red and black crate, you’ll find the Assassin’s Ring Guardian Collectible on the ground.
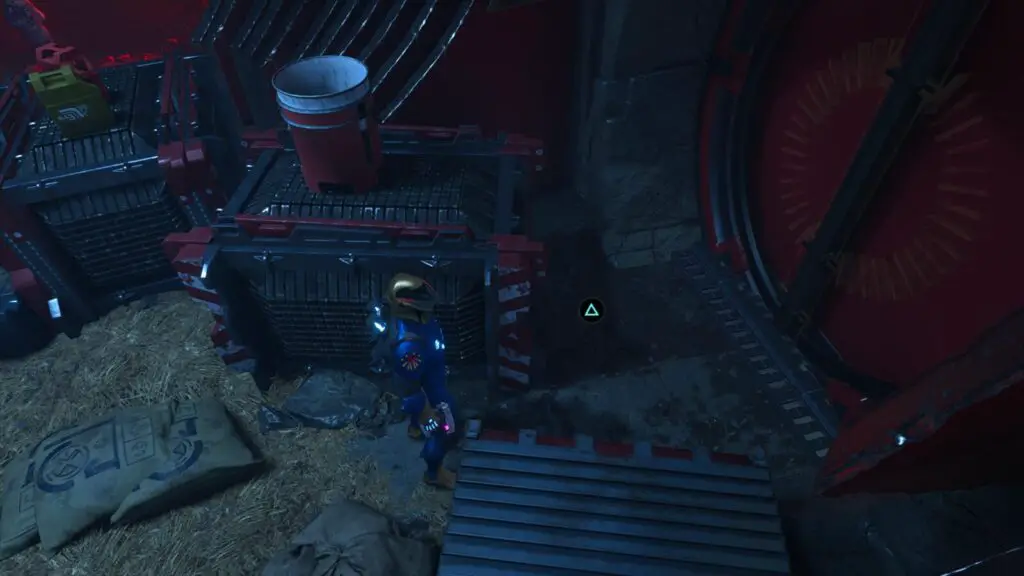
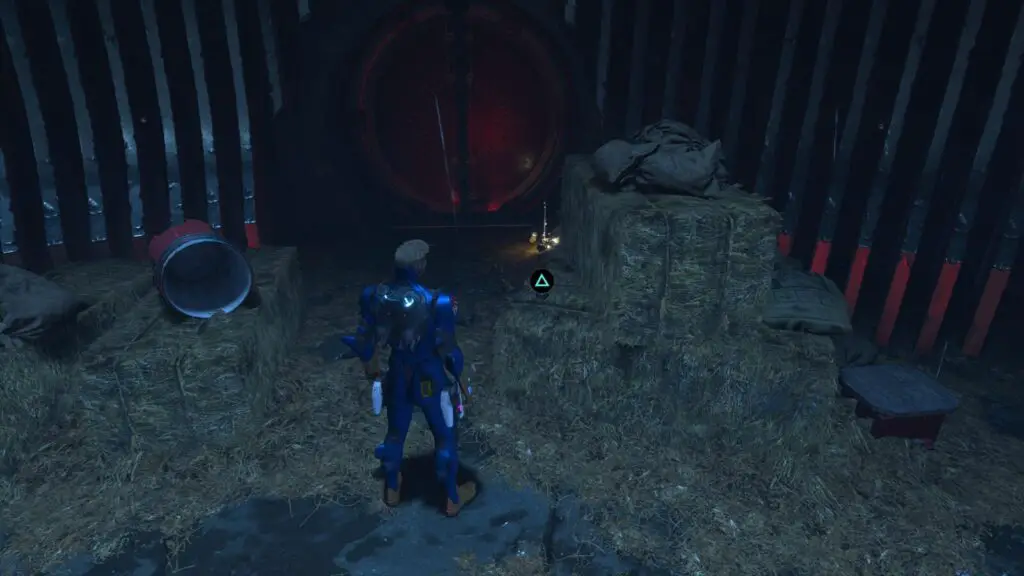
Return to the previous room and now head to the next room along in the room, where Groot is locked up. On some haystacks to your right, you’ll find the Care of Our Charges Archive.
Rocket Sold Path
Near the start of the chapter, you’ll find yourself negotiating with Lady Hellbender. Afterward, you’ll slide down to an area with an angry drone.
Destroy the structure on your left with your blasters and then jump over to the platform behind it and vault the low wall on the right.
Immediately afterward, turn right and look for the Drones Archive on a nearby crate.
After the last collectible, continue through the narrow gap and then stop. Don’t enter the tunnel on your left with the other guardians.
Instead, walk past the tunnel entrance and look for some platforms you can jump across.
At the end of these platforms, you will find the Guardians of the Galaxy (2014) Drax Outfit.
Continue until you end up in the sewers with the rest of the Guardians and head through until the path forks.
Take the left path, where you’ll find the Five Horsemen of the Apocalypse Rocket Outfit.
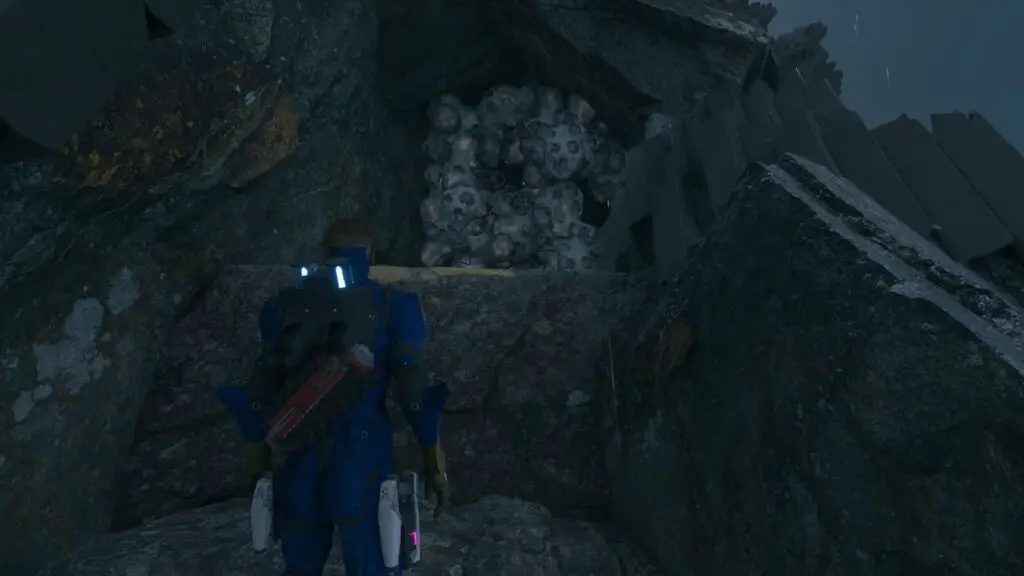
Continue following the story until you’re led into a vault. At the center of the vault, there’s a big skull. Go behind the skull to the opposite end of the vault and the Unknown Ghilaron Species Archive can be collected from the arm of a weird-looking sofa.
To the right of the last collectible in the same vault, at the other side of the counter, you’ll find the Assassin’s Ring Guardian Collectible.
There’s a lot of content to get through here, so we had to split our collectible guide into four parts! Use the quick links below to reach the other parts of our guide:
- Start of Guide (Chapters 1, 2, 3, 4) – You are Here!
- Chapters 5, 6, 7, 8
- Chapters 9, 10, 11, 12
- Chapters 13, 14, 15, 16
Thank you for choosing PlatGet as your source for a Guardians of the Galaxy Collectible Guide. Consider checking out our other guides such as our Guardians of the Galaxy Trophy Guide!
Follow us on Twitter @GetPlat or Instagram @platget for updates on new reviews and guides, as well as small anecdotes about our platinum journeys.